Tamiya Porsche 959 Project
Page 1: Restoration
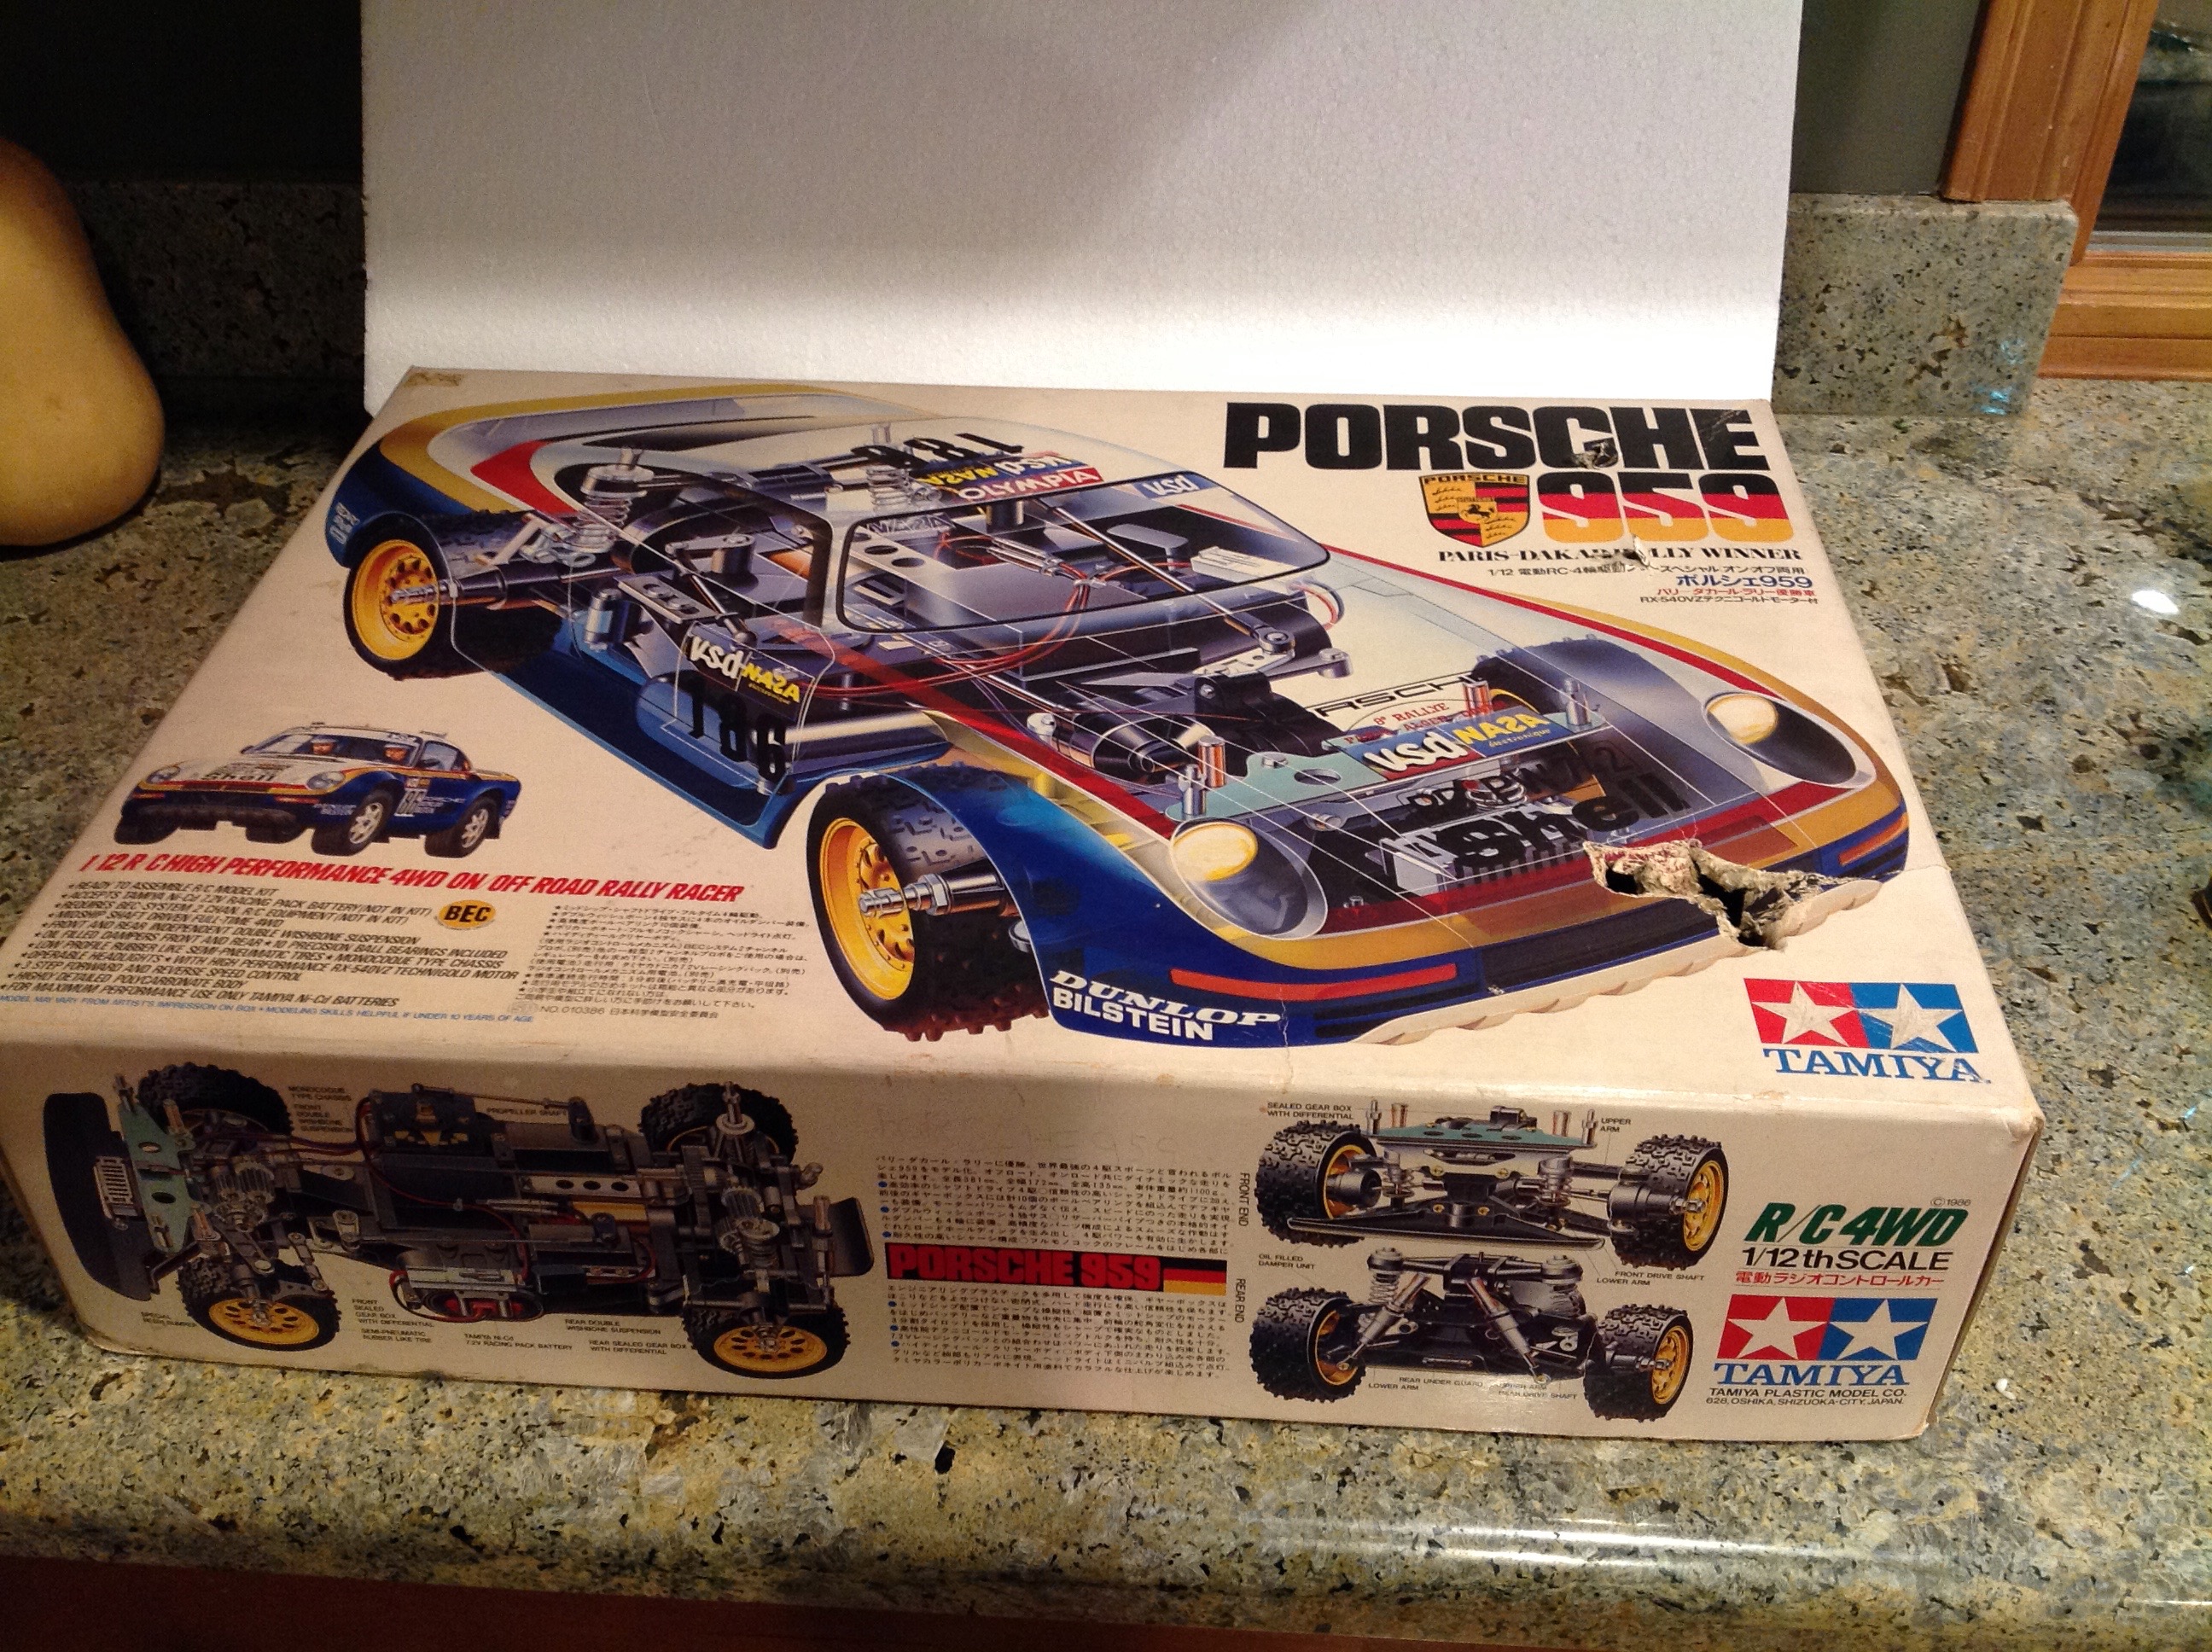
I was lucky enough to find a Porsche 959 with the original box, though I
did have to print my own copy of the instruction manual. The box
is in pretty good shape apart from some water damage causing a hole in the front. Even
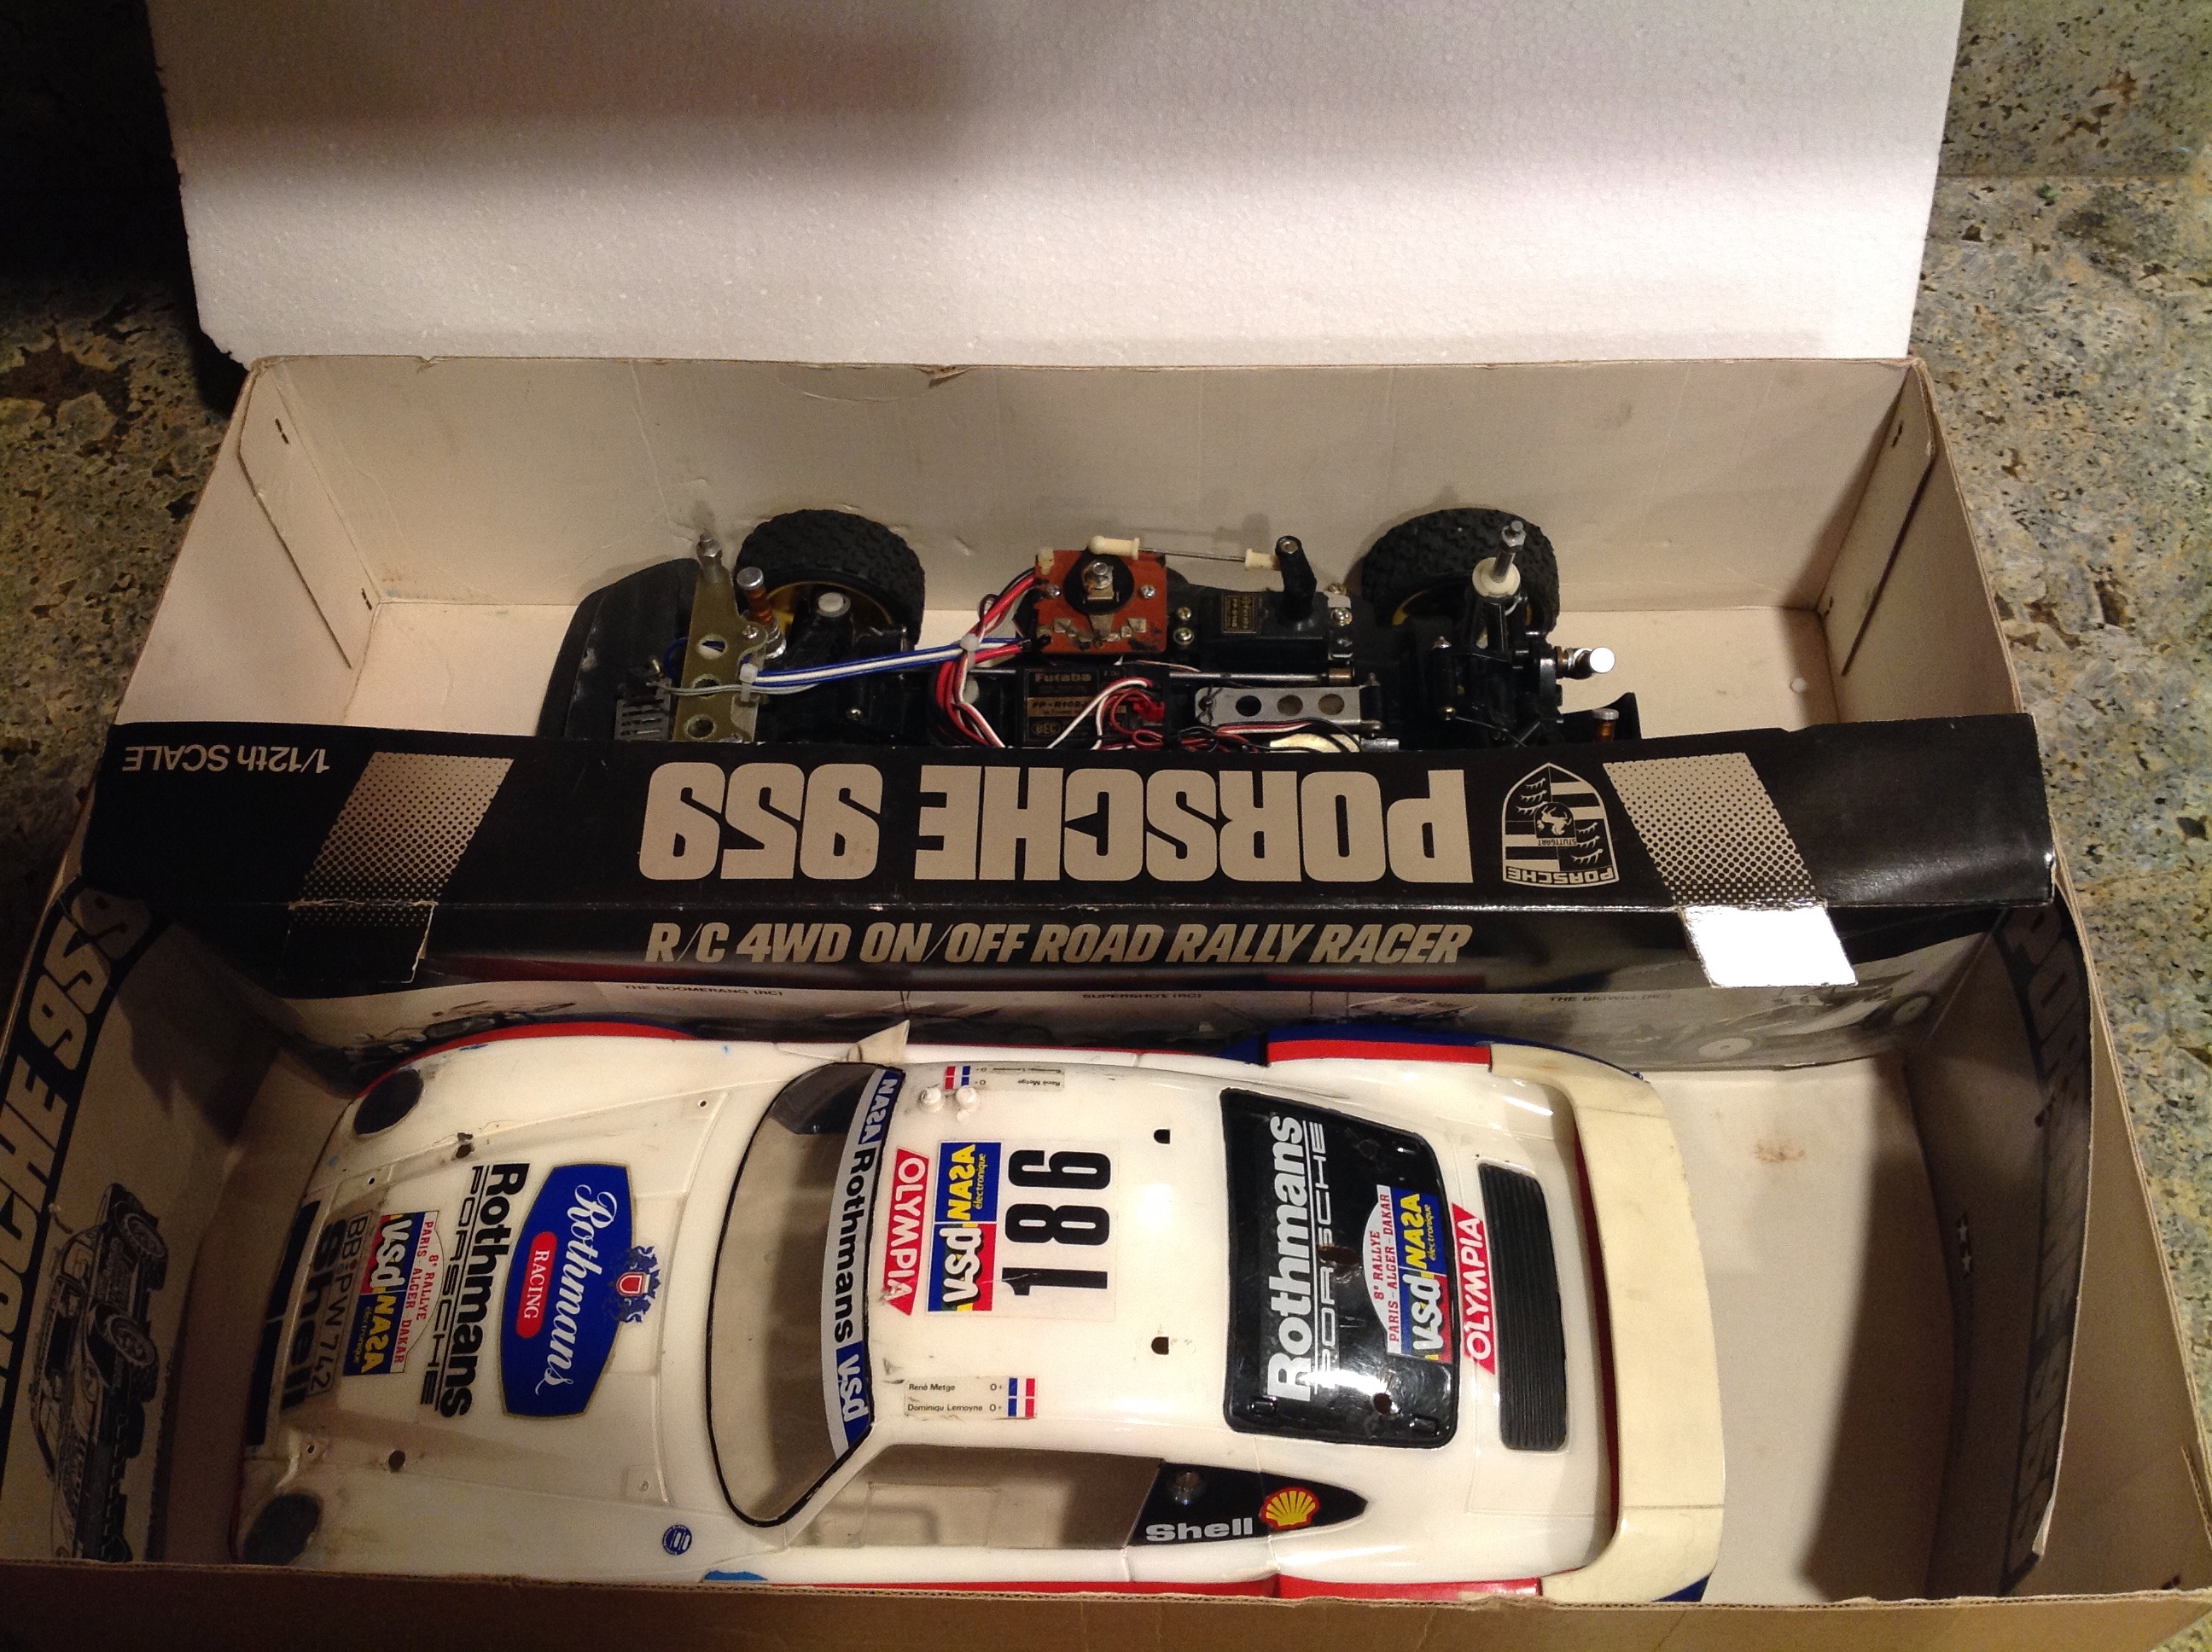
the internal divider is still present. The picture on the right
shows the car after I removed all the packing material. The body
was not installed on the car but was packed in the other side of the
box.
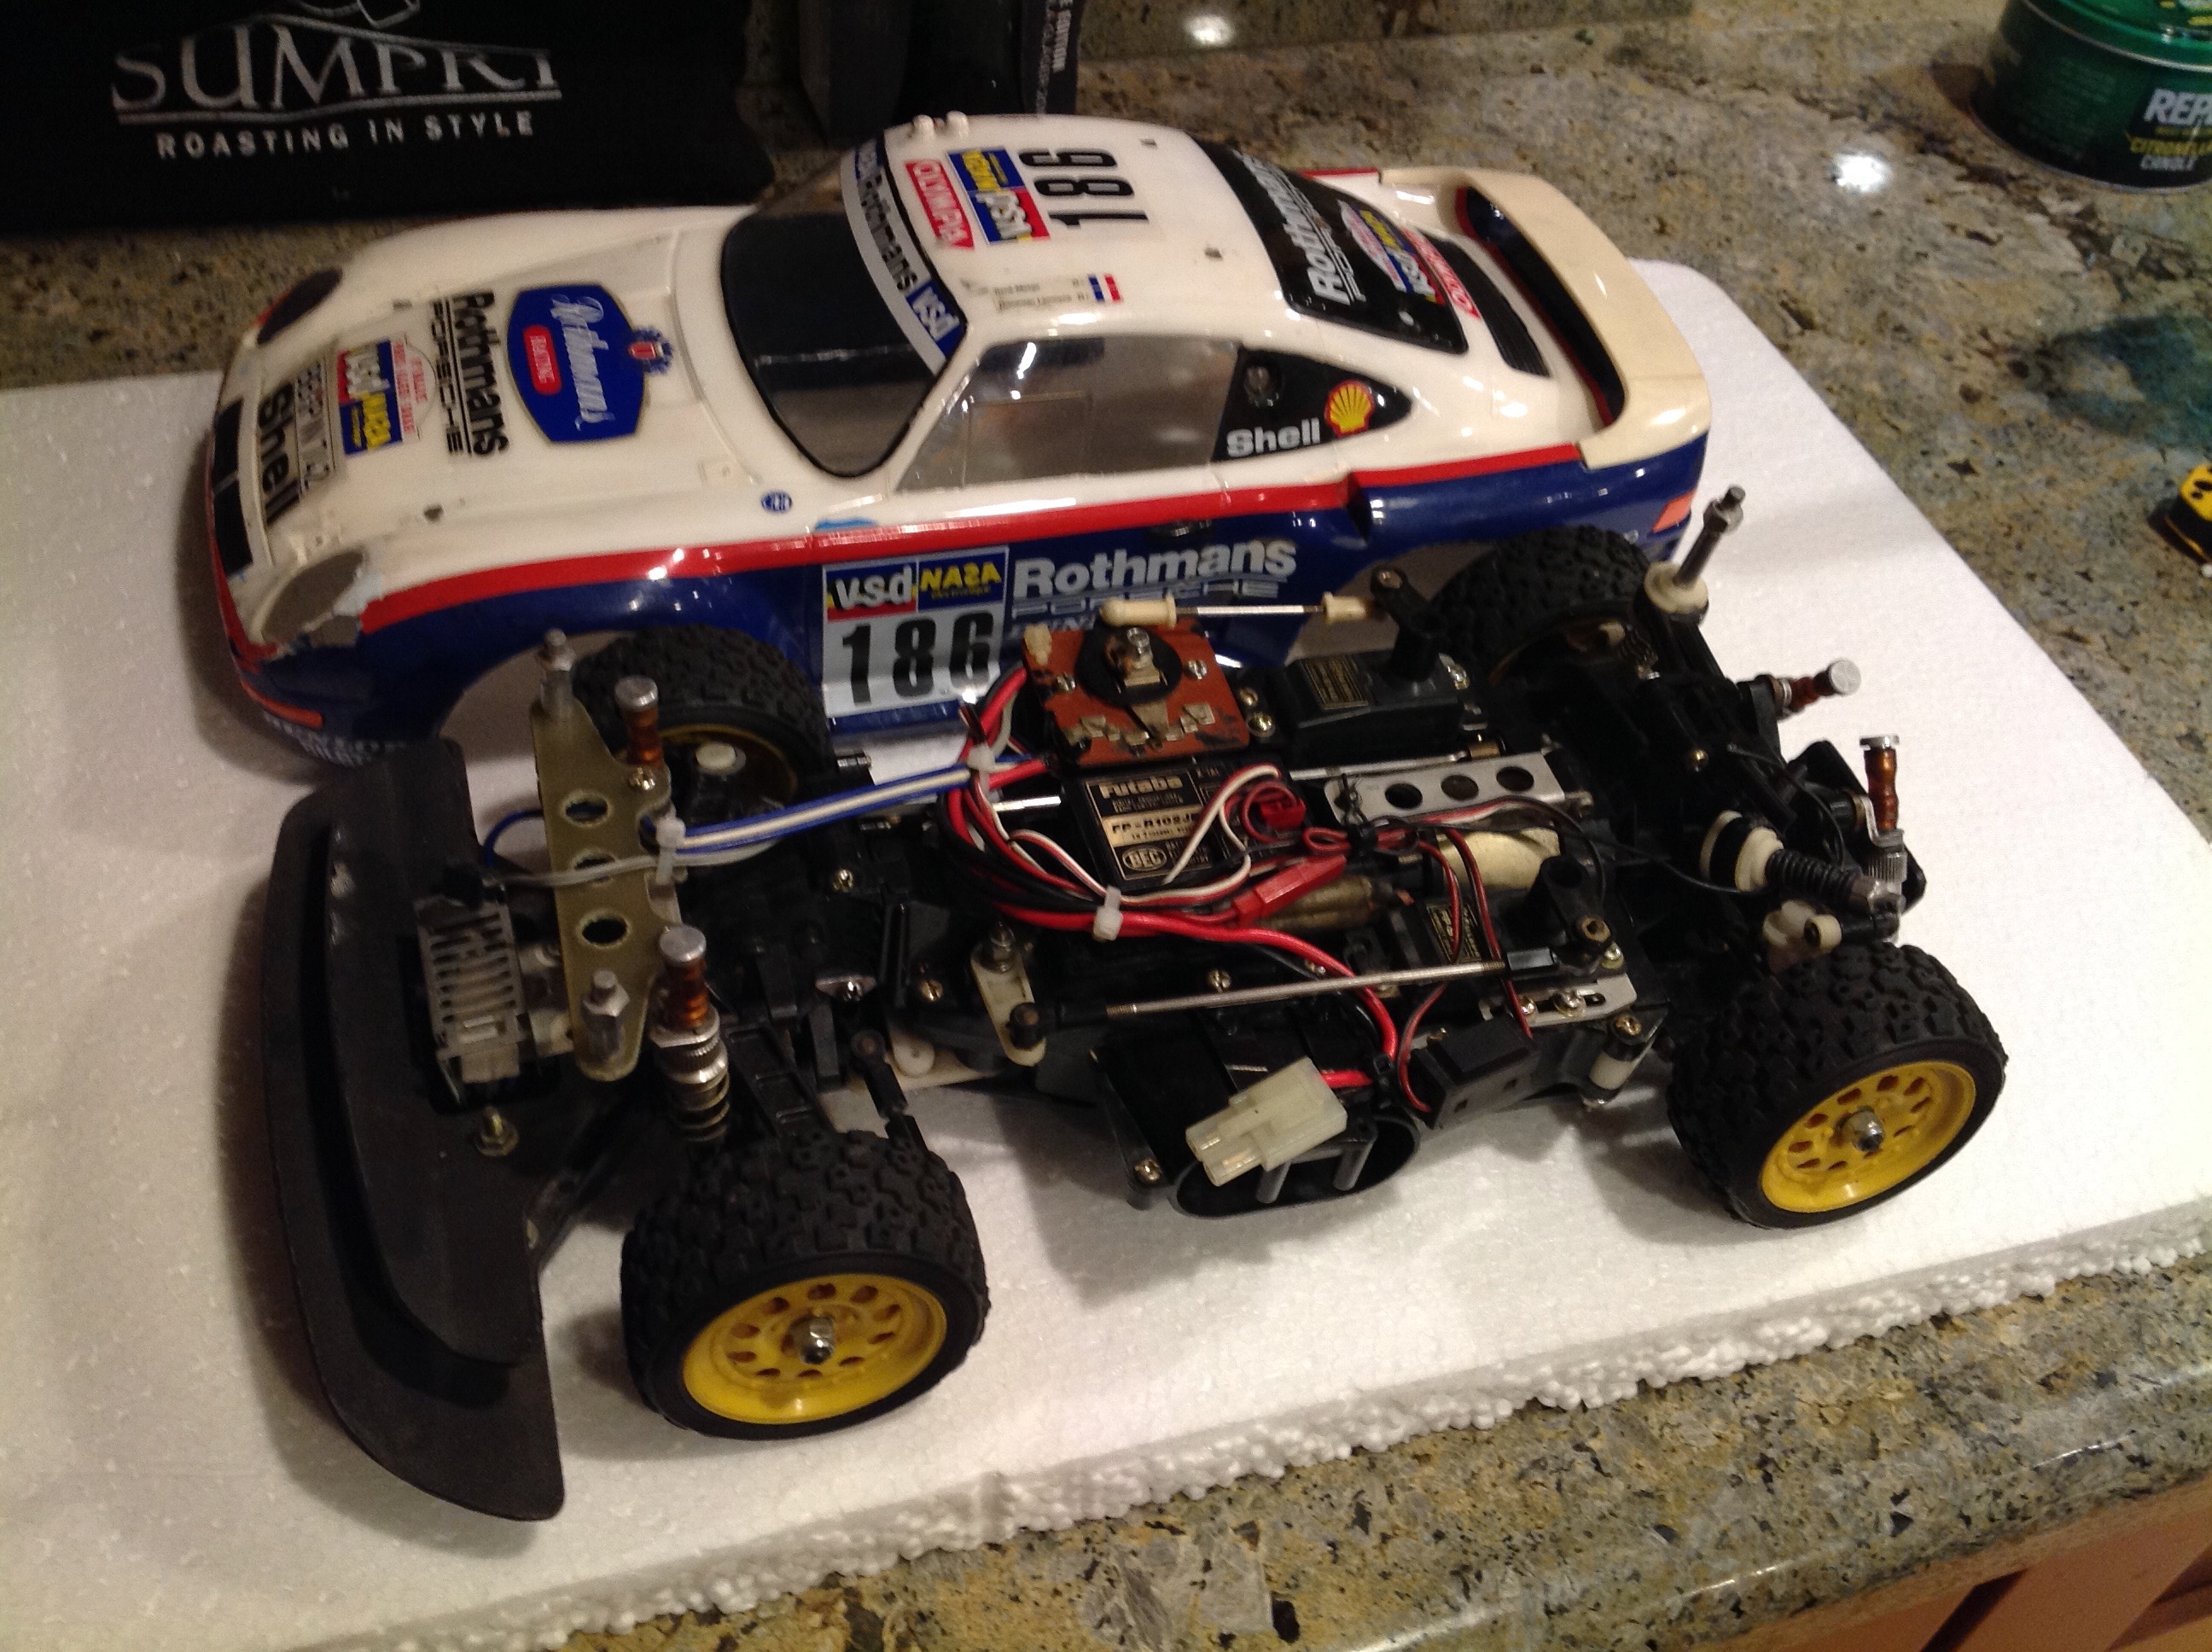
Despite the clearly careful packing, there was some damage to the
chassis. One of the spring supports which doubles as a body post
holder was broken. These are cantilevered parts that are not
exactly designed for strength. Also missing was the full interior,
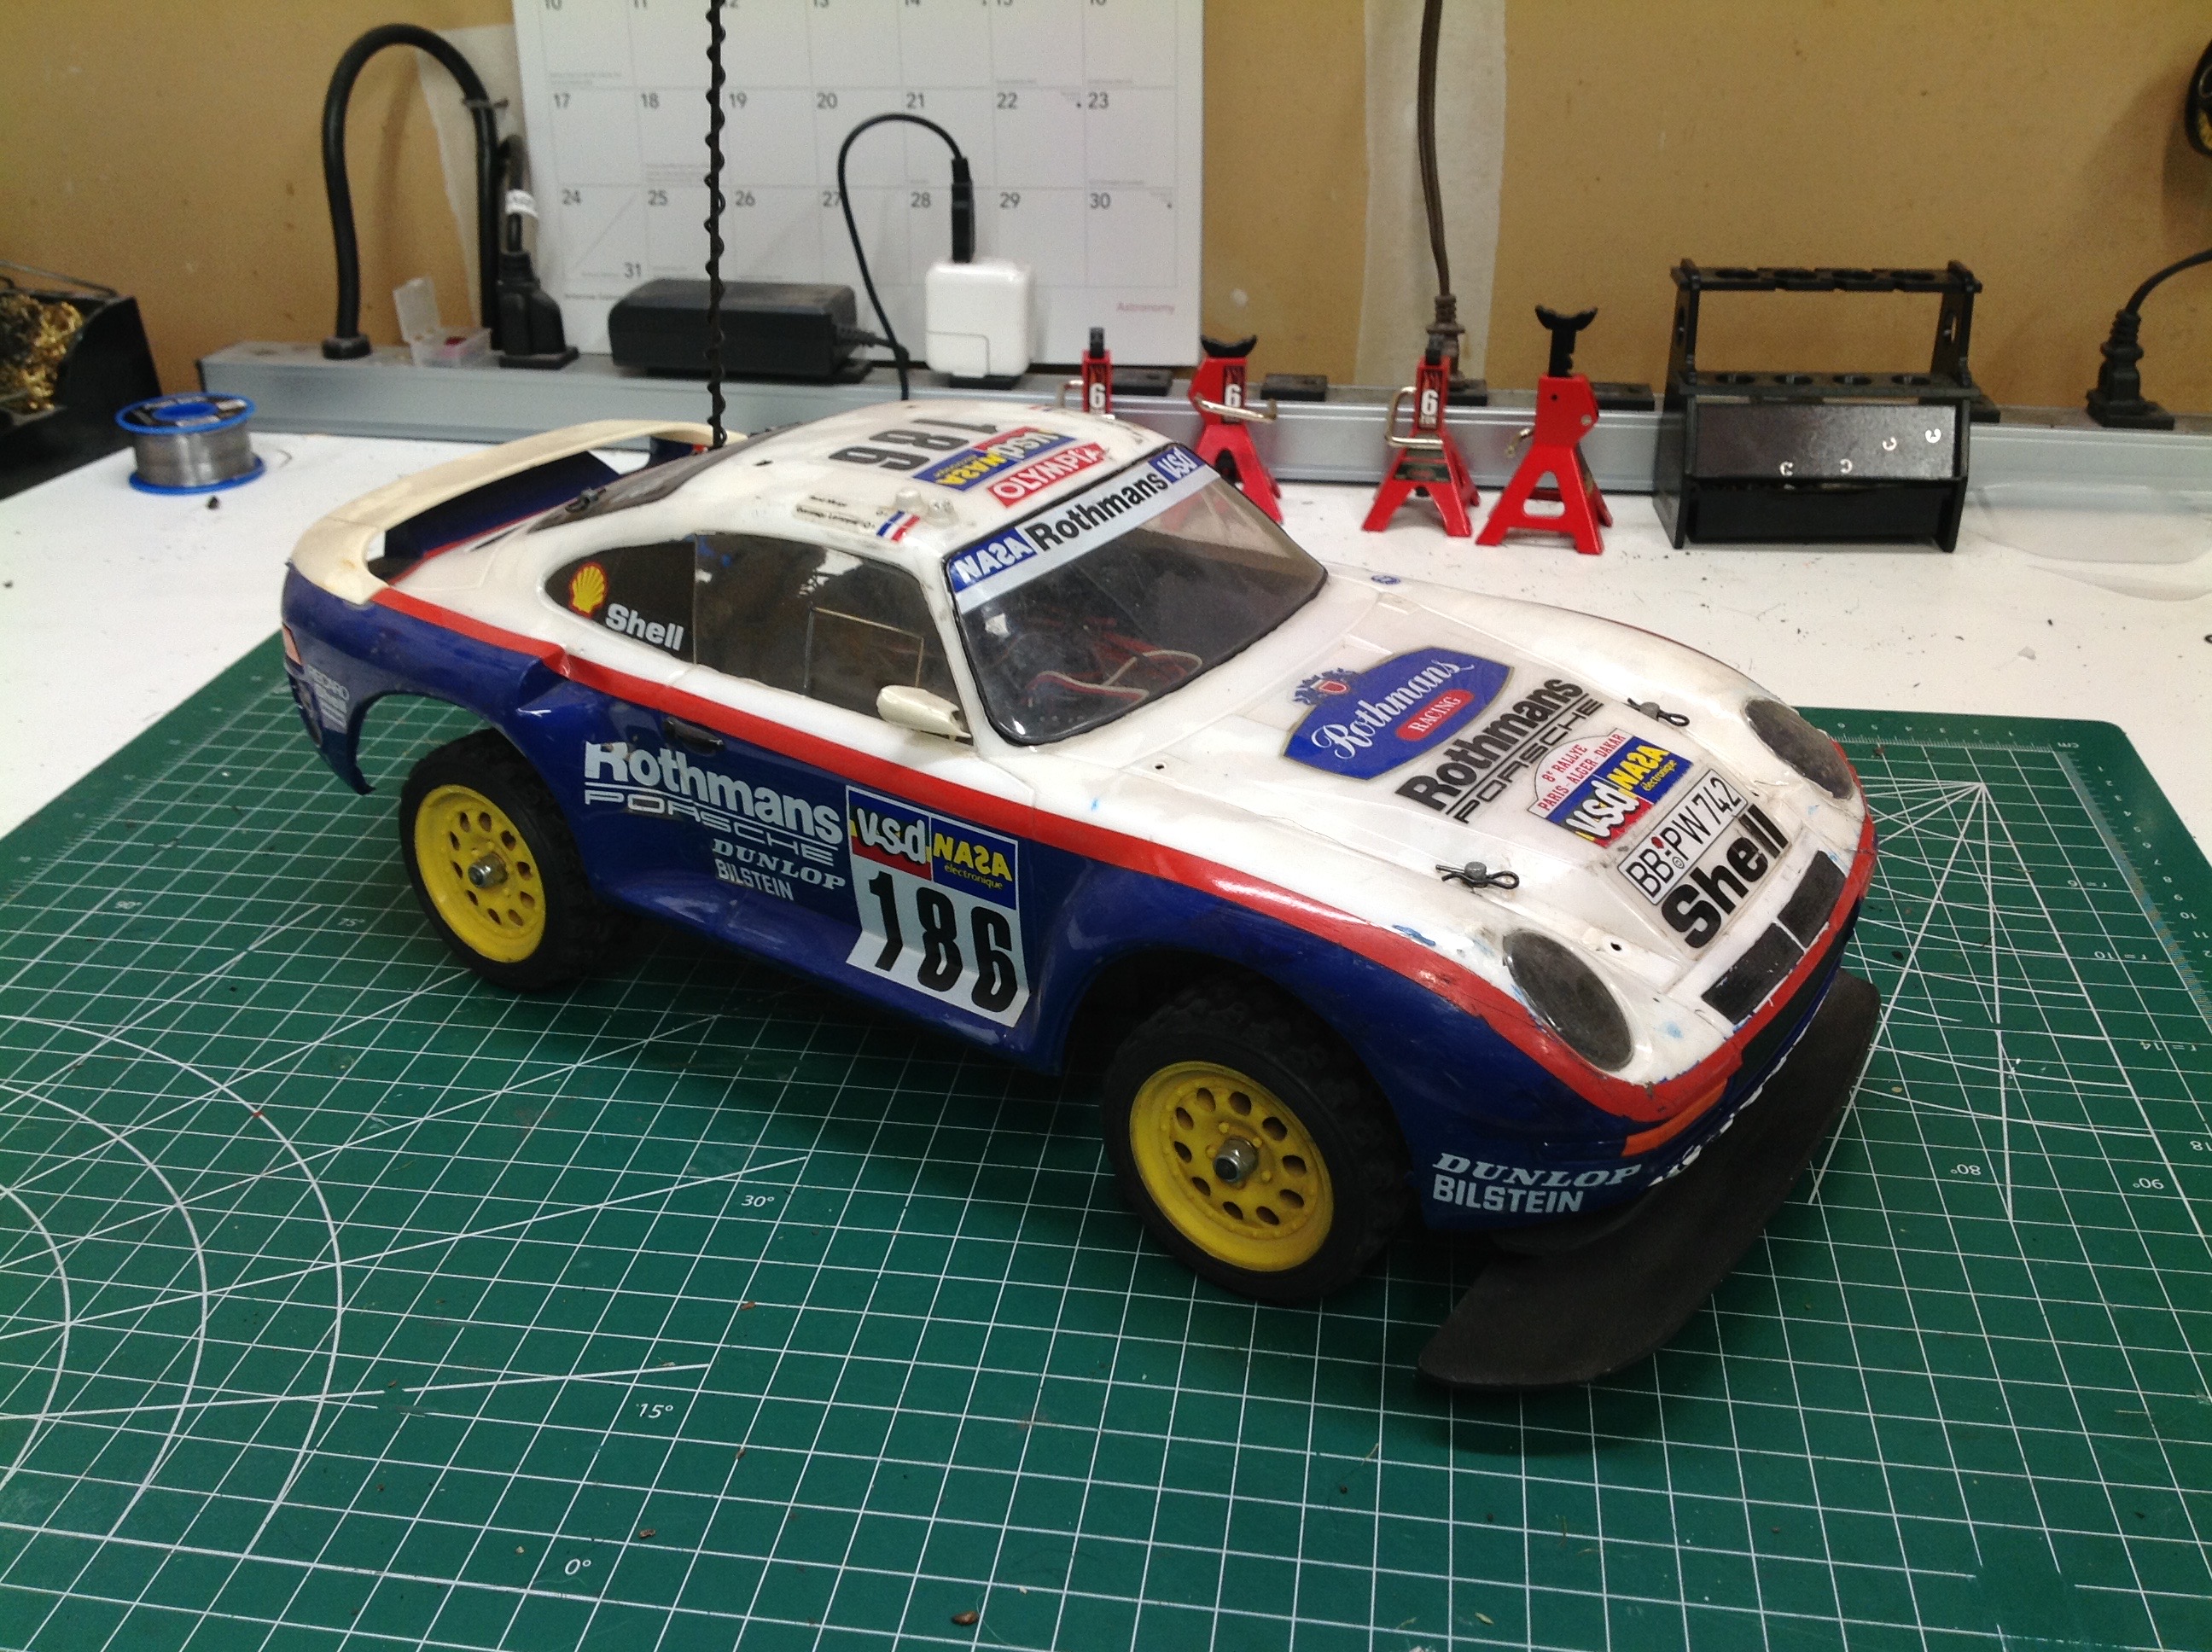
the roof details, and the light buckets. Still, from a distance
it looks OK.
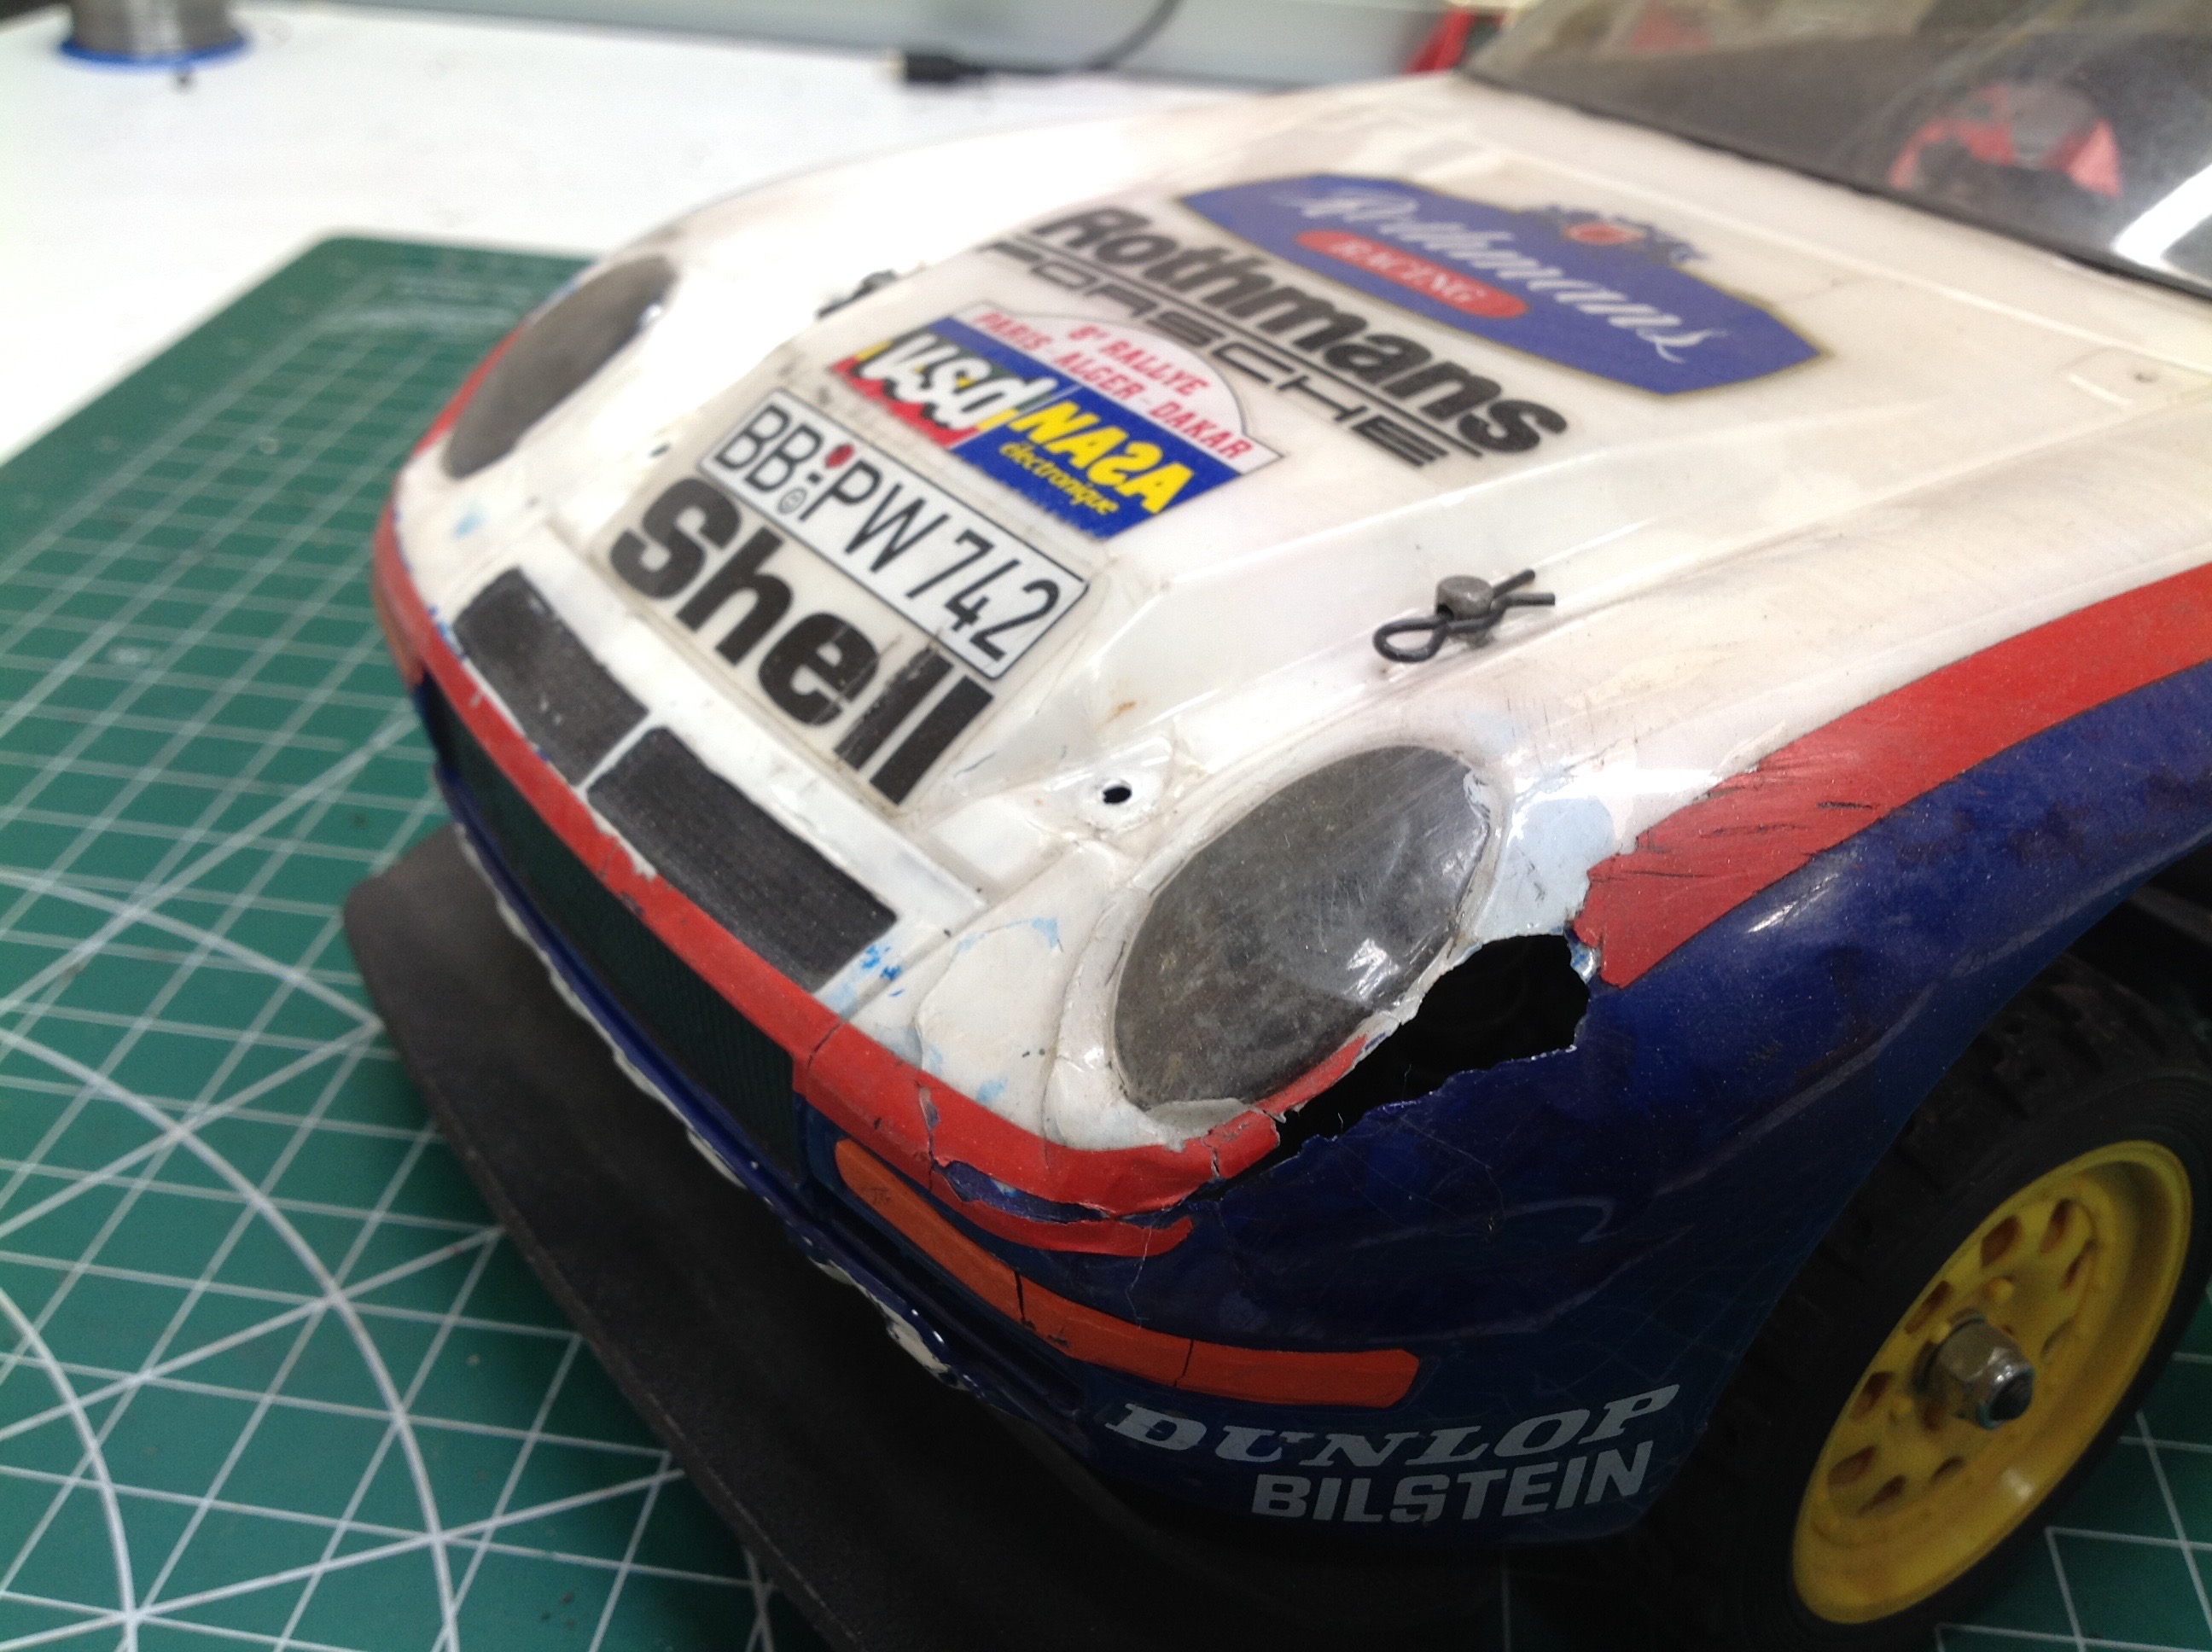
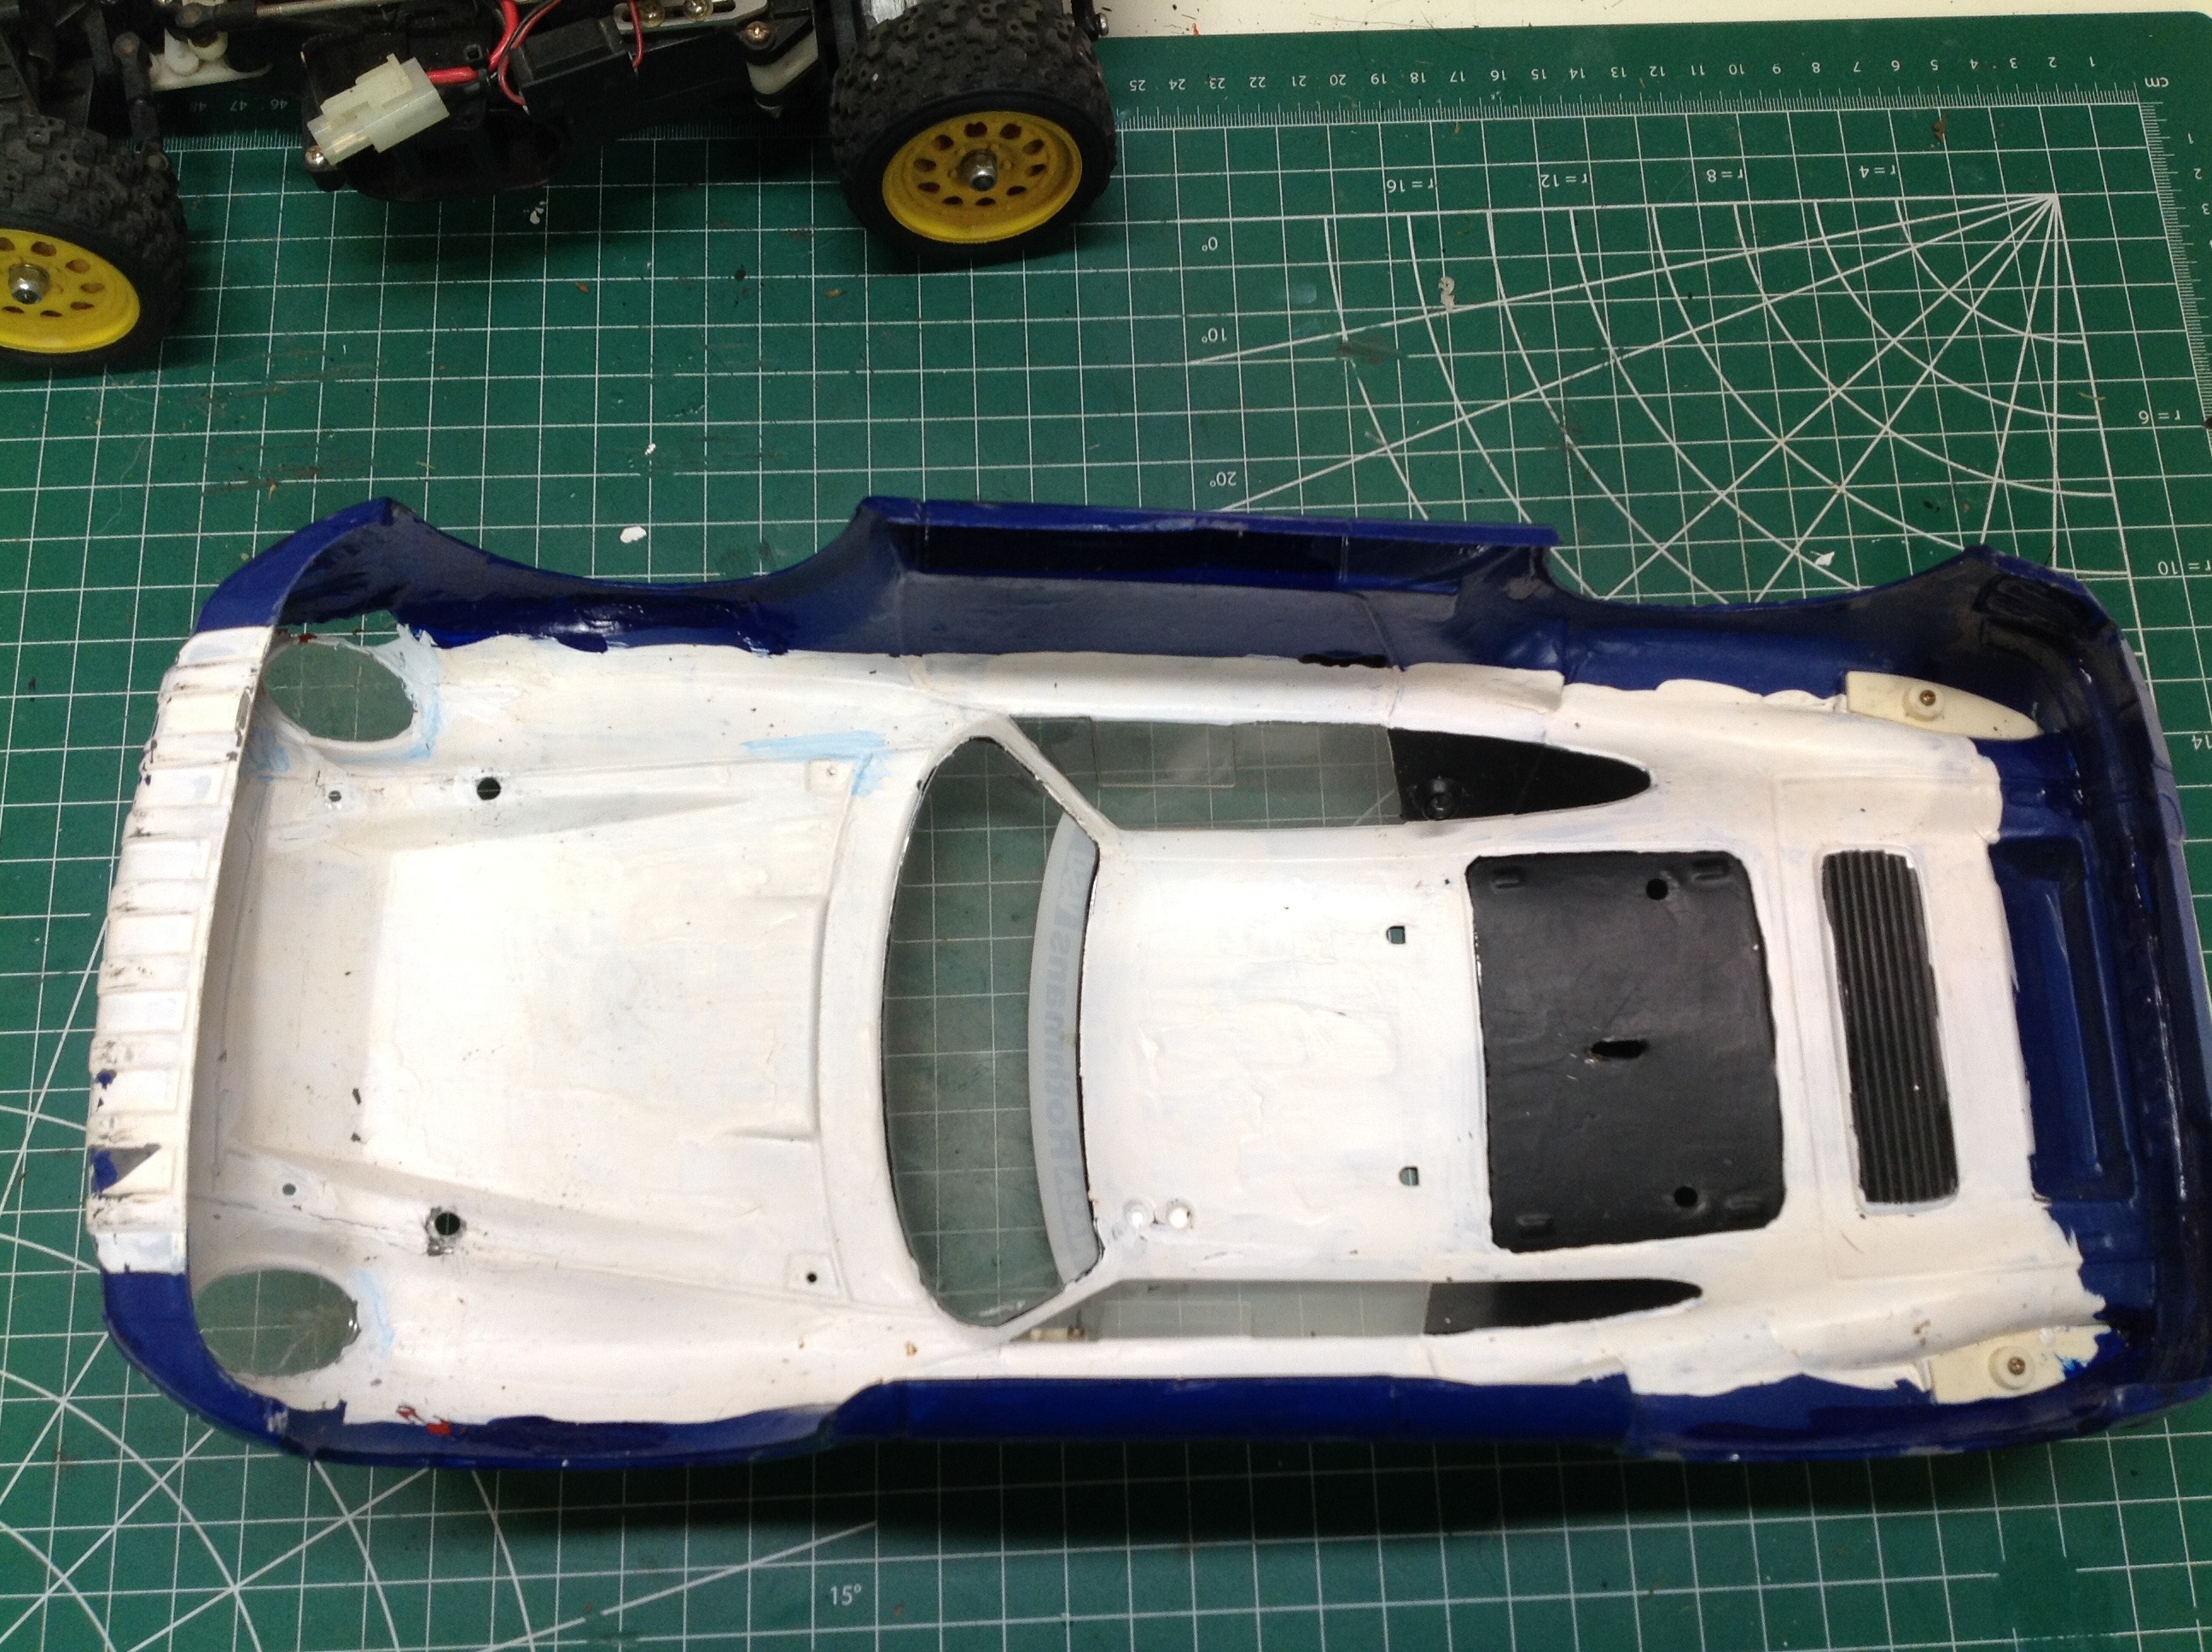
Here are some closer views of that famously fragile body. You can
see a big hole underneath the headlight. The polycarbonate under
the front bumper is thinner than a sheet of paper. From the inside
you can see that this body was originally brush painted. They did
a pretty good job.
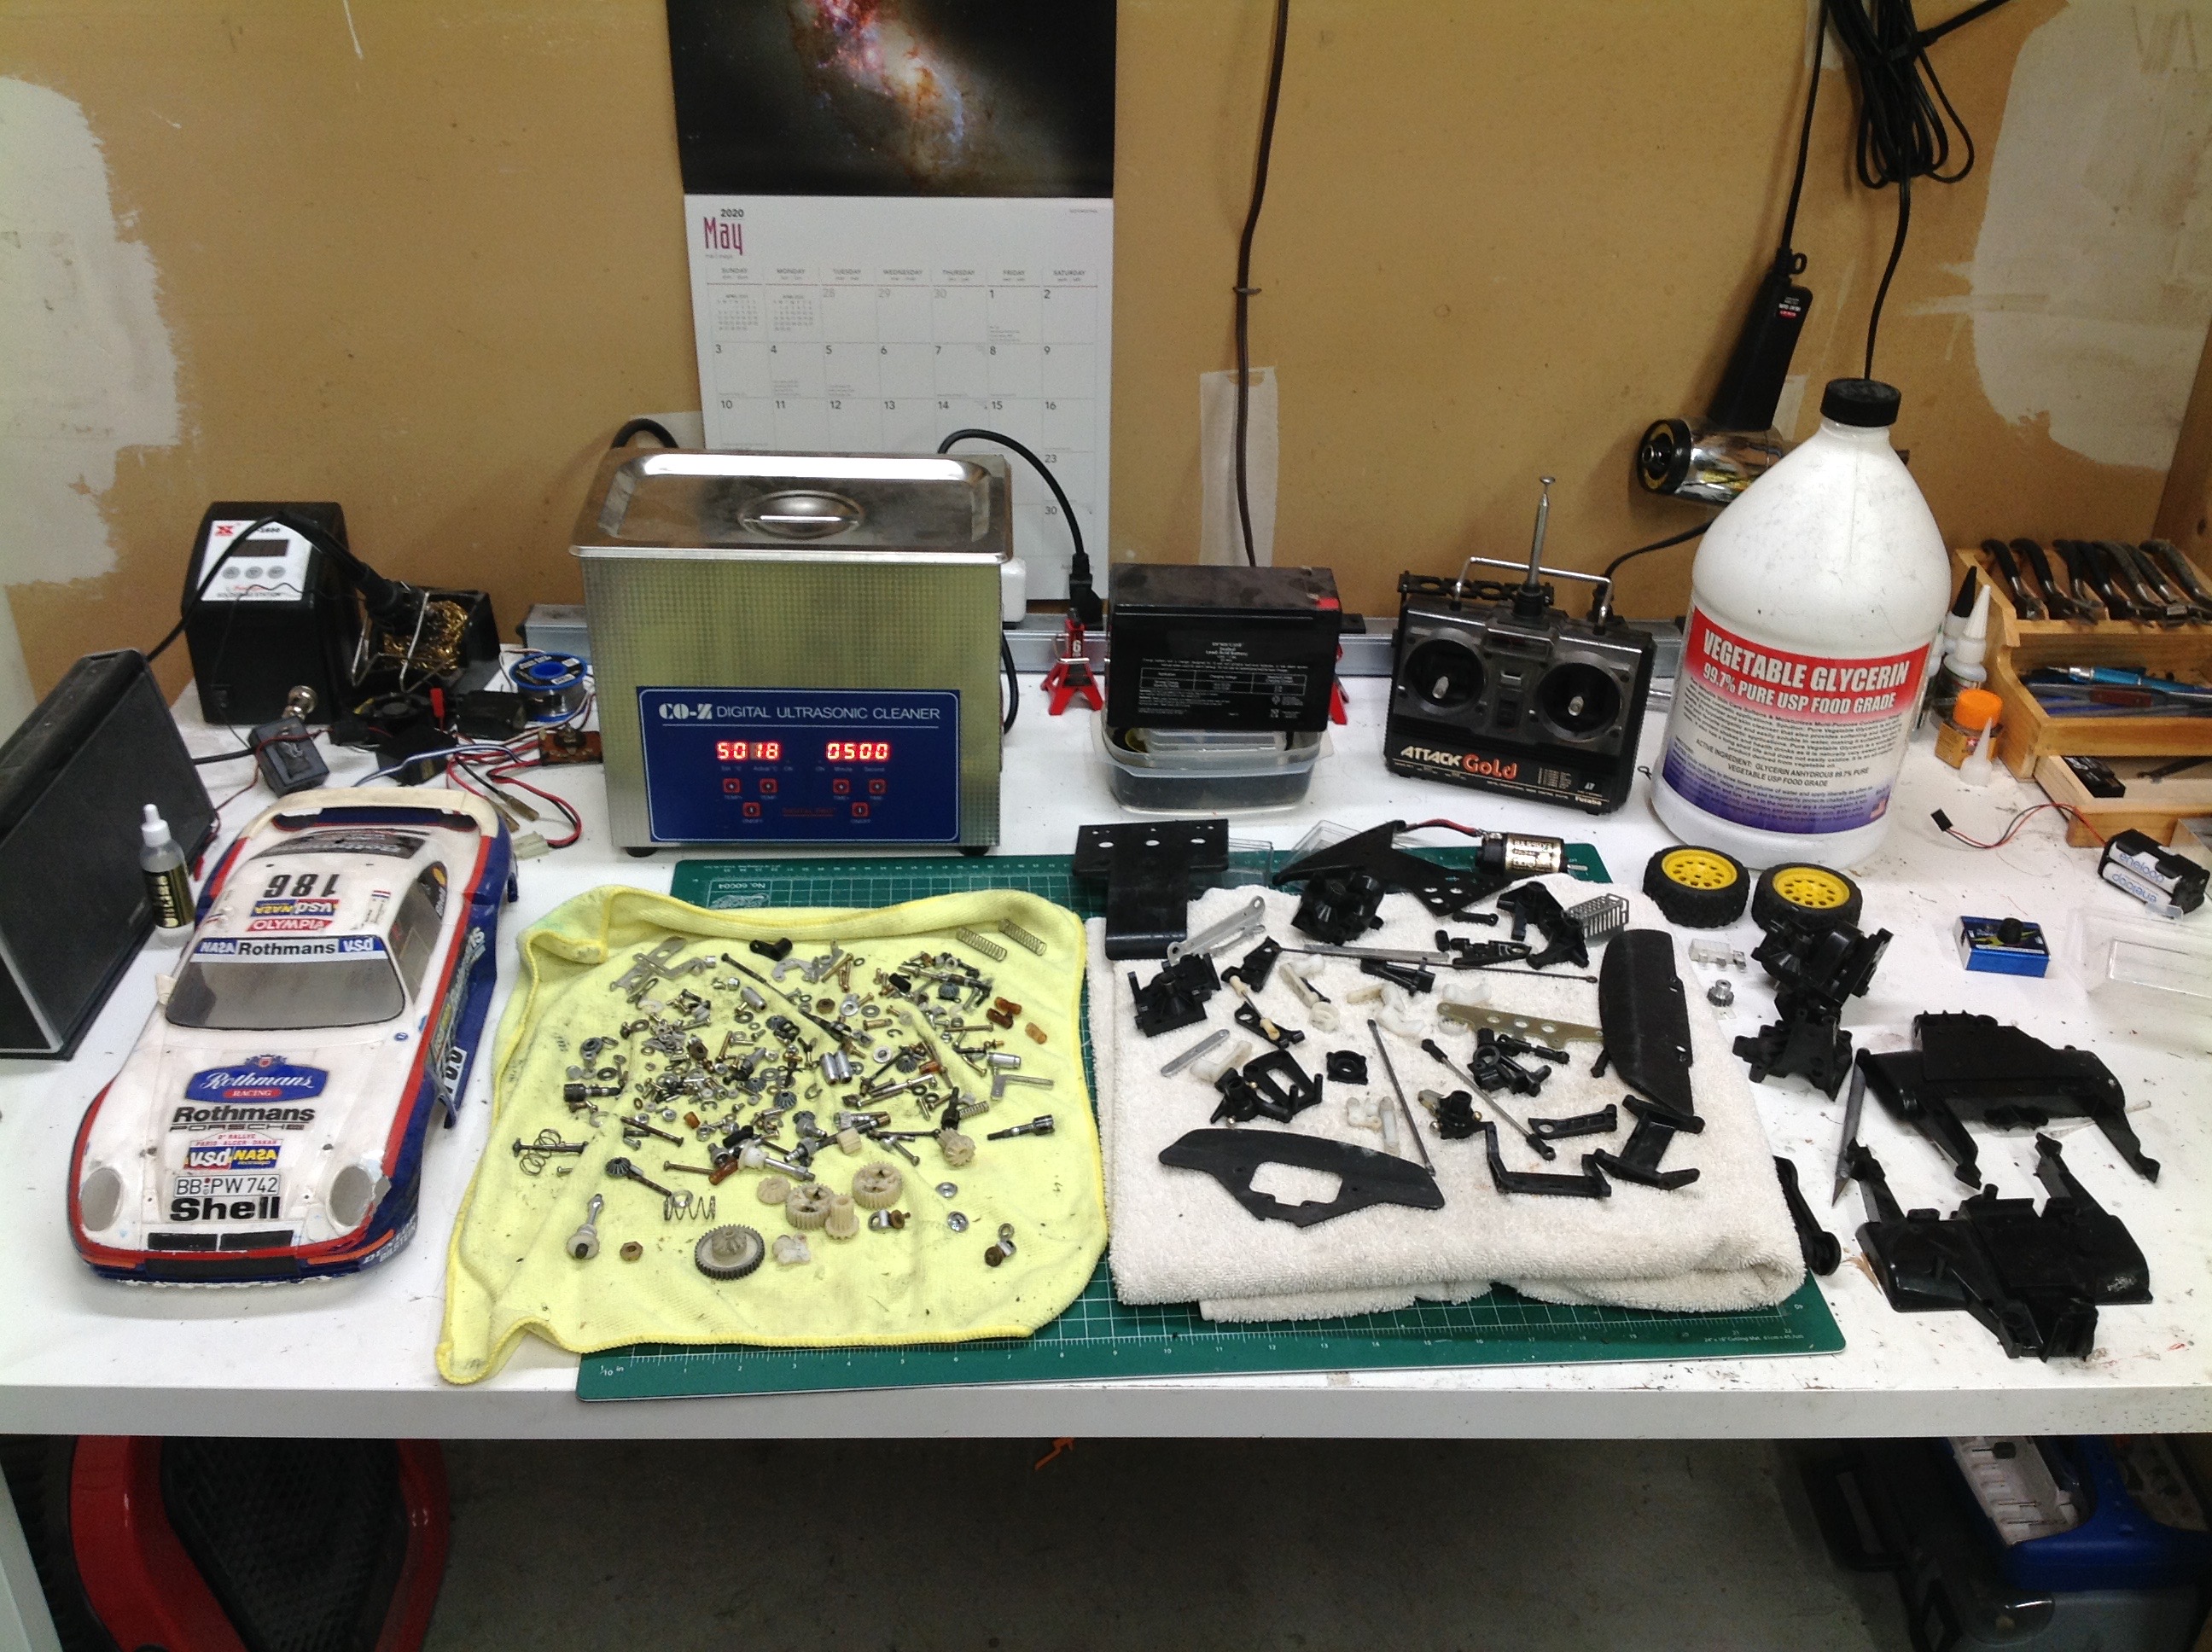
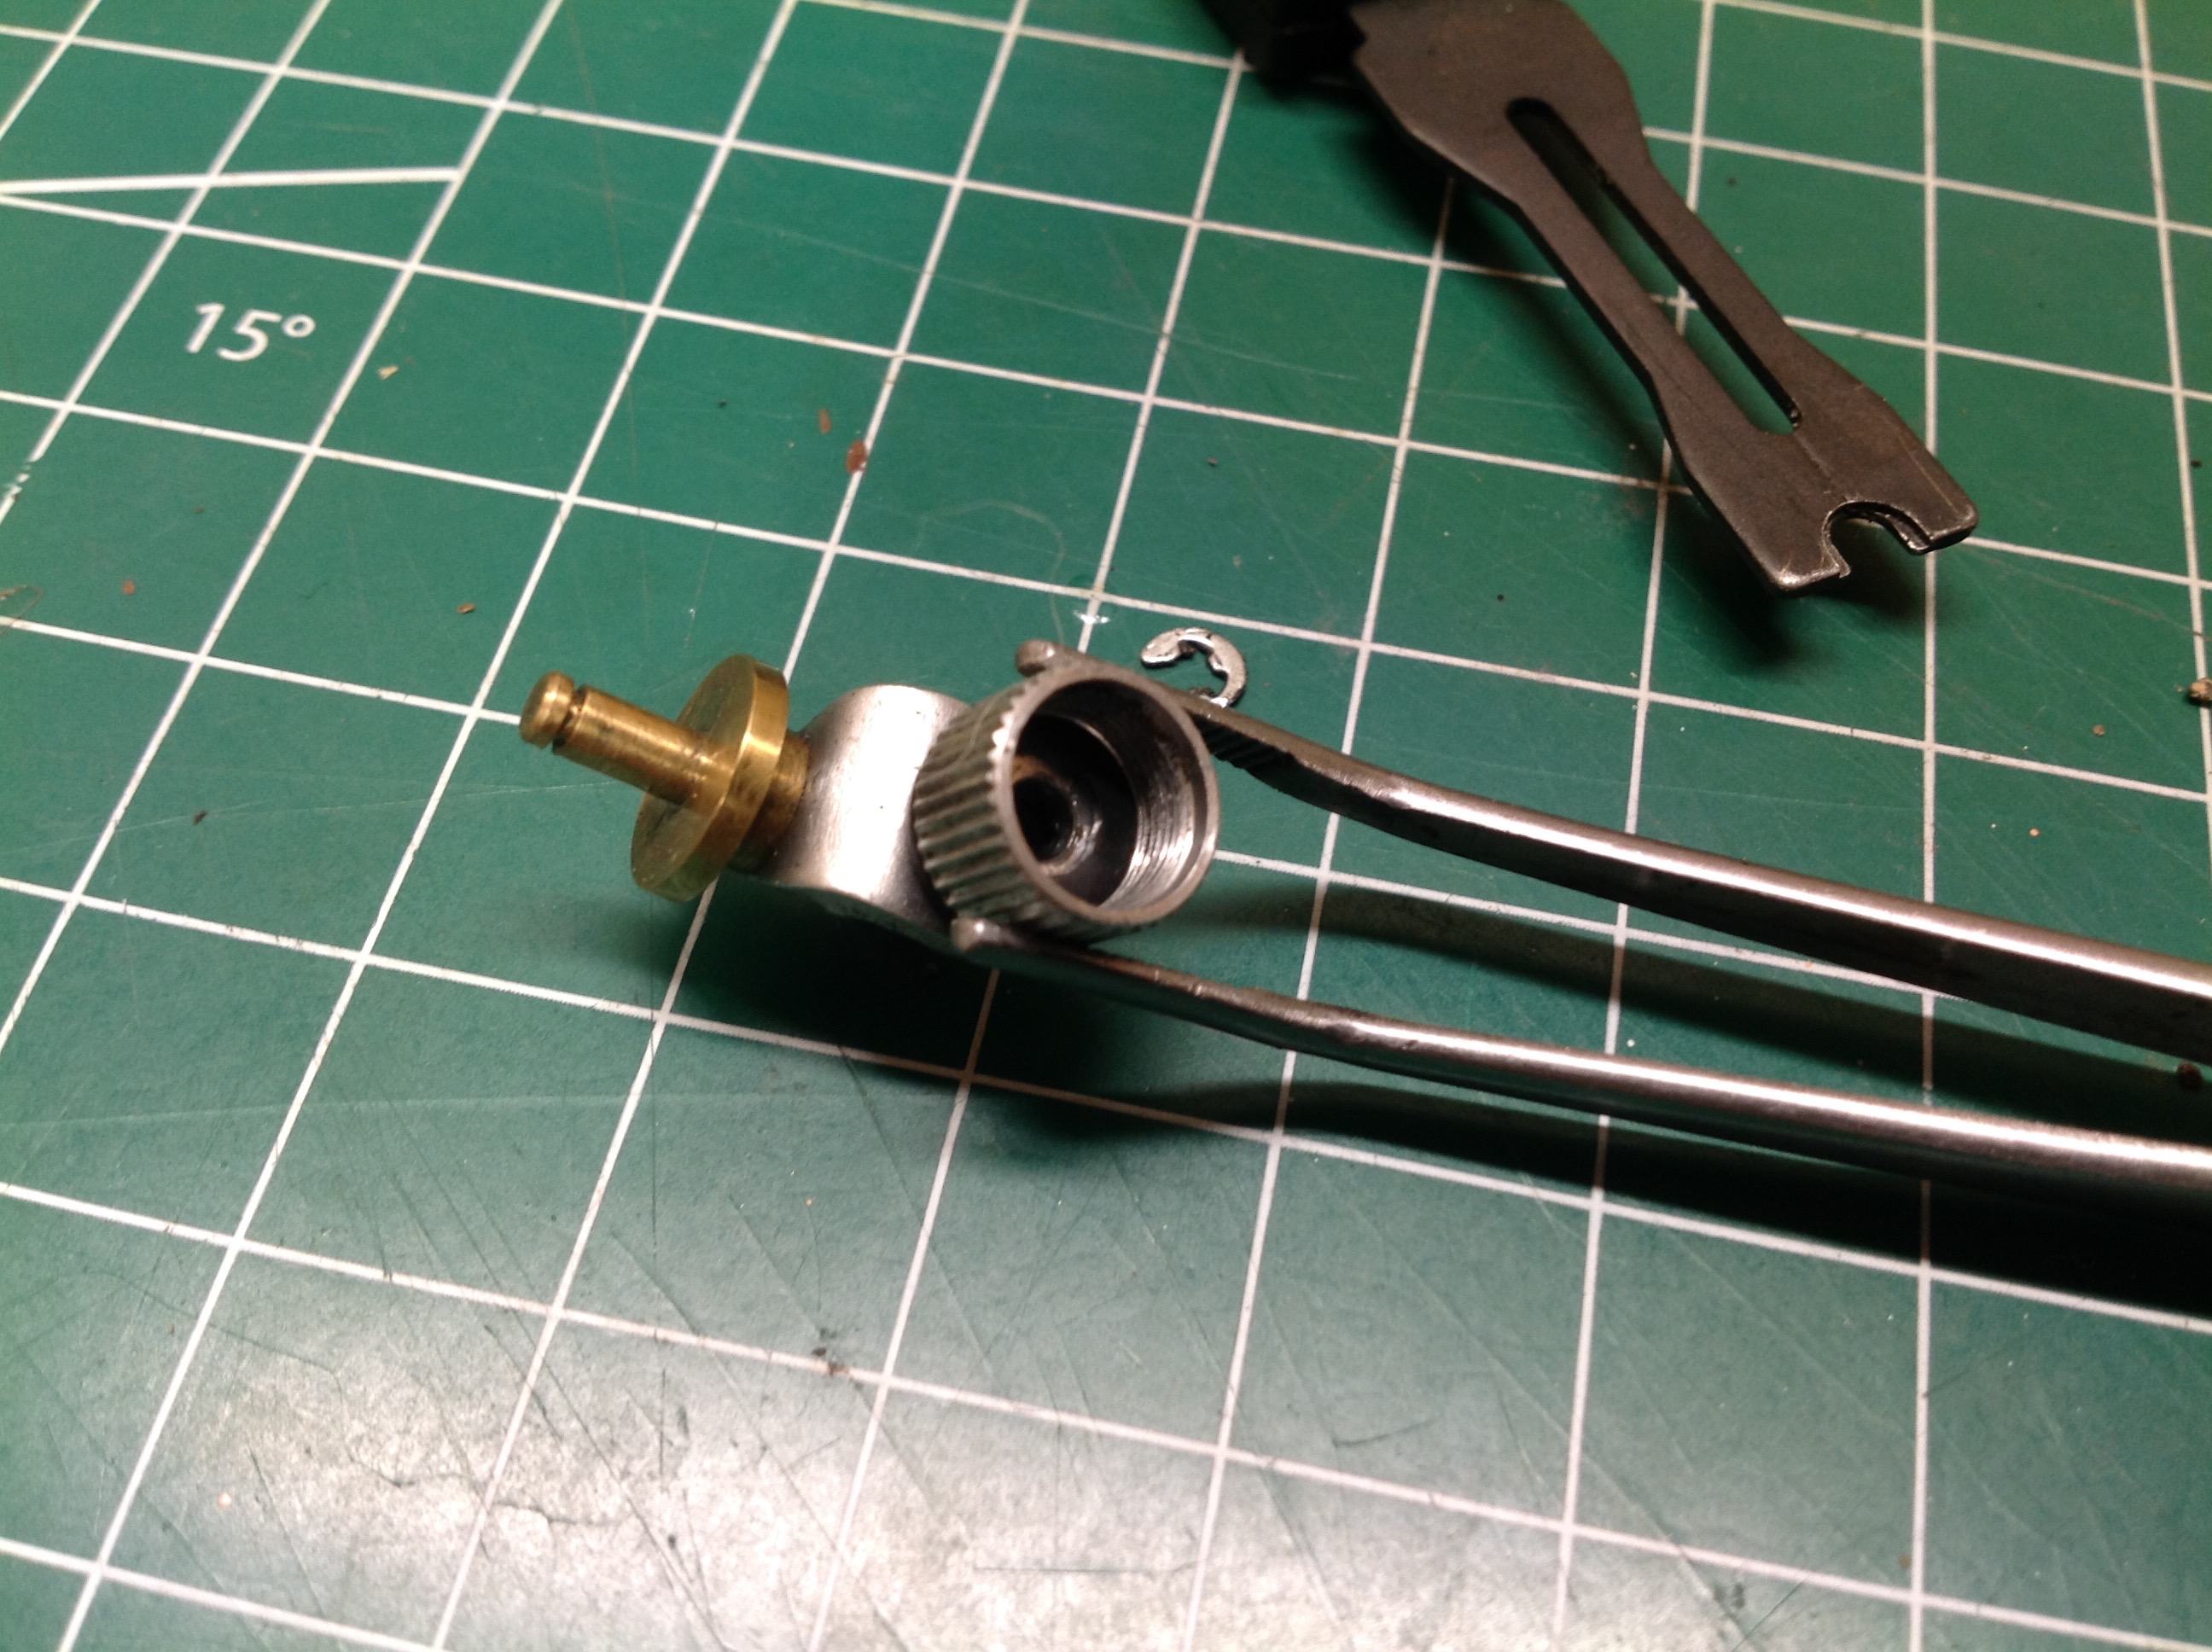
On the left you can see the results of my complete teardown of the
model. I cleaned all the plastic parts and hardware in the
ultrasonic cleaner, and I soaked the hard tires in glycerin. The
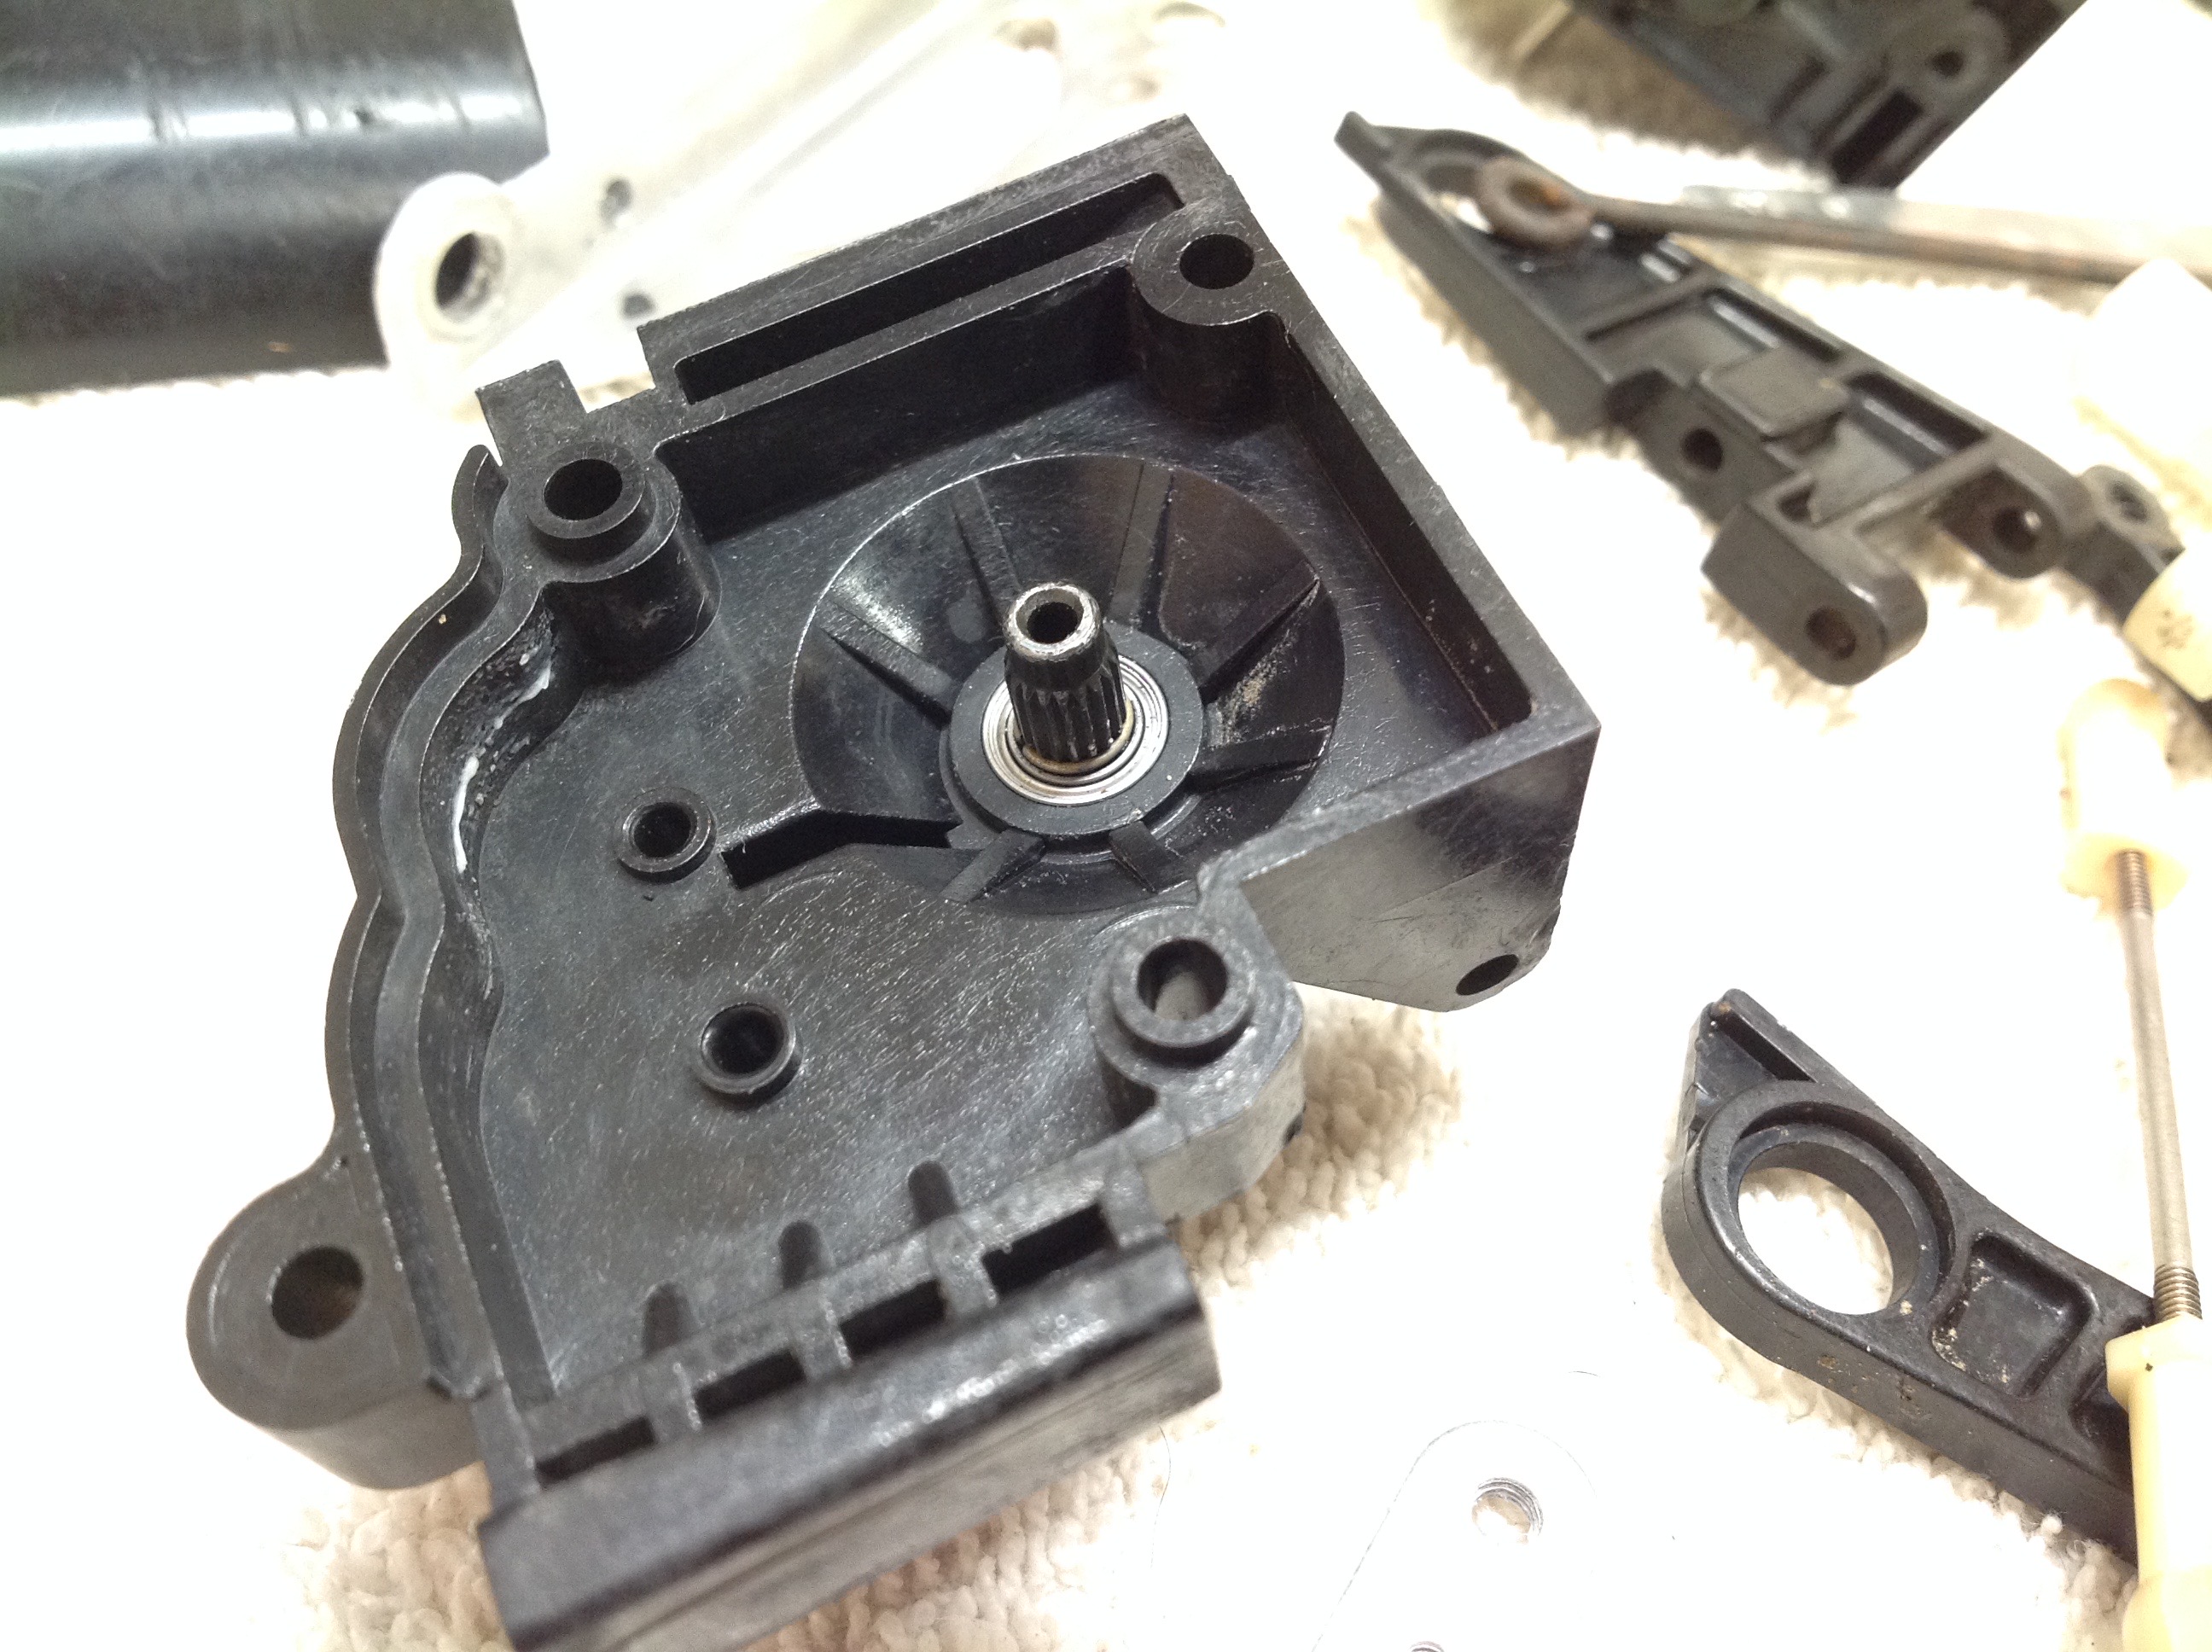
picture on the right shows the one part I was unable to remove.
The little C-shaped wire under the spline of the drive cup just has no
access for removal. Without getting it out, I couldn't replace the
bearing. Luckily, the bearings actually seemed to be in good
shape so I just oiled them.
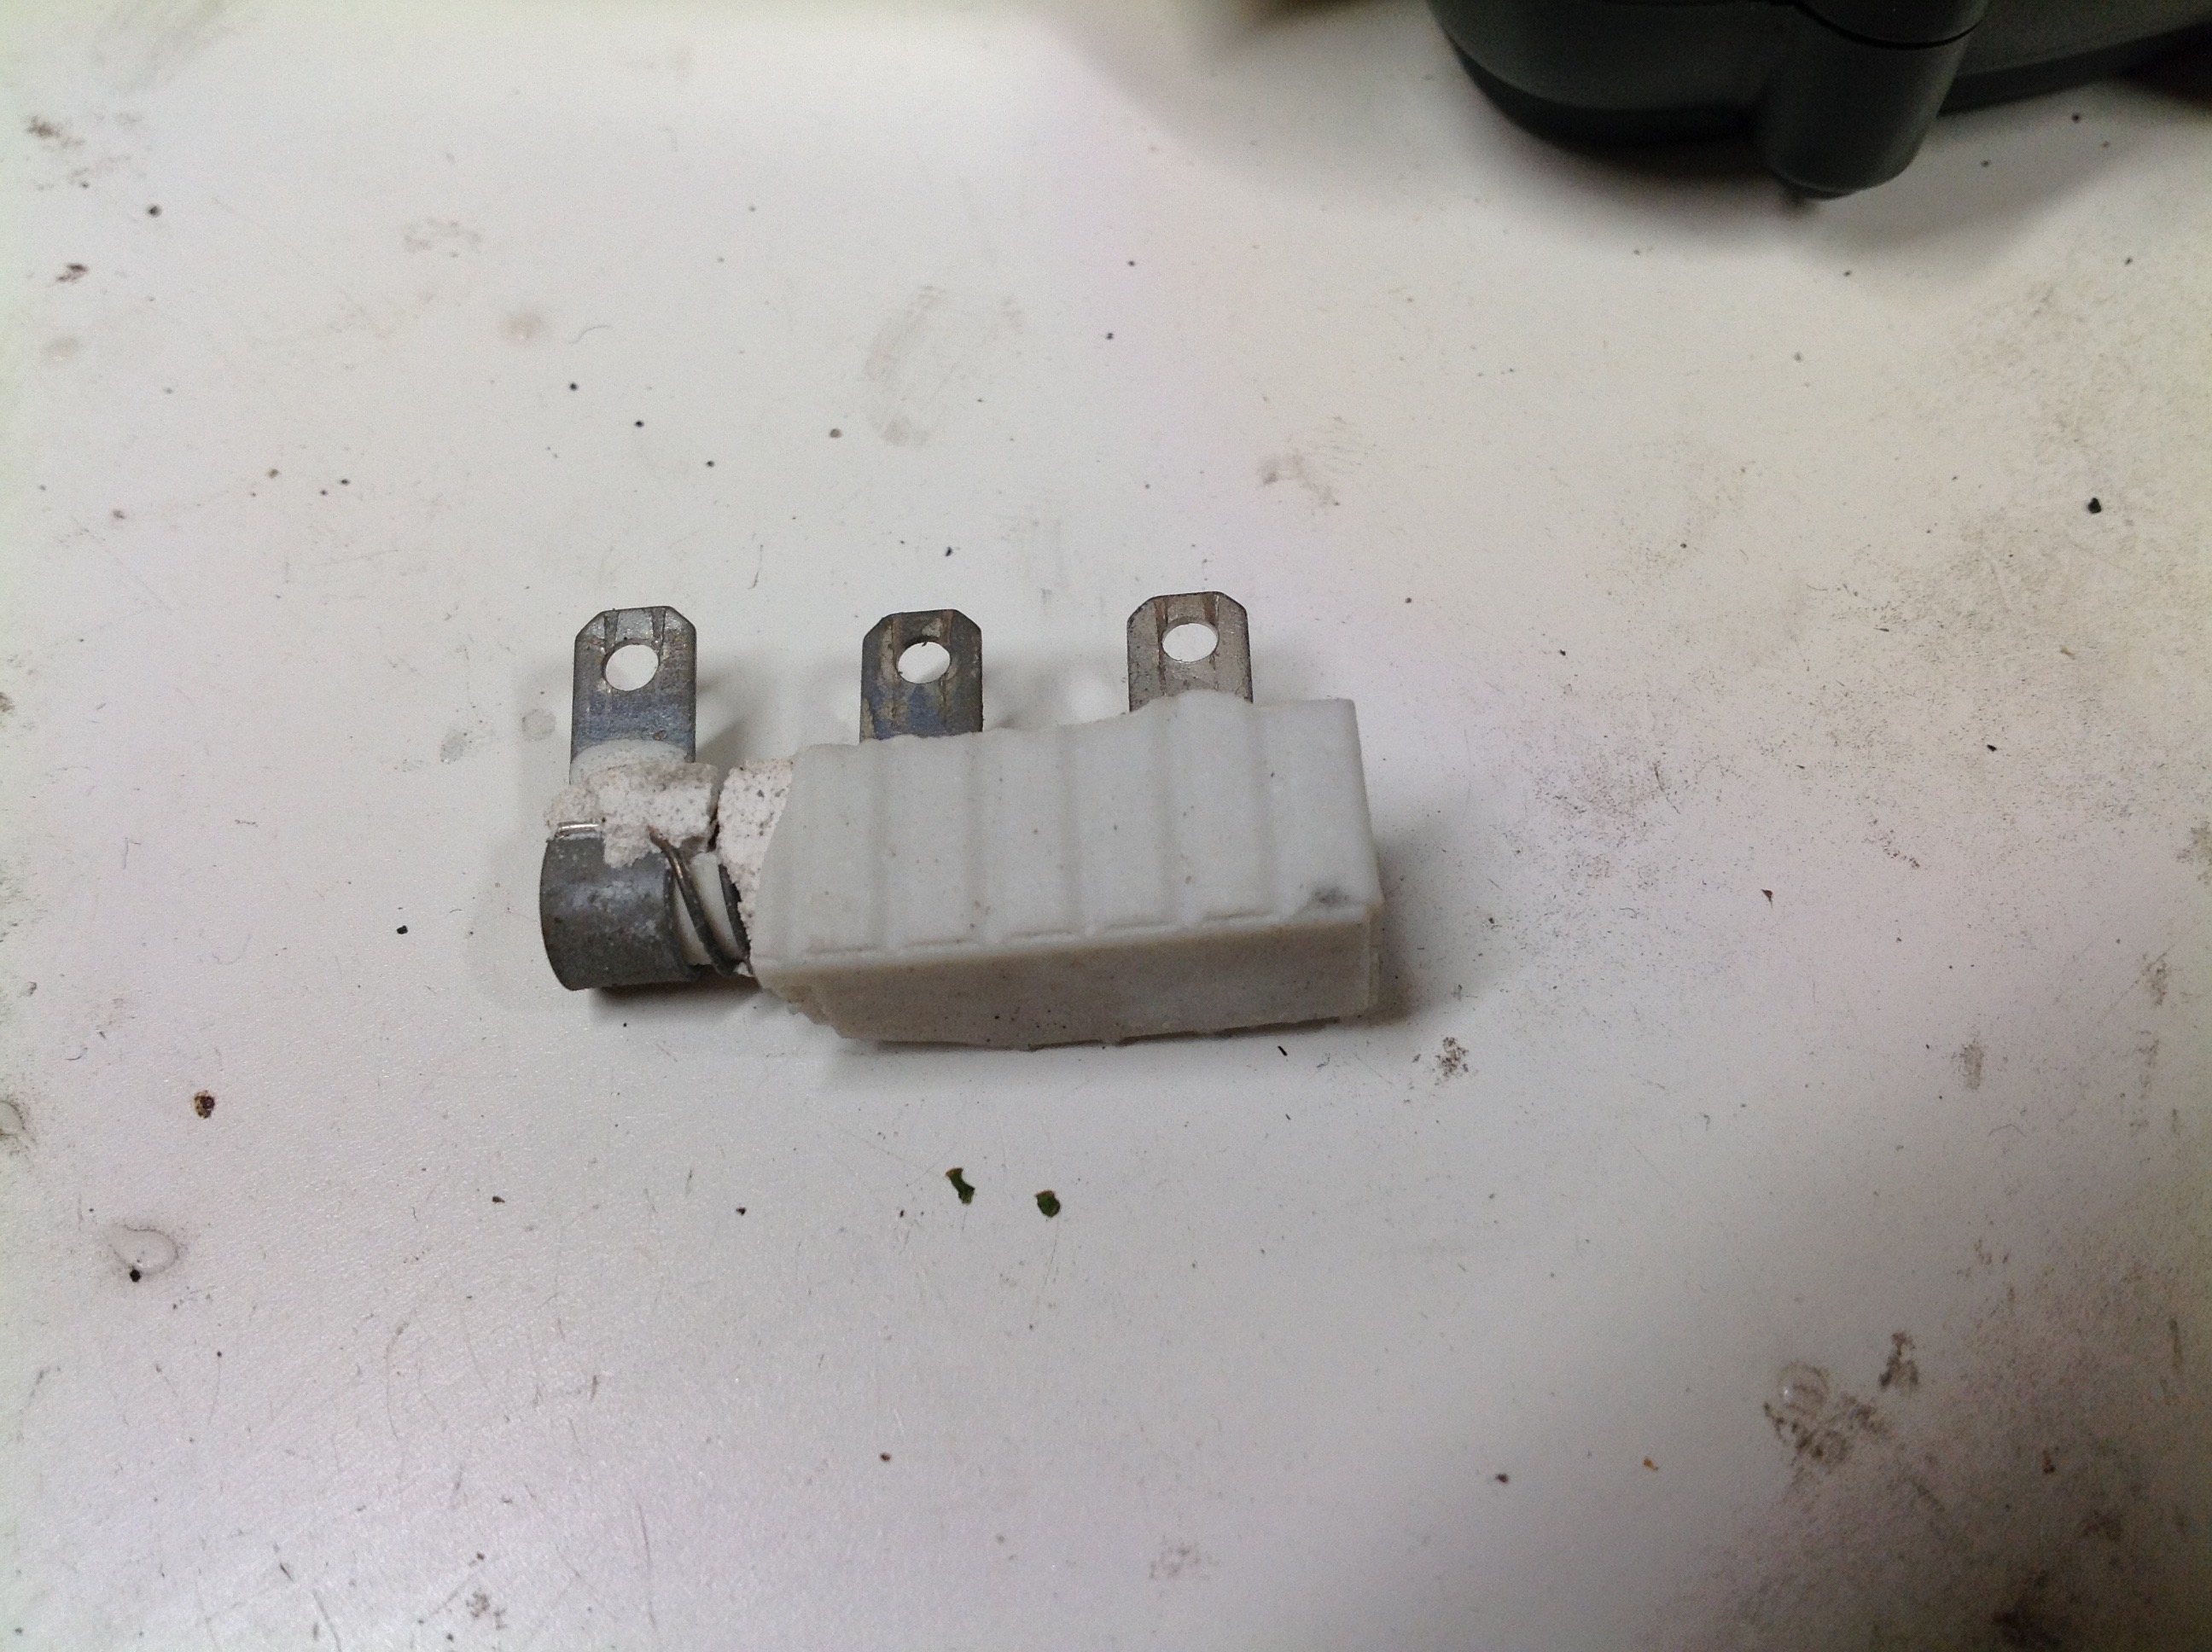
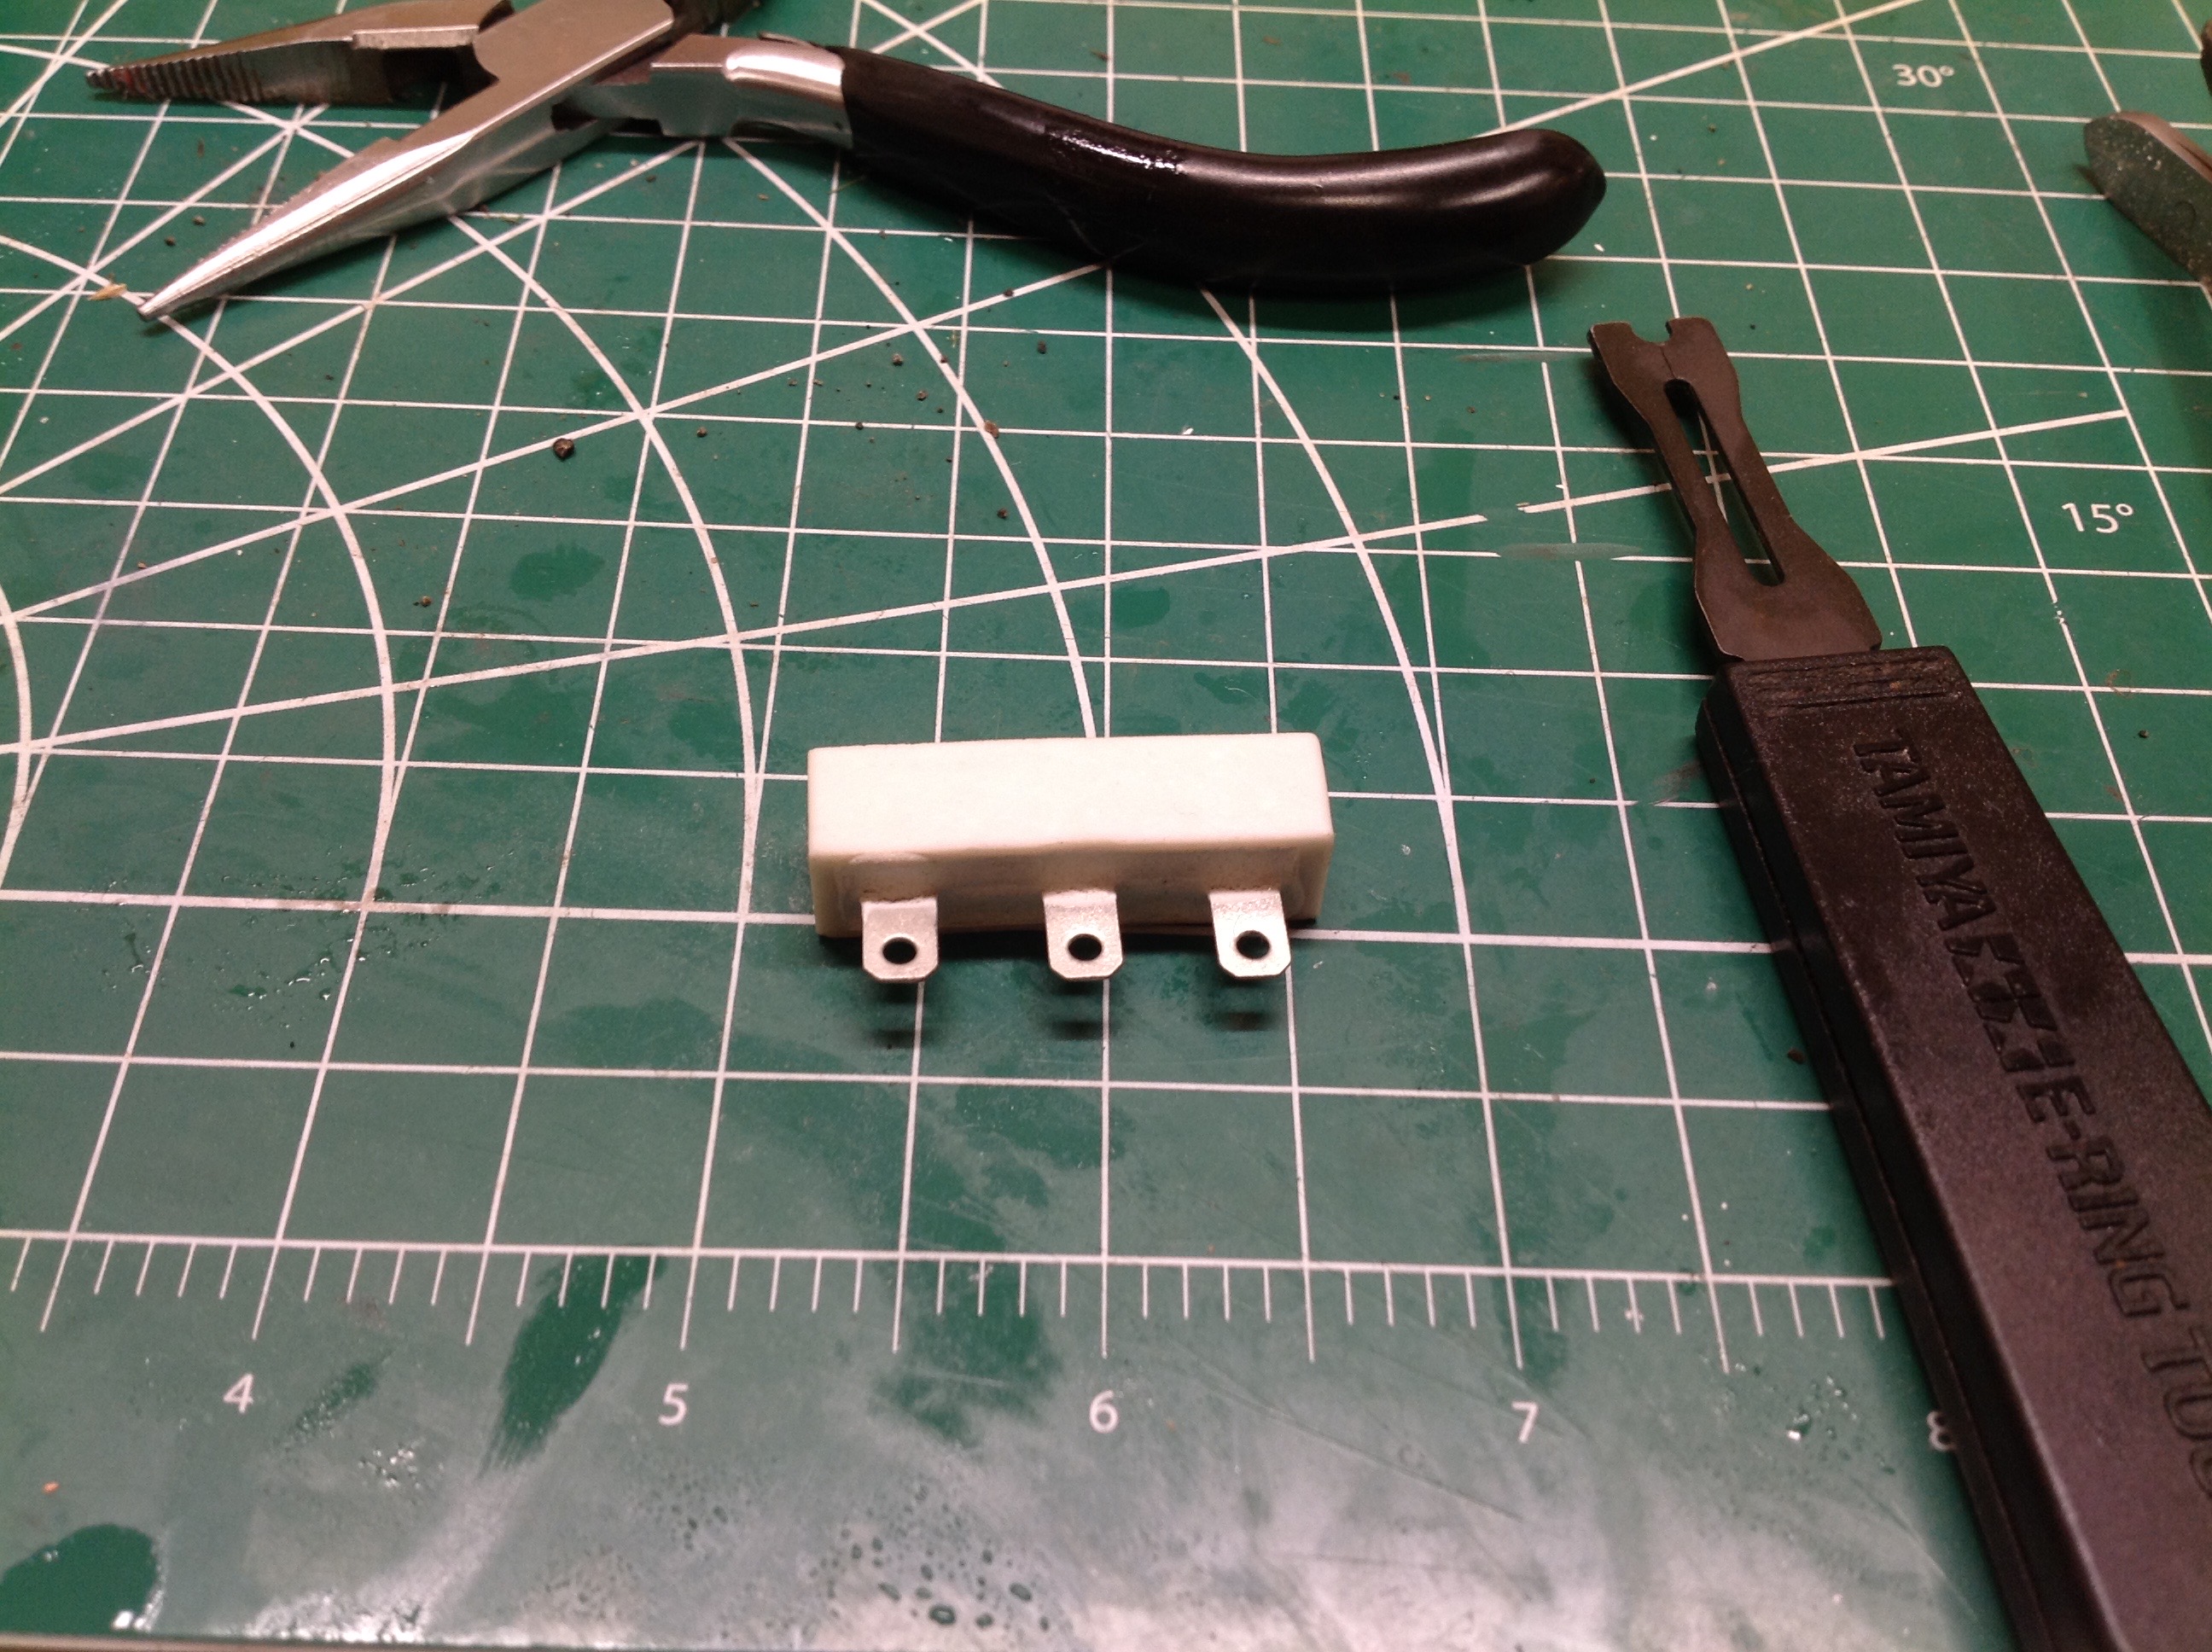
The original resistor was cracked as shown. This doesn't make any
difference functionally, but less ceramic means less heat sink and more
probability of burning up. I couldn't find an original 200 mΩ
resistor, but I found the 300 mΩ shown on the right. This actually results in
a little bit slower 1st and 2nd speed which I prefer since the chassis
isn't exactly durable.
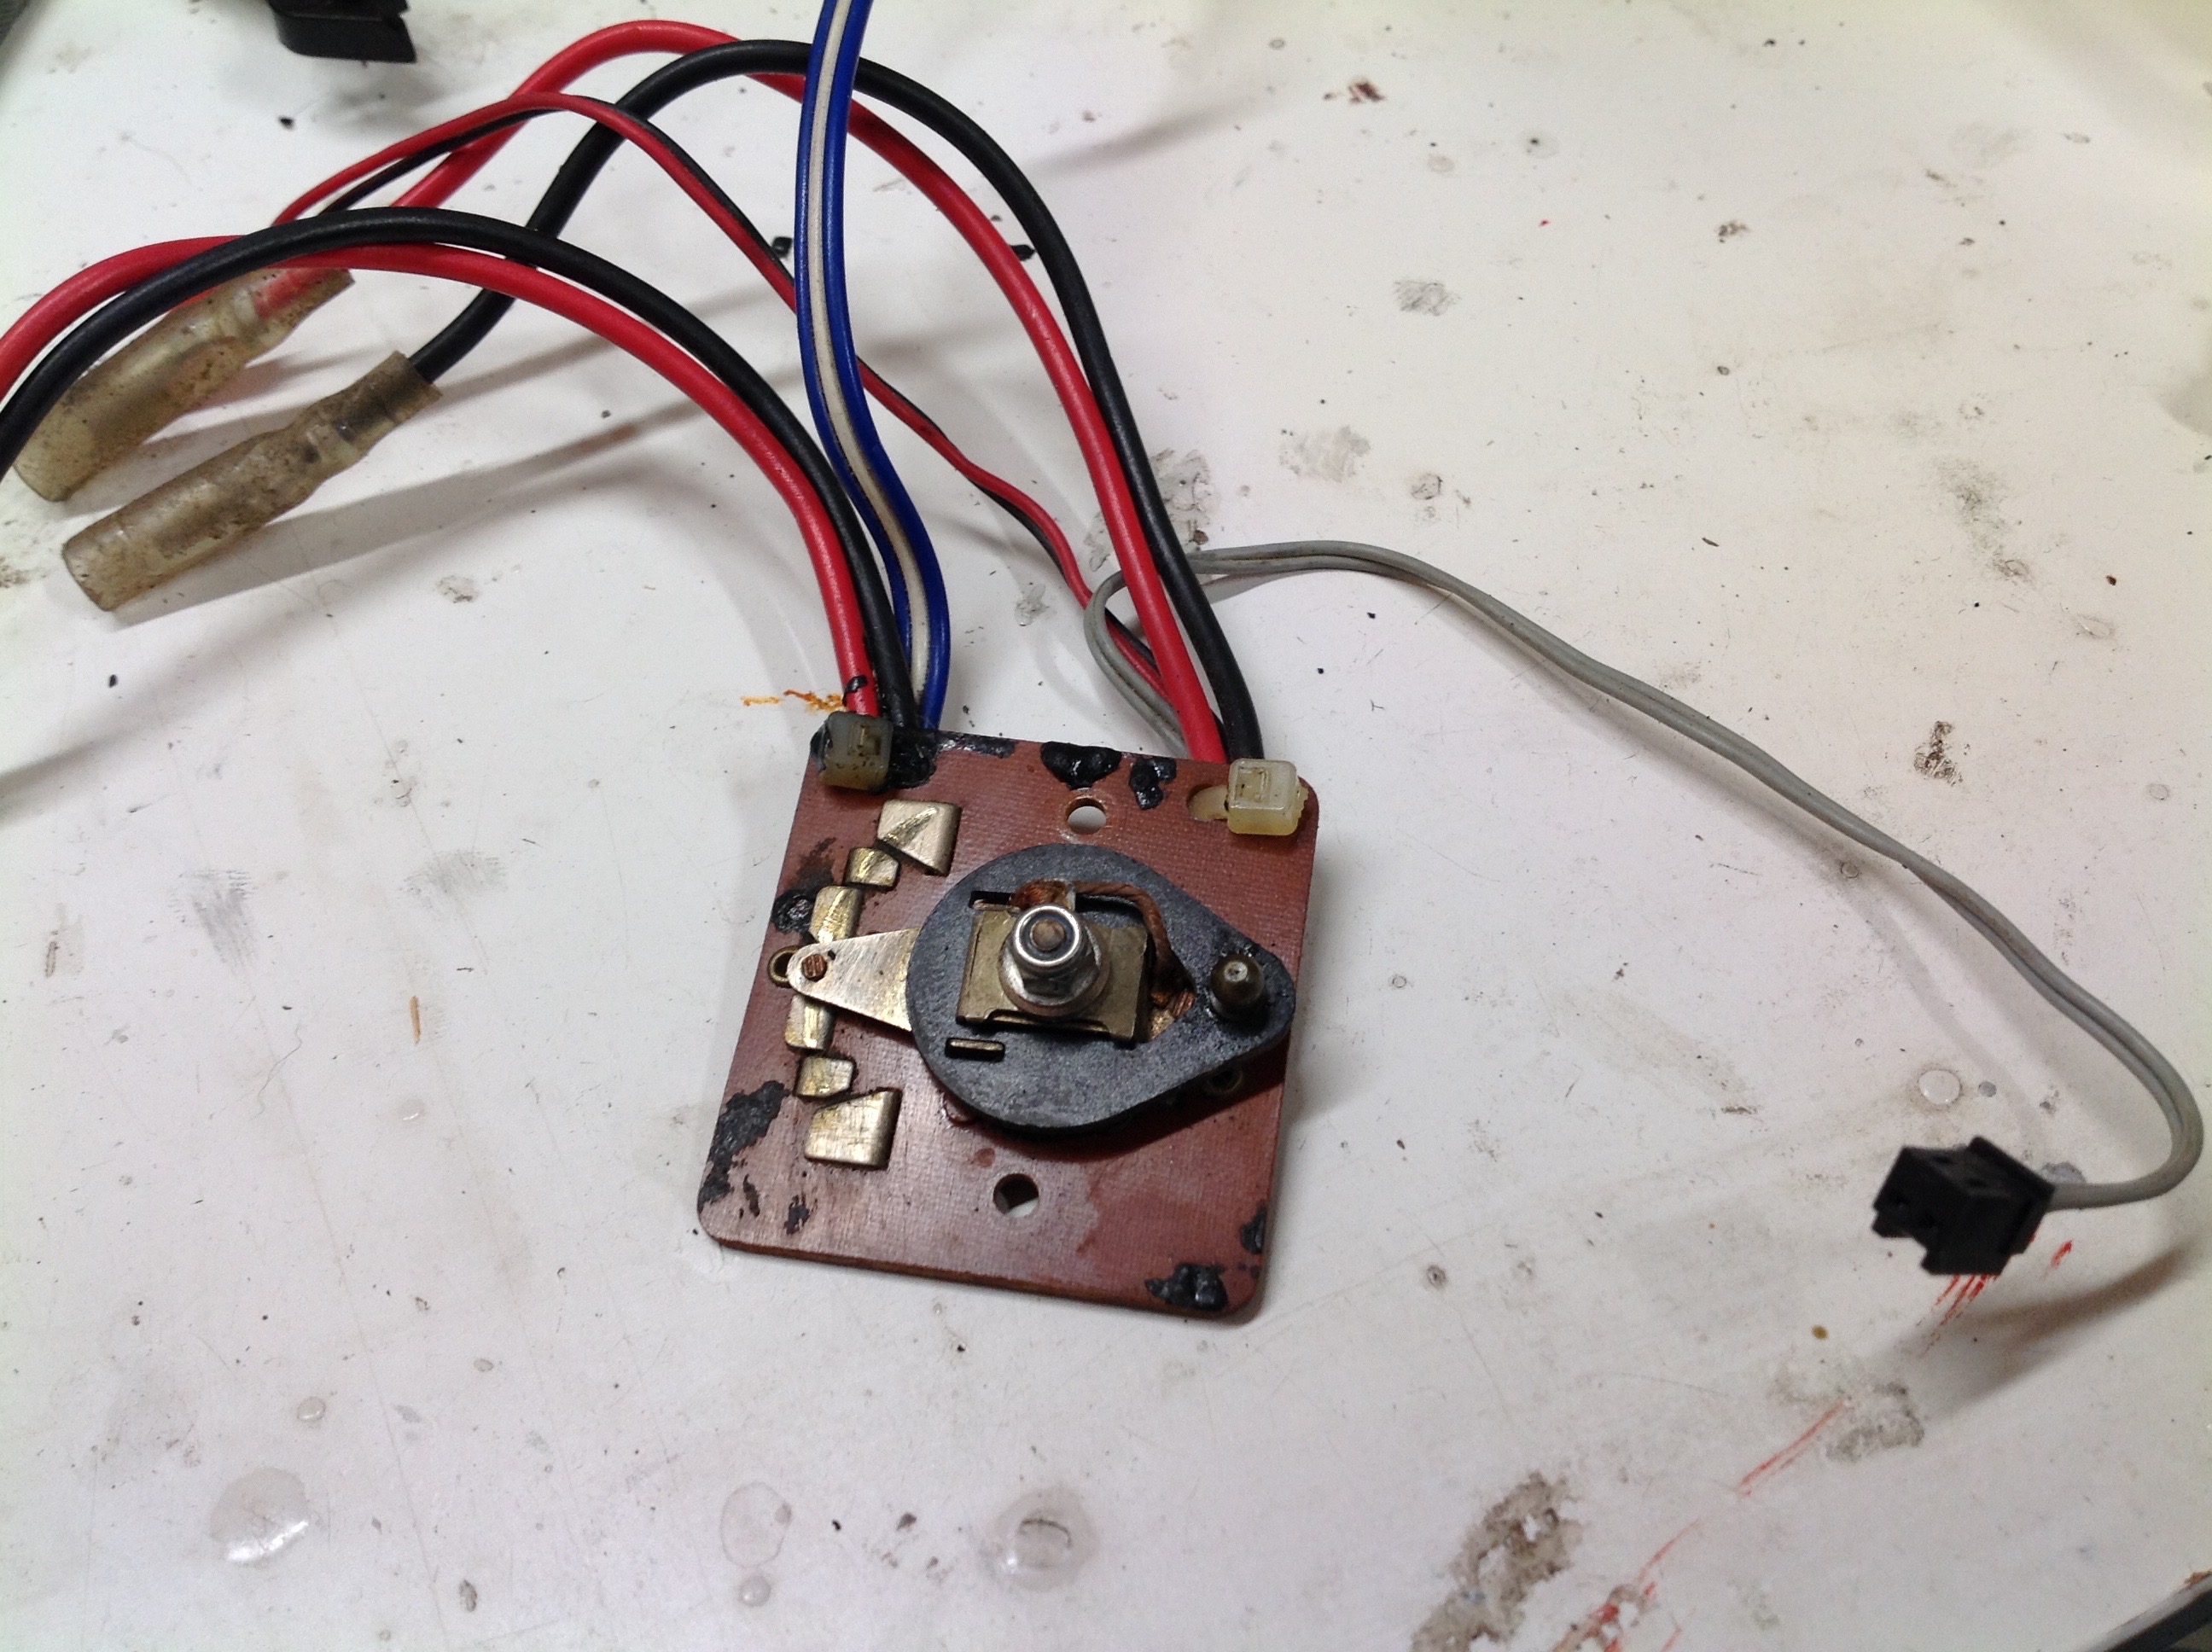
This was actually the first time I'd ever considered running a model
with a mechanical speed control. The picture on the left shows the
condition when I received it. I took it apart and polished all
the contacts before putting it back together. It seems to work
totally fine.
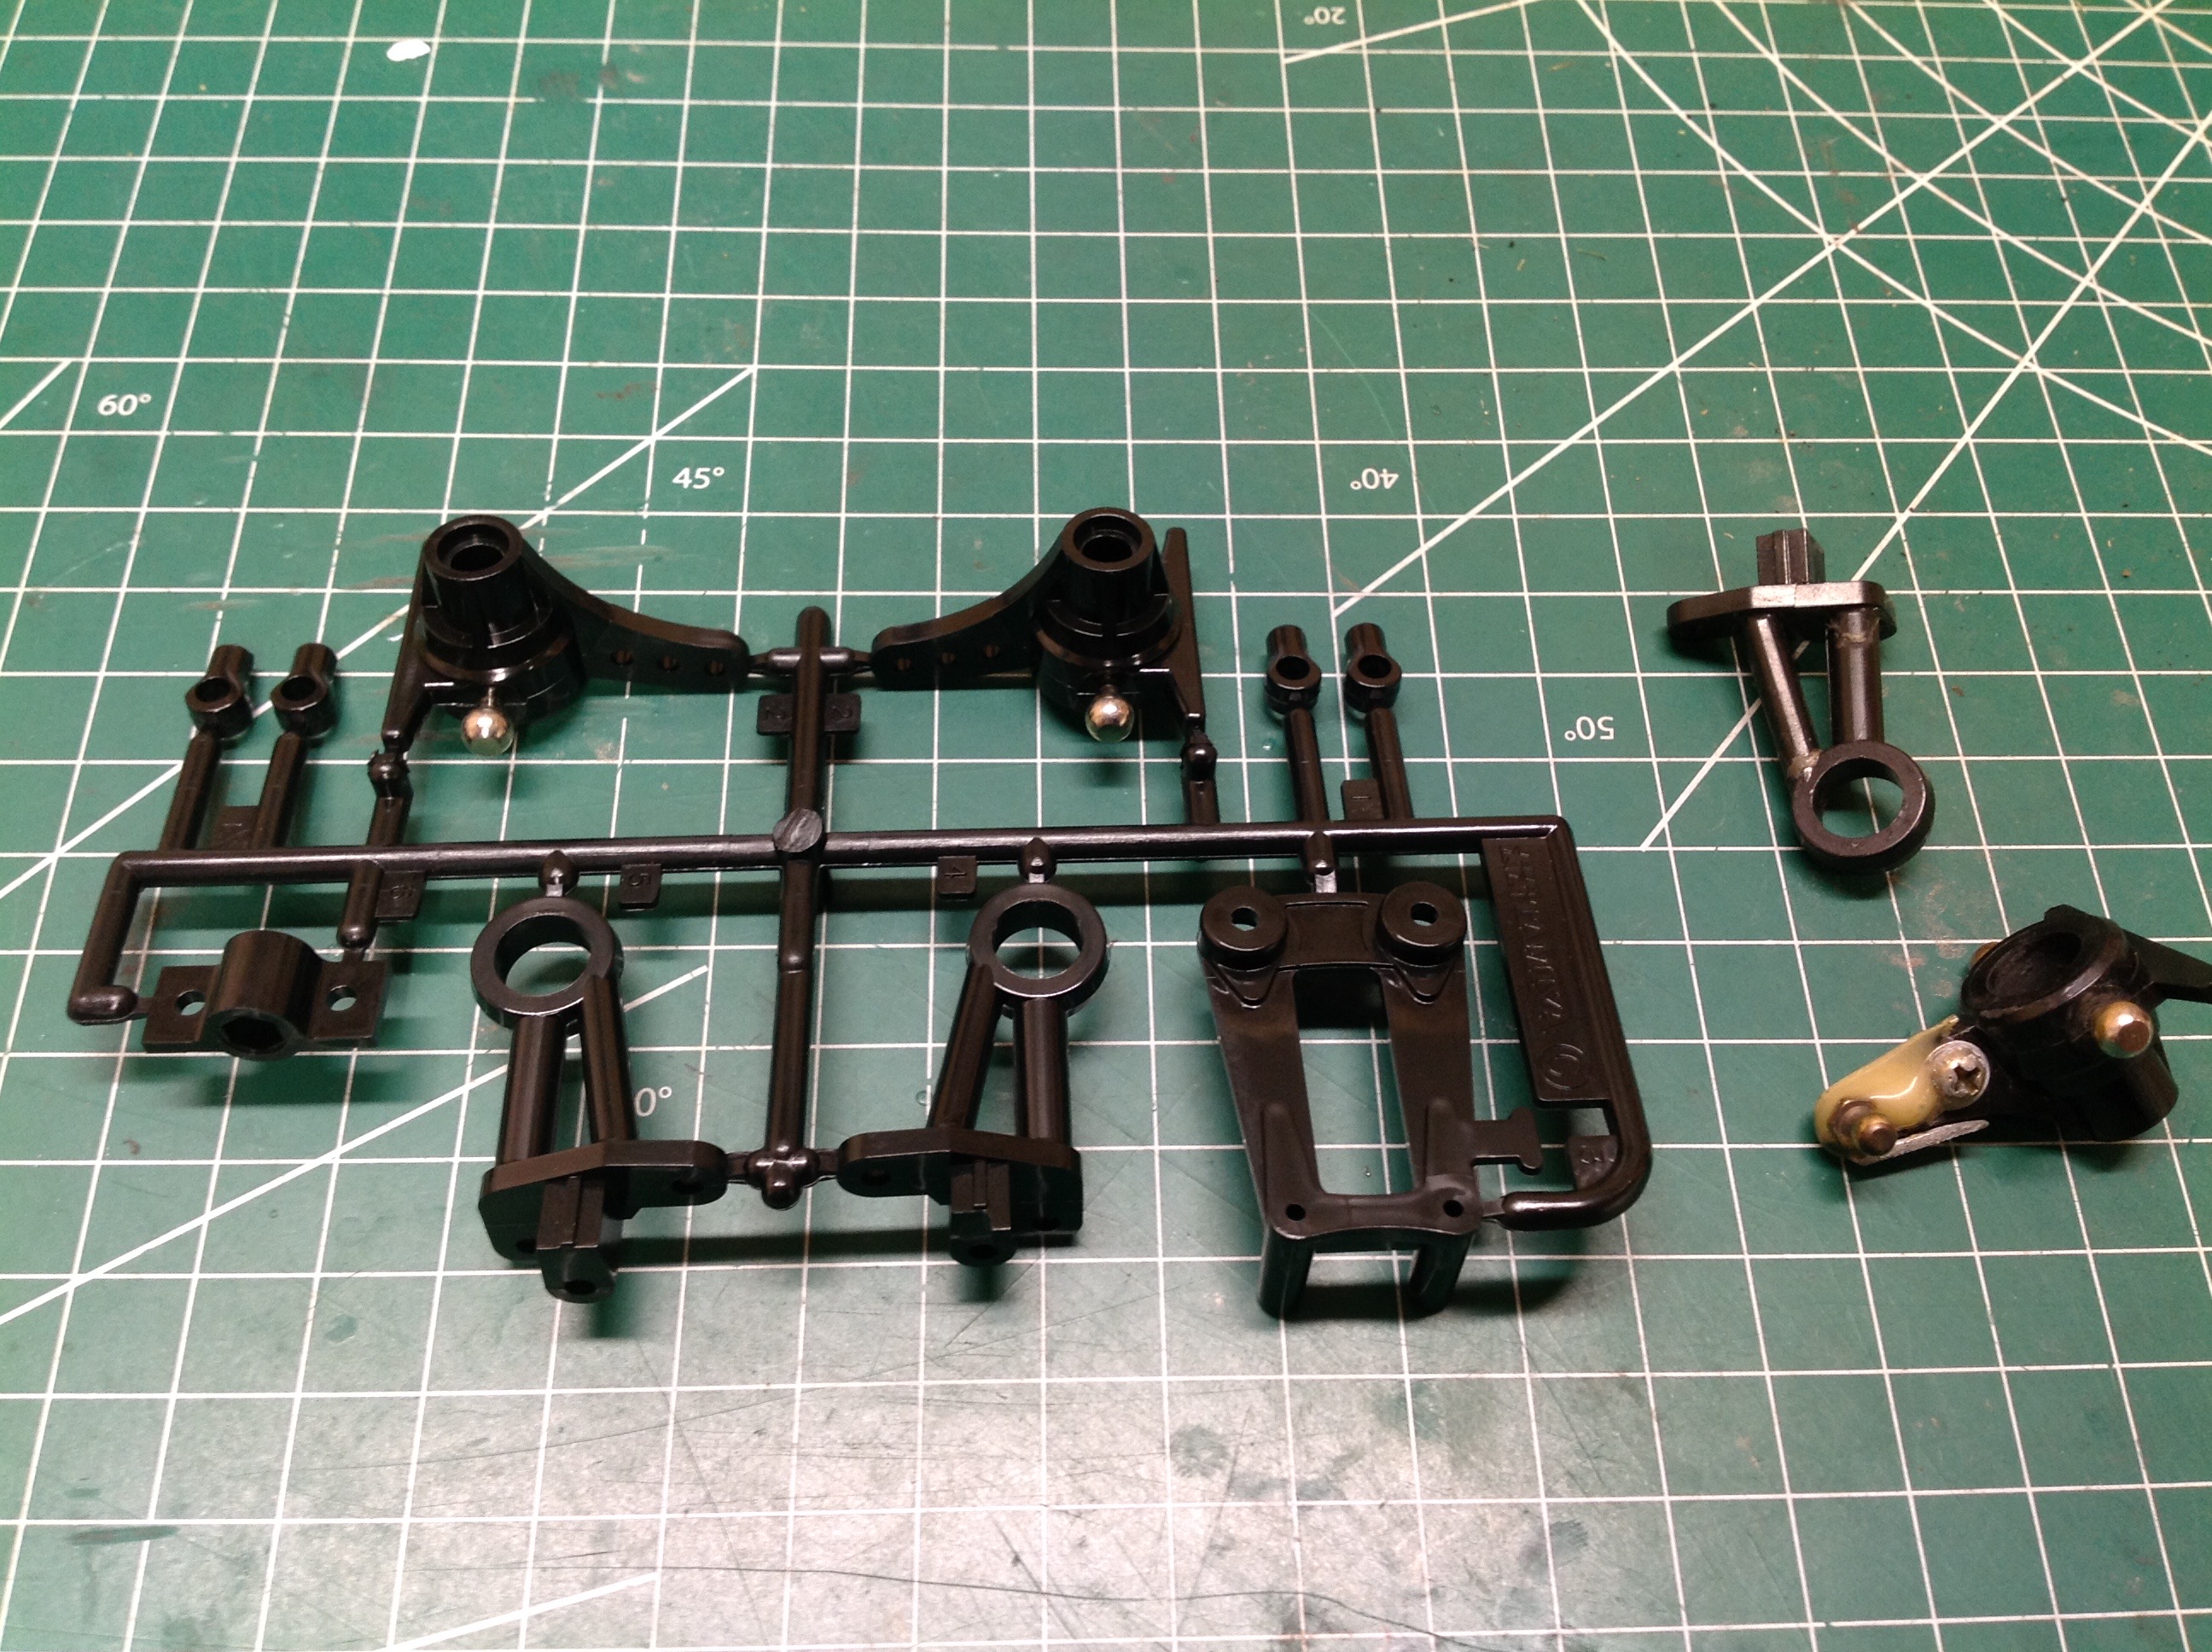
Here's another damaged and repaired part that I didn't discover until I
took the model apart. One of the steering knuckles had been broken
and repaired with a big glob of epoxy and a backing plate. Pretty
ugly. I was able to buy the C parts tree which contained both new
knuckles and new spring supports. This one little chunk of
plastic cost me almost $100 though. Restoring a 959 is not cheap.
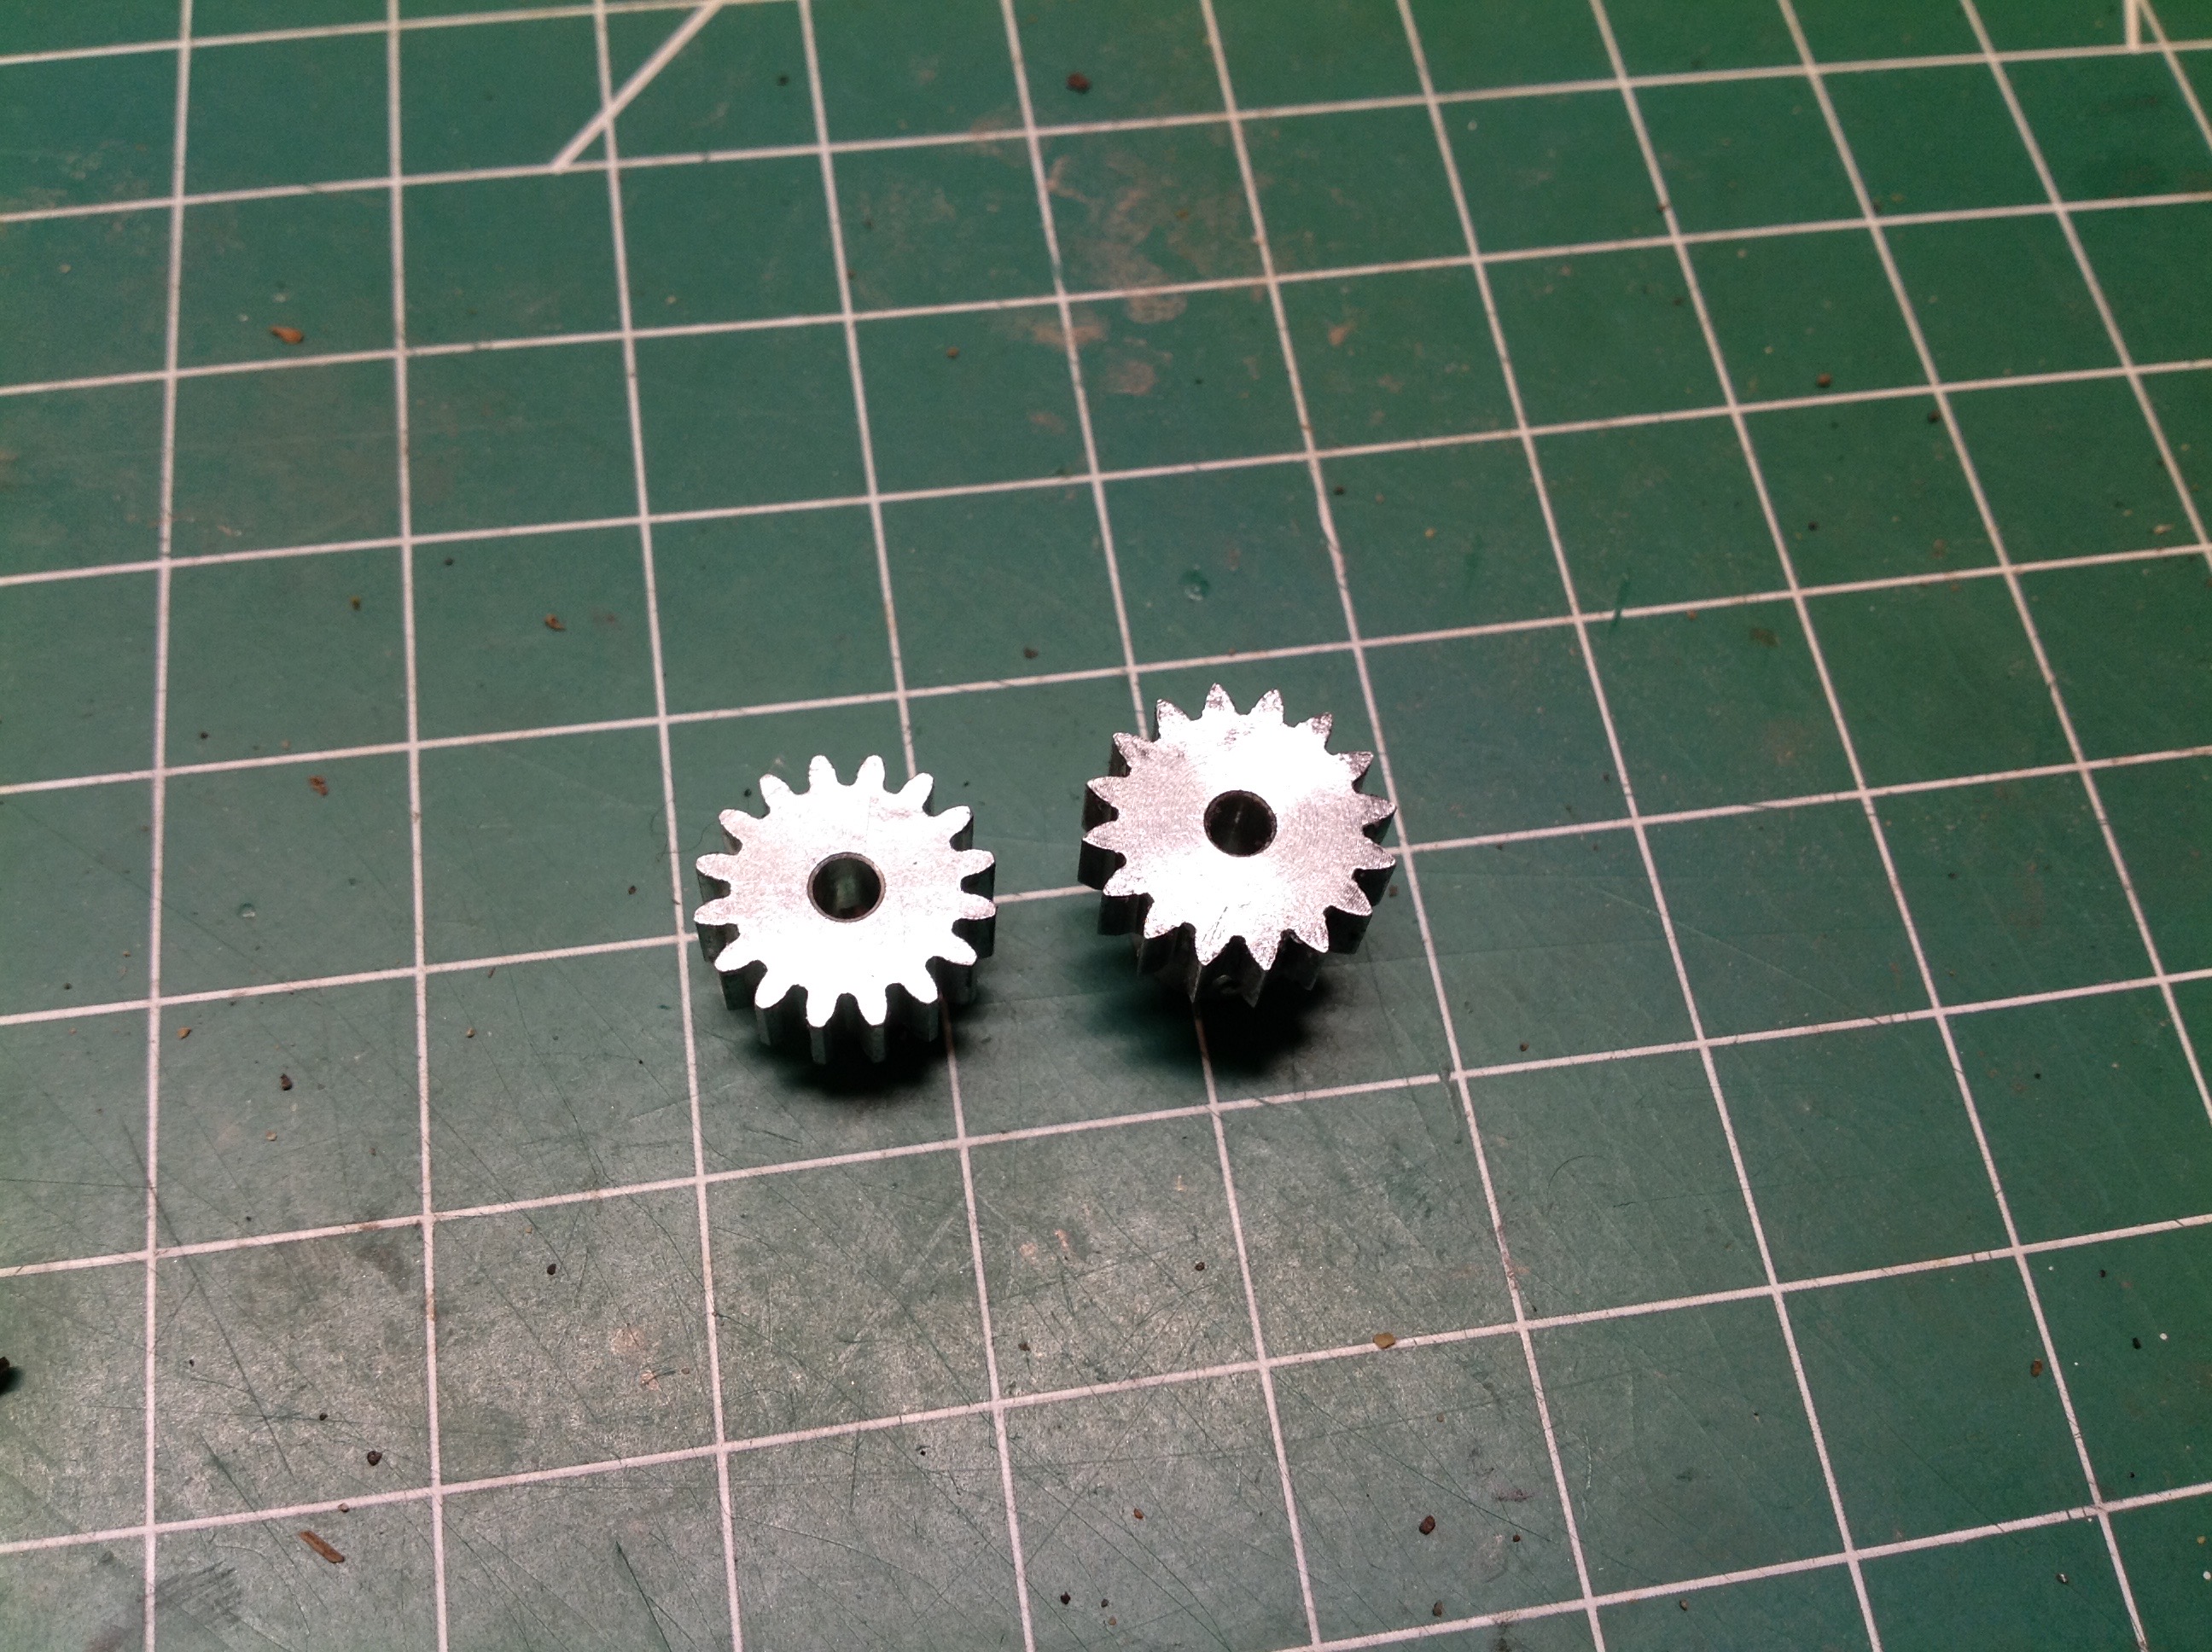
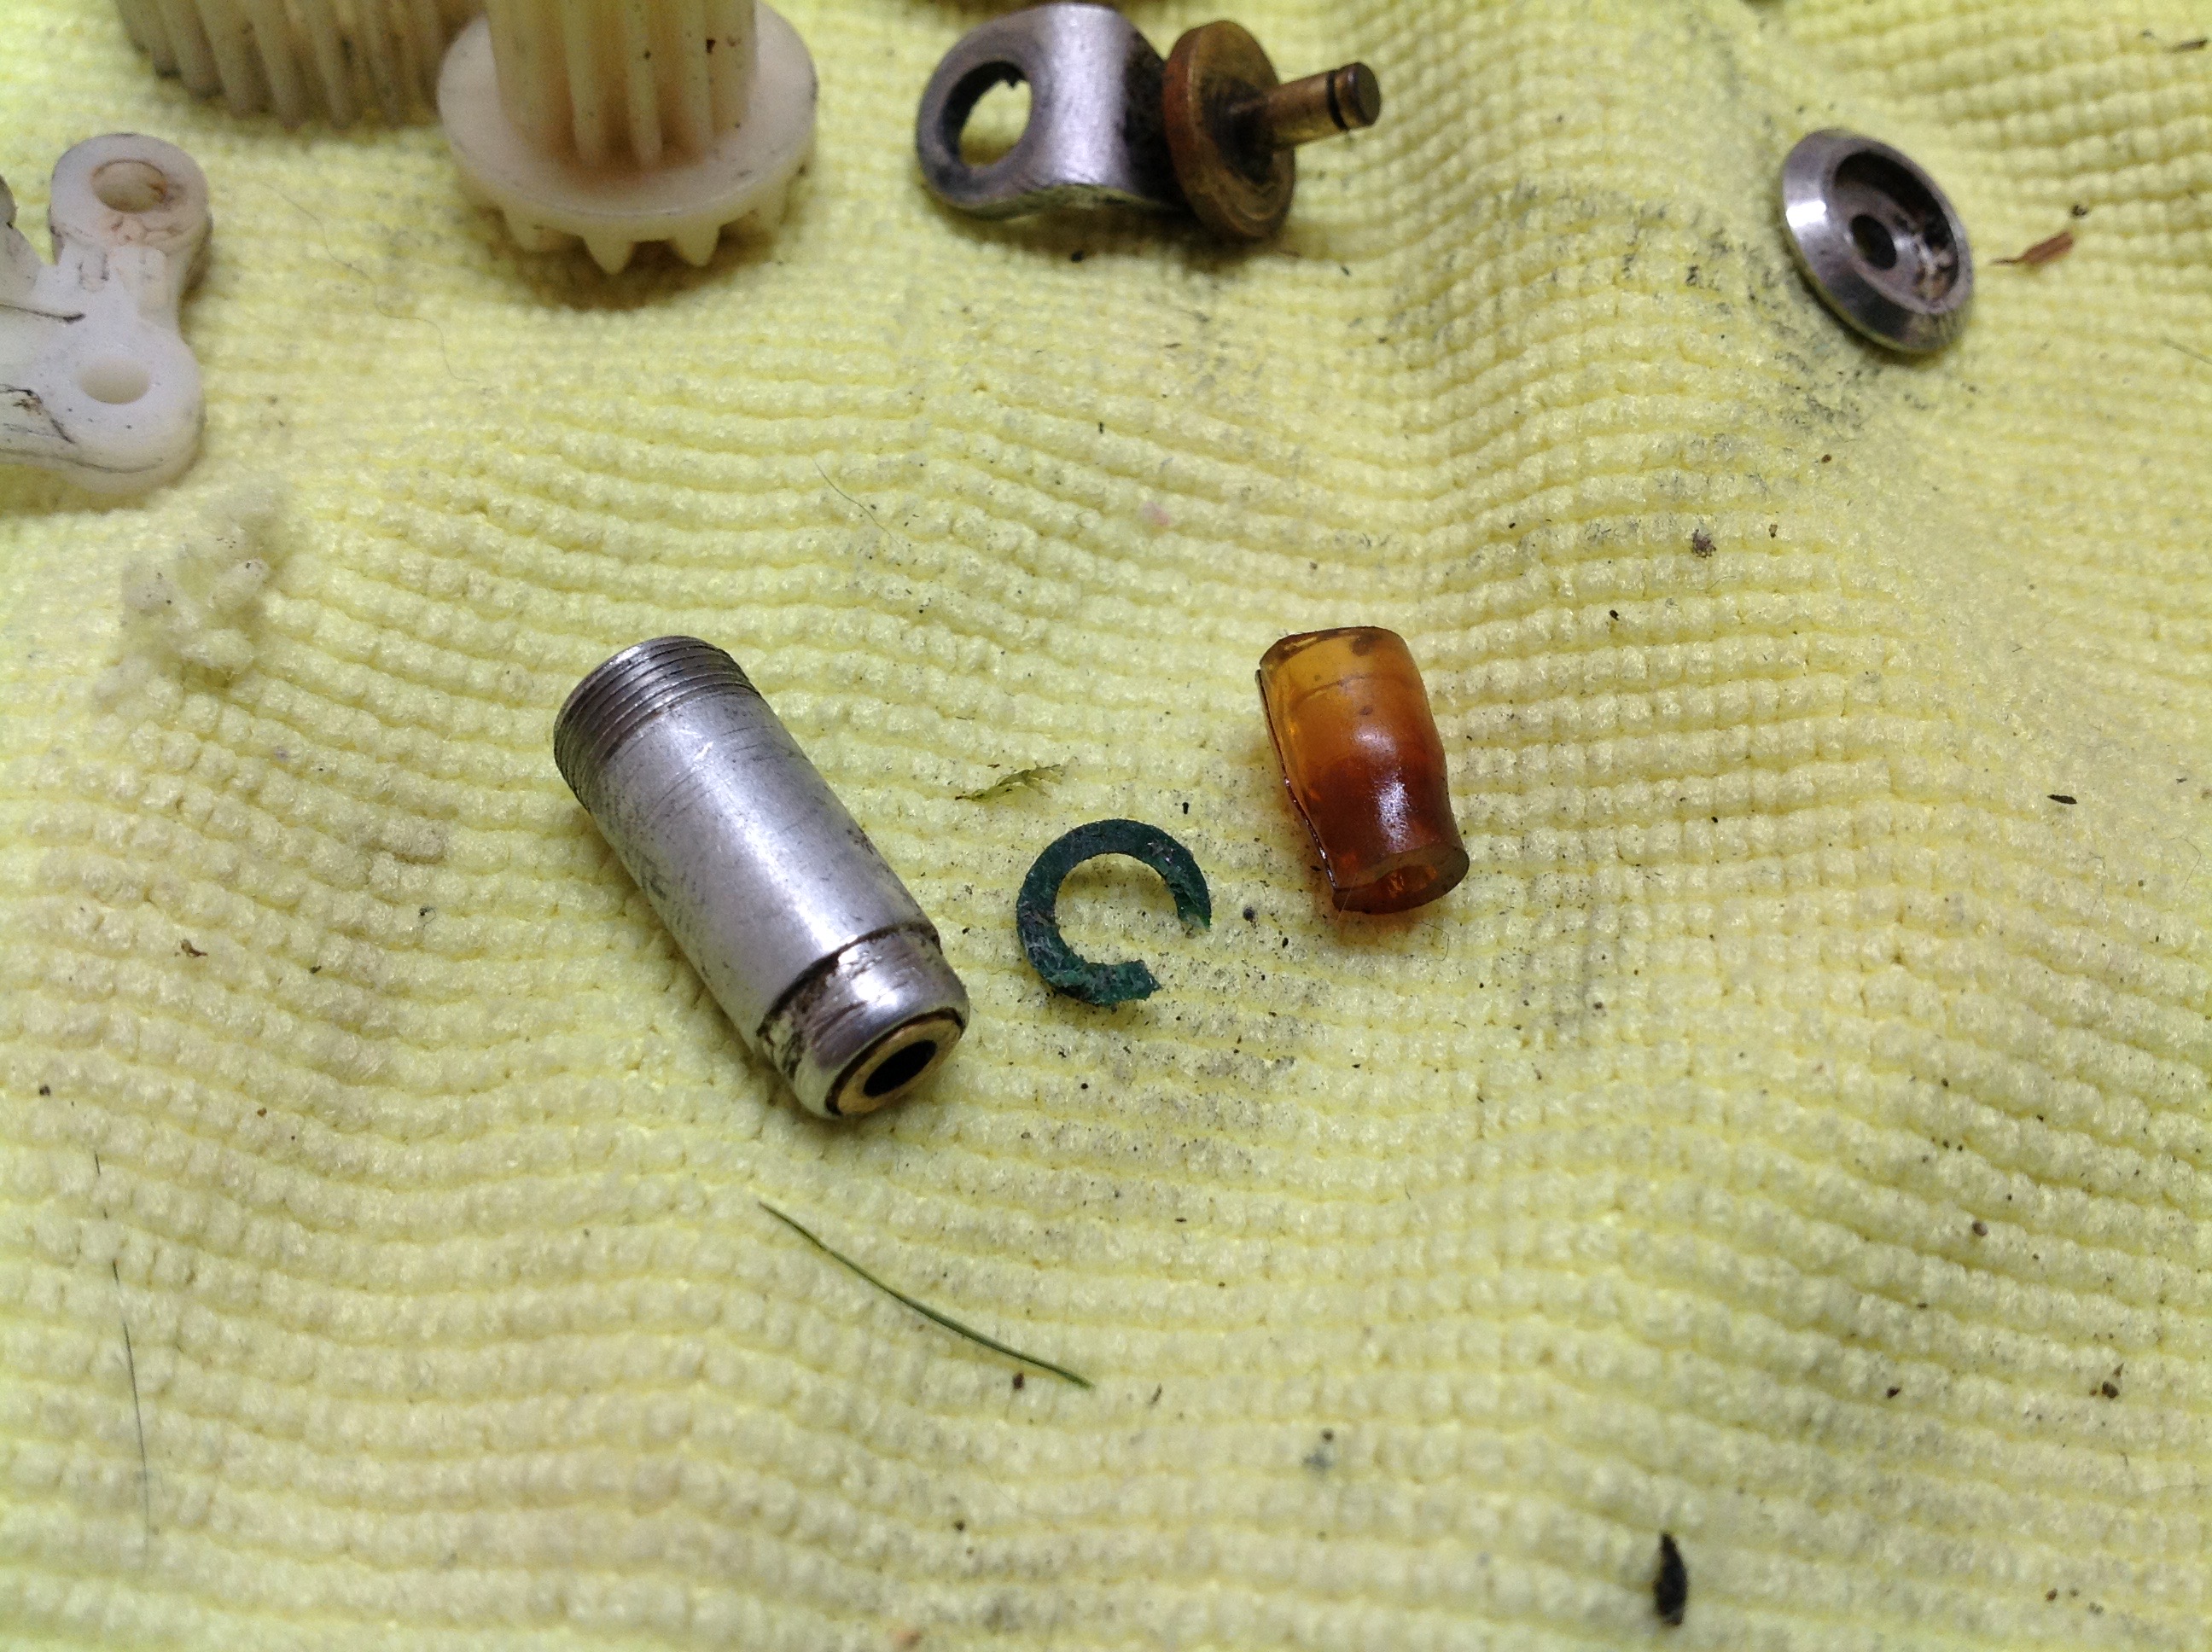
In case there was any doubt about whether or not the previous owner ran
this car, take a look at the hideously worn aluminum pinion compared to a
brand new gear. This is why I never use aluminum pinions.
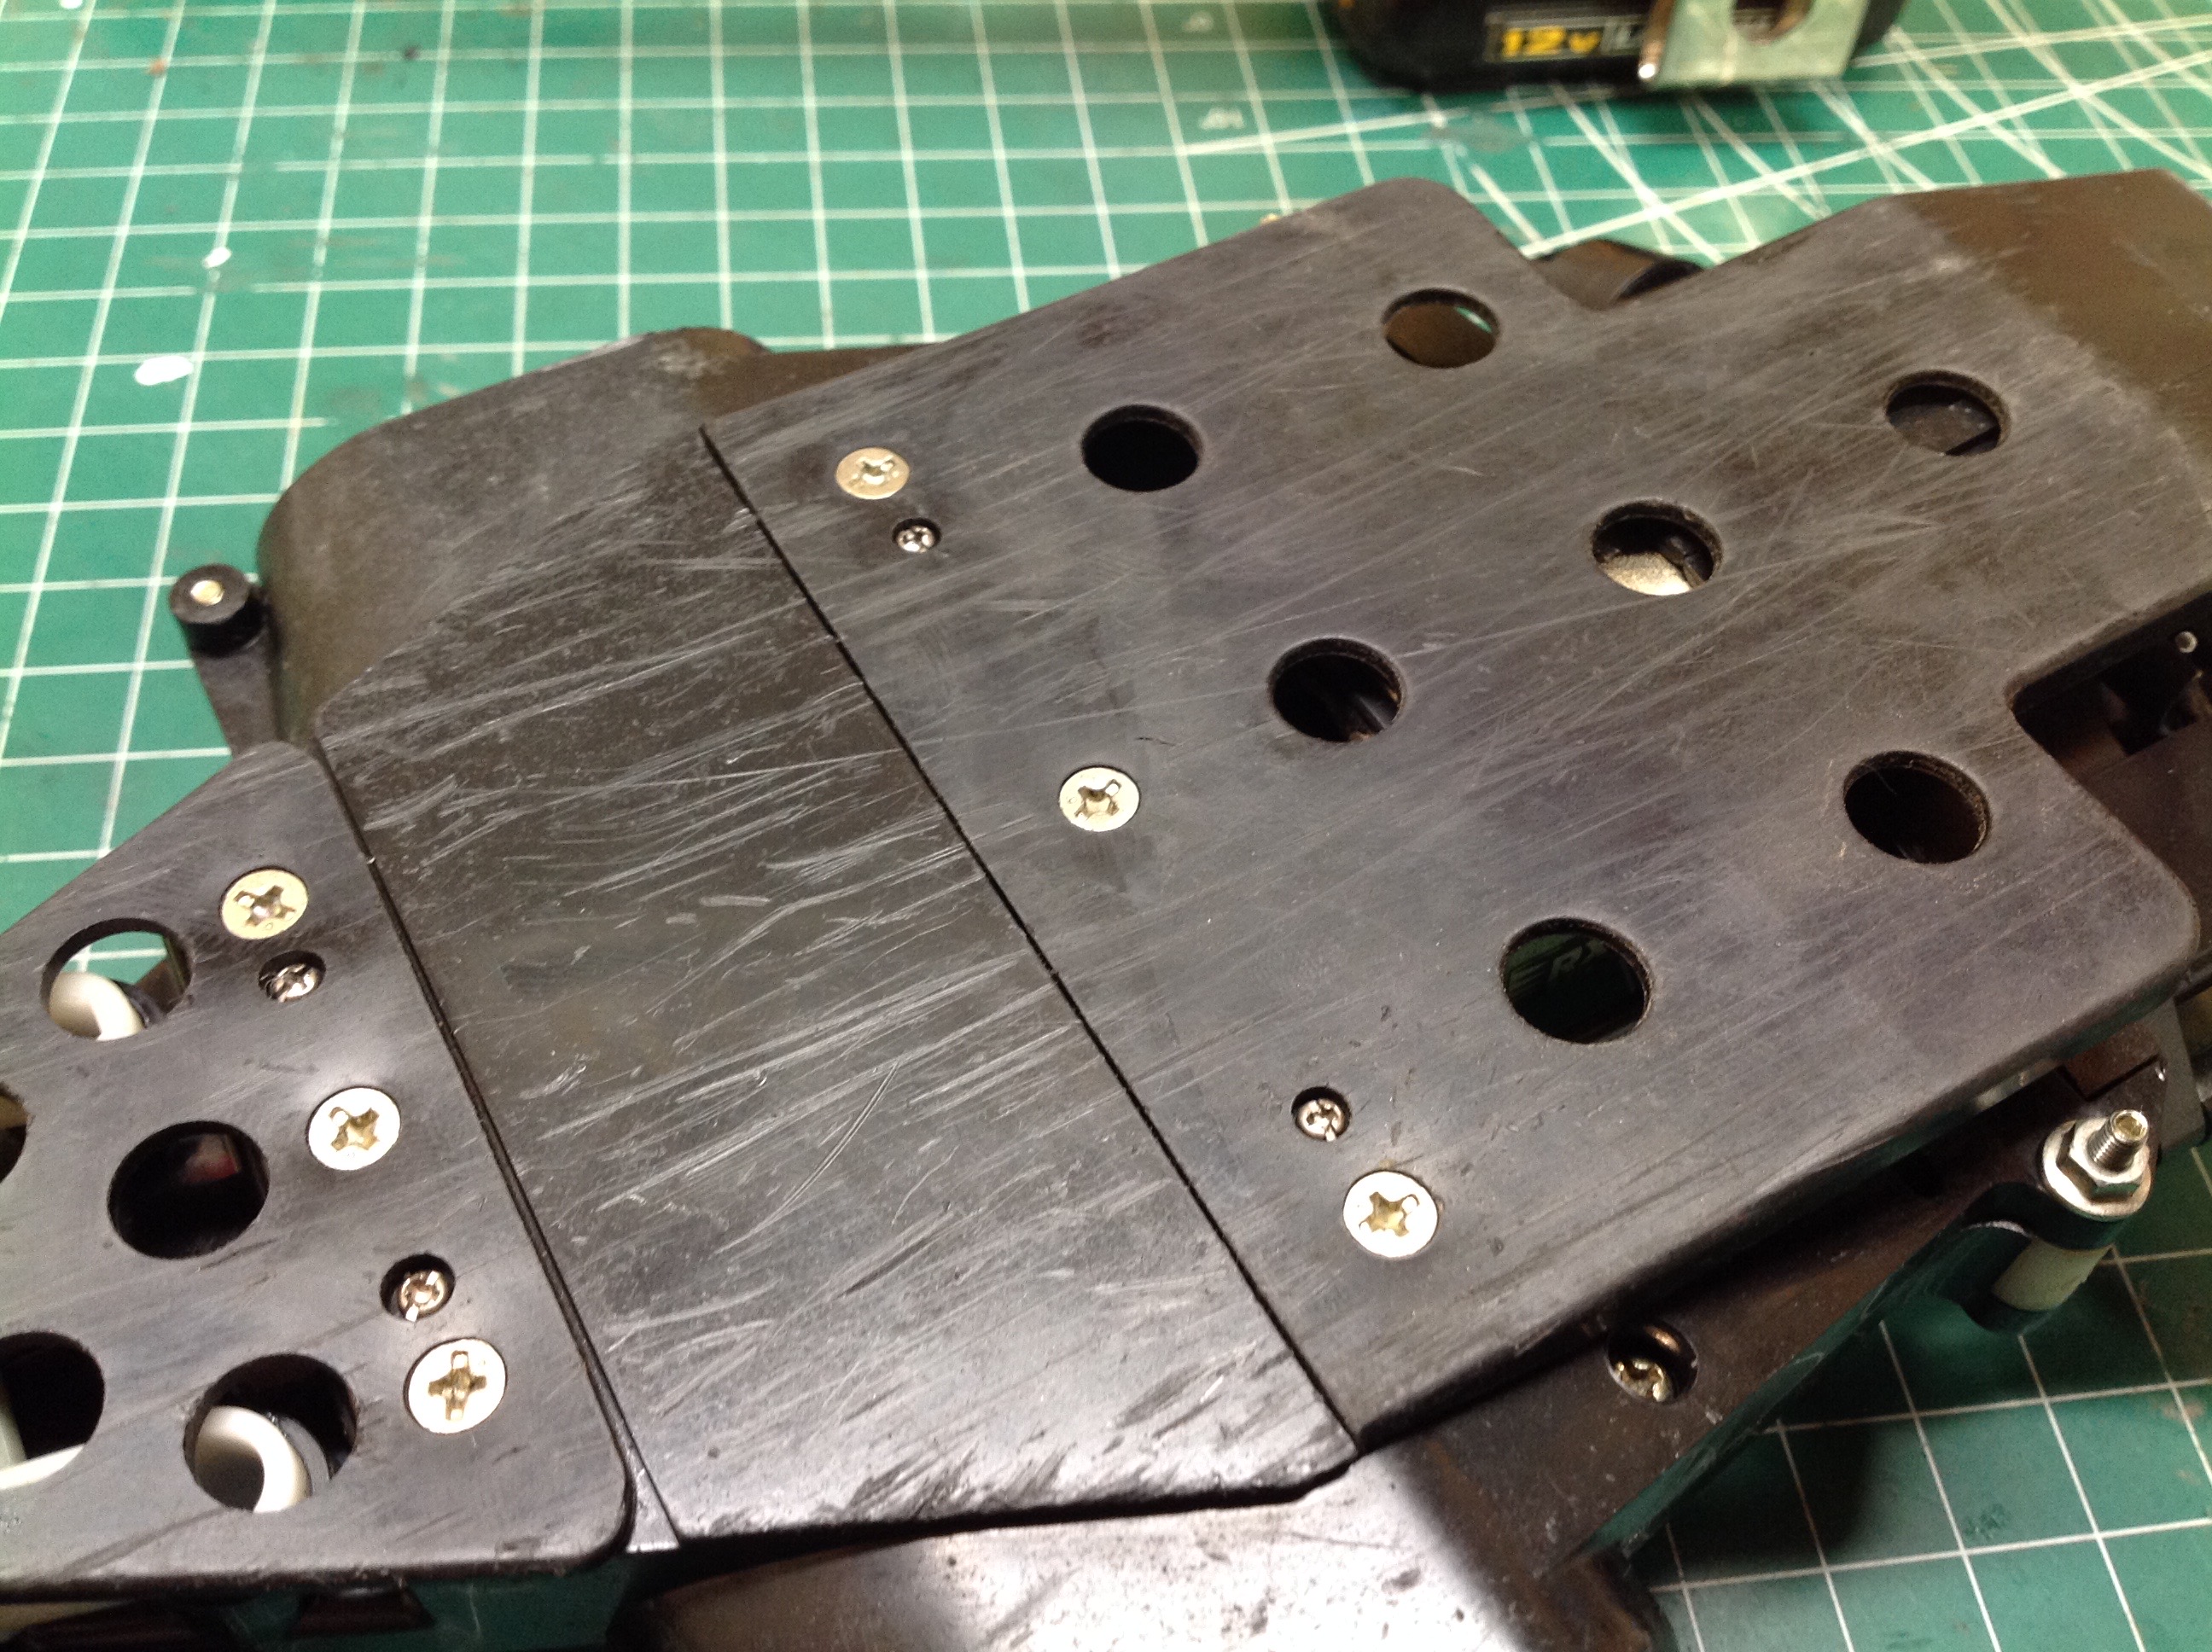
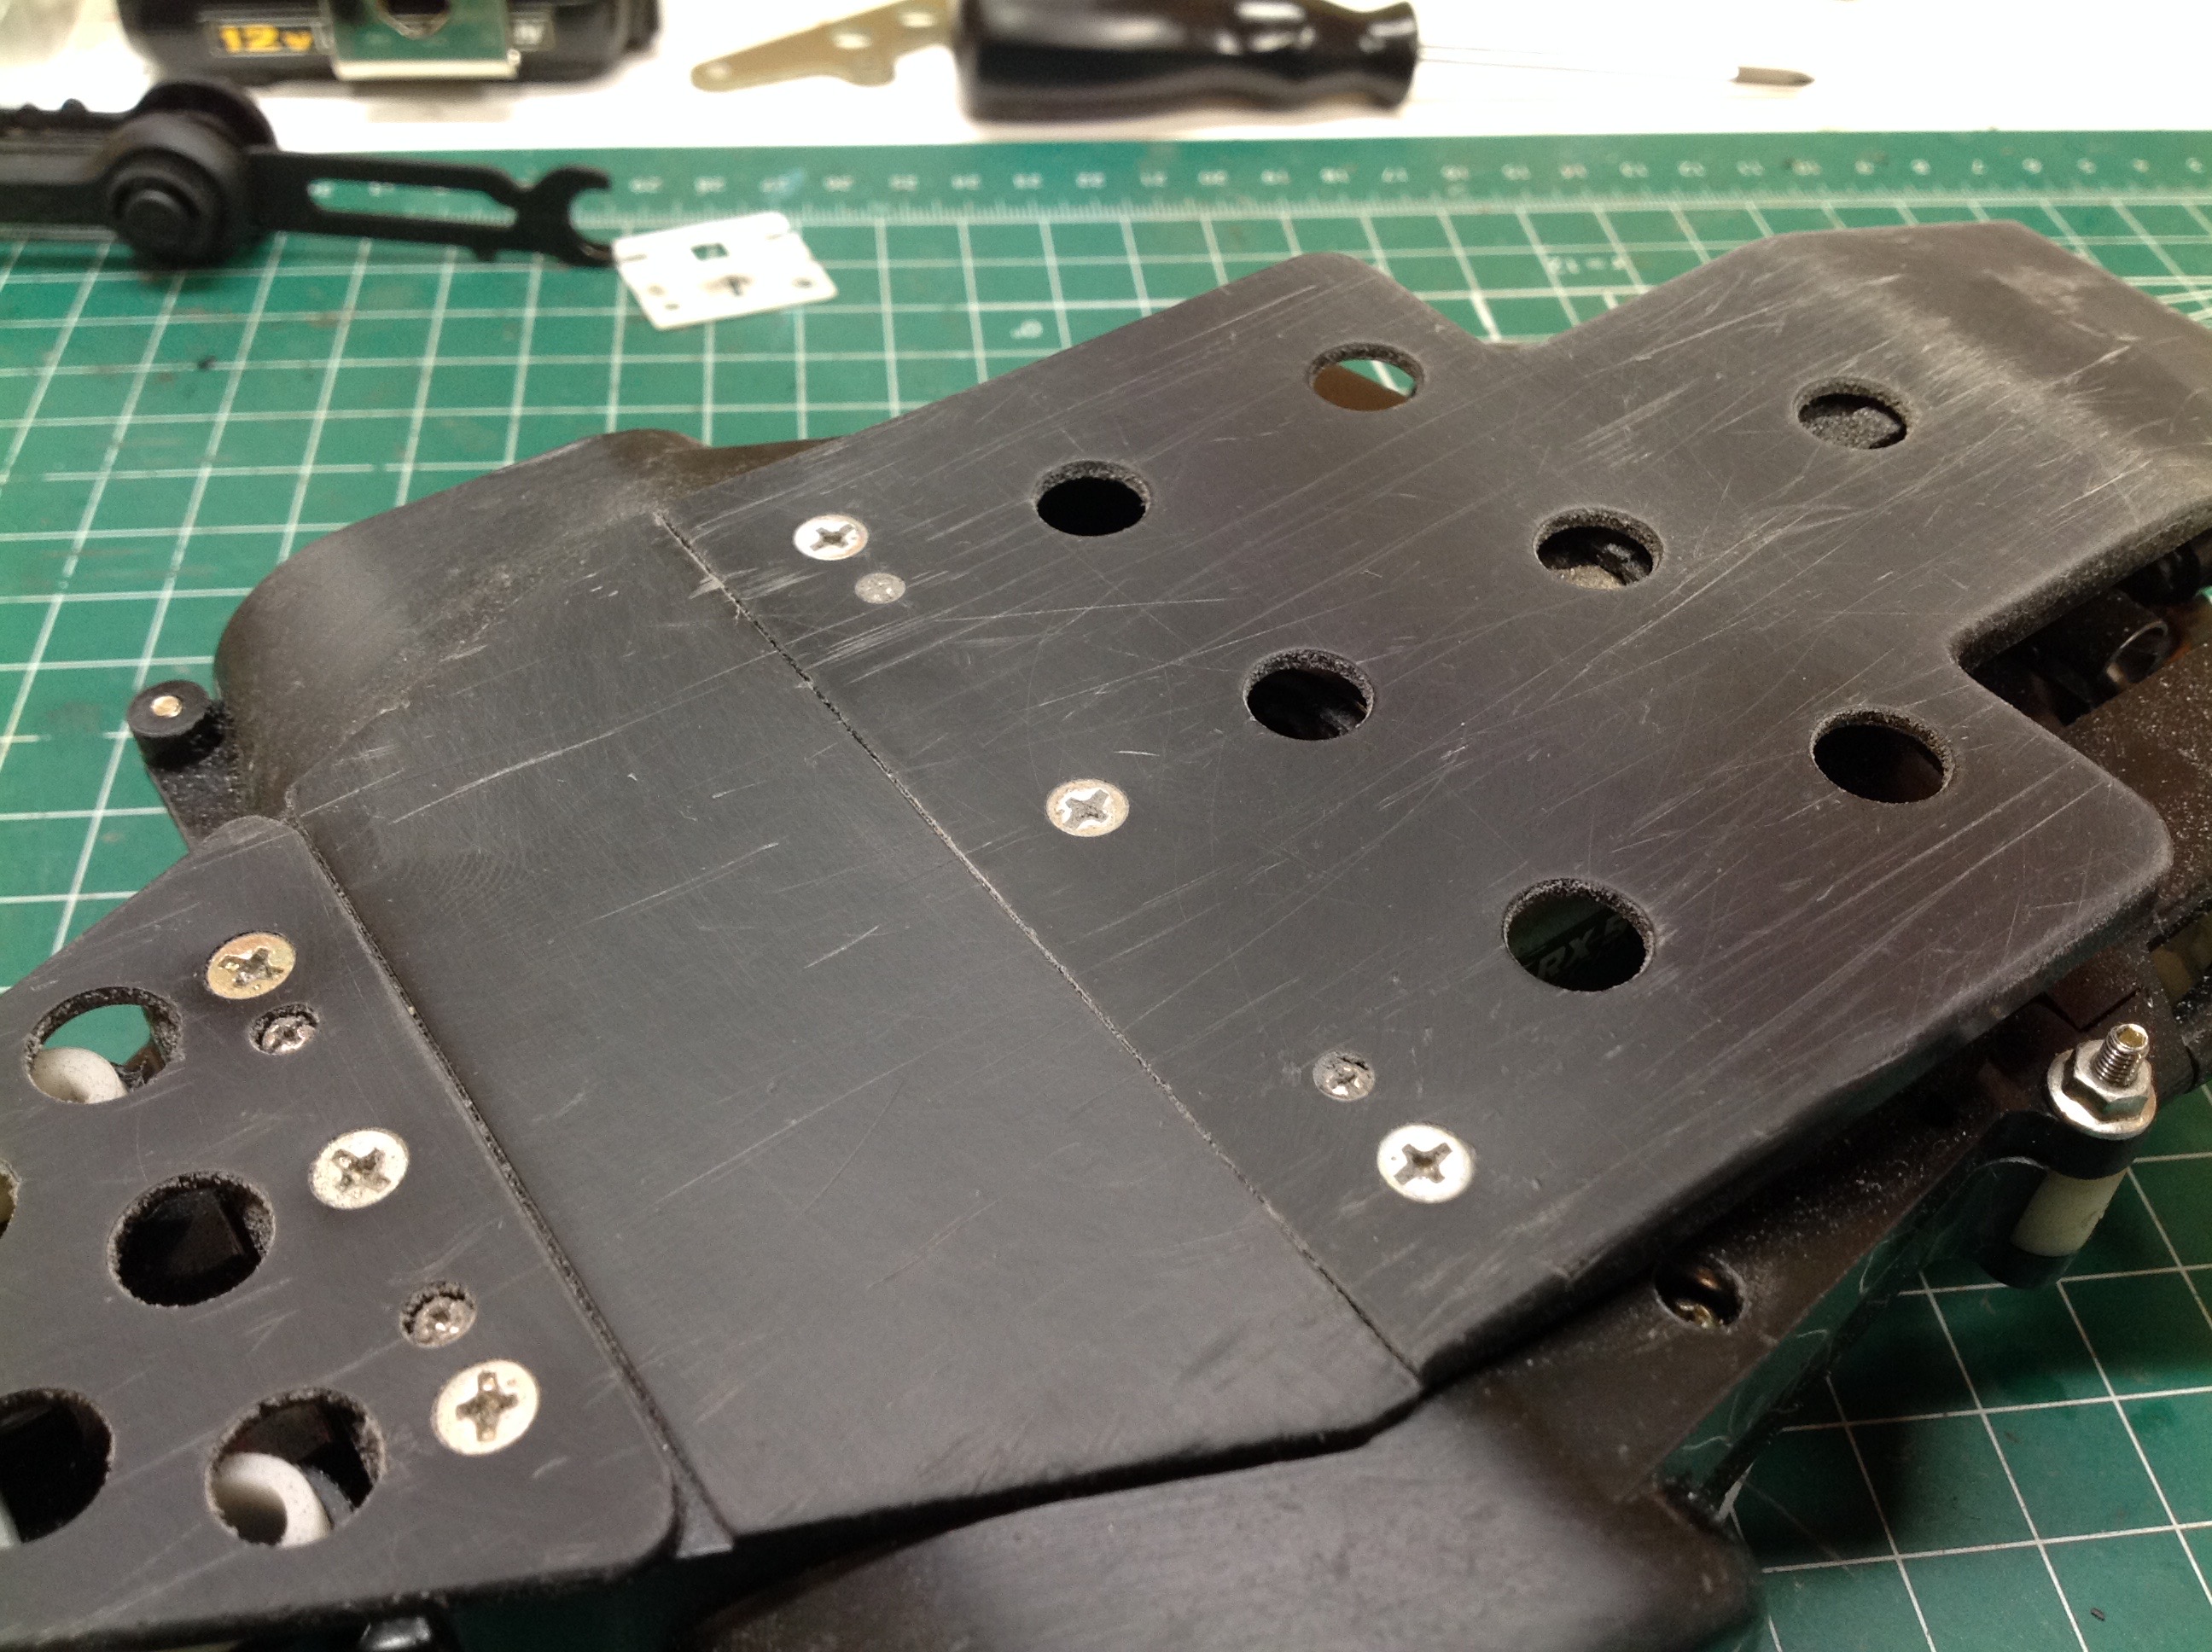
The bottom of the chassis was pretty scratched up so I tried to do some
minor repair. The state in which it arrived is shown on the
left. On the right I've sanded the whole bottom with 400 grit
until most of the deepest scratches were gone.
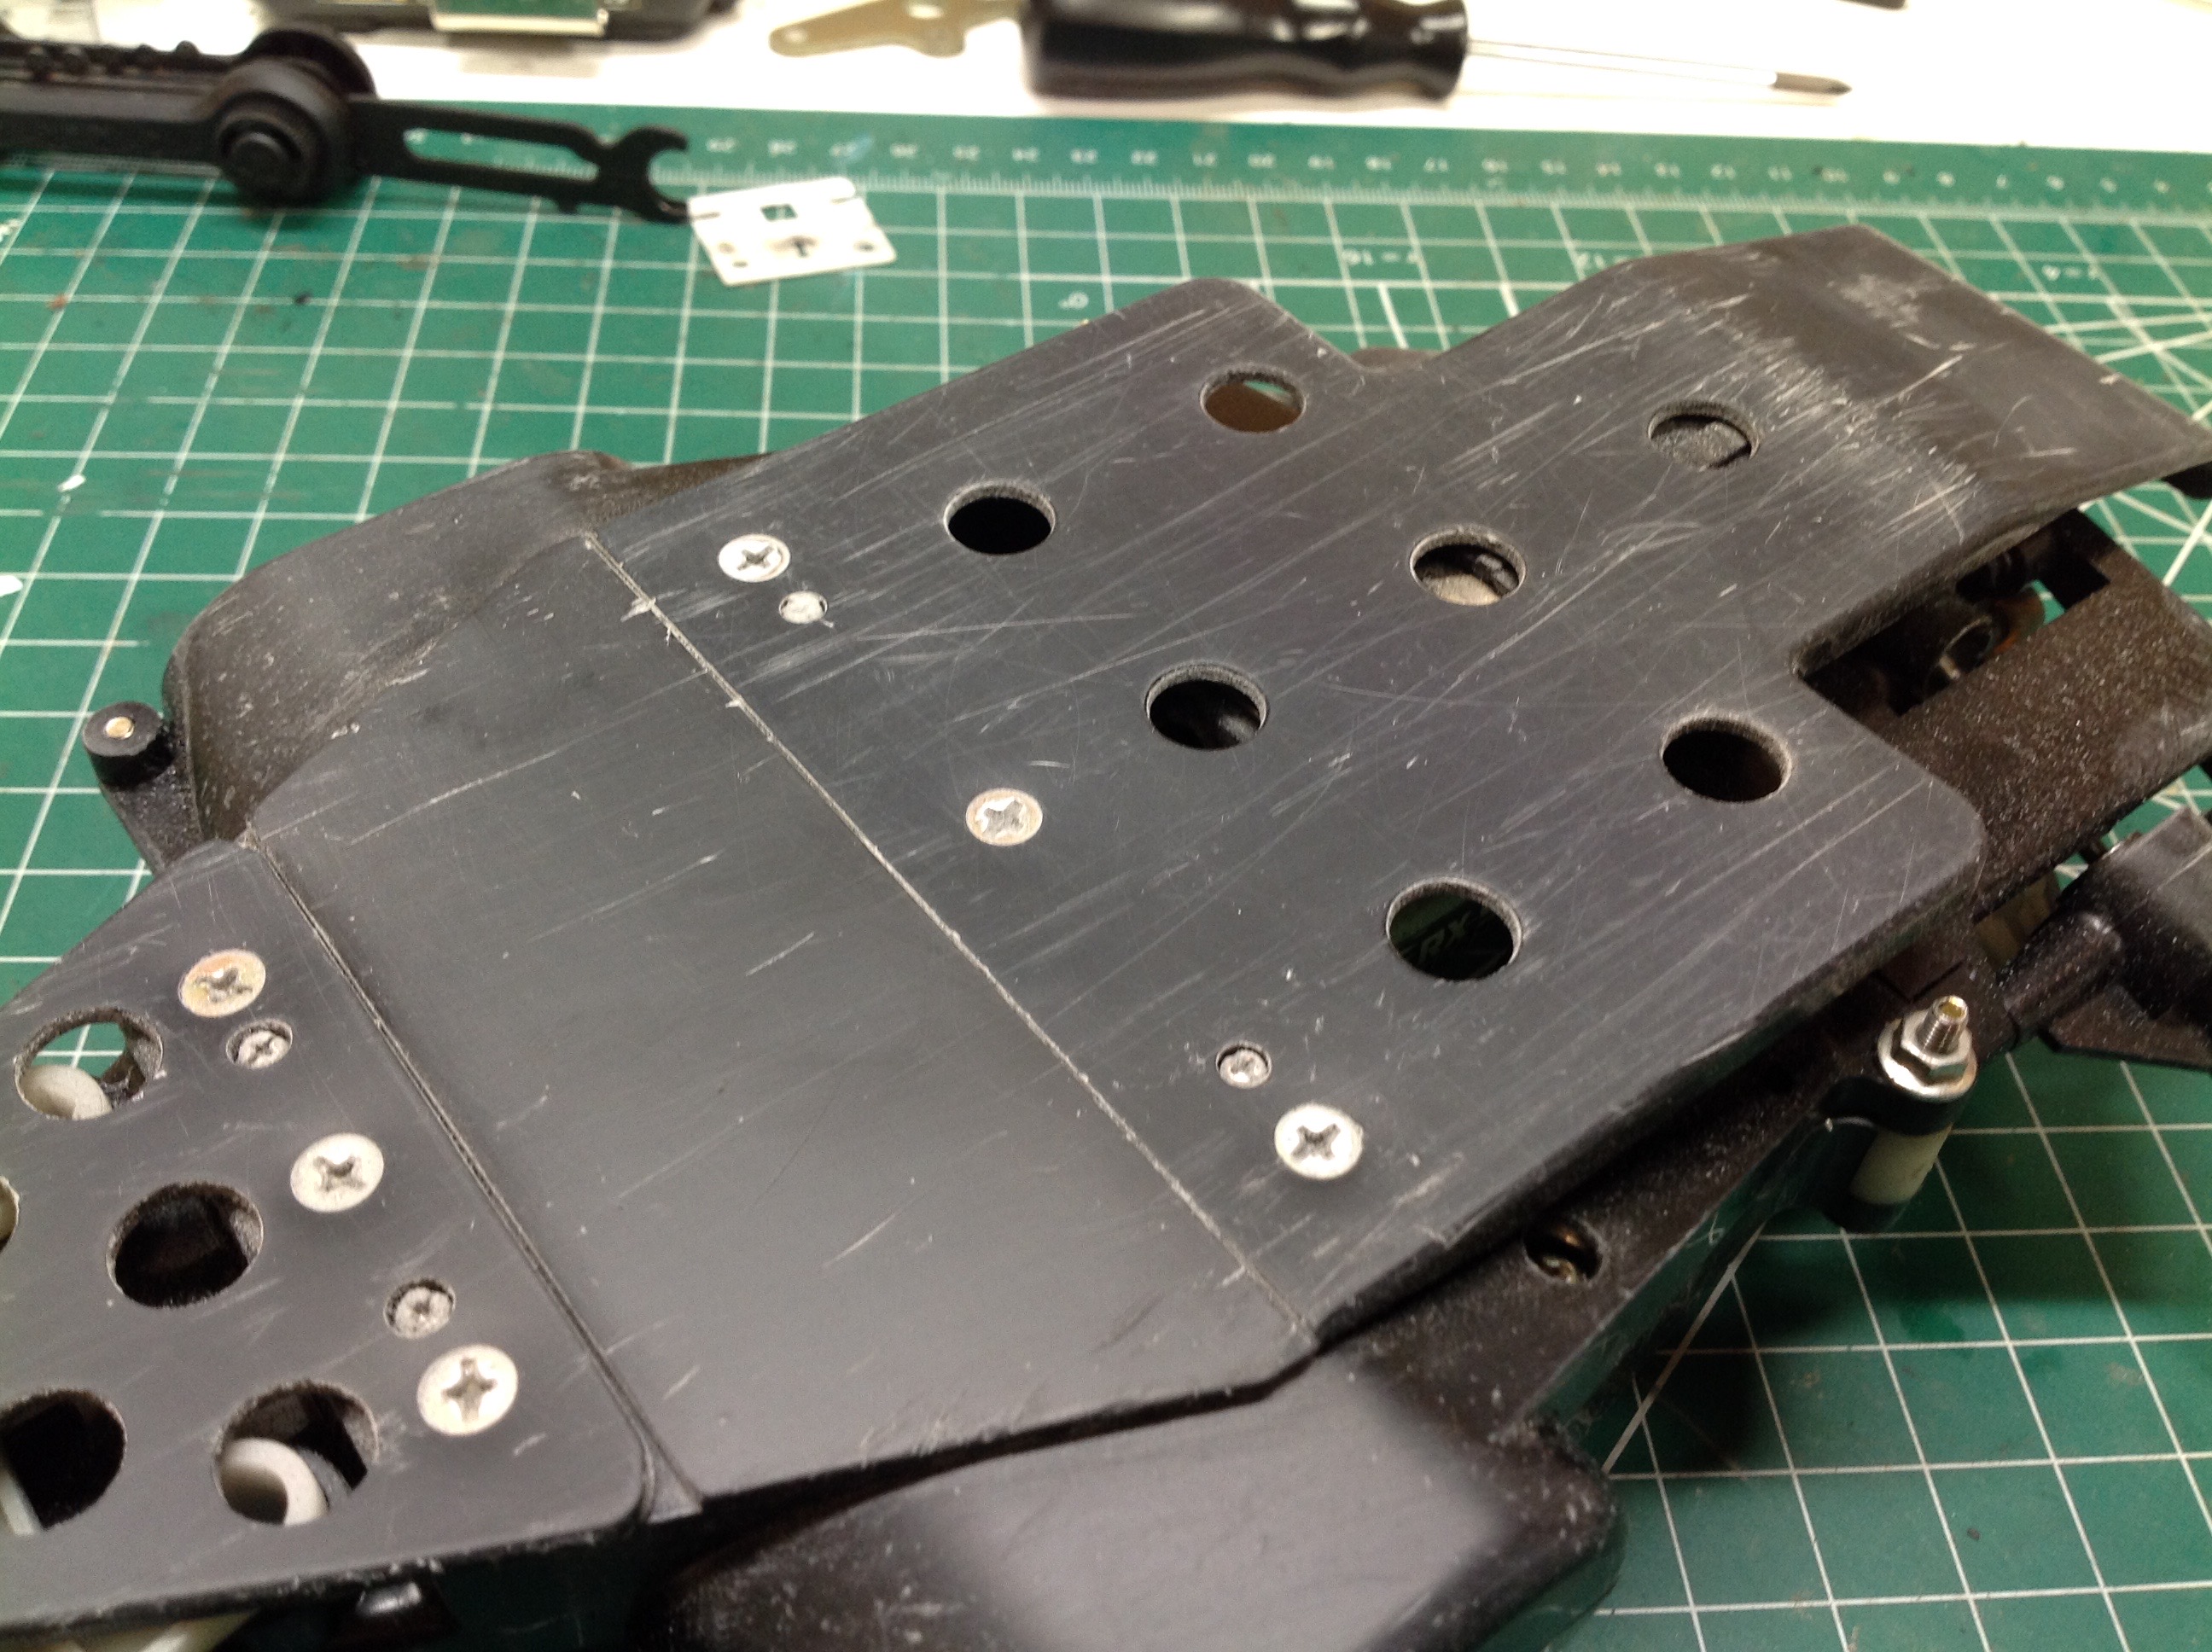
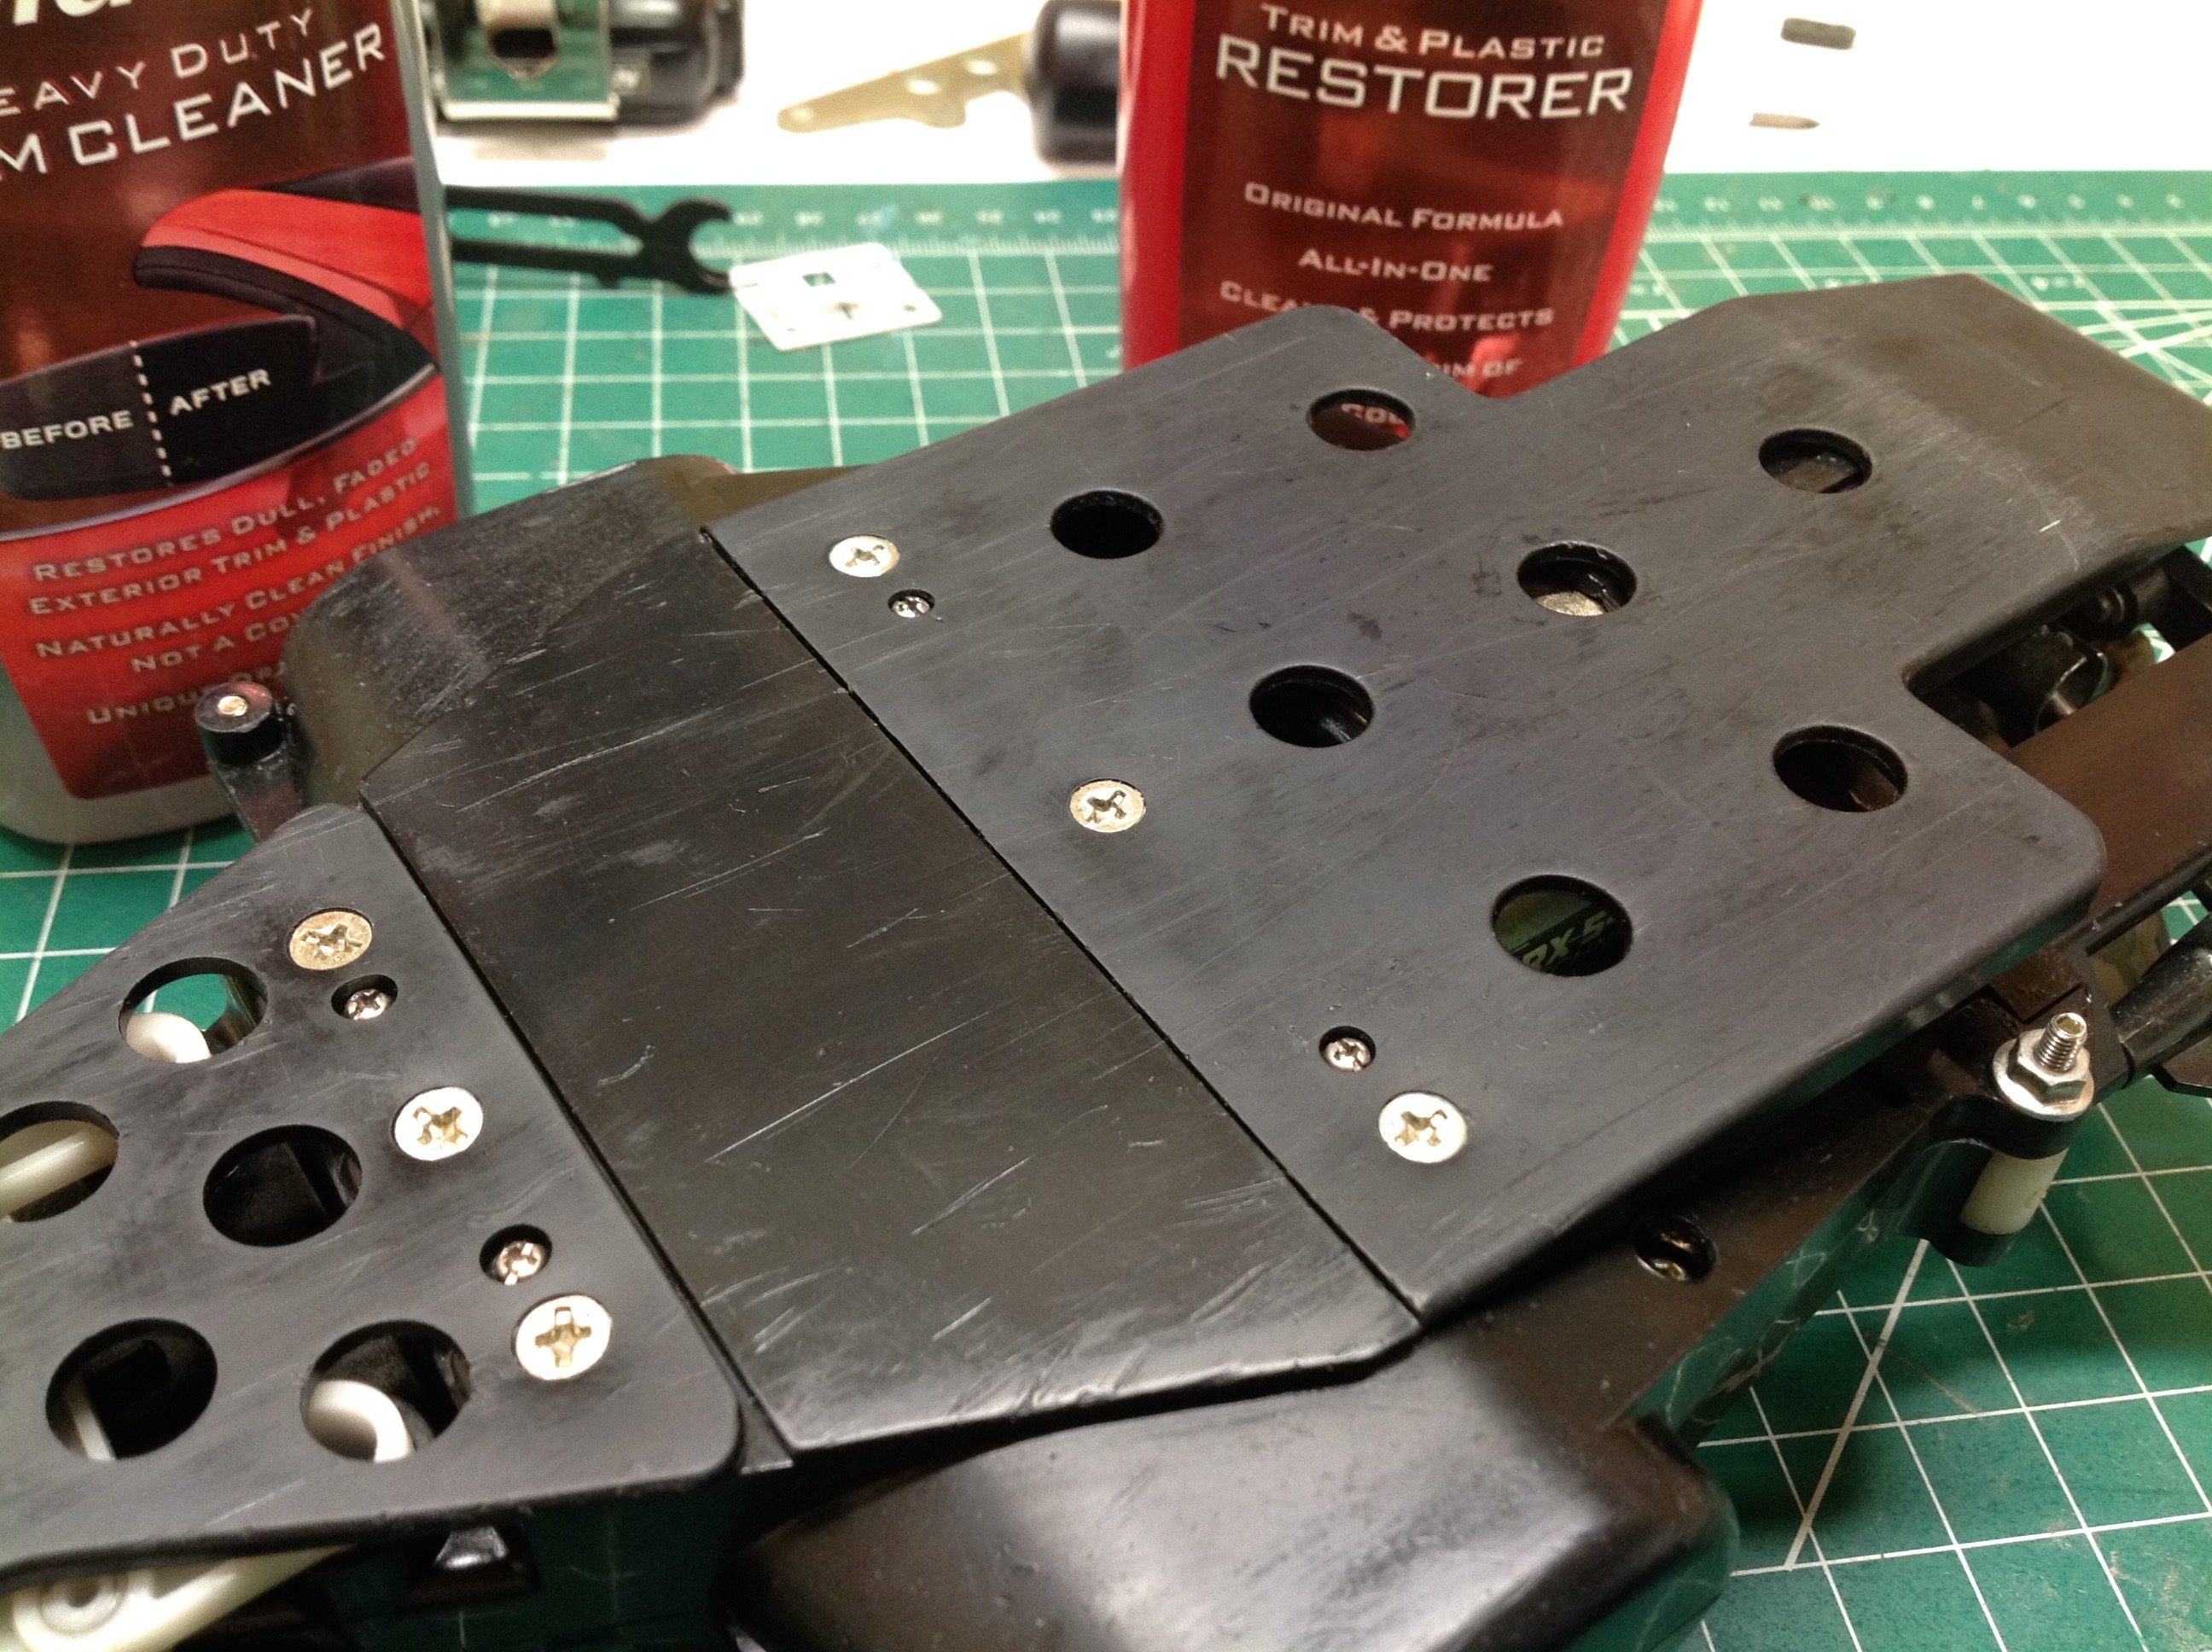
Now I've proceeded with the polishing steps. On the left I've
using plastic restorer which has a mild abrasive in it. On the
right I've done a polish with trim cleaner and a bristle brush on my
Dremel tool. I think it came out pretty good. It certainly
doesn't look new, but it looks much better than when I started.
The shocks were in pretty rough shape. The seal between the head
end cap and the cylinder is just a fiber gasket, not an o-ring. It
was brittle and cracked as shown. The plastic tubing which acts
as the volume compensation was completely hardened and could only be
removed by cutting it off. I was able to make my own replacement
gaskets as shown on the right.
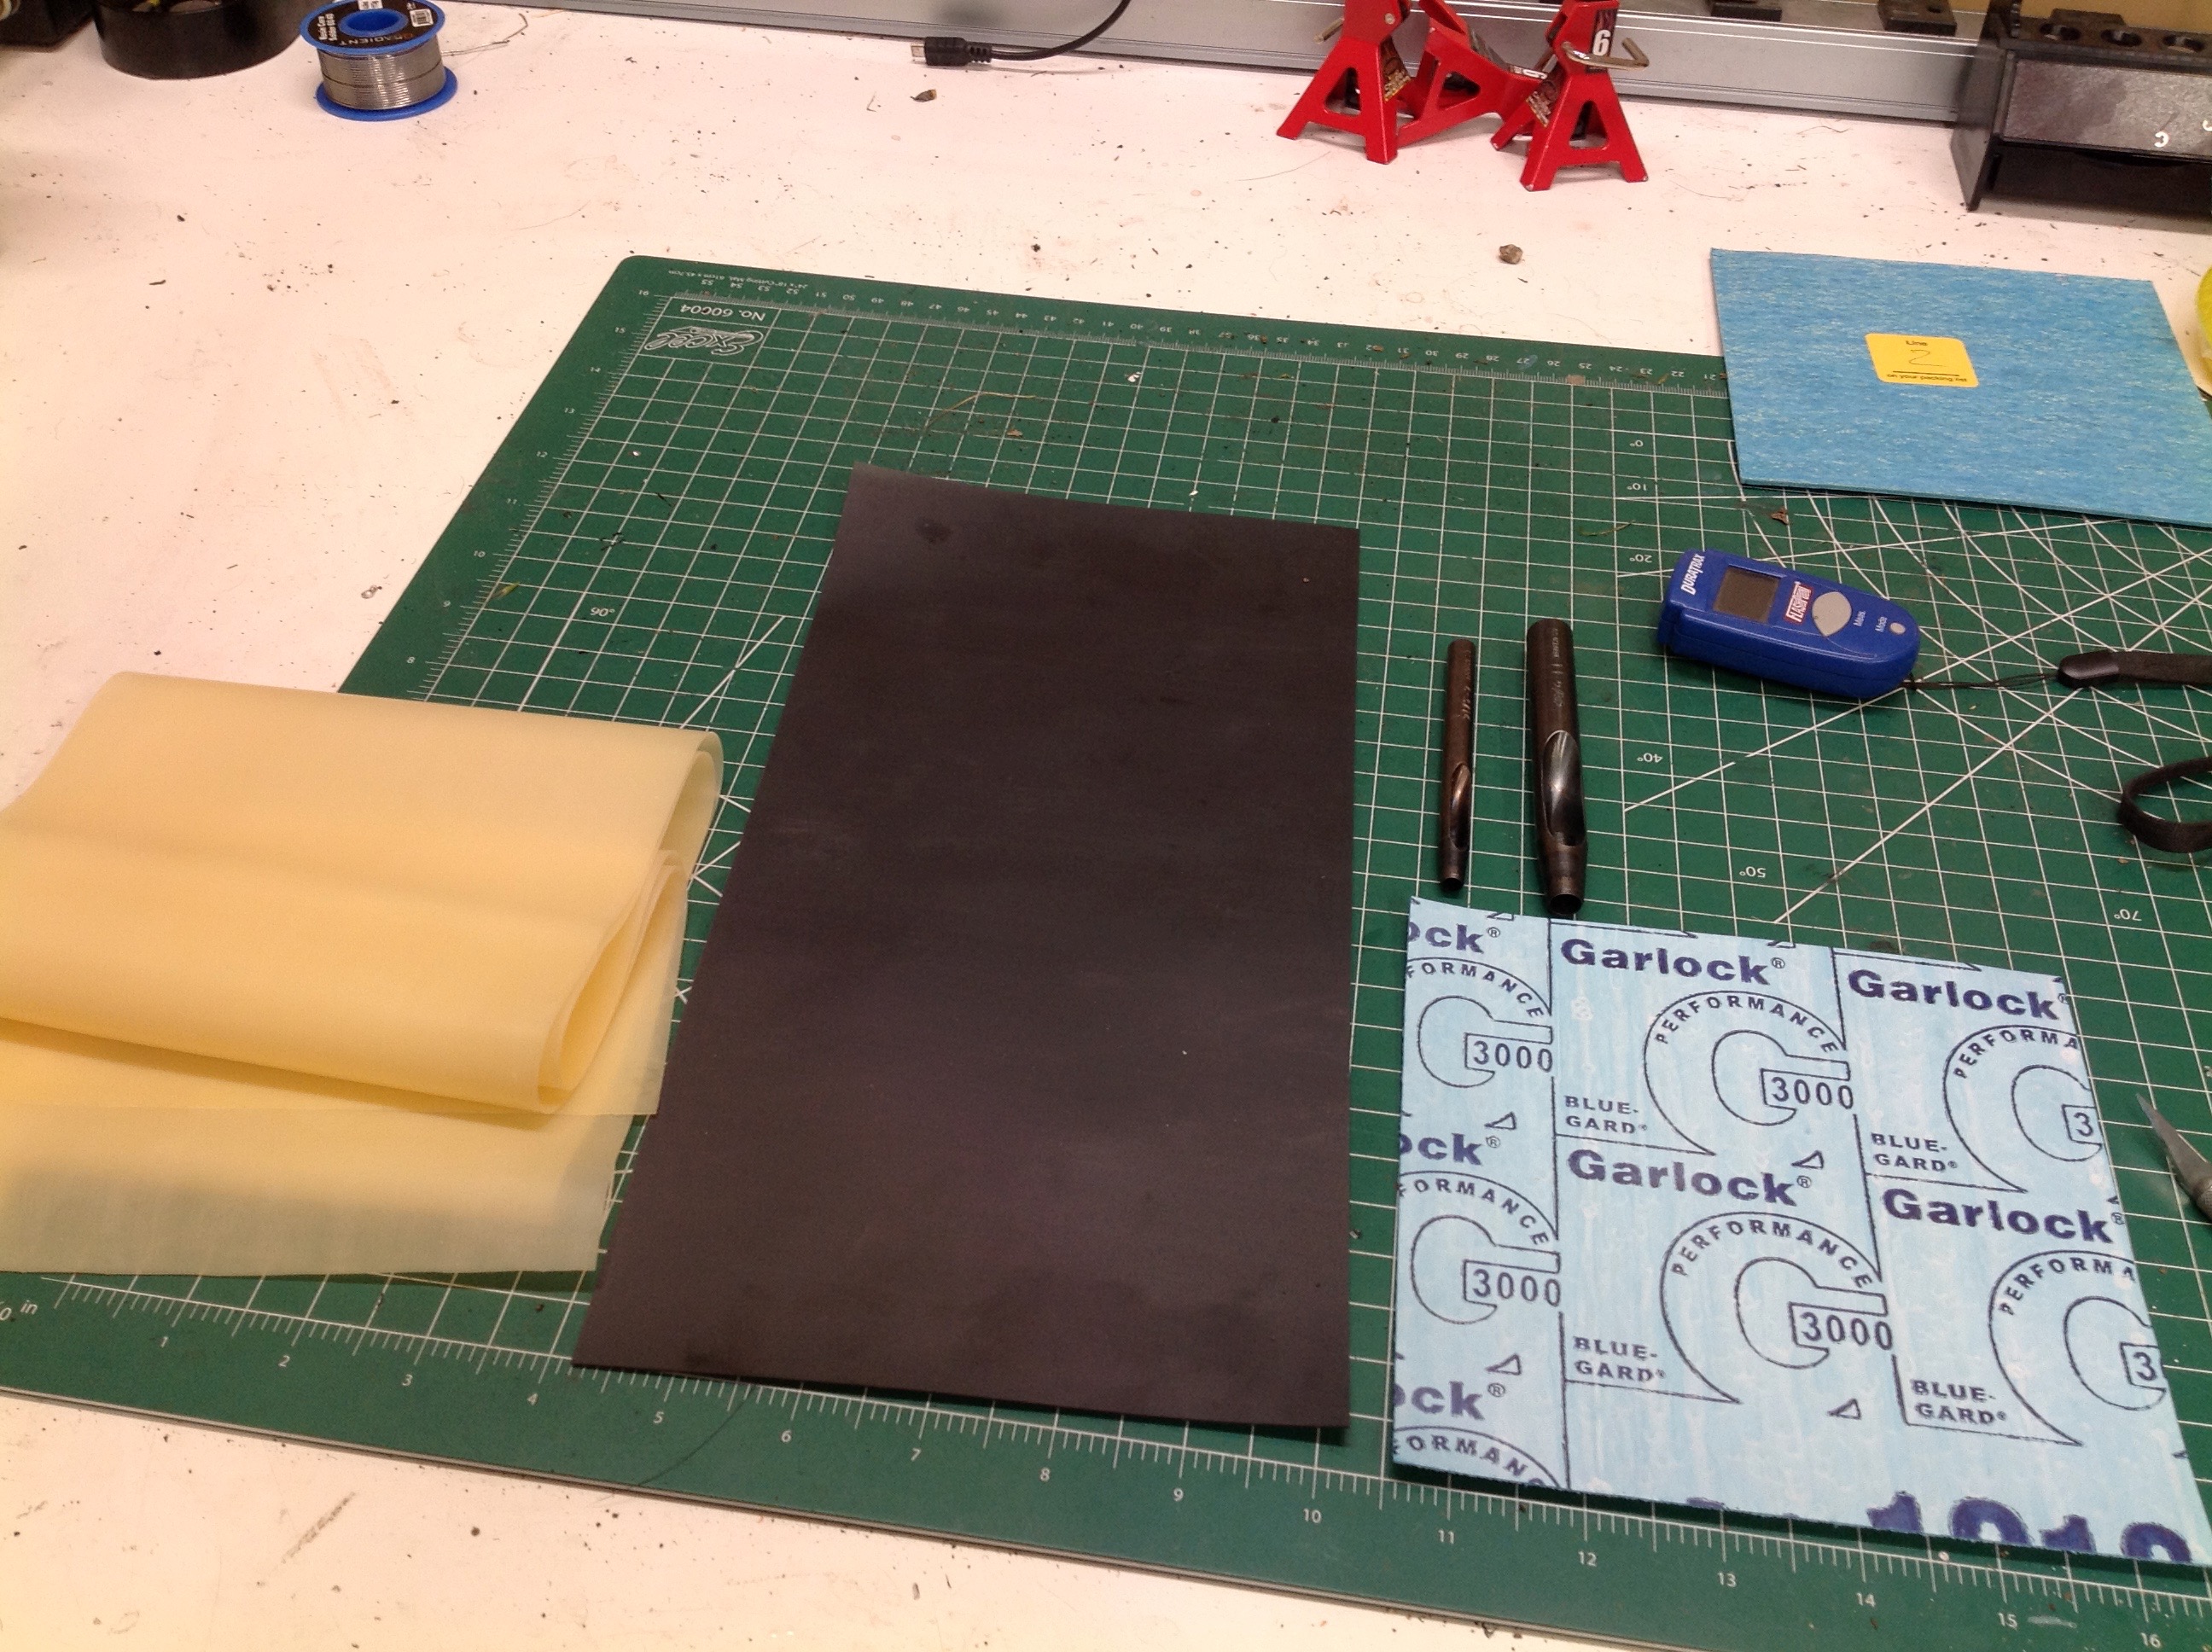
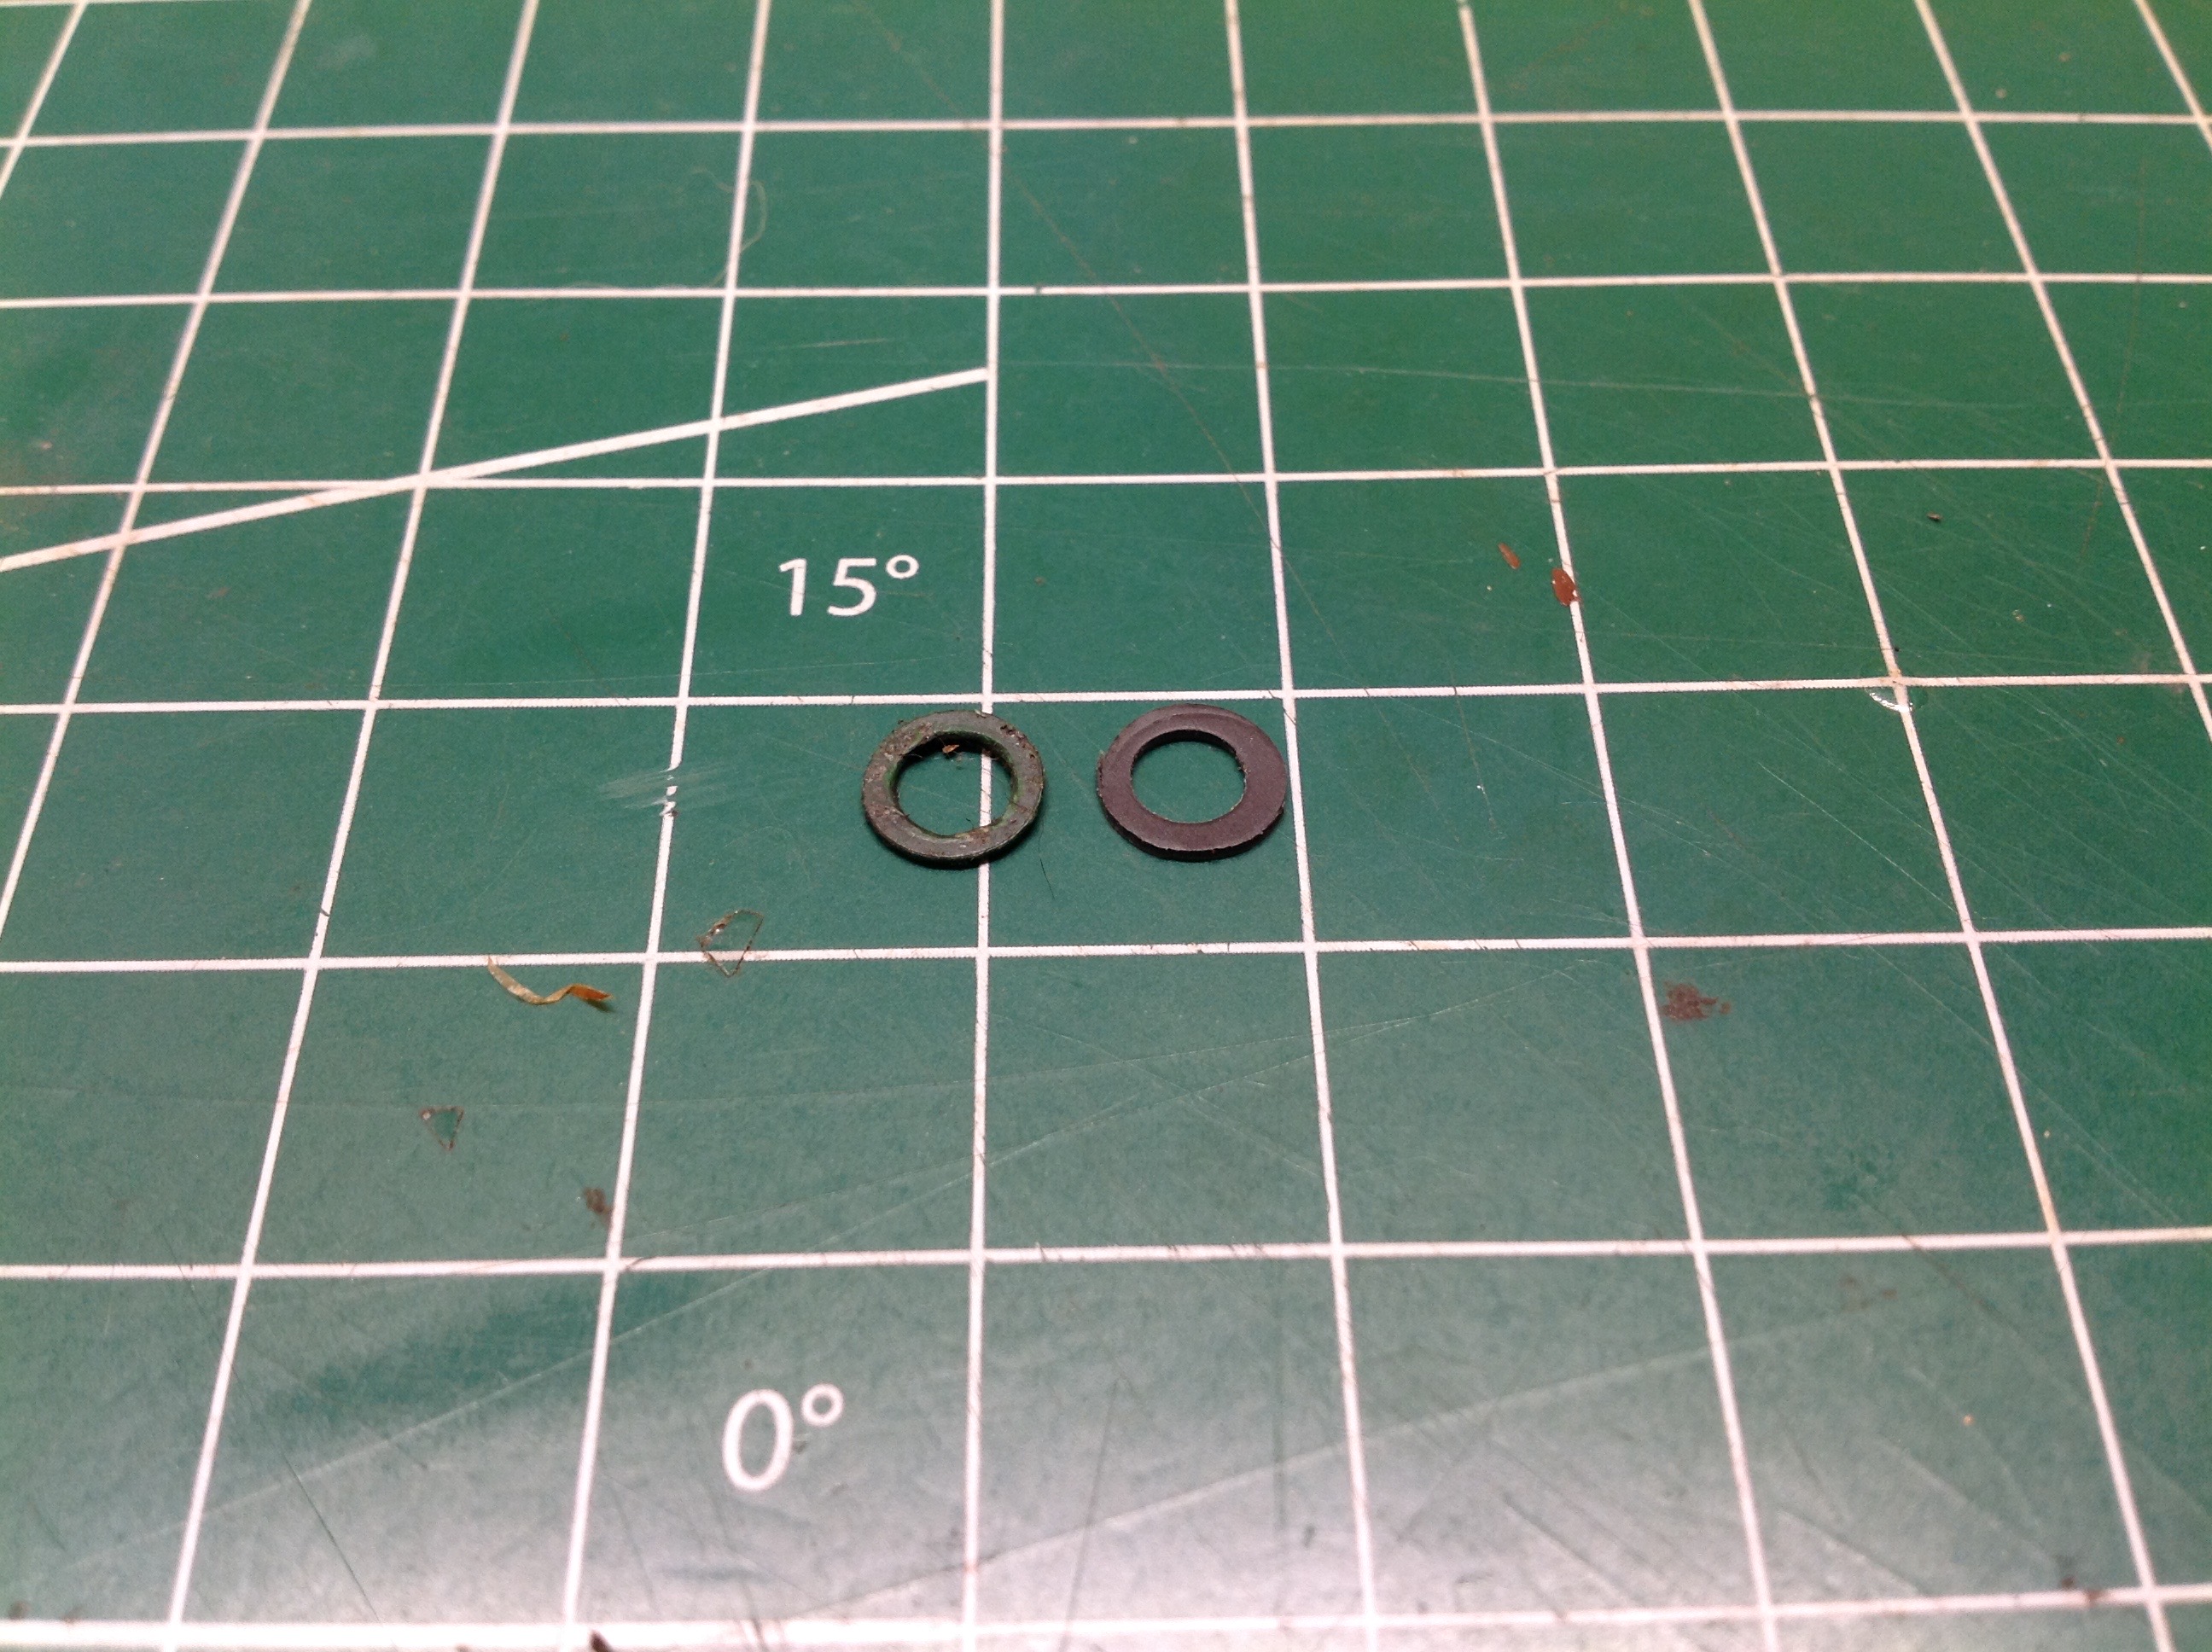
I bought a bunch of different potential gasket making materials and some
punches. I ended up using the black rubber sheet shown in the
middle. On the right you can see one of the original gaskets next
to my rubber replacement. It actually ended up working perfectly
with no leaks.
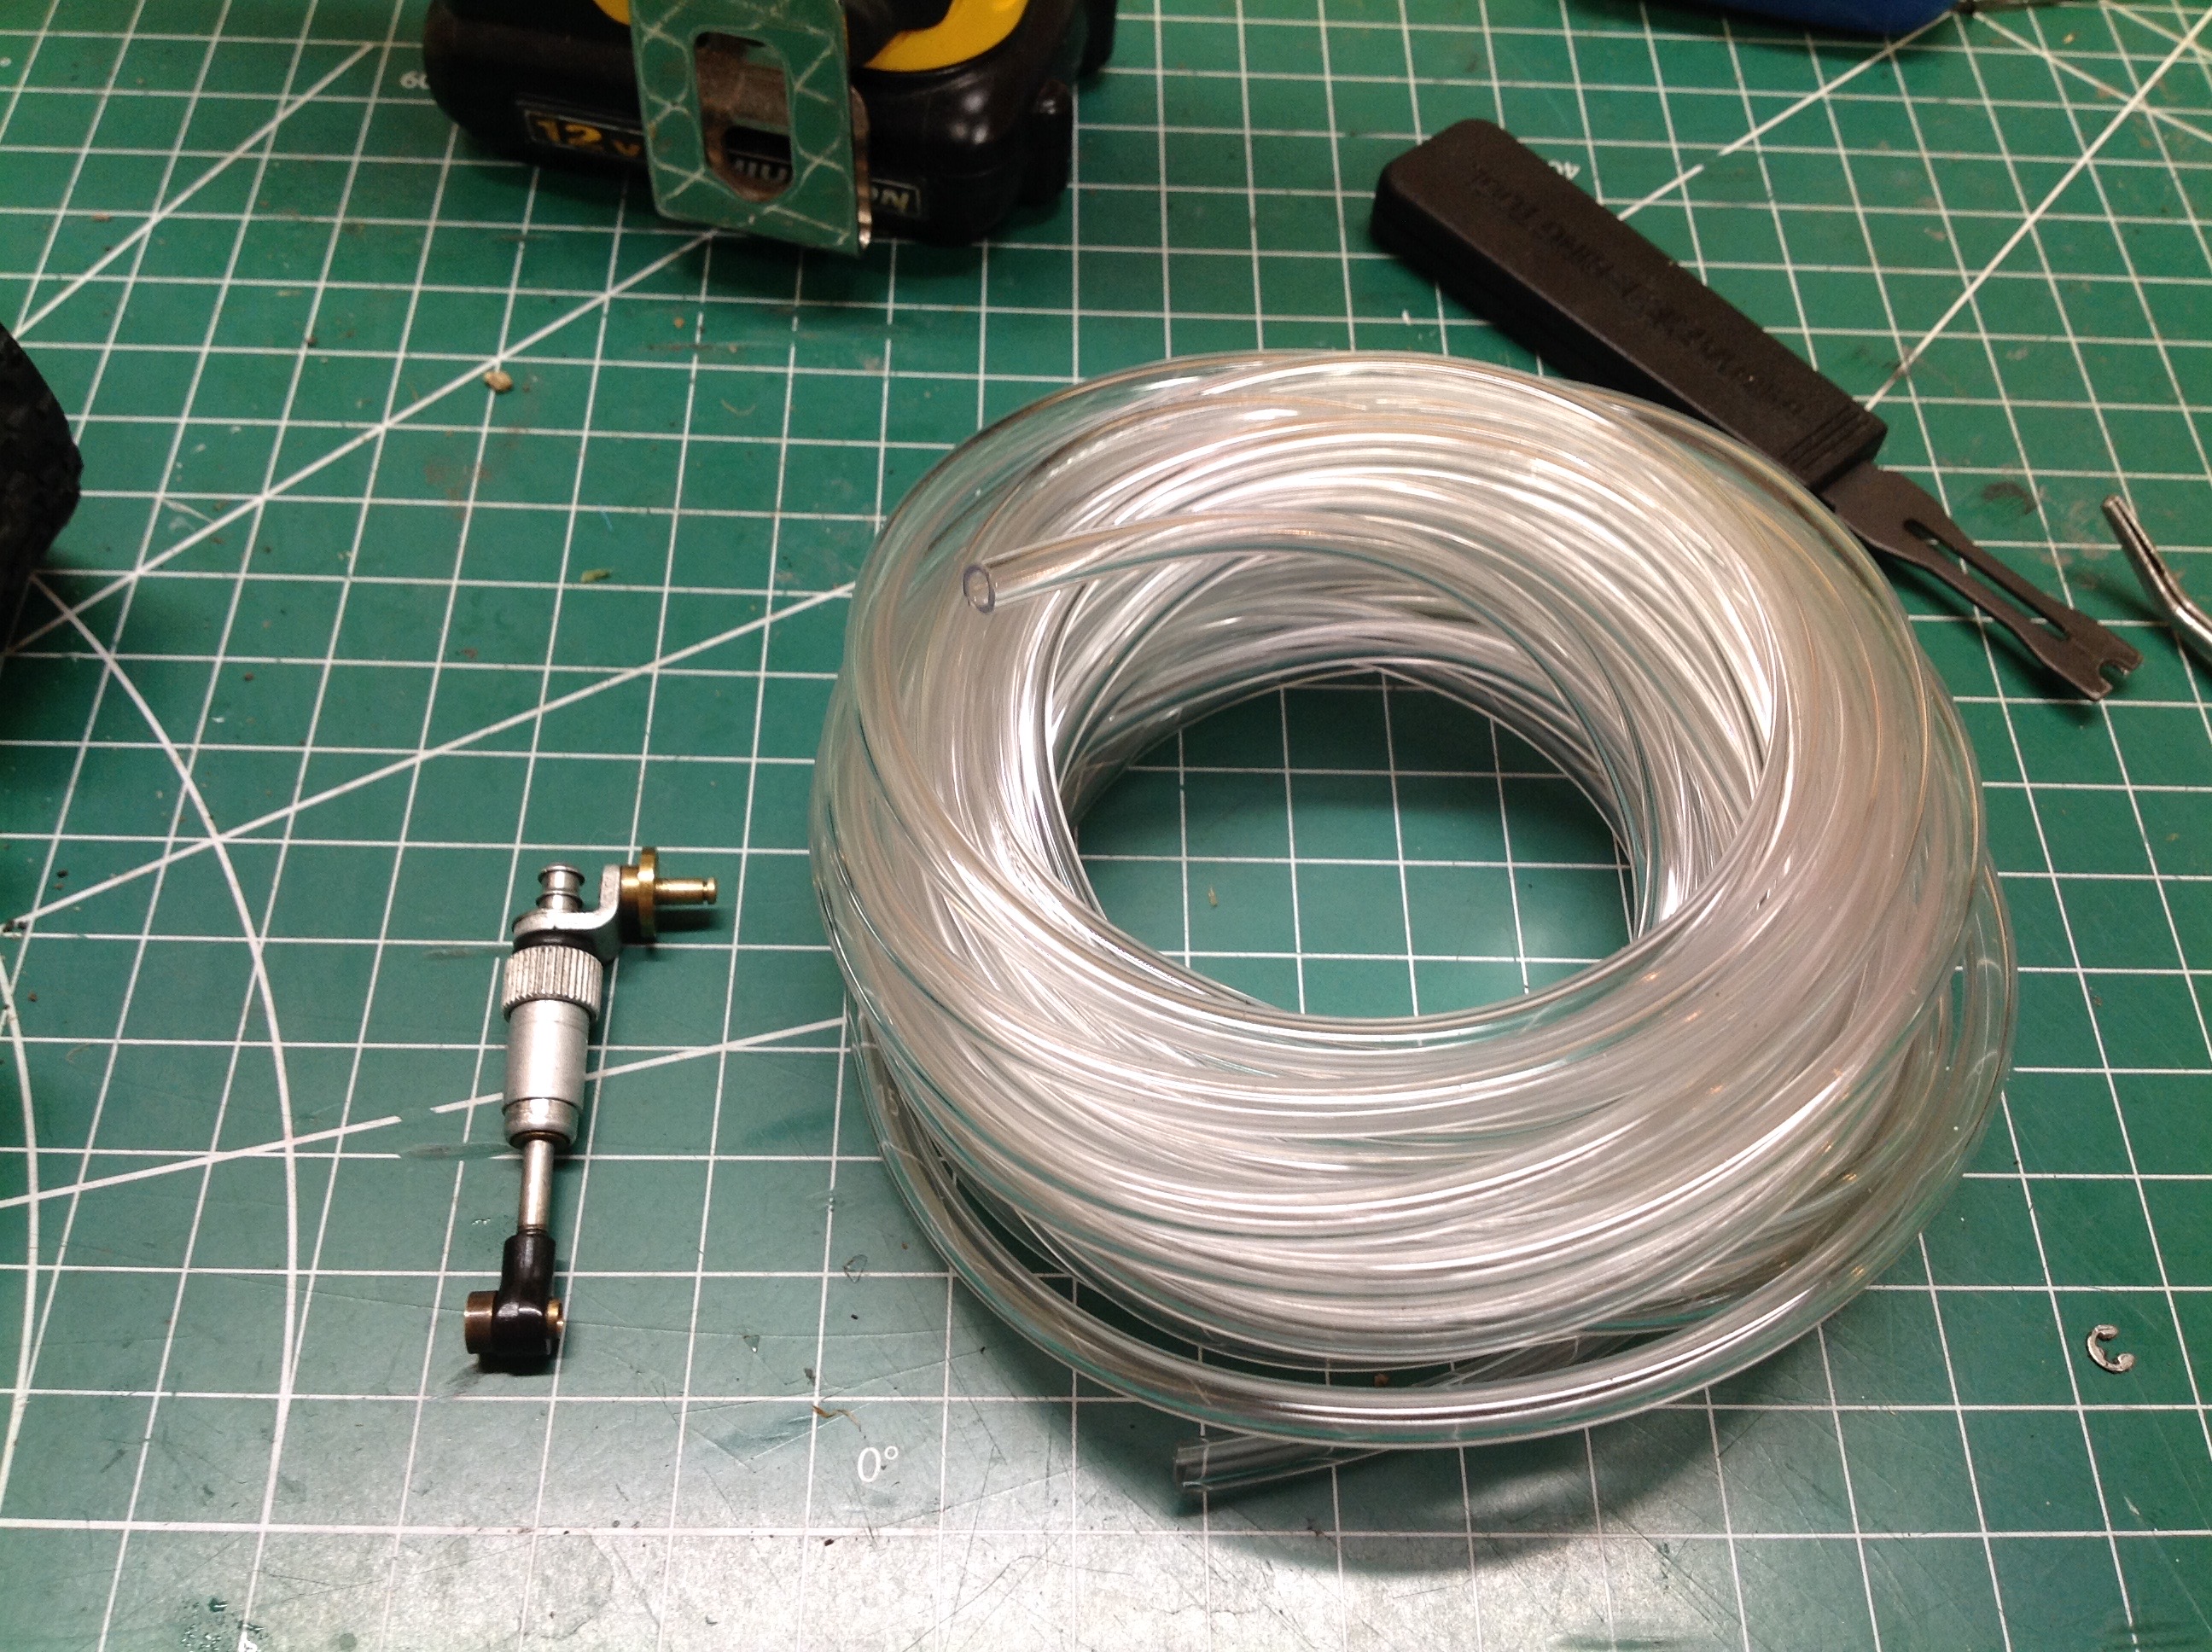
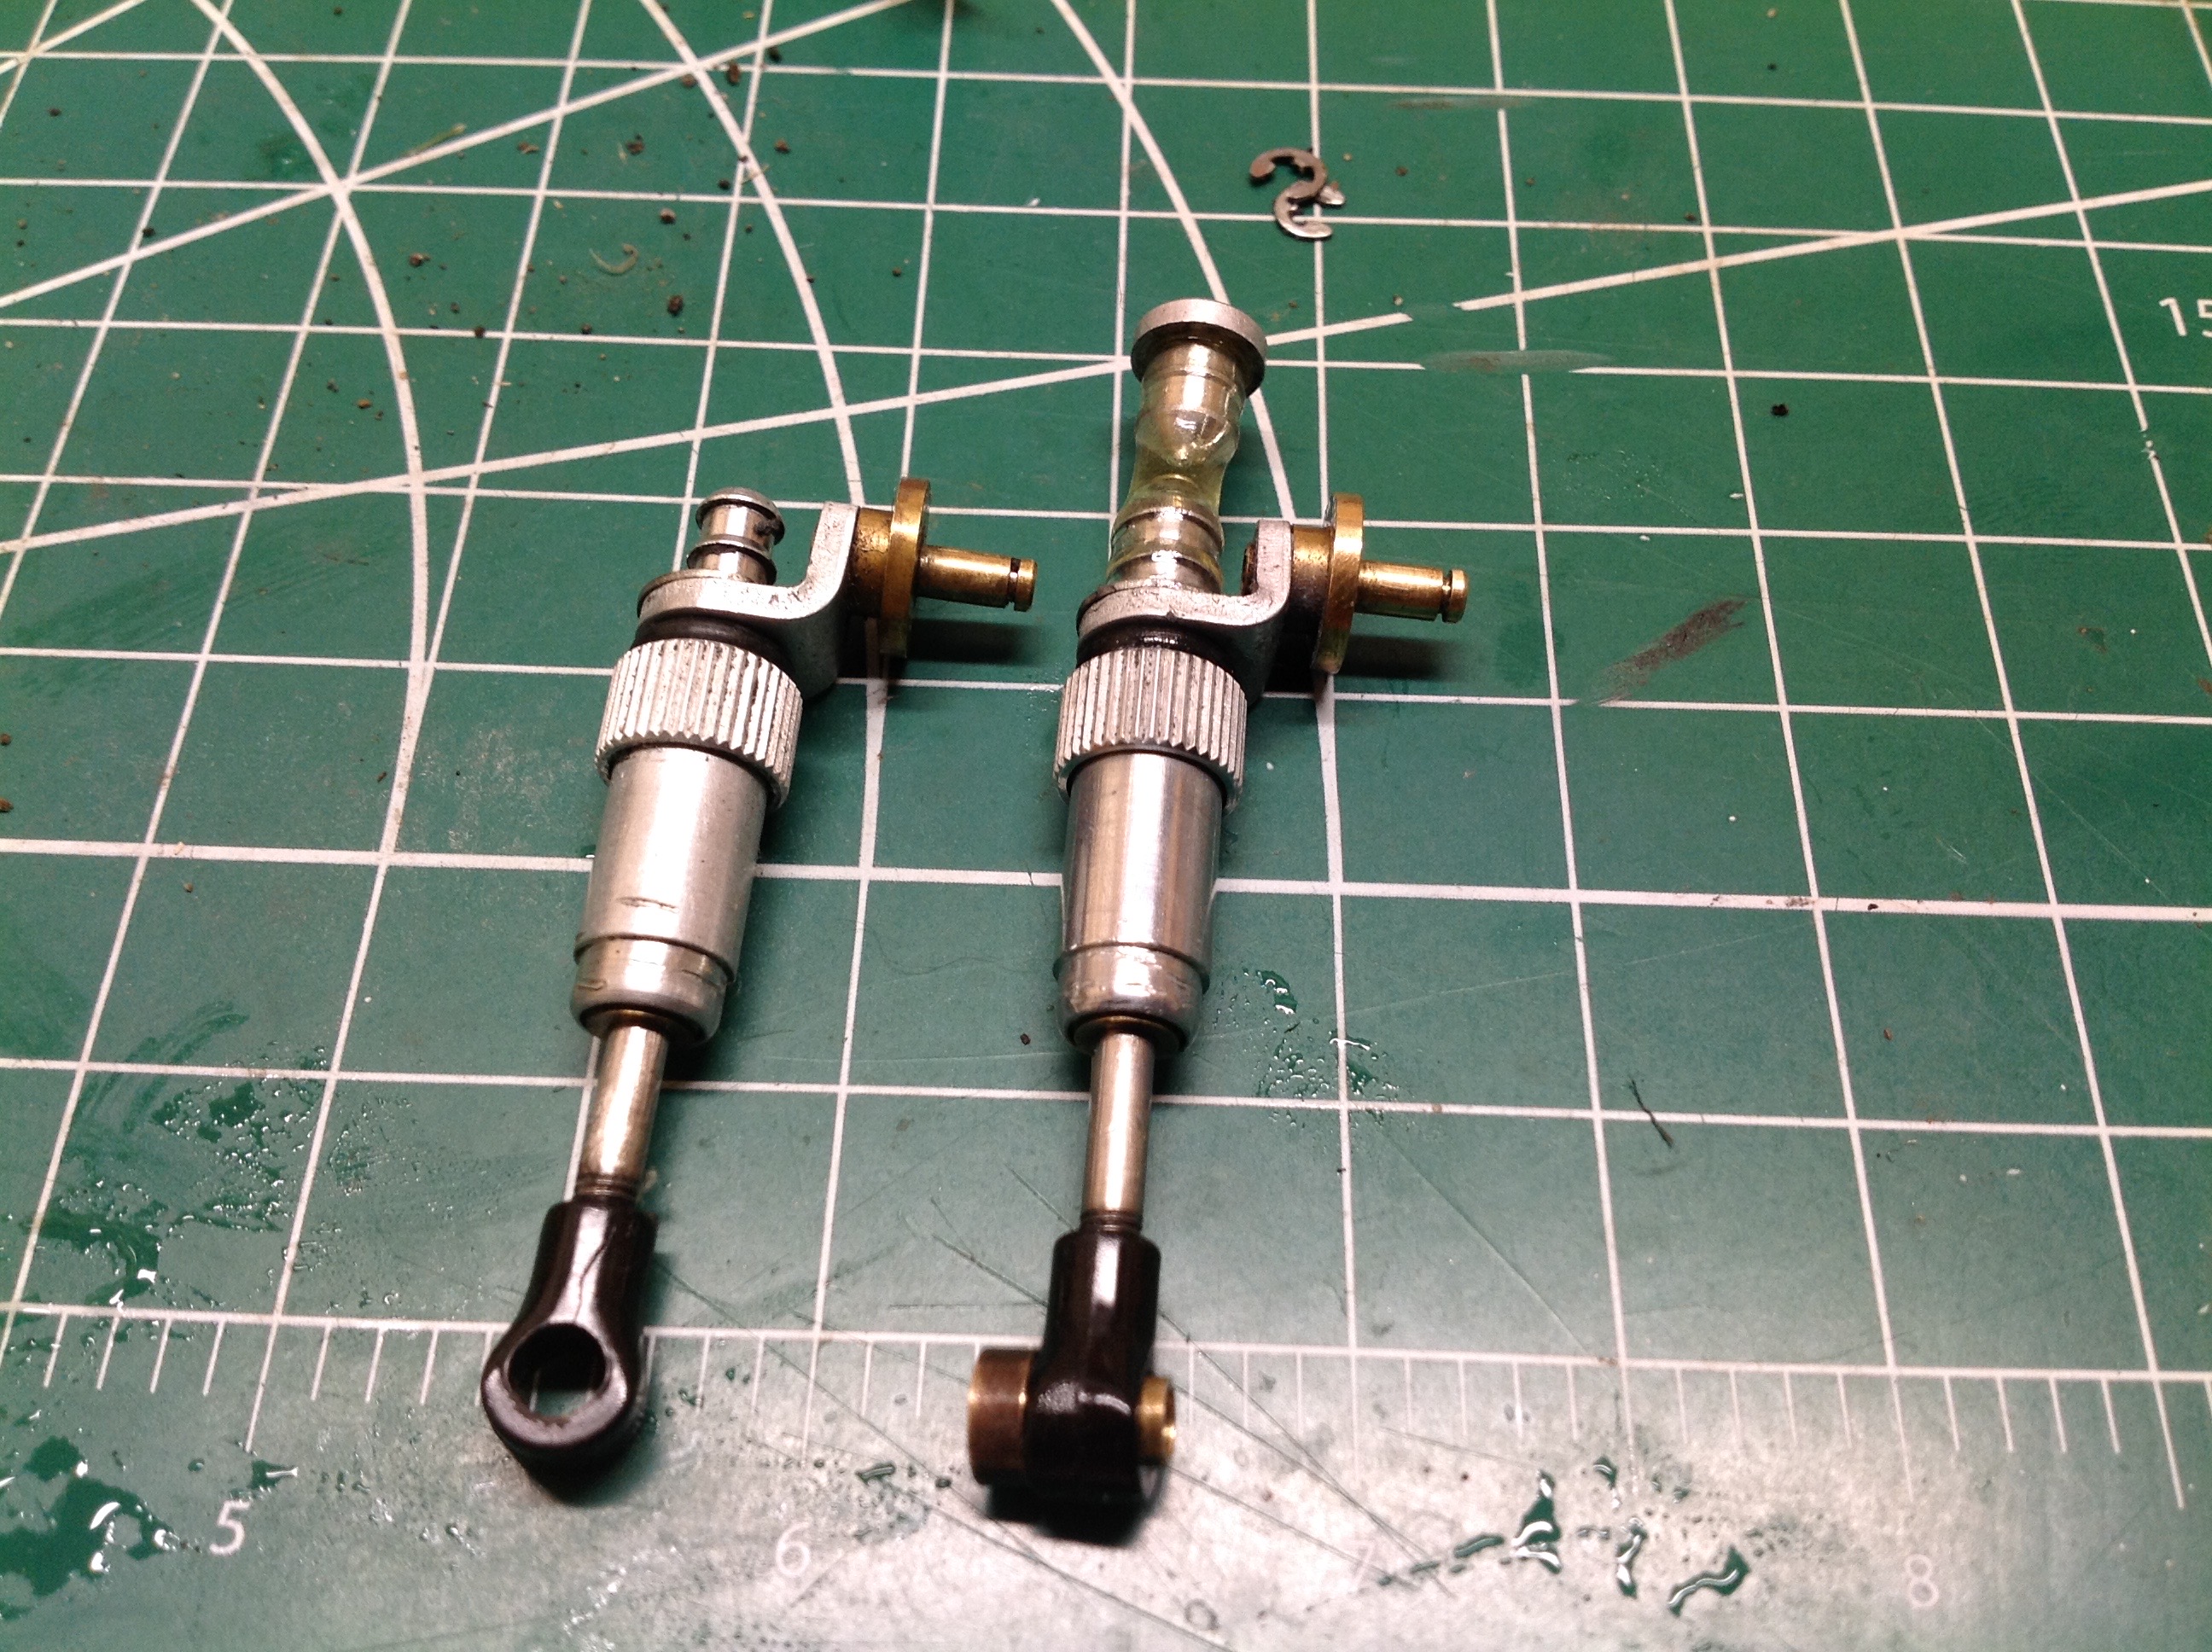
I also bought this roll of silicone tubing which contains rather more
than I need. On the right you can see it installed. The
right picture also compares an original faded shock with one that had
been shined up with some metal polish.
©2022 Eric Albrecht