Cross RC BC8 Project
Page 5: Building the Tank
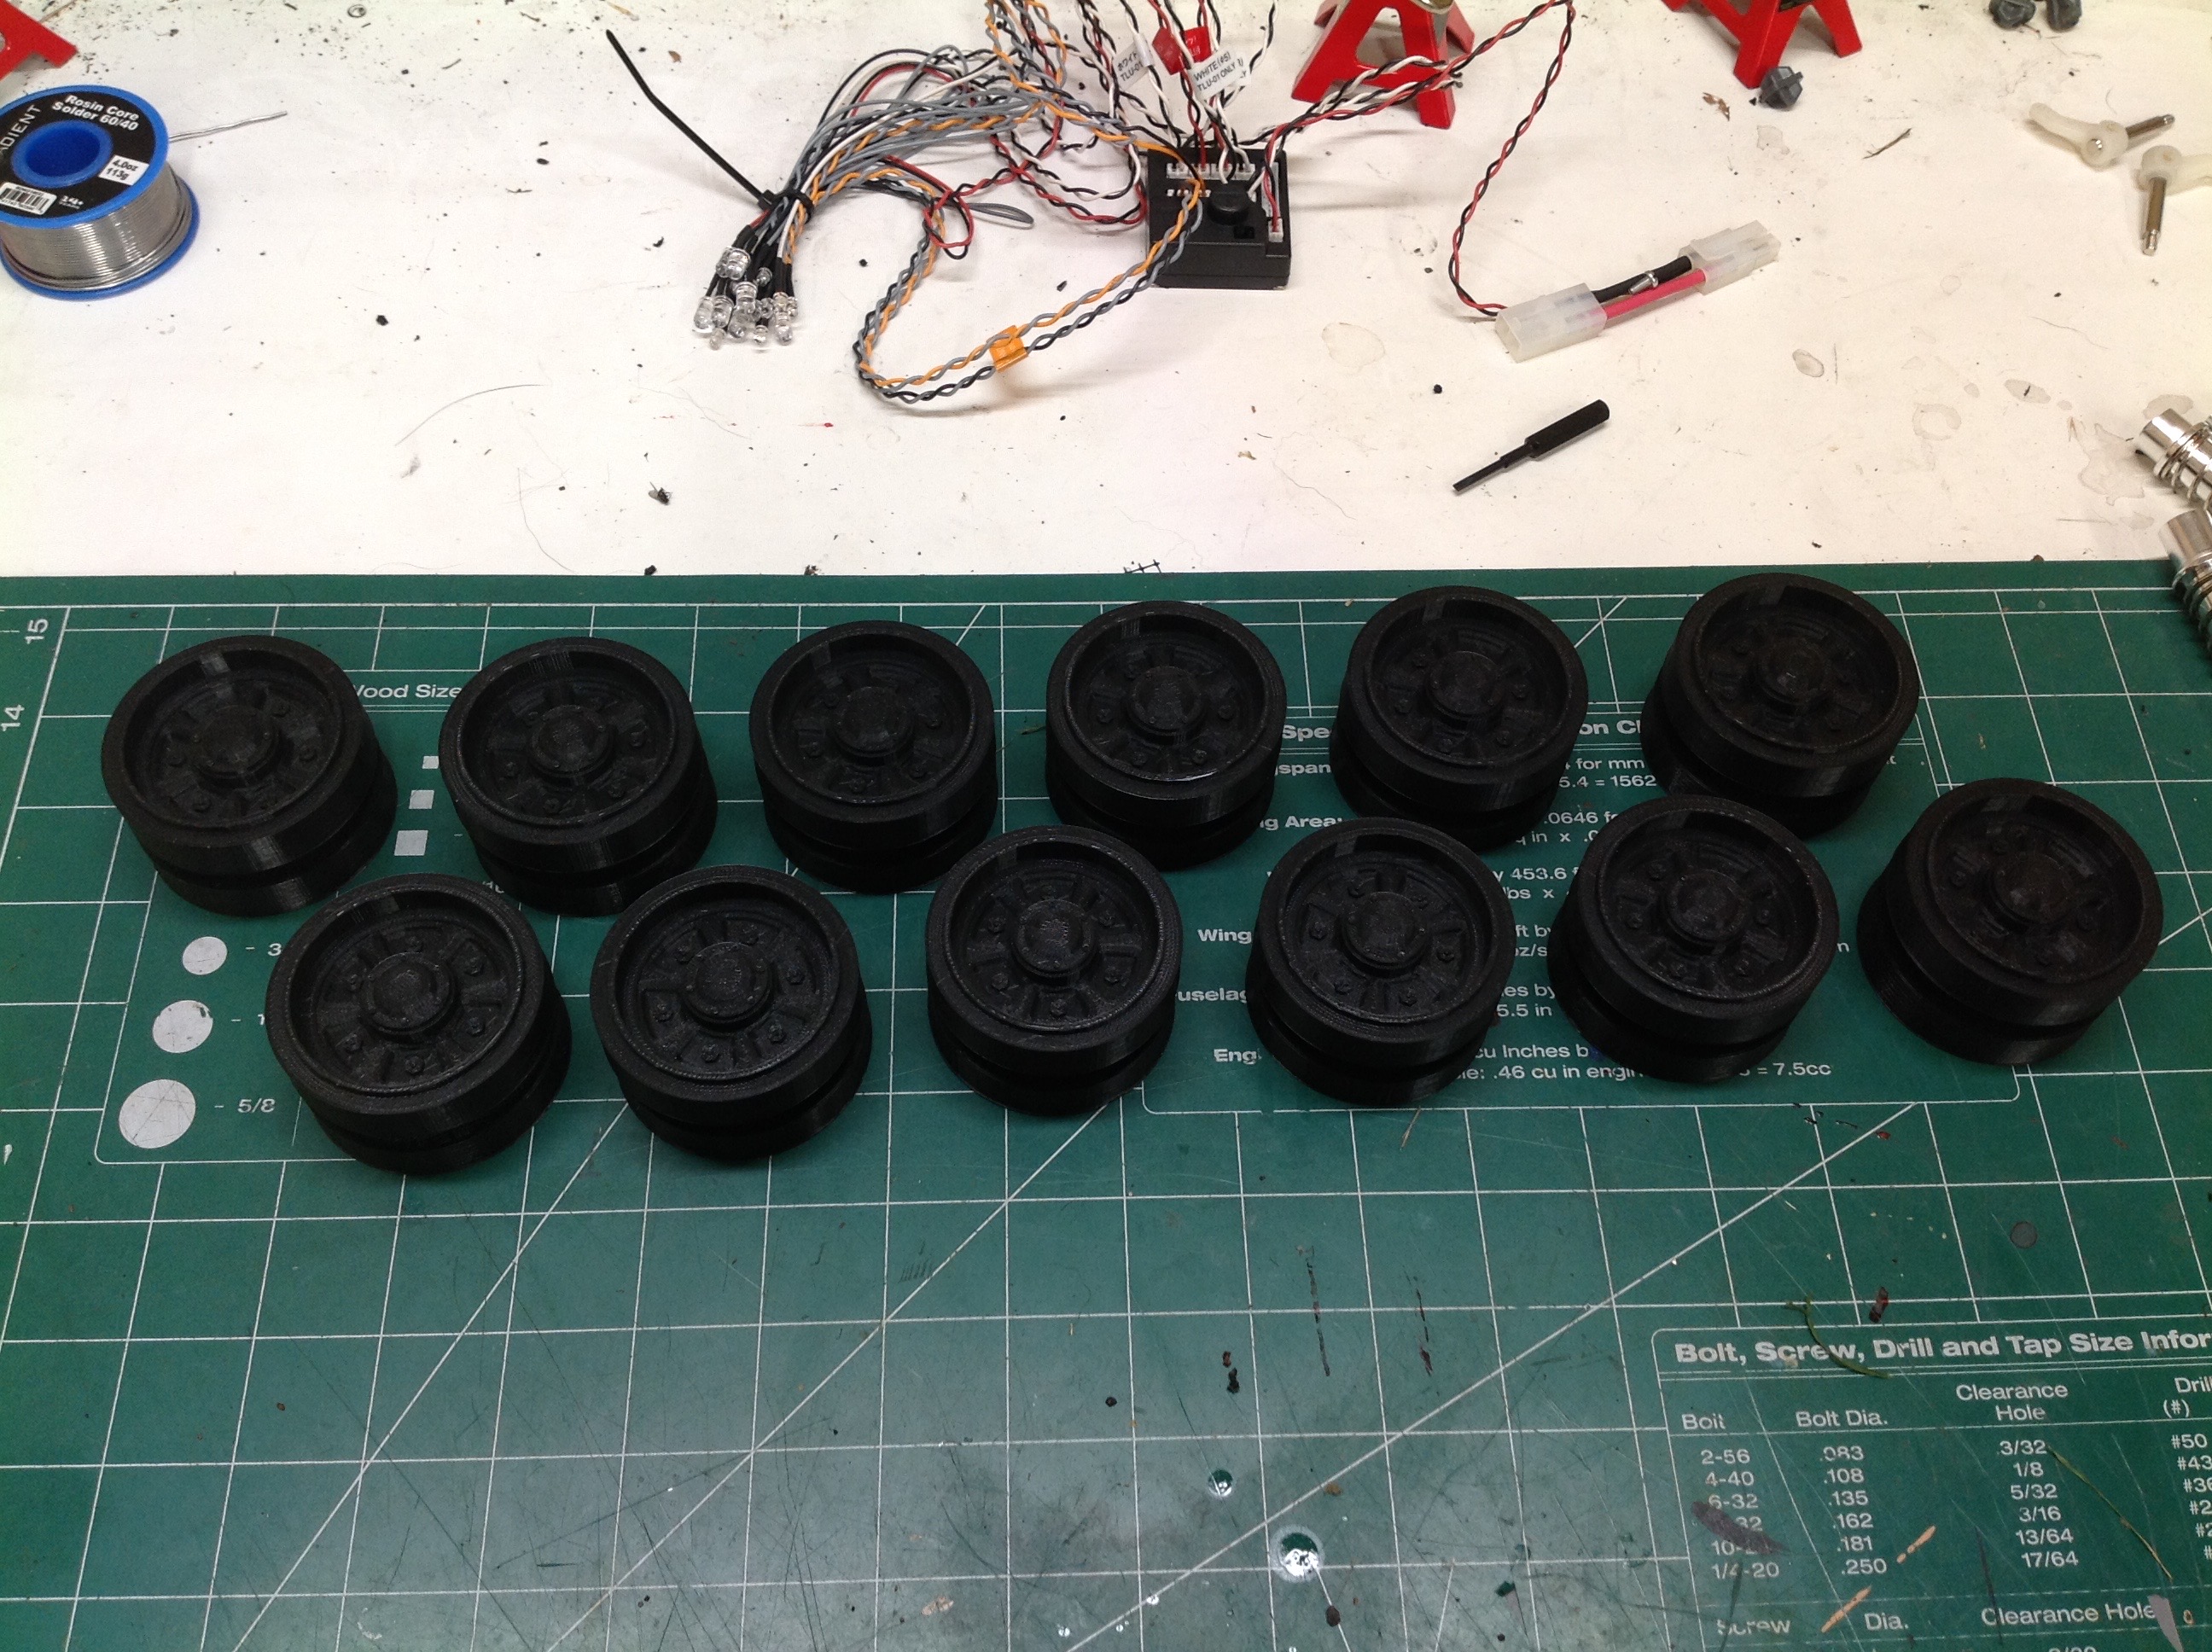
This huge tank came in a big box with each logical group of parts taped
together. All parts are printed in black with a reasonably fine
finish and a lot of detail. The stacks you see here are the 12
road wheels which each come in 2 parts. On the right I've glued
each pair together. They are made in 2 parts to allow the central
groove for the tracks.
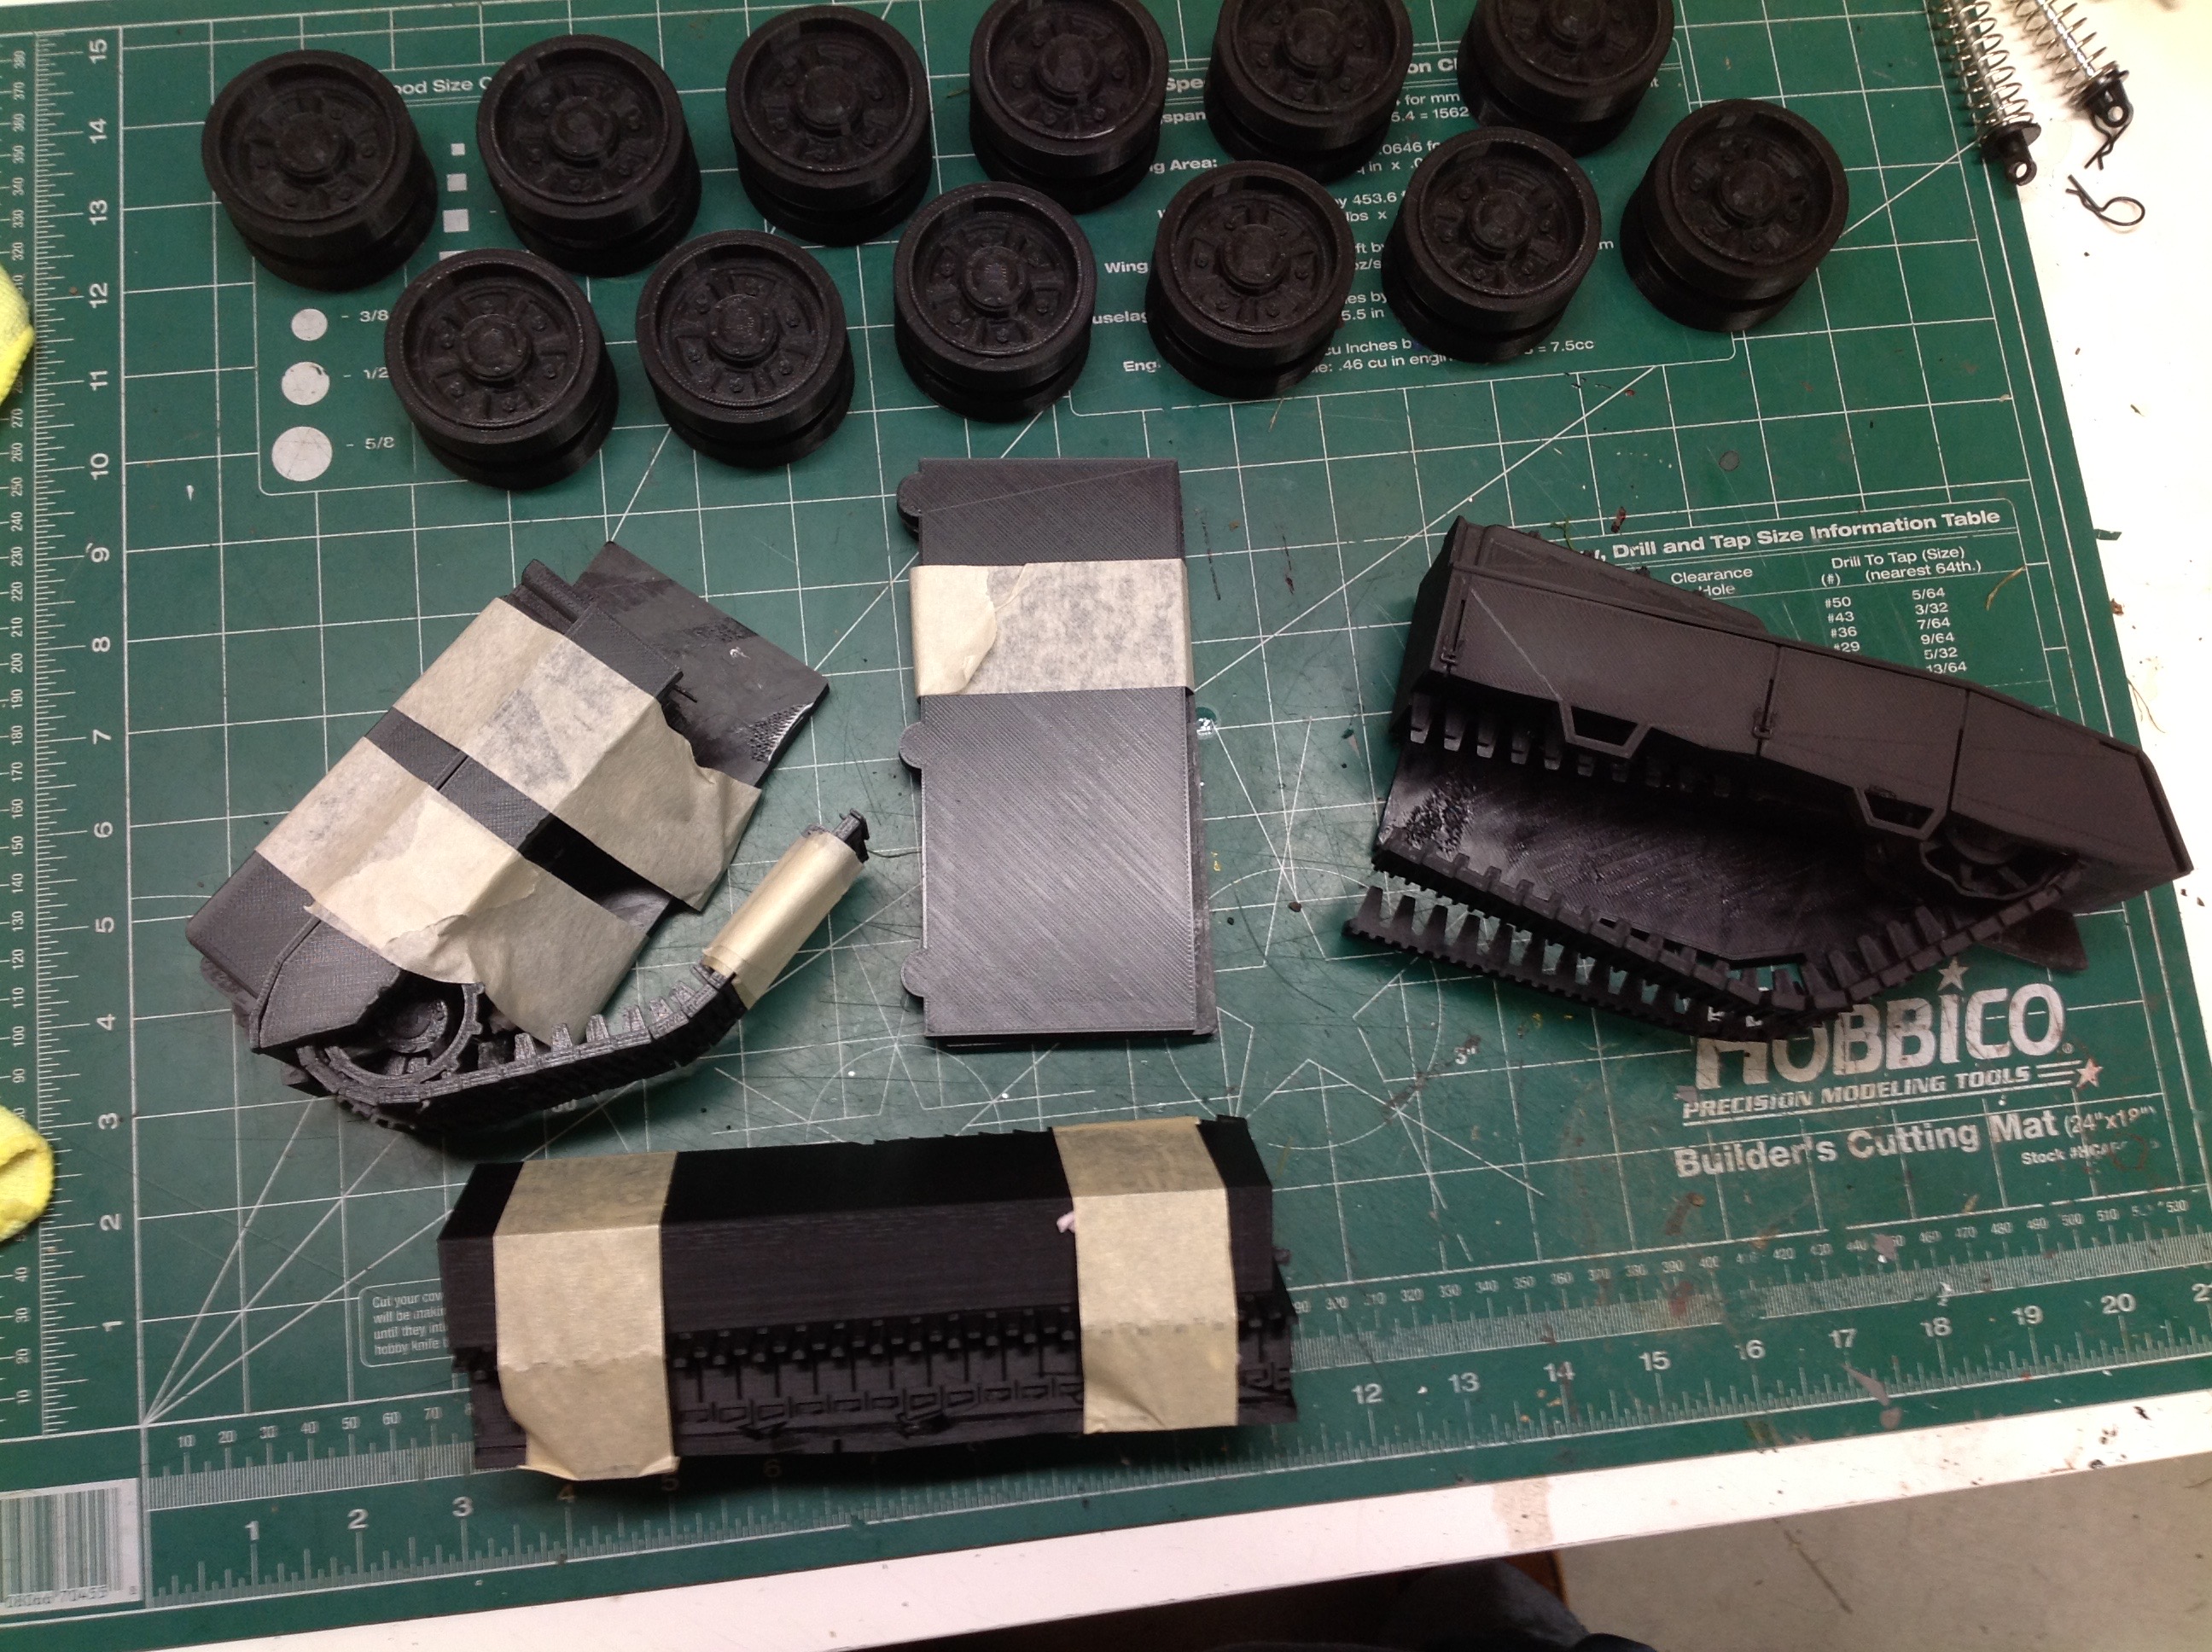
Next I'll build what I'm calling one of the "sponsons". This is a
full side assembly including hull, sprockets, road wheels, and
tracks. It is assembled in large chunks: 3 along the length and 2
along the thickness. 3 smaller parts are assembled behind the
skirts to provide supports for each road wheel and sprocket. There
are no individual track links. The tracks are printed in long
strips and glued together.
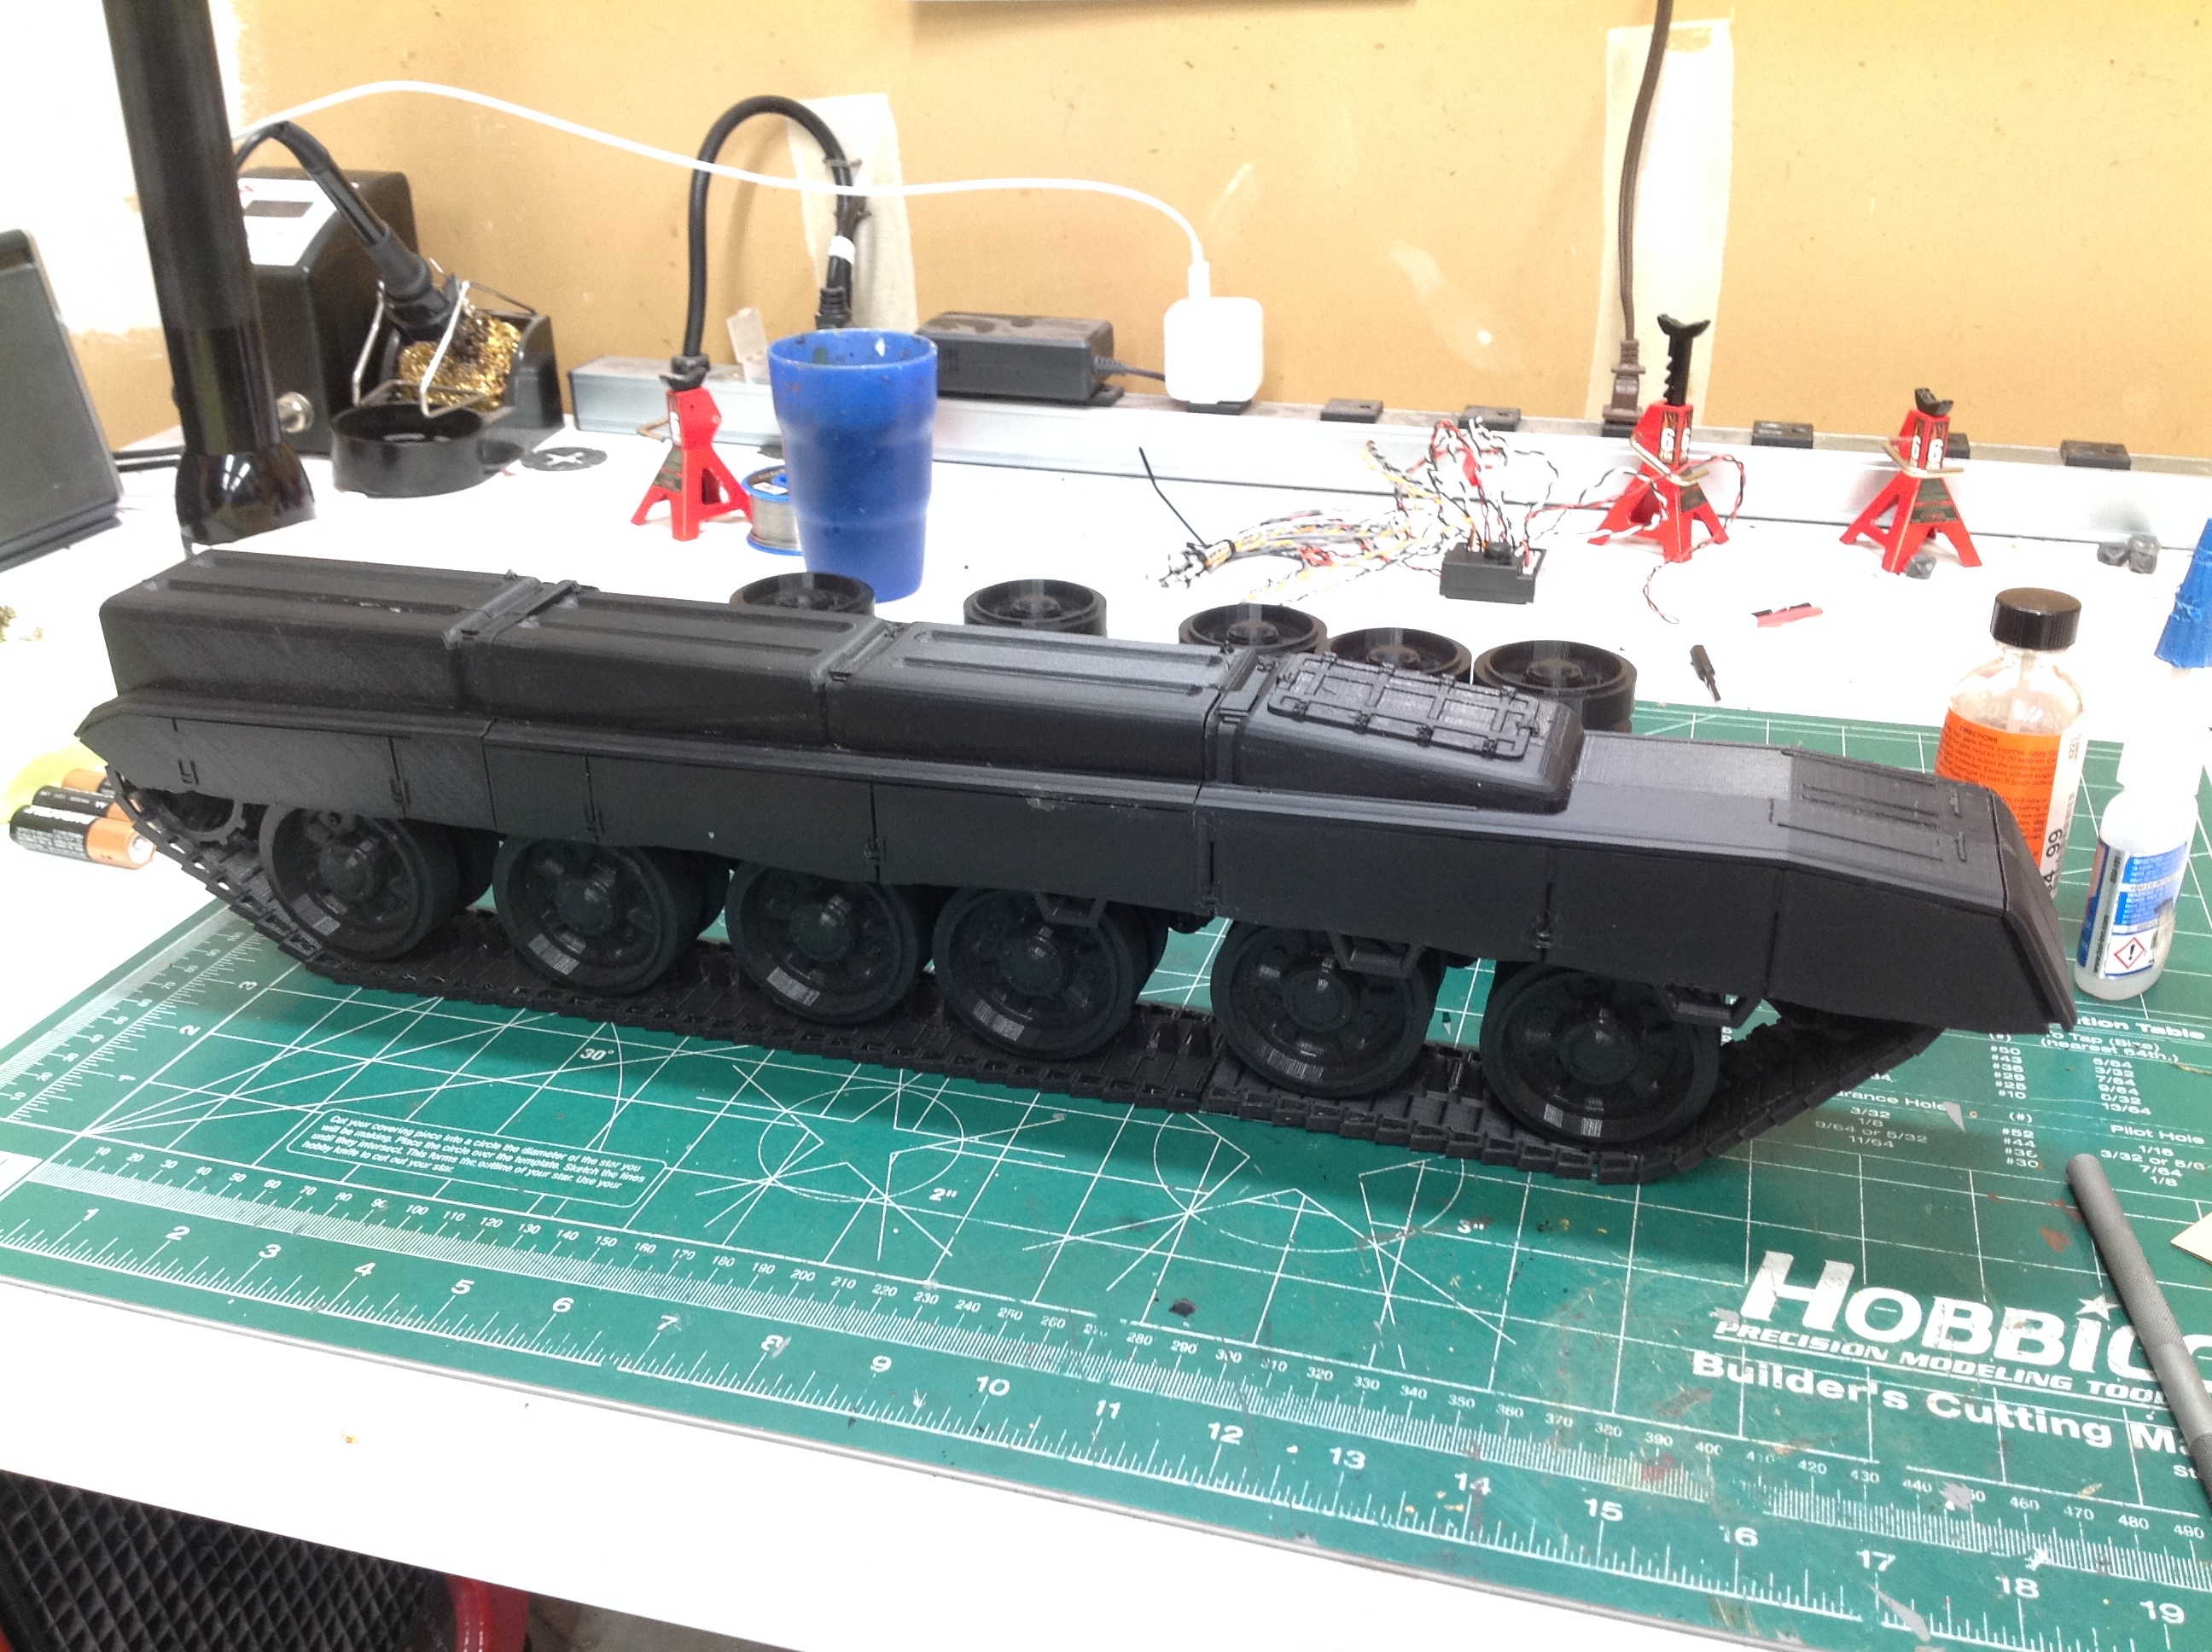
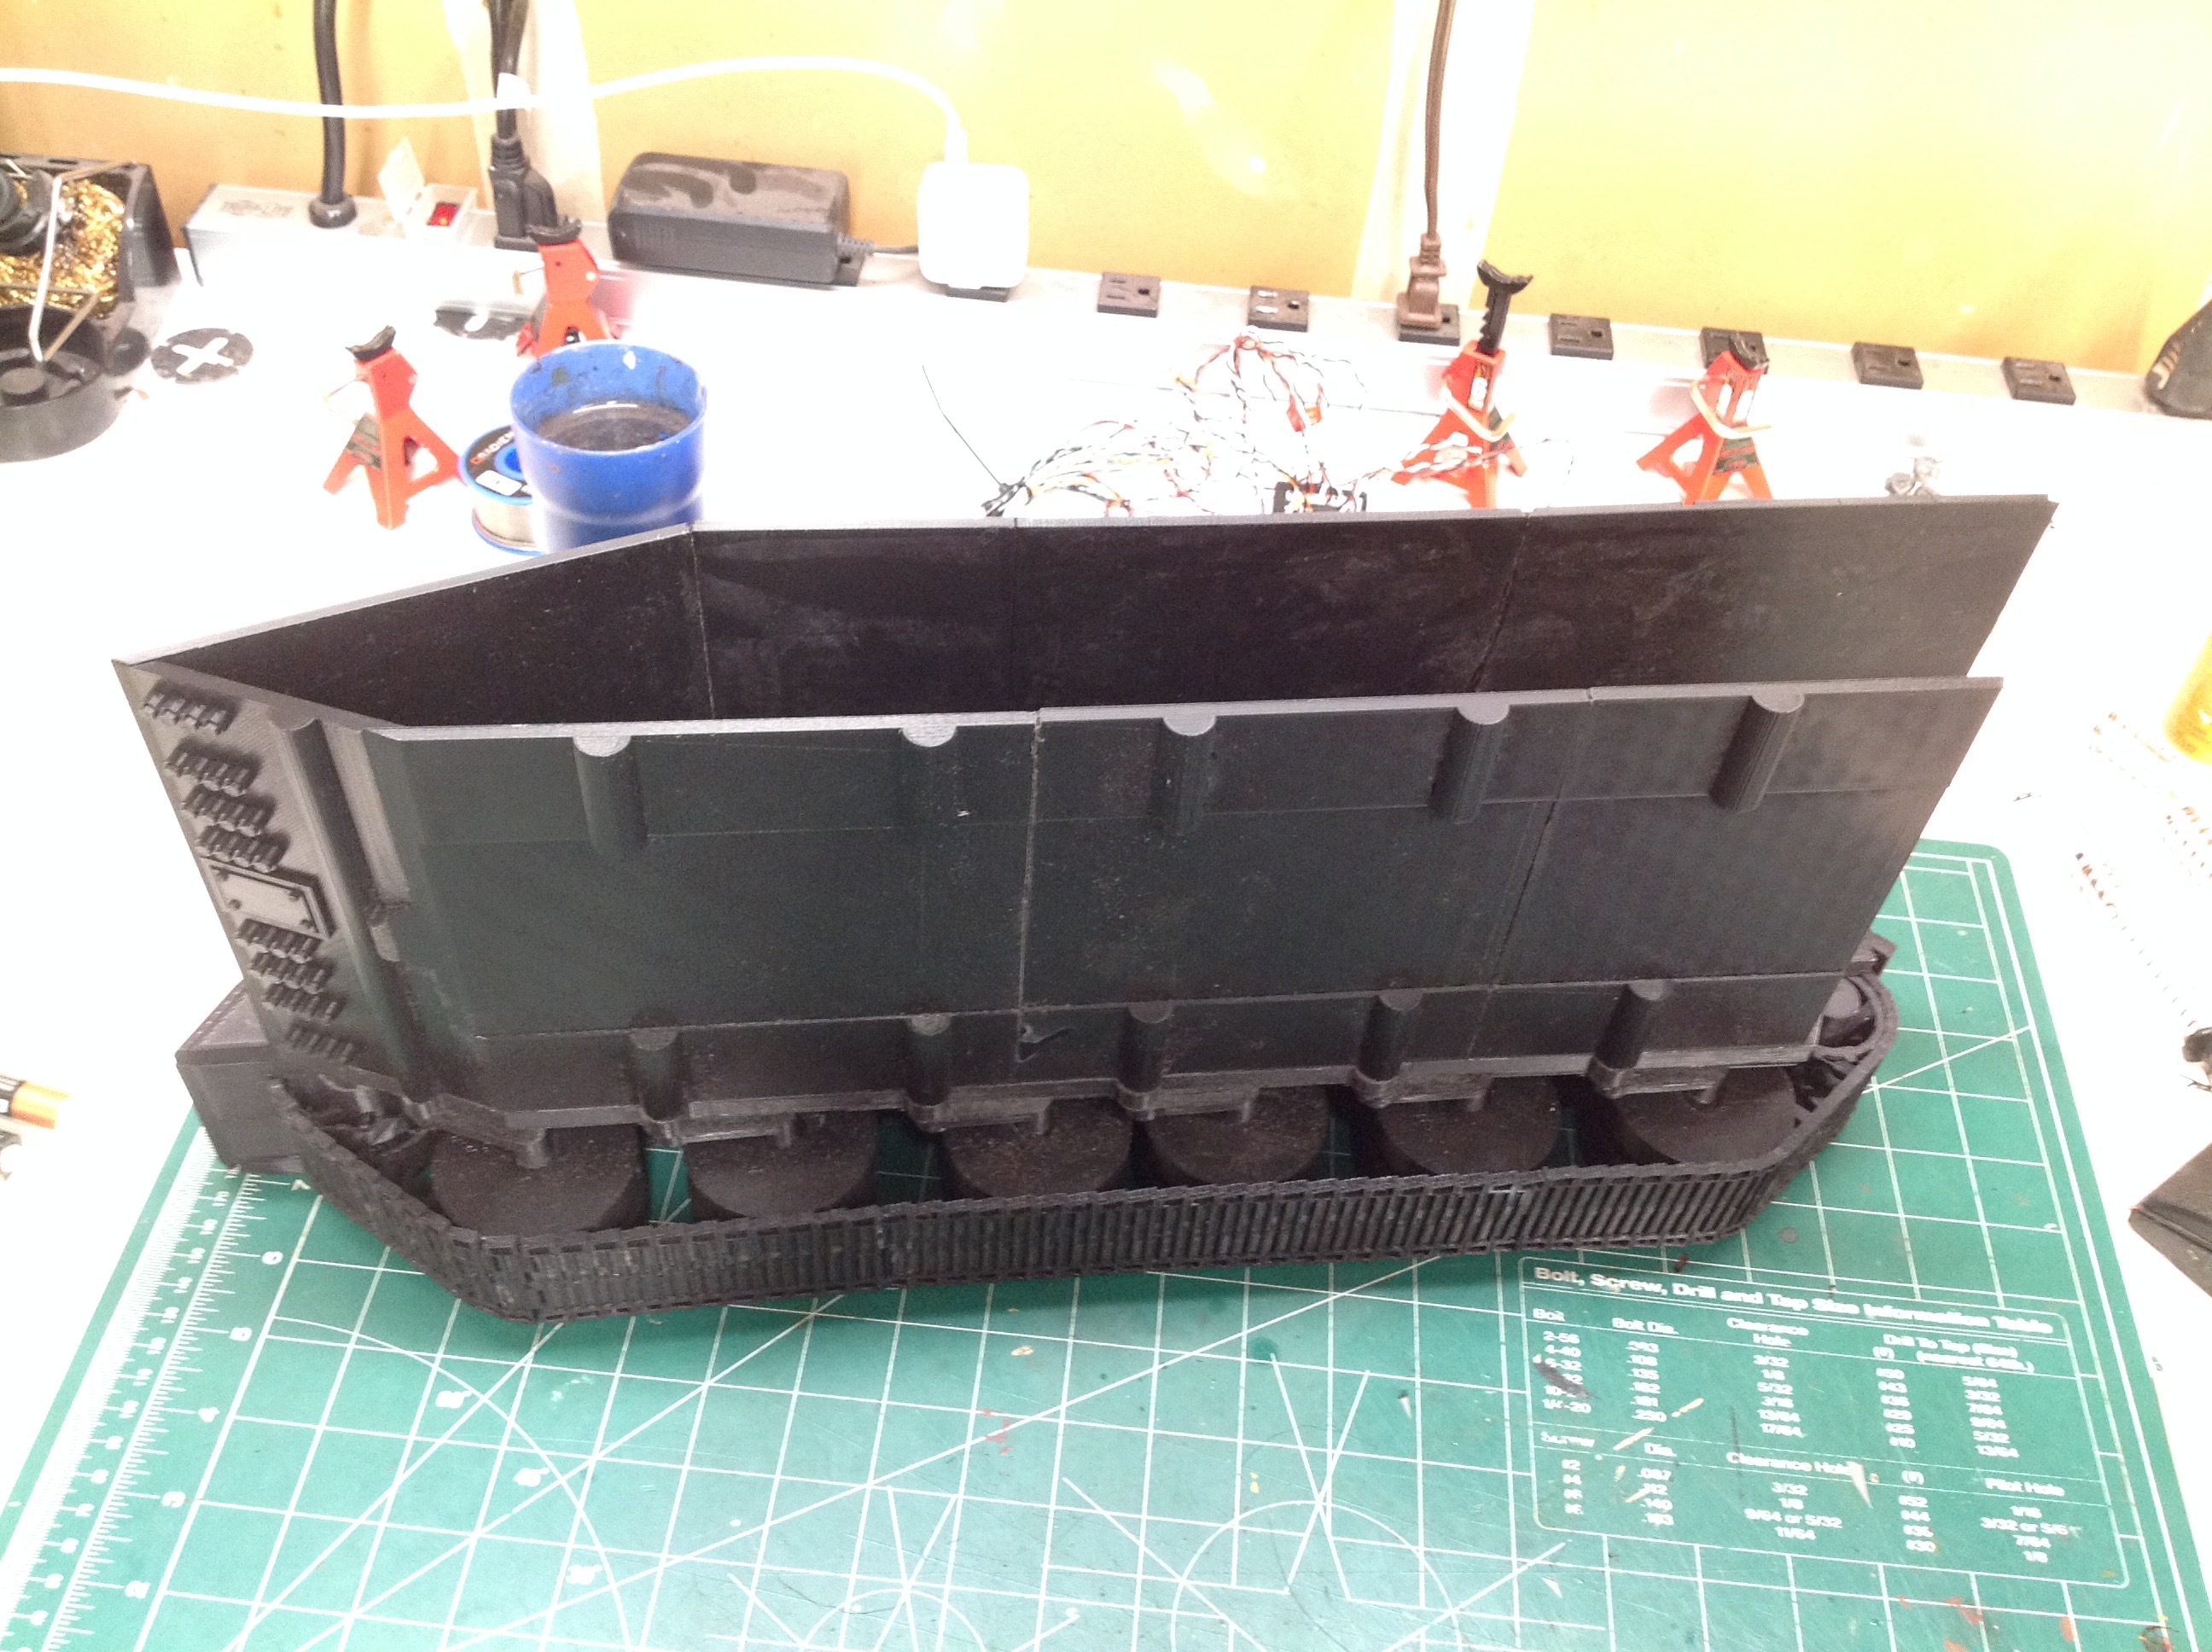
Here is one of the sponsons shown from the back. The flat surface
you see is used as the base for a bunch of plates which make up the
central hull. As you can see, the hull in hollow in the
middle. I feel like there should have been at least one central
support, but once everything is glued together it seems pretty sturdy.
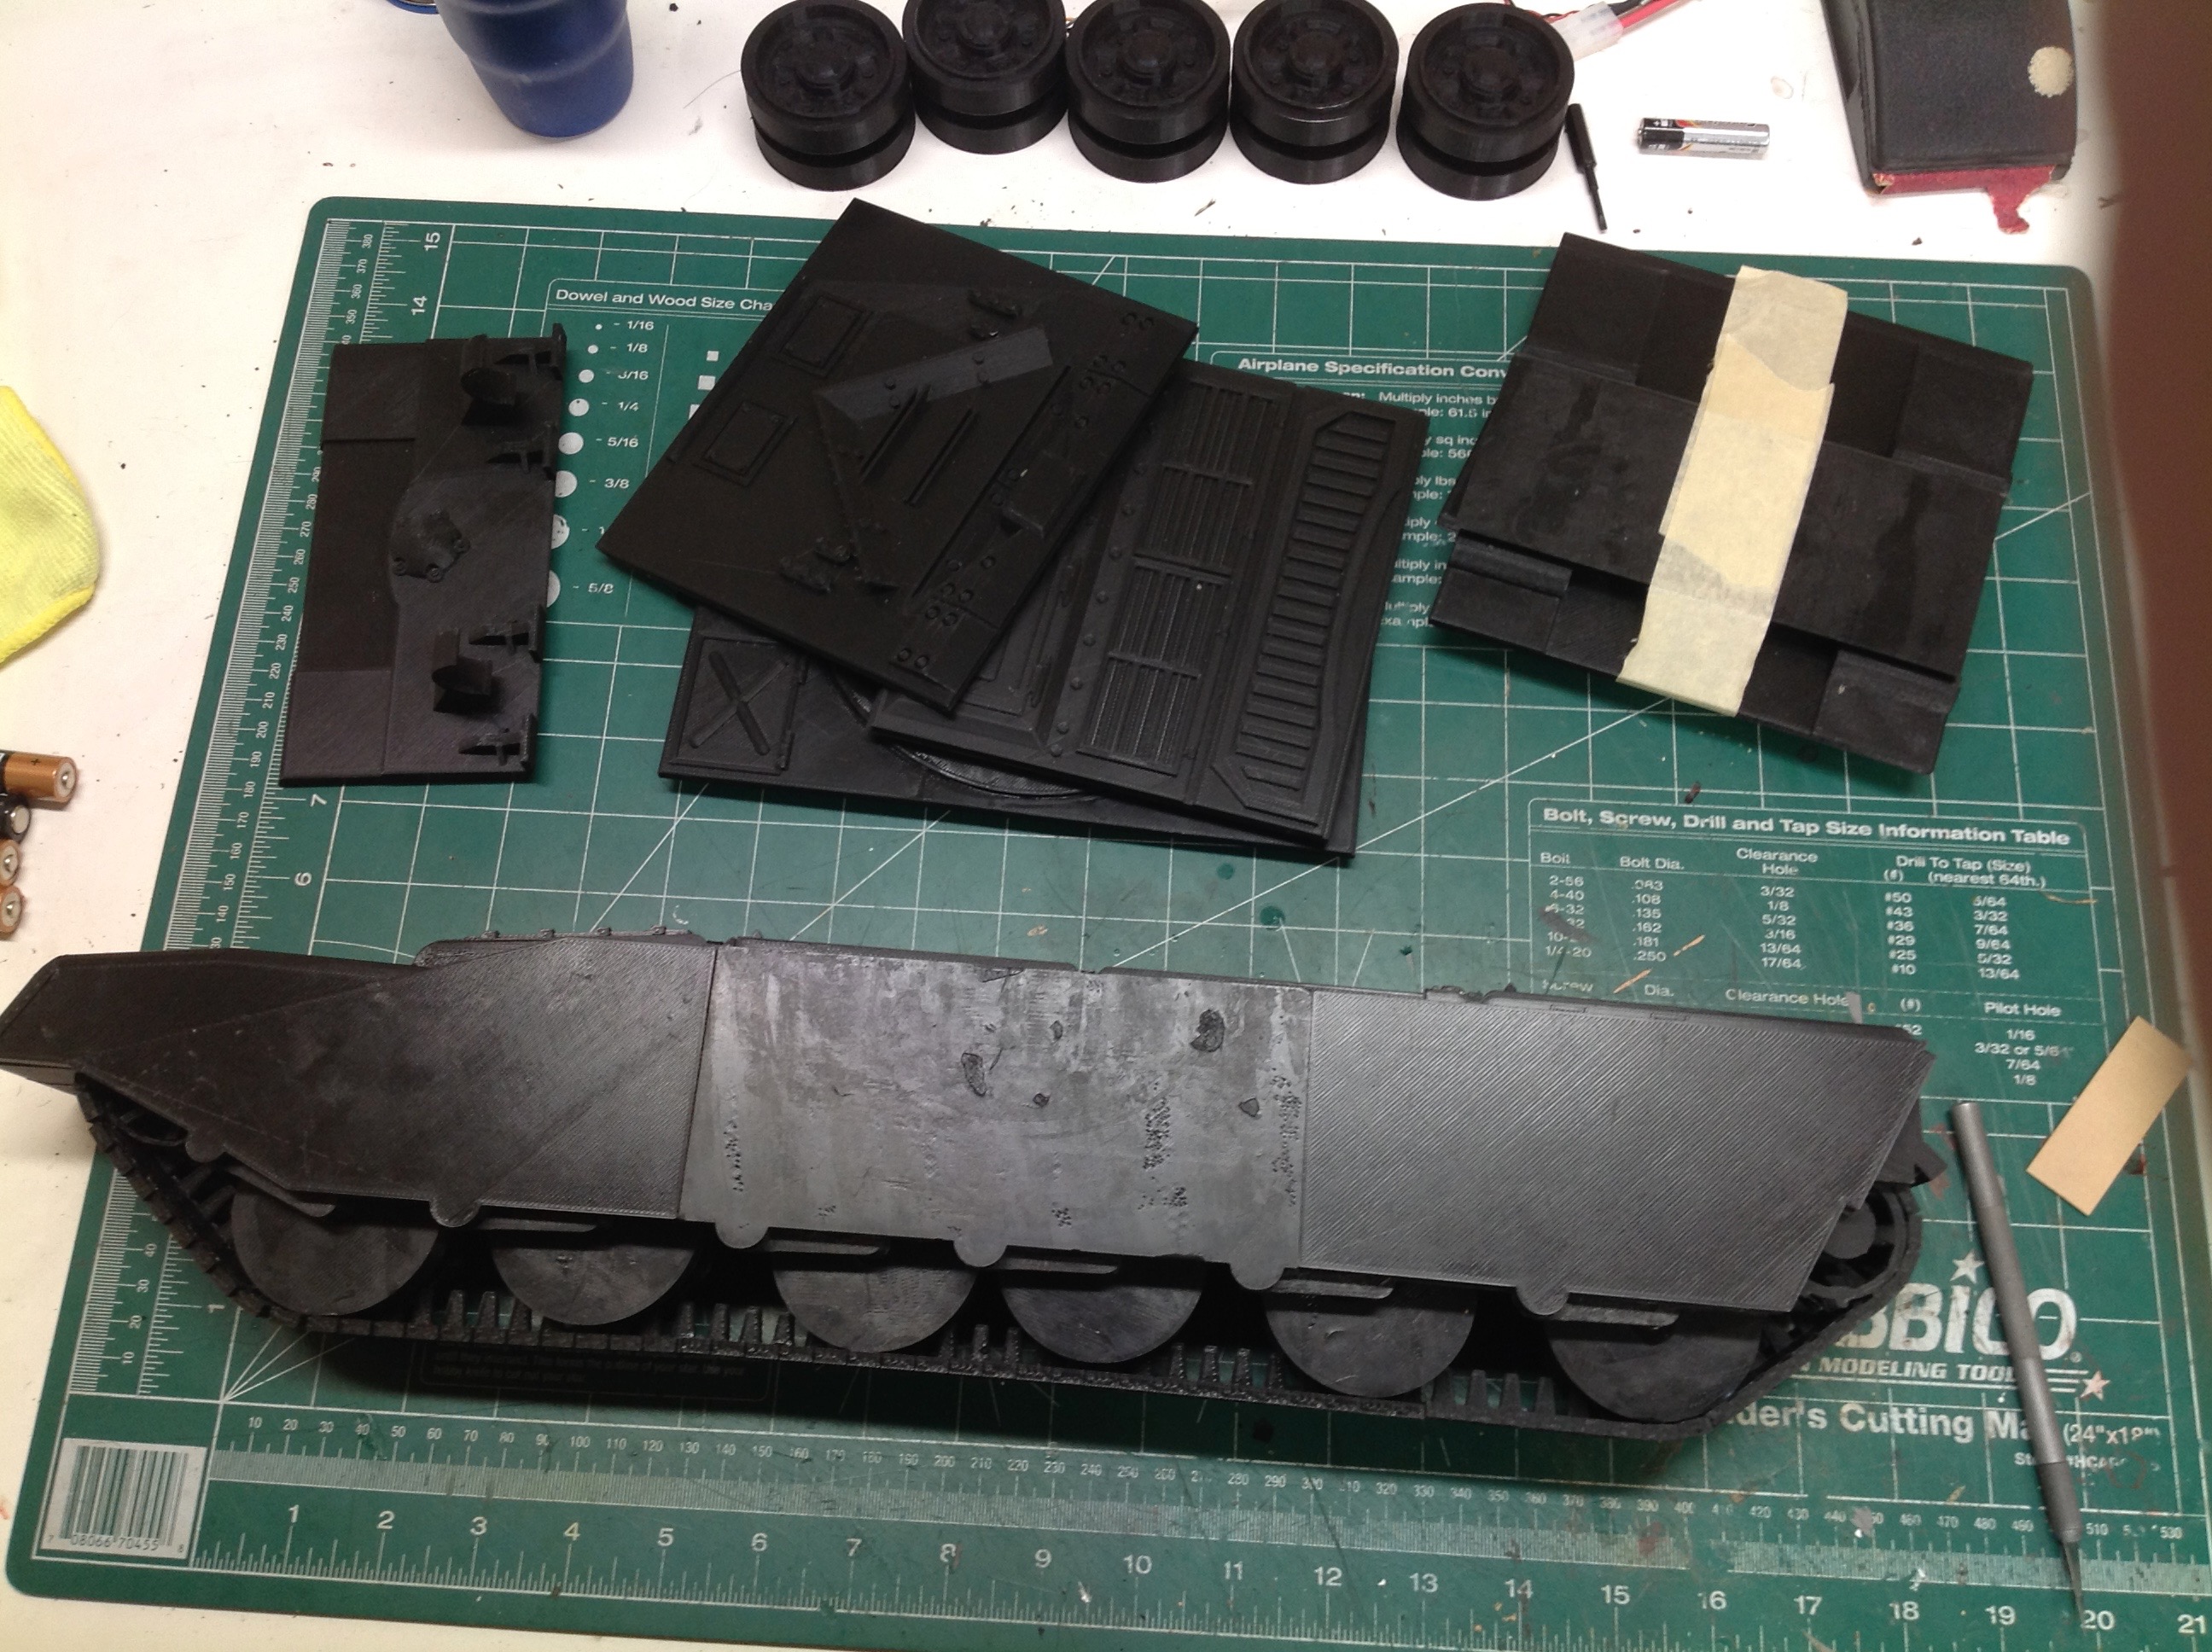
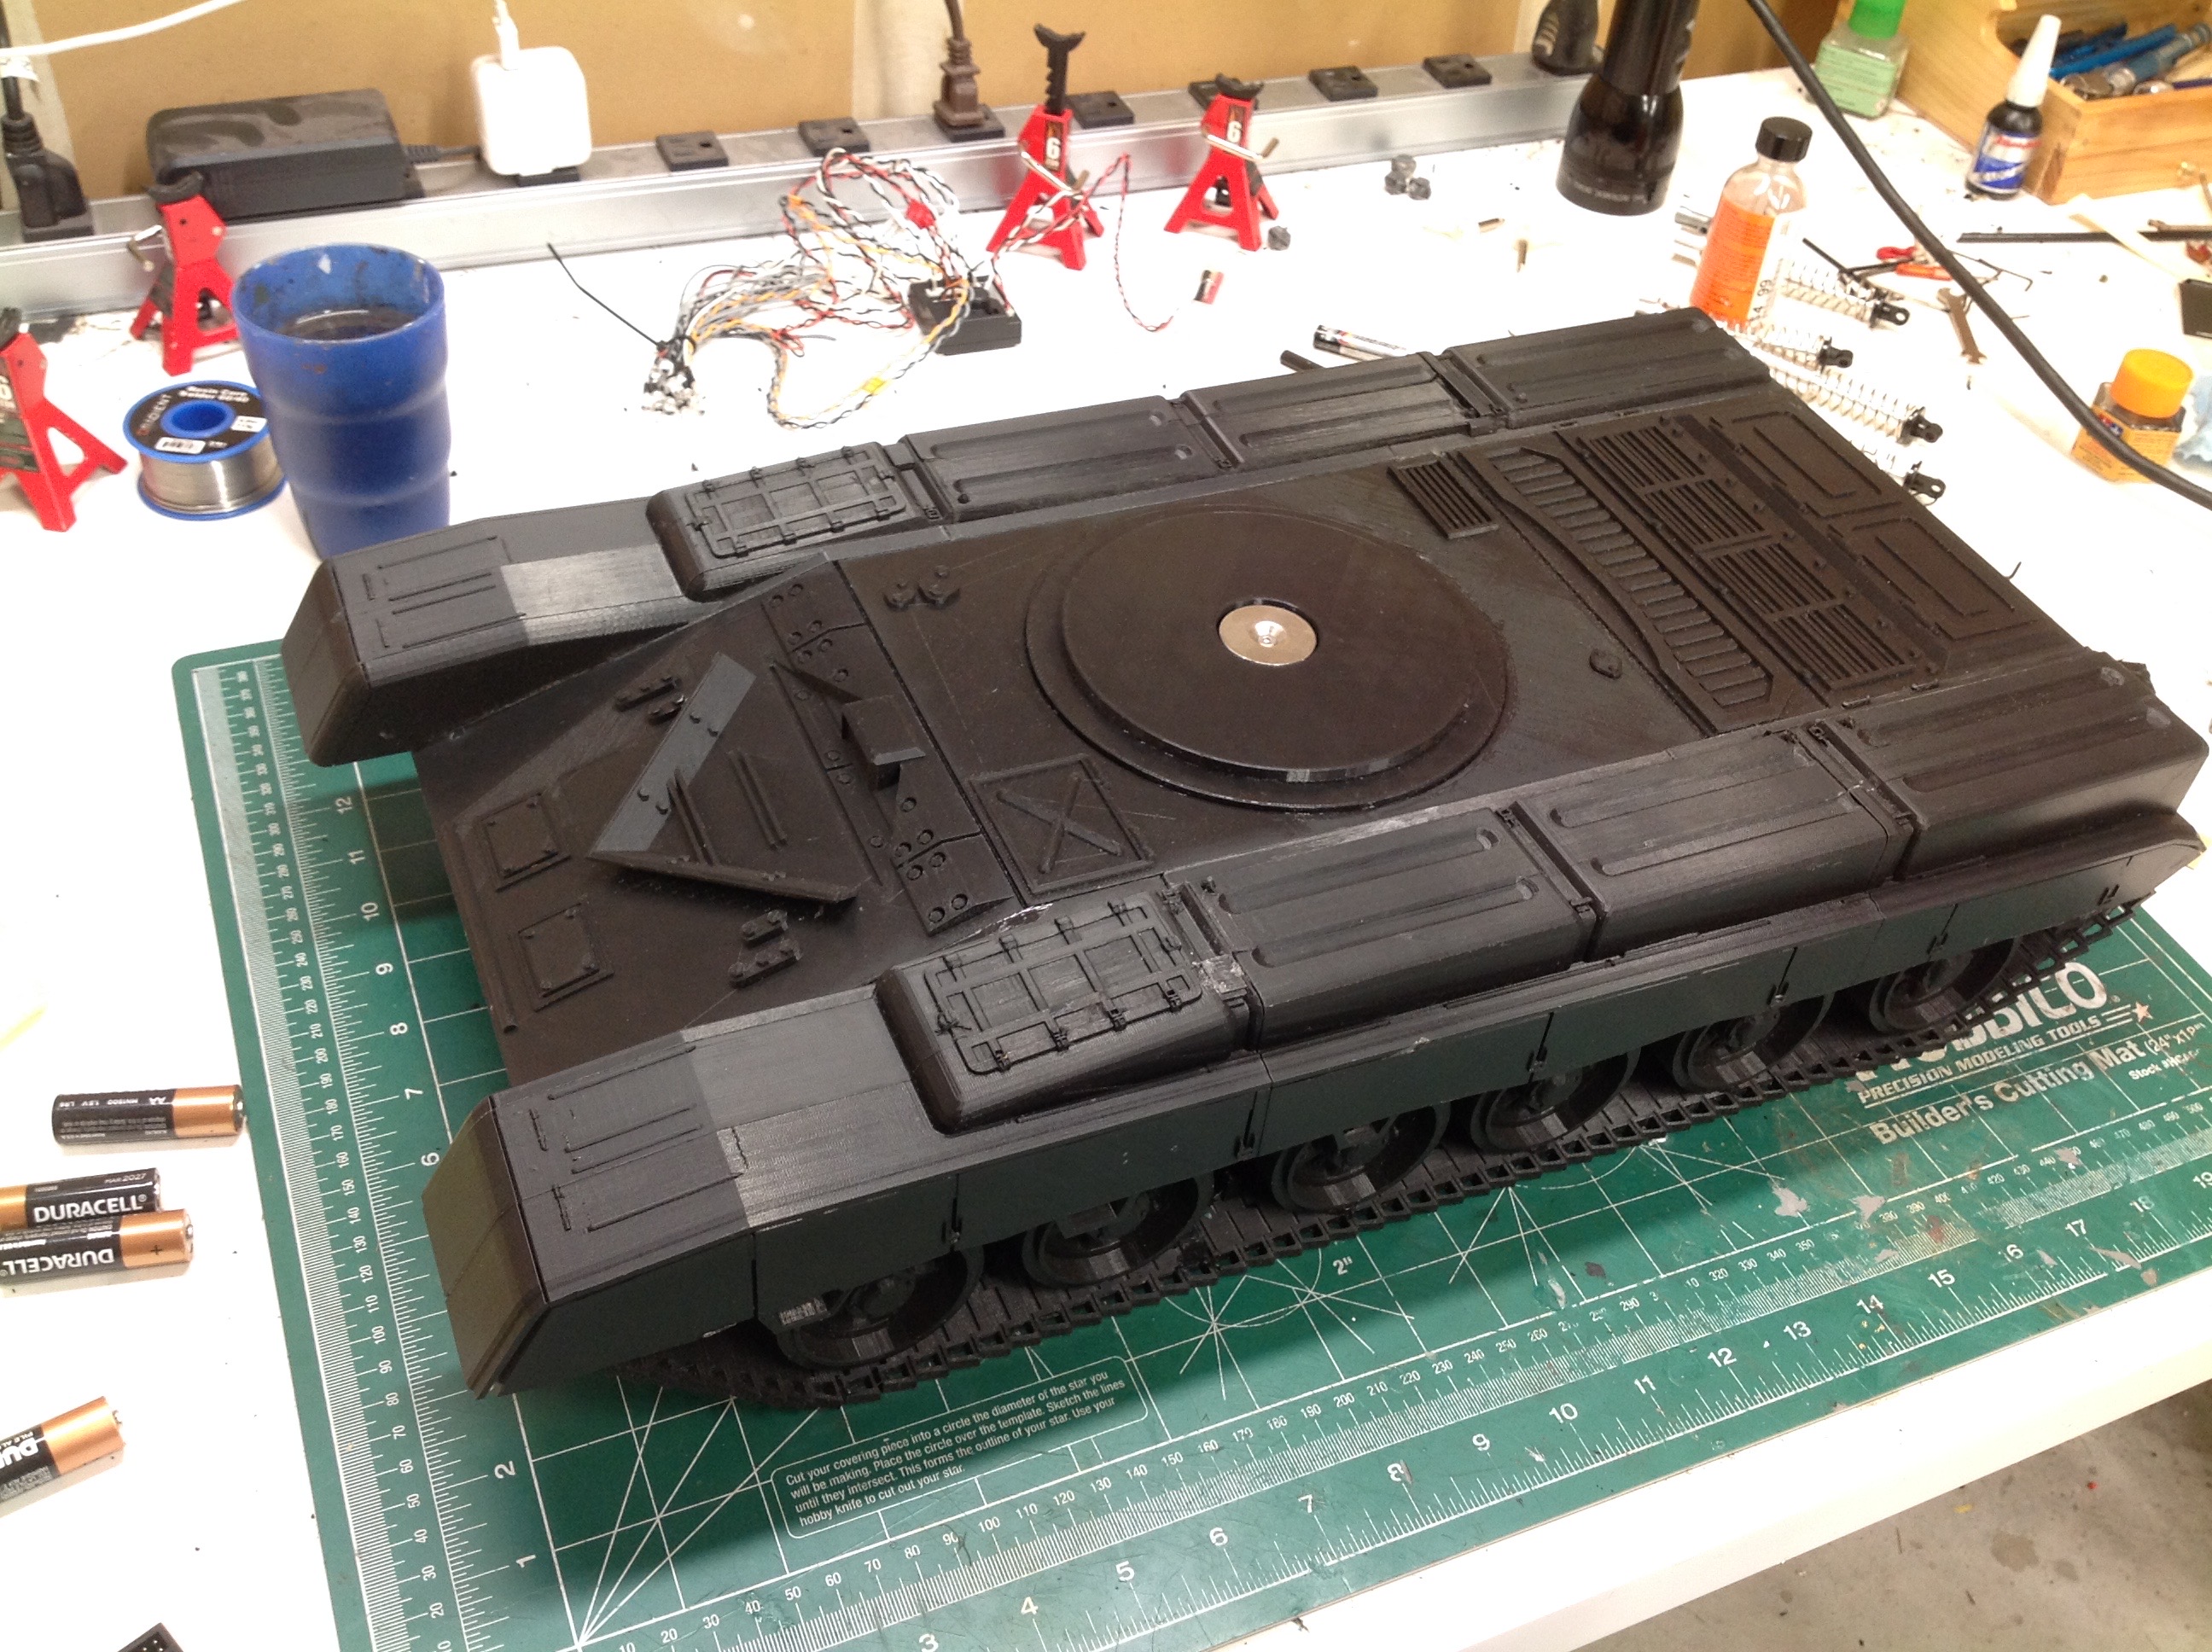
The completed hull is shown on the left. There are a few ugly
offsets. Since it was assembled with CA, if you misalign something
there is no sliding it into place. Most are not very
noticeable. The silver disc you see in the middle is a
magnet. This allows the turret the rotate without a turntable to
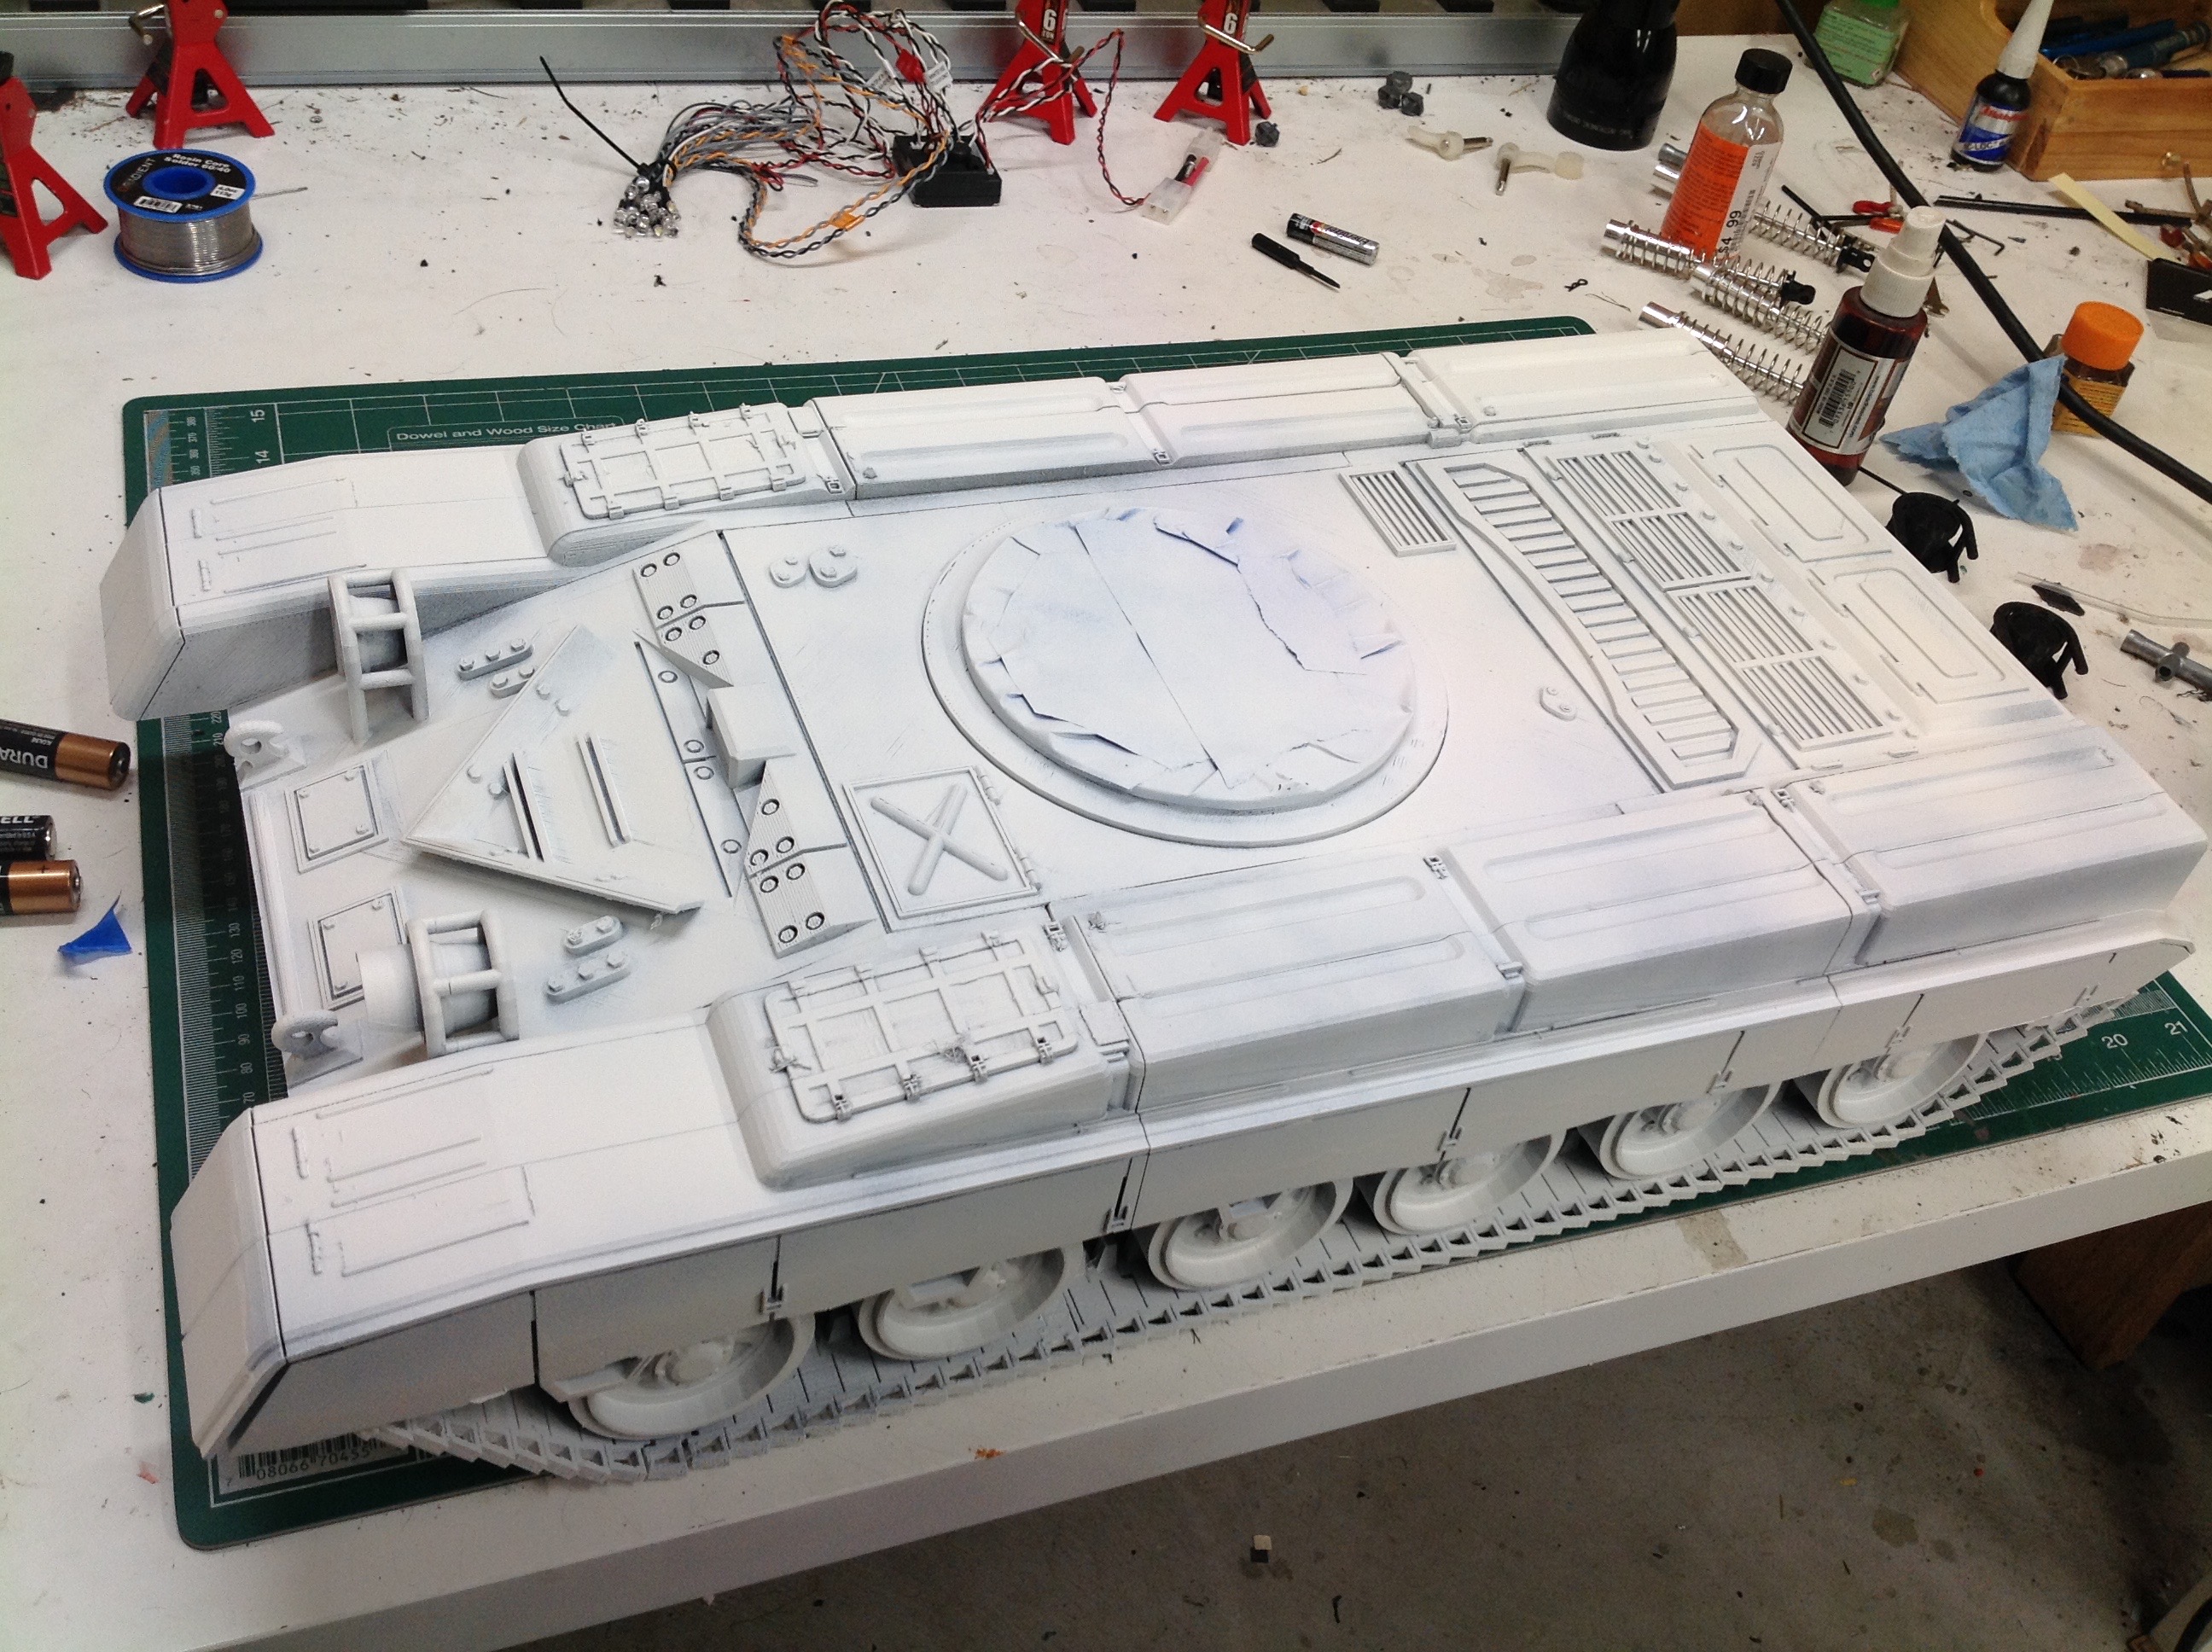
any mechanical parts. On the right you can see the hull during
priming. I used Kilz gap filling primer to try to smooth out the
printing ridges which worked pretty well.
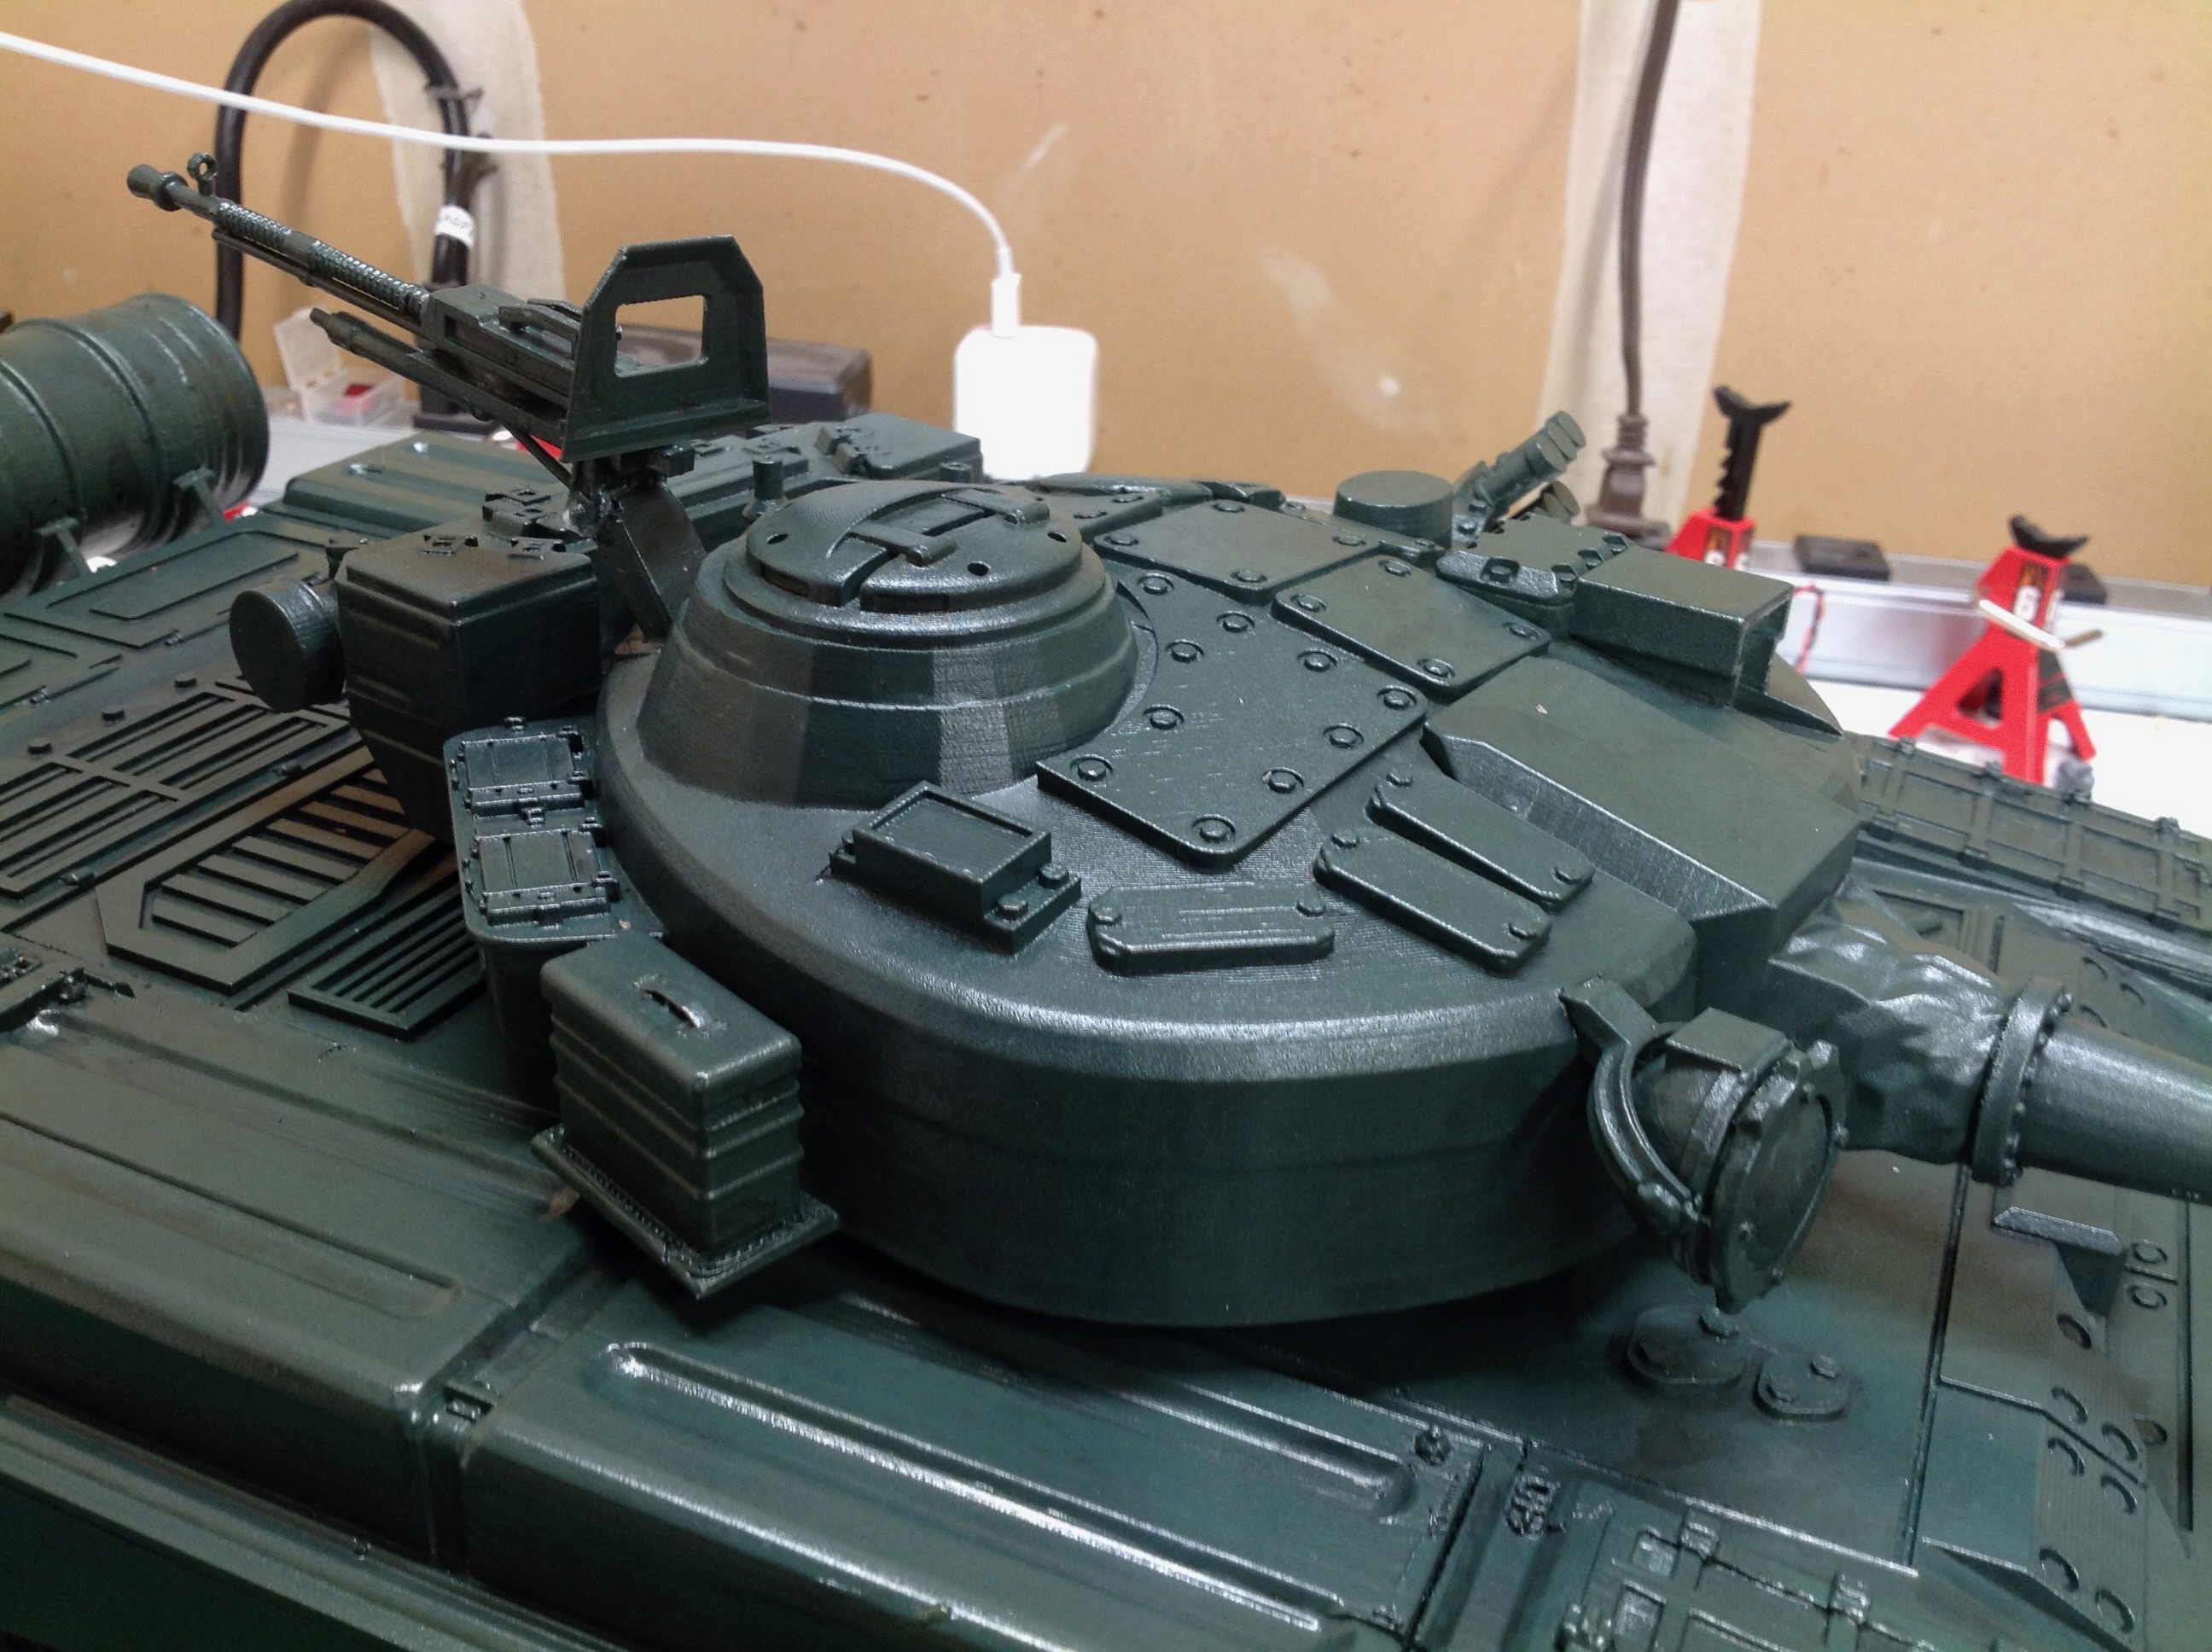
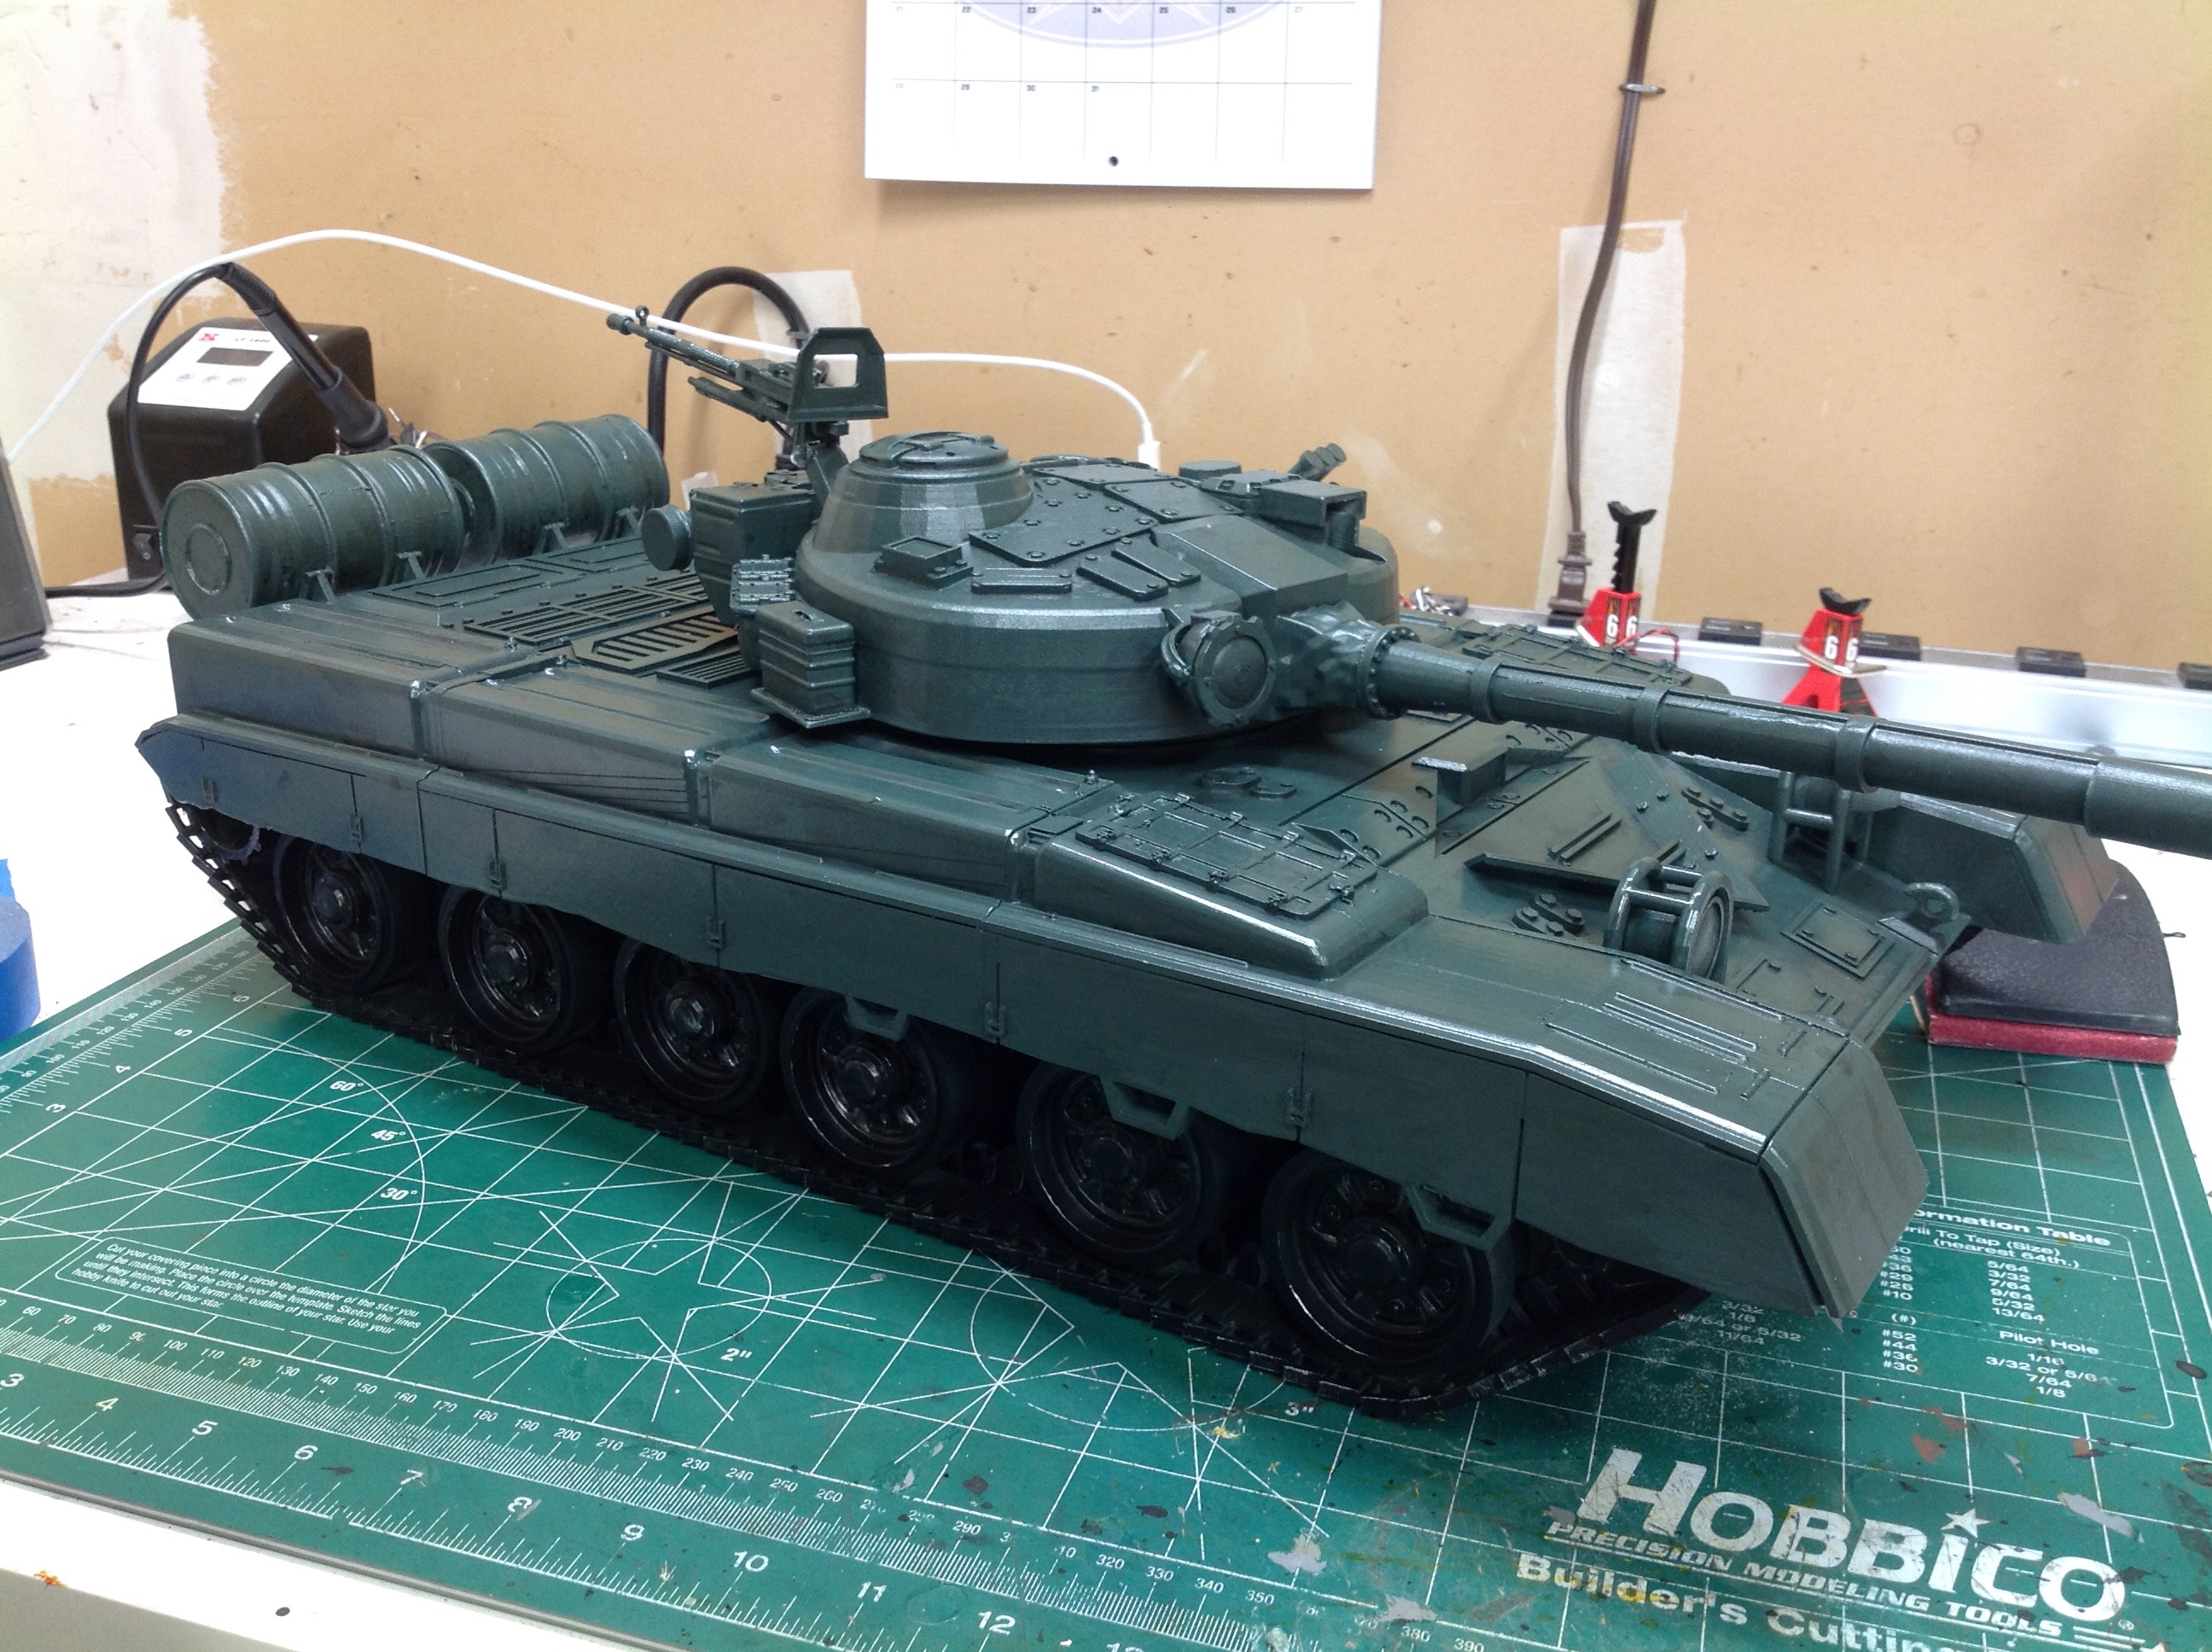
I didn't take any photos of the assembly of the turret, but you can see
the results here. There is a lot of detail including rivets,
machine gun, hatches, containers, ammo cans, and spotlights. The
kit also came with optional armor wedges which I didn't apply. The
hideous green color you see here was my attempt to save money on
paint. I went back later and over sprayed it with Tamiya olive
drab.
©2019 Eric Albrecht