Tamiya Bigwig Project
Page 1: Assembly
The Bigwig is based on the Hotshot and shares many parts of the
build in common, so I'm only including details on the differences
here. Please see my Hotshot build page for full details.
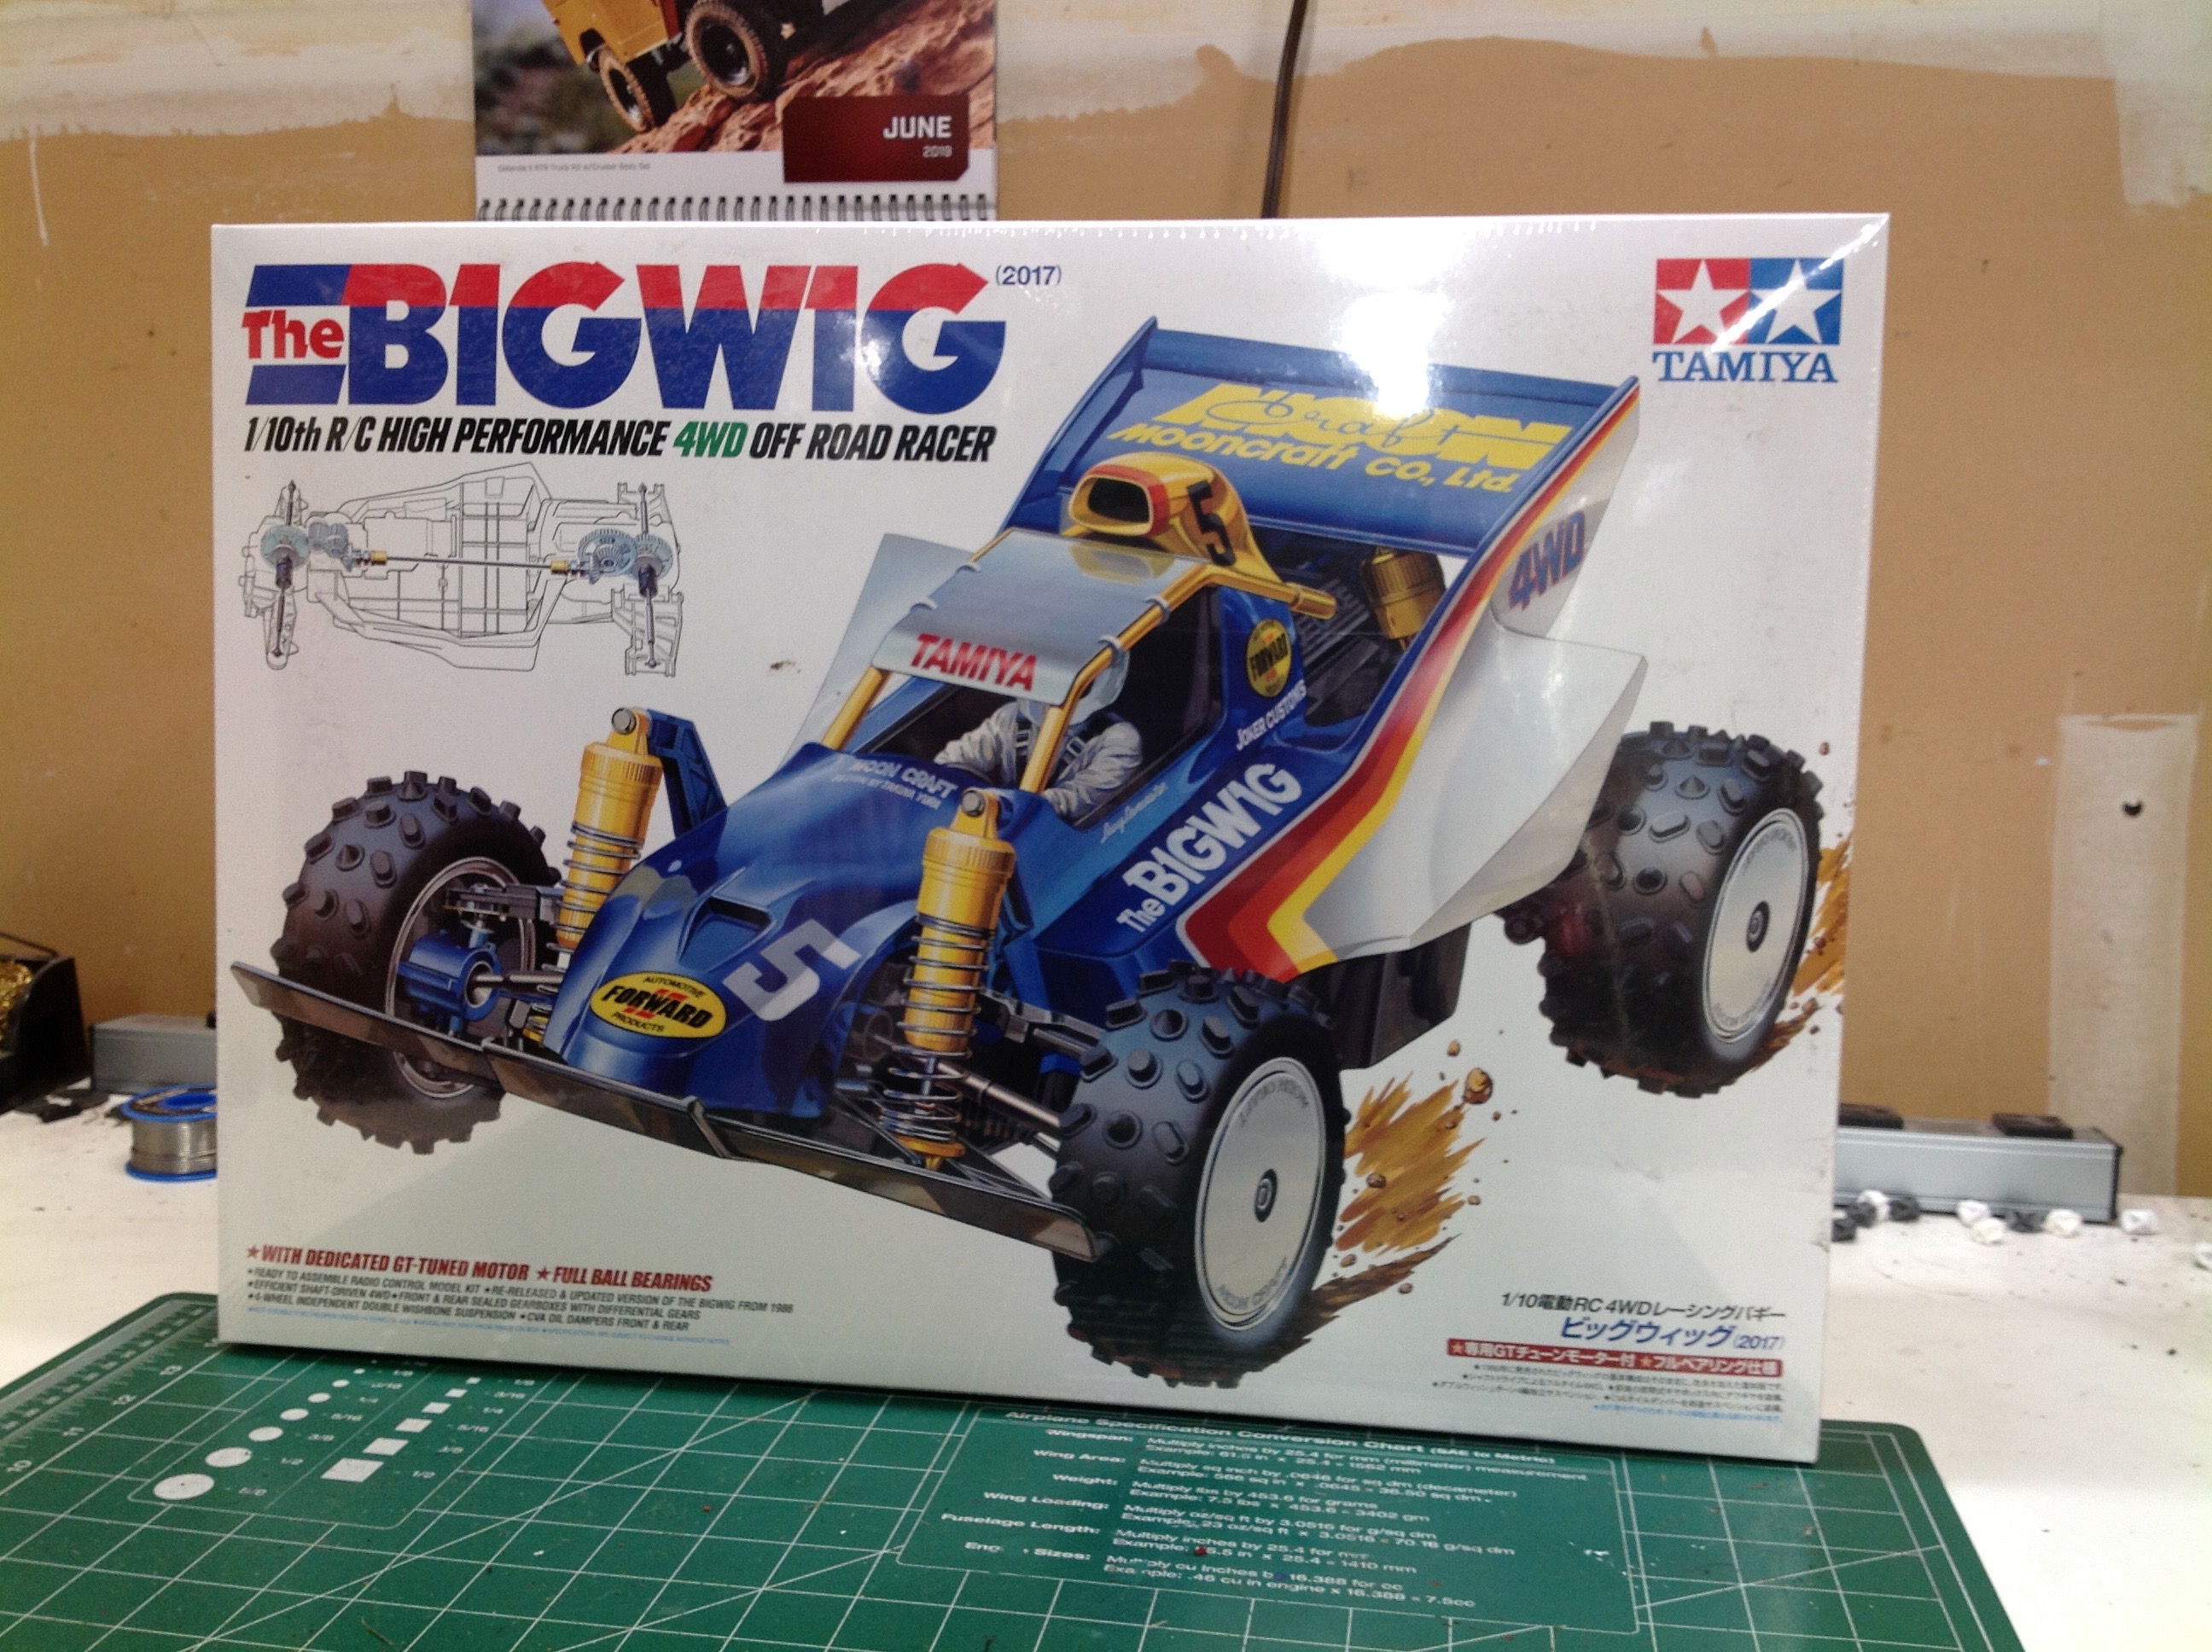
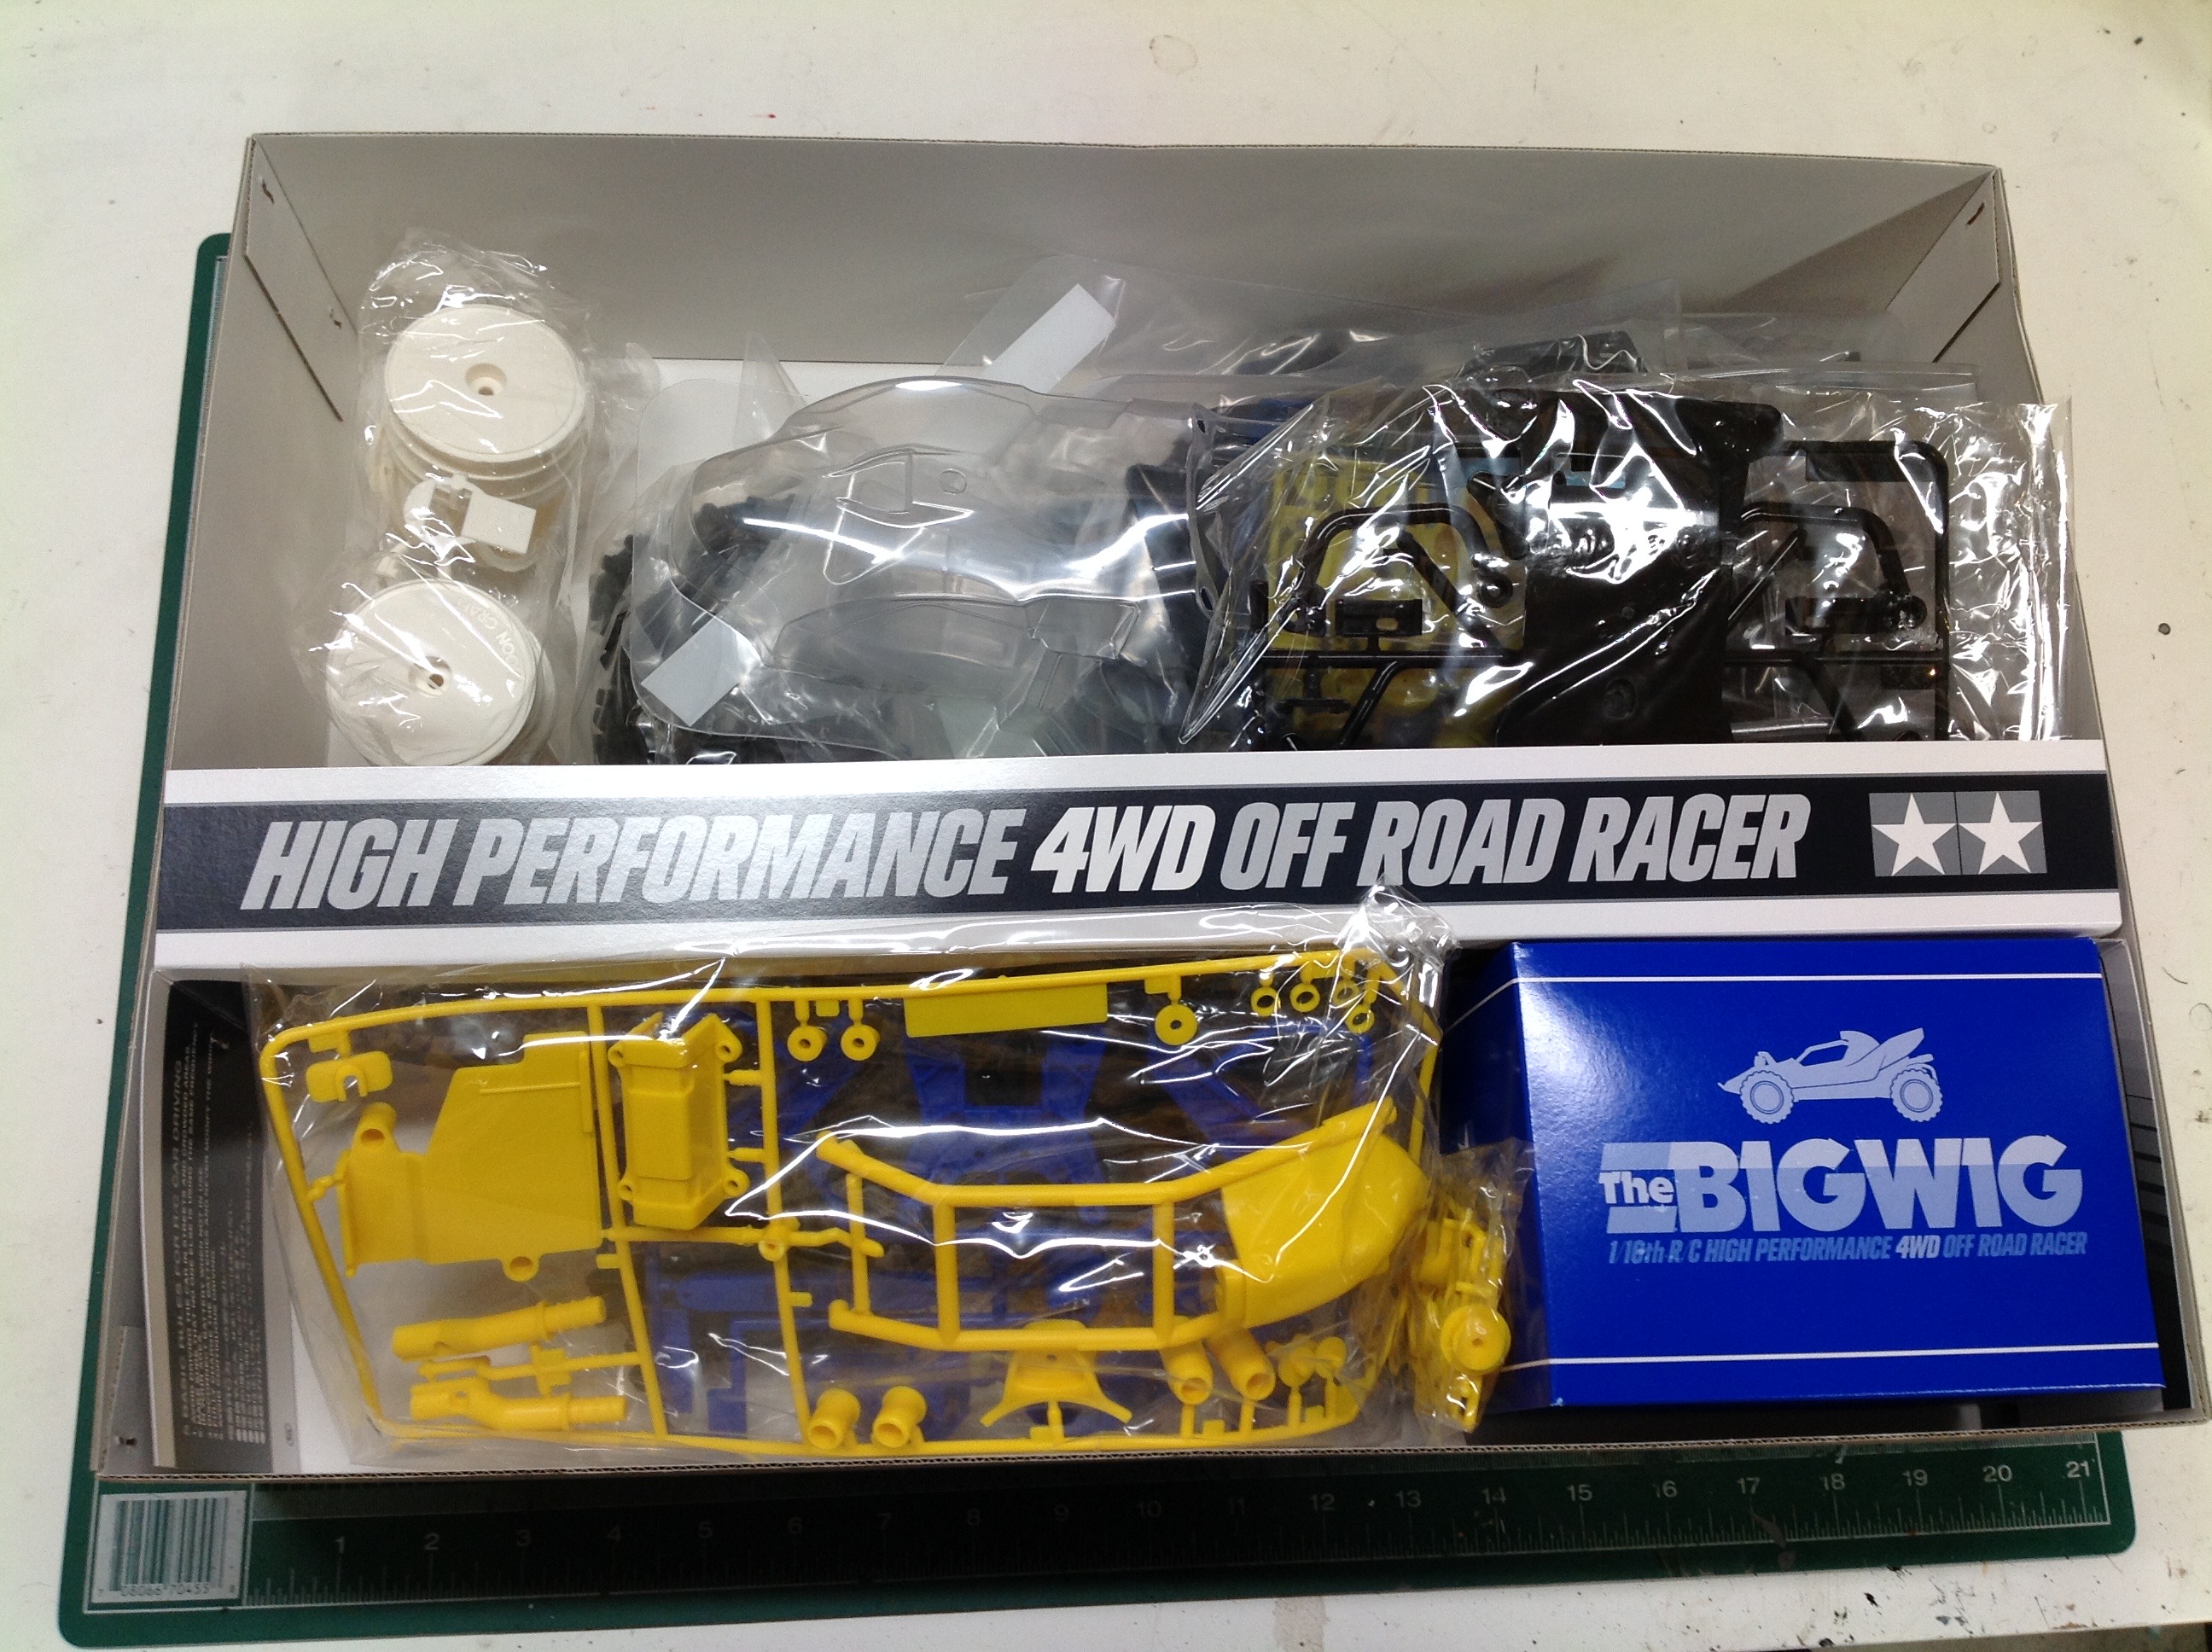
Th Bigwig comes in a big, beautiful box with classic looking art on the
front. Inside you won't find any fancy blister packs, but the
parts are still nicely arranged with the hardware in a smaller inner box
in the lower corner.
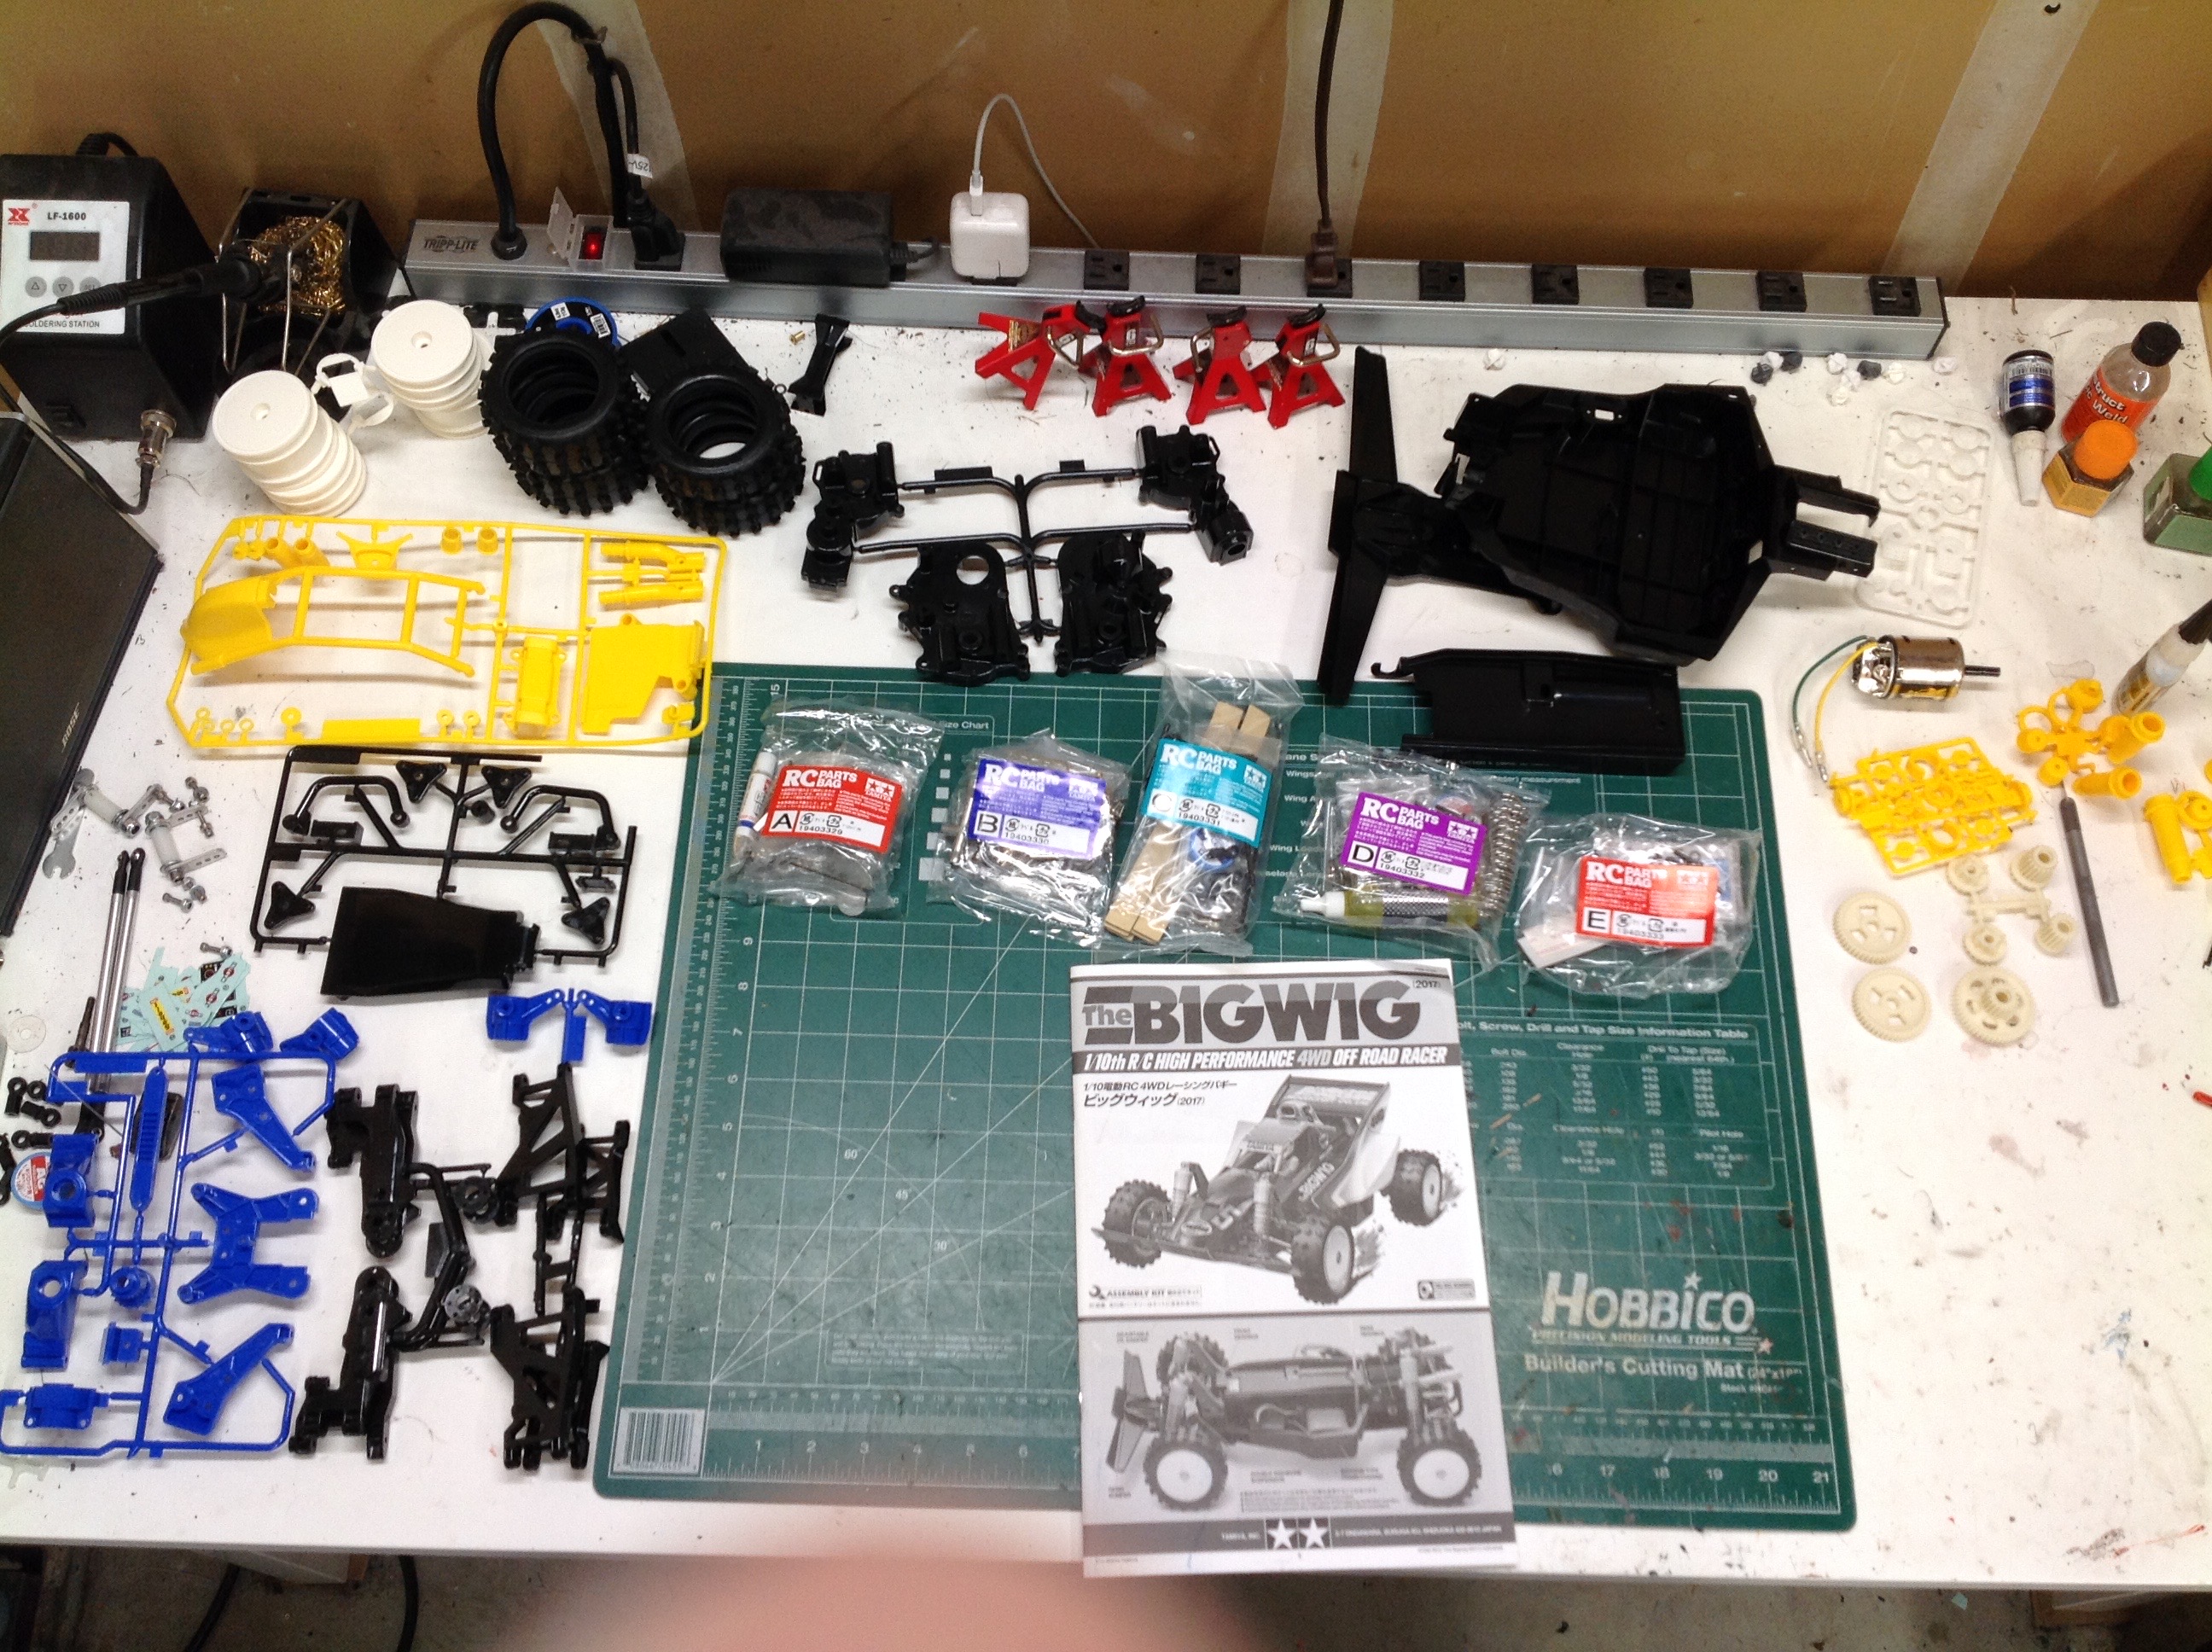
This is not a particularly complex build but it does come with a lot of
brightly colored plastic parts trees. Many of the suspension parts
are bright blue and many of the body details are yellow. There
are also 5 tightly stuffed hardware bags.
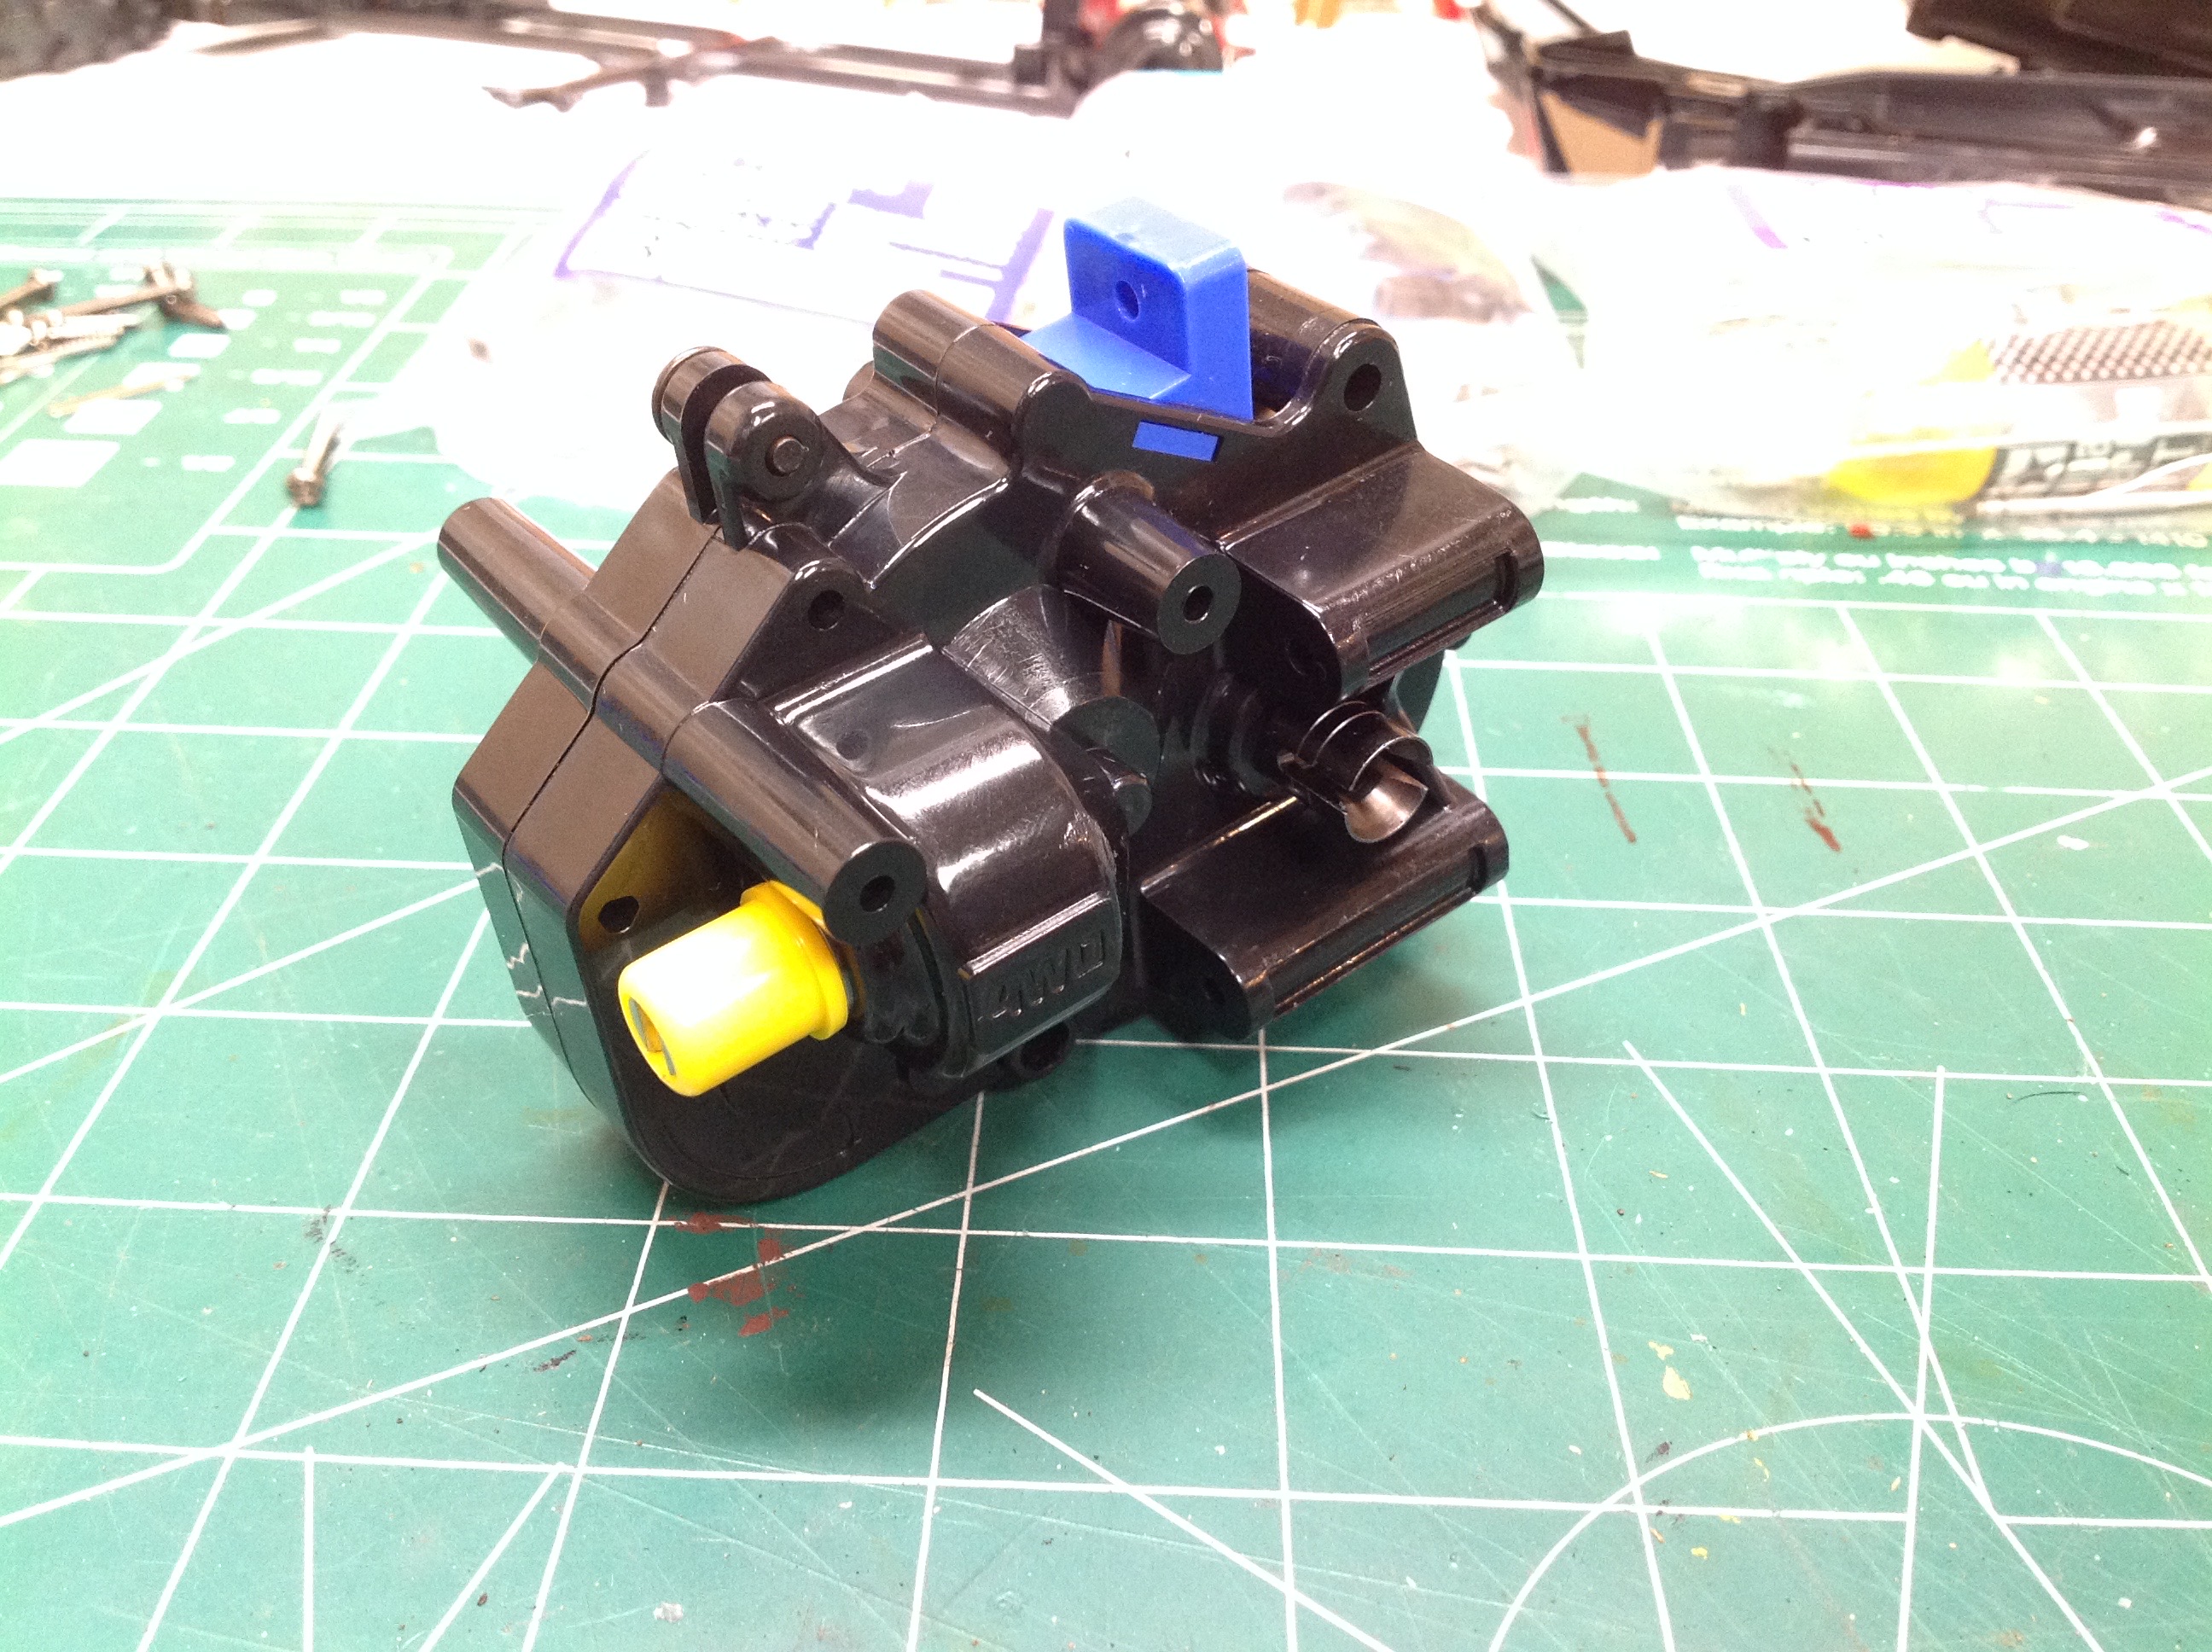
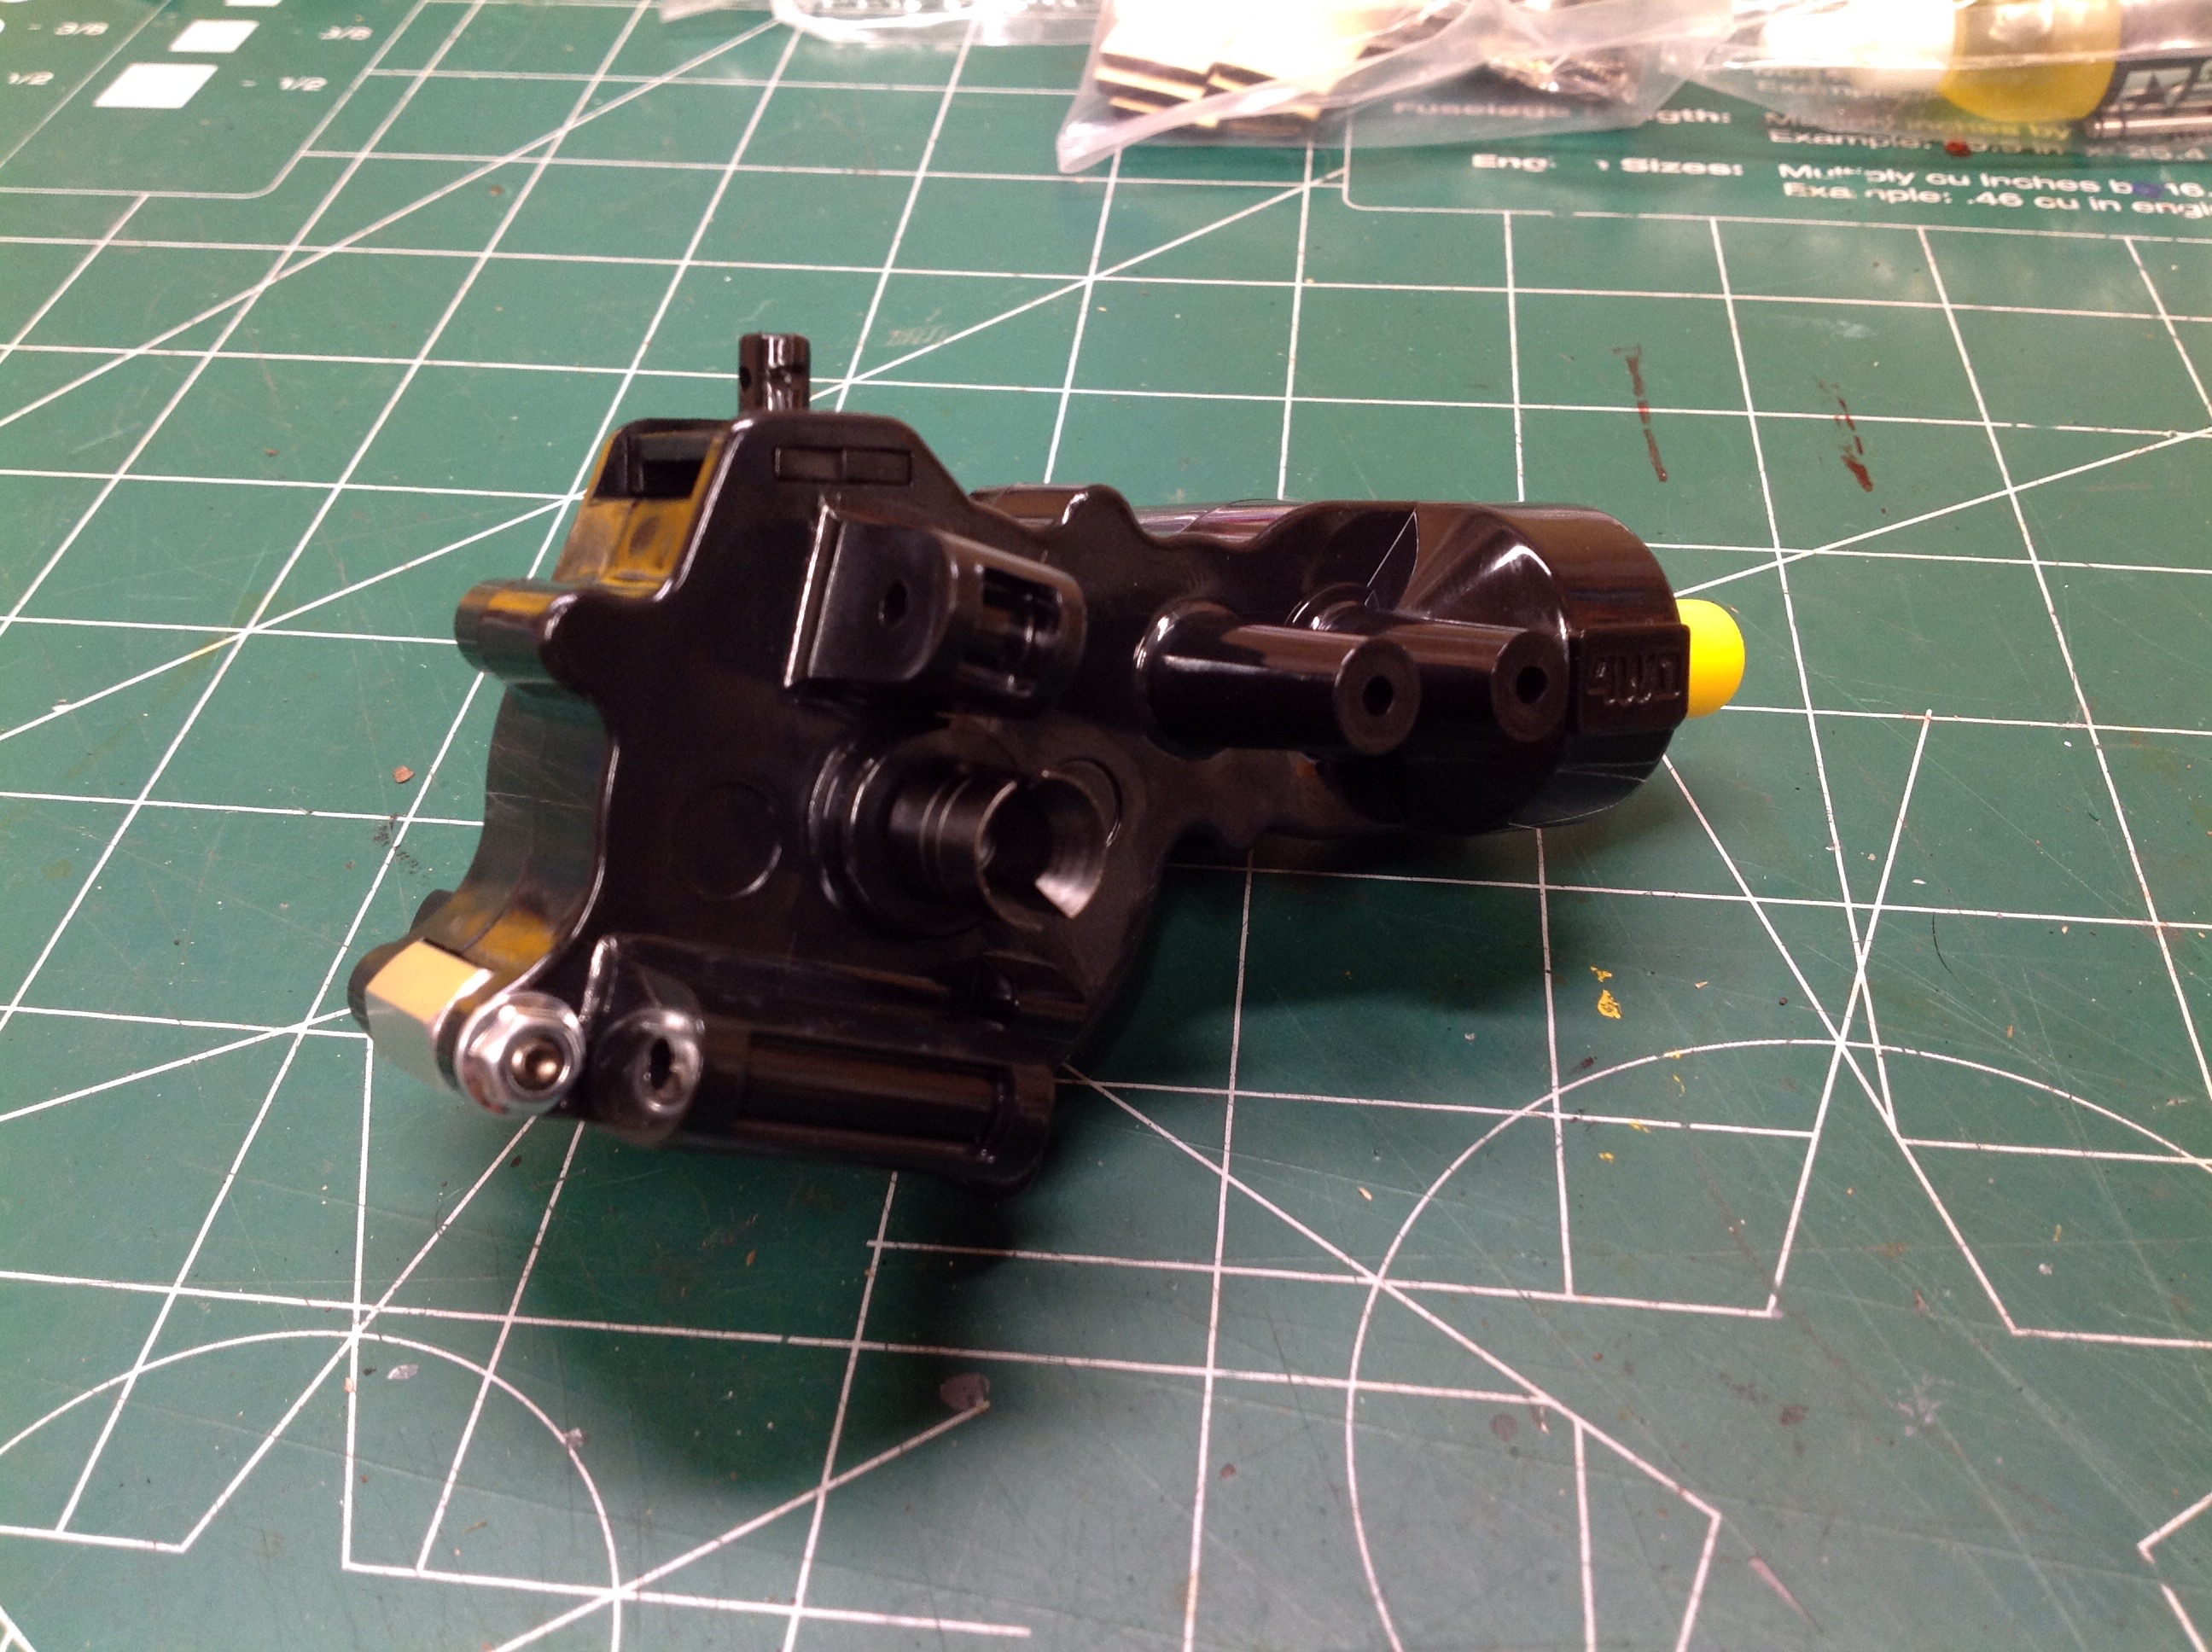
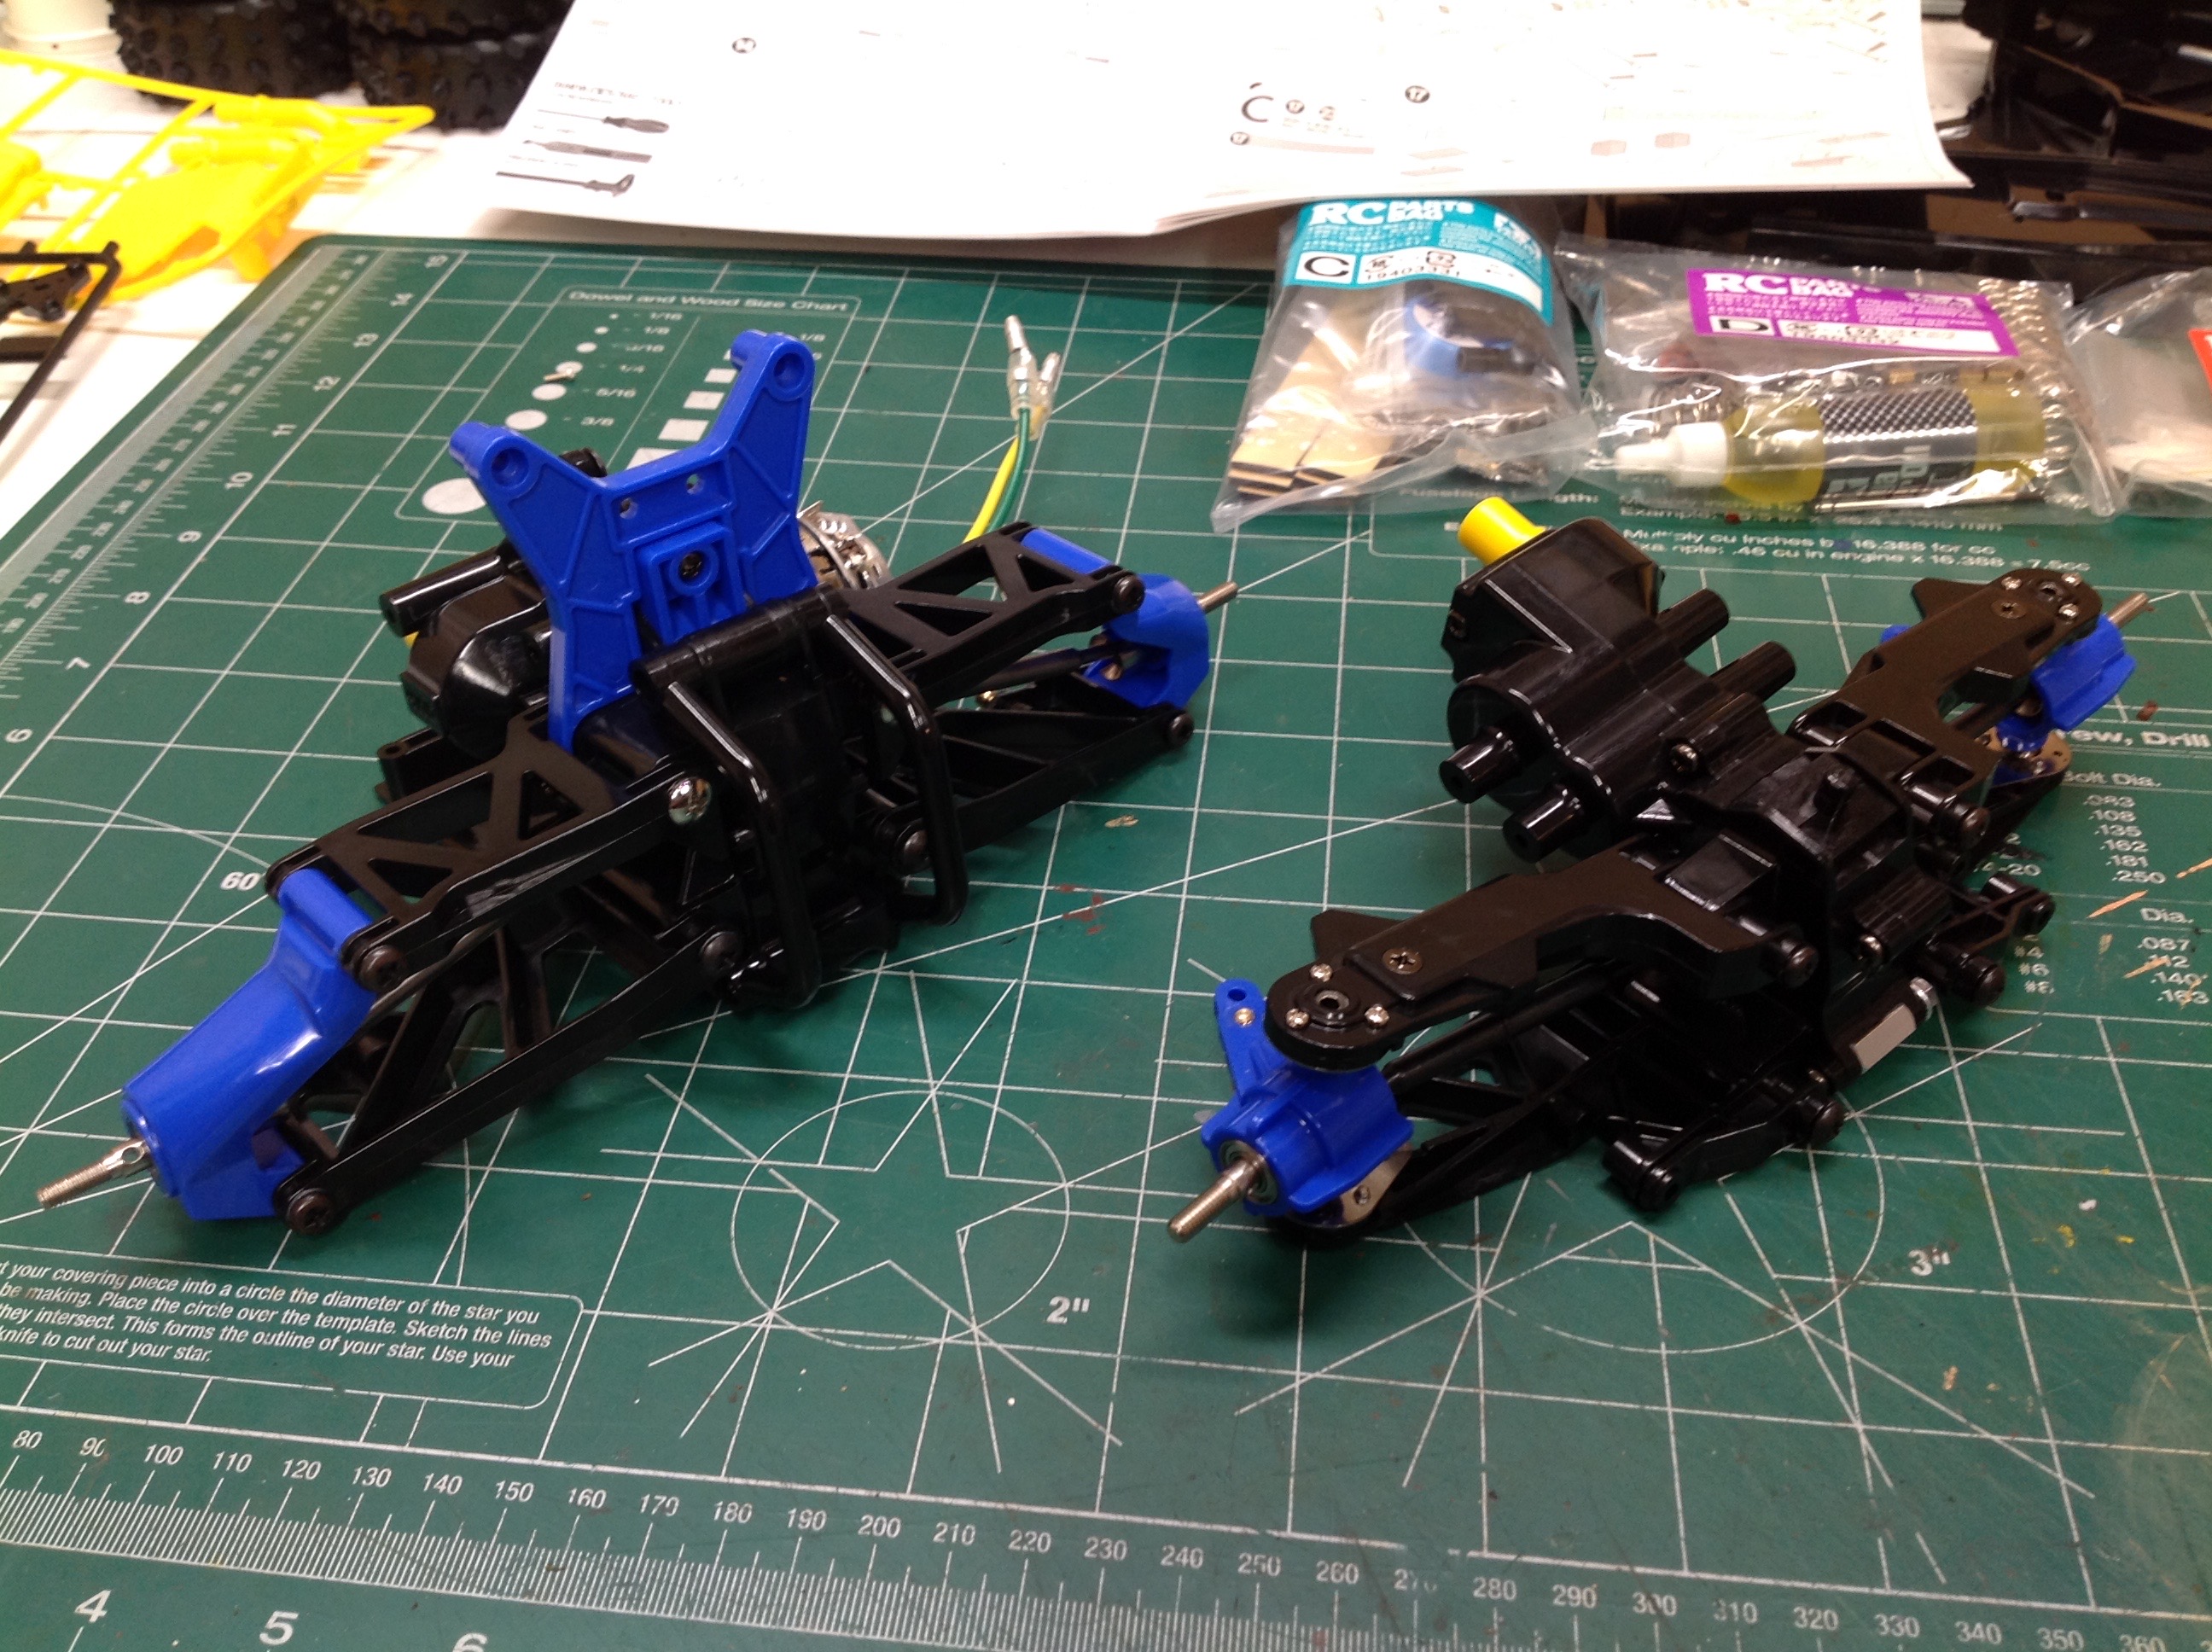
The rear gearbox (shown on the left) looks just like the one in the
Hotshot with the substitution of some bright colors. It uses the
same differential, internal gearing, and housing. The same is true
of the front gearbox (shown on the right). So far, this model is
just a Hotshot.
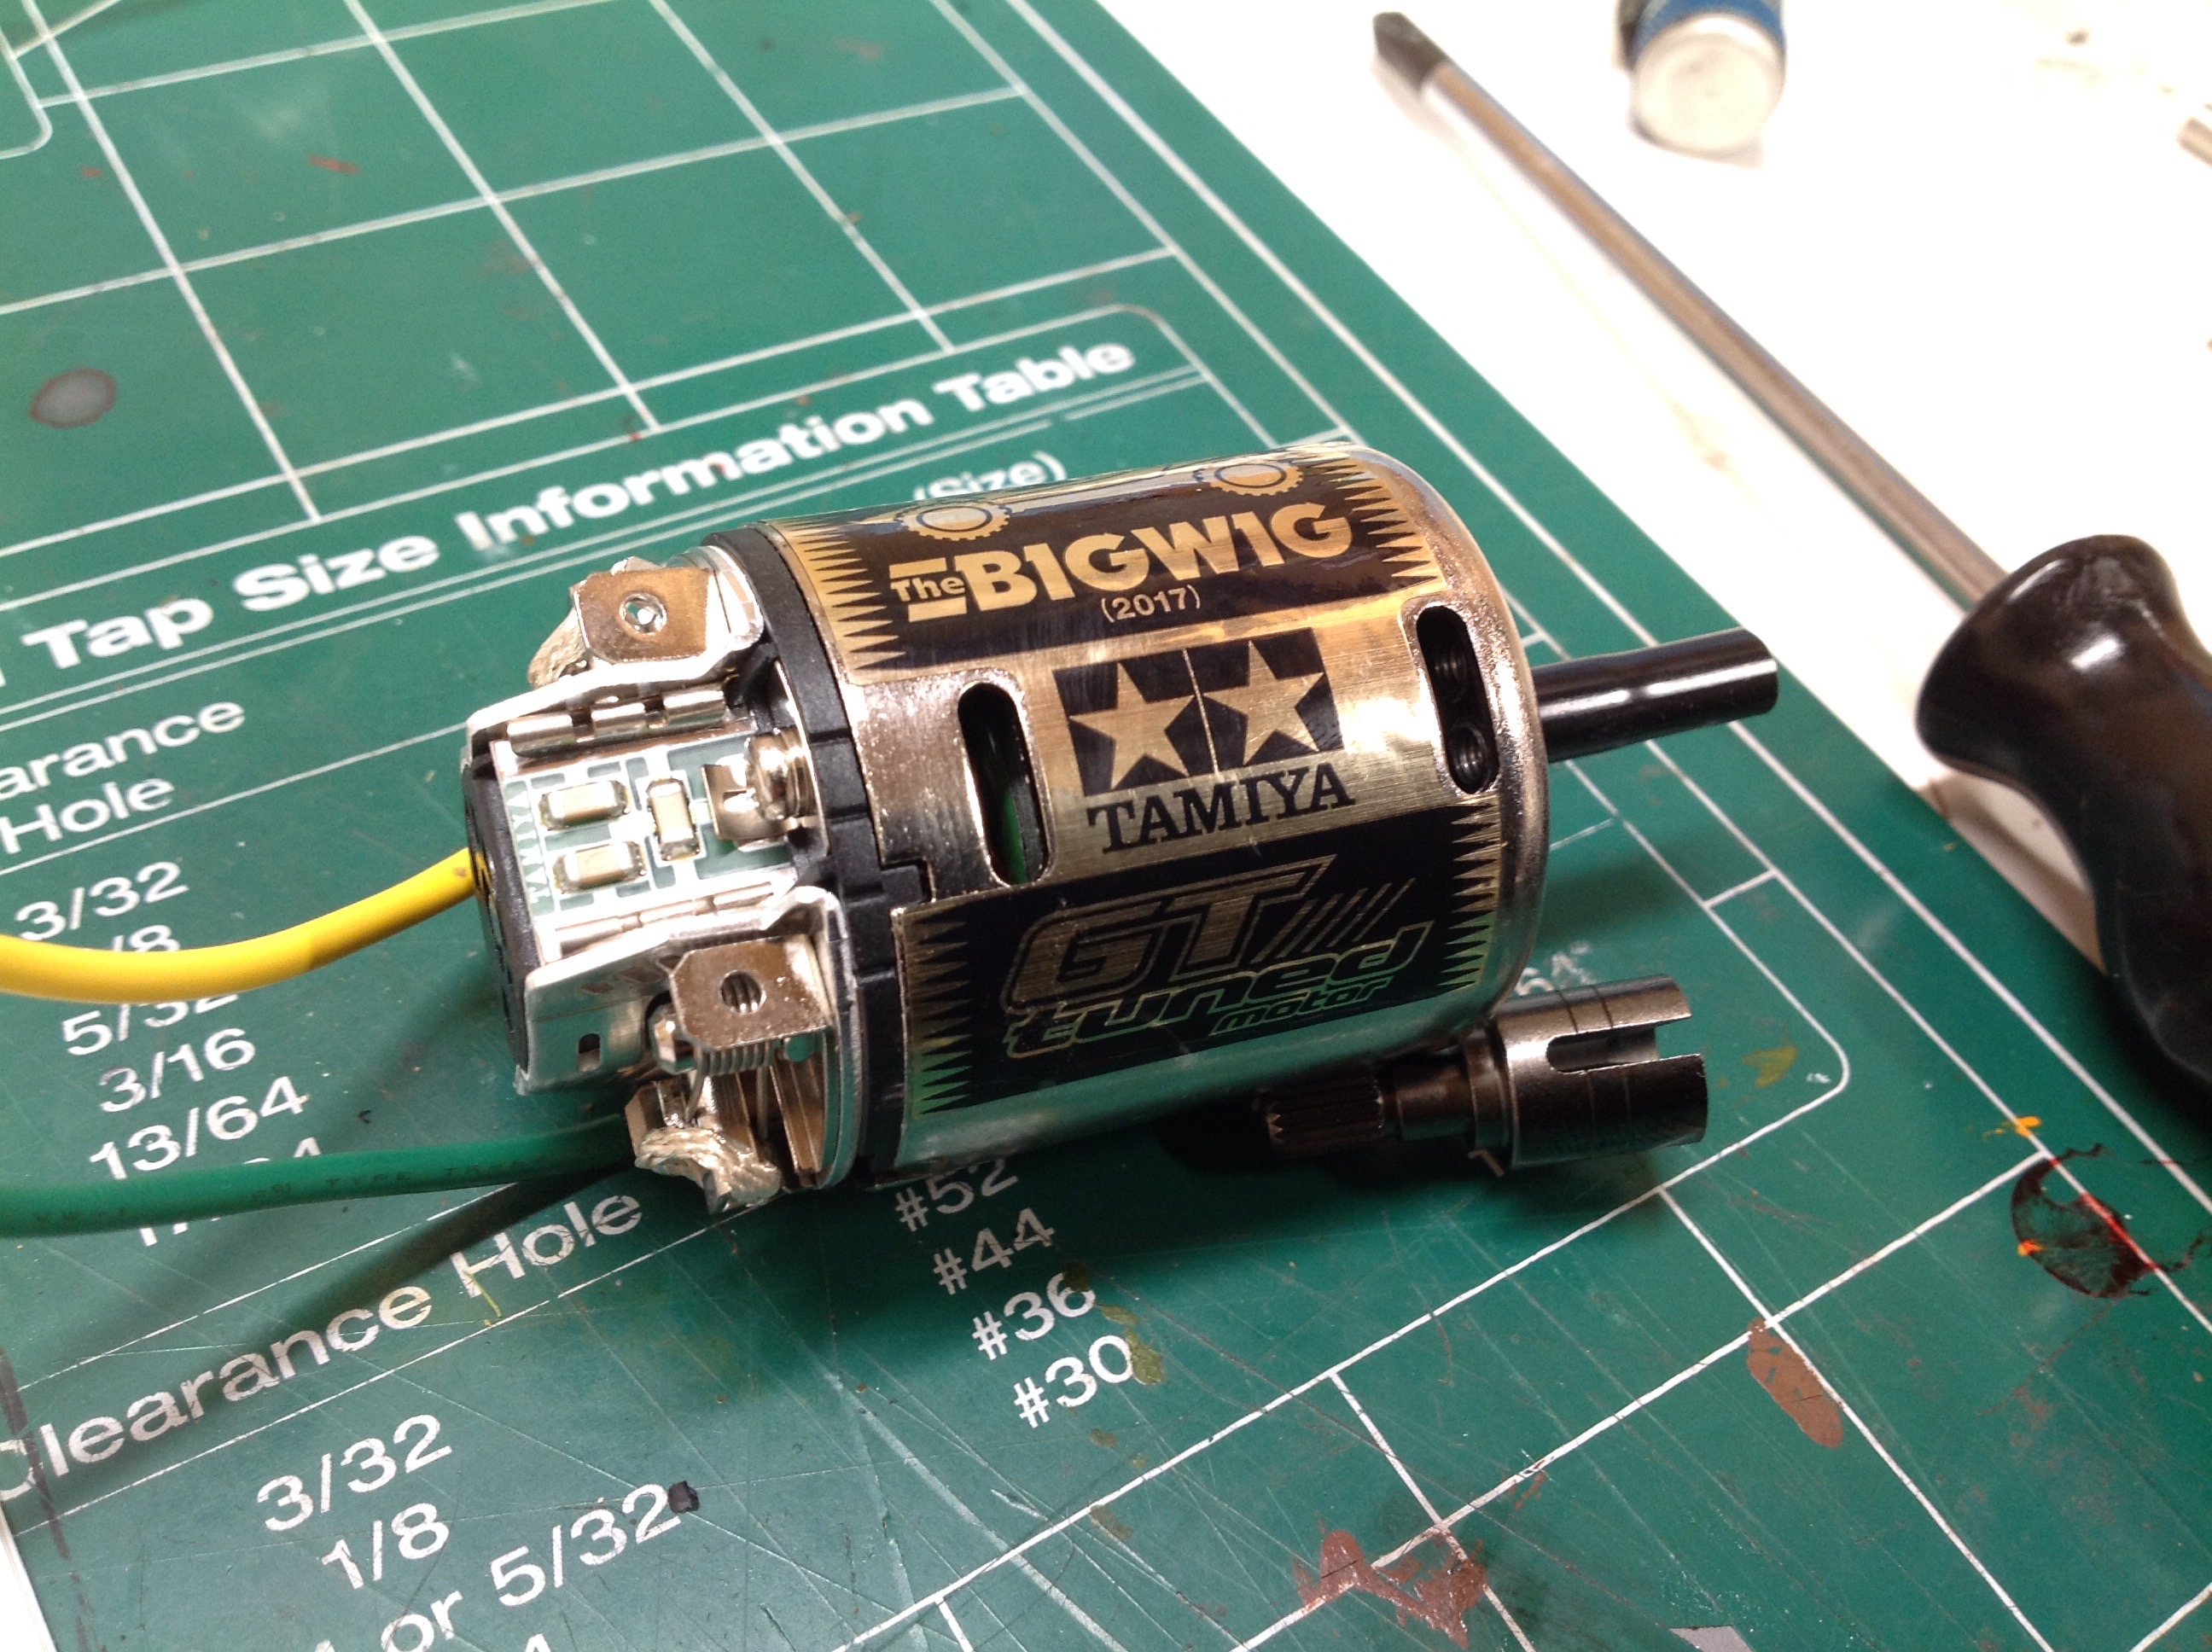
The Bigwig re-release comes with a custom labelled motor just for this
kit. It is a rebadged GT-Tuned motor with 25 turns. The
original kit used a Technigold motor capable of running on 8.4V which
was the key selling point of this model. The old Technigold was 21
turns, but this modern 25 turn motor is probably just as fast.
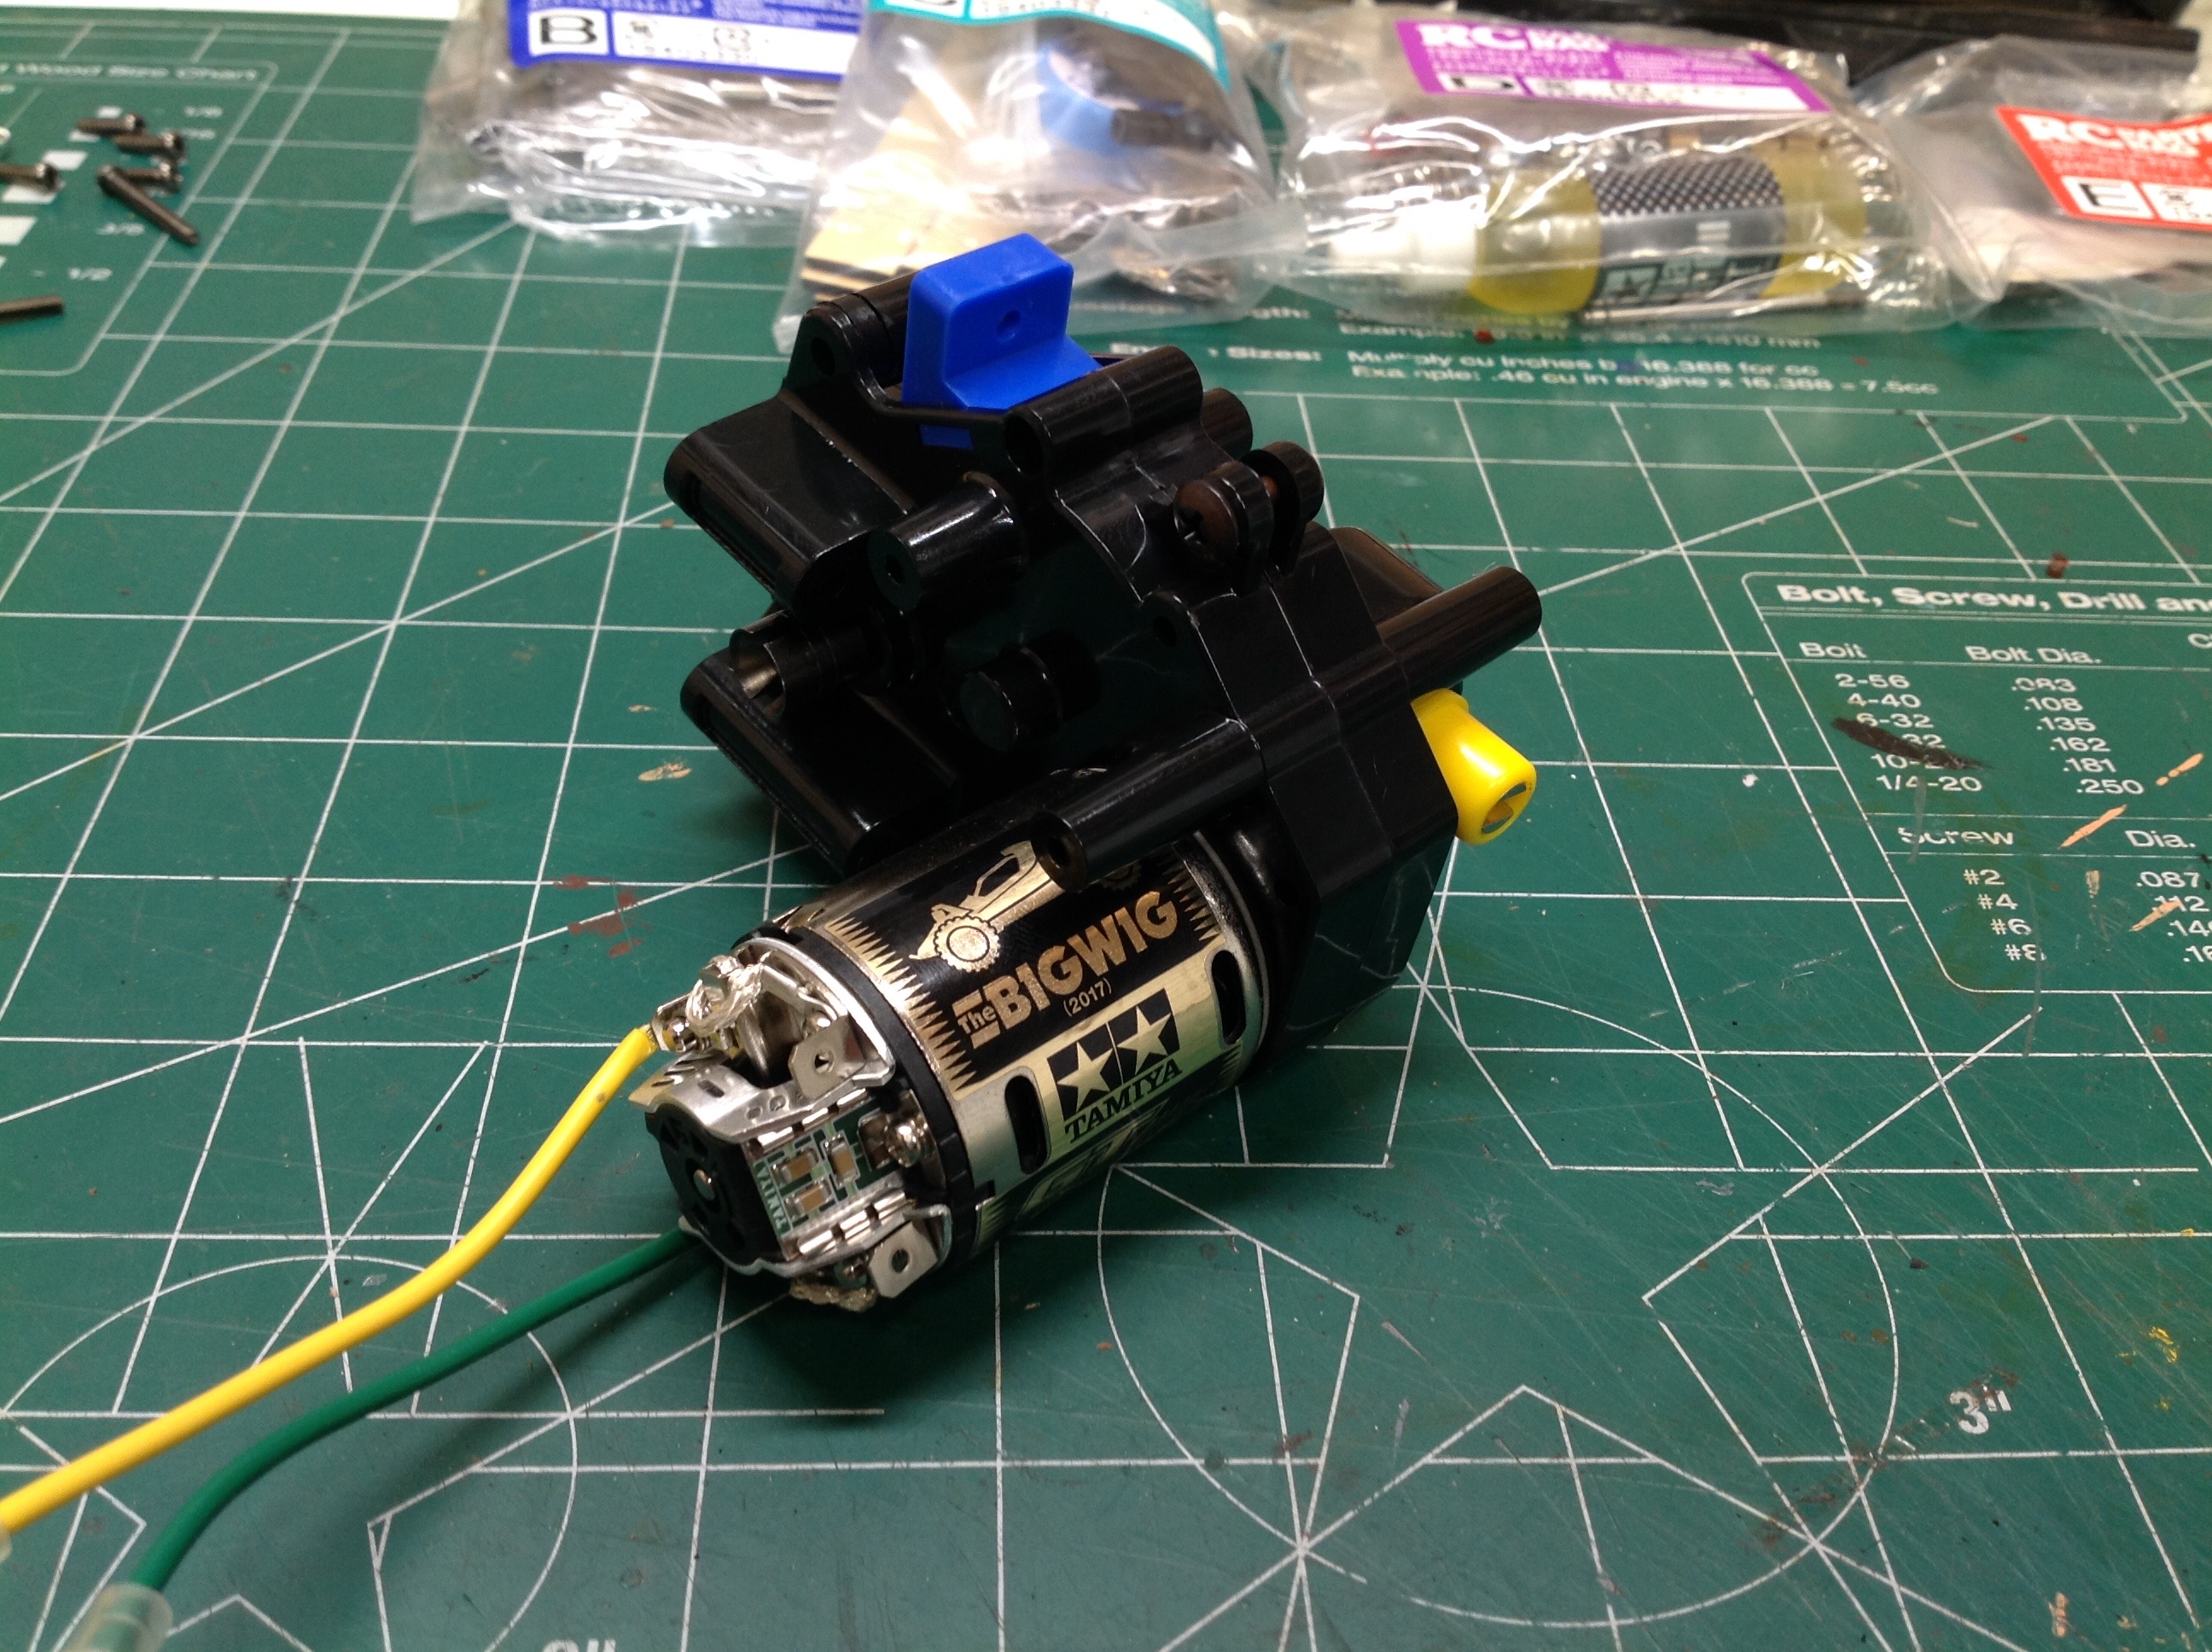
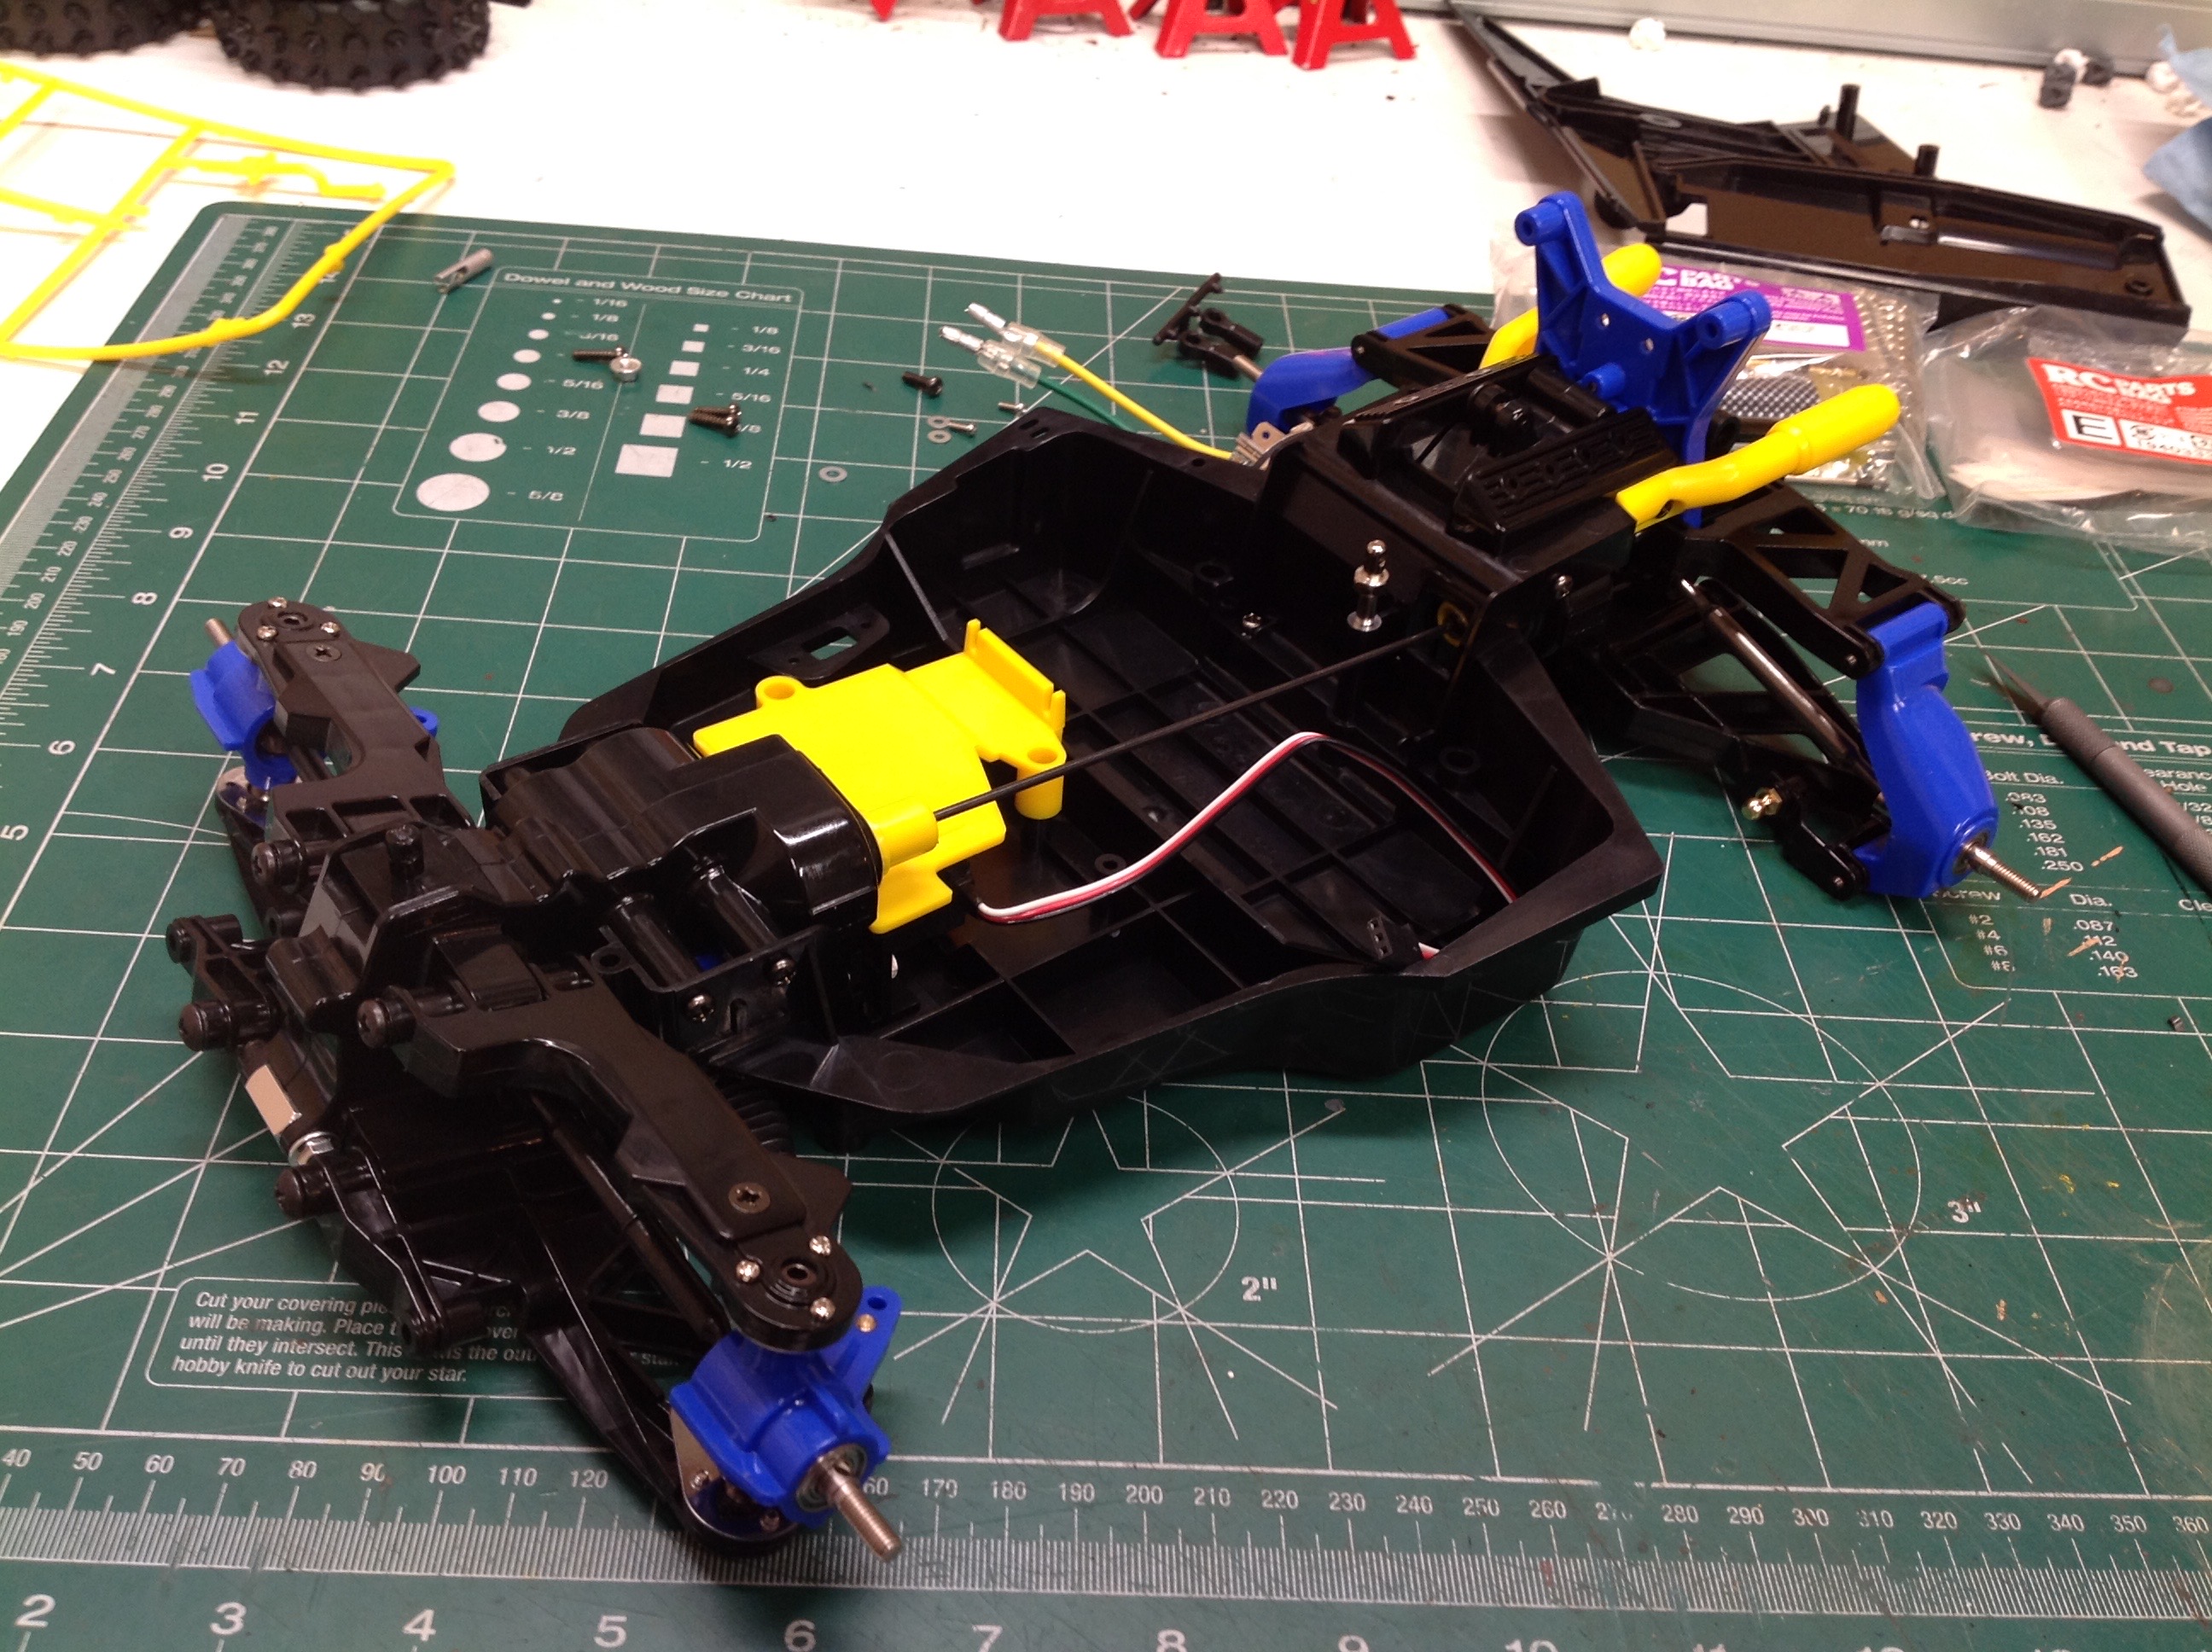
Here's where we get the first major change from the classic Hotshot
chassis, and indeed from any other Tamiya chassis that I know of.
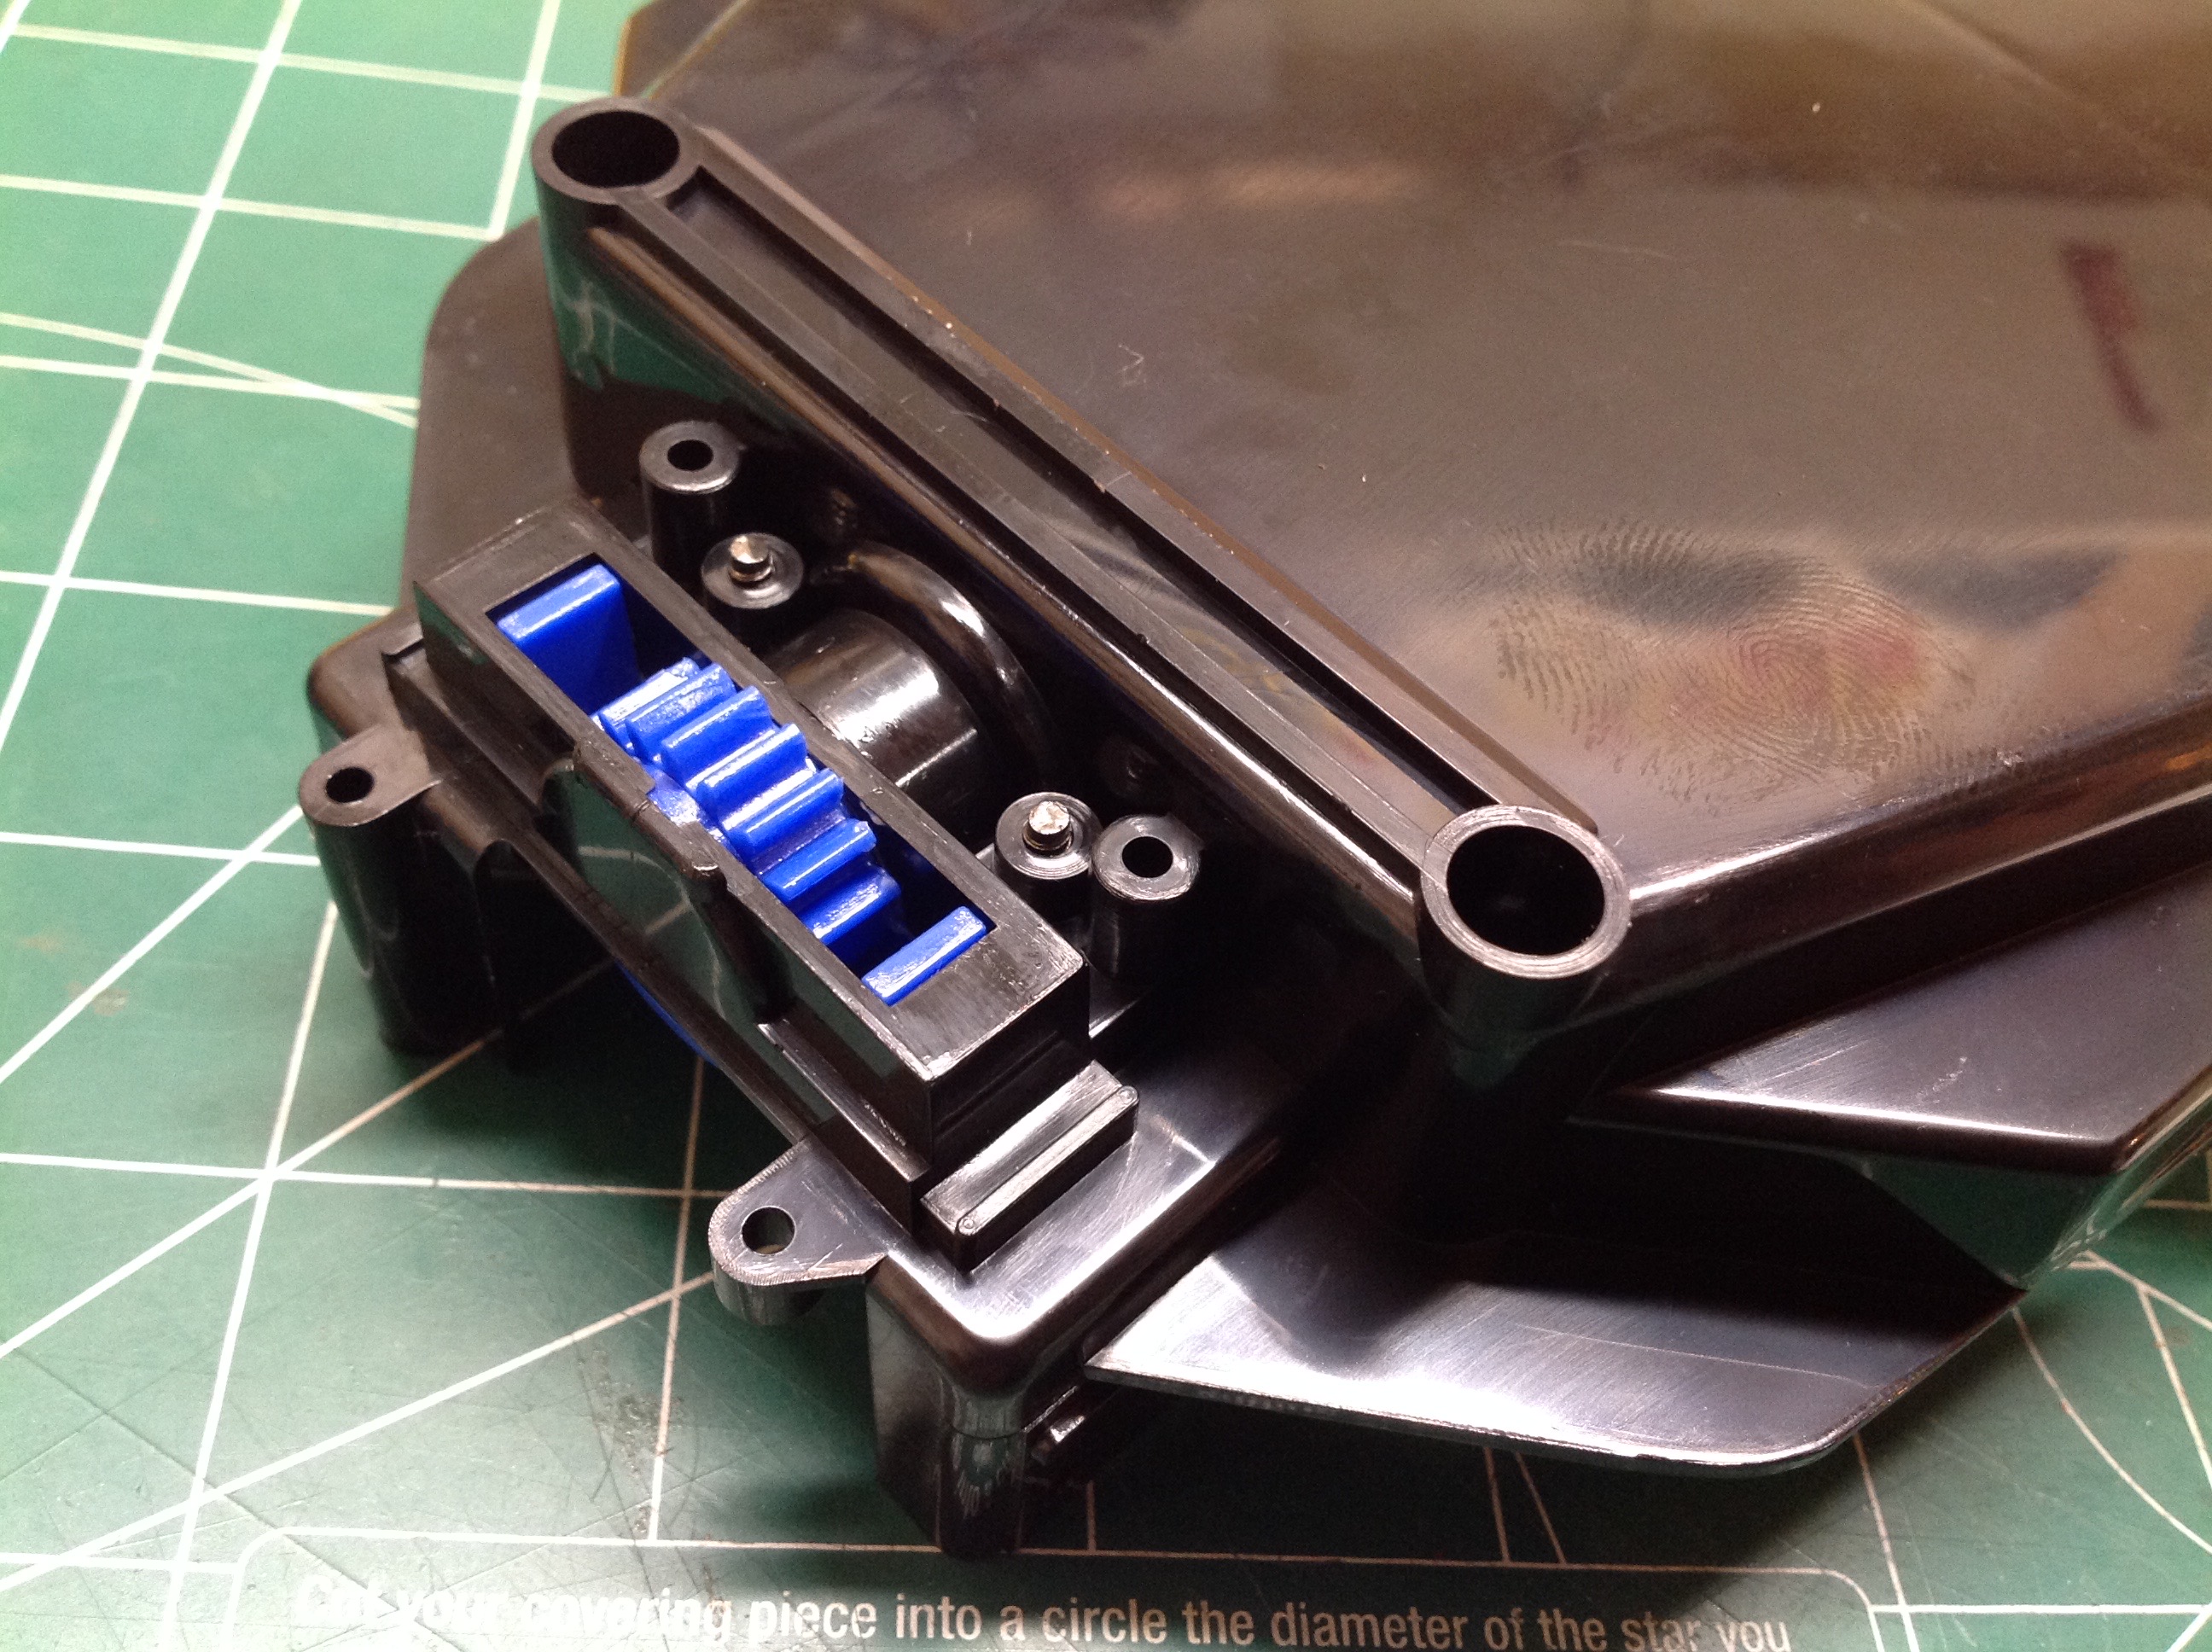
This model uses rack and pinion steering. The pinion gear connects
directly to the steering servo through a servo saver spring as
shown. There is no linkage.
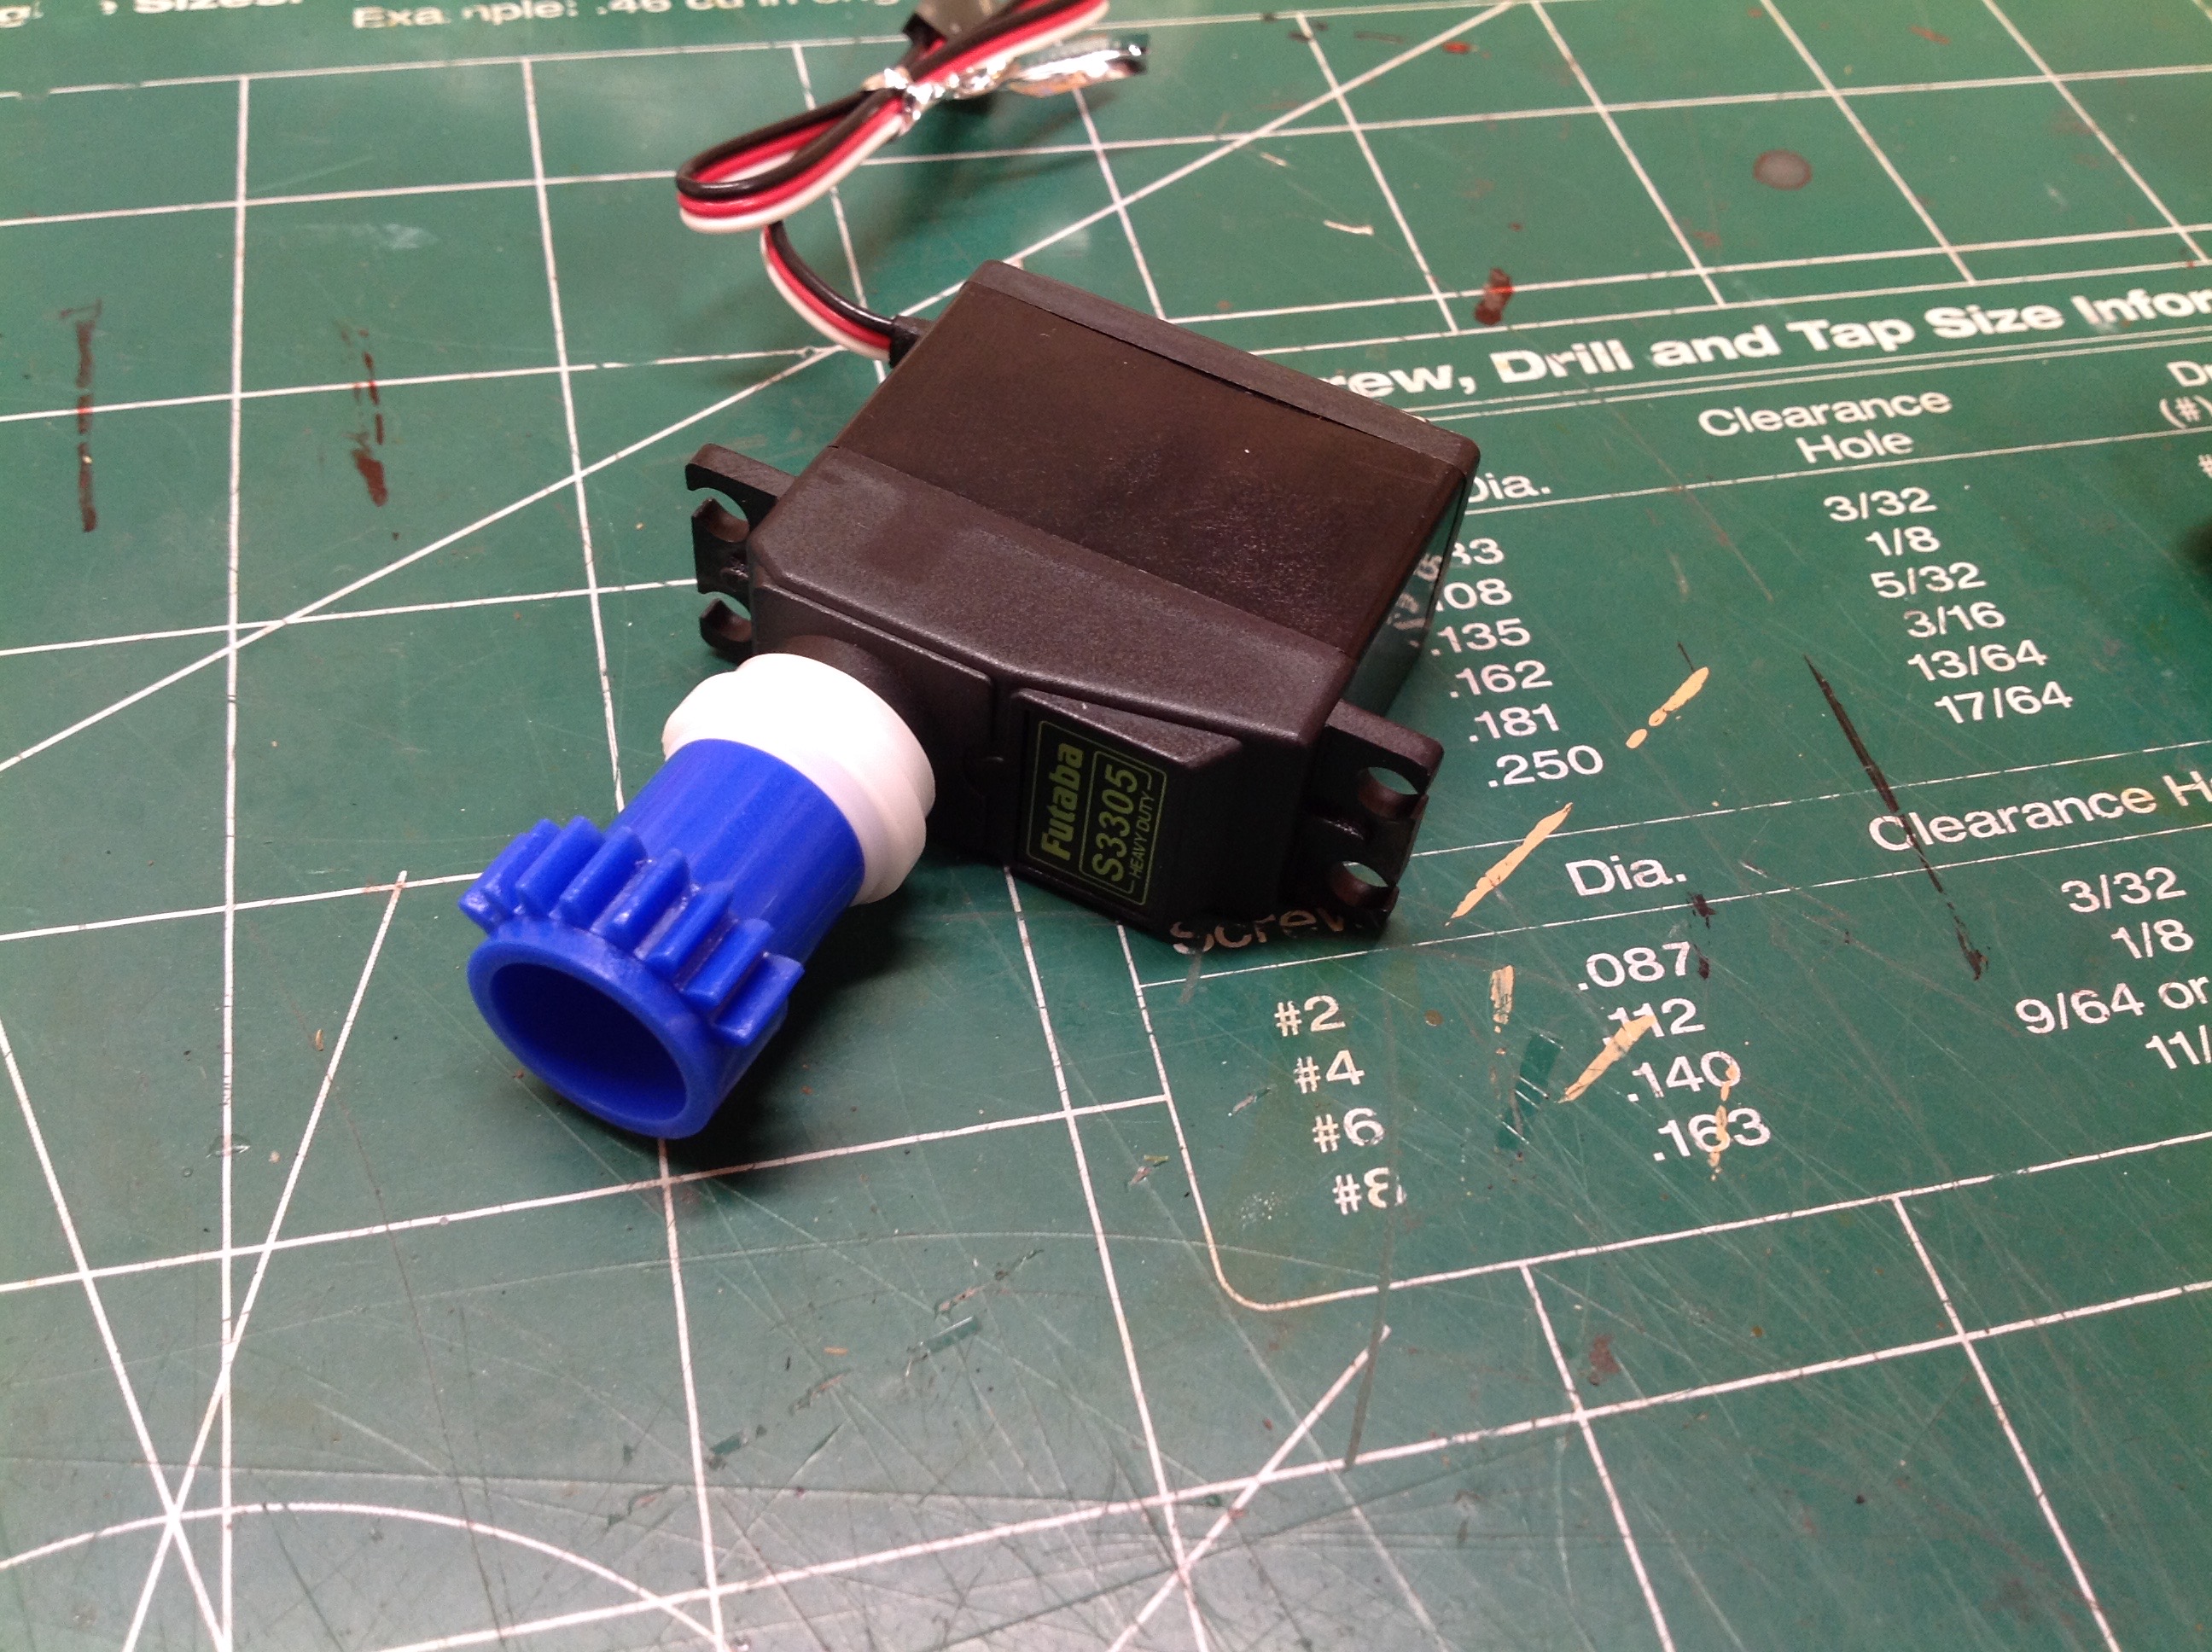
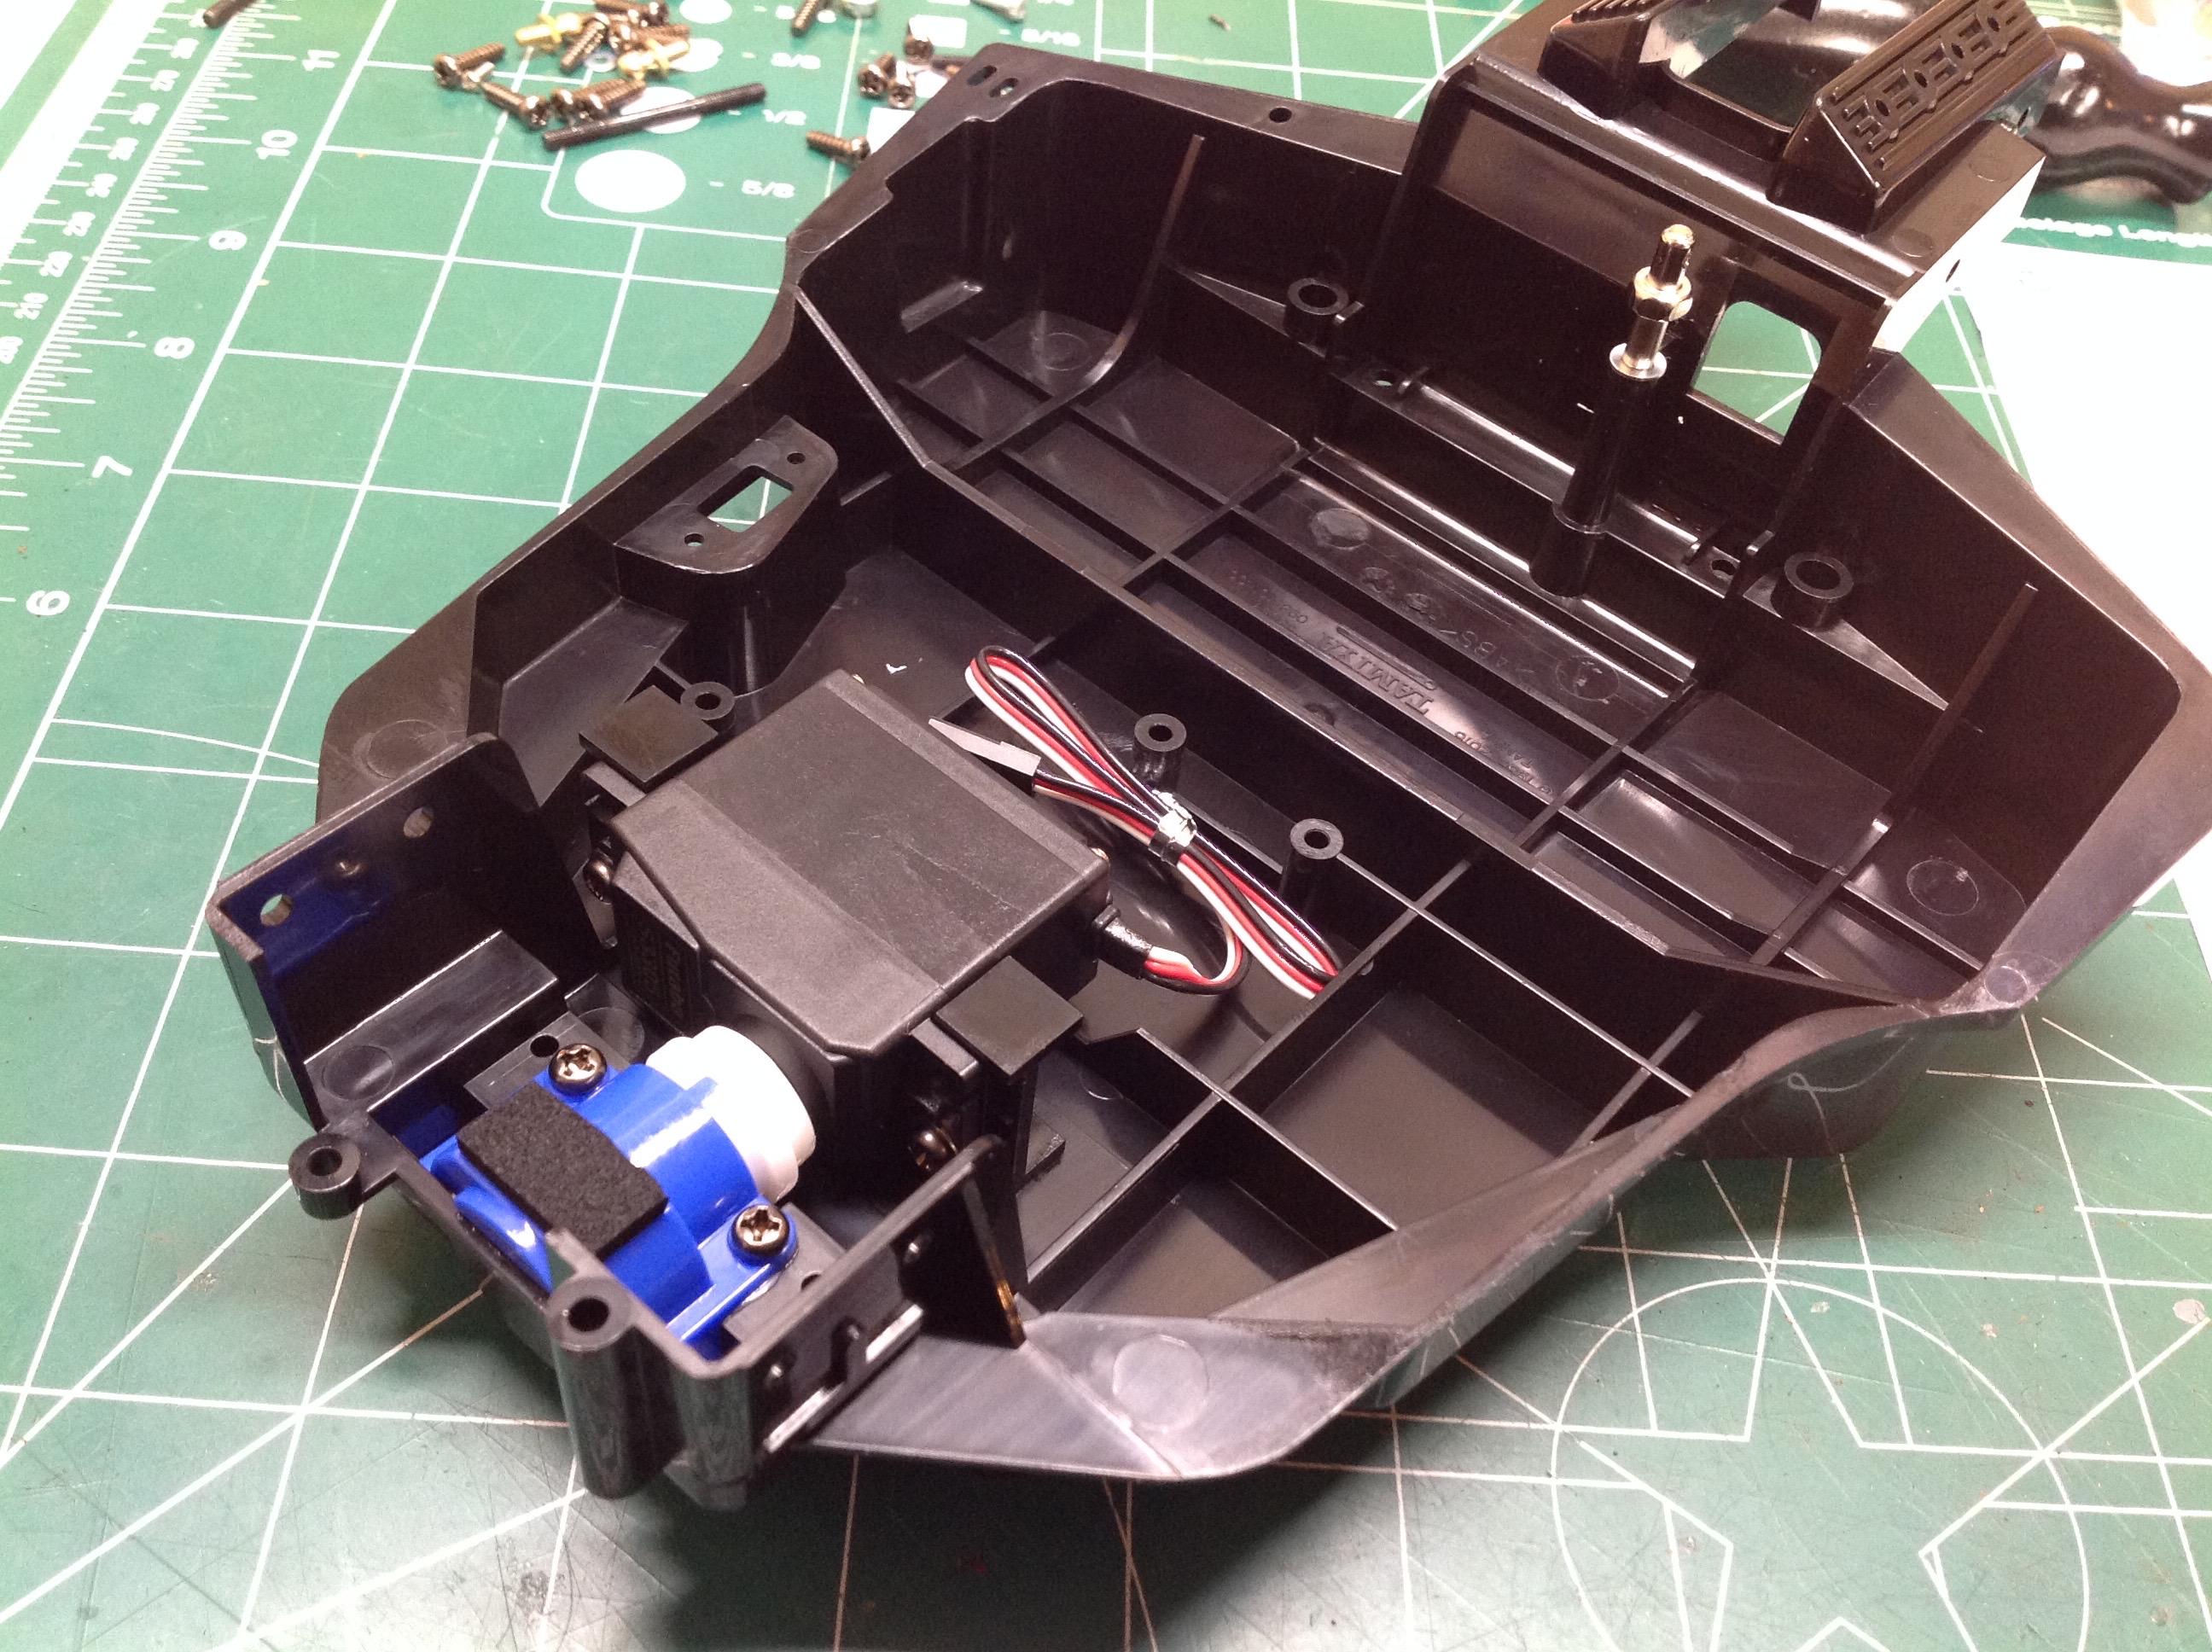
Here the steering servo and drive pinion have been installed into the
bathtub chassis. The pinion teeth protrude from the bottom of the
chassis. I chose a metal gear servo for this model because it
seemed to me that the direct load path from the steering back to the
servo had a greater potential to impart impacts to the servo than
usual. It probably wasn't necessary. The wide chassis
bathtub size for a 7-cell Ni-Cd battery pack is very different from the
narrow channel we saw on the Hotshot.
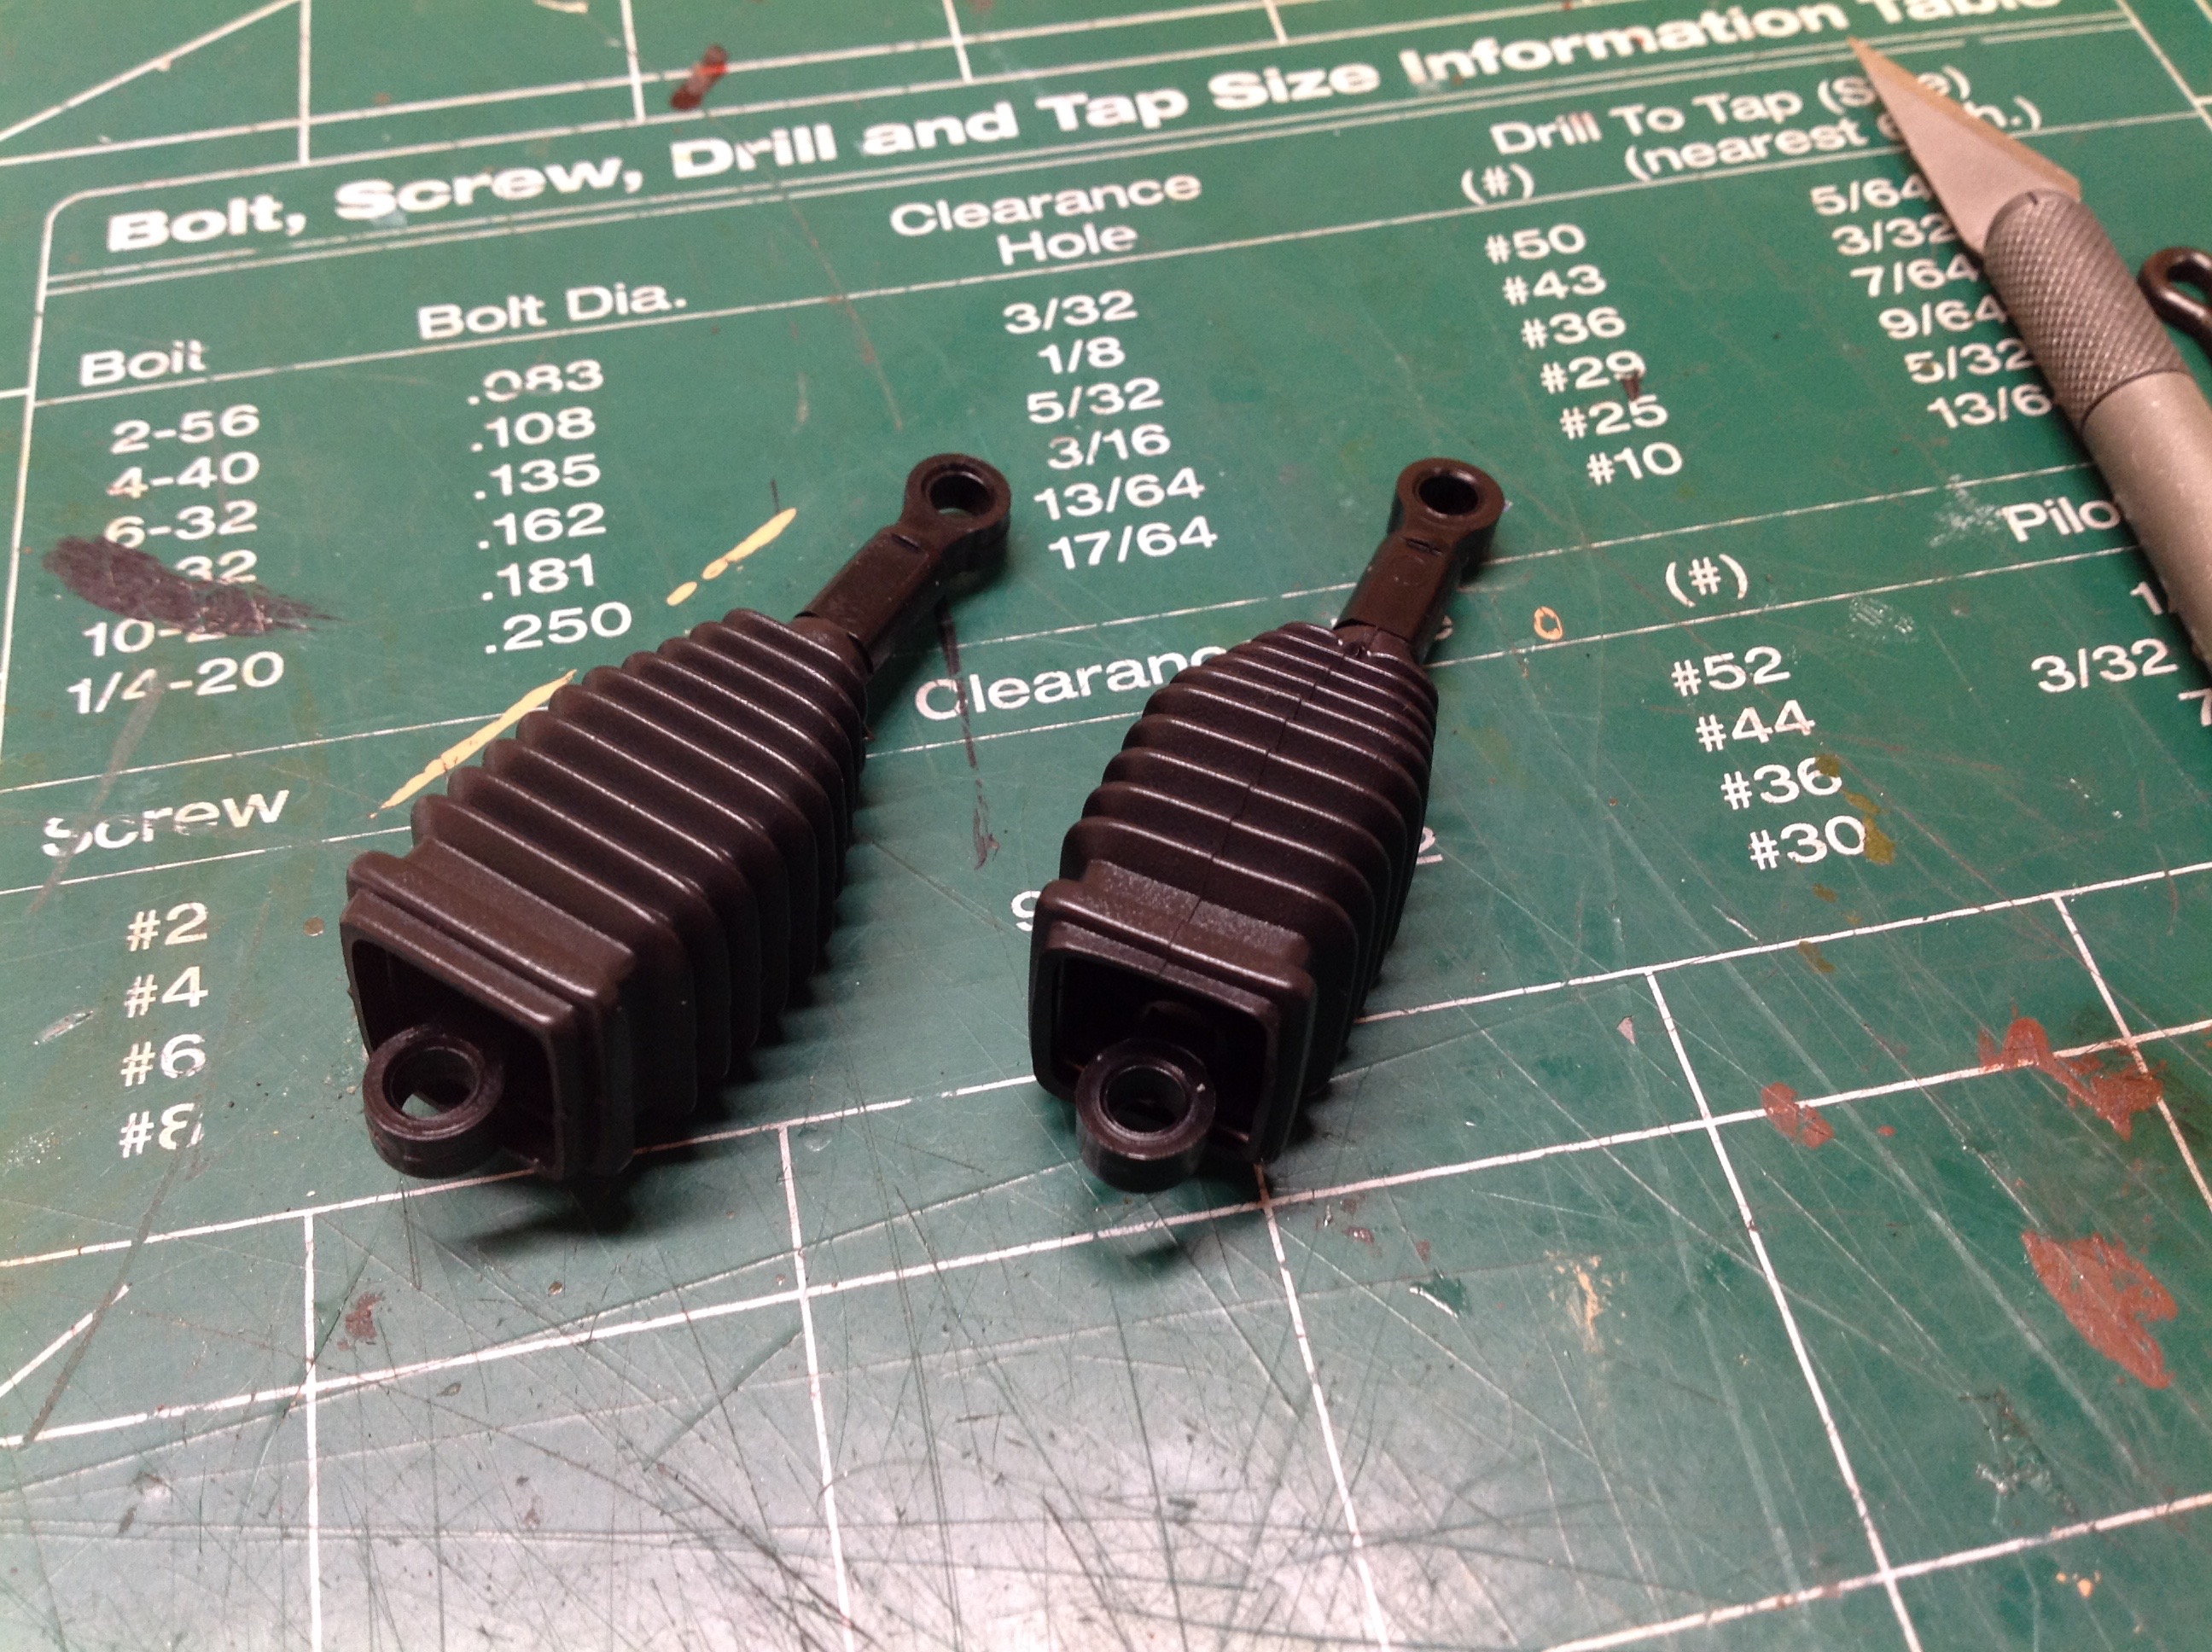
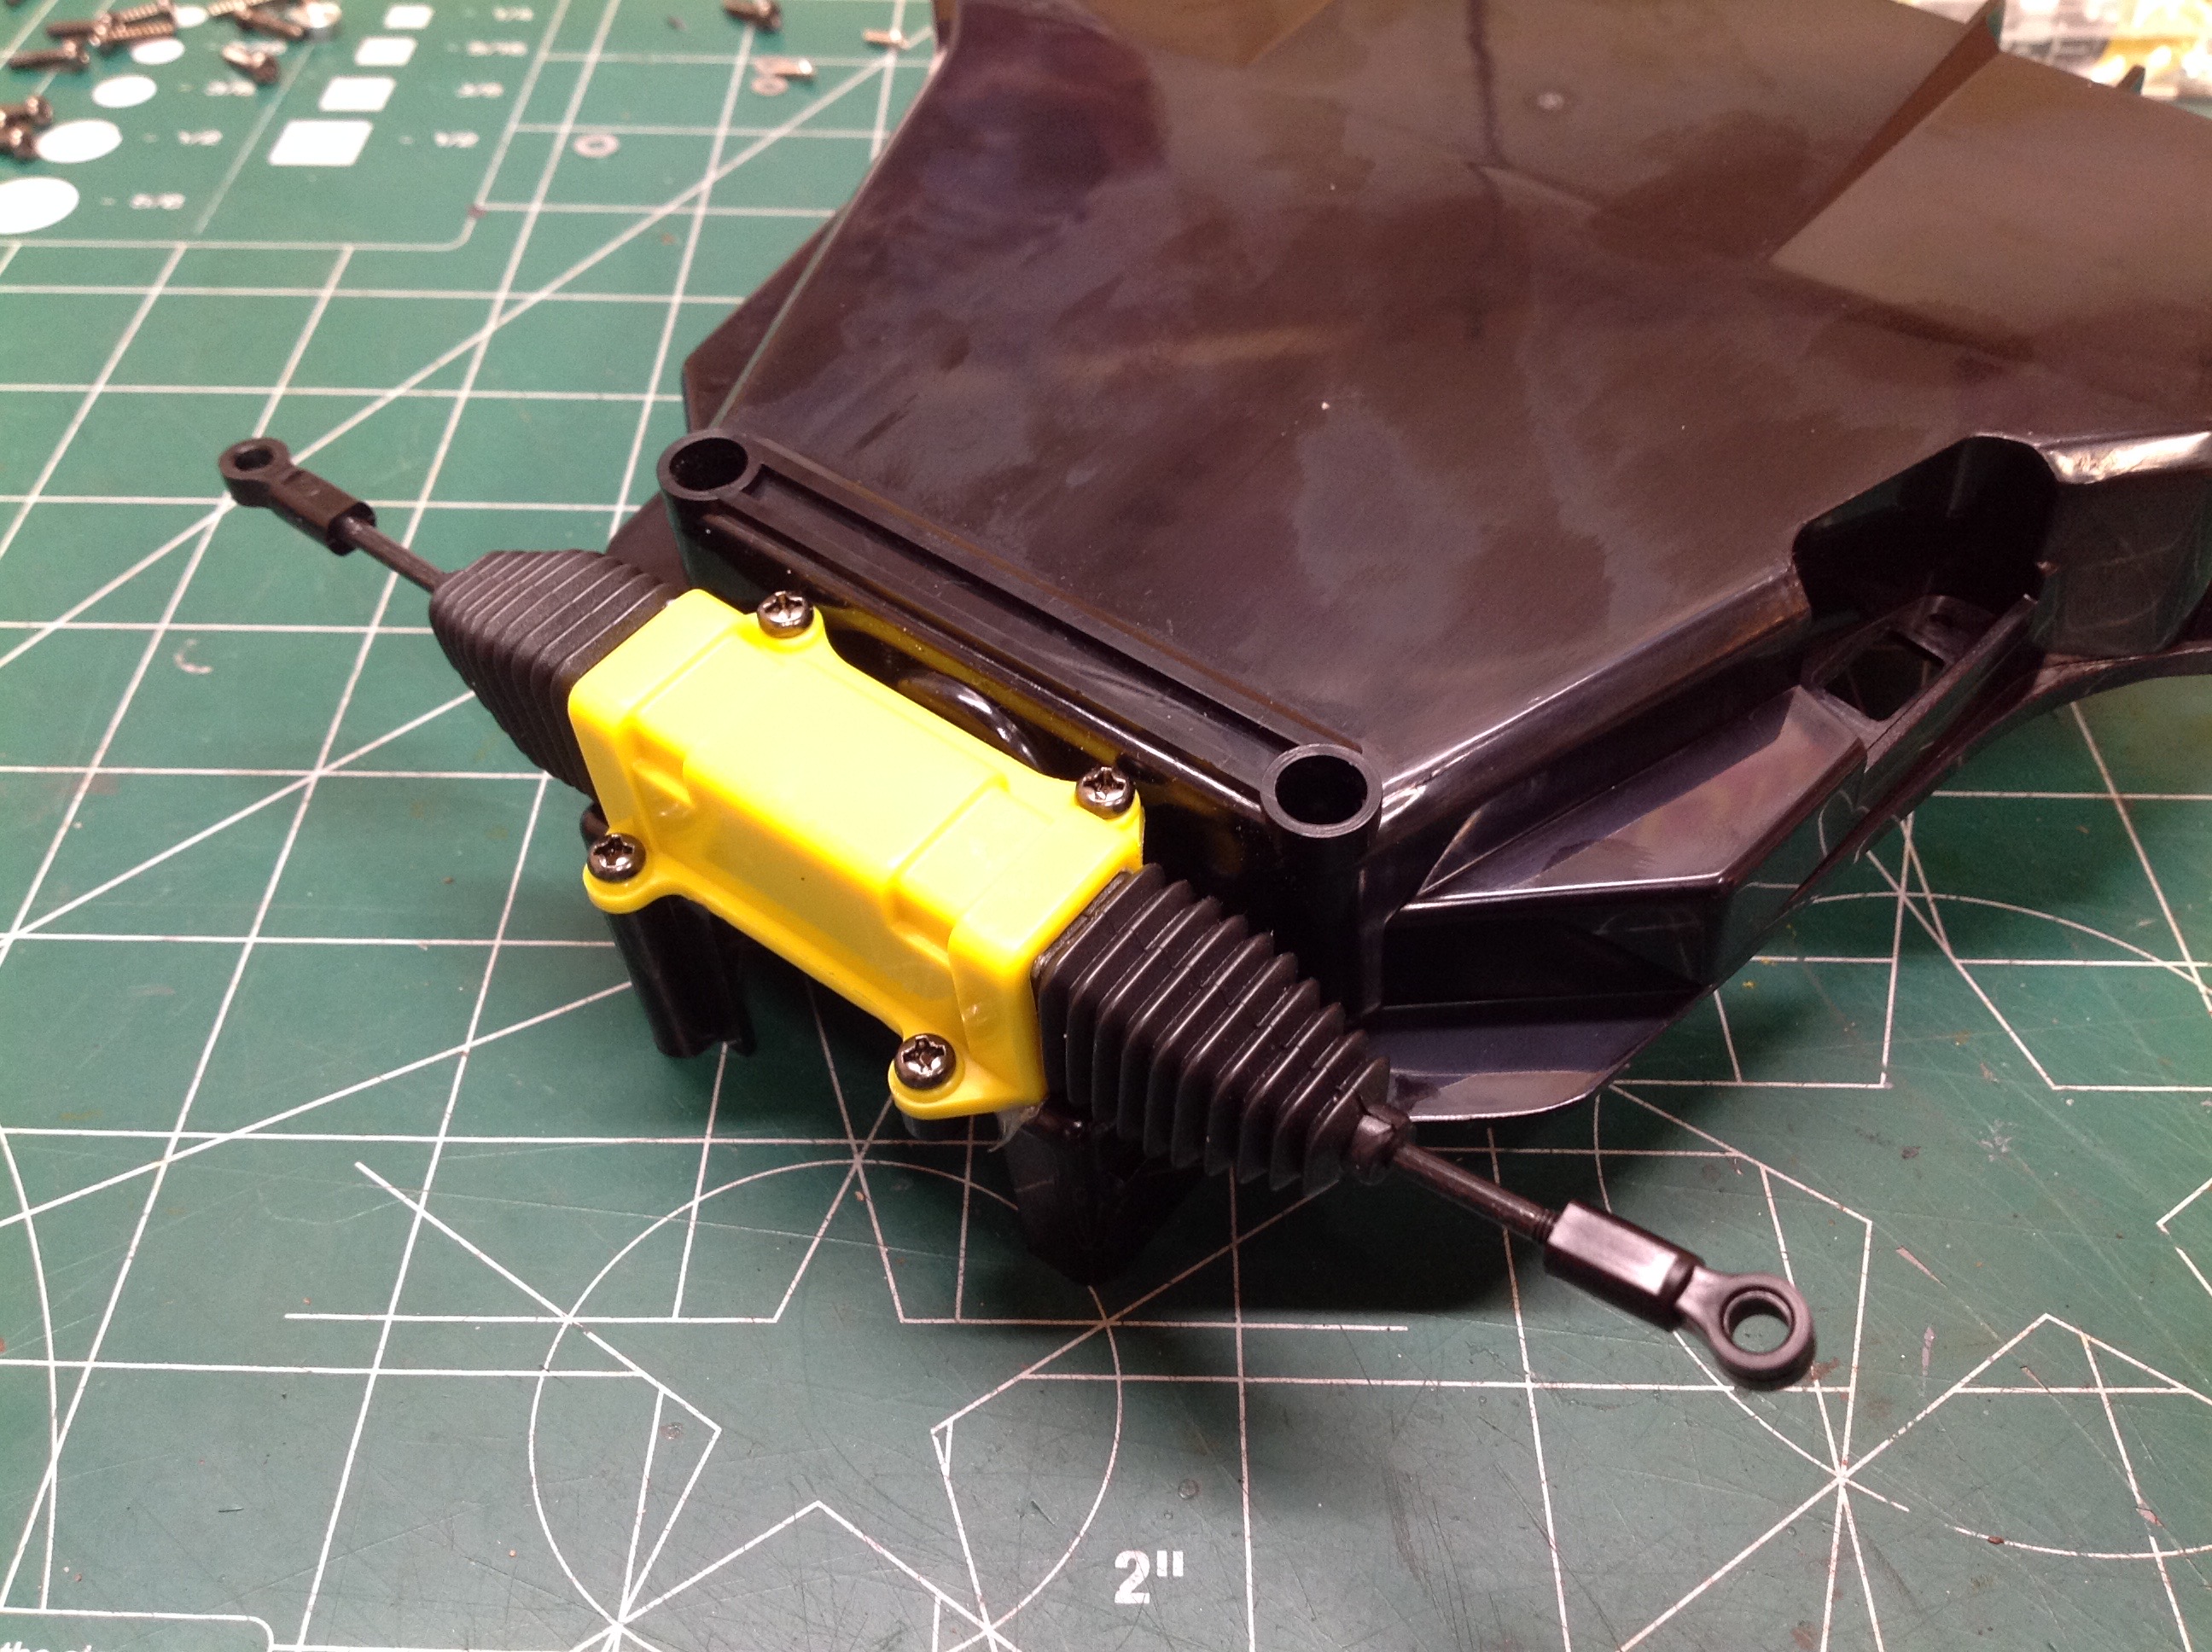
The rack gear sits inside the yellow housing. The rubber boots
which enshroud the steering rods on either side keep dust and
contaminants from reaching the gears.
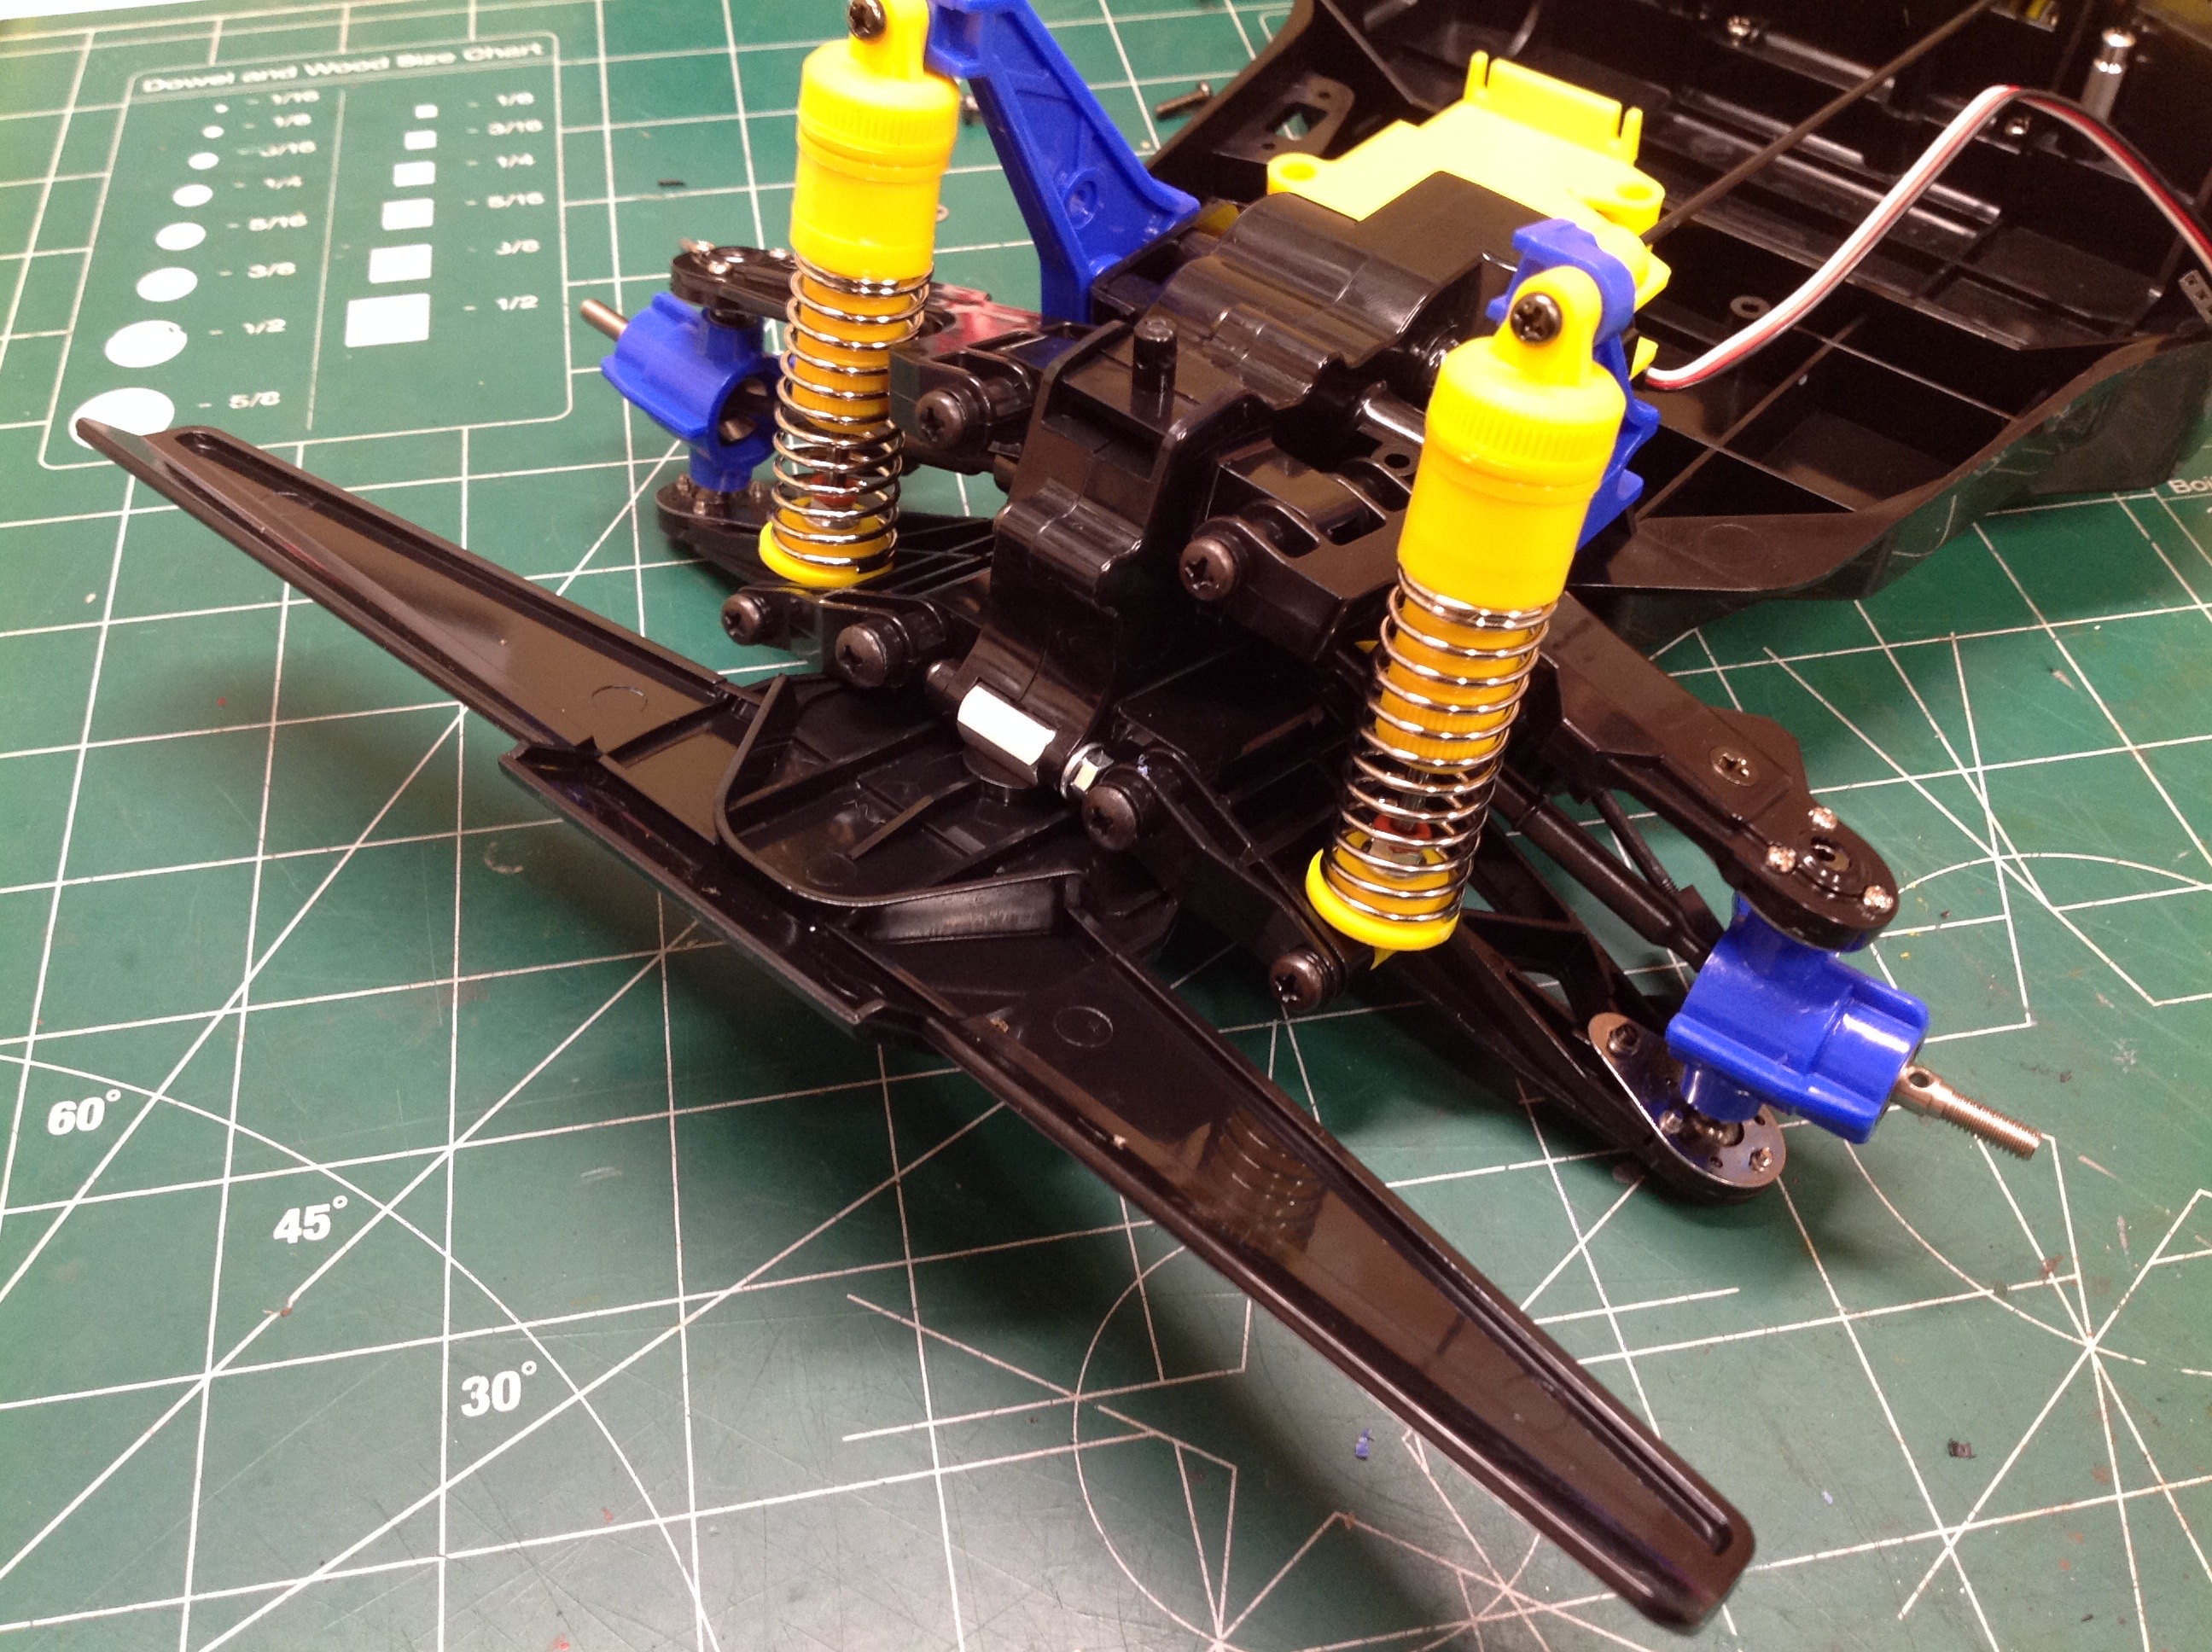
The suspension arms and hubs look very similar to the Hotshot apart from
being blue instead of red. The rear upper arms have been changed
and a shock tower added. Front upper and lower arms have also been
changed to make room for shocks but still use the same unusual method to
capture the pivot balls. The suspension assemblies are modular
and simply bolt to the chassis tub. Note the yellow exhaust pipes
and faux engine valve covers in the back of the chassis.
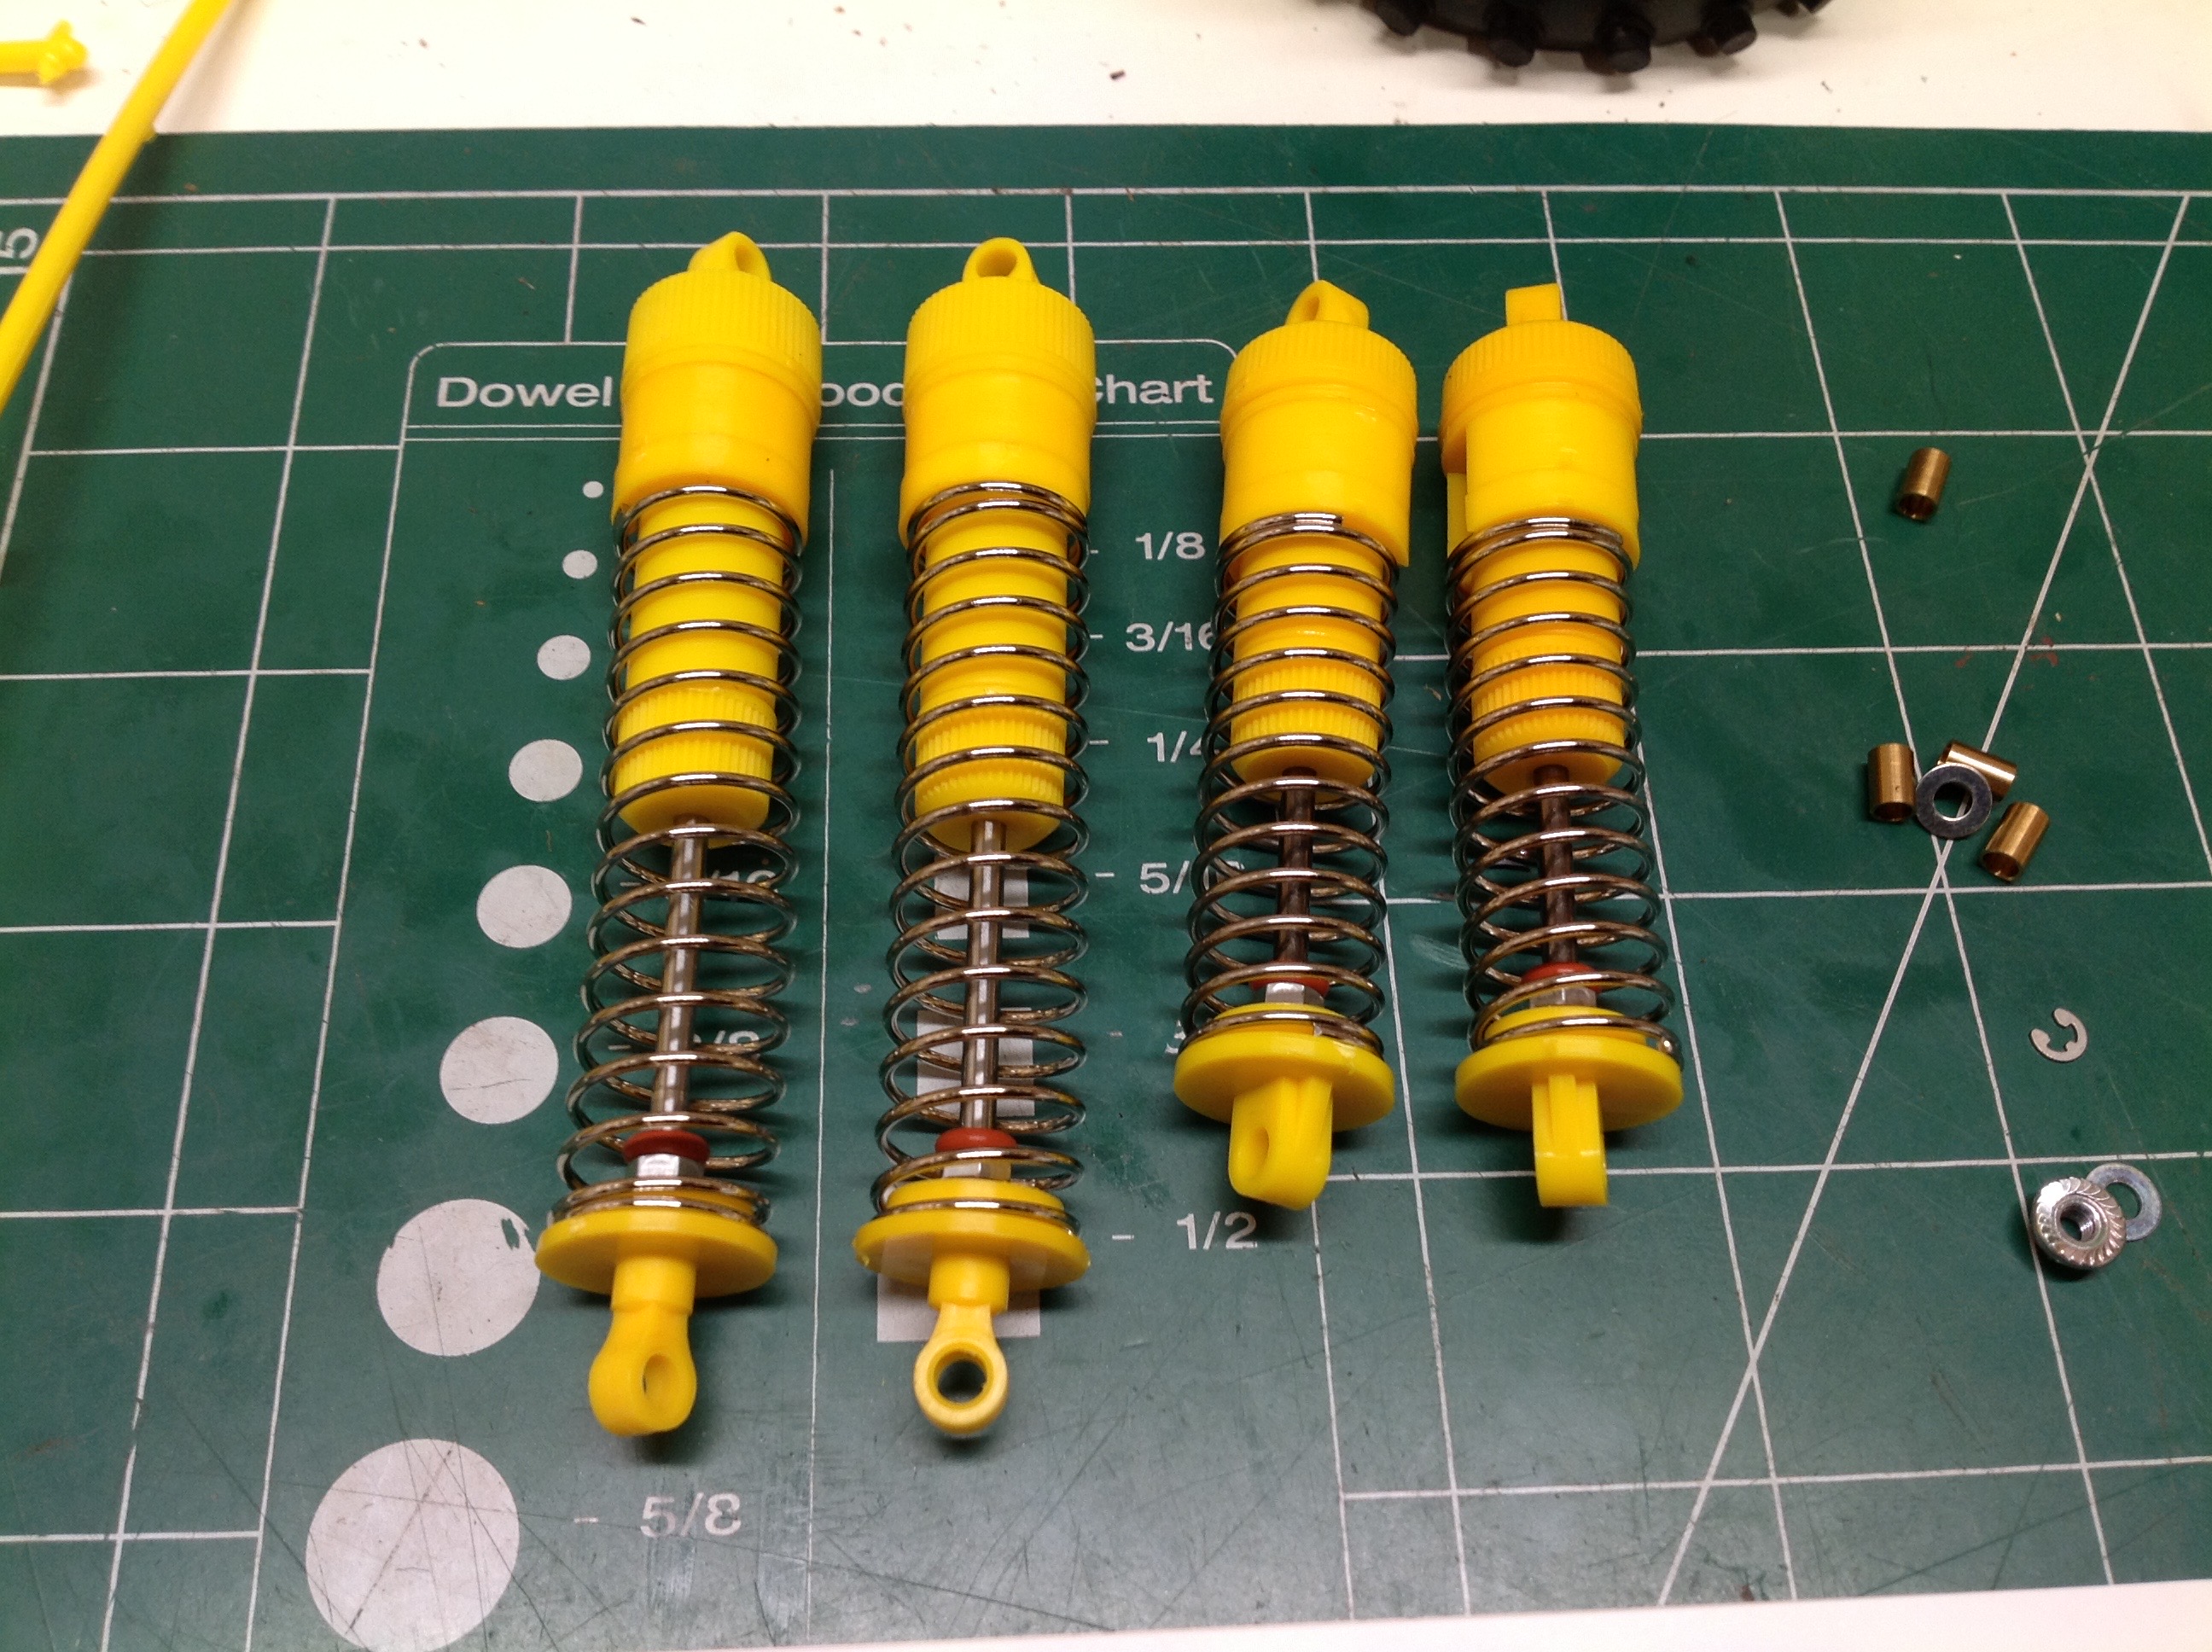
The yellow CVA oil shocks are pretty conventional, although the rear
shocks are particularly long. The shock configuration differs
almost completely from the original Hotshot by using 4 independent
vertical dampers. Note that the front shocks use separate upper
supports instead of a shock tower which allows the nose of the body to
pass through this area.
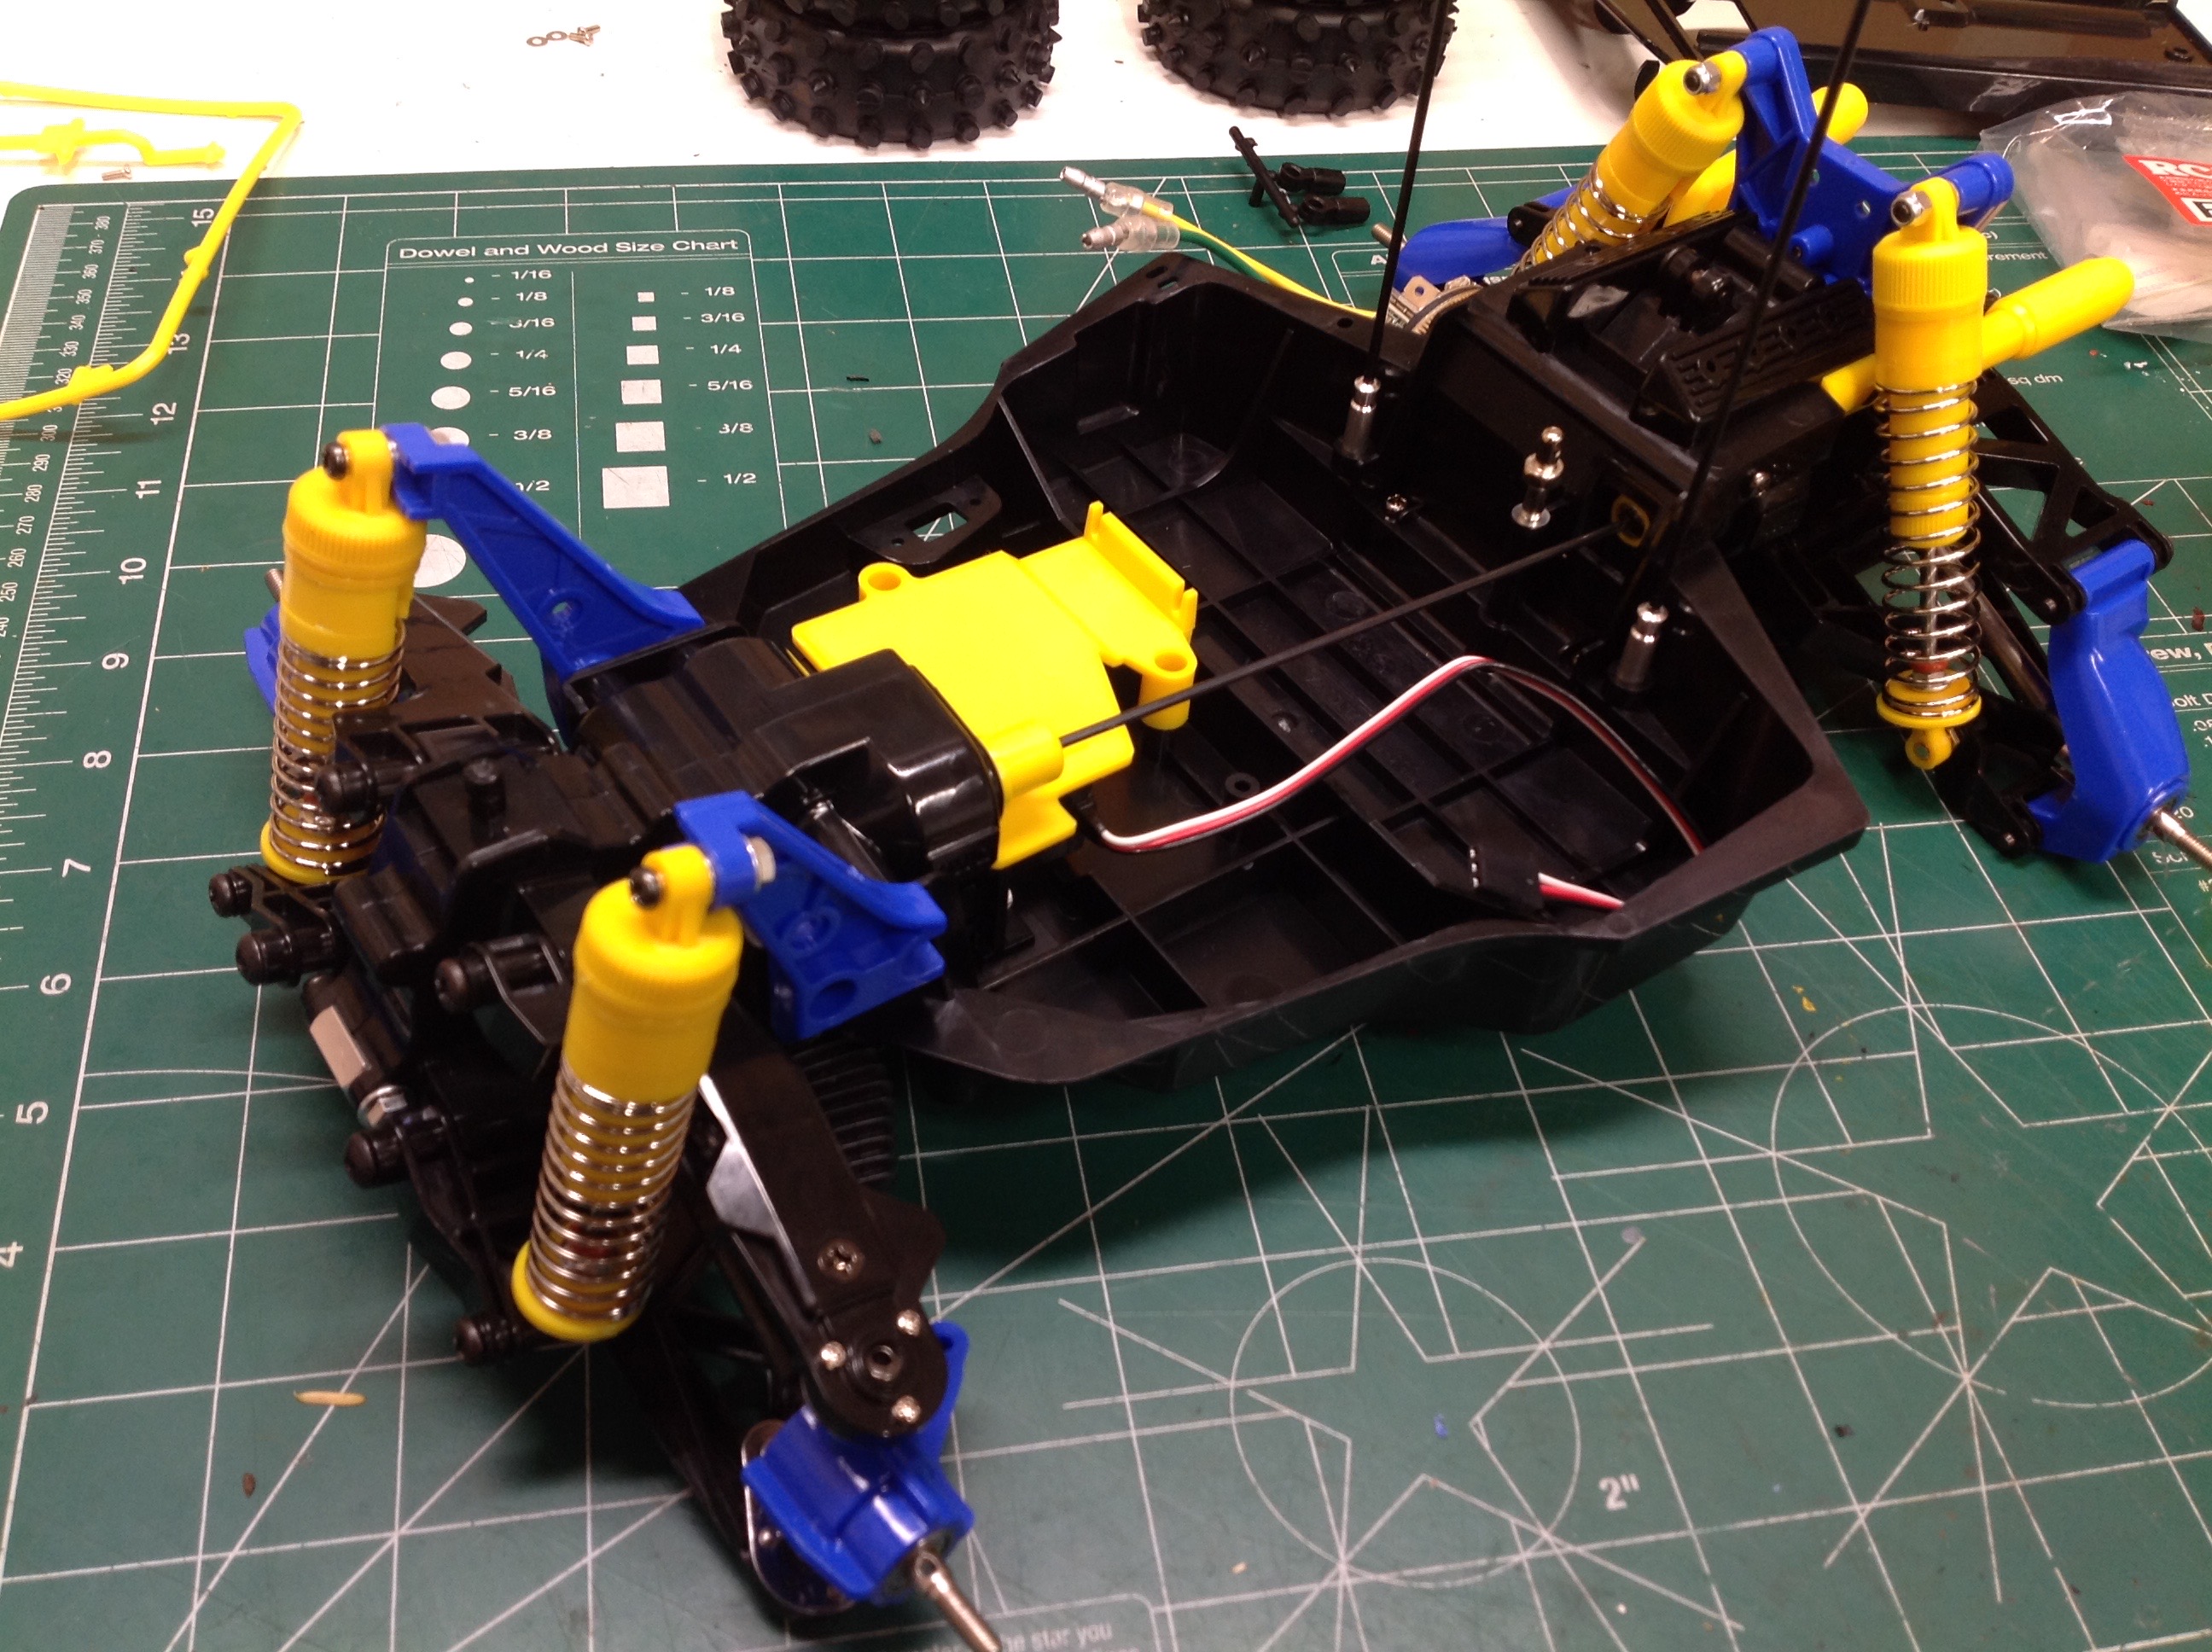
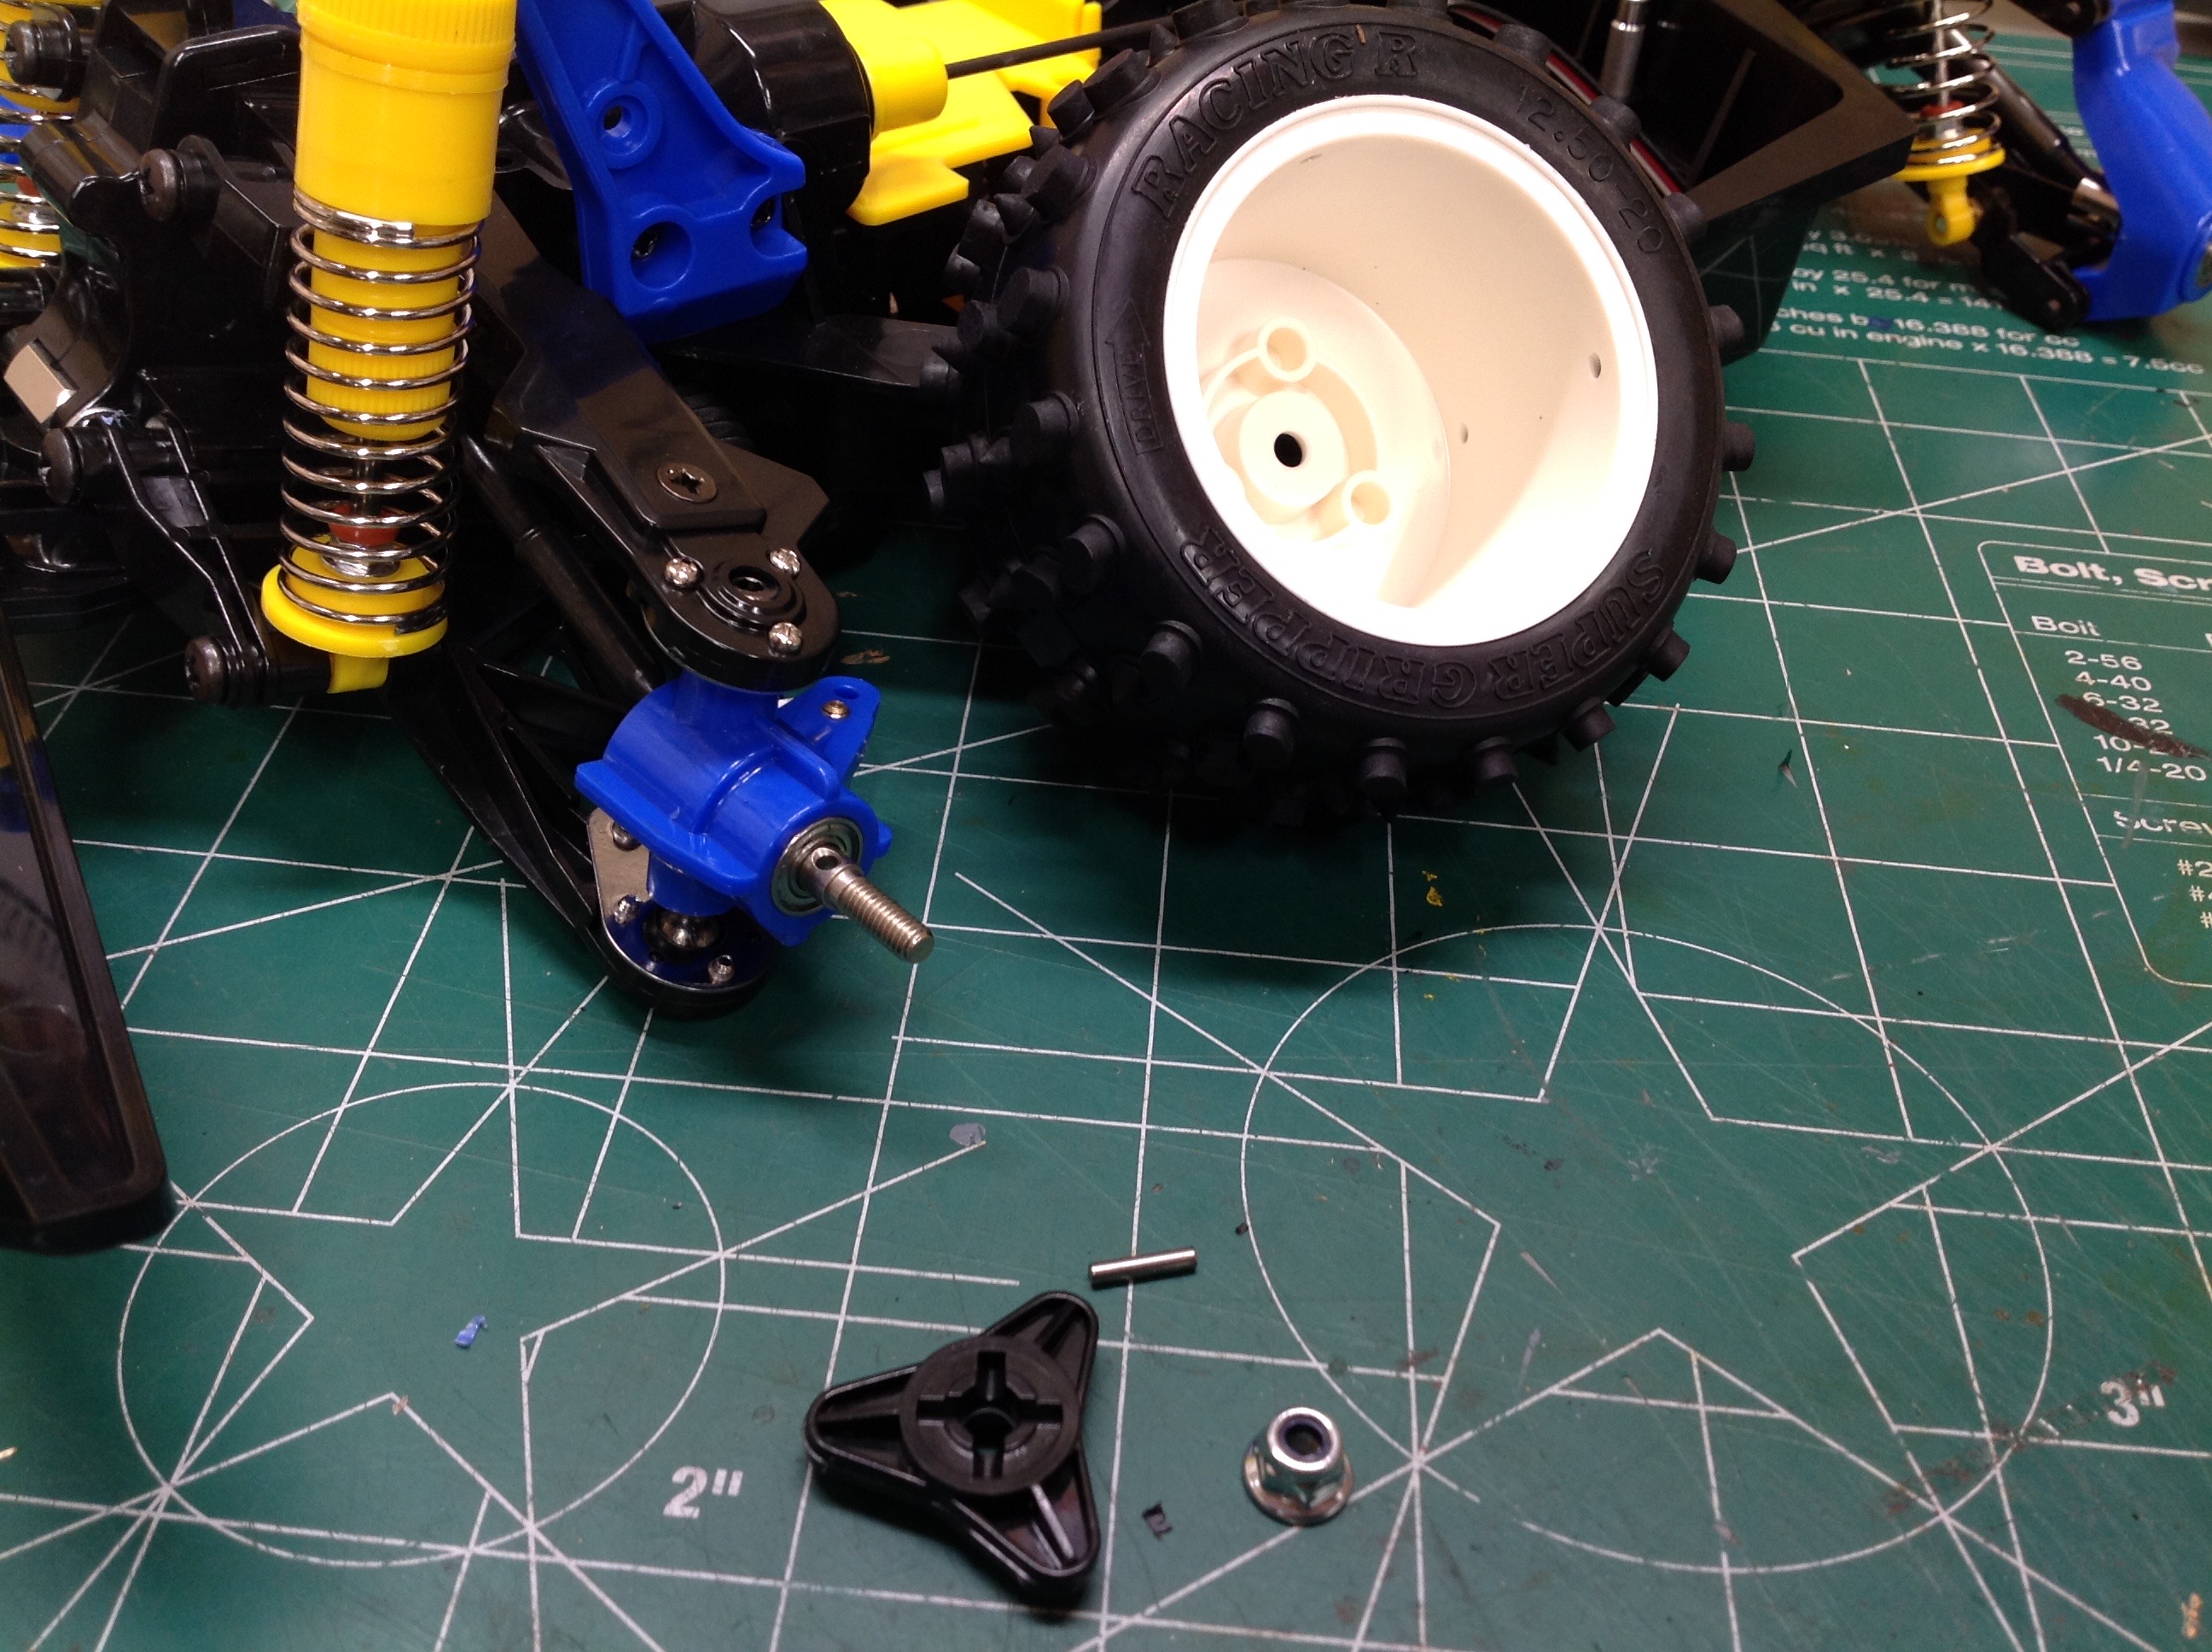
The front bumper is huge and effectively prevents any forward impacts to
the front wheels. The wheel attachment method is unusual.
Instead of using 12mm hexes, it uses triangular adapters as shown which
means your wheels choices are very limit. The tires use an oval
block pattern which I really like for traction and durability.
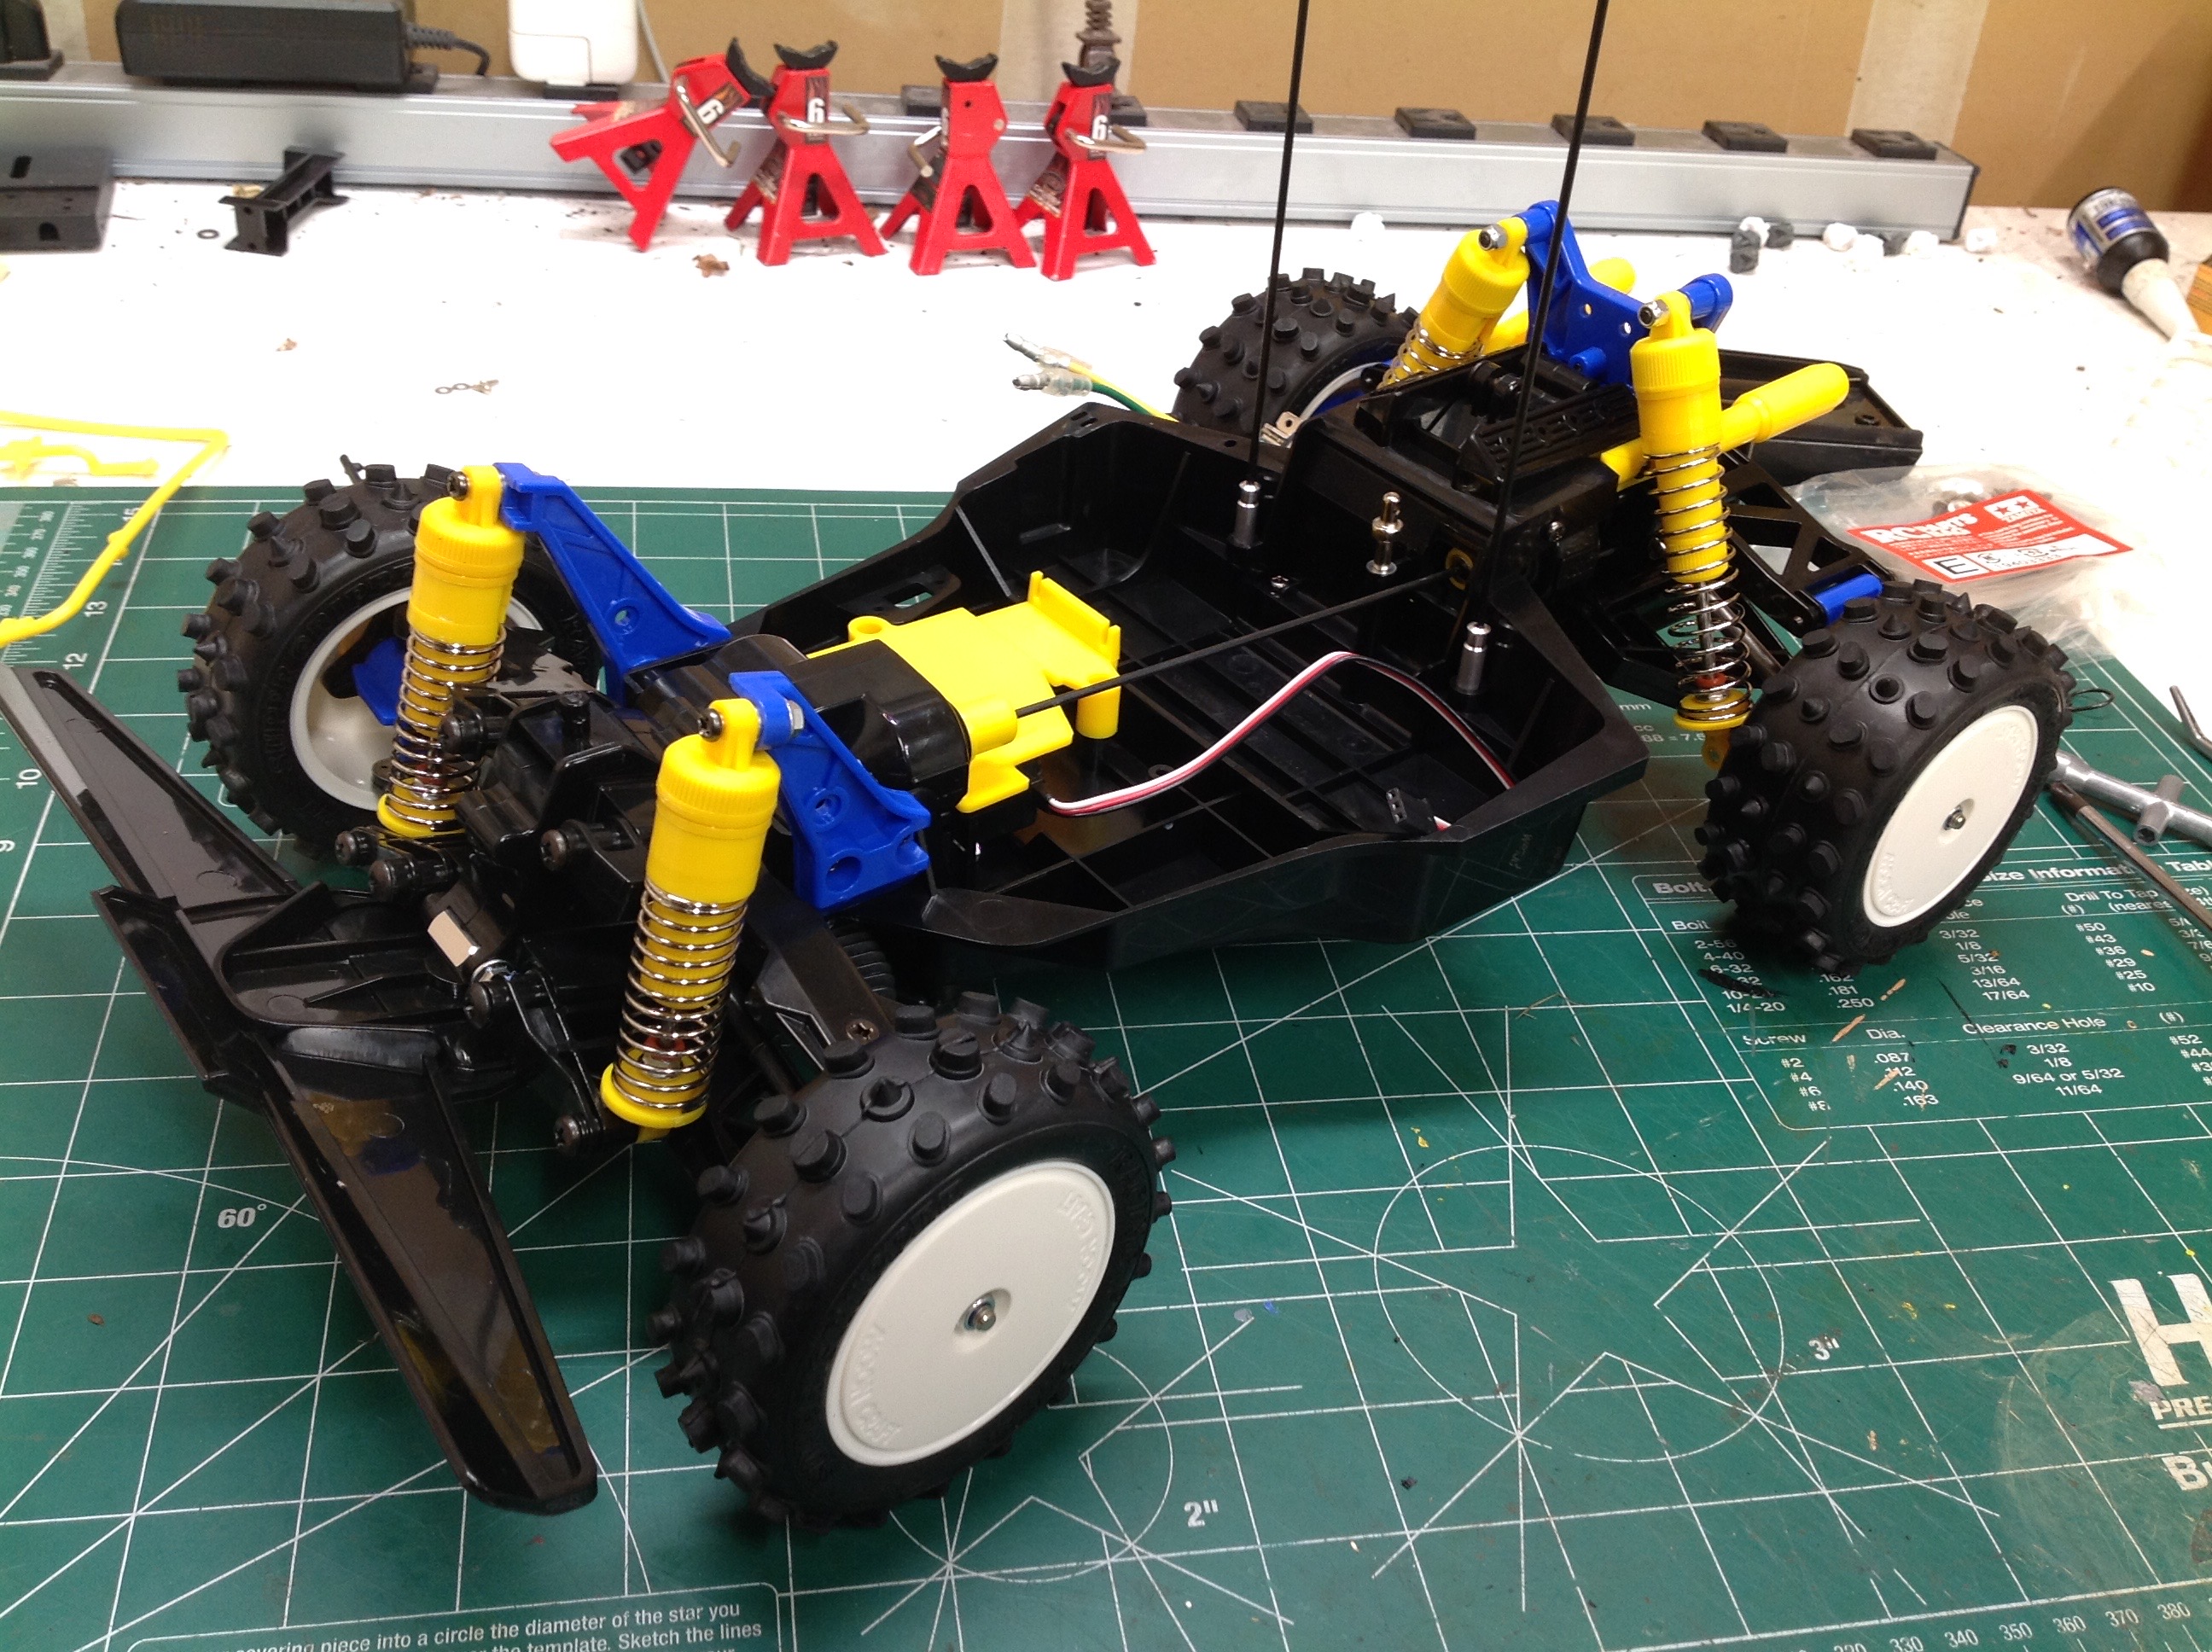
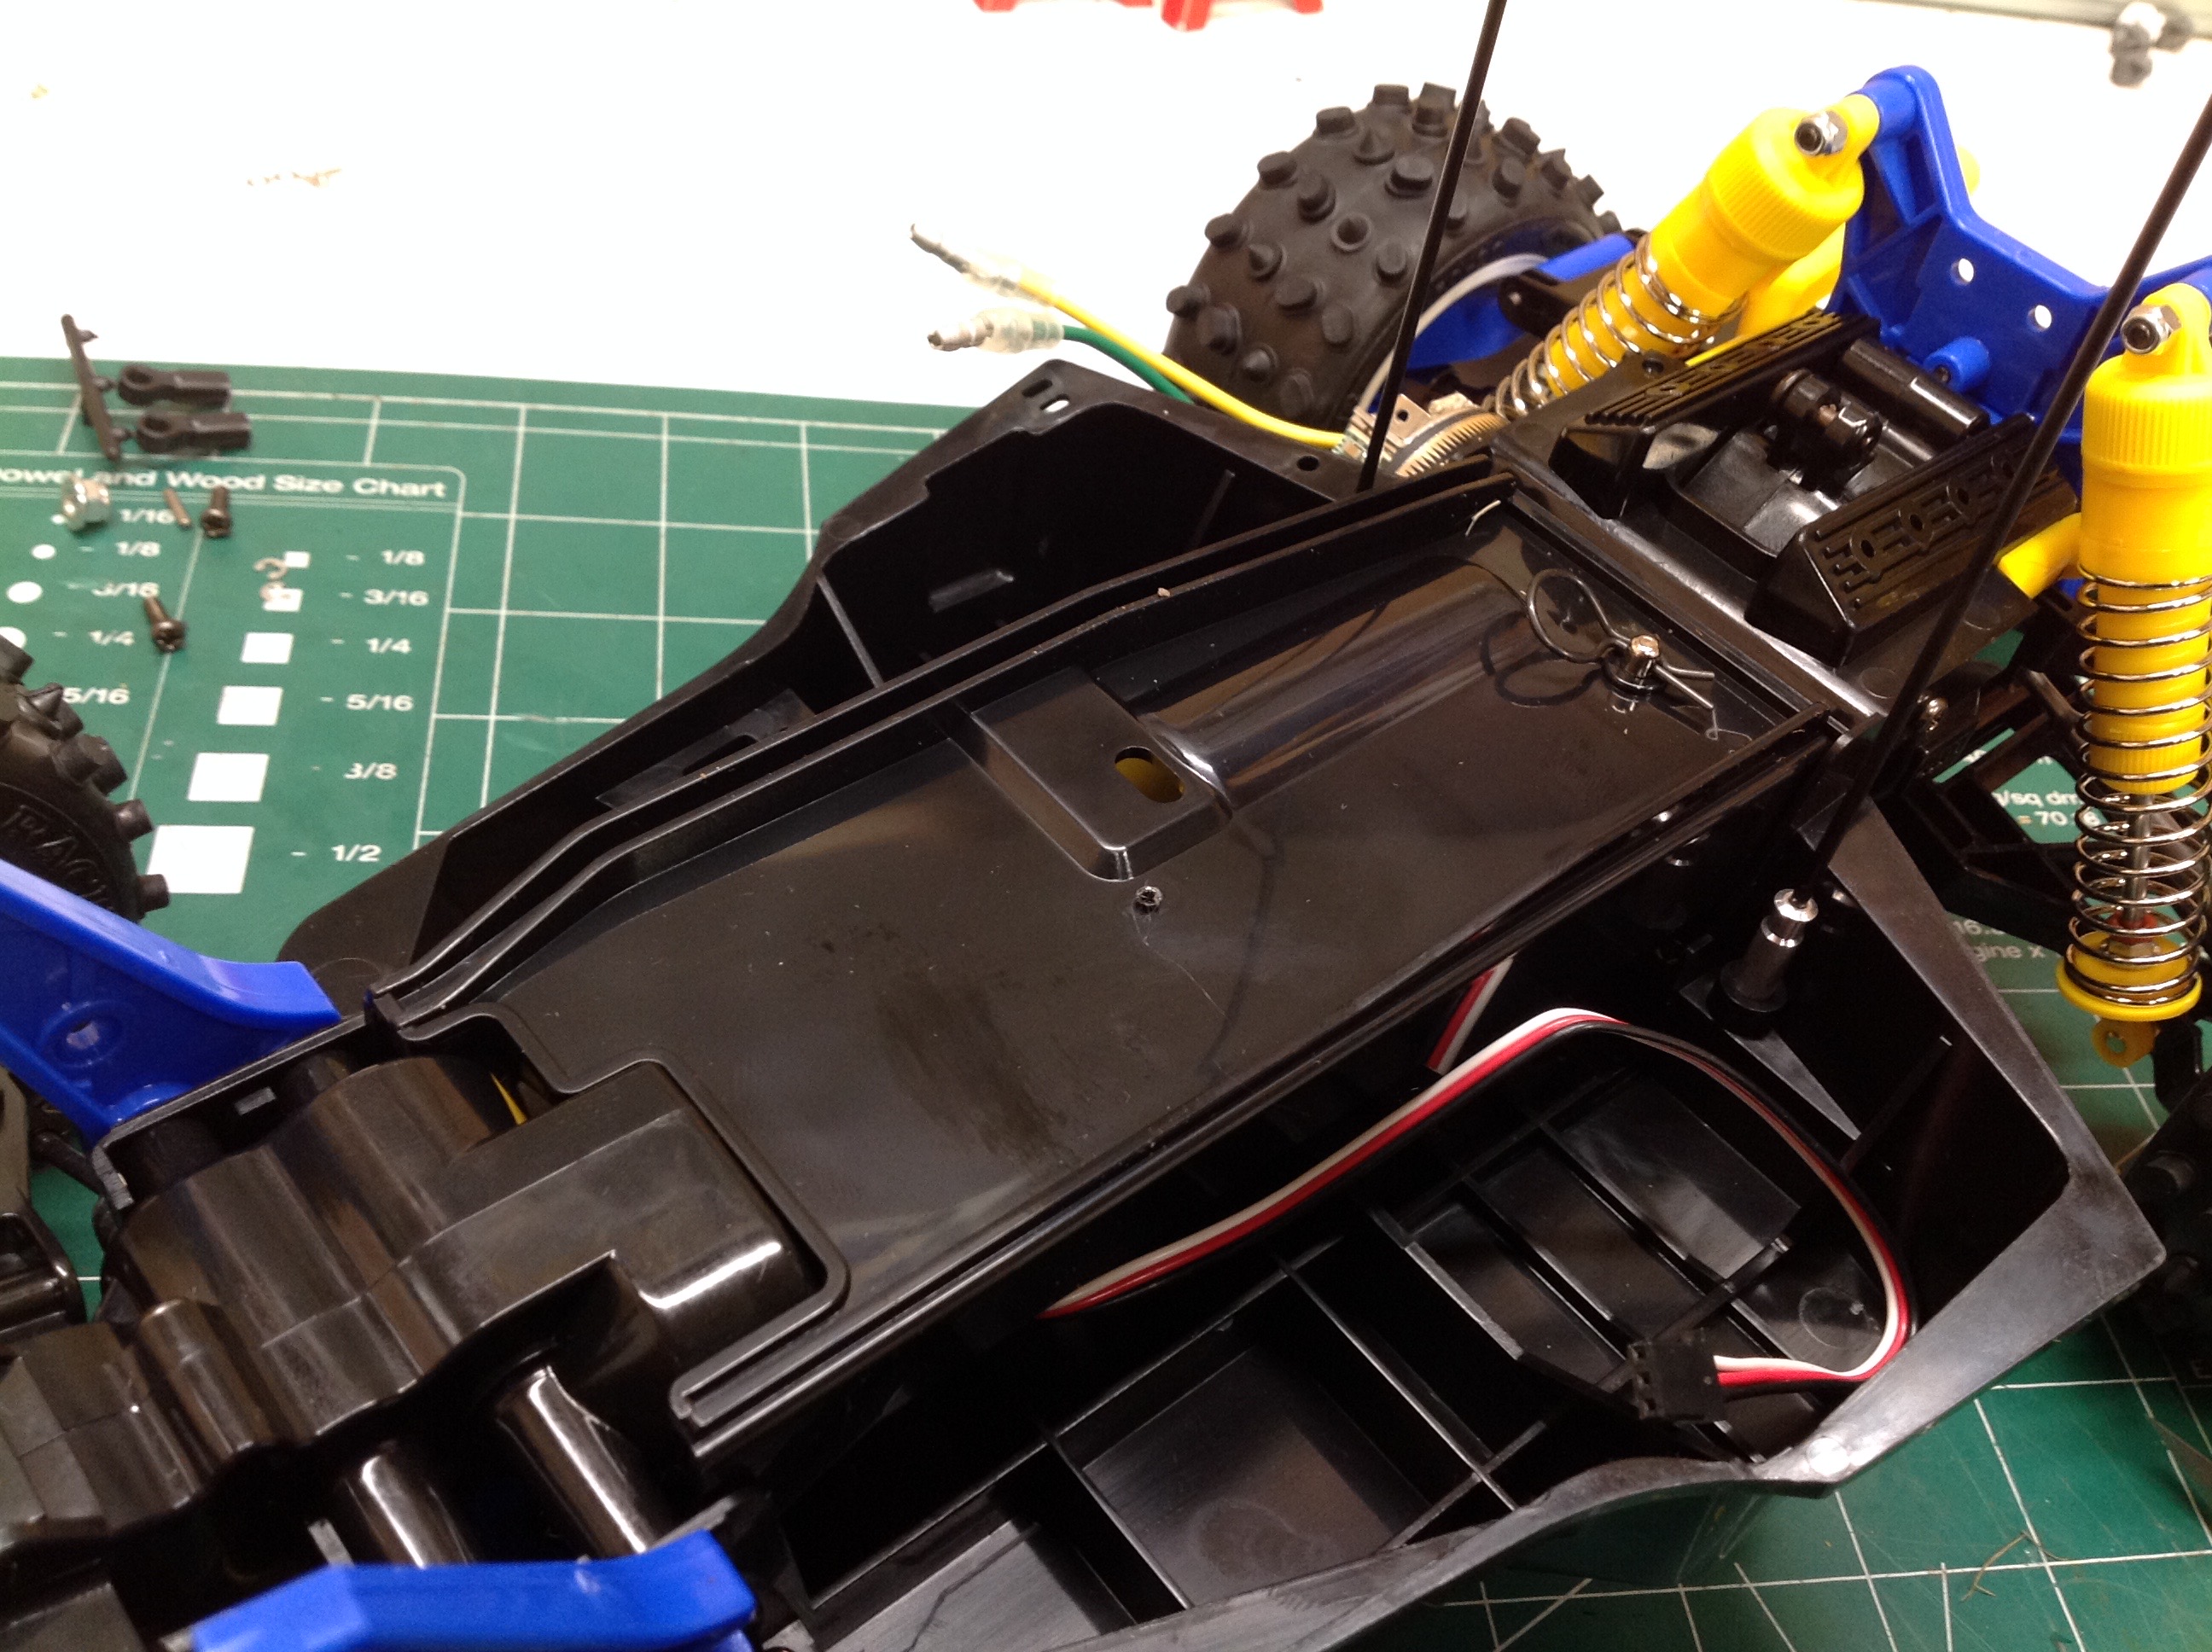
With the wheels and tires installed, the chassis is almost done.
An upper cover encloses the electronics and is also used as a battery
hatch. It is held with a cotter pin in the back and pivots in the
front.
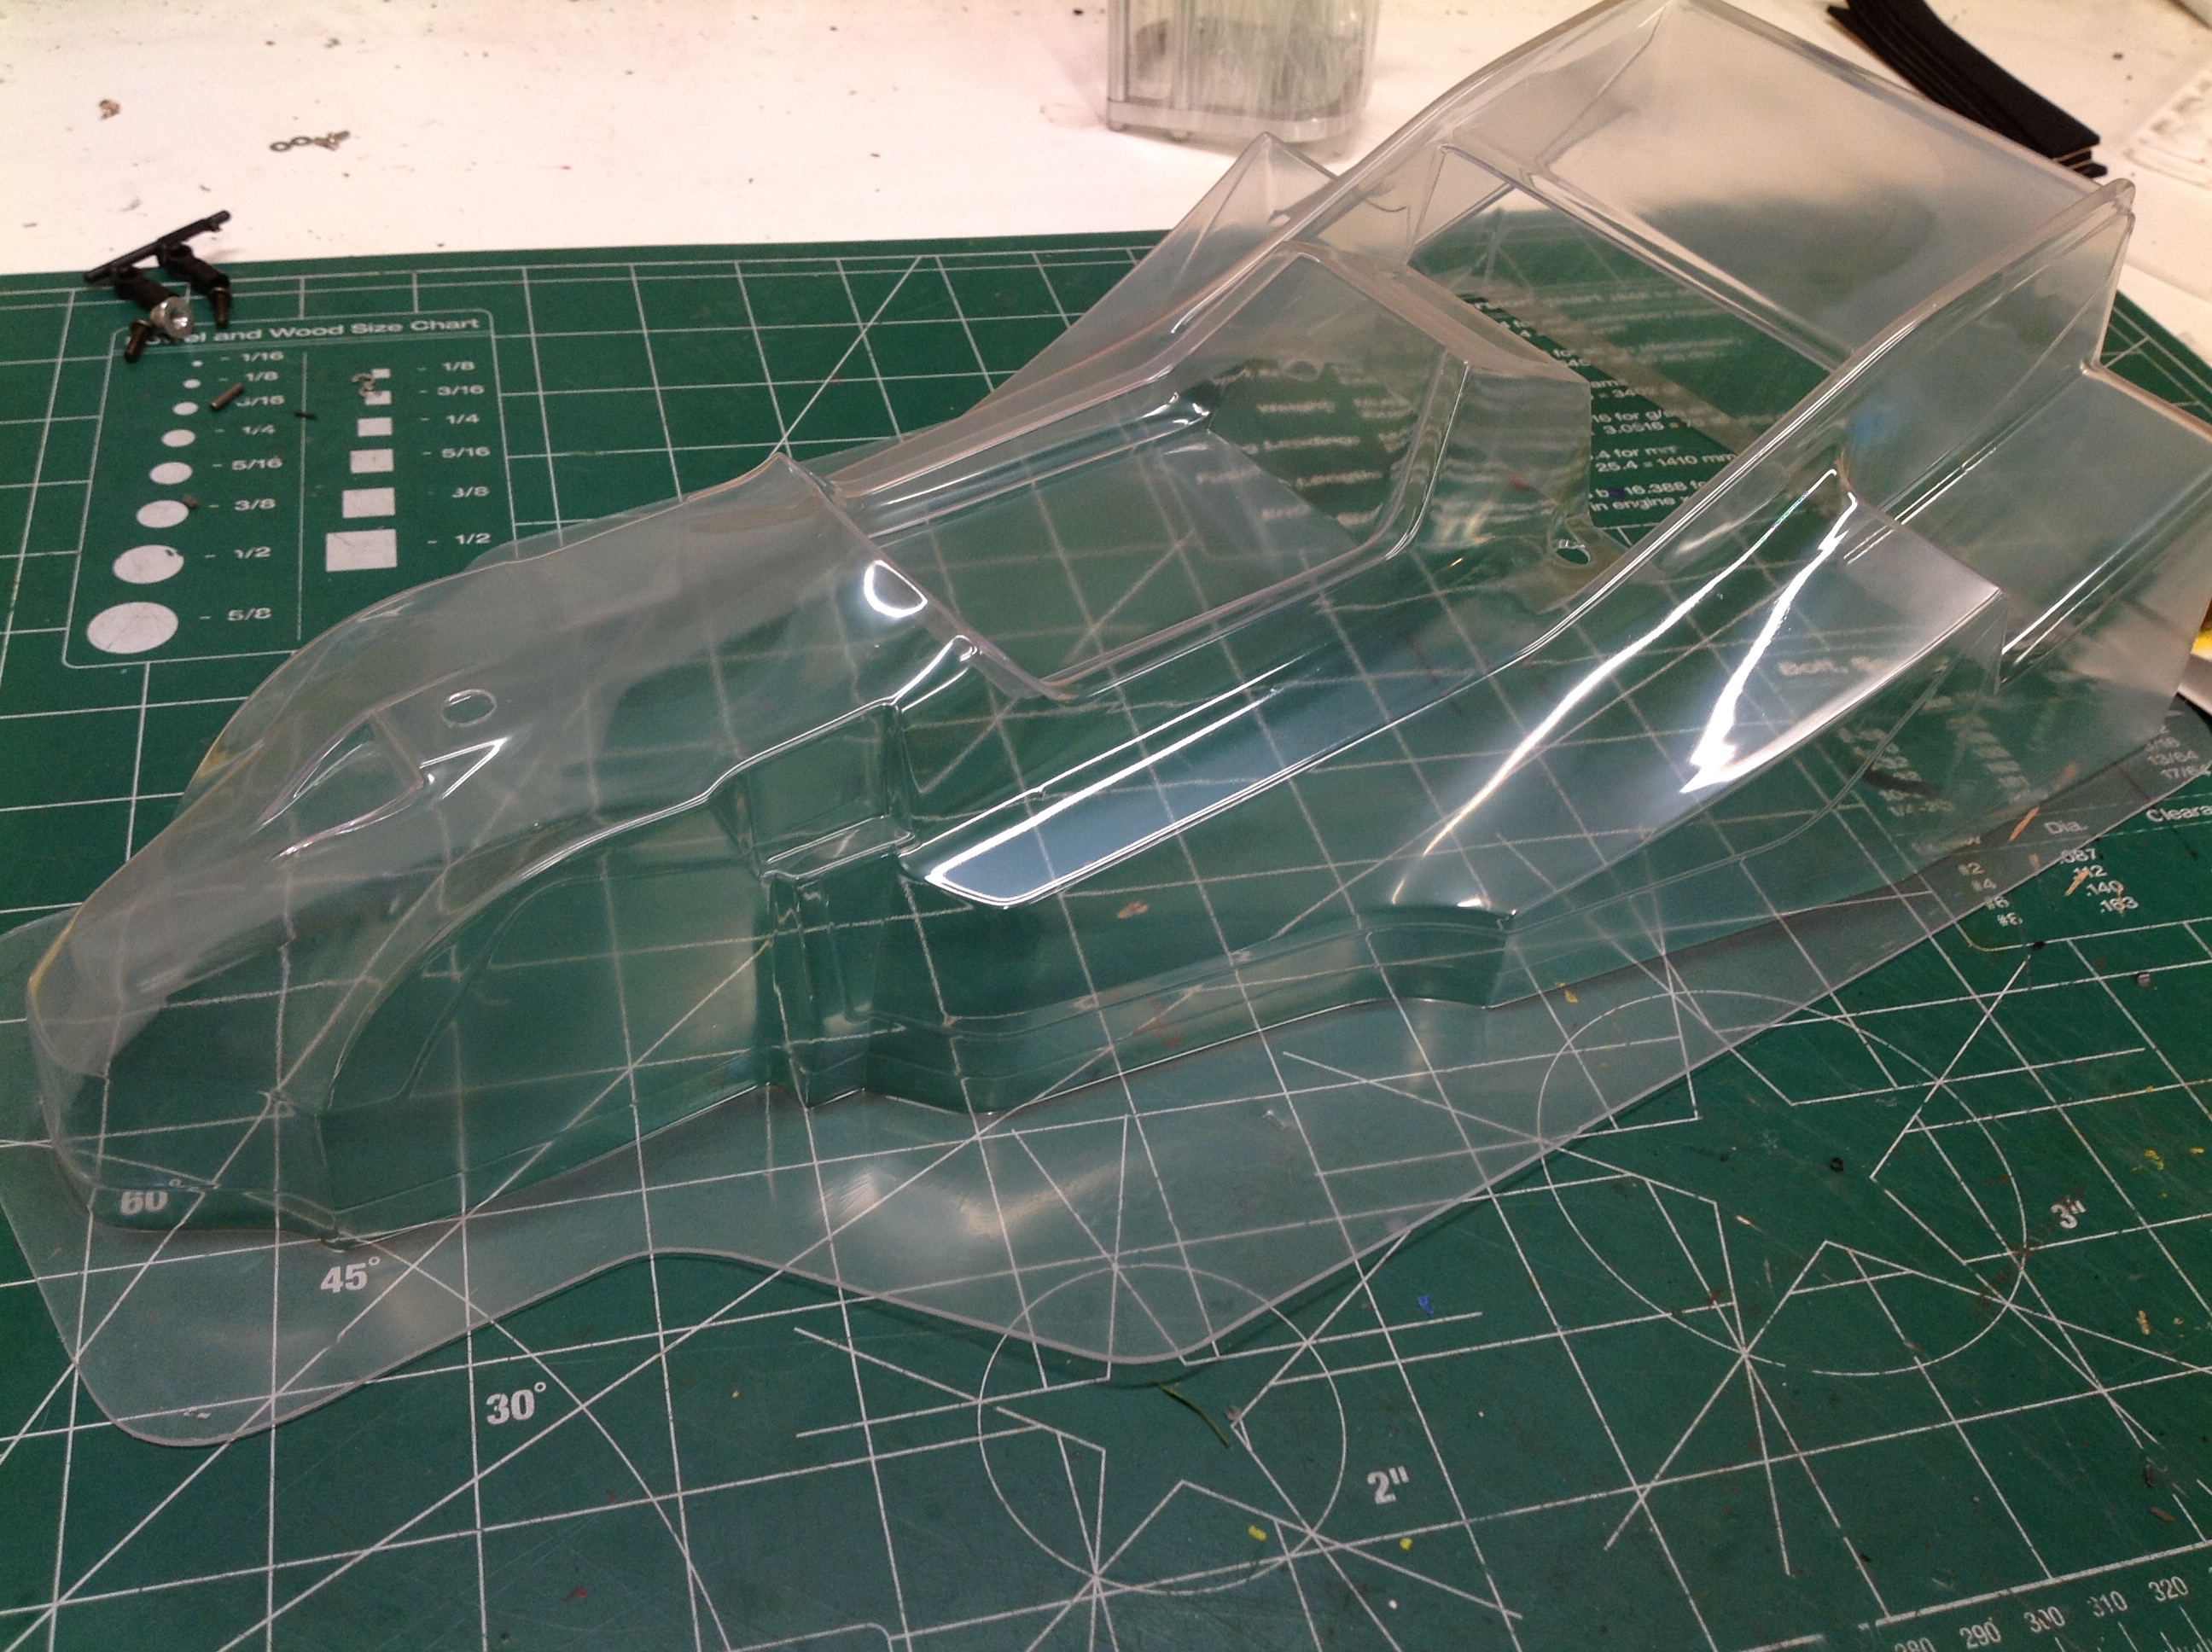
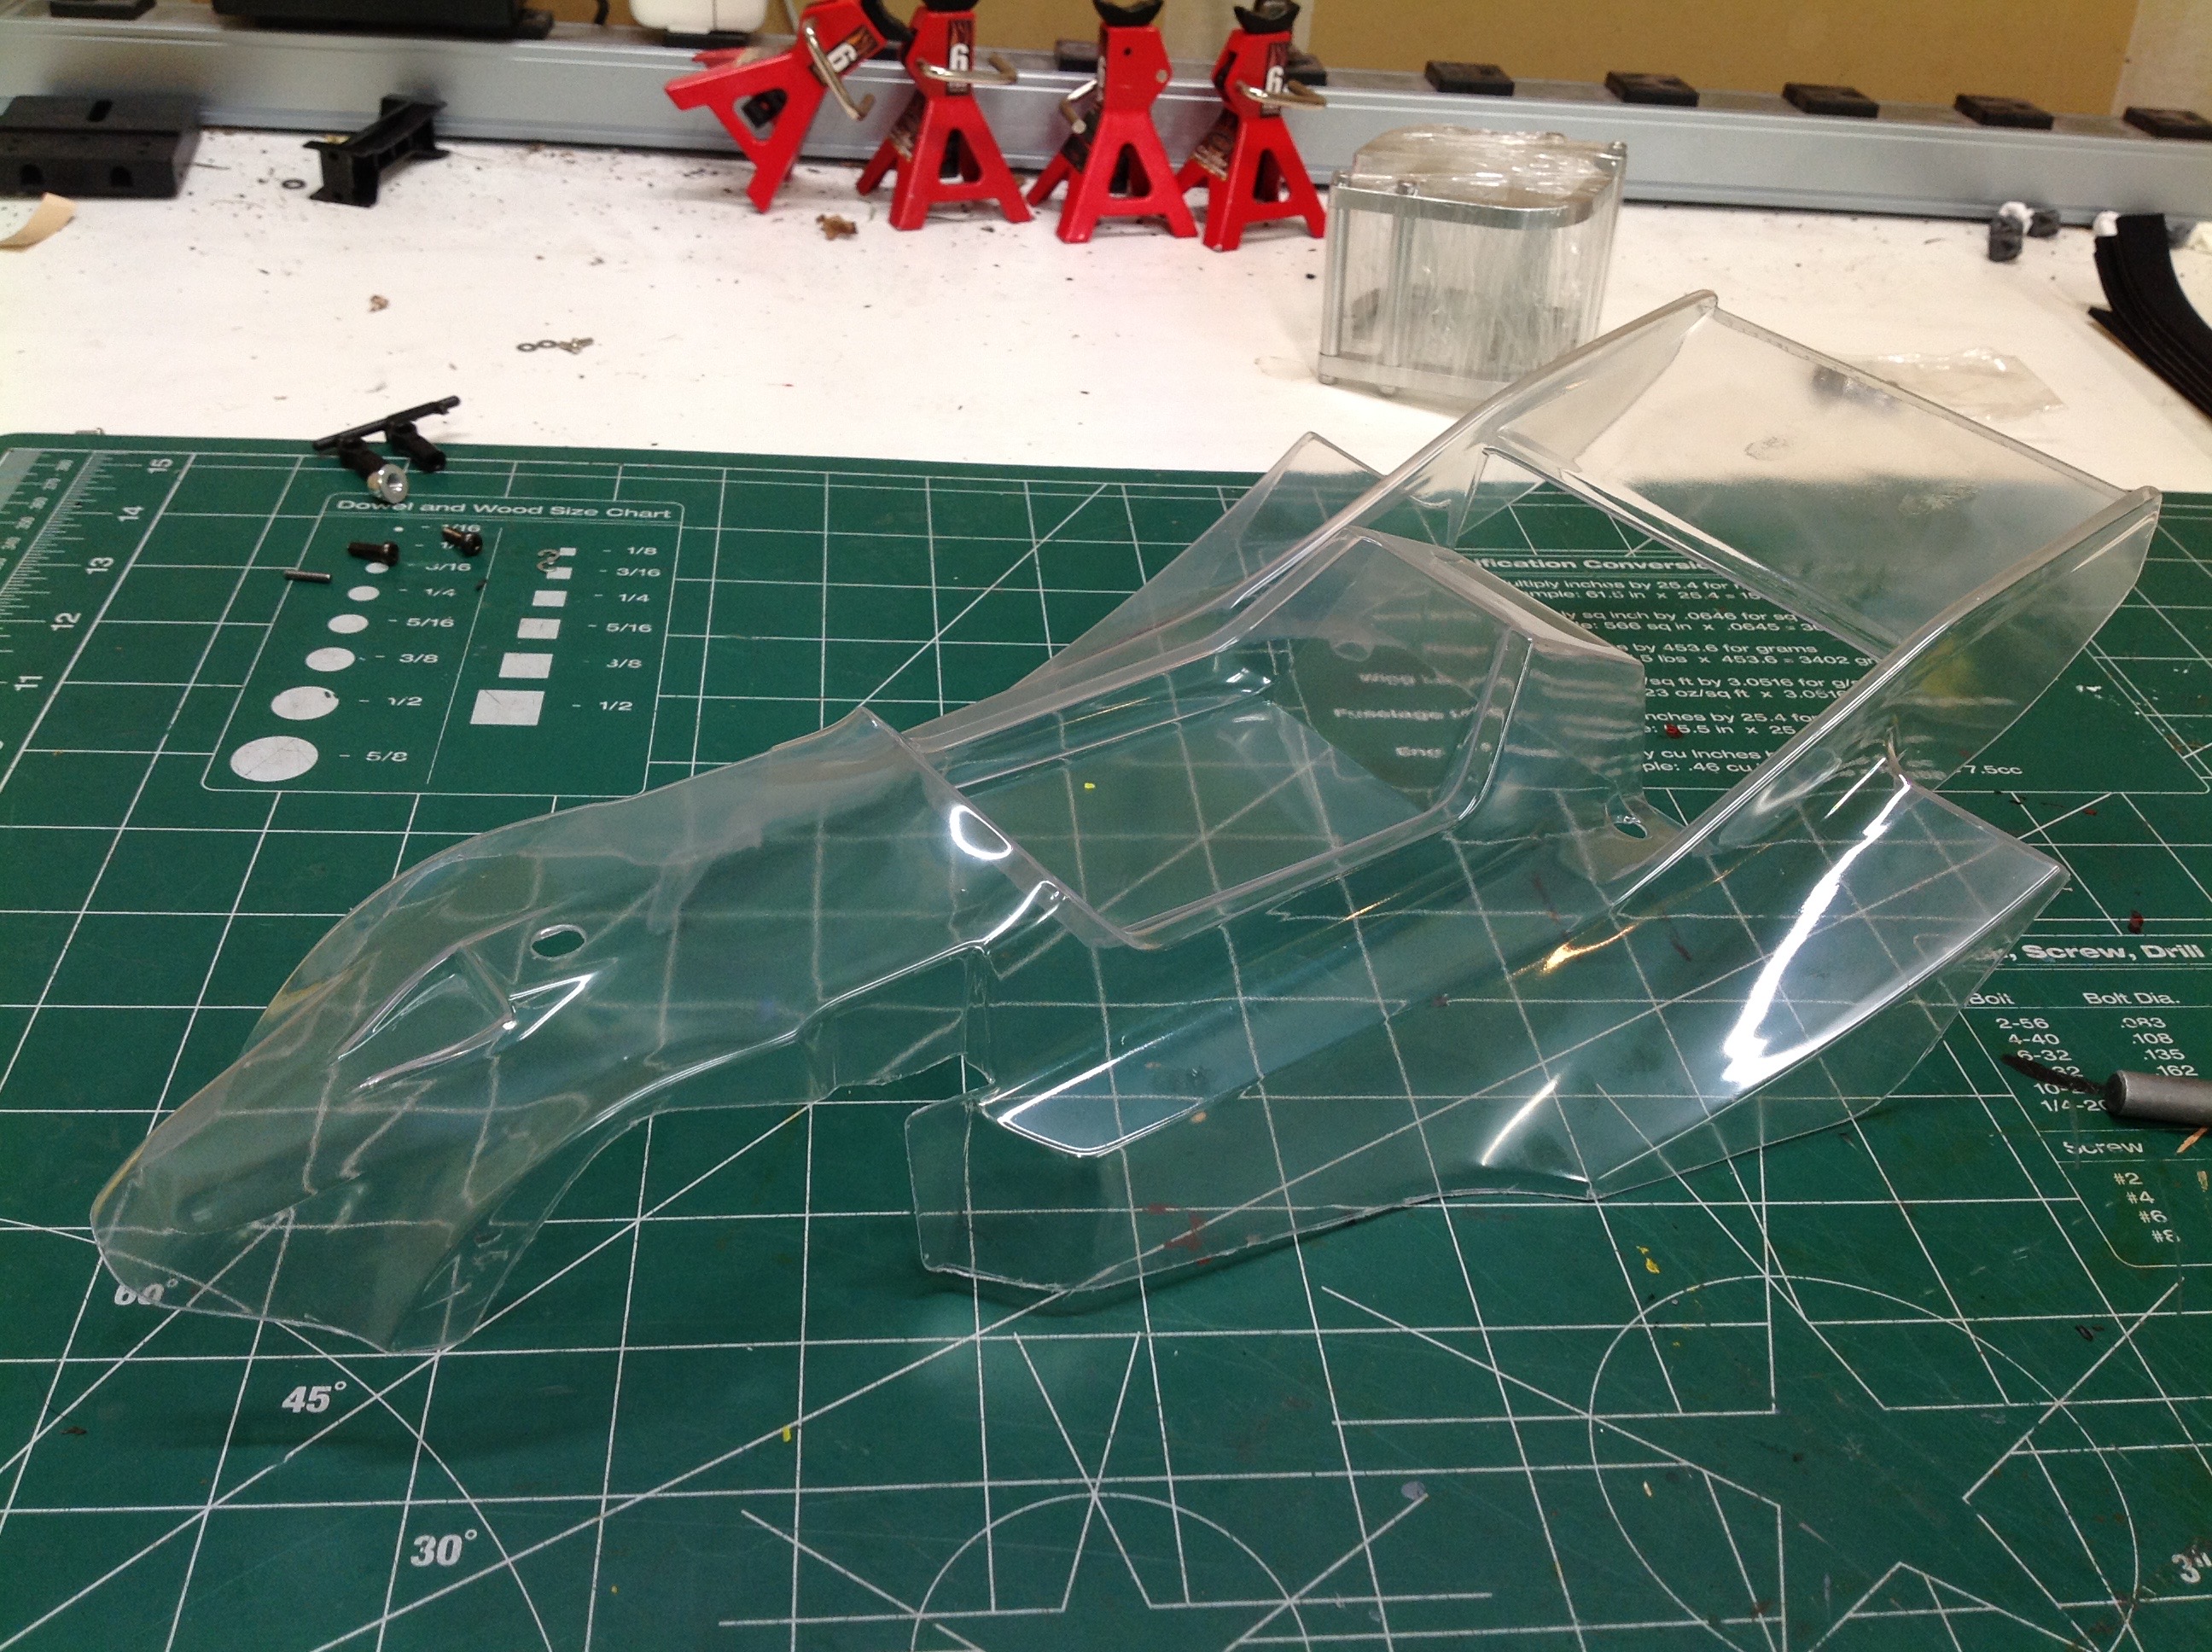
Time to prepare the body. I was happy to see that the slot behind
the driver and ahead of the rear wing is already trimmed. This
internal area would be very hard to trim accurately by hand. The
rest of the body still needs to be cut out though. Before and
after are shown above.
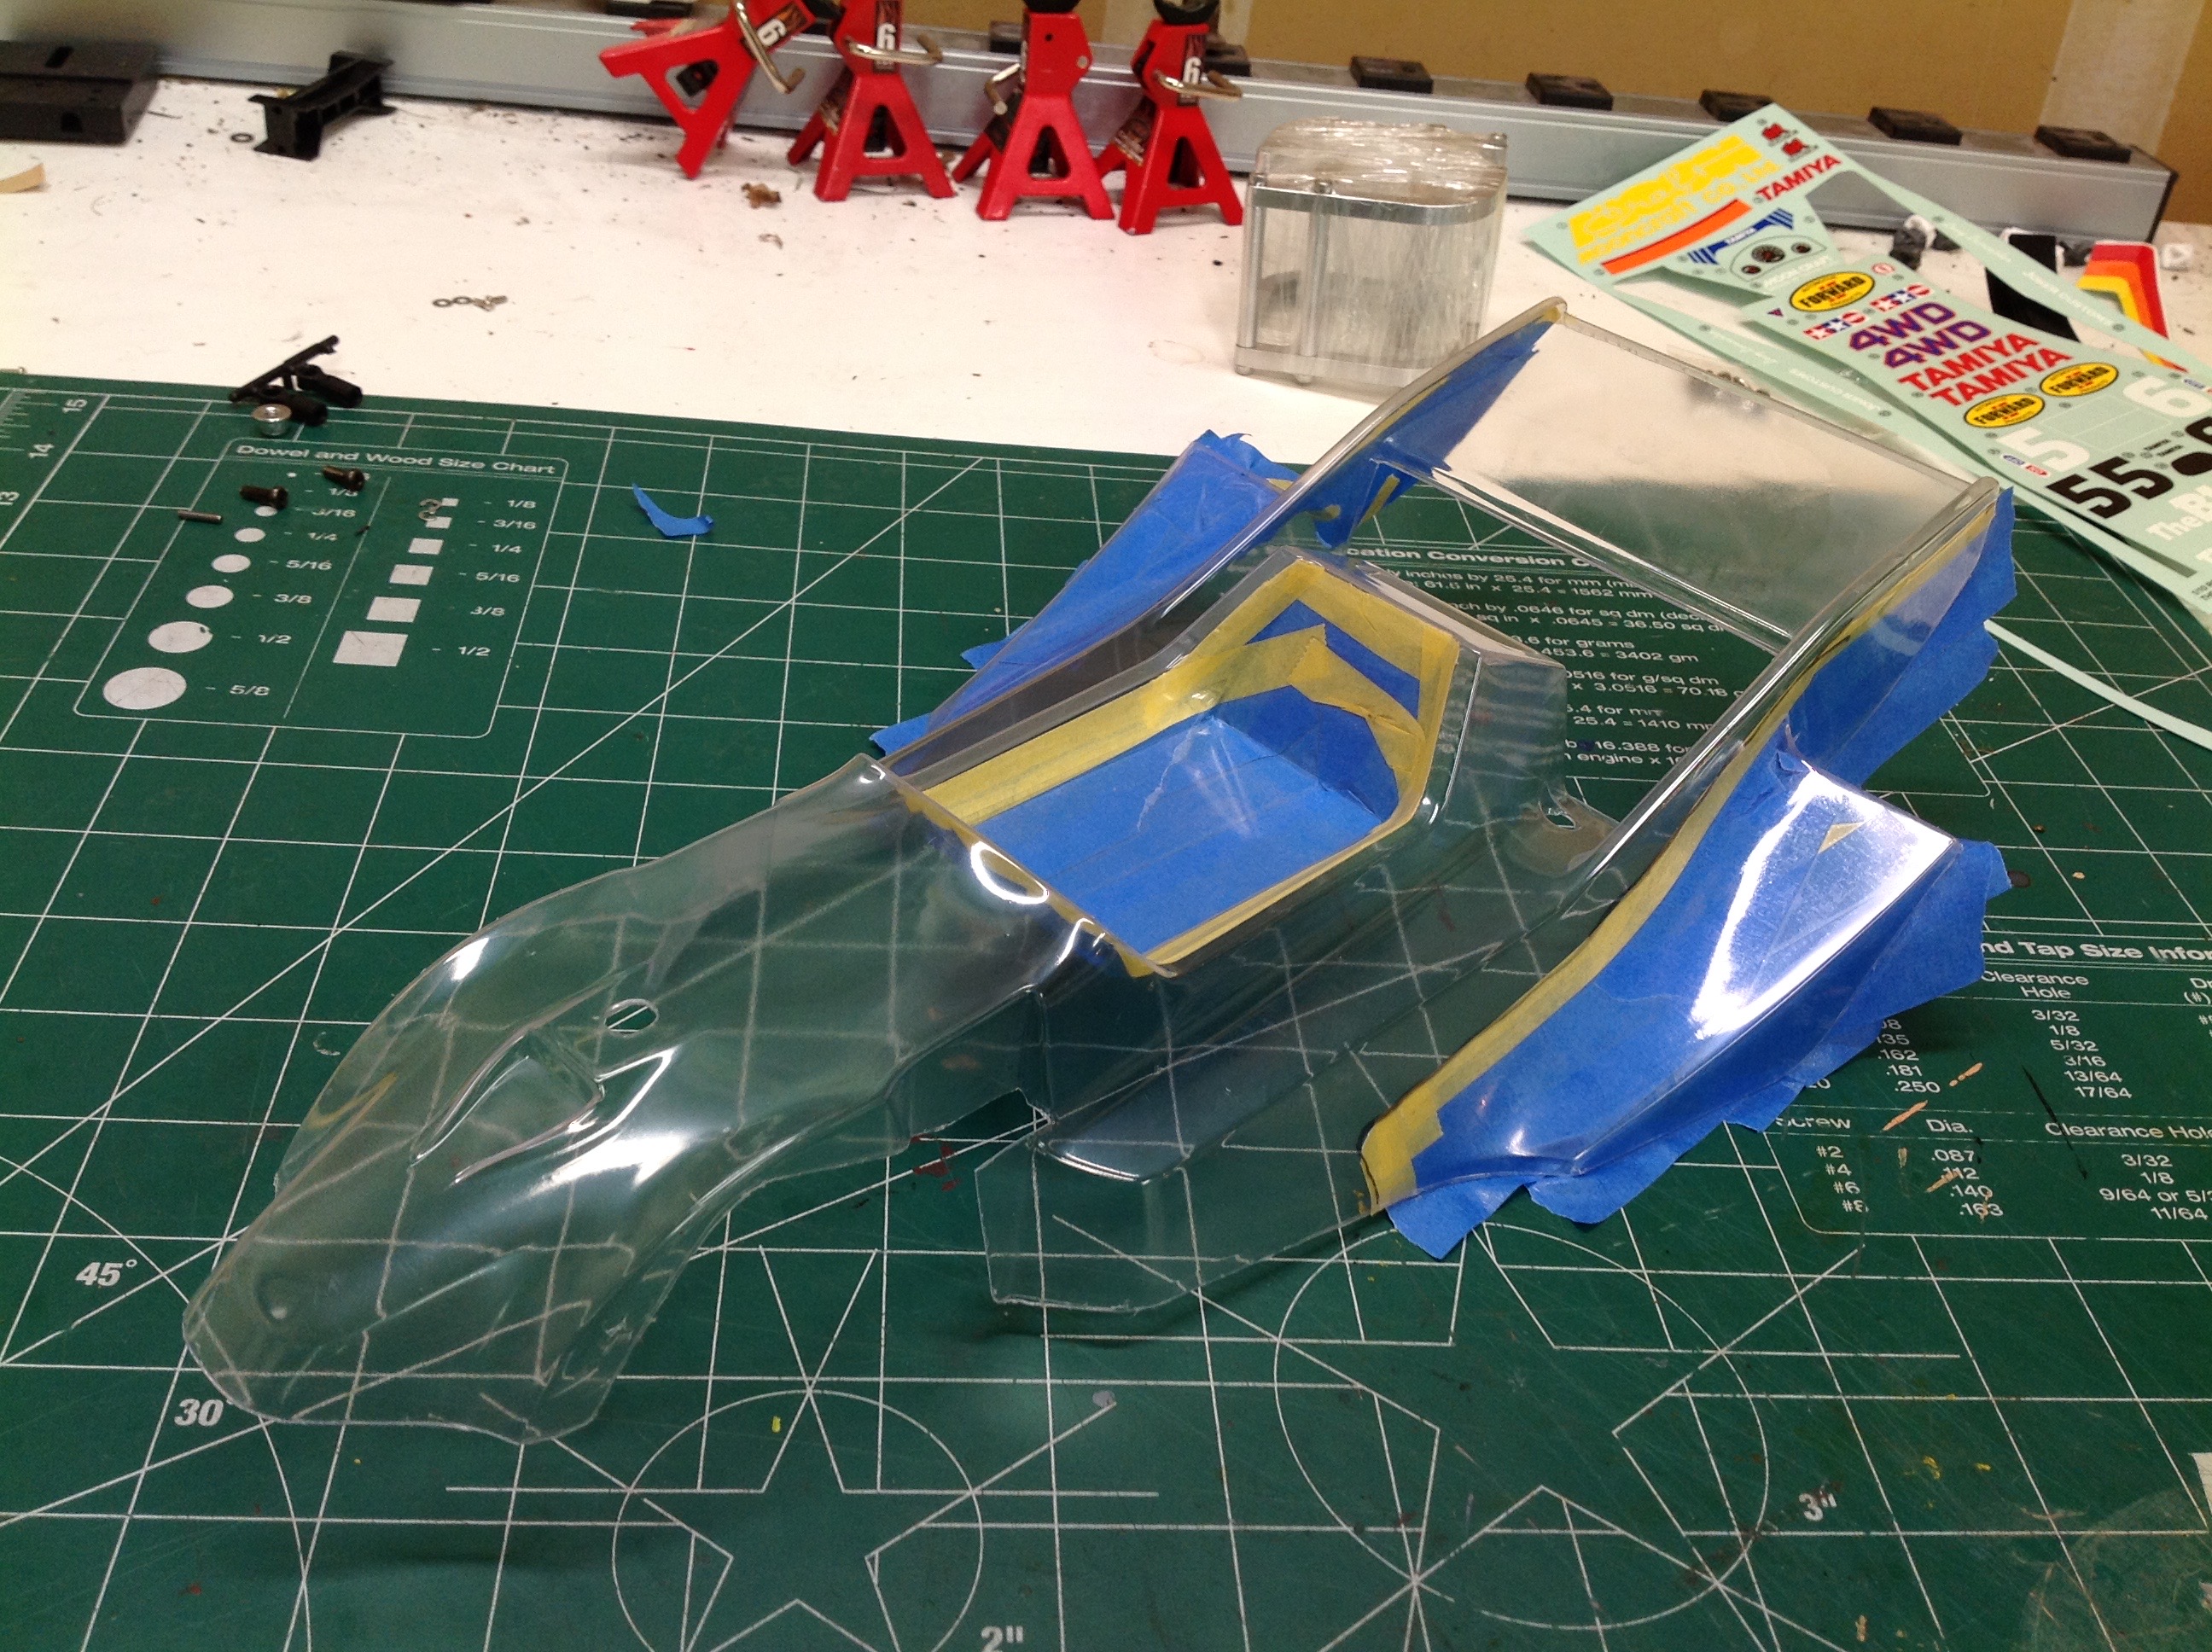
The next step is to mask off the areas to be painted white so the blue
can be painted first. Even though the lines appear mostly
straight, this takes a lot longer than you would think. I started
by taping the striped sticker to the body and using it to draw a
demarcation line on the outside. I then followed this line with
the masking on the inside. The results are on the right.
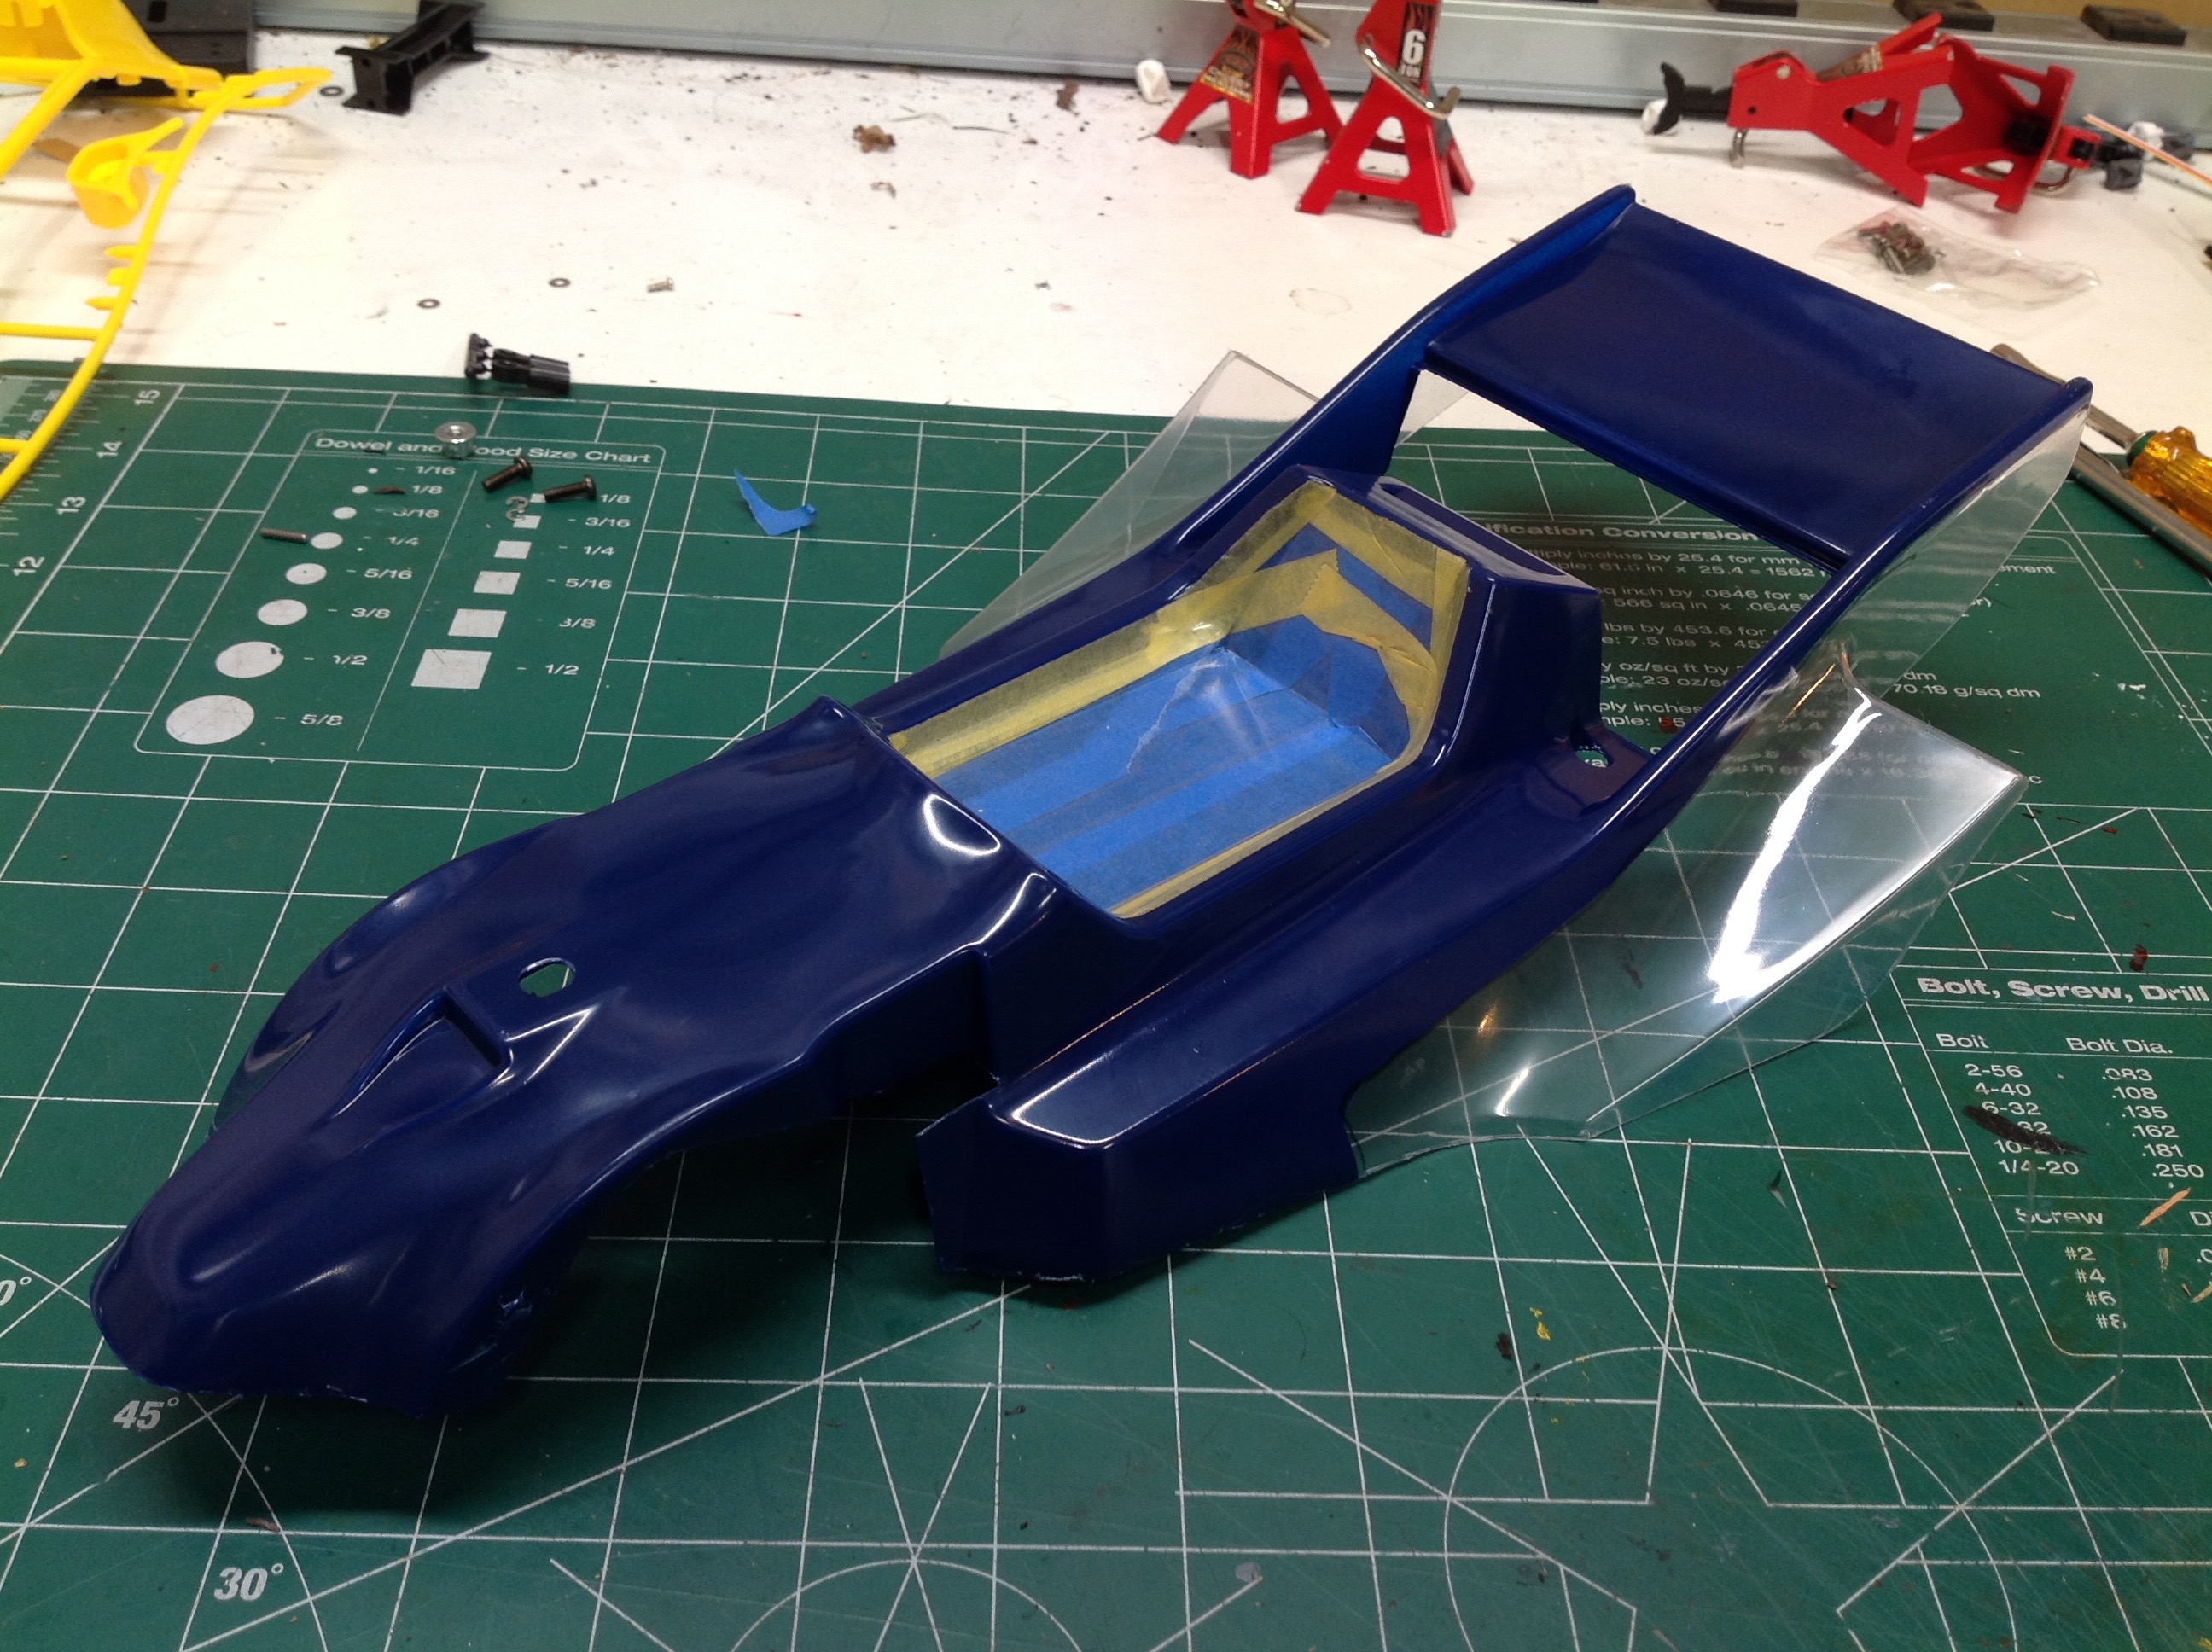
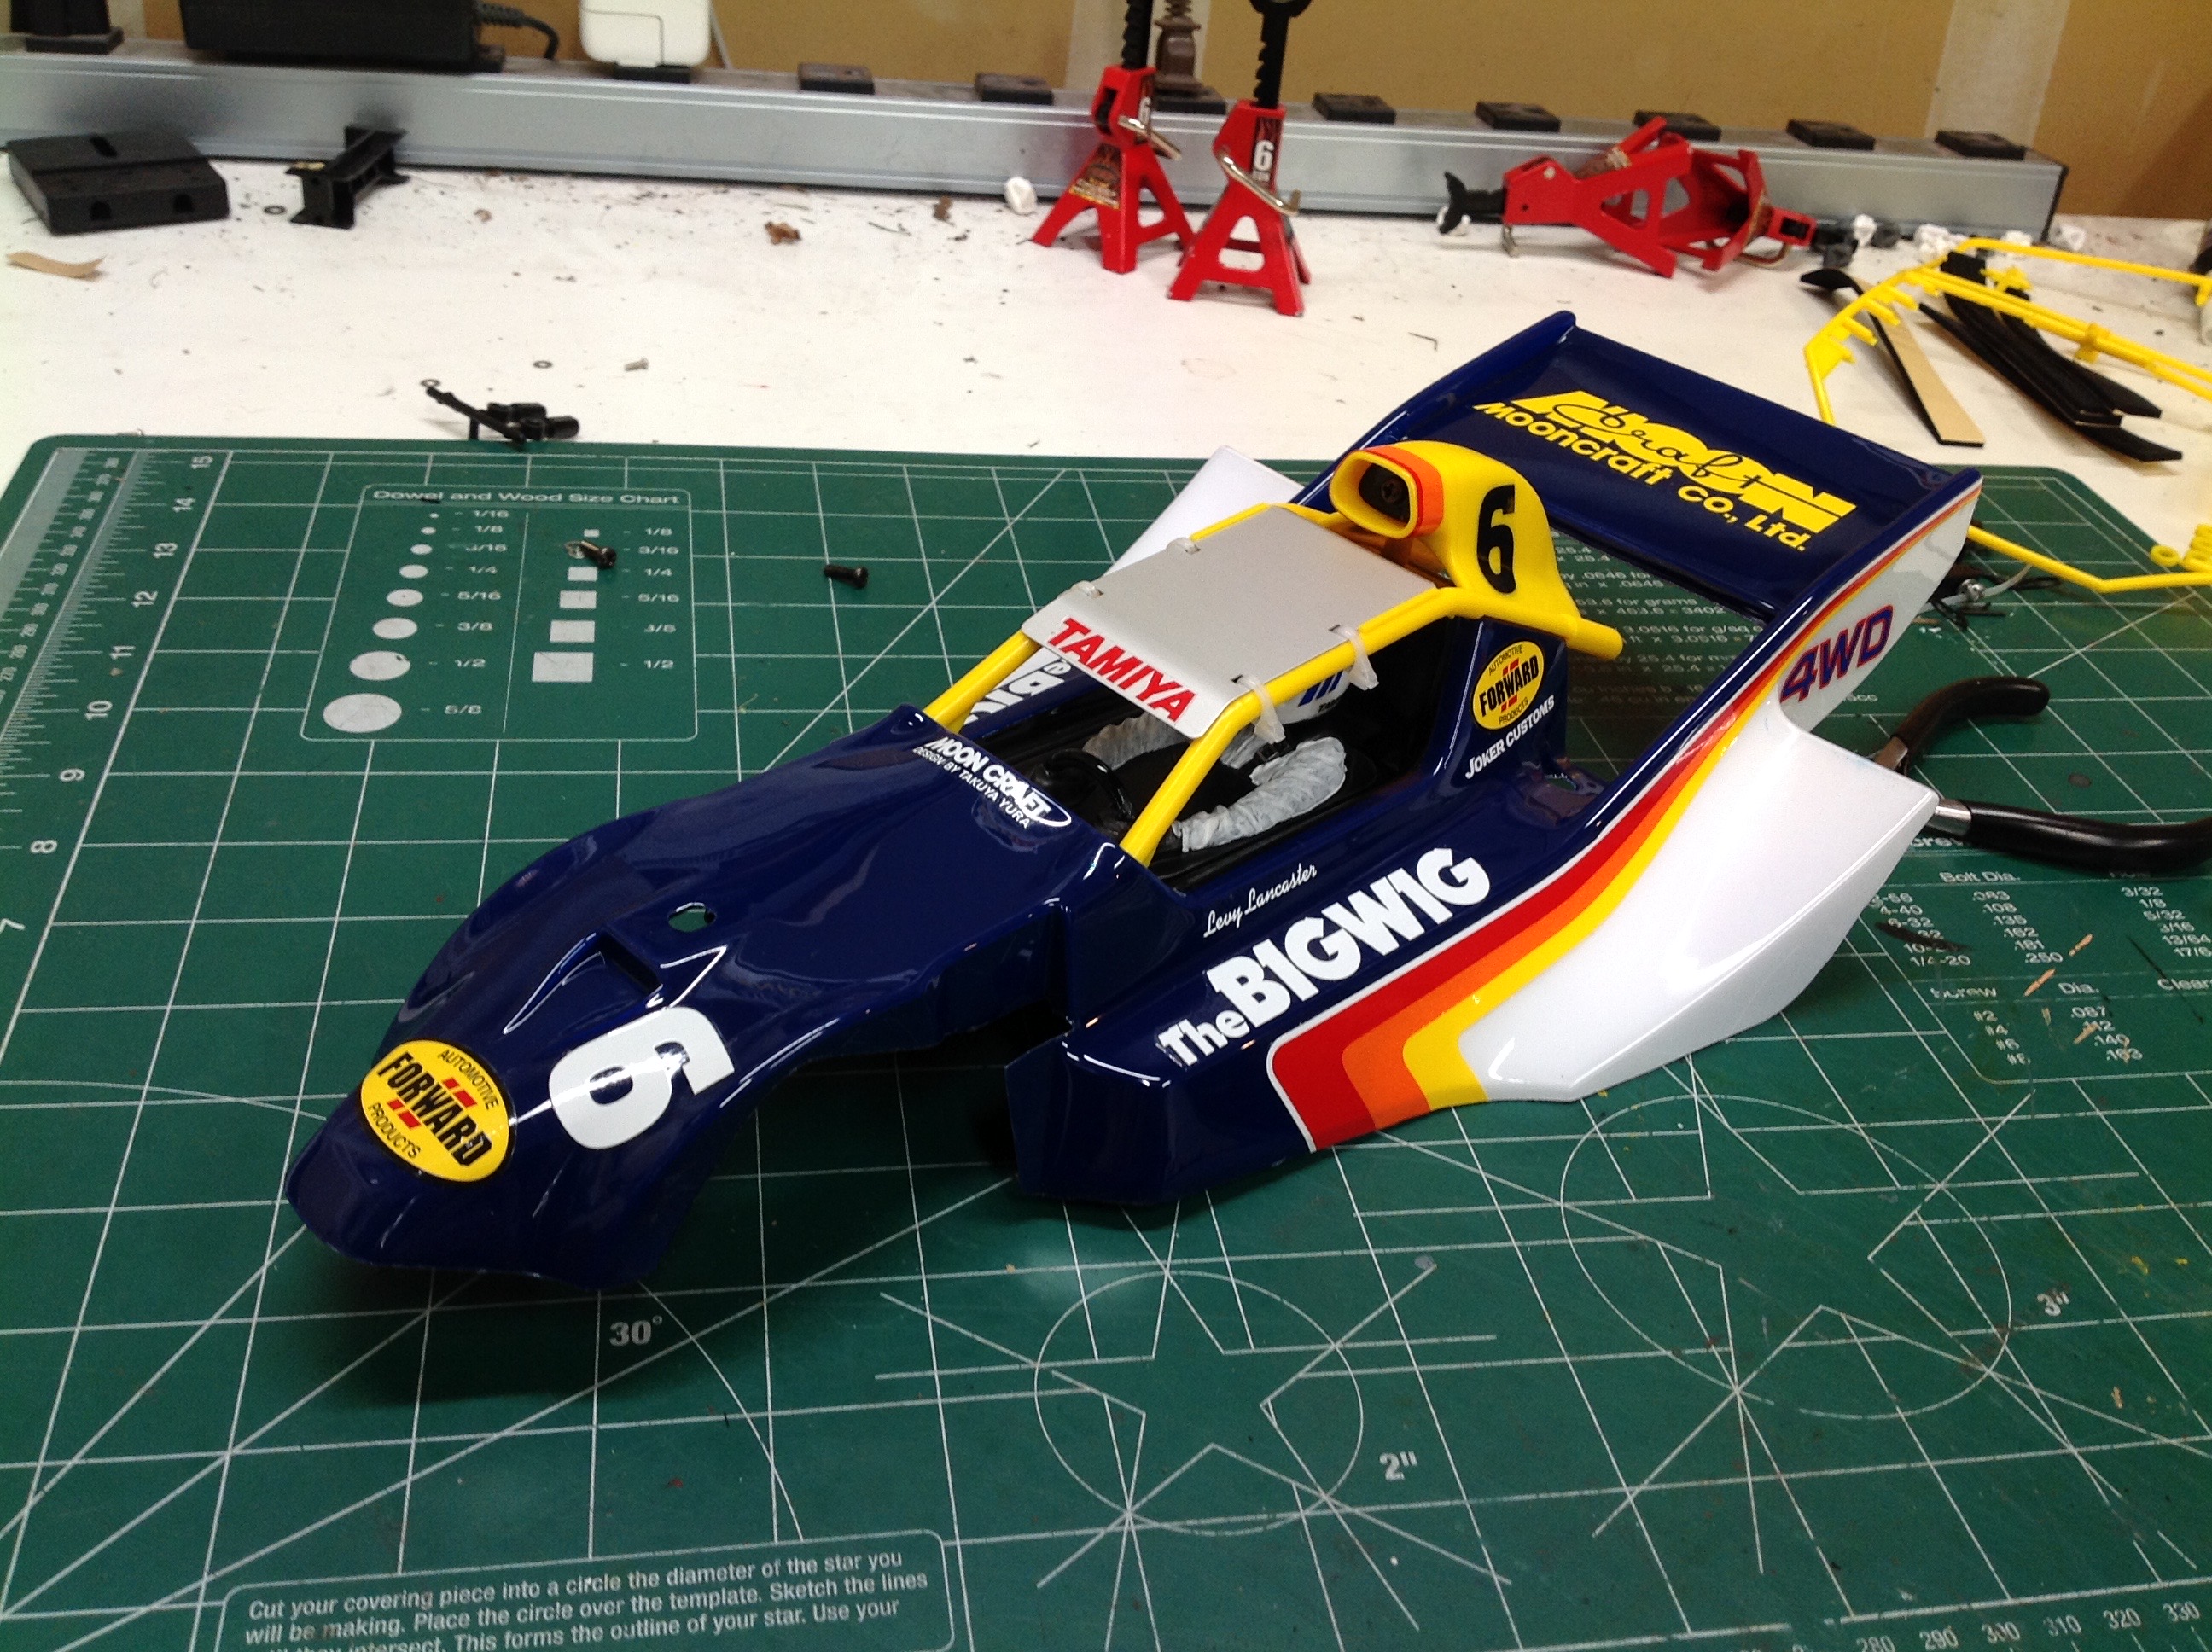
The body detailing is now complete. The paint has been finished,
the overspray film removed, and the stickers applied. The roll
cage and intake make up a separately molded part and the sheet metal
roof is secured with cable ties.
©2019 Eric Albrecht