Tamiya Blackfoot III Project
Page 1: Assembly
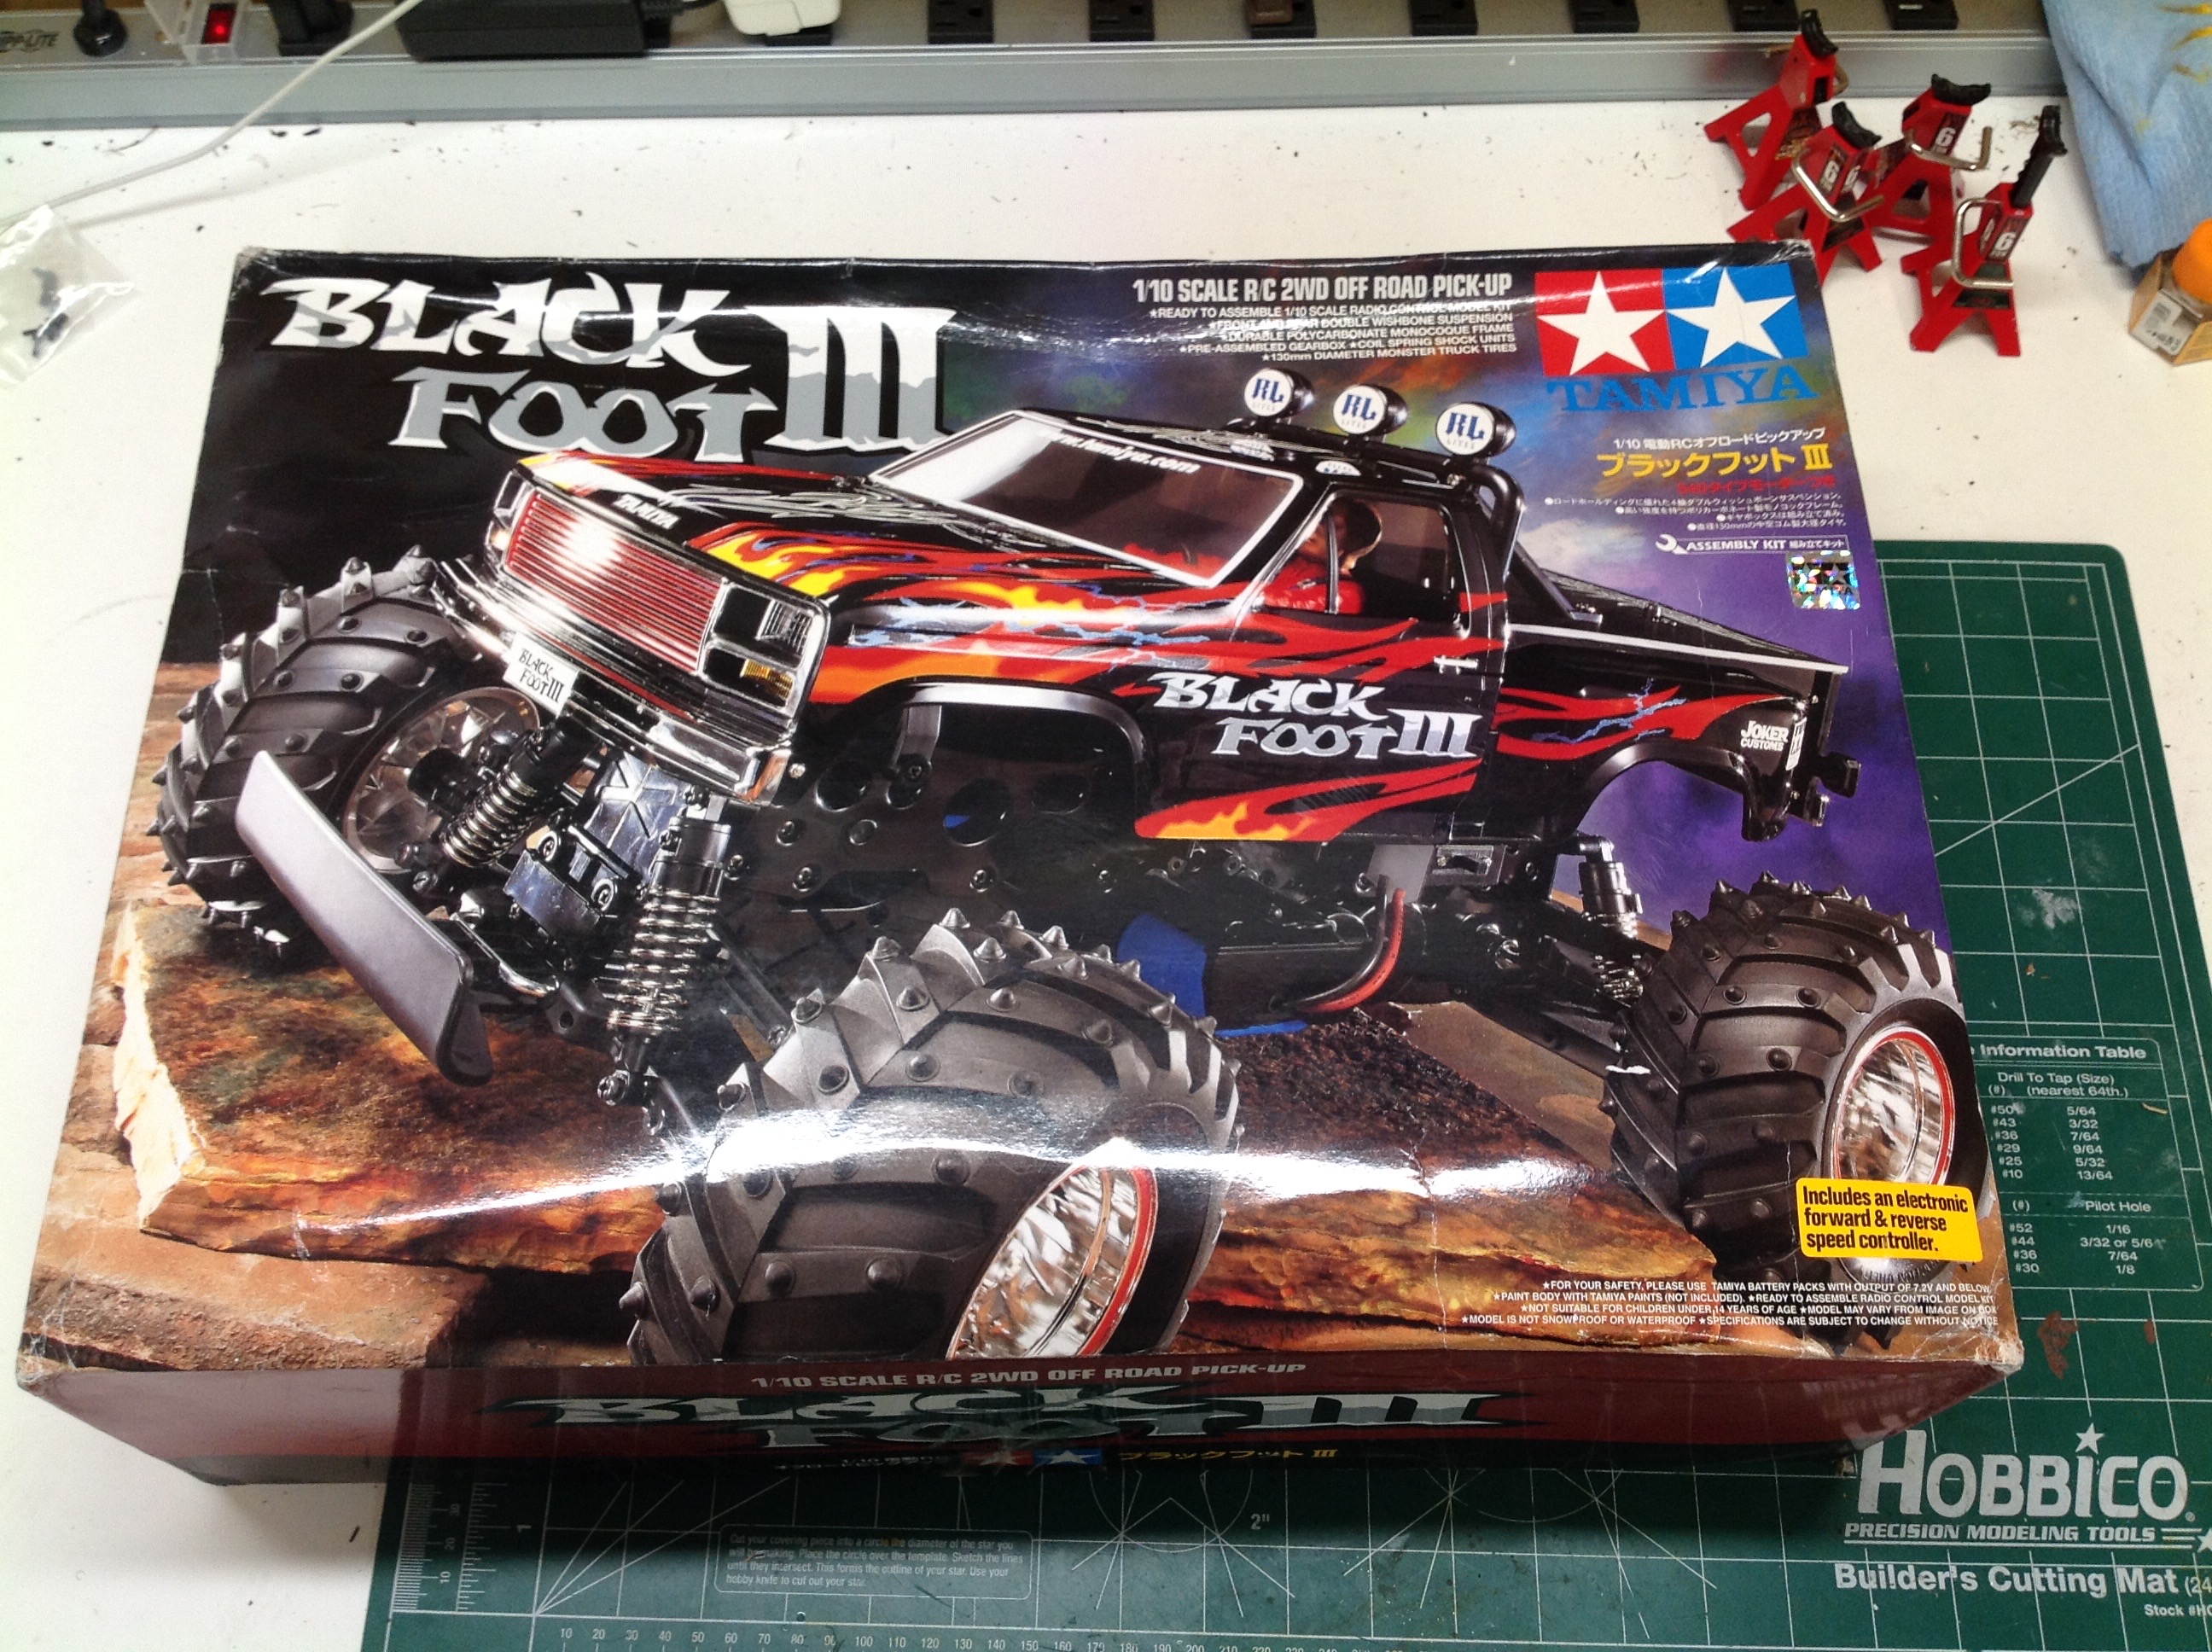
The Blackfoot III comes in a huge box; much larger than you might expect
for the size of the model. Once opened, however, the box seems
fully stuffed so all that size was required. The tires, wheels,
and body take up the majority of the space with plastic parts trees
crammed wherever they can fit and an internal box for the
hardware. A good chunk of what you see here was not actually in
the box since this model was not complete as purchased. I got the
rest of what I needed part by part.
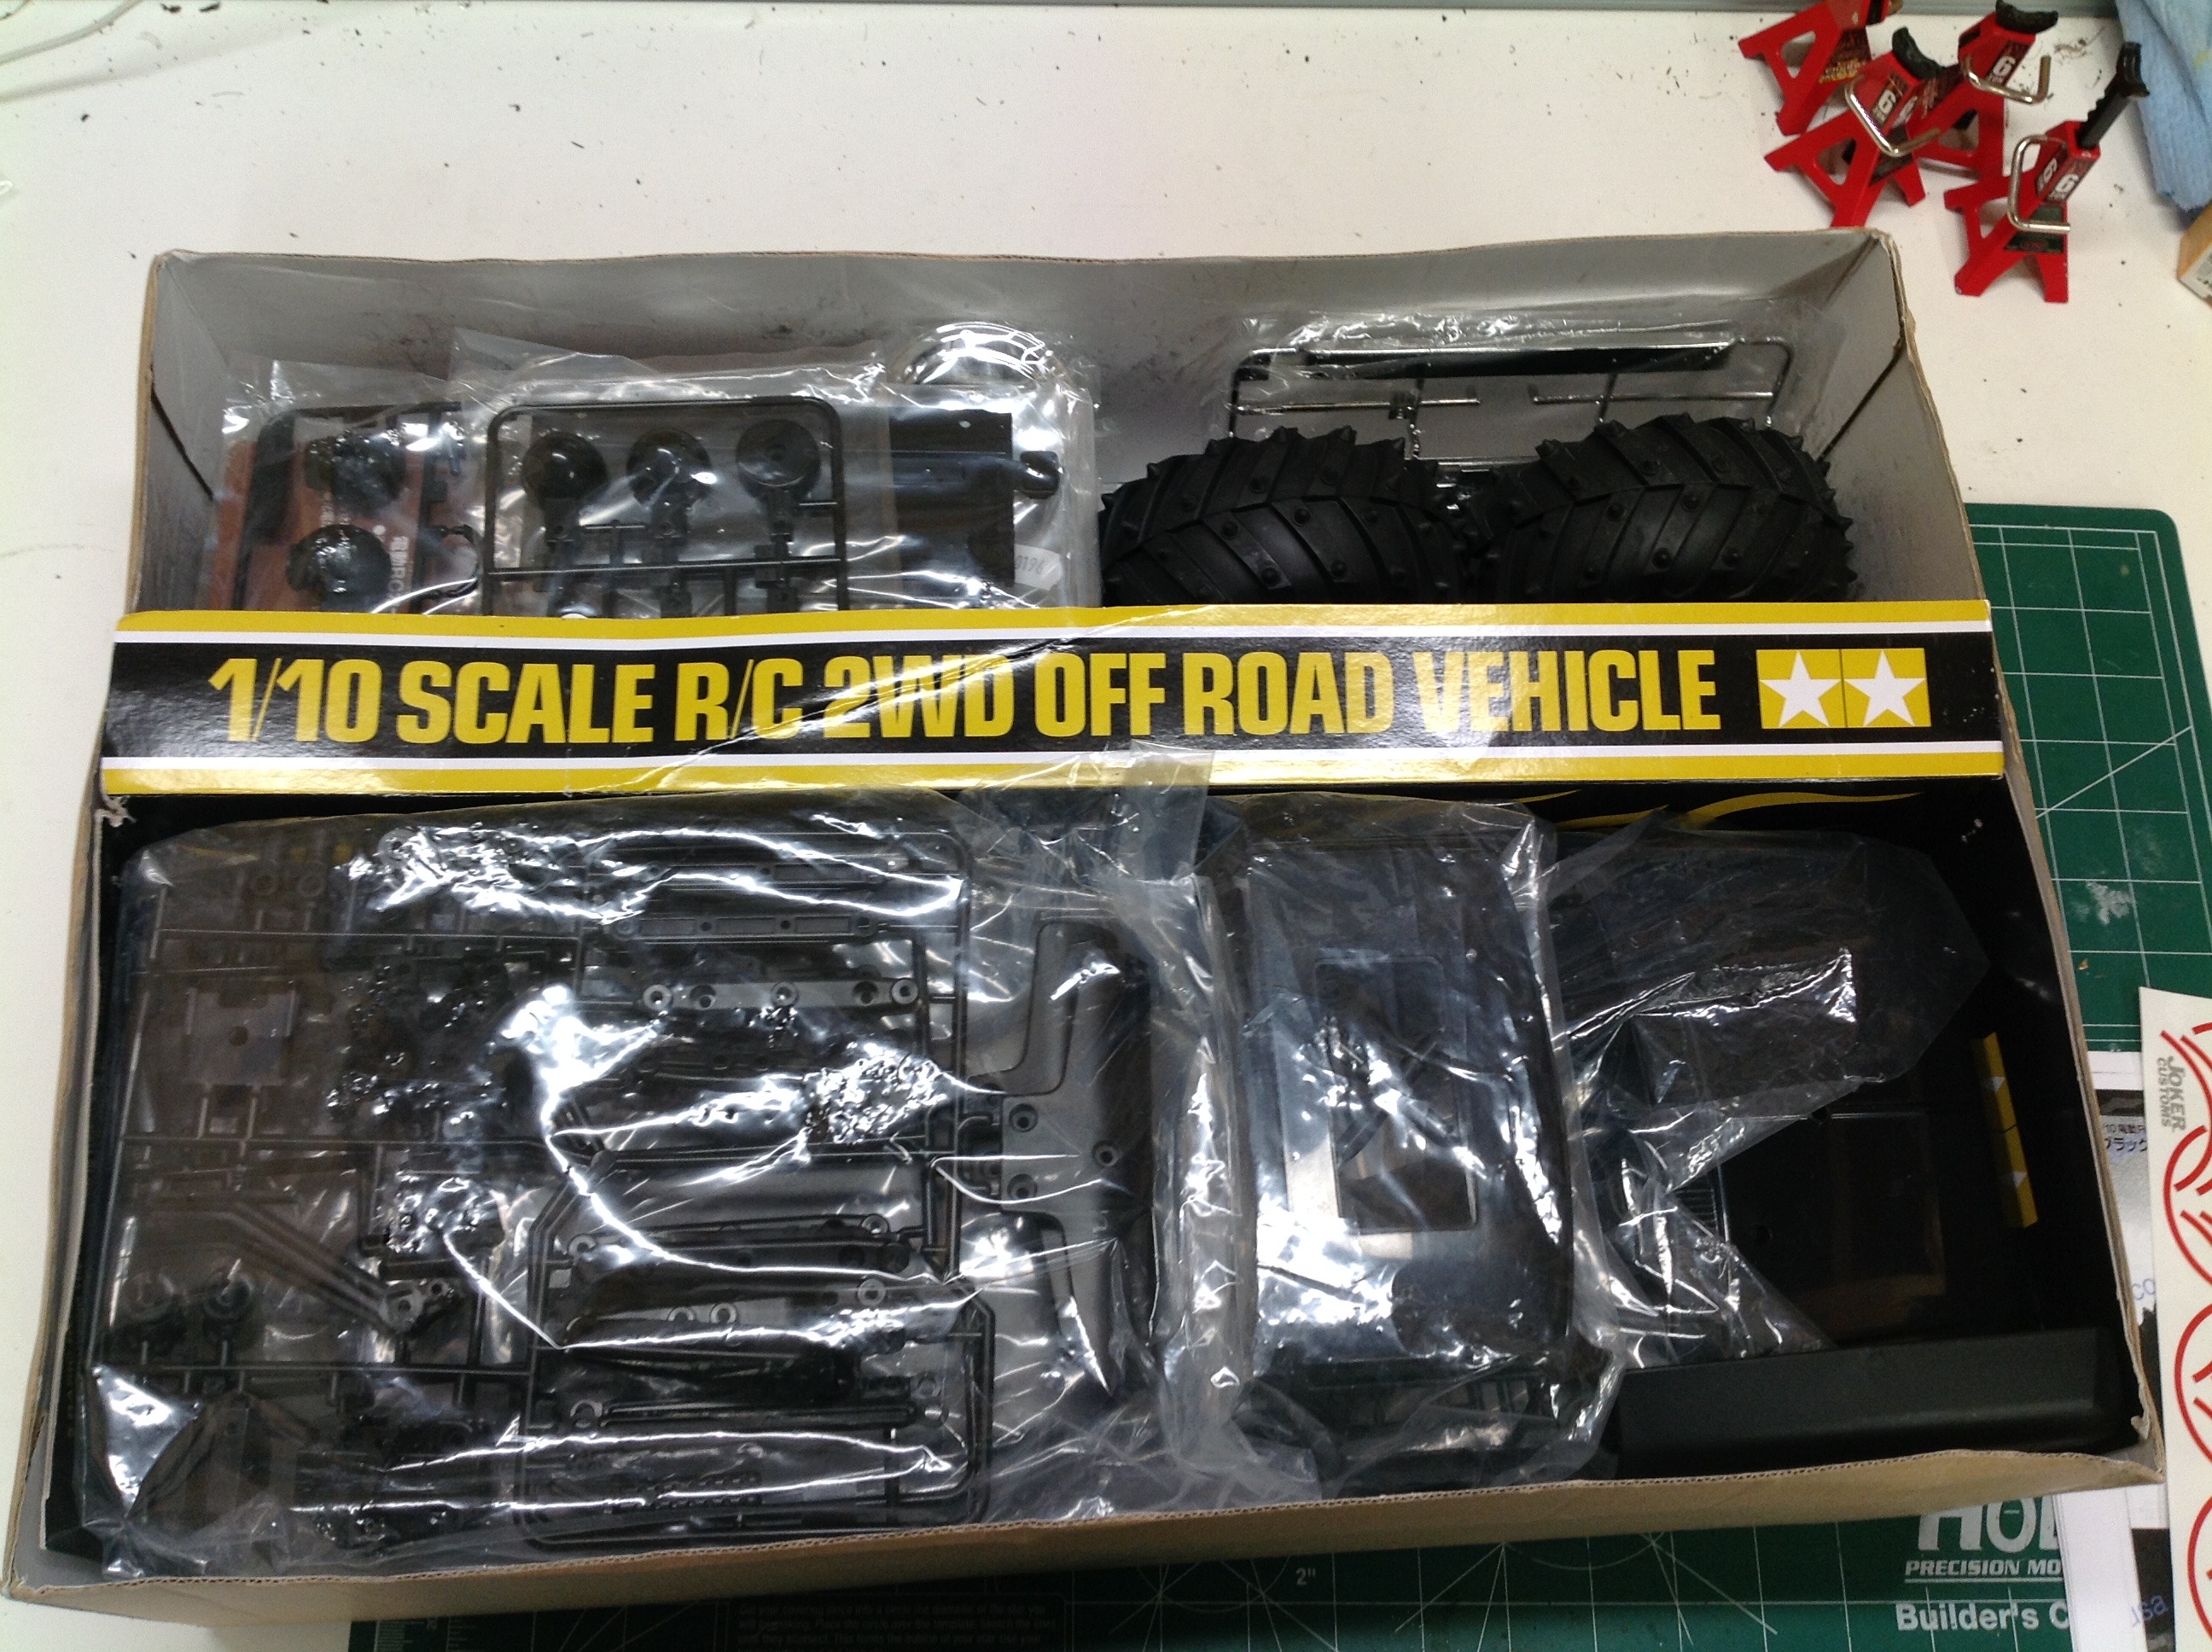
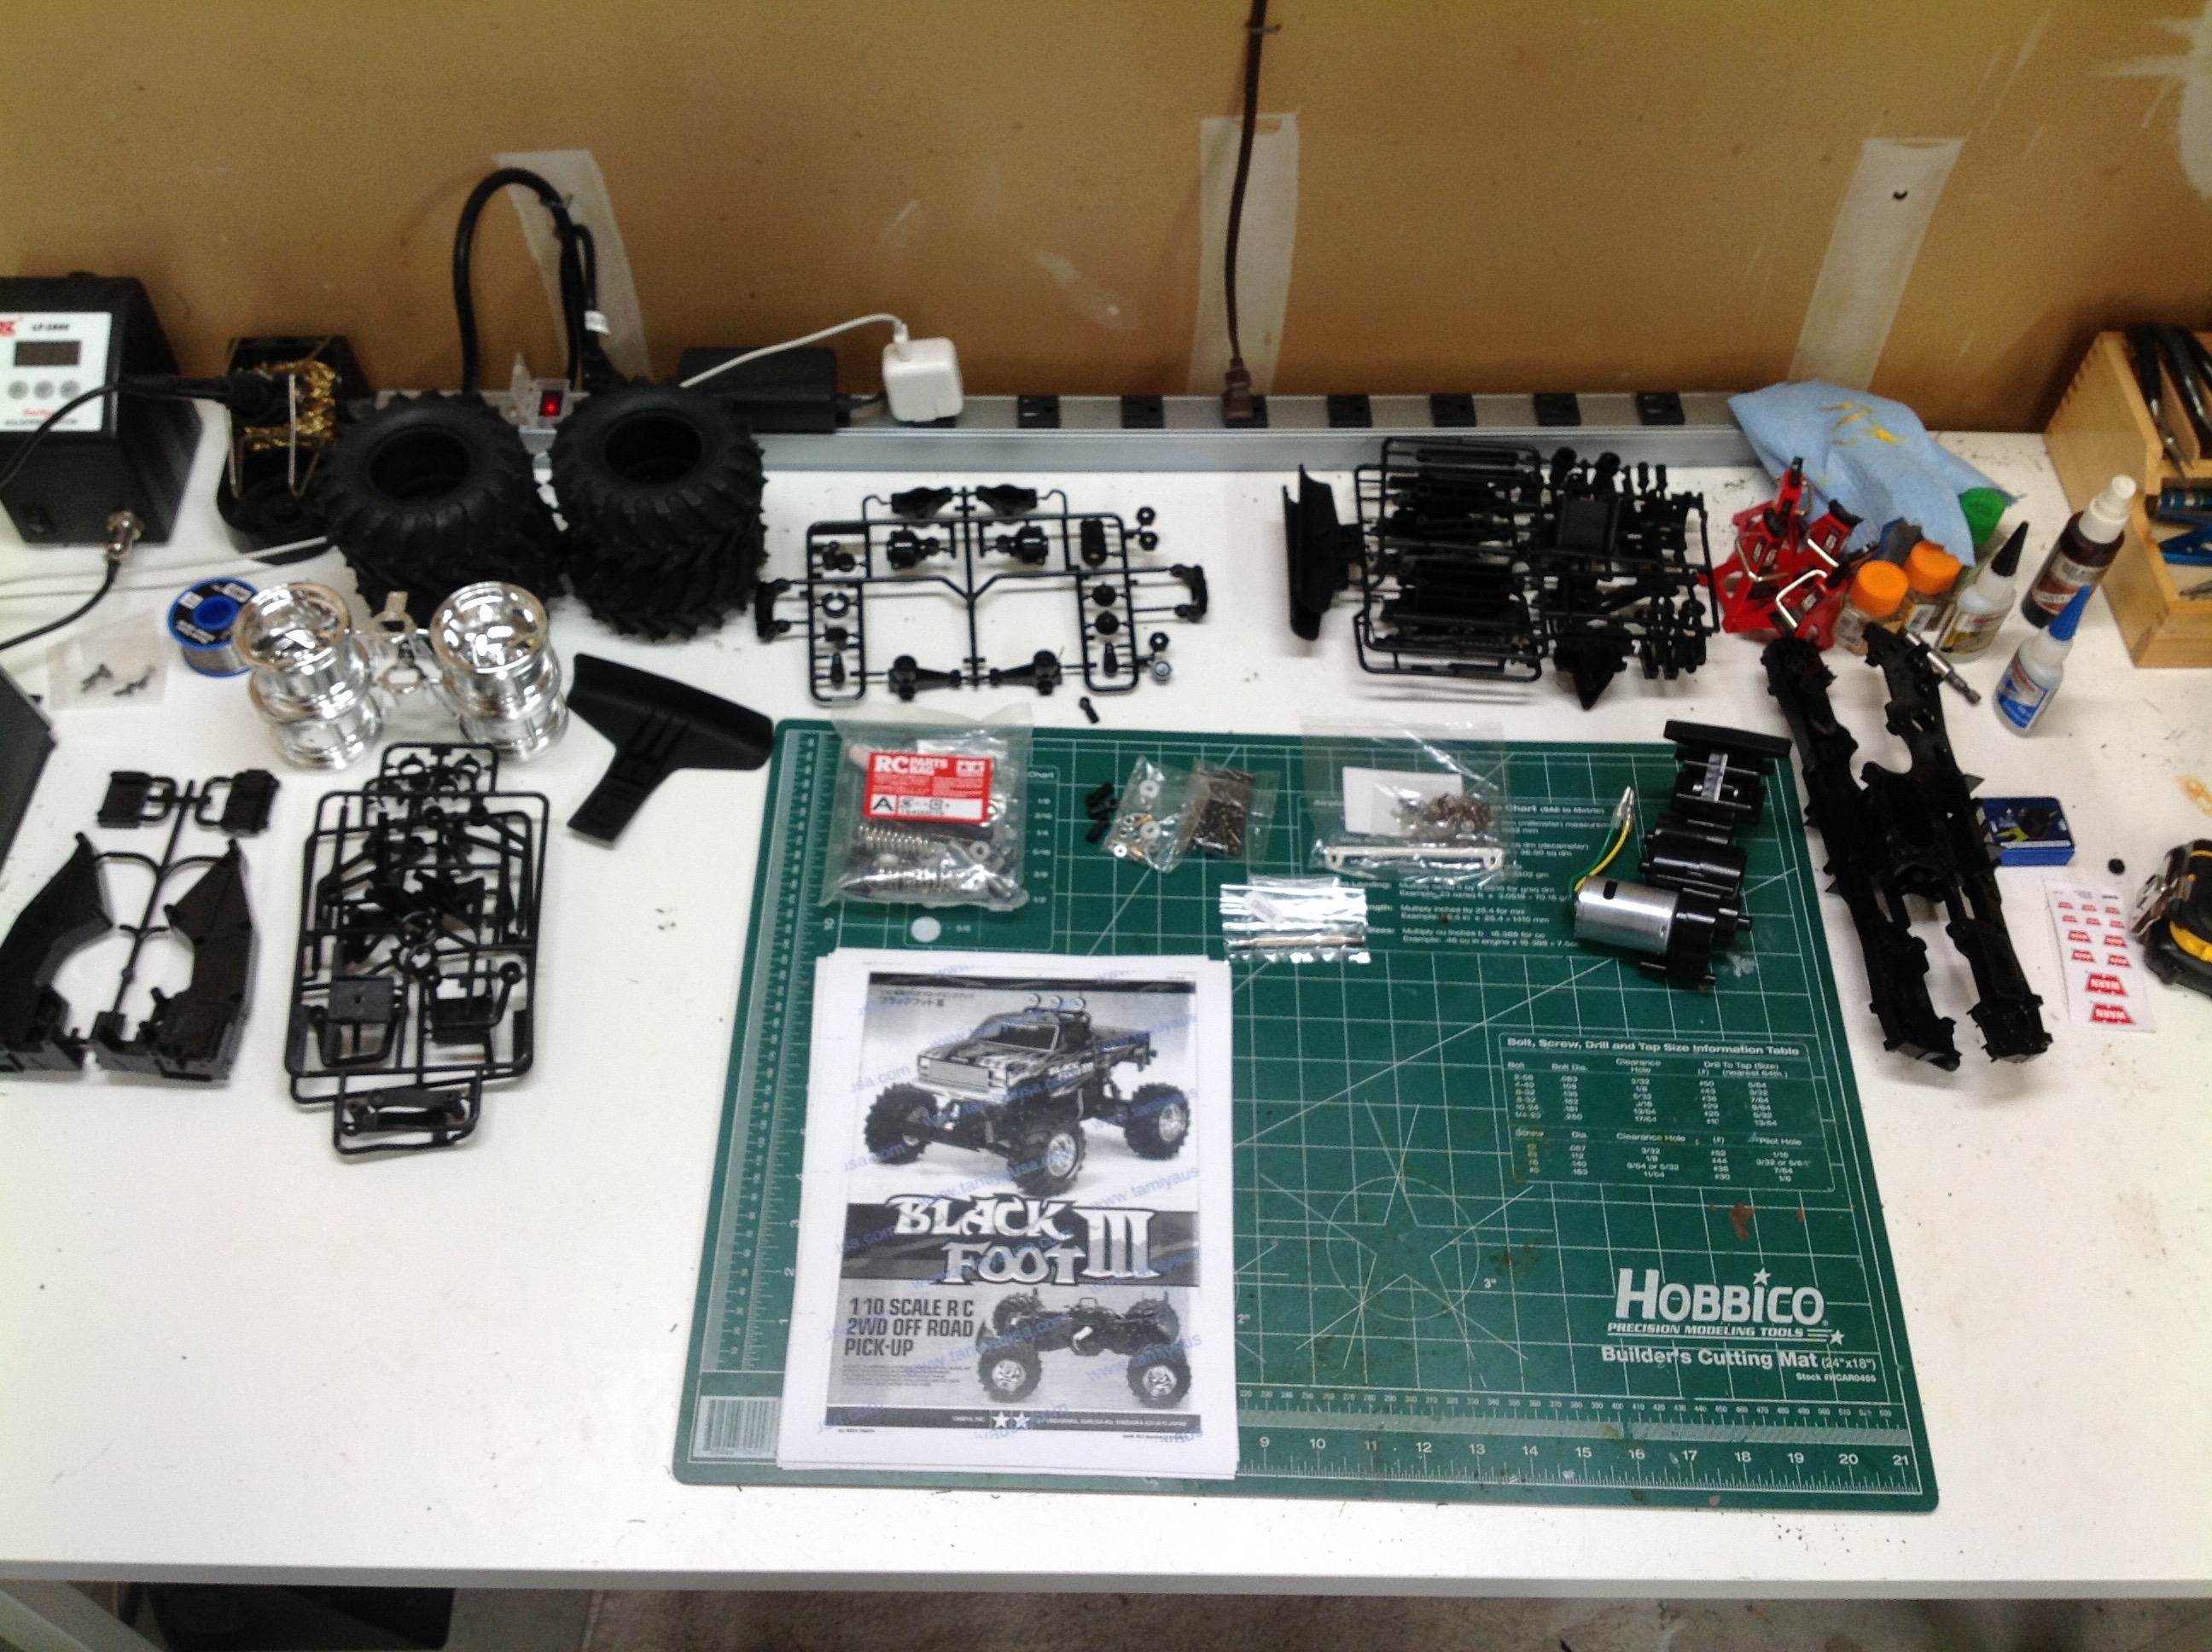
Here is everything from the box (apart from the body) unpacked on my
building table. Almost everything in this model is plastic
including the metallic looking wheels. You can see that I only had
the "A" hardware bag and had to find the rest of the hardware more
piecemeal.
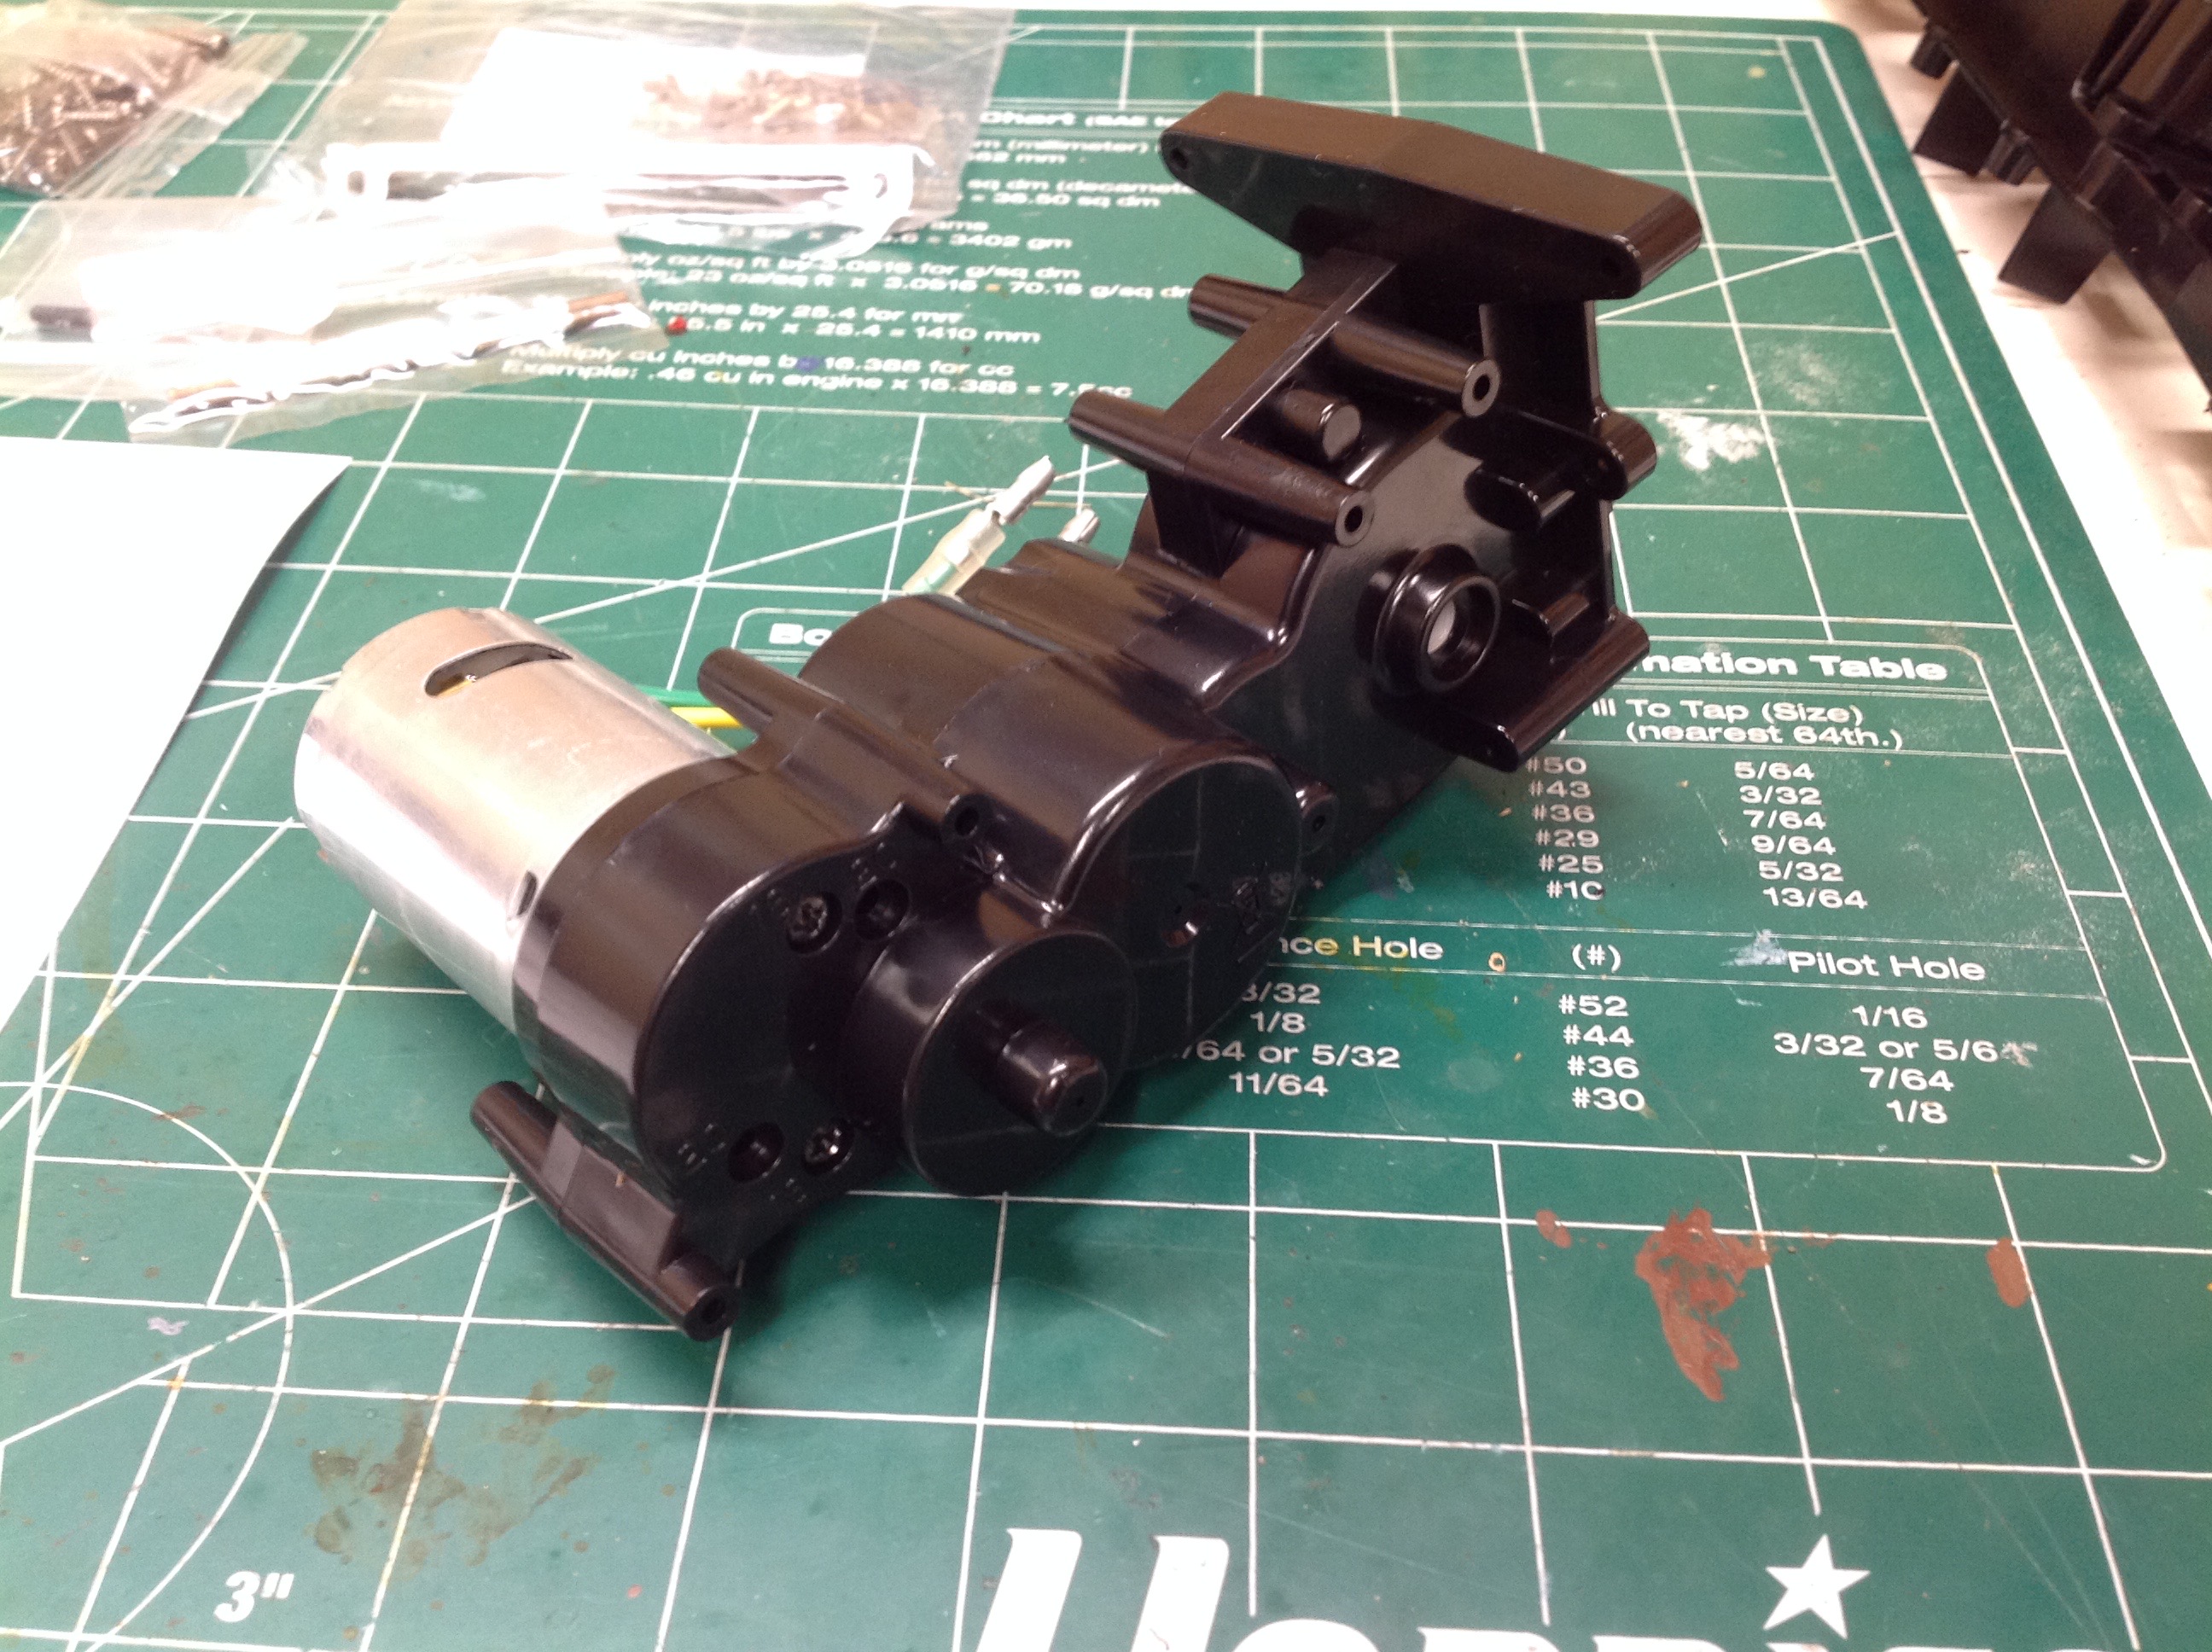
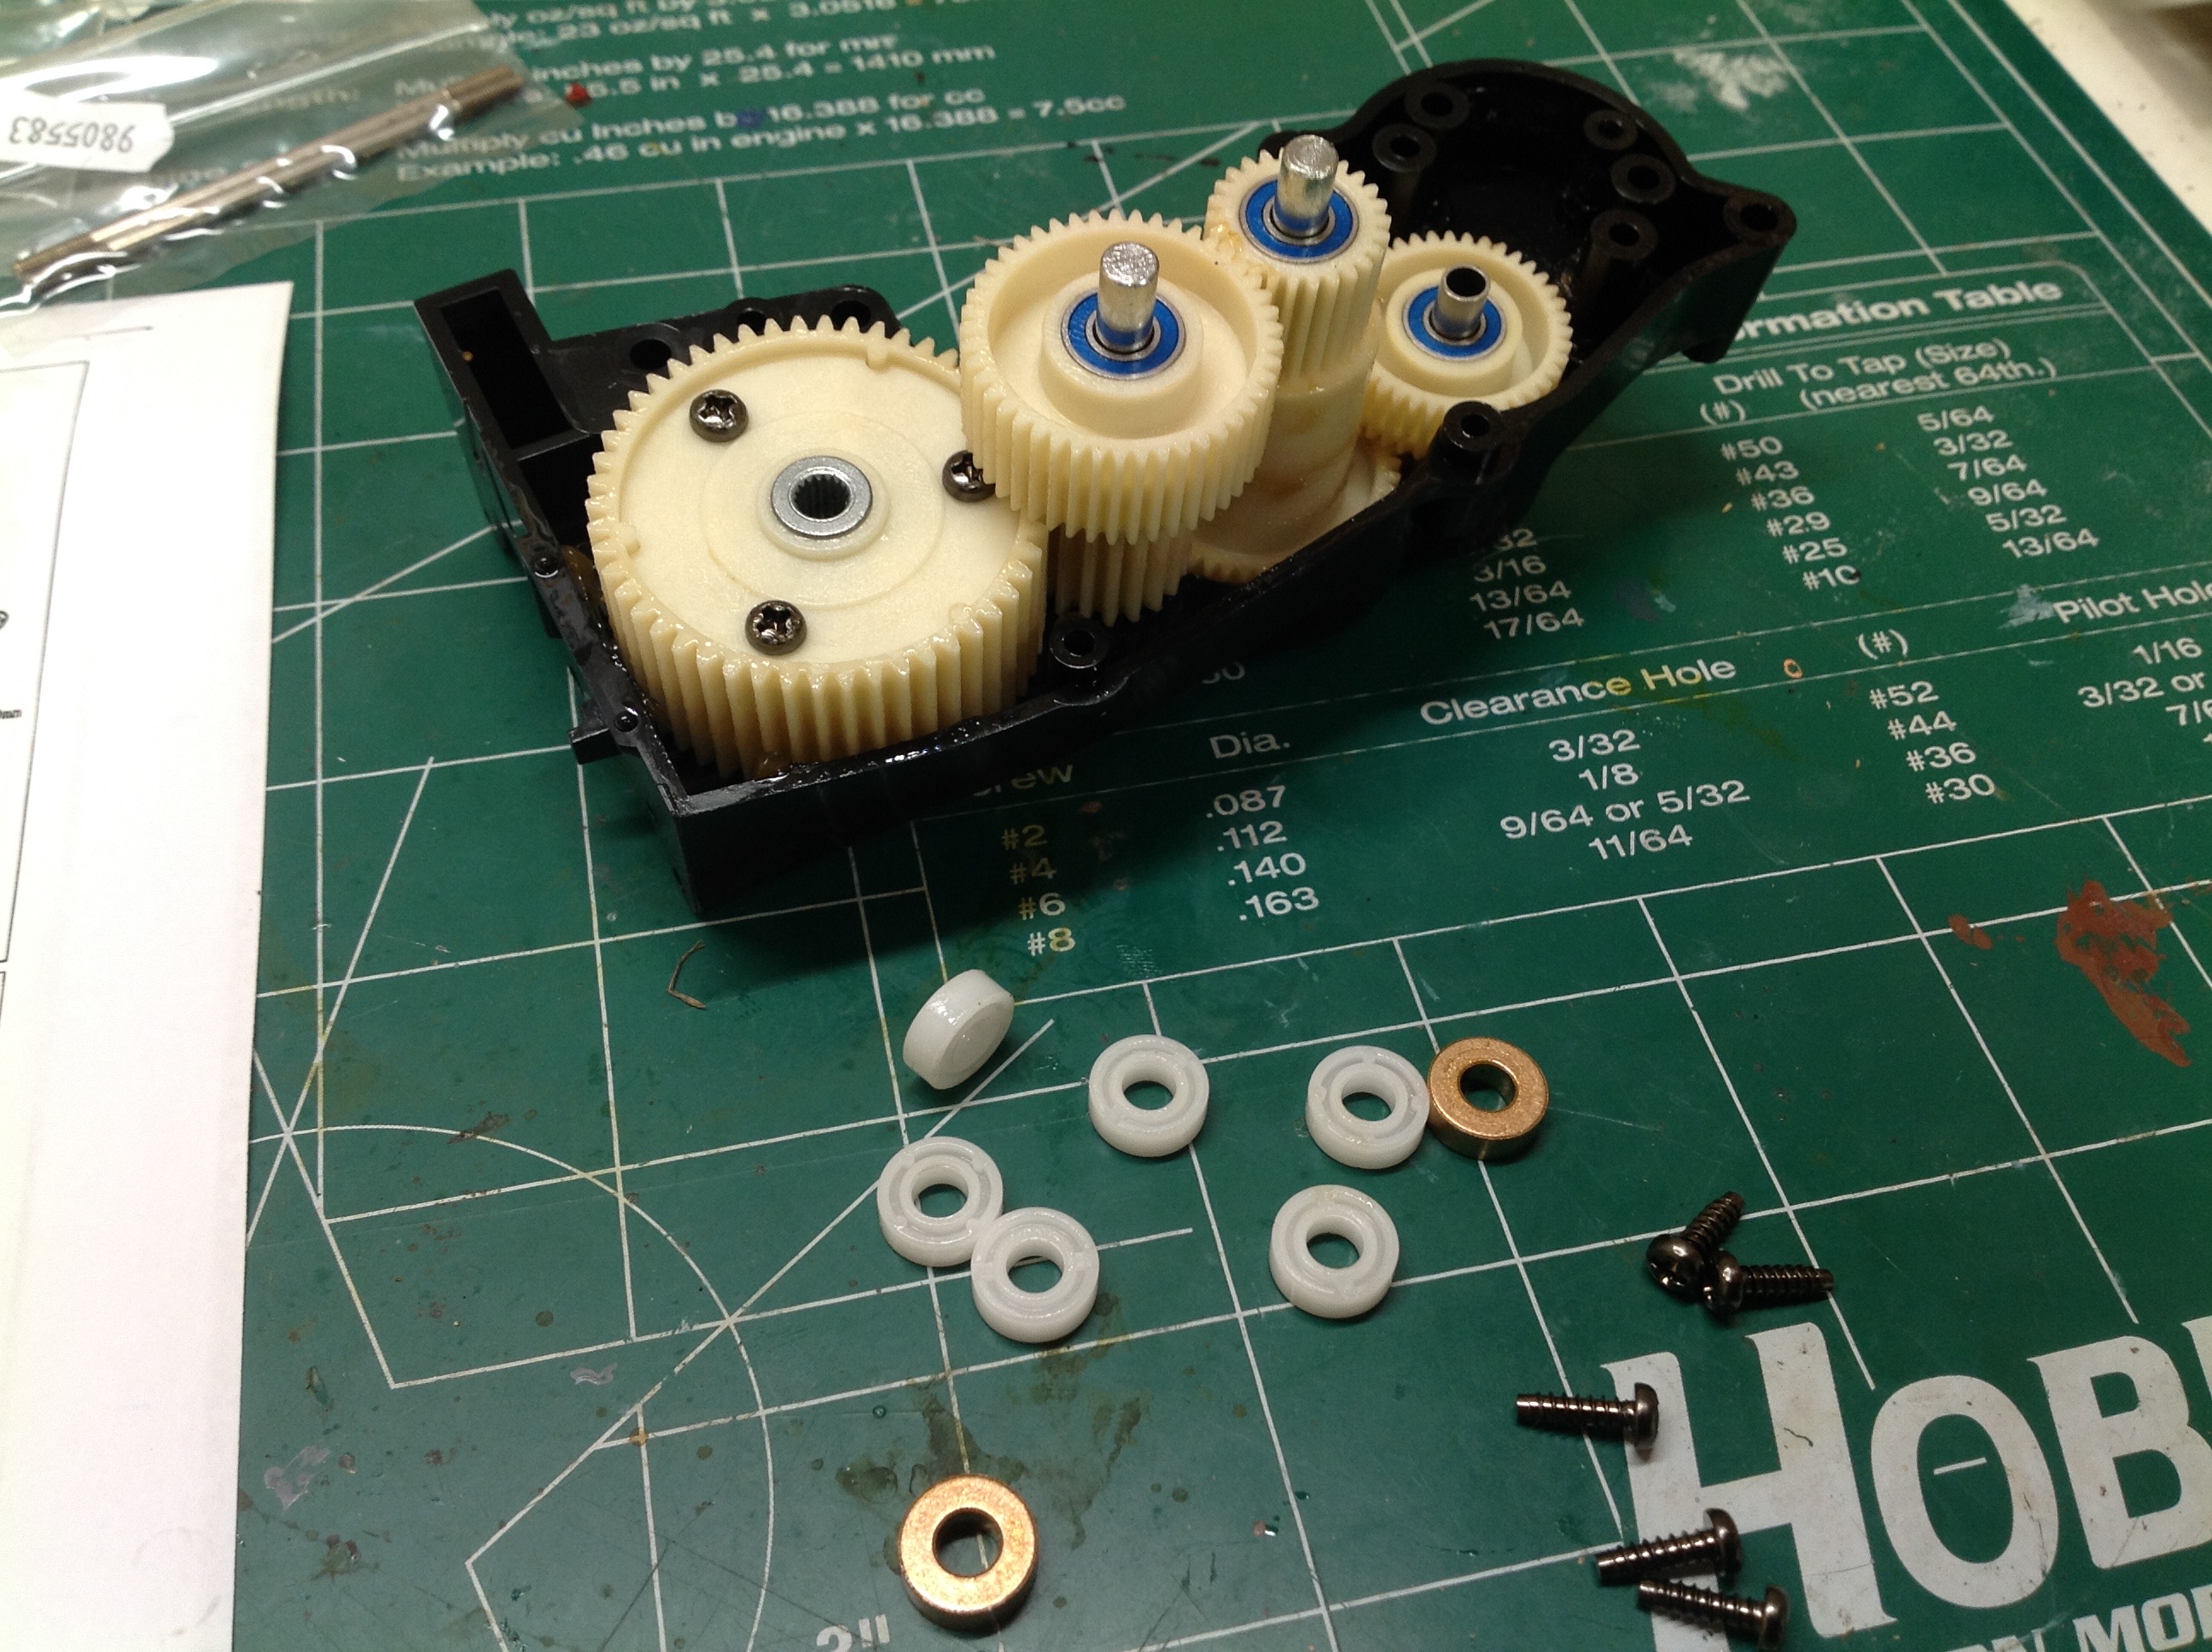
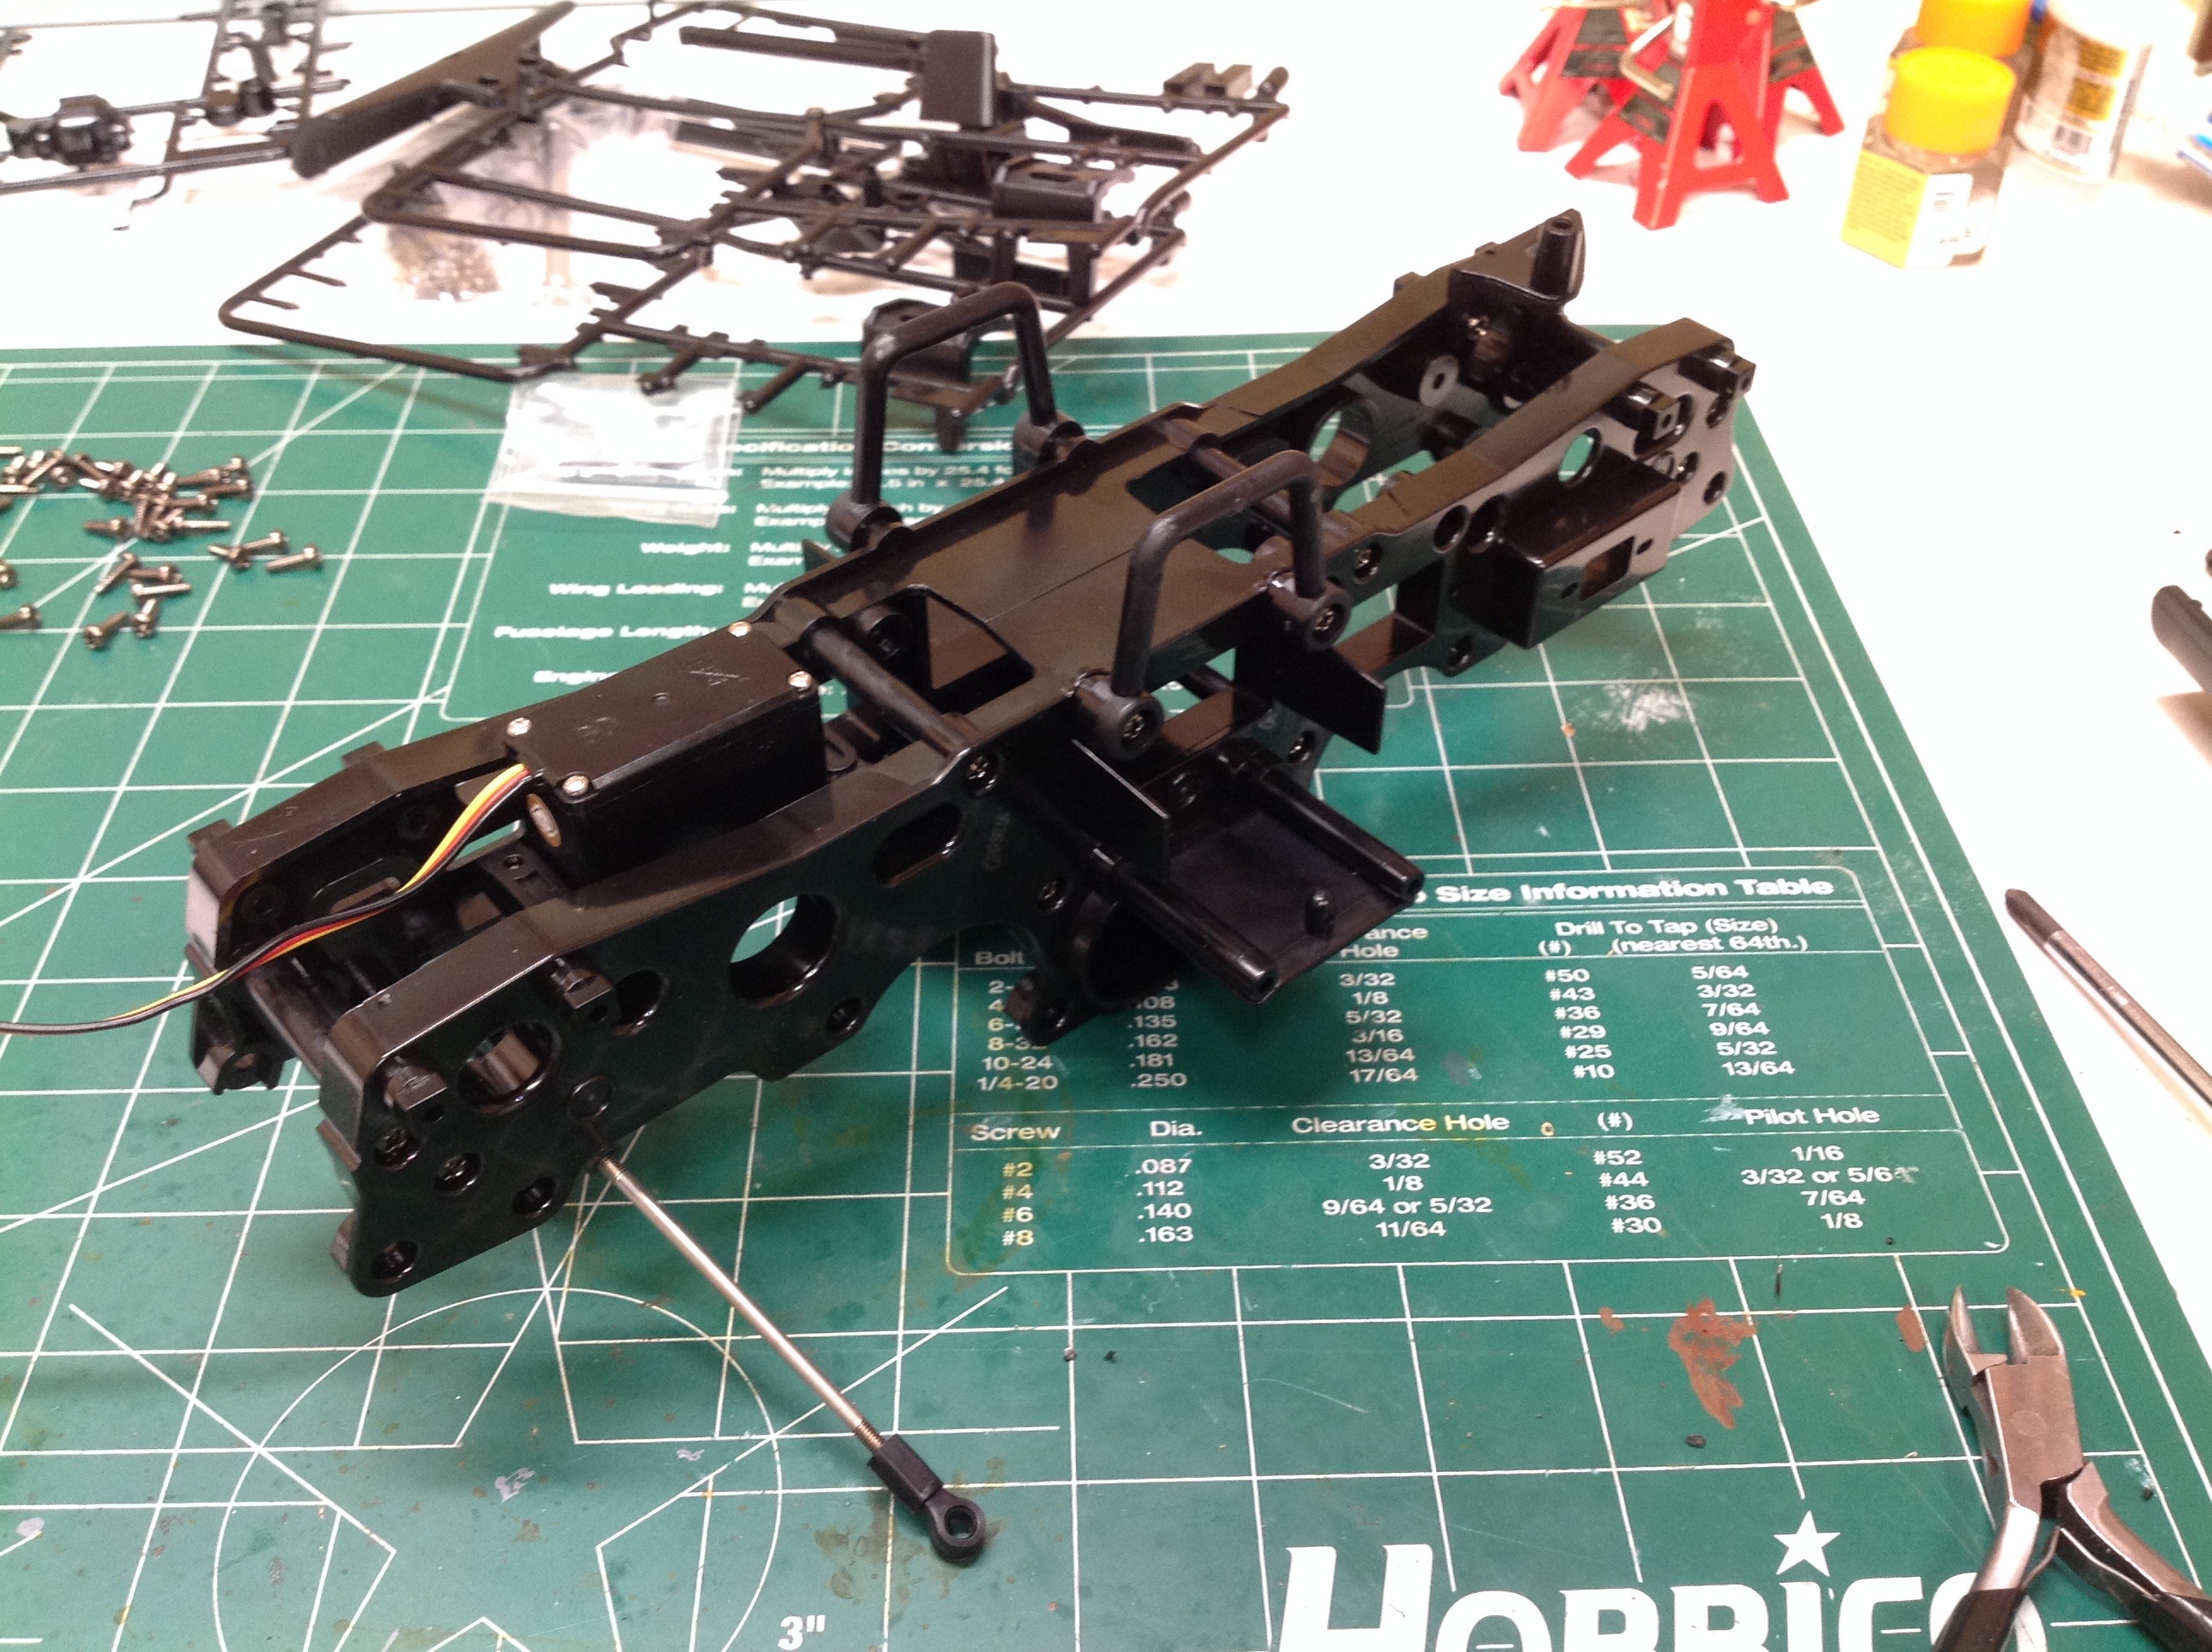
This kit must be intended for beginners because the motor and gearbox
assembly are prebuilt. The instruction booklet does include steps
for rebuilding and/or repairing it though, so the first thing I did was
tear it apart and replace all the plastic bushings with ball
bearings. I found all the gears to be nicely greased already so I
didn't need to add any lubrication. There are a lot of gears in
this transmission and they are huge. There should no concern about
breaking anything. The largest gear on the left is the
differential housing.
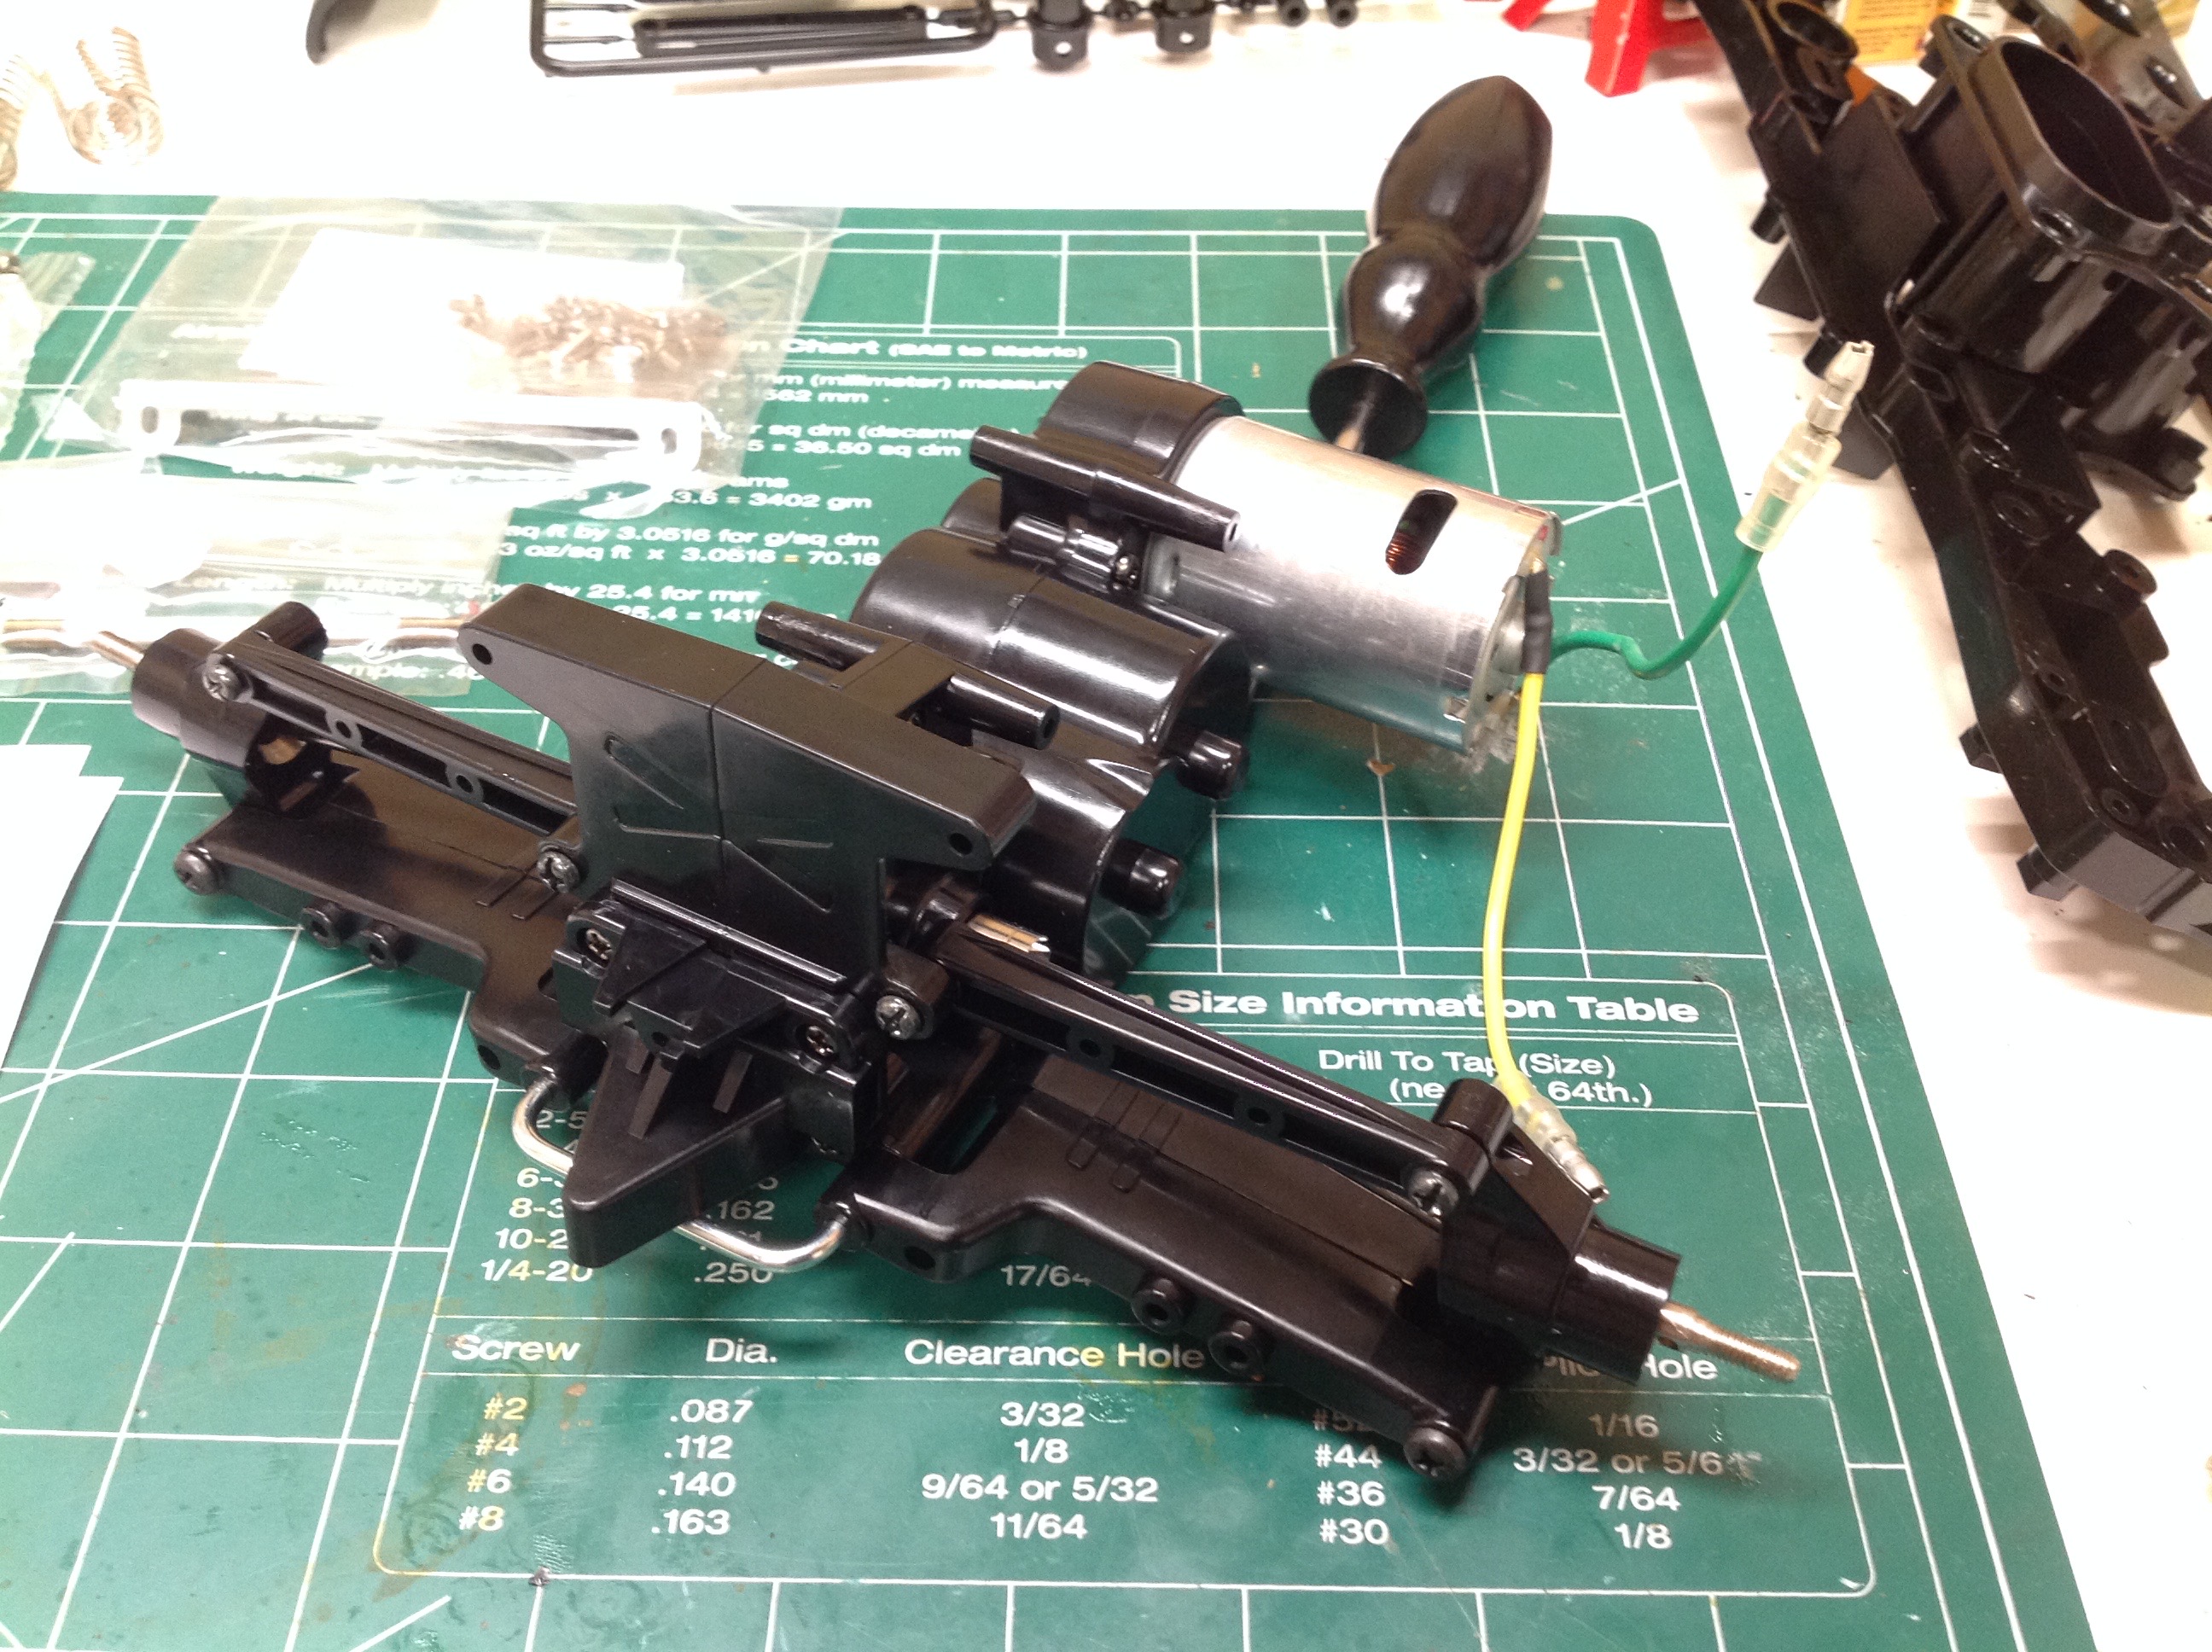
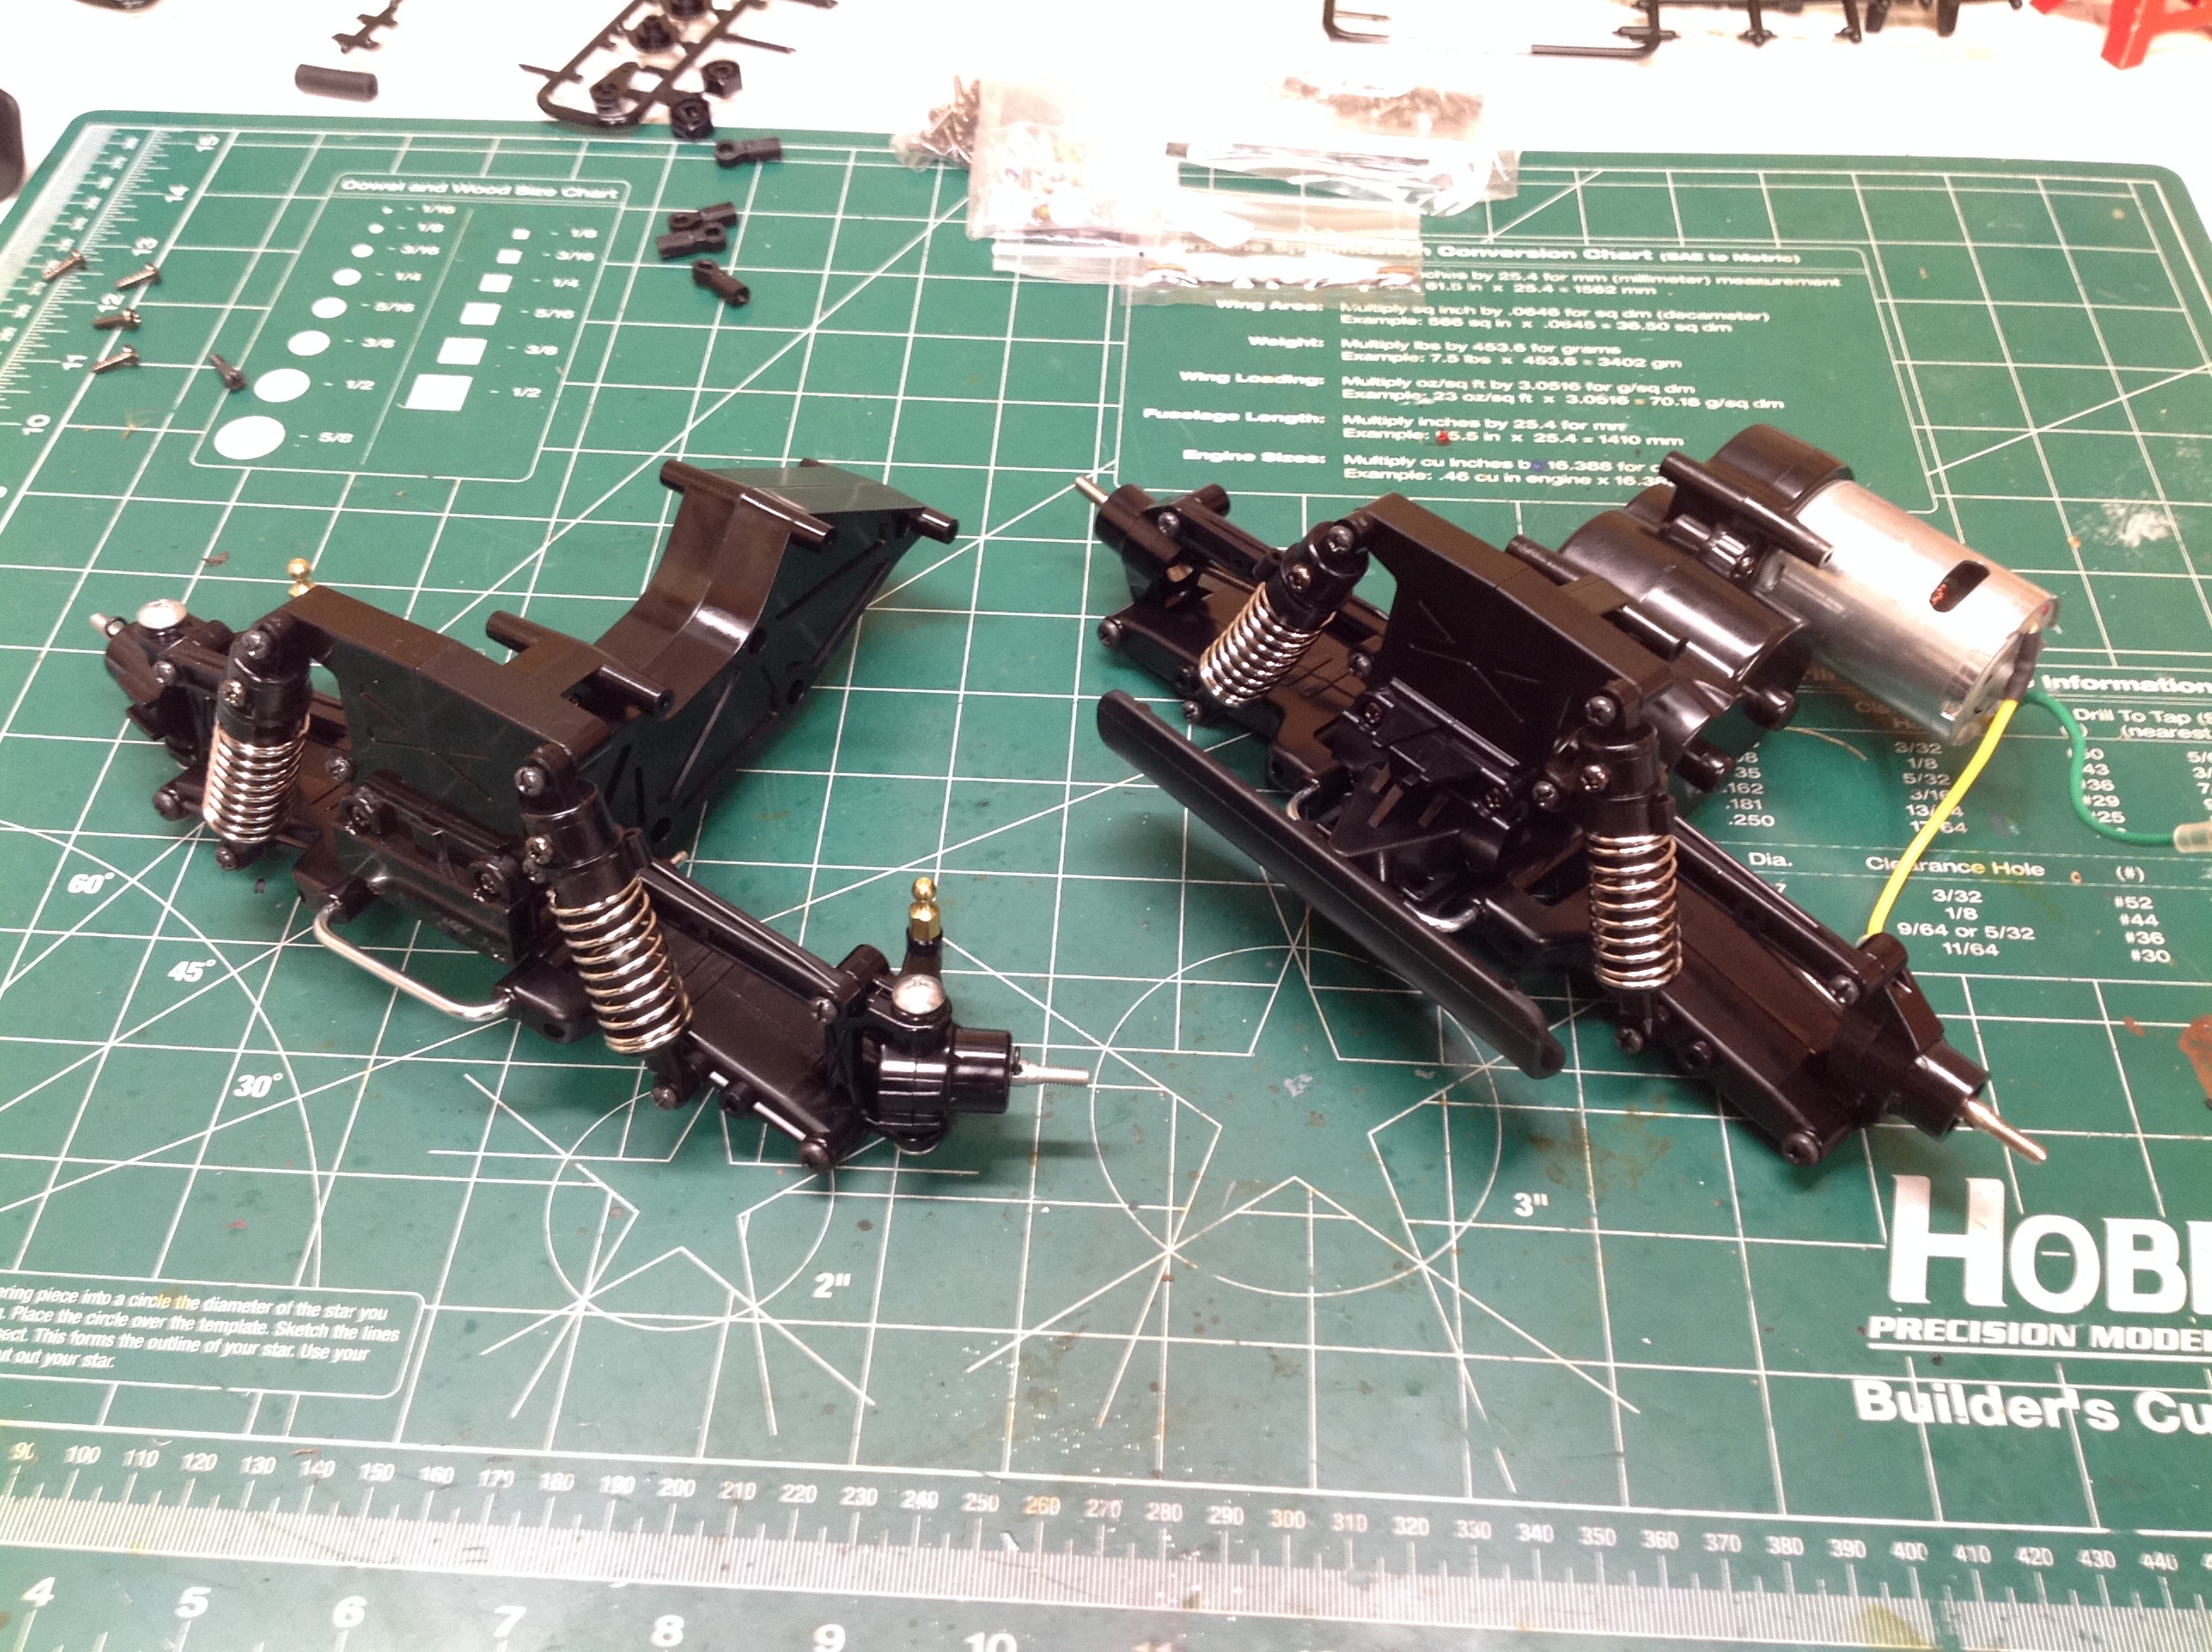
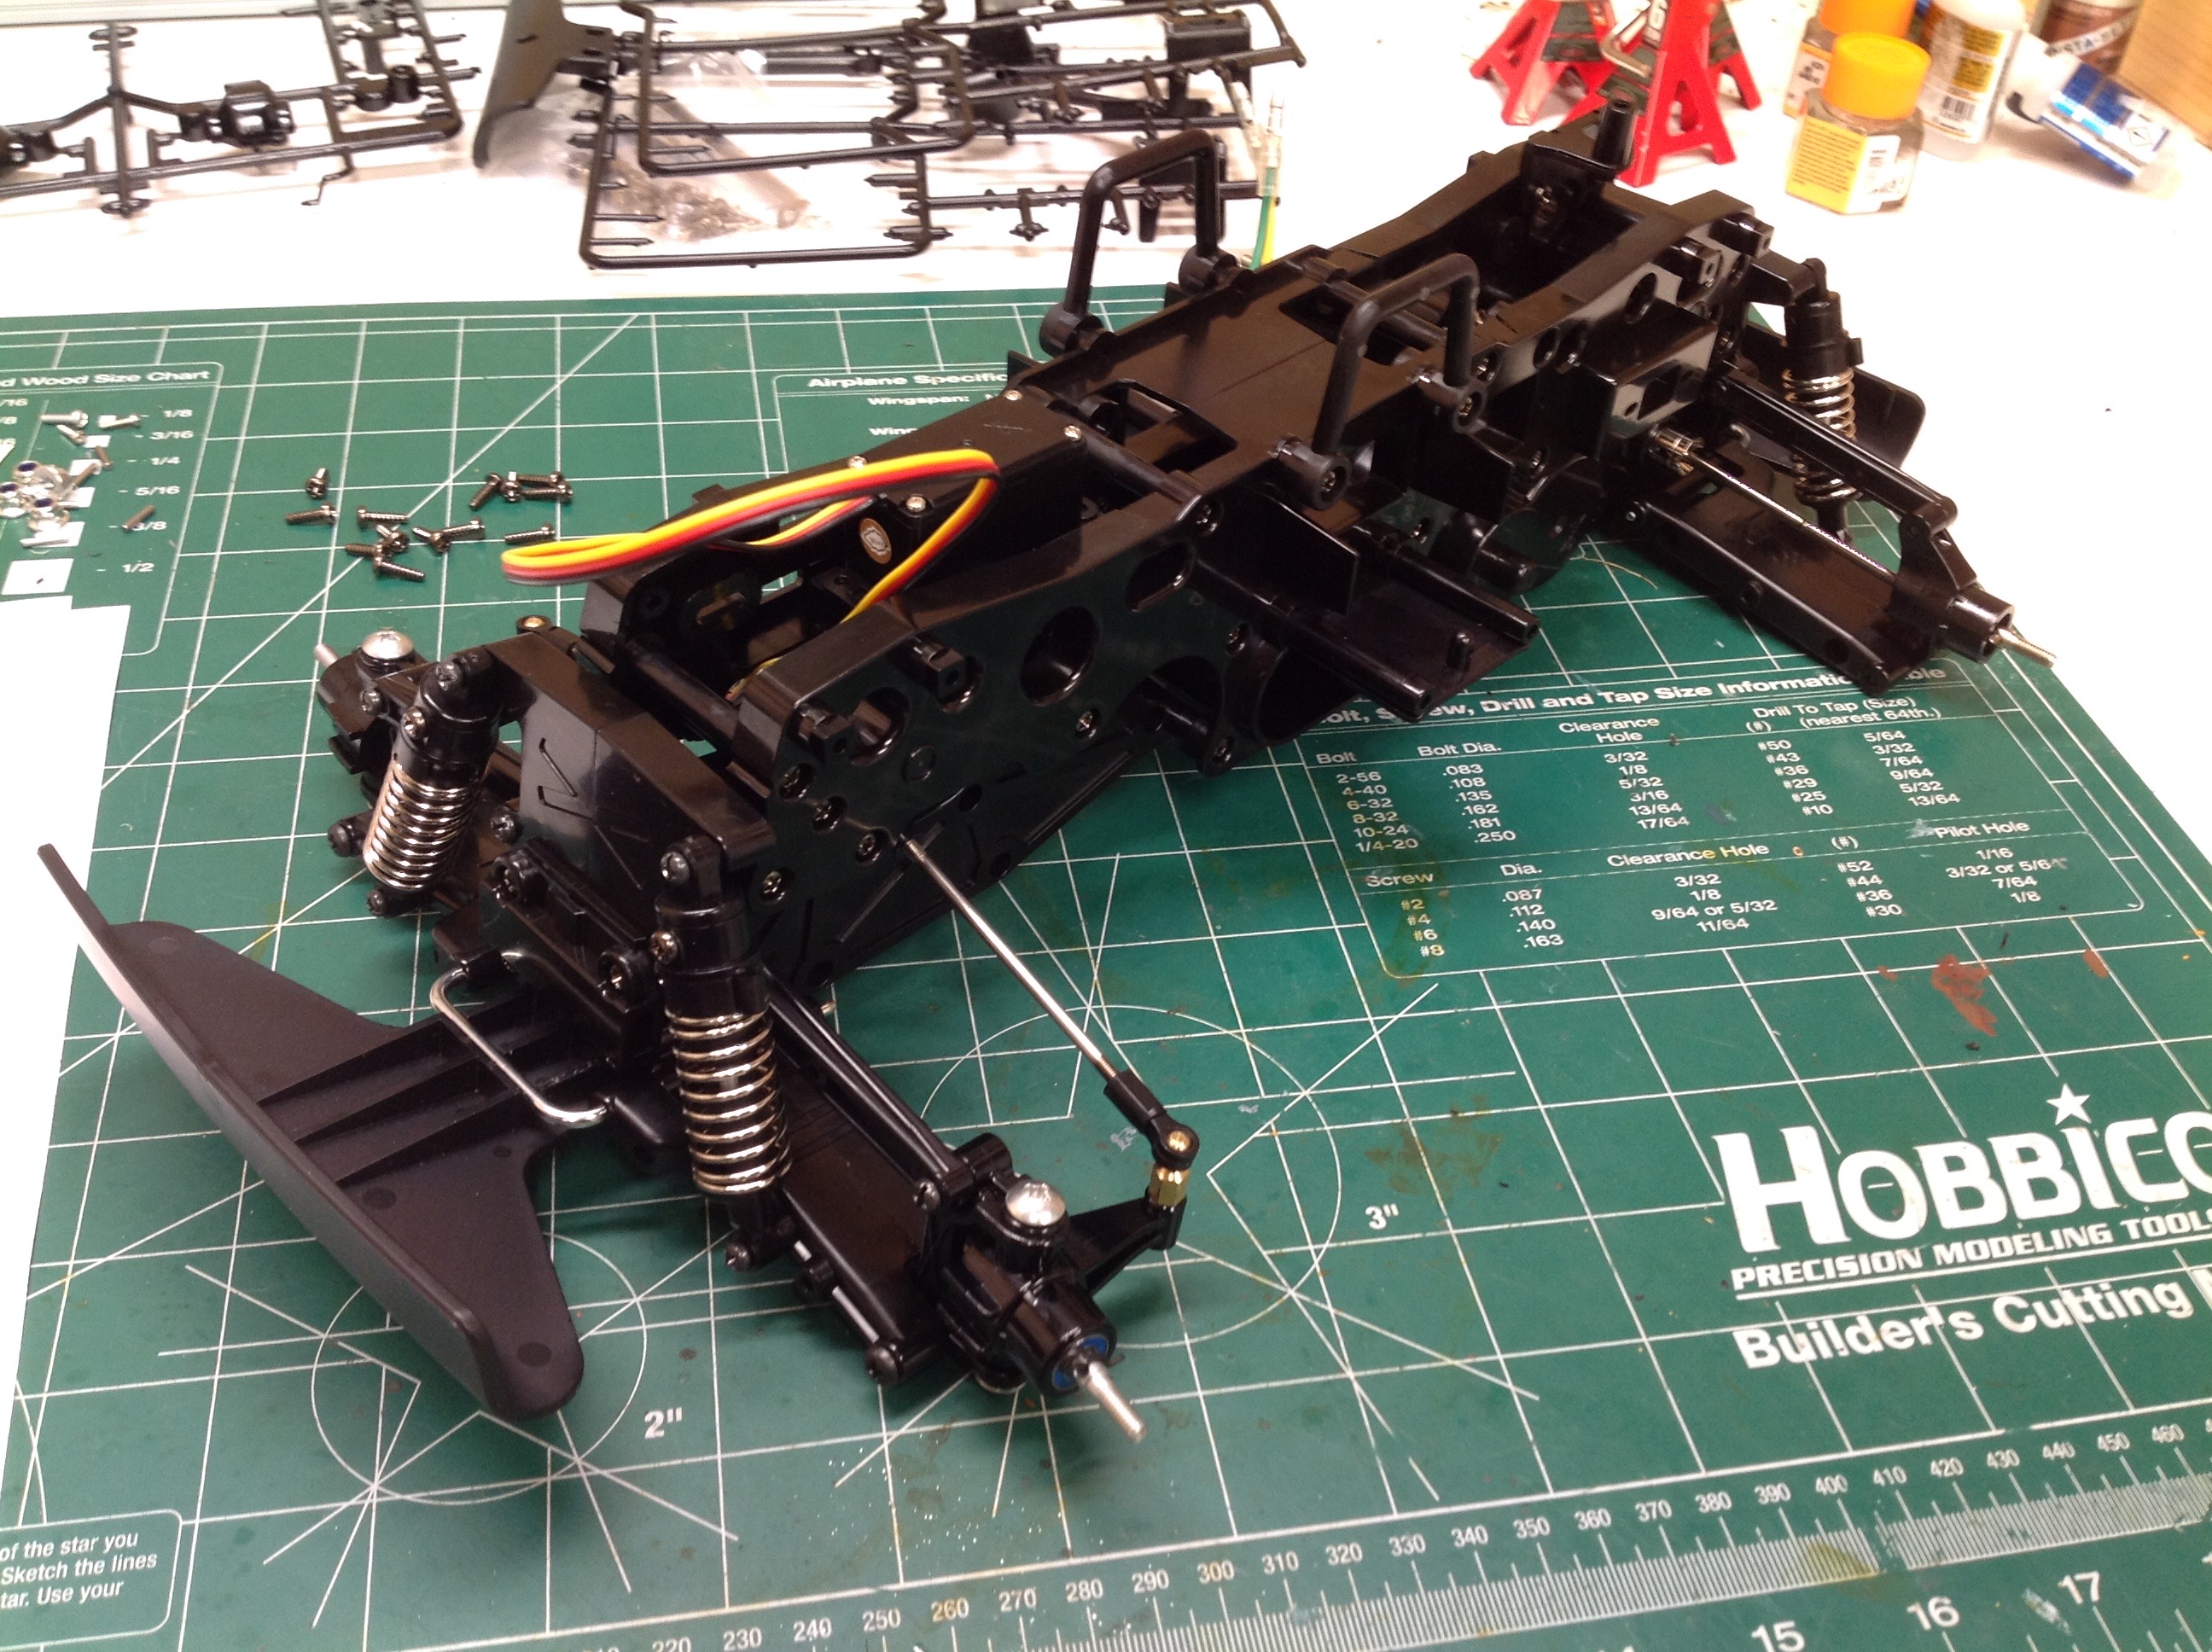
Here we see the front and rear suspension assemblies. They are
effectively identical except that the front uses a dummy gearbox.
All the control arms and links are the same. This means you could
technically choose to build this model as front wheel drive, or even add
a second gearbox assembly to make it four wheel drive with dual motors.
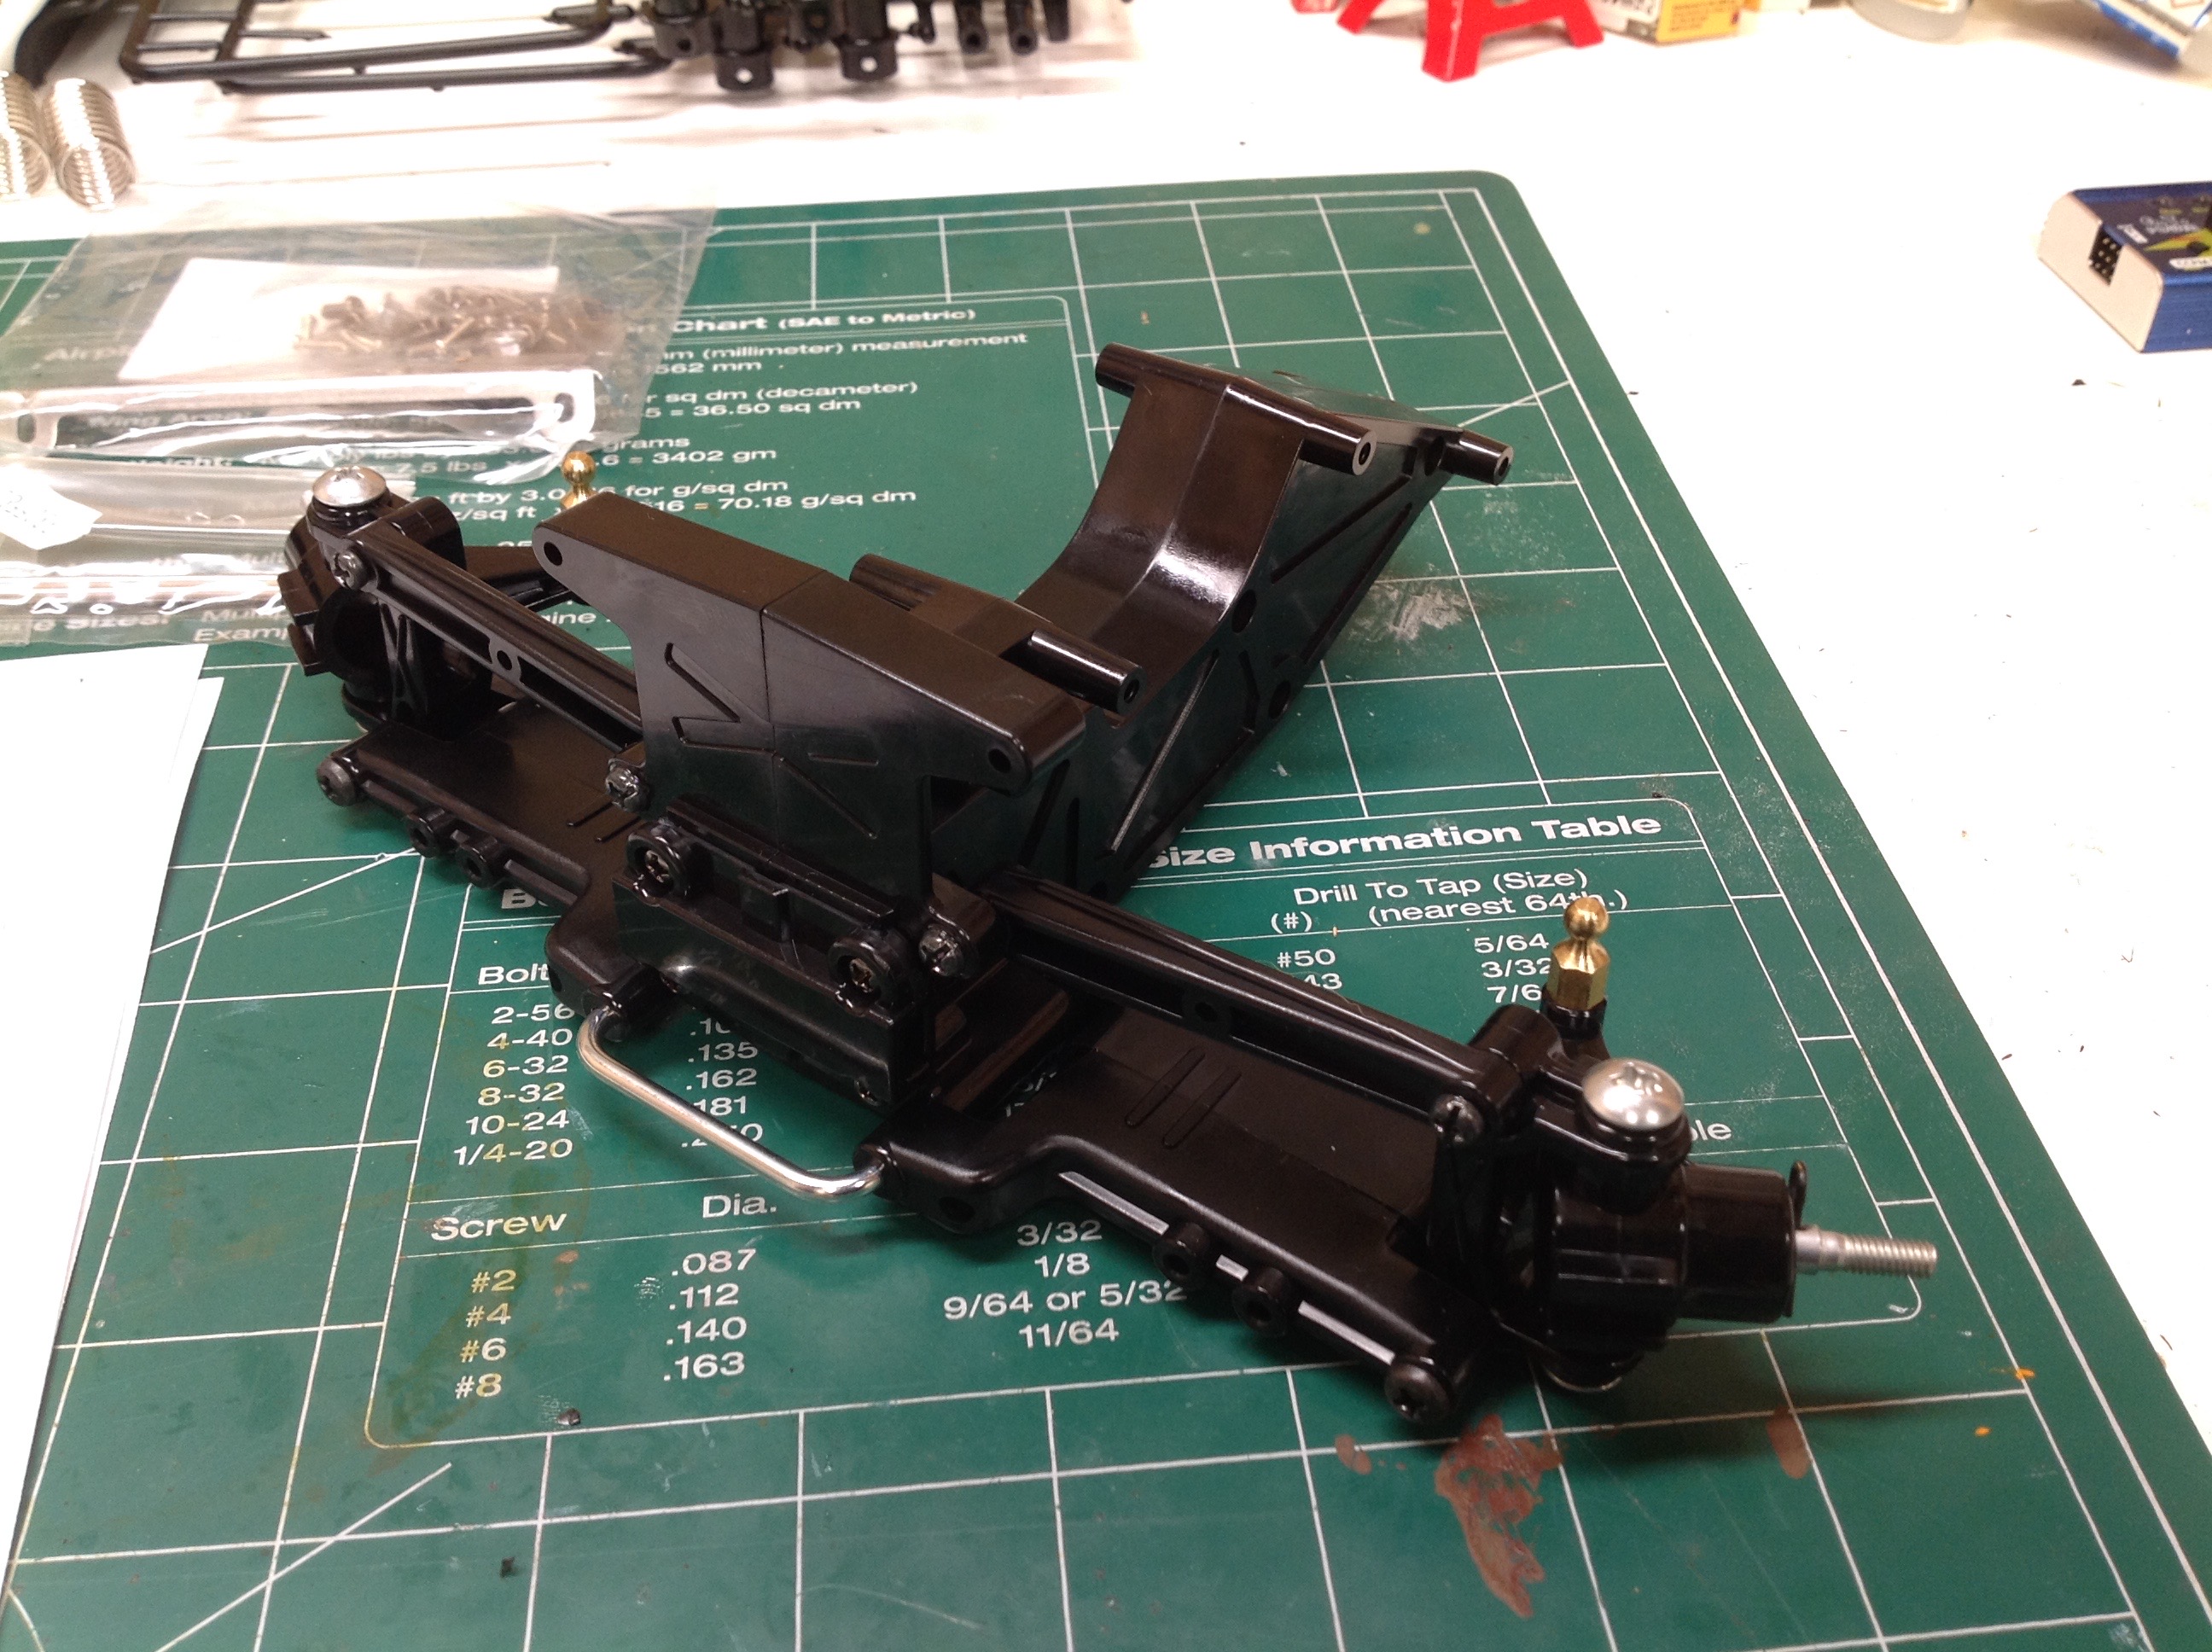
Now the shocks have been built and installed. These are the
infamous "friction dampers" which I cannot abide, so it won't be long
before they are replaced. Seen side by side, you can see how
similar the front and rear assemblies are.
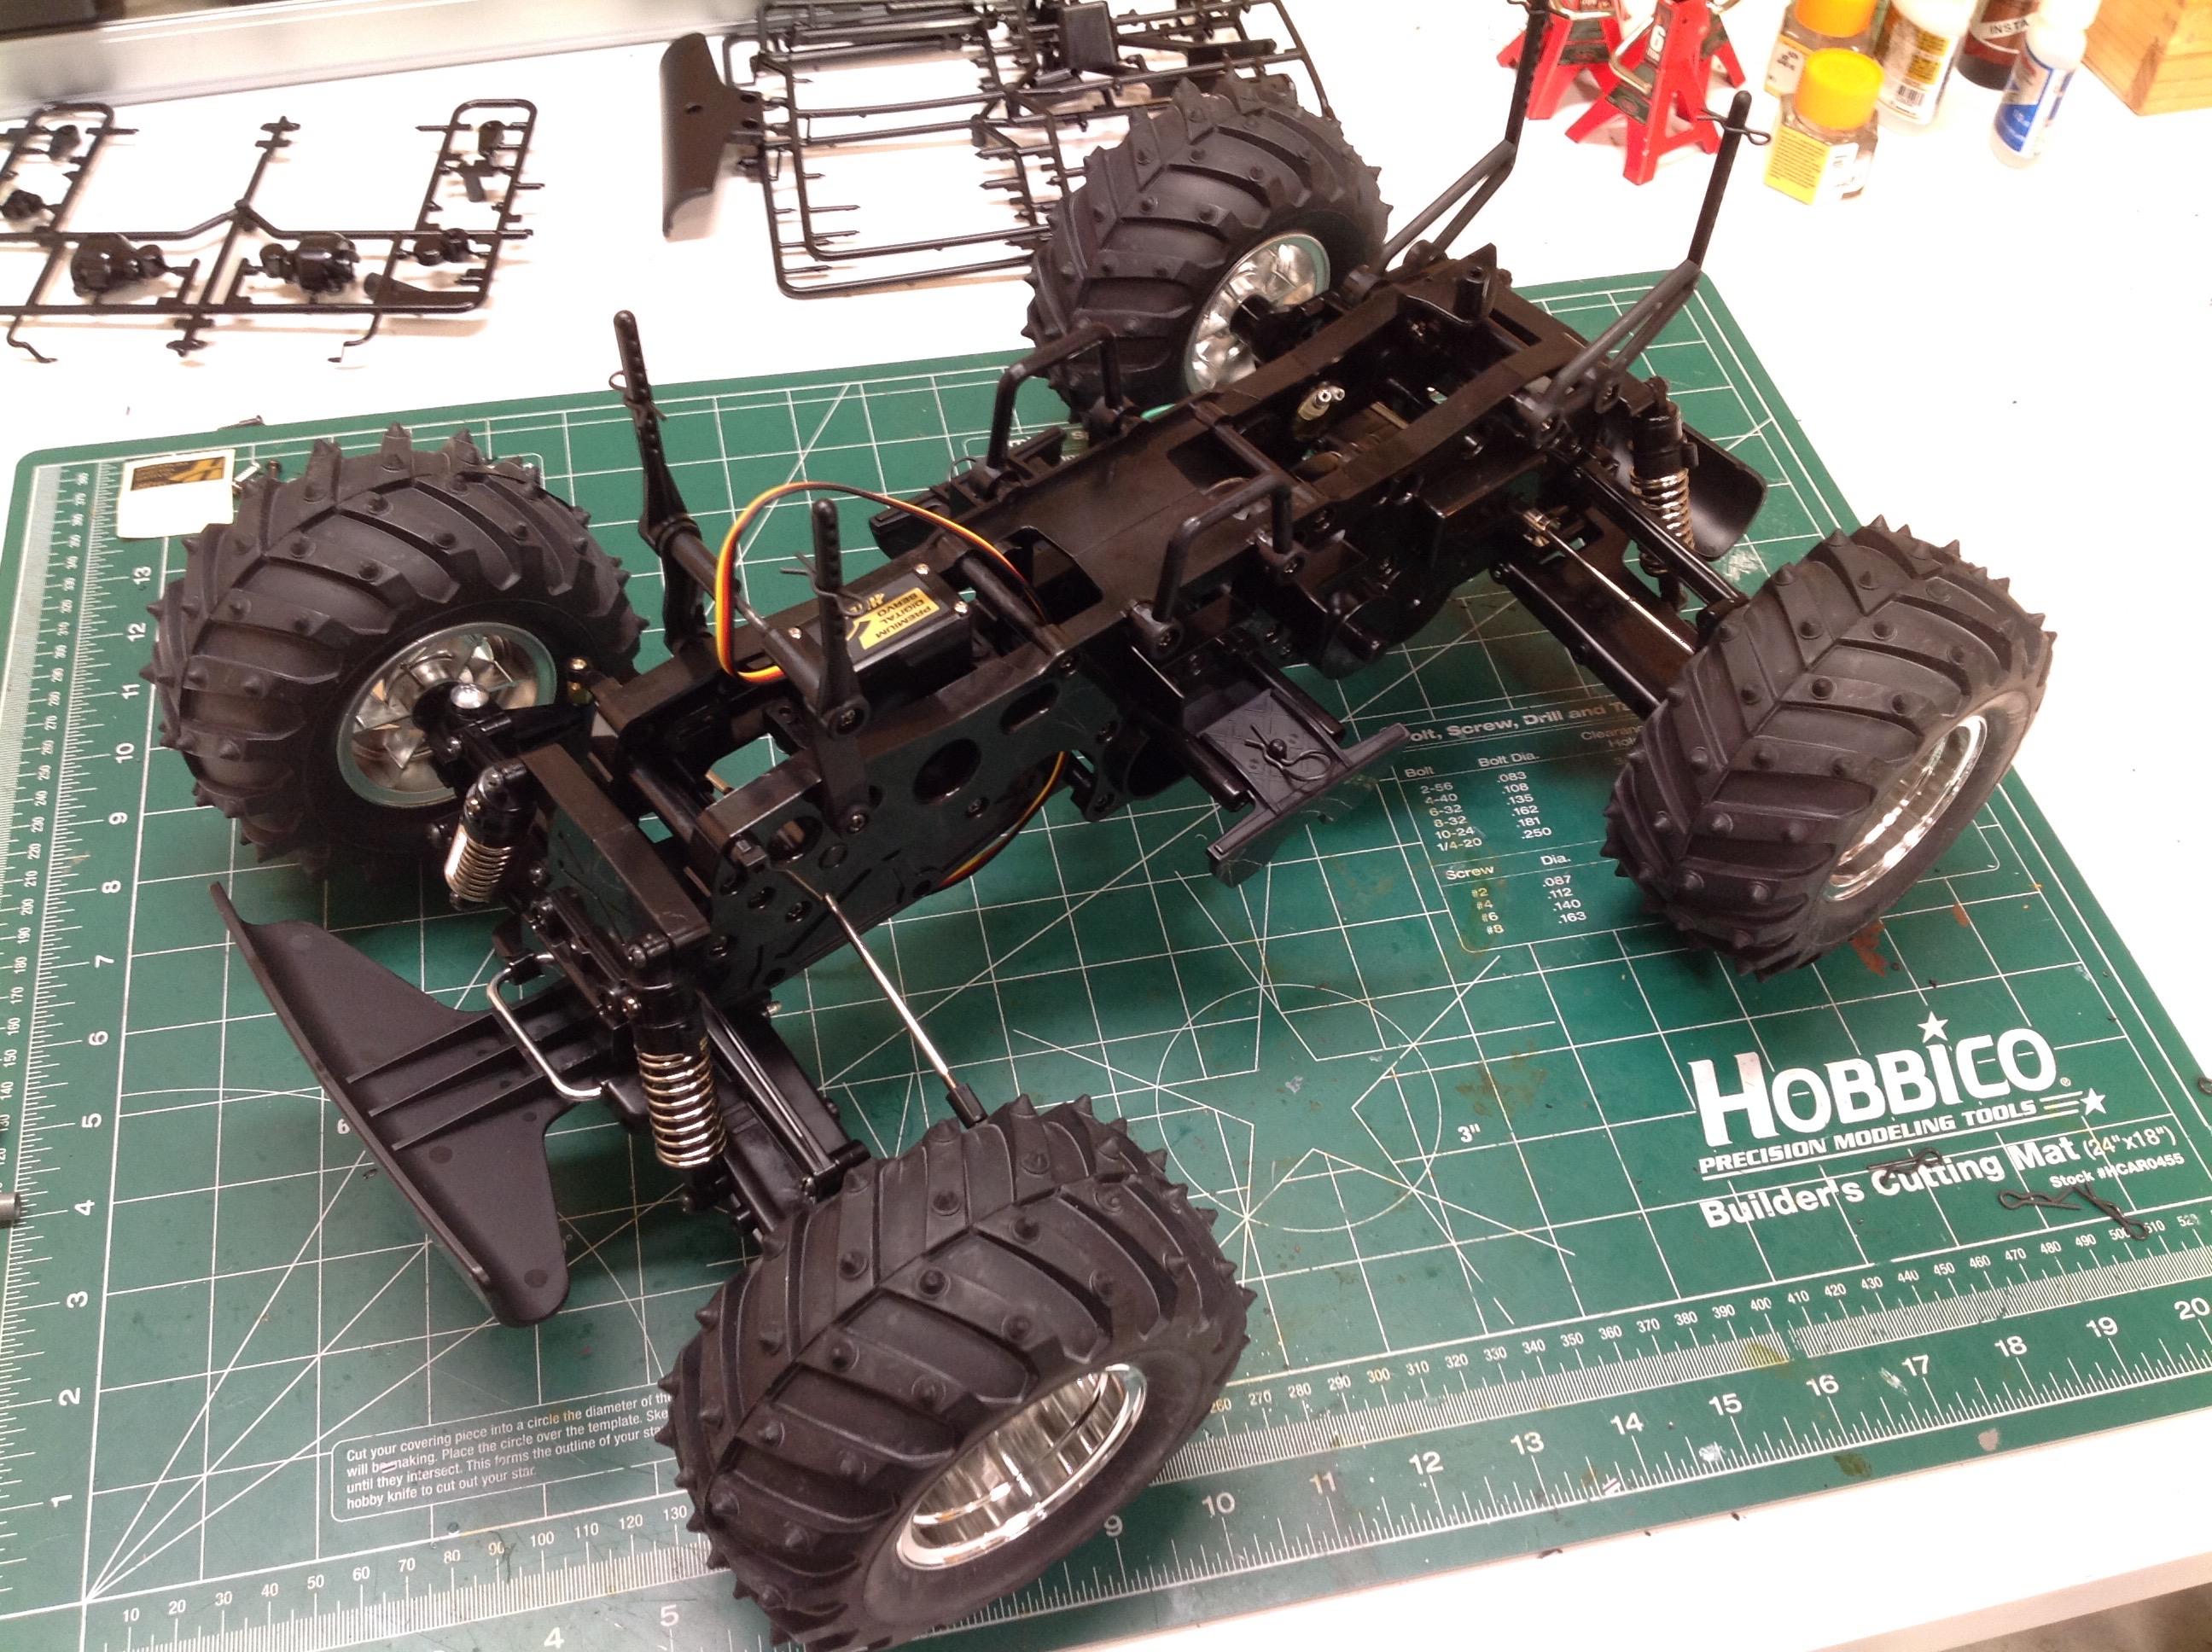
The main frame consists of two massive side plates with a servo in the
front and a battery slot crosswise in the middle. Such a system
provides for very high strength and rigidity. In the right hand
image I've added the front and rear suspension assemblies which simply
slot into place.
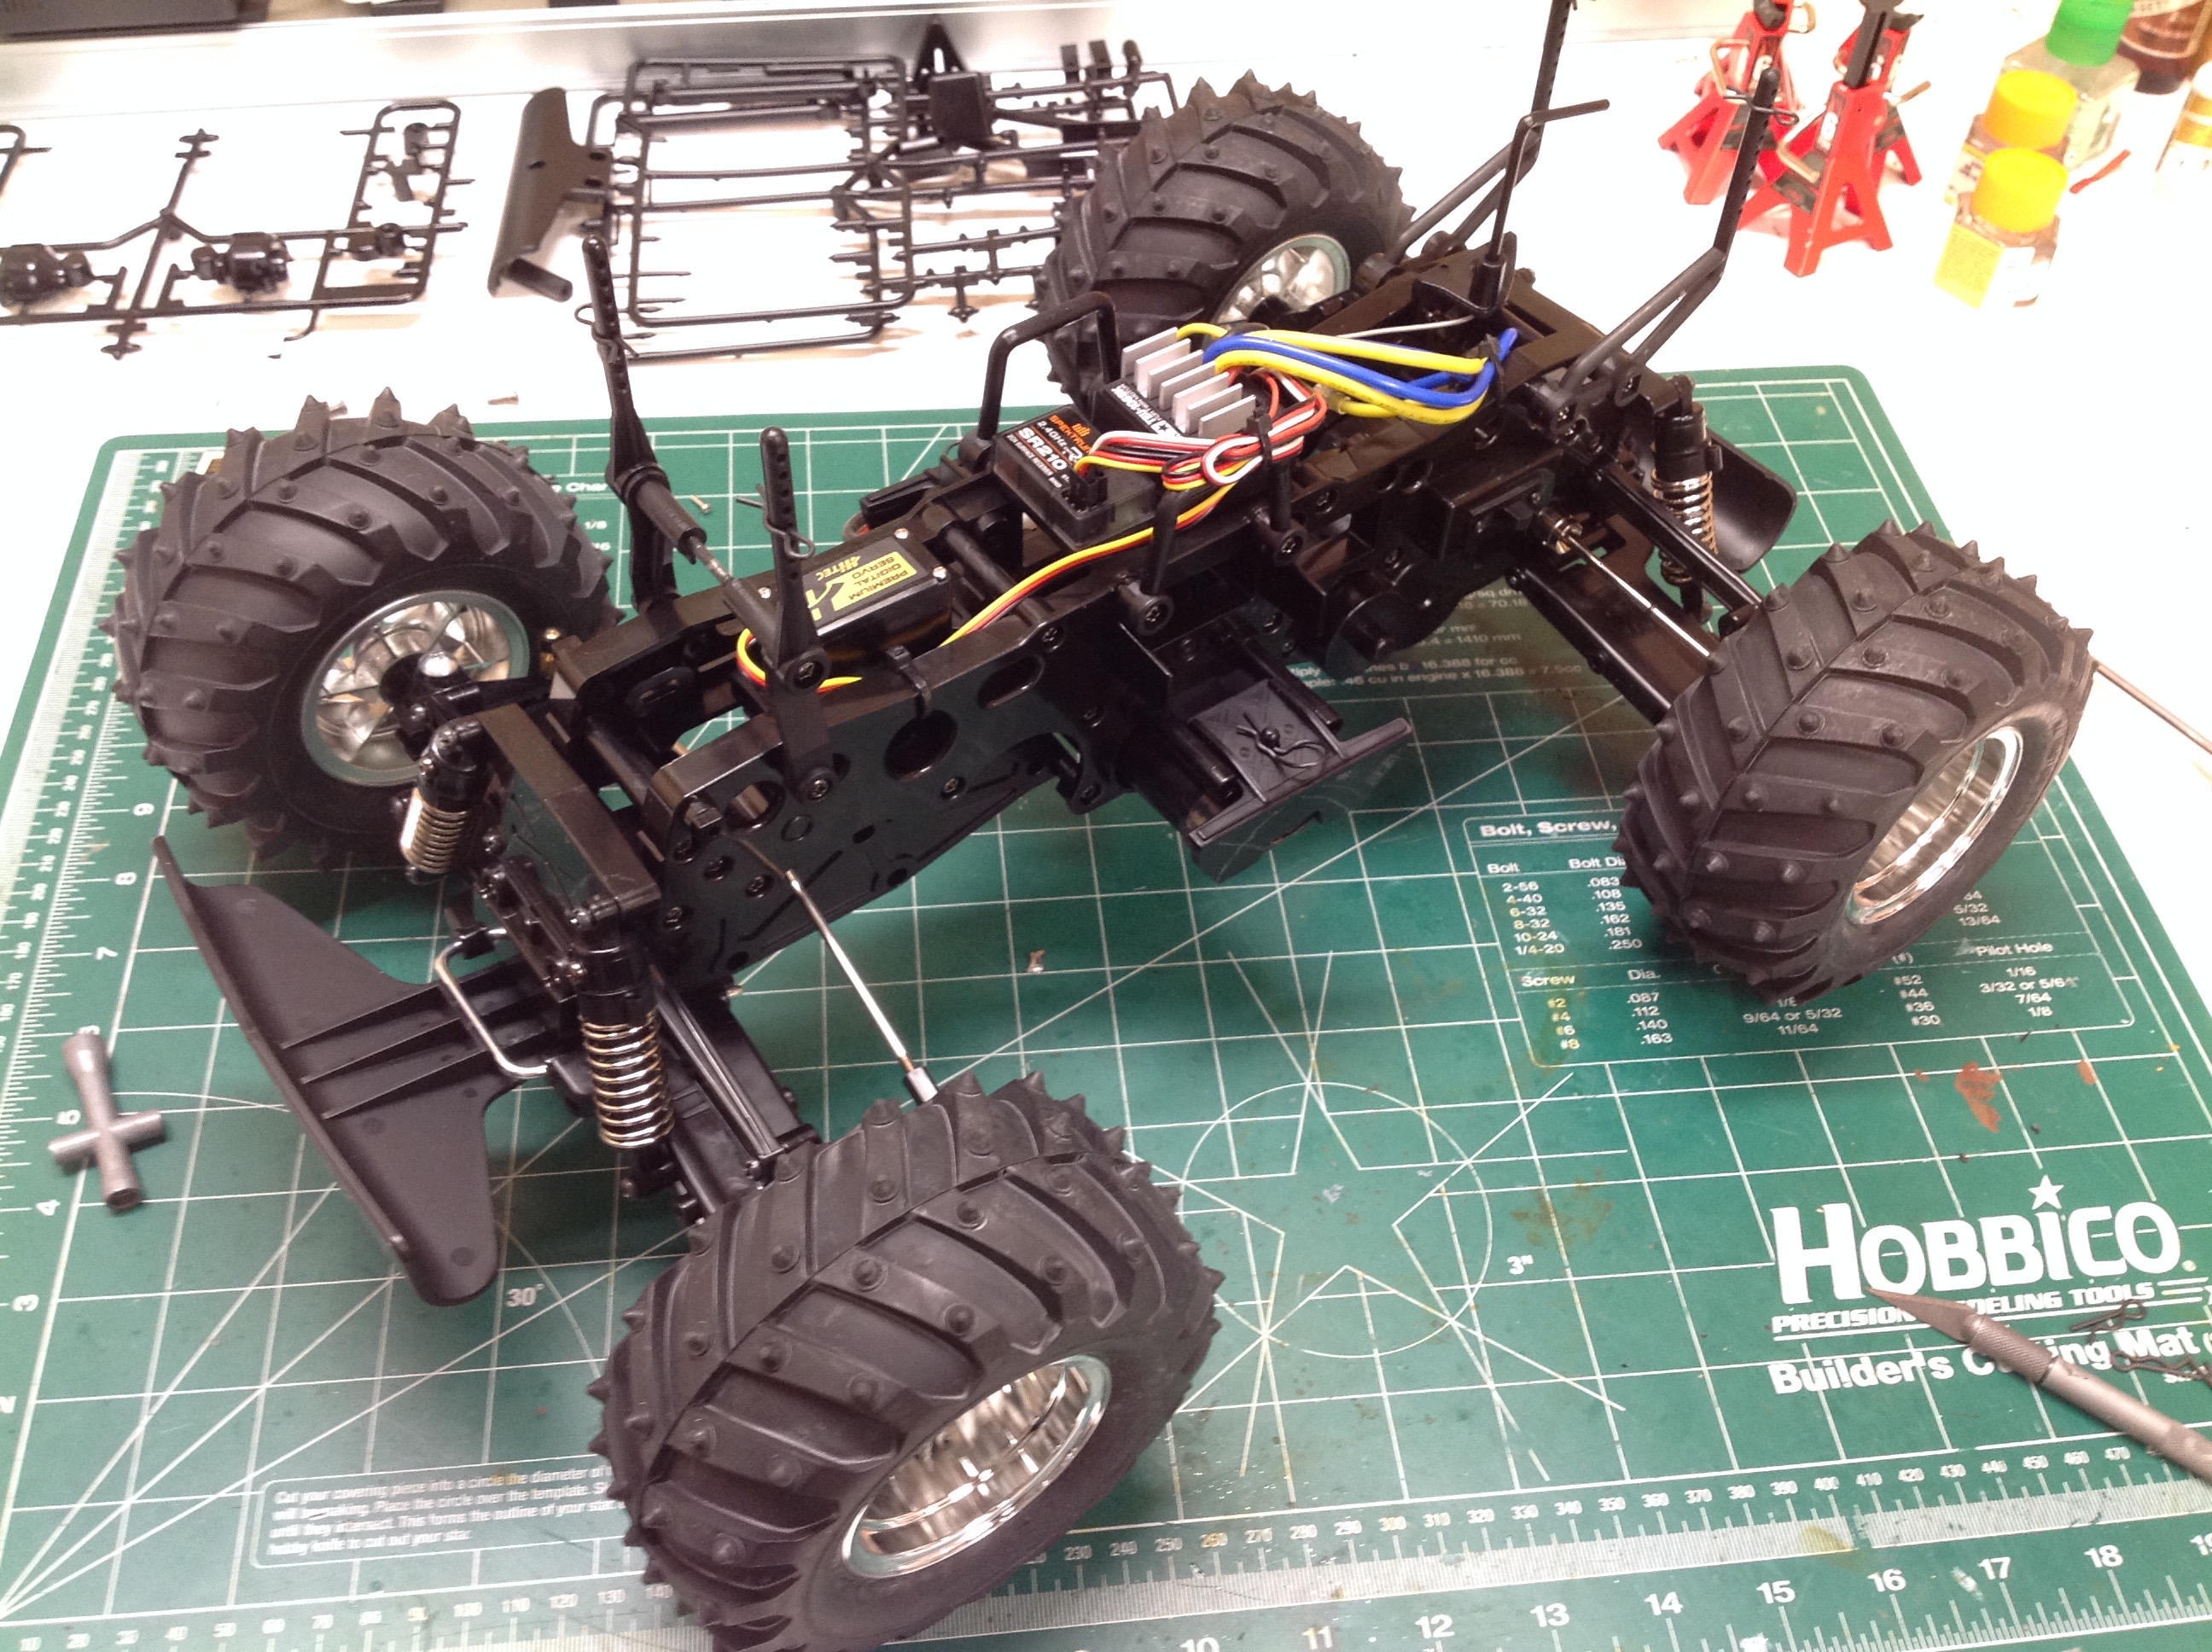
The most obvious addition on the left is the wheels and tires, but I've
also added the body posts. On the right I've added the electronics
which have plenty of space on top of the chassis. Because the
battery is low, it can be installed without removing the body.
The body is only one color, so you might think that decorating it would
be a small task. I know I thought that. The painting of the
main body shell was just plain gloss black, but then there is a lot of
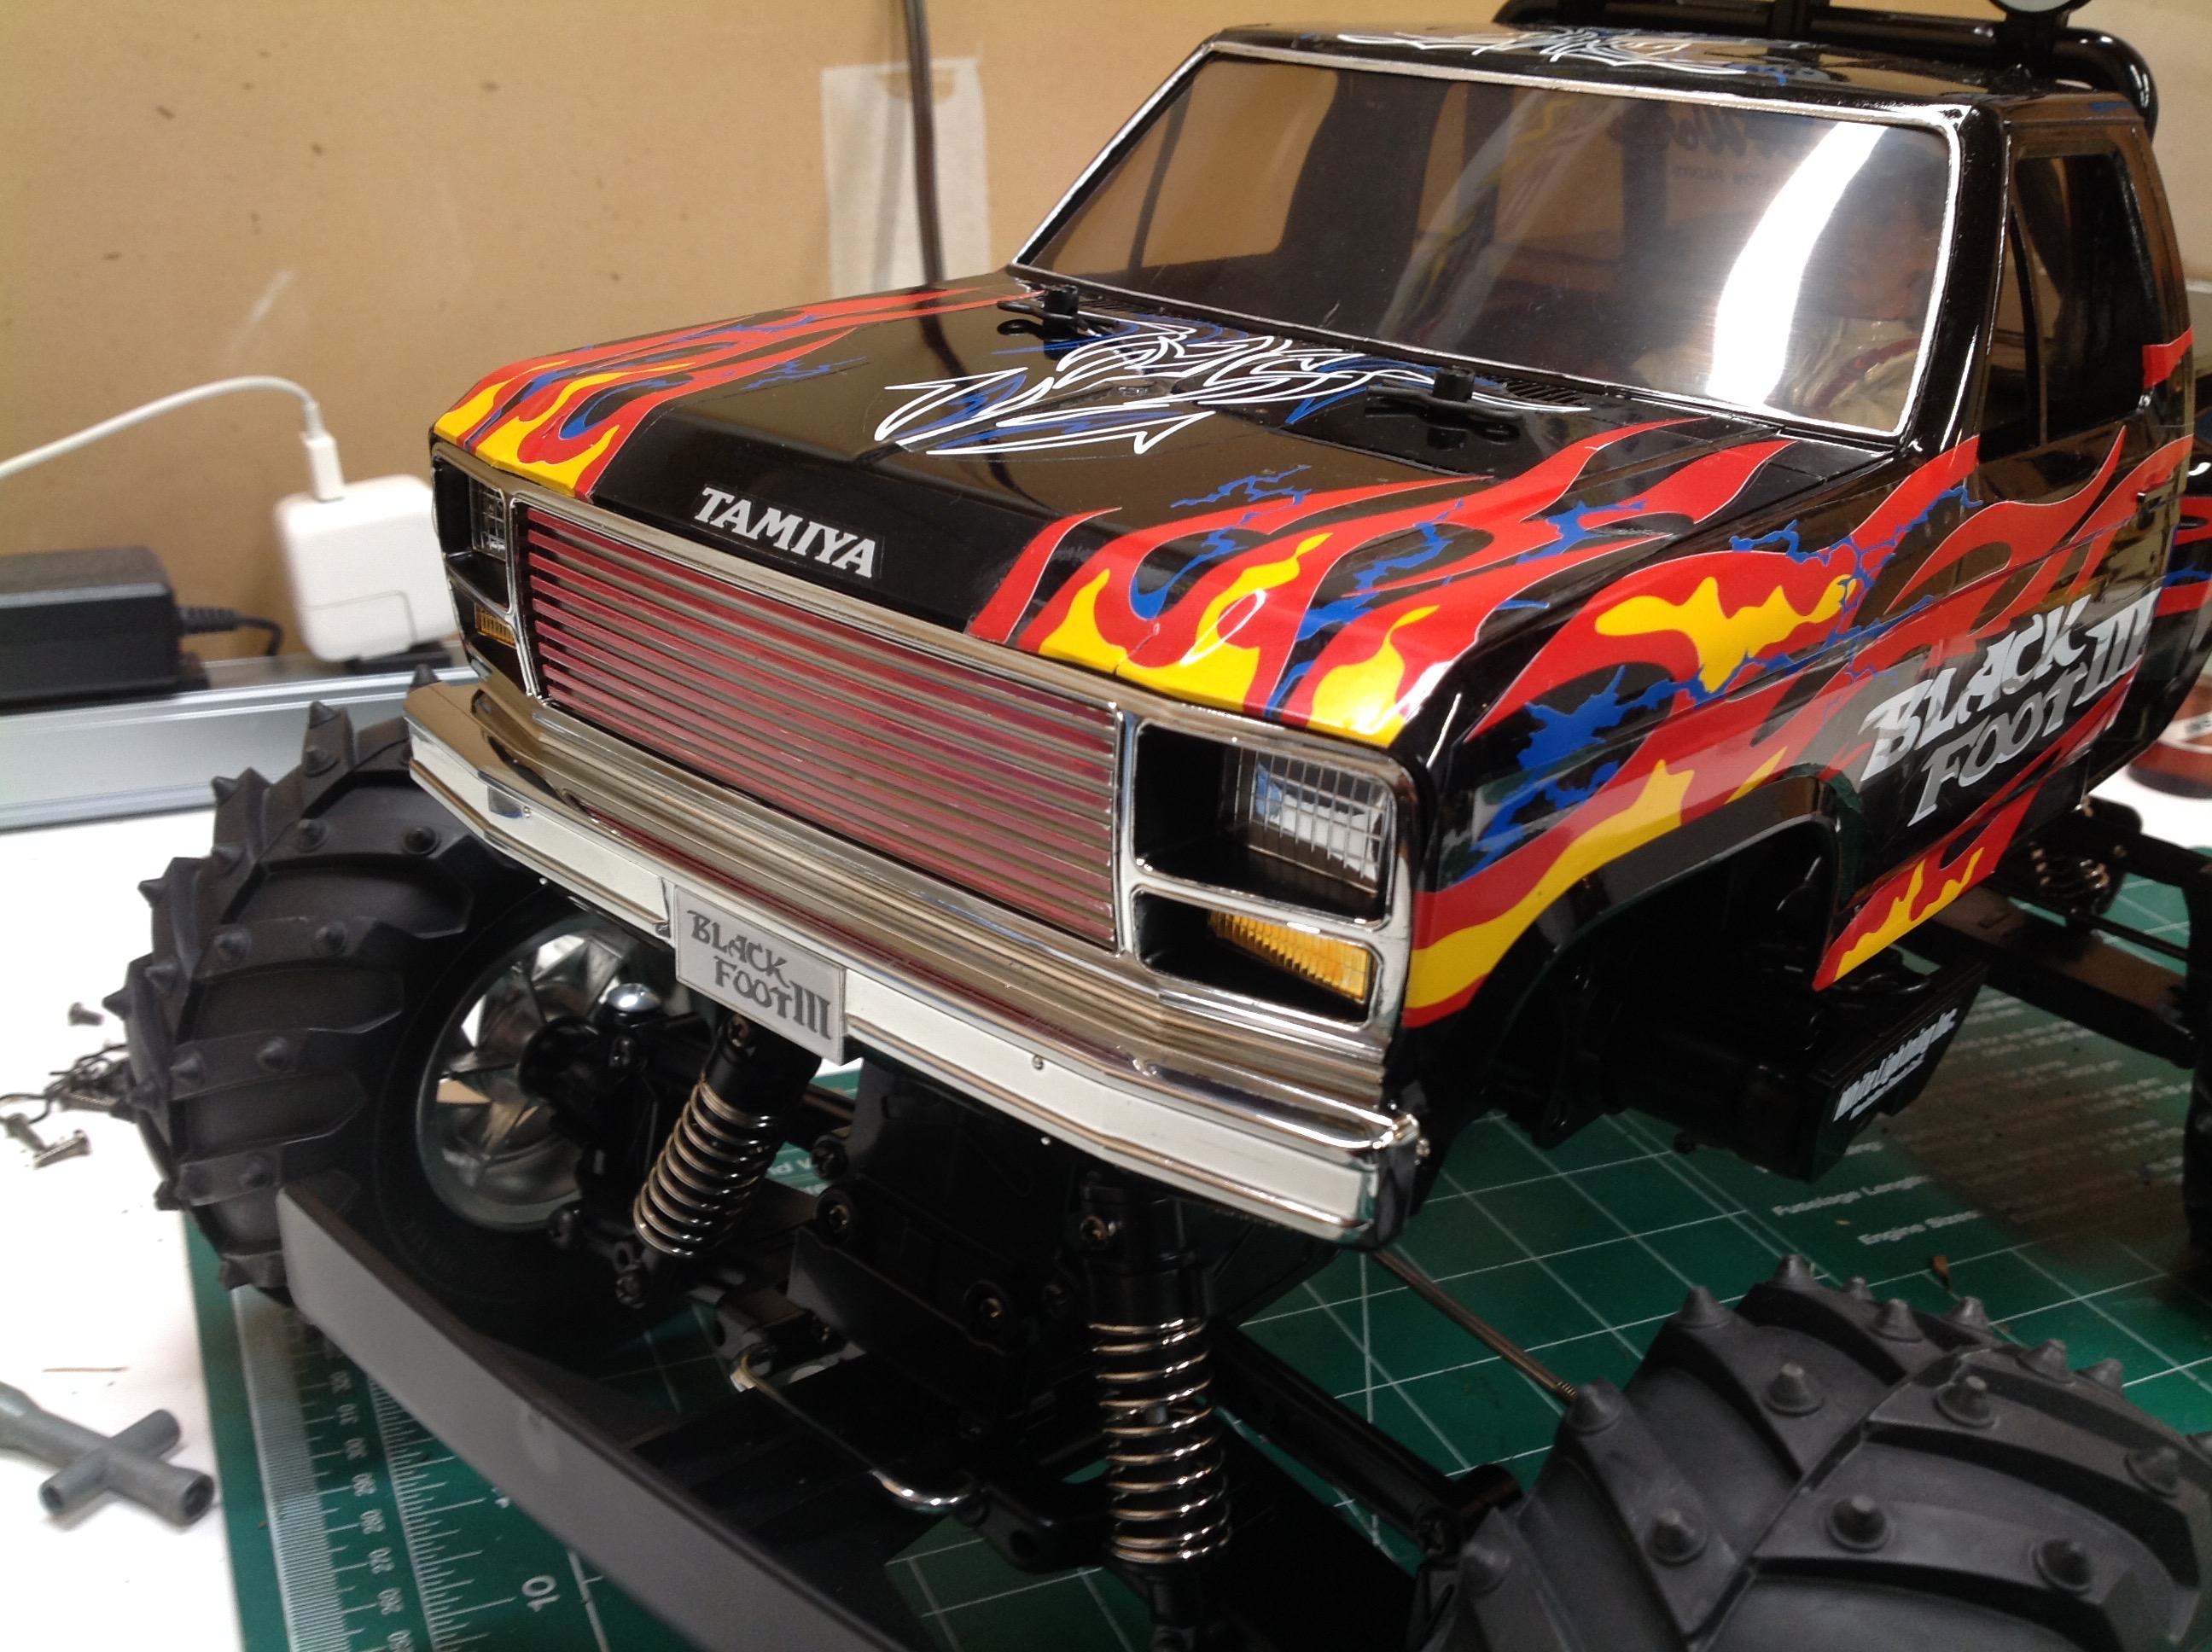
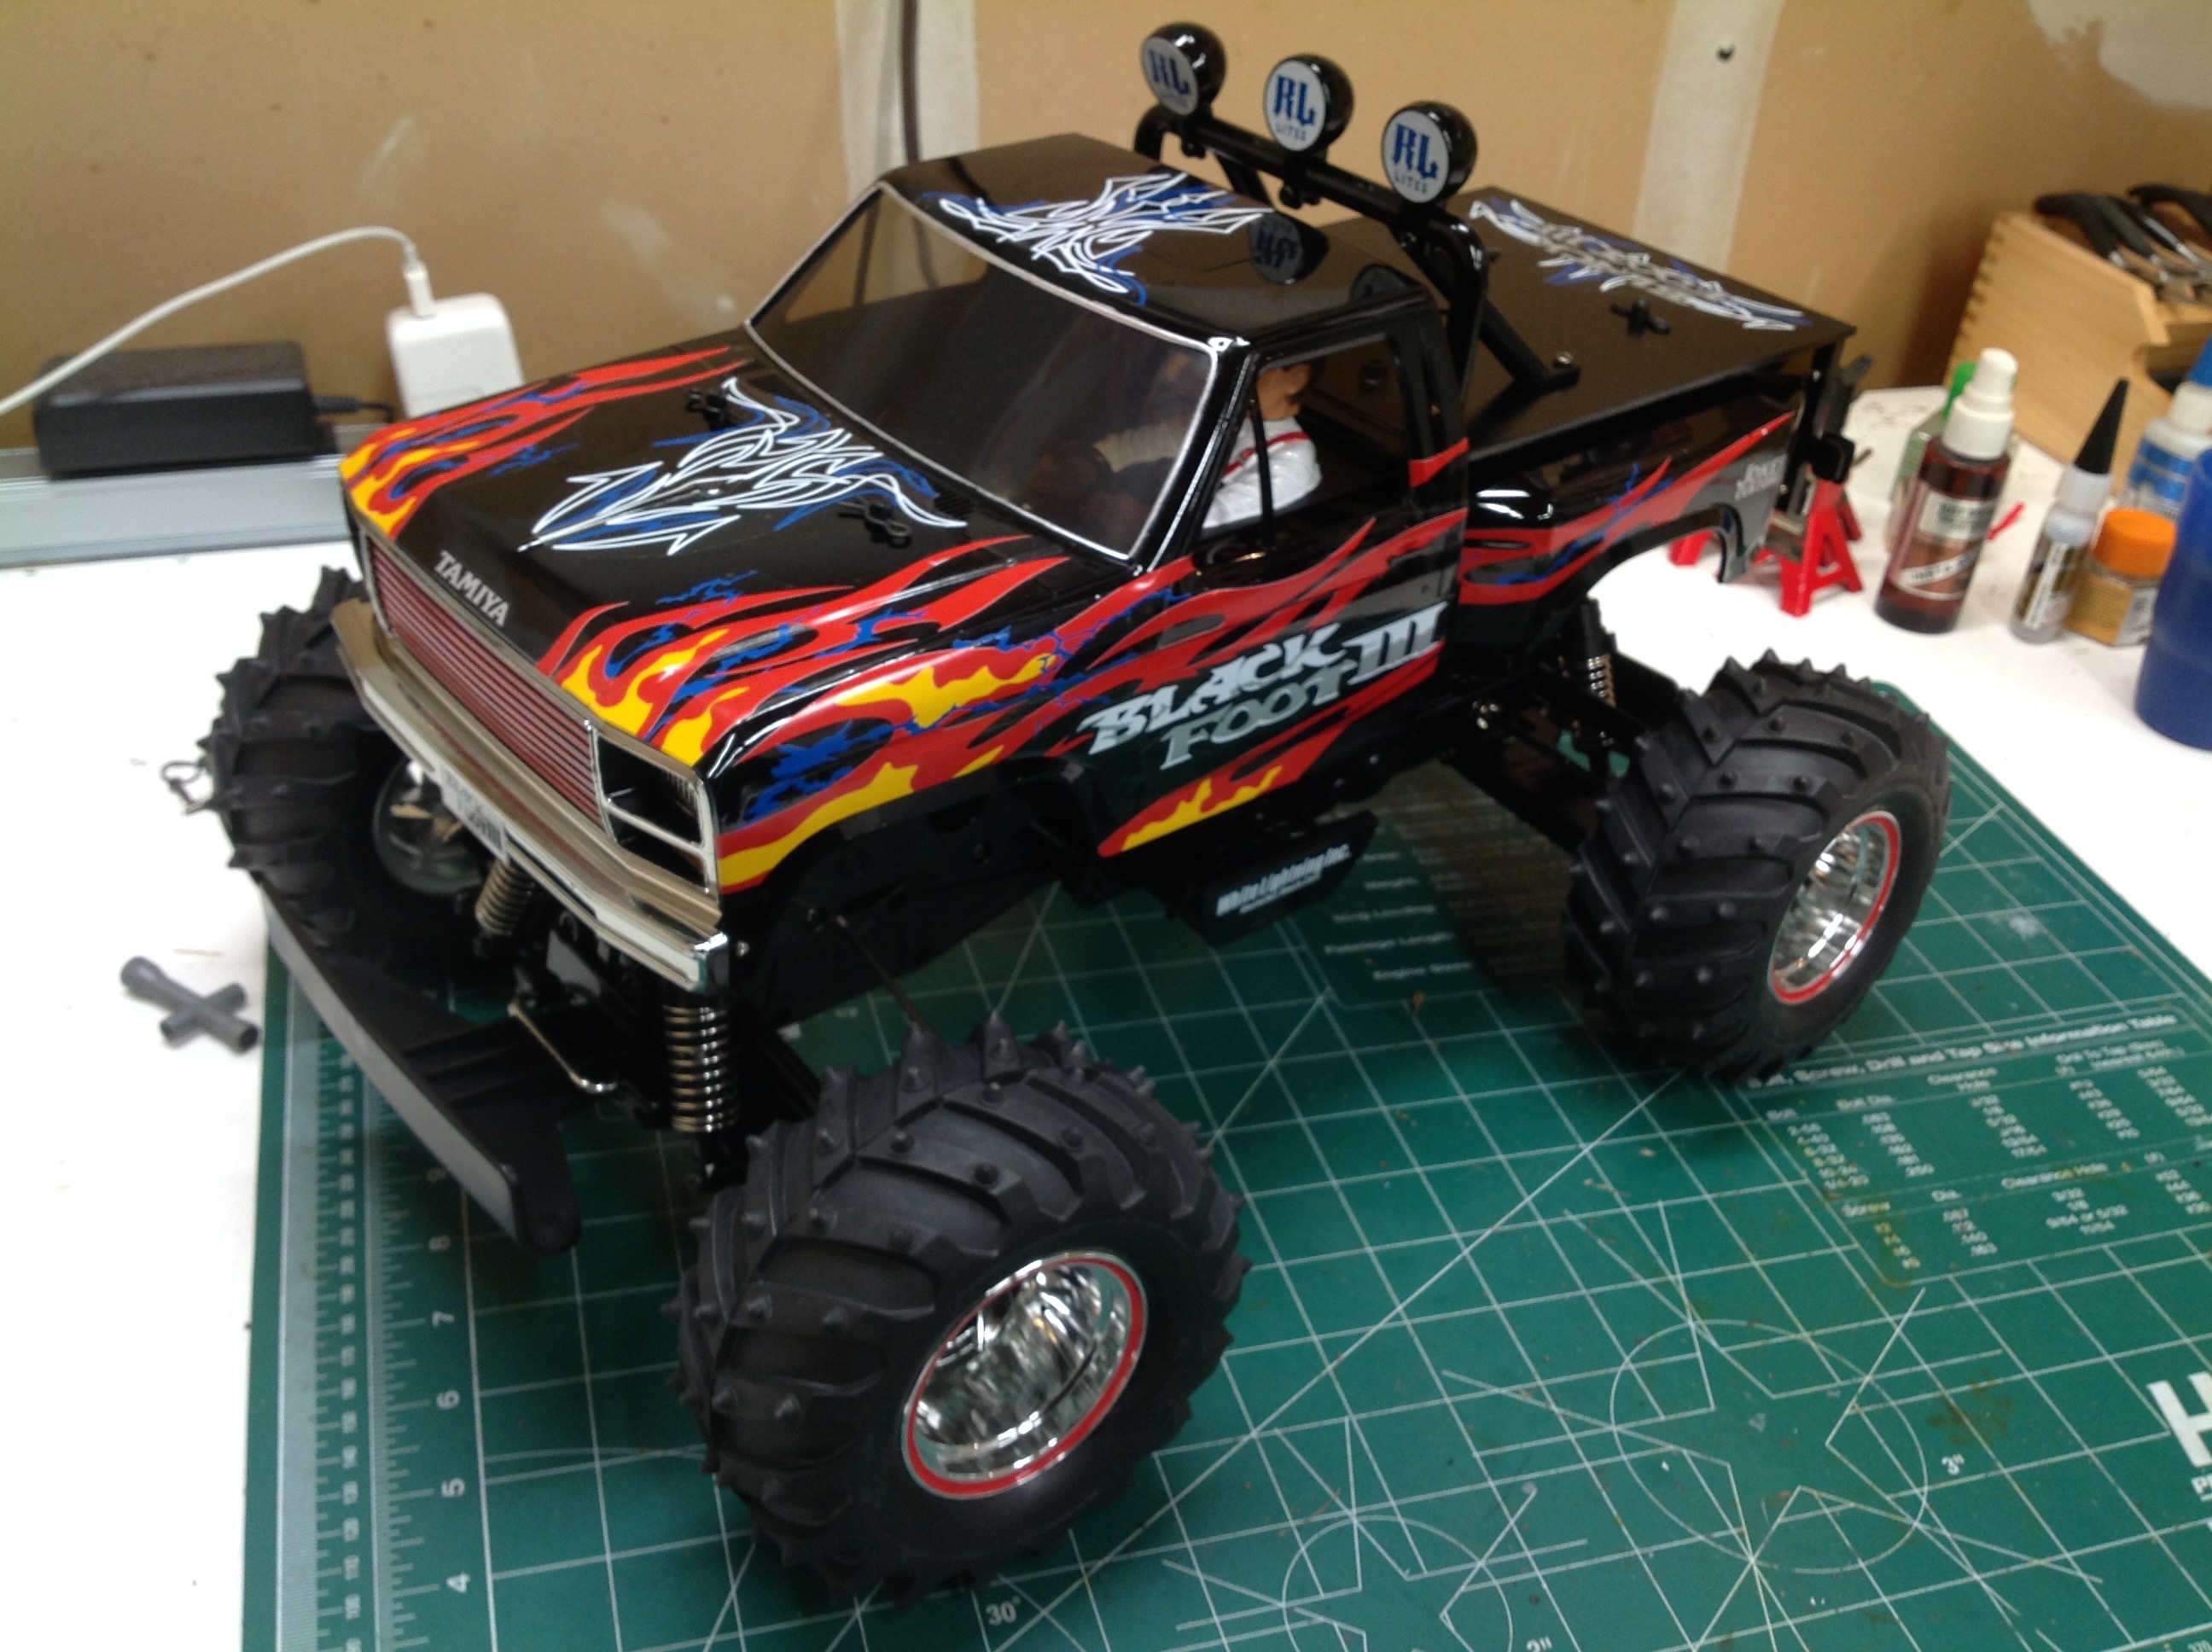
detailing to do. As can be seen from the front view, I painted the
insides of the headlight and turn signal bezels black like the real
Ford truck. I also painted the markers with transparent
orange. Finally, I painted the grille slats red with a paint
pen. I only realized later that this is backwards and it is
actually the pits that should be painted rather than the lands. On
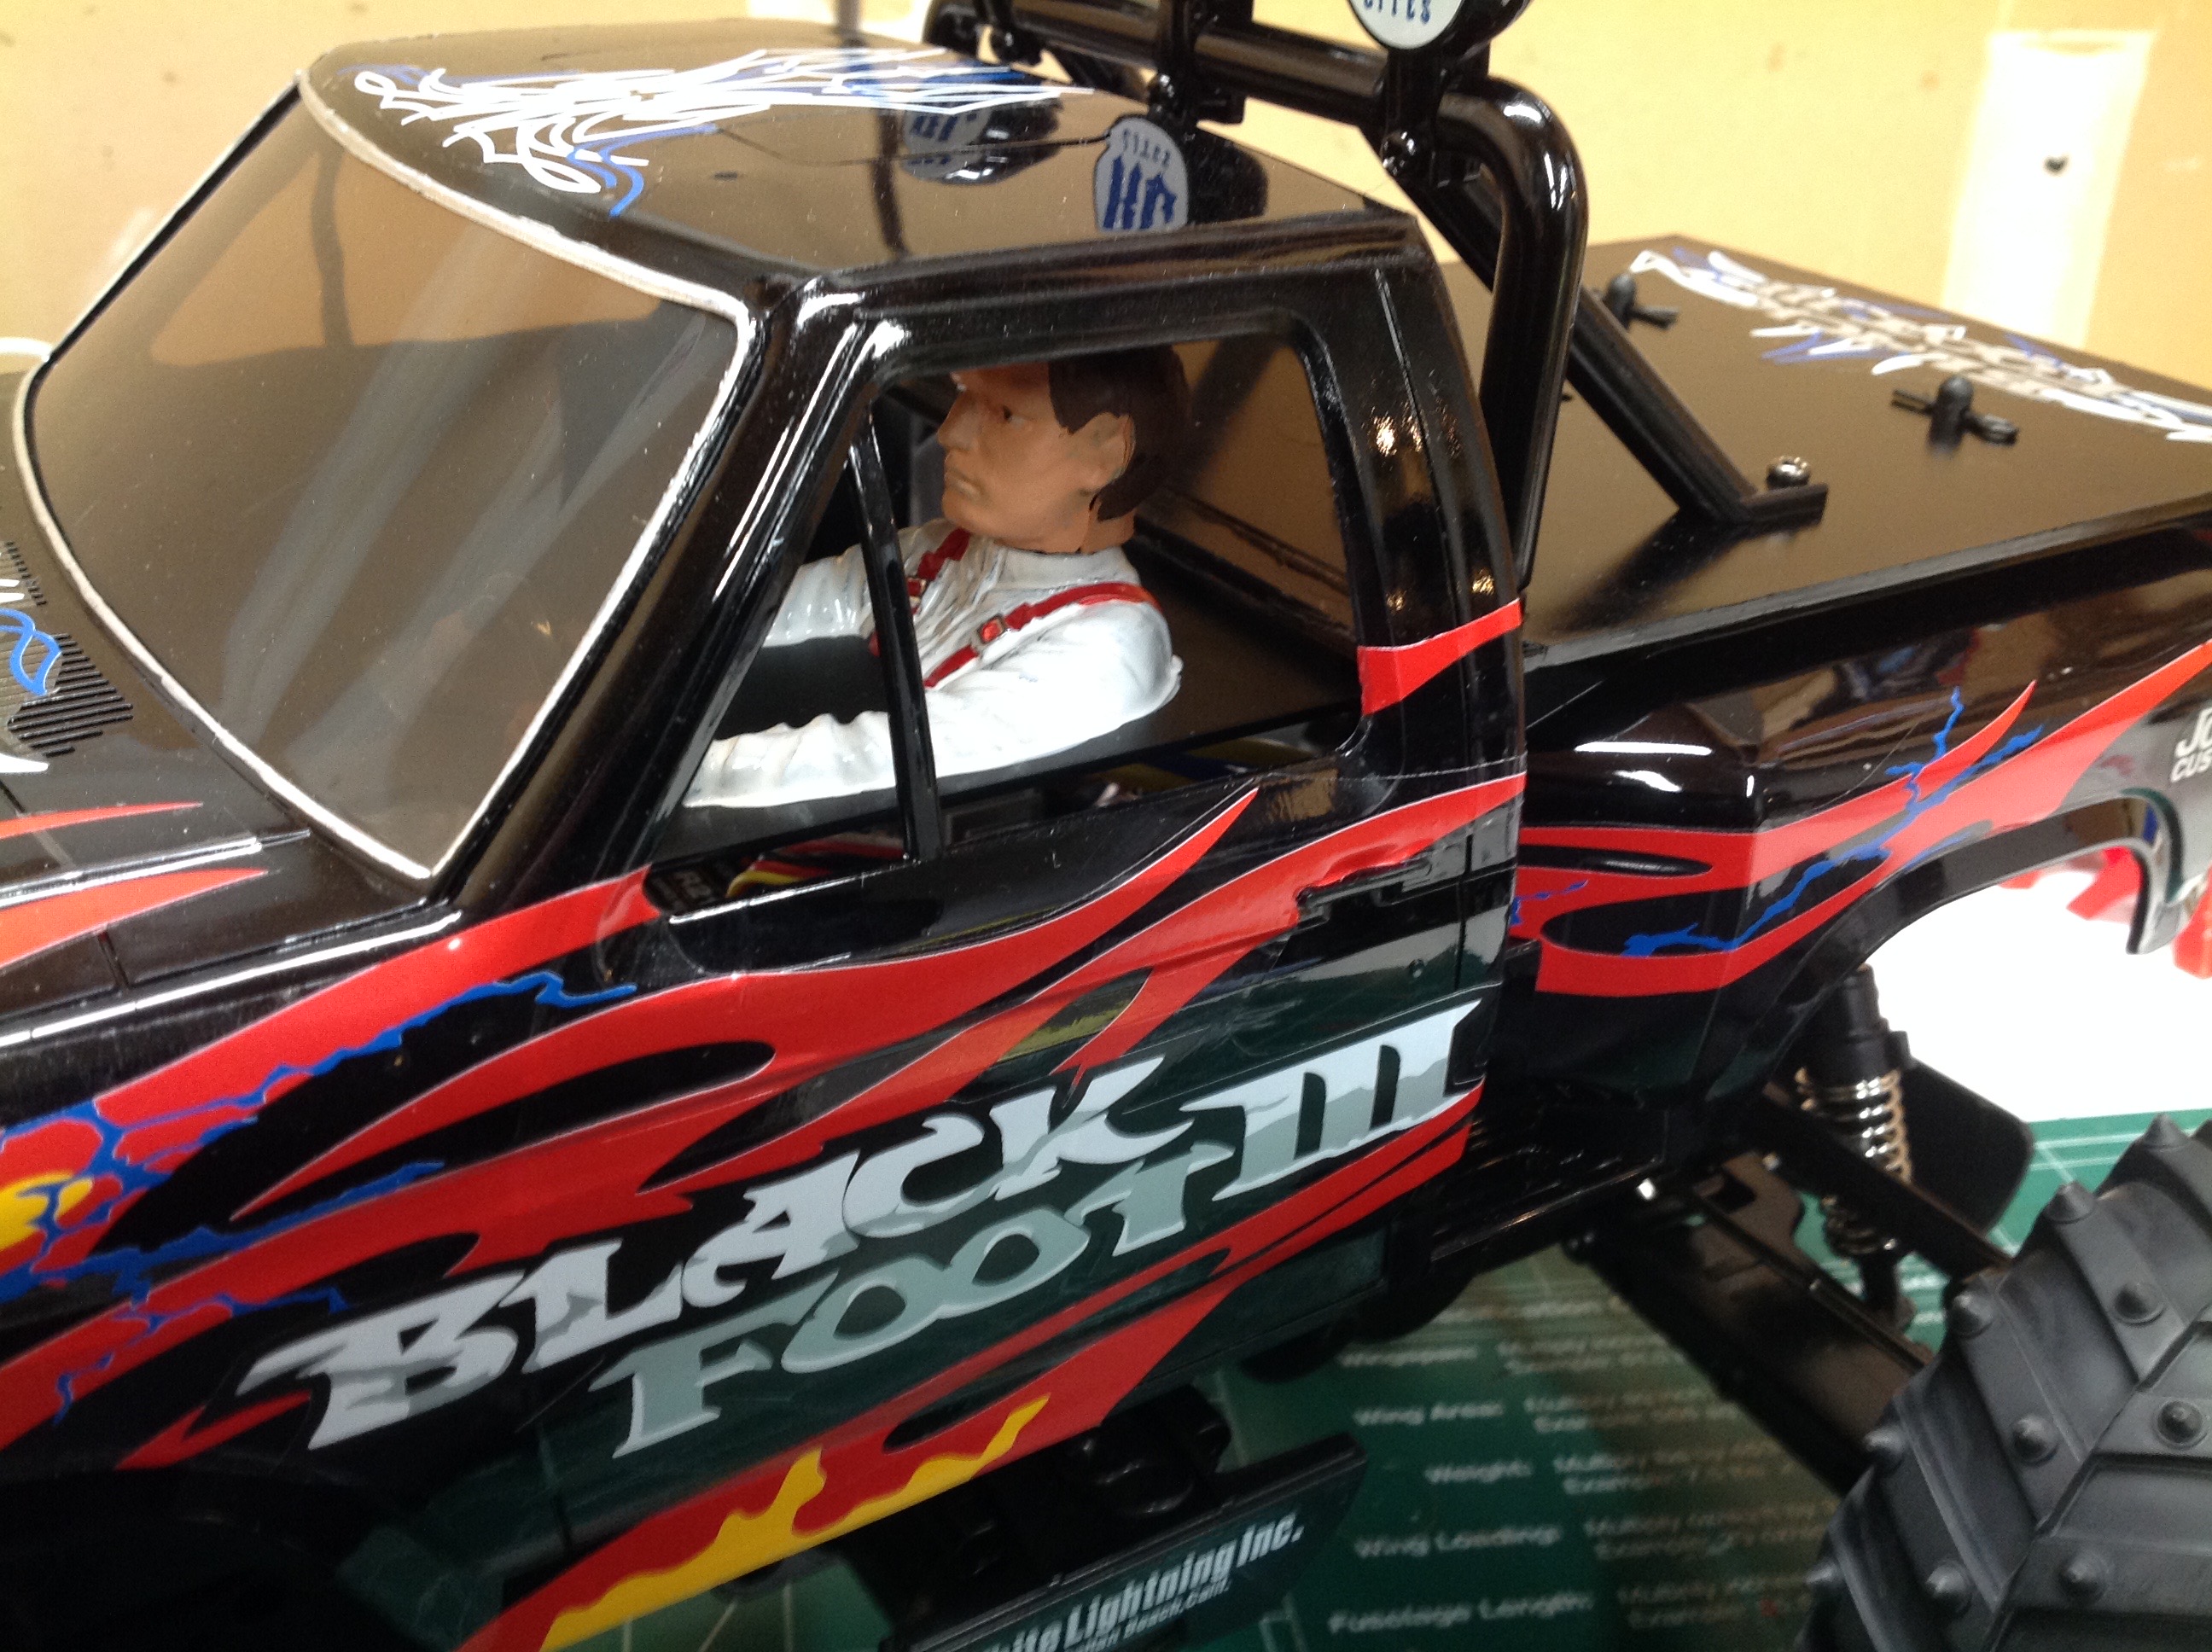
the right you can see the driver figure as well as the chrome trim I
painted around the windshield.
In an overall view you can see the extensive decals. Since my copy
did not come with decals I got these aftermarket from MCI. The
quality is excellent. Among the more difficult to install were the thin red rings seen on the wheel rims.
©2018 Eric Albrecht