Tamiya Blitzer Beetle Project
Page 1: Assembly
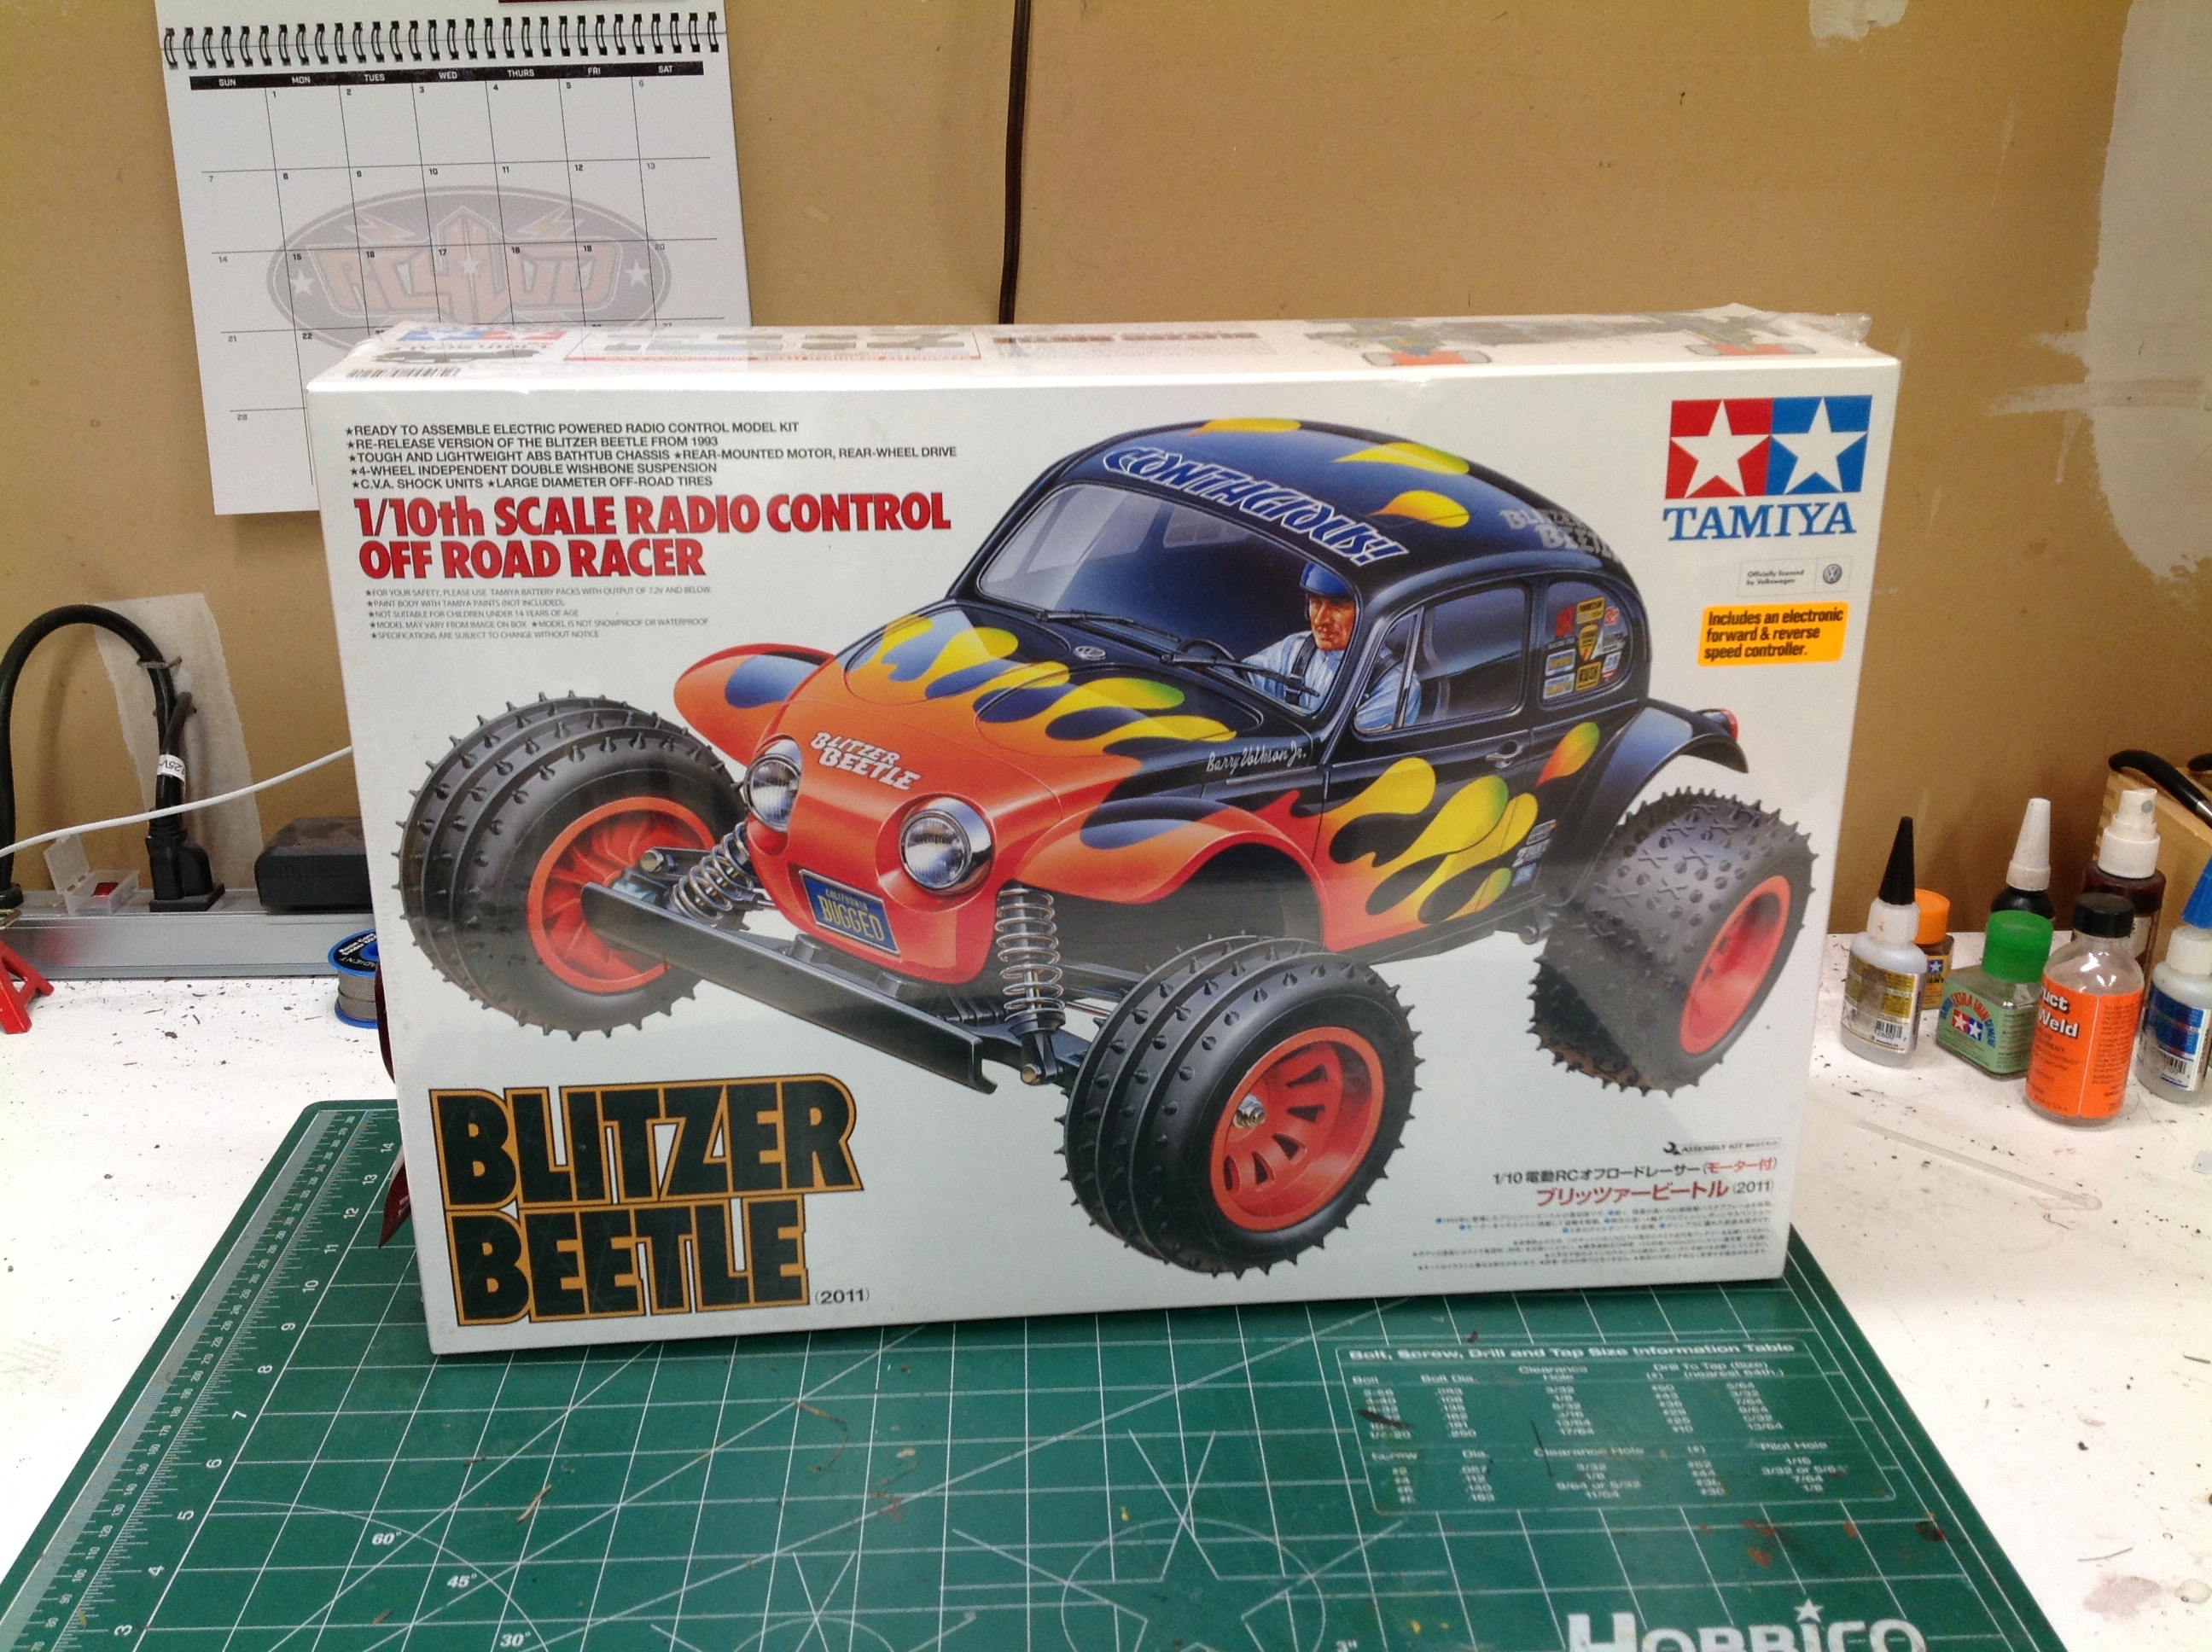
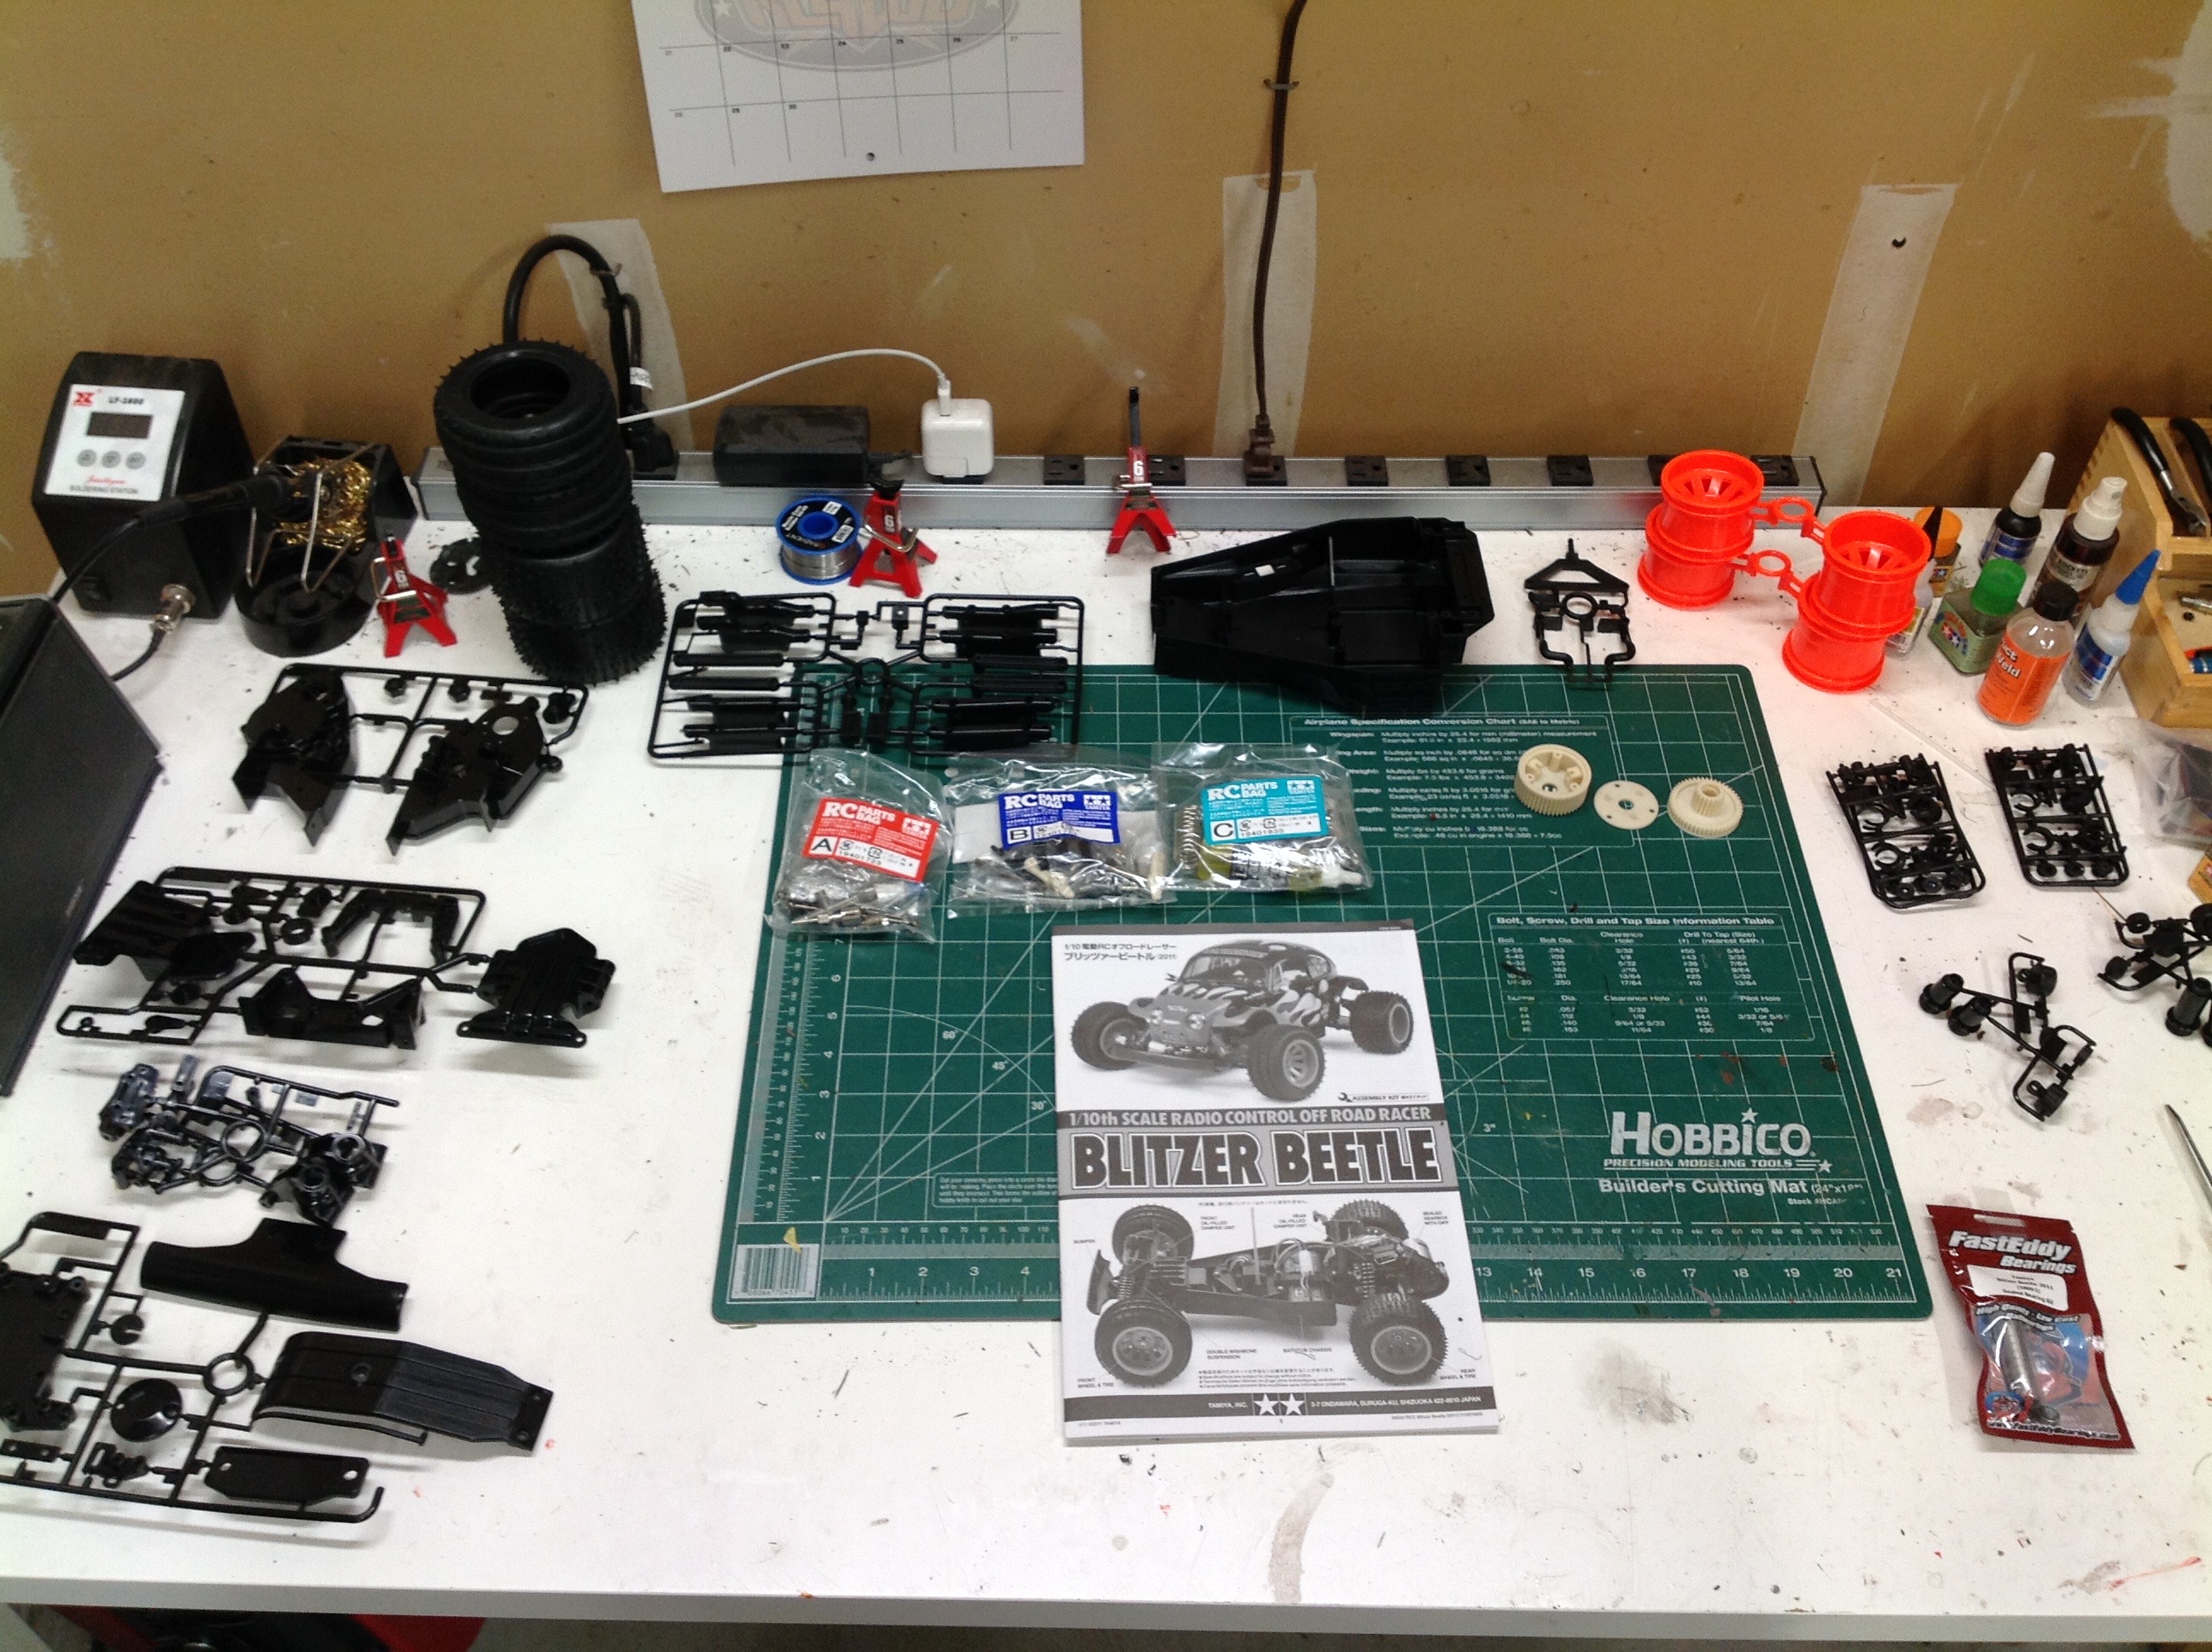
The size of the Blitzer Beetle box is somewhat driven by the large body
shell, but the tires are pretty big as well. Inside are a pile of
plastic sprues and a pretty small number of hardware bags. I
expect this to be a simple build. As always, note the Fast Eddy
ball bearing pack on the lower right. Can't build a model with
plastic bushings no matter the performance.
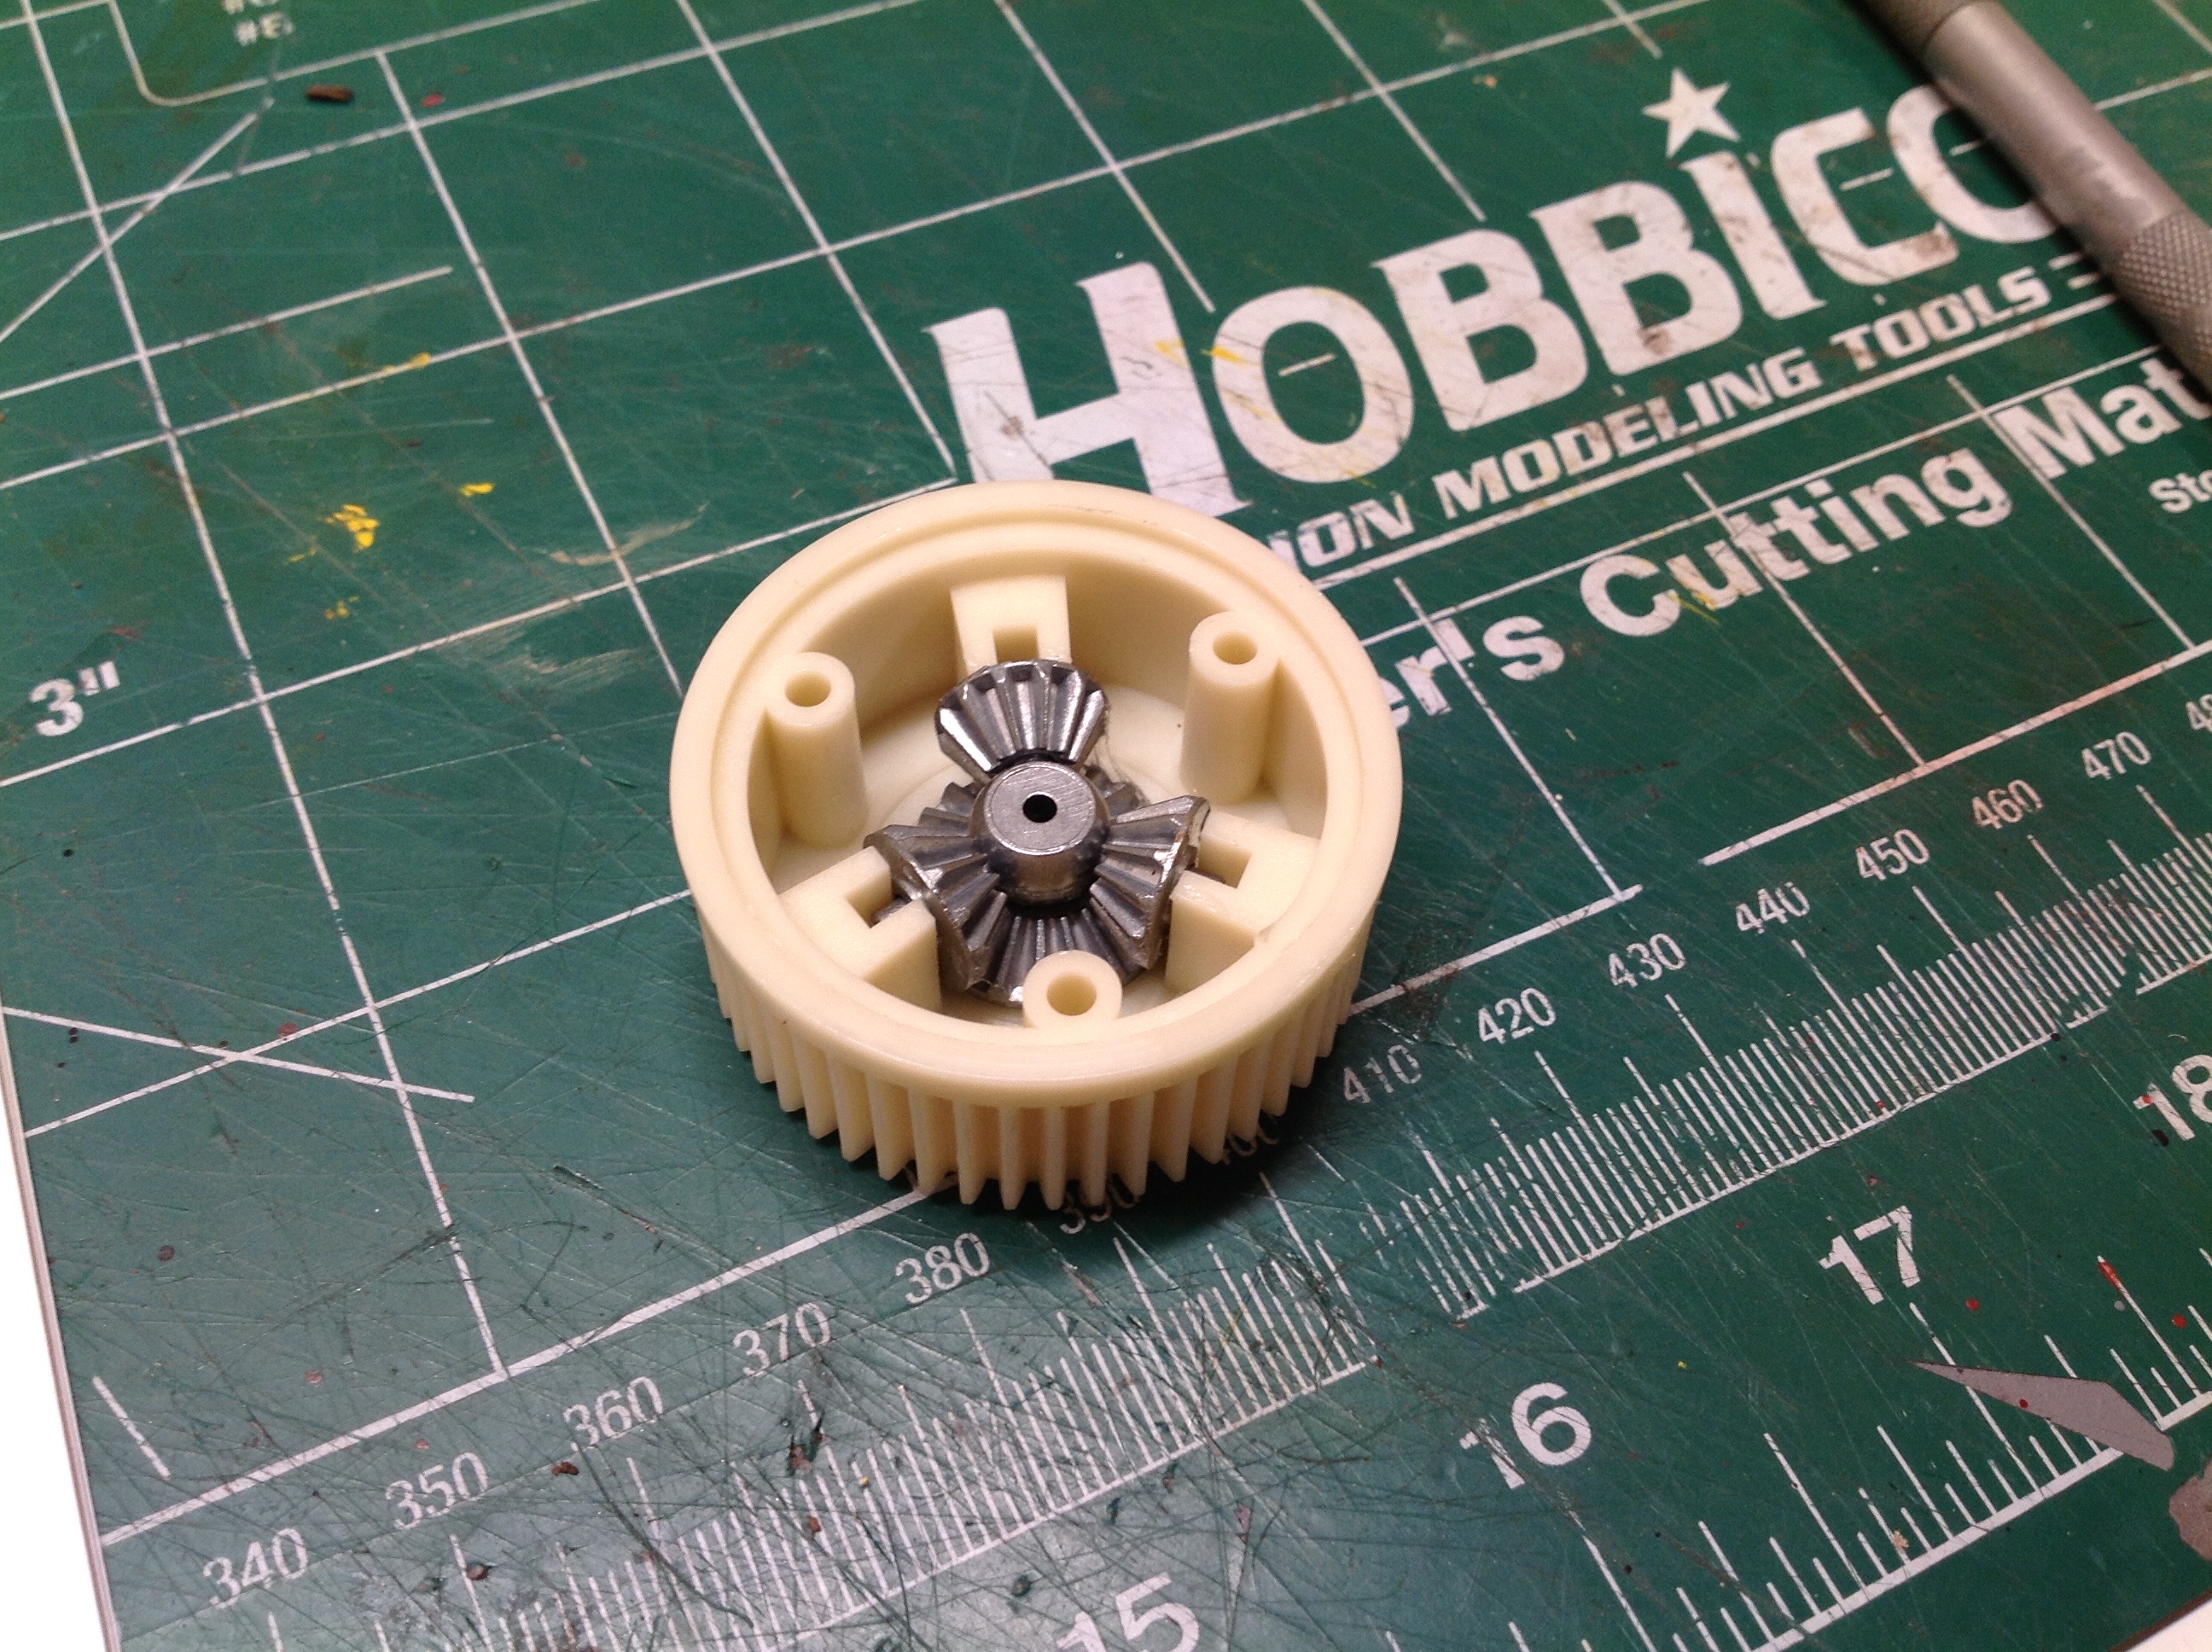
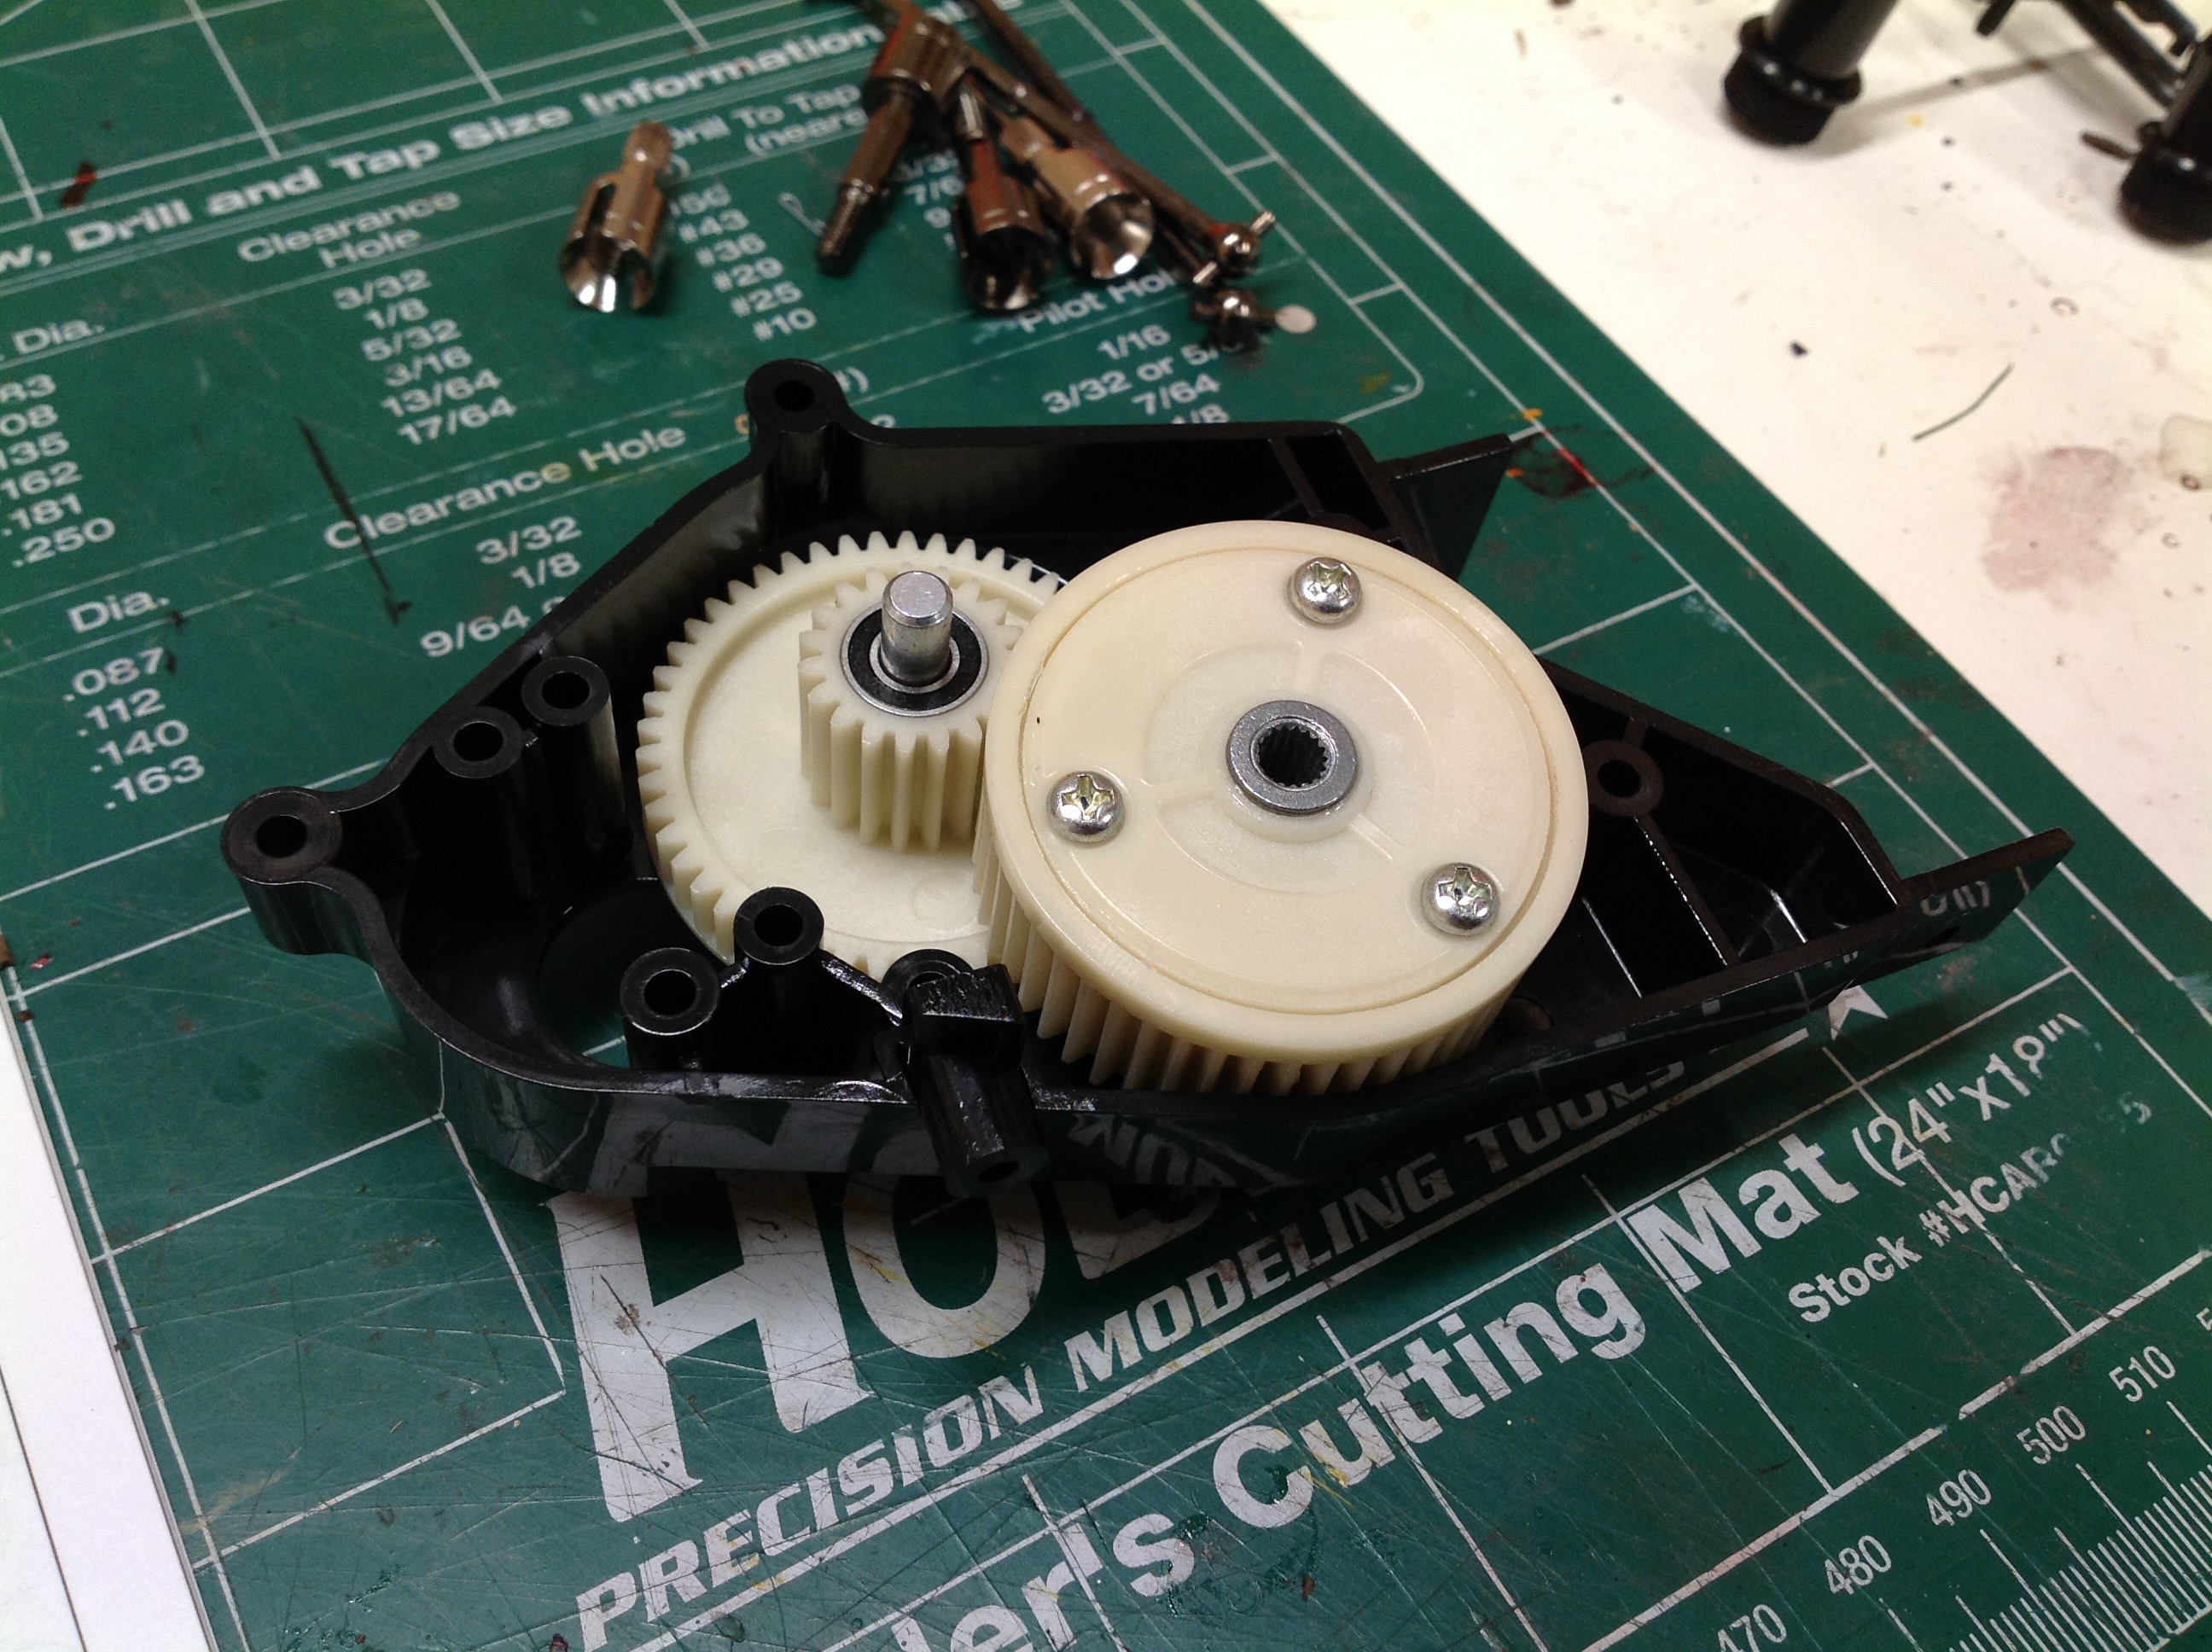
The differential uses the usual metal internal gears, but housed in an
oversized plastic spur ring gear. There seems to be plenty of
strength here.
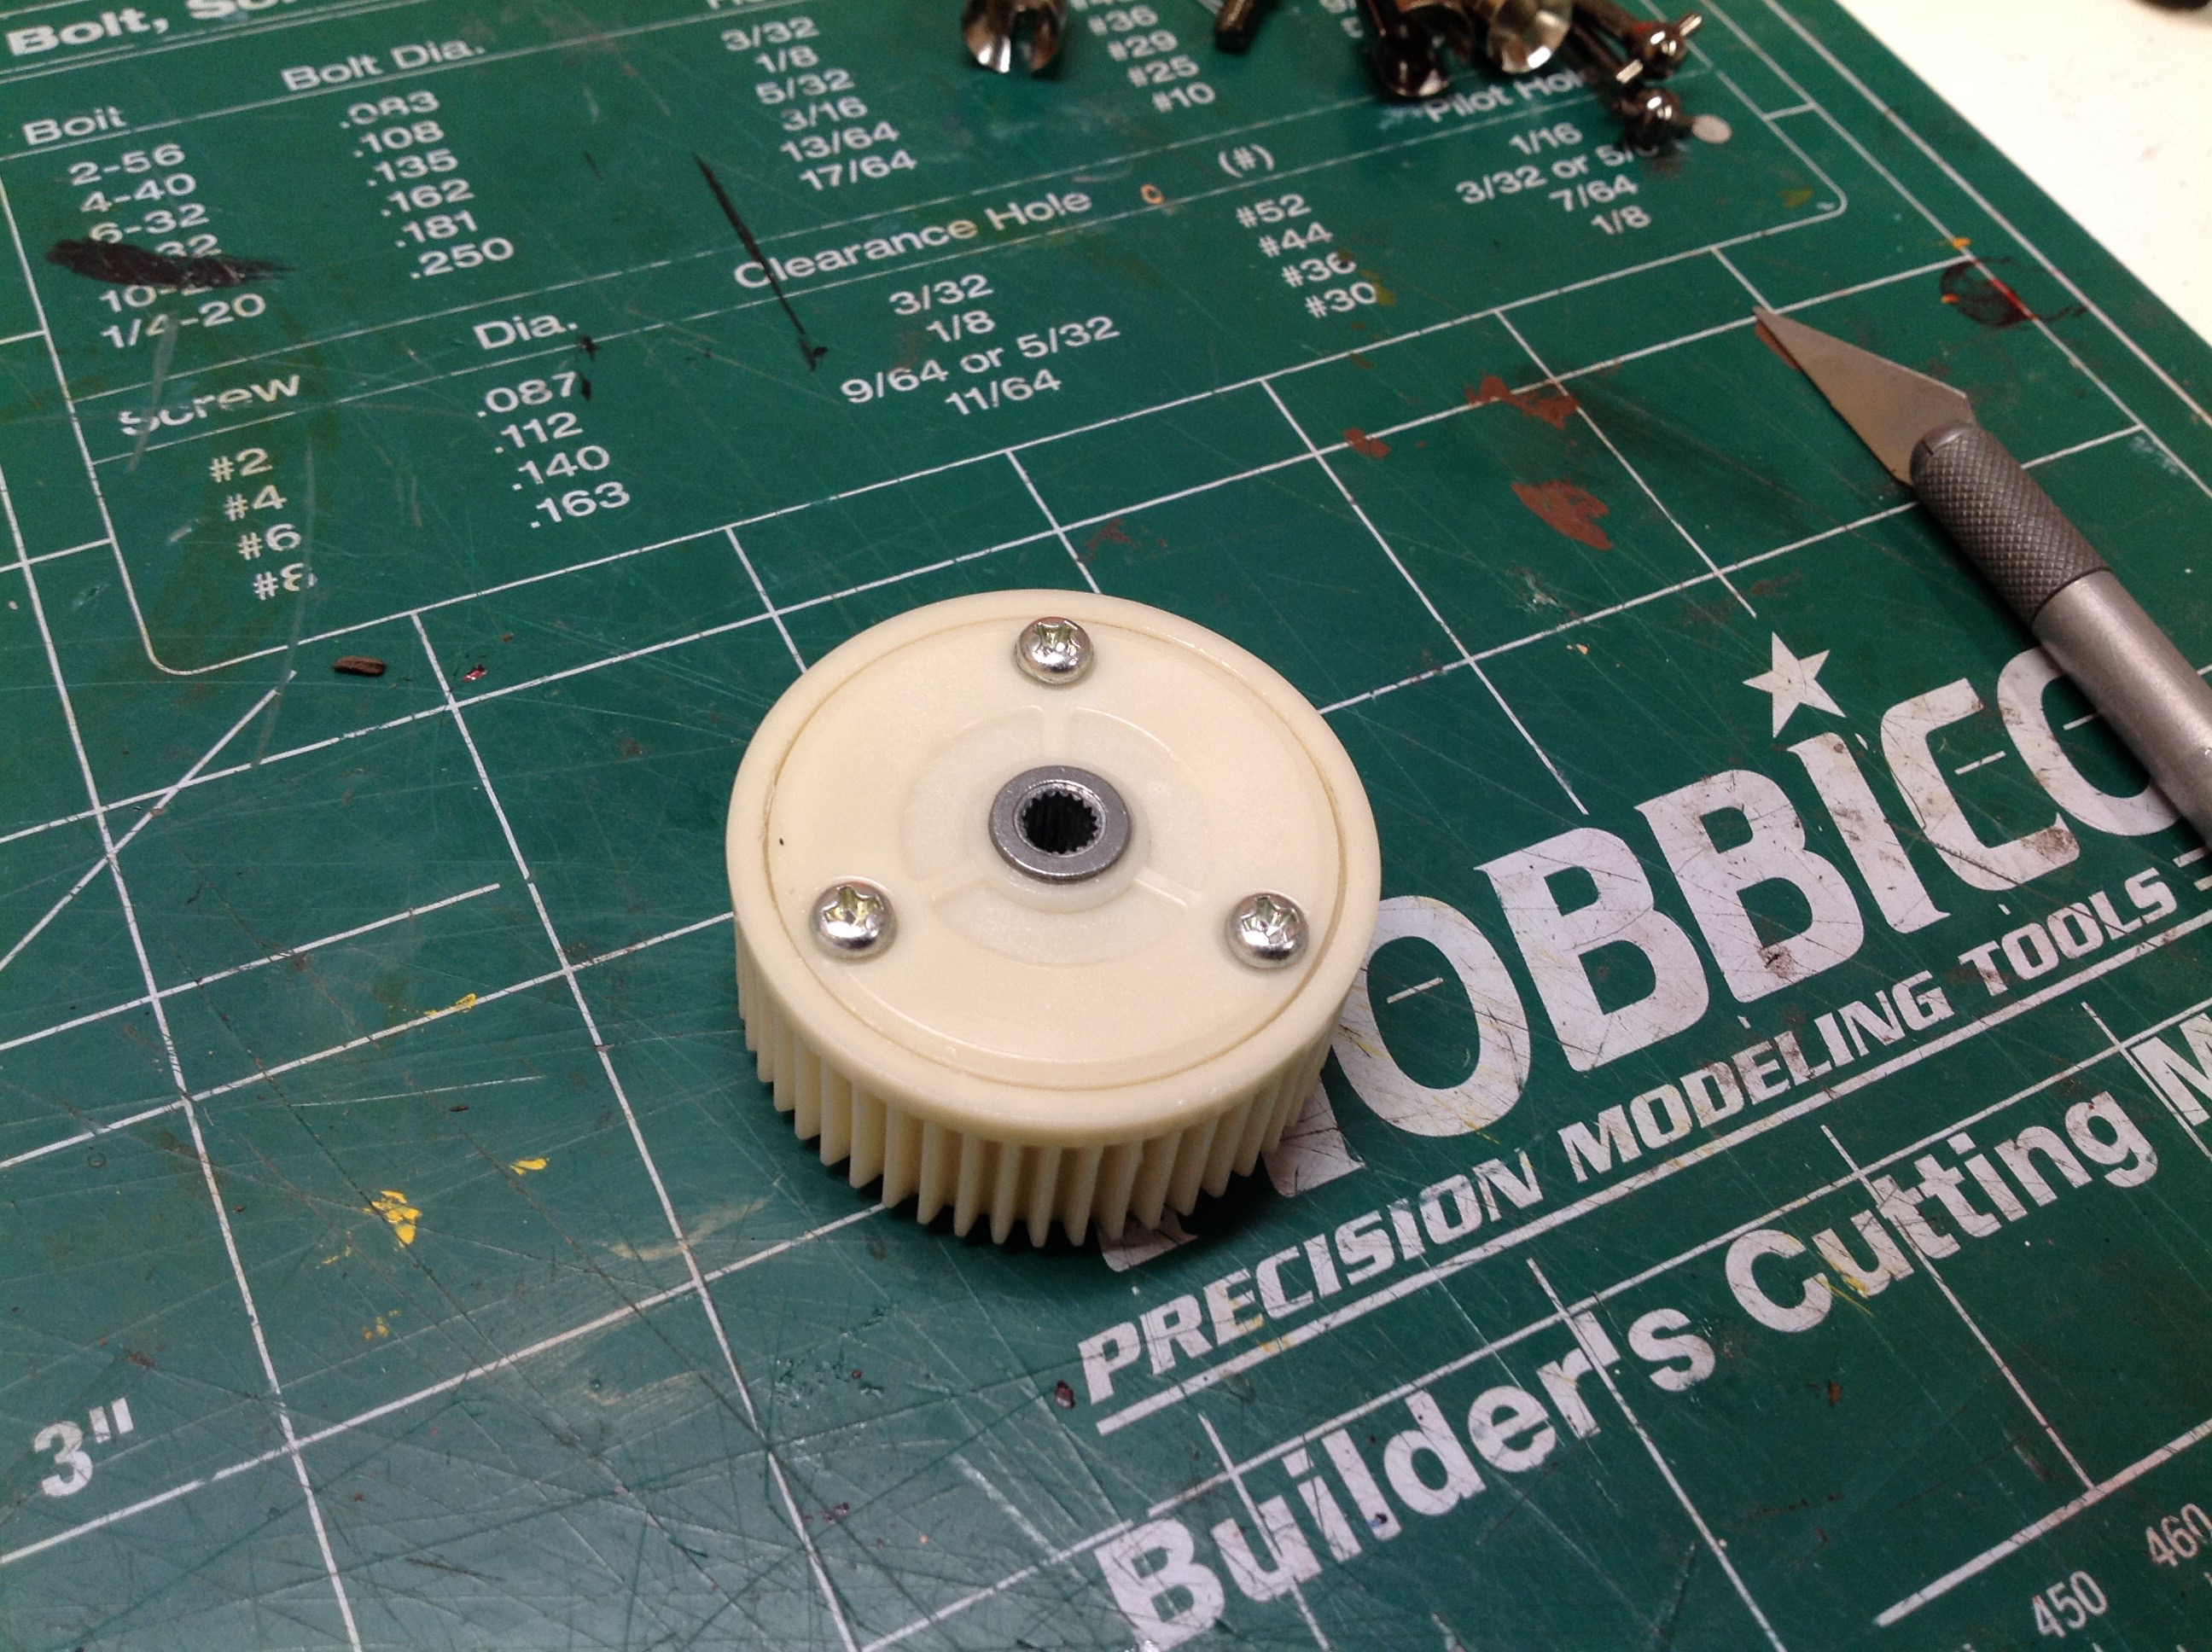
The gearbox consists of only one other gear part, a single piece which
contains the main spur gear and a driver for the differential ring
gear. The whole thing is buttoned up into a two piece housing and
then the drive cups are installed.
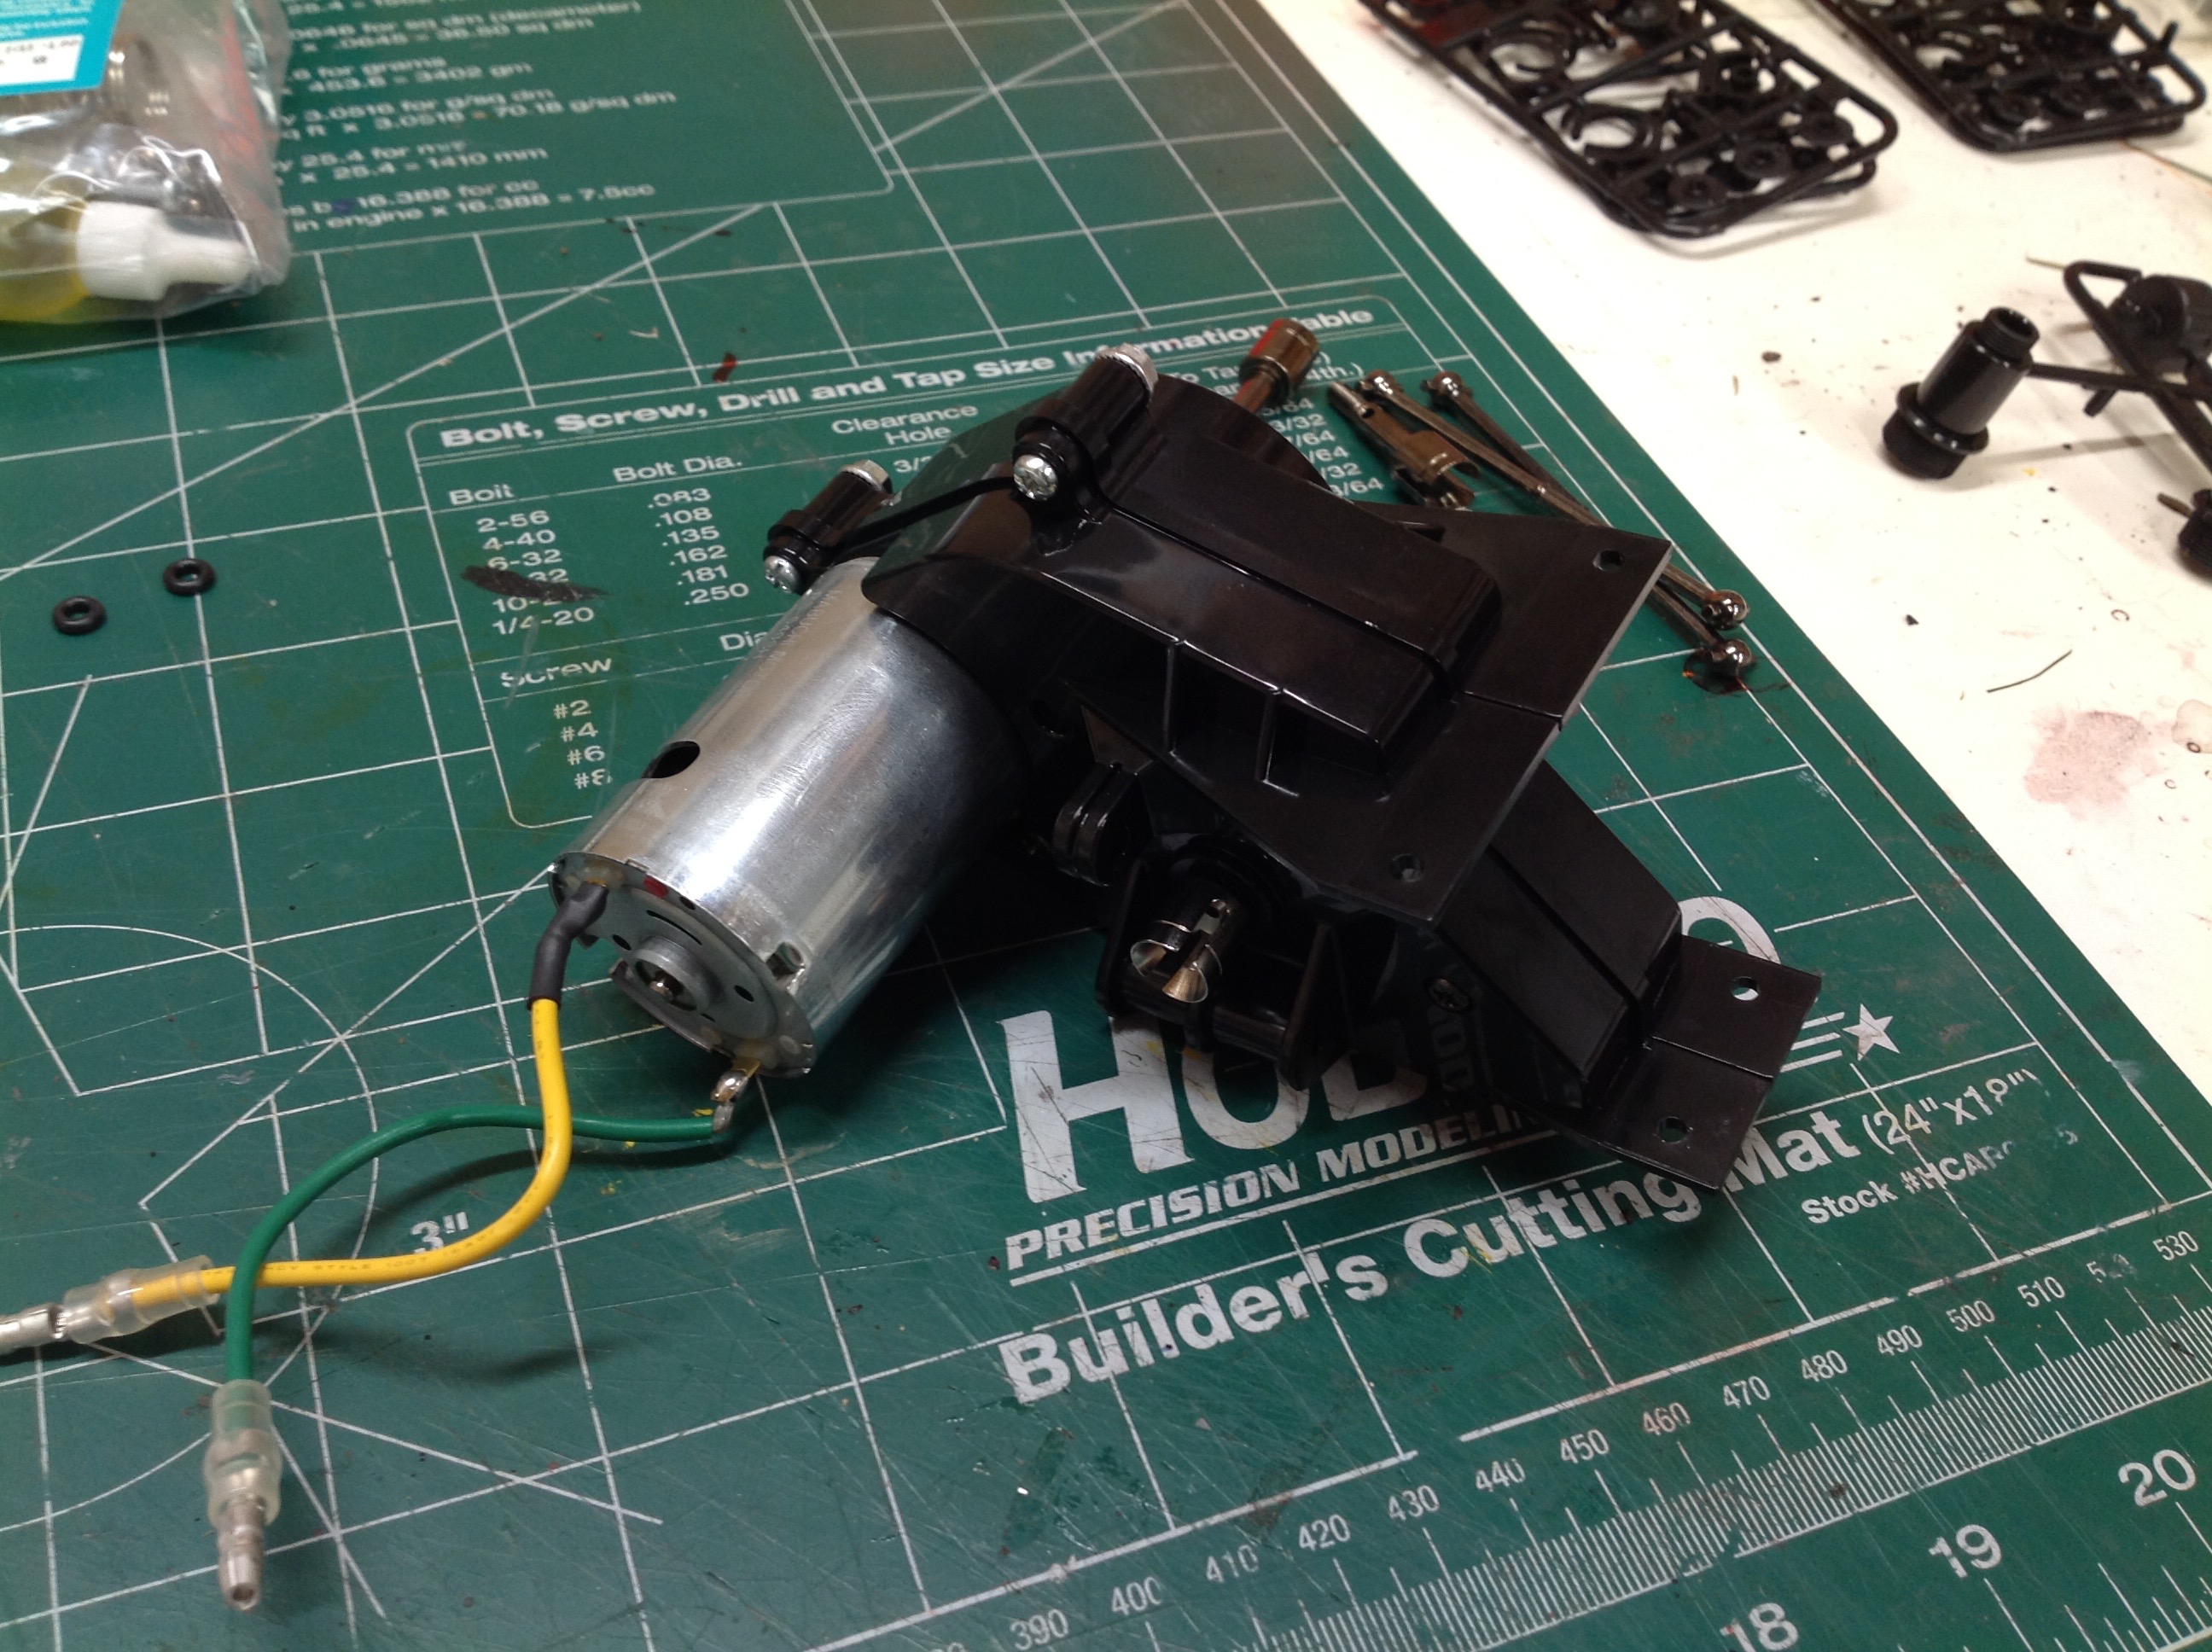
The motor uses a 13 tooth aluminum pinion gear and installs into one of
two sets of fixed mounting holes. The other set of holes are a bit
of mystery because the manual does not say what size pinion would fit
them. Based on their position, they seem farther away than the
holes I used so I'd guess they are for a 15 tooth gear.
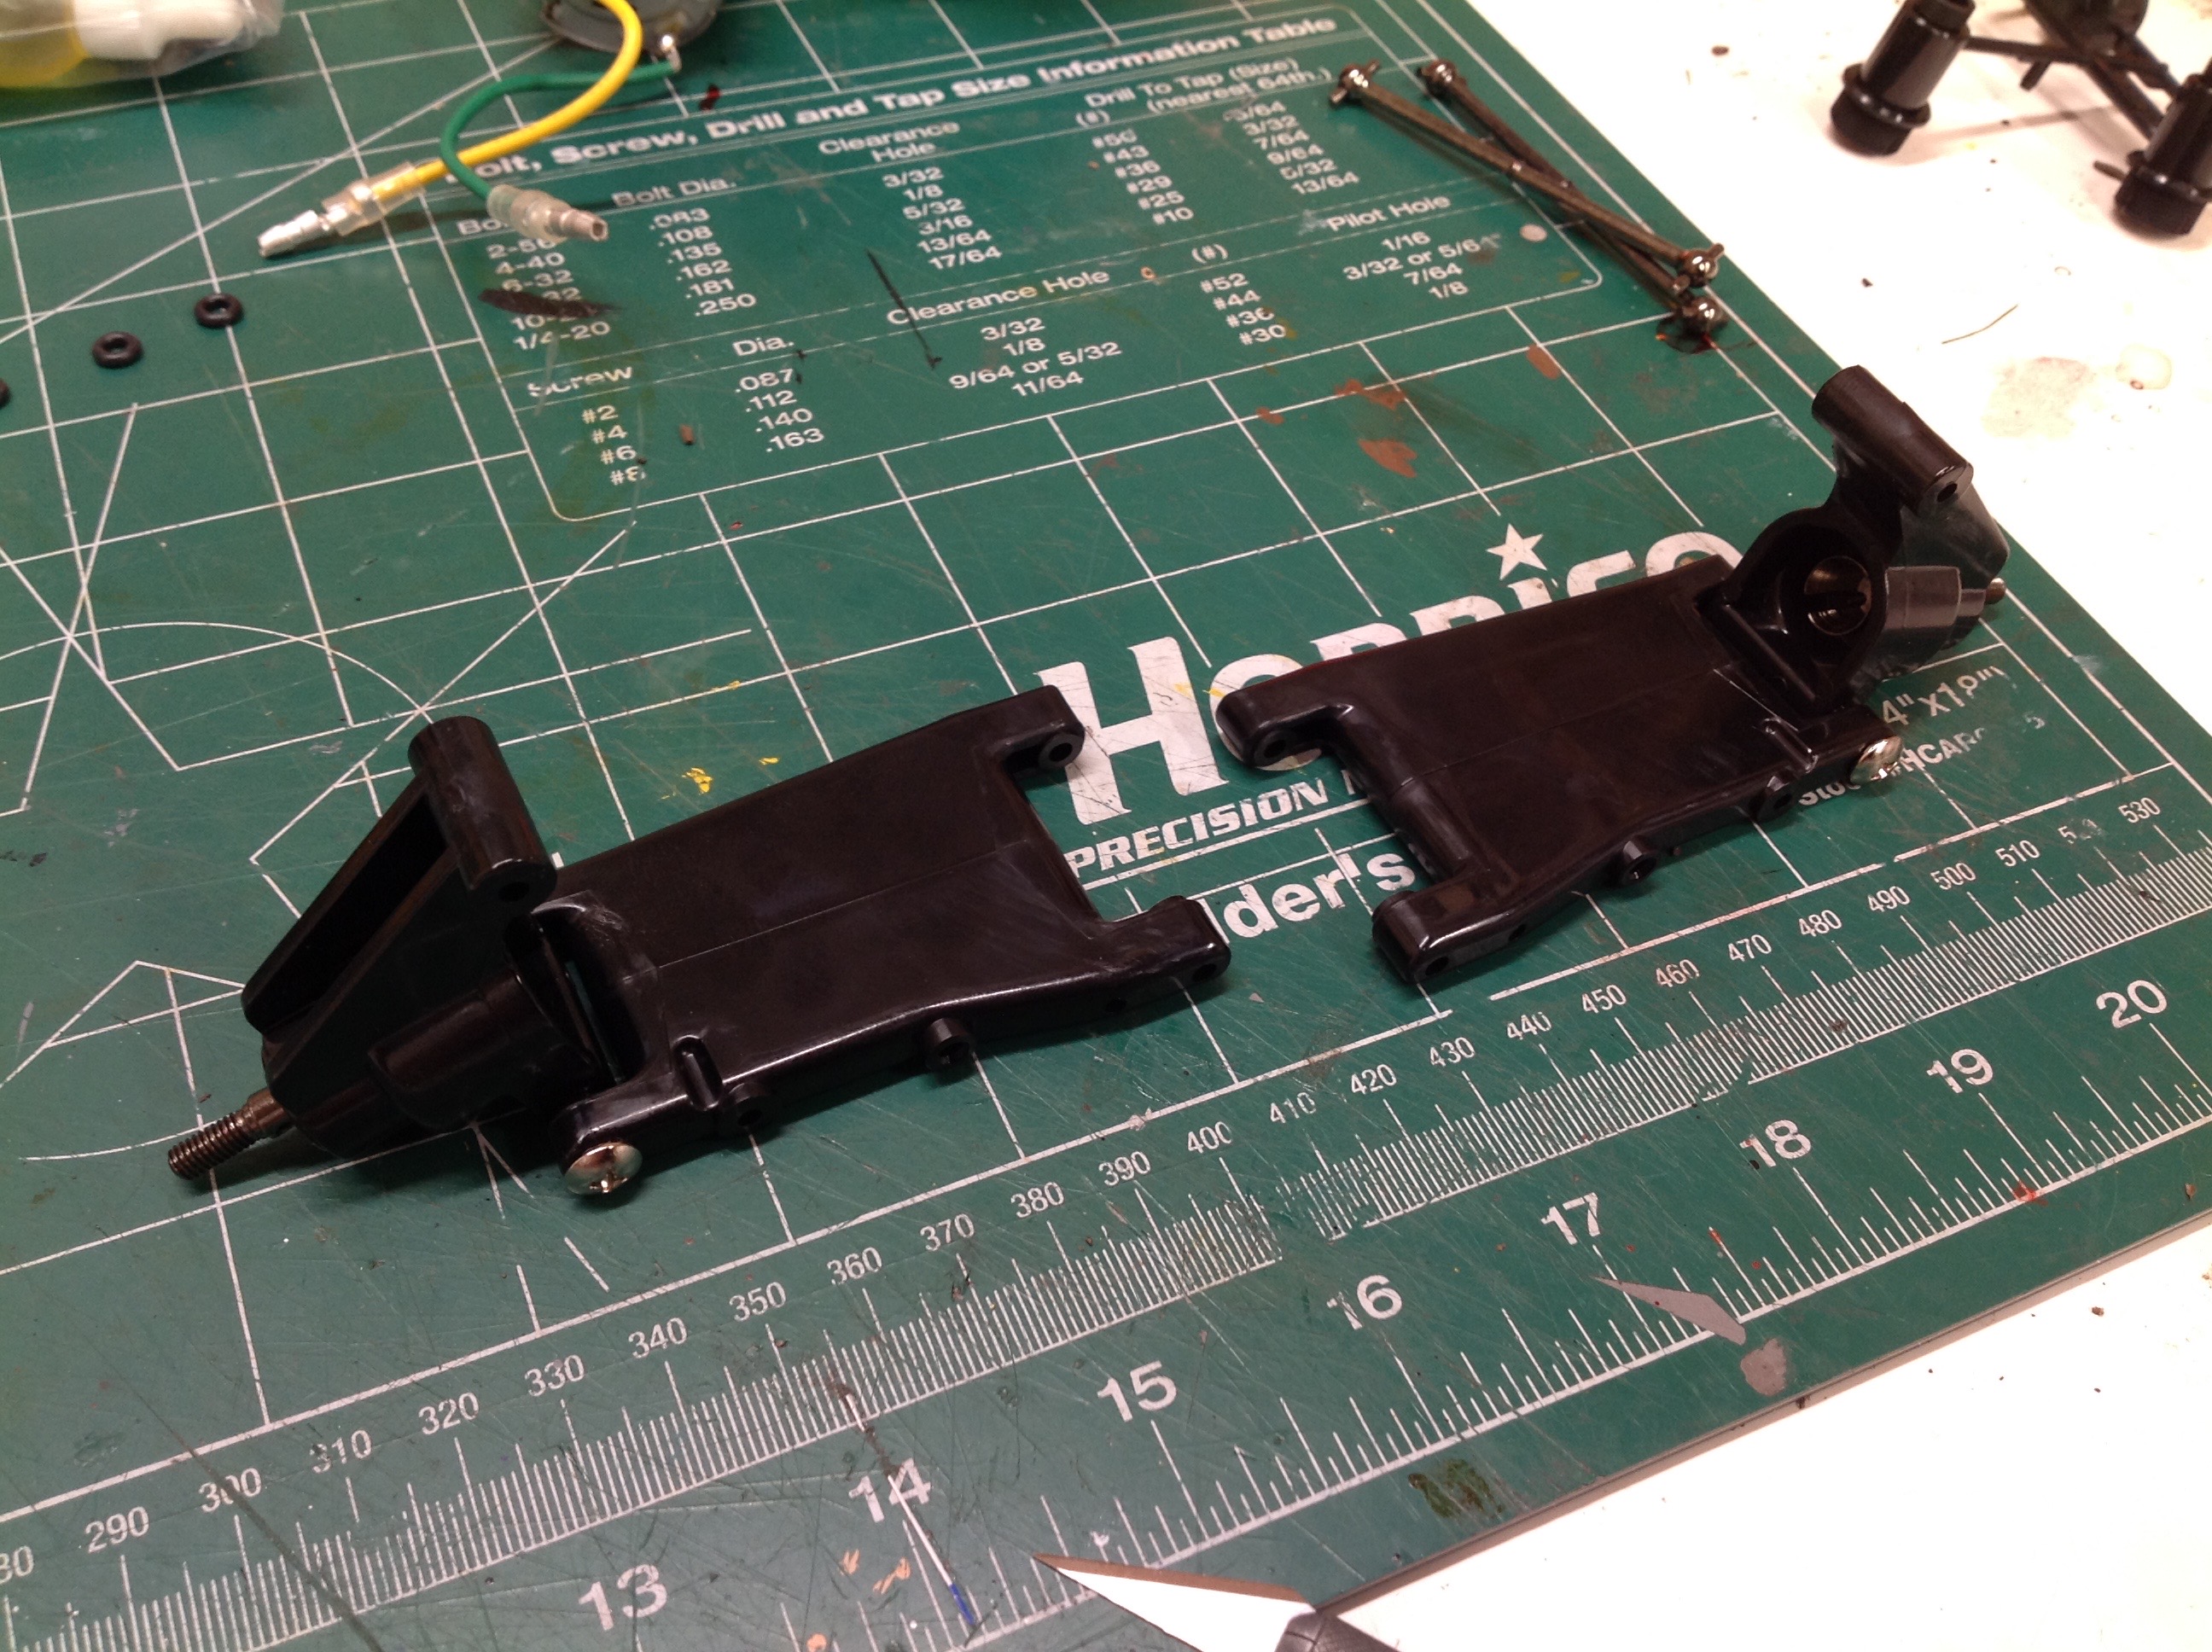
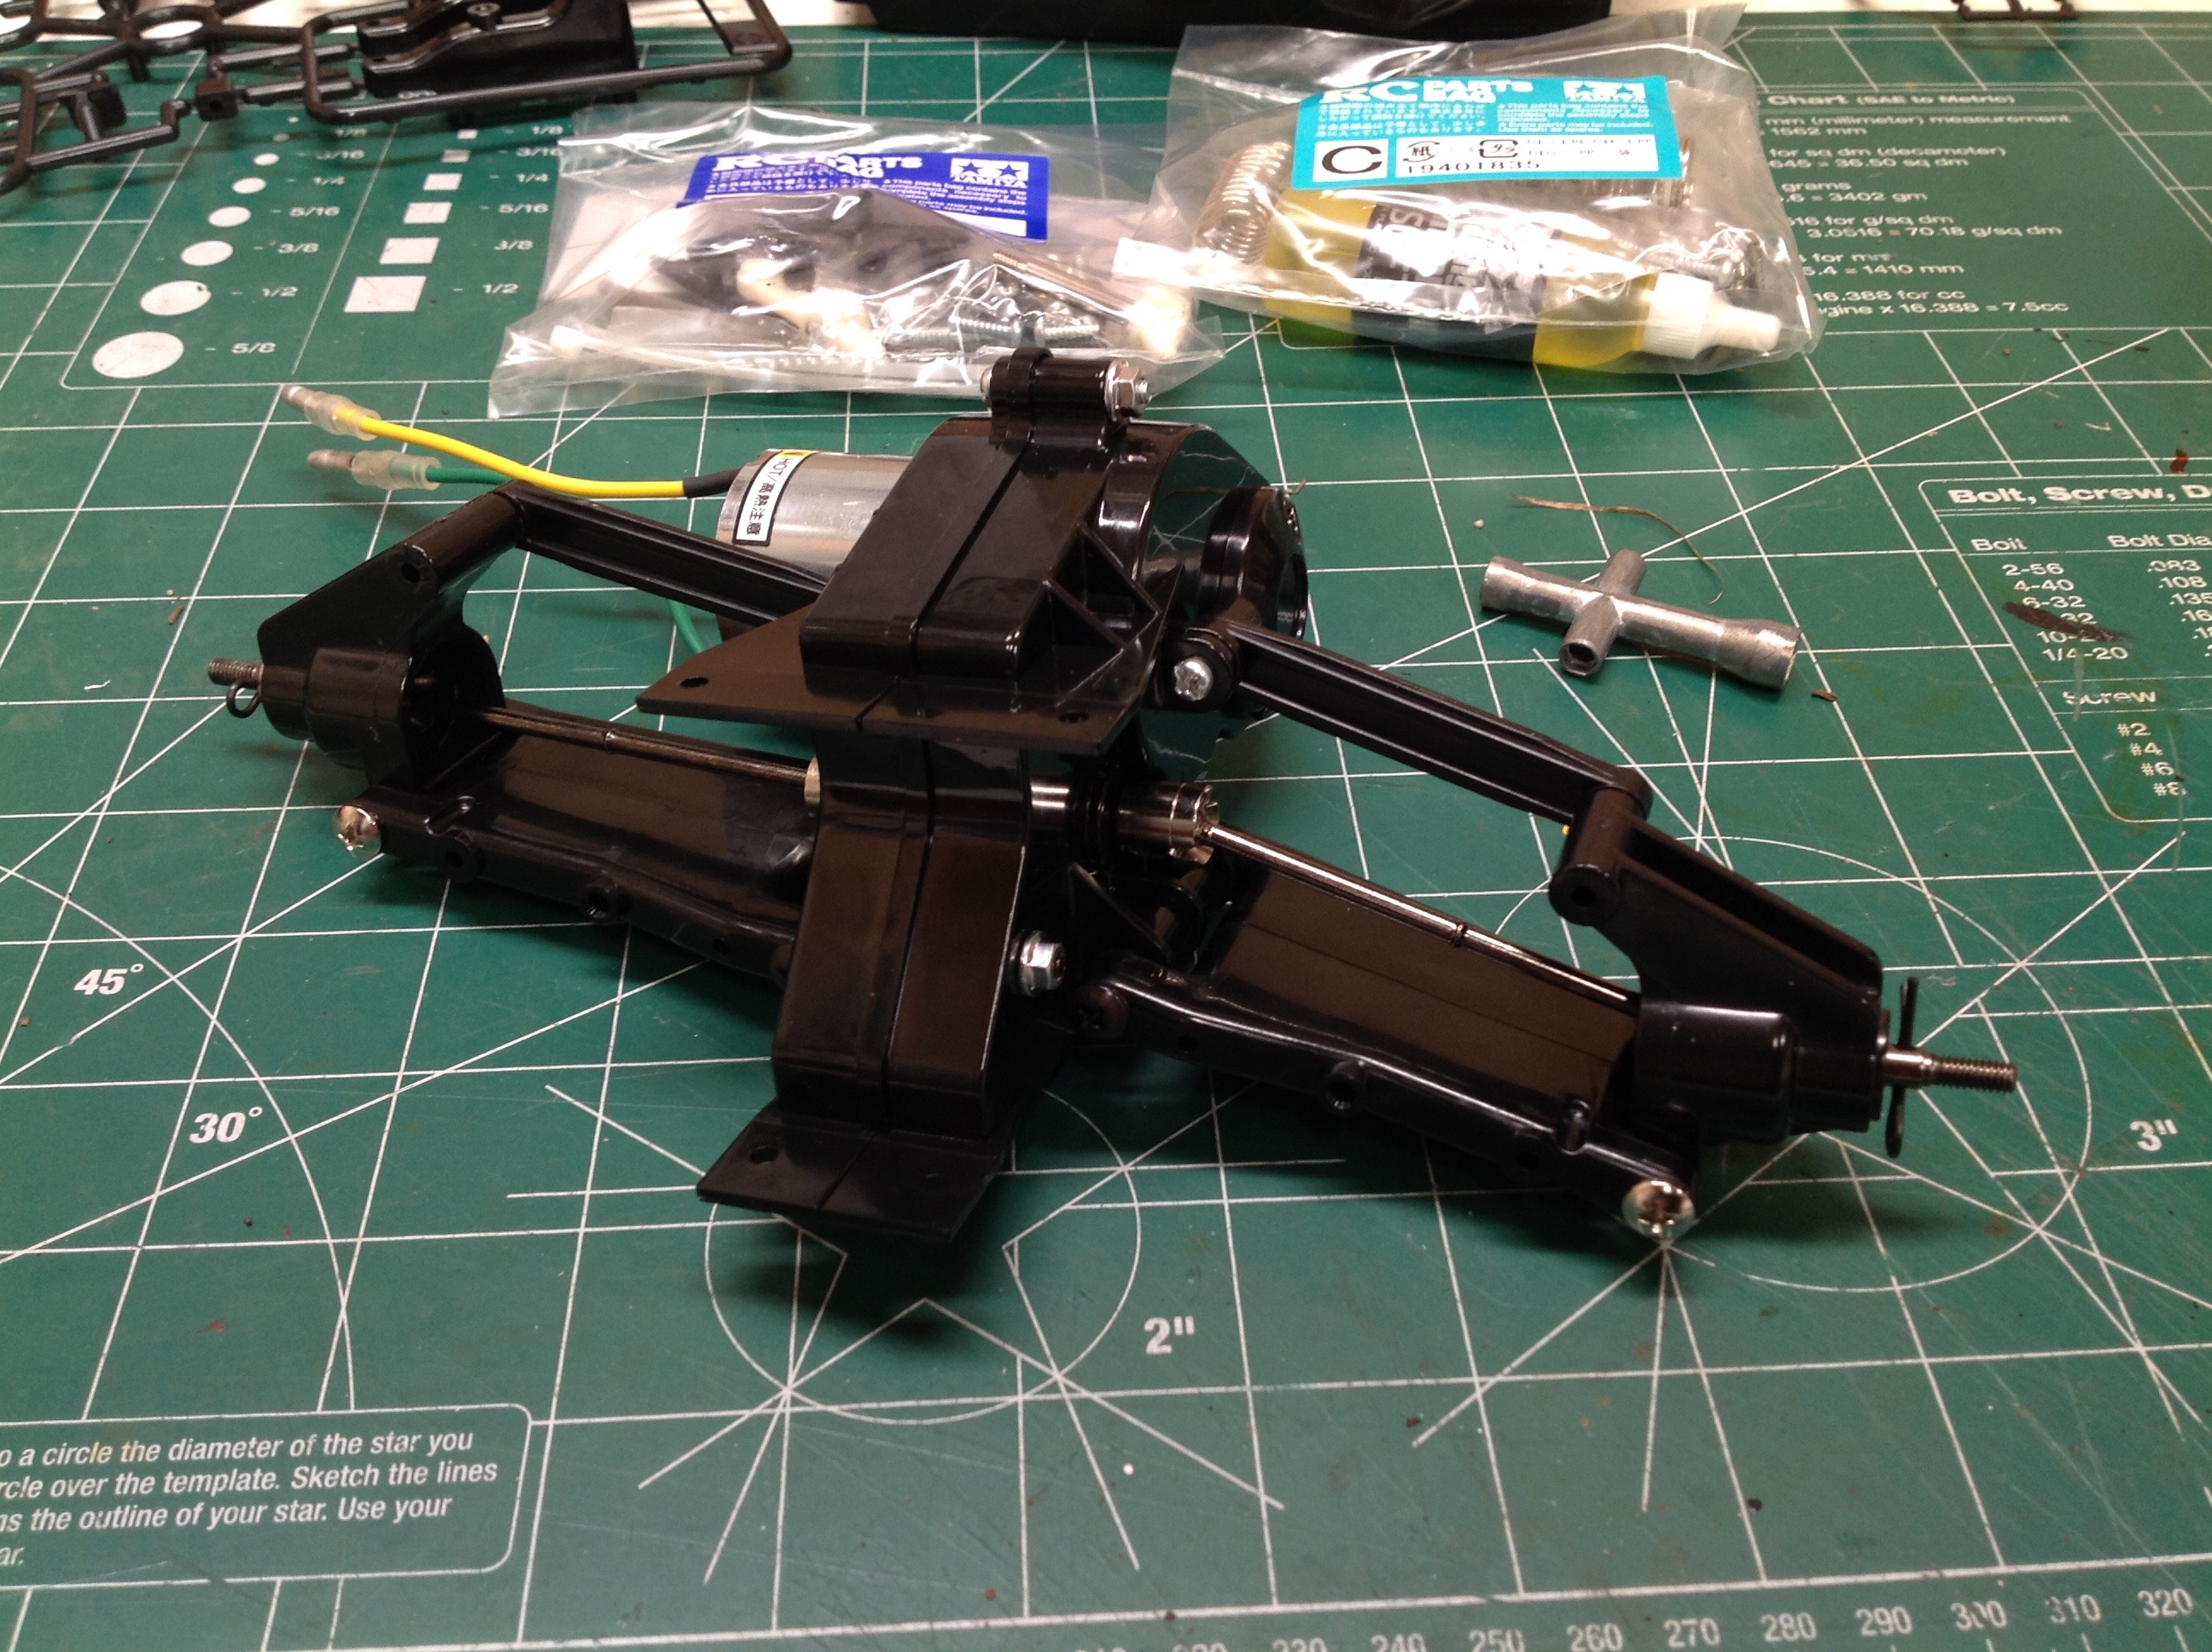
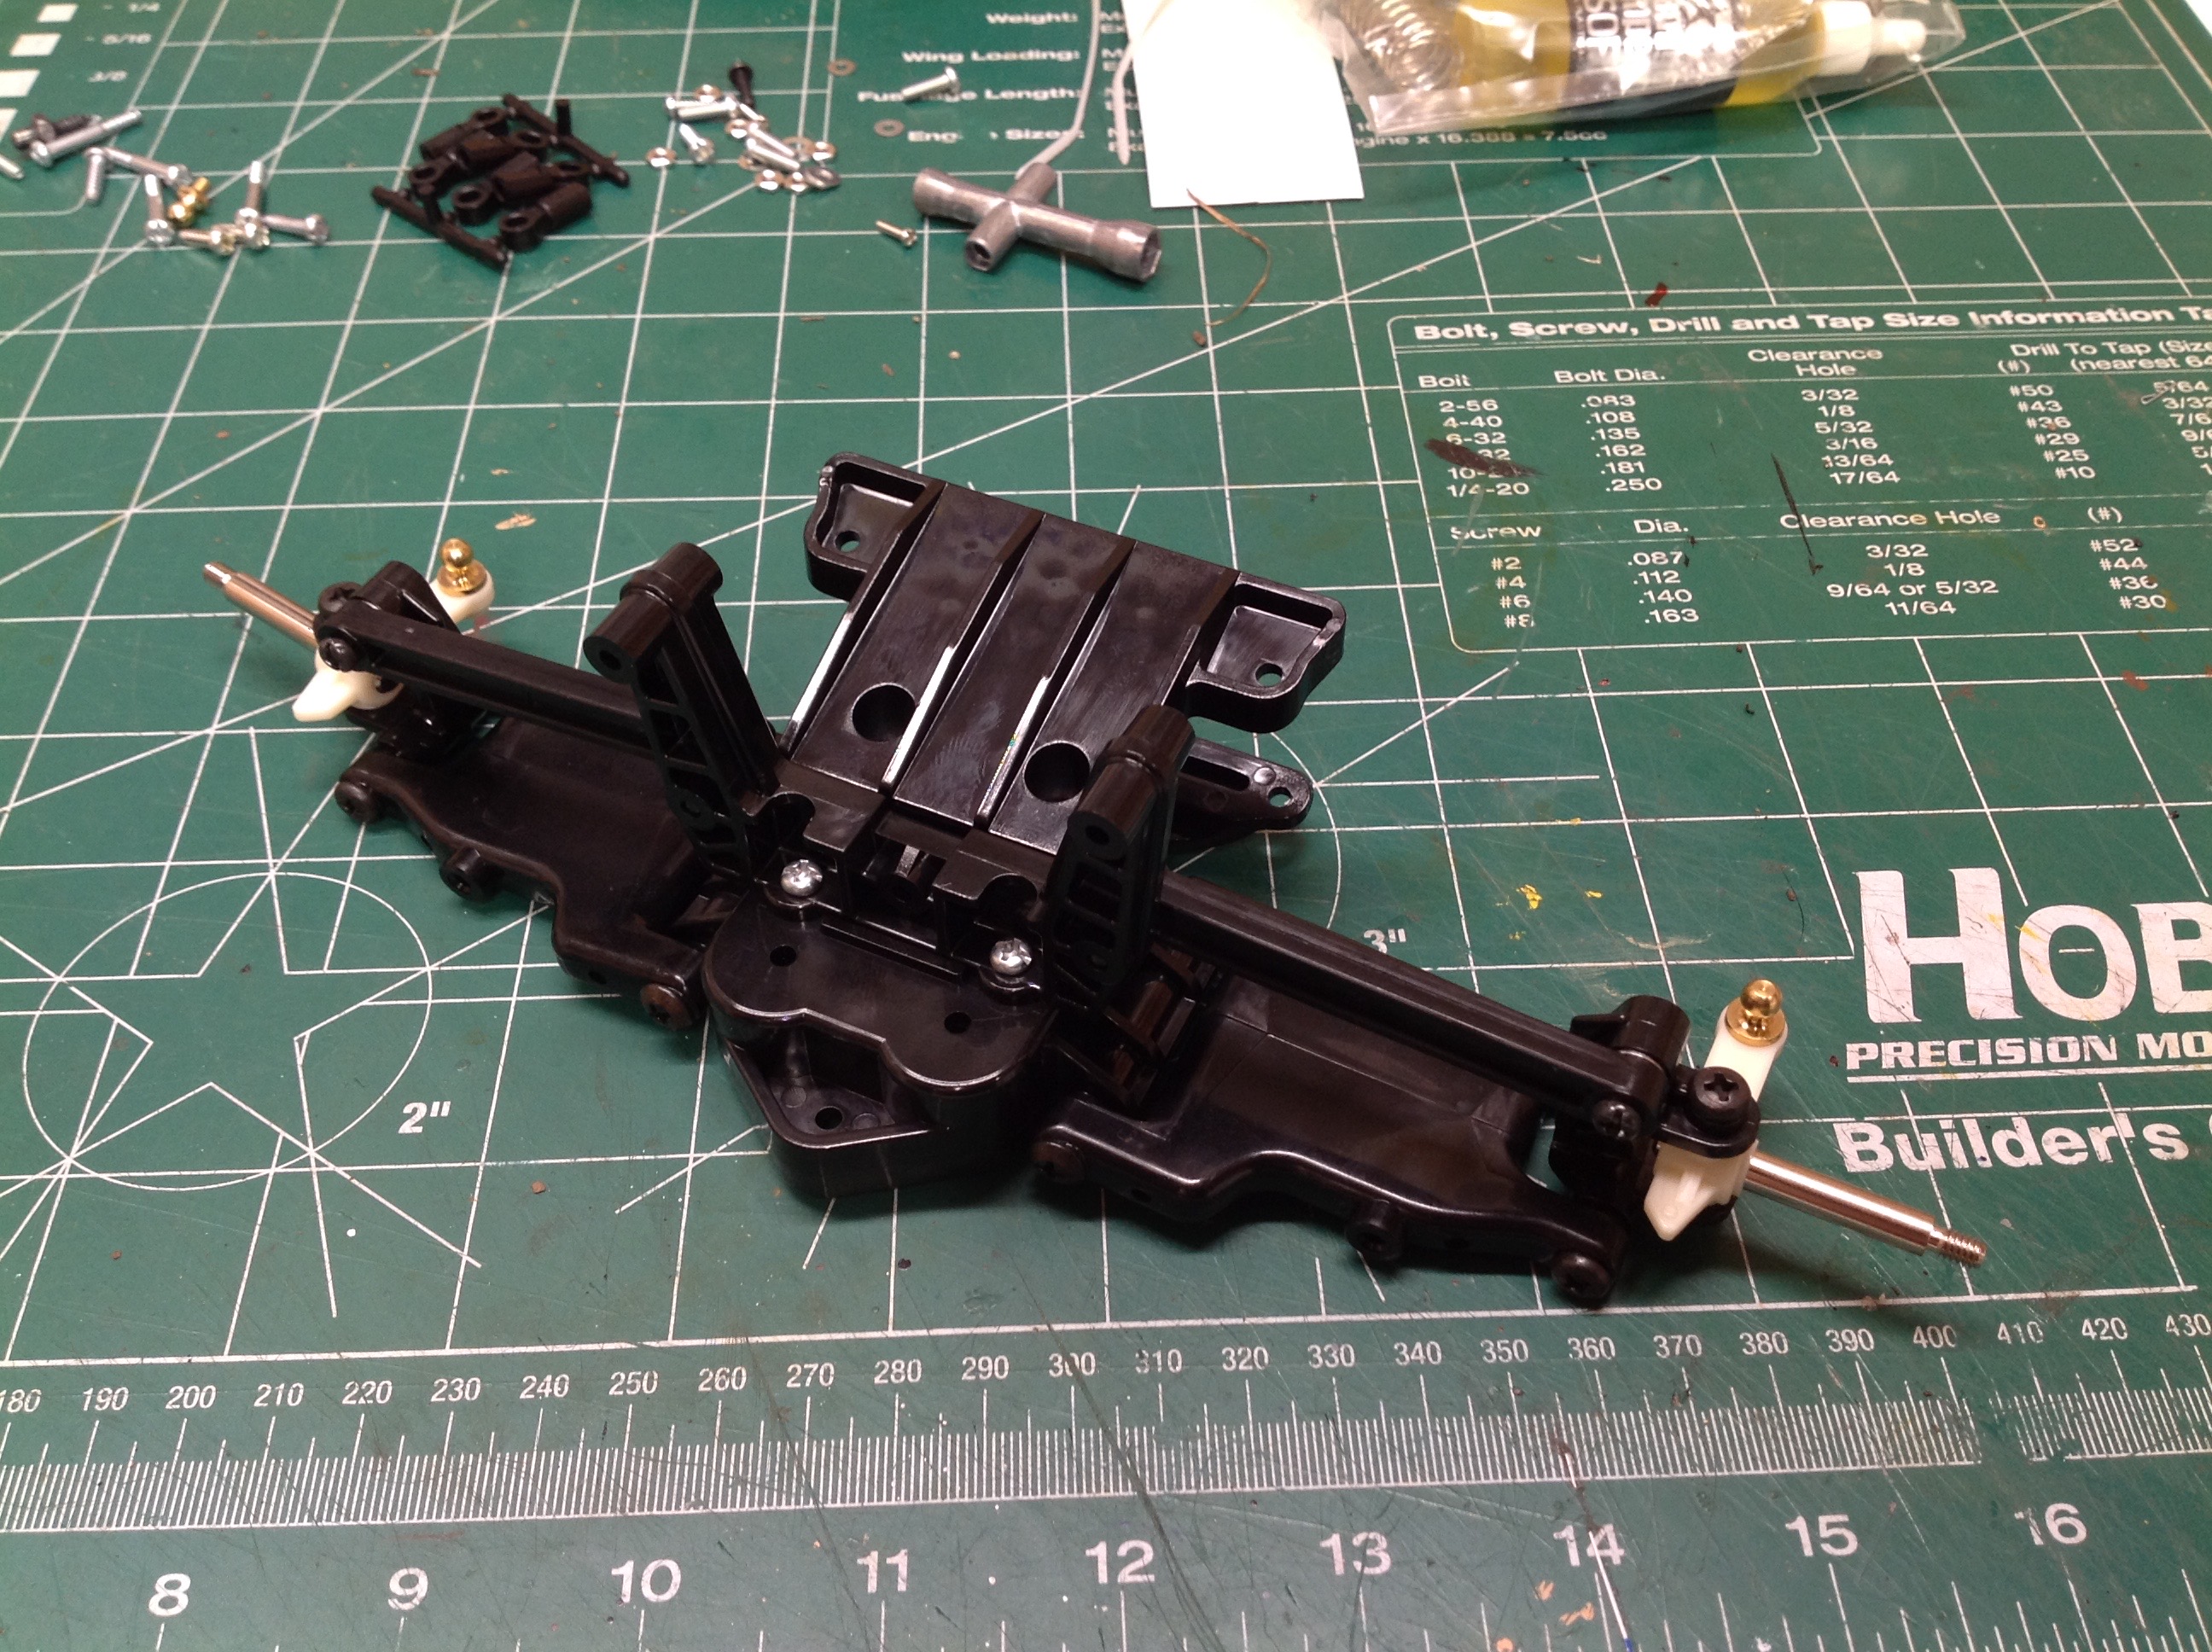
The rear suspension arms attach directly to the gearbox housing.
The lower arms are thick, solid wishbones. The upper arms are
solid links with no adjustability. Uprights are thick and strong
as well. Dogbones are used for drive axles.
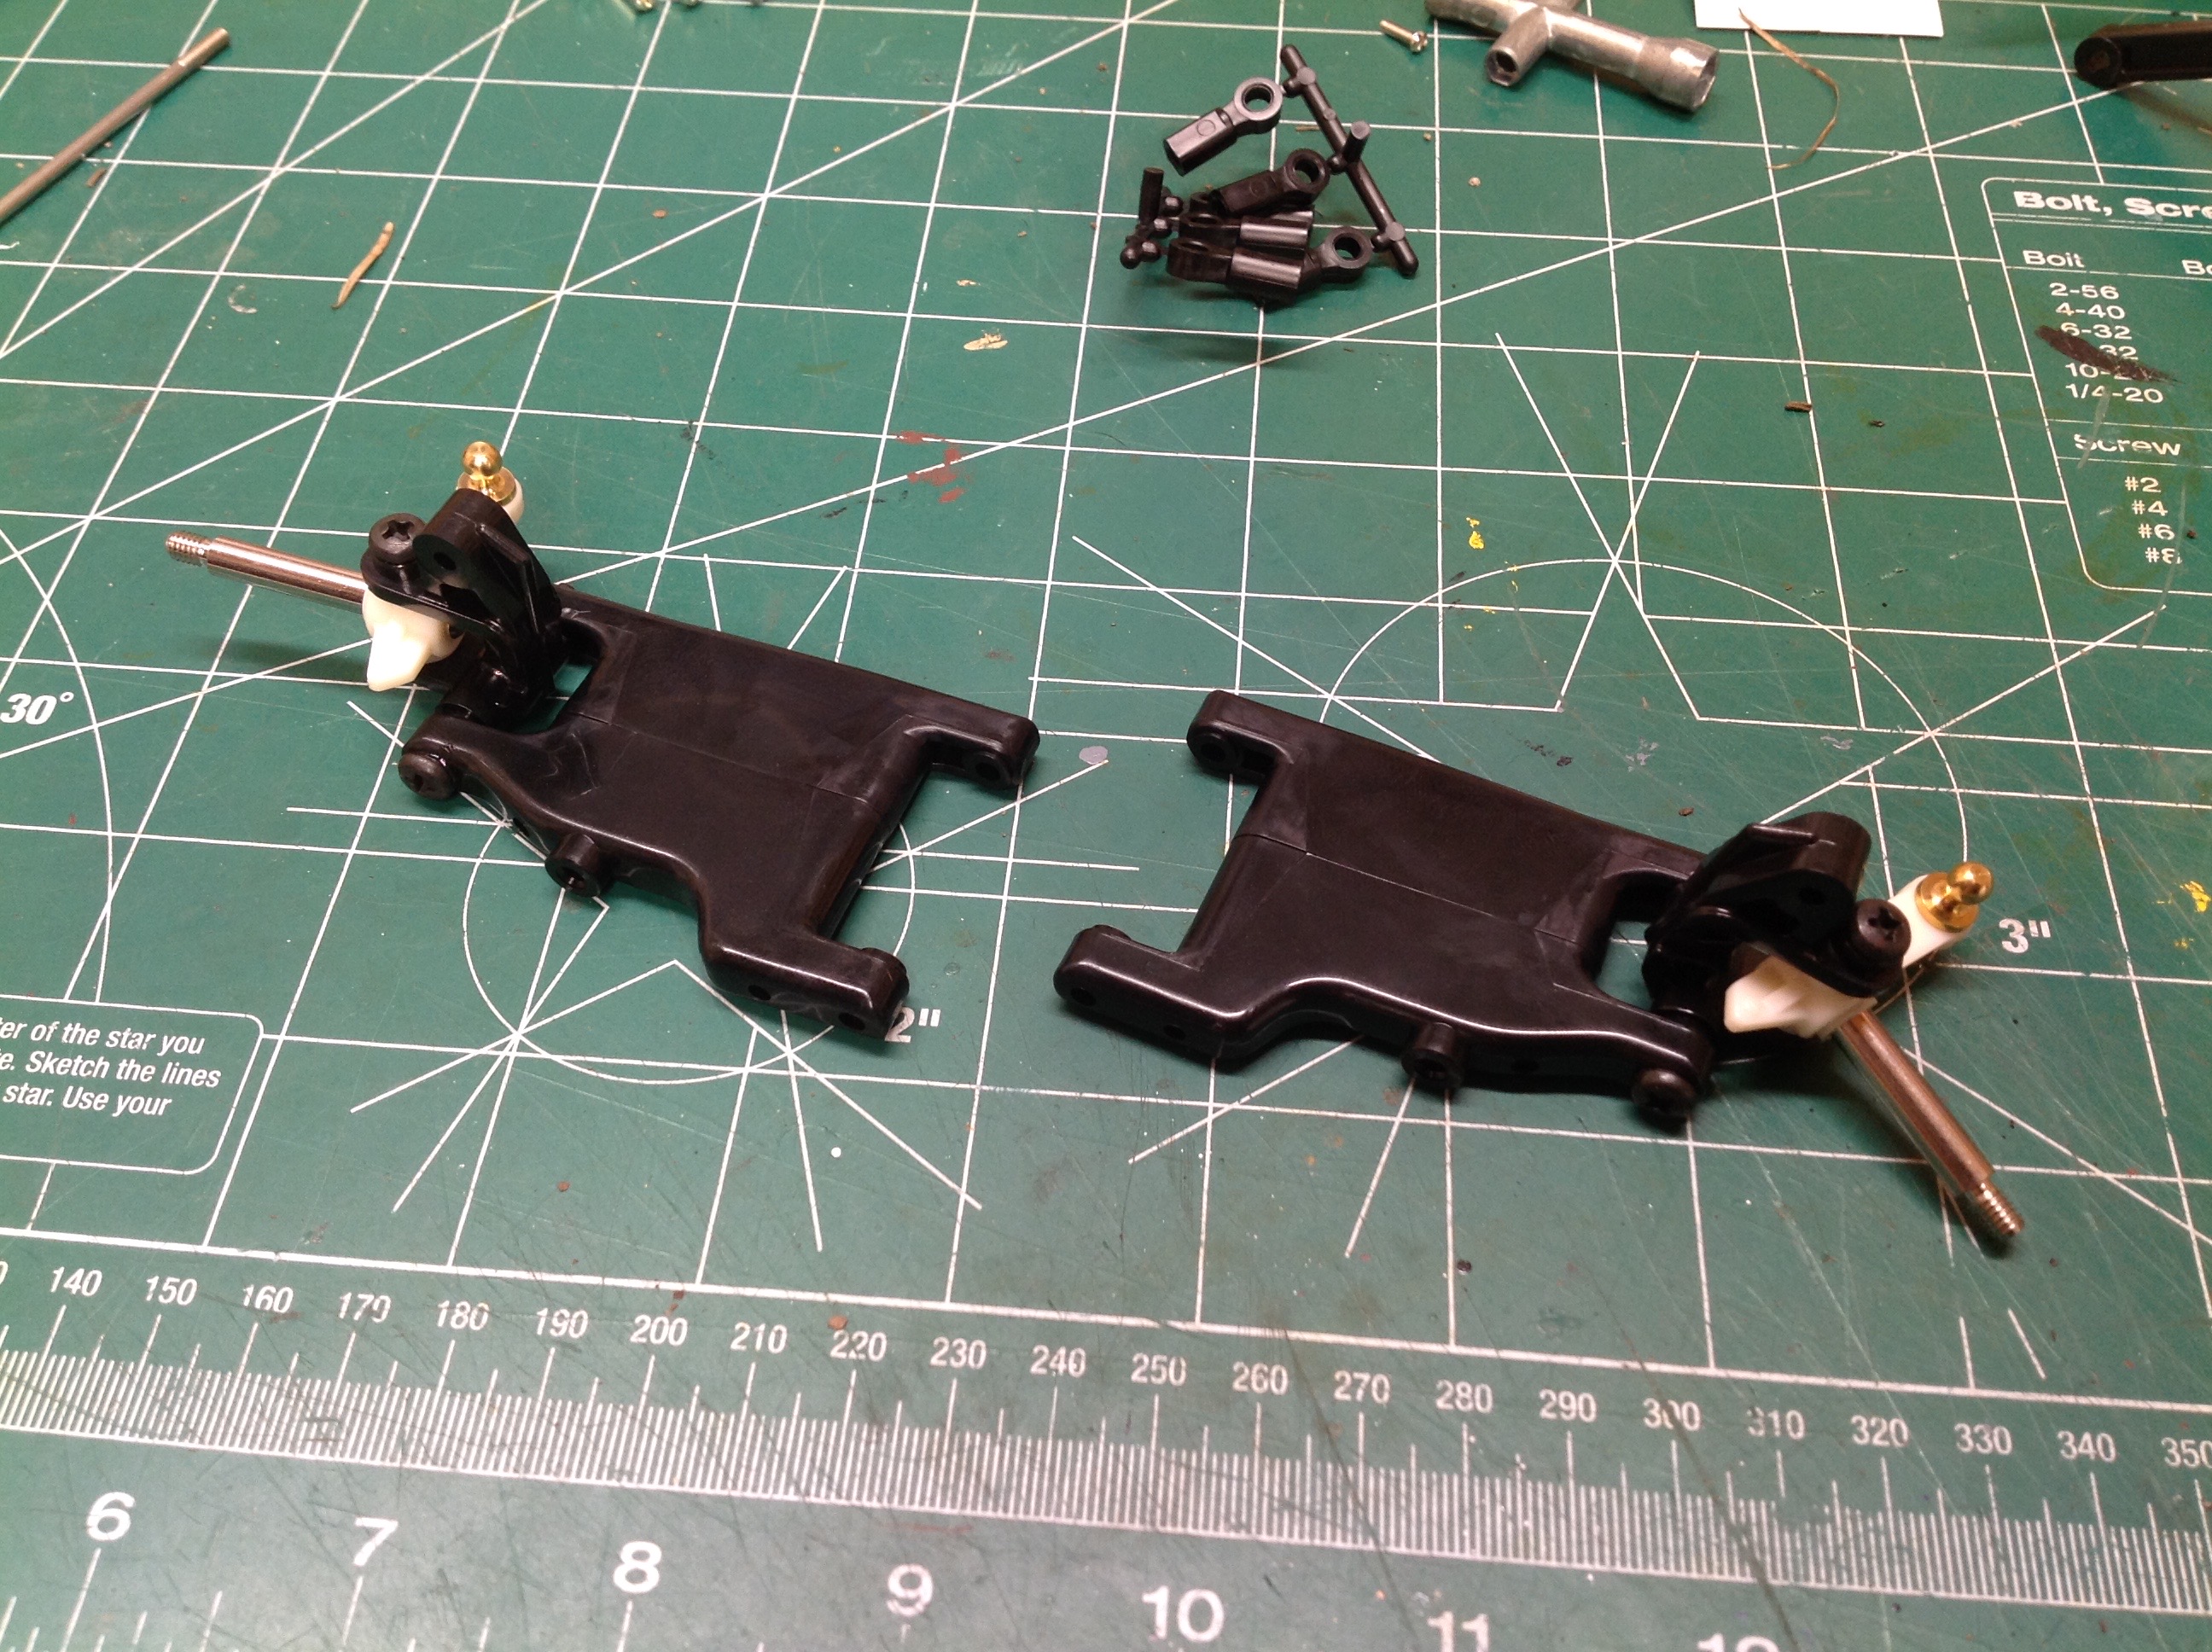
The front suspension is much like the rear, with the obvious difference
that there is no gearbox. The C-hubs support the steering knuckles
which appear to be Nylon parts with the axle permanently pressed in.
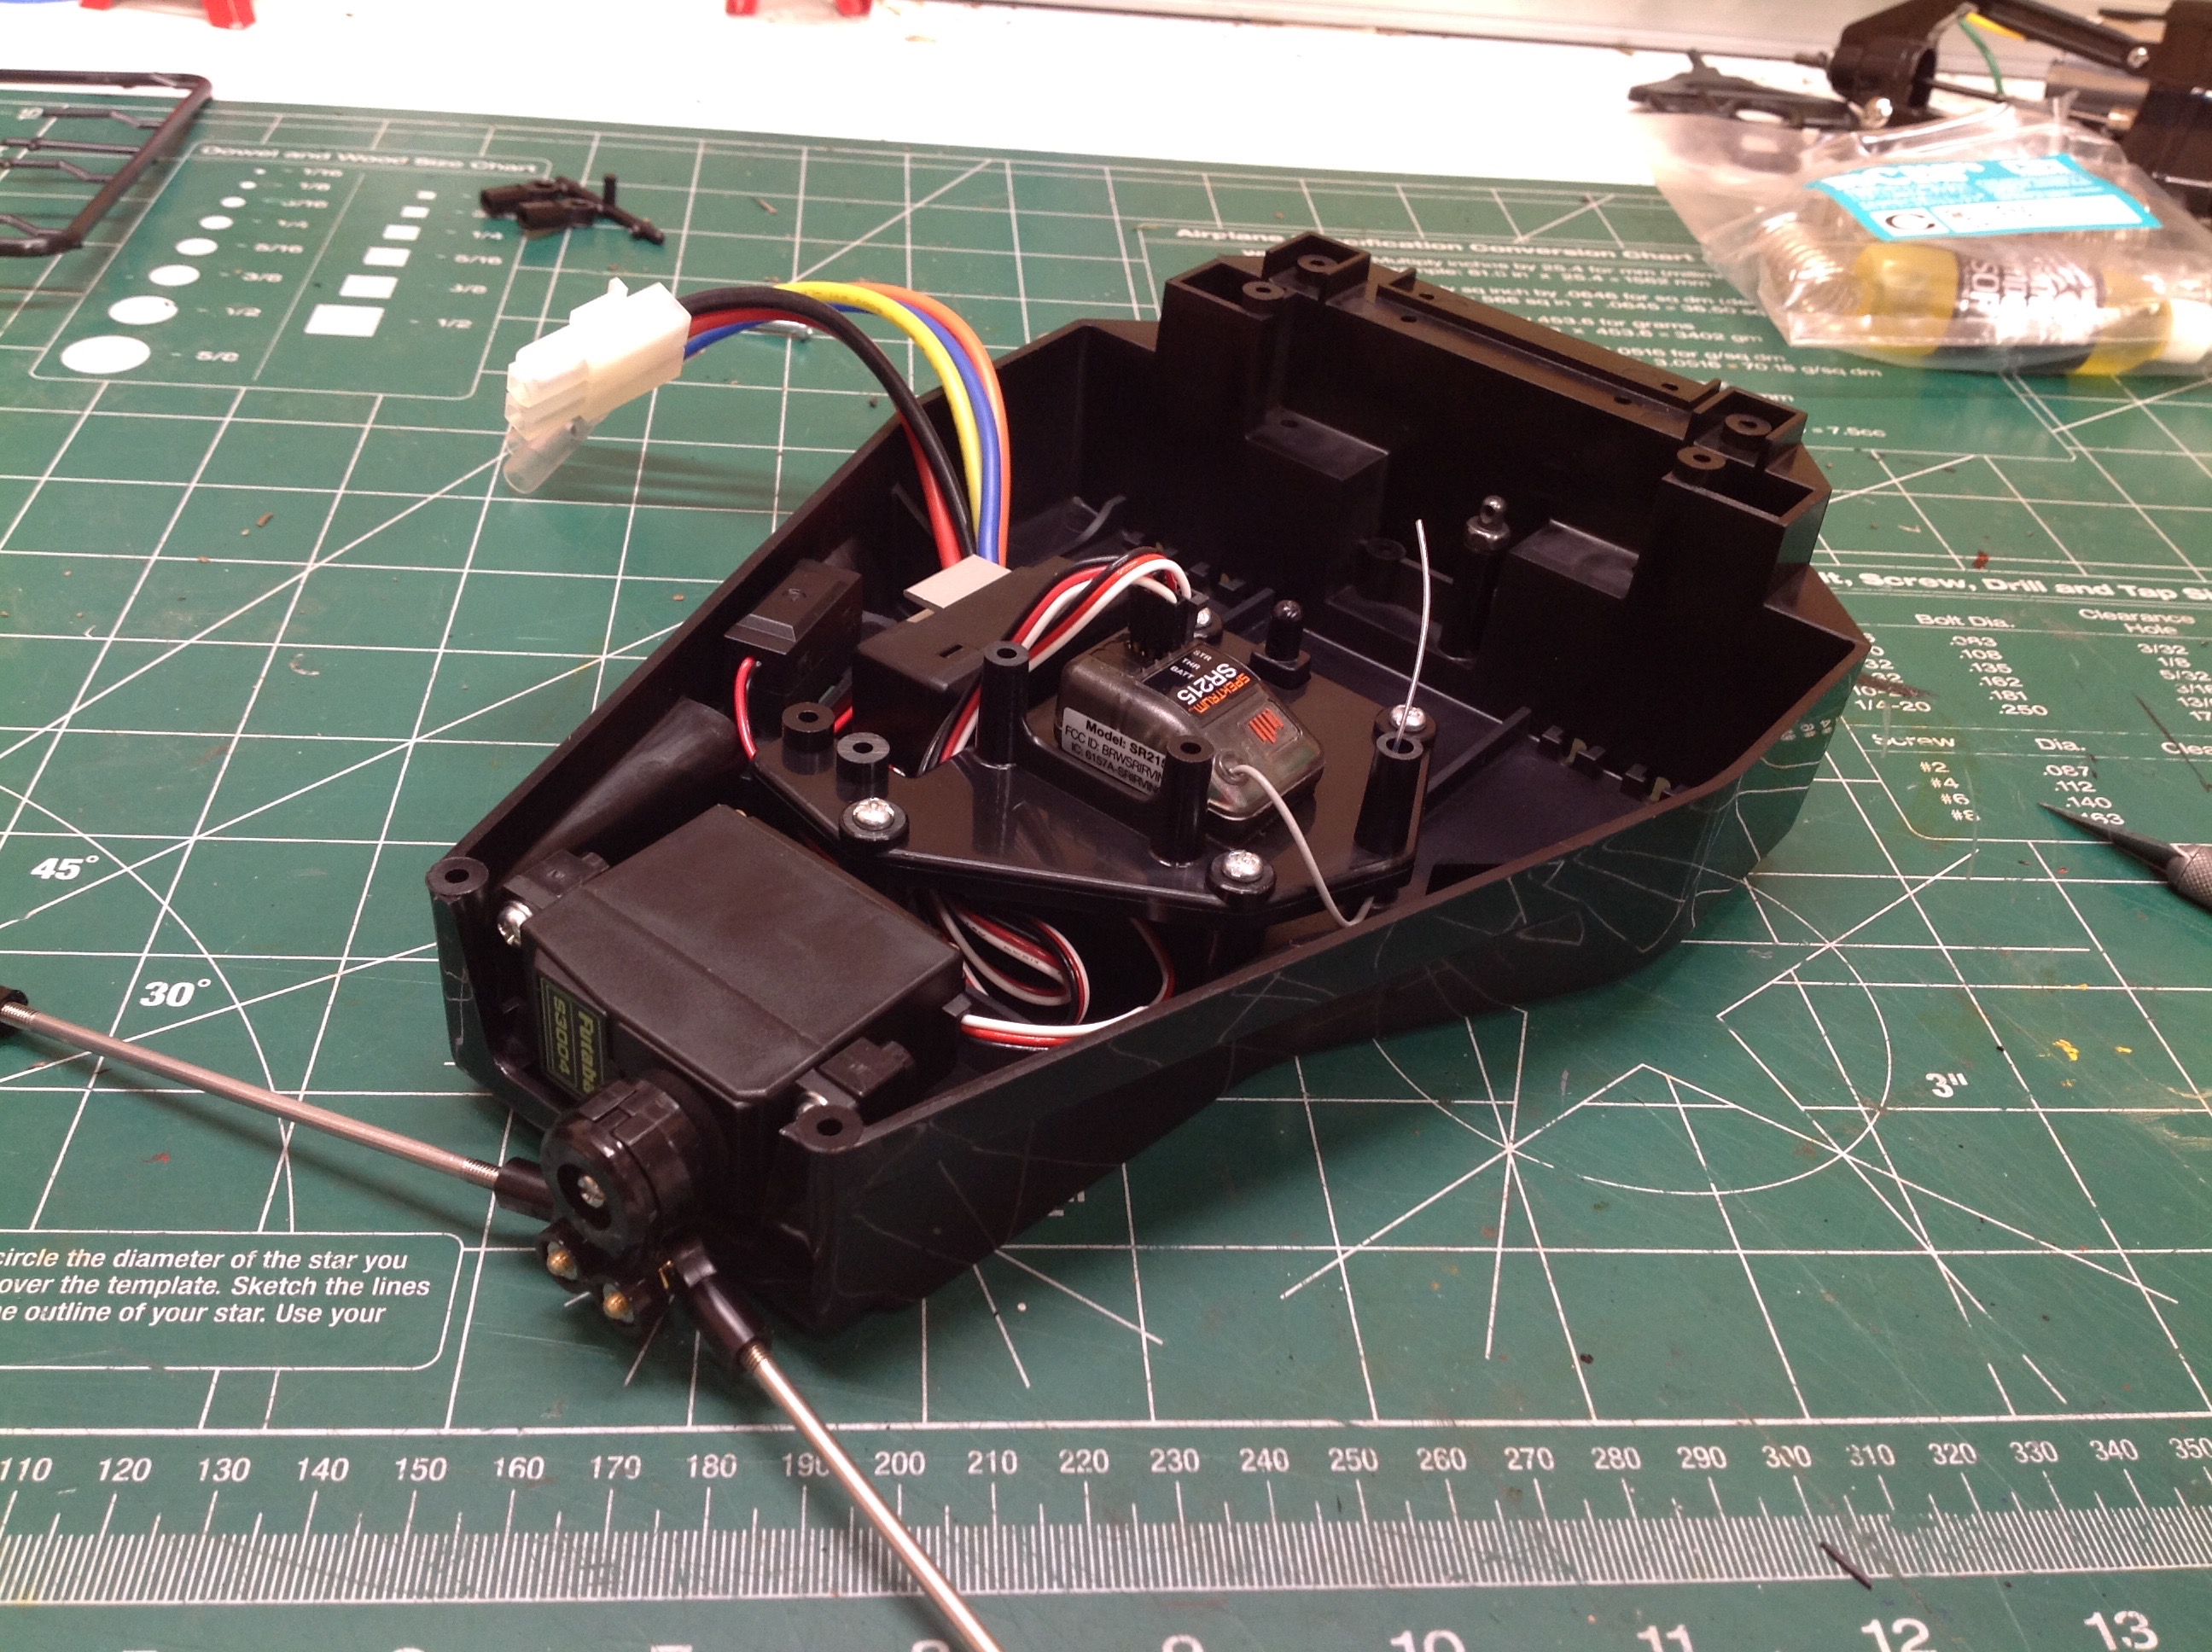
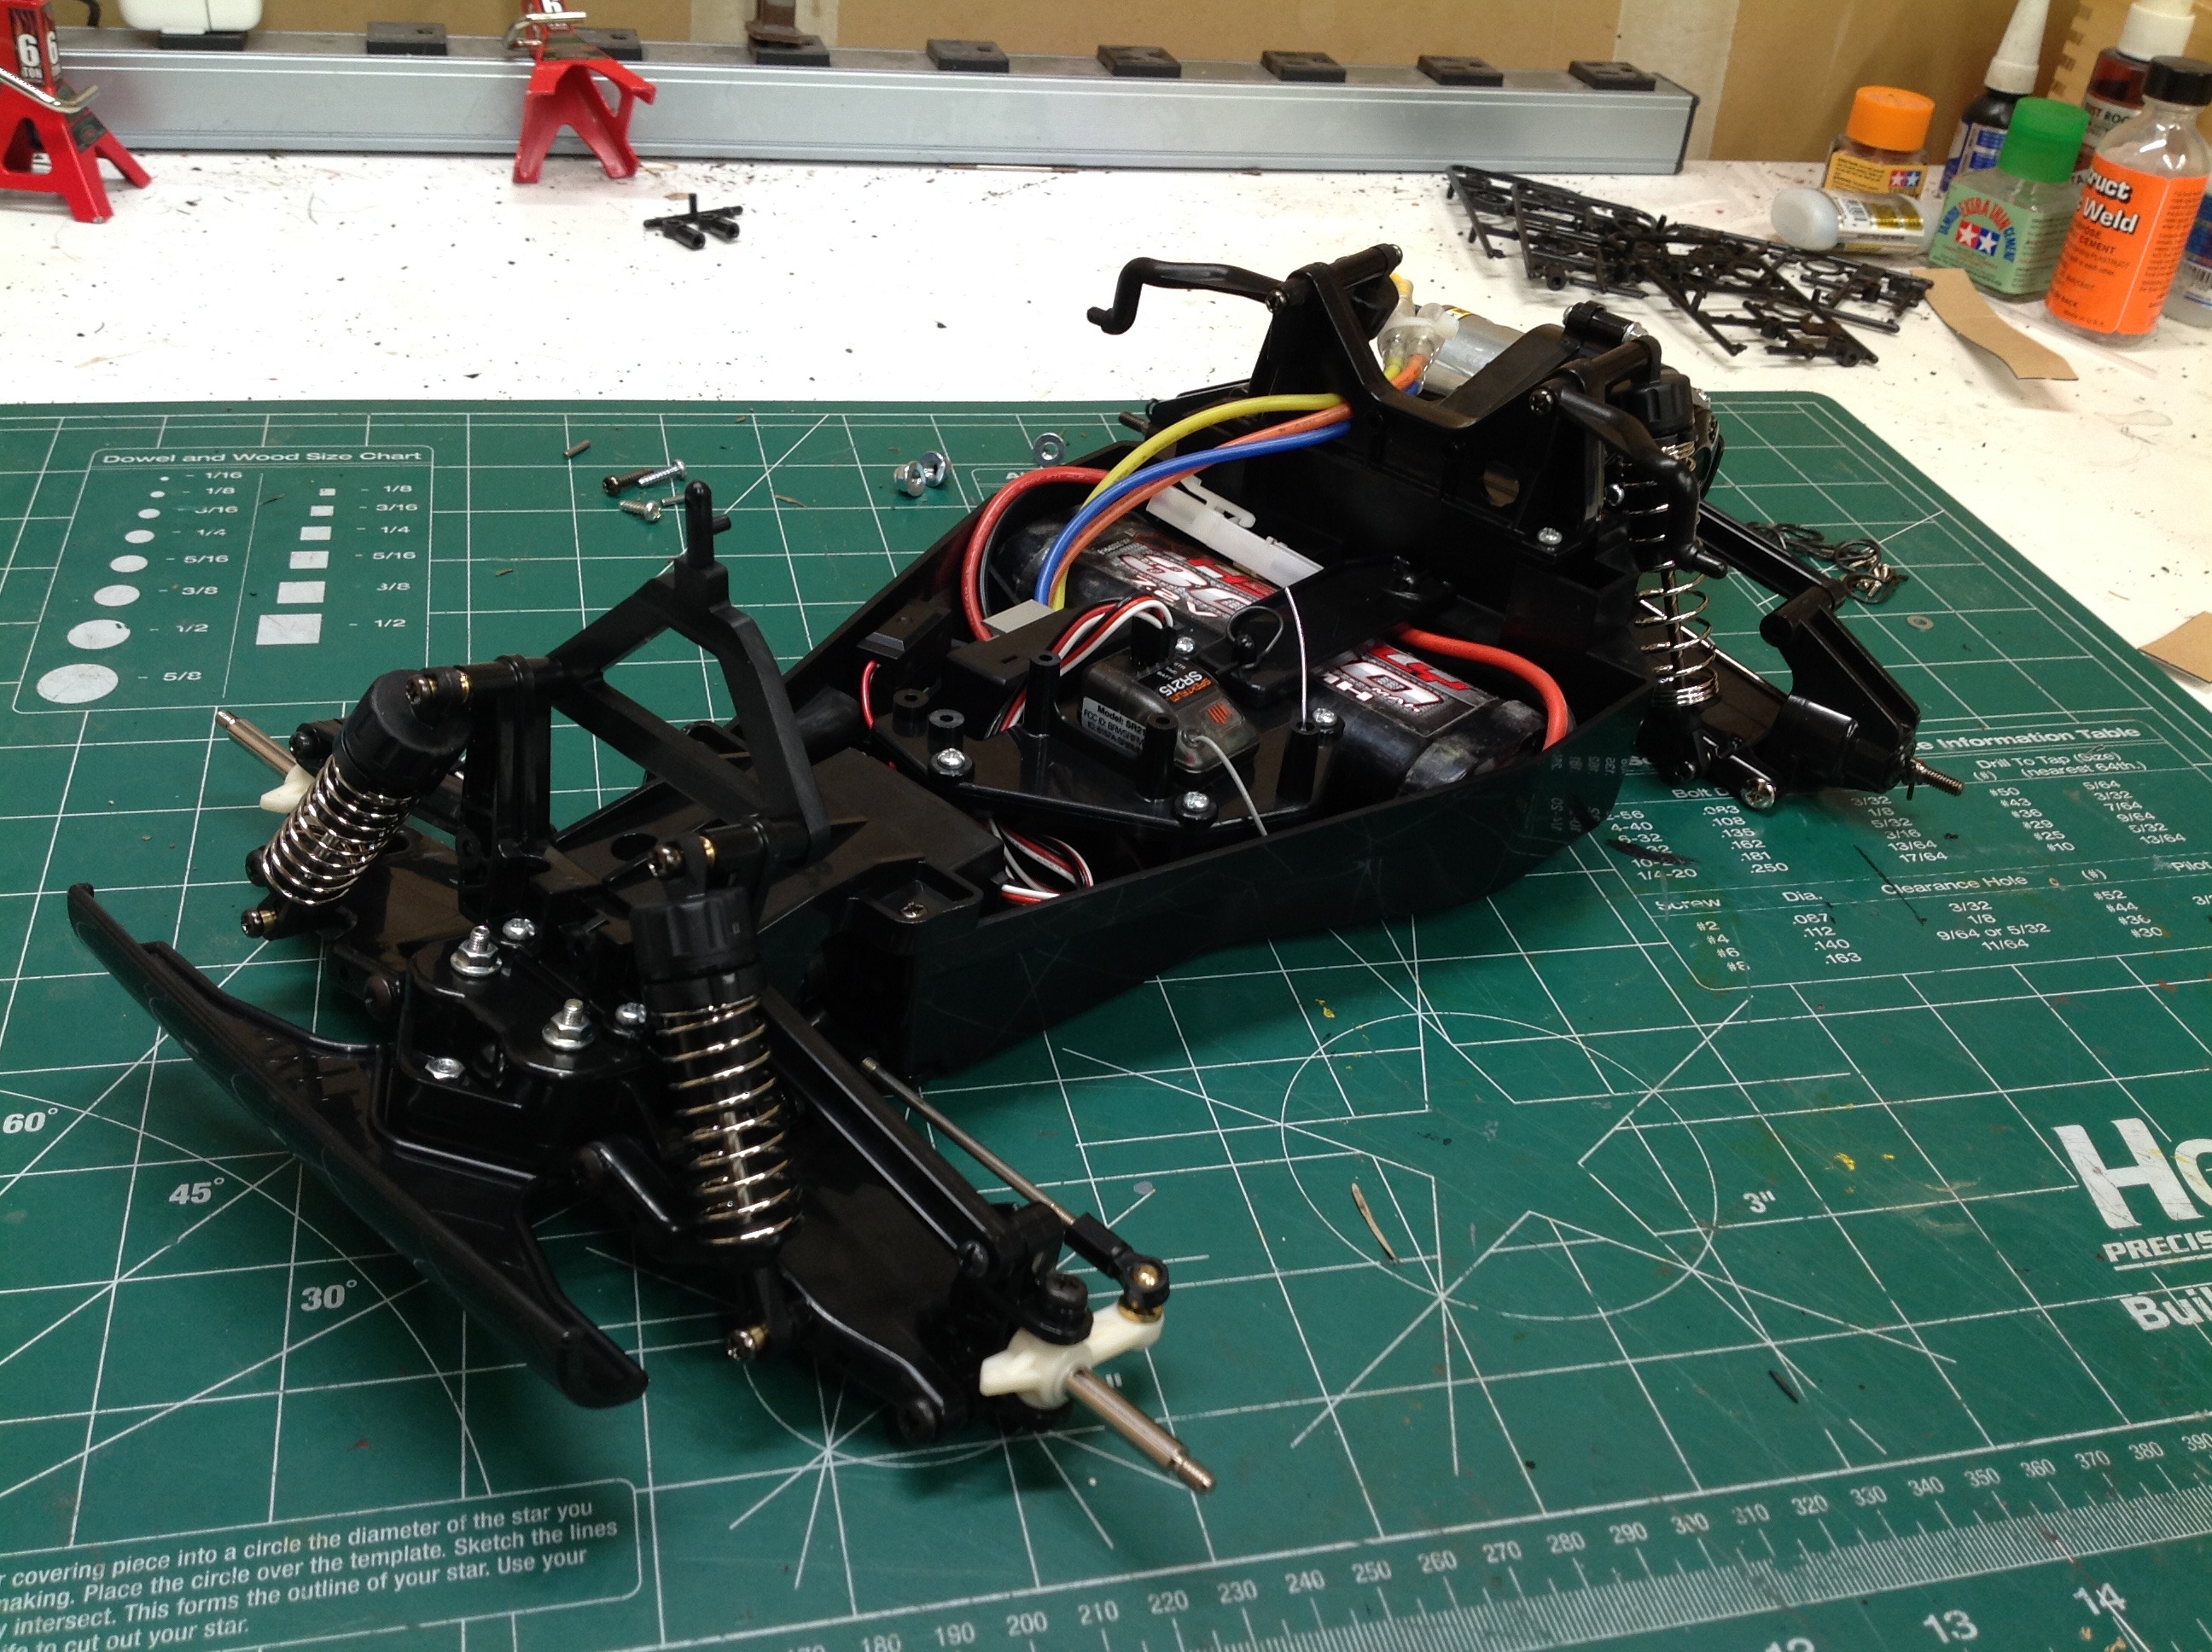
The main chassis tub is the same part used on the Falcon, and in fact
has the word "Falcon" molded into it. That's about all this
chassis shares with the Falcon since the suspension and shocks are
totally different. The gearbox is similar but has been changed to
allow attachment of double wishbone suspension instead of trailing
arm. The steering servo attaches to the tub and doesn't leave a
lot of room for the ESC and receiver since the battery must sit
laterally behind. There are no dual bellcranks here; the servo
horn attaches directly to the steering rods. There's a strap to
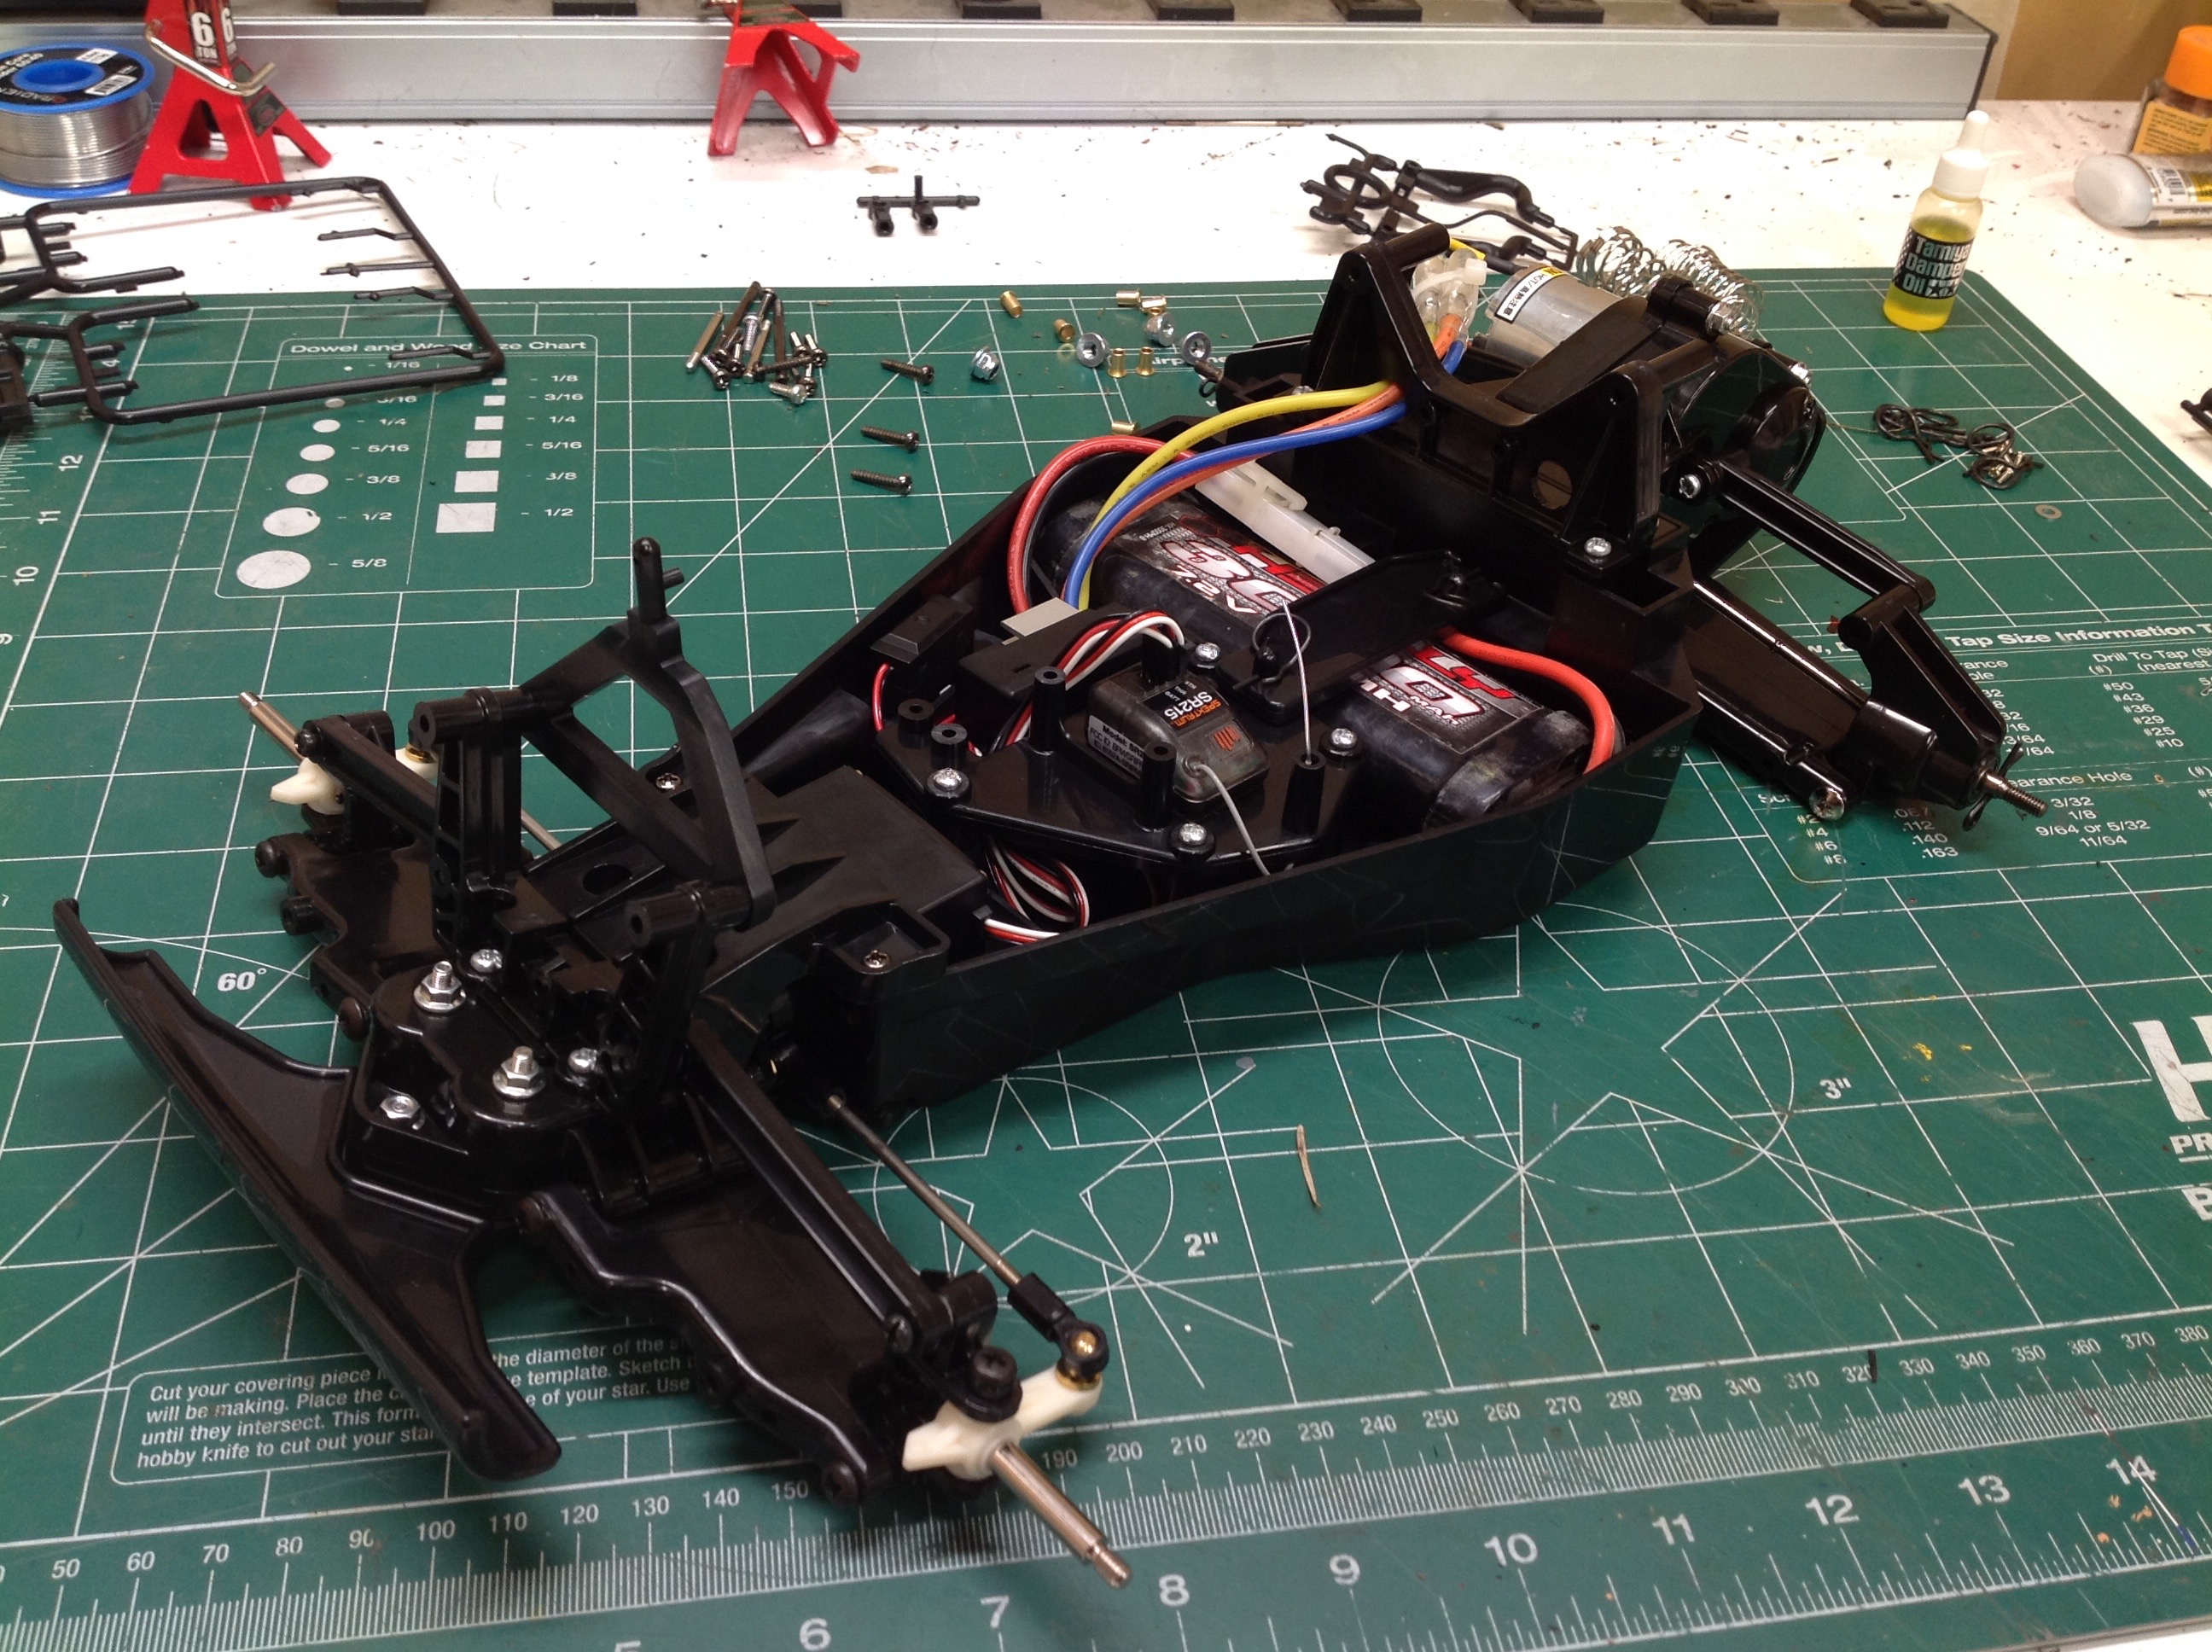
hold down the battery
firmly. The front and rear suspension modules are then attached to
the tub. It's starting to look like a buggy.
The shocks are standard, modern CVA black plastic oil filled
dampers. The rear are longer than the front and also use much
stiffer springs since the motor is located behind the wheels. The
wheels come molded in orange, but I painted them anyway to match the
exact orange I'm using for the grille and also because the finish looks
better. All four tires have pin spikes, but the front also have
ribs and are slightly narrower. The front wheels hold 2 bearings
each, the rears are driven by 12mm hexes. This completes the
rolling chassis.
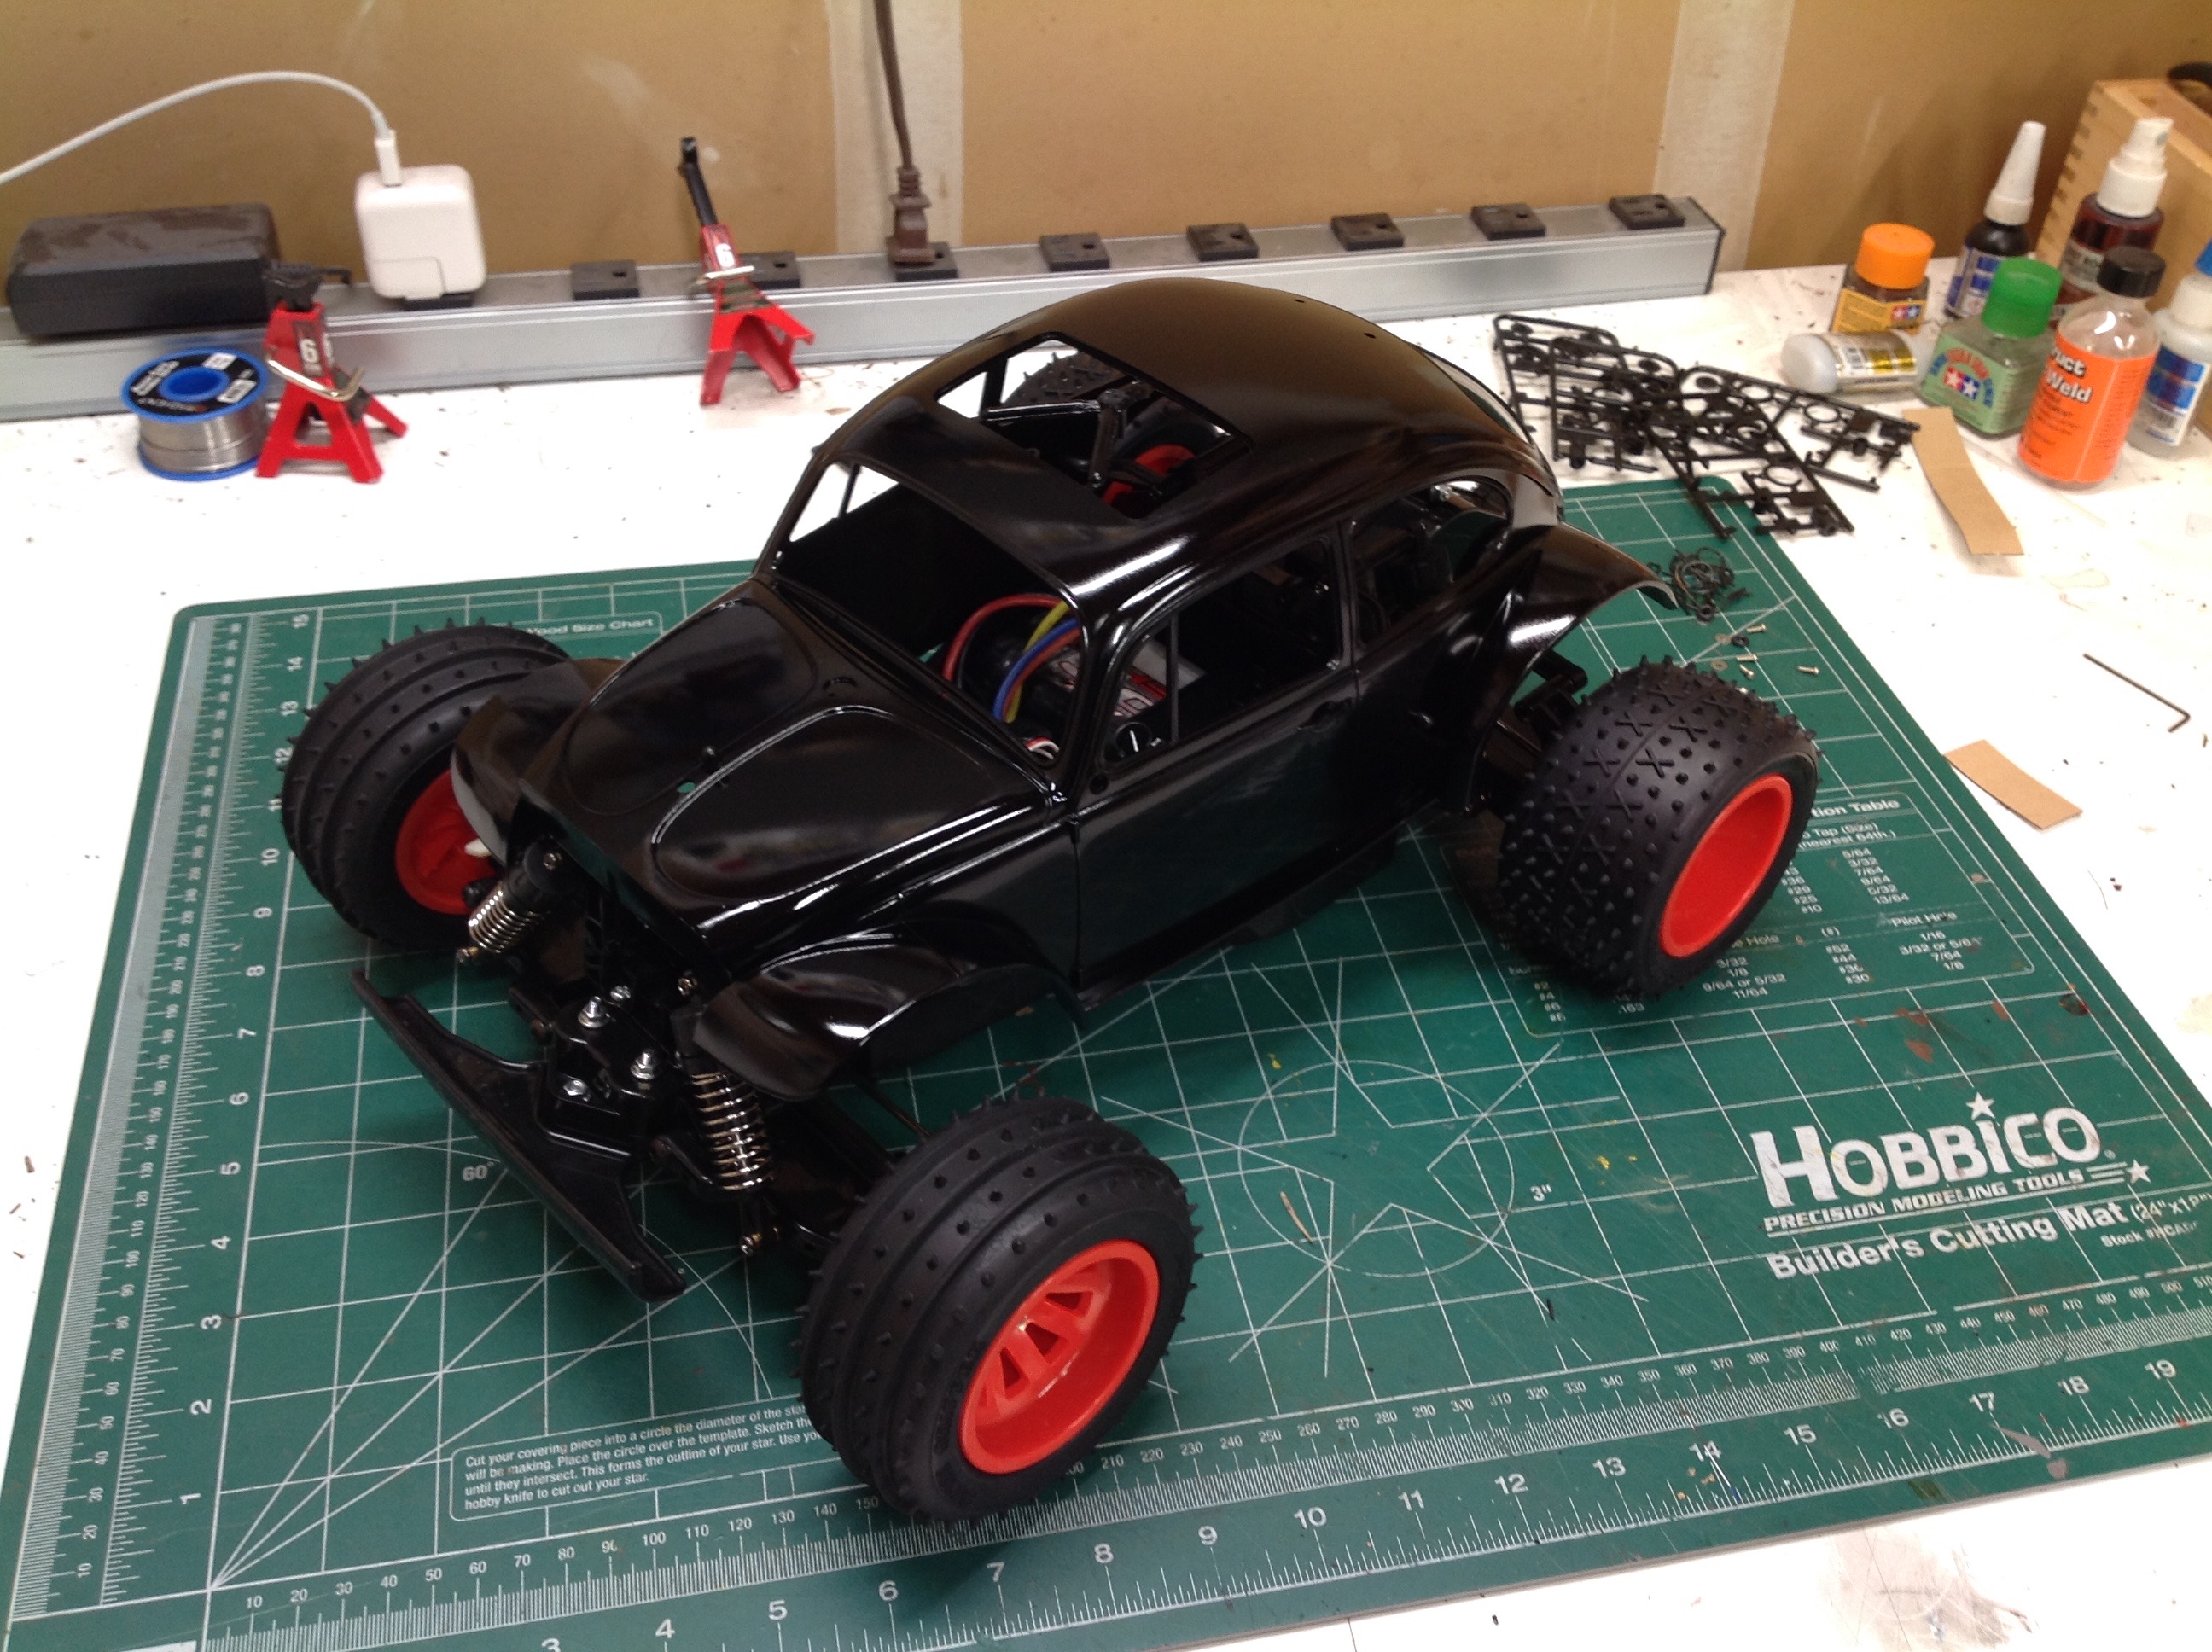
The body uses several parts: the main shell, the grille, the headlights
and tail lights, the license plates, the mirrors, the sunroof, and the
windows. The main shell is by far the largest and, when placed on
the chassis, gives a good idea of the final appearance. The part
was molded in black, but again I chose to paint it for a better
look. Sadly, I foolishly waited to glue the sunroof until after I
painted which resulted in me getting glue globs and fingerprints on the
roof. I tried to sand them out but then decided that they weren't
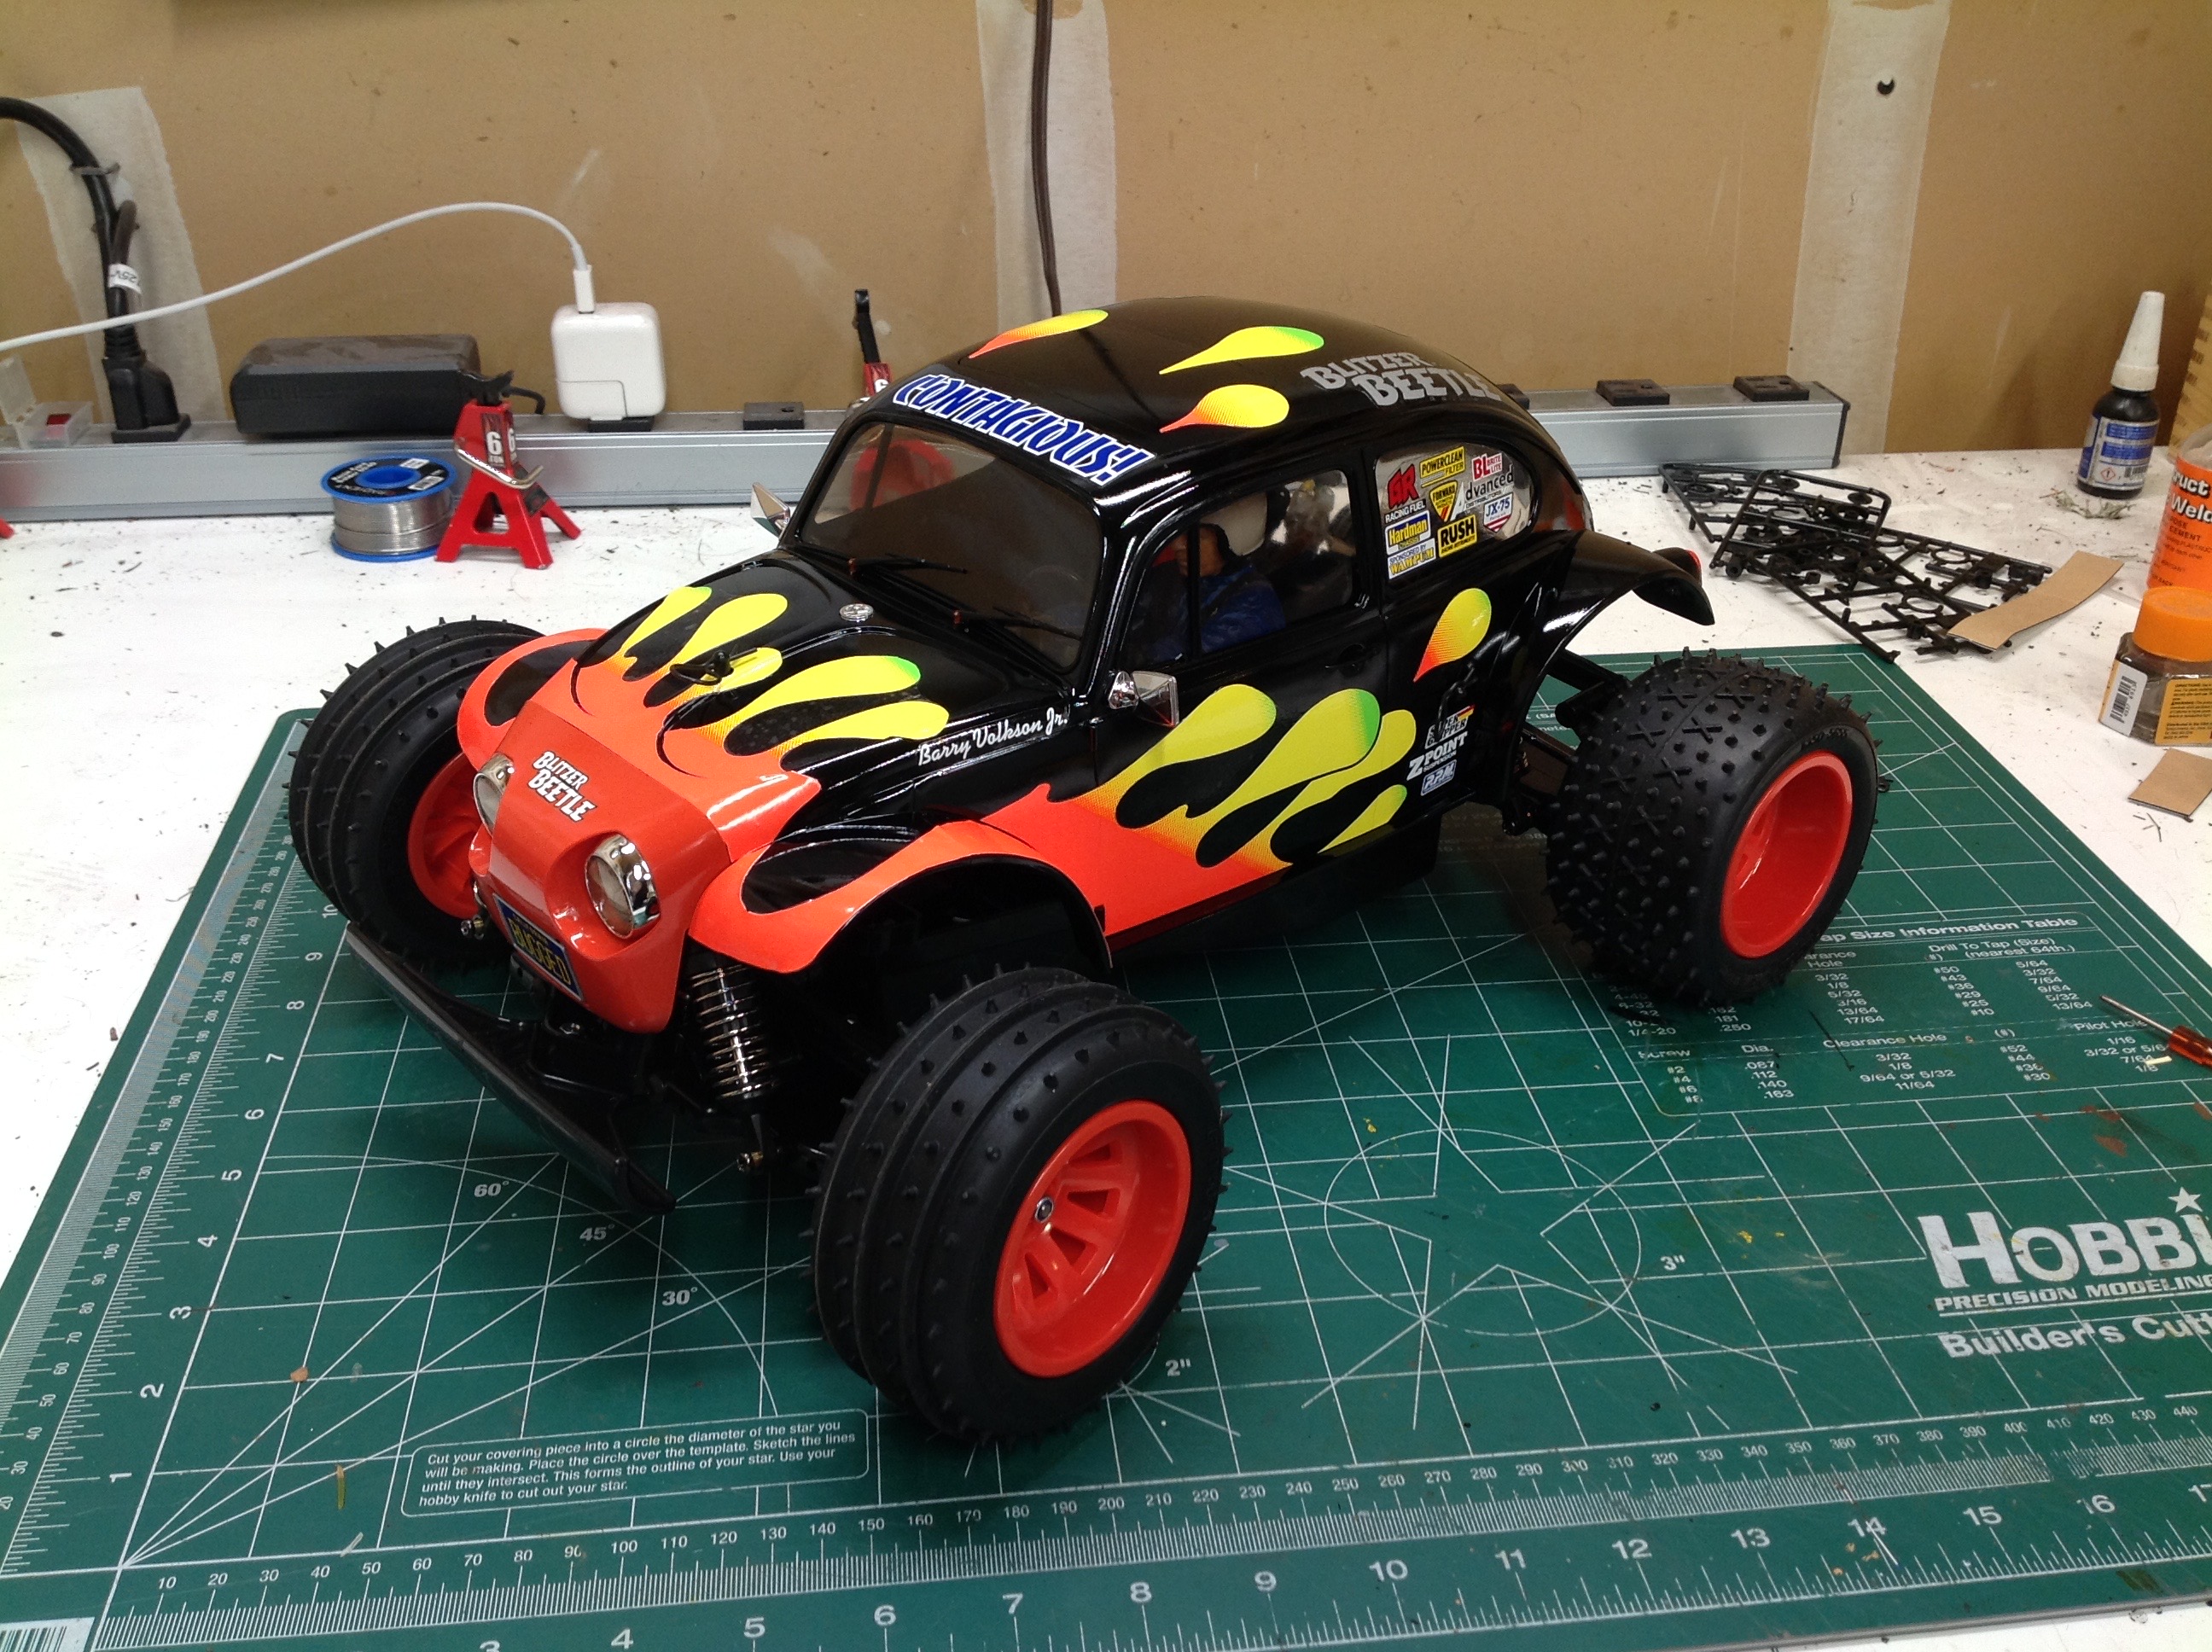
very noticeable once the stickers were applied anyway. There are
some very large stickers here so it takes some time to get them straight
and bubble free. The result is a very well decorated buggy.
Or monster truck. Or stadium truck. Or whatever this is.
I happened to have a leftover driver figure from the Monster Beetle
because I had previously upgraded that one to a more detailed 3D printed
version. That allowed me to use him here without having to paint a
new one. That's a good thing because I hate painting drivers.
©2019 Eric Albrecht