Tamiya Unimog Project
Page 2: Upgrades!
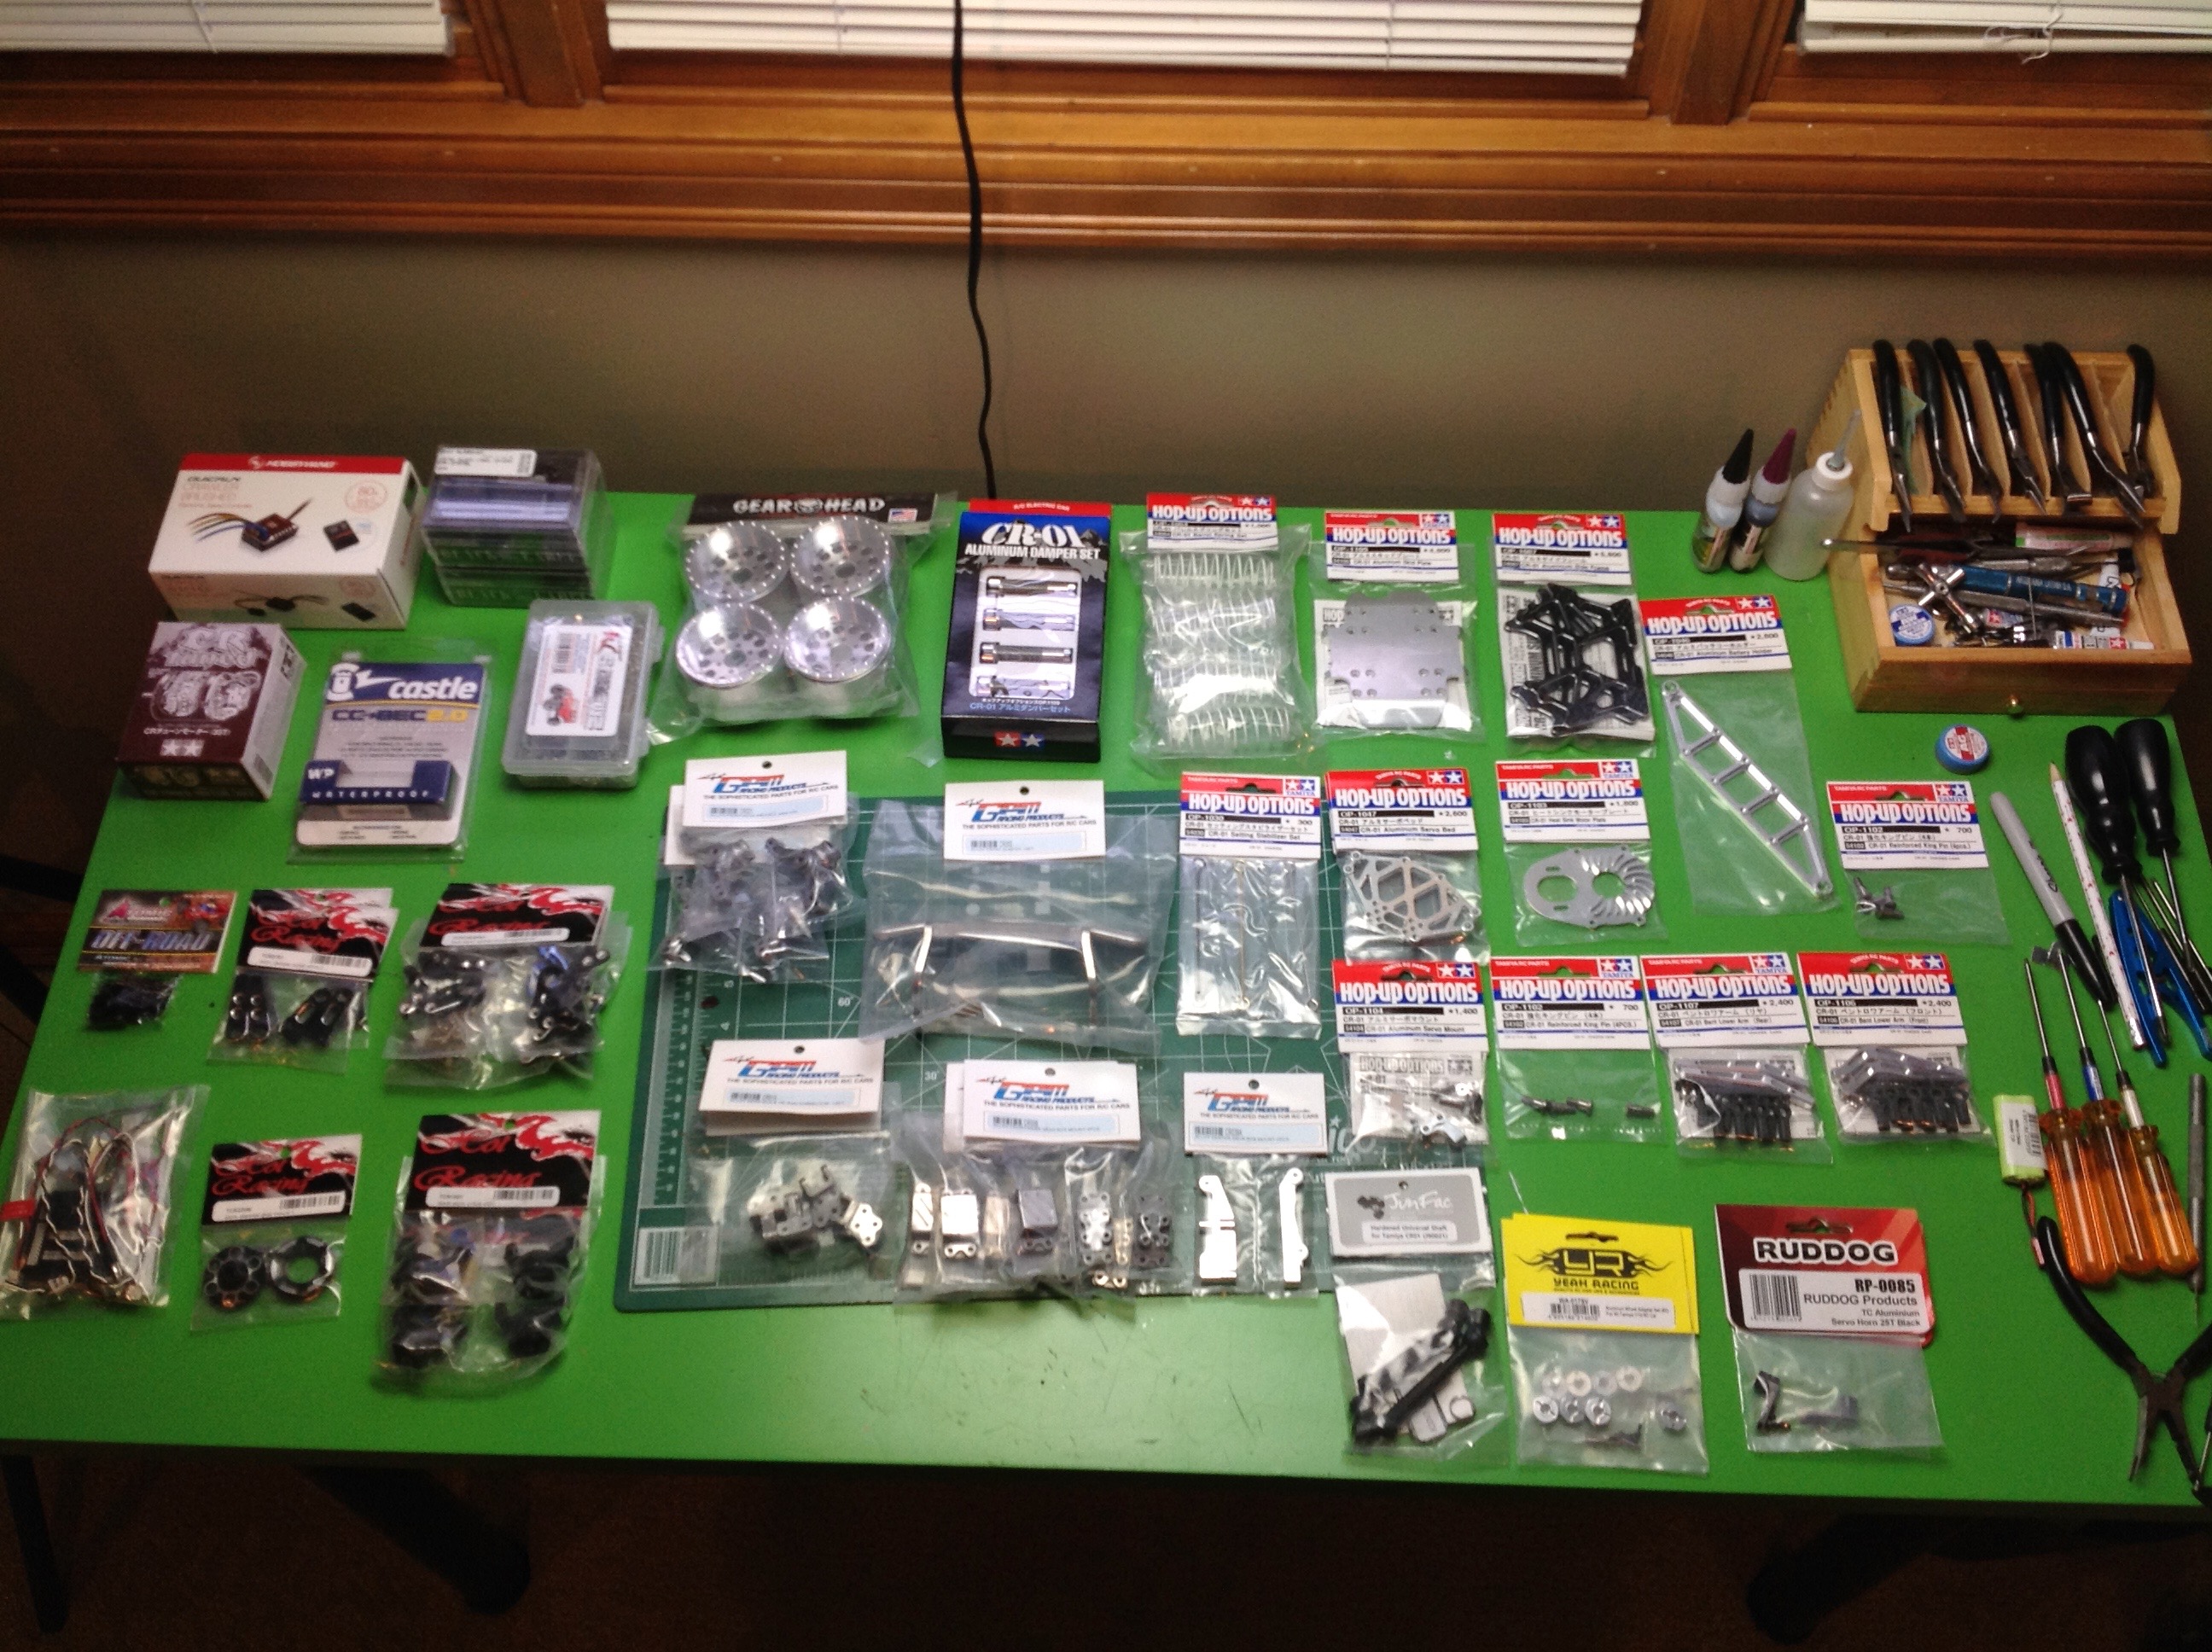
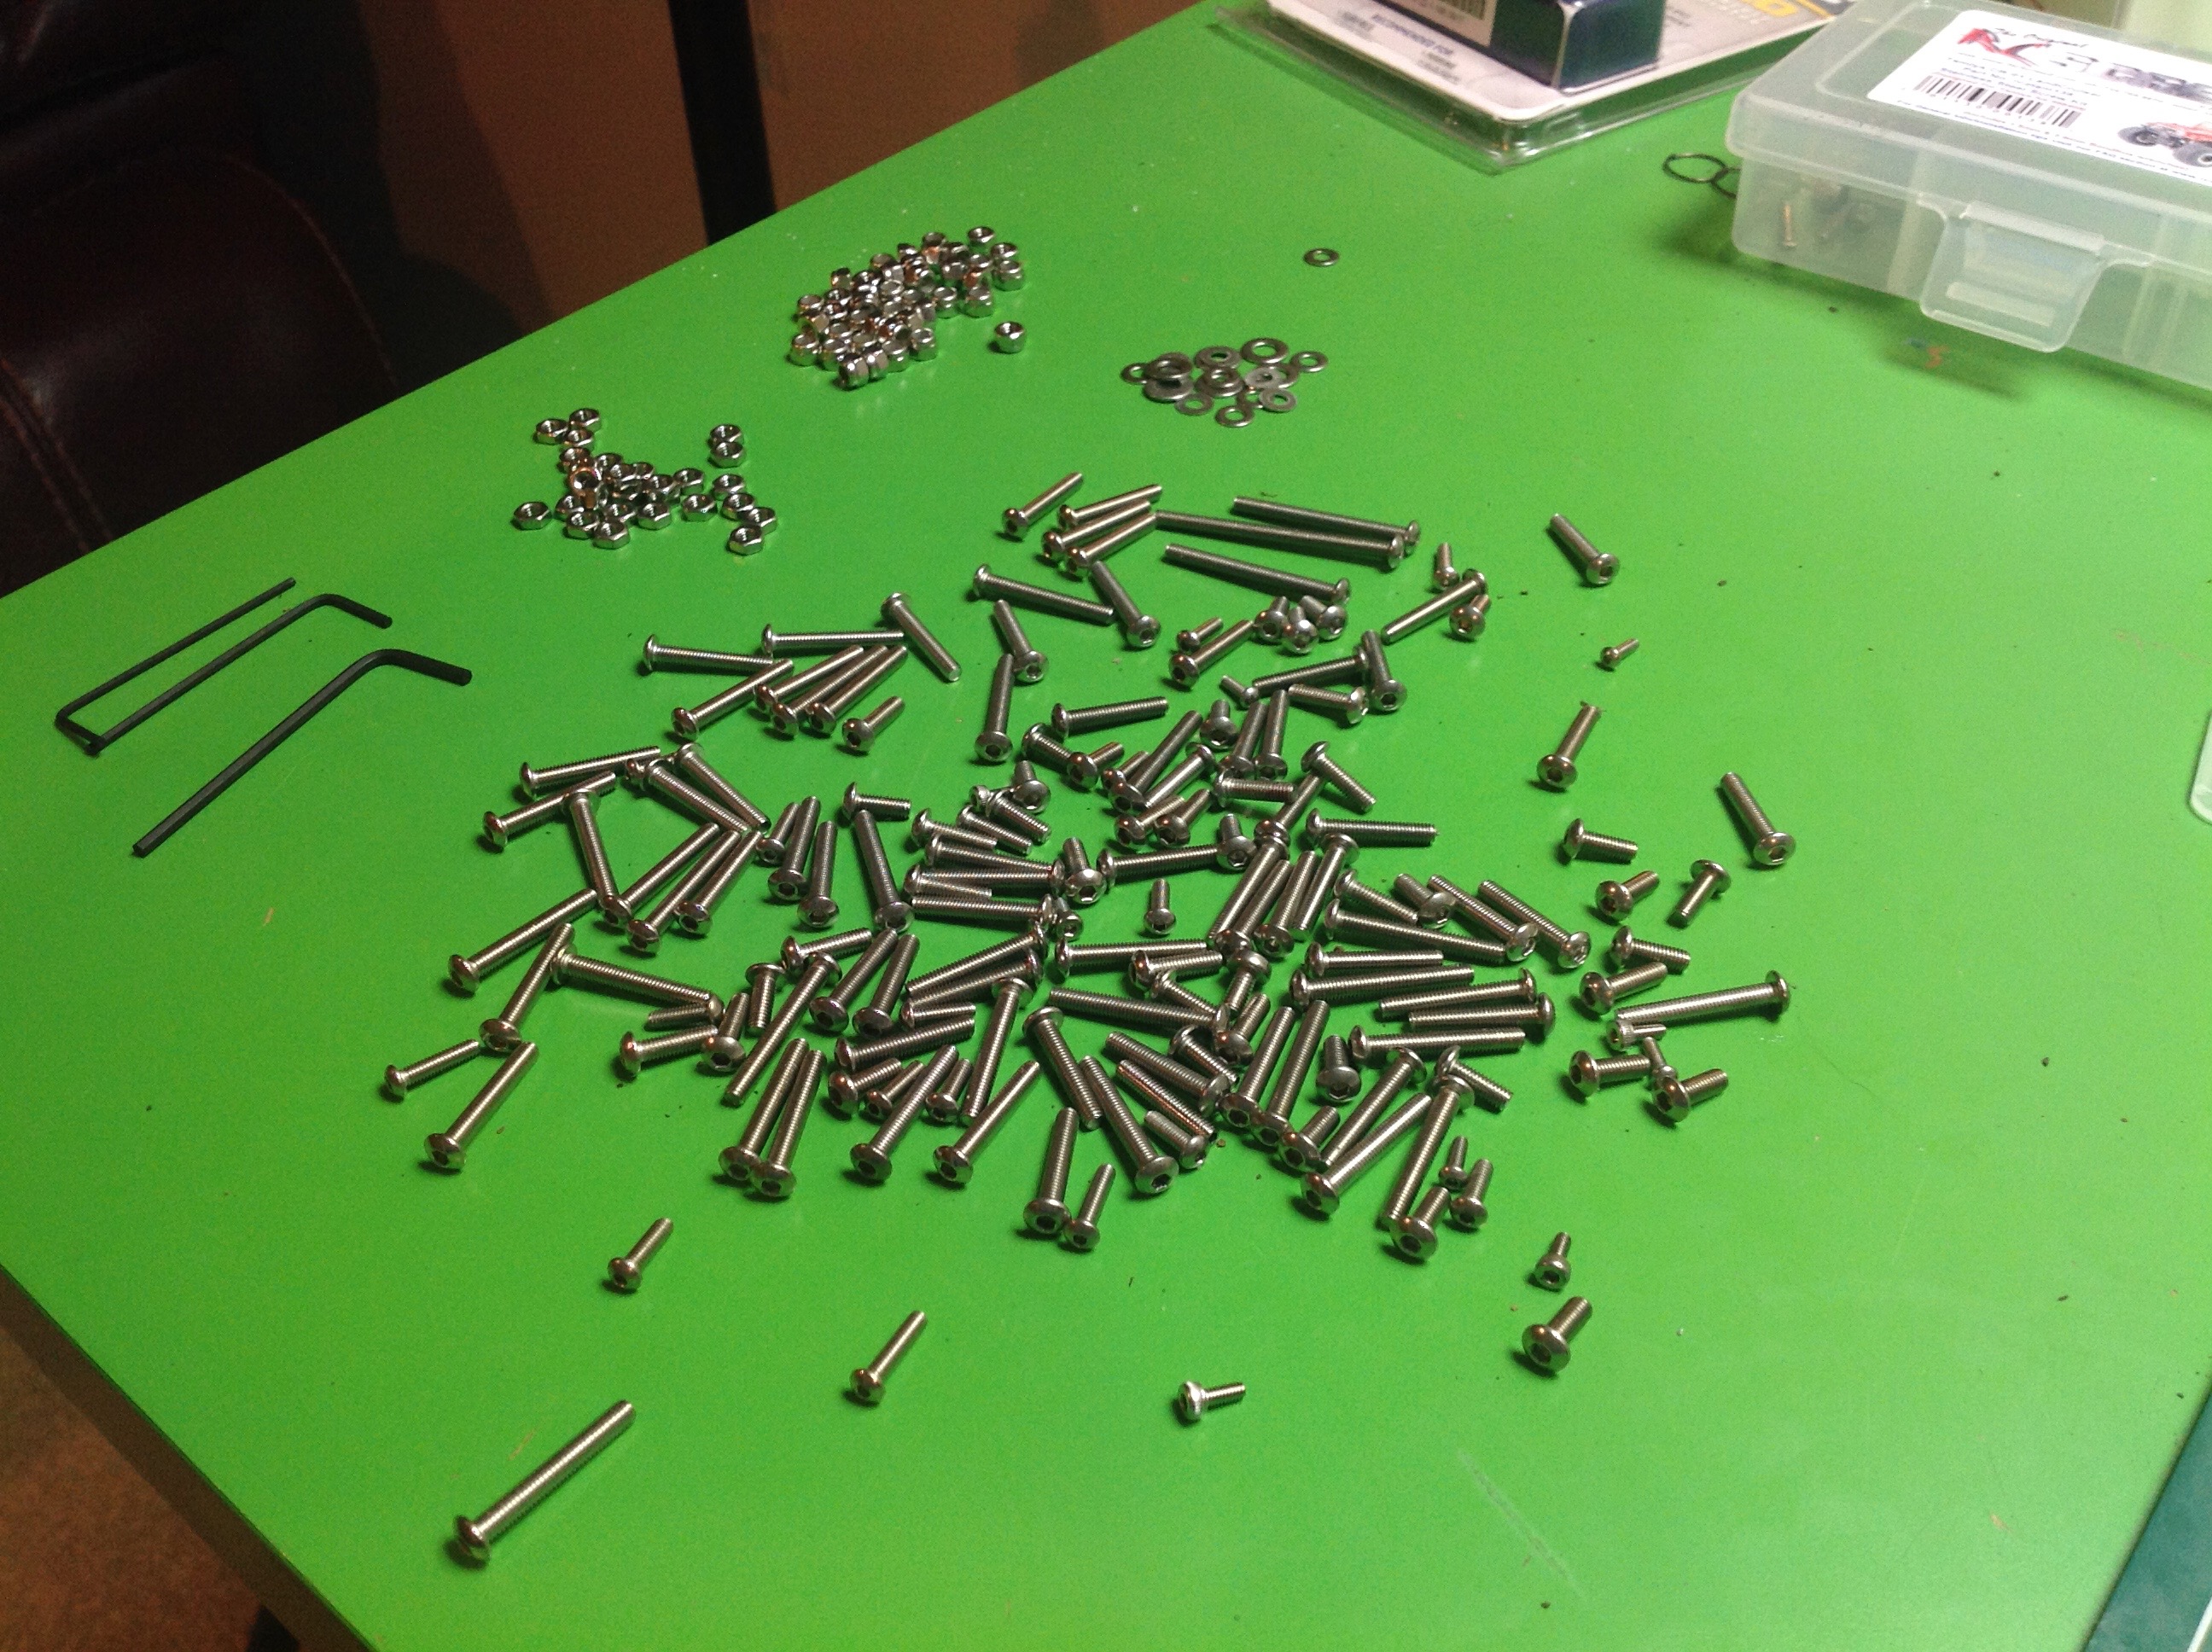
Wow, that's a big pile of upgrades. Prior to even building this
model, I had scoured the globe for every upgrade part I could find with
the goal of making my CR-01 entirely metal. I was inspired by a
build on the Tamiya Club forum by Speedy.
His build was in 2014, and since that time a large number of the
upgrade parts have gone out of production so sourcing them was very
difficult. In the left image above you see aluminum parts, a power
system, magnificent servos, beadlock wheels, a high power BEC, and
everything else I could think of. The one holy grail I was never
able to find is the aluminum axle housings. The right hand image
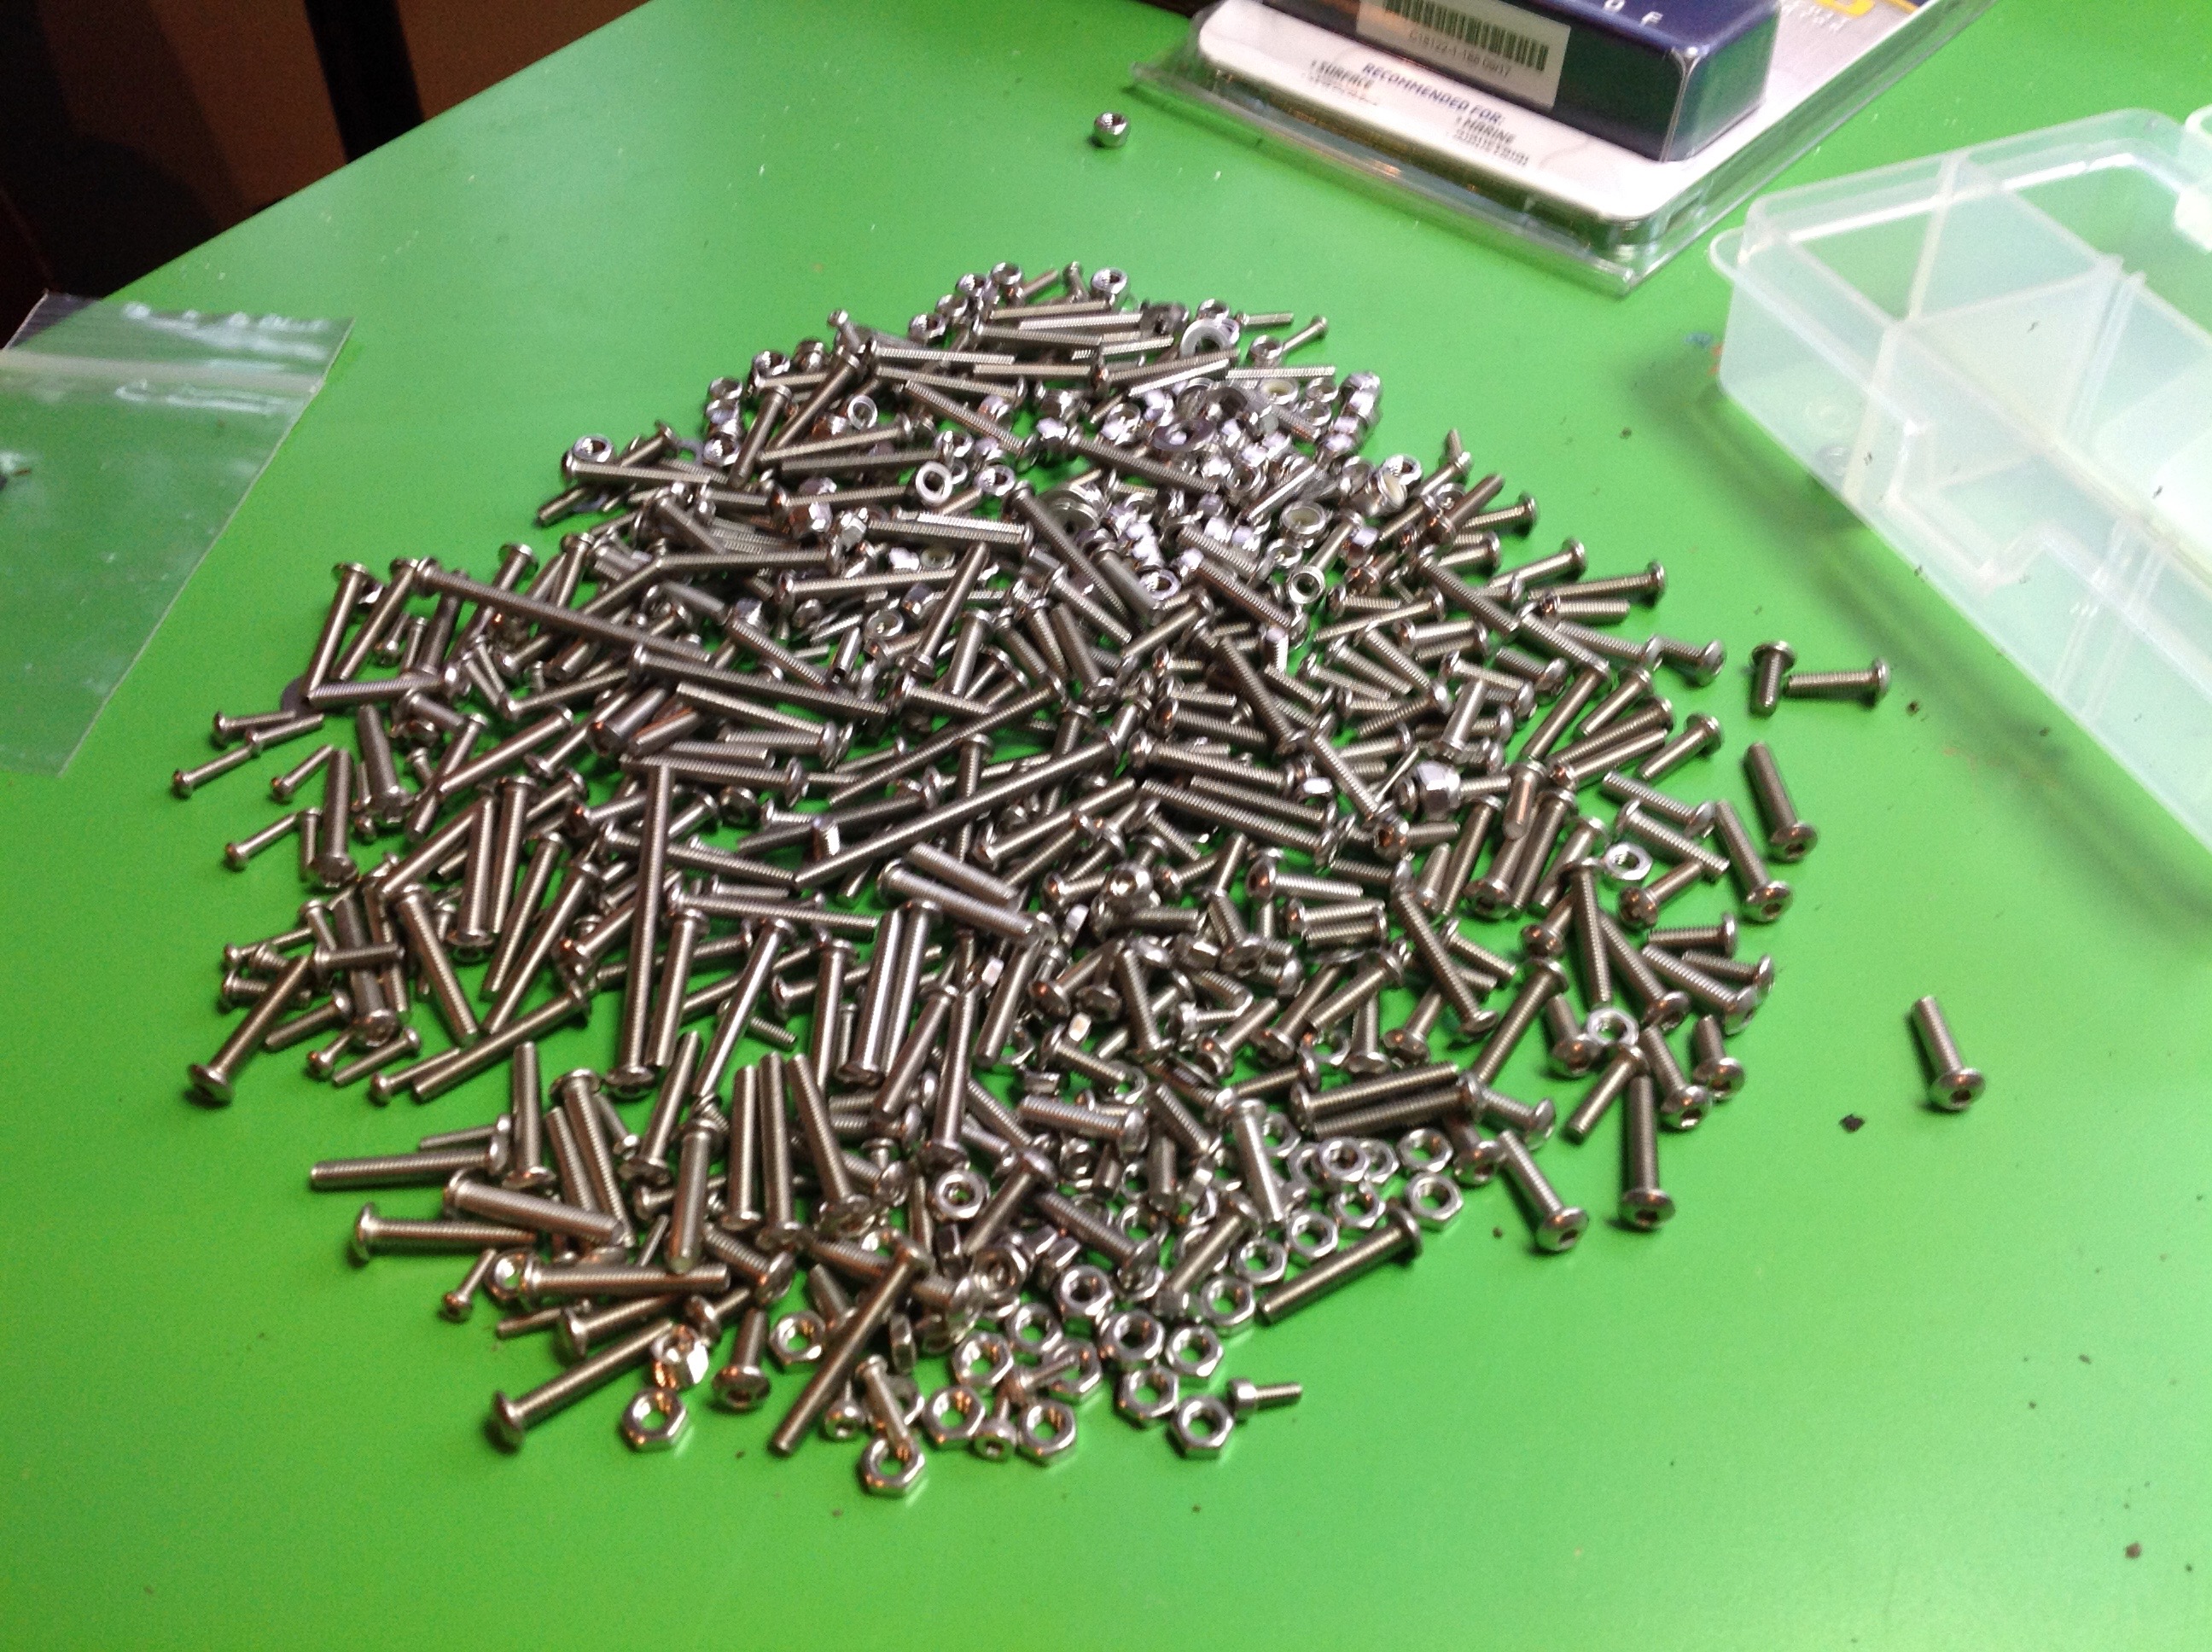
shows the contents of the RC Screws stainless screw kit.
Installing these meant I had to pretty much tear the entire model down
to kit form and start over. It was fun.
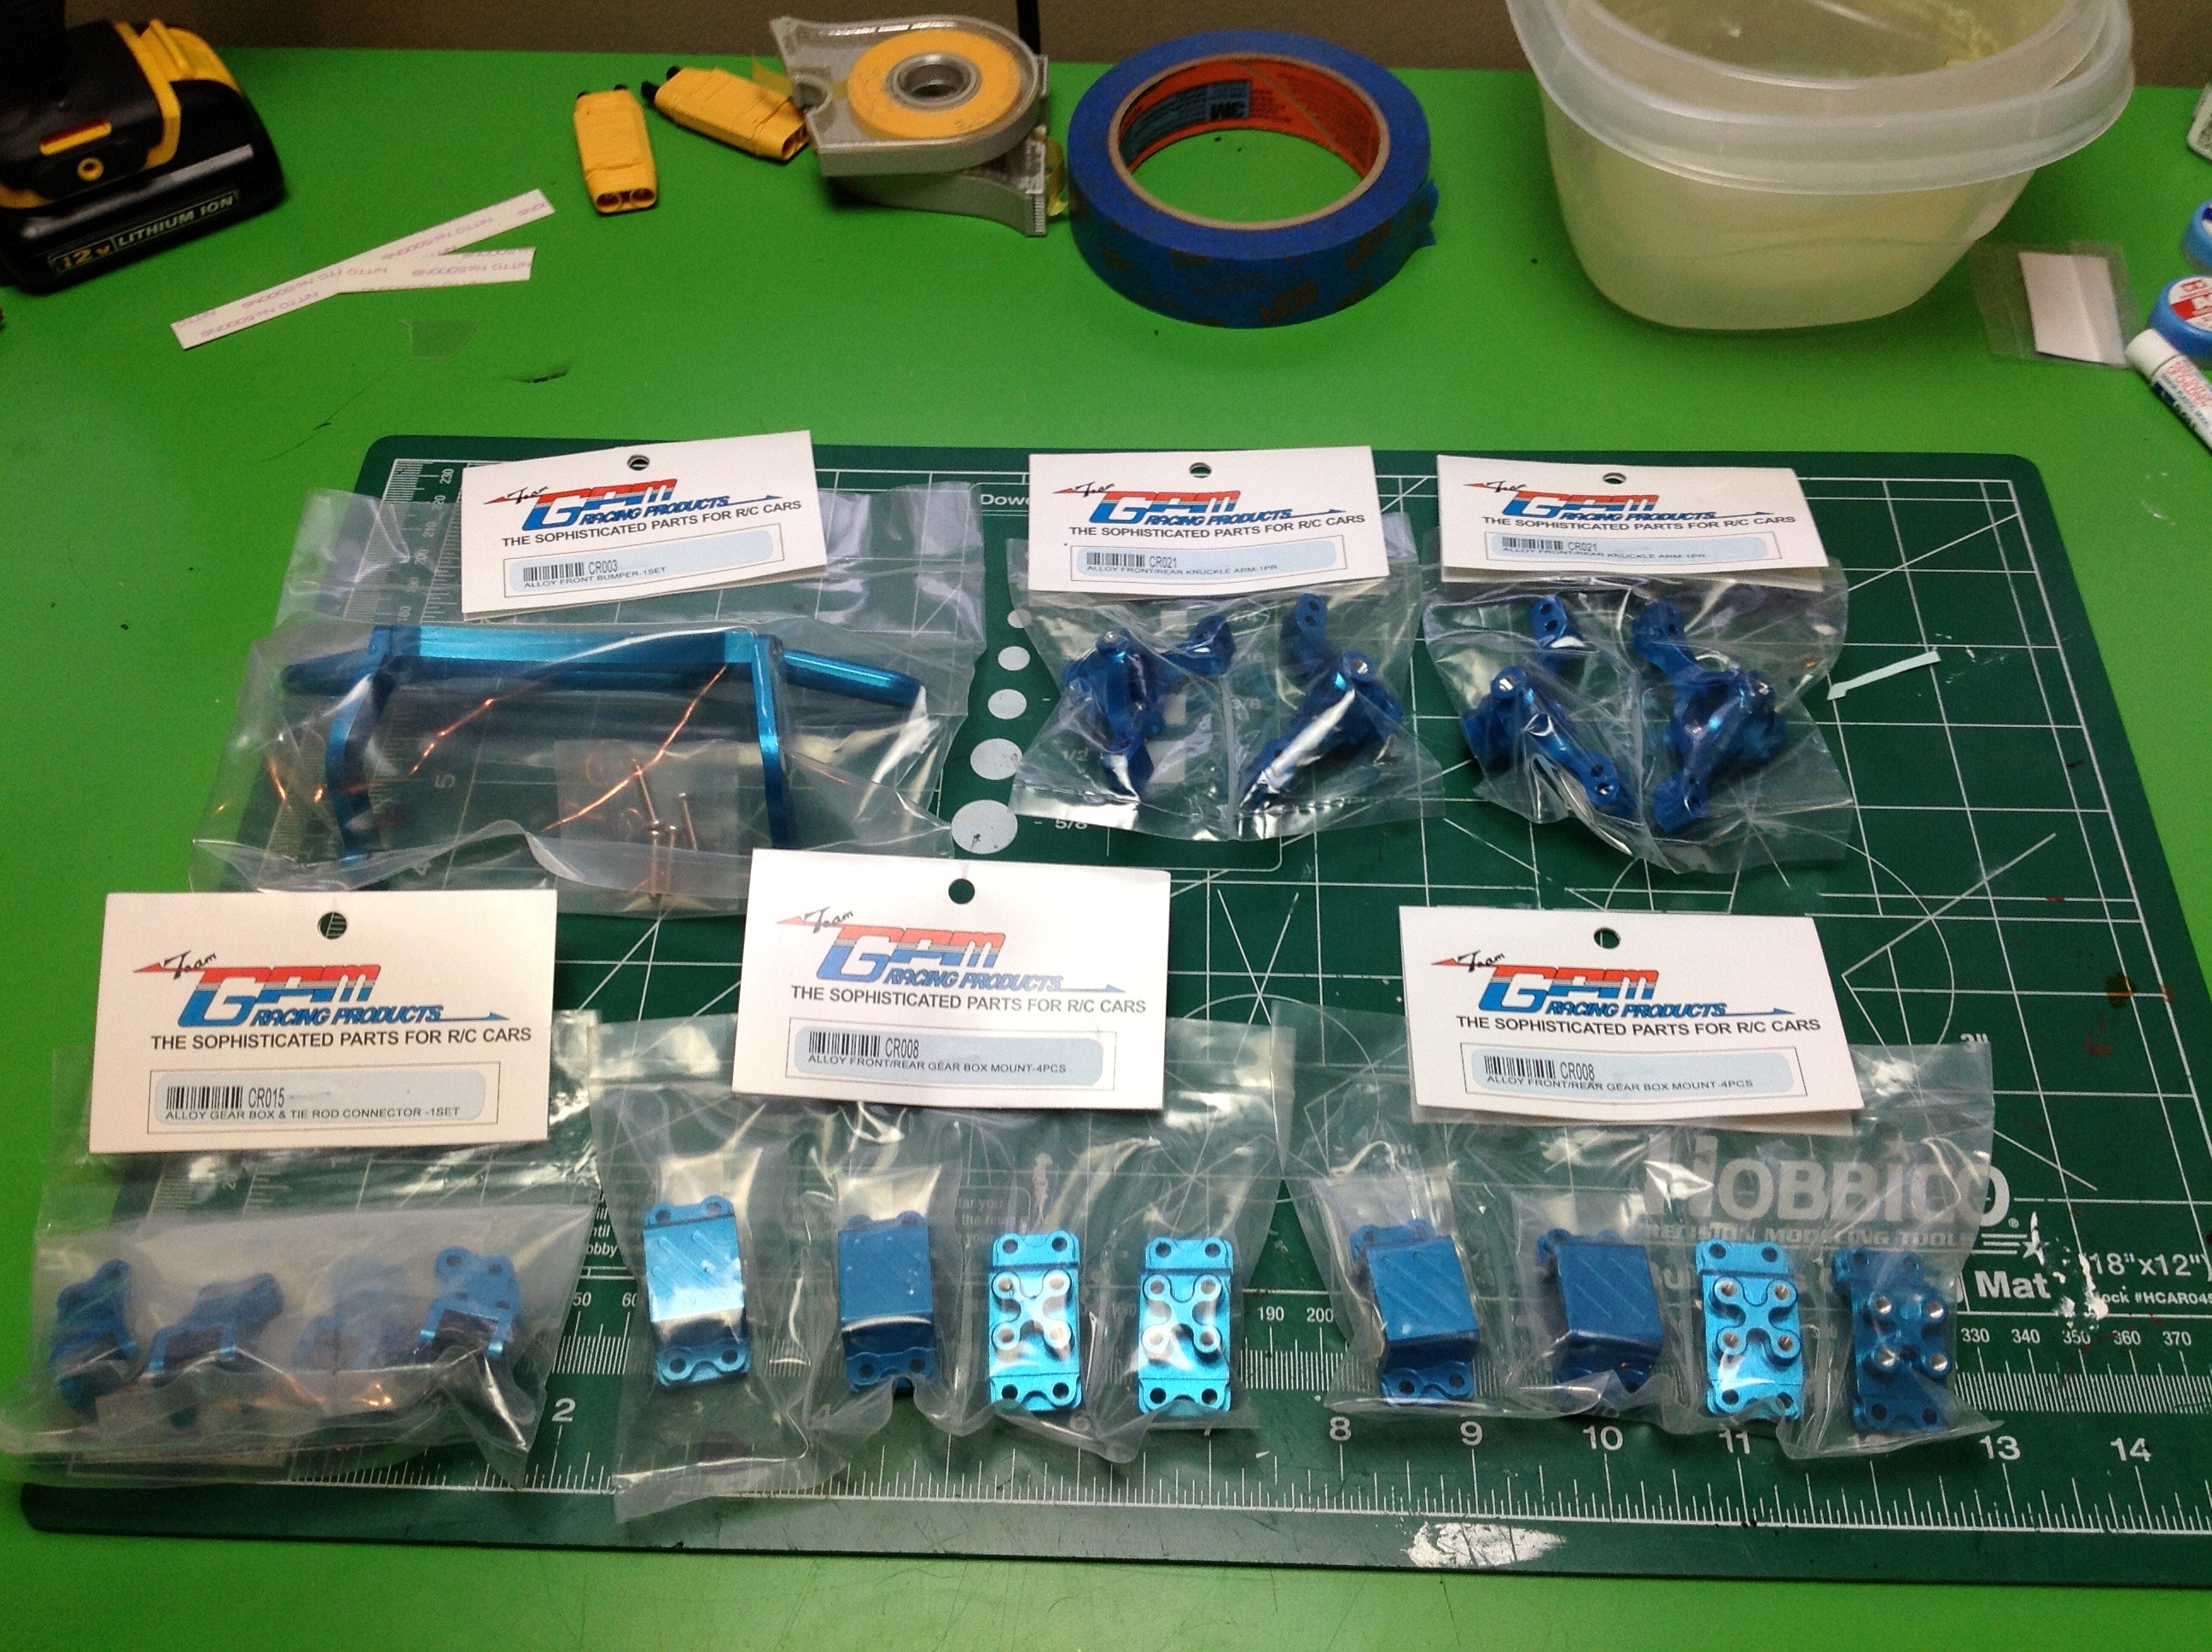
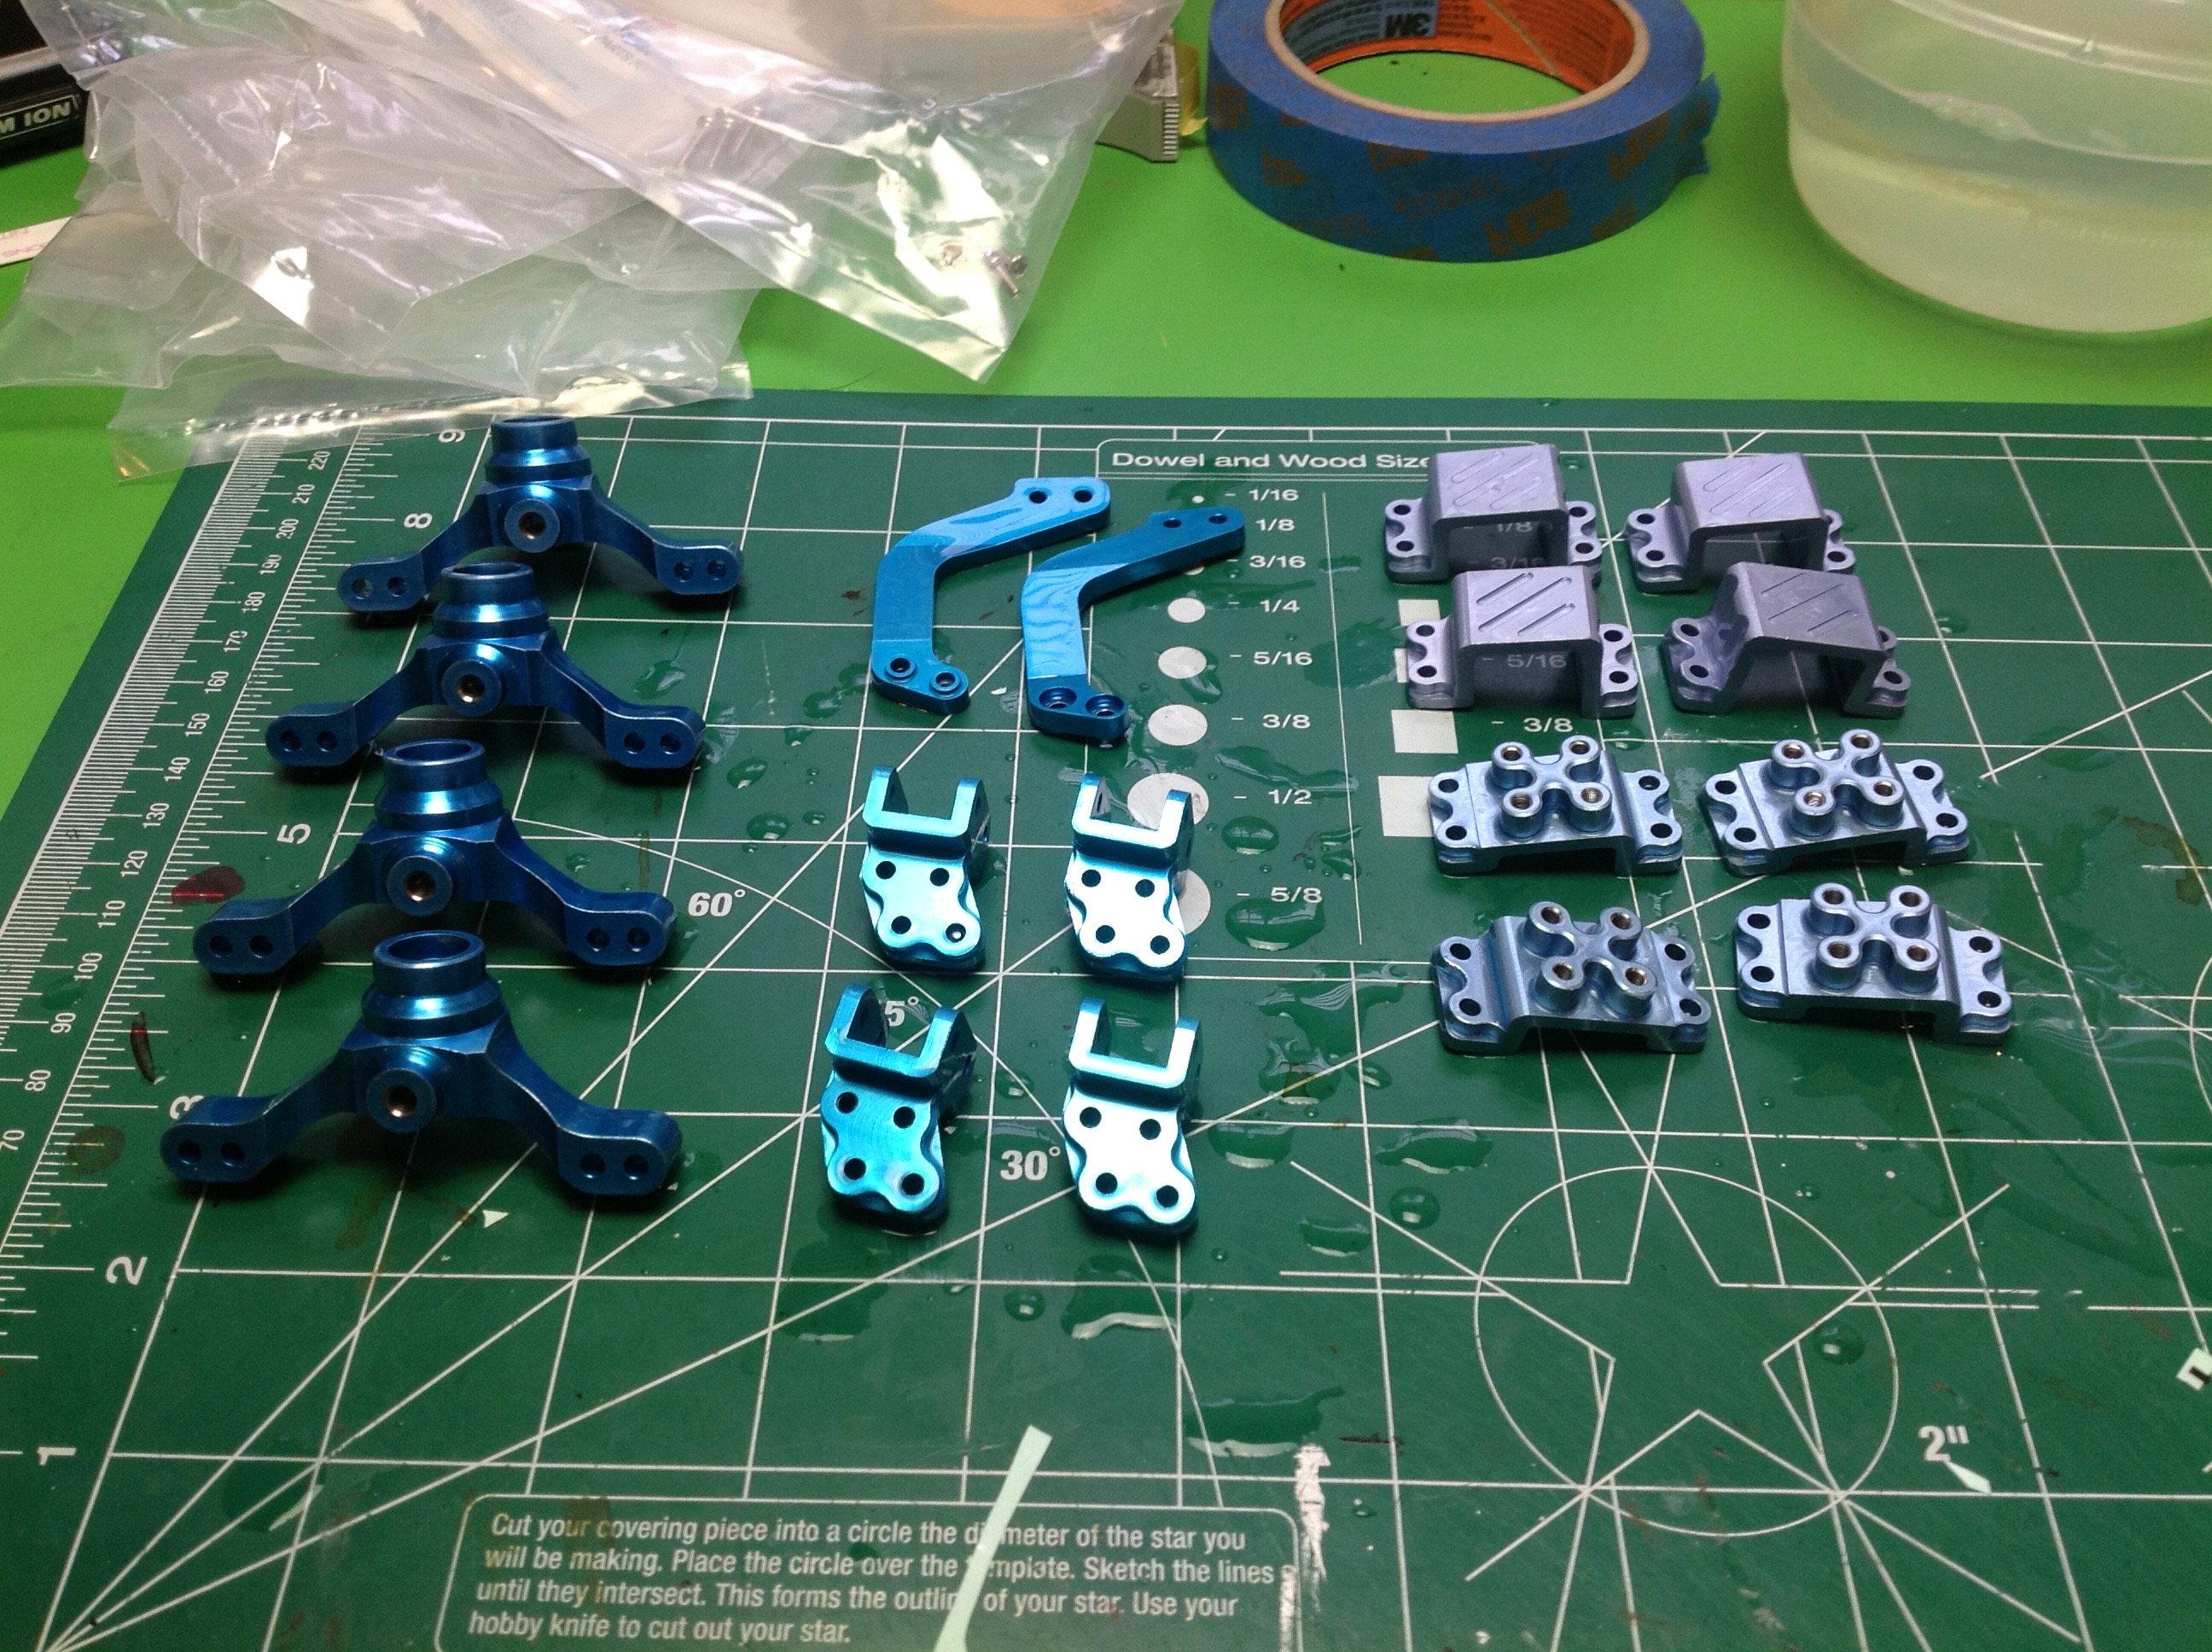
One of my main challenges was finding parts still available. GPM
has long since stopped making CR-01 parts, but their parts were high on
the list of things I needed. I was able to find an assortment of
their out of production parts but only with blue anodize which is not
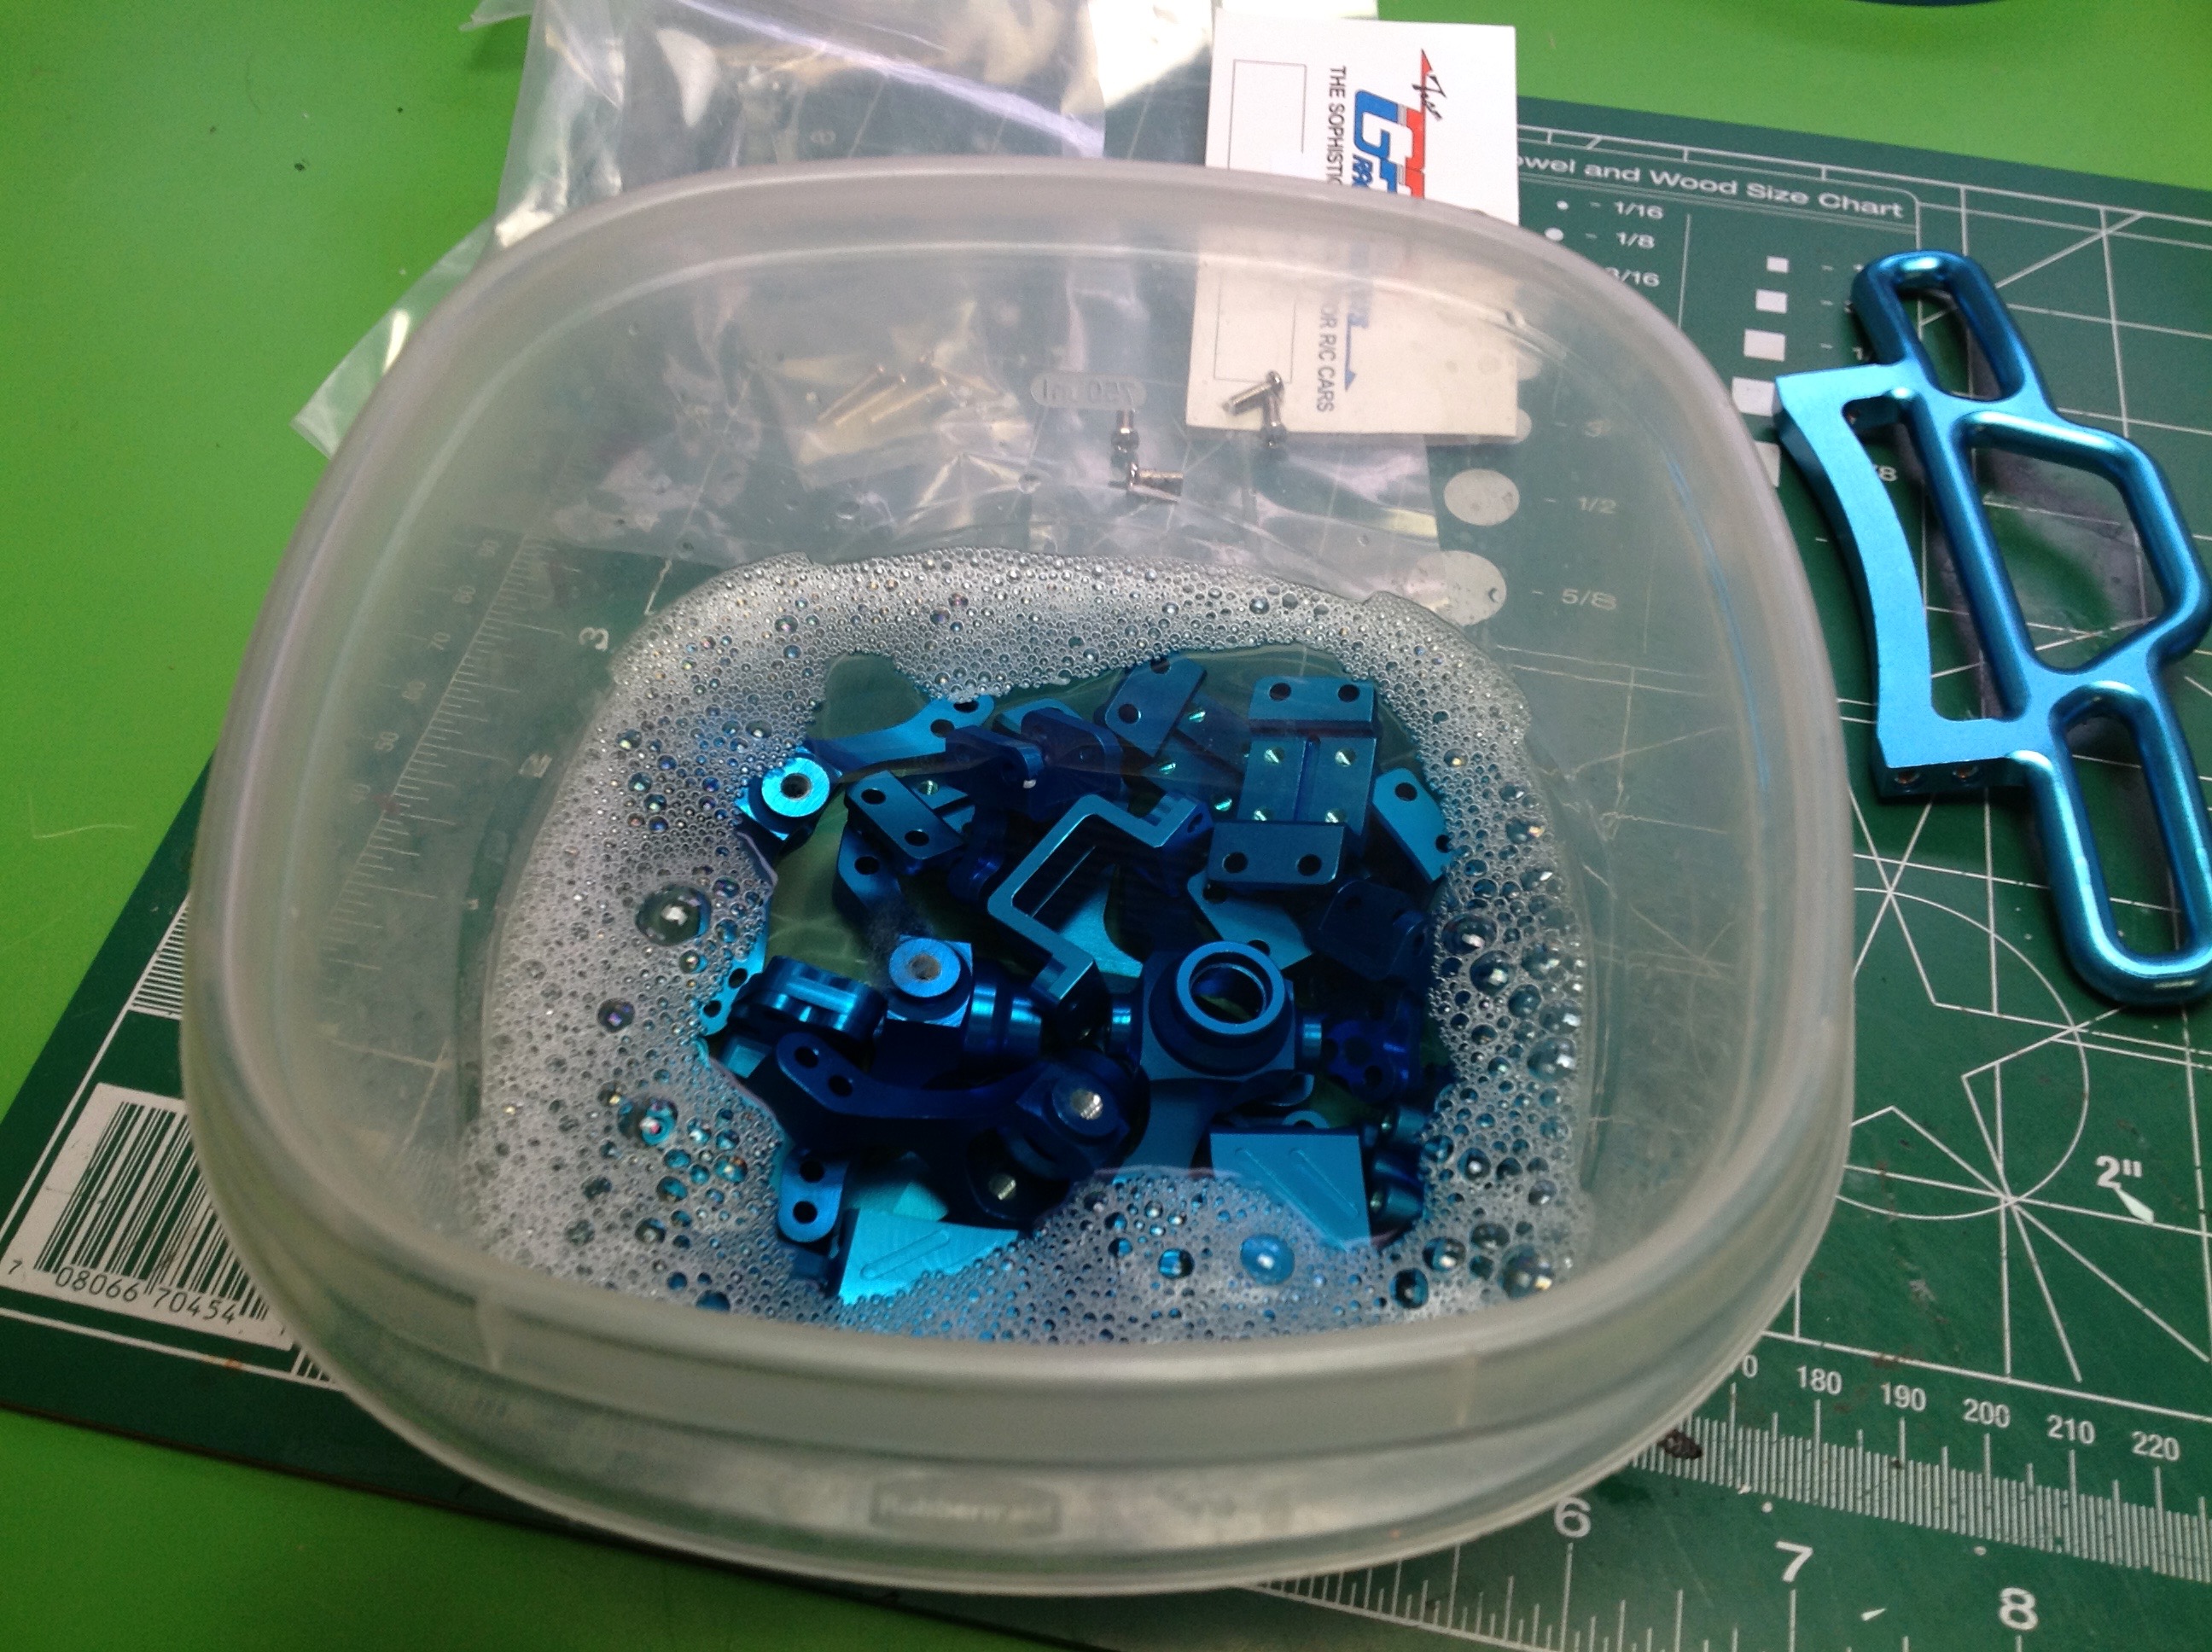
what I wanted. Stripping the dye begins with soaking the parts in
"Greased Lightning" cleaner for a few minutes, rinsing, and
repeating. I went through about a gallon of cleaner for all these
parts.
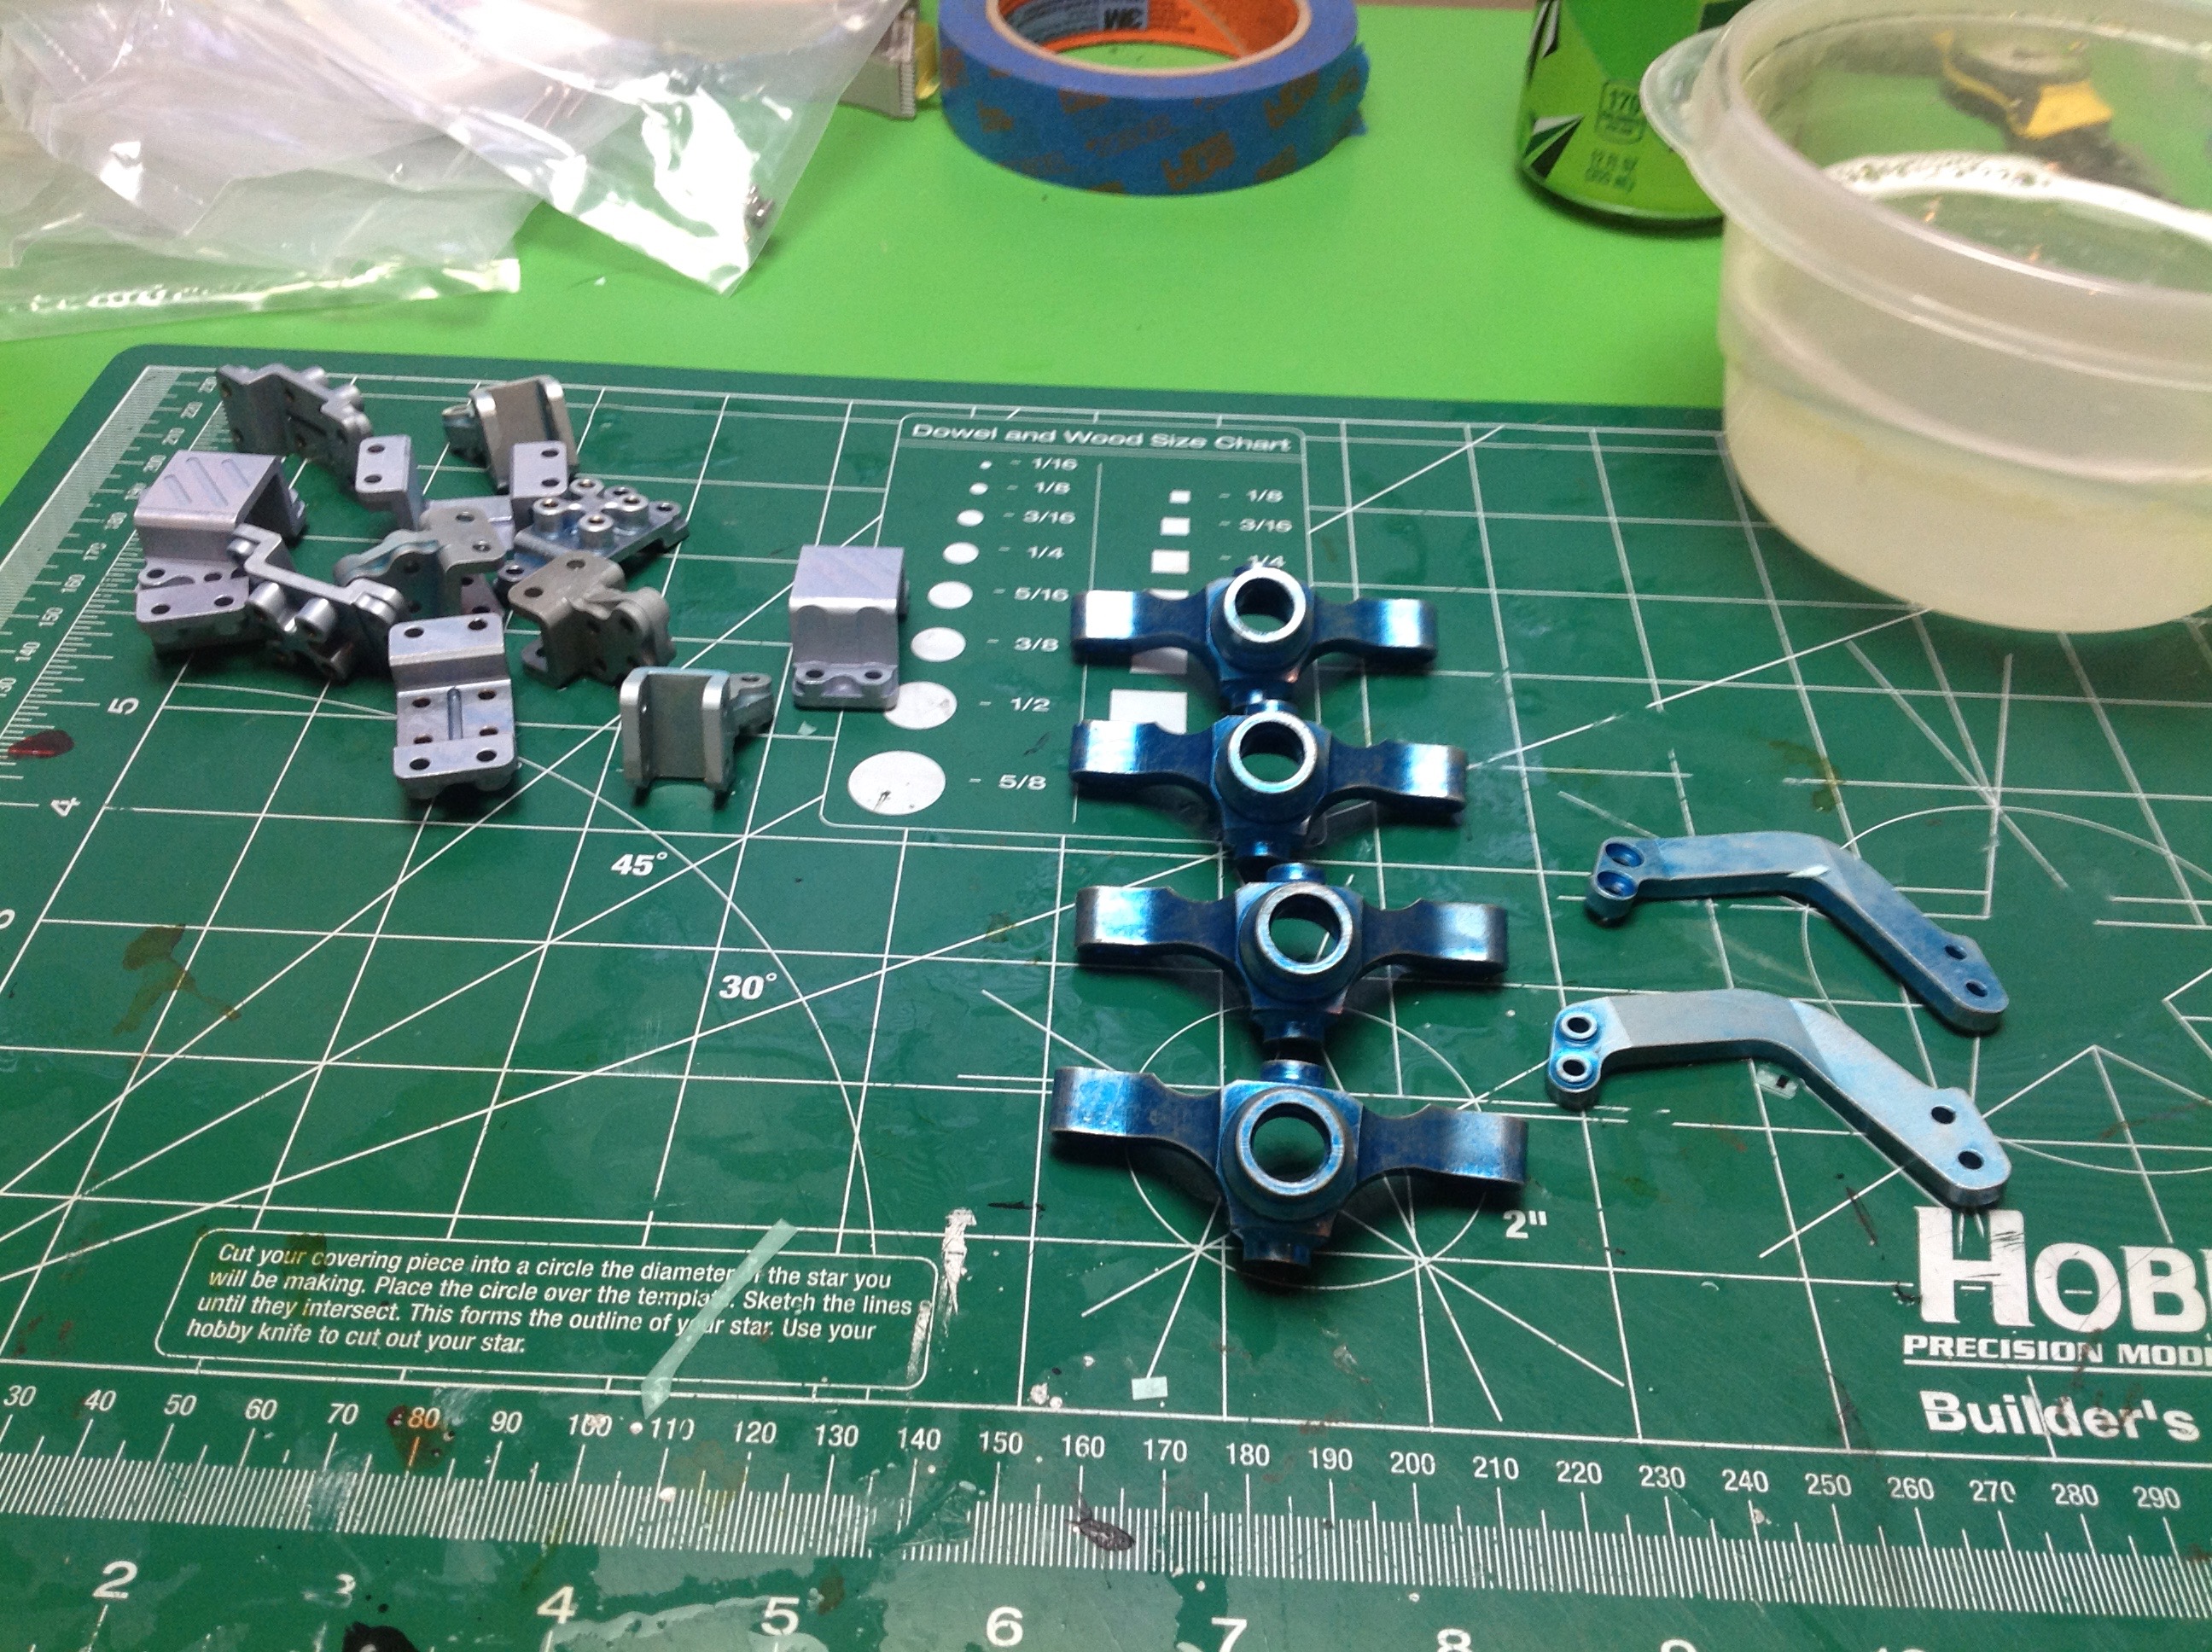
Here you can see my mixed results. The left hand image shows the
parts after the first rinse. A few of the parts have almost total
dye removal, but other parts like the steering hubs look almost like
they did when I started. The right hand image shows the parts
after the third rinse. Some are close enough to call done, but
those hubs are still stubbornly holding onto their dye. I let the
parts soak while I went to lunch which was a bad idea. The cleaner
started attacking the base metal causing corrosion and pits.
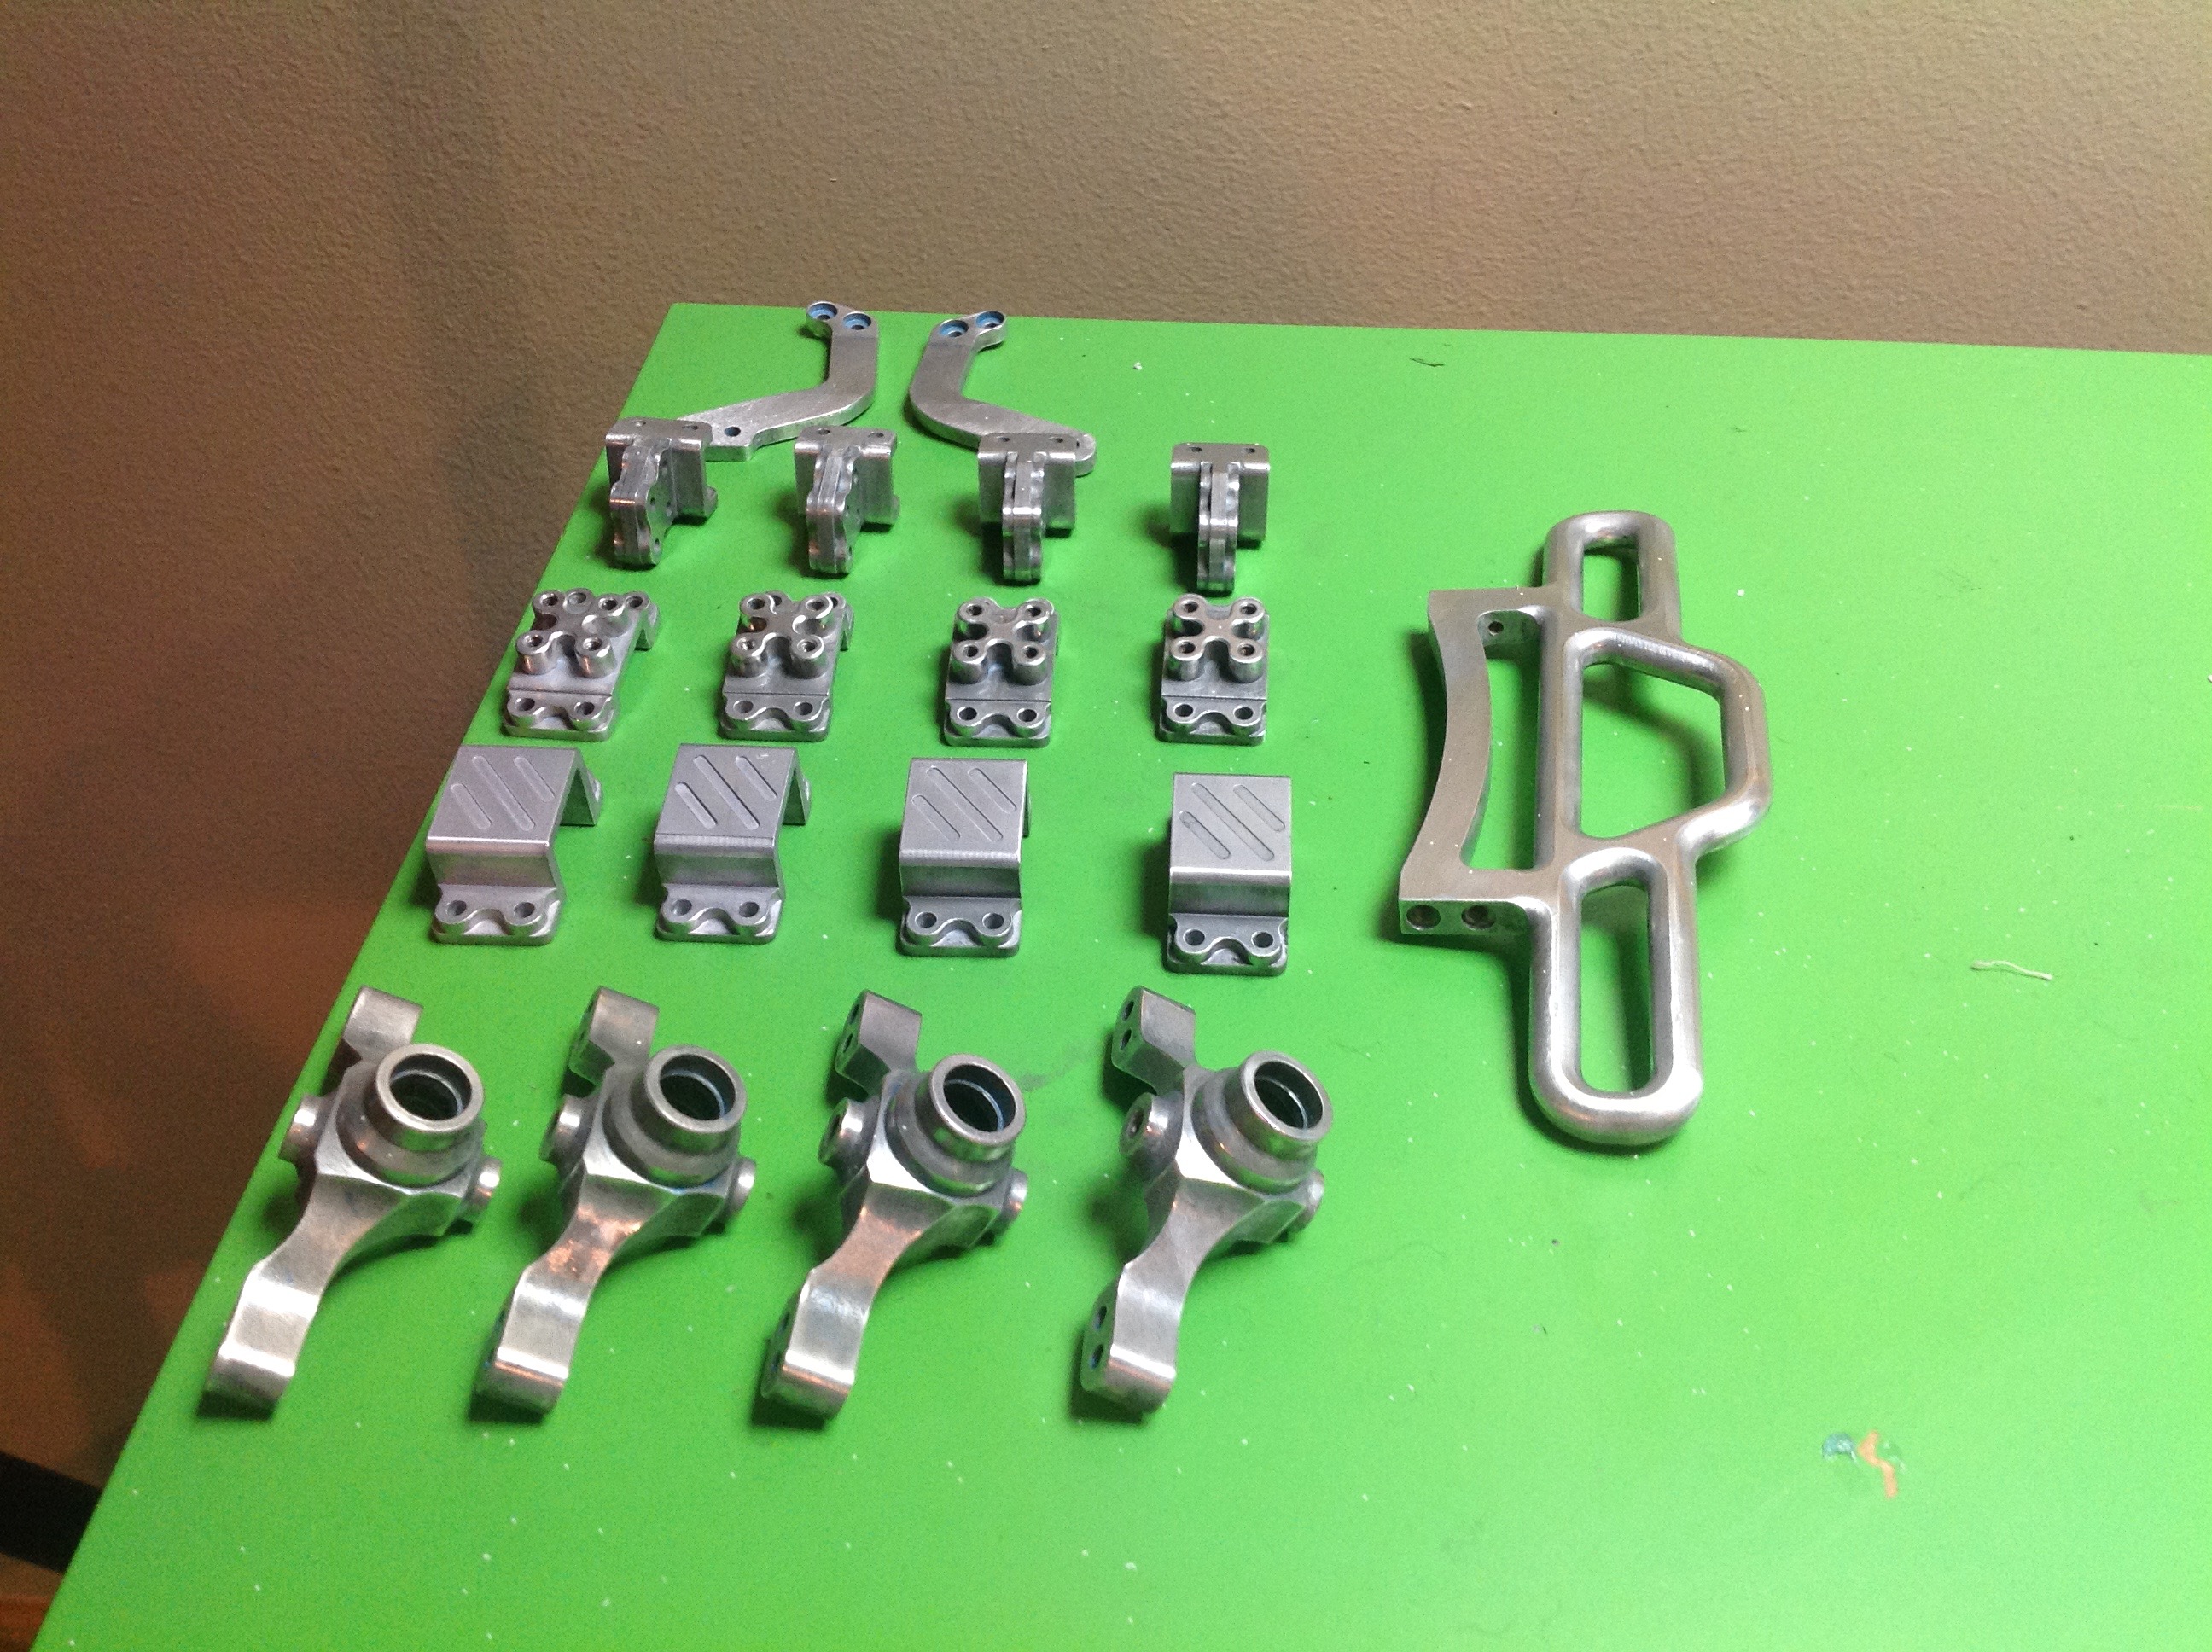
Even after the dye is removed we're not quite done. The cleaning
process resulted in a flat, dull surface which is not good enough for
the kind of bling I'm looking for. I spent the day with a Dremel
polishing wheel and some automotive wheel polishing compound shining up
all the parts. It took pretty much the entire day, but I'm happy
with the results.
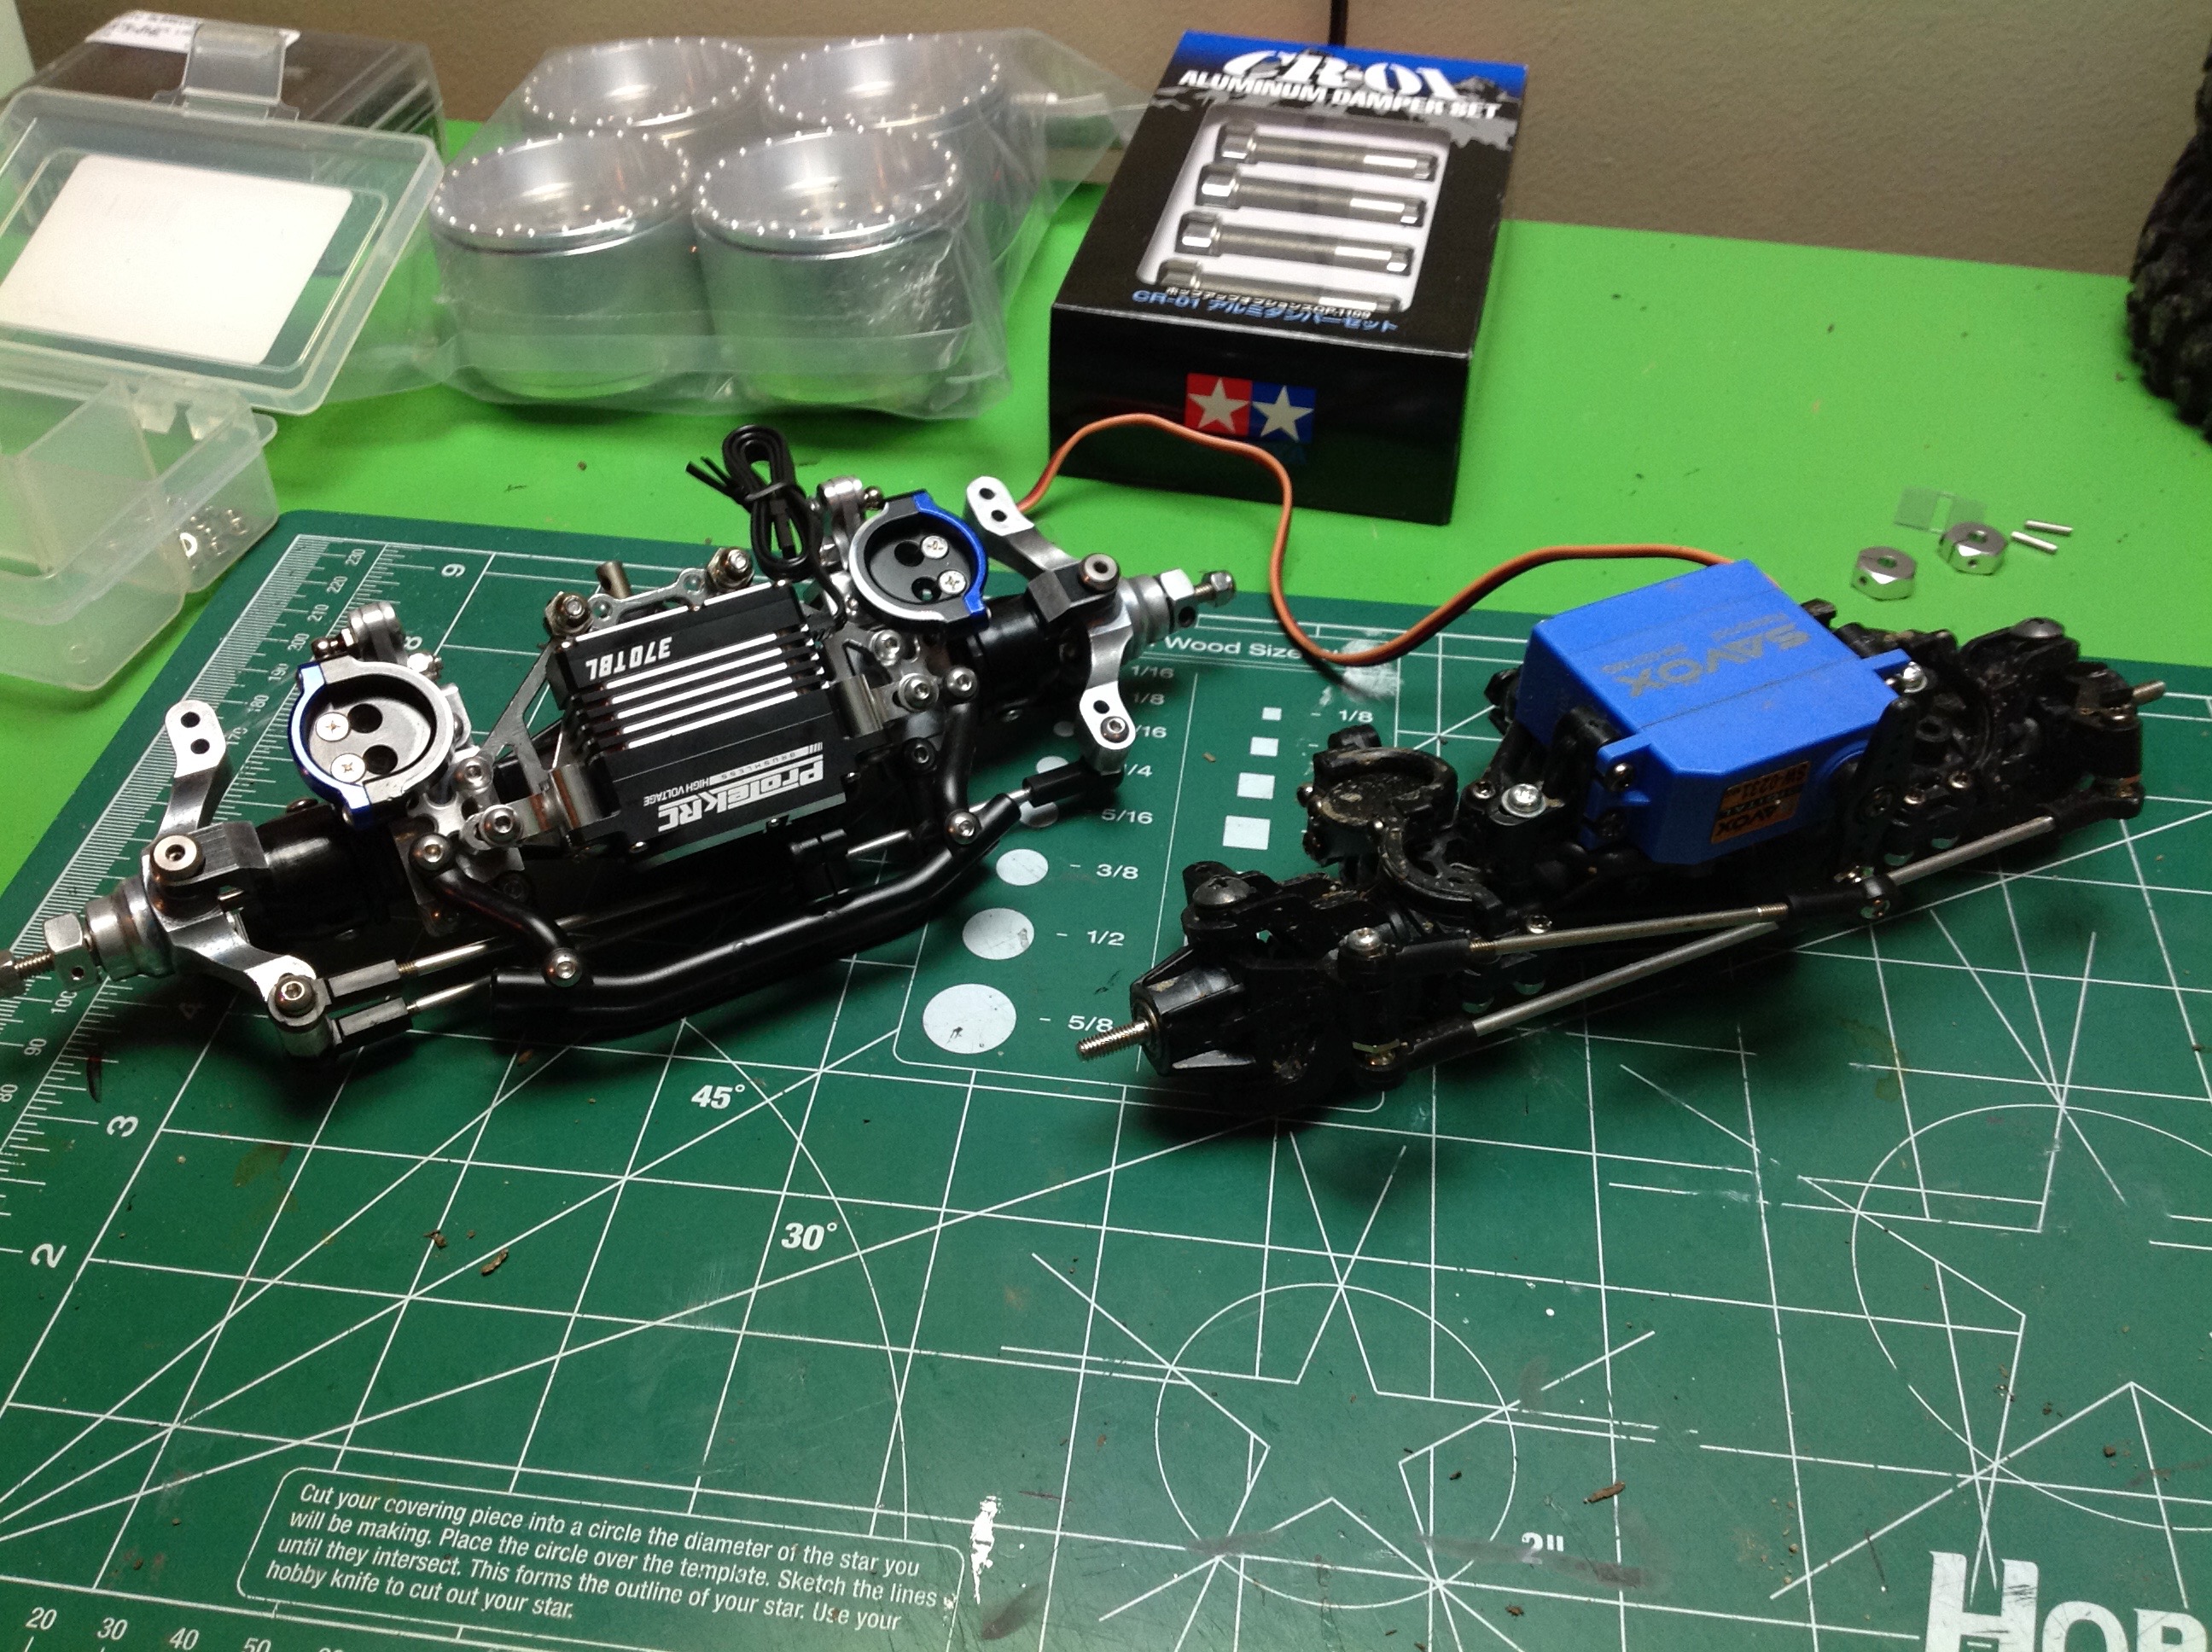
My upgrade strategy was to disassemble the model into modules by
following the instructions in reverse order, upgrading as I went
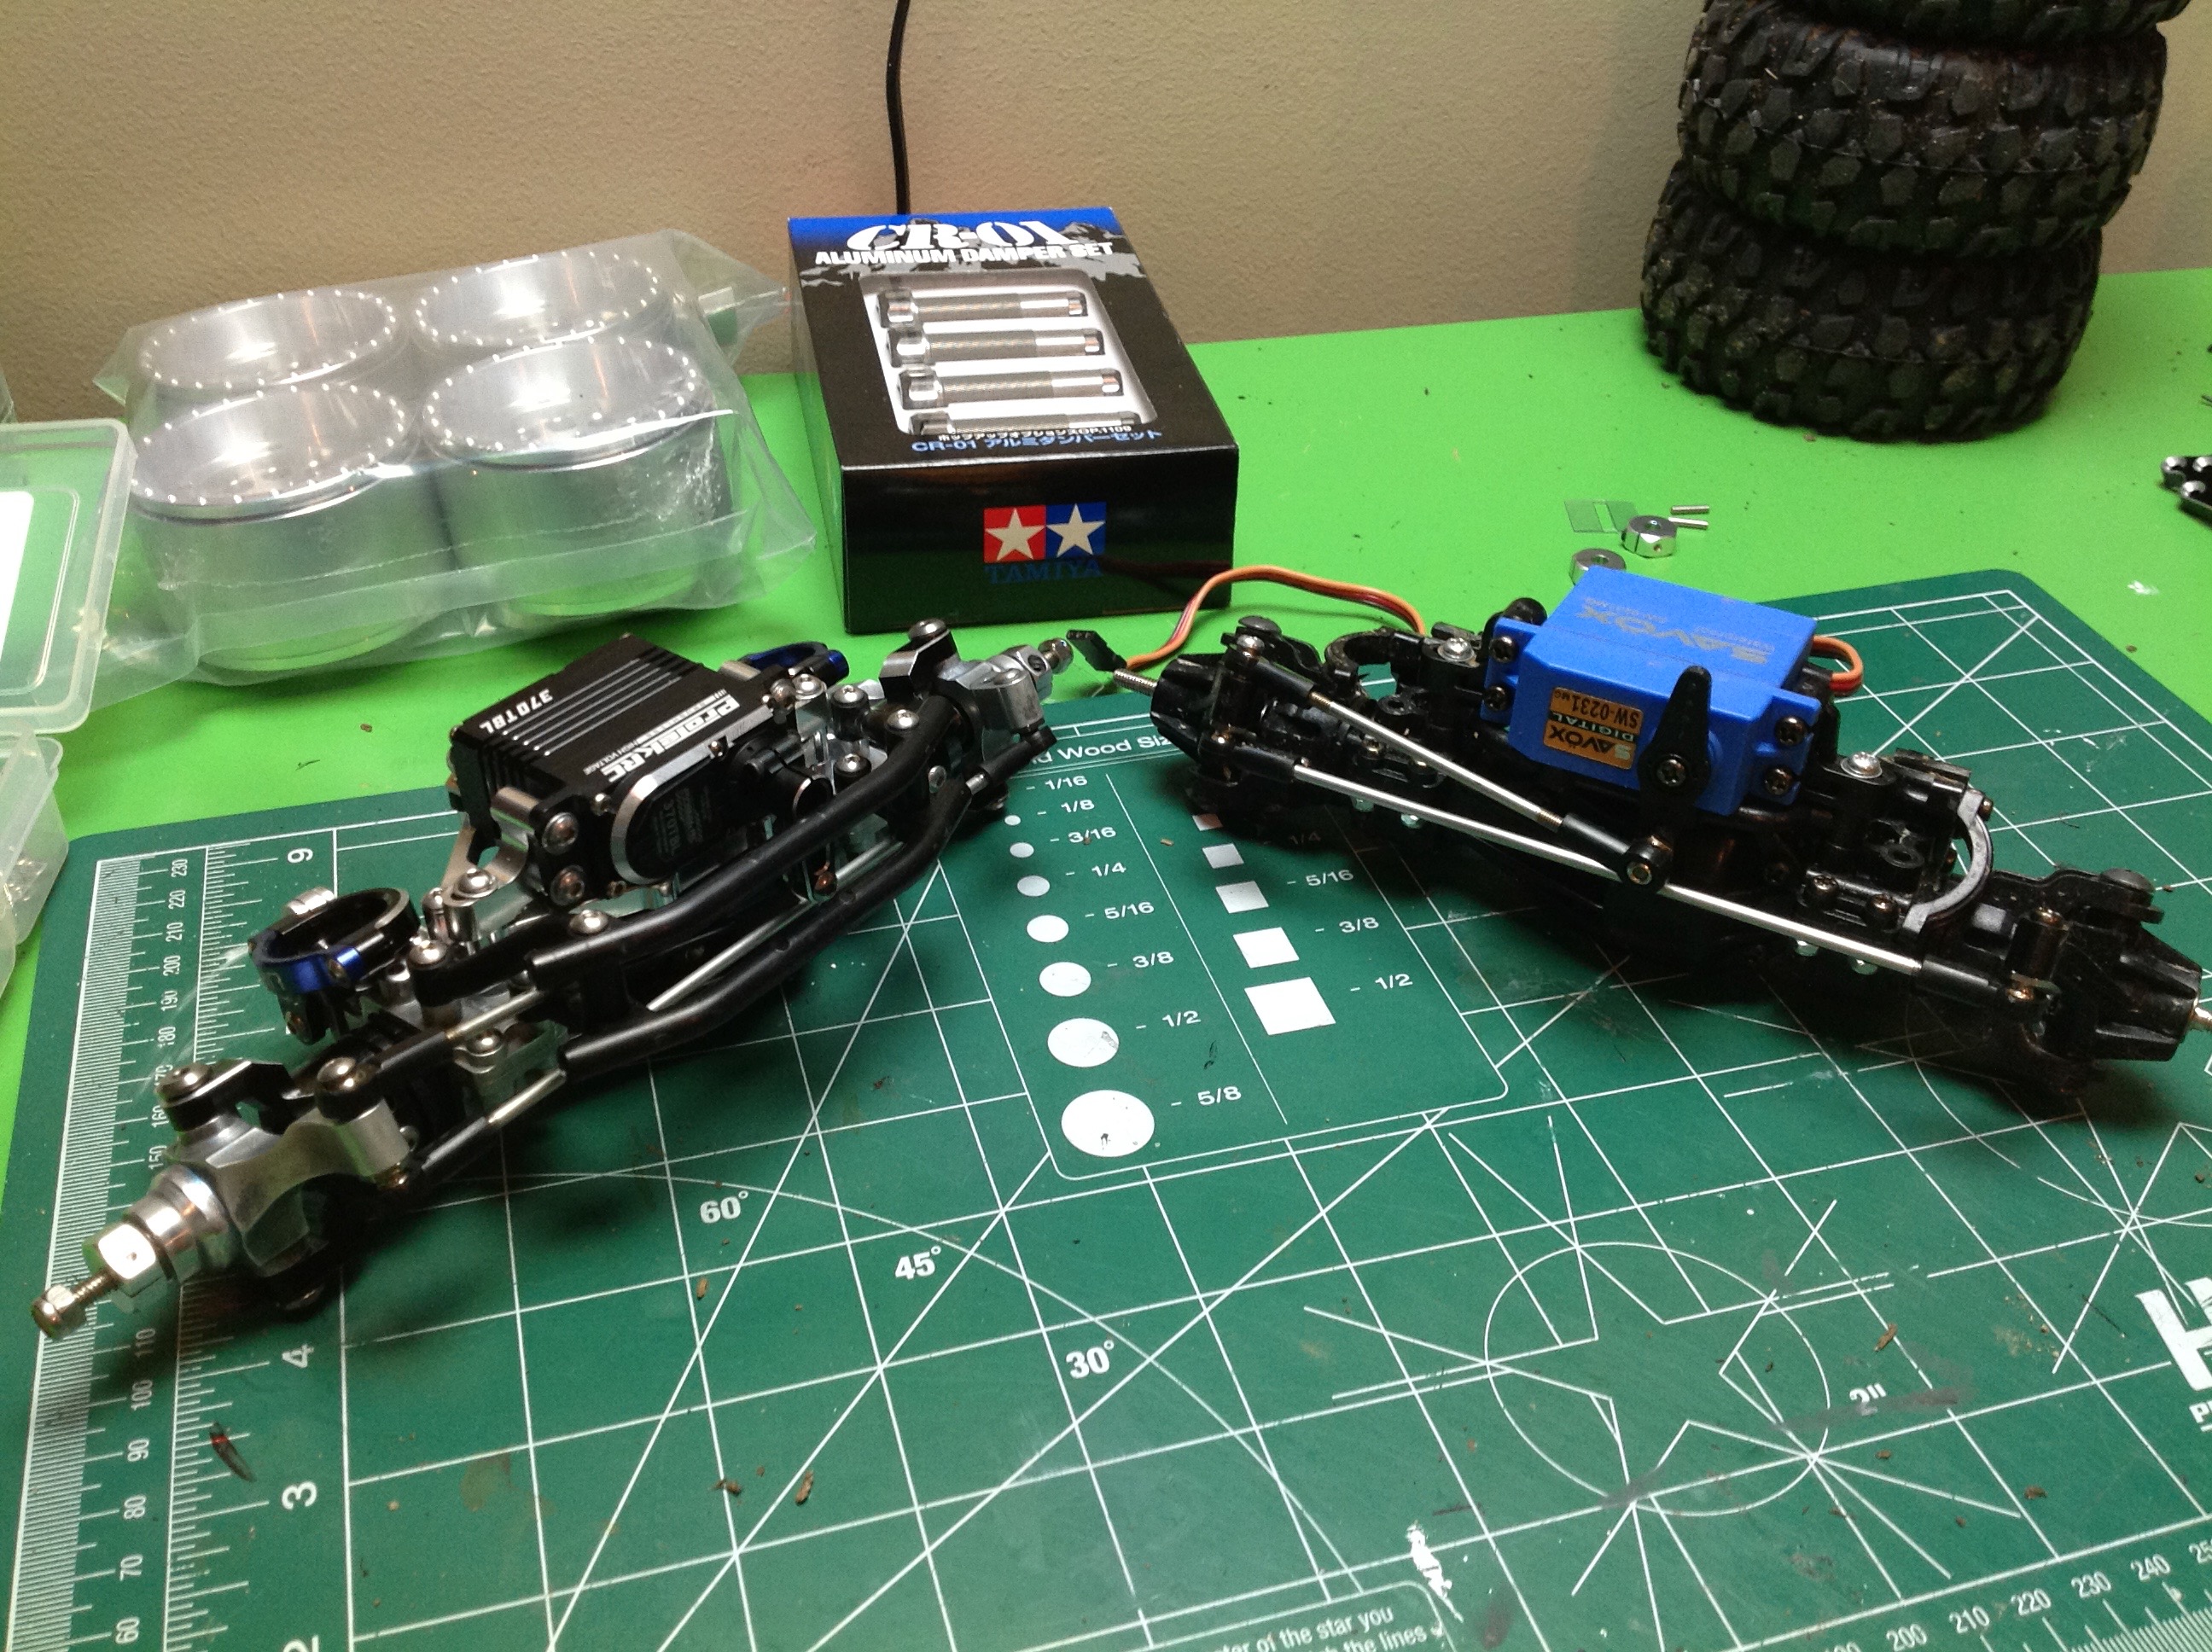
along. The first thing I tackled was the axles. Front and
rear axles are the same on this model, so I upgraded on and compared it
with a stock axle. Aluminum upgrades include c-hubs, steering
arms, shock mounts, spring supports, wheel hexes, and servo tray. I
replaced the Savox 208 oz-in servo with a Protek 650 oz-in aluminum
servo, the highest torque unit currently available as far as I
know. I admit that appearance was at least as big a factor as
torque in choosing this (very expensive) servo. I also added a
Yokomo aluminum servo horn to handle all that torque.
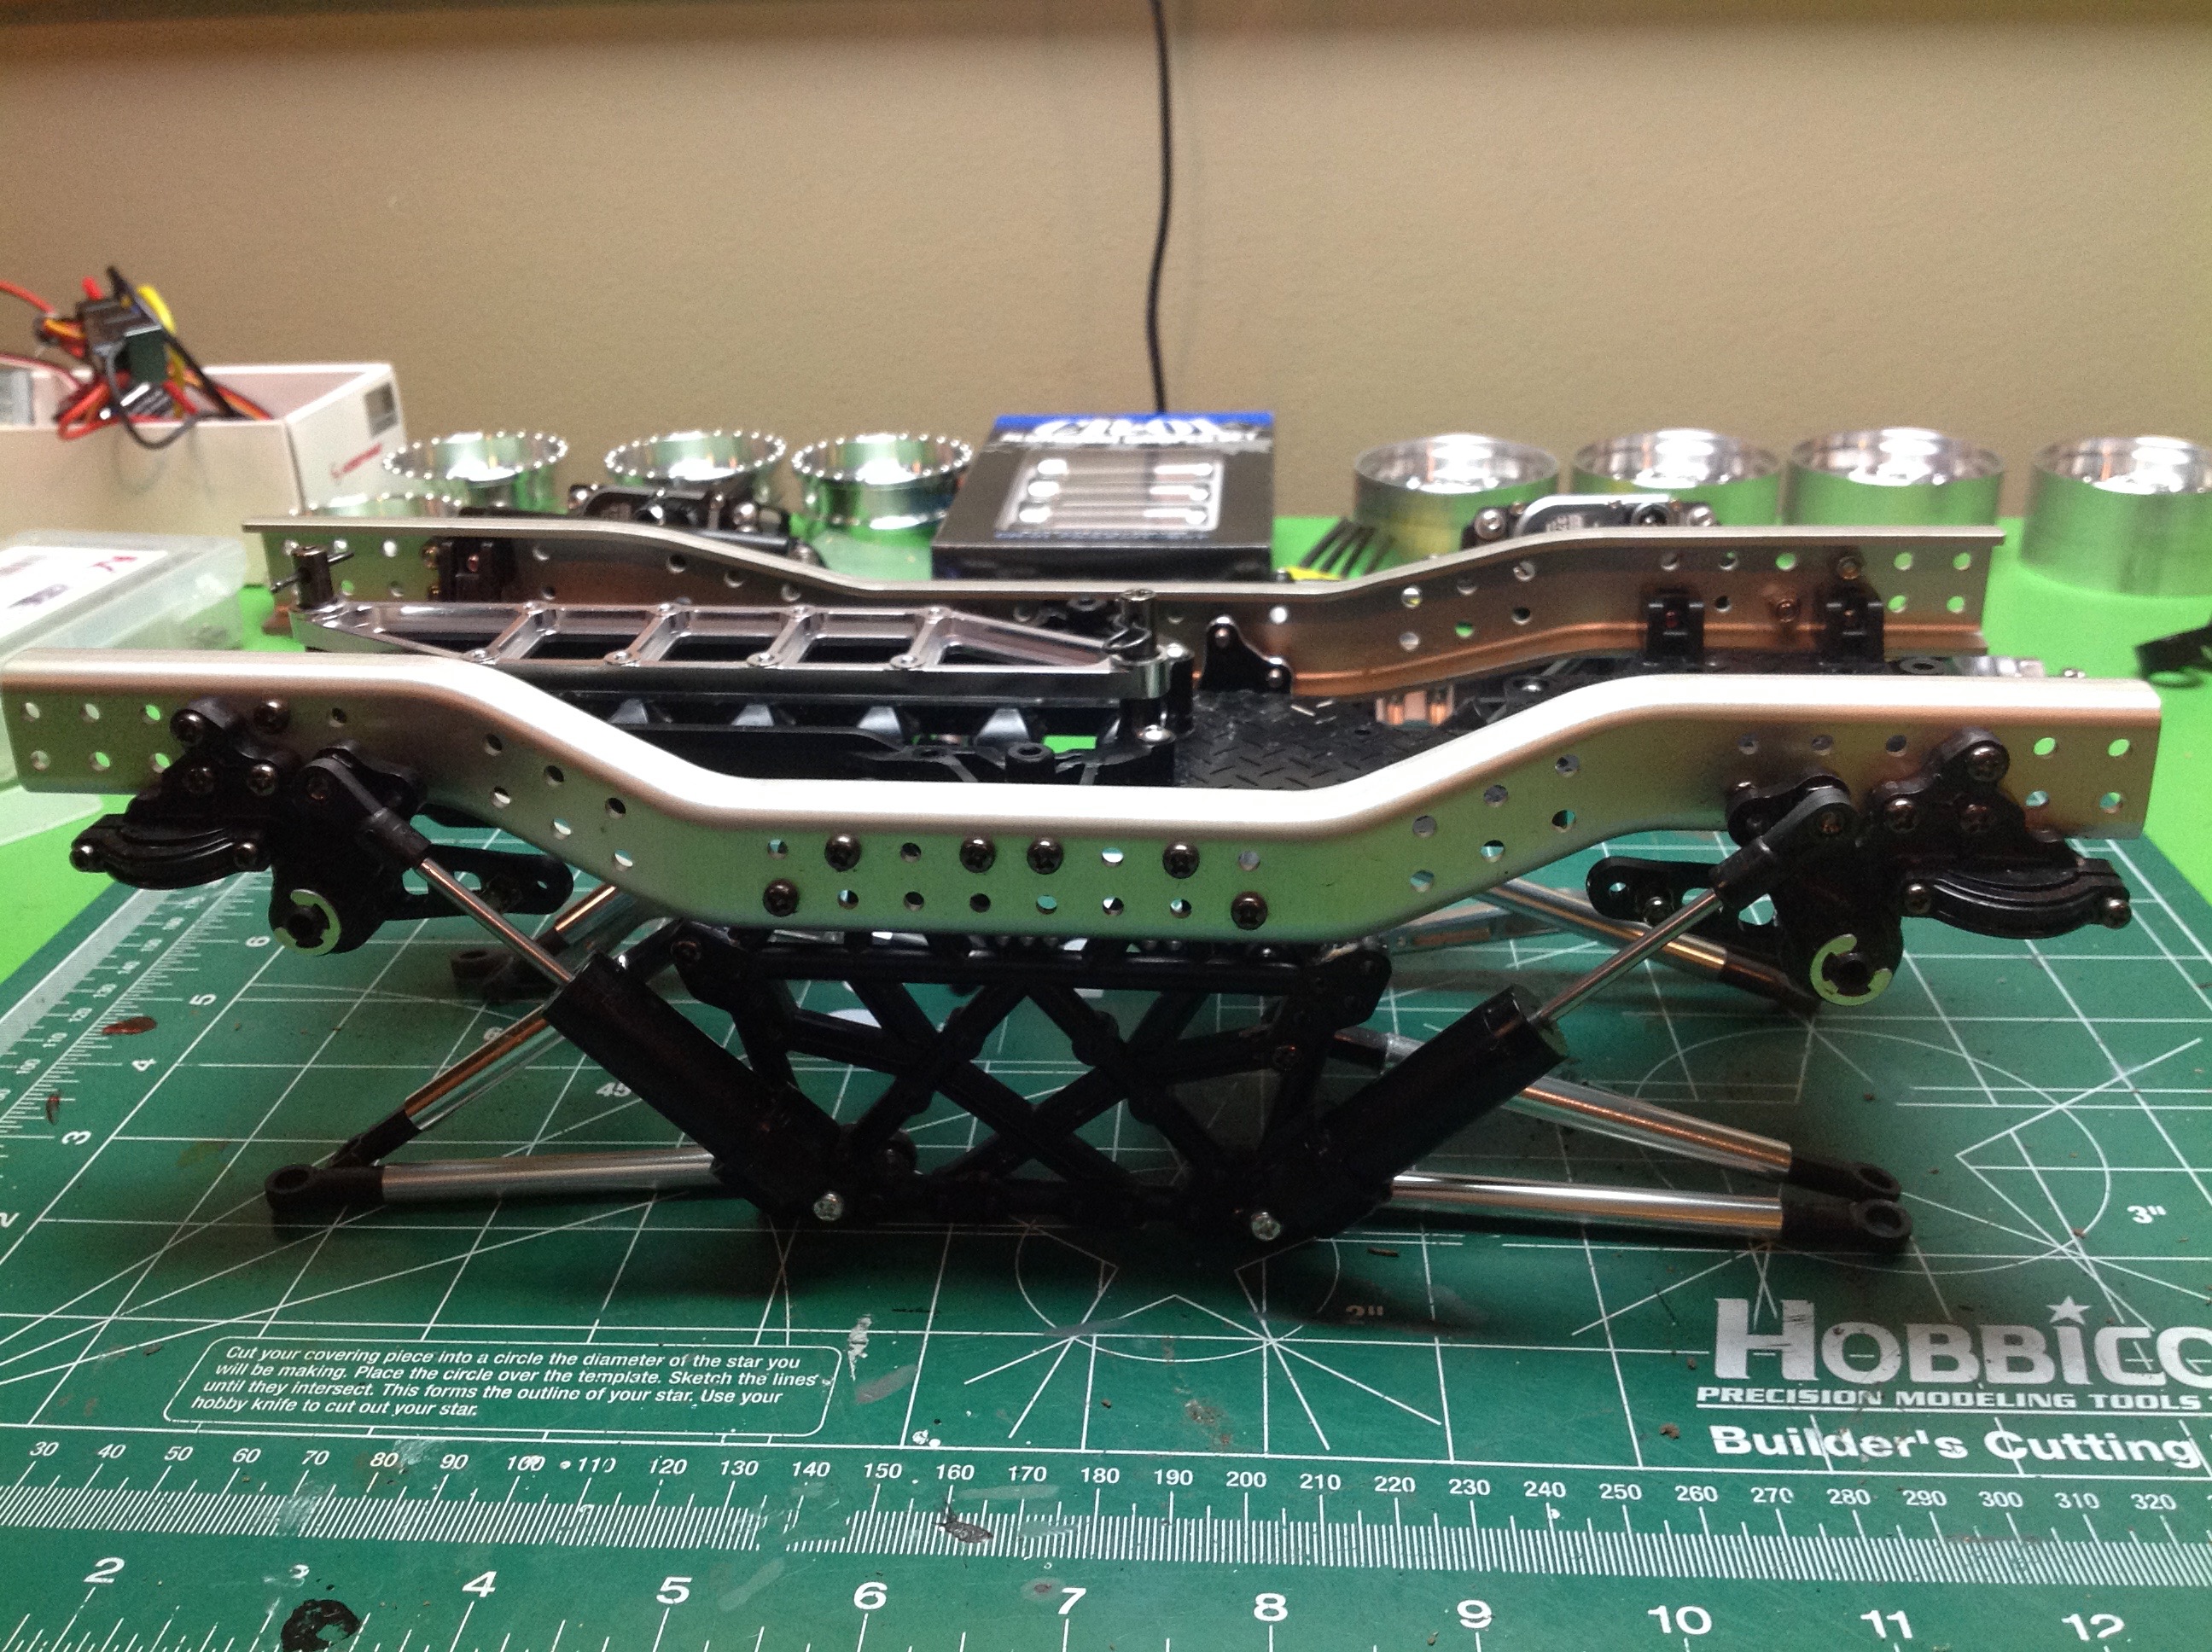
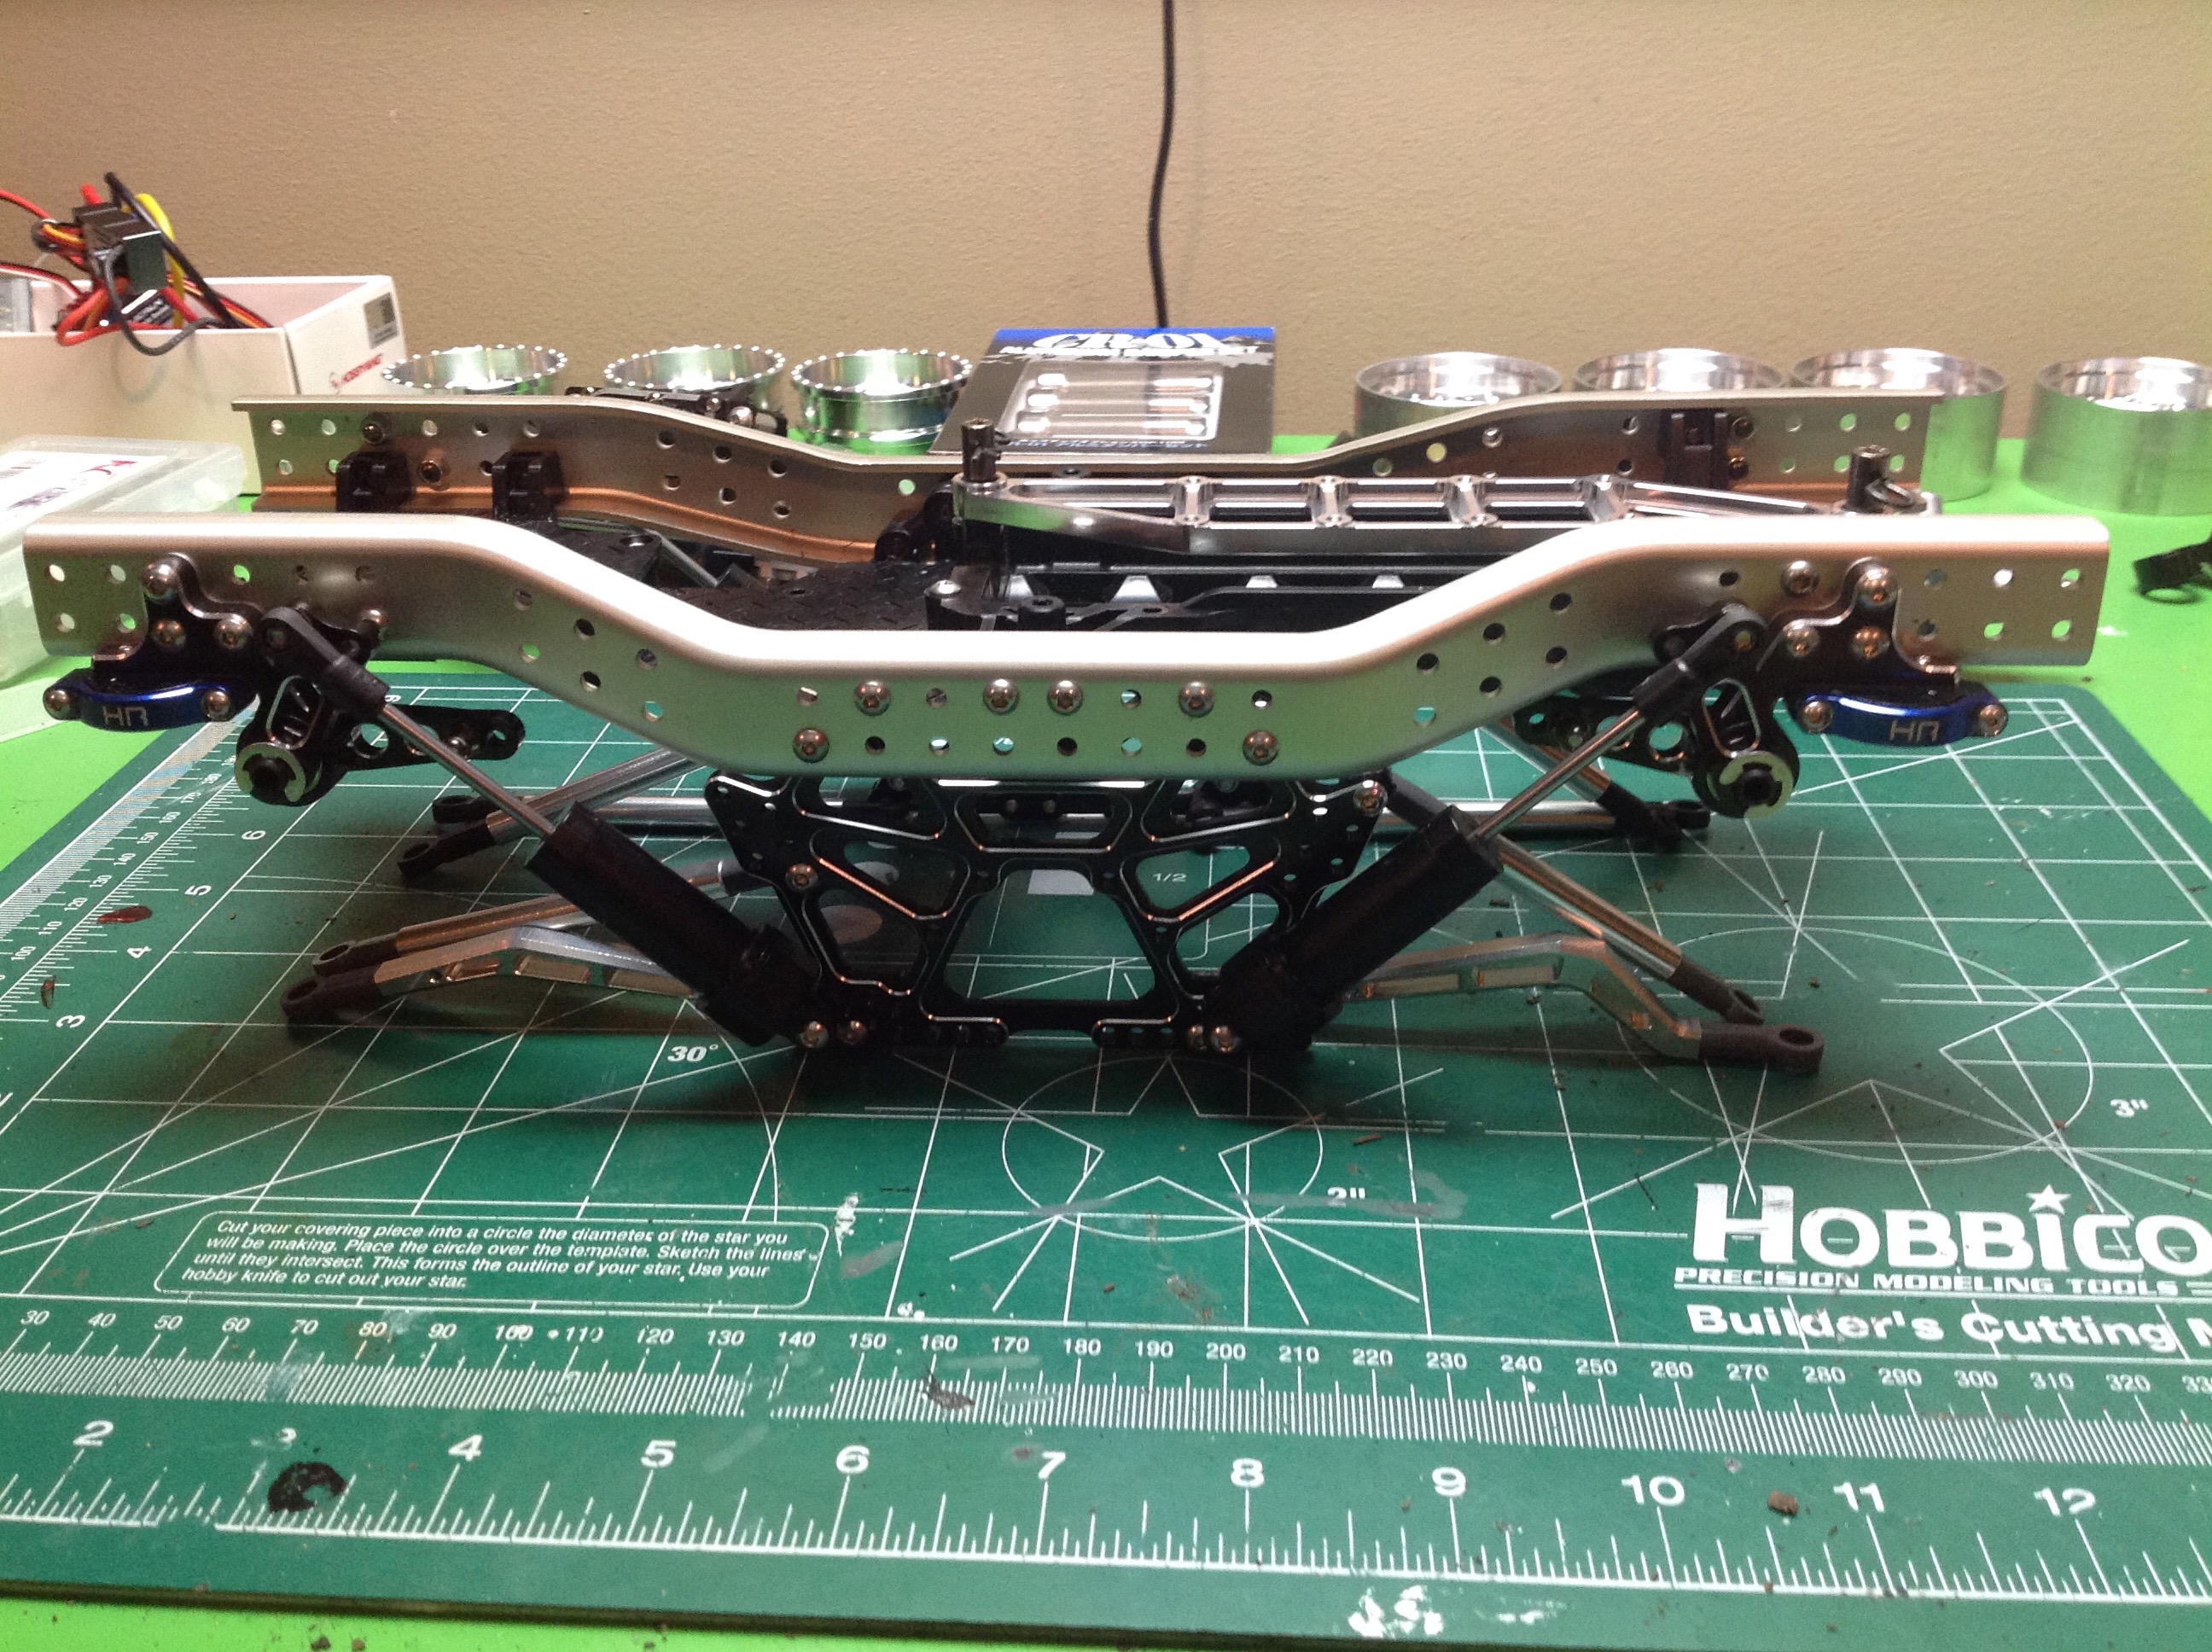
The left hand image shows the stock frame with a plastic side plate,
plastic shocks, plastic crank arms, and aluminum suspension links.
The right hand image has added aluminum side plats and crank
arms. I've also replaced the lower suspension links with bent arms
which increase ground clearance.
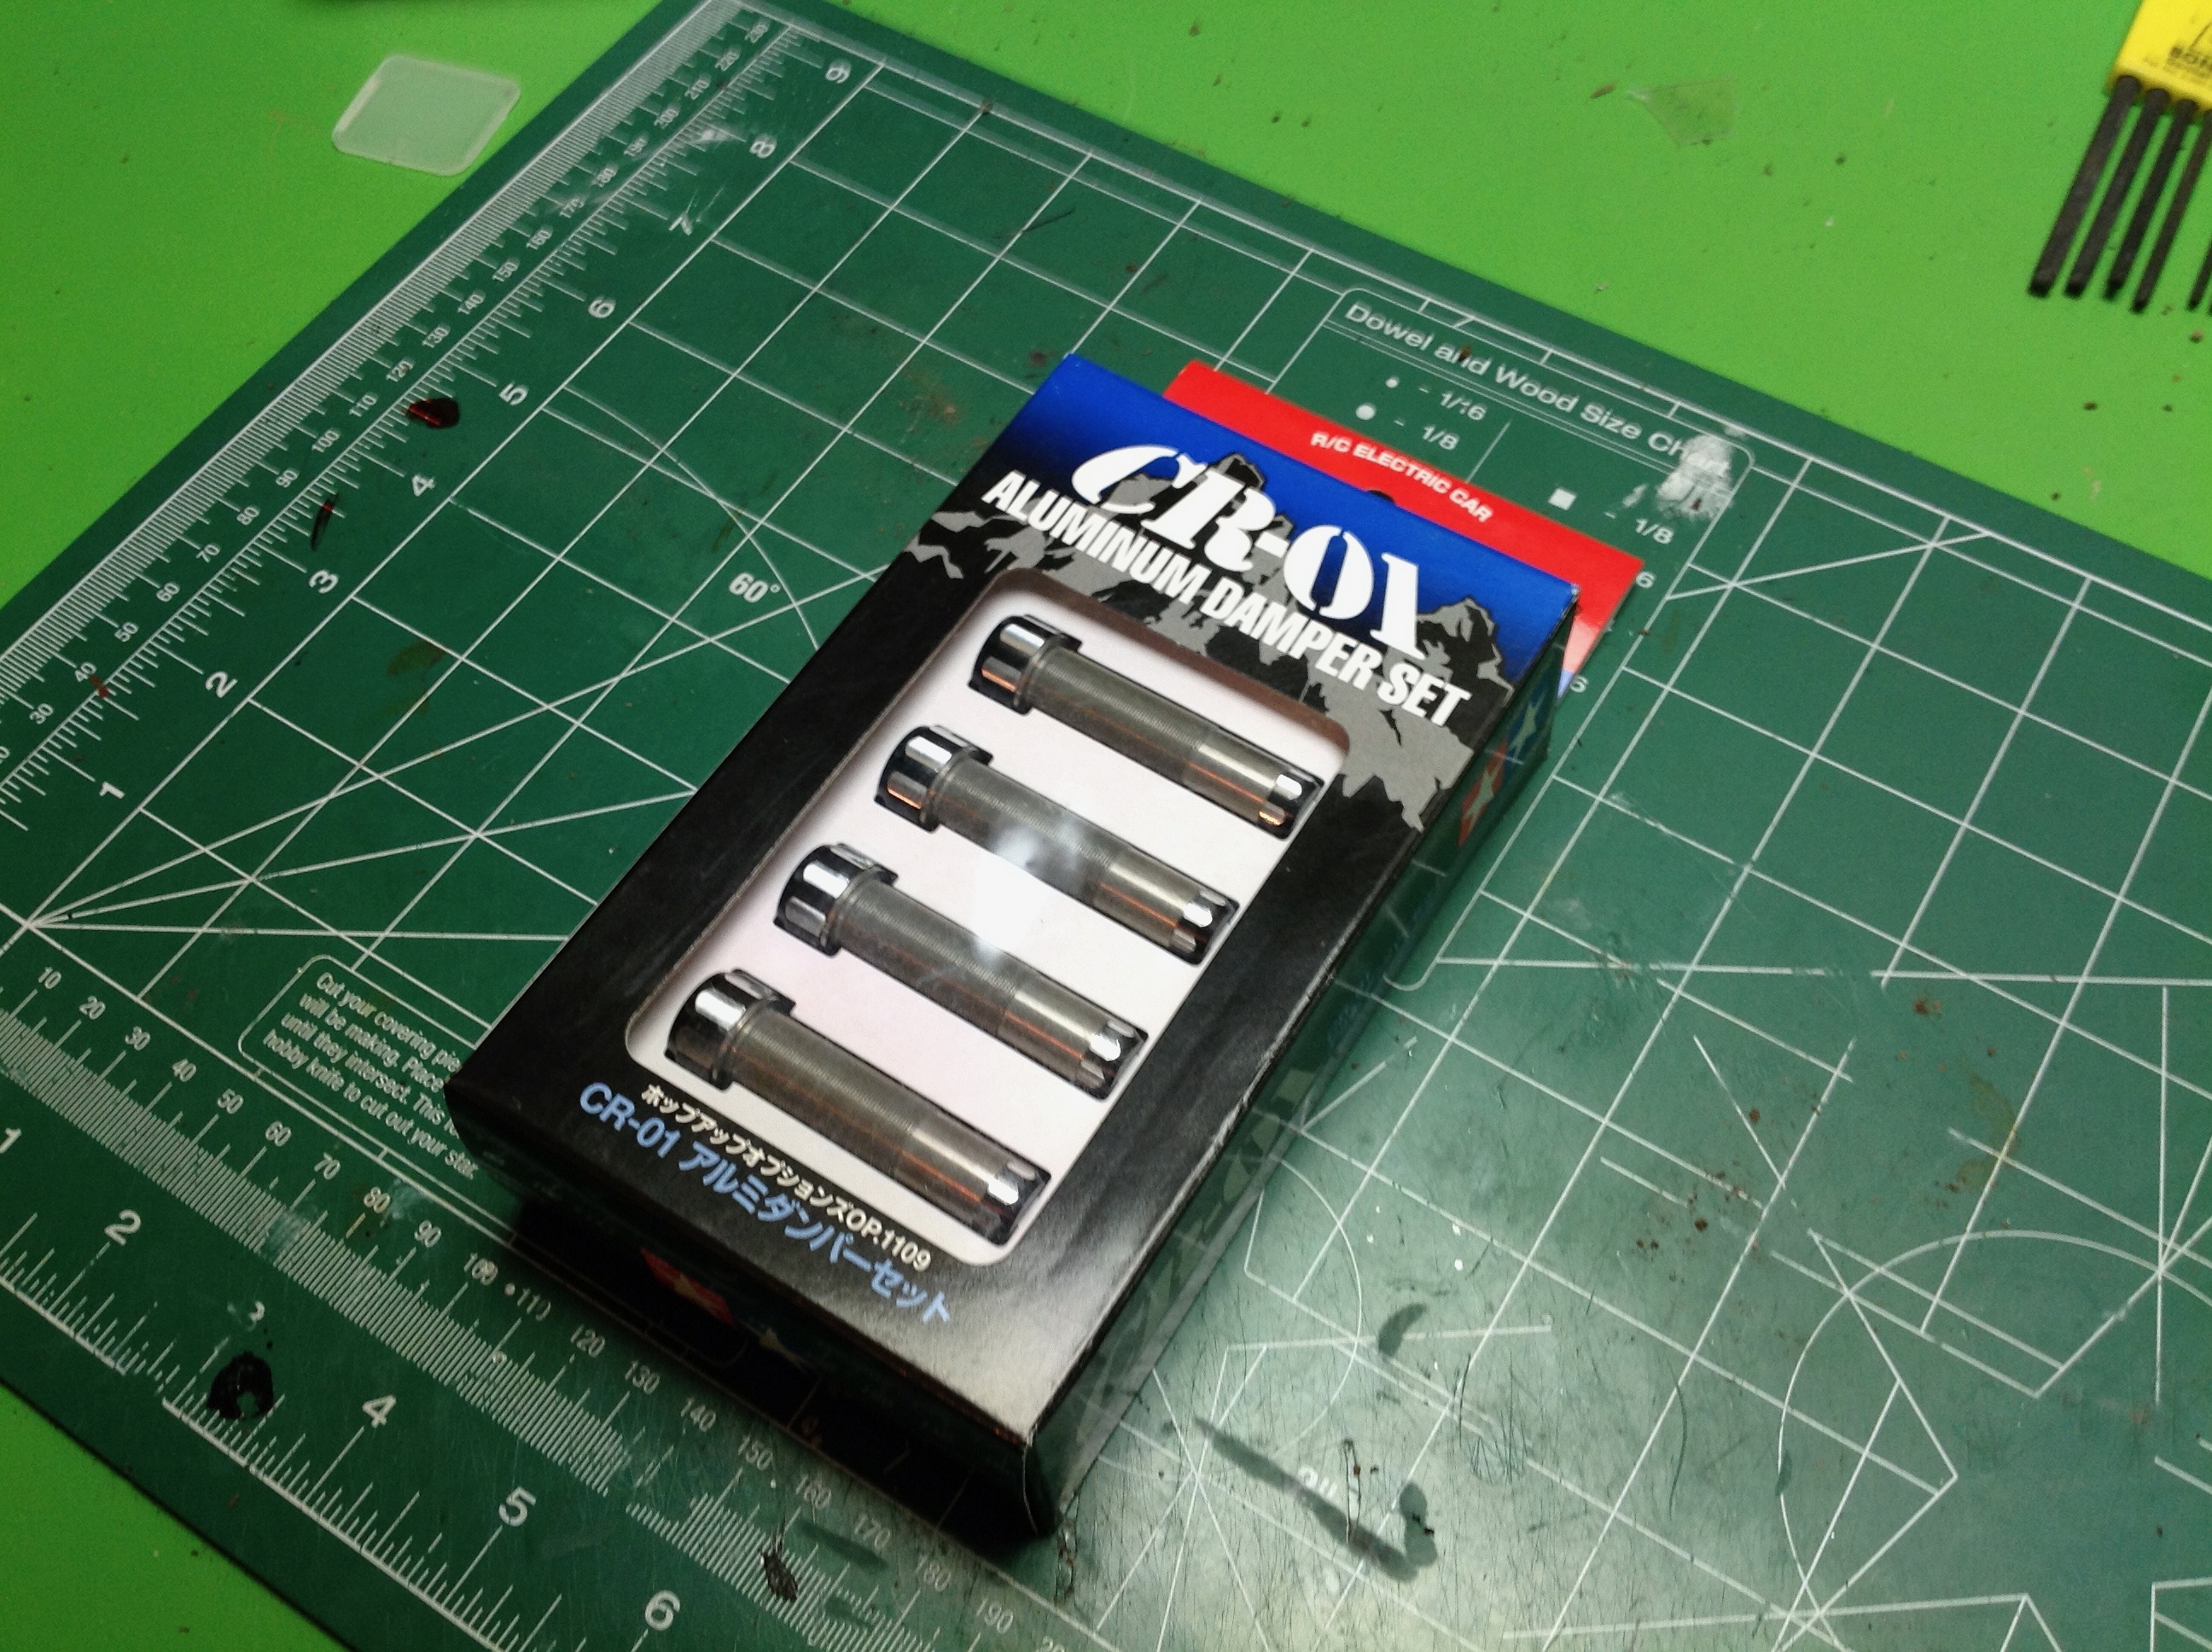
Next comes the shocks. The stock shocks are not bad, they are oil
filled plastic dampers. I replaced them with Tamiya aluminum
dampers made specifically for the CR-01. These are really high
quality aluminum body shocks with Delrin pistons and titanium nitride
coated shafts.
Time to dig into the gearbox. Probably the most useless (and
hidden) aluminum upgrade was the aluminm planet carriers, but it sure
did look nice for the few minutes I could see it. The left hand
image shows those planet carriers as well as the new motor mount and CR
Tuned motor. This motor was a huge improvement in smoothness and
quiet. In the right hand image I've added the aluminum center link
mount and skid plate along with aluminum gearbox mounts.
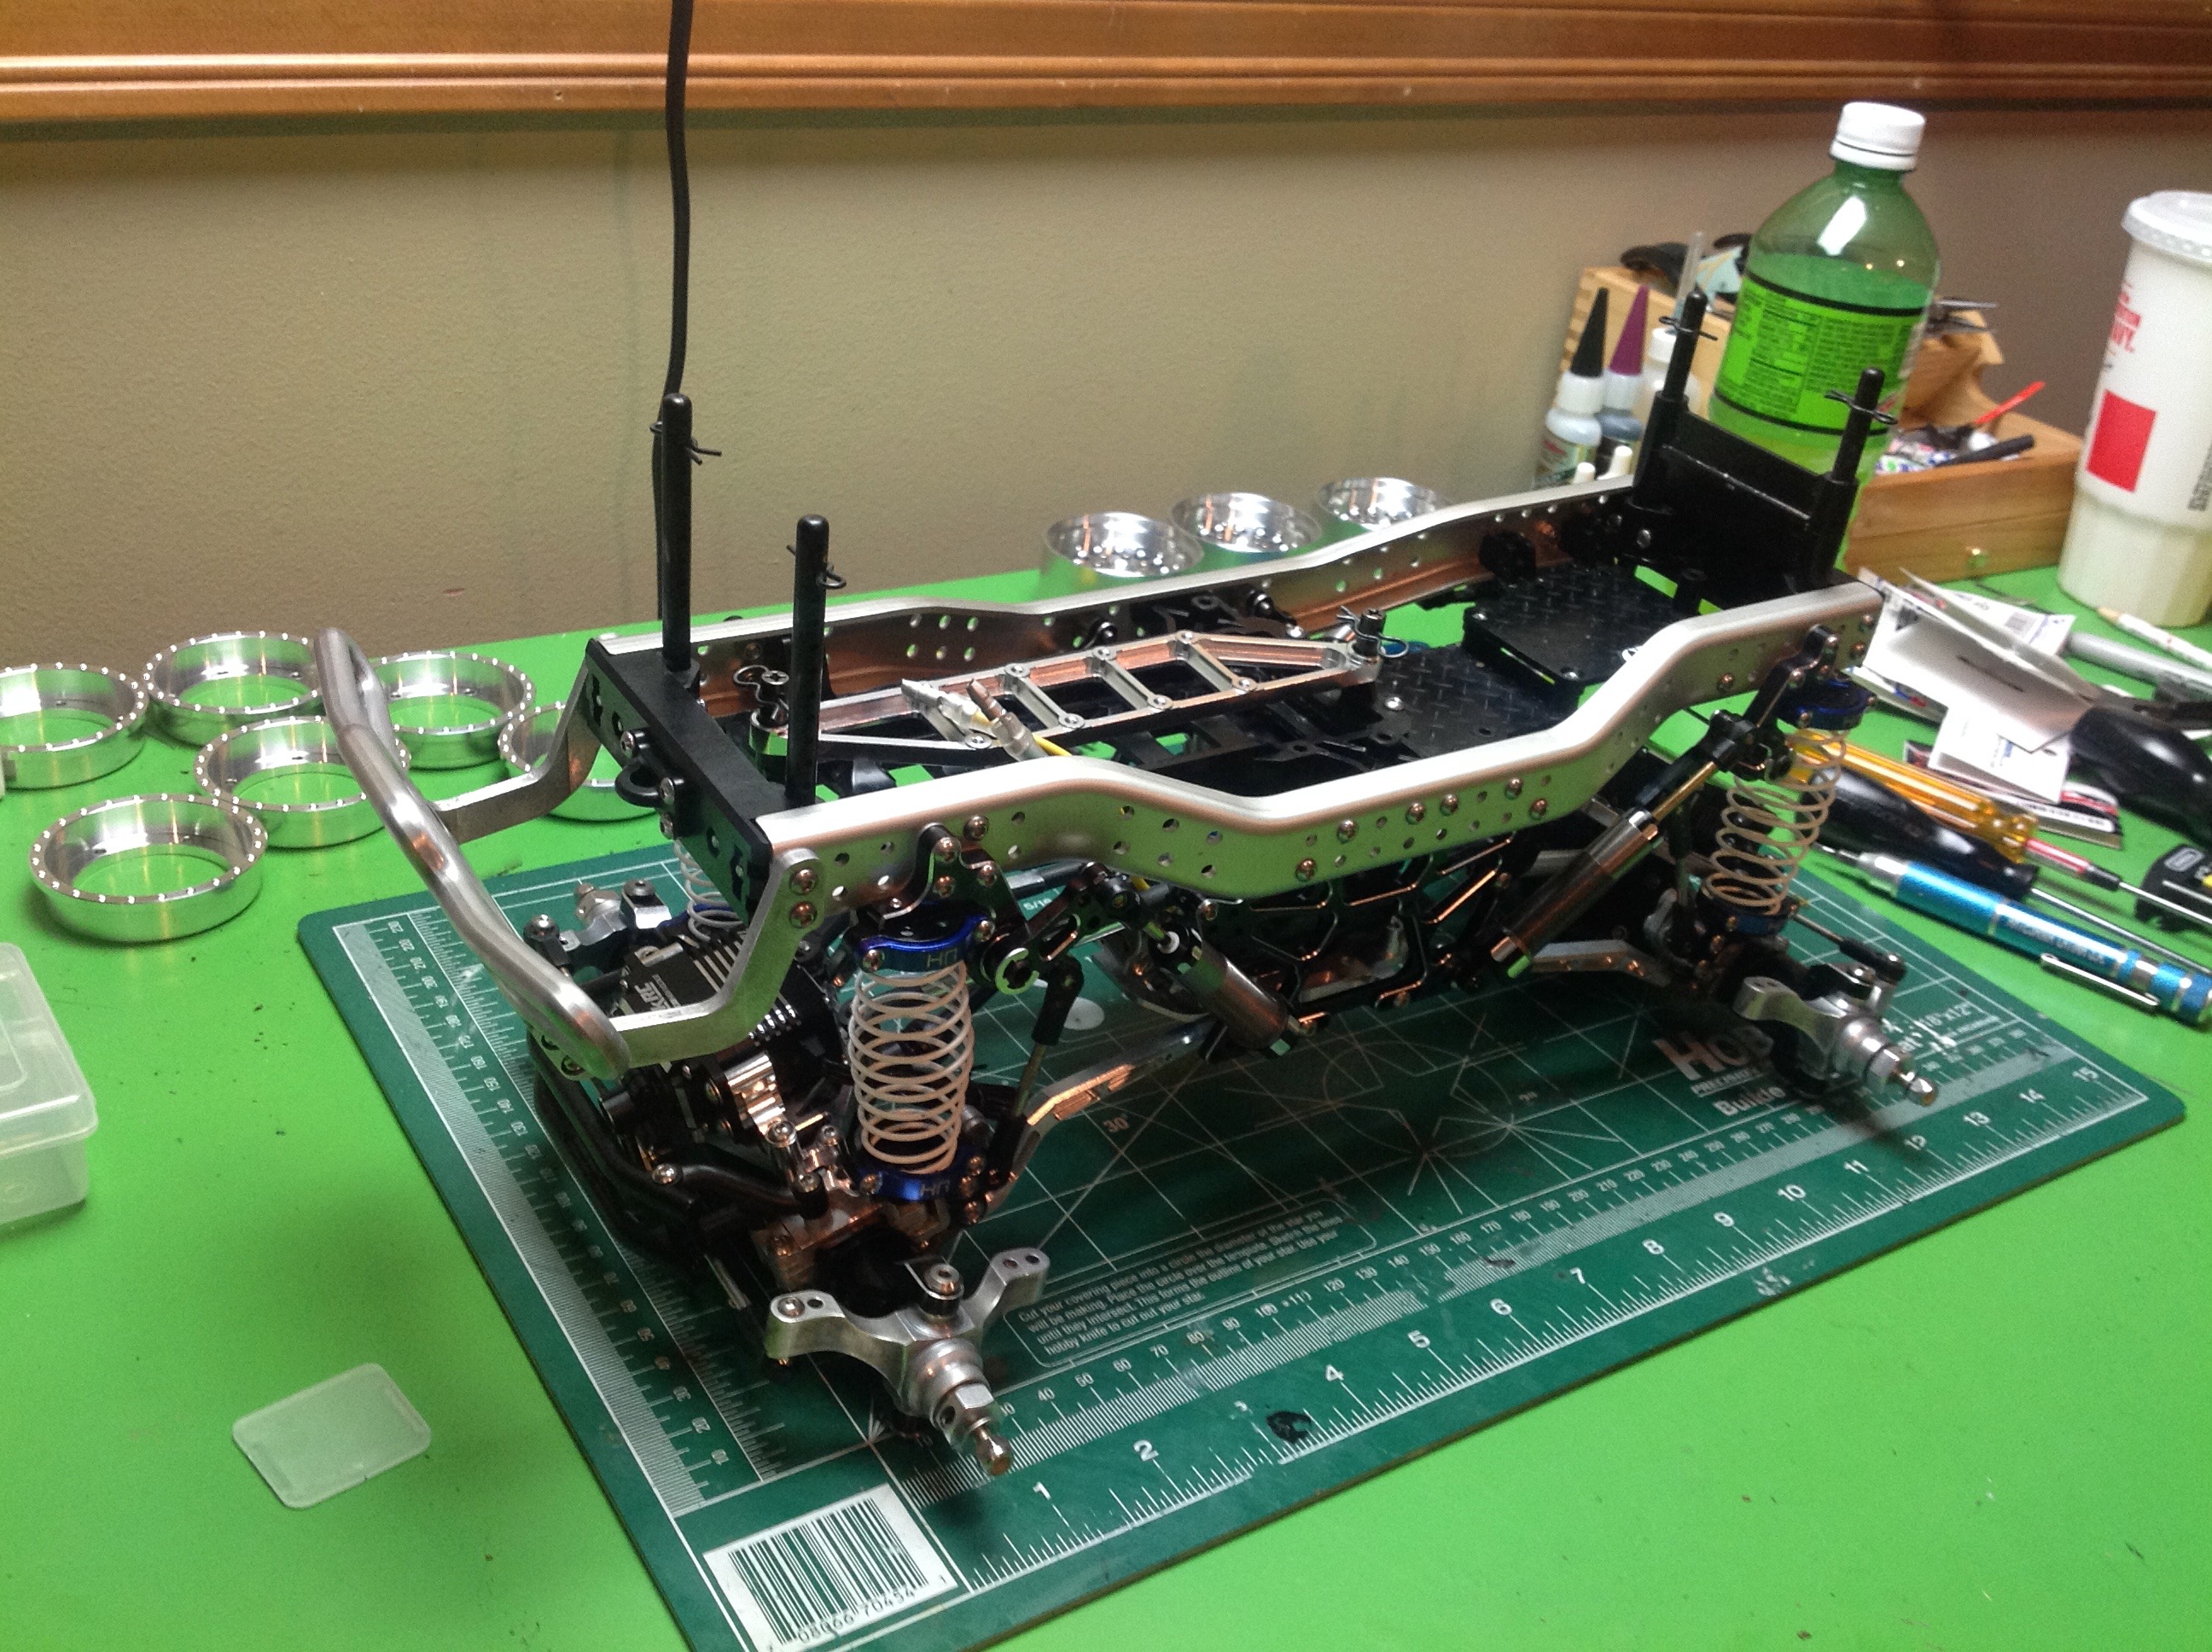
Time to start making it look like a truck chassis again. The left
hand image shows the axles attached to the frame with the new bent lower
links, shocks, and barrel springs. The shock links (vertical
links going from the axle up to the shock crank) are titanium. The
front bumper has also been added. In the right hand image the
center gearbox has been installed. You can also see the aluminum
battery cover.
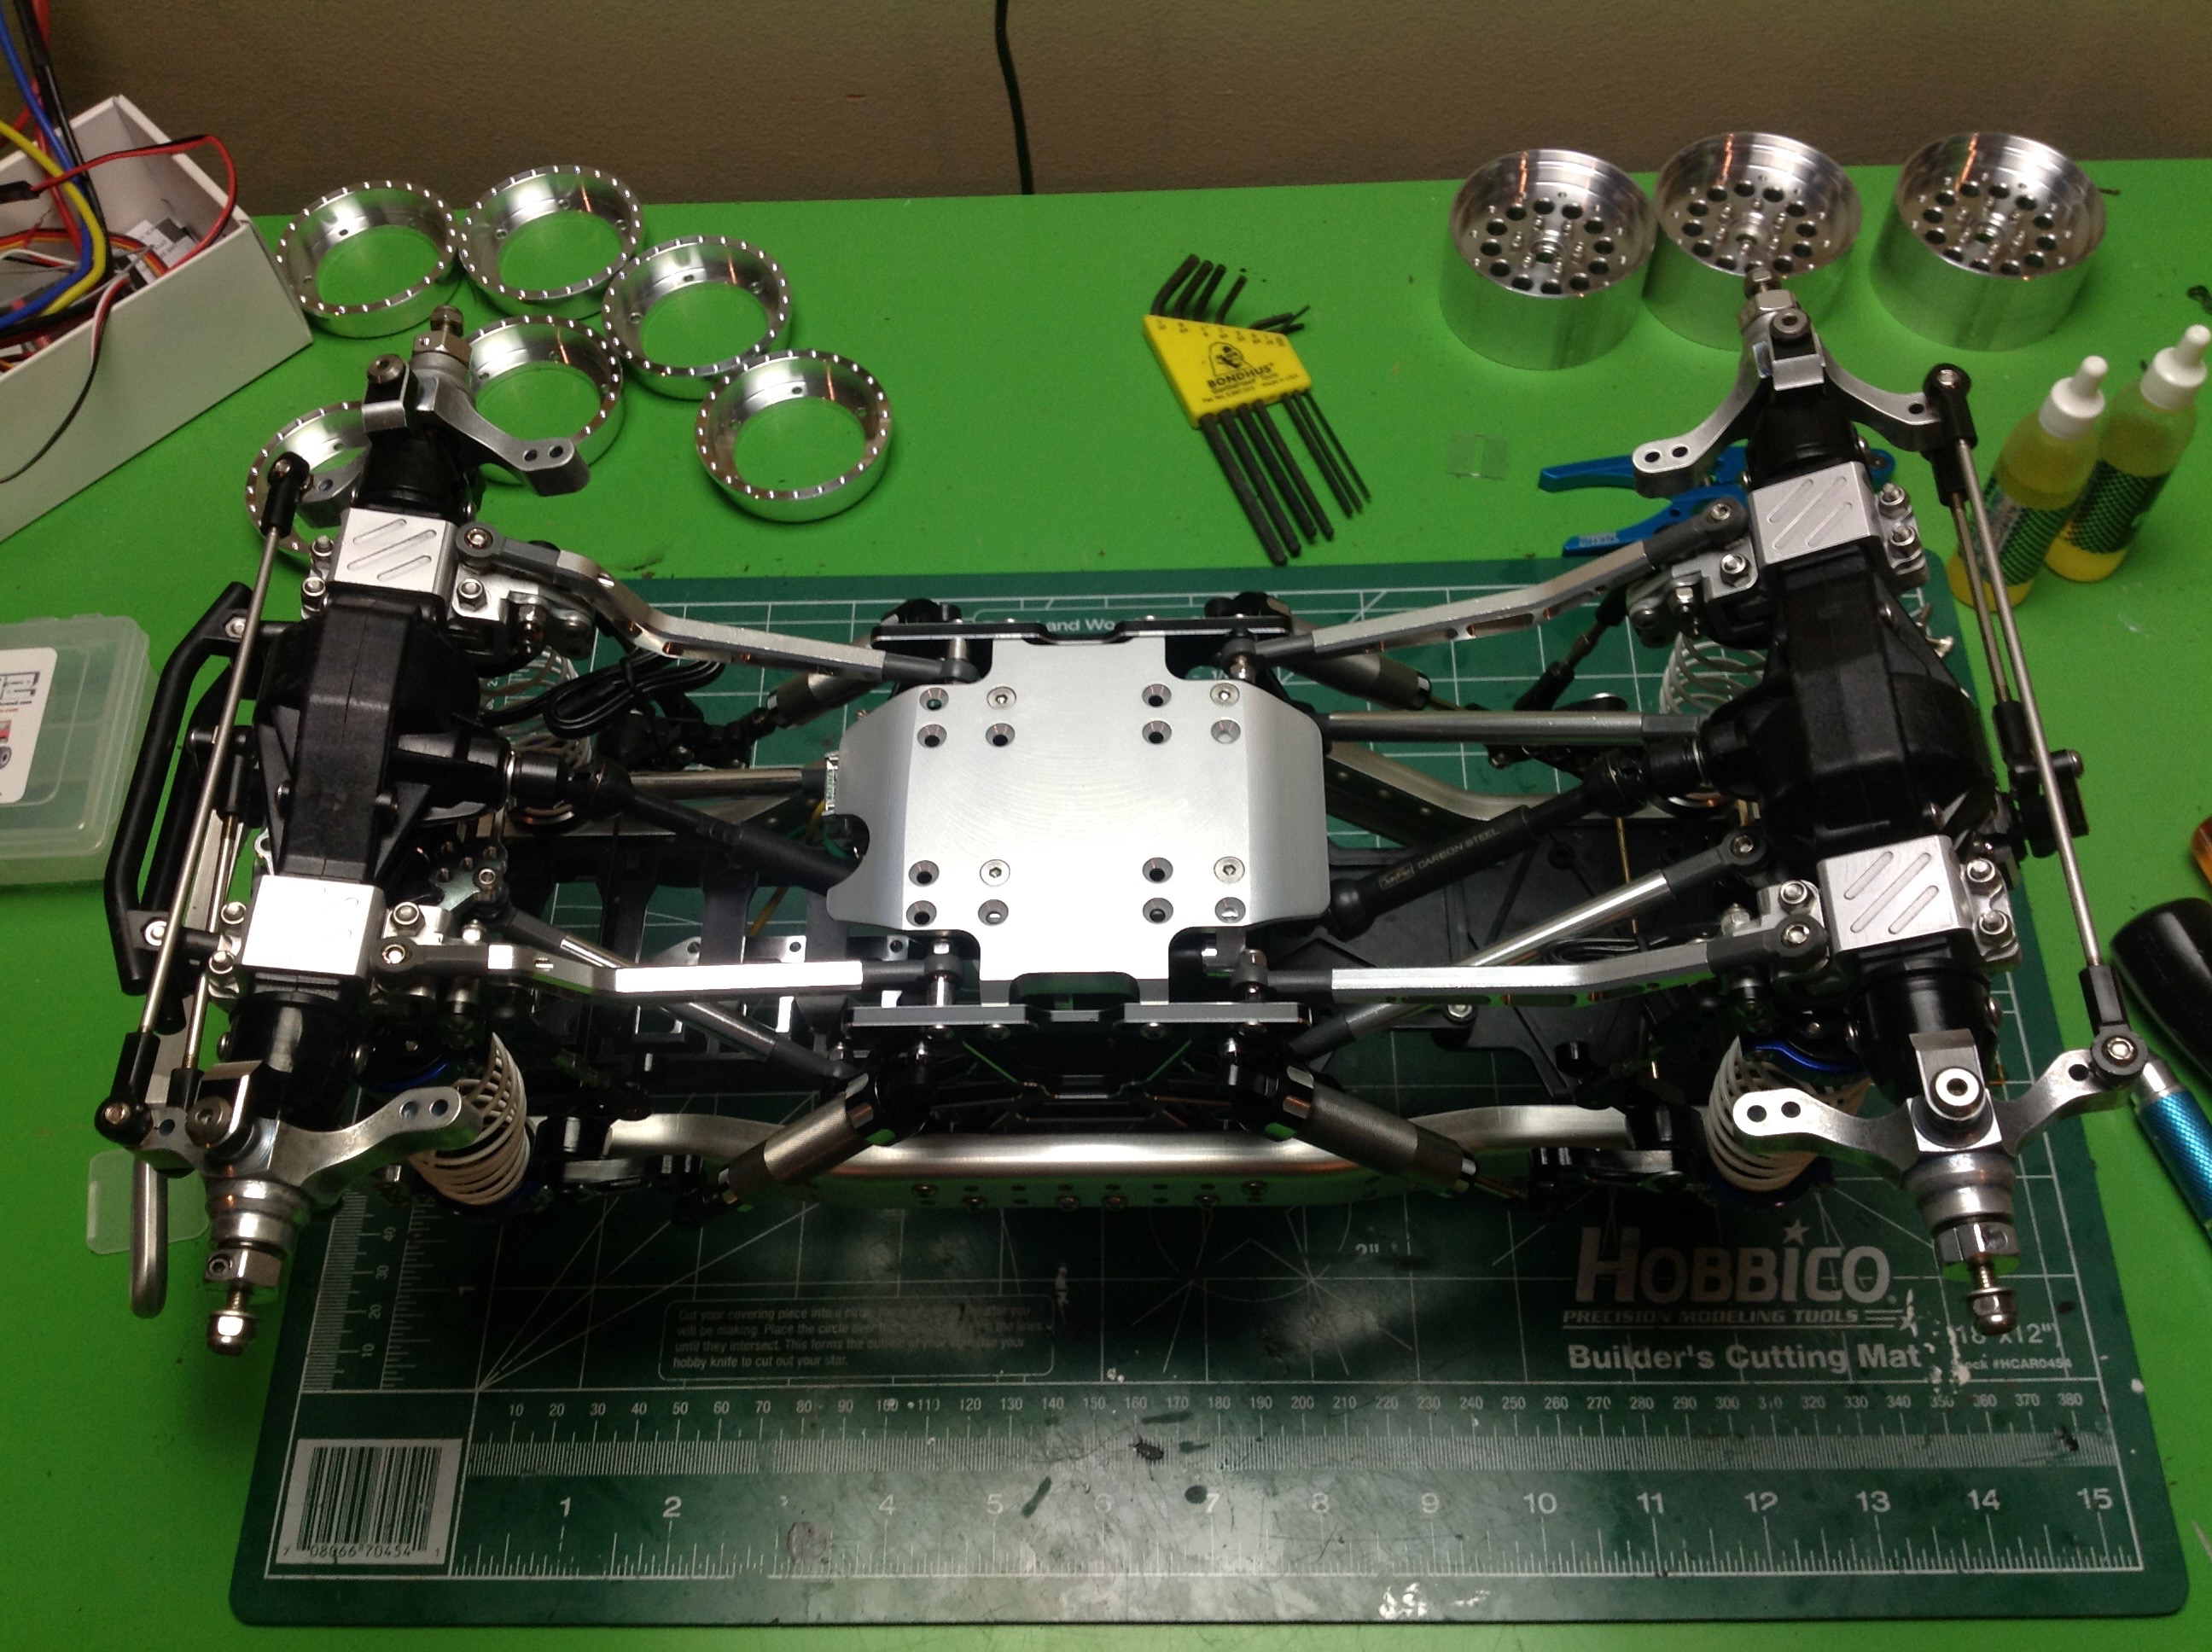
Rather than the very expensive and hard to find Tamiya upgrade drive
shafts, I went for some steel telescoping CVDs from JunFac. I am
pretty happy with the quality and appearance. The right hand image
shows a bottom view of the chassis with all the shafts and links
installed. Gorgeous! I like the mix of black and silver.
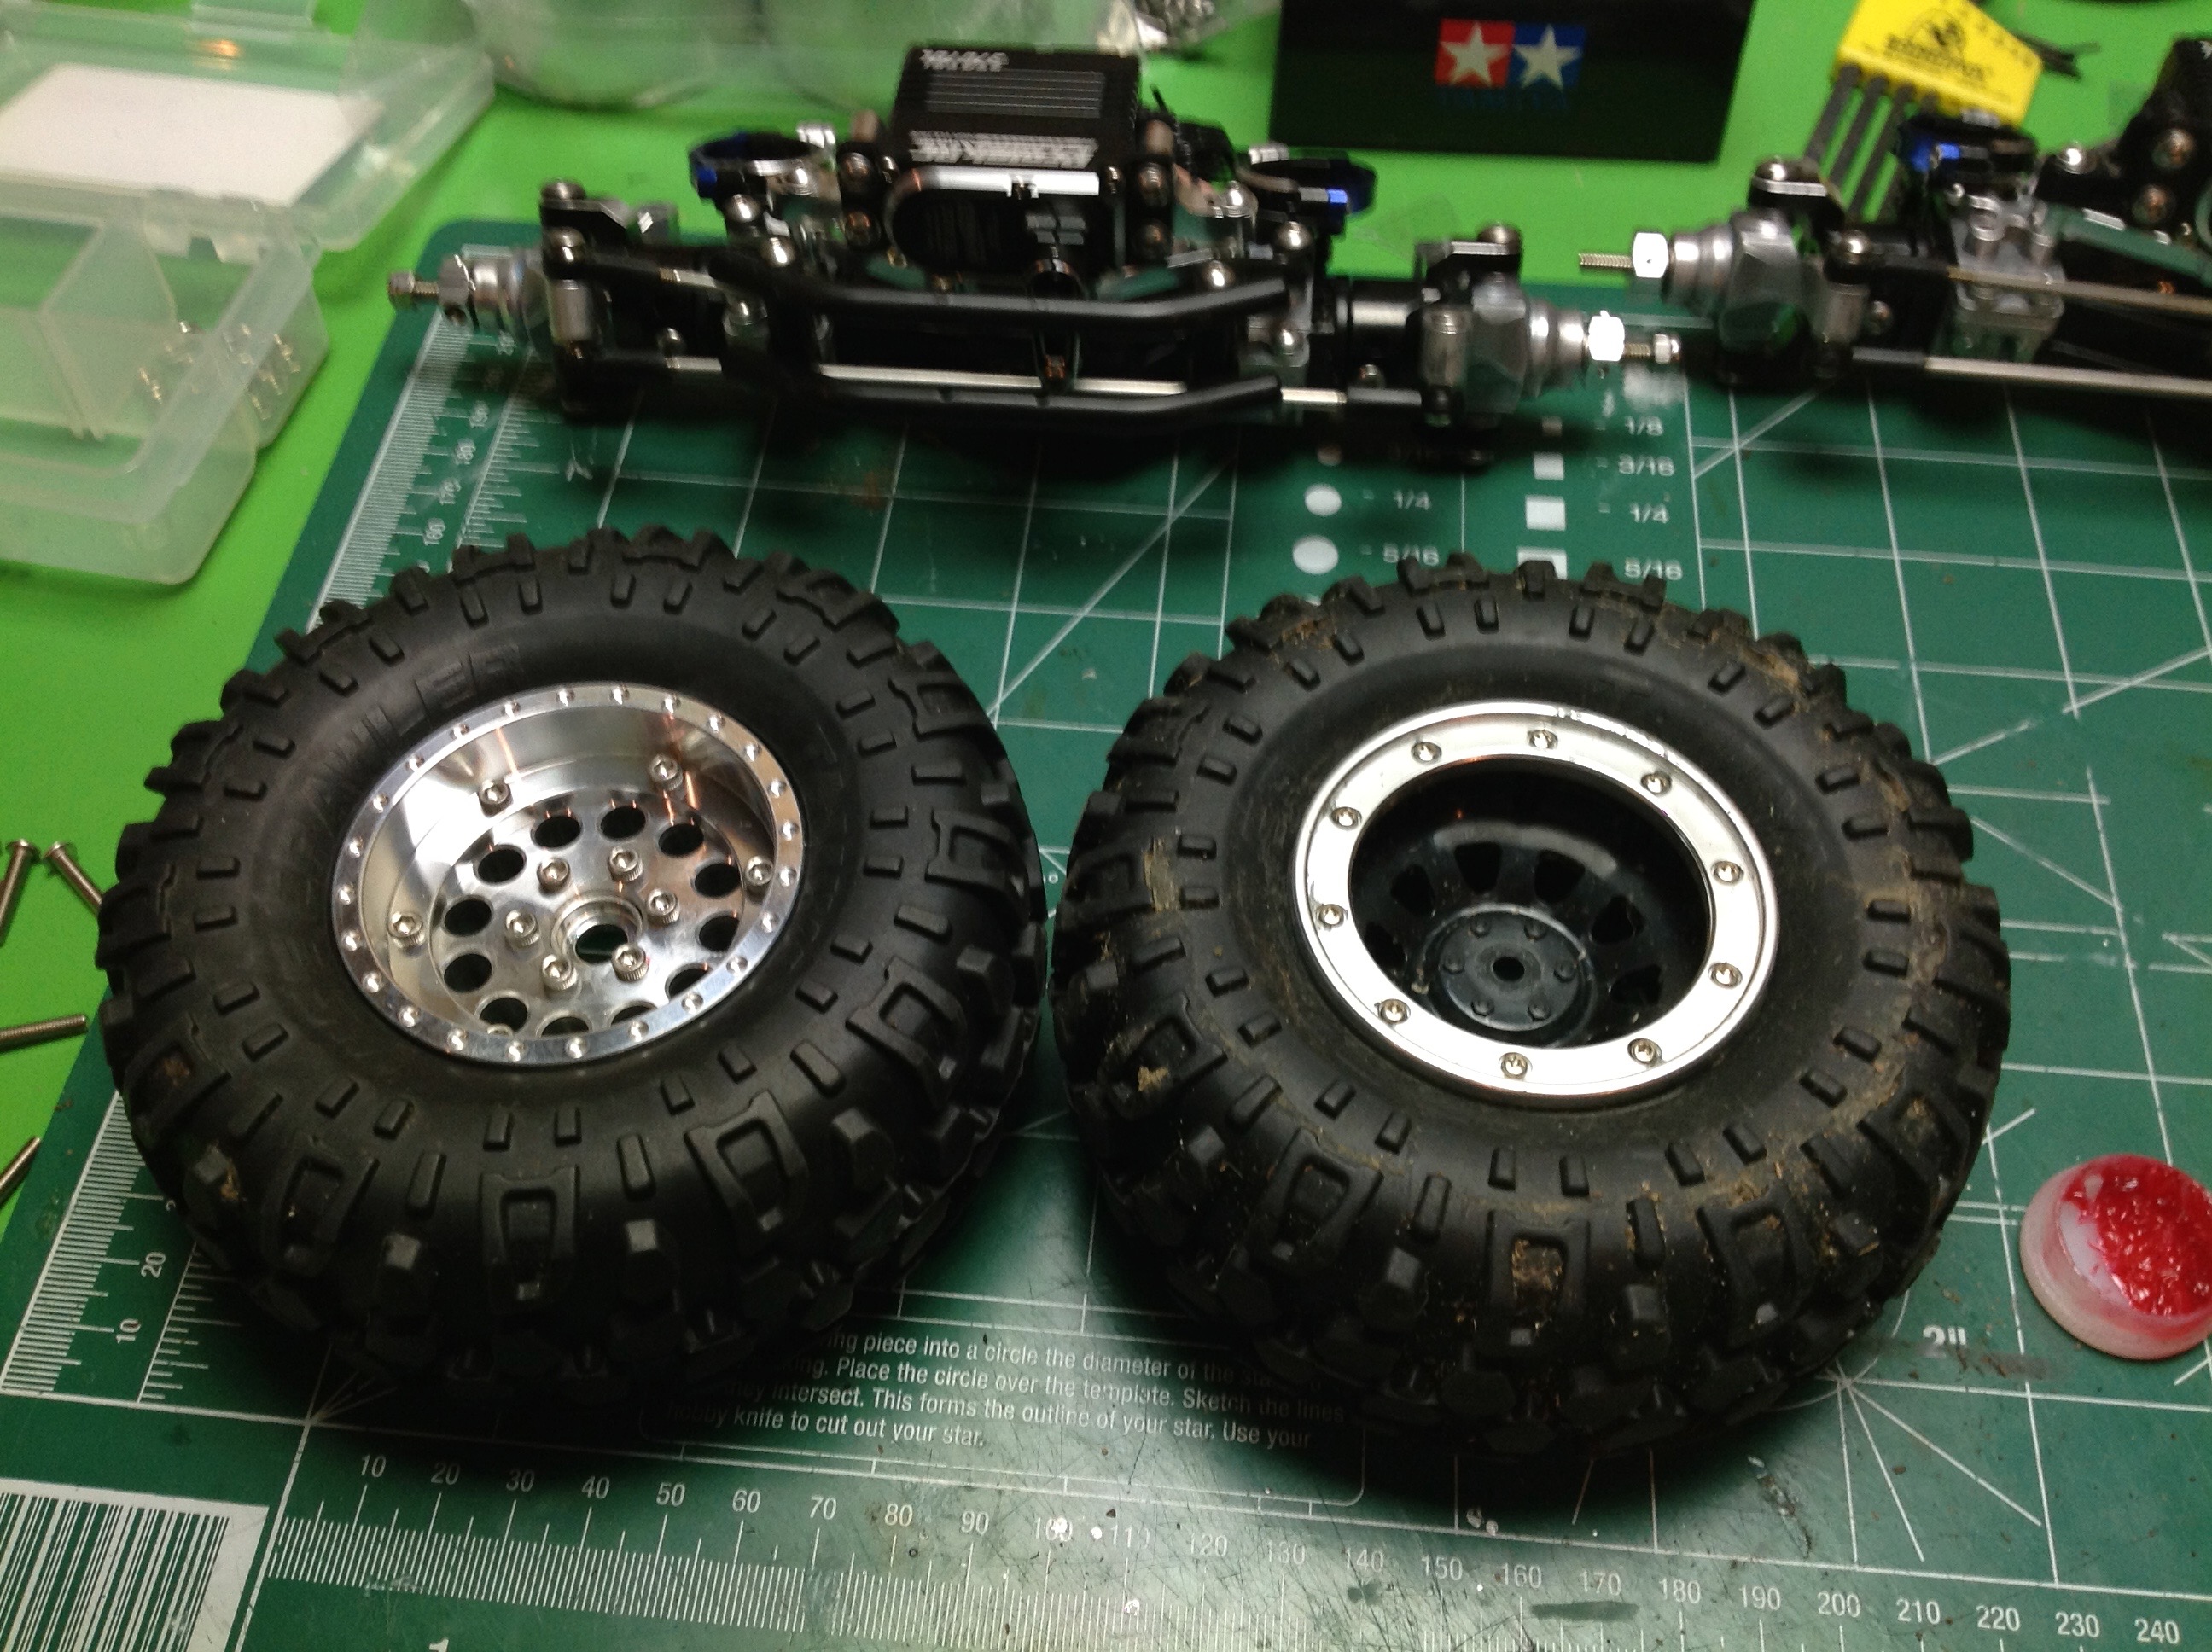
The stock wheels are actually pretty nice looking plastic beadlocks, but
the aluminum beadlocks I replaced them with are even better and help to
lower the center of gravity.
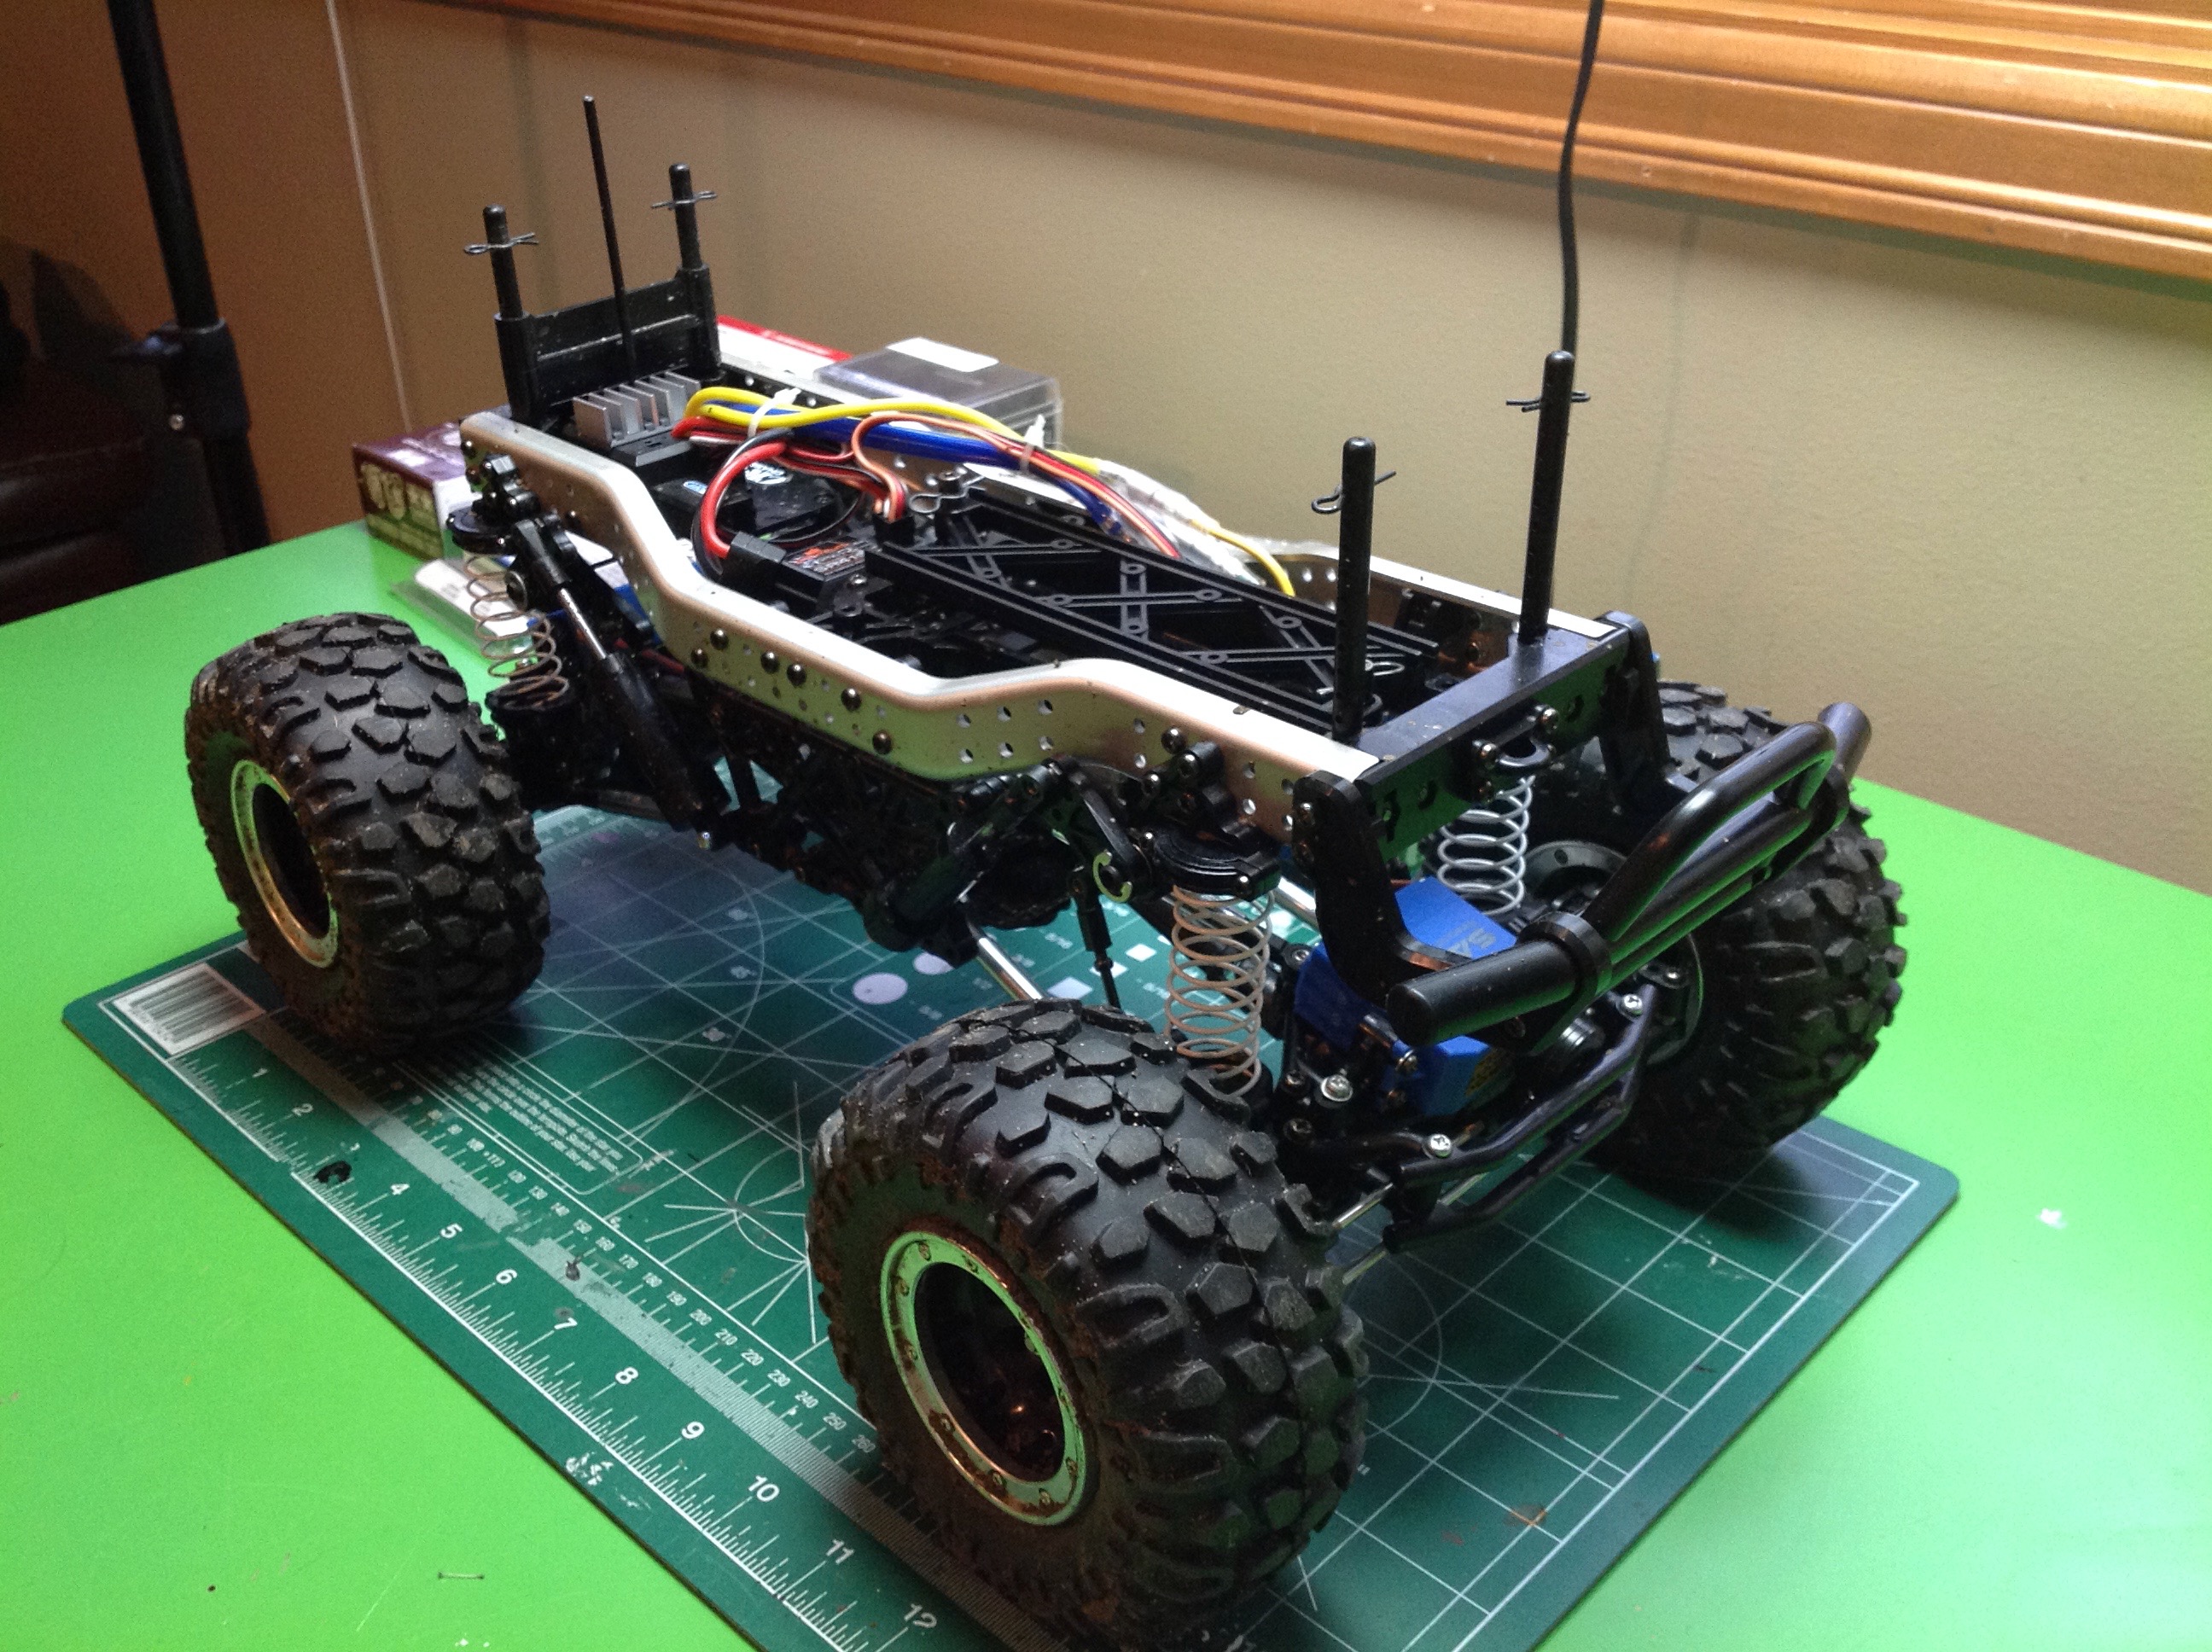
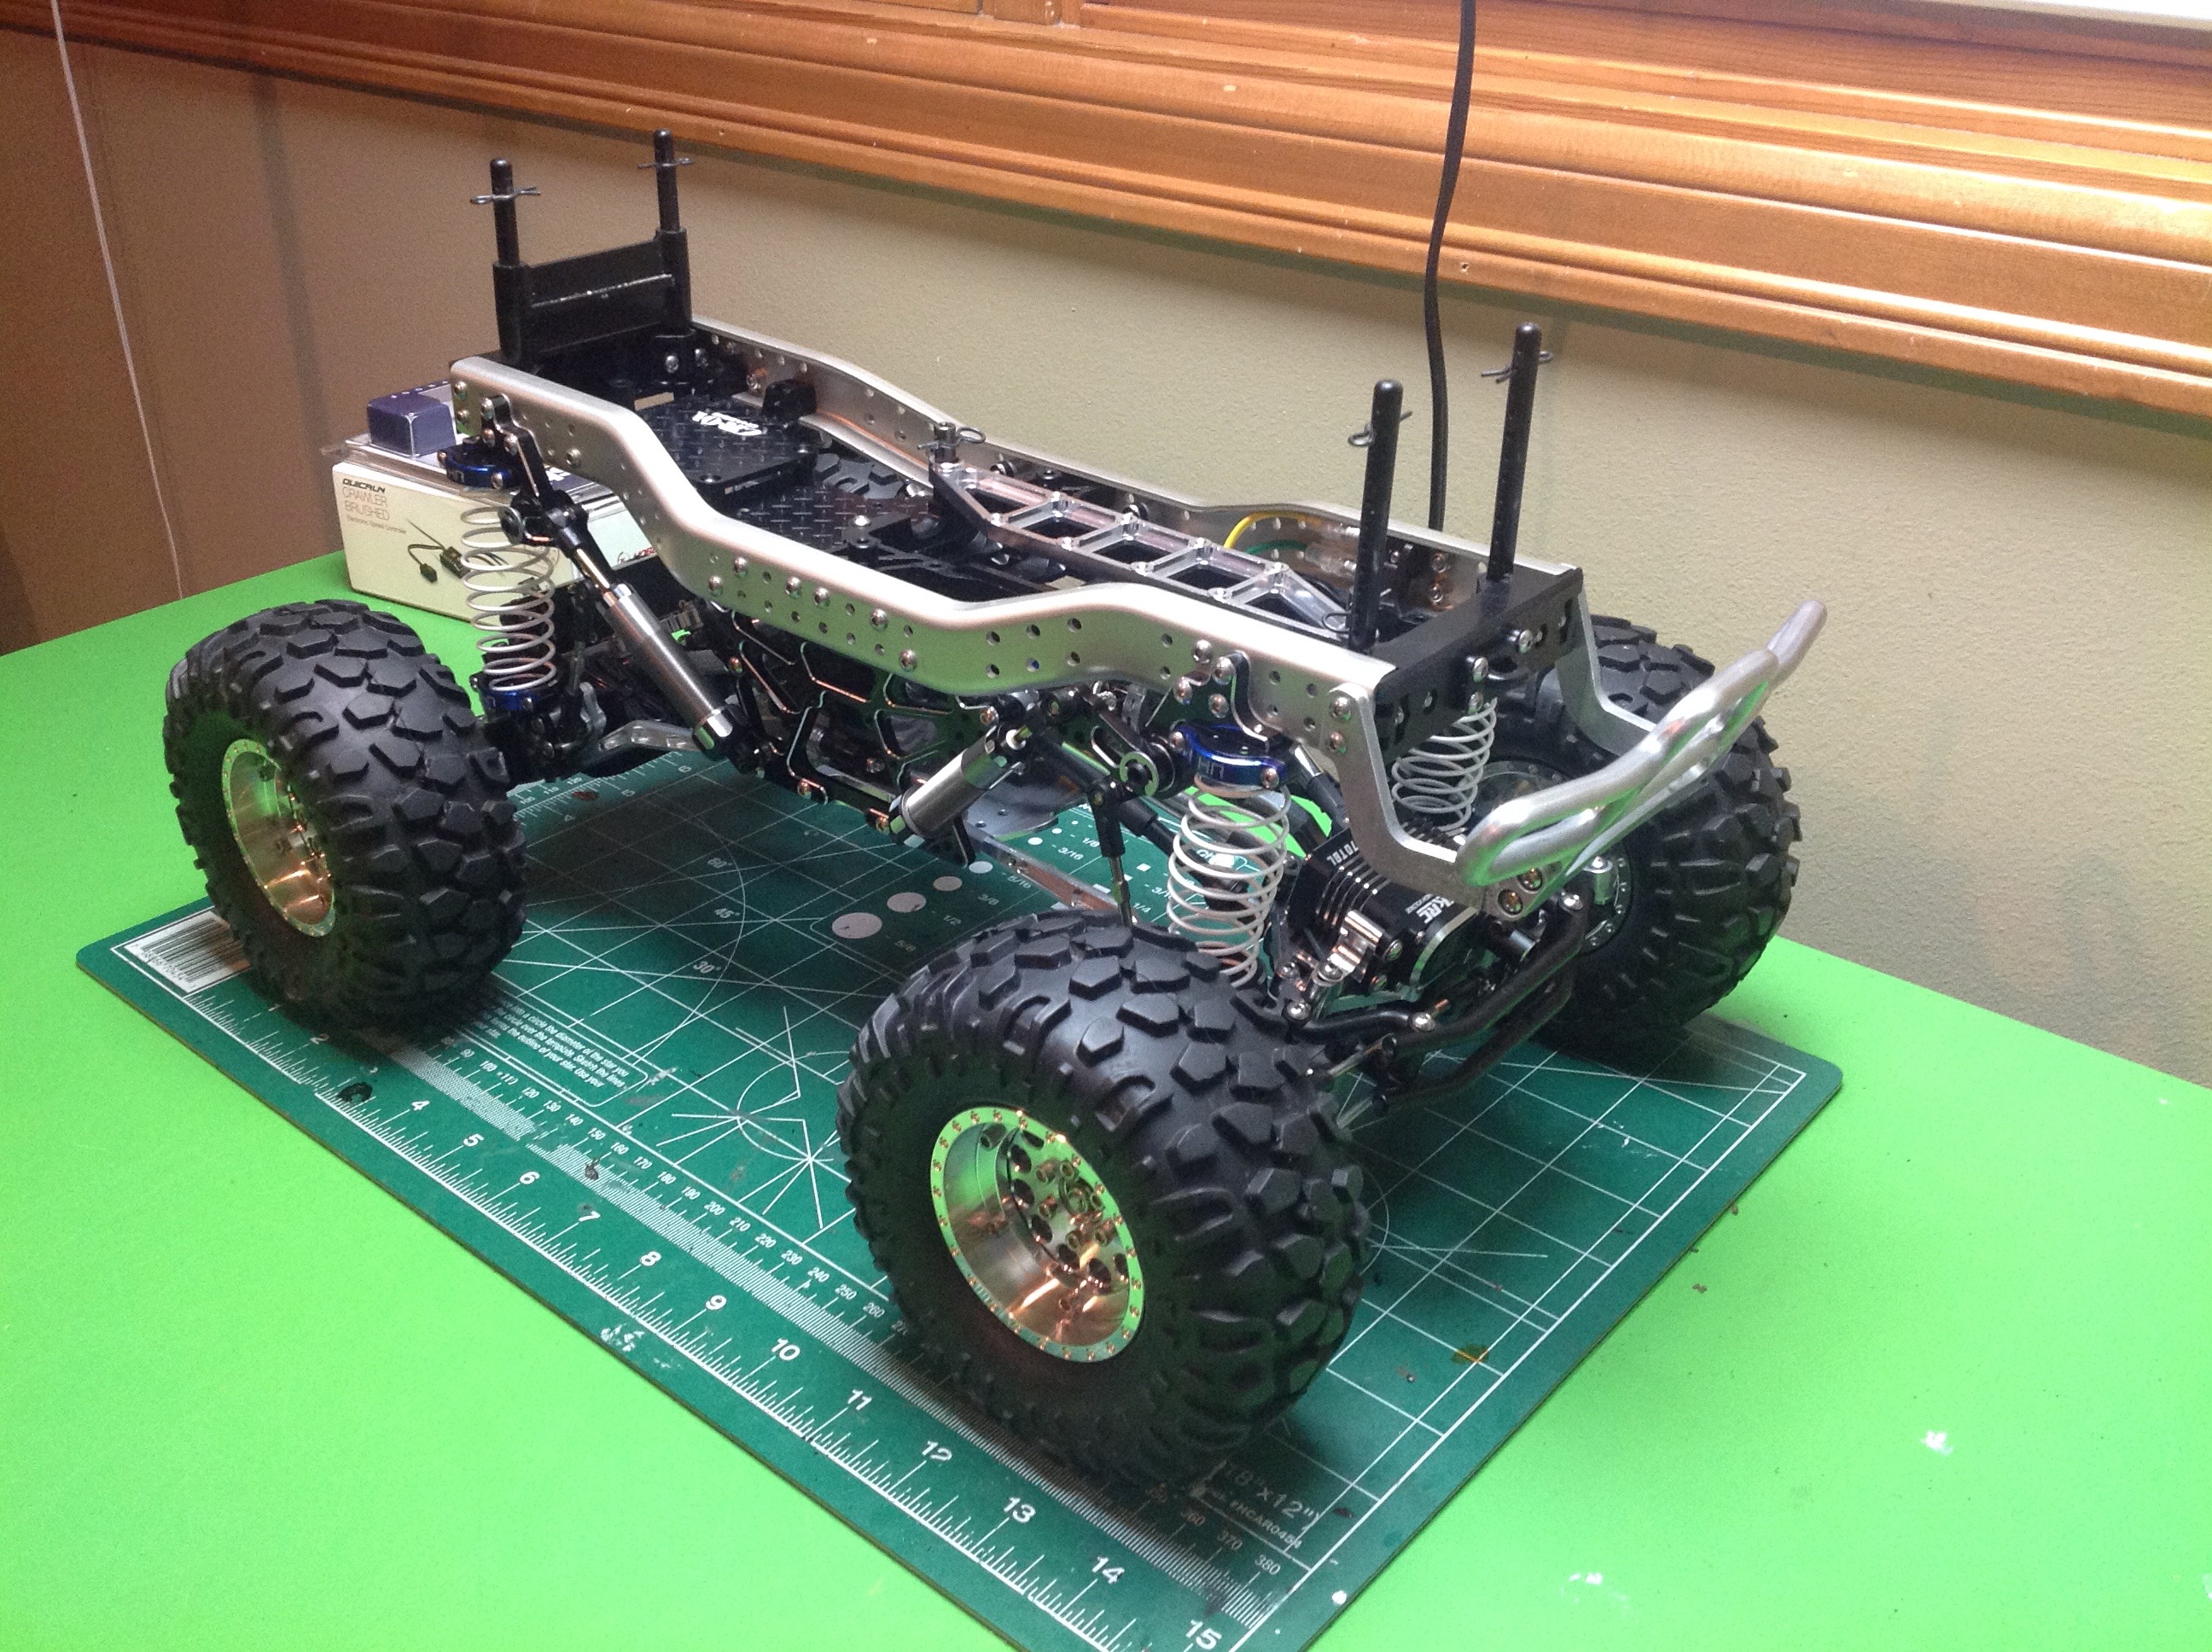
This pair of images compares the before and after upgrade chassis.
From 20 feet away, you may hardly notice the difference. However a
closer look reveals that virtually everything is now metal. We've
added quite a bit of weight, but that's just fine for a crawler.
Many of the metal upgrades do little to nothing for performance, but the
shocks, barrel springs, servos, and tuned motor really made this a top
performer. I love how it drives now.
The left image shows how many new stainless screws were left over.
Some of these were just extras, but many others are due to the fact
that the upgrade aluminum parts use different fasteners. The right
hand image shows all the parts which were removed and replaced from the
stock CR-01. This box would build almost a complete second kit.
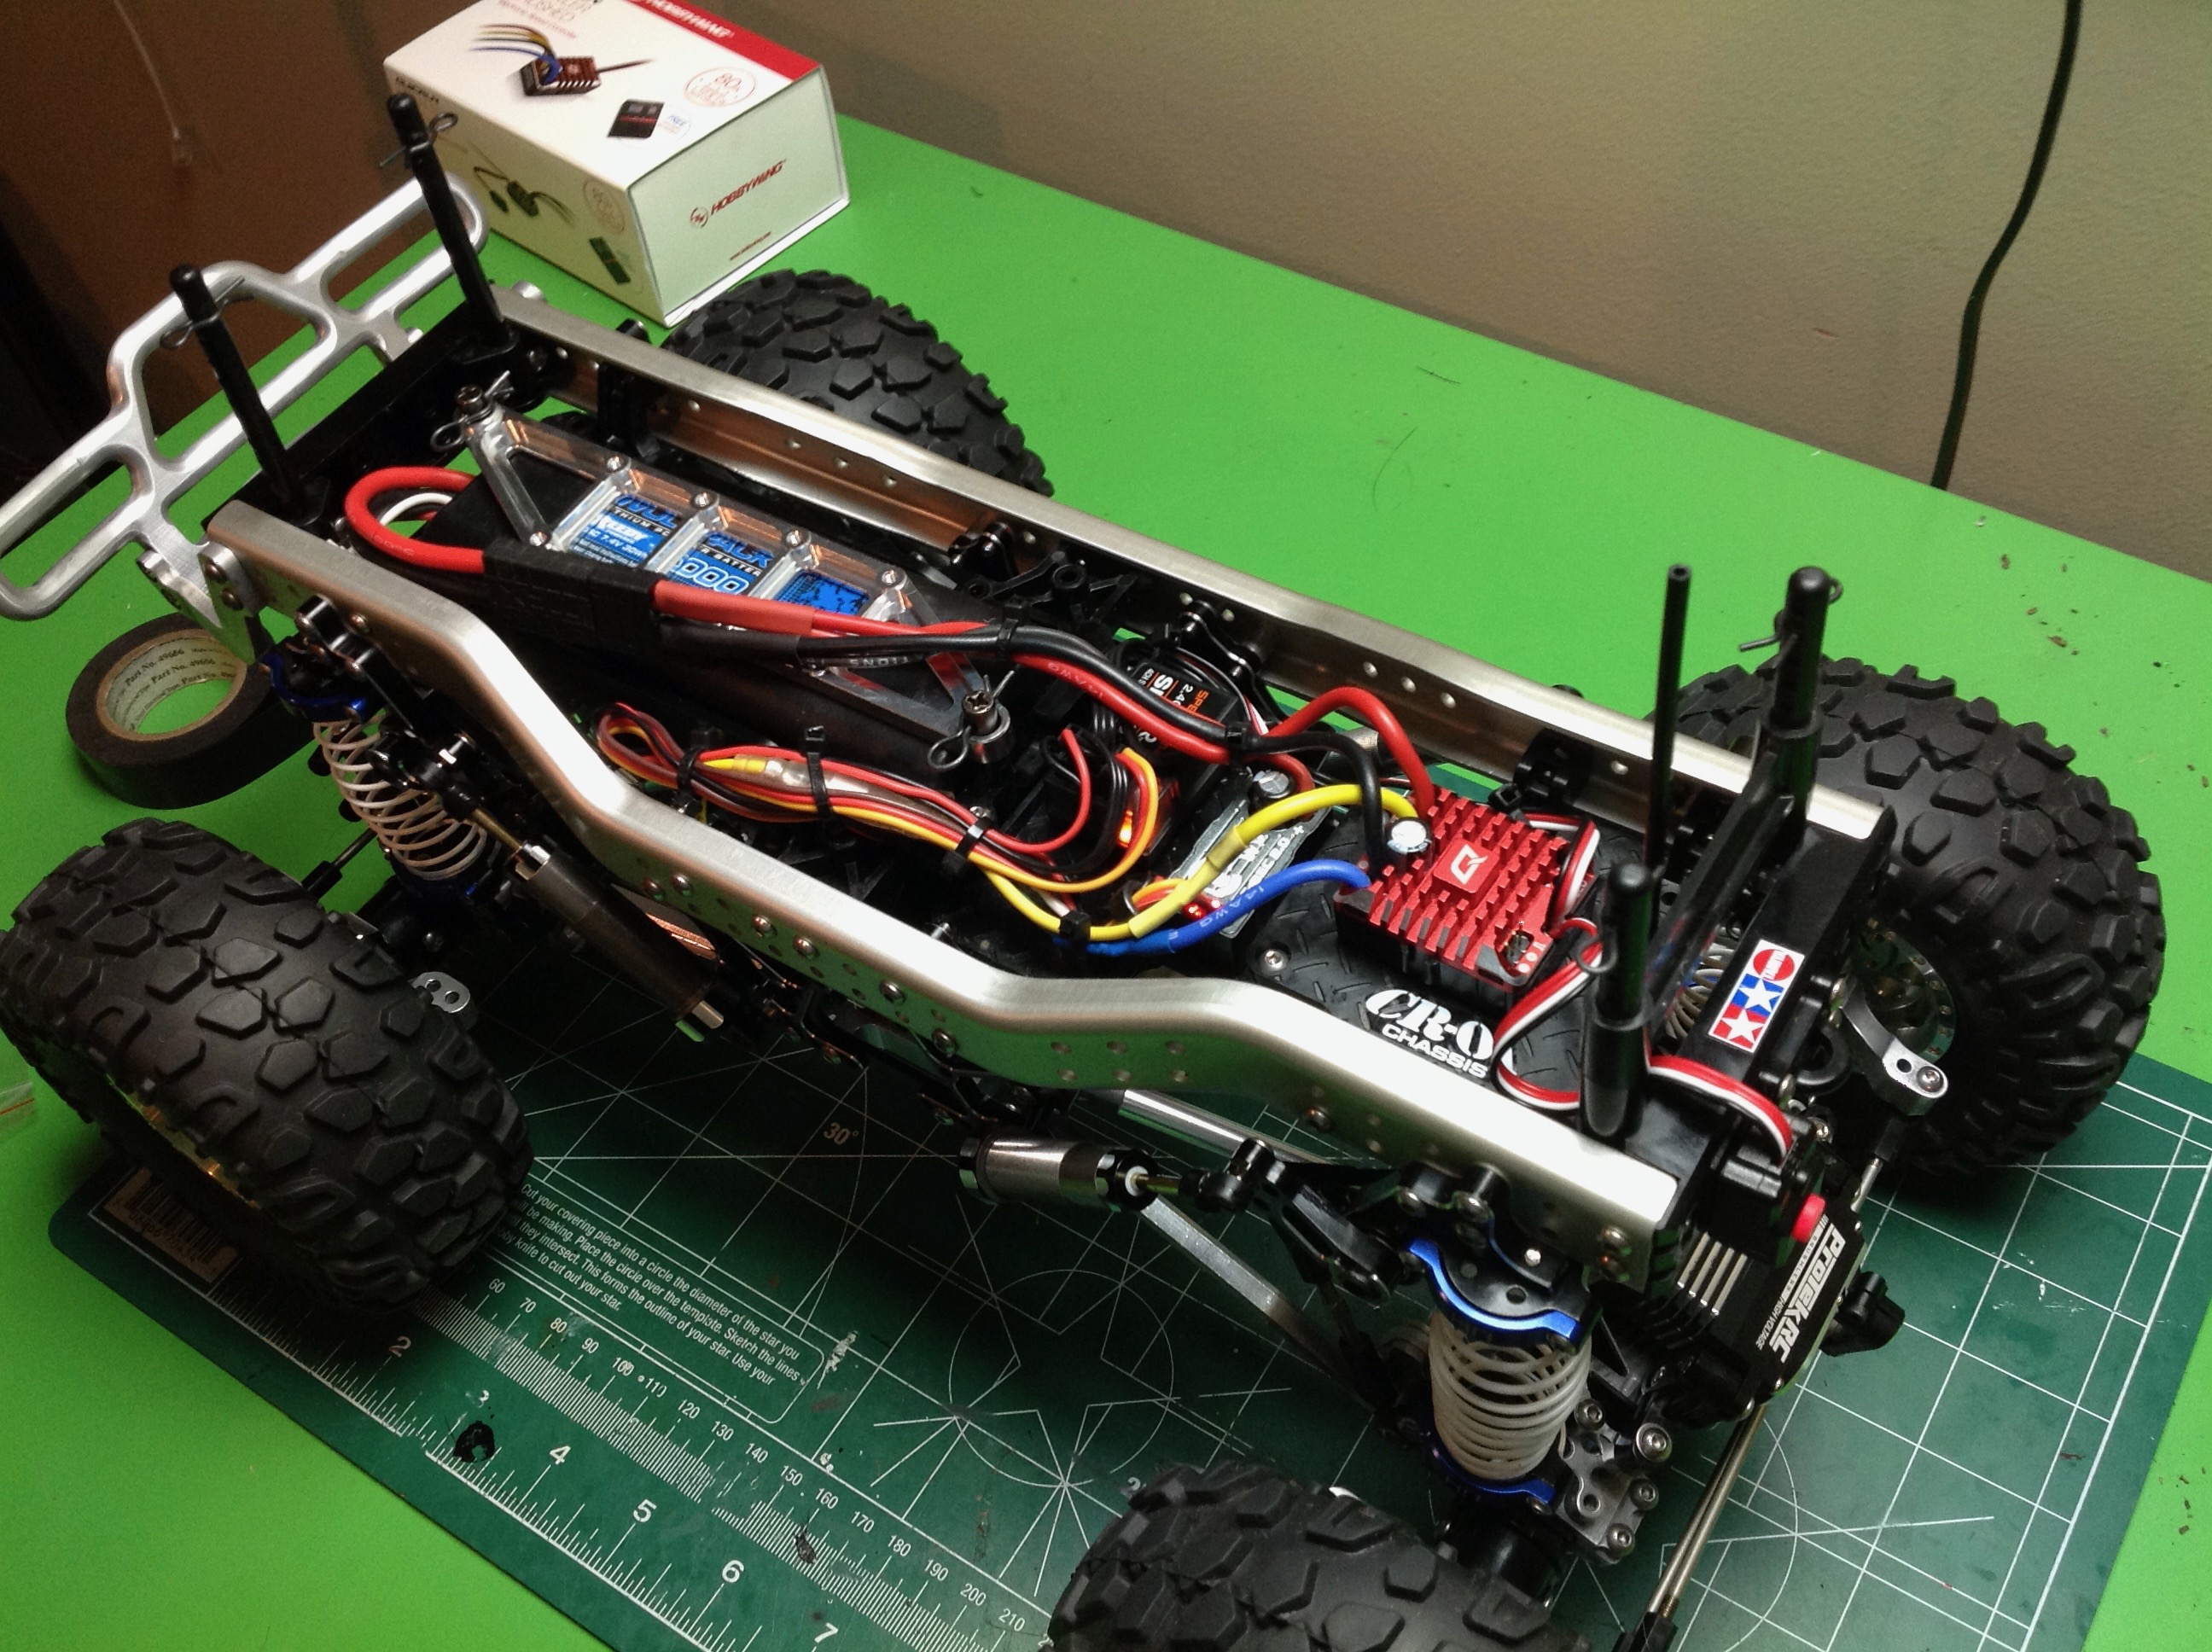
The final step is to install the electronics. I used a Hobbywing
Quicrun brushed controller which is super smooth along with a Castle 15A
BEC to handle the current demands of those huge servos. It all
works great. I was very careful to be neat with the wiring so that
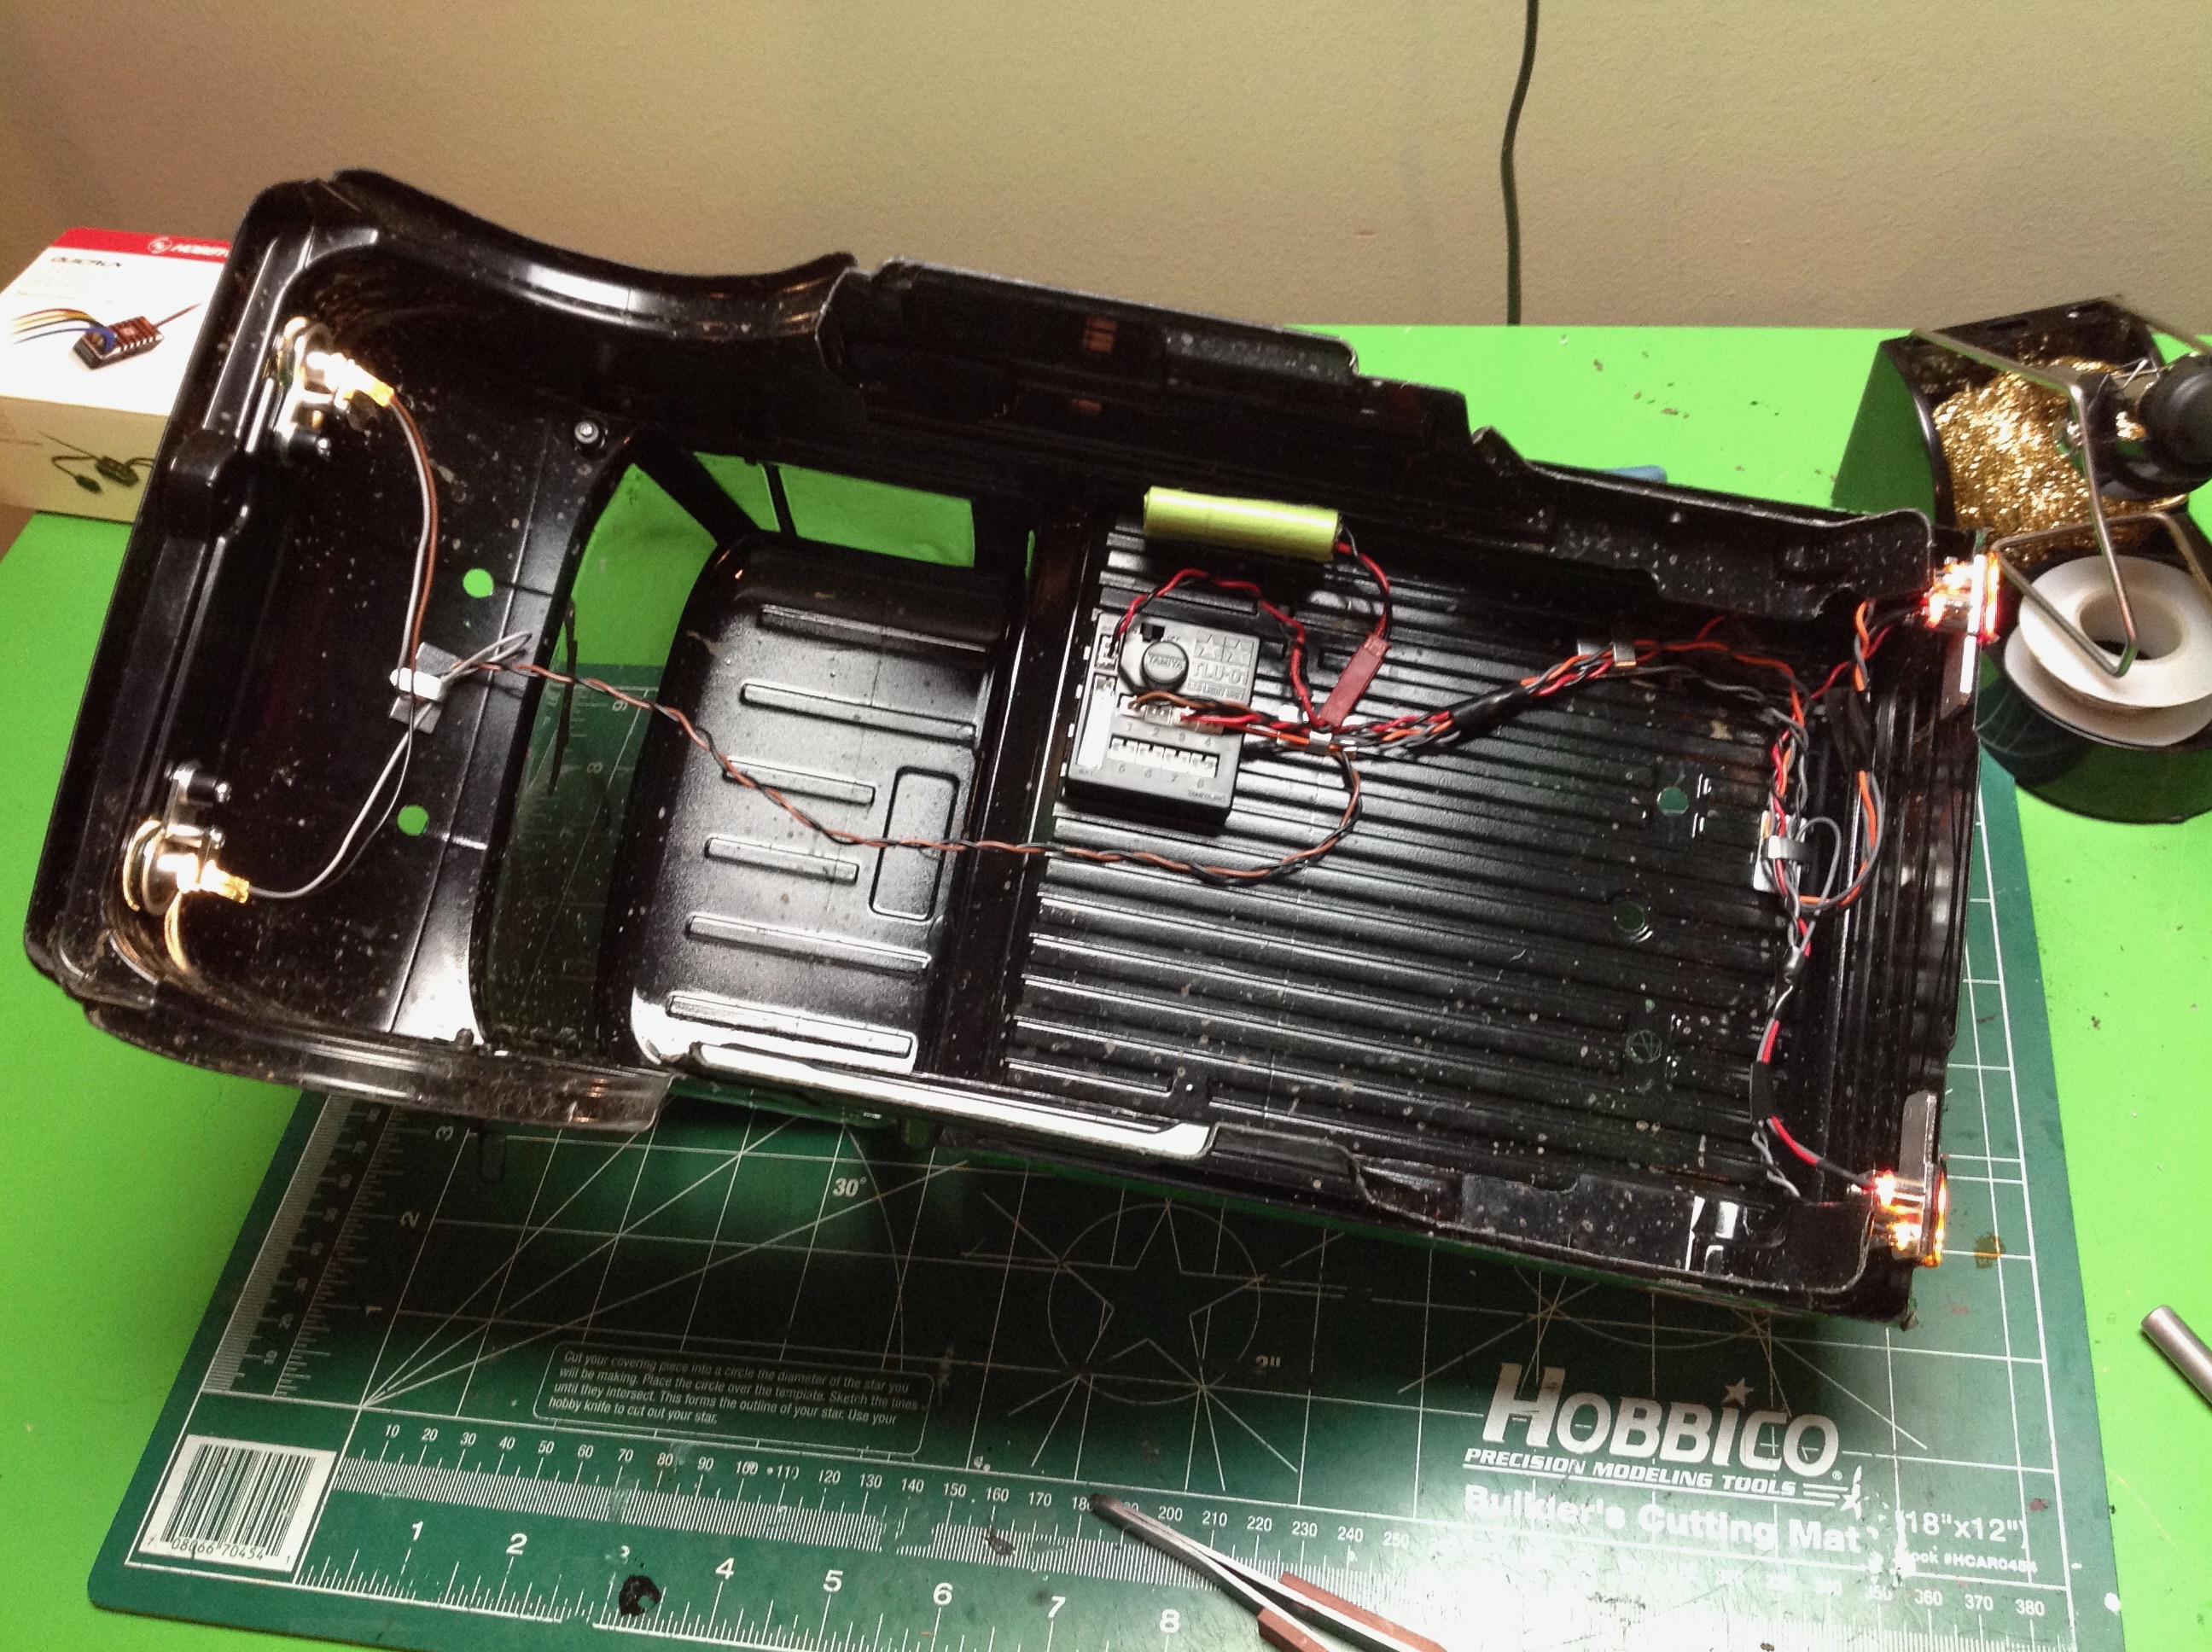
it does not detract from the appearance. The right hand image
shows the TLU-01 light control unit and the LED wiring. Lights
always do a lot to improve the scale look of a model, although this
chassis is certainly nothing like a scale Unimog.
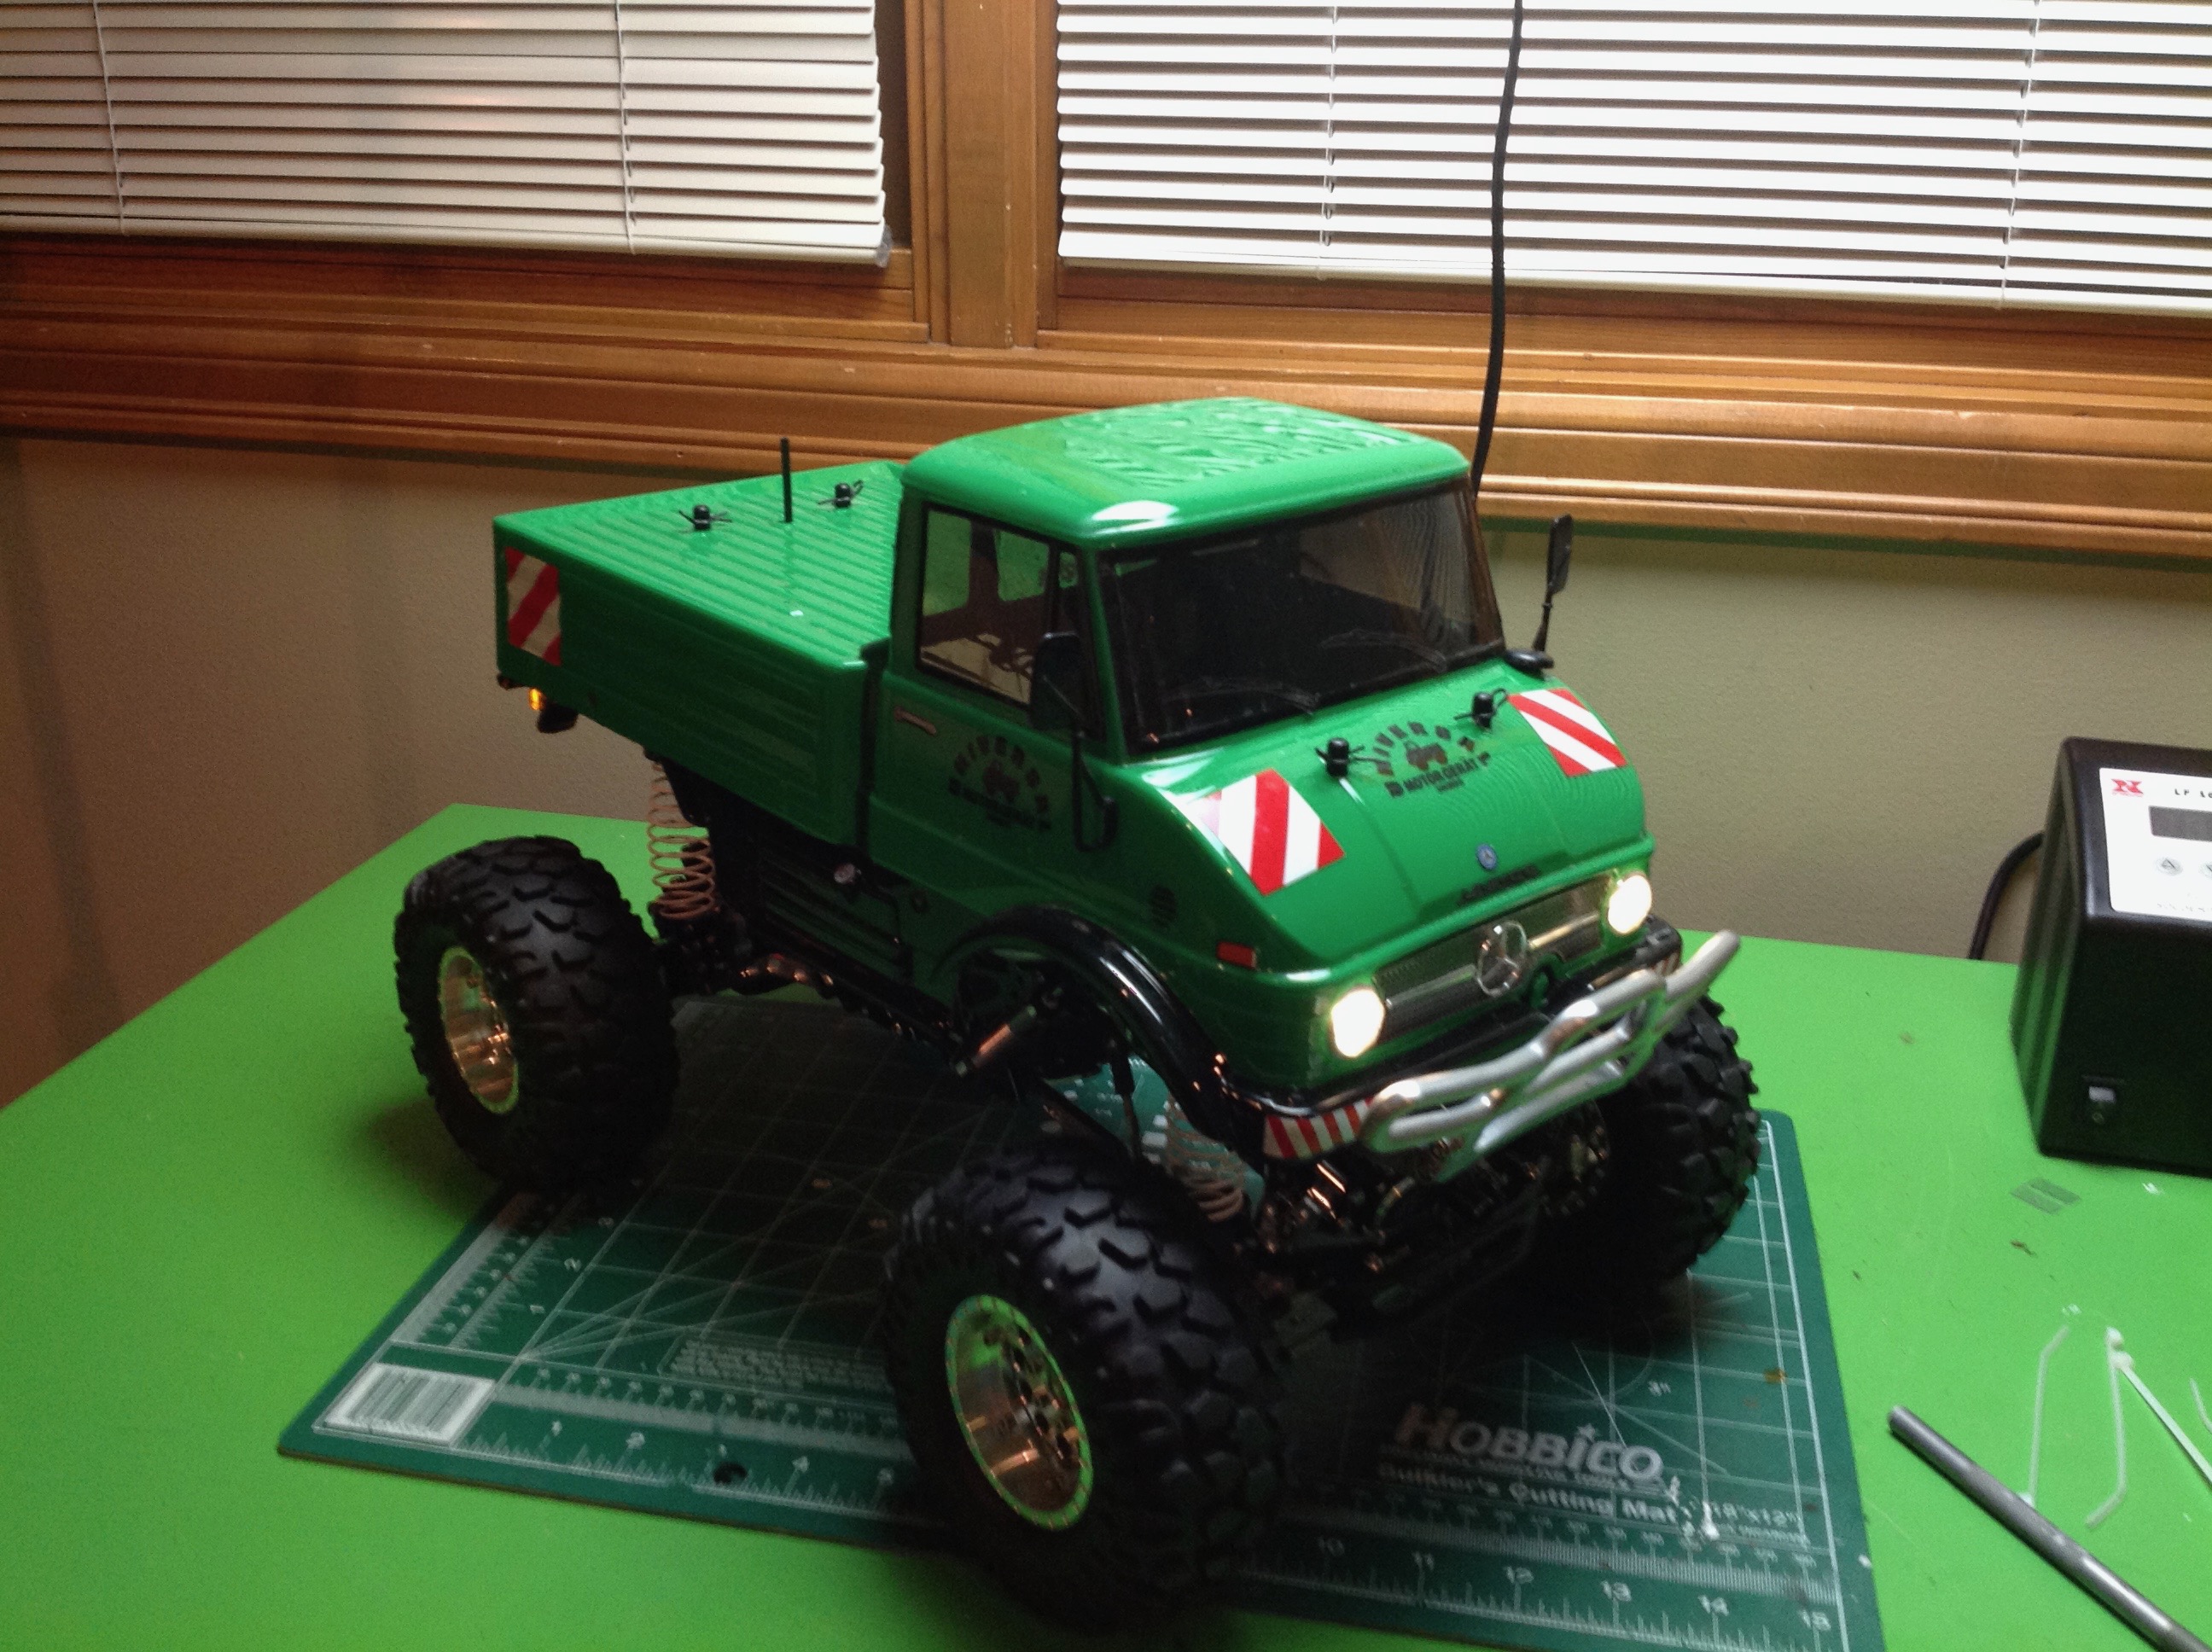
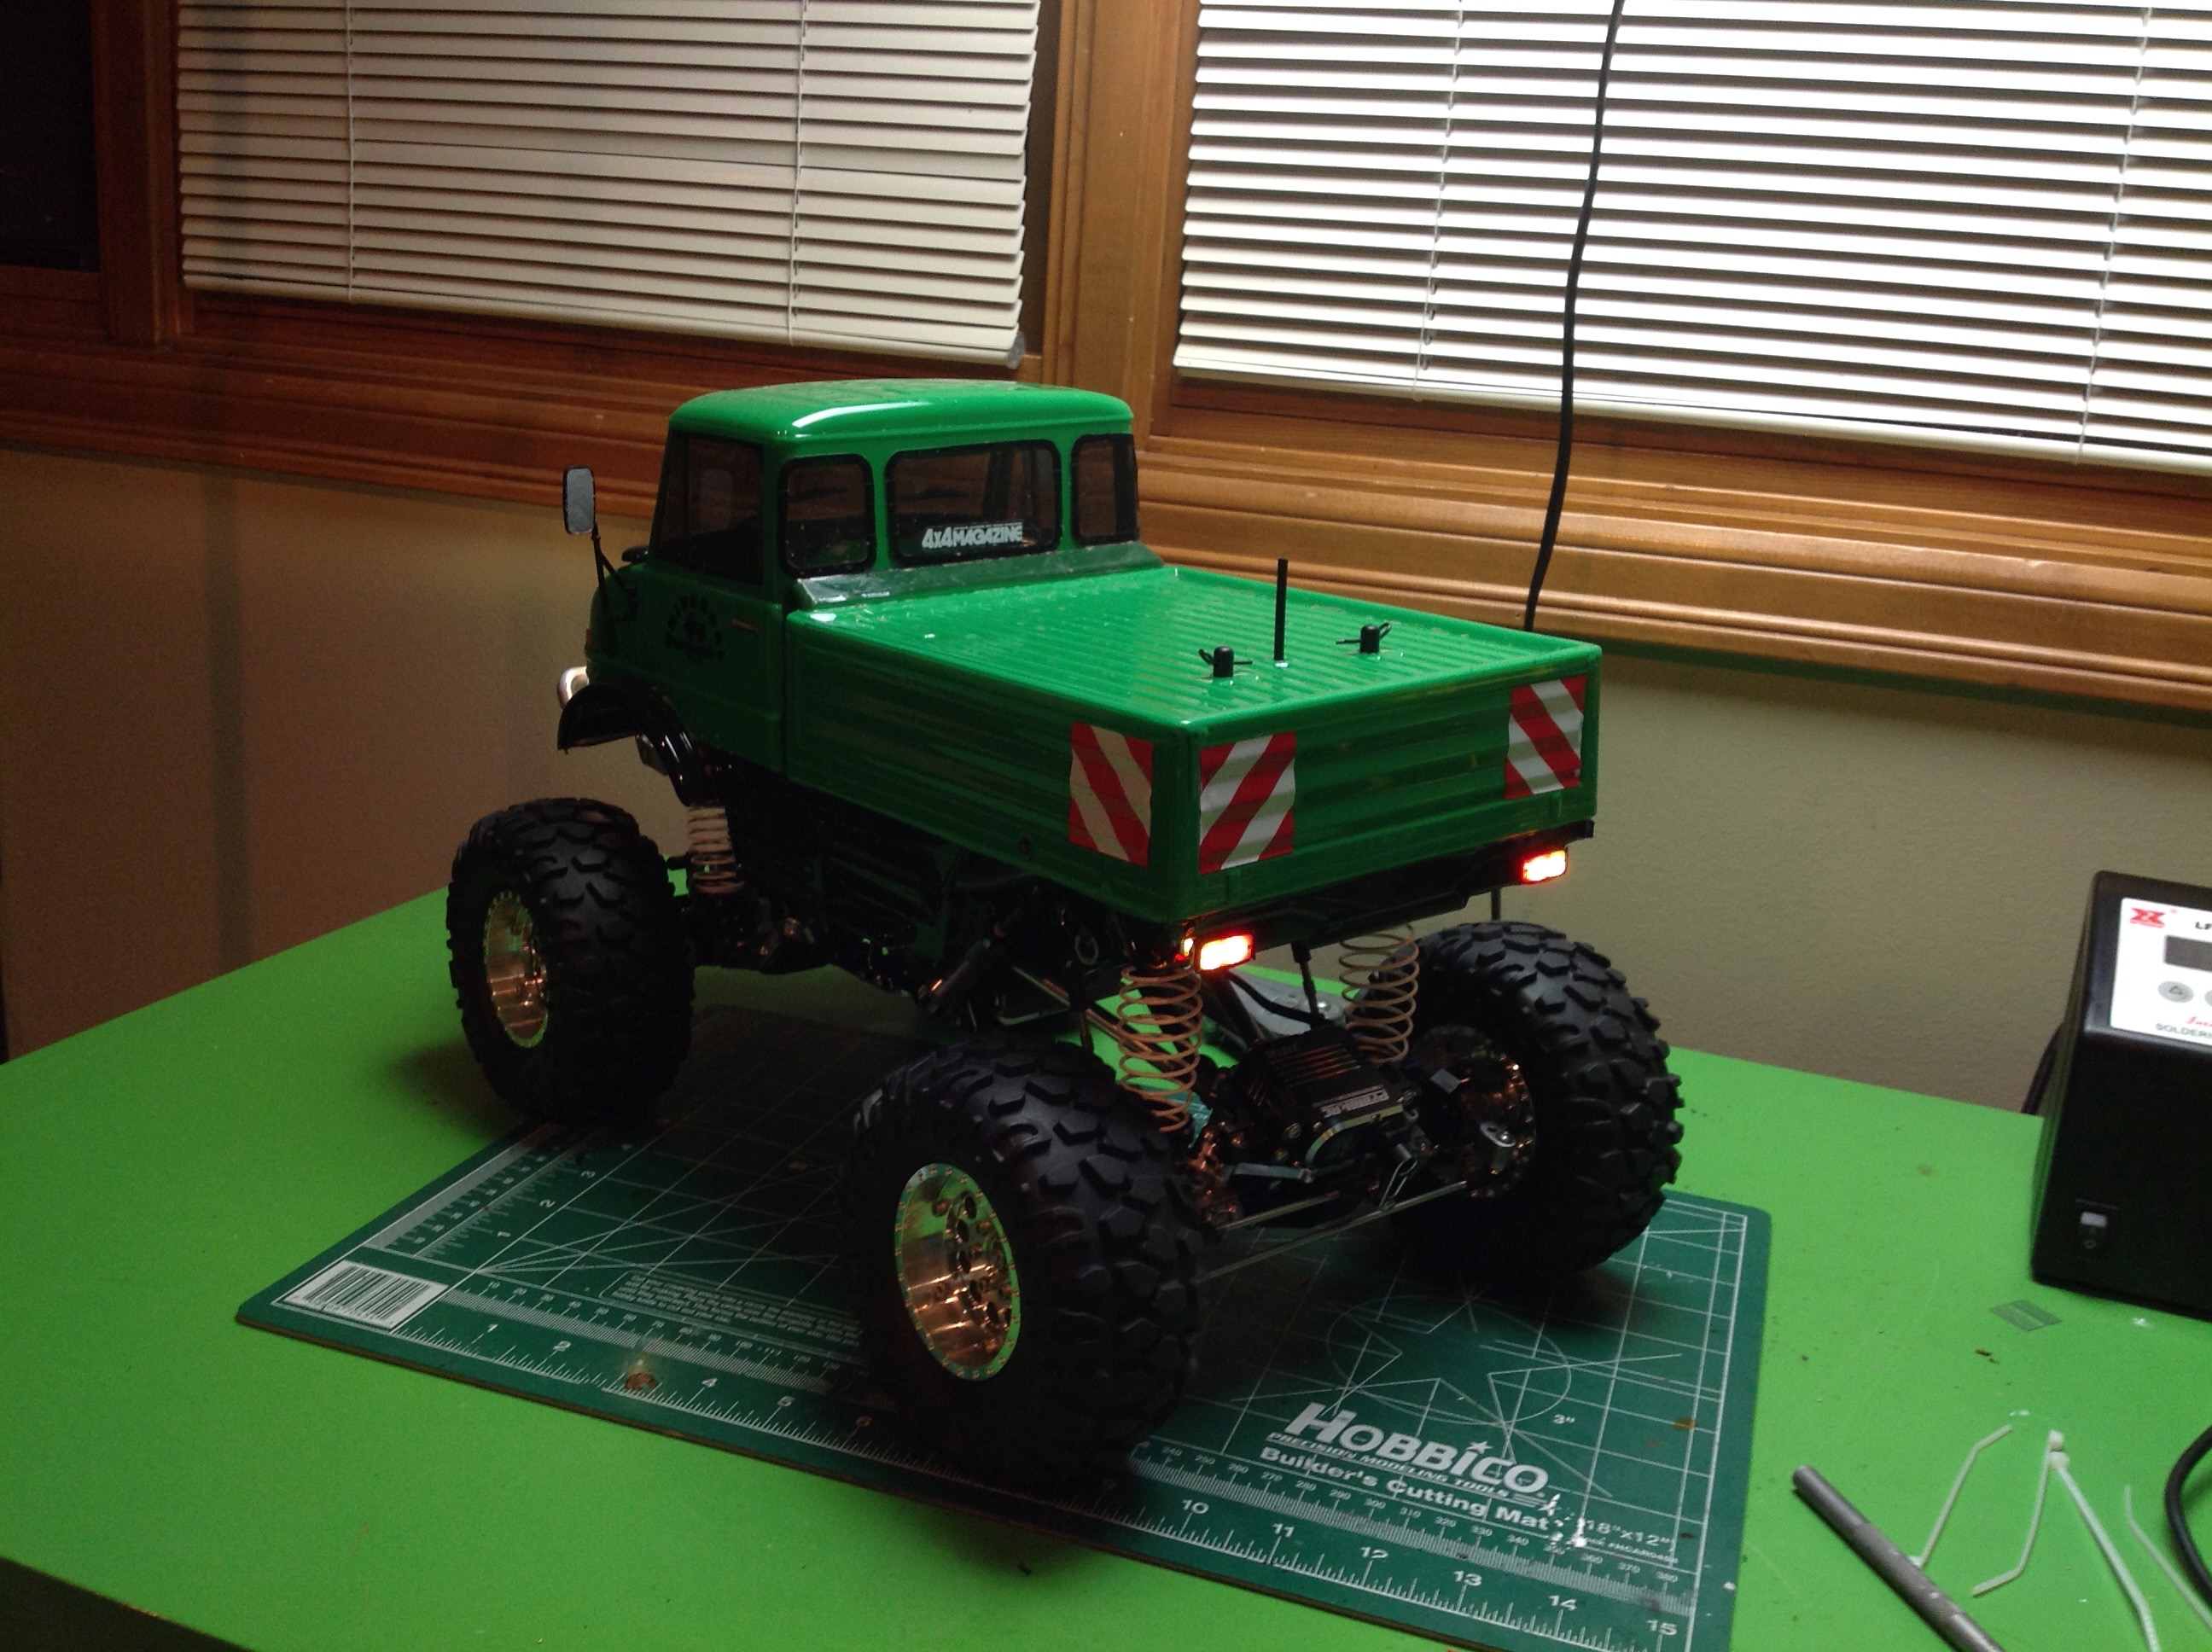
Once the body is on you would hardly know how much work into this model,
but I know and it puts a smile on my face every time I drive it.
Everything I installed is waterproof (except the light controller) so
this is a model I am comfortable using in any terrain or weather.
©2018 Eric Albrecht

