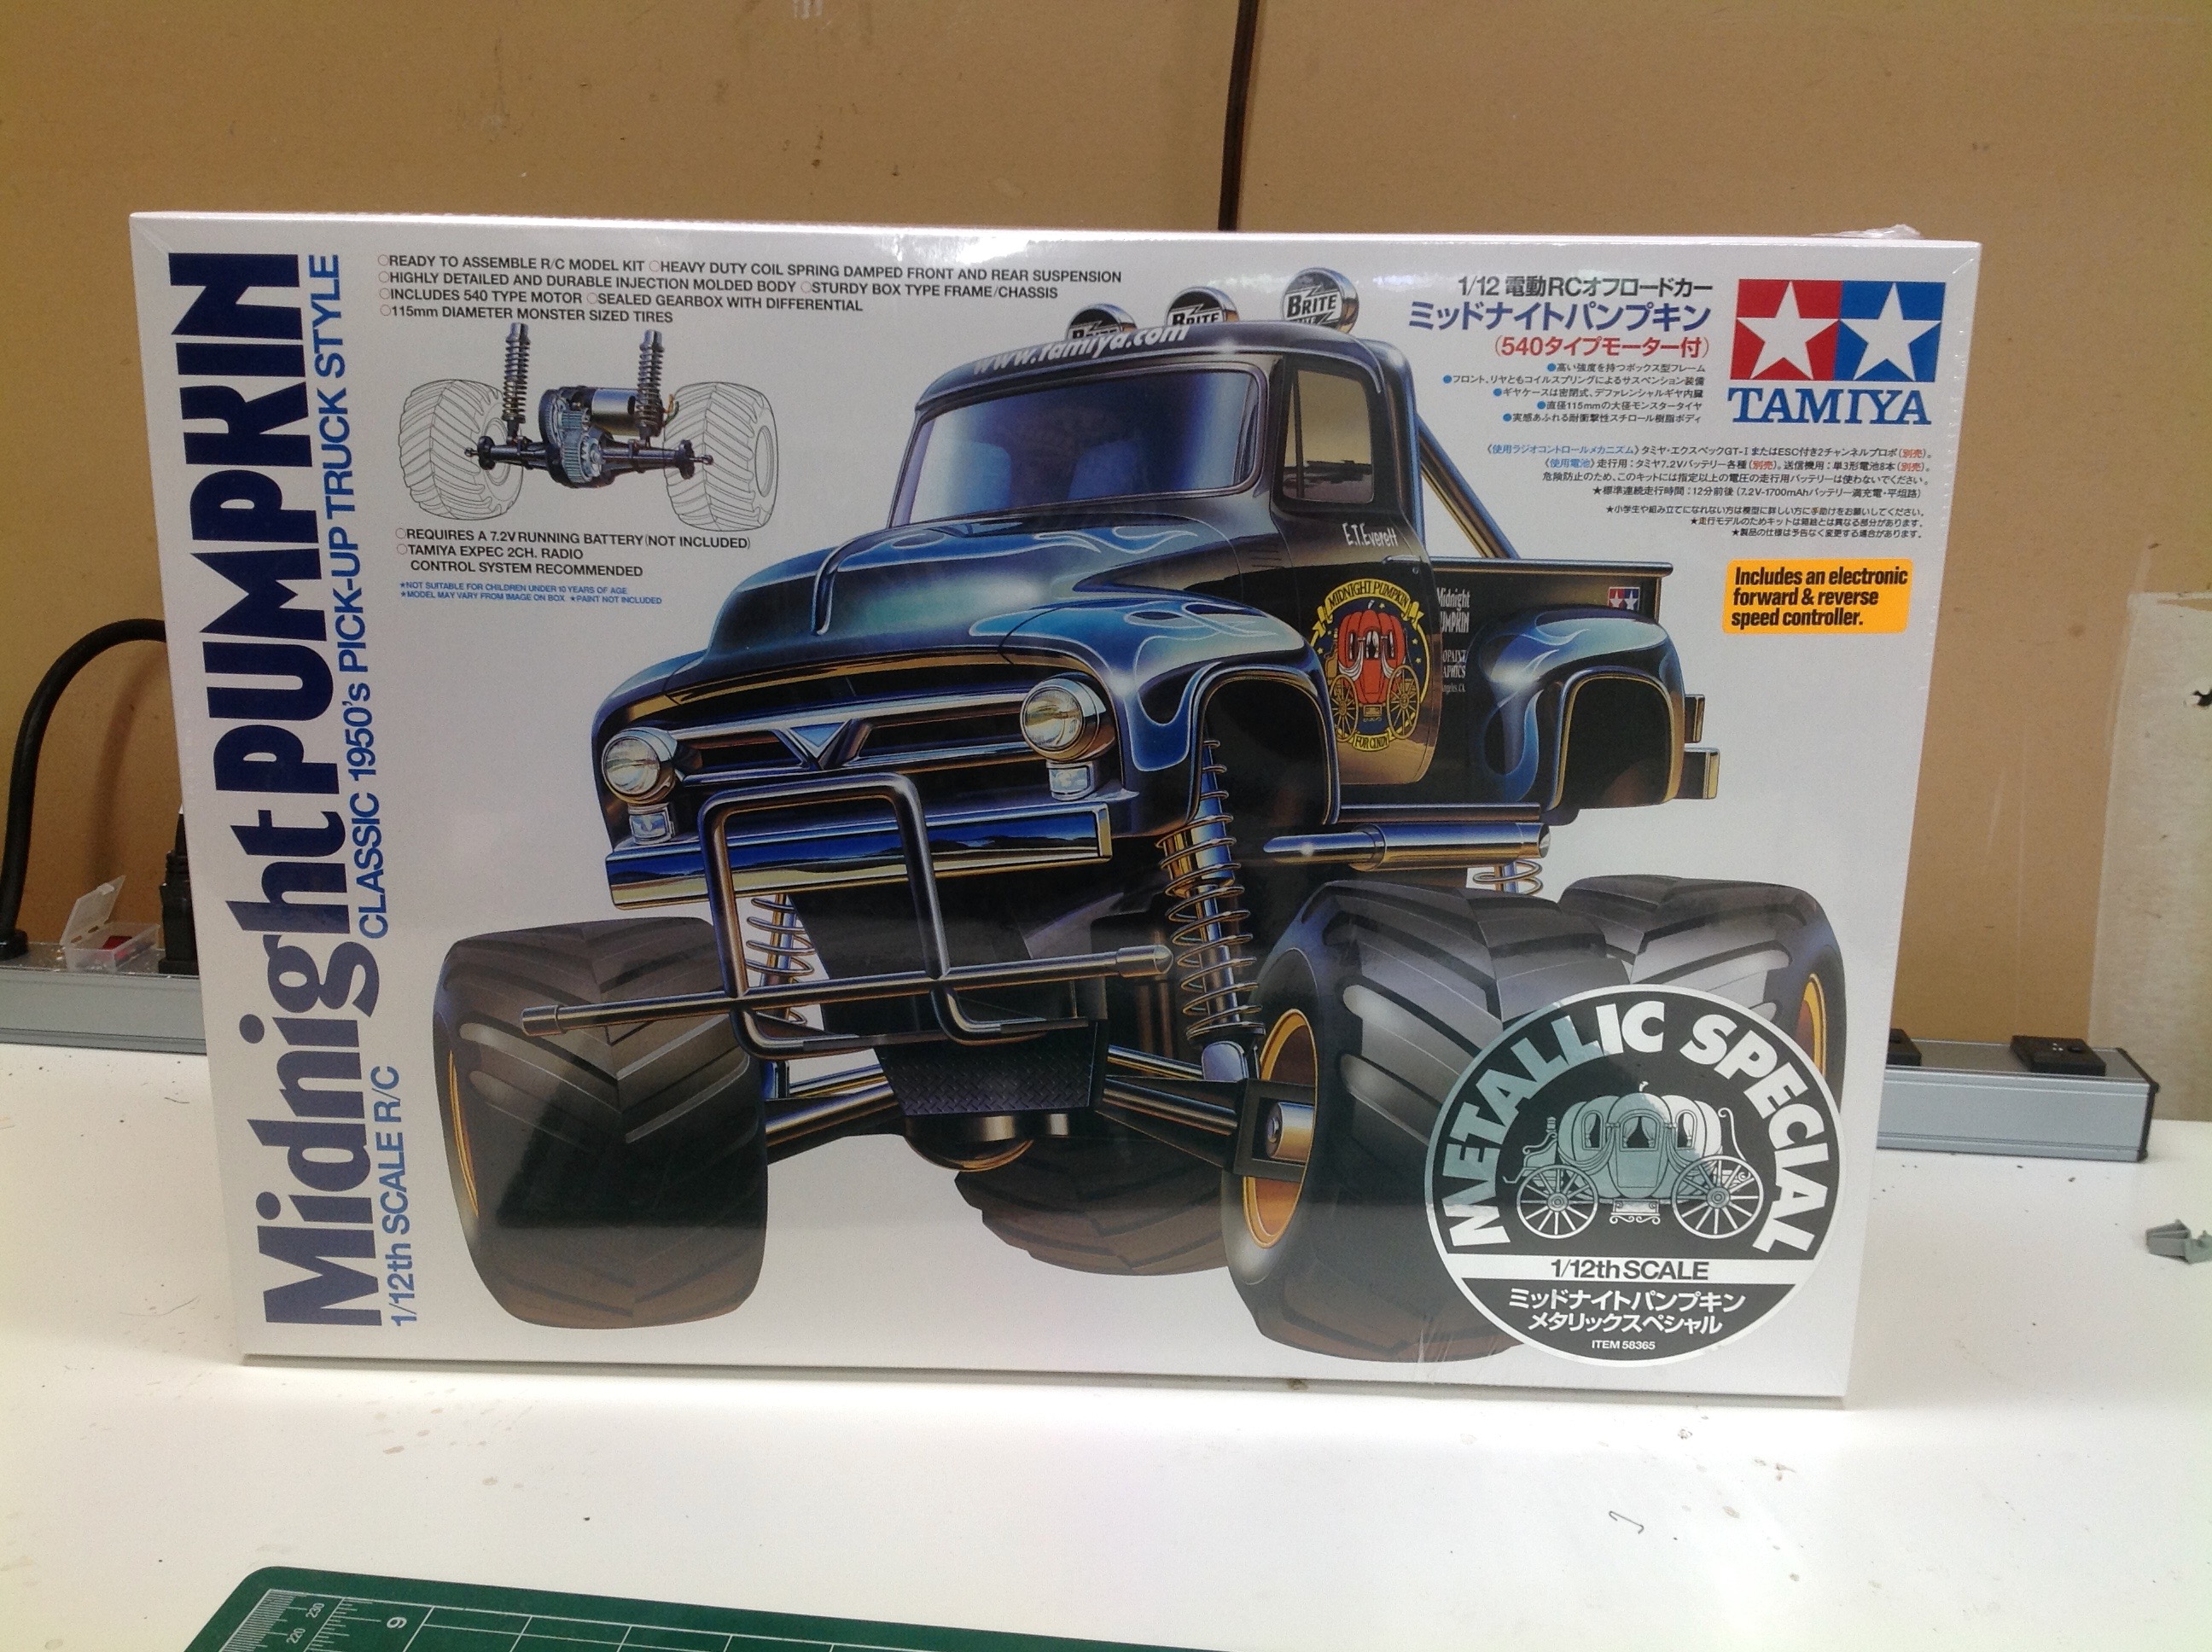
Here's the rather pretty box. Only the sticker indicates that my
copy is chrome plated; the box art still shows the painted
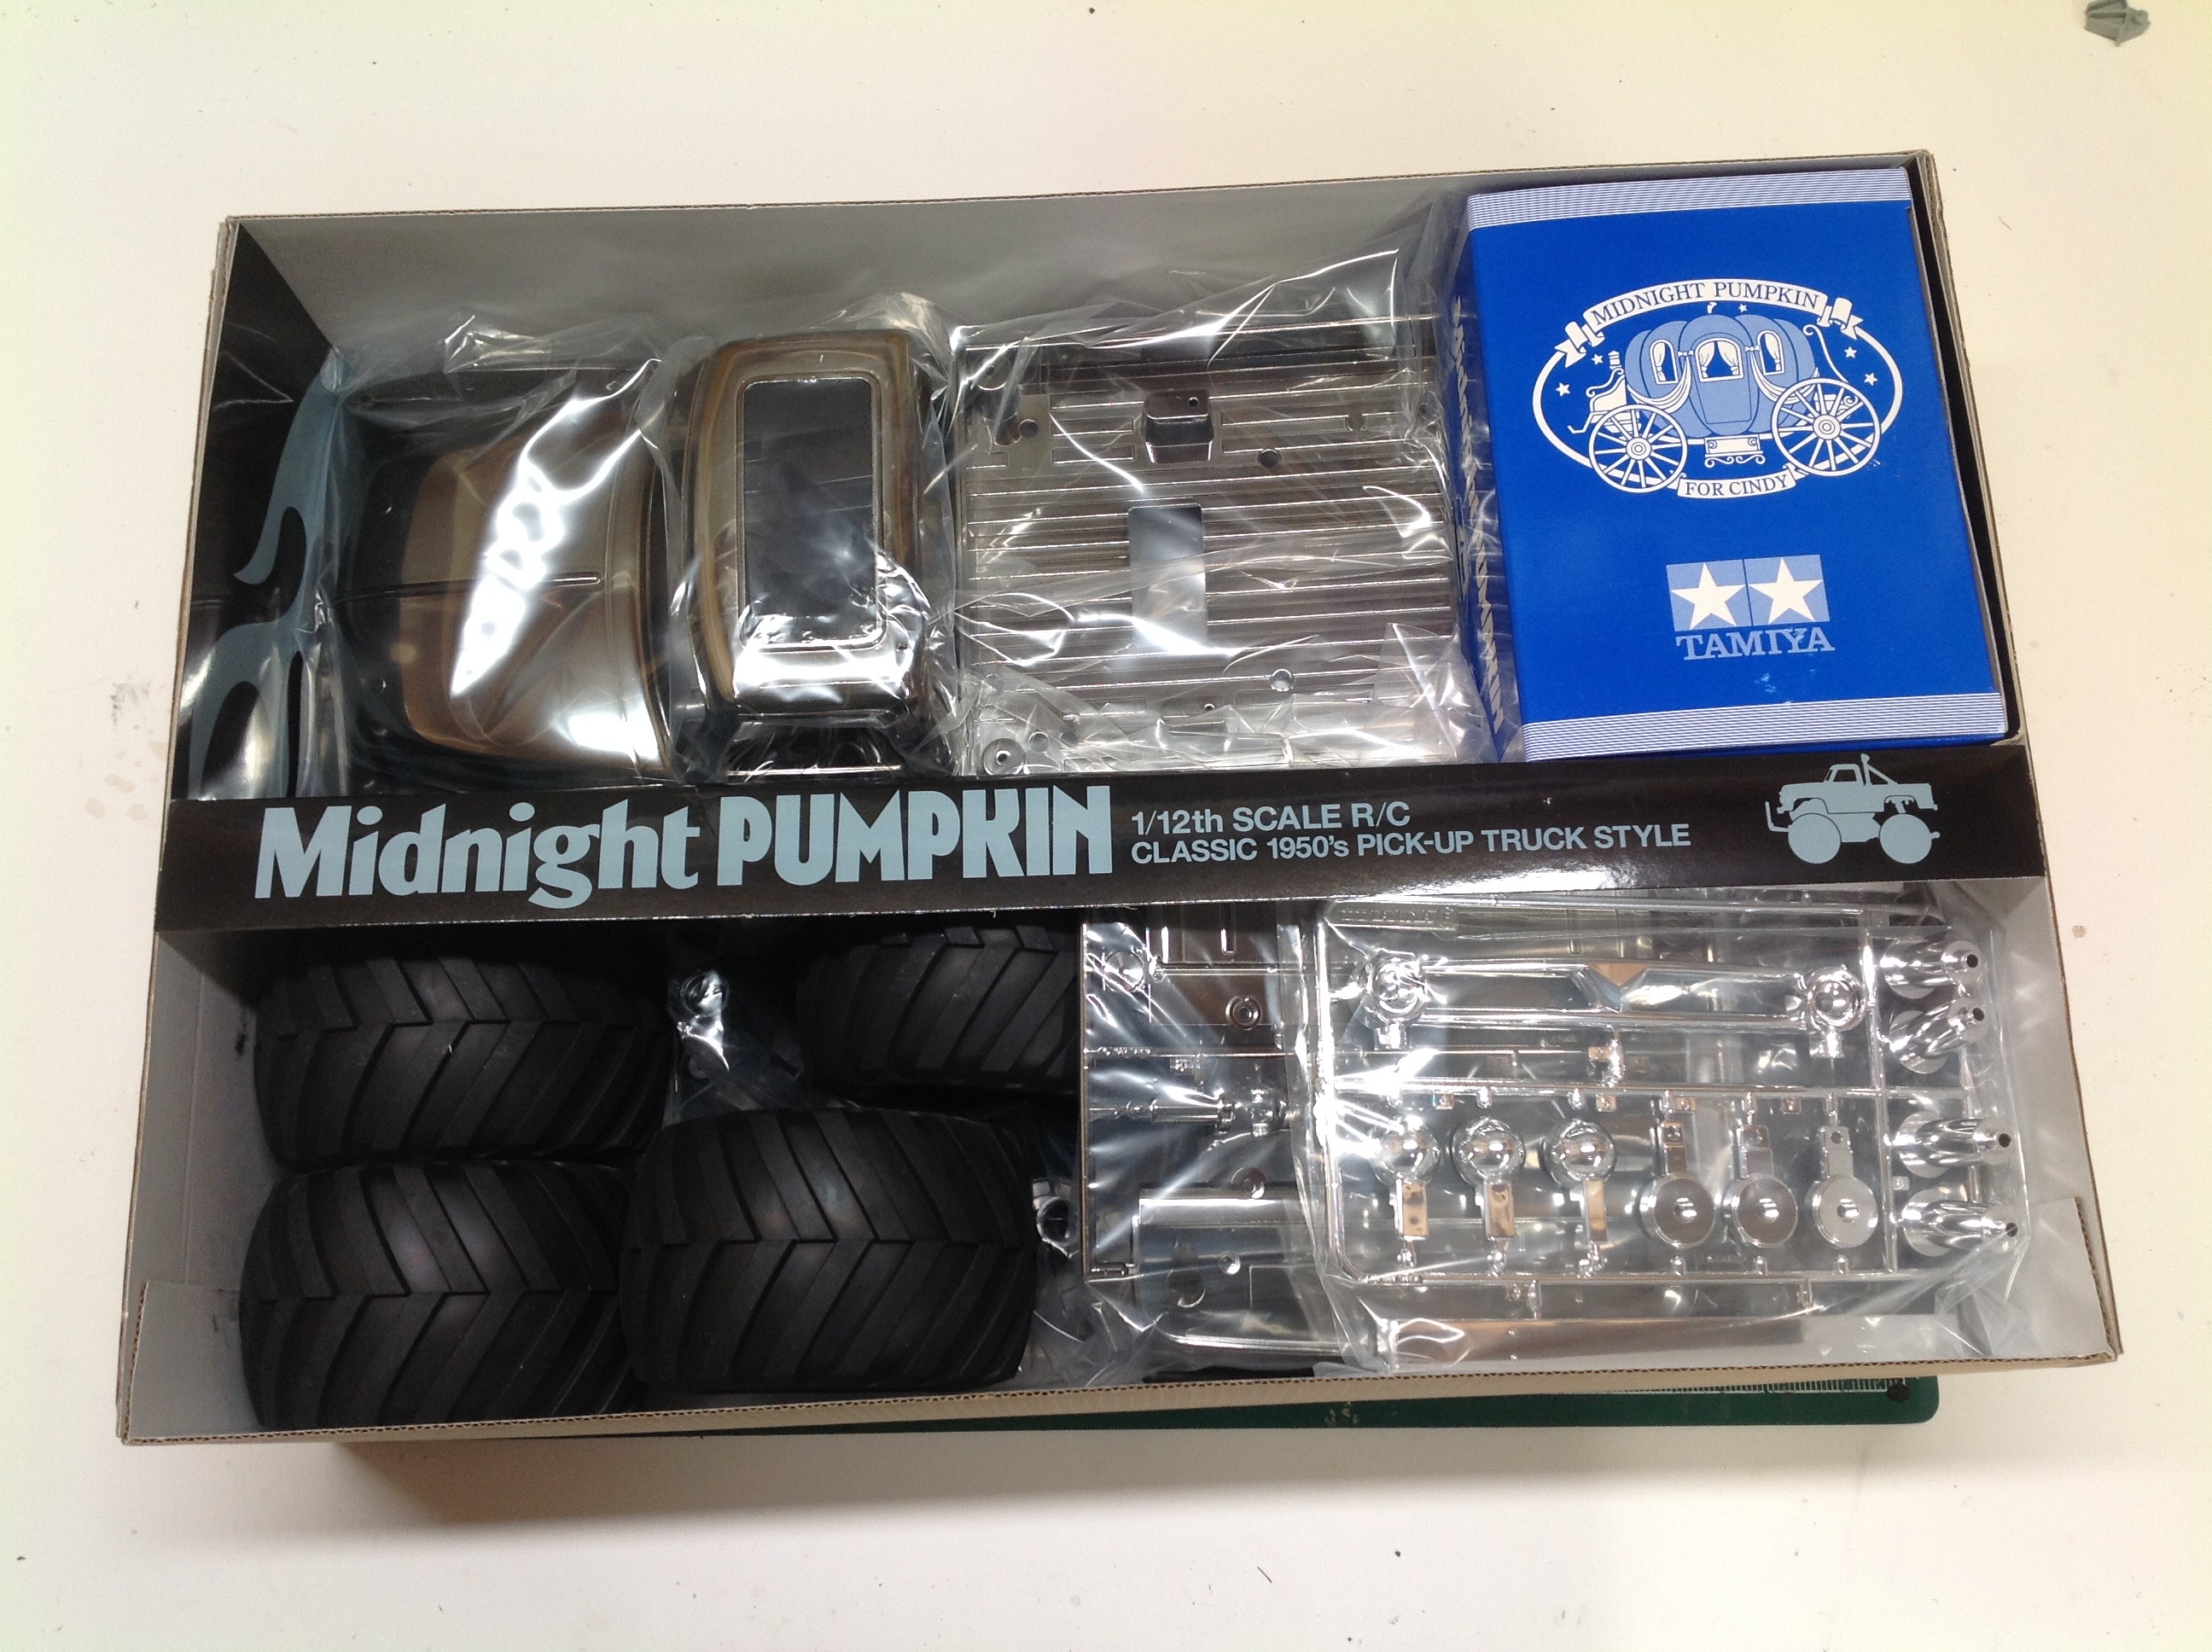
version. Inside the box you find everything nicely arranged as per
usual for Tamiya. The tires are really big compared to the
body. These are the same tires used on the Konghead. You can
see the plated hard shell body carefully packed in its own area.
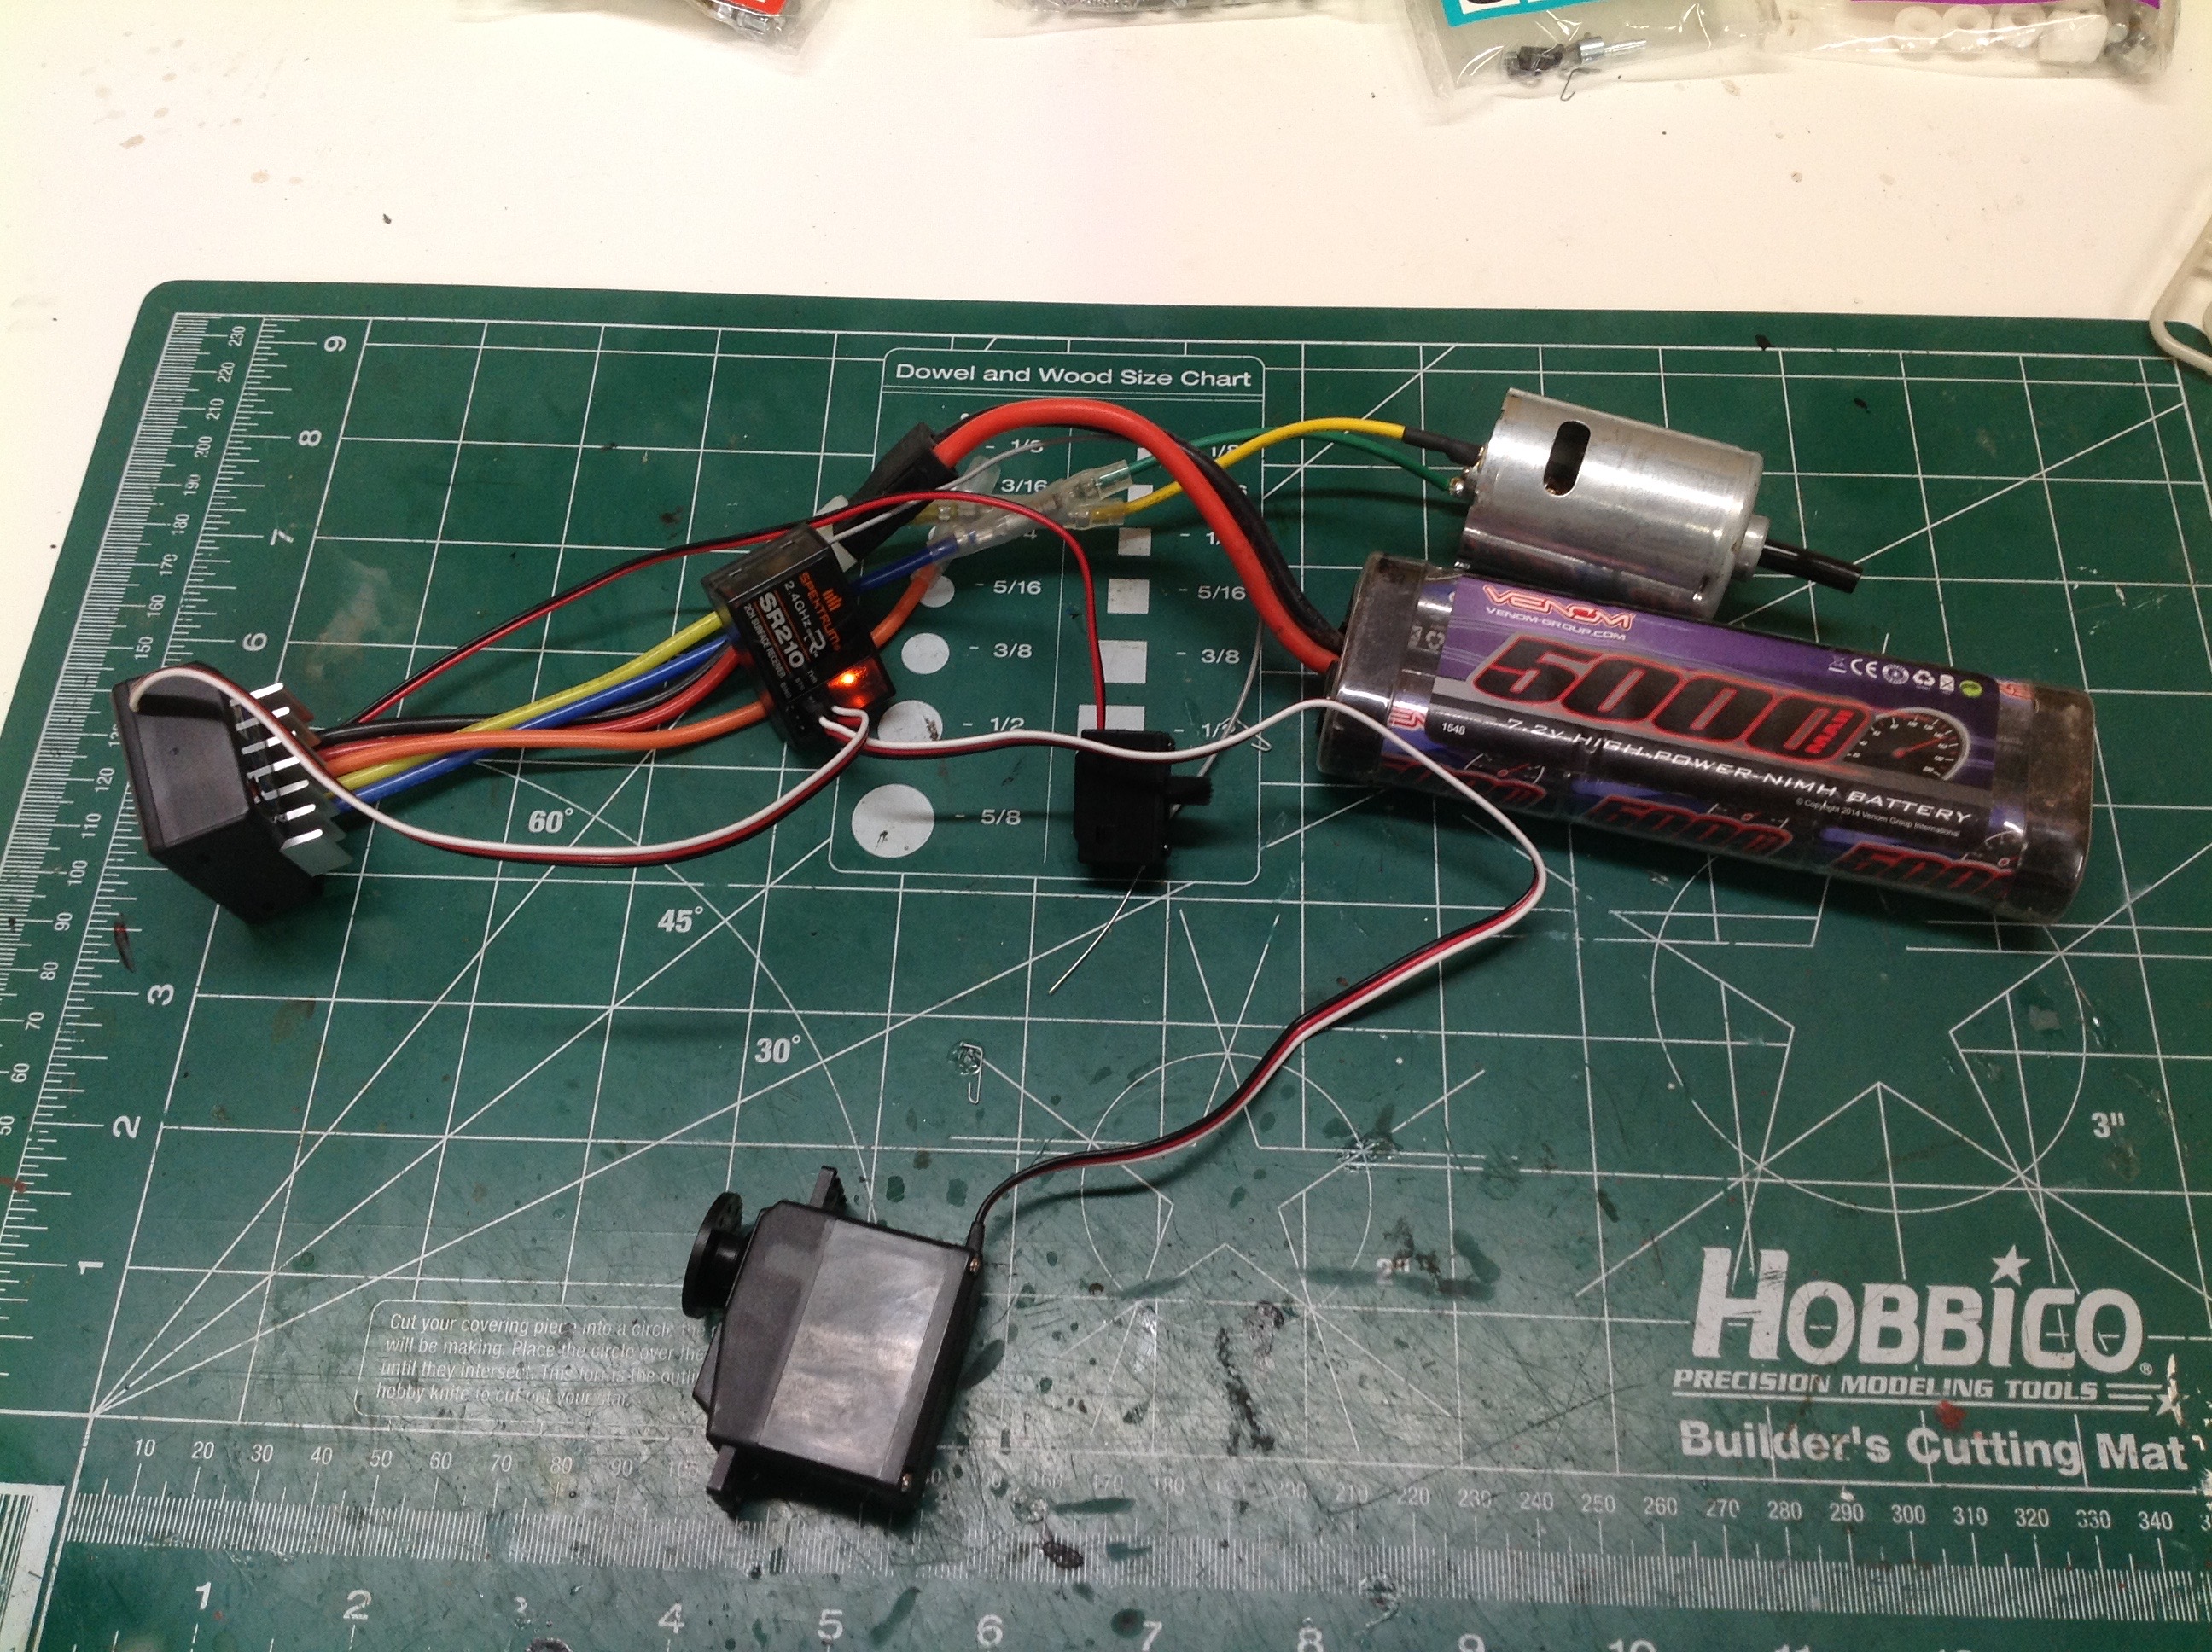
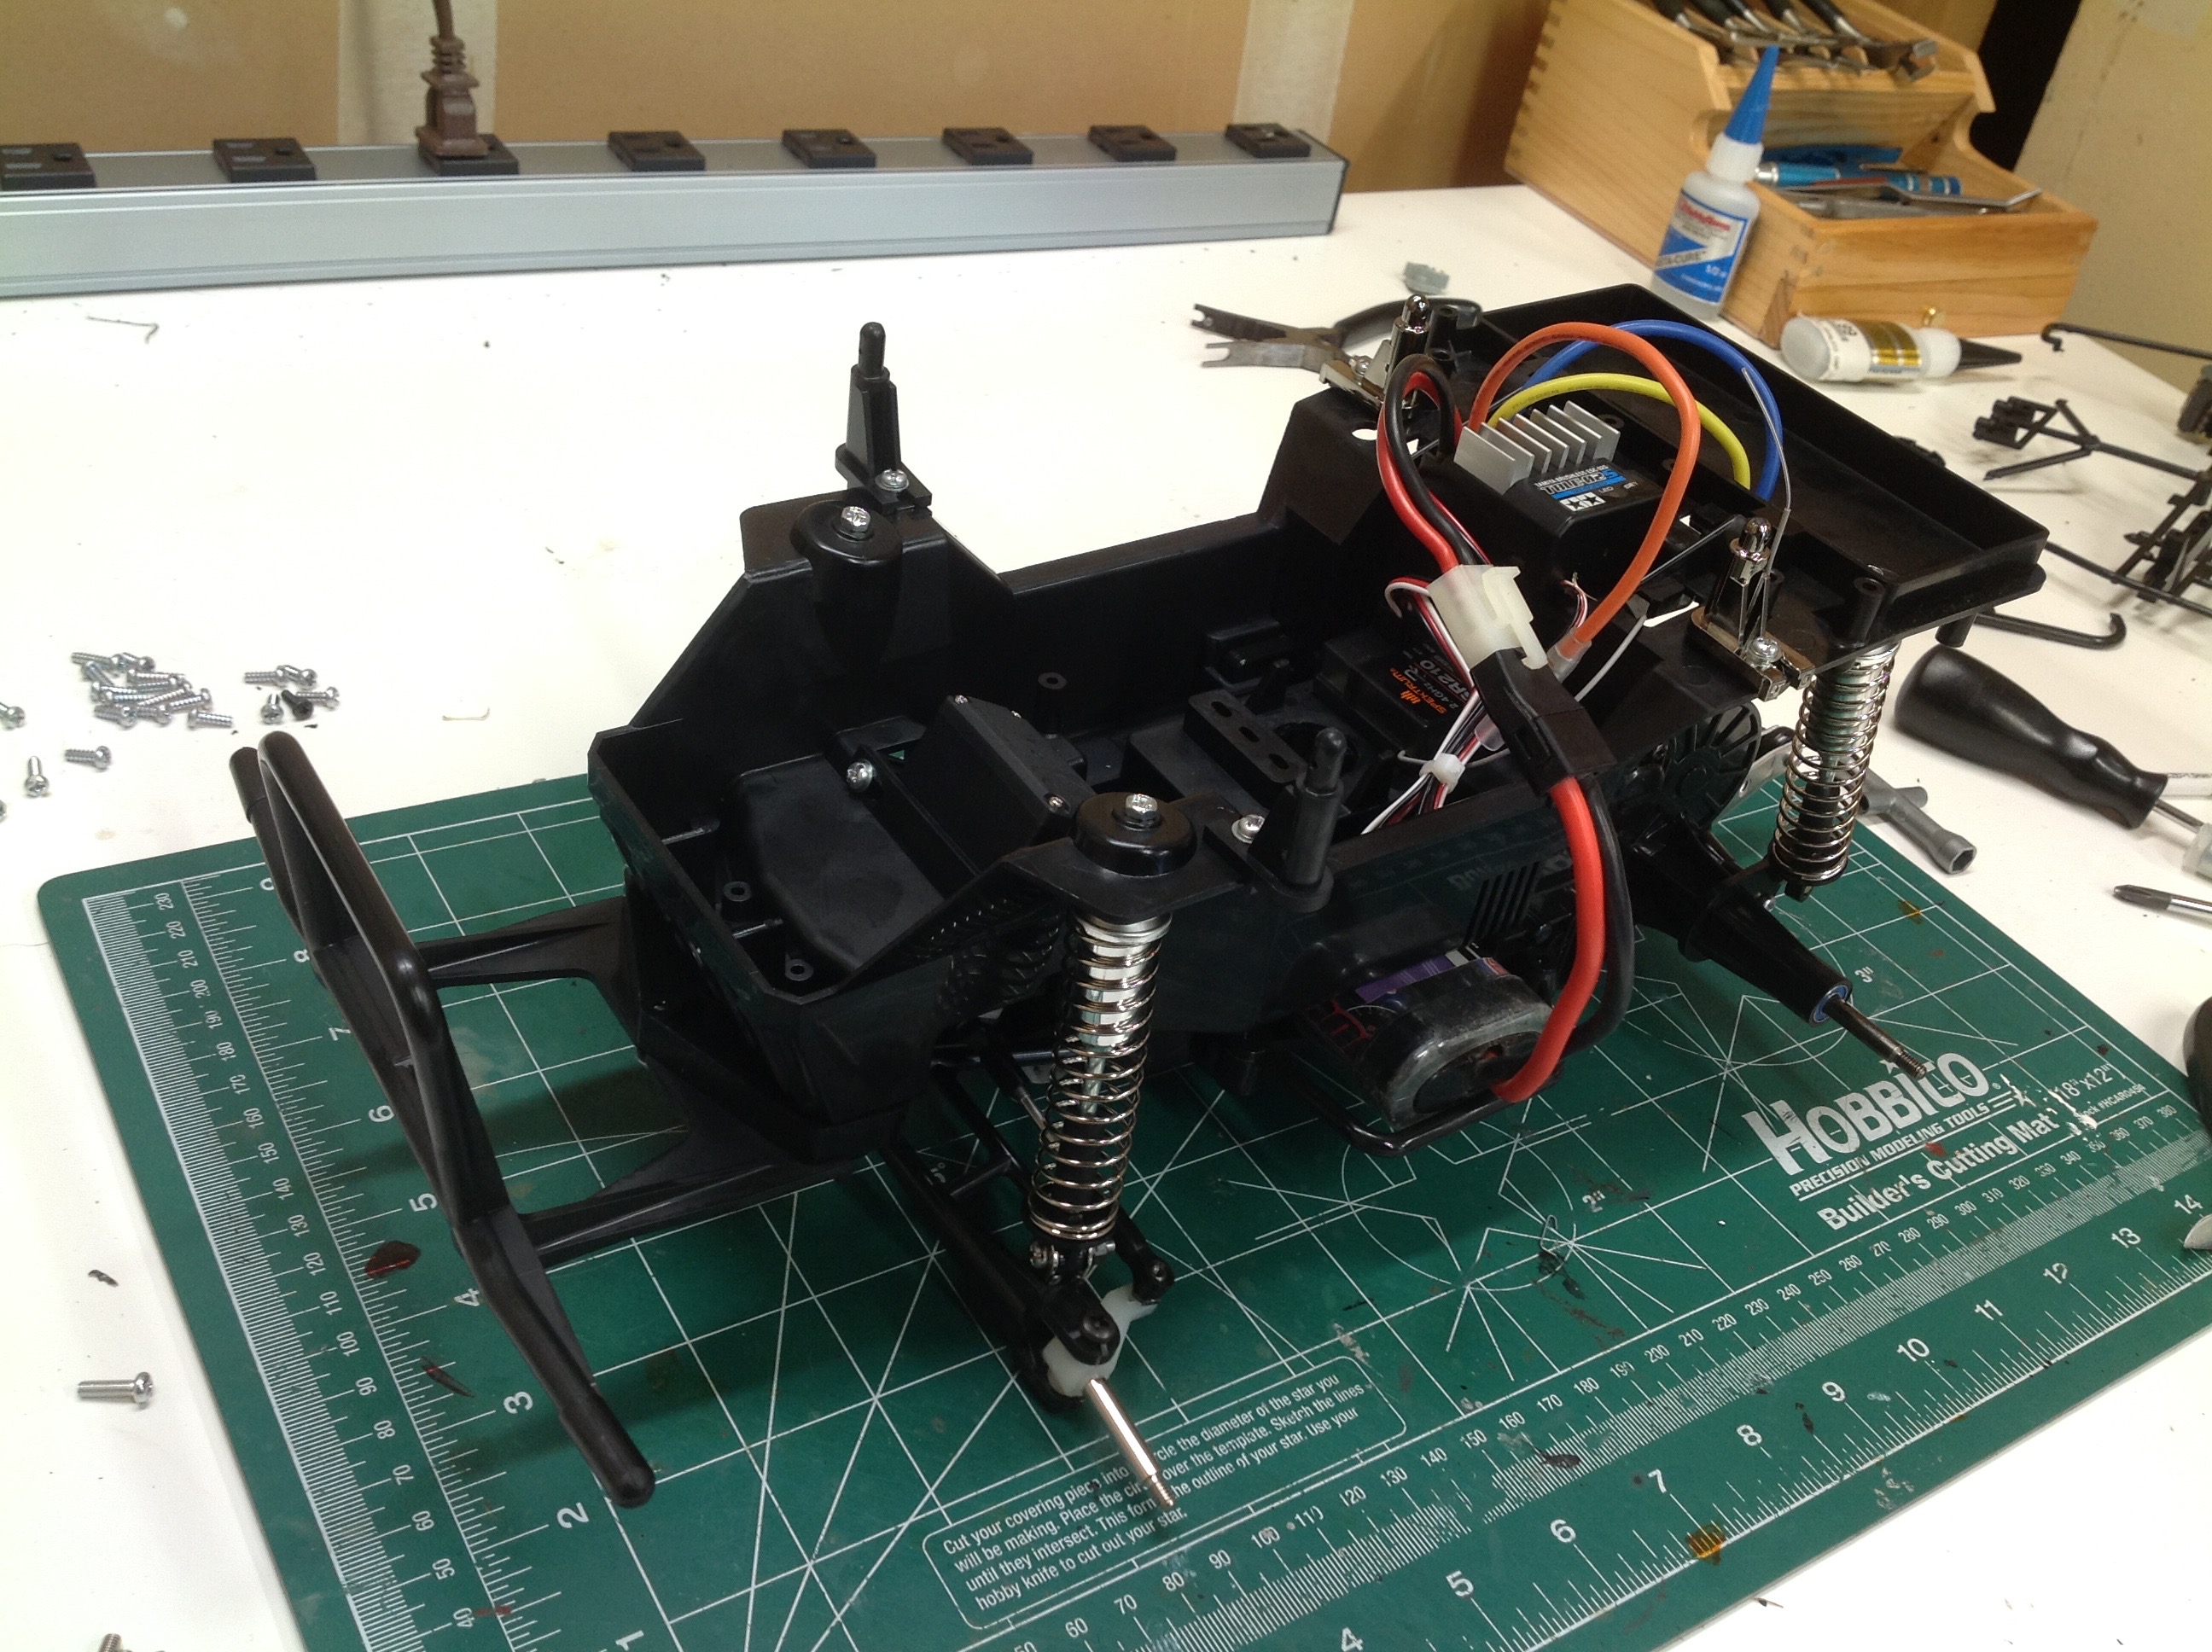
The instructions for this particular model start out with setting up the
electronics which is shown on the left. The kit came with the
TBLE-02s speed controller and the motor. I added the cheapest
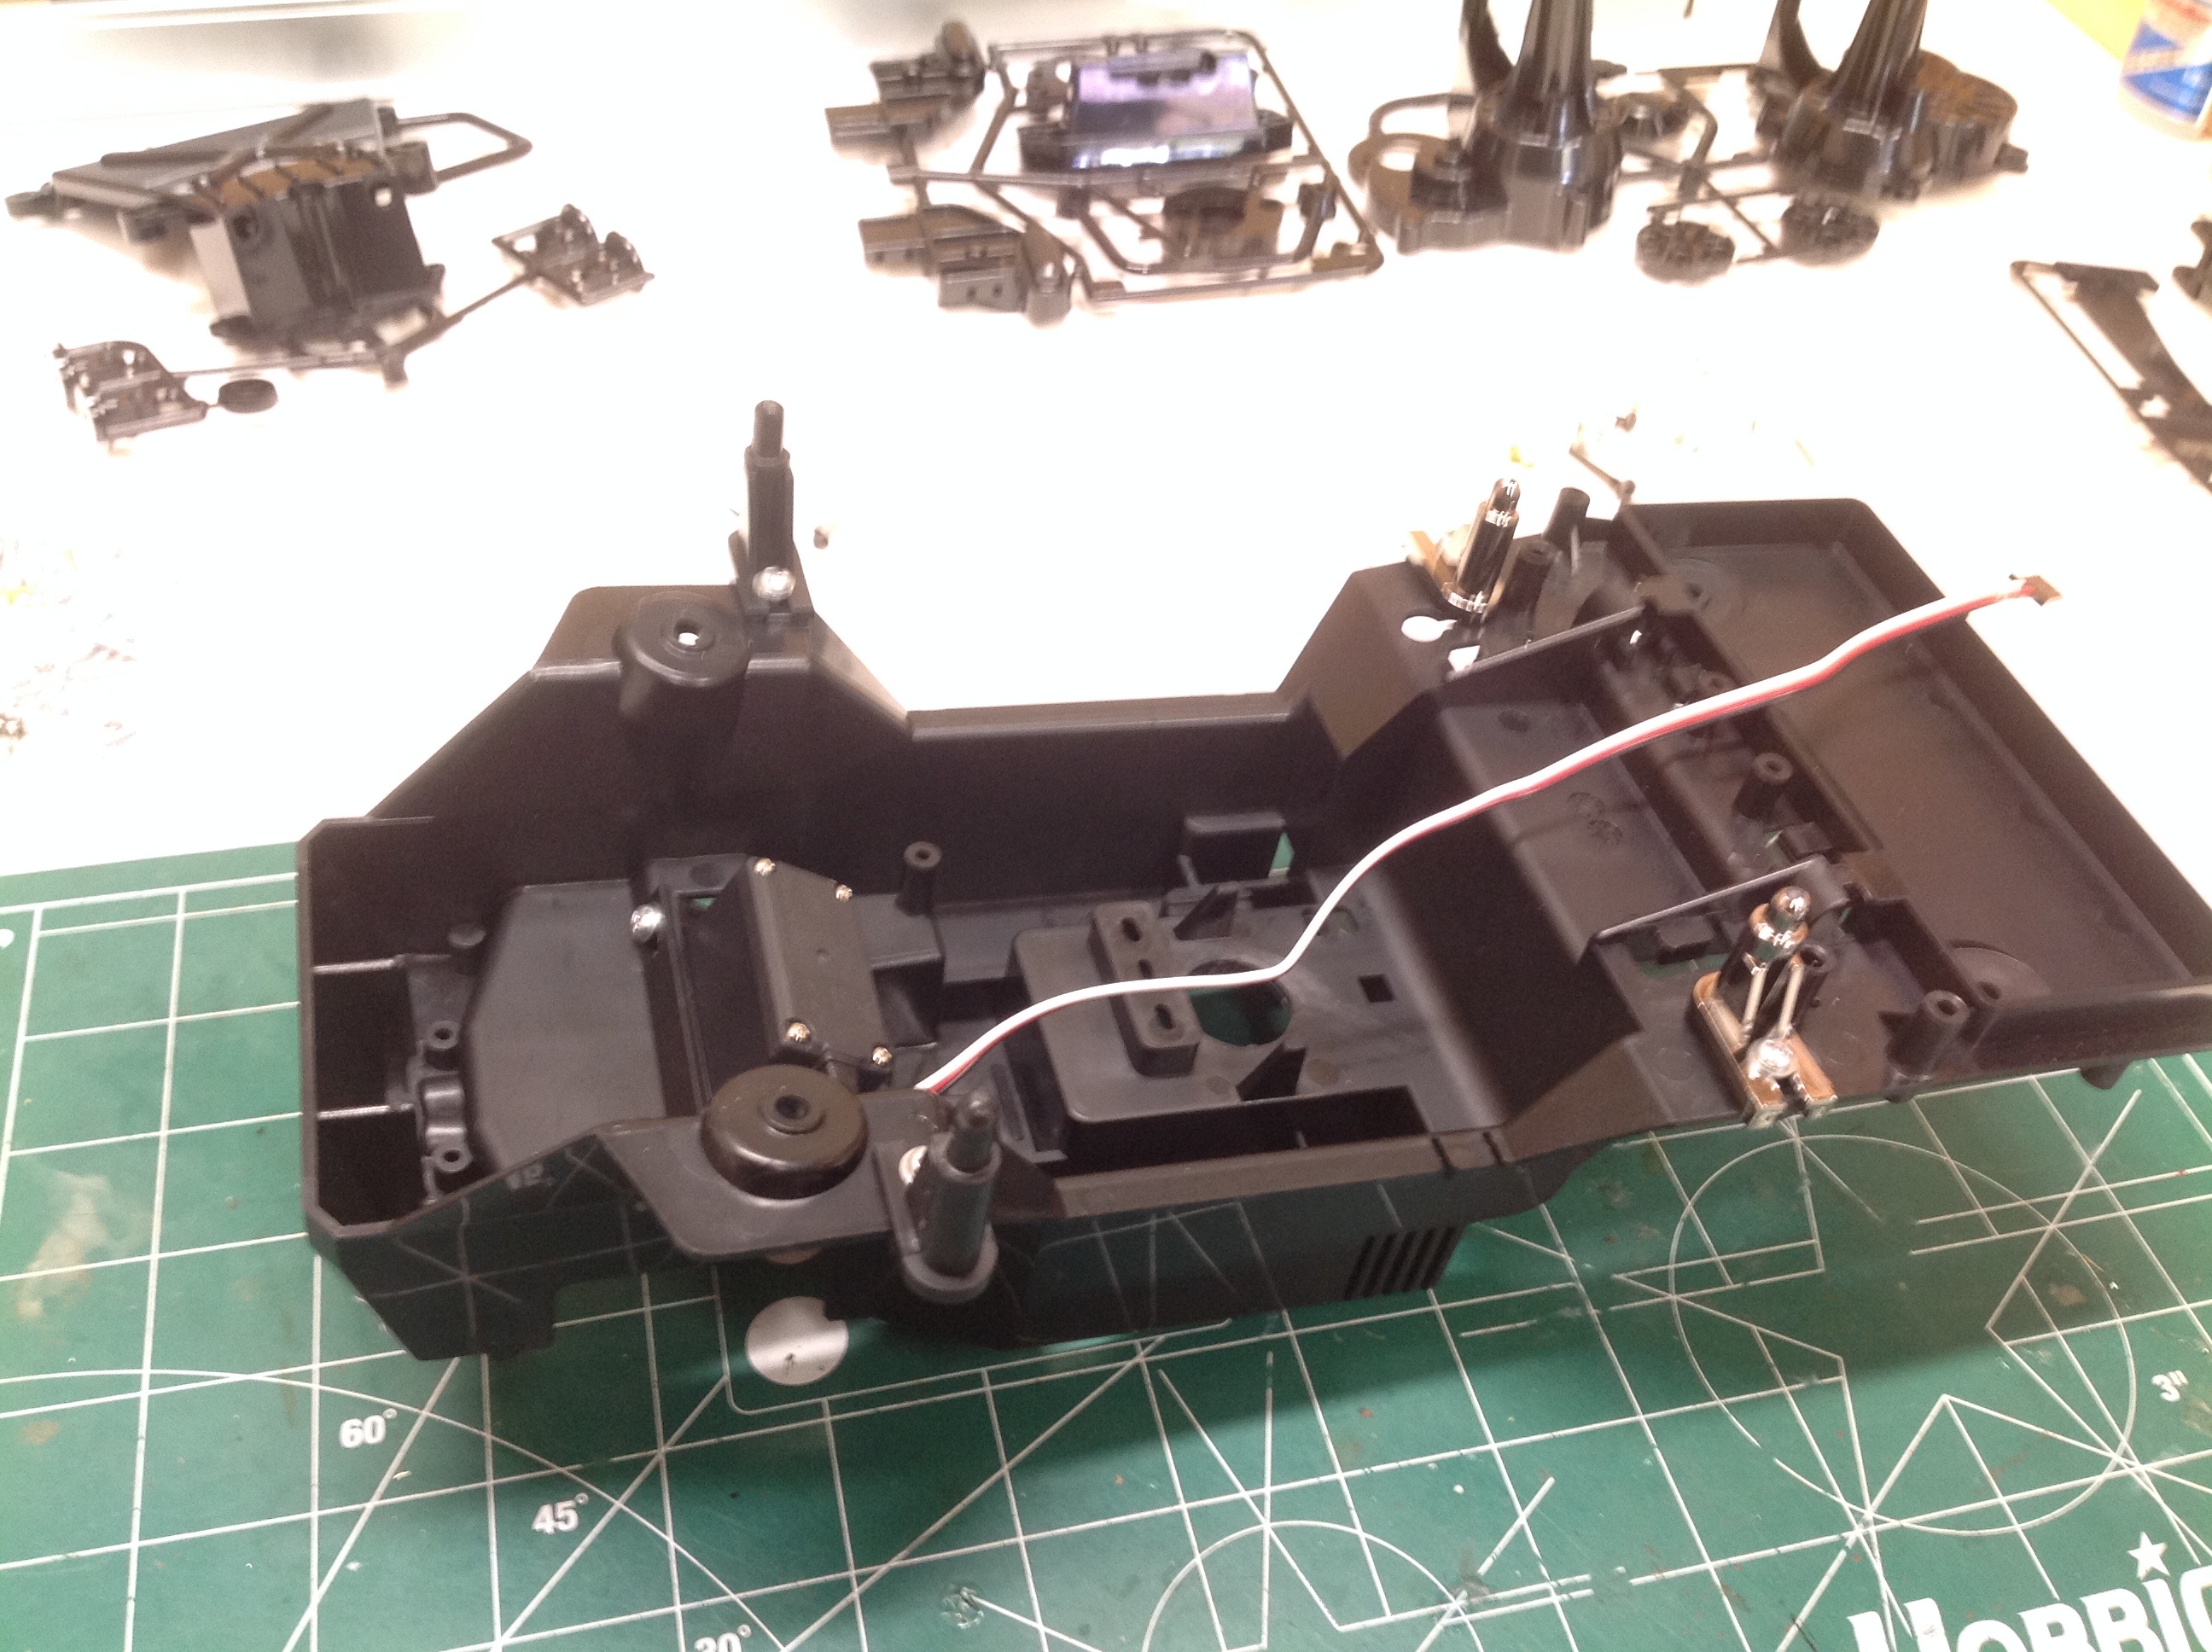
Futaba servo and a Spektrum receiver. On the right you see the
steering servo installed in the one piece bathtub that makes up the
chassis. This is a really simple build because all you really need to do
is add suspension to this.
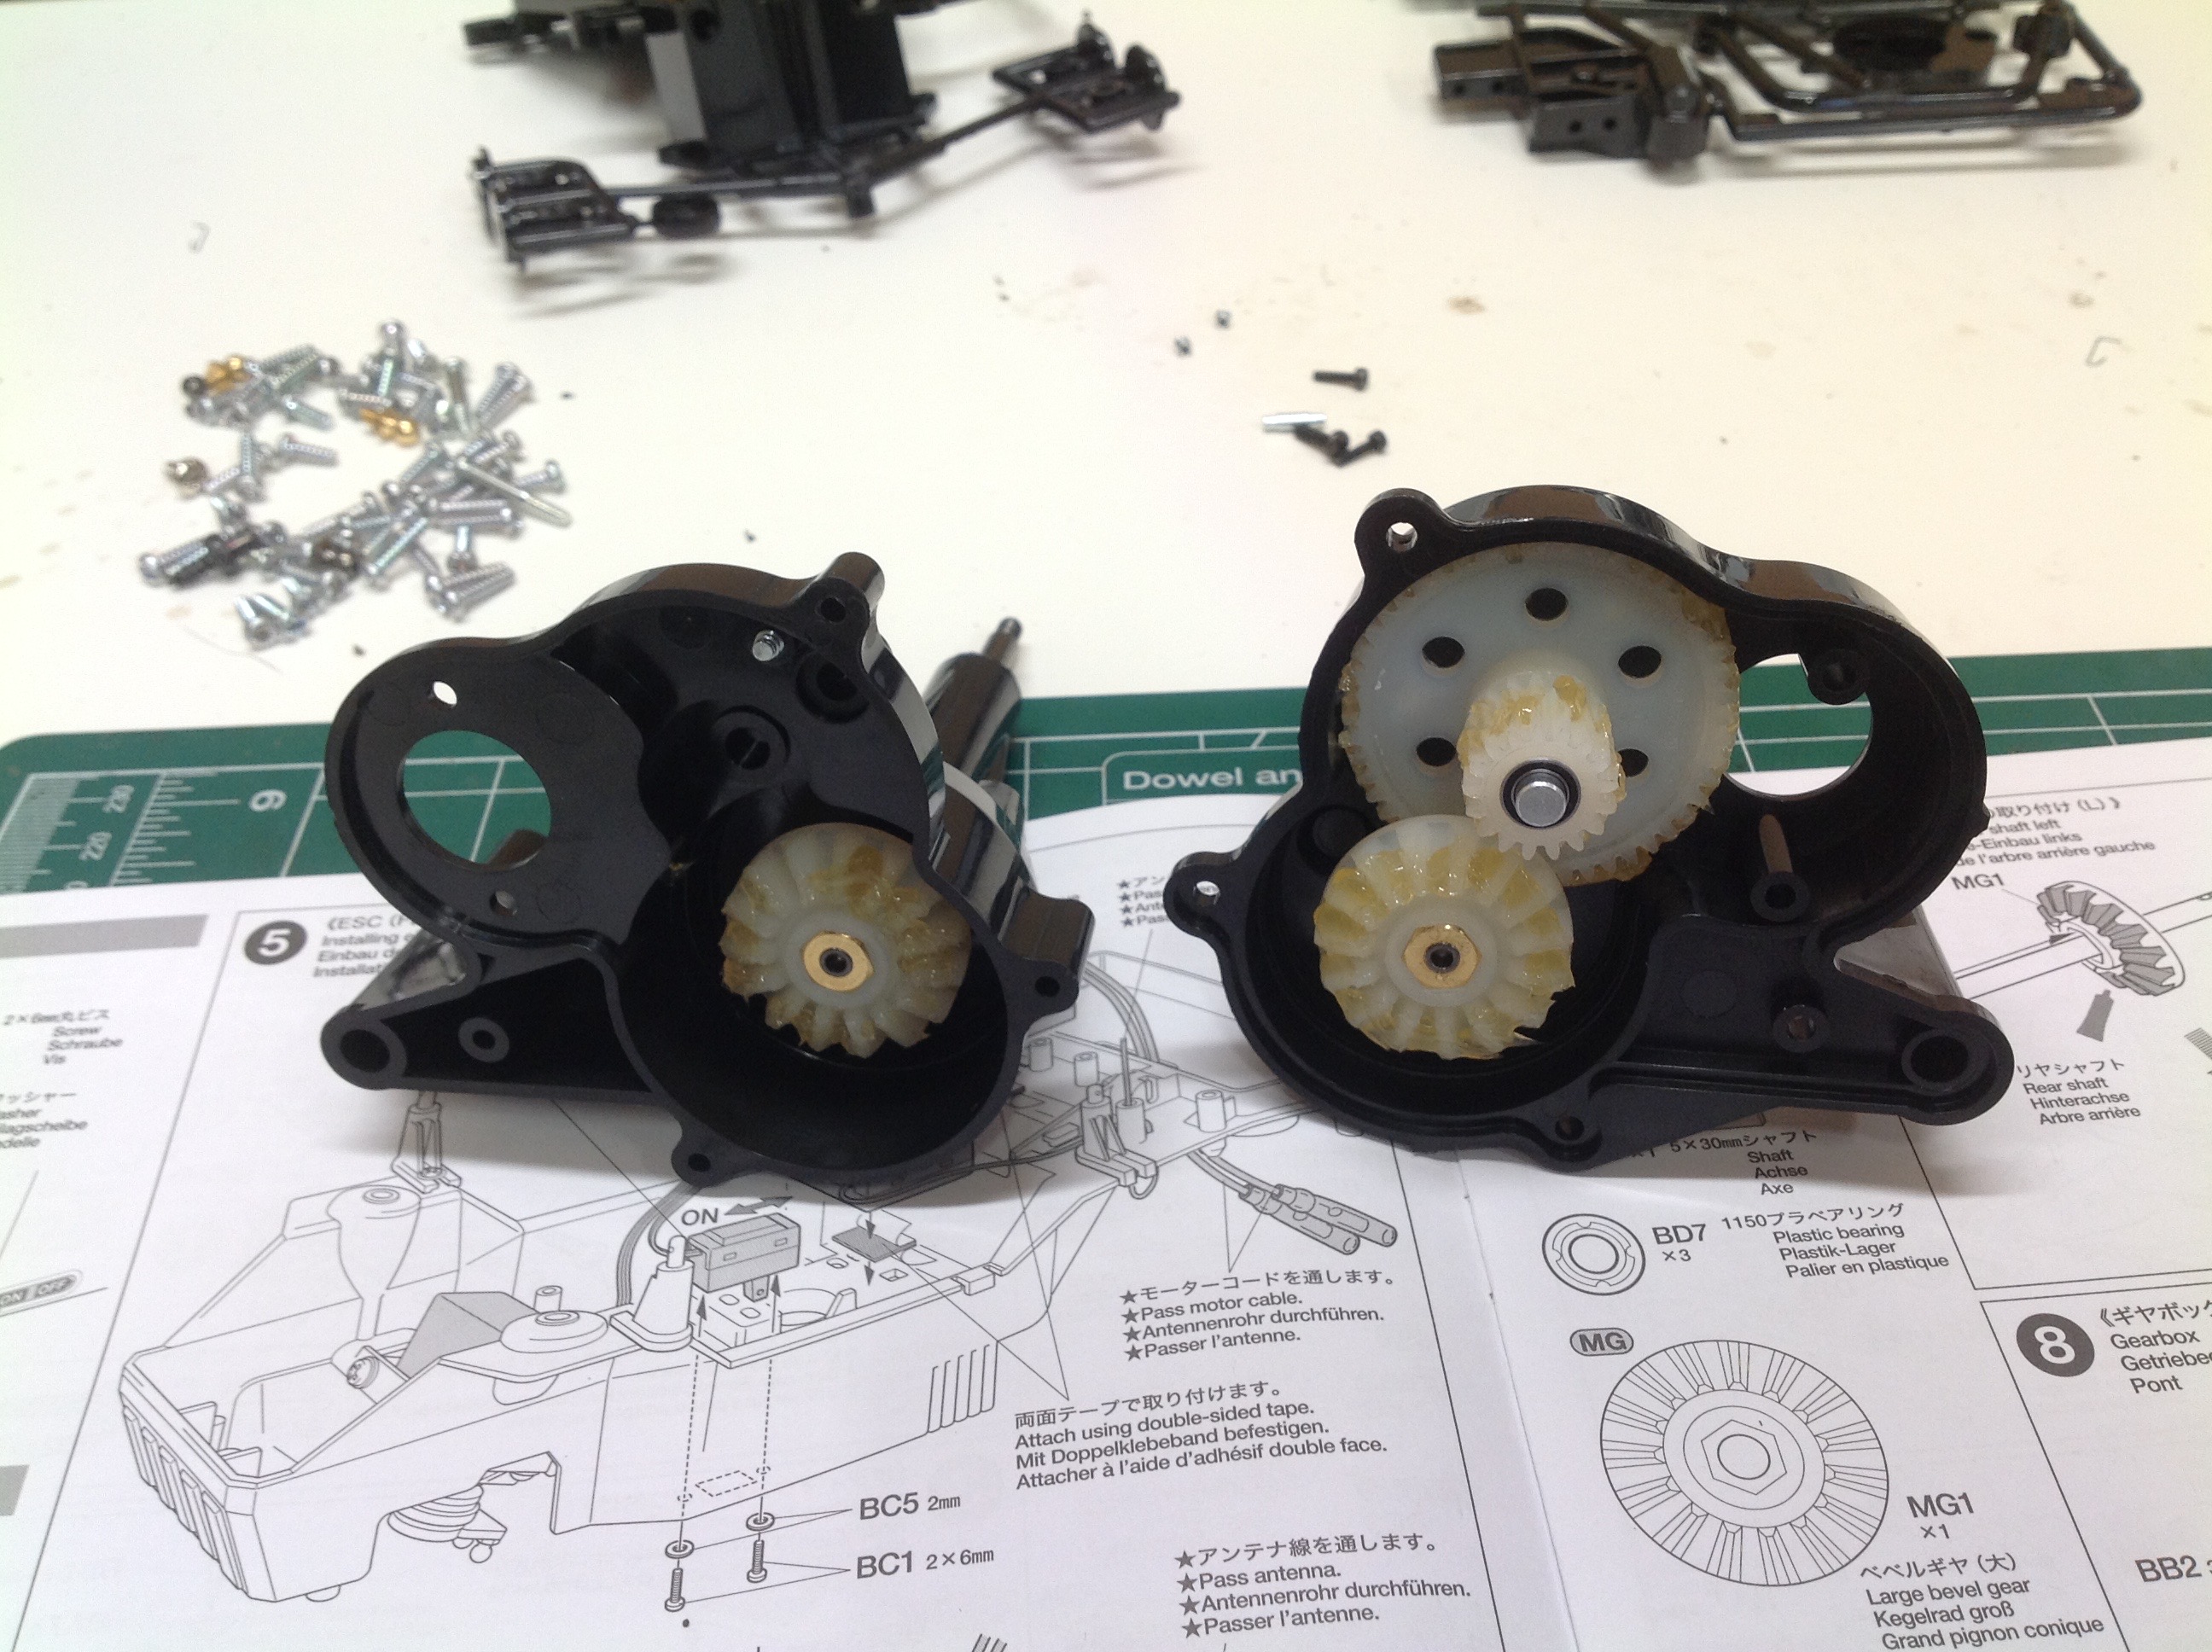
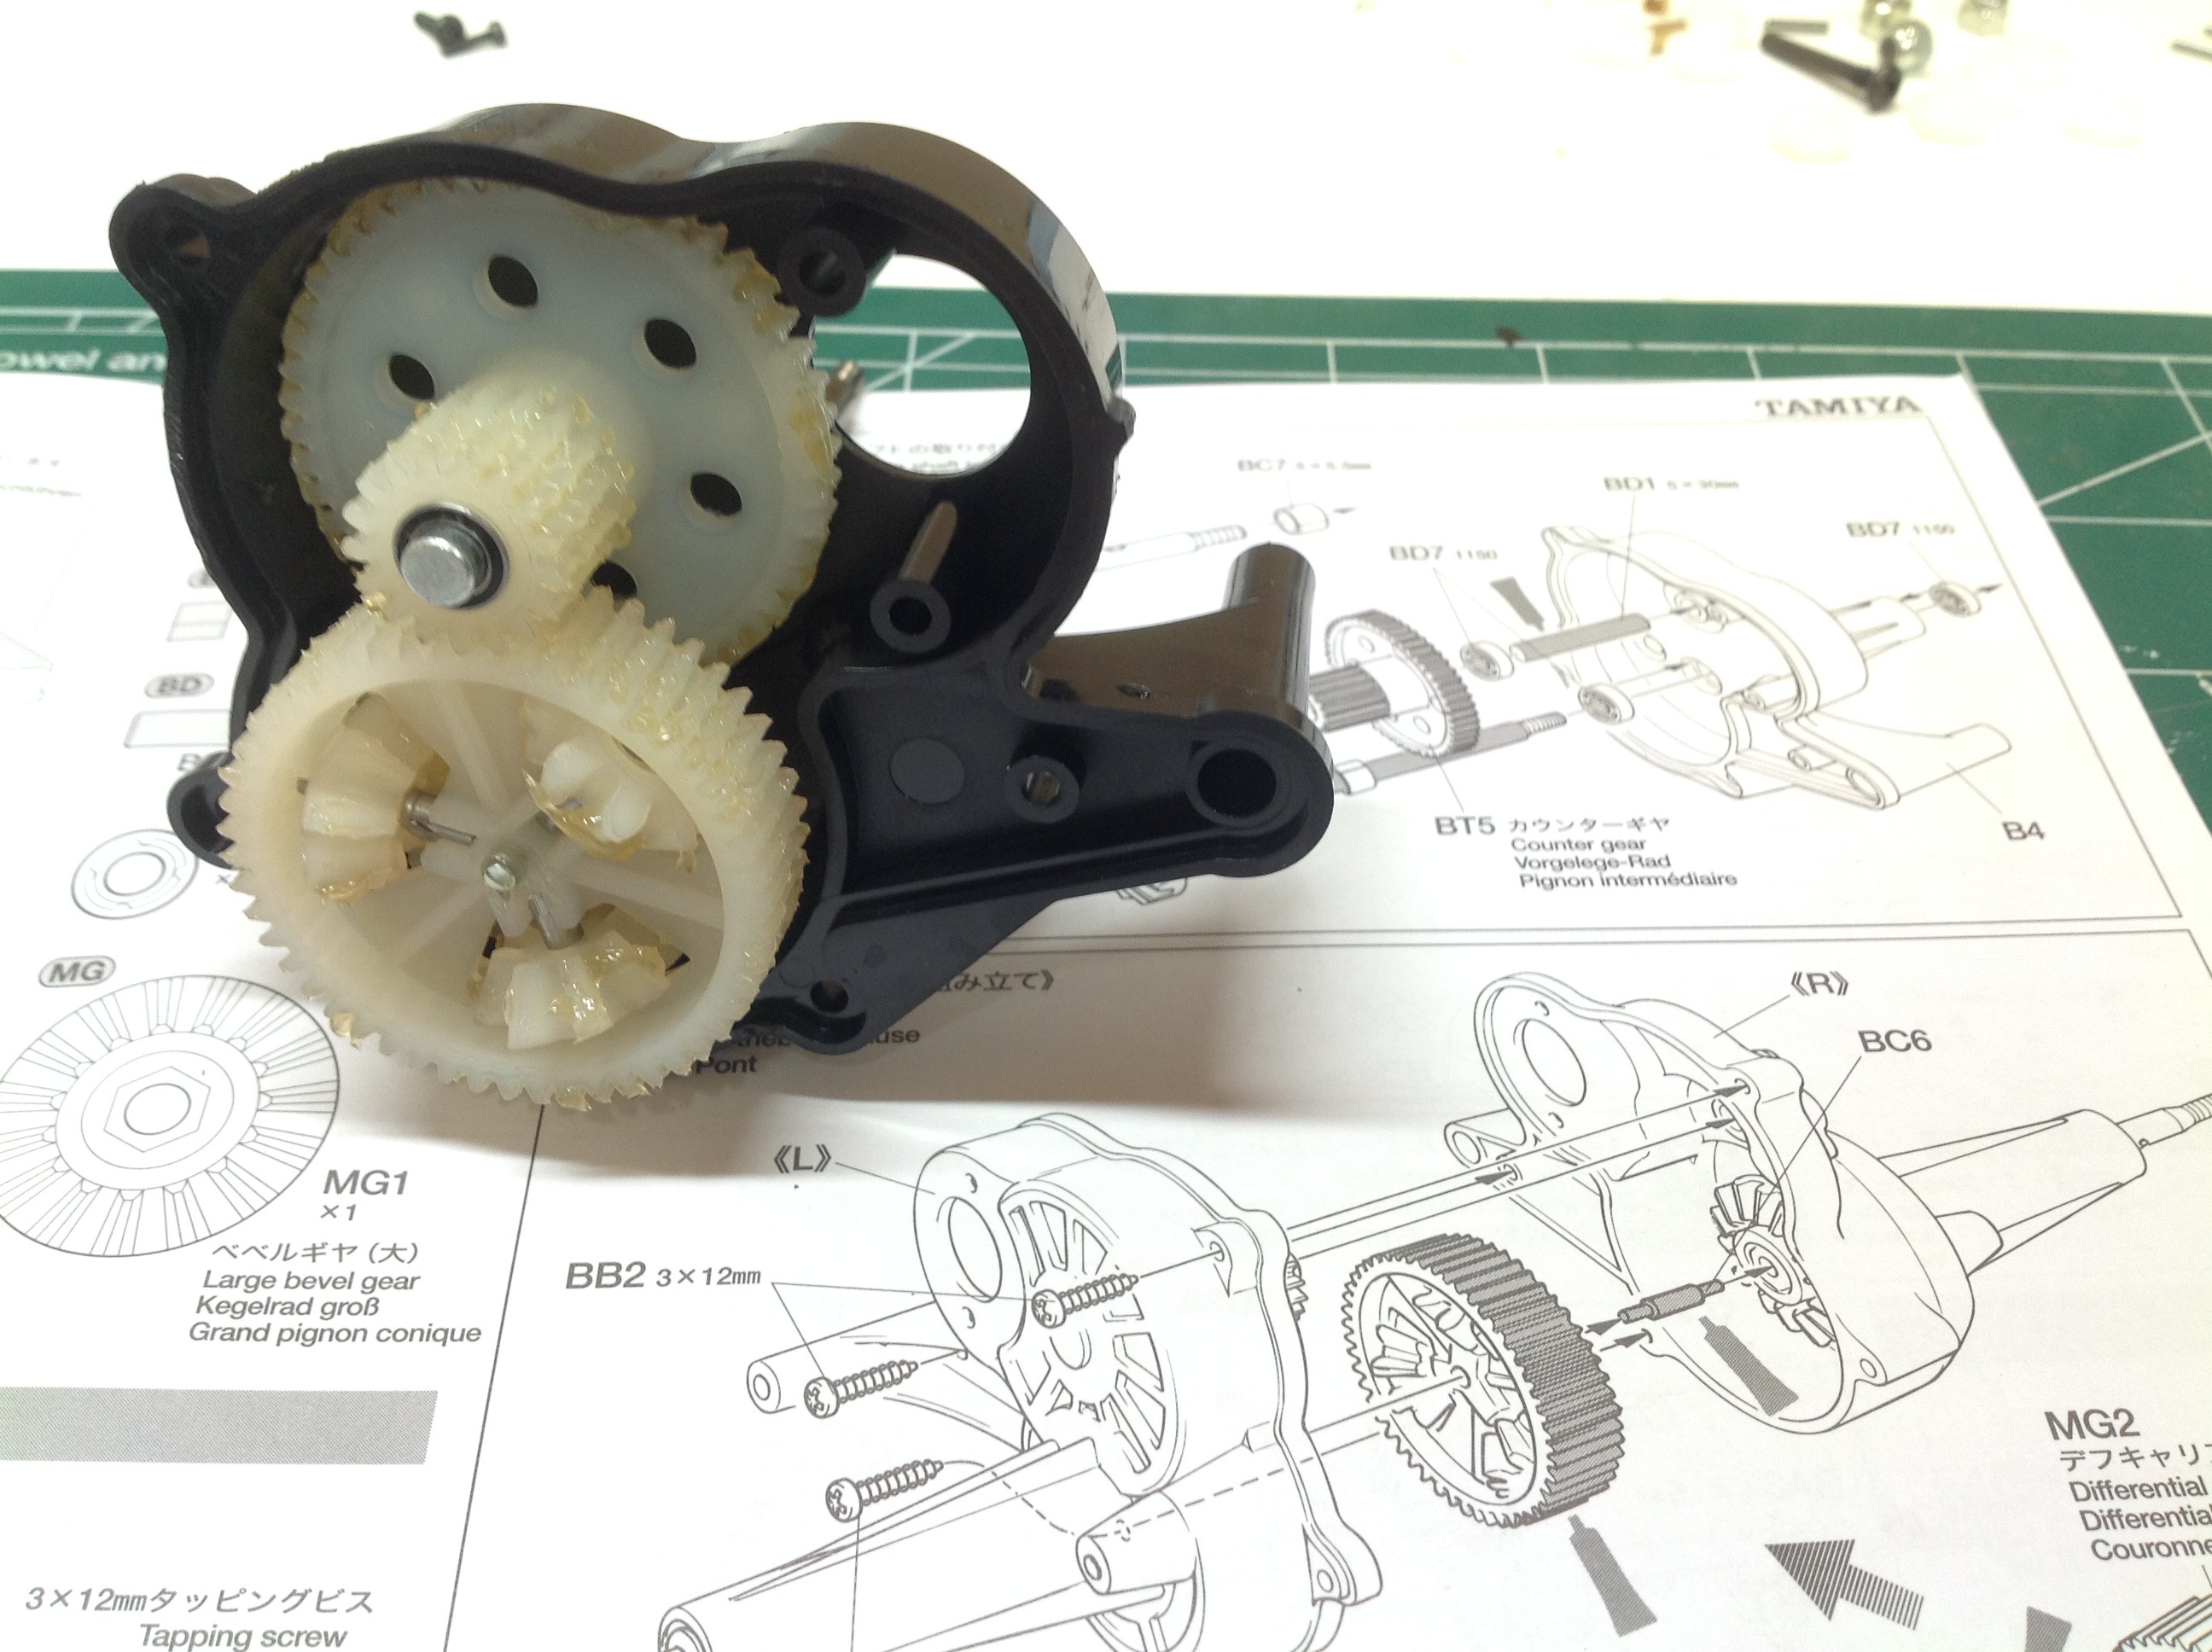
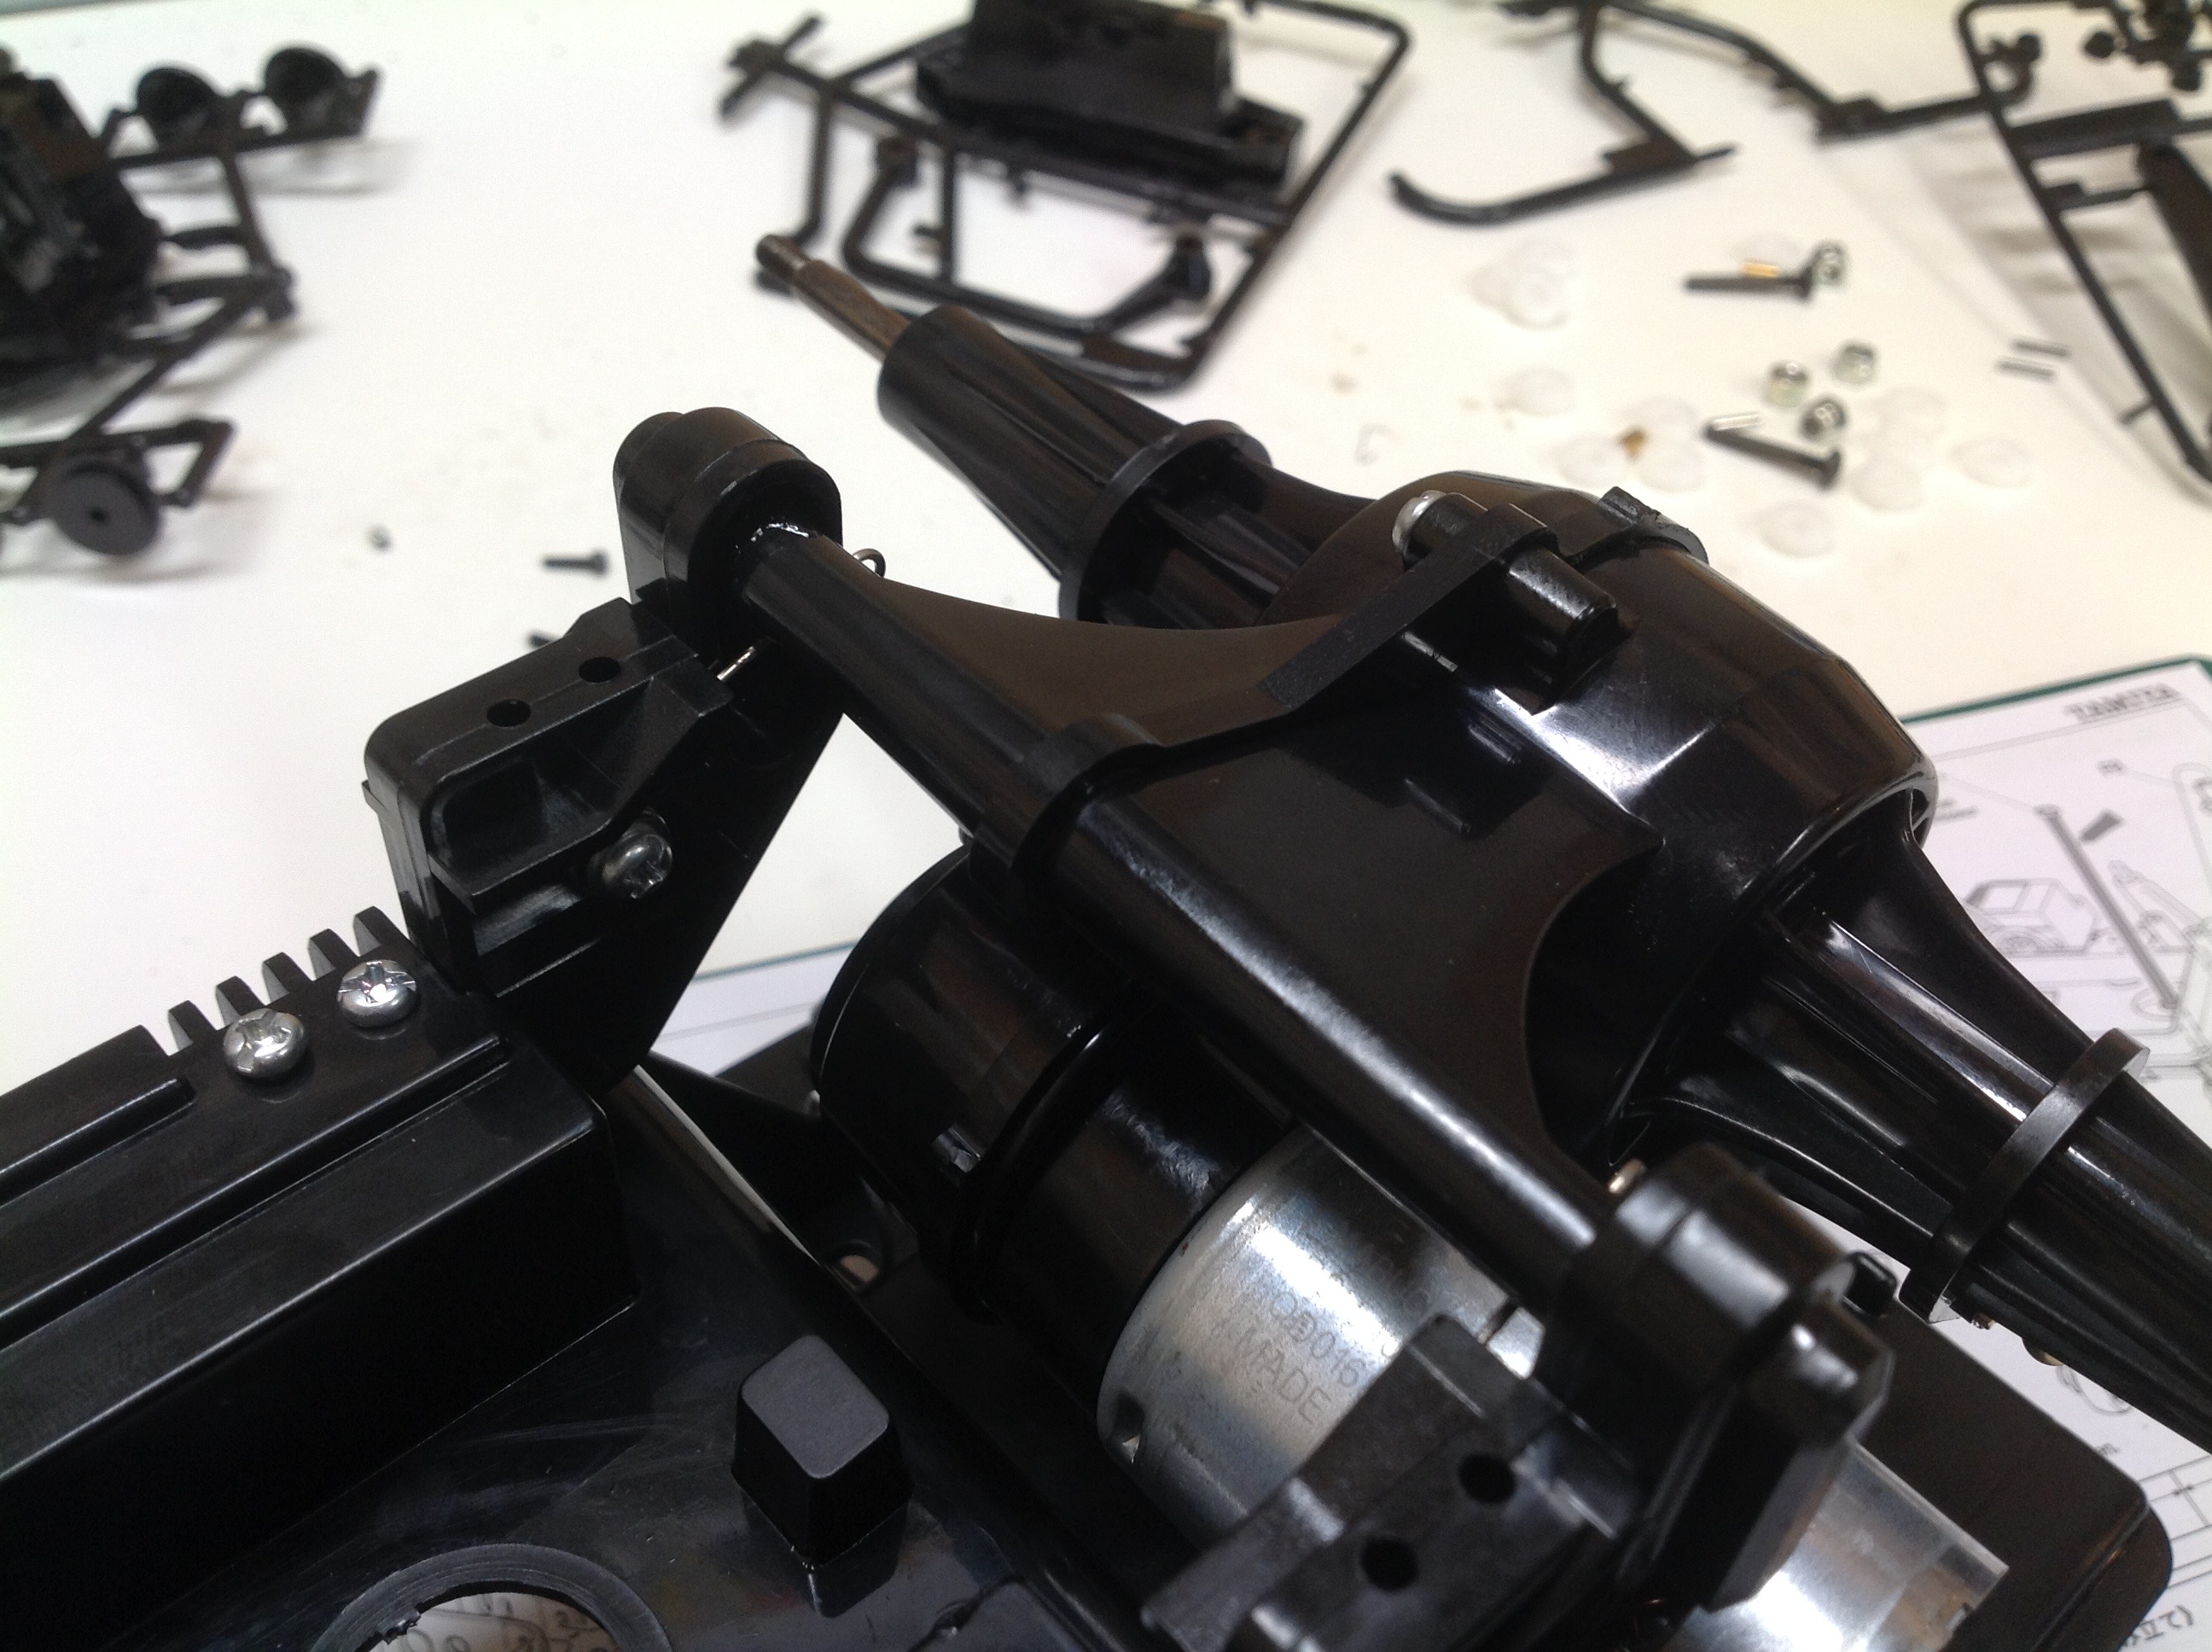
This is a 2WD truck so all the gears are in back along with the
motor. These pictures show the construction of the gearbox and the
bevel gear differential. All the gears are nylon. I
upgraded to ball bearings throughout. These are really big
gears and should easily handle any reasonable amount of power.
This is good because as a wheelie machine this will see a lot of full
throttle starts.
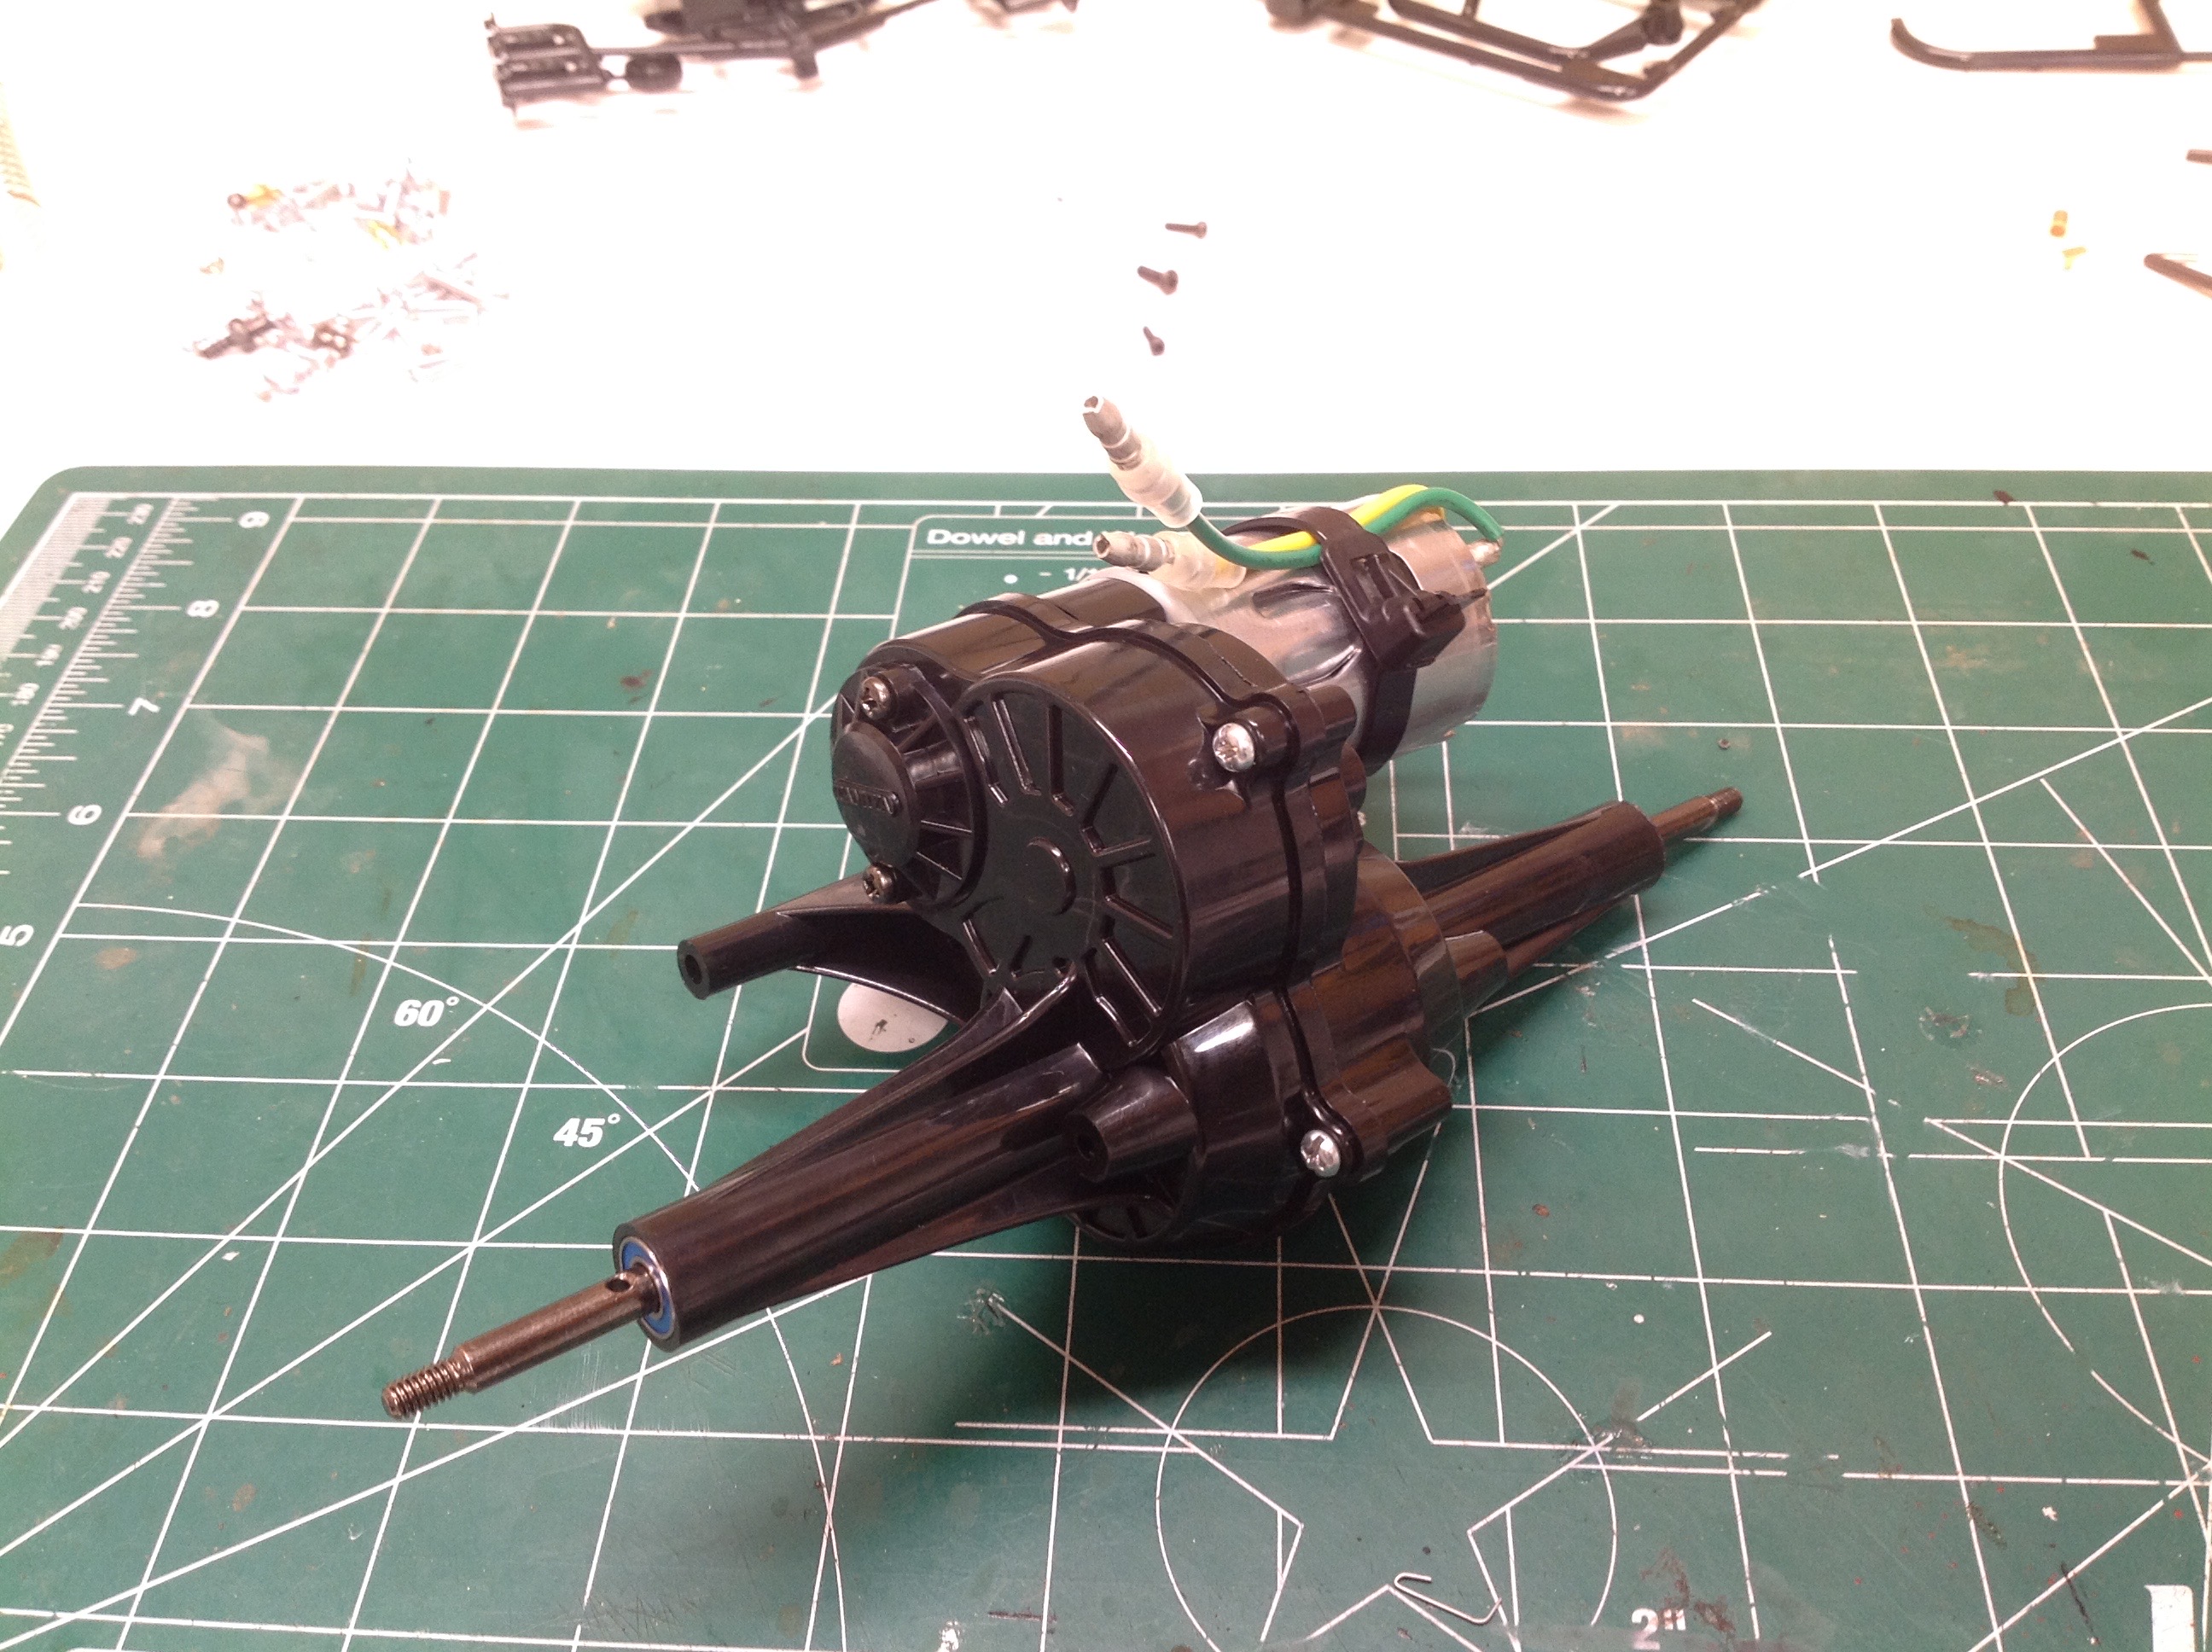
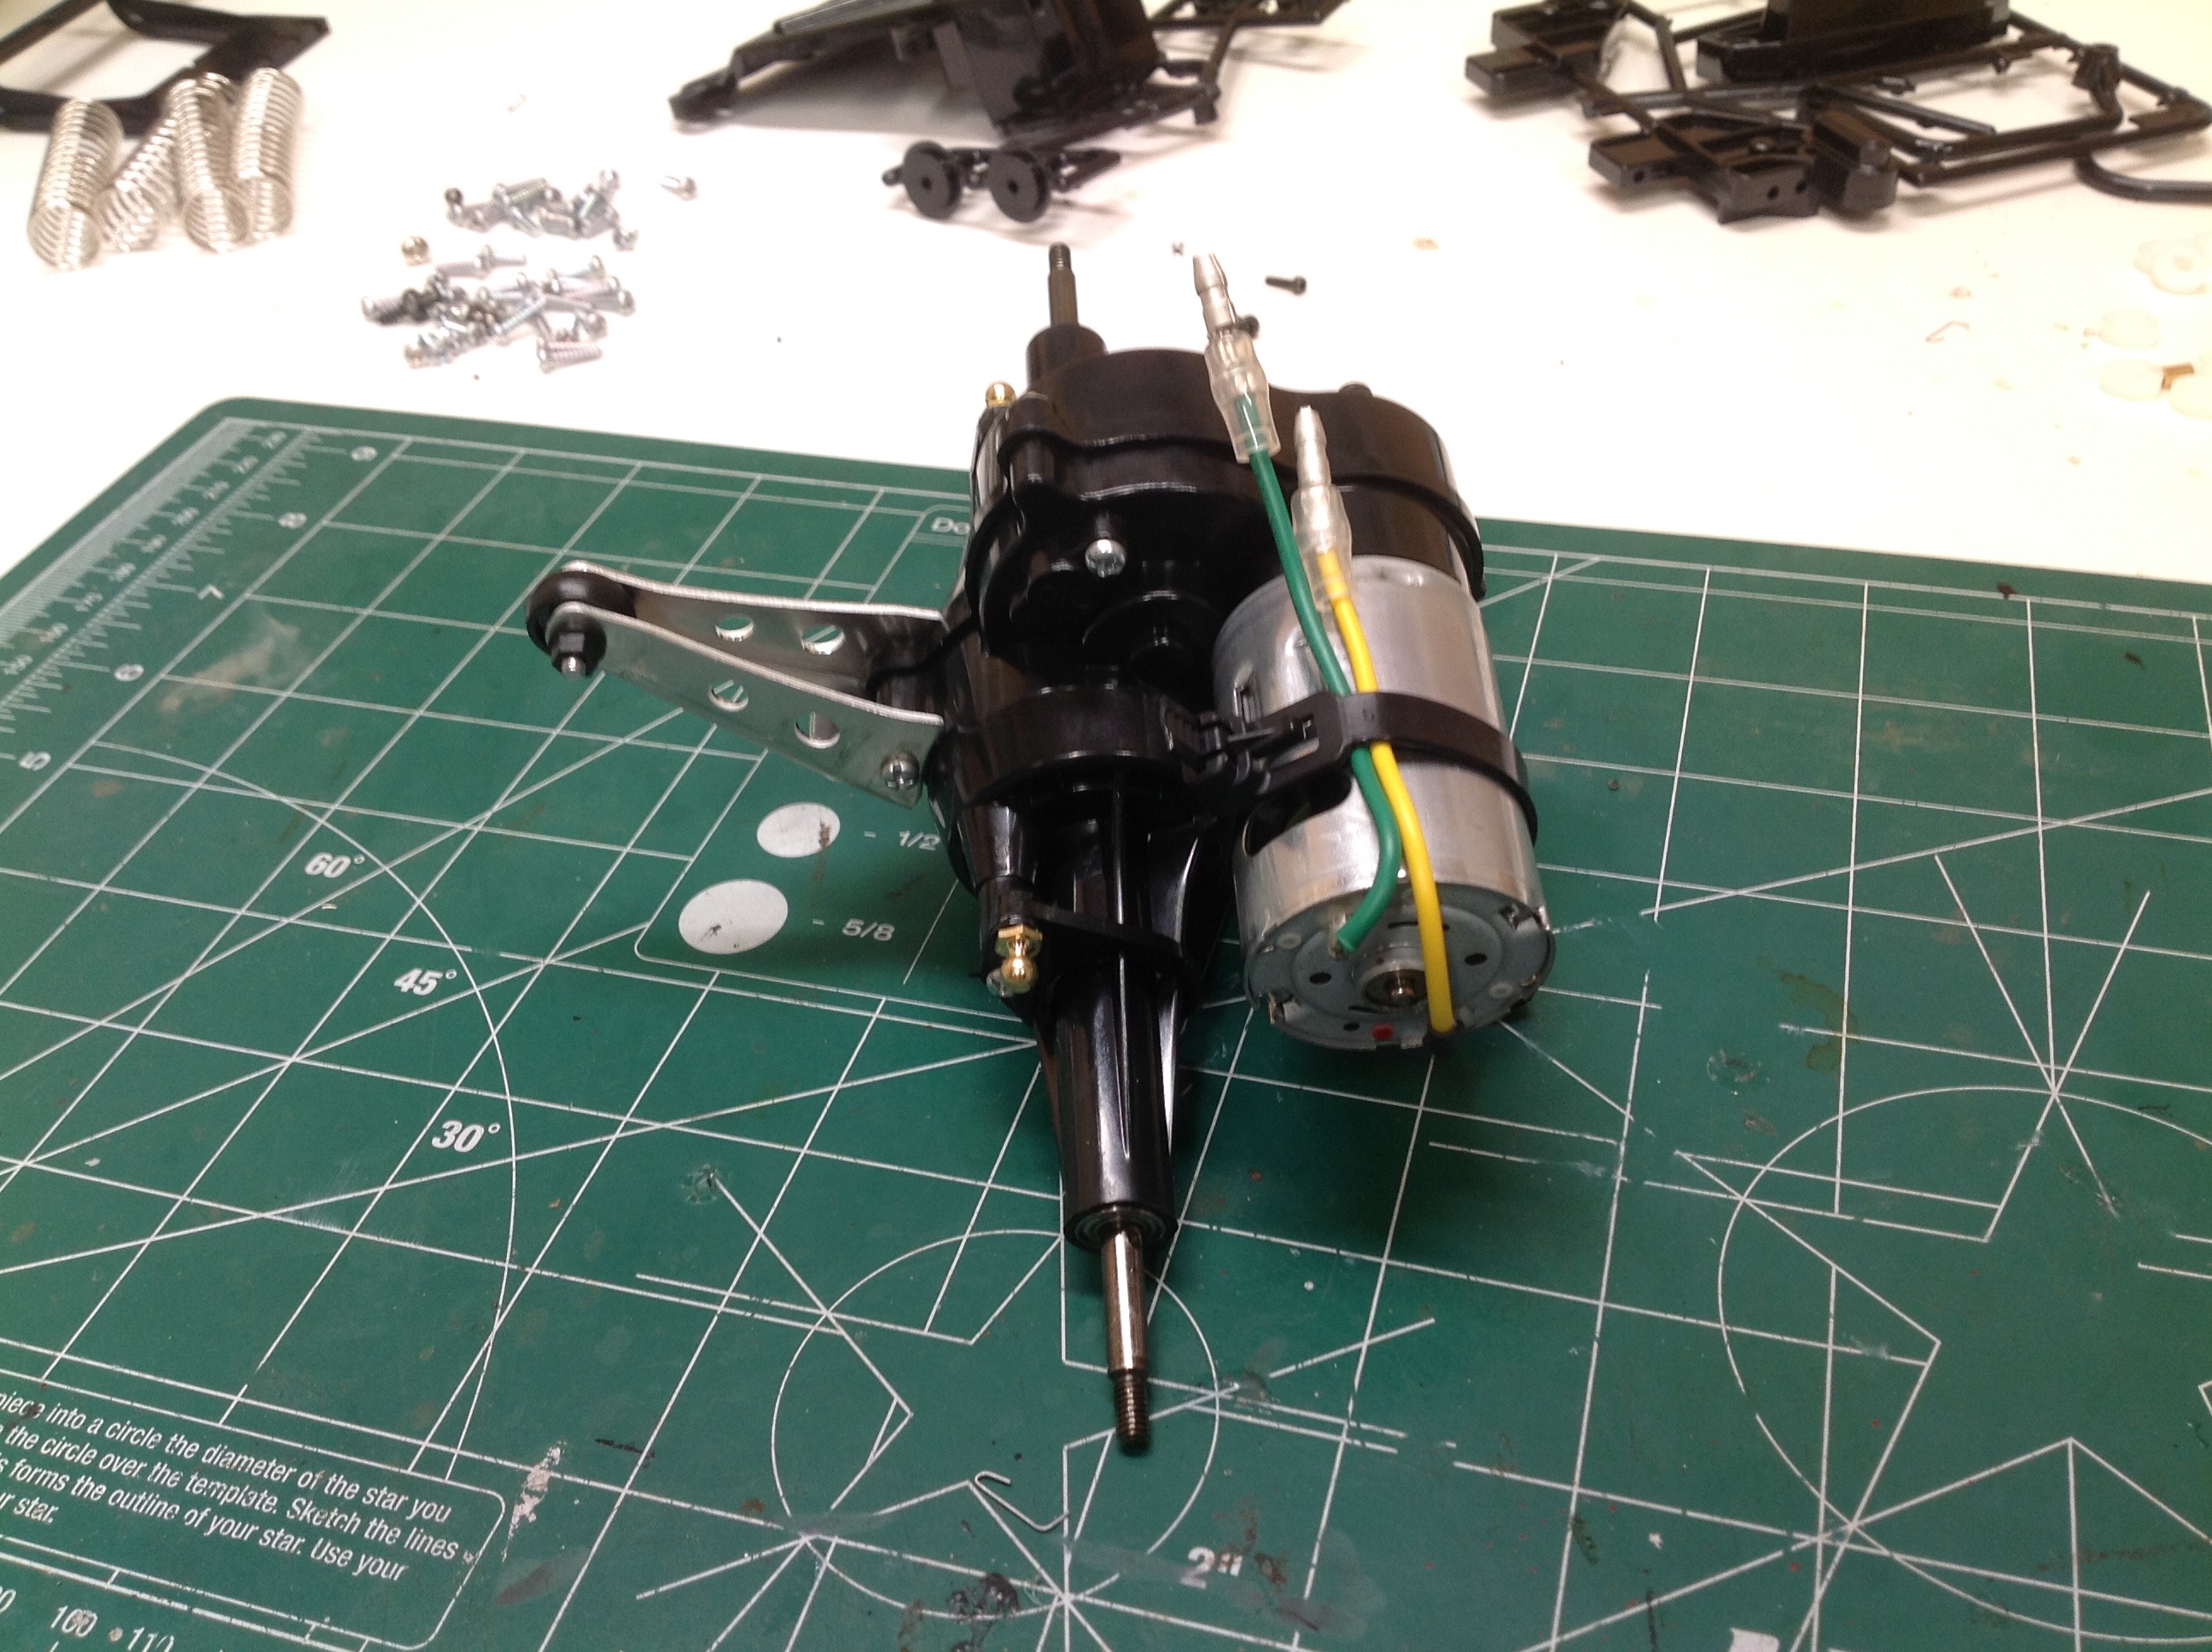
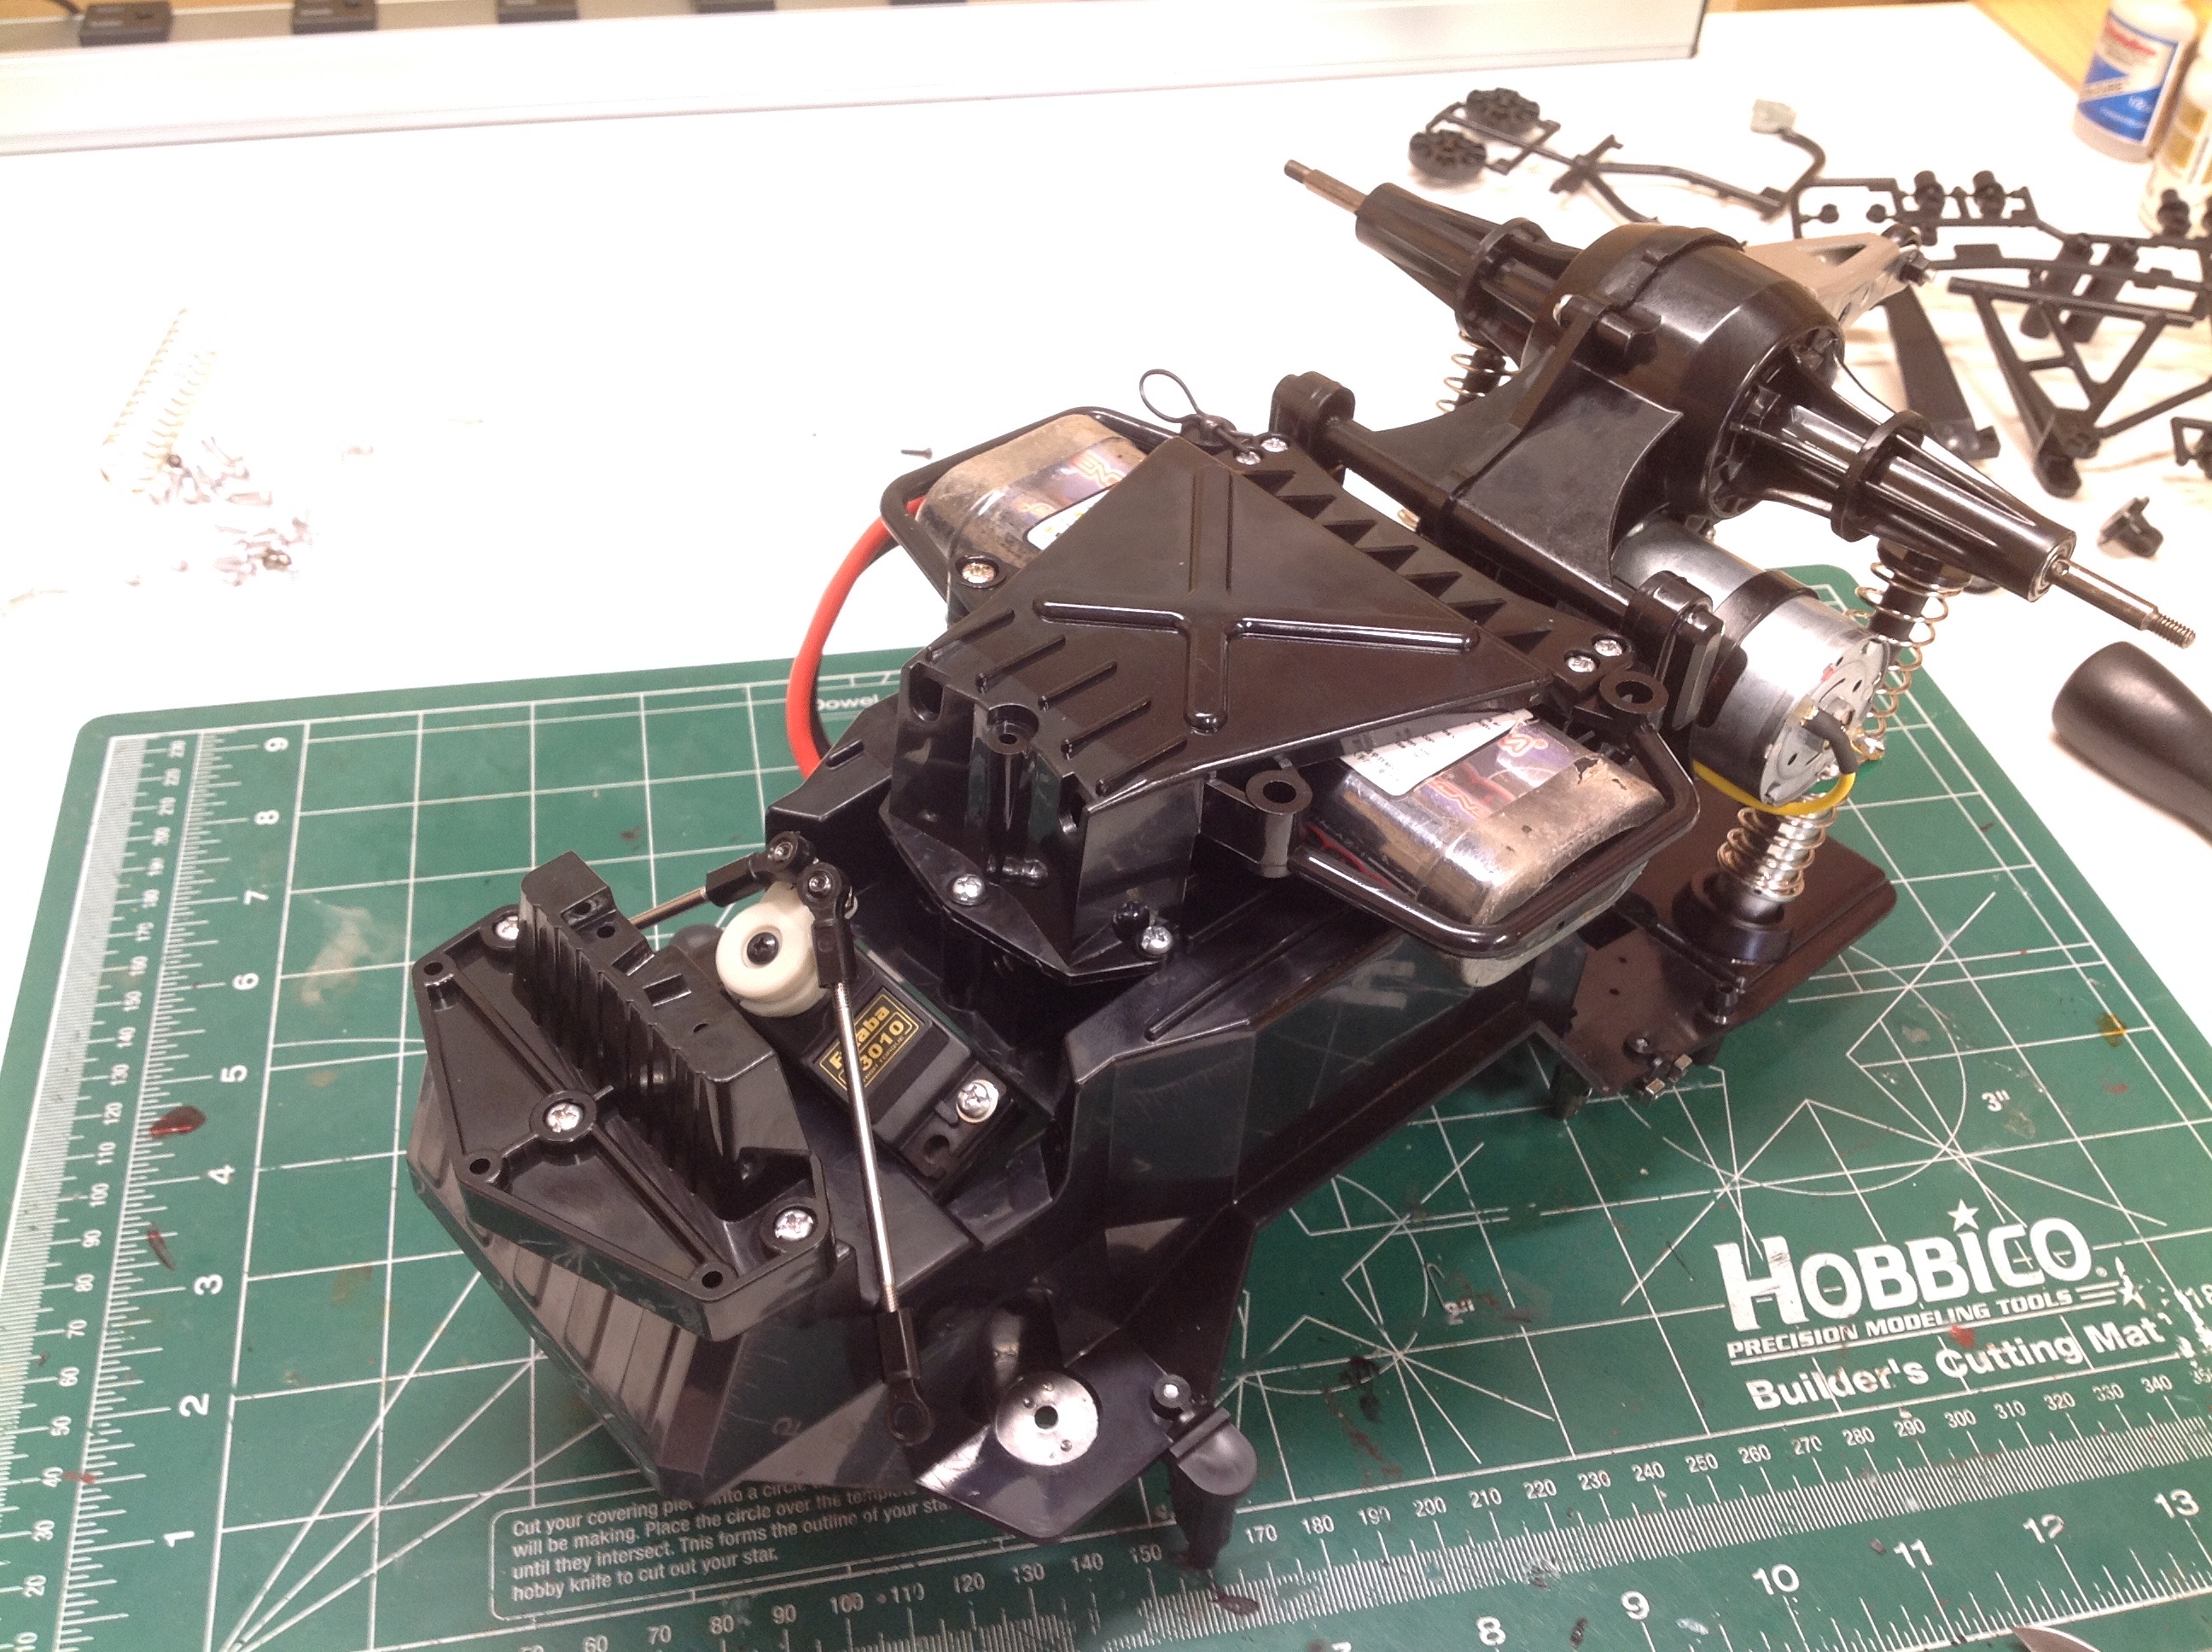
Here the gearbox is finished up. I've inserted the axles and
installed the motor. On the right you can also see the wheelie bar
to keep the model from flipping over backwards.
The model features a very interesting kind of rear suspension. The
solid rear axle pivots on a trailing arm, but if this were all then it
could not accommodate any side to side motion. To solve this the
rotation axis sits in a slot which is spring loaded toward the
bottom. You can see the torsional springs on the left. The
allows the axle to roll from side to side which is why Tamiya calls it a
rolling axle. The side effect is that the whole axle rotates down
when under torque while accelerating.
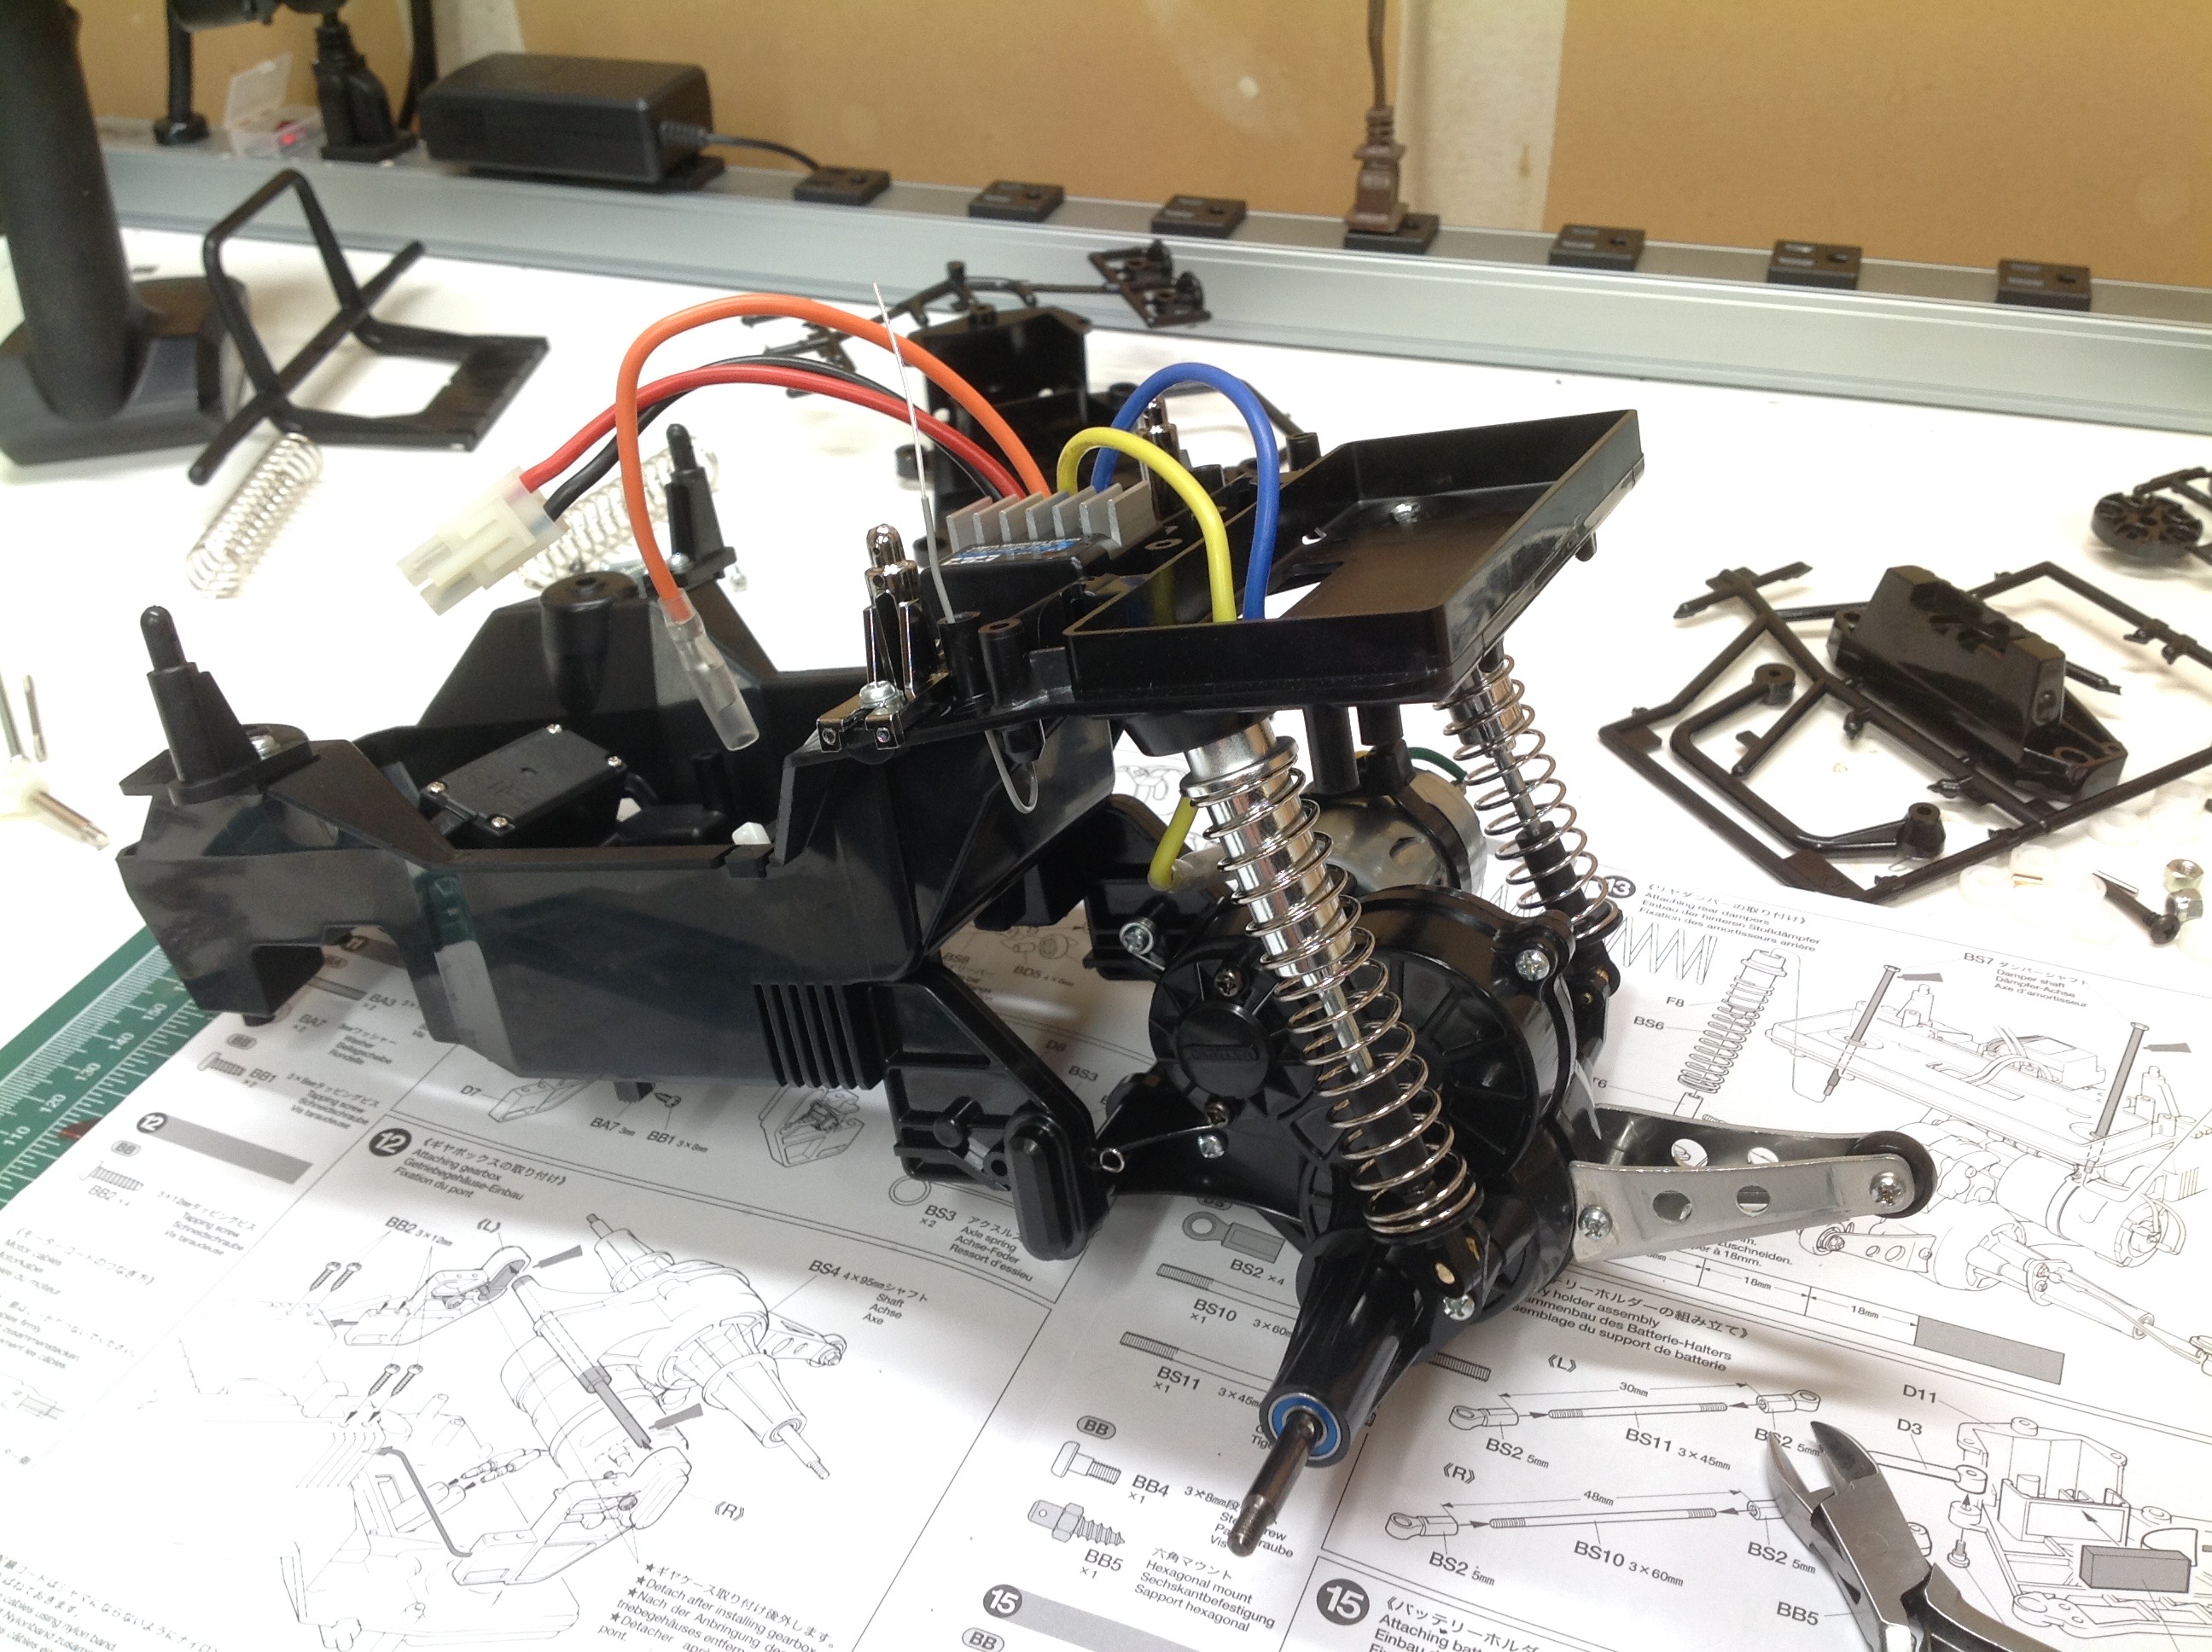
The rear shocks are not so much shock absorbers as bounce
generators. They do not have any damping at all, but they do have a
lot of travel. These are just open springs with a rod that
protrudes through the upper deck when the shock is compressed. The
right hand image shows the completed rear suspension as well as the
battery installation. Because the battery is forward of the rear
wheels it does affect the ability to wheelie. This is a really
heavy battery (5000mAh) which created a bit of a problem. I went
and bought a super cheap 1800mAh battery which works better. I
never thought I would say that.
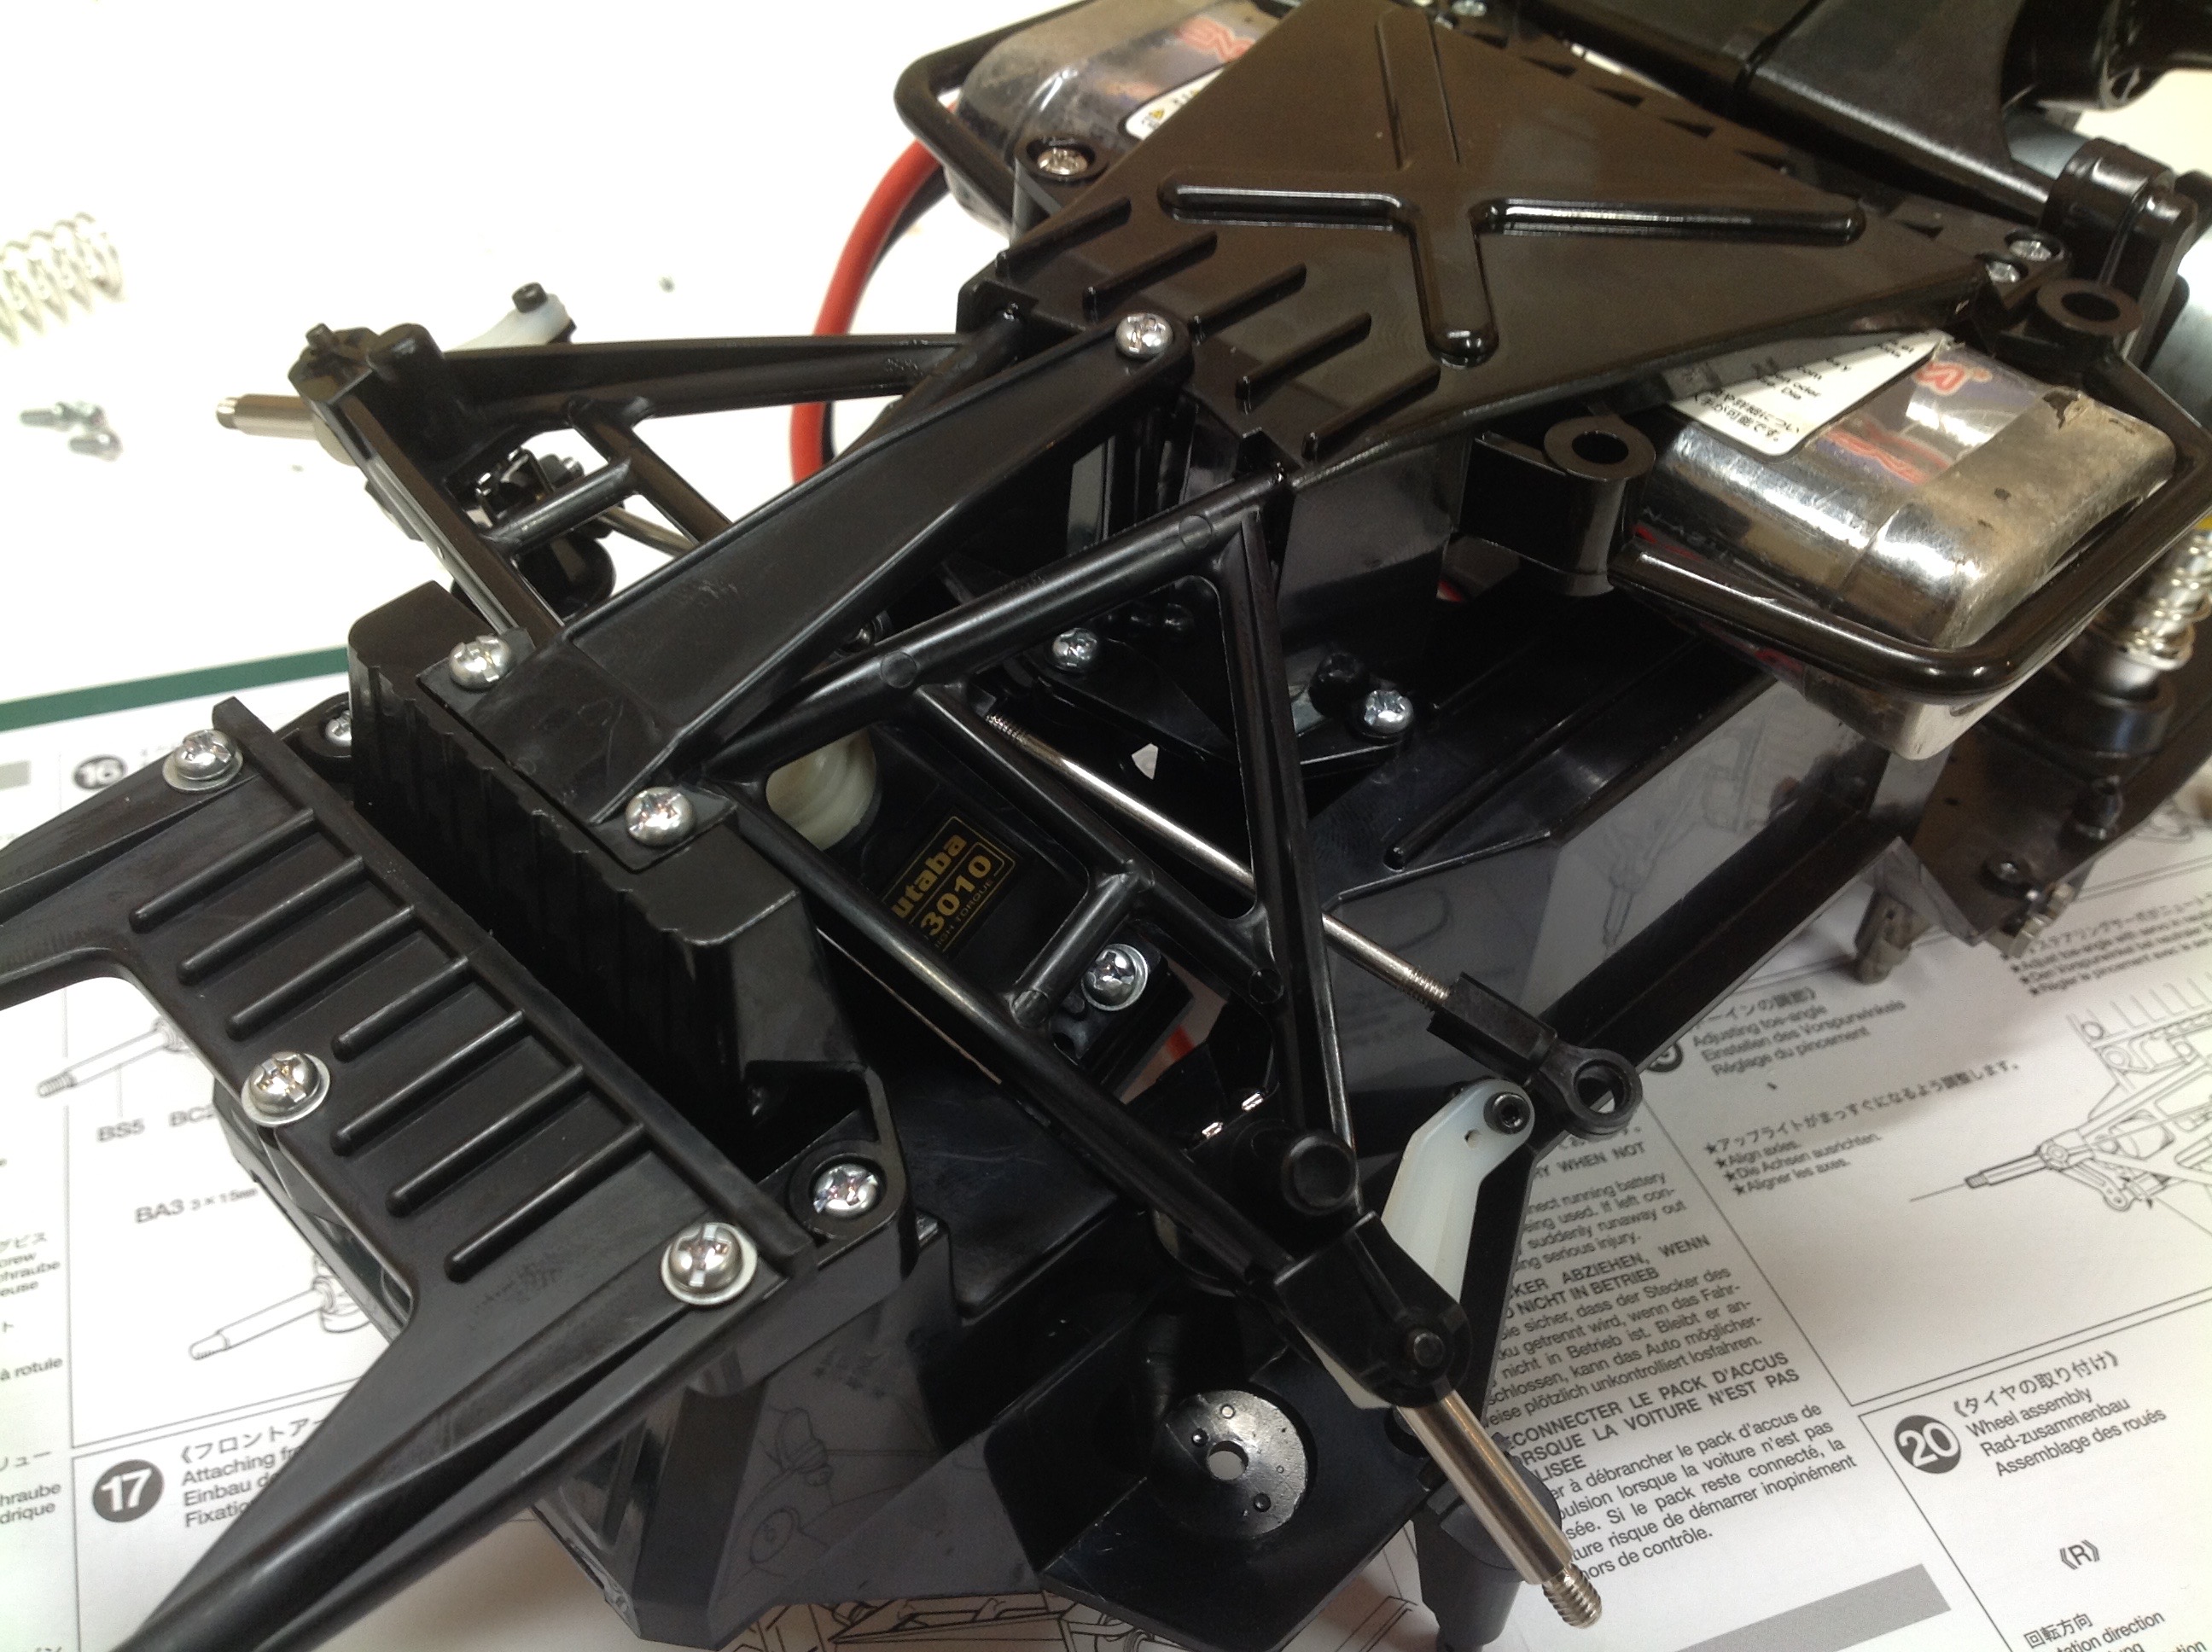
Here the front suspension is being built. The lower arms are
attached on a pivot line which is angled. There are no upper arms
which makes this a bit like a McPherson strut, but it is really just a
swing arm which therefore produces camber changes as it is compressed. The giant front bumper has also been installed.
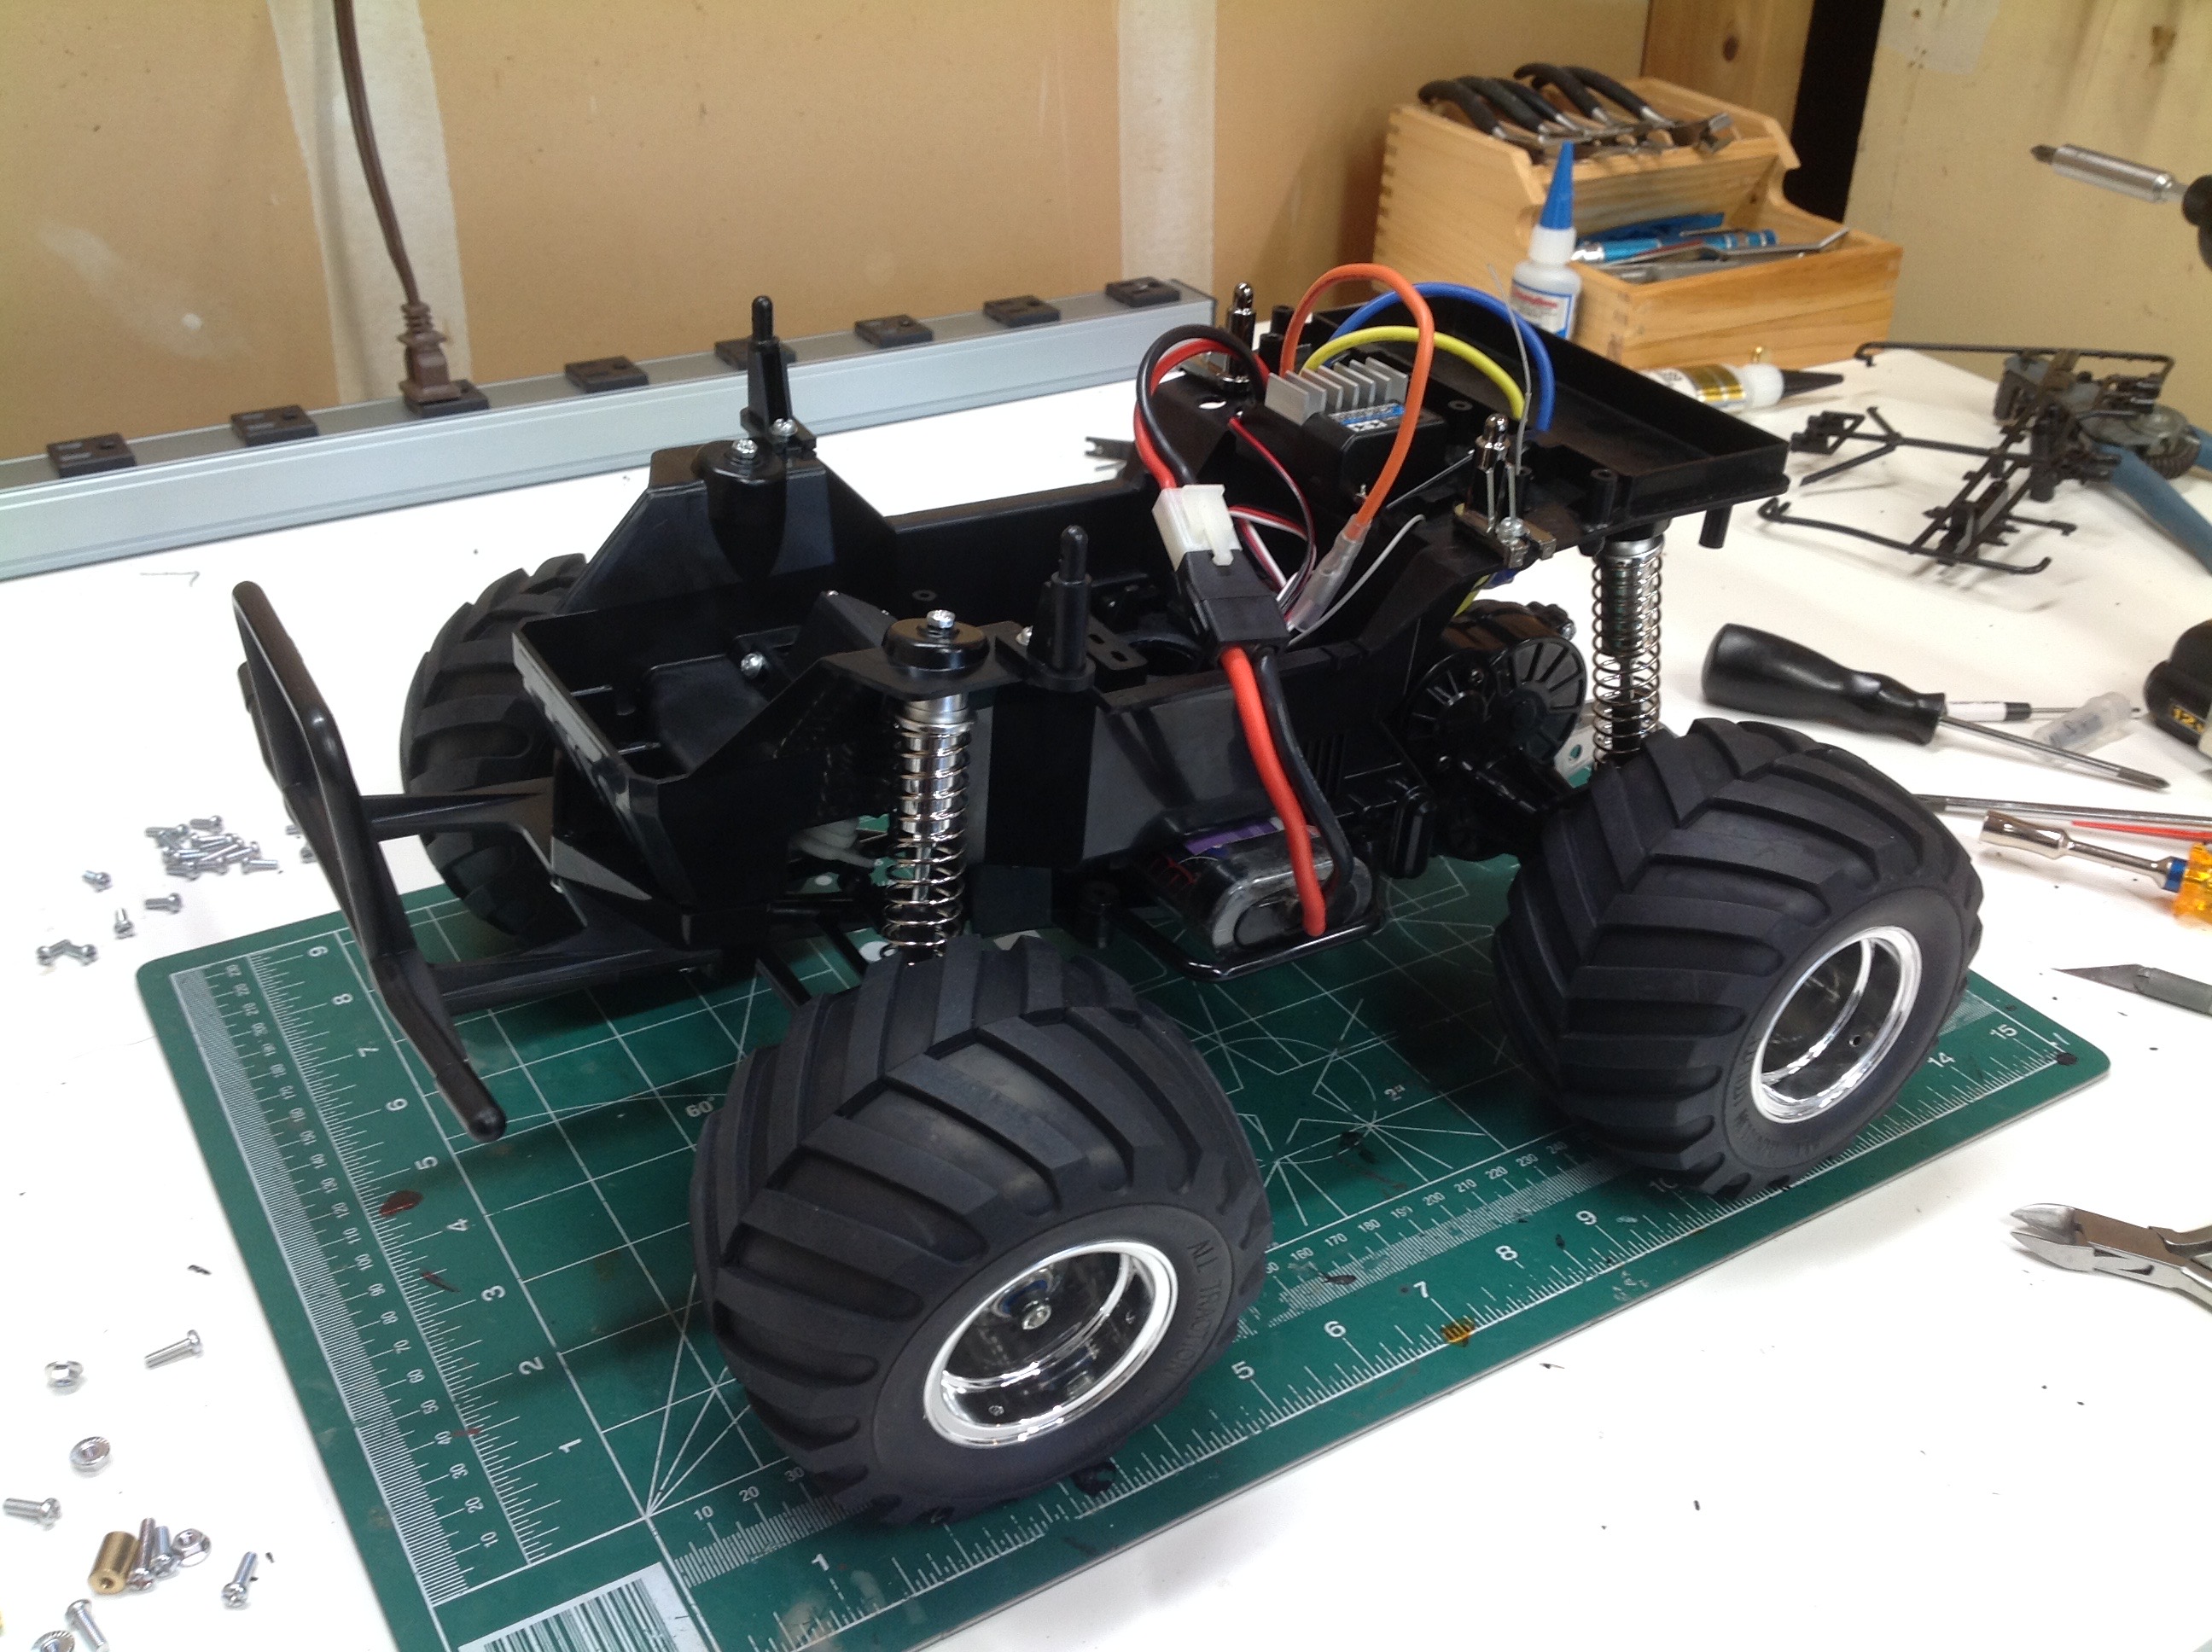
Time to put on the wheels and tires. The instructions say to glue
these but I've found no need. There are no foams so if this wasn't
already bouncy enough for you, it is now. That's all there is to it. The rolling chassis is complete.
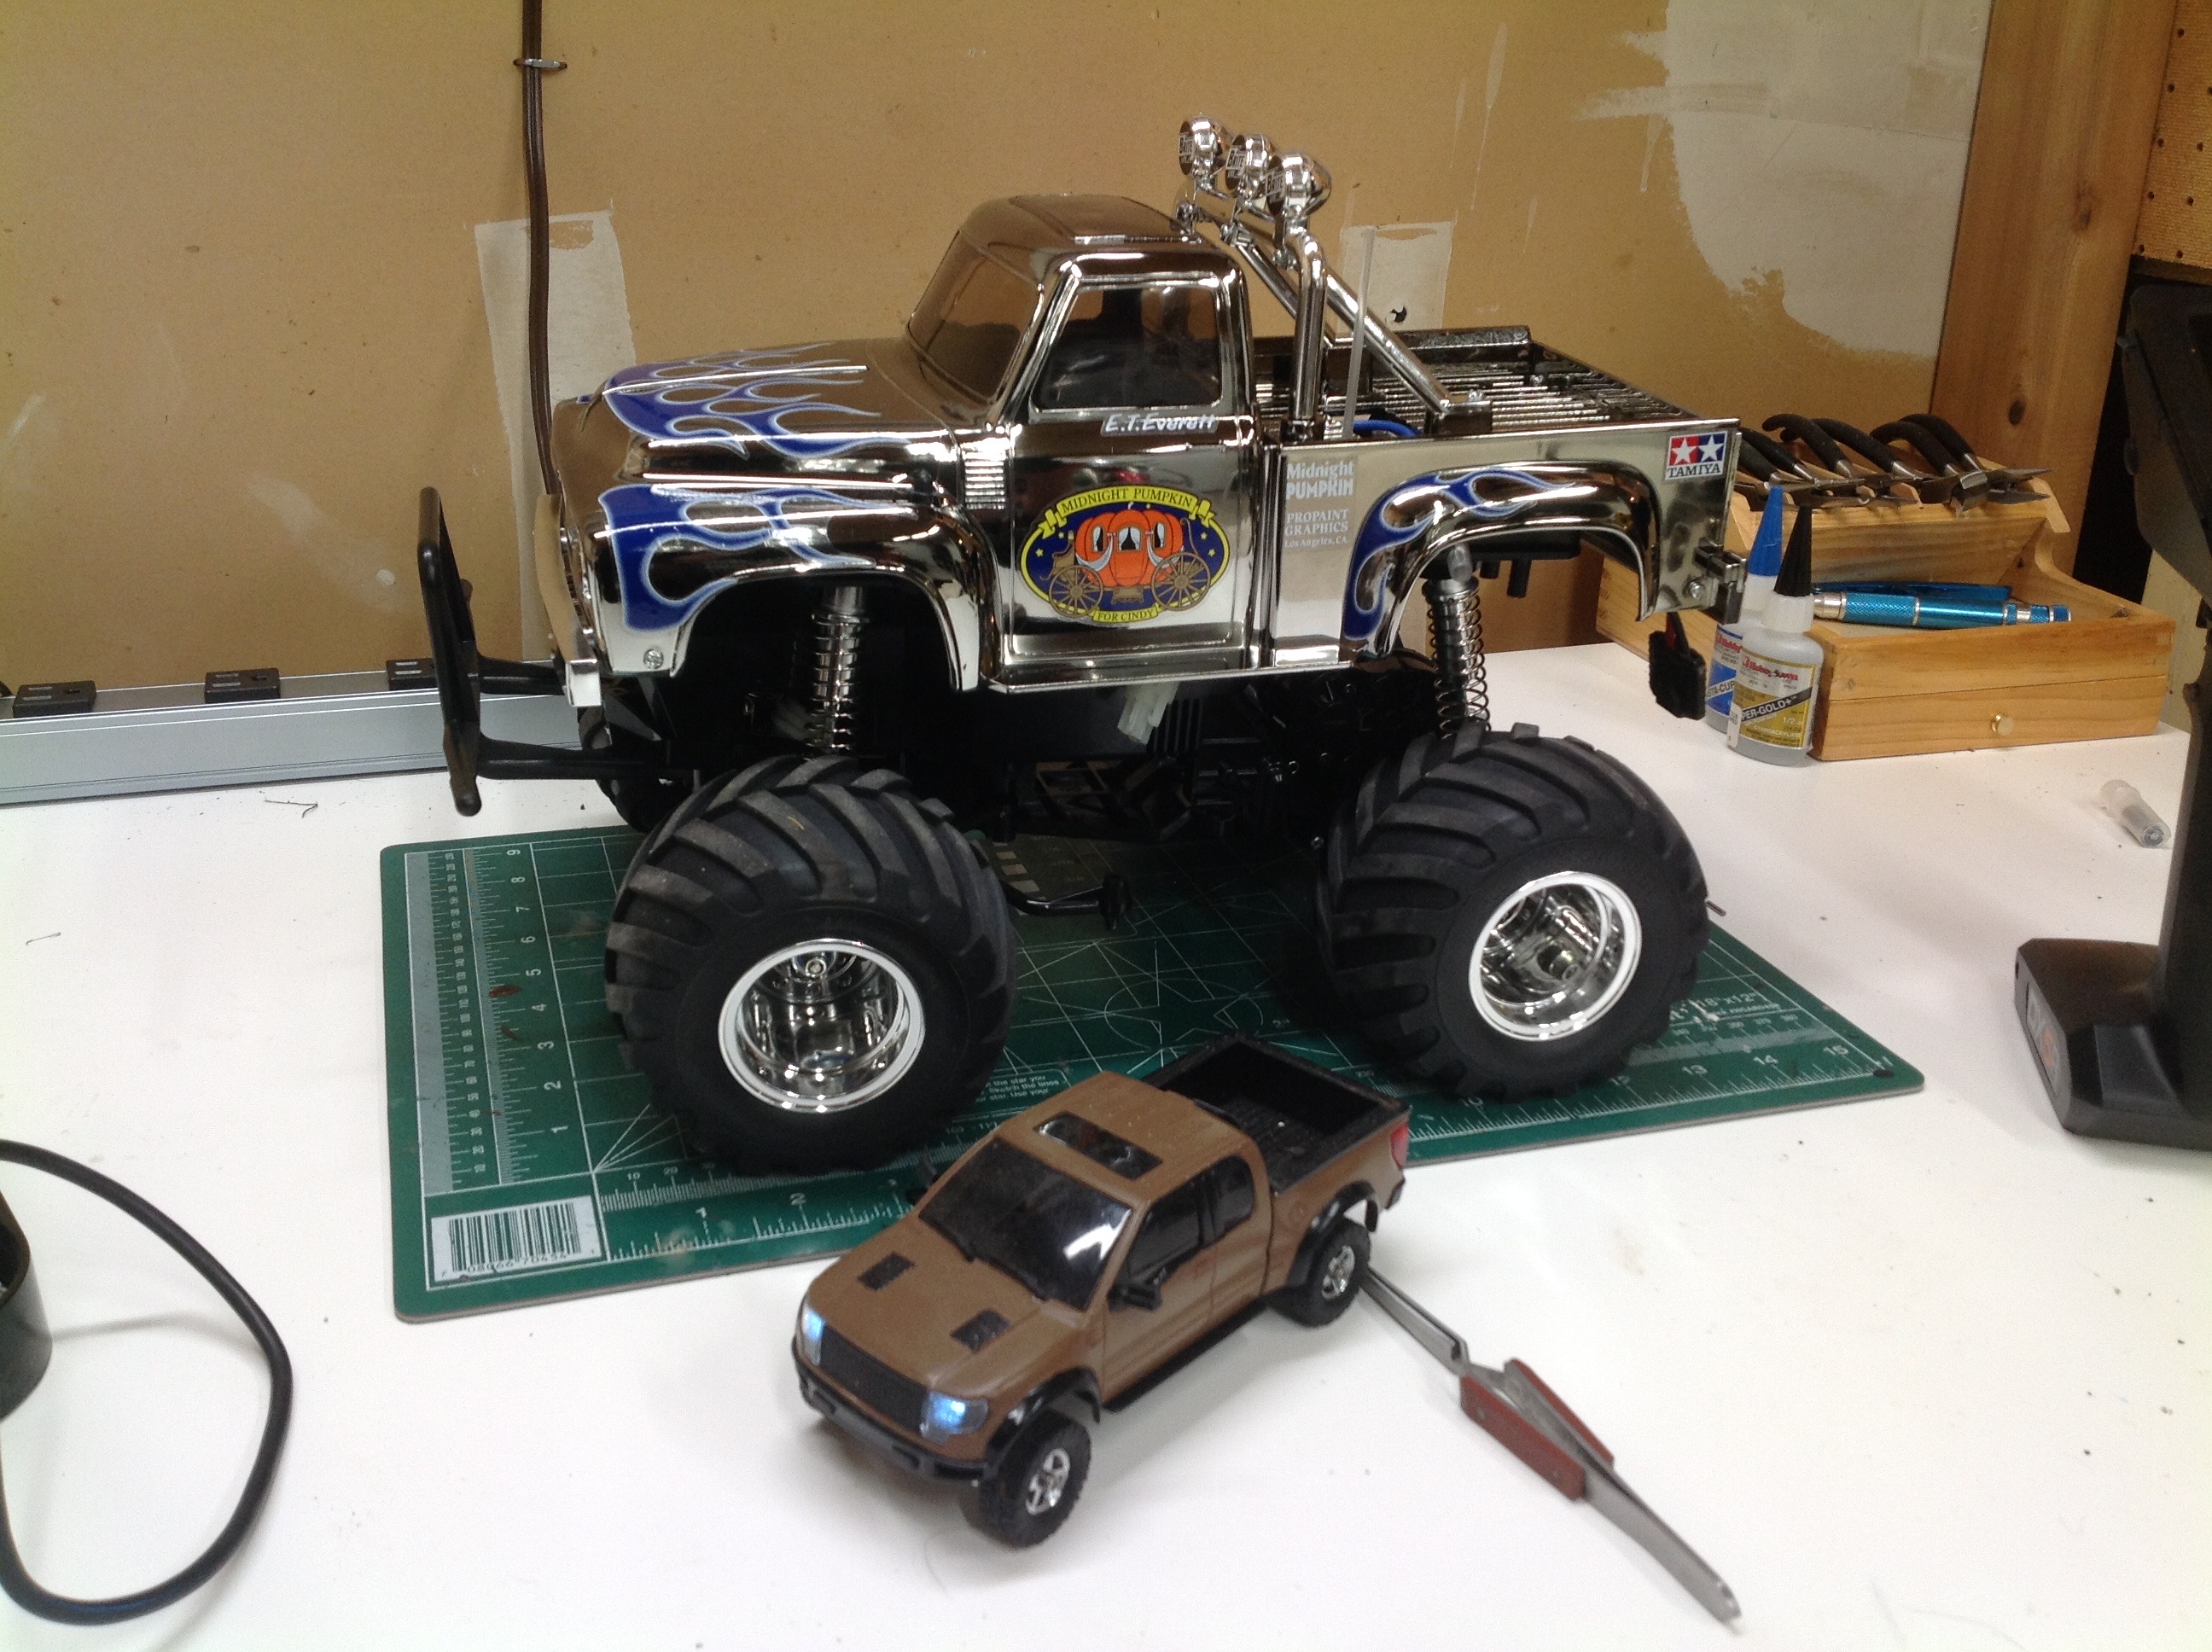
Because the body is metal plated there is no painting to do. You
just need to install the roll bar, grille, and bumper. This is not
a typical silver chrome, it has a blue tint to it which looks really
good with the decals that get installed next. I am not usually a
big fan of these special editions which are pre-painted or plated since
I'd rather do it myself. In this case, I bought this version only
because I couldn't find the regular version, but I have to admit that it
looks really good.
This is not a particularly big model at 1/12th scale although it is
quite tall. However, when placed next to my 1/35th scale F150, it
looks positively enormous.