Tamiya DT-02 MS Project

Page 1:  Assembly


The DT-02 MS comes in a touring car sized box with a photograph on the cover.  It does not have the TRF type box with a re-closable lid and handle.  The right hand picture shows the parts arrayed on the table.  2WD buggies are always simpler than 4WD, but this is still a substantial number of parts.


There is no front gearbox but the bulkhead looks like a gearbox.  The lower A-arms are pinned to the bulkhead.  The plastic shock tower is integral to the bulkhead so it cannot be replaced with a carbon tower.  The upper suspension arms are nice hardened turnbuckles.  The addition of the front bumper completes the front suspension module after only 3 steps of building.


The rear gearbox uses a ball differential which is an upgrade from the bevel gear diff which would normally come with a DT-02.  The left hand picture shows the partially assembled diff and the thrust bearing.  The right hand image compares the completed ball diff to the gear diff housing which is also in the box (but without the internal gears).  External dimensions are the same.


The ball differential is installed into the rear gearbox housing with a counter gear as shown.  Full ball bearings were included with the kit.


I started my assembly using an extra standard silver can motor and the stock aluminum pinion.  You can see the aluminum motor mount plate on the left.  I wanted to upgrade the motor, but because of the motor heat sink shown on the right, only closed end bell motors are possible so I used a Sport Tuned motor.  I also changed the pinion for a steel version from Robinson Racing.


This picture shows the lower A-arms and upper turnbuckles attached to the rear gearbox housing.  At this point I had not yet installed the Sport Tuned motor.


Another upgrade included in the MS kit is this set of universal axles to replace the stock dog bones.  The right hand image shows the completed rear suspension module and gearbox.  Note how high above the main gearbox the spur gear protrudes.


This kit comes with the beautiful aluminum shocks designed for the DF-03, but which also fit the DT-02.  The springs seem to be different.  They appear to have more coils than on the DF-03 version which would make the spring rate lower (softer).


Once the shocks are installed we have fully completed front and rear suspension modules.  All that remains is to bolt them to the chassis tub.


Here I've completed the rolling chassis by attaching the suspension modules and the battery cover.  The battery sits longitudinally down the center of the chassis.  The steering system is dirt simple with a high torque servo saver on the servo directly driving the steering turnbuckles.  There are no cranks.  The right hand image shows the electronics installed.  There was ample leftover space.  I did not at first realize that this kit does not come with tires so you see only the wheels installed here.


I really like the shape of this classic buggy body design which comes from the Sand Viper.  The trimmed shape is pretty simple to achieve.  The complex livery is accomplished with only two paint colors.  The masking is not that complex because the stickers will cover the transition.  I've masked the front of the body so I can paint the metallic blue first.


Here I've painted the metallic blue and then removed the masking from the front of the body.  Note that I backed the blue with silver before removing the tape to bring out the metallic sheen.  After than the white was applied.


With the window masks removed I applied a couple of coats of smoke to tint the windows, then followed the long task of applying the stickers.  The stickers must perfectly align at the transitions to avoid an obvious discontinuity, and I made many errors.  Removing the stickers to reposition them often resulted in tears (homonym intentional).  In the end I think I hid the defects well.


The wing was a bit more complicated than it looks.  The overspray film needed to be removed so the wing could be painted from the back which meant manually masking the front.  I also masked a portion at the rear to leave a clear line which you can barely see in the pictures.   The large stickers were tricky to apply over the complex curvature.


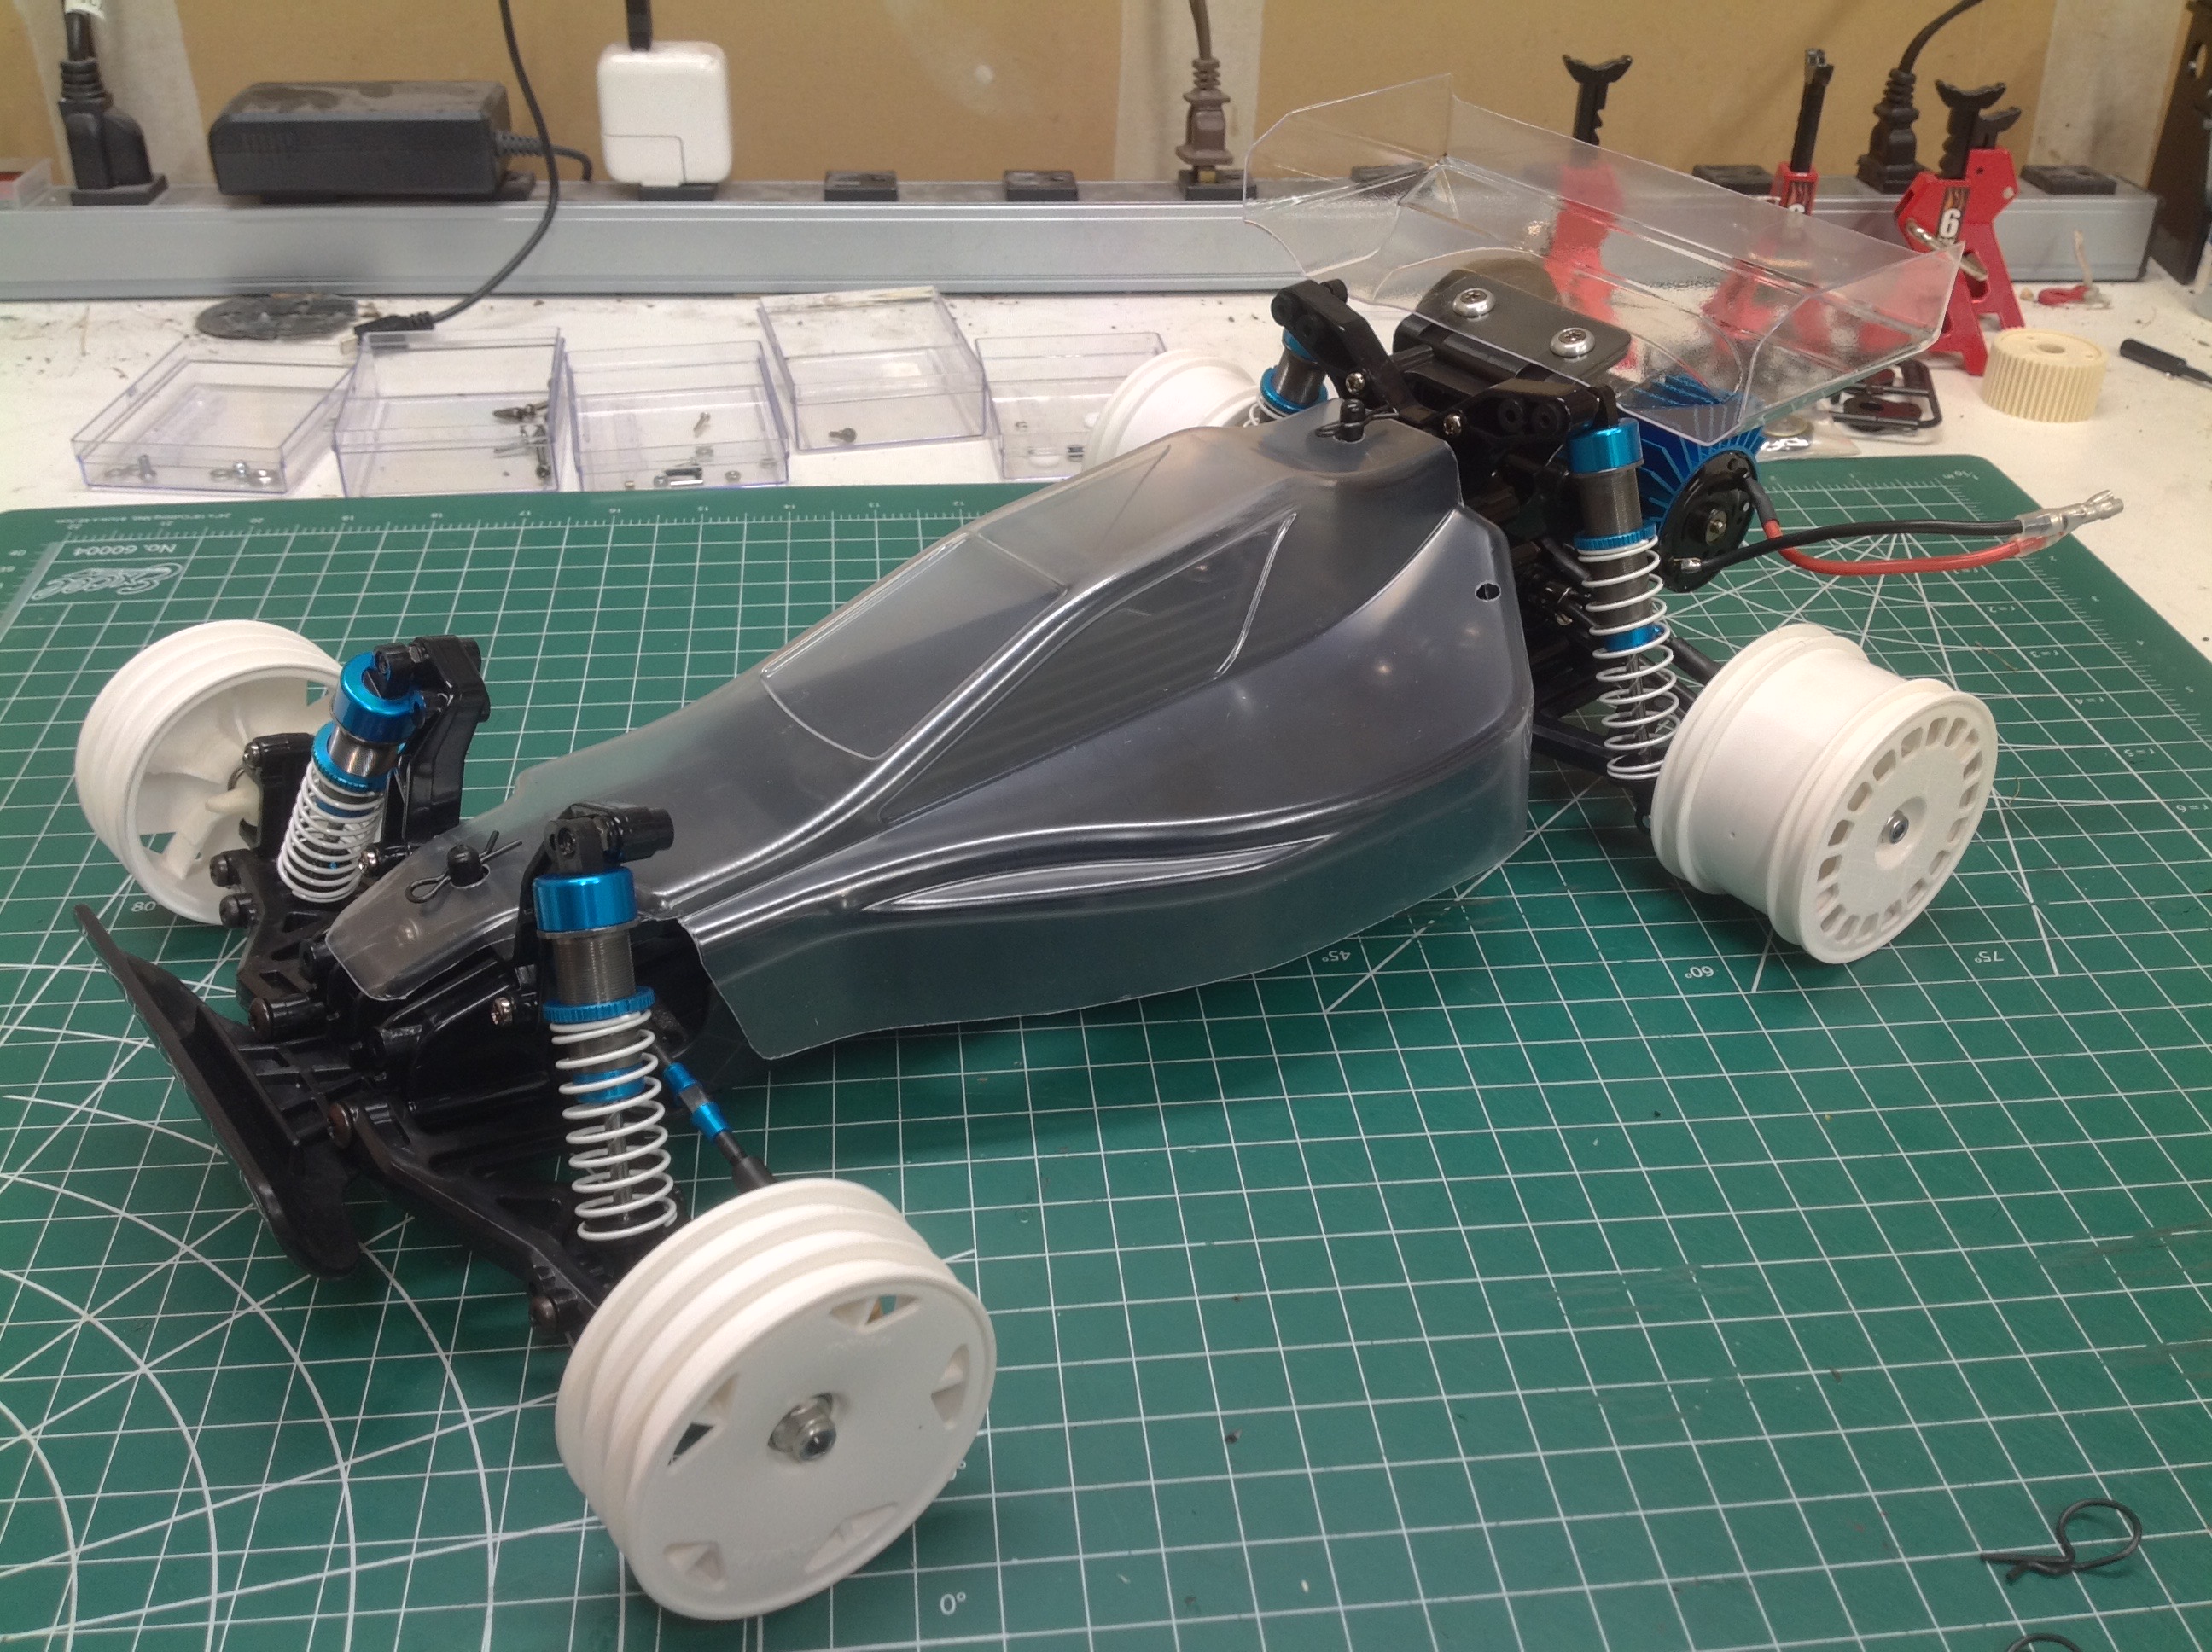
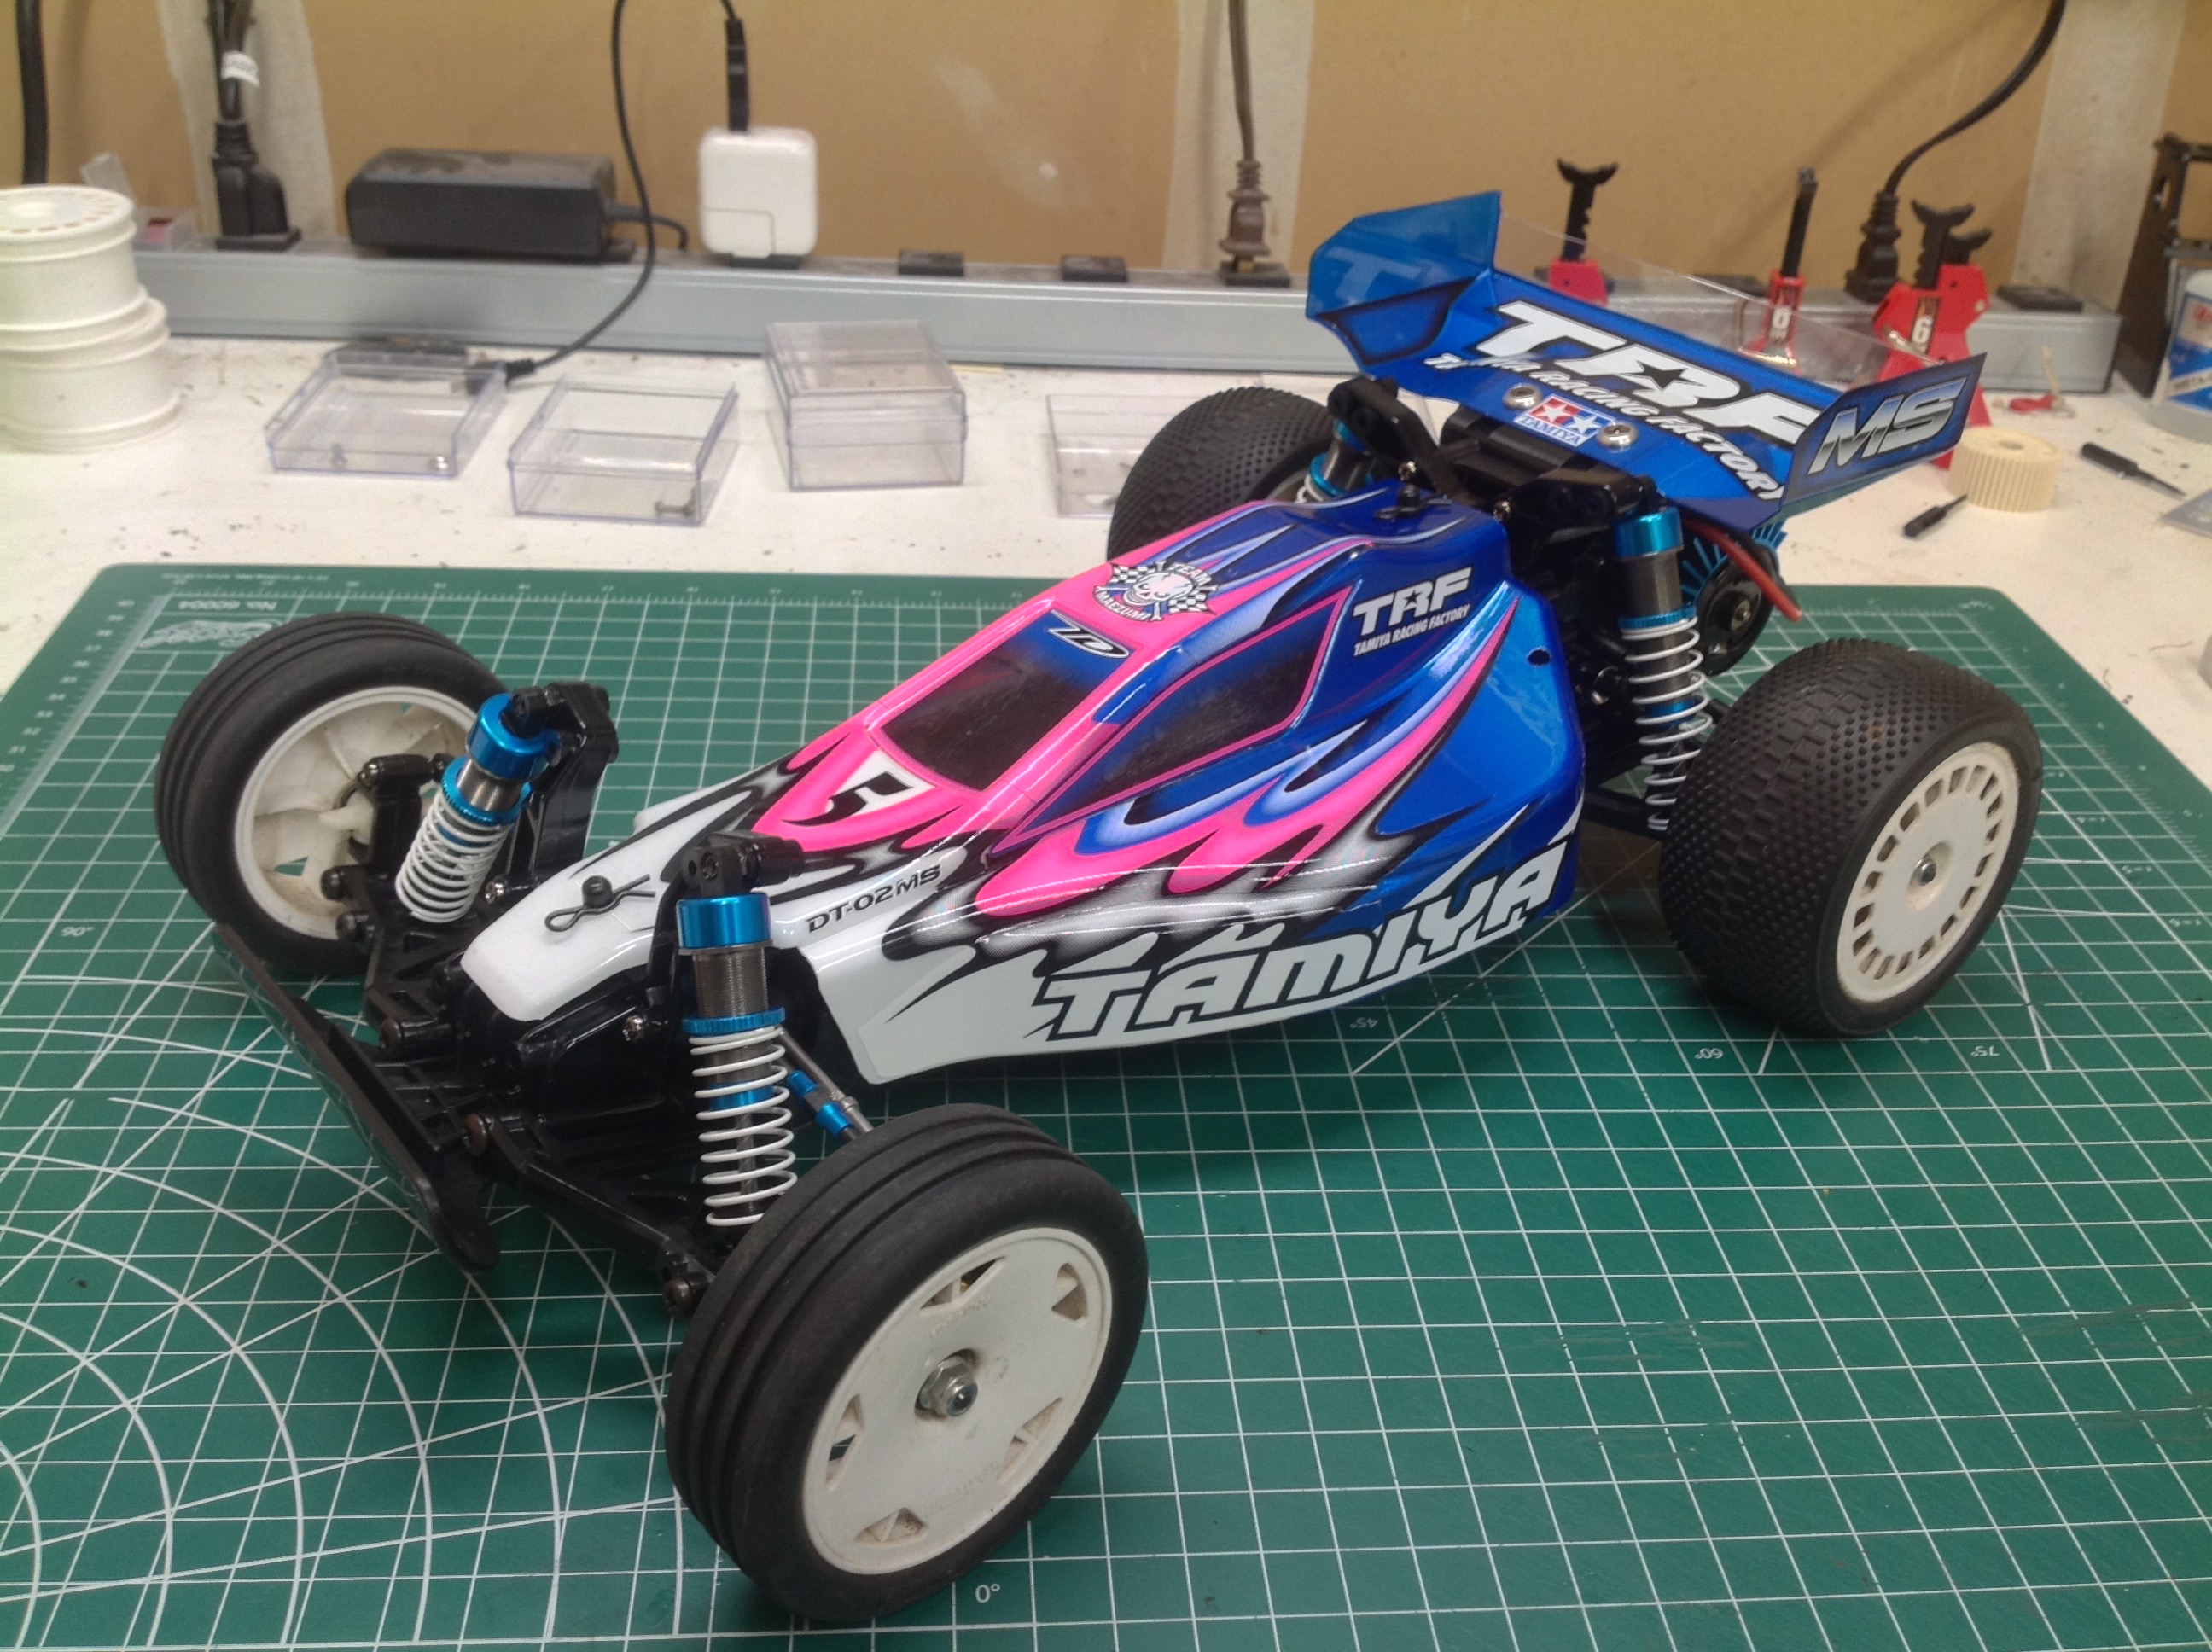
The final buggy is a real beauty.  I used standard grooved front tires and dual block rear tires in K (kit) compound.  For this particular buggy I prefer them to the stickier C 
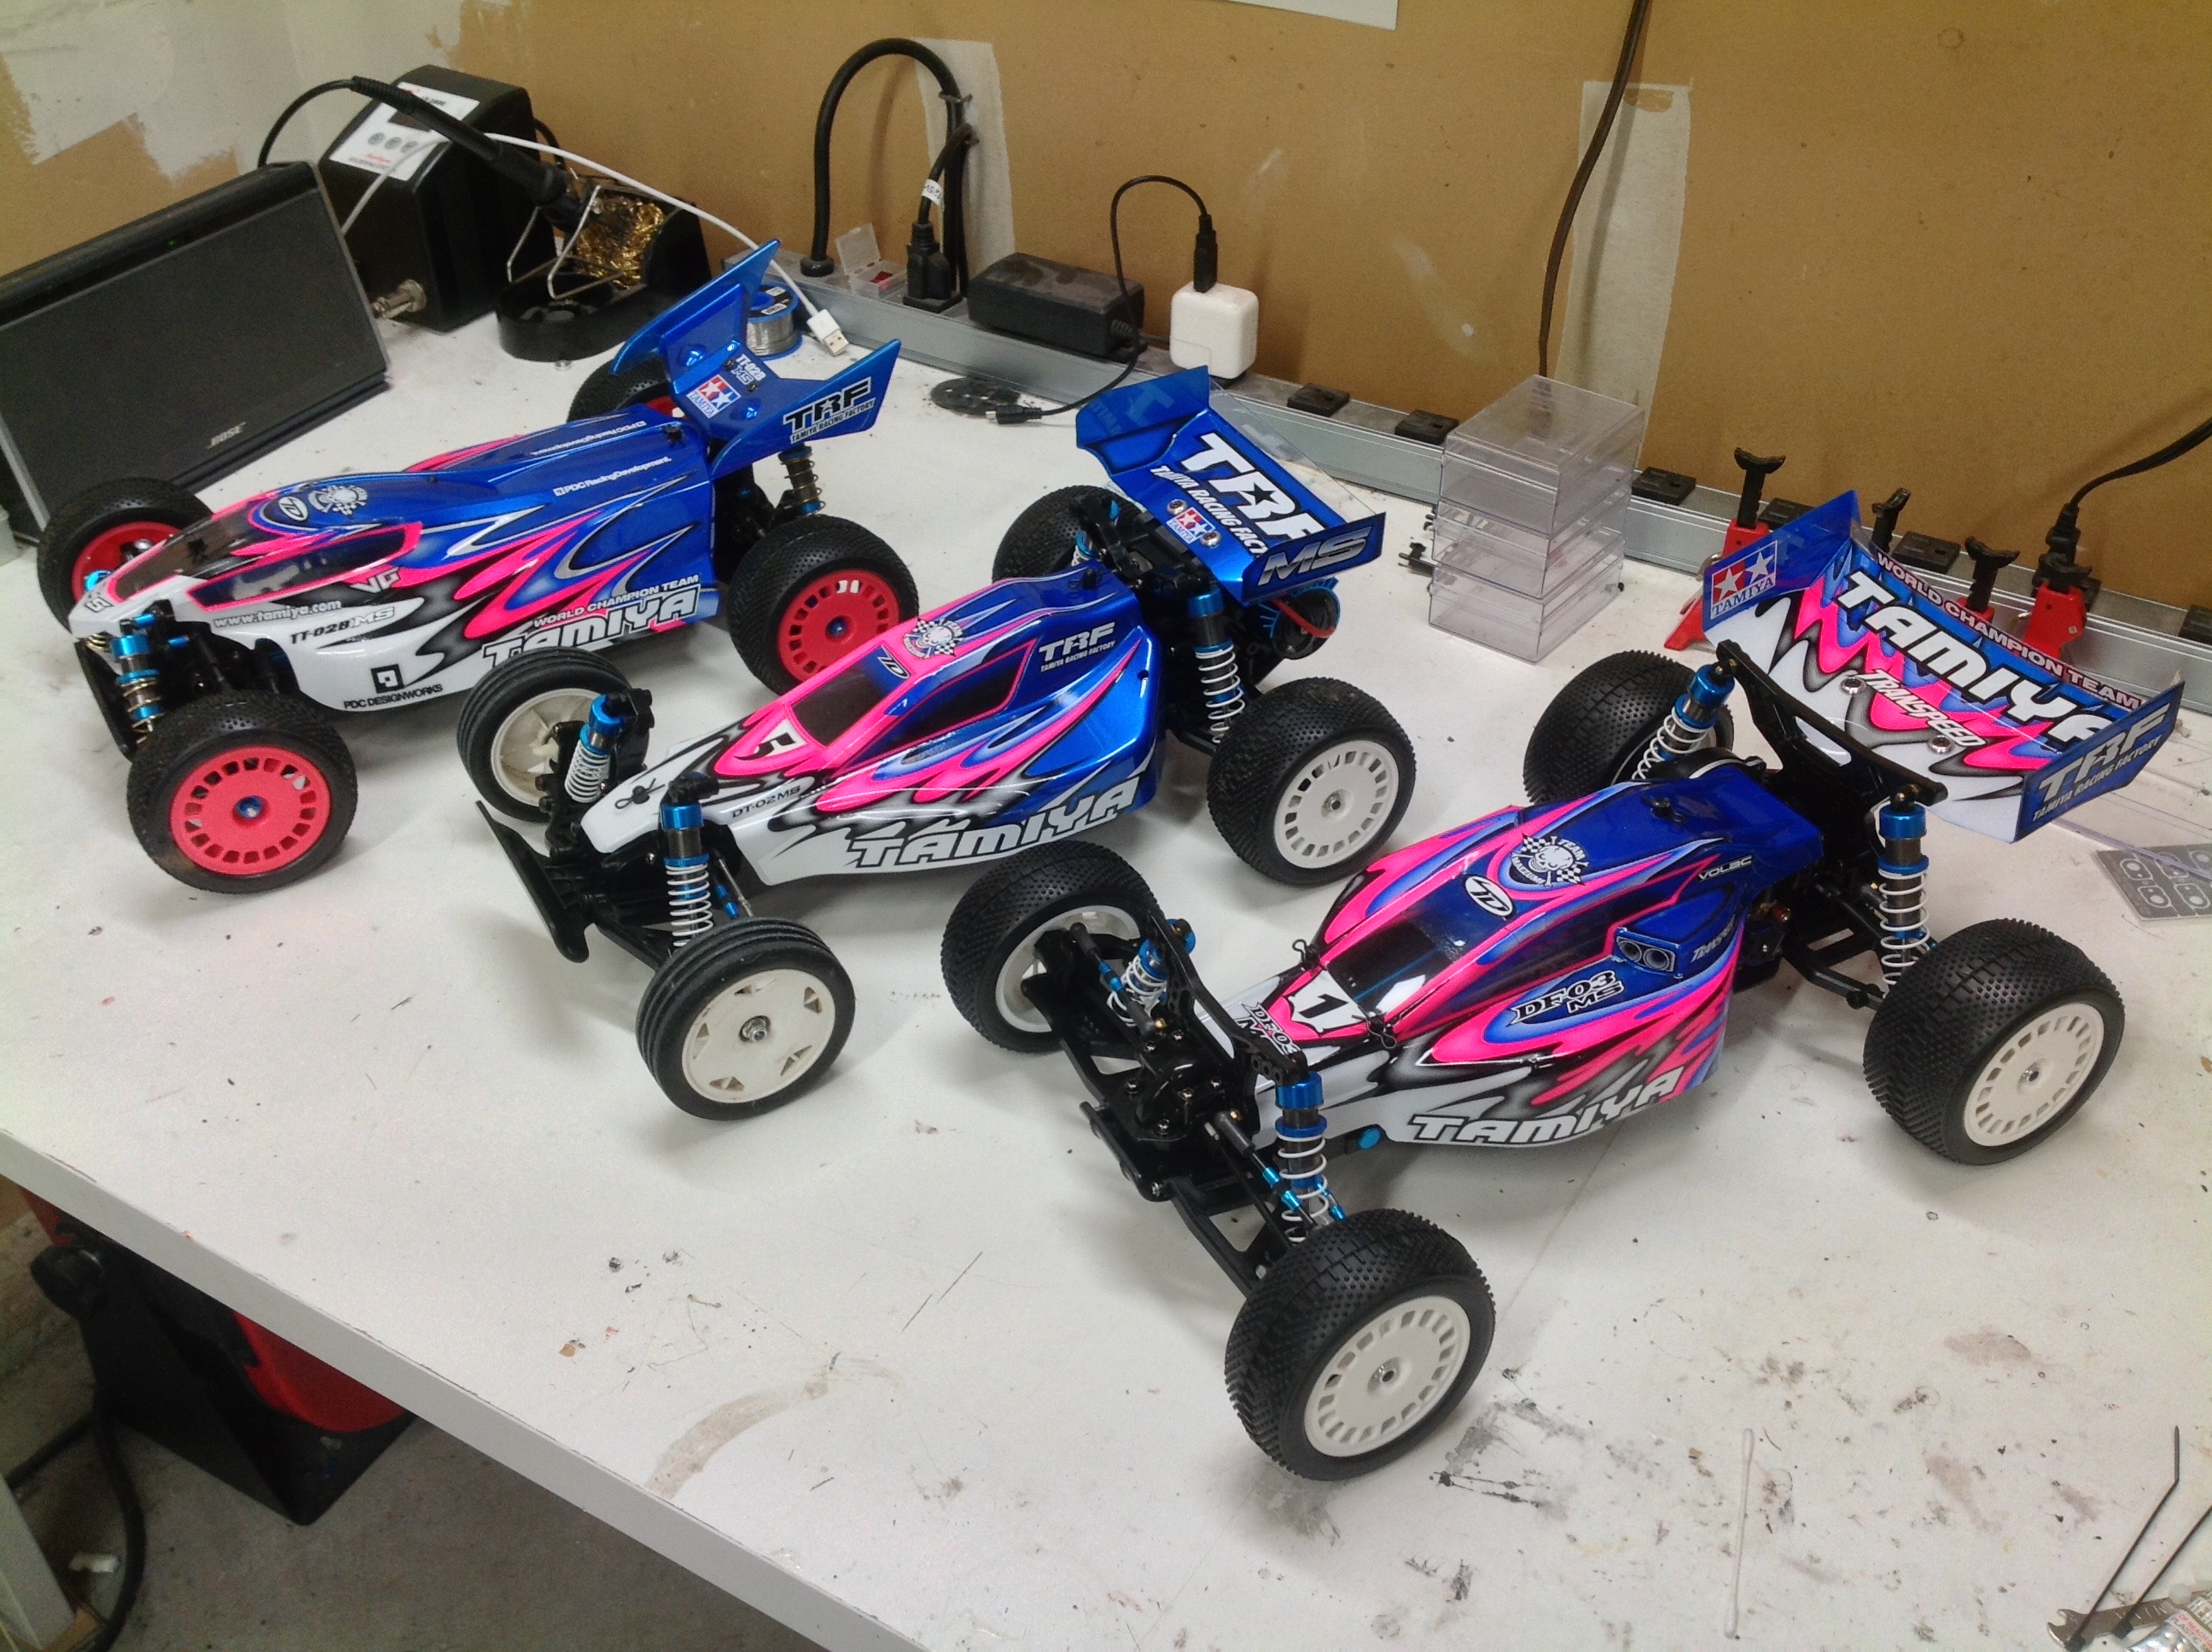
compound because I like to be able to oversteer with throttle.  On the right I show off mywhole MS family: the TT-02B MS, the DT-02 MS, and the DF-03 MS.

Up to Index | Go to Page 2
©2020 Eric Albrecht