Toyota 4Runner Project

Page 3: Building the Body


This certainly isn't like any body I've ever built before.  I ordered it from MFab through Facebook and it was several months before I received anything.  When the plain carboard box finally arrived, I opened it up and found the contents shown on the right.  There are a lot of parts, but there aren't any kind of instructions, not even a photo of the completed body.  Most parts are printed from PLA and are very thick, but there are a few more detailed SLS printed parts and a couple of molded clear light lenses.  The windows are just clear, flat sheets.


In order to understand how the parts fit together so I could form a plan for assembly, I needed to do a mock-up.  I just stuck the main body parts together with blue painter's tape, using my chassis as a support frame.  I think I got it basically right, but as shown on the right you can see that it fell apart pretty quickly.


For no particular reason I decided to start with the rear corner.  There are 3 parts in the assembly shown at left, a lower left quarter panel, an upper rear window frame, and the rear bumper.  In general, there are large flat surfaces to use for join boundaries.  I used thin CA for adhesive after first sanding all the interfaces.  As you can see in the area circled in red, there were places where the parts appeared warped and therefore didn't meet properly.  On the right I've added the symmetric parts on the other side as well as the tail gate, rear roof section, and spoiler.  I've also test fit the Toyota logo but it won't be permanently attached until much later after painting.  At this point I can already detect some twist in my build because the two sides don't touch the cutting mat evenly.


Now I've added another pair of thick panels on each side which exacerbates the twist in the body.  The printed parts include quite a few areas that have printing supports which need to be removed.  An example is shown in the yellow ellipse.  This notched area was loosely filled with material which had to be removed.  Keep in mind though, that there are no instructions so you just need to figure out what needs to be removed.  In some cases it is obvious, but not always.  For example, I thought I was supposed to remove a partially hollow area shown in the red circle, but this ended up being an important corner that fits over the headlights.  I removed it so now it looks stupid.  I learned my lesson for the other side so it looks OK.


The front bumper and grille are the most complex part of the assembly, consisting of many parts which are hard to align properly.  This is probably the most iconic area of the 5th generation 4Runner so it is important to try to get it right.  In the photo on the right I've added the A and B-pillars, the roof, and the front bumper.  The hood is just sitting there loosely for now.


Here's the nearly completed body test fit on the chassis.  It looks pretty good but there are going to be problems with tire rubbing.  The roof rails, hood, and other details are not attached yet.


It's time to start the long process of smoothing and finishing.  The sides of the body arrive extremely rough and would look terrible if not smoothed.  I started by sanding the entire model with 220 grit.  Luckily, the body is plenty strong to support itself so it can be gripped while sanding.  After the rough sand, I sprayed the whole thing with several coats of Kilz filling primer, then sanded it again with 400.  The results are shown on the right.  It doesn't look terrible, but it certainly isn't smooth either.  You can already see that I'm effectively sanding off the fuel cover raised area.


Here's phase 2.  For the second coat I used rust colored primer so I could more easily see the areas which still need more work.  On the right you can see the result.  The clearly visible vertical lines are the remaining divisions between the printing layers.


Now phase 3.  I've added several more coats of white Kilz primer.  The right hand photo shows that I'm finally starting to converge on a reasonably smooth surface.  There are a couple of hours of sanding between each phase.


For phase 4 I used a gray primer intended to back the paint layer.  I also took this opportunity to use some filler on any remaining gaps.  As usual, this worked pretty terrible.  The picture on the right shows the final condition of the body prior to painting.  The bevels just ahead of the front wheel arches were the biggest problem area that started the roughest and needed the most work.


I started by putting down a couple of coats of plain white, then used Pearl White for my final coats to make it a little bit less plain.  The results are shown above and look pretty good as long as you don't zoom in.  I put several coats of gloss clear over the top.


I never intended to fully black out the windows because I want to add an interior, so that means some of the internal surfaces will be visible.  I decided to mask the outside and then paint the inside all black.  There are also a couple of outer surfaces that are black on the TRD Pro edition 4Runner like the front and rear bumper sections and B-pillars, so I masked those off as well.  Like a complete idiot, I did all this masking before the clear coat was dry which destroyed the finish on much of the model.  There was no way to fix this without starting over so I just left it.  The picture on the right shows the spray painted black interior but you can see some areas which were missed because there was paint there.  I finished it off with a brush by hand.


With the main painting done I can start adding the details and trim.  On the left I've painted the grill and the Toyota logo and installed them along with test fits of the light lenses.  On the right I've painted the light buckets (which took a lot of research) and installed them.  Gluing in the lenses without getting glue everywhere is always a challenge.


Here I've installed some of the details in the rear such as the 4Runner logo, the Toyota emblem, and the door handles.  I've also test fit the tail light lenses.  On the right I've begun to install the windows starting in the rear.  The back window is not too hard because the edges are covered by trim, but the rear side windows have to be glued and the glue is a solvent for paint.  I painted the rear windows black from the inside, but the glue dissolved some of the paint which looks bad.  The rear door windows are supposed to fit into slots in the door but really don't.  The groove is not wide enough and there is no access to clean it out properly after assembly.  This should have been done beforehand.  All in all, the windows were a nightmare.


Now I've attempted to paint the rear light buckets as shown.  There isn't really any access to this area after the part is installed.  There is a blind hole in the body which I should be able to shove an LED through later.  Time will tell.


From beneath you can see all the black paint I applied.  I didn't bother painting the bottom of the hood because it won't be visible.  Note that the hood does not open; it gets glued down.  It would be possible to add hinges, but no such parts are included.  On the right you can see that I've painted and installed the roof rails.  The antenna is still unpainted because I wasn't sure what color it needed to be.


The windshield has to be glued around the edges so it is almost to install without unsightly glue marks.  I solved this by masking the center and painting a flat black strip around the perimeter.  It worked out great, and is how the real thing looks anyway.  Last to install were the side mirrors which require two tone paint.  These are obvious weak points in a rollover.  I tried to glue them in, but they break off every time so now I just pop them in with friction and allow them to come off when they need to.


There is no specific mounting system for the body so I had to come up with own.  I considered using magnets on the body posts, but this tends to make for a floppy installation of a heavy body.  Instead I used some steel angle brackets and adapted them to mount to the floor pans of the Enduro chassis.  None of the holes were positioned correctly so I had to drill my own.  I wanted the holes threaded so I could install screws from the bottom which meant I needed to tap the holes.  My cheap Dubro tap set is not really made for steel, but I got it to work.


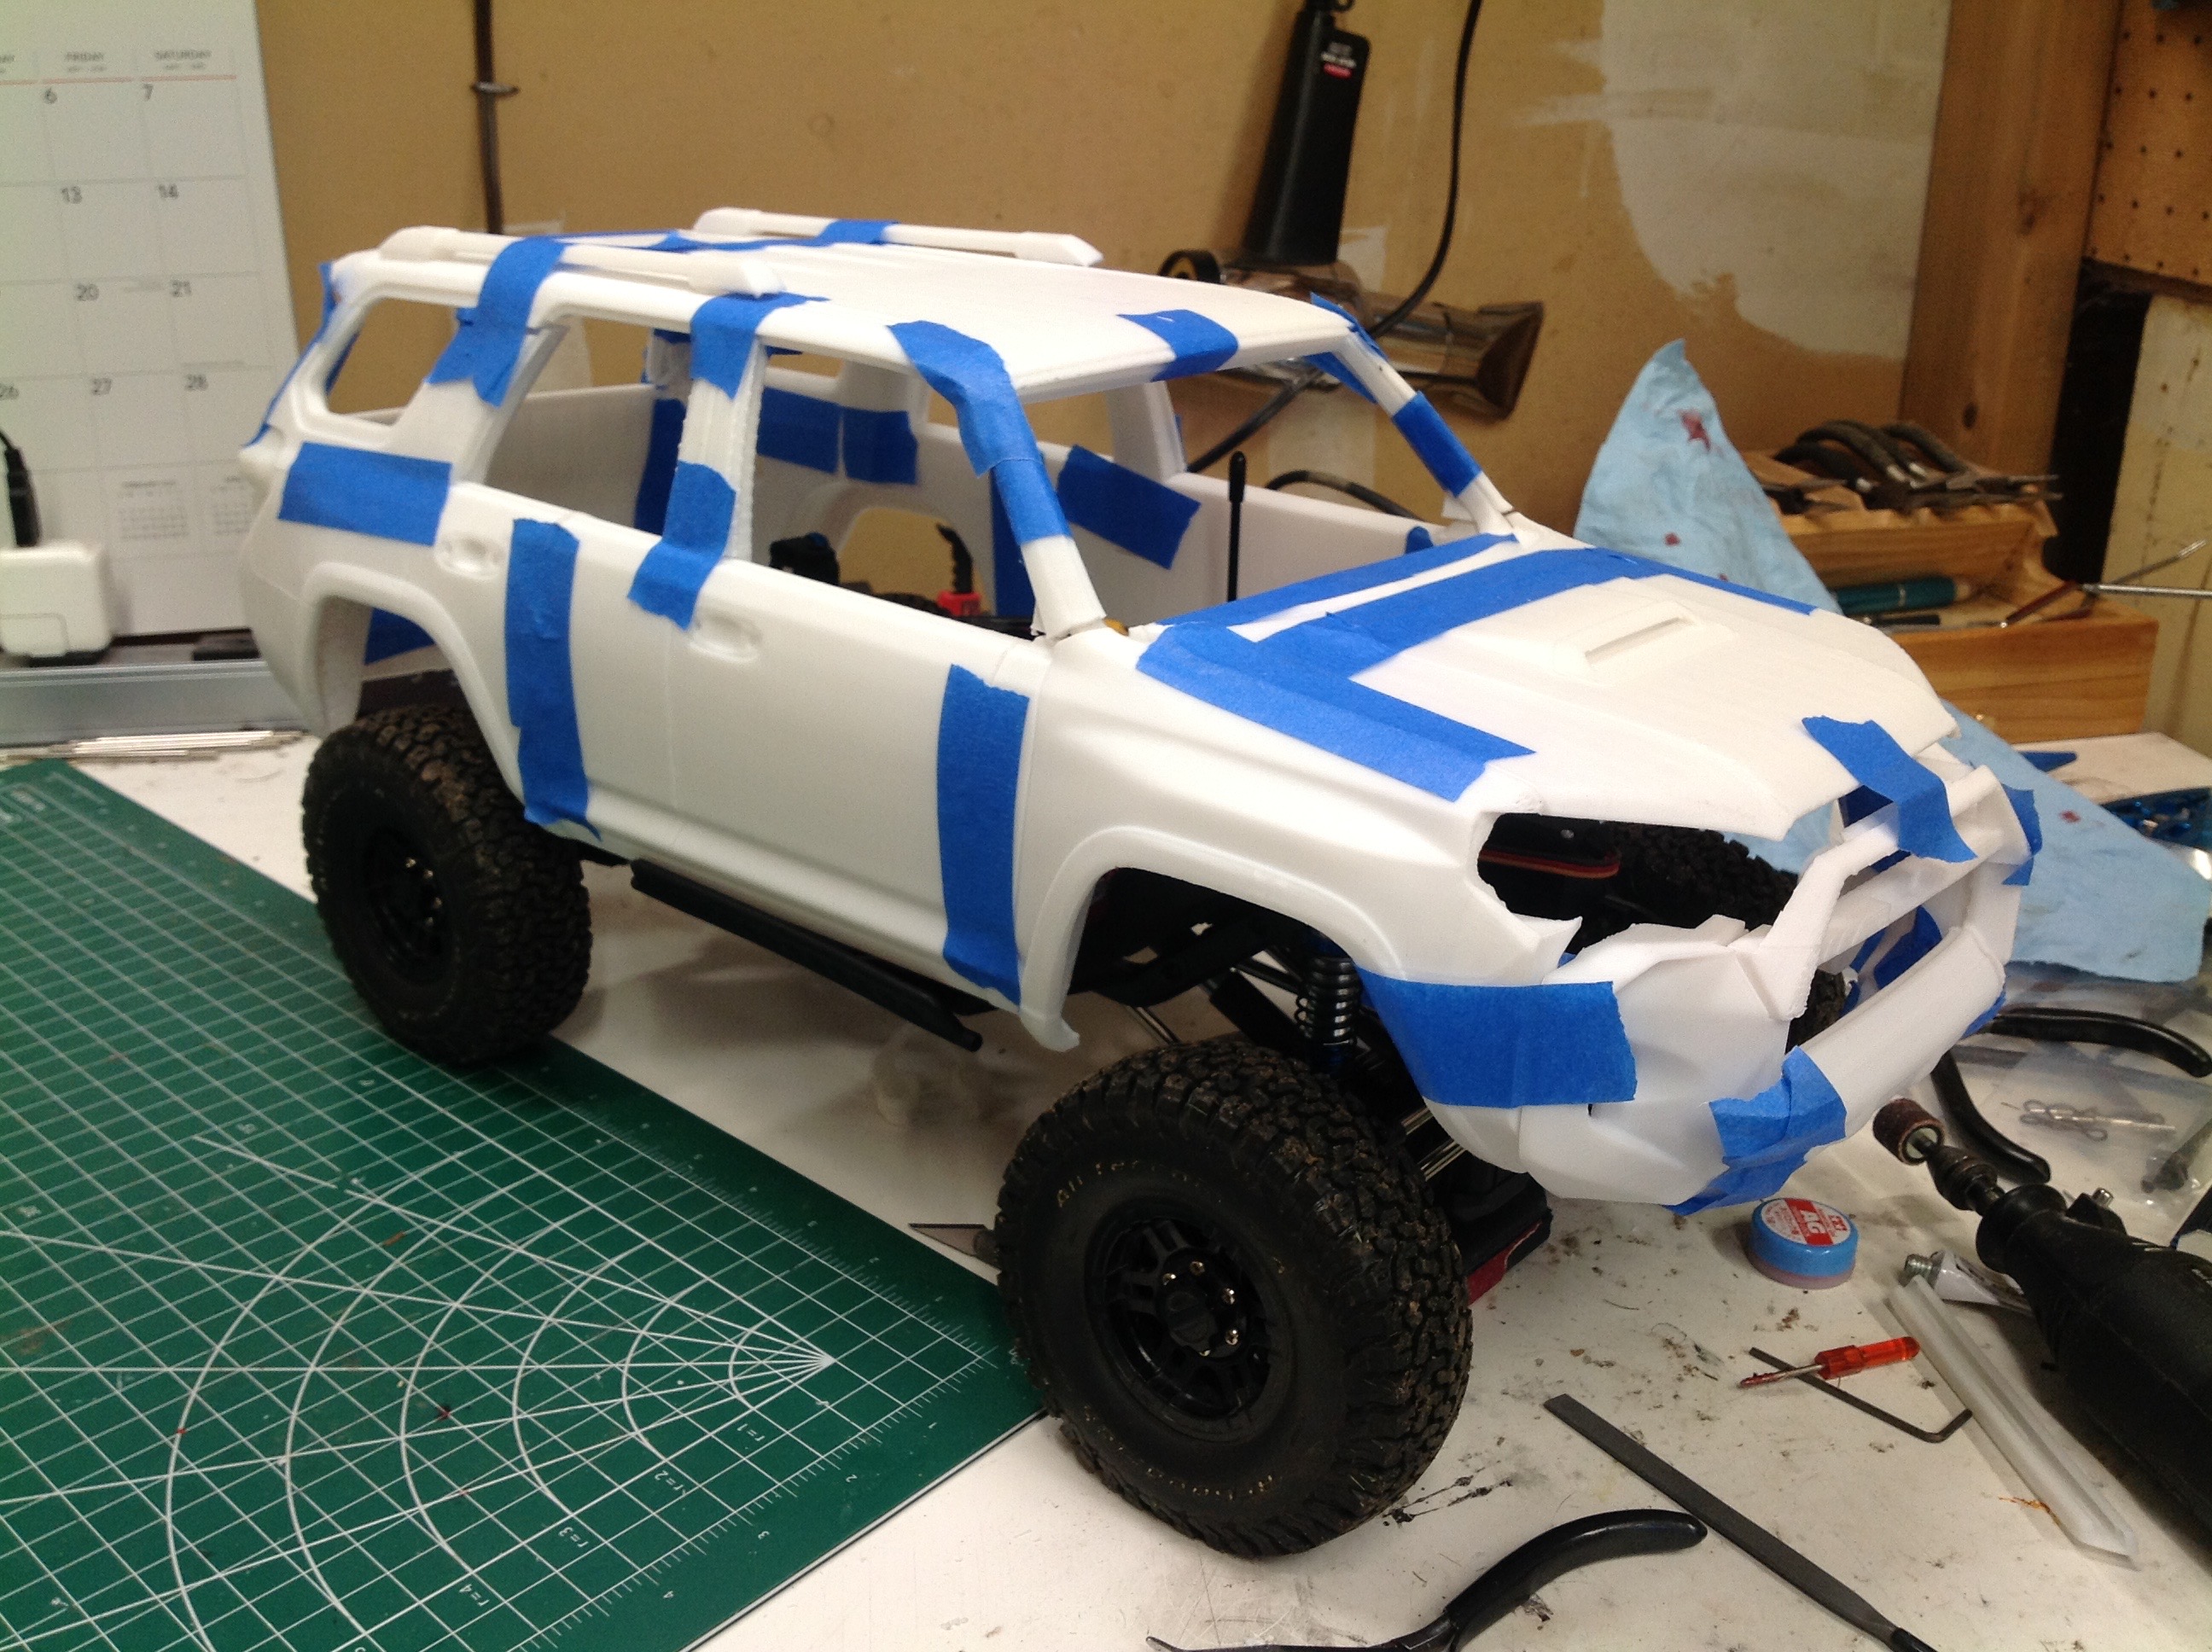
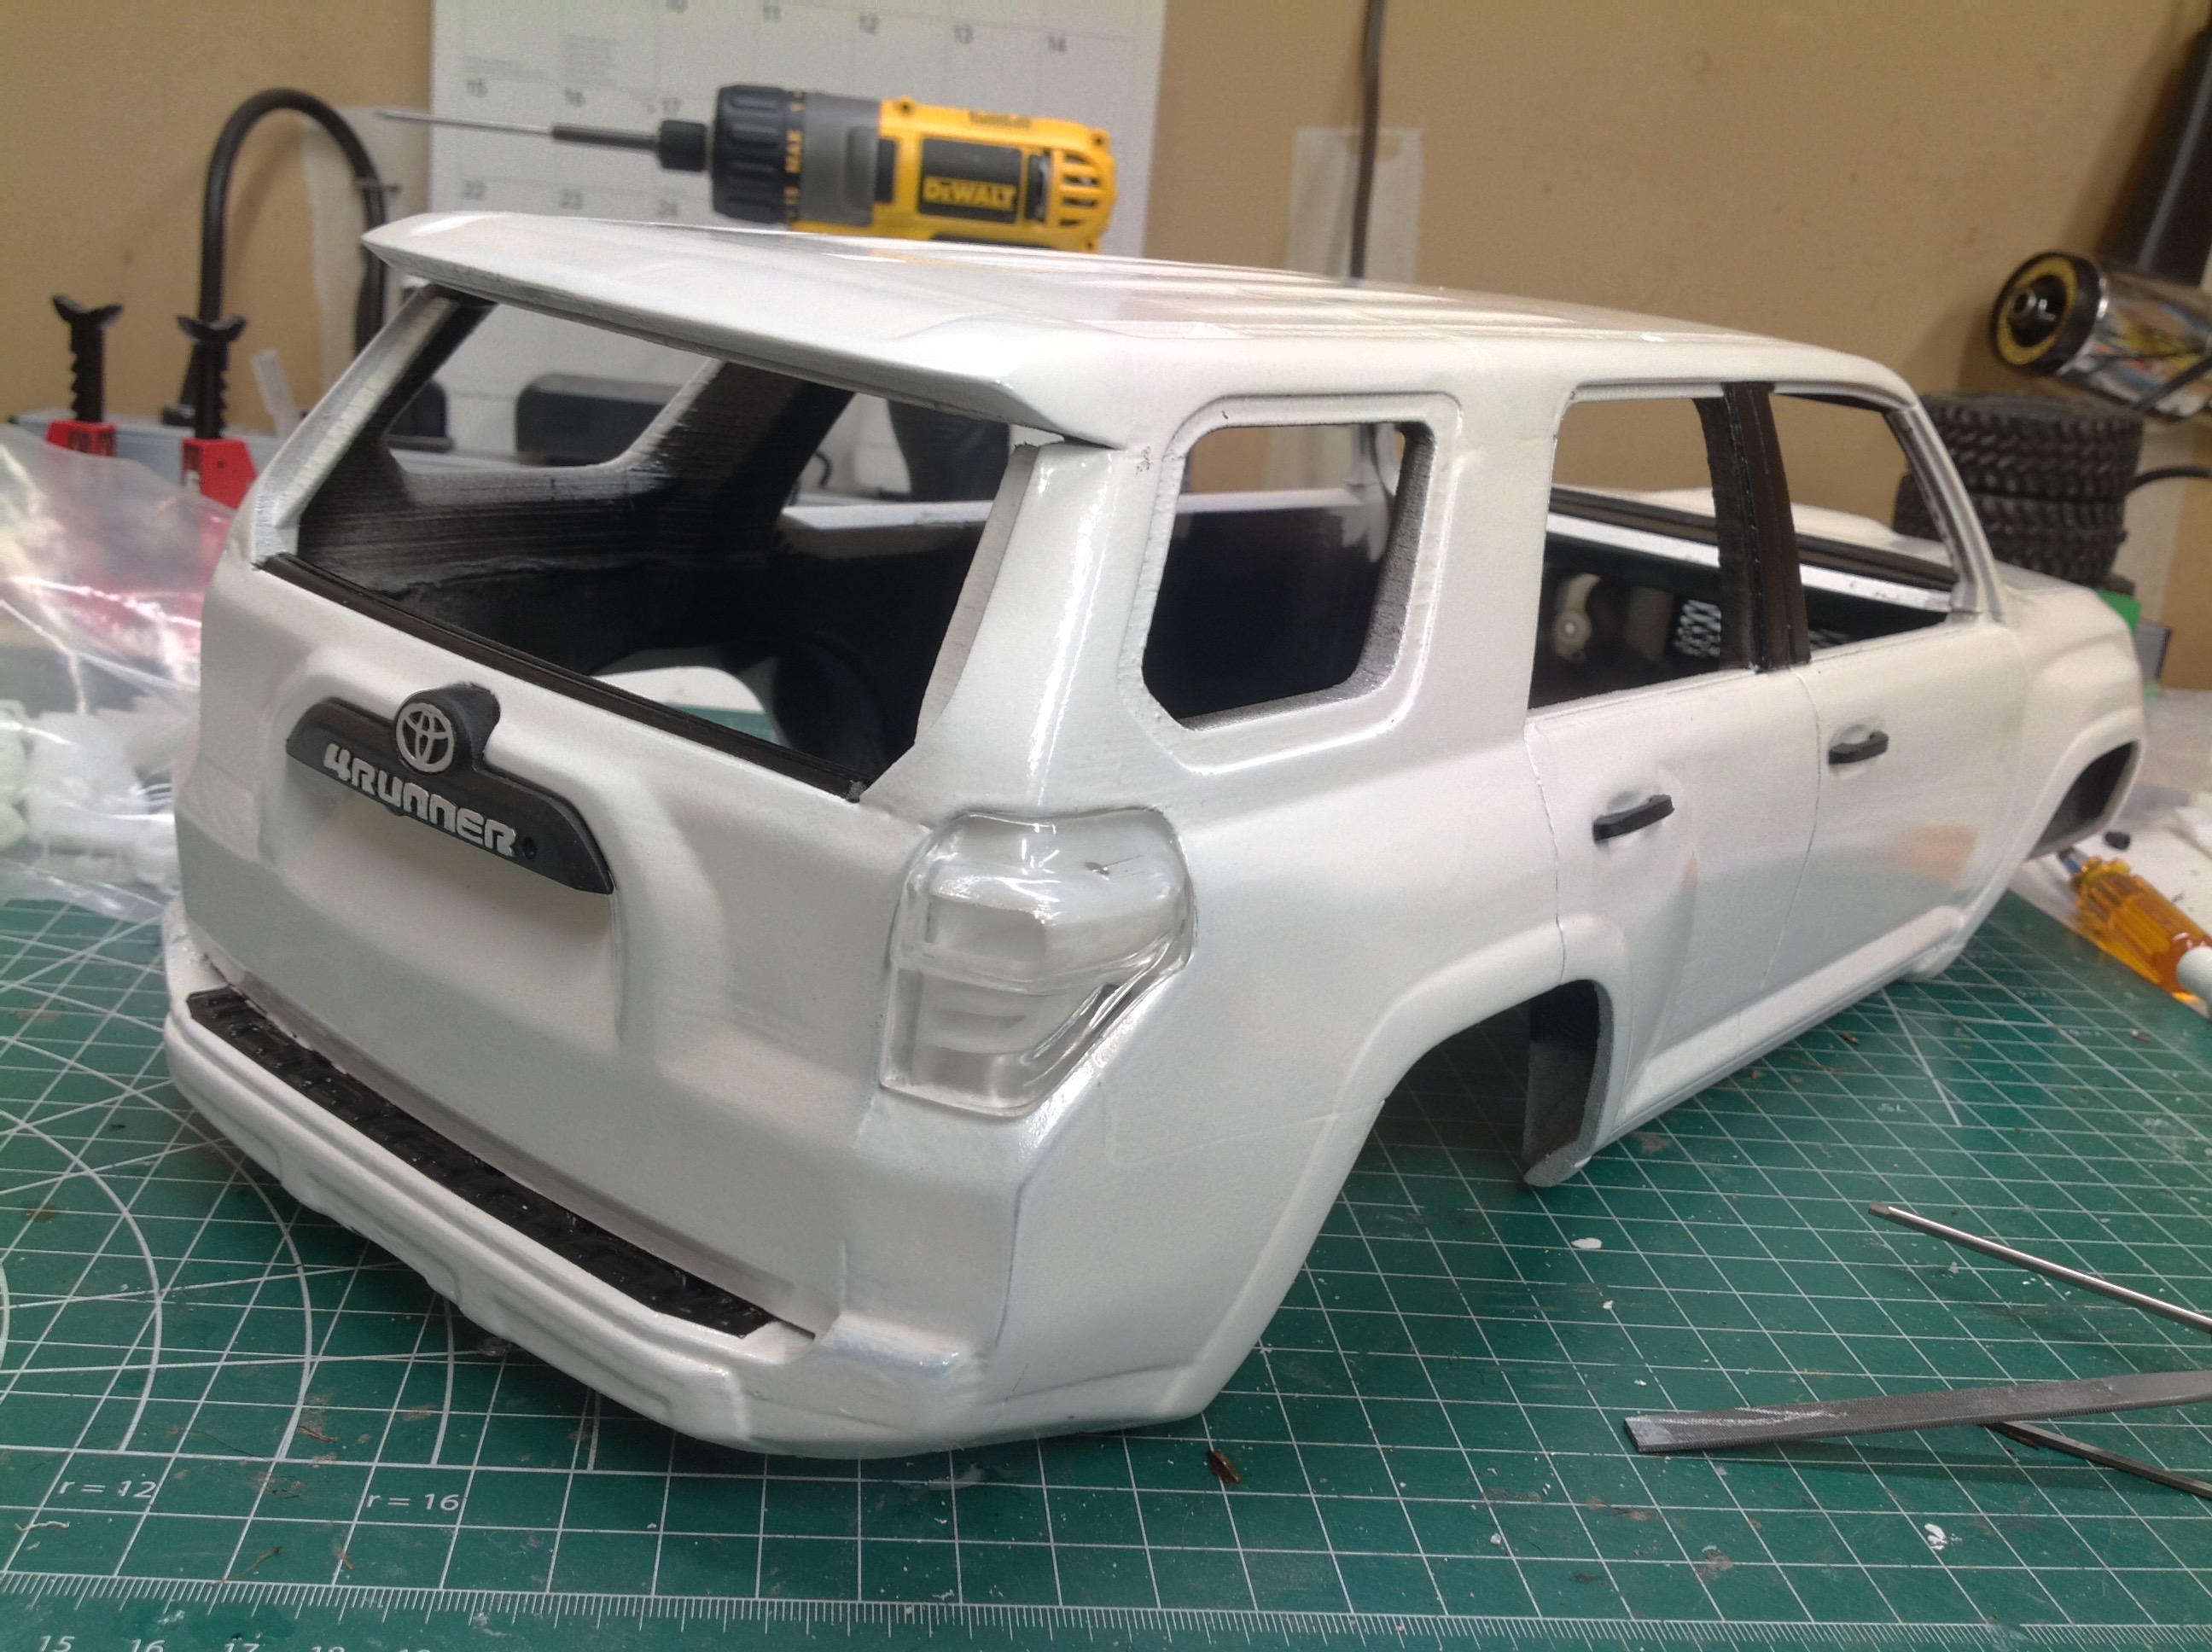
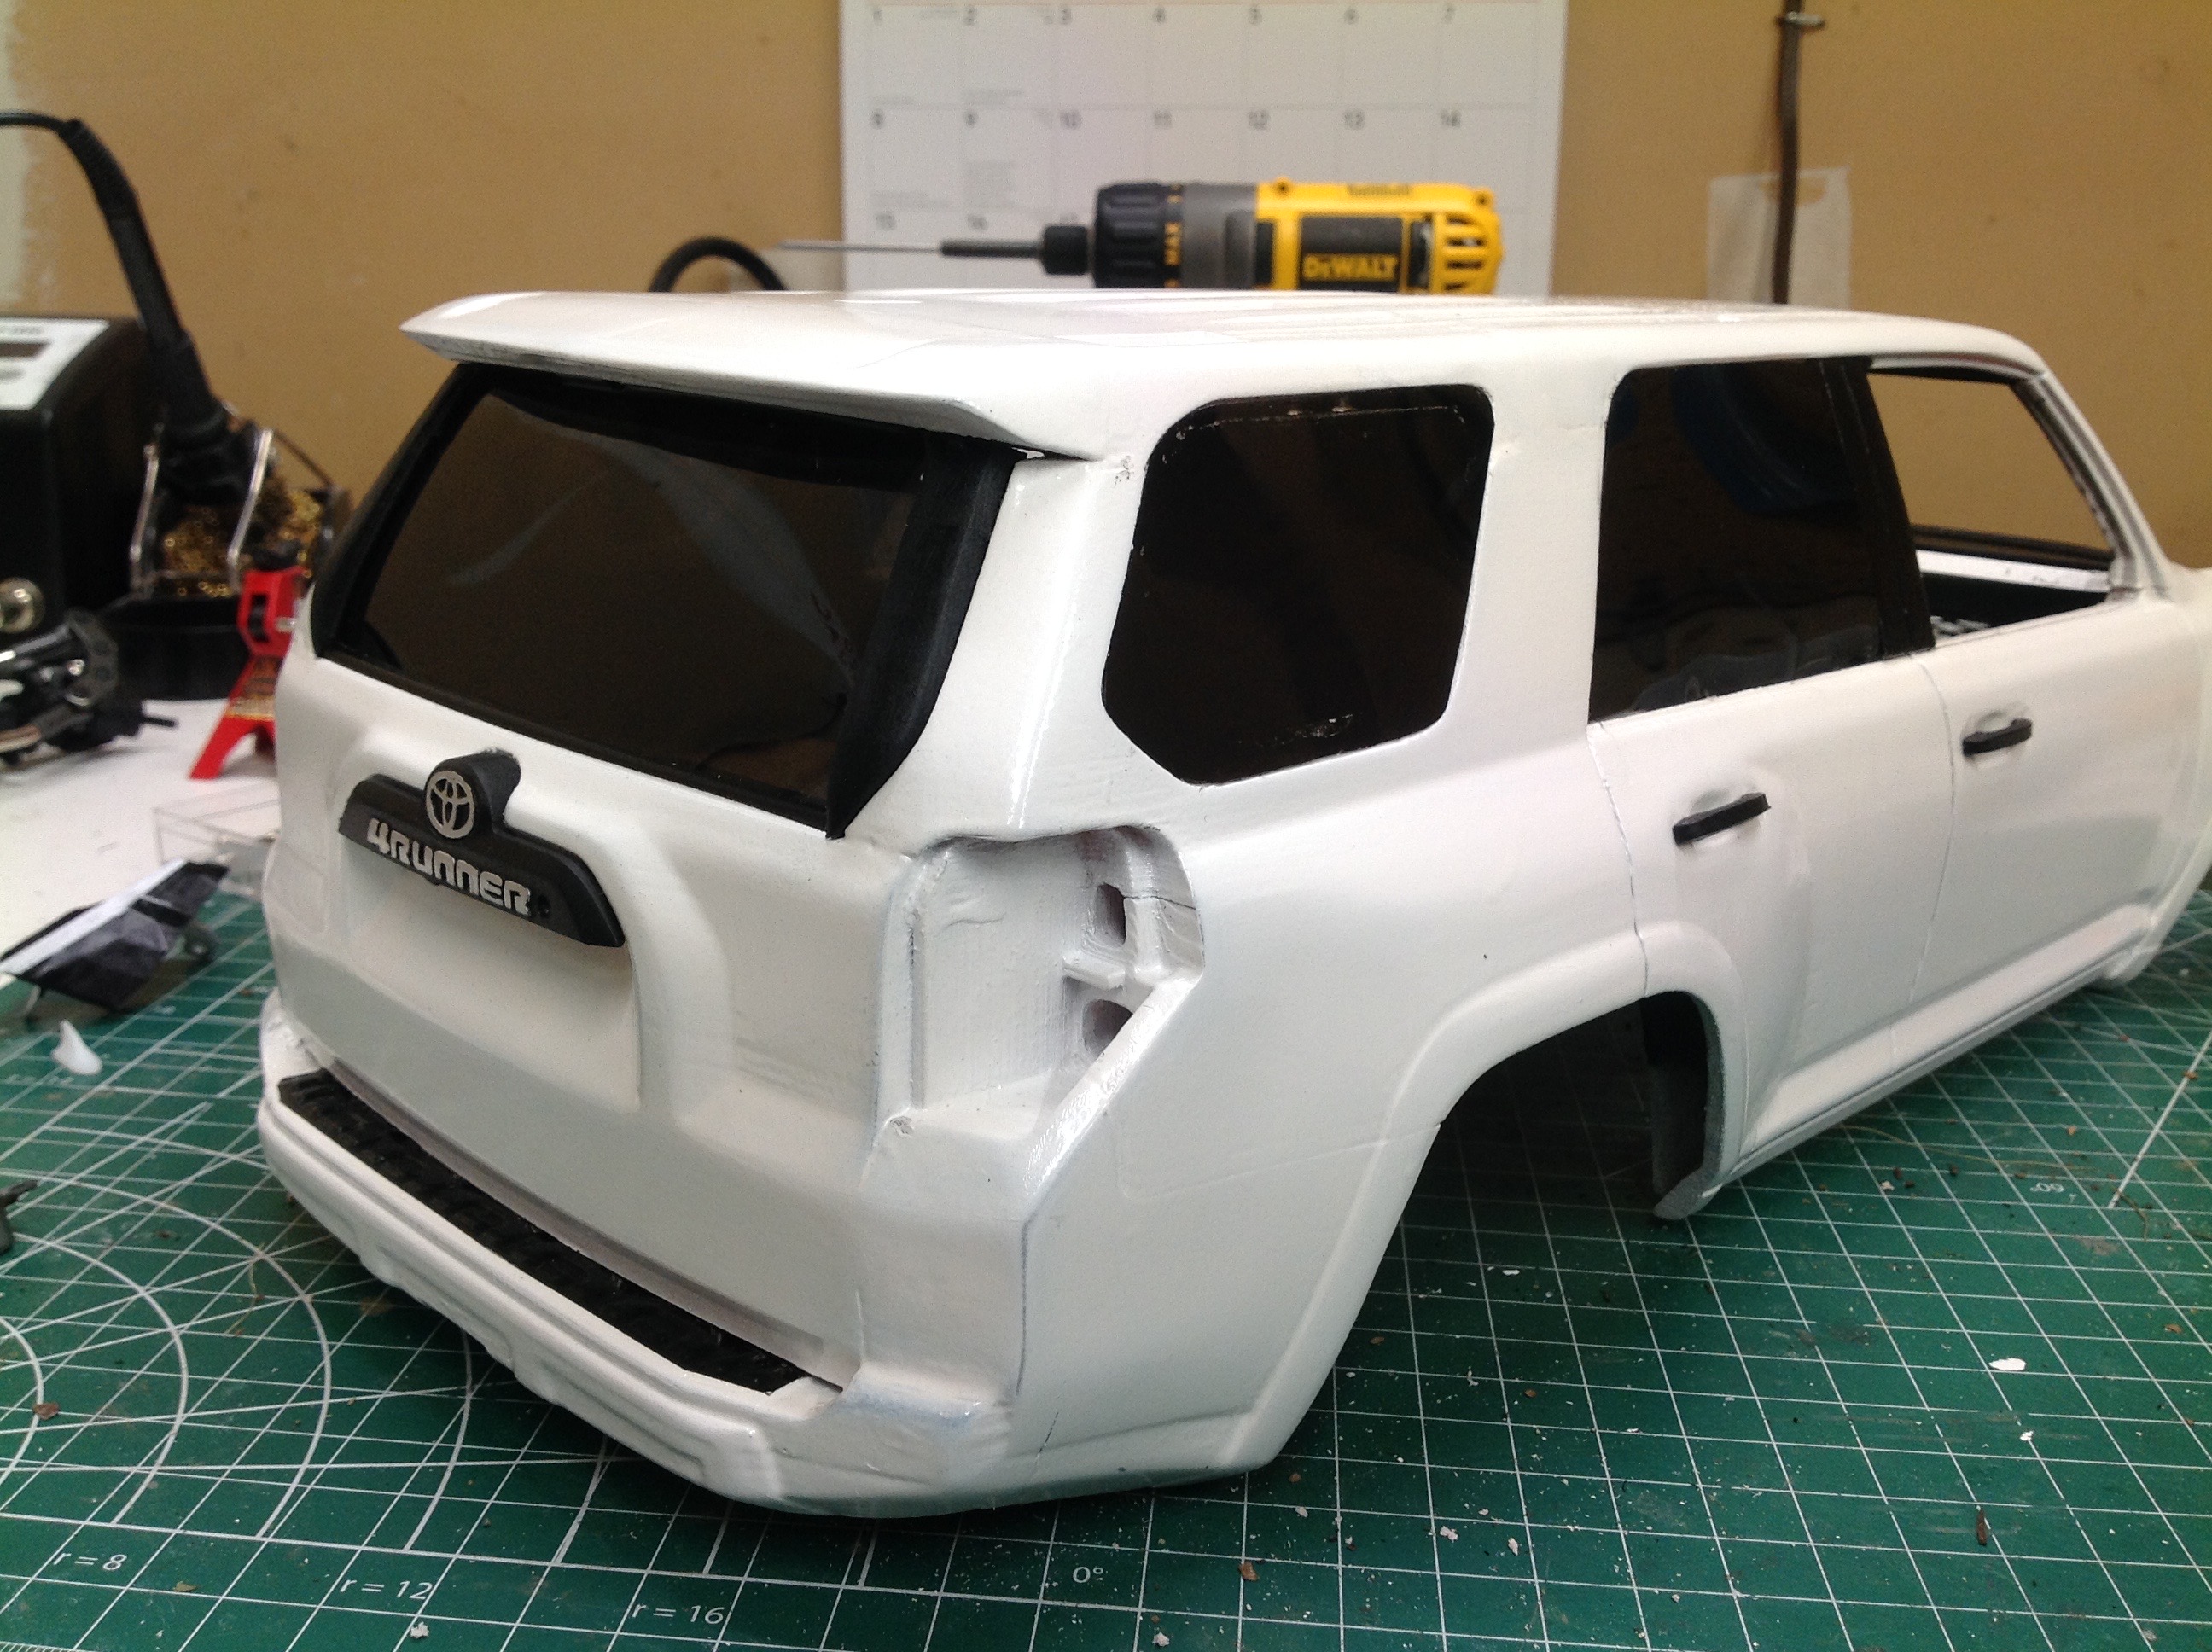
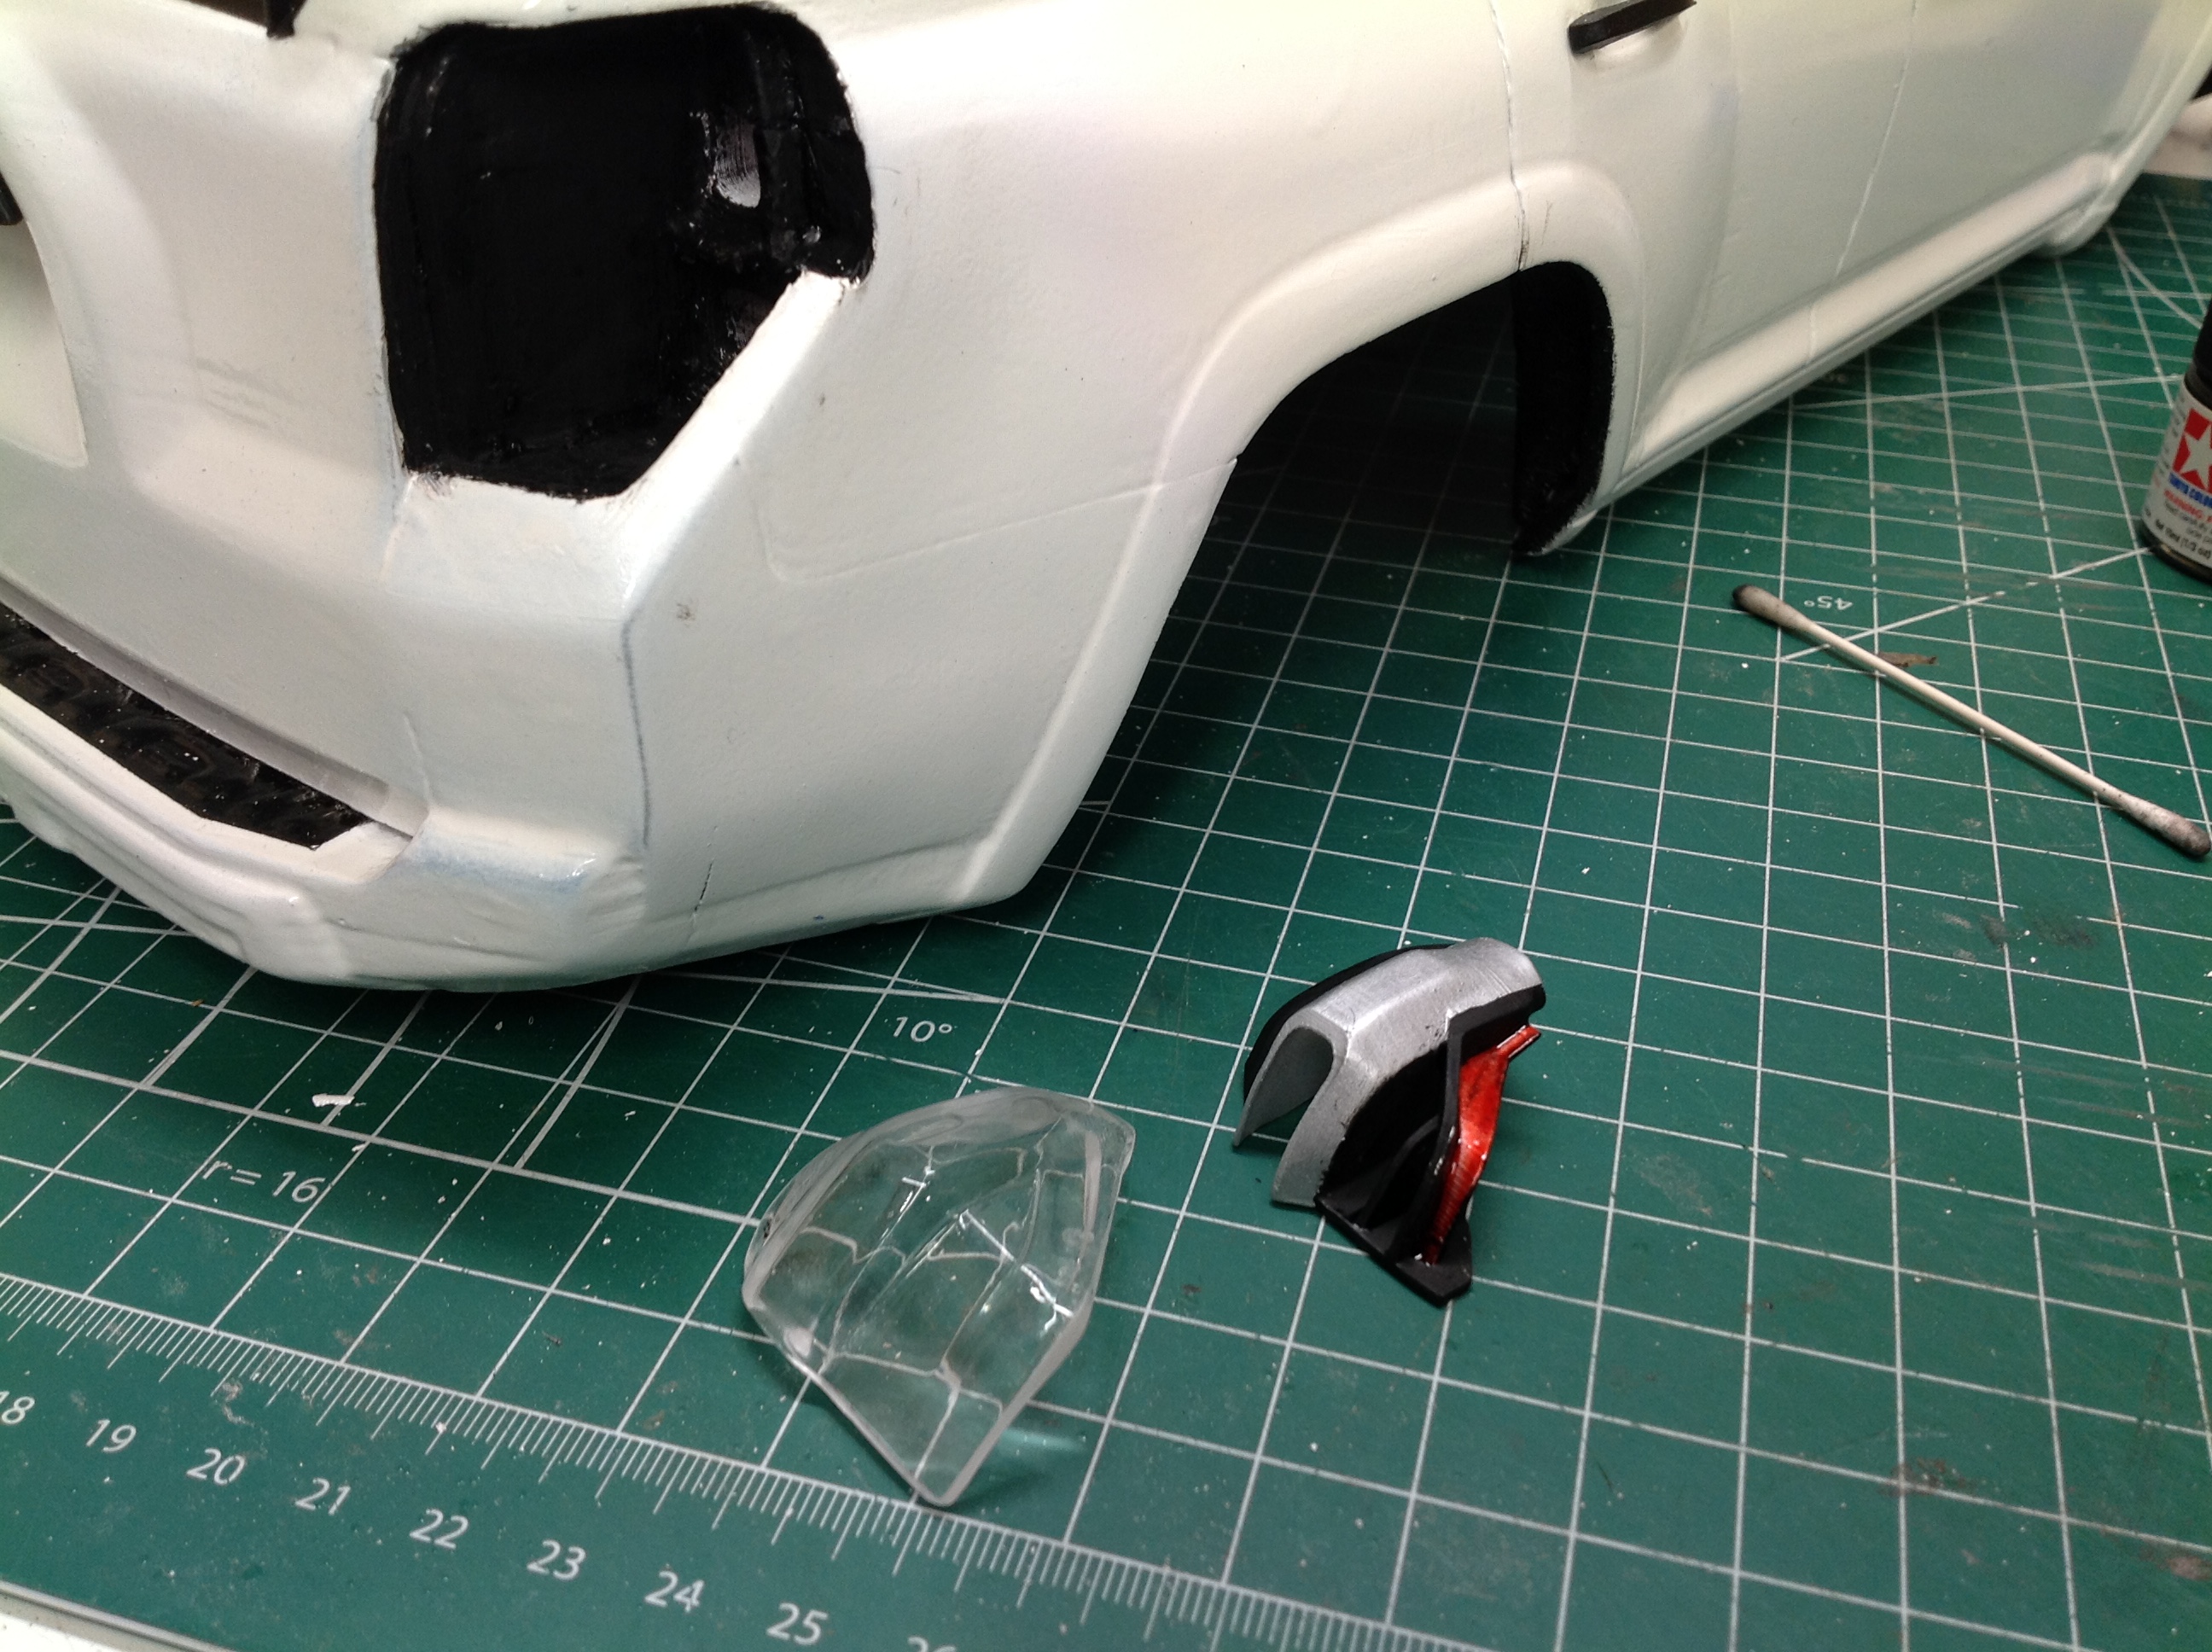
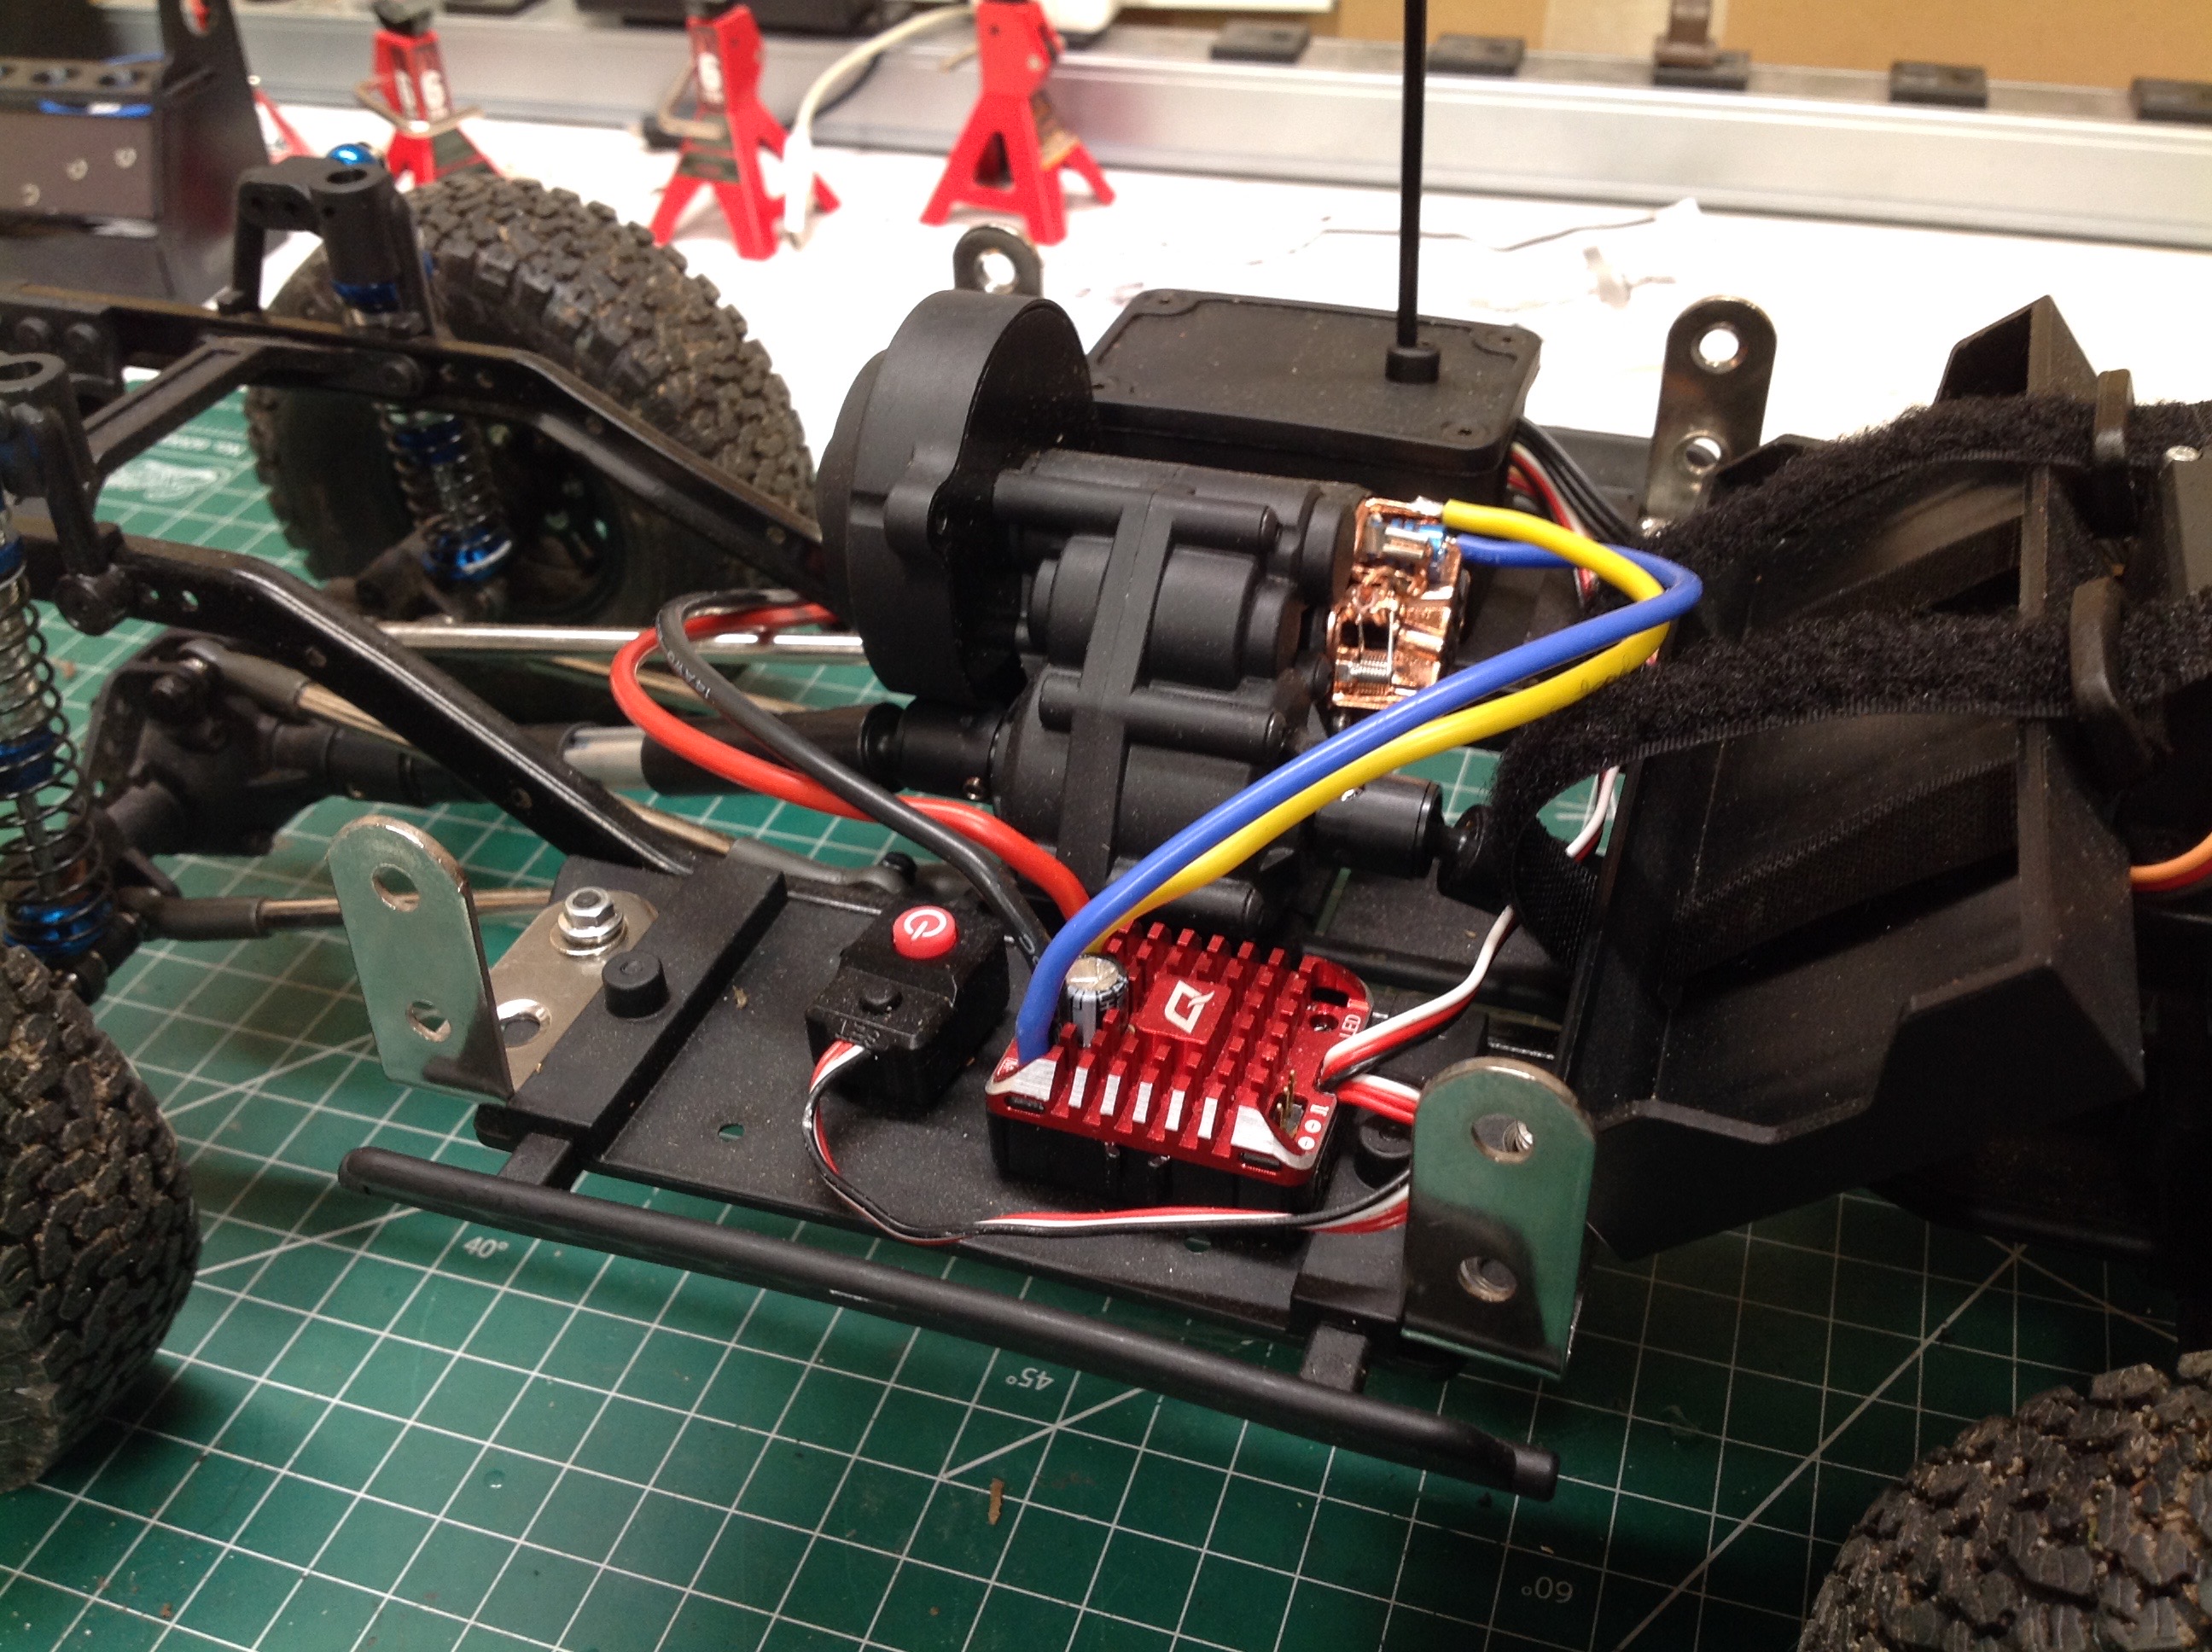
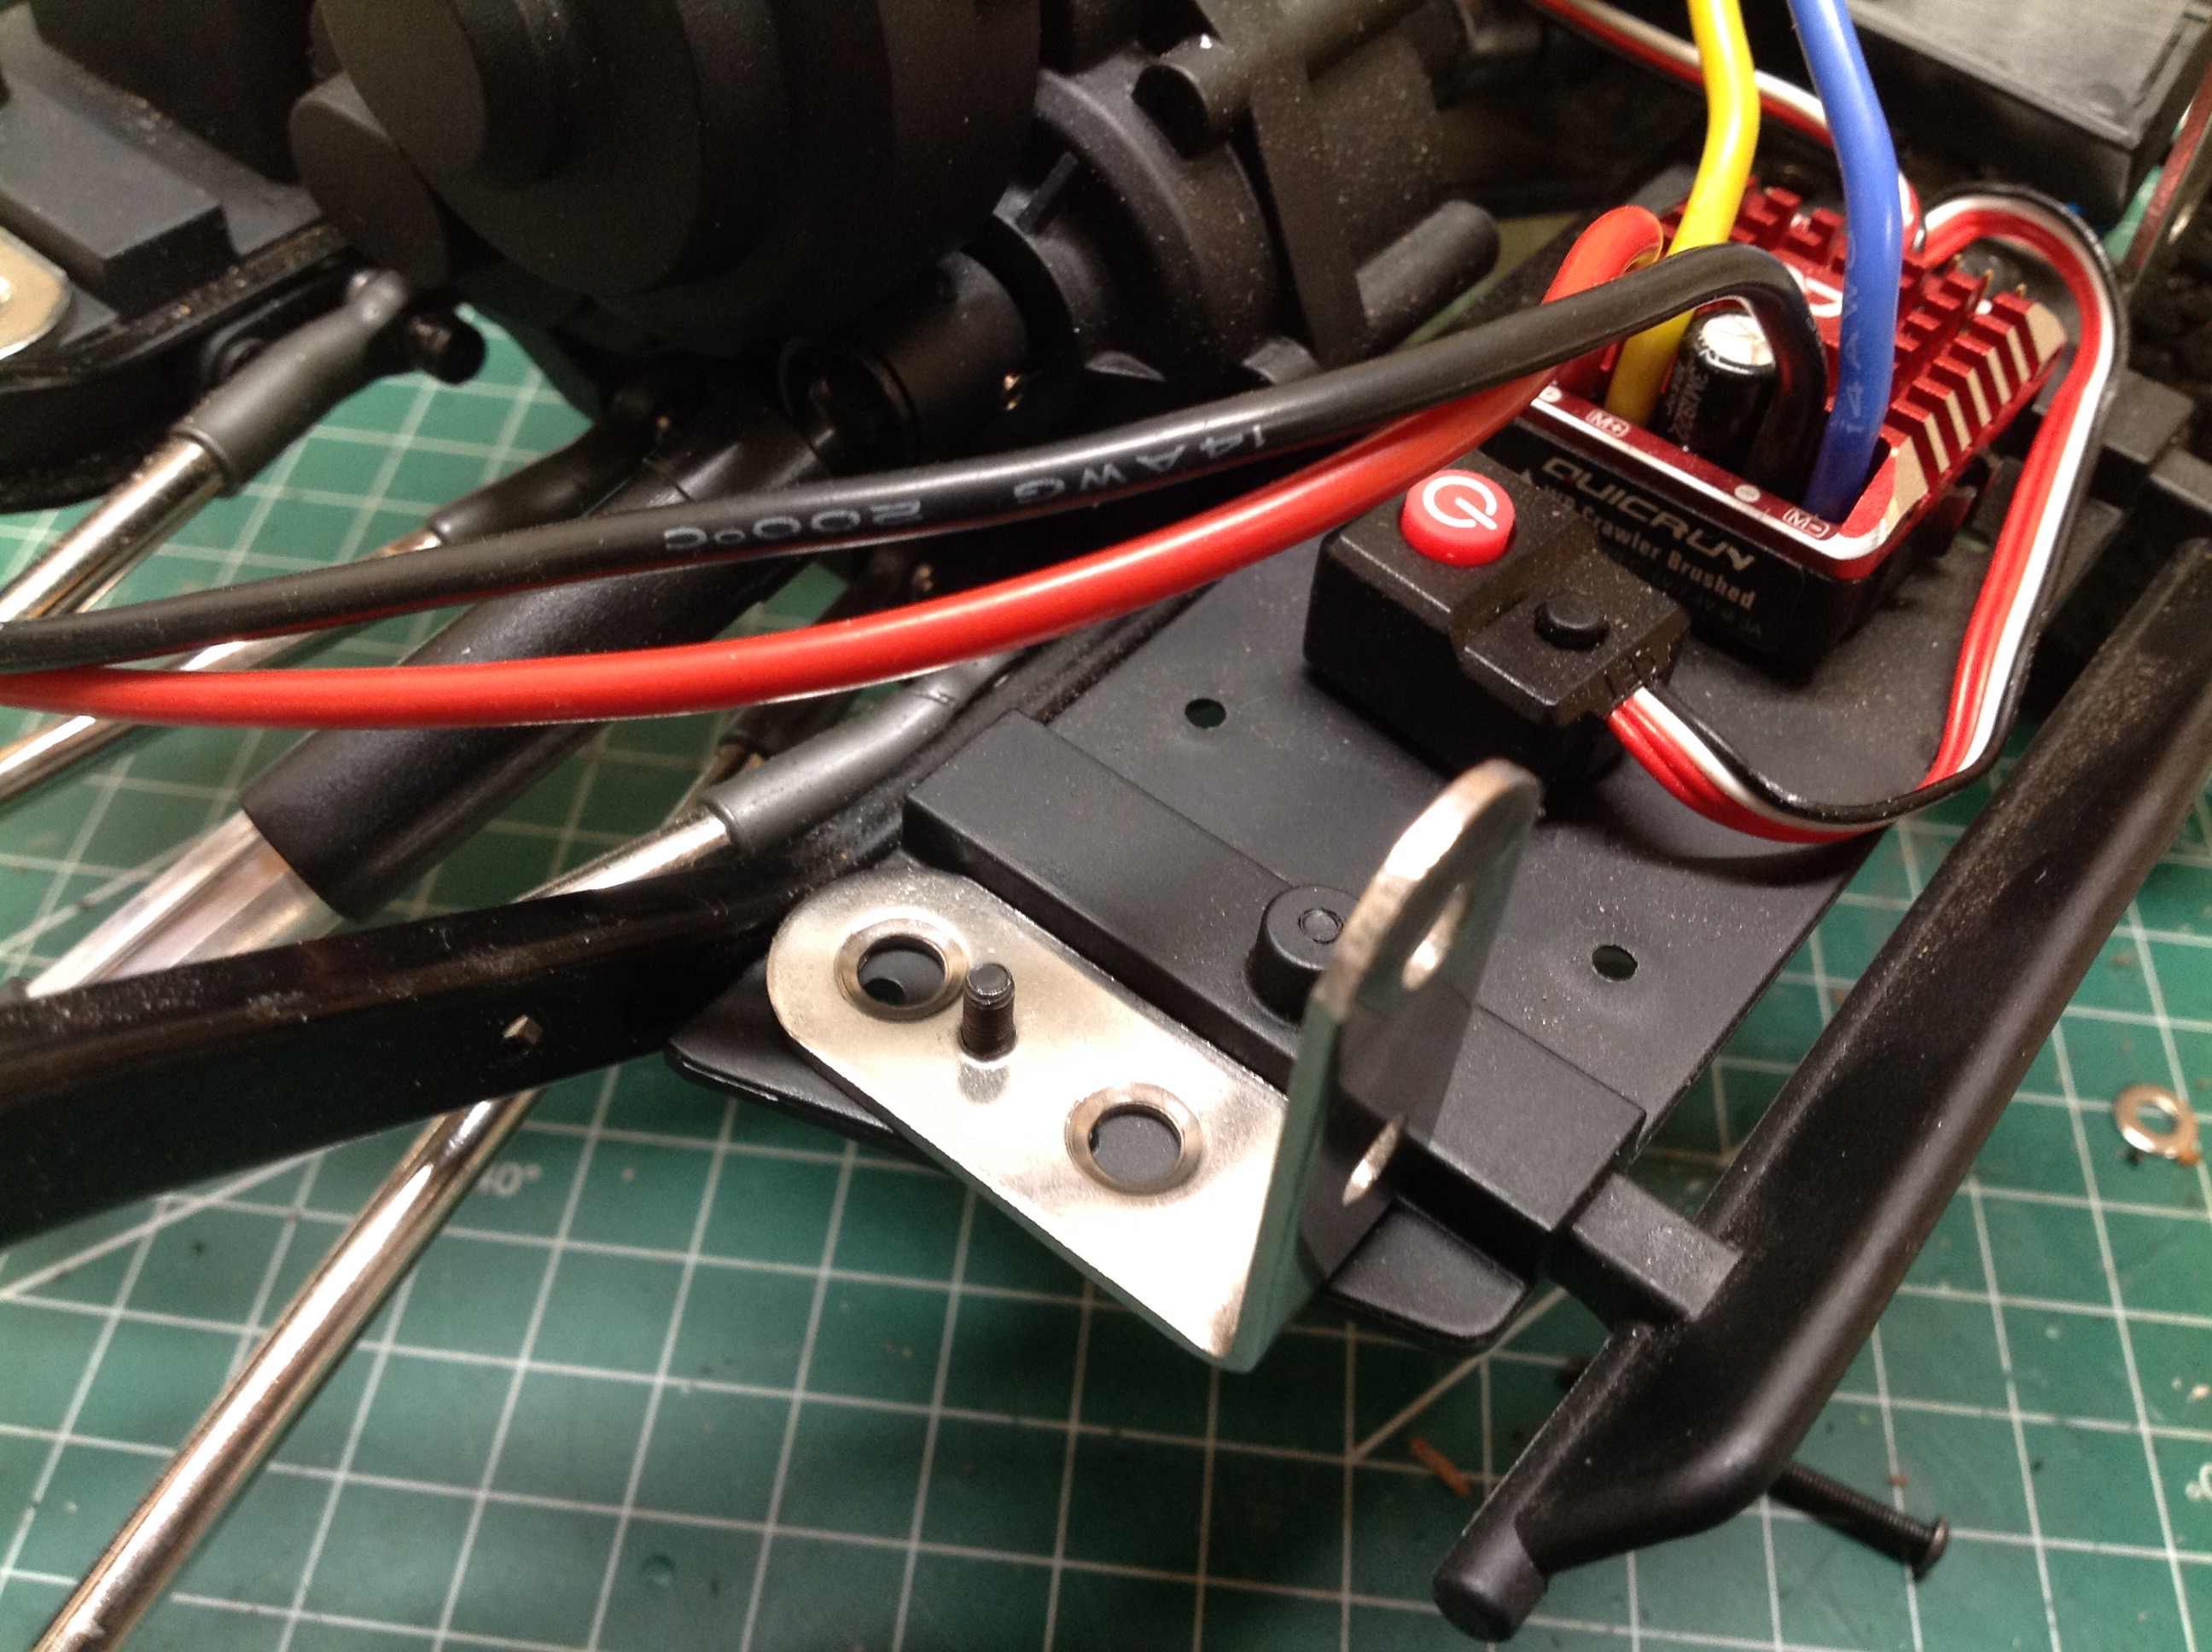
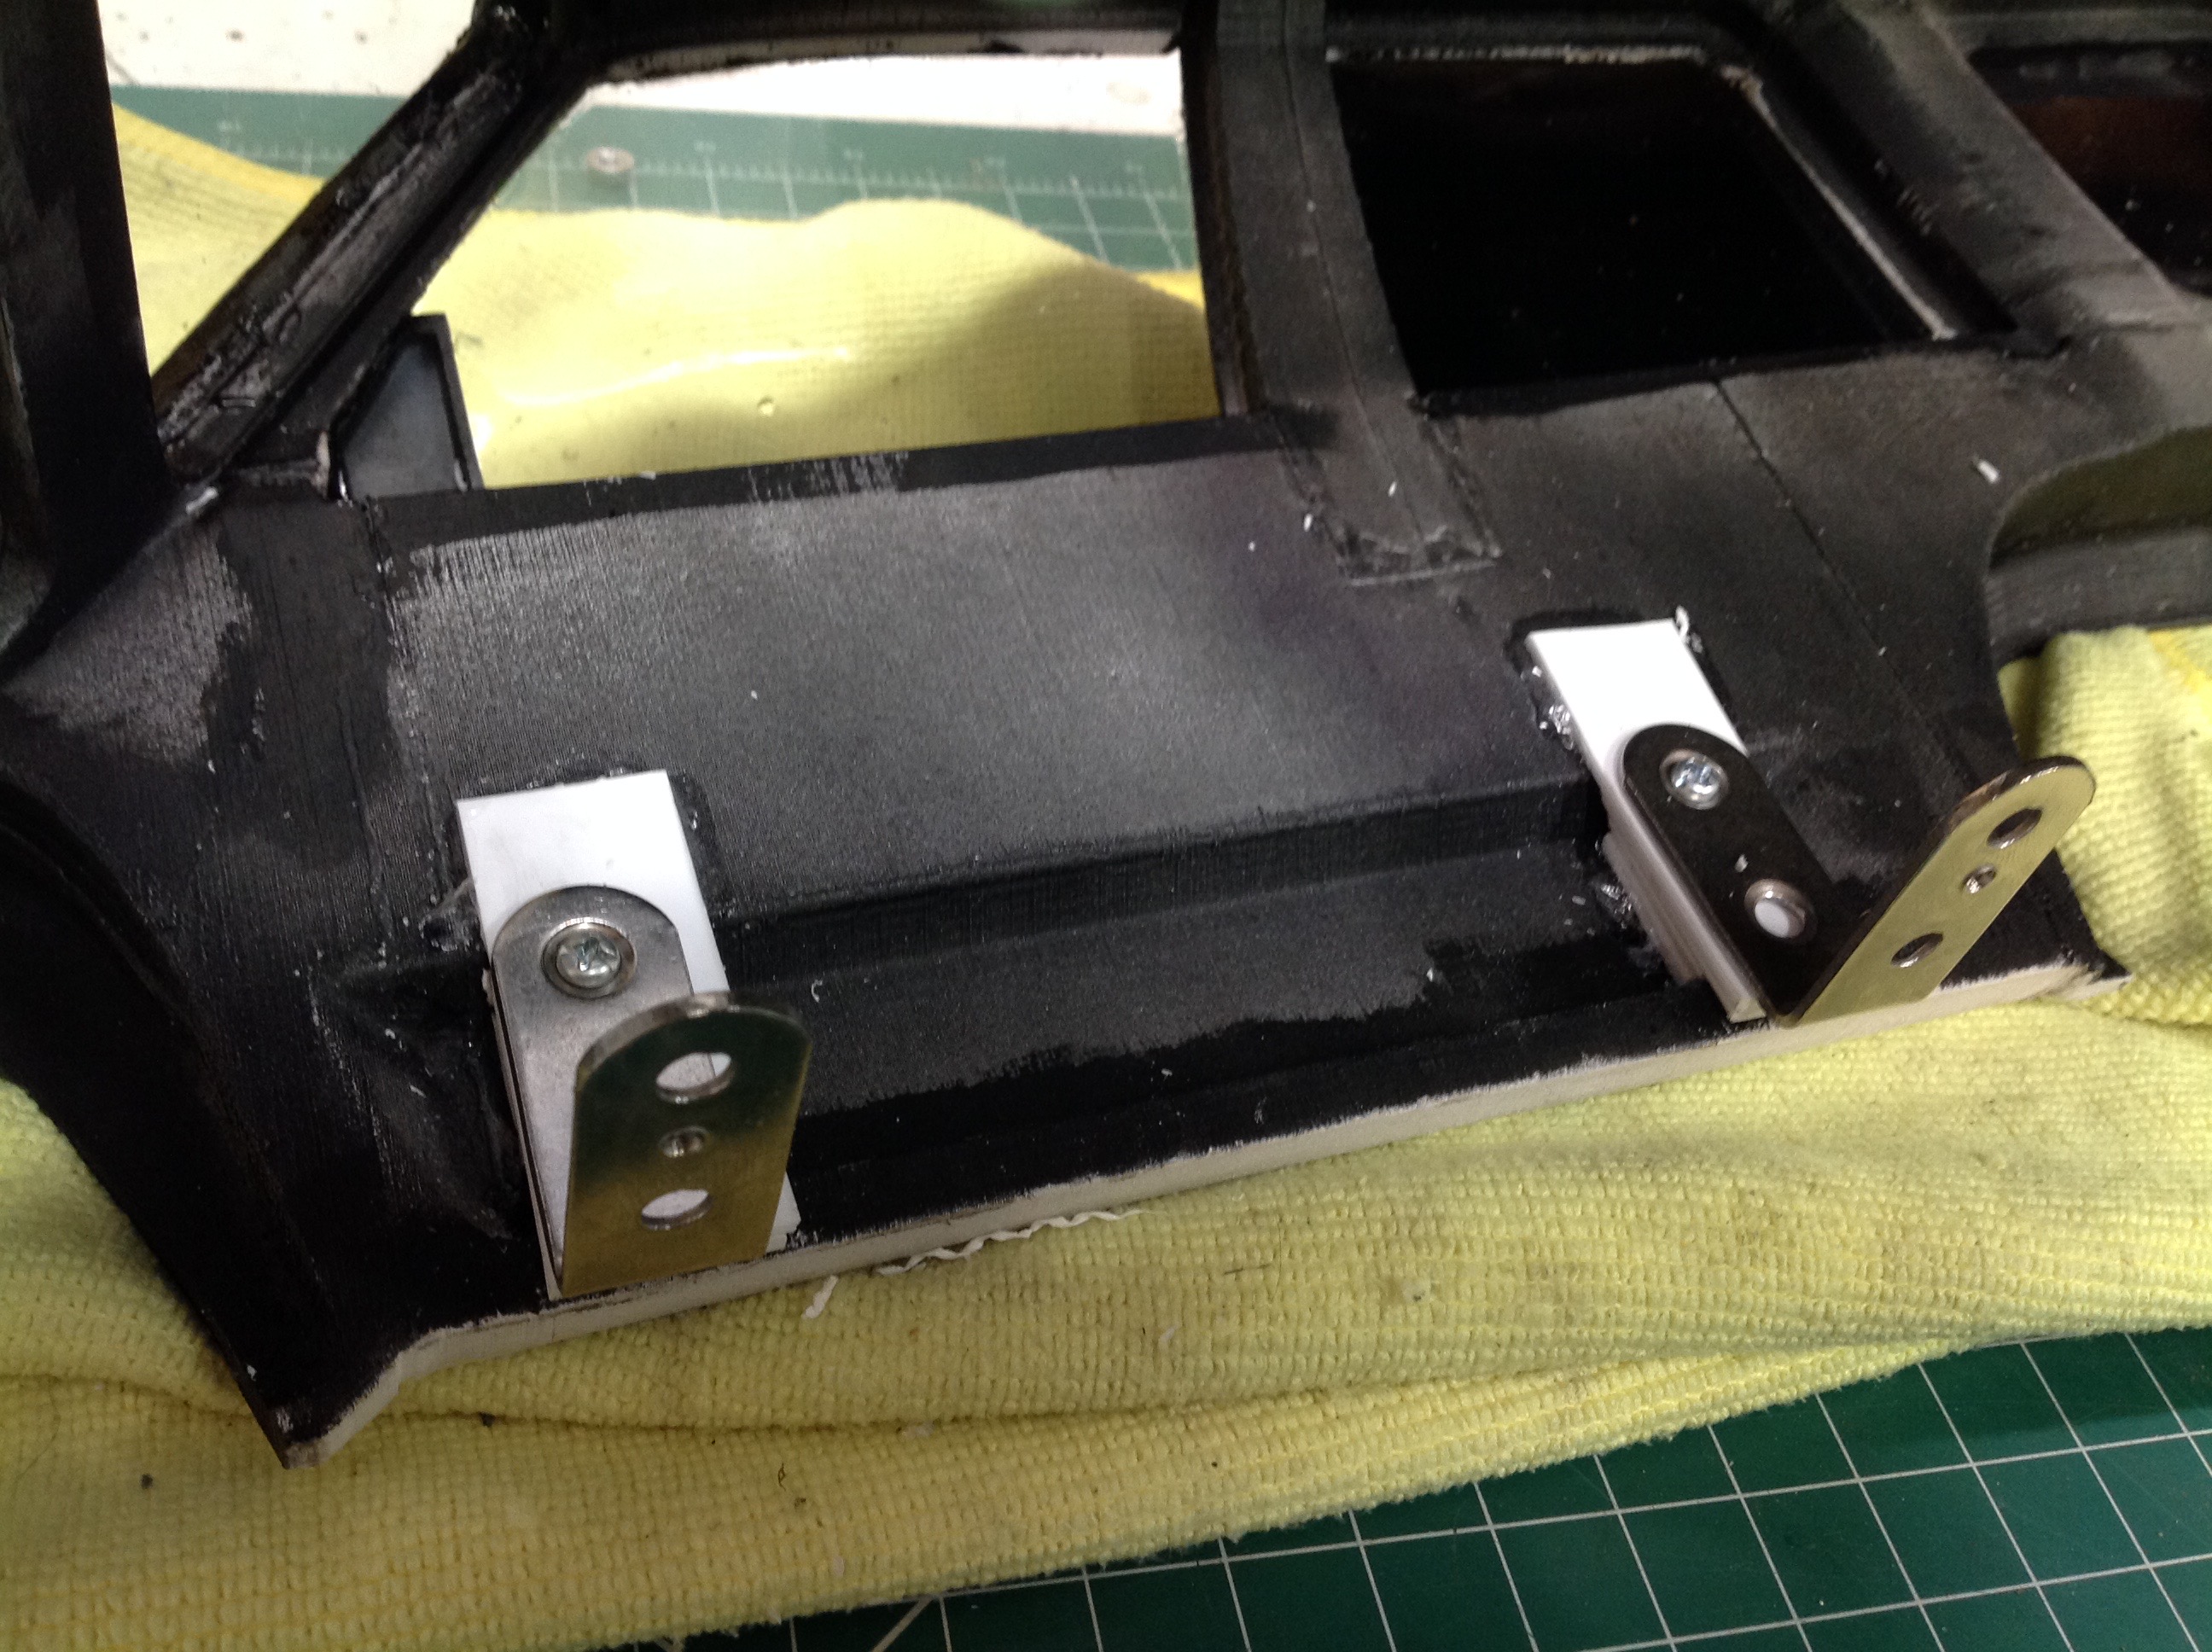
I wanted the brackets to remain with the body rather than with the chassis.  I padded up the inner side wall of the body with styrene sheet and screwed the brackets in place.  I only used one screw which allows the whole thing to swing forward and back slightly.  This way I can tweak the body position to line up with 
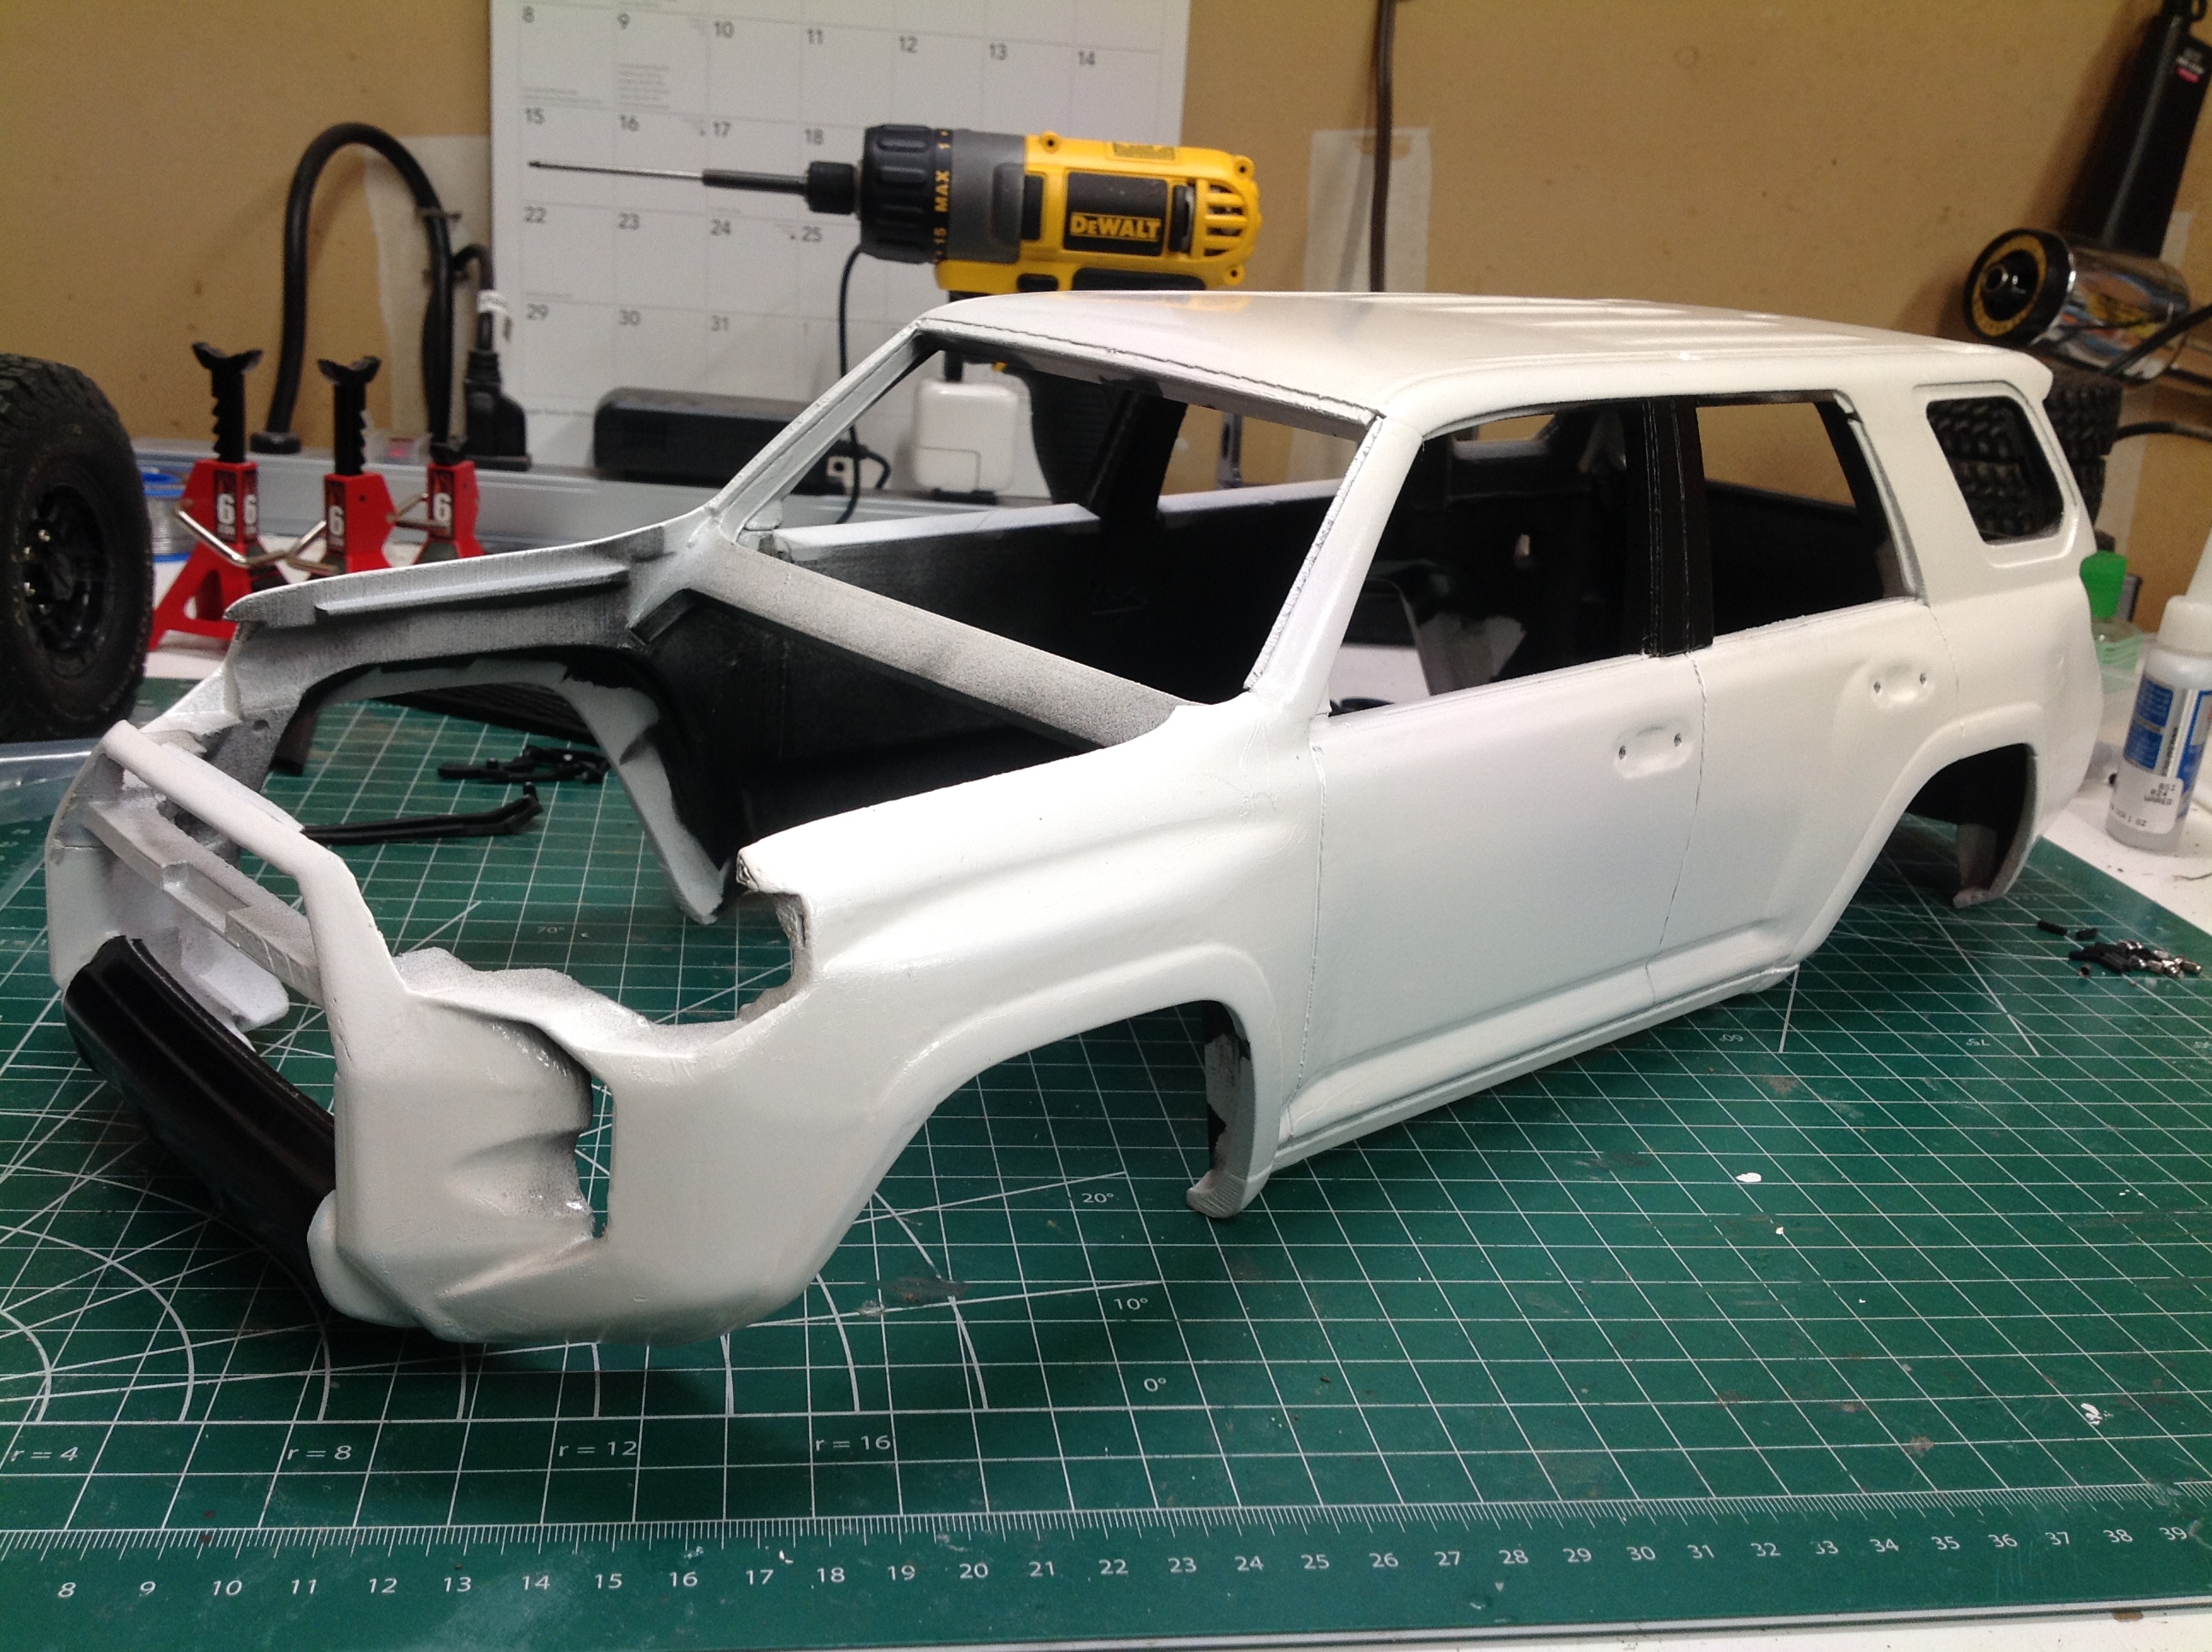
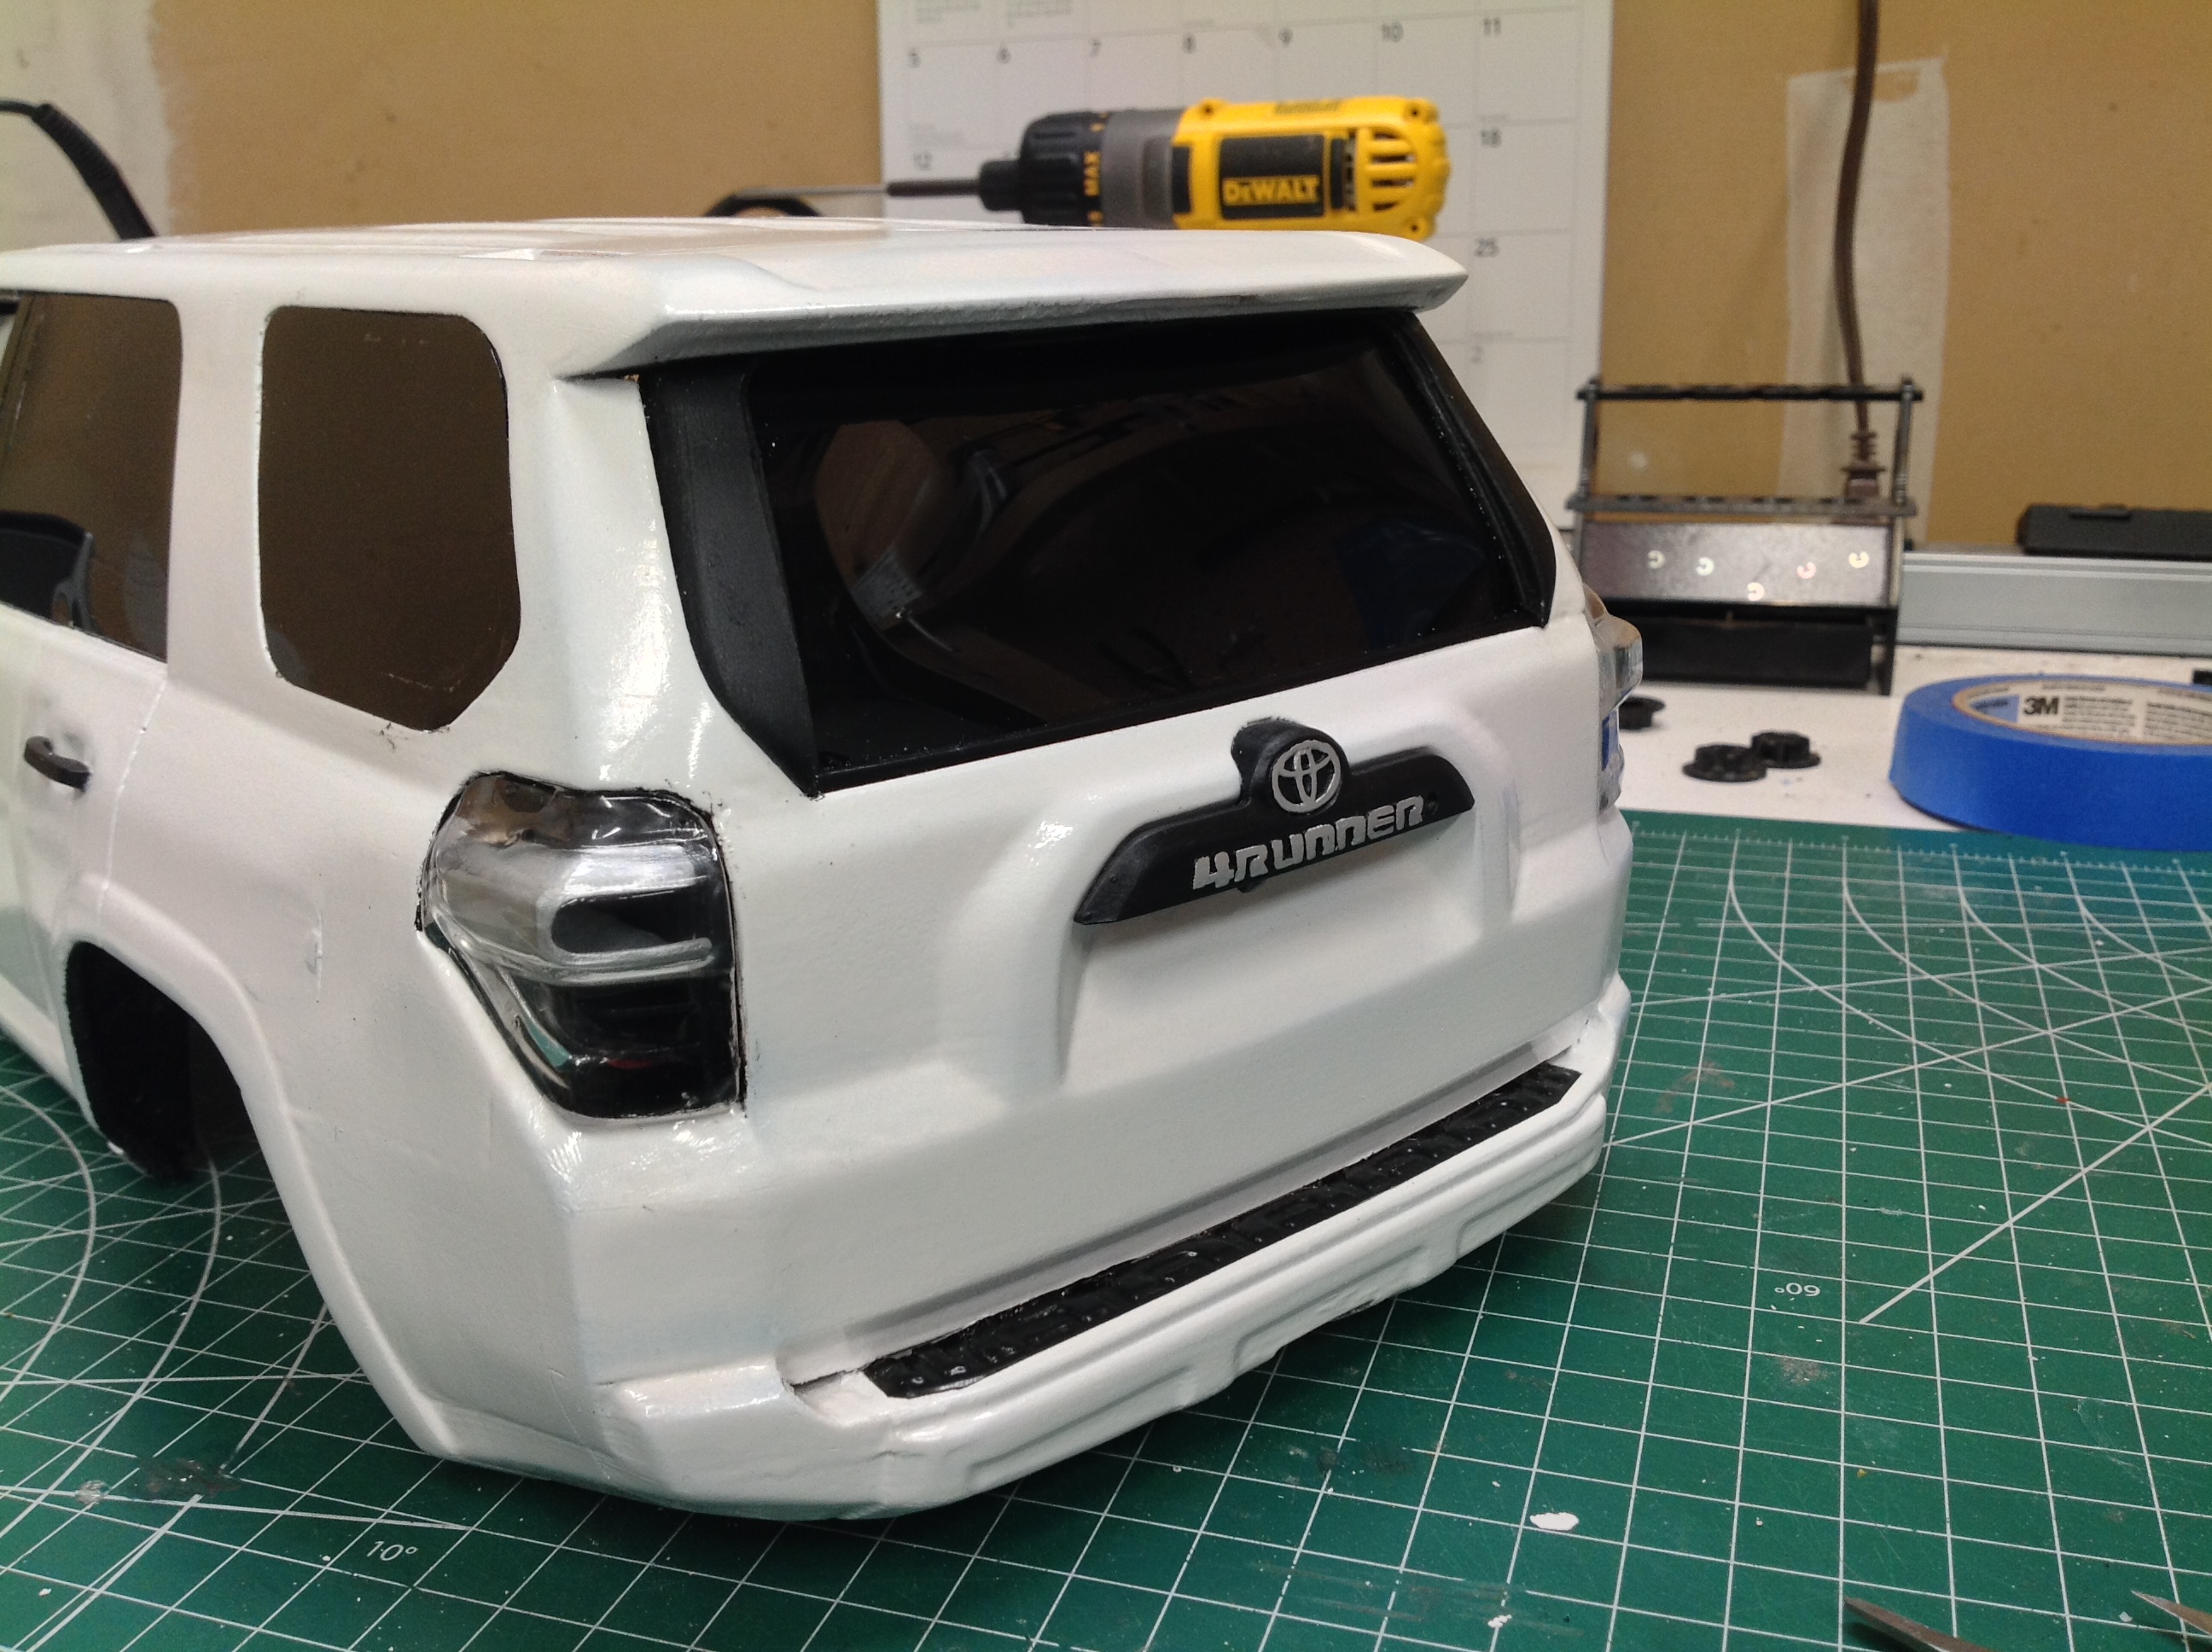
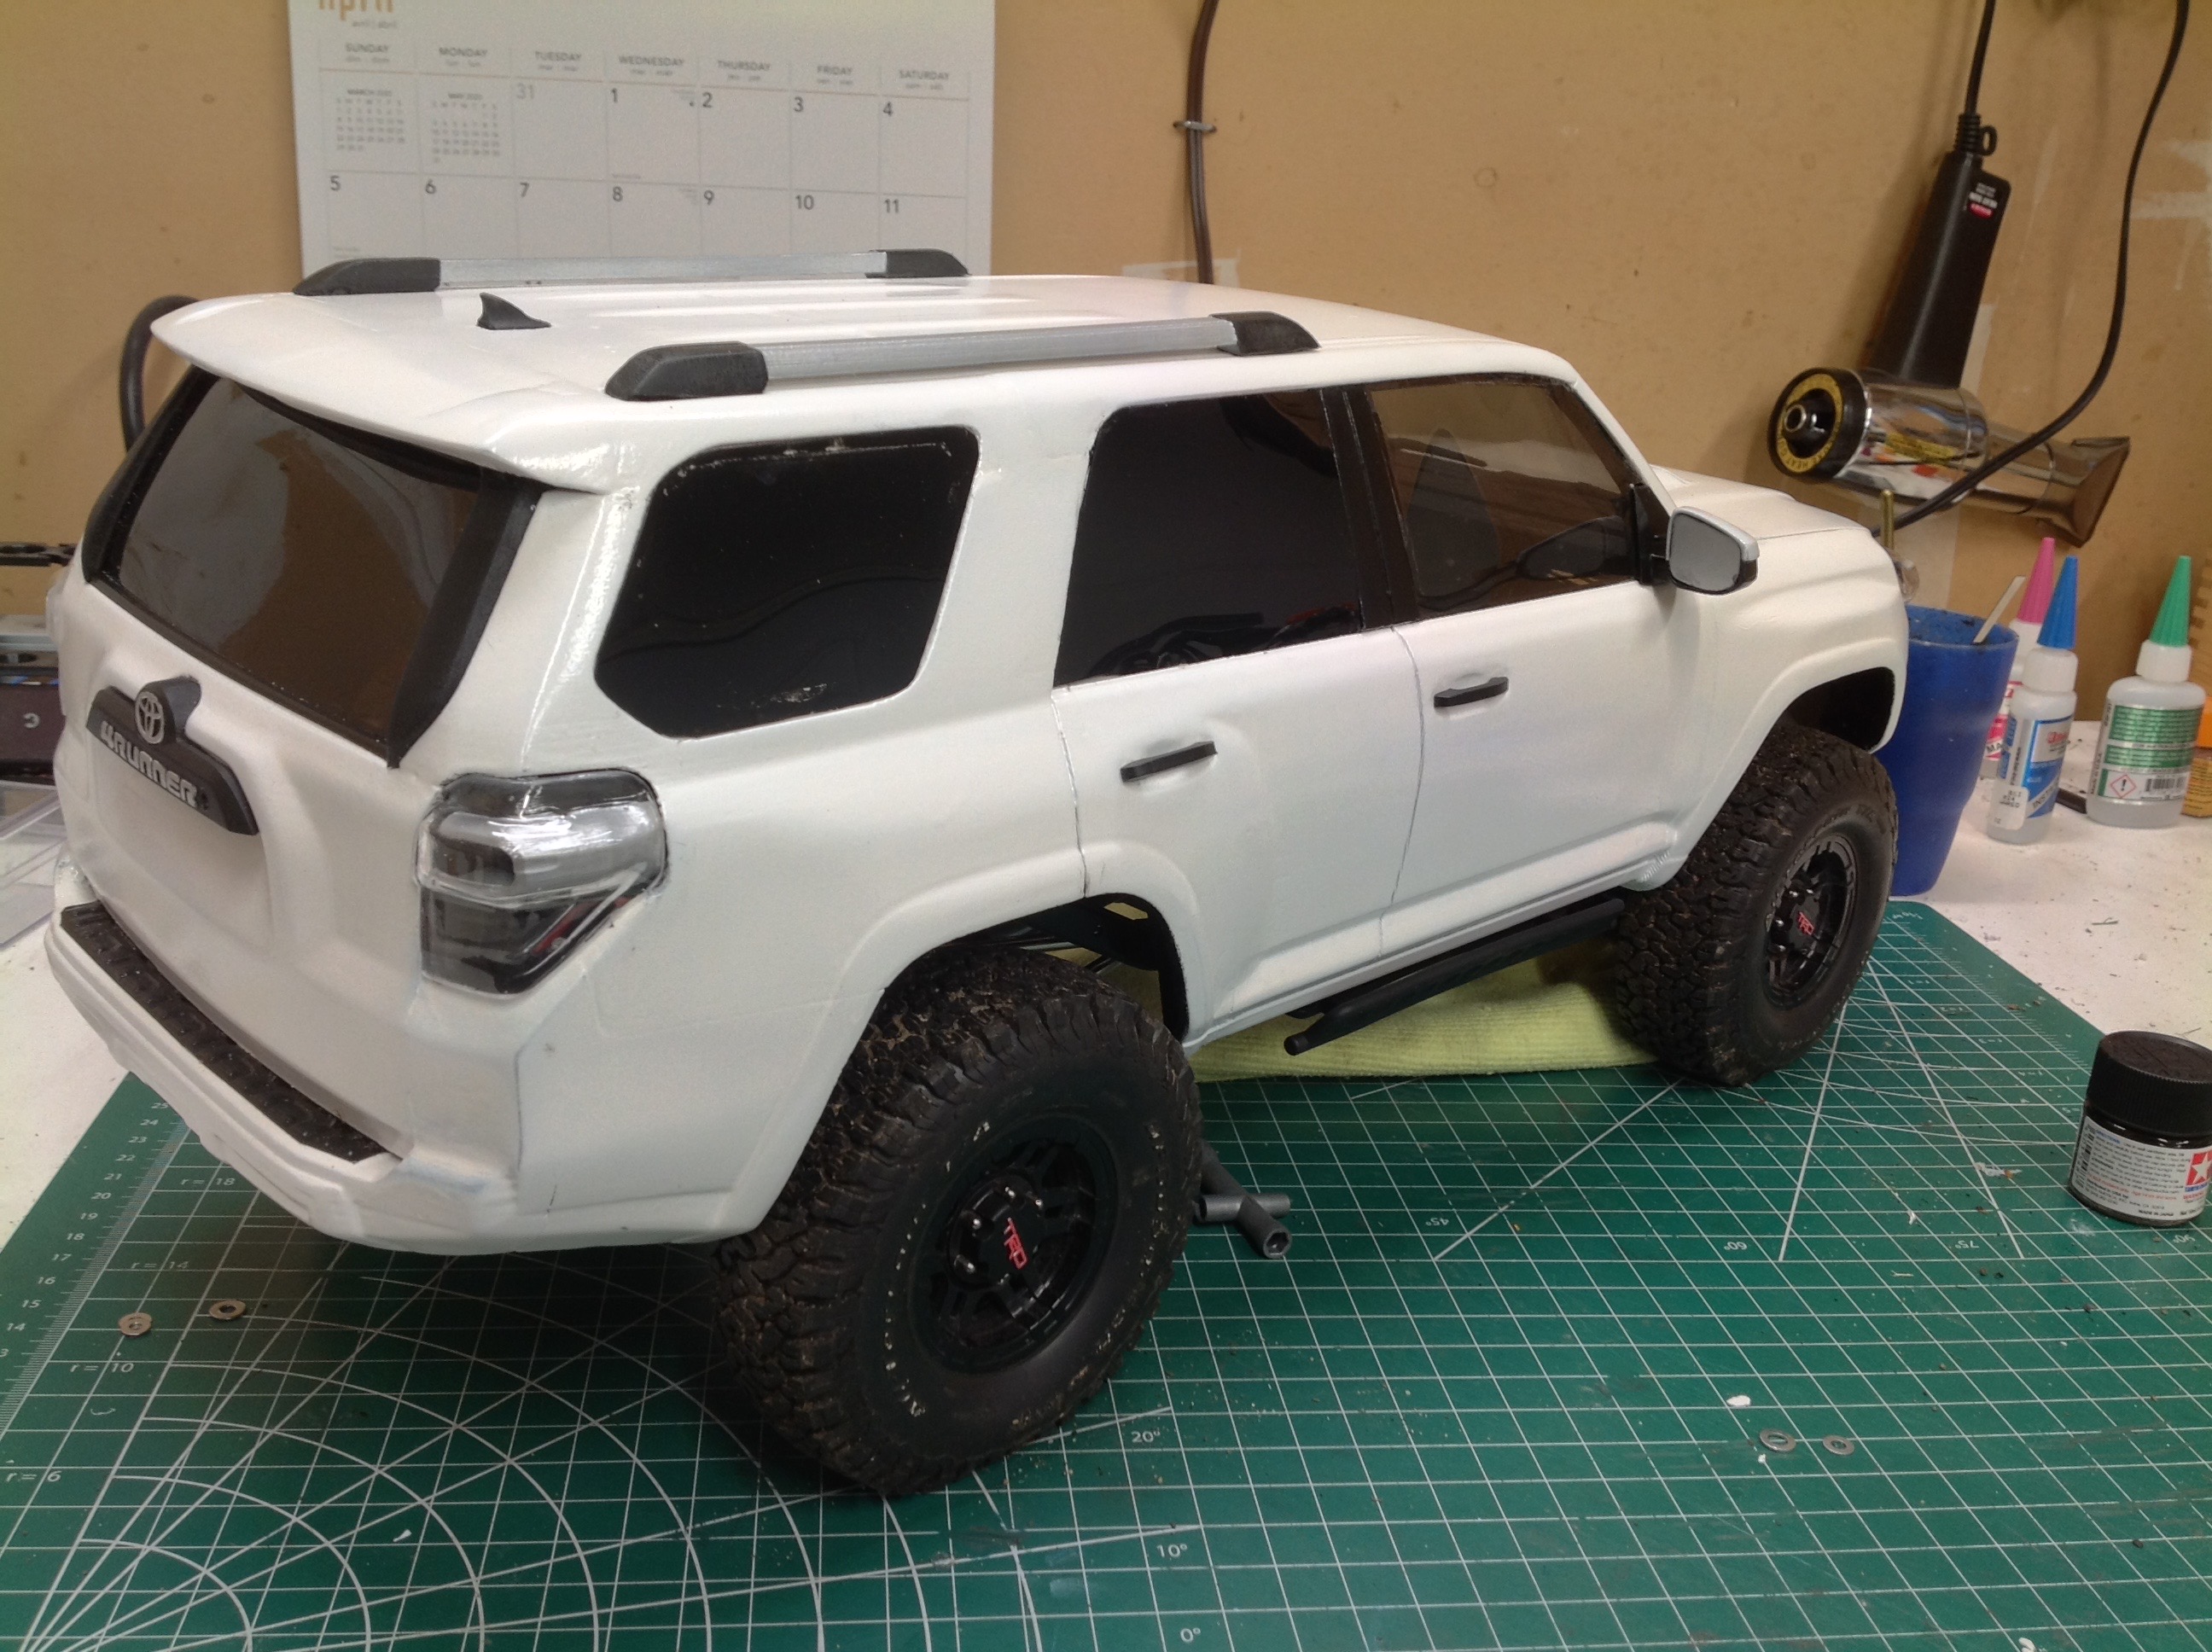
the wheels.  The right hand picture shows the completed body installation.

Back to Page 2 | Up to Index | Go to Page 4
©2020 Eric Albrecht