Tamiya FF-03 Project
Page 5: FF11
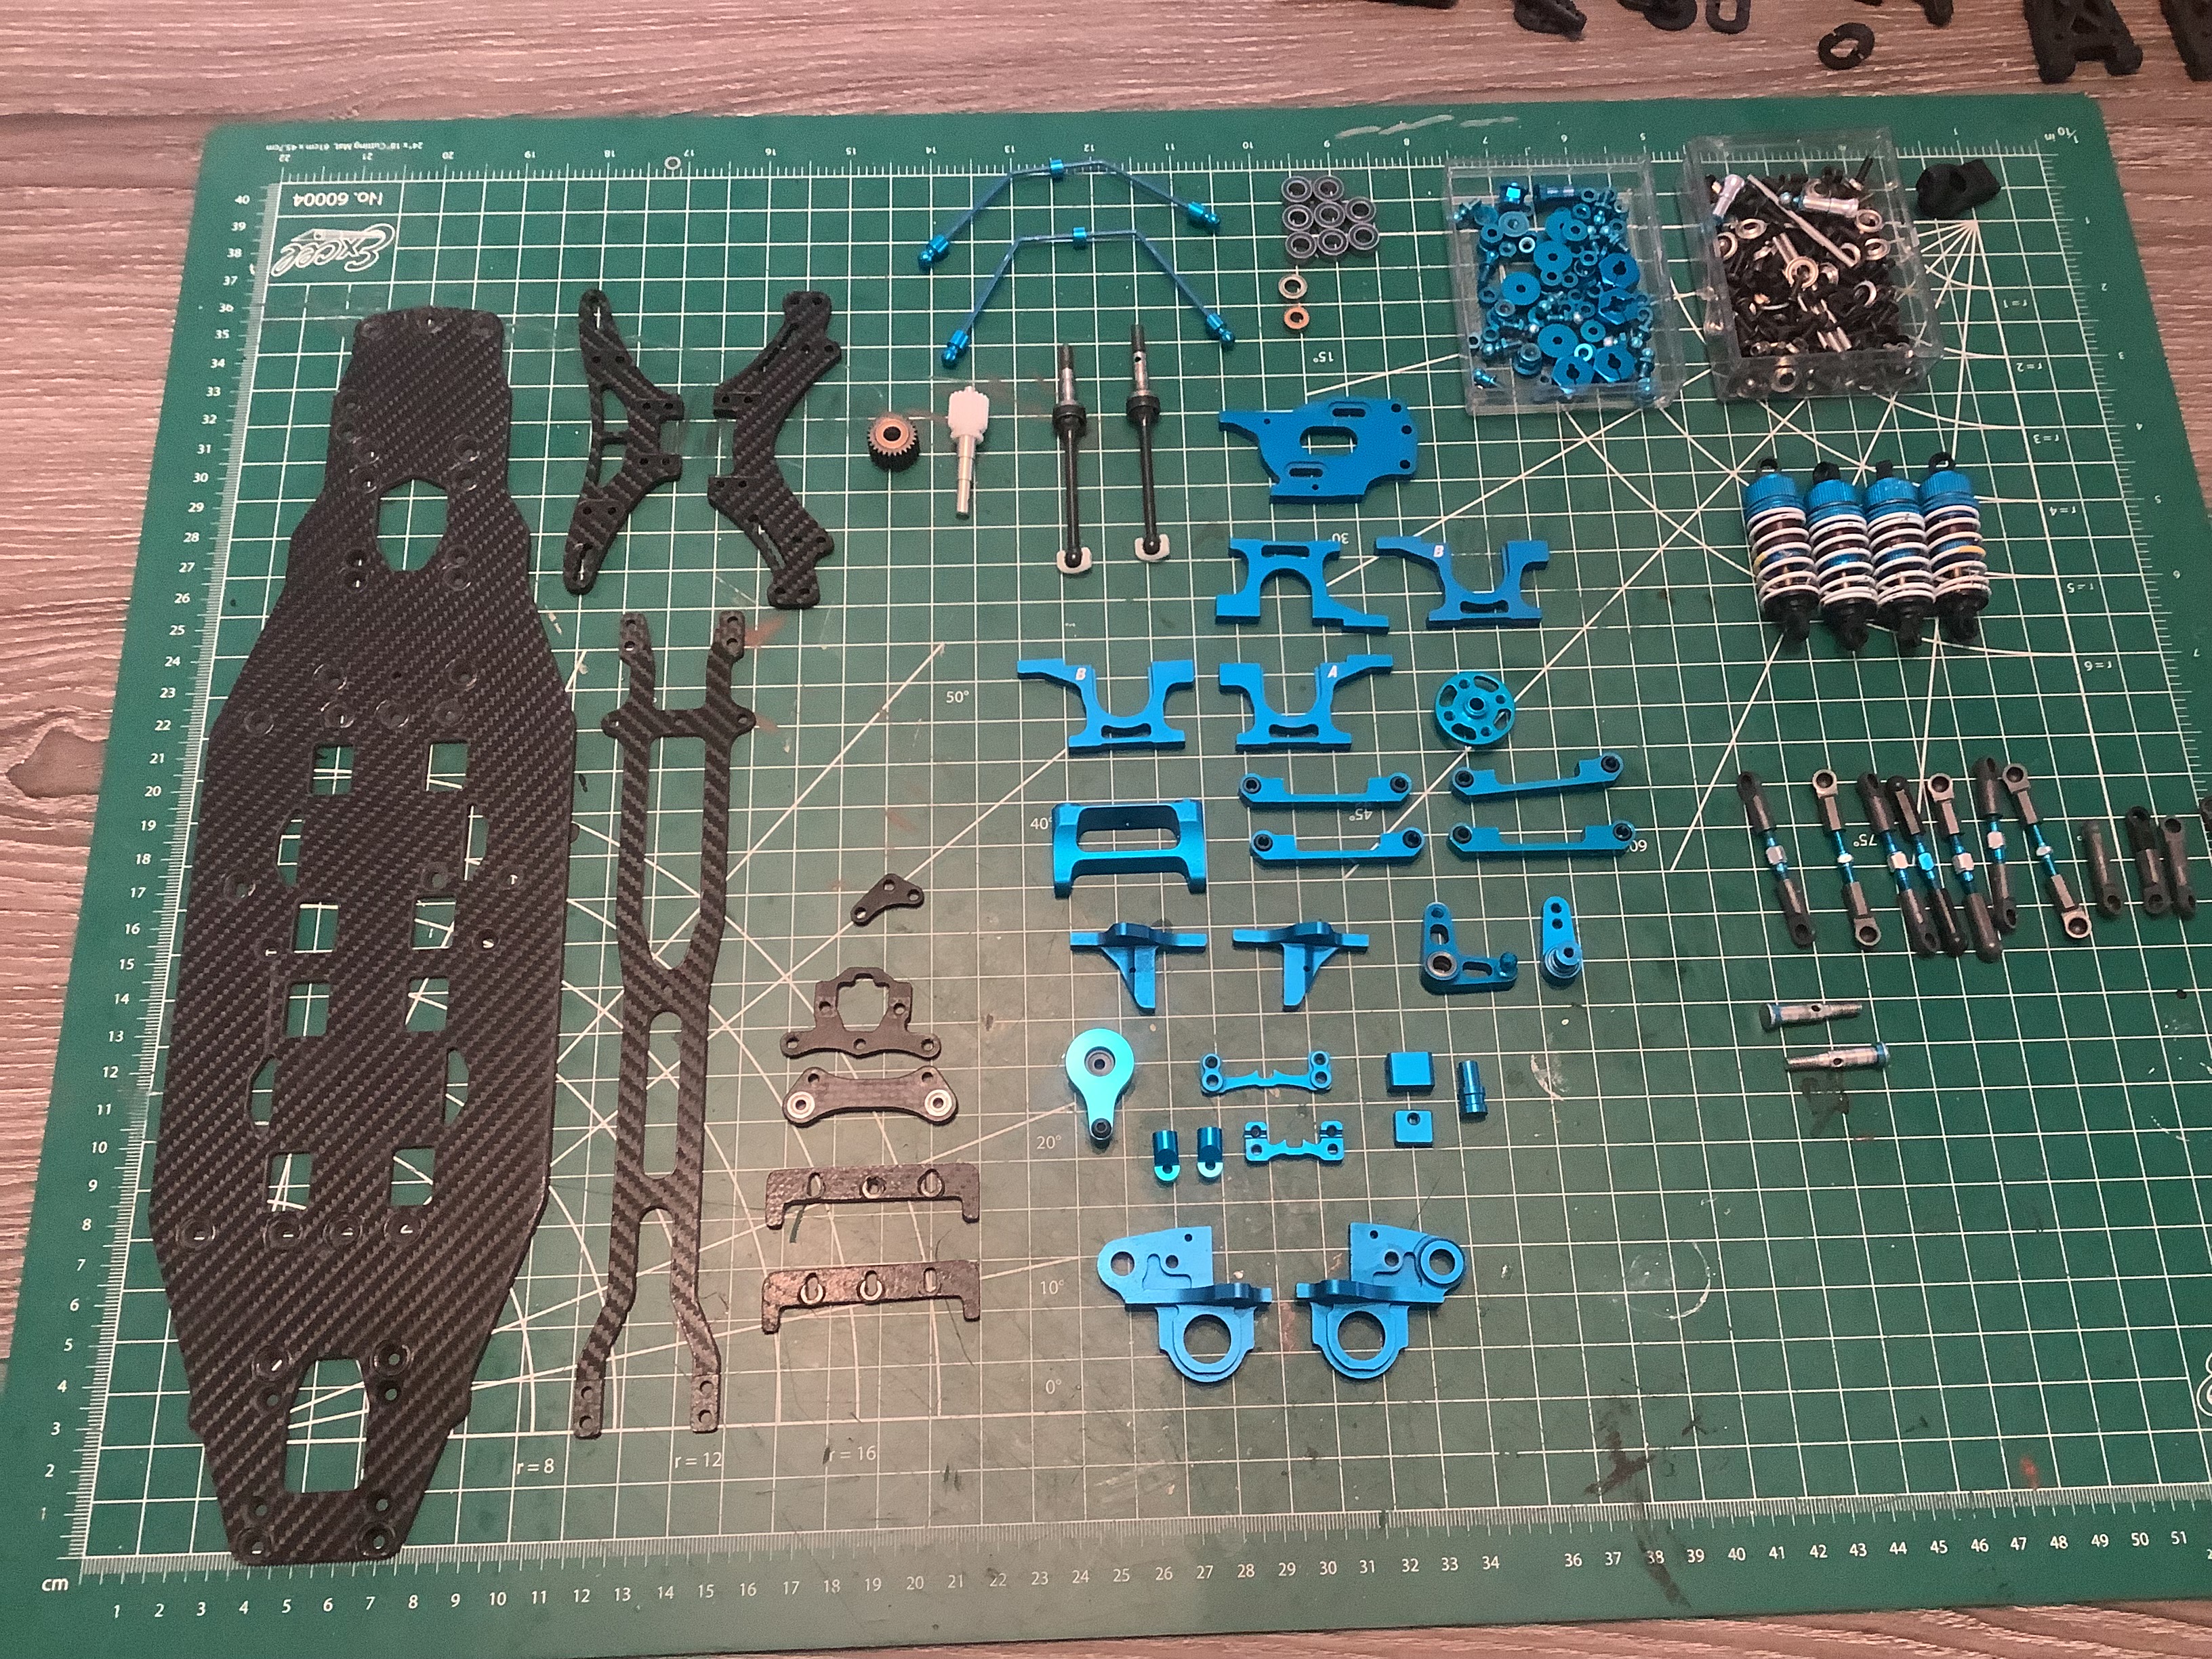
The Huge RC FF11 comes with a LOT of custom parts including all the
carbon and aluminum bits you see here. The only parts reused from
the stock kit are the suspension, shocks, and portions of the
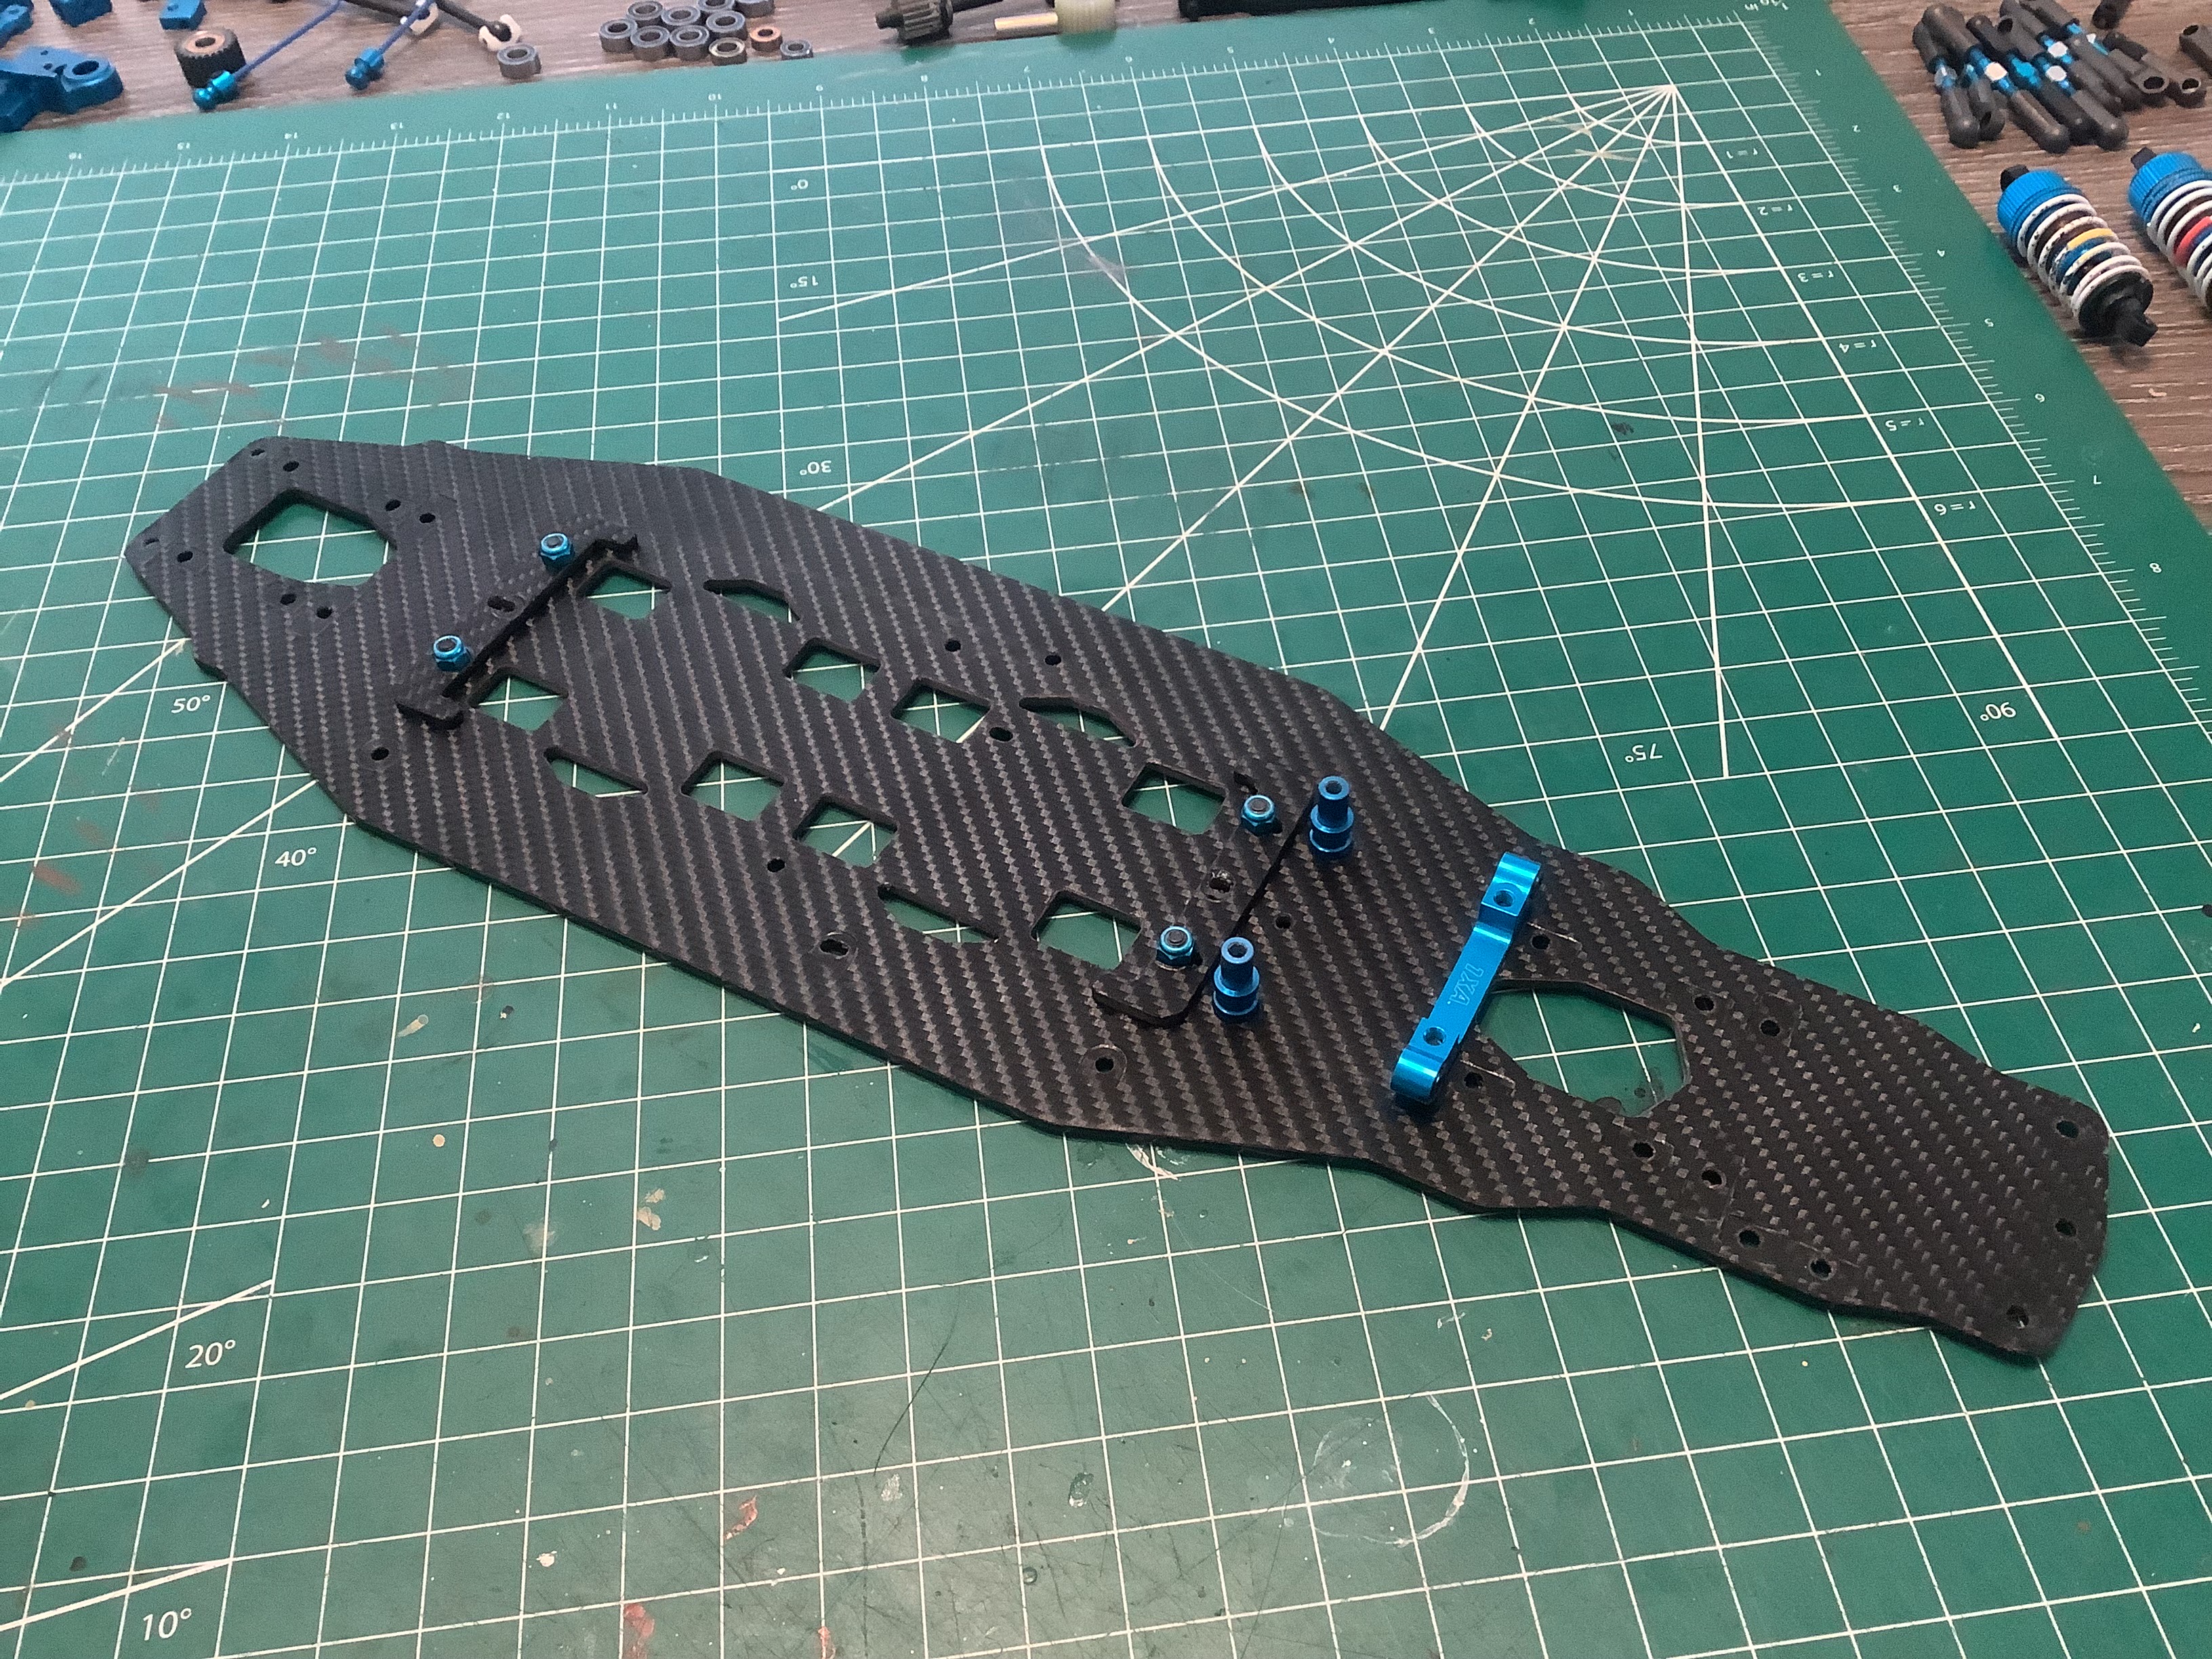
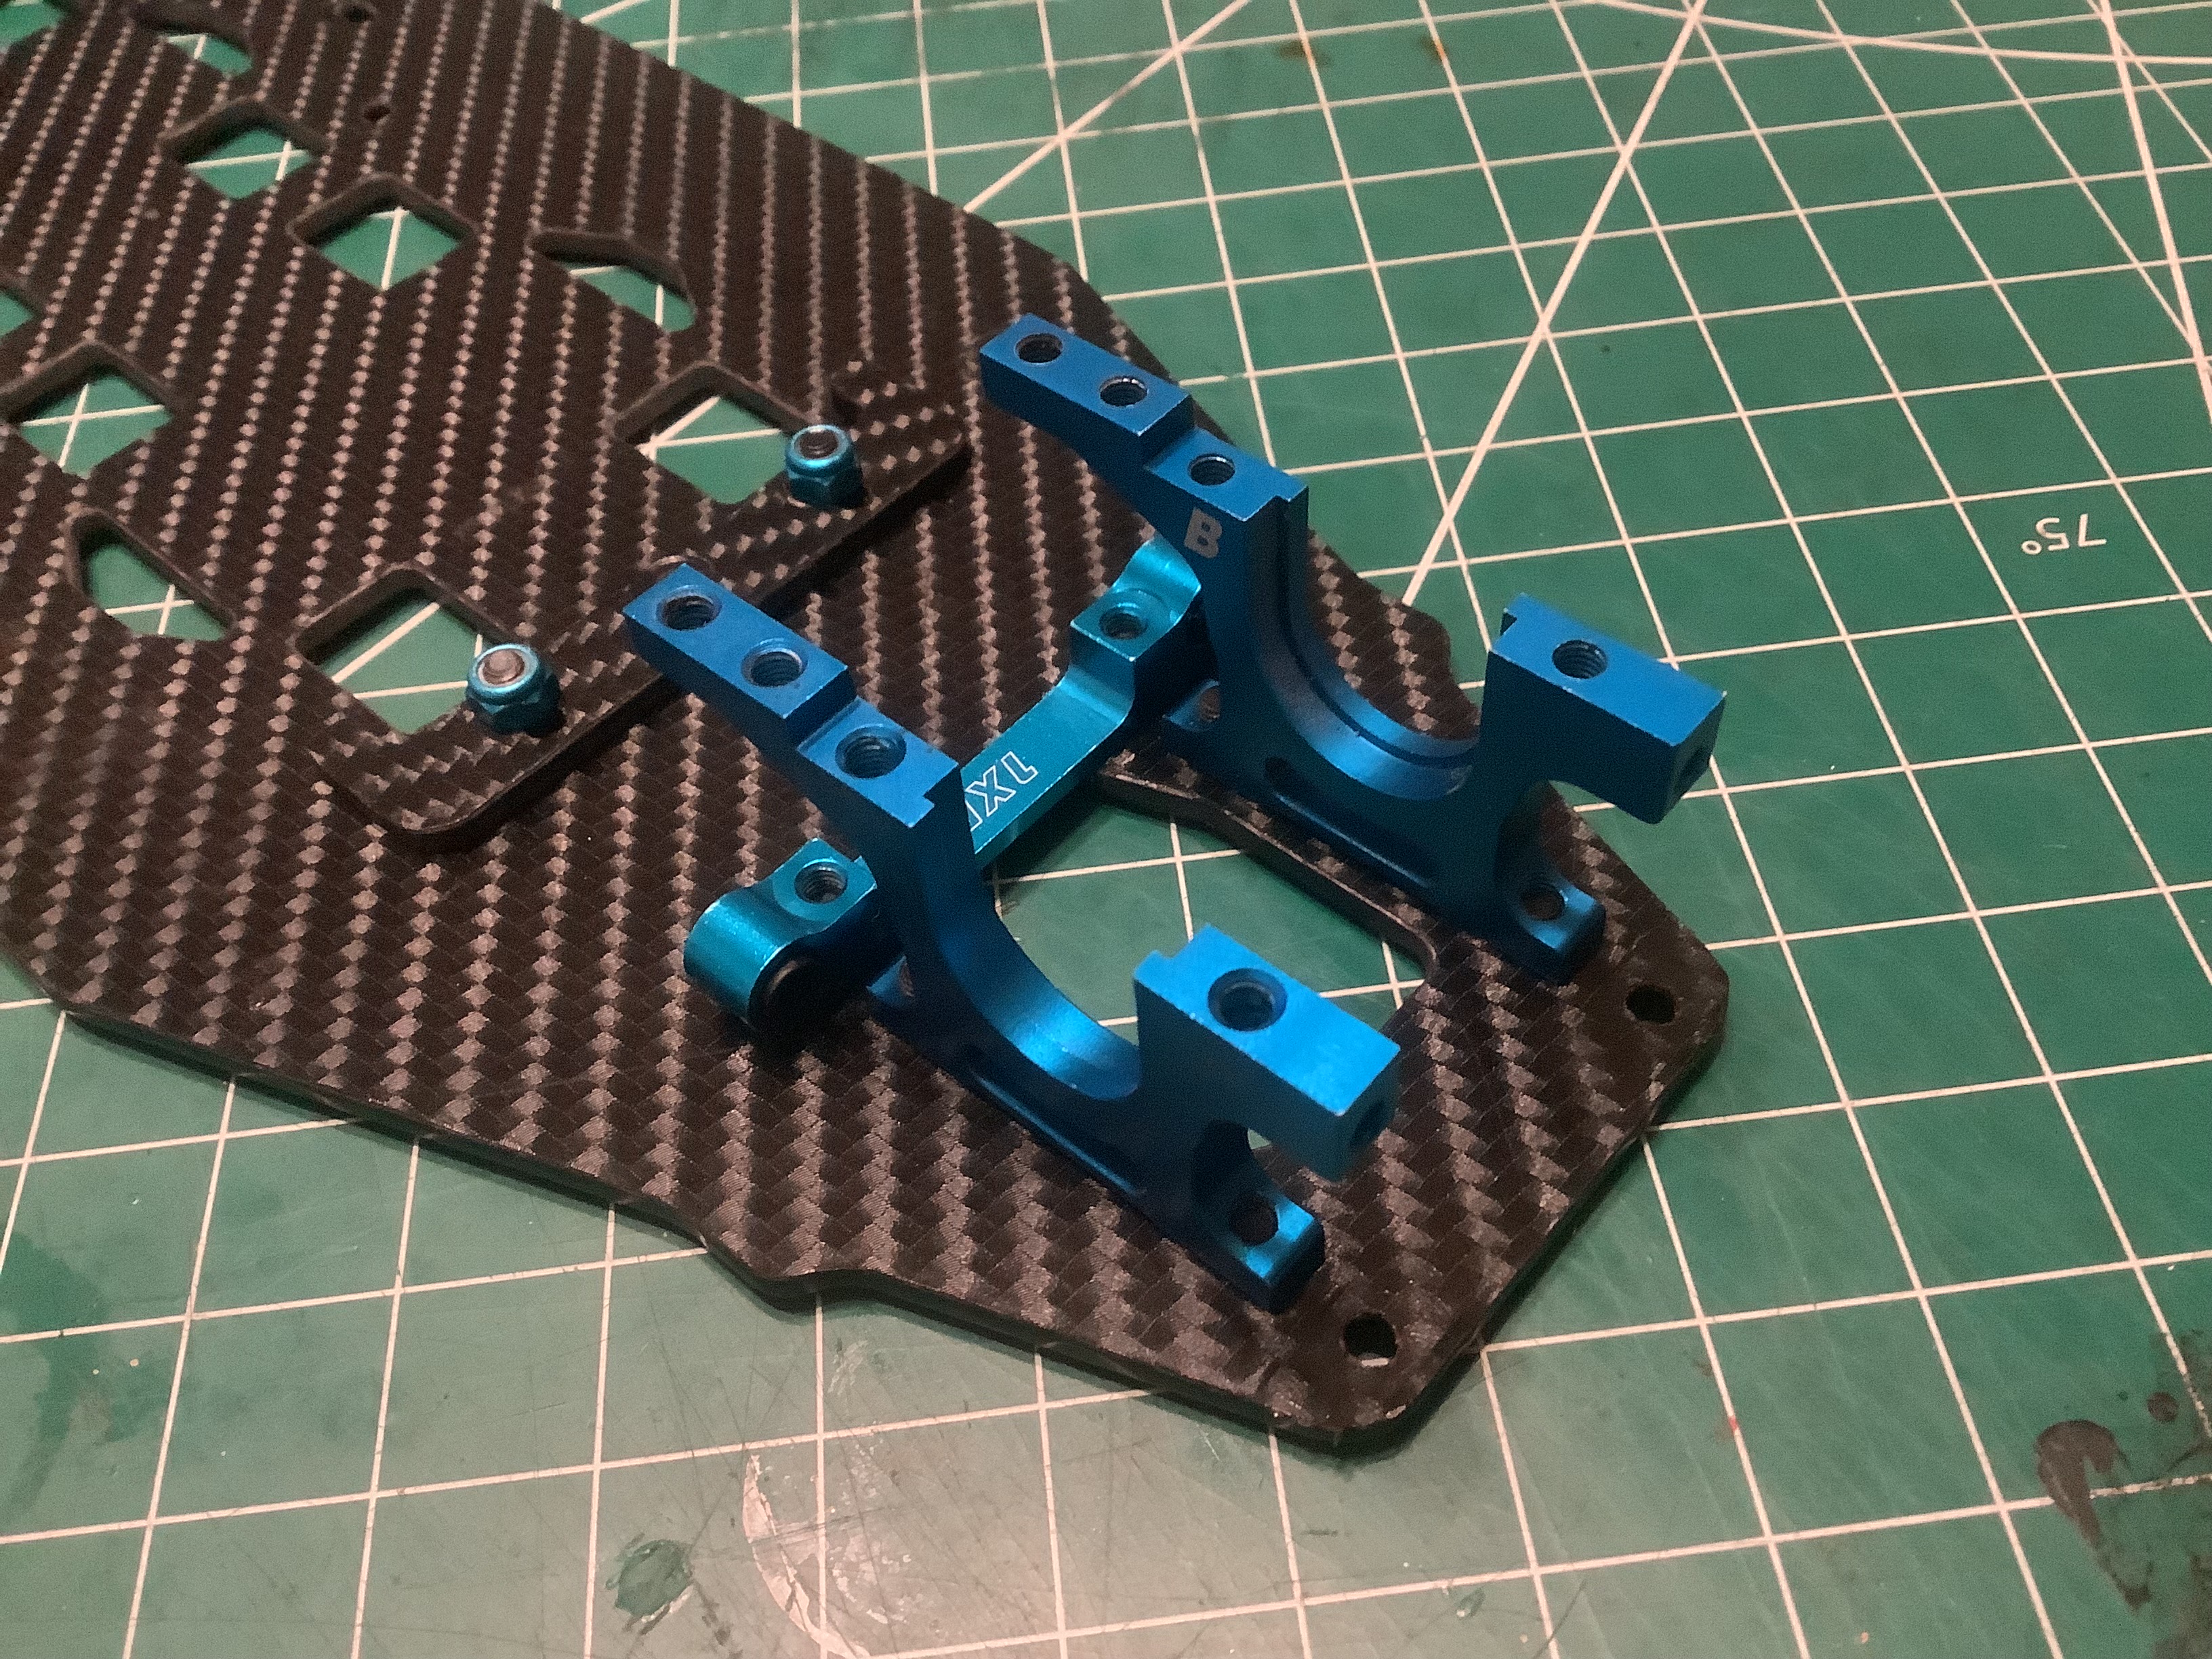
gearing. The build starts with the chassis plate to which a pair
of carbon brackets are installed to centrally locate the battery.
Then the steering posts and cront suspension mount are added. The
suspension mount is a Tamiya part.
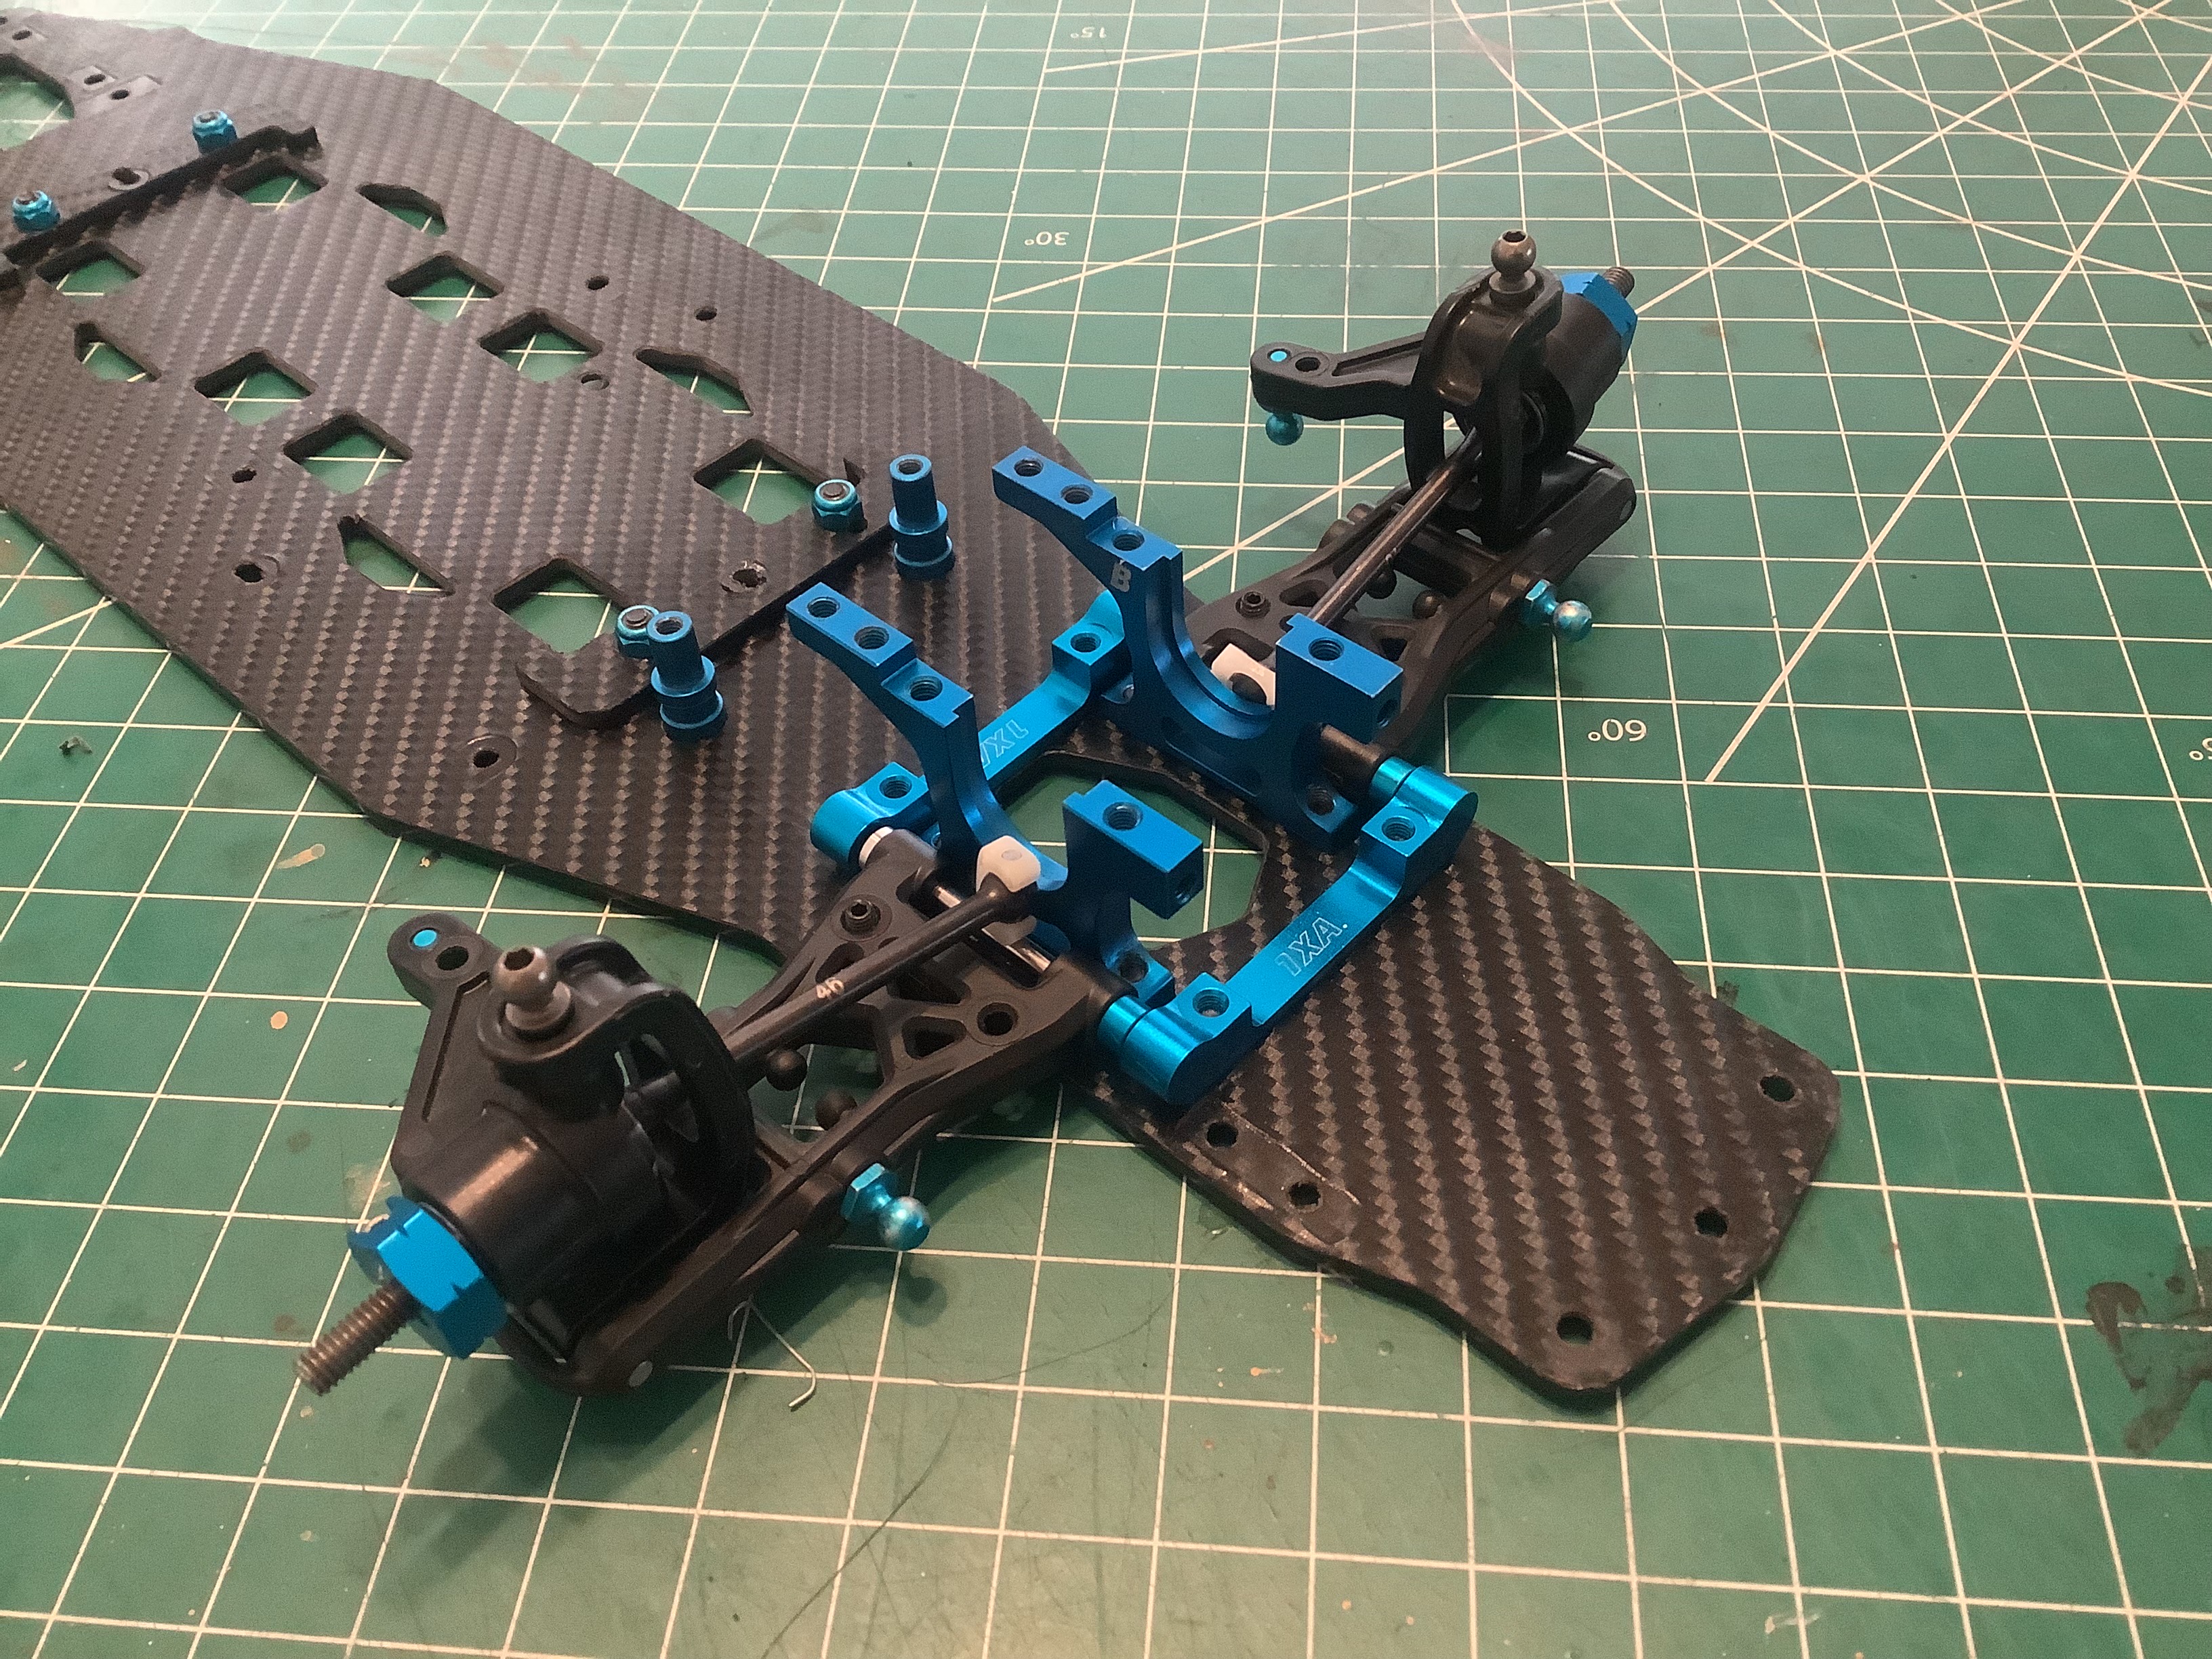
Next come the custom aluminum lower front bulkheads as shown on the
left. On the right I've added the stock Tamiya front
suspension. The axles I'm using are CVD type. I've also
installed the steering posts here.
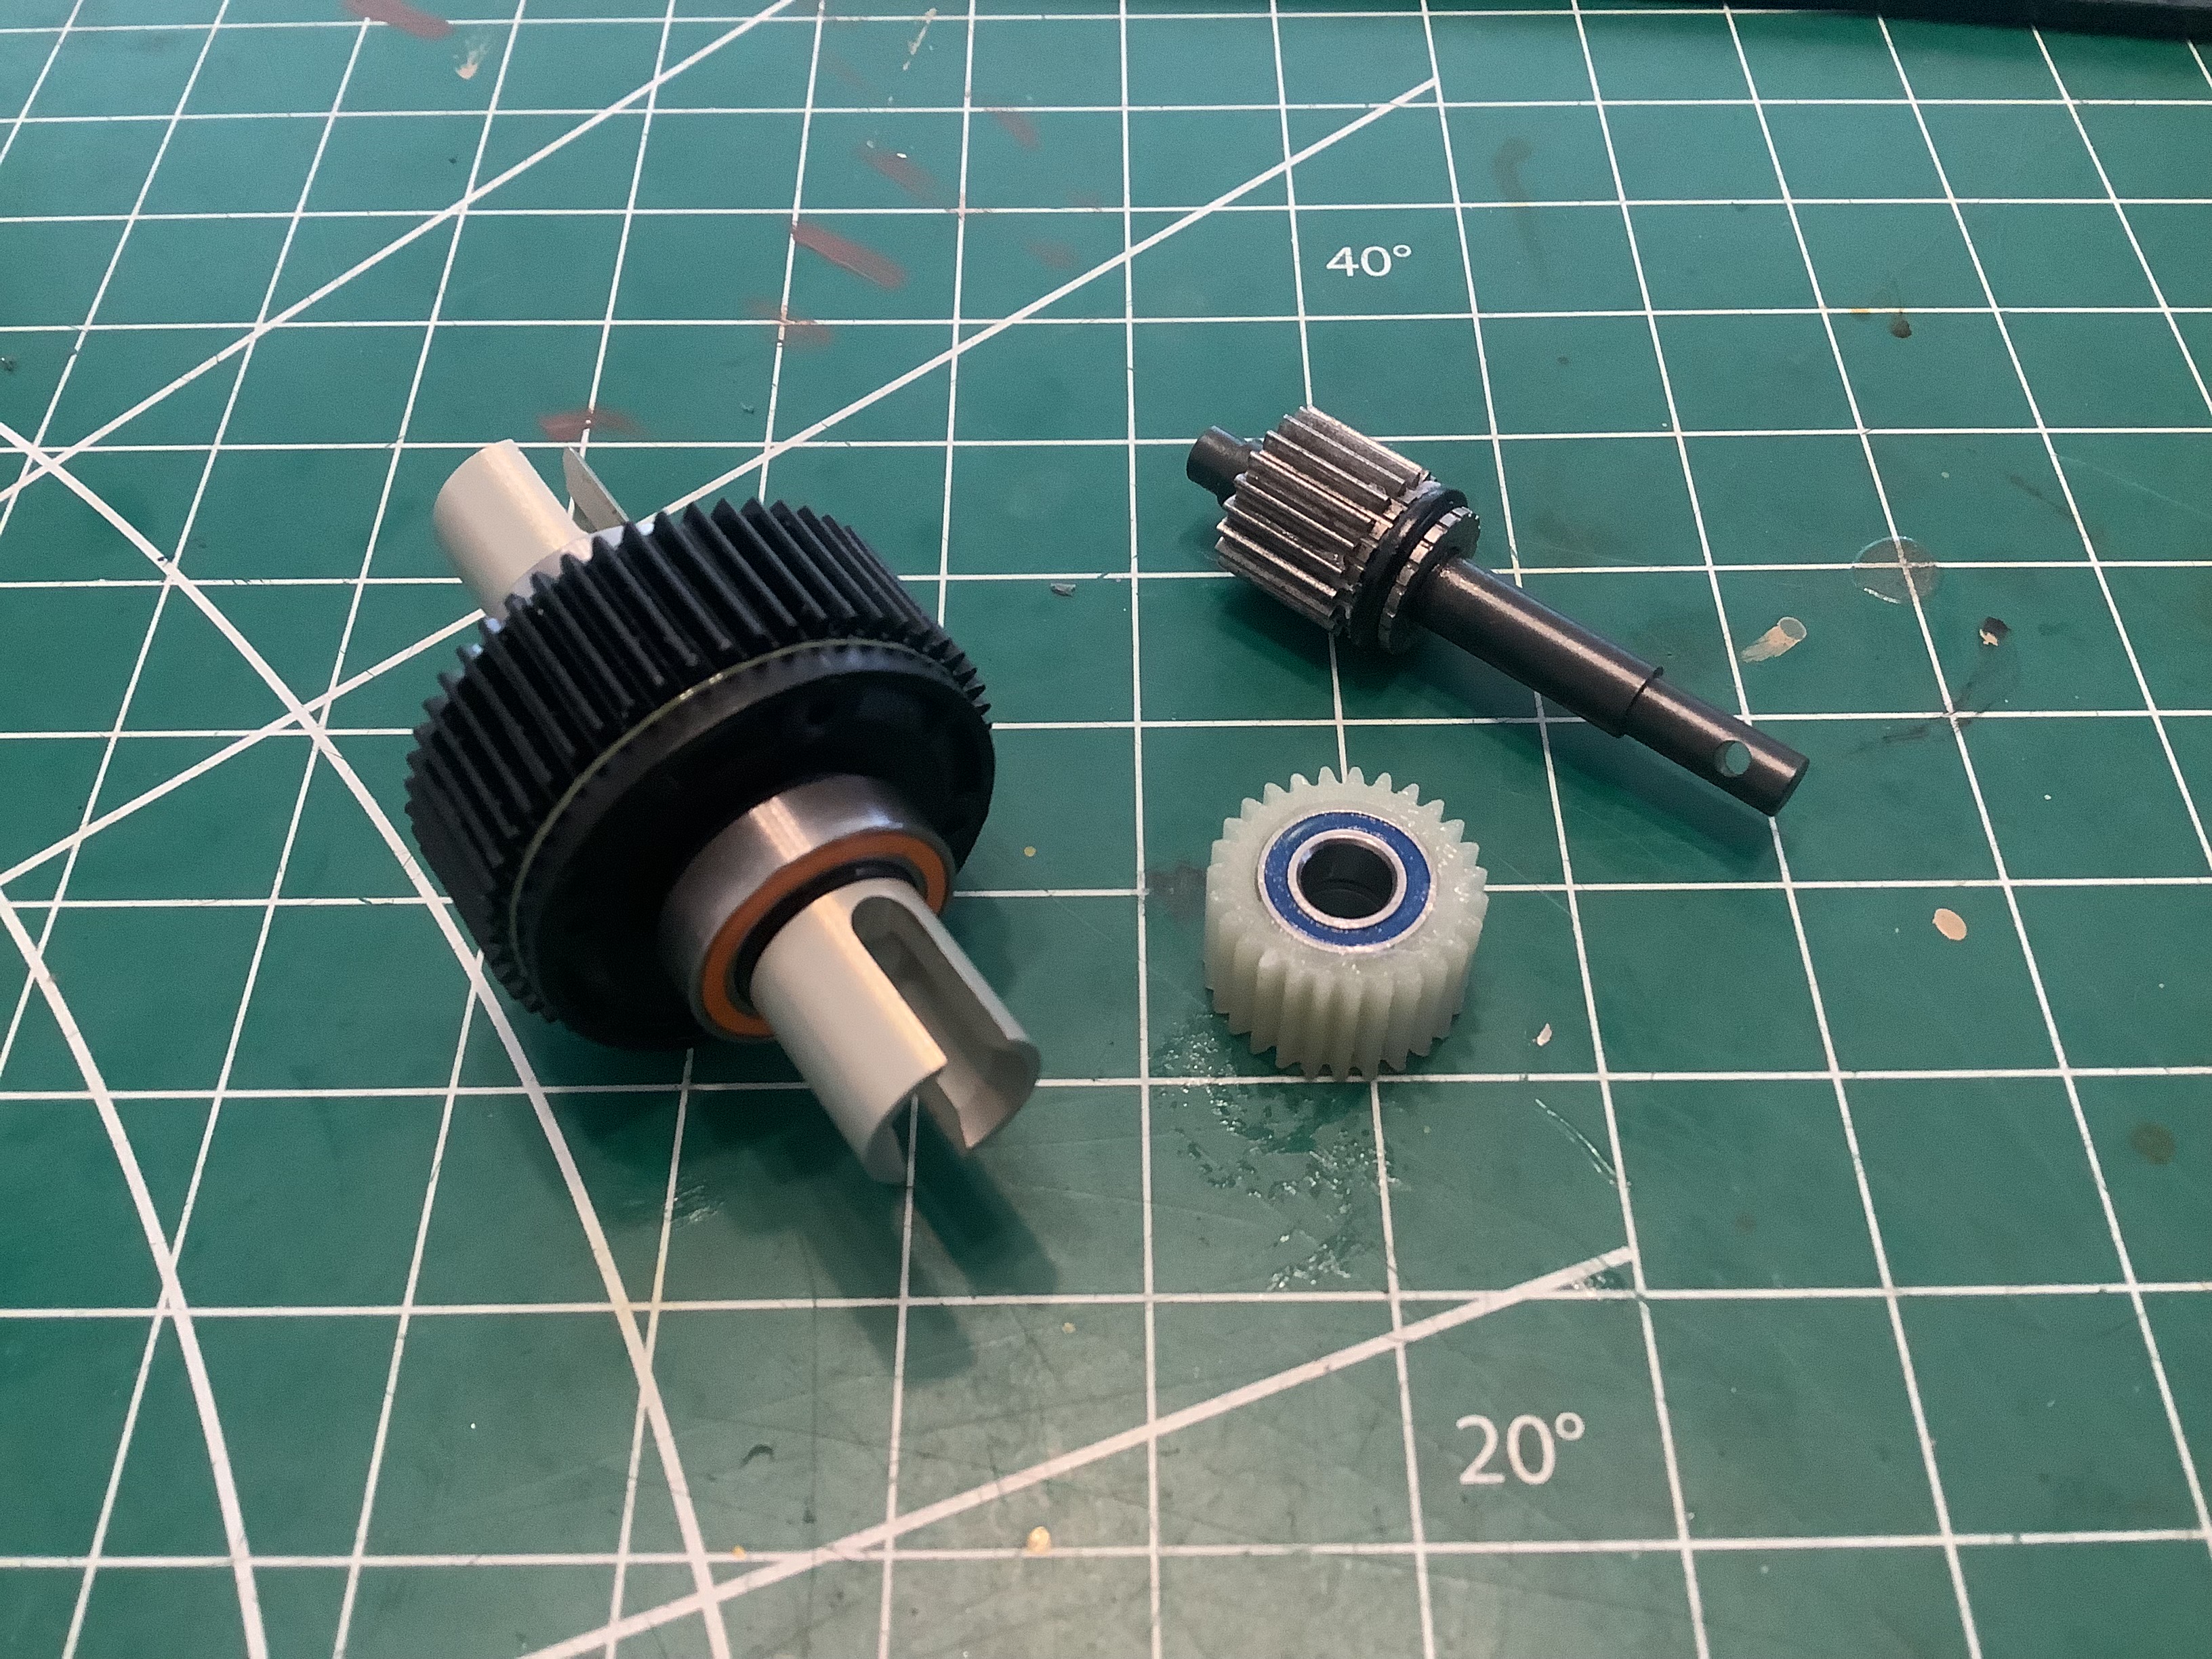
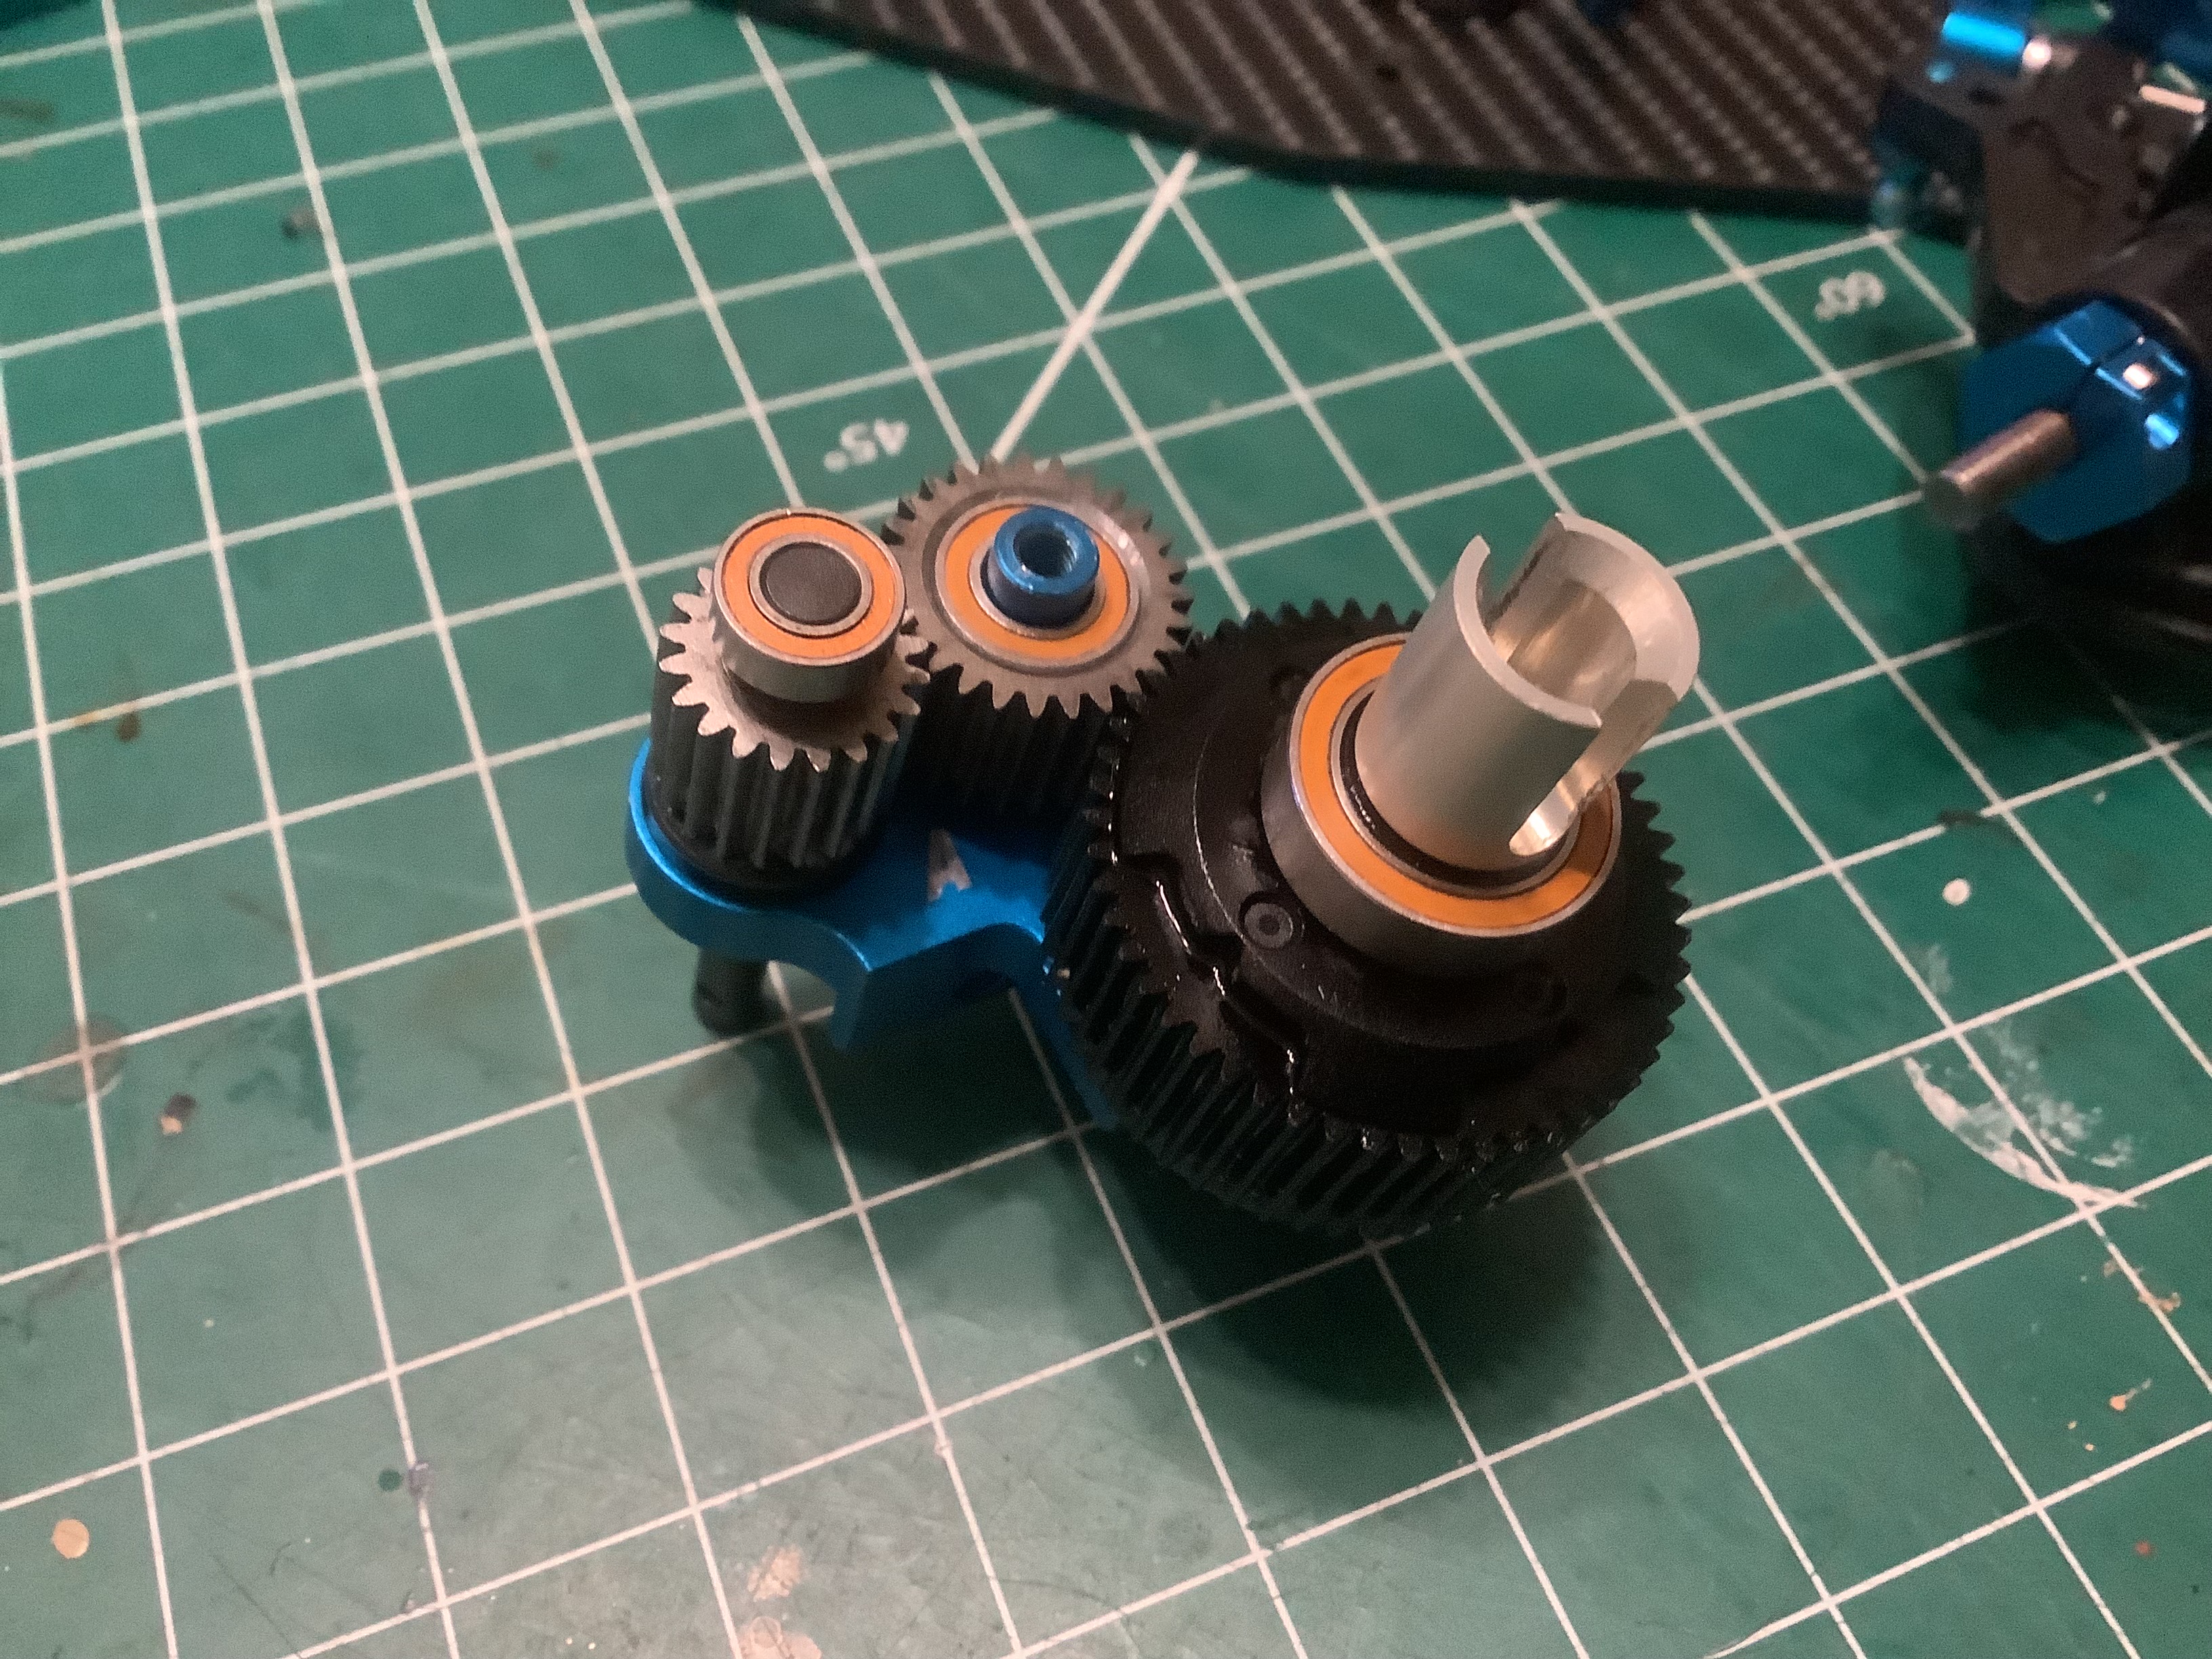
I'm using a sealed gear differential from an EVO. A stock ball
differential would be too narrow and would require some spacers.
The drive cups are Tamiya's aluminum upgrades. Note the shielded
ball bearings. The spur gear shaft is a different length than
stock and came with the Huge RC kit. The gears are installed into
unique upper front bulkhead halves.
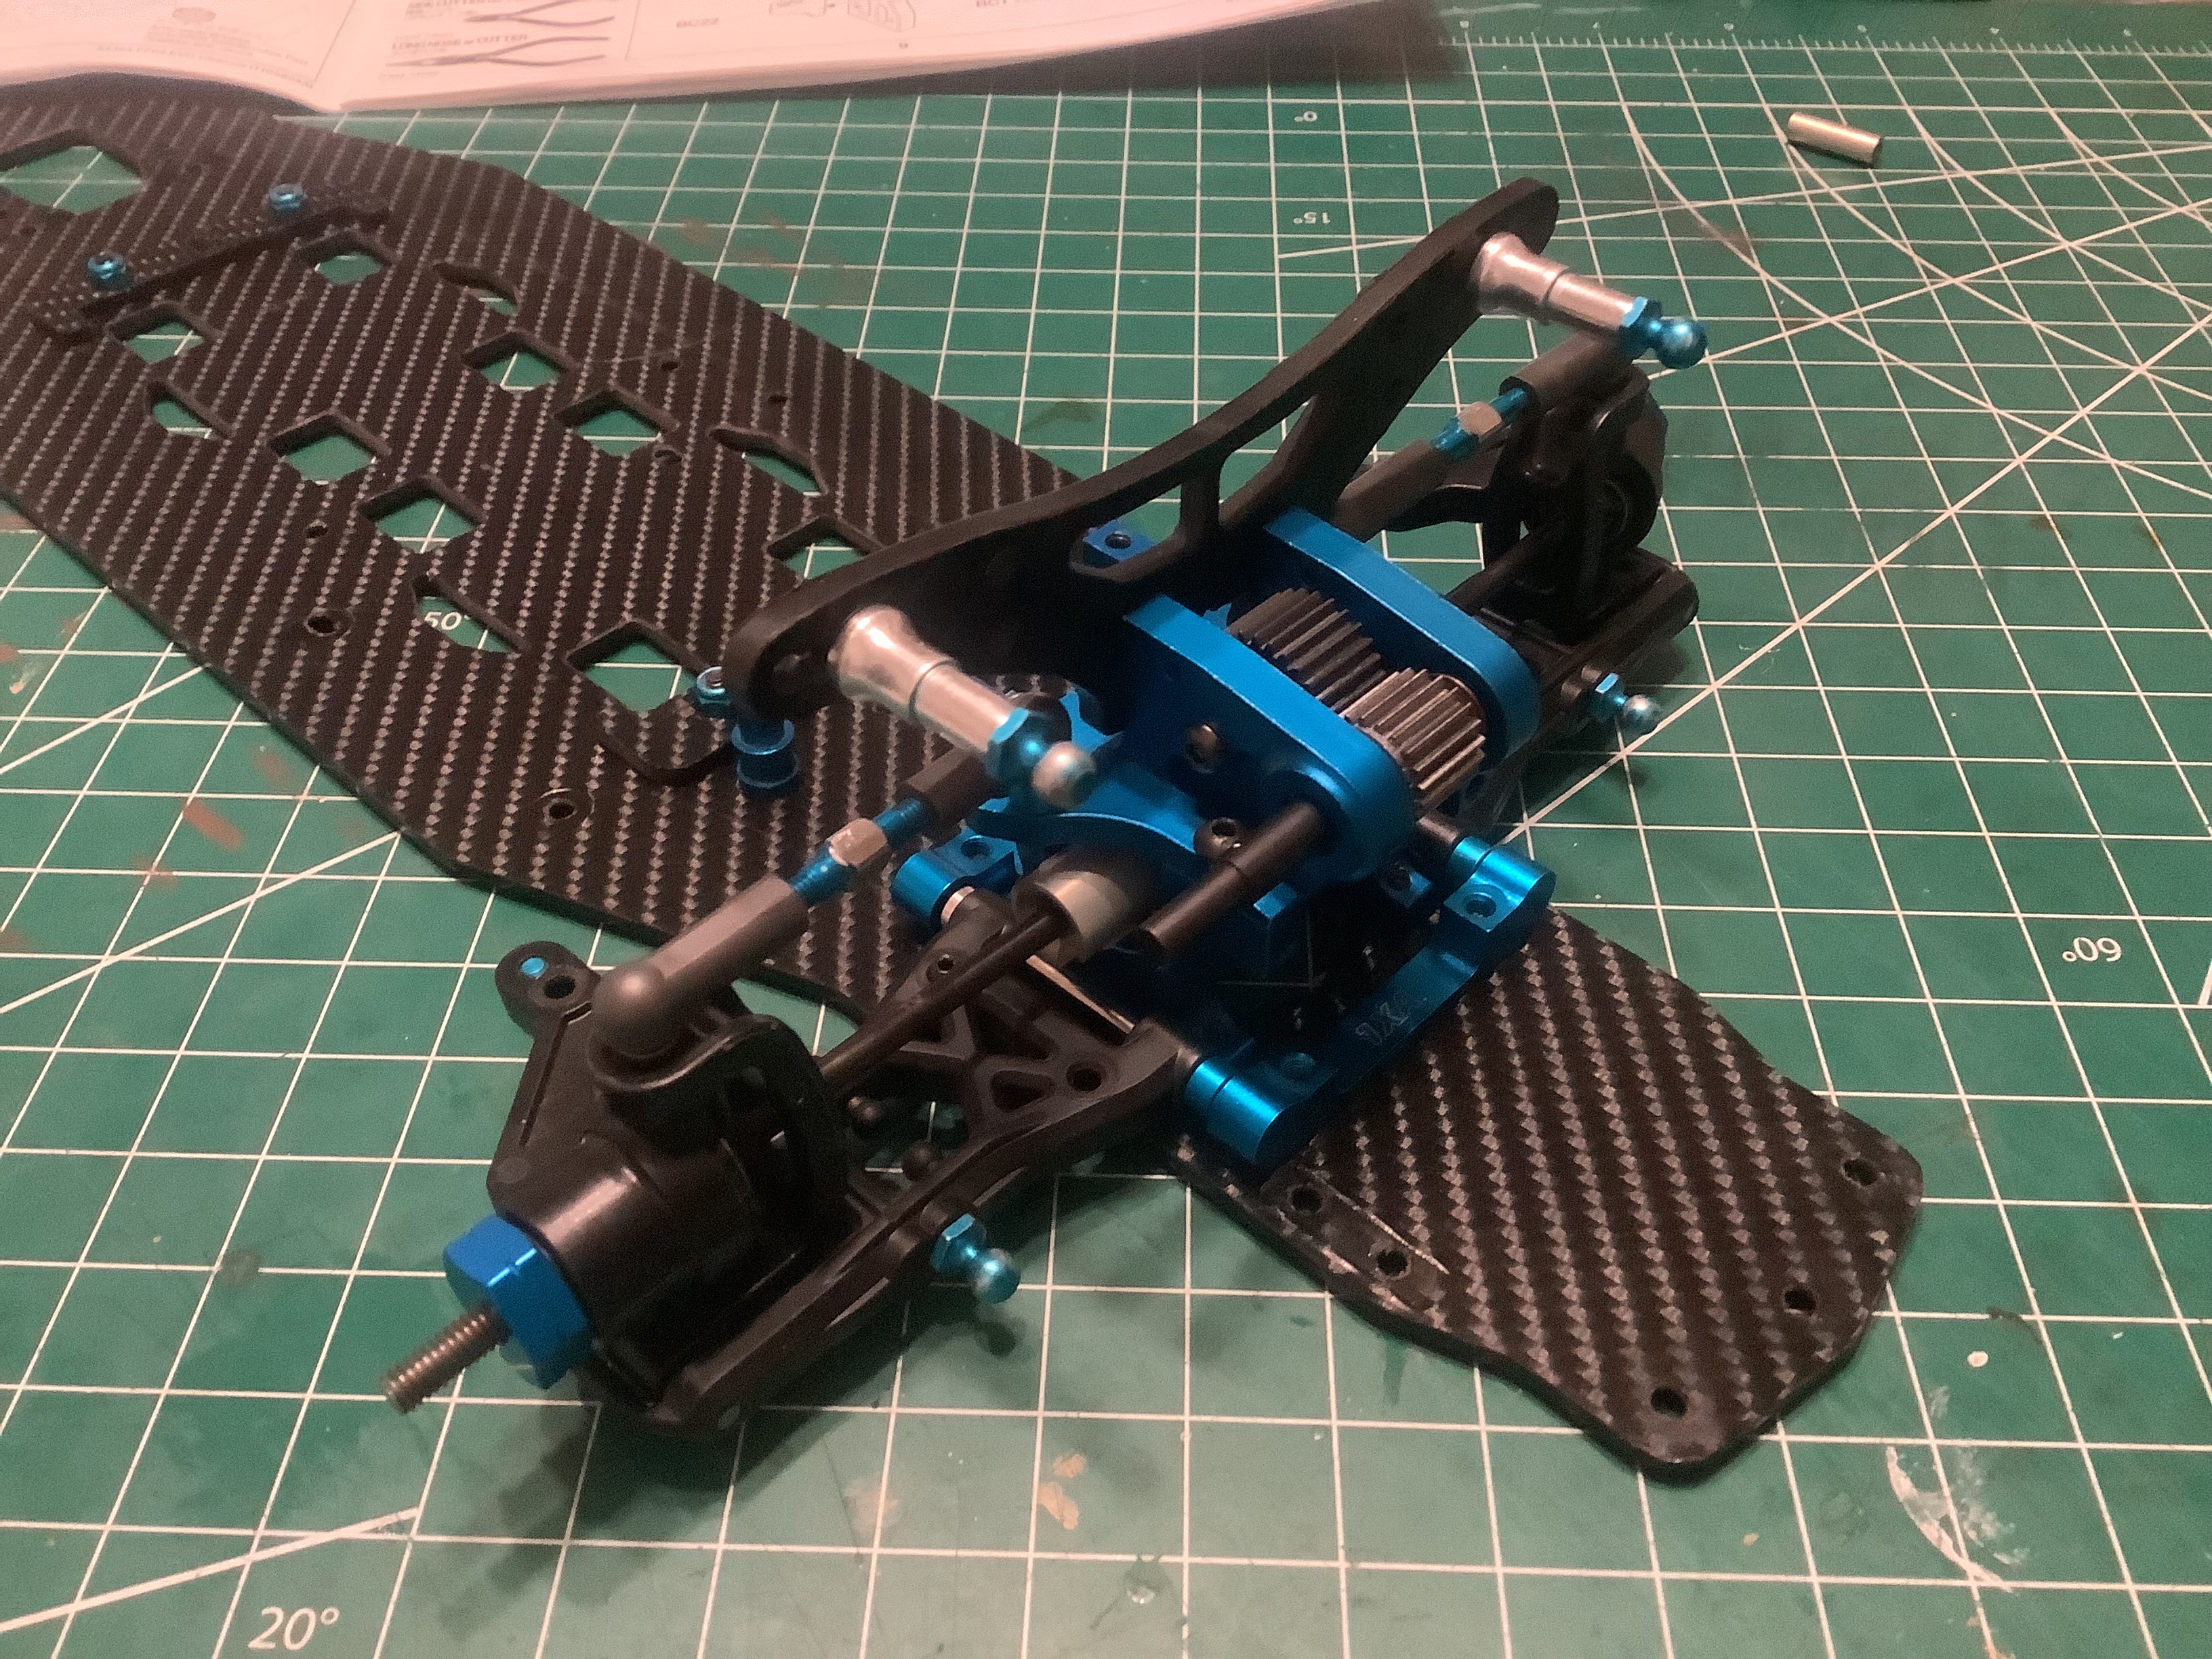
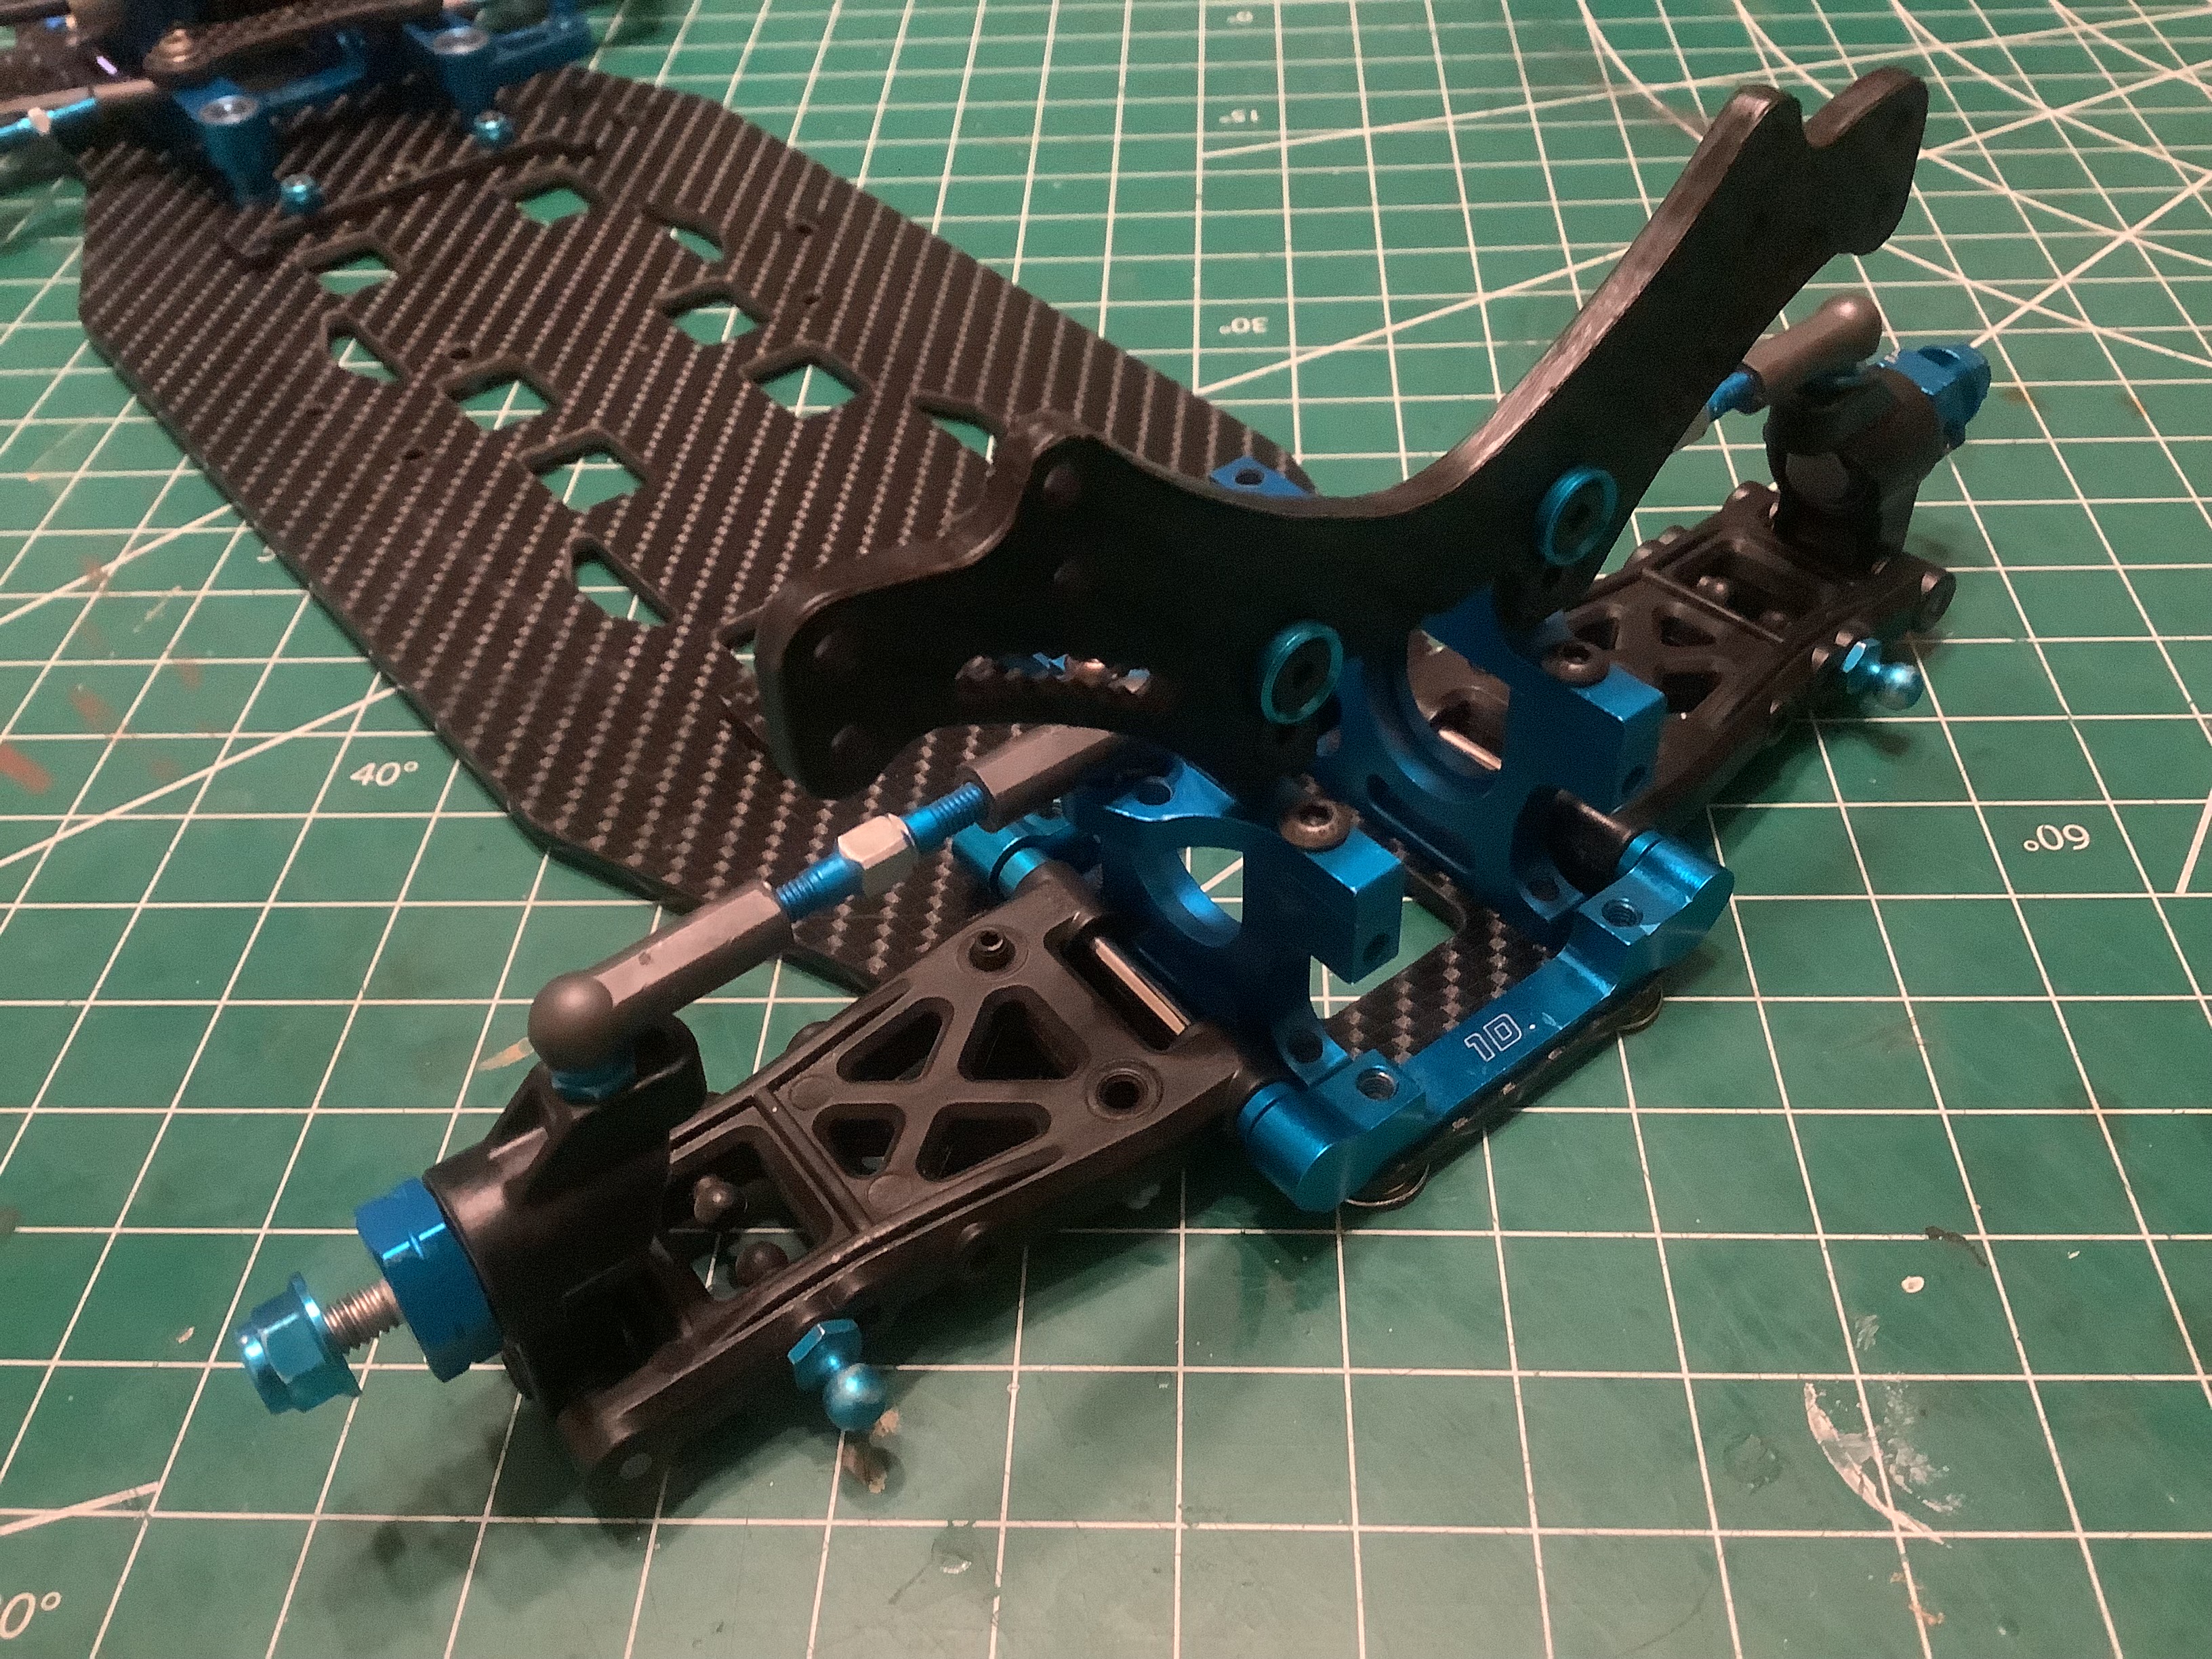
The transmission uses all the same gears as the stock model, but they
are arrayed in a different gearbox that is open and exposed. The
carbon shock tower is installed next. Note that the front shocks
have reverted to a traditional vertical installation rather than inboard
front suspension. I'm not a fan of the large cantilever of the
upper shock mounts, but it seems to work. While similar to Tamiya
parts, the aluminum steering cranks and carbon bridge are unique to this
model.
Although there is no rear gearbox, the FF11 kit uses lower rear
bulkheads which are identical to the parts used in the front. This
makes for a very empty looking assembly as shown on the right.
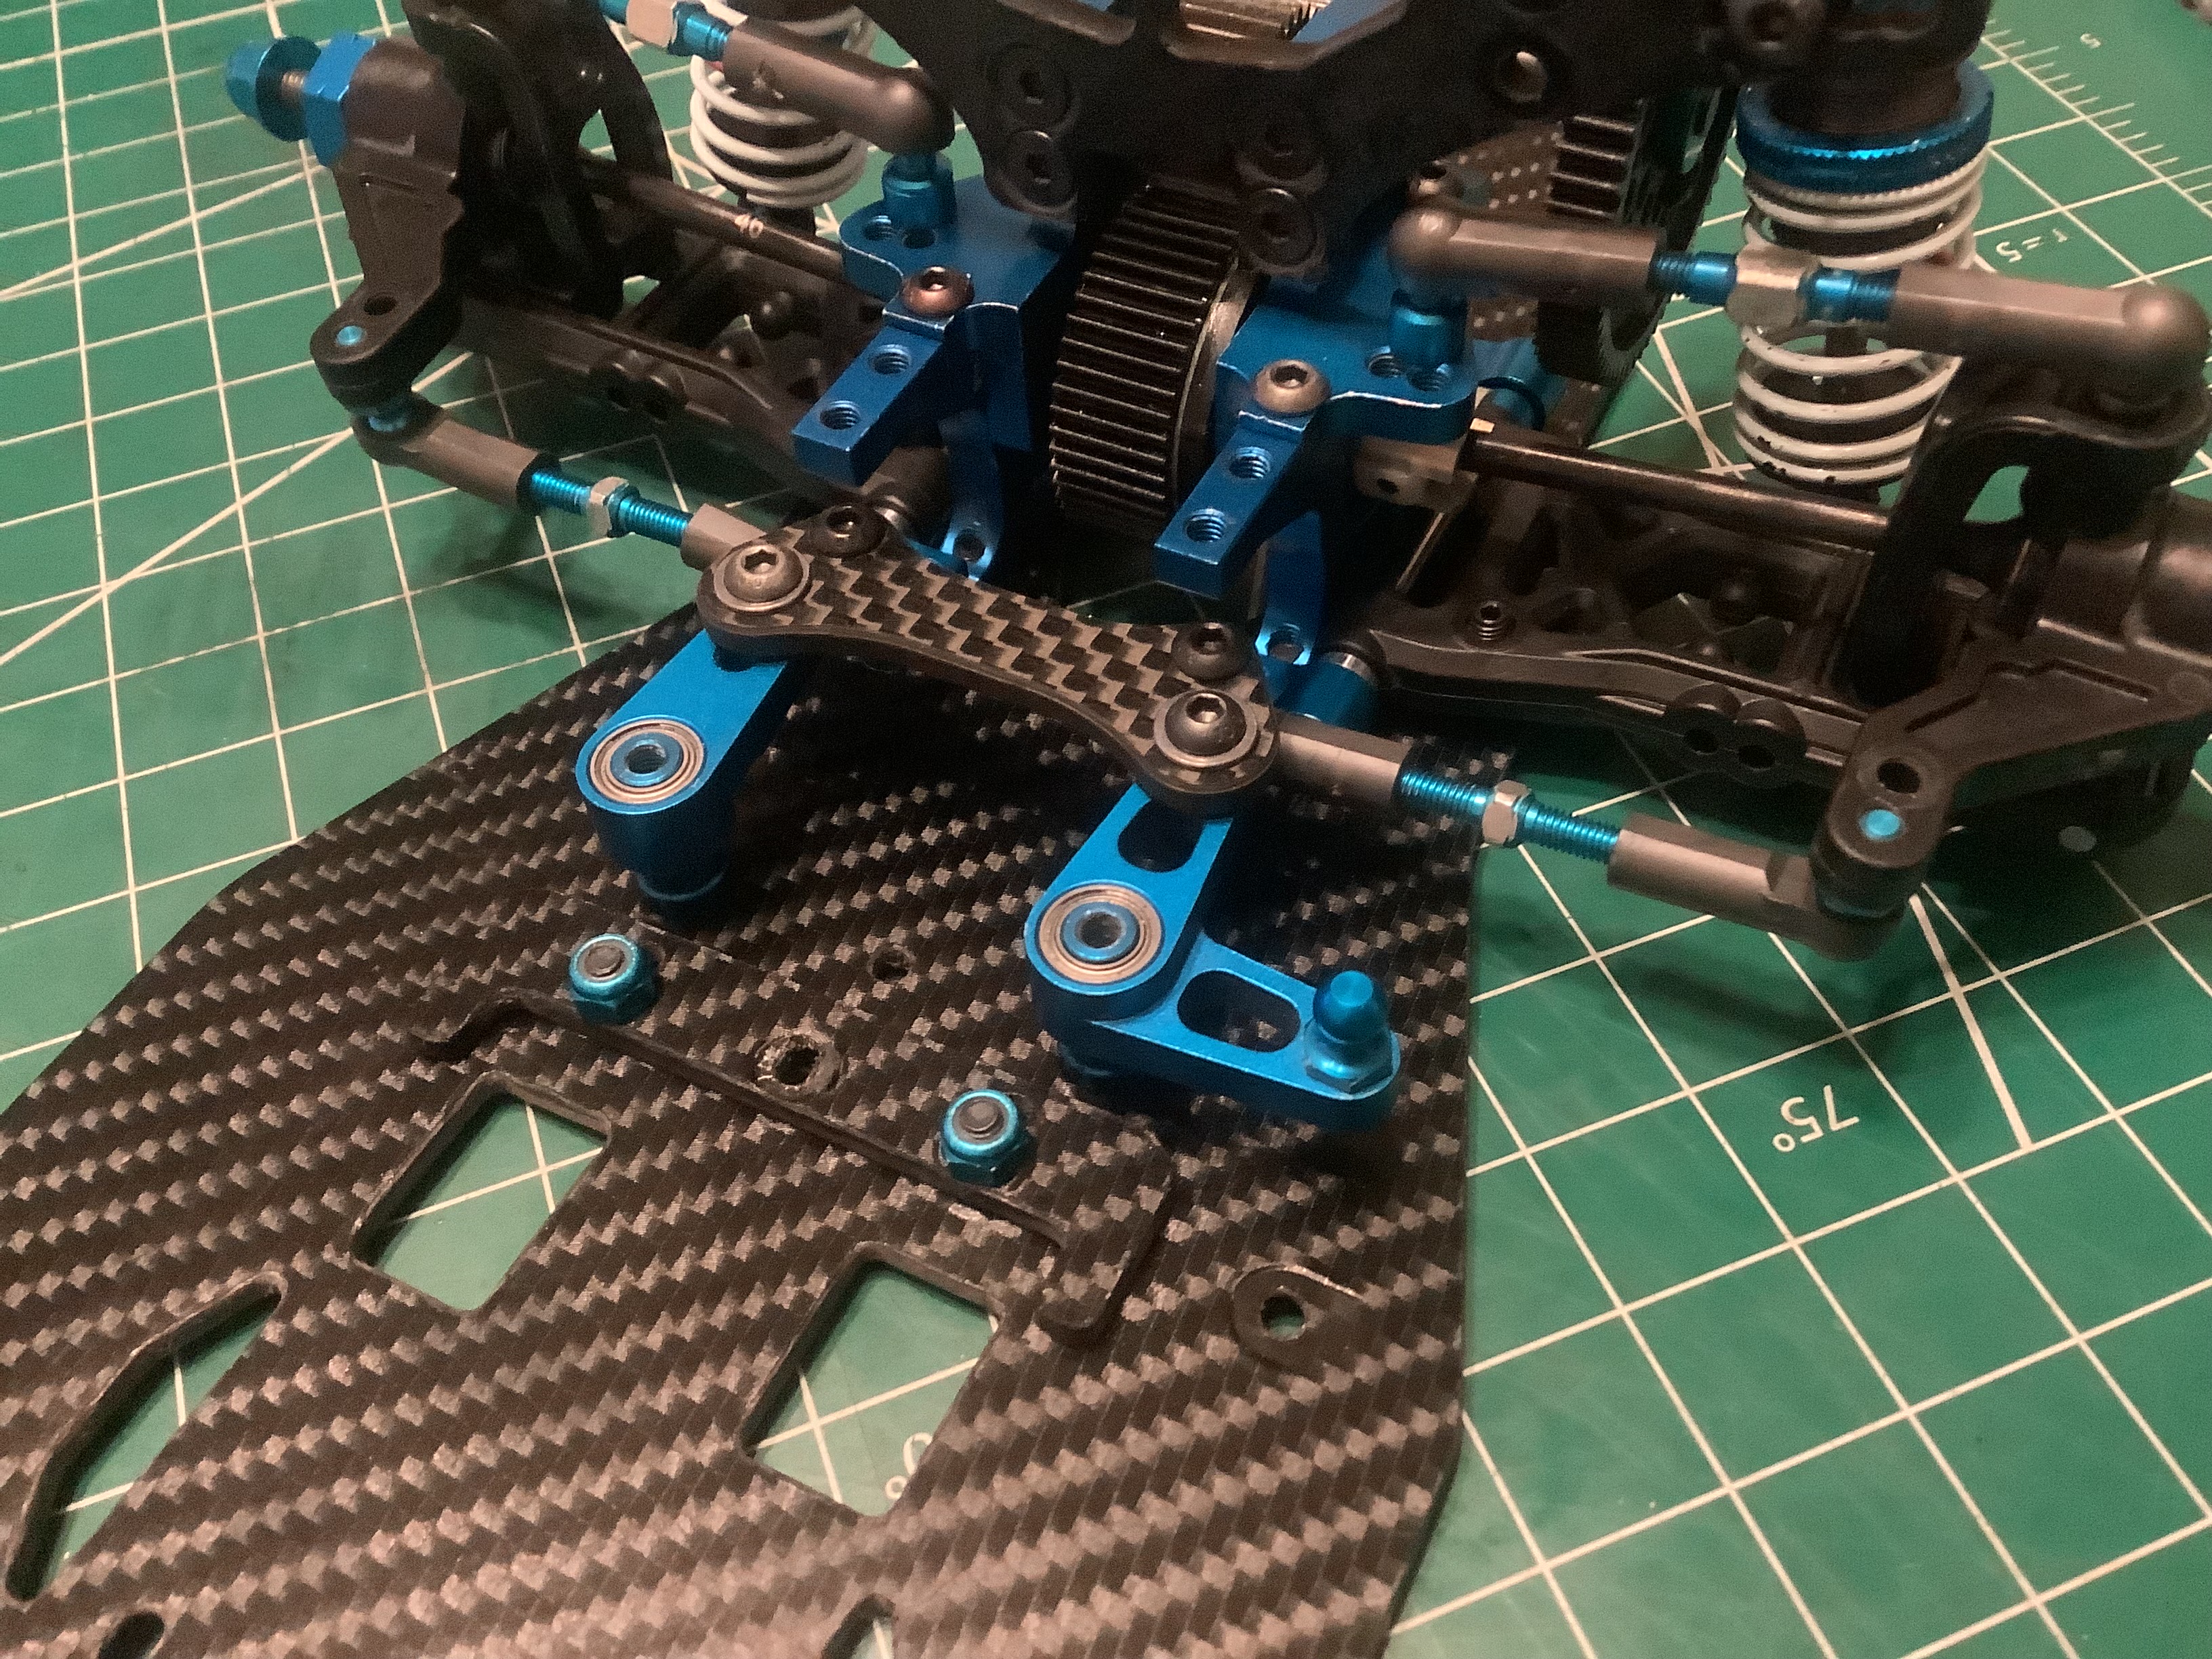
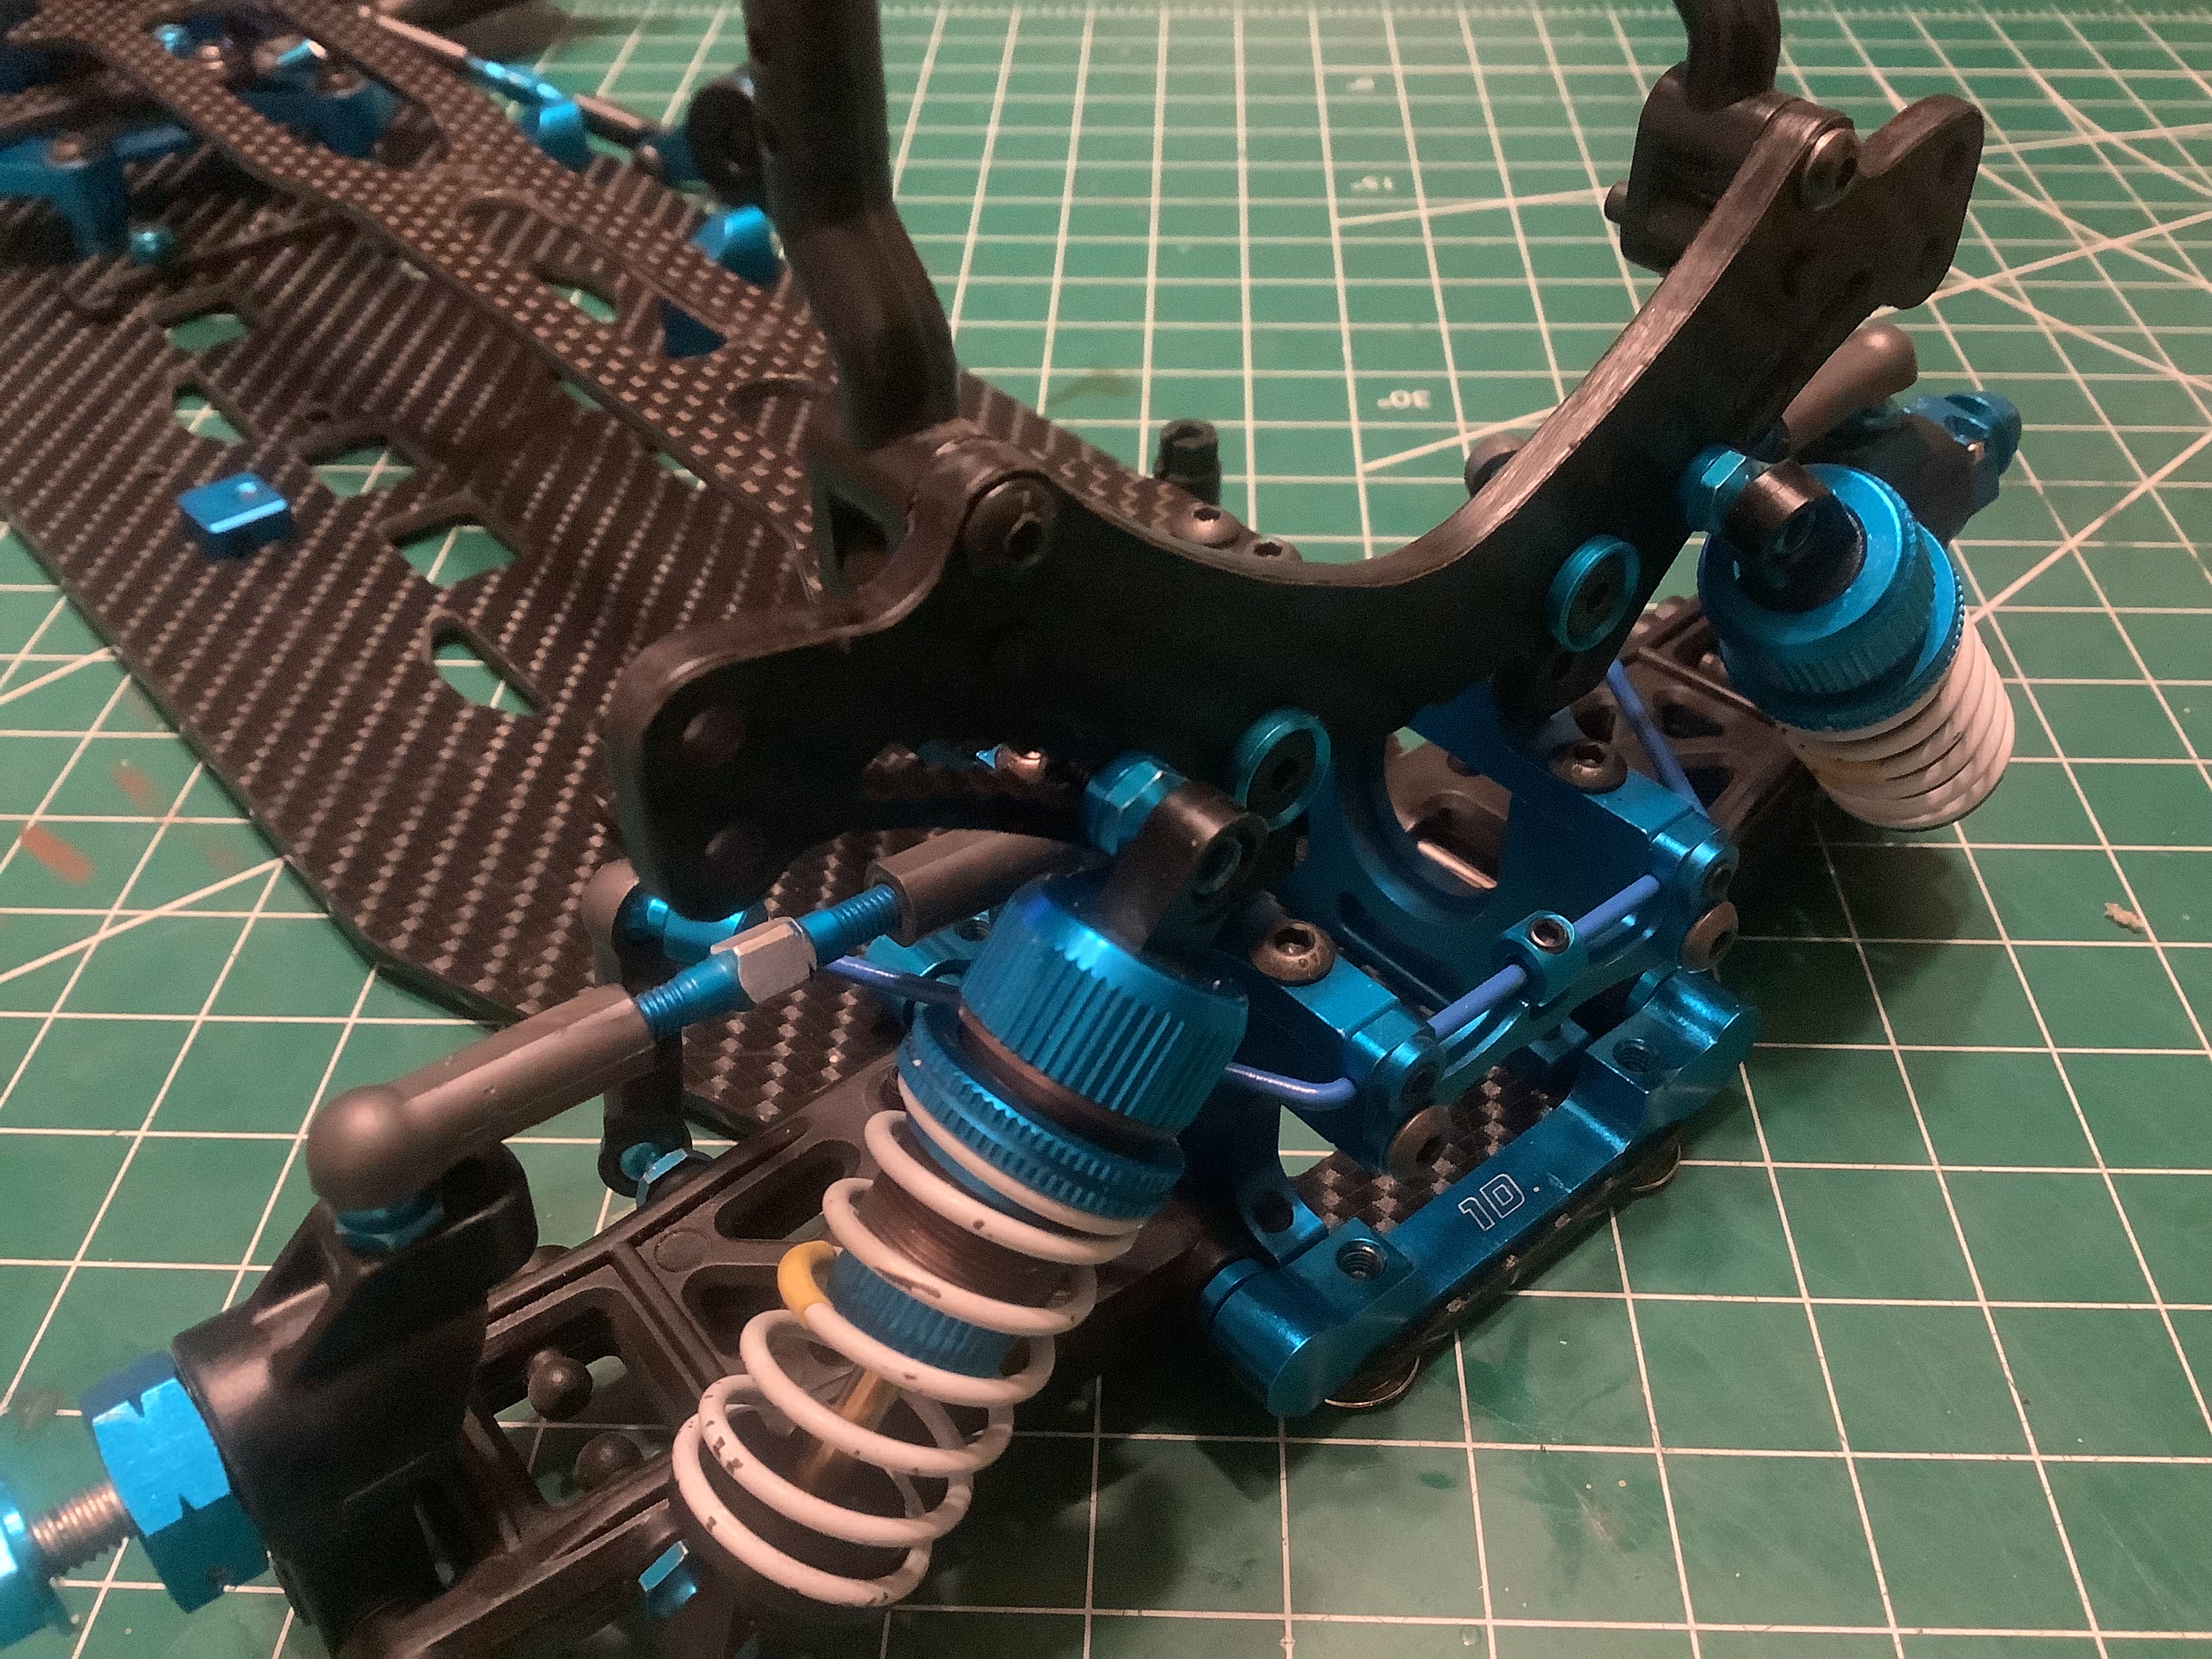
The upper bulkheads support the rear shock tower which has a dizzying
array of shock mounting location options.
The upper carbon chassis stiffener comes next which makes everything
nice and sturdy. The steering servo mounts and horn are from the
standard model. Those rectangular aluminum blocks you see behind
the servo mounts are for hooking rubber bands to secure the
battery. I like this clean and easy system. Provisions for
glass tape are also present.
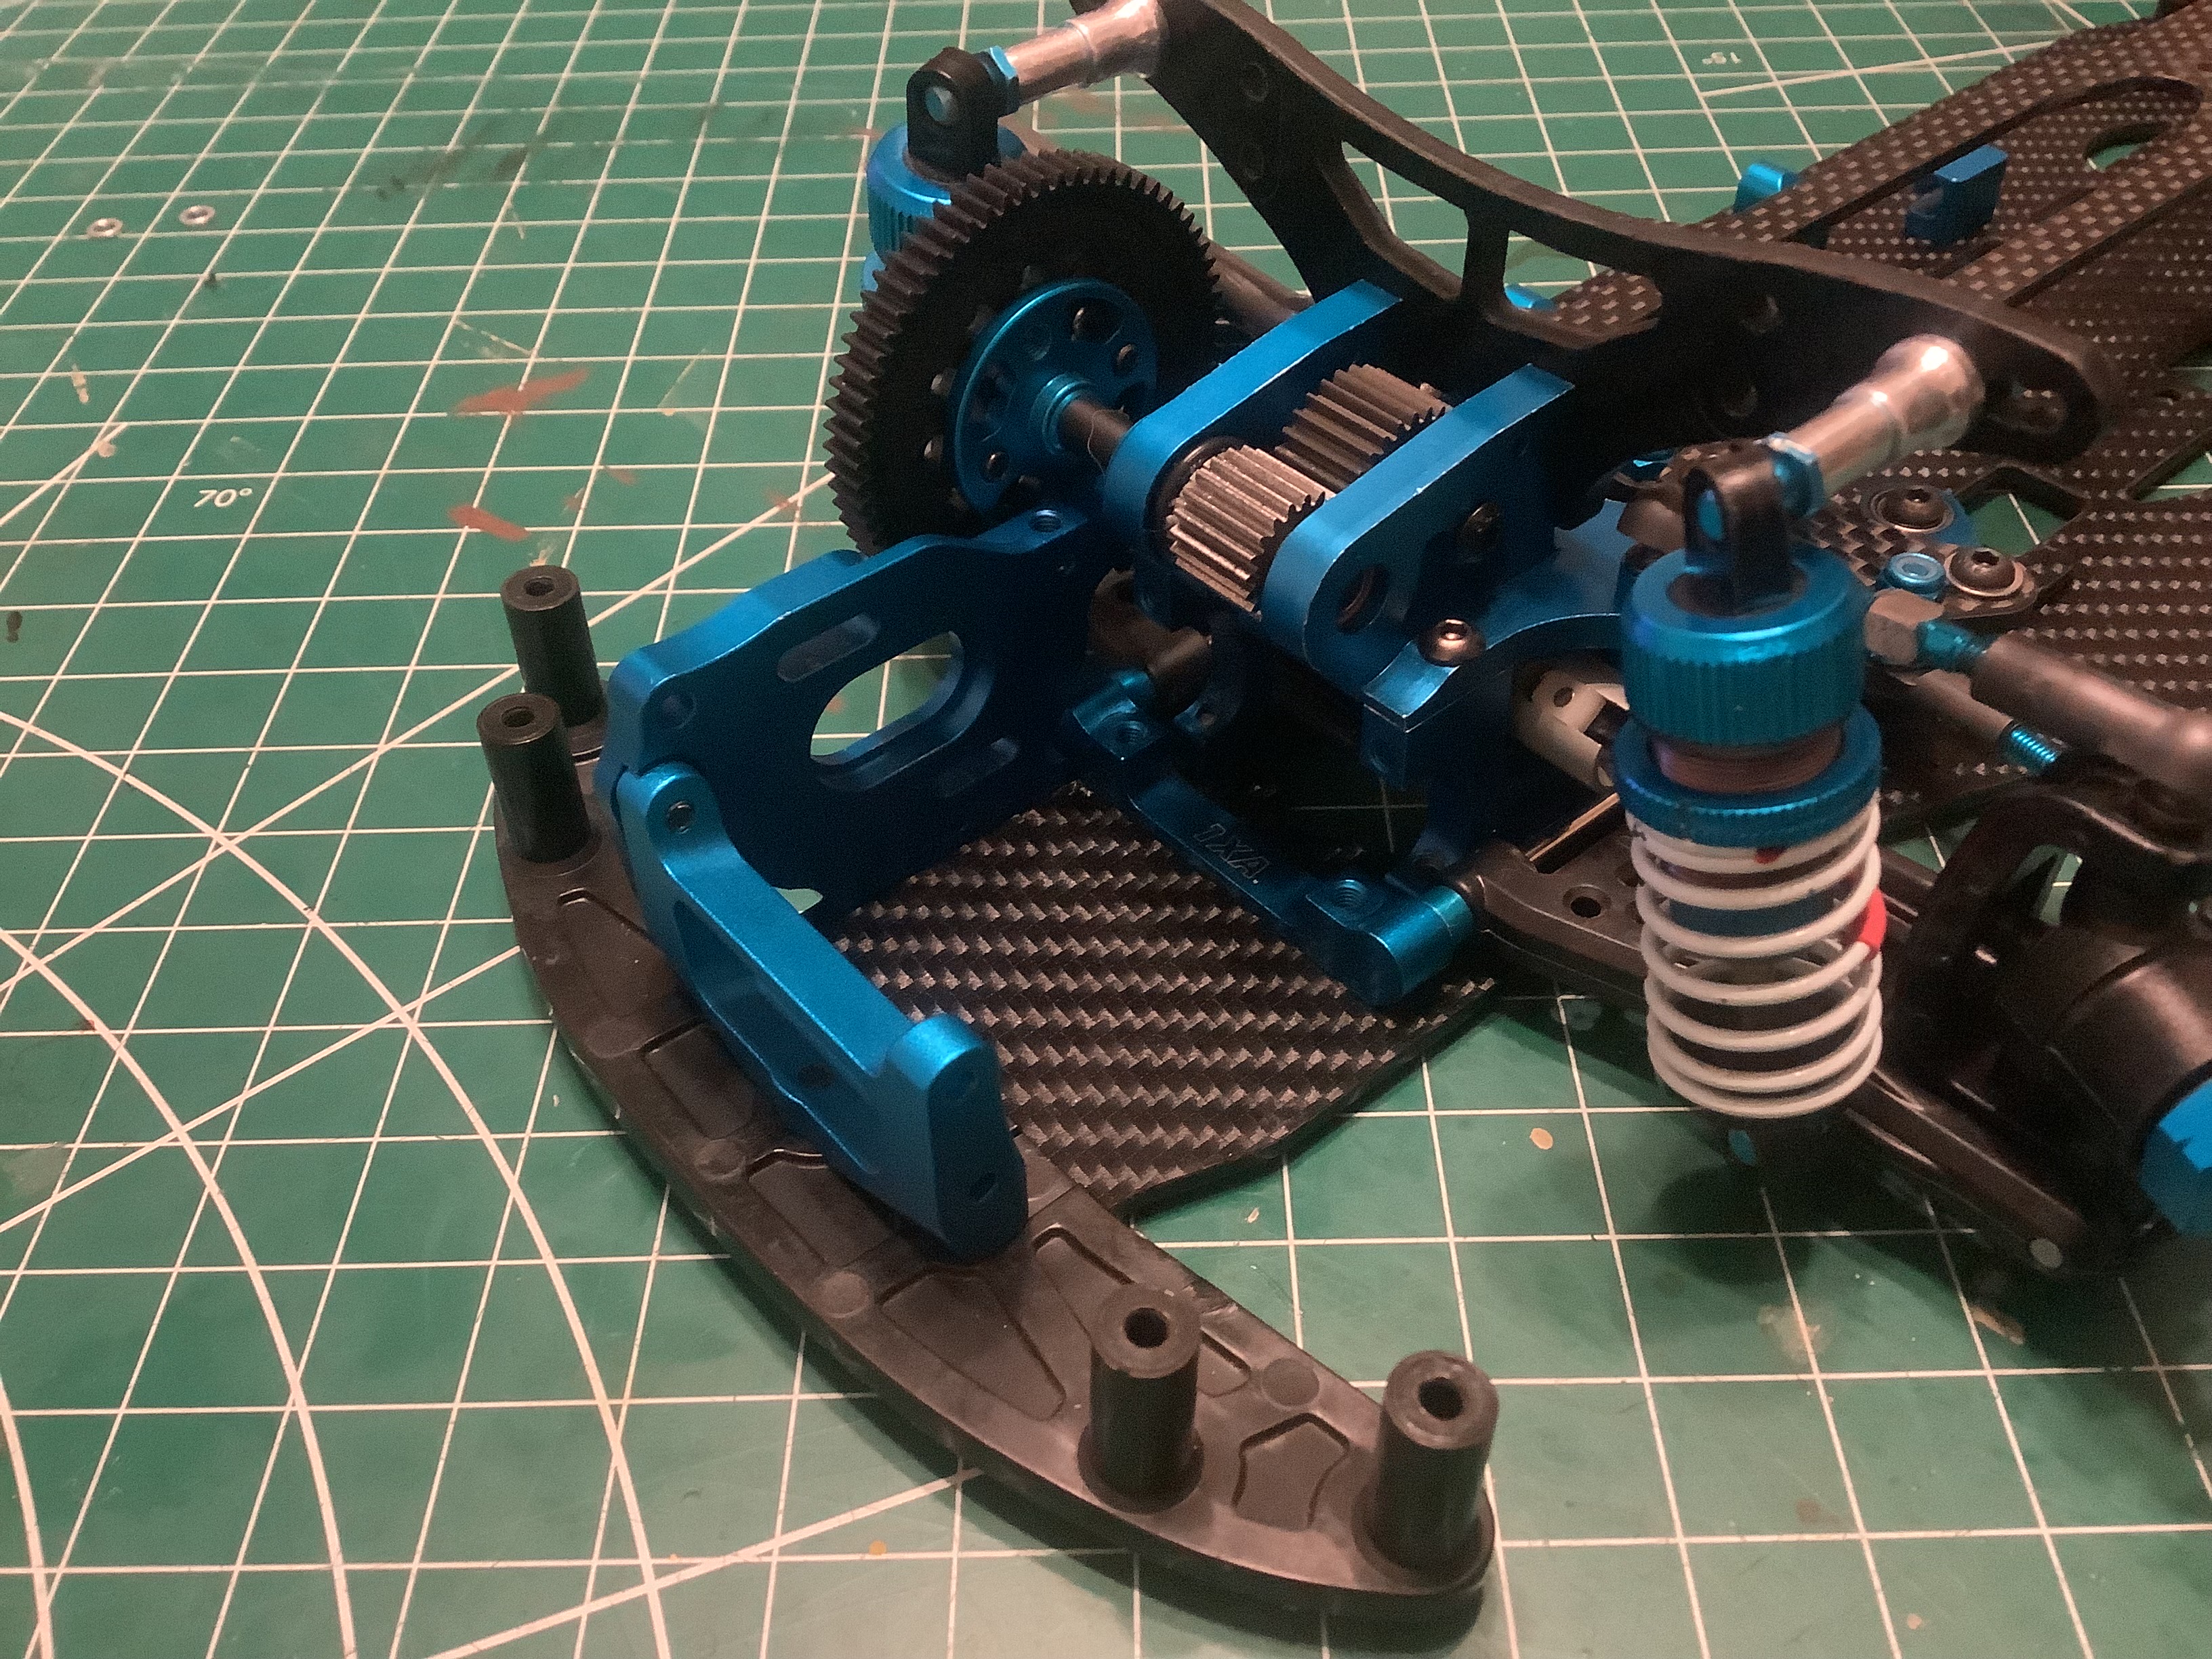
Time to install the custom machined aluminum motor mount and bumper
support. The bumper and it's bracket are from the standard
model. I've also installed the stock spur gear here, but you can
see how far it sticks out from the gearbox to line up with the motor
mount. Unlike the stock model, the FF11 has no bracket on the
opposite side of the chassis from the motor mount
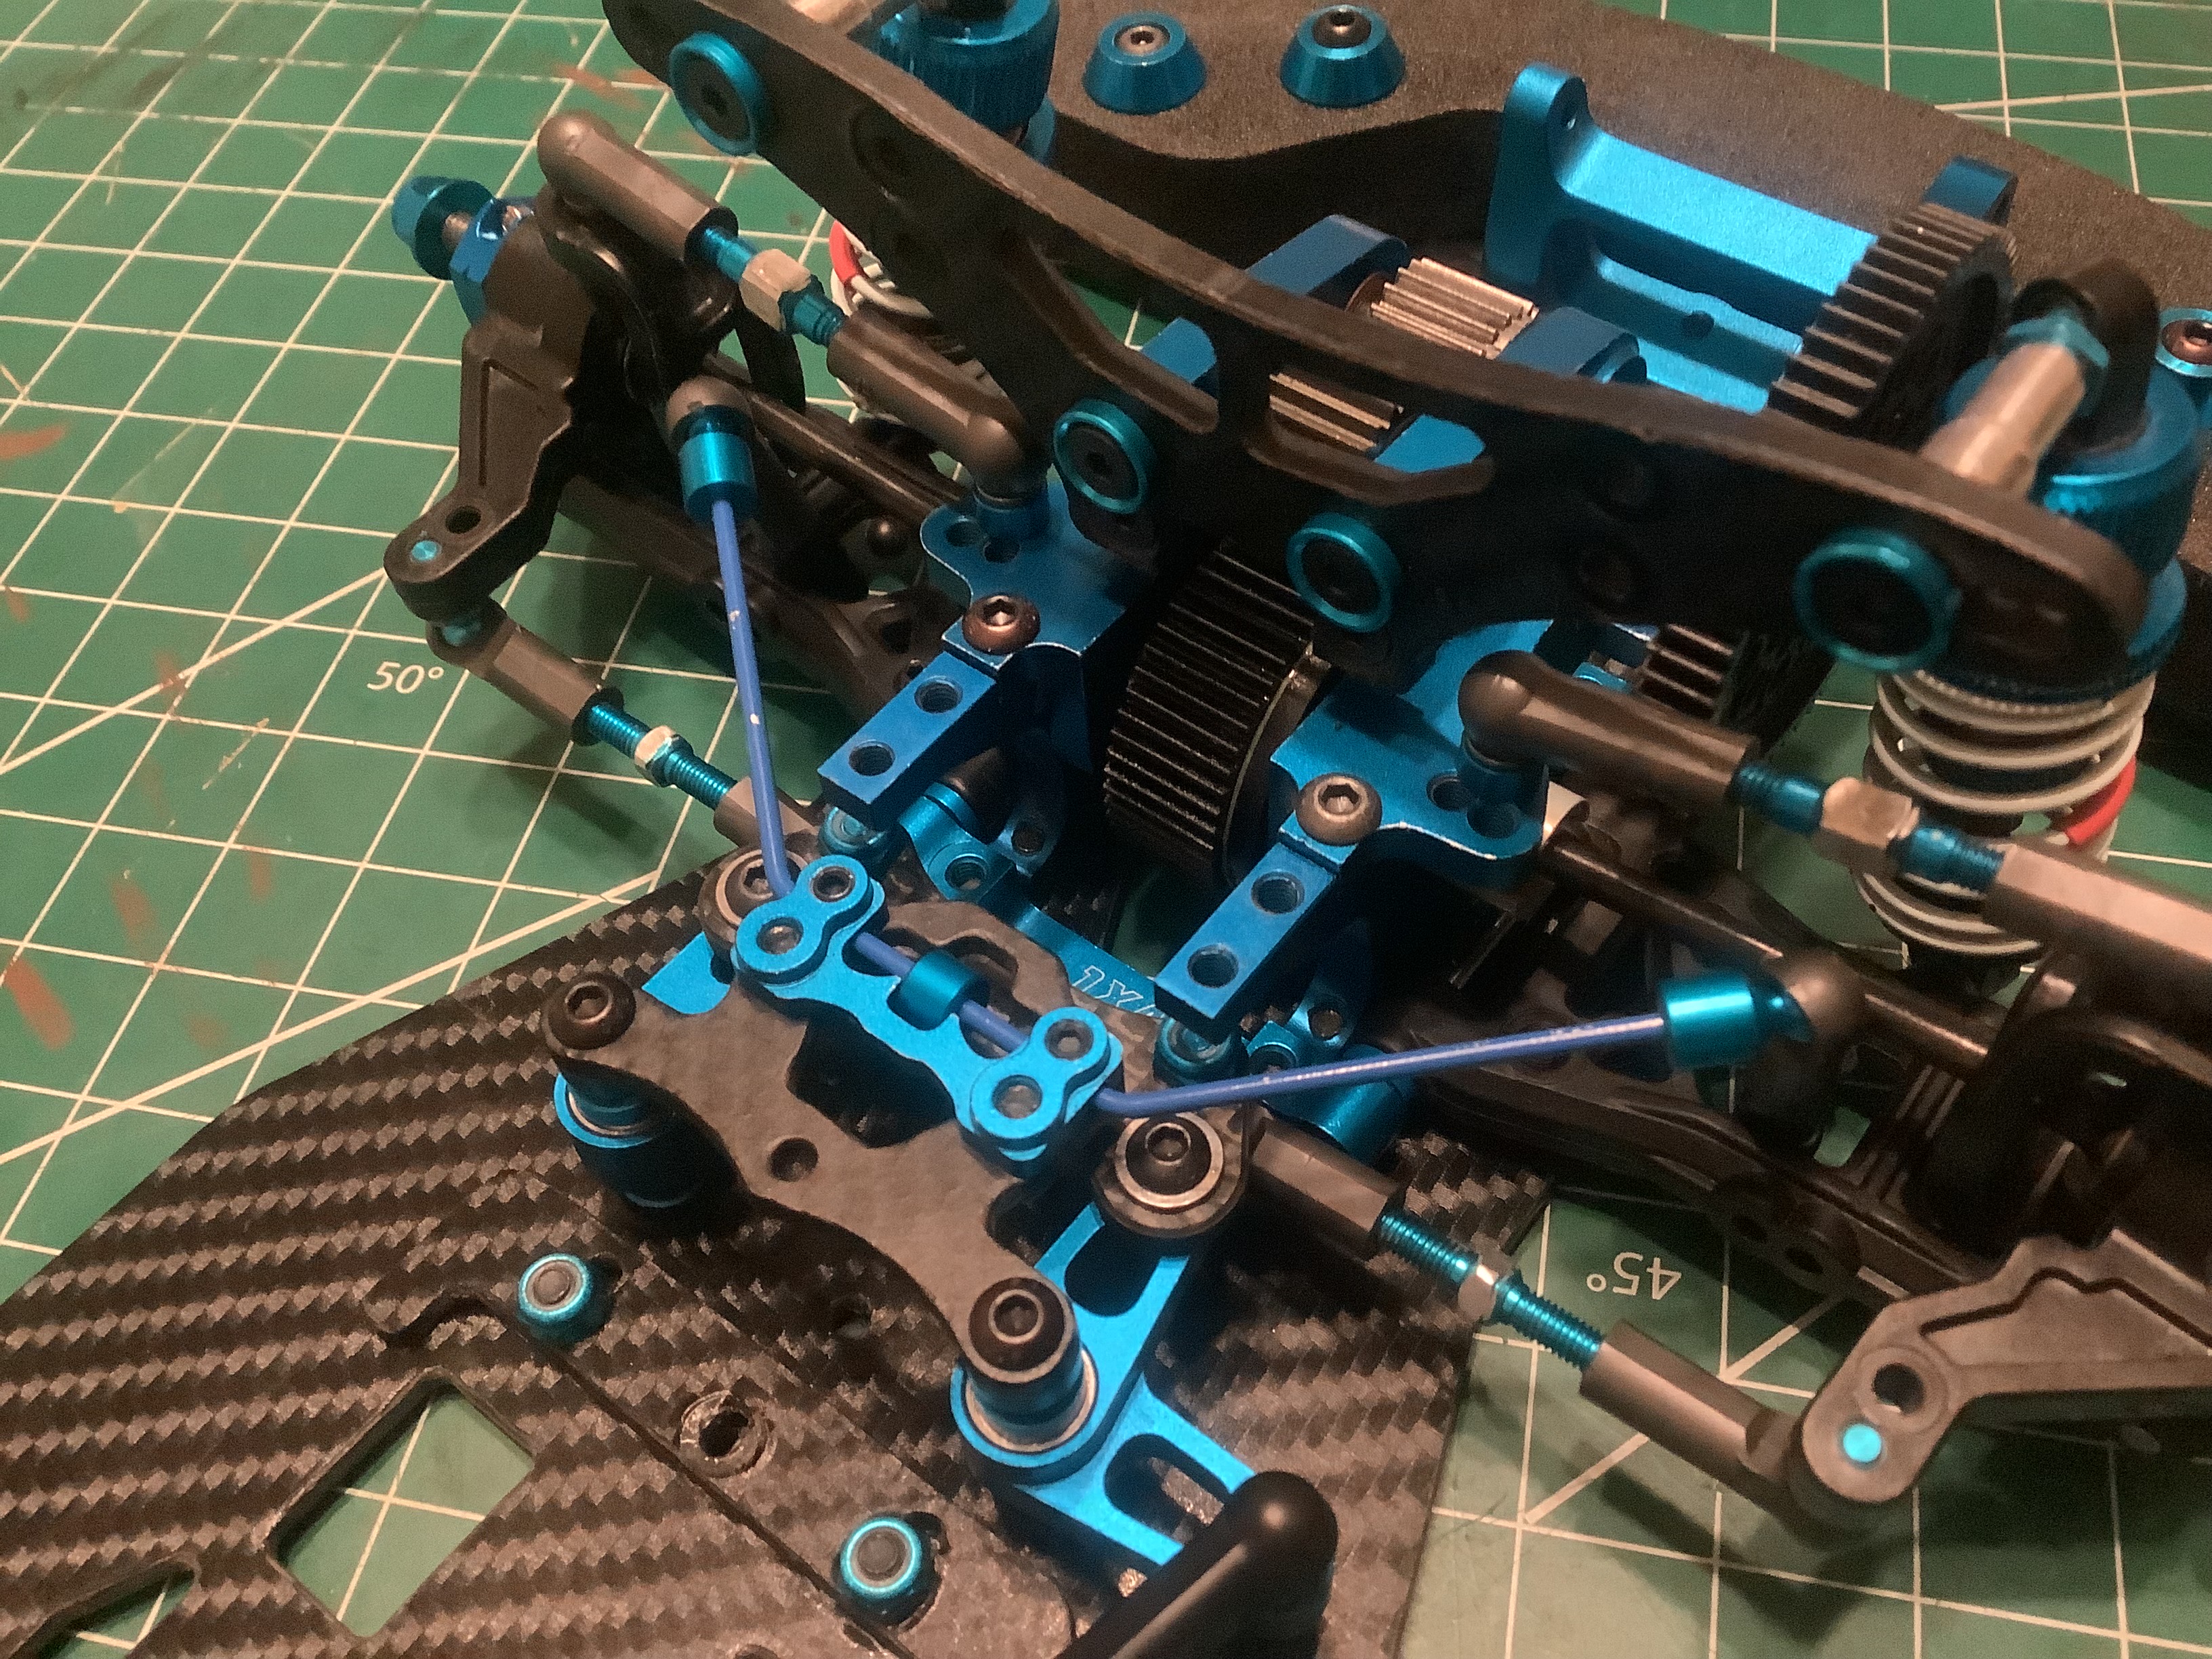
Installing the optional front and rear sway bars is a bit fiddly,
but the kit does come with the parts to do it. The previous owner
had not installed these parts so I had to figure out how to make them
work myself. The bracket for the front bar sits underneath the
upper chassis brace so I had to first remove that to access the area.
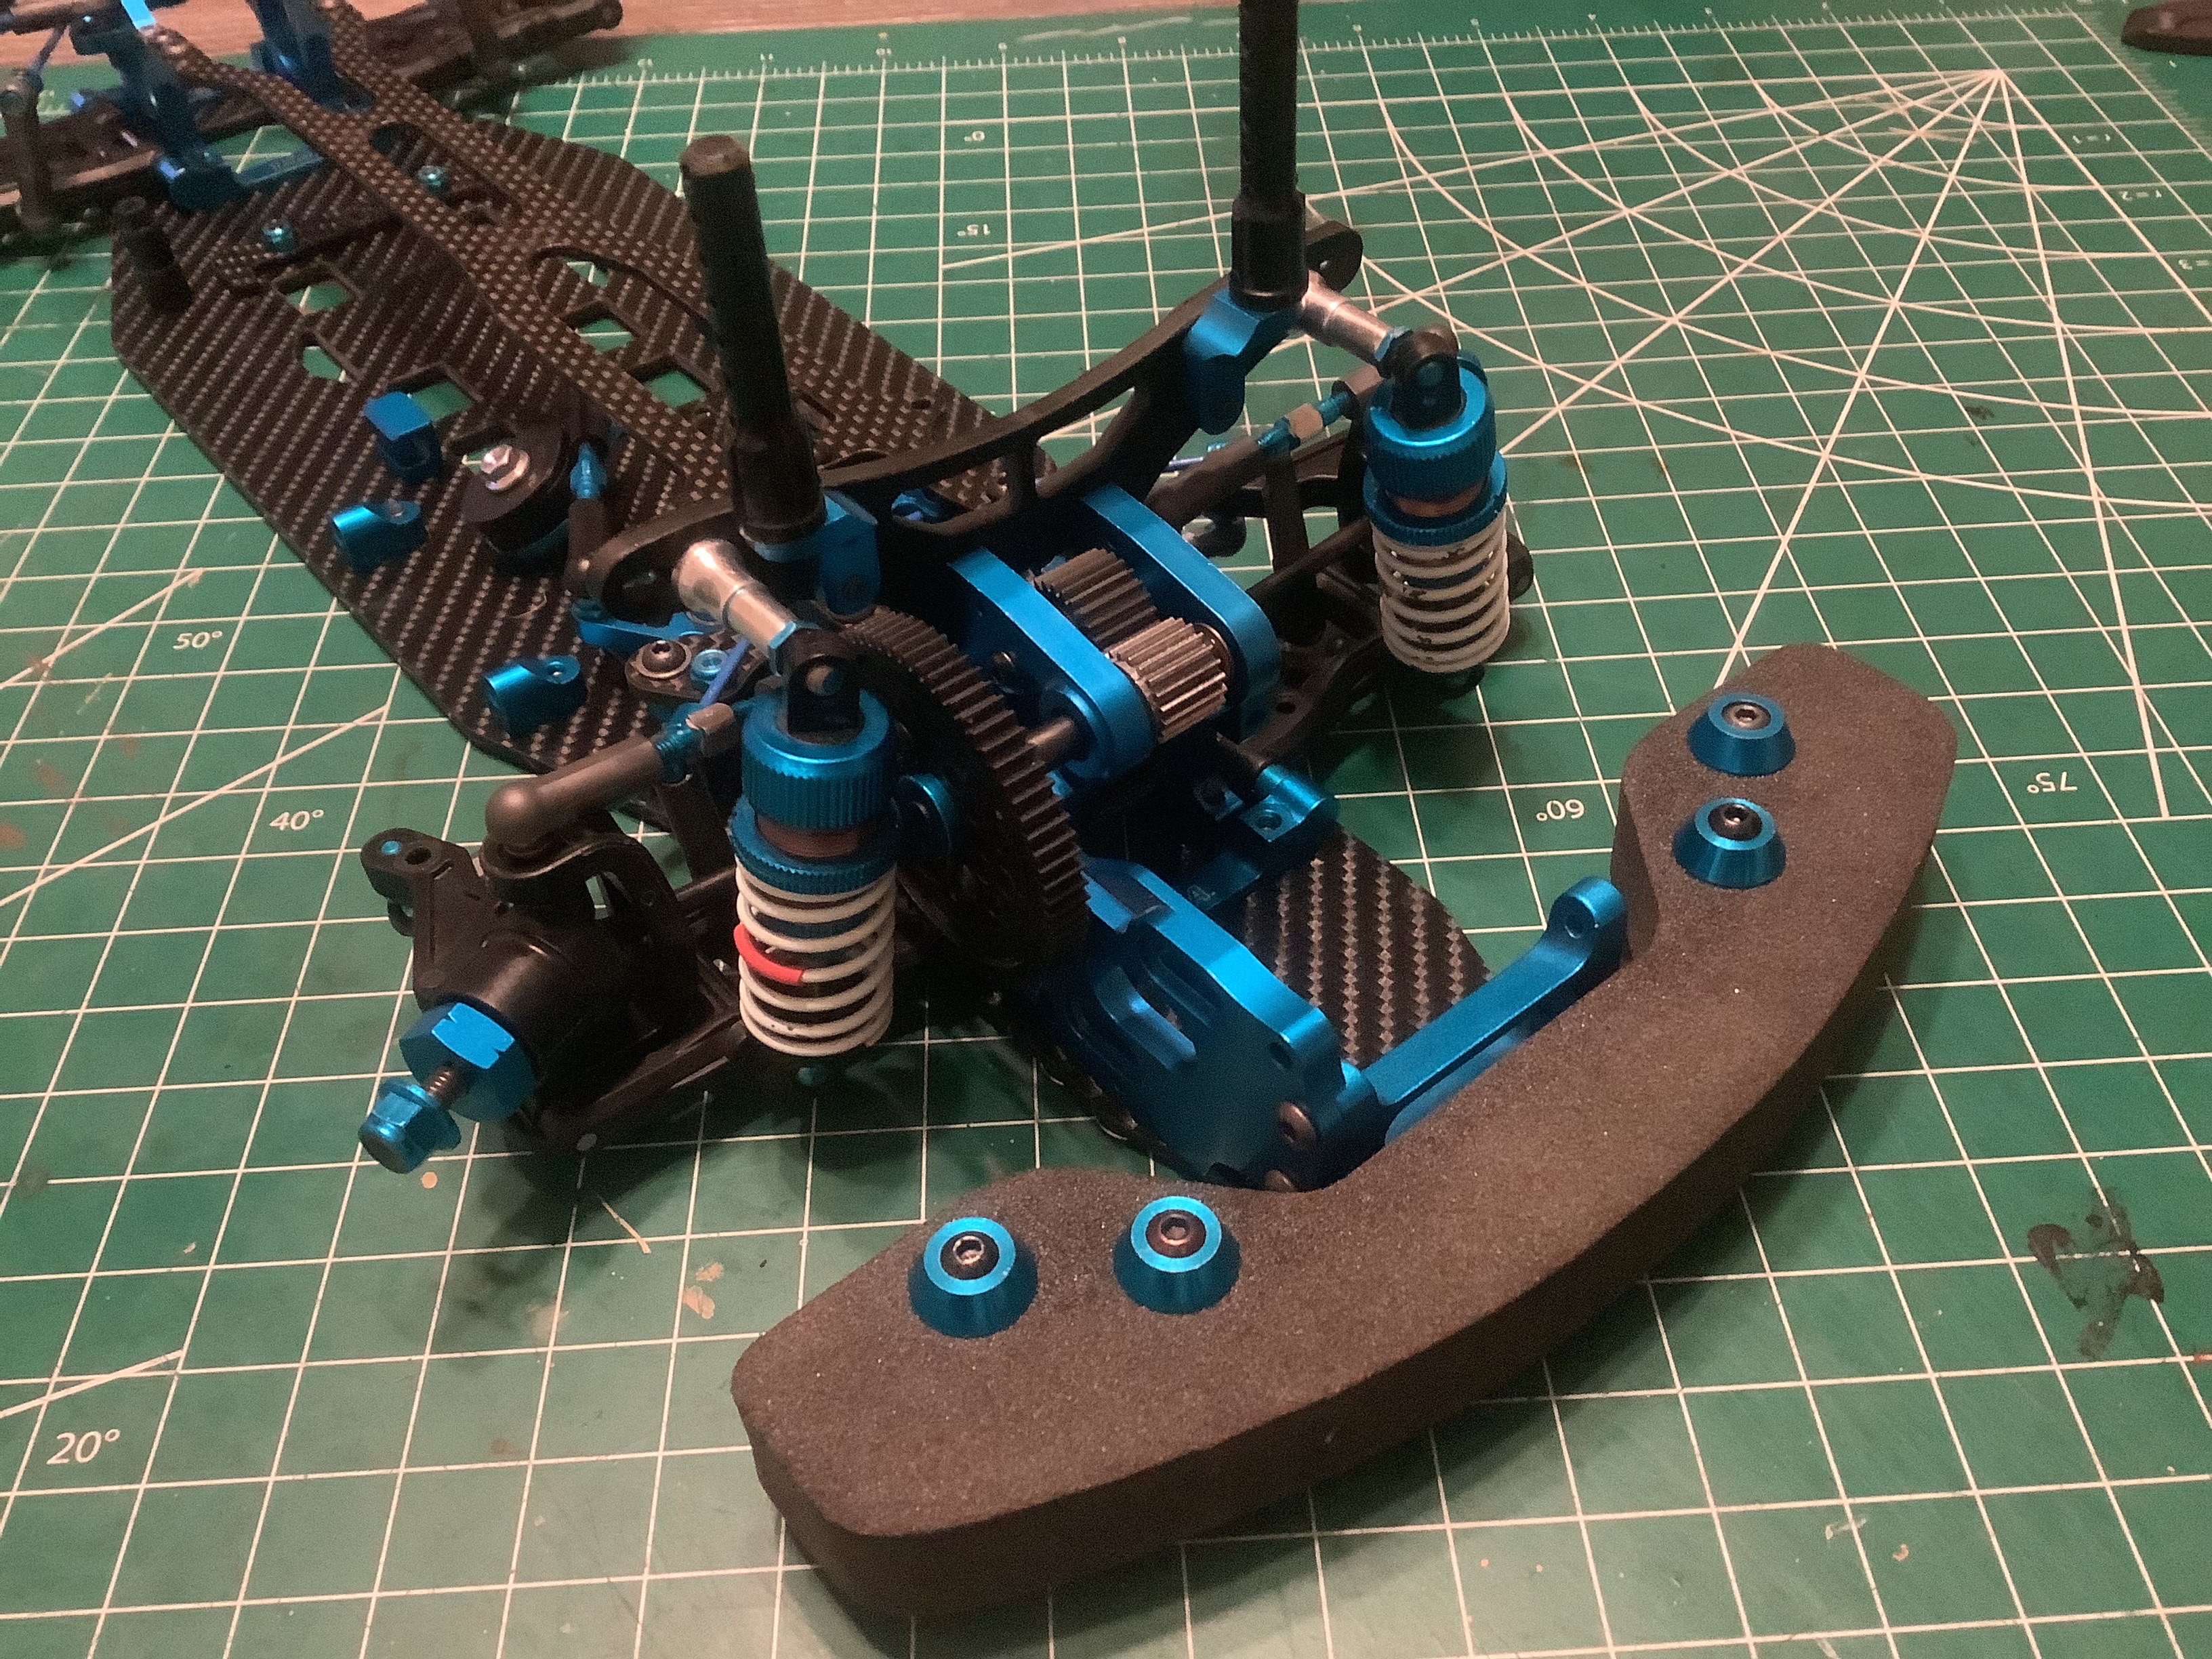
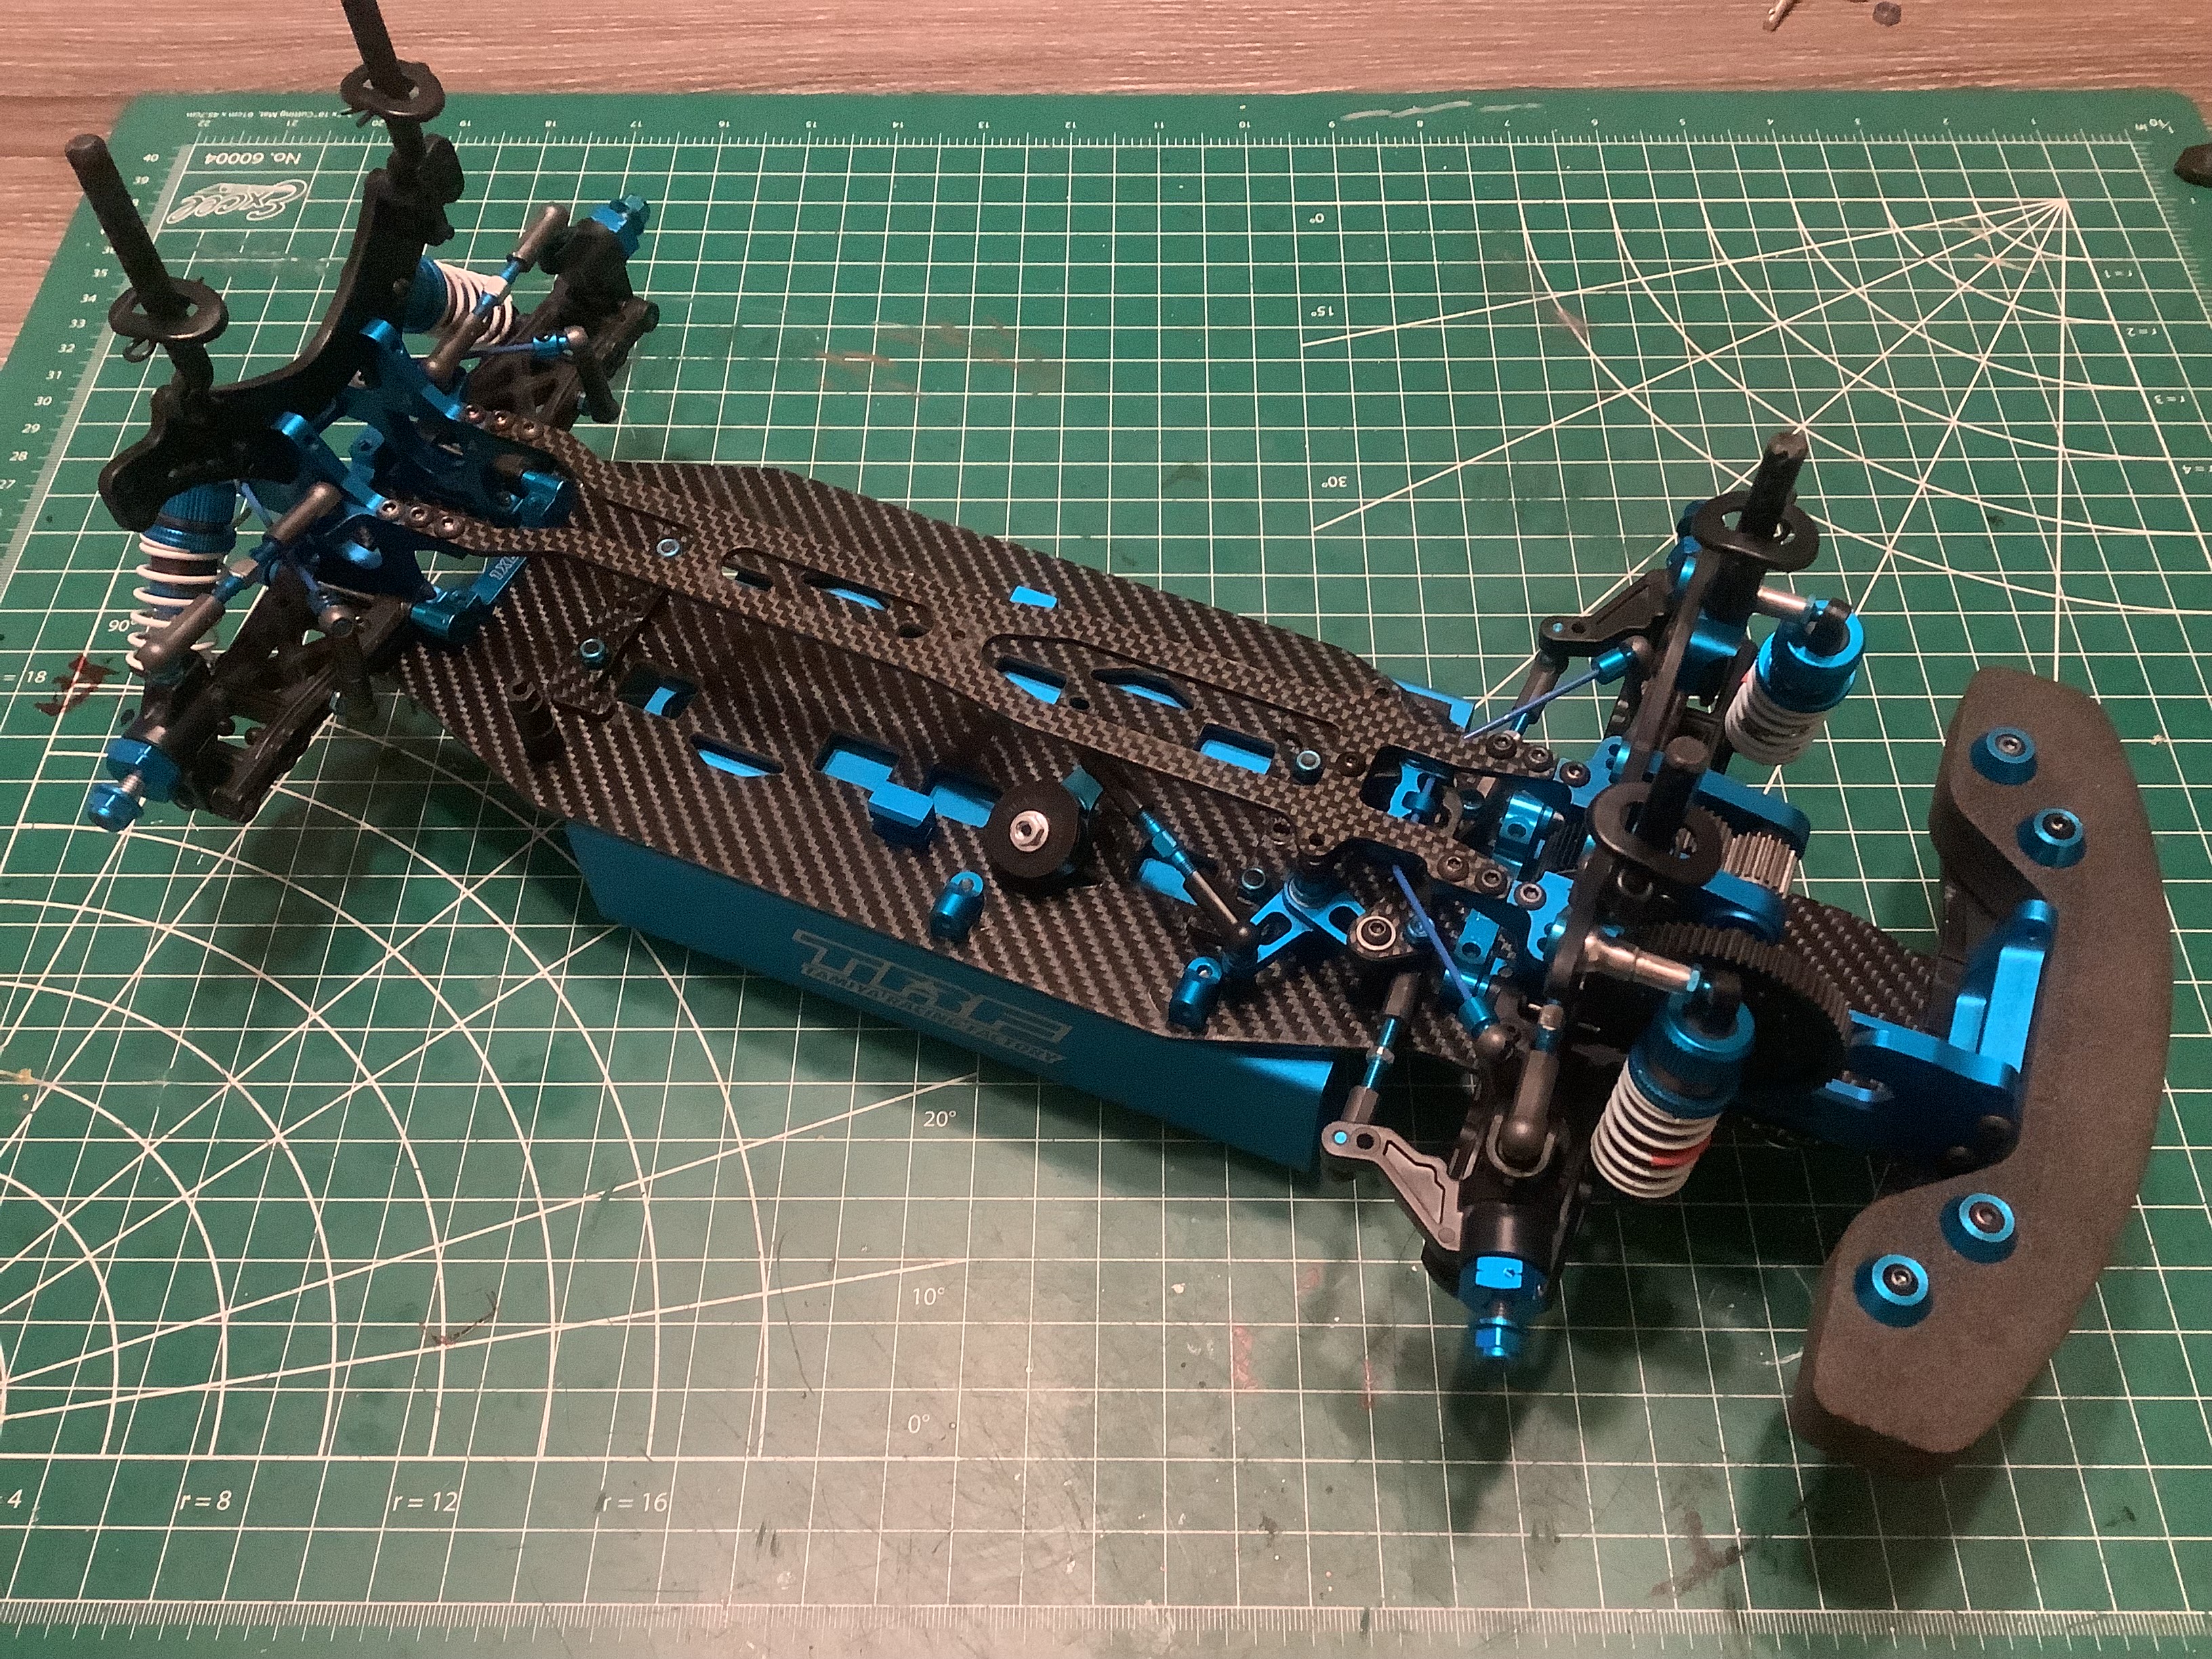
After installing the body posts, that's it! Here is the completed
Huge RC FF11. It differs quite substantially from any of the
standard versions of the FF-03 but is just as pretty.
©2023 Eric Albrecht