Tamiya Comical Avante Project
Page 1: Assembly
Except for the hubs, this chassis is extremely similar in construction
to the GF-01 I documented earlier so I did not record most of the build
process here.
For those interested in more information about the build of this
chassis, a detailed build record of another GF-01 can be found on my Monster Beetle Trail page.
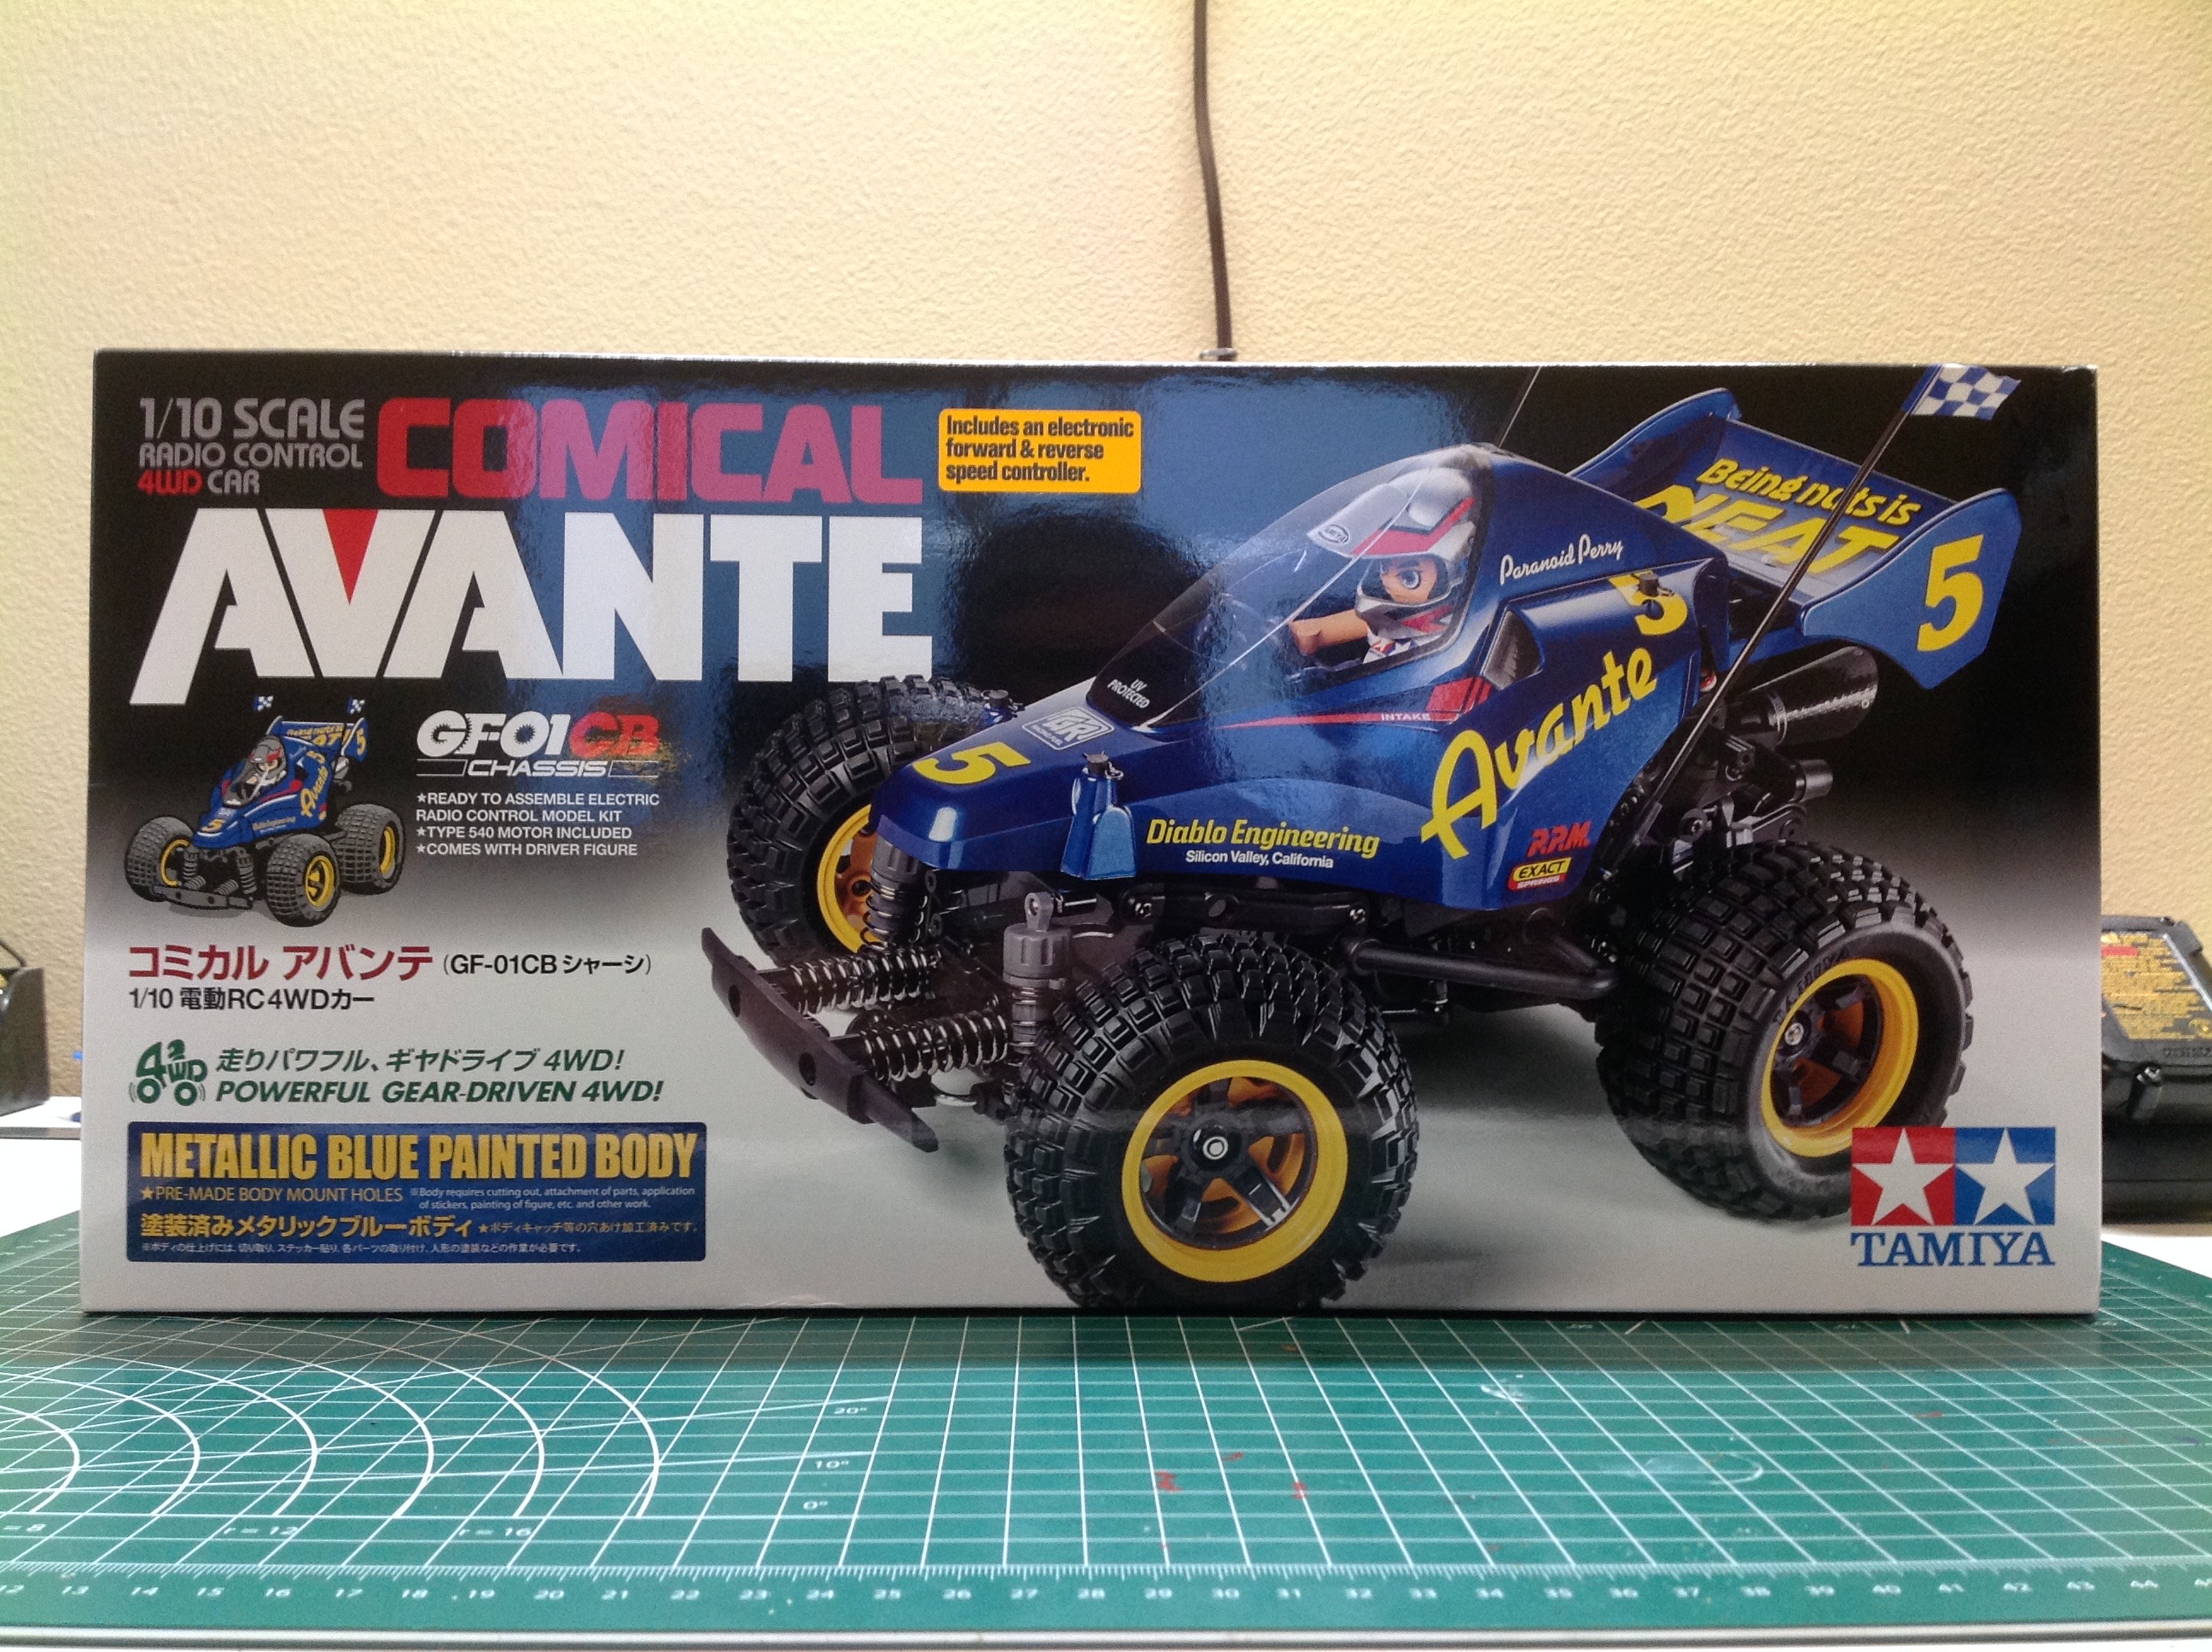
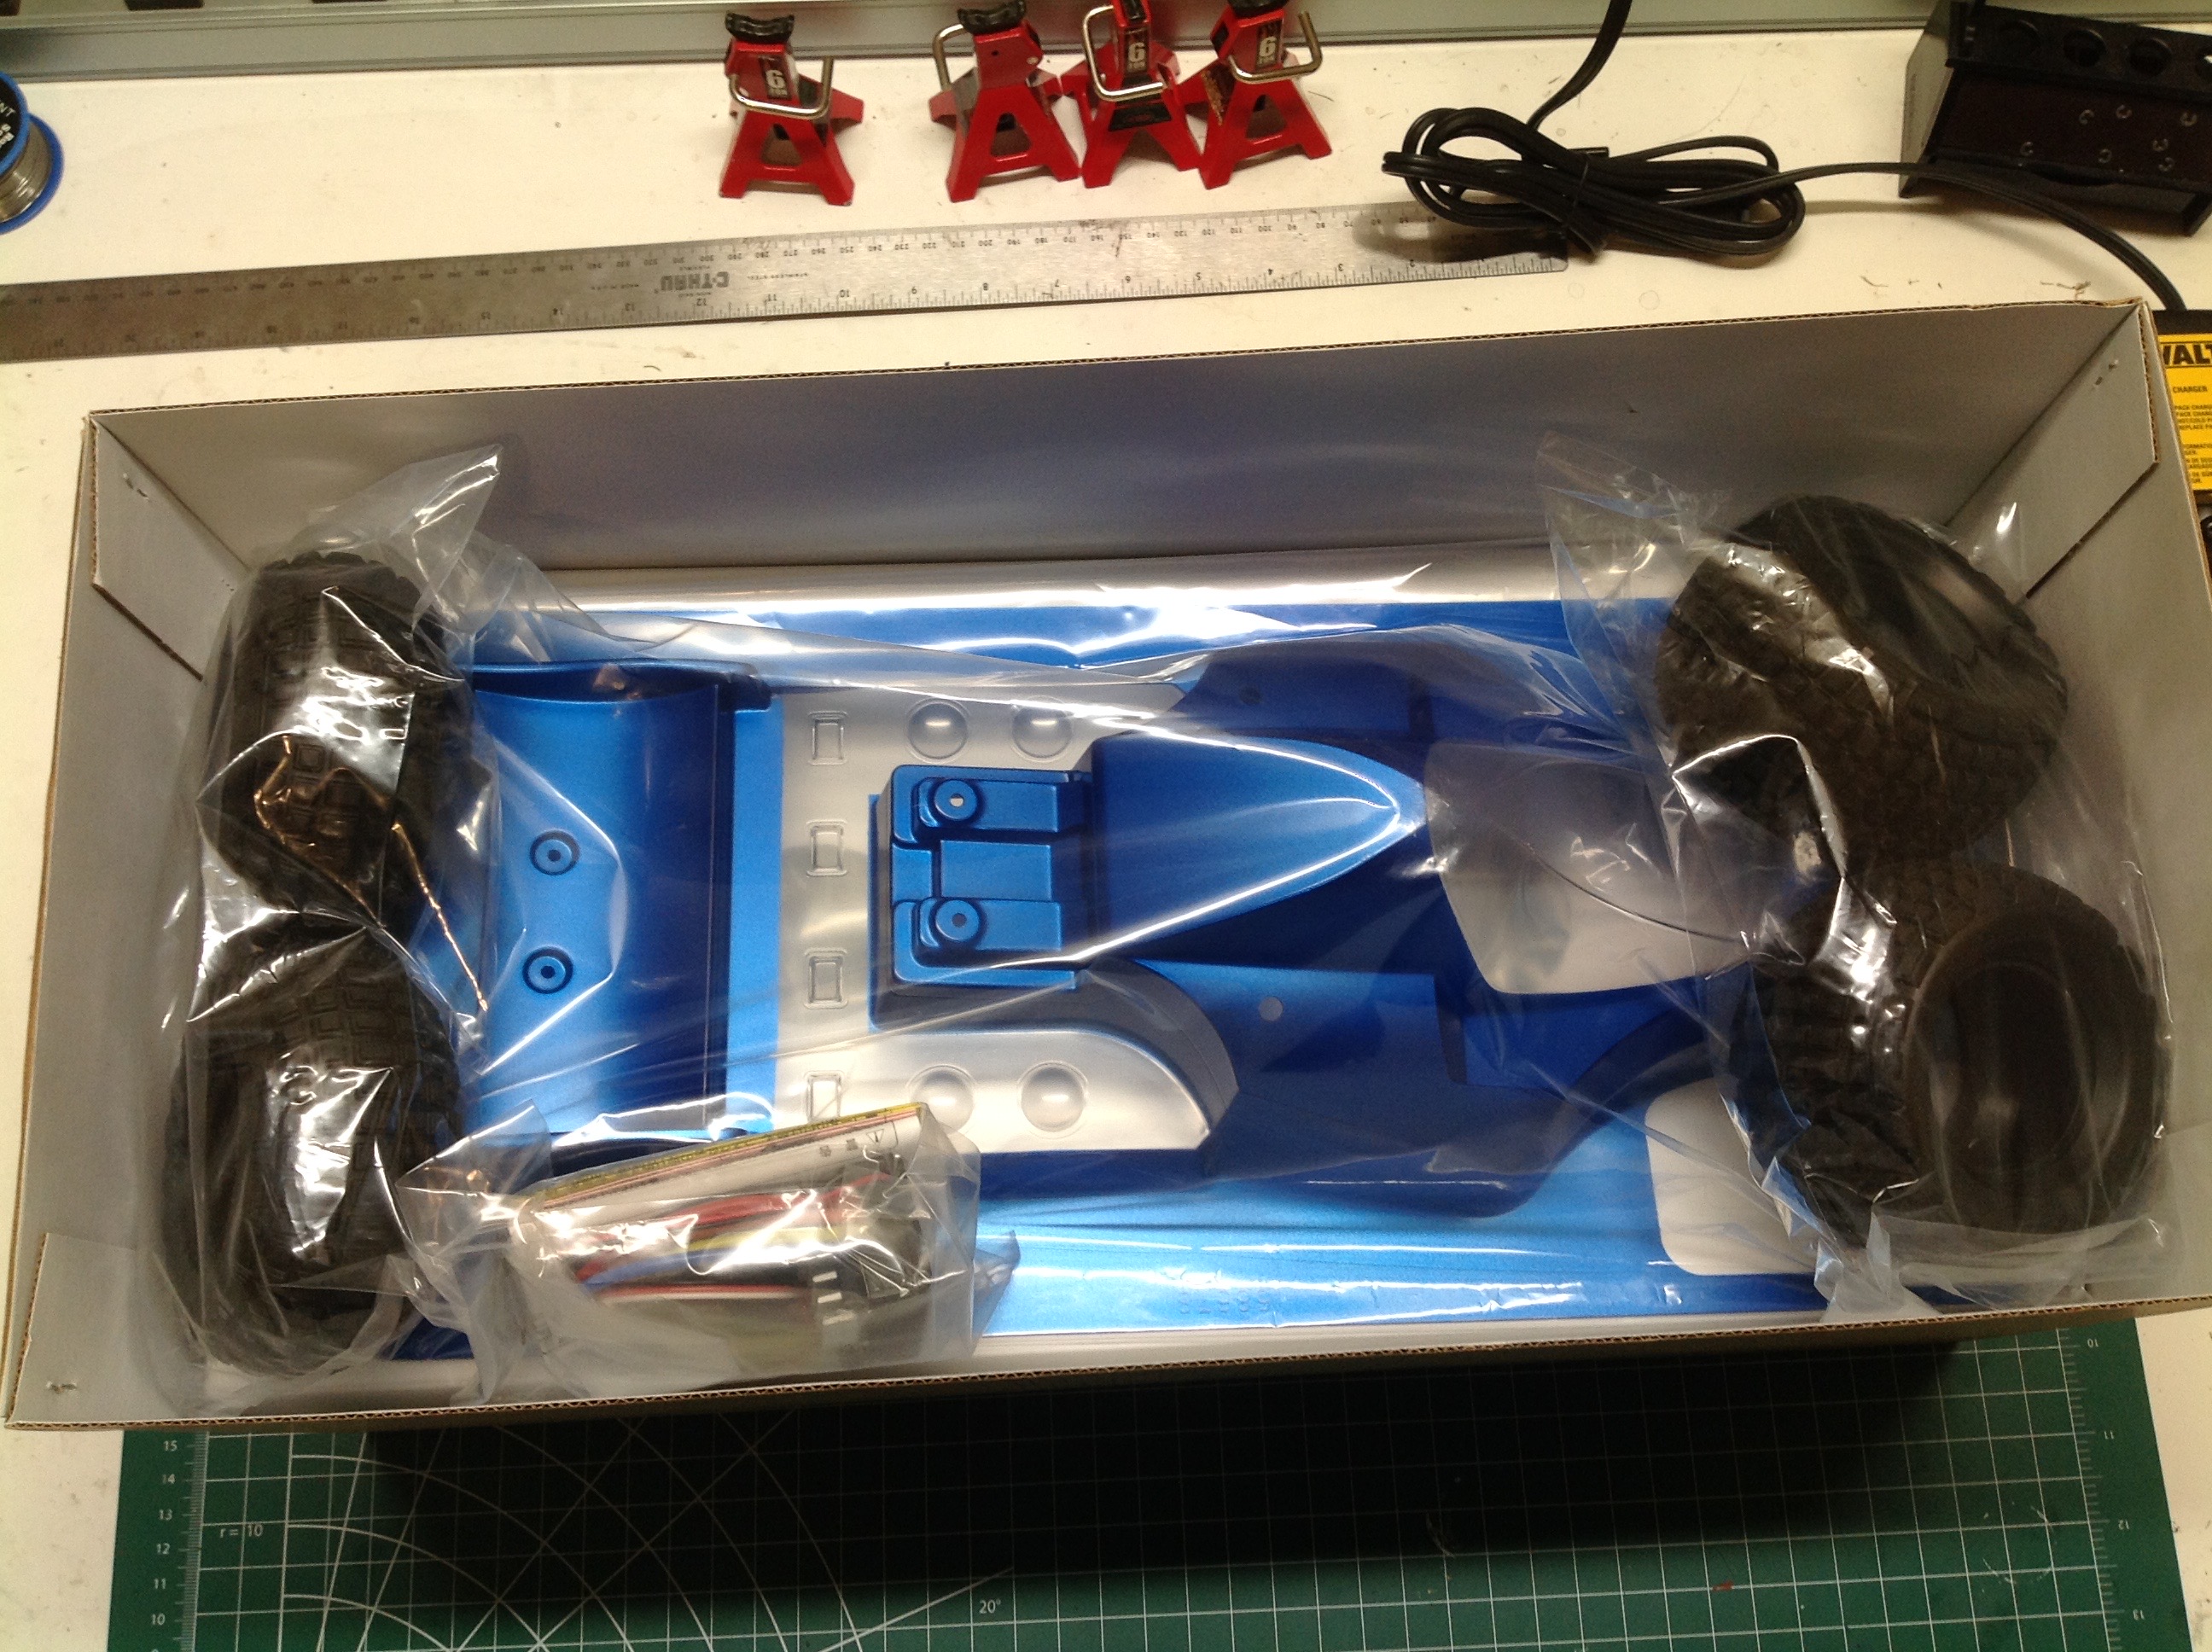
The Comical Avante comes in a photographic box which looks almost empty
when you open it. Everything is hidden underneath the pre-painted
body.
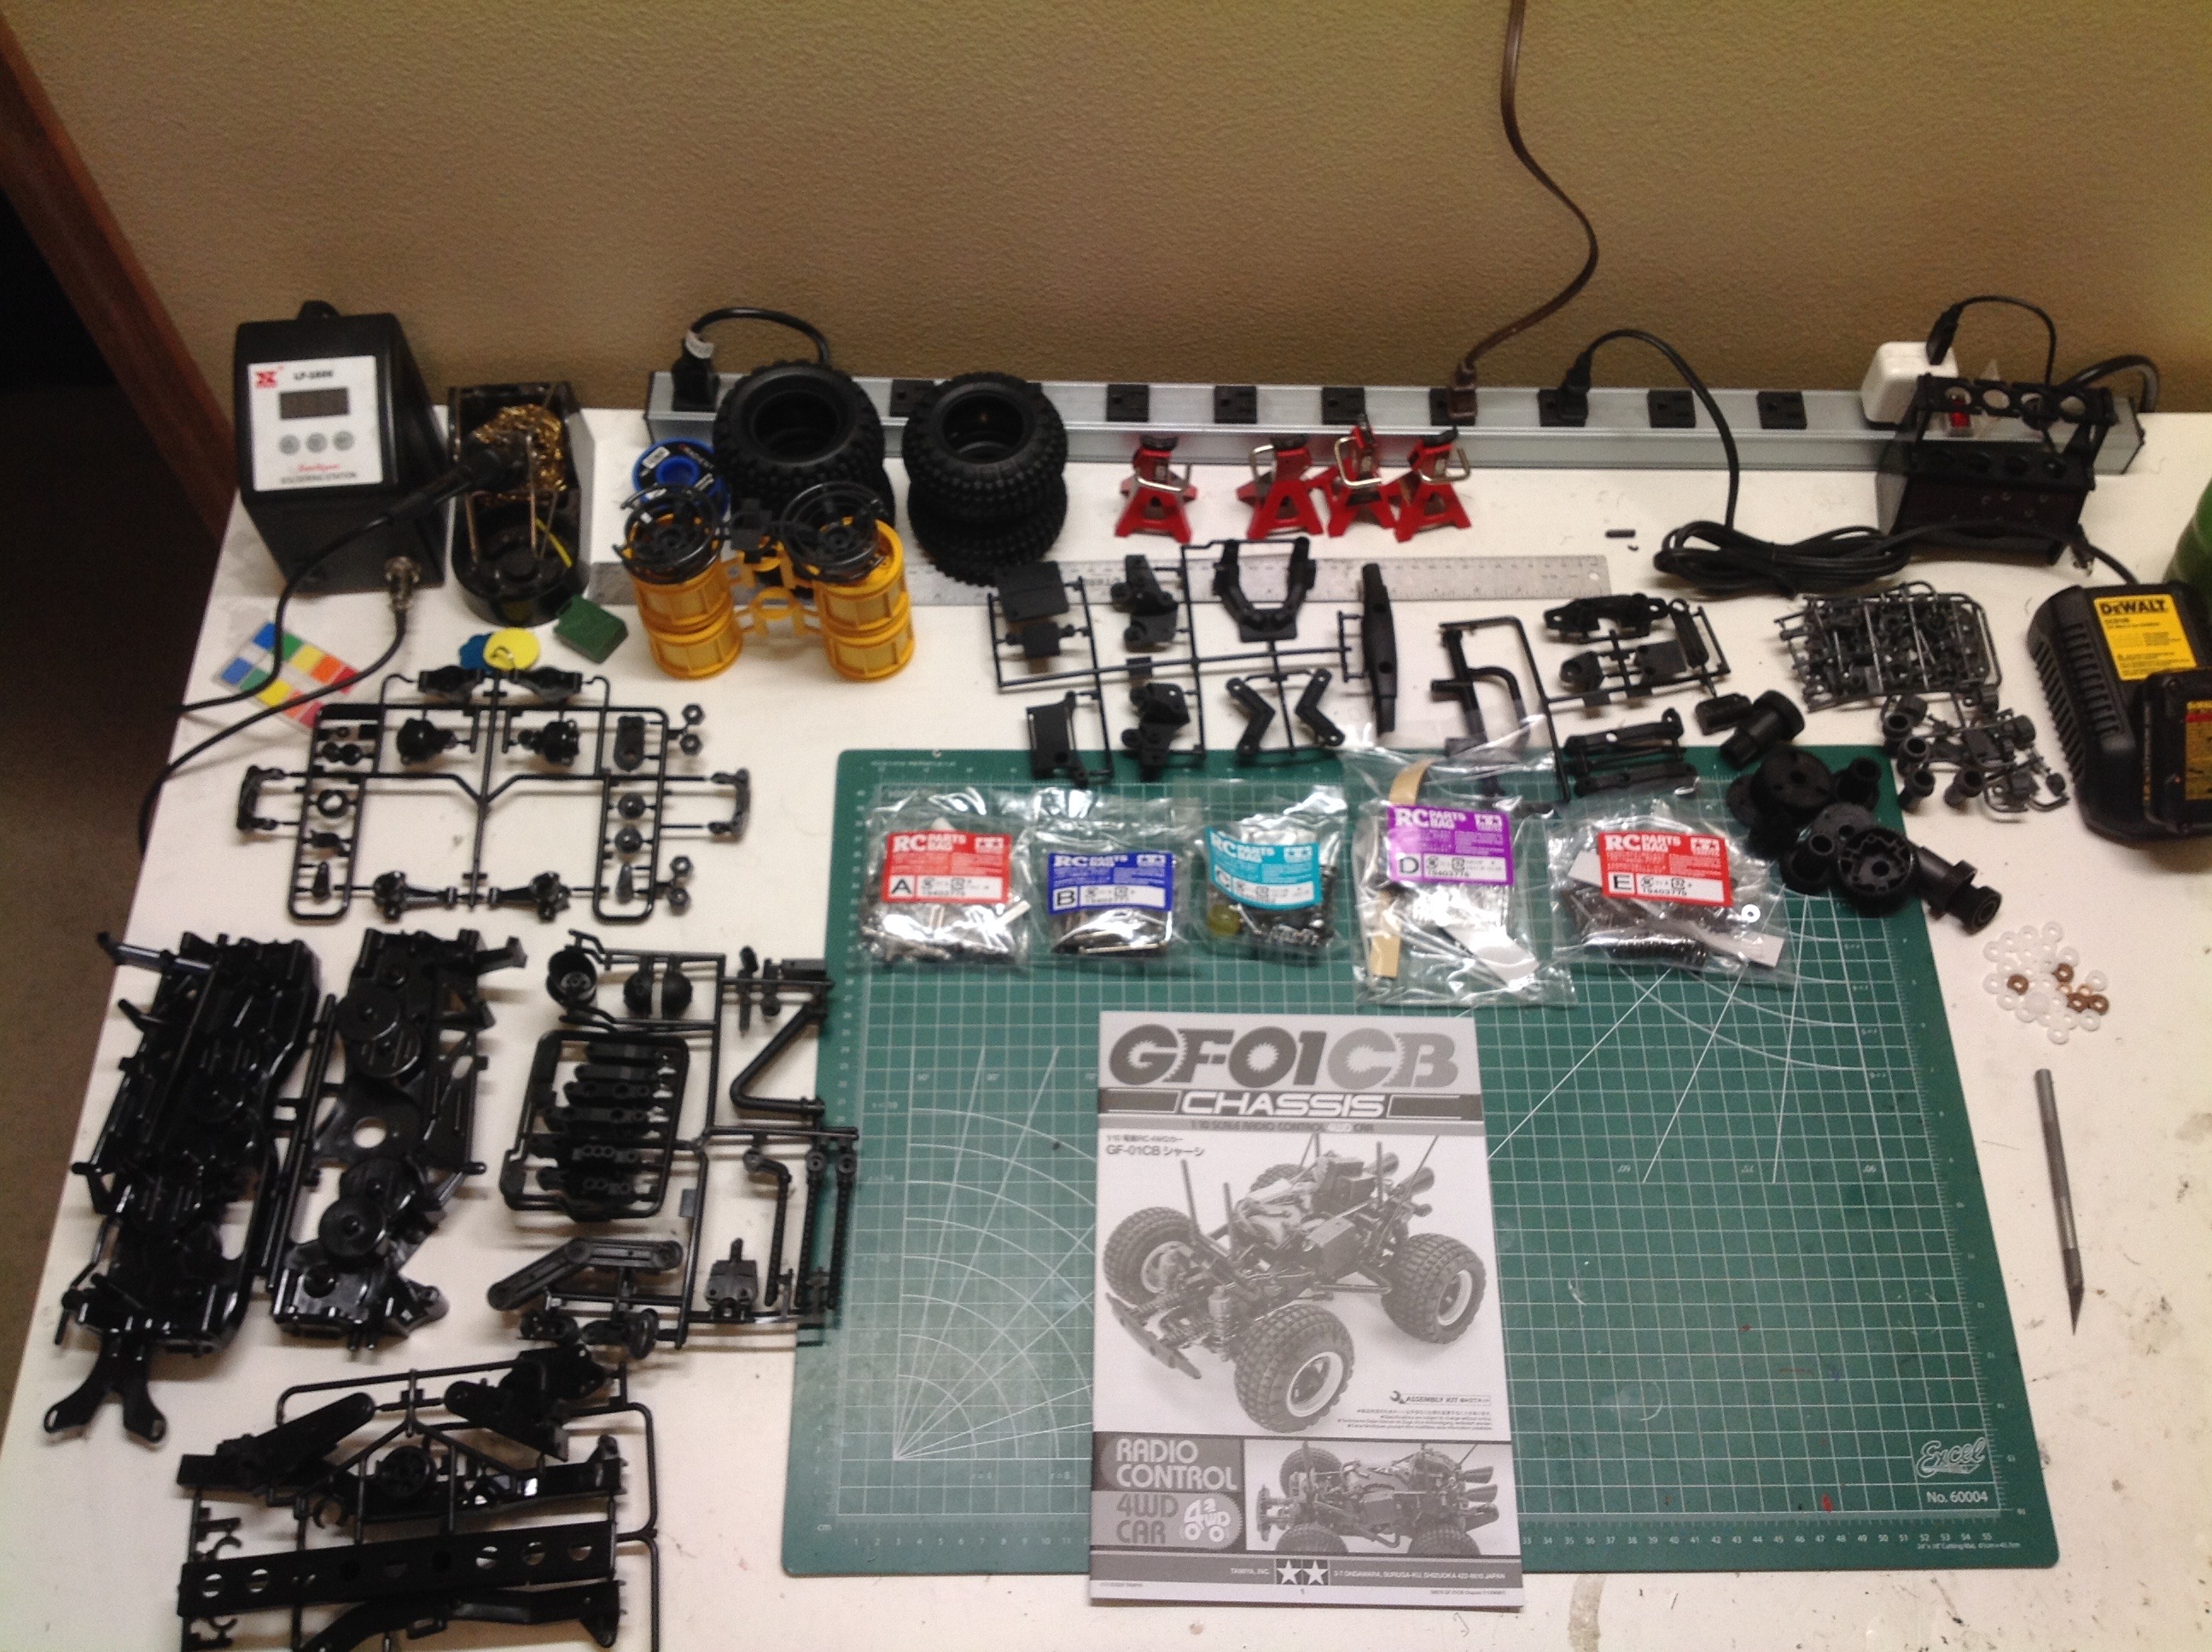
The build actually involves a pretty big assortment of parts as you can see here.
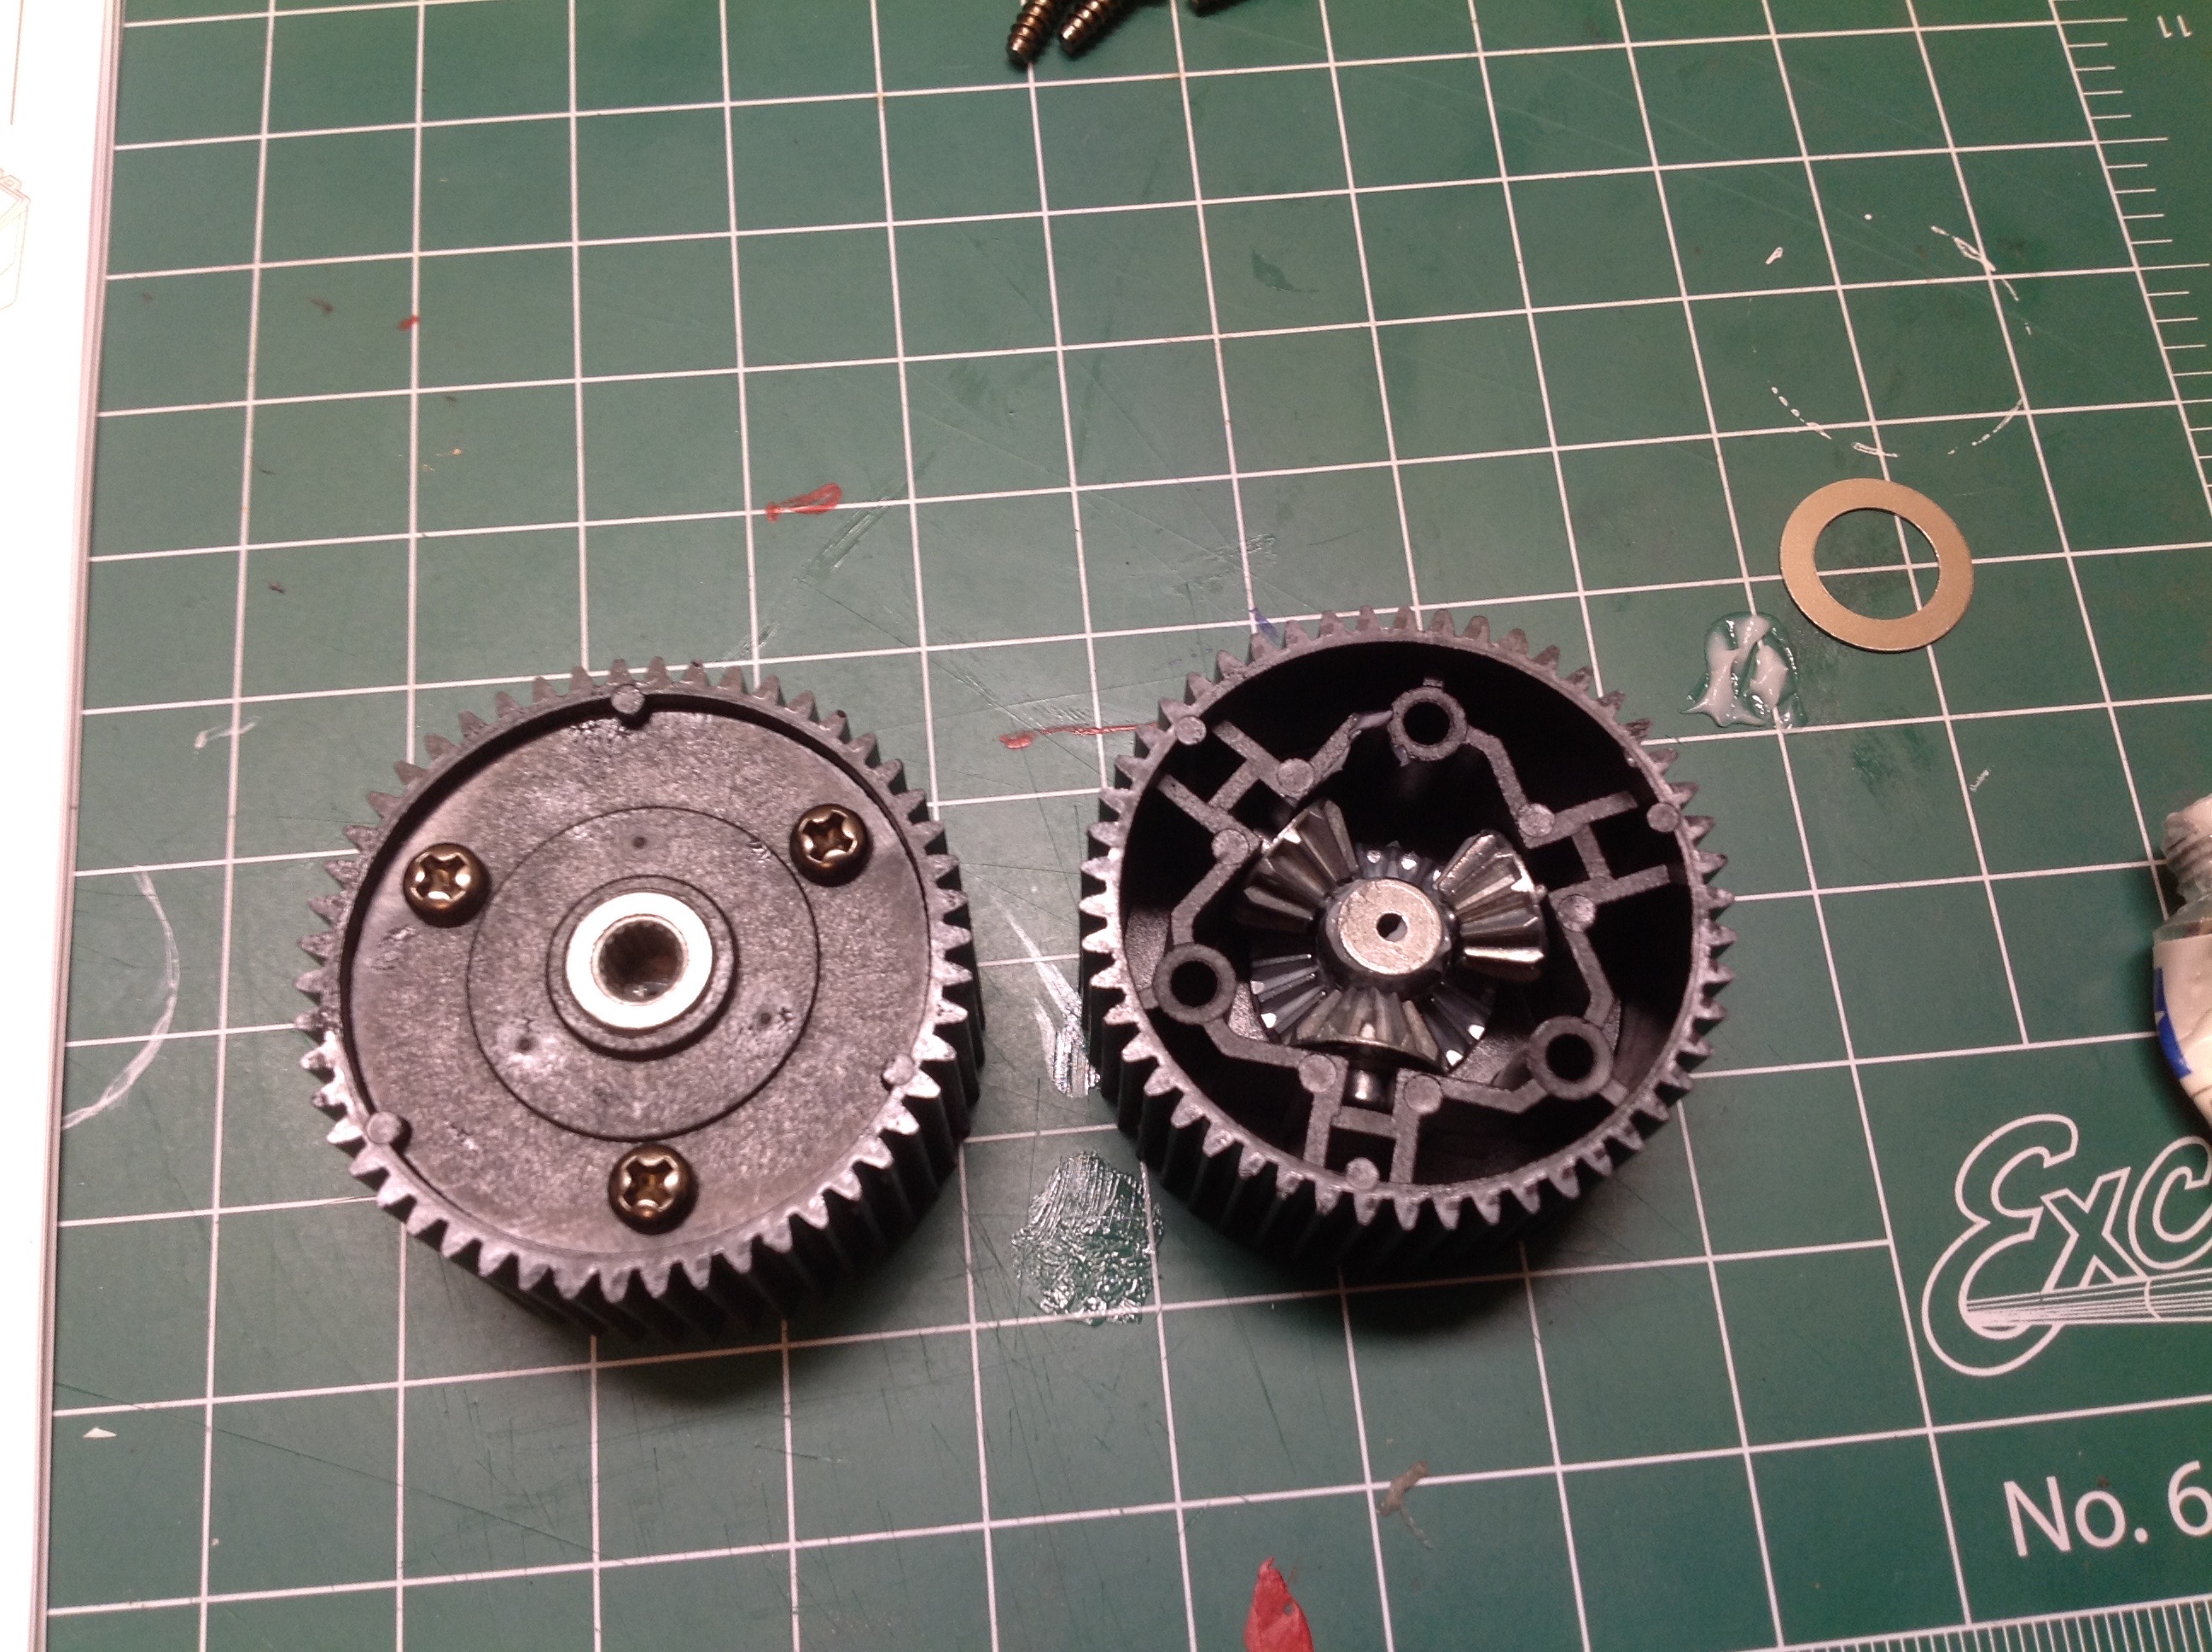
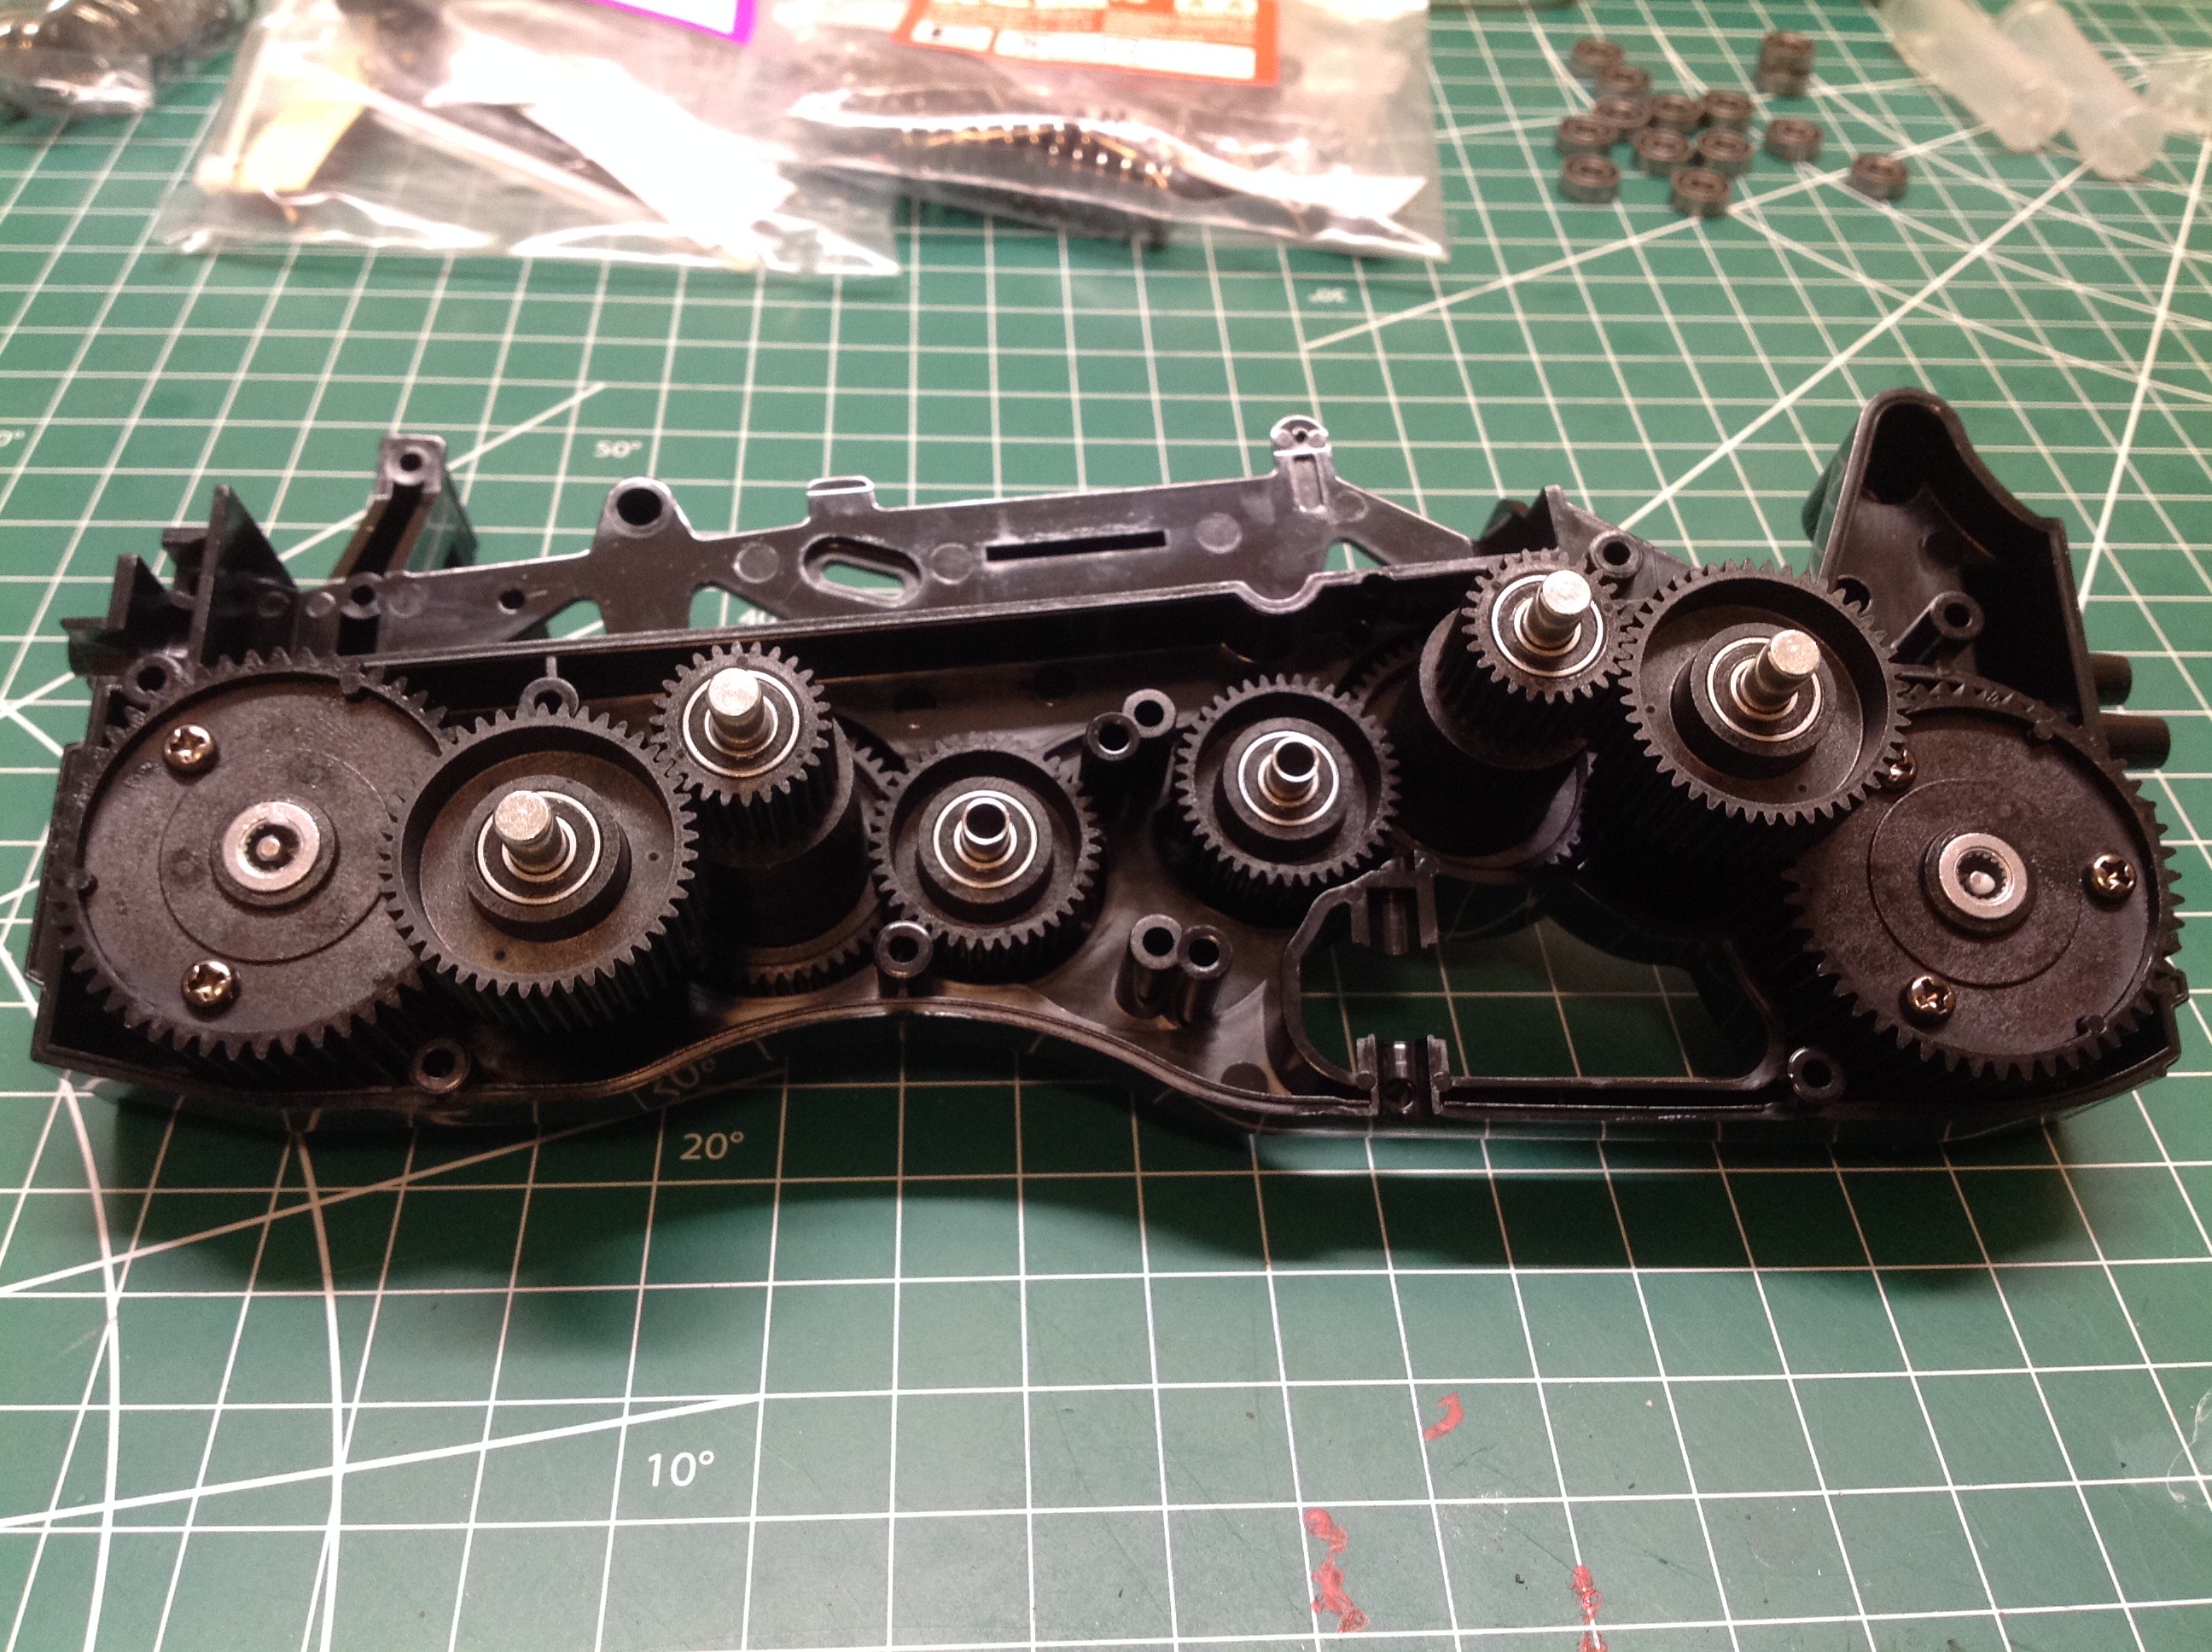
The build starts with a pair of huge, open differentials with outer spur
gears. The internal gears are metal but take up only a fraction
of the available space.
The entire chassis is a big spur gearbox as shown. If you are
going to add ball bearings like I did, you will need a lot of
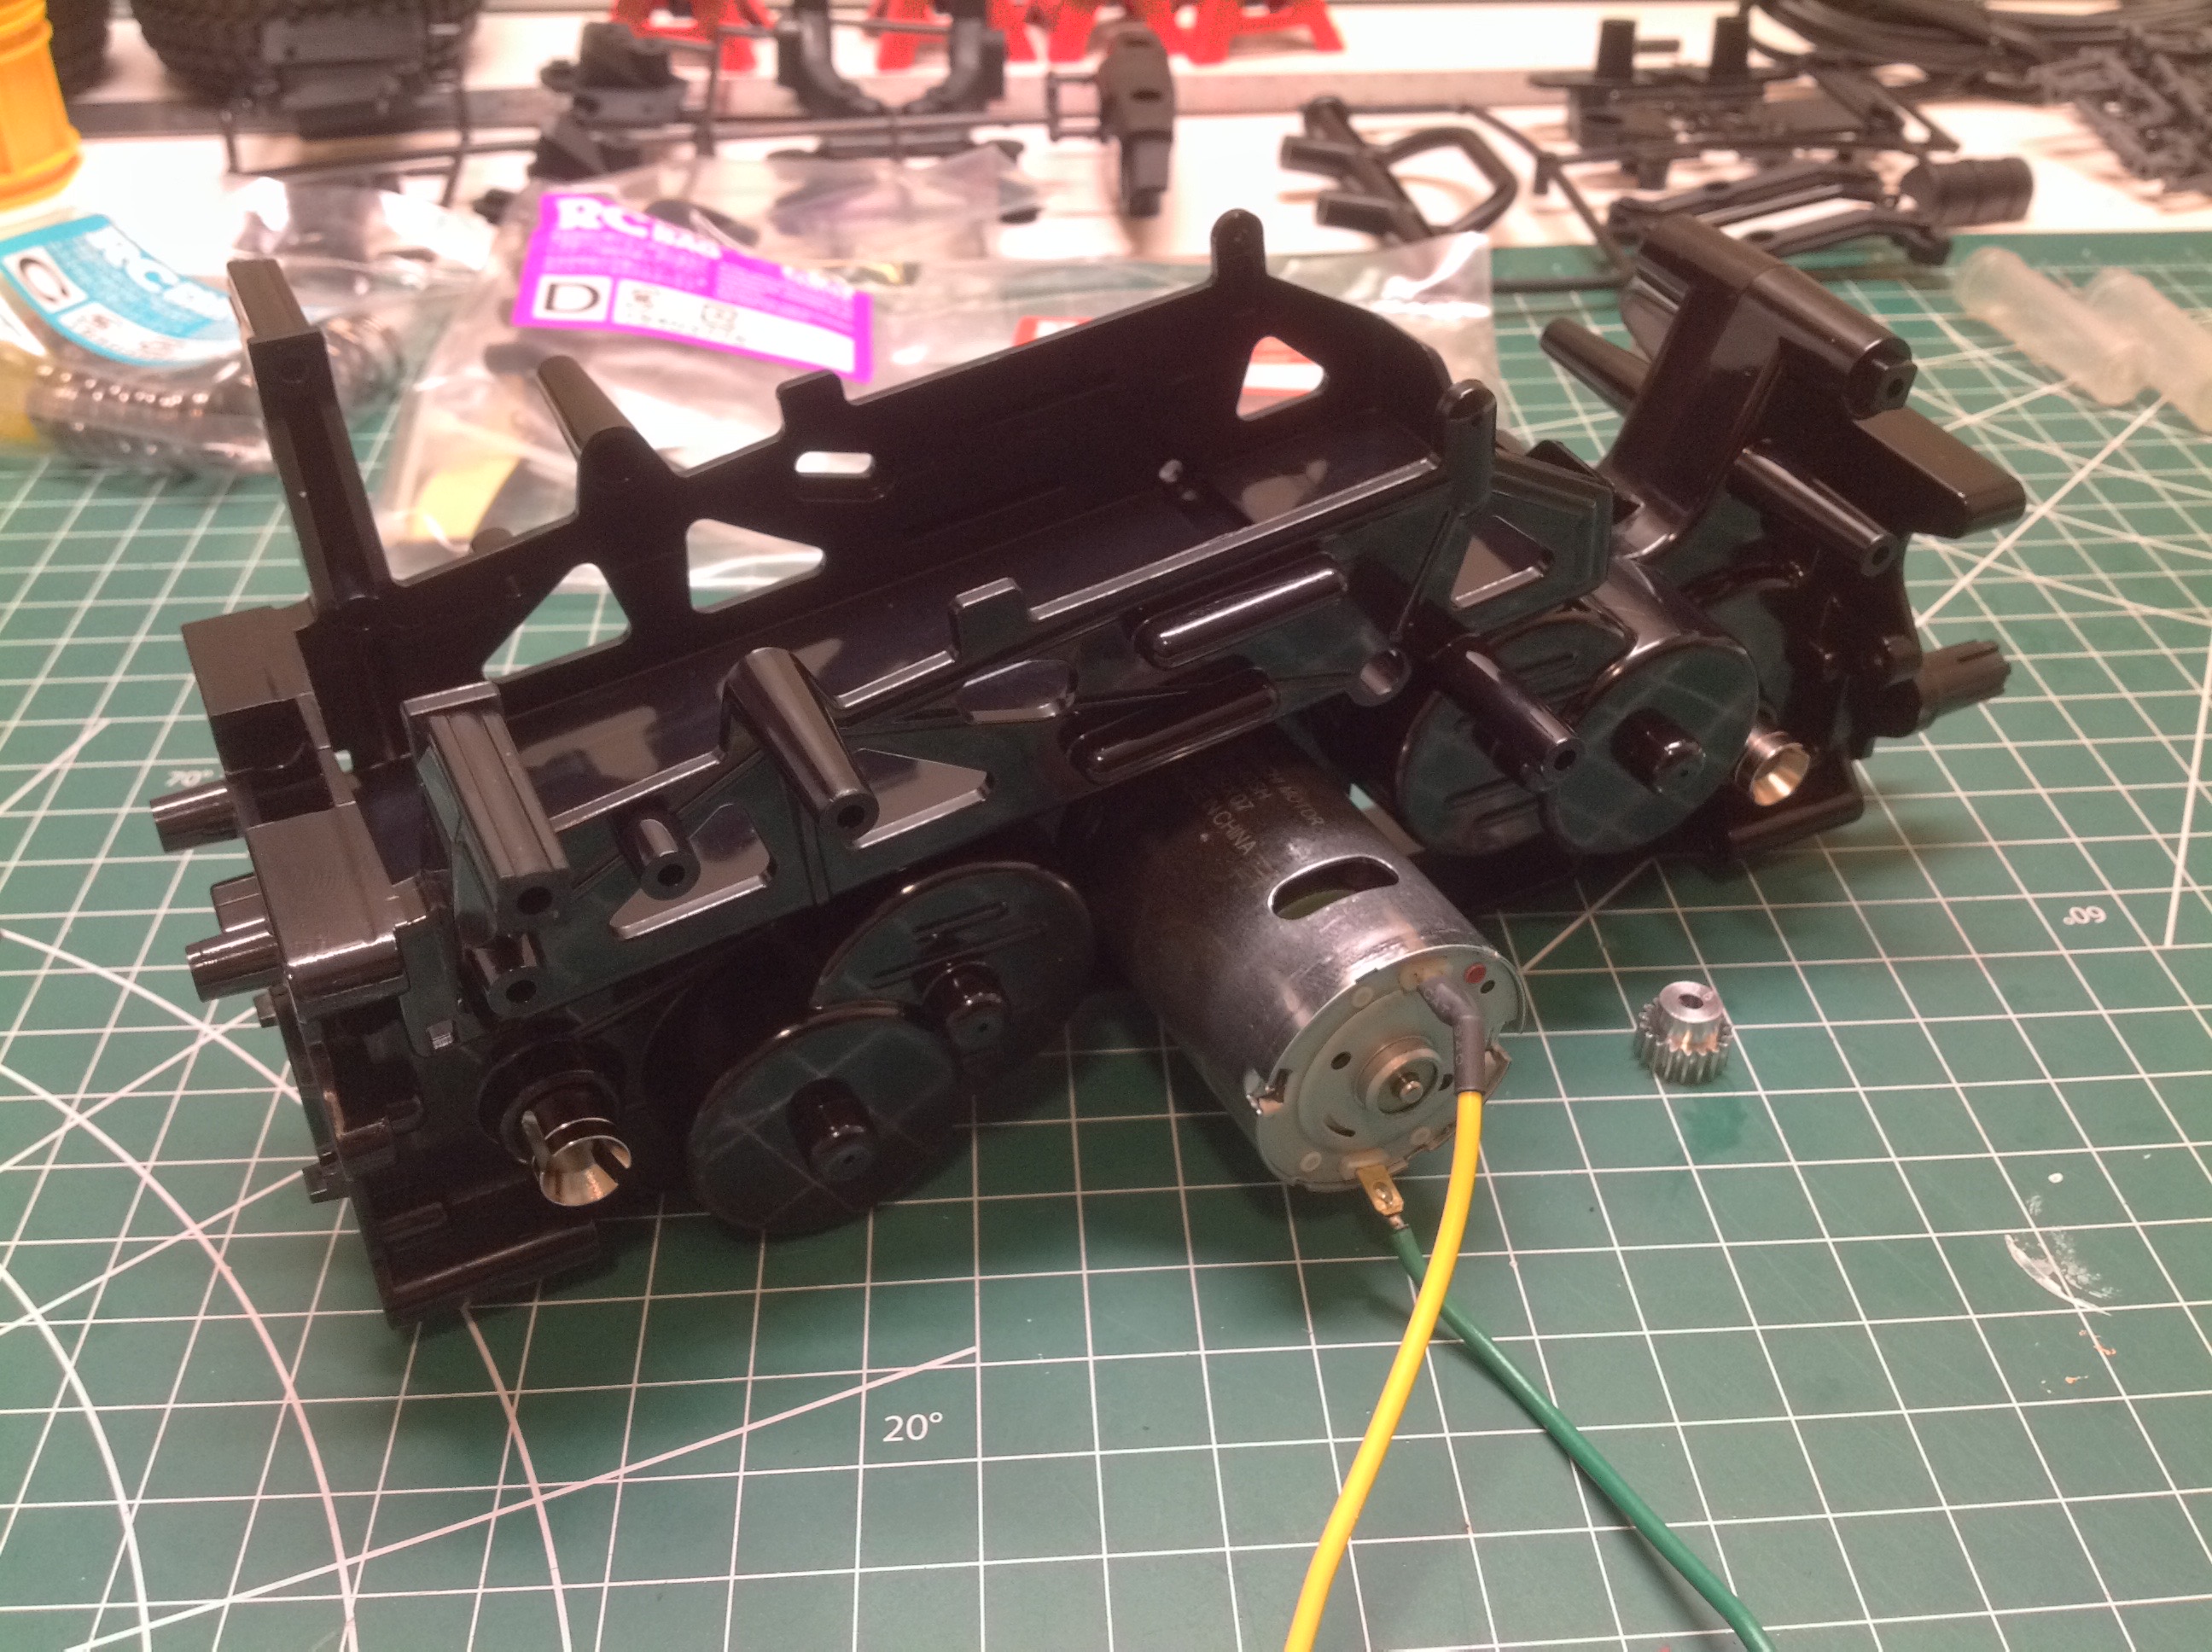
them. The kit comes with a plain silver can motor. It feels
like at least a Torque Tuned would have been a better match for a
wheelie chassis. I changed the stock aluminum pinion for steel.
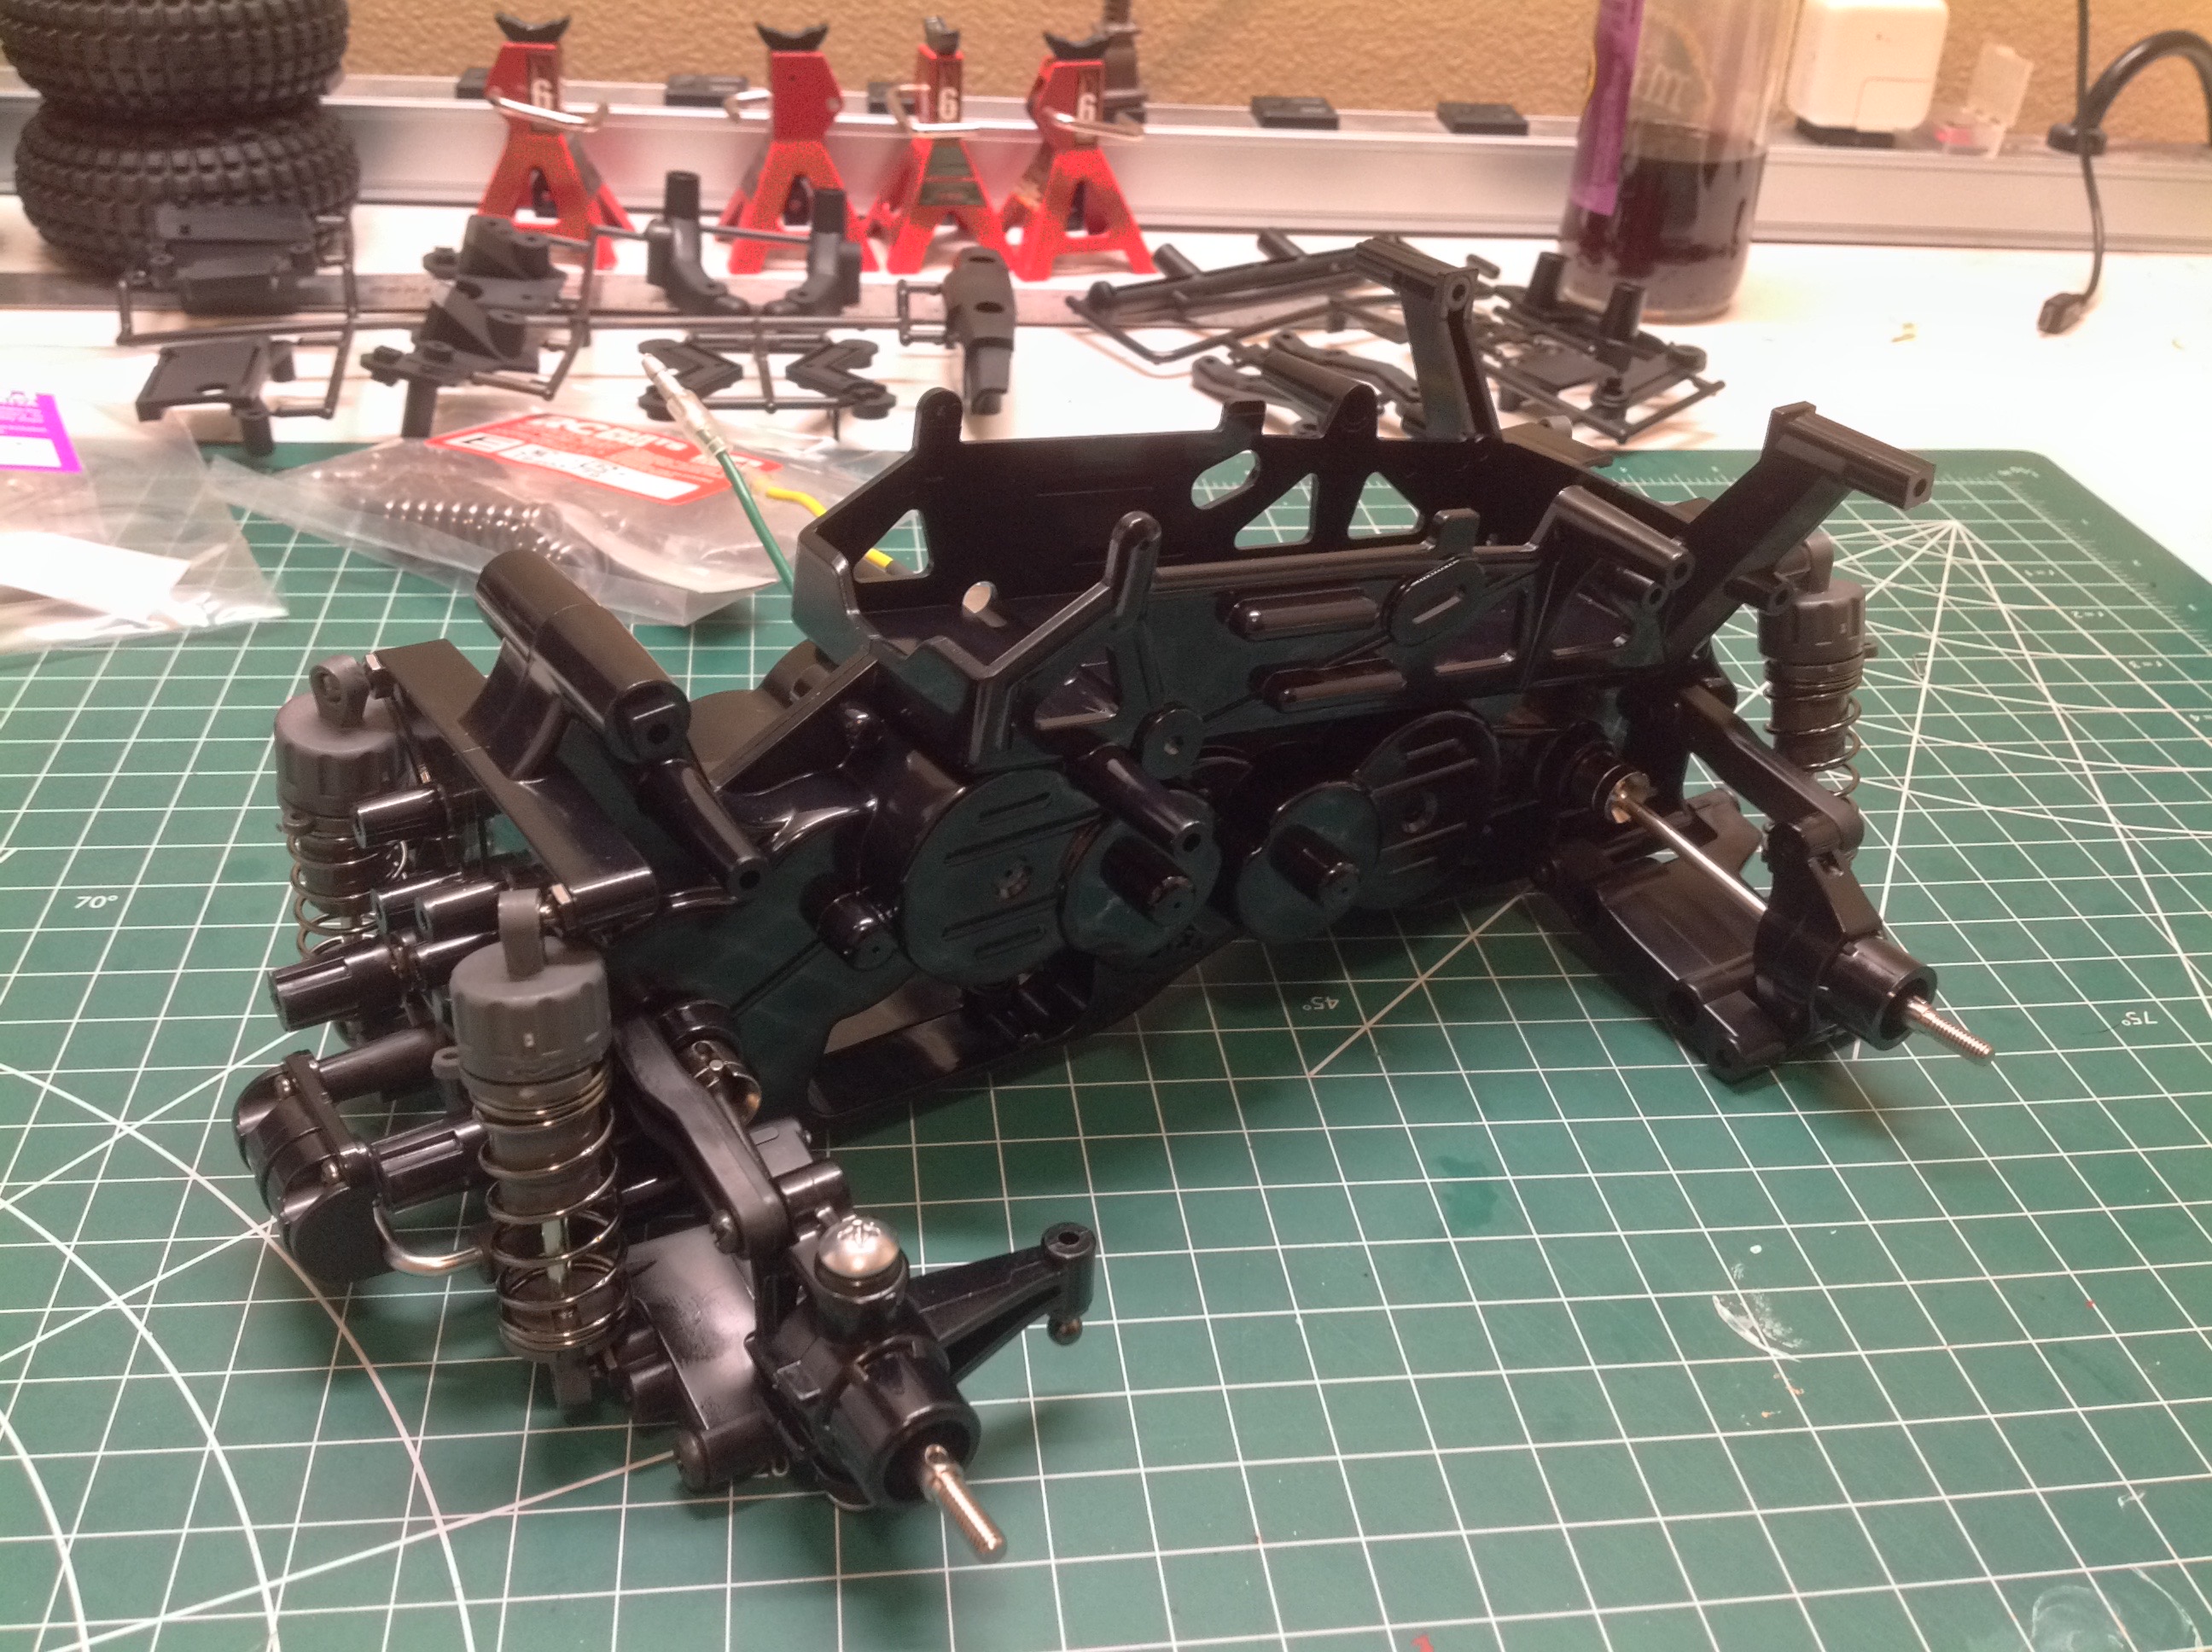
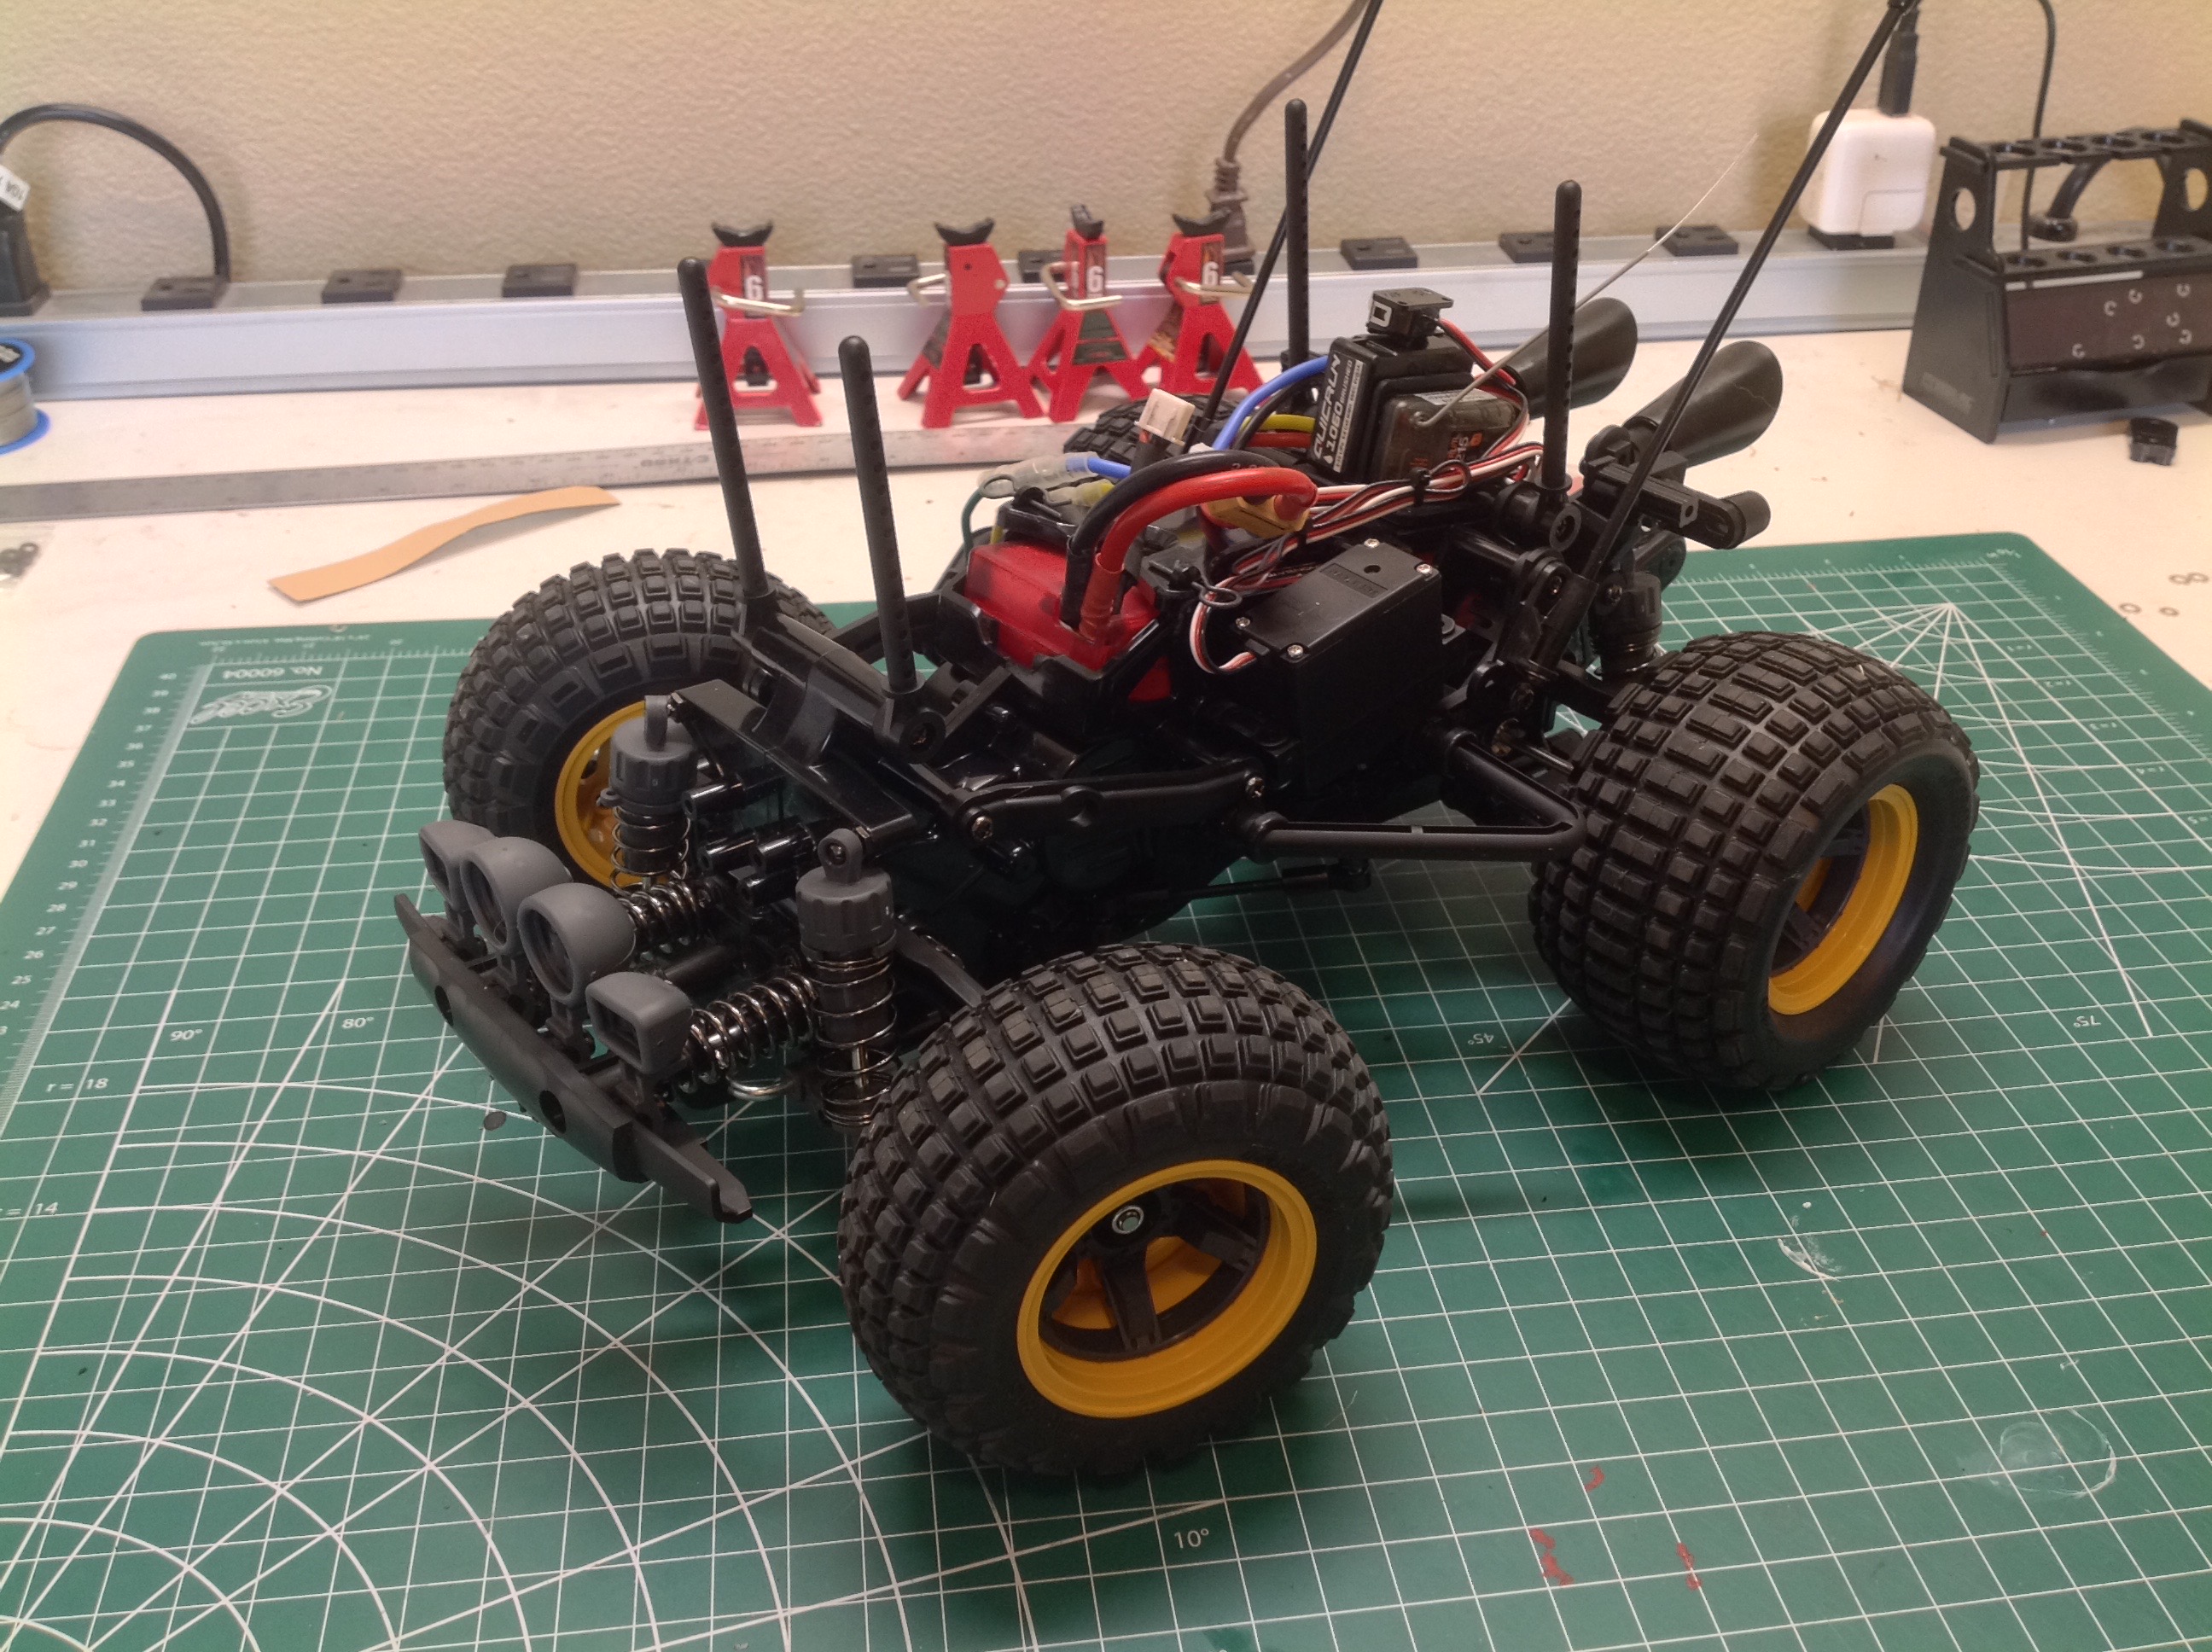
Now I've installed the plastic CVA shocks, the suspension, and finally
the electronics. I just used a cheap analog servo and it seems to
be fine. I did switch to a Hobbywing ESC so I could use a LiPo for
a little more wheelie punch.
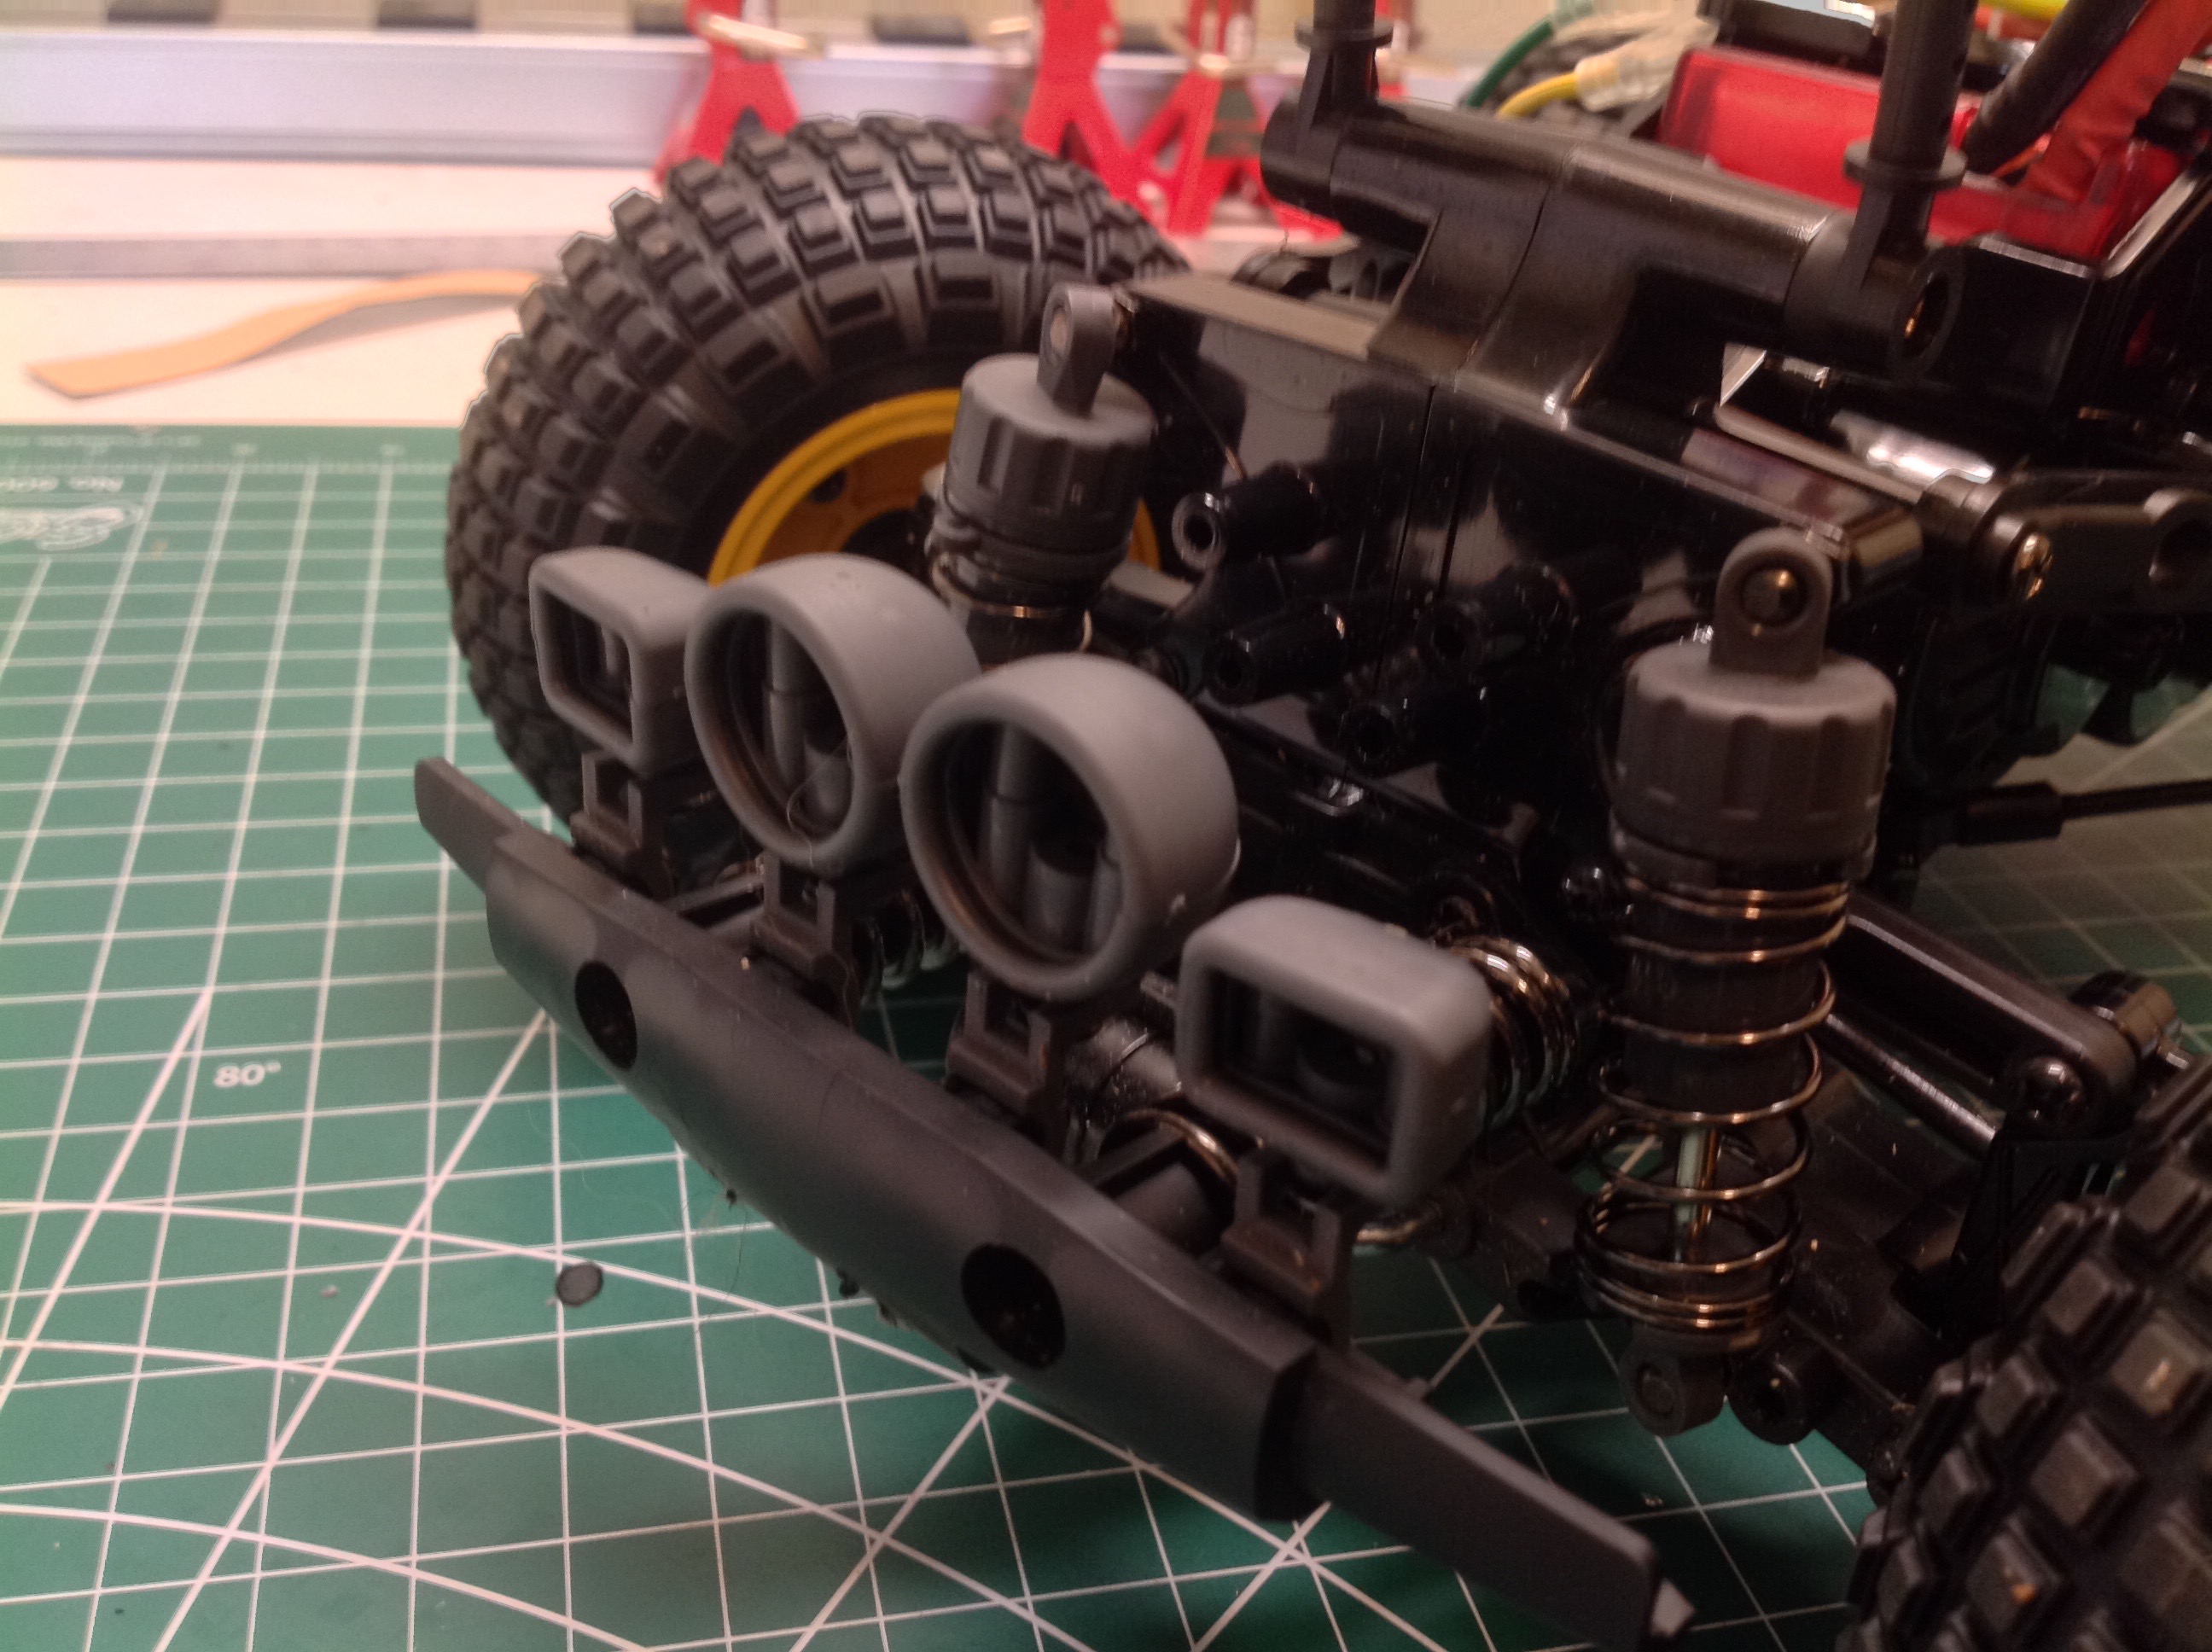
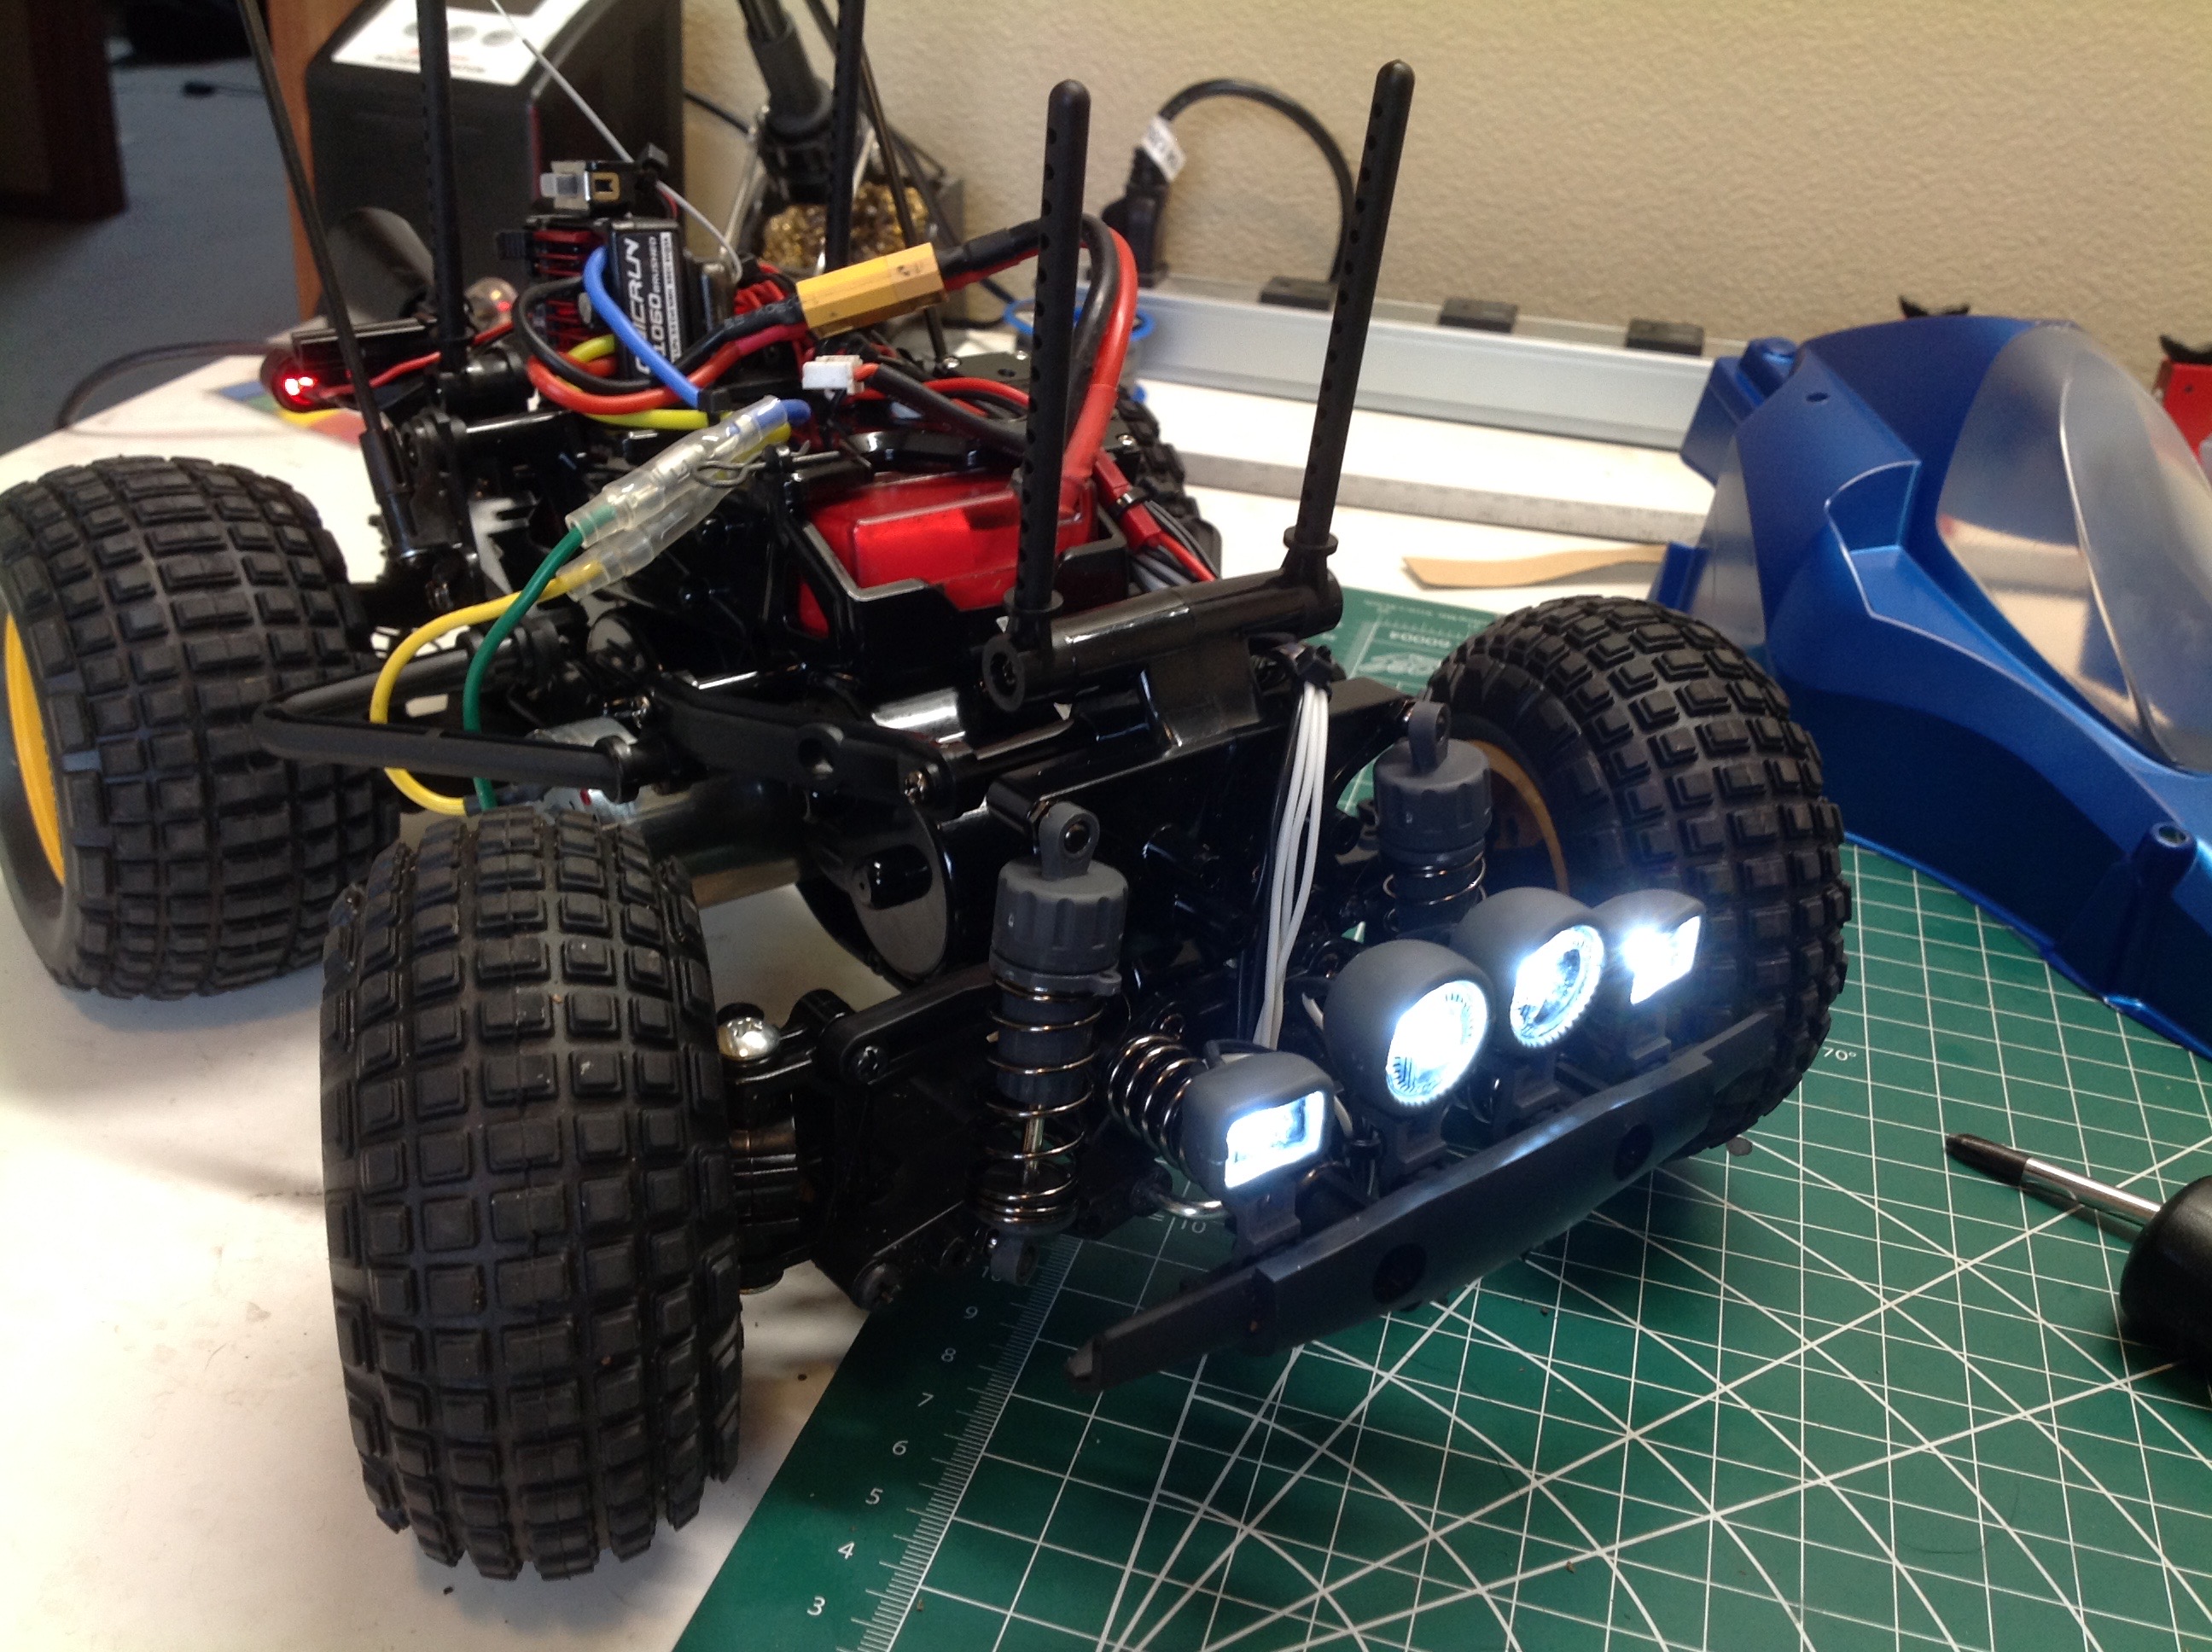
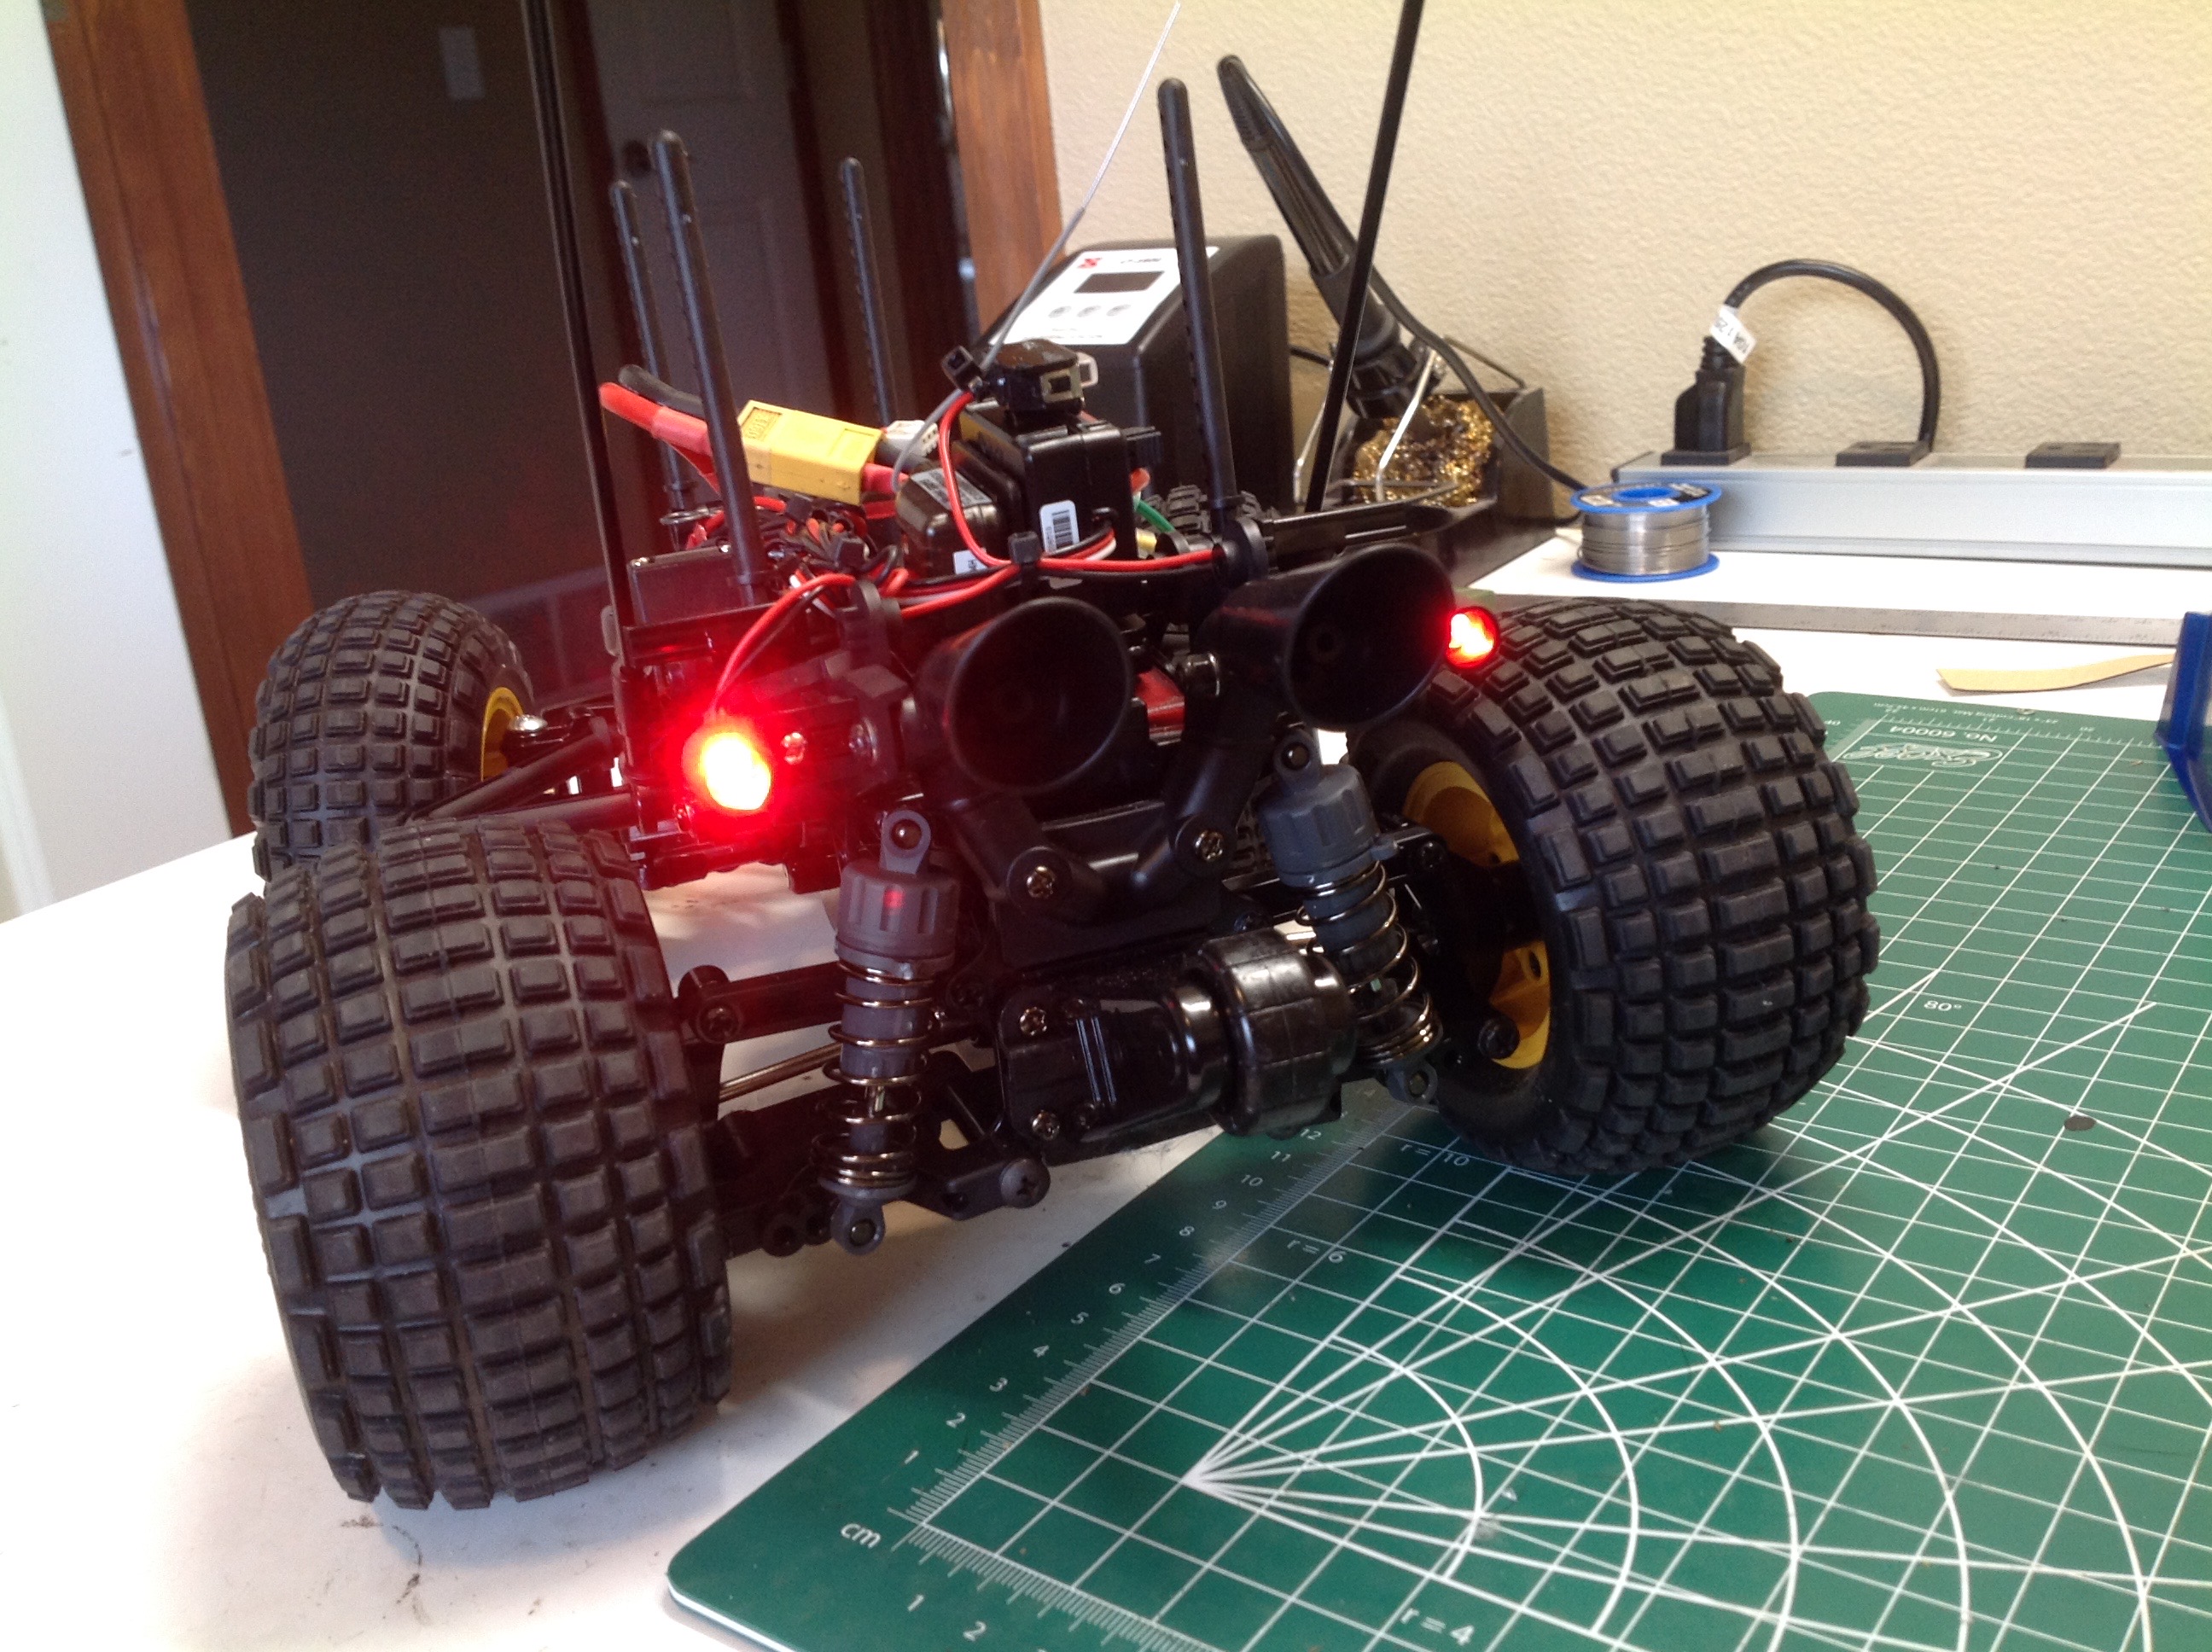
Here are some detail shots of the front and rear showing the light bars and exhaust pipes.
A cheap $7 light kit was all it took to add 4 white and 2 red LEDs and really kick up the appearance of this model.
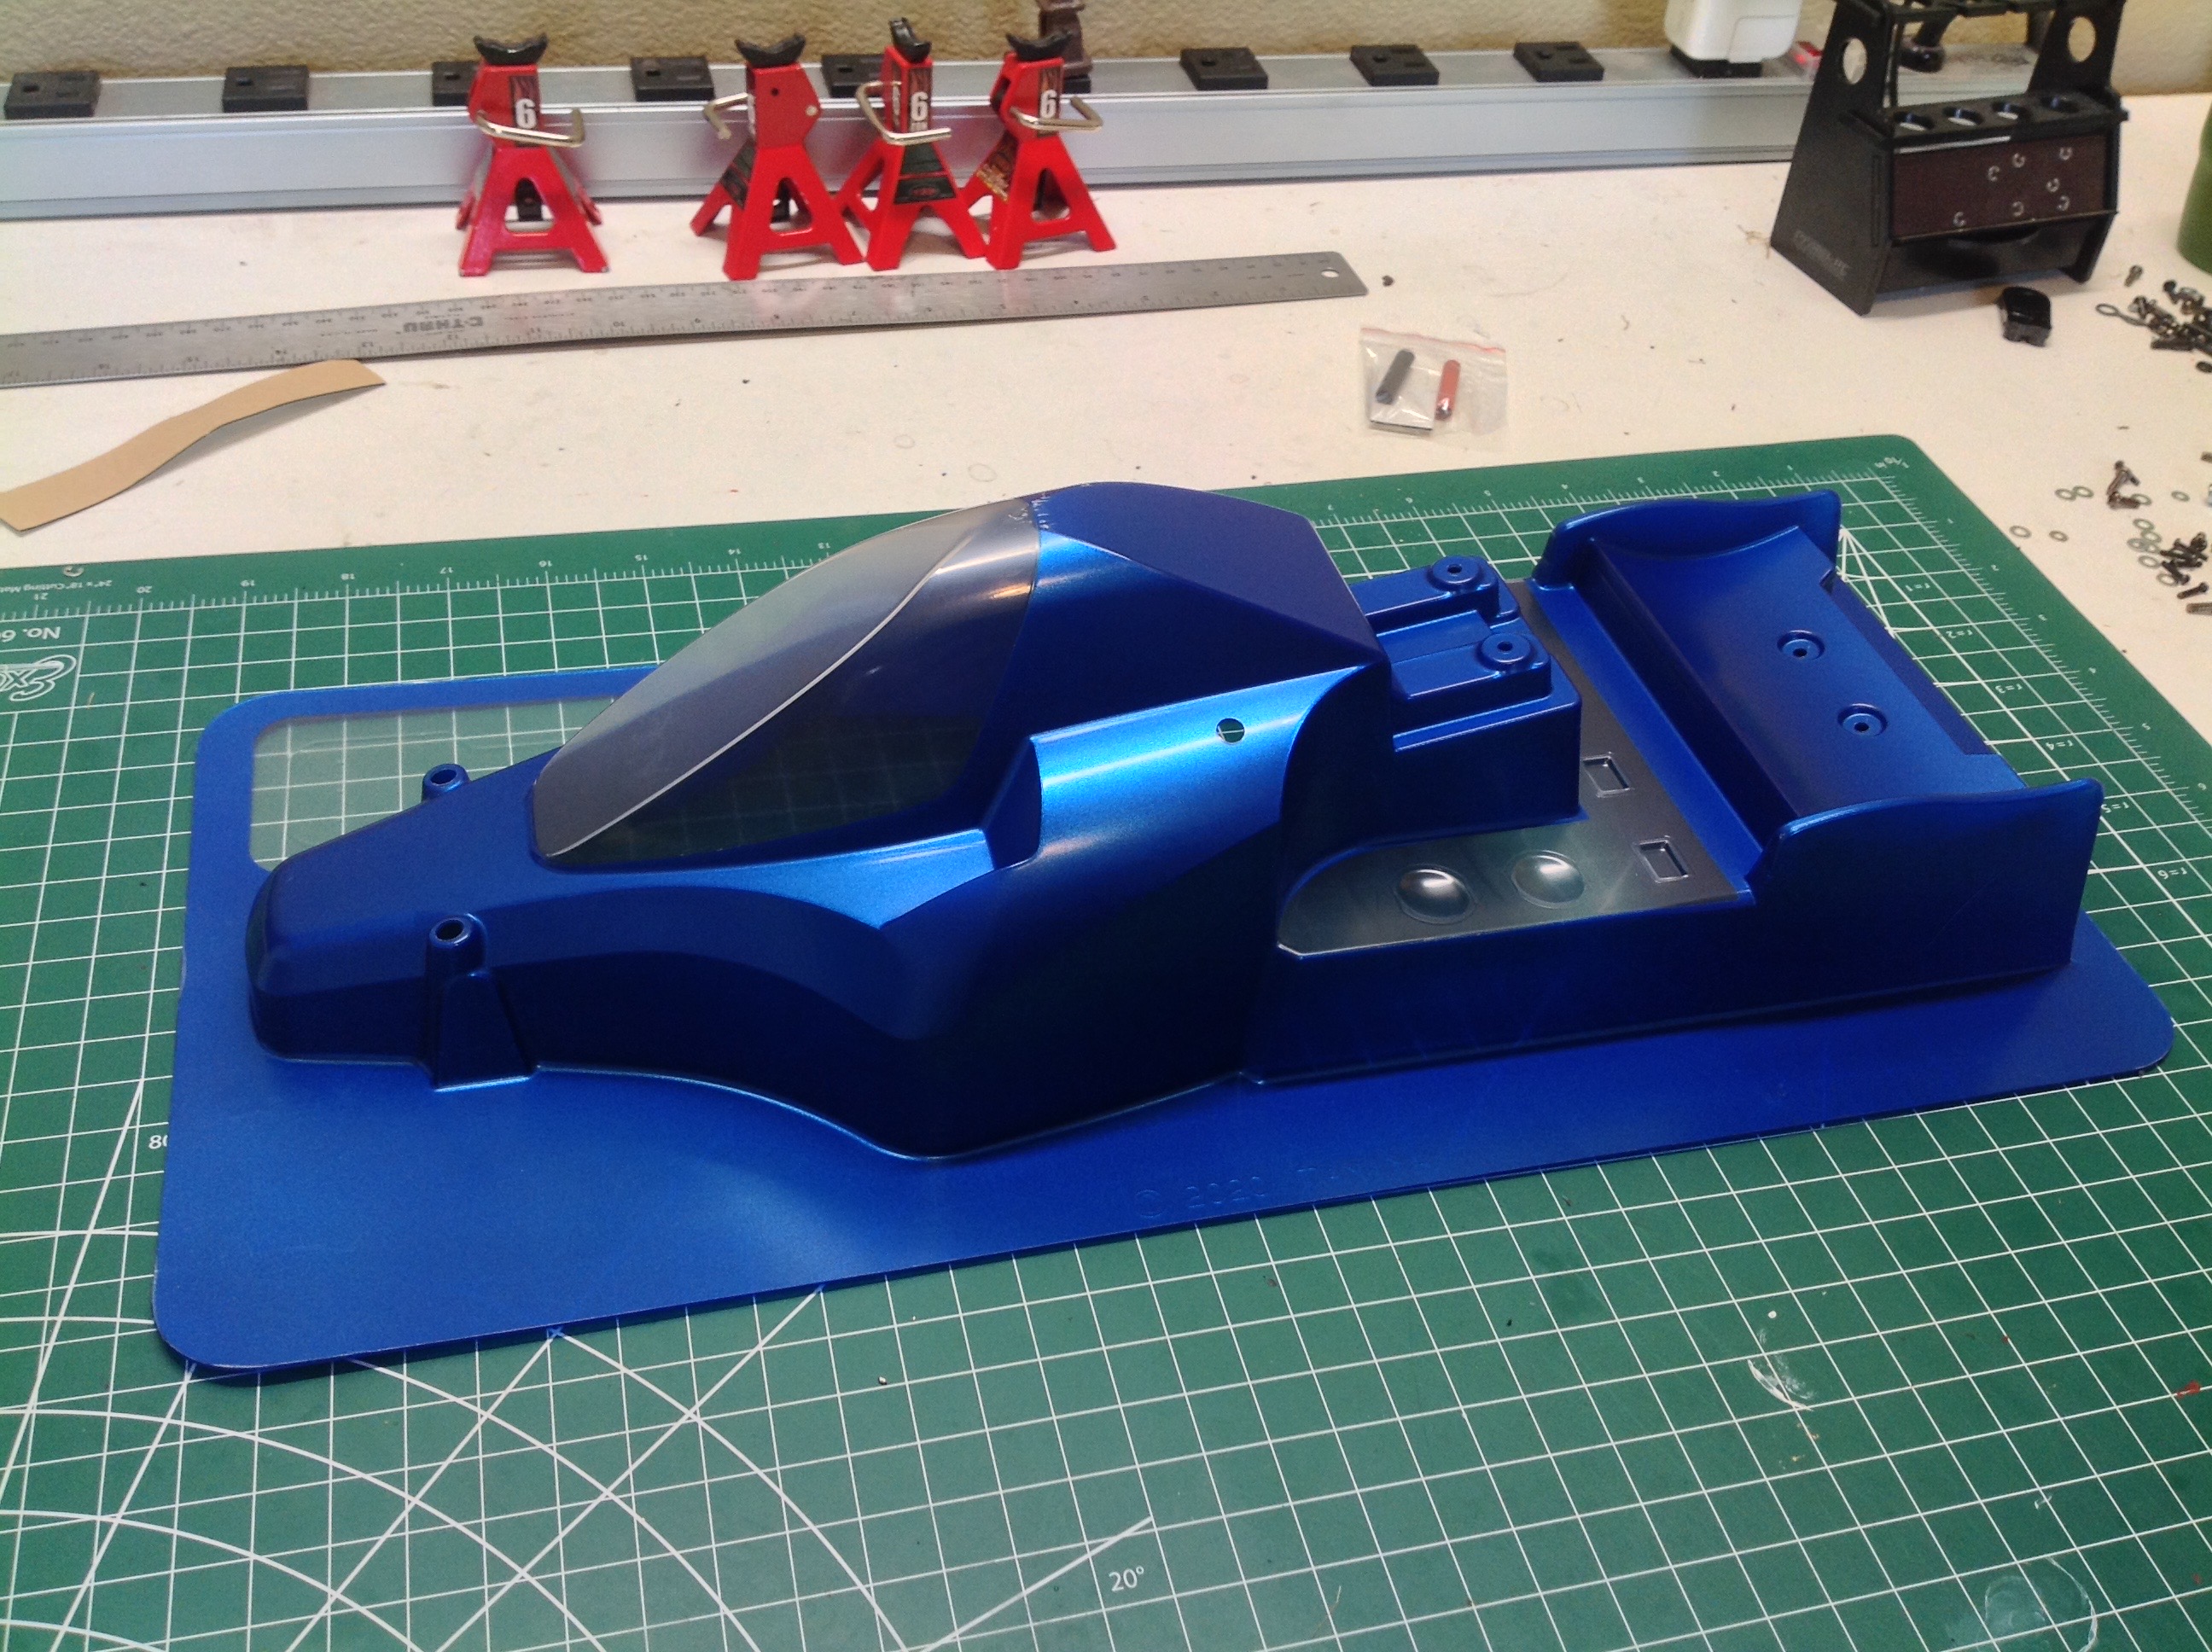
The body comes pre-painted but uncut as shown. The main body and
wing are part of the same vacuum formed part. The windows were
nicely masked with nice sharp edges. It is important when trimming
to make sure not to flex the body too much or the paint can chip.
Here is the body trimmed and test fit to the chassis. On the right
I've removed the protective film and applied the stickers which take a
lot longer than you might think.
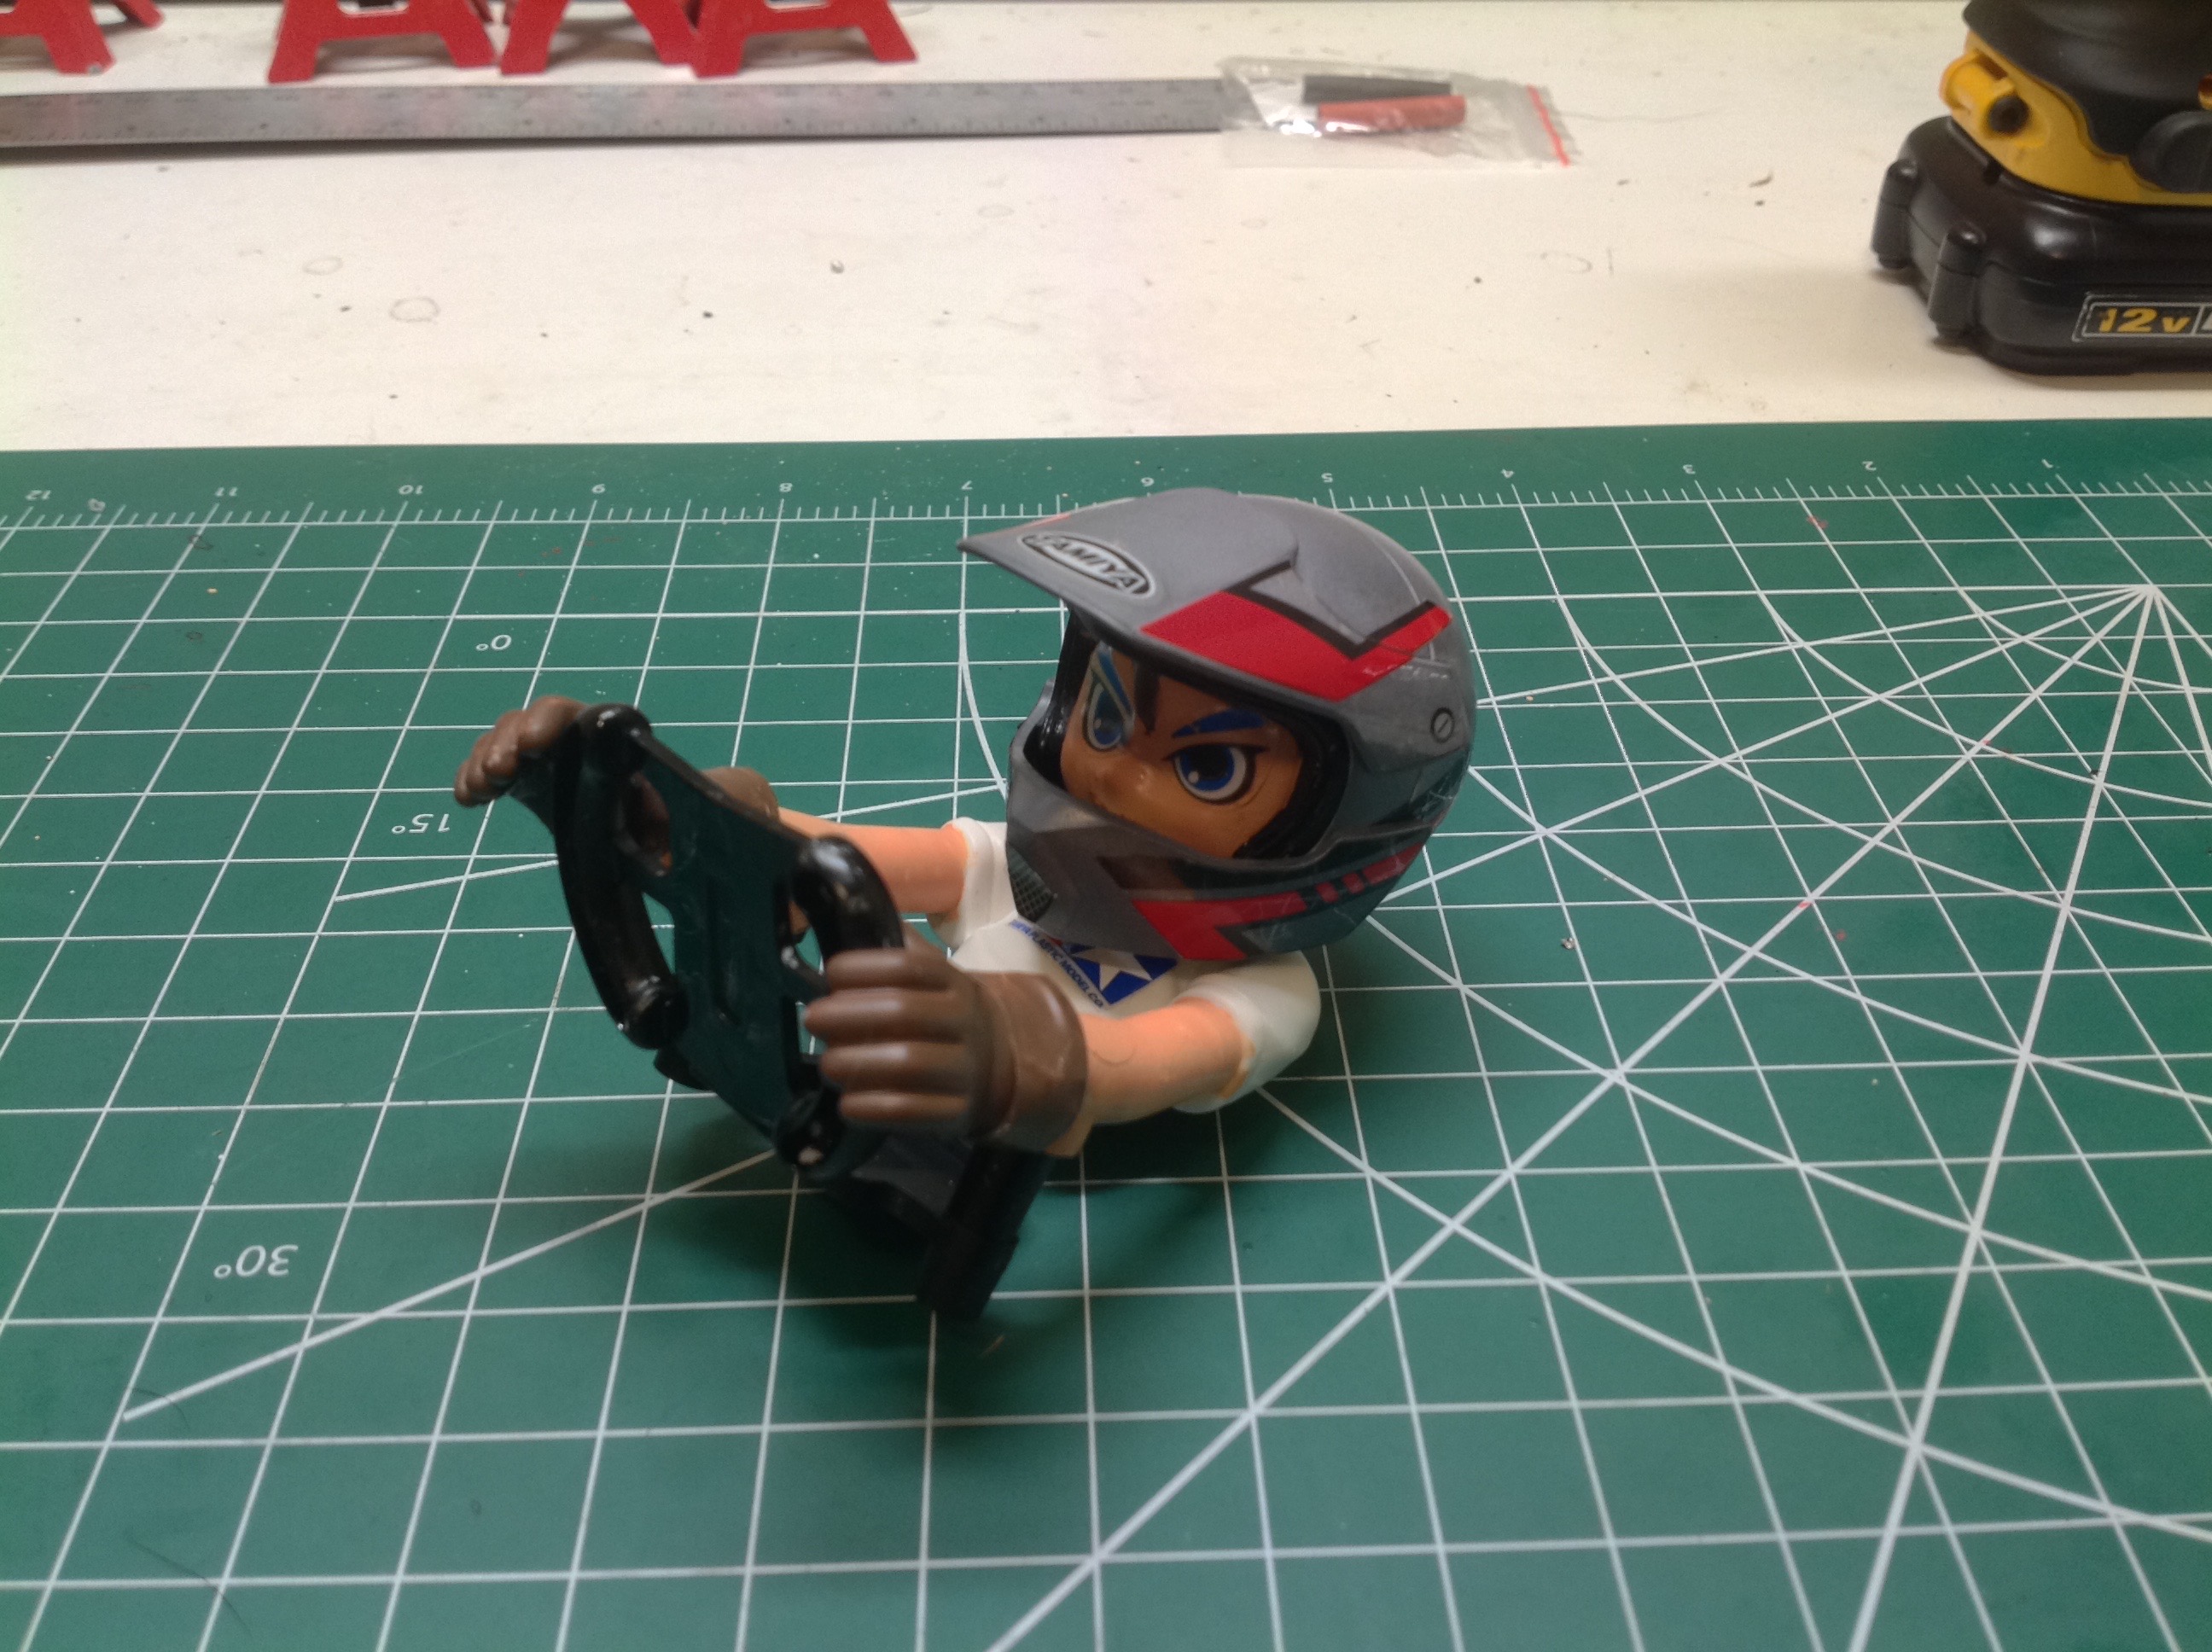
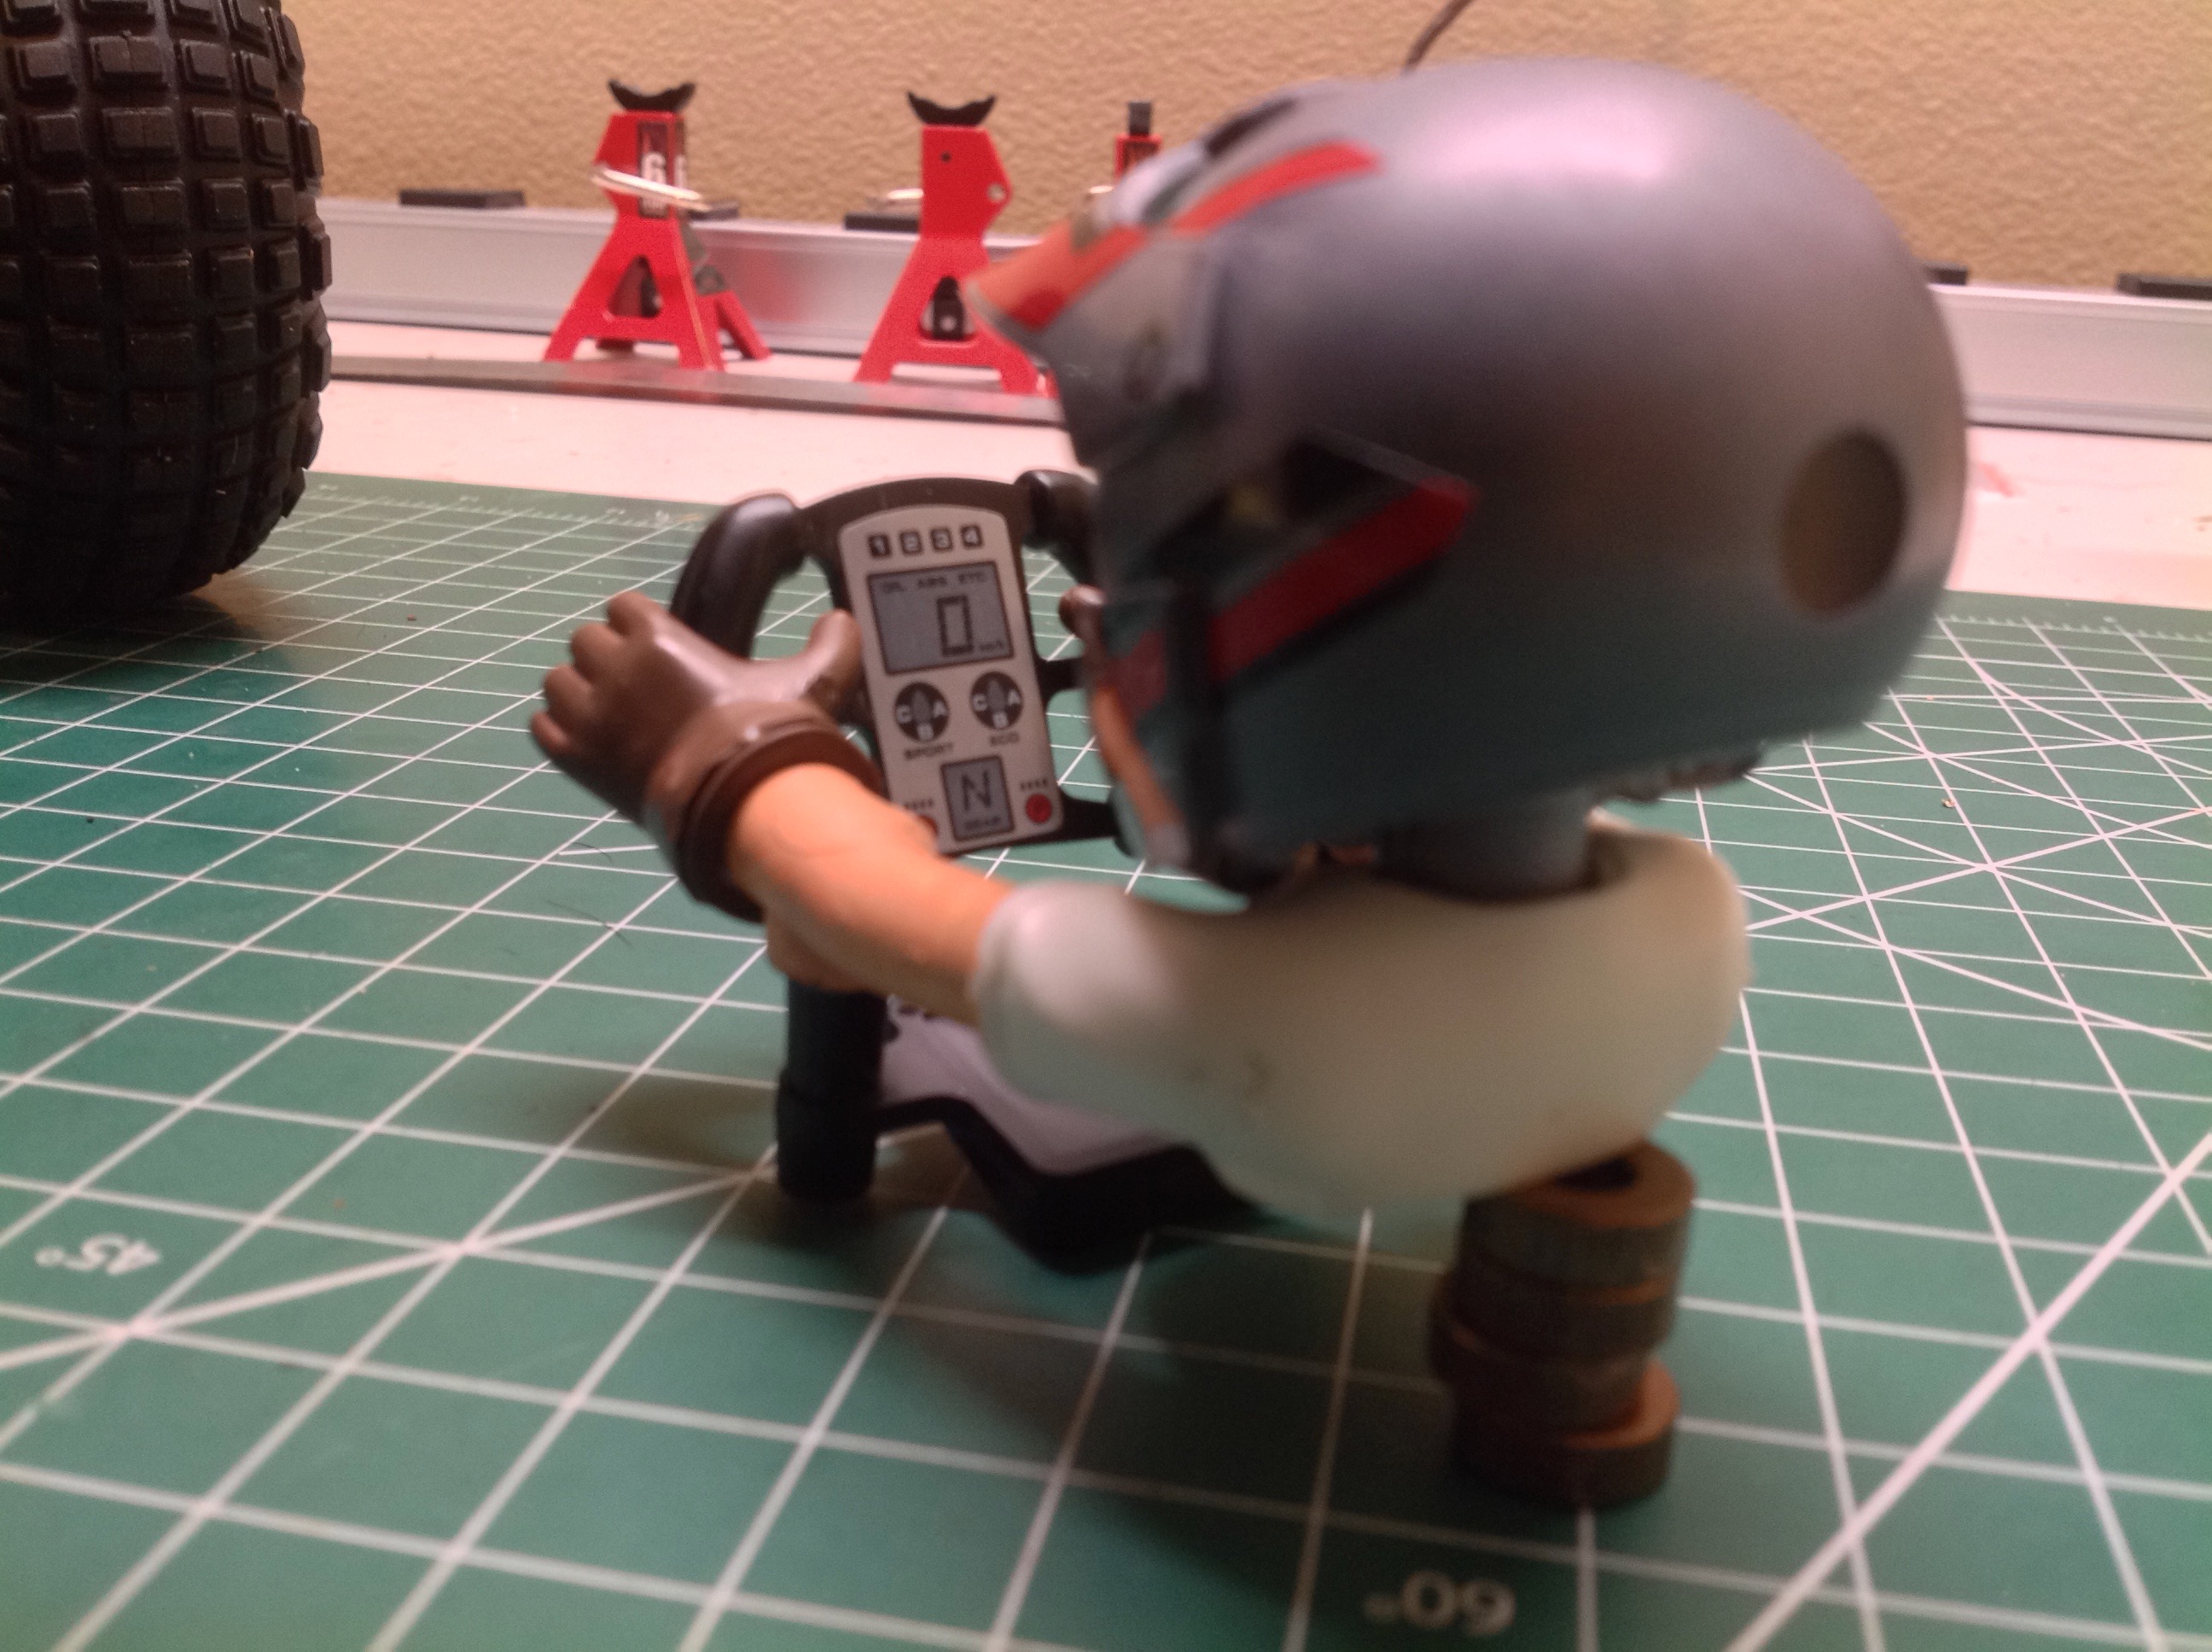
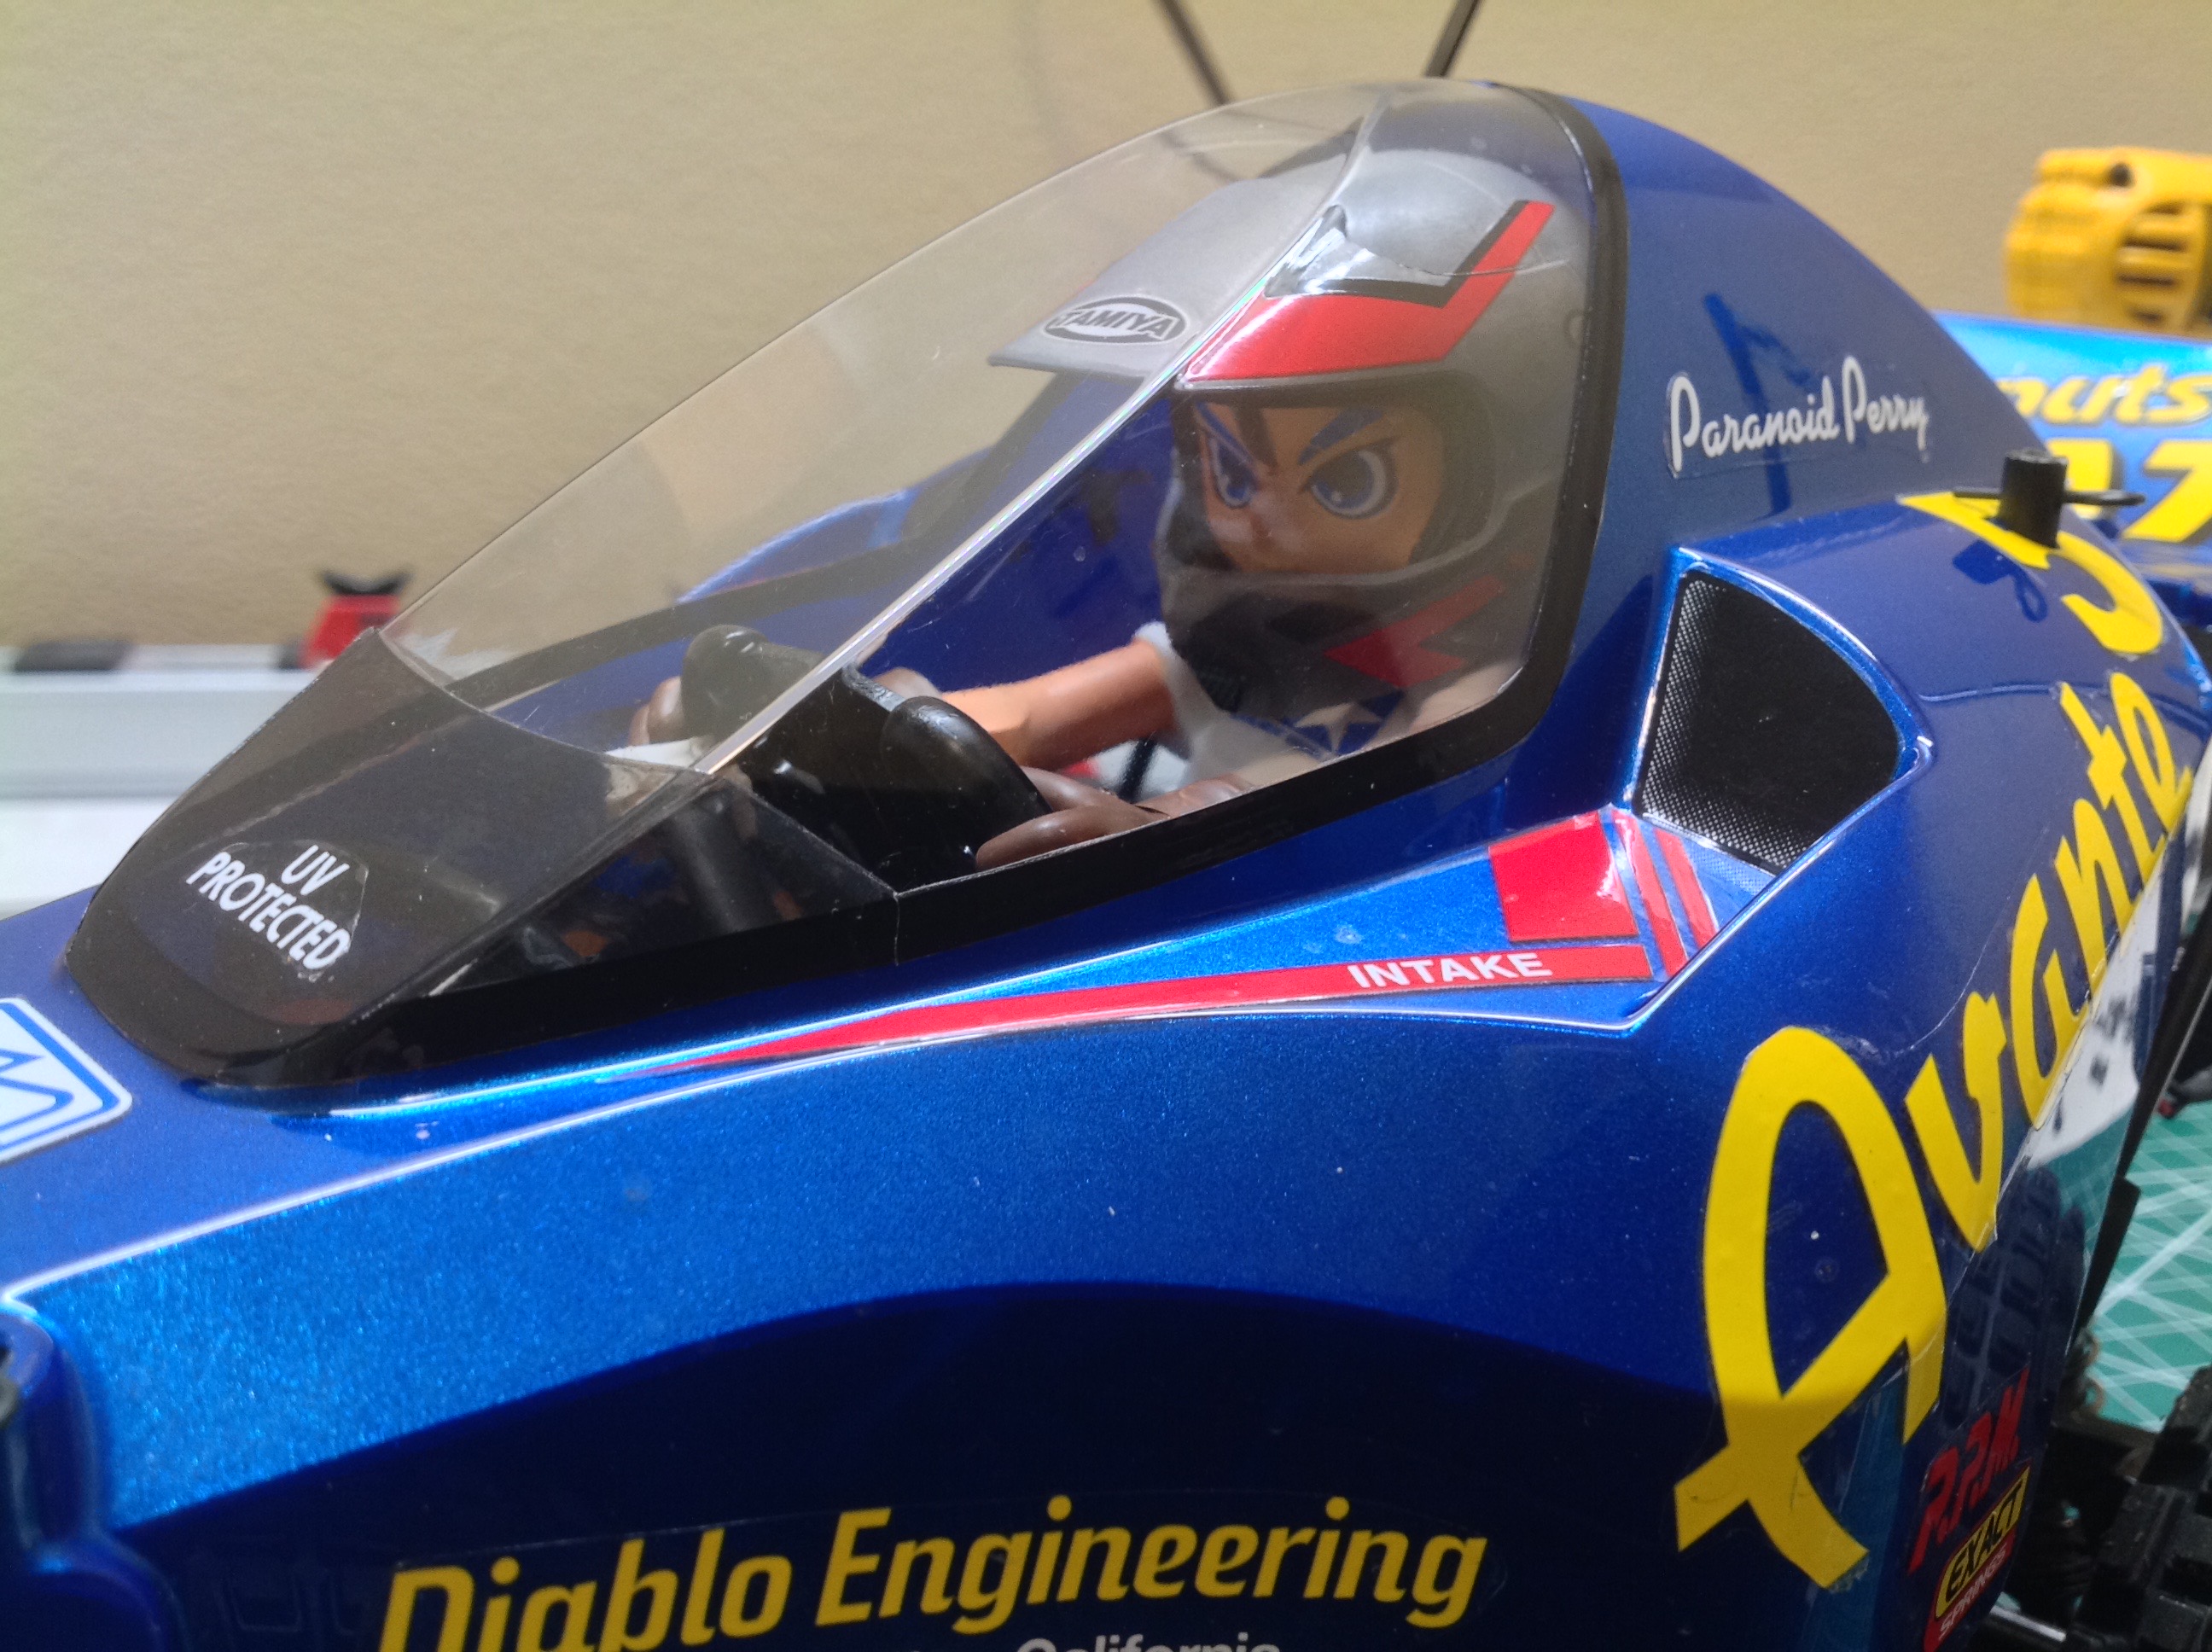
This model comes with the newer anime style driver figure. With
larger features to paint and stickers for eyes, he ends up looking a lot
more detailed than my usual drivers.
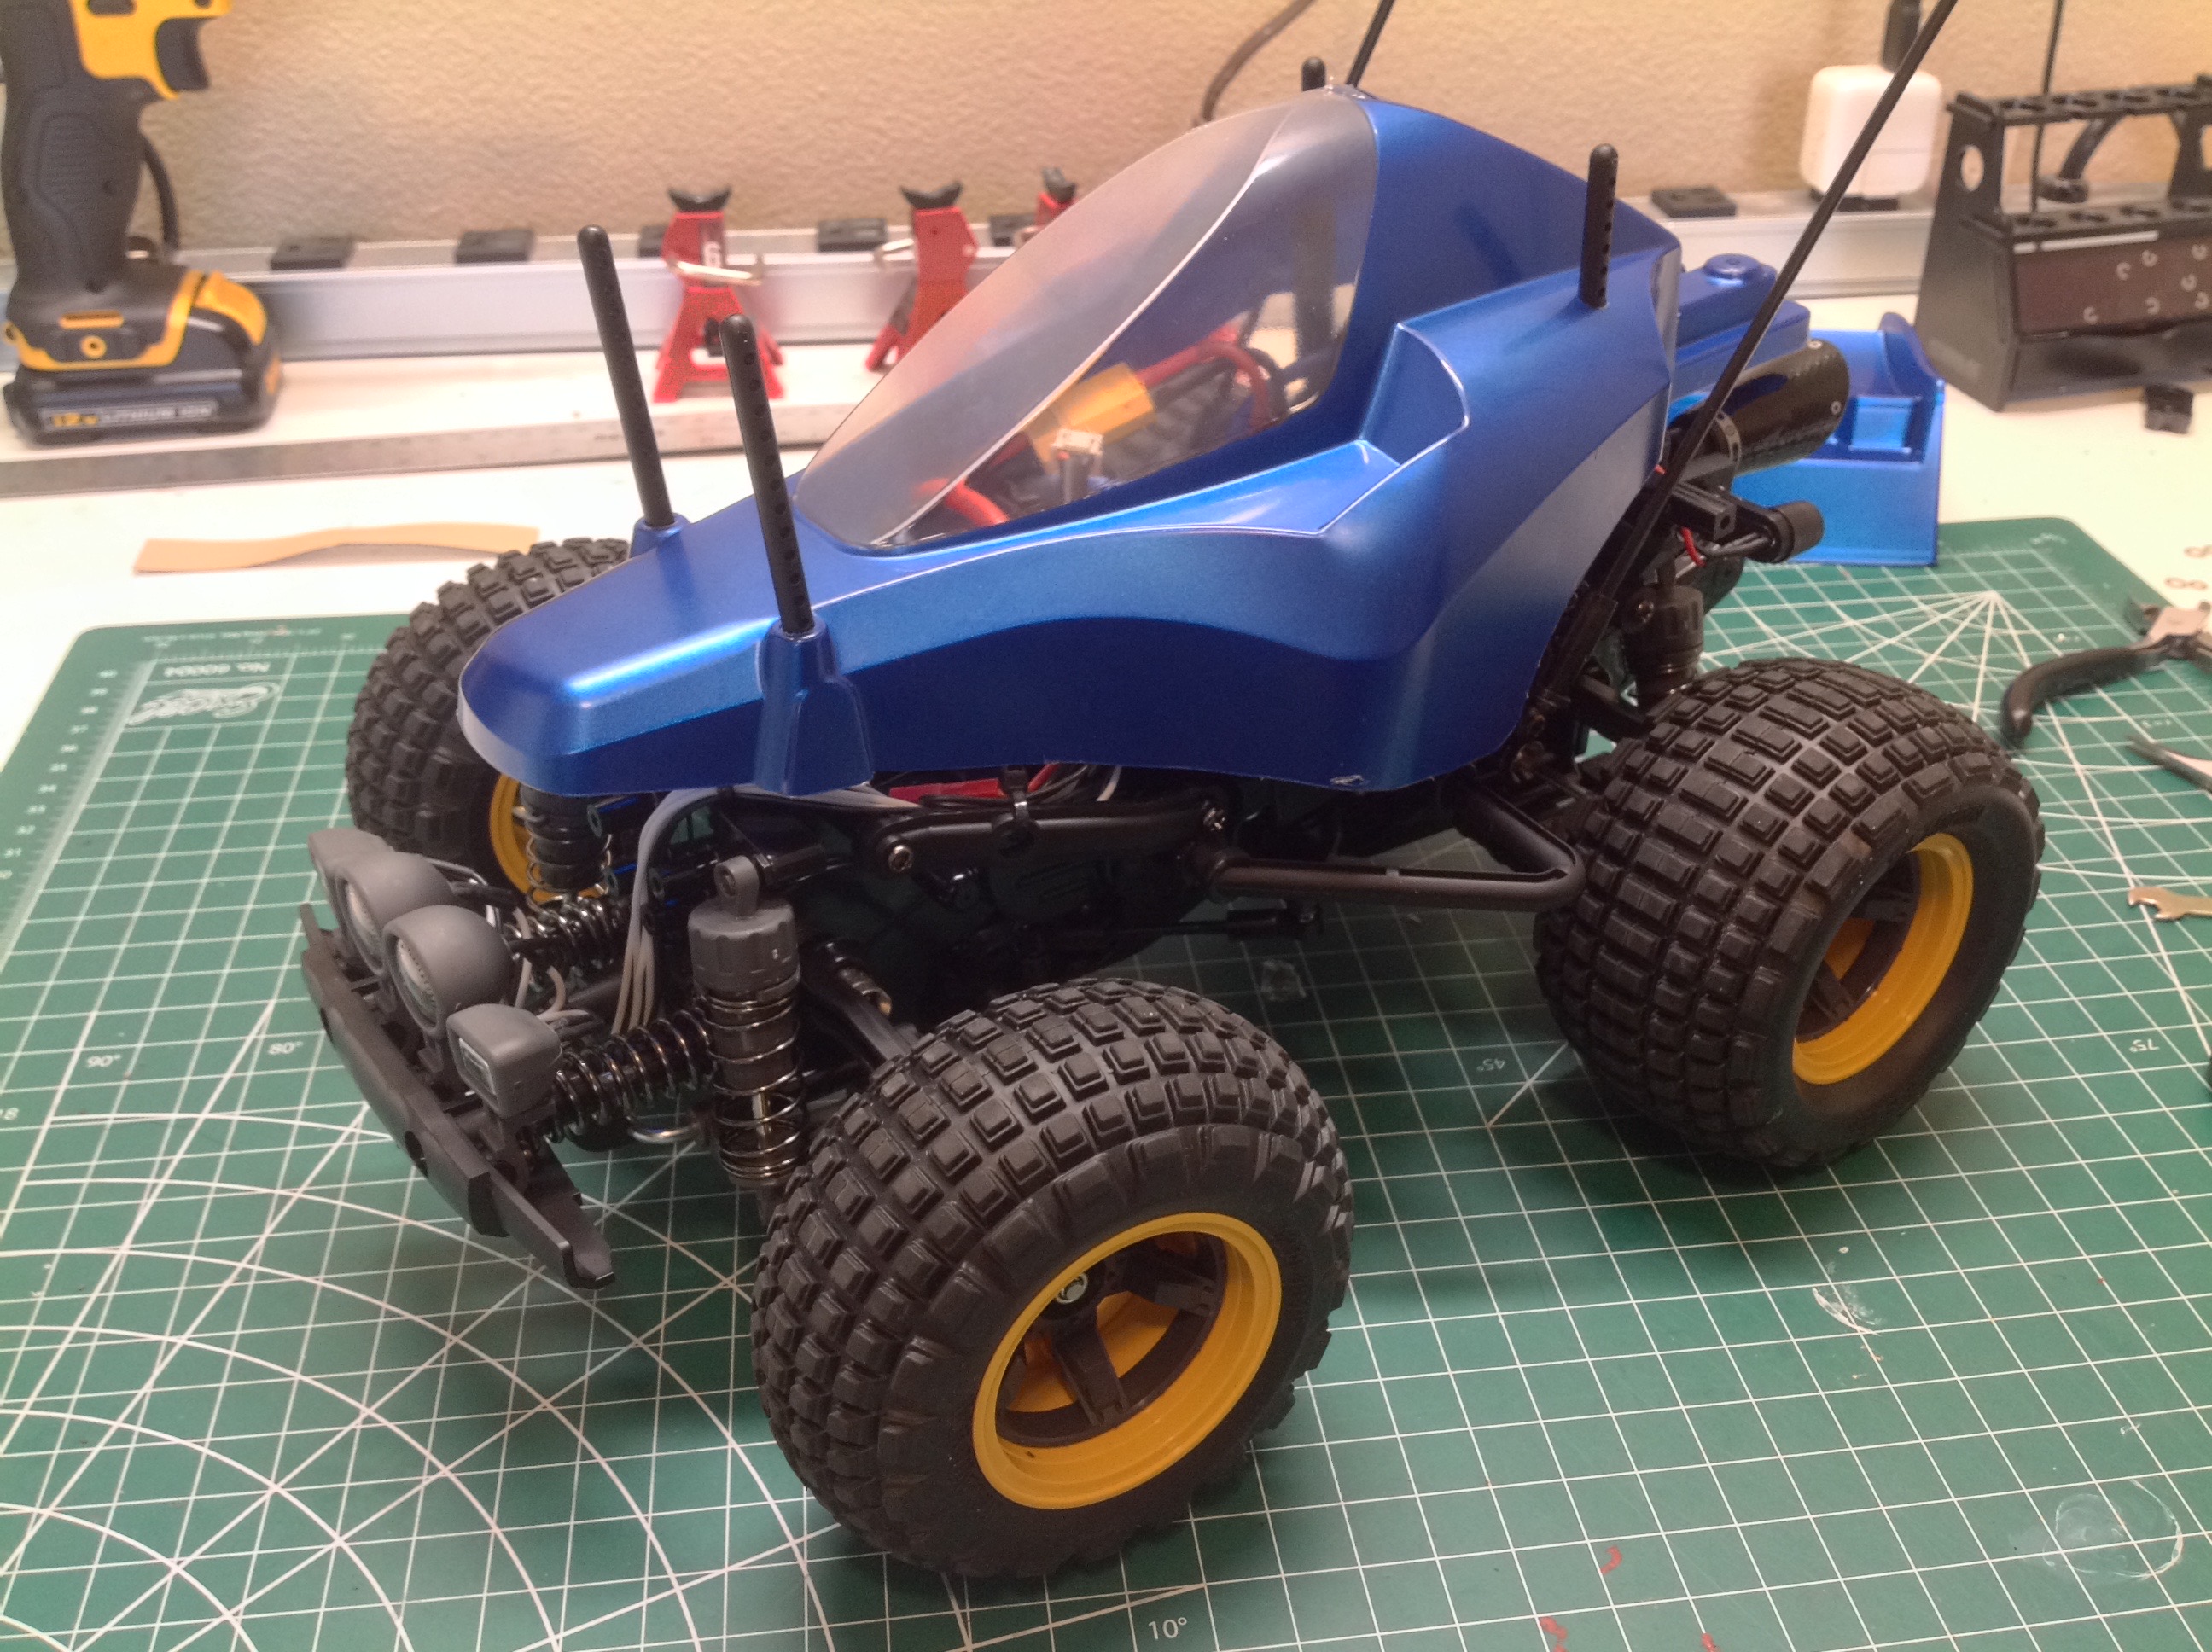
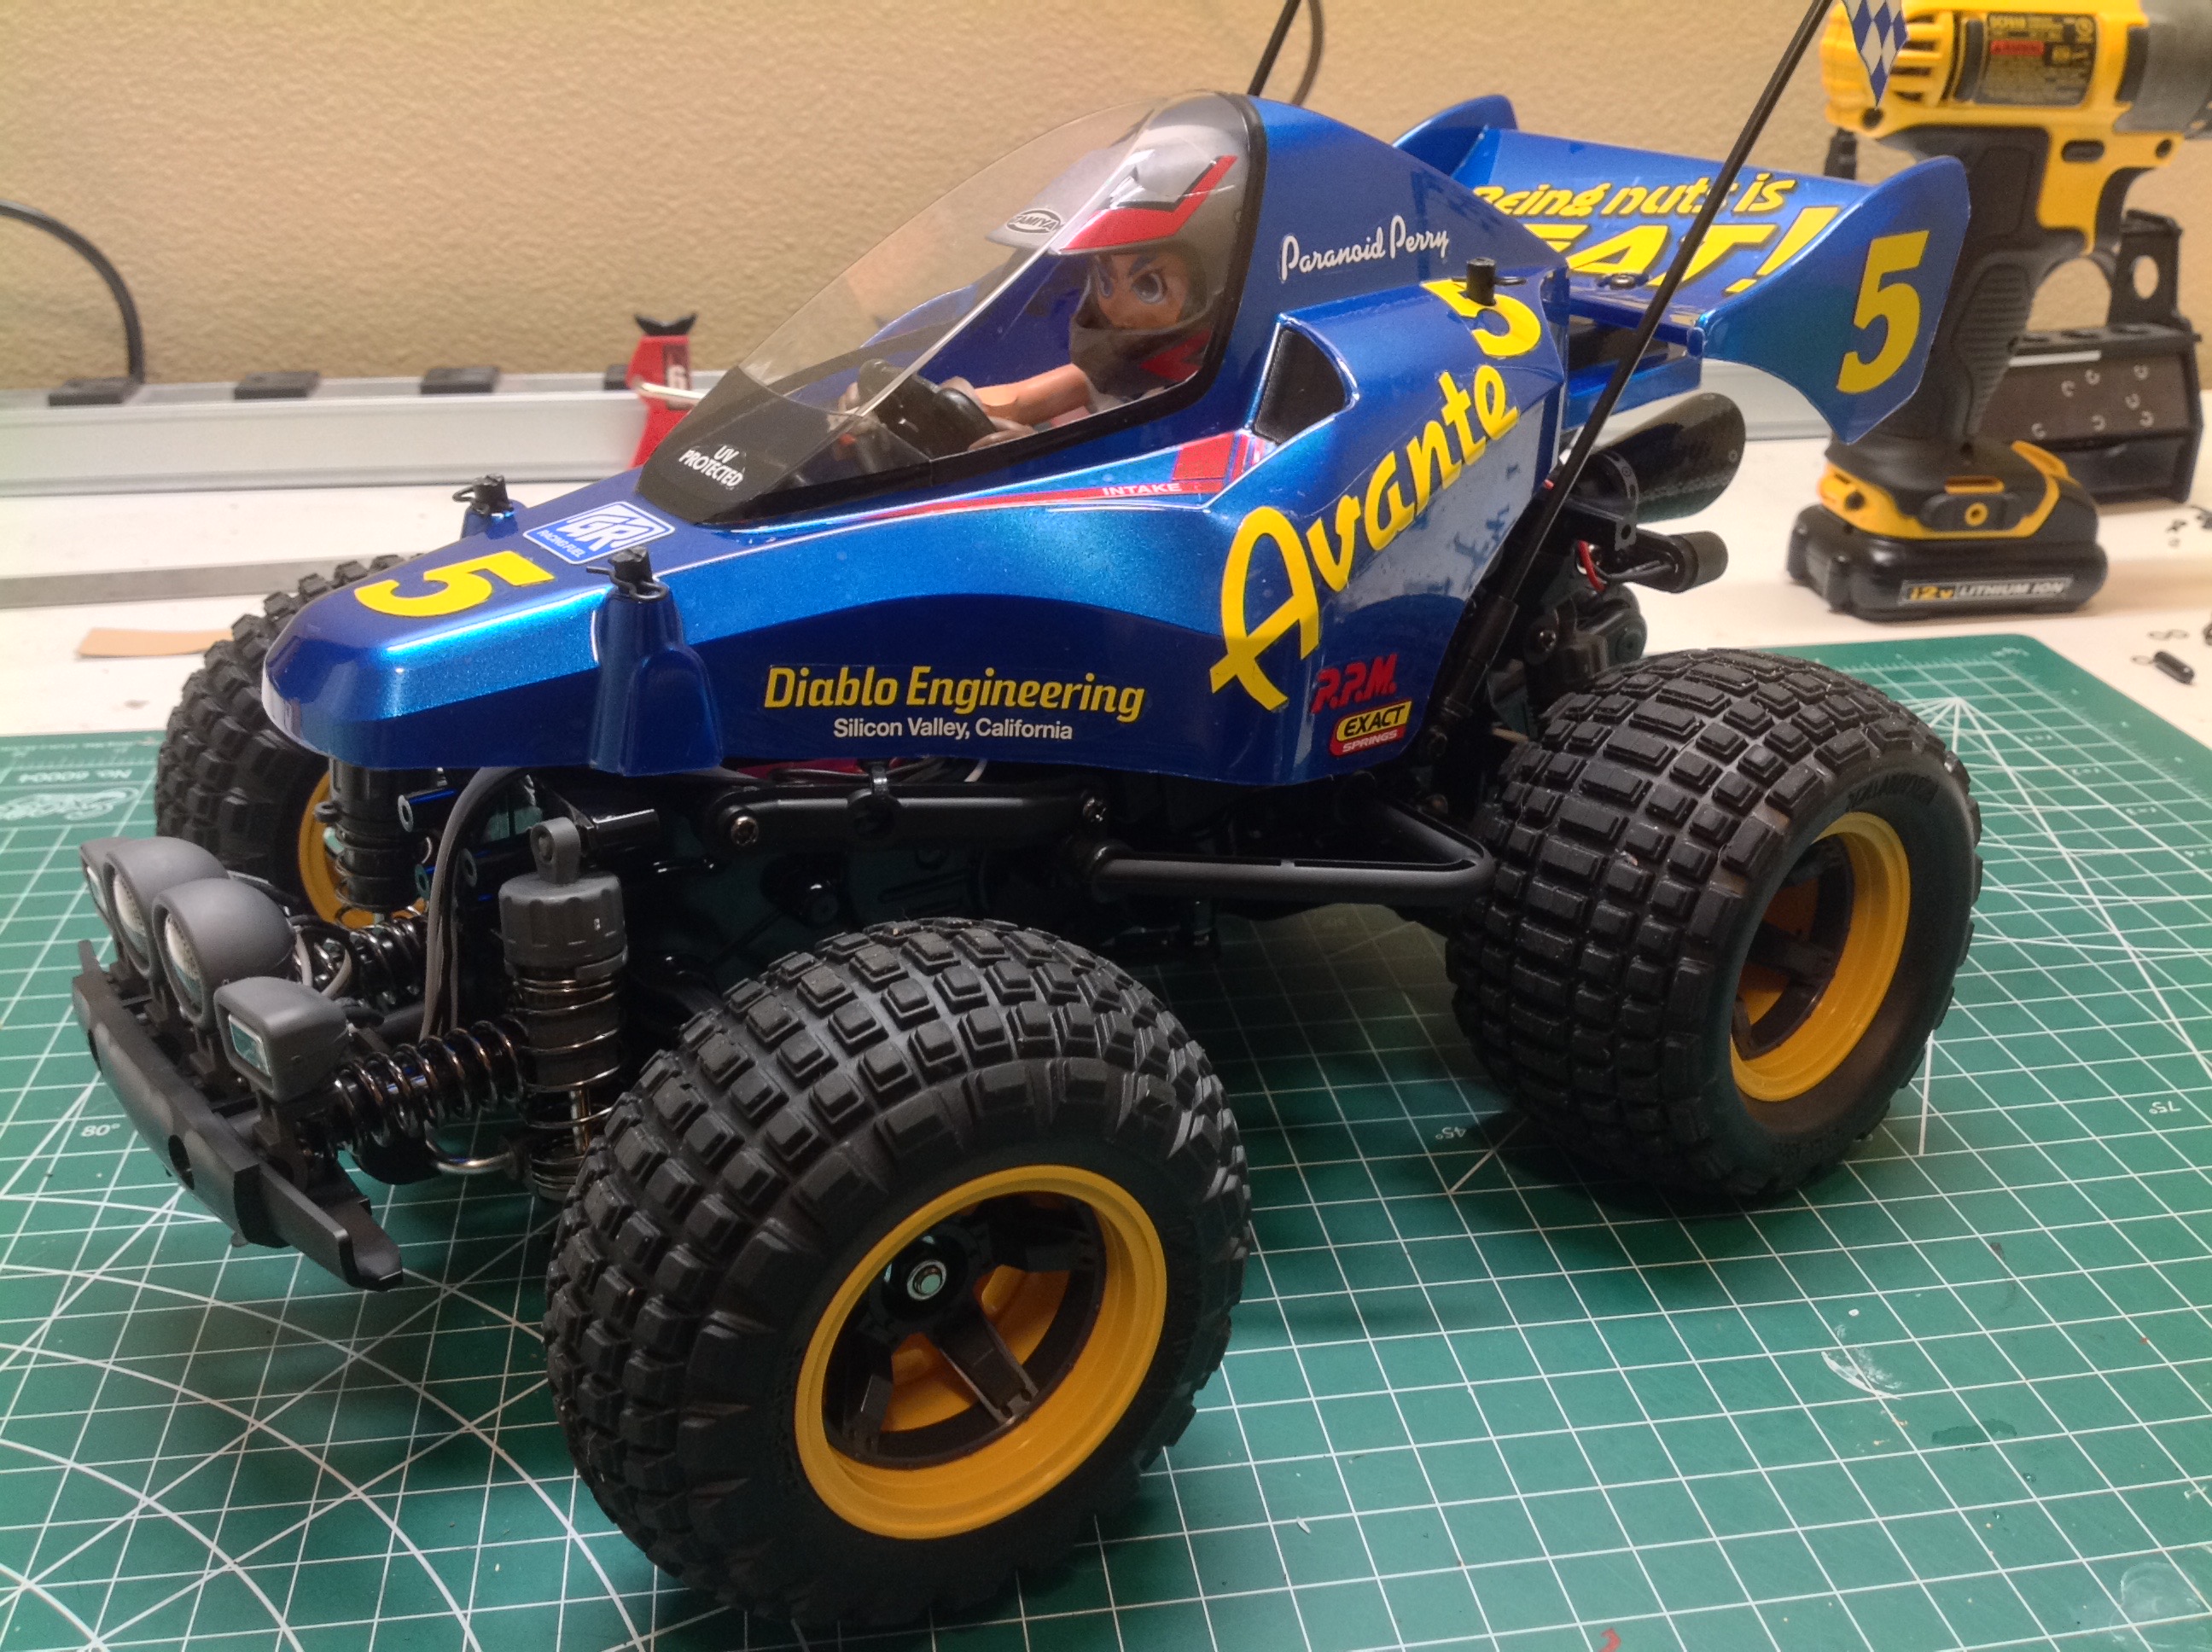
Here is the completed model with the driver installed and the wheels and
tires attached. These tires have really good grip. The rear
are wider than the front but the same diameter (which makes sense for
4WD).
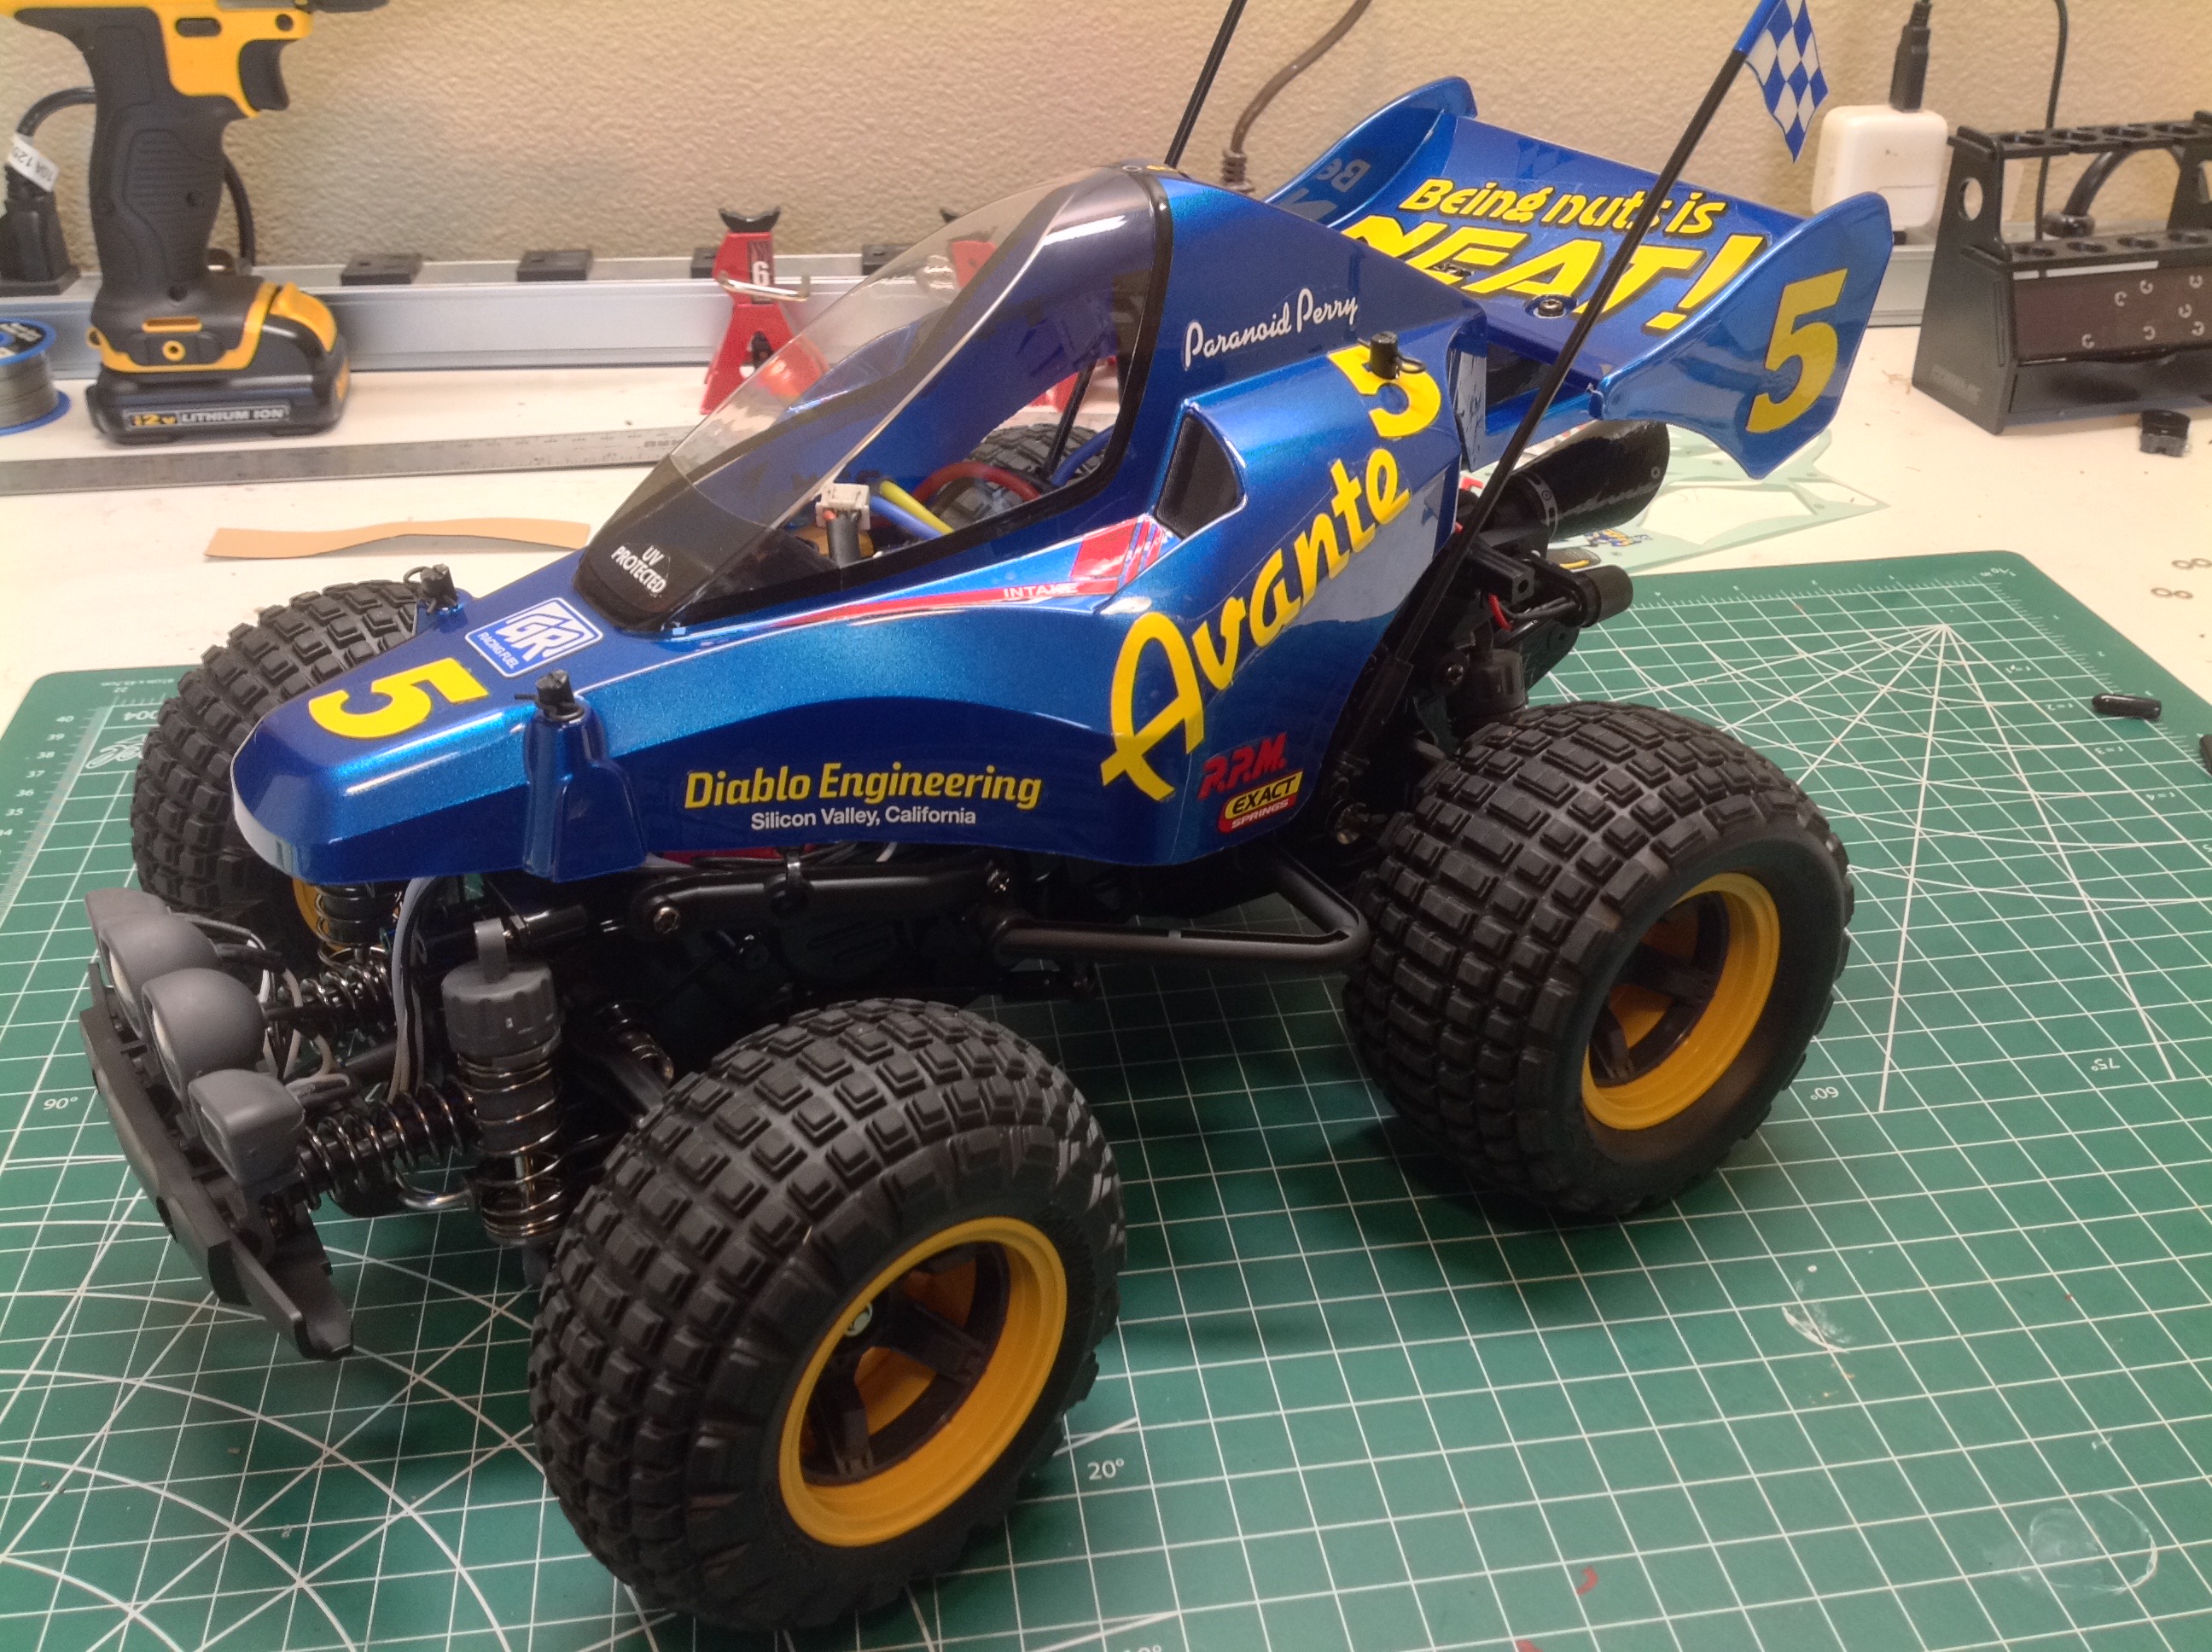
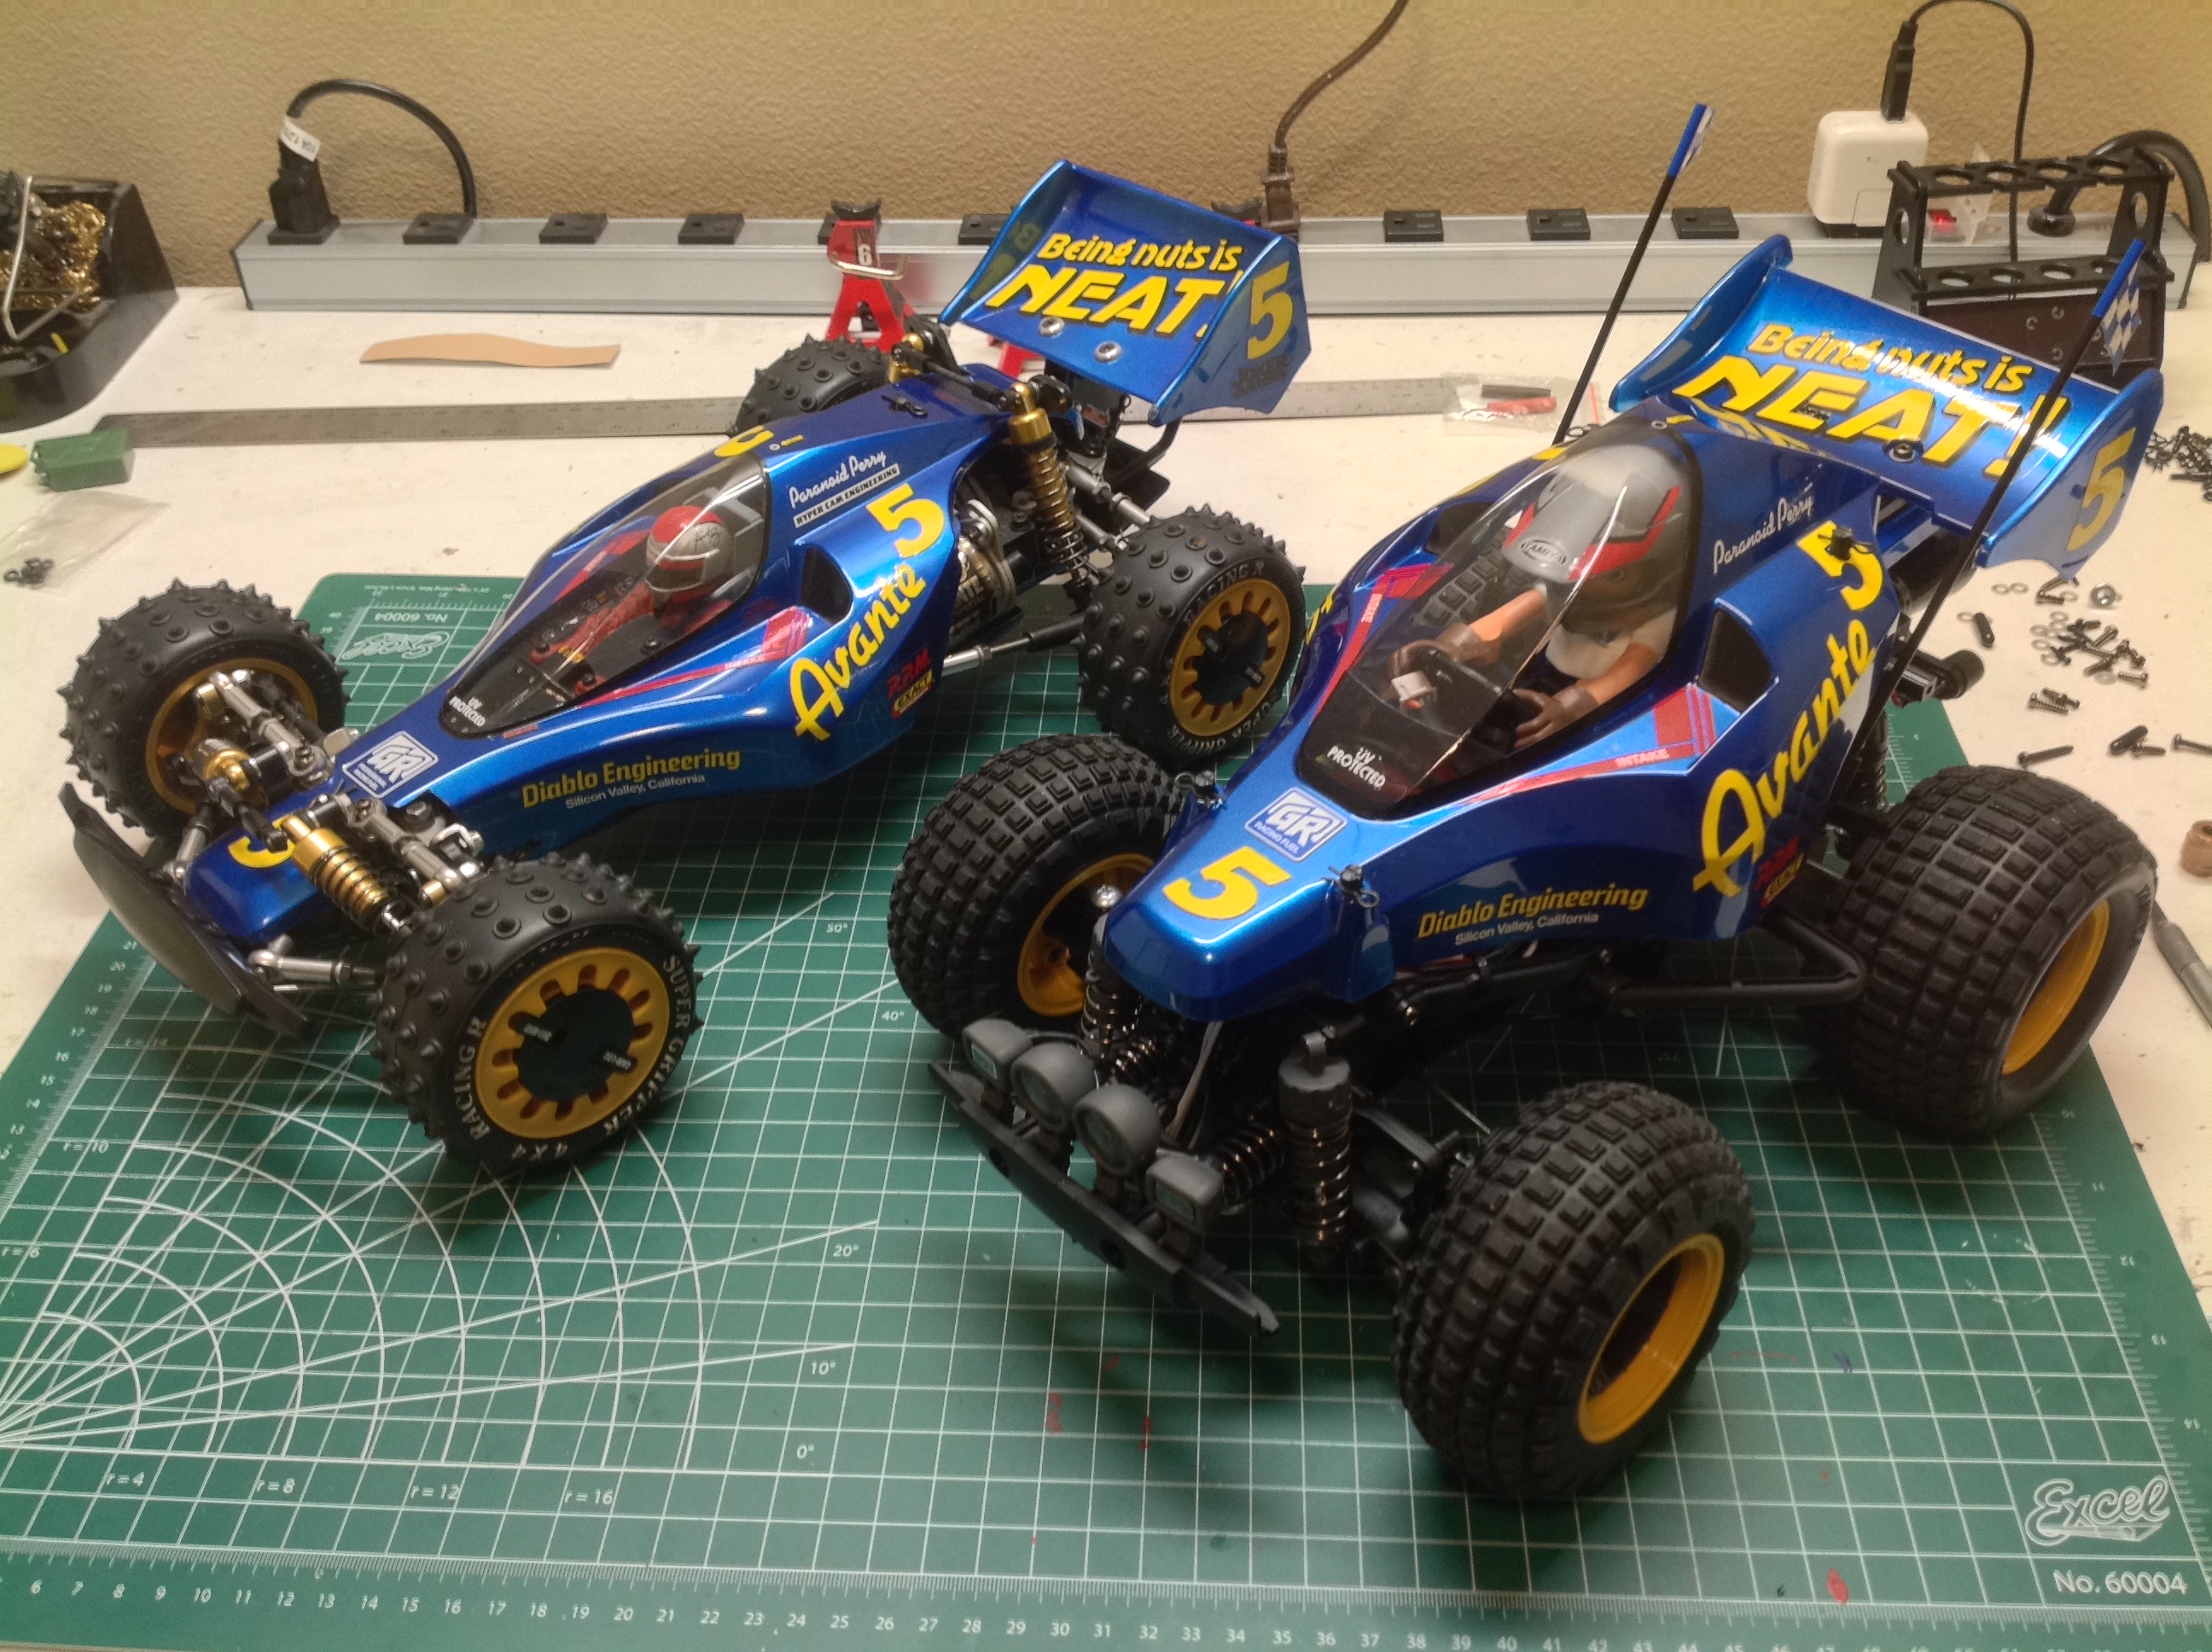
This chibi version of the Avante is actually a pretty good match
aesthetically for the original as you can see. The proportions are
all wrong (intentionally), but all the main design cues are there so it
would be immediately recognizable even if the colors didn't match.
©2021 Eric Albrecht