Tamiya Ferrari 288 GTO Project
Page 1: Assembly
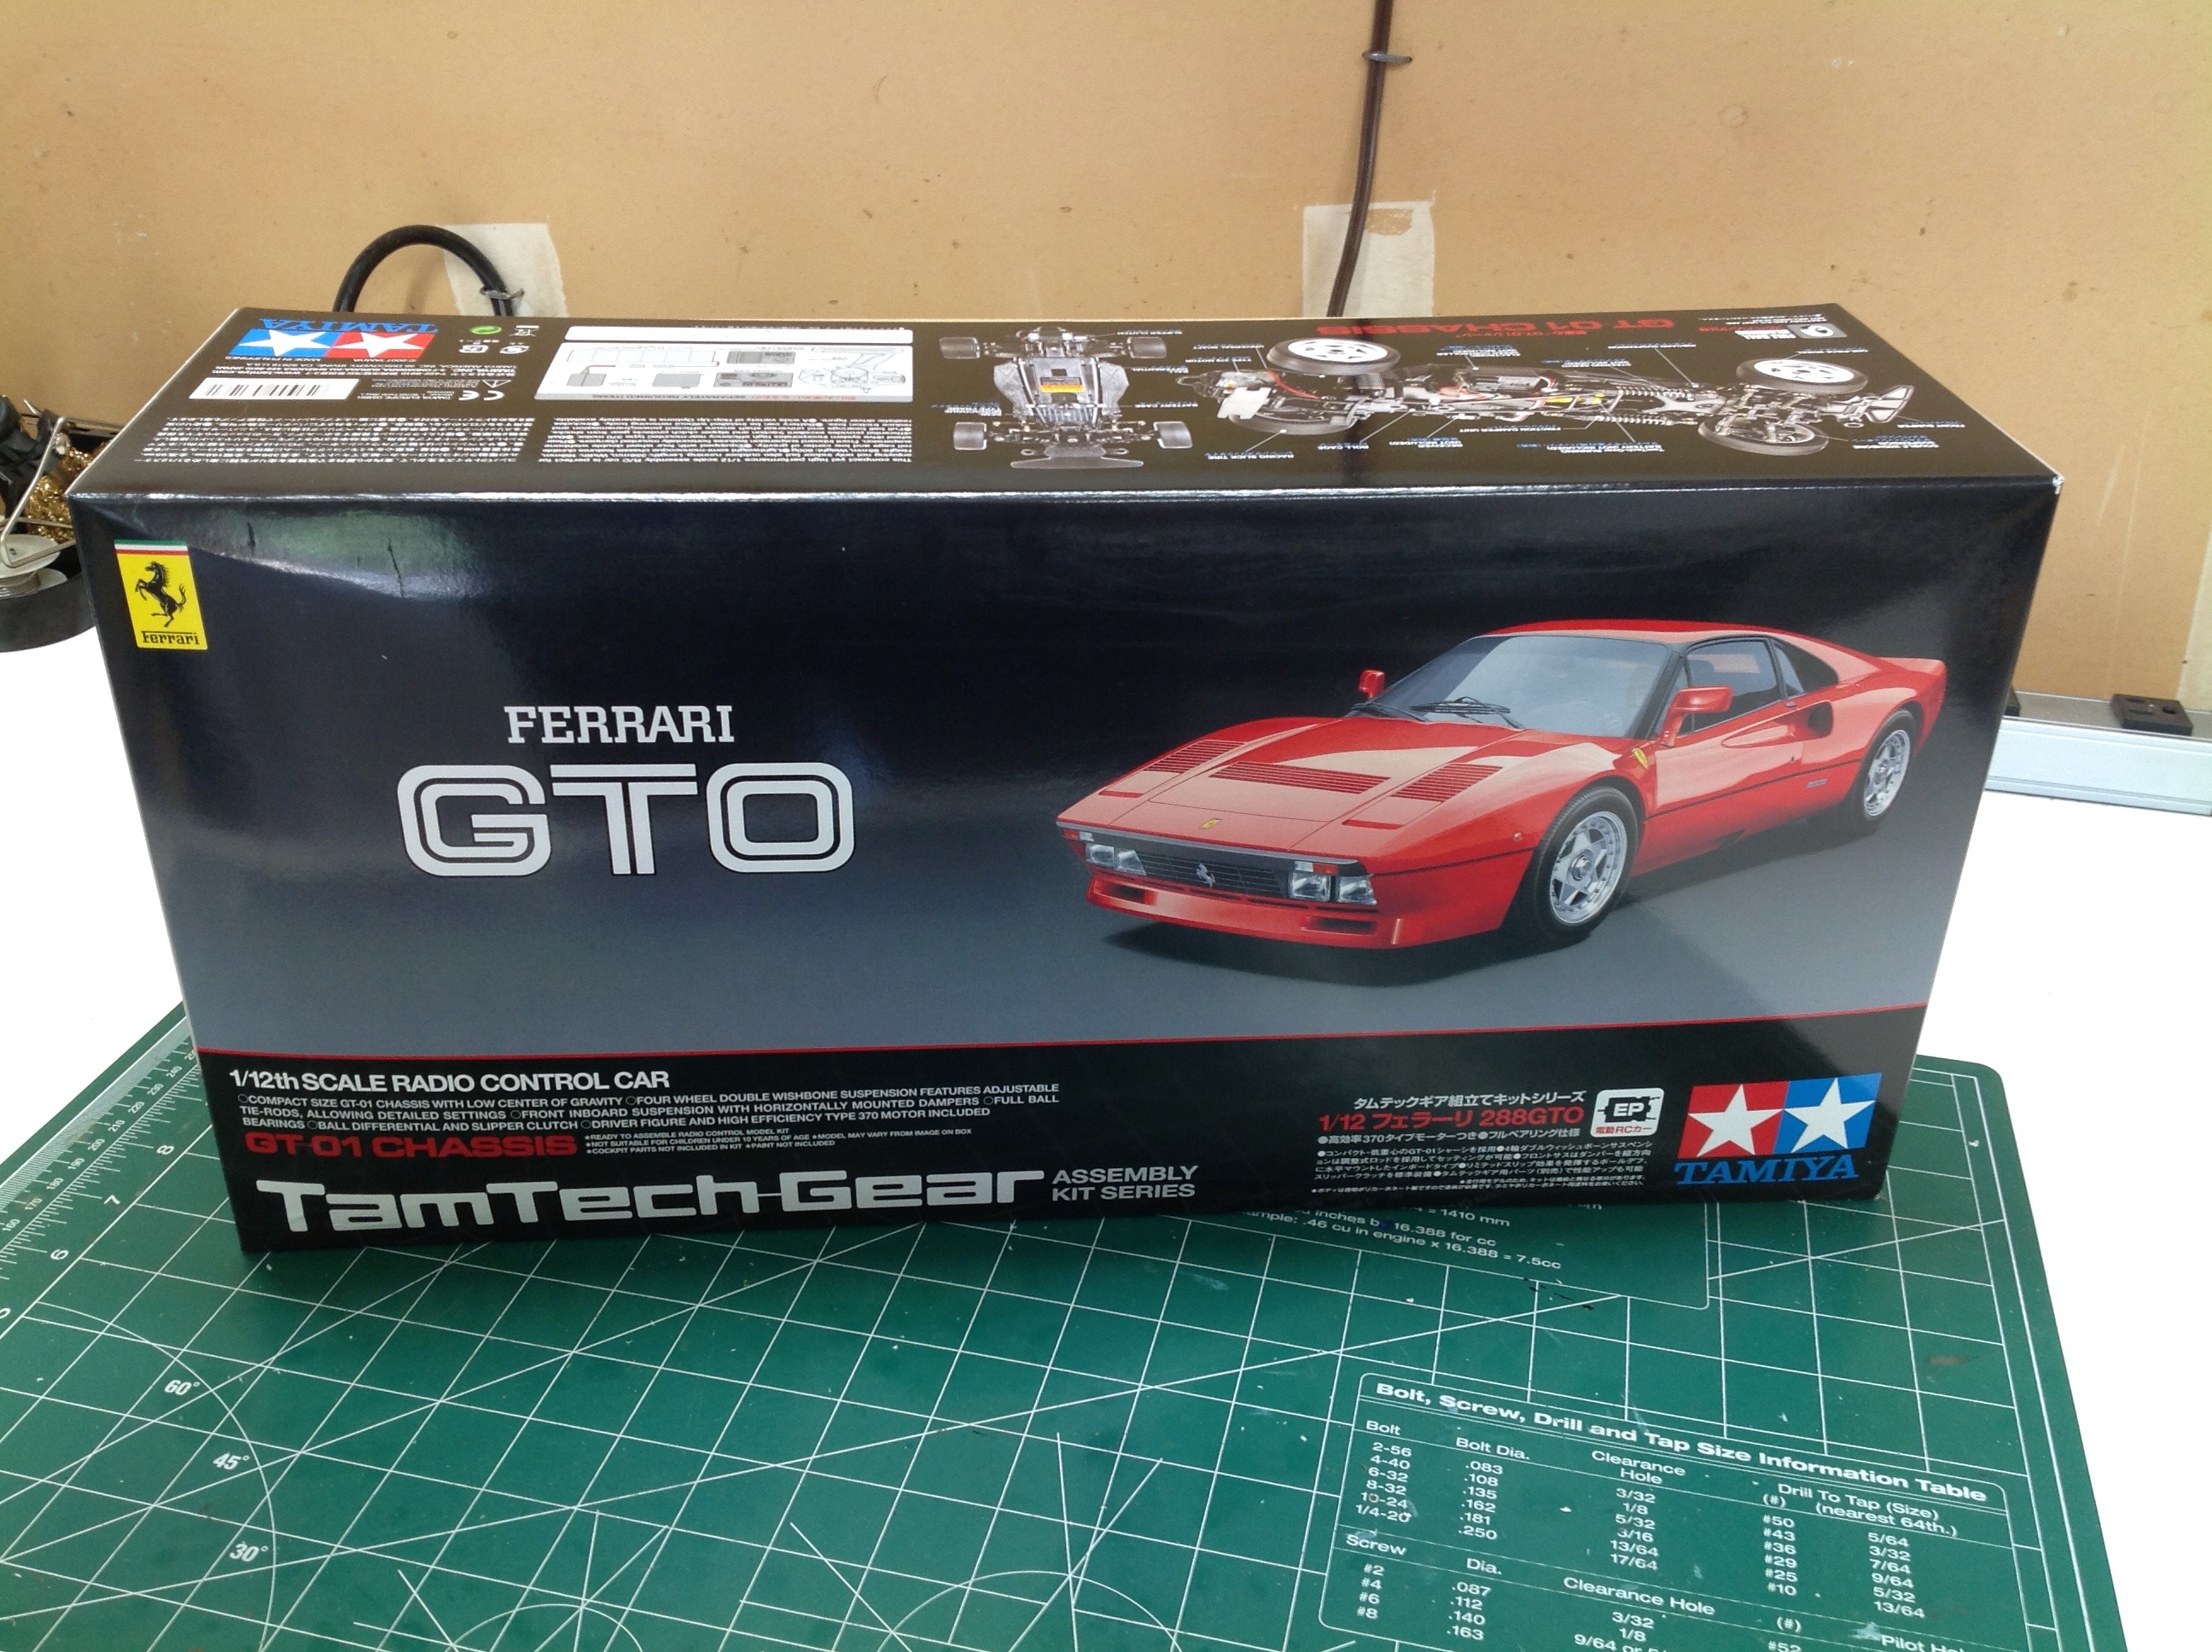
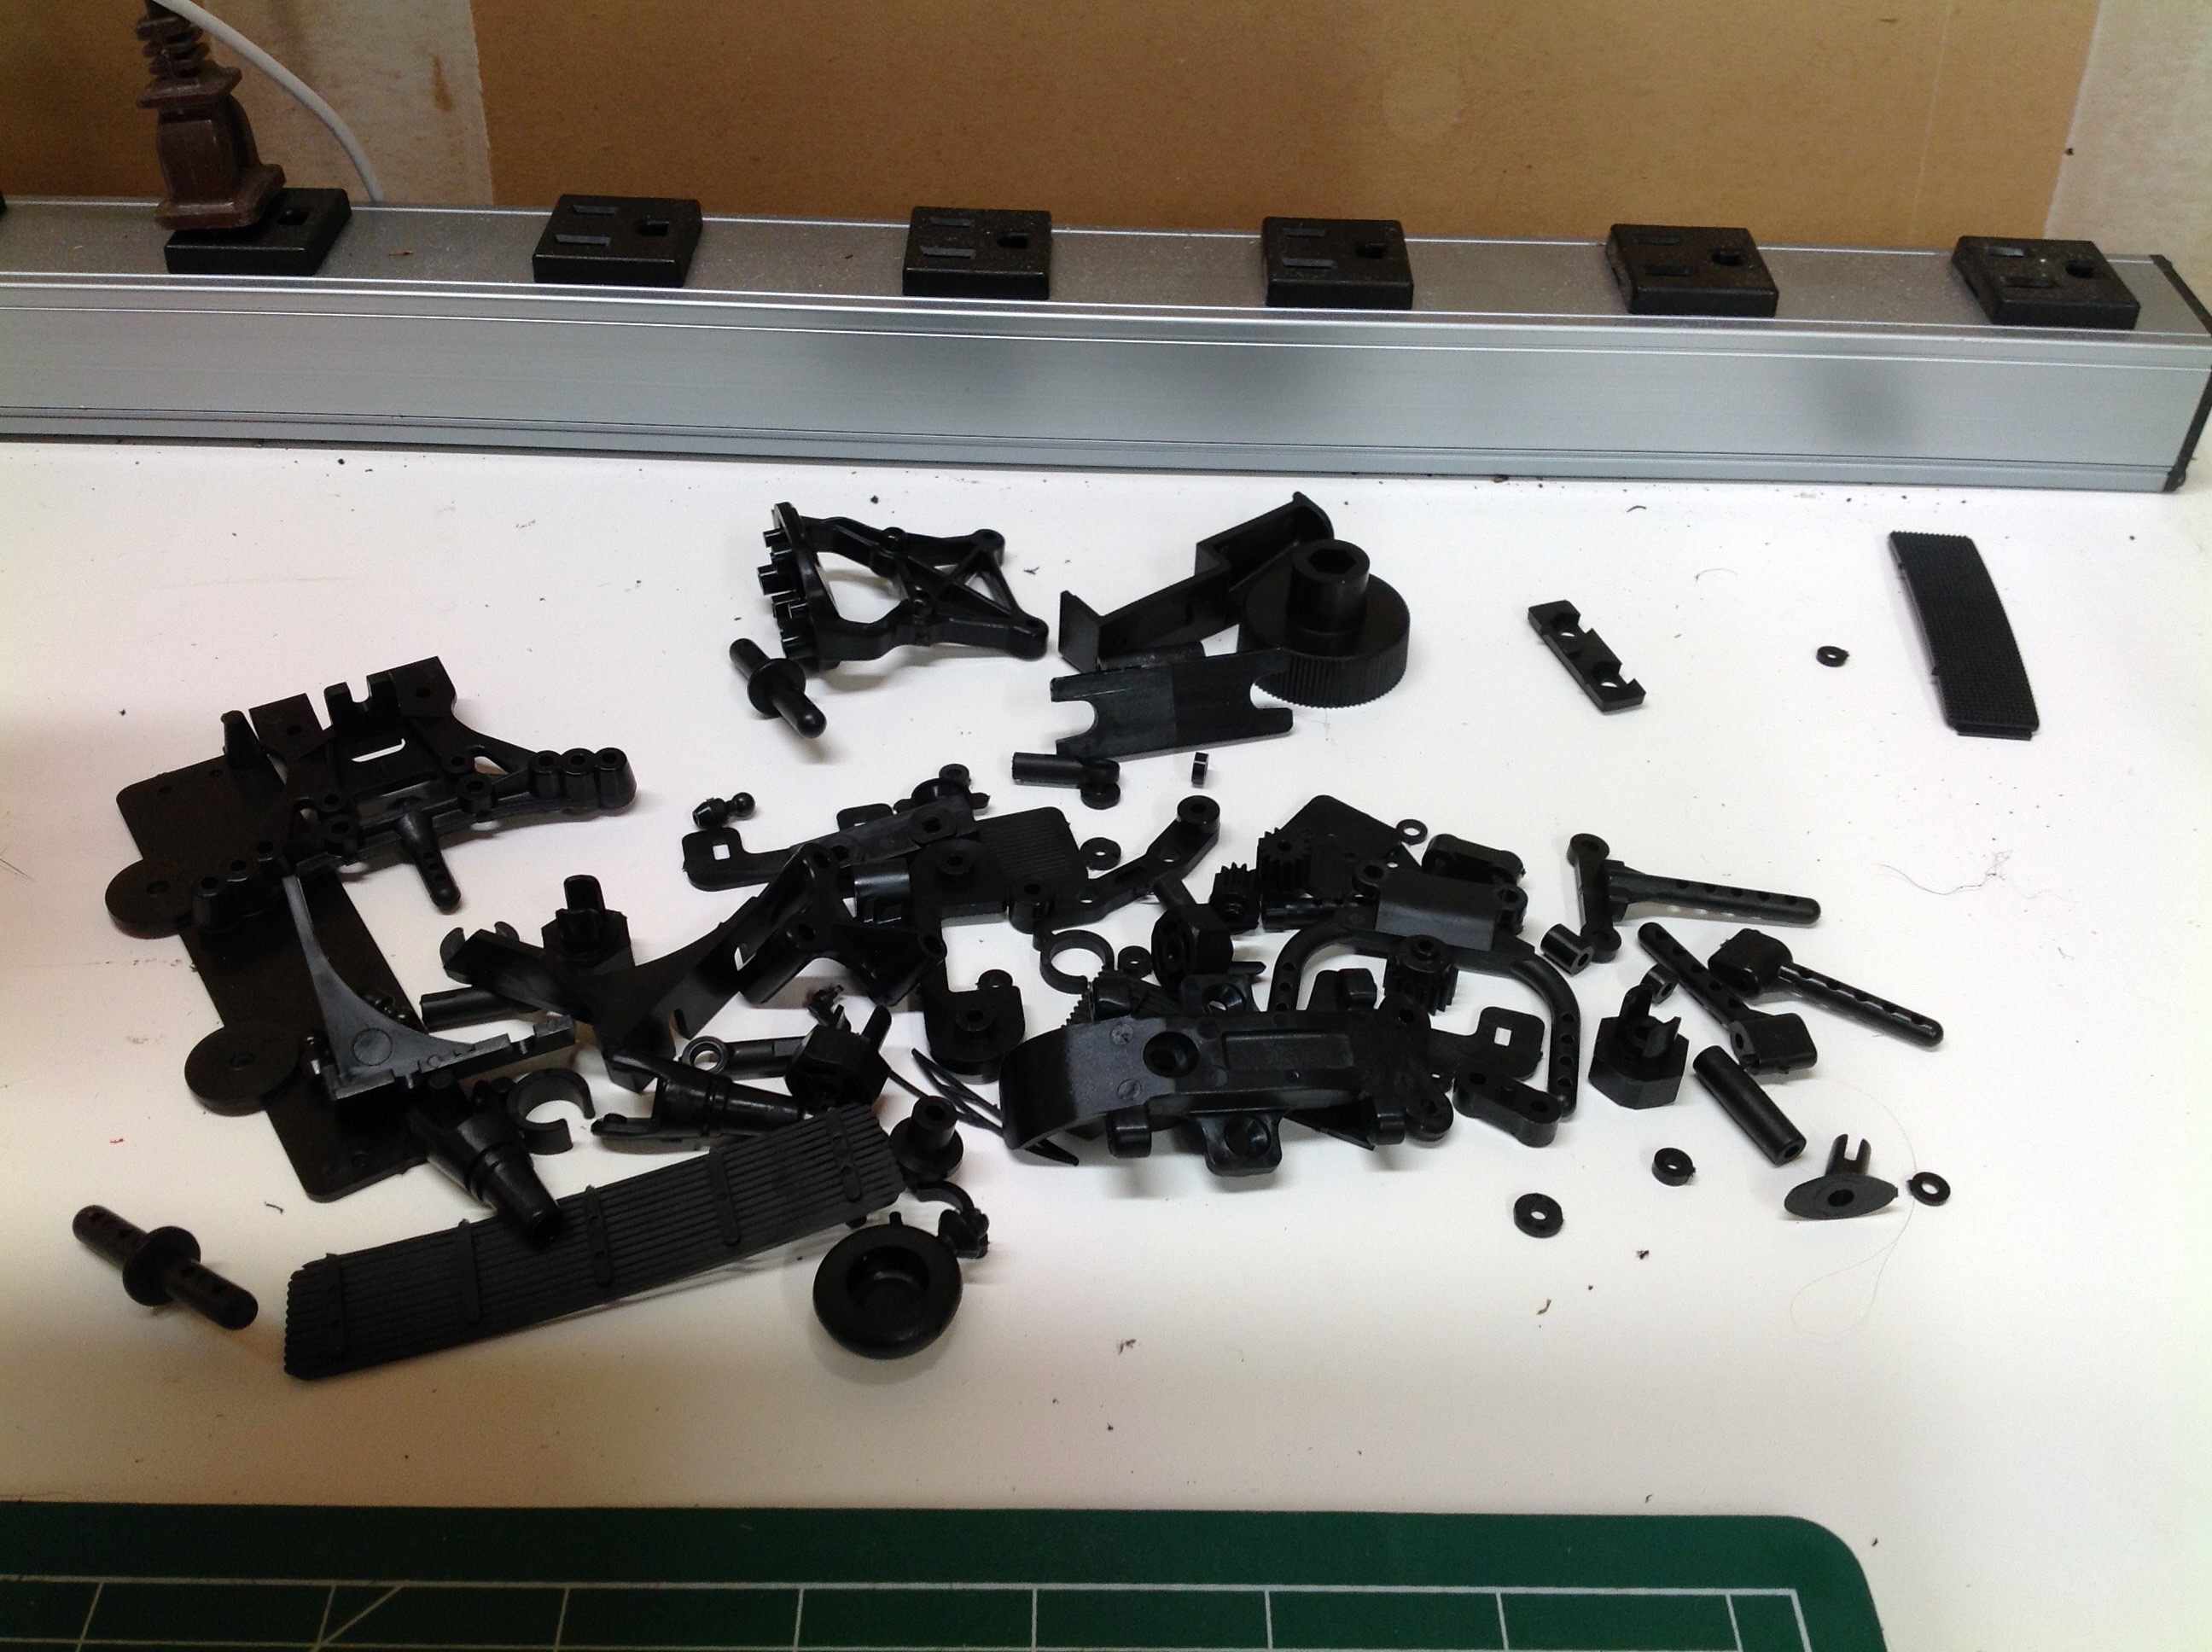
The GTO comes in a fairly unassuming little box that is not much
different in size than a 1/10 chassis kit. But inside, I was
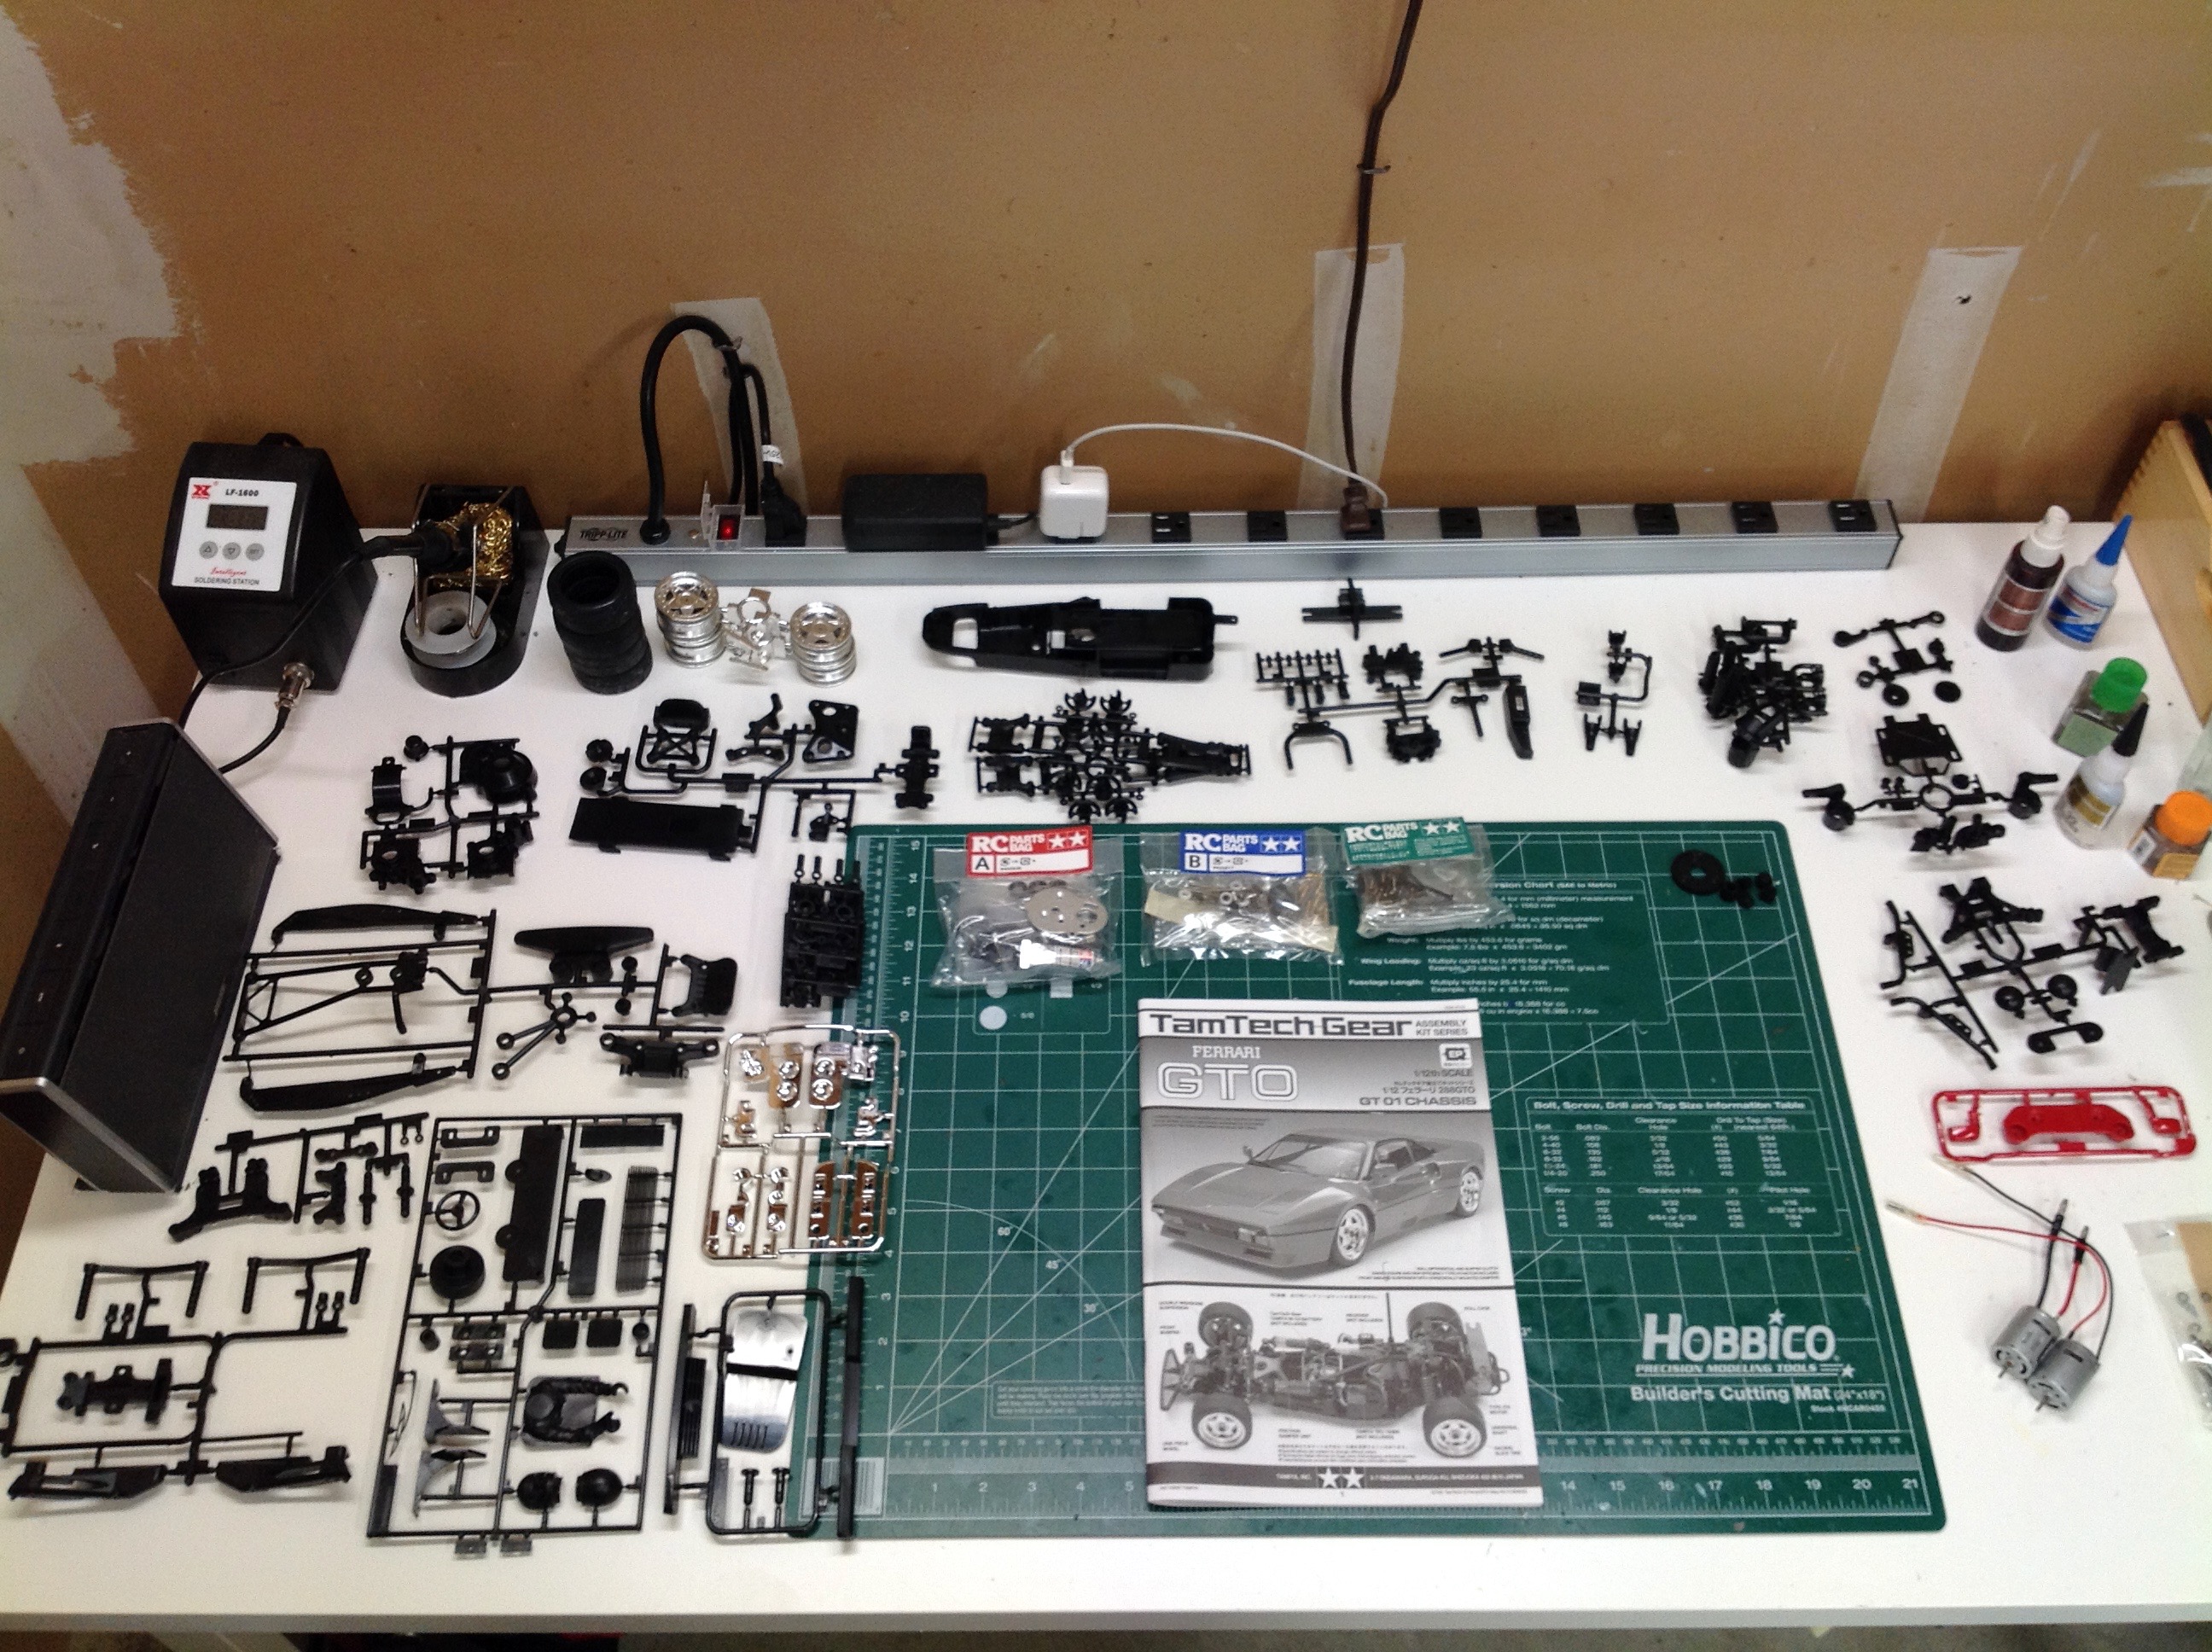
surprised to find the tremendous number of parts. Look at all
those plastic parts trees! I'm not sure I have ever seen so many
in another model. Part of this is because there are many unused
parts which are only needed for other TamTech models. If you were
thinking that a 1/12 build might be proportionally simpler than a 1/10,
it appears the opposite is true.
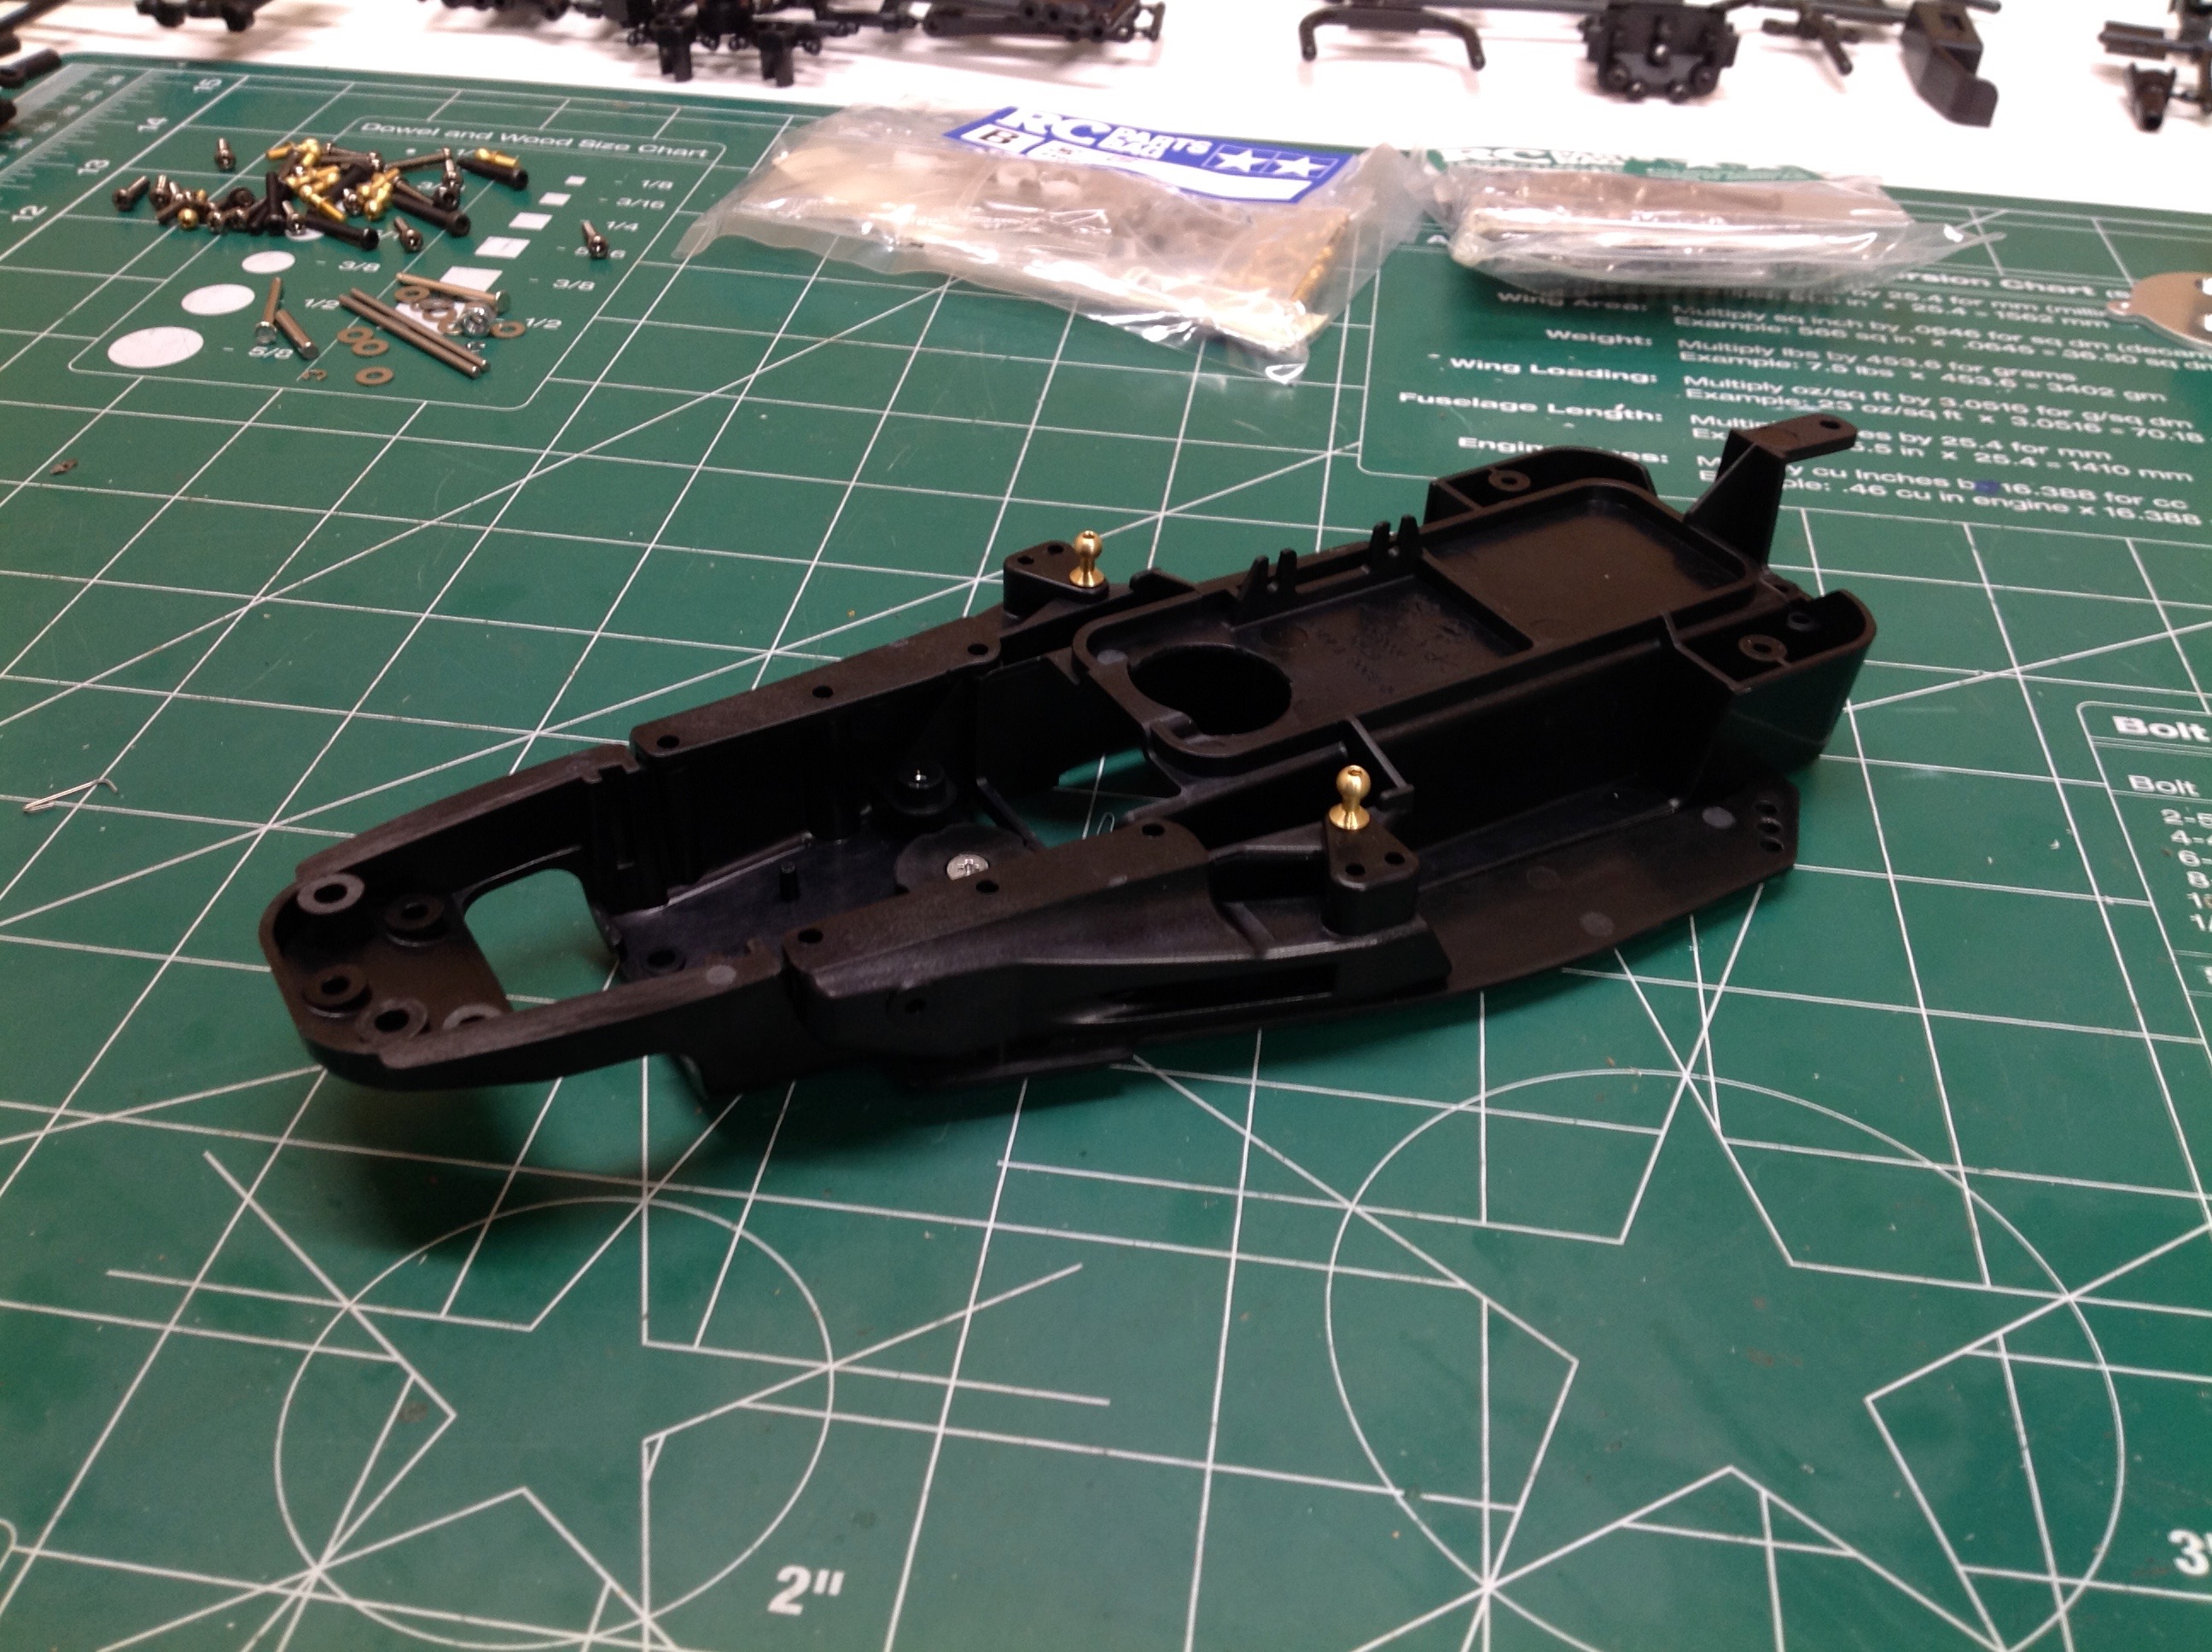
The main chassis tub is a single part, but the wings on the side are
screwed on. The ball studs you see on top will be used to support
the longitudinal front dampers. This kit comes with a
pre-assembled ball diff. It feels very odd to me not to build the
ball diff myself and I'm not sure why they did it this way. My
only thought is that the parts are so small that they were worried
people would have trouble or lose parts. I did not open up the
diff.
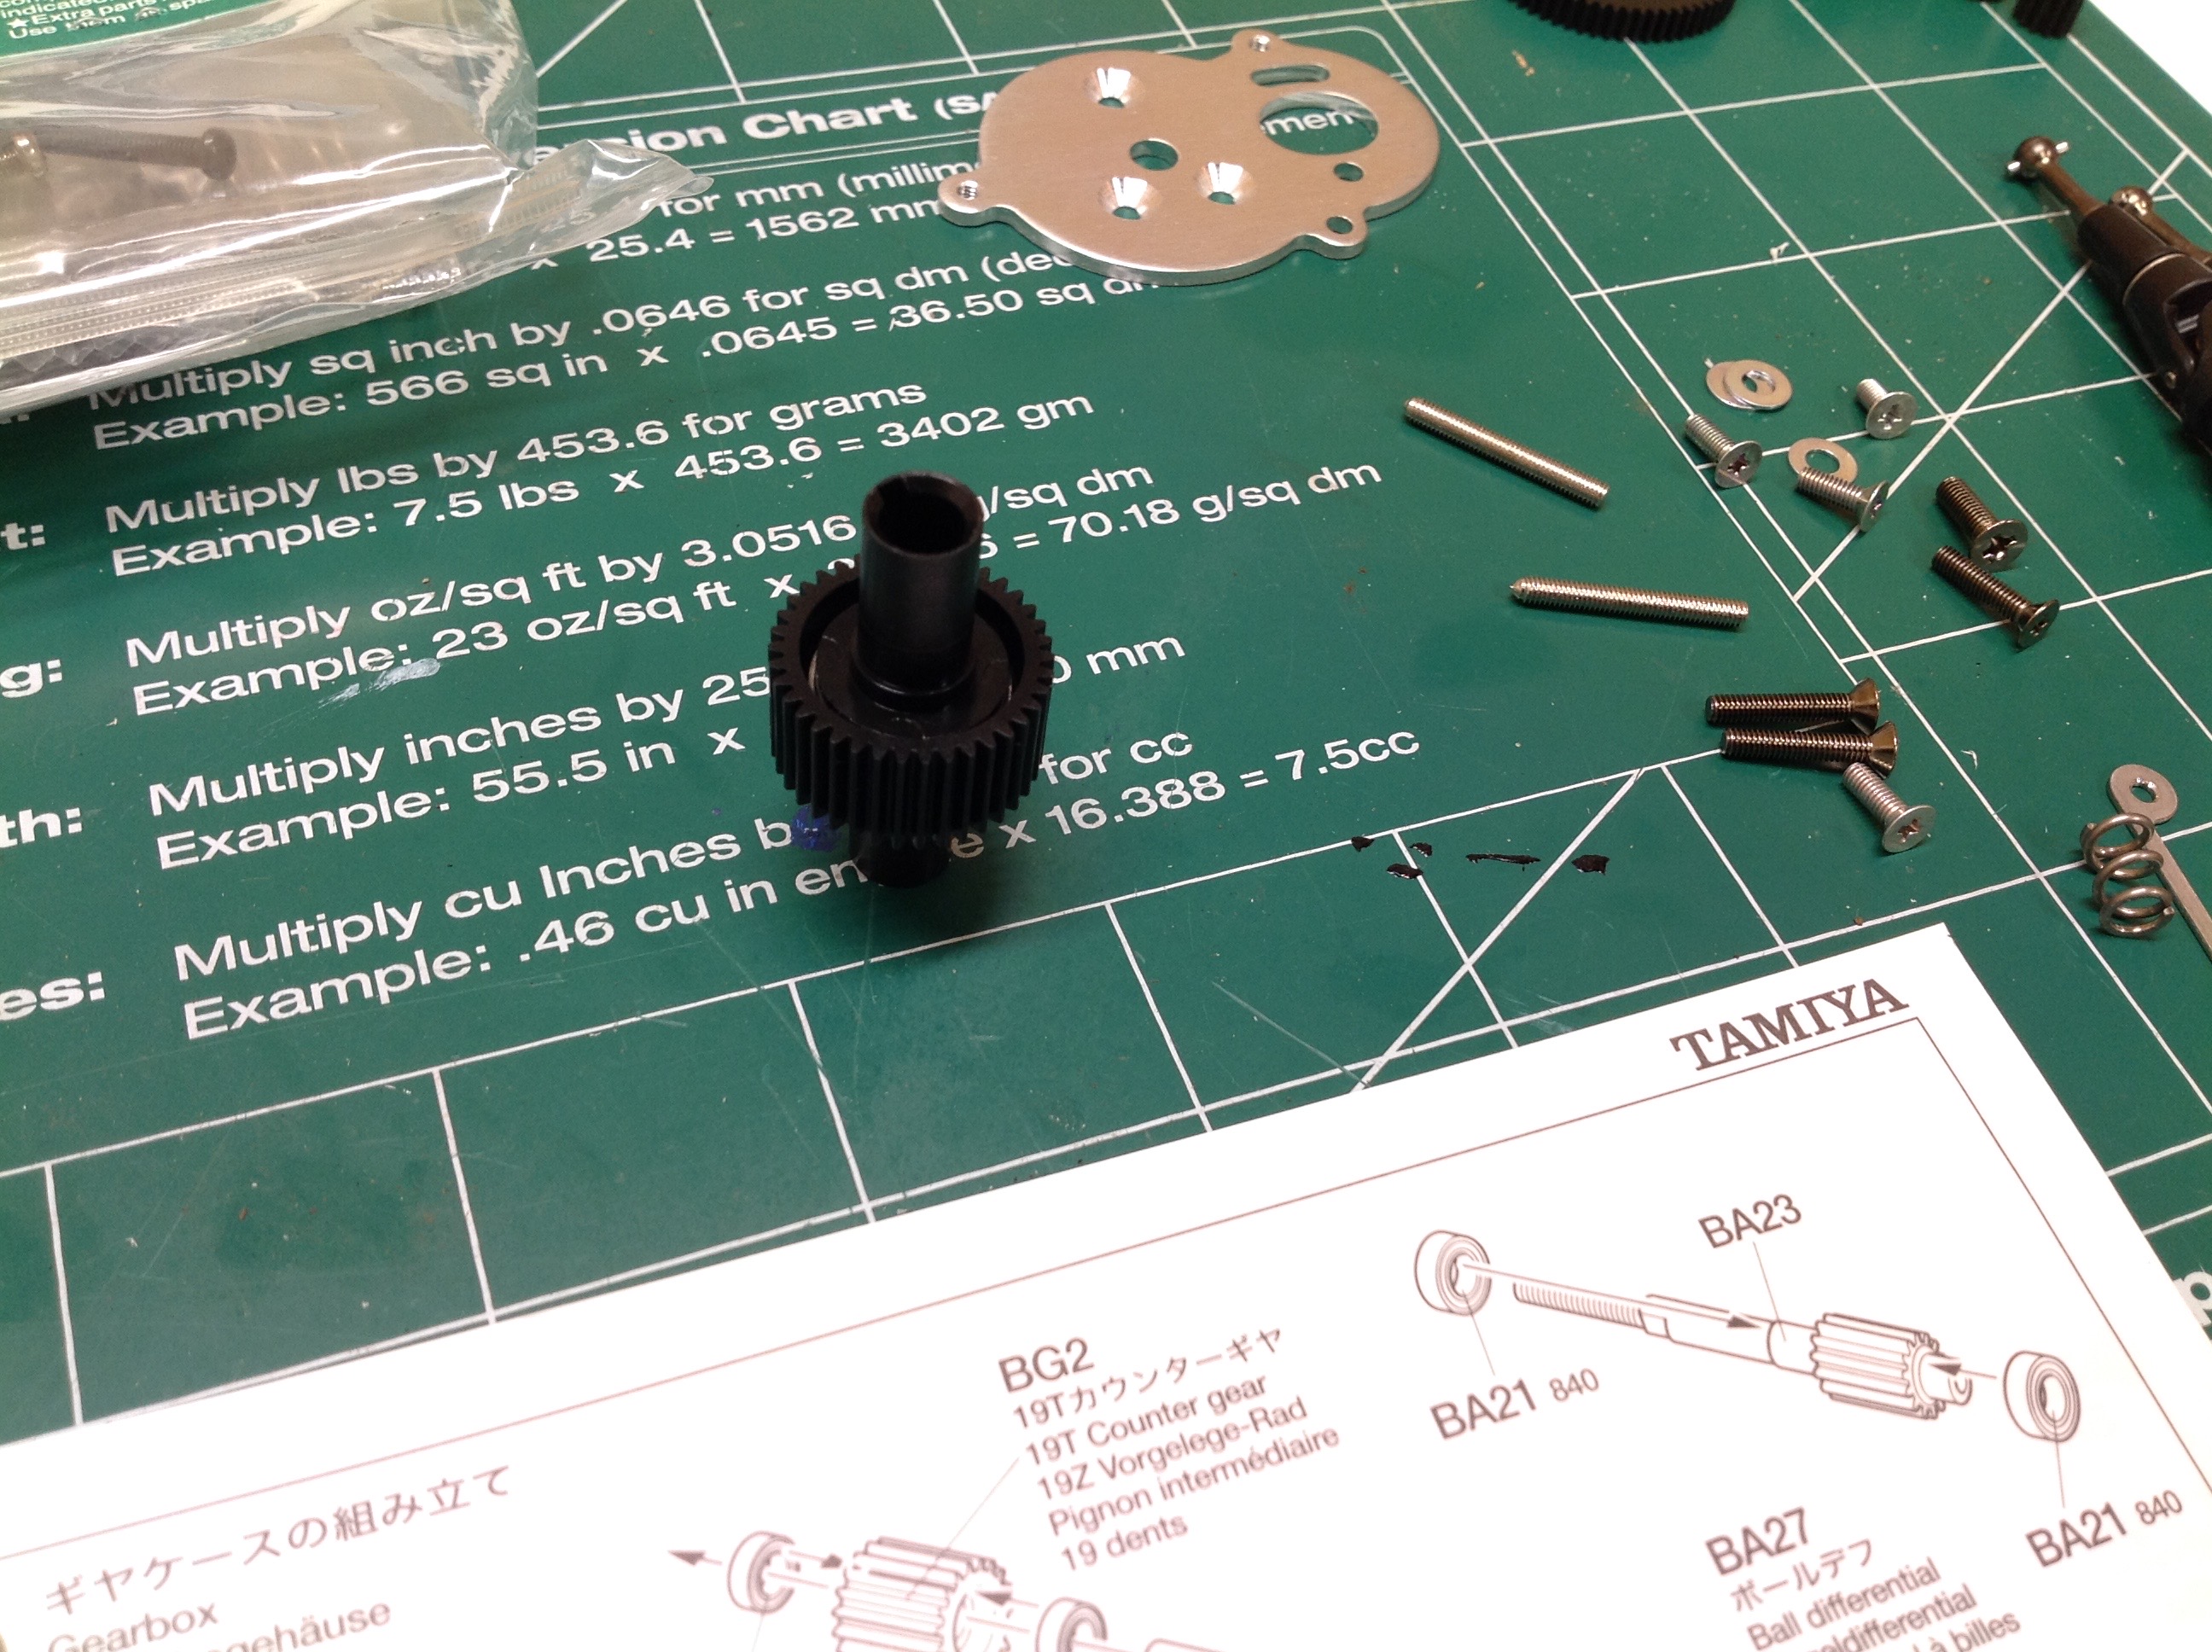
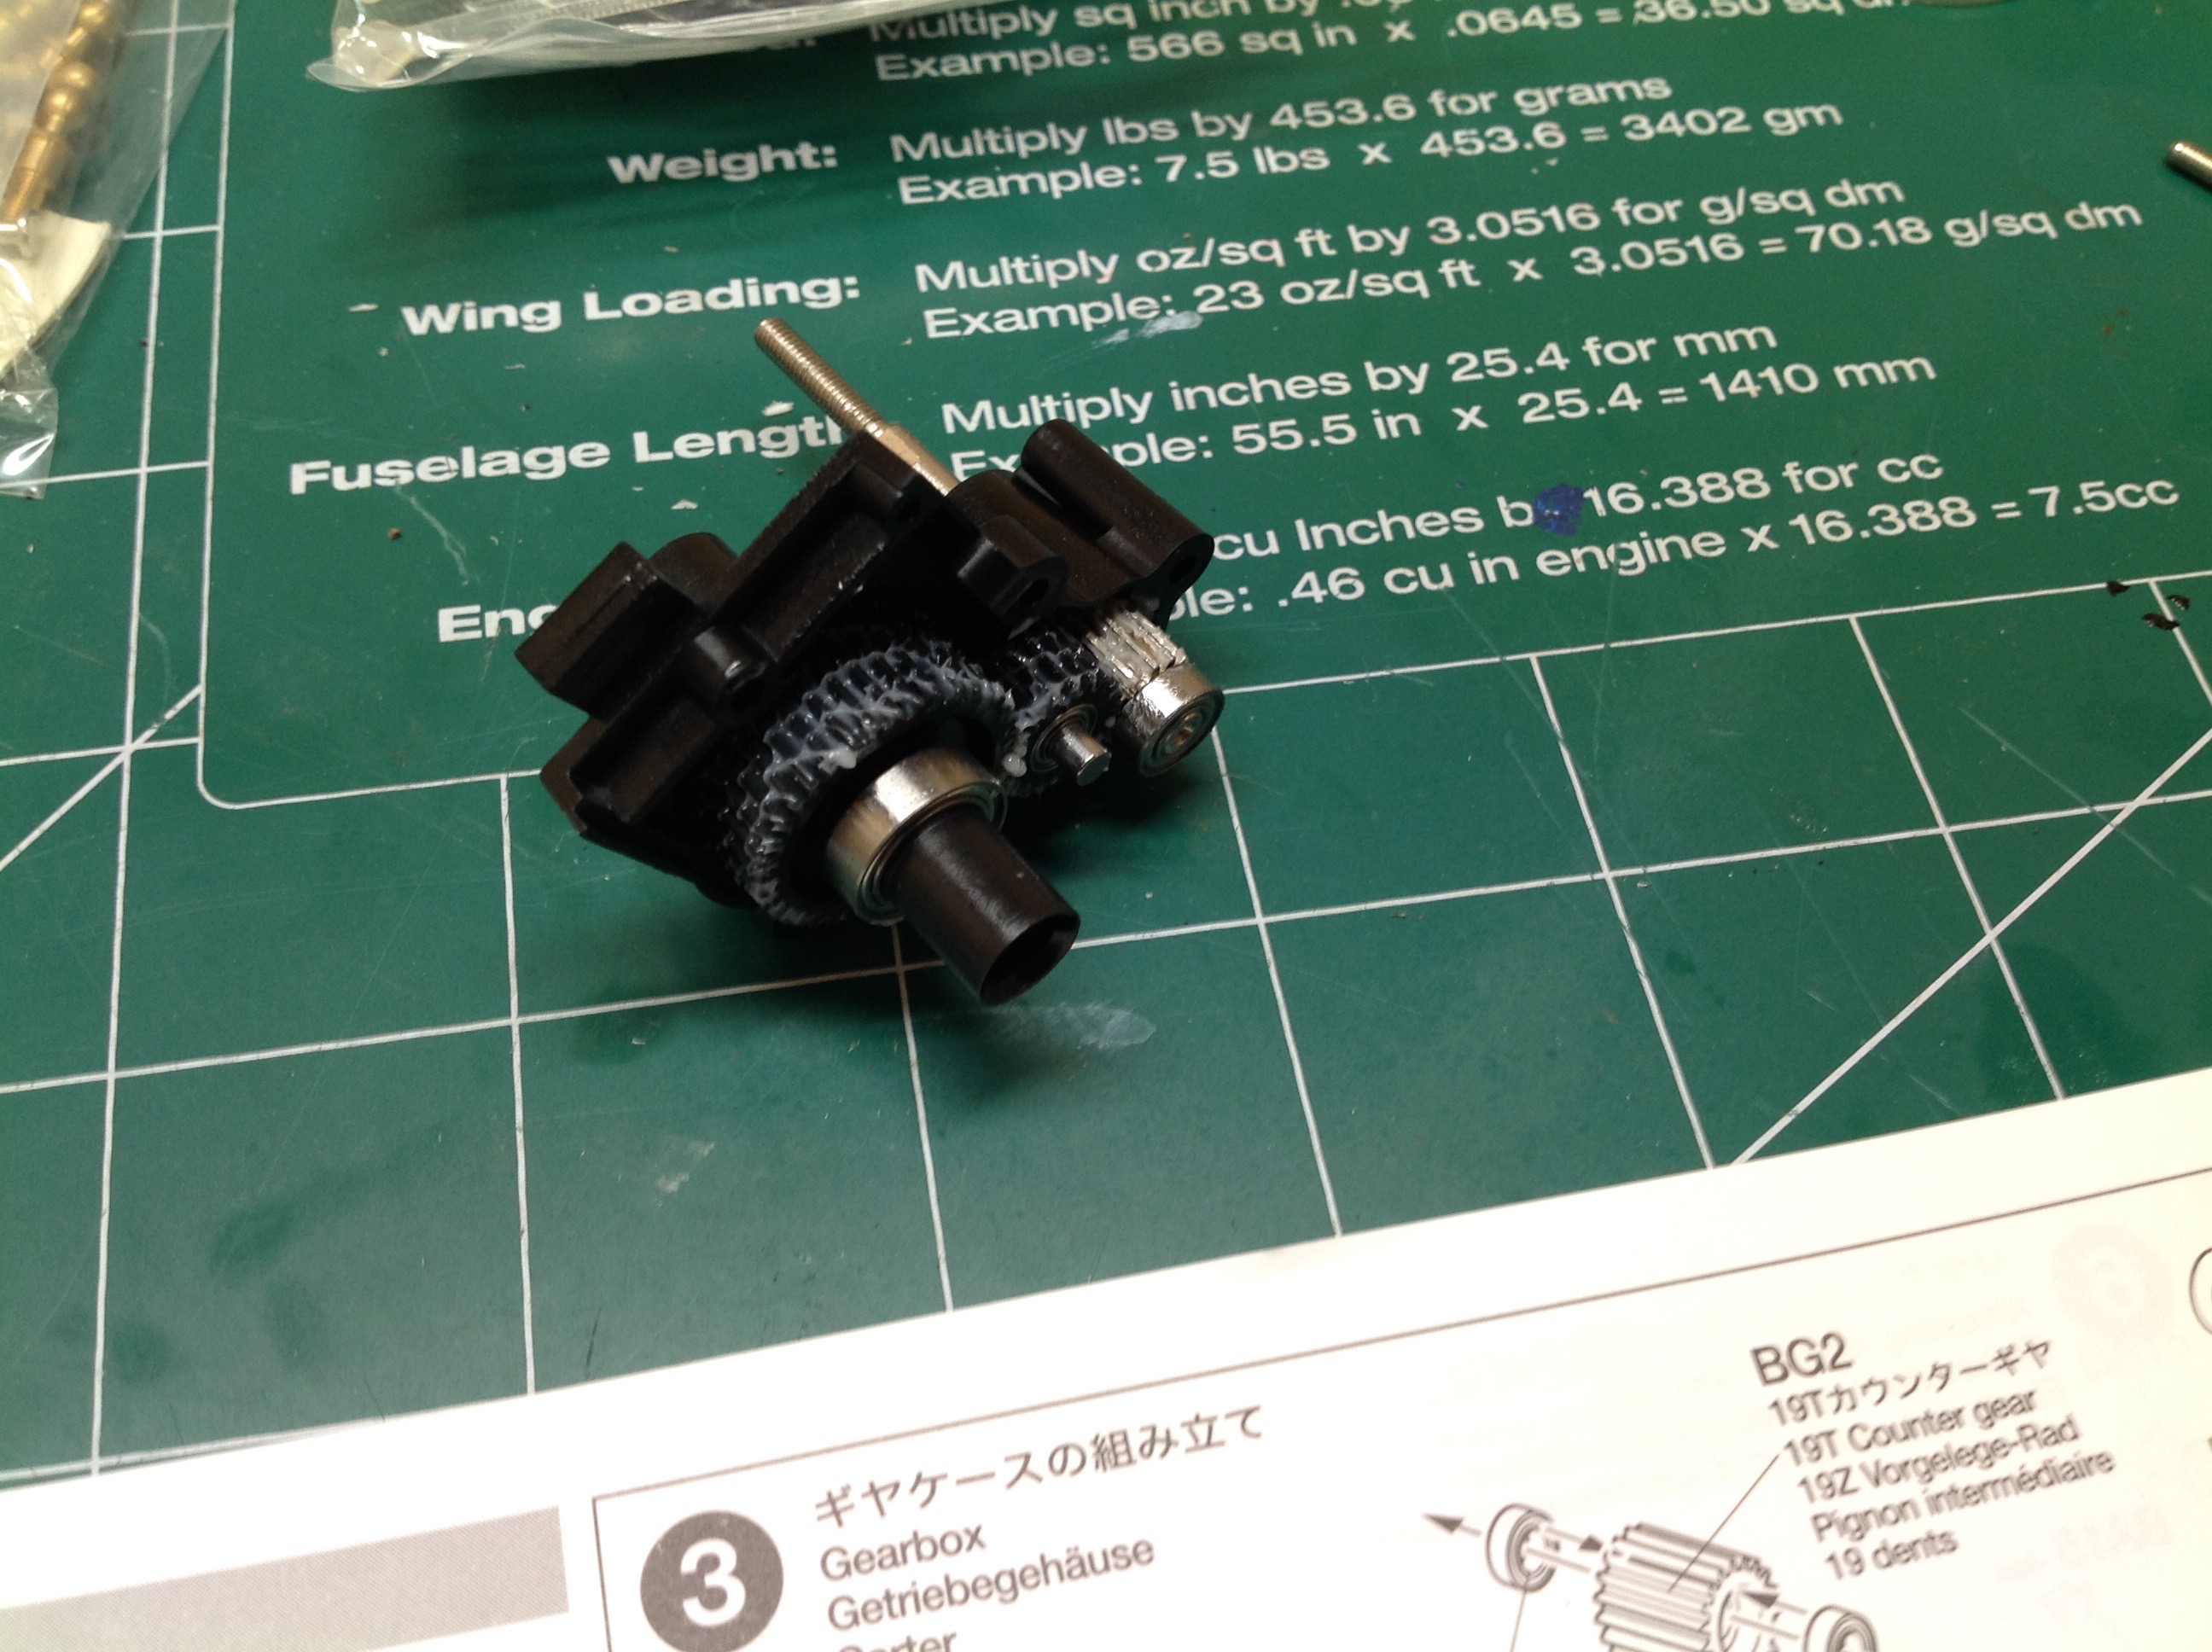
The gearbox is built next. The ball diff sits in the lowest position
with an idler gear and a metal drive gear above. The other end of
the drive gear attaches to the spur which includes a slipper
clutch. The ball bearings you see are included with the kit.
Ball diff, slipper, full bearings, you might be starting to get the
idea that this is a pretty deluxe kit.
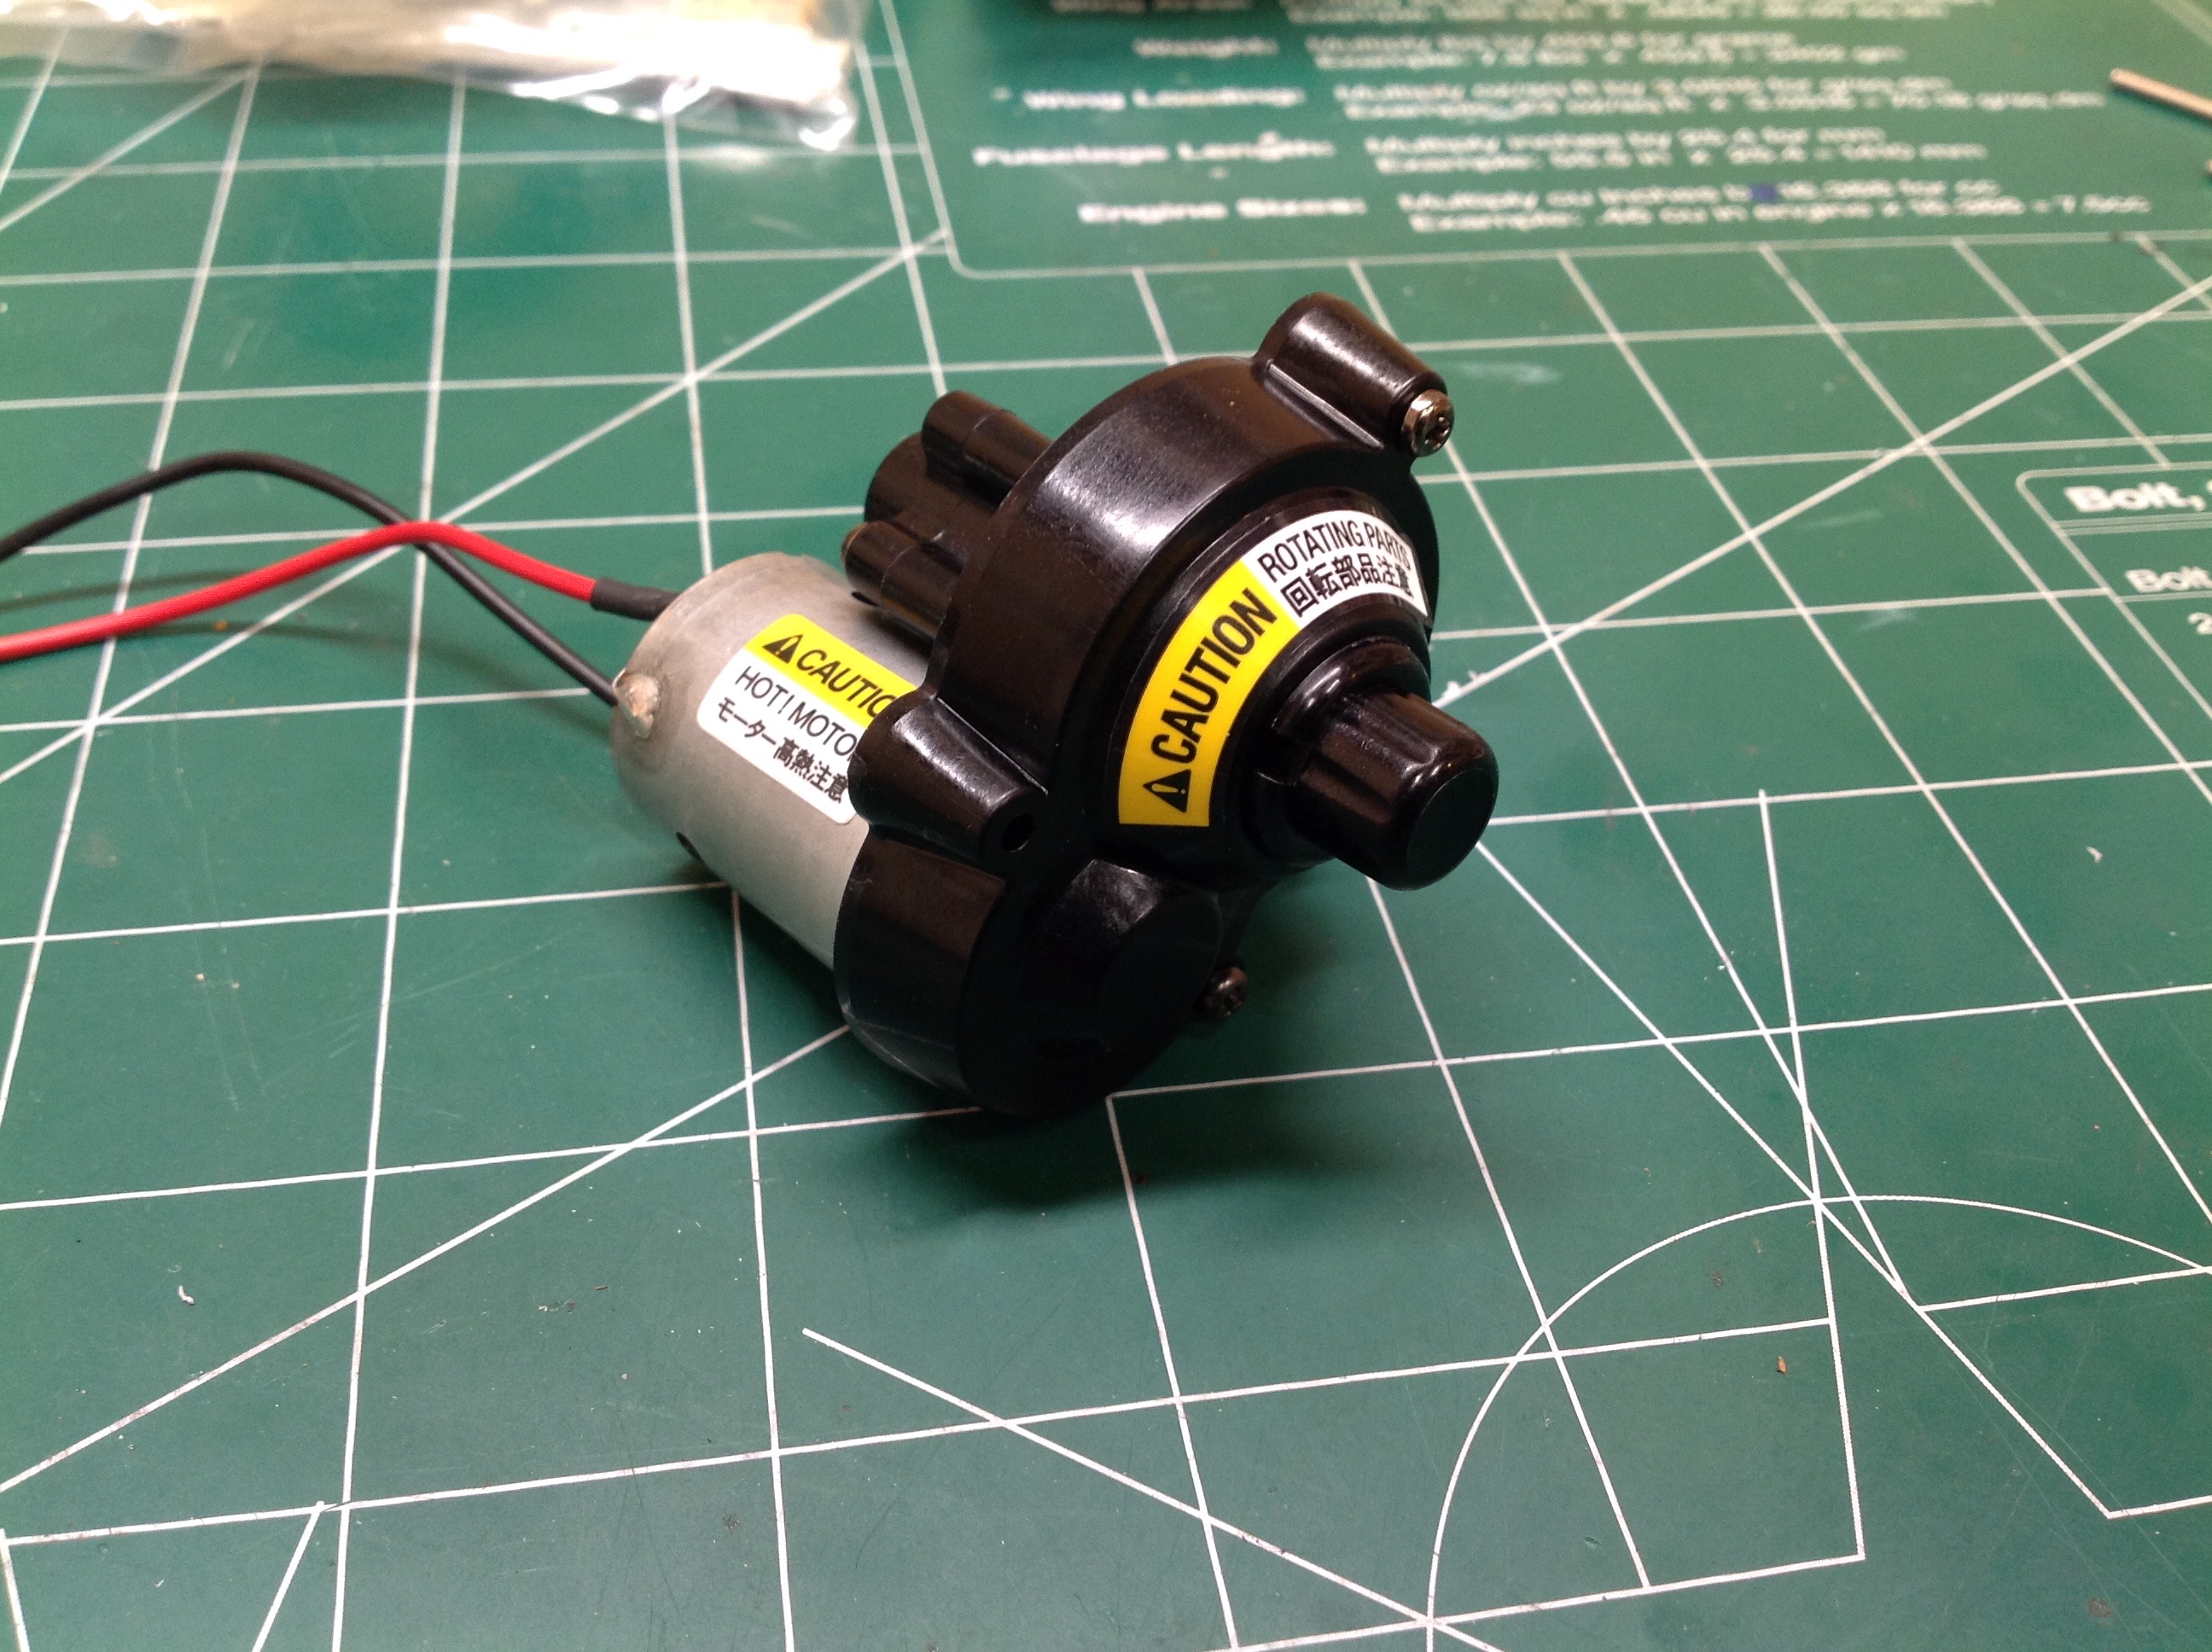
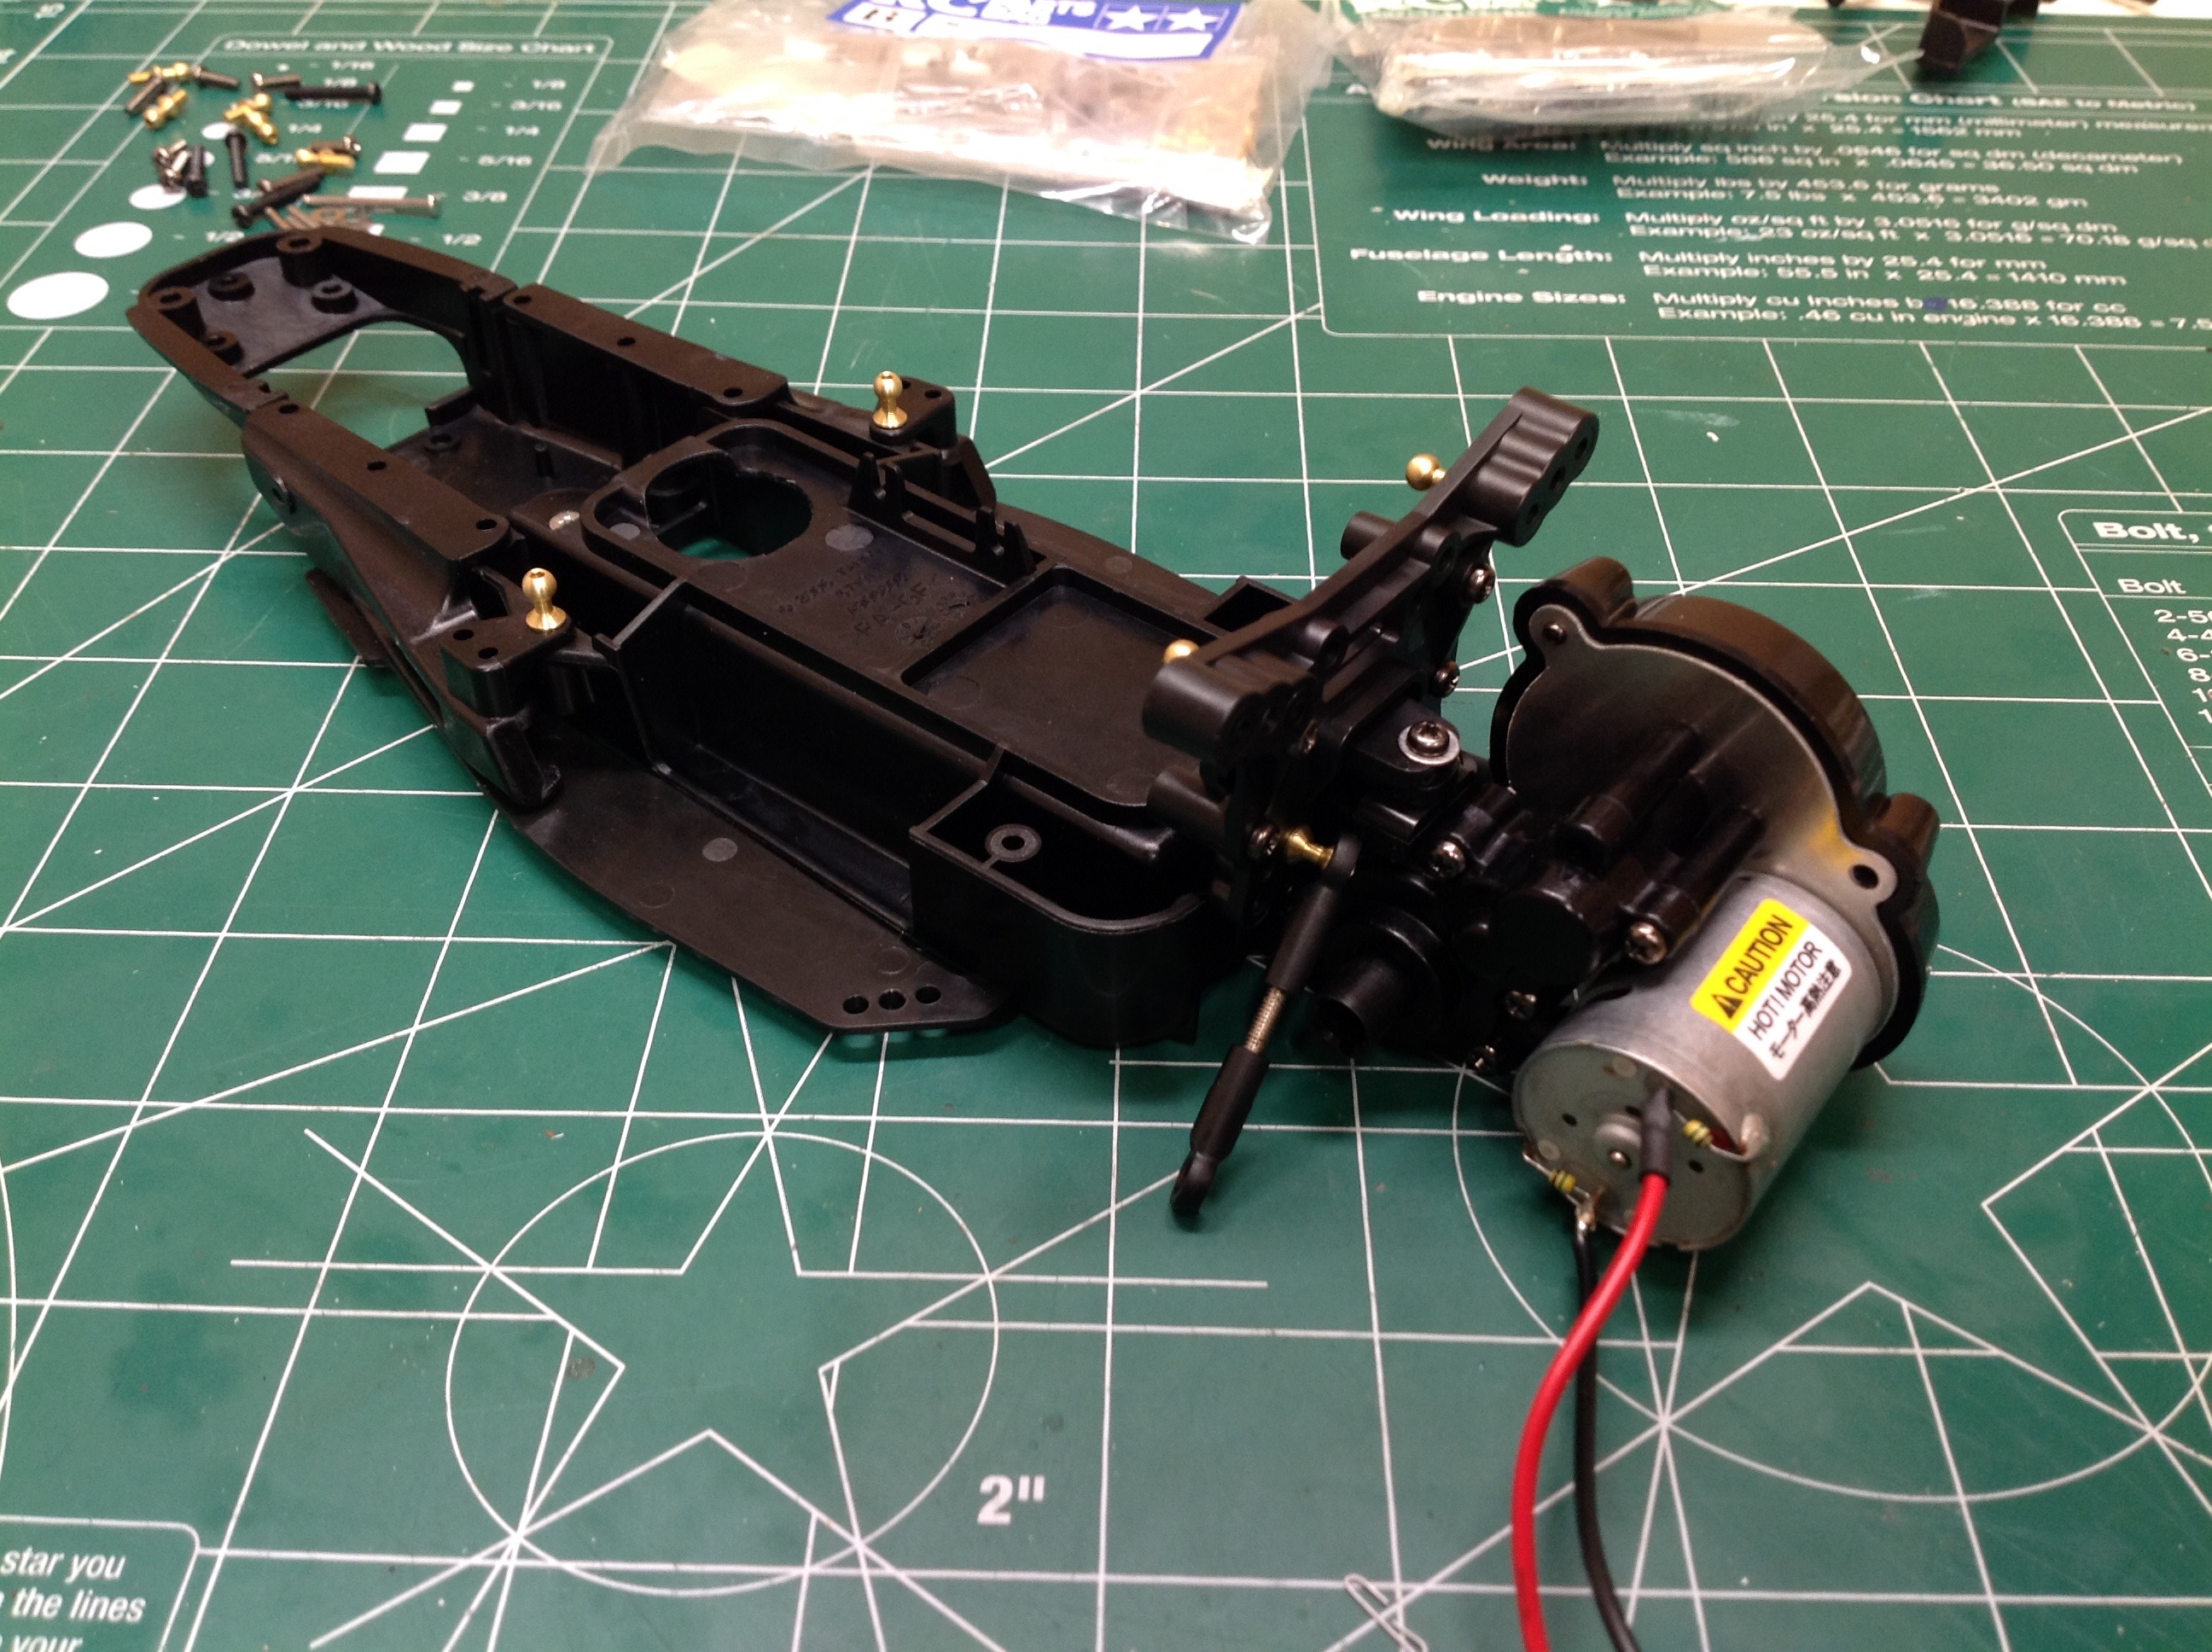
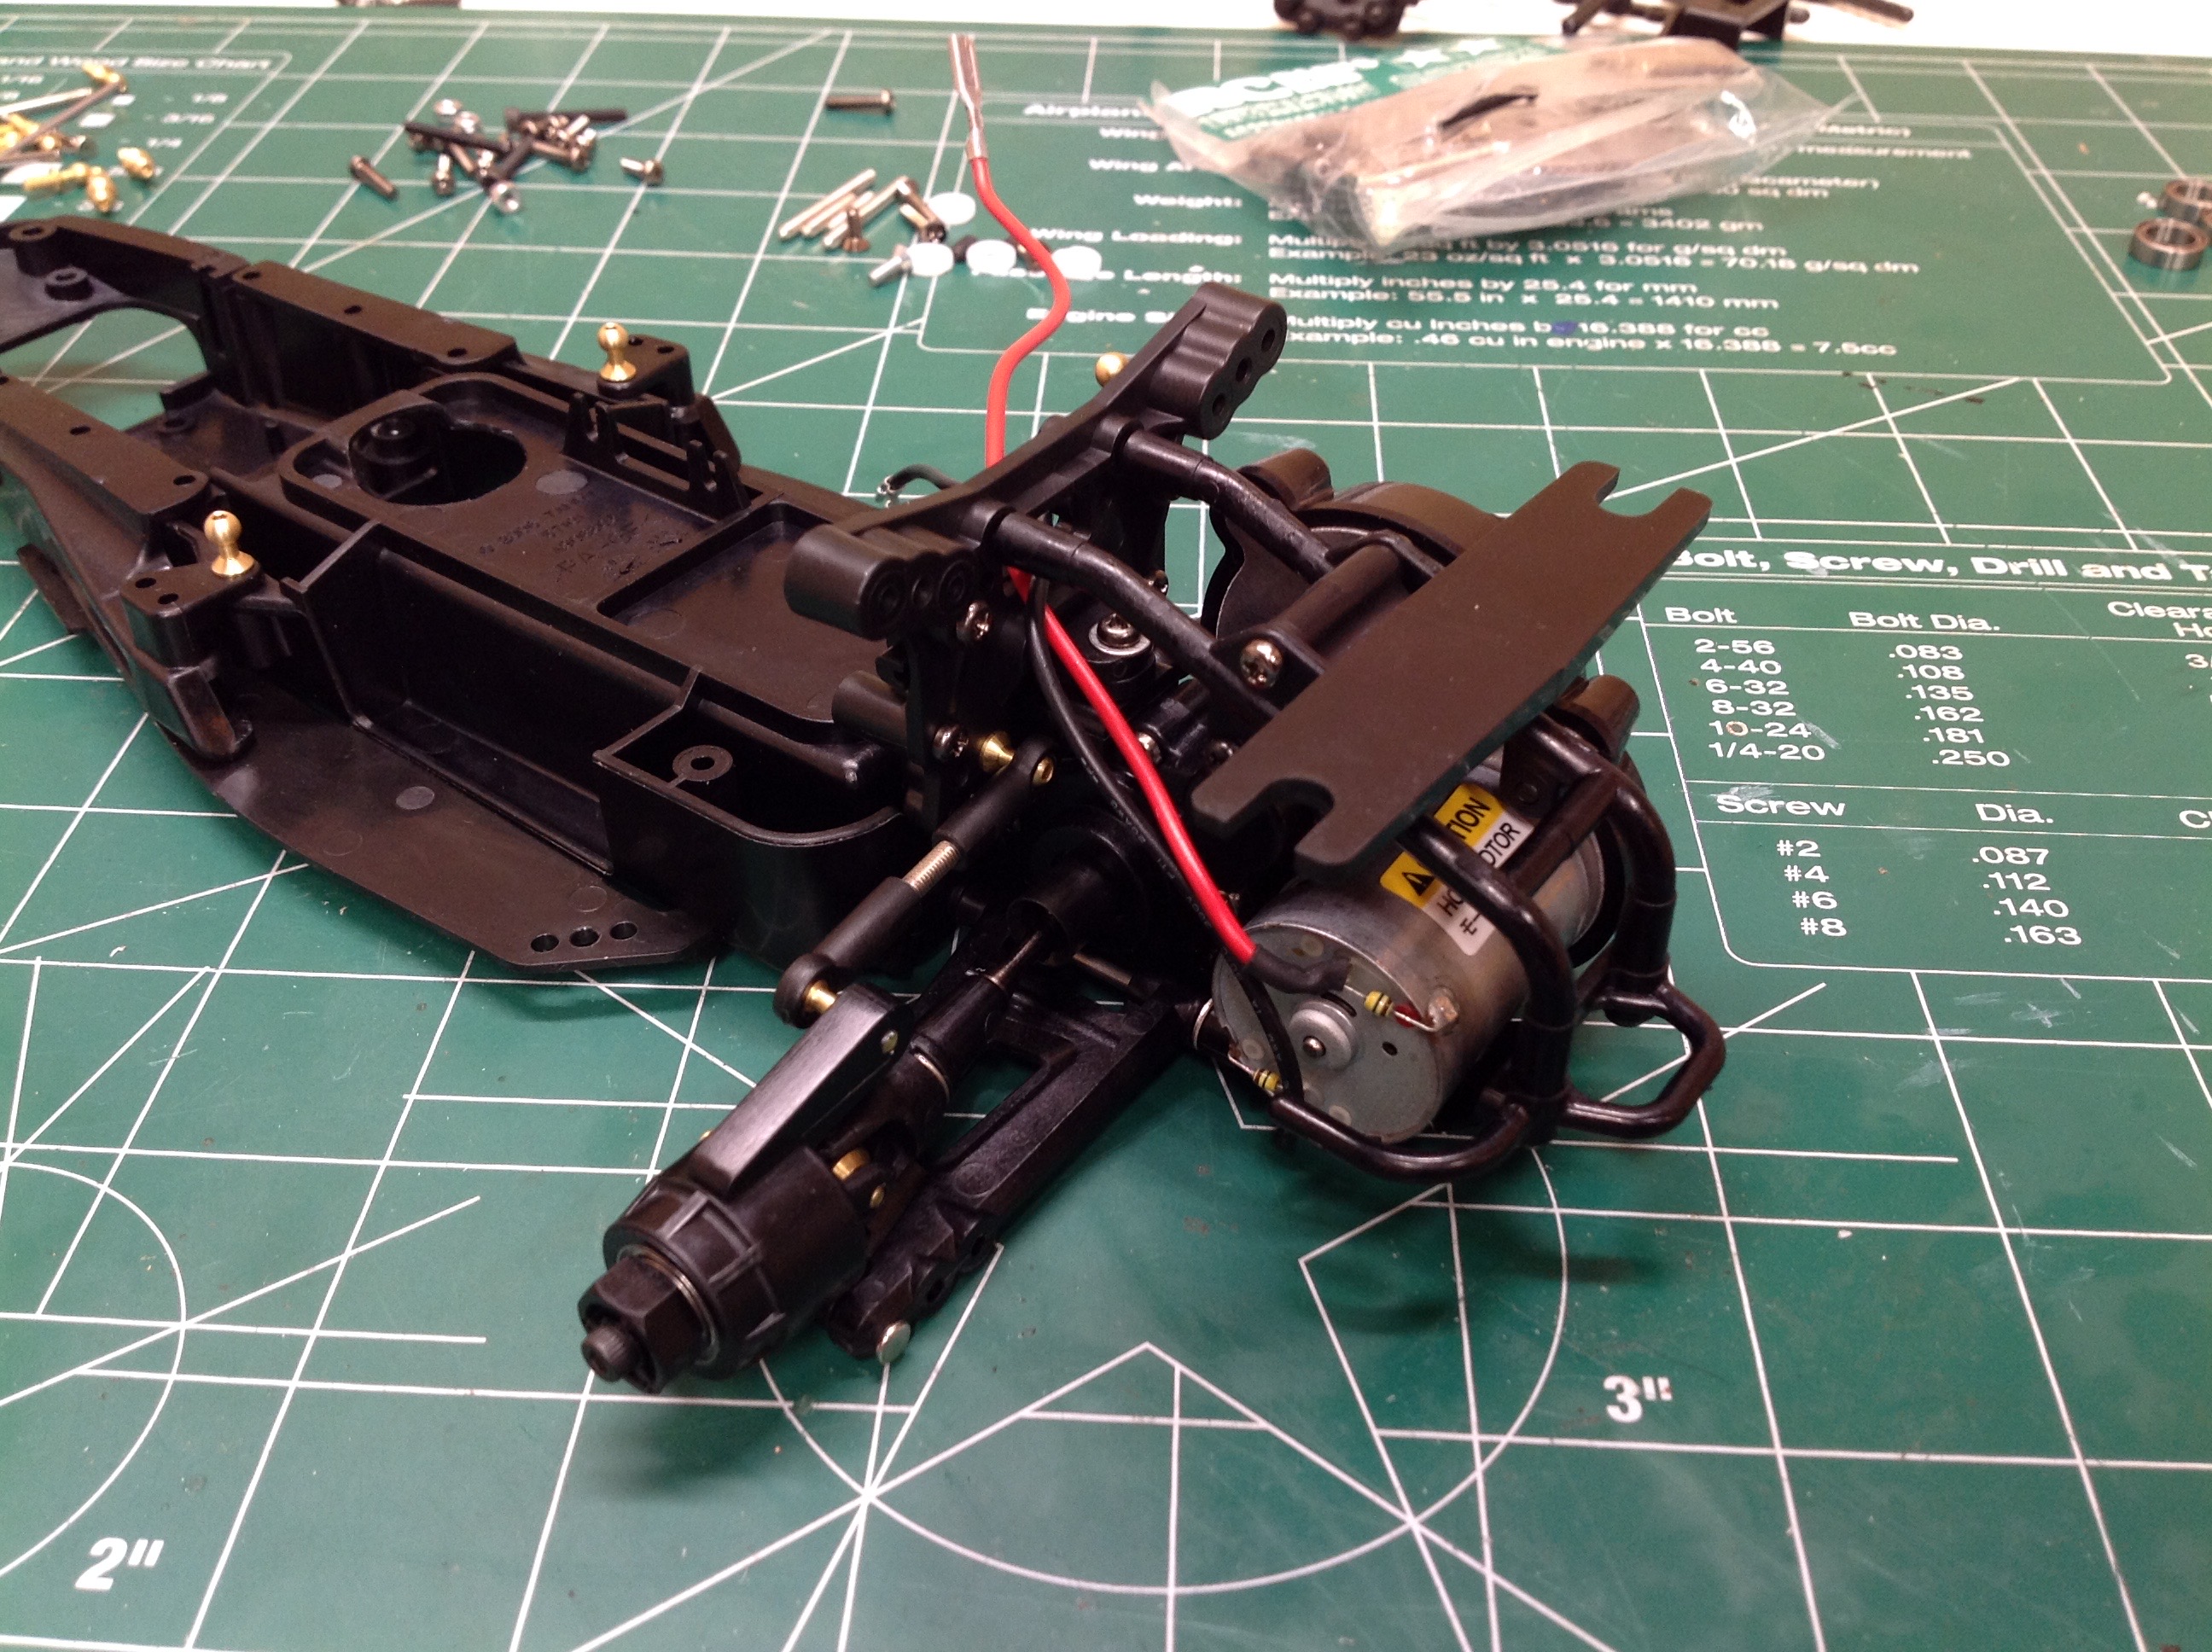
Now the gearbox is closed up and the 370 sized motor is installed.
Then the whole assembly is connected to the rear of the chassis along
with the rear shock tower.
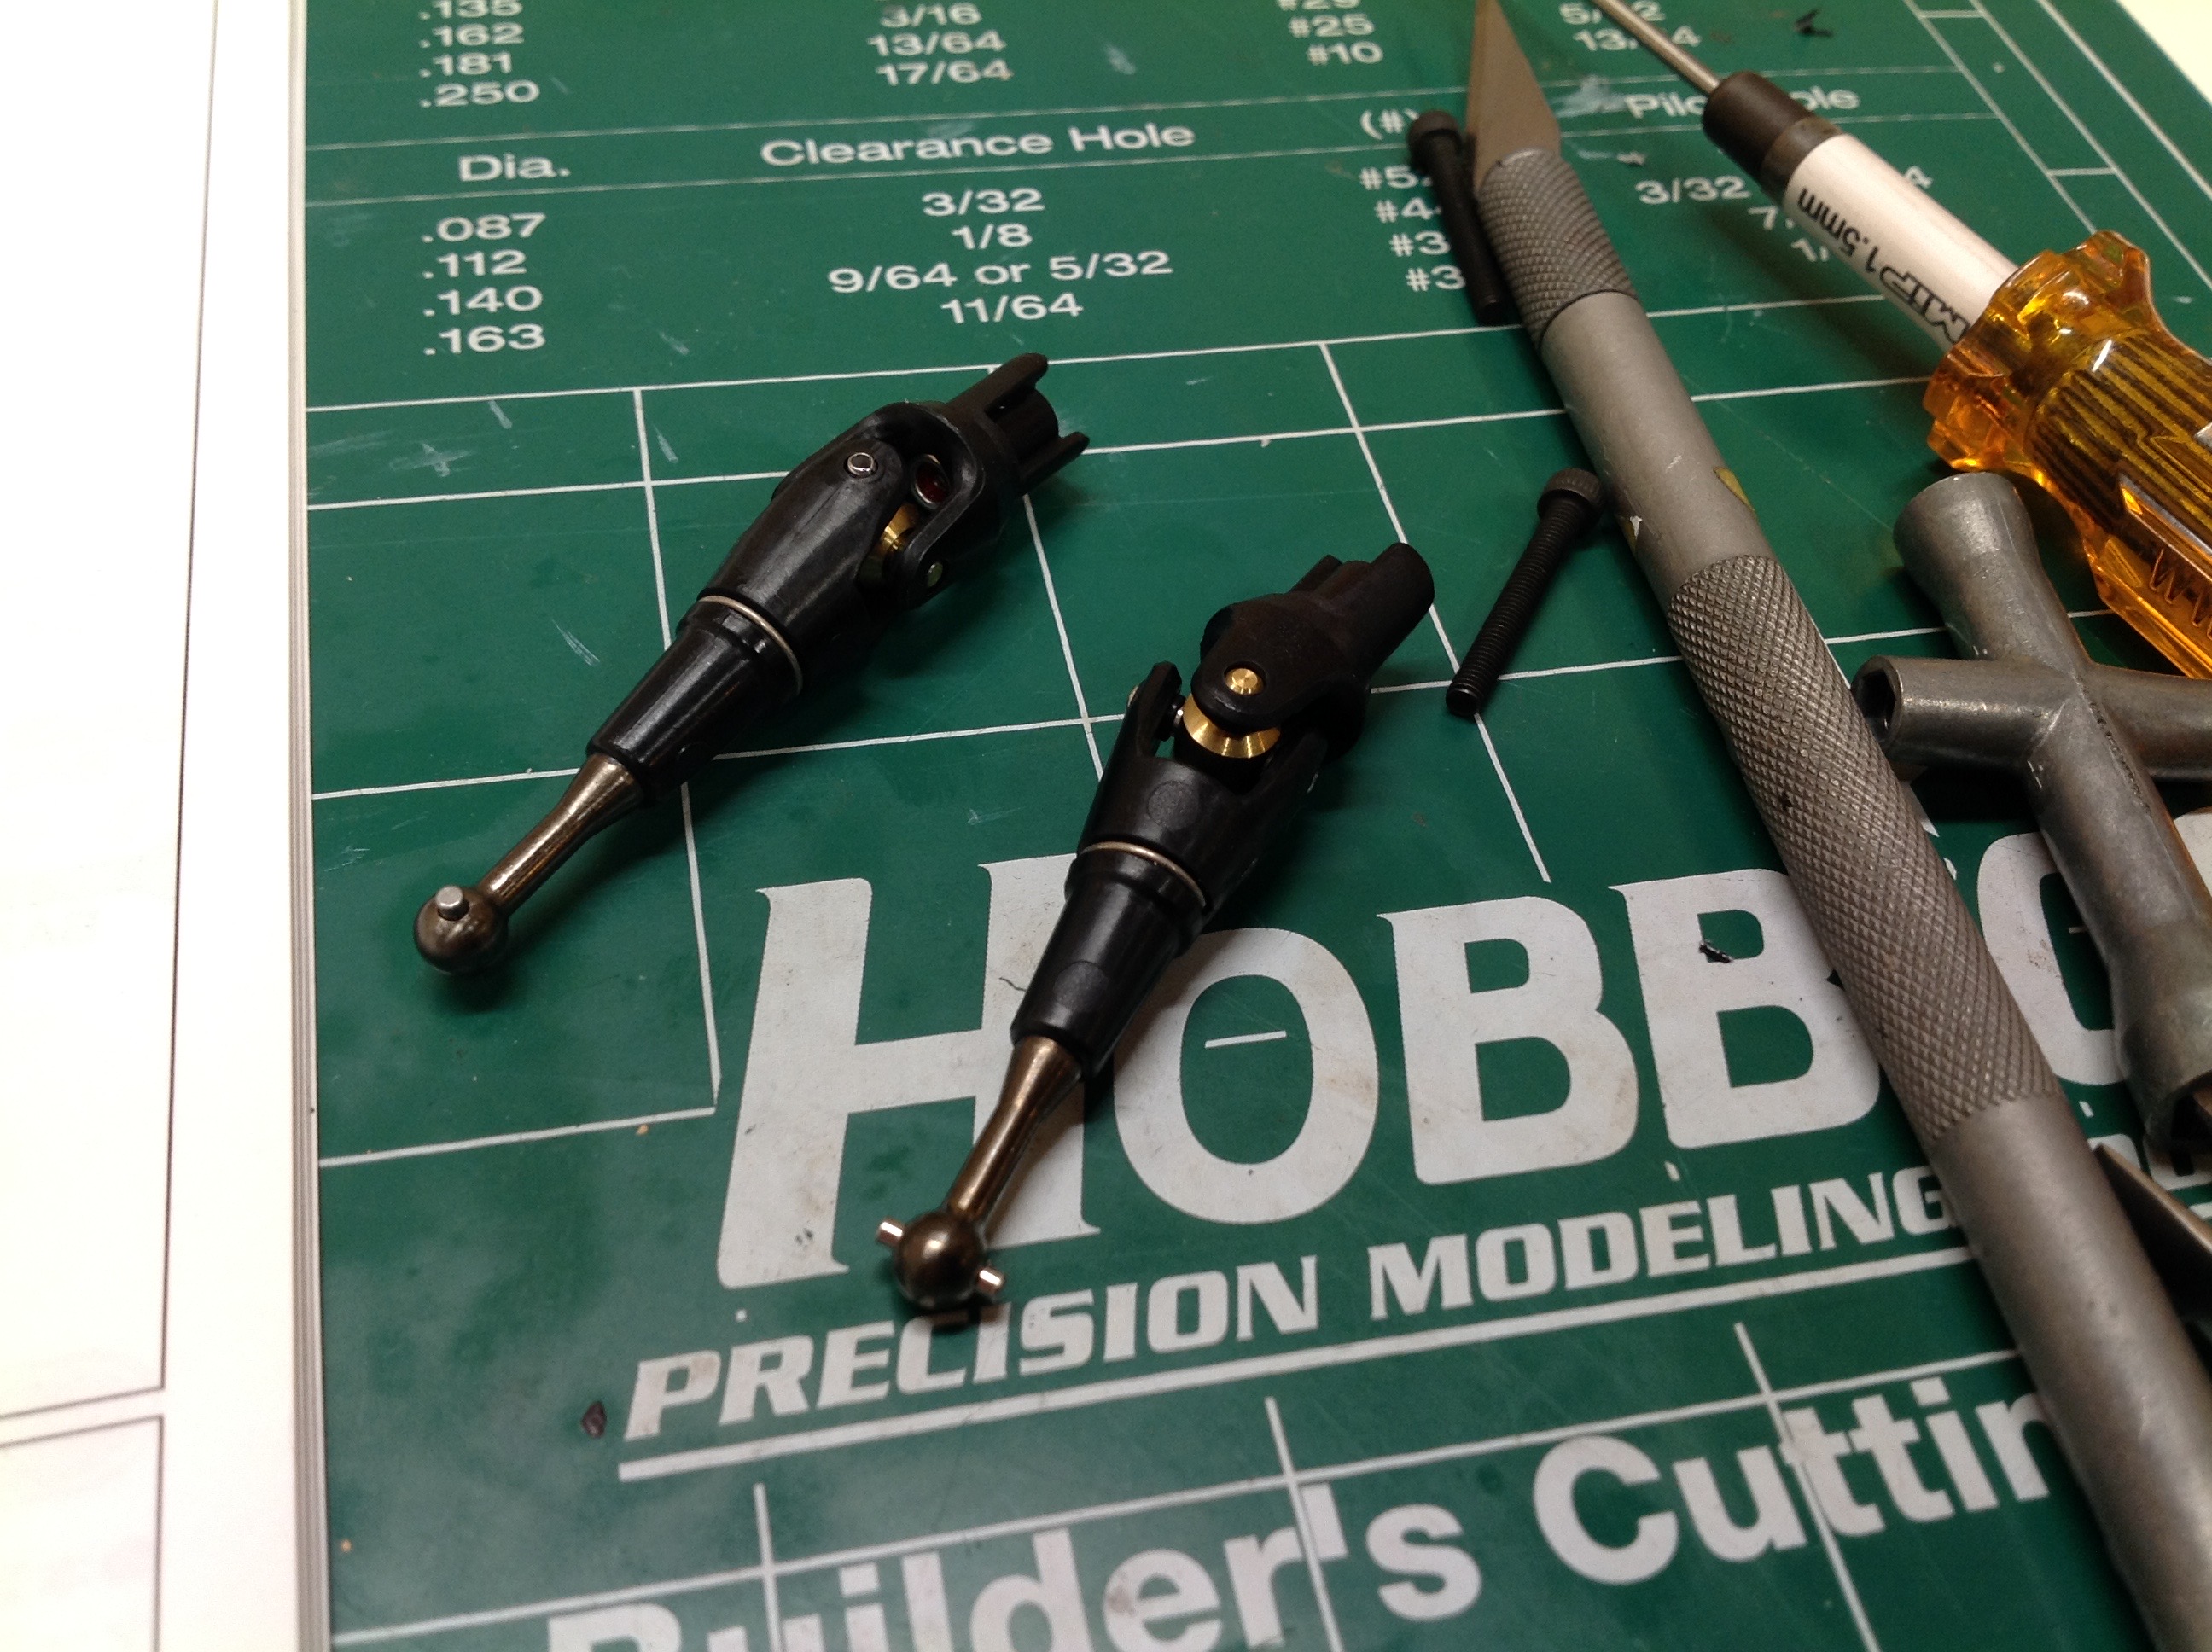
The drive shafts are very unusual. One end is dogbone style and
metal while the interim shaft is plastic. The u-joint is built
into the assembly. The right hand image shows the completed rear
suspension. The lower arms are solid and the upper links are
adjustable.
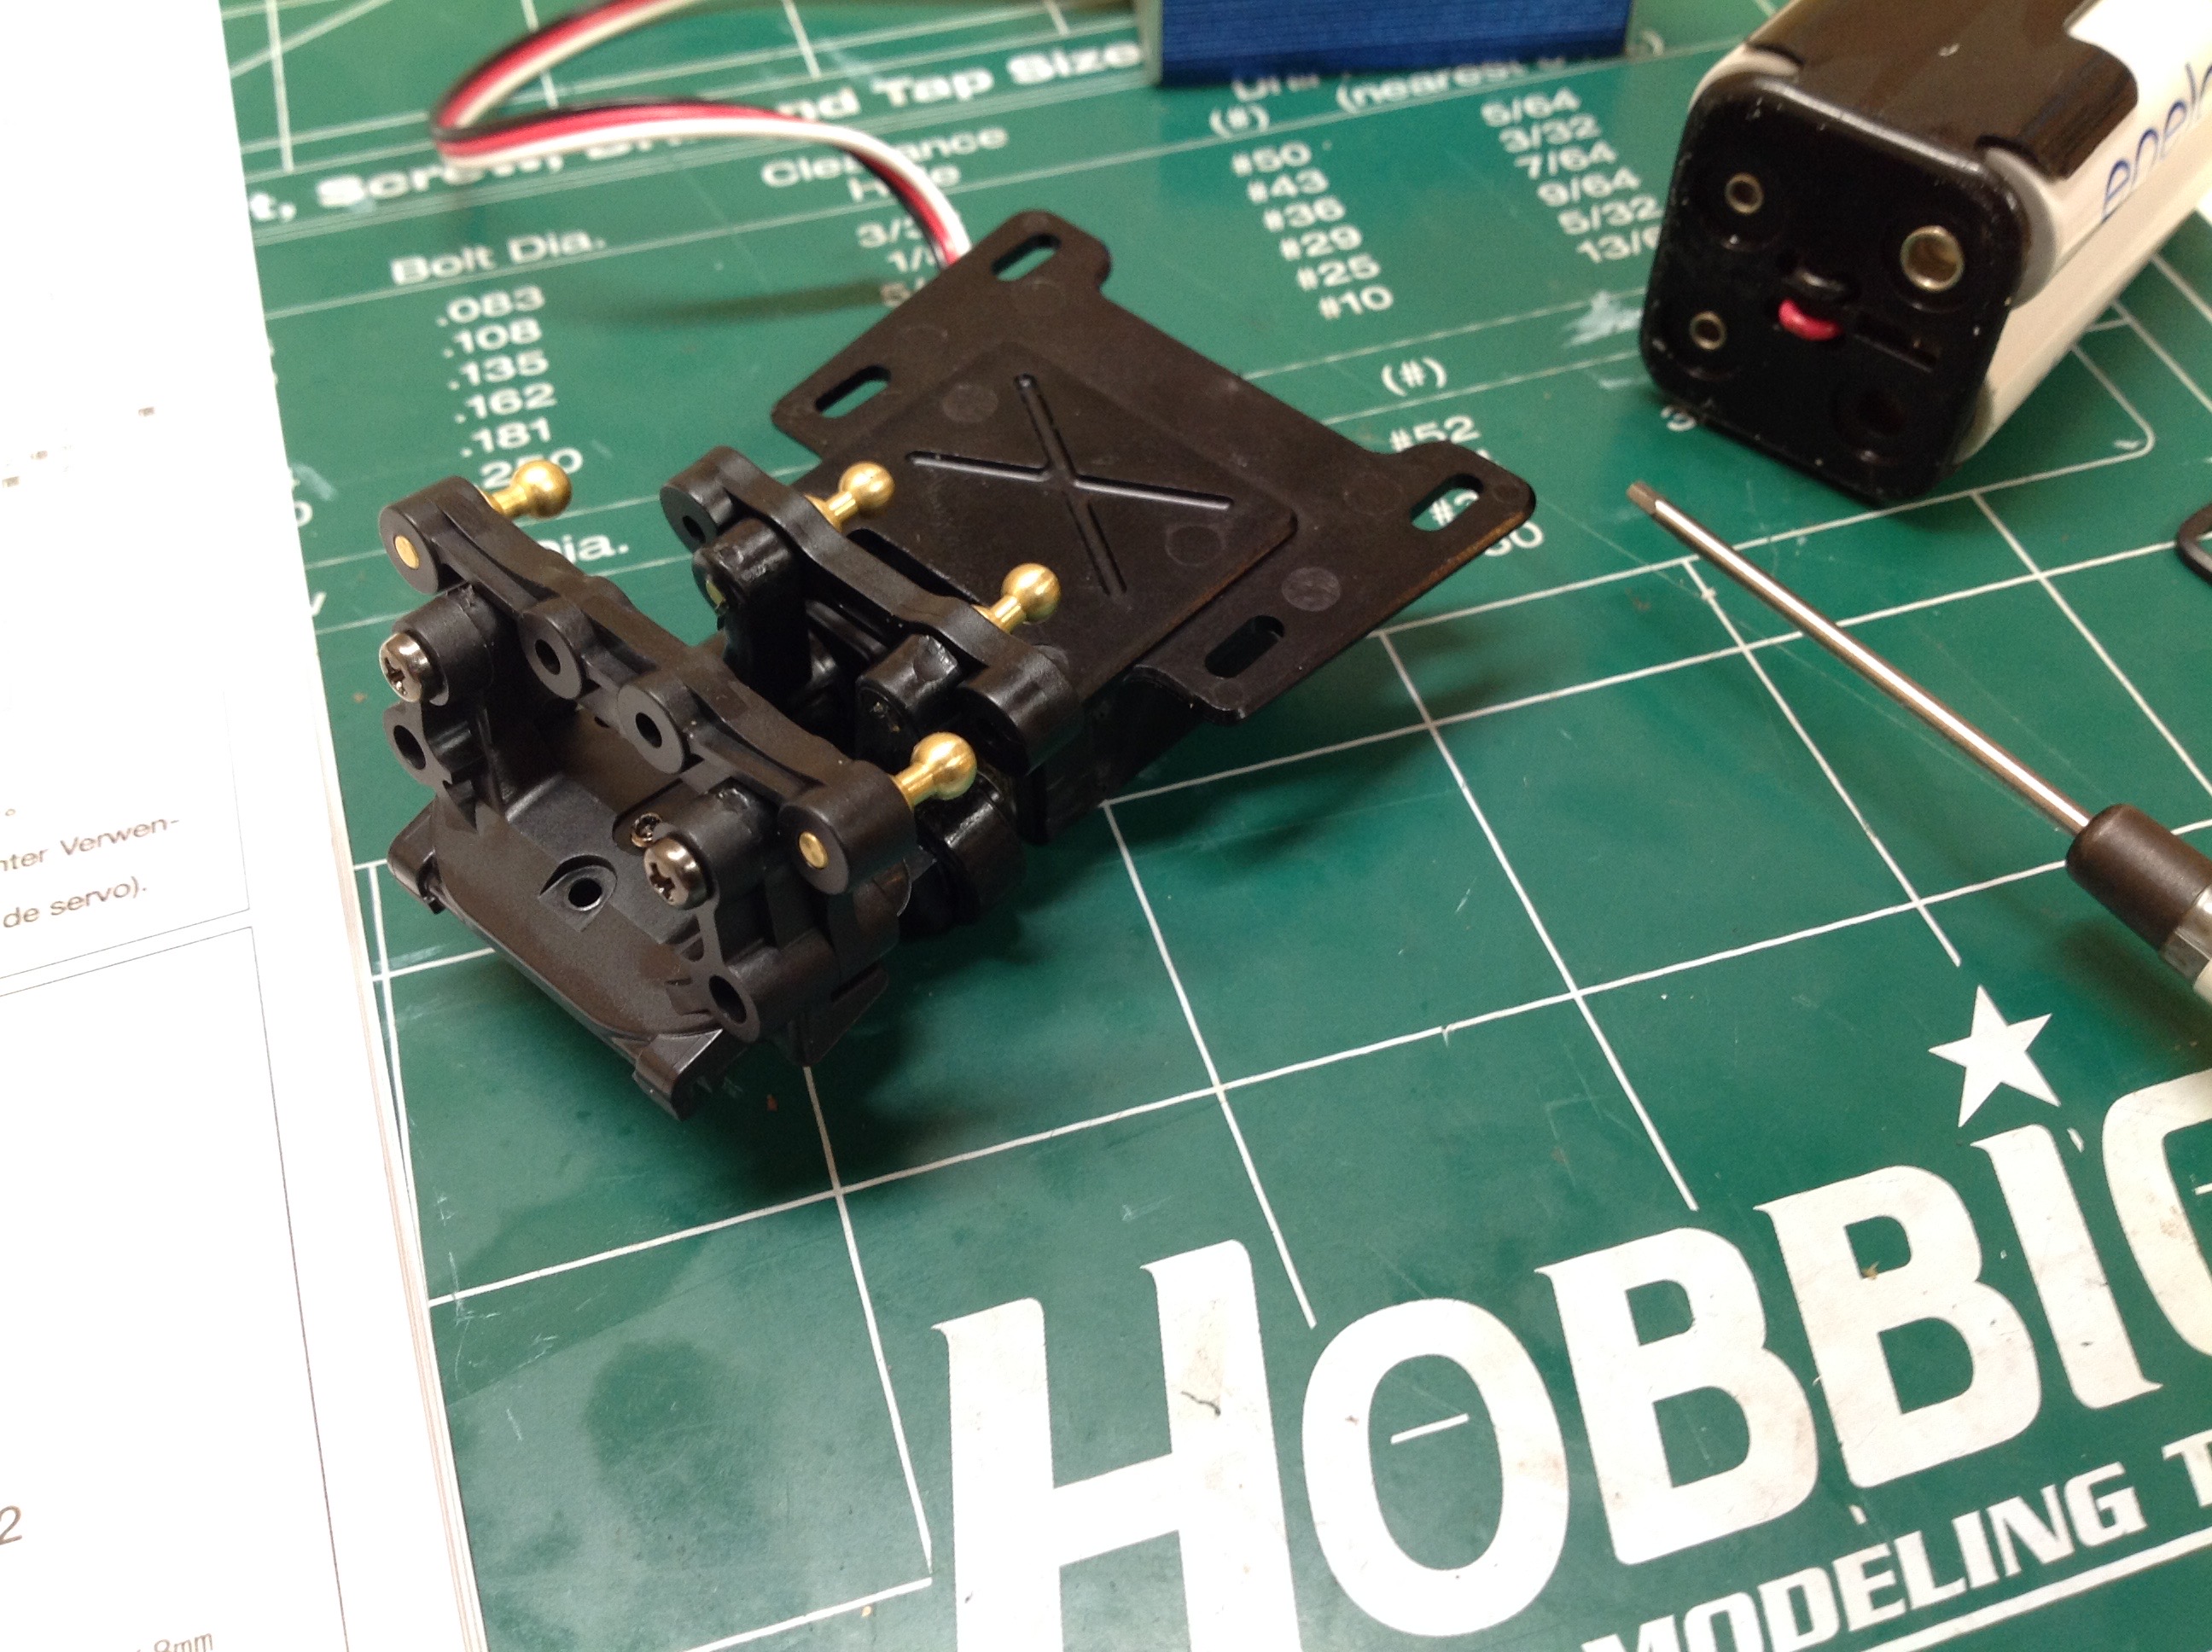
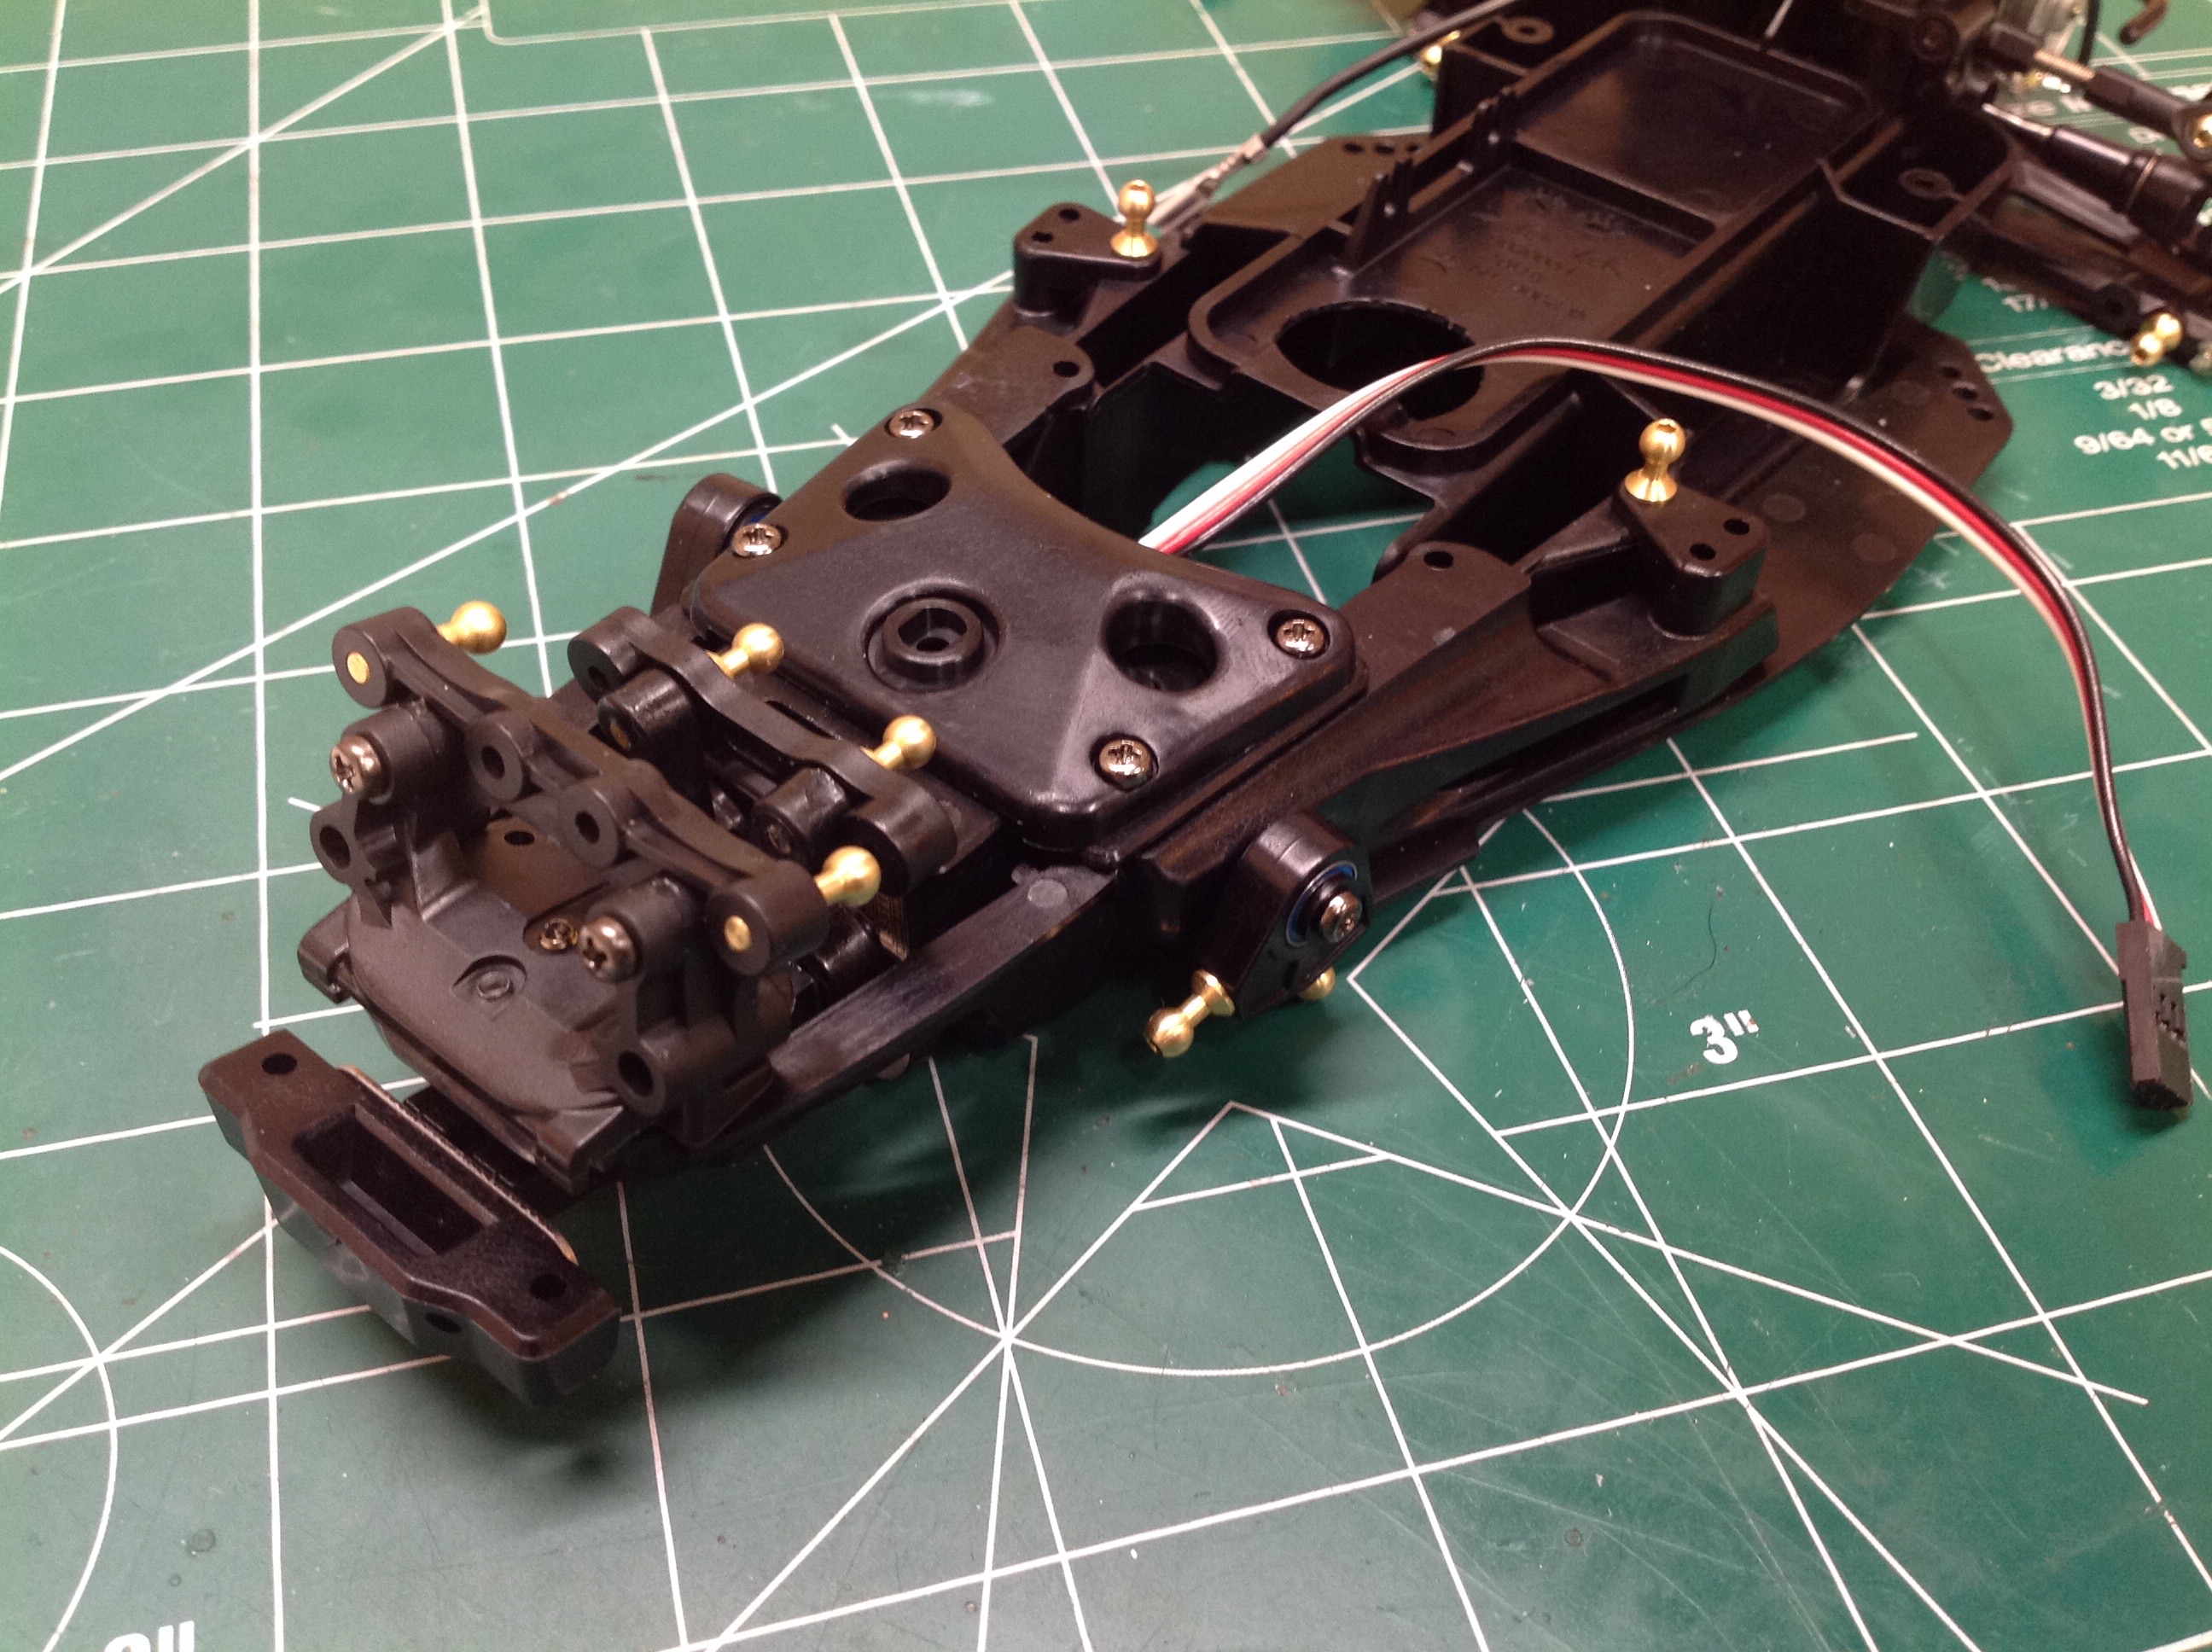
The front suspension in unlike anything else I've built. It is
like a little clockwork mechanism with all those brass ball
joints. You need a very particular sized servo for this
model. Tamiya no longer takes the TRU-02, so I managed to get a
Futaba of similar size. The servo just attaches with servo tape
but must be very carefully positioned. It is under the plate in
the left hand image. The dual bellcranks are vertical. In
the right hand image this assembly has been attached to the chassis
tub. You can also see the cranks for the shock pushrods on the
side of the chassis.
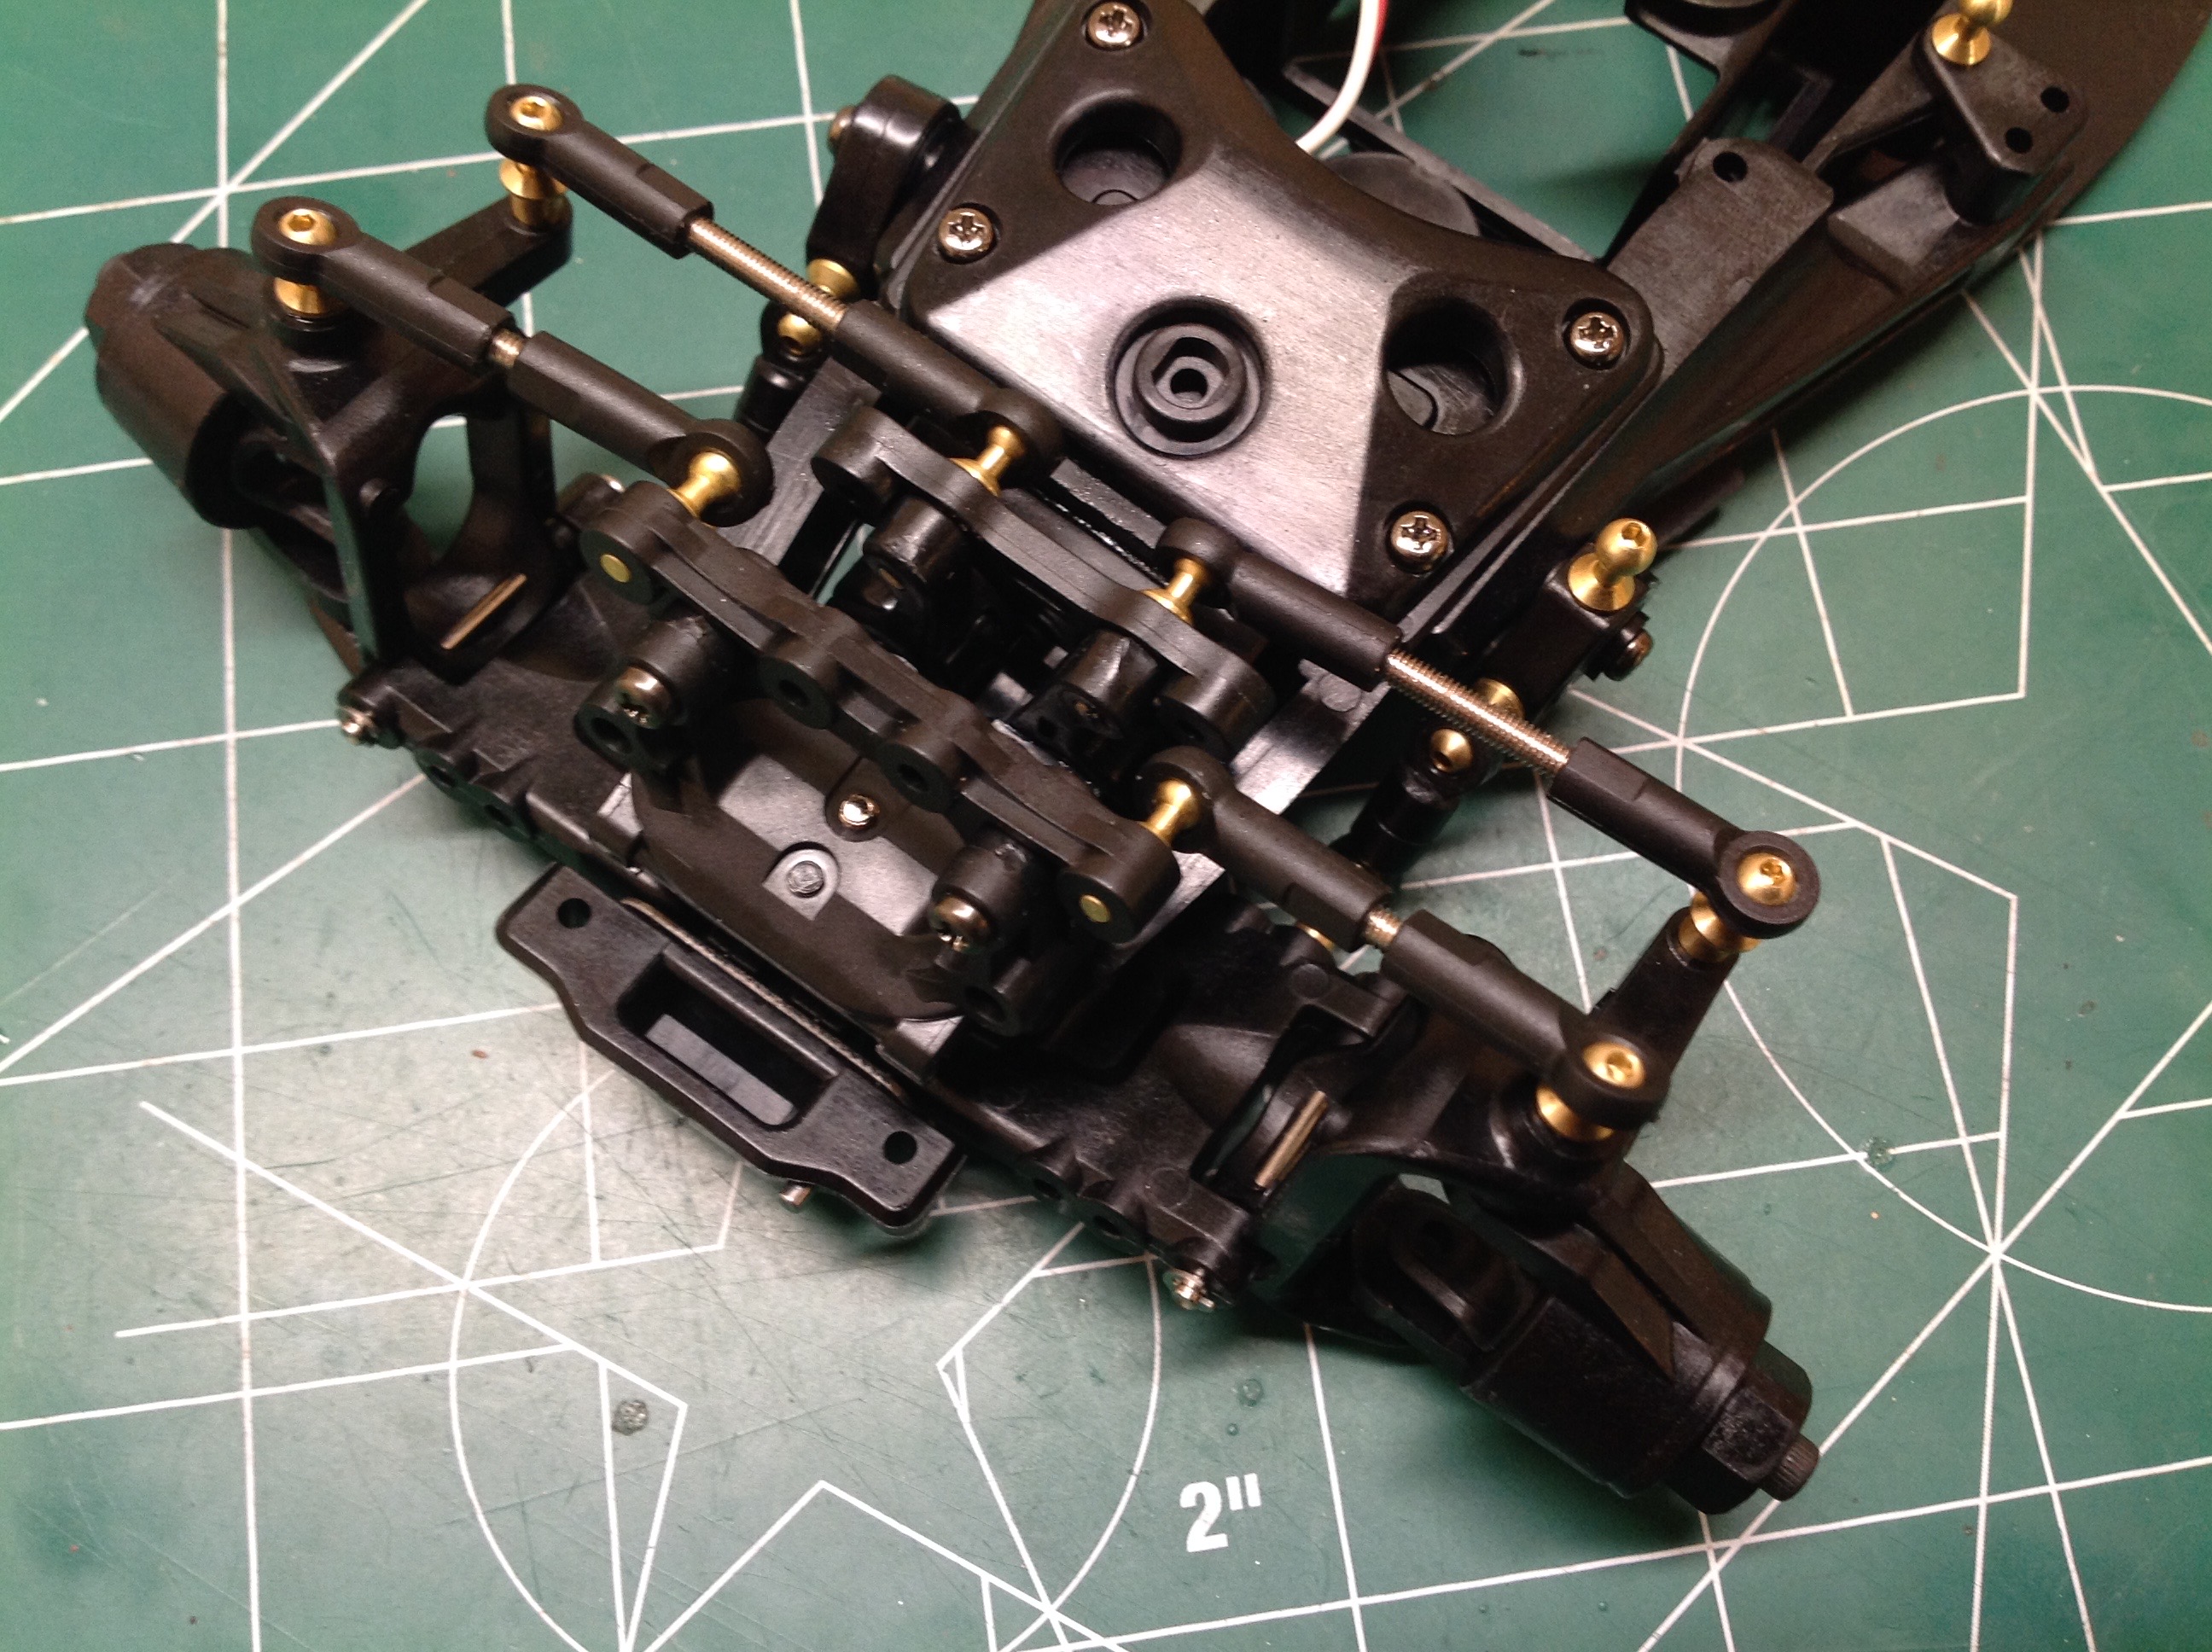
Time to get the front suspension and steering sorted out. Look at
all those links. We have upper suspension links, steering links,
and suspension push rods all packed into a tiny space. I really
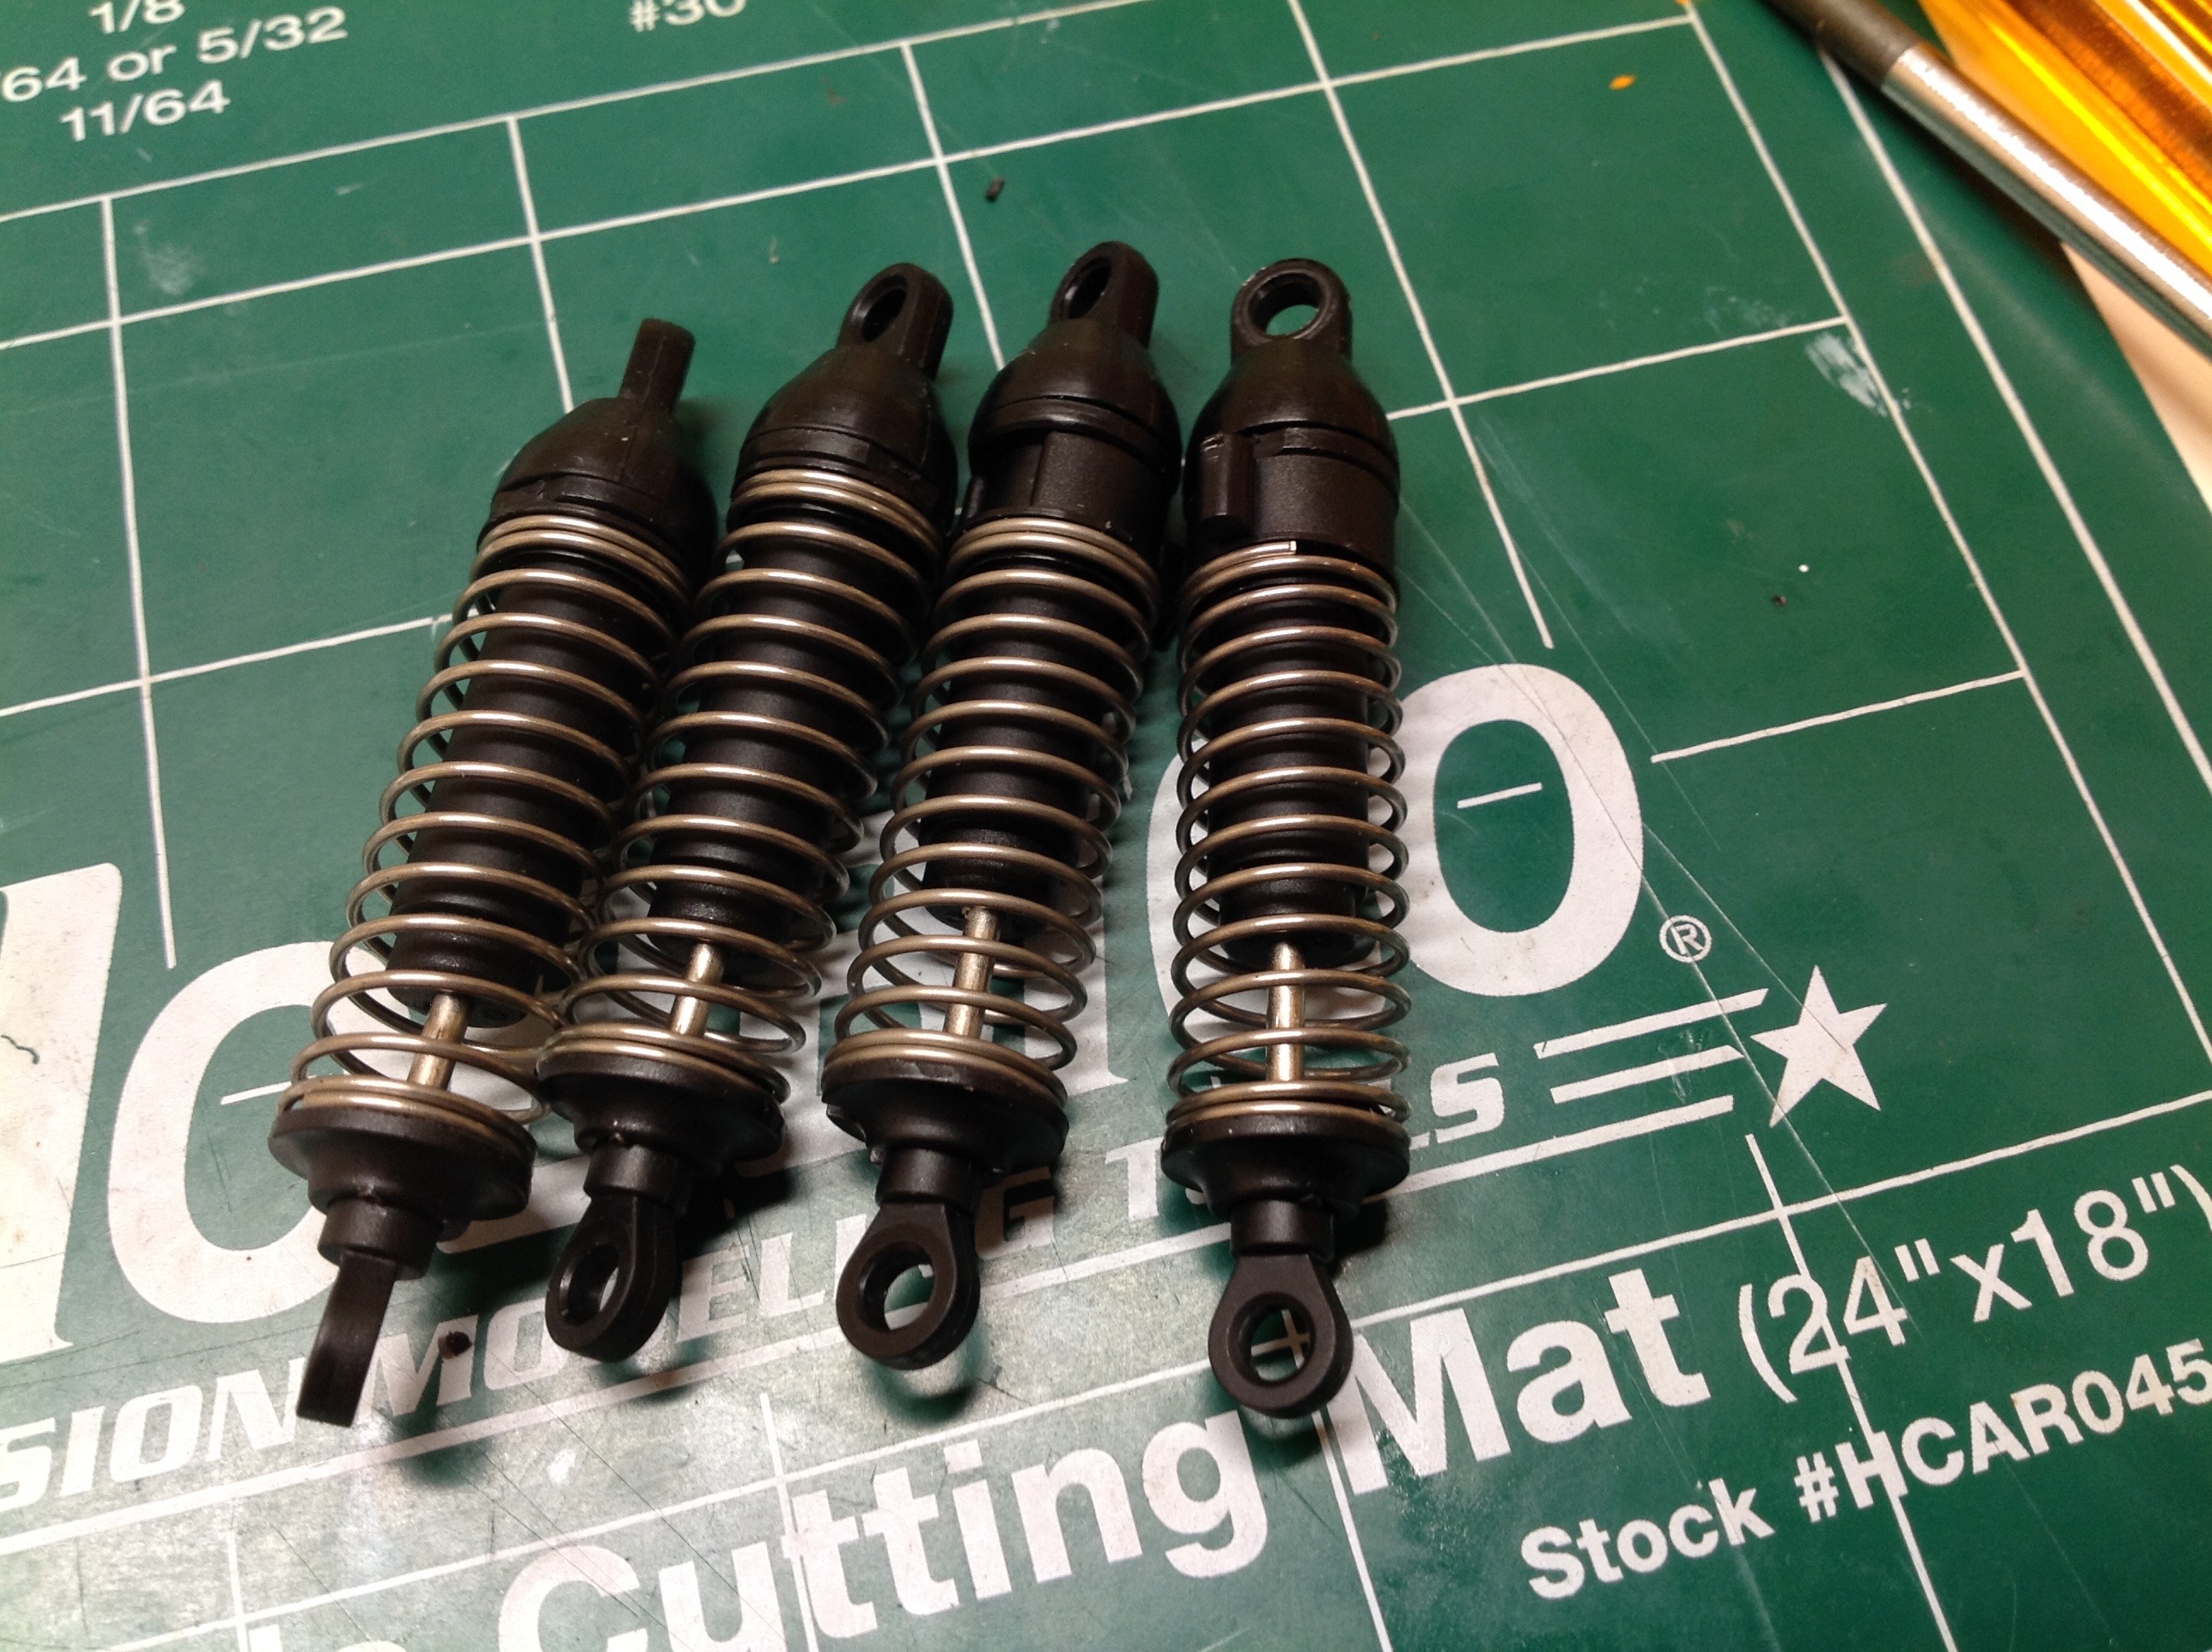
enjoyed building this part. The shocks are the first
disappointment in this model since they are undamped. They are
well built and sturdy though.
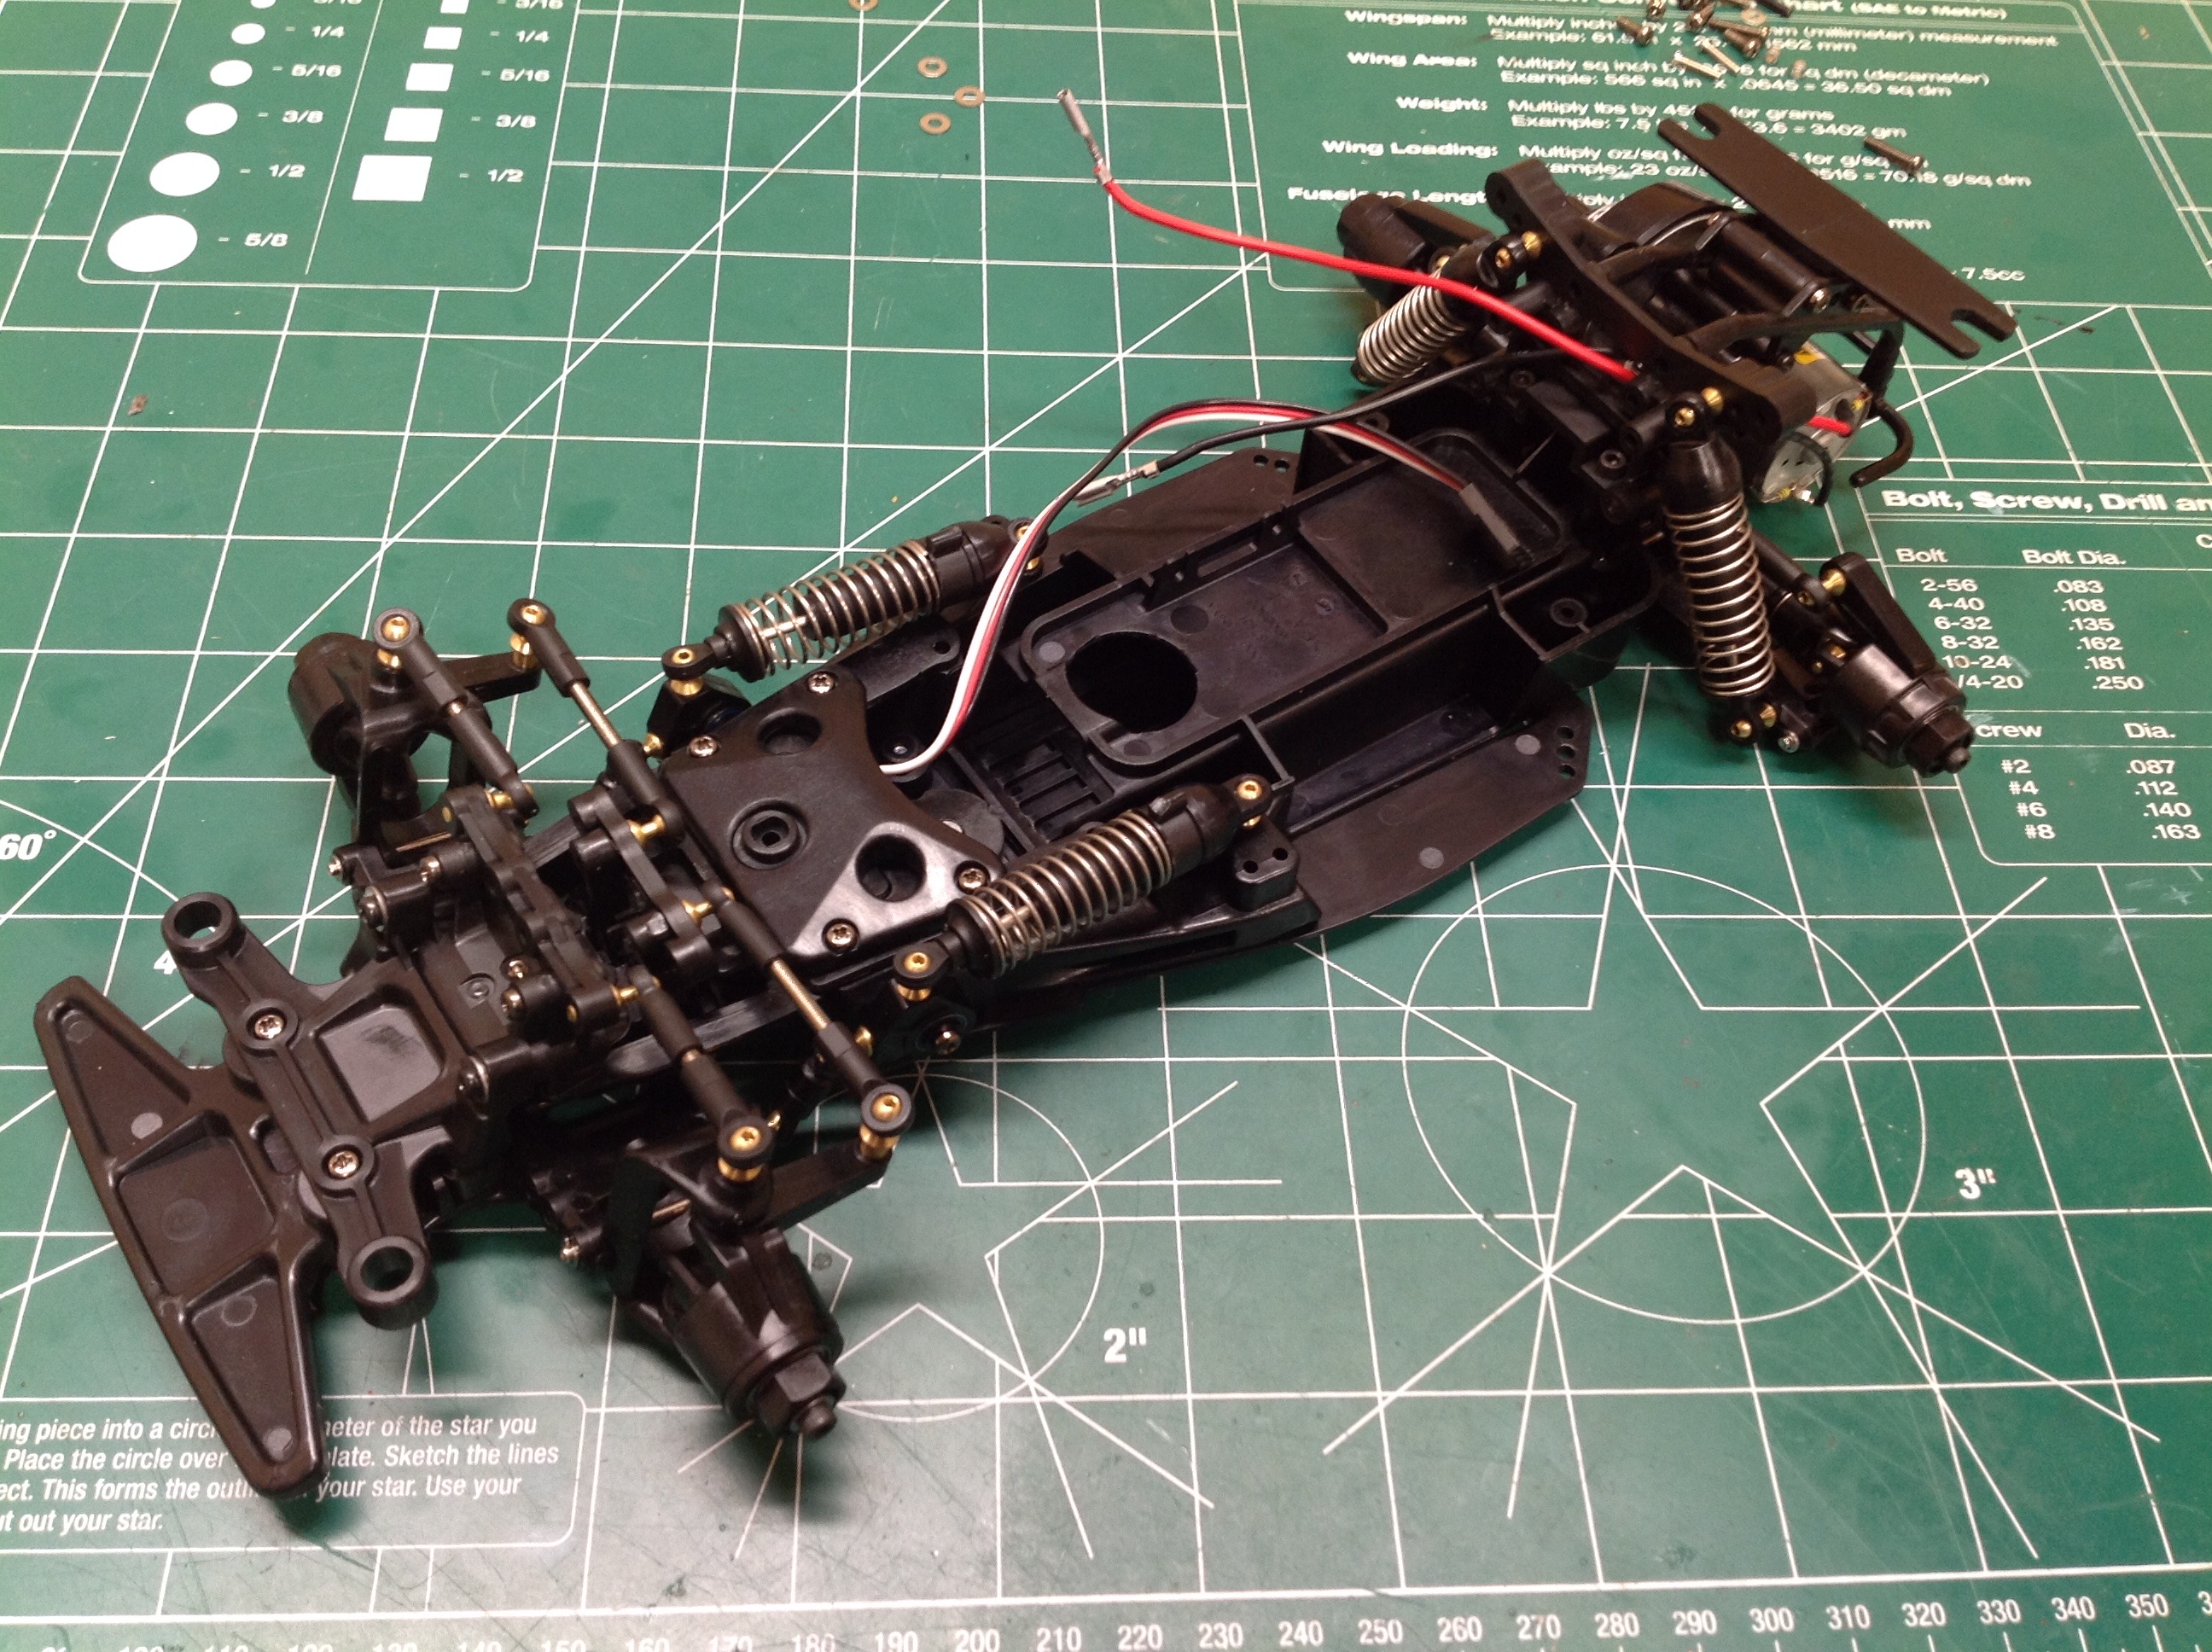
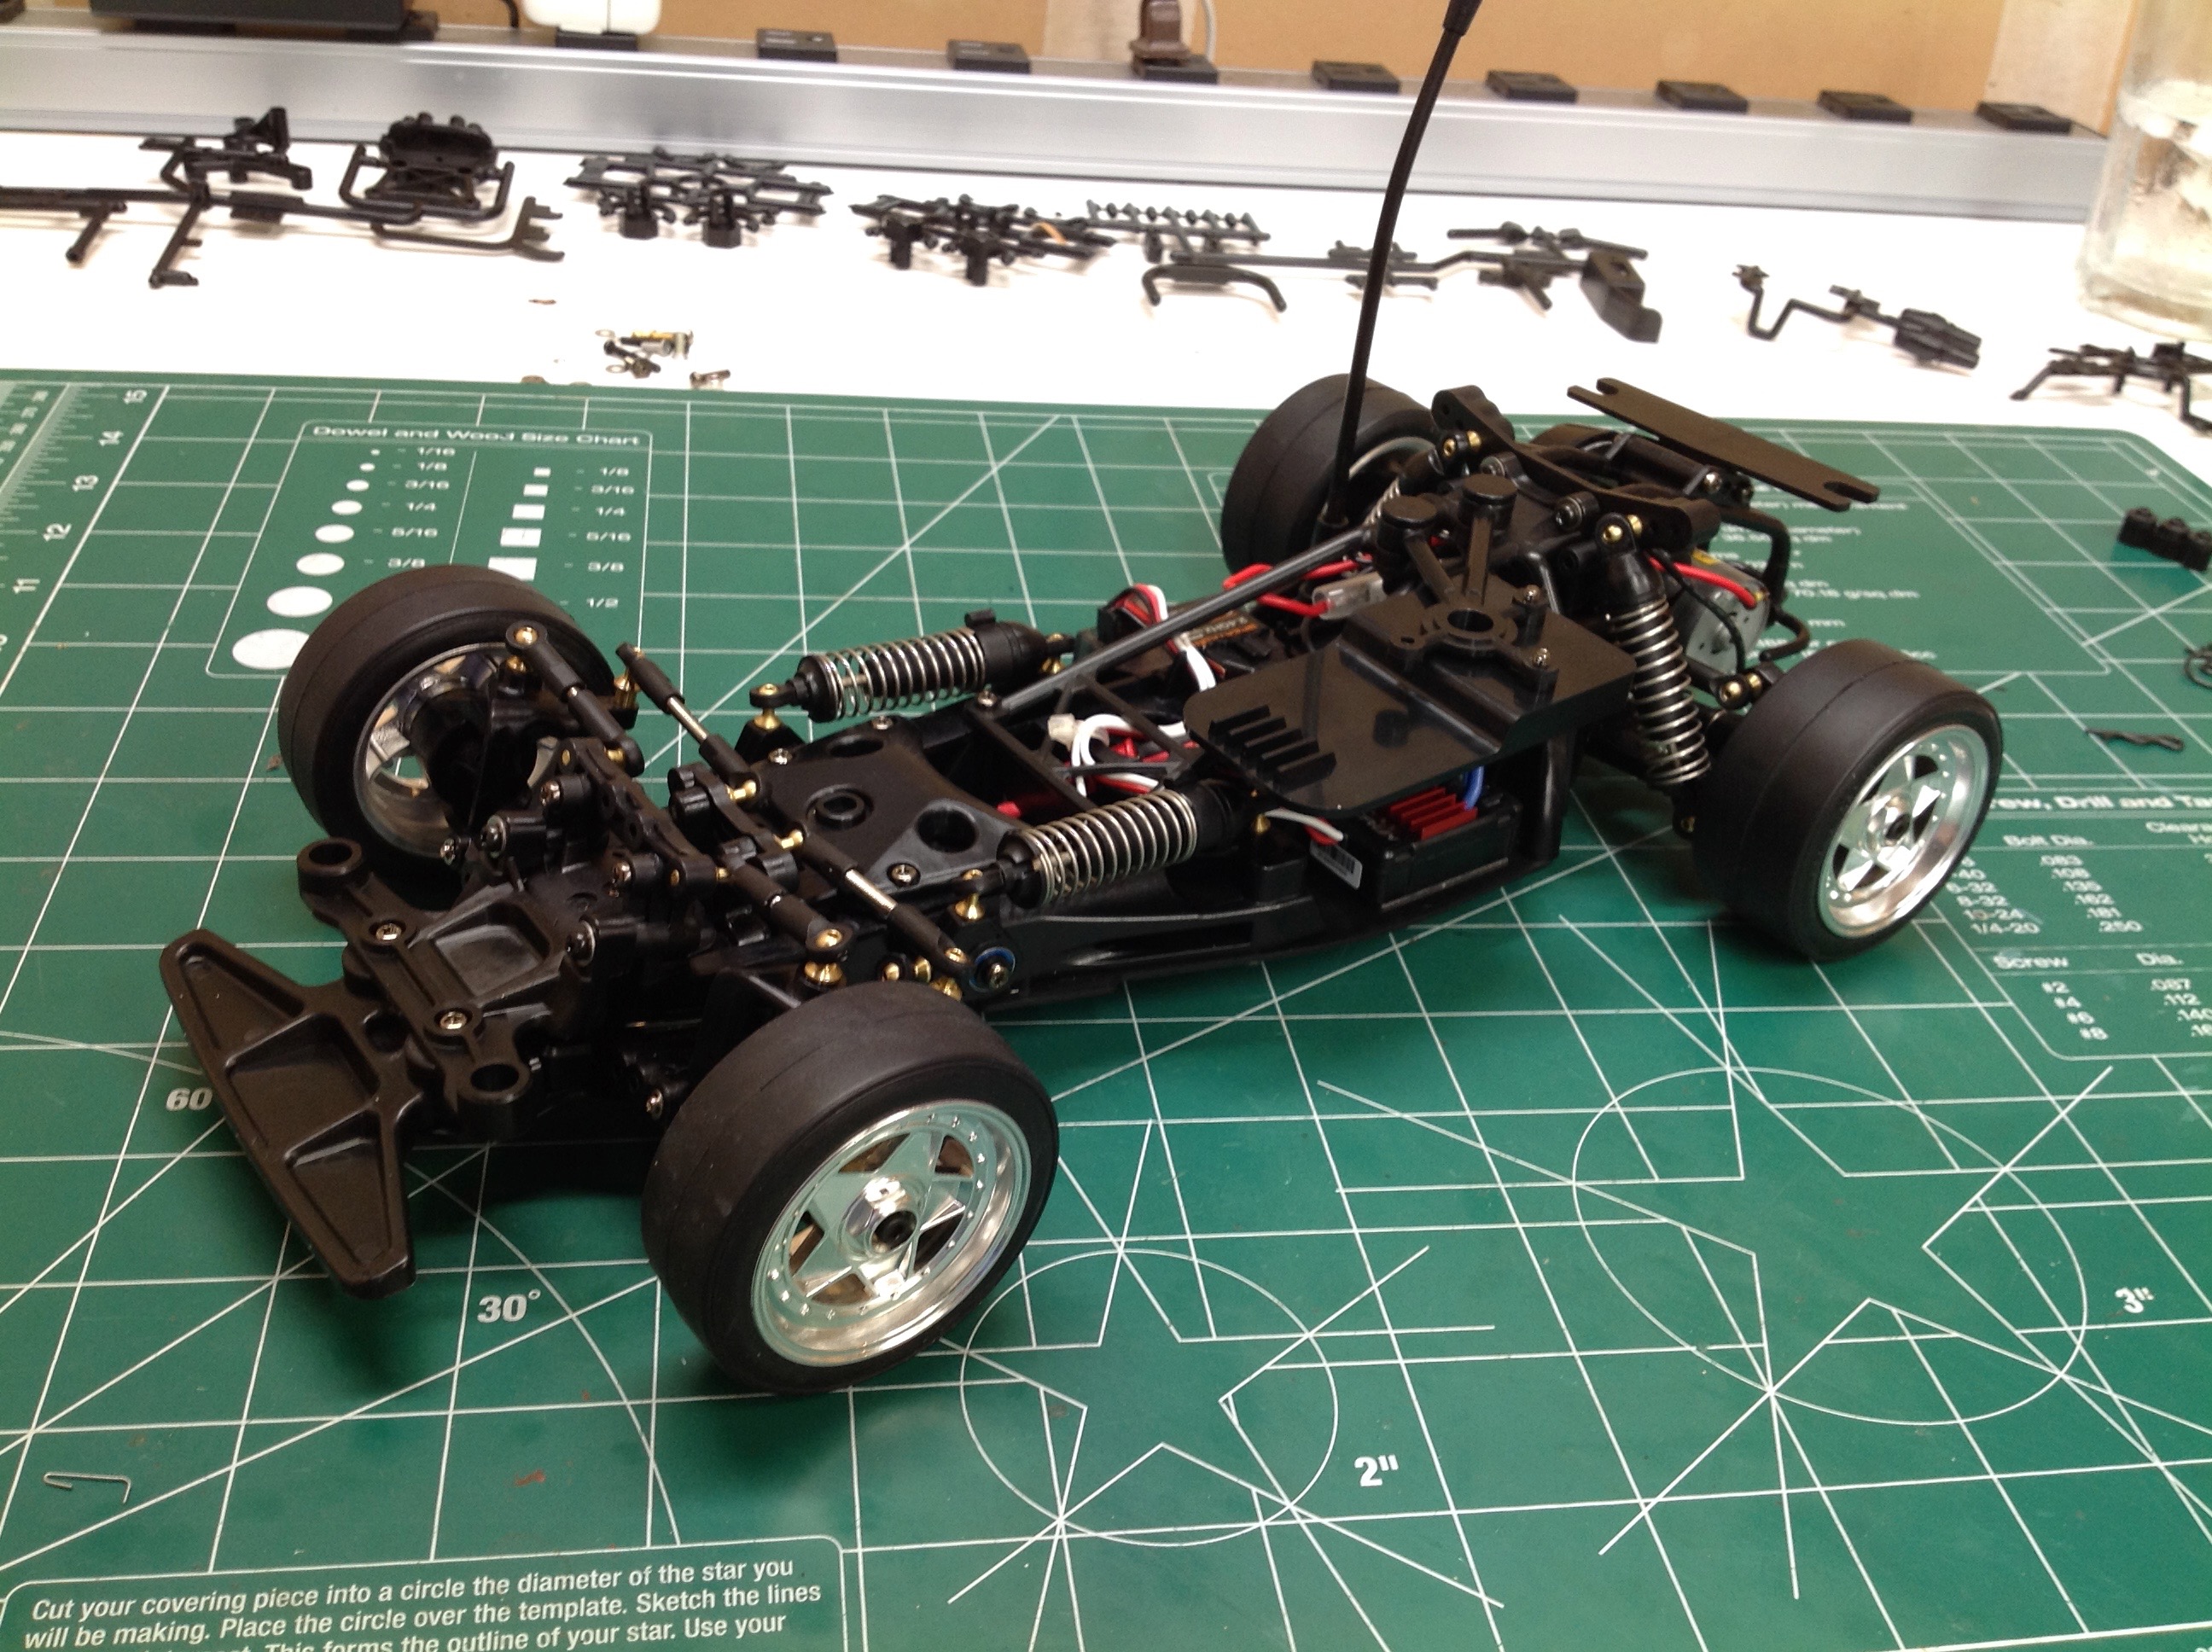
Now the shocks have been installed. You can see the unusual
orientation of the front shocks which lie down along the body to keep
the front end low. The rear shocks are mounted
traditionally. Finally the wheels and tires are installed.
This is a rear wheel drive car so there is no prop shaft. The long
black line you see in the right hand image is part of a stiffening
cage. You need to use fairly small electronics to stash under the
driver mount. I used a Hobbywing 1625 ESC, the same that I use in
my Dancing Rider. In my opinion, this is just a beautiful,
intricate little chassis. I wish I had known about it sooner.
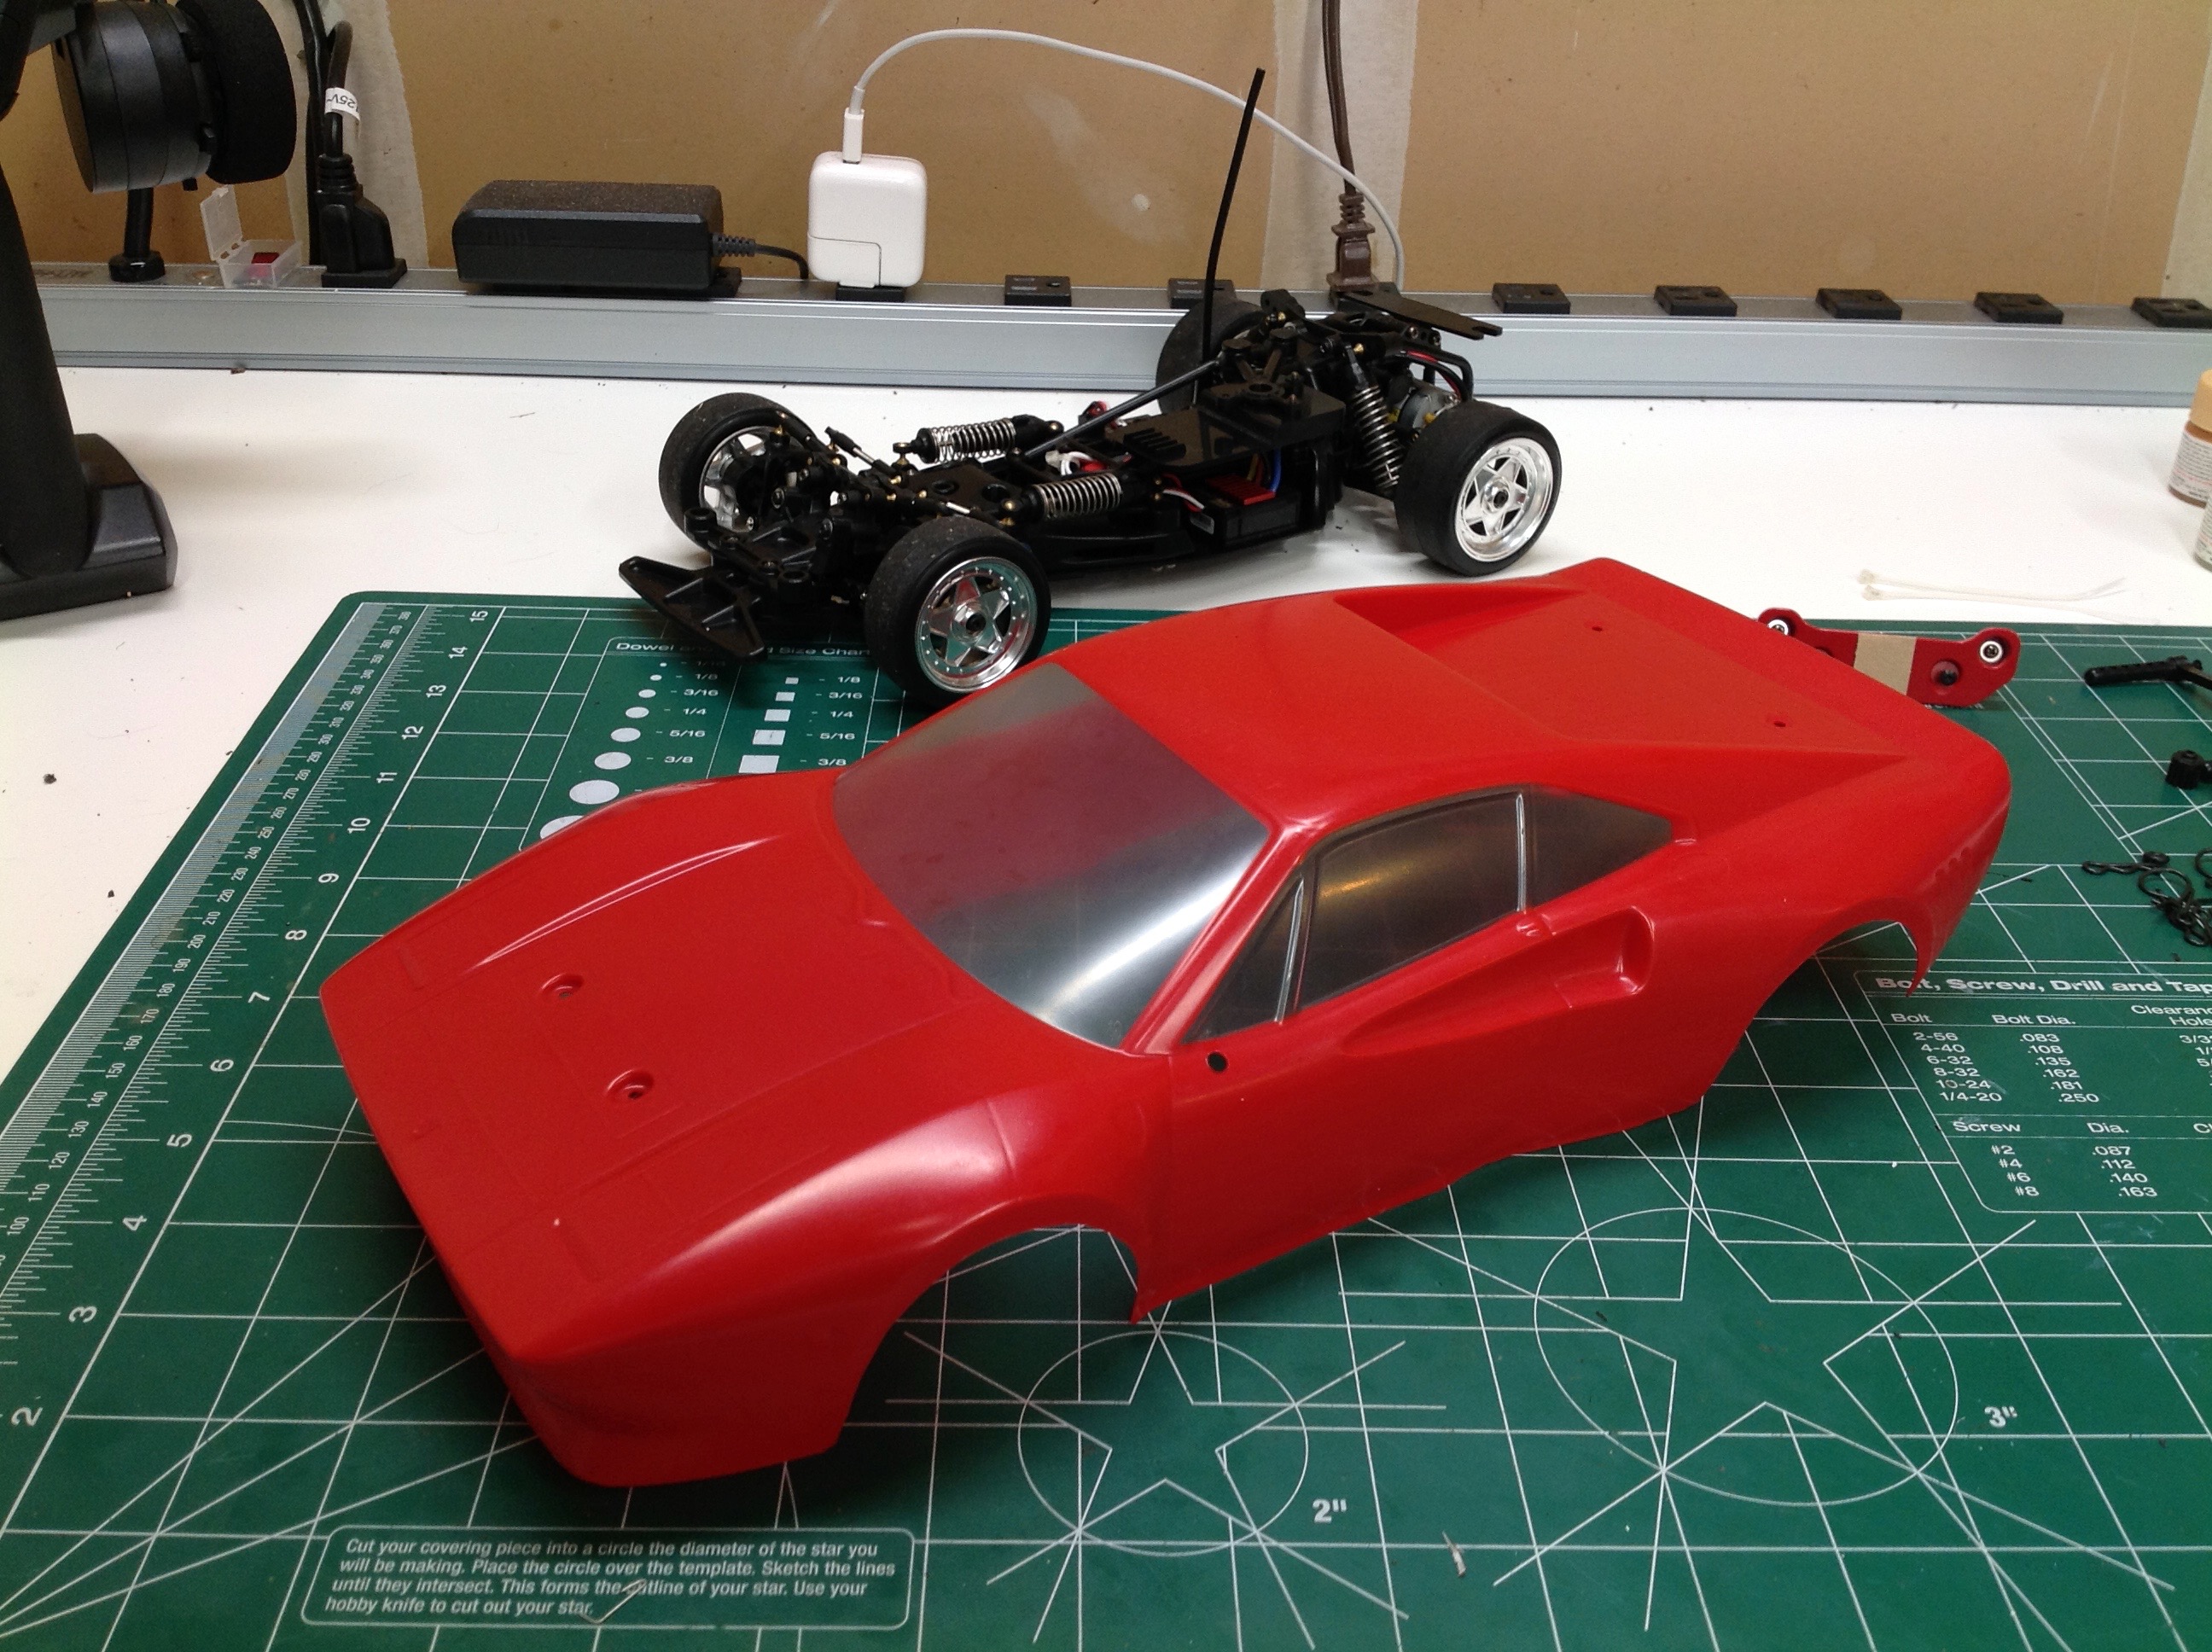
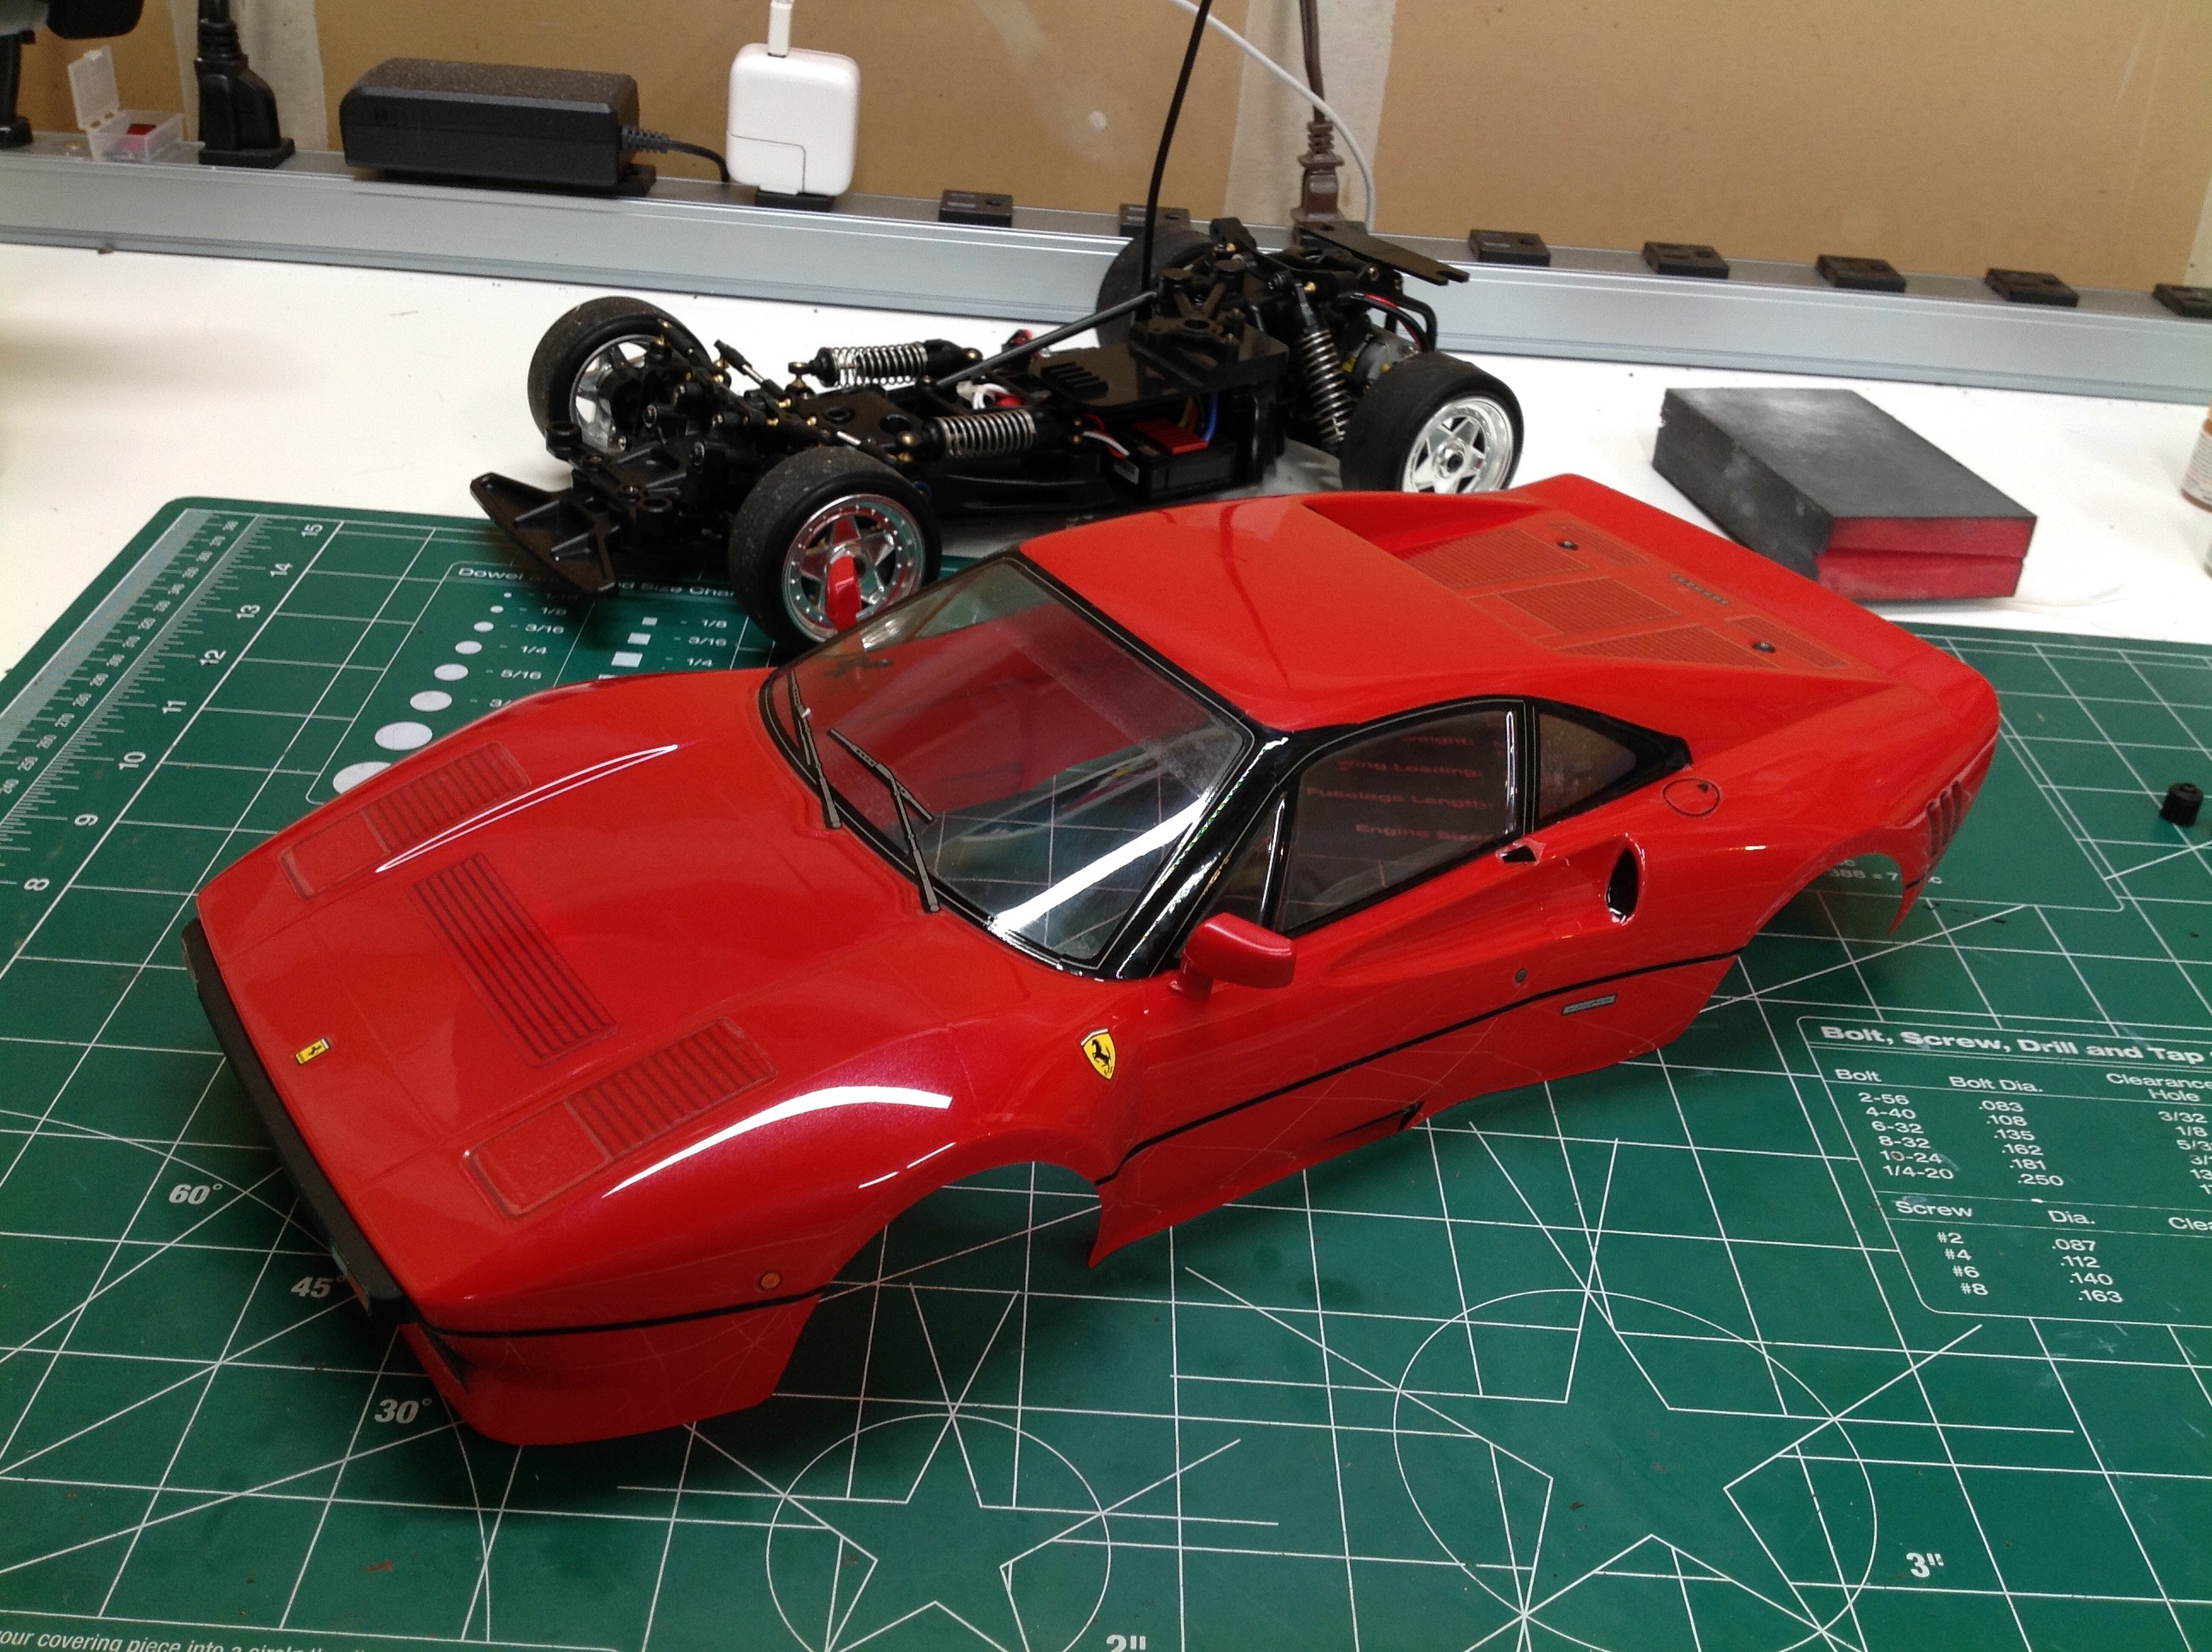
With the rolling chassis done (in the background) it is time to prepare
the body. This body comes precut and predrilled so you can start
painting right after applying the window masks. The left hand
image shows the body after I applied the Mica Red paint. Note that
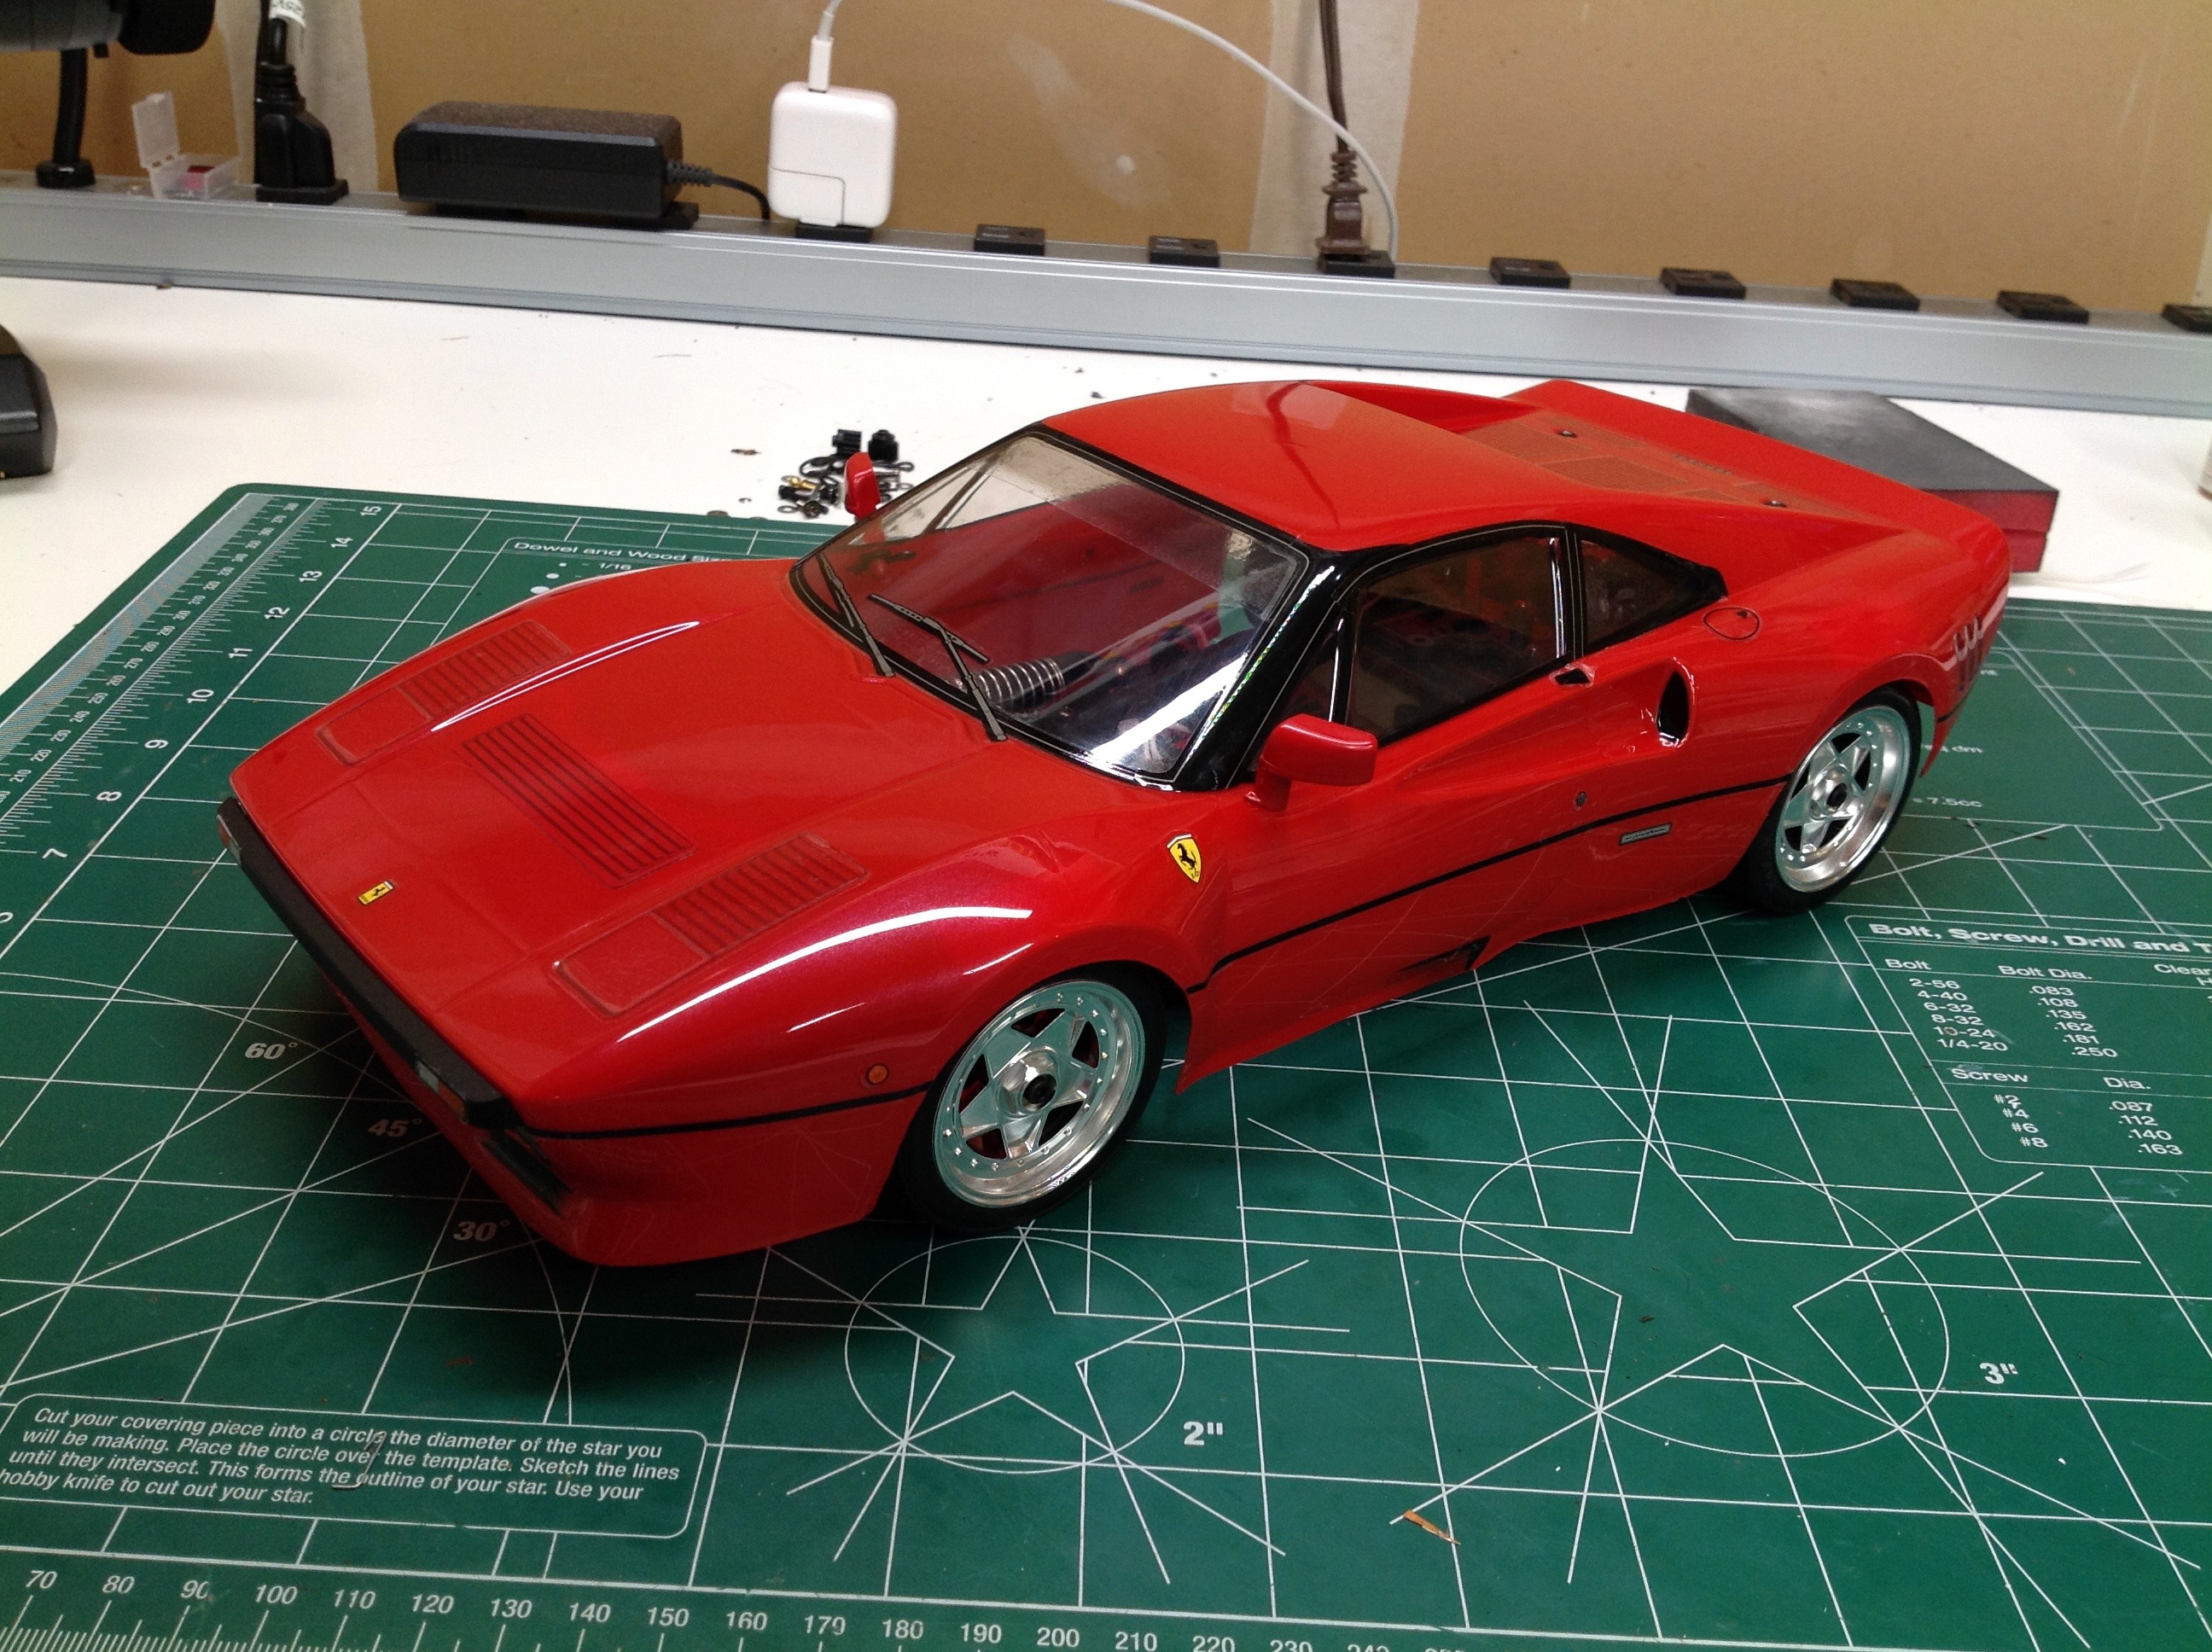
the overspray film is still attached. The right hand image shows
what a huge difference decals can make. The decals were actually
all die cut which made the application much faster.
This is a beautiful body with great looking wheels and tires. One
of my favorite things is the body mounting style. There are no
visible mounting posts because they point downward and the body pins go
in from beneath. This leaves a very smooth and realistic outer
contour.
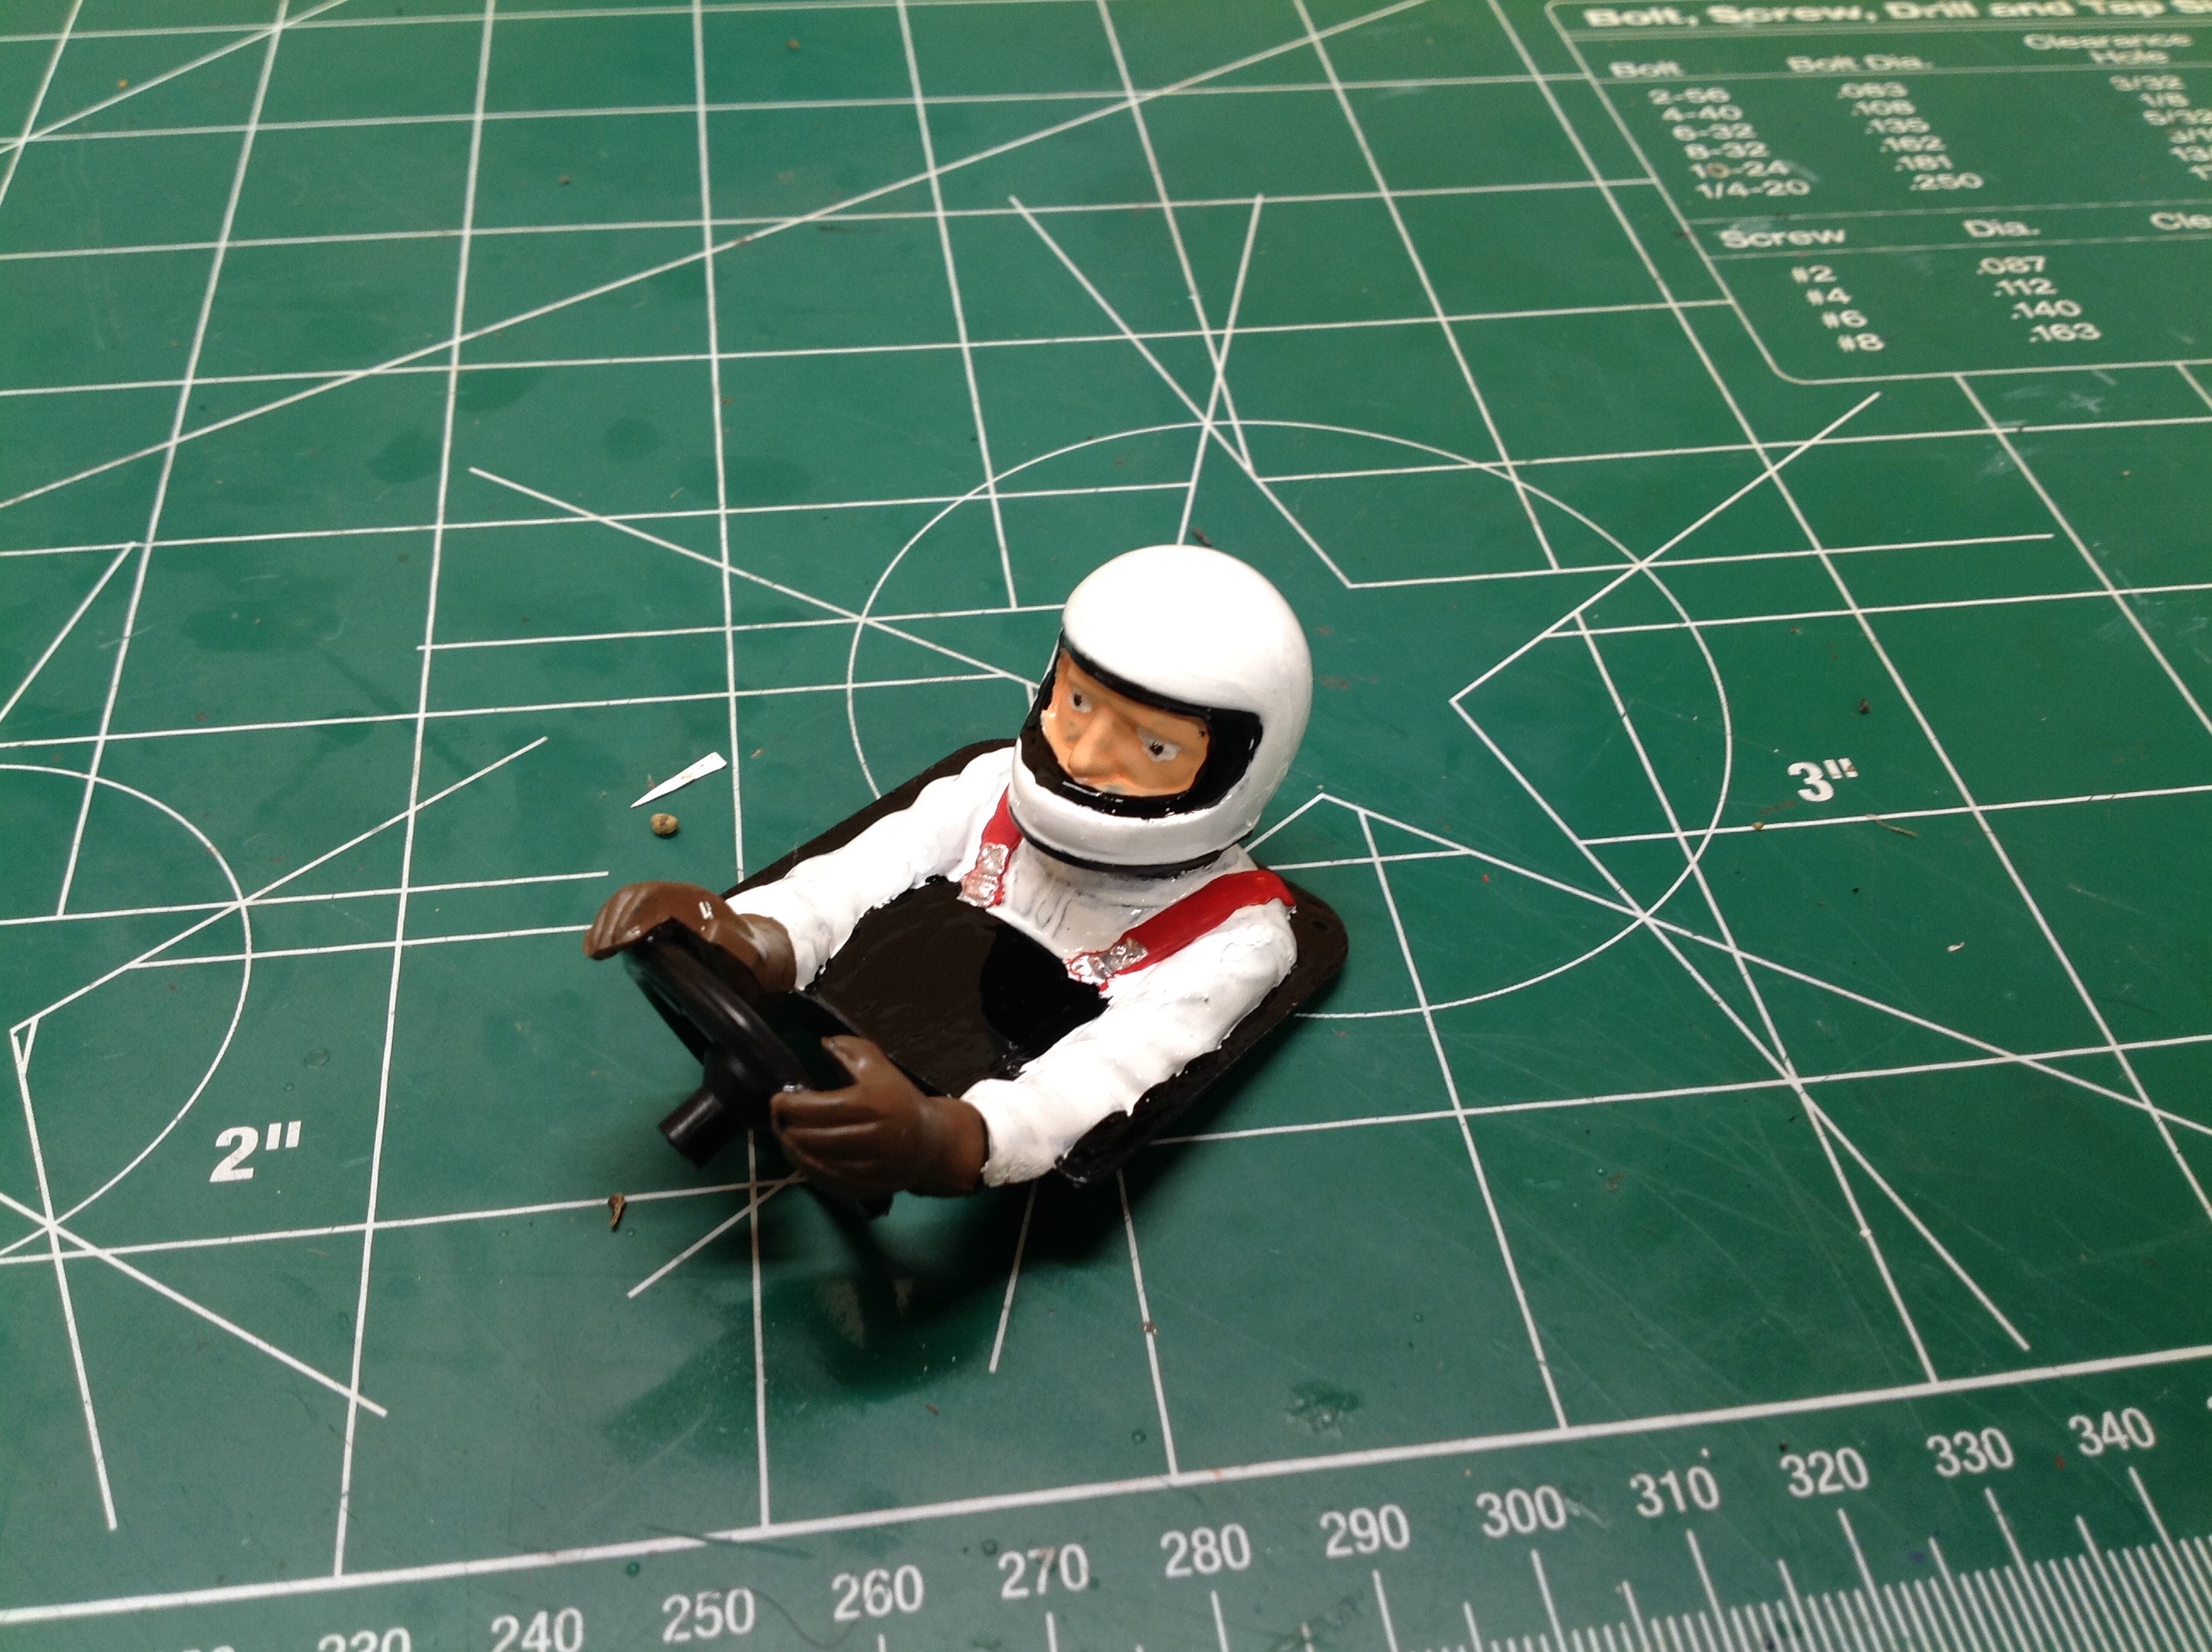
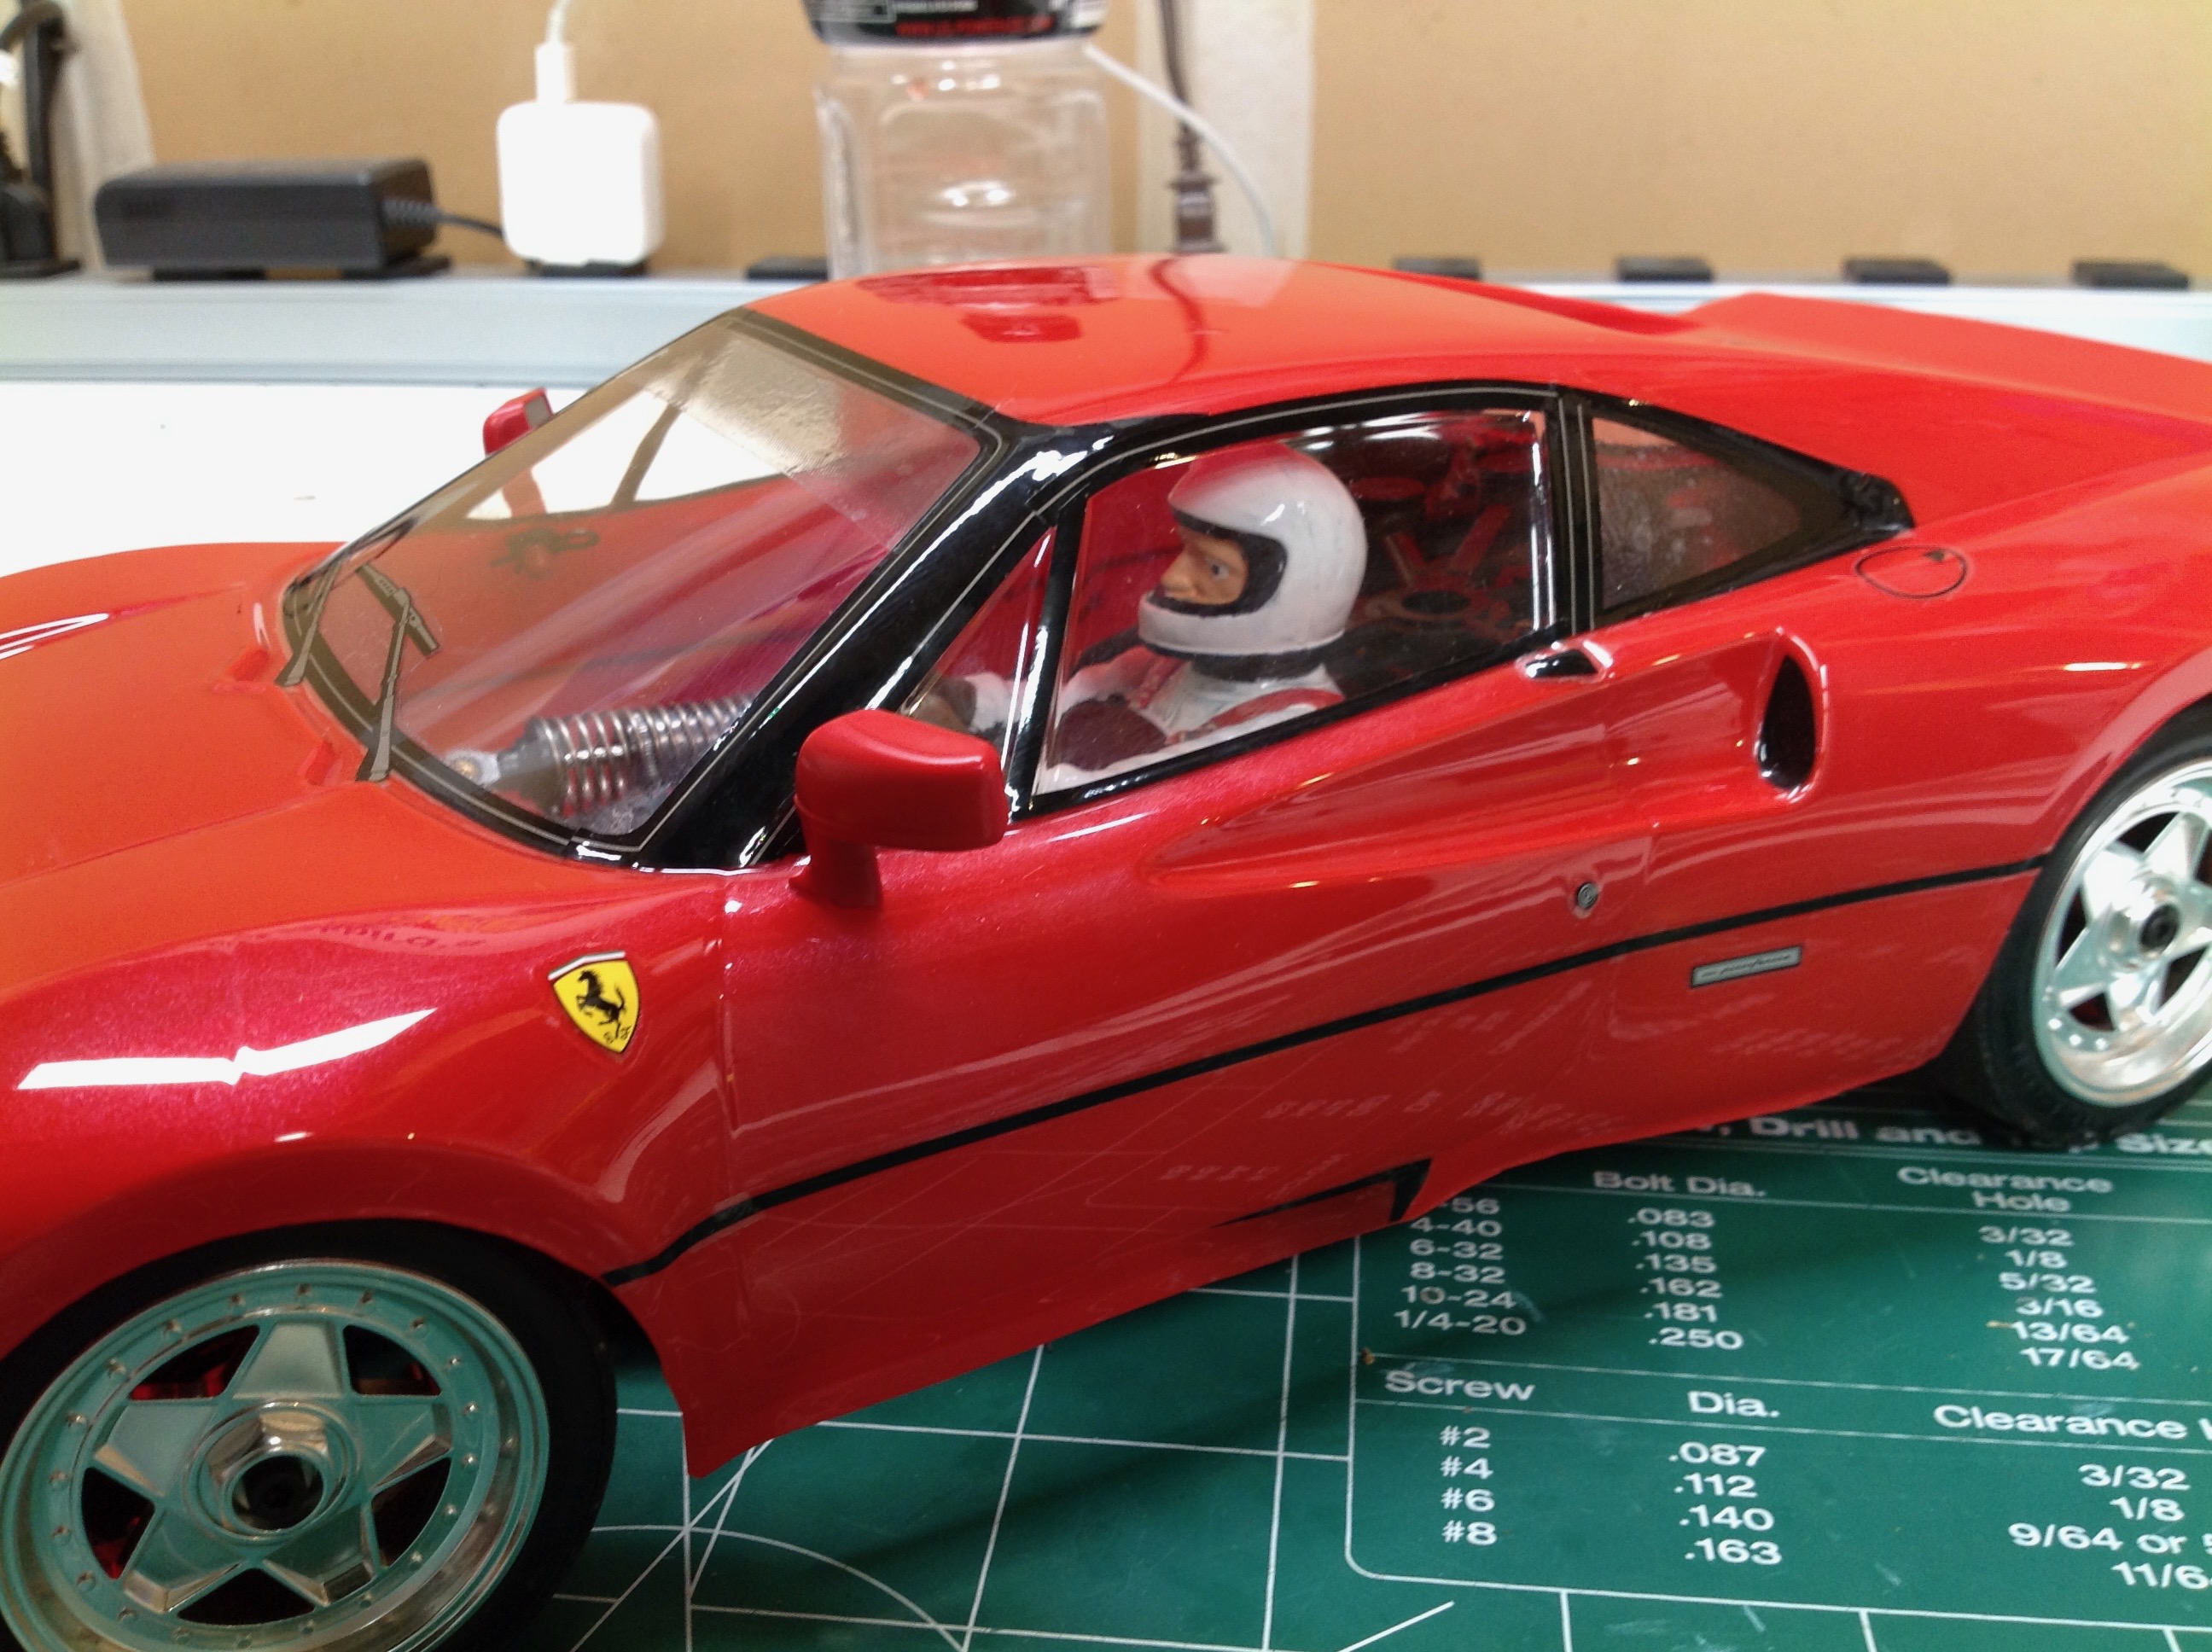
Lastly I prepared the tiny driver figure. I was quite pleased to
see that they included this detail as it adds tremendously to the
realism of the model.
There are a huge number of unused parts, more than I've seen in any
other model. My suspicion is that all the TamTech GT-01 kits
use the same parts trees but different models make use of different
bits.
©2018 Eric Albrecht