Tamiya Grasshopper Project
Page 1: Assembly
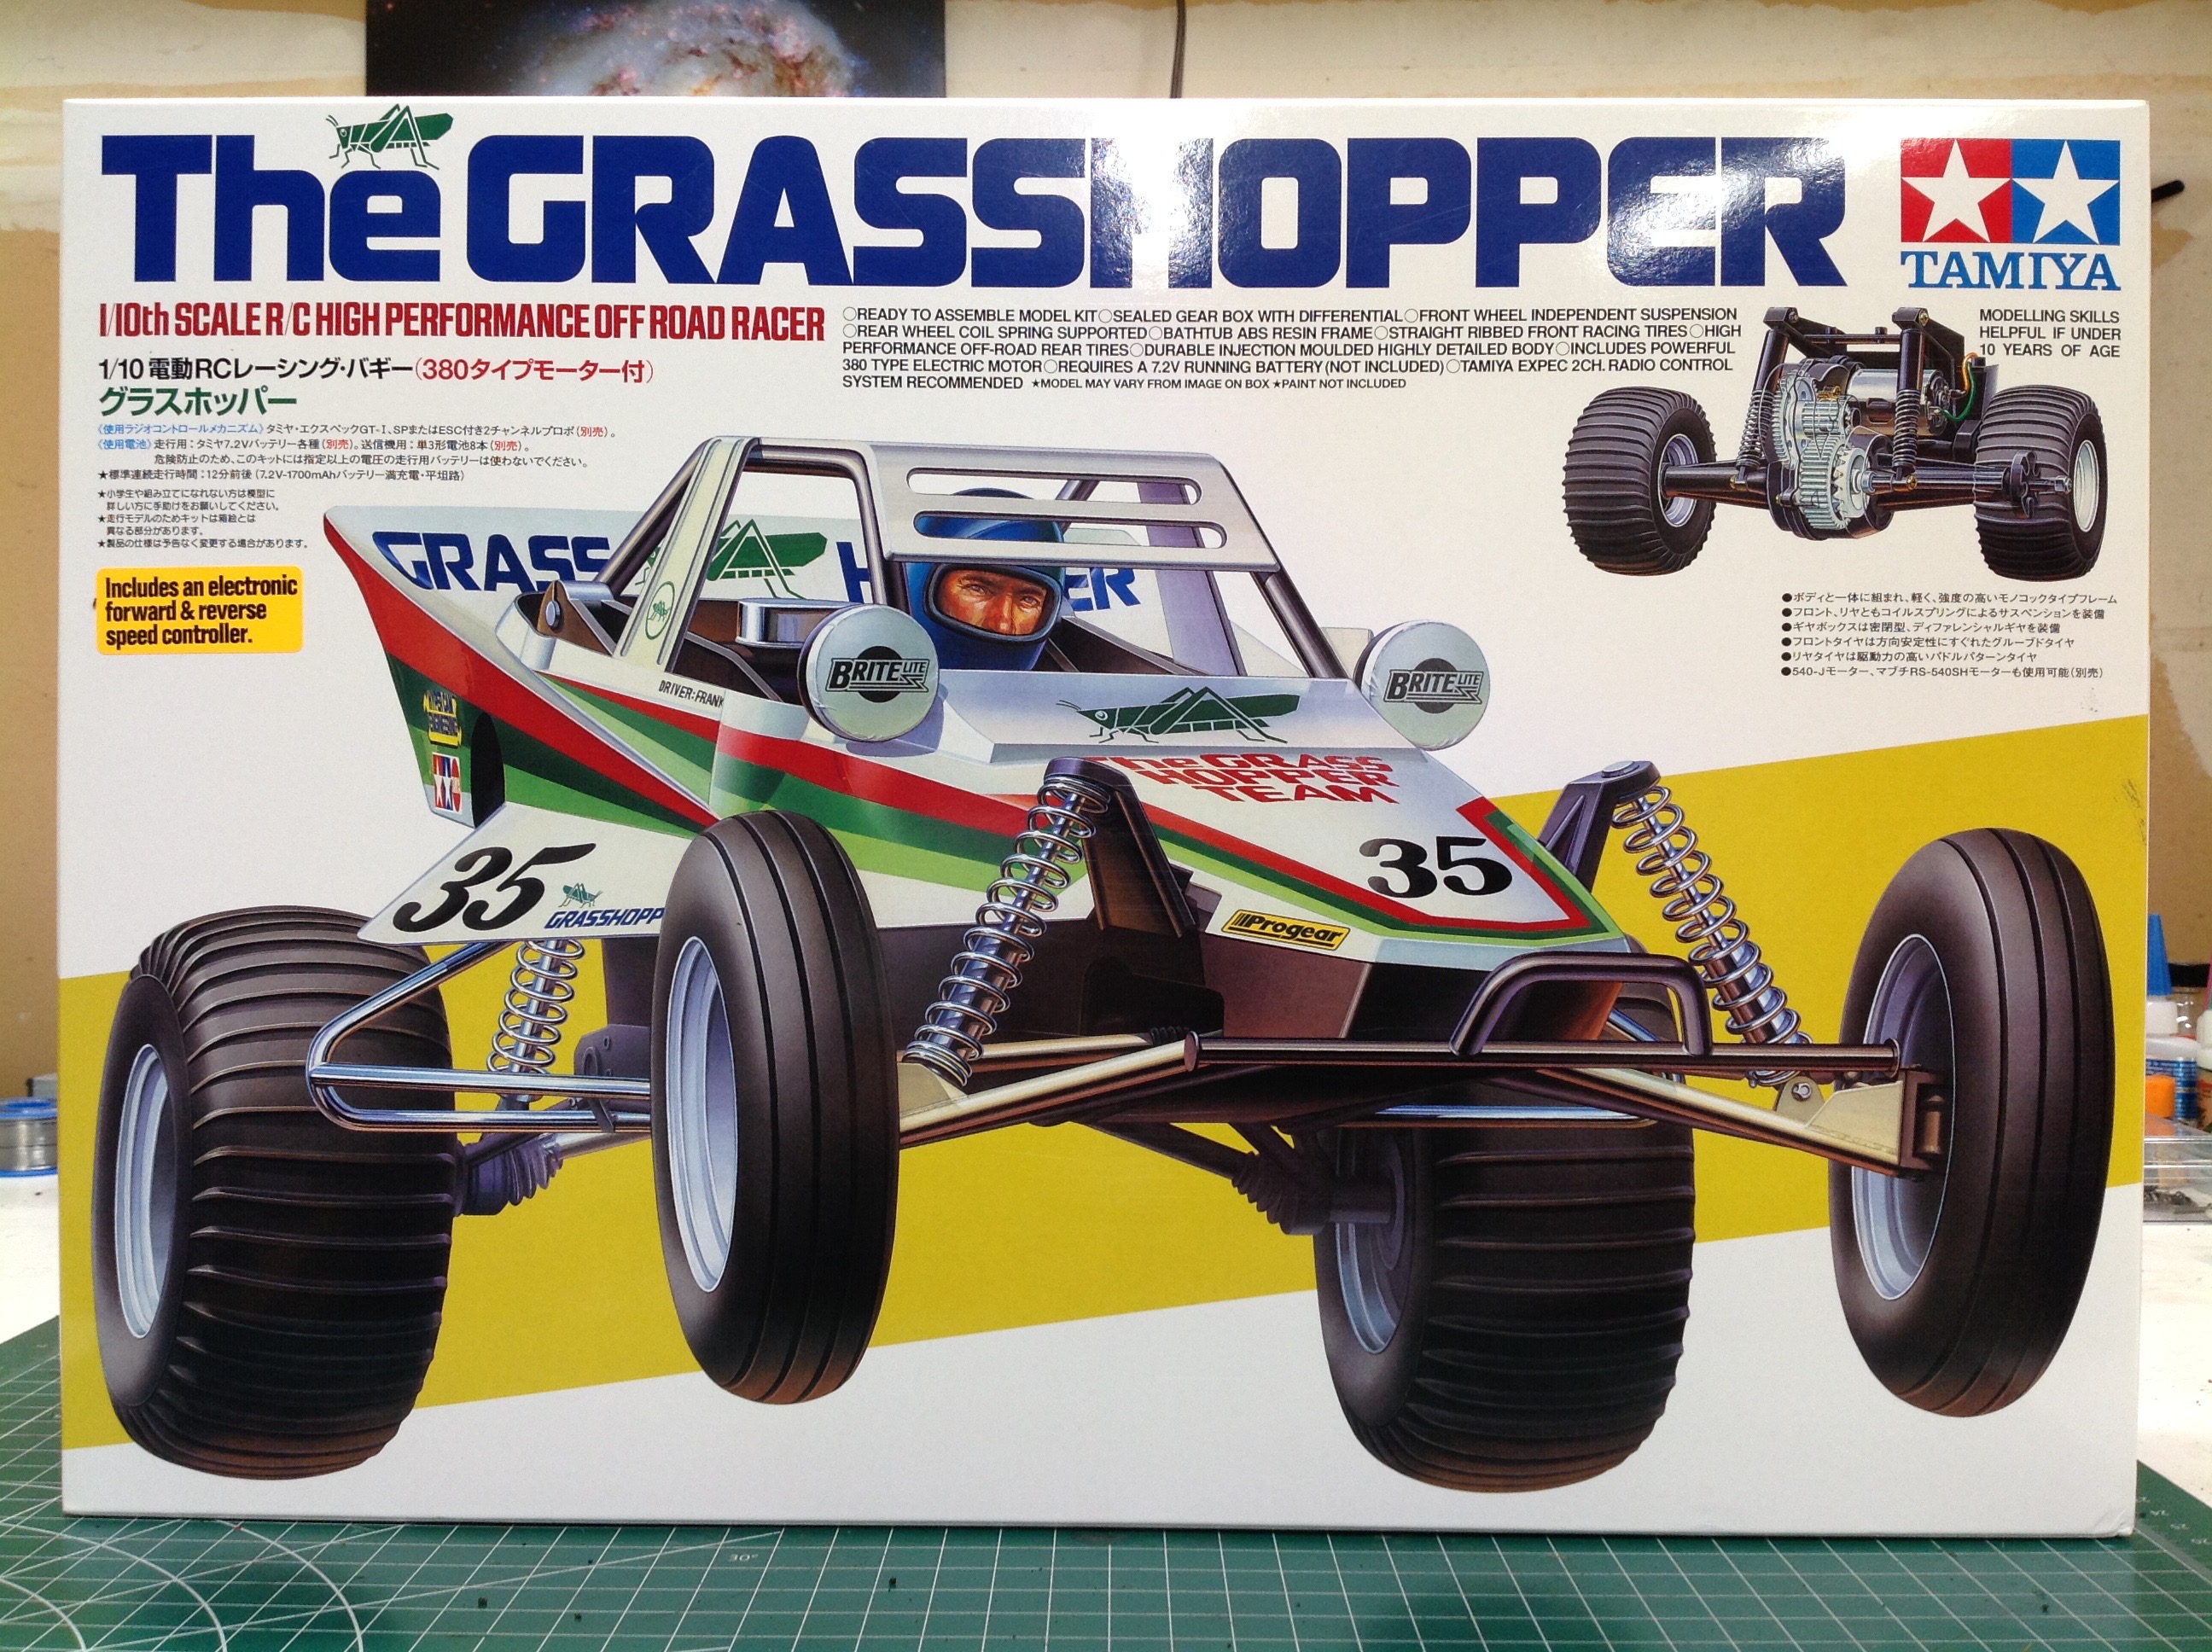
The box for the Grasshopper re-release looks just like the original
apart from an update to the text on the stickers. The inside of
the box doesn't feature any blister packs, but the contents are still
nicely arranged as you can see.
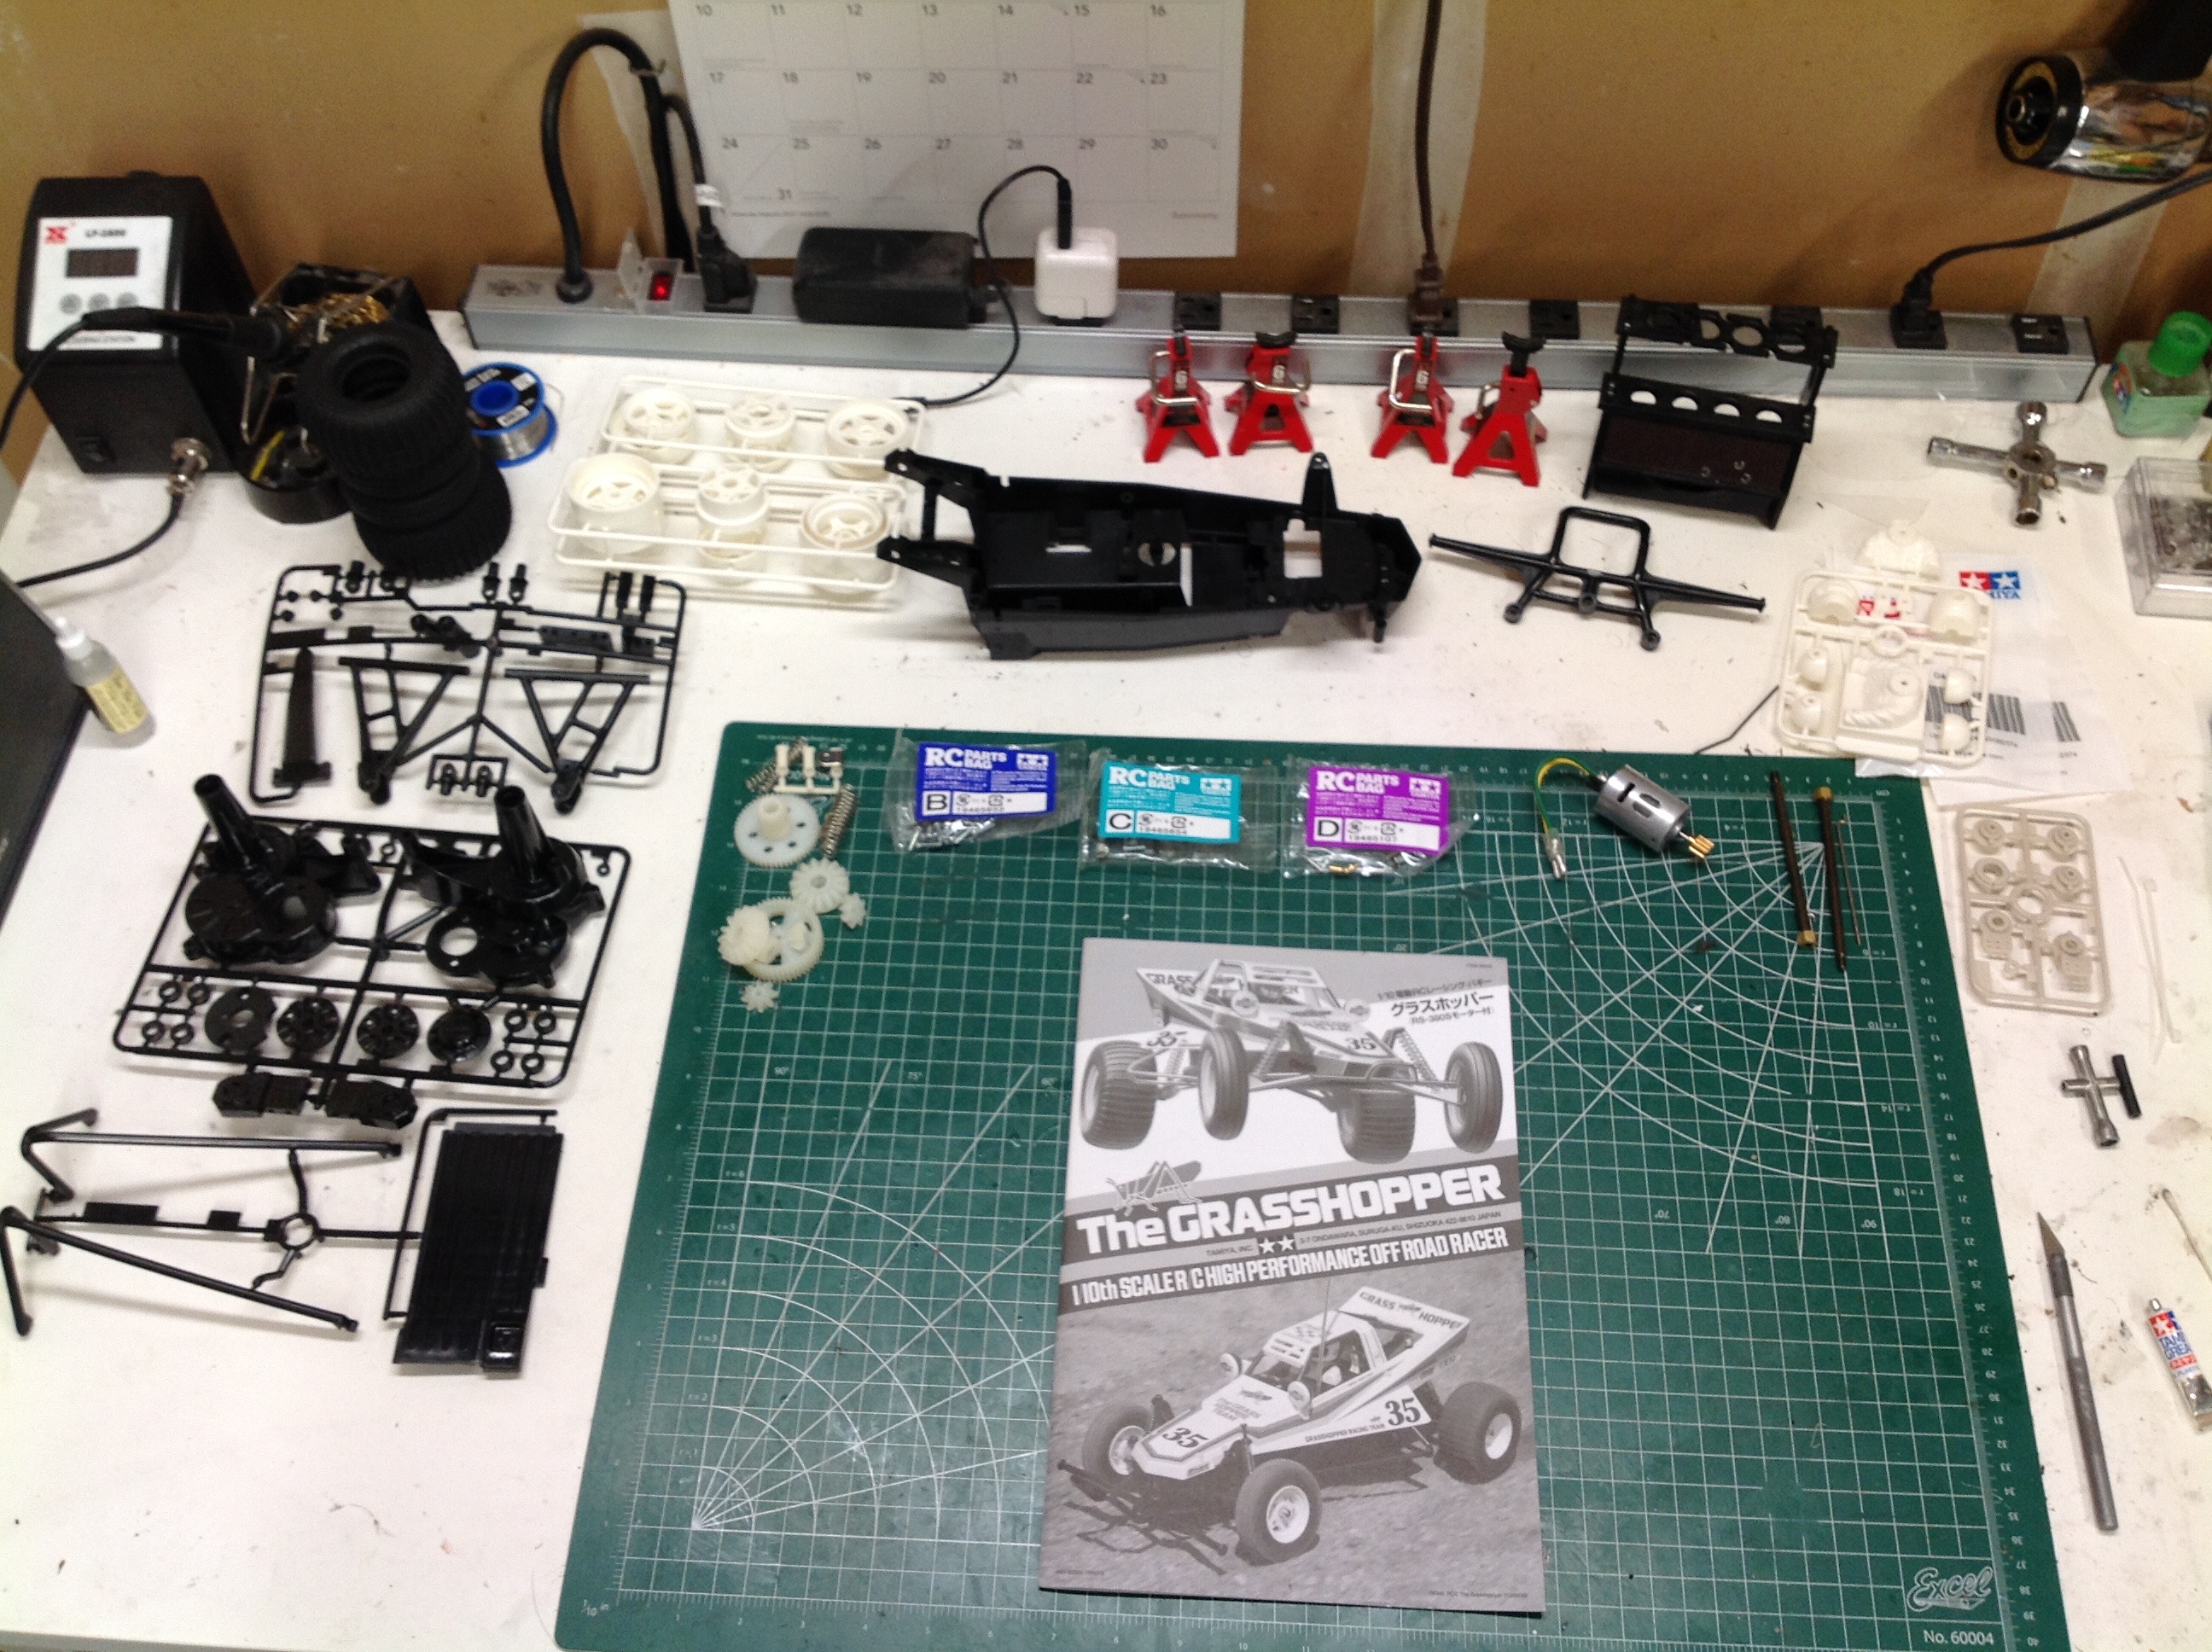
After knolling the contents it is pretty clear that this is a very
simple kit. There are only a handful of parts trees and only three
hardware bags. The picture on the right shows how almost the
whole outline of the model can be seen with only two parts: the chassis
tub and the body shell. The hard plastic body is molded in white,
but I'll be painting it anyway.
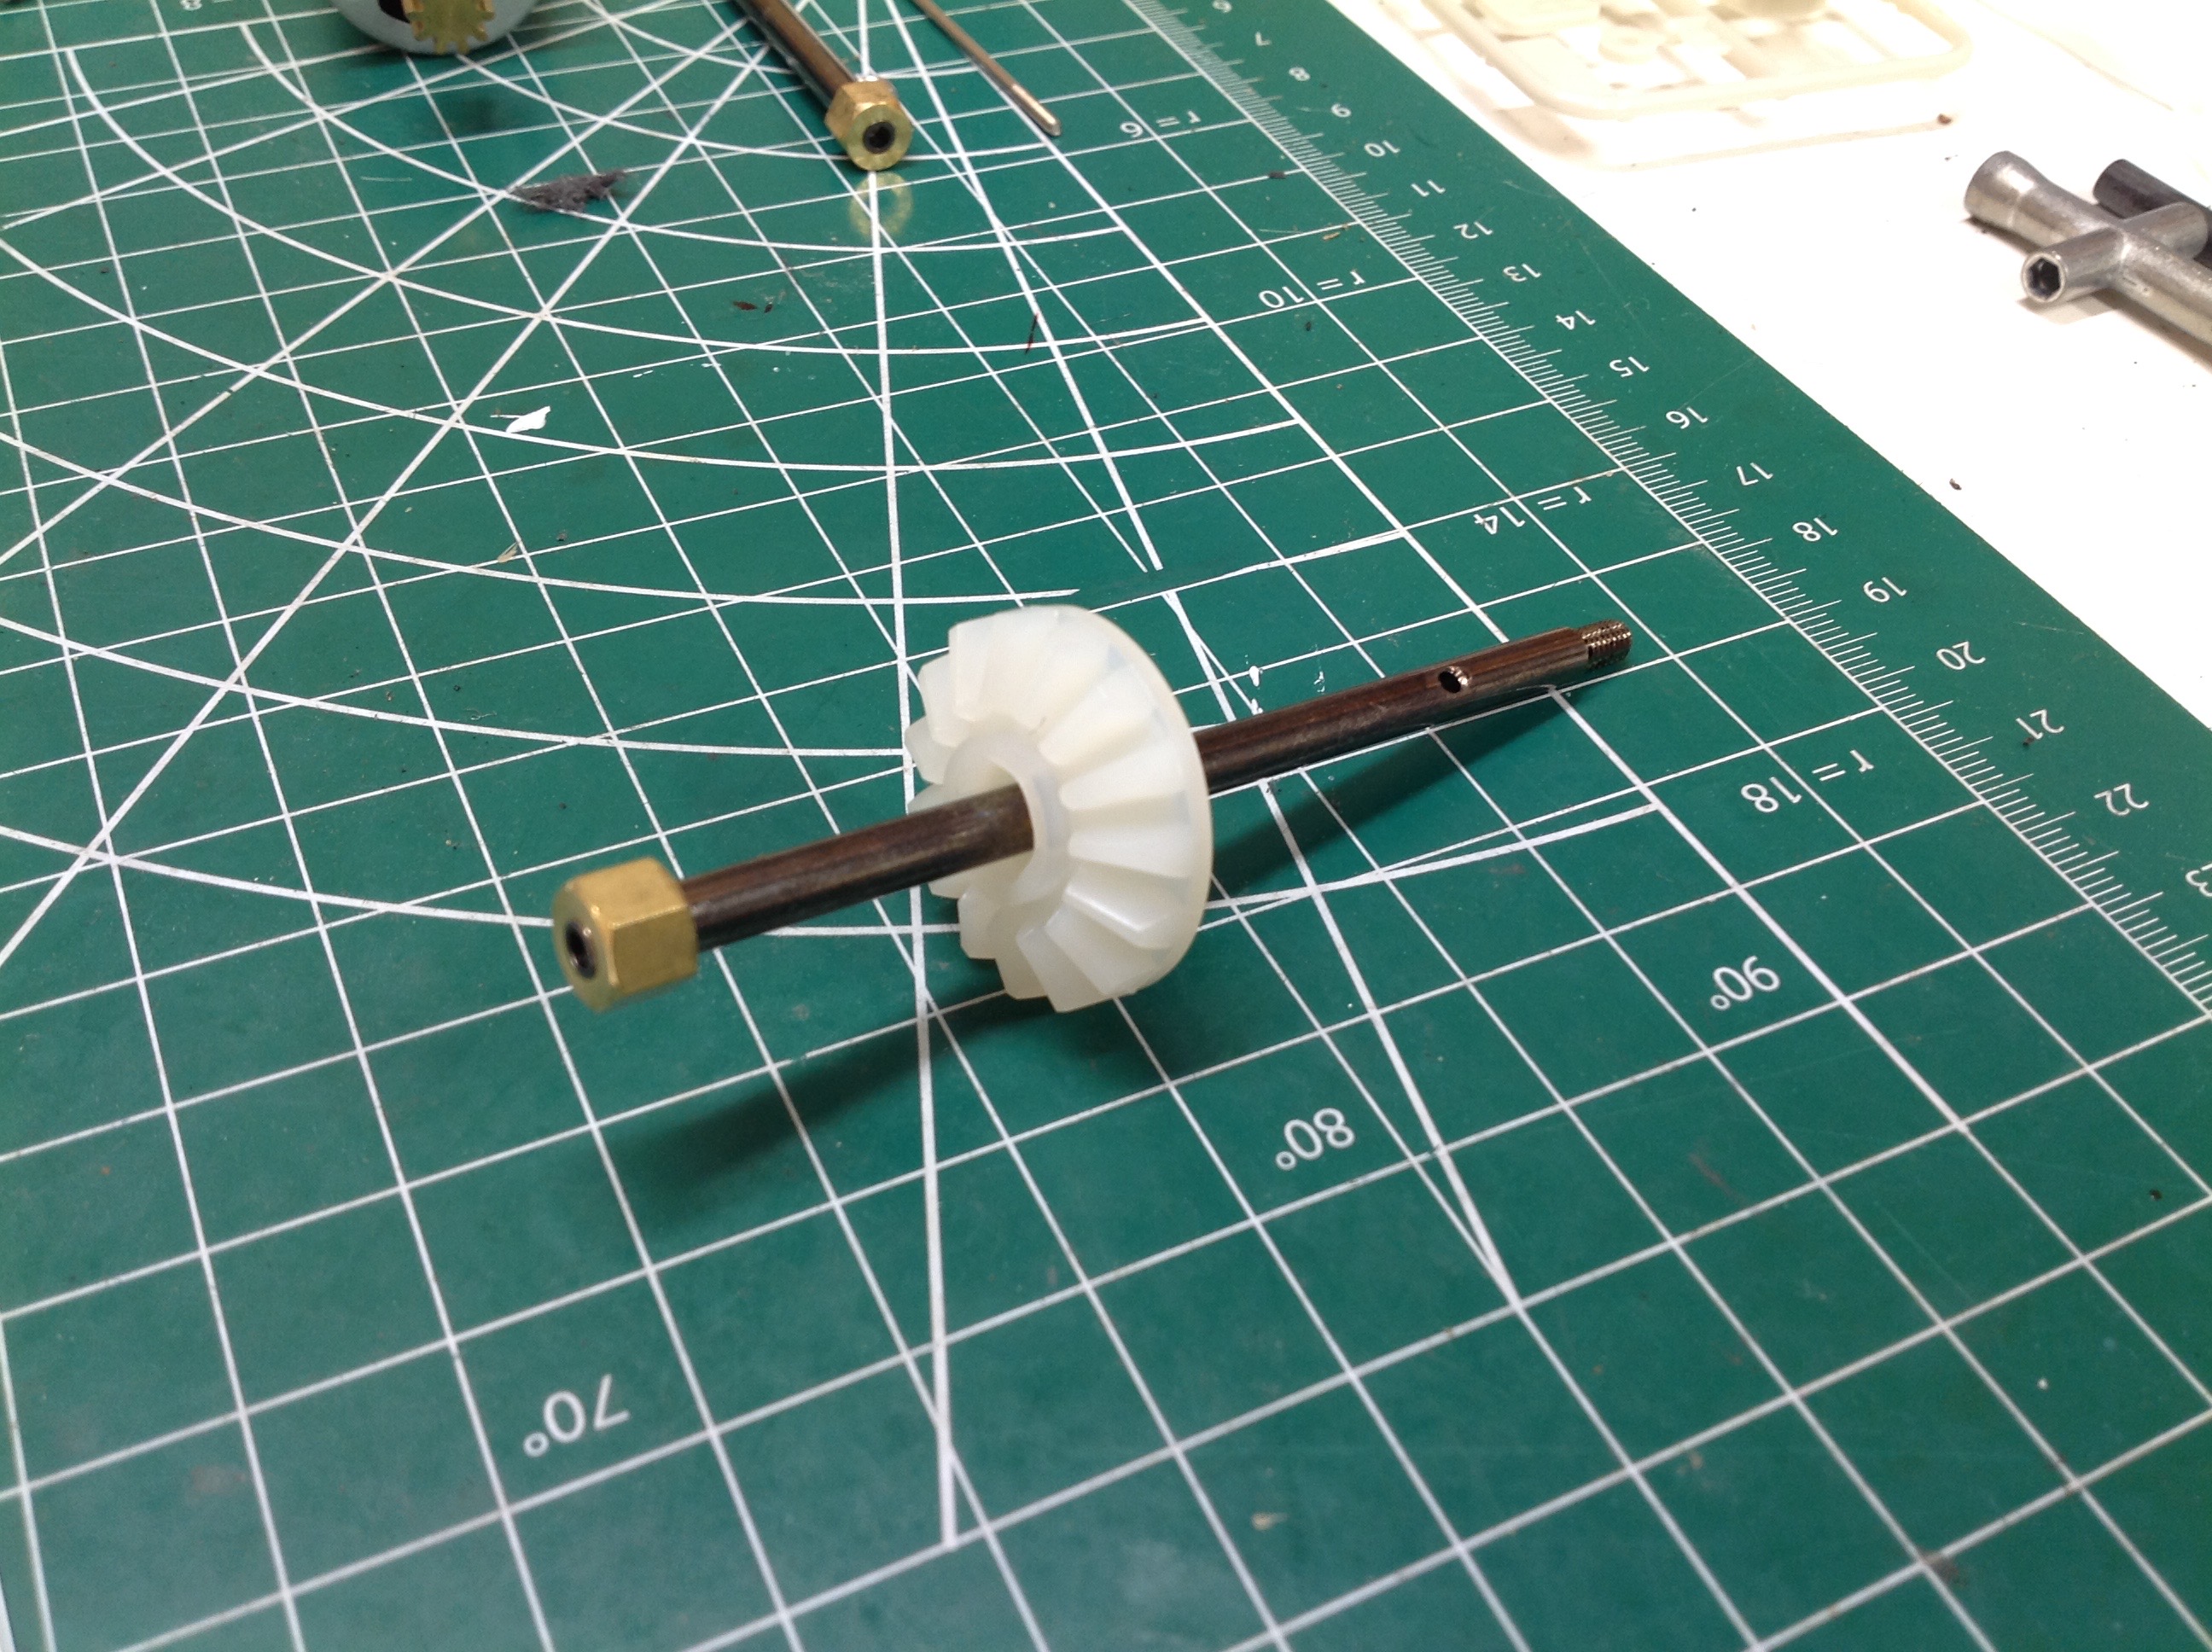
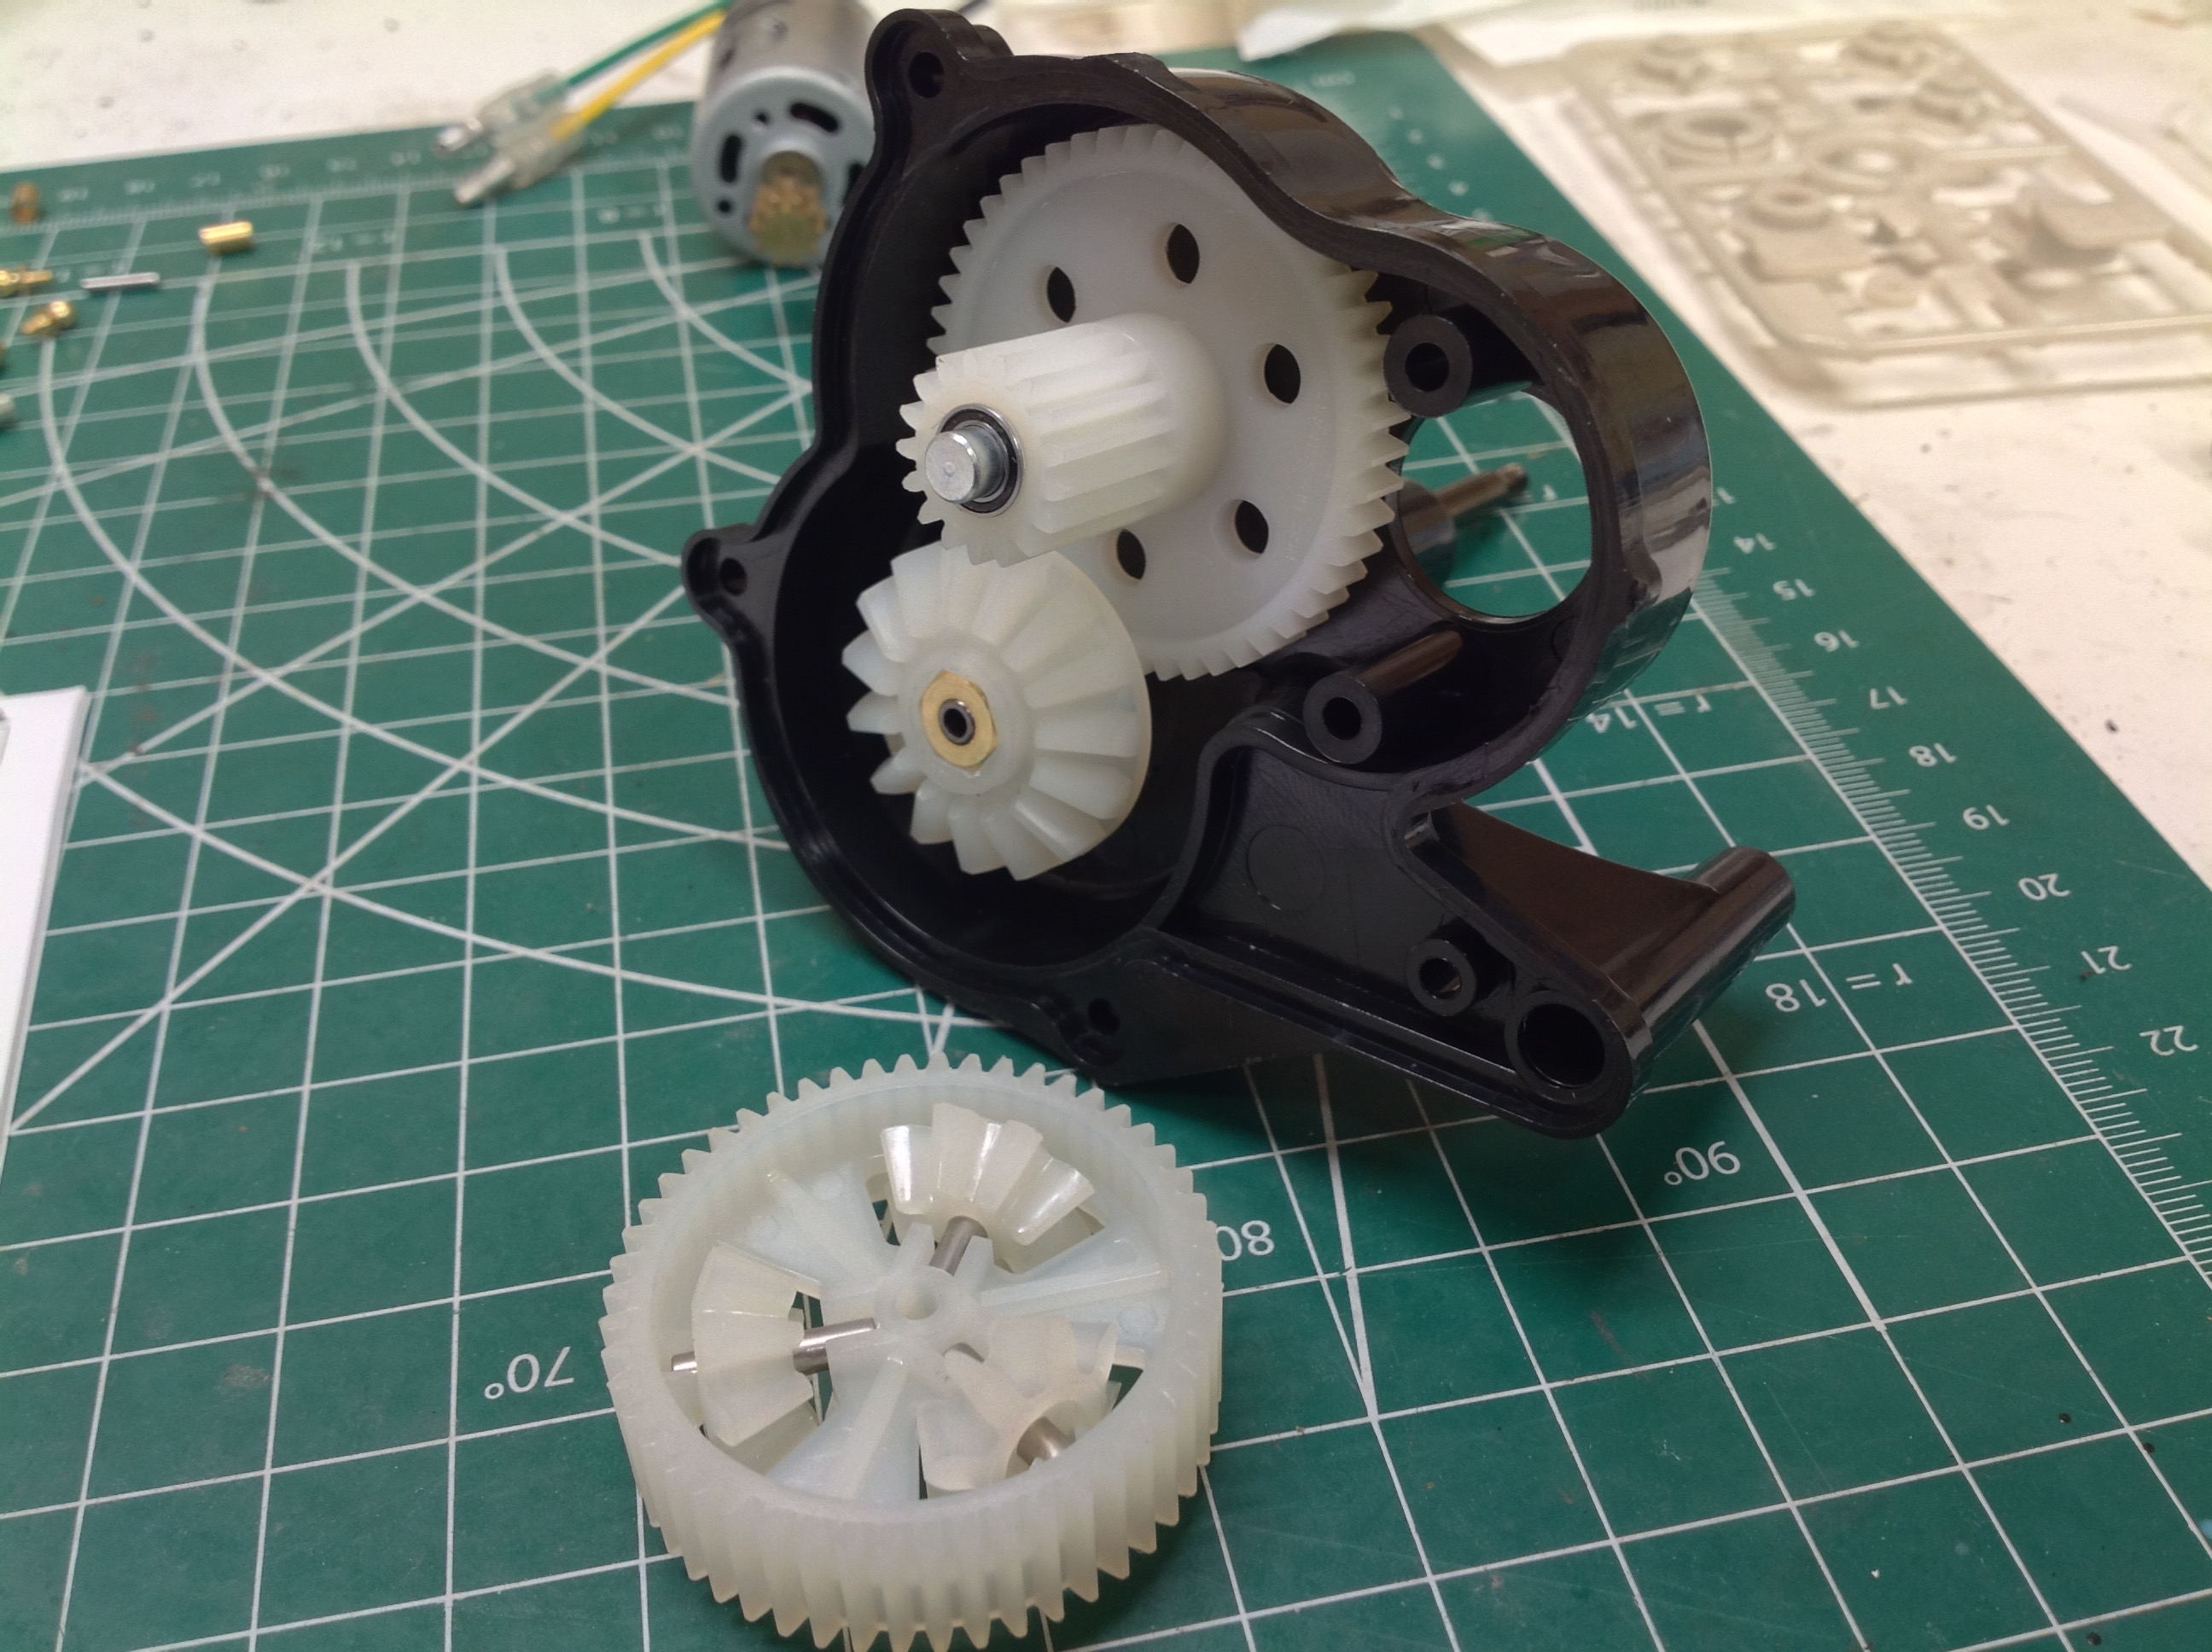
The gears in the Grasshopper are very large, much larger than needed to
react the torque of the tiny 380 motor. The brass hex shown on the
left grips the inside of the differential output gear. The
differential spider gears are supported within a spur gear as shown on
the right. There is only one stage of gear reduction after the
pinion:spur combination.
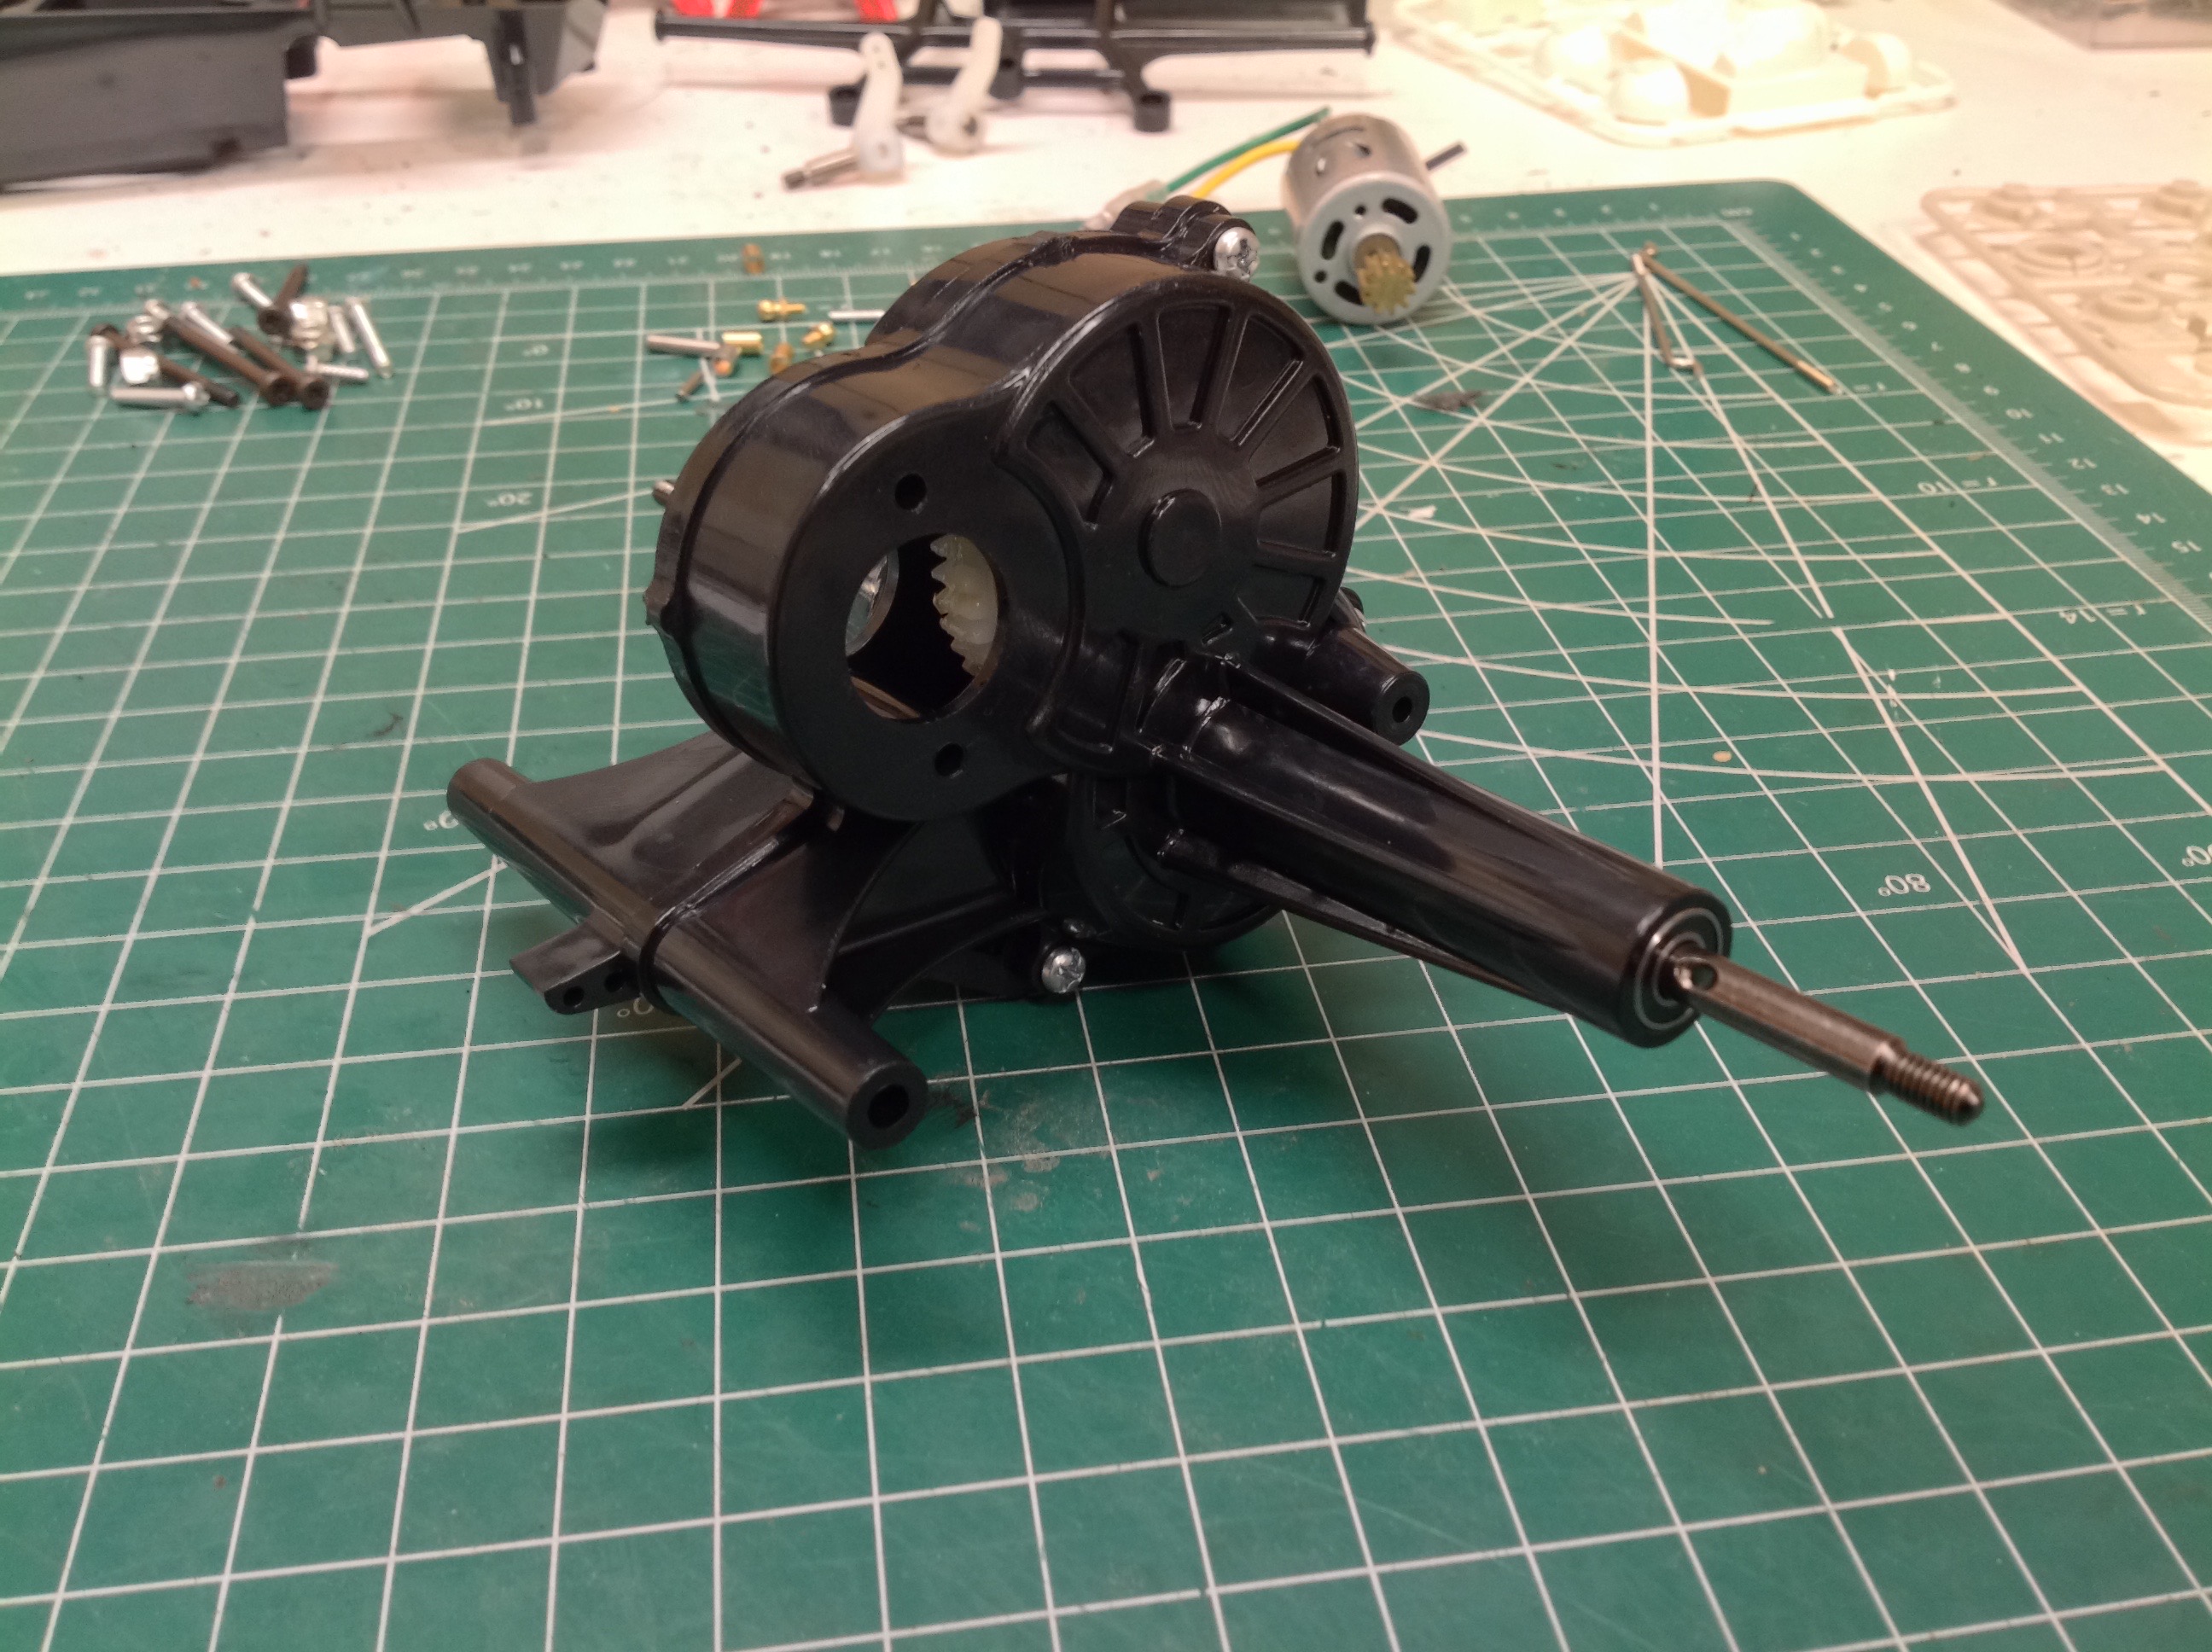
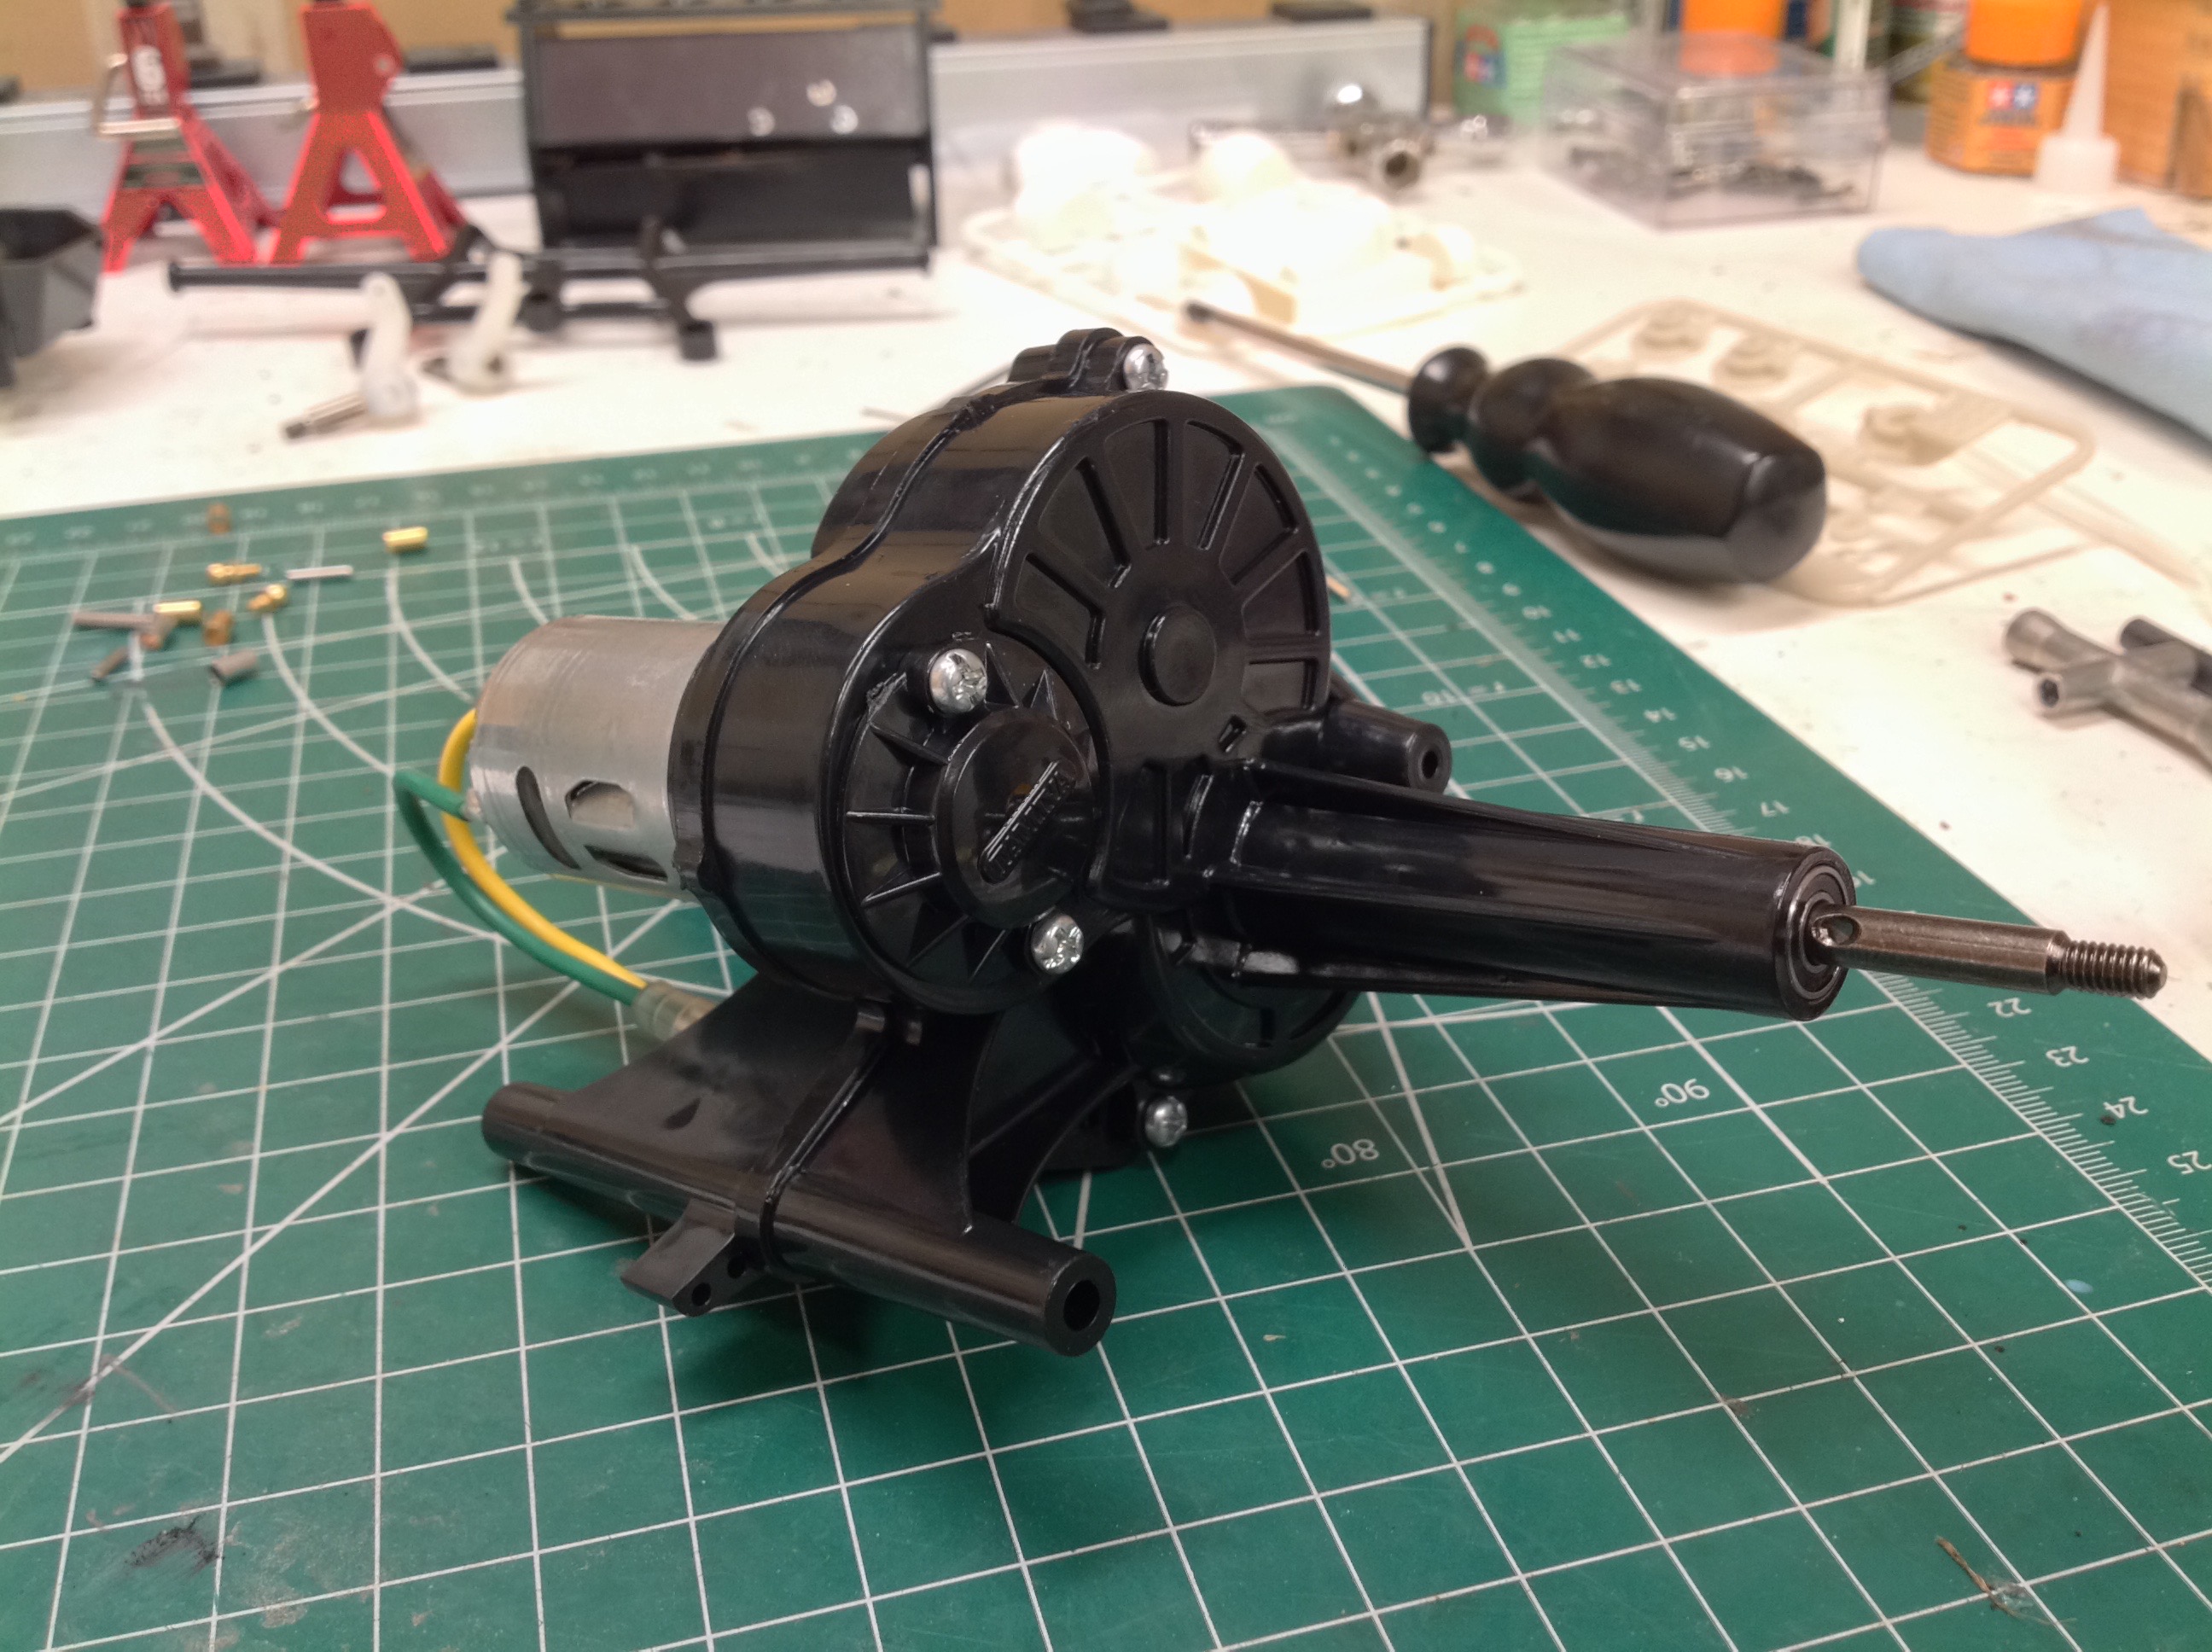
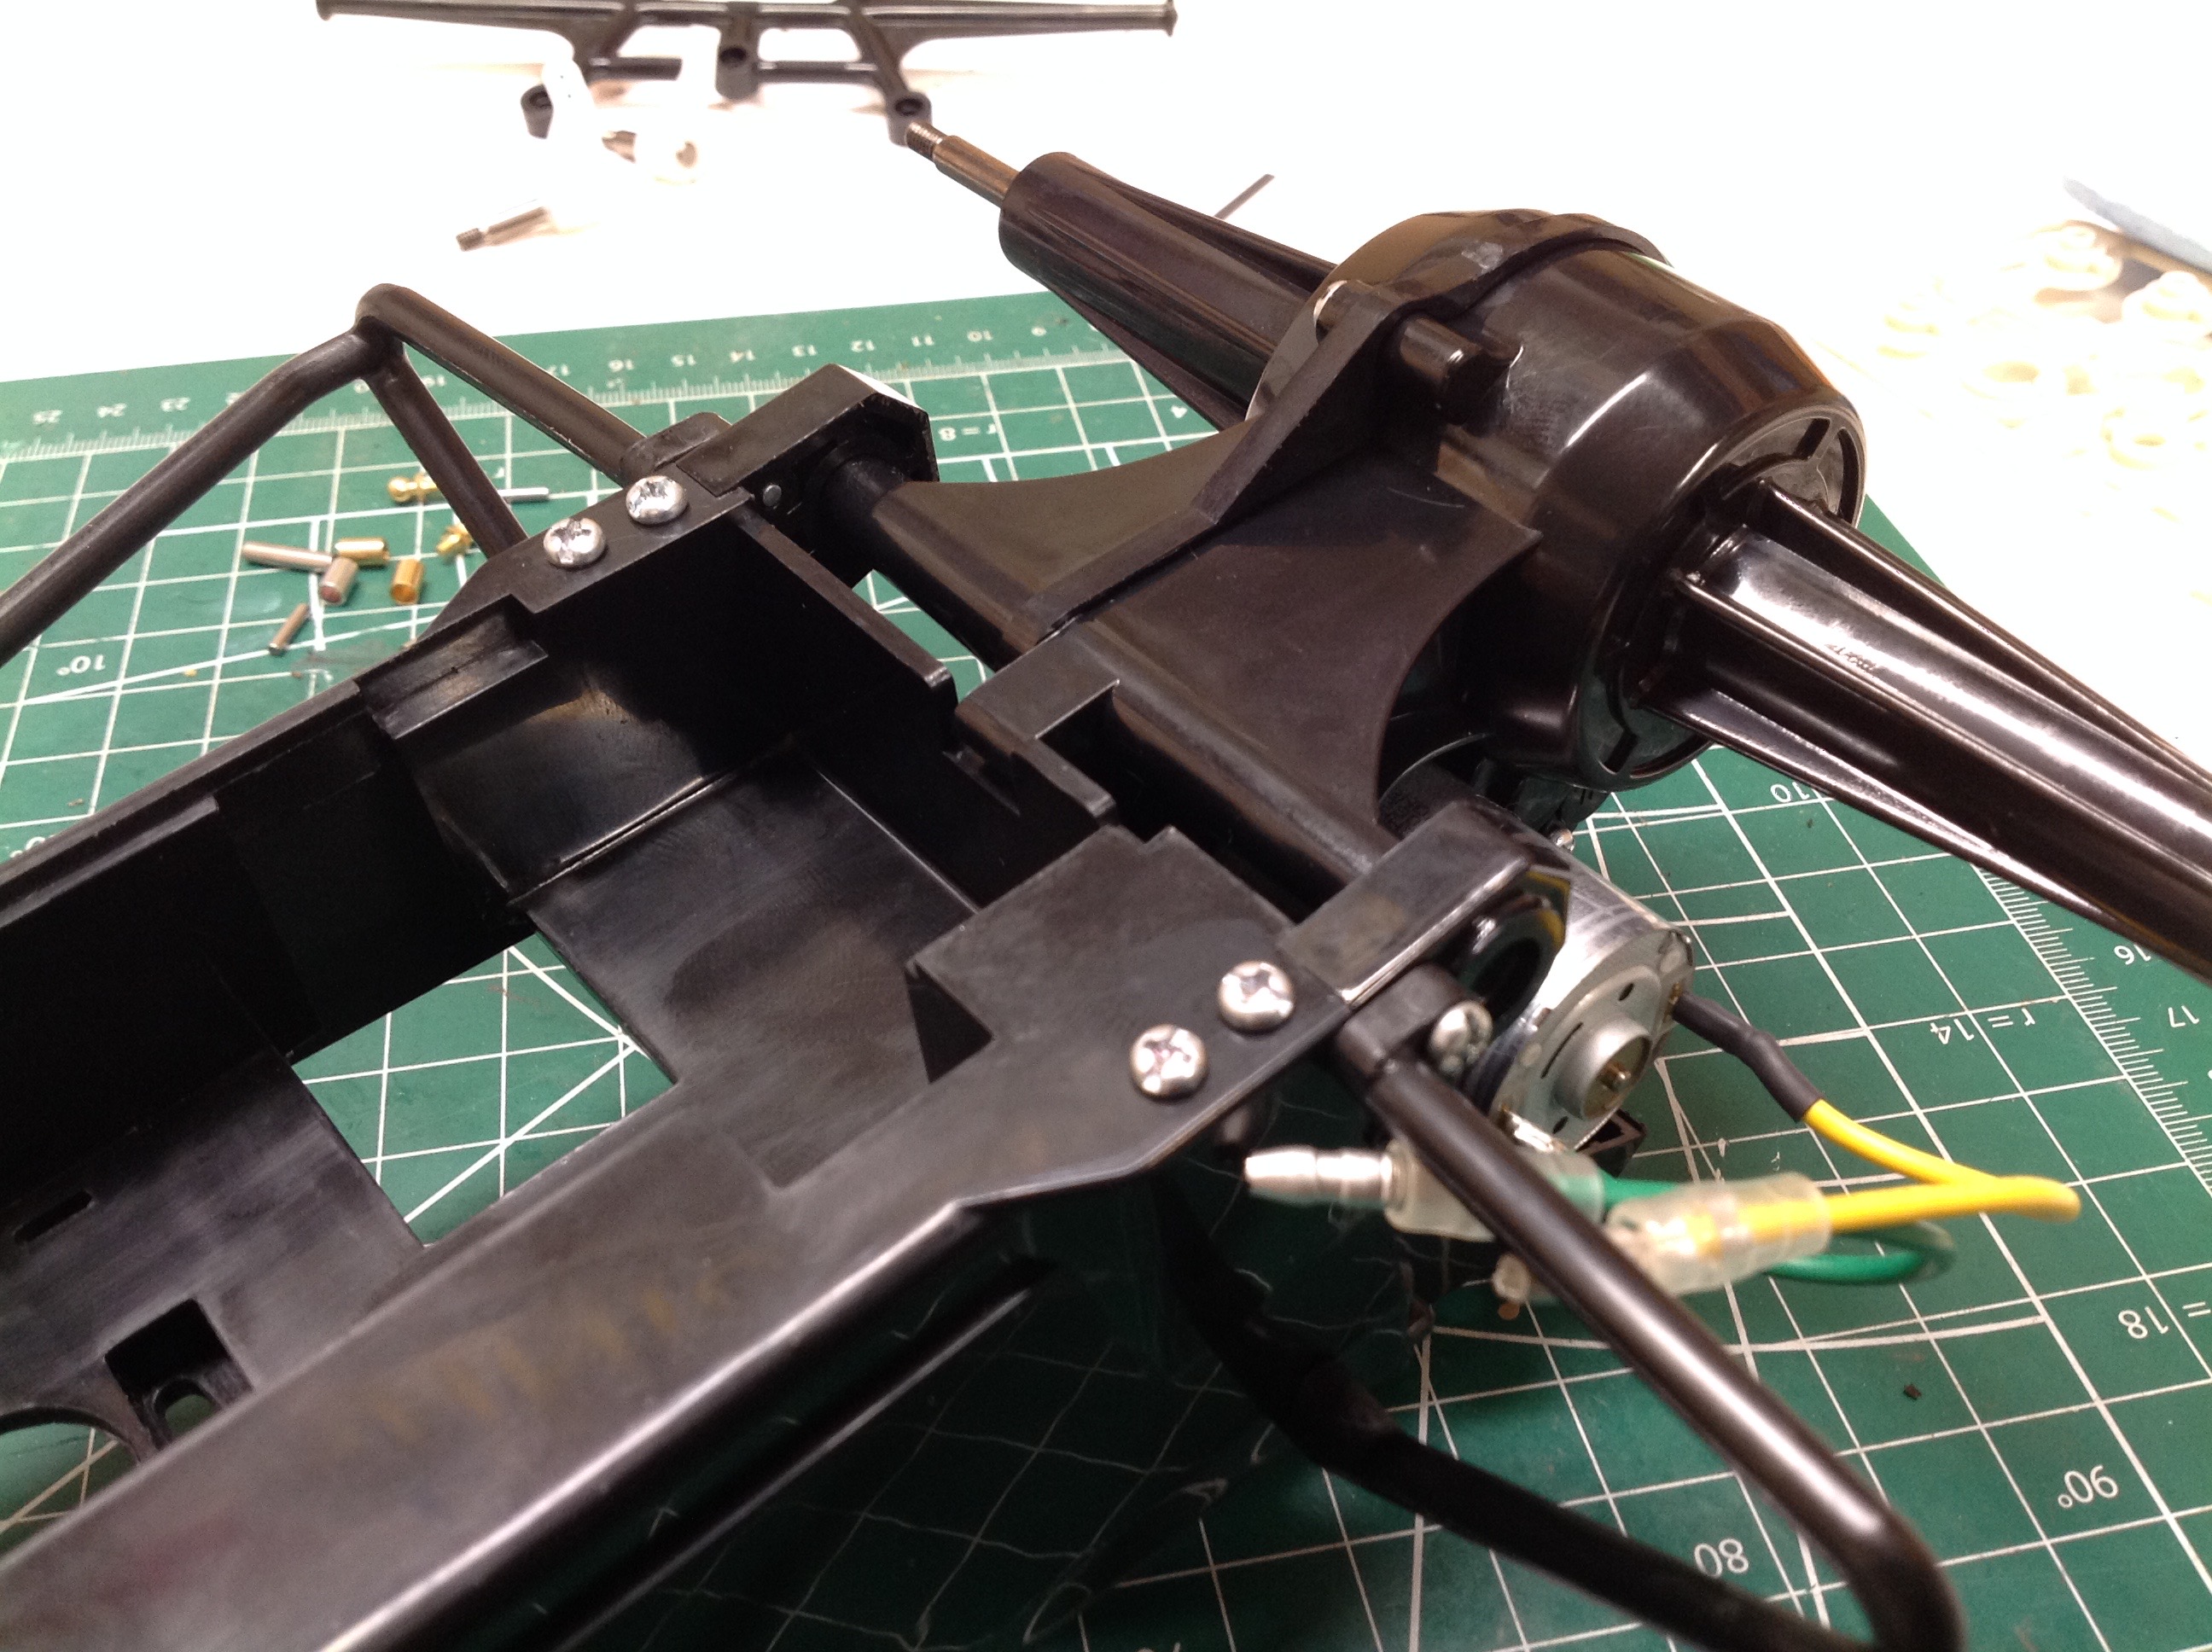
The gearbox is housed directly inside the solid rear axle. Note
how far beyond the bearings the axle shafts protrude. The kit came
with plastic bushings but I upgraded to rubber sealed ball bearings as
usual.
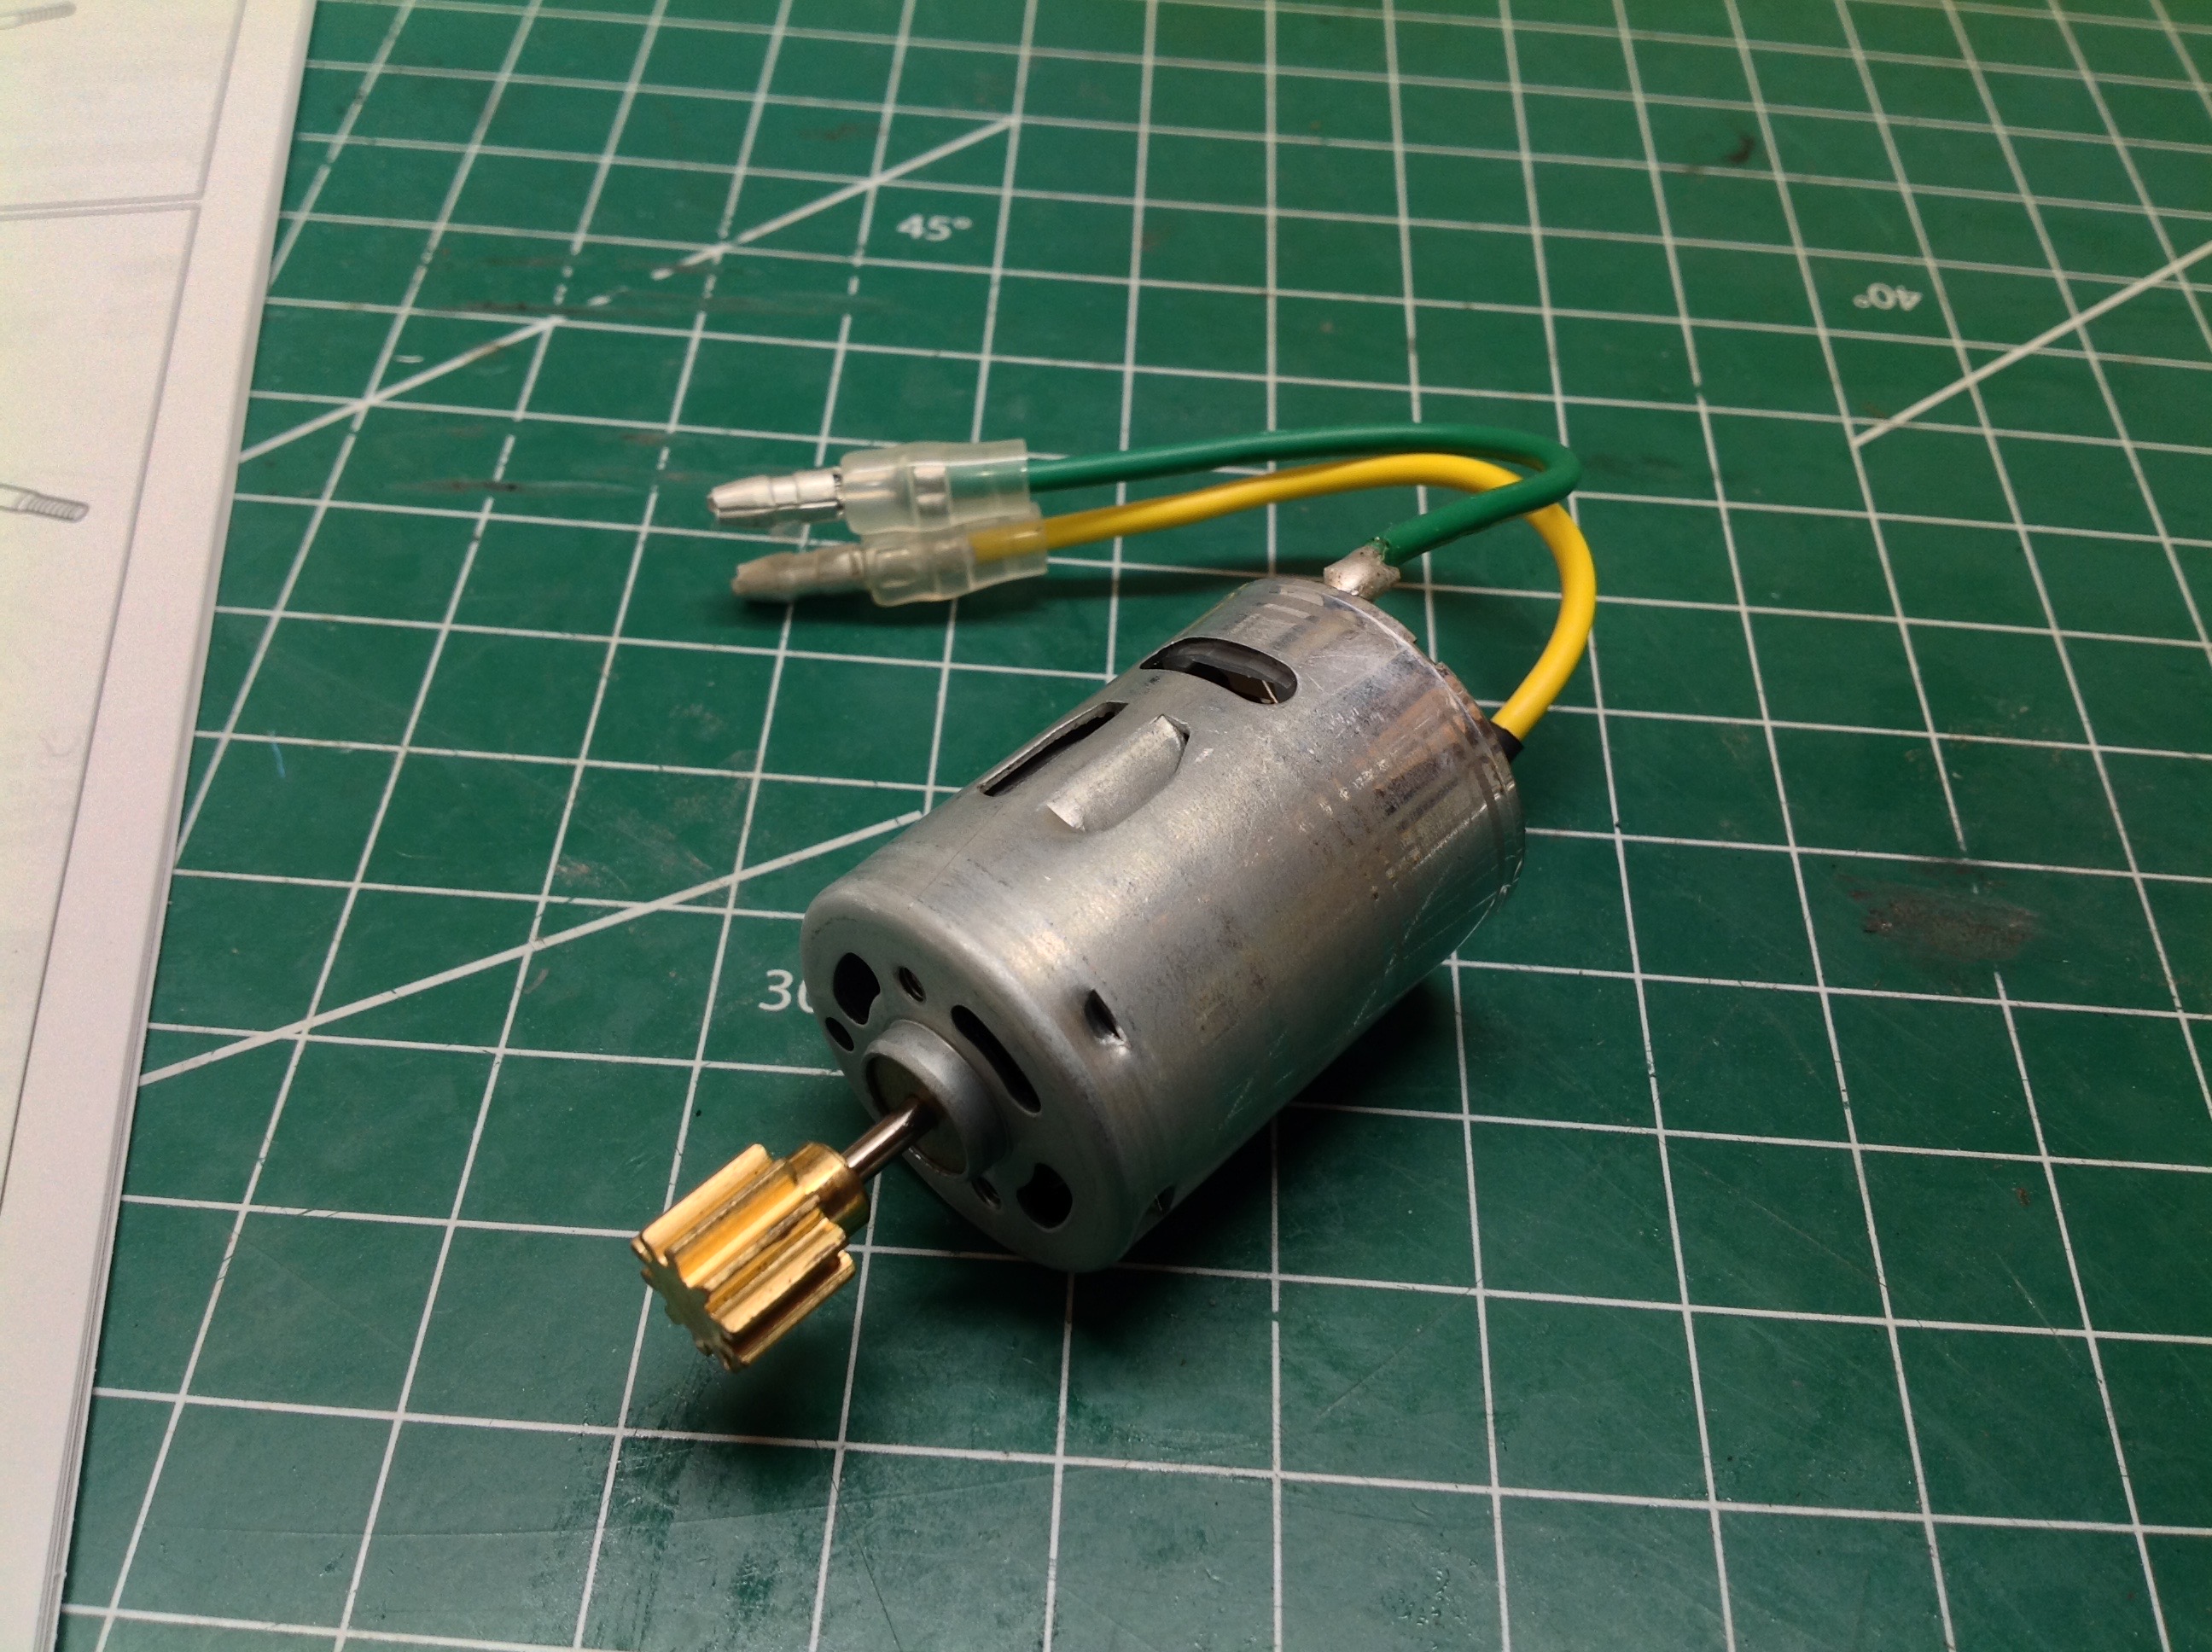
The Grasshopper has always come with a smaller 380 sized motor instead
of a standard 540 sized silver can, though the latter can be installed
as an option. The 10 tooth brass pinion is pressed onto the motor
shaft and is not intended to be changed. An adapter is used to
attach the motor to the rear axle housing. The adapter is omitted
if a 540 sized motor is installed.
The solid axle connects to the chassis tub with a couple of bathtub
fittings as shown. These fittings have slots in them allowing the
axle to translate up and down and pivot about a longitudinal axis (tip
side to side), but the tab in the middle blocks the vertical motion and
allows only rotation. This keeps the suspension from squatting
while accelerating.
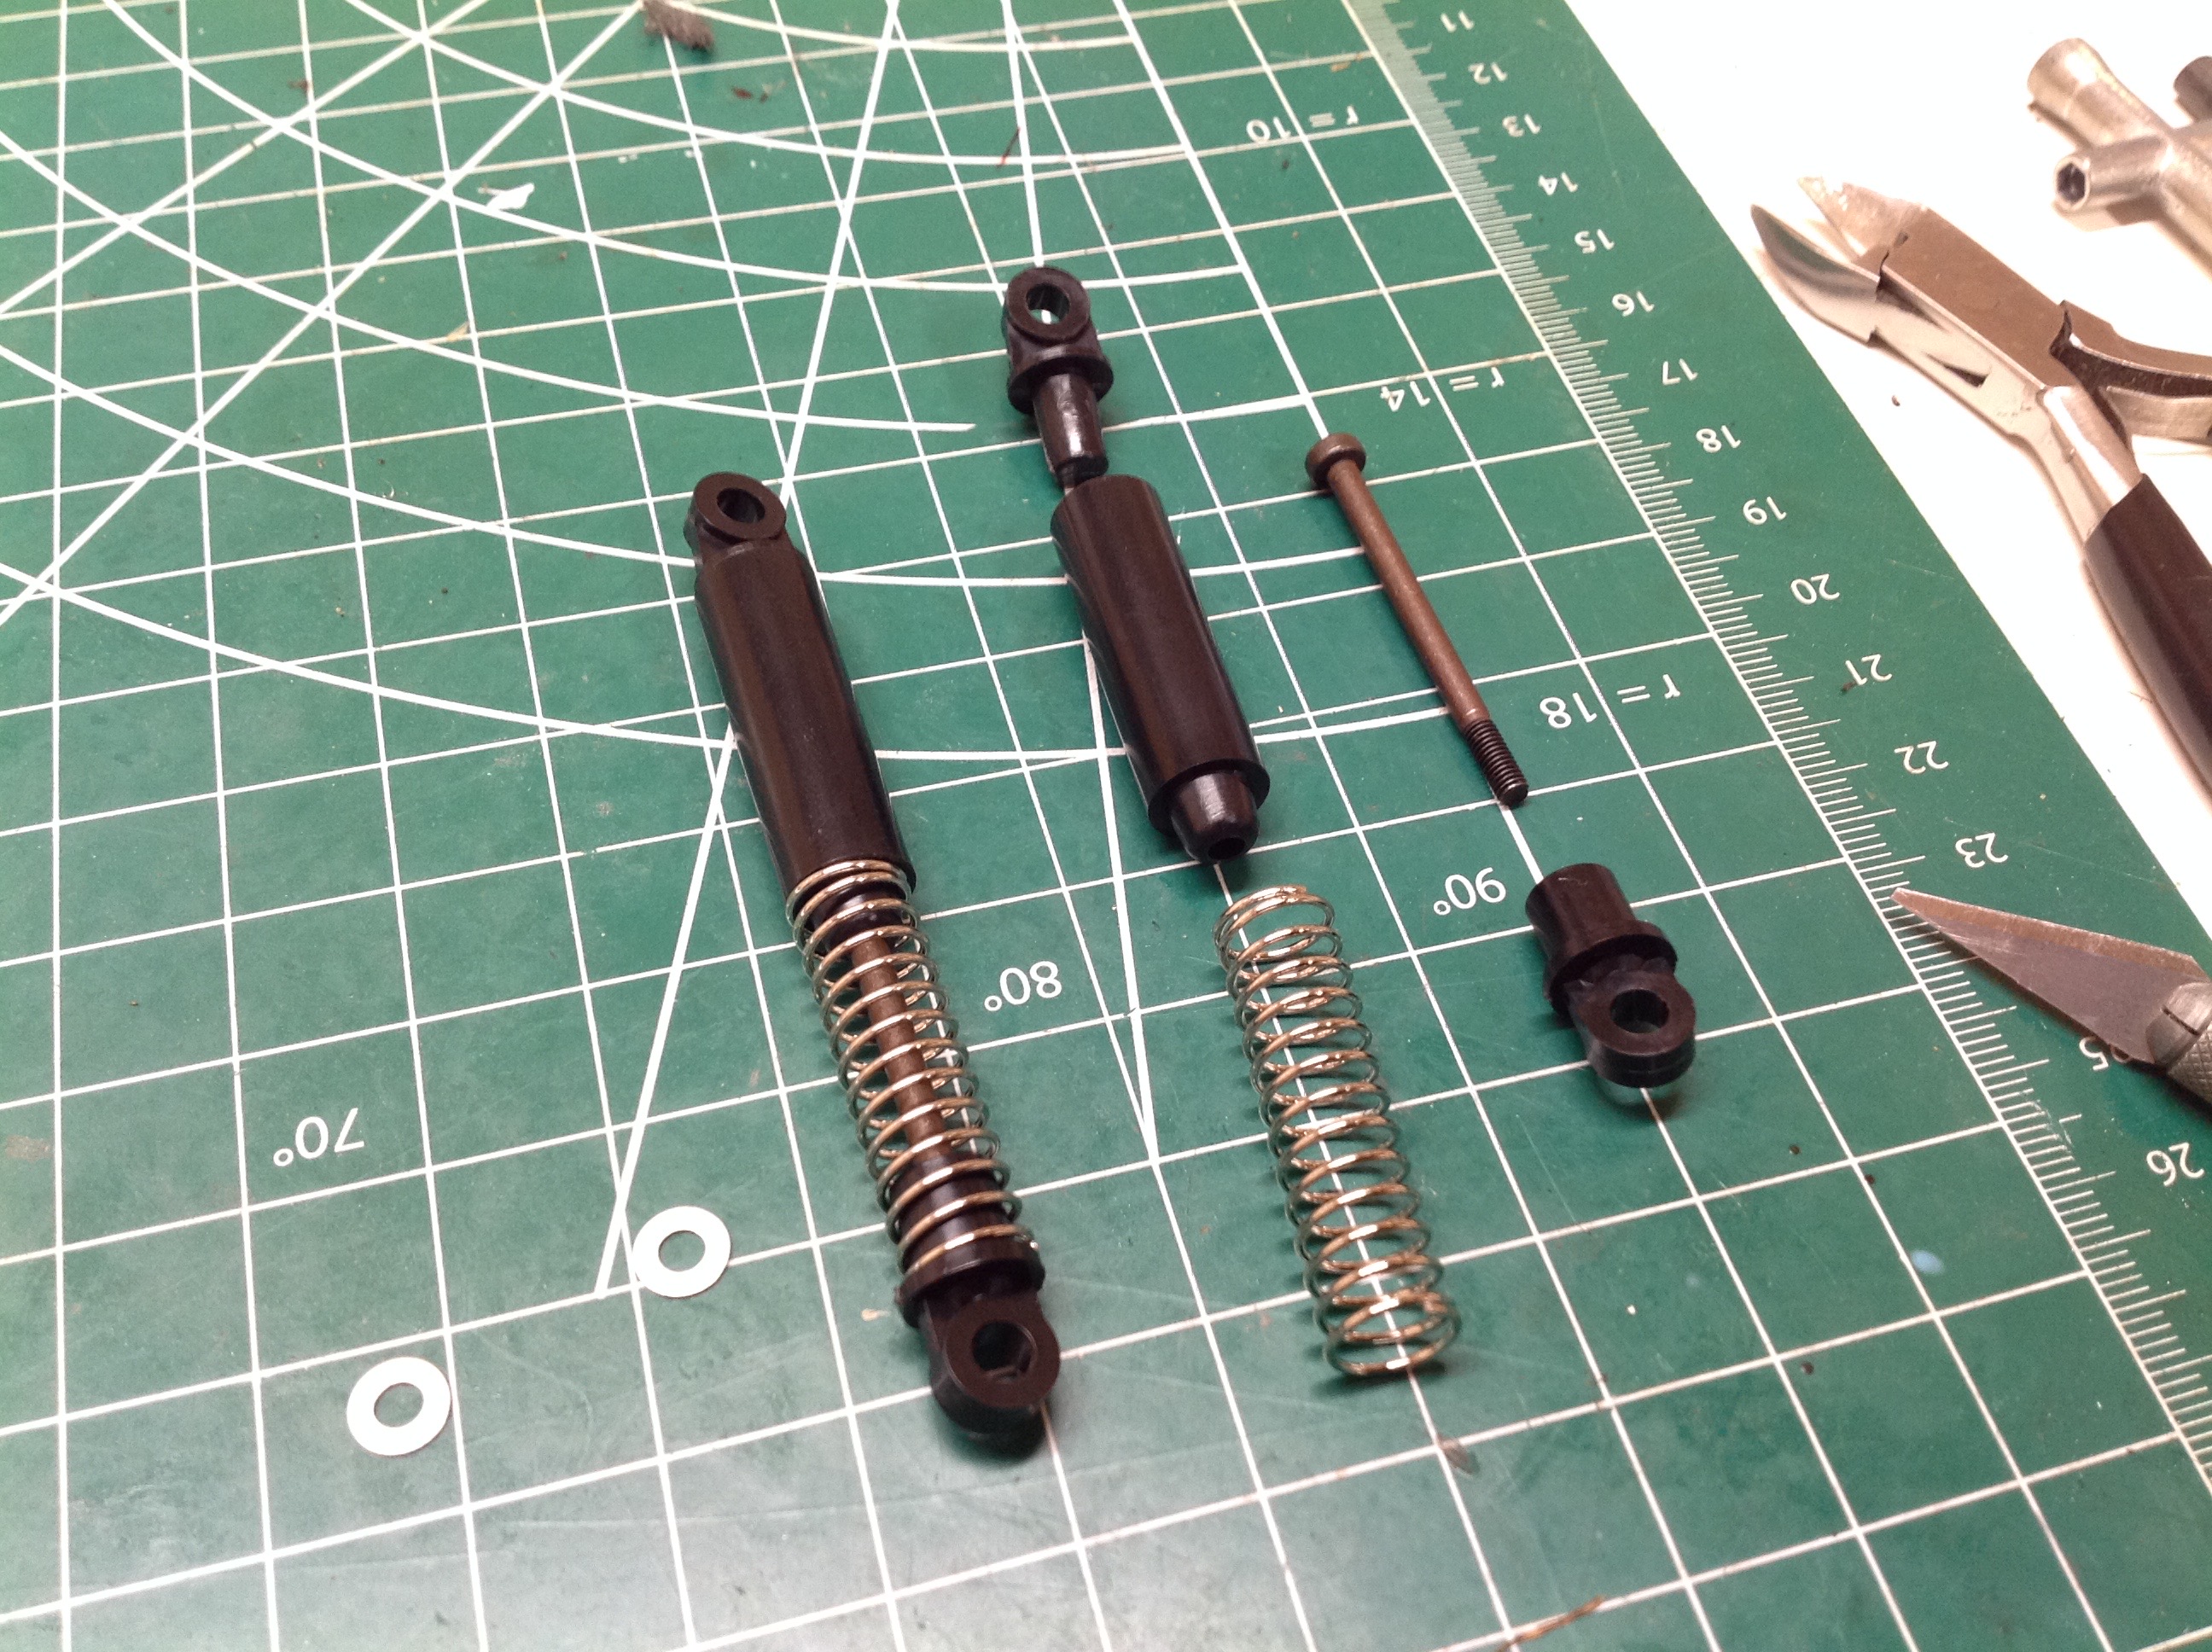
The rear shocks have a lot of travel but are not filled with oil.
They don't even have internal friction, they are effectively just pogo
sticks. This makes for a lot of bouncing, but it is supposed to be
a Grasshopper after all.
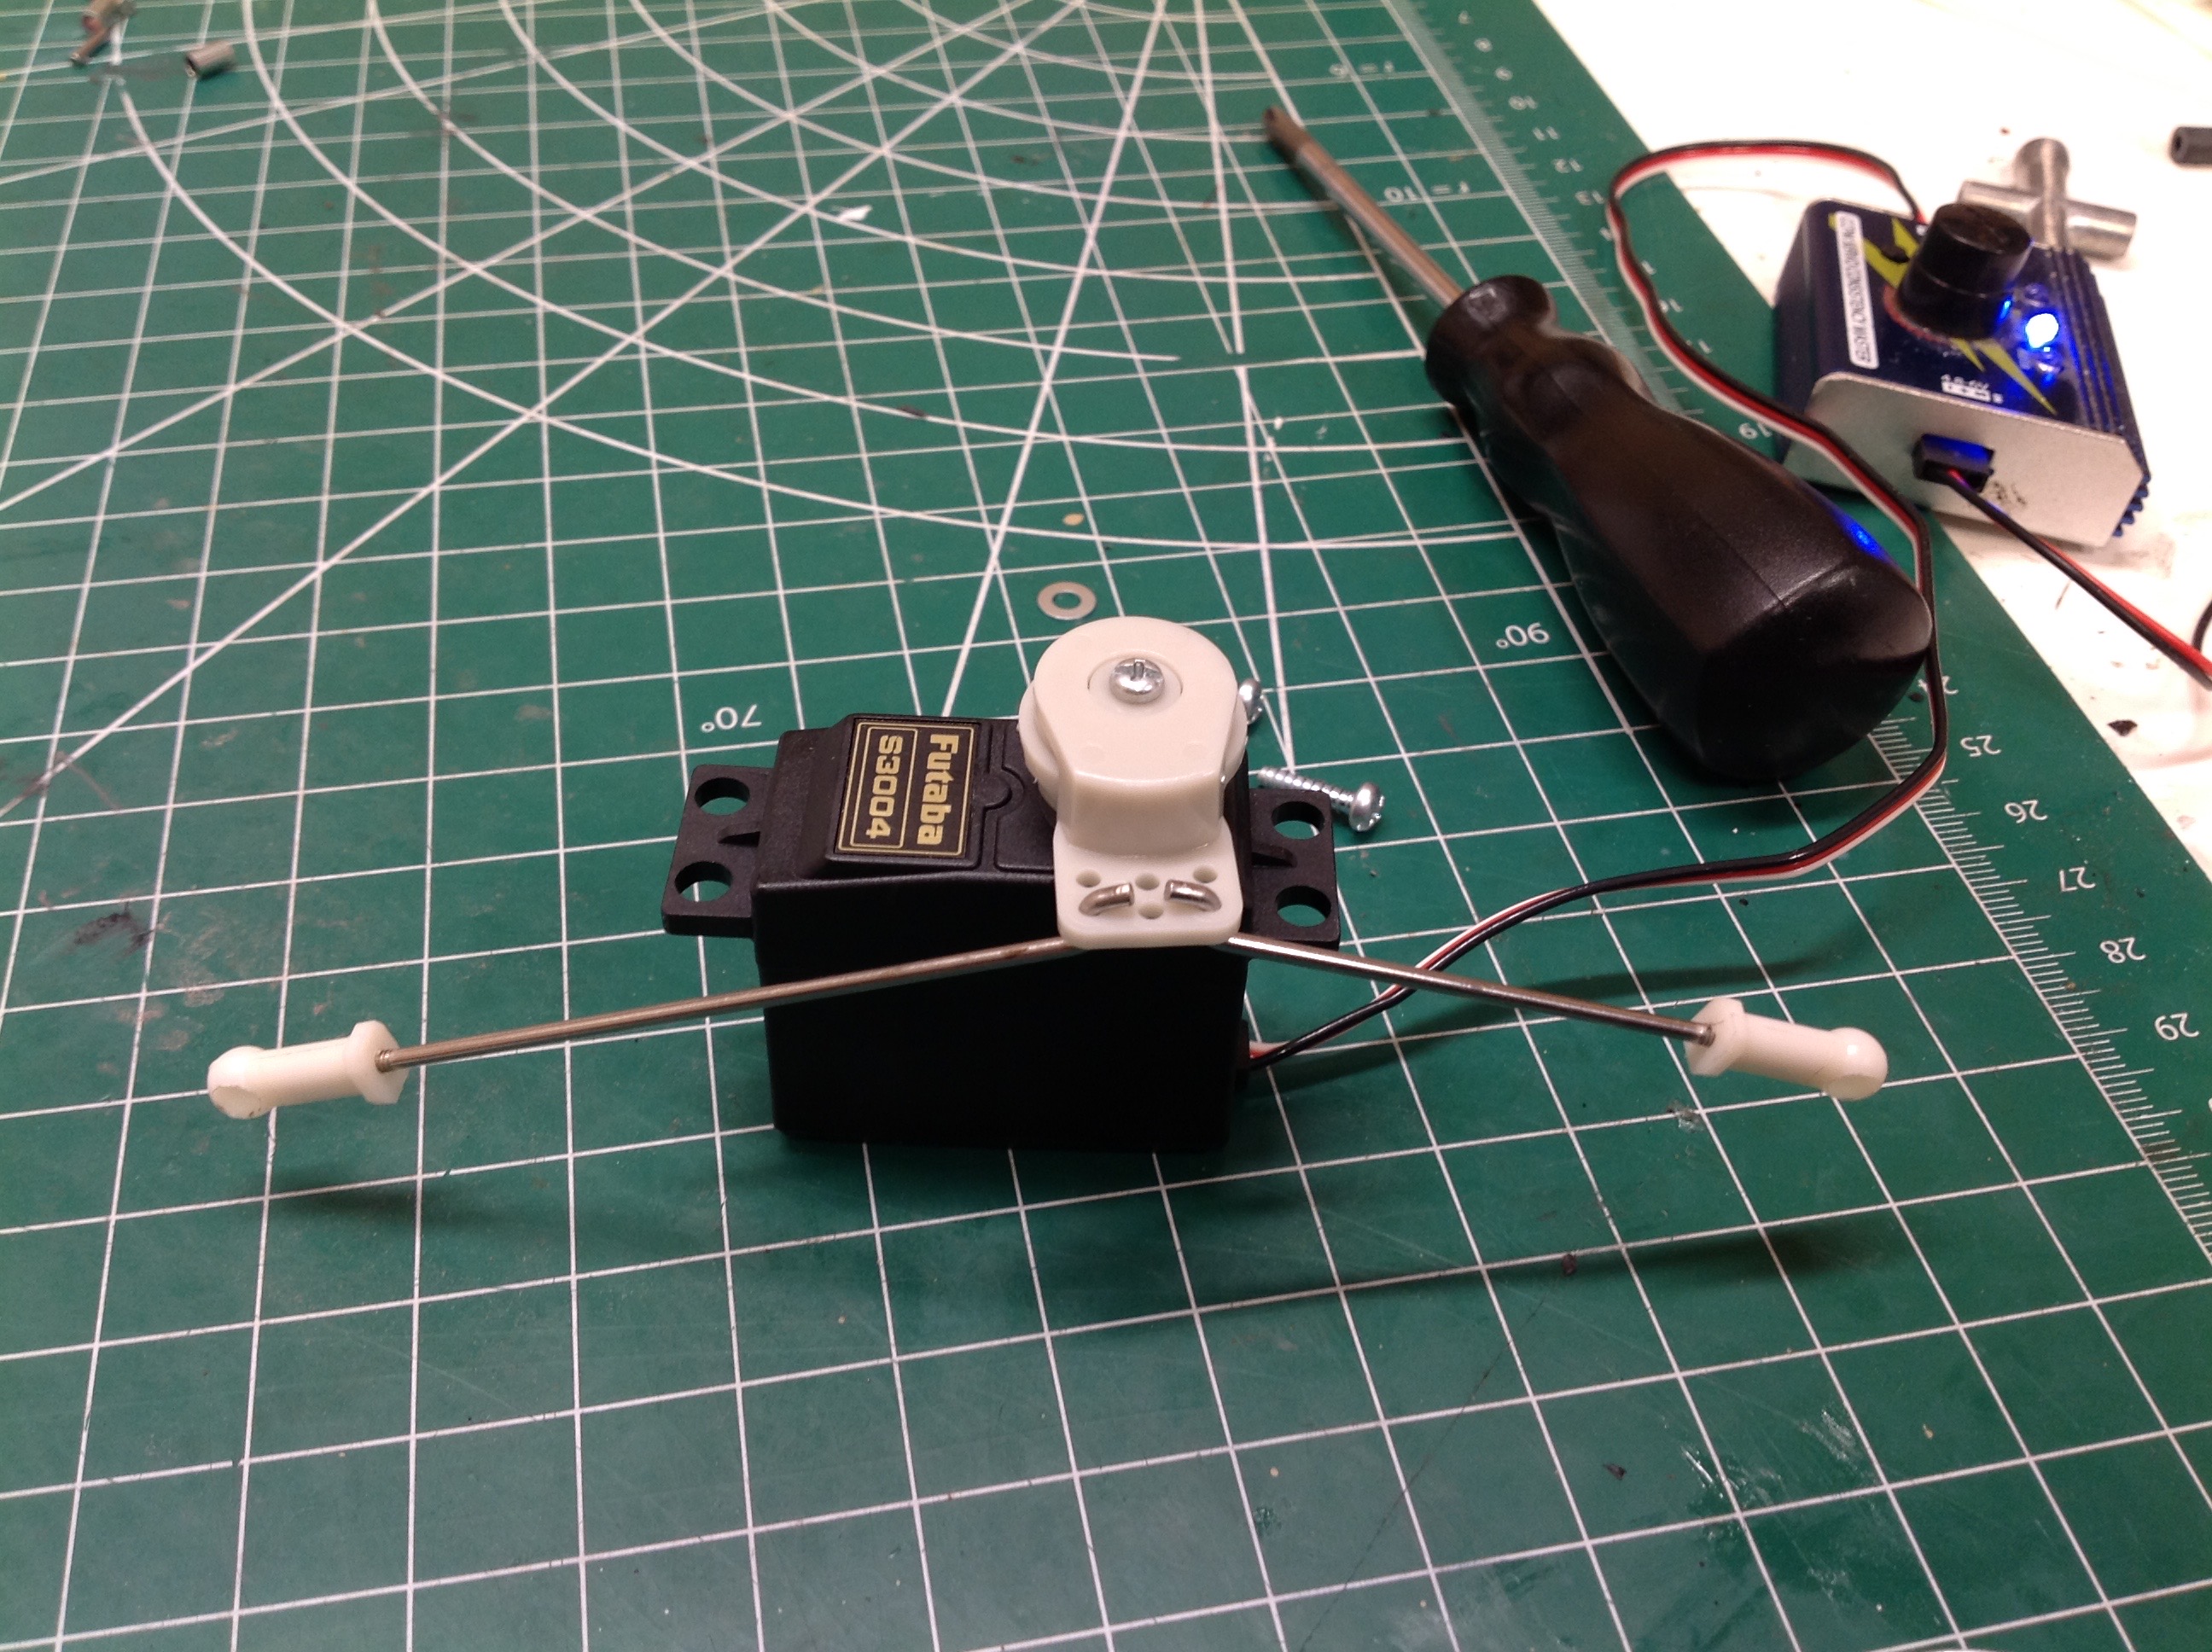
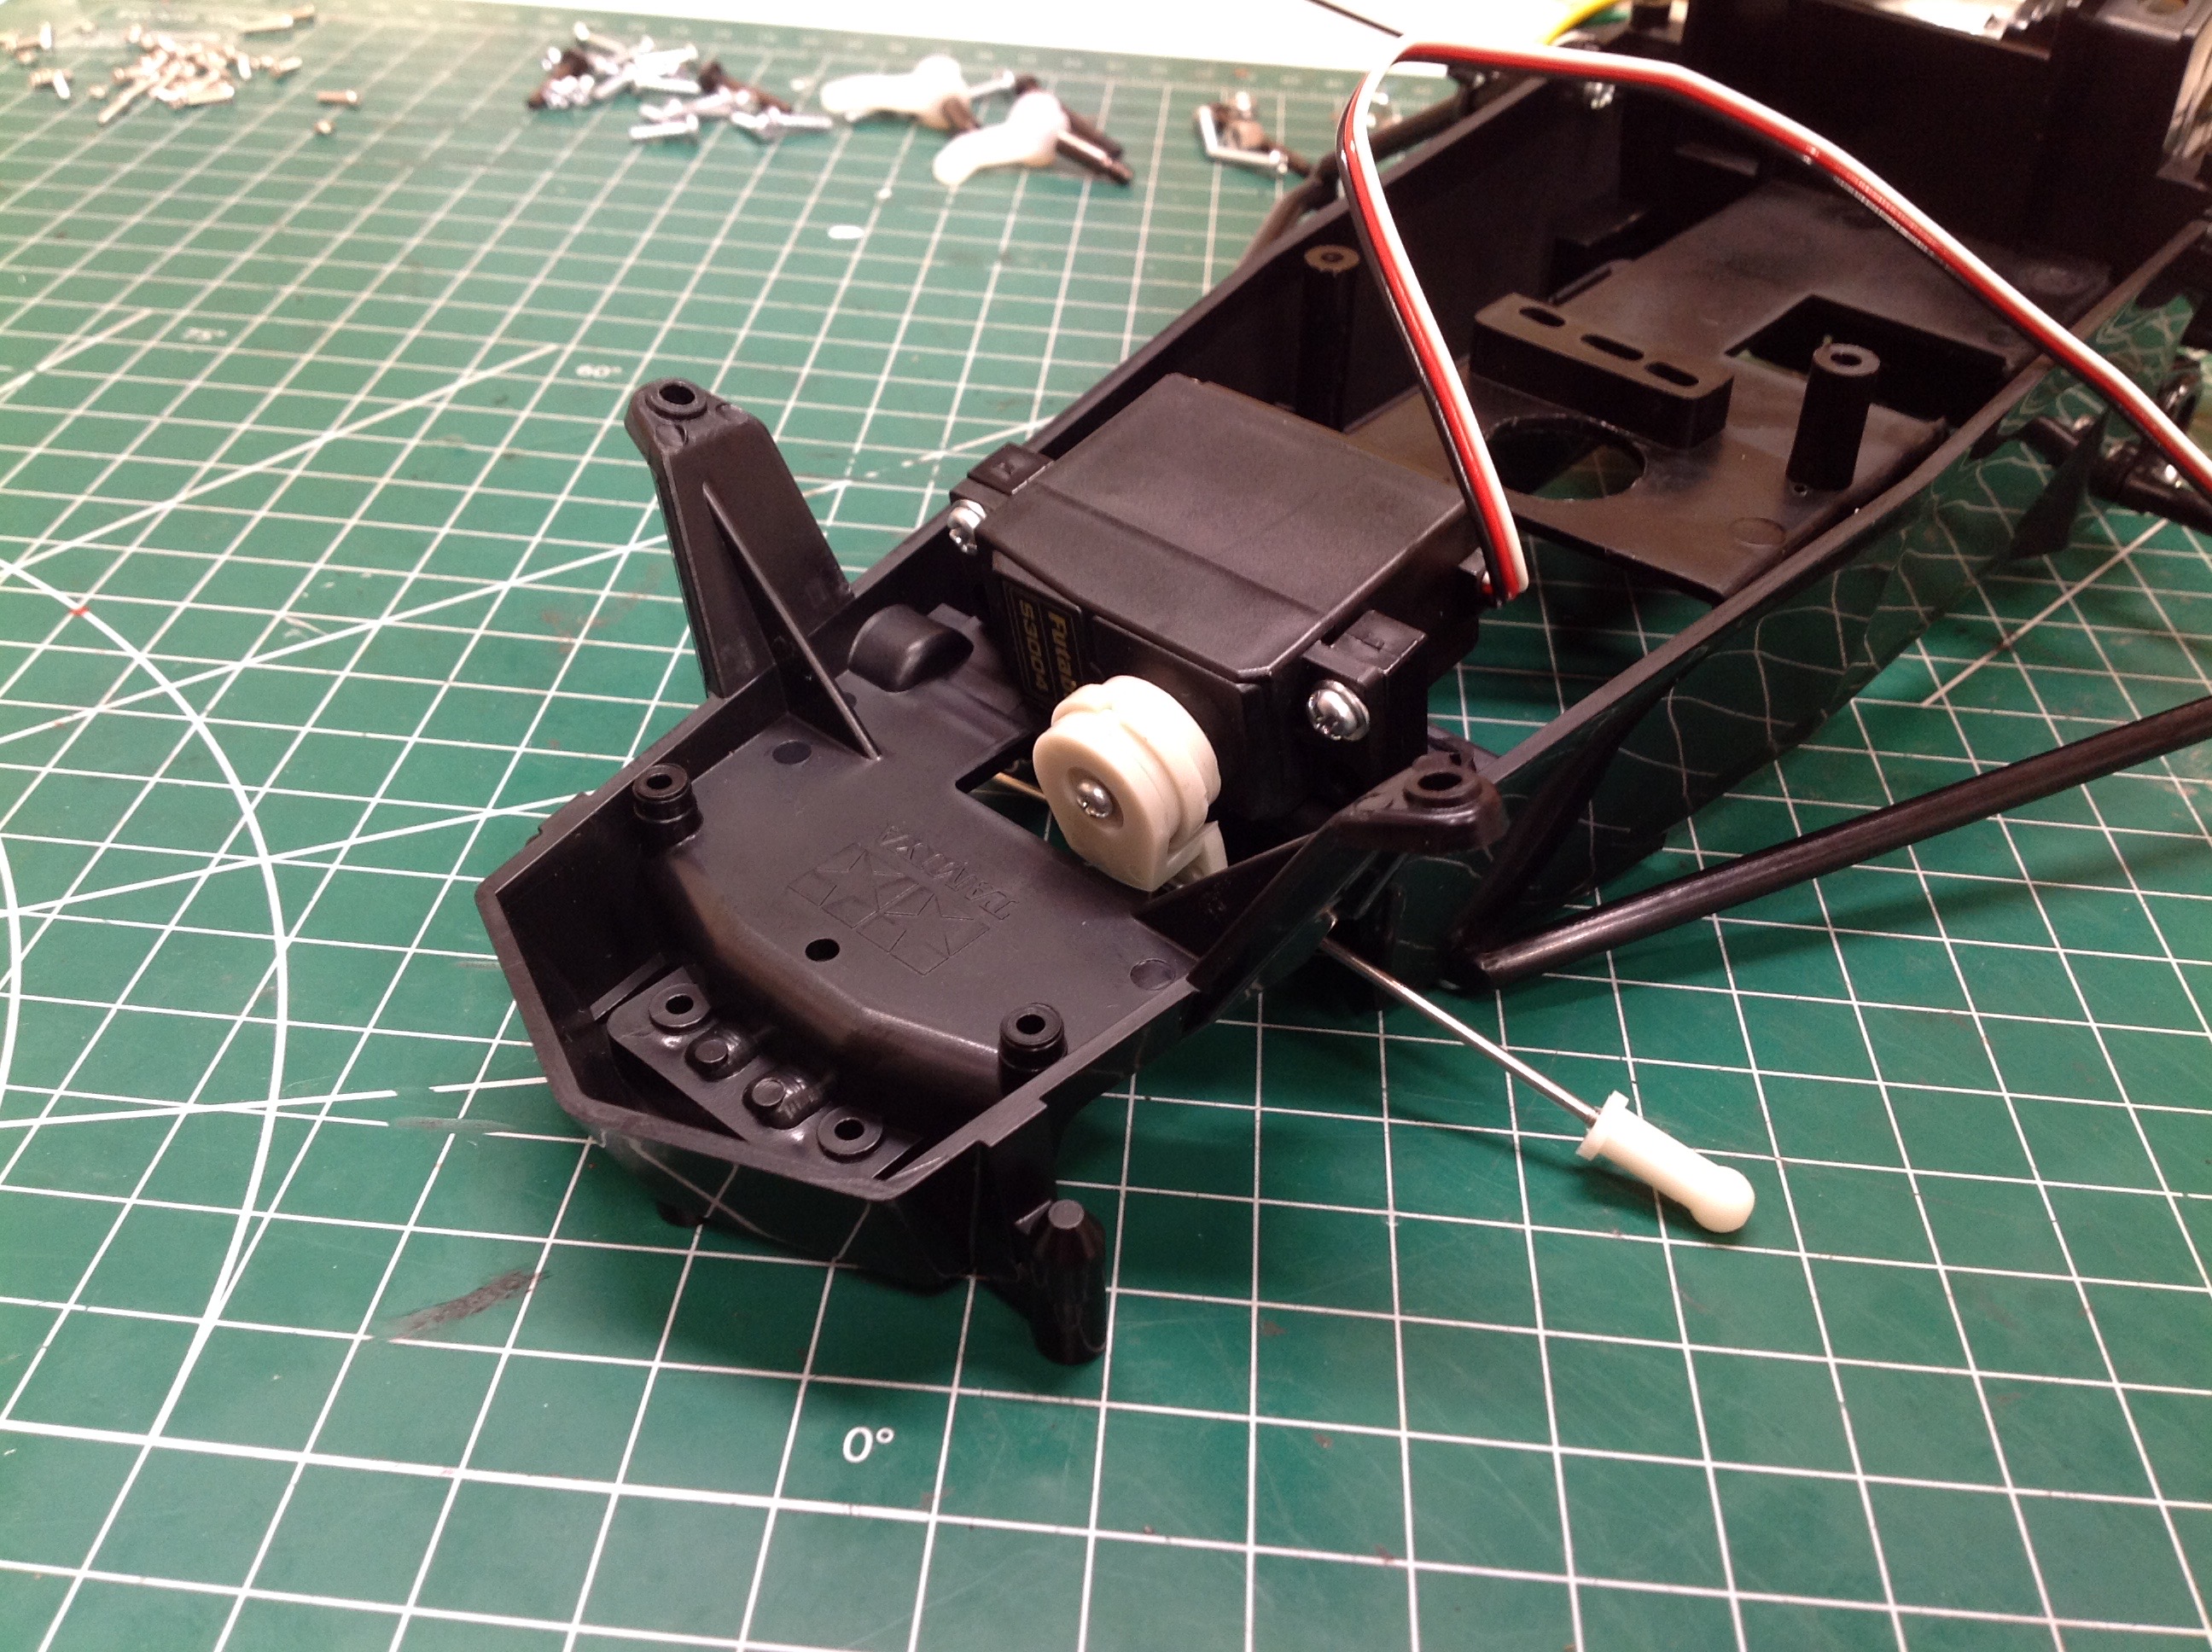
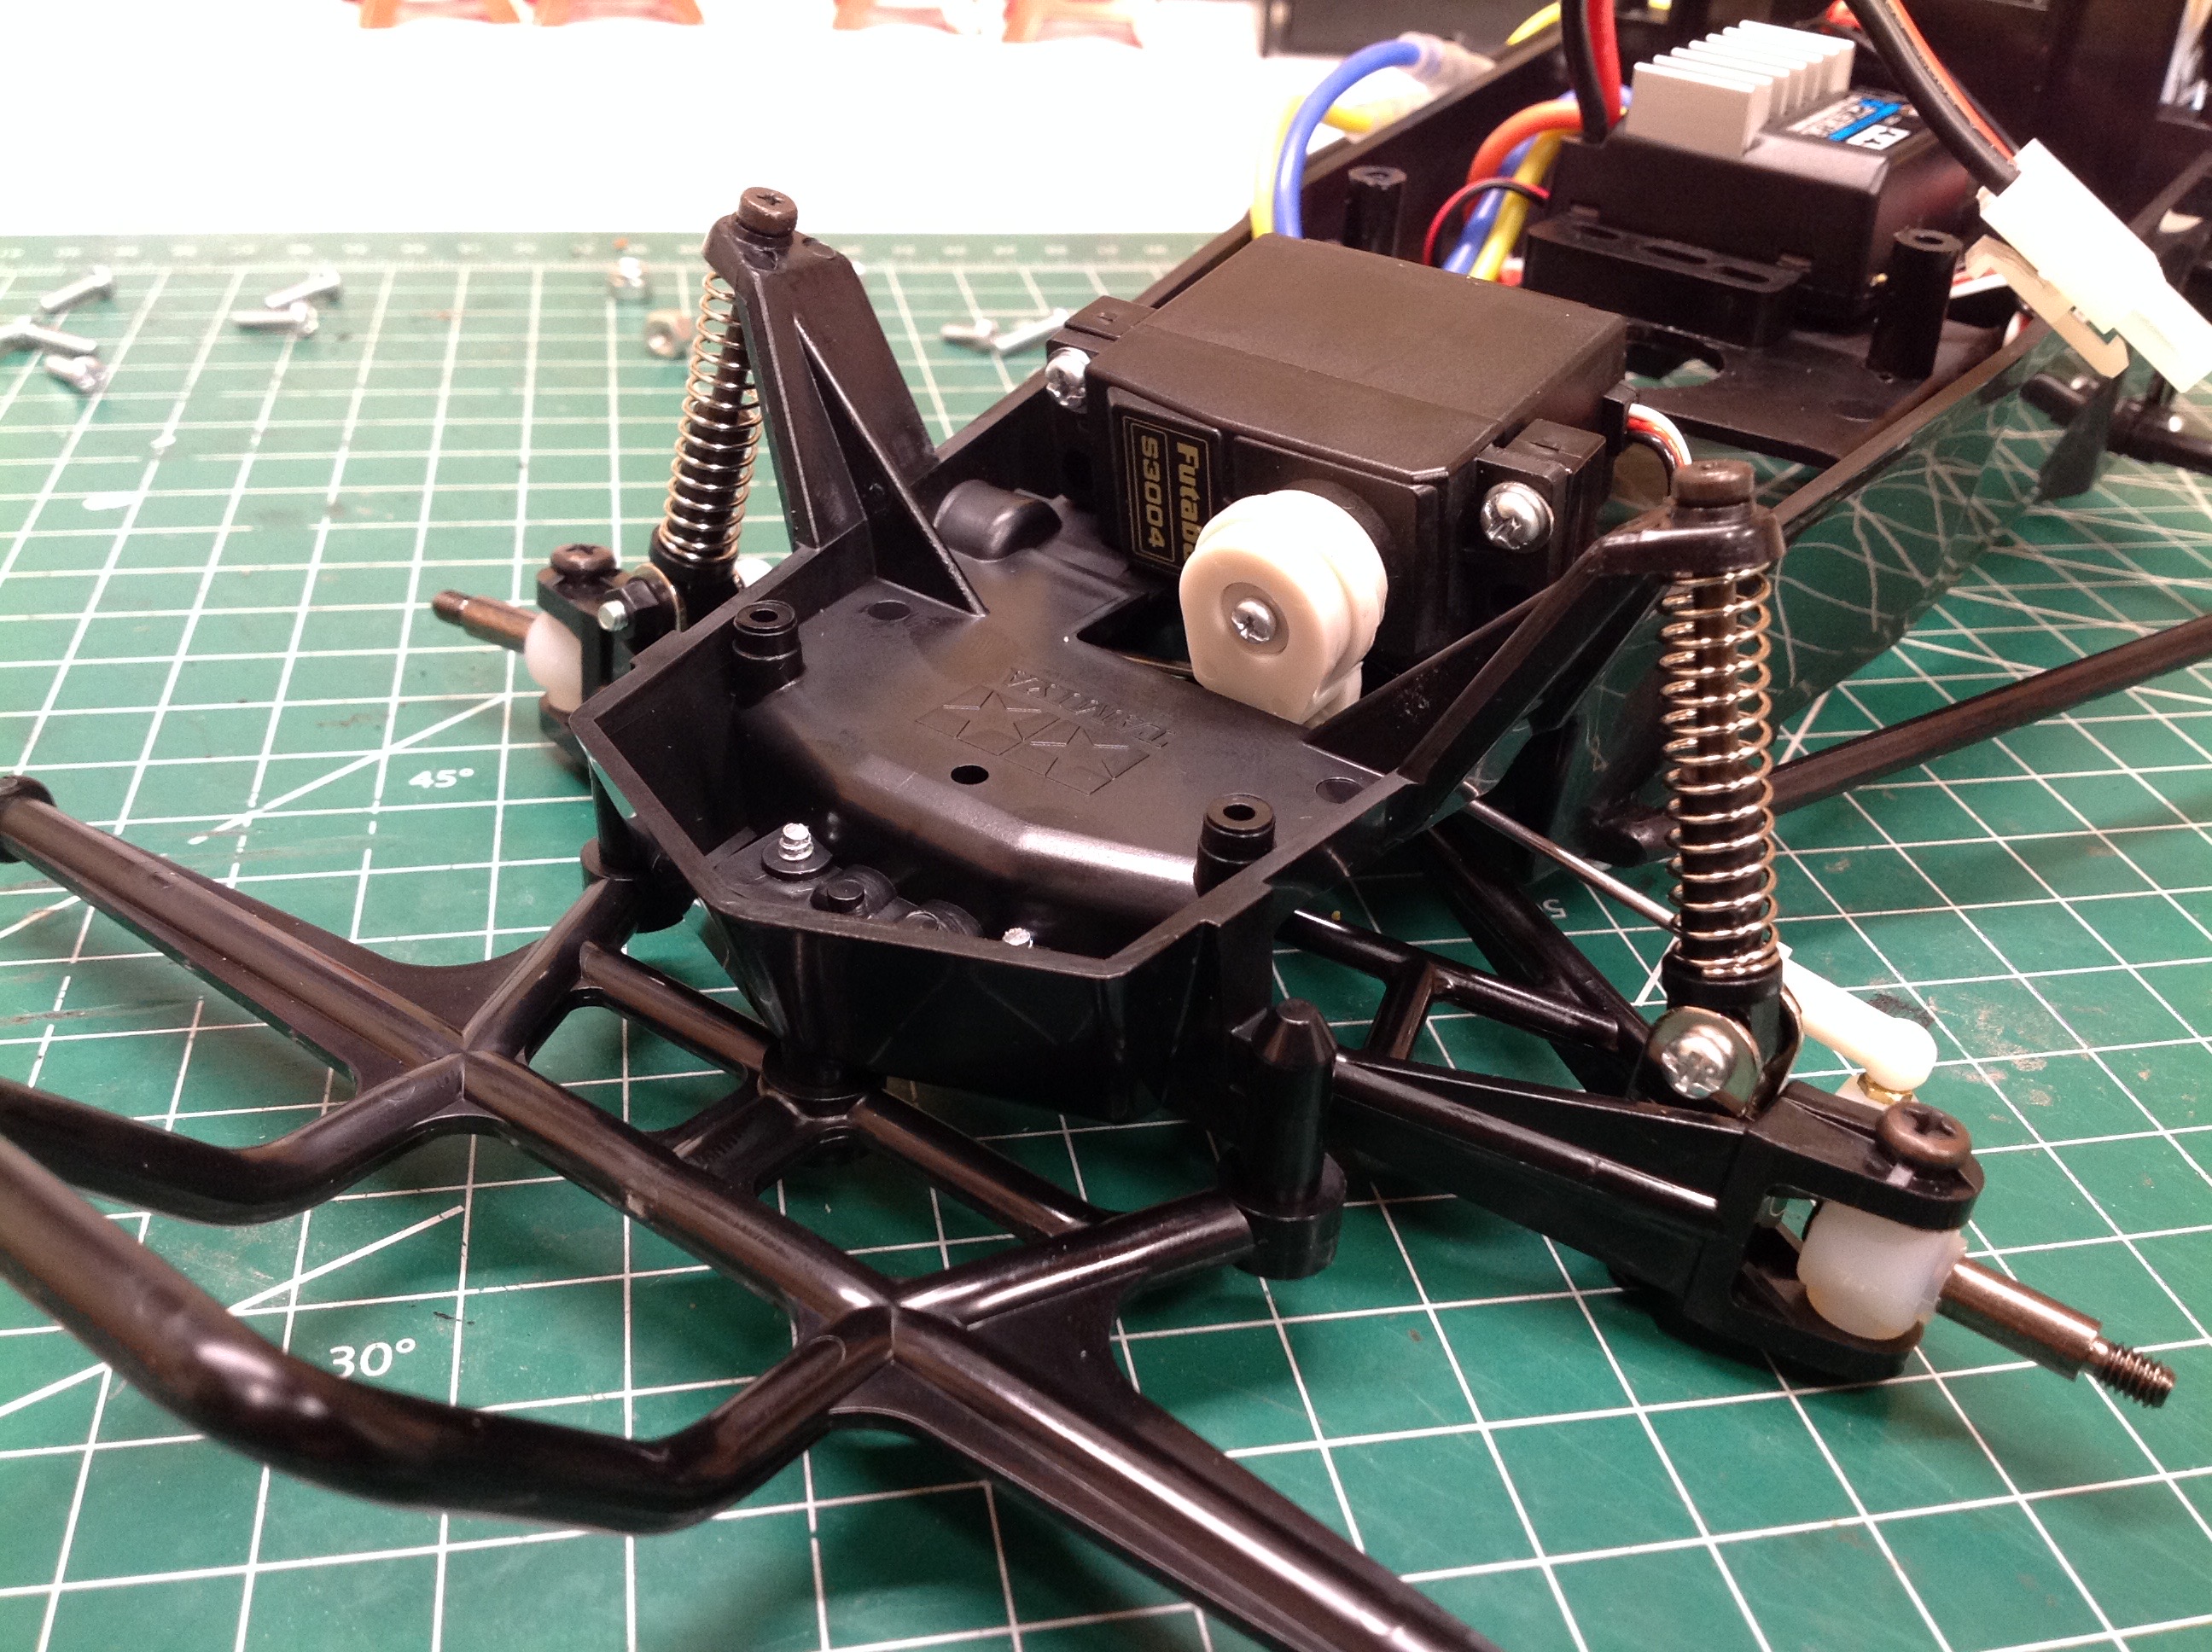
The steering system is very simple. I used a cheap Futaba analog
servo attached directly to the steering tie rods through a plastic servo
saver. The servo horn pokes down through a slot in the bottom of
the chassis.
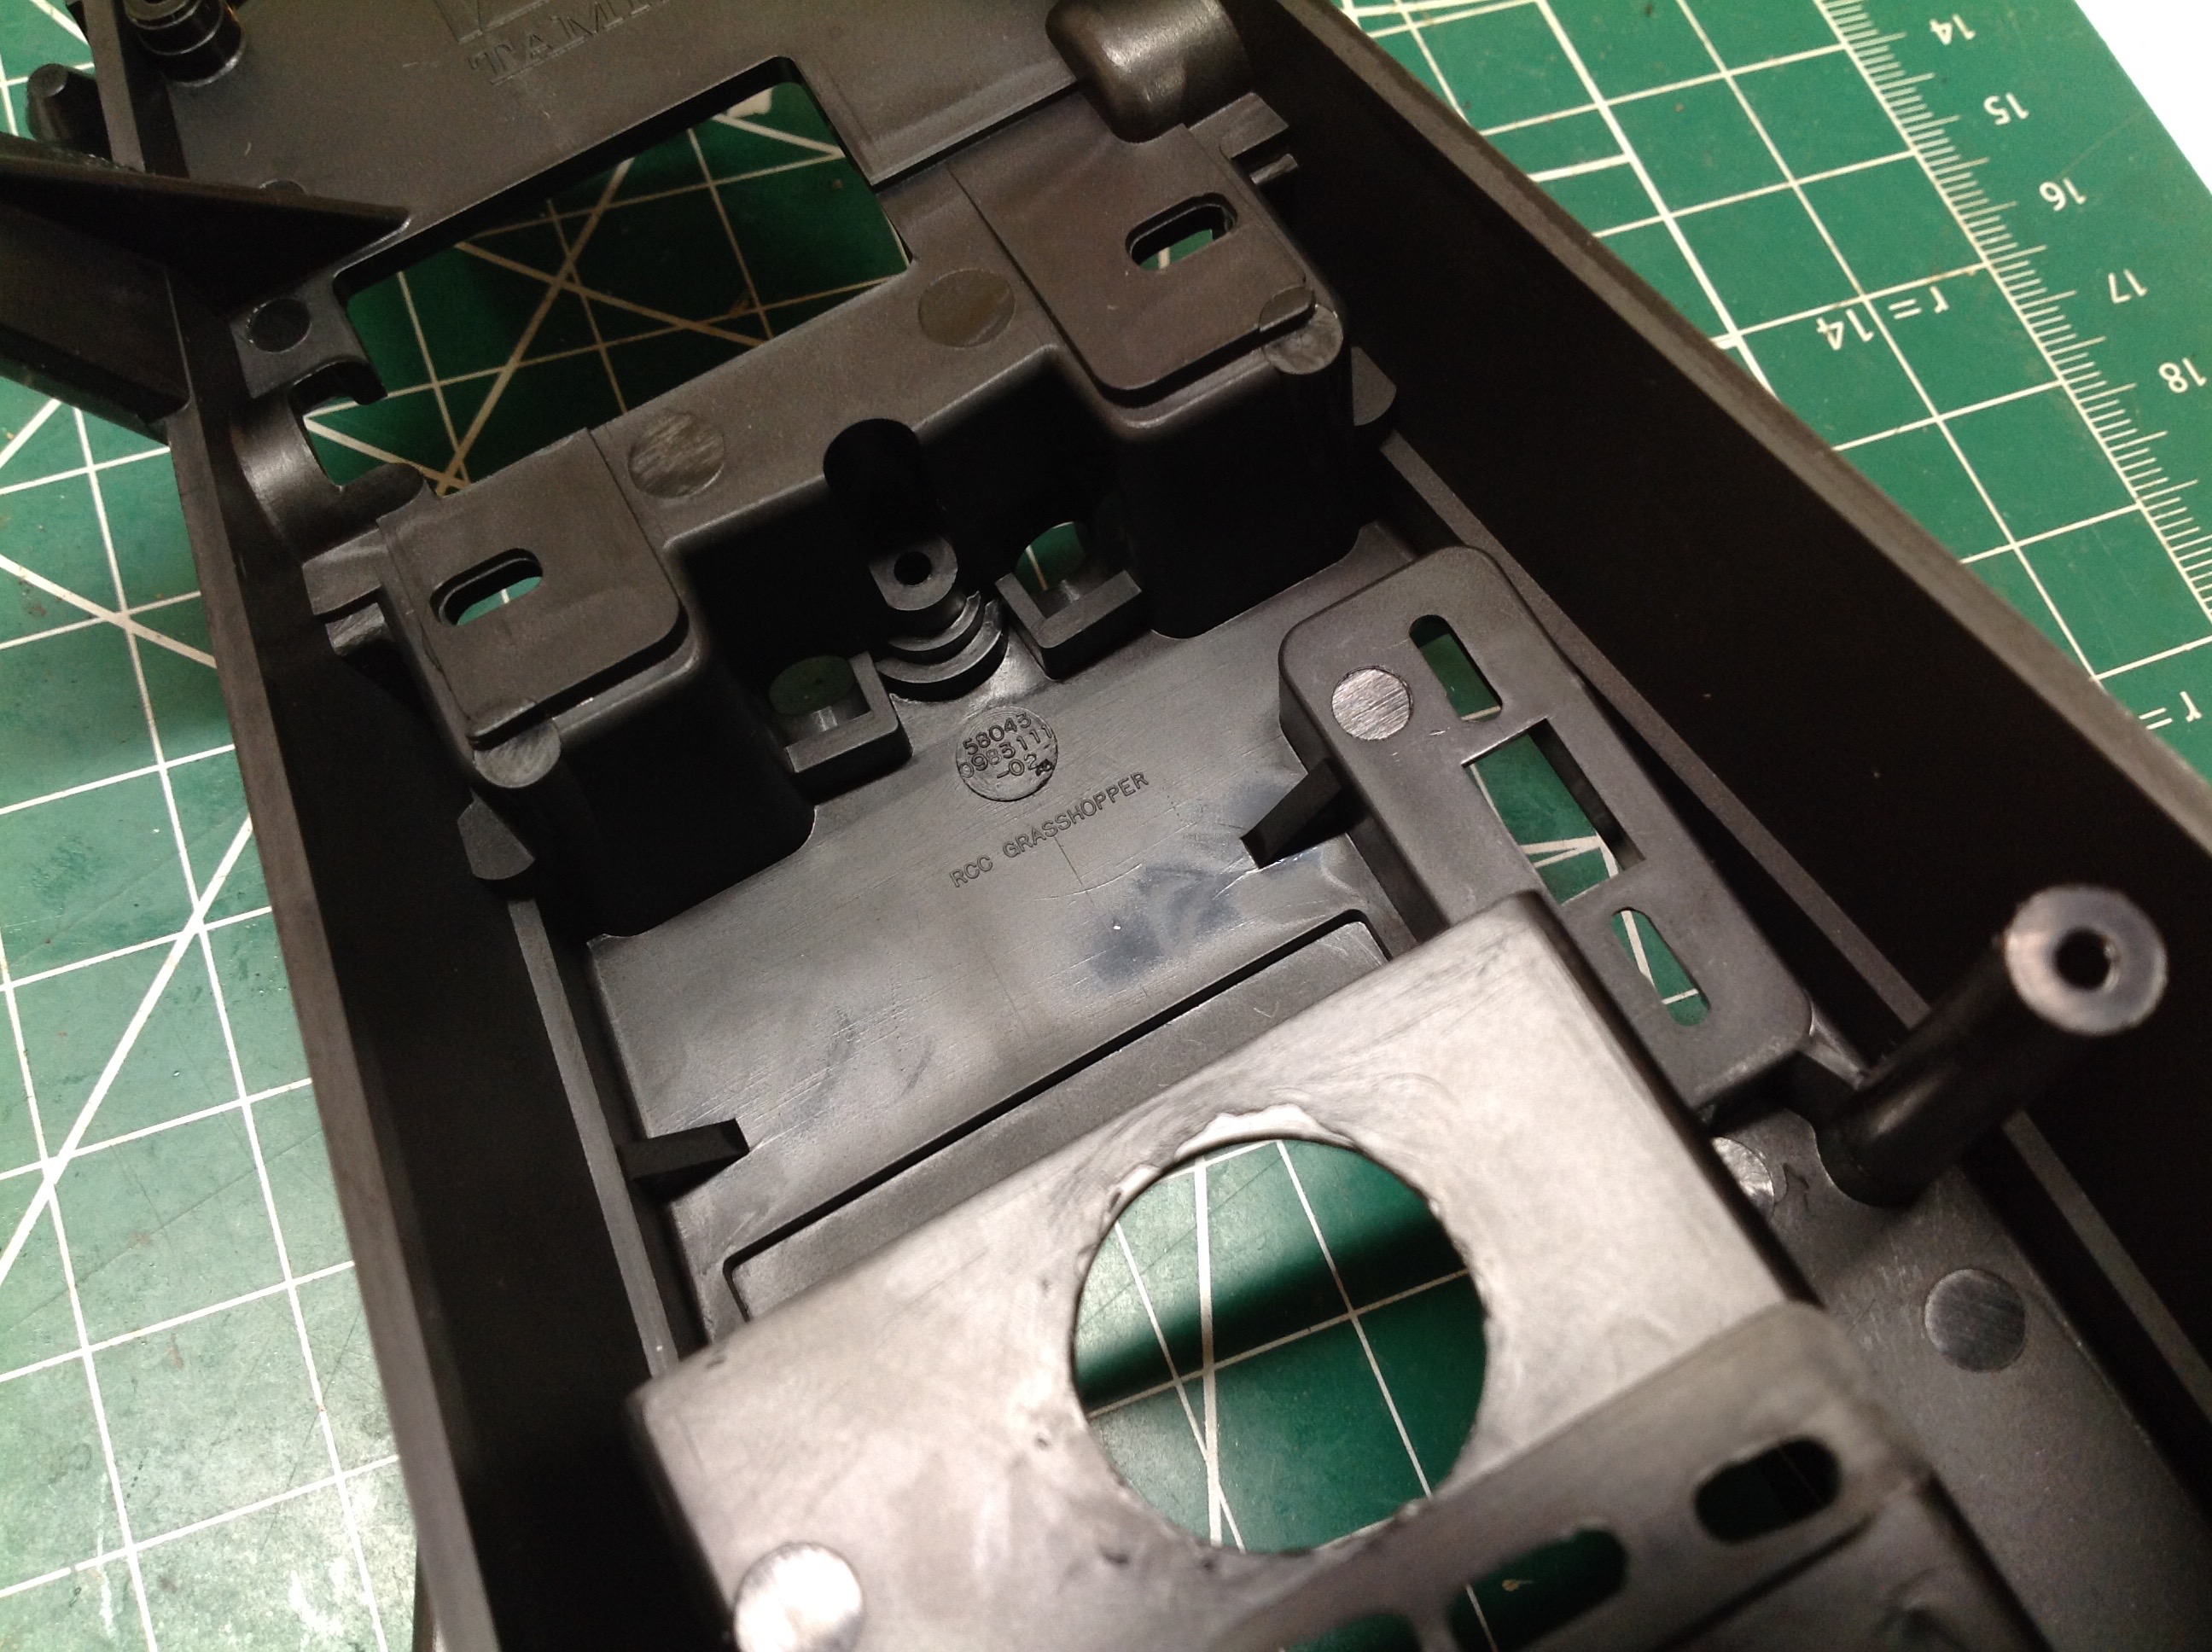
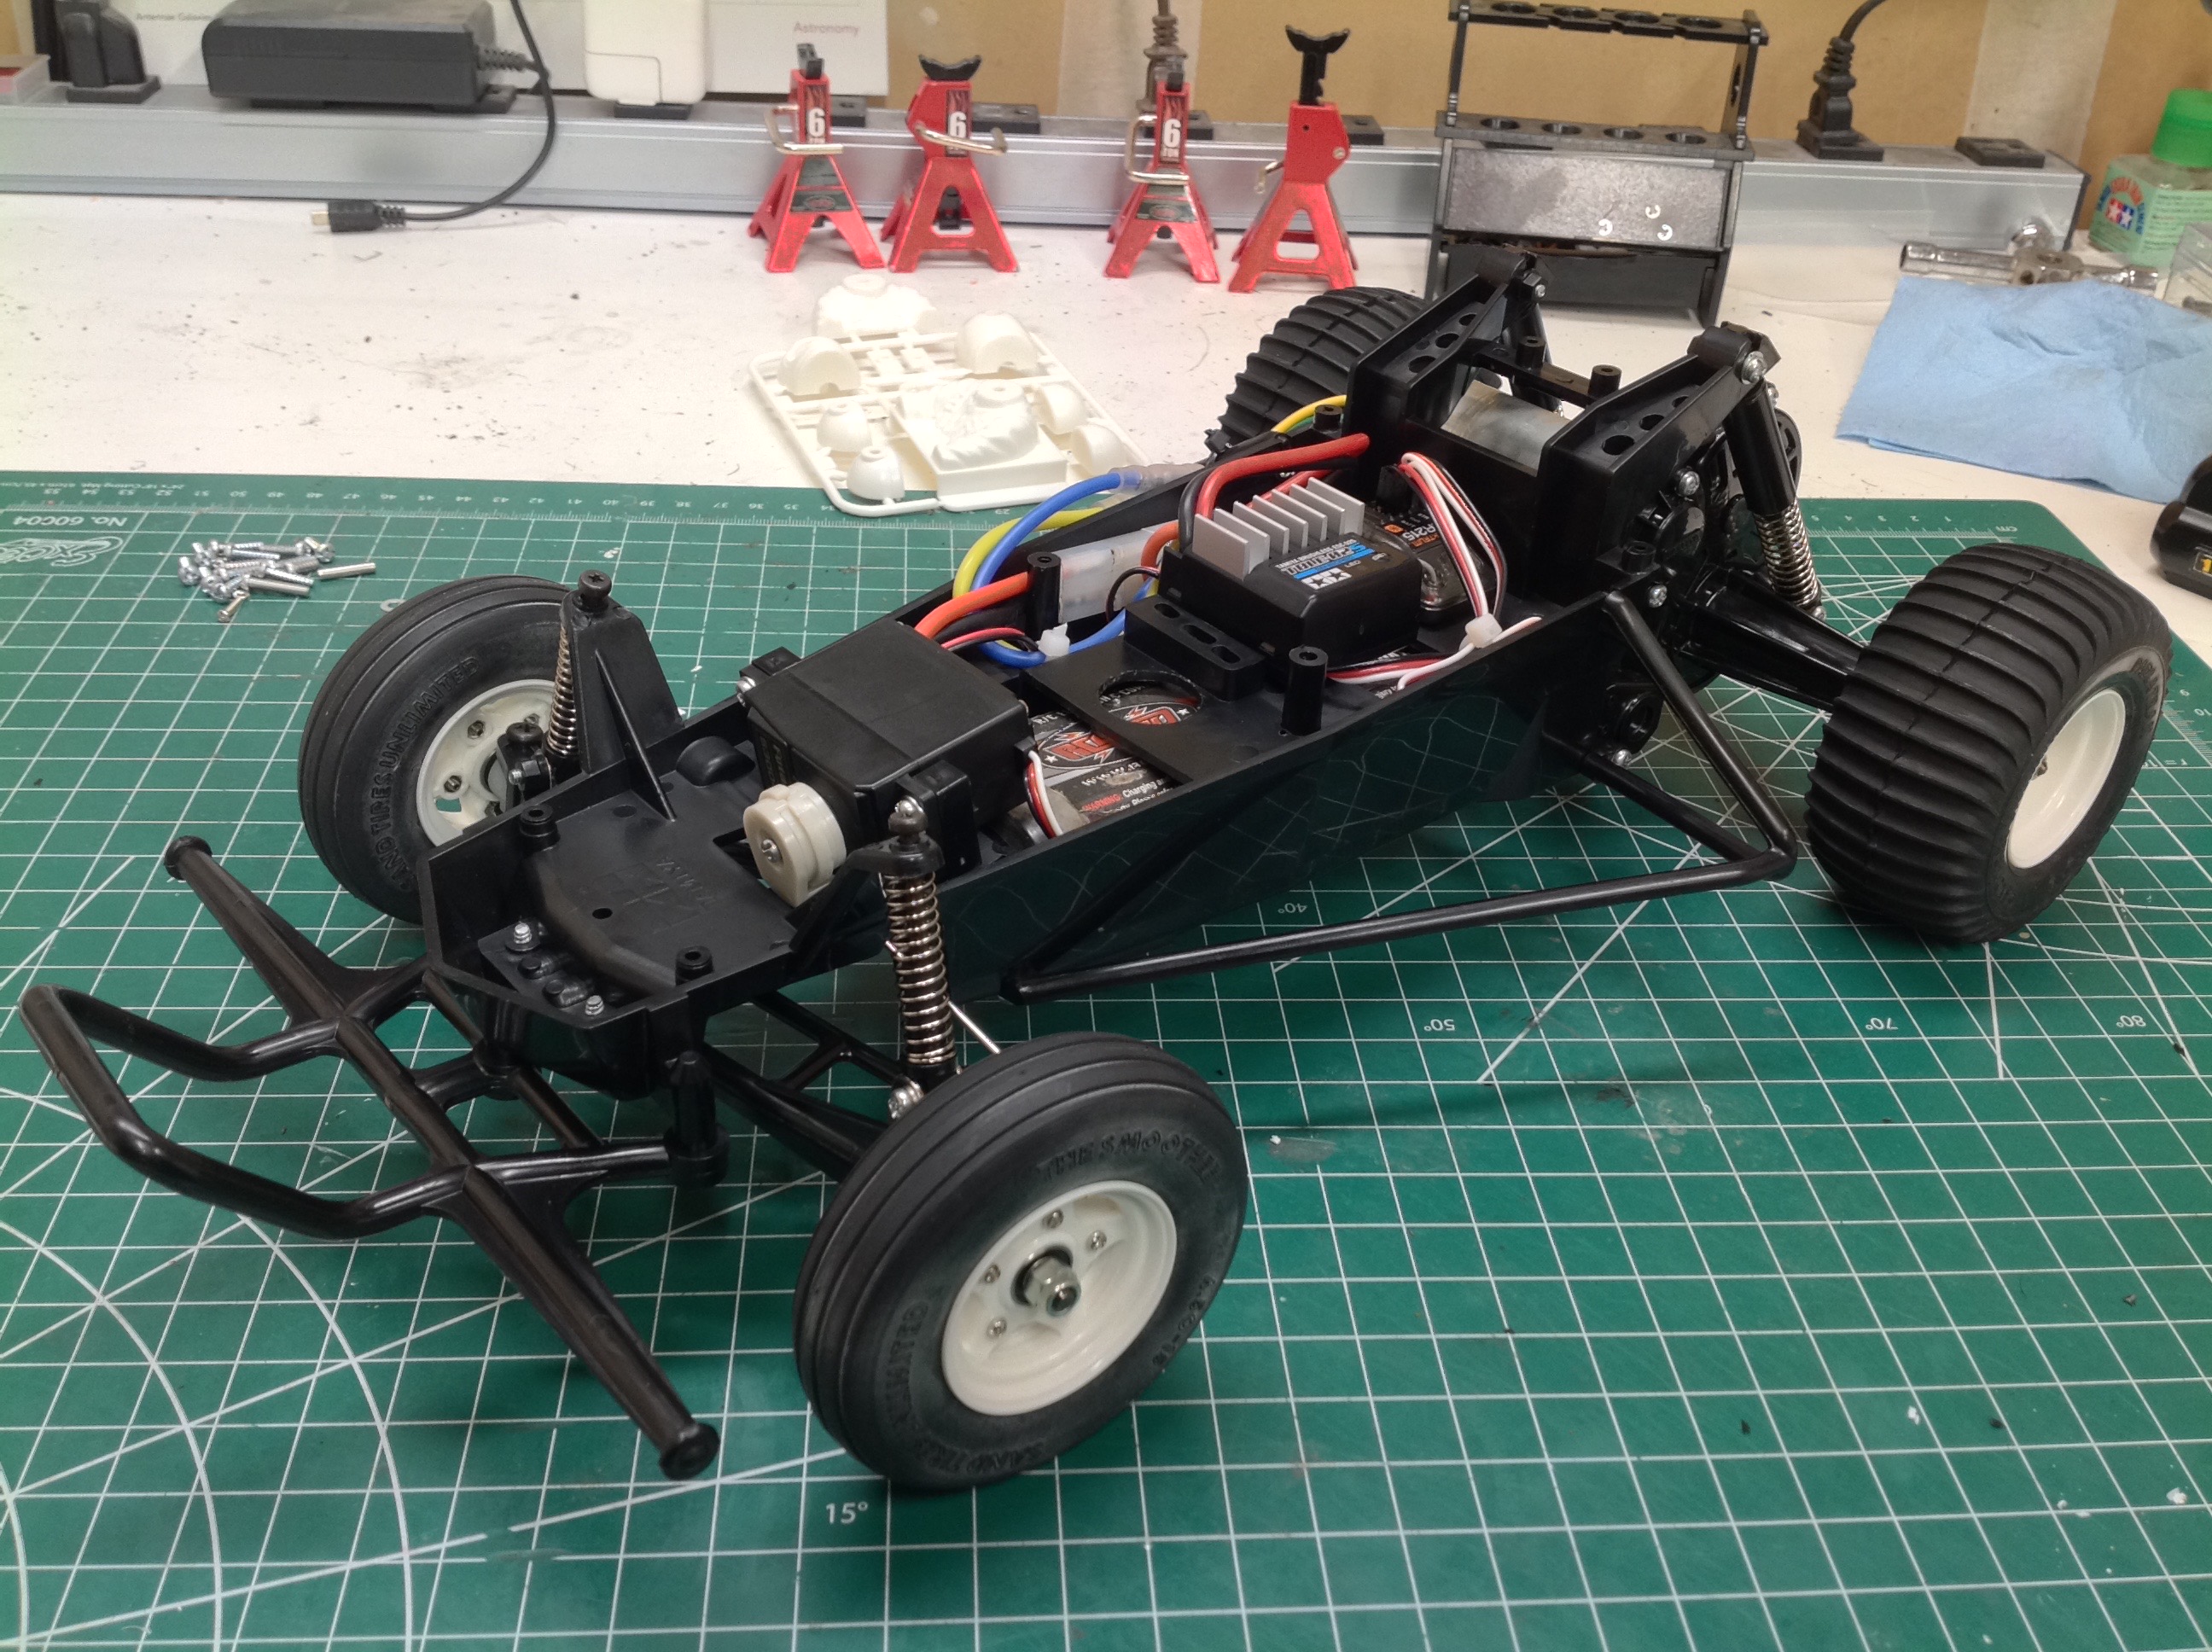
The marking on the chassis tub shows that this is still the same part
that came with the original Grasshopper in 1984. On the right you
can see the chassis tub with all the electronics installed. Since
this buggy originally had an additional servo and a mechanical speed
controller, there is a lot of extra space when using a modern ESC and
receiver. As far as I can tell, the absence of an MSC is the only
change from the original version.
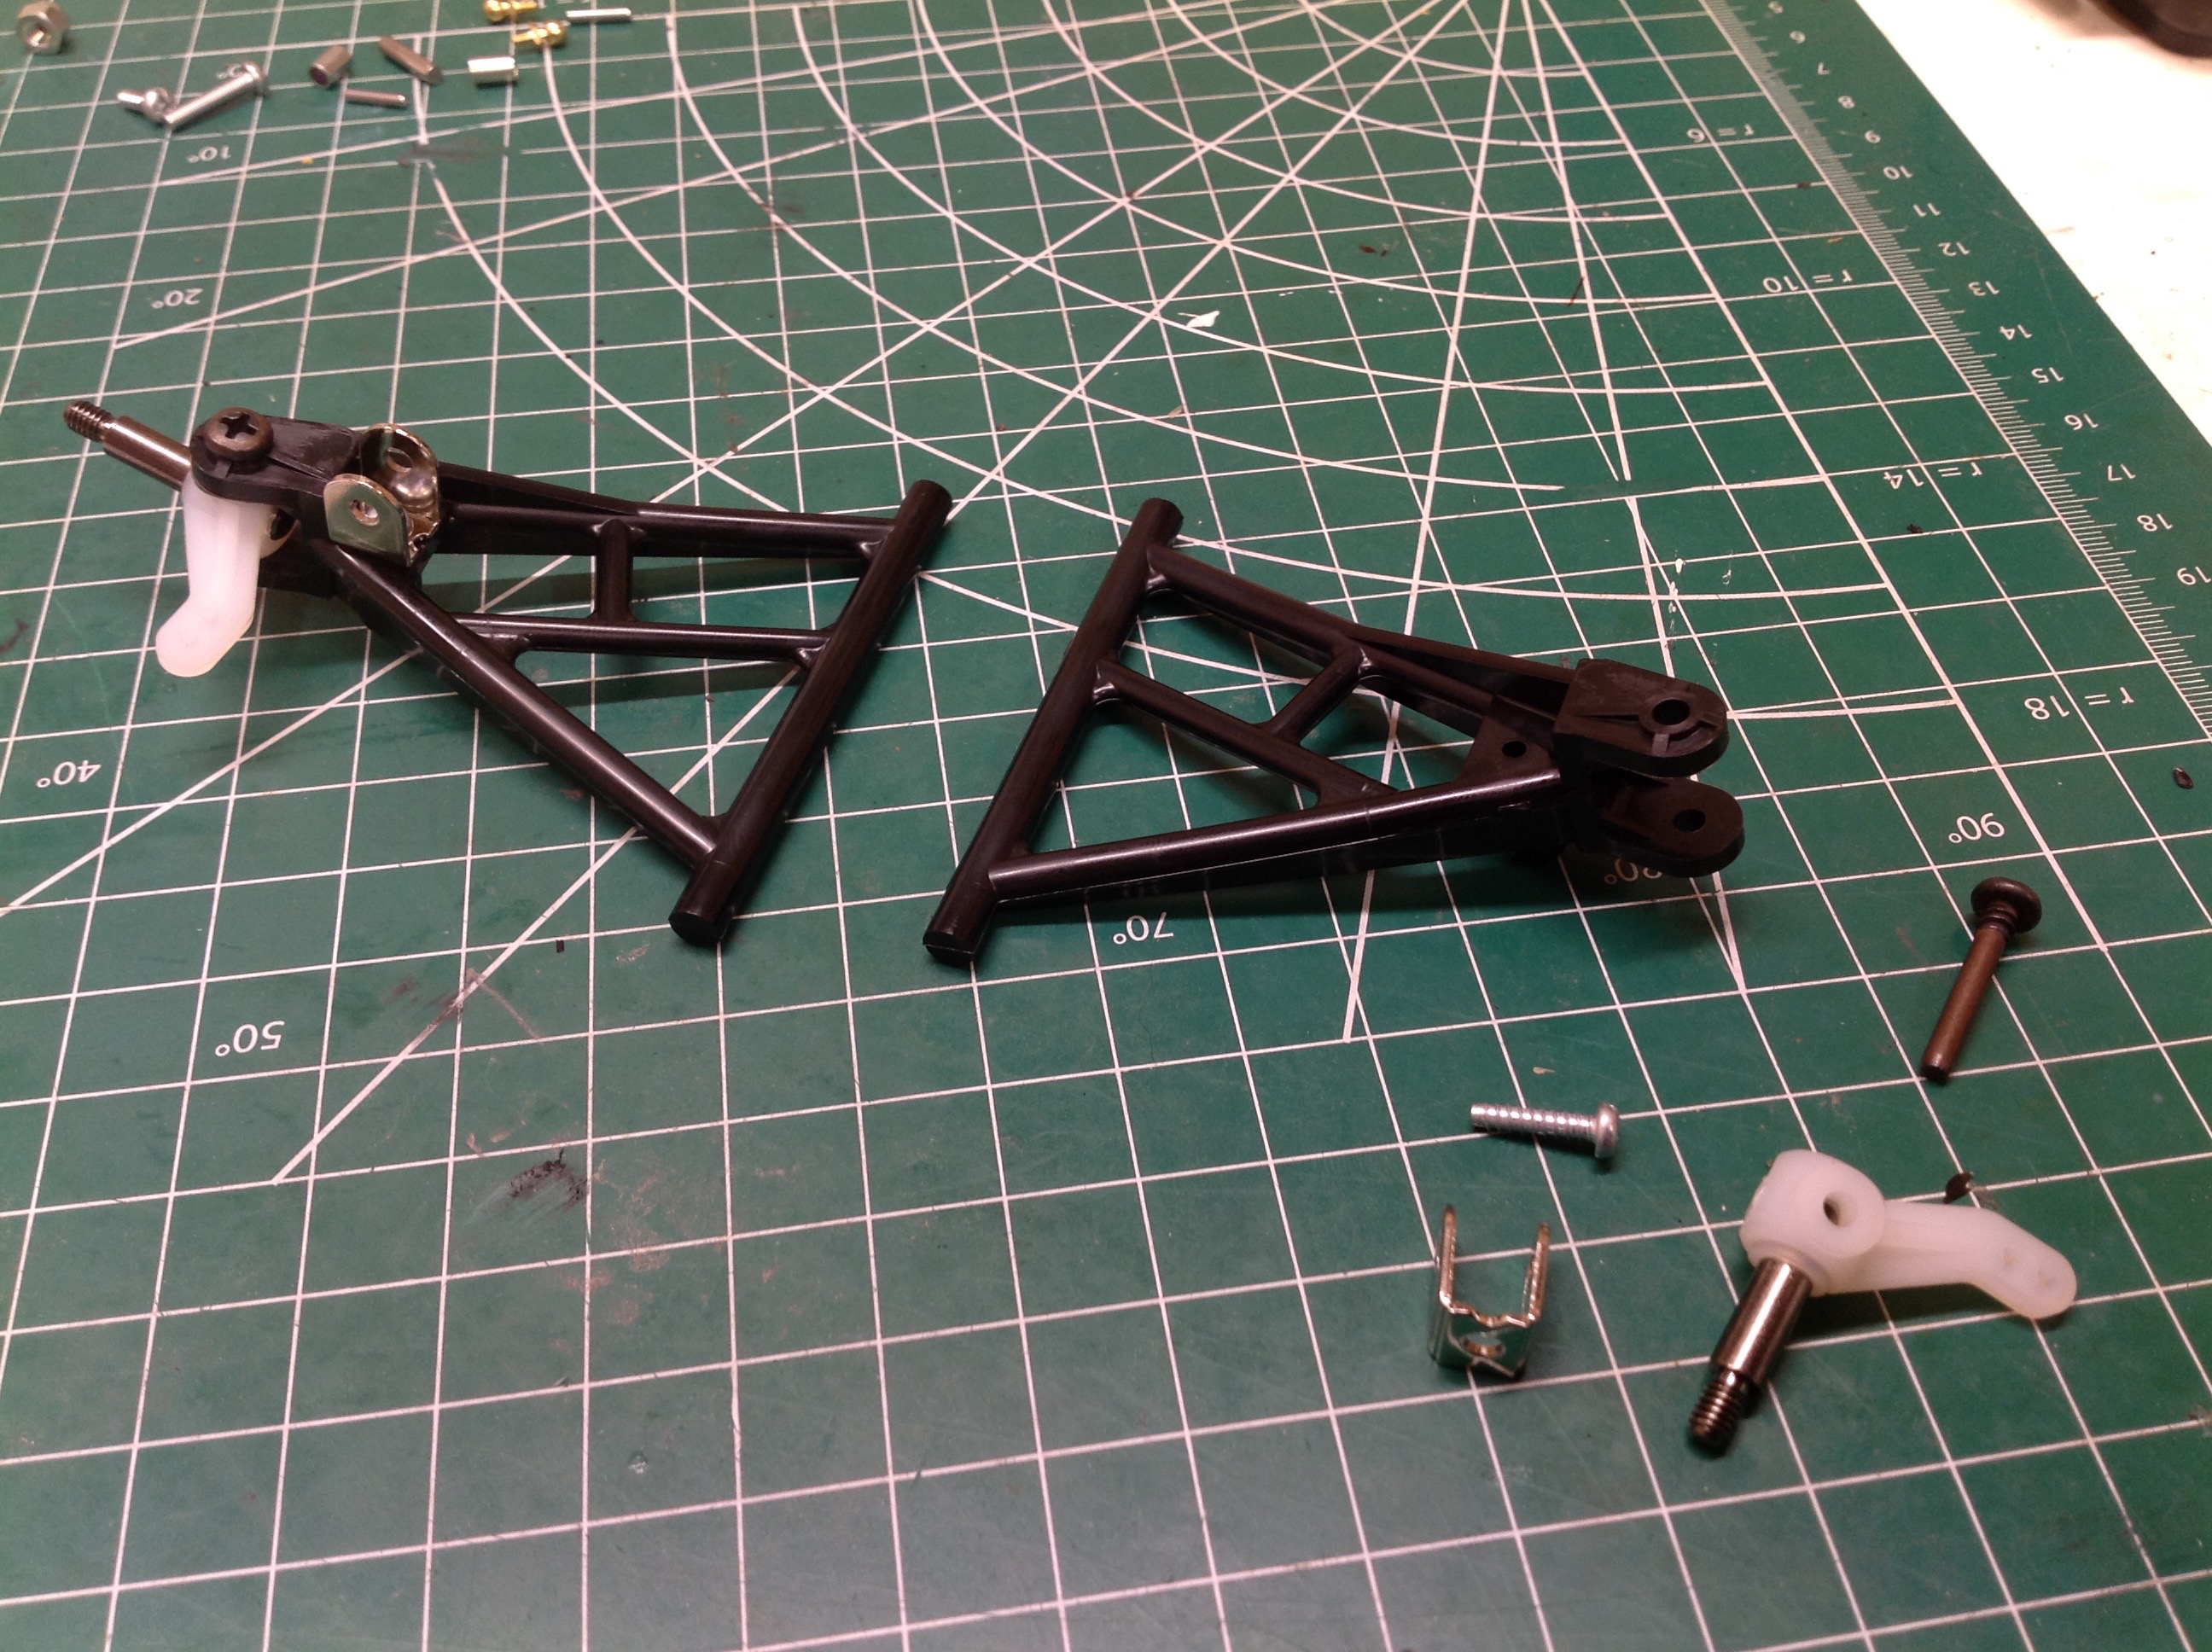
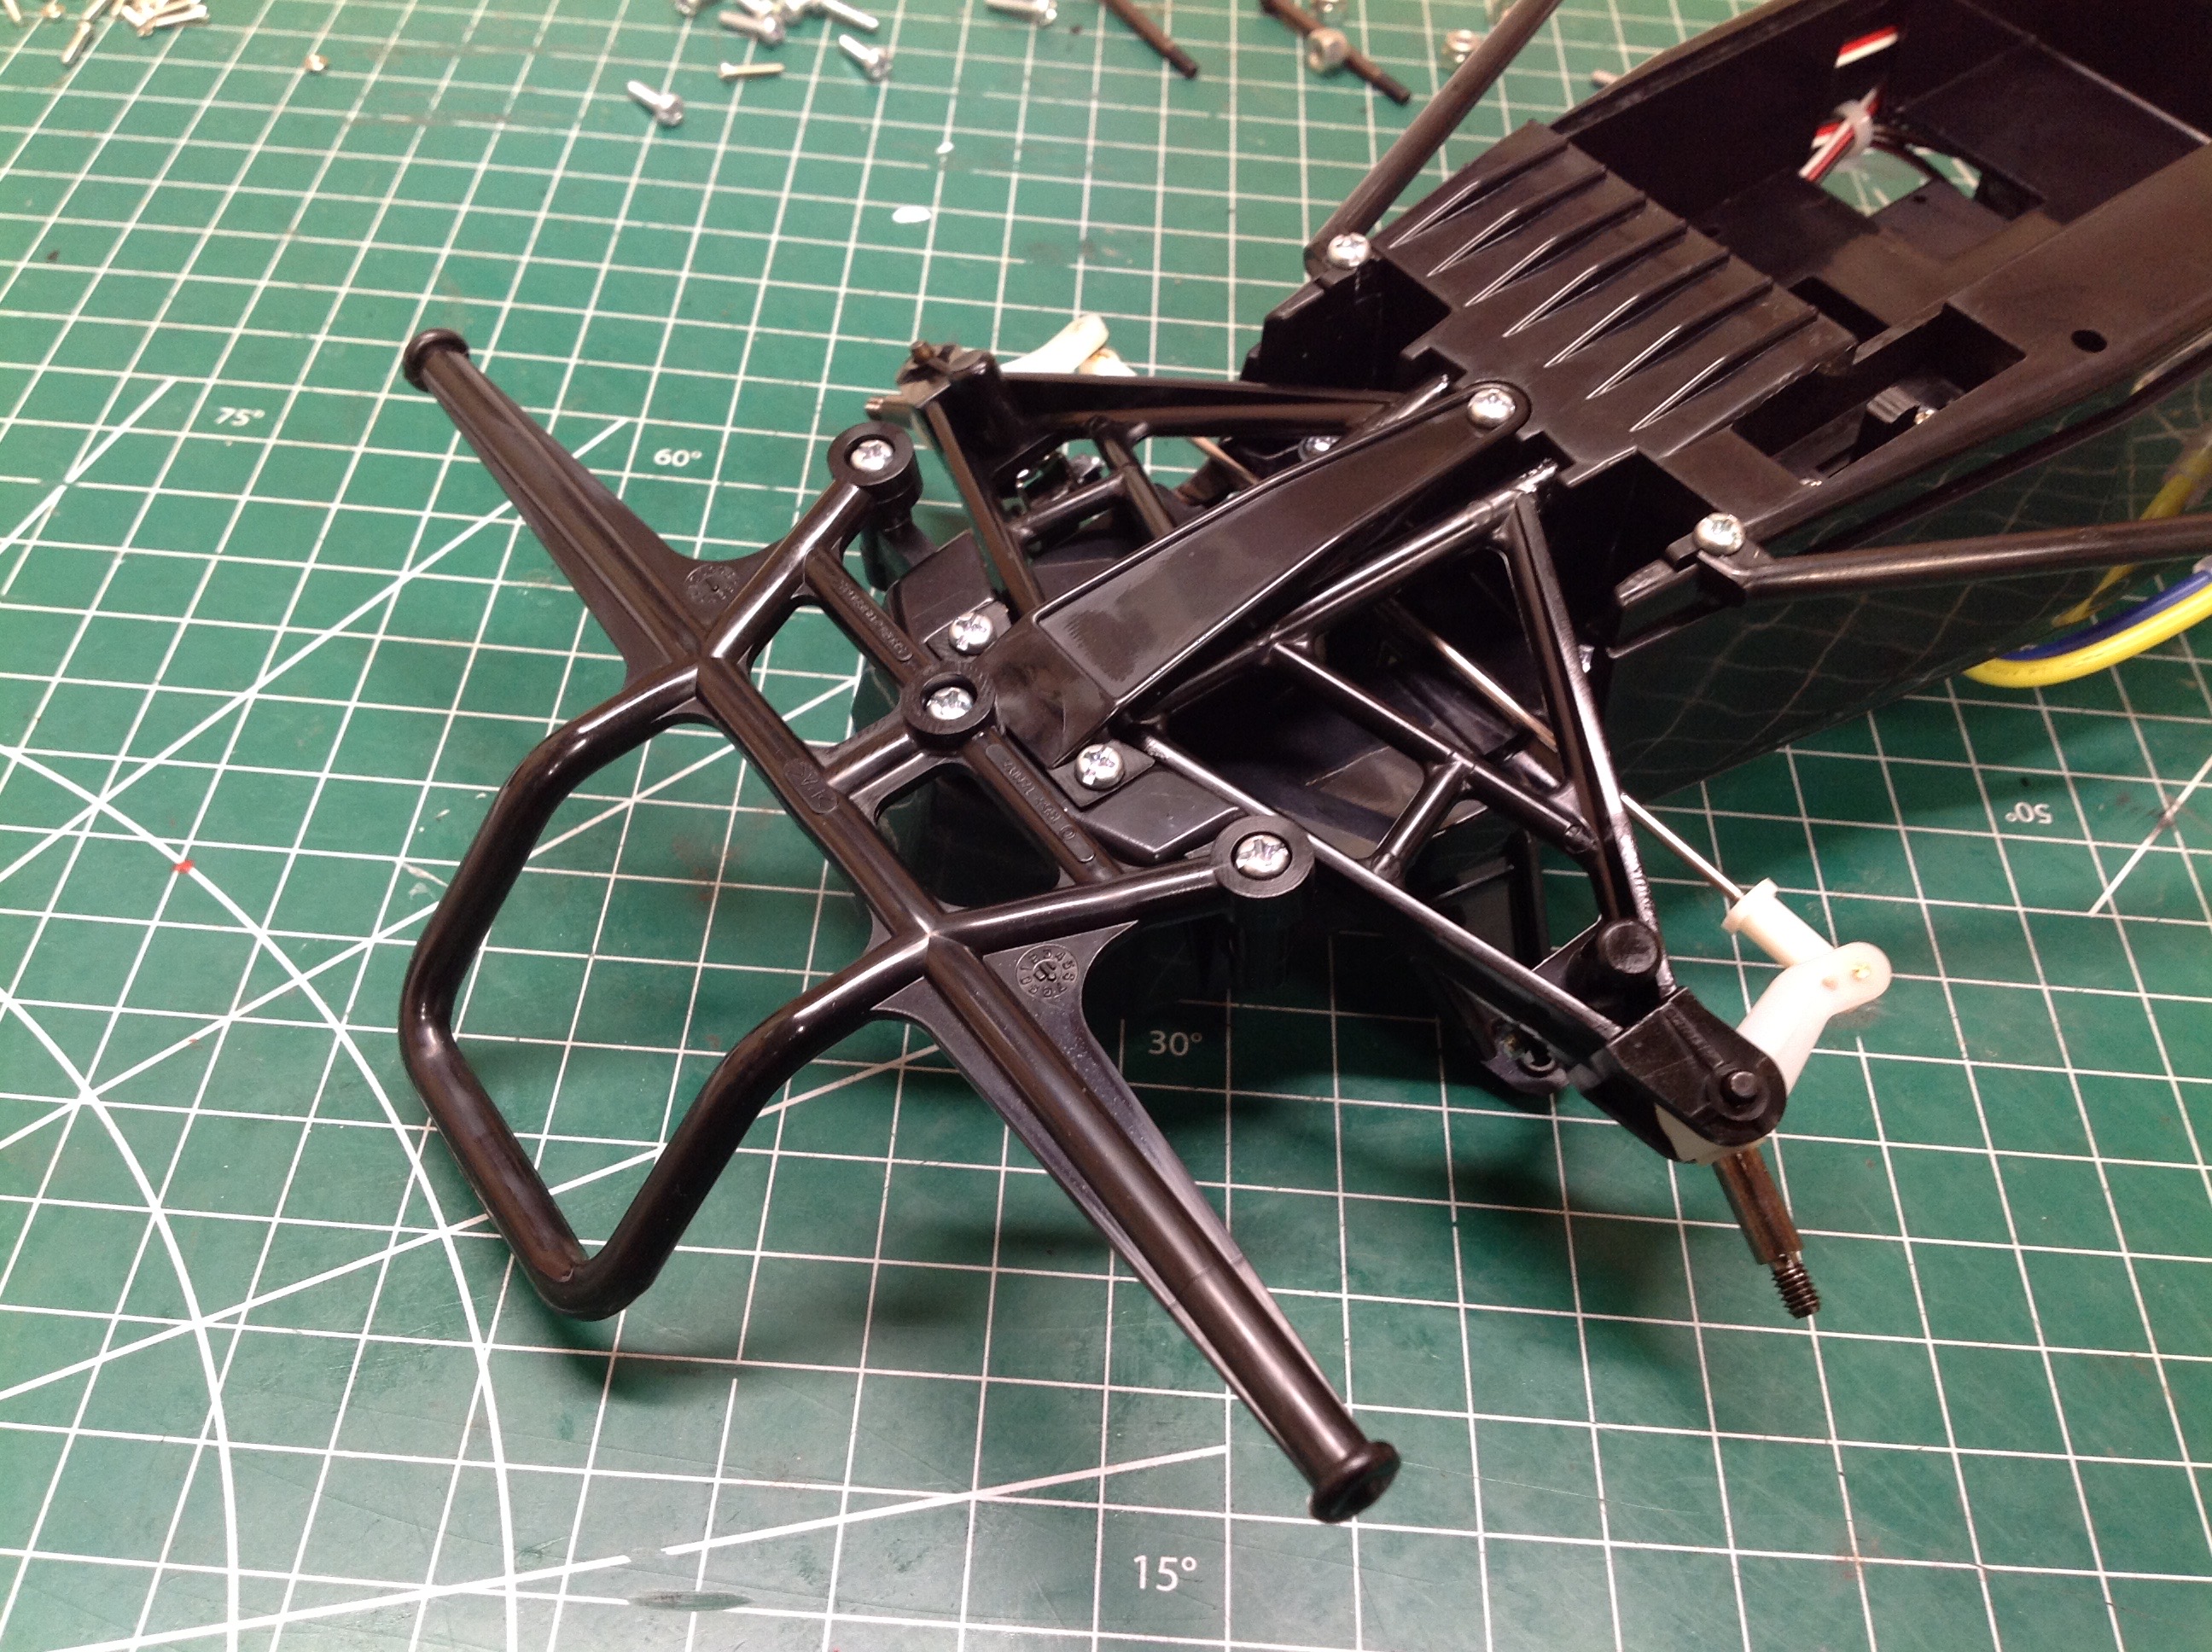
The front suspension uses a pair of wishbone shaped swing arms (no upper
arm). These install into slots in the chassis tub from
below. The pivot axes are slanted slightly outward as shown on the
right. The steering knuckles are plastic with a steel hub molded
right into them. It is not removable.
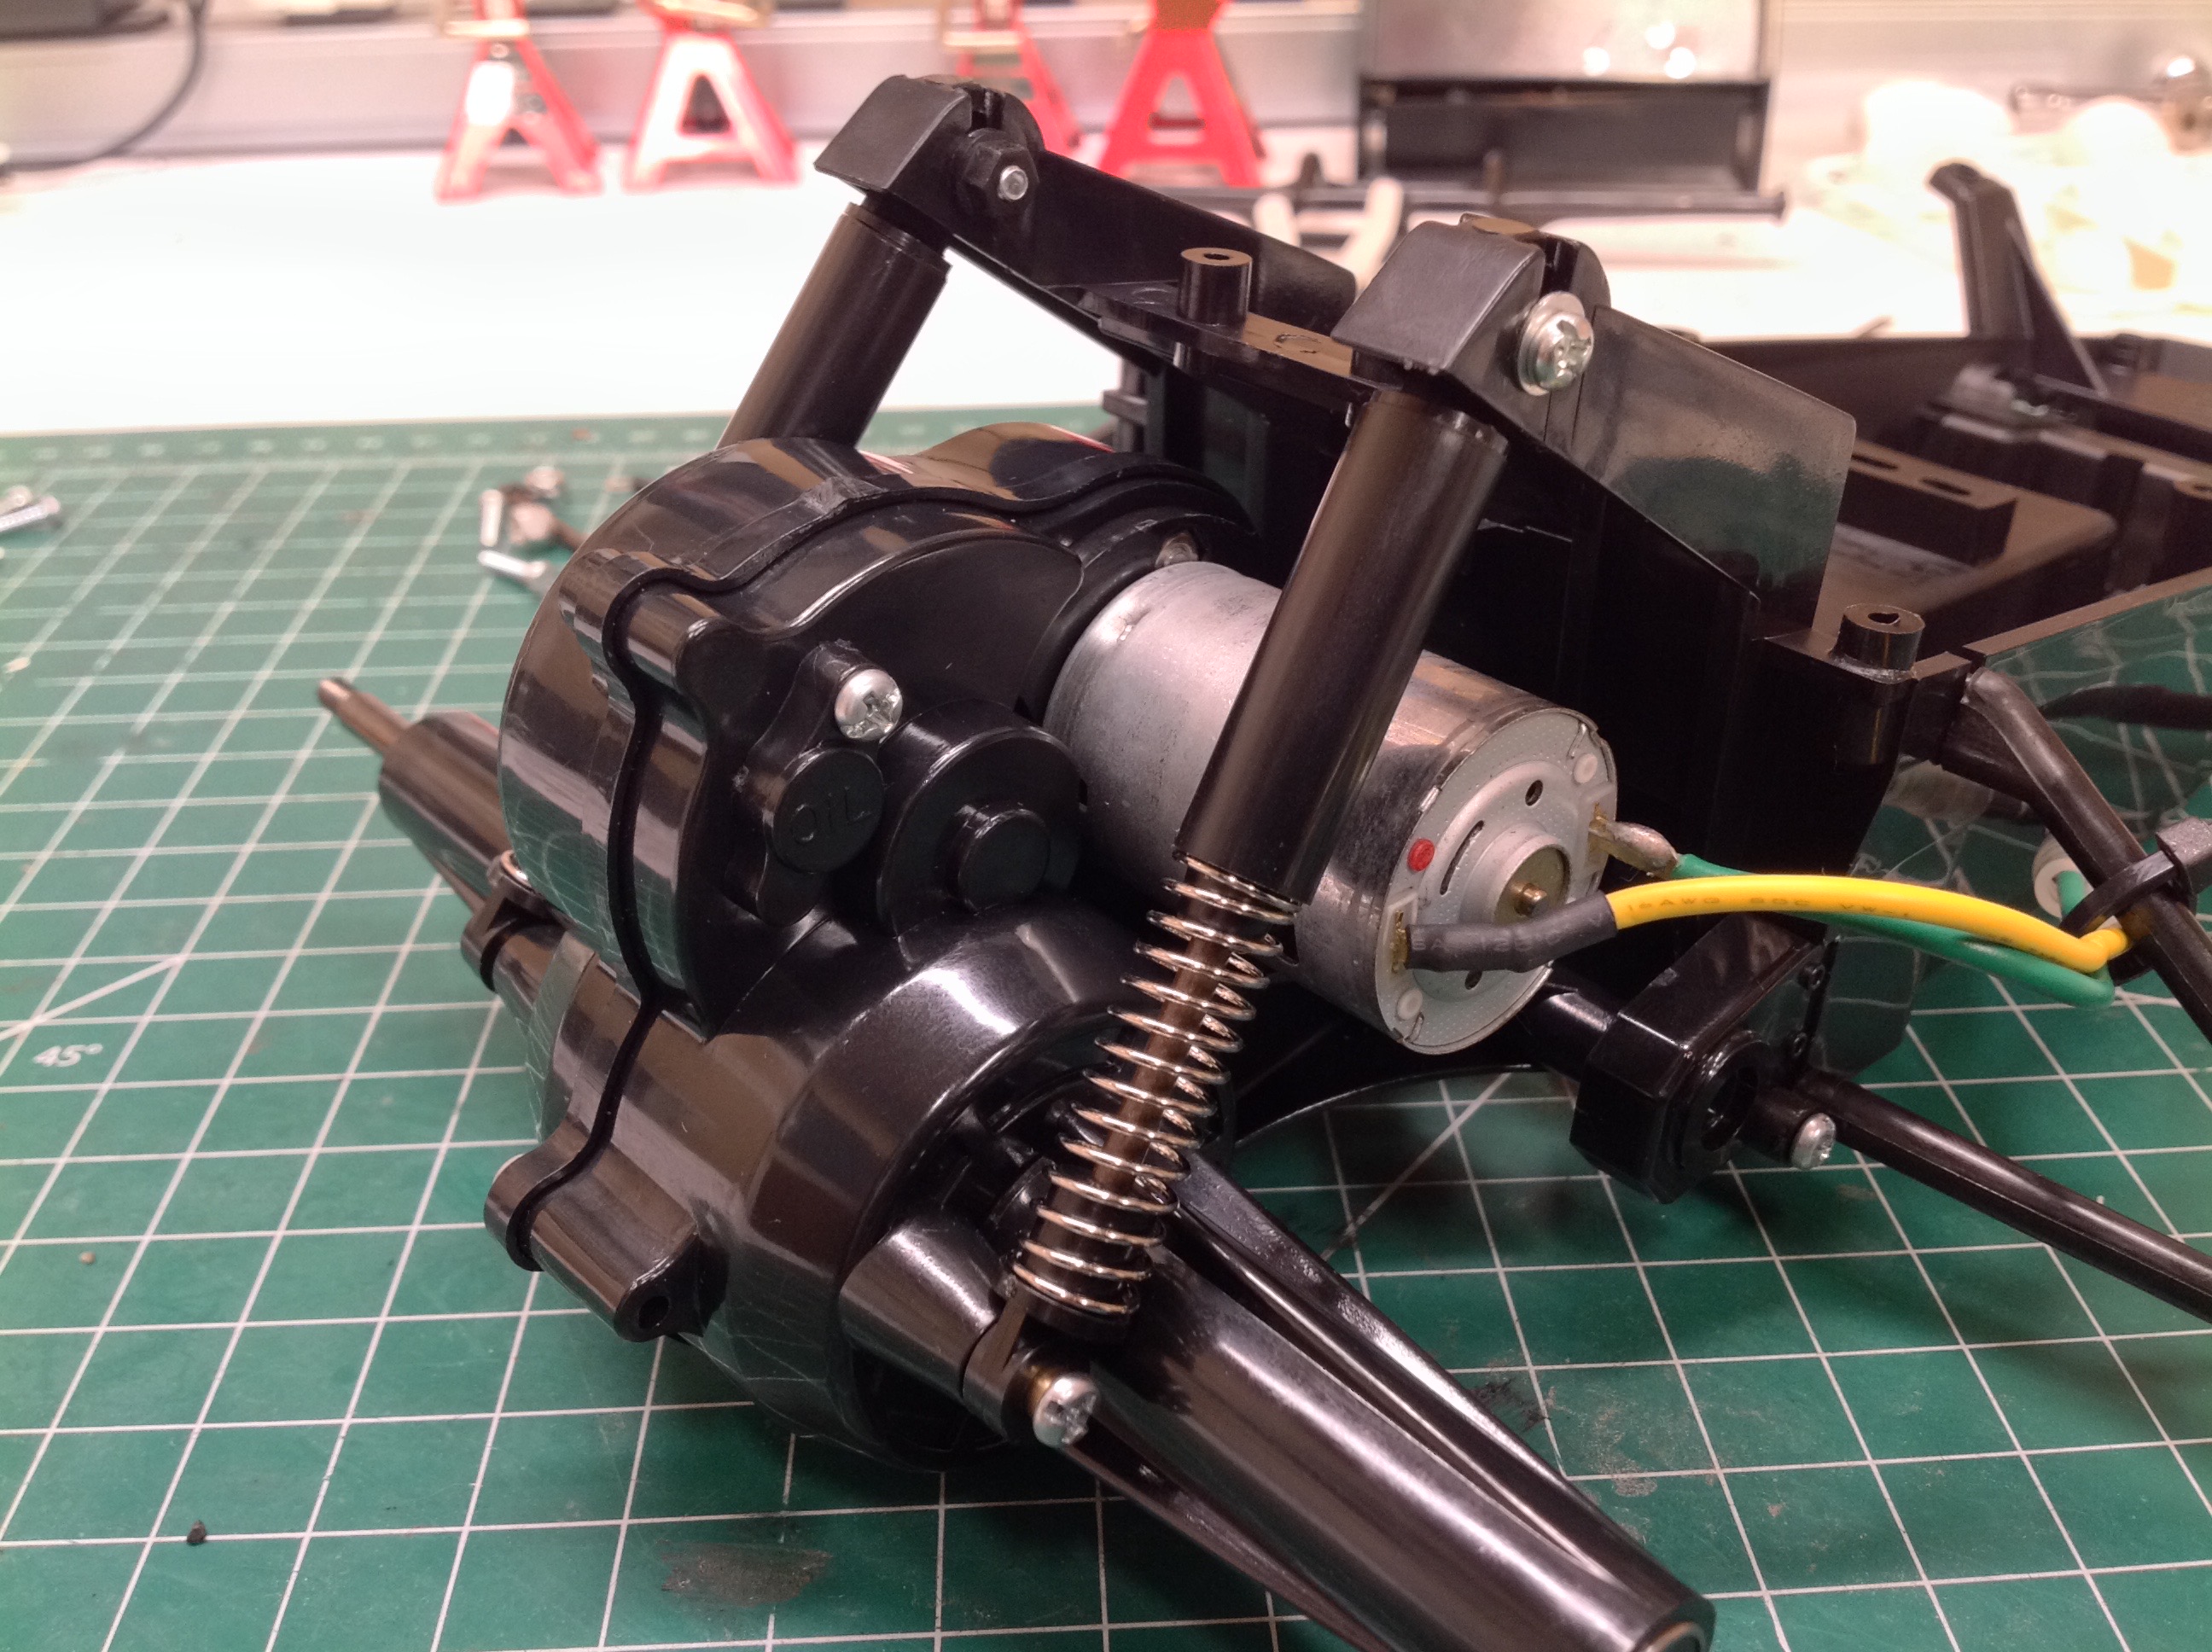
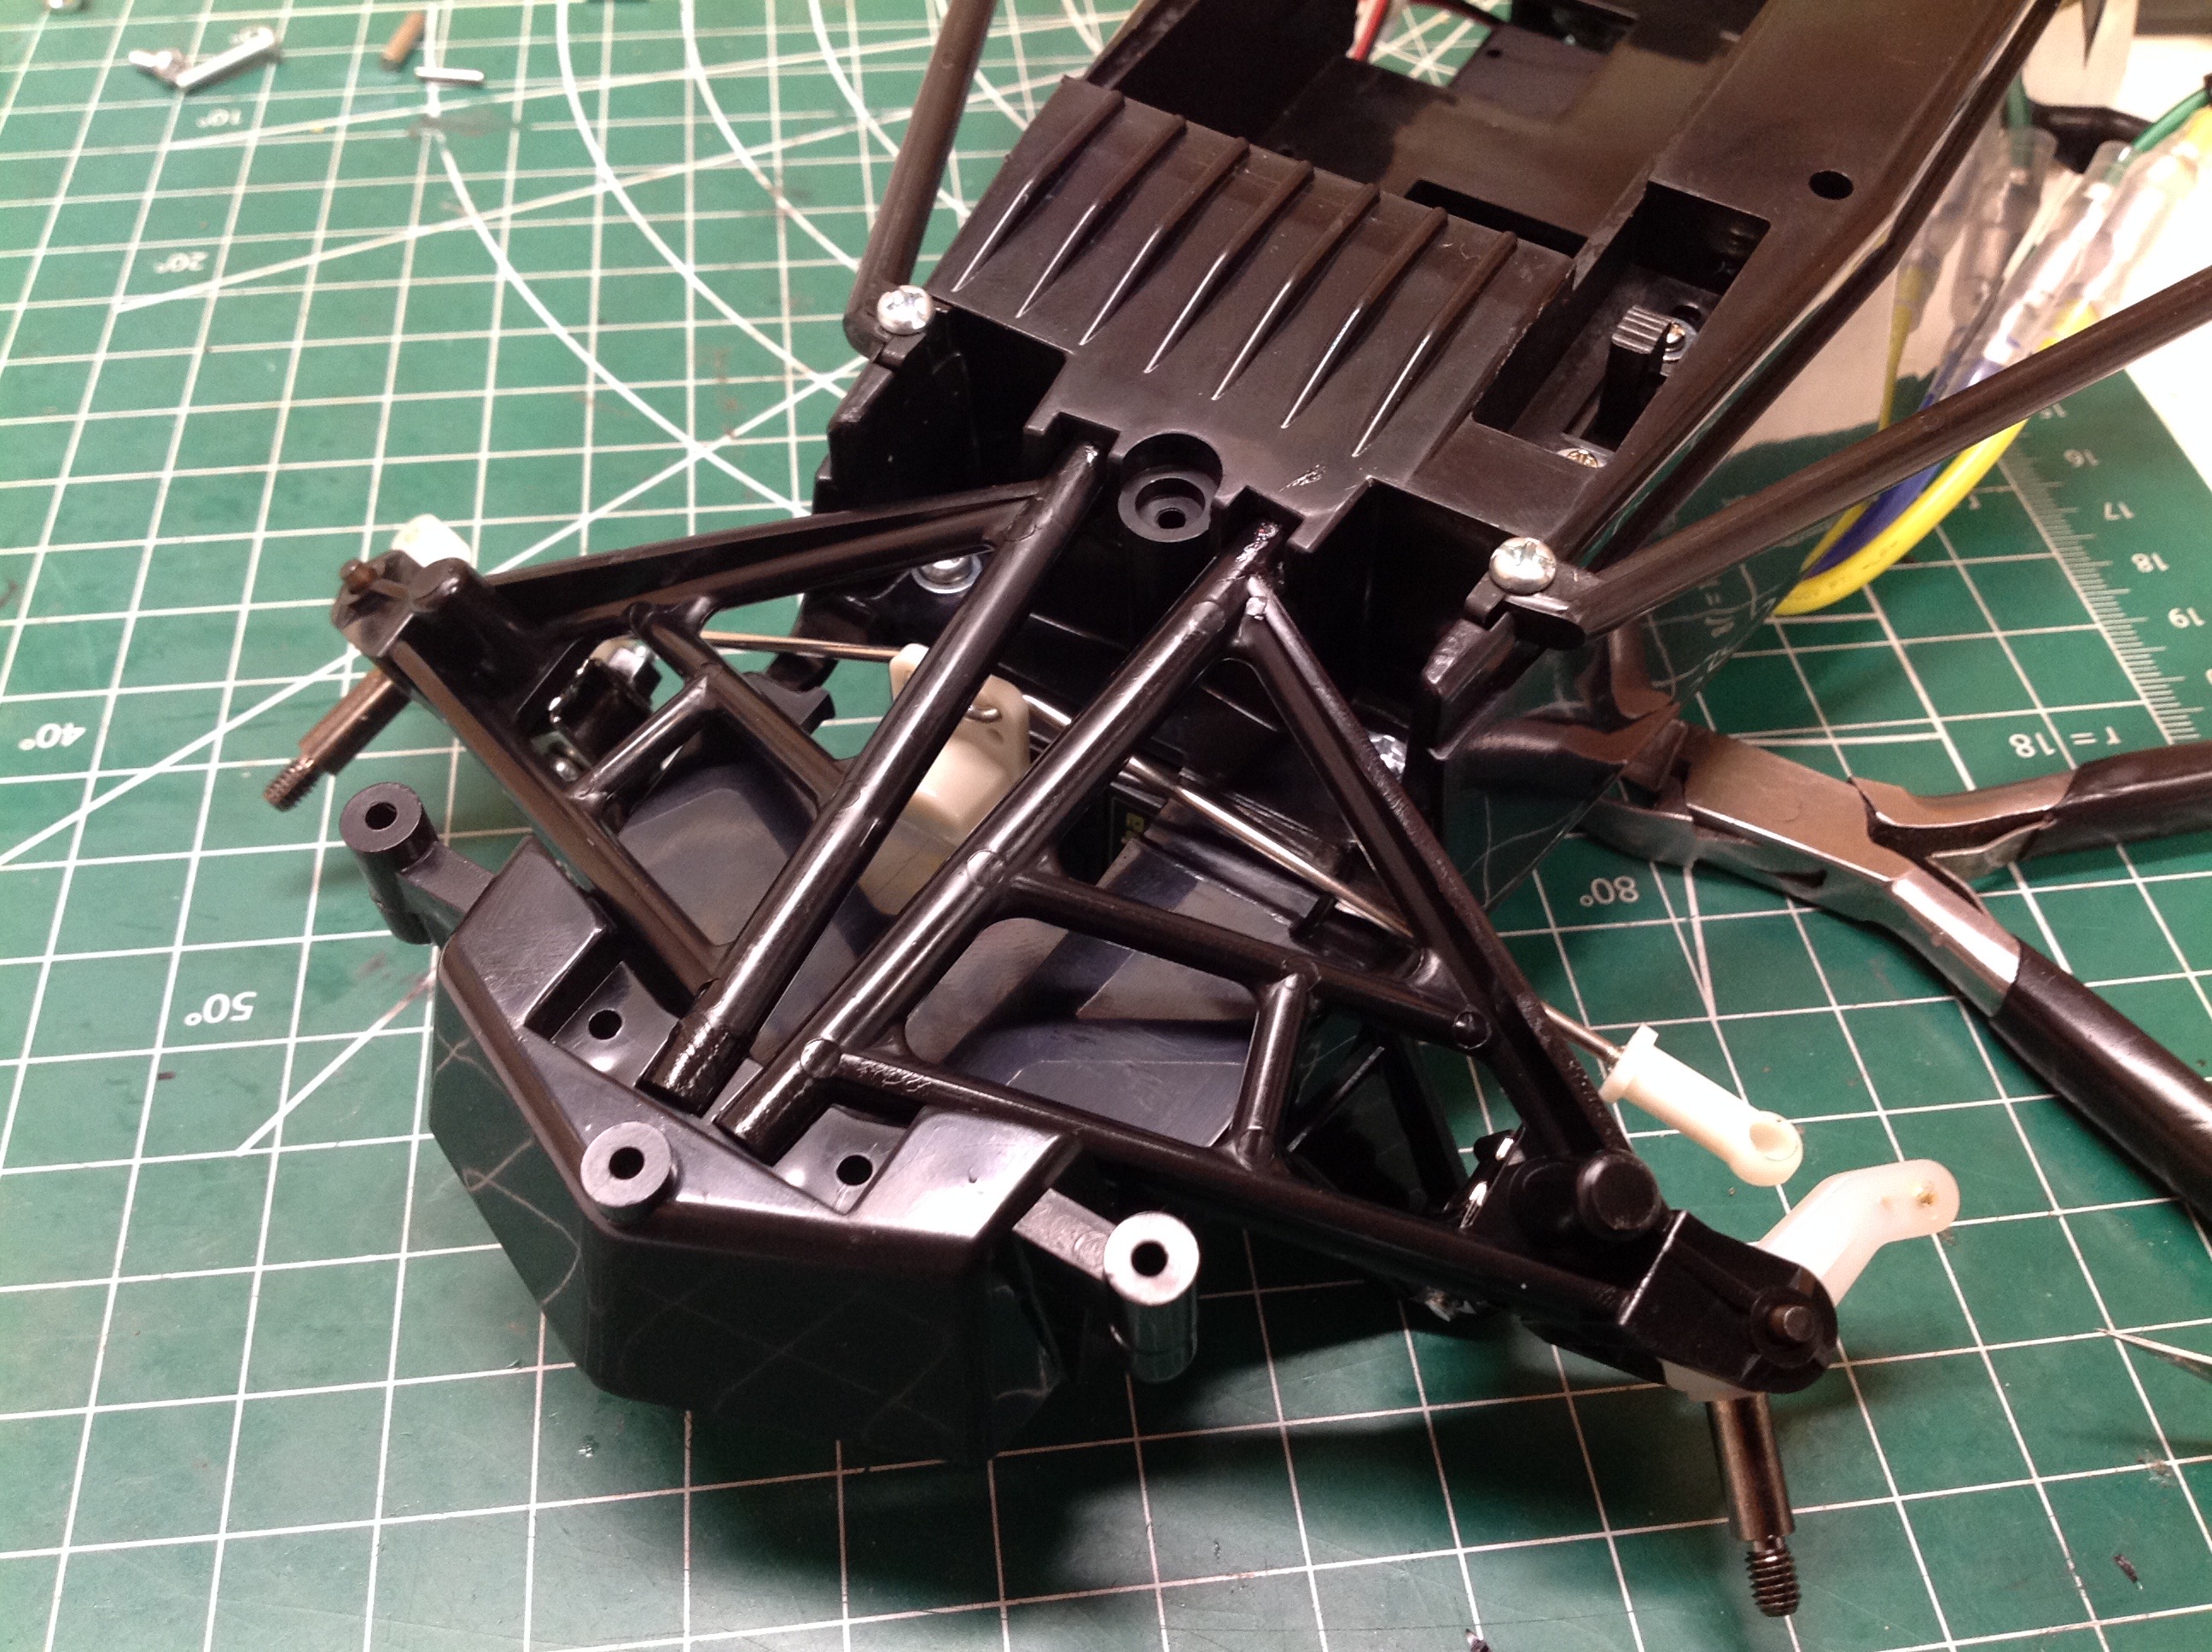
The front bumper is attached next followed by a brace which captures the
front suspension arms. On the right you can see the front shocks
which are nothing more than bolts poking through the supports.
These stand even further above the supports when the suspension is
compressed.
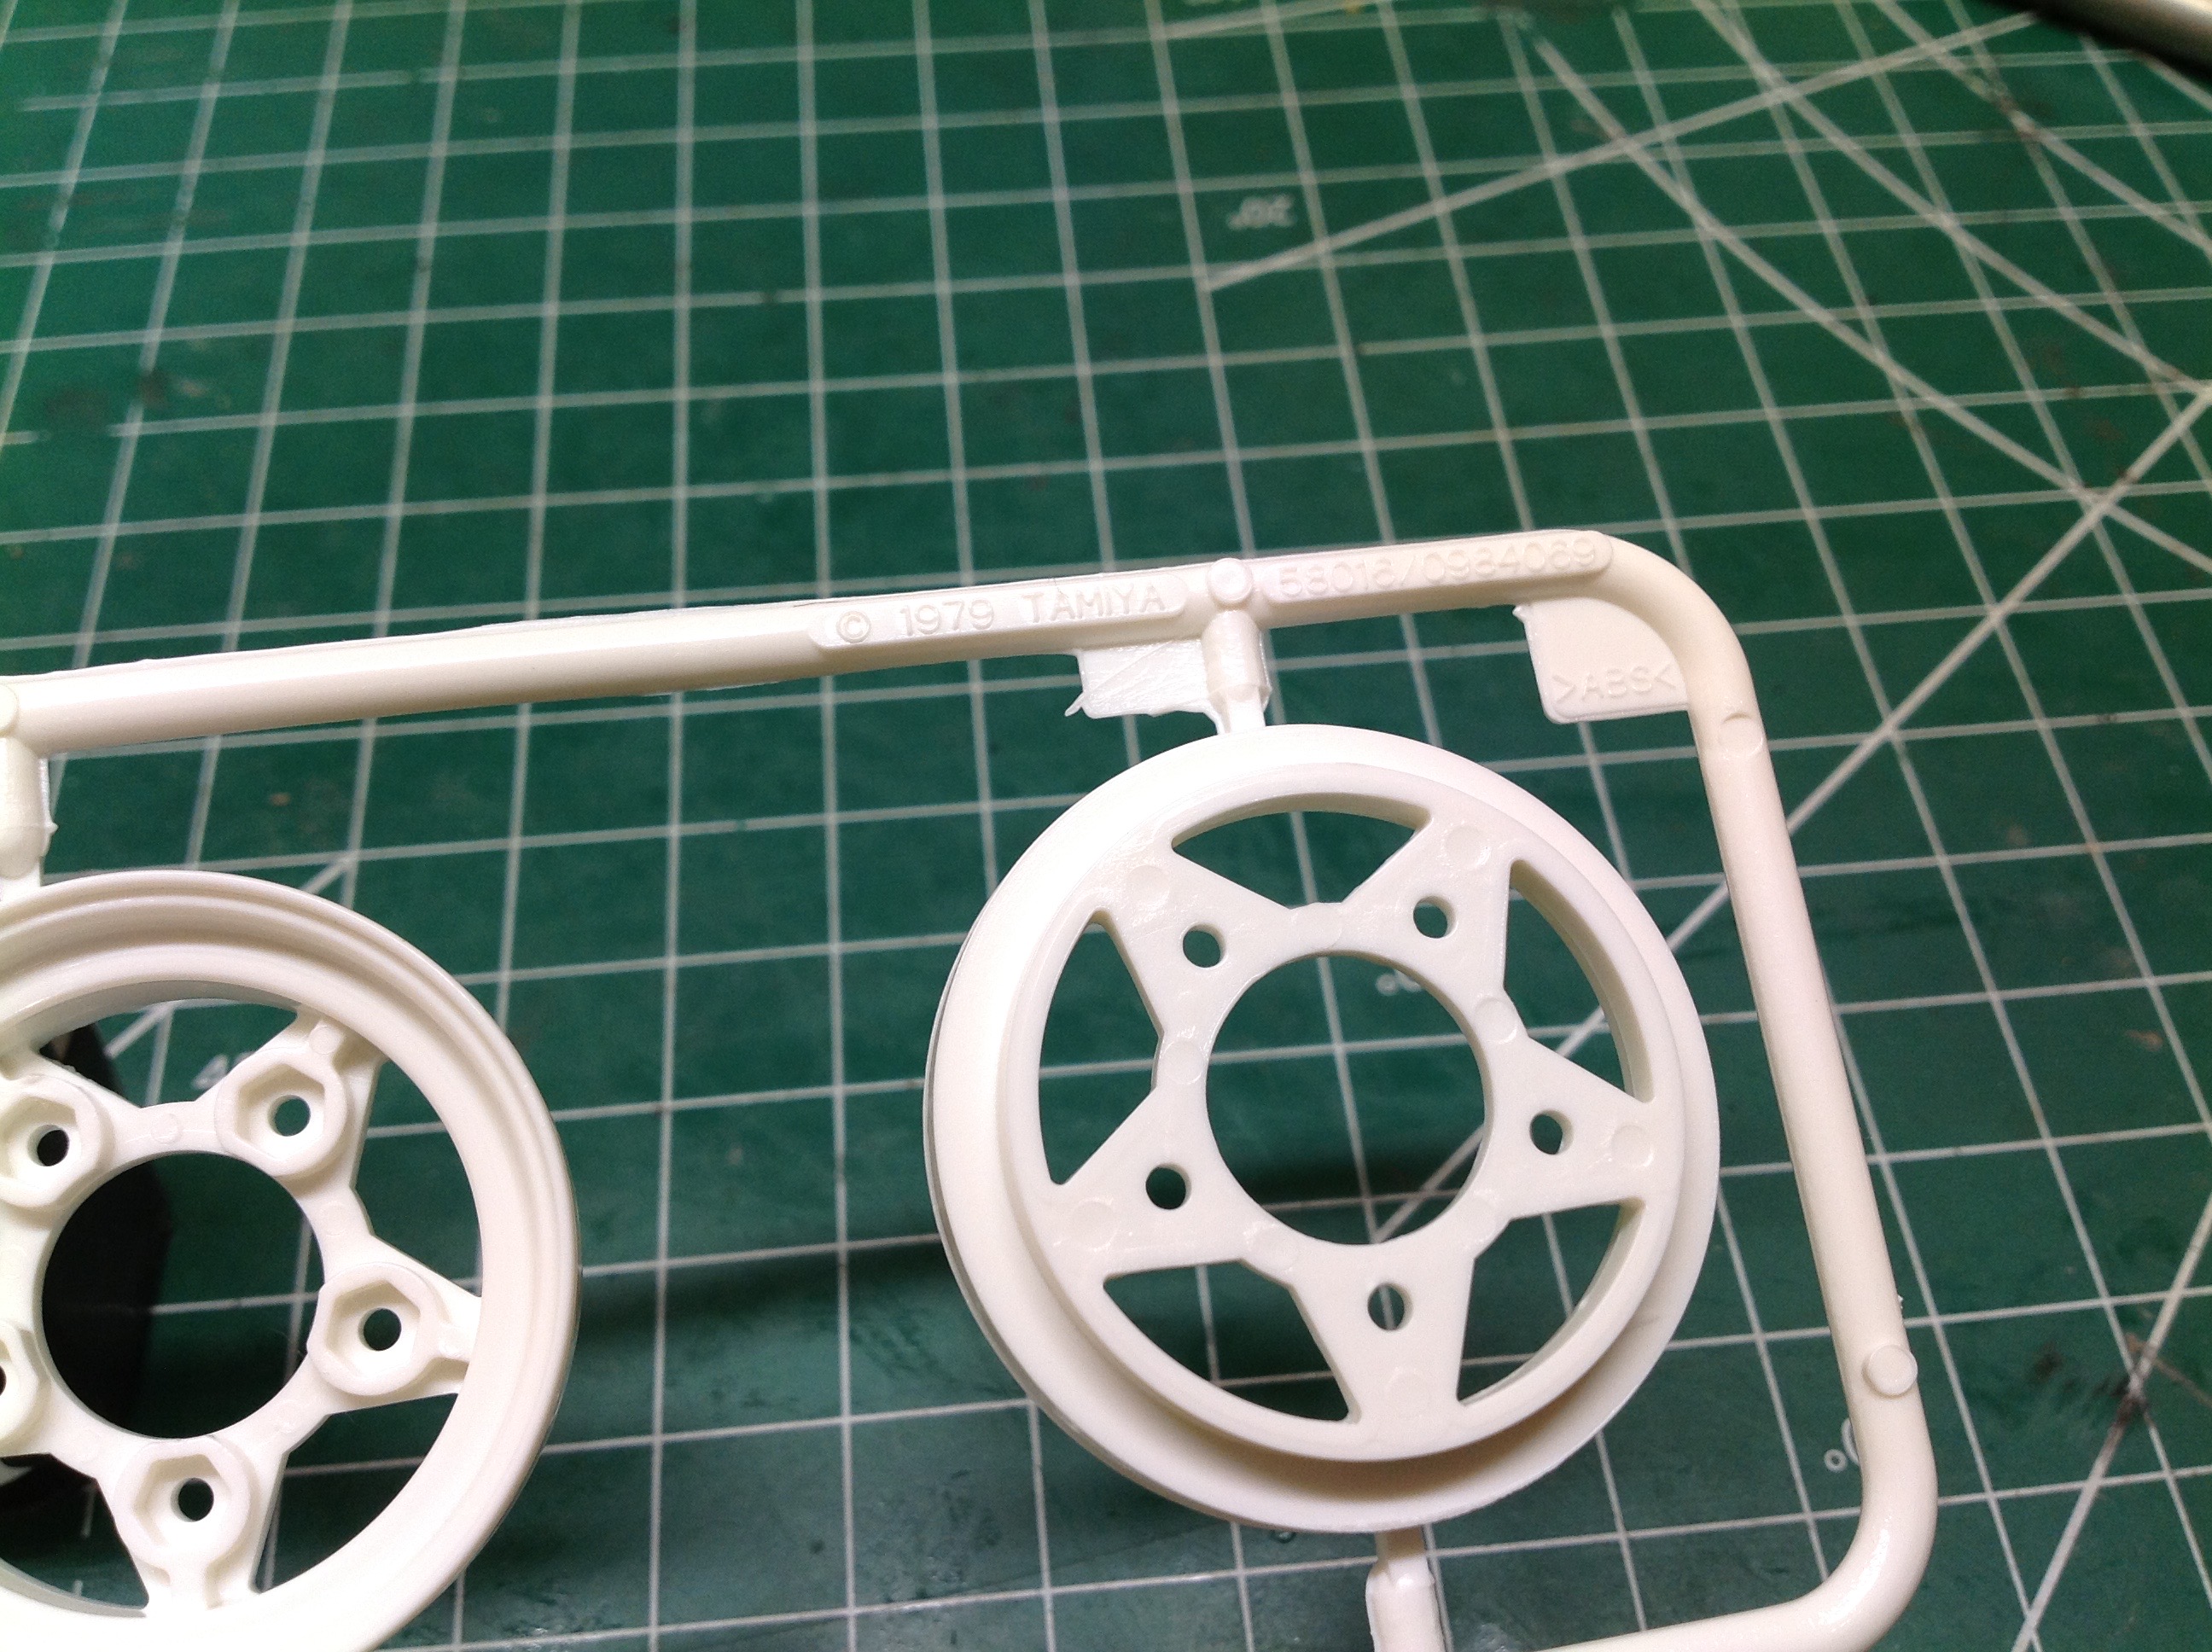
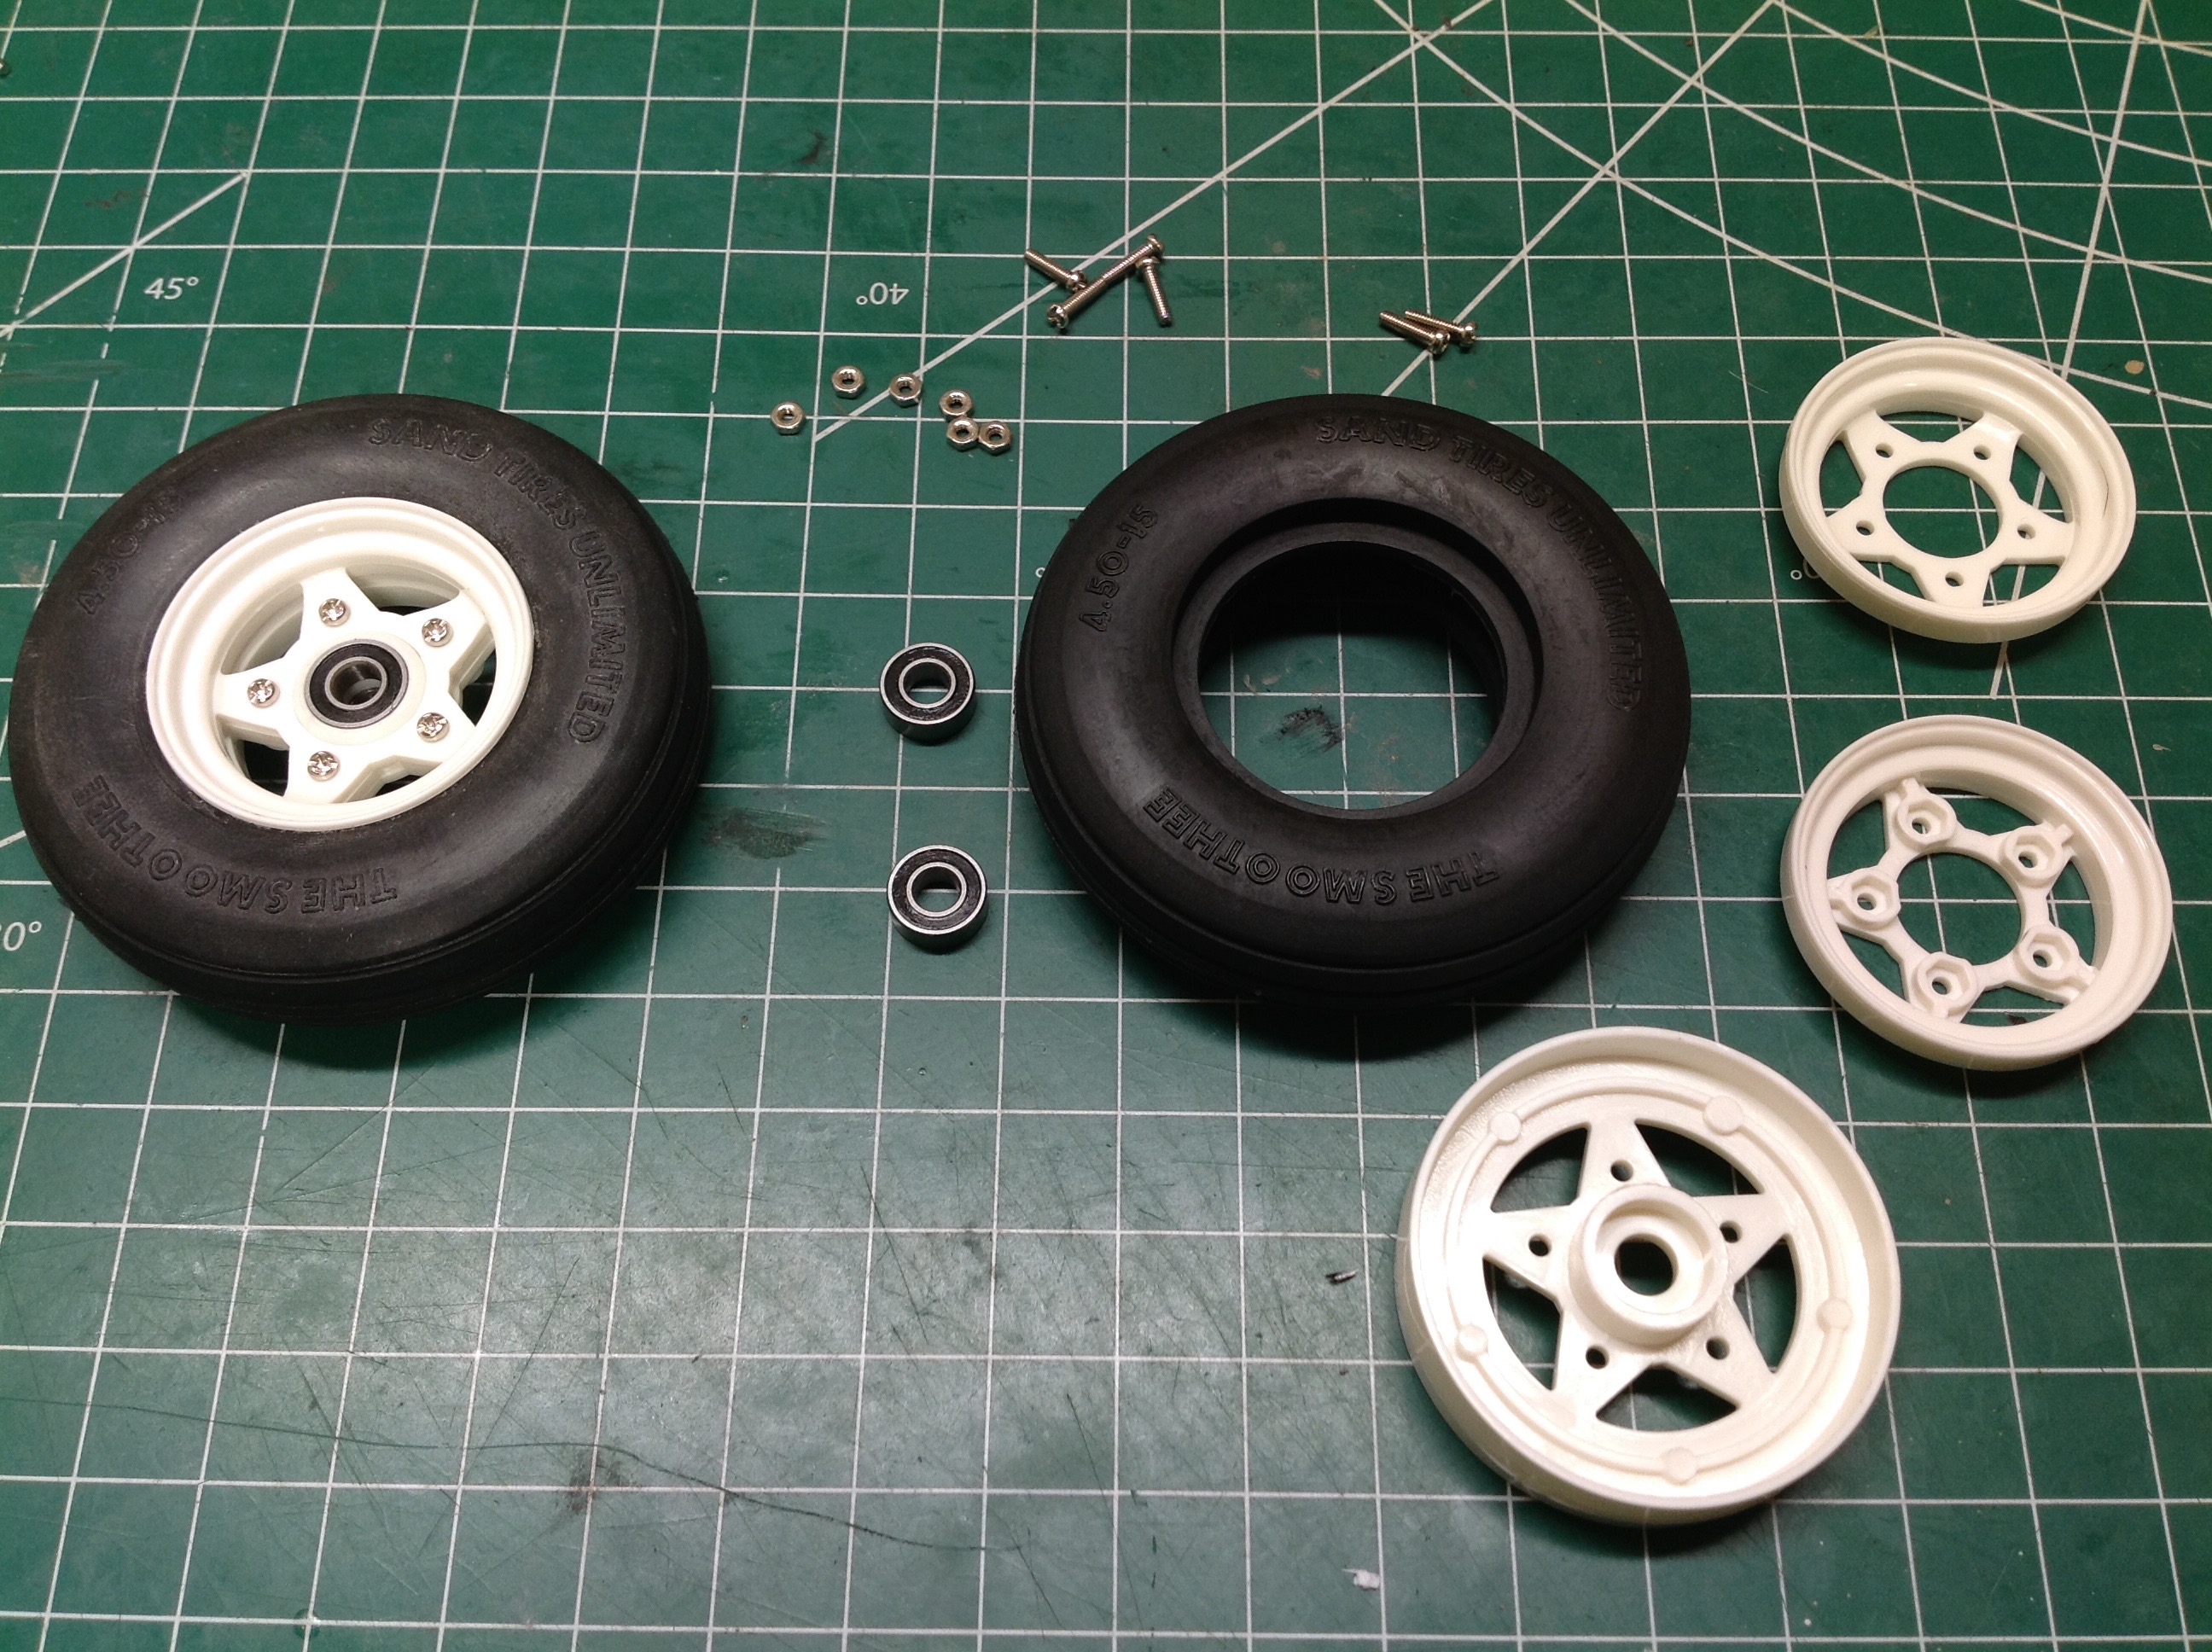
The Grasshopper uses 3-piece beadlock wheels in both the front and the
rear (different sizes). The tires are pretty stiff so these are
not particularly easy to install. The front tires are ribbed and
the rear are paddled.
Here is the completed rolling chassis. It only took a couple of
hours to assemble. The profile just screams classic buggy.
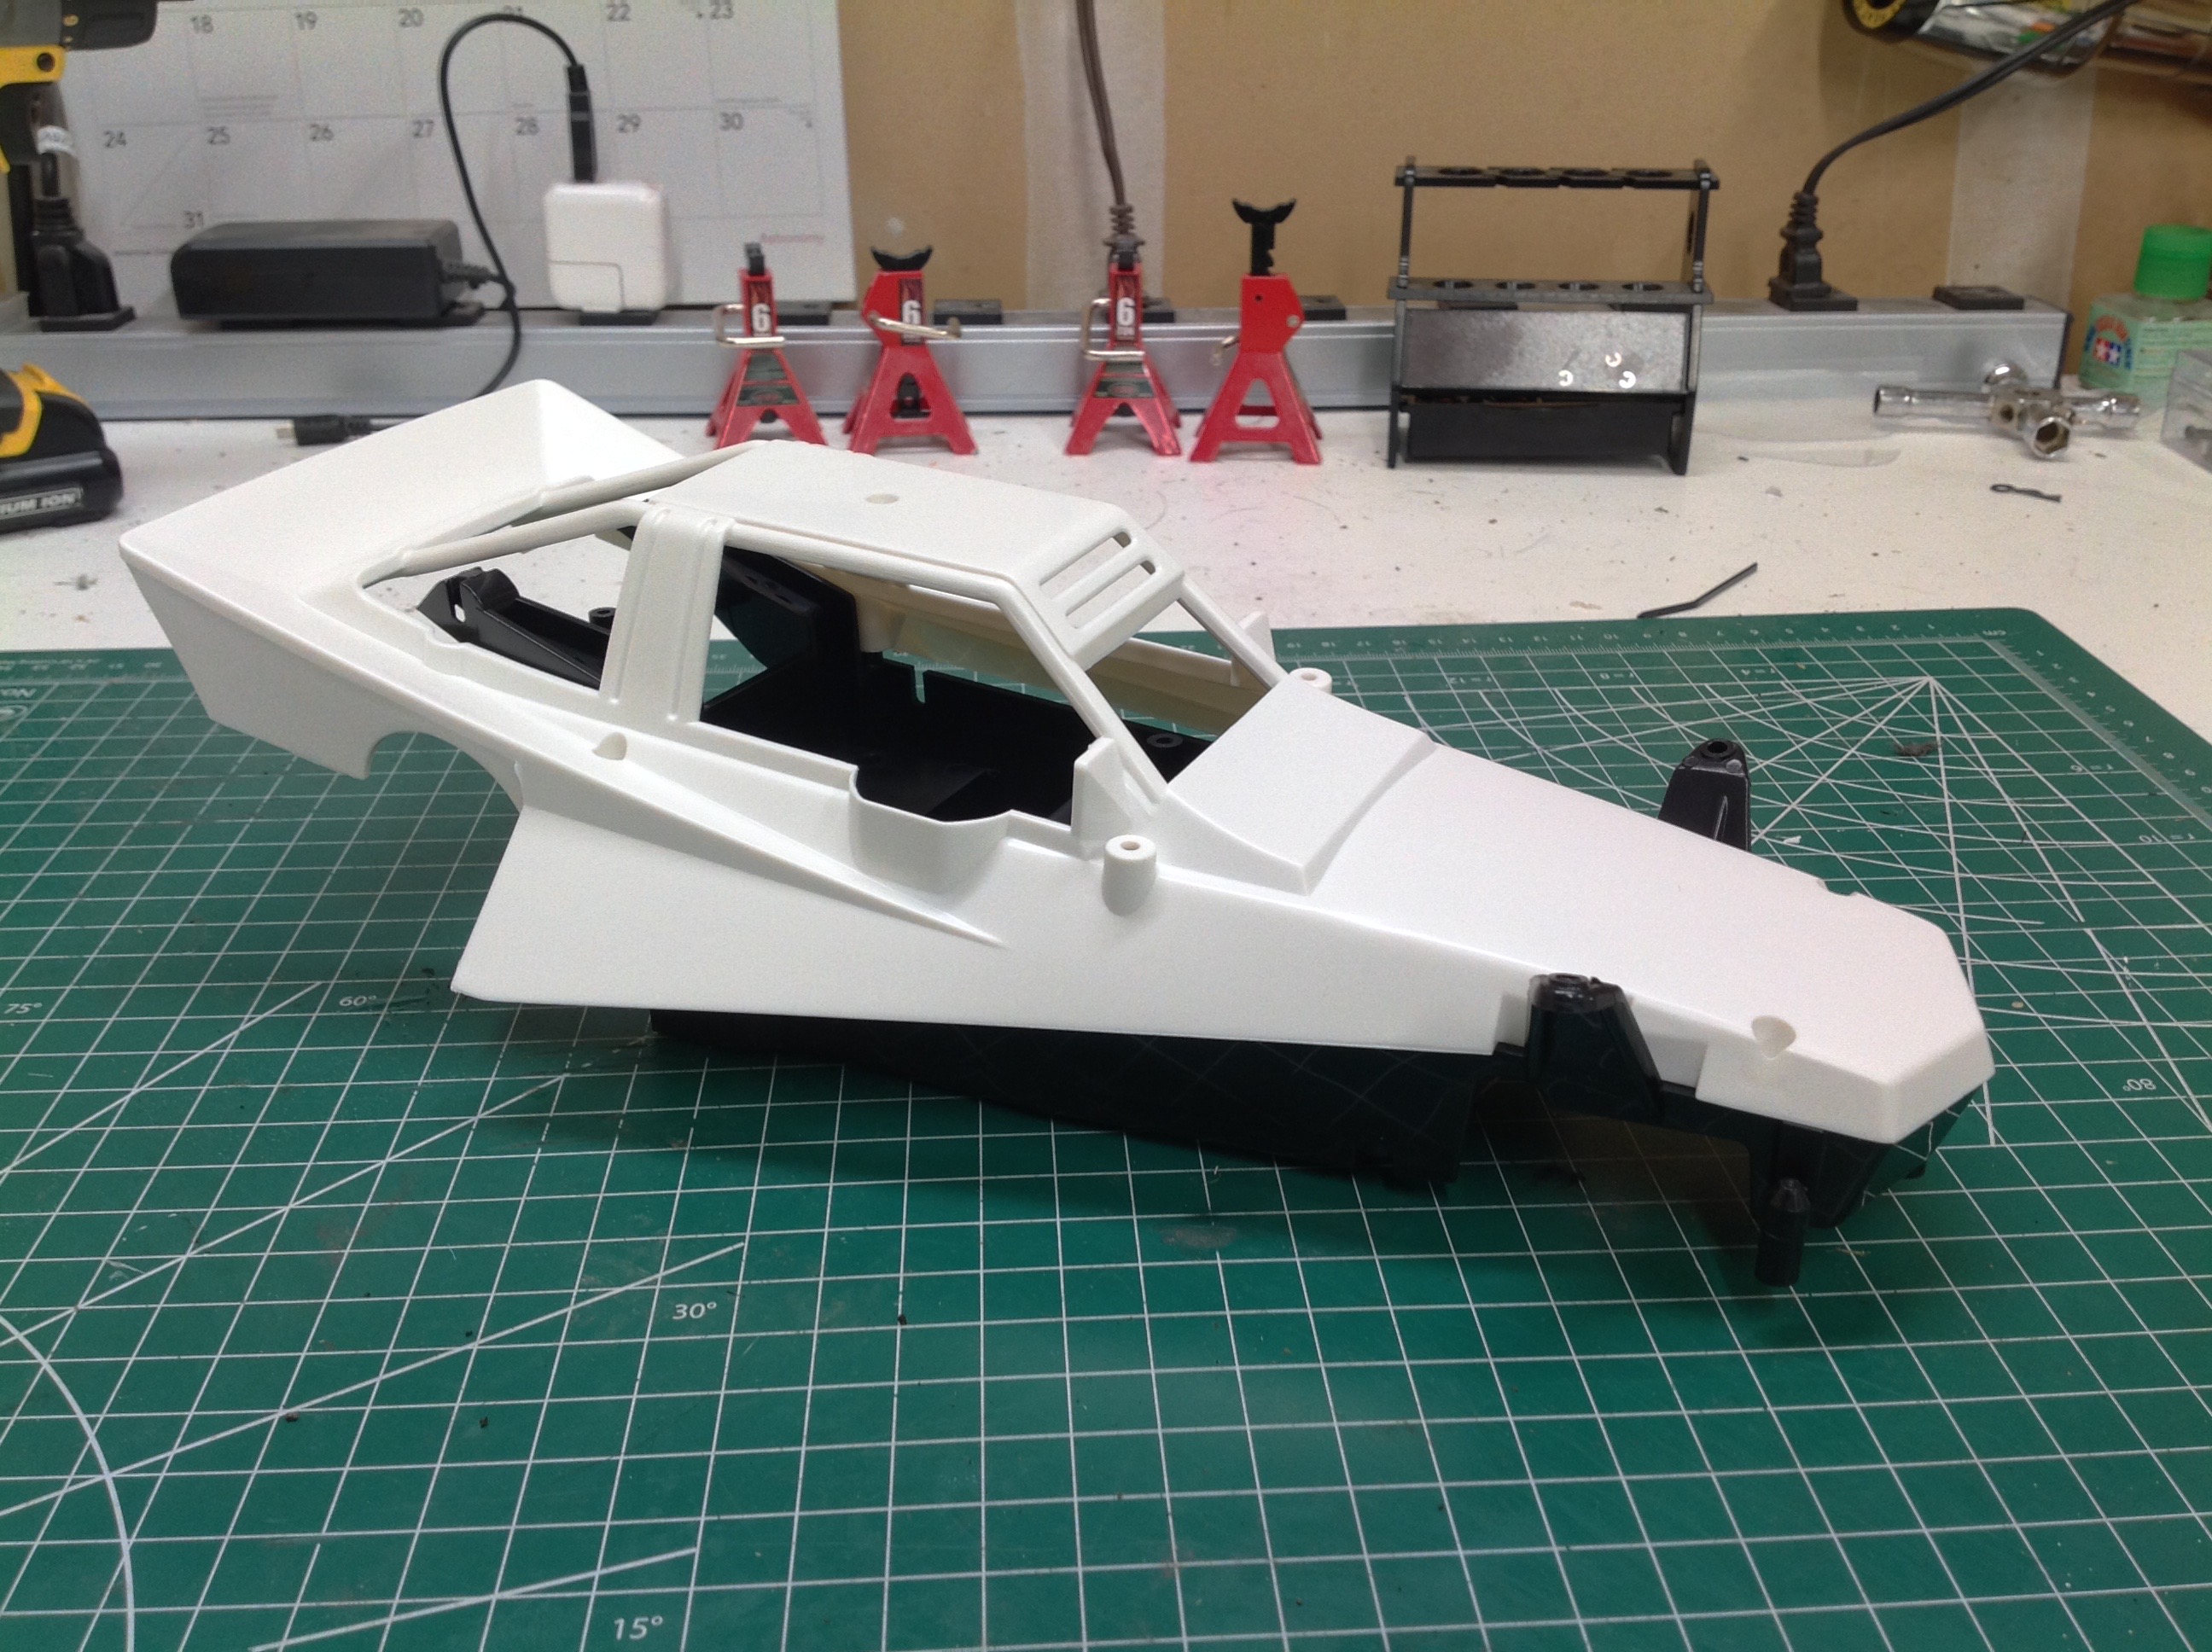
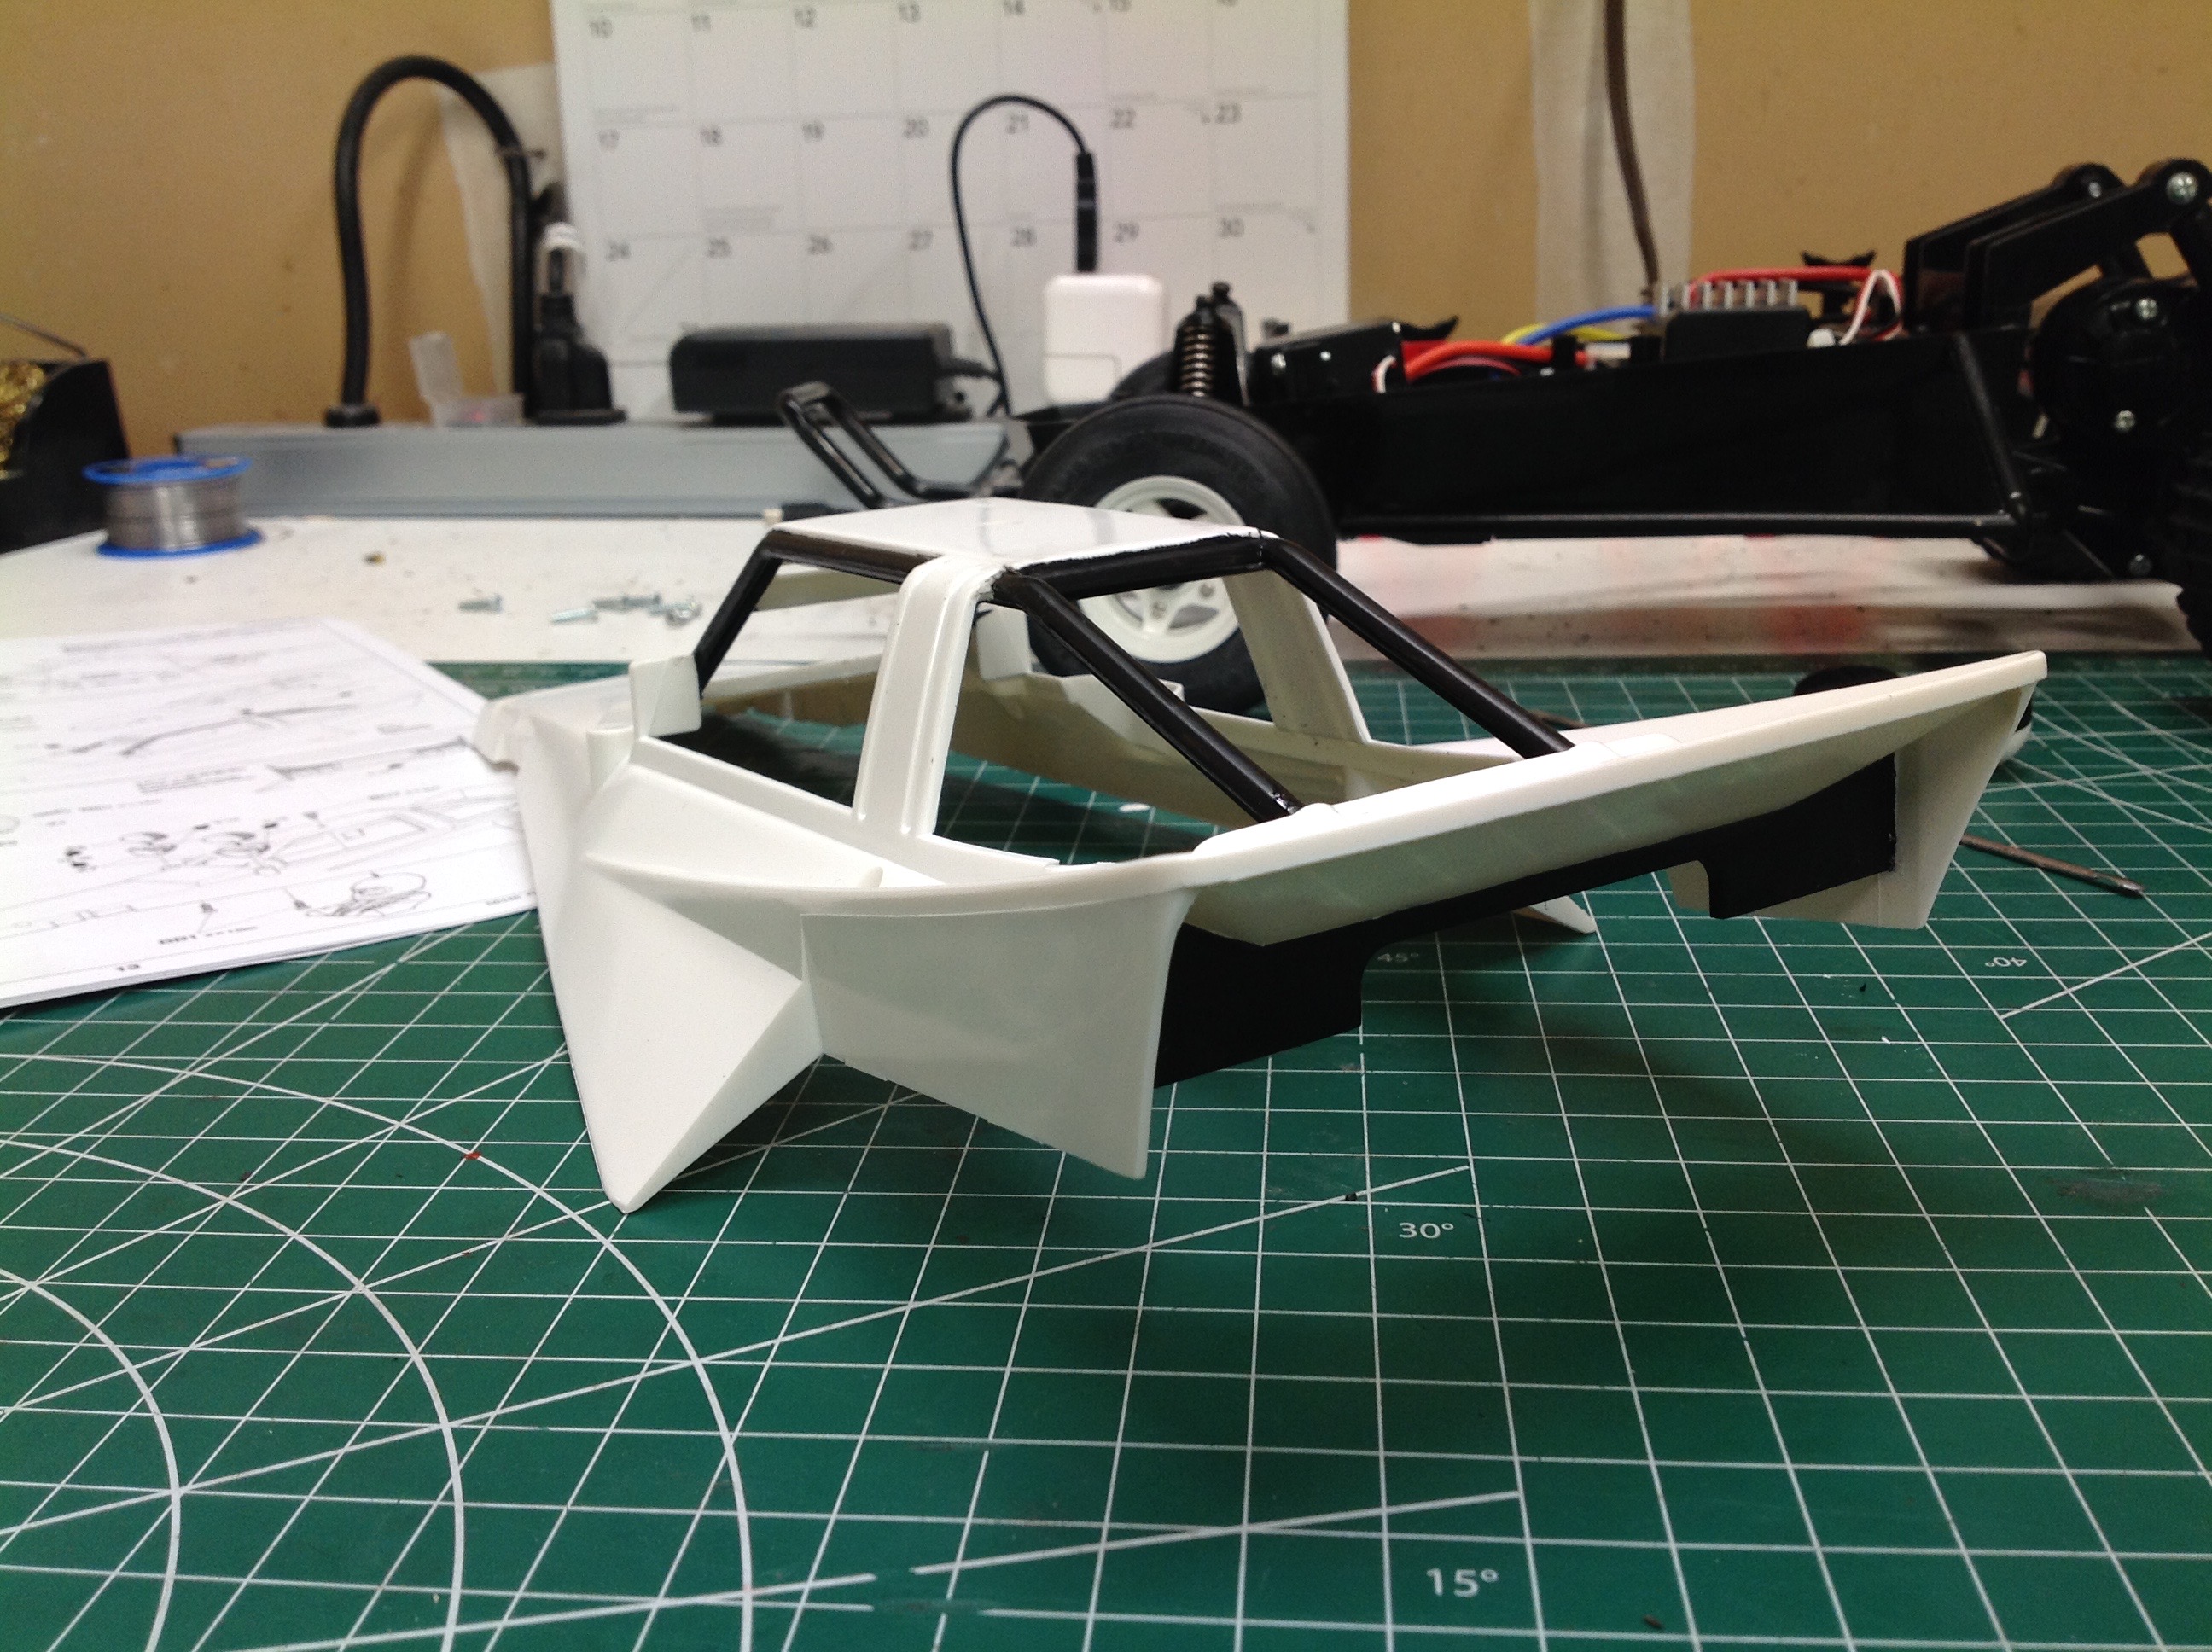
The body is not quite so easy to finish as just painting the whole thing
white. That's how it starts, but then the roll bars need to be
painted black by hand. After that I installed the stickers and
then put a layer of clear over the top.
©2020 Eric Albrecht