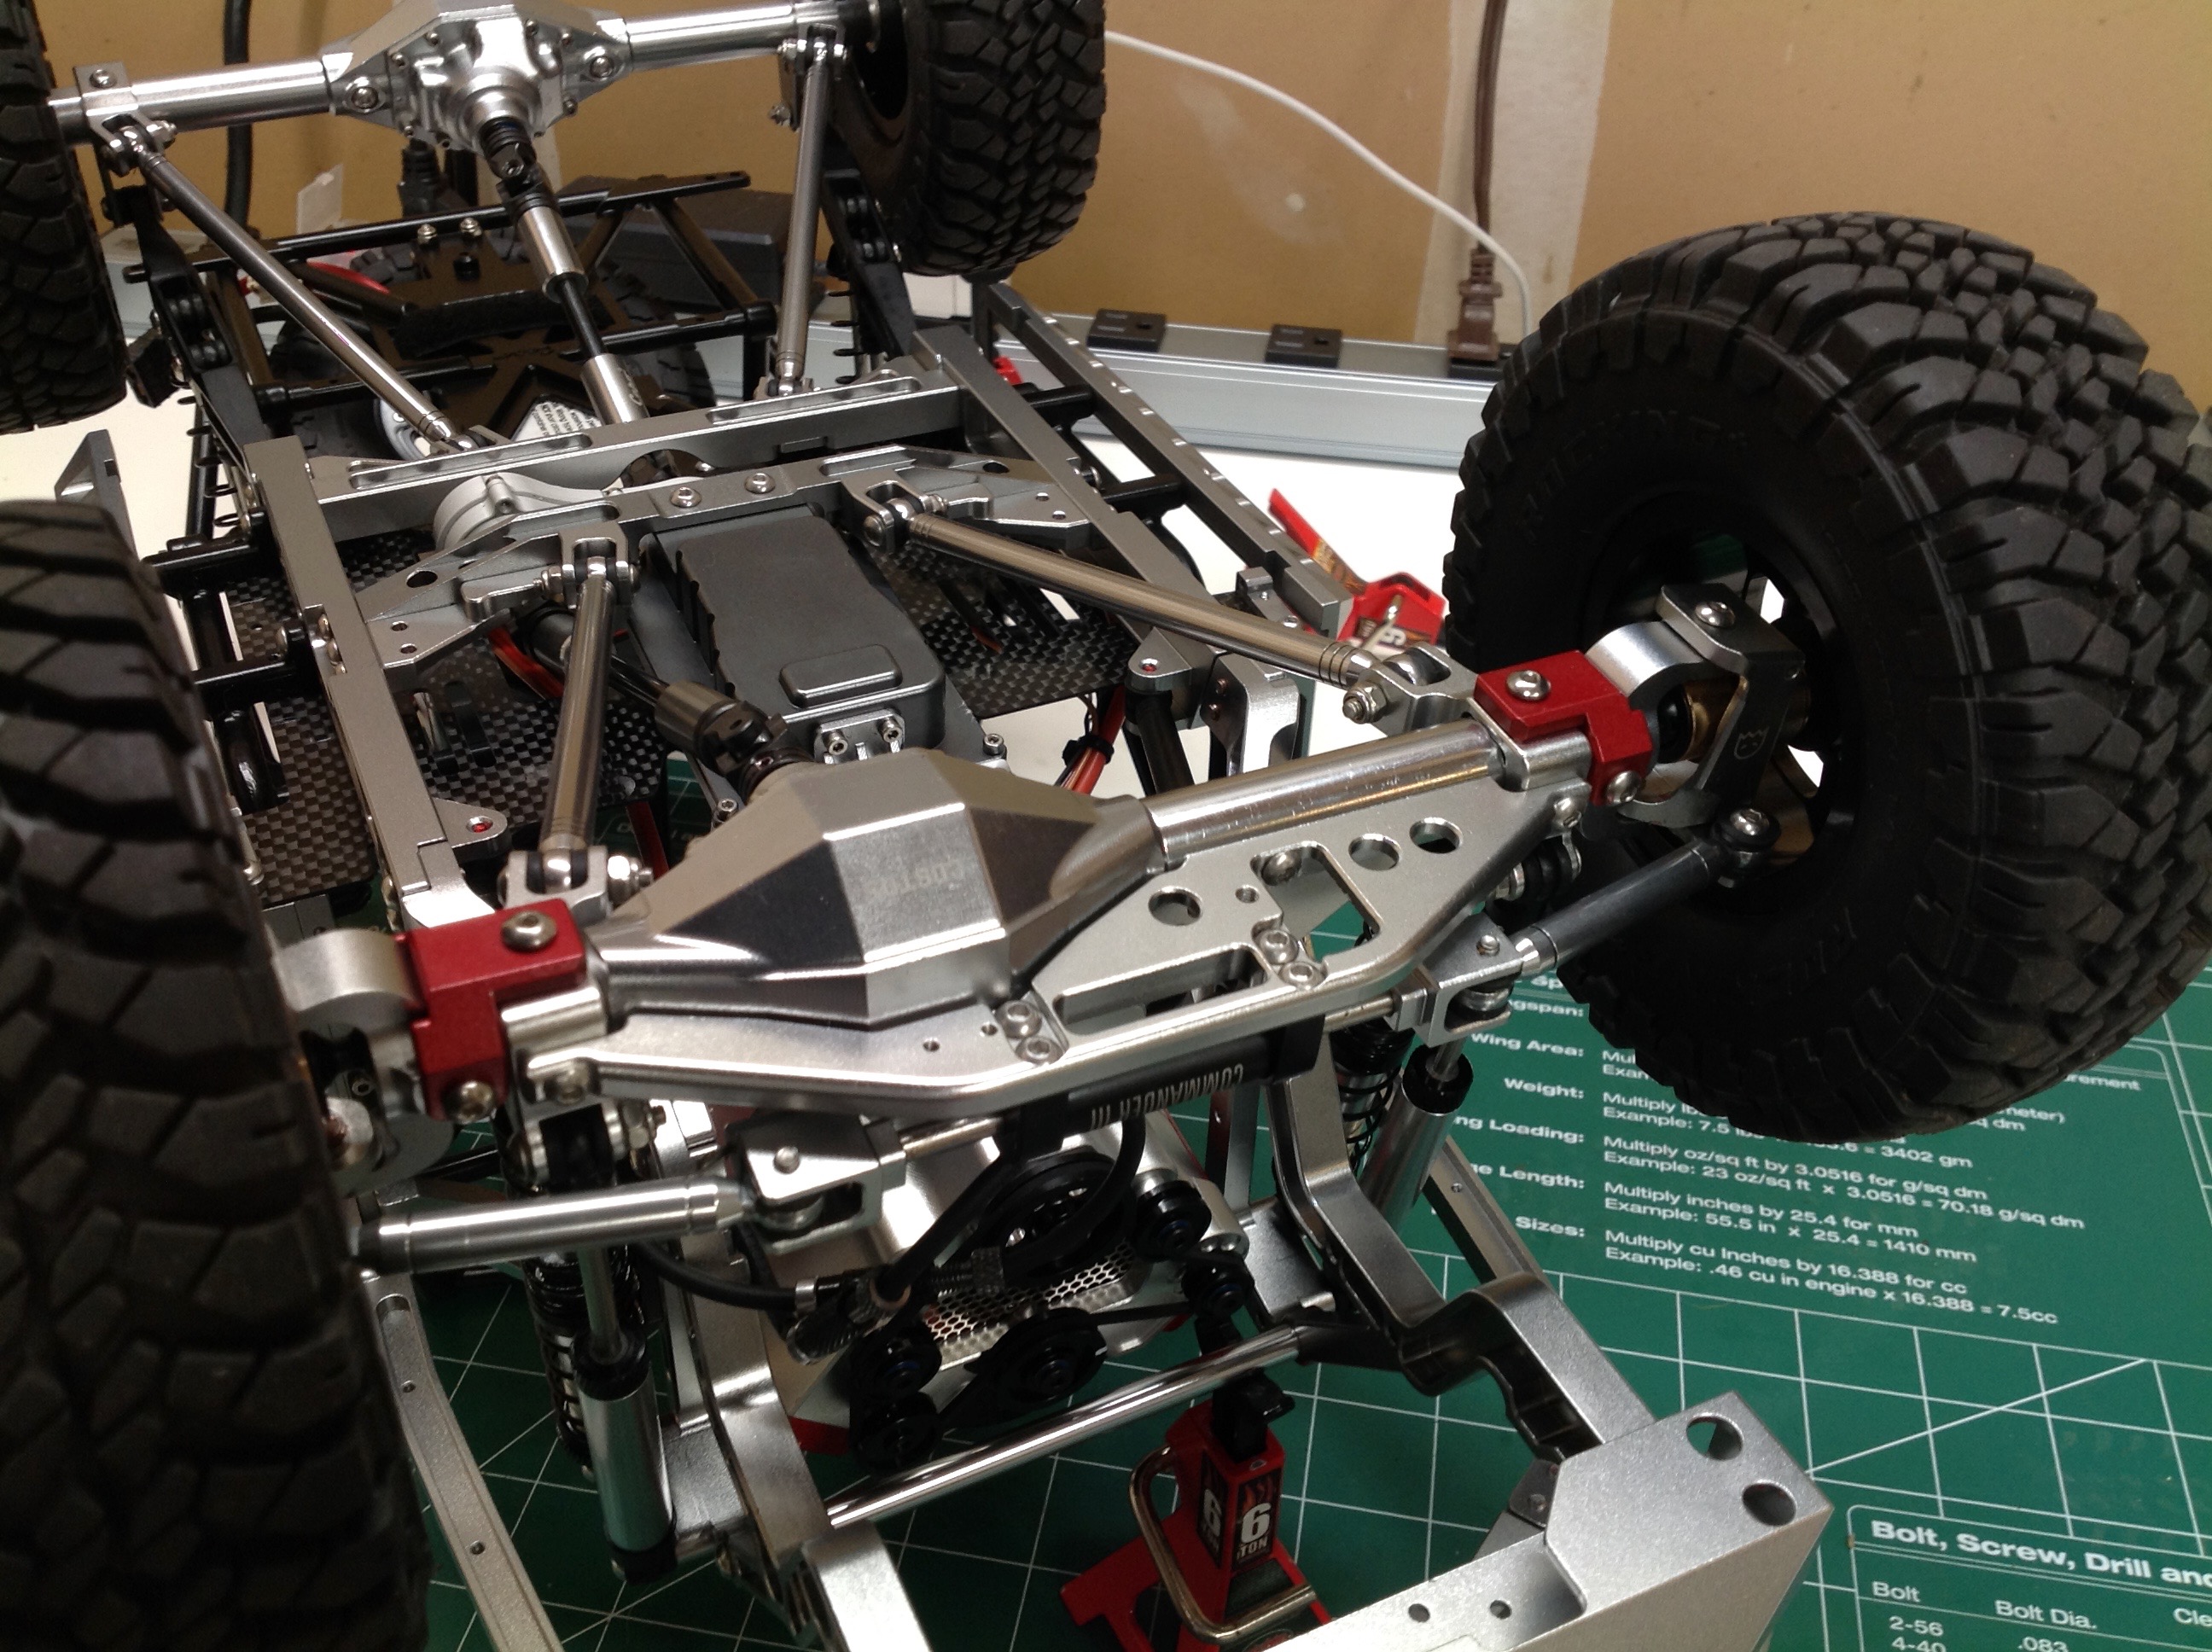
These front brackets are meant to re-enforce the C-hubs. I
decided to paint most of the option parts in body color to make them
stand out and give the chassis some contrast.
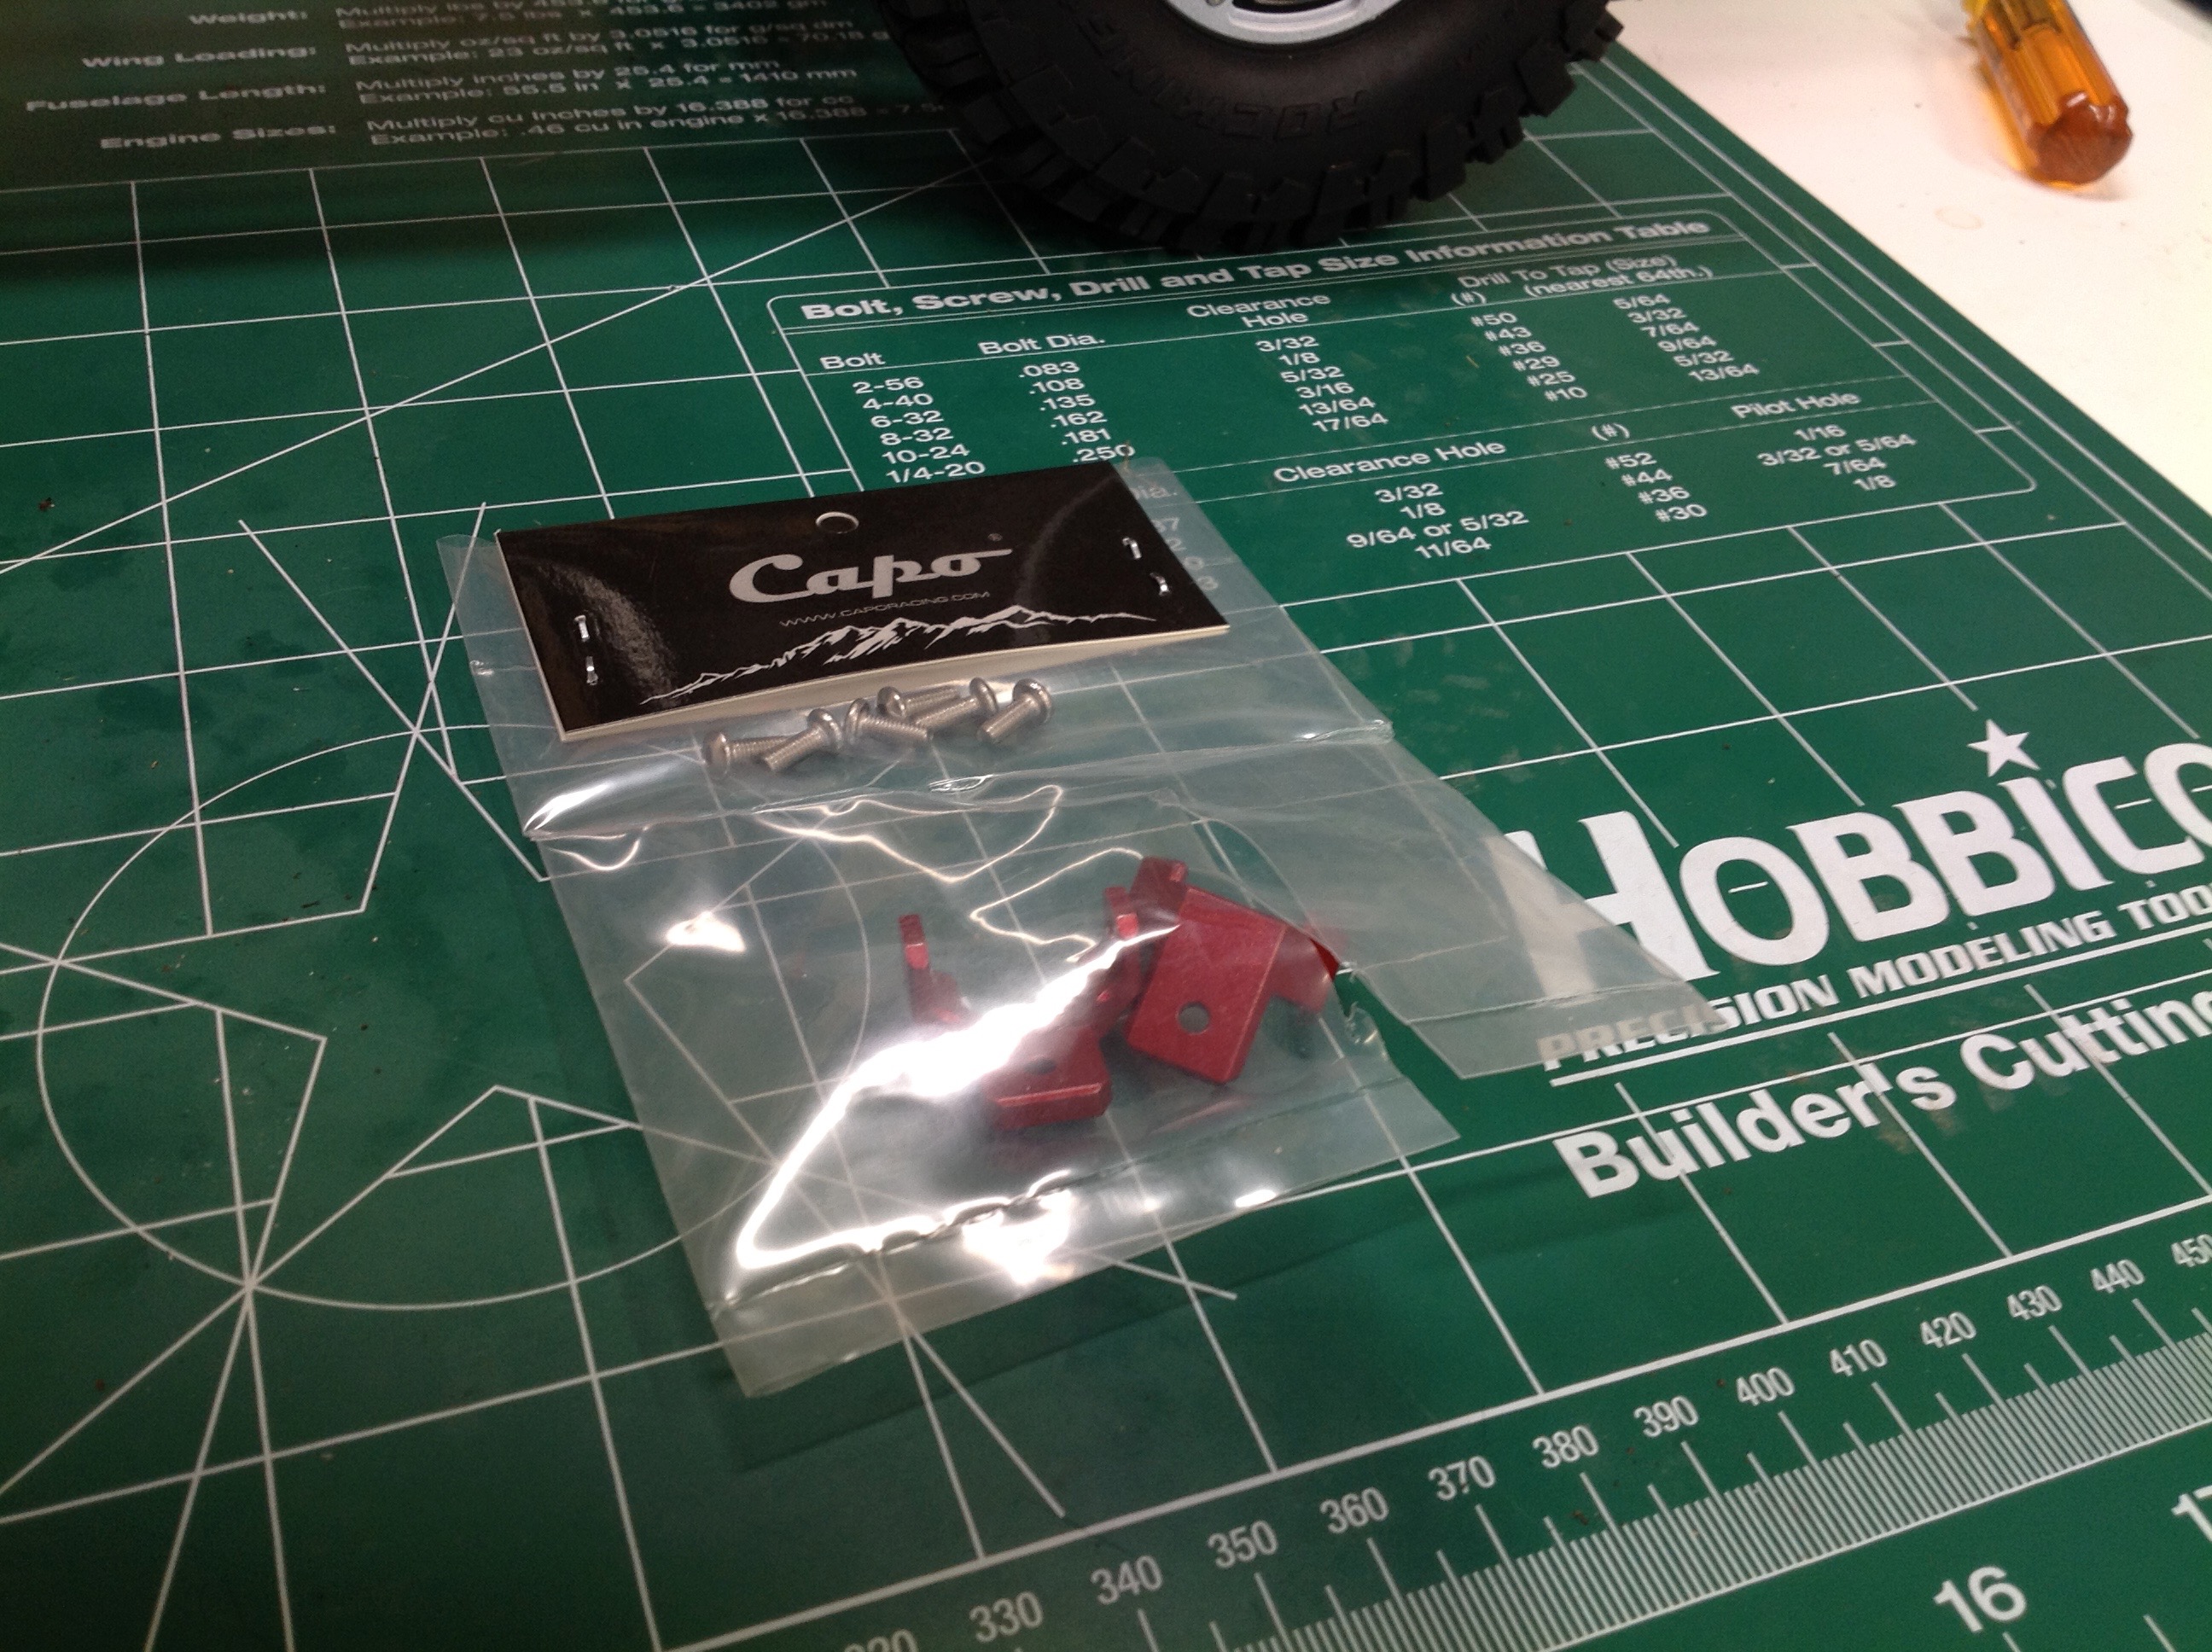
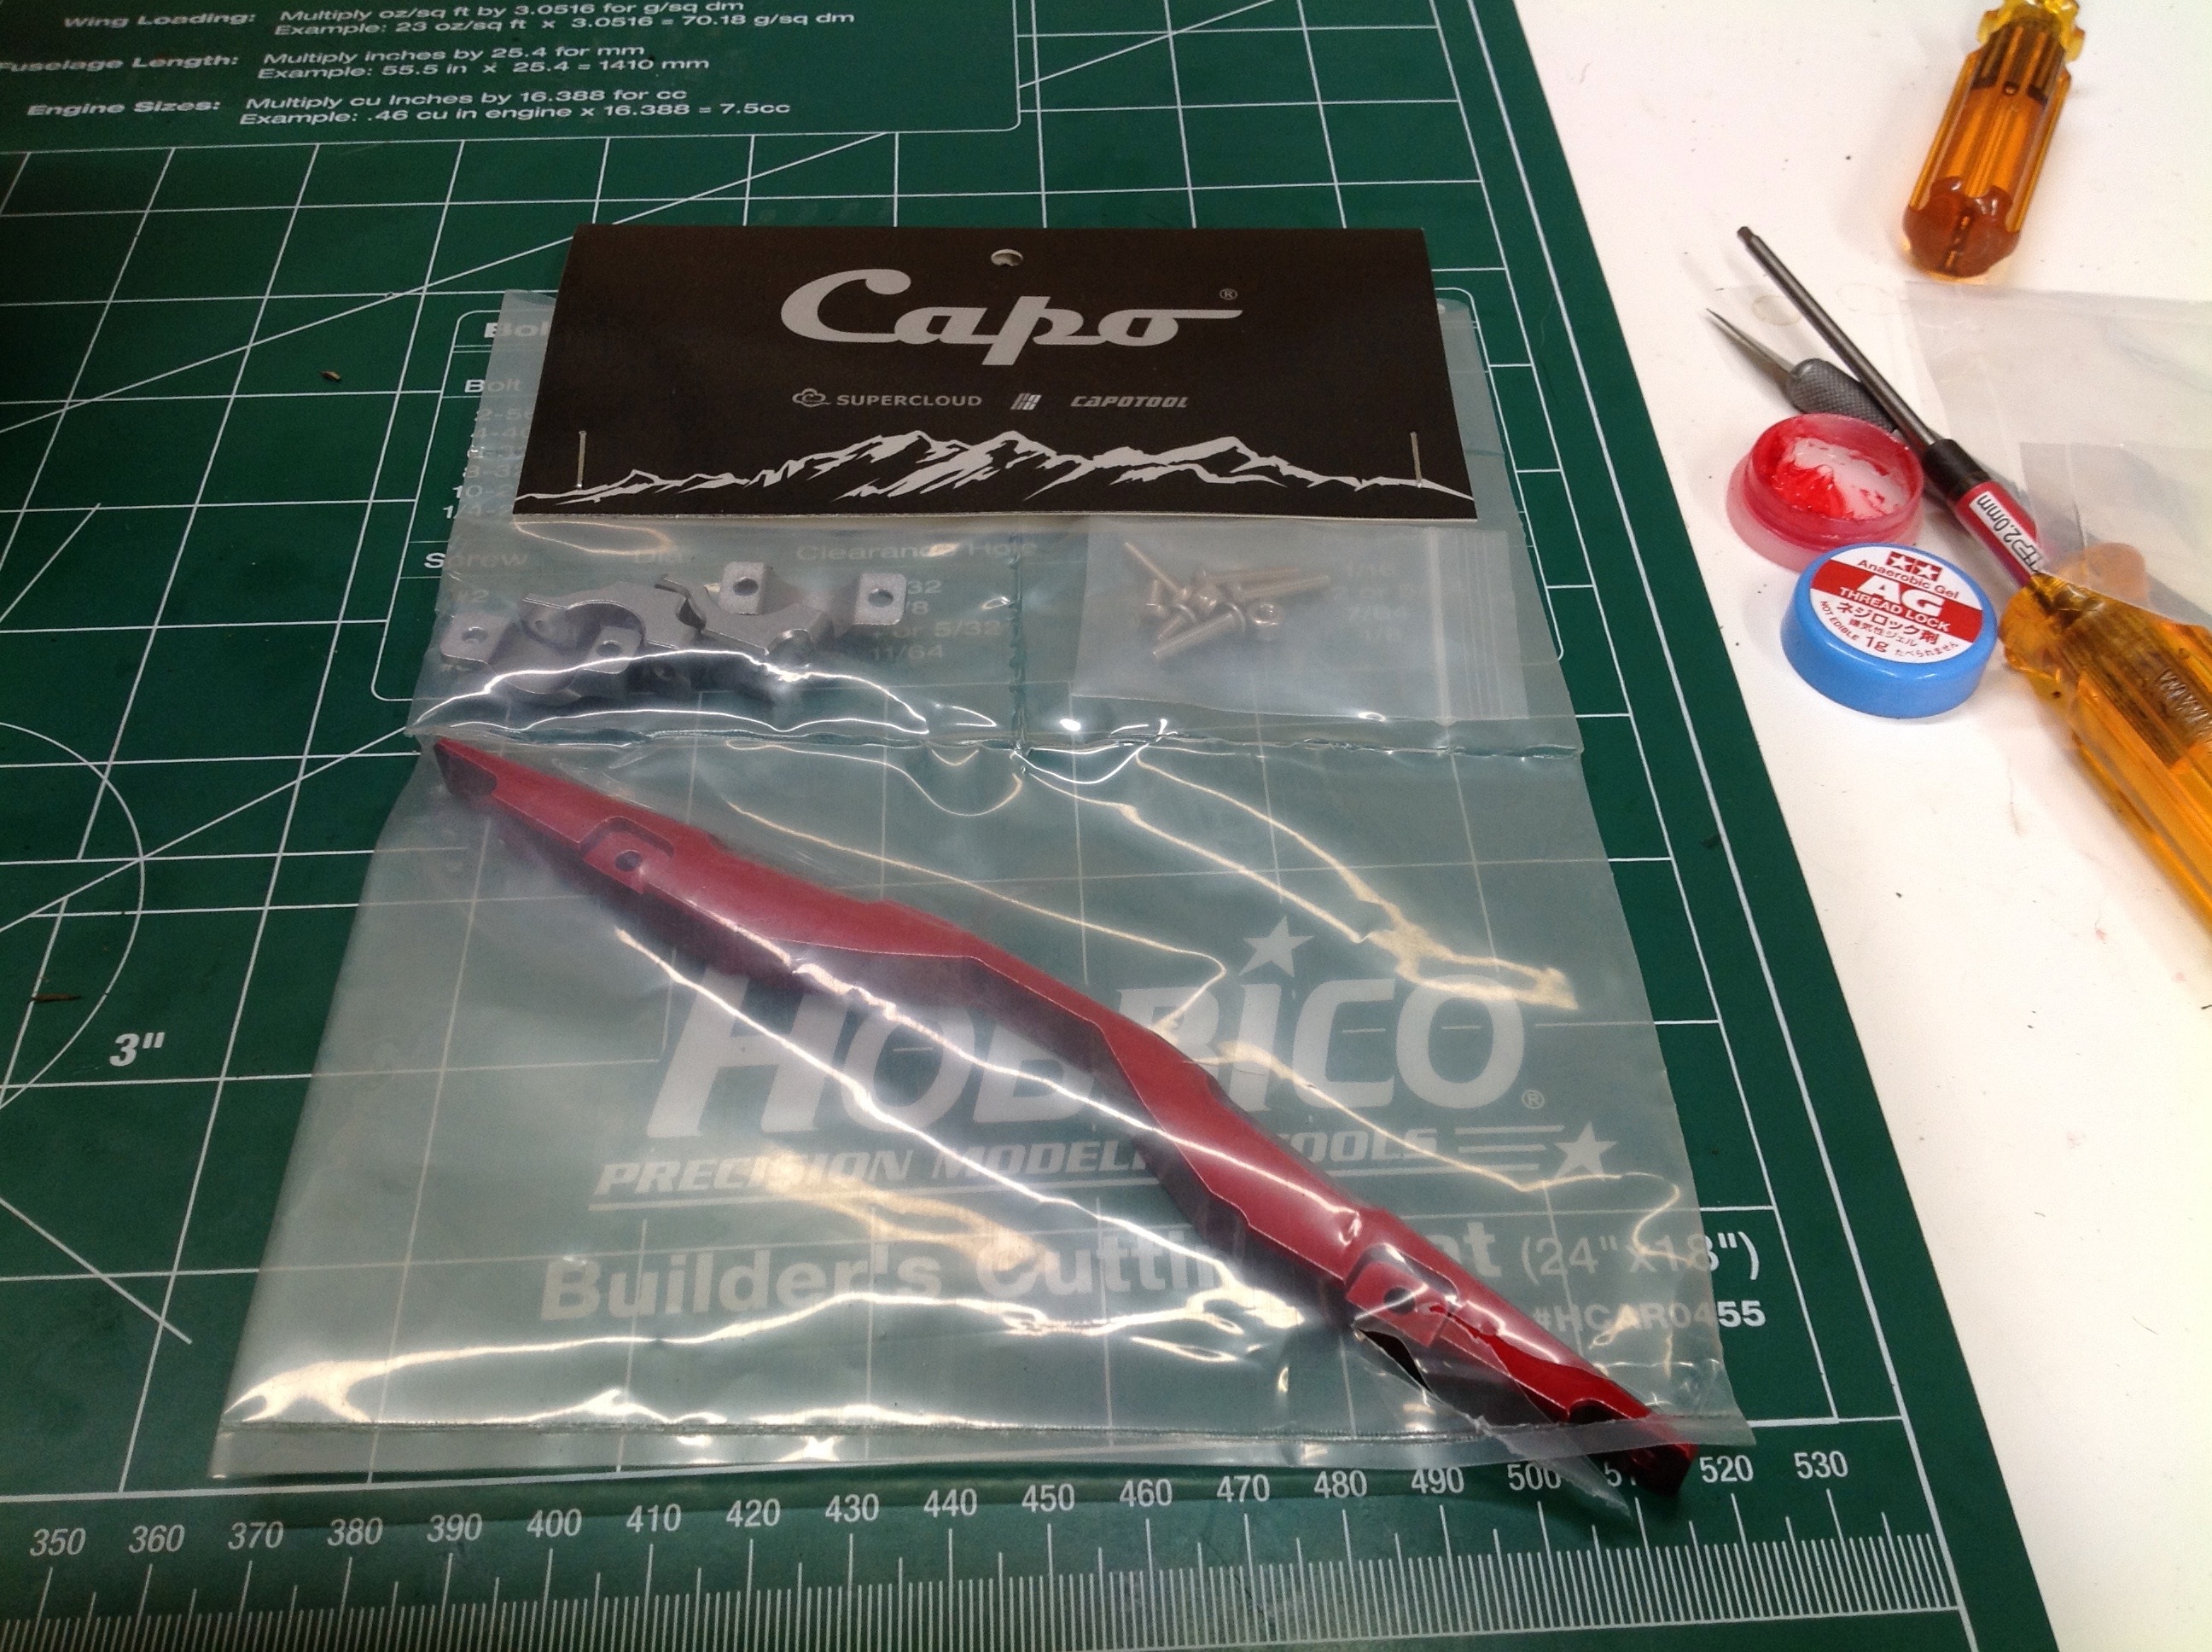
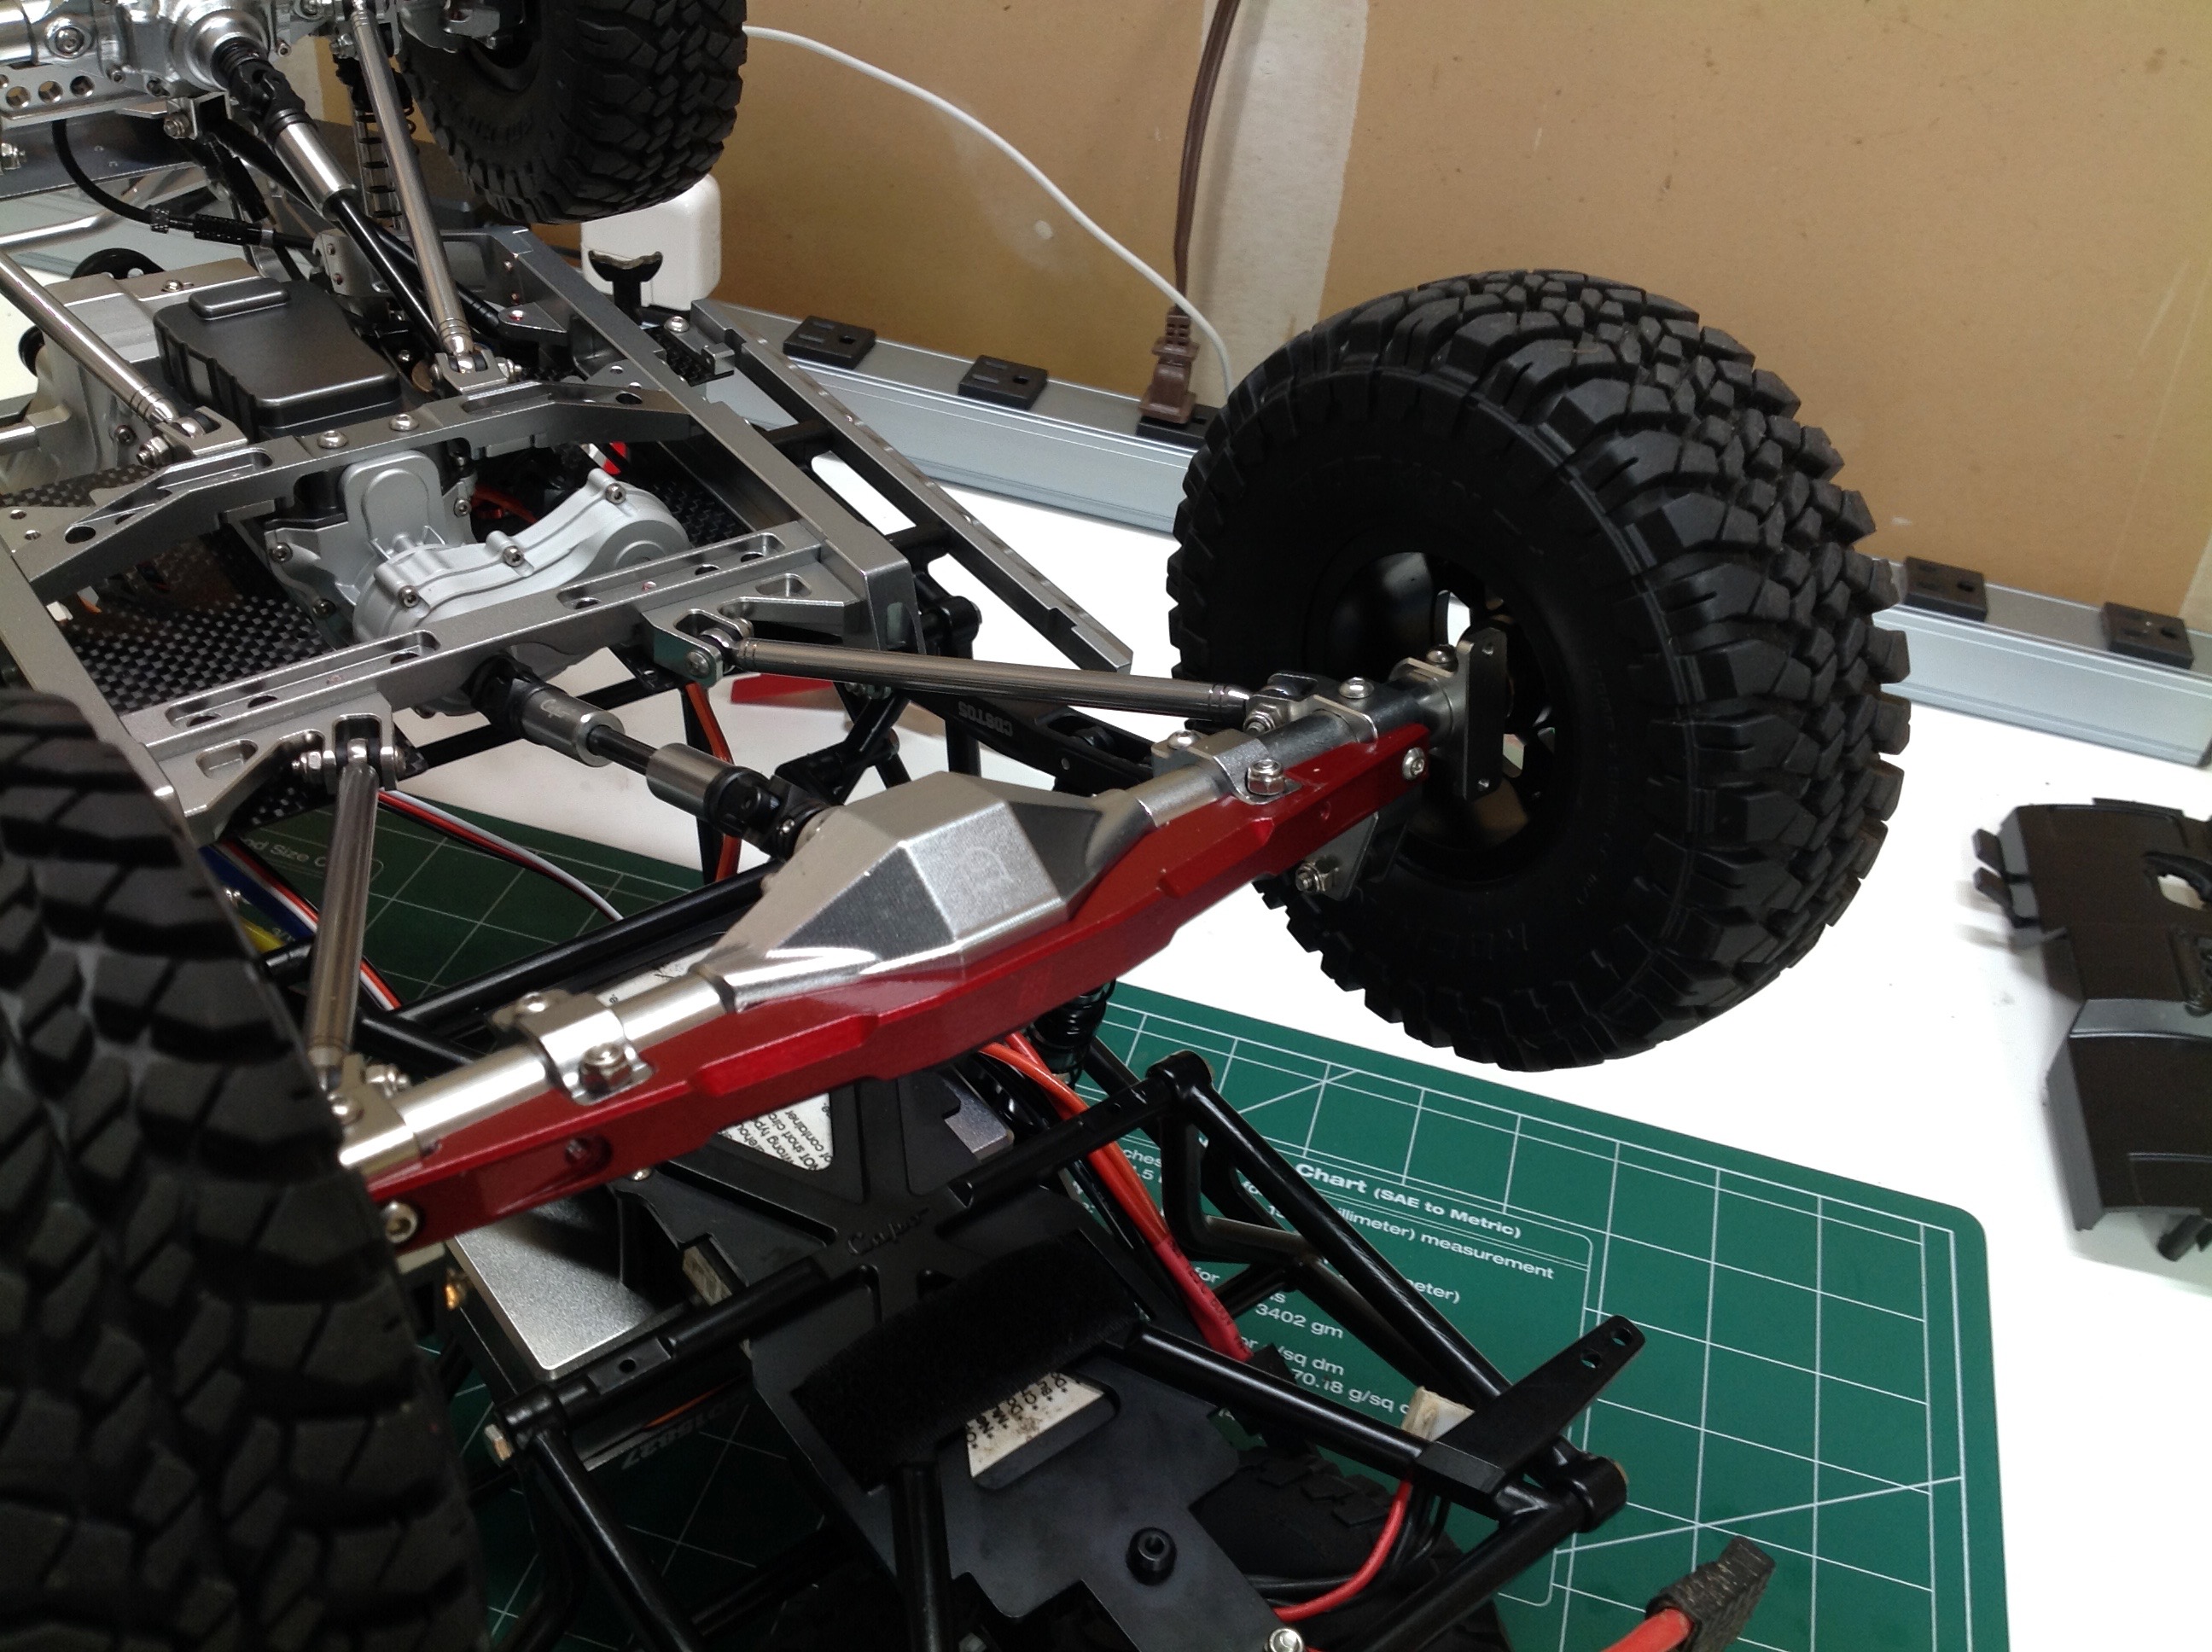
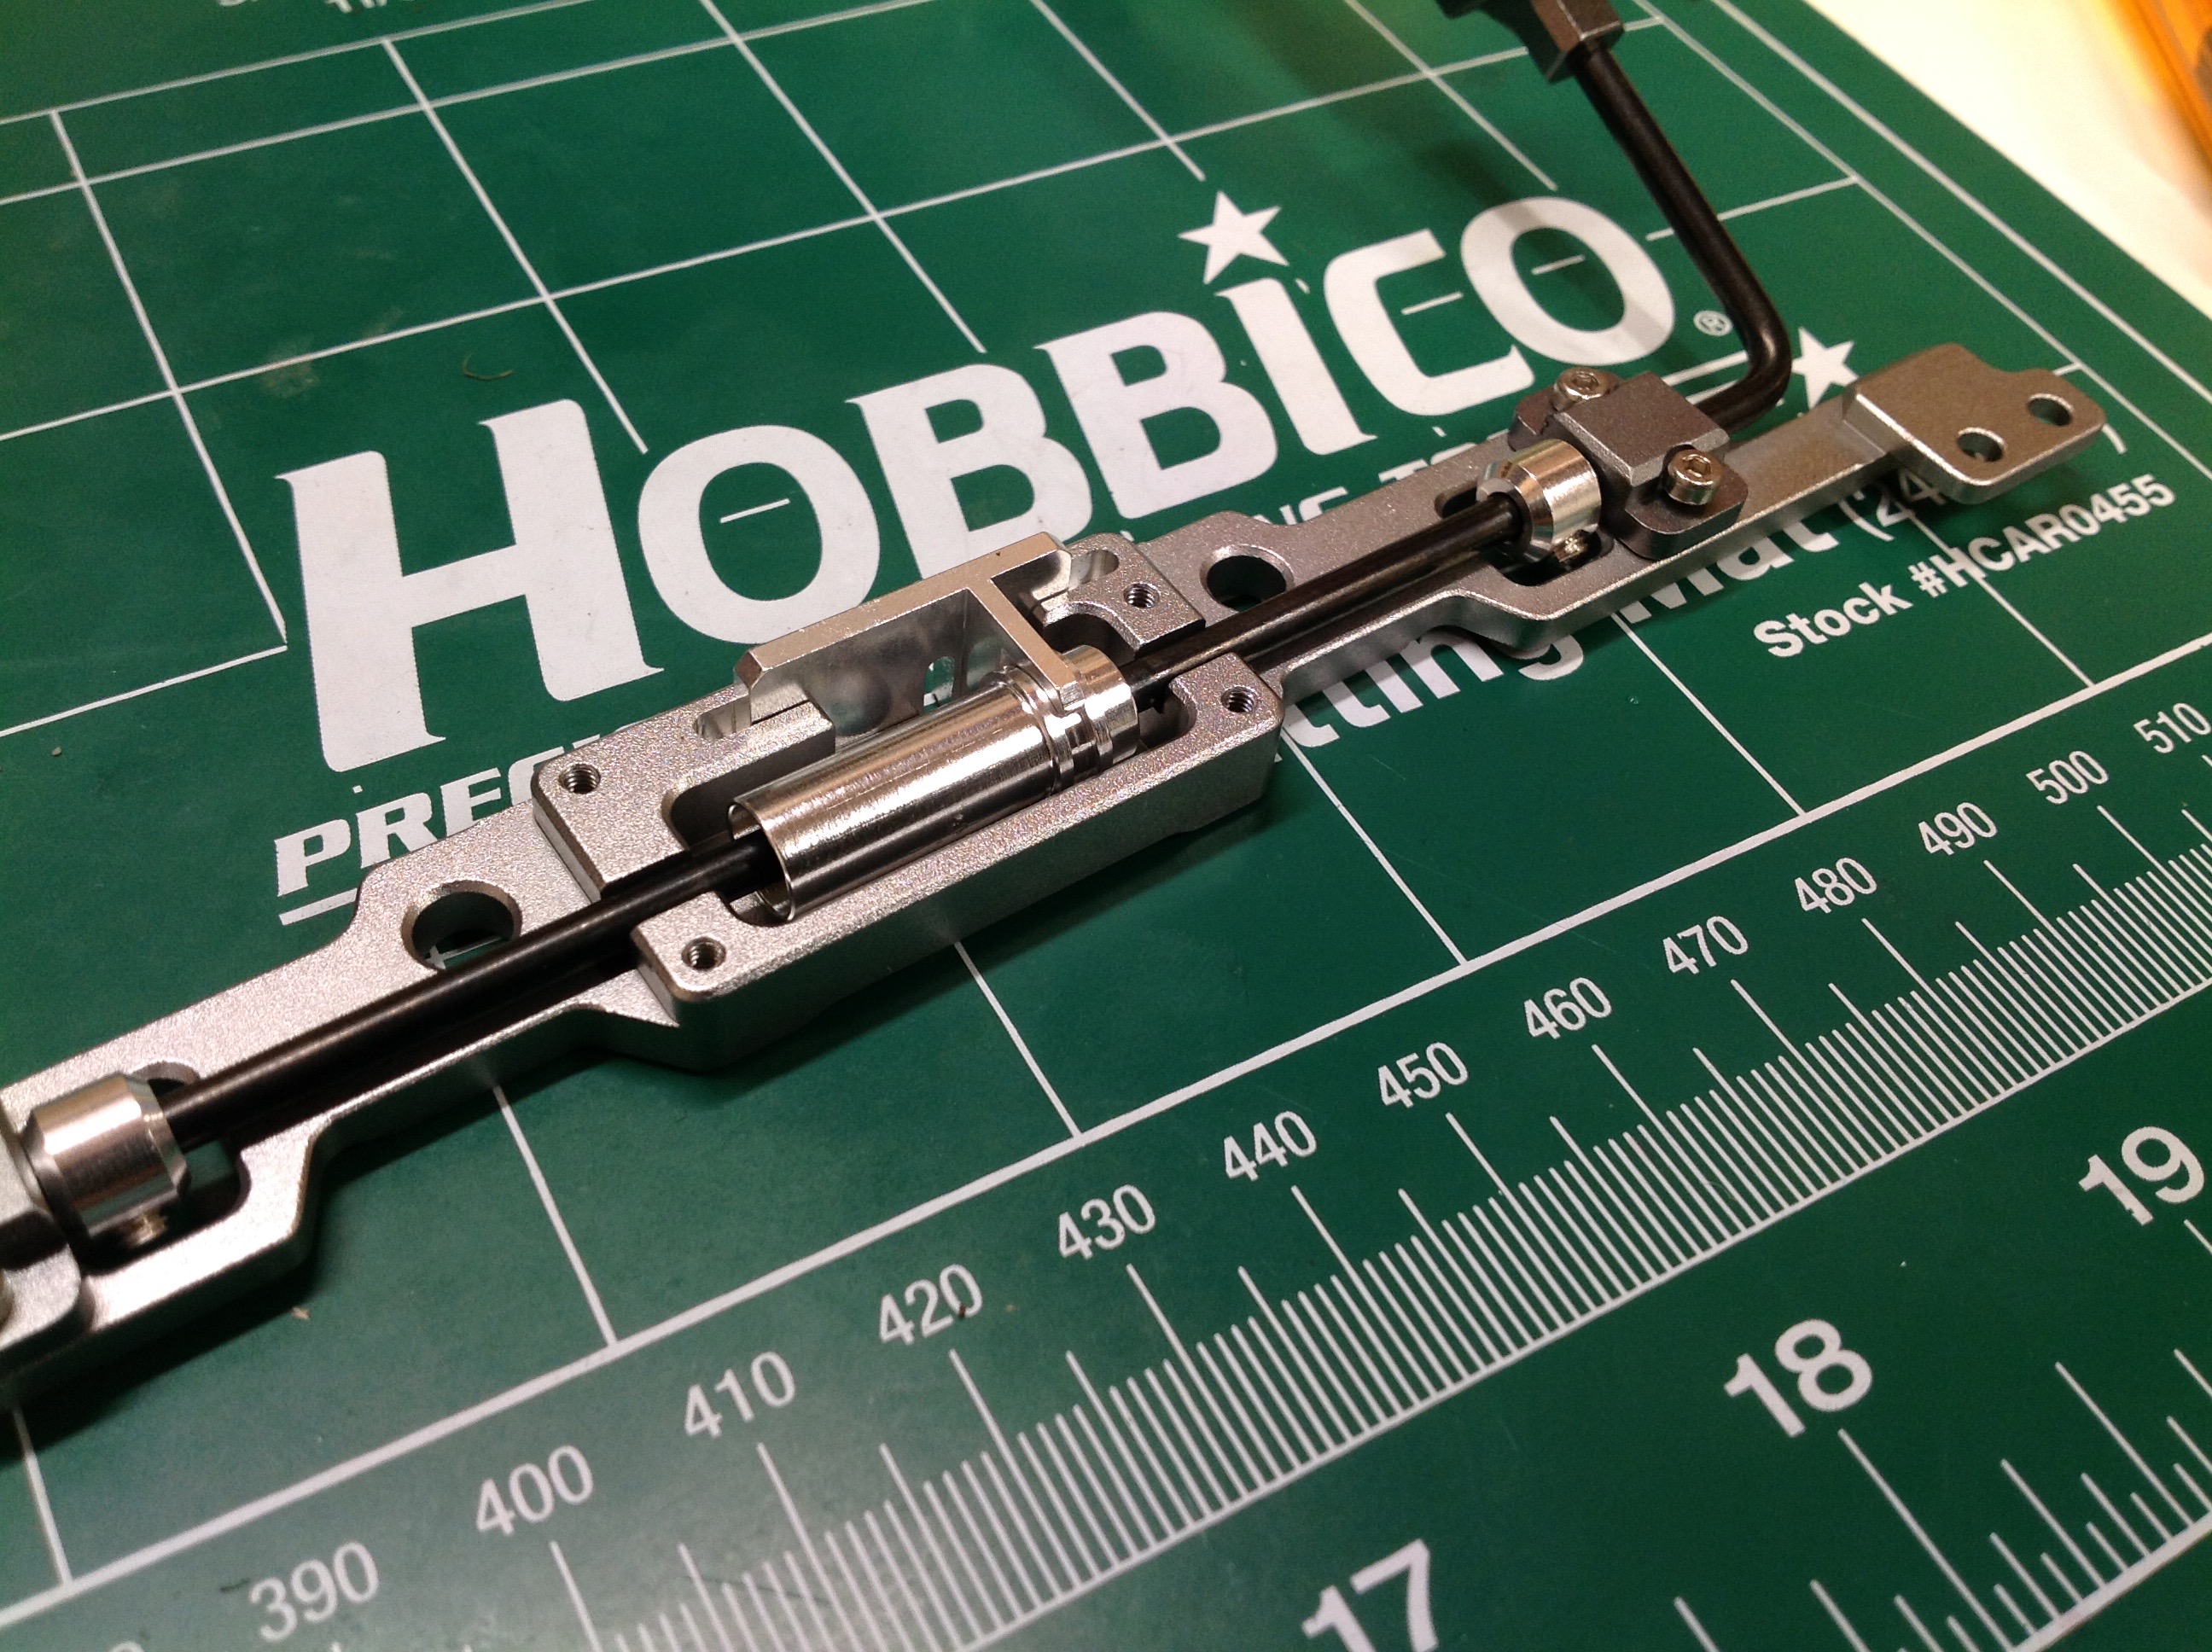
This is a stiffener for the rear axle. The front axle has one from
the factory which is used as the mount for the "Commander"
steering. This rear unit will also serve as the mount point for
the sway bar links.
These are bumps stops which prevent the rear axle from hitting the frame
at extreme suspension compression. Each is a stiff spring loaded
metal can. The outer portion of the can is only clamped by
friction so a big enough impact will not only compress the piston but slide the
whole can back.
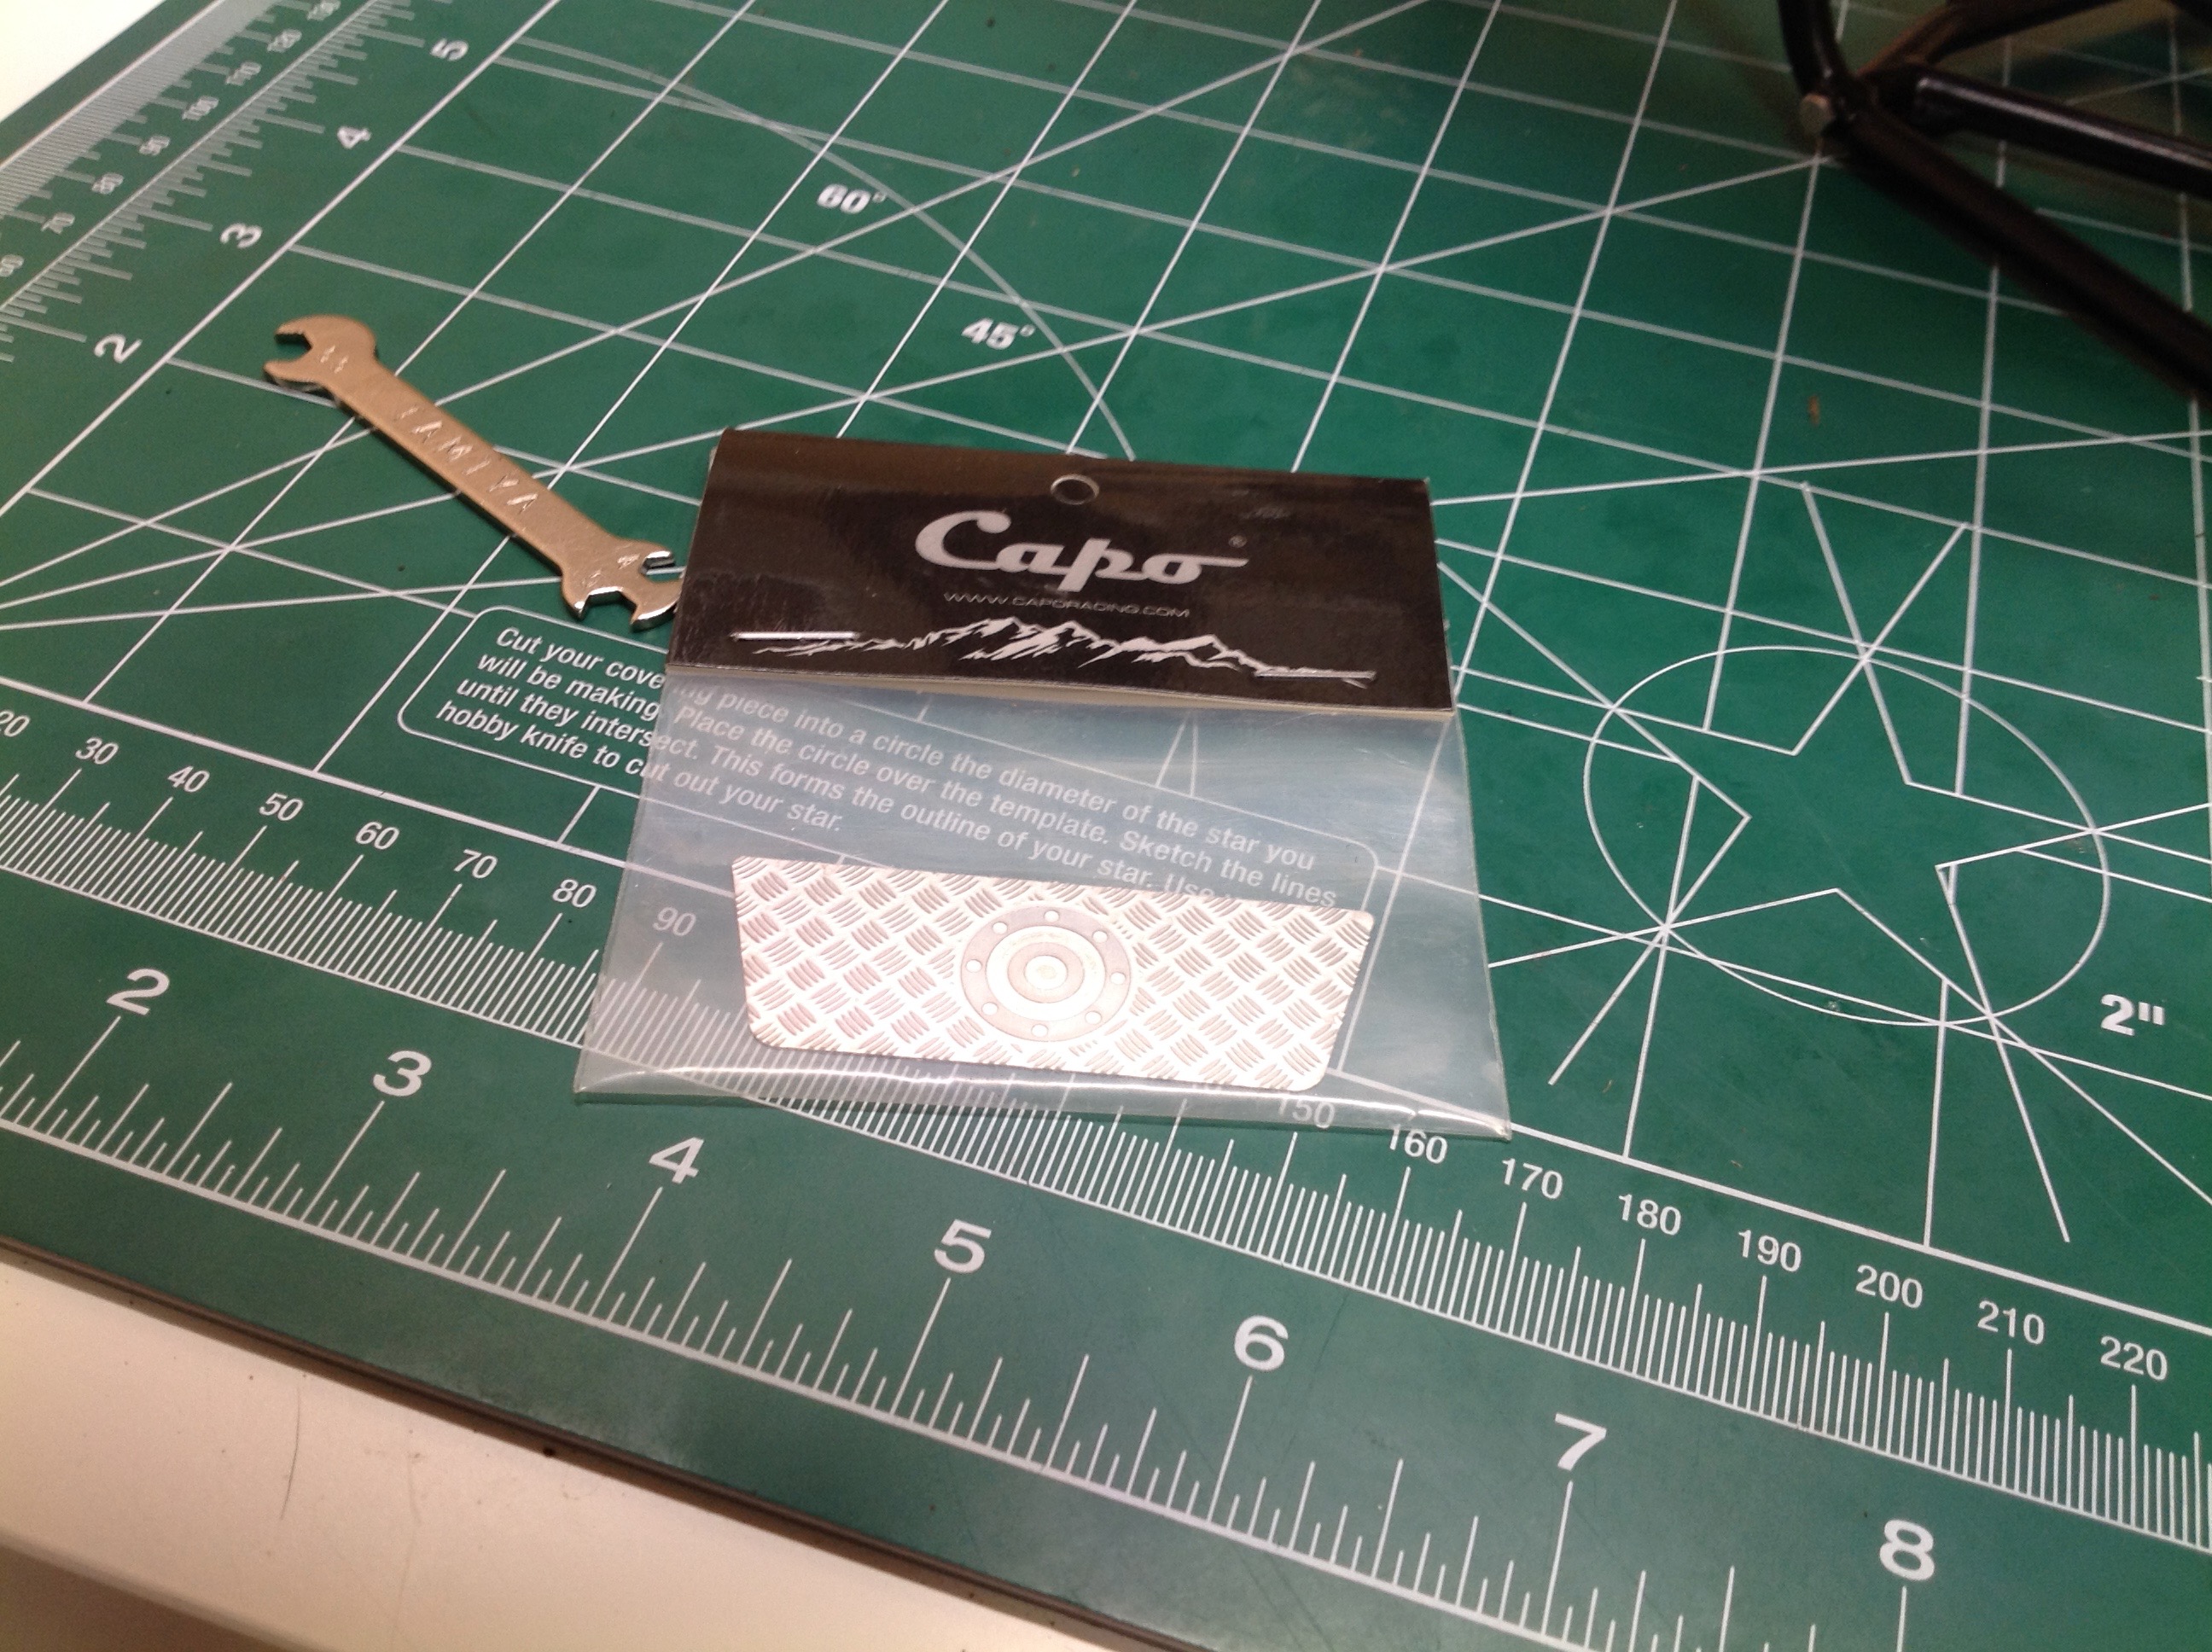
The simplest upgrade of all is this etched panel for the fuel
cell. It just sticks on with double sided tape and adds a bit of
detail.
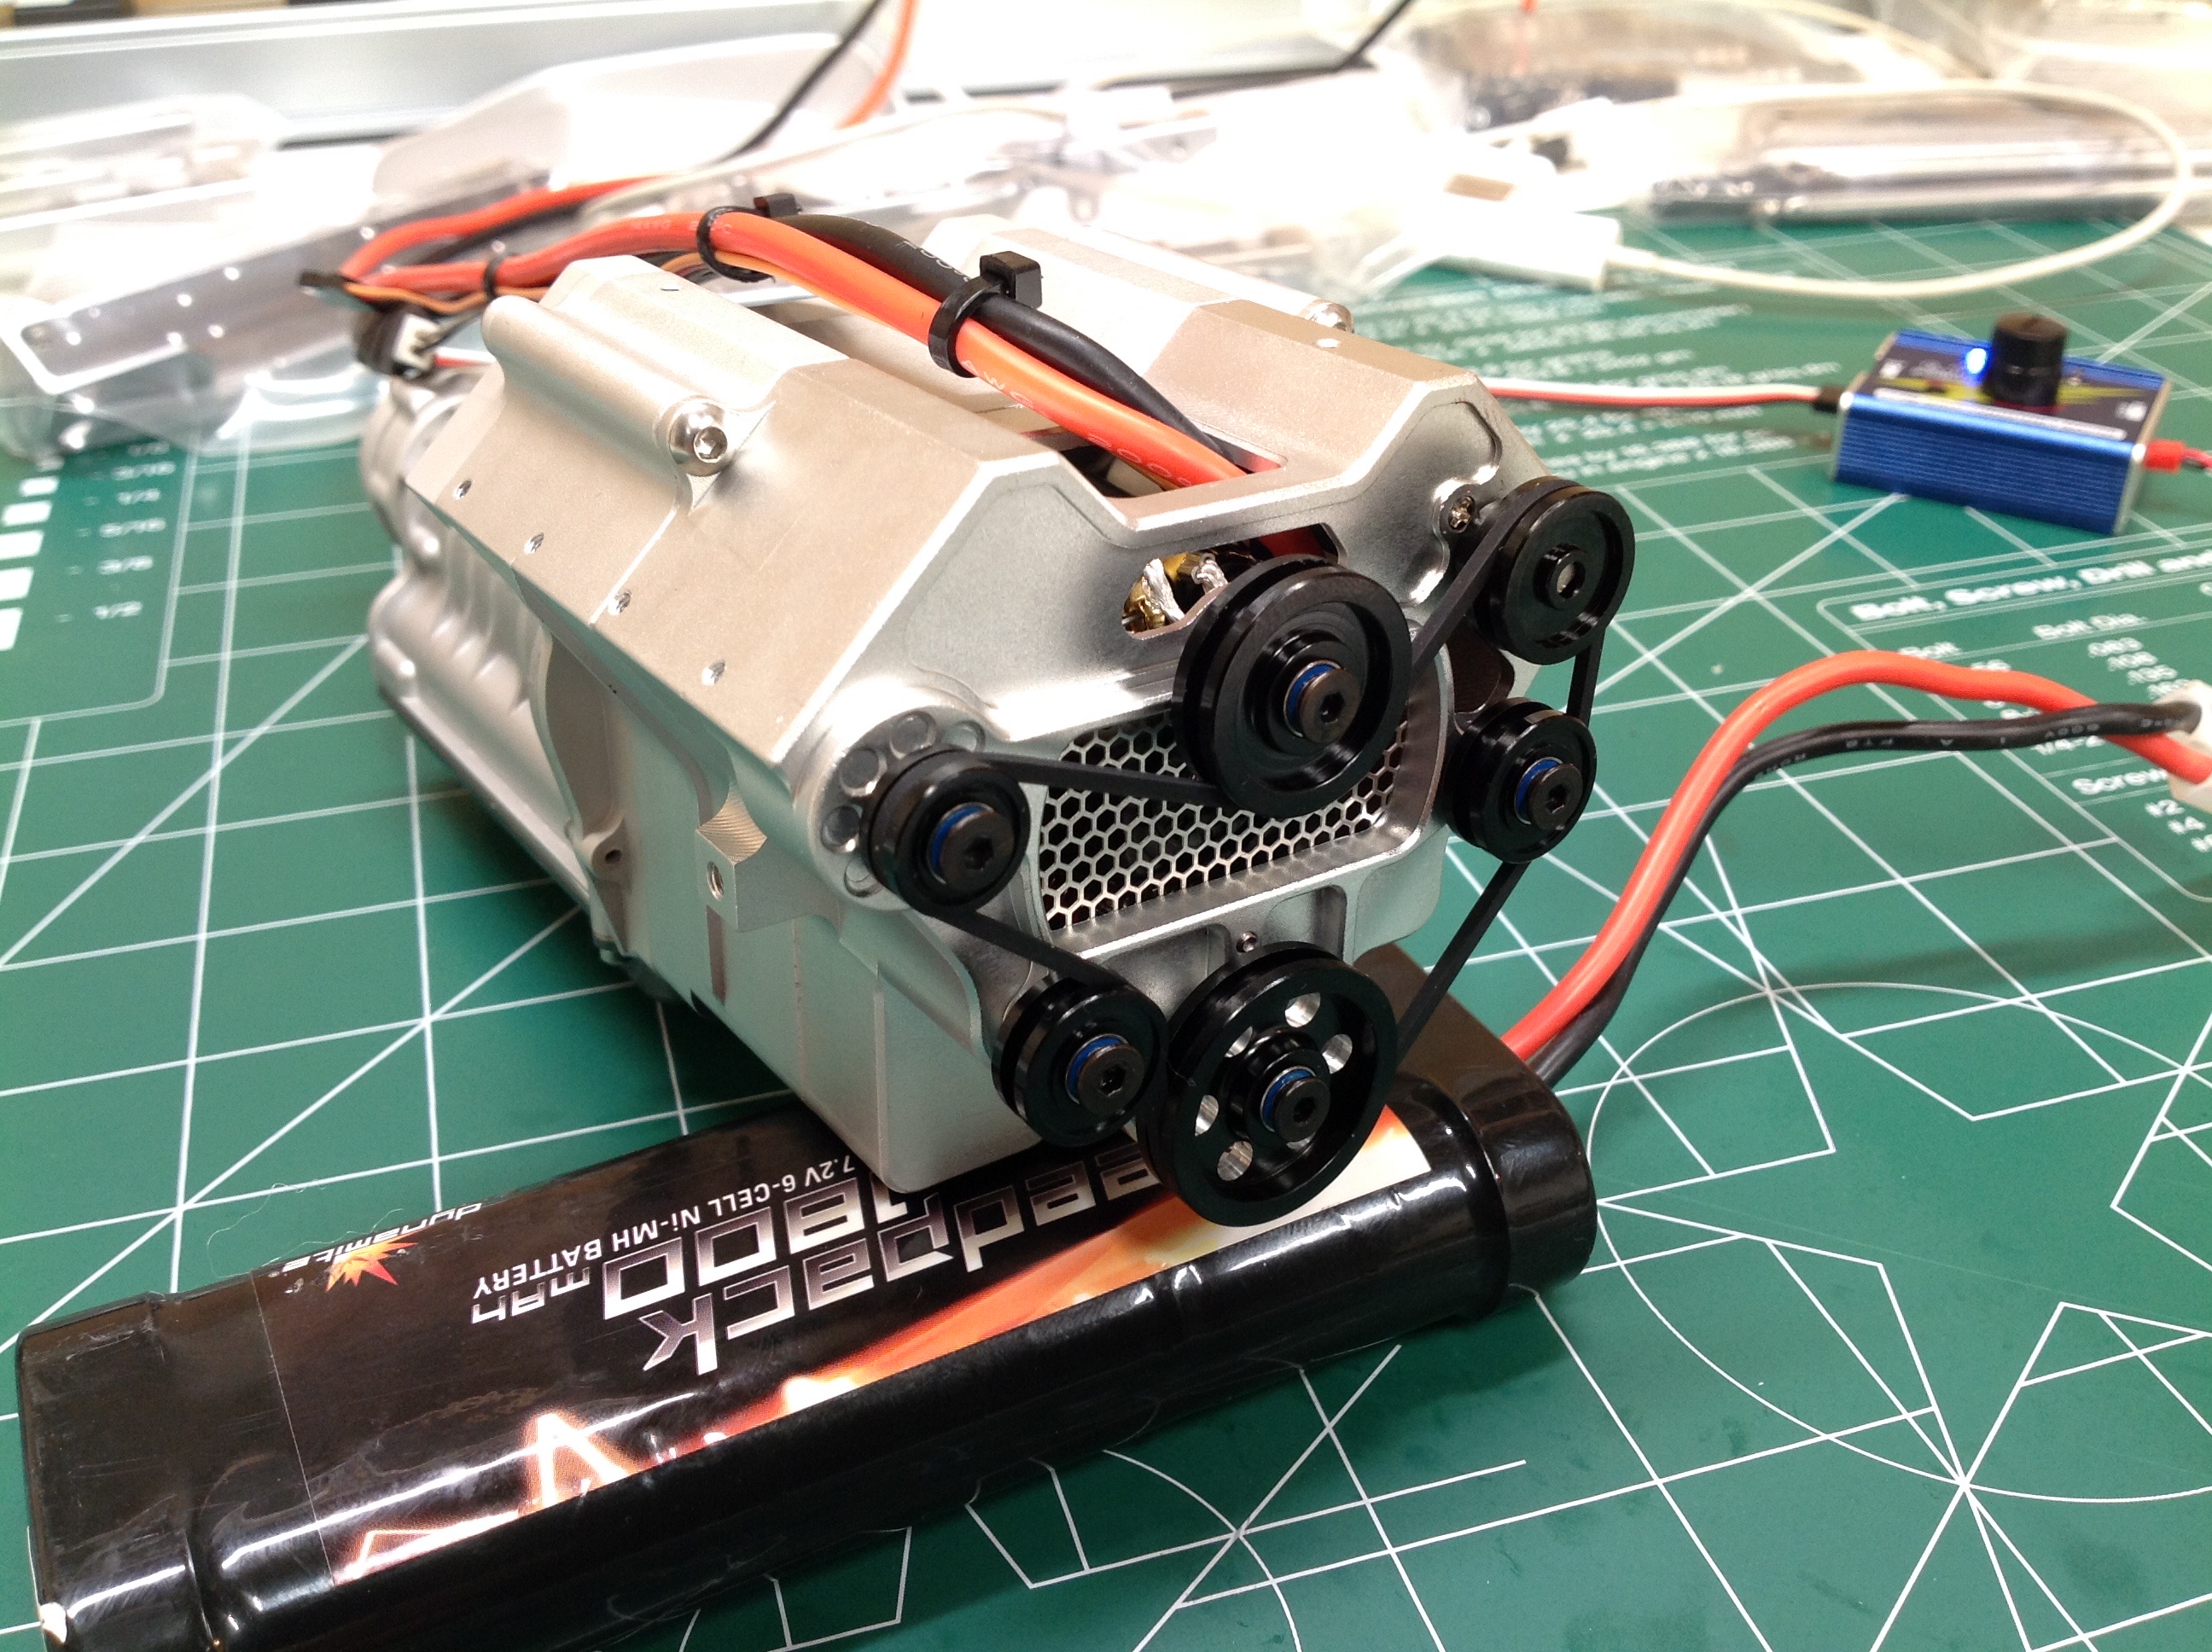
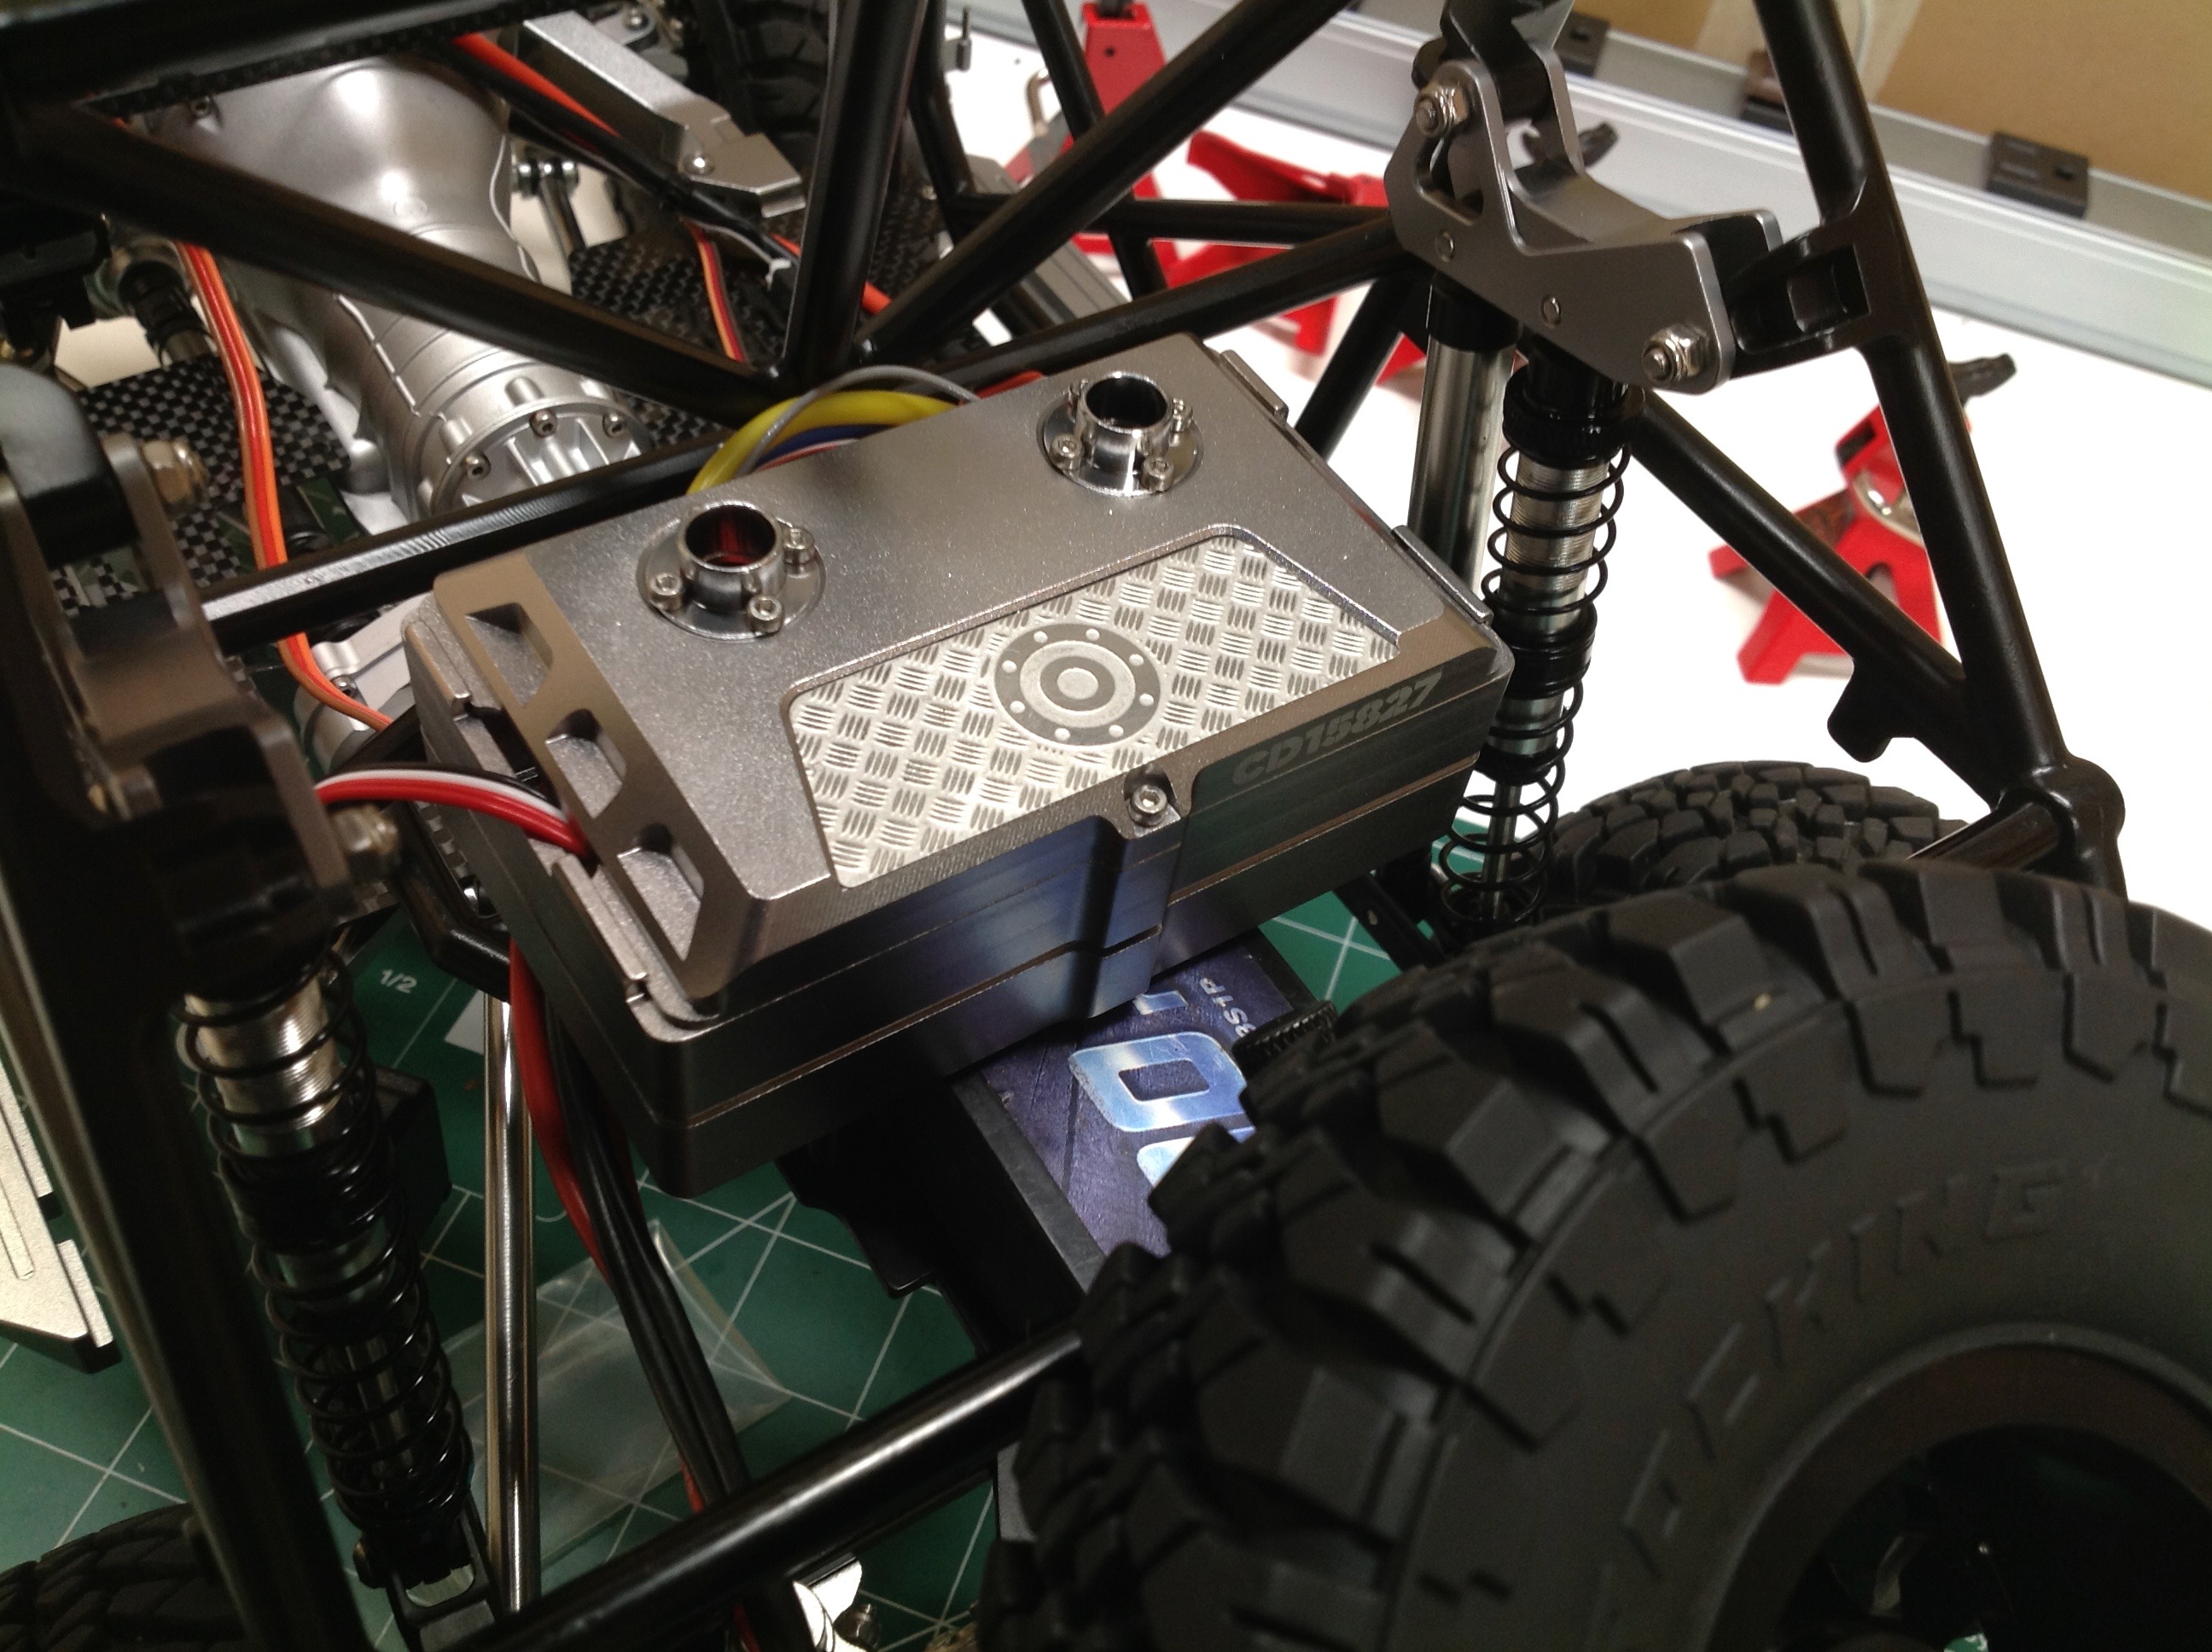
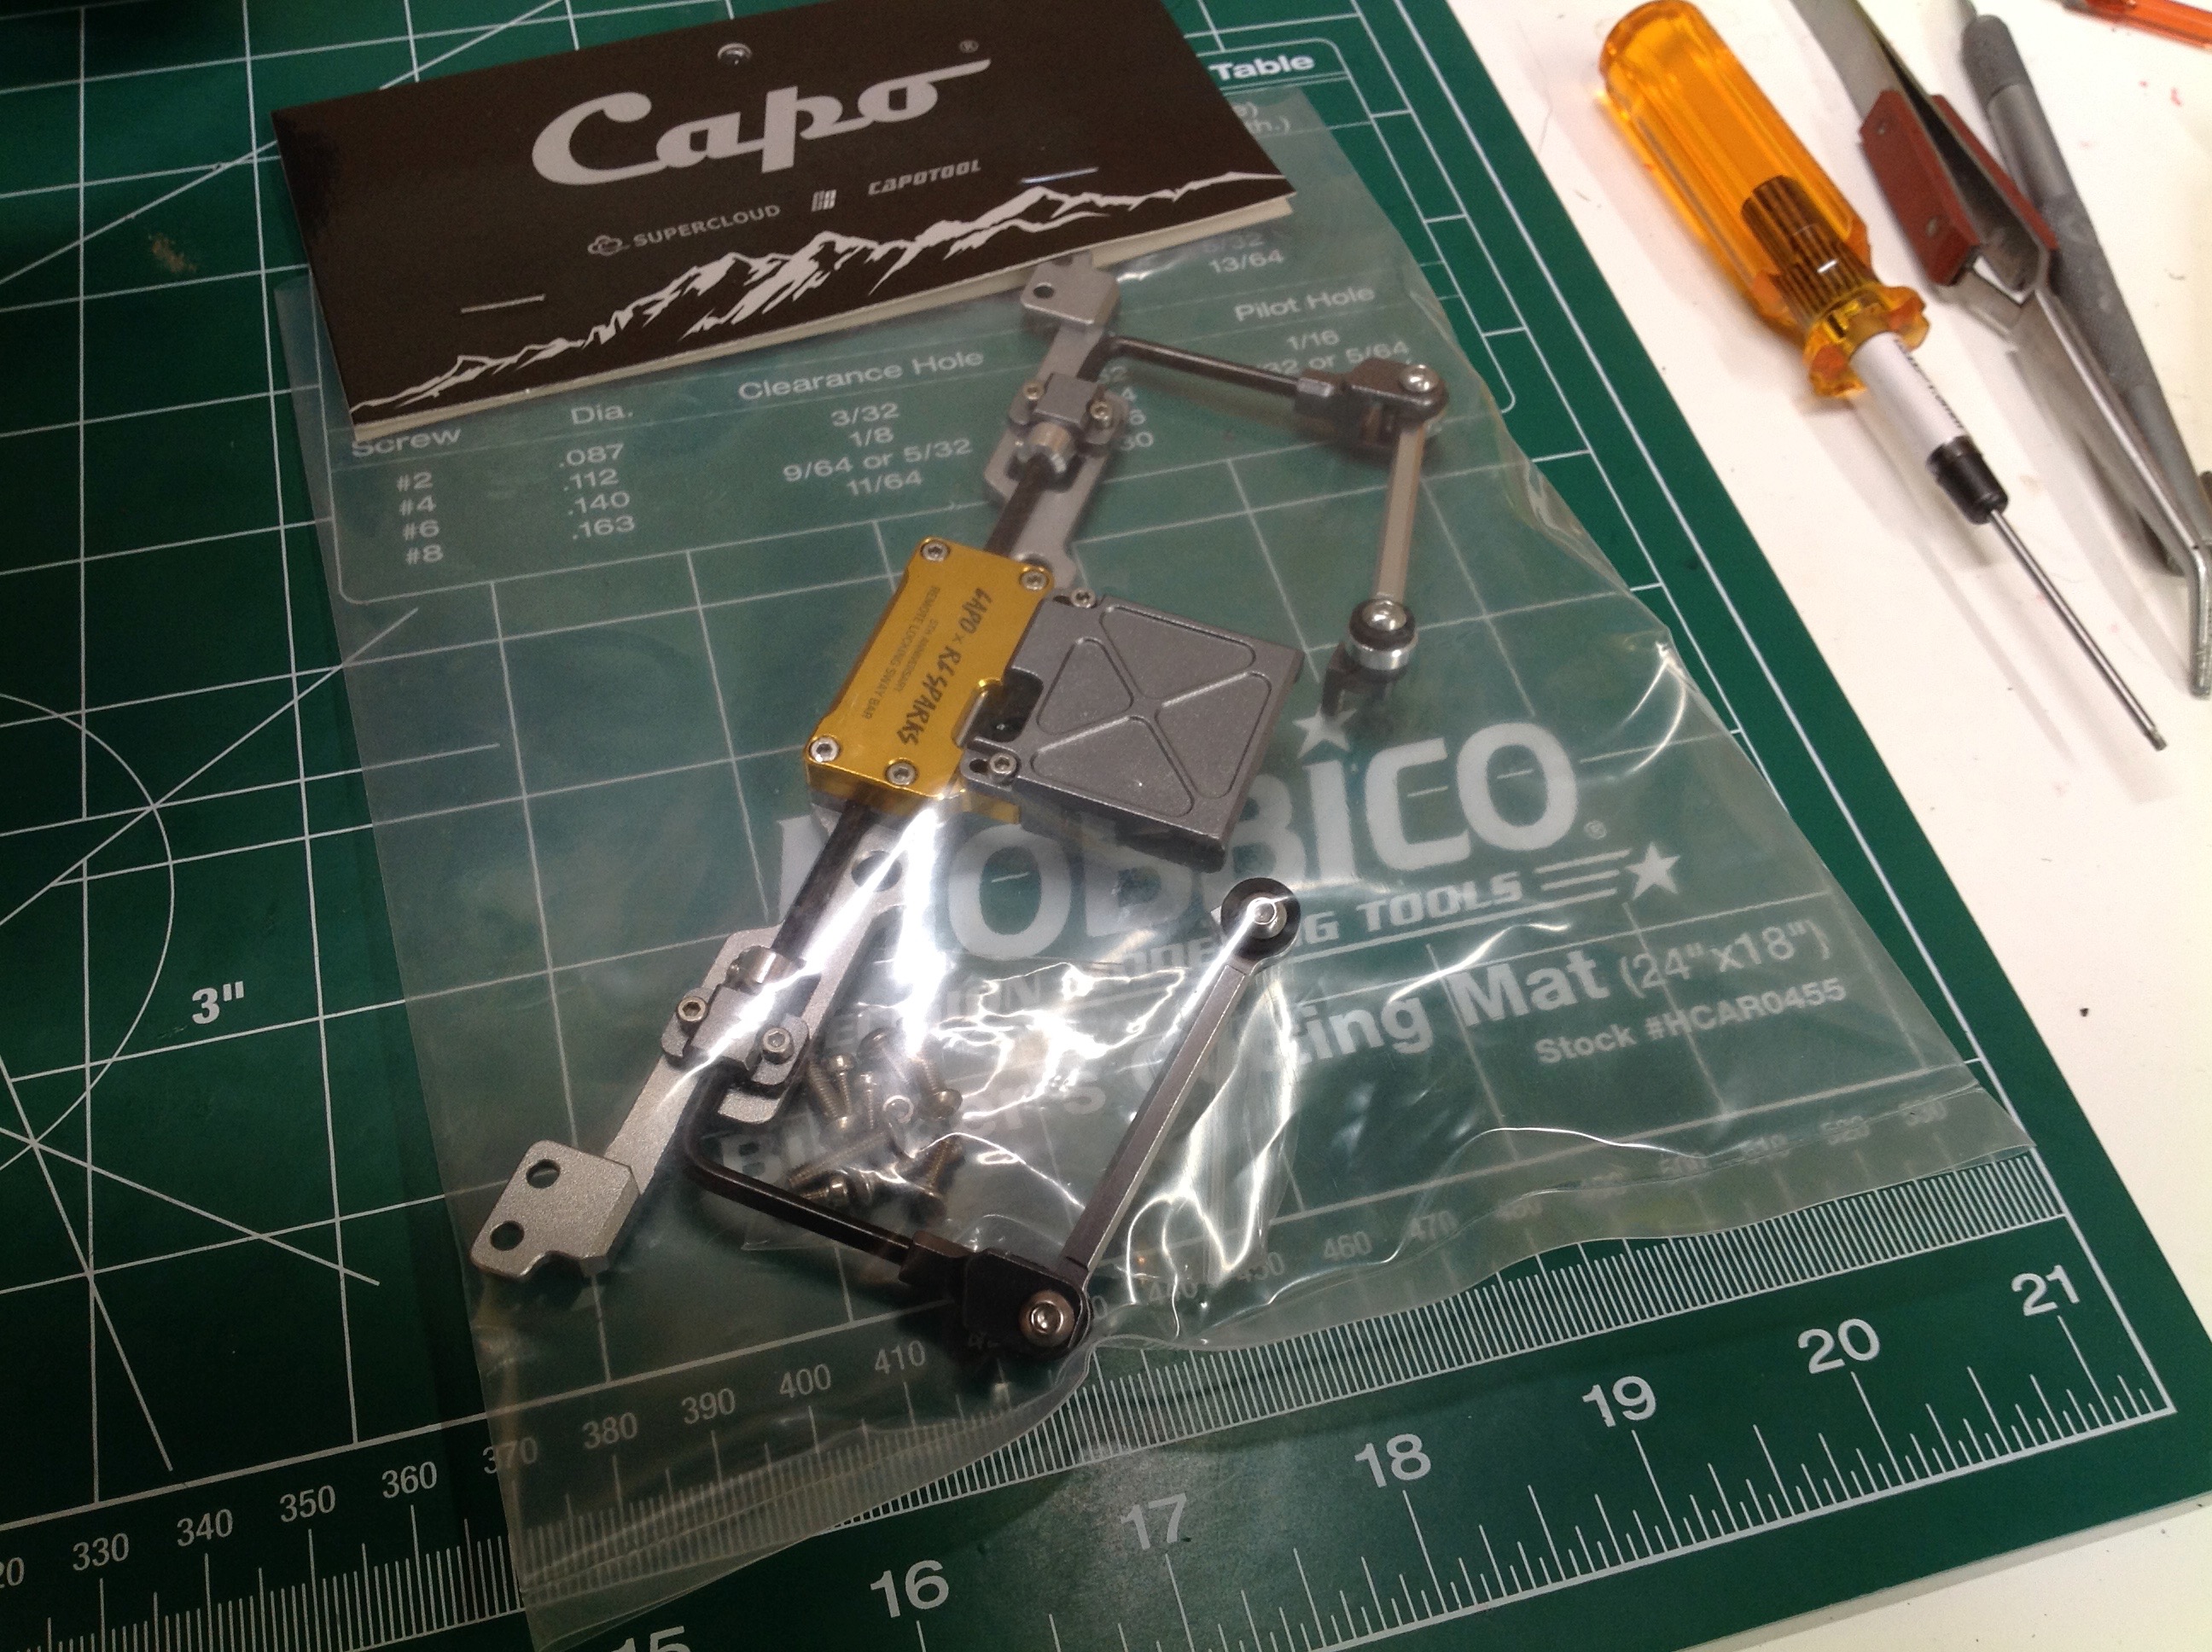
The most innovative accessory is this remote locking sway bar kit.
The picture on the right shows how it works. The left and right
bars are separate parts. The collar in the middle can either link
them together or let them move independently depending on which
direction it is translated.
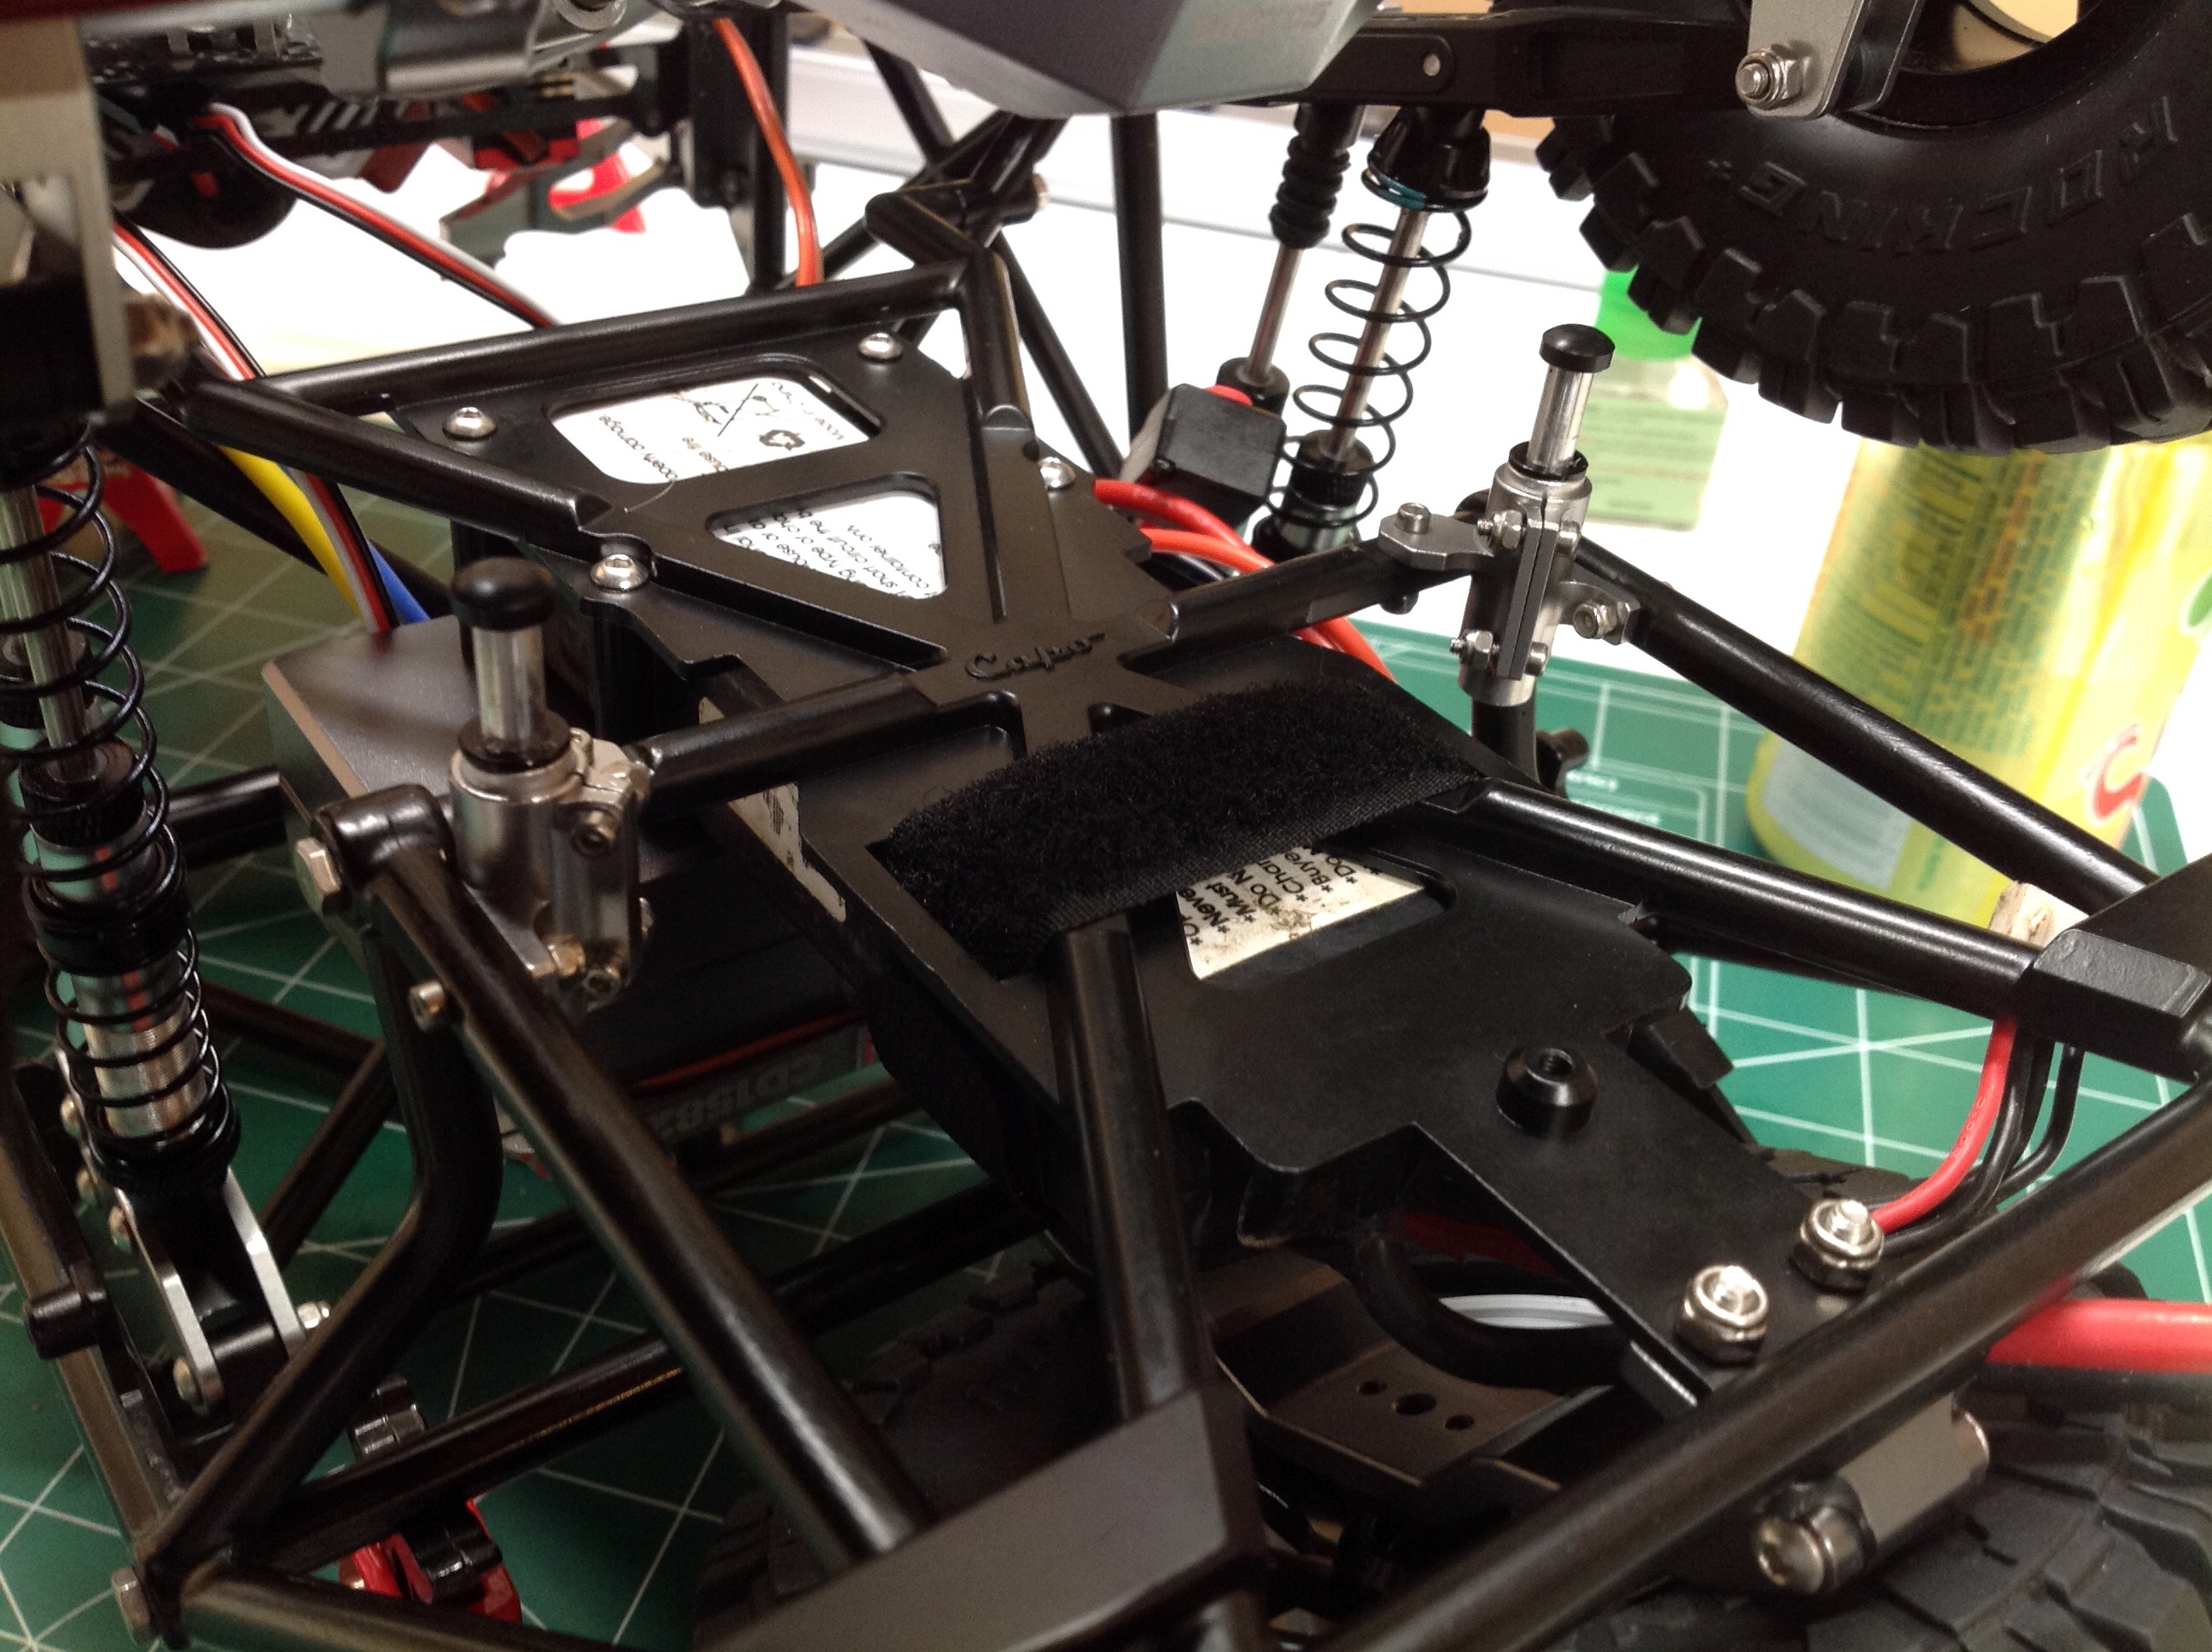
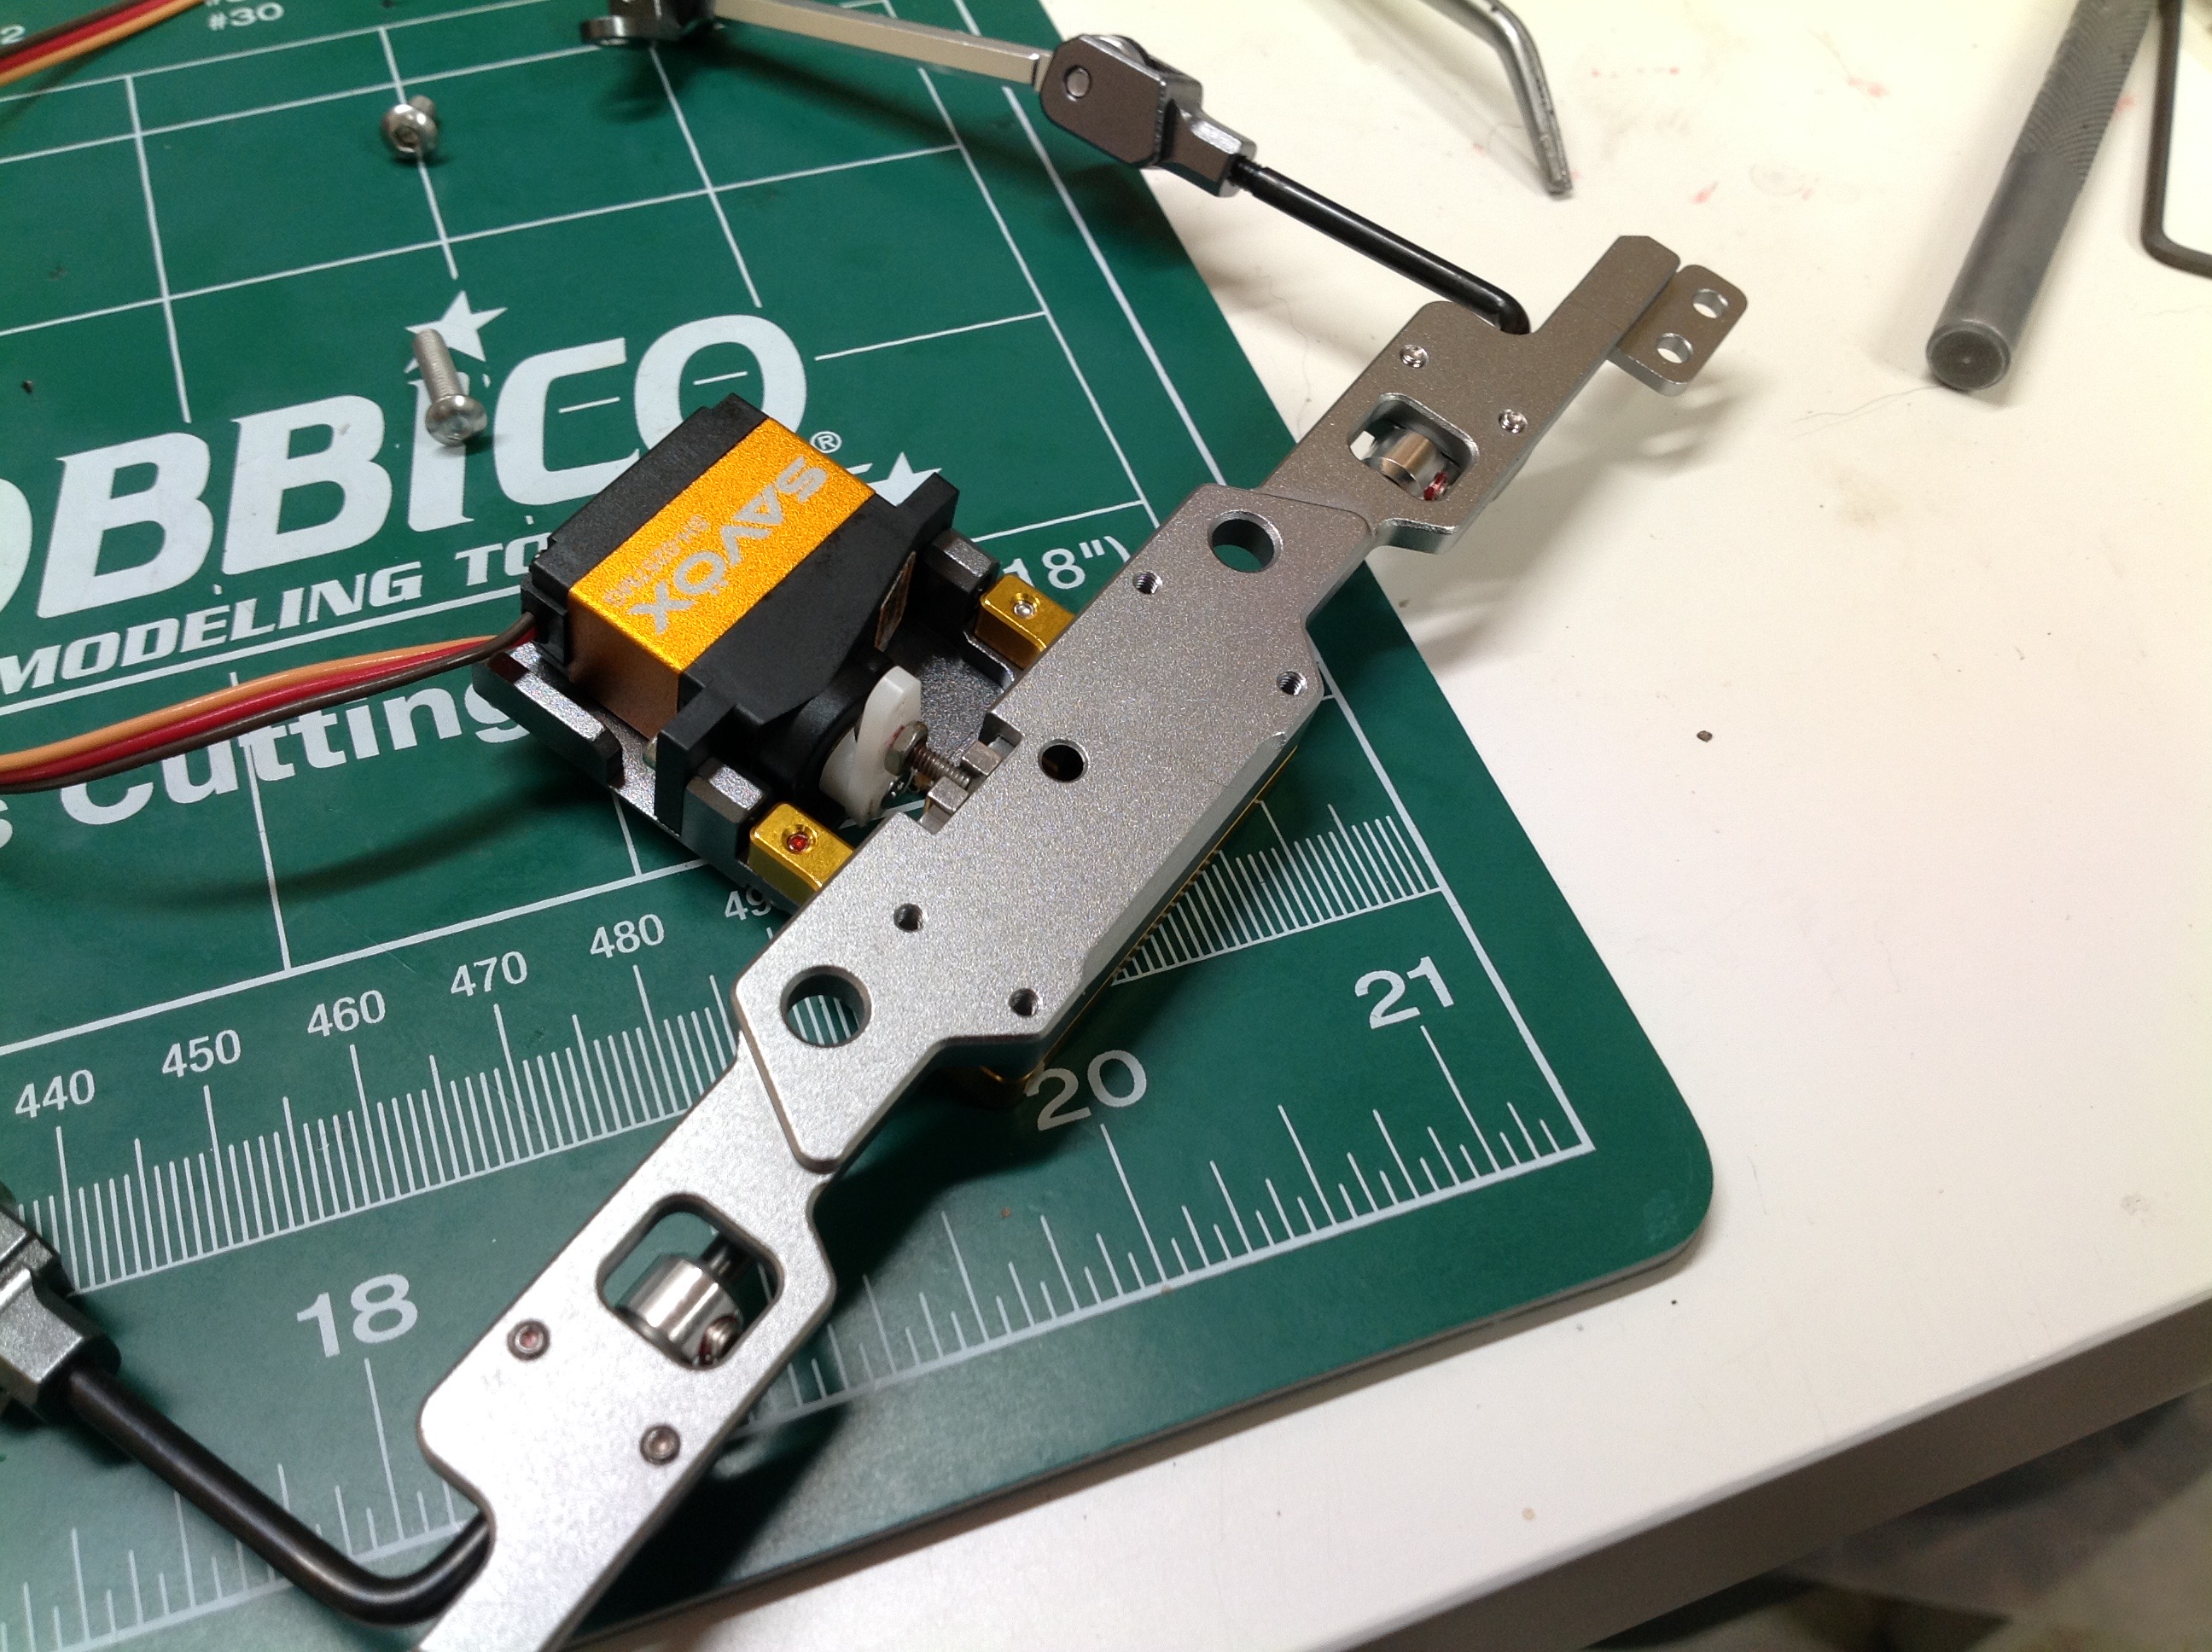
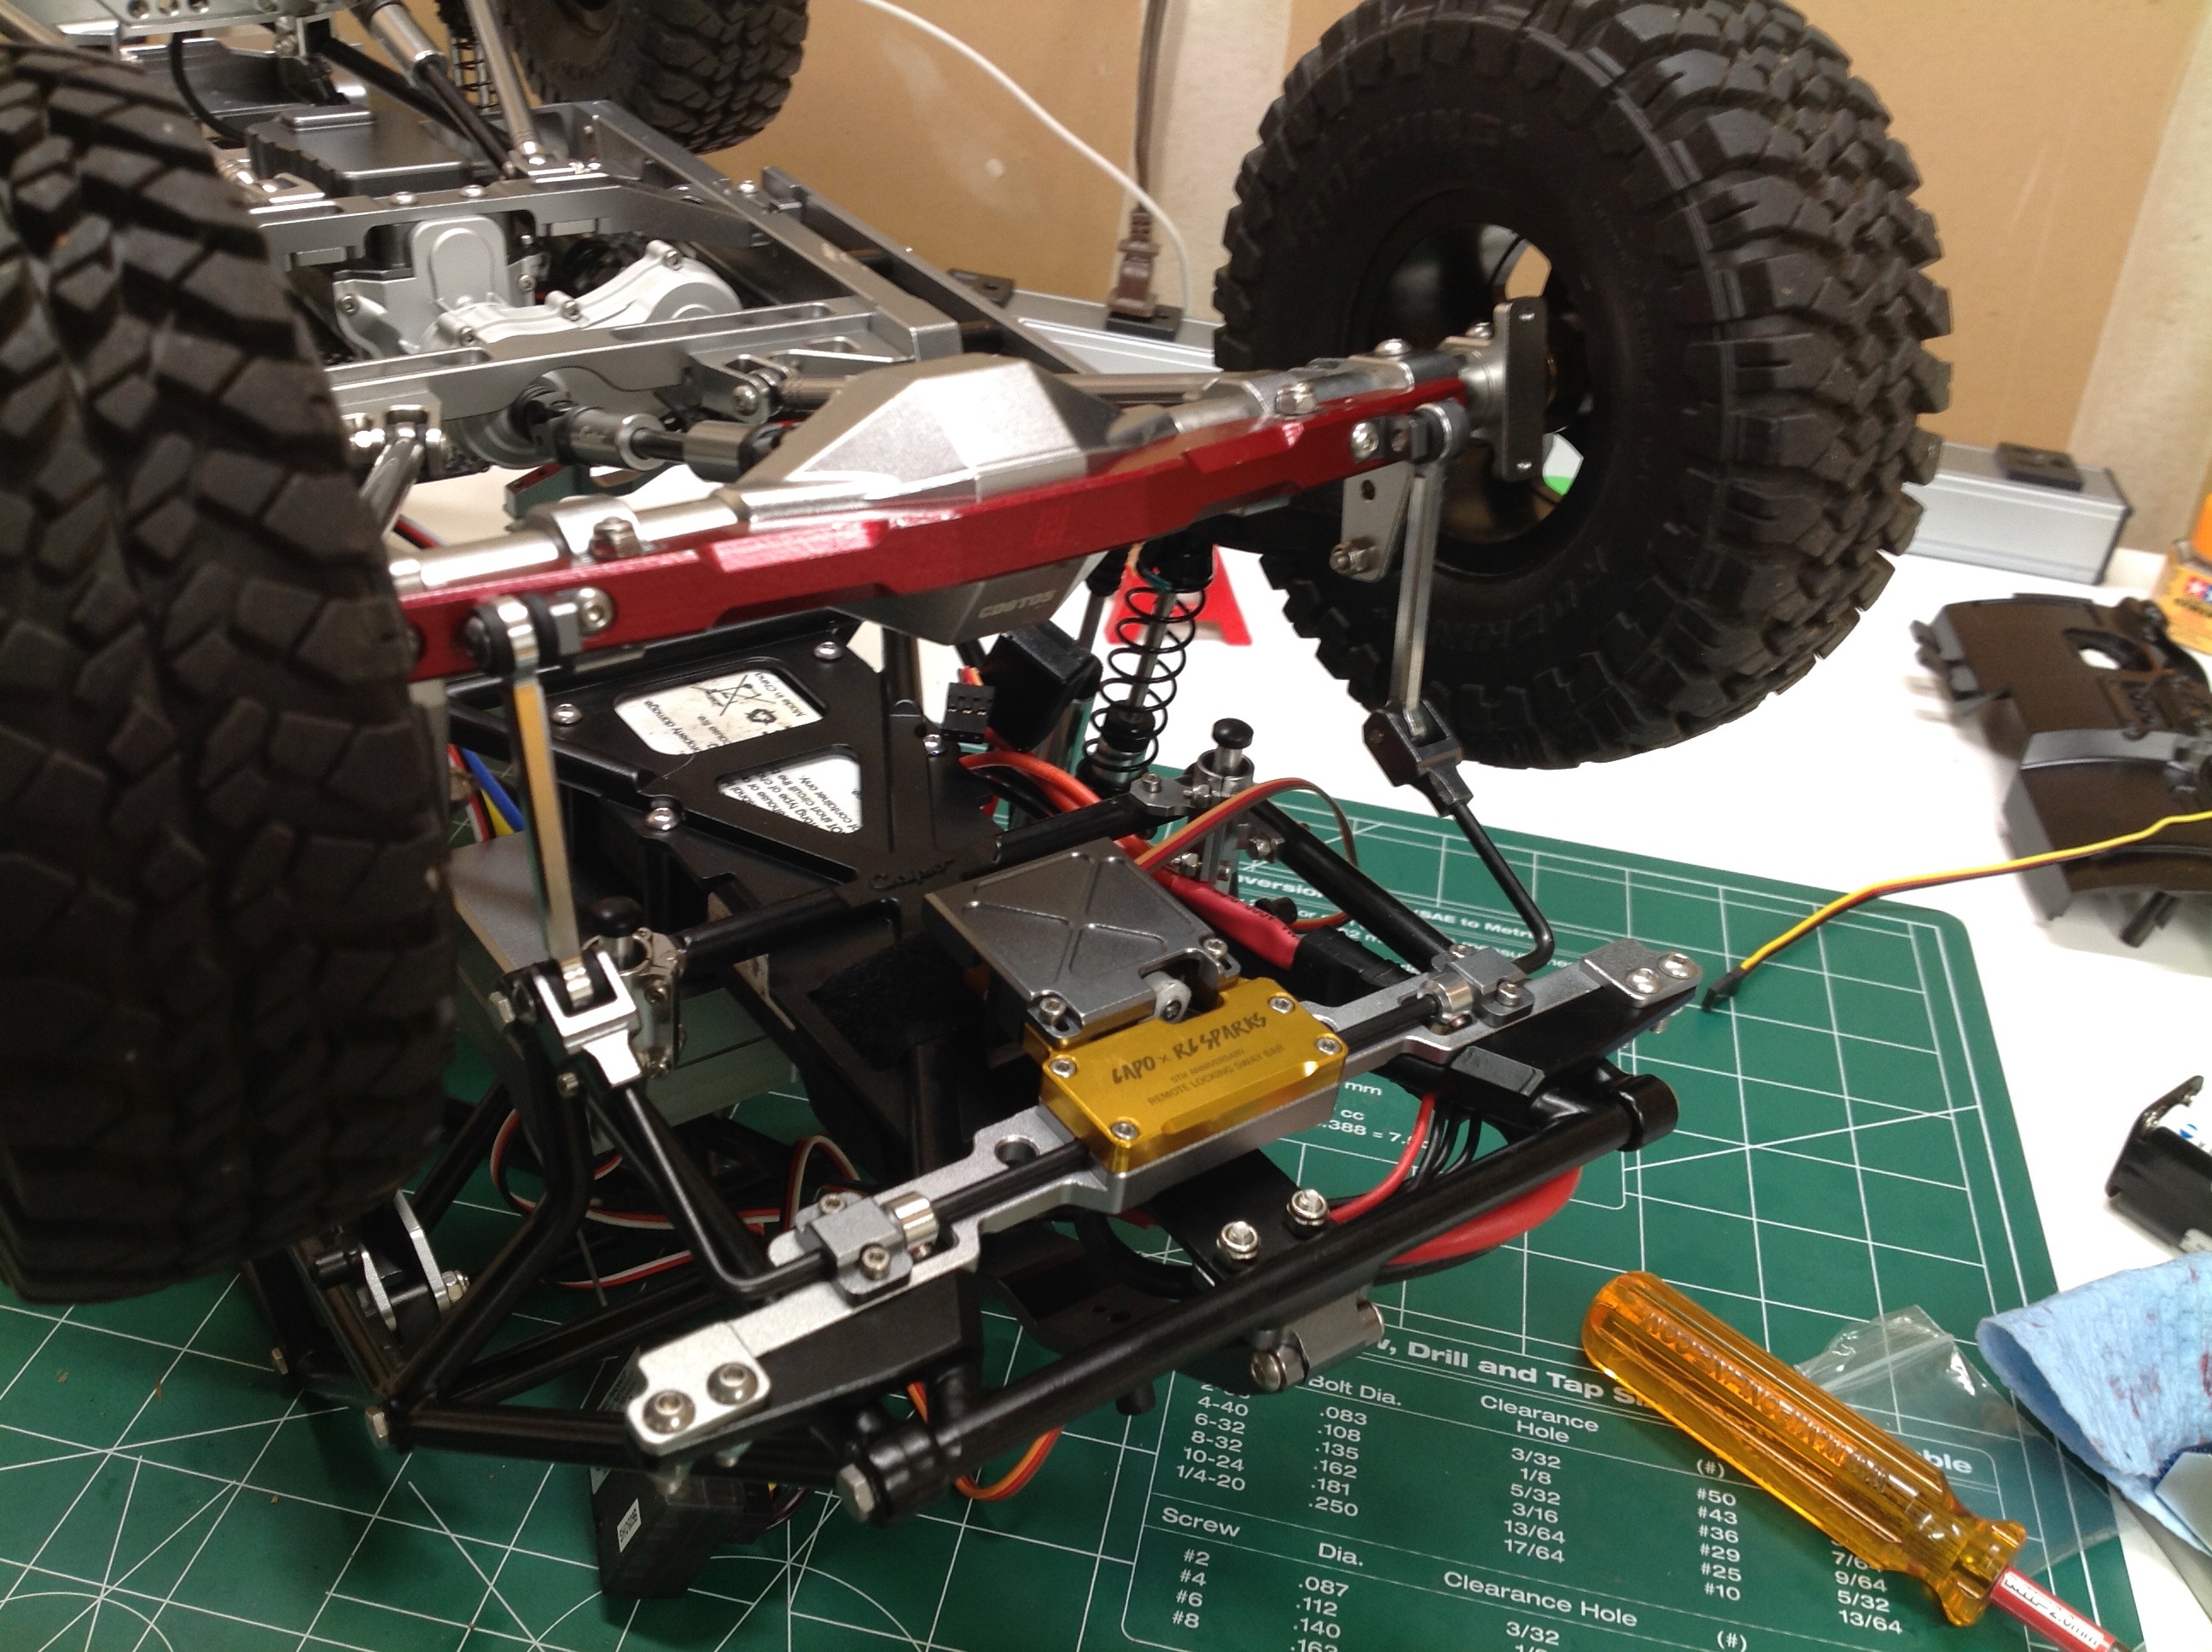
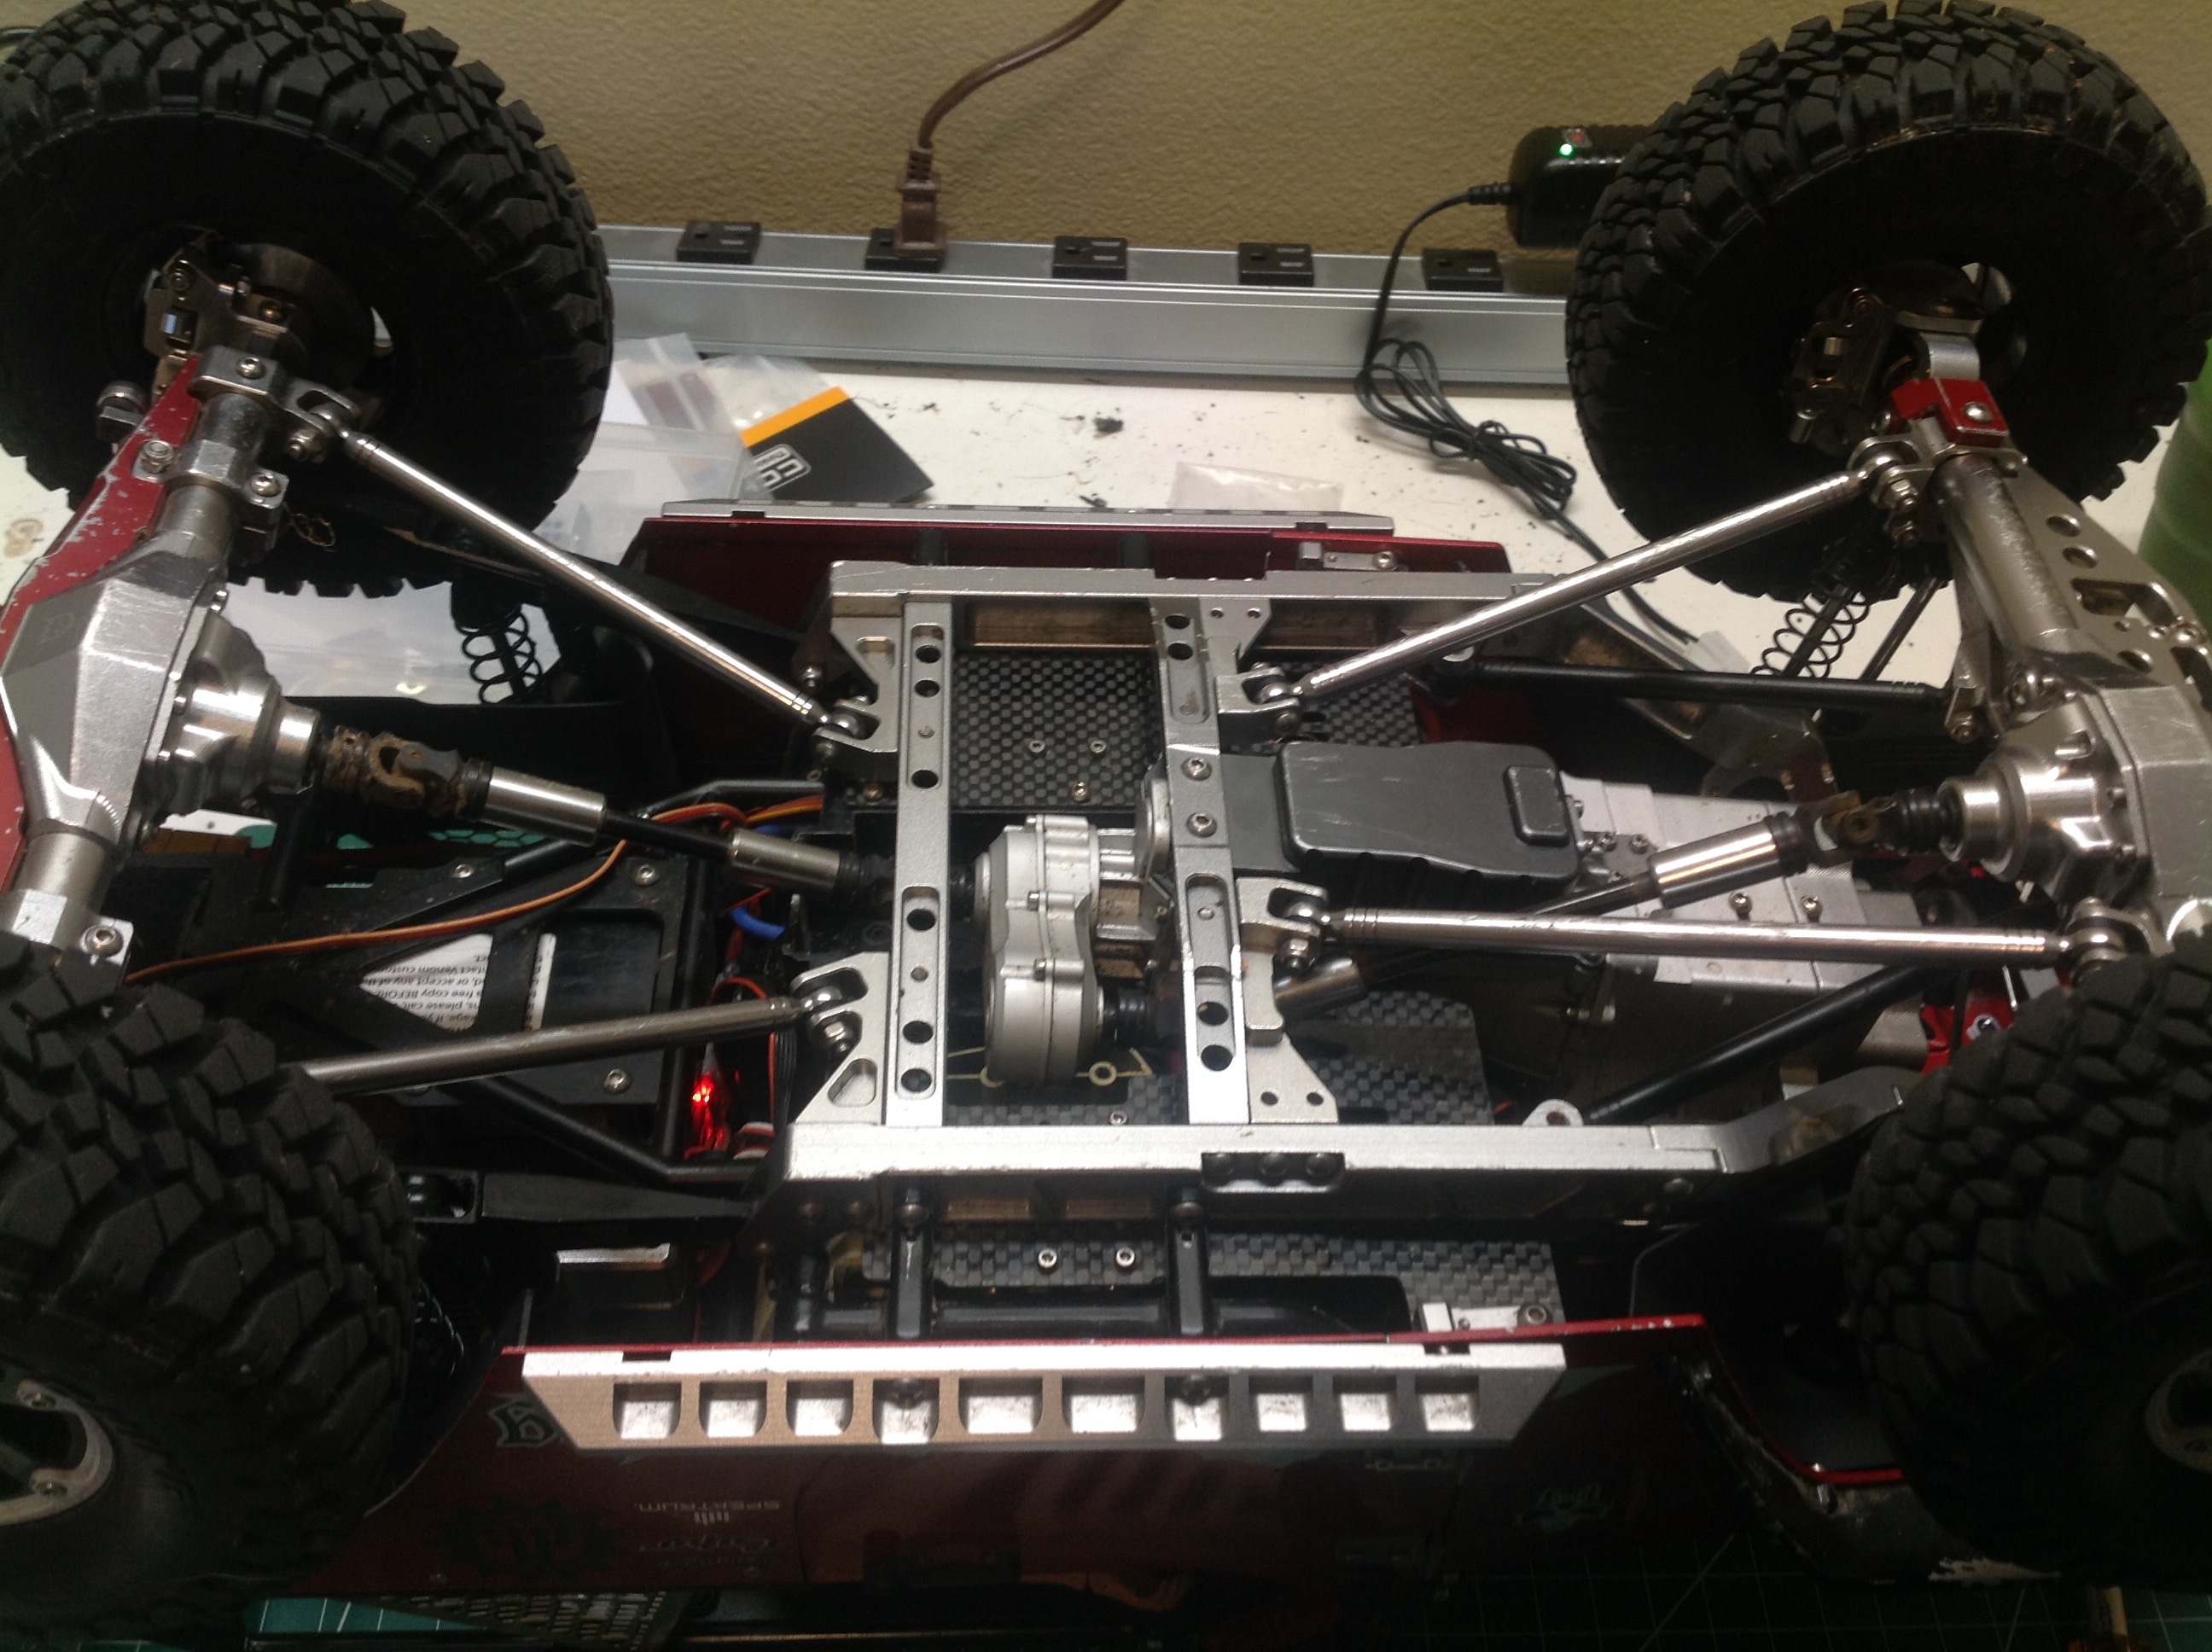
The power for the locking sway bar comes from this Savox micro
servo. A screw protruding from the servo horn mates with a slot in
the collar to lock or unlock the system. The right hand image
shows the assembly installed on the chassis viewed from below. It
is quite effective in changing the amount of possible rear suspension
articulation.
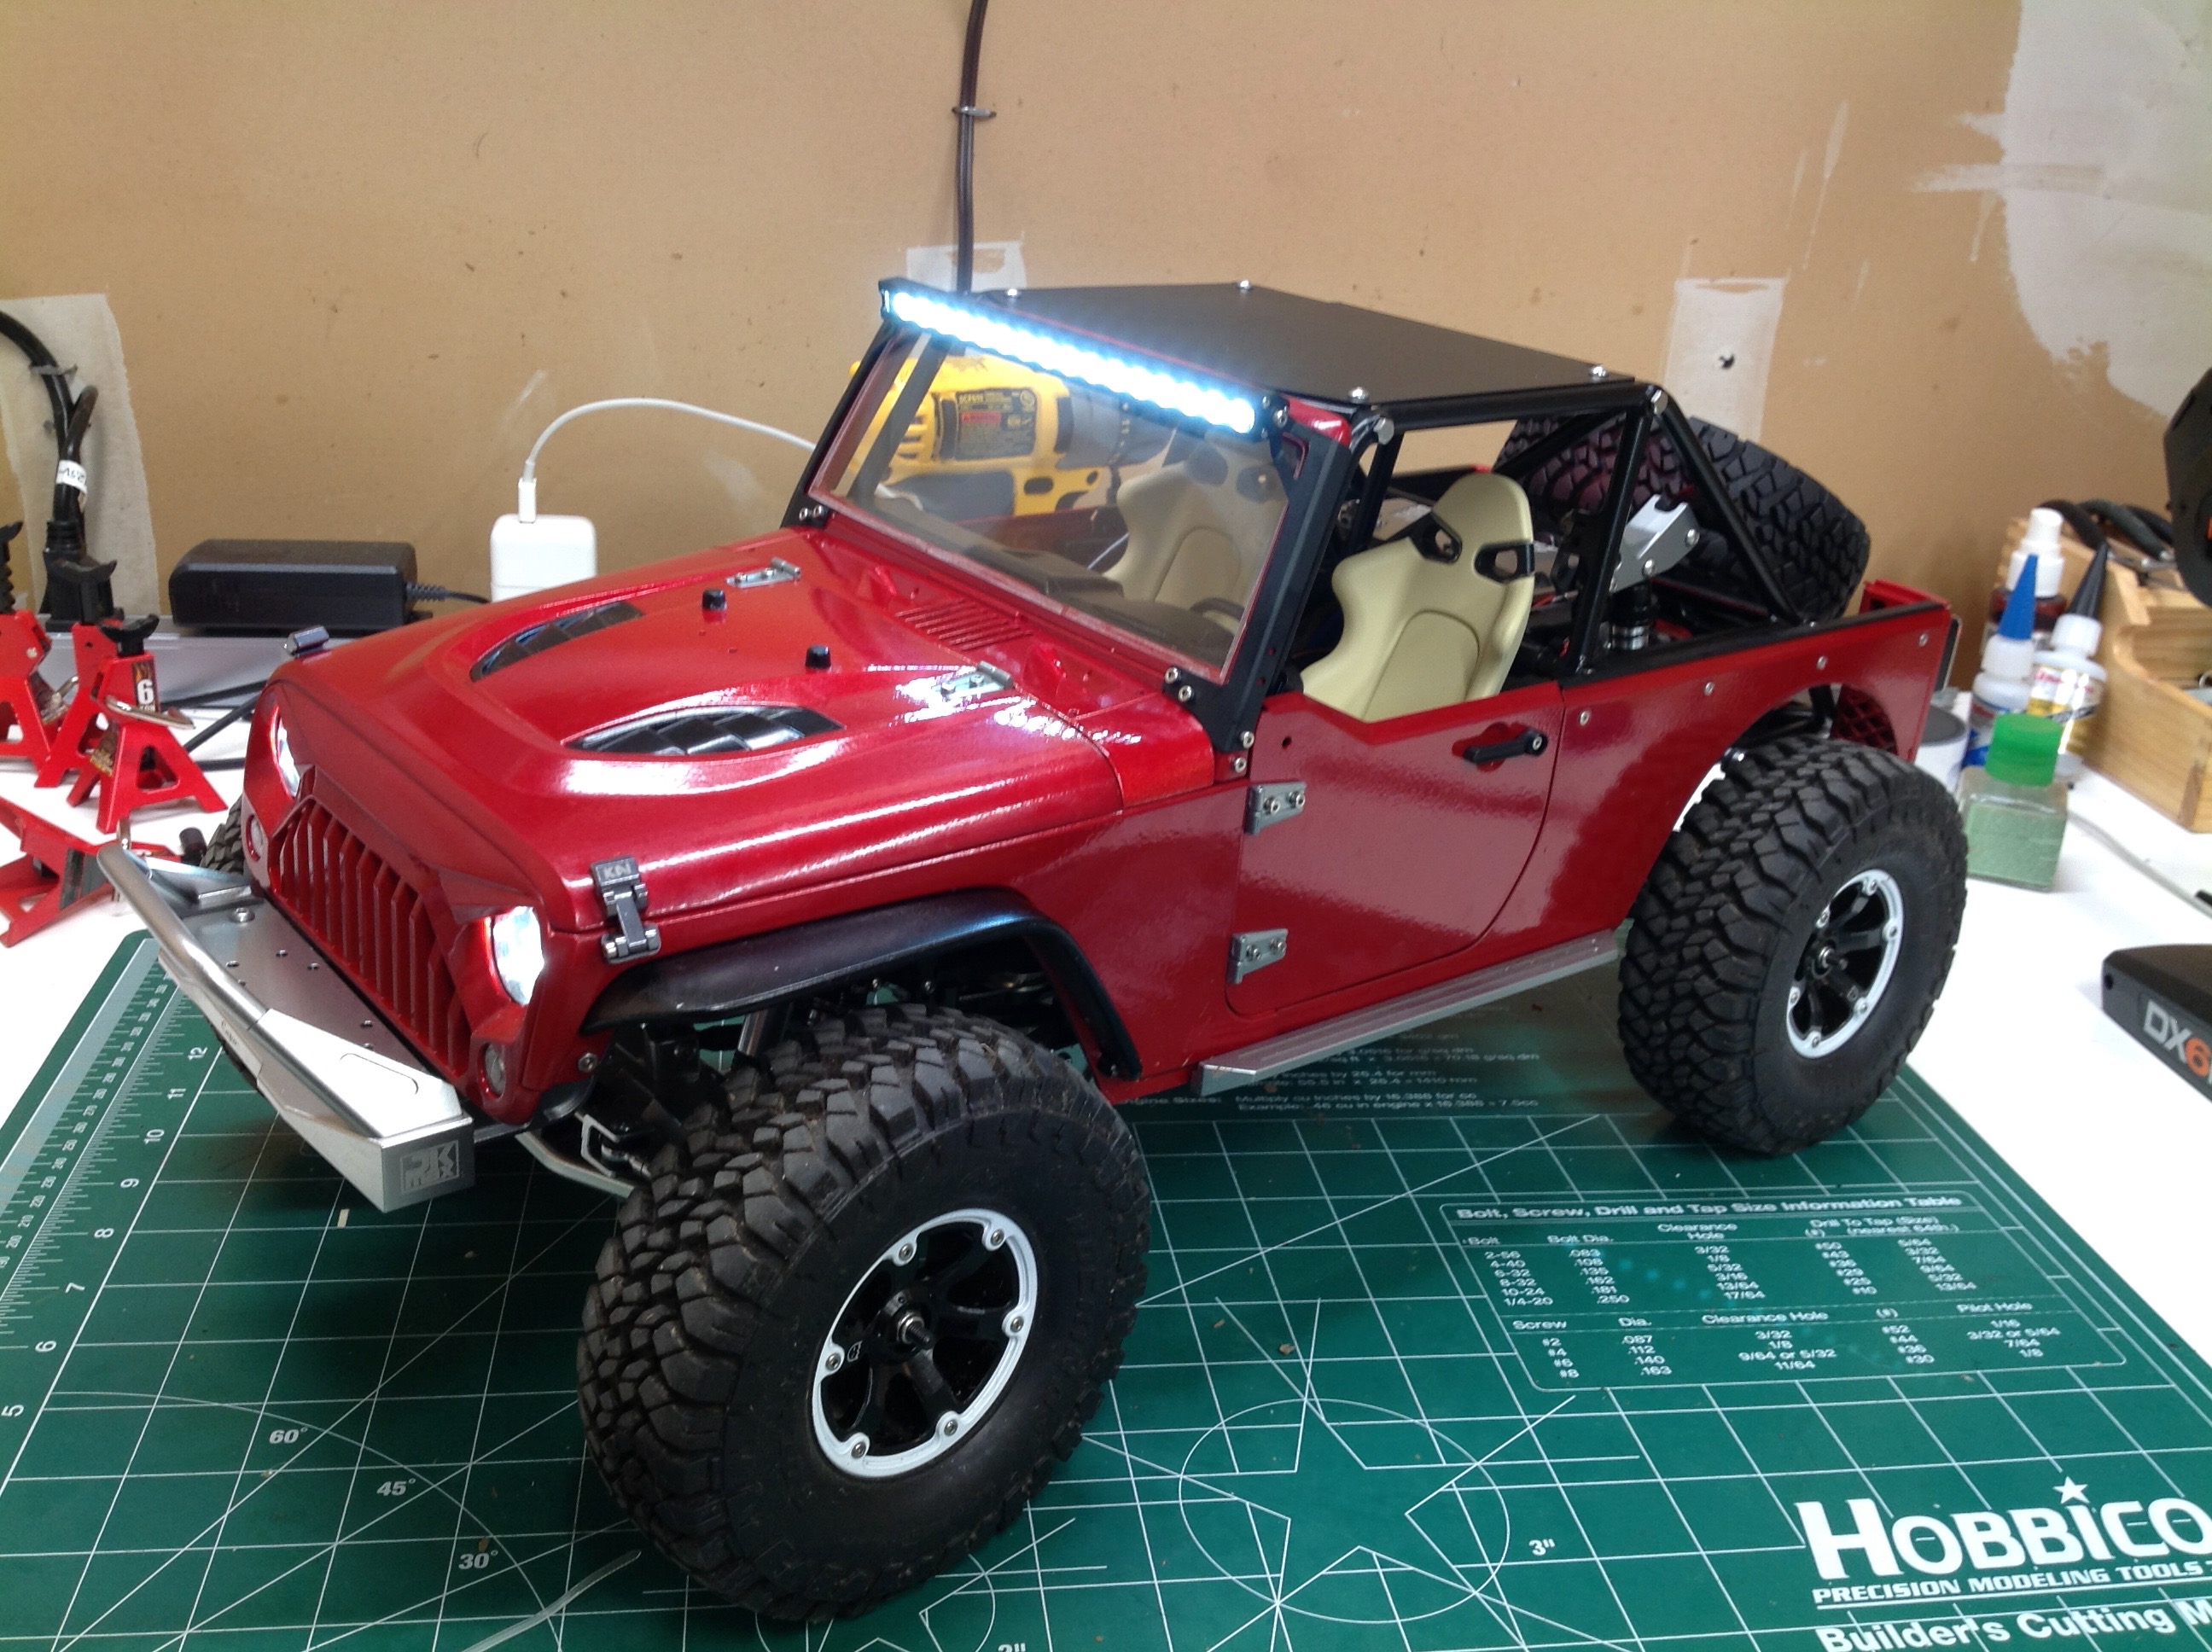
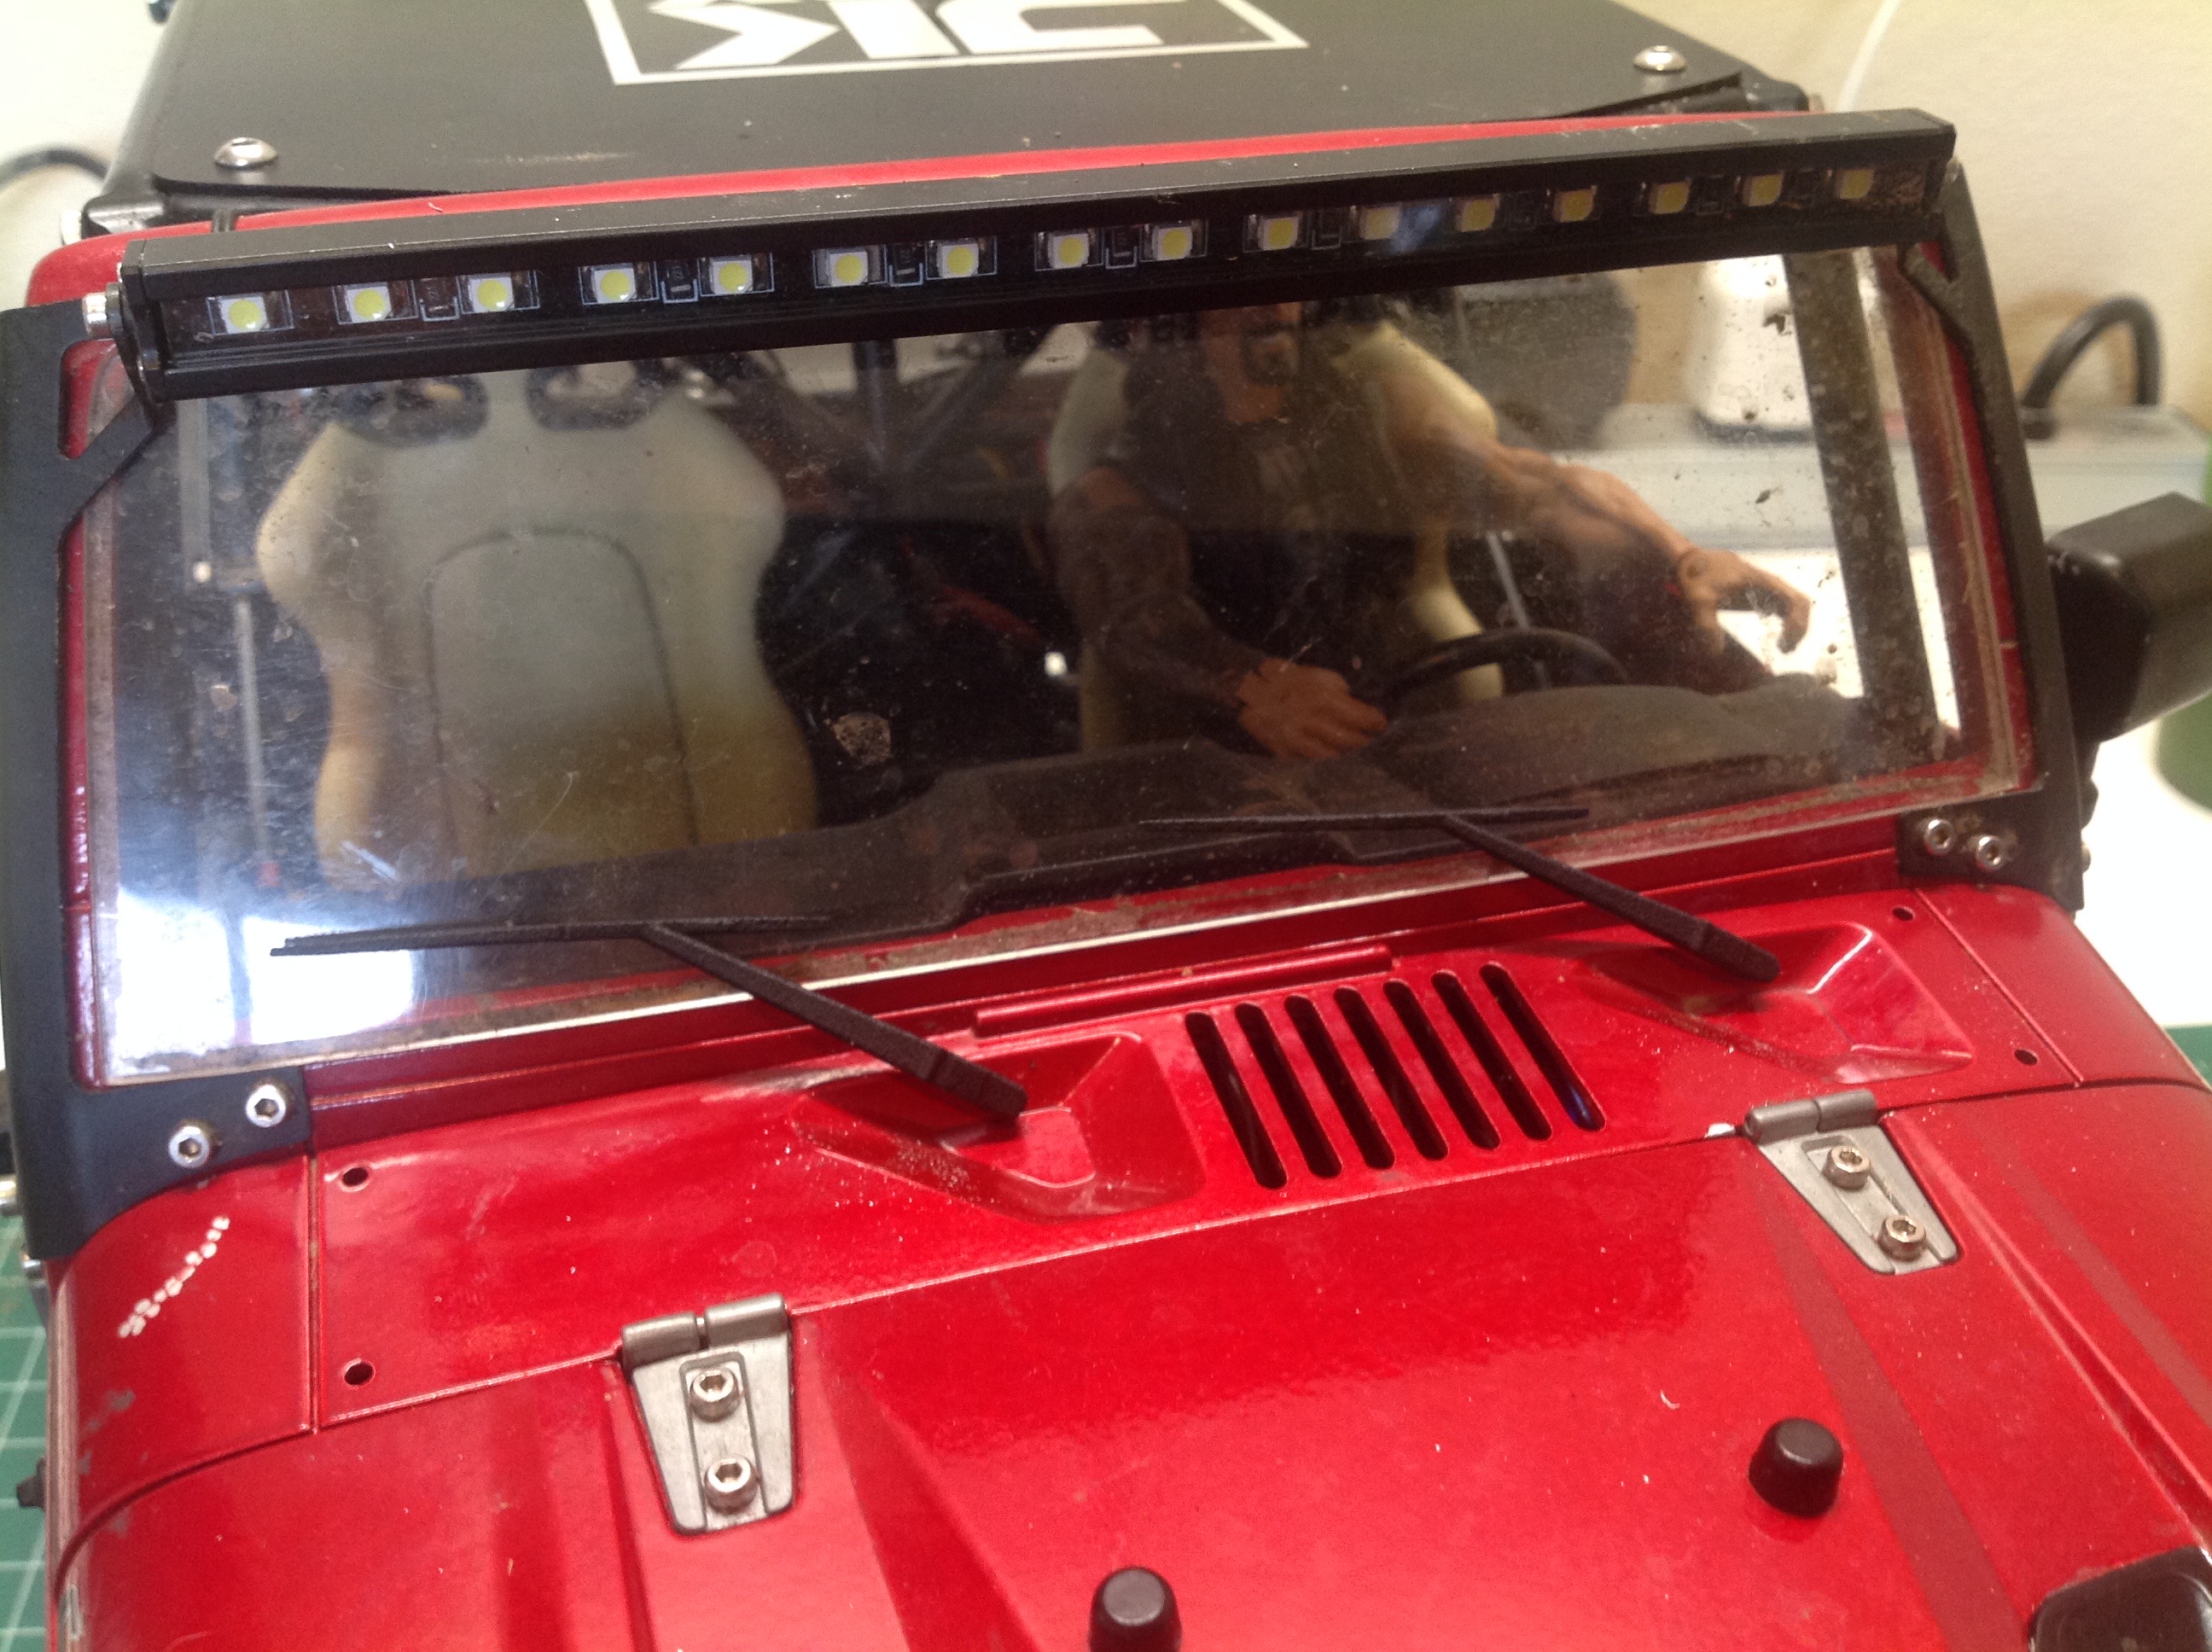
Next up is the light bars. The kit already comes from the factory
with a lighting system including headlights, turn signals, brake lights,
and reverse lights. This optional sets adds front and rear light
bars. It just plugs into the additional light controller.
There are at least a dozen modes which include various combinations of
lights on, off, and light bars flashing in different patterns.
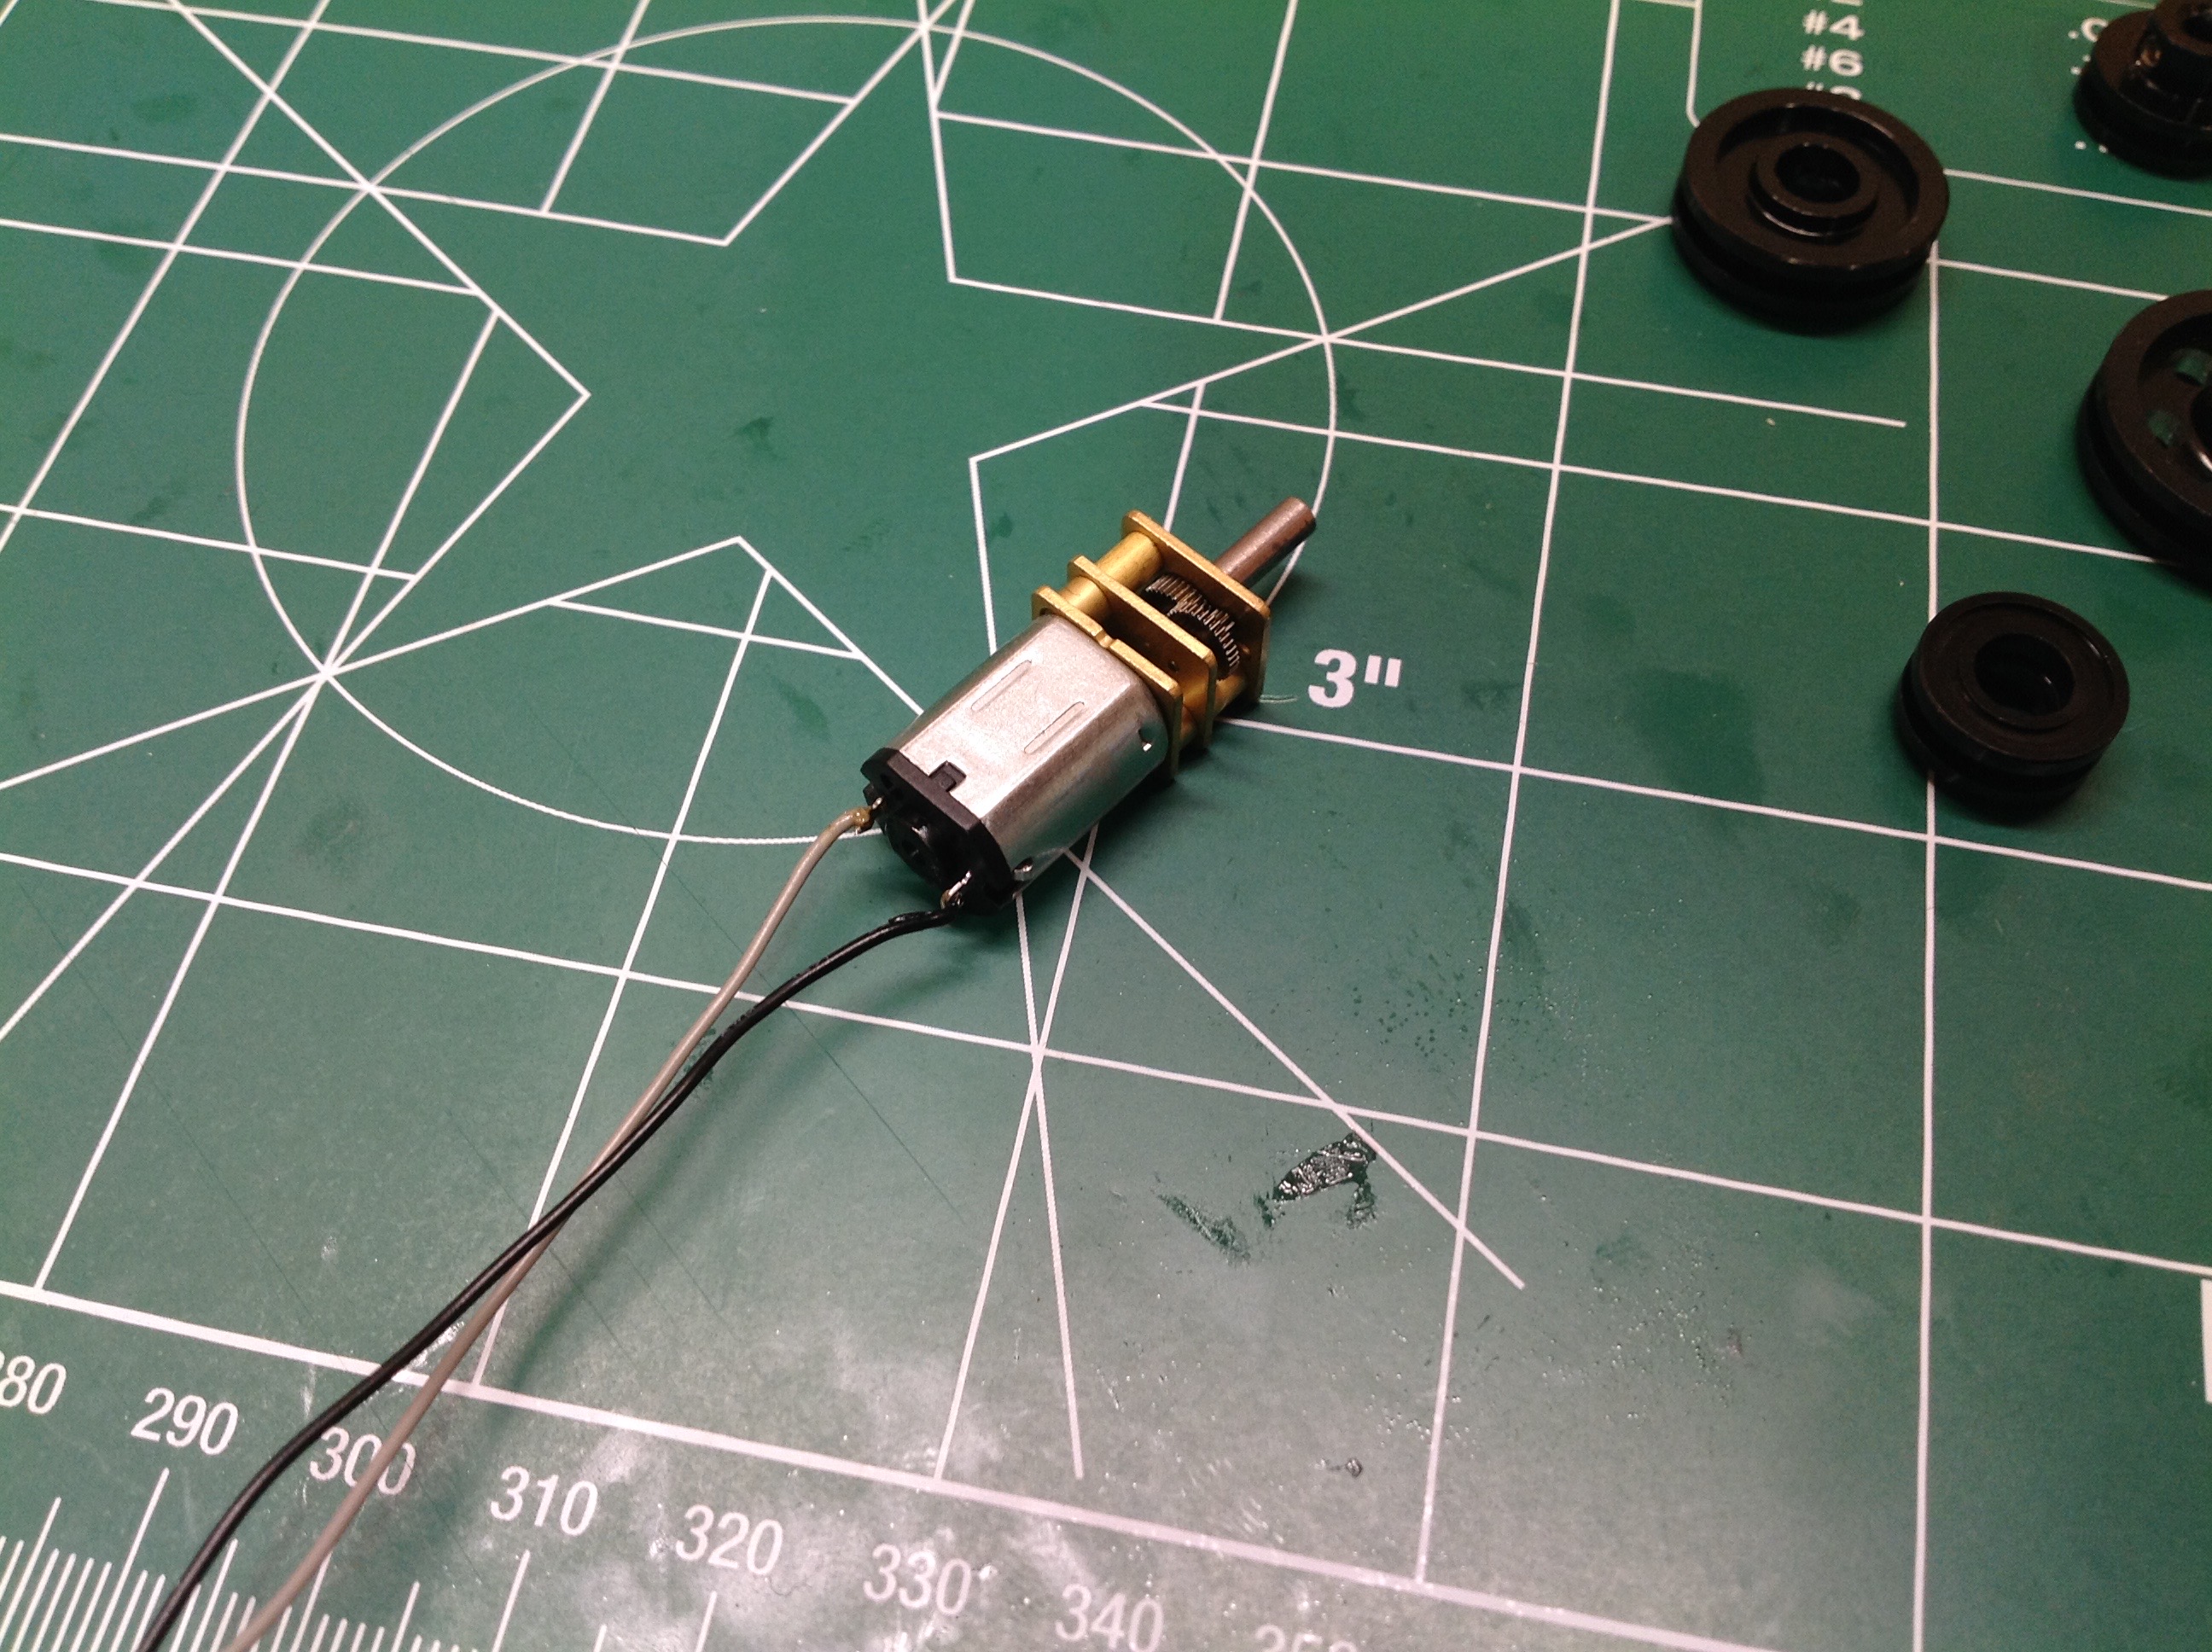
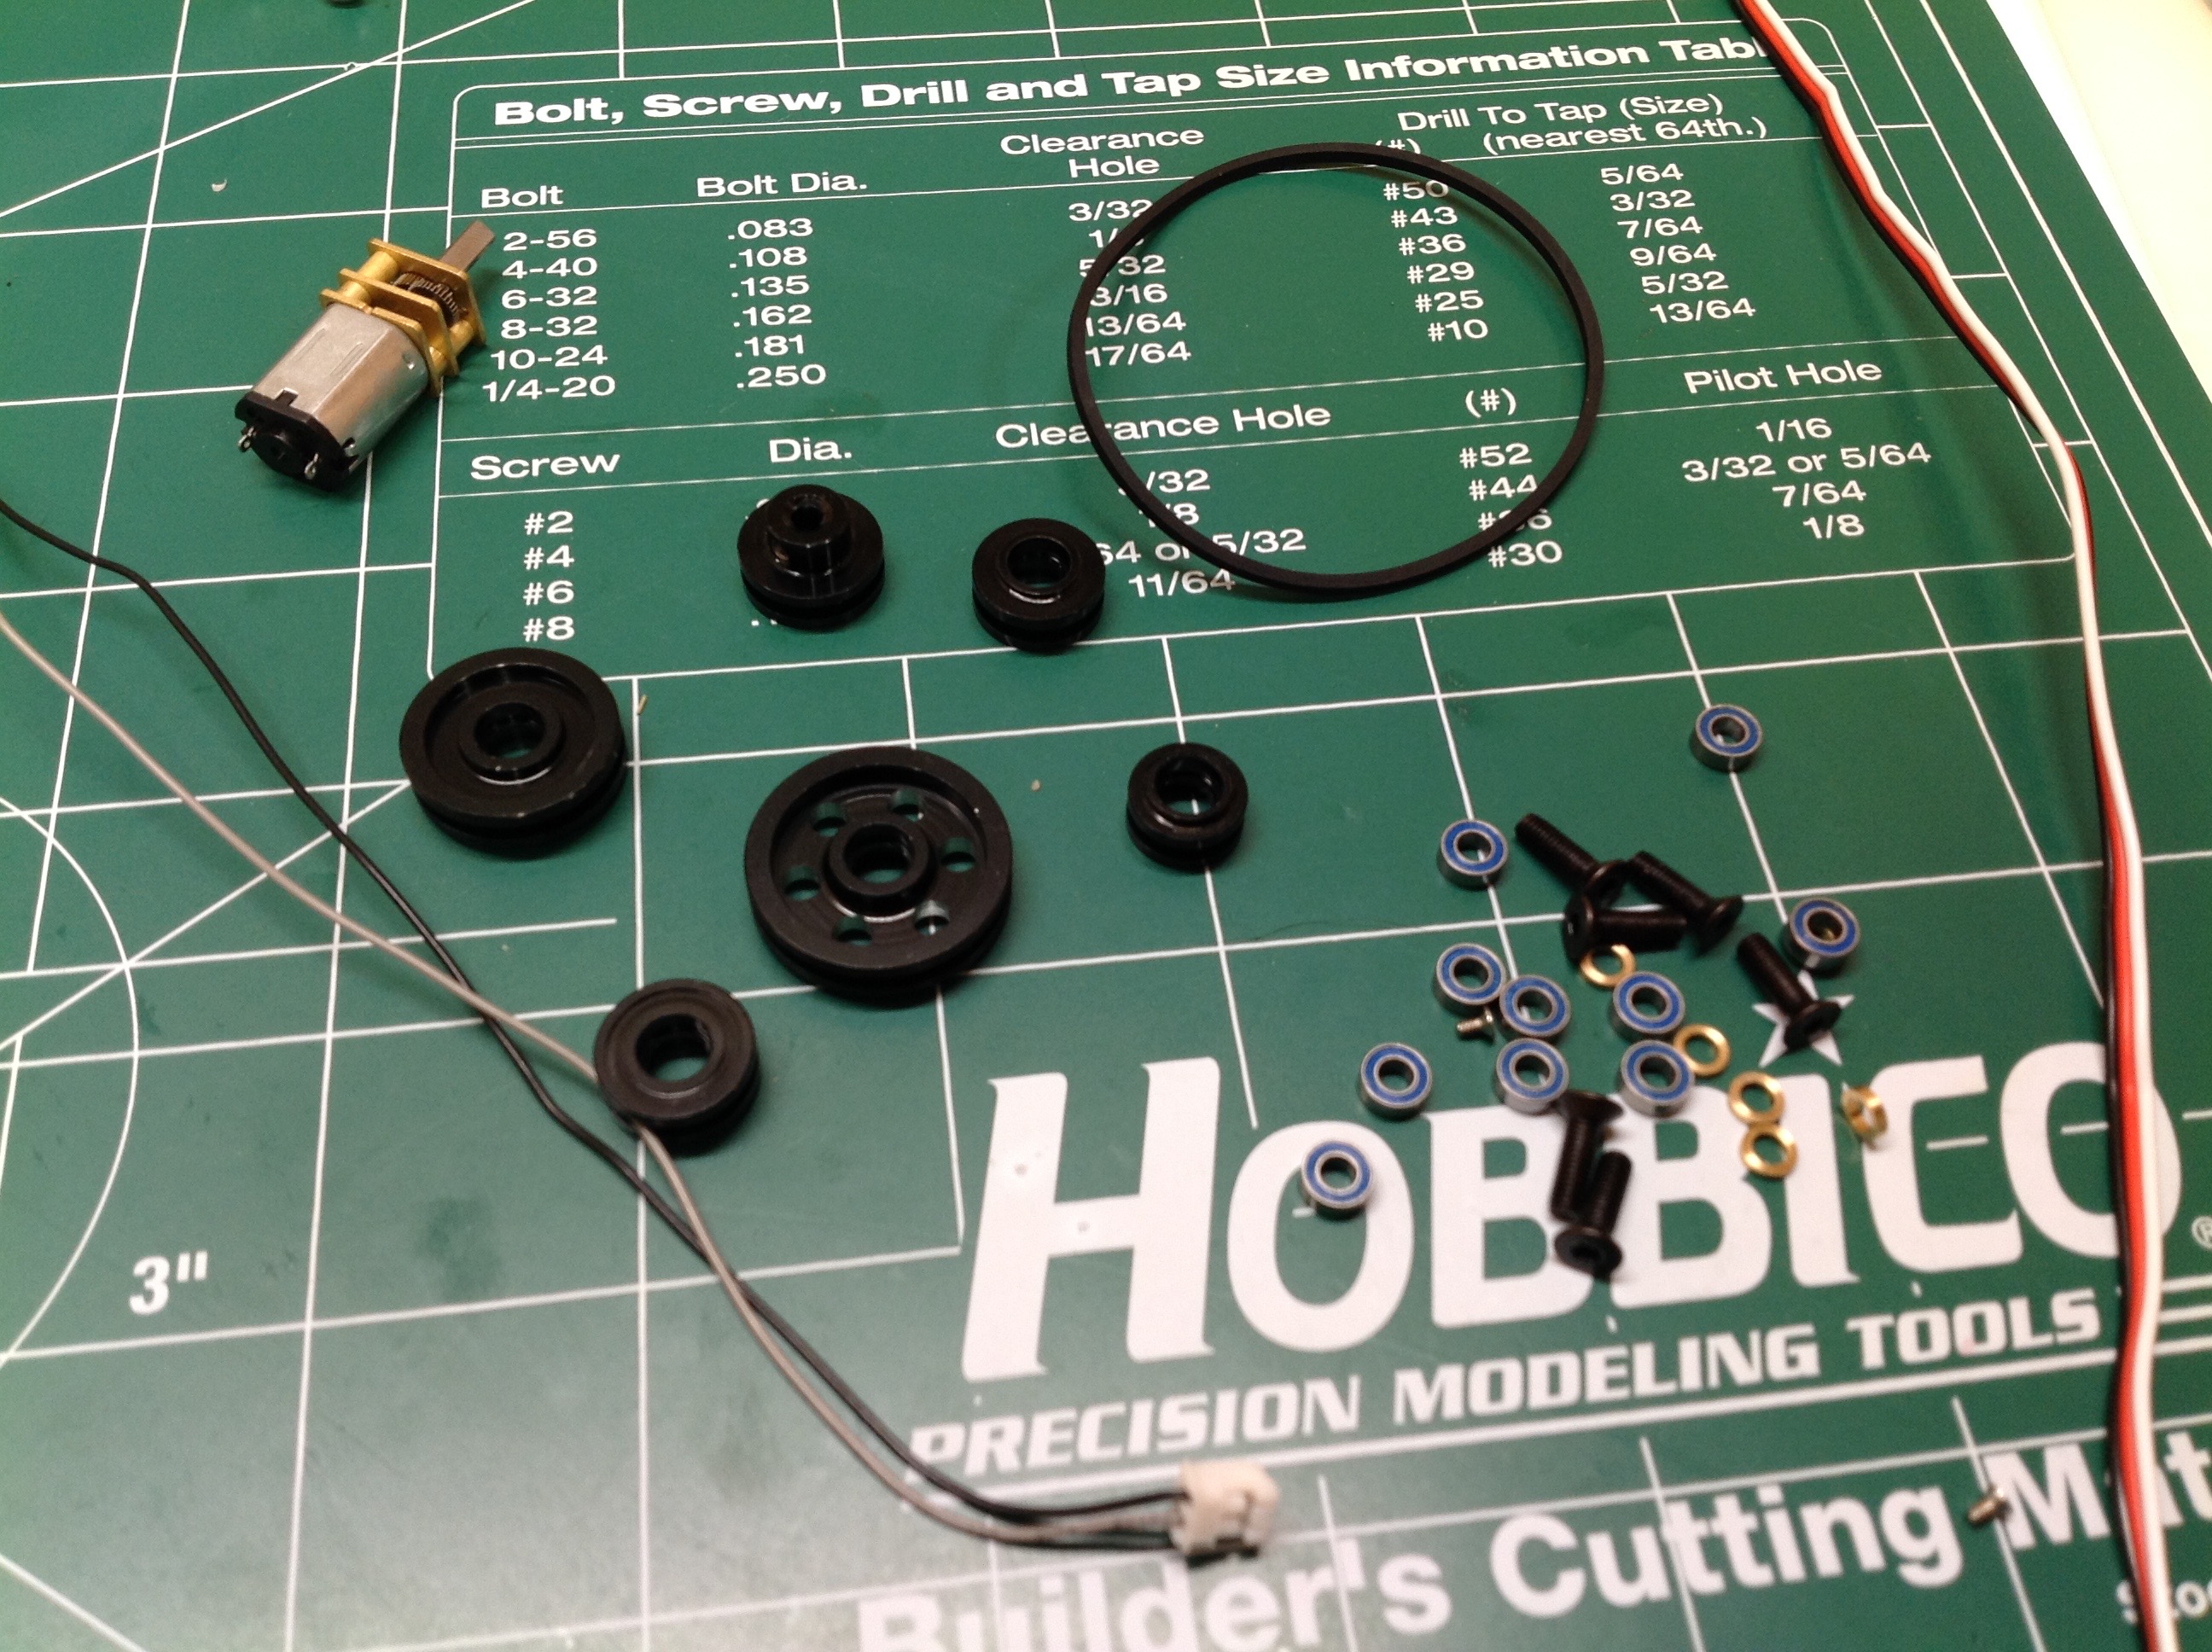
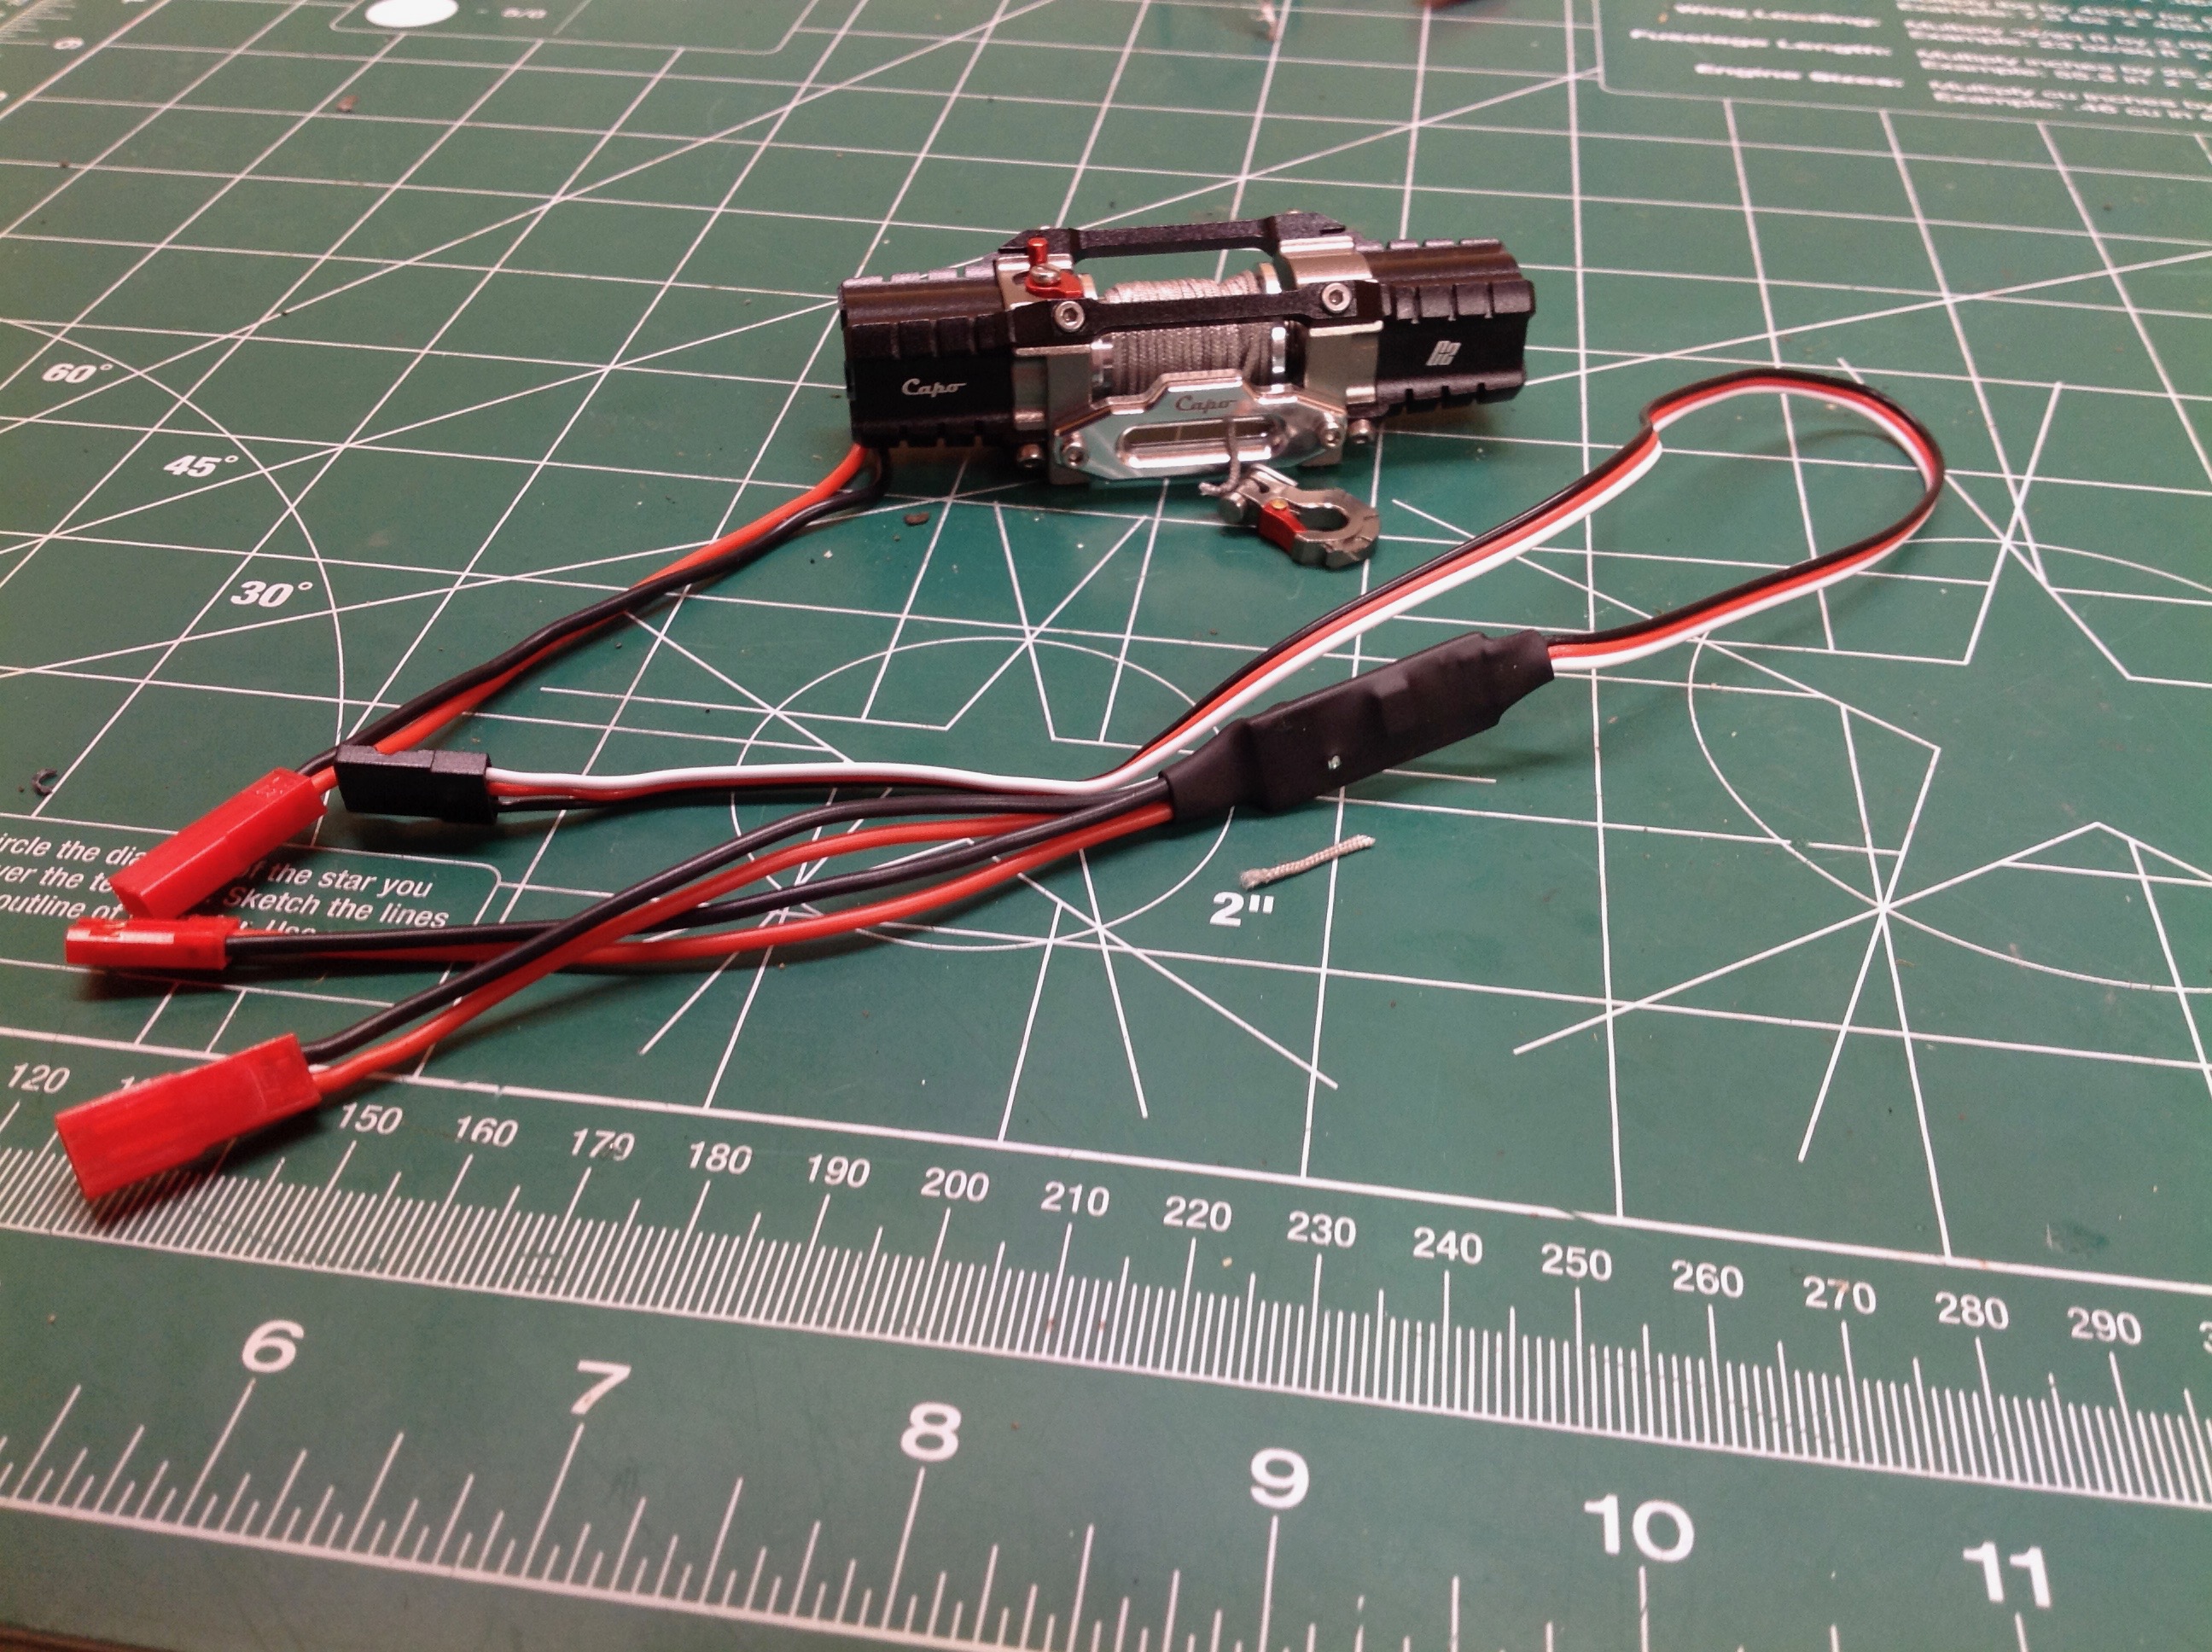
This is a nice machined metal winch with two motors. It comes with
a winch controller. Unlike many winches, it cannot power
outward. Instead you unlock a ratchet to freewheel out.
Either direction of radio input results in pulling in the cable.
Although capable of running on much more, I am only running this on 6V
off the receiver at the moment. It has enough torque to break the
cable (I found out the hard way).
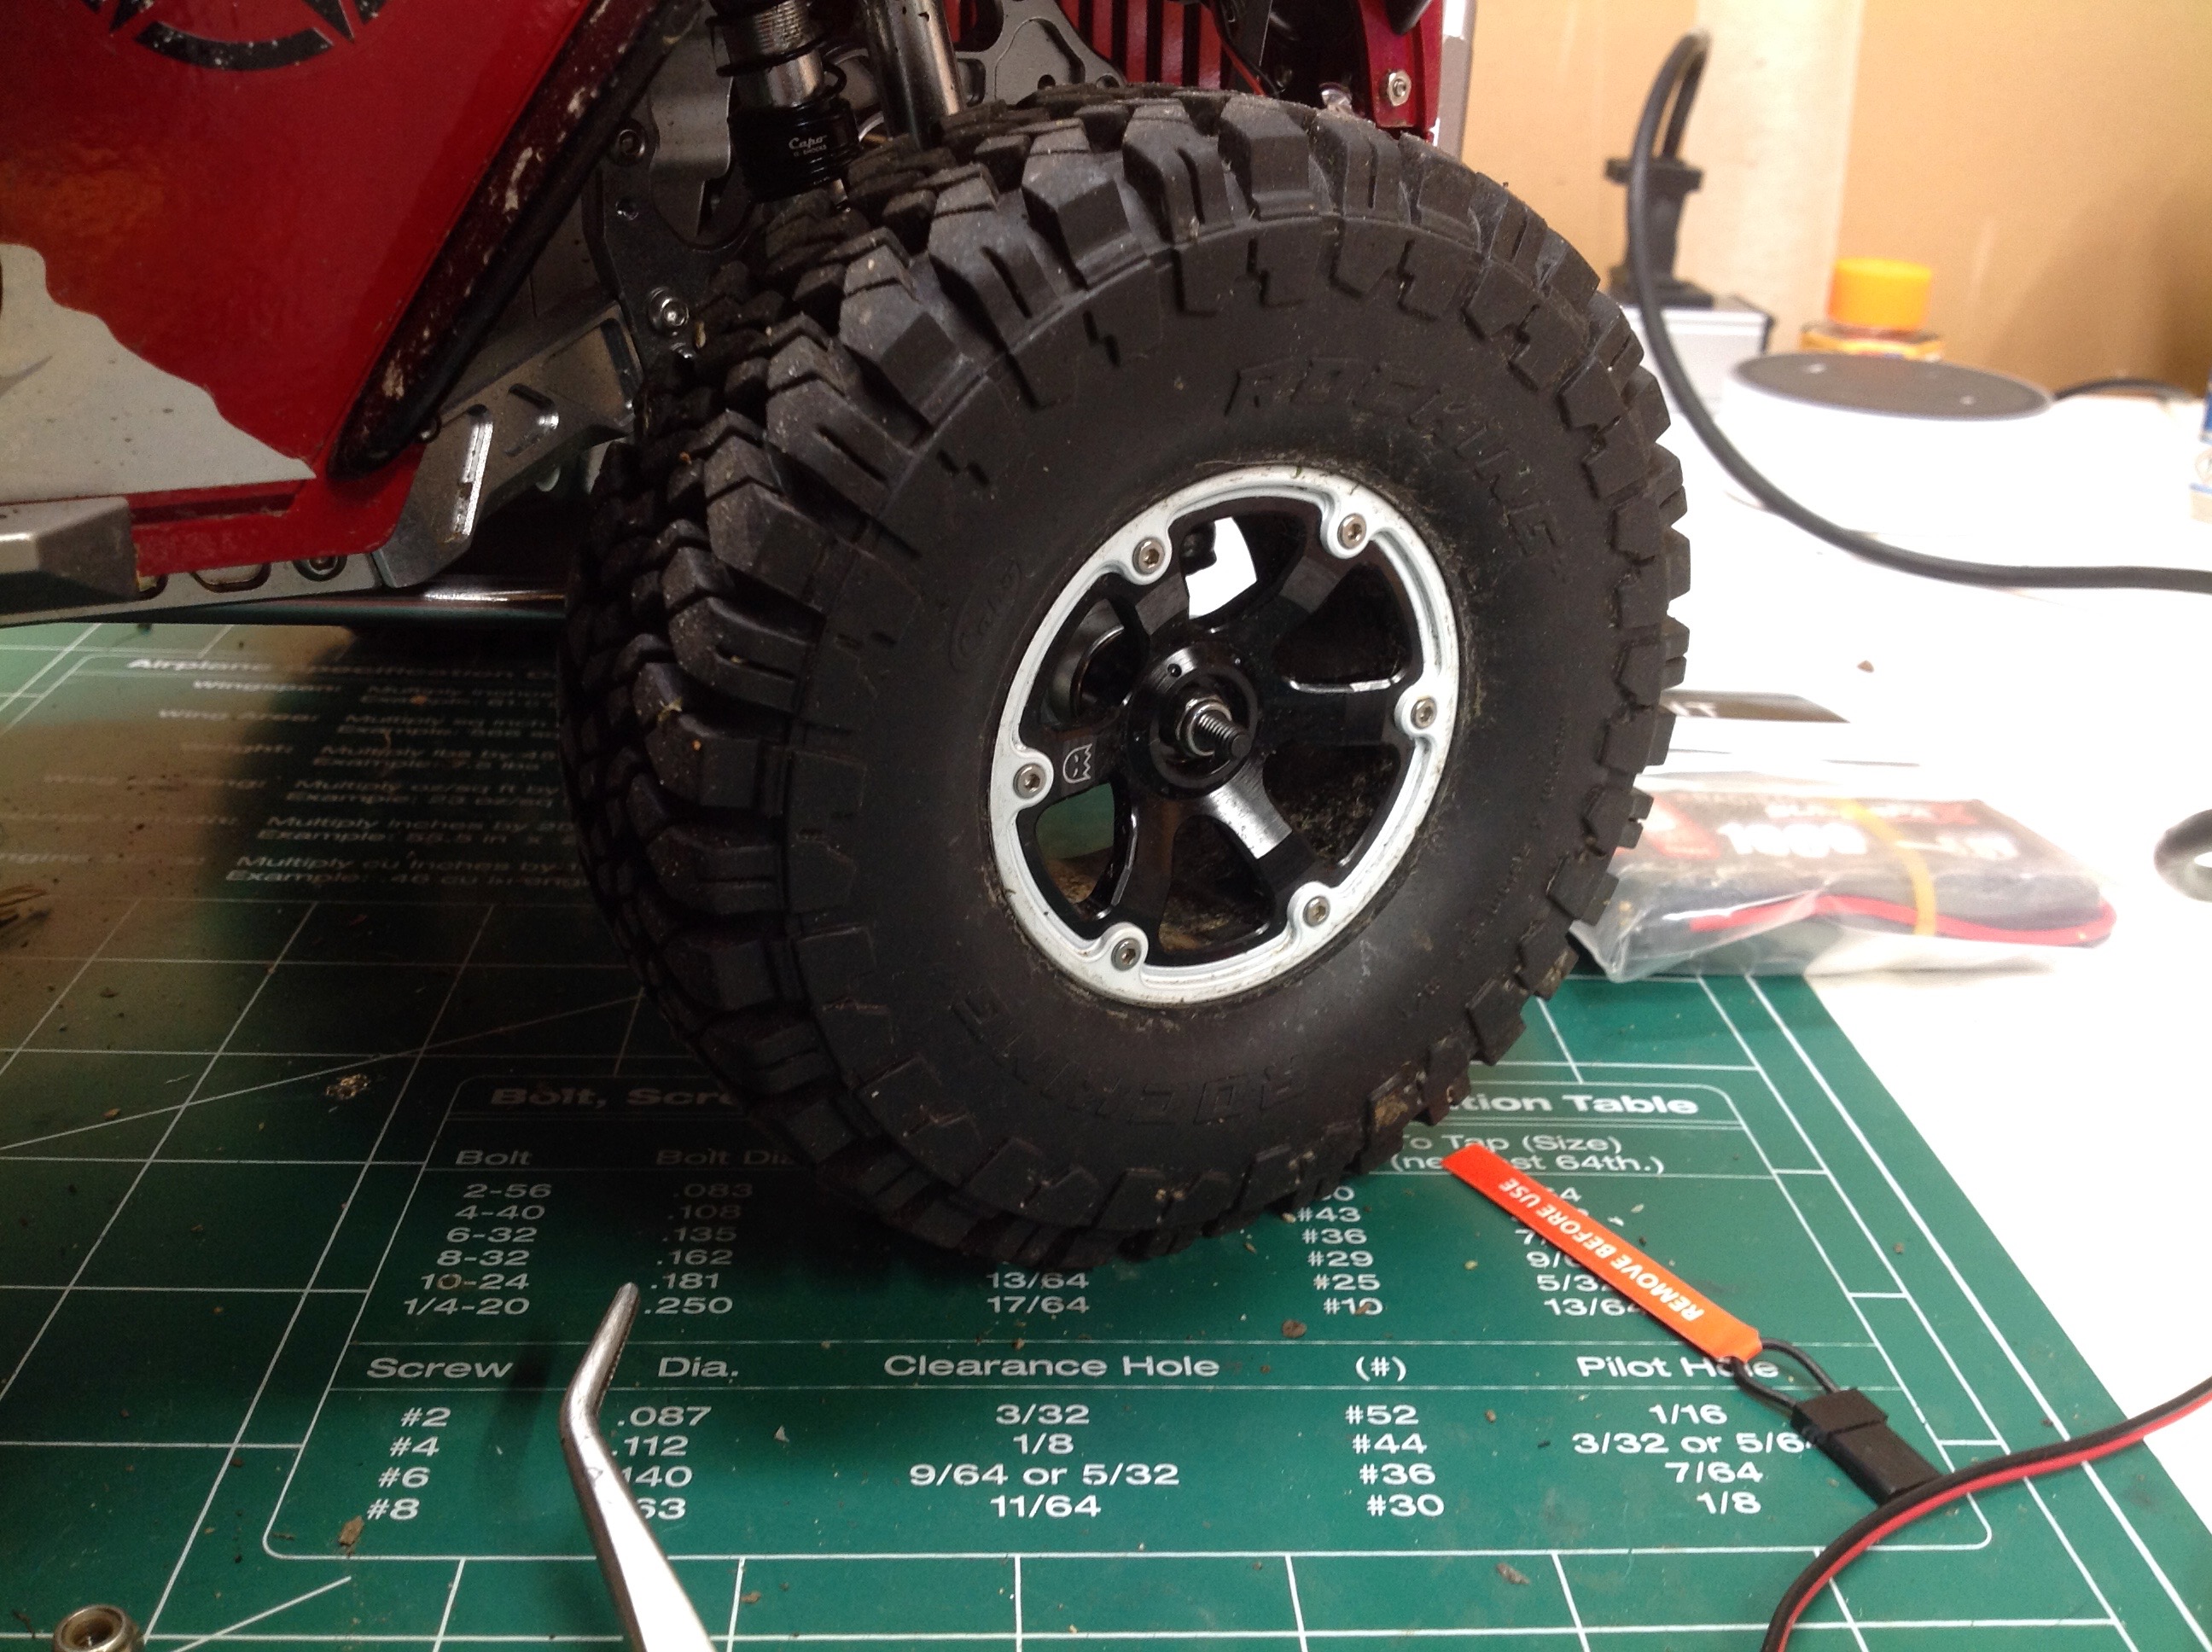
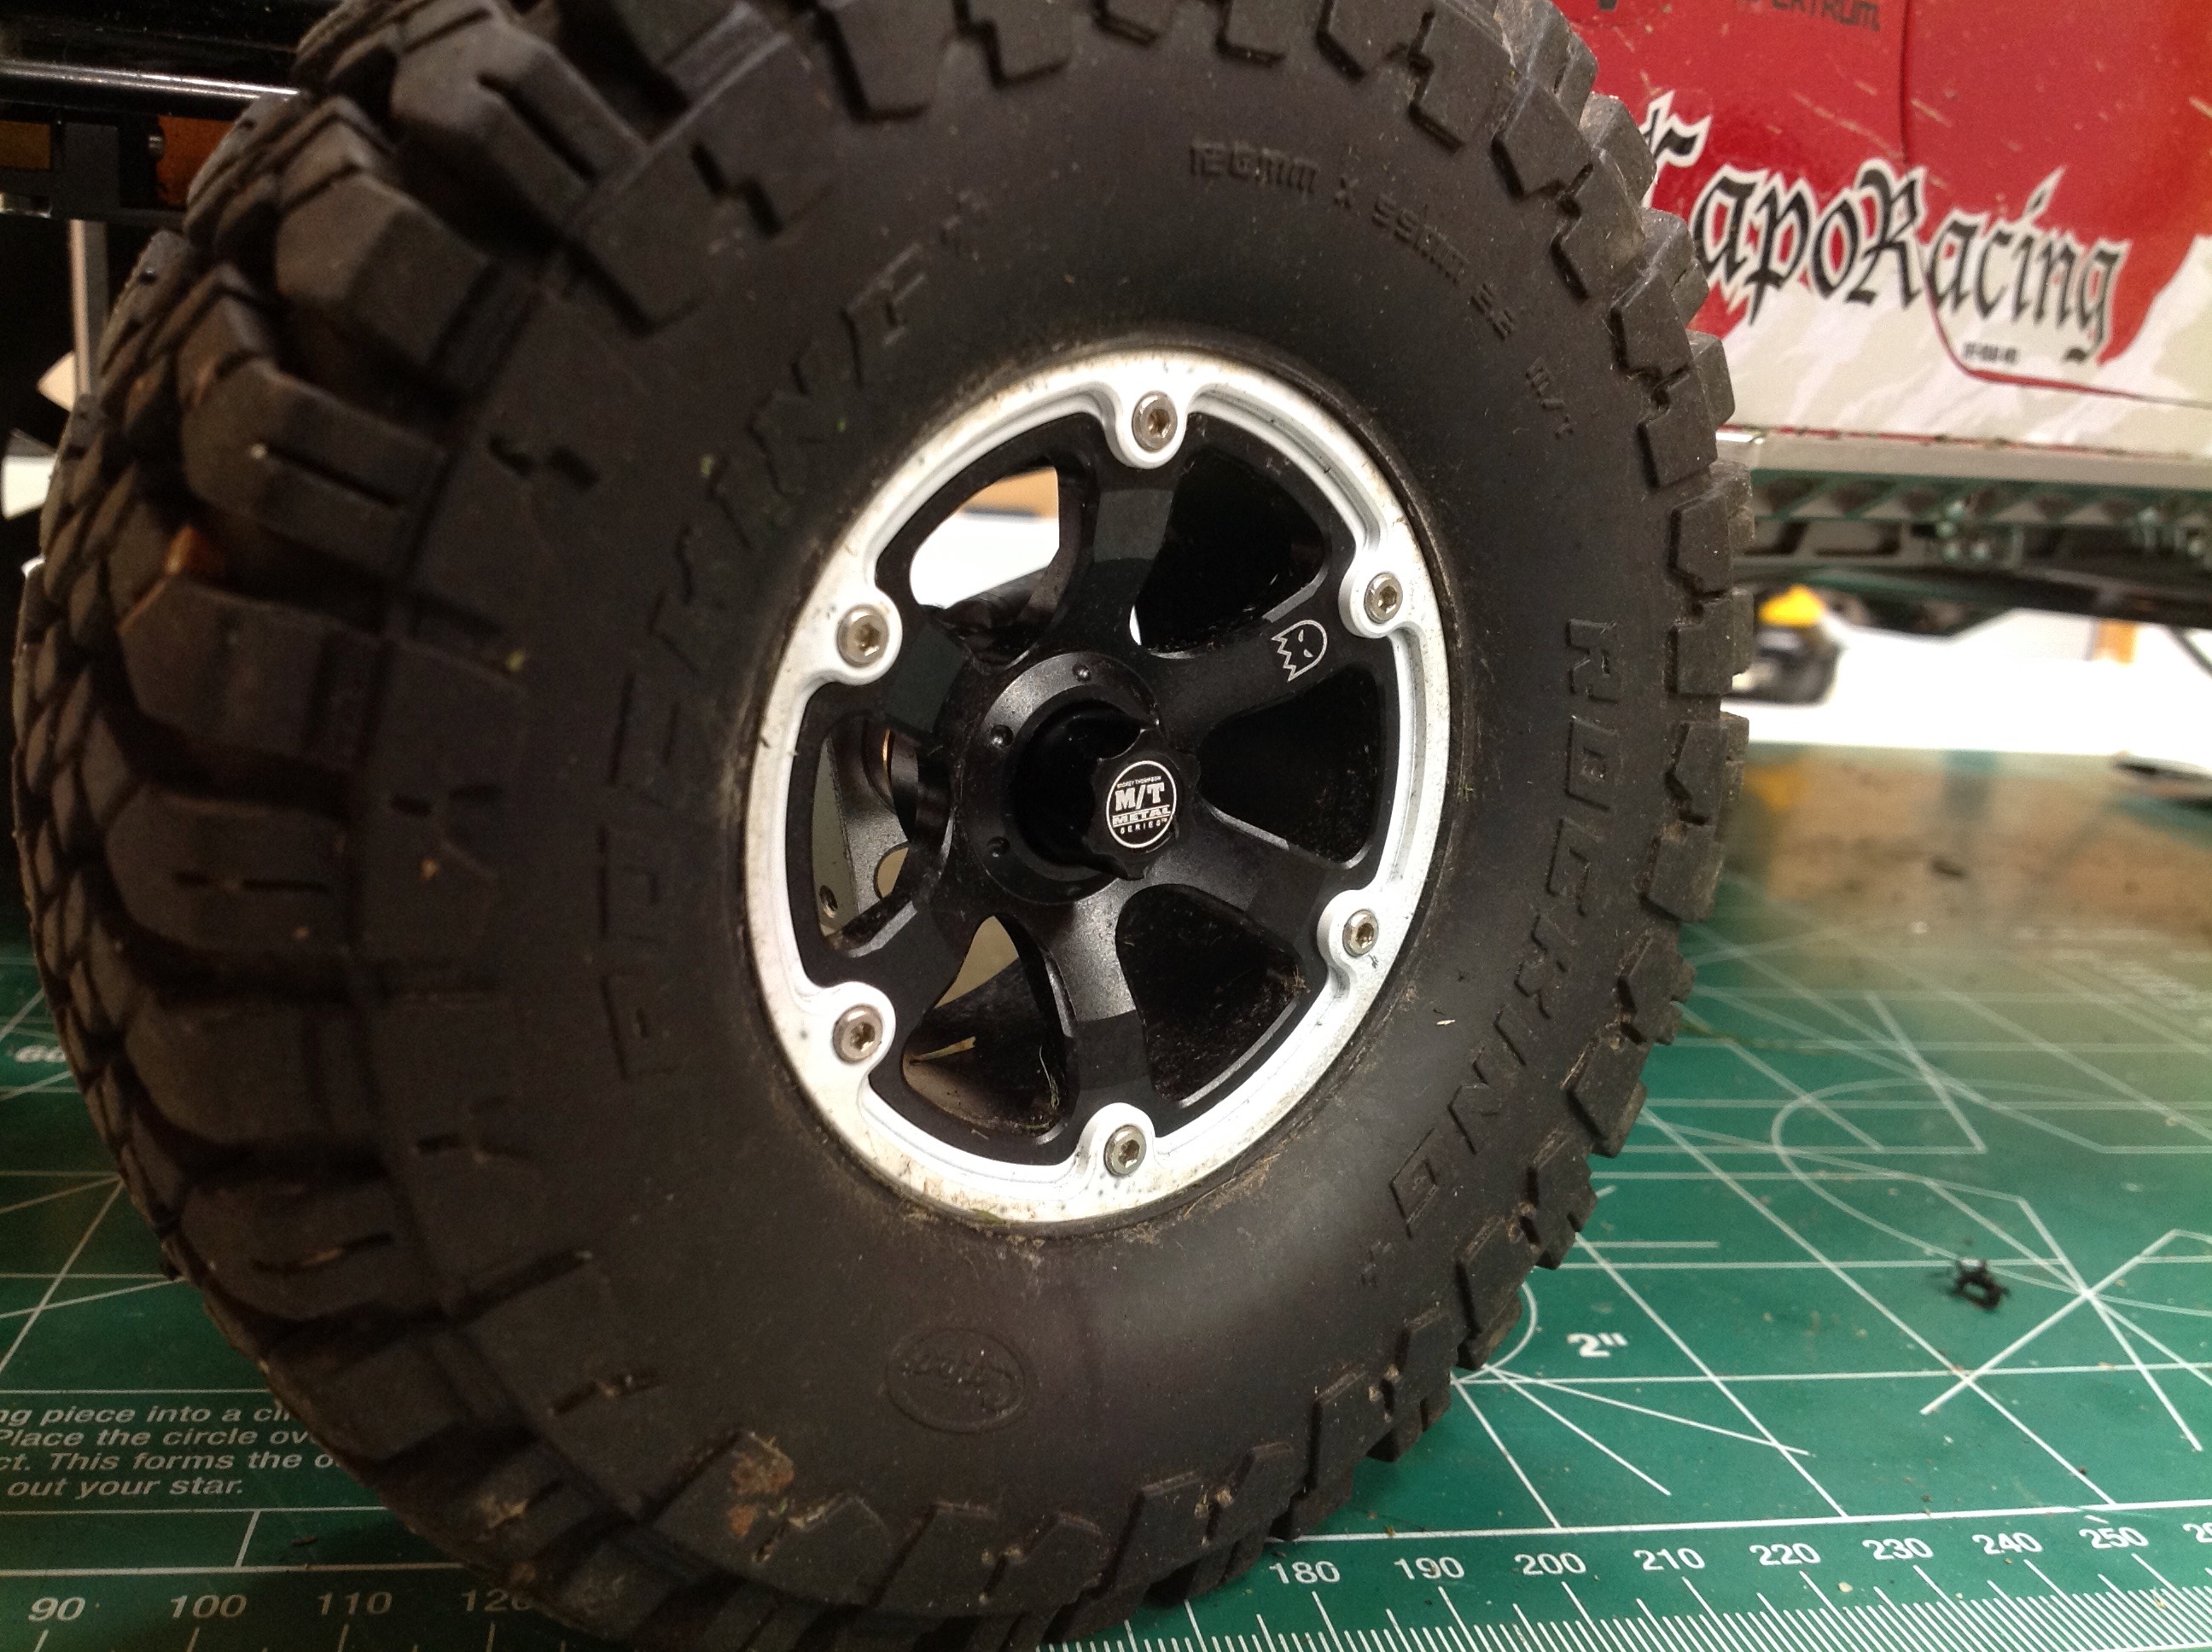
The final thing that I added is not from Capo. The only thing I
didn't like about the appearance of the truck was the fairly long
exposed threads sticking out from the wheel. I trimmed these off
with a Dremel and then added a set of wheel center caps from
RC4WD. The pictures above show before and after.
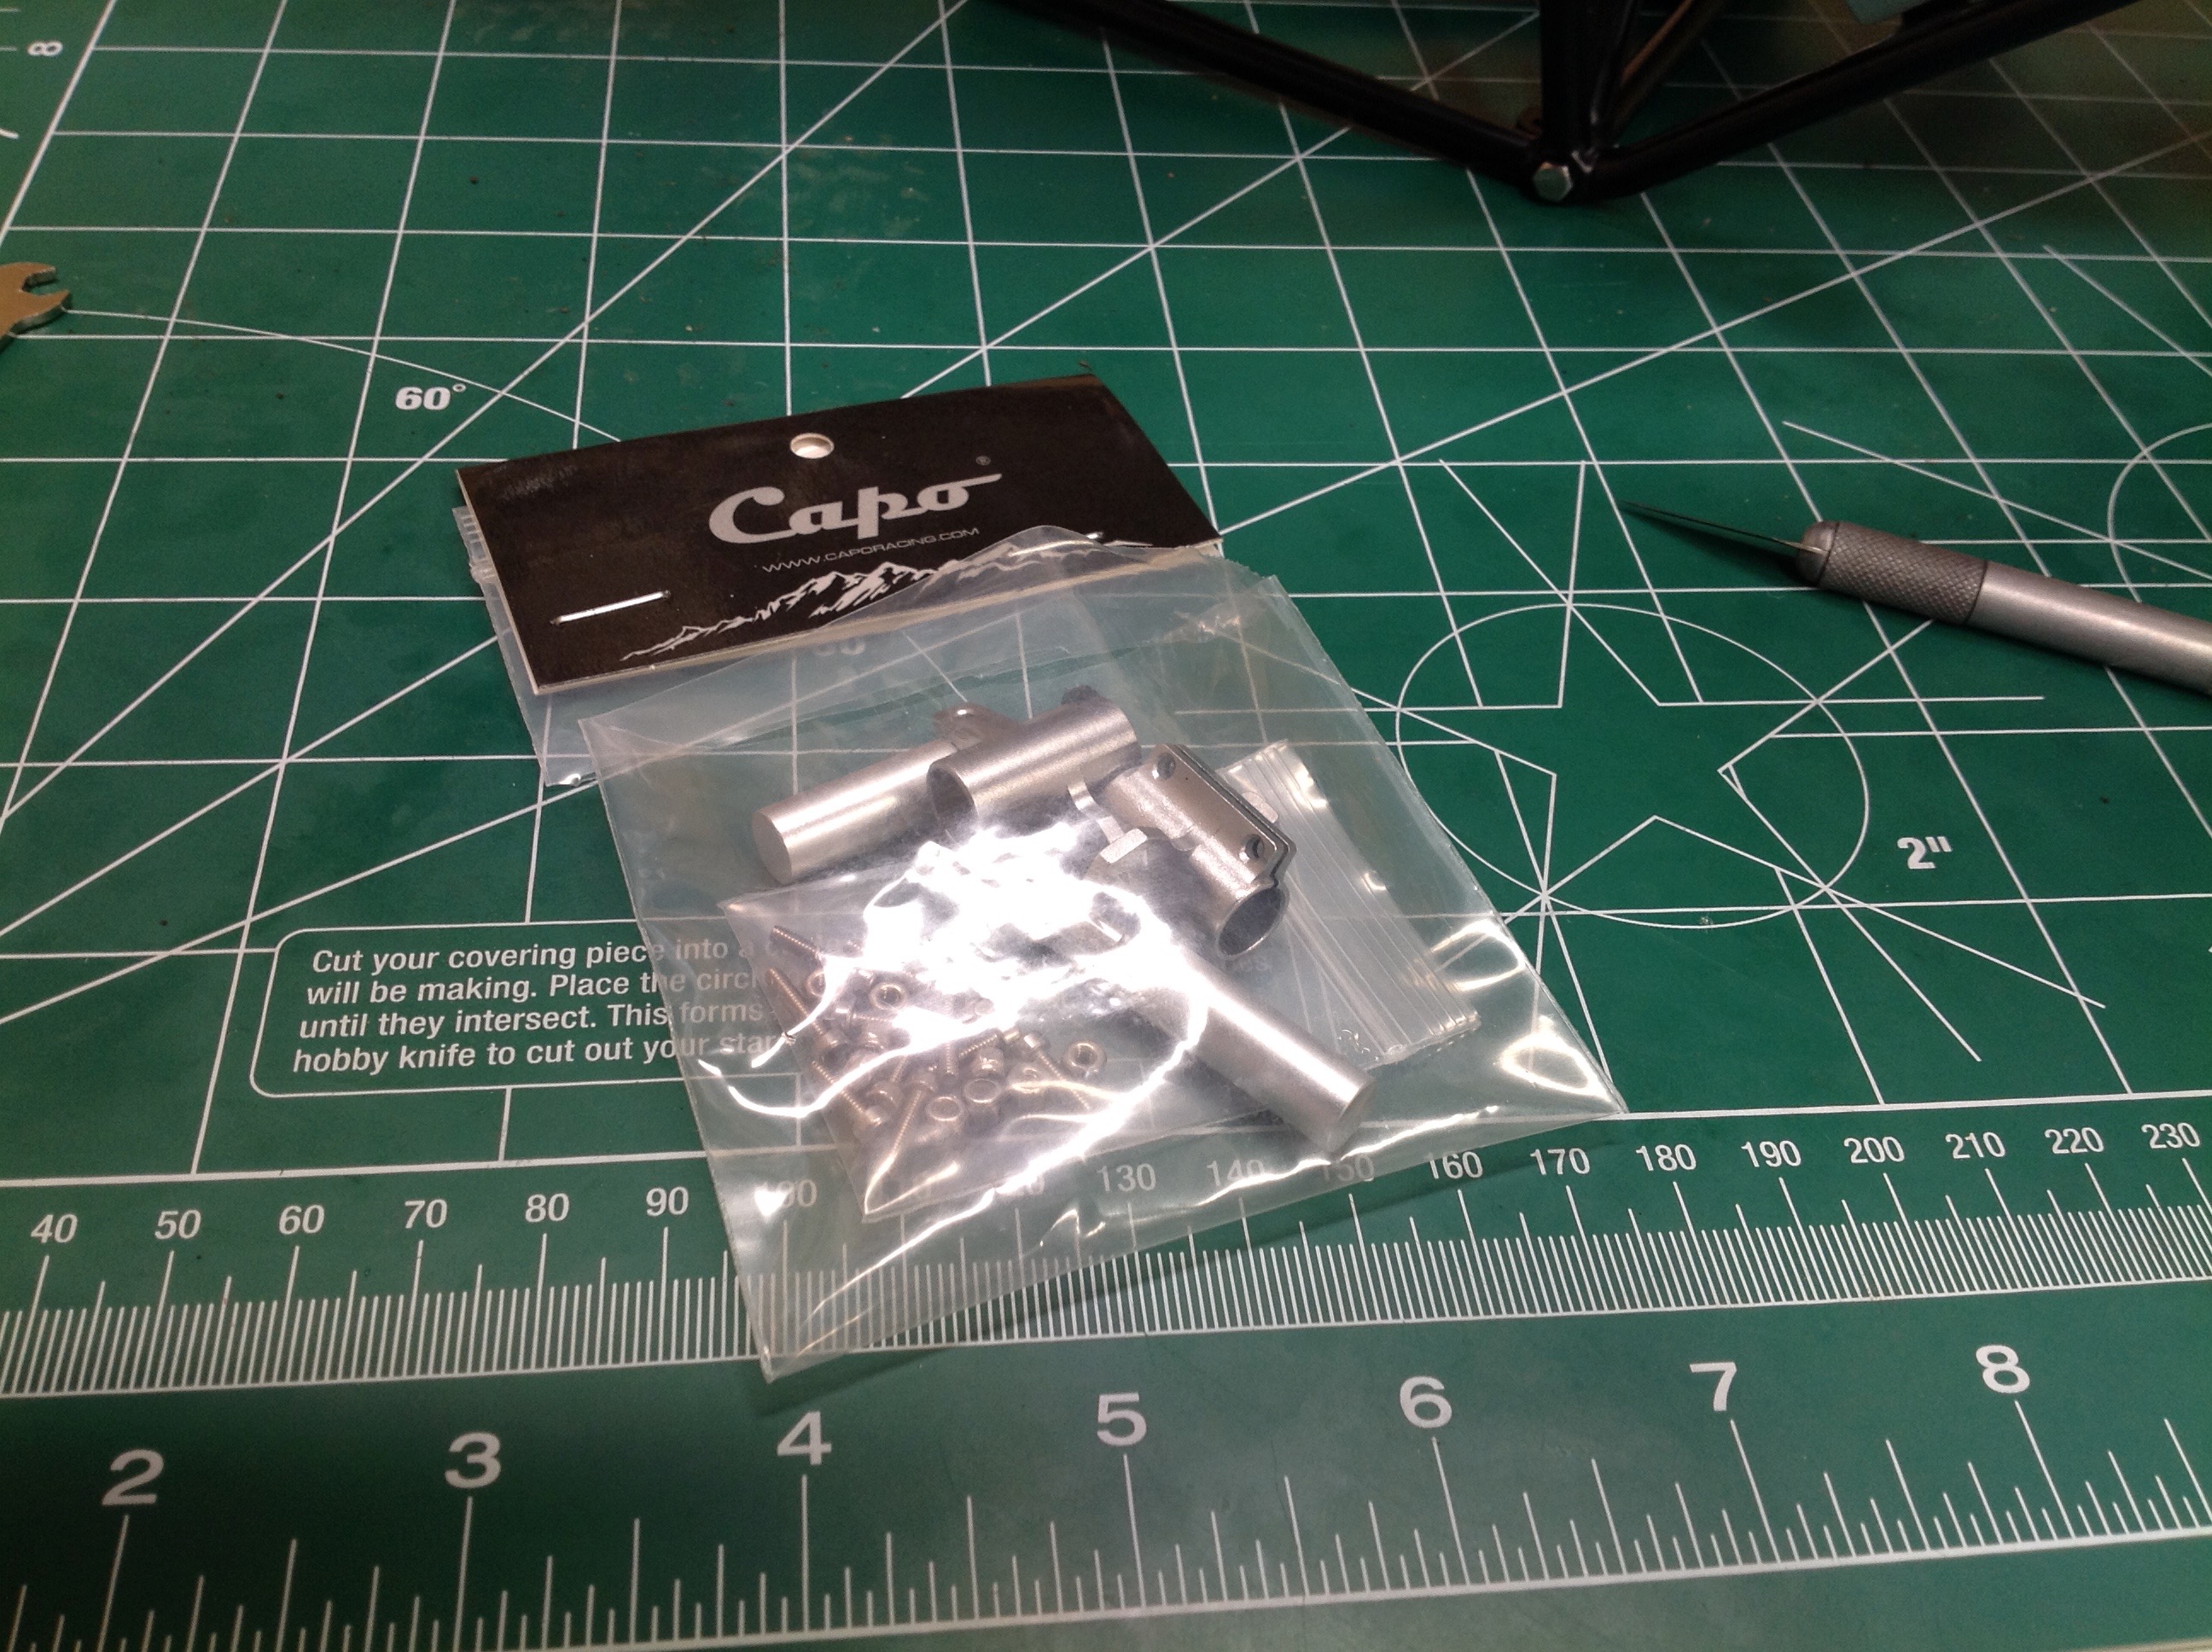
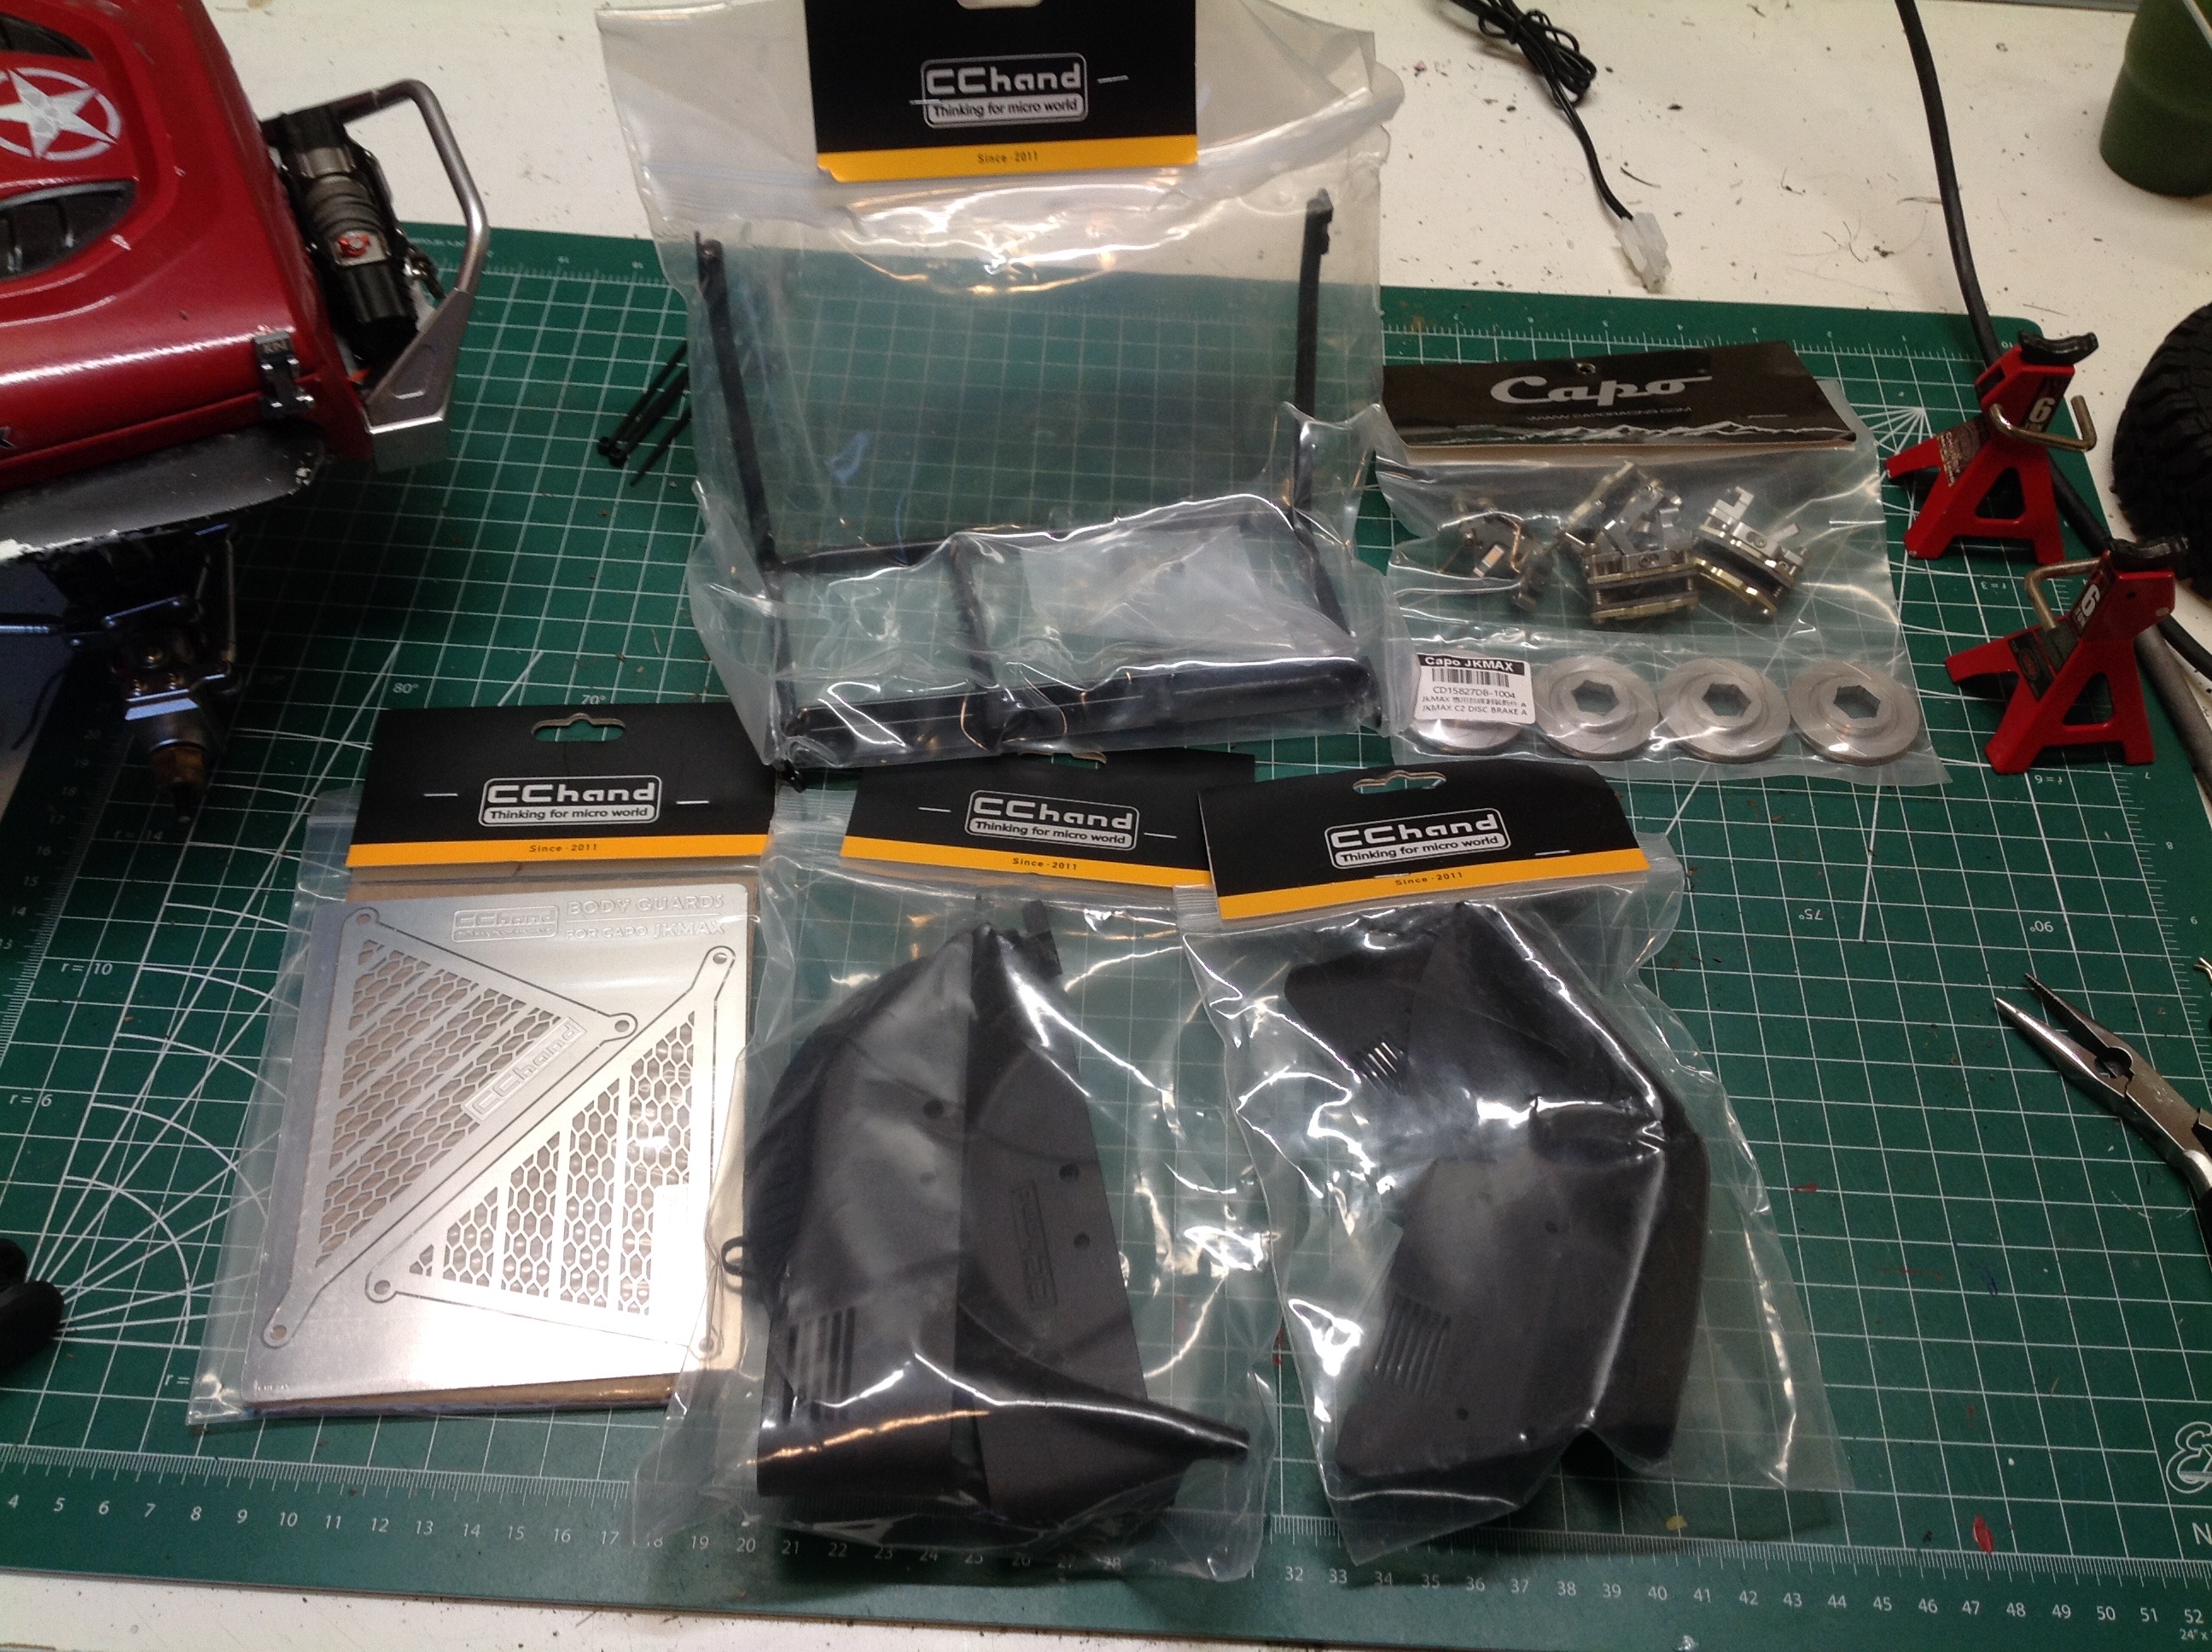
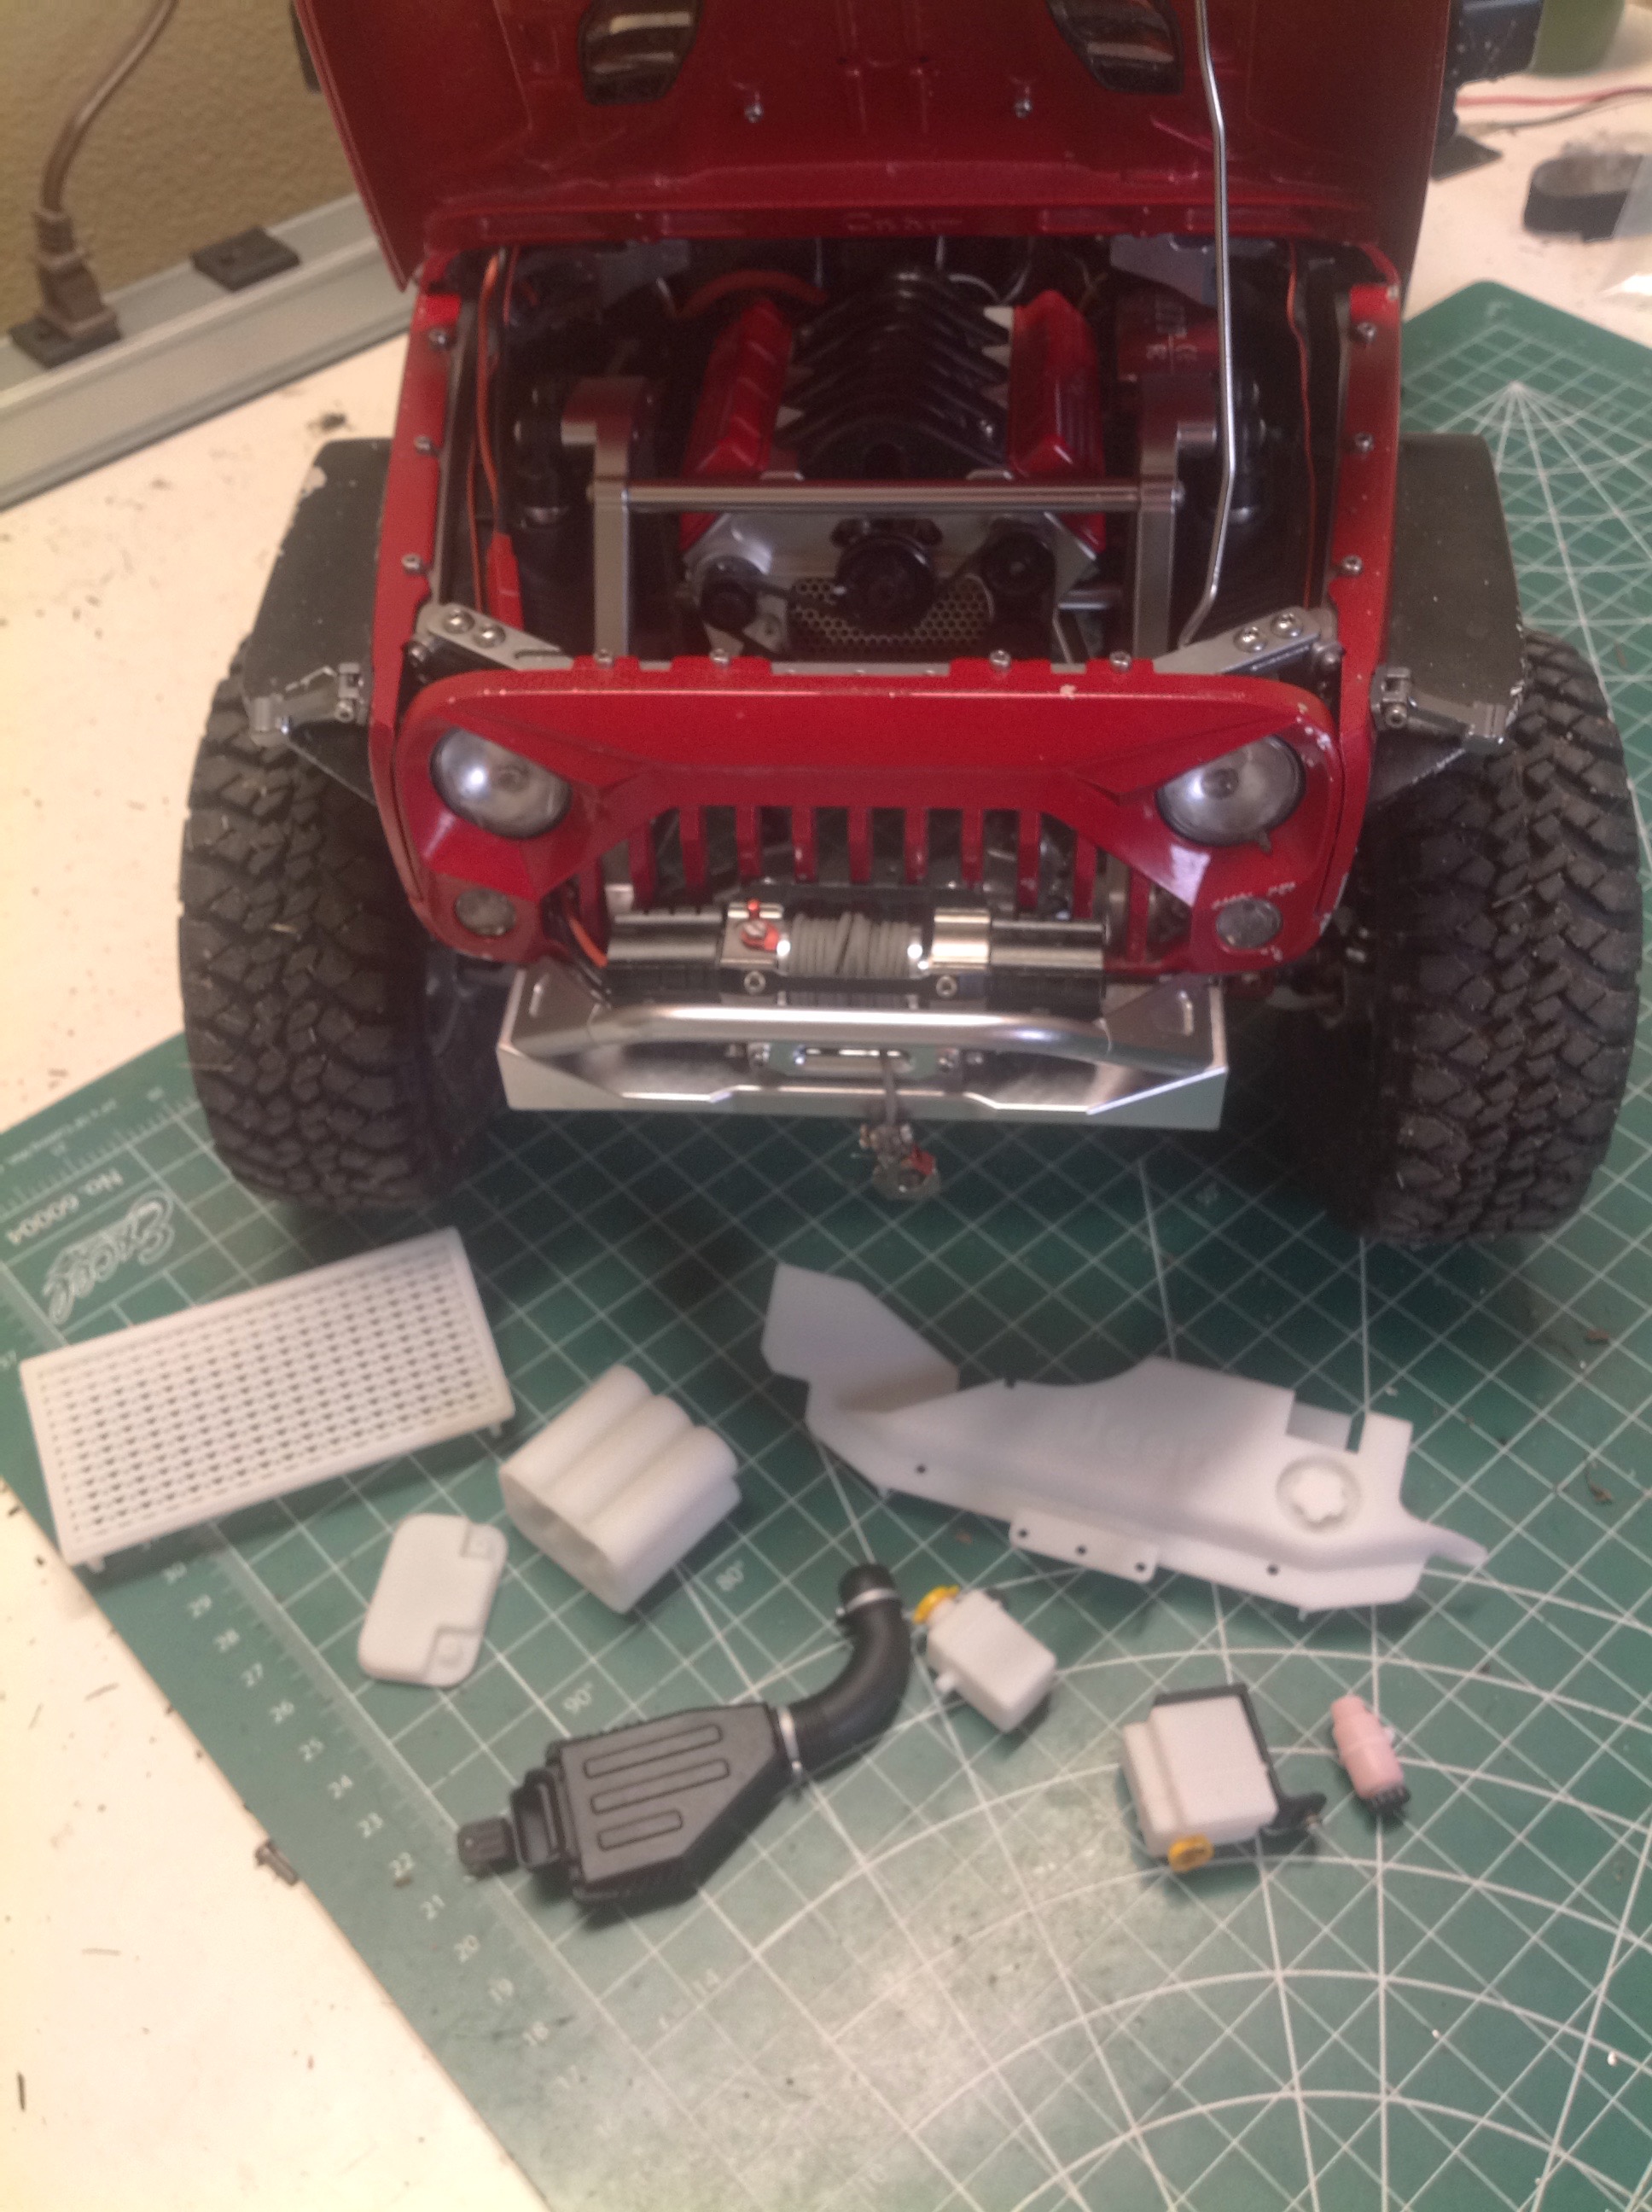
Phase 2
Later I broke a front axle and had to order a replacement.
Shipping is so expensive from Hong Kong that I thought, why not order
several hundred dollars of additional accessories? Lots more
options had become available in the years since I originally built the
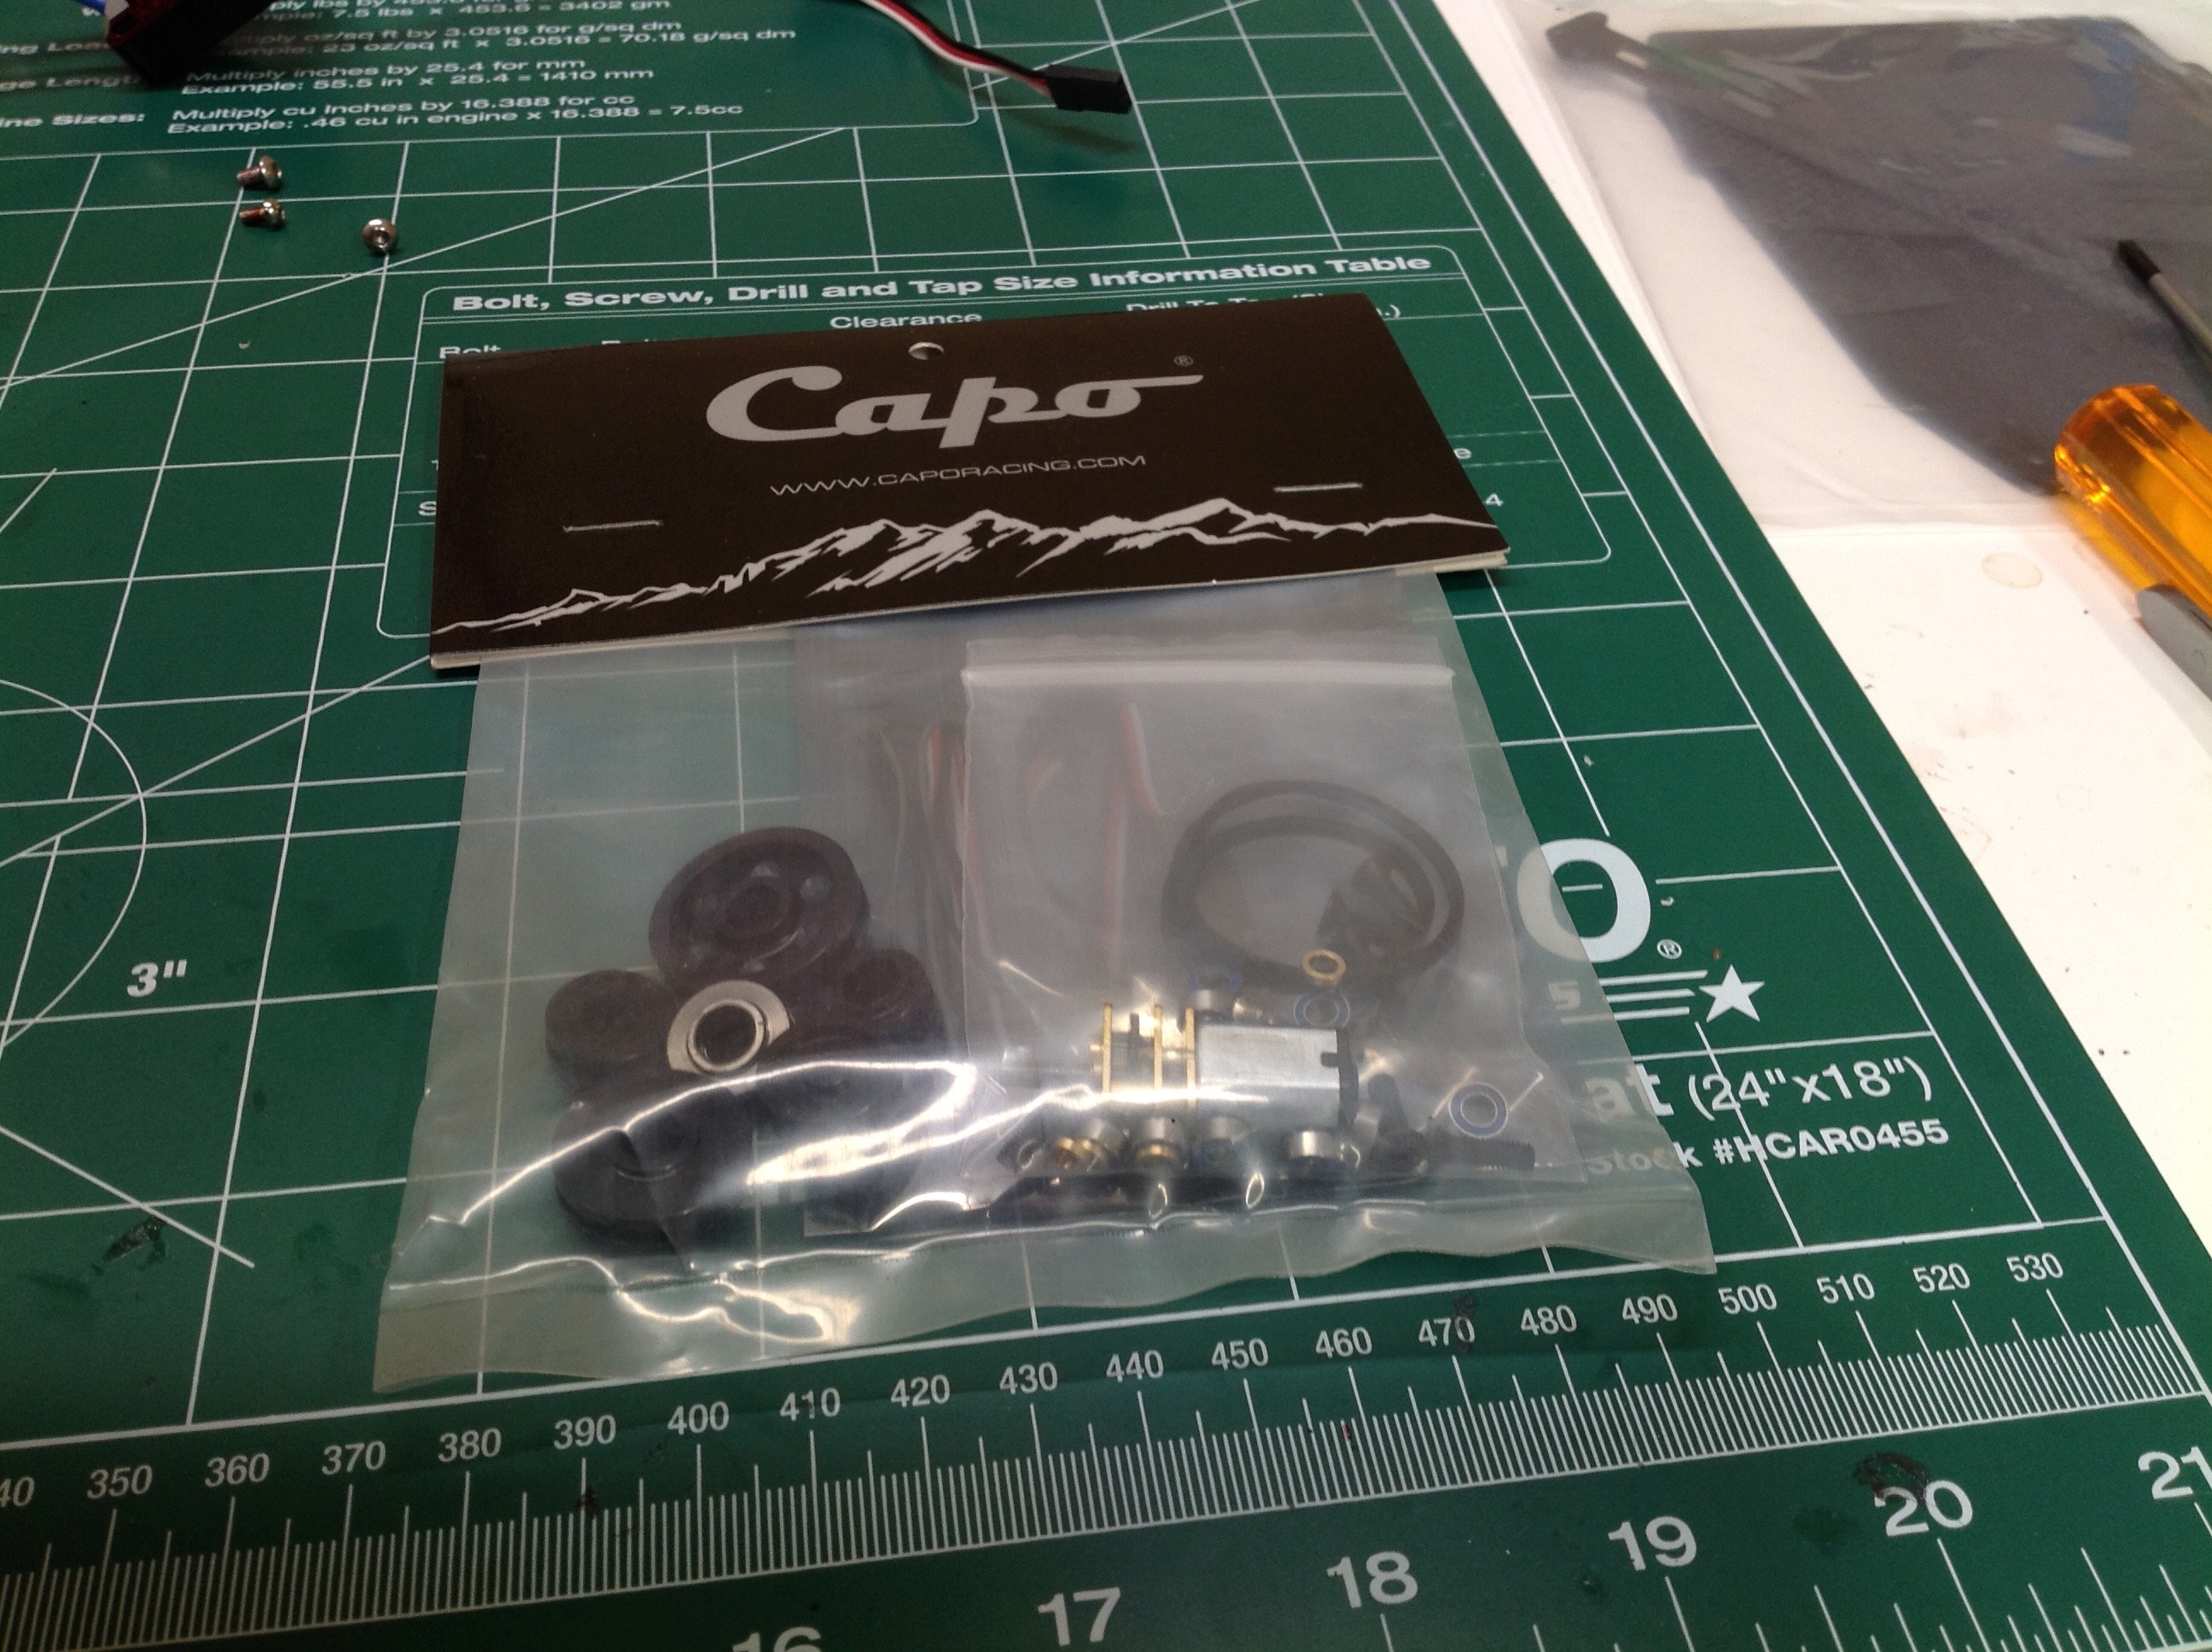
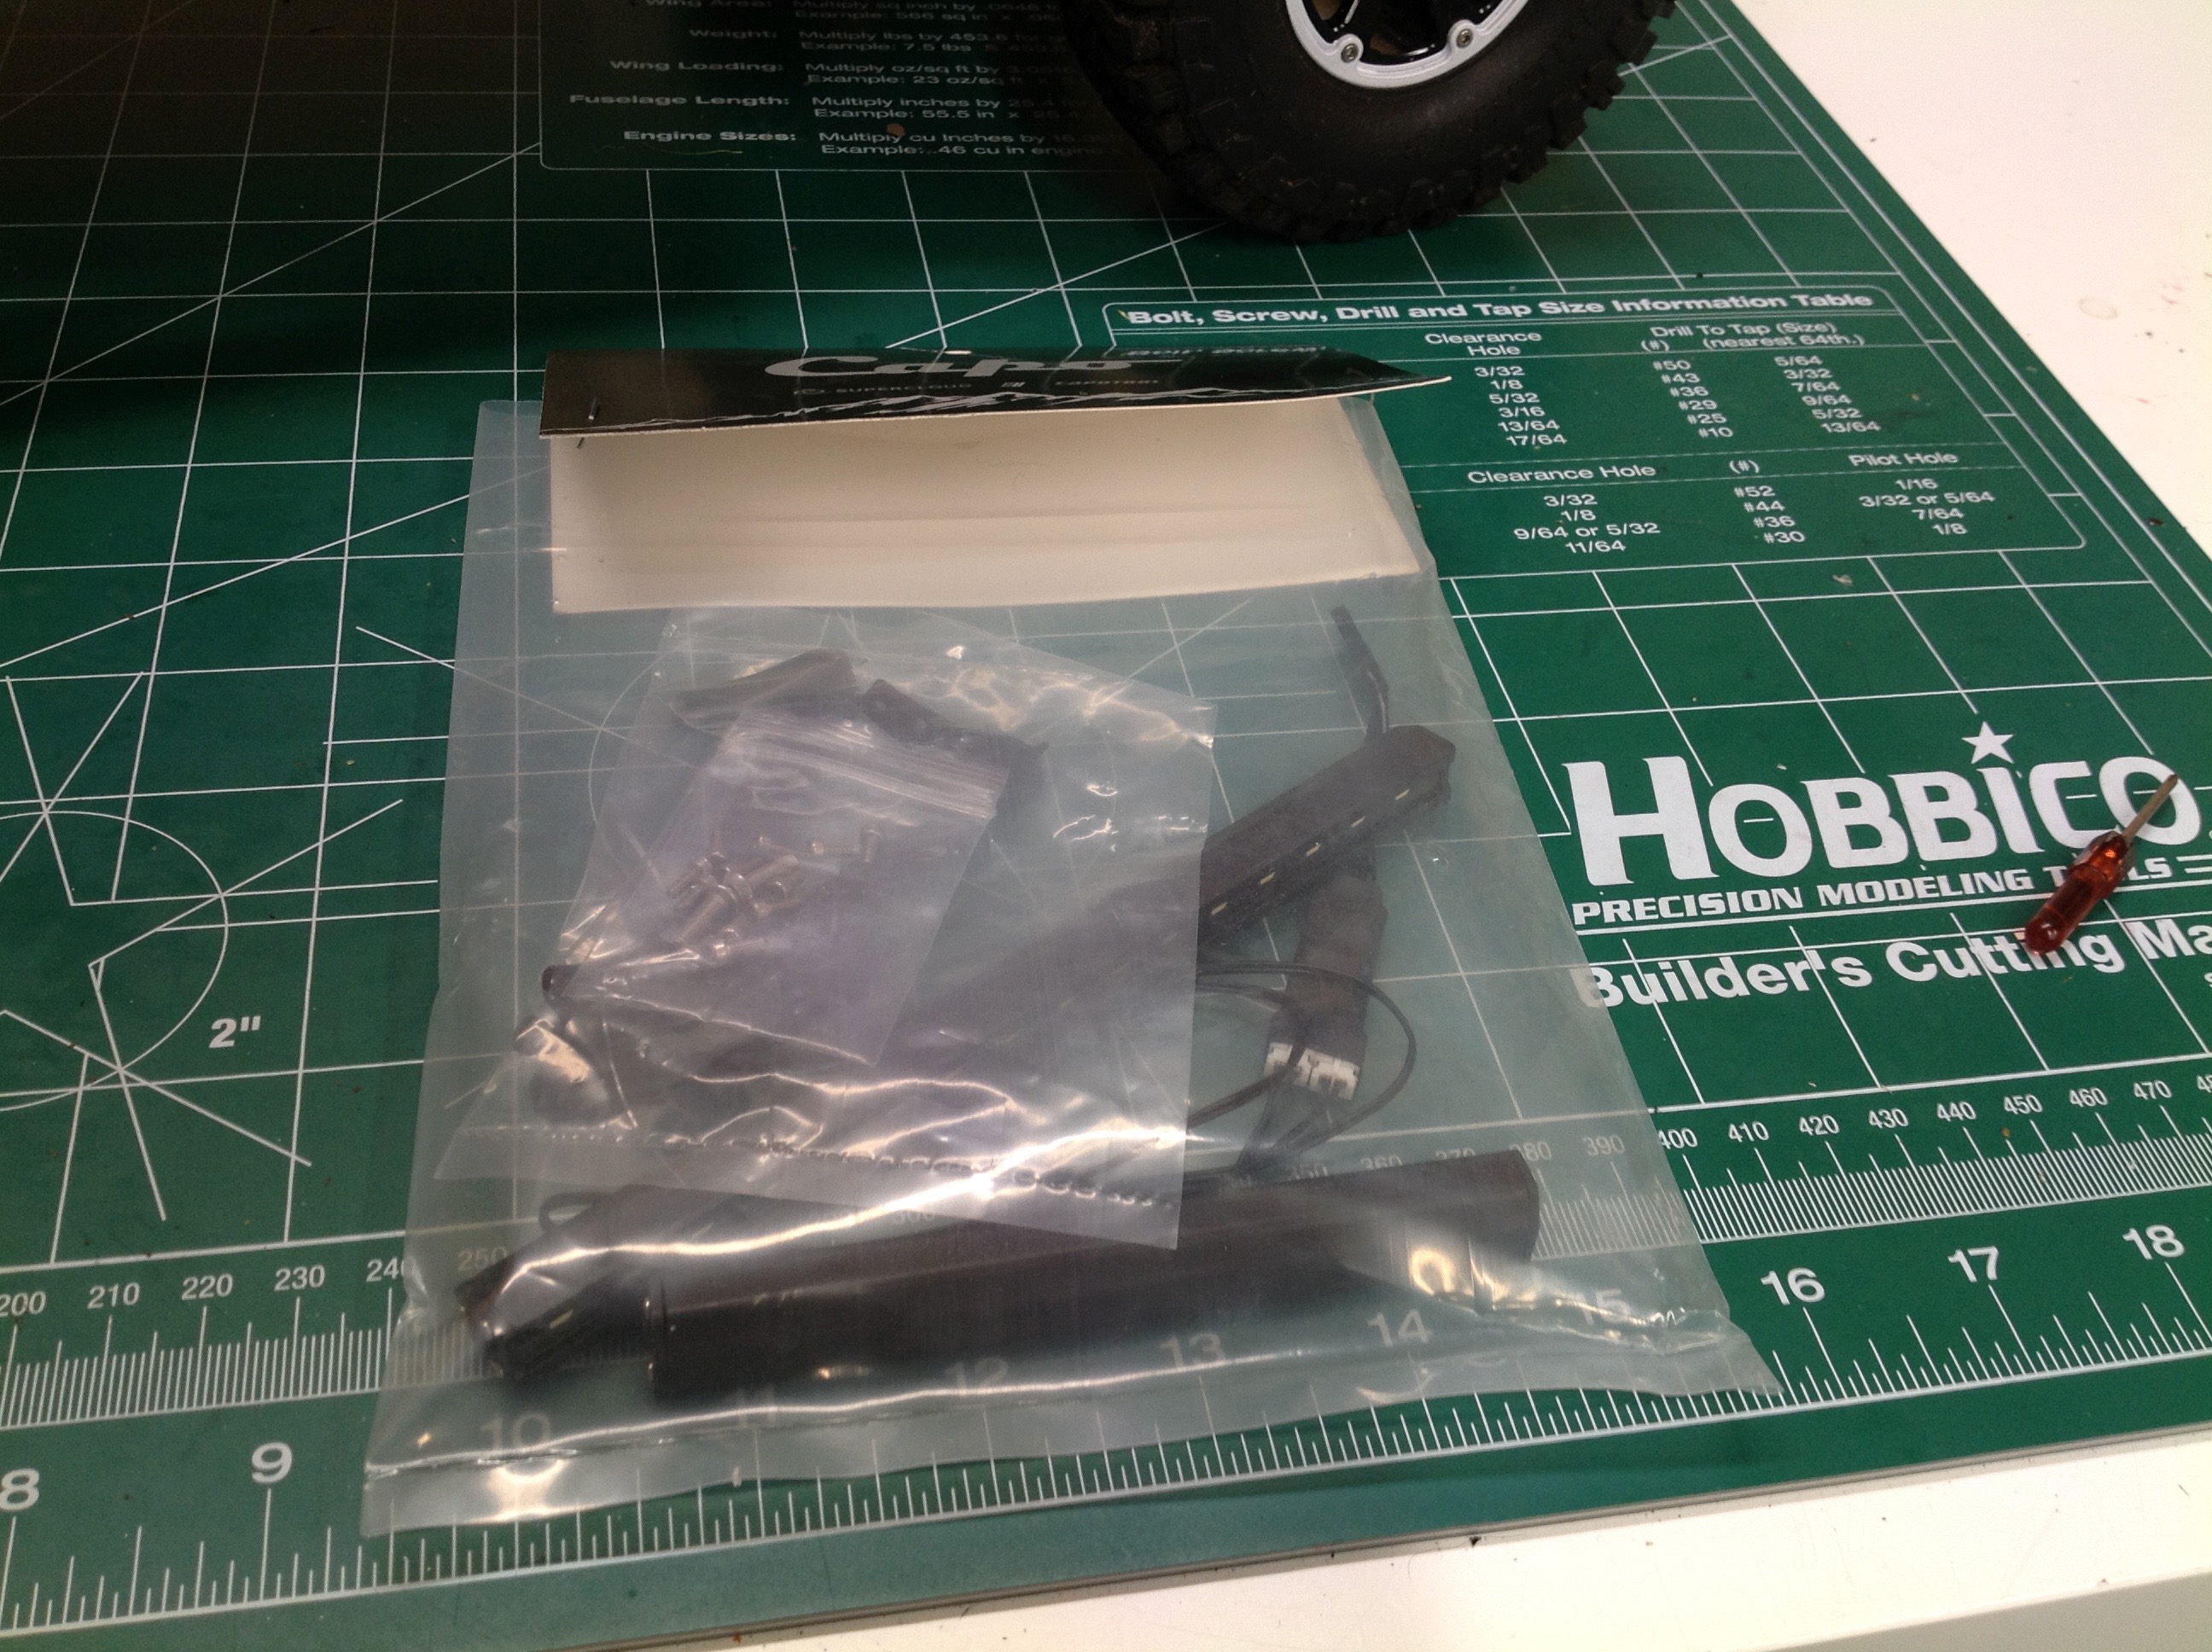
model. This picture shows most of the parts I bought. I
screwed up a couple of them so had to go back and order even more.
I had no choice.
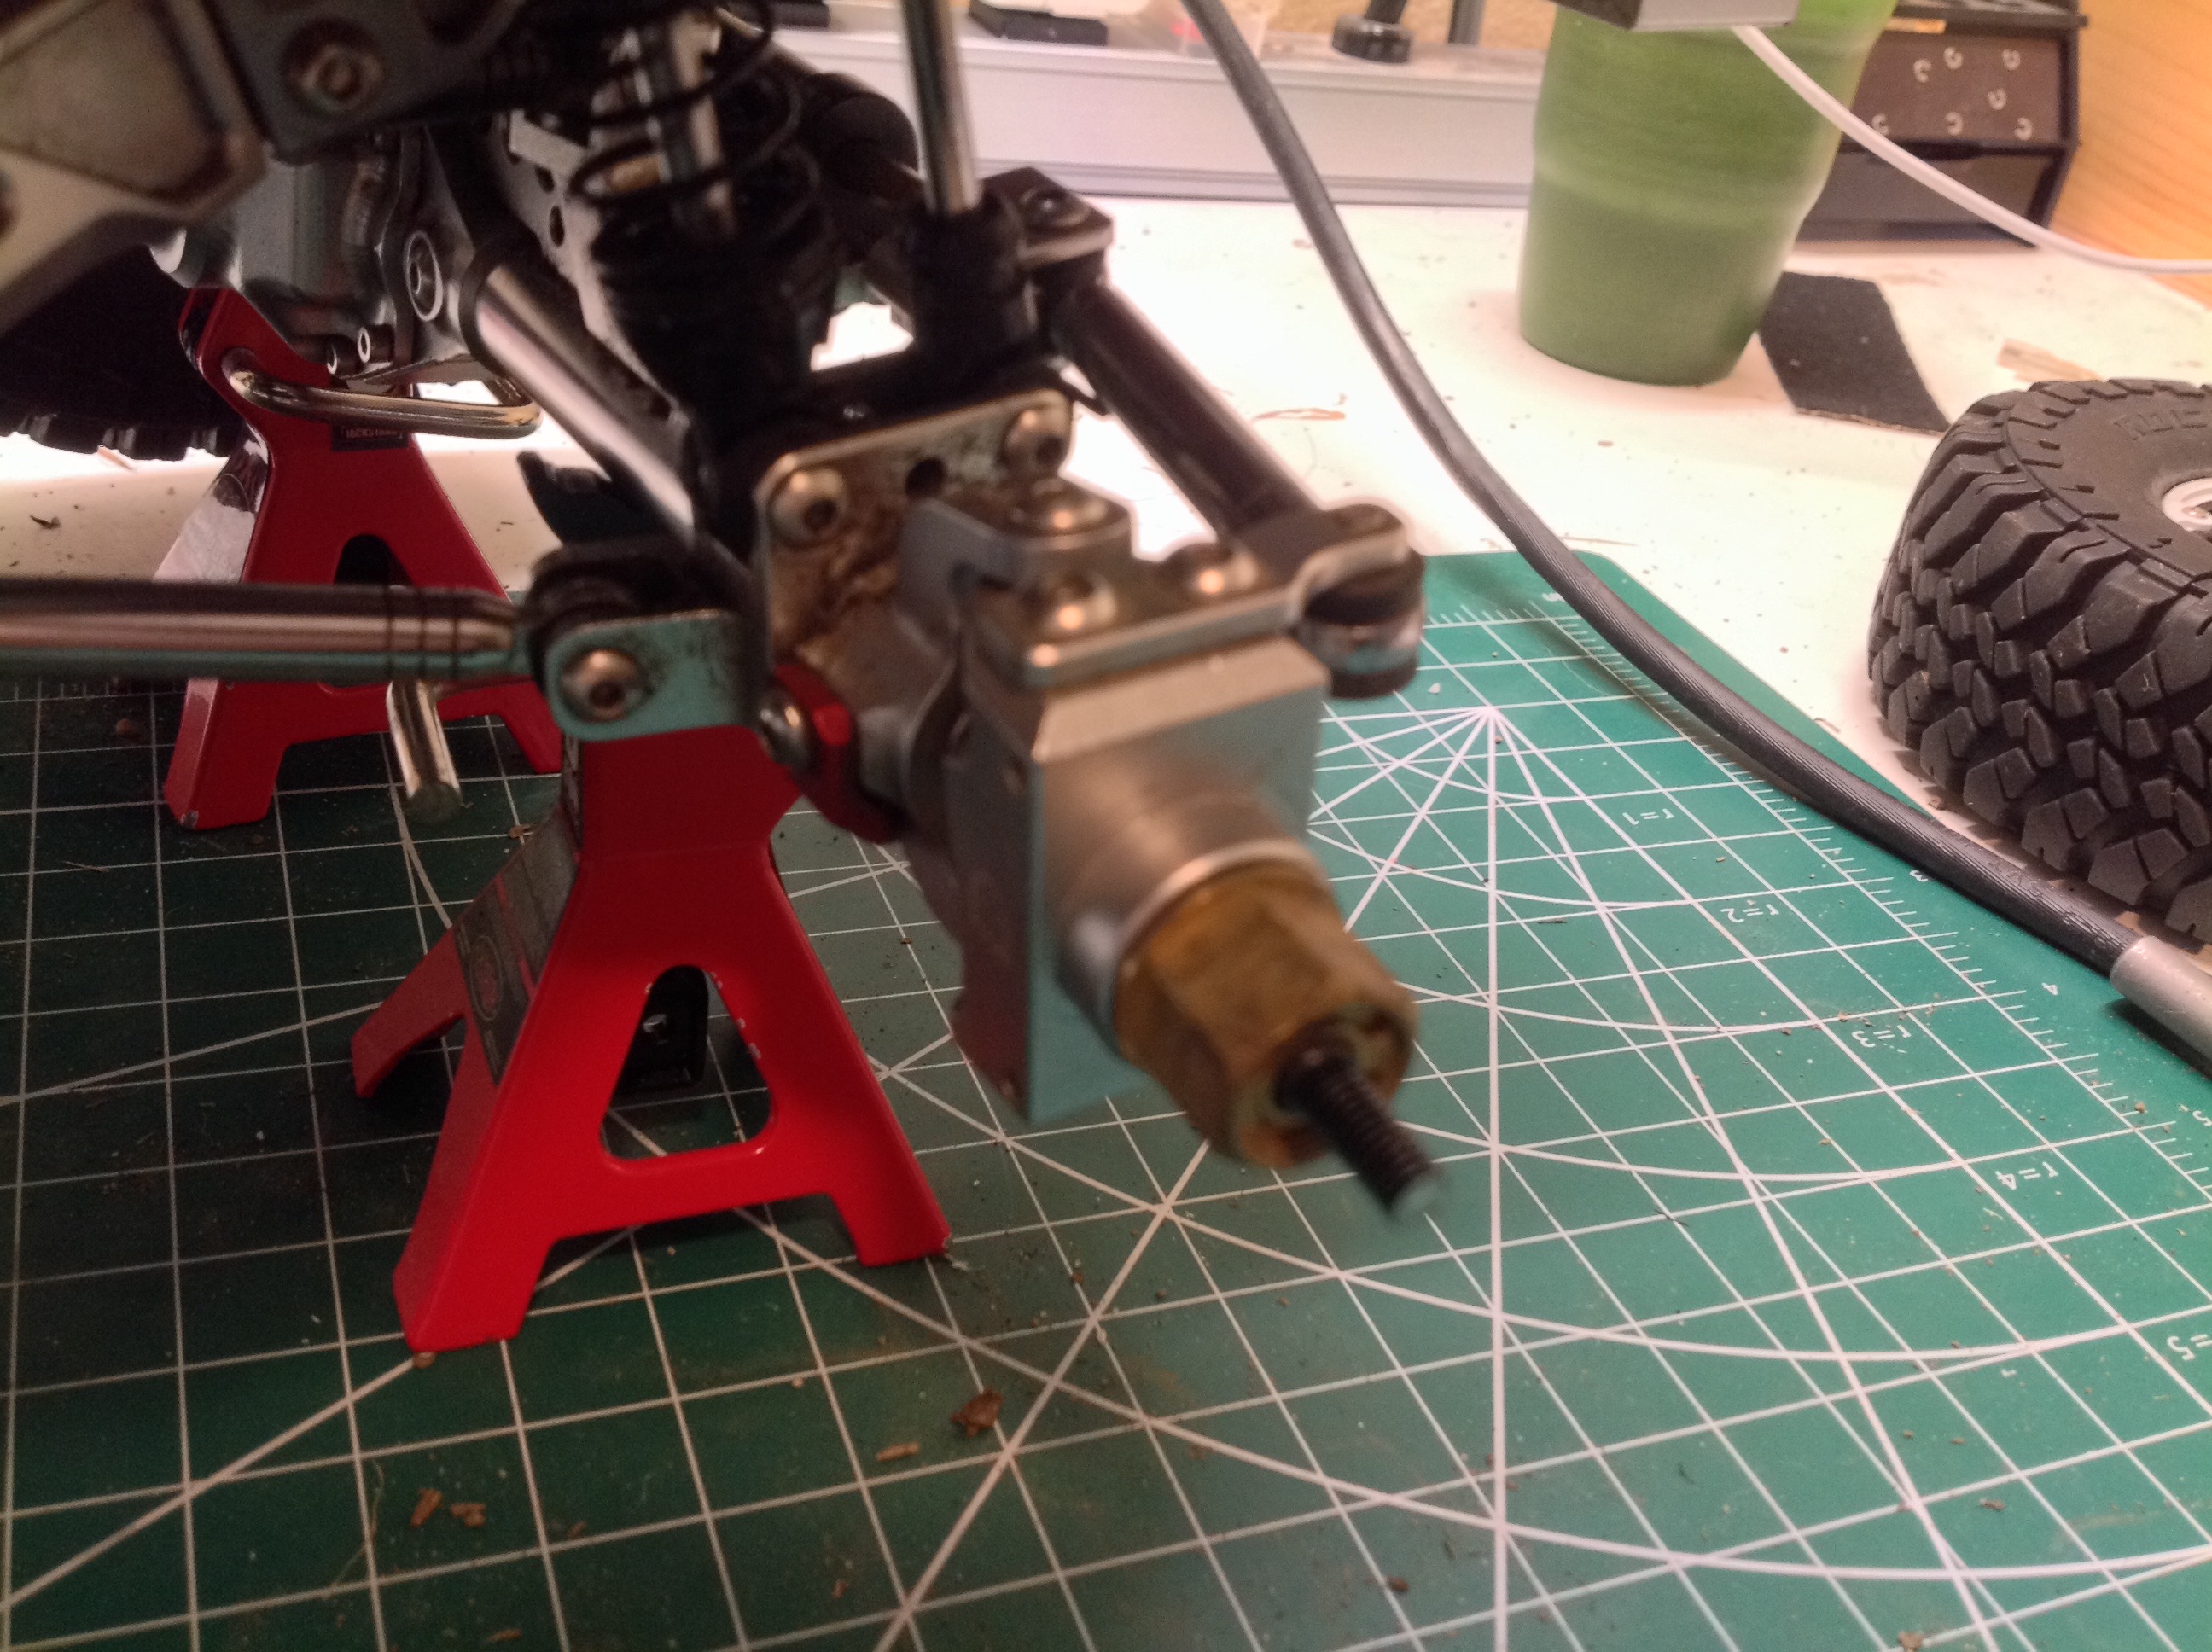
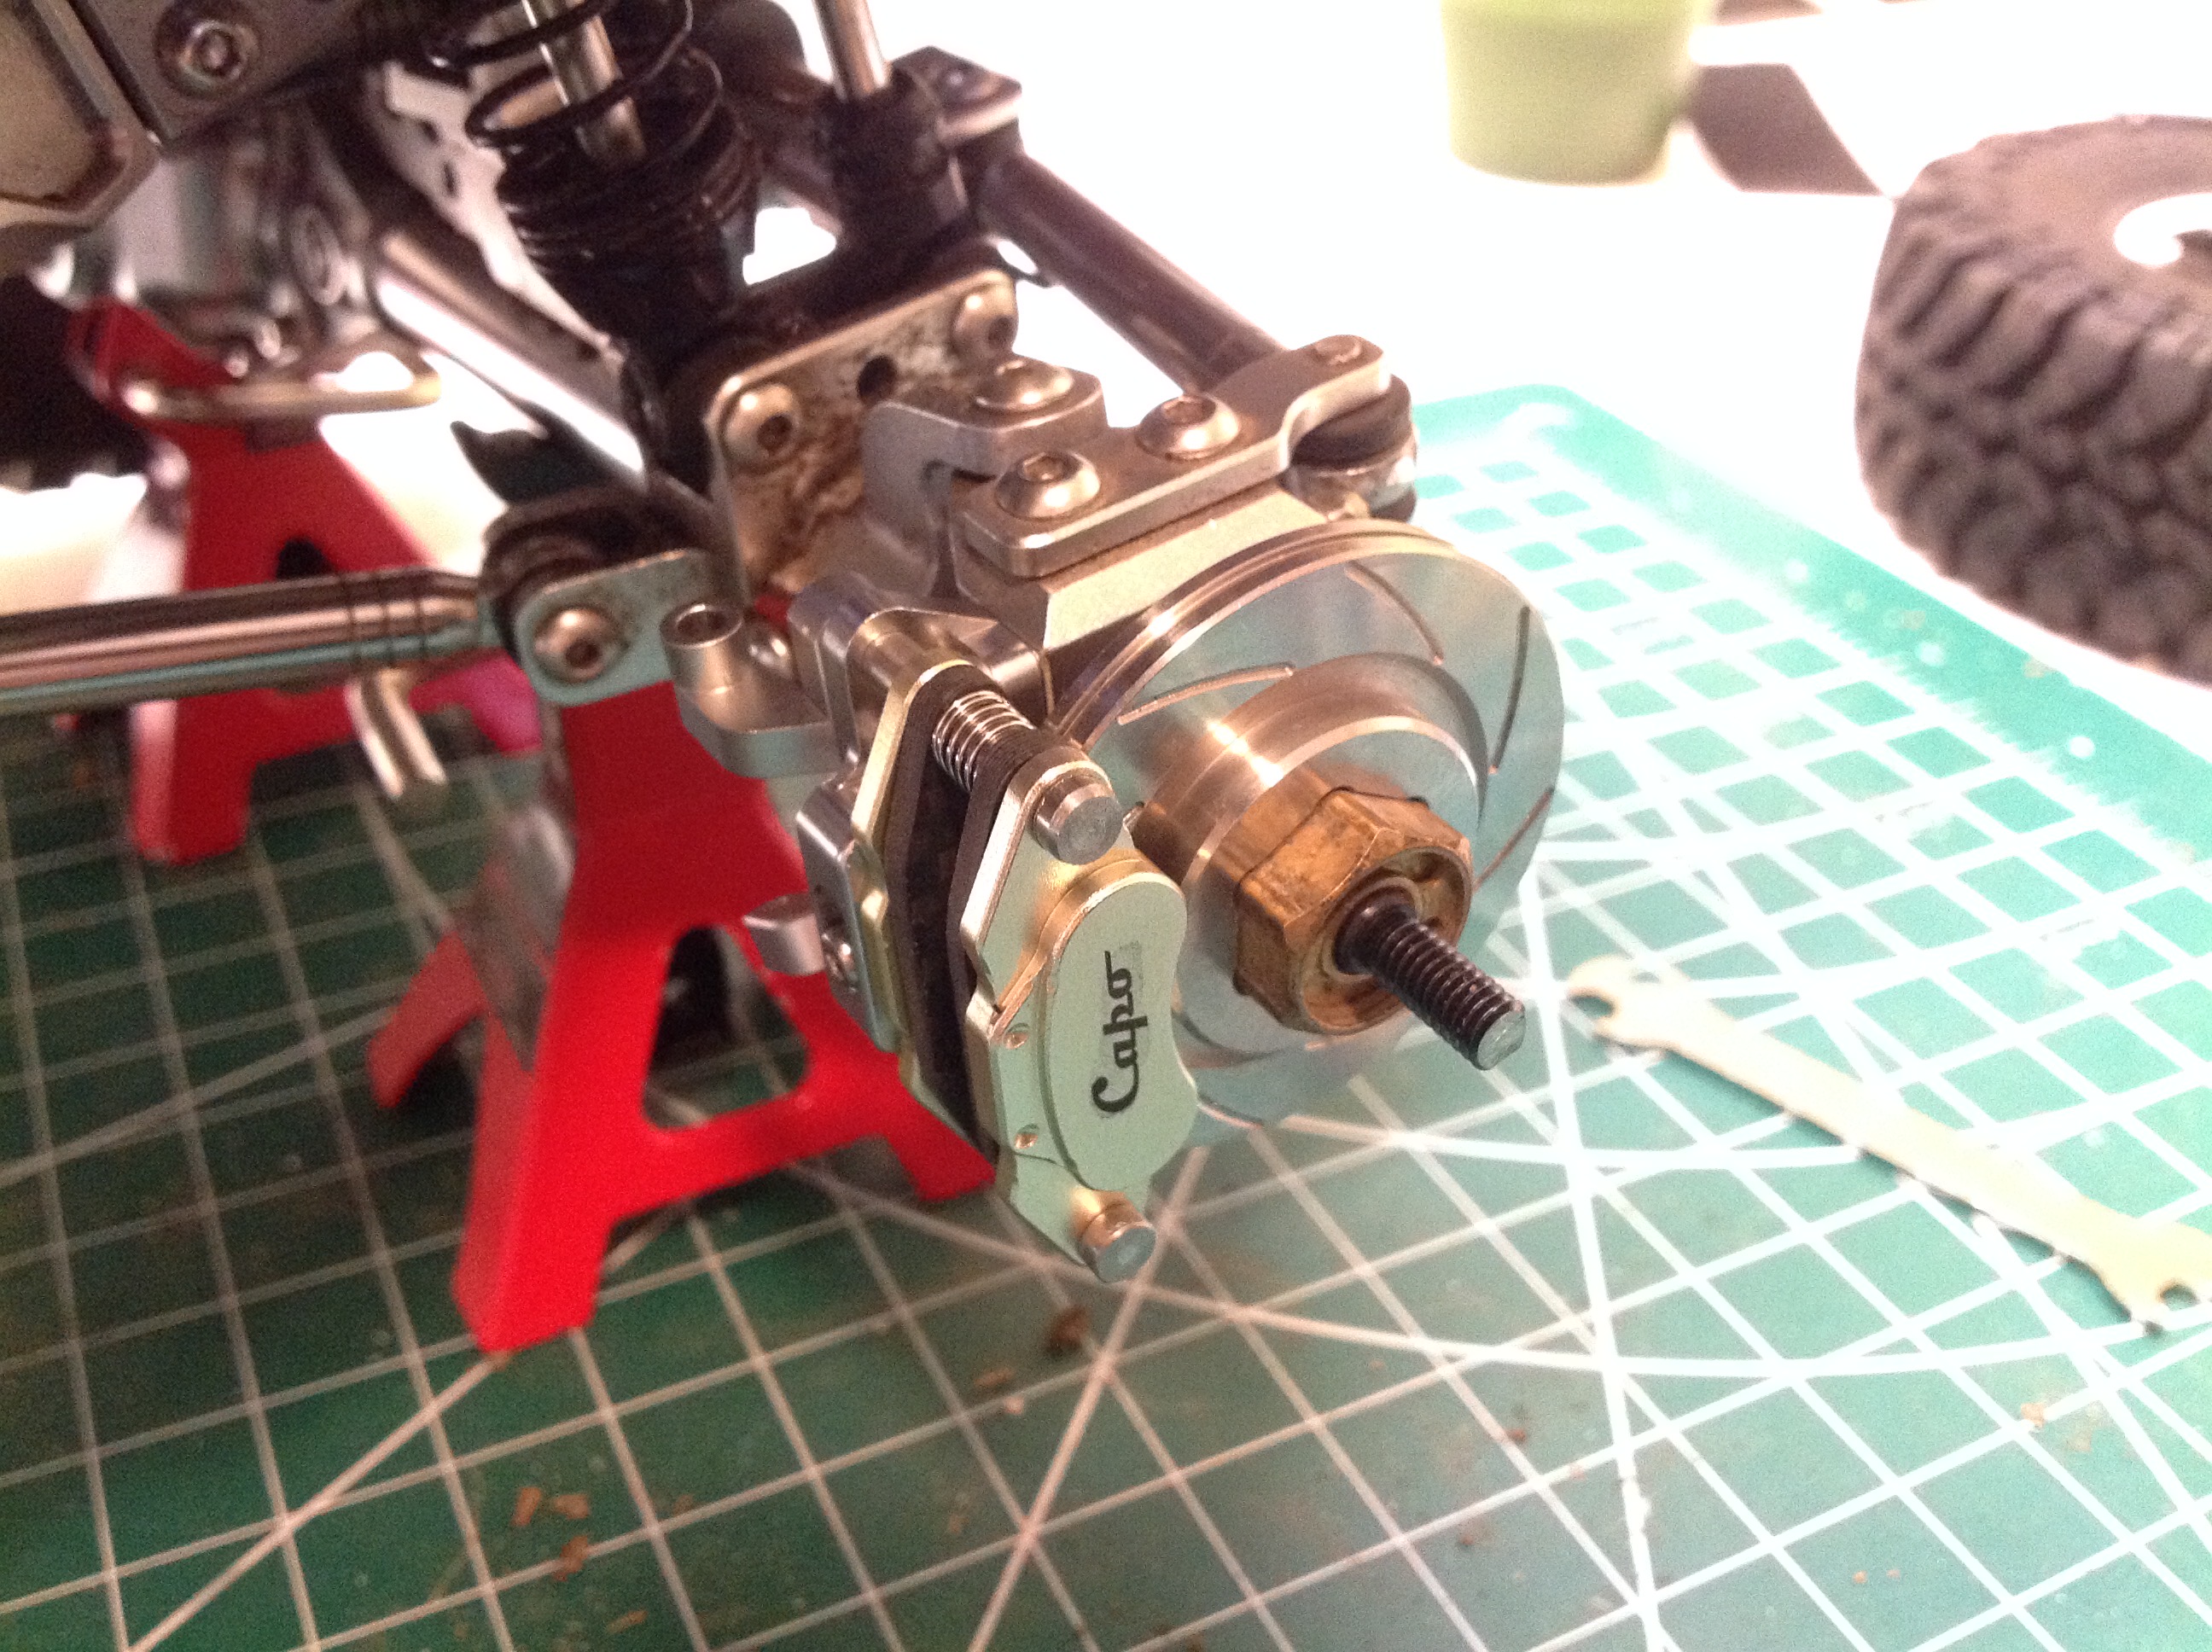
The most expensive upgrade I made was to add disc brakes. These
brakes have calipers to make them functional, but there is no system on
the model to actually pull the cable and actuate them. It would be
pointless anyway since the motor provides four wheel braking.
They are really just for looks. The pictures above show one corner
before and after. They probably actually make the truck worse
because rocks and sand can get caught between the rotating rotor and
stationary caliper or between the rotor and the wheel which now has
reduced clearance. They sure are cool though.
This shows how little space there is not between the brakes and the
inside diameter of the wheel. I like that you can see the brakes
through the spoked wheels though.
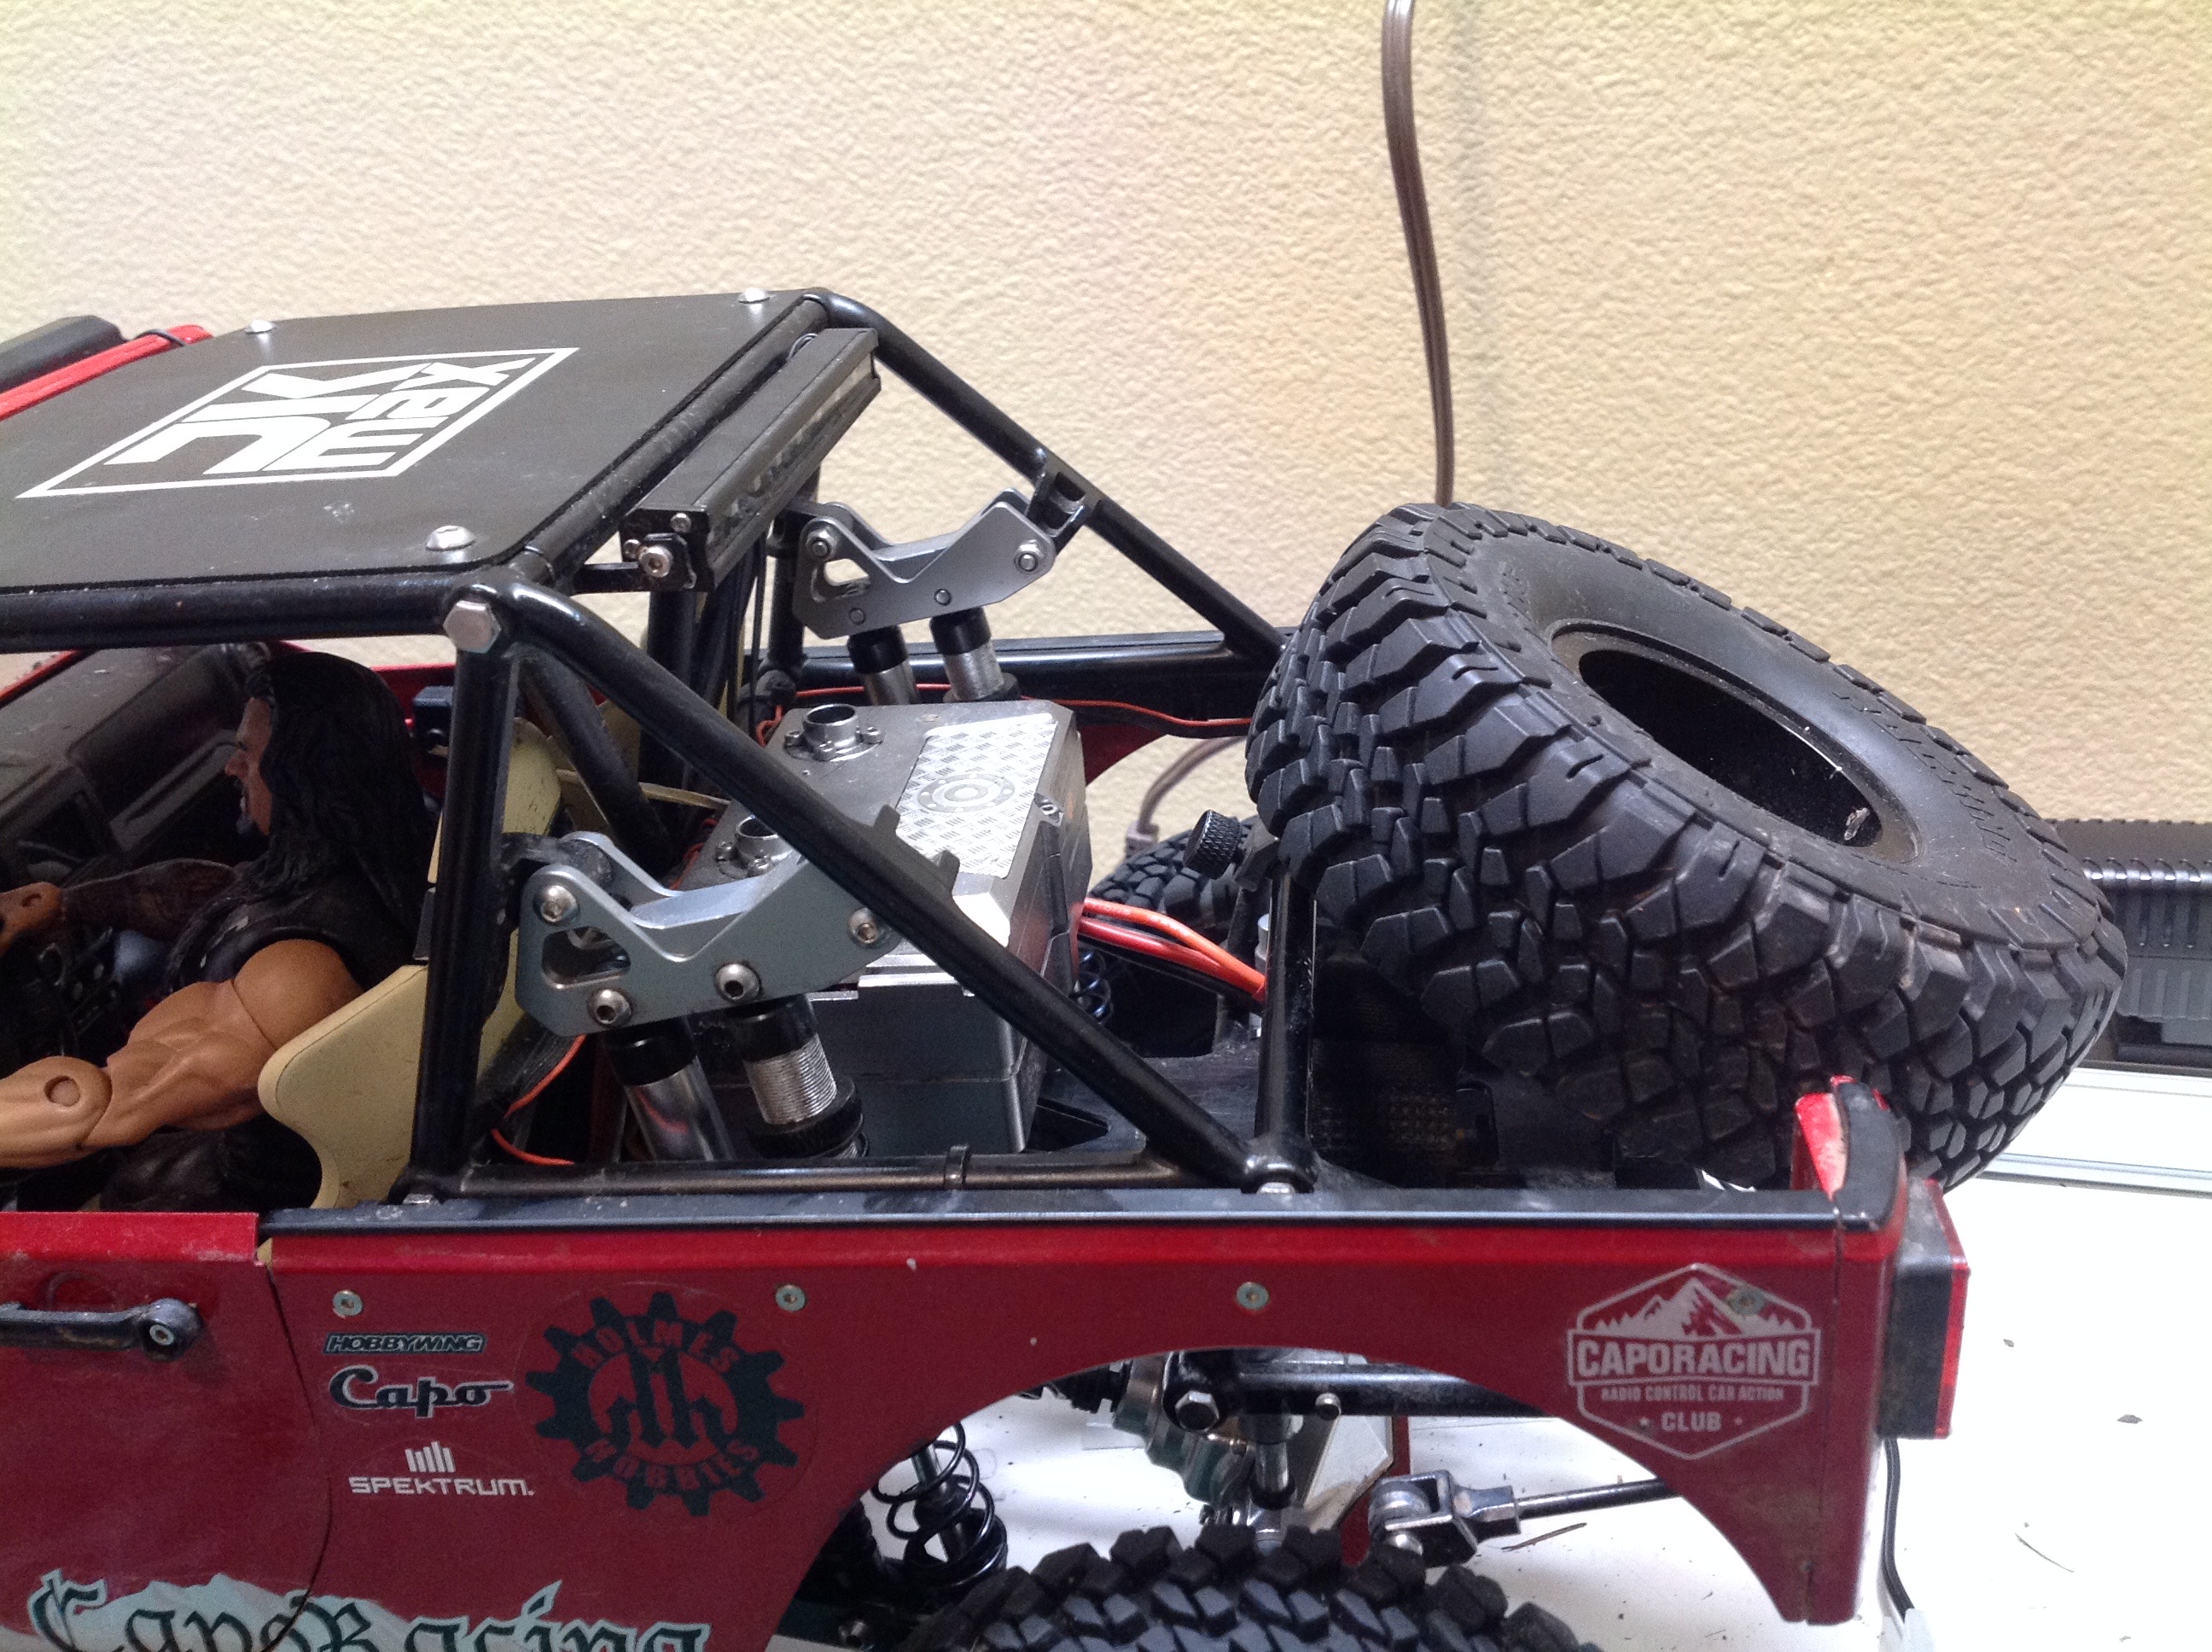
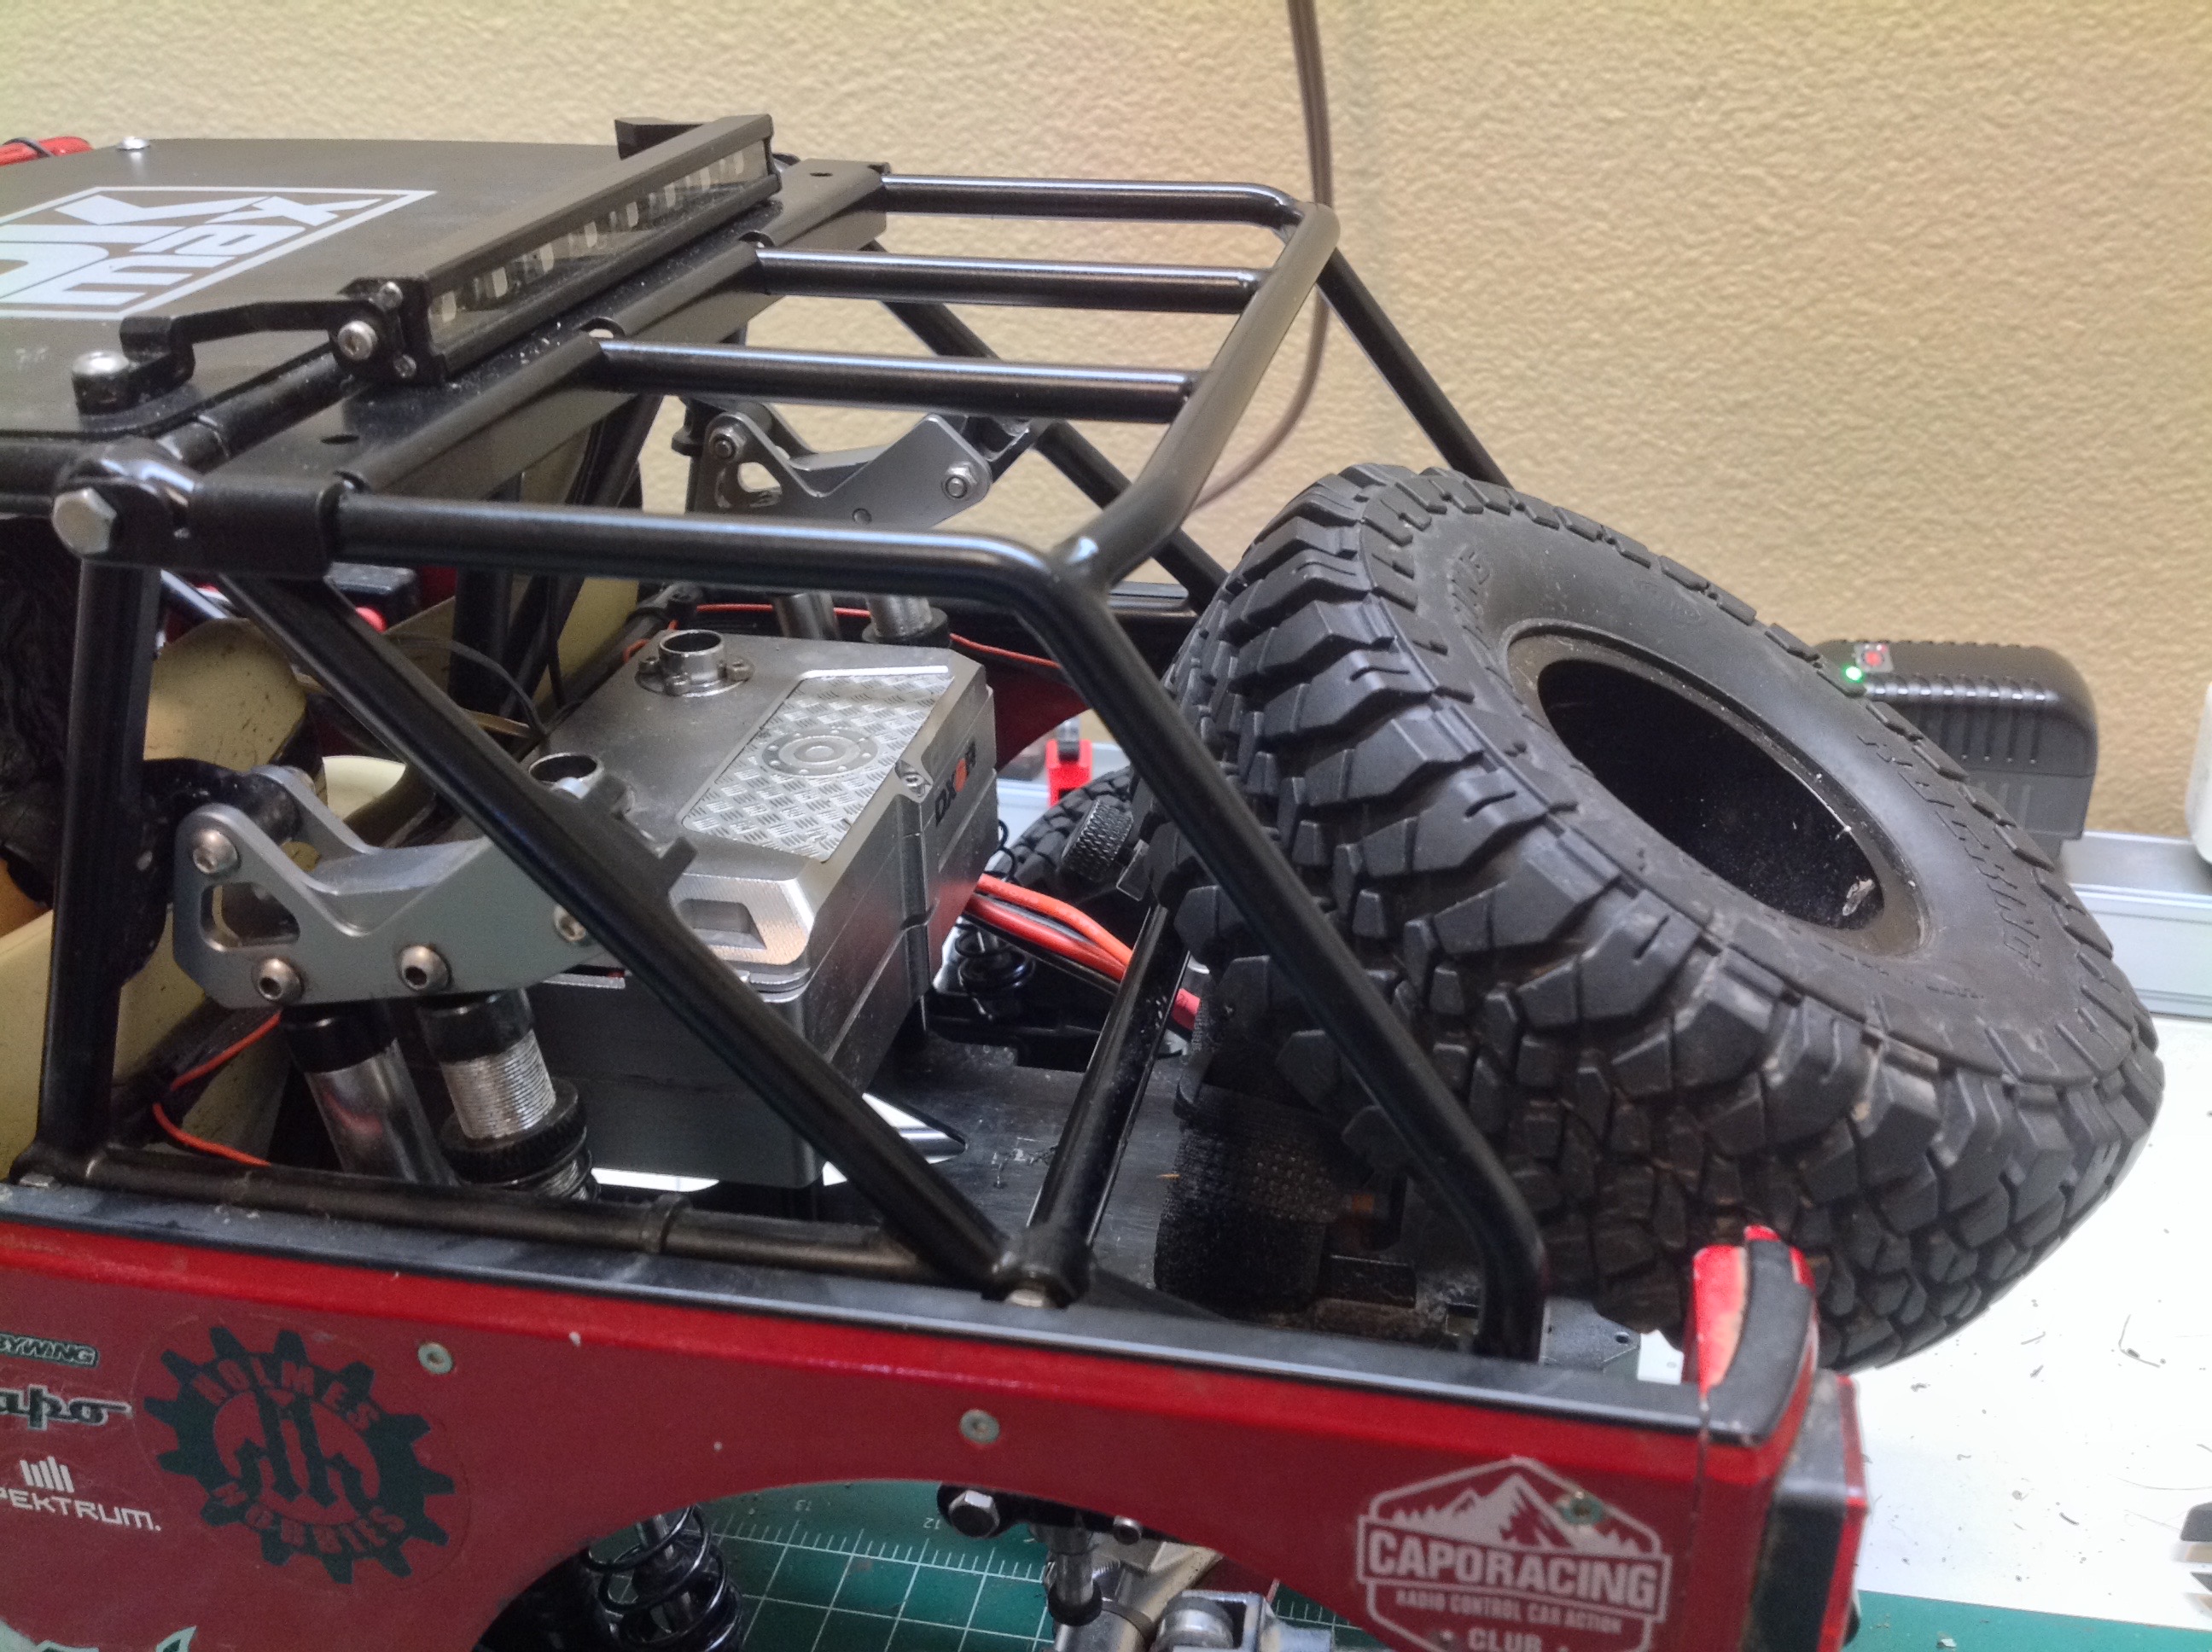
The heaviest thing I added was this extended roll bar. The
pictures show before and after. I had to remove the rear facing
red light bar and mount it differently as shown. This took a long
time to install because it was difficult to access all the bolts and I
had to move some wiring.
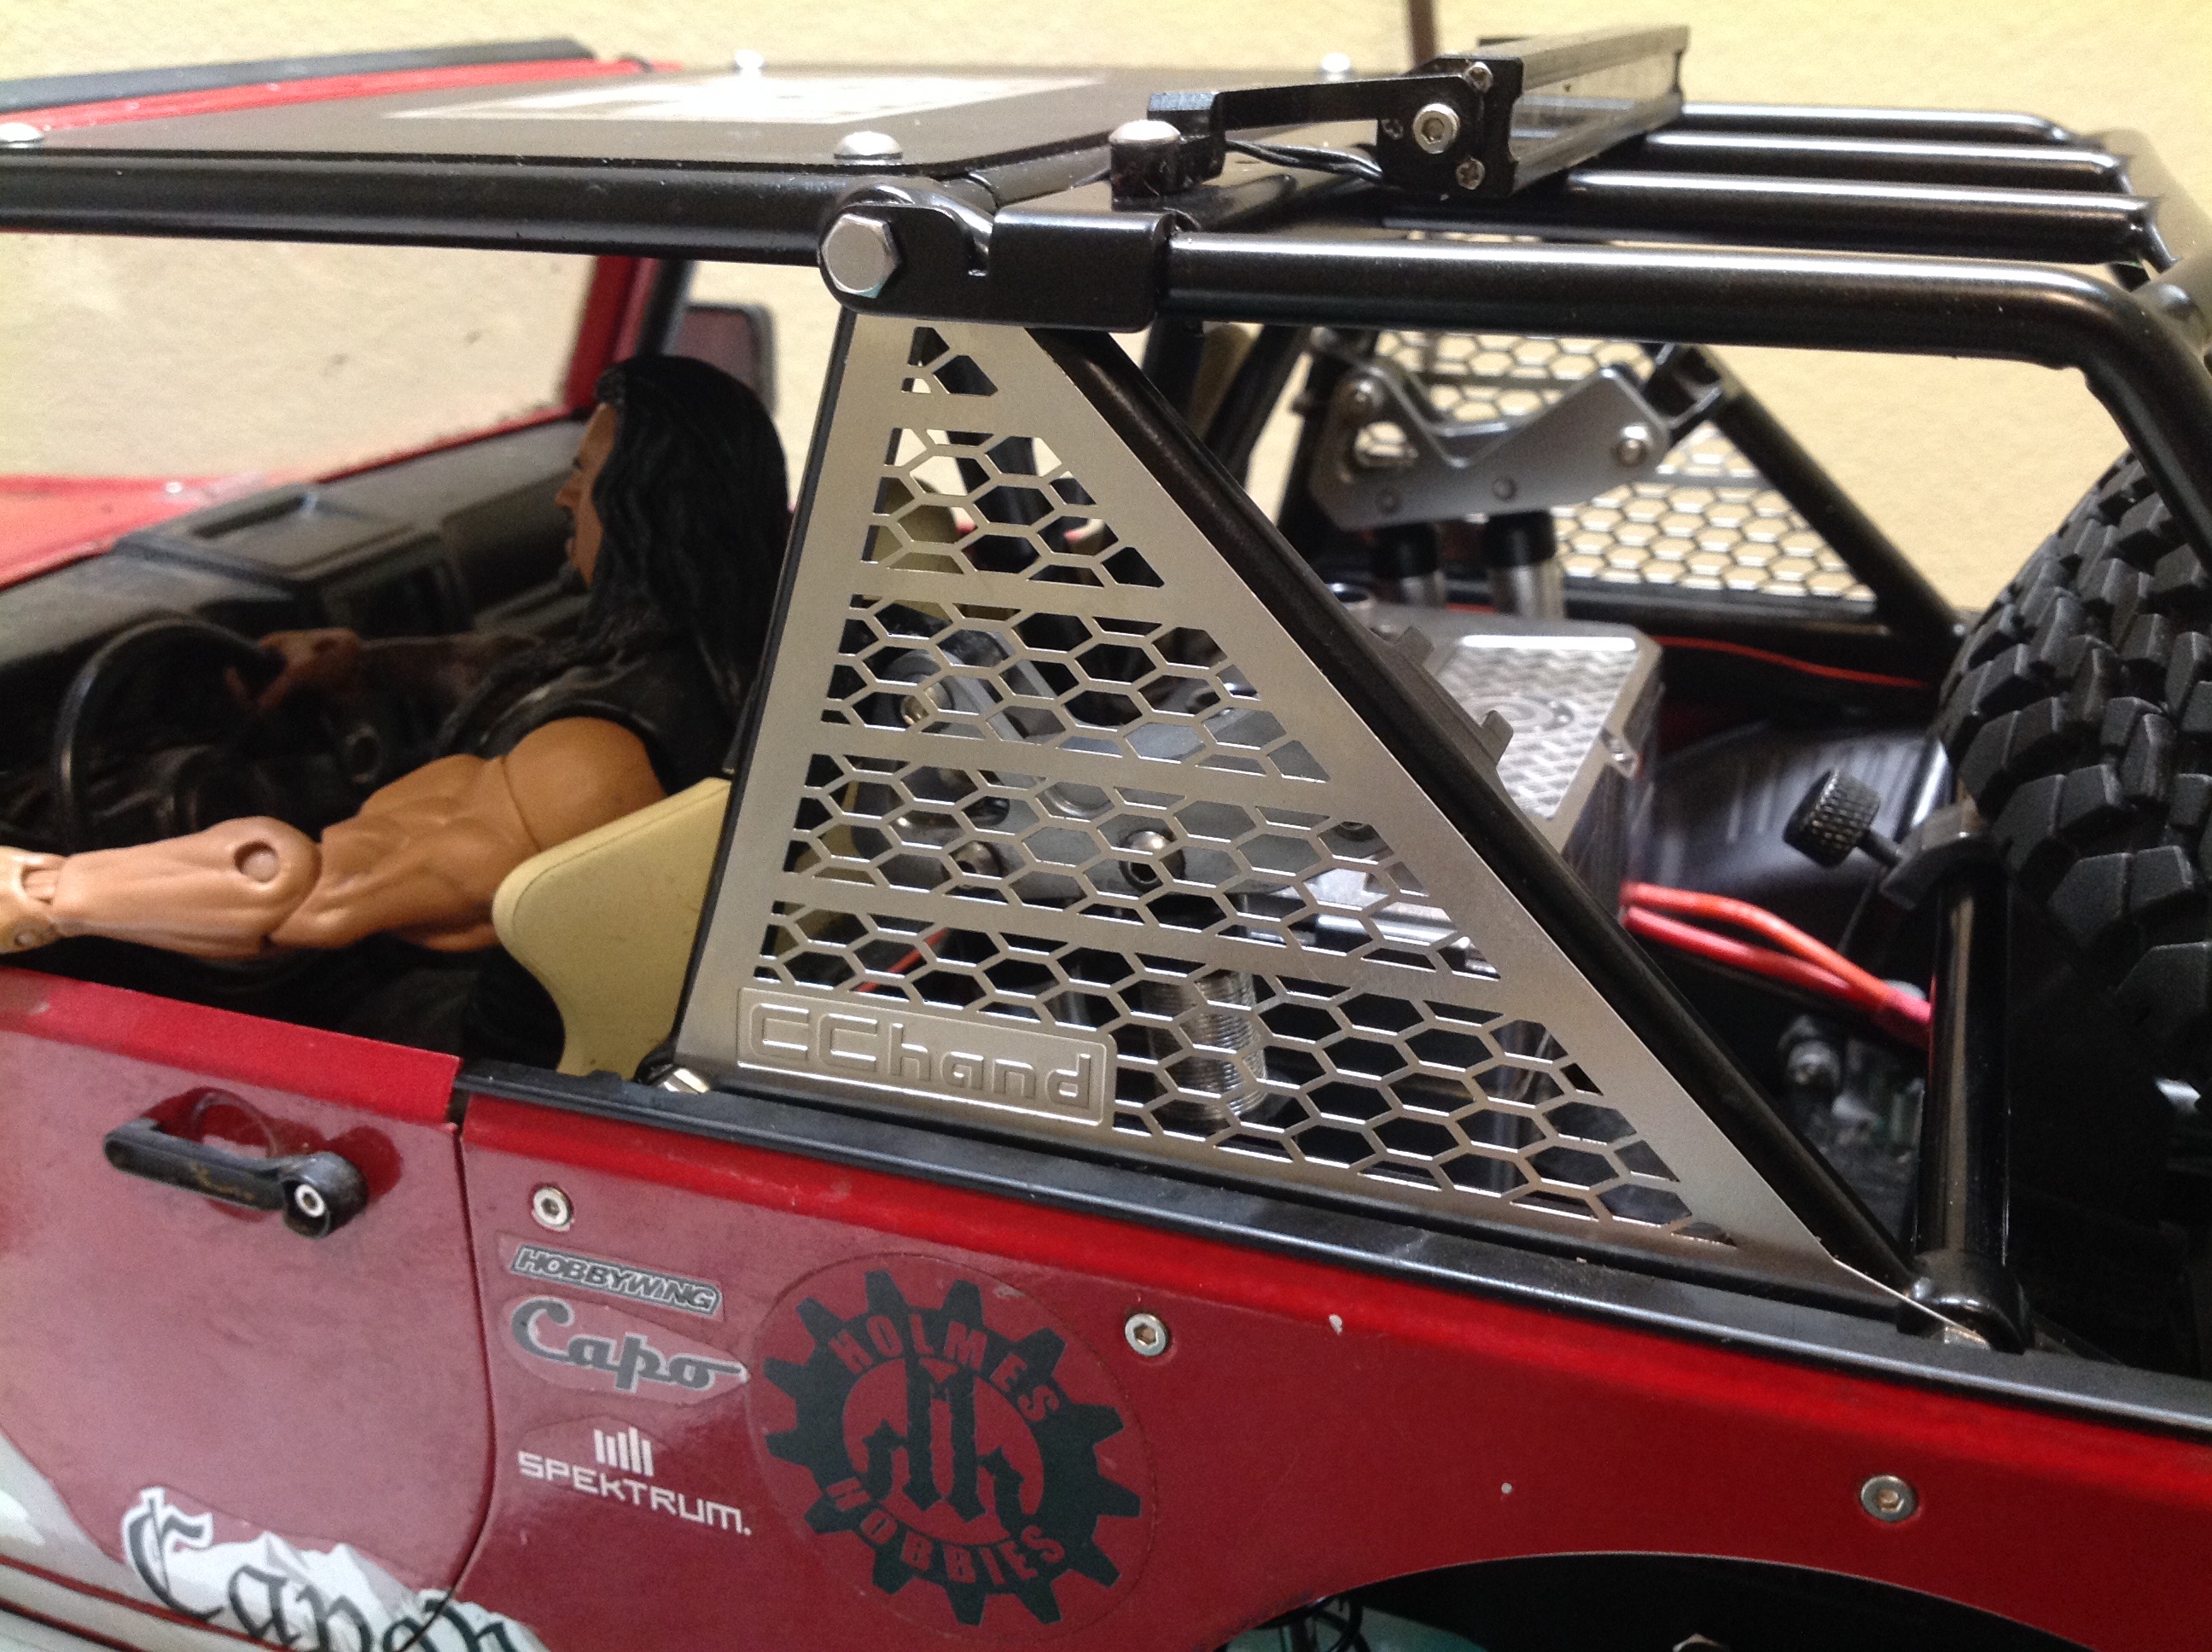
Here I've added a couple of metal screens to the roll bar. I don't
know that they have much purpose, but they hide the upper rear shock
mounts. Maybe they help keep the driver's hair from blowing around
so much.
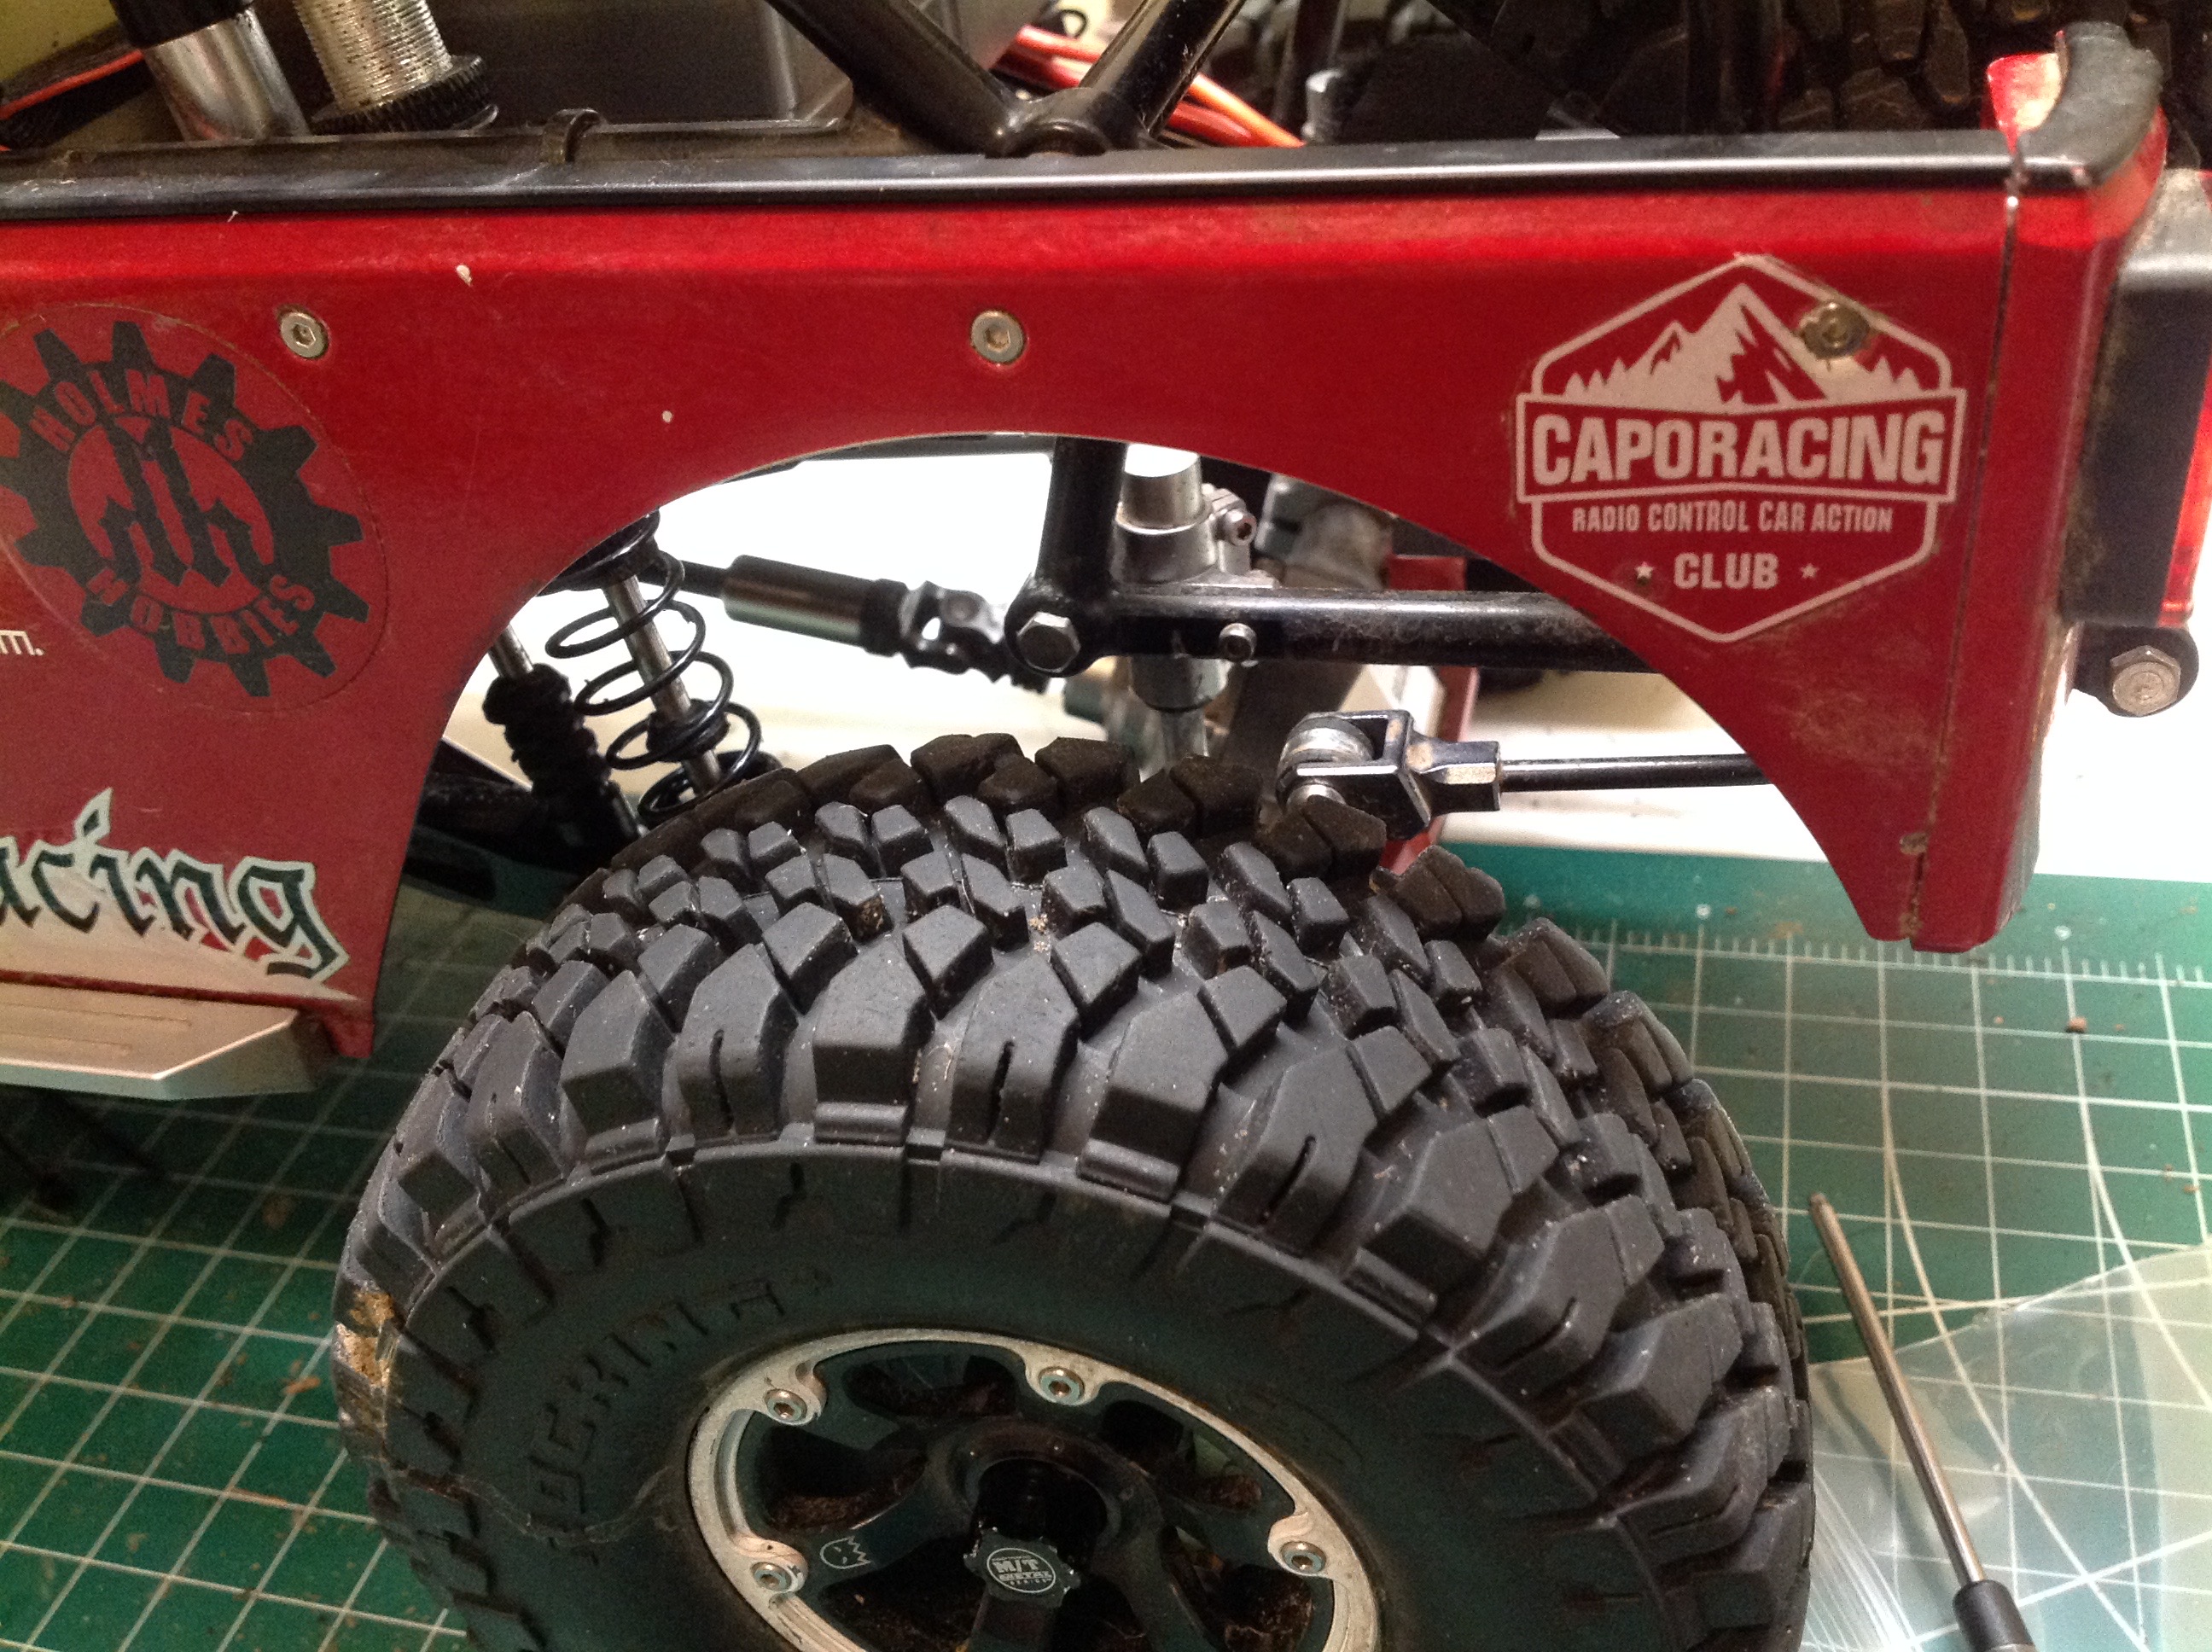
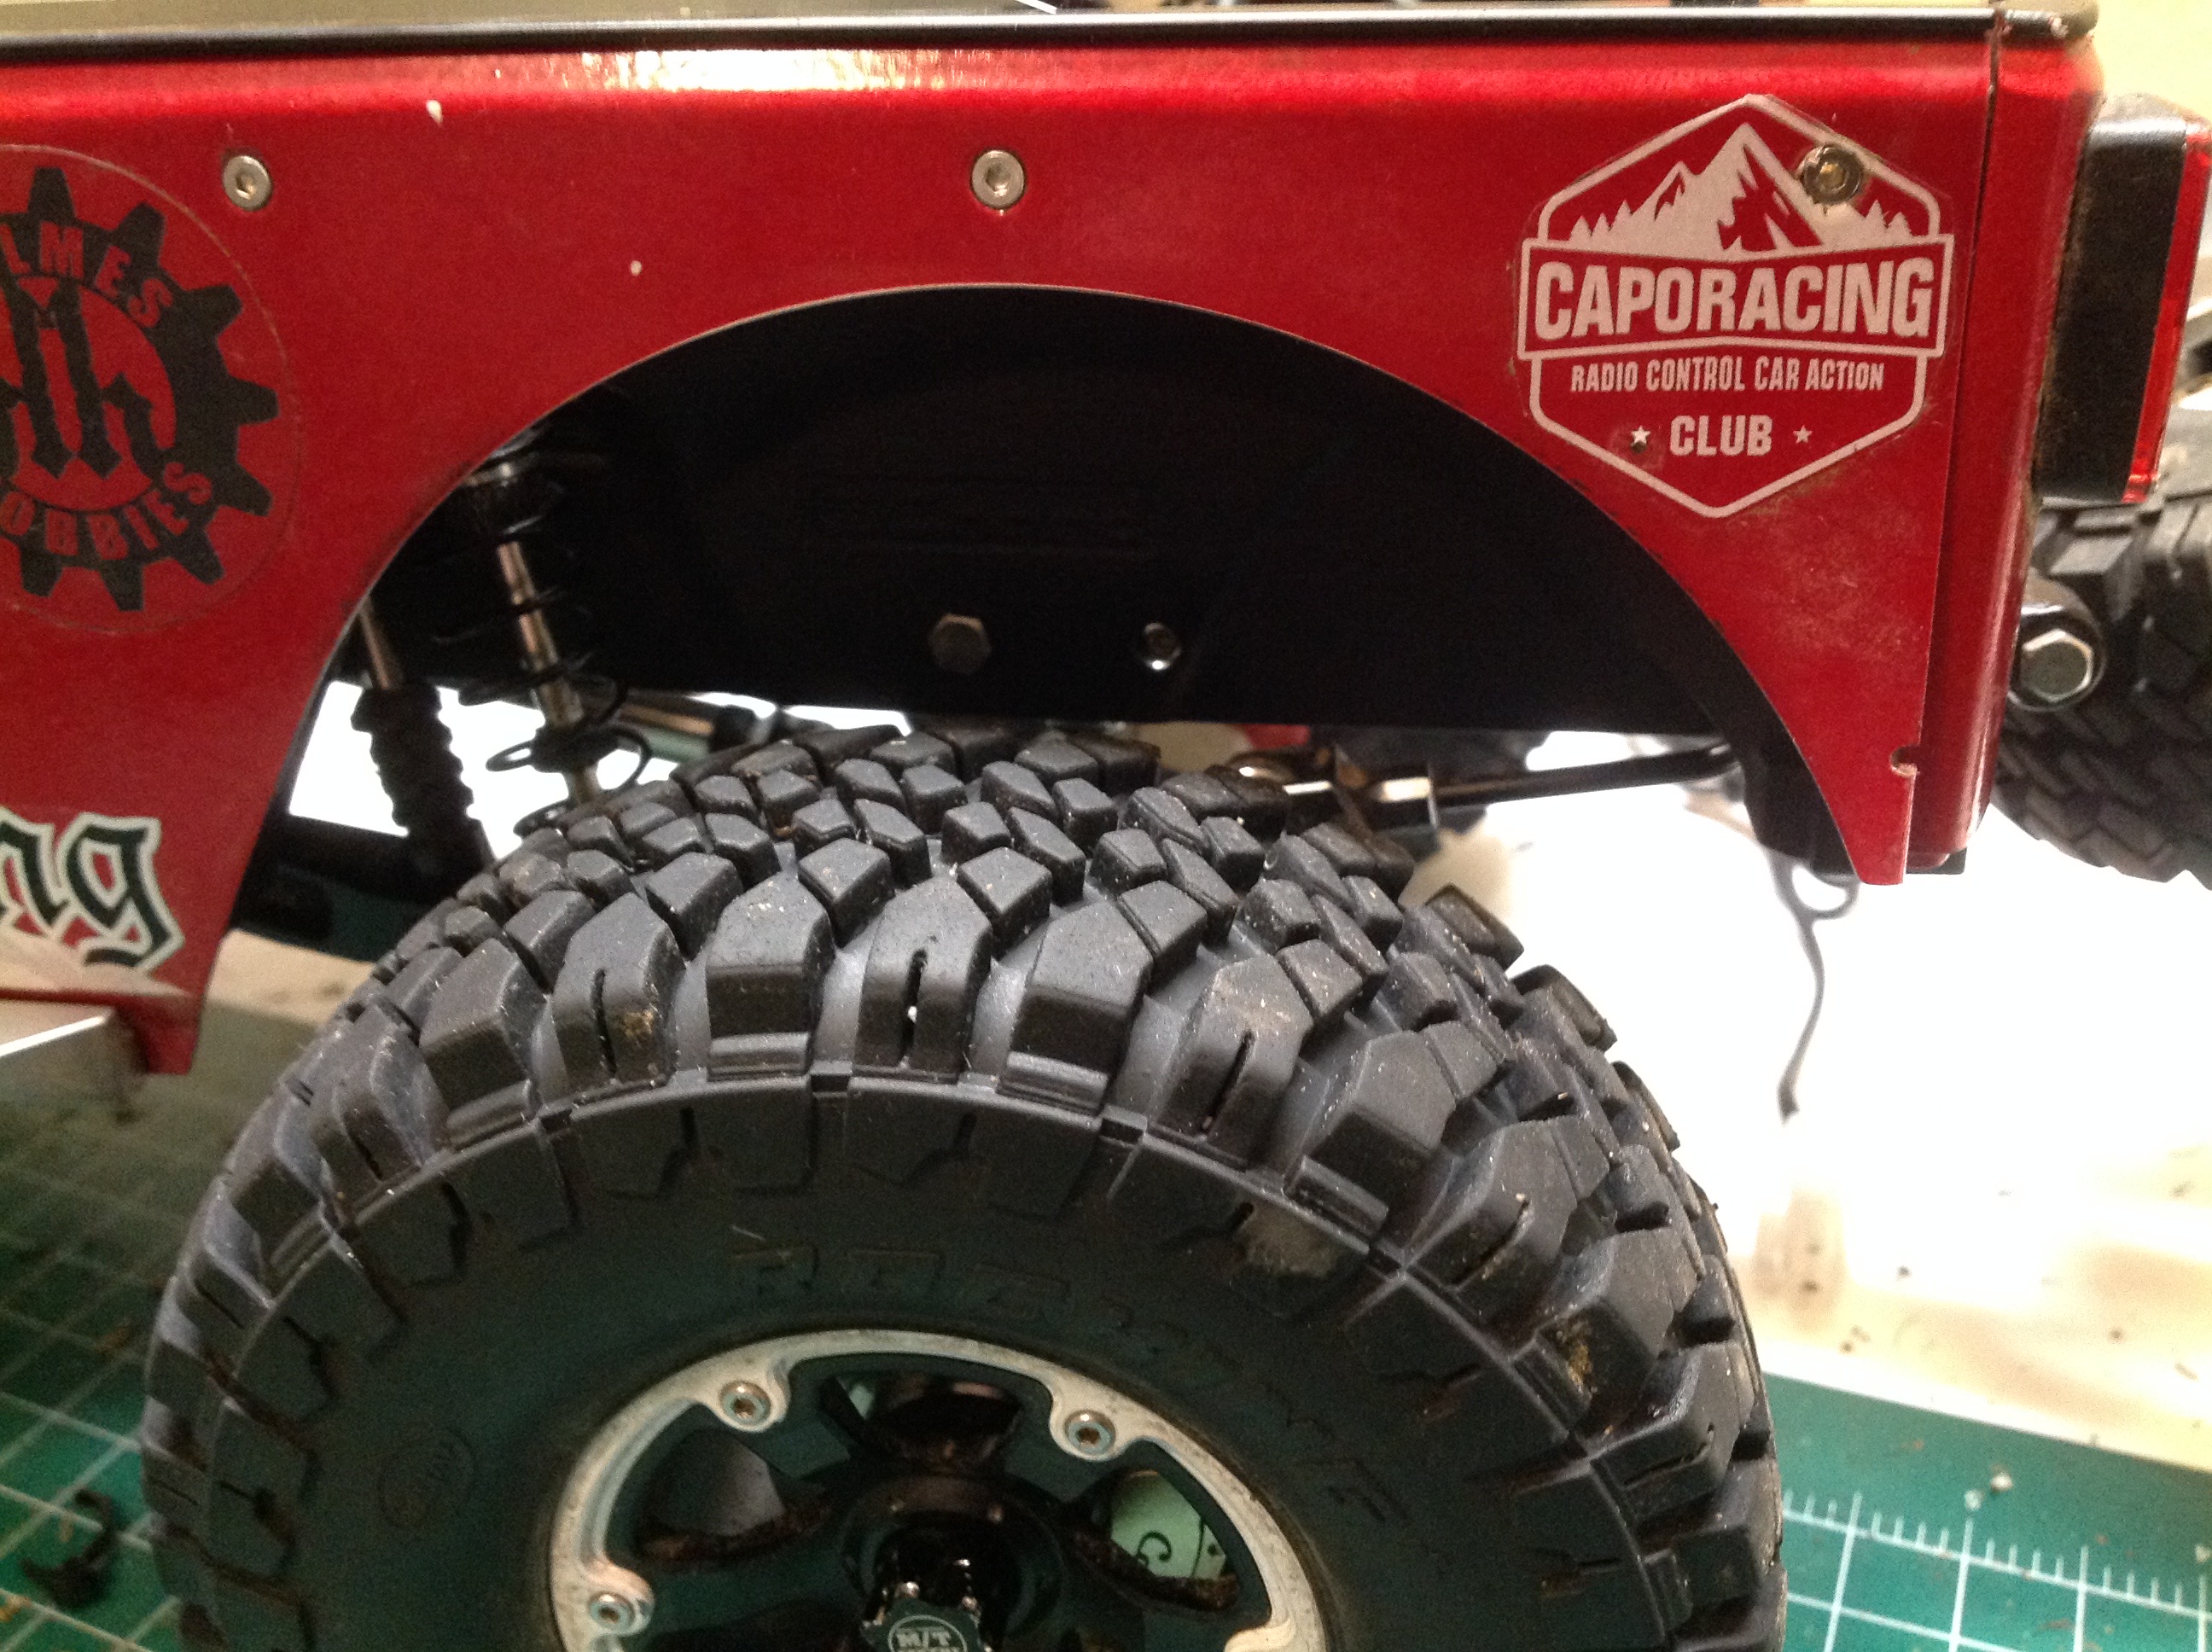
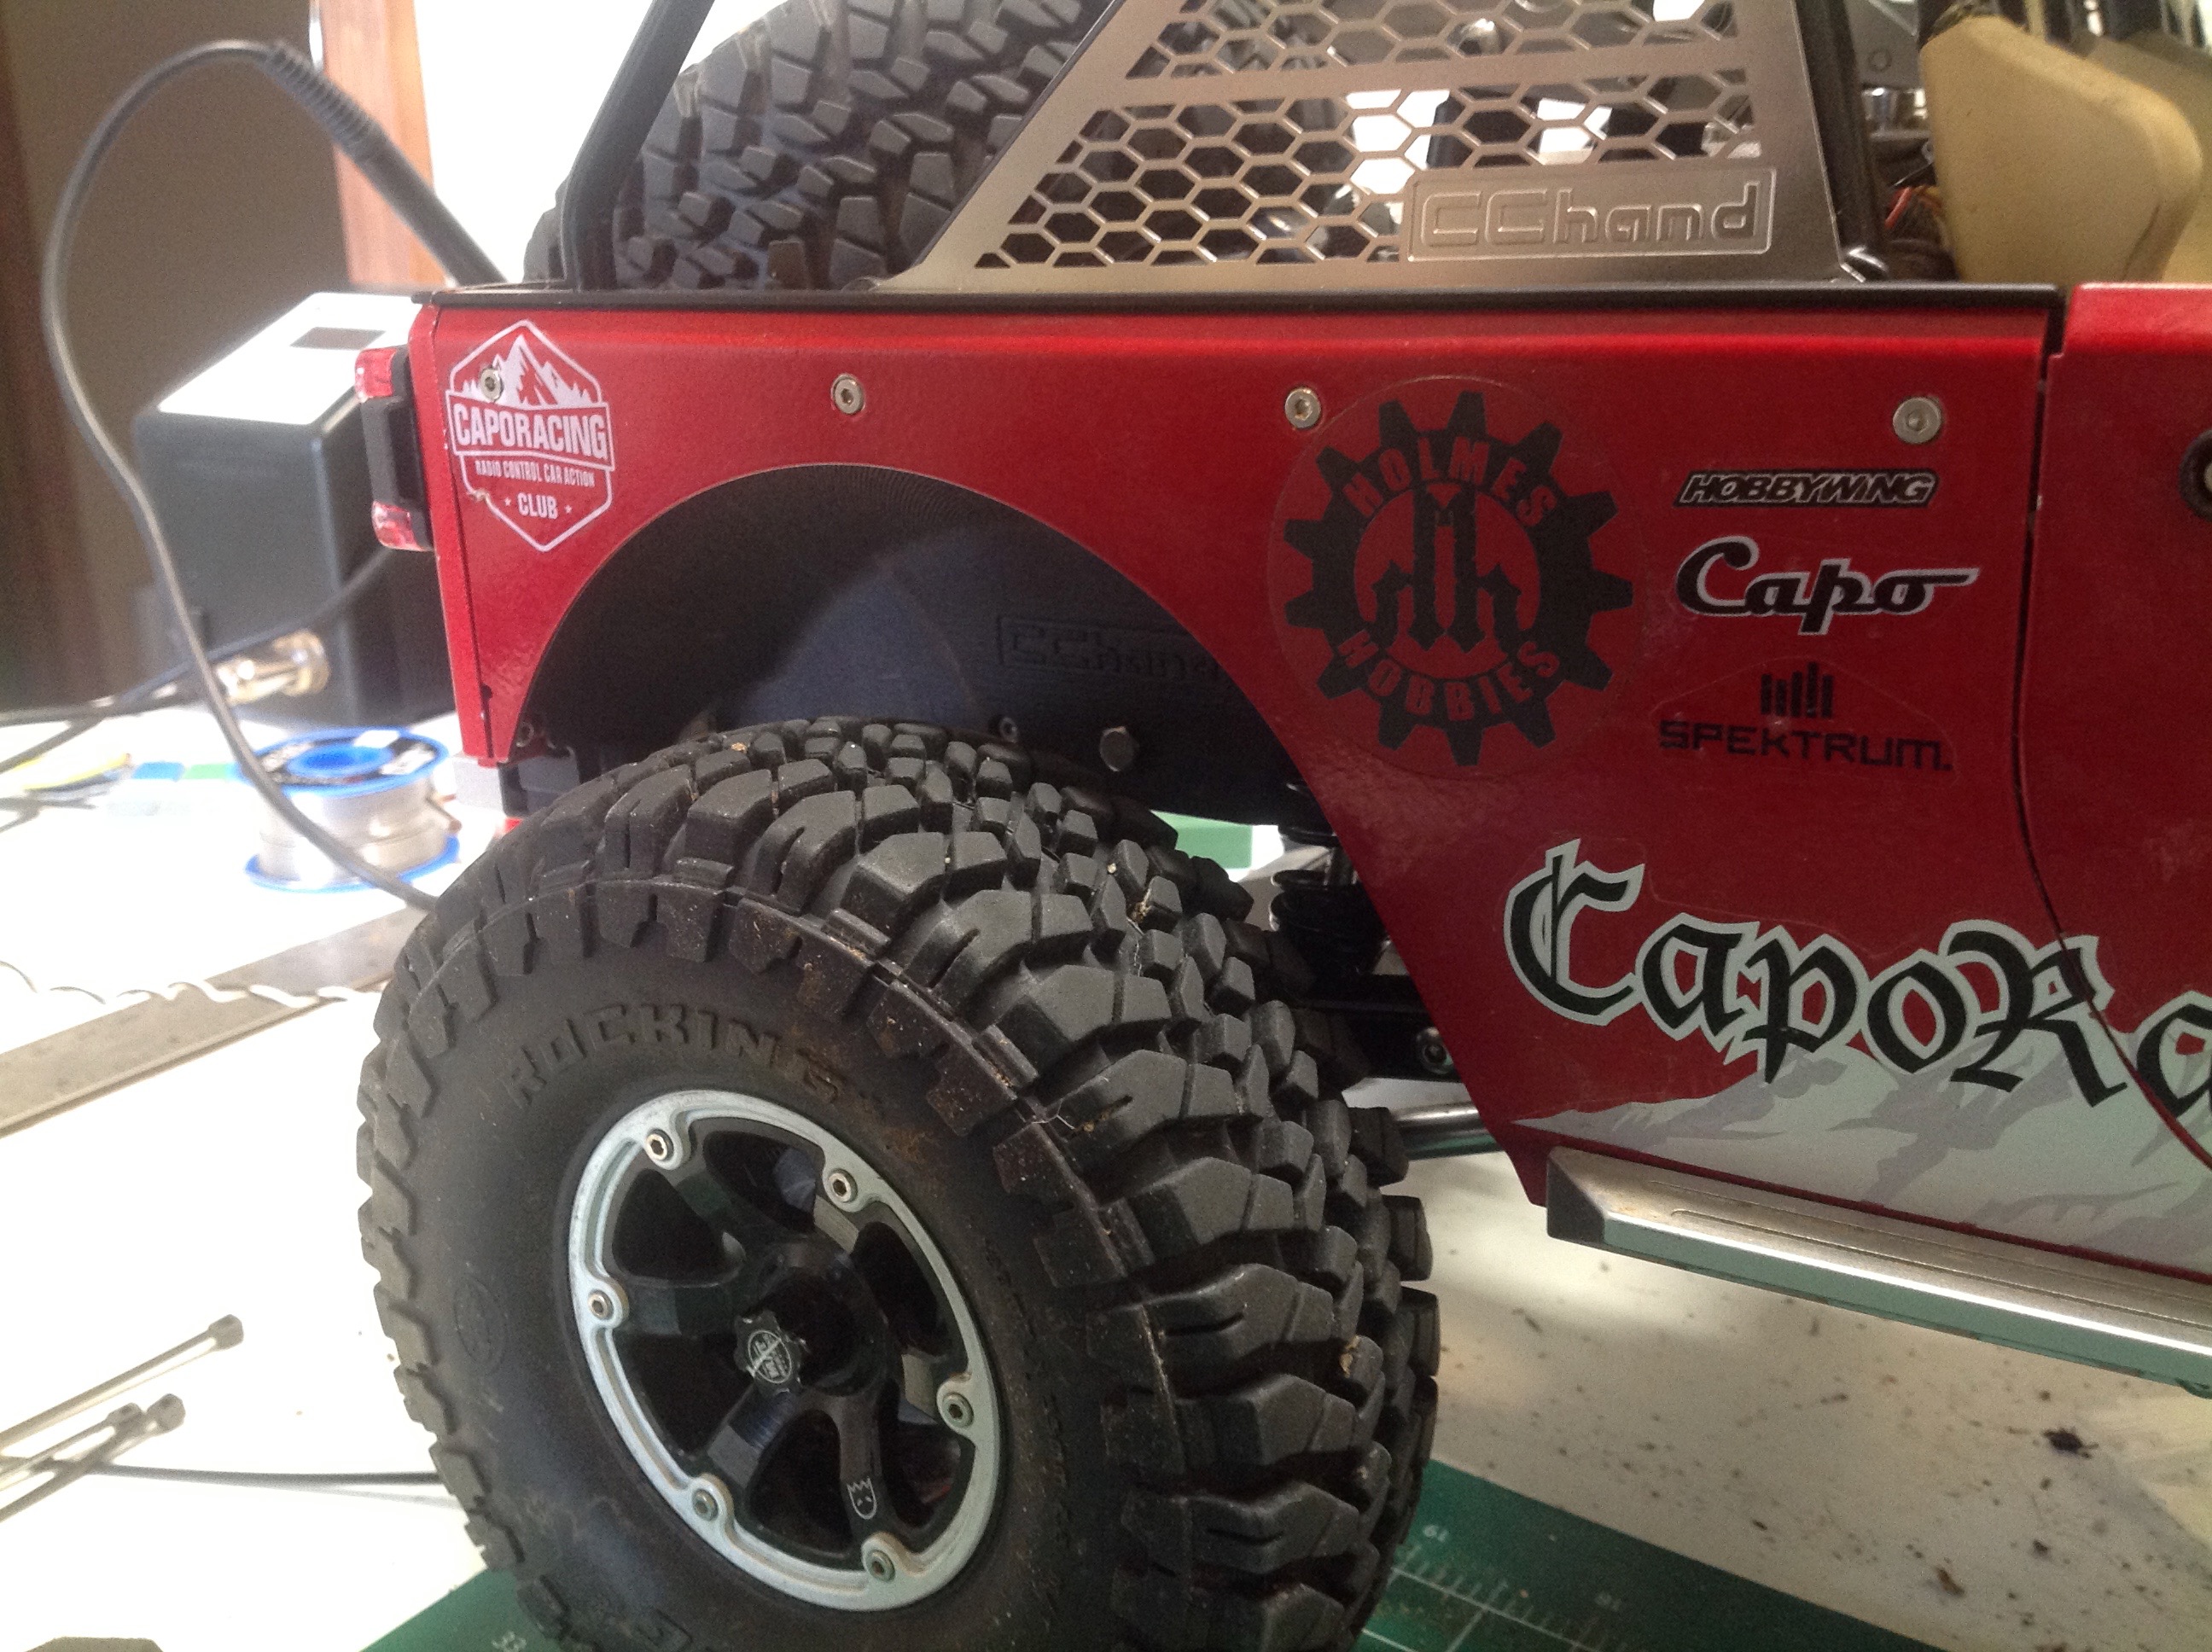
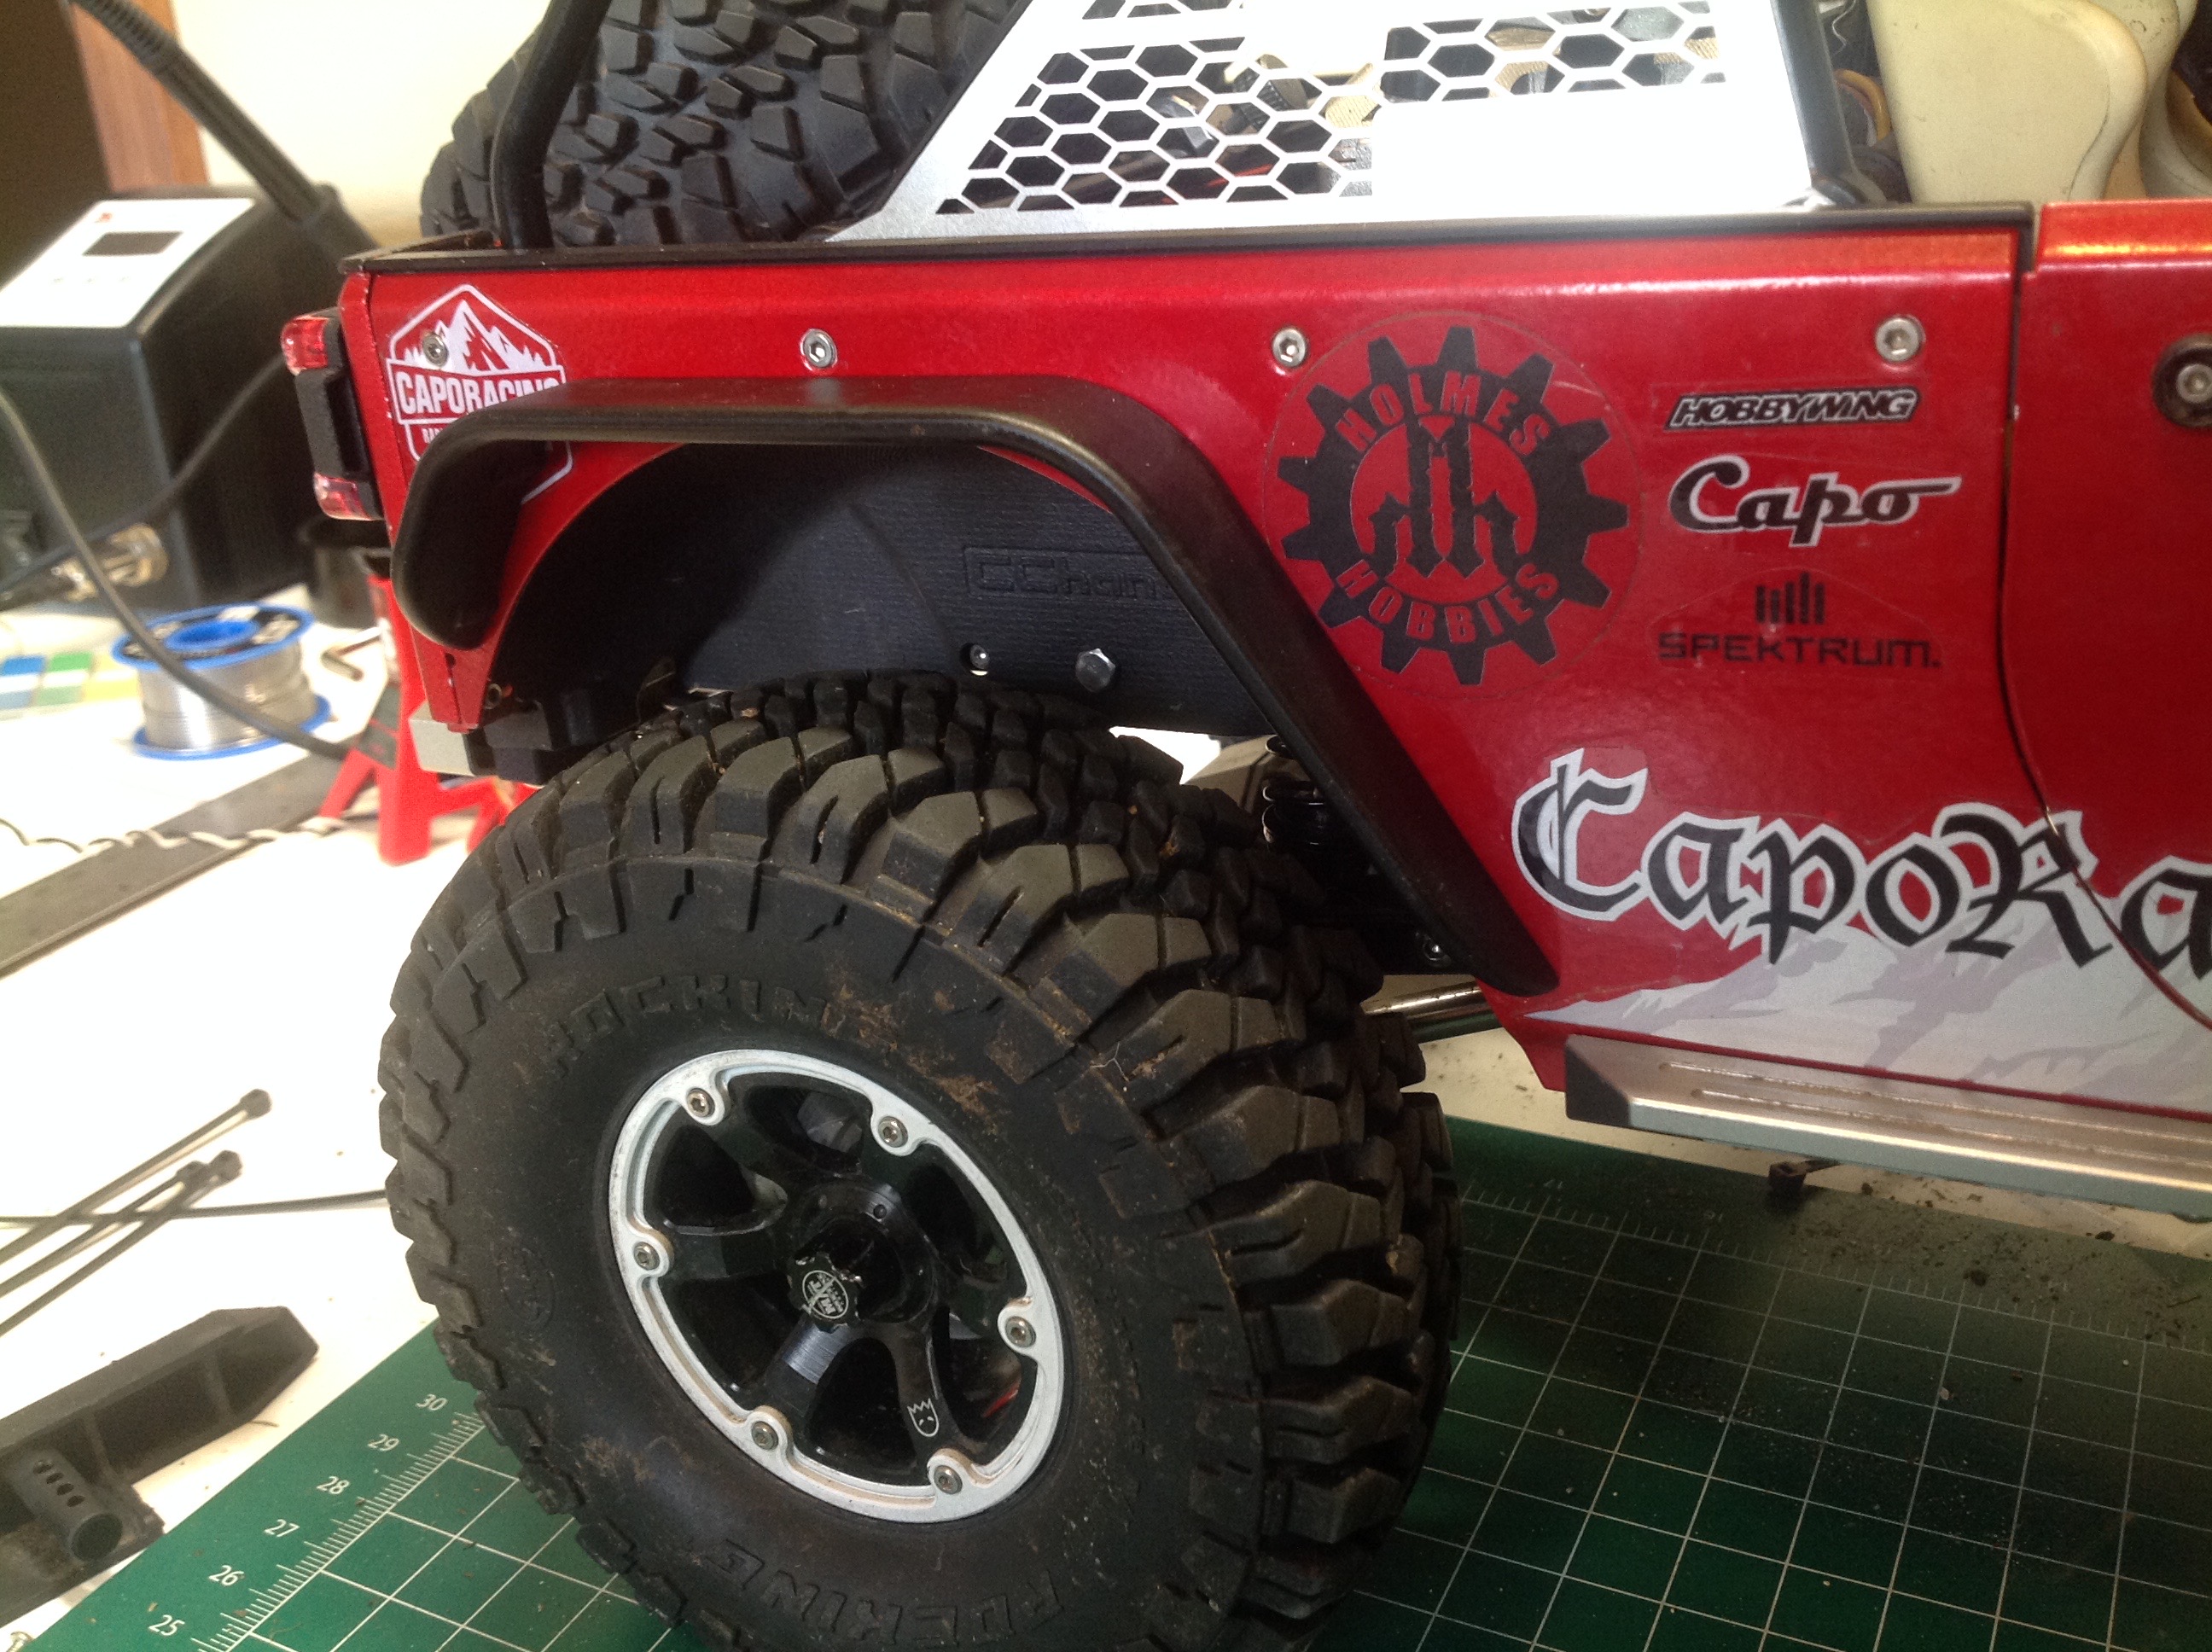
One of the glaring absences on the original model was inner
fenders. Without them, all the suspension and chassis details show
through the wheel well arch and debris can be easily thrown from the
tires up into the mechanisms. These black inner fenders from
CCHand are 3D printed in amazing quality and fit perfectly. Note
that the shocks actually have to pass through slots in the inner
fenders. You can see the big difference they make in
realism. These are the rear arches.
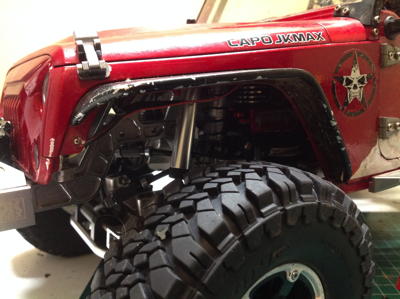
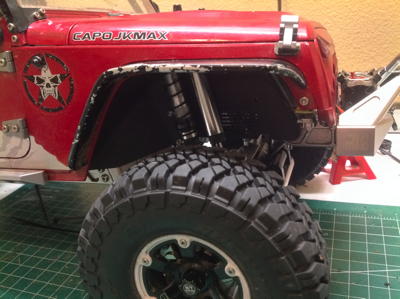
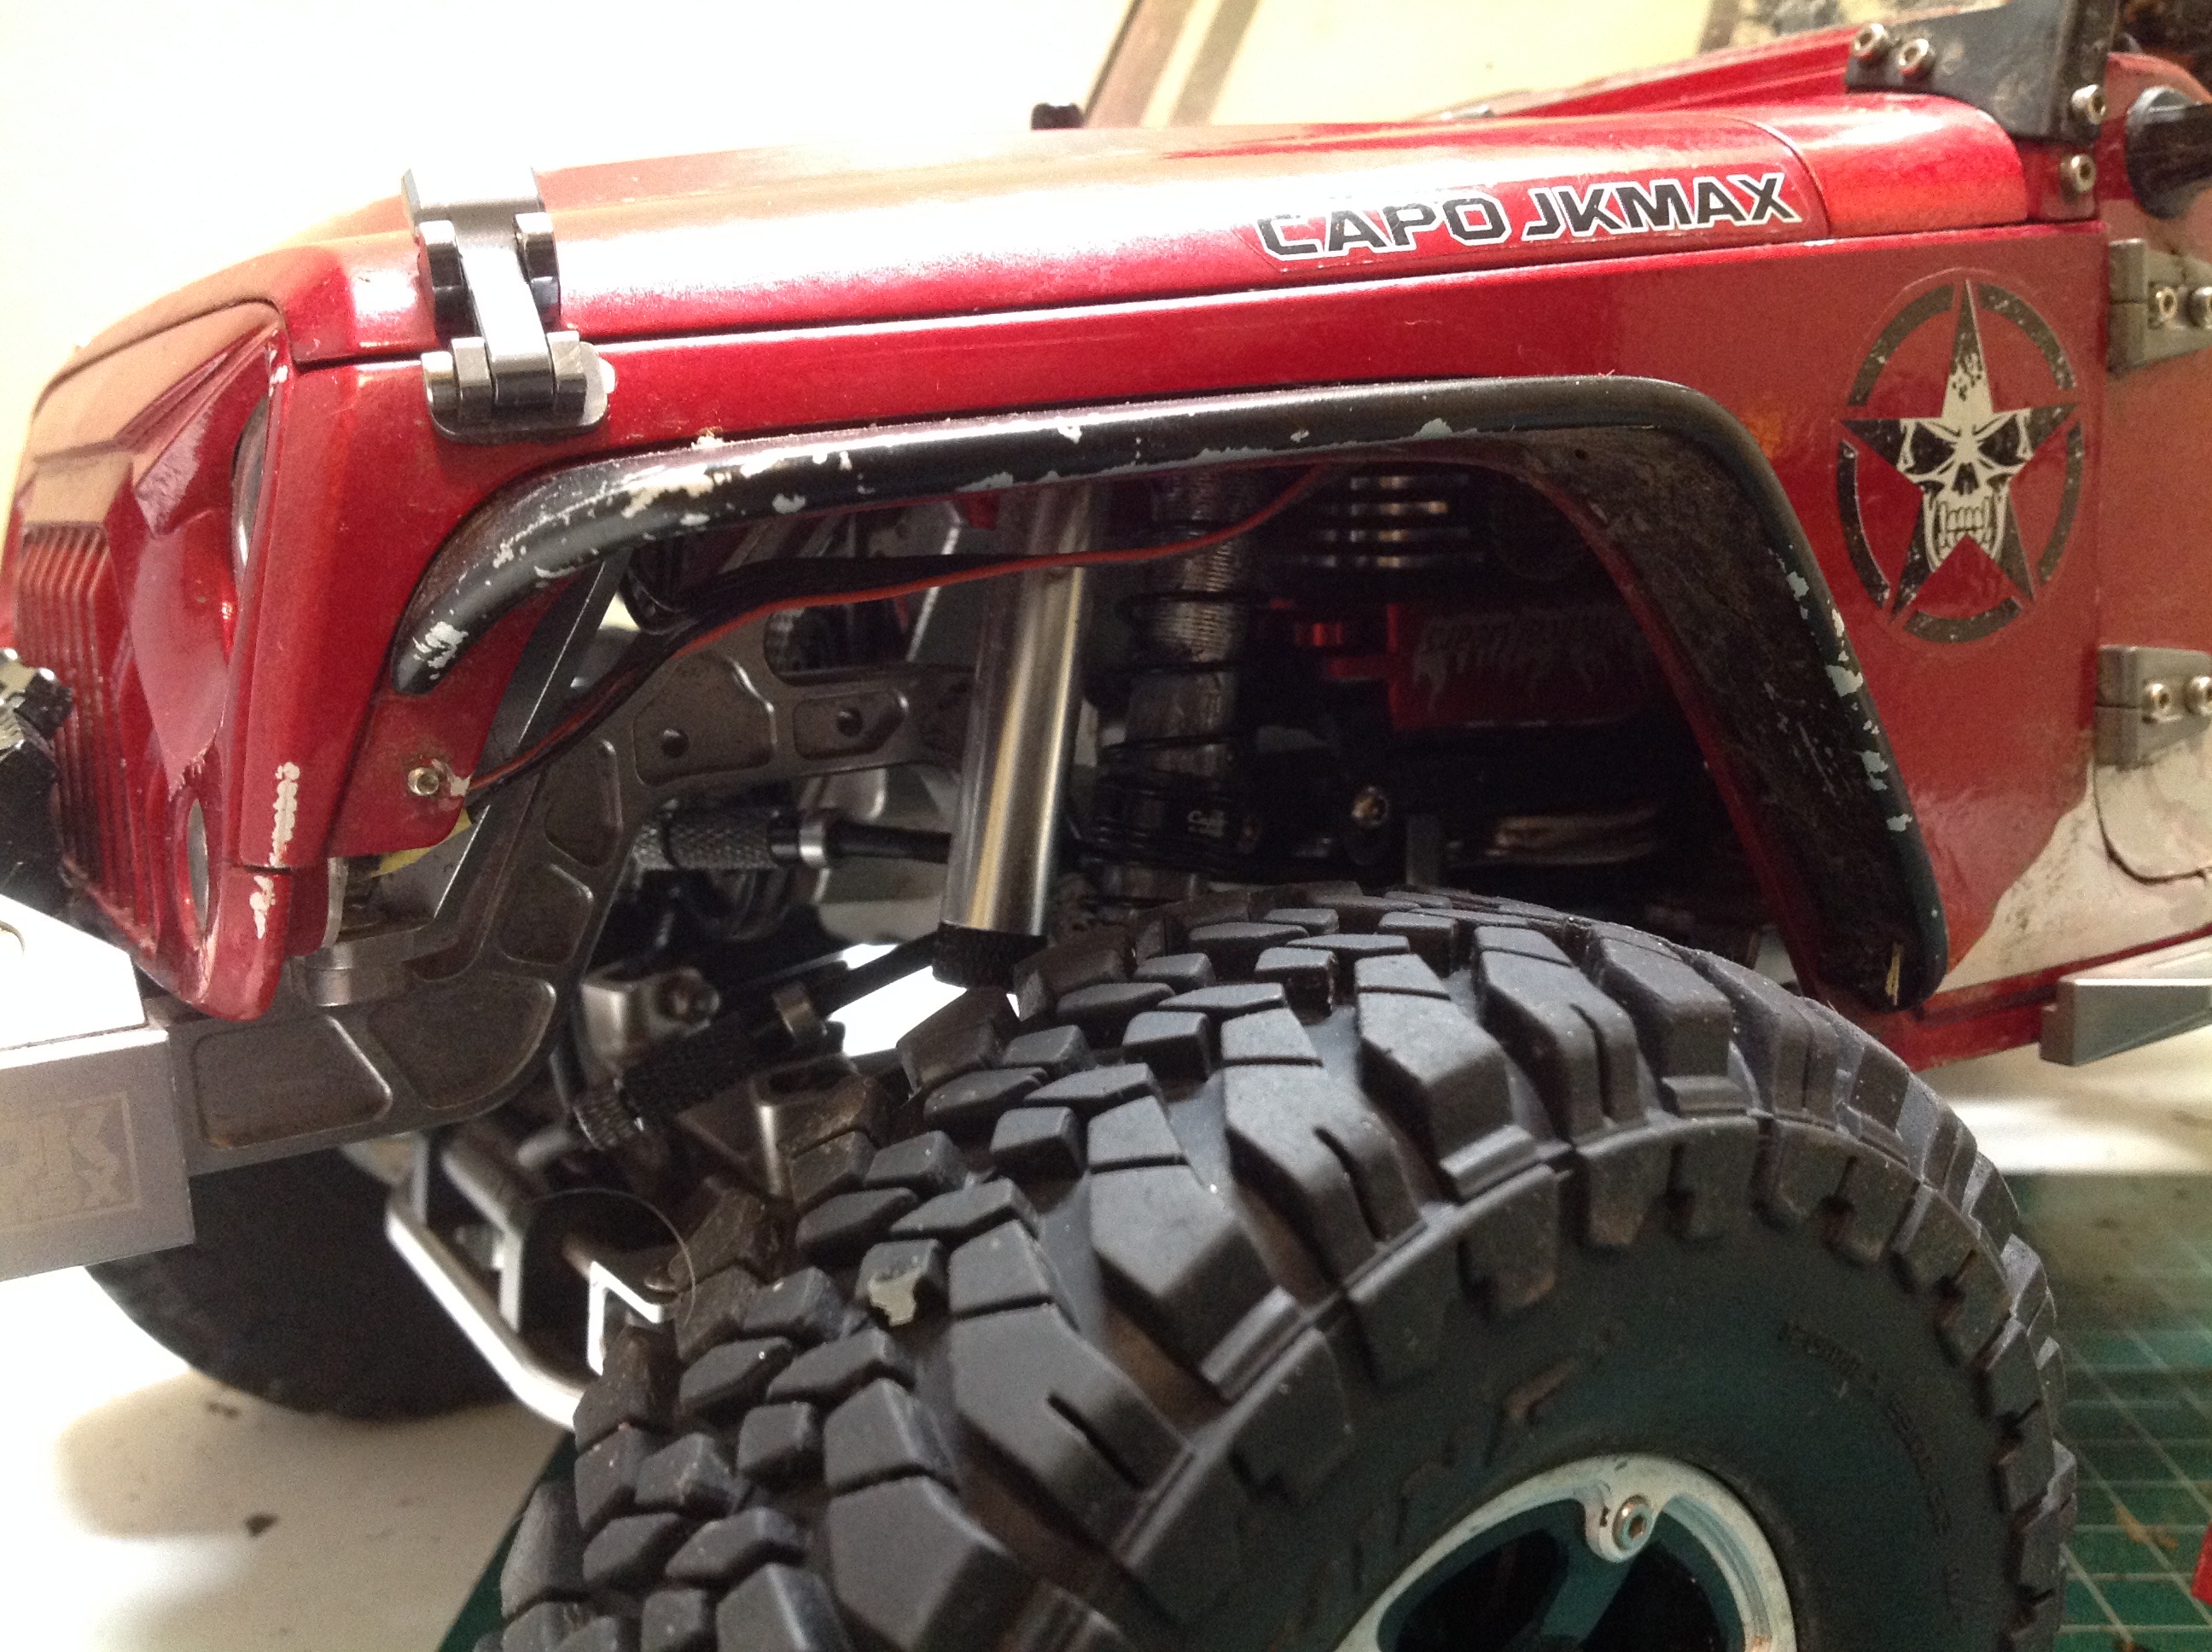
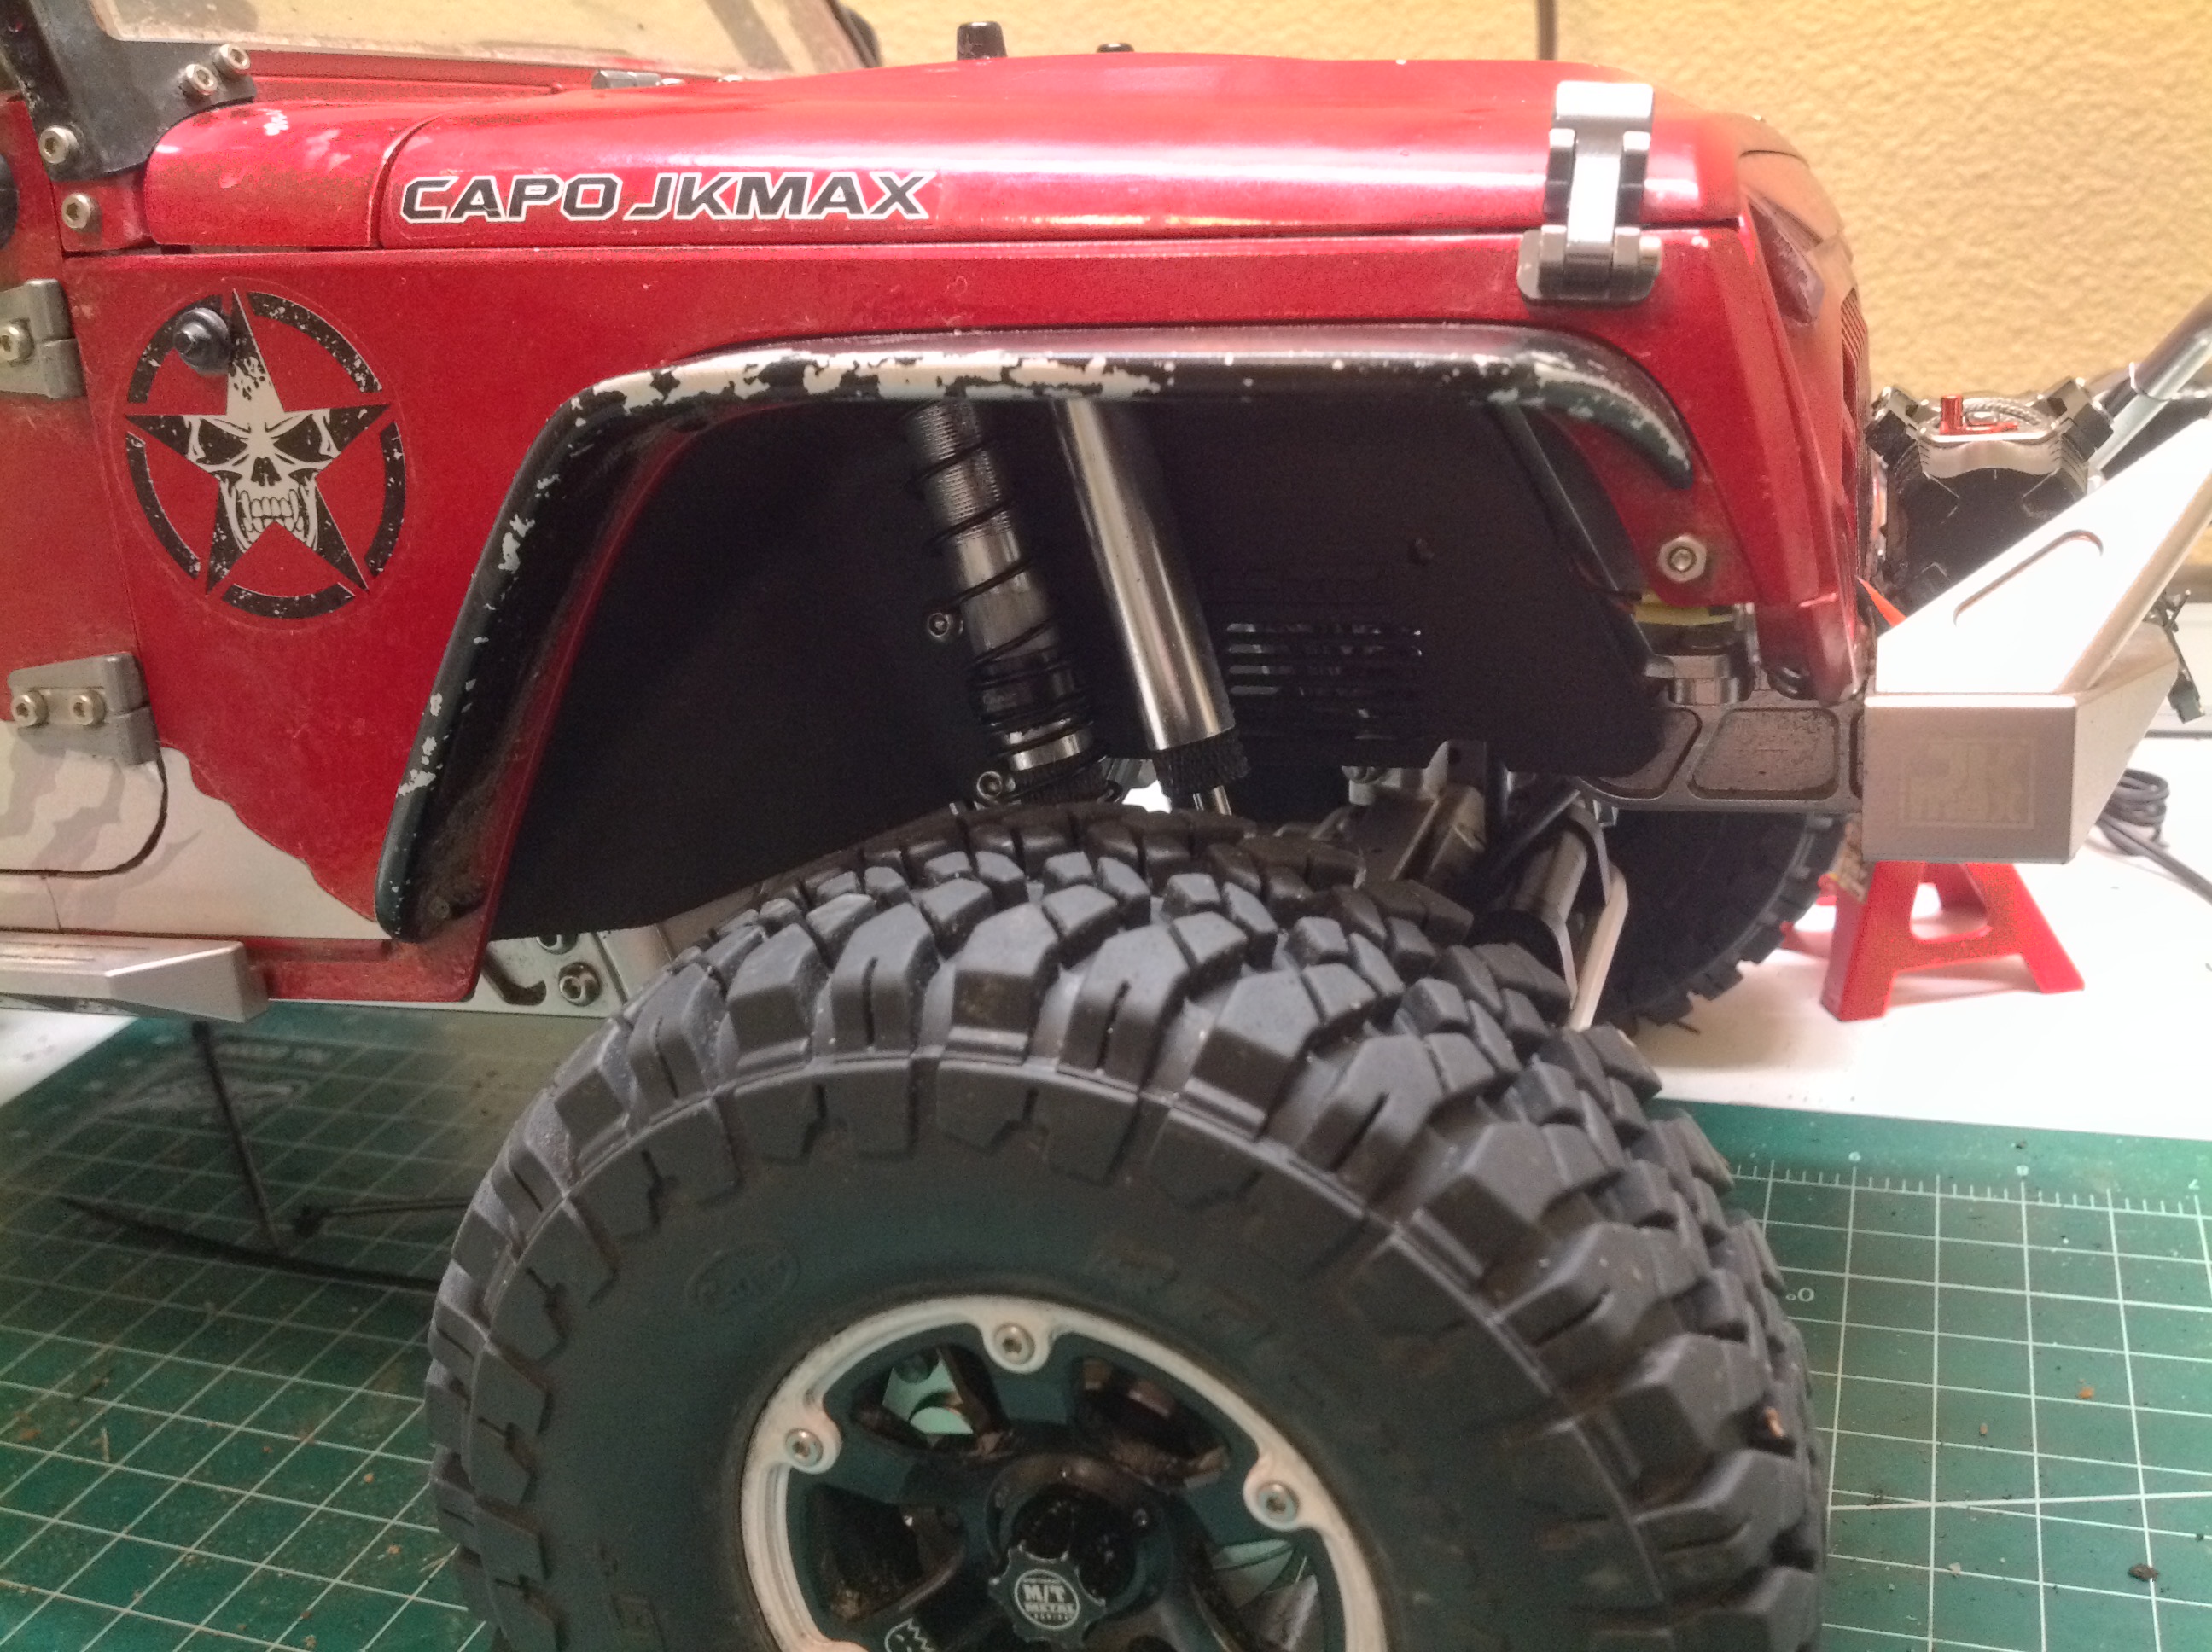
These pictures show the same for the front. You may wonder why I
show the left hand side without an inner fender but then switch to the
right side. That's because the inner fenders I ordered were for
the version of the JK Max with an axle mounted servo. Since I have
a chassis mounted and cable driven servo, the left hand side one didn't
fit. I had to order another set (and some more parts while I was
at it). I did finally get both installed. The left hand
version is very tricky because the cables must pass through it so they
must be completely removed and re-rigged.
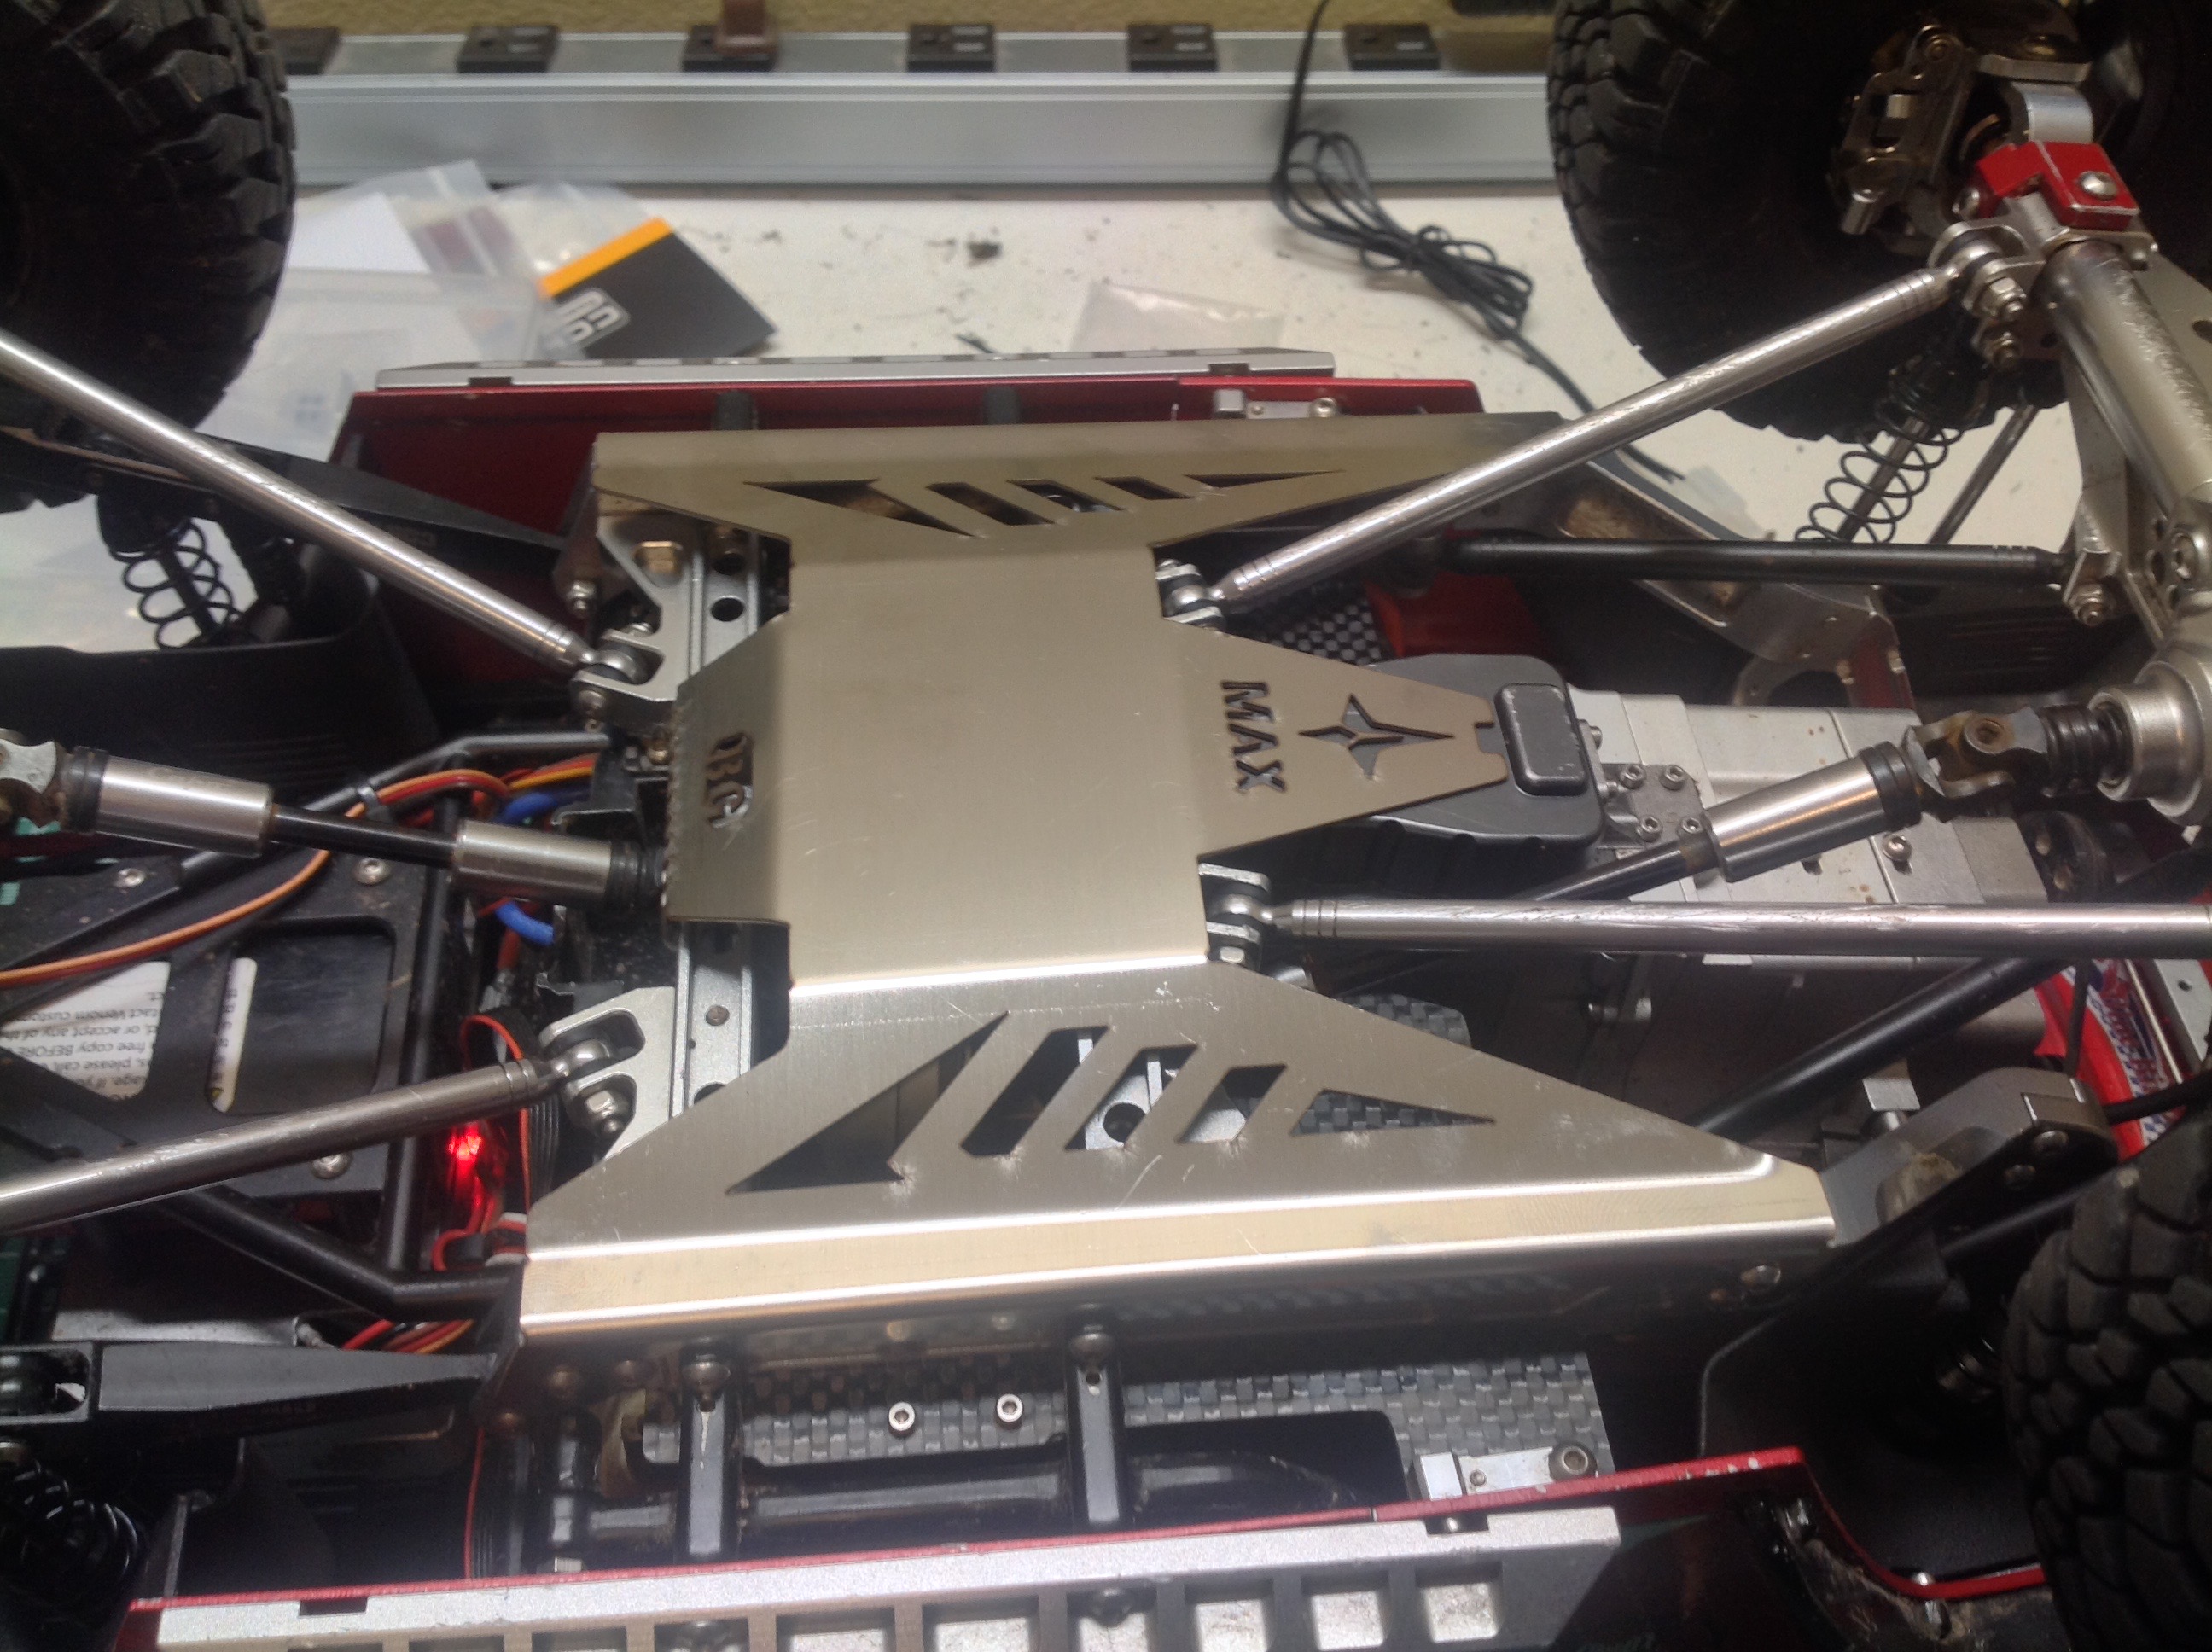
I also added this lovely stamped steel skid plate to protect the
transfer case and make it easier to slide over rocks. I didn't
really have any trouble as it already was, but it does look better.
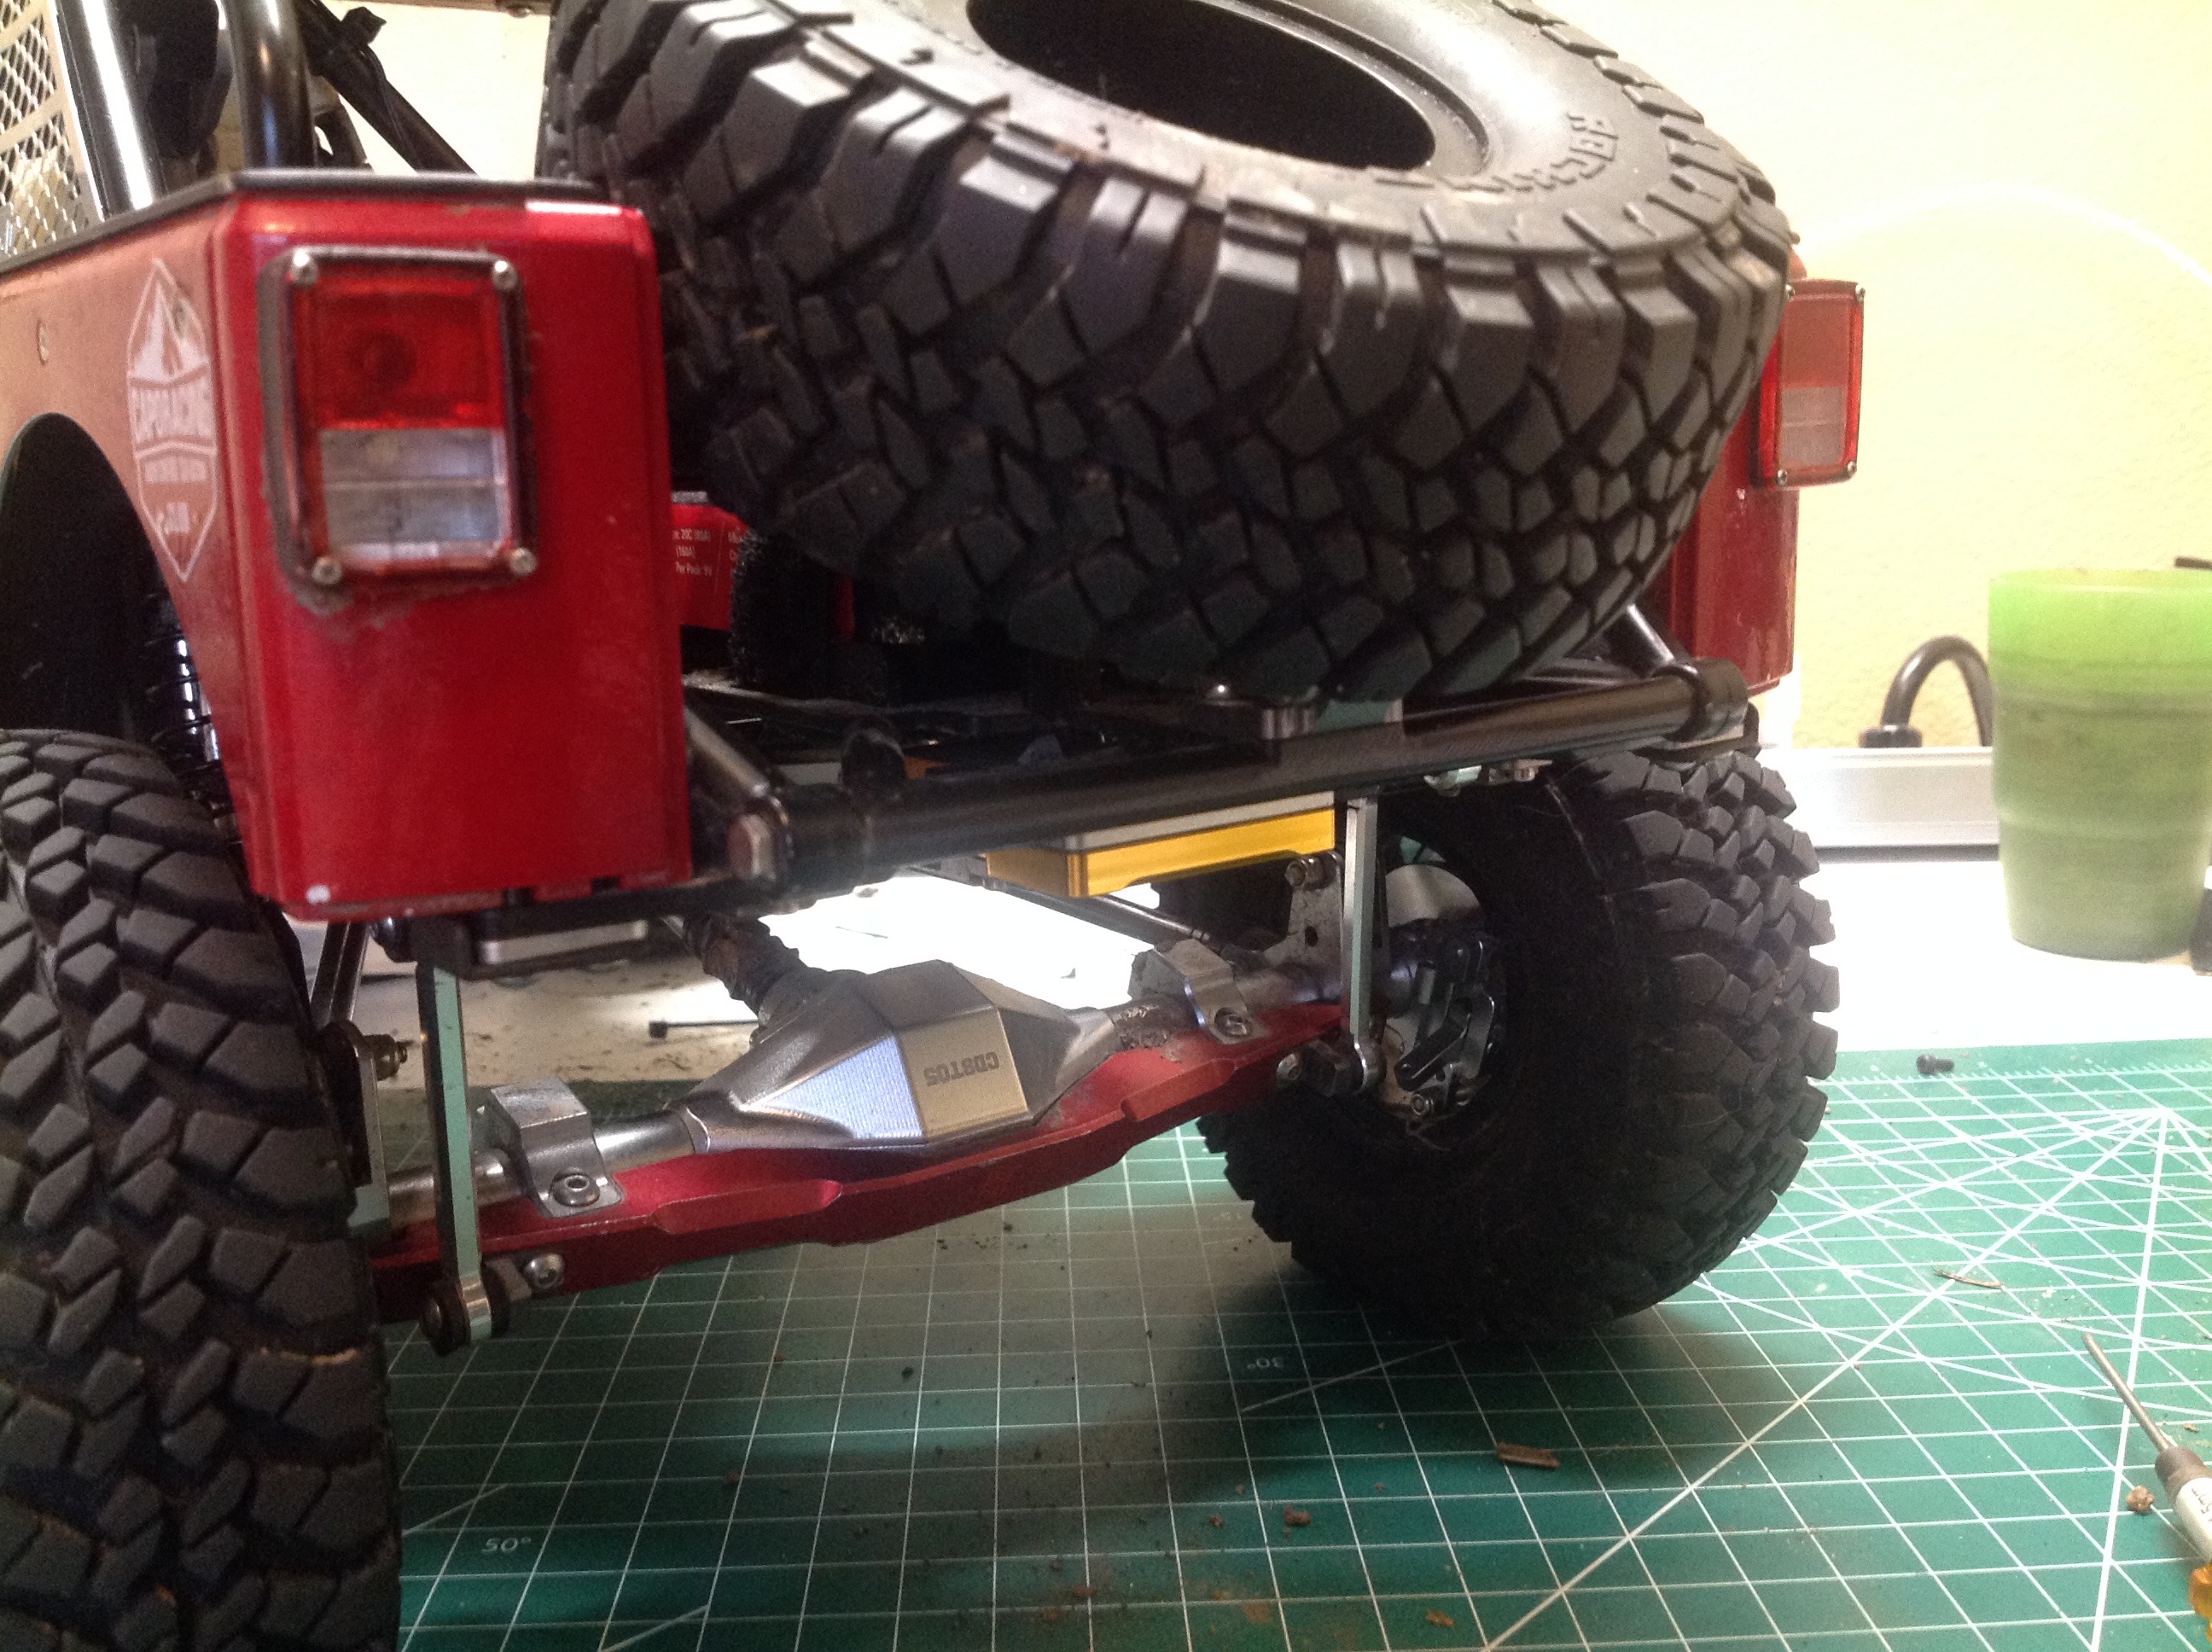
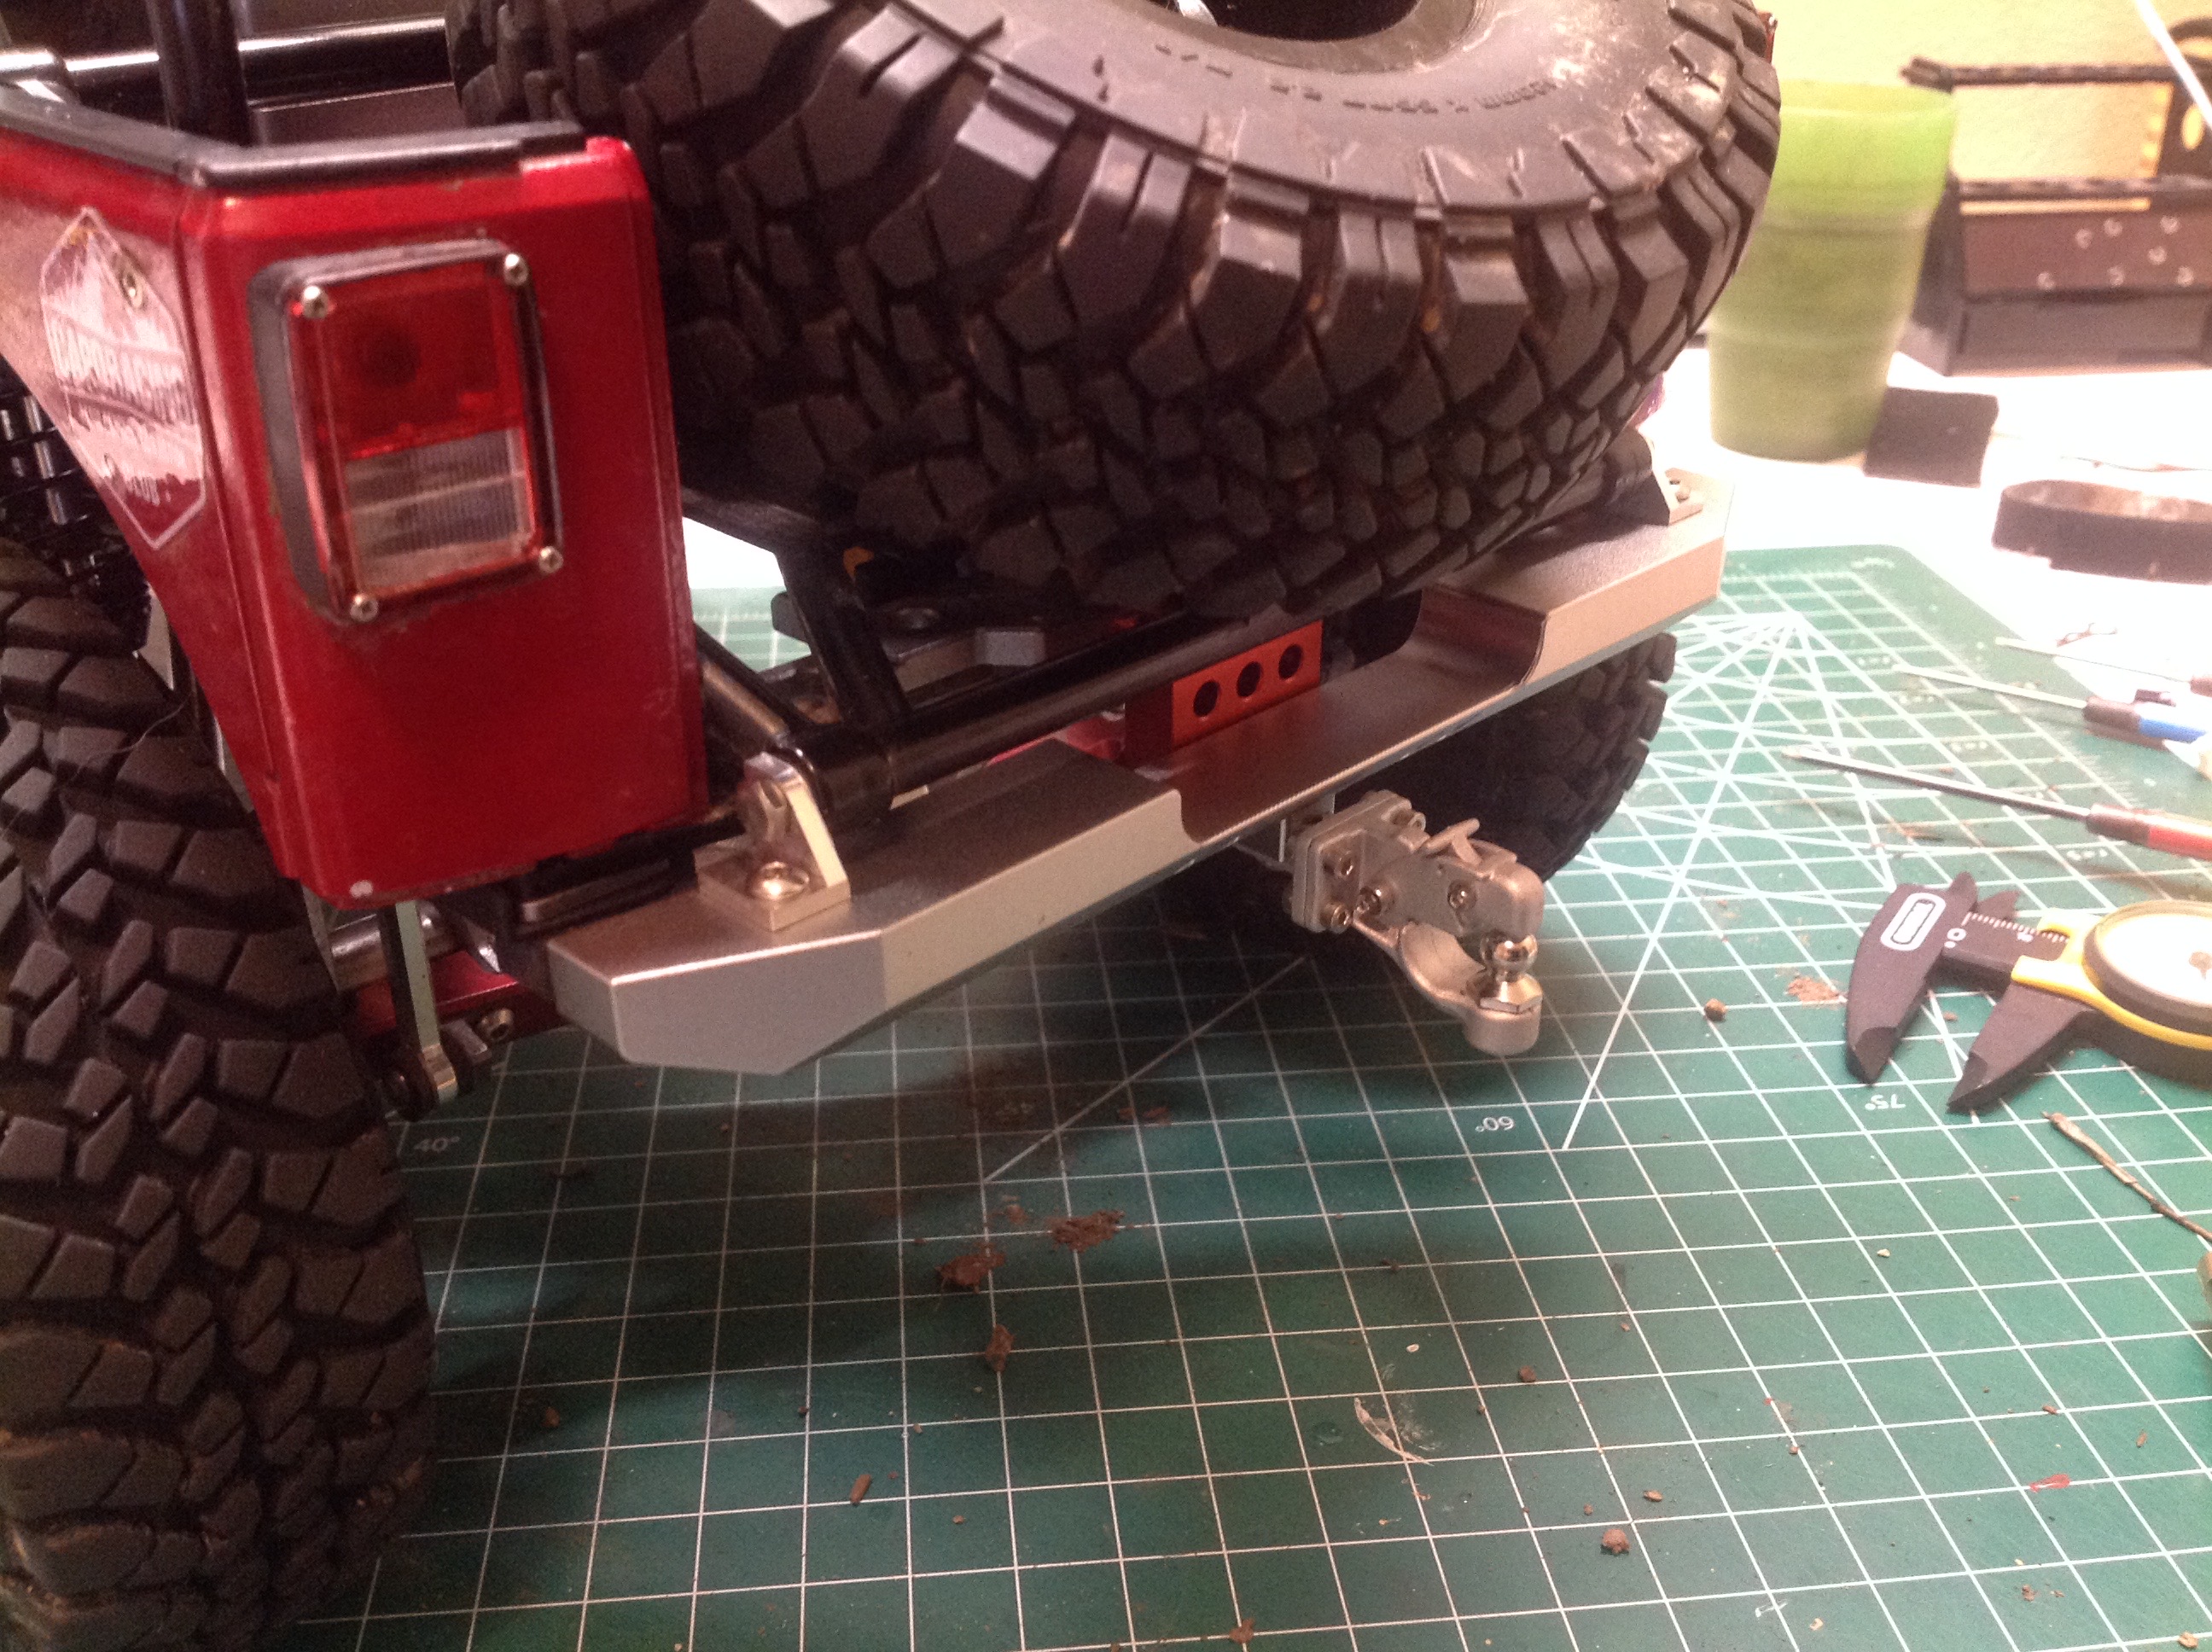
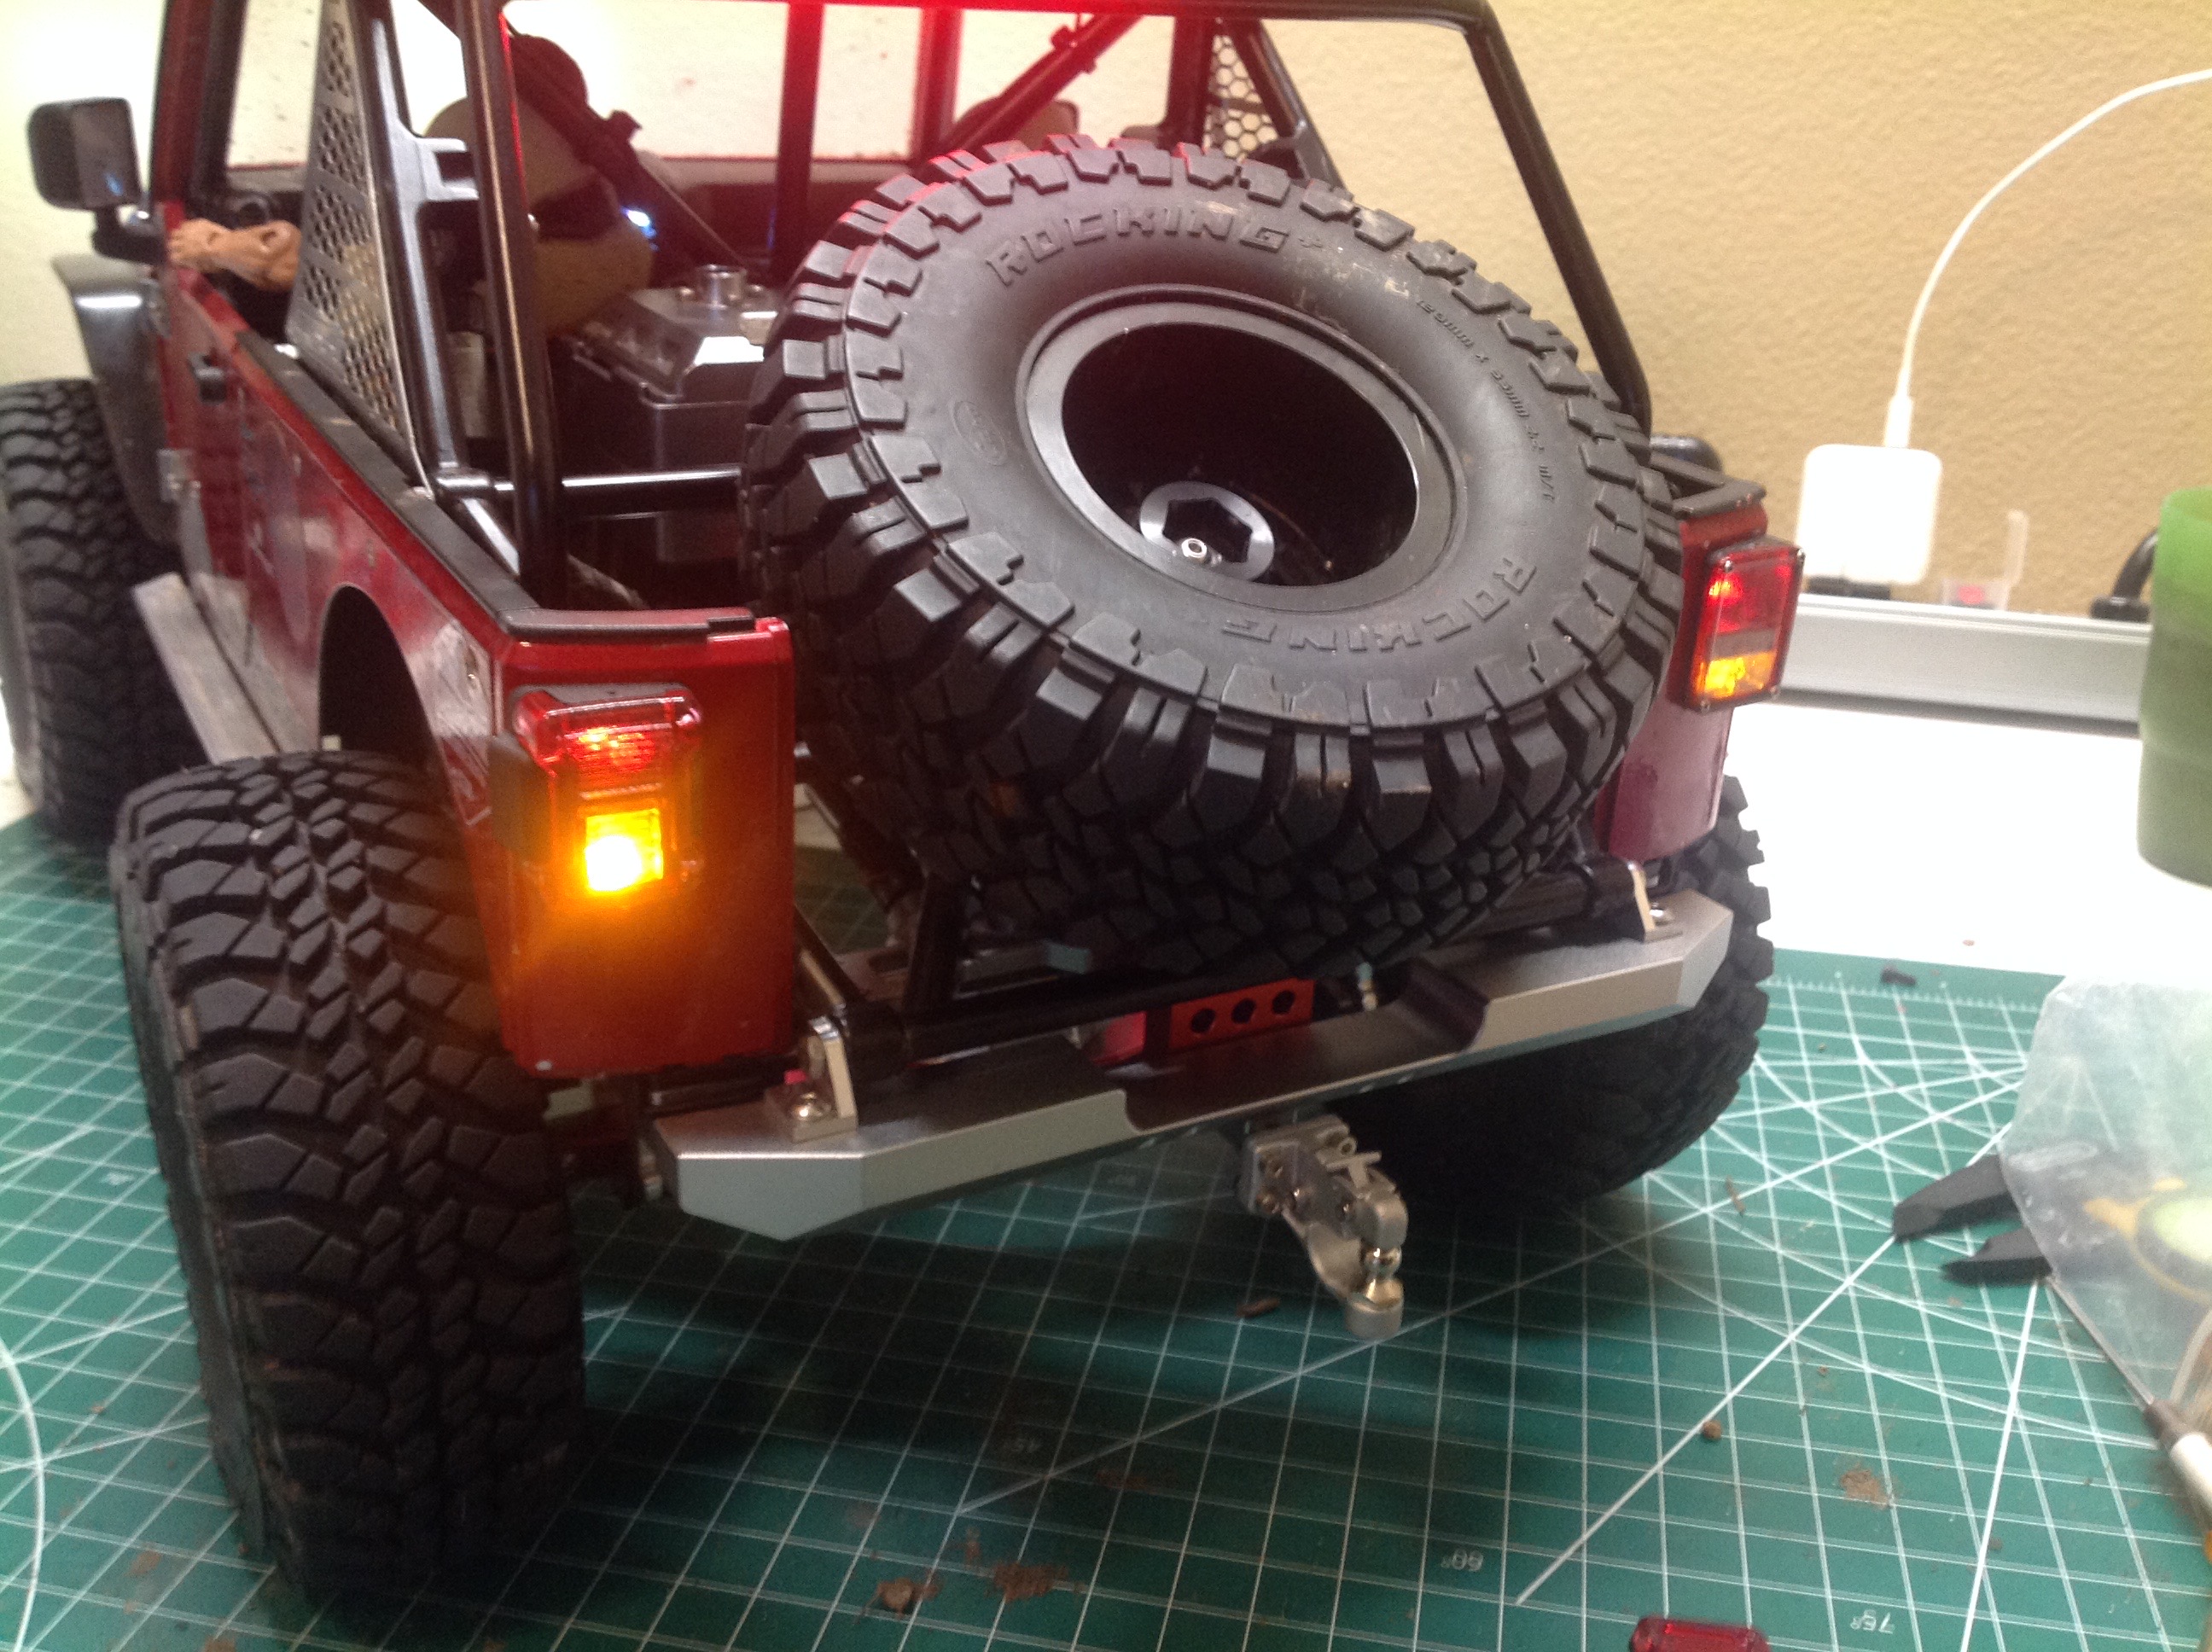
The original model had a beautiful aluminum front bumper but no rear
bumper. Here I've added a matching rear bumper which came with a
pintle hitch. I don't have a trailer so I will leave the hitch off
most of the time to improve departure angle.
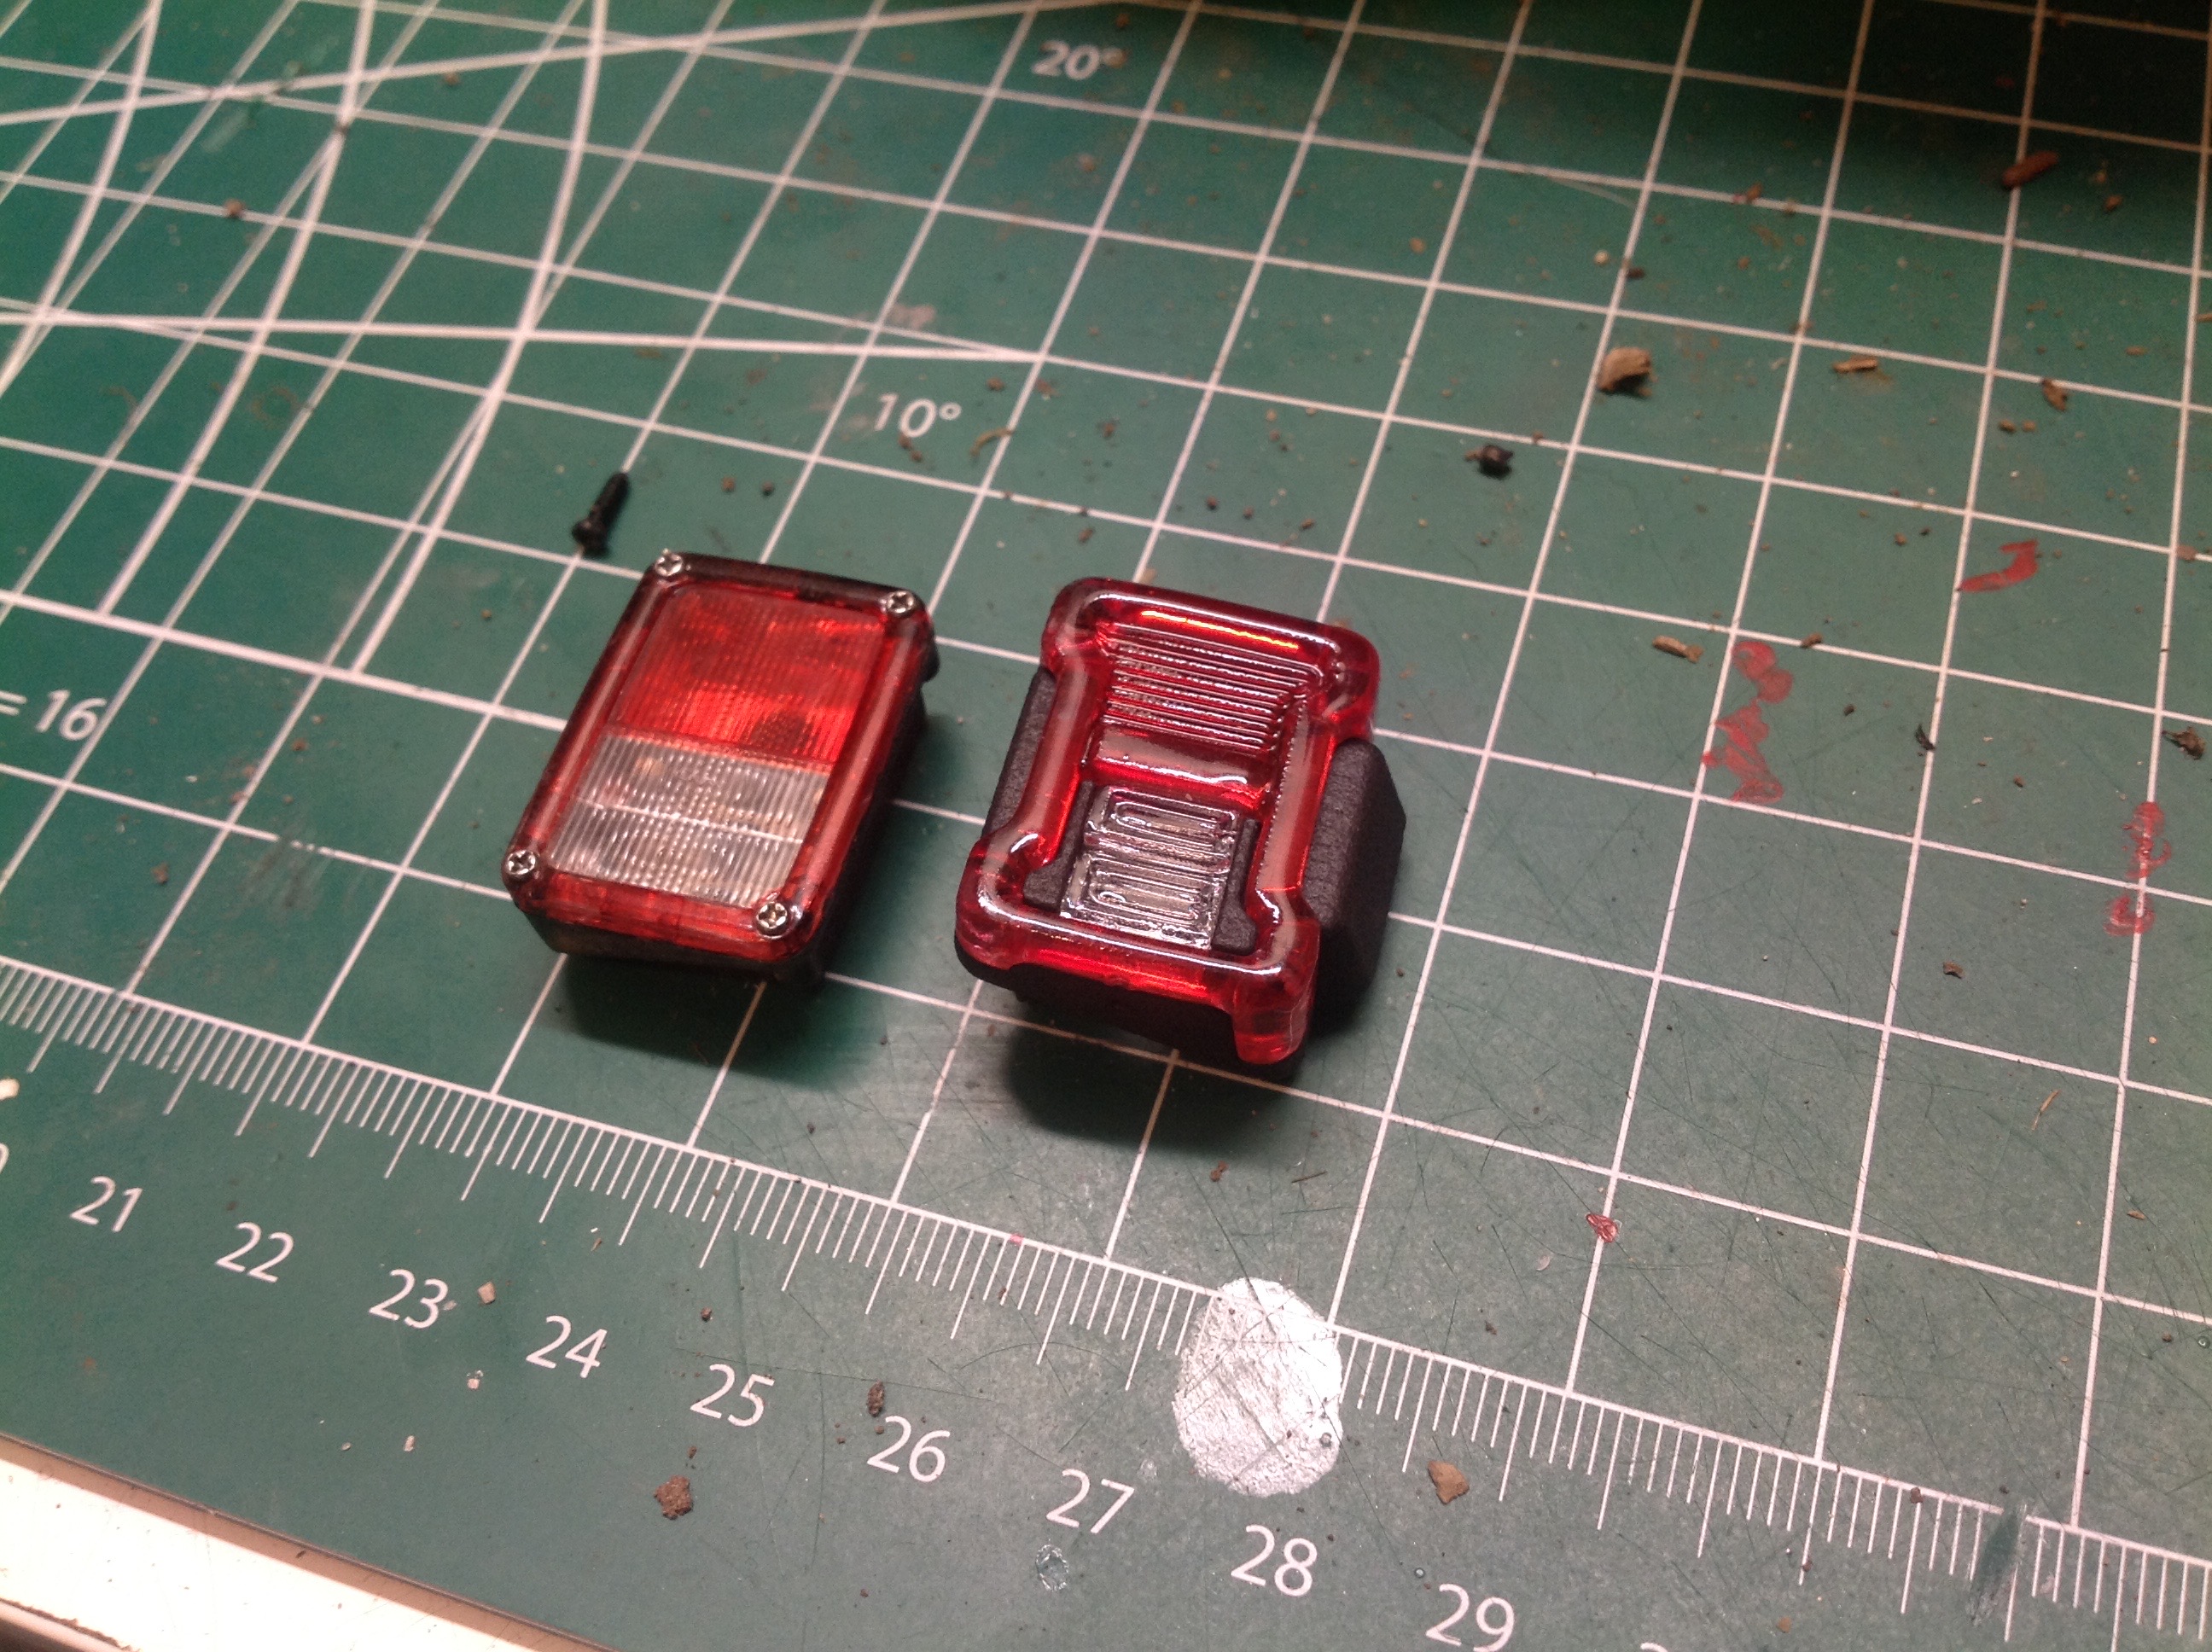
There was nothing wrong with the original tail lights shown on the left,
but the detailed versions shown on the right are still a lot
better. I got them with my second batch of parts. These pictures
compare the old lights to the new lights. On the right picture,
one lens has been replaced and the other hasn't. Again,
these took quite some time to install because of the wiring. The
old LEDs still fit, but it takes a while to remove and reinstall them.
It always bothered me that there were nice aluminum front fenders but no
rear fenders. Rear fenders finally became available and they
match the style of the front perfectly. Since they are screwed
through from the inside, I had to mark the holes with a drilling
template. It worked out fine.
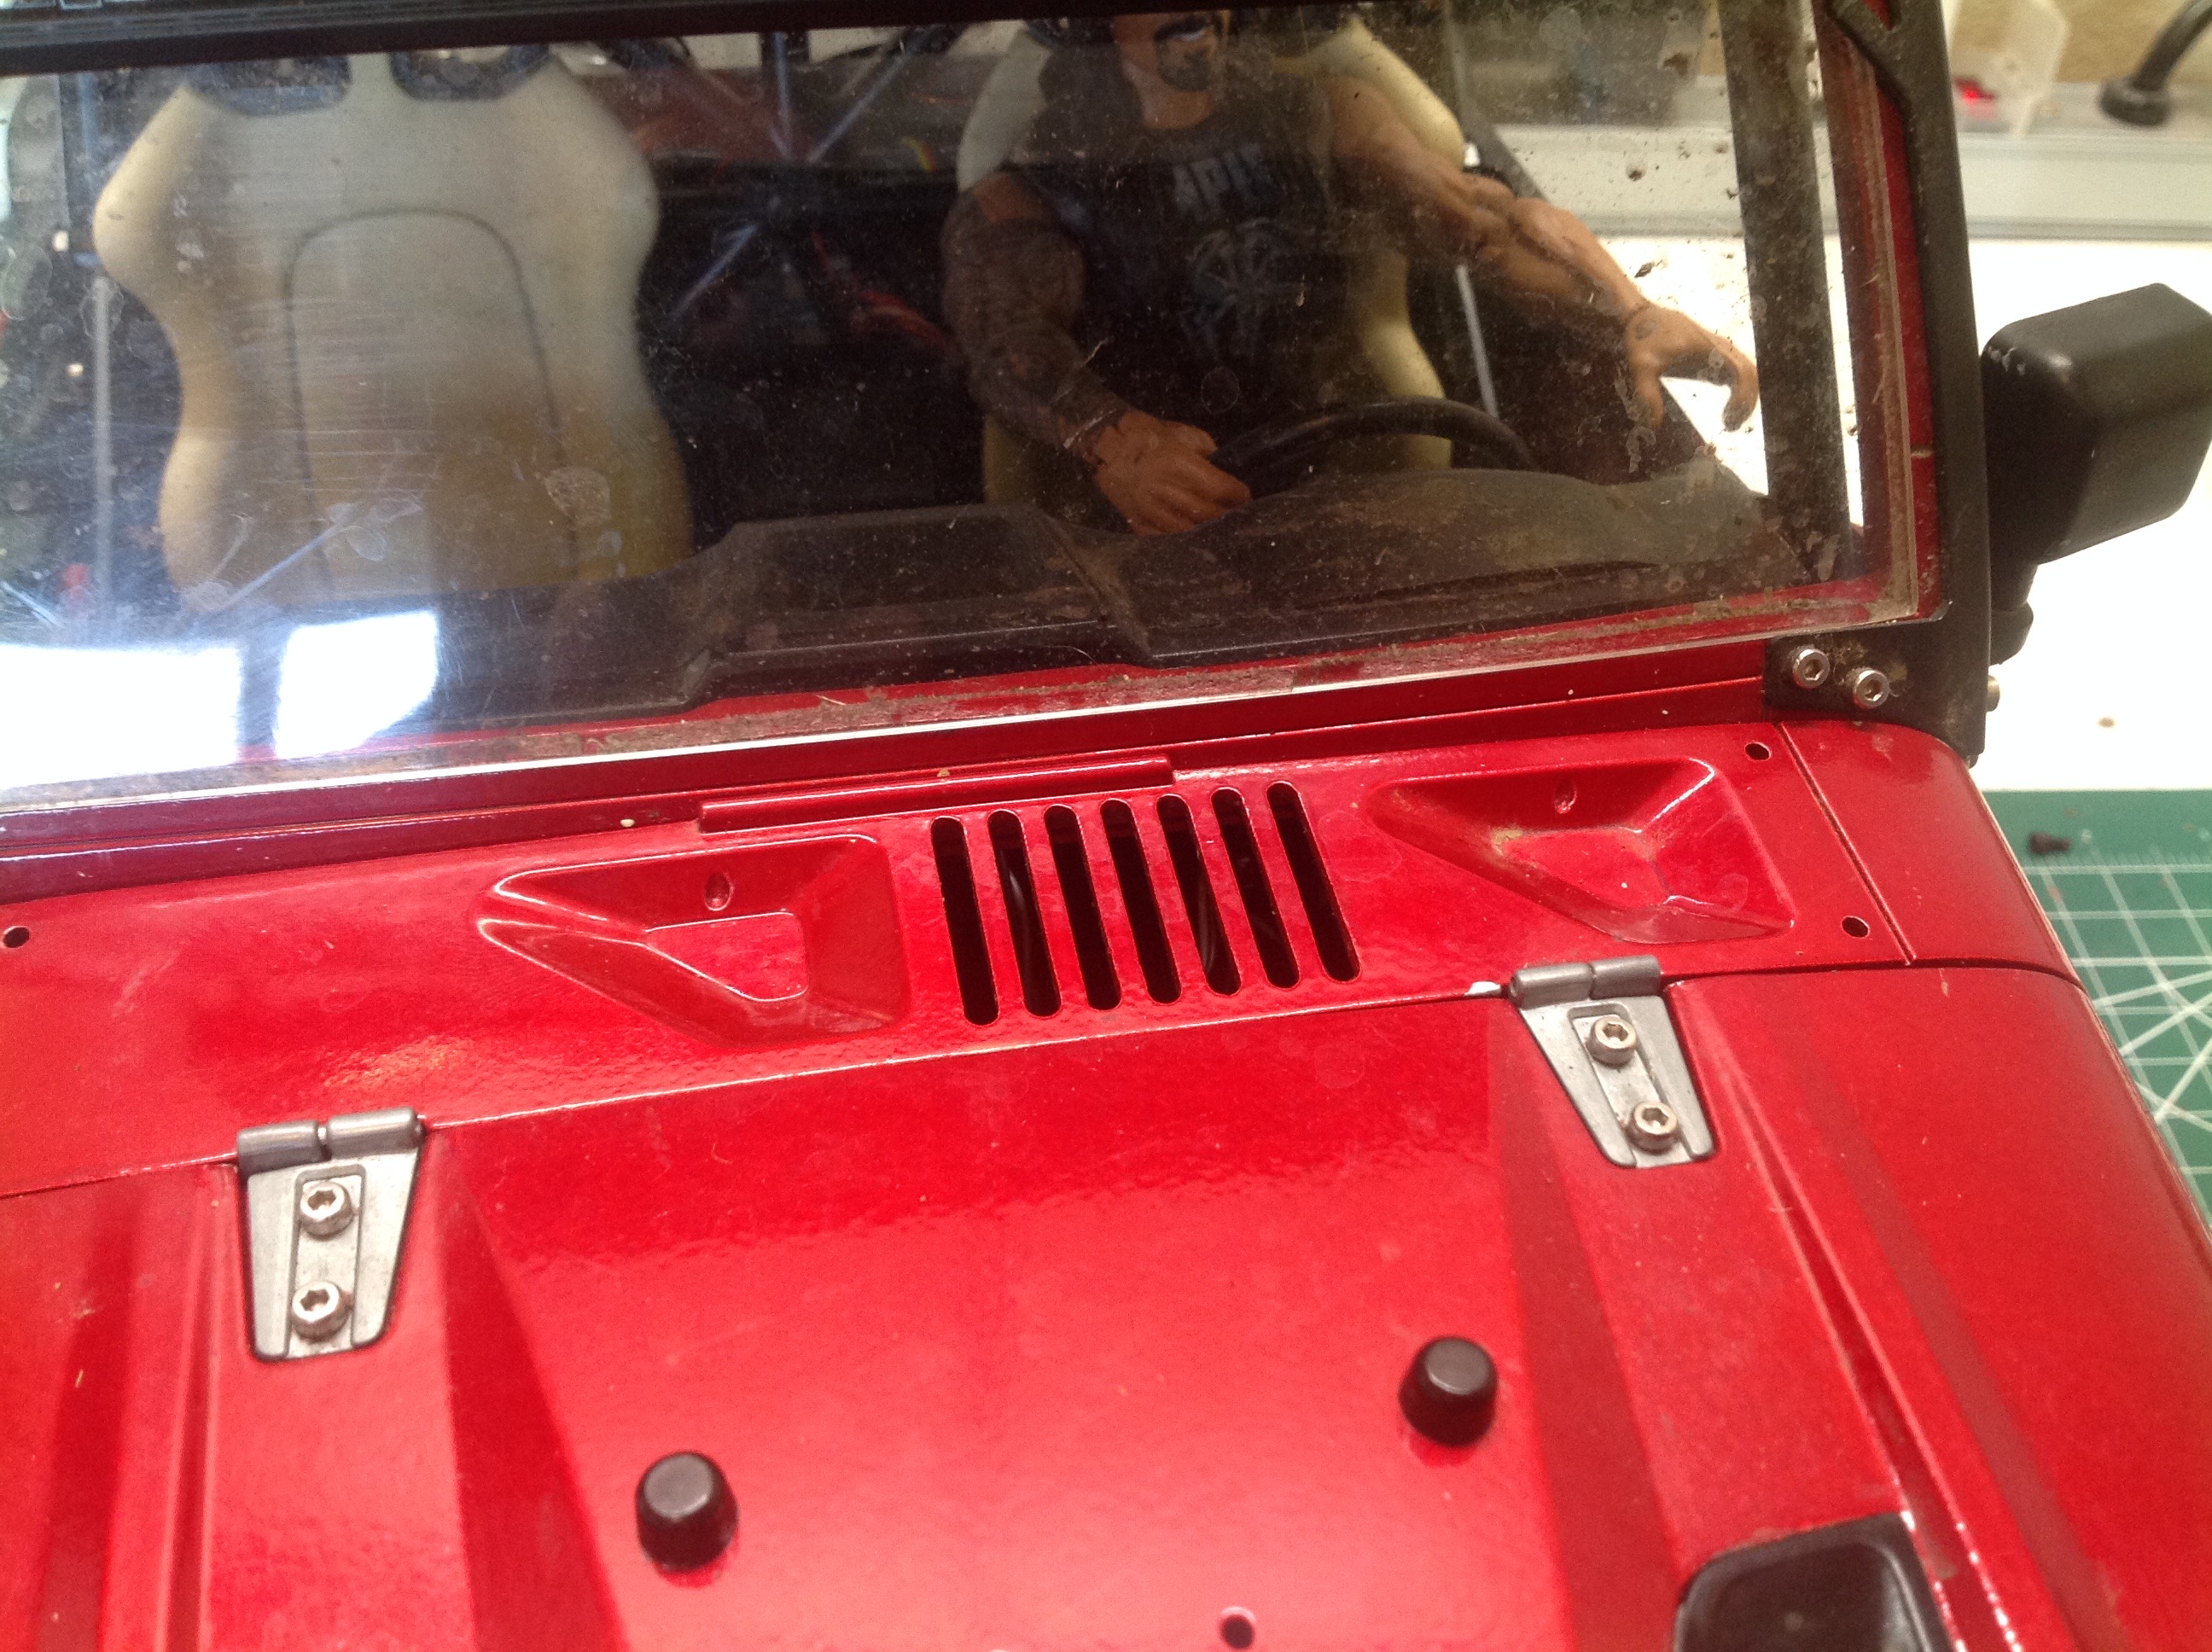
I can't believe the original model didn't come with wipers, especially
given that the chassis was provisioned for them. Well, I have them
now. Much better.
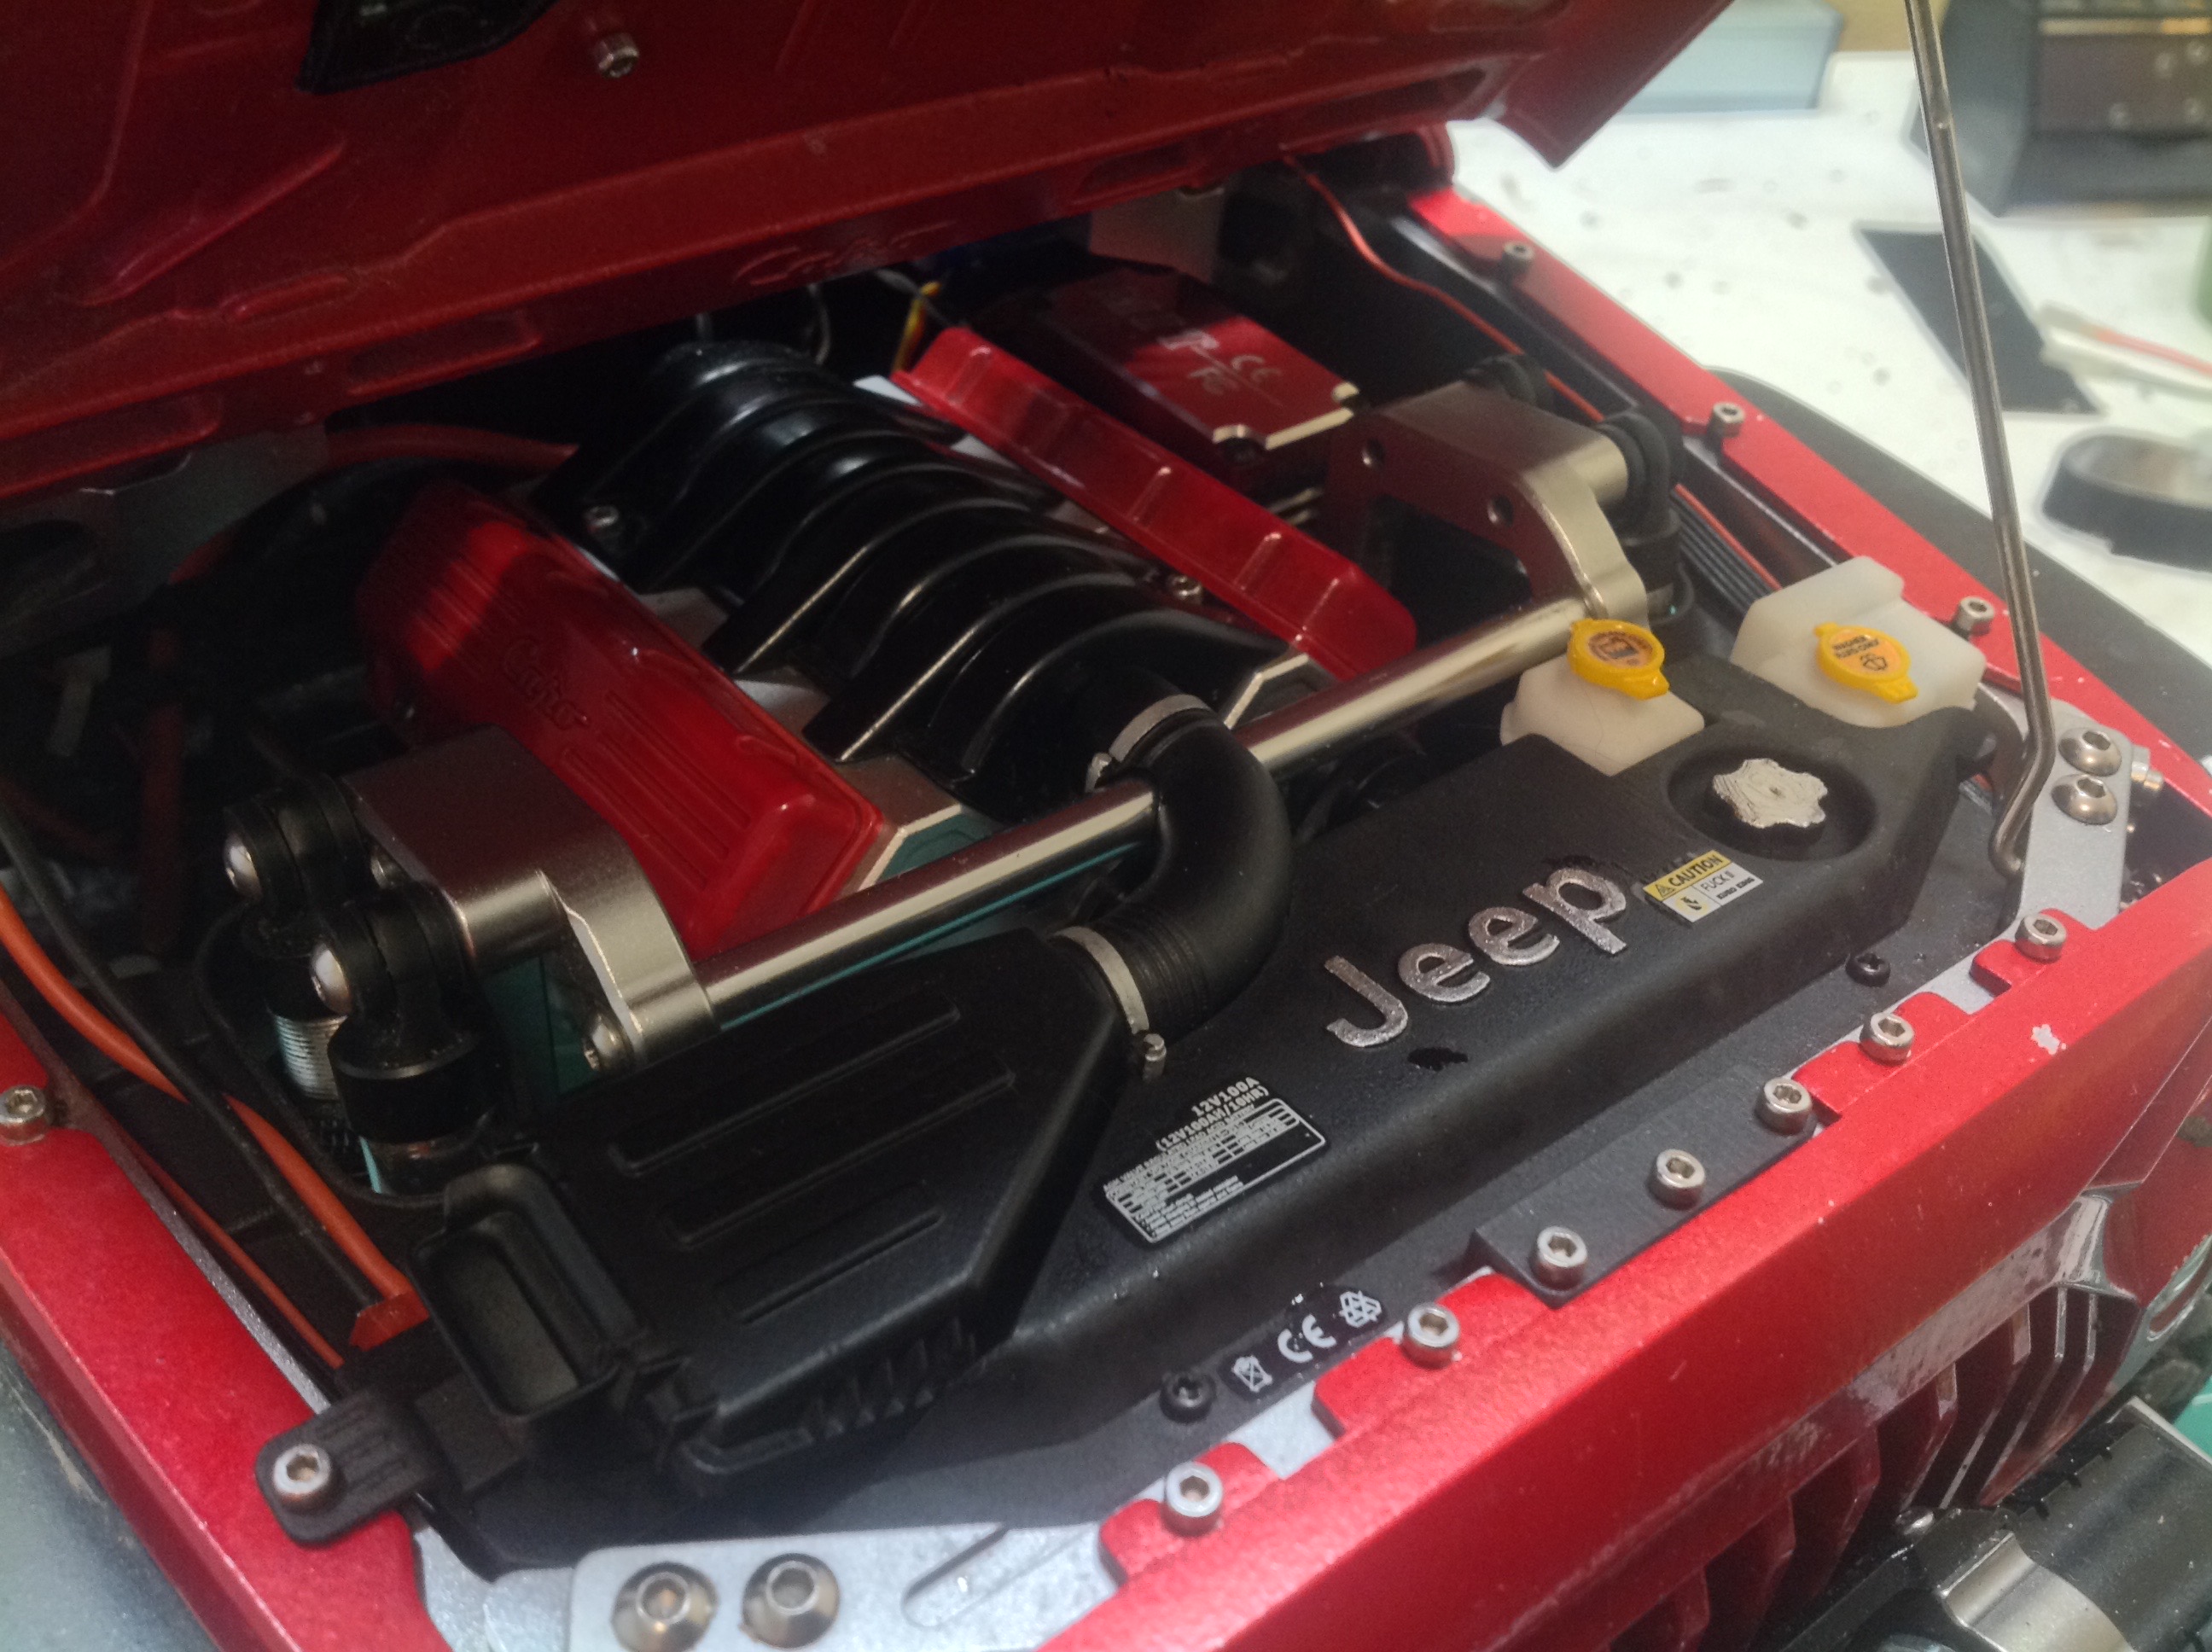
The final pile of parts were 3D printed scale engine details. Most
came unpainted as shown on the left. Once installed and painted
as shown on the right, the engine bay looks much more realistic.
Some people have gone much further, but I am happy with the state of my
engine. Note that the battery shown on the left didn't actually
fit so I didn't use it. The radiator can't be seen in the view on
the right, but it can be seen through the grille.
Phase 3:
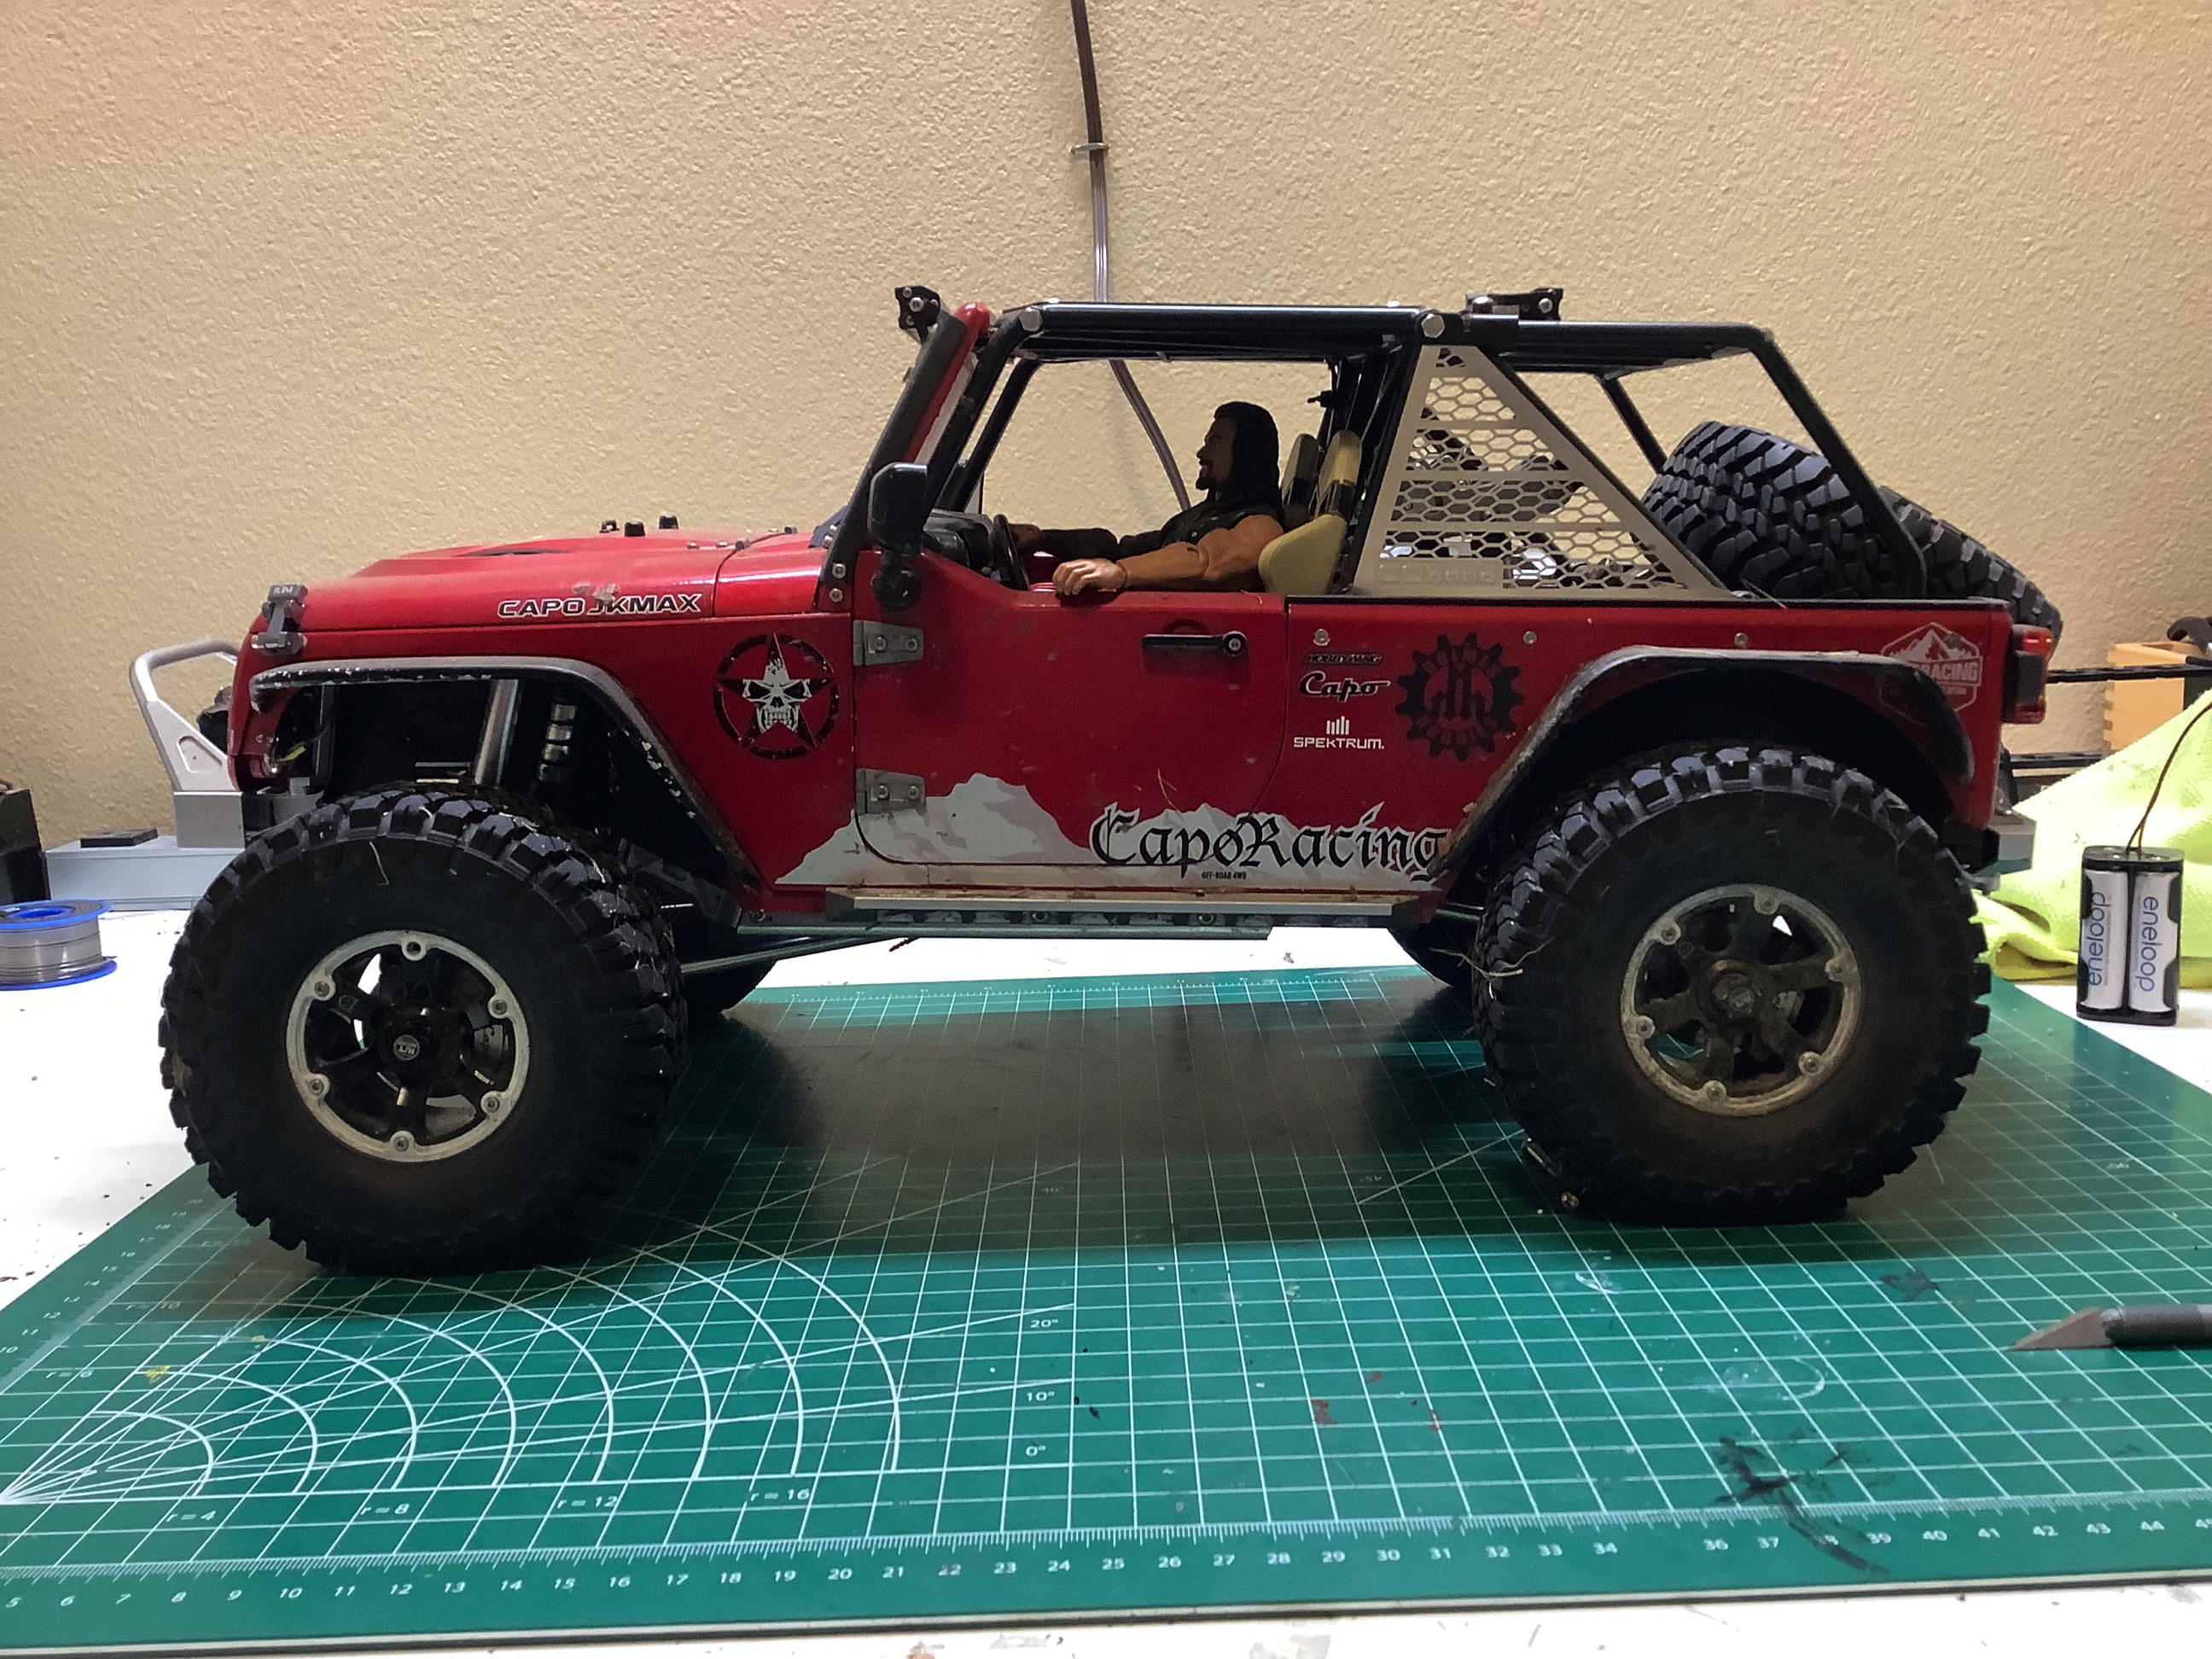
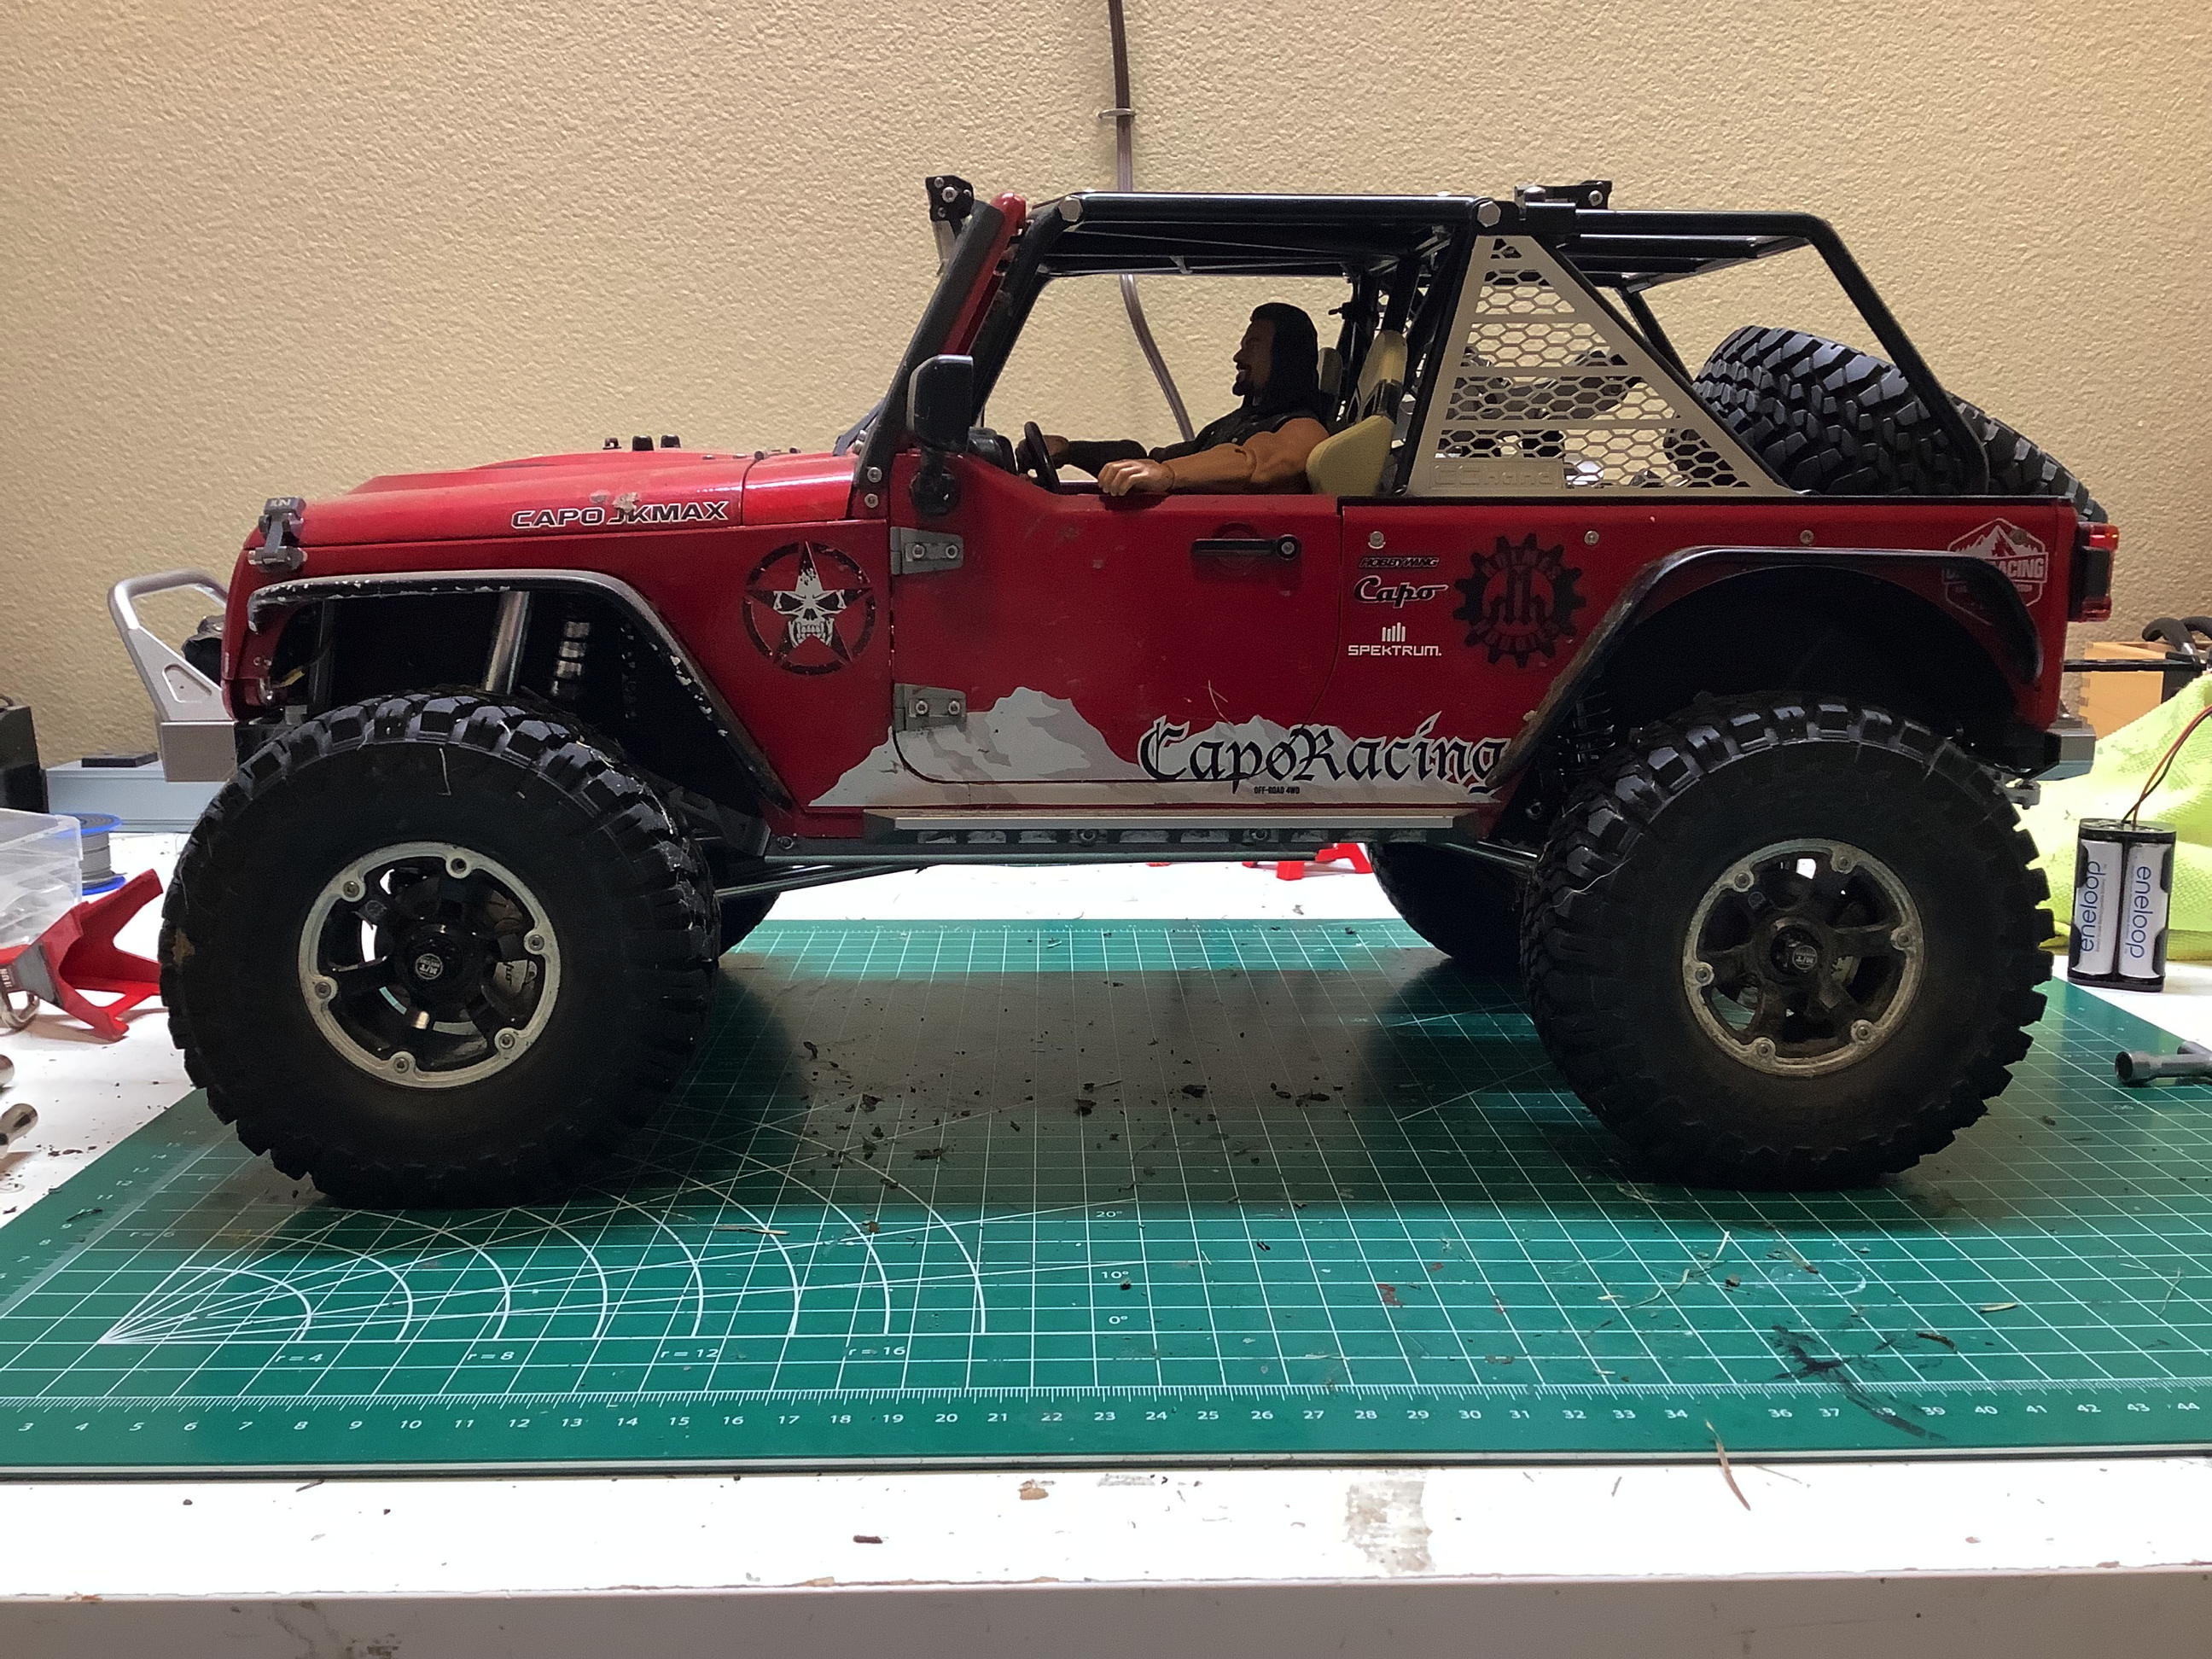
The problem with adding all those parts in Phase 2, especially the rear
bumper and extended roll bar, is that the rear of the truck got much
heavier and the rear shocks sagged to the point that the suspension was
almost bottomed out just sitting still. This bothered me a lot but
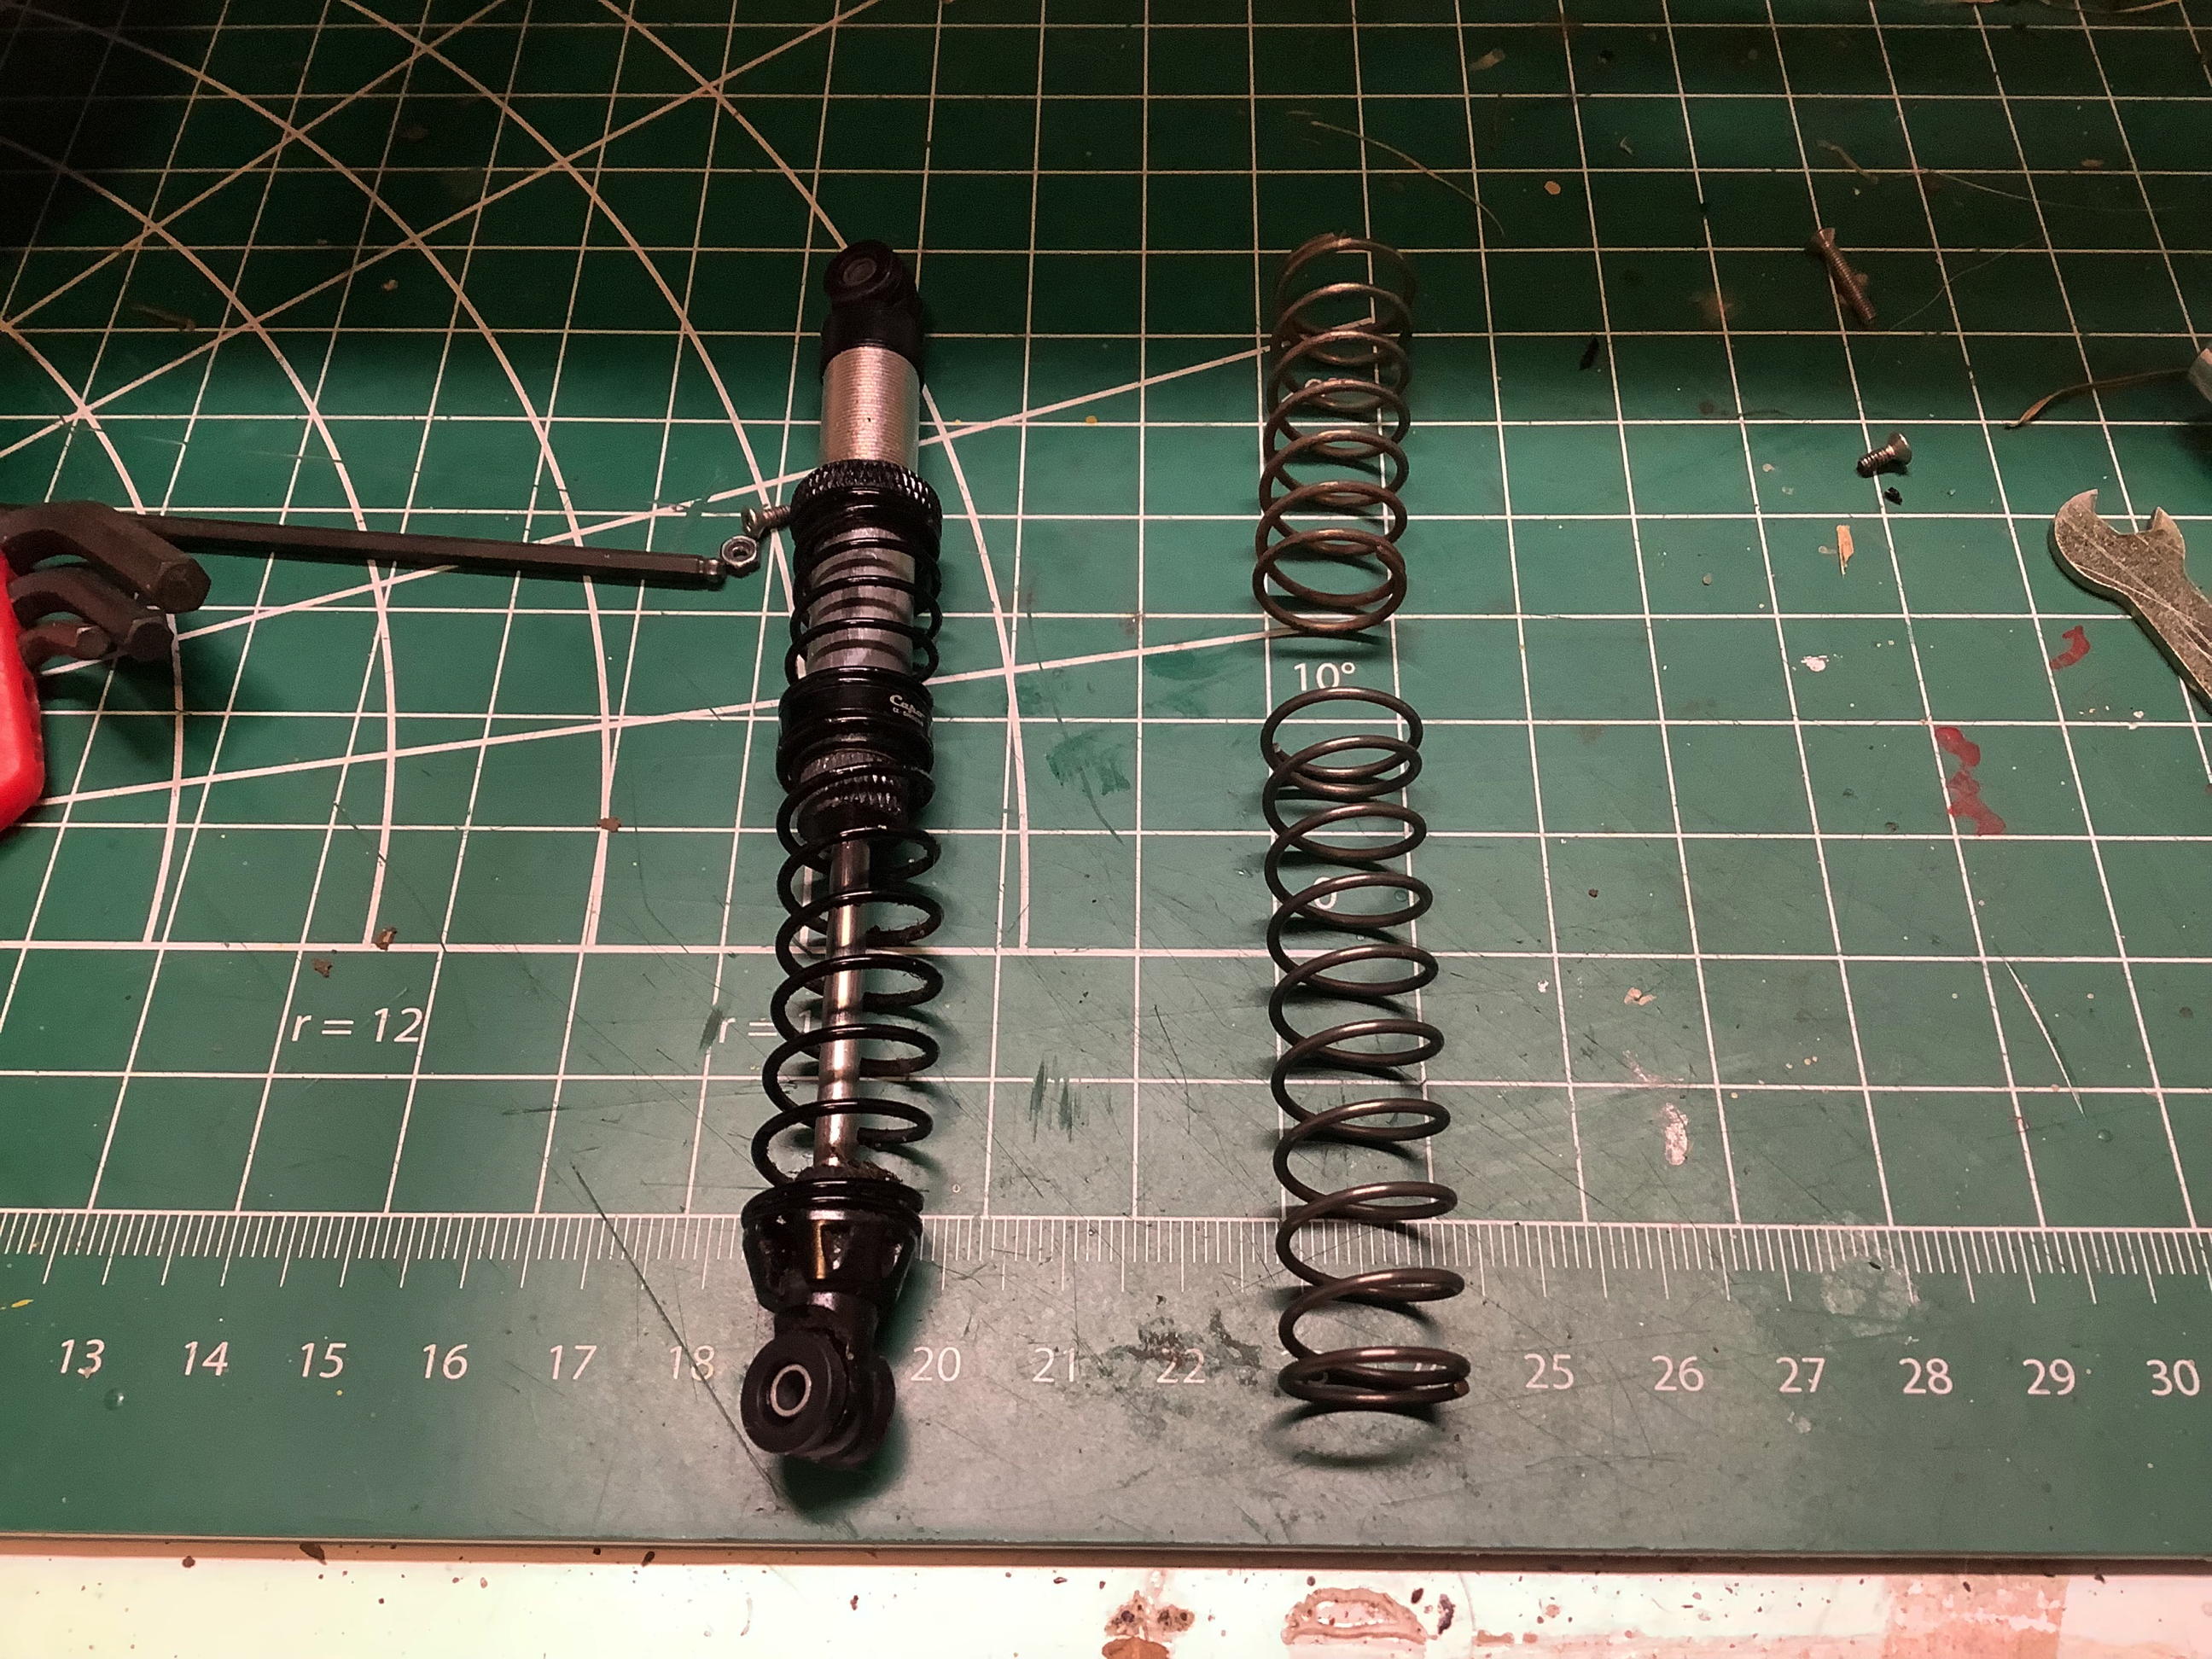
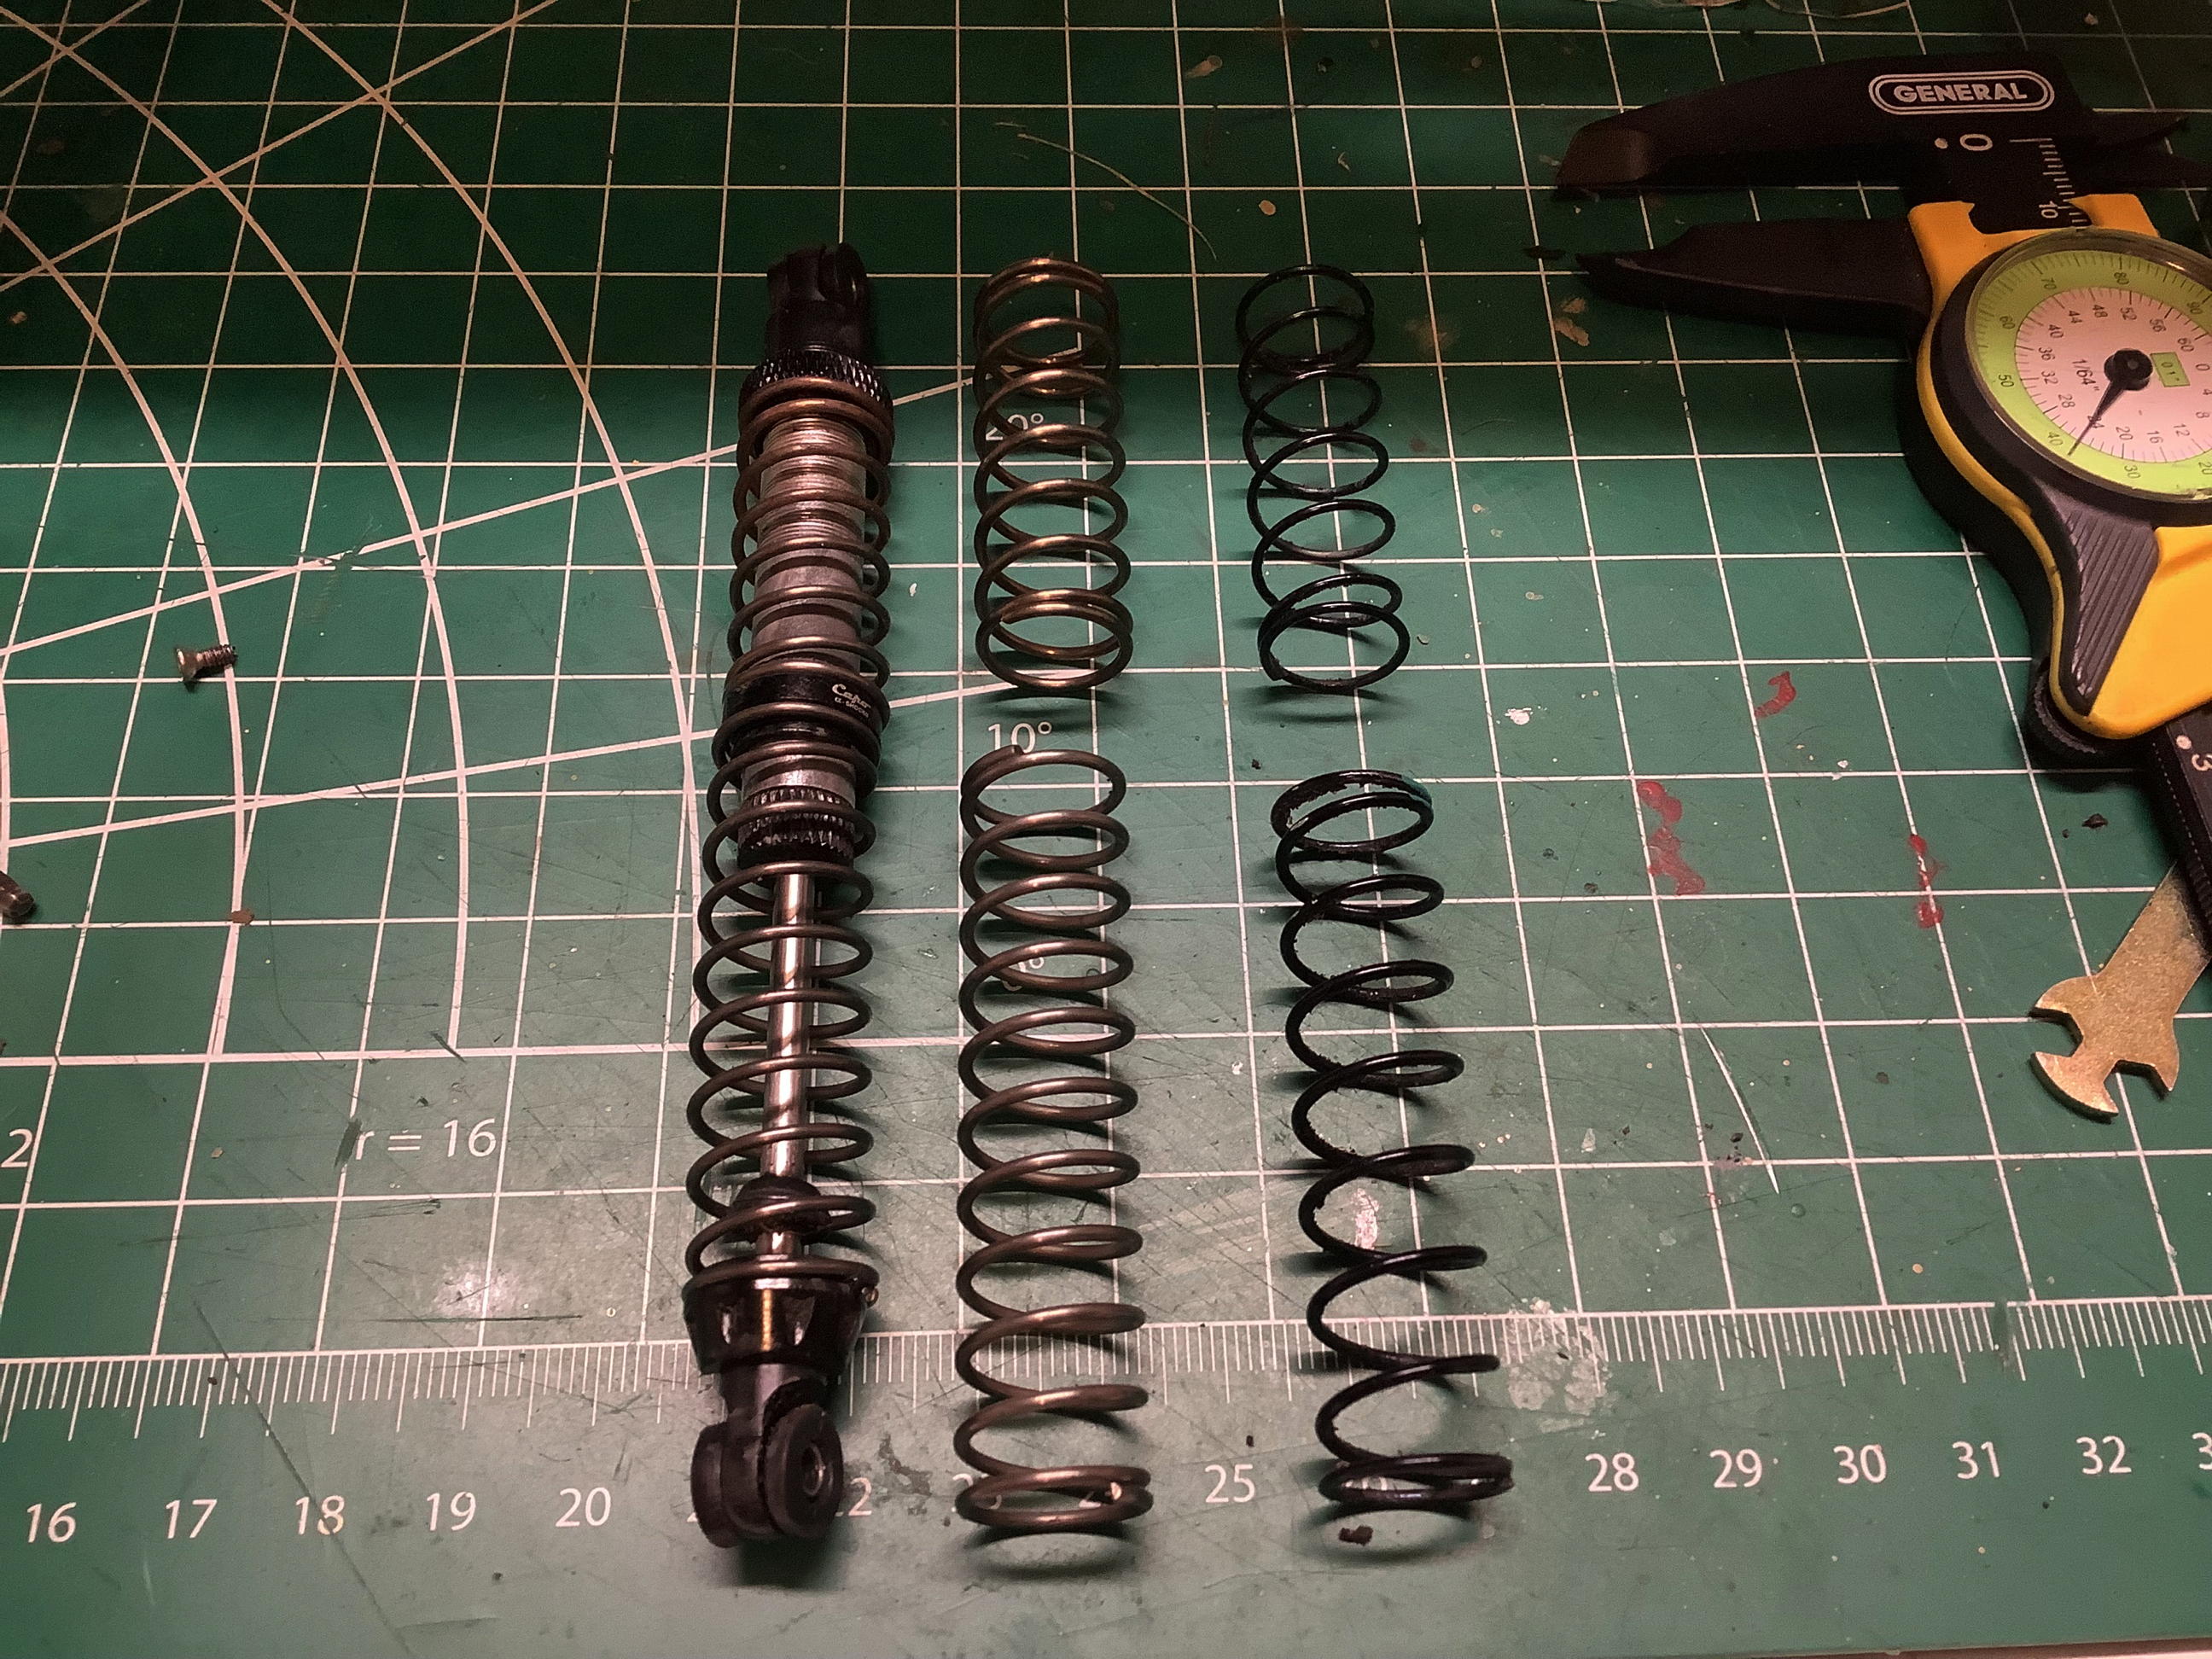
I couldn't find the right size springs to change anything. Fast
forward a year and KaiOz released some stiffer rear springs which seem
to have been targeted right at me. Take a look at the before and
after pictures, focusing on the much more level rear end.