Tamiya Konghead Project
Page 1: Assembly
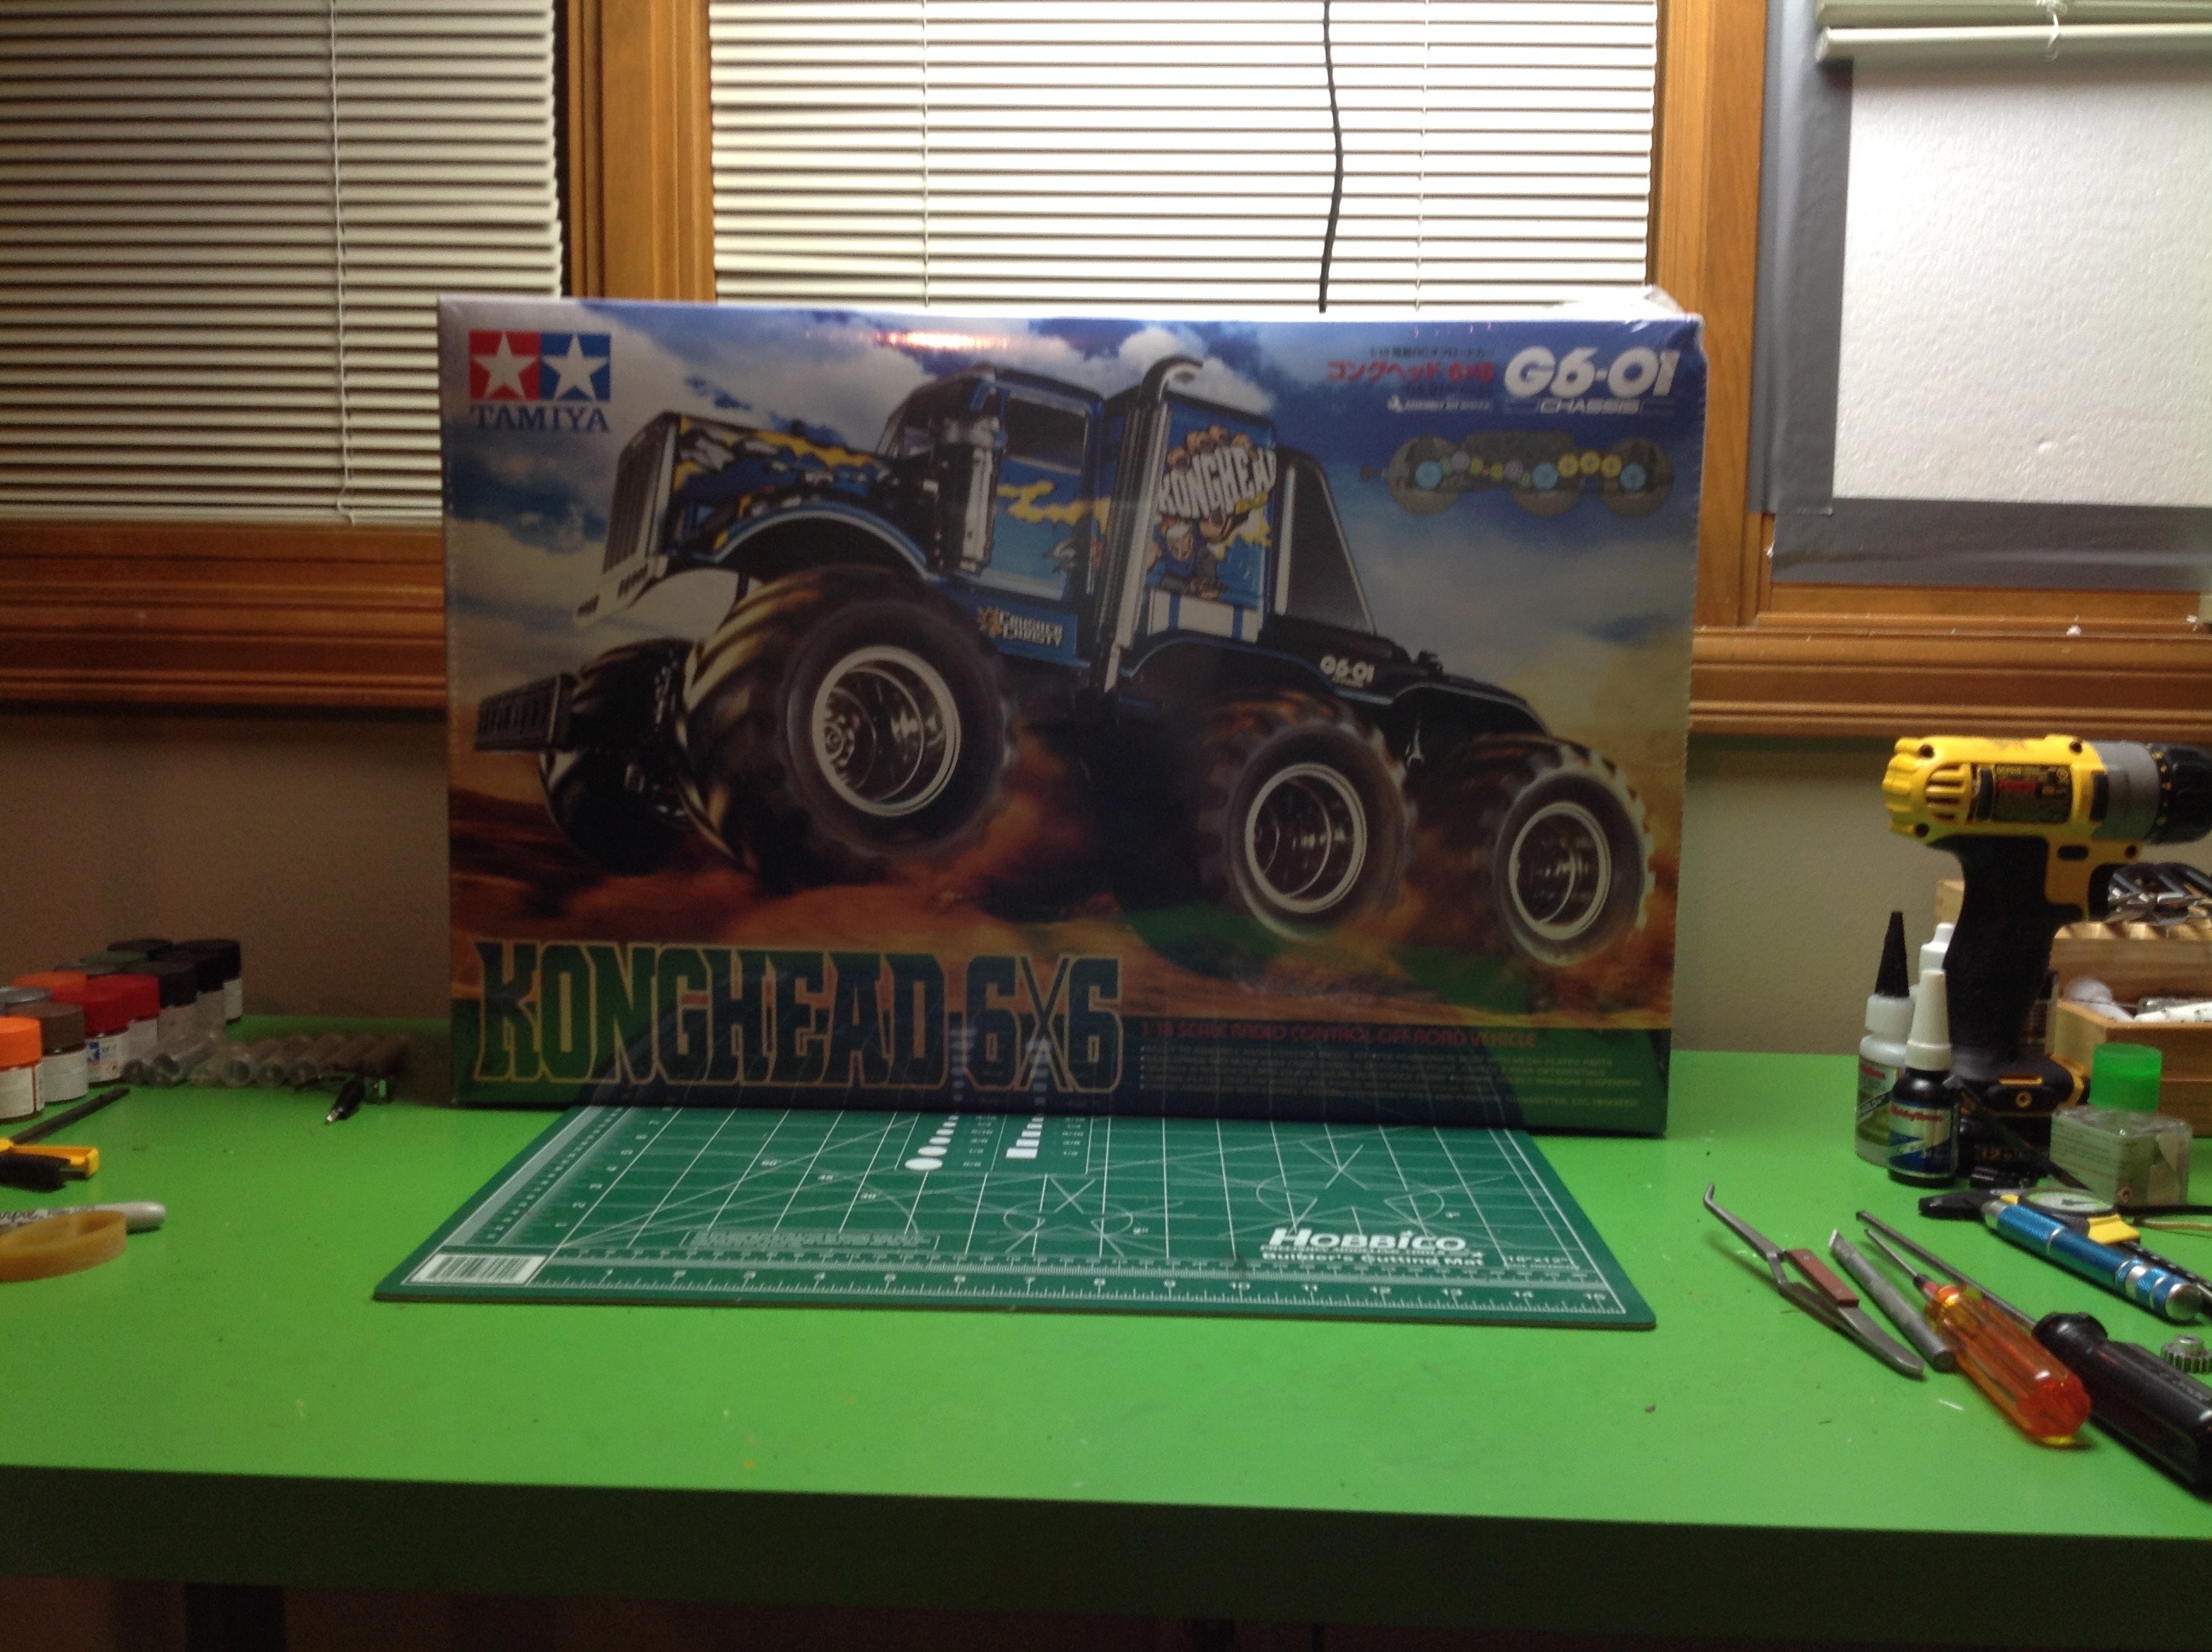
The Konghead comes in a large box with a nice full color photo on the
cover, but I kind of miss the old hand drawn art of the older boxes.
After adding a couple of trinkets to the chassis halves, assembly begins
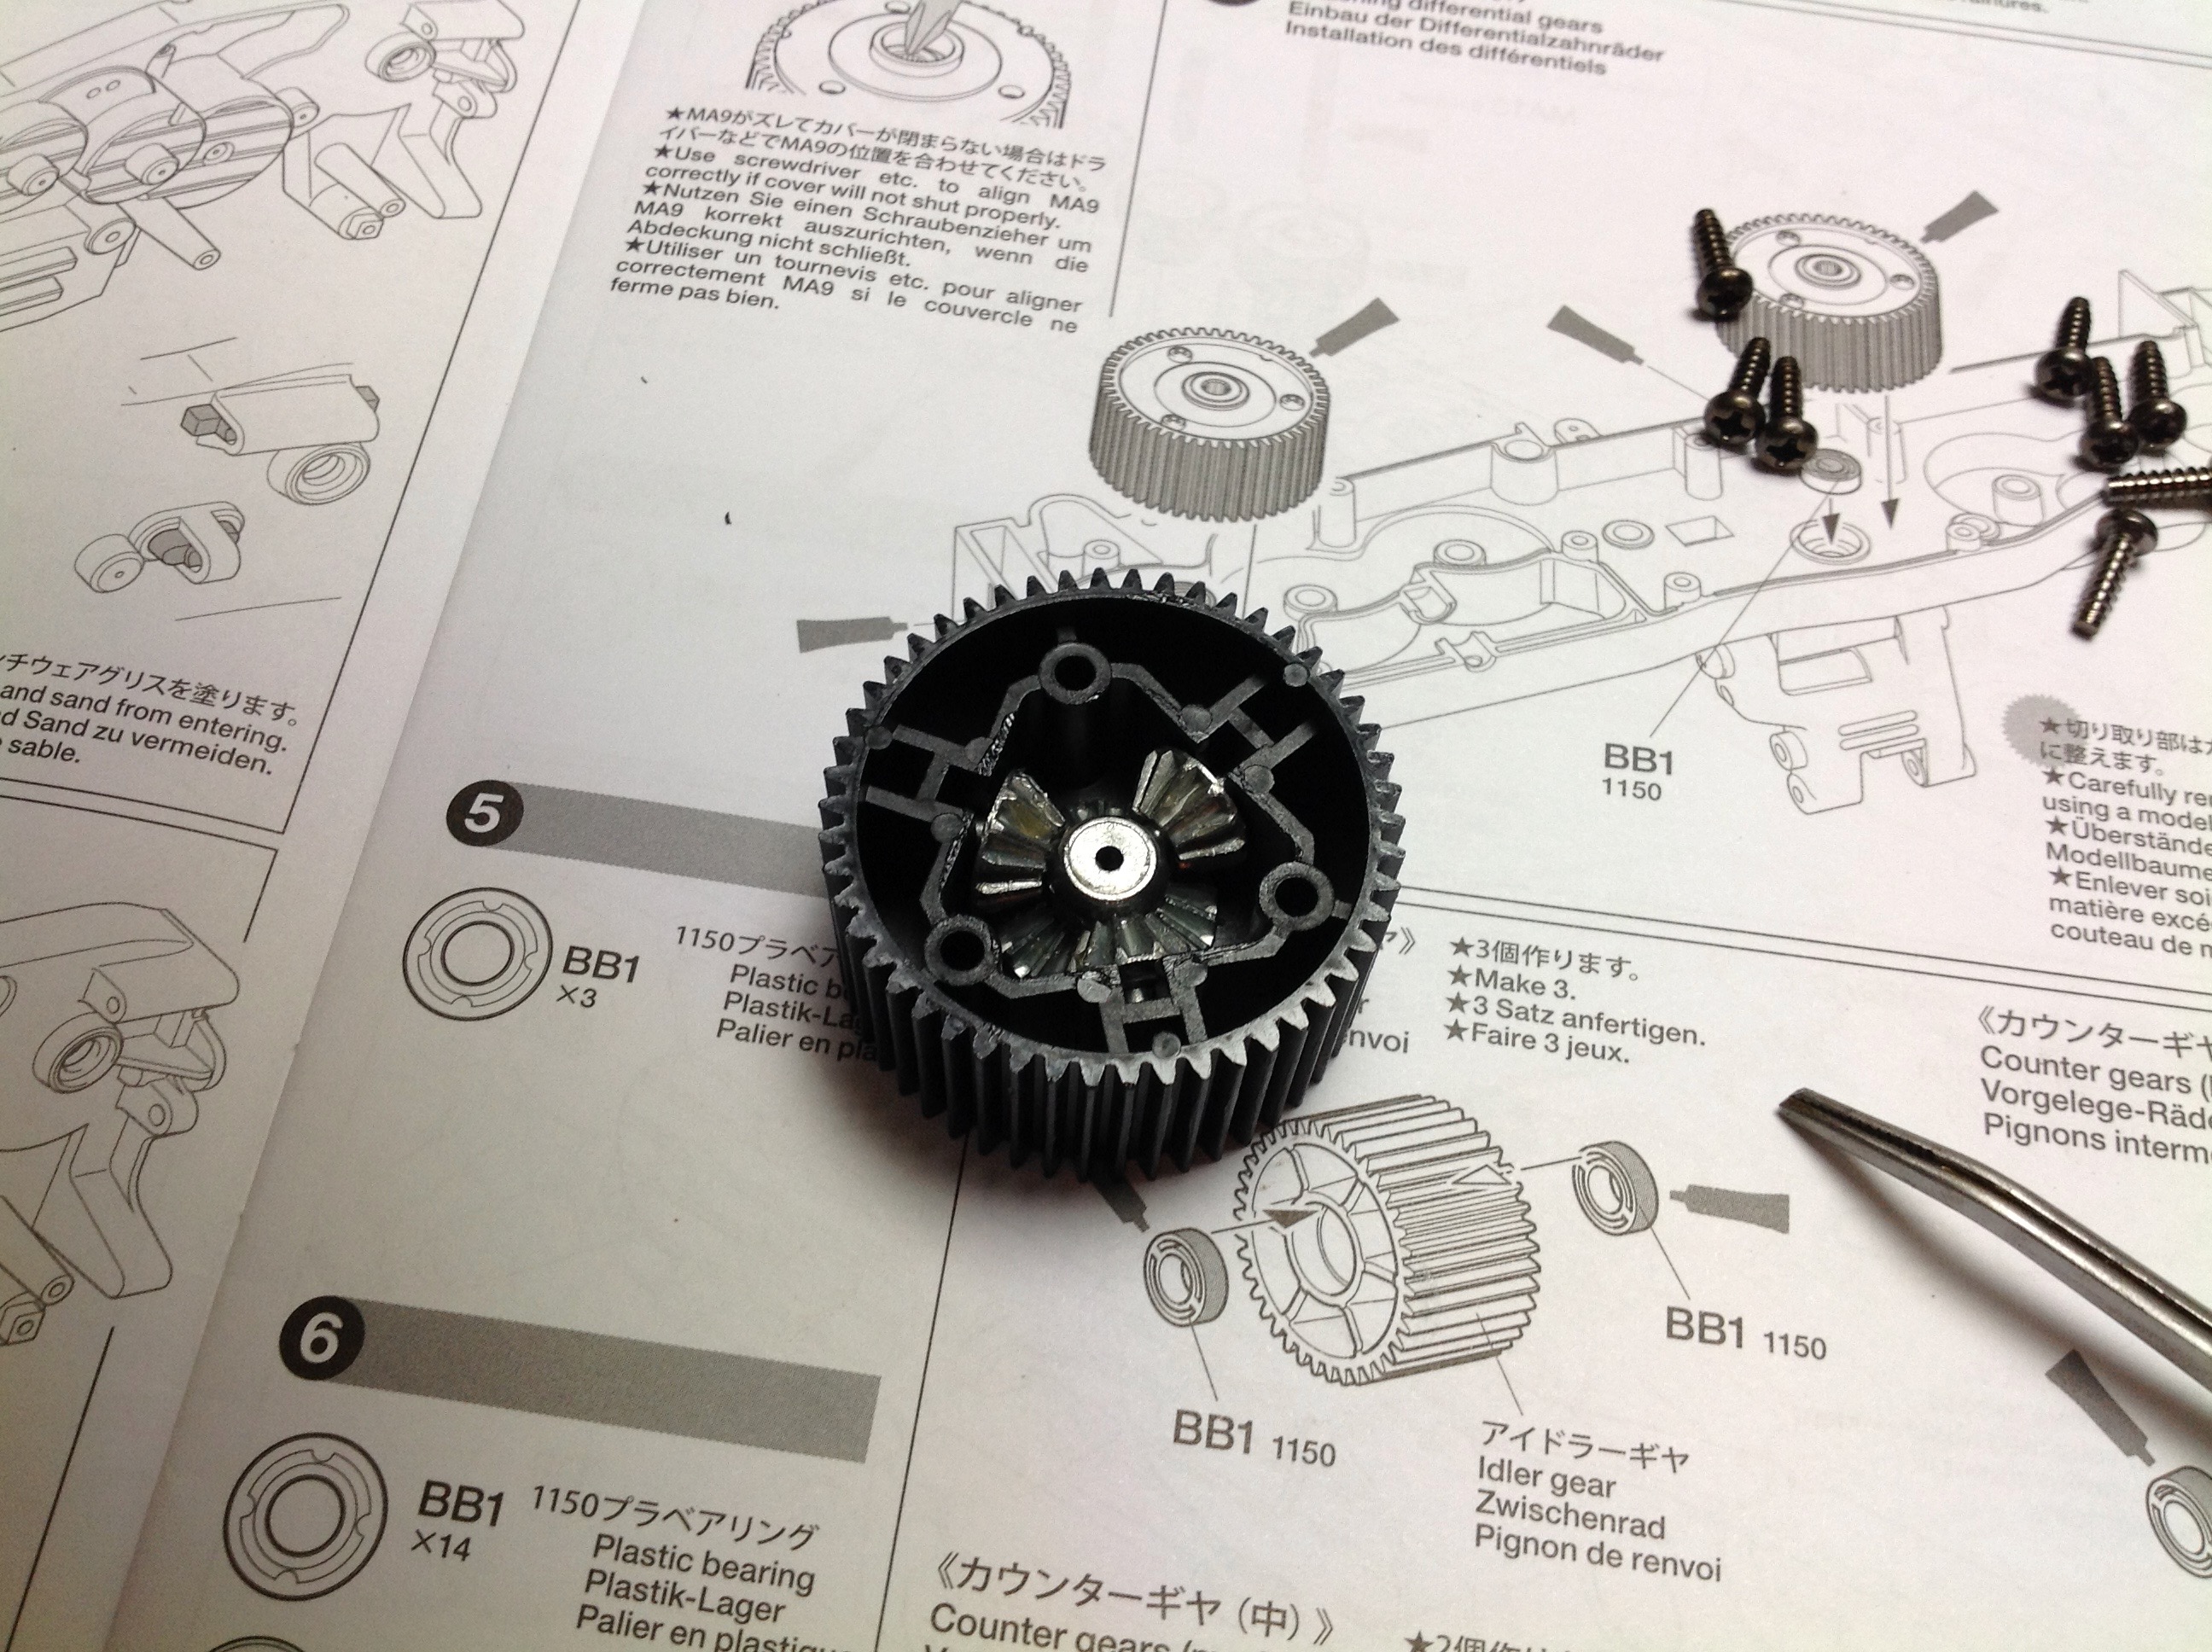
with construction of the 3 identical gear differentials. These are
open, unsealed, bevel gear diffs which each use 3 spider gears.
All of the internal gears are cast metal, but the outer ring gears are
fiber reinforced plastic.
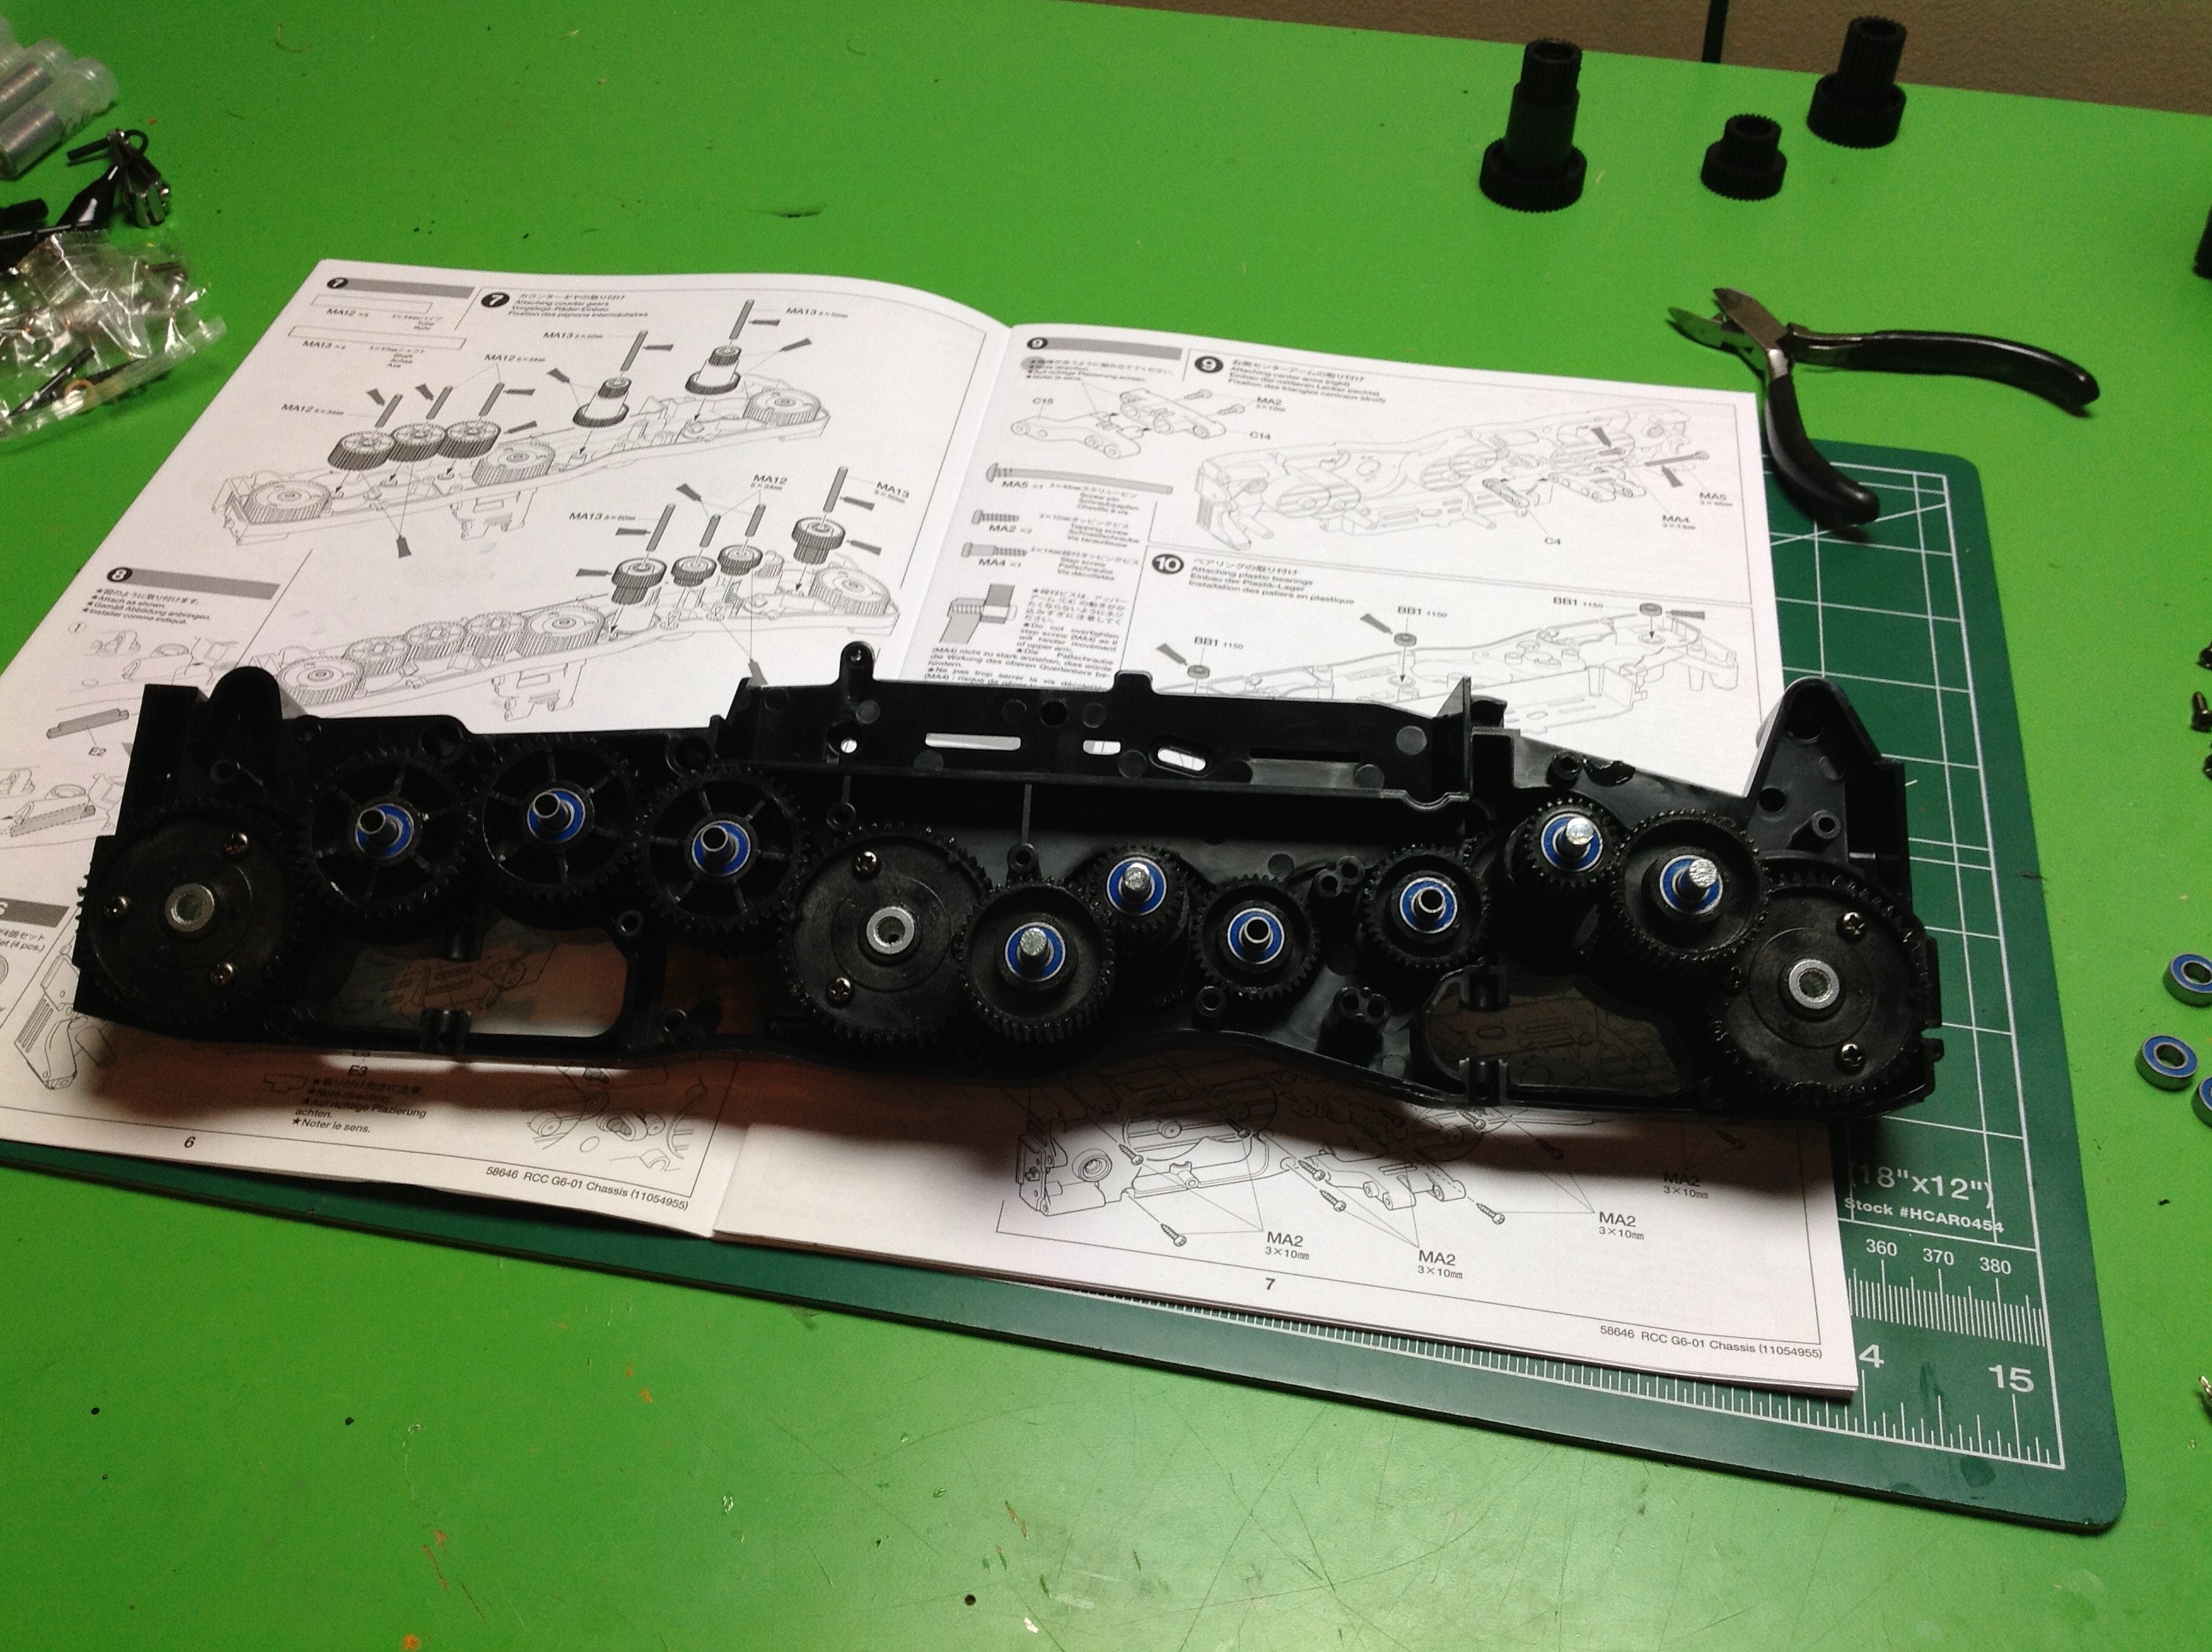
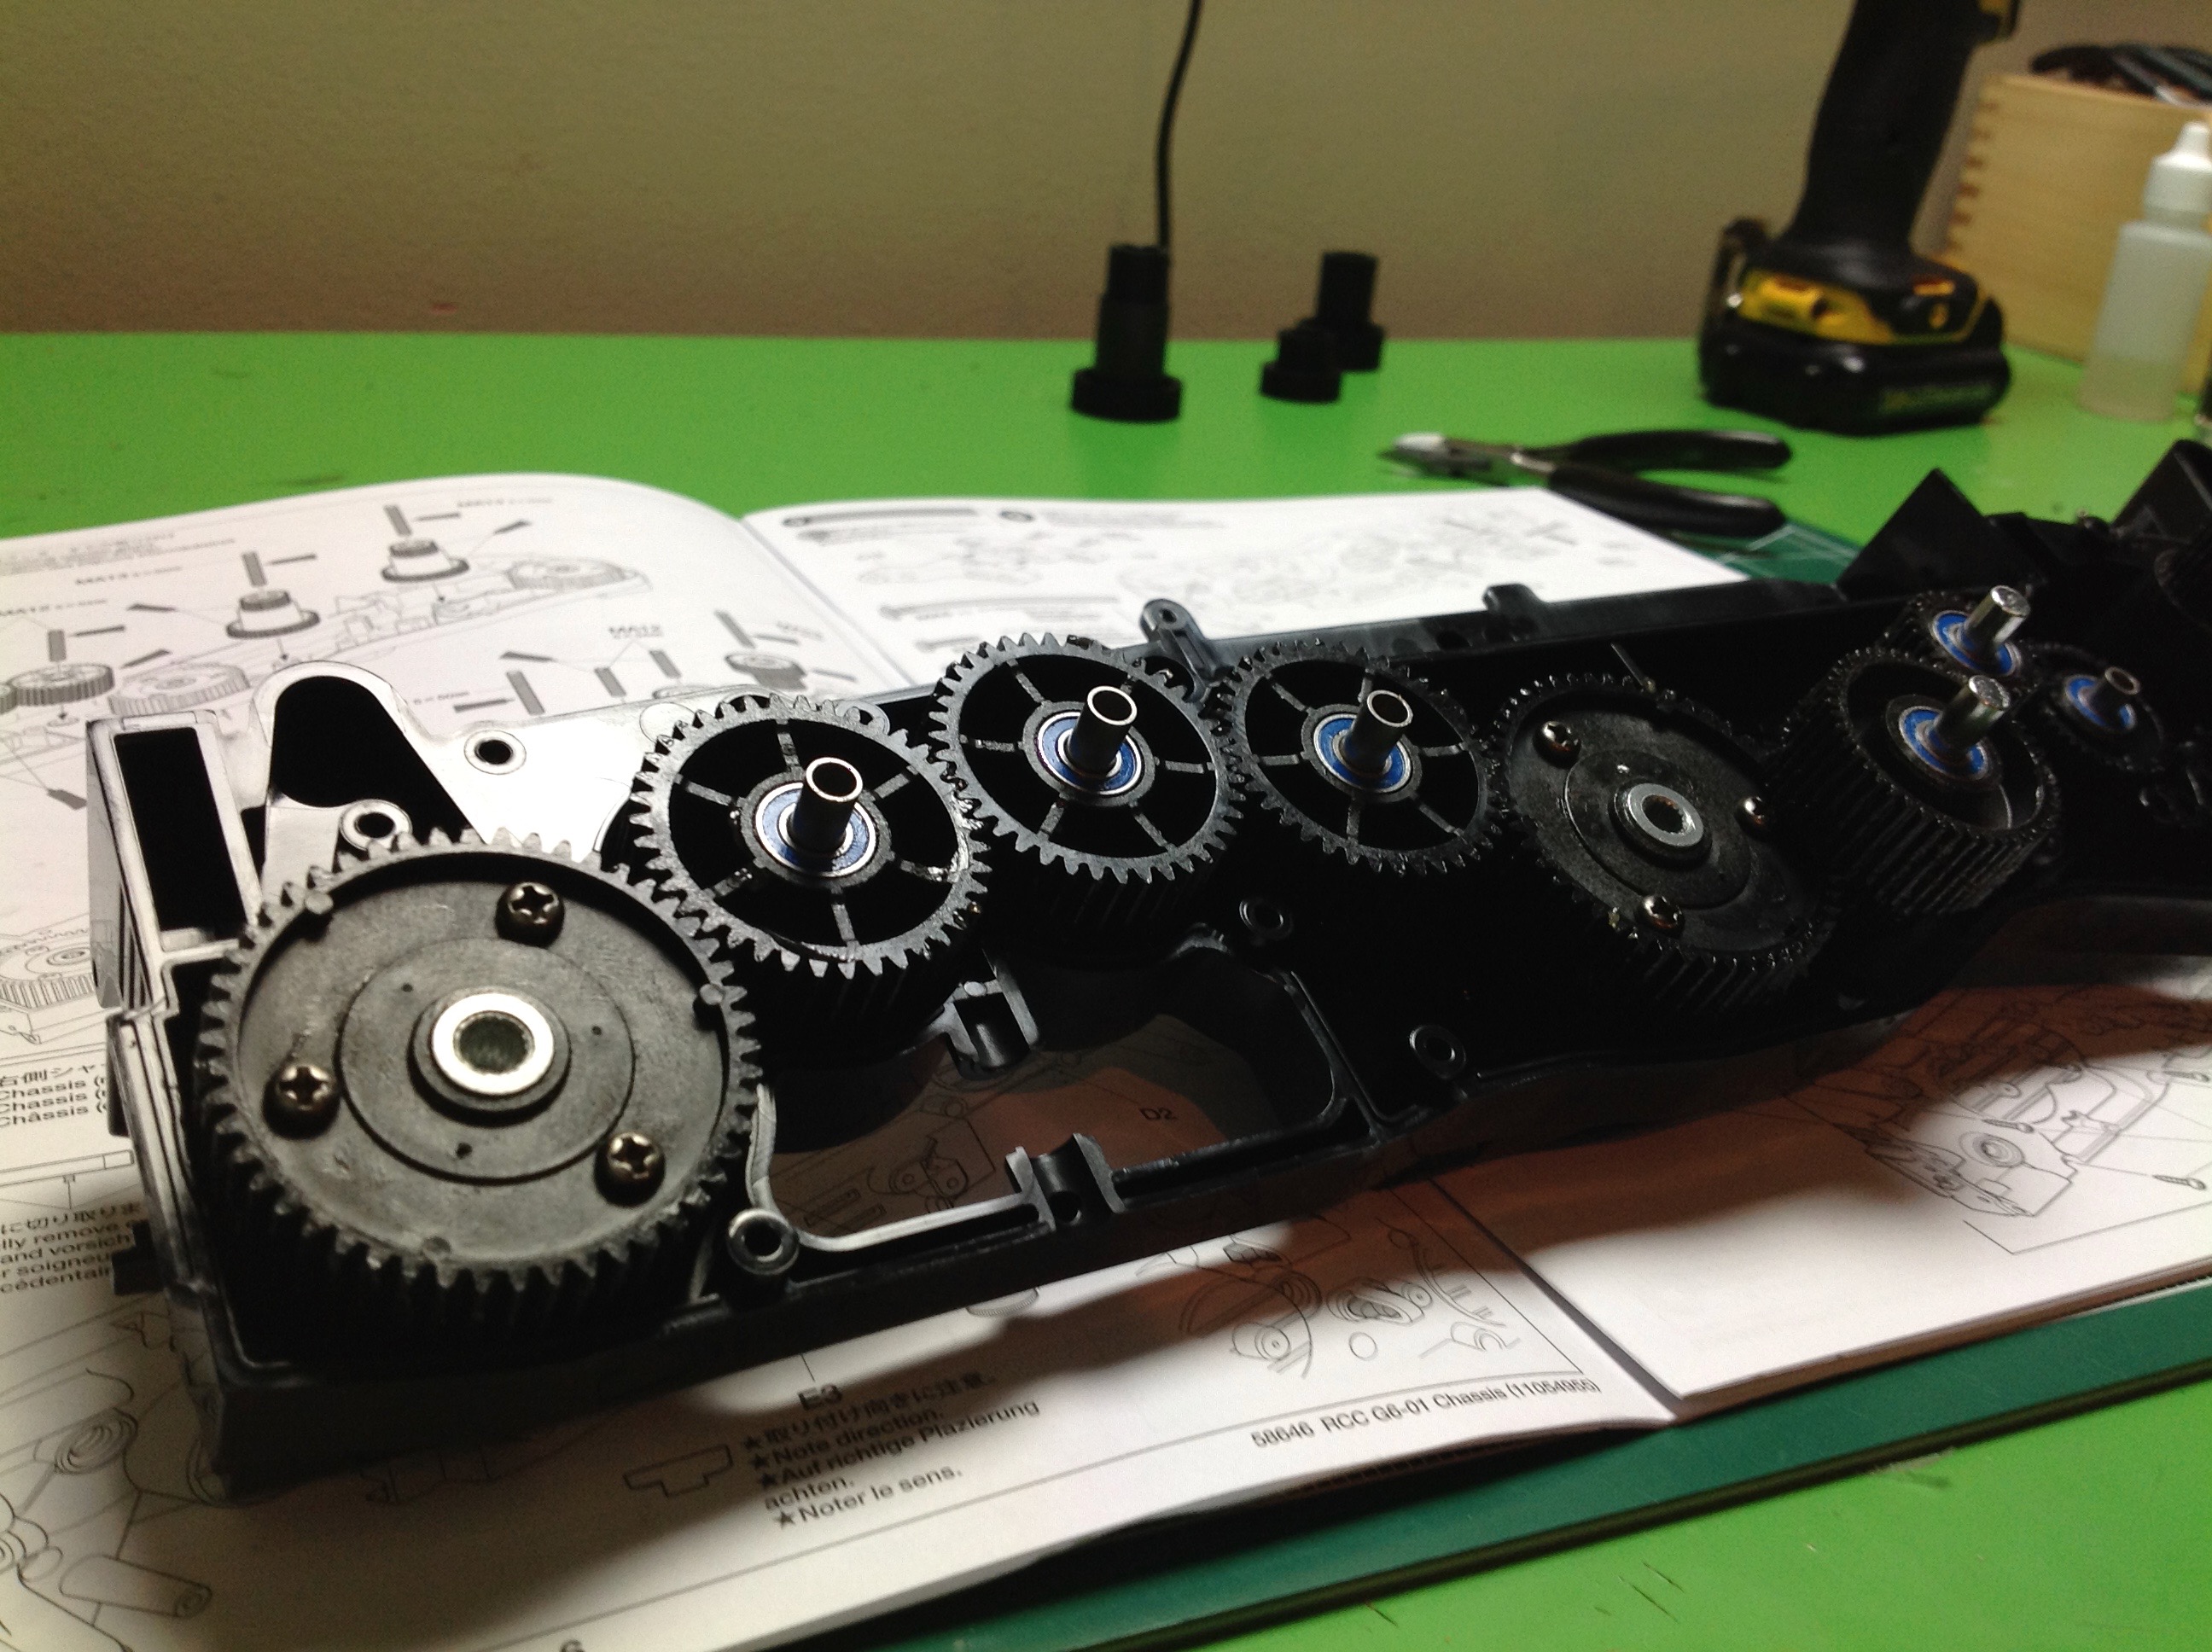
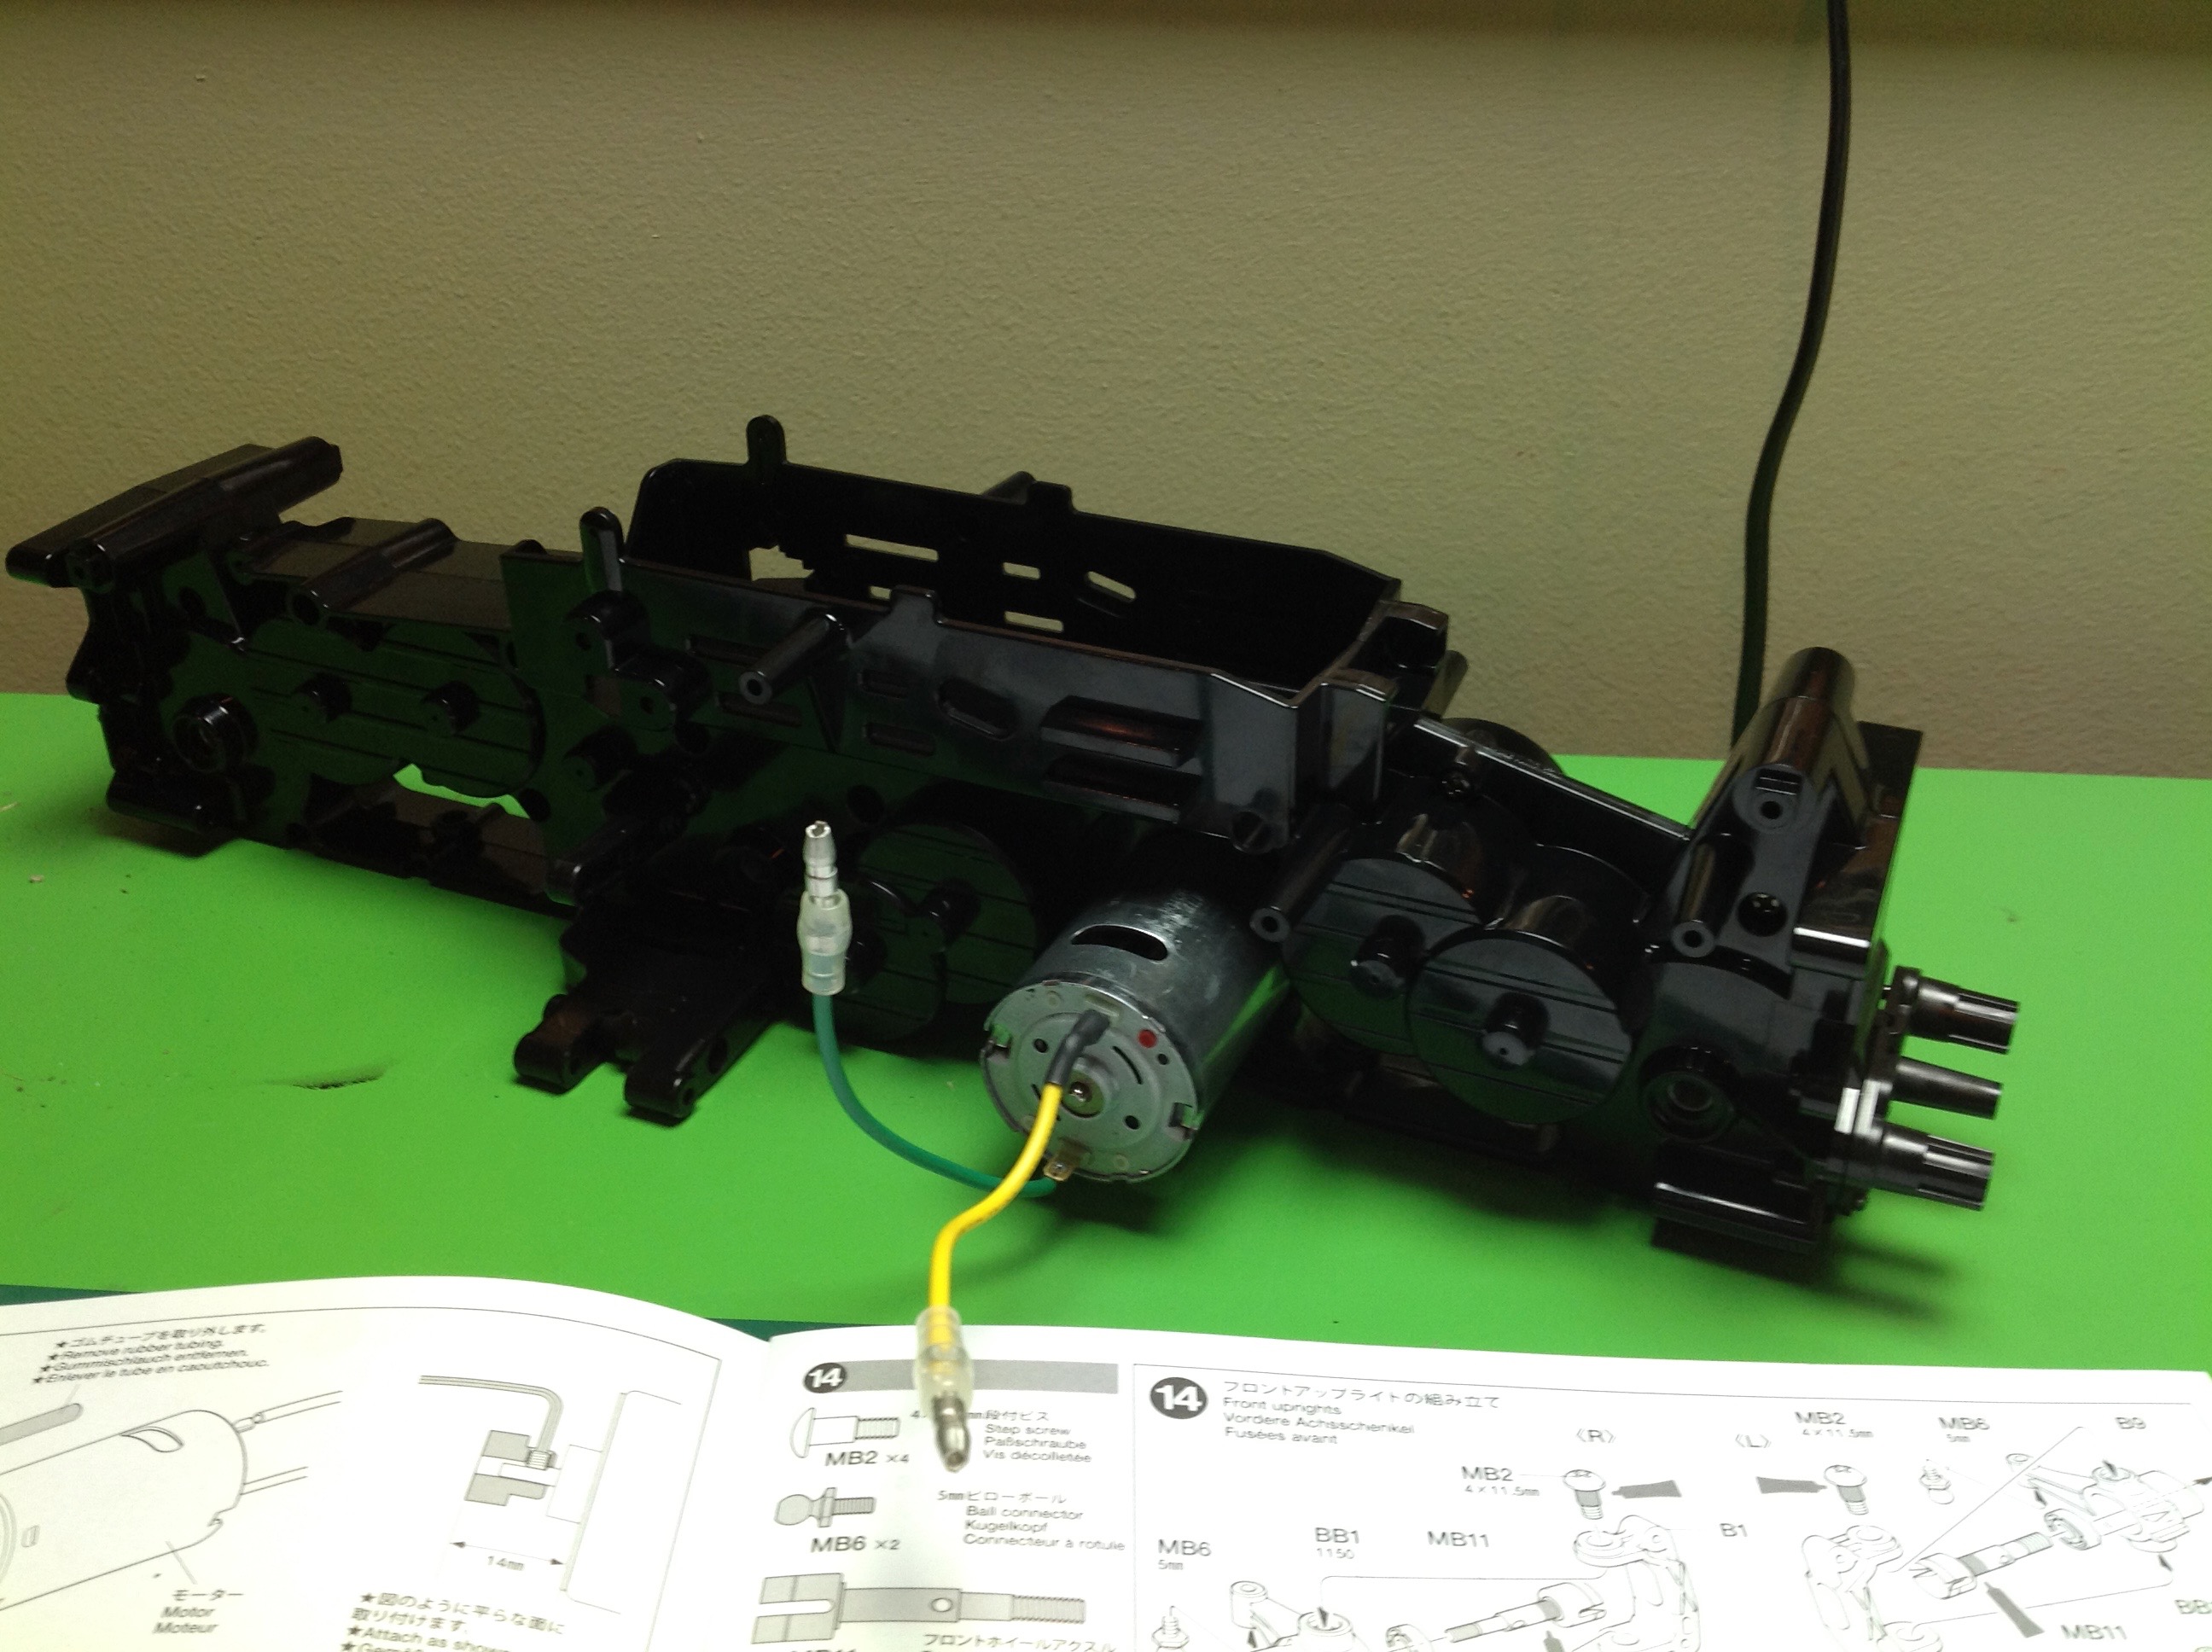
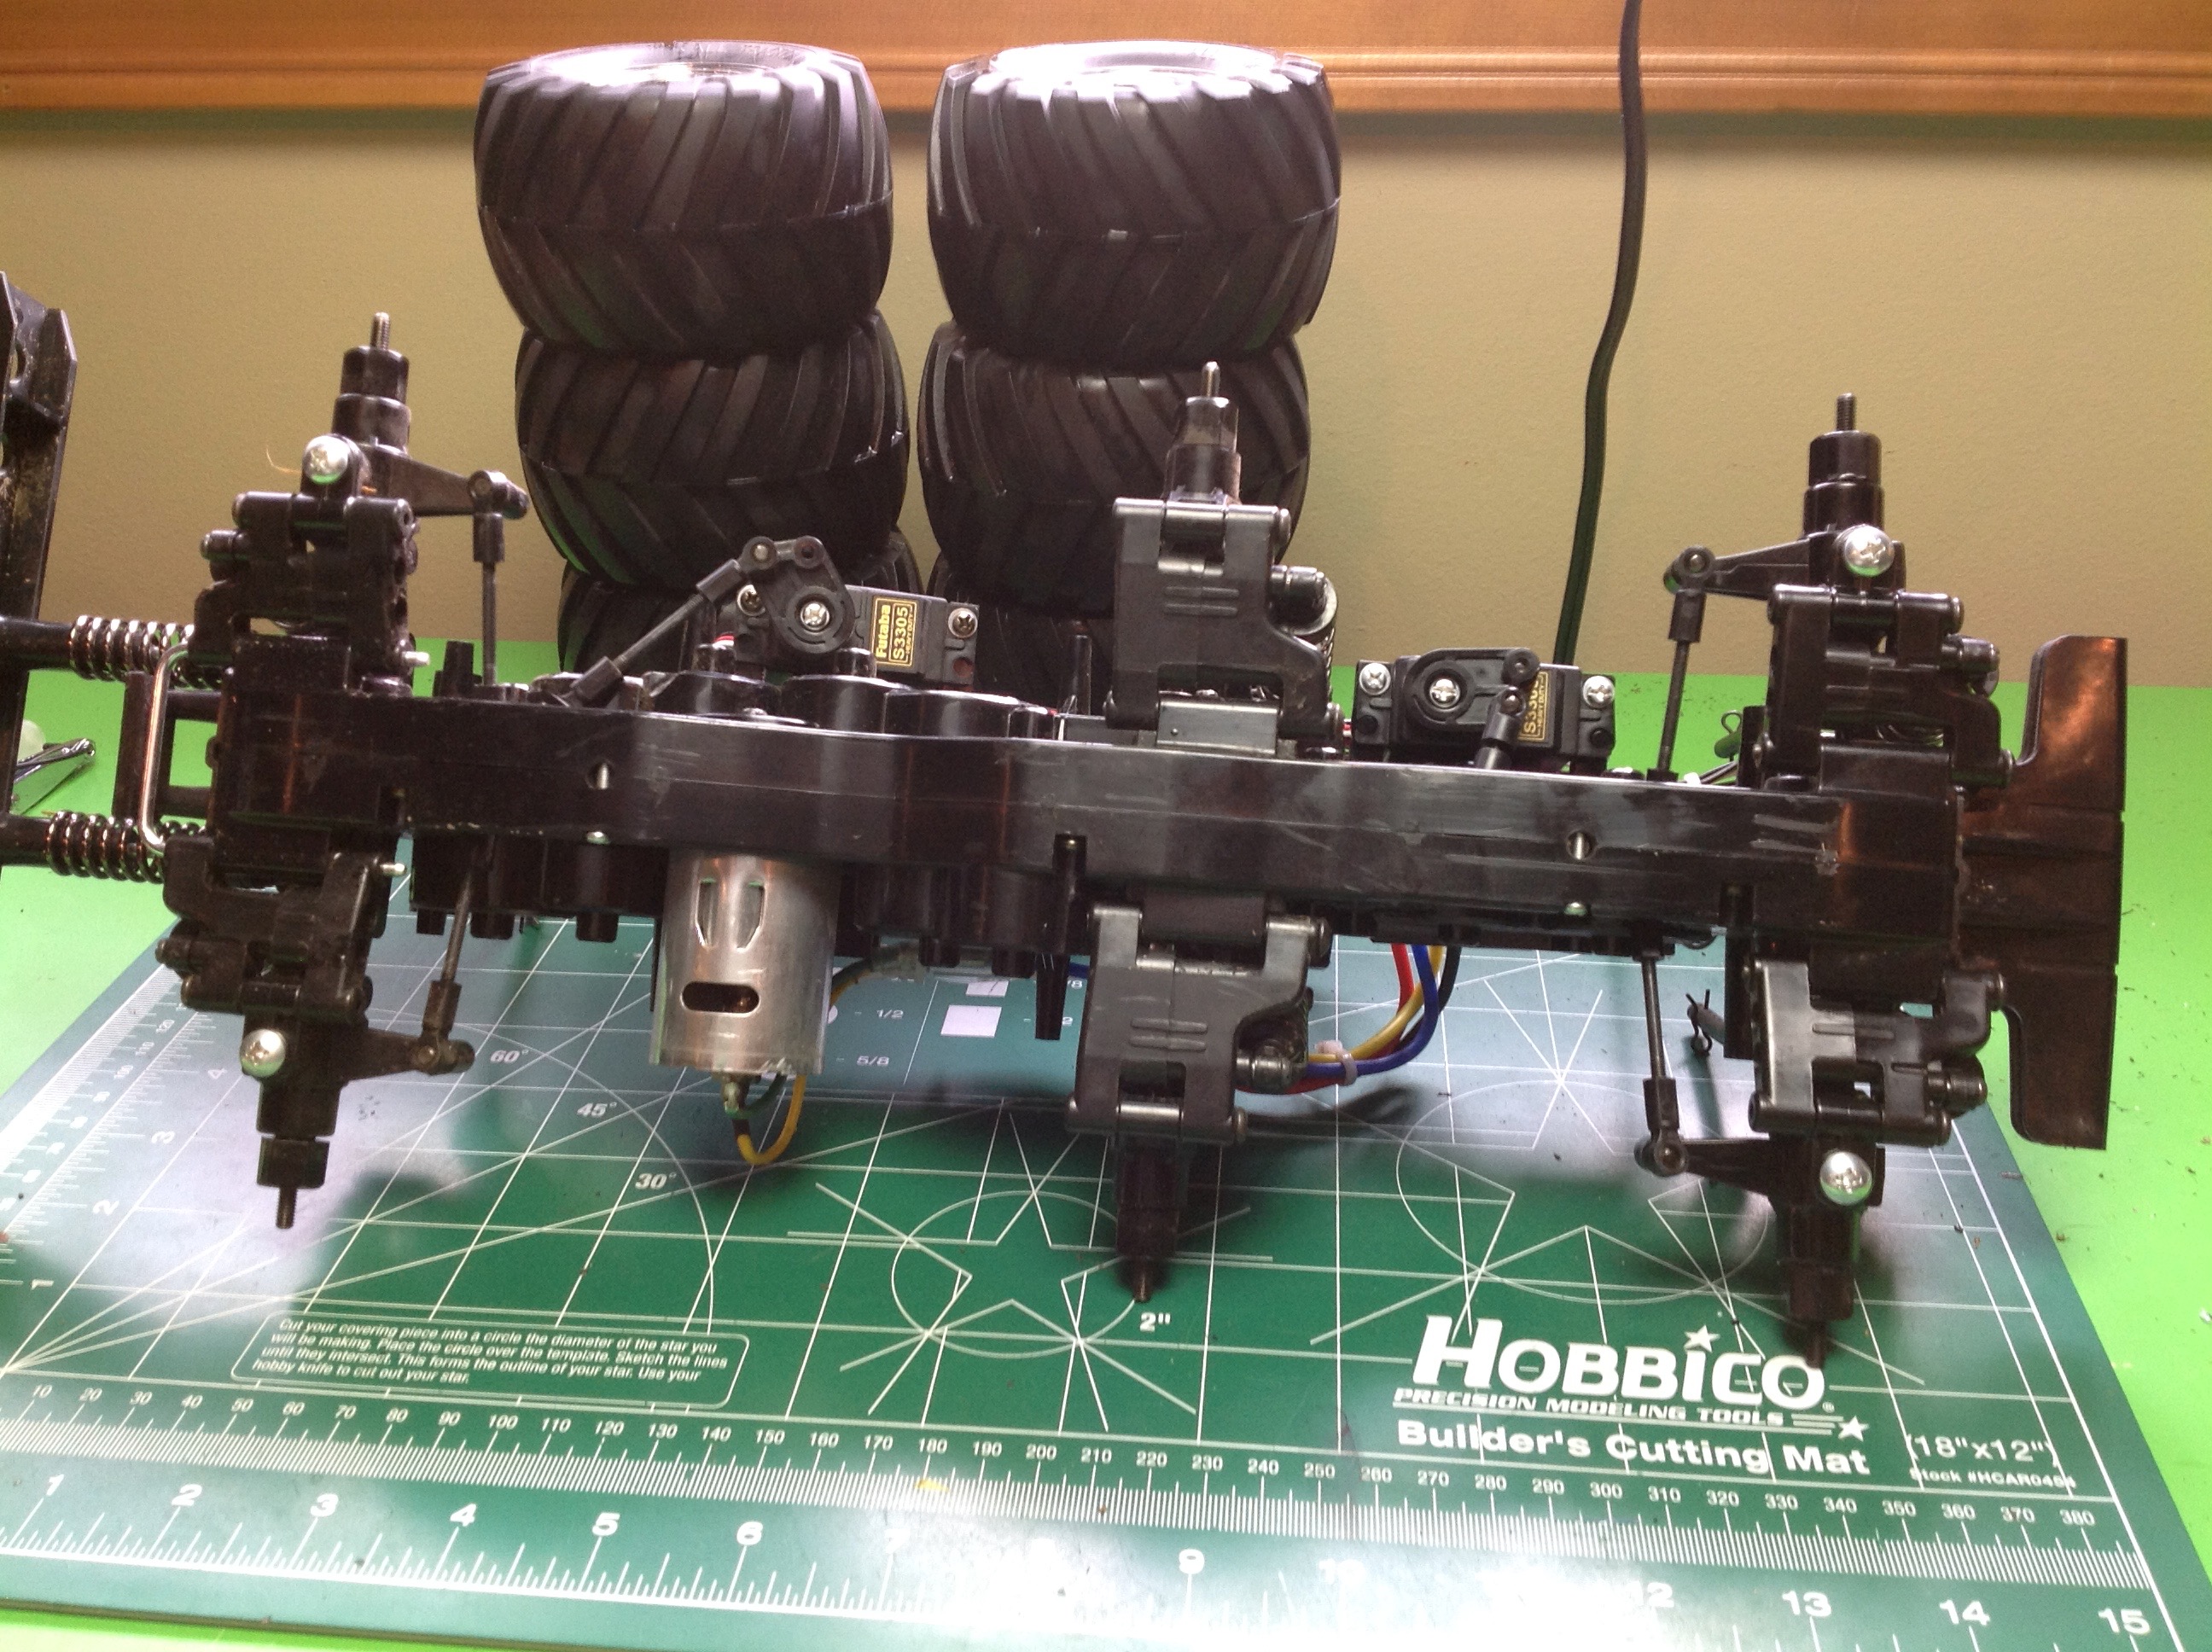
Time to build the "gearbox". In this case, the entire structural
frame is the gearbox. The differentials go at the positions where
the axles will be, and spur idler gears go everywhere else. One of
these gears serves double duty as the spur for the motor pinion.
Like I always do, I upgraded all the bushings to ball bearings, but in
this case that's a big investment. There are 40+ bearings needed
to support all these gears, and it probably doesn't even matter much on a
model with performance like this one.
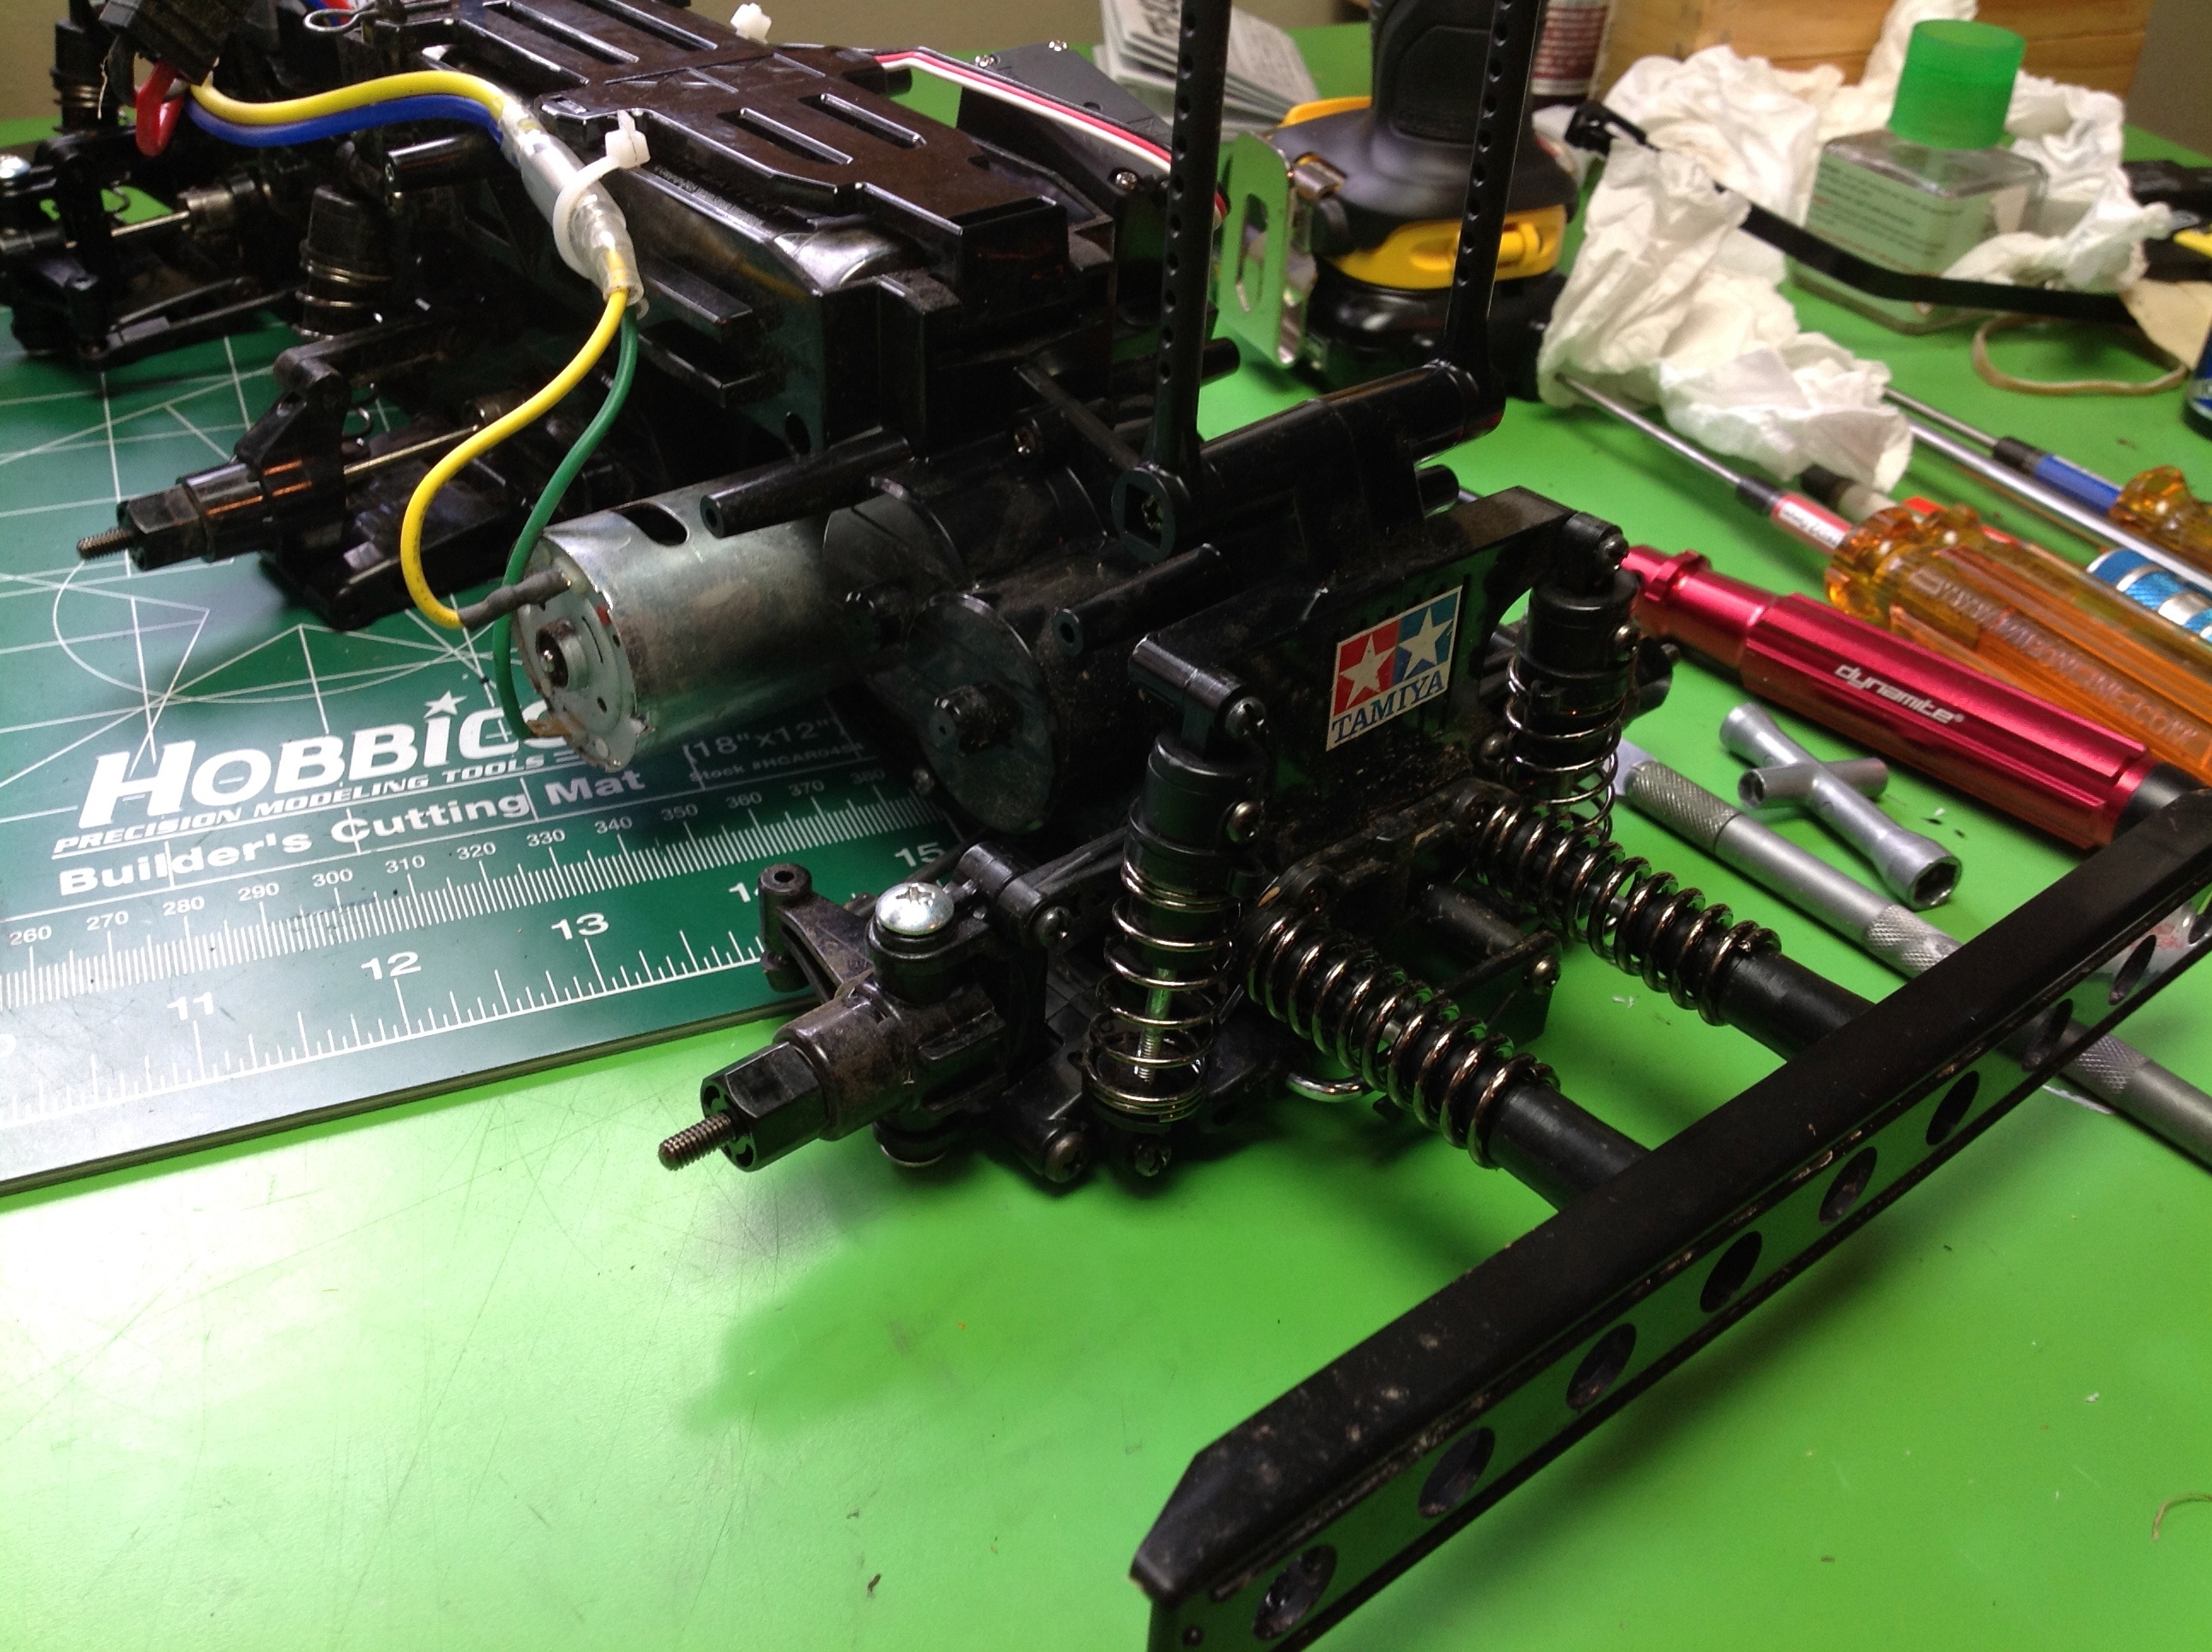
Once the frame/gearbox is buttoned up, the motor can be installed which
sticks unceremoniously out the side. The mesh is not adjustable,
instead there are fixed holes for either 18 or 20 tooth pinions. I
am using a steel 18 tooth pinion. After the motor is installed
the suspension arms are built and the axles inserted. Dogbone type
axles are used in all locations, and there are steering knuckles on the
front and rear axles.
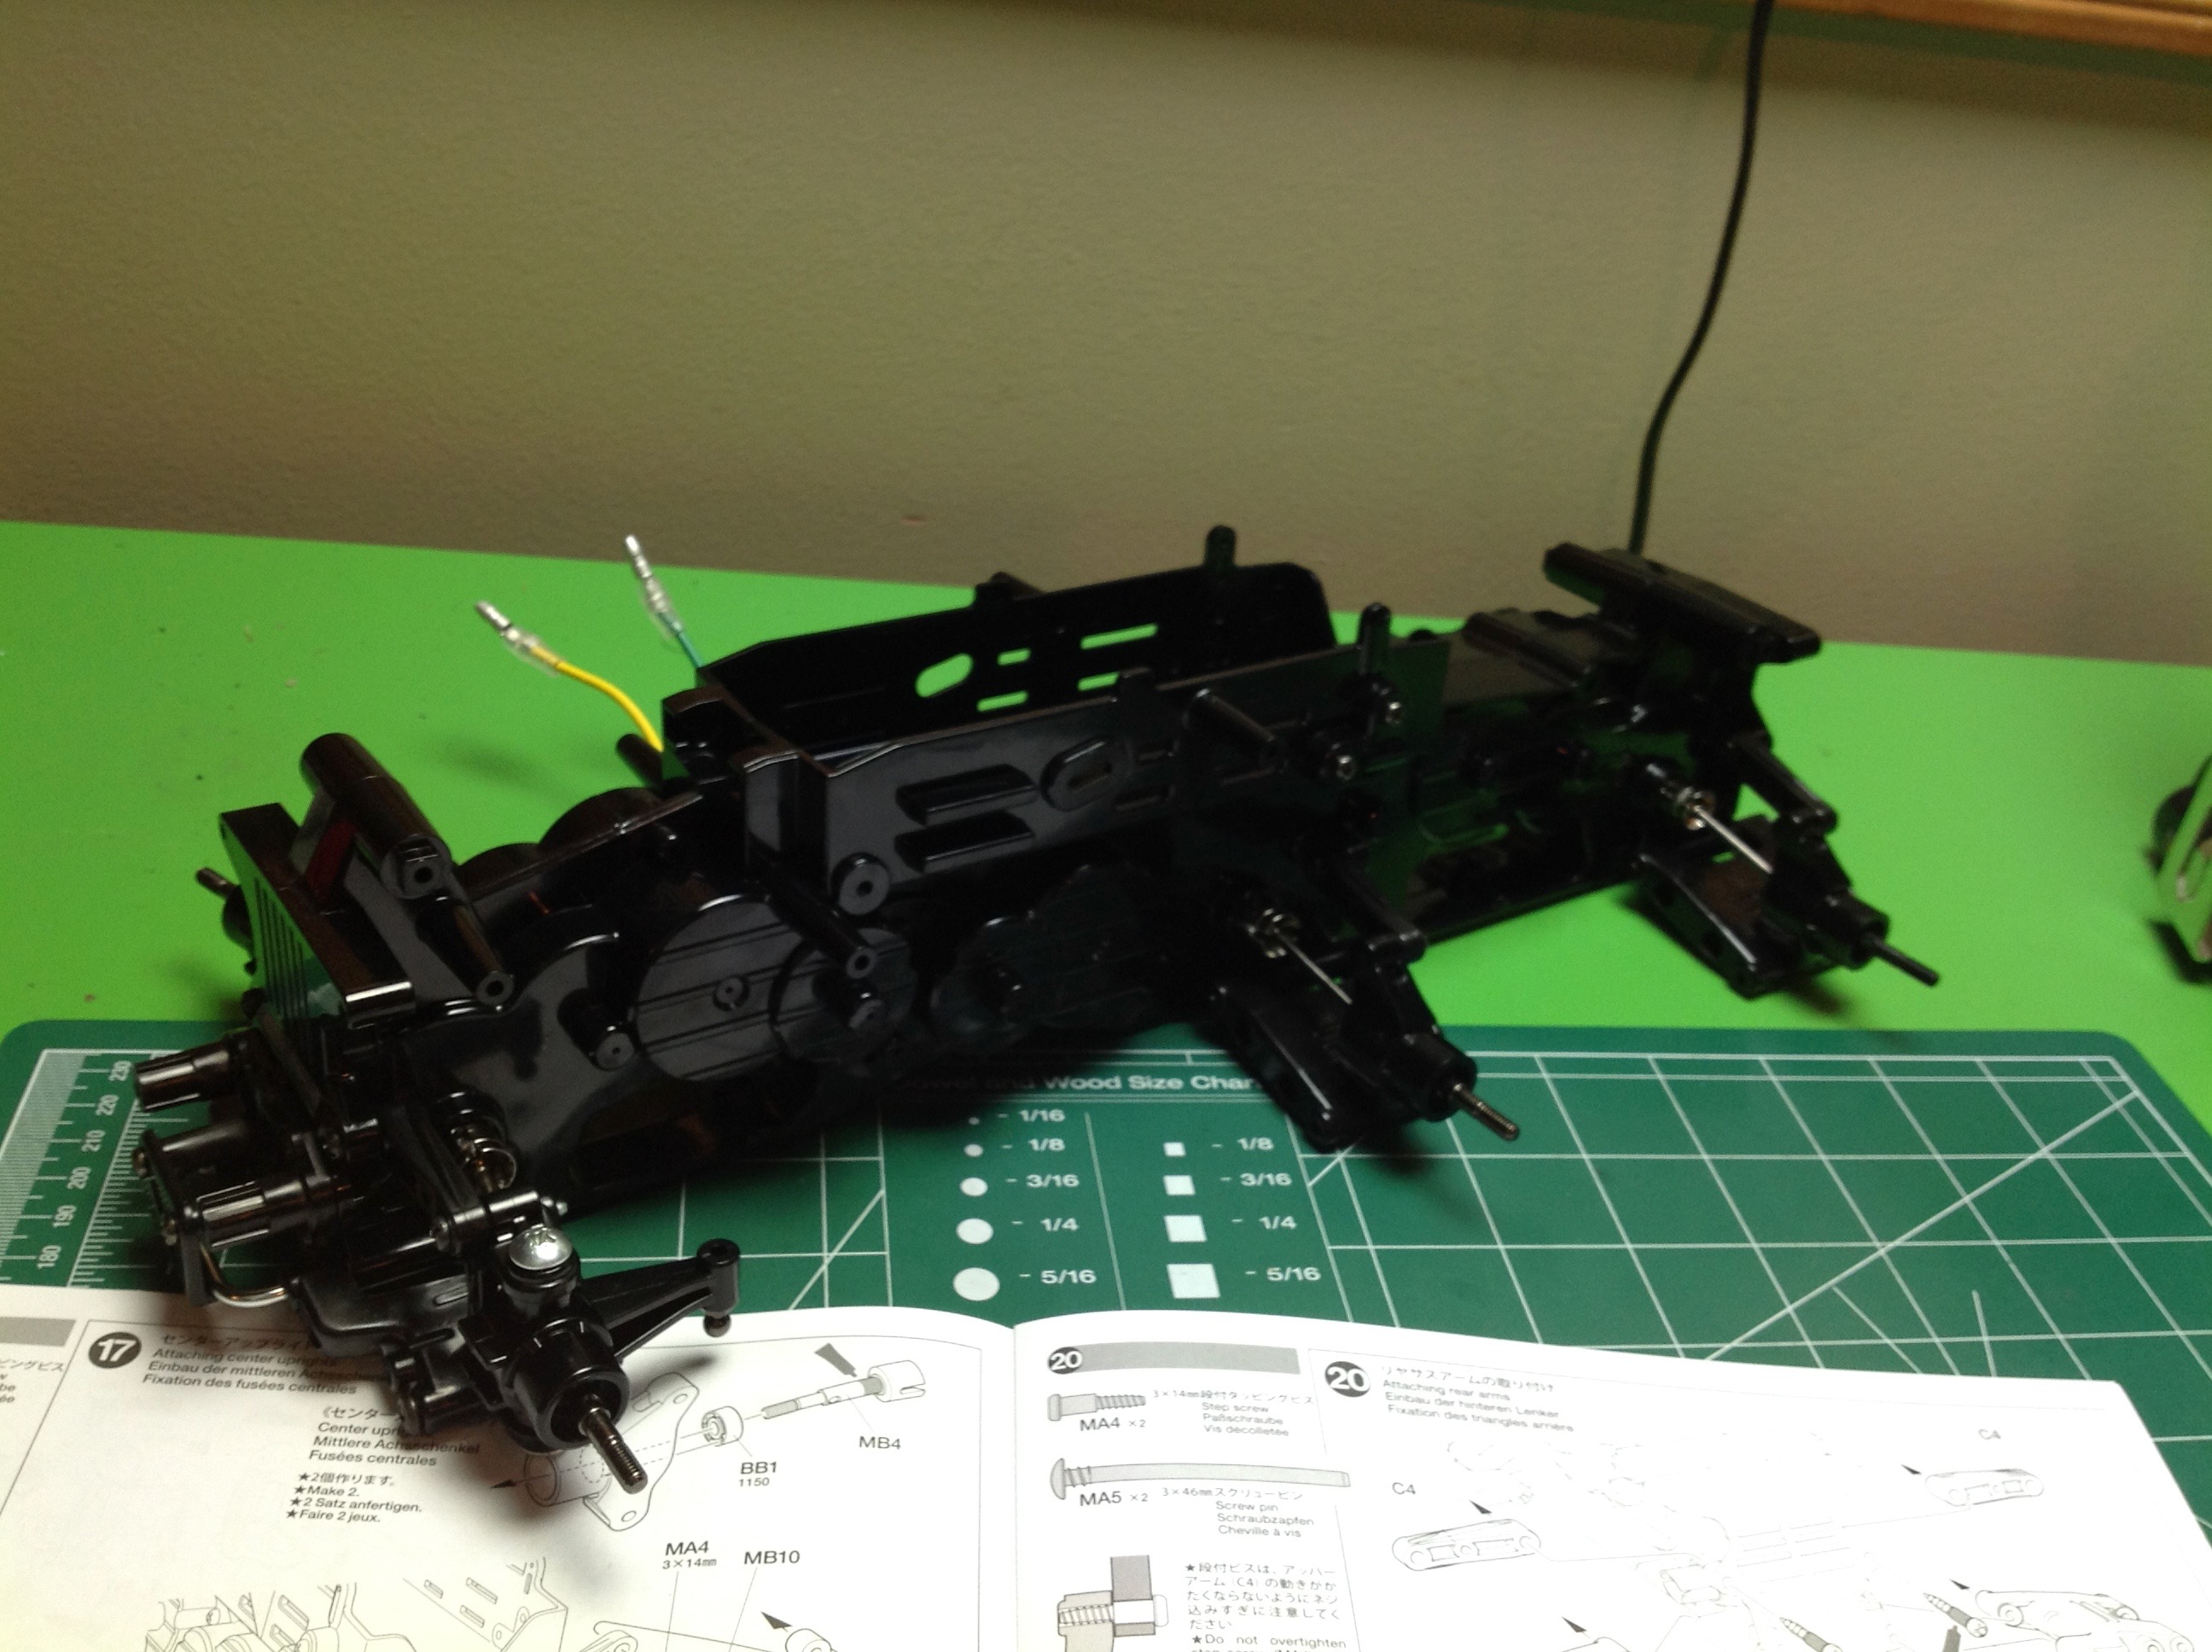
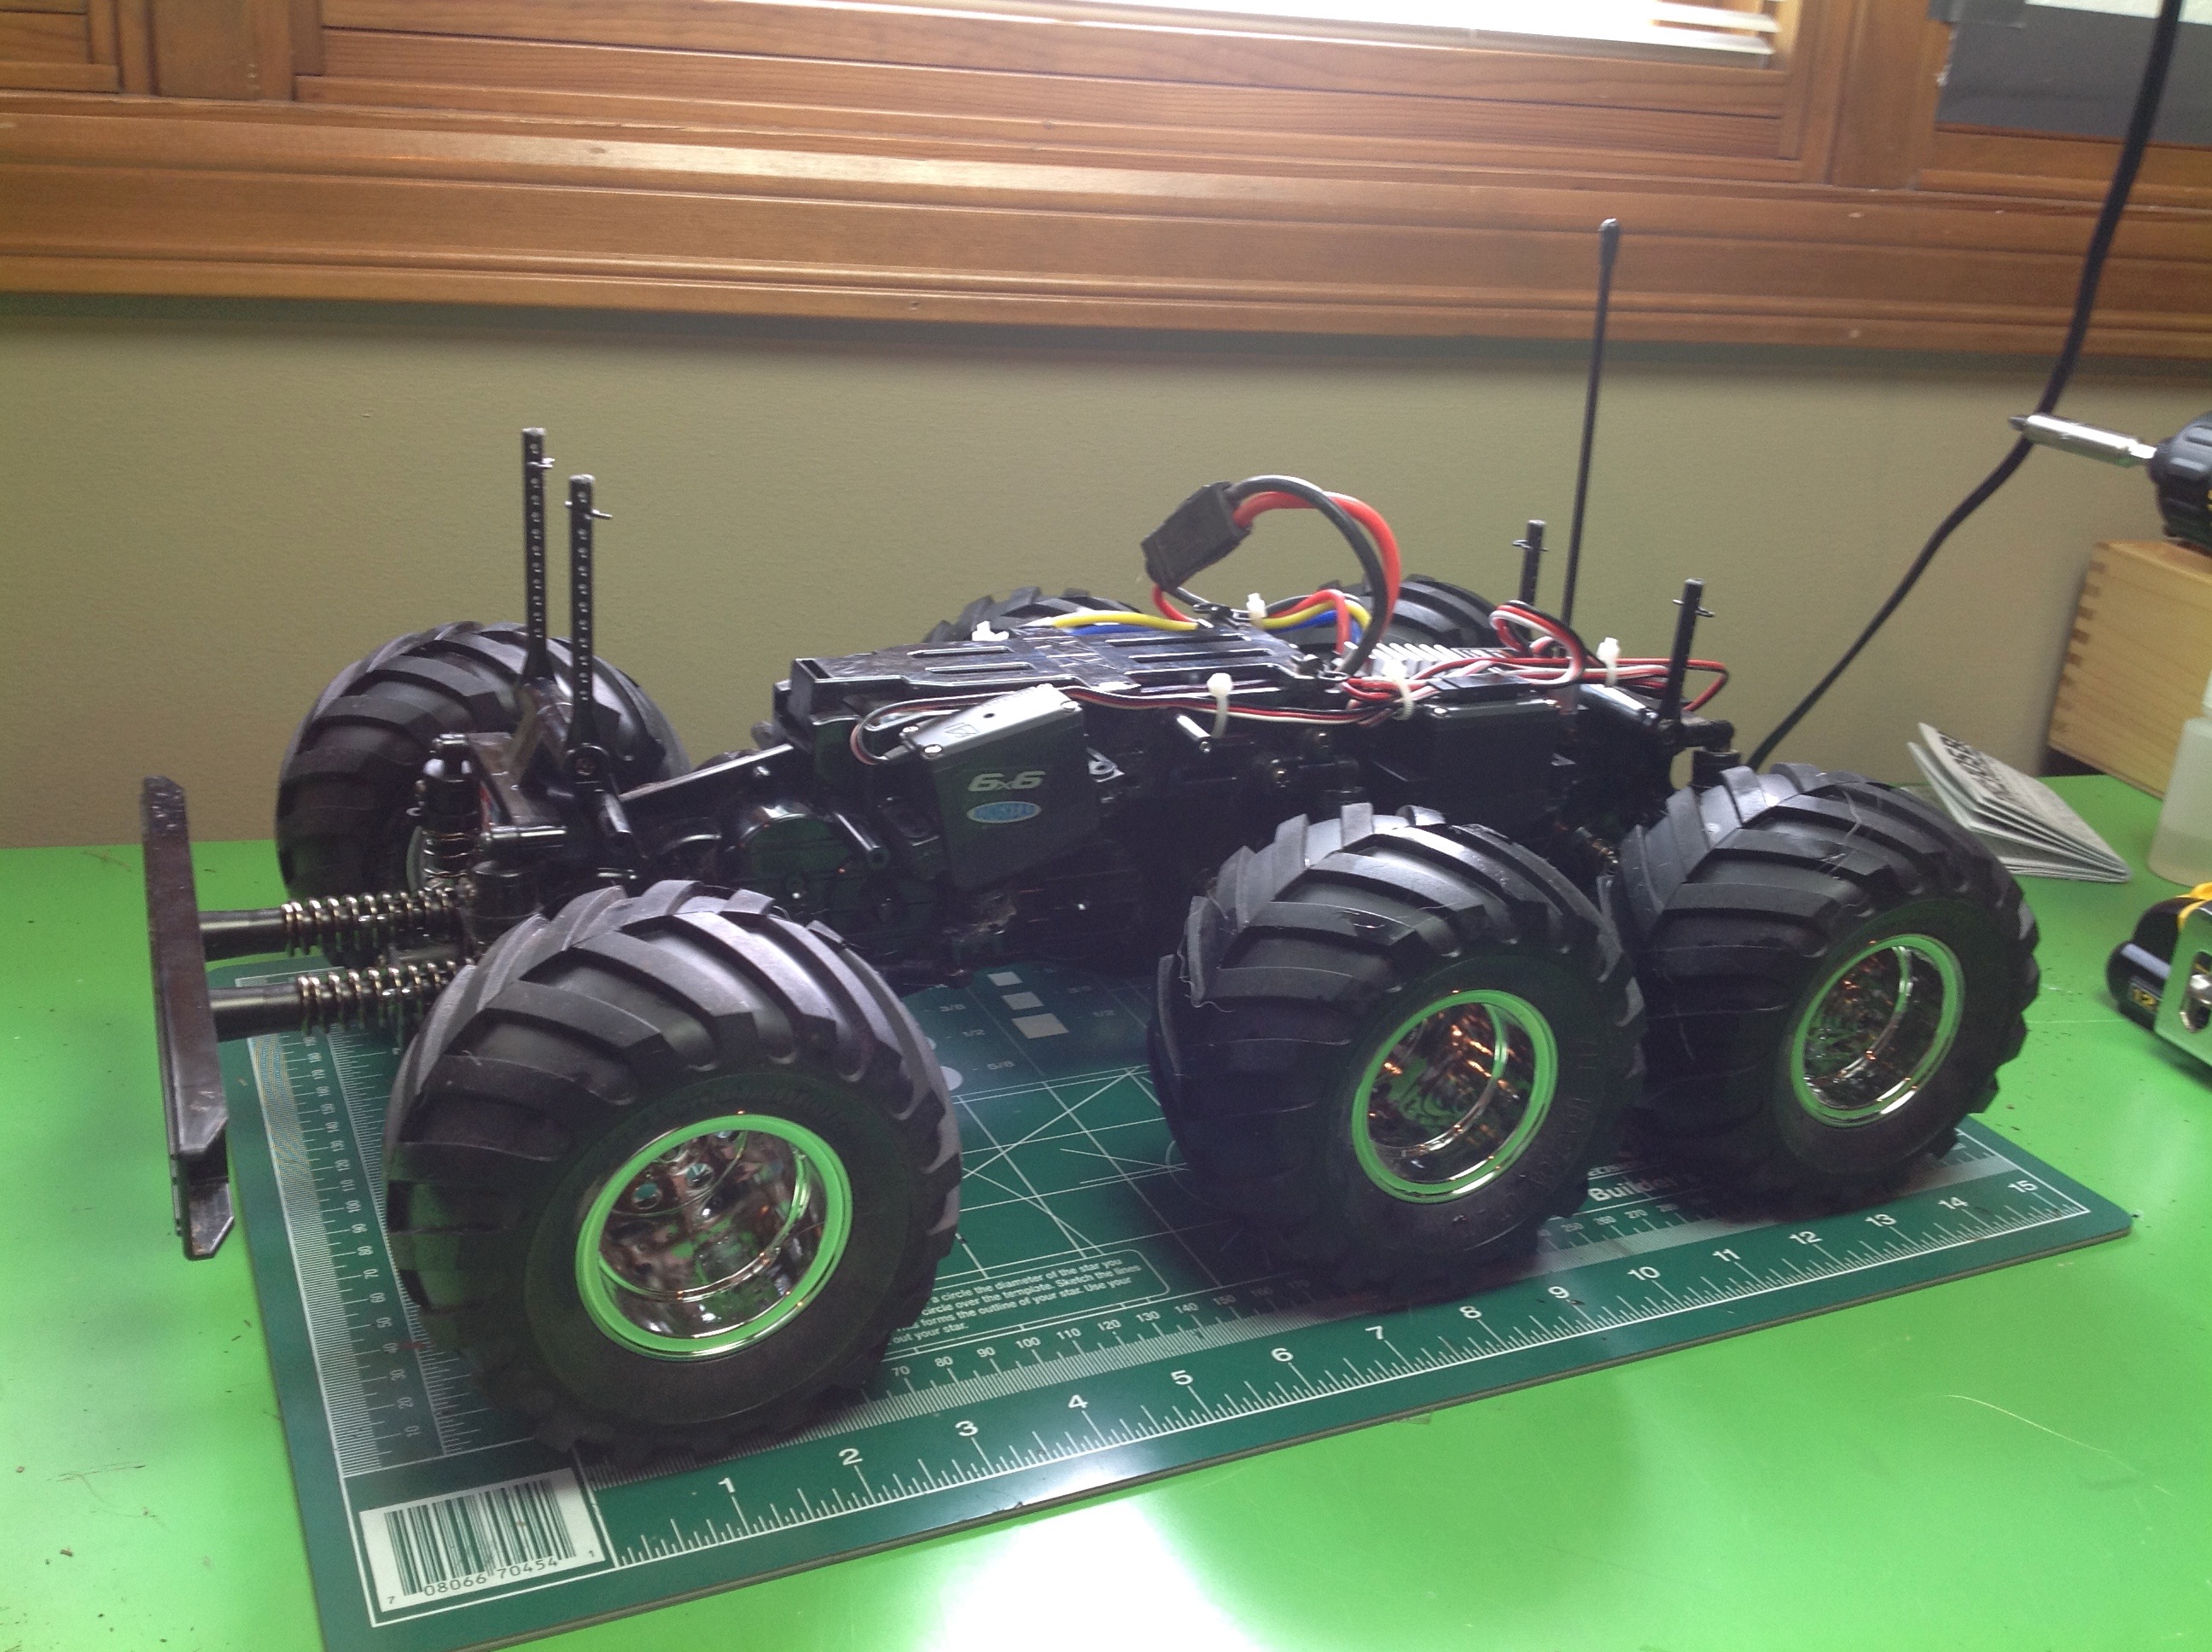
Next the "friction dampers" are installed. I was not impressed
while building them. Instead of being filled with oil, they just
use a rubber sleeve to produce friction inside the shock body. In
practice, I was pleasantly surprised at how well it works. I'm
sure it will generate heat and wear over time, but it actually works
fine at these speeds. The front bumper is also spring mounted
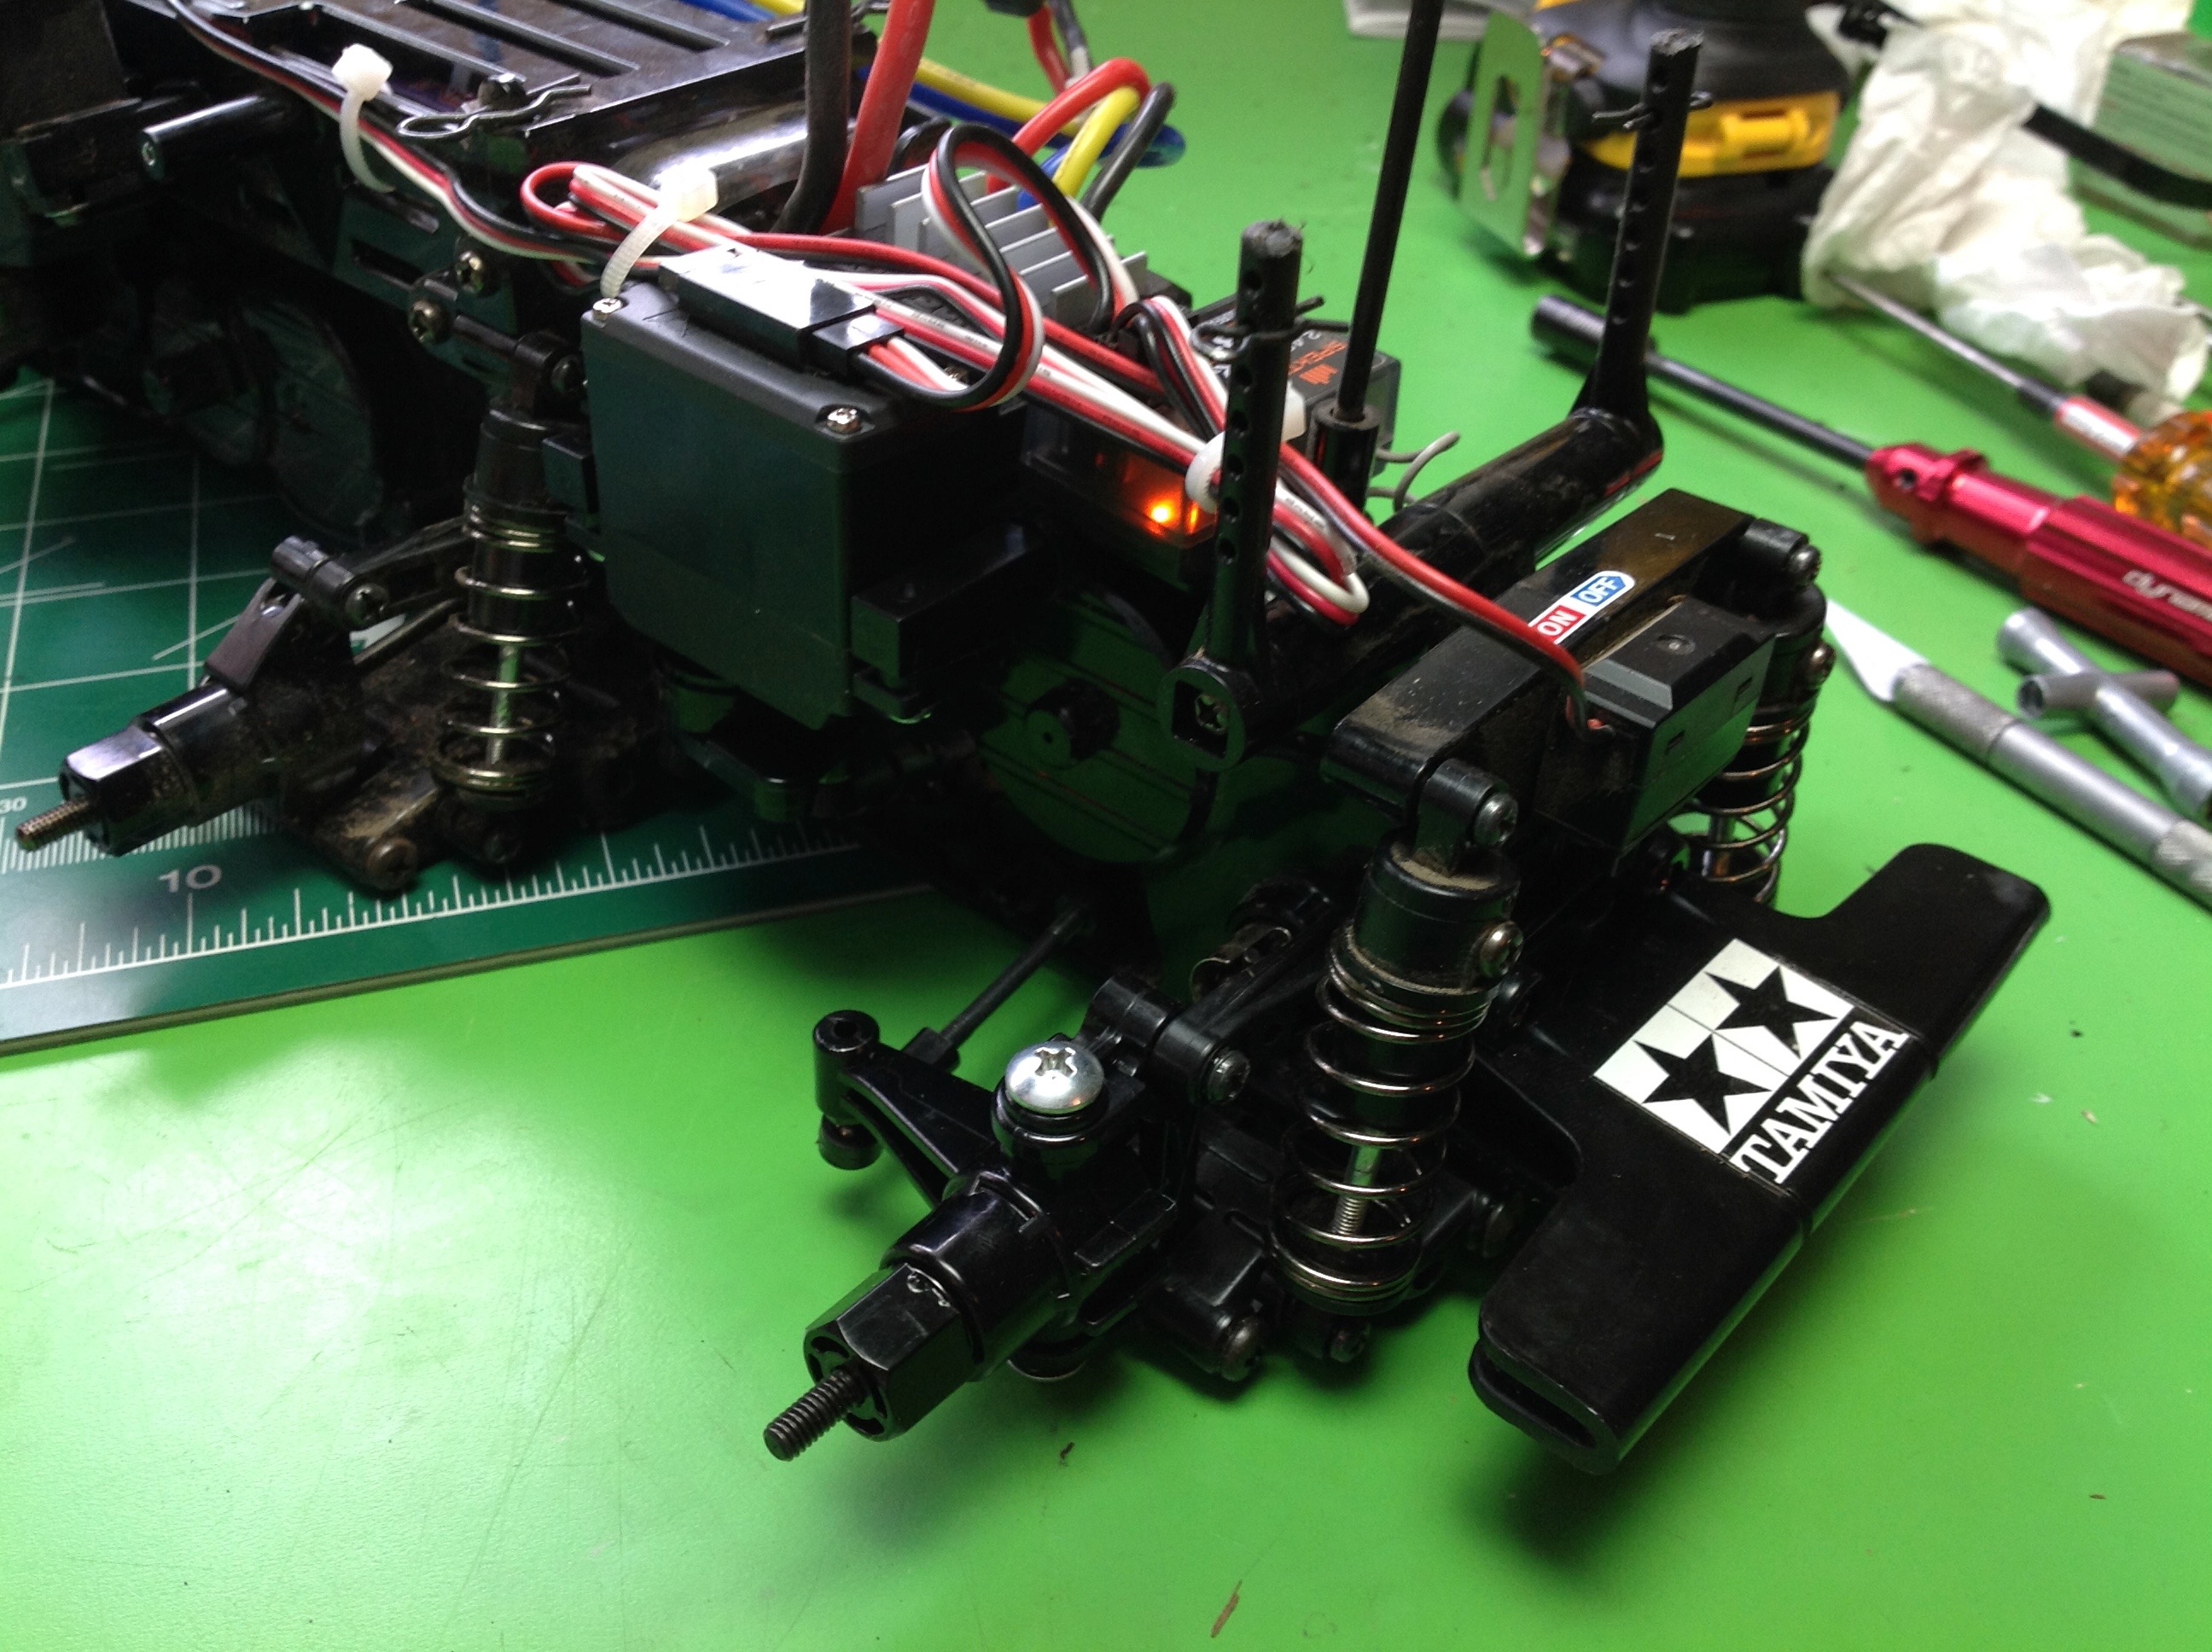
although it broke off immediately. The electronics come
next. If you want to have four wheel steering then you need 2
separate steering servos mixed together. The servos and linkages
are mounted at an odd angle and connected to a central bellcrank mounted
in a pocket in the frame. Looks weird but it works. There
is a large protected battery compartment with a cover and a latch.
The ESC and power switch are mounted in the rear. Both the
receiver and the ESC sit on top of the gearbox reasonably protected from
the elements, but the motor and servos are hanging right out there by
the wheels. From the bottom you can see both servo positions and
all the suspension arms.
There are 6 nice metal plated plastic wheels with chevron pattern
directional tires (make sure to put them on the right way). I
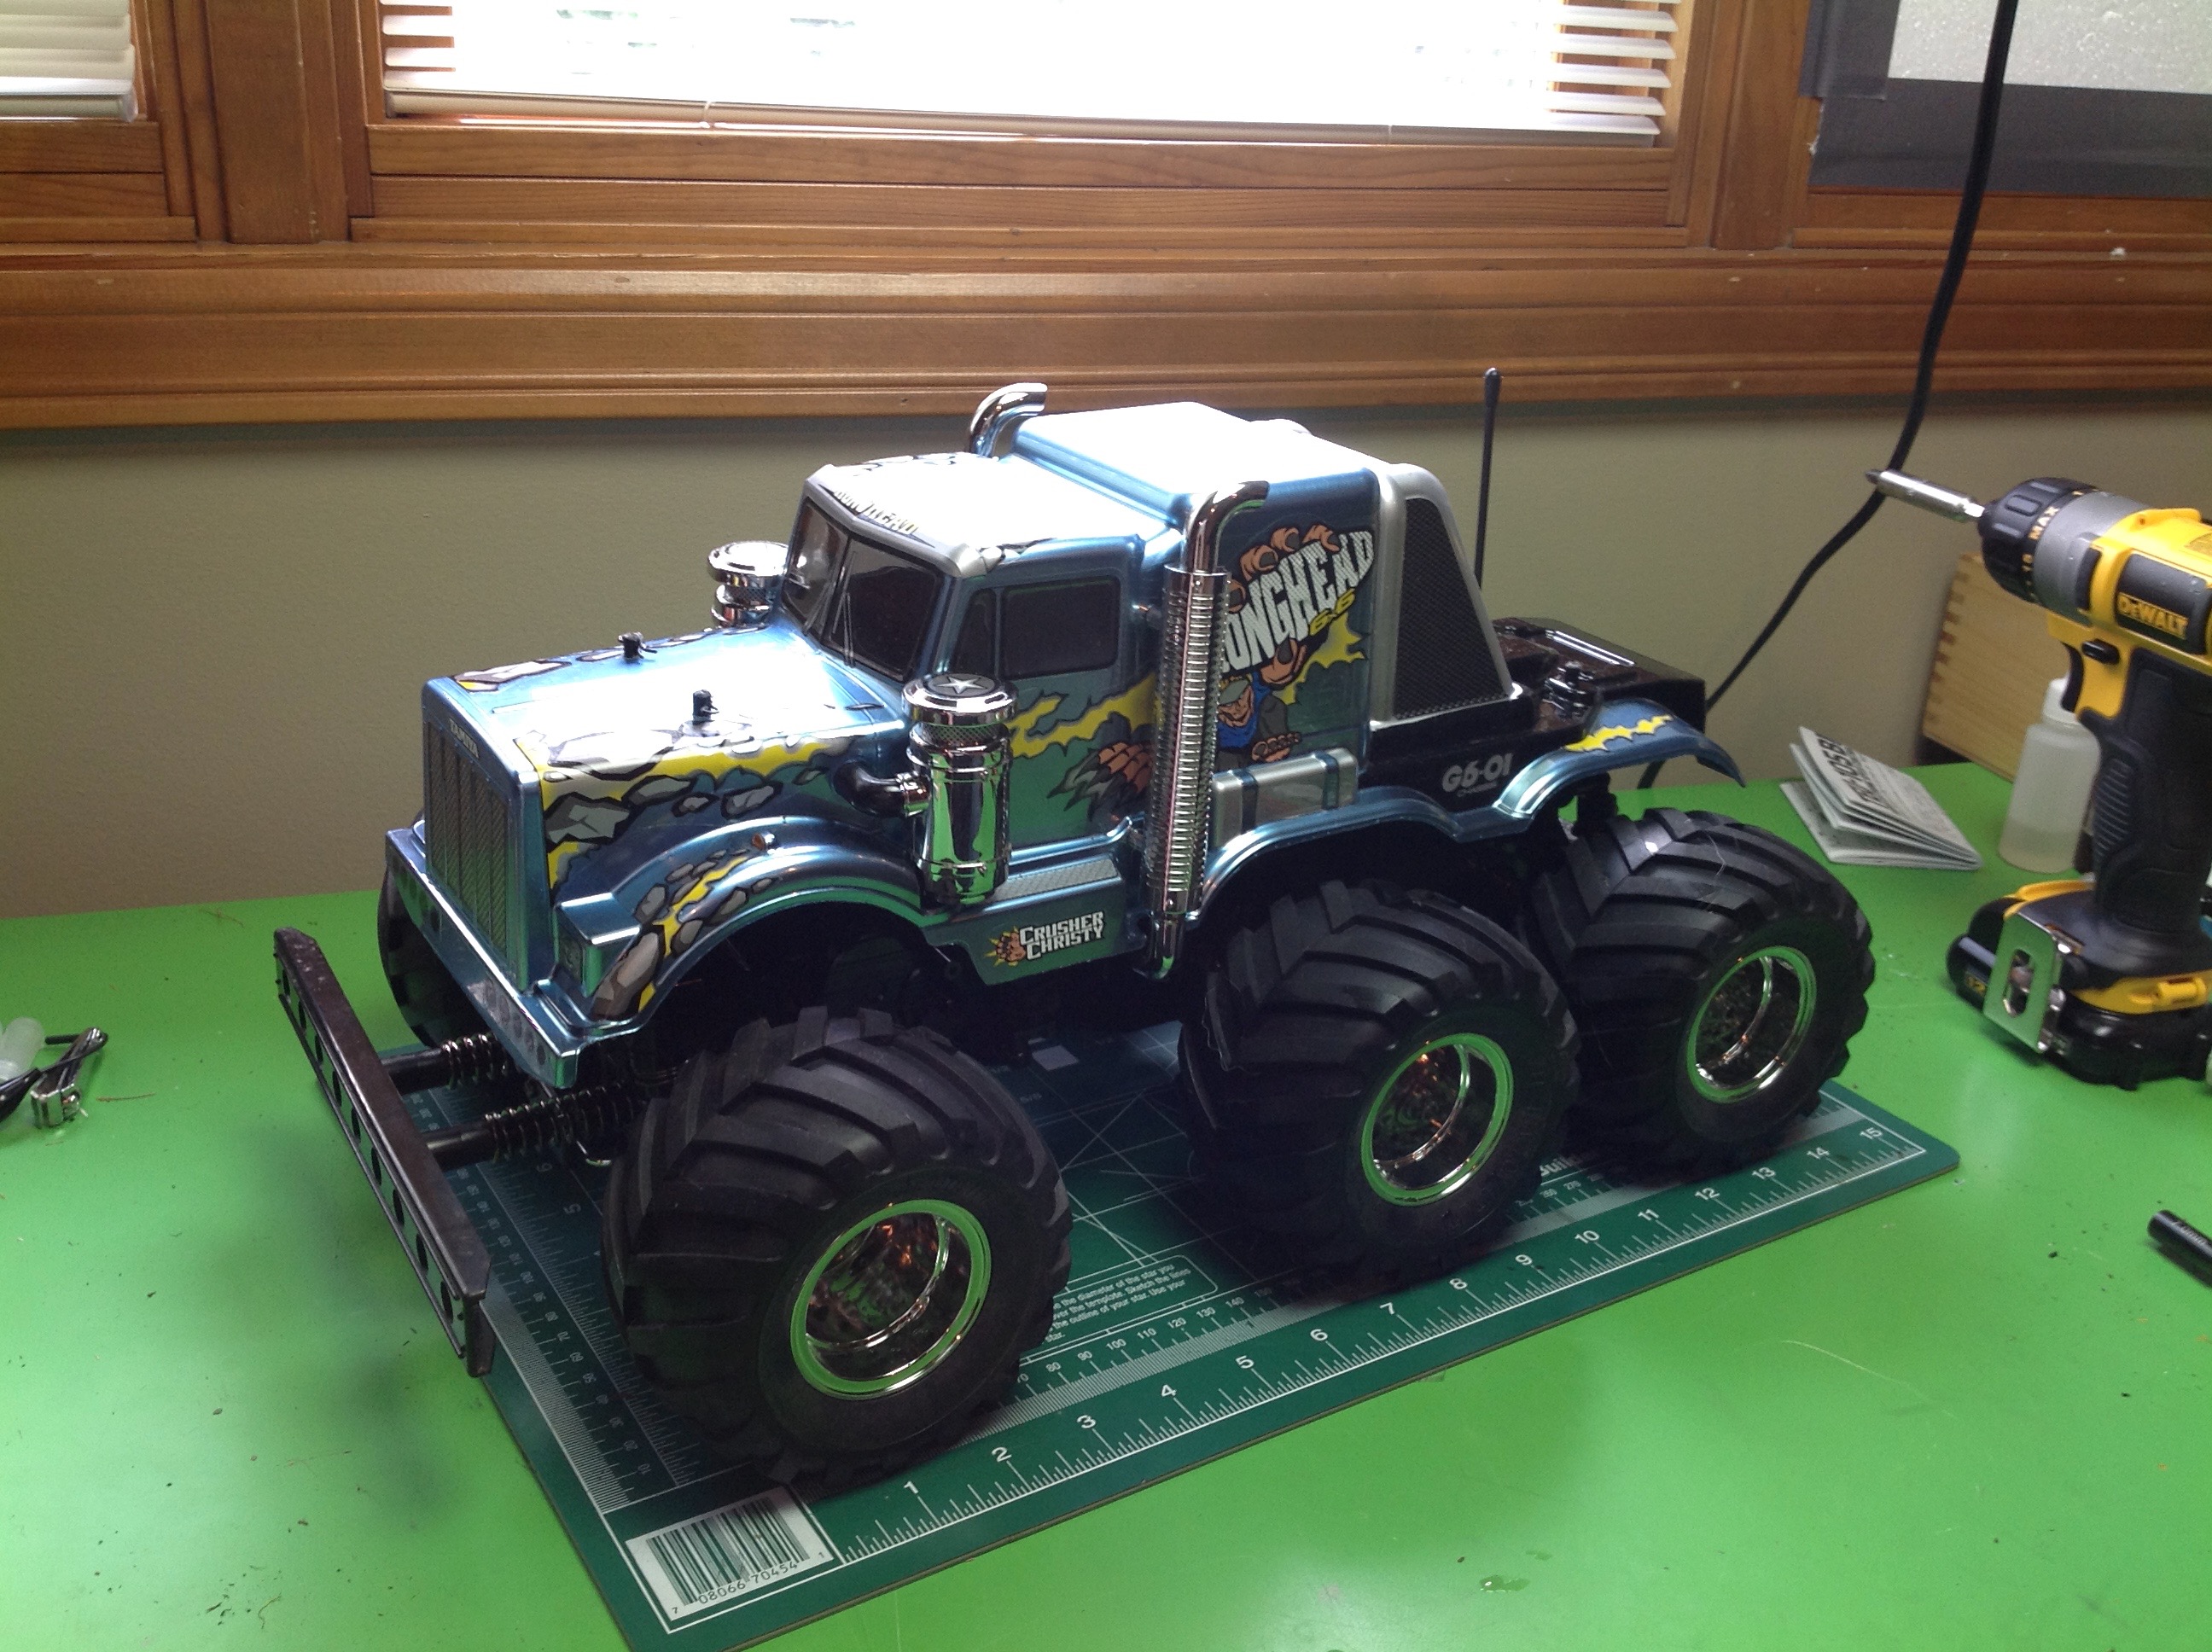
didn't bother gluing them and have had no issues. The chassis
build was pretty simple, so decorating and assembling the body ended up
taking the majority of the build time. I actually think it is a
surprisingly good looking model for how goofy it is.
©2017 Eric Albrecht