Tamiya Renault Alpine Project
Page 1: Assembly
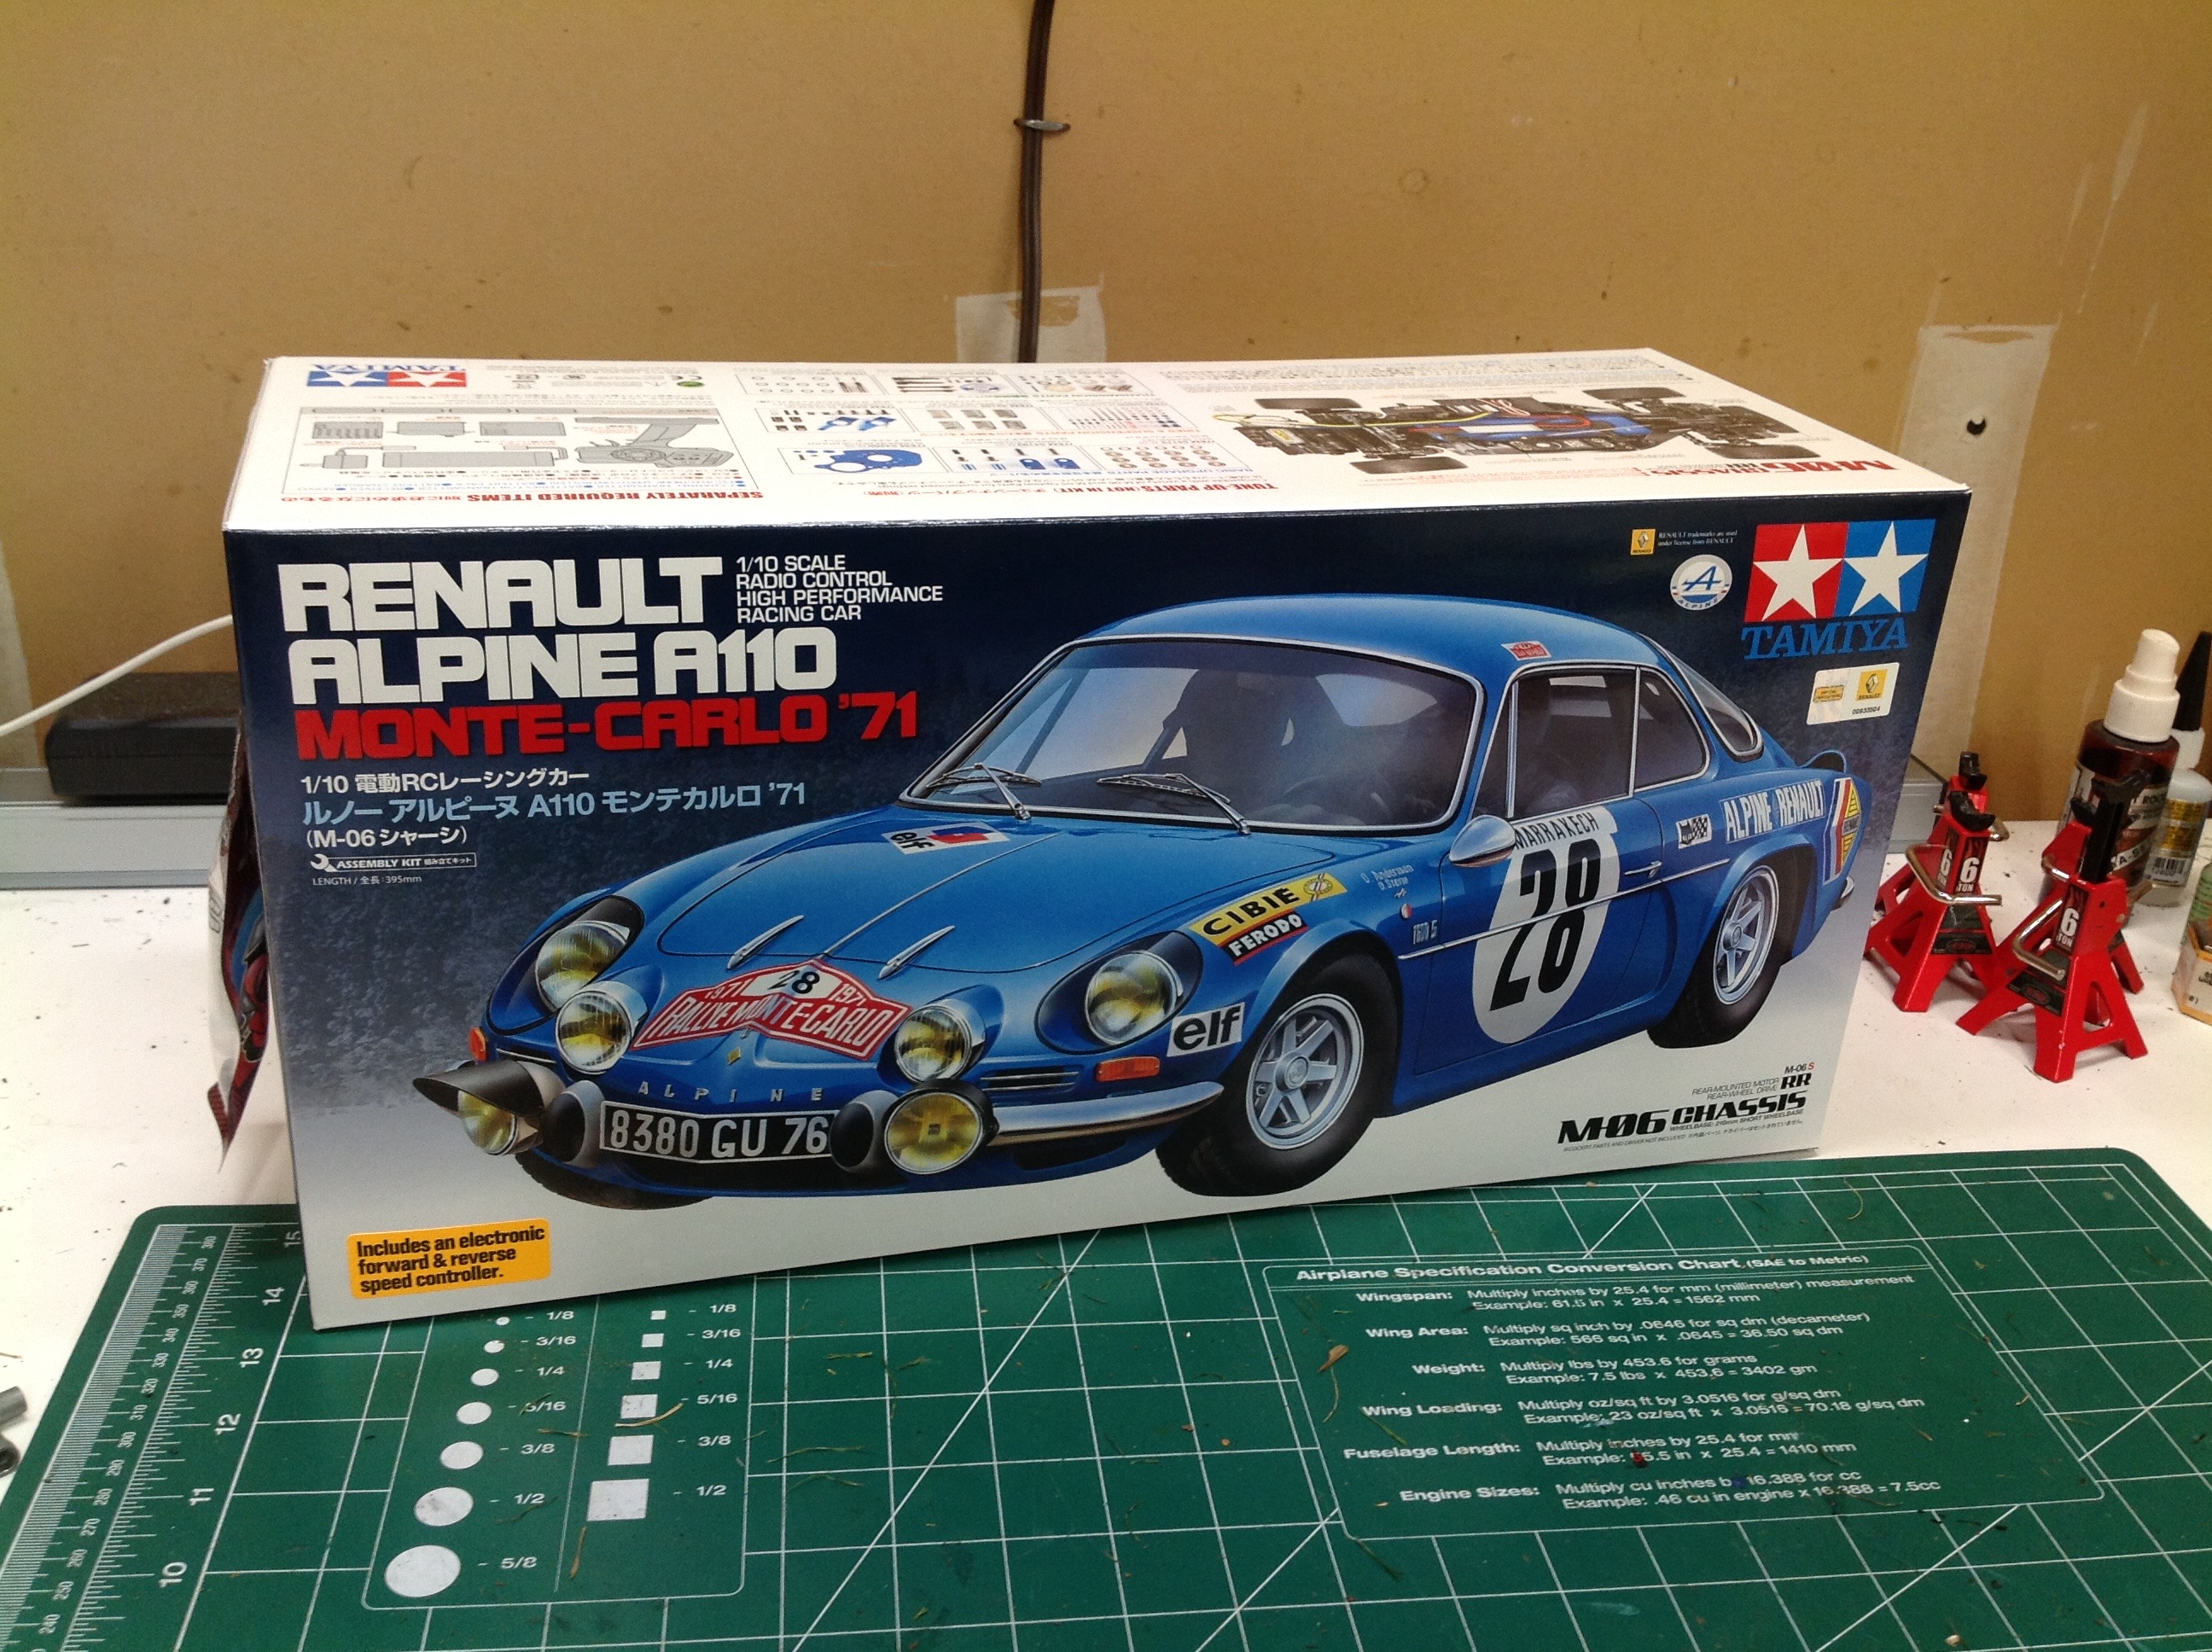
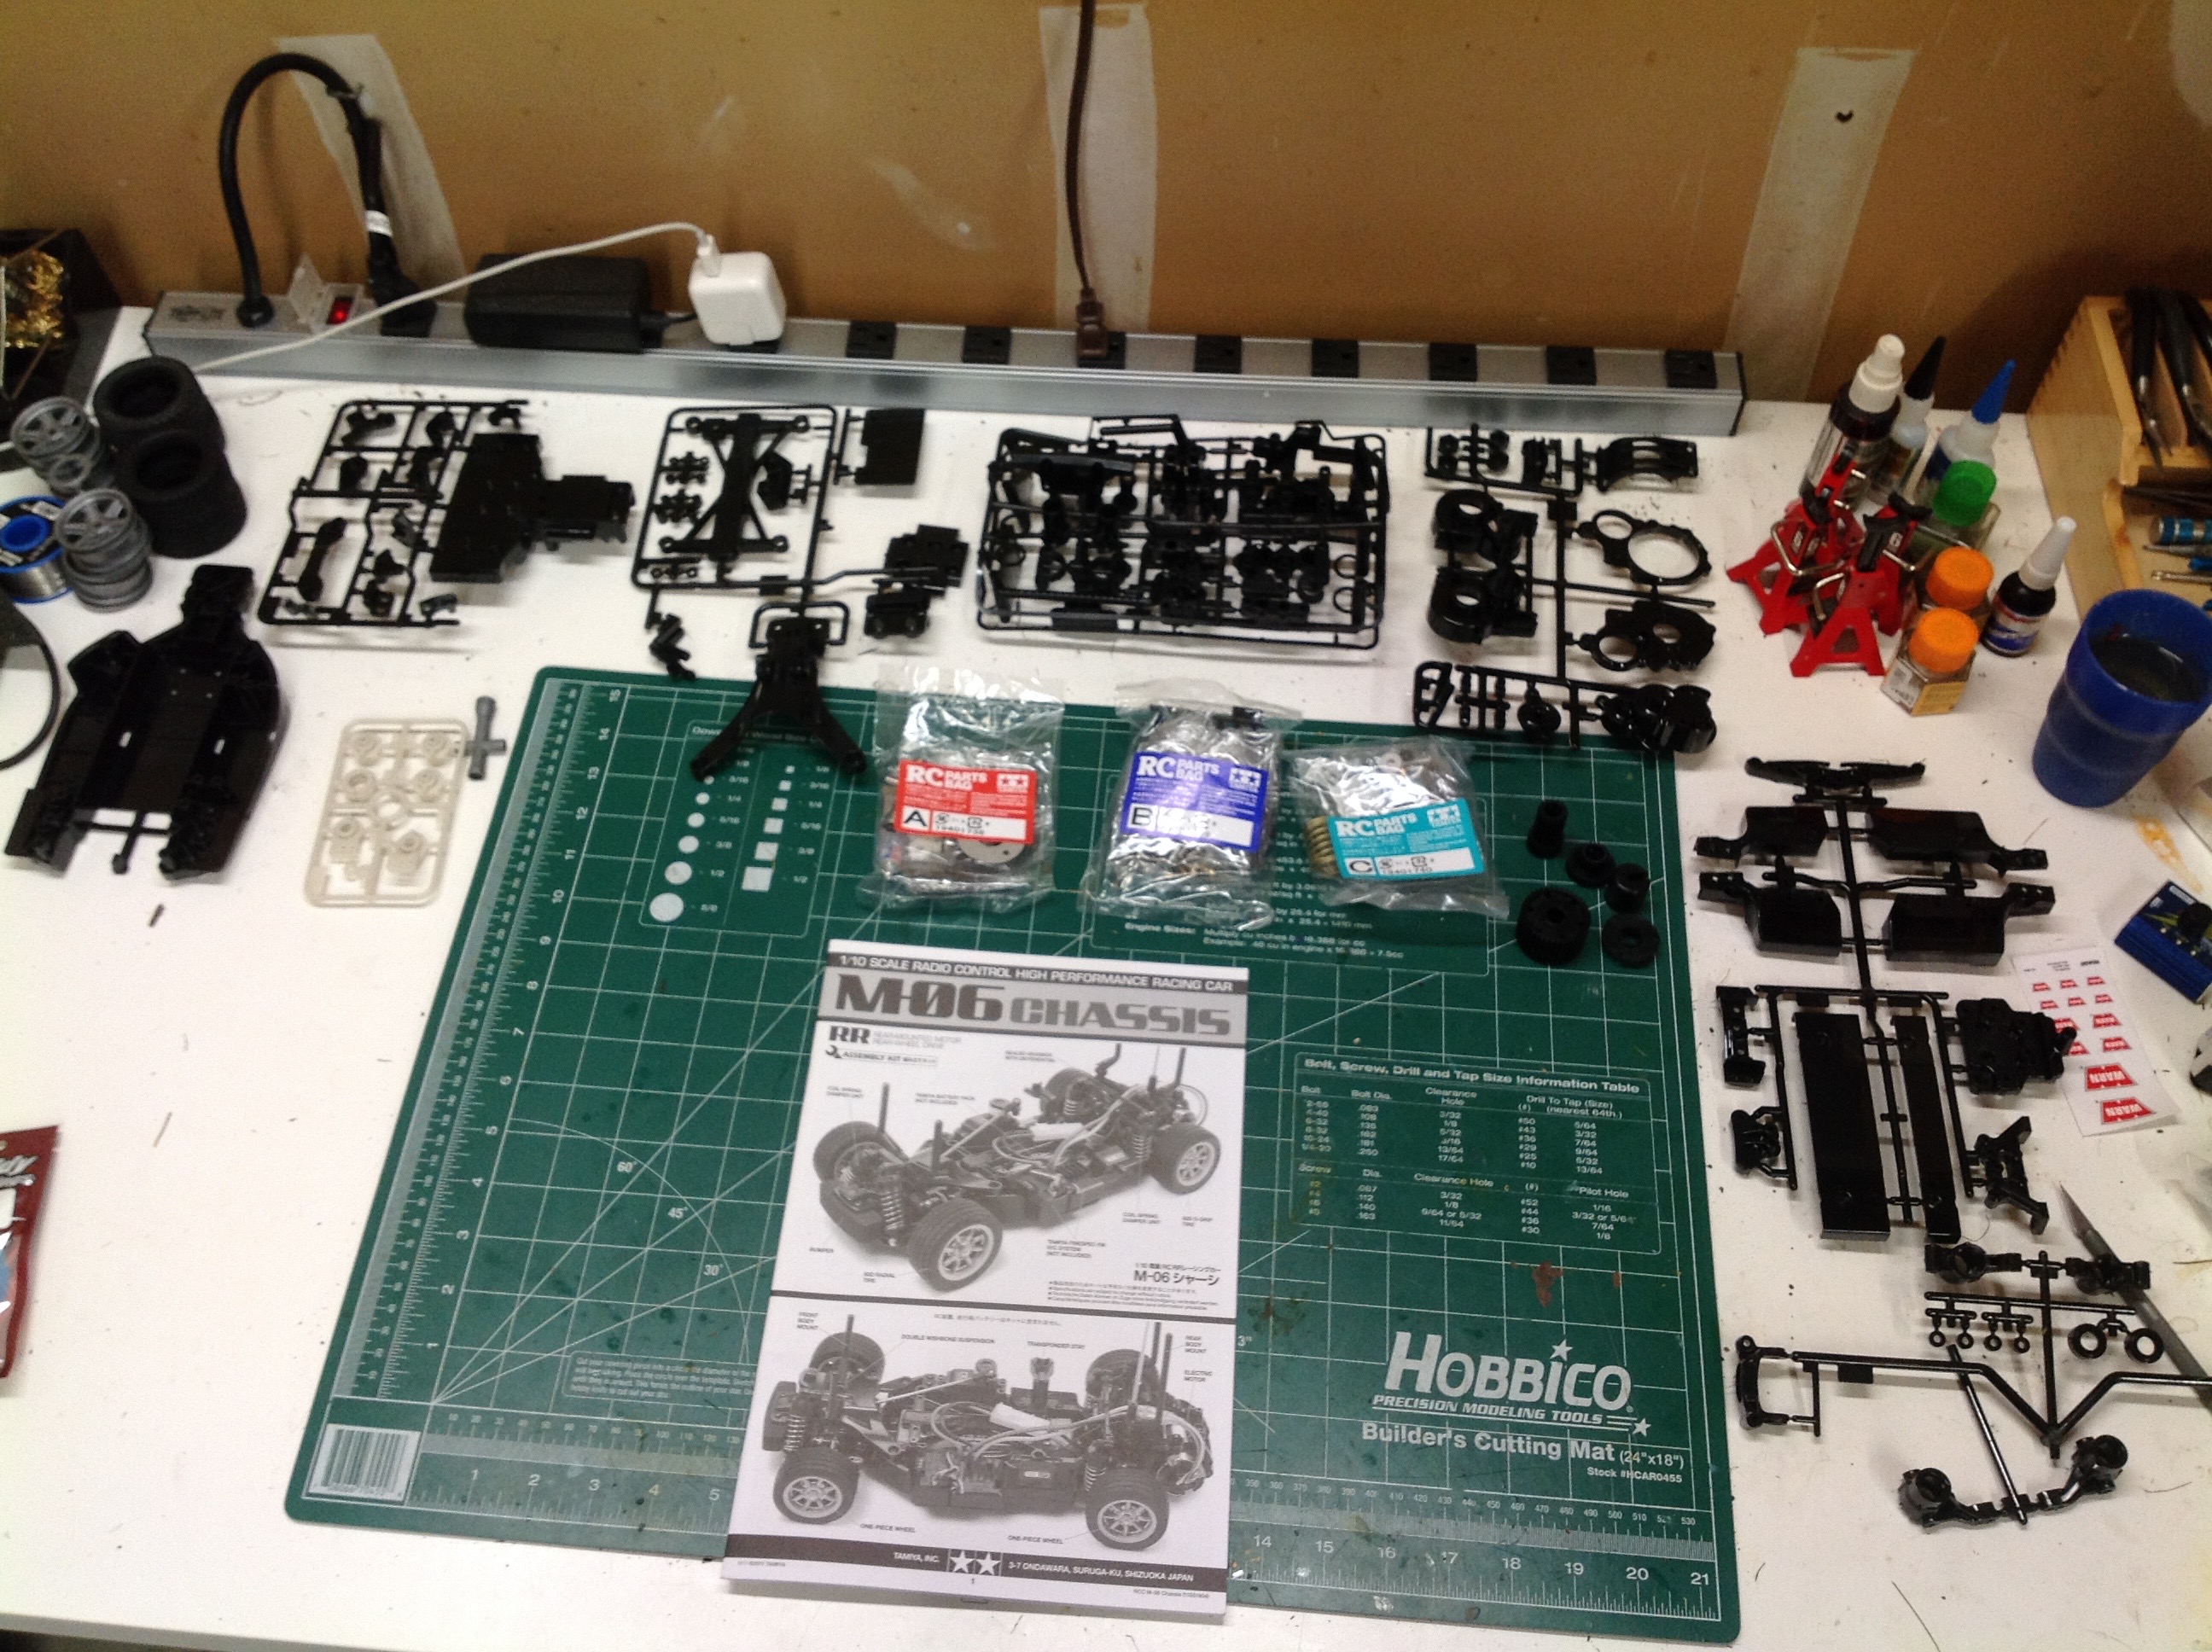
This model comes in a small box not much bigger than the completed
car. Inside, apart from the polycarbonate body, are a wide array
of plastic parts trees and 3 hardware bags. Seen on the far left
is the one piece bathtub chassis. All of the parts are molded in
black apart from the servo saver and the wheels.
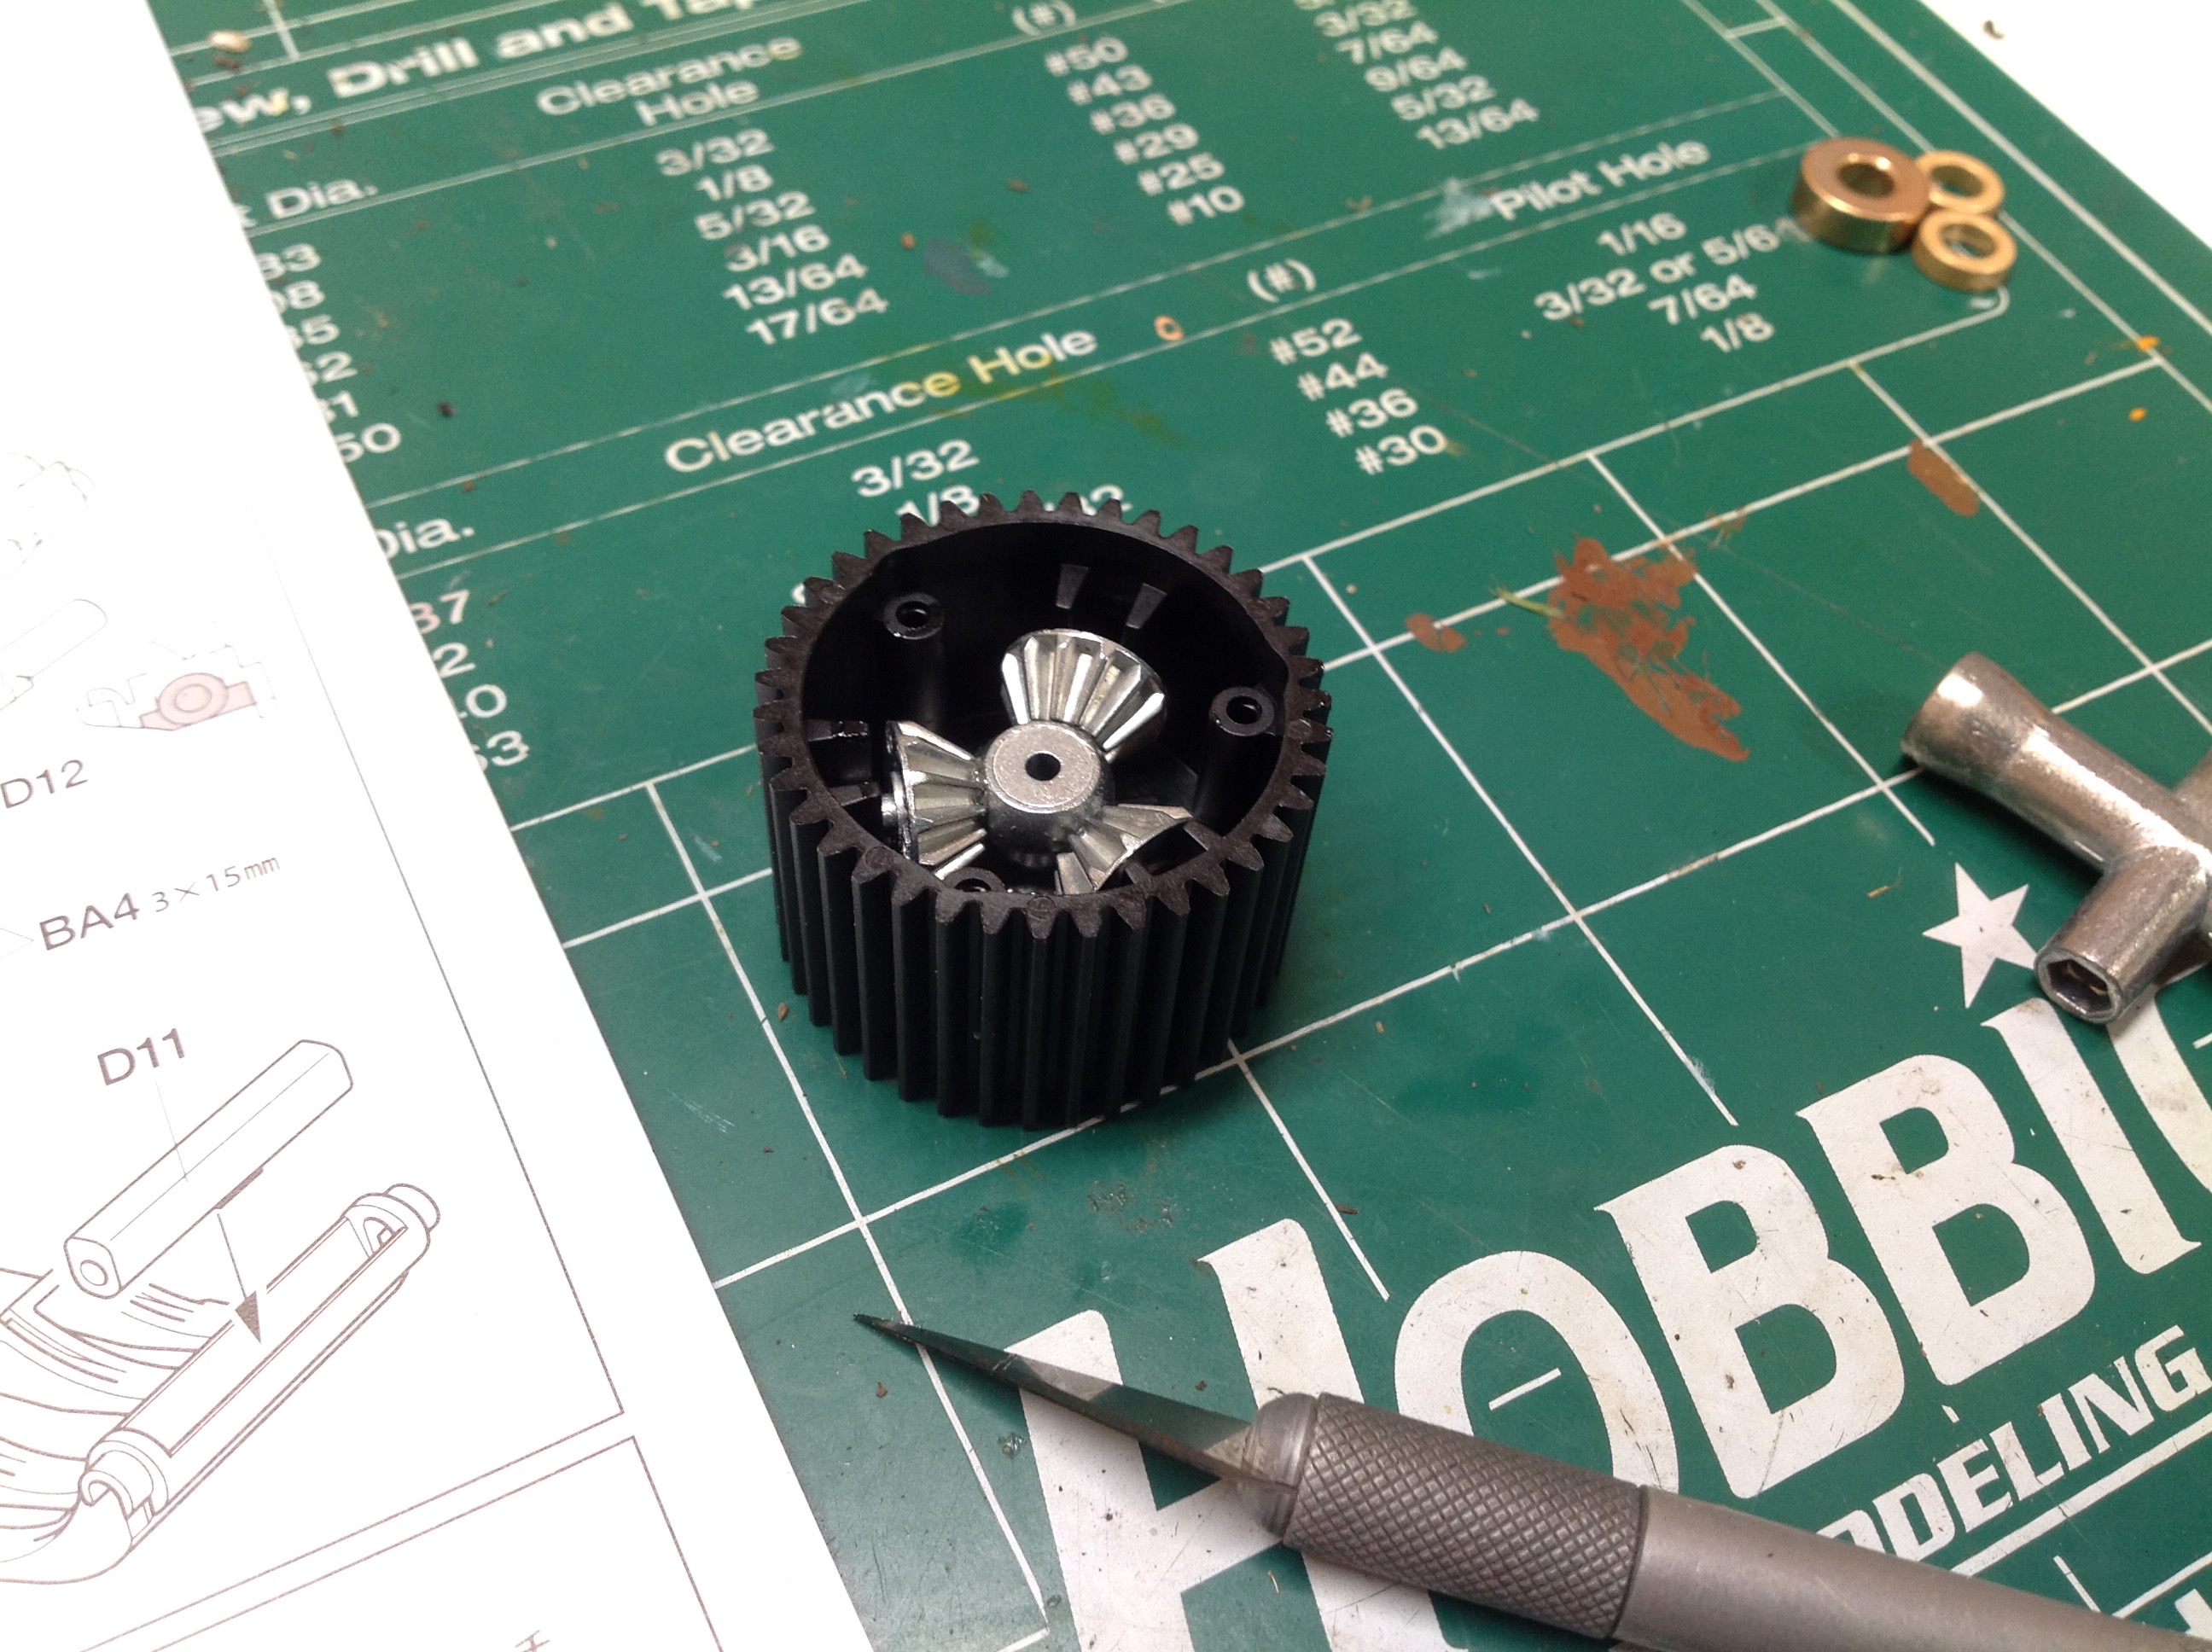
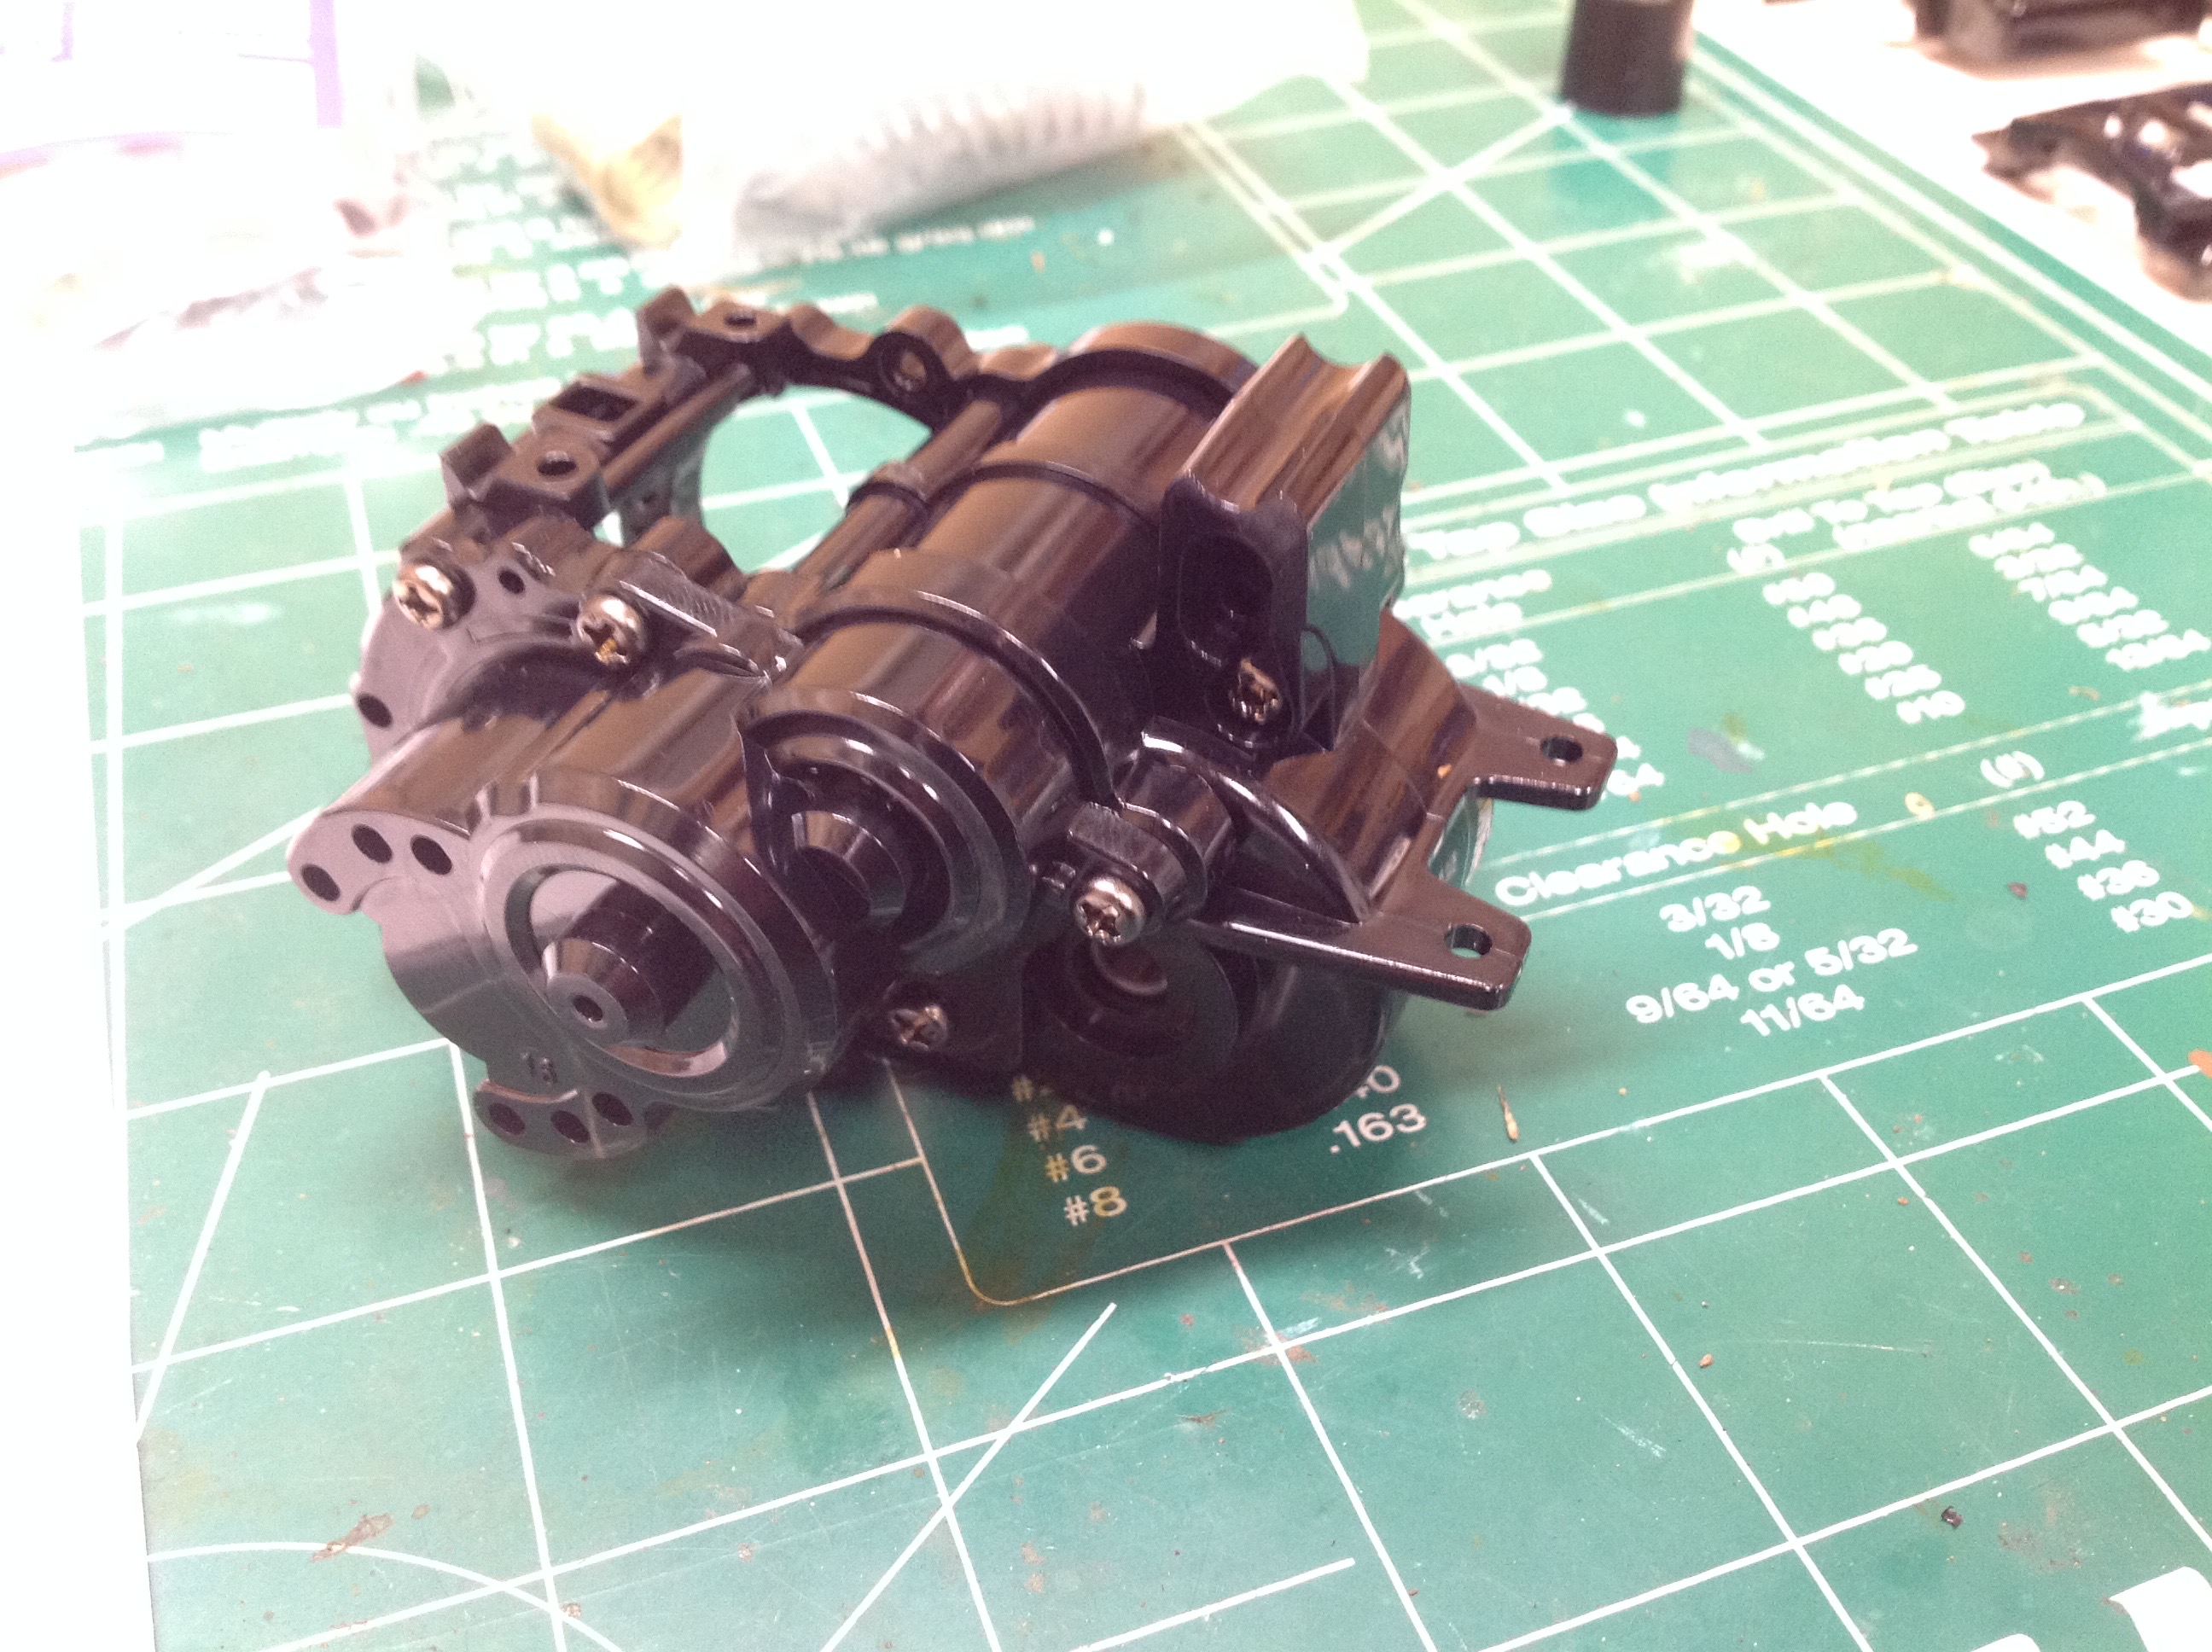
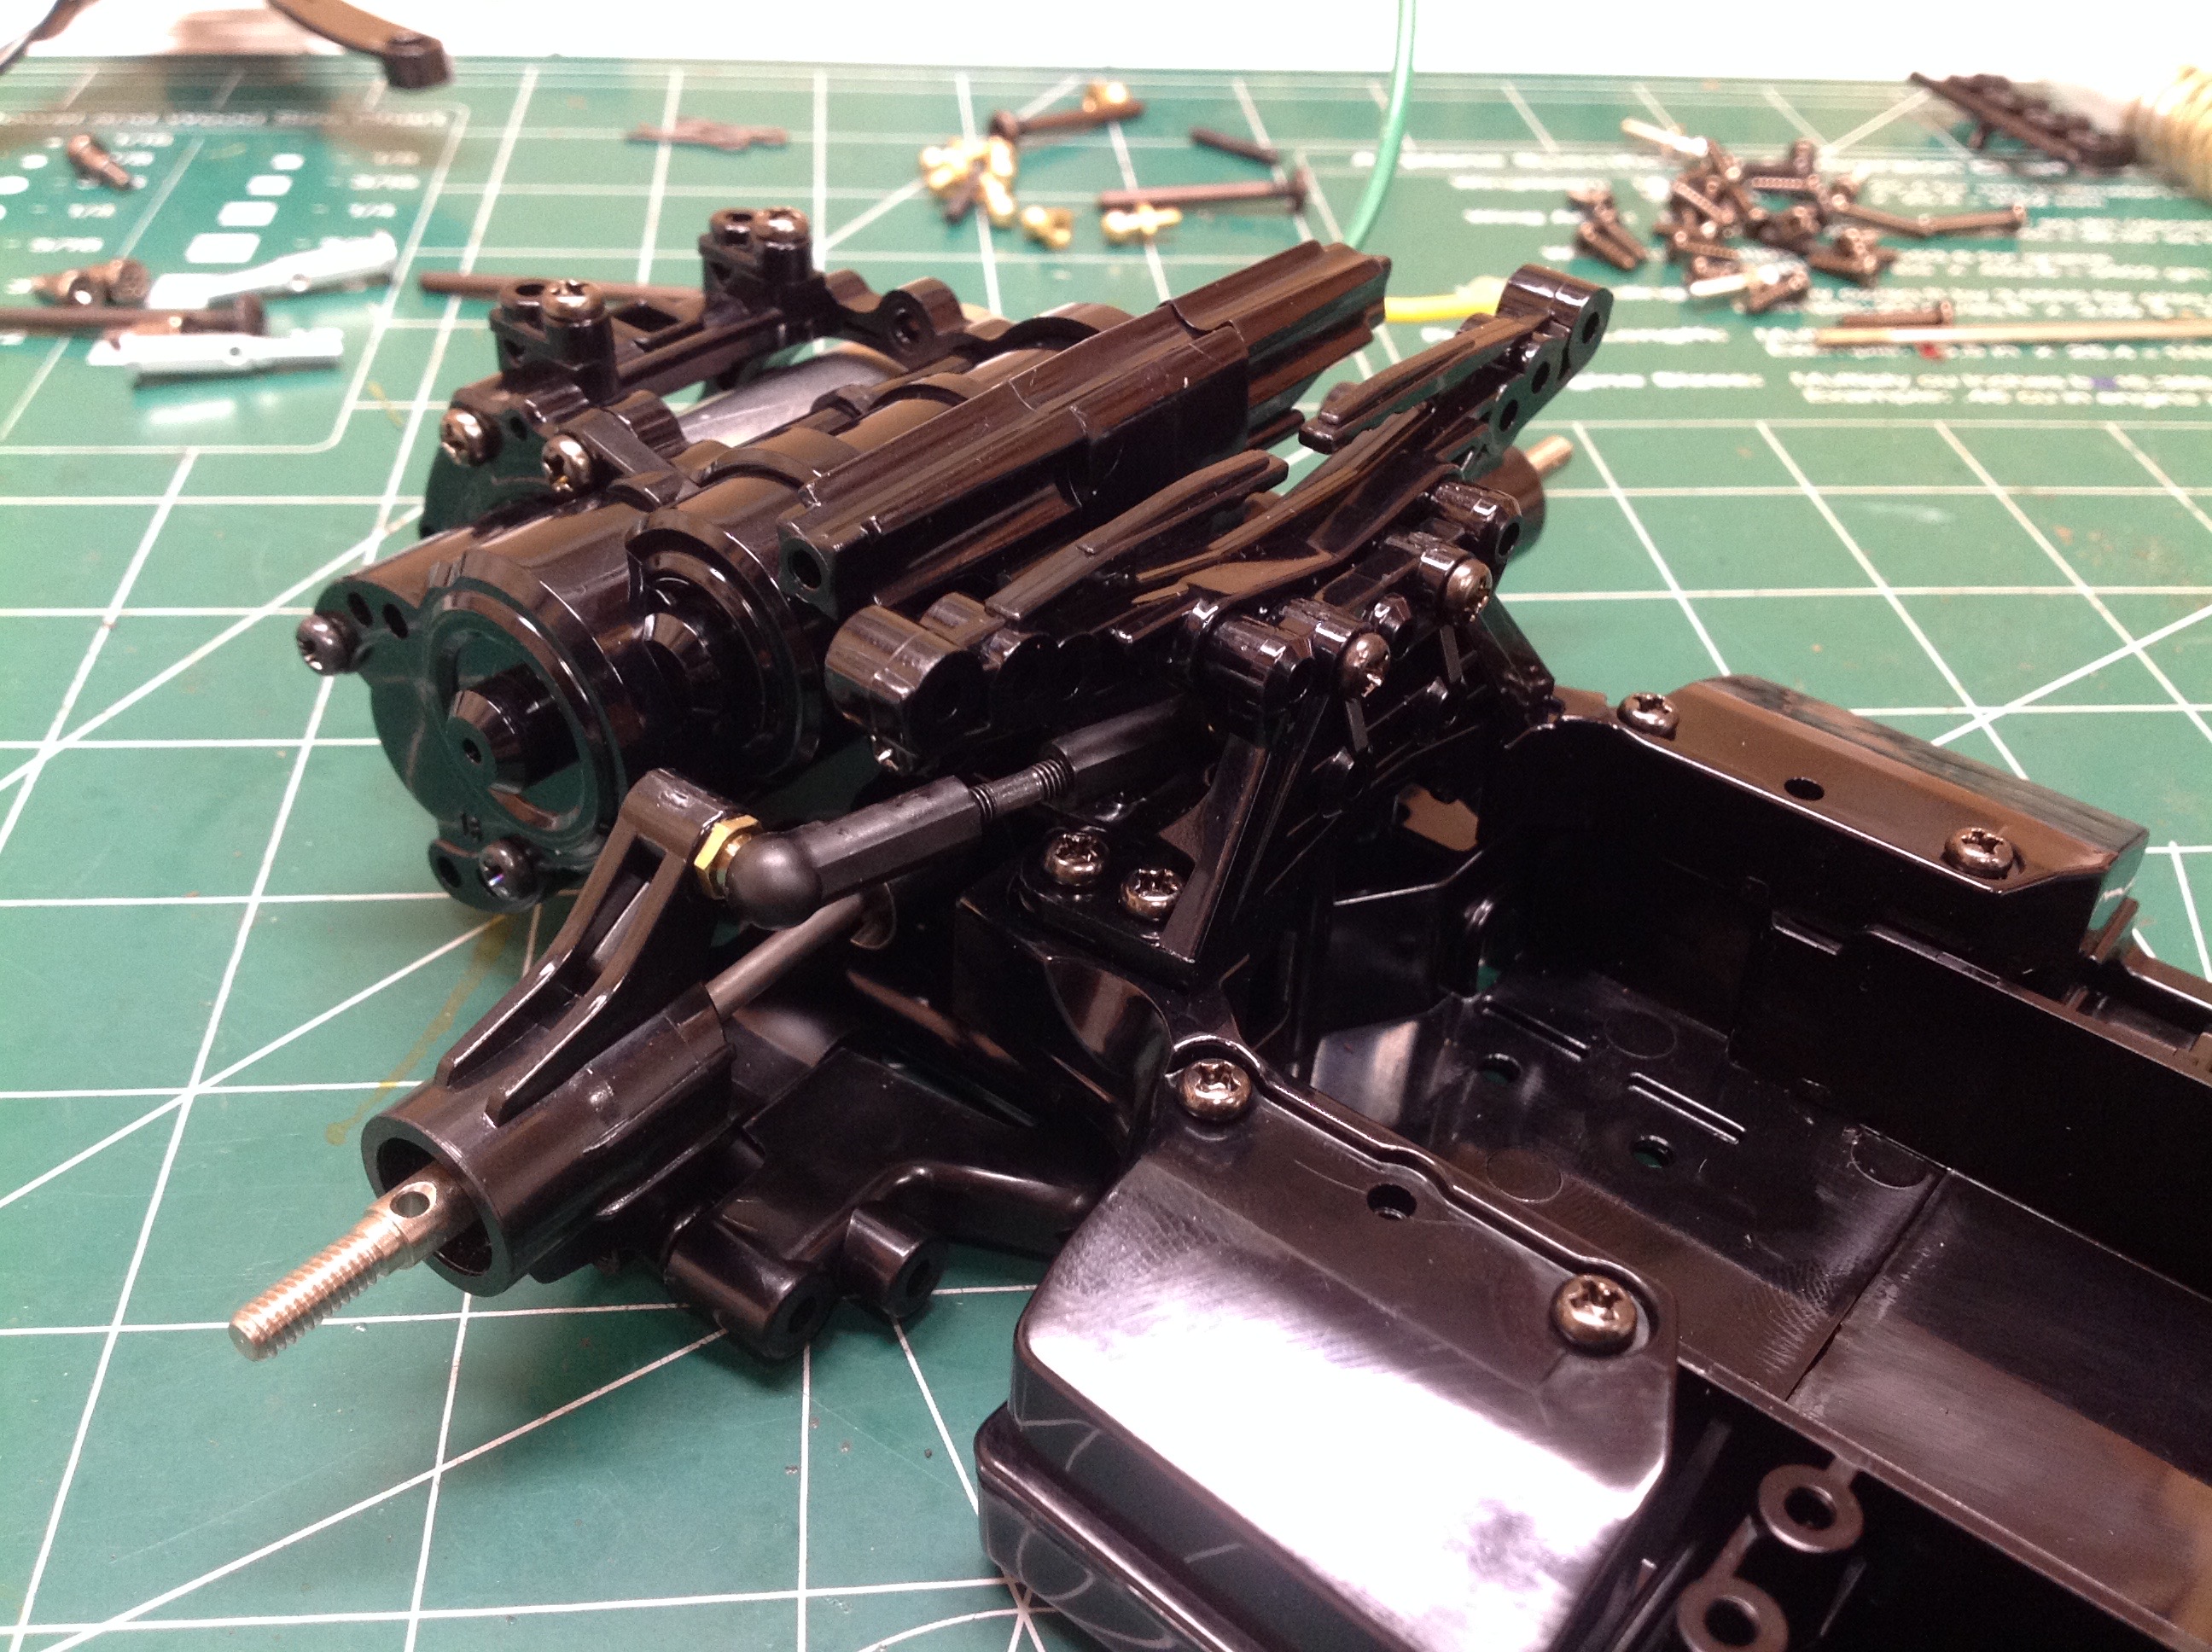
The differential consists of a wide plastic spur gear case and cast
metal internal gears. The internal gears are the same as those
used in countless other Tamiya model types. Remember that this is a
rear wheel drive model so this is the only differential.
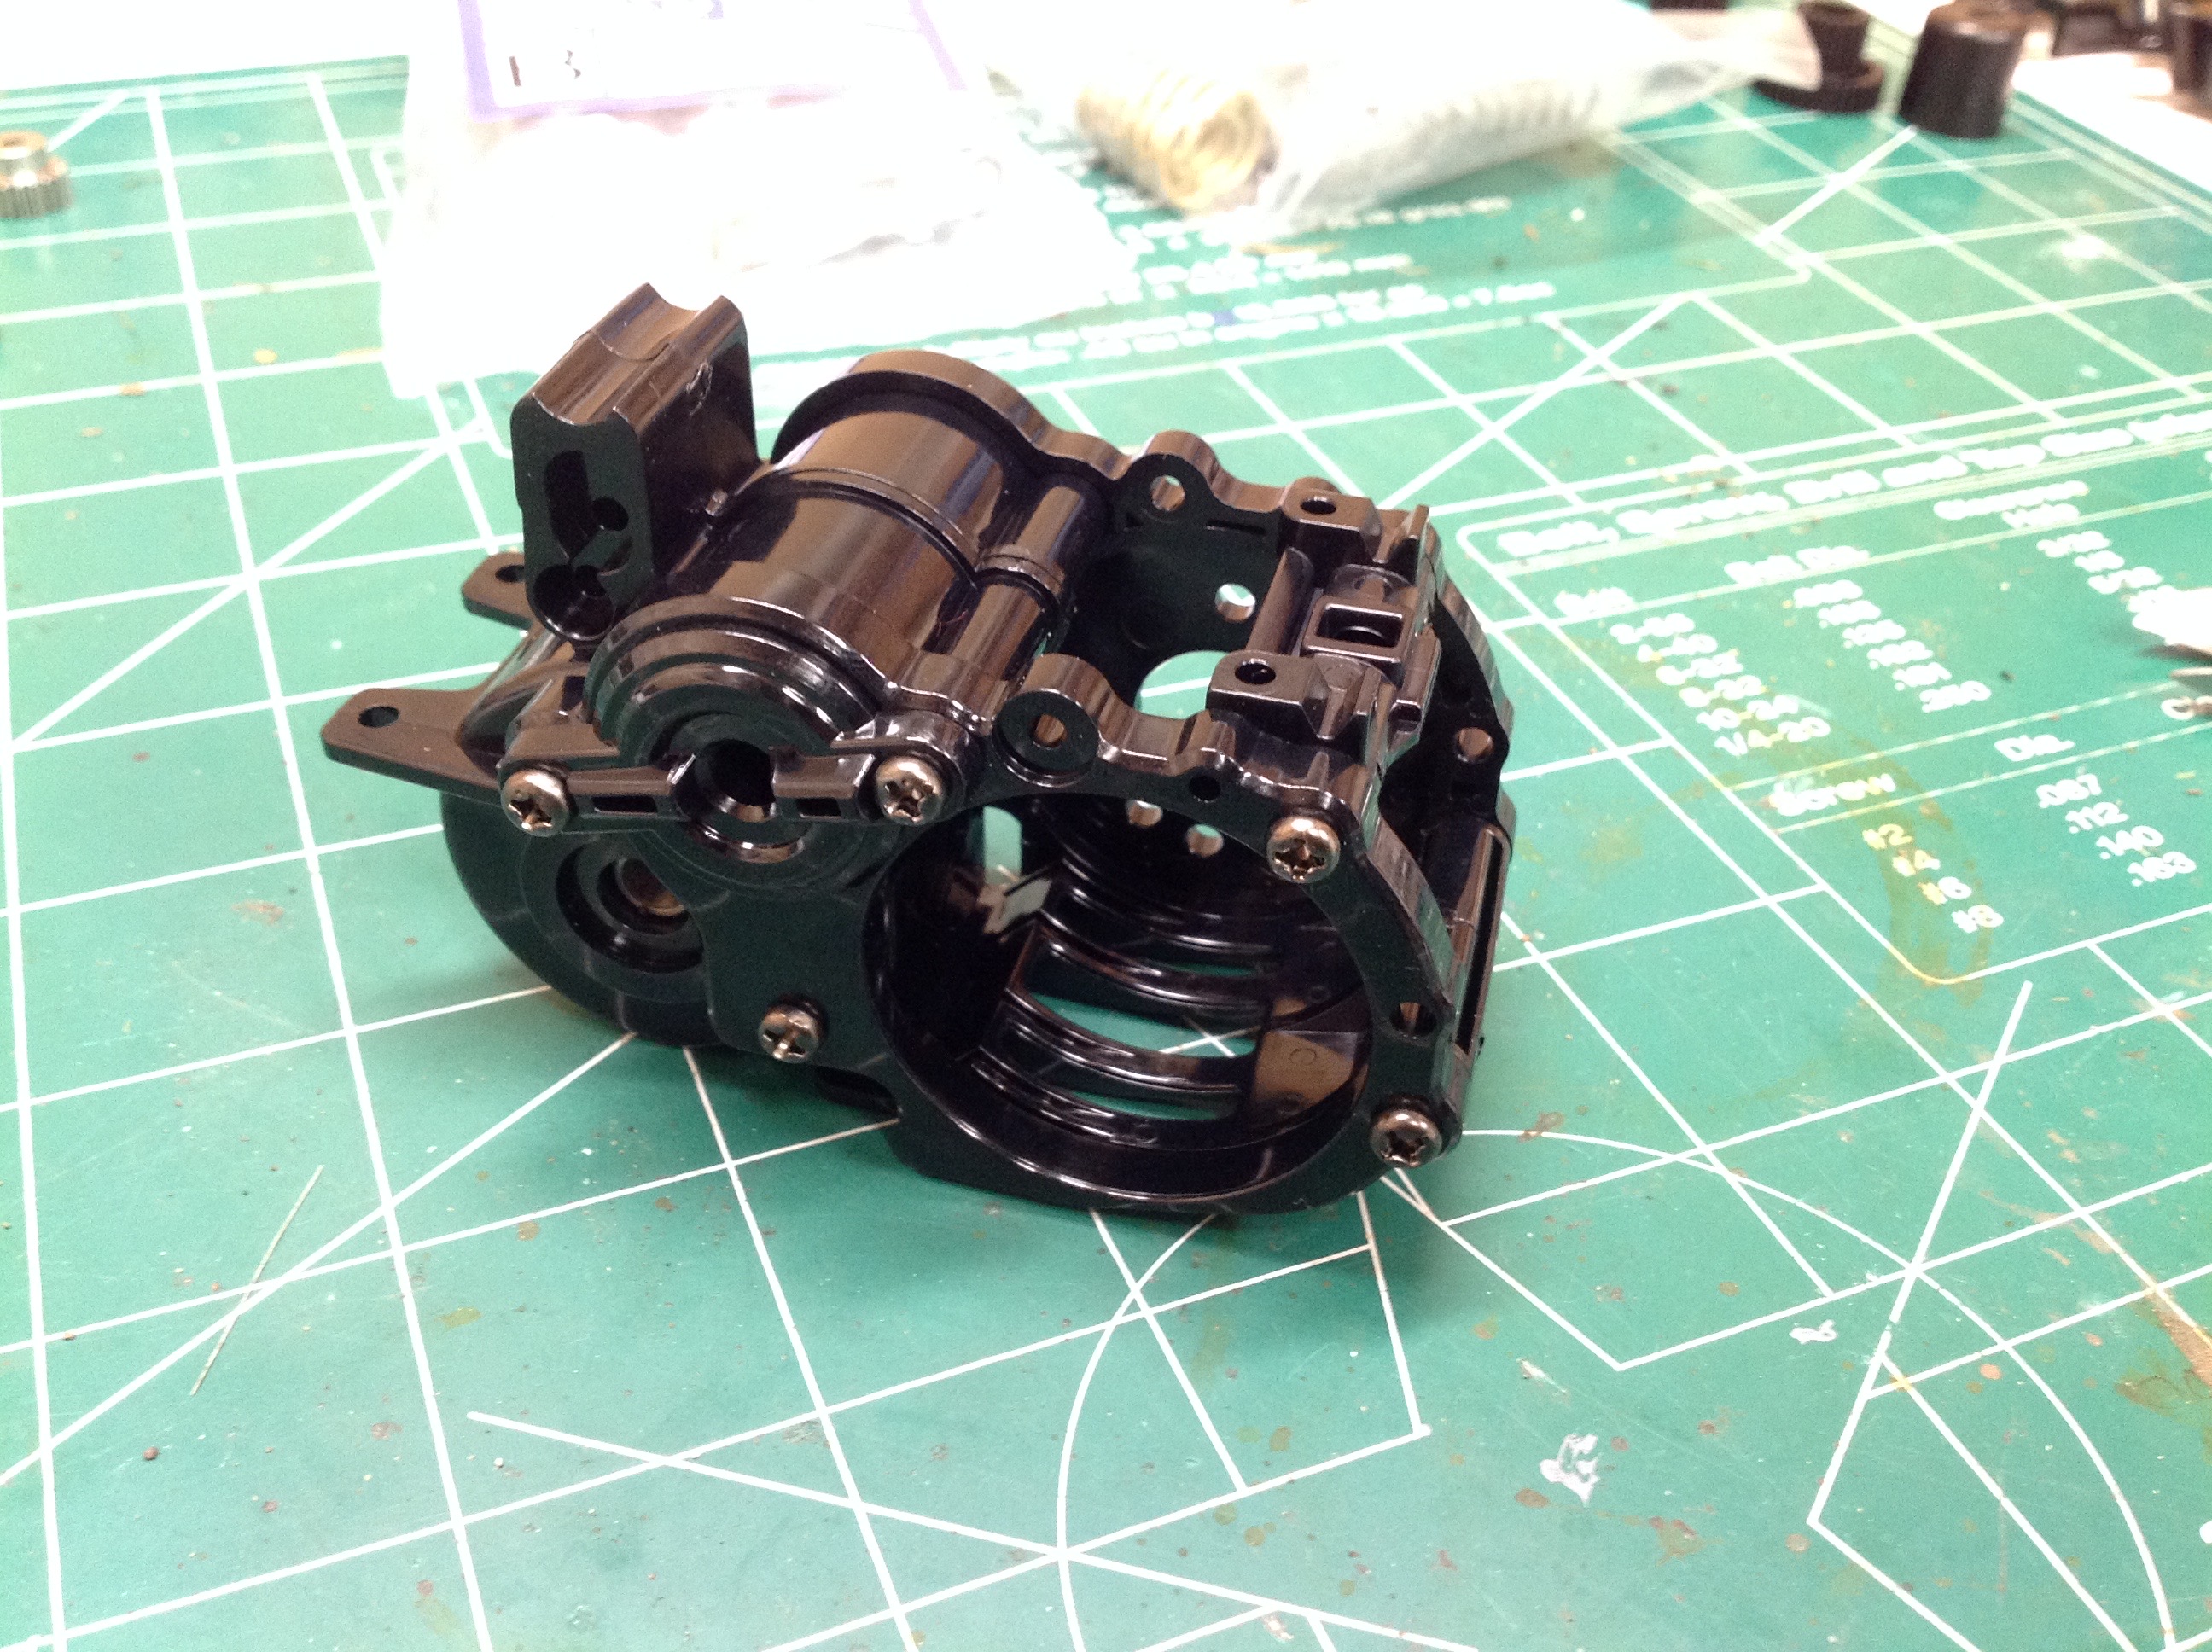
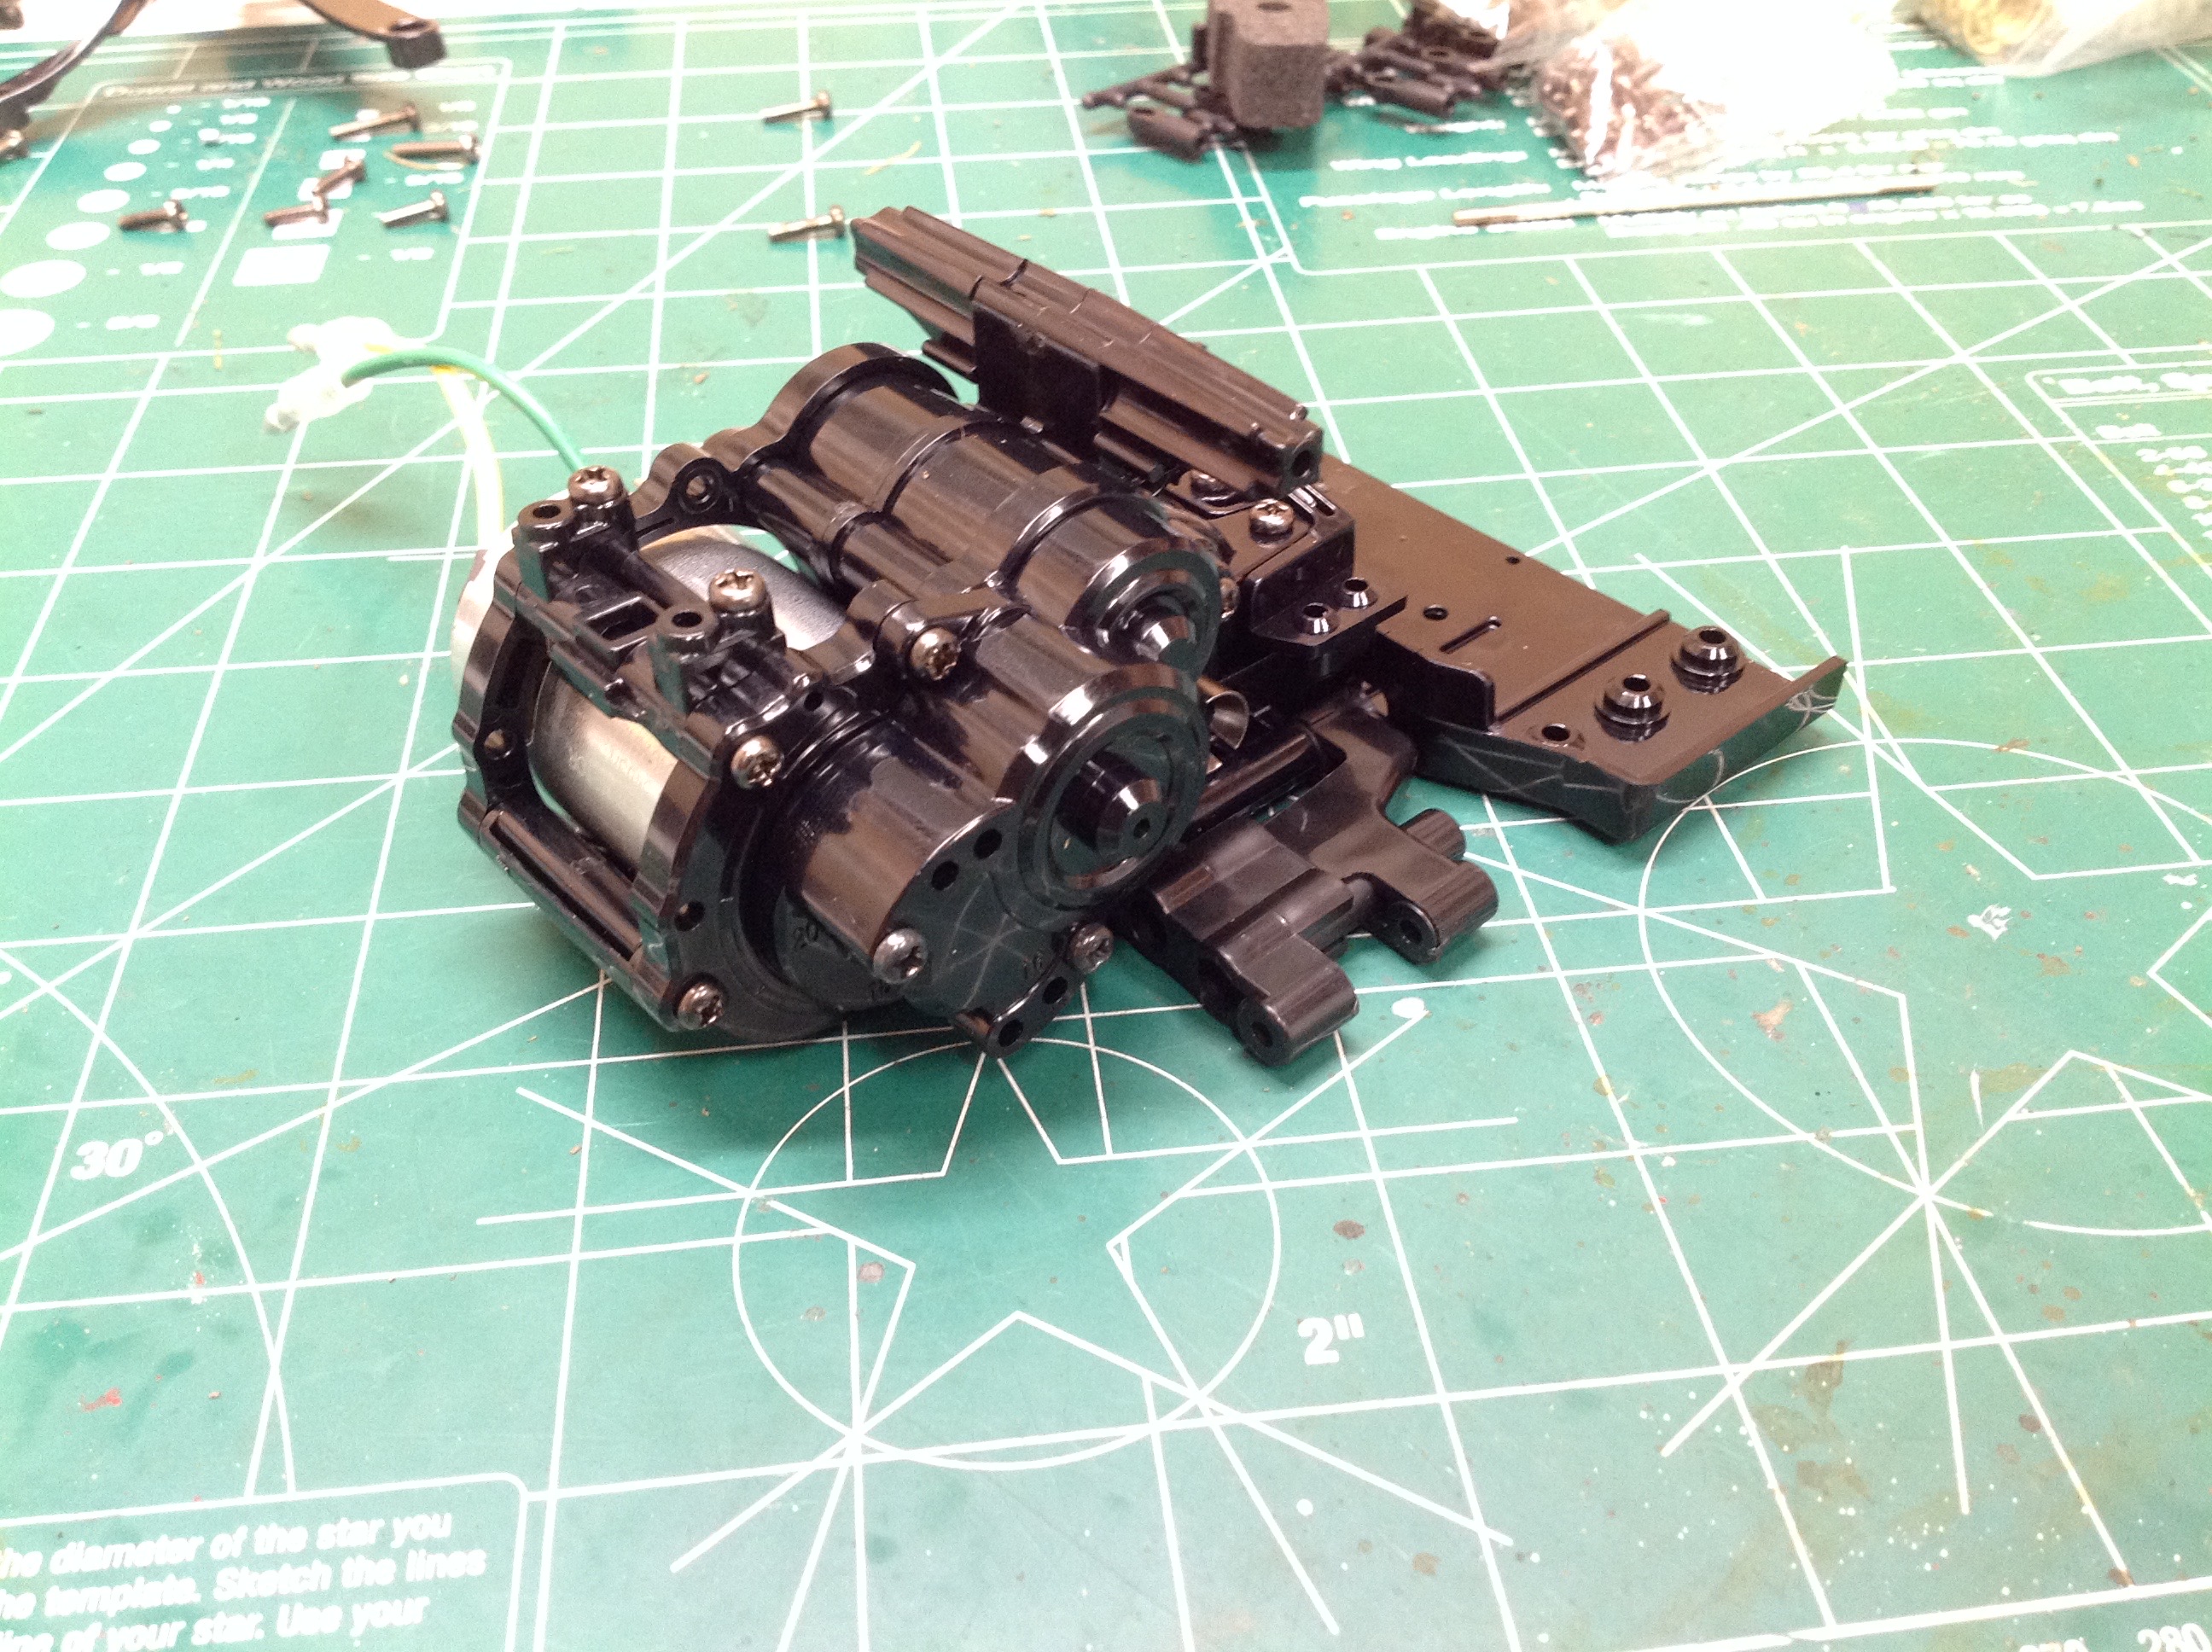
The rear gearbox and motor mount assembly are very rigidly
integrated. Seen on the left is the differential housing with the
open motor mount to the right of it. The motor hangs out behind
the rear axle. The right hand image shows the same assembly from
the other side. You can see three sets of mounting holes for the
motor which prescribes three specific pinion sizes.
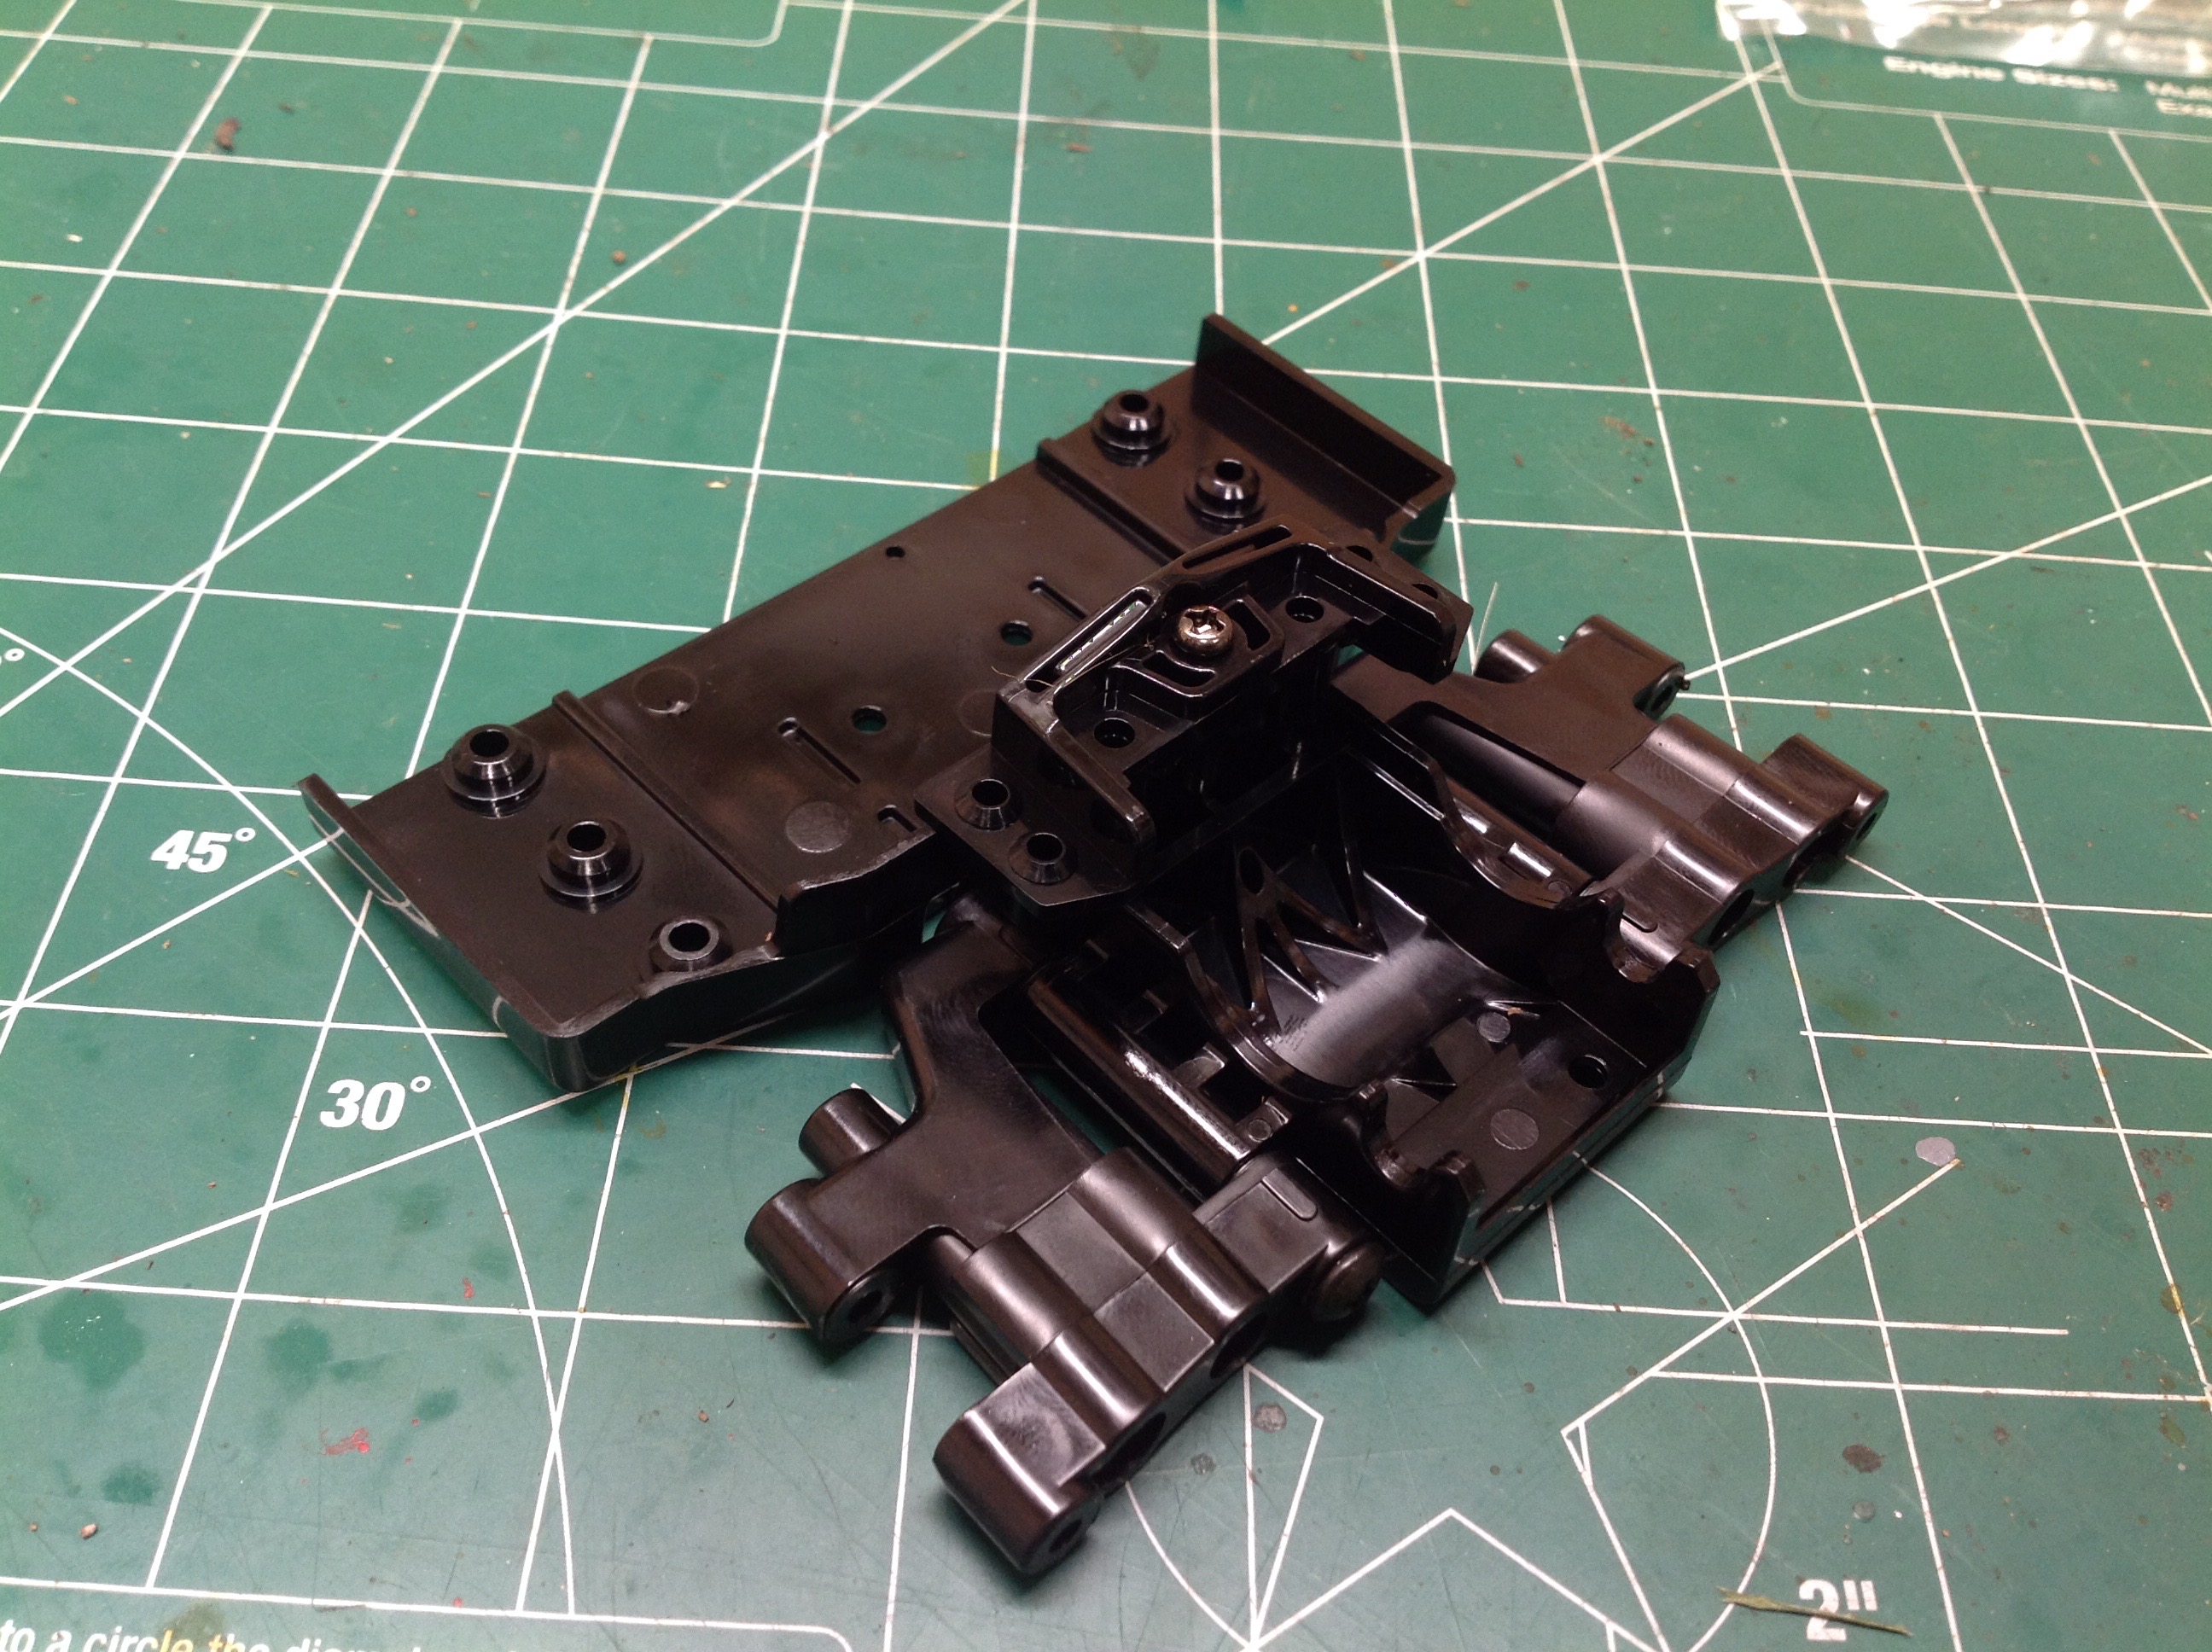
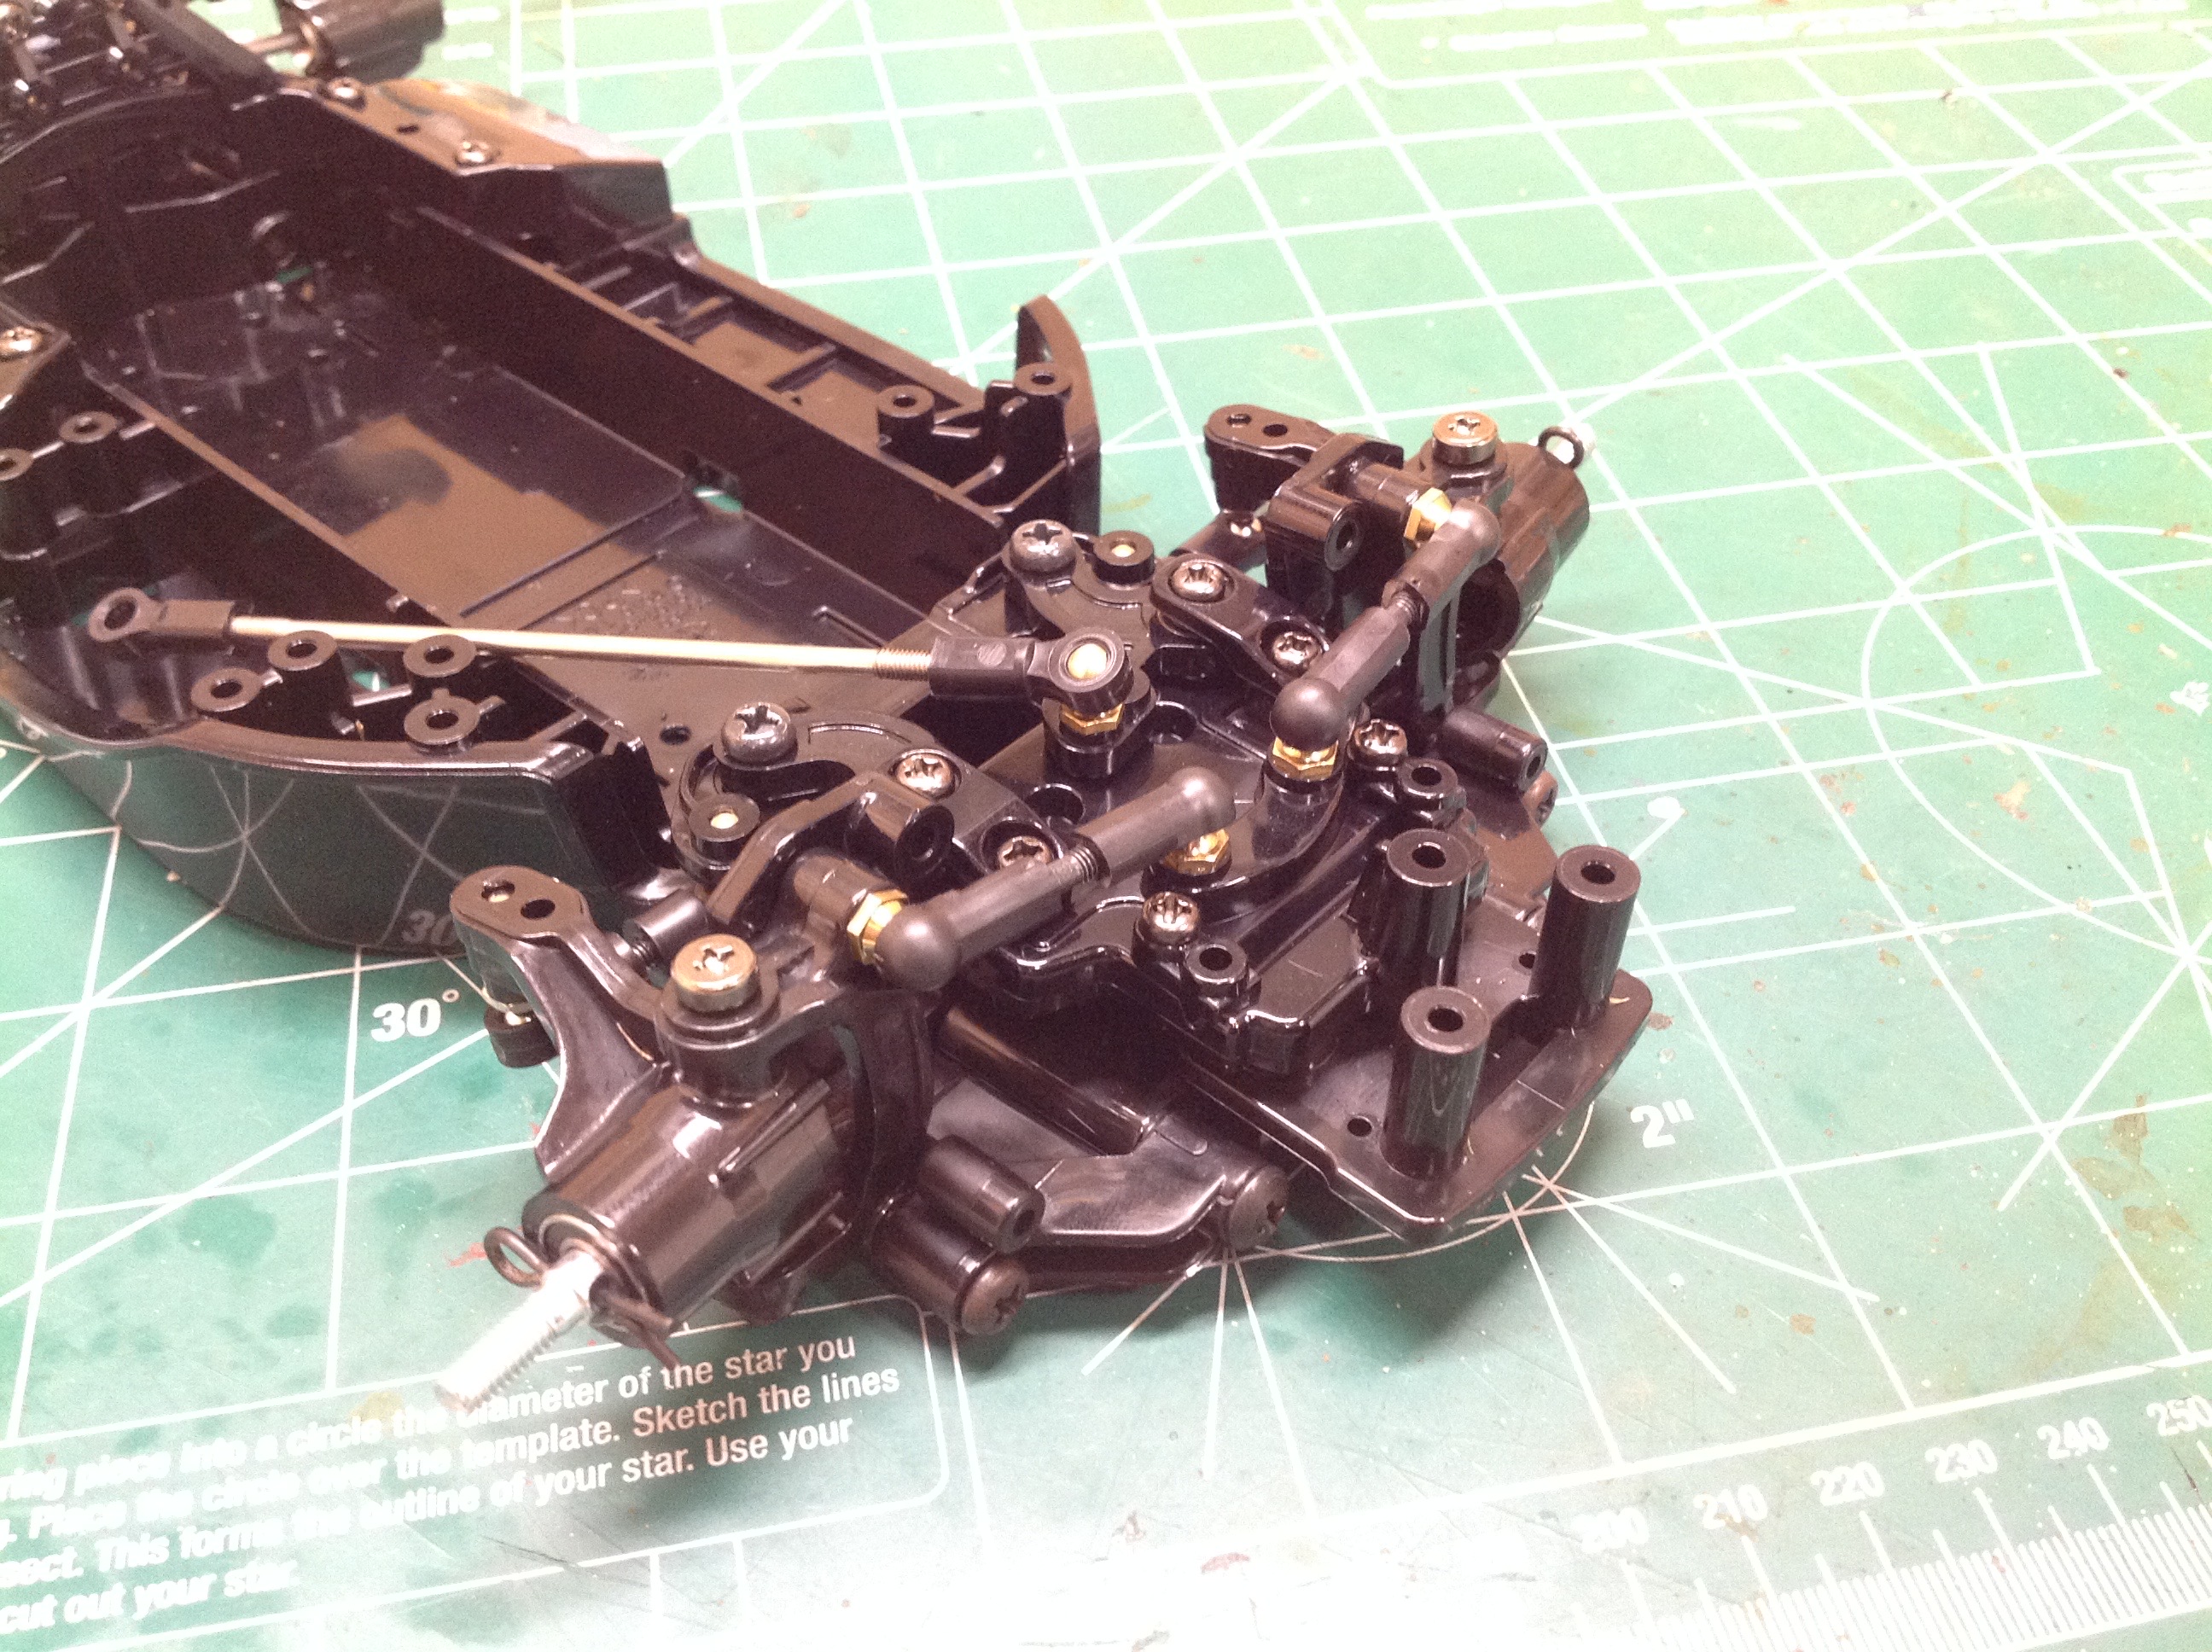
Now we'll start building the rear suspension. This starts by
attaching the lower control arms to a flat pan. Next, as shown on
the right, the gearbox and motor assembly are added. These sit
over the top of the lower arms and lock them in place.
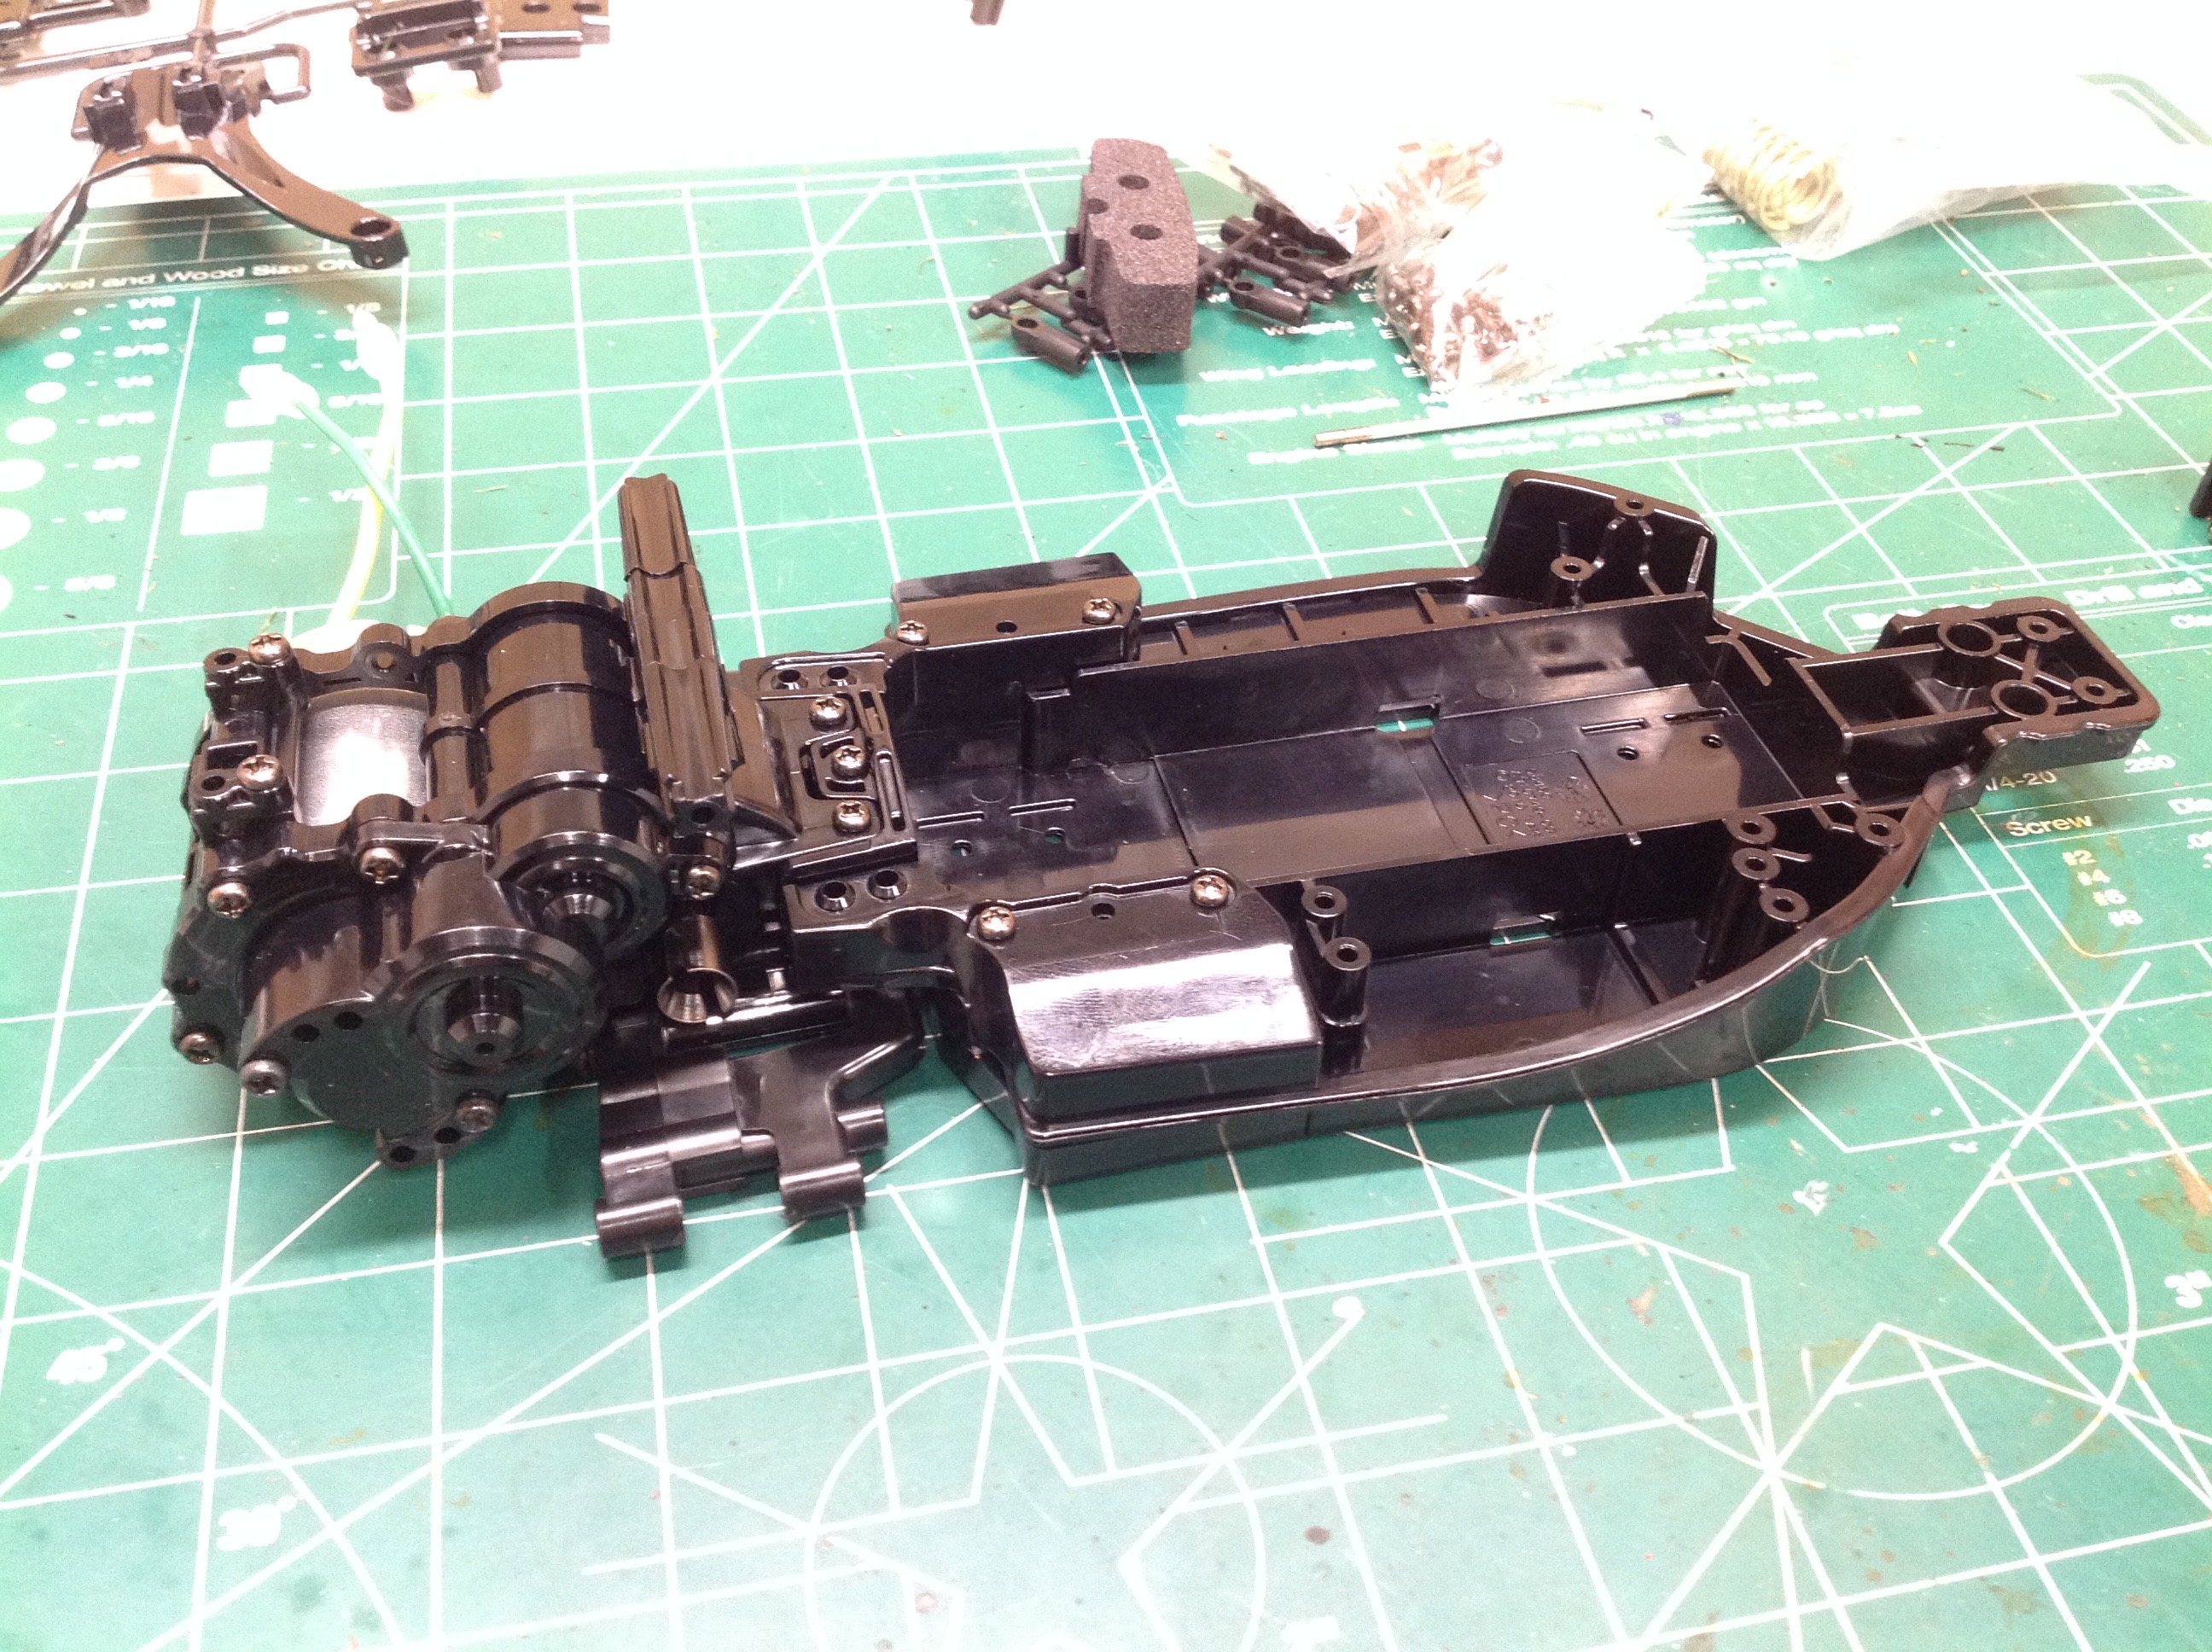
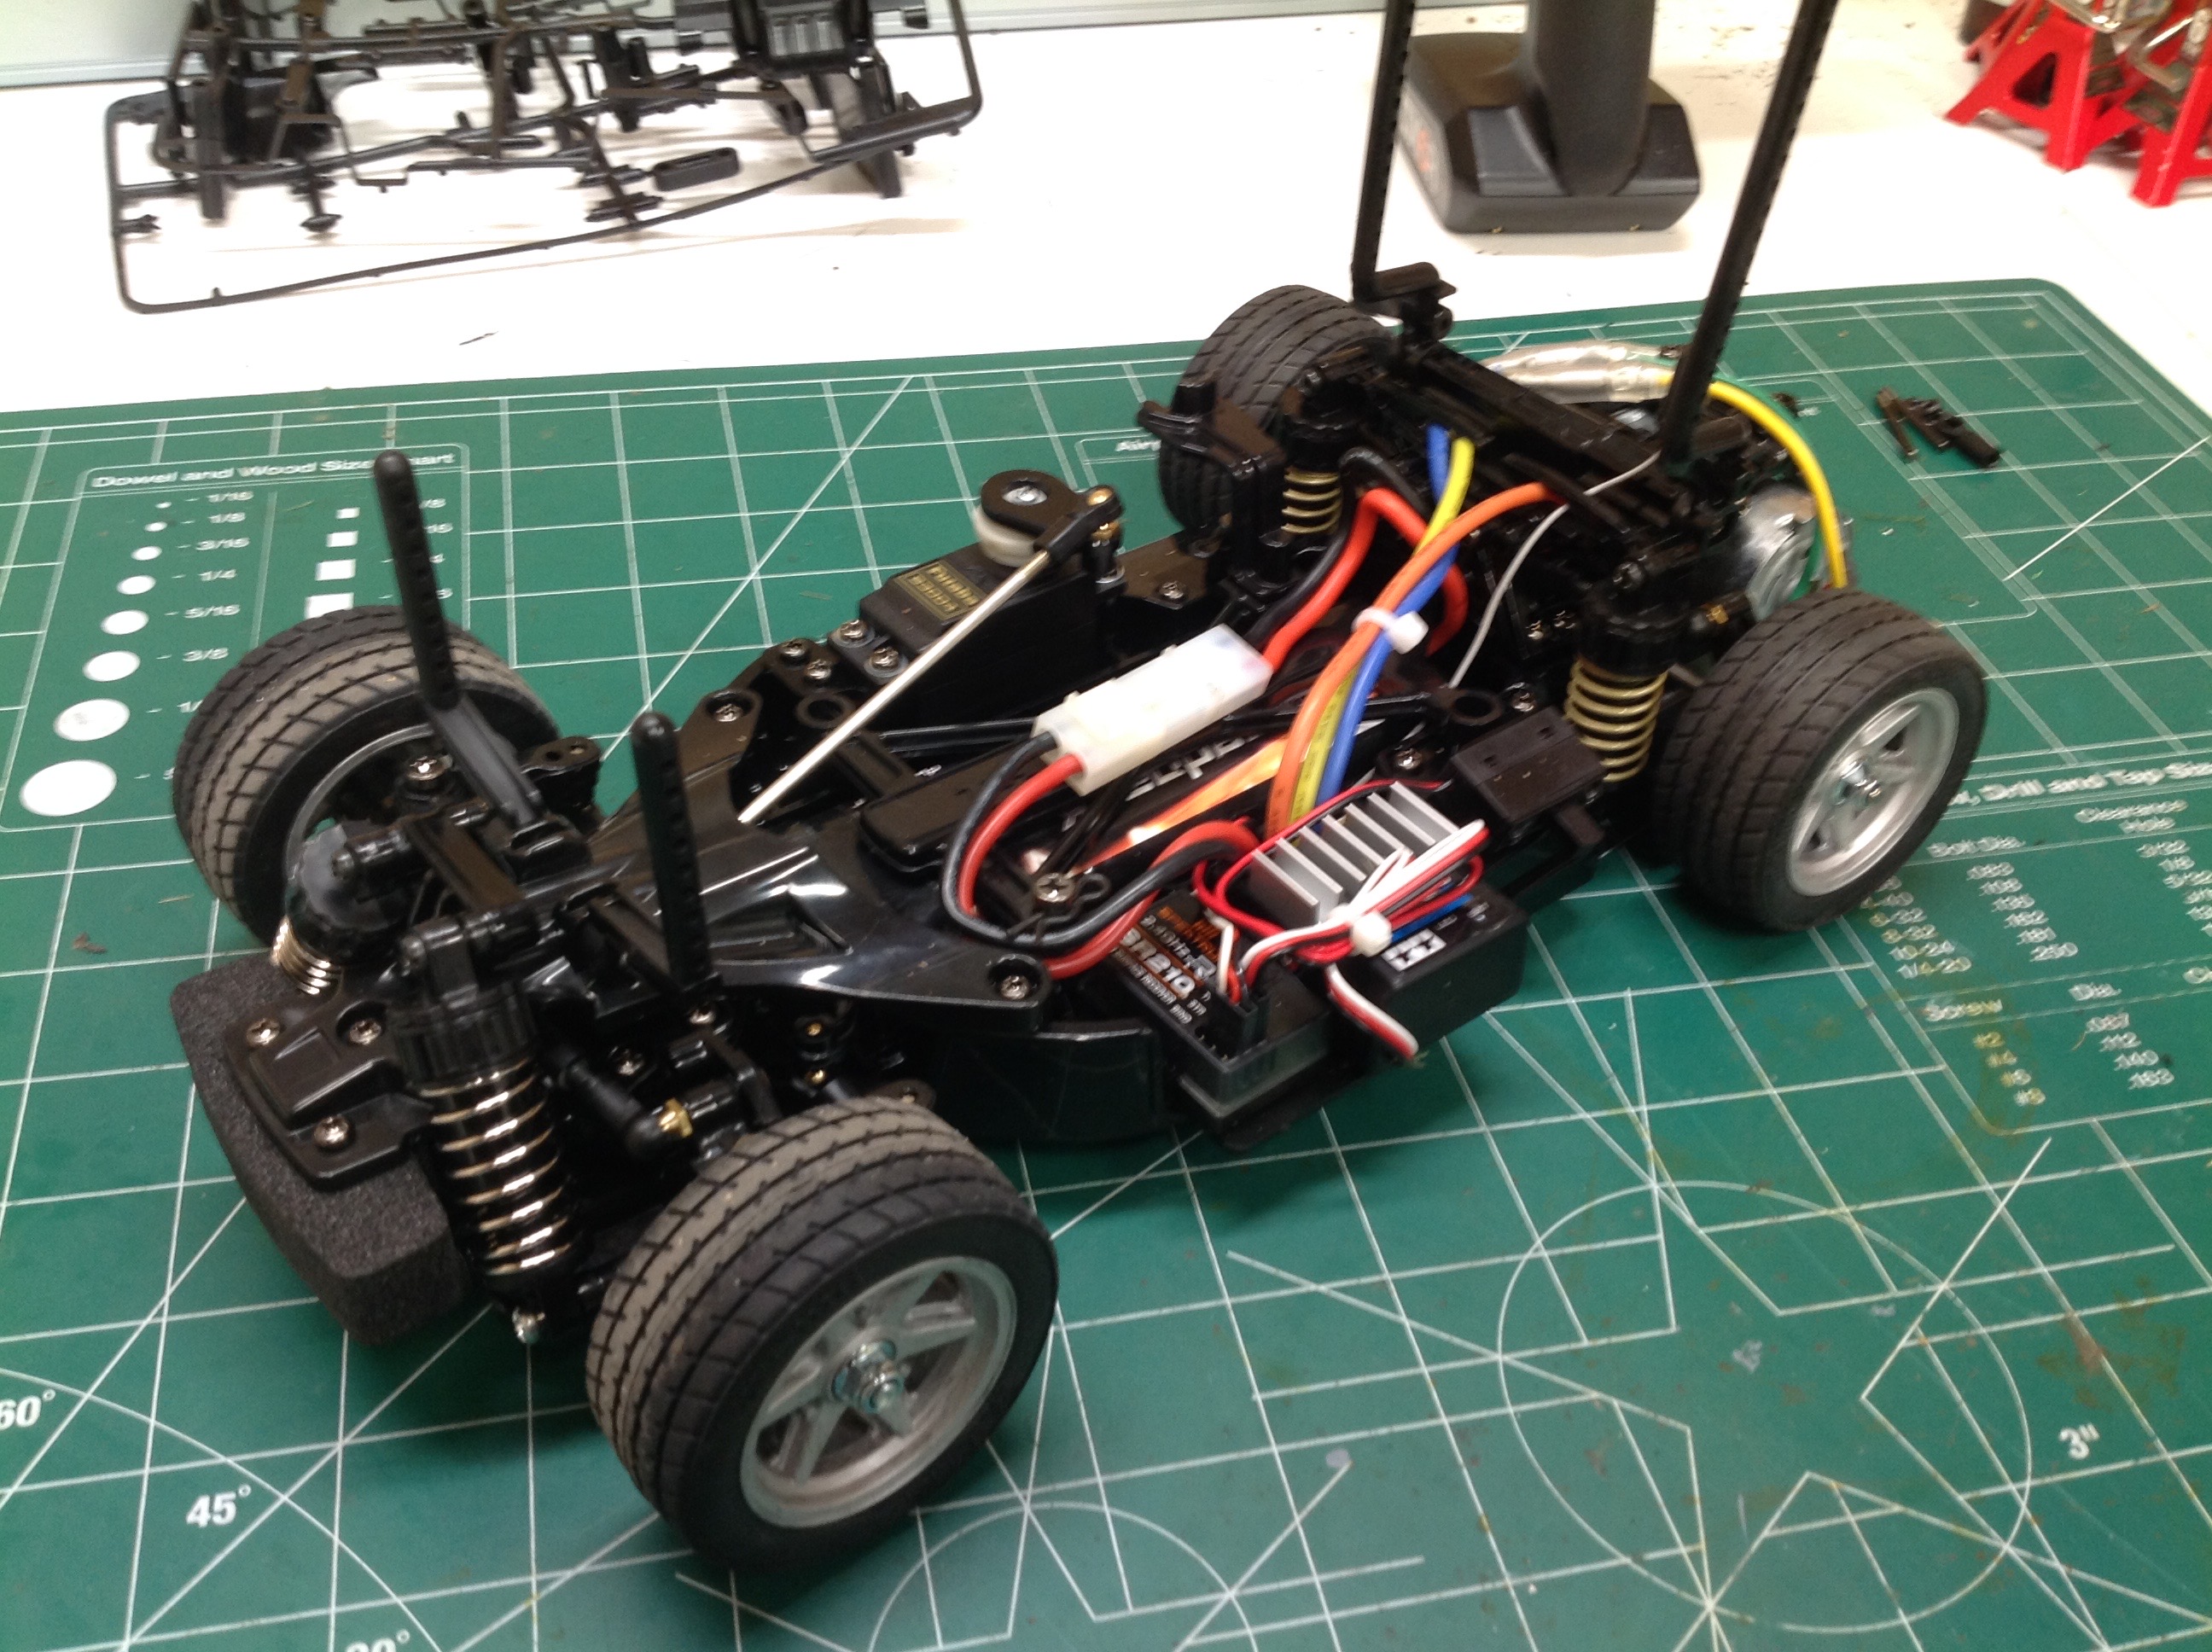
Once the main chassis bathtub is attached, this starts to look like a
car chassis. I've built the shortest wheelbase version, but
spacers can be installed between the bathtub and the rear to increase
the length. On the right you can see the completed rear
suspension. The hubs have been added along with the adjustable
camber links. I've replaced all the plastic bushings with ball
bearings as part of my original build.
Because the front wheels are not driven, the front suspension is
relatively simple. You wouldn't know if from the picture
though. The lower control arms are wishbones while the upper are
adjustable camber links. The steering uses a dual bellcrank system
with surprisingly accurate parts. This chassis has better
steering precision than I would have guessed. The link which
attaches the steering system to the servo is quite long since the
steering servo is attached halfway back the chassis. The right
hand image shows all the electronics installed. The factory
friction dampers are also in place.
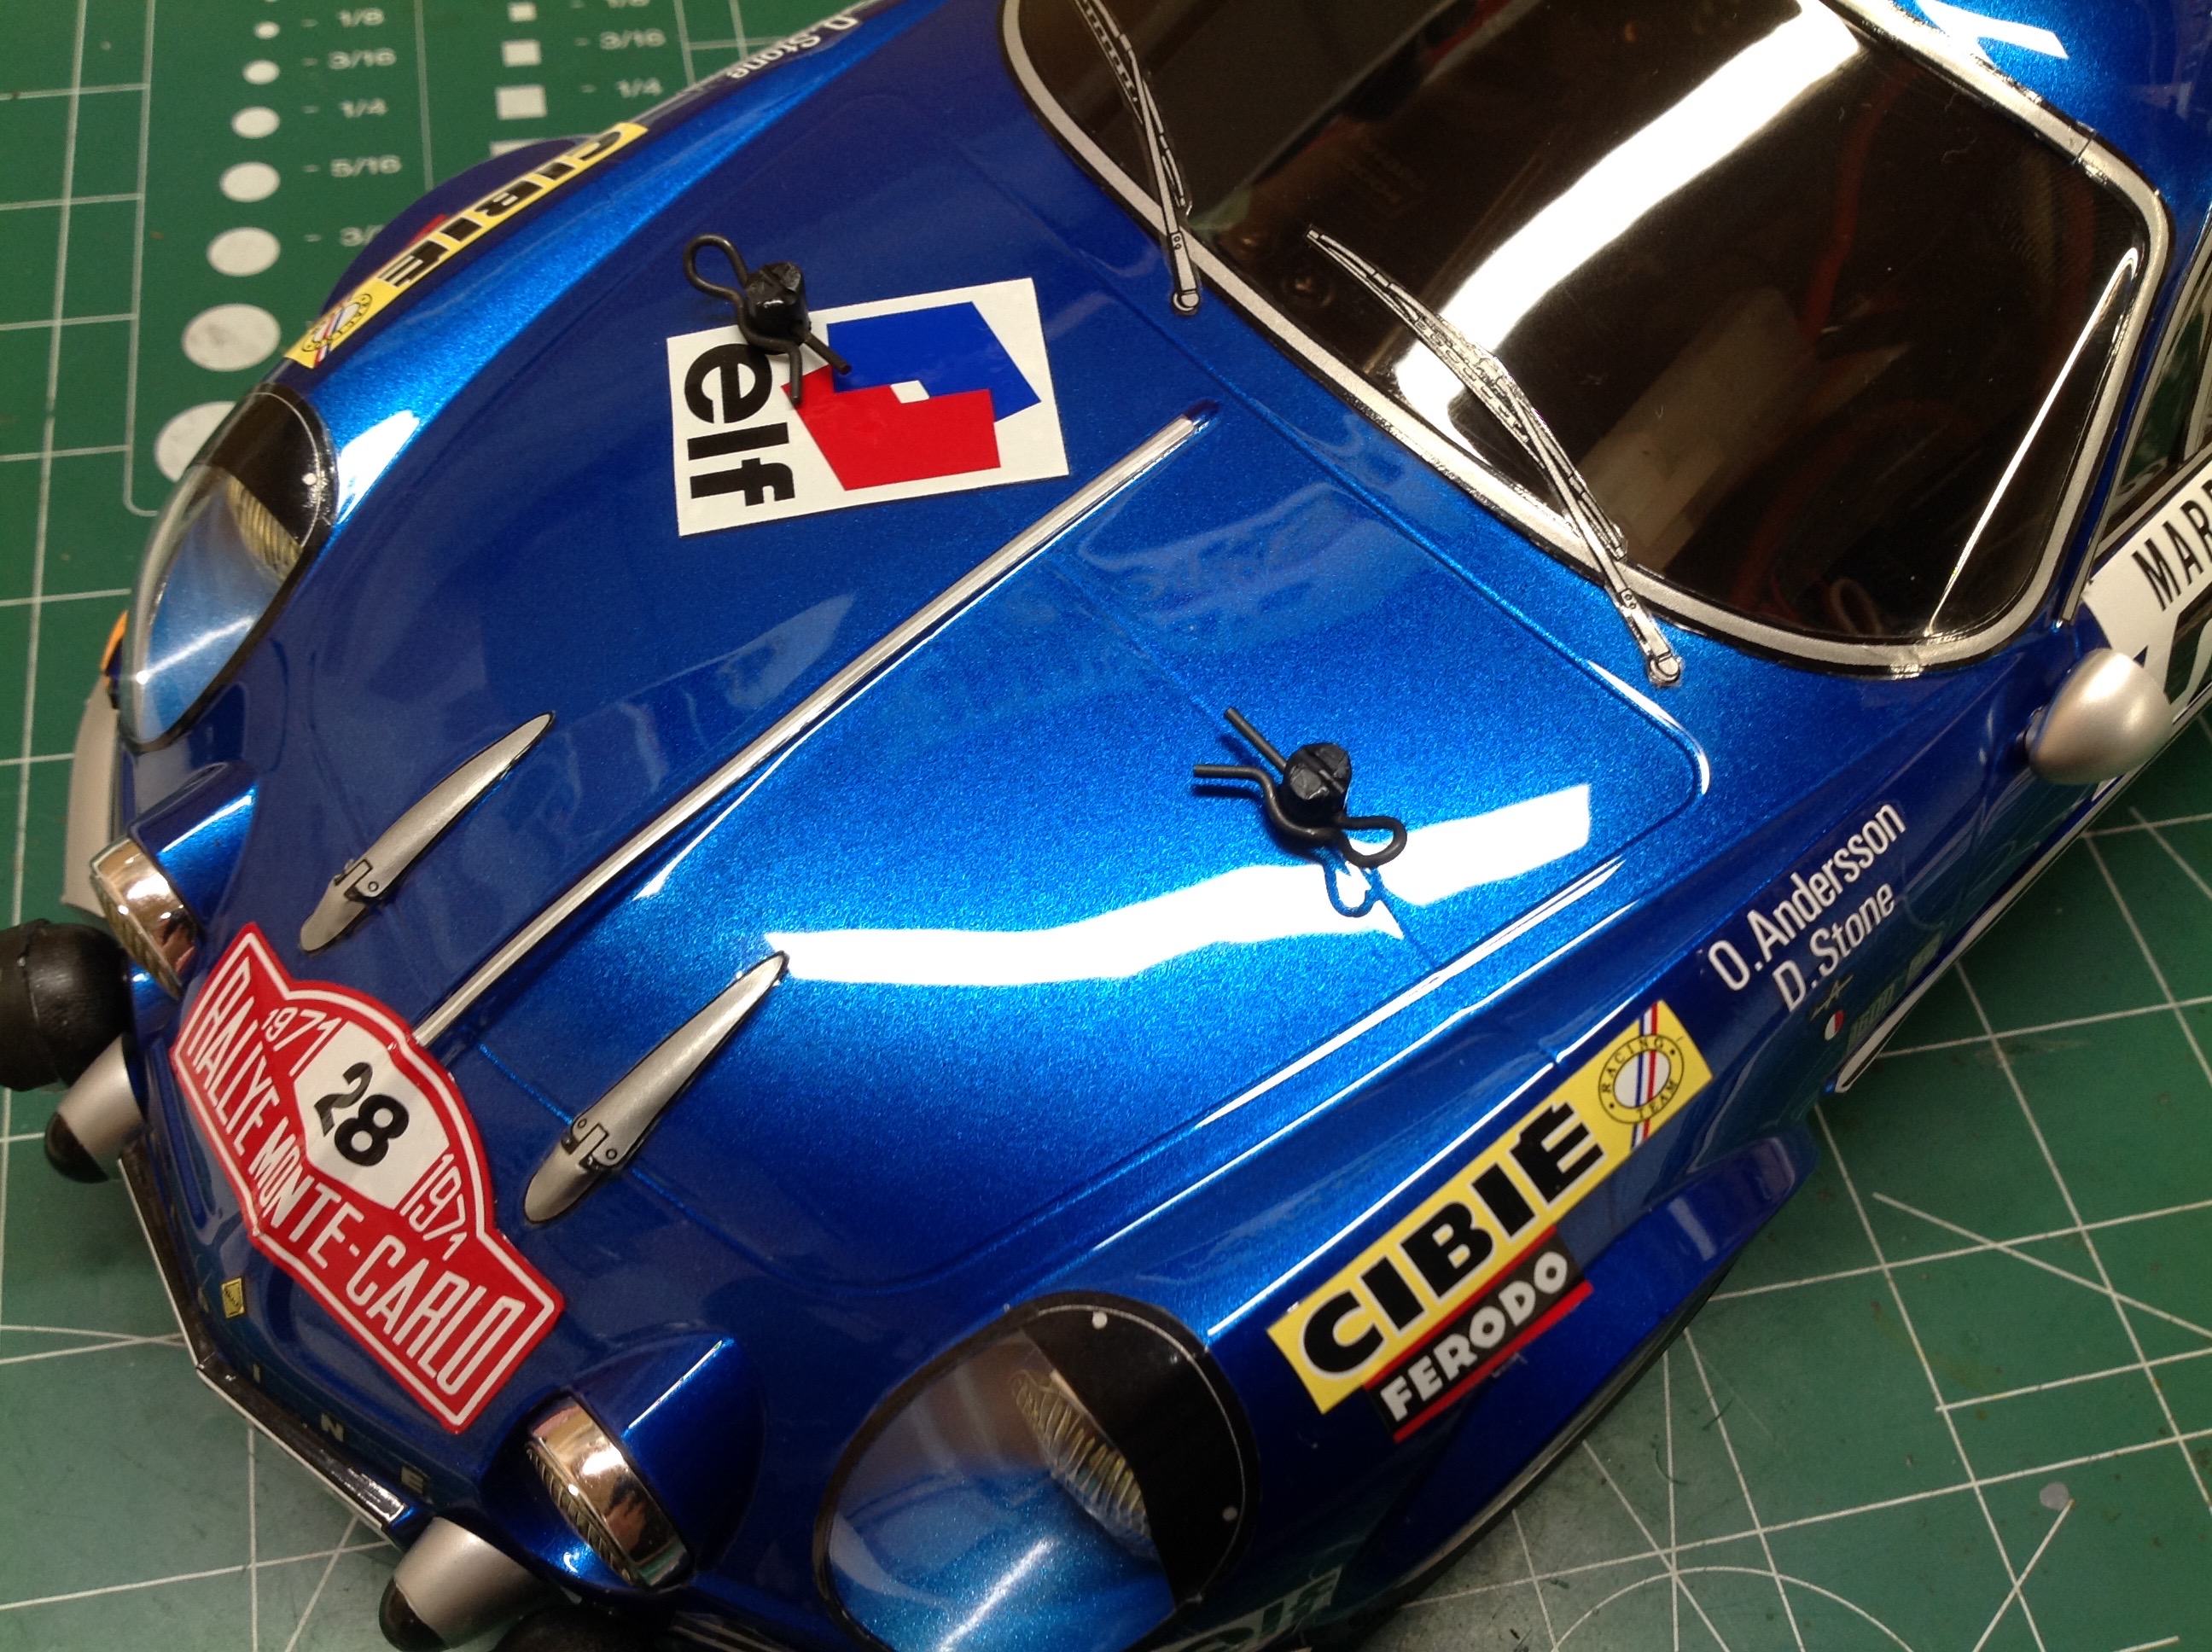
Every time I paint a new Lexan body I marvel at how good they look when
new. The picture on the left shows the result after applying the
metallic blue and removing the window masks. The overspray film is
still attached. On the right you can see the huge difference once
the decals and body accessories are installed. The visors over
the top of the fog lights are actually flexible rubber sheets.
This is a close-up of the paint just to record how nice it looked before I started driving it and inevitably screwed it up.
©2018 Eric Albrecht