Tamiya Rally Beetle Project
Page 1: Assembly
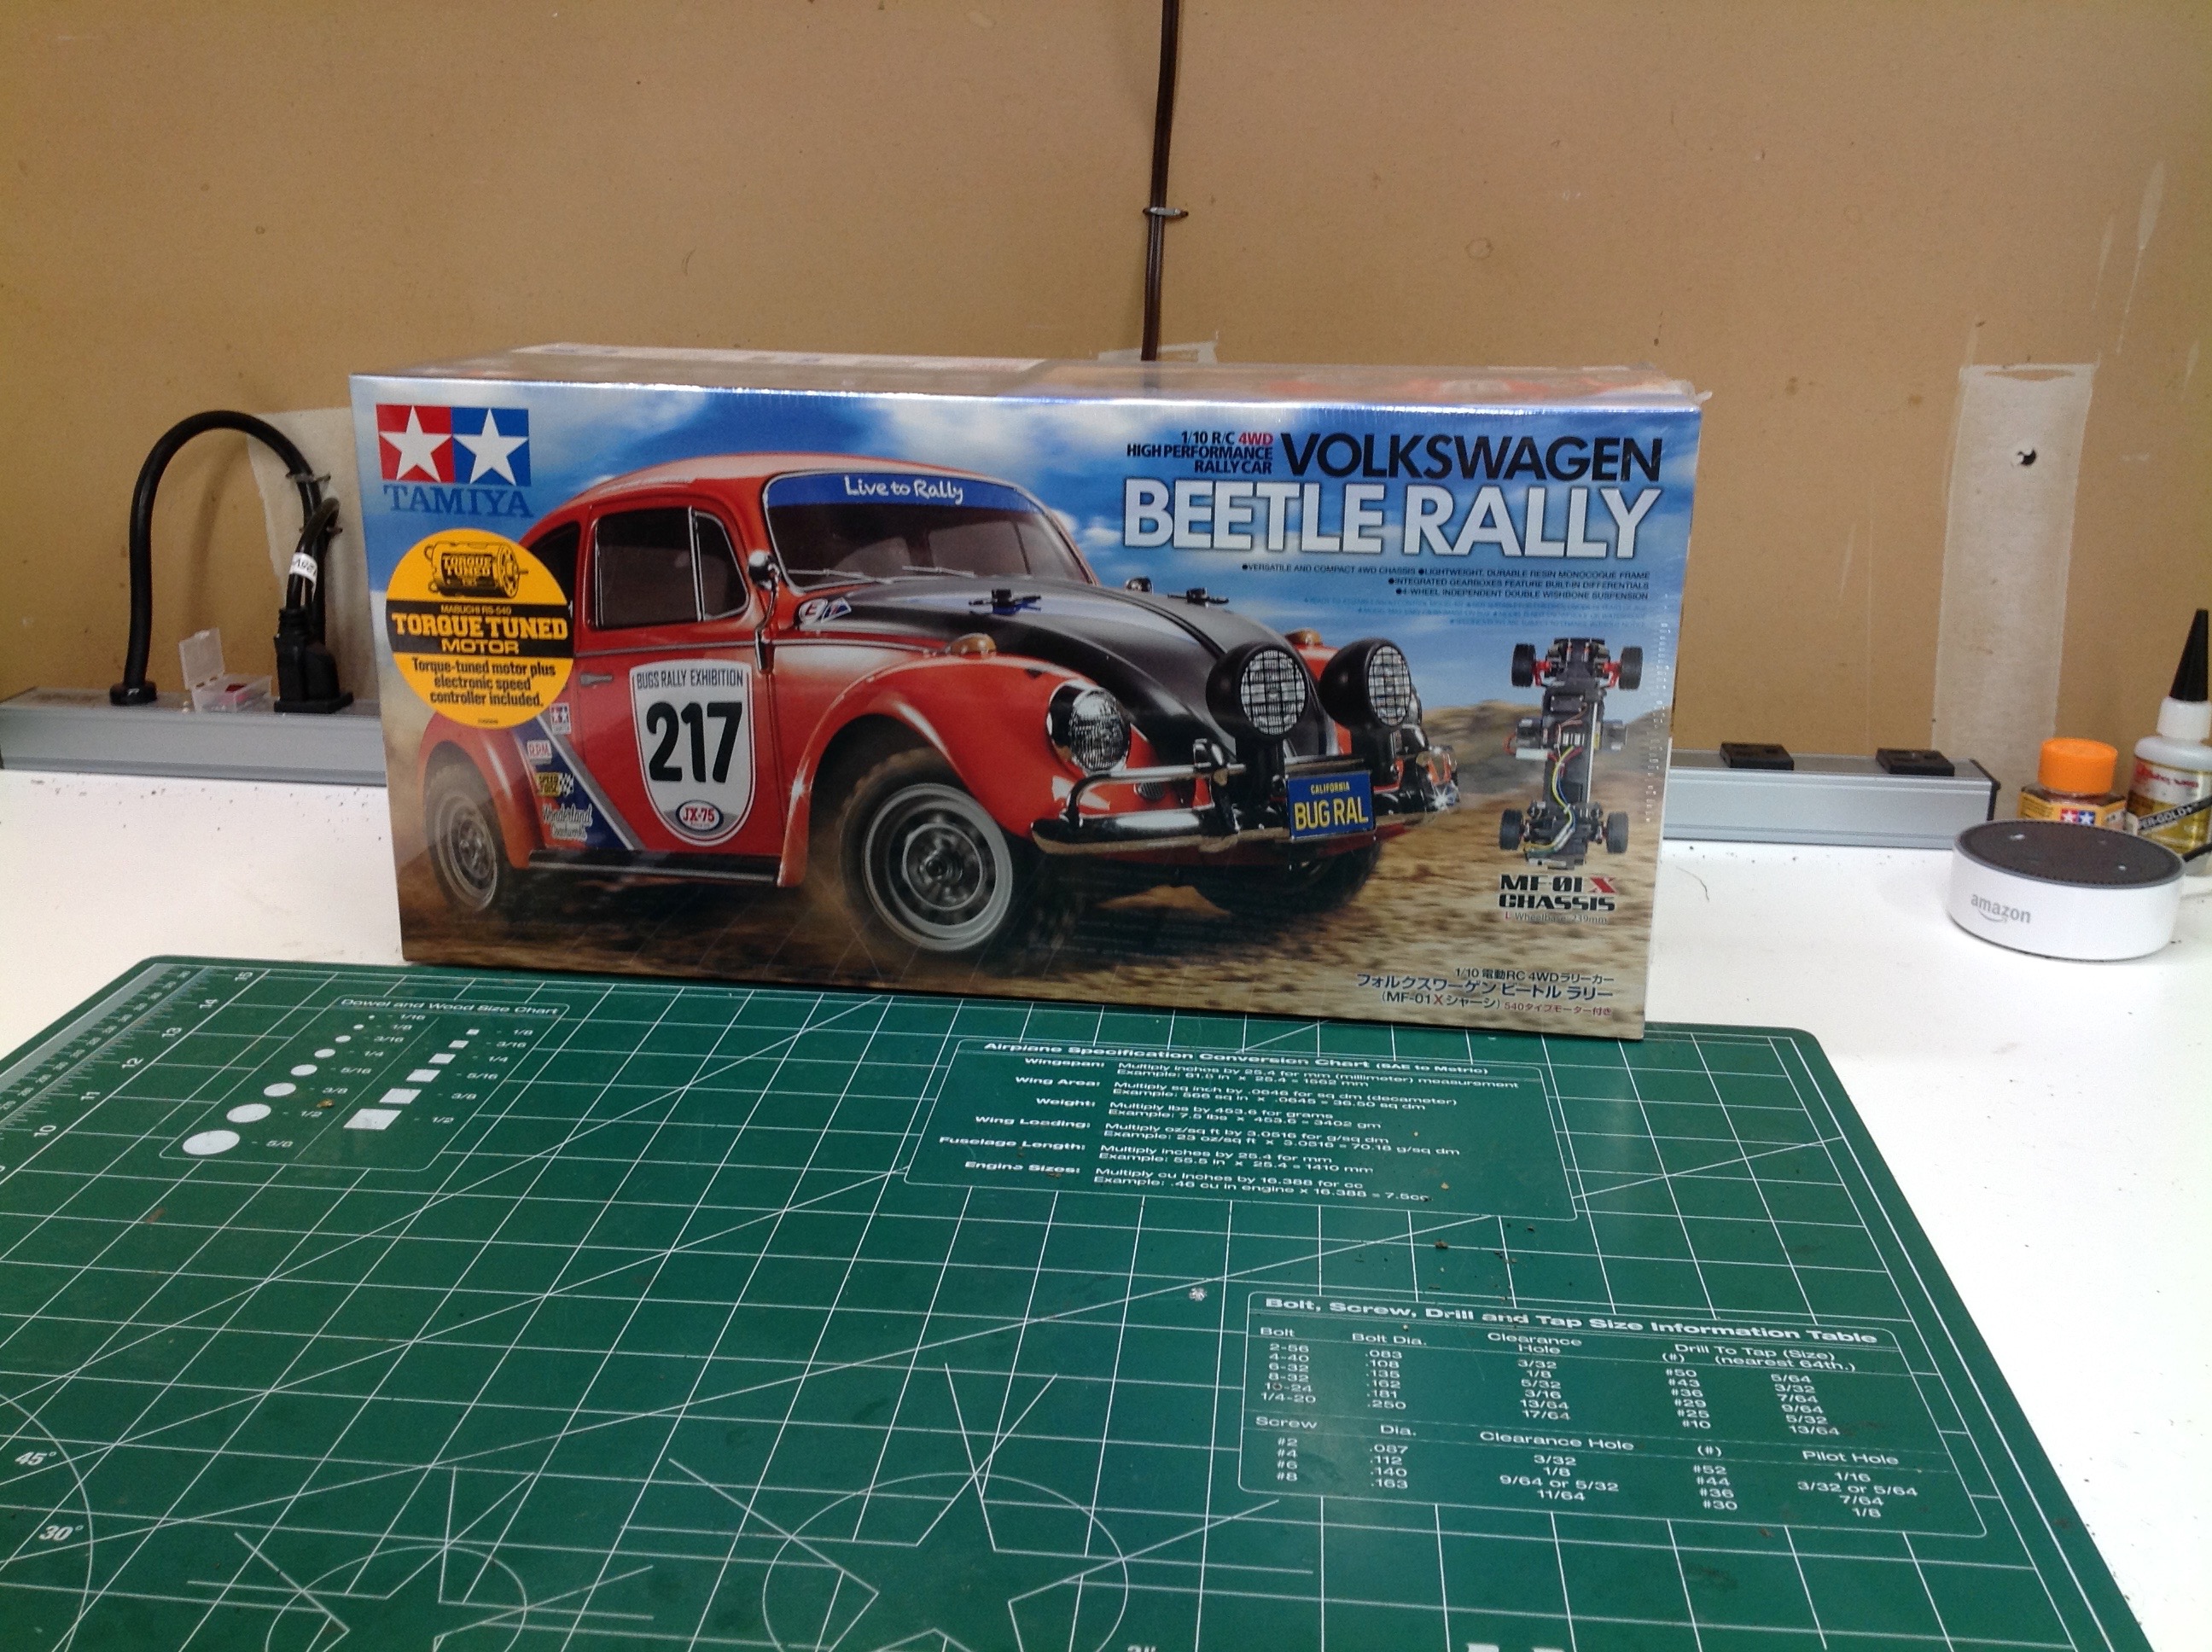
This build was a quick one: I finished it in a single long evening (not
counting painting). The model is quite simple and comes in a box
barely larger than the body shell. The box art is a photograph
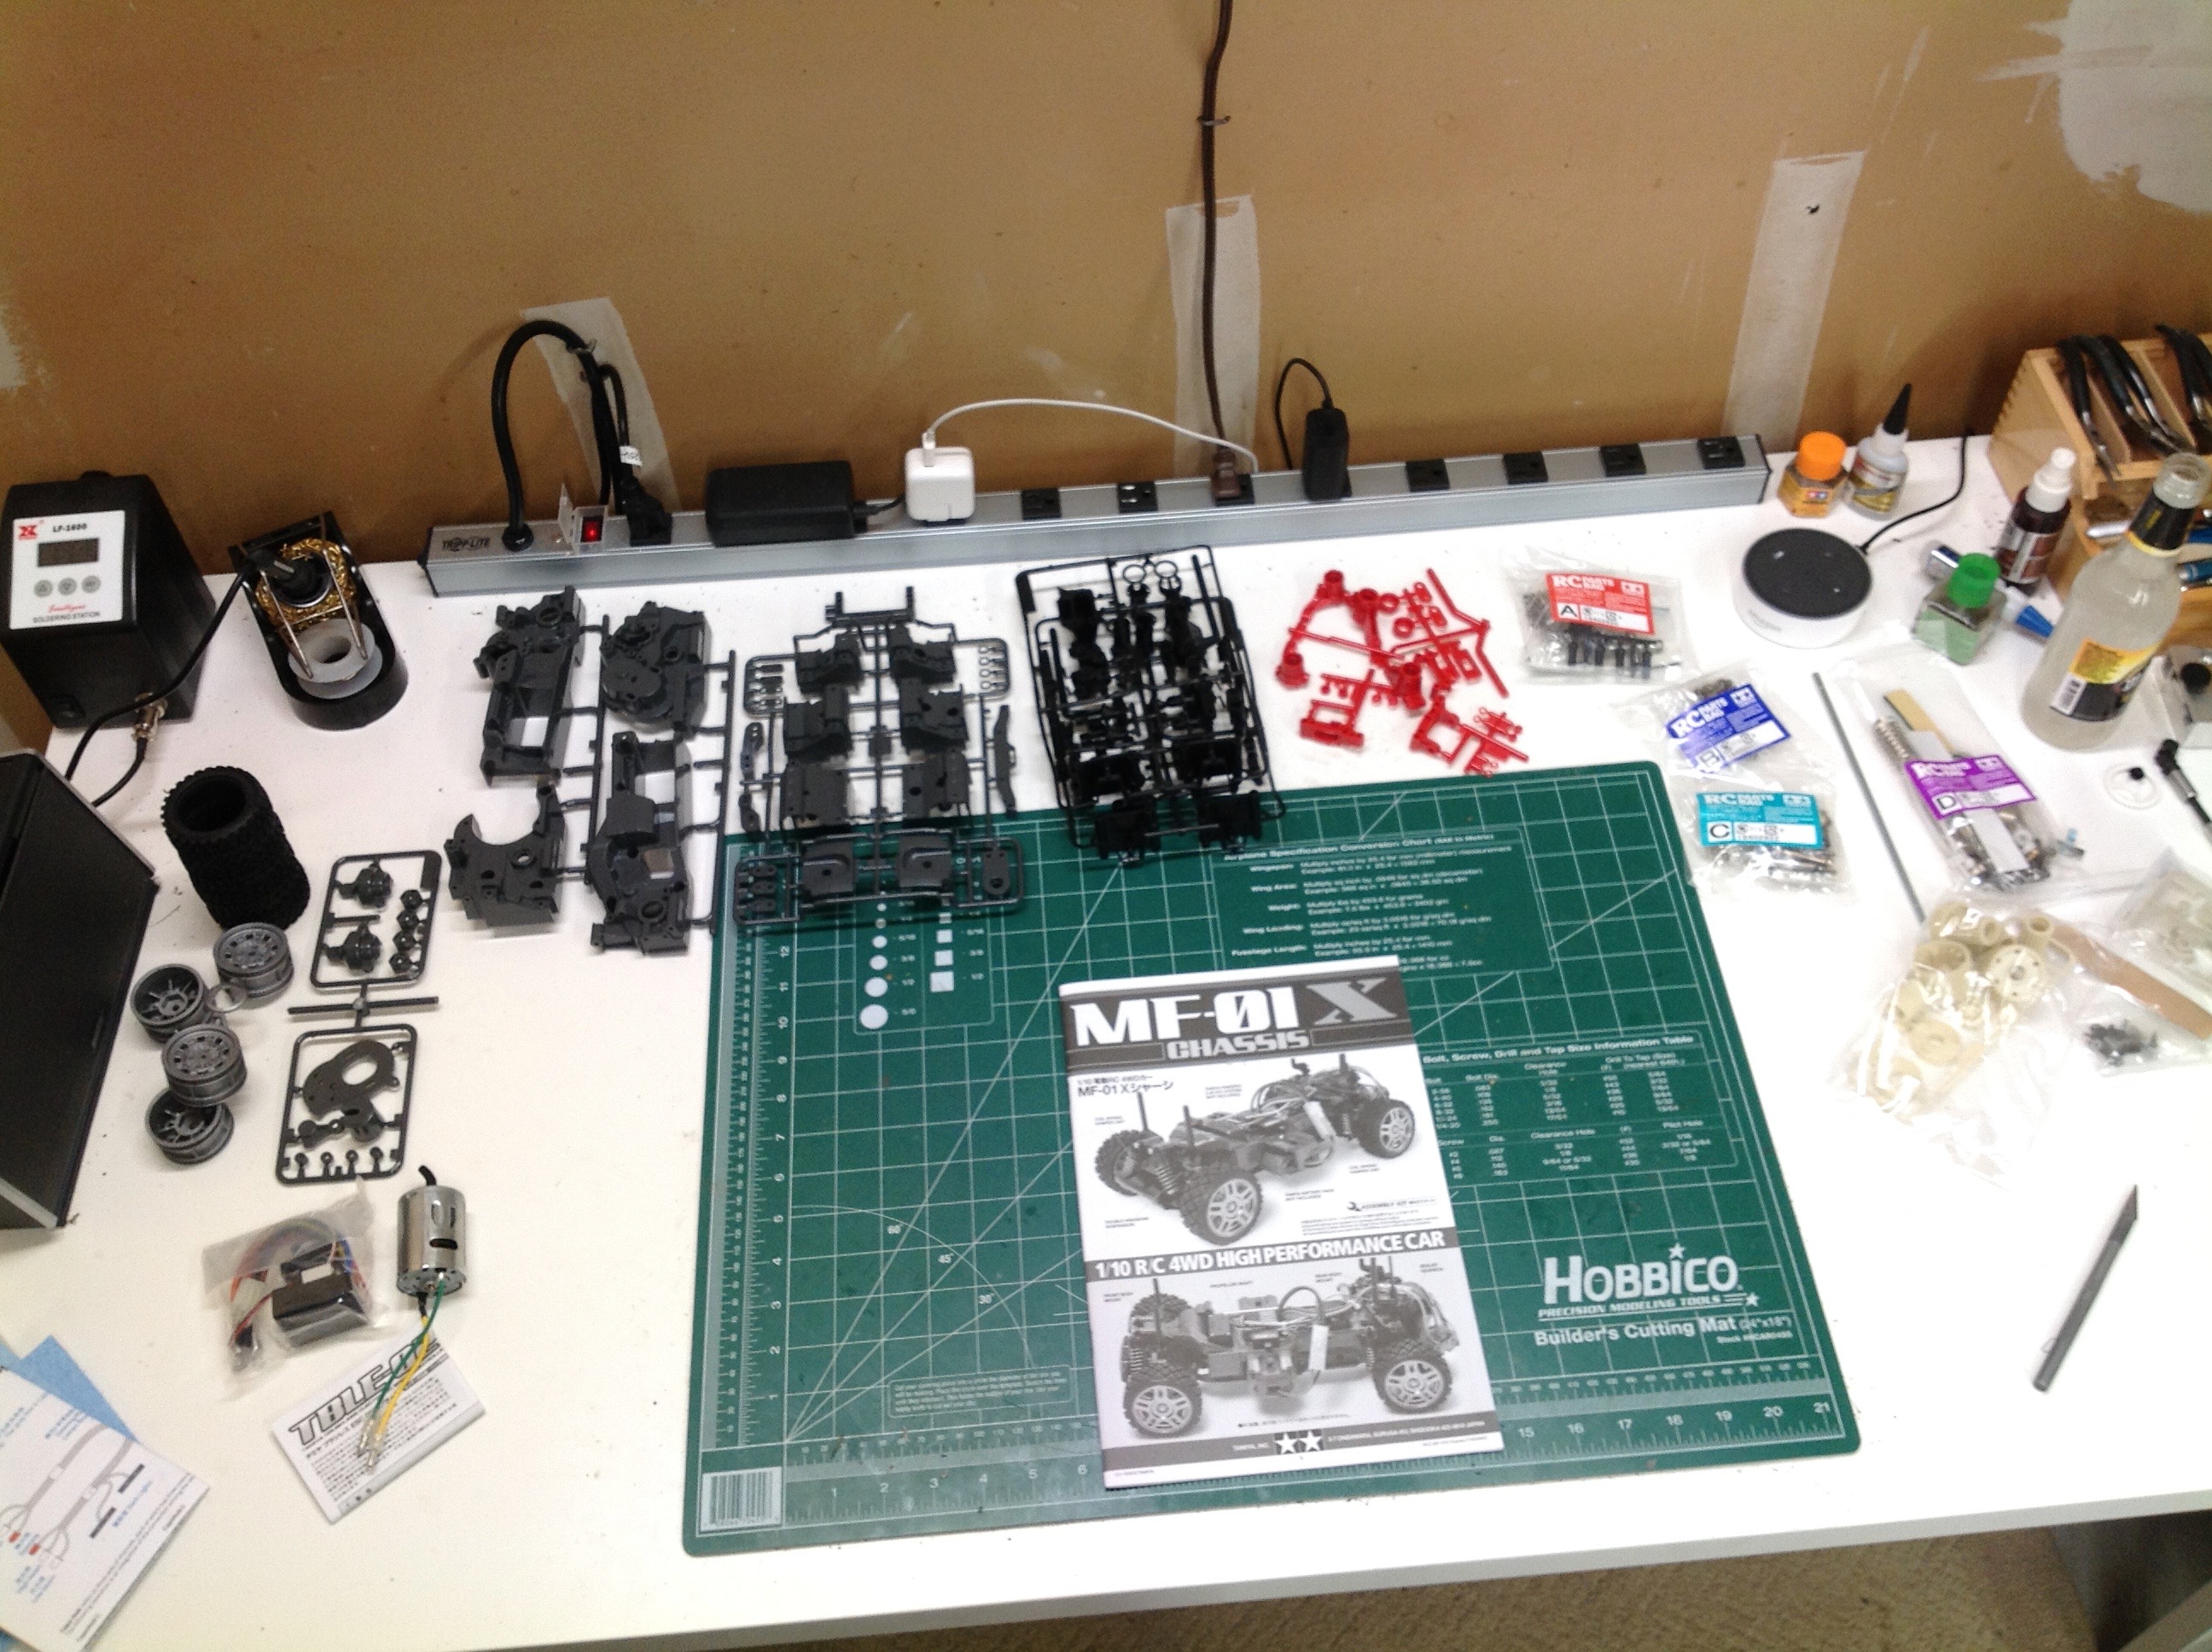
rather than the more traditional art. Inside the box is a pile of
sprues, some hardware bags, the usual tools, instructions, masks, and
stickers. There is also a Torque Tuned 25T motor and a TBLE-02s
speed controller. The kit uses plastic bushings but I immediately
built the model with full ball bearings.
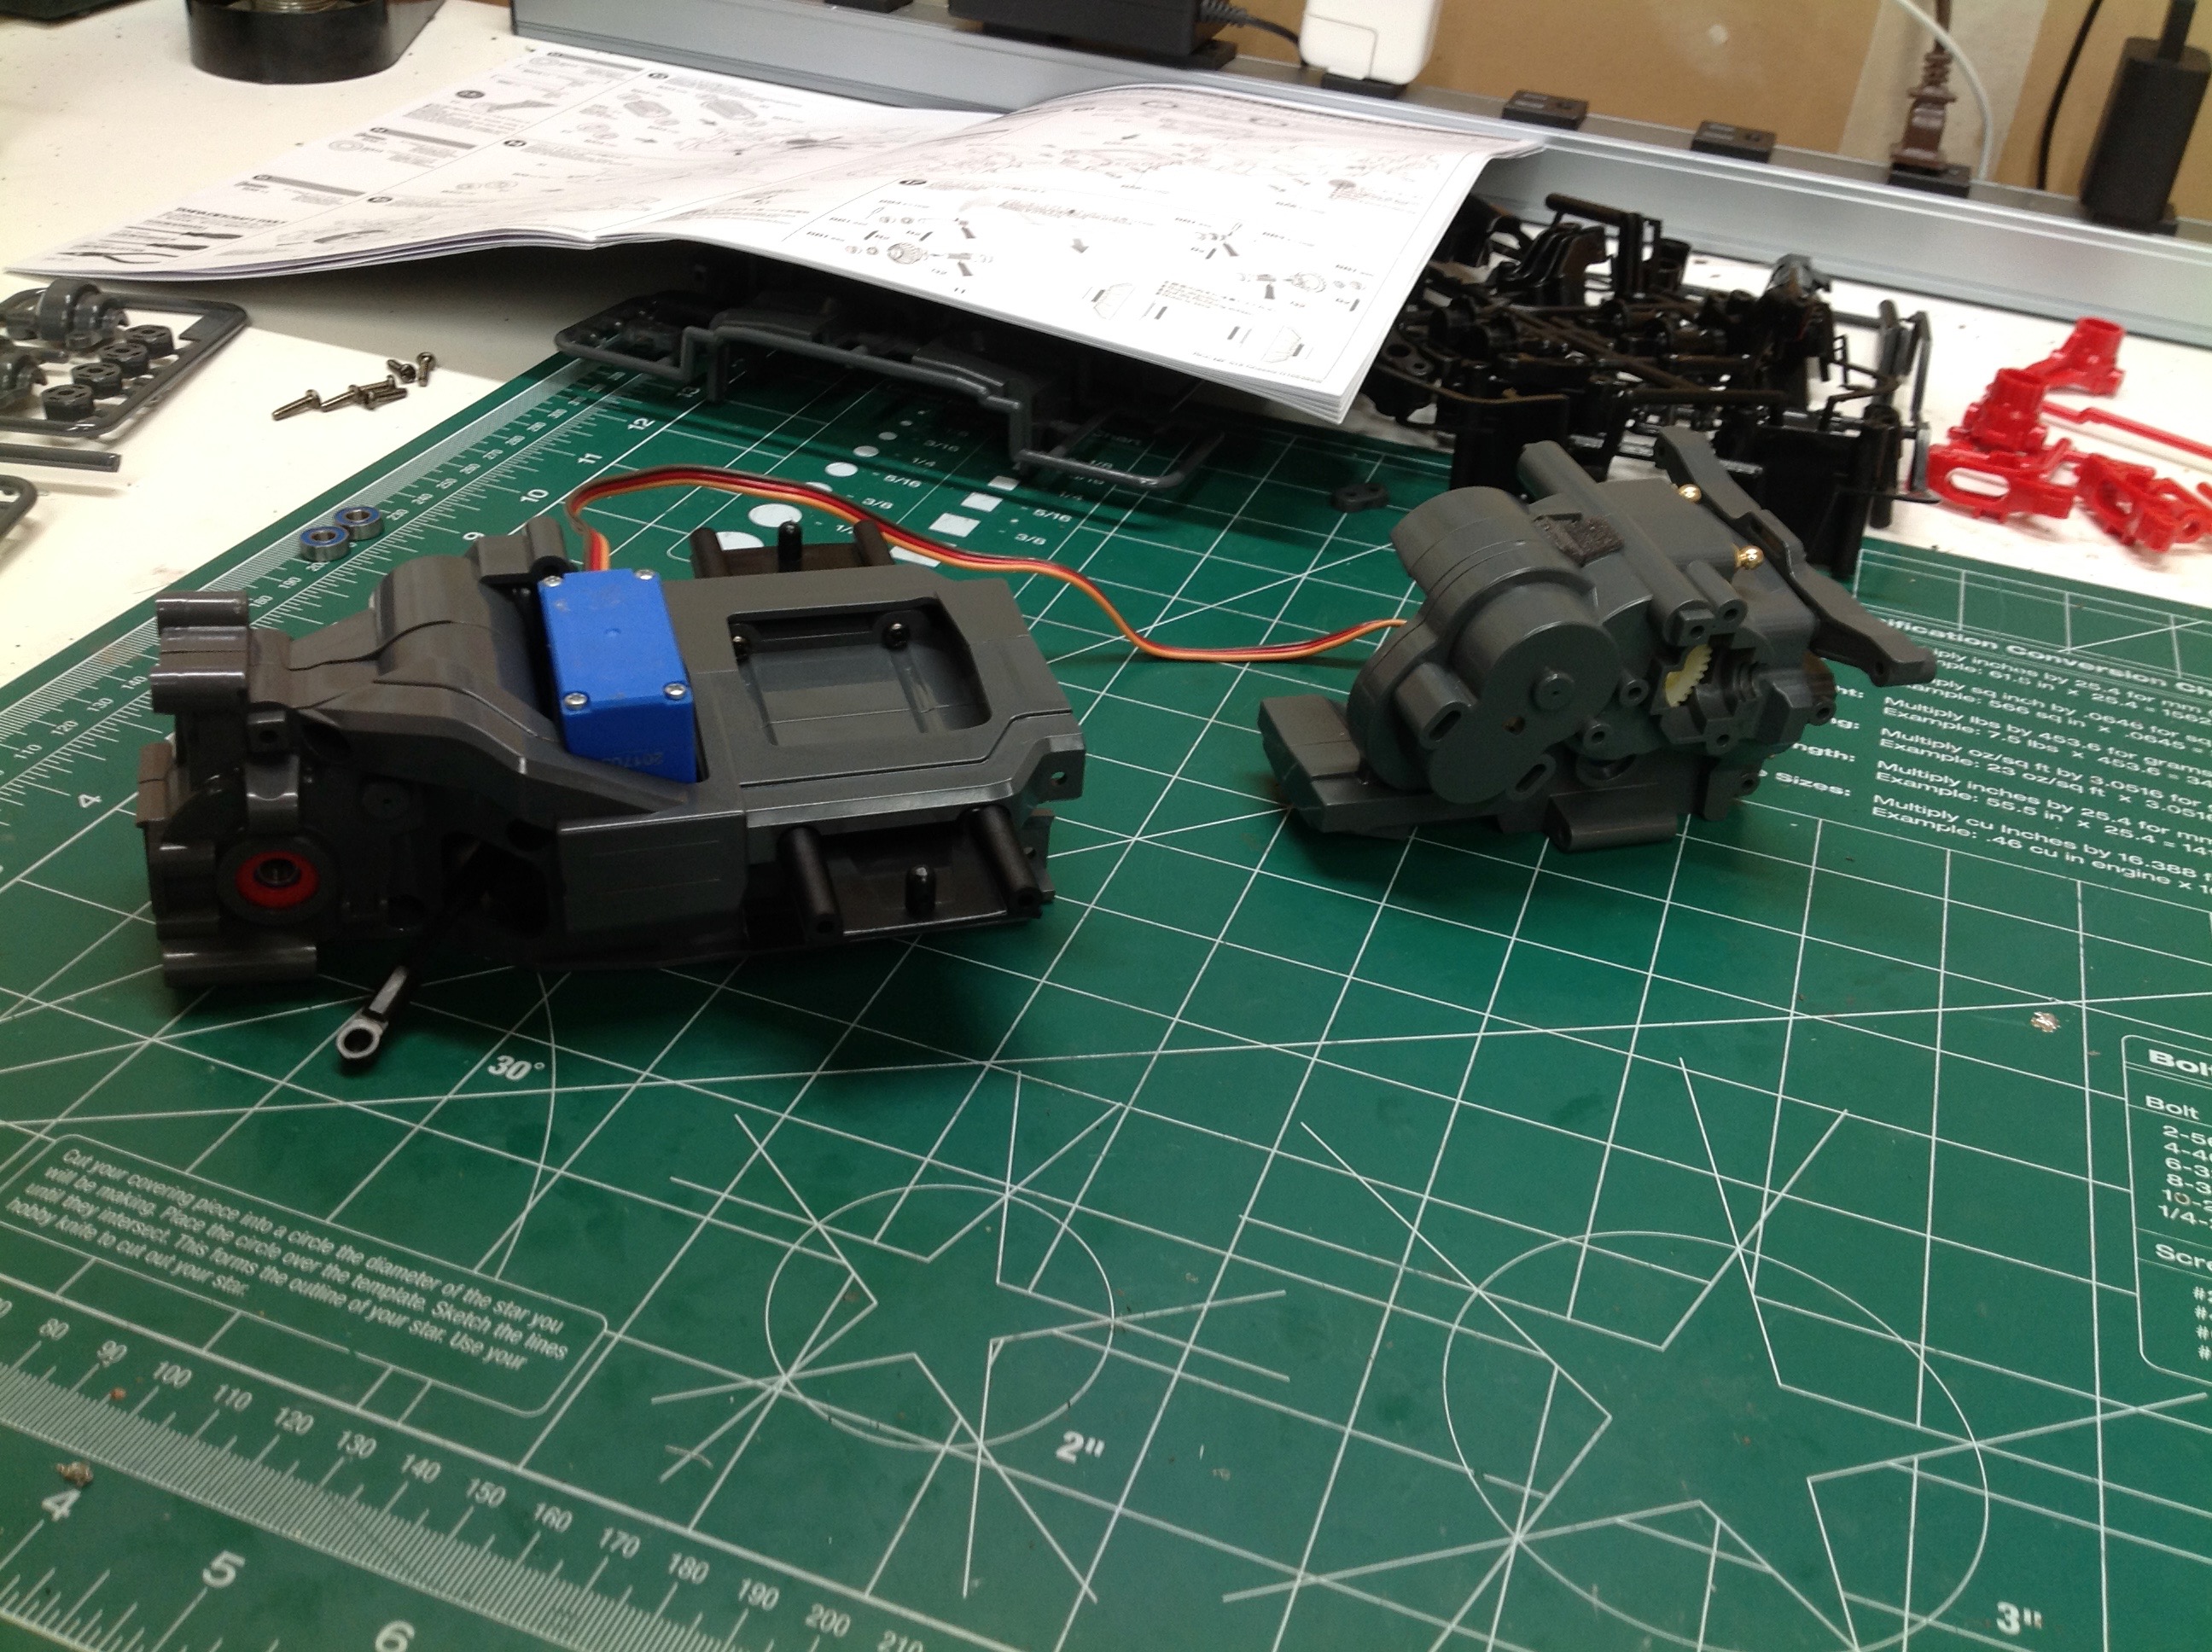
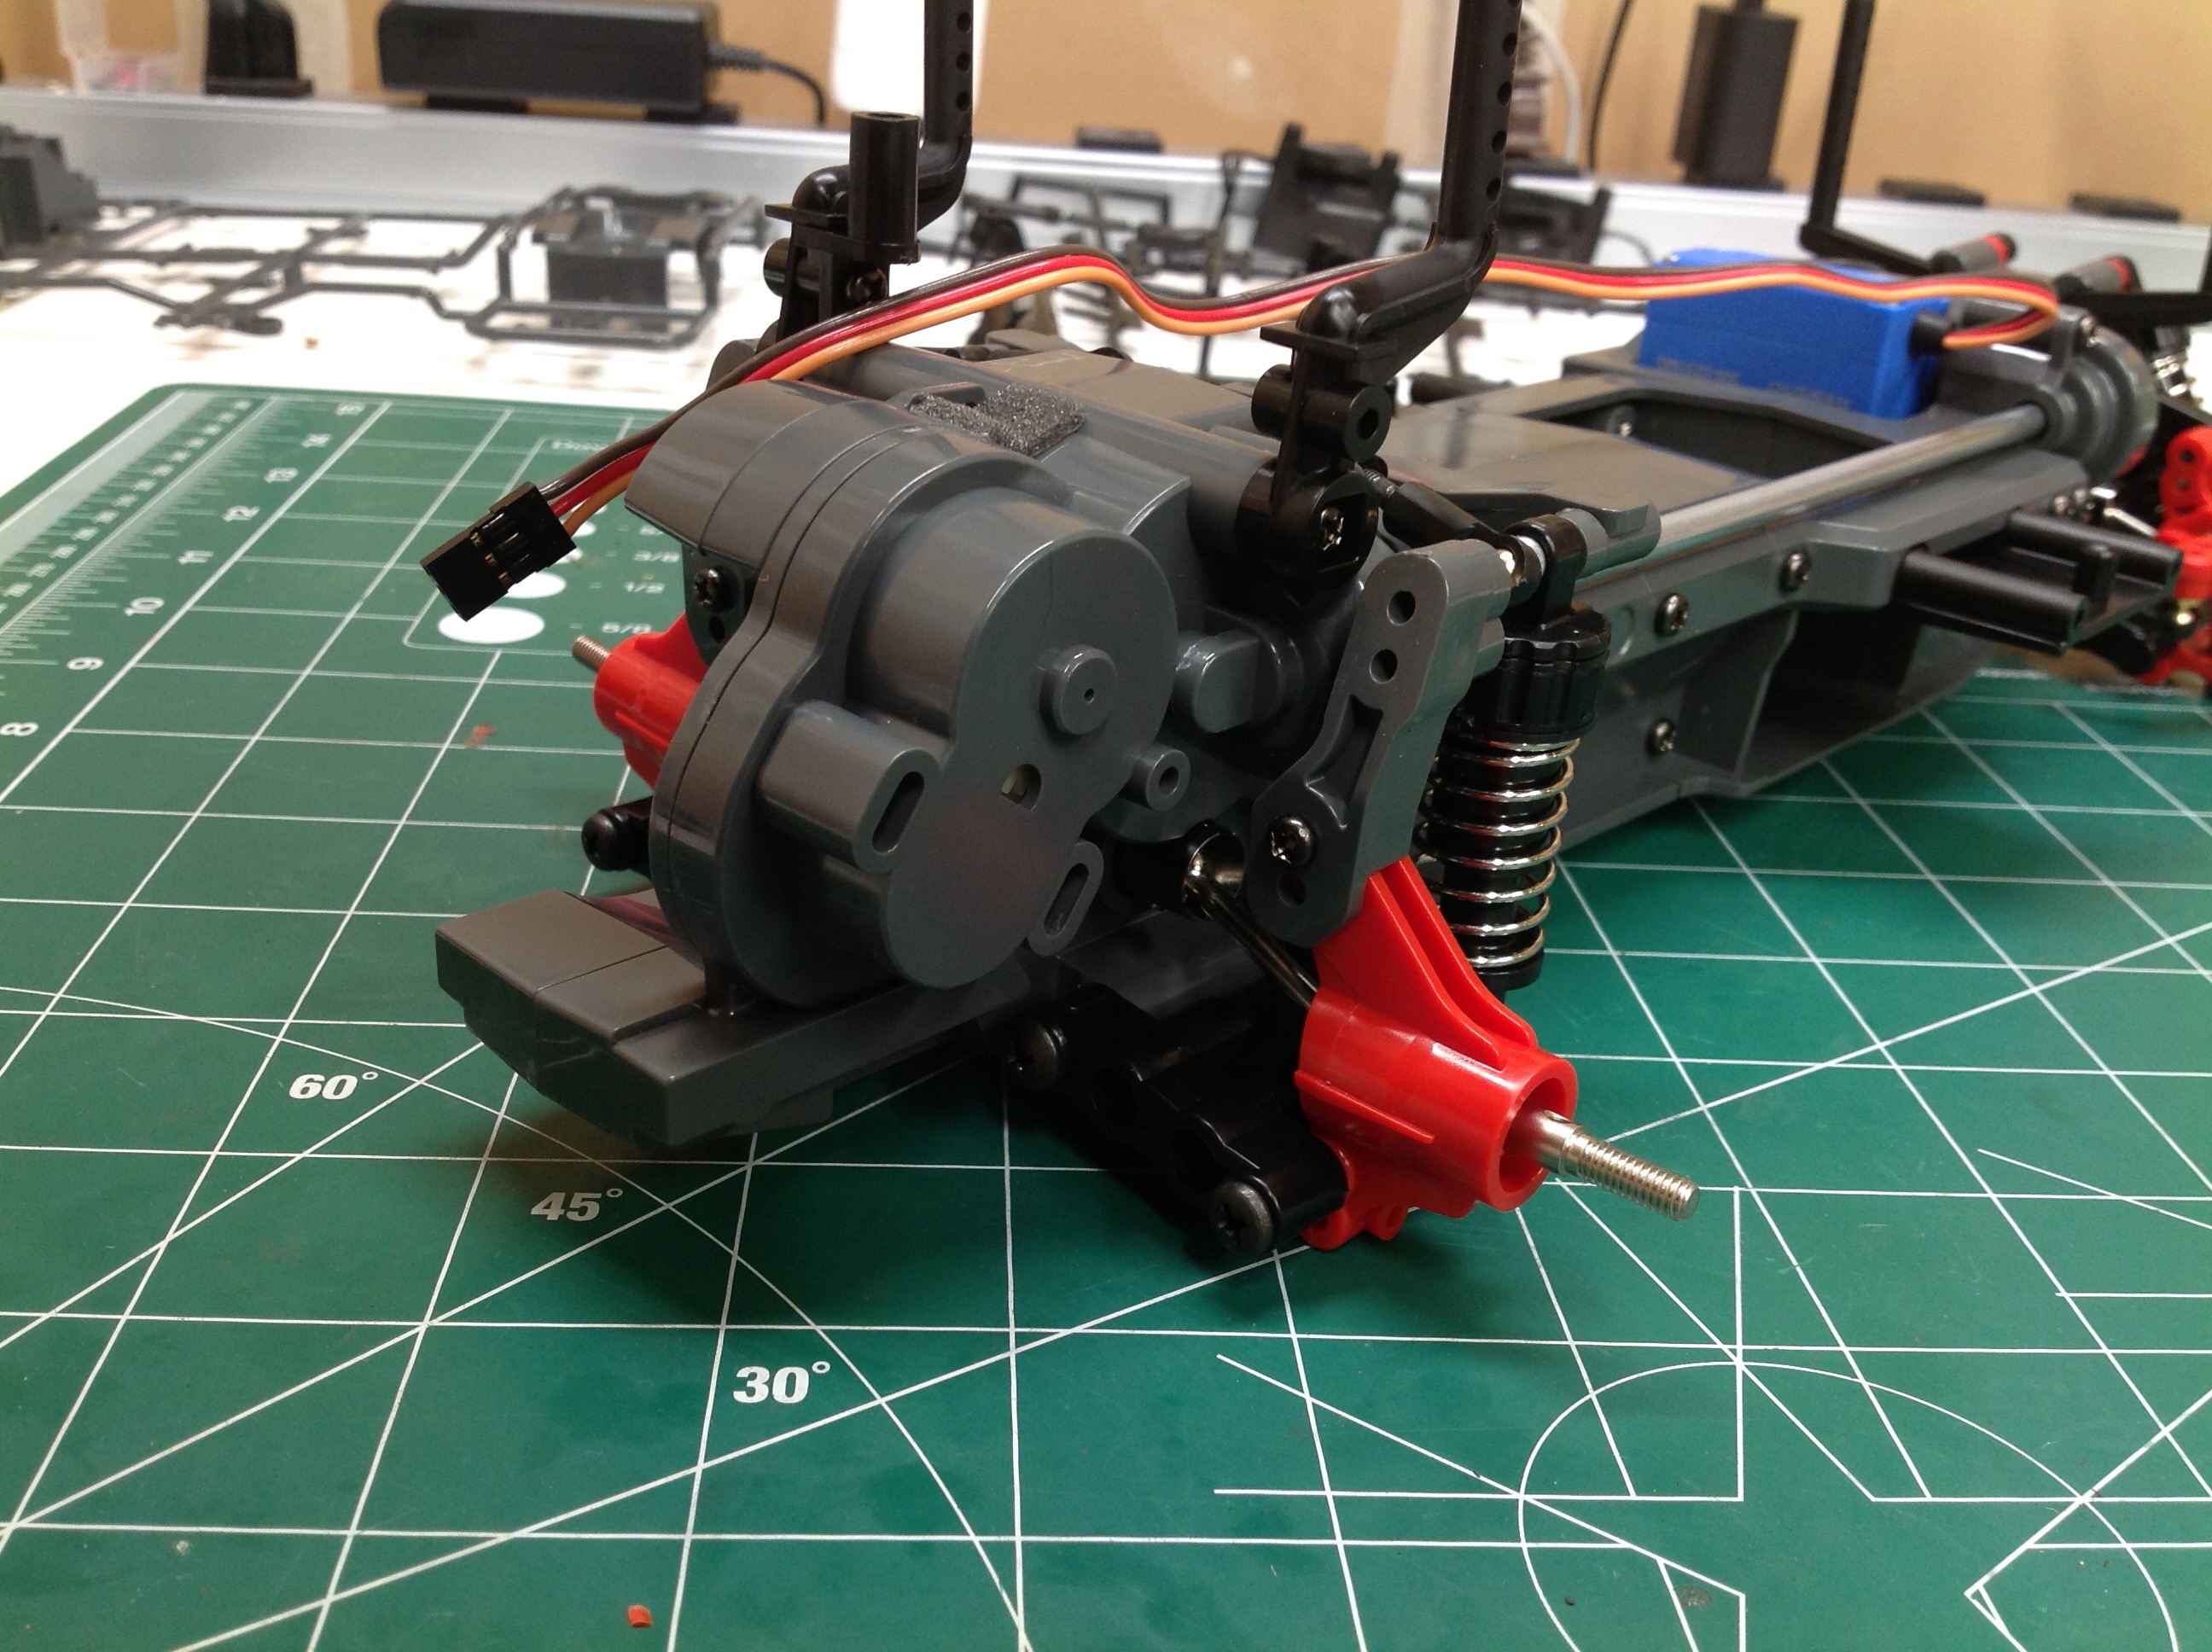
The build begins with the front and rear gearboxes. Because the
model can be built with multiple wheelbases, the gearboxes are modular
and just need to be bolted to the chassis center sections. Each
gearbox houses a plastic bevel gear differential with the rear also
containing the motor mount. The front encloses the steering
assembly. The servo is almost totally encapsulated. I used a
metal gear waterproof Savox servo which is complete overkill for this
model but I happened to have it lying in my parts box from another
model. There are no bellcranks, the links attach directly to the
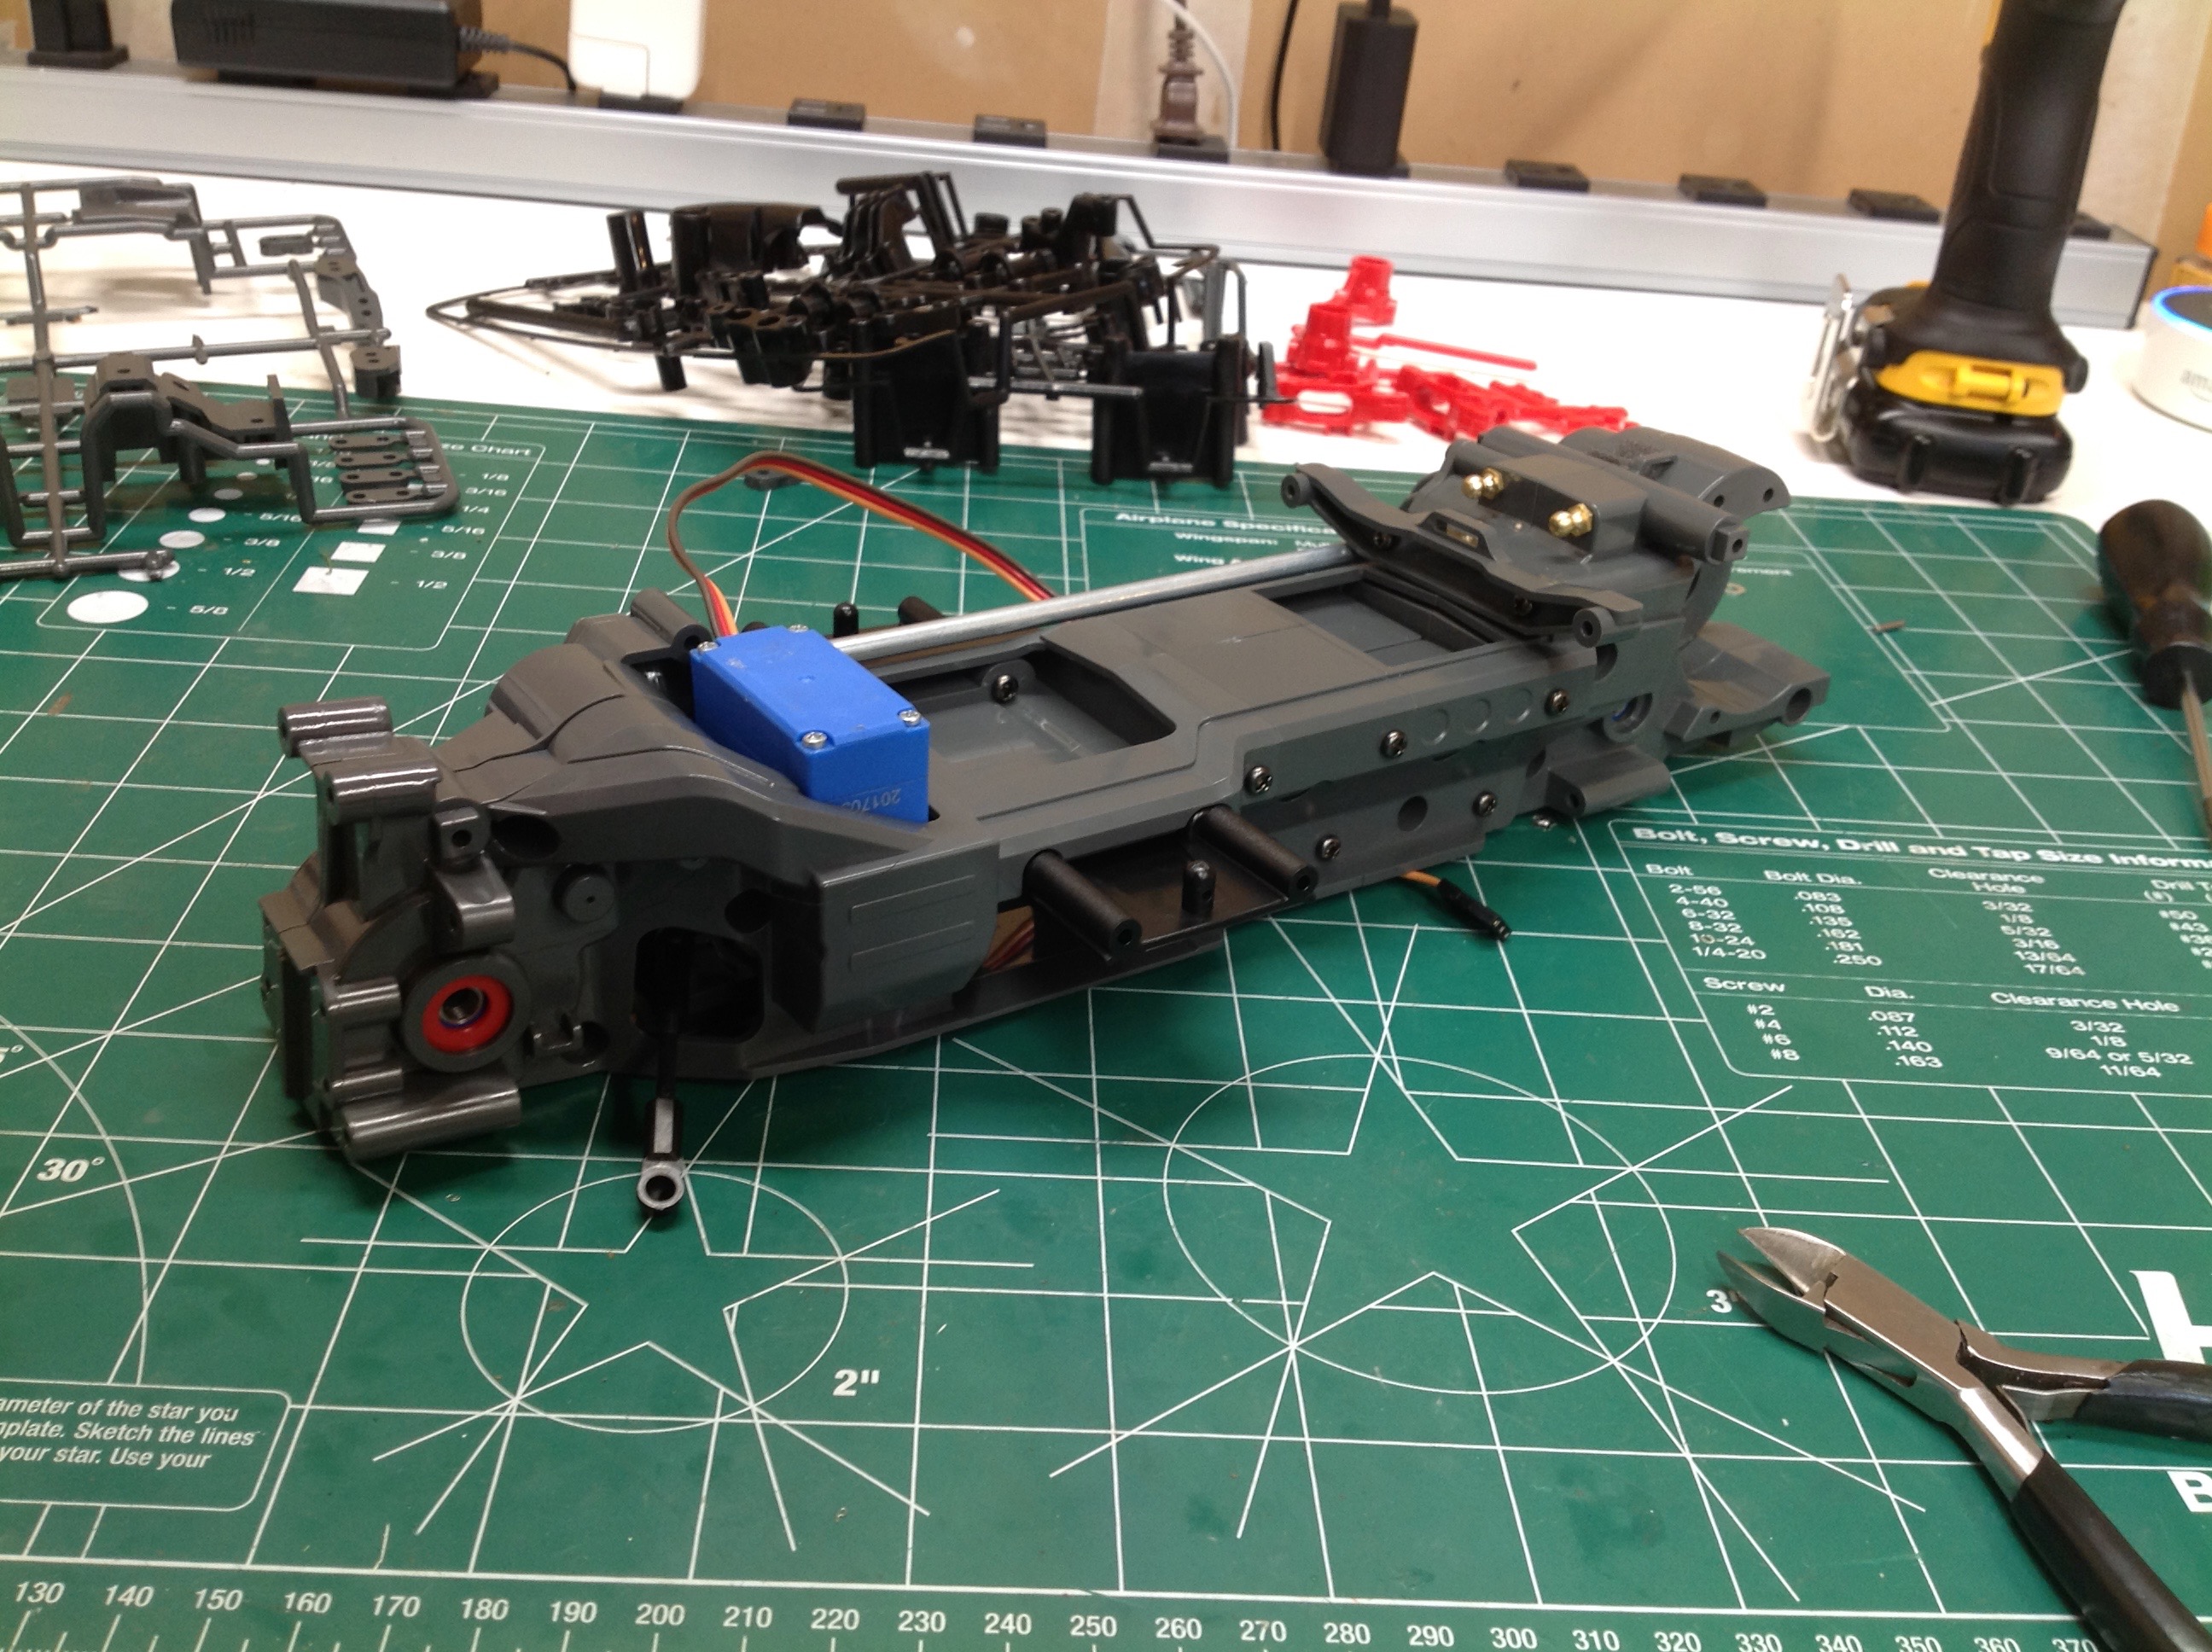
servo saver on the spline. The short wheelbase version uses a
single long chassis plug, the medium uses both a long and a short
chassis plug, and the long uses two long plugs. I've got the long
version. It is really important to make sure the screws are quite
tight because all structural loads are carried between these body plugs
and they are only supported with 4 screws each. Different length
prop shafts are needed to connect the front and rear gearboxes depending
on what length you are using. The kit only comes with the long
shaft.
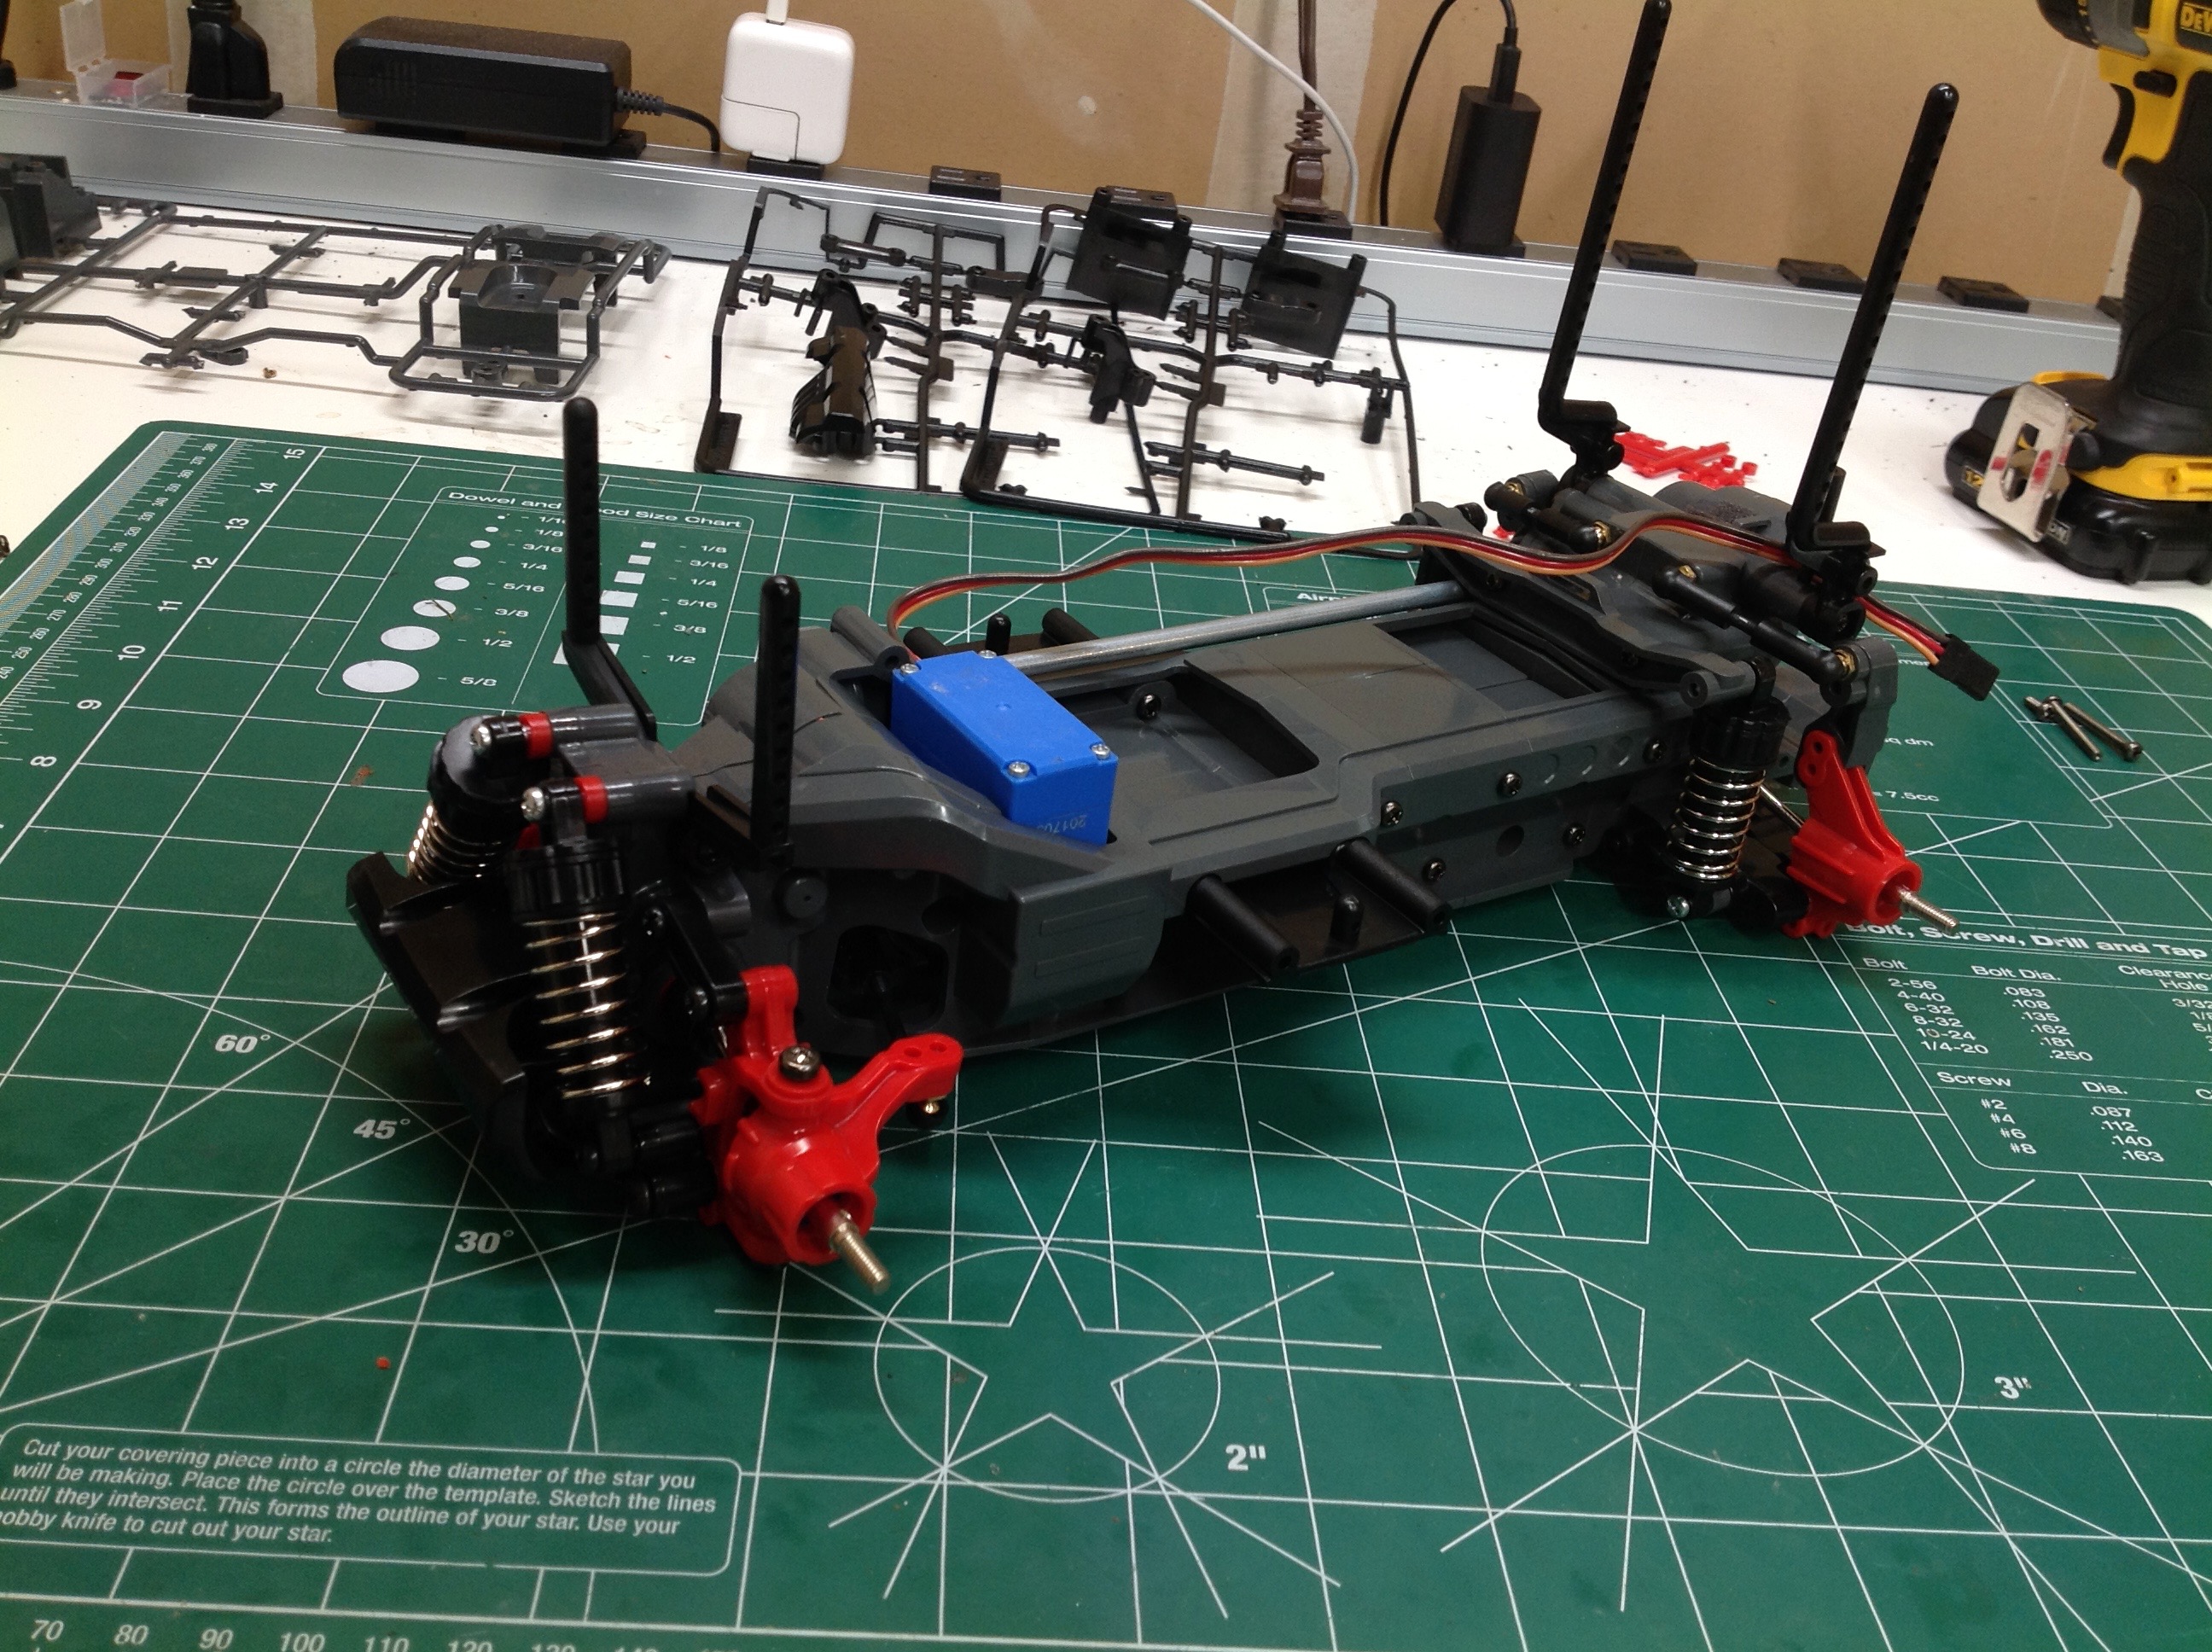
The stock steering is really bad. There is huge amount of wobble
in the servo saver. I was able to remove most of the play by
selectively sanding the servo saver parts until they clamp together more
tightly. Not sure why Tamiya designed it so loose. The
right hand image shows the completed suspension with the body posts
attached.
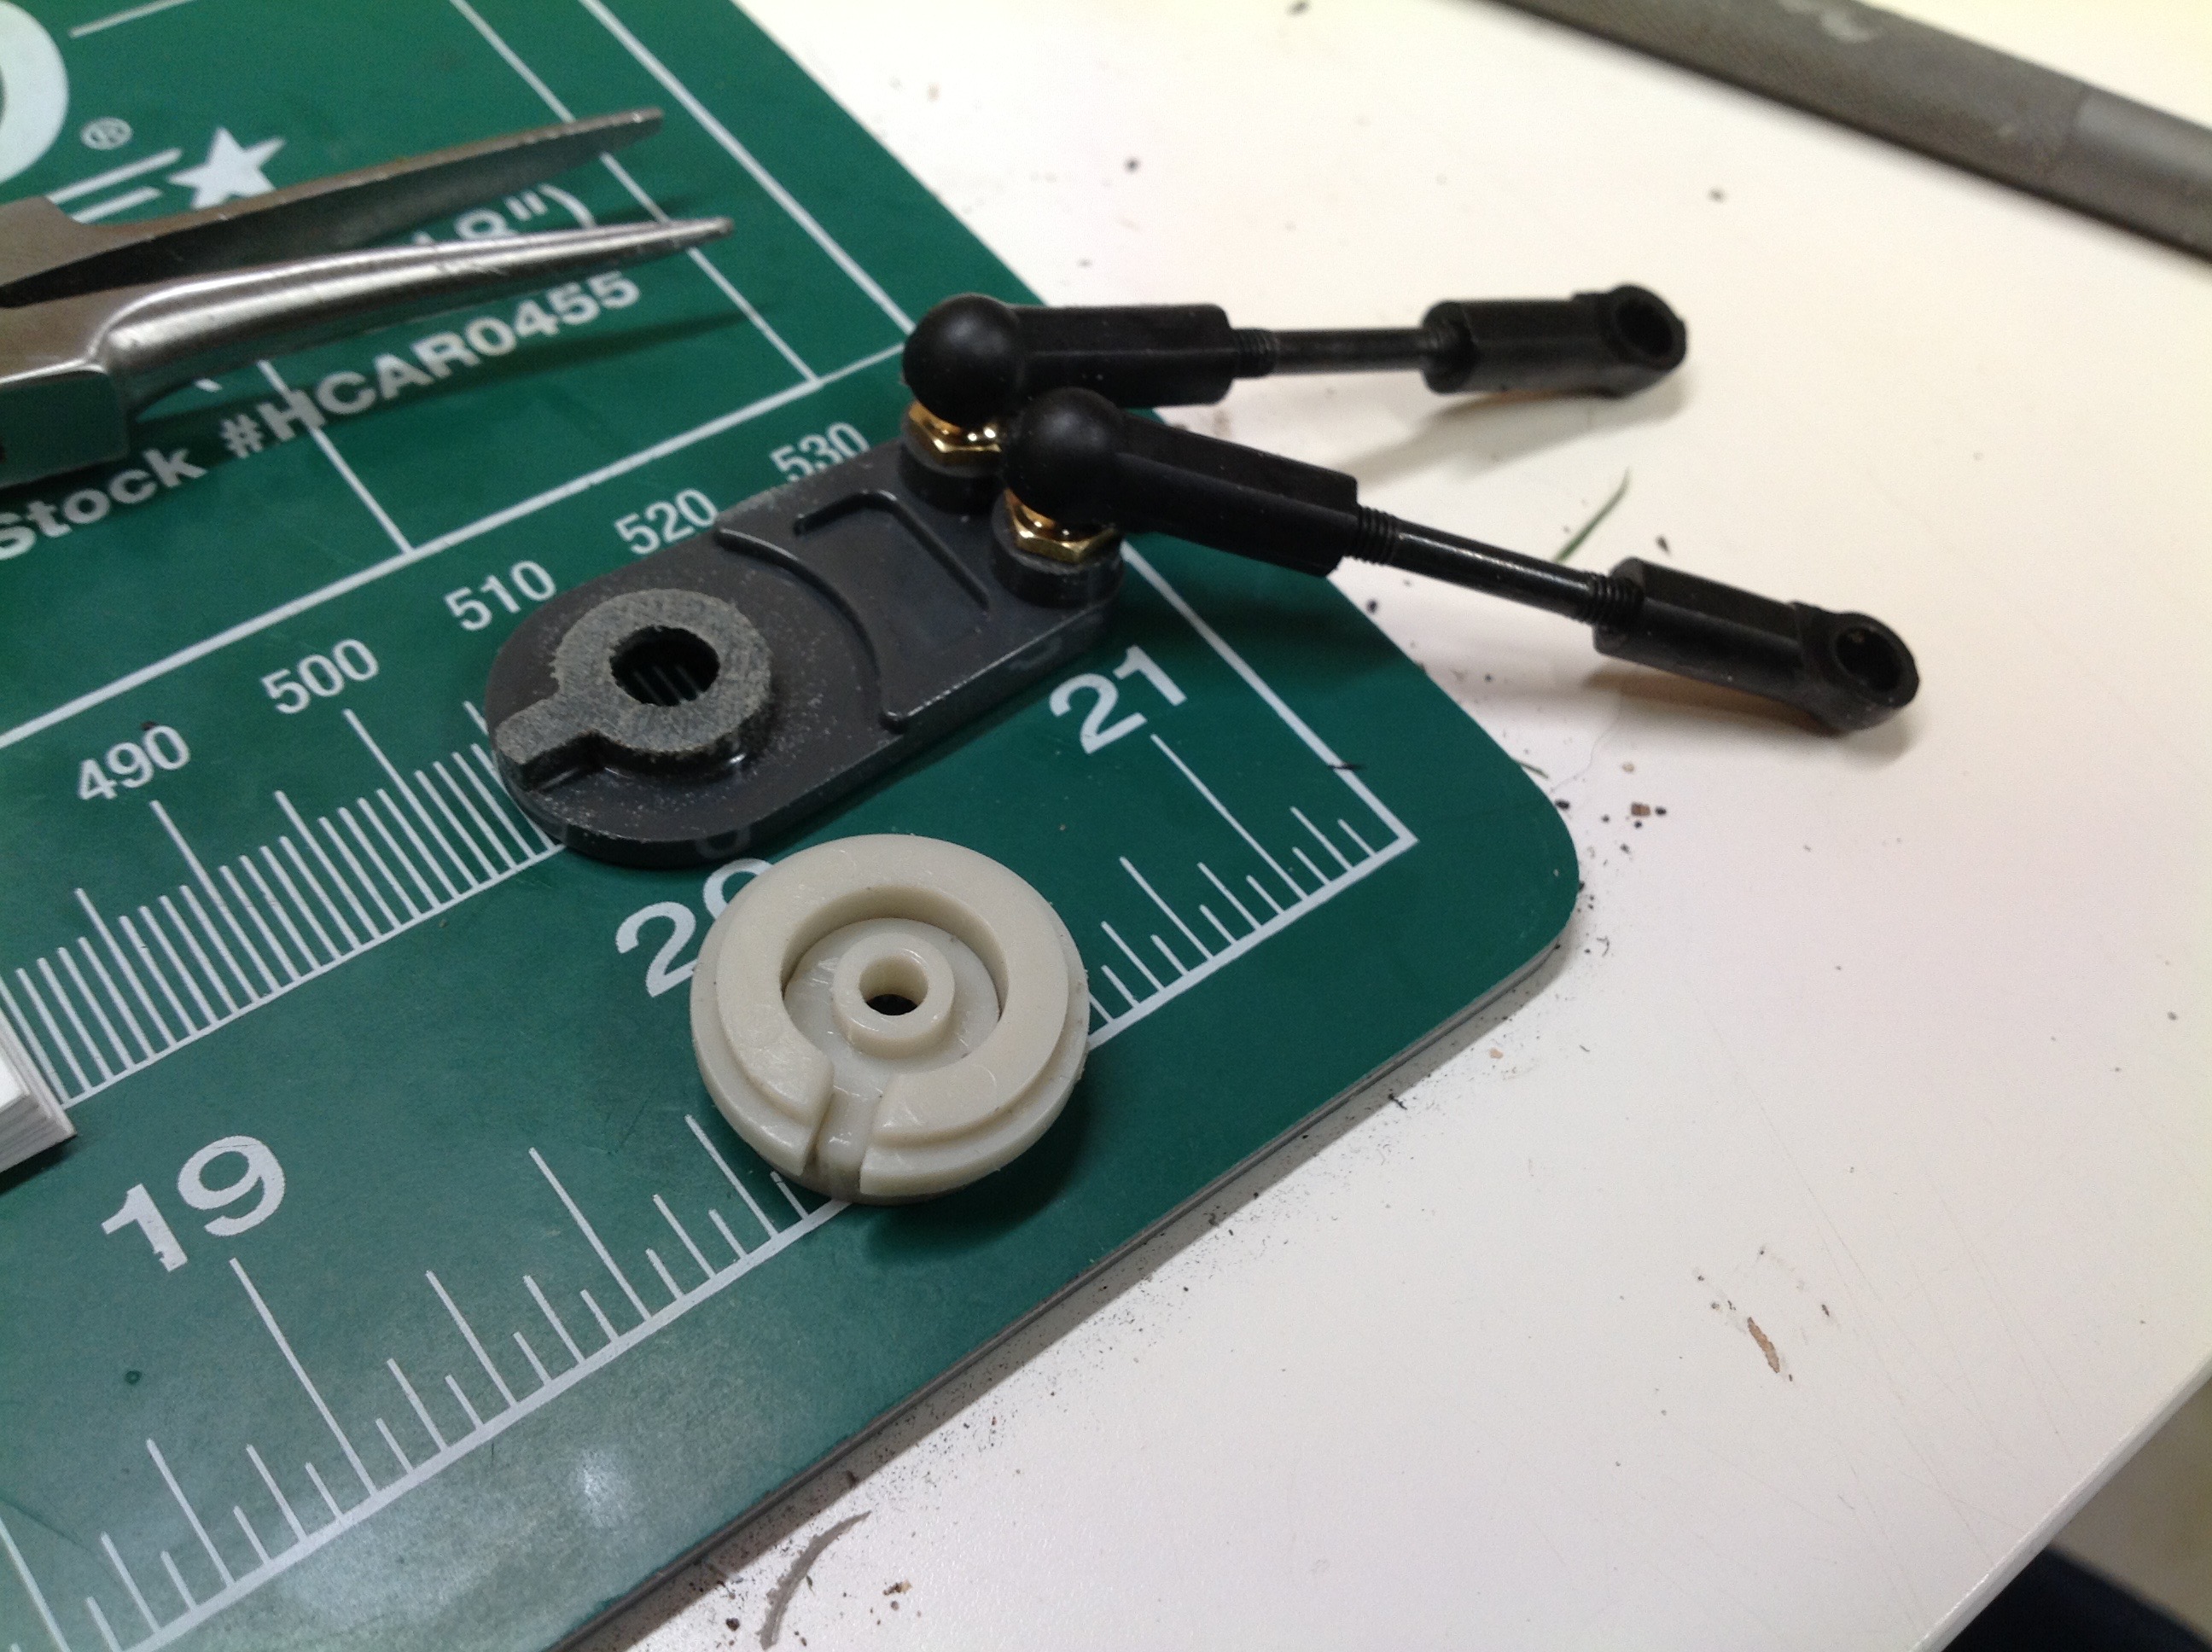
Here is the front and rear suspension. They like to call these
things "friction dampers", but really neither word applies. There
is no friction here except whatever is inherent in the shafts.
There are no rubber sleeves or any other internal features to add
friction. There is therefore no damping either. These are
really just spring guides. On pavement that's actually good enough
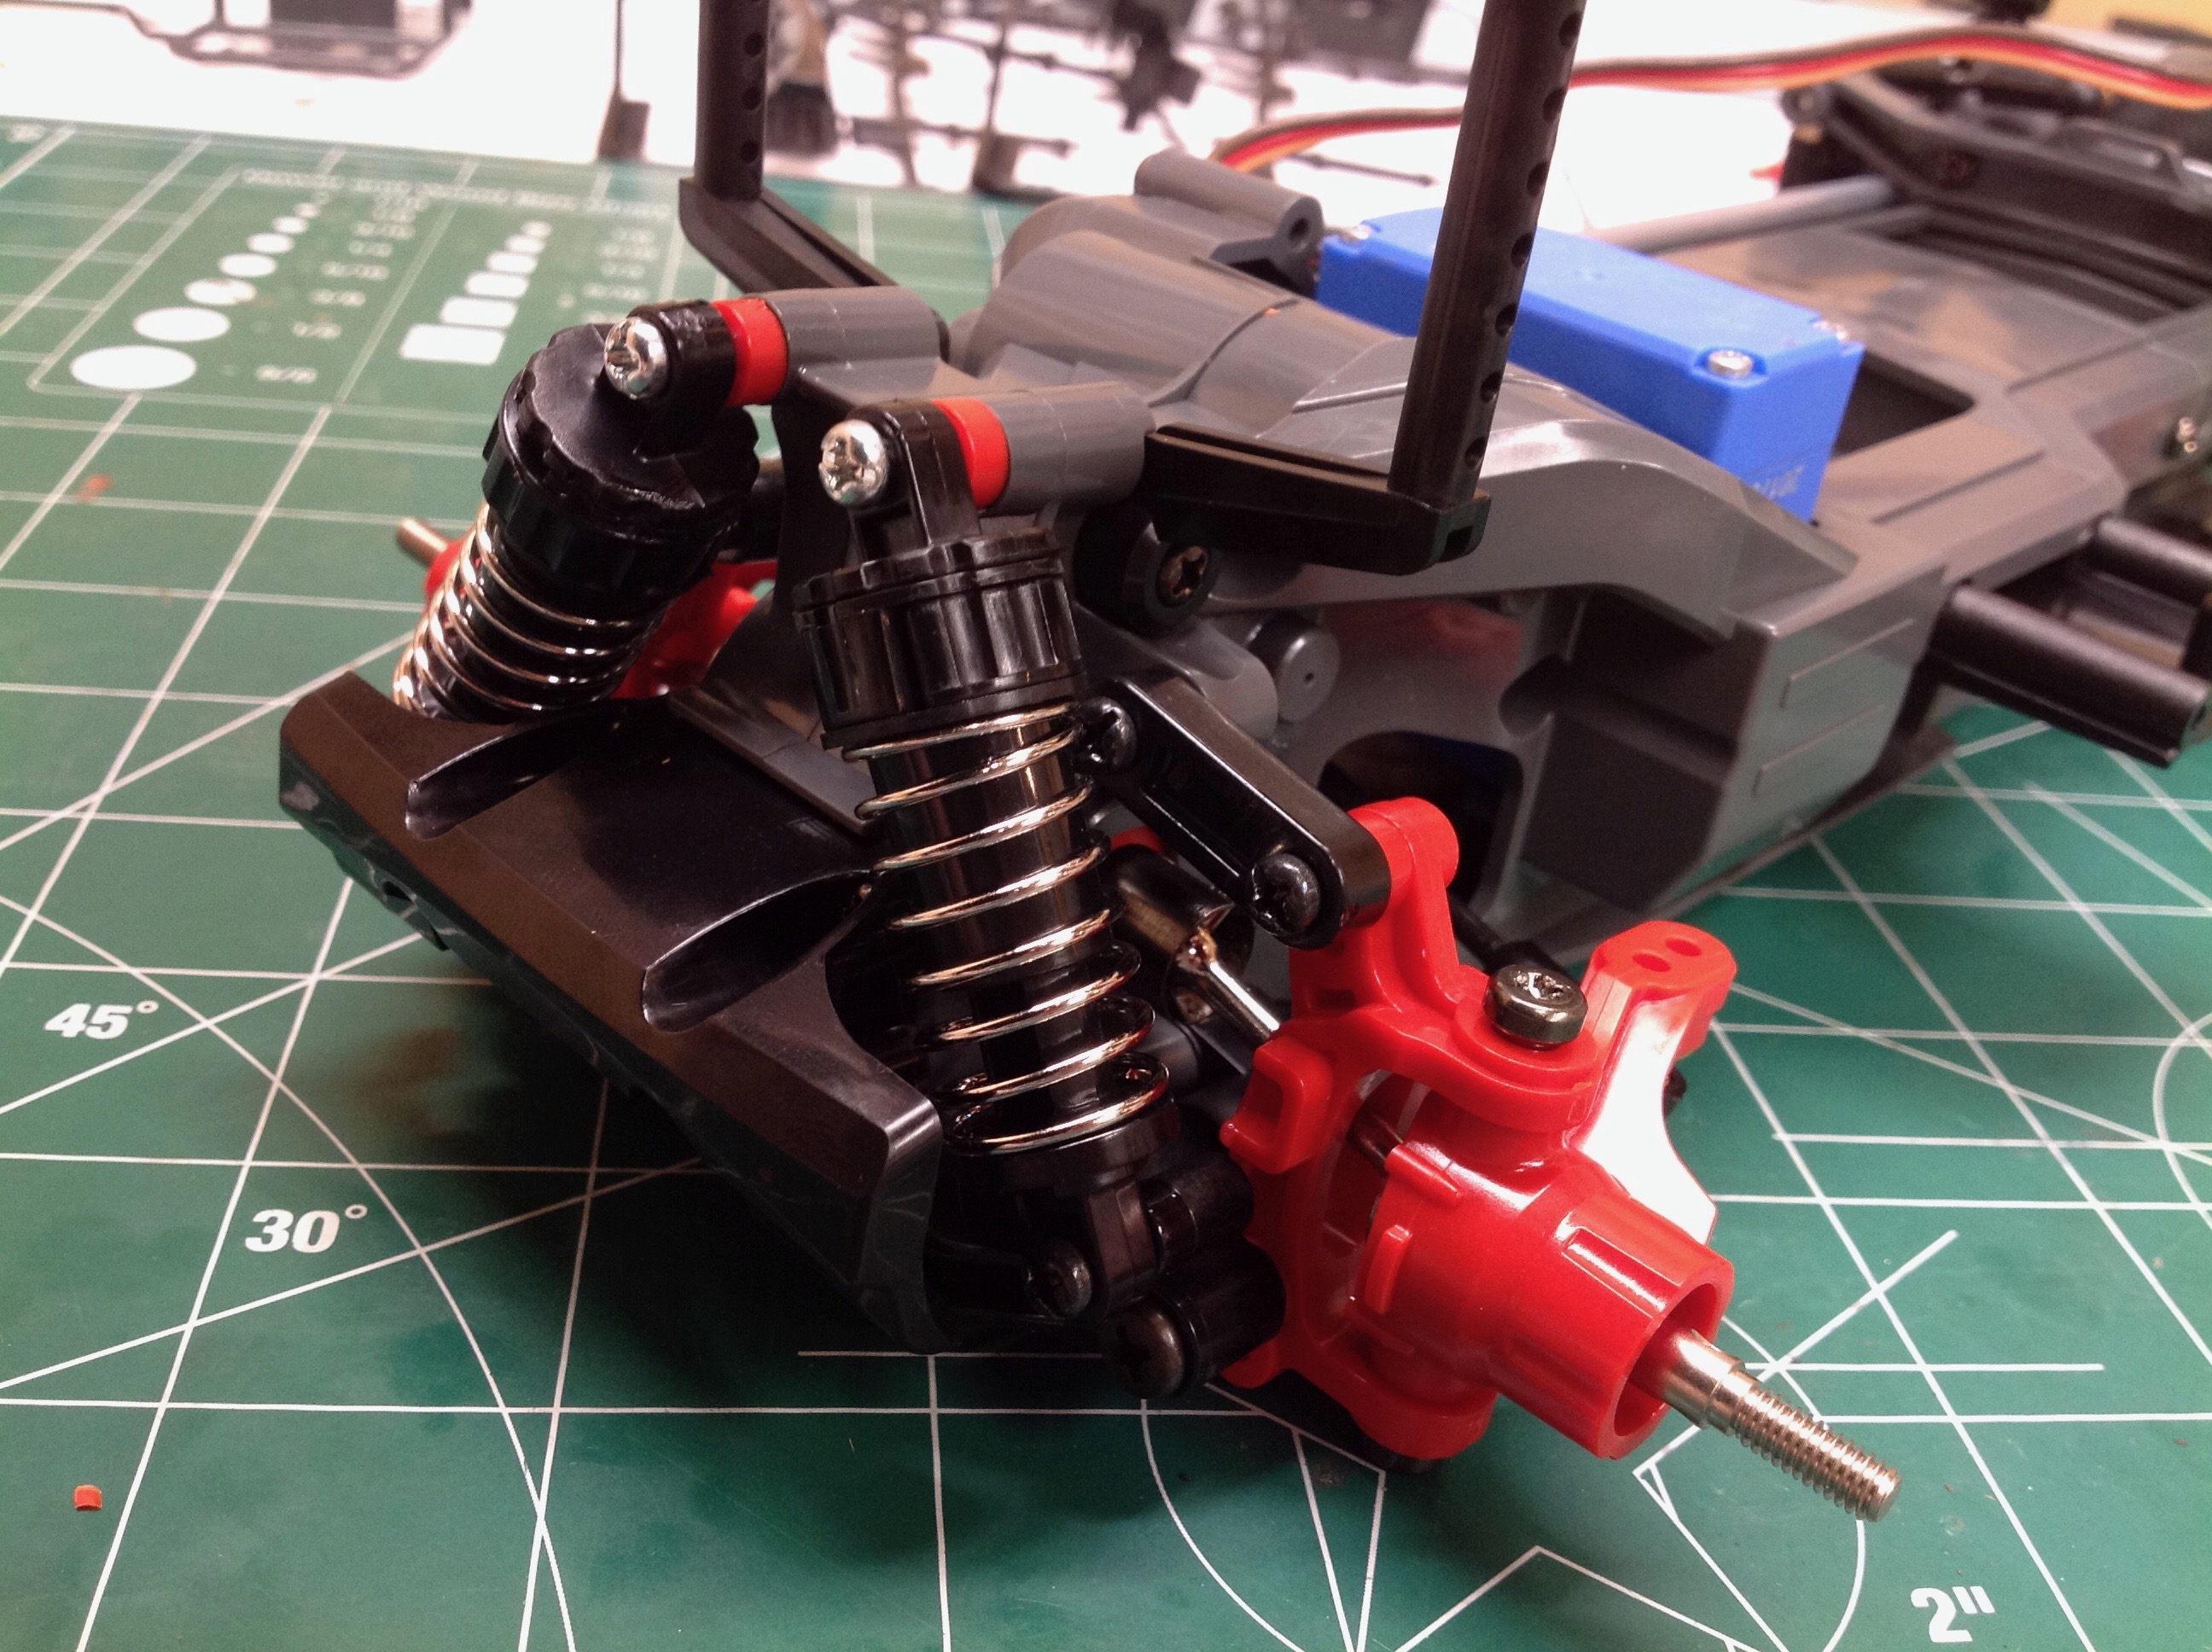
but on even moderate gravel you'll see a lot of bouncing. The
front suspension arms are very short: less than an inch.
This means hardly any suspension travel. The model can be built
with two ride heights depending on which hole you use to attach the
C-hub to the lower arm. The difference is probably 5mm.
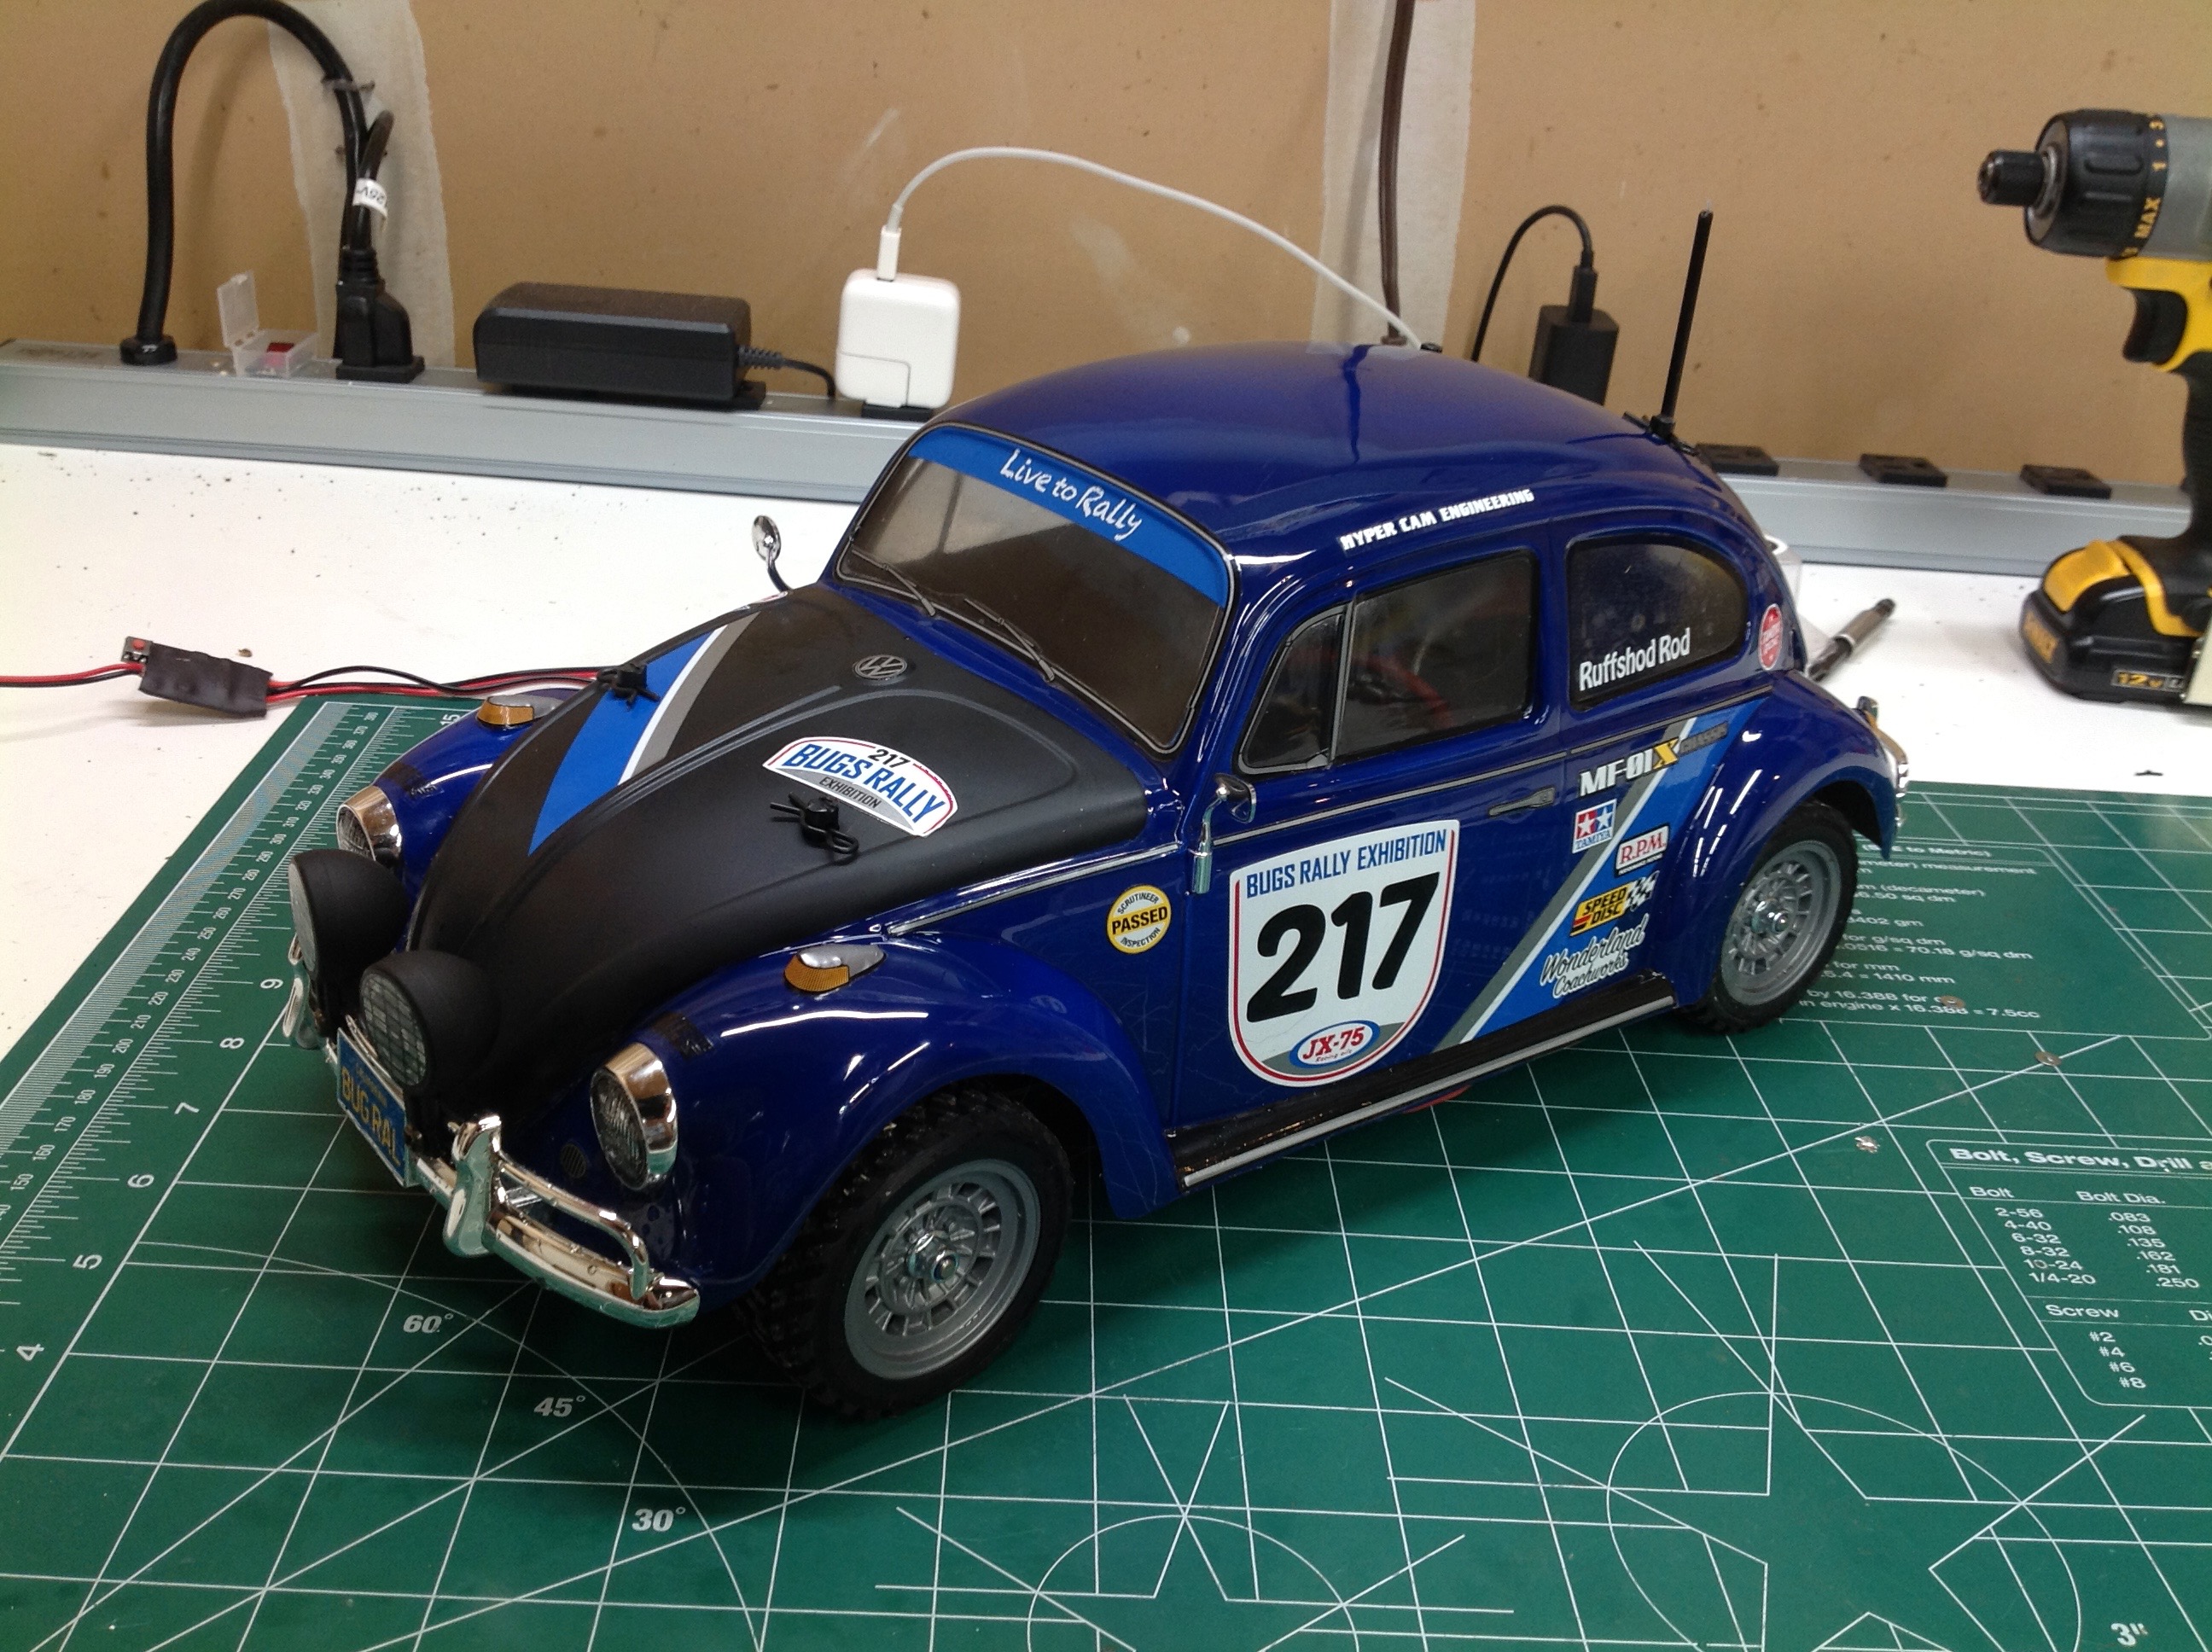
I used a white painted TEU-105BK extracted from my Dark Impact because I
wanted to save the brushless capable controller for something
else. The paint on it is ugly but can't be seen with the body
shell in place. The battery mounts crosswise and the length is
adequate for a LiPo. The tires are directional with a different
inner and outer side tread so you need to make sure you install them
right. There are no tire foams. The manual says to glue the
tires, but there is no reason whatever to do so. There is no way
they are coming off with the power of this model.
©2018 Eric Albrecht