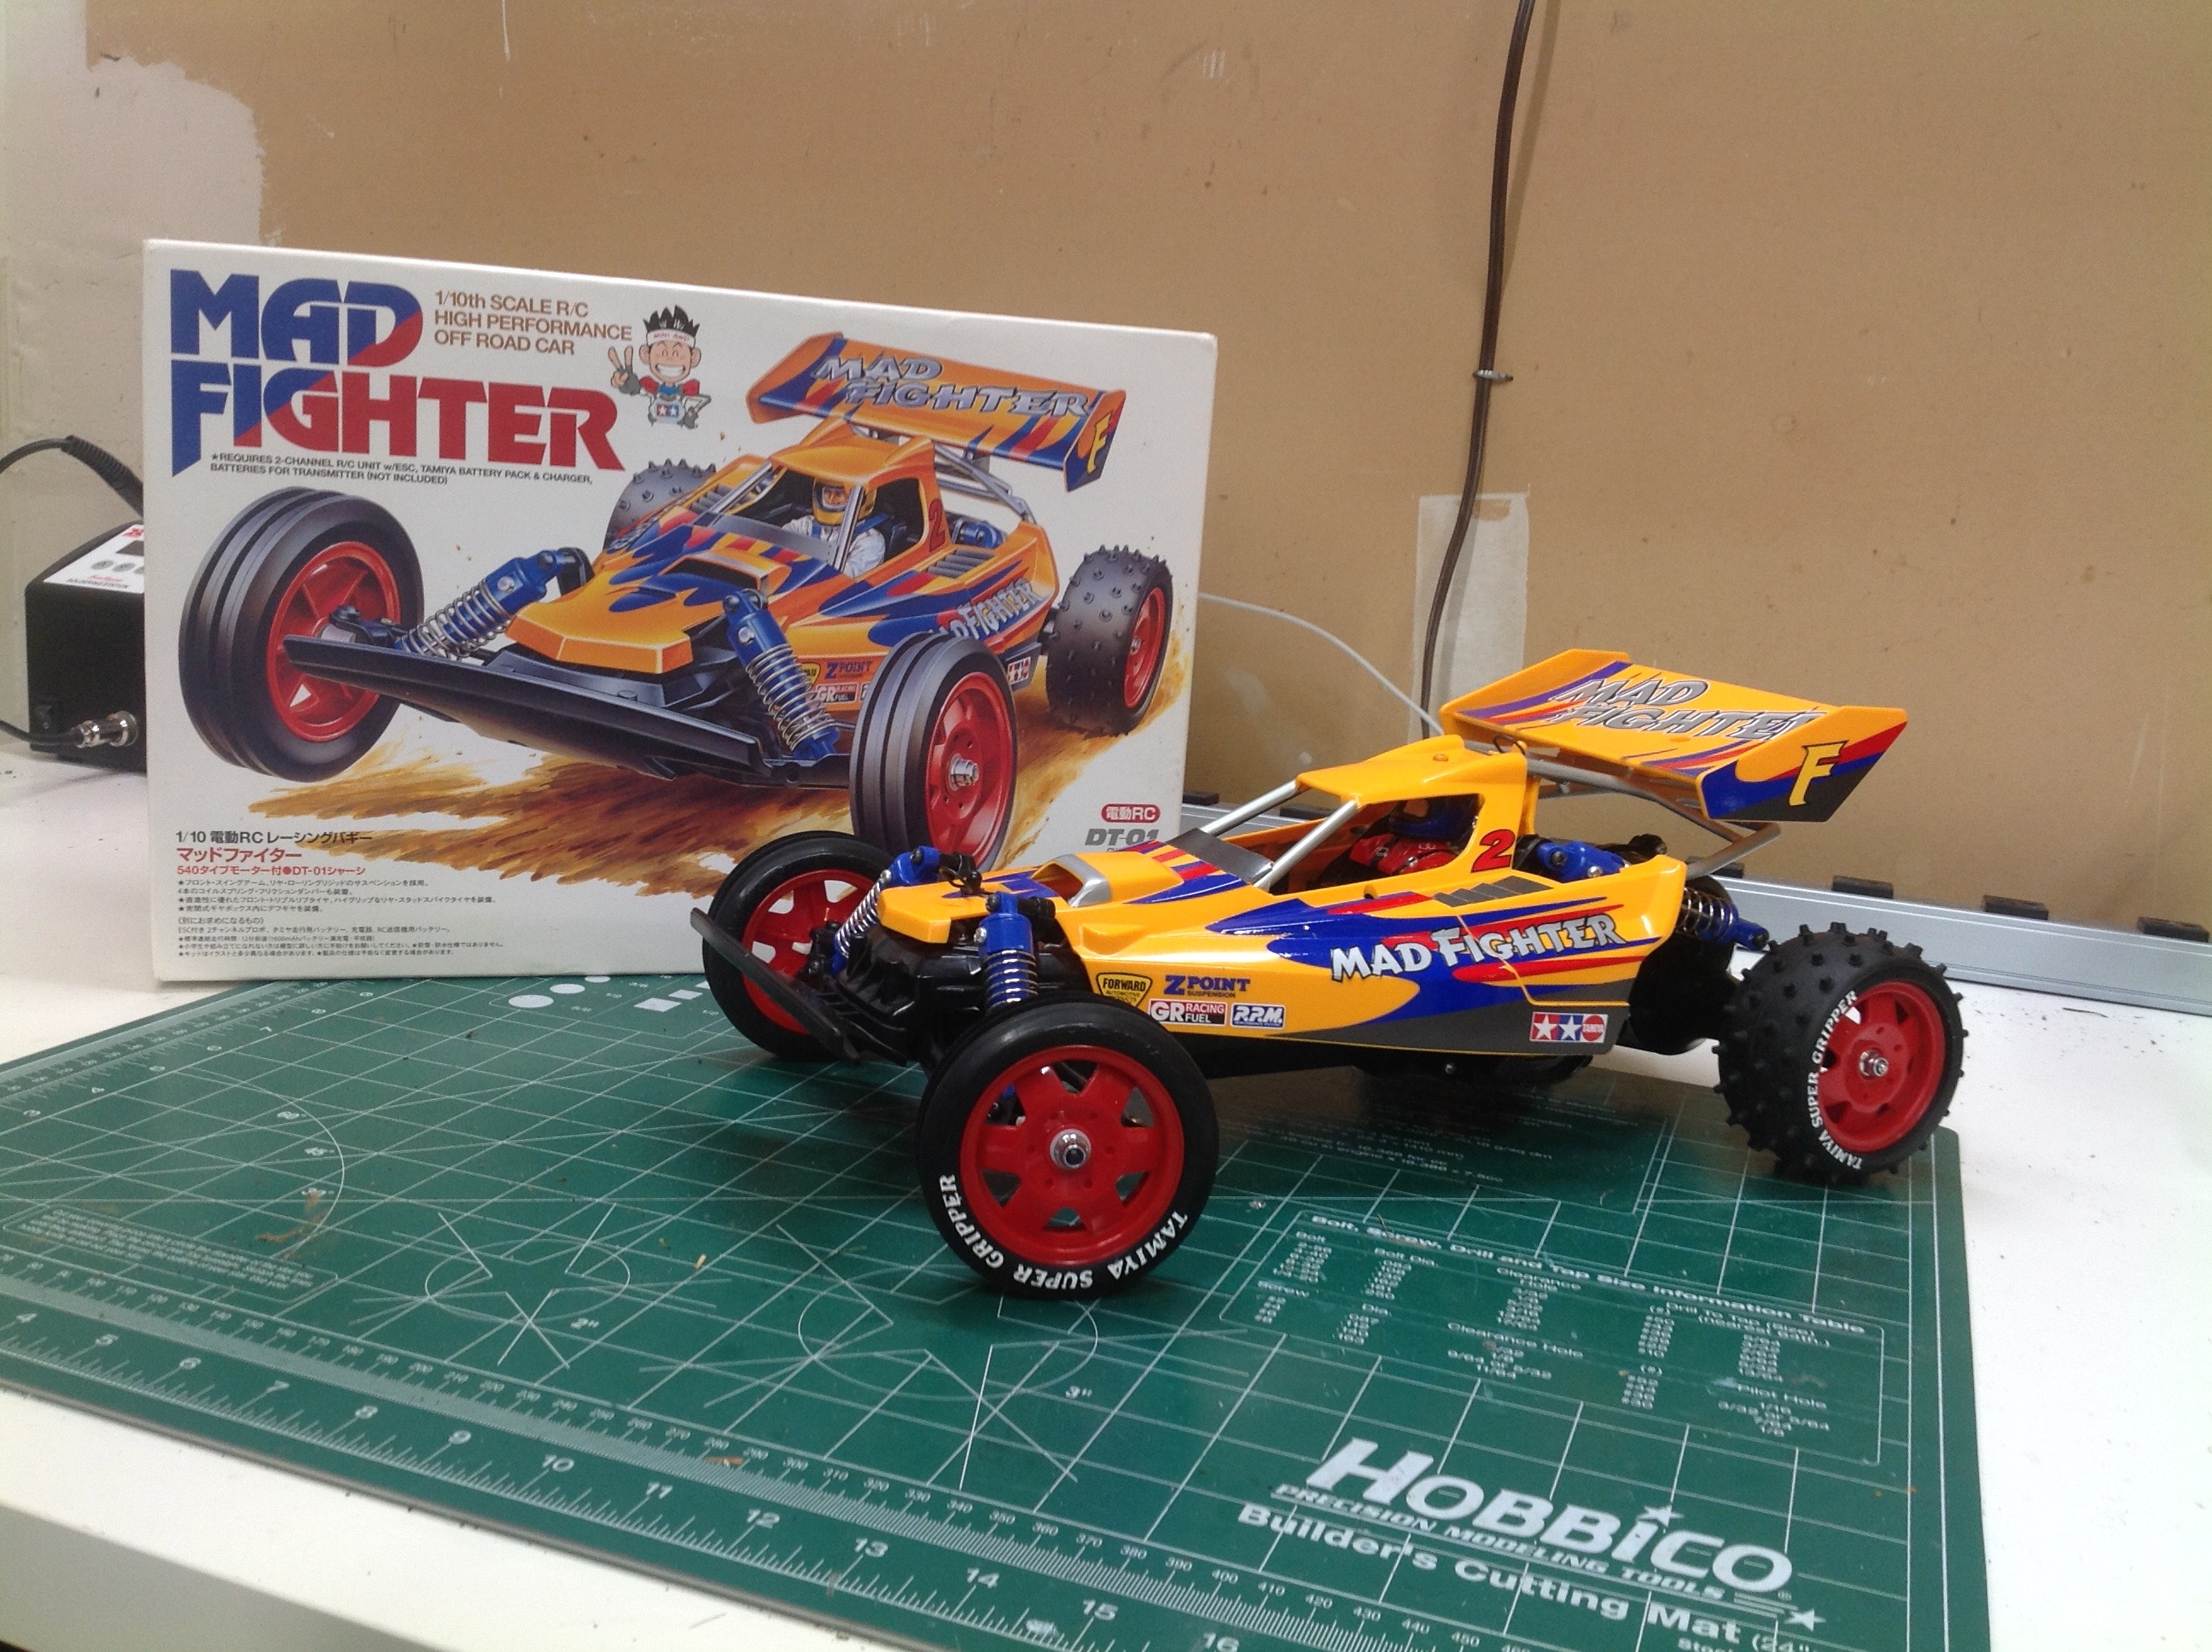
Tamiya Mad Fighter Project
Page 1: Assembly
It is very rare for me to buy a kit already assembled, but that is the
only way I could find this particular model. It was clearly in
pristine shape and had never been driven, so I just tore it down to the
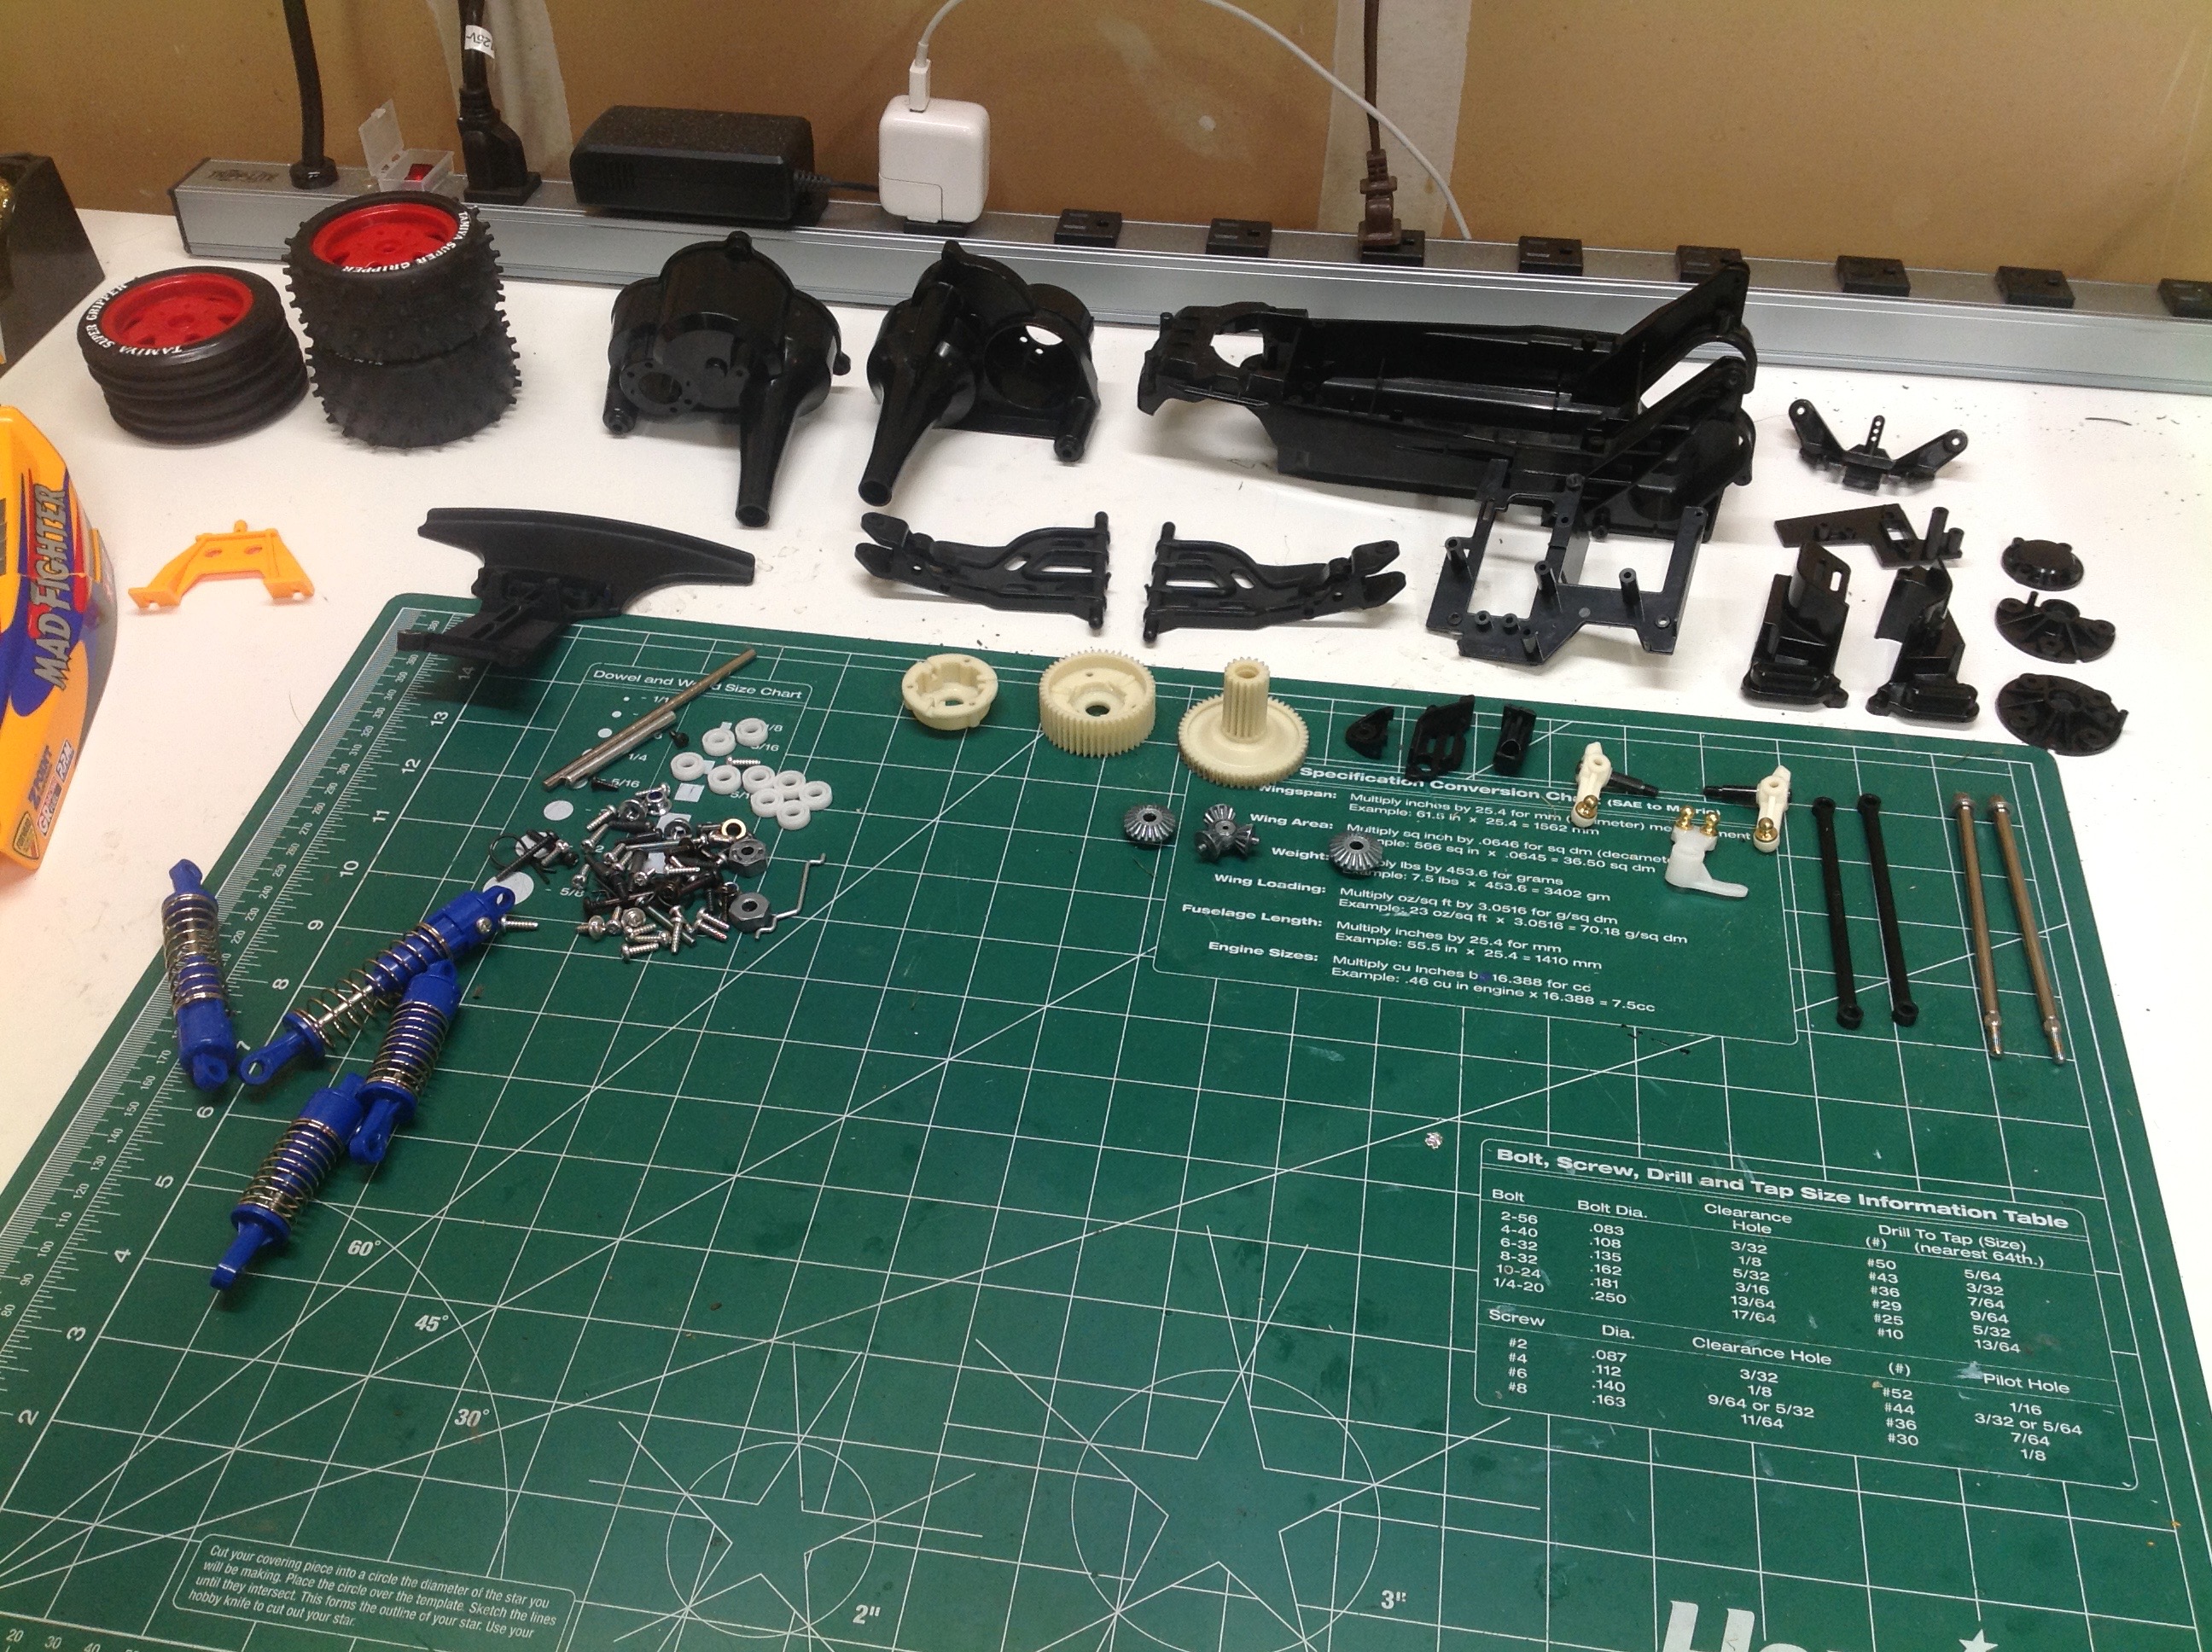
bones and started over. As you can see, the list of parts is
pretty small for this simple model. I did end up finding that a
few parts for the servo were missing since one had never been installed,
and that caused me a few challenges.
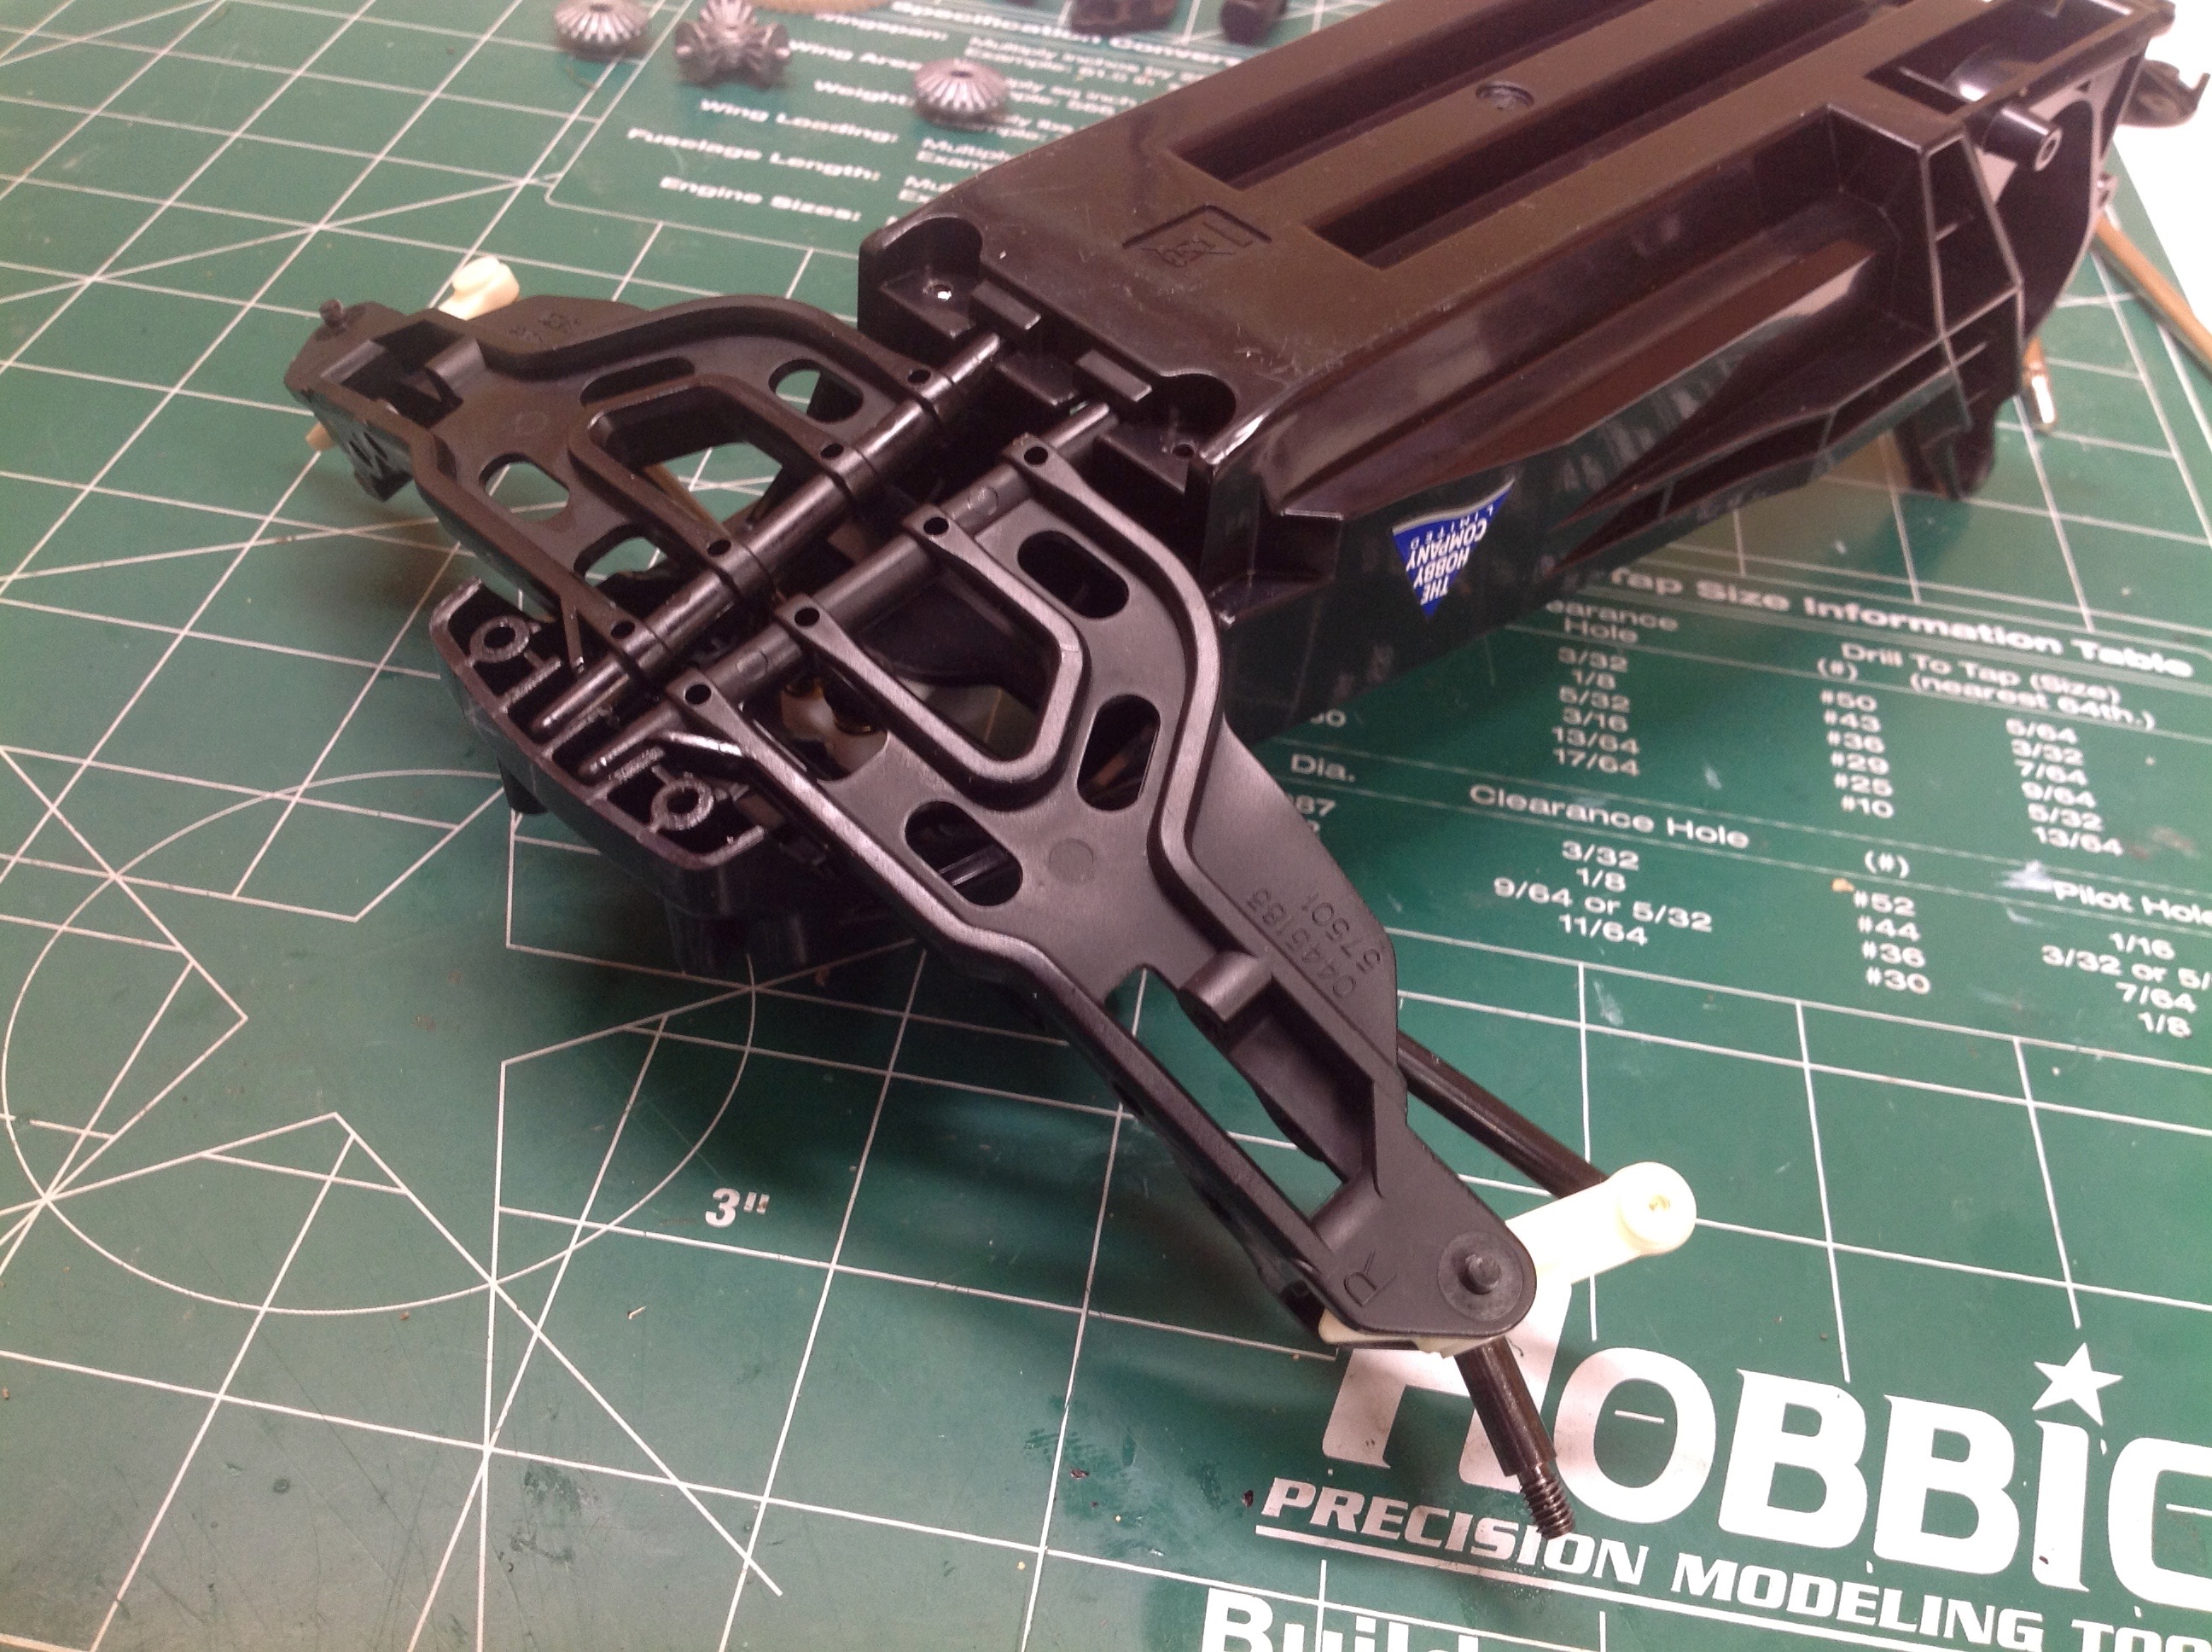
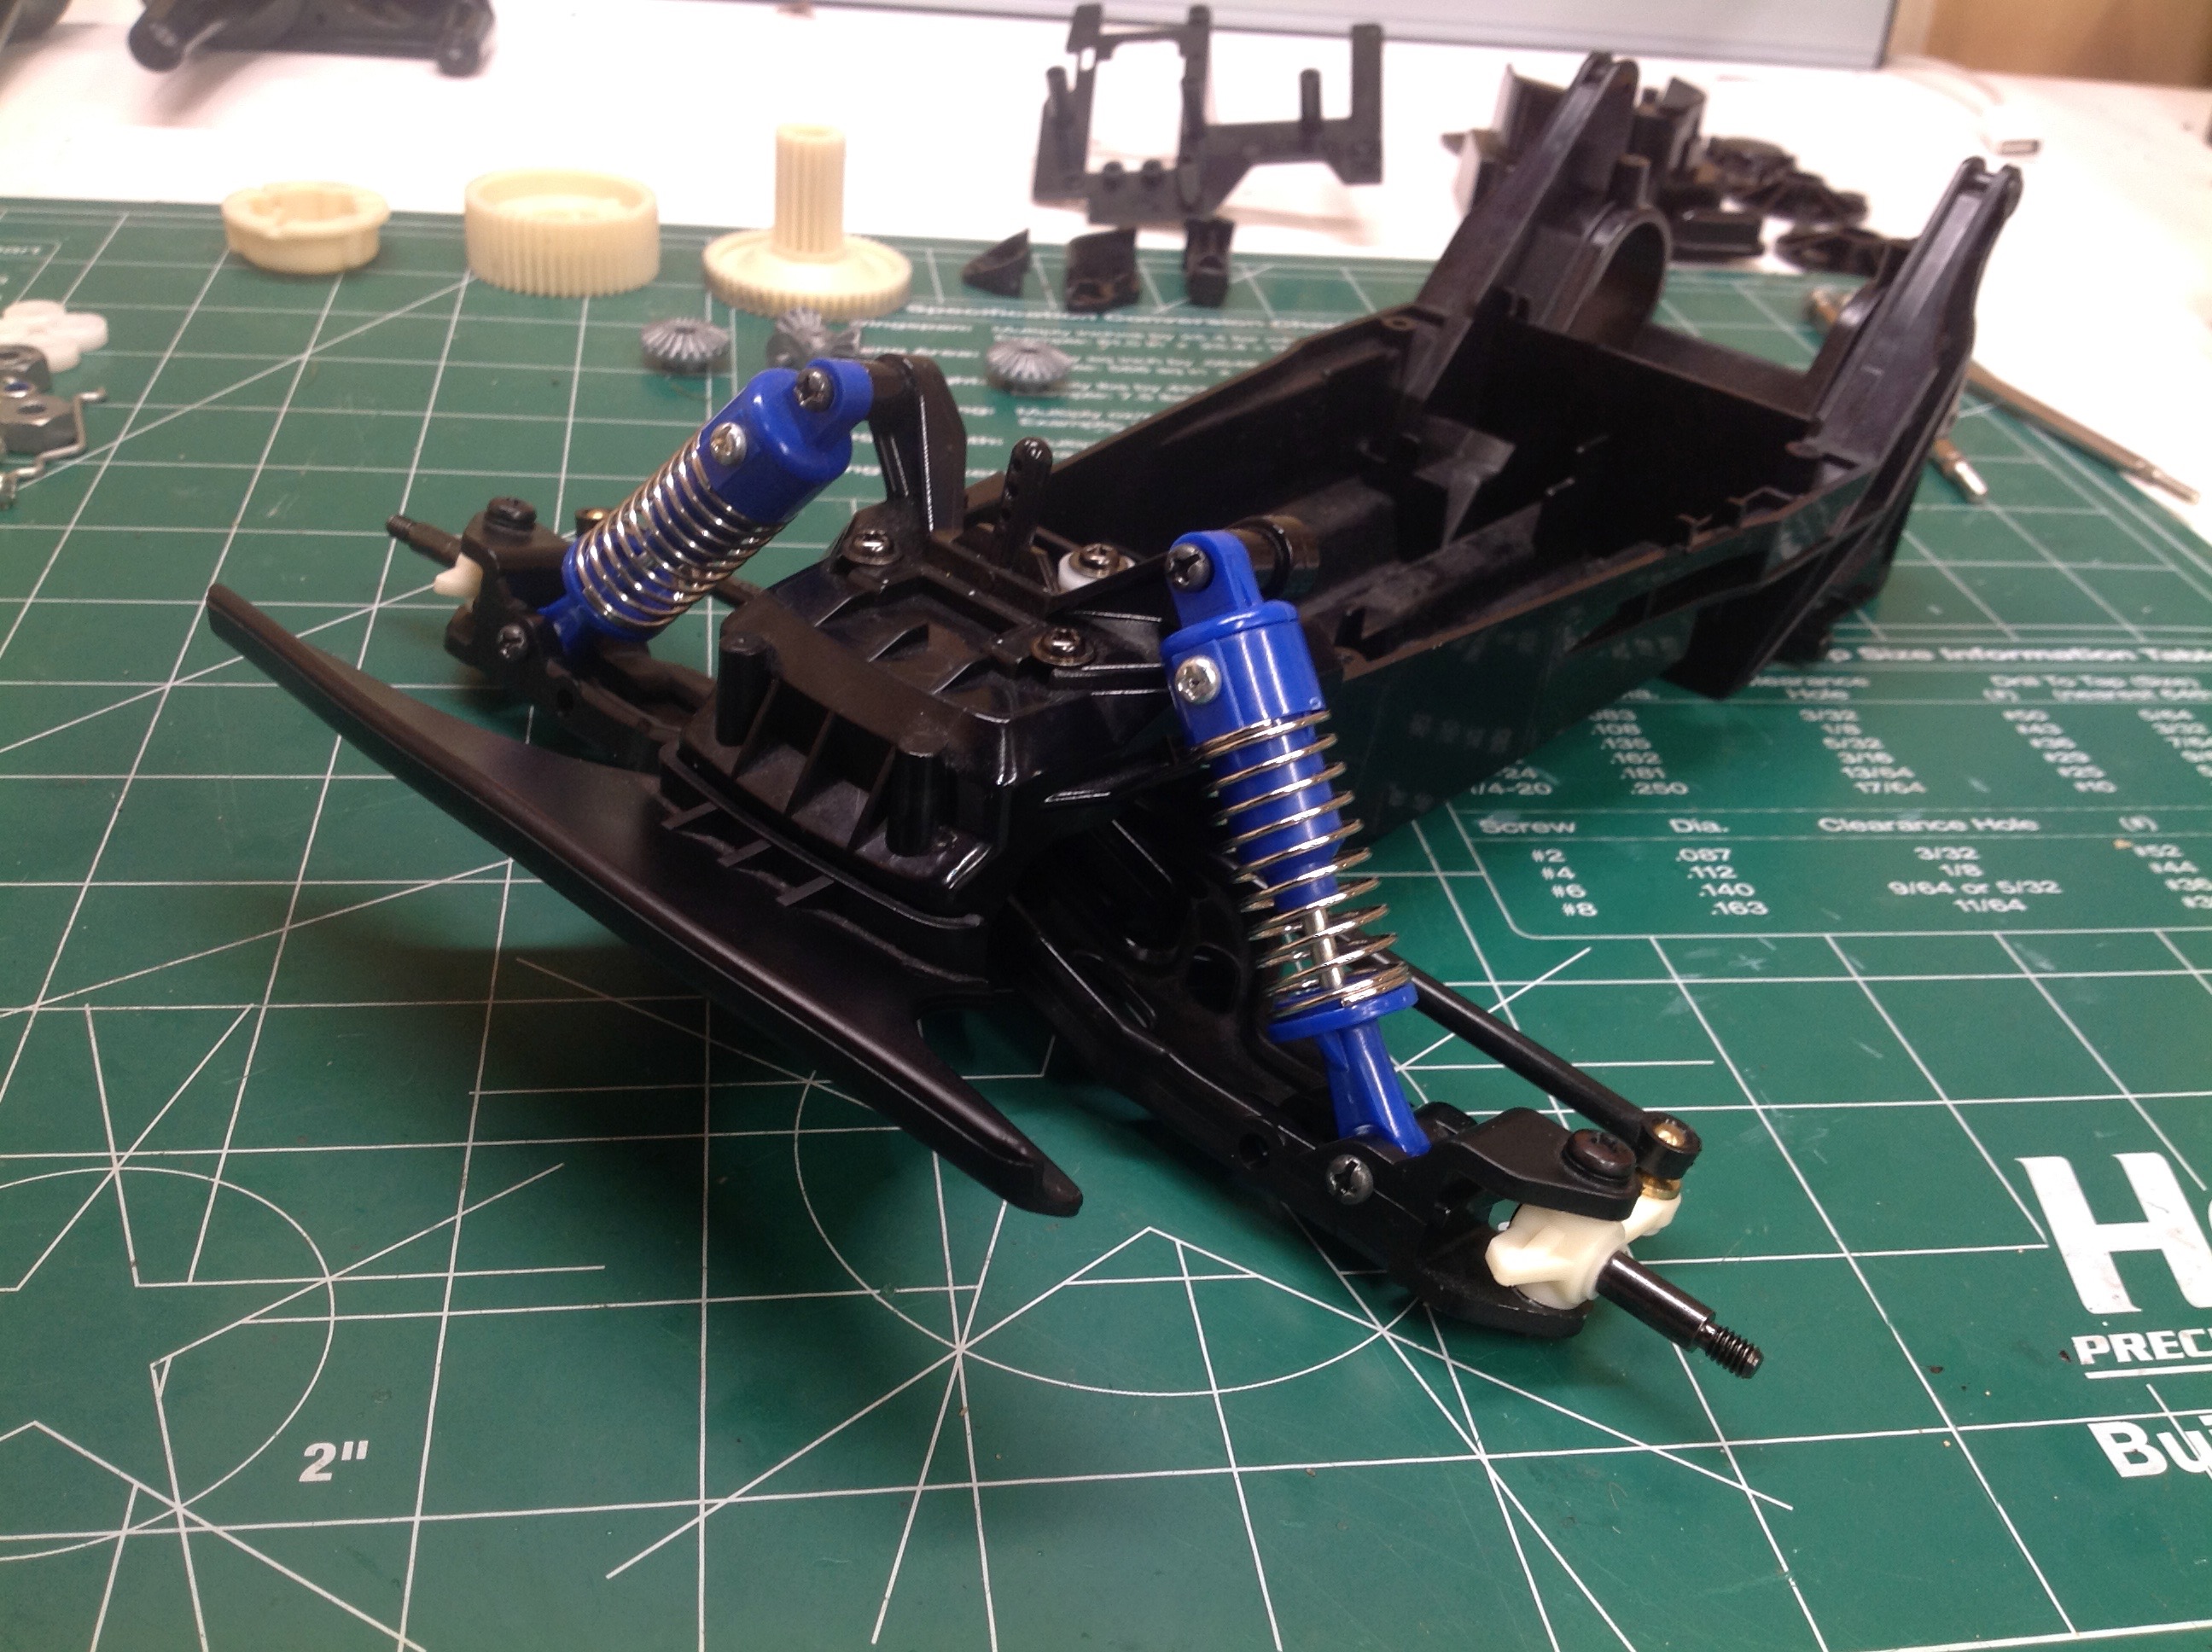
The build starts with installing the steering crank in the one-piece
bathtub chassis. The steering links are solid and cannot be
adjusted. The lower suspension arms are installed with a kickup
angle and also with the arm pivot angled. They are retained by the
bumper lower plate. The hubs are one-piece (apparently) nylon
with integral spindles.
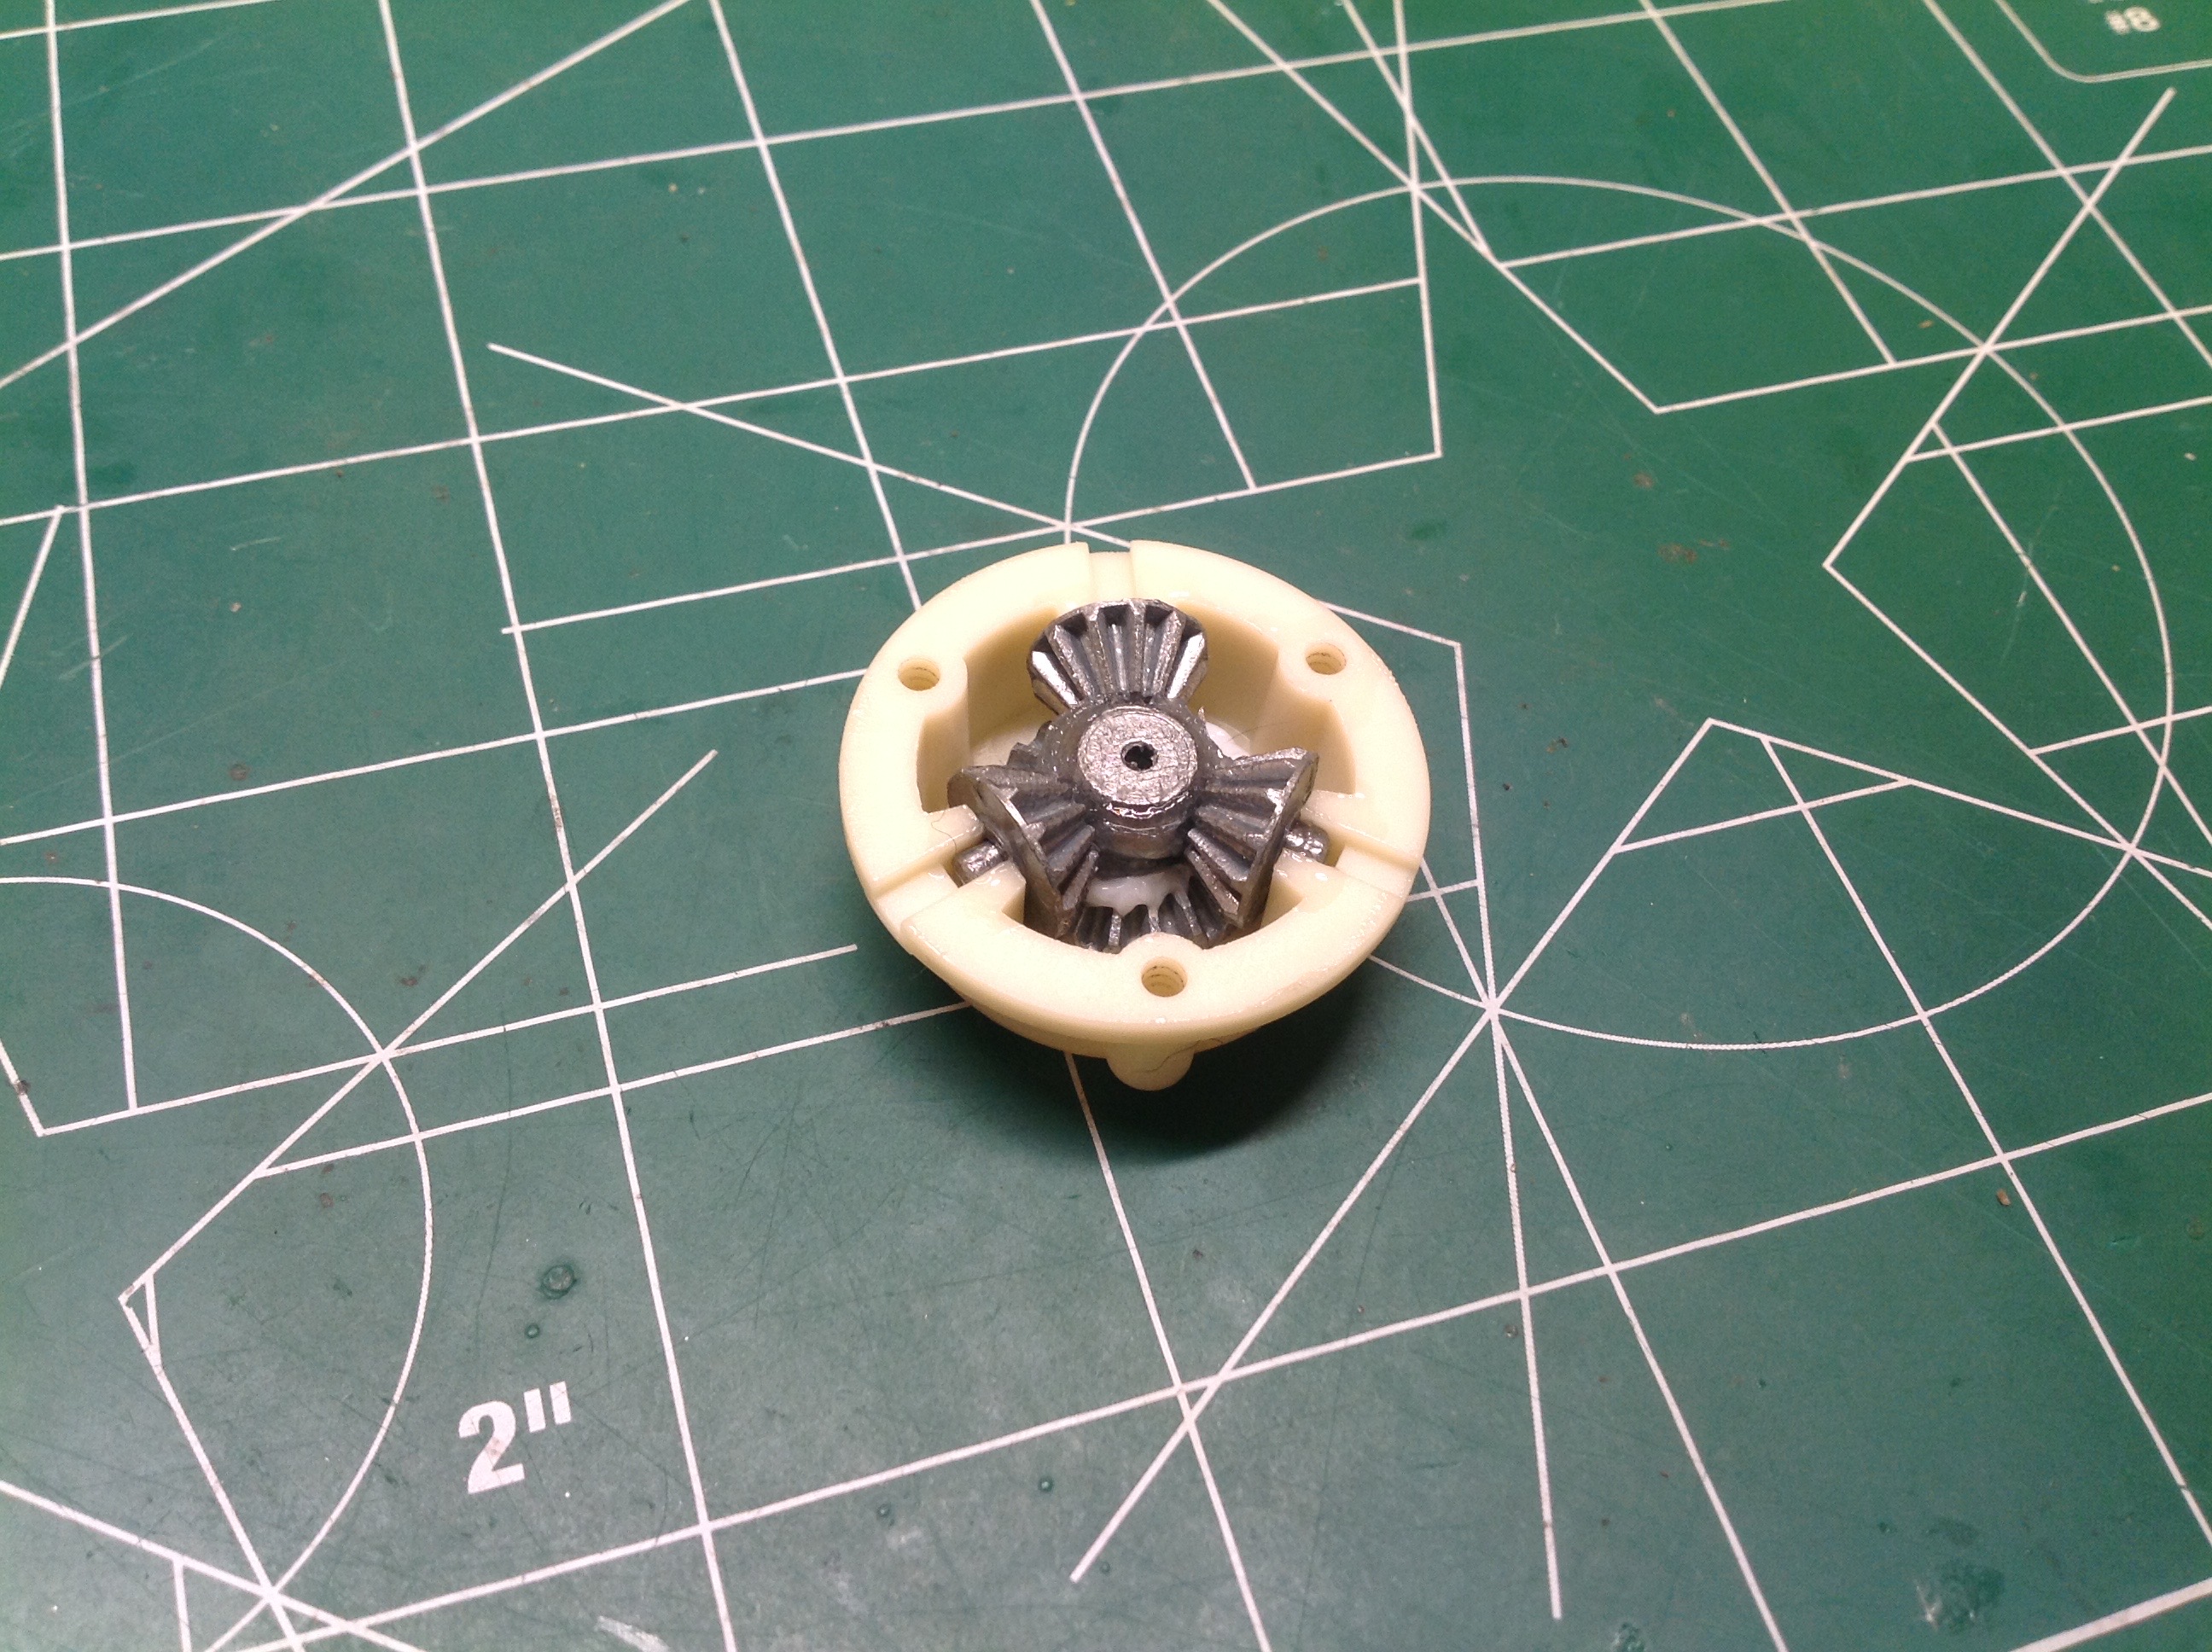
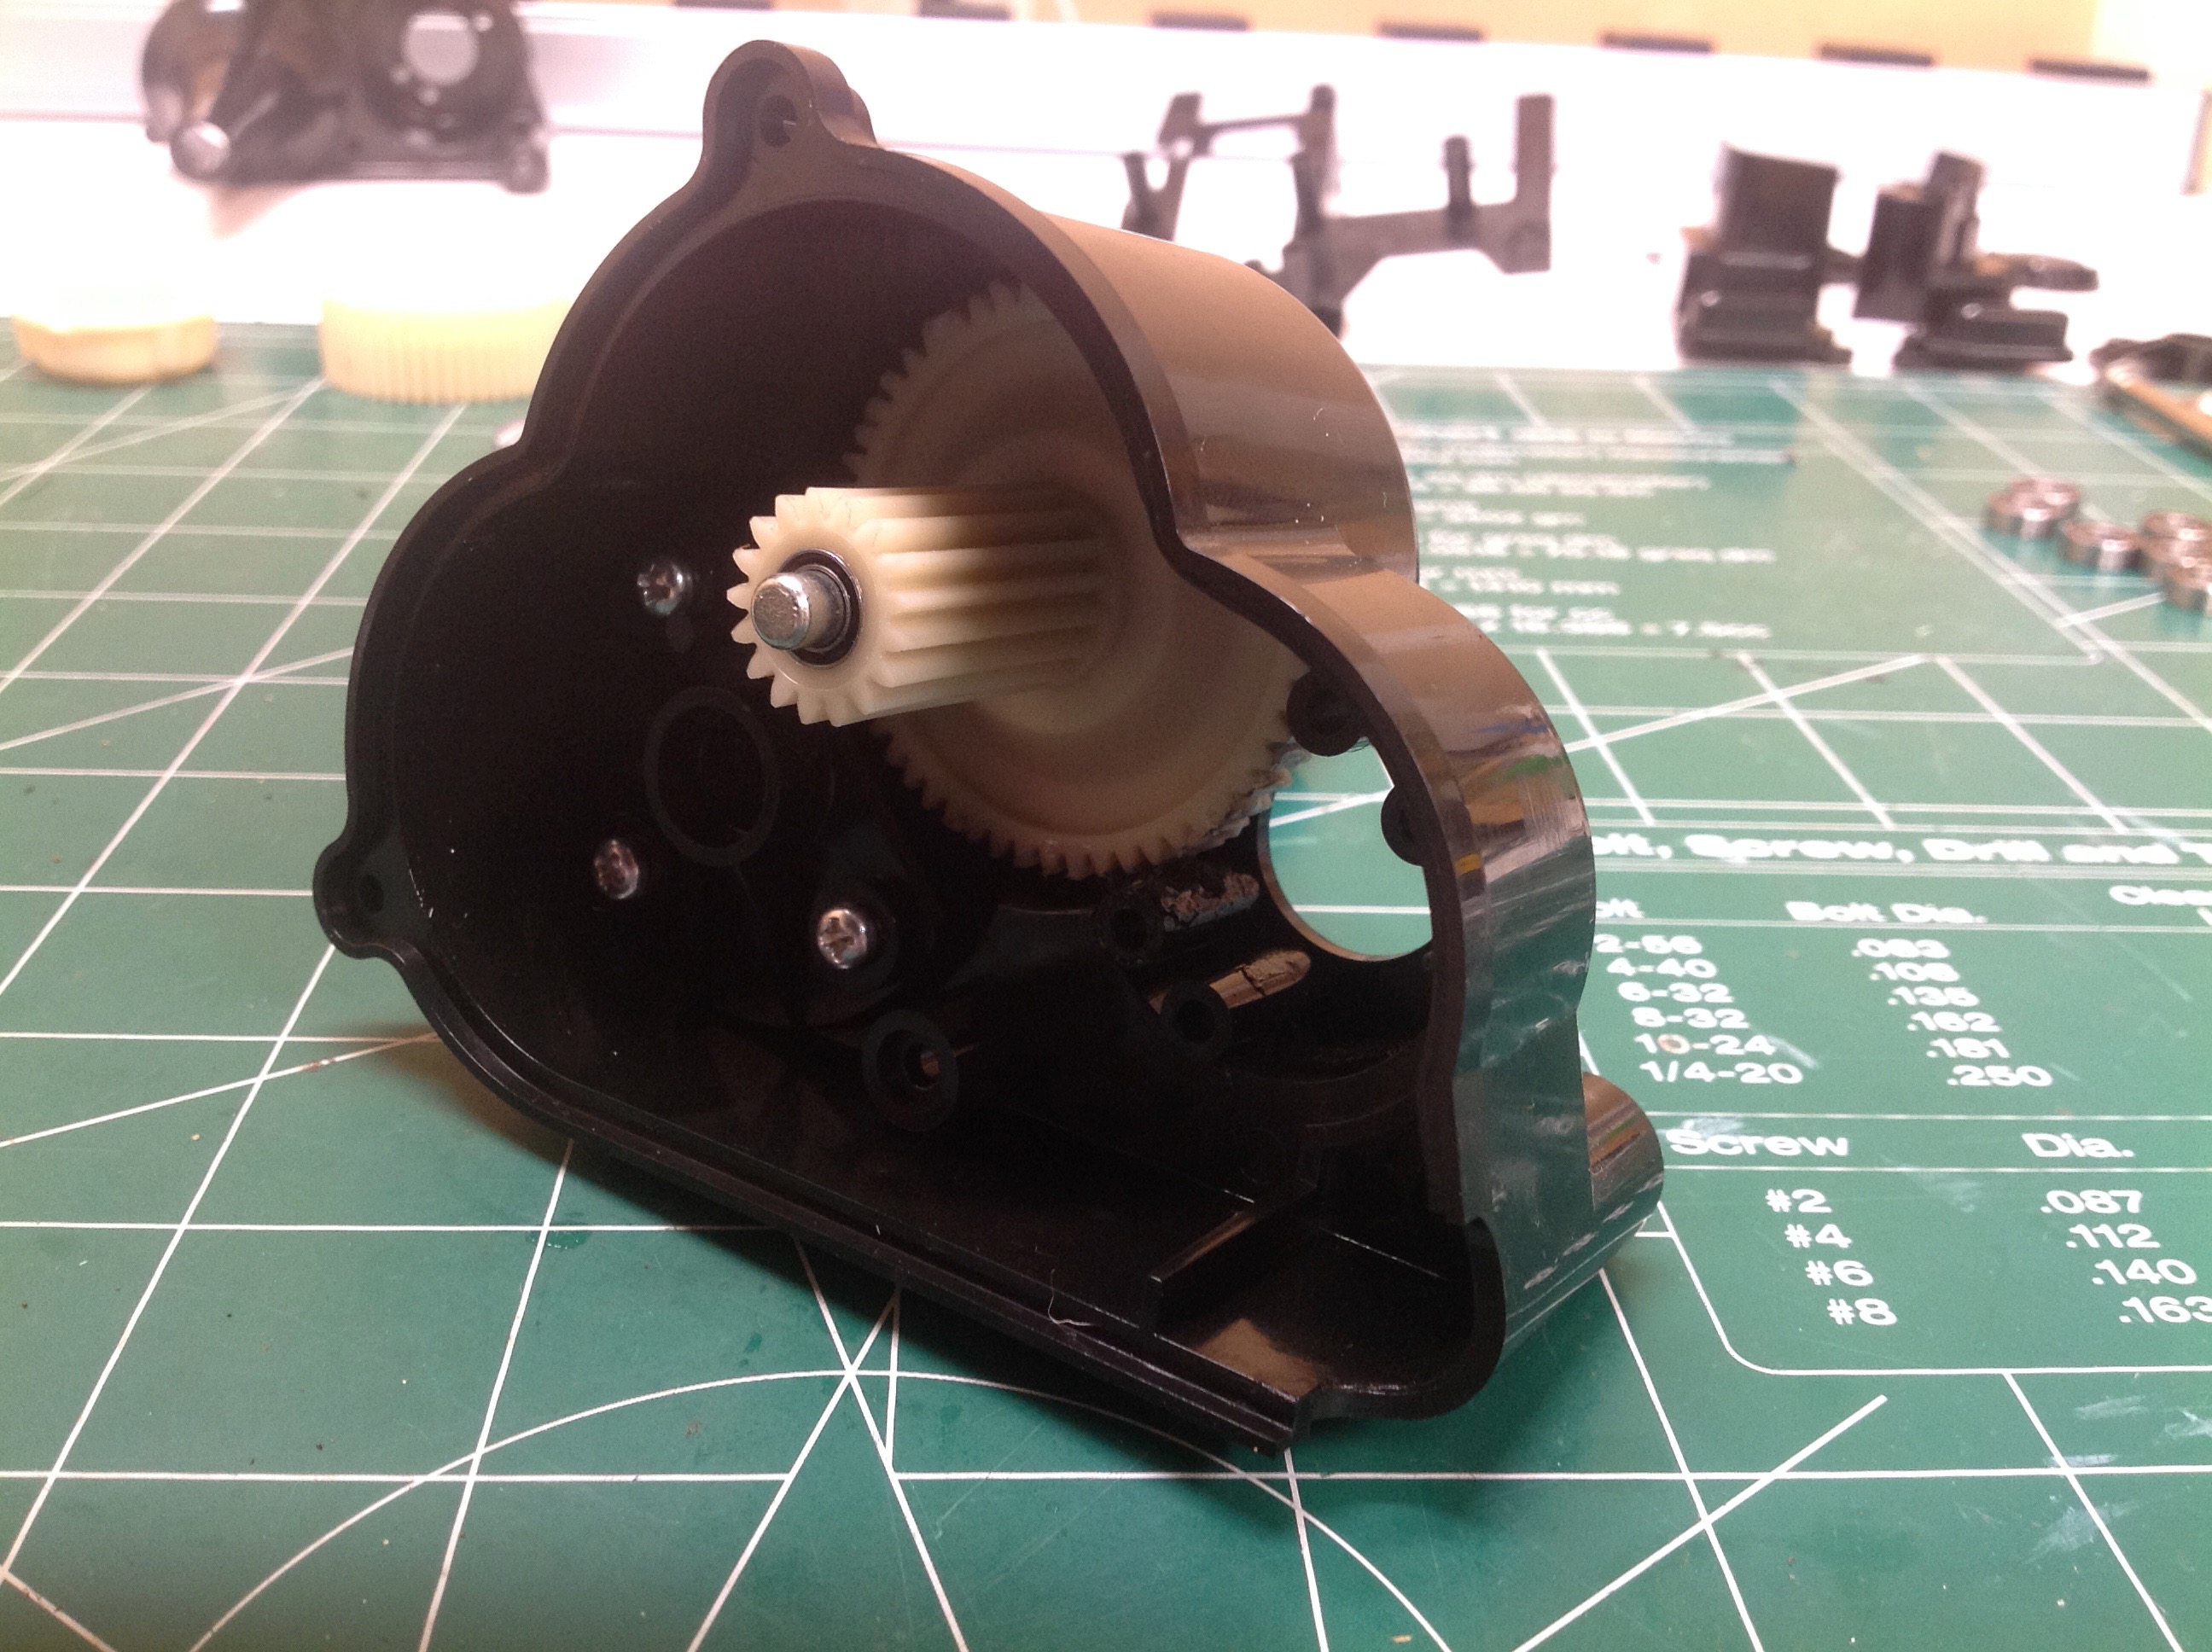
This image shows the internal construction of the open differential. Nice strong metal gears here.
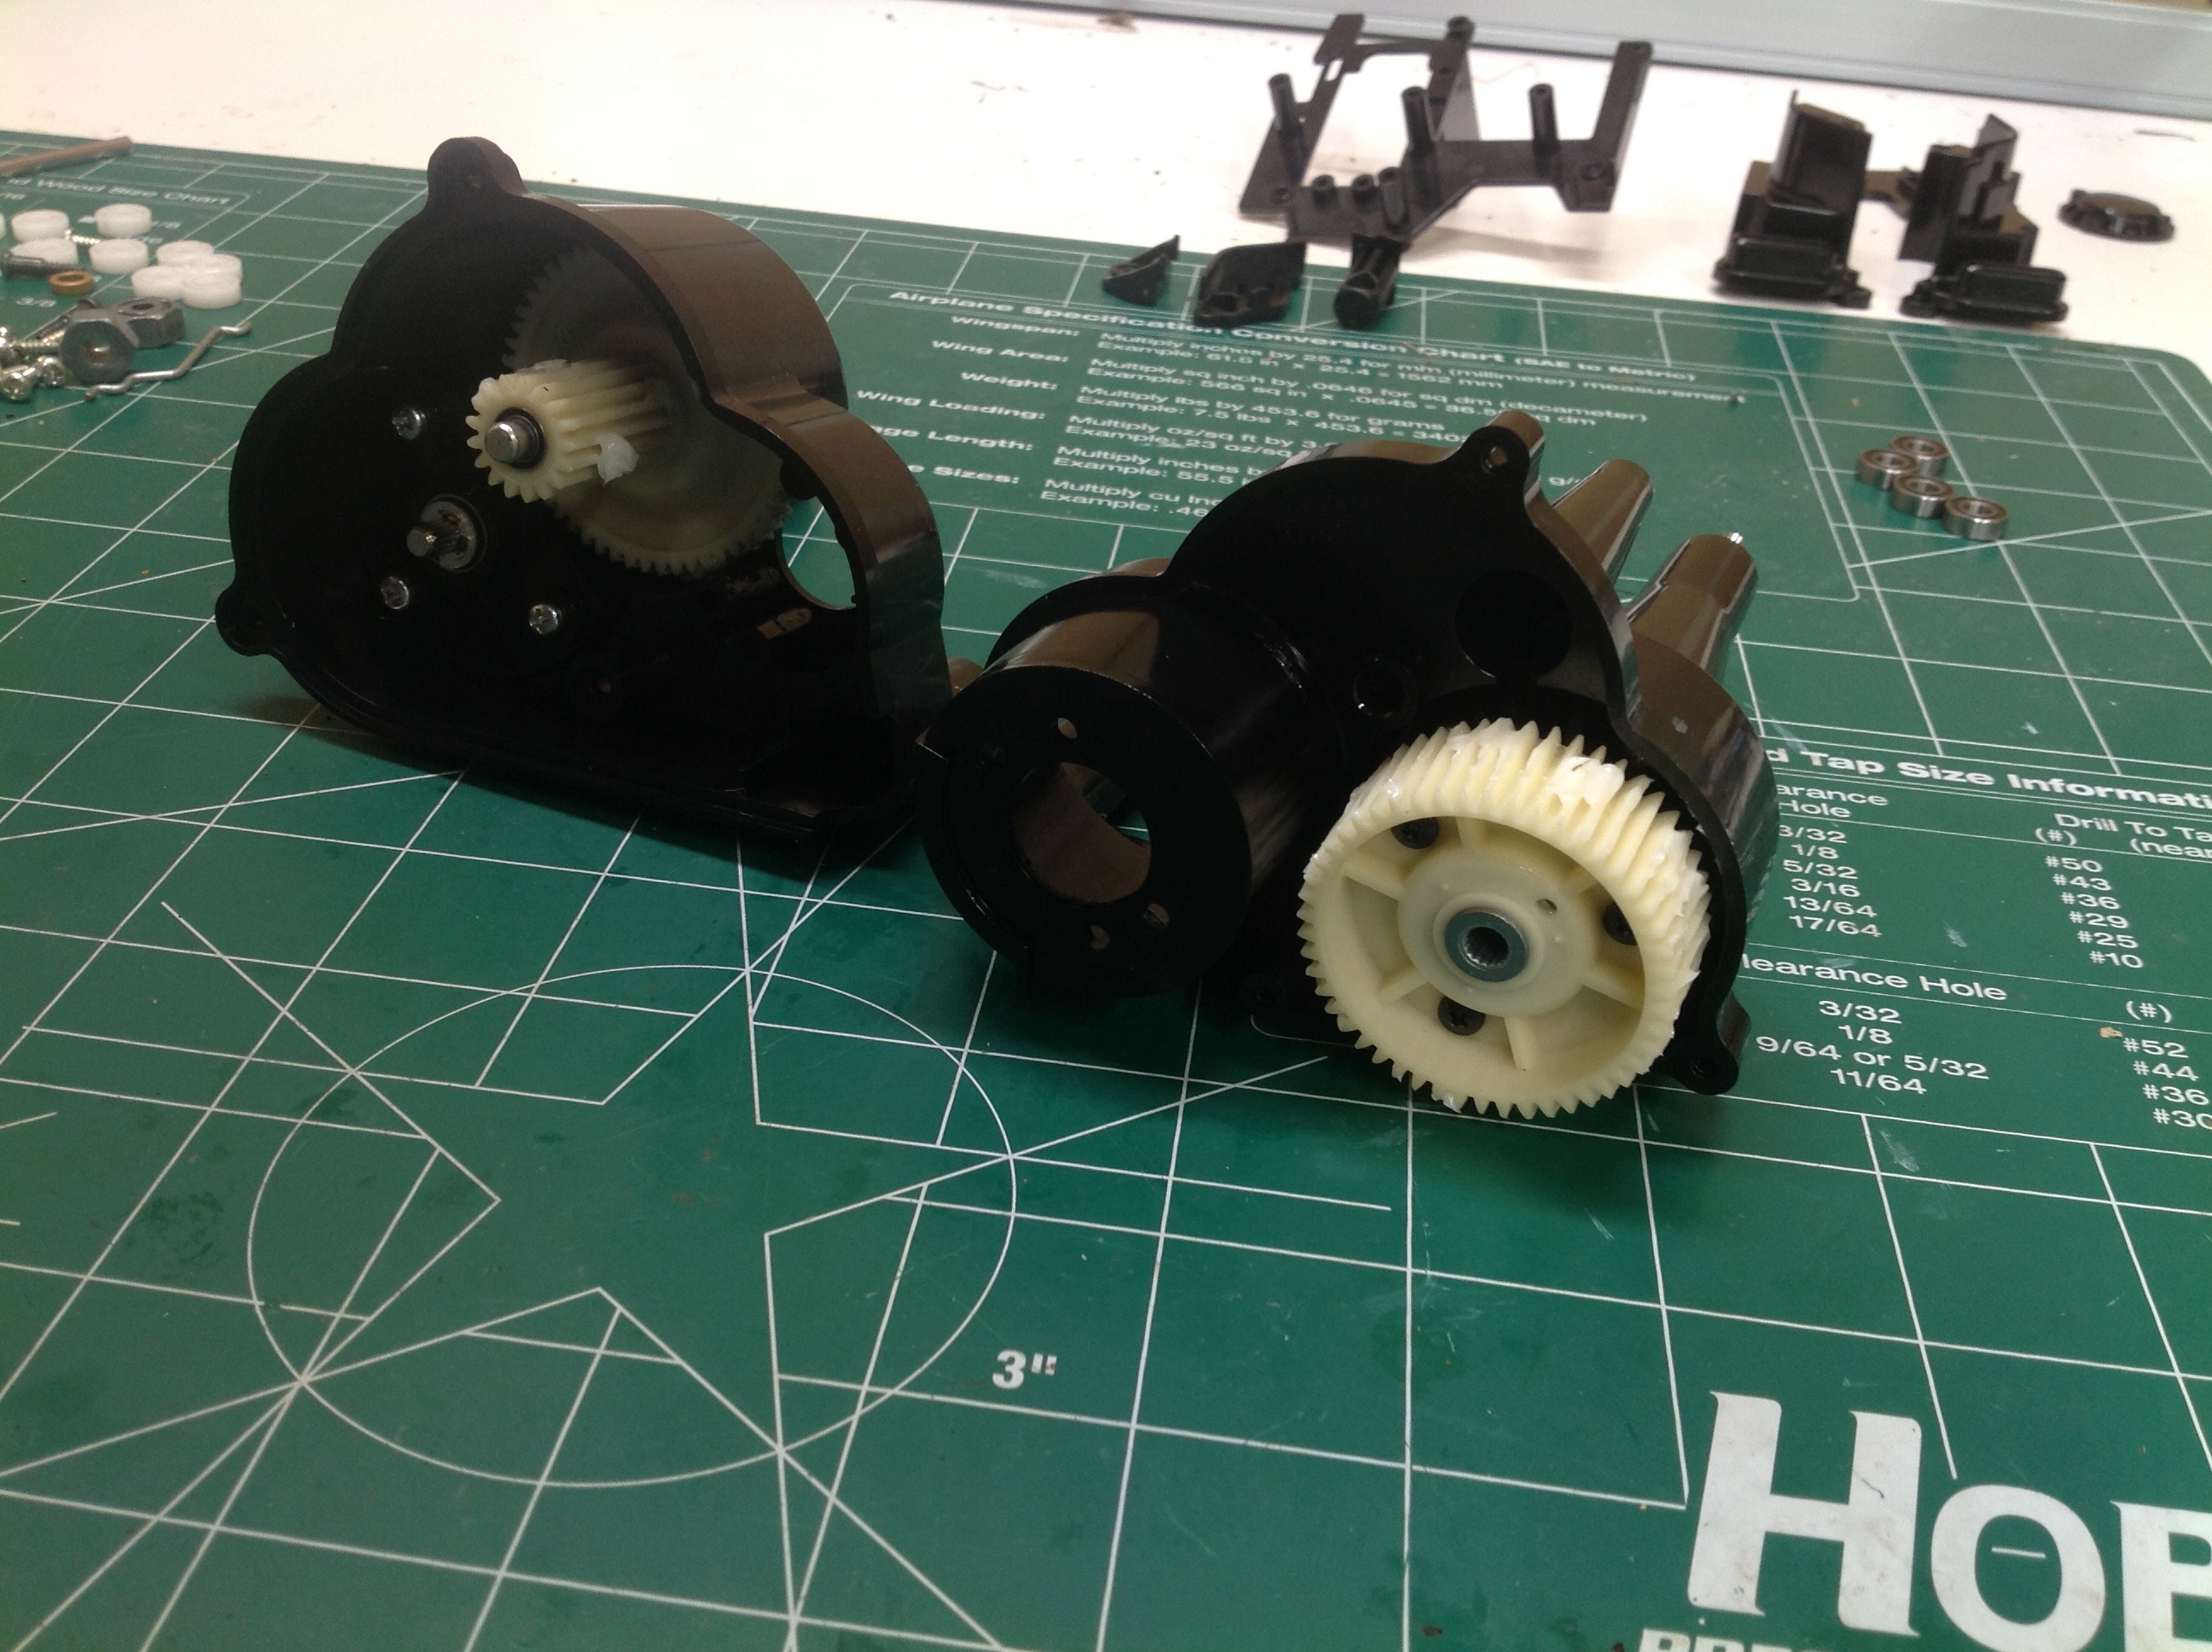
Time to build the gearbox. I took the opportunity to install ball
bearings while I was rebuilding. You can see the size of the gears
here. I suspect I could add substantially more power to this
model and have no problem at all with strength. Once everything is
buttoned up it is reasonably well sealed against the elements.
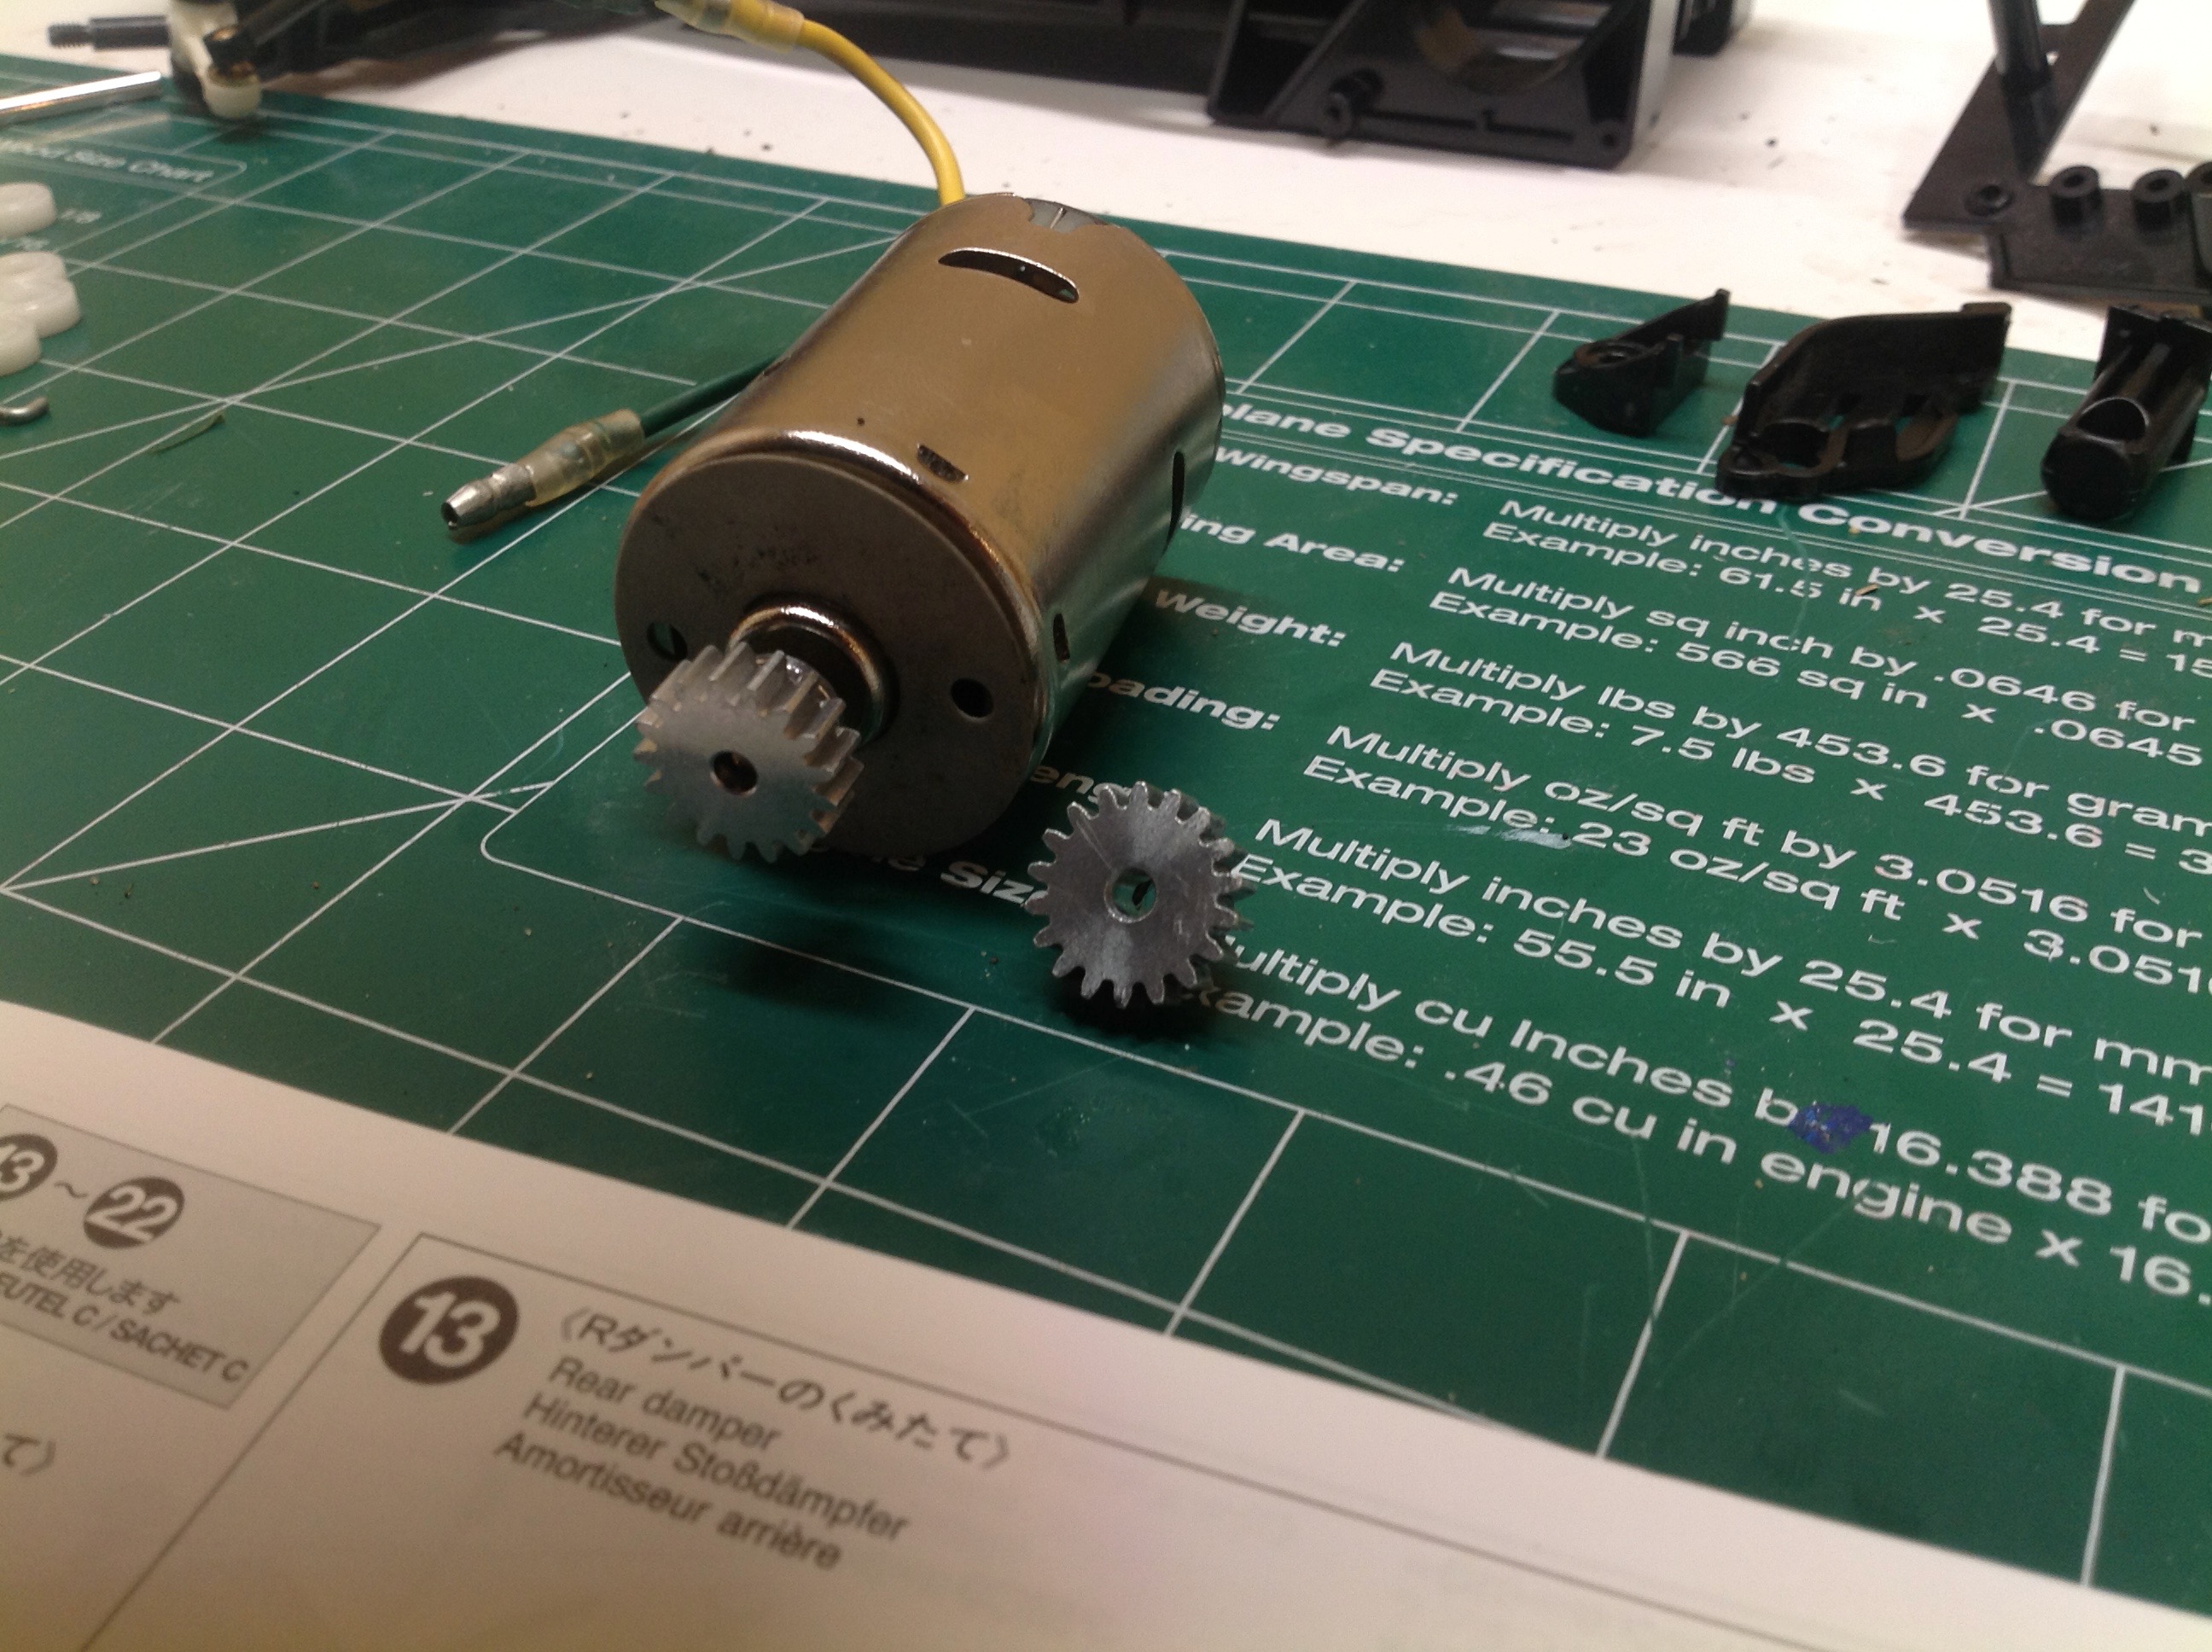
This may or may not be the motor that came with the kit
originally. The previous owner had not installed one and threw
this Johnson motor in. It was only by chance that I counted the
teeth and noticed there was an 18 tooth pinion on here. The mesh is
not adjustable on this model so the only options are 17 and 19
teeth. Luckily I had a Mad Bull new-in-box and was able to steal
the pinion from that one while I wait for a new one to arrive.
Is there anything worse than friction dampers? Not much. Maybe Ebola. The
previous owner had actually installed aluminum no-name shocks on this
but I asked him to put the stock versions back on for historical
reasons. Feeling foolish now. I really want them to stay
blue though. I'll have to see if there is any option. Note
that there is no upper front suspension arm which makes this a swing arm type,
changing the camber with travel. The rear axle is a solid axle with a center pivot allowing it to rock side to side.
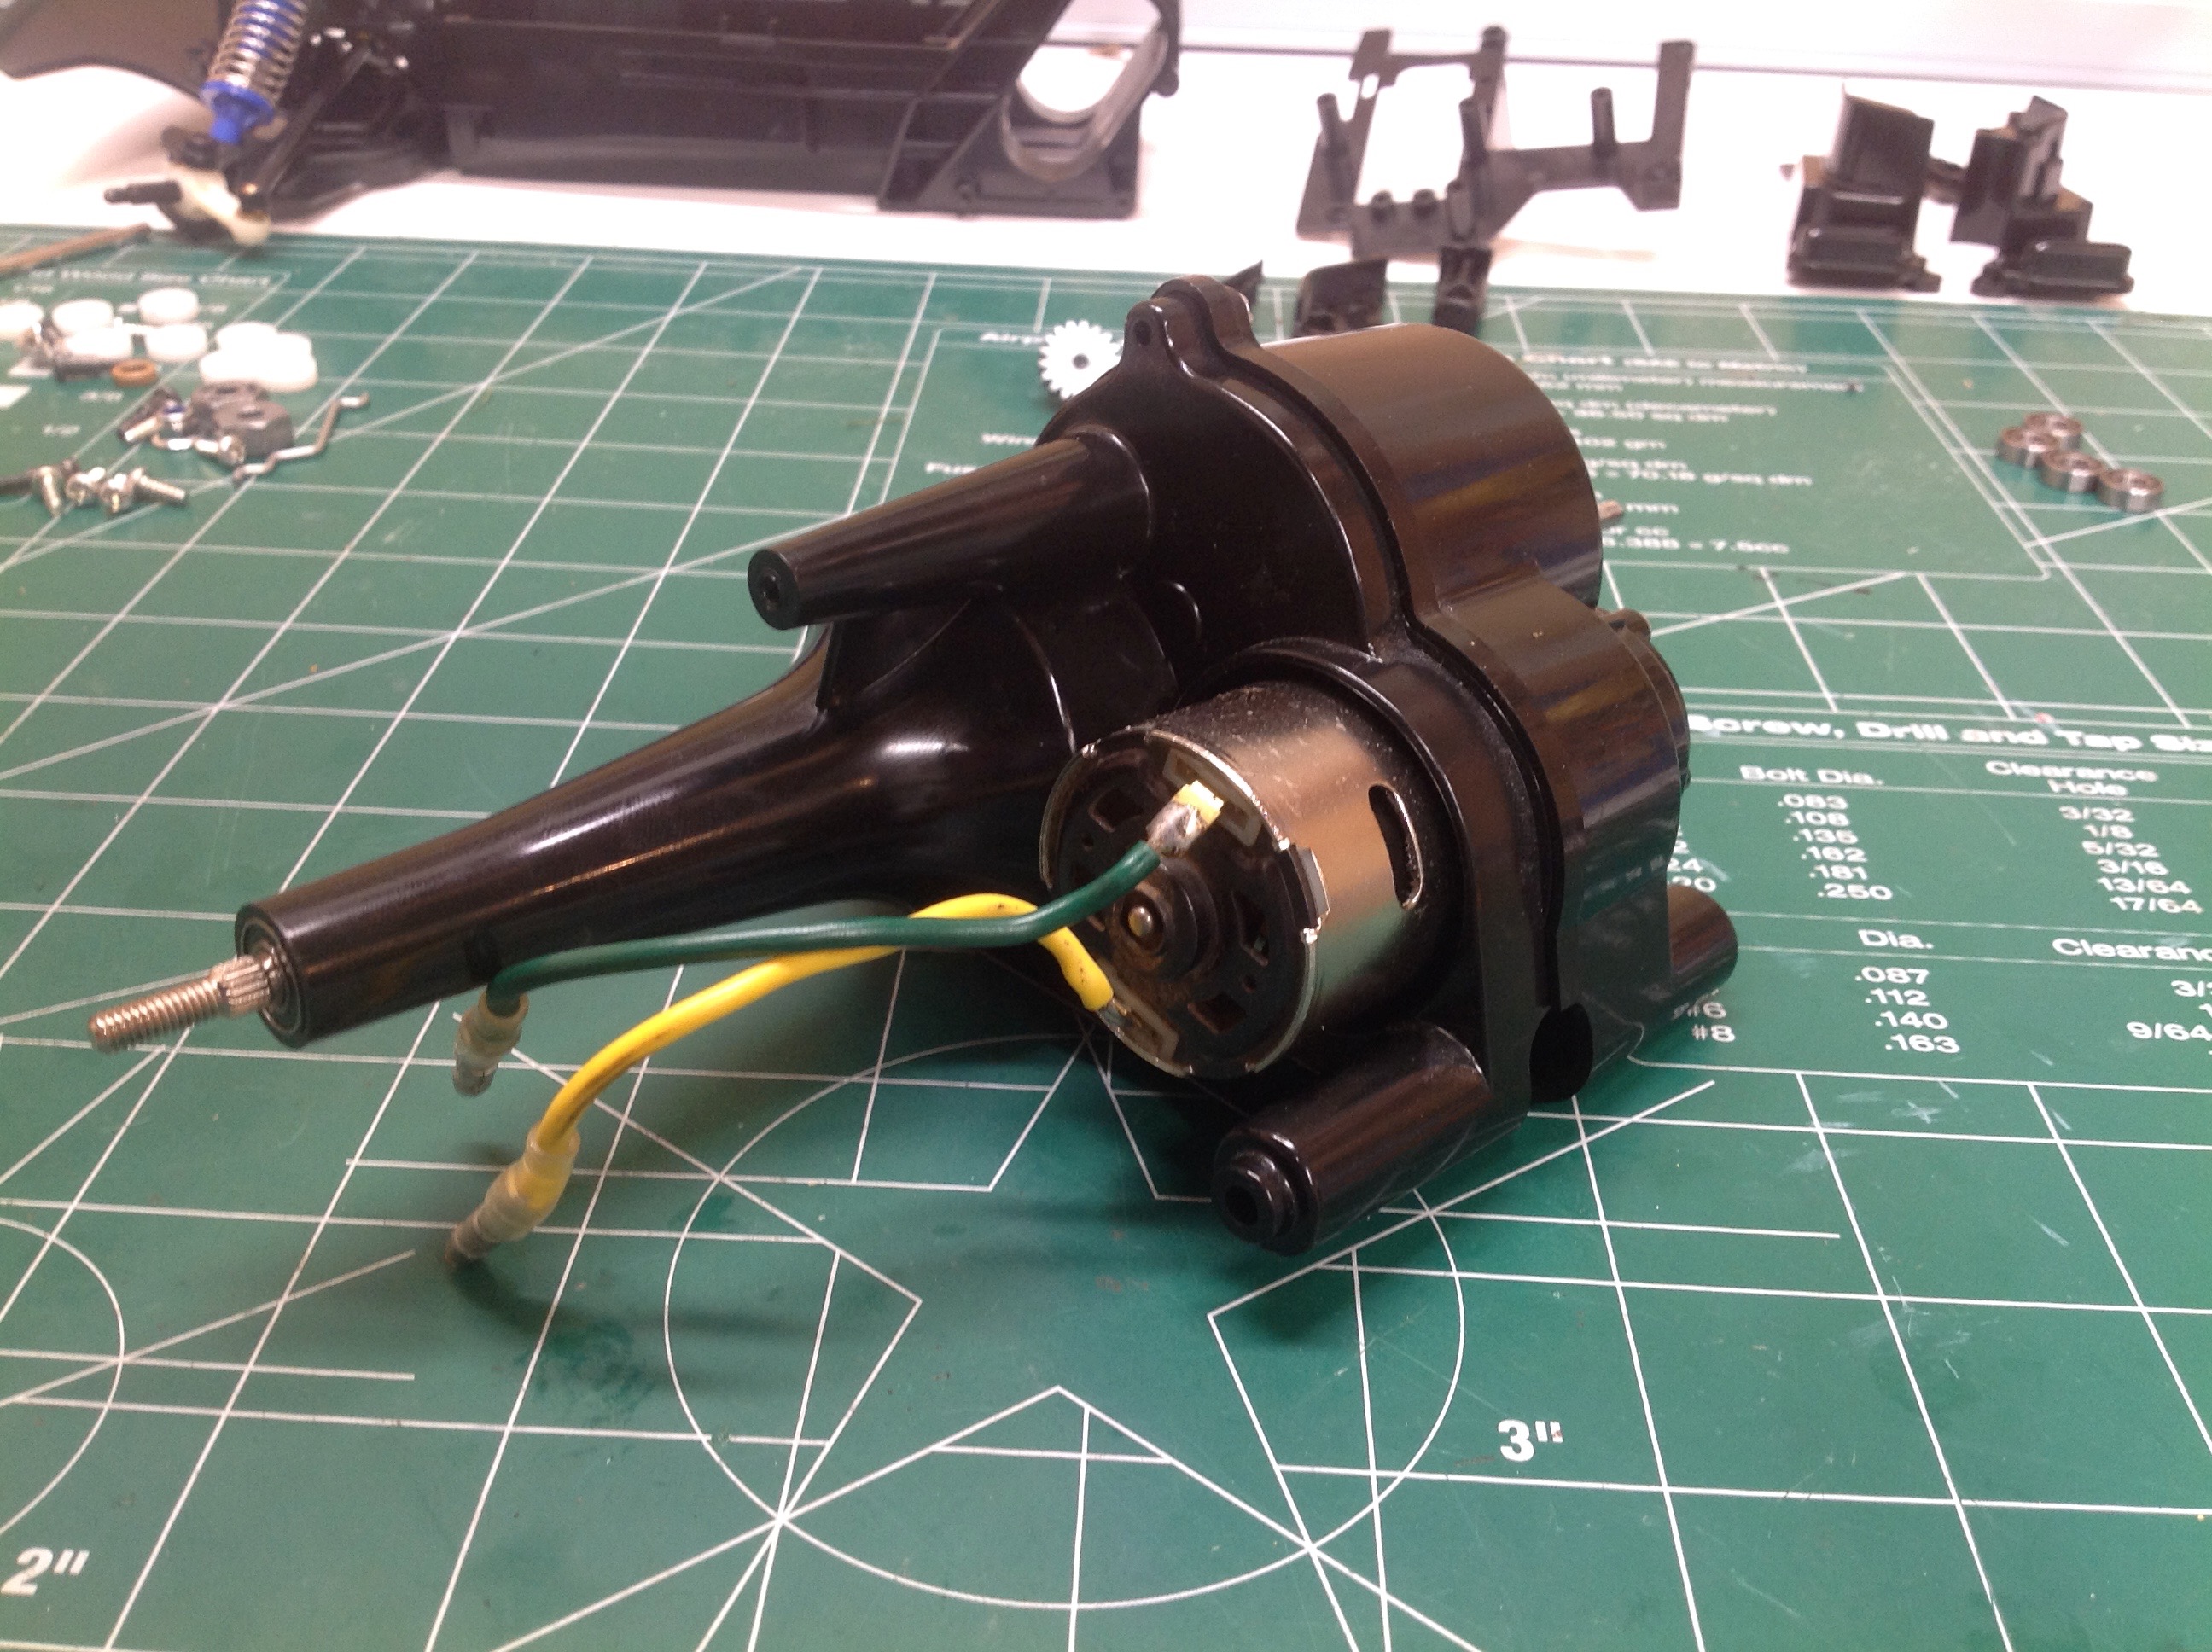
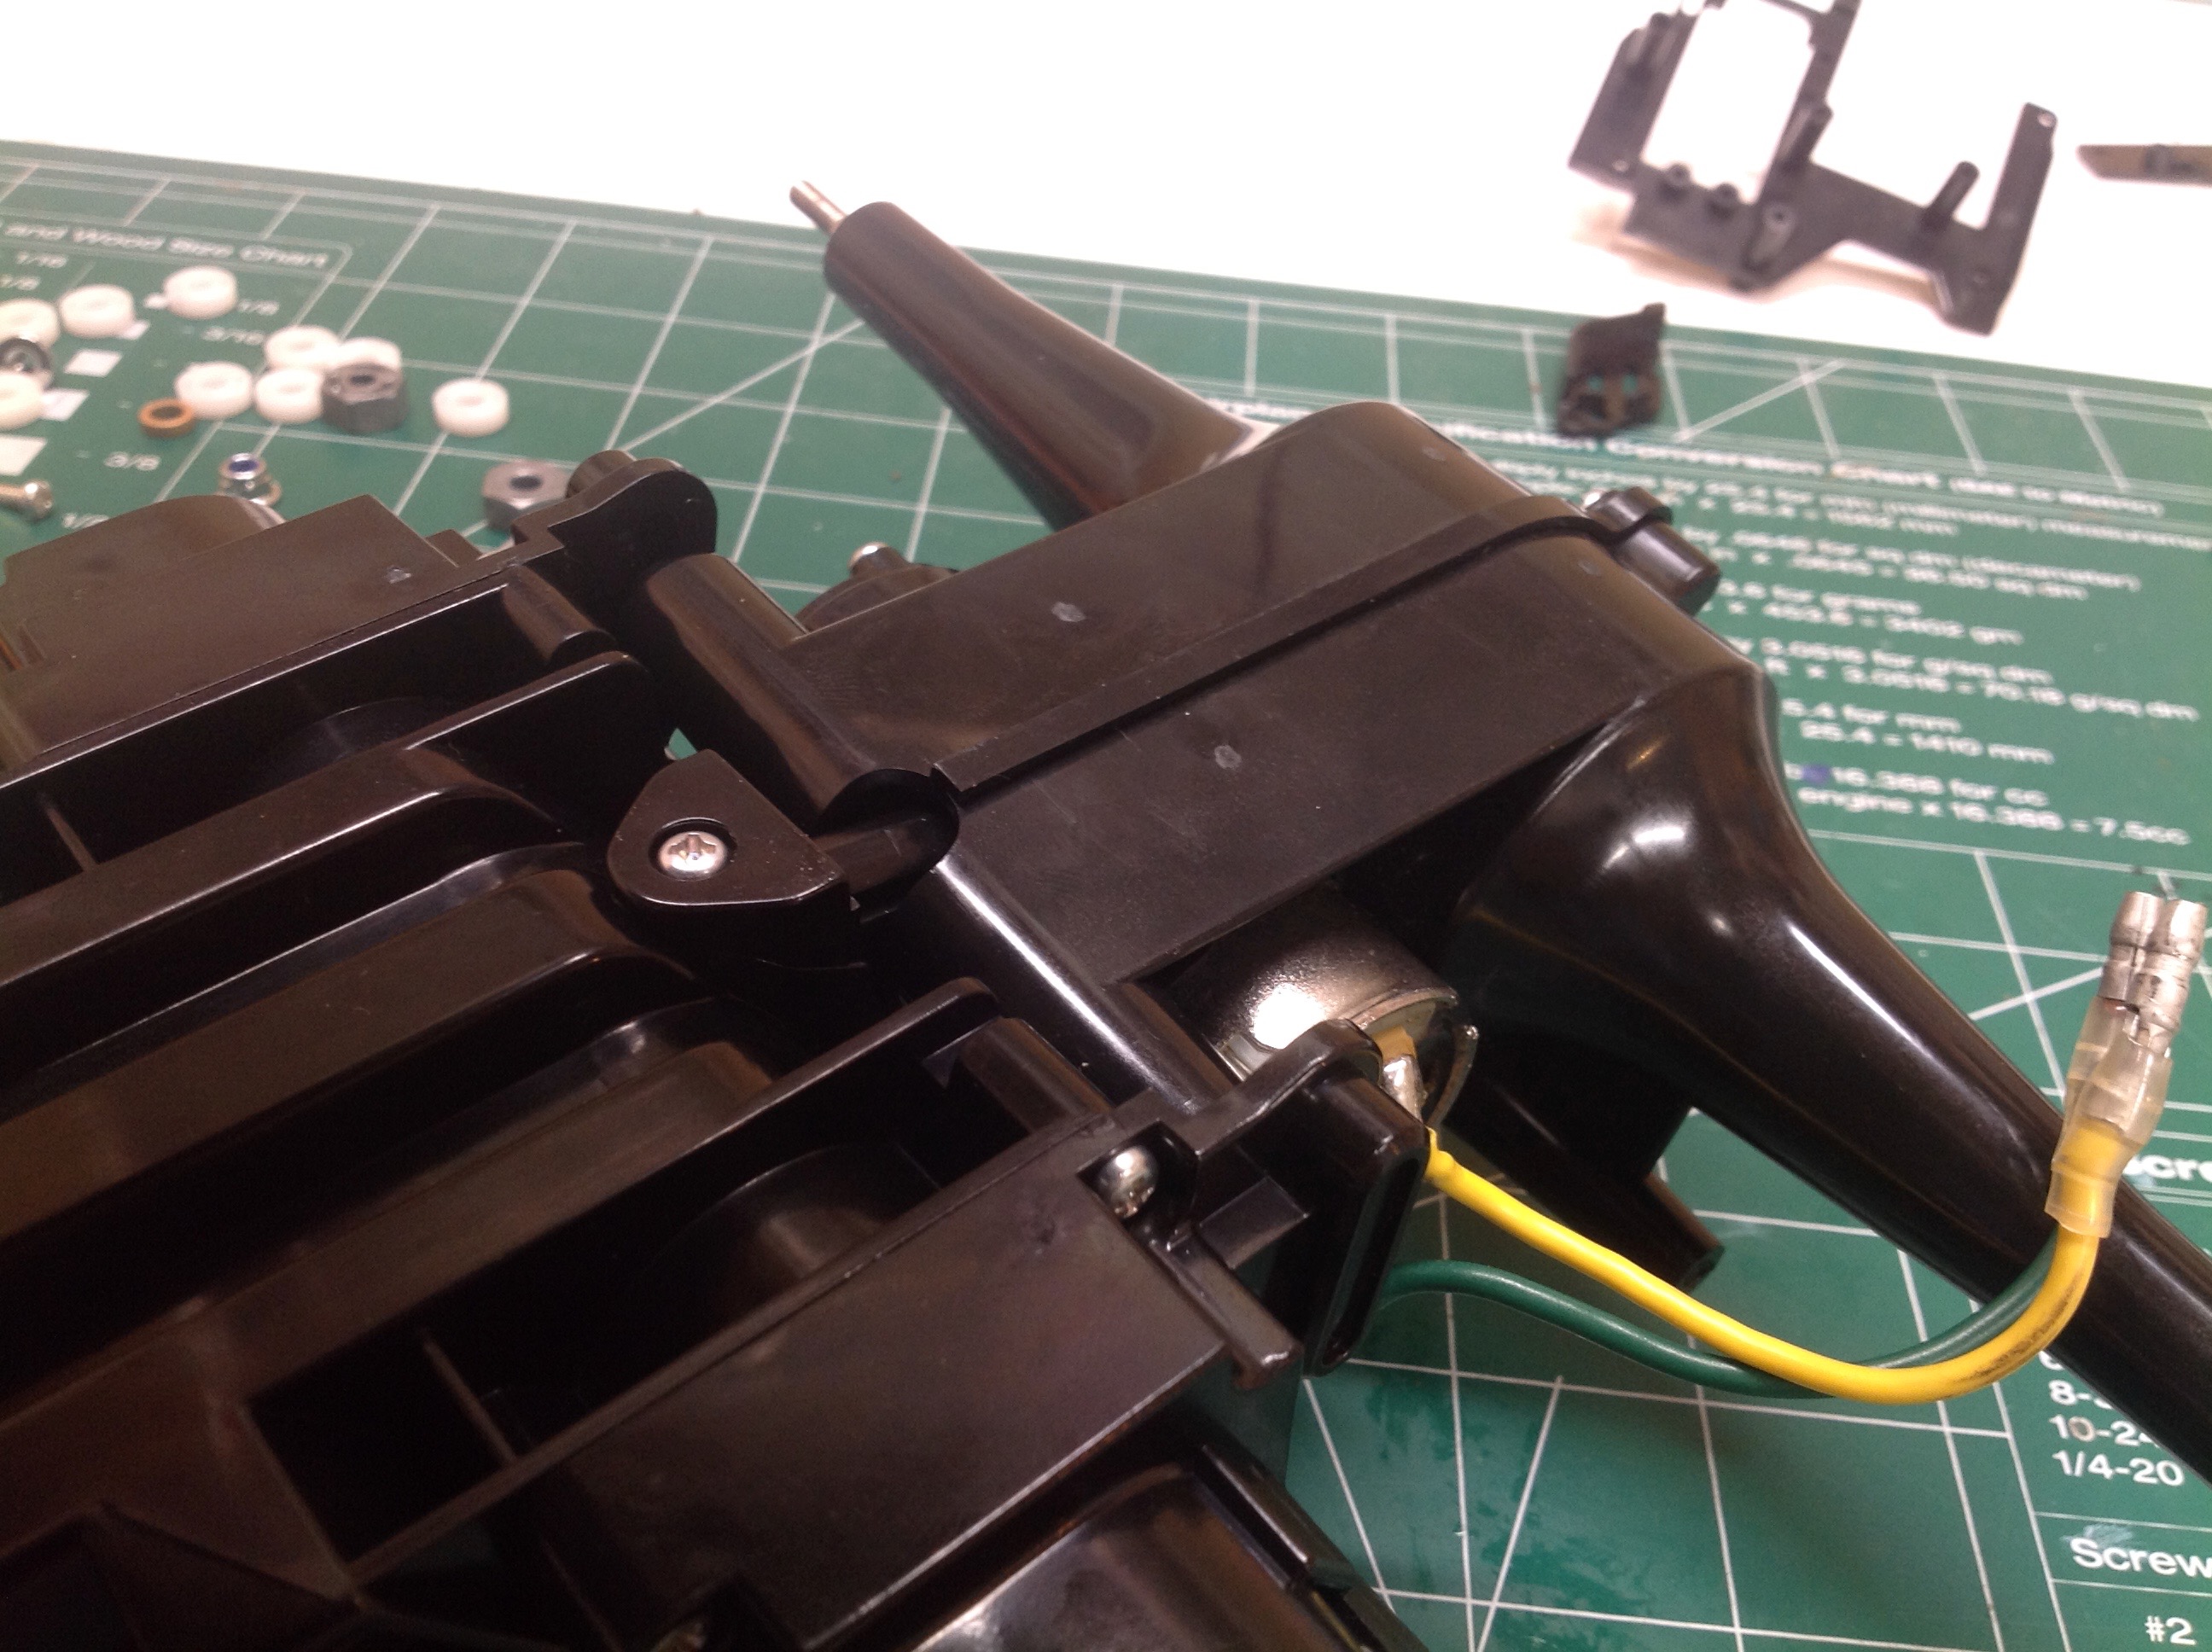
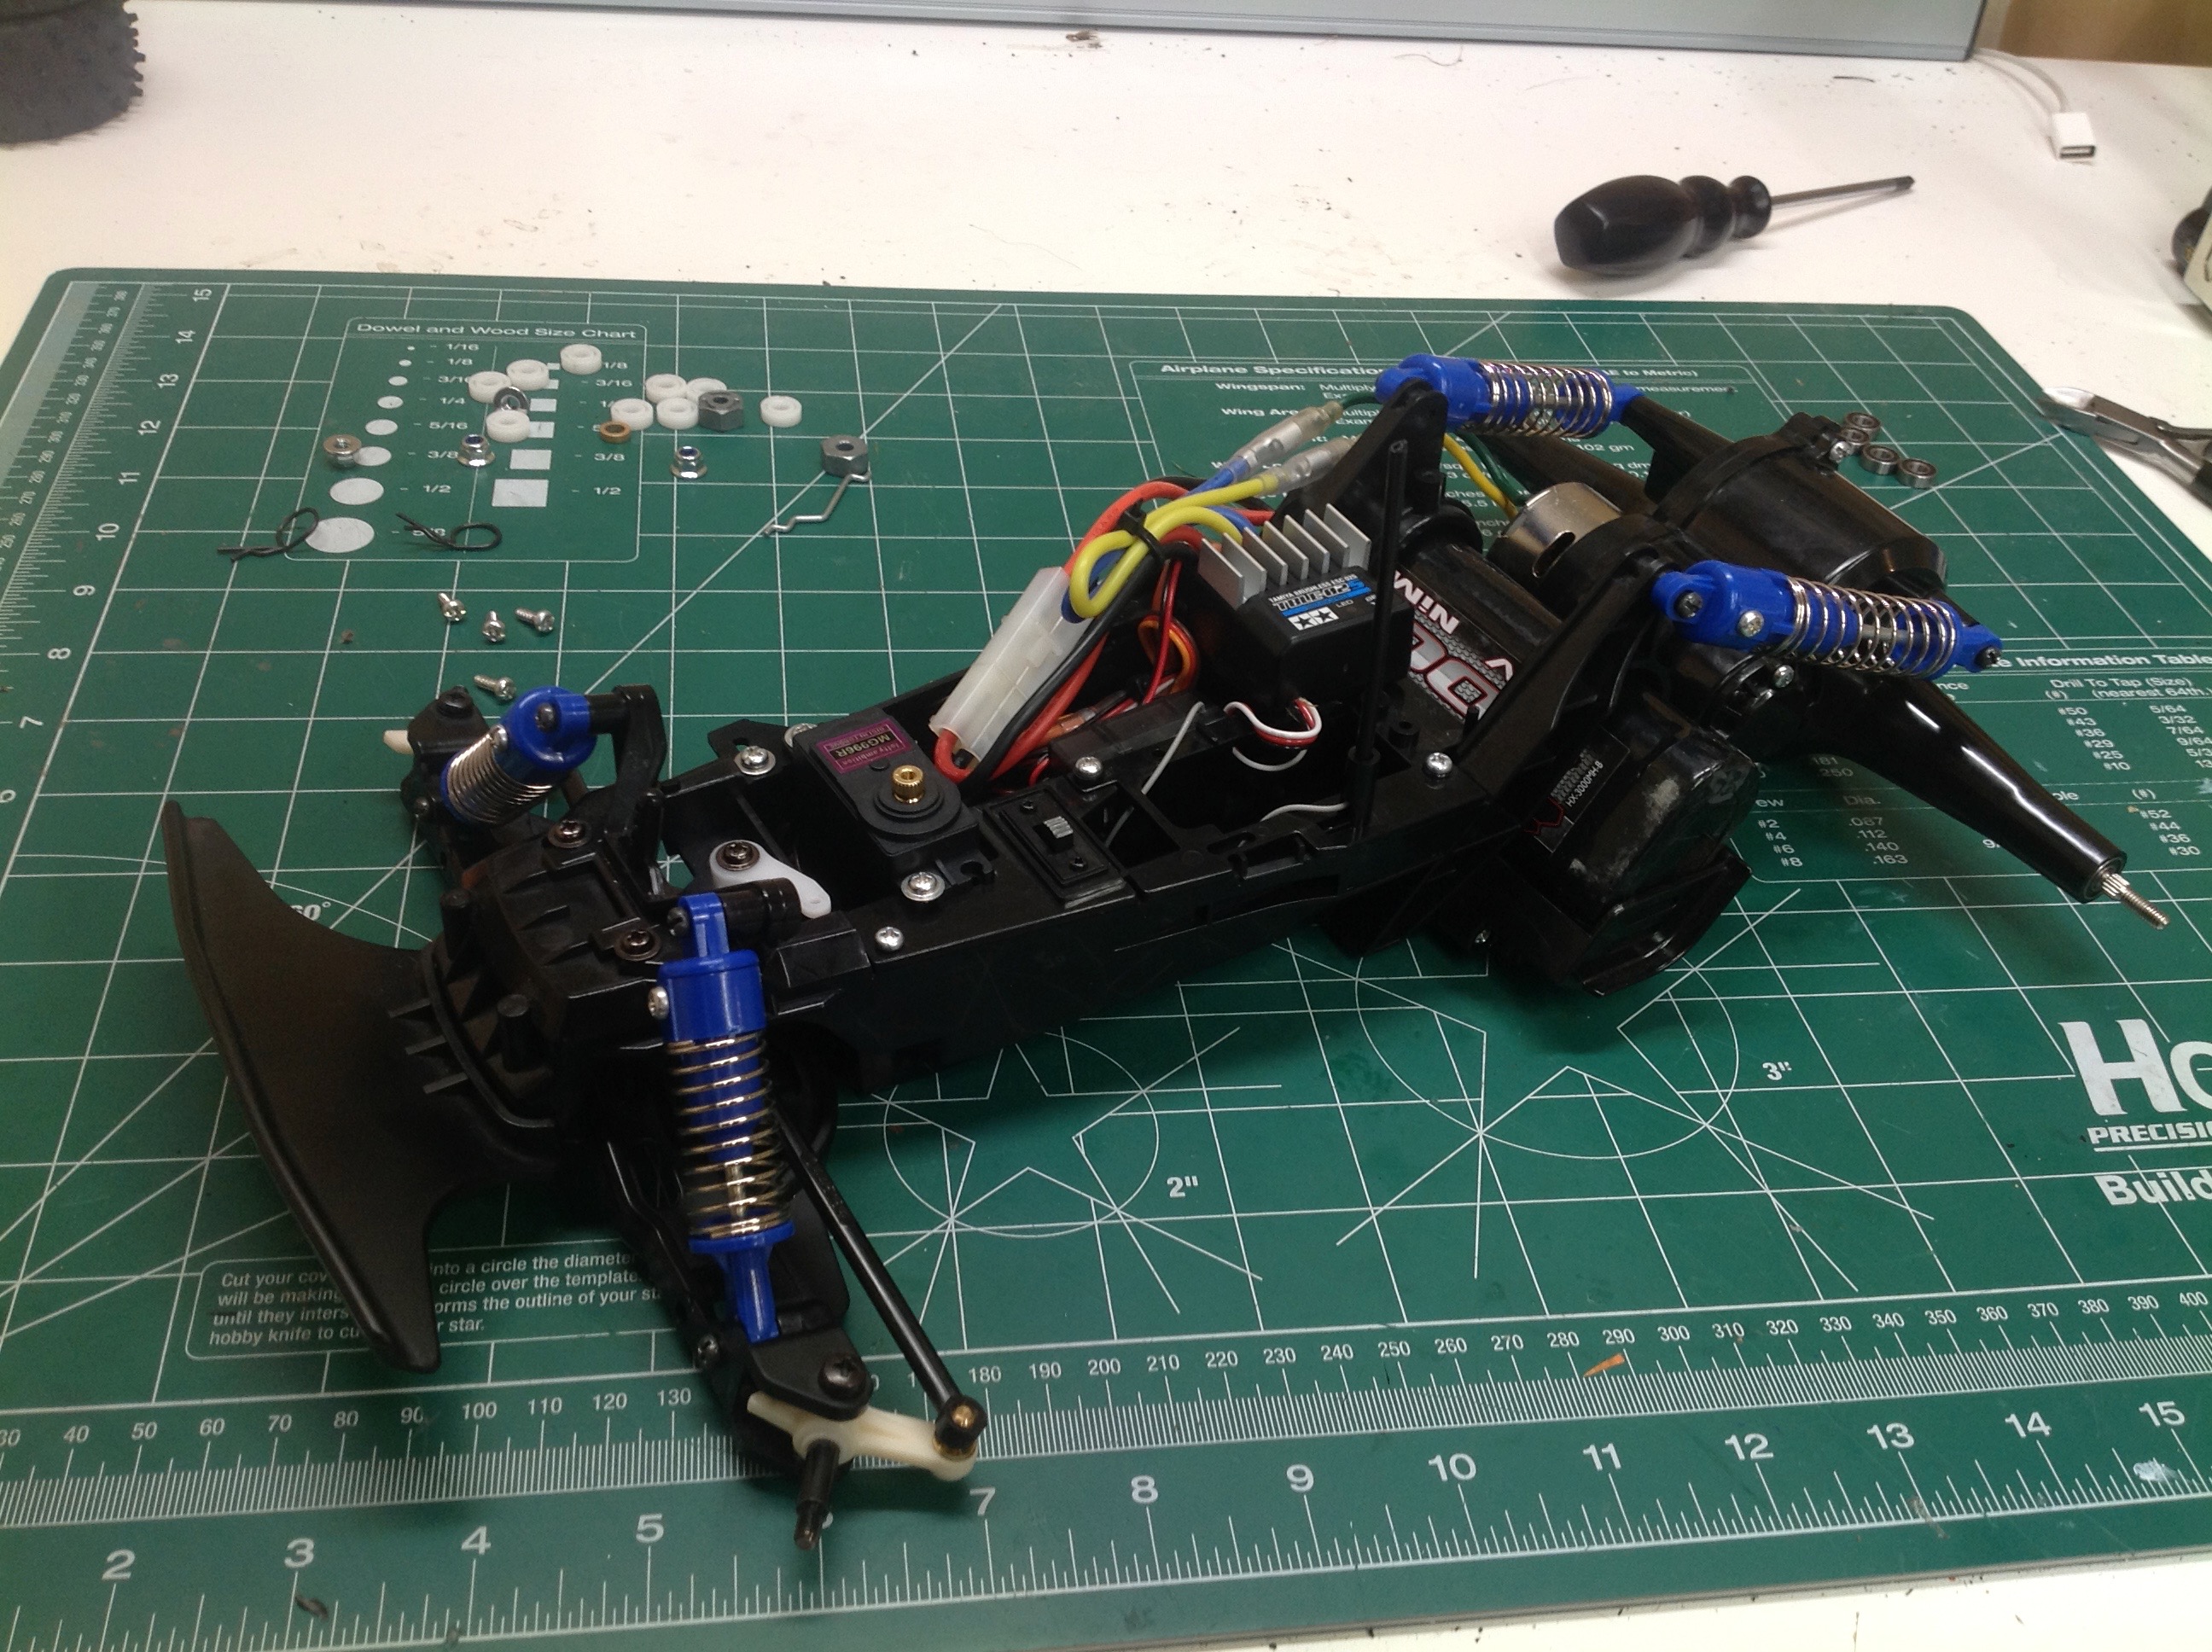
Now the chassis is nearly complete with the shocks and electronics
installed. The part to clamp the servo to the right side of the
chassis was missing as was the servo saver tree. I had to steal
these from the Mad Bull for now. The left hand image shows the
electronics installed per instruction. The ESC interfered with the
driver and was also very visible. I found that with a little
trimming I could put everything down in the open bathtub and free up all
the top space which looks much better. Note the
longitudinally mounted battery just ahead of the rear axle.
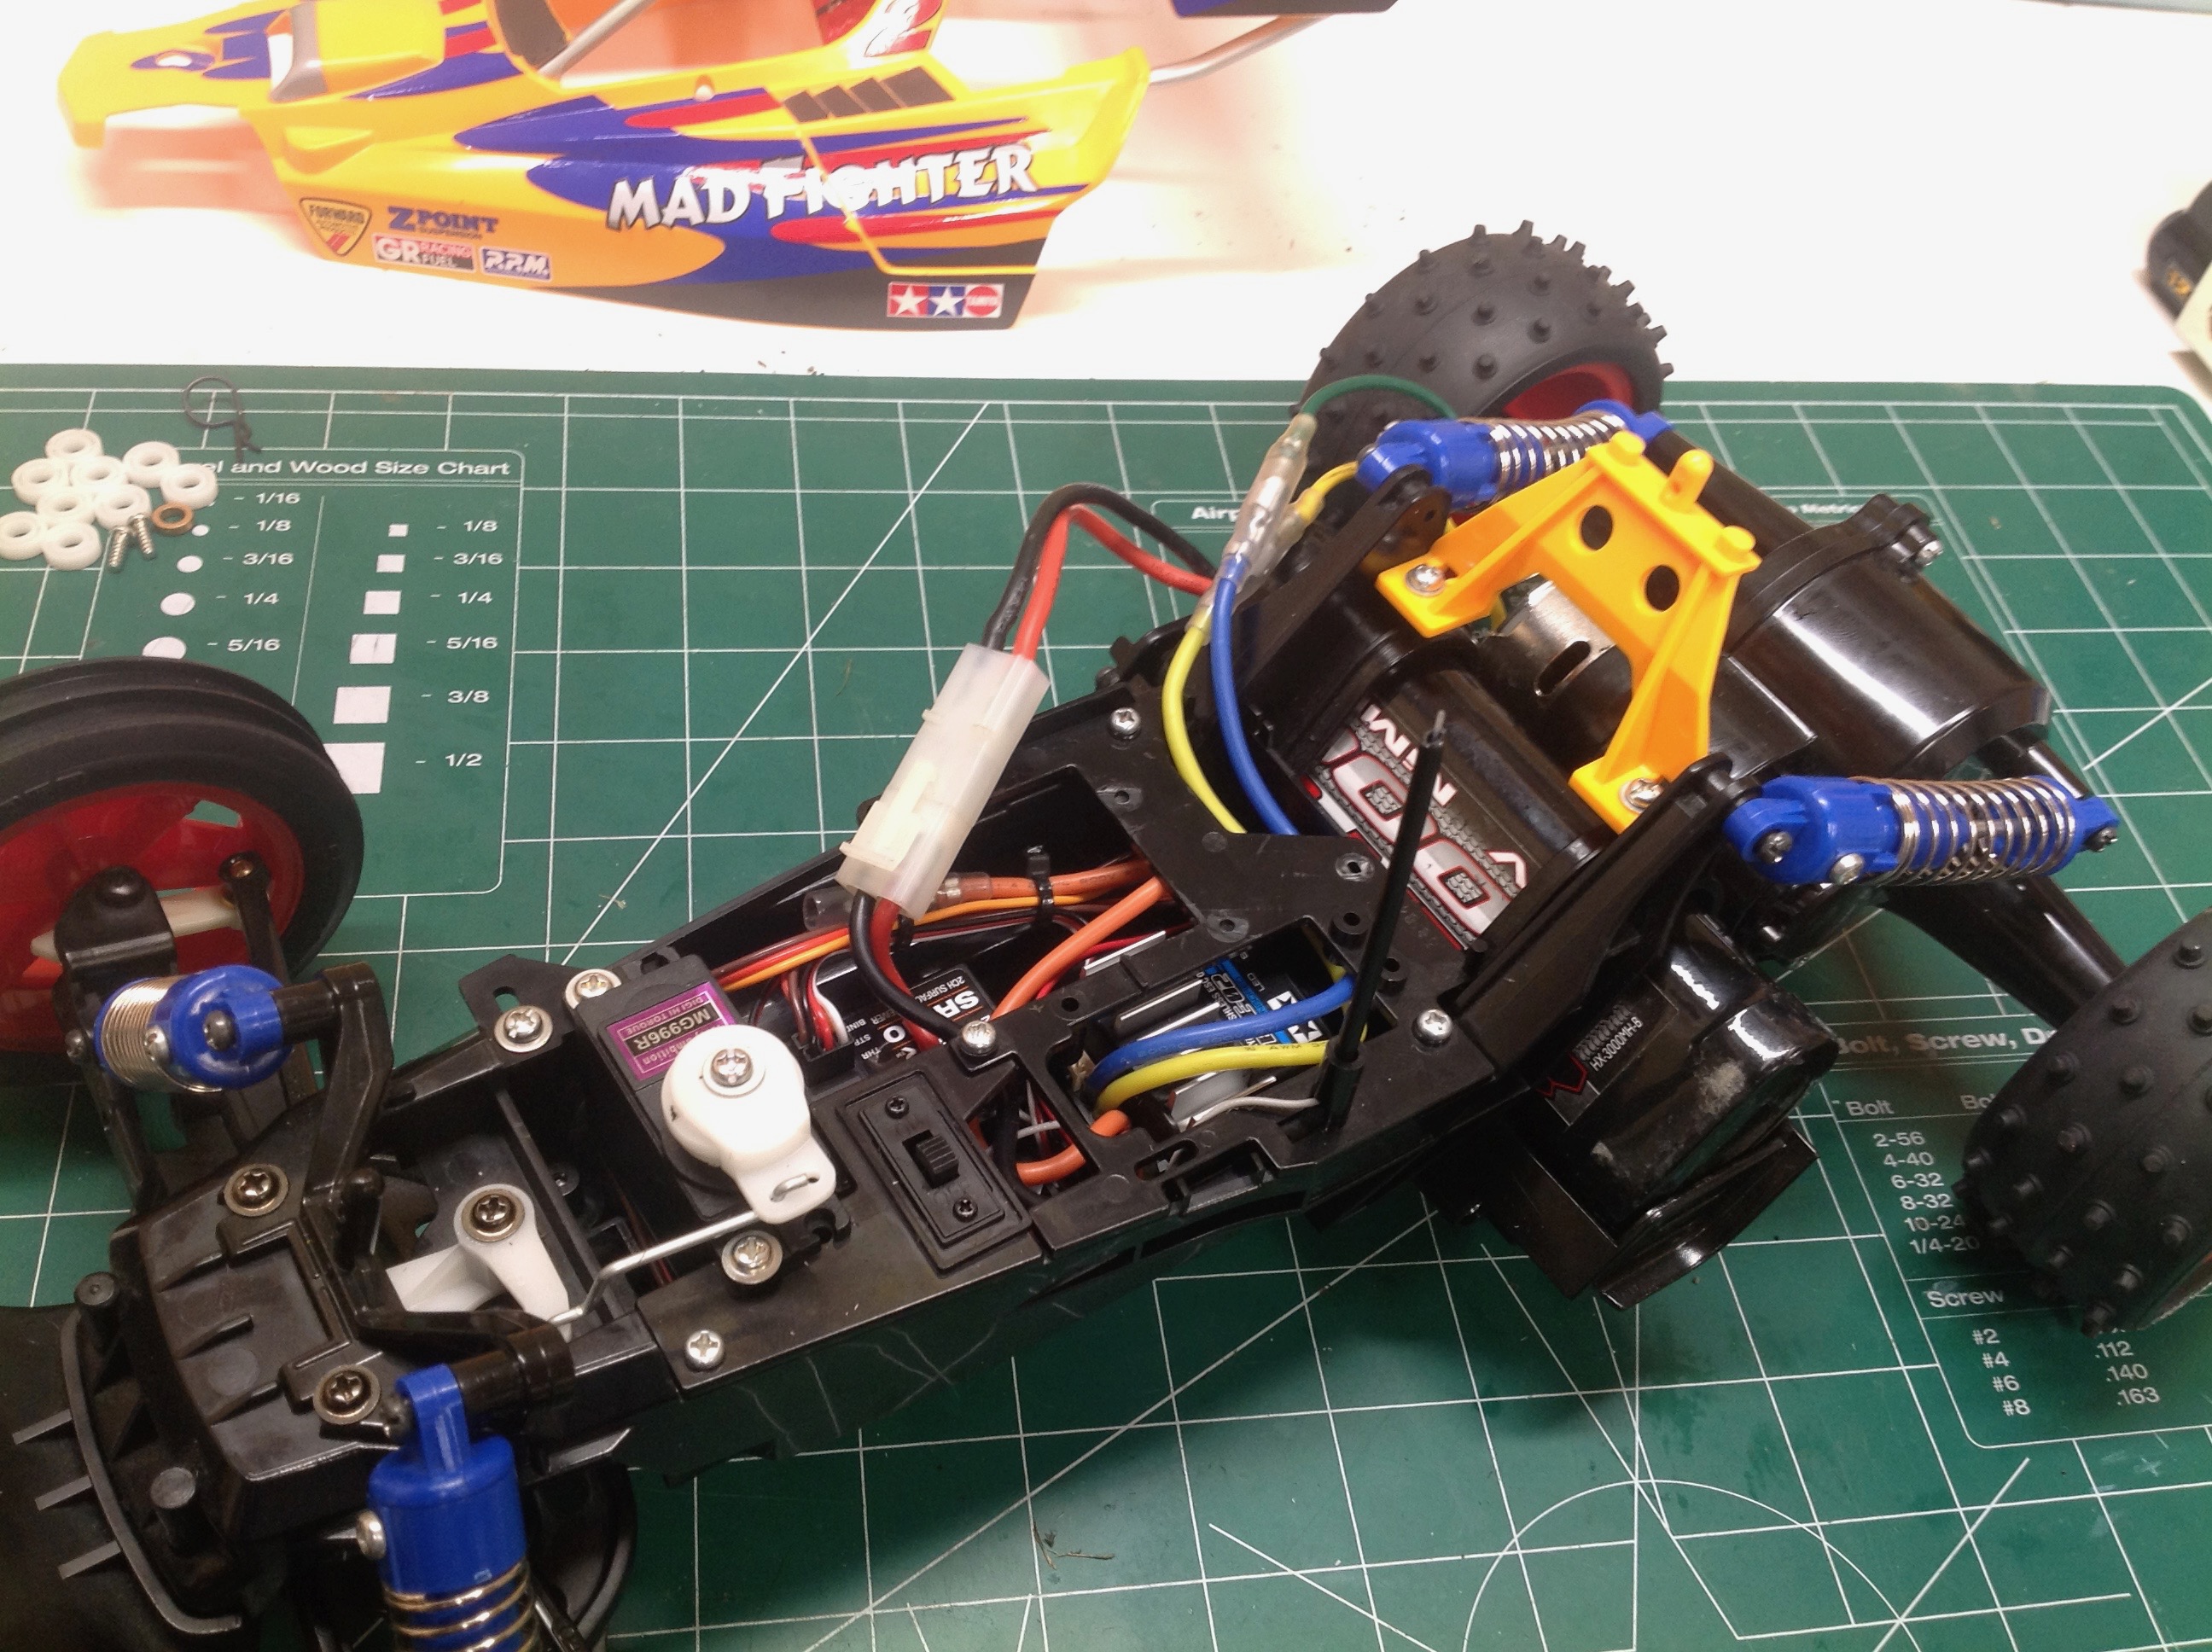
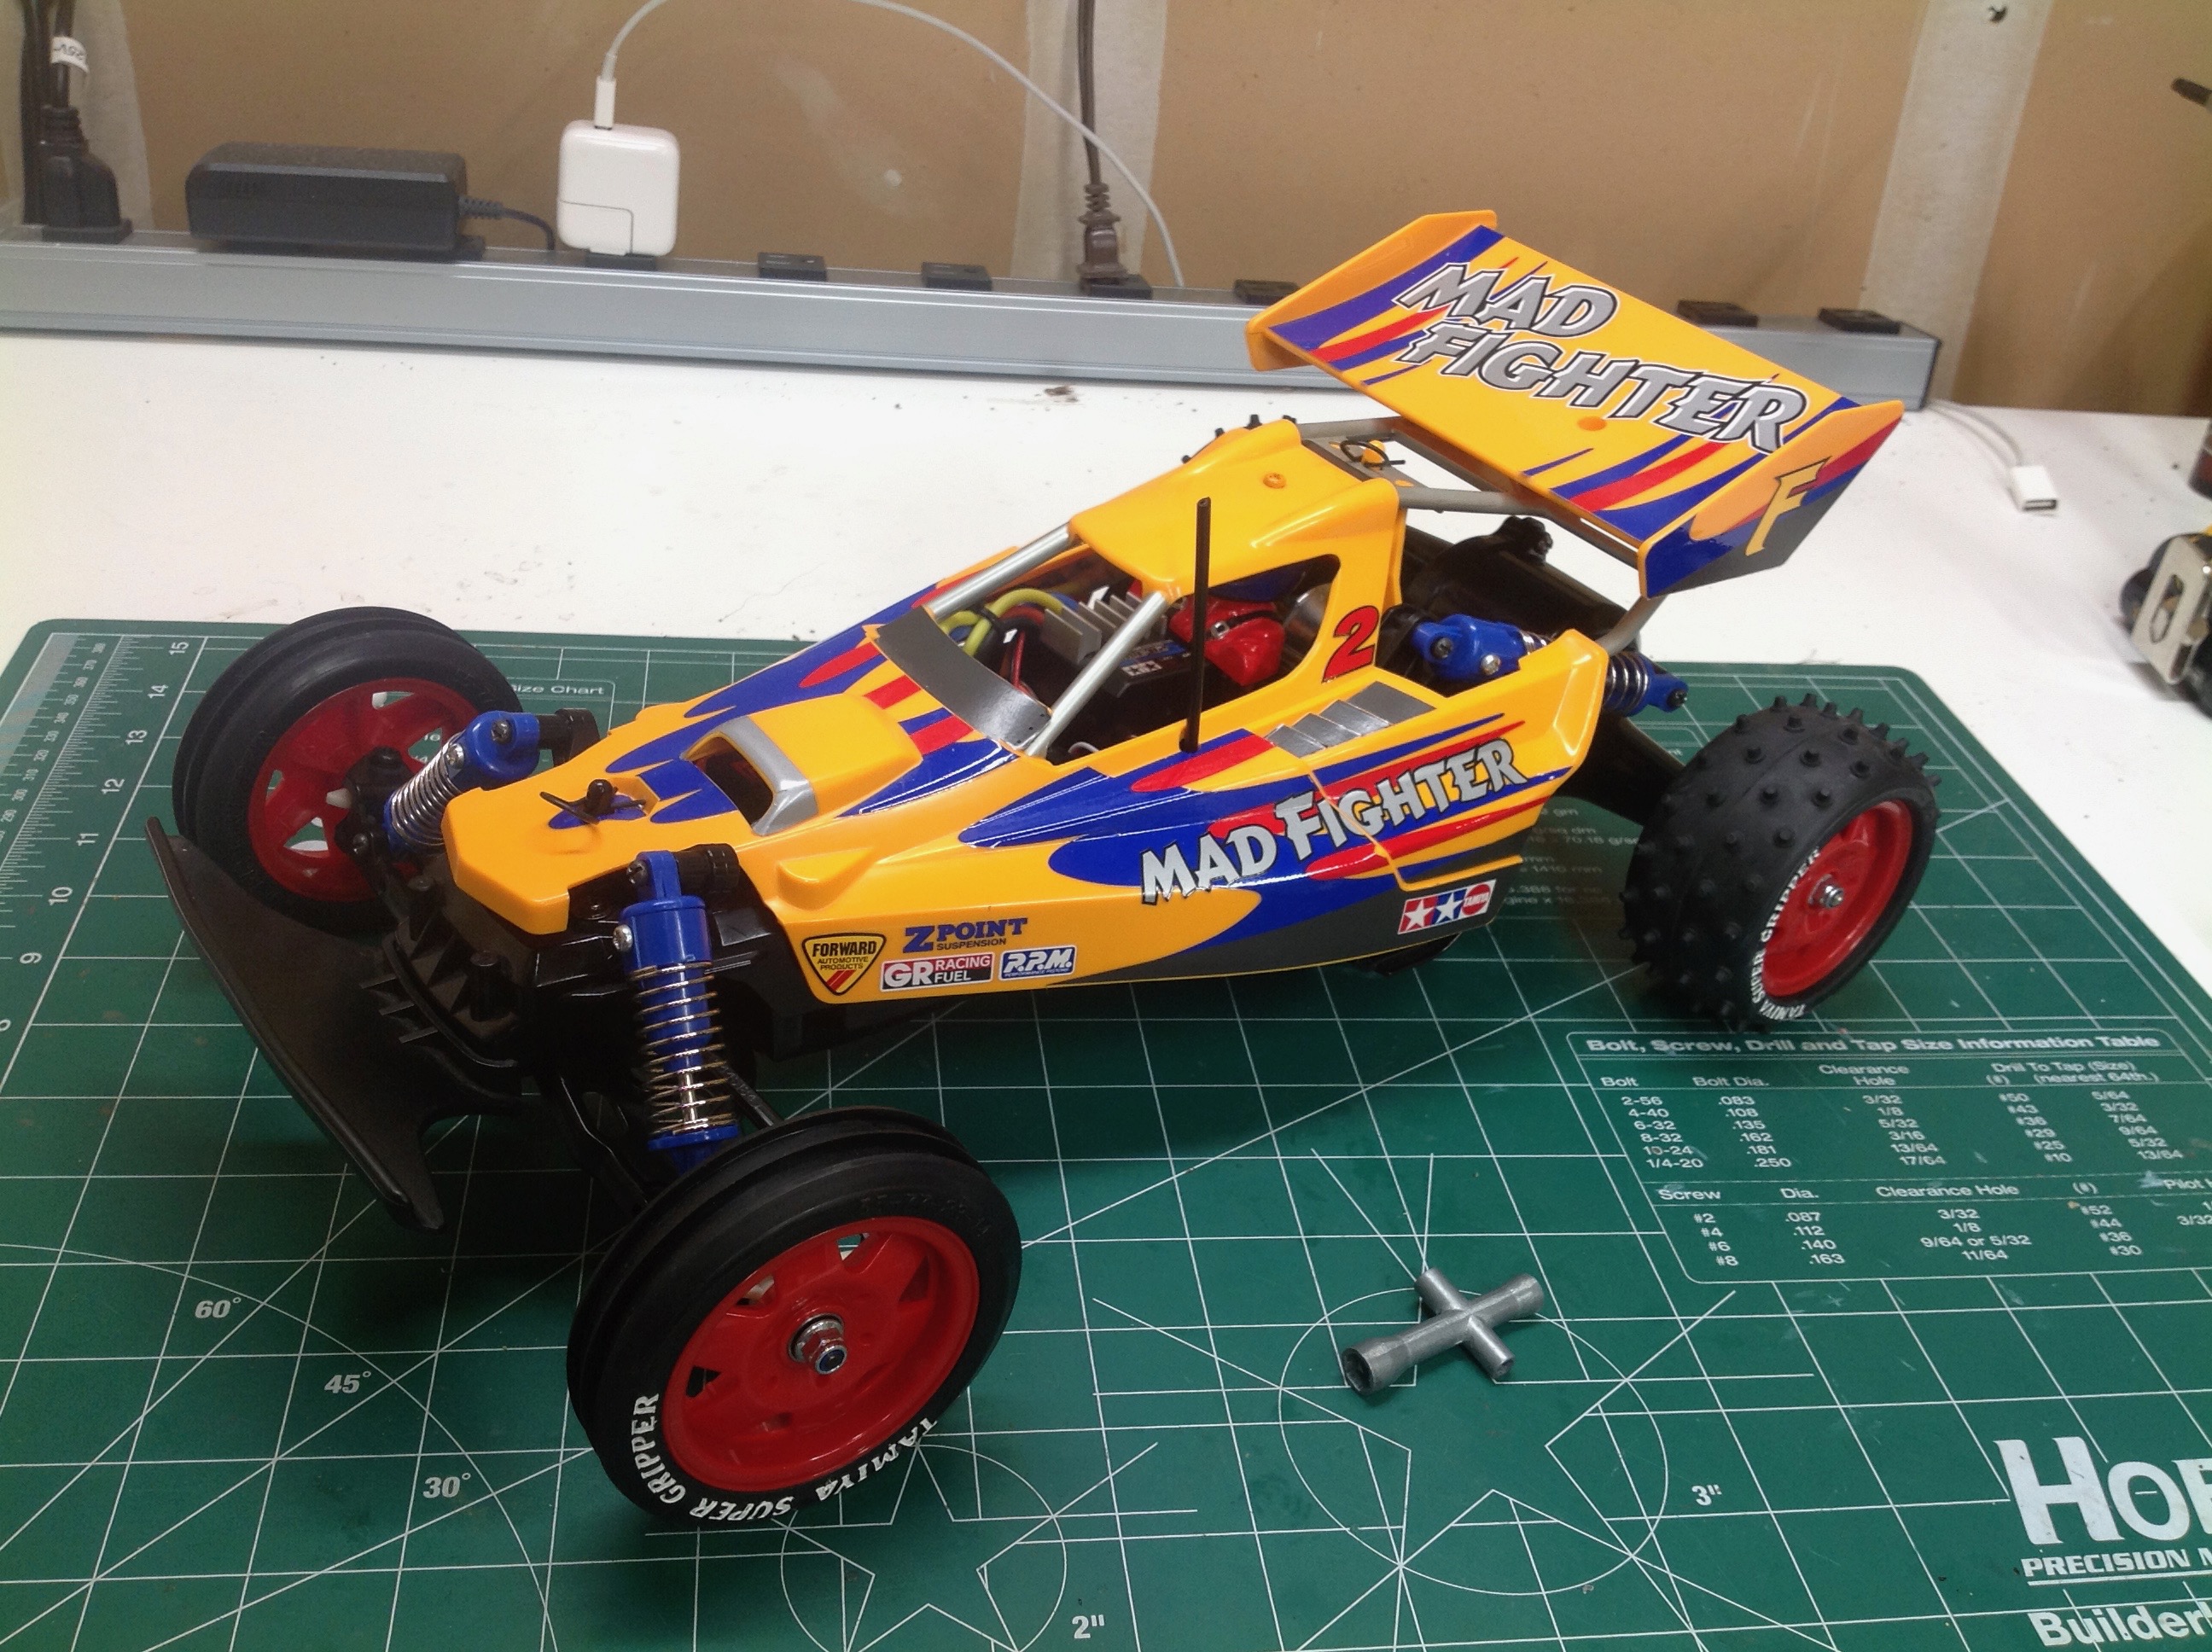
The hard body pops on with just two pins. The spoiler is part of
the body so it all comes off together. Because the two pins are on
the centerline, the body rocks back and forth over every bump and makes
a lot of noise.
©2018 Eric Albrecht