Container Trailer Project
Page 1: Building the trailer
Since I've already fully documented a 3 axle trailer build on my Stanchion Trailer page and the chassis is 90% similar, I'll be providing only a cursory overview of the build here.
It is not surprising that this trailer comes in a very long box.
The chassis rails are the length of the entire trailer so the box can't
be shortened. Inside are an amazingly large number of parts for
"just a trailer". This is actually a serious build. What you
see on the table are just the parts for the trailer base. The
container will come later at the bottom of this page.
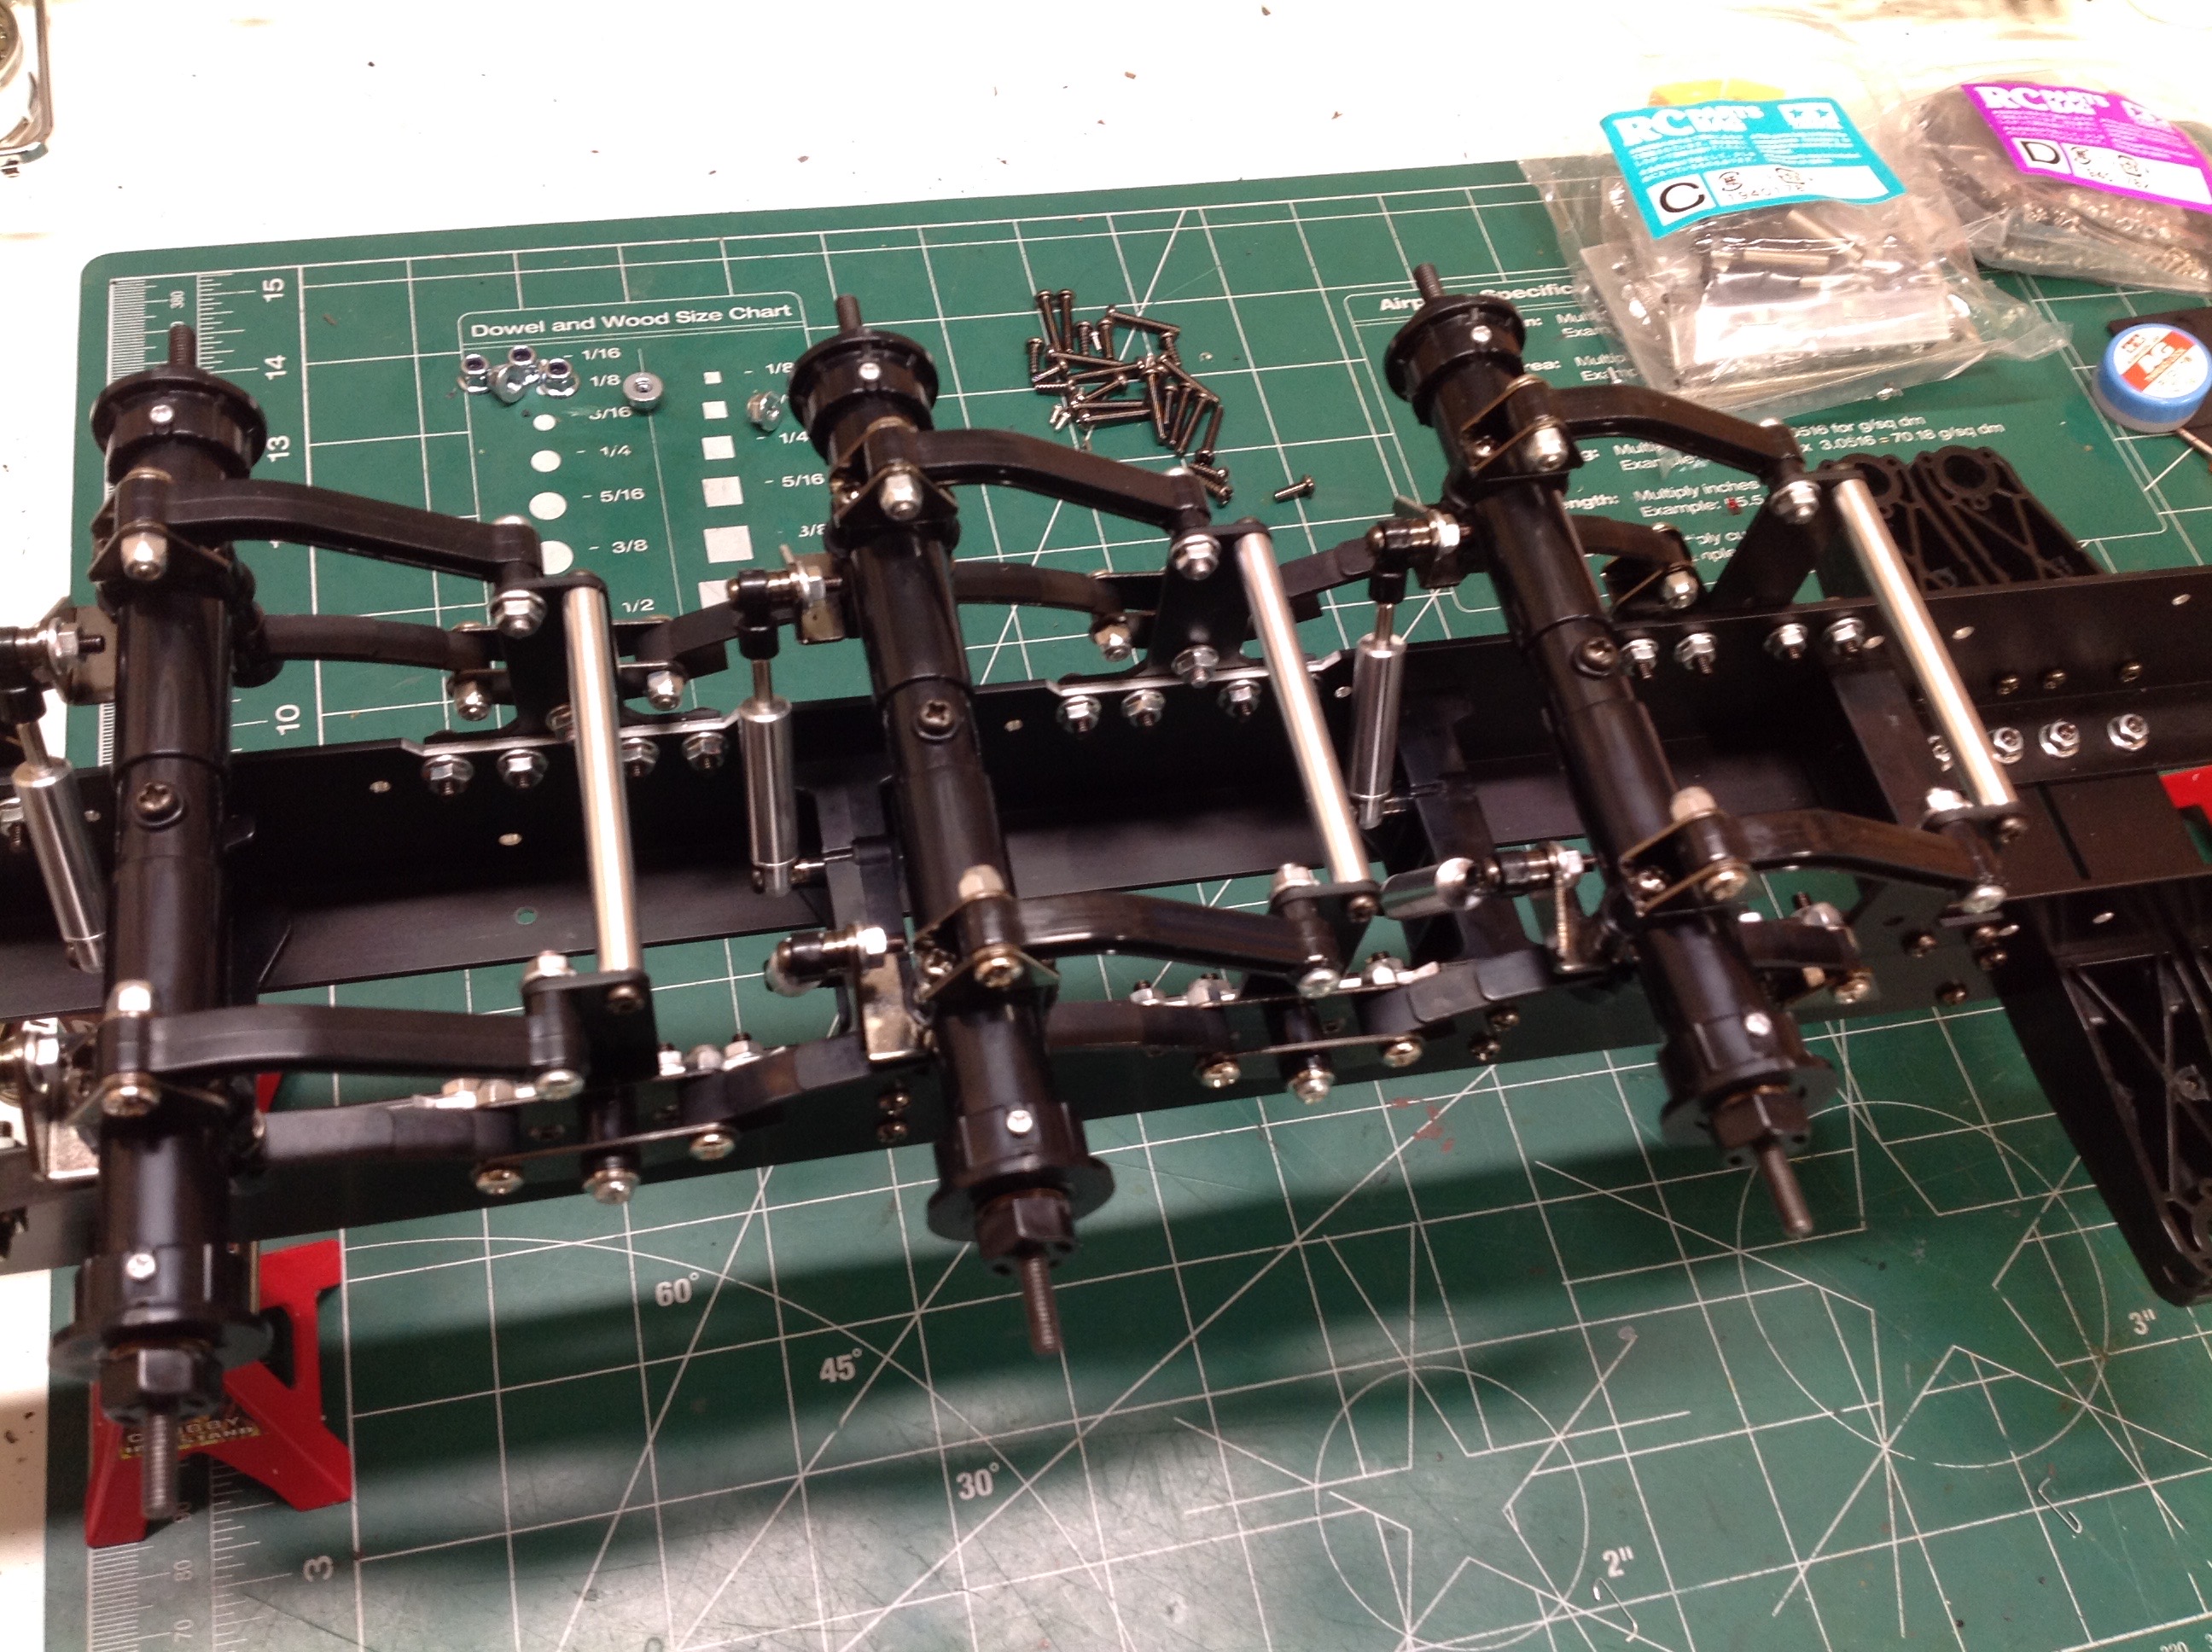
Here are the 3 solid rear axles. Each is supported by leaf springs
which are tied together between axles to provide integrated
movement. Depressing one axle lifts another. The left and
right axle shafts are separate allowing the wheels to all turn at
different speeds when turning.
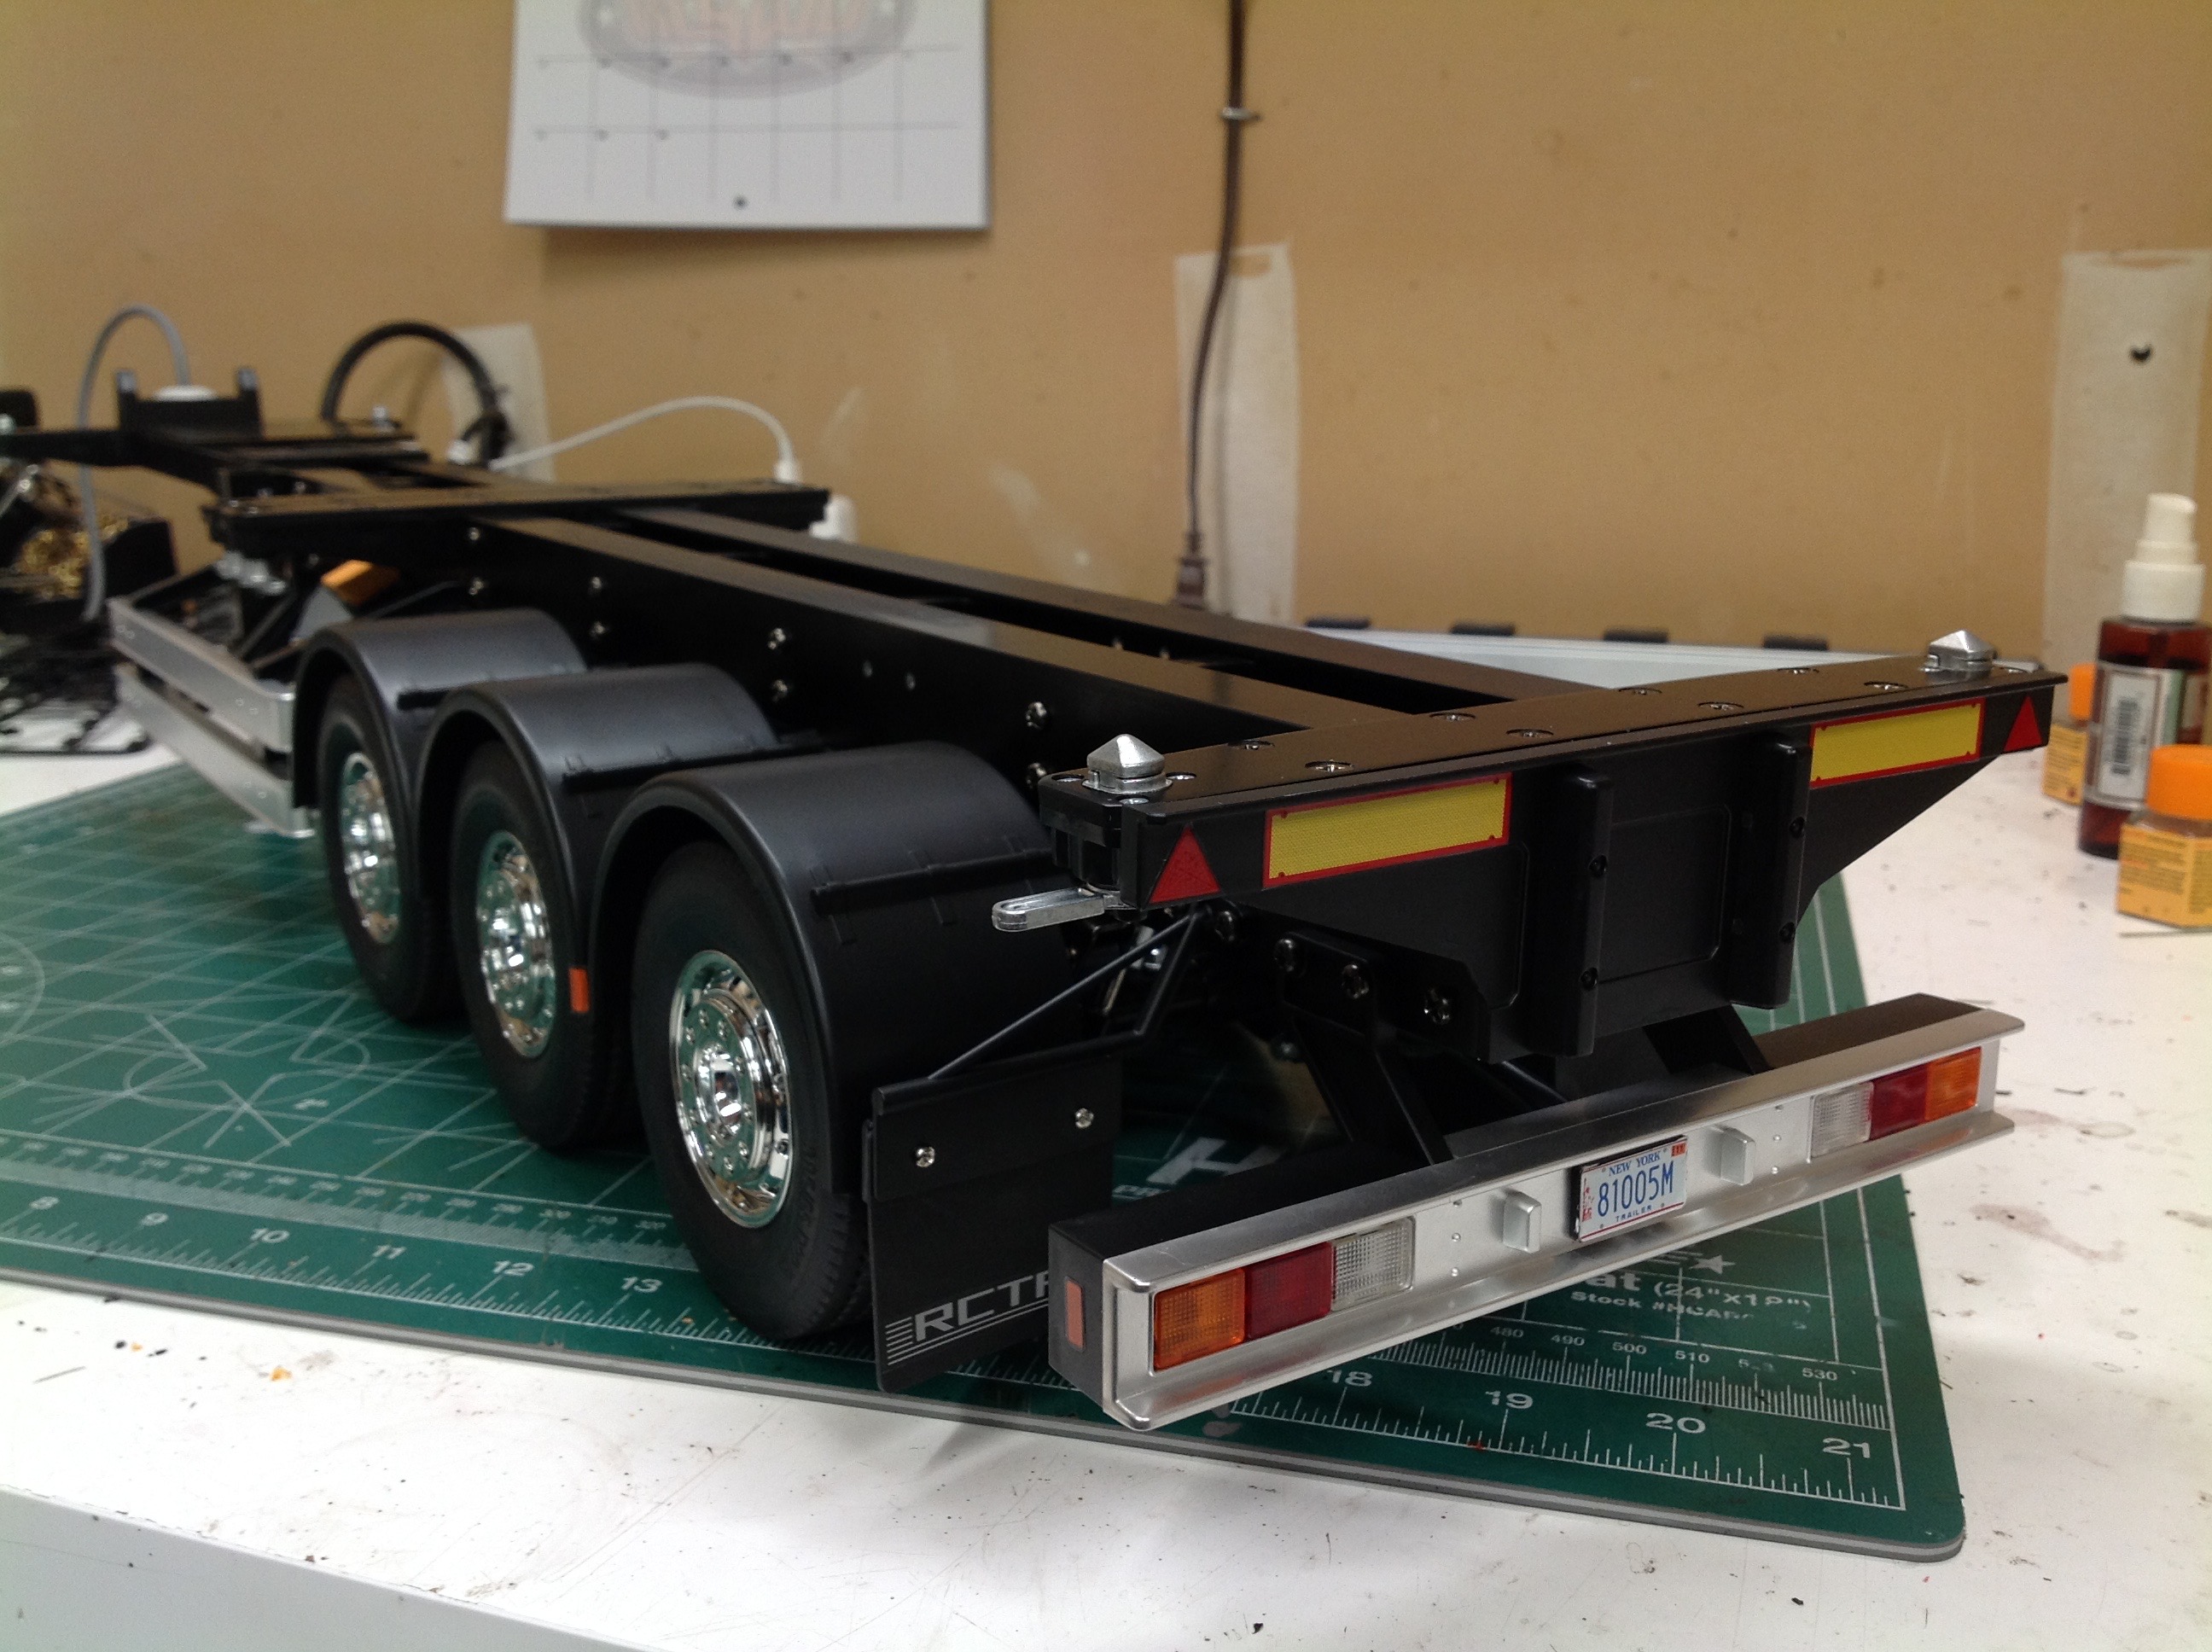
This shows the rear fenders, wheels, mud flaps, and bumper
installed. From above you can also see the rest of the
trailer. The chassis is effectively done at this point.
Nearly everything you see is metal. The container toggle locks are
at the ends but also in the middle which allows the trailer to accept a
single 40' container or two 20' containers.
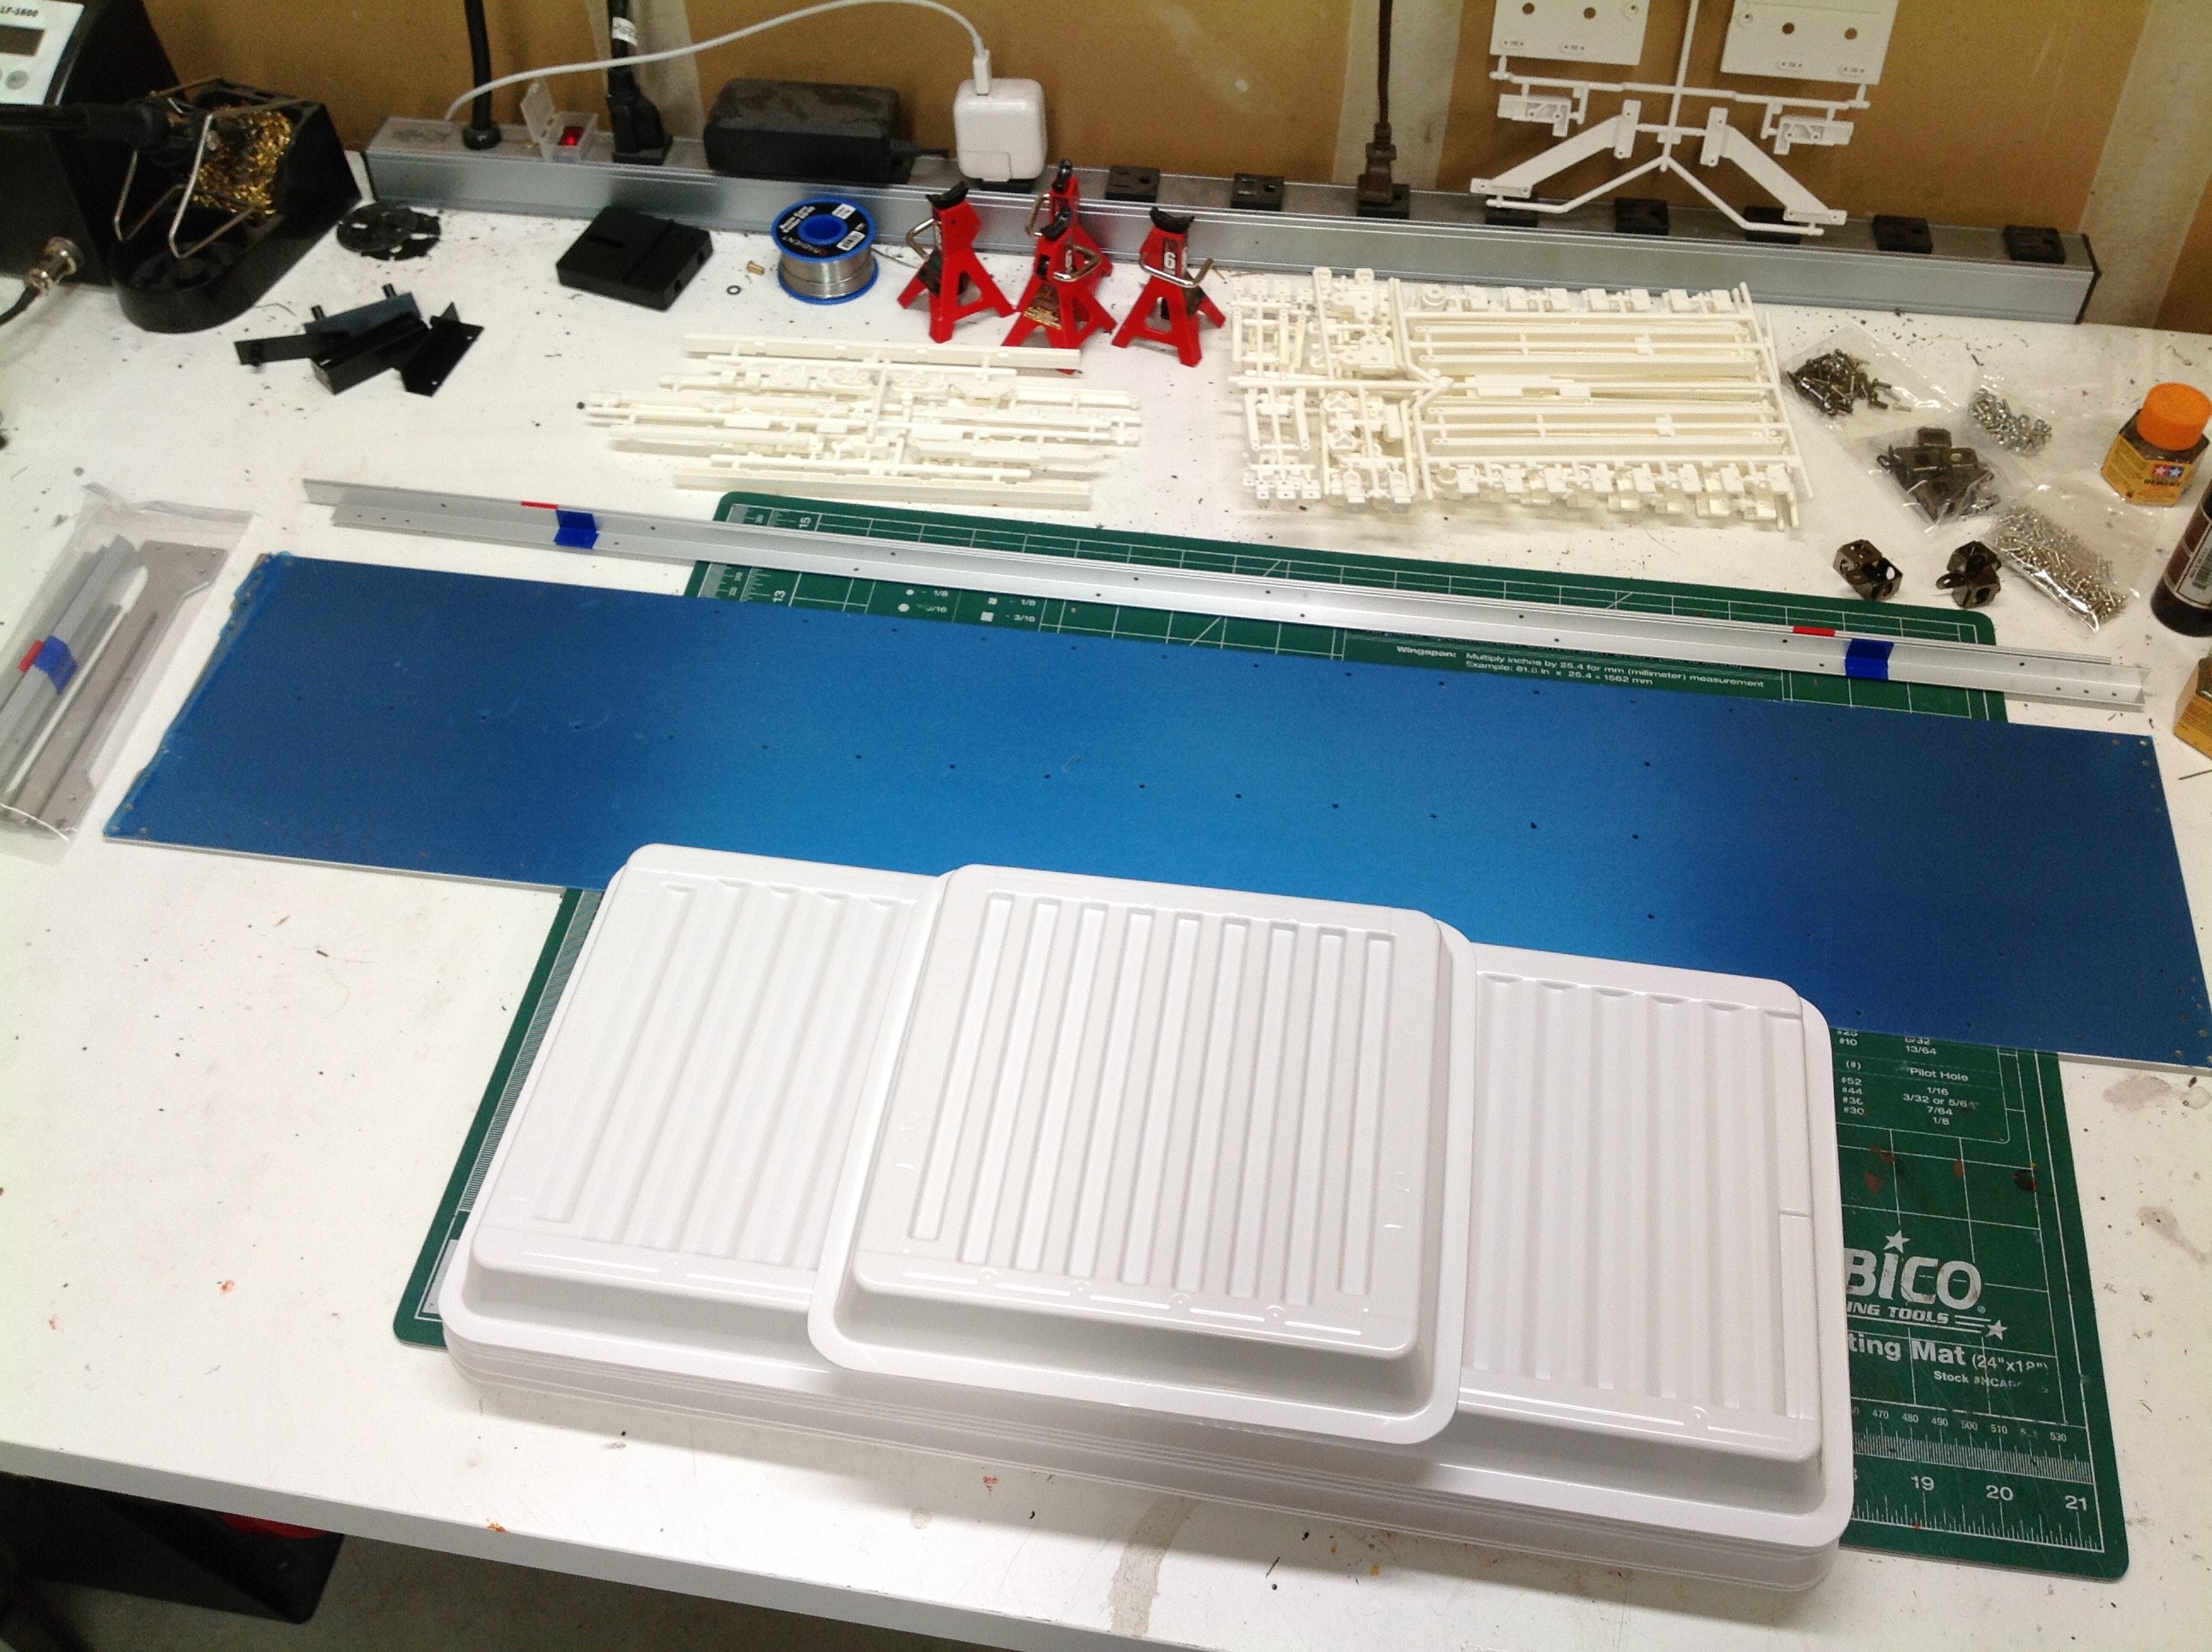
I wasn't quite sure what to expect by way of container assembly methods,
but I didn't expect this. I thought maybe the corrugated panels
were sheet metal. Nope. They are actually formed ABS.
The process is similar to how polycarbonate bodies are made, but ABS is
much tougher. This stock of formed parts needs to be cut out and
trimmed. They are way too thick for a Lexan scissors so I used the
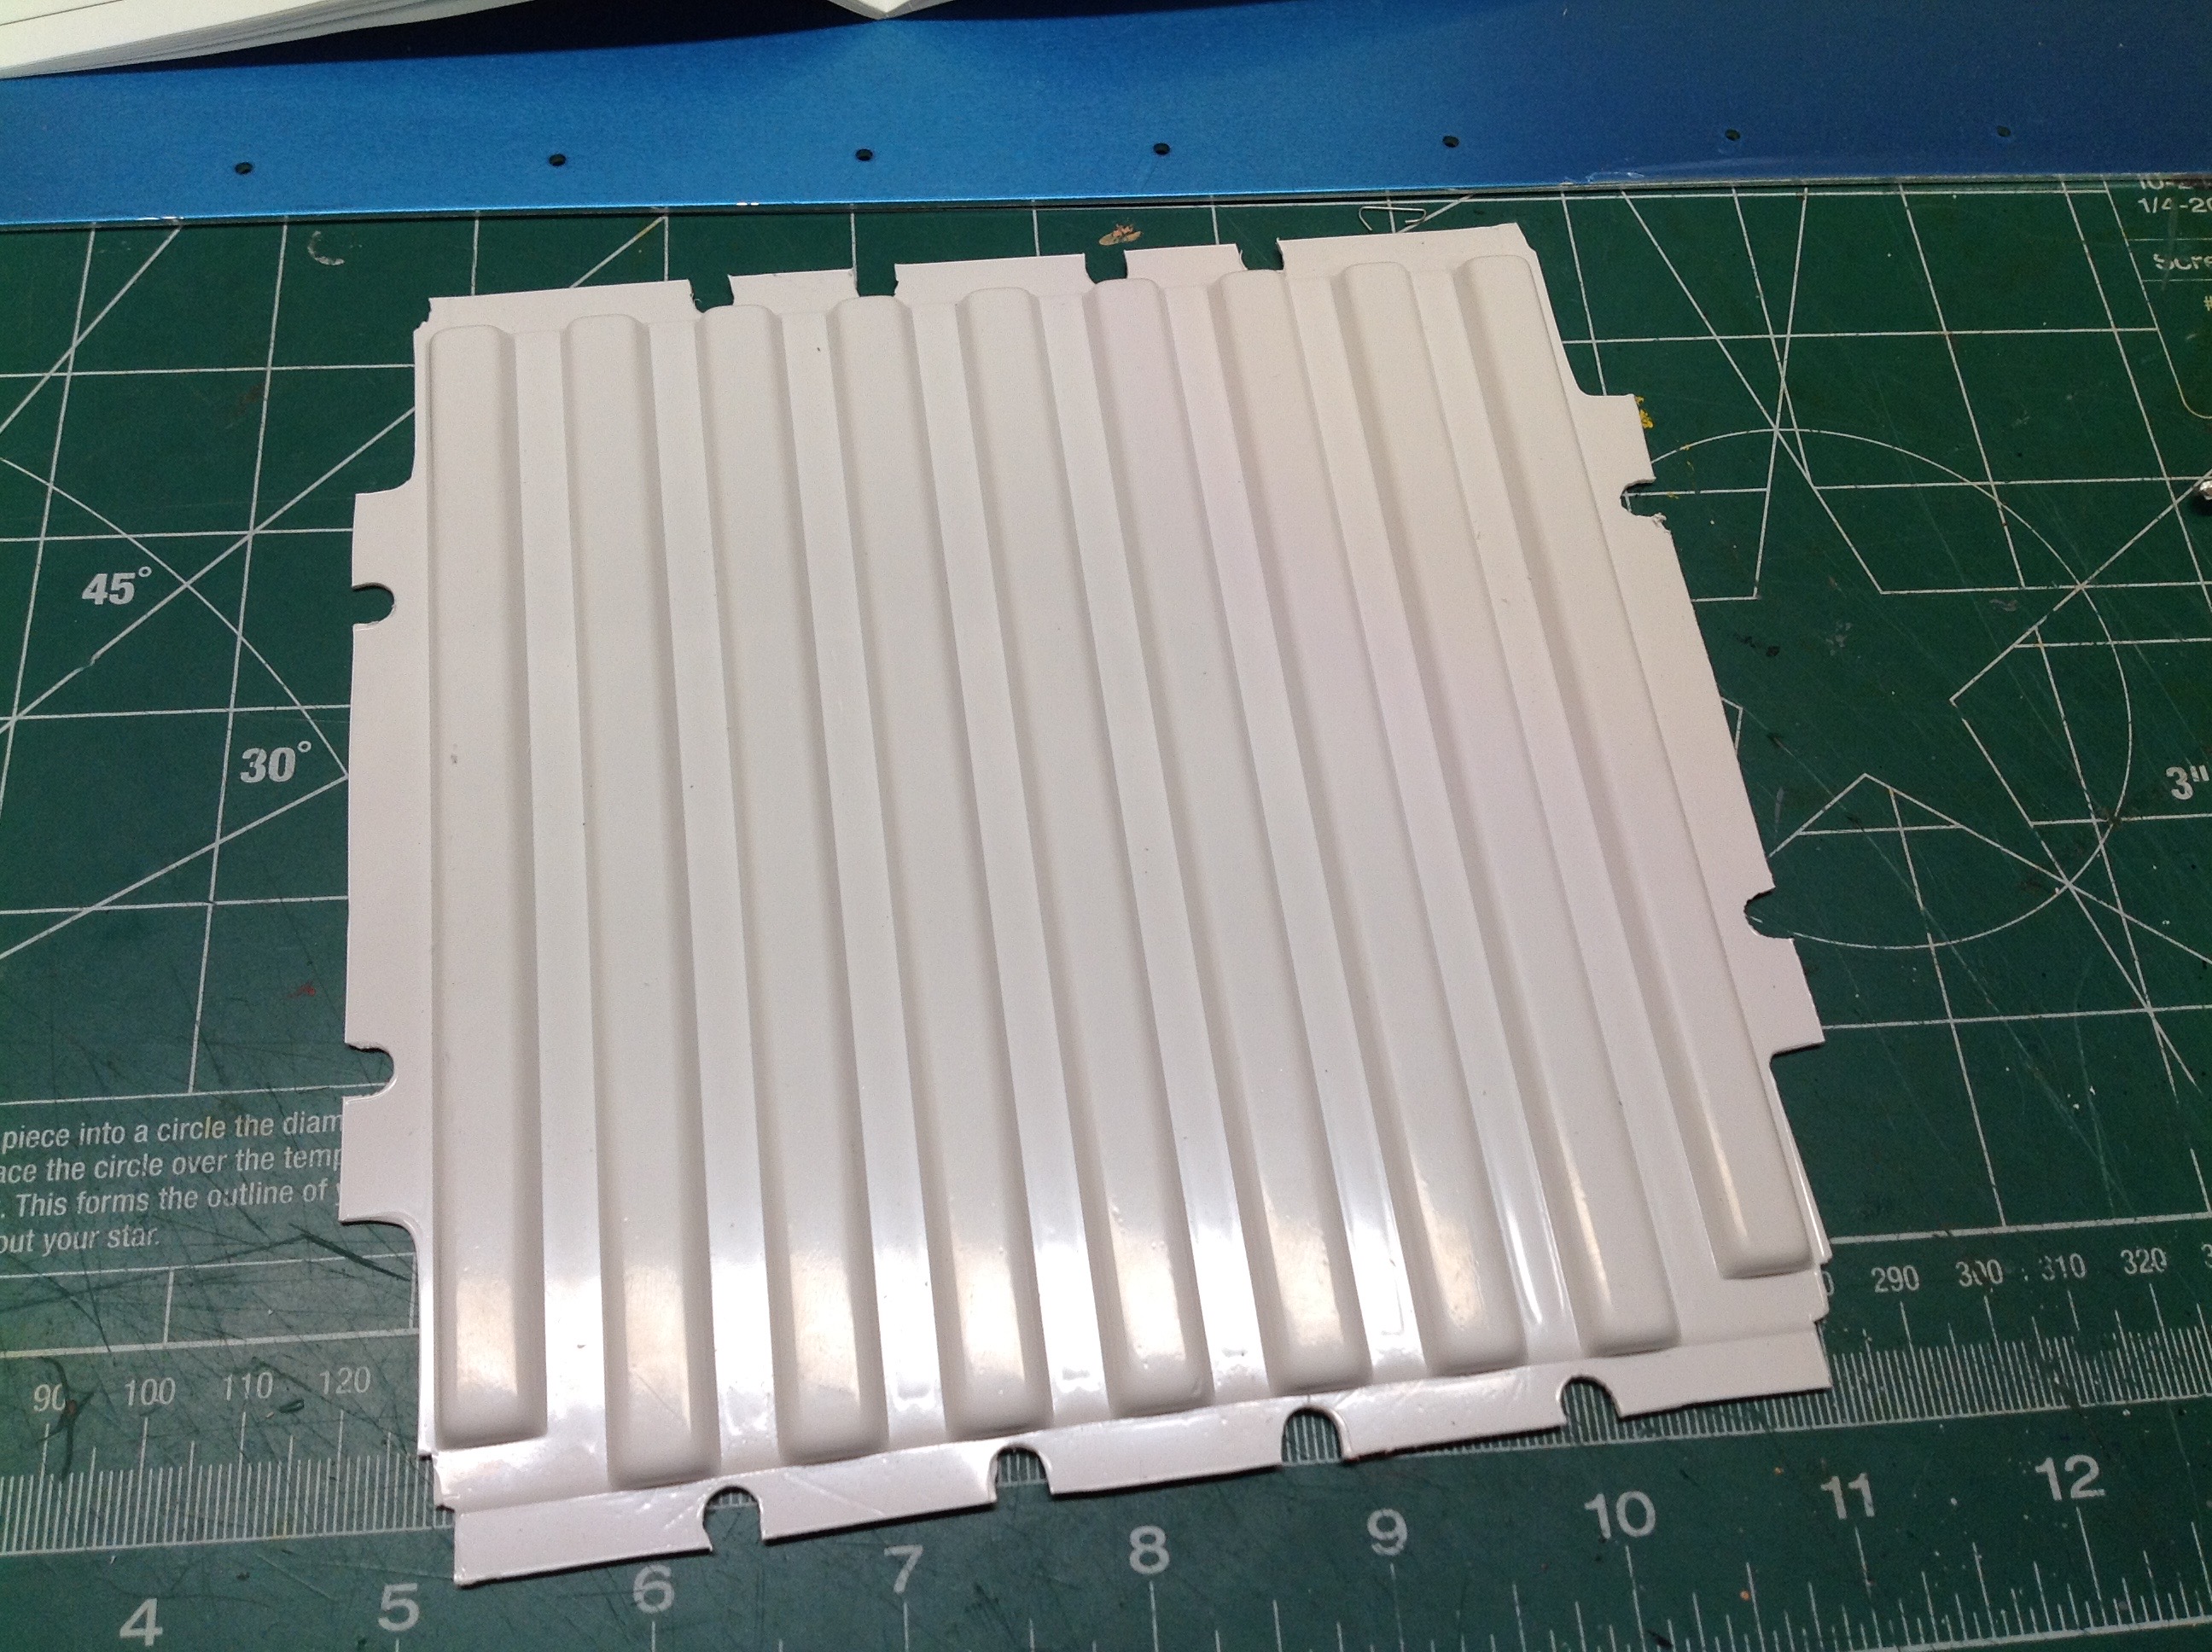
score and snap method with my trusty X-Acto knife. The picture on
the right shows the front panel after trimming.
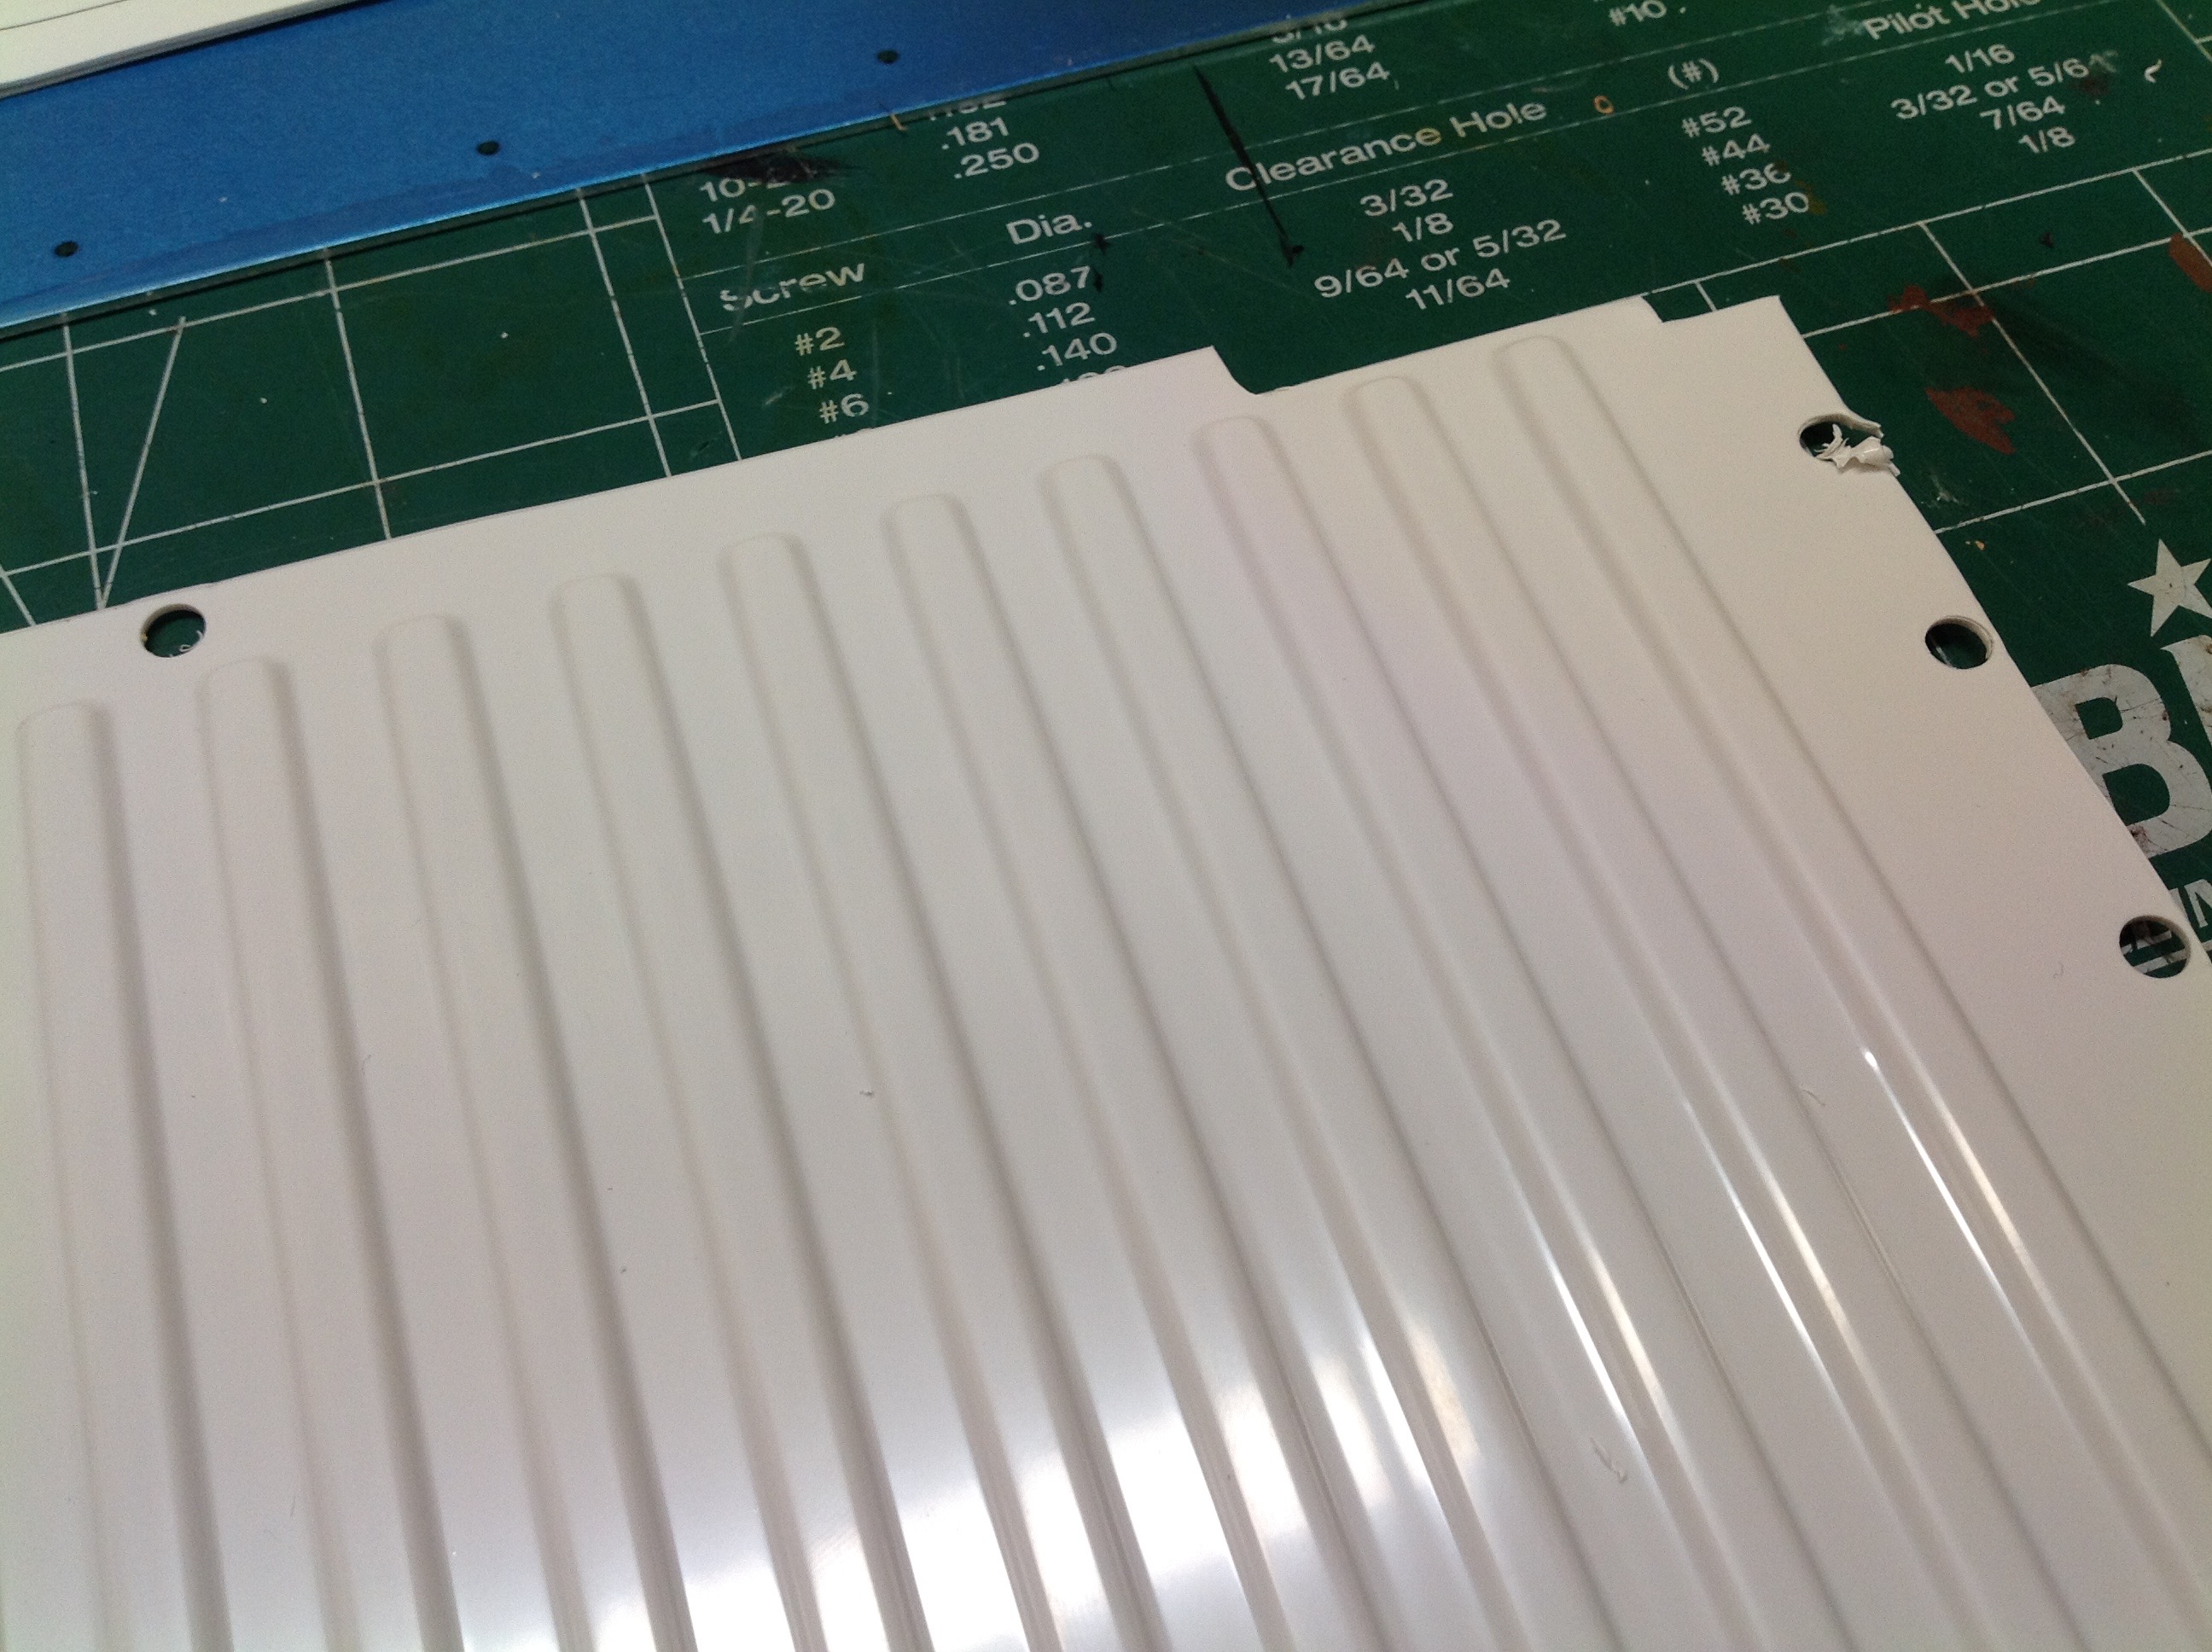
Here I'll explain my method for making the rounded cutouts.
Each of them has a little dimple at the center which works well to
center a drill bit. I used my drill press and a bit of roughly the
right diameter to make holes at each cutout as shown on the left.
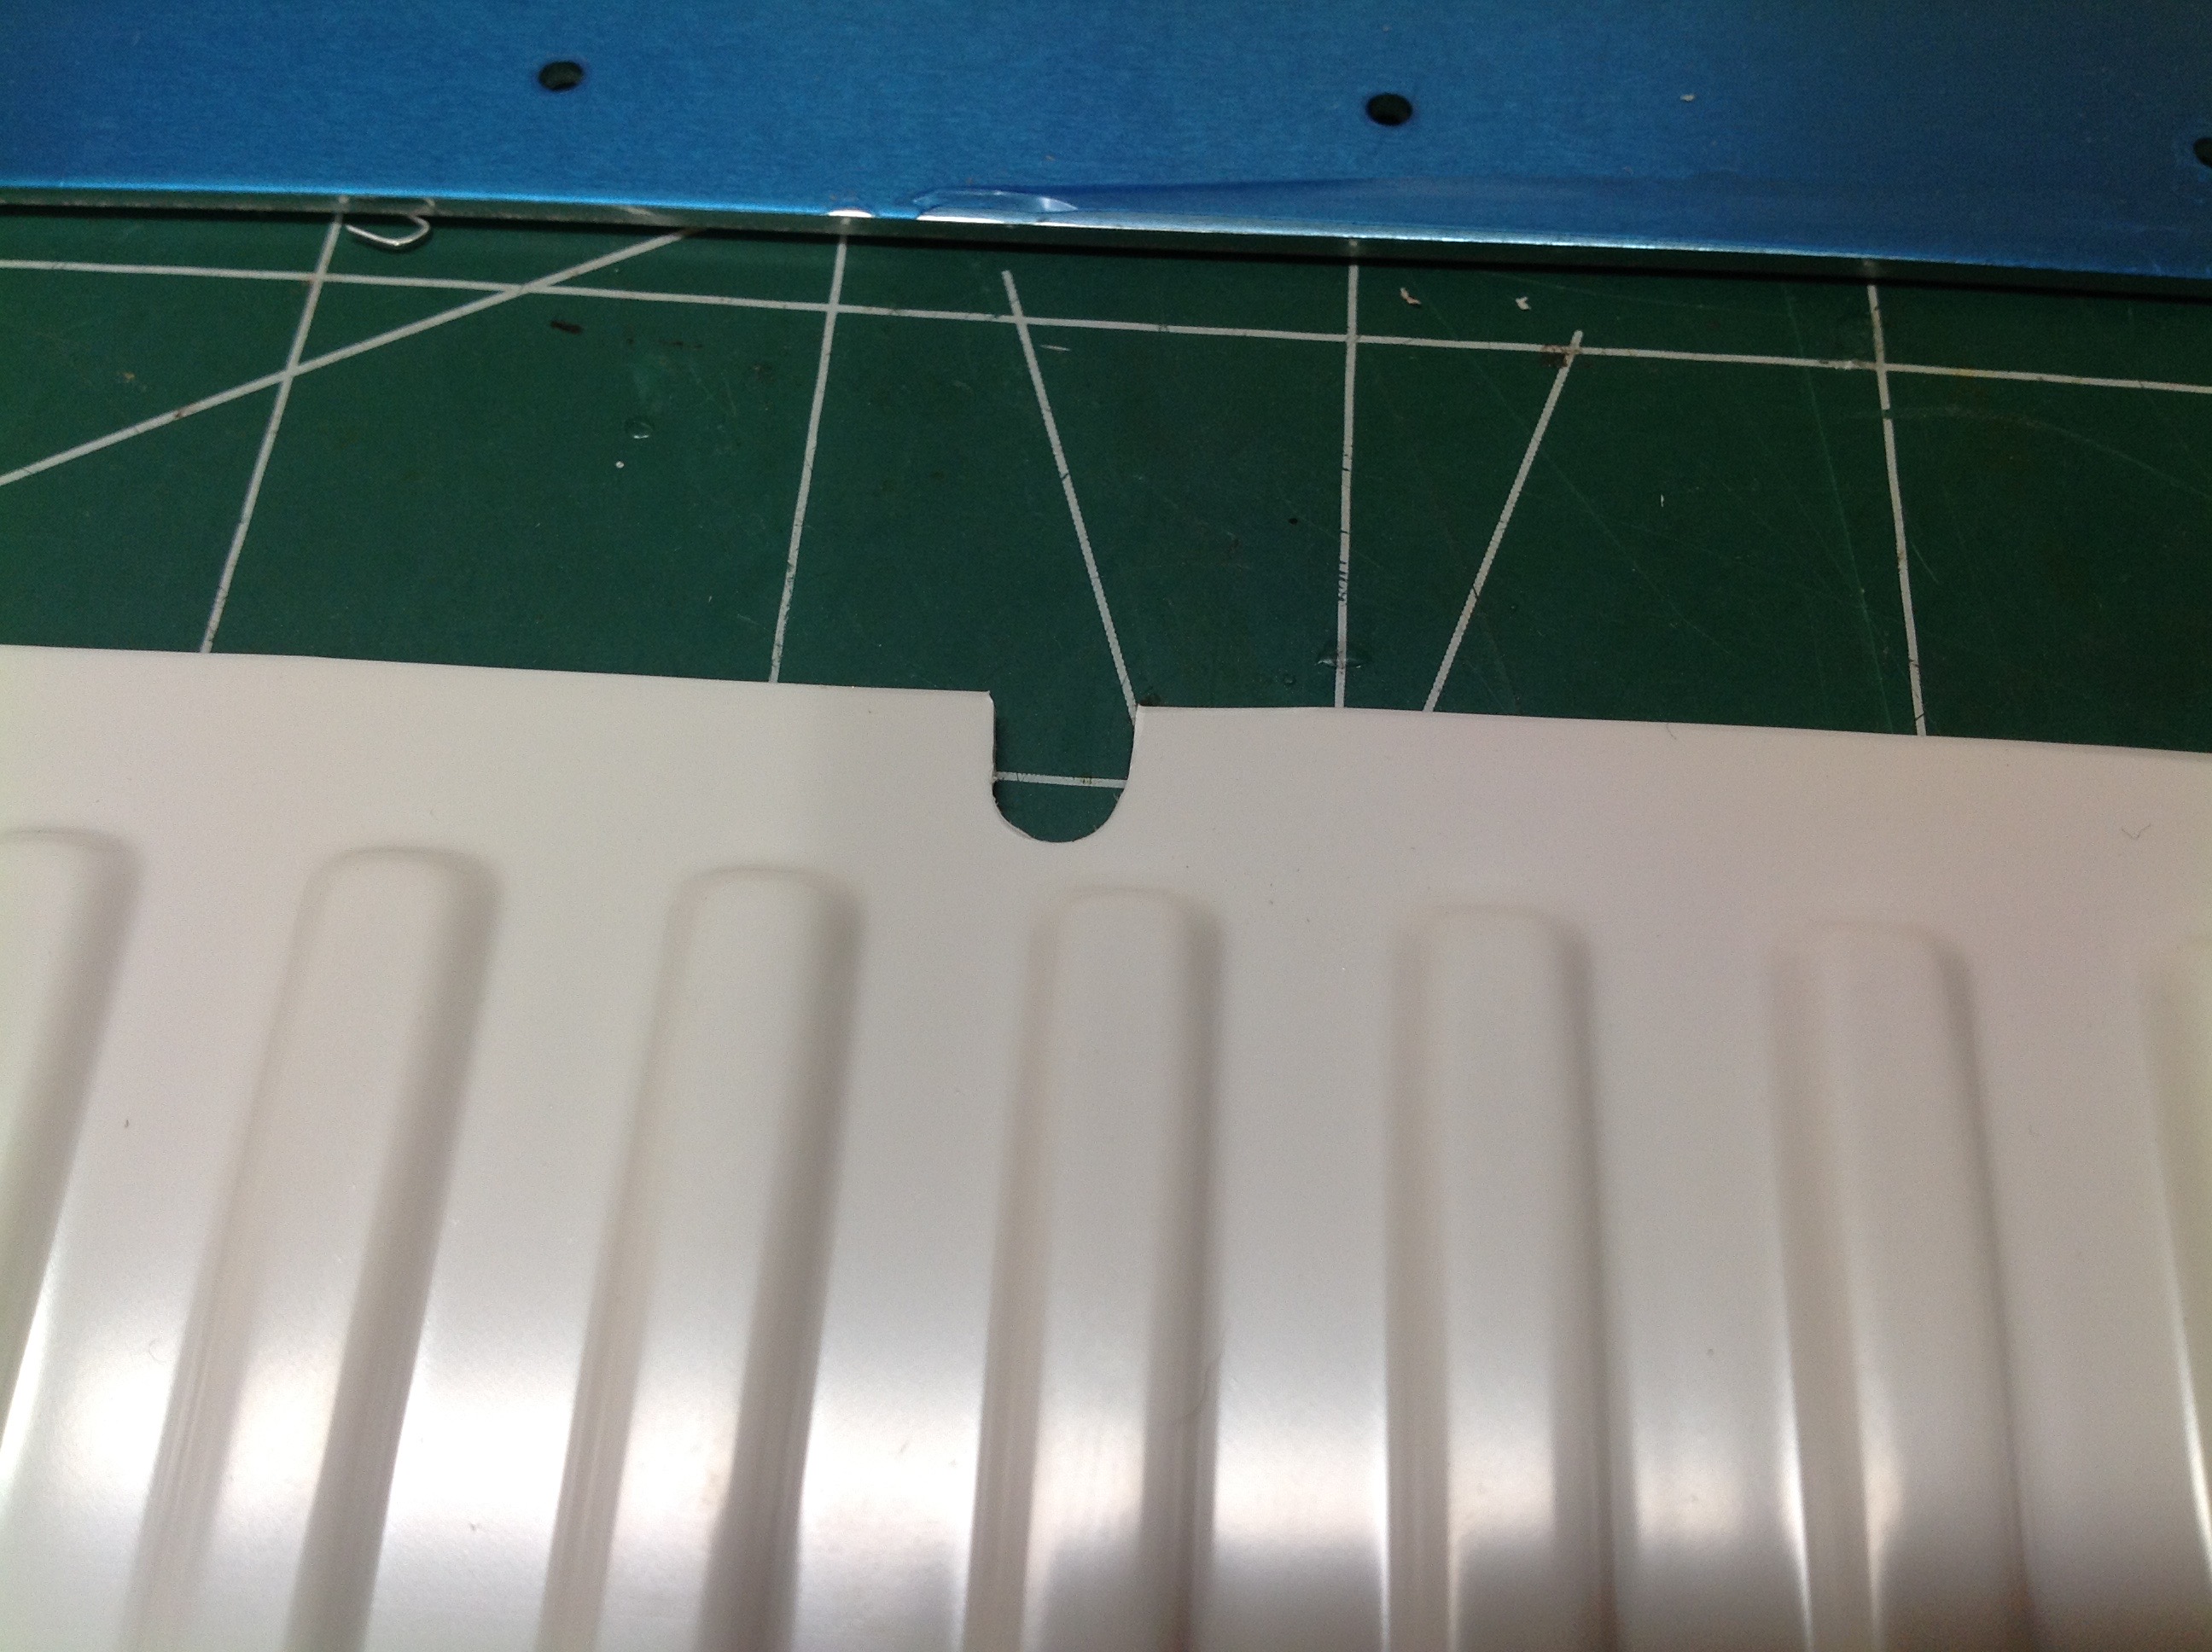
The right hand image shows the notch after I trimmed out the remainder
with a blade. These slots are where the clamp blocks will install
the panels to the rails.
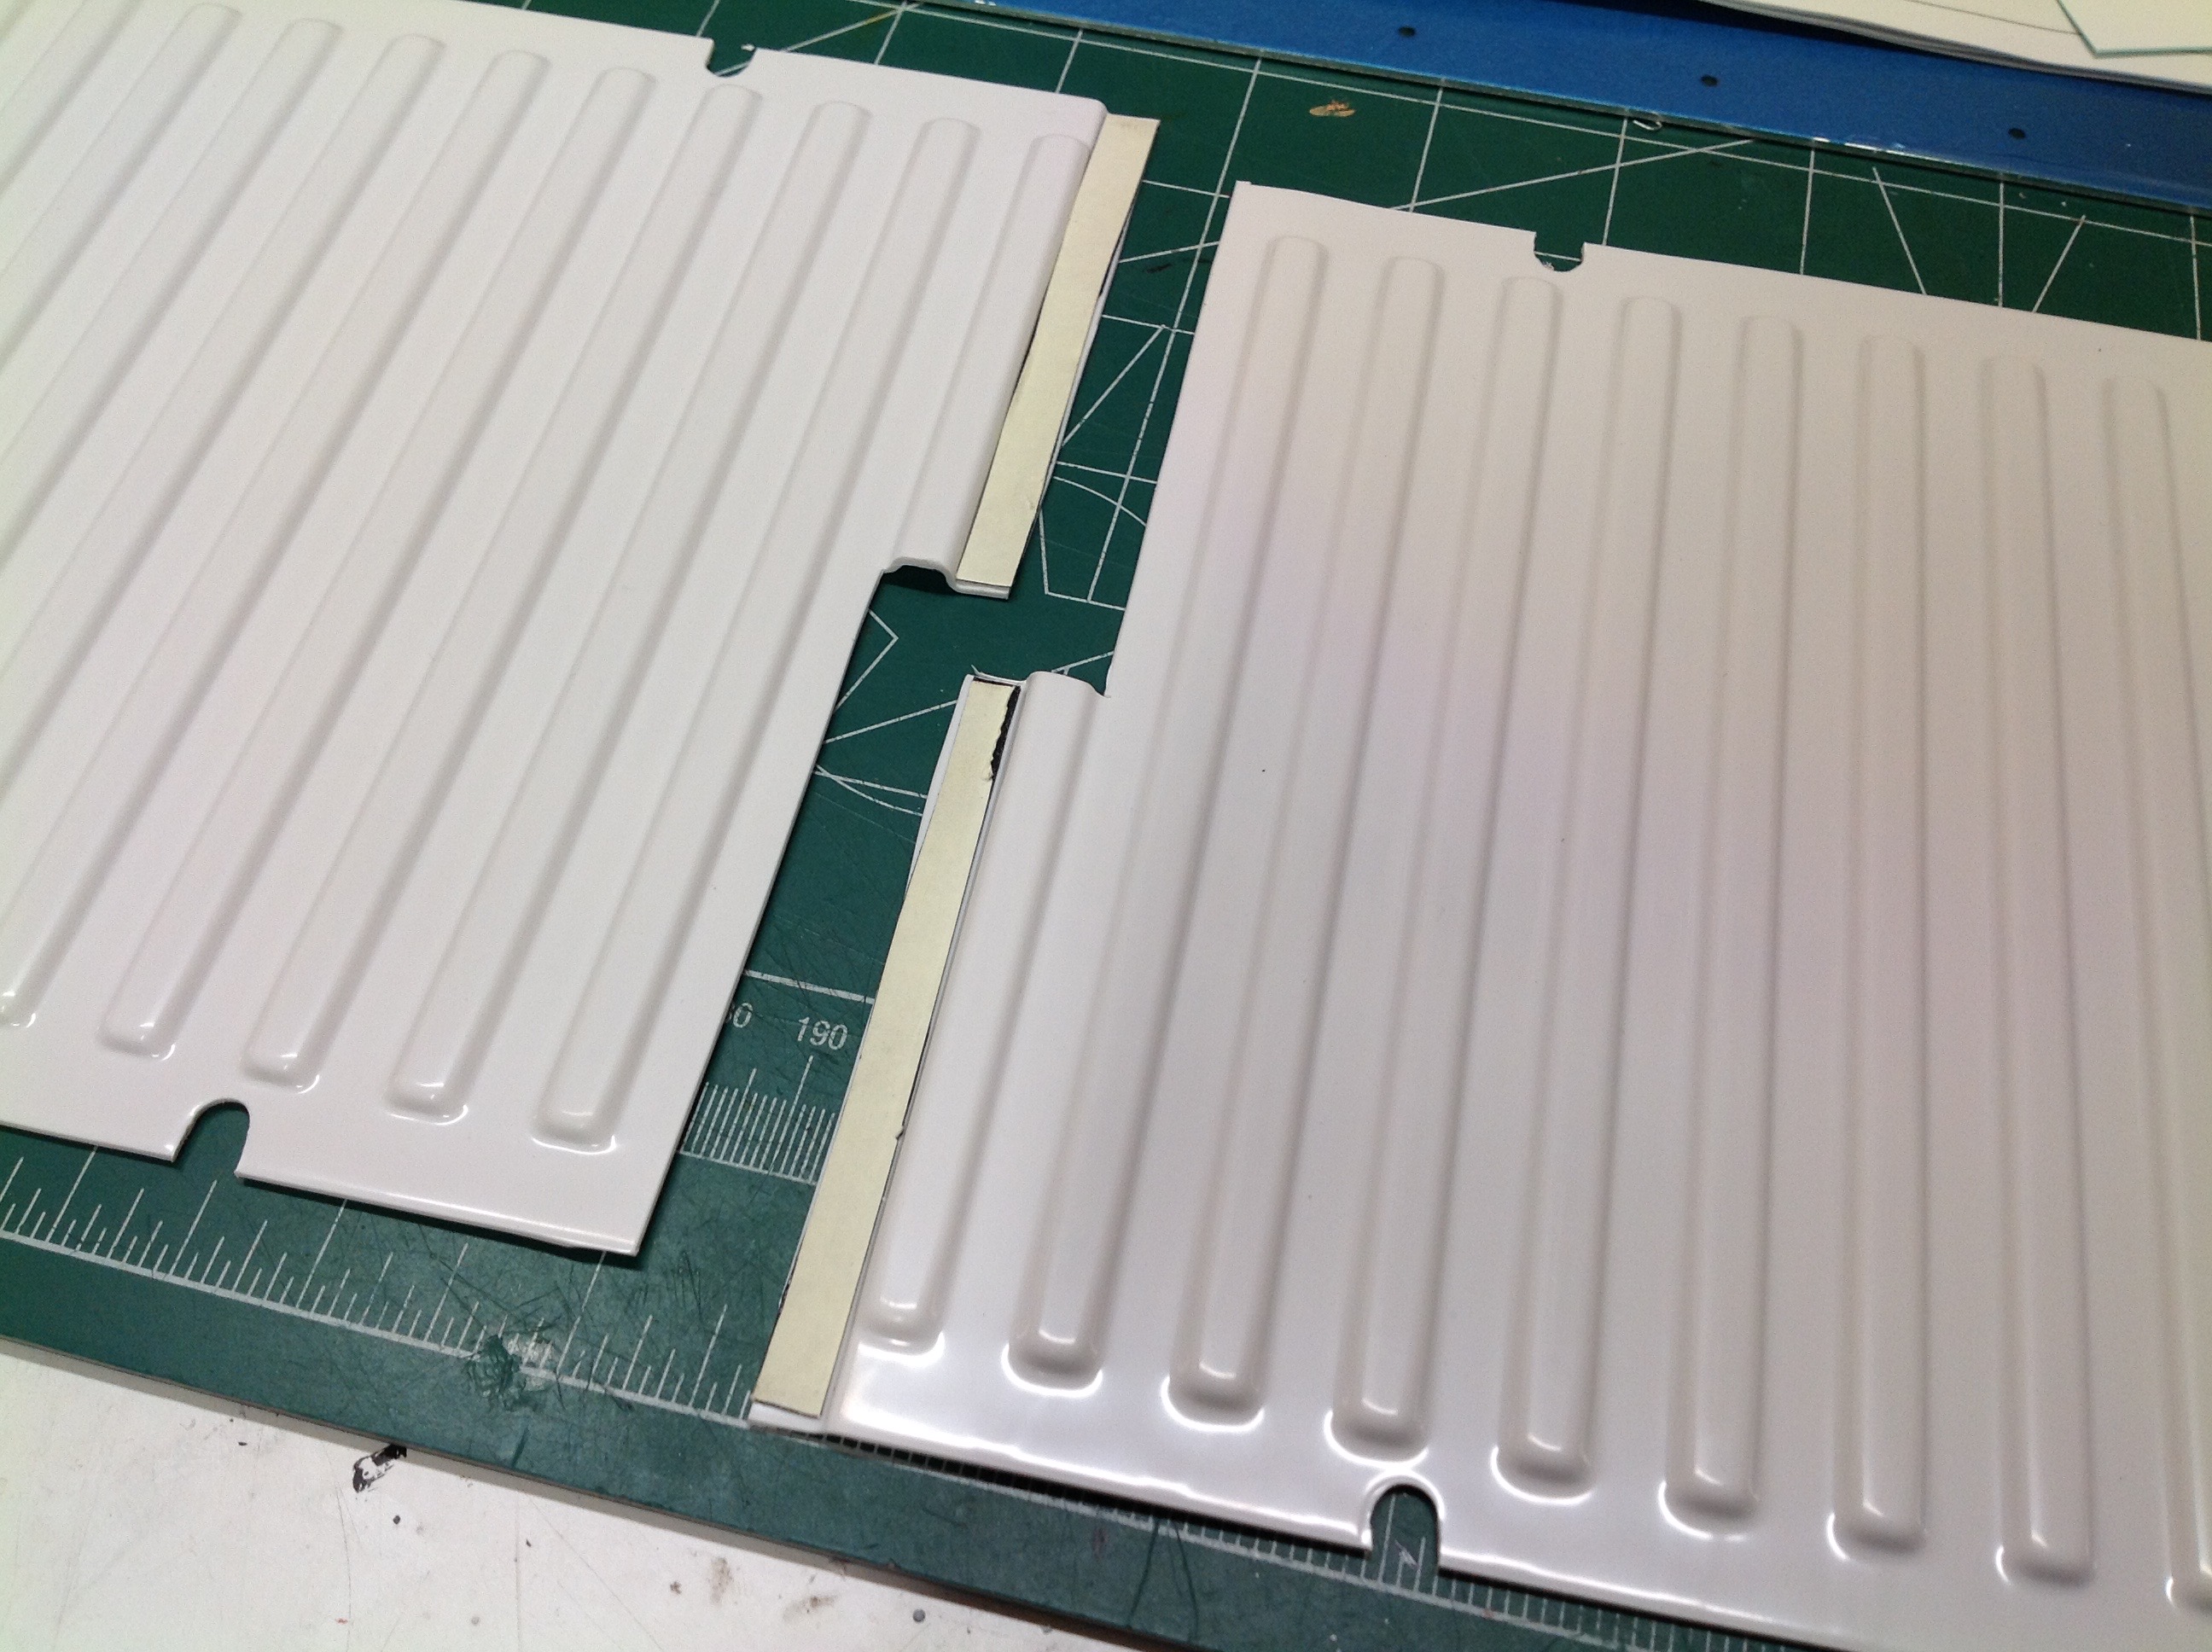
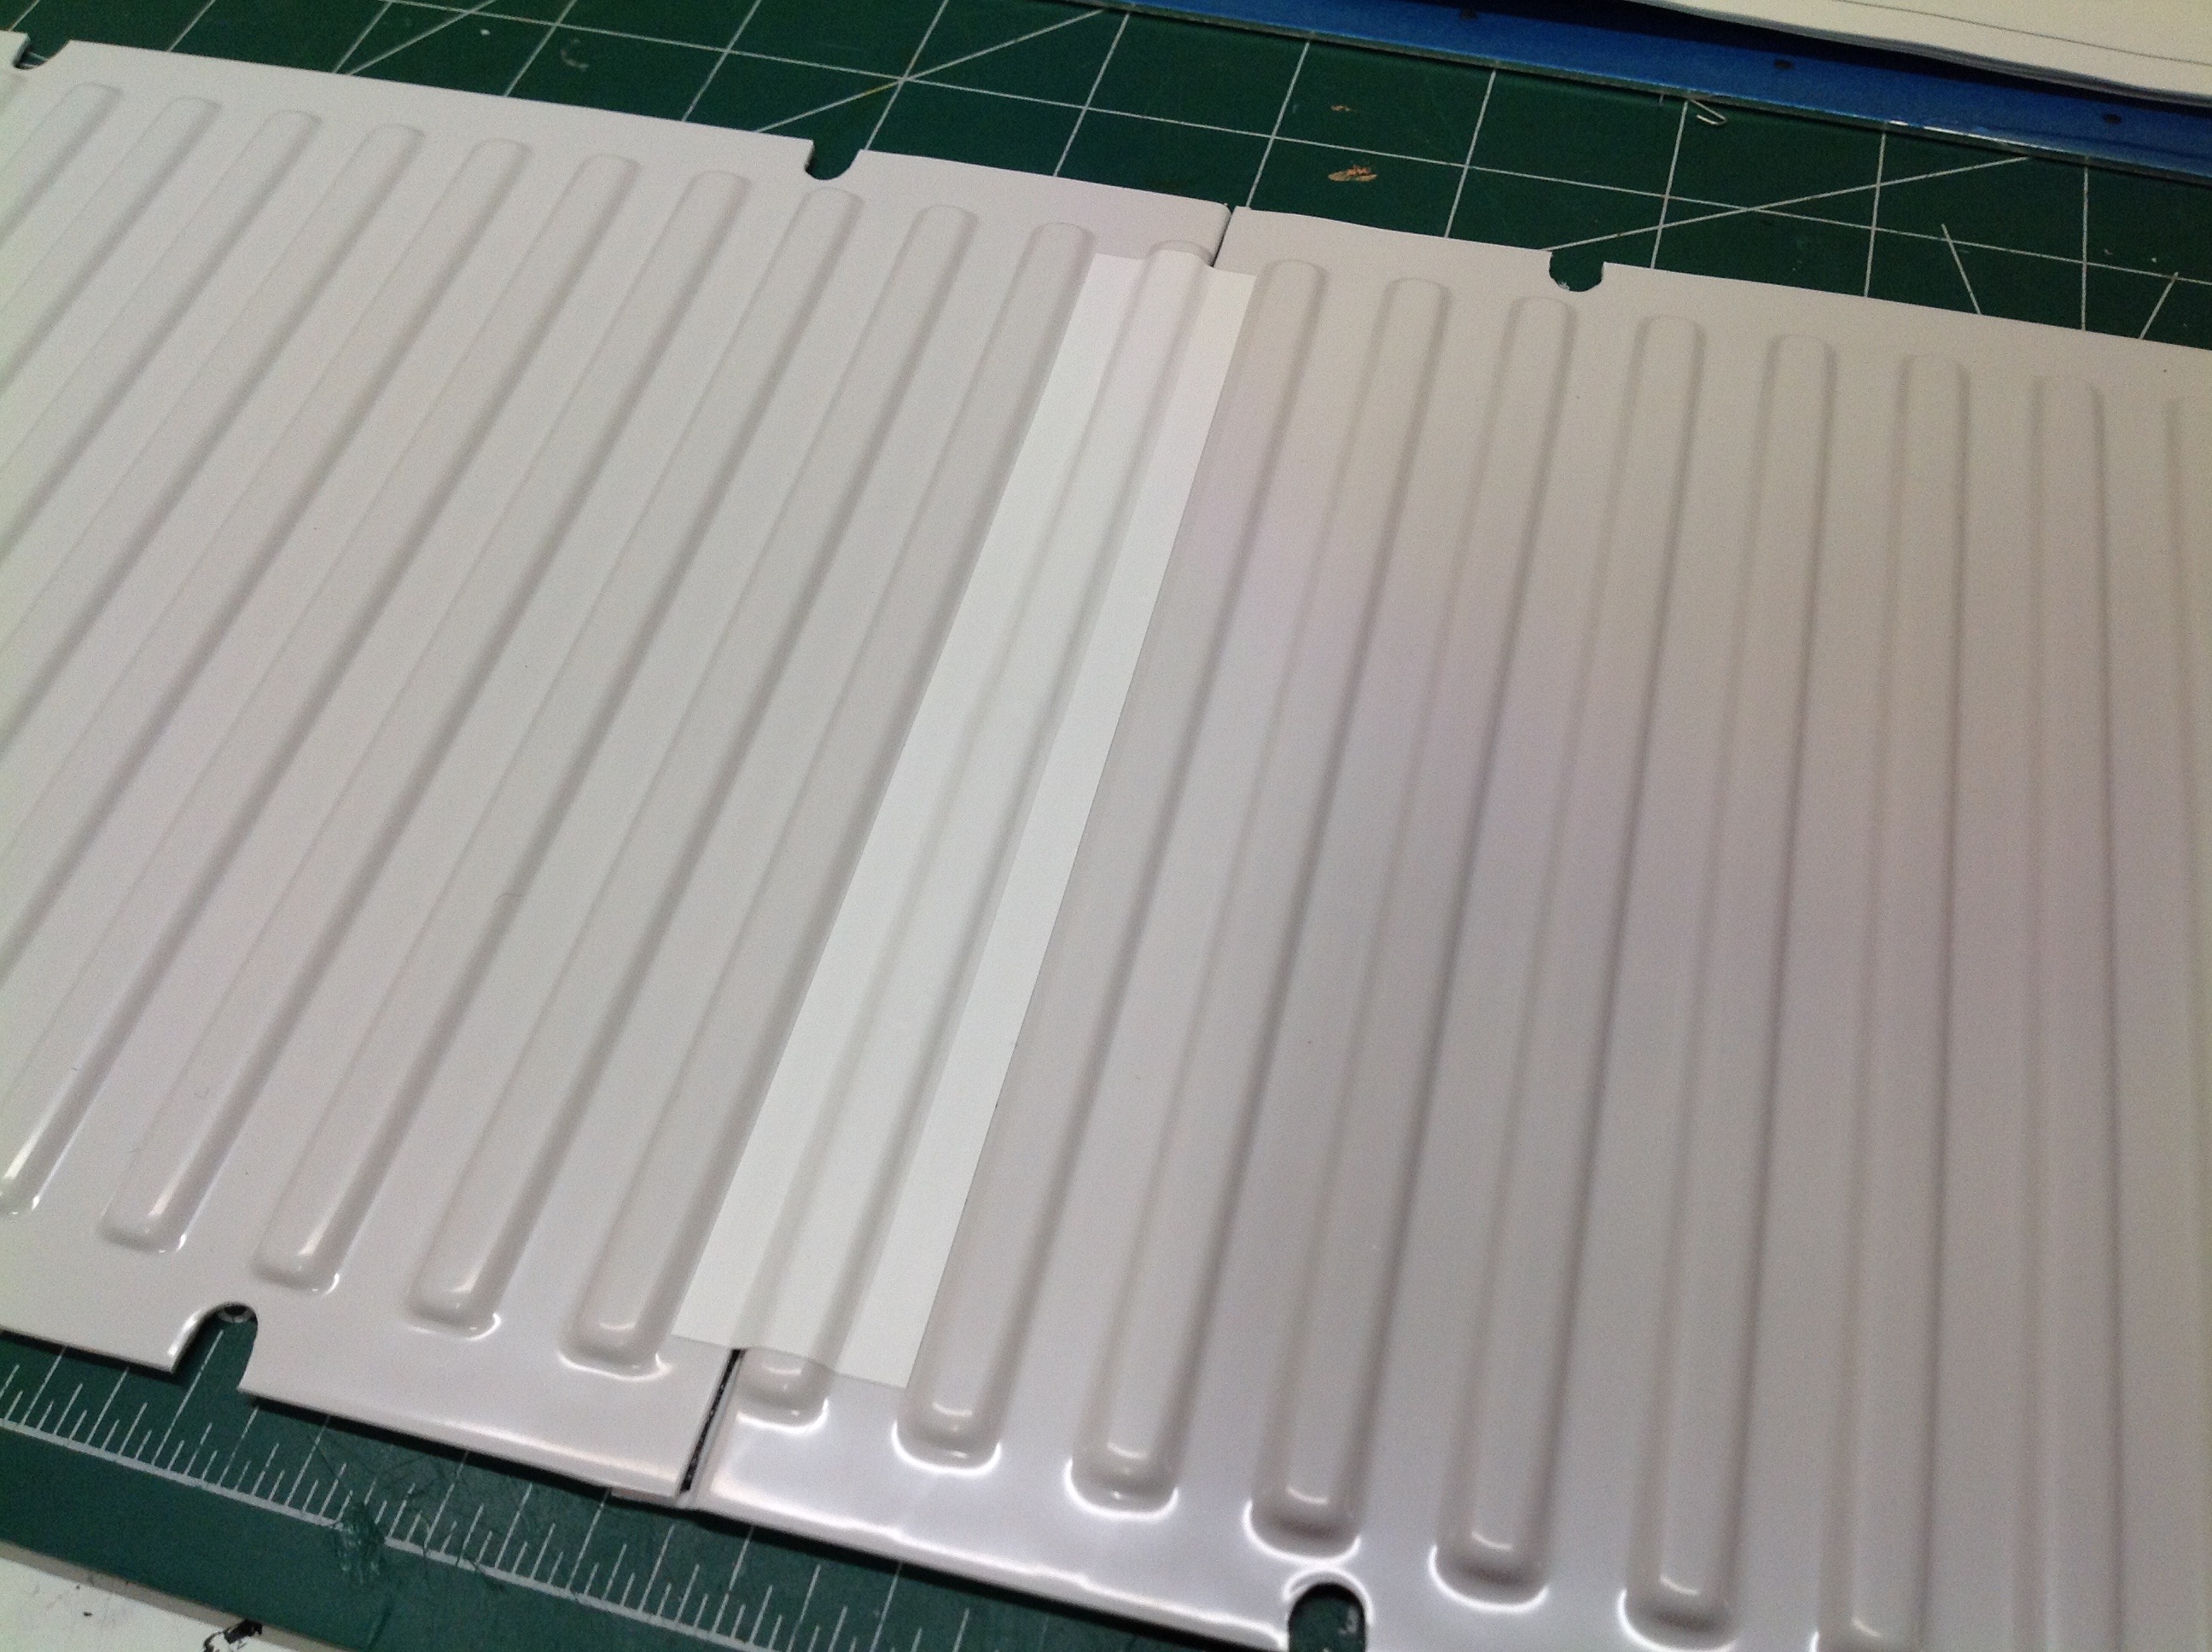
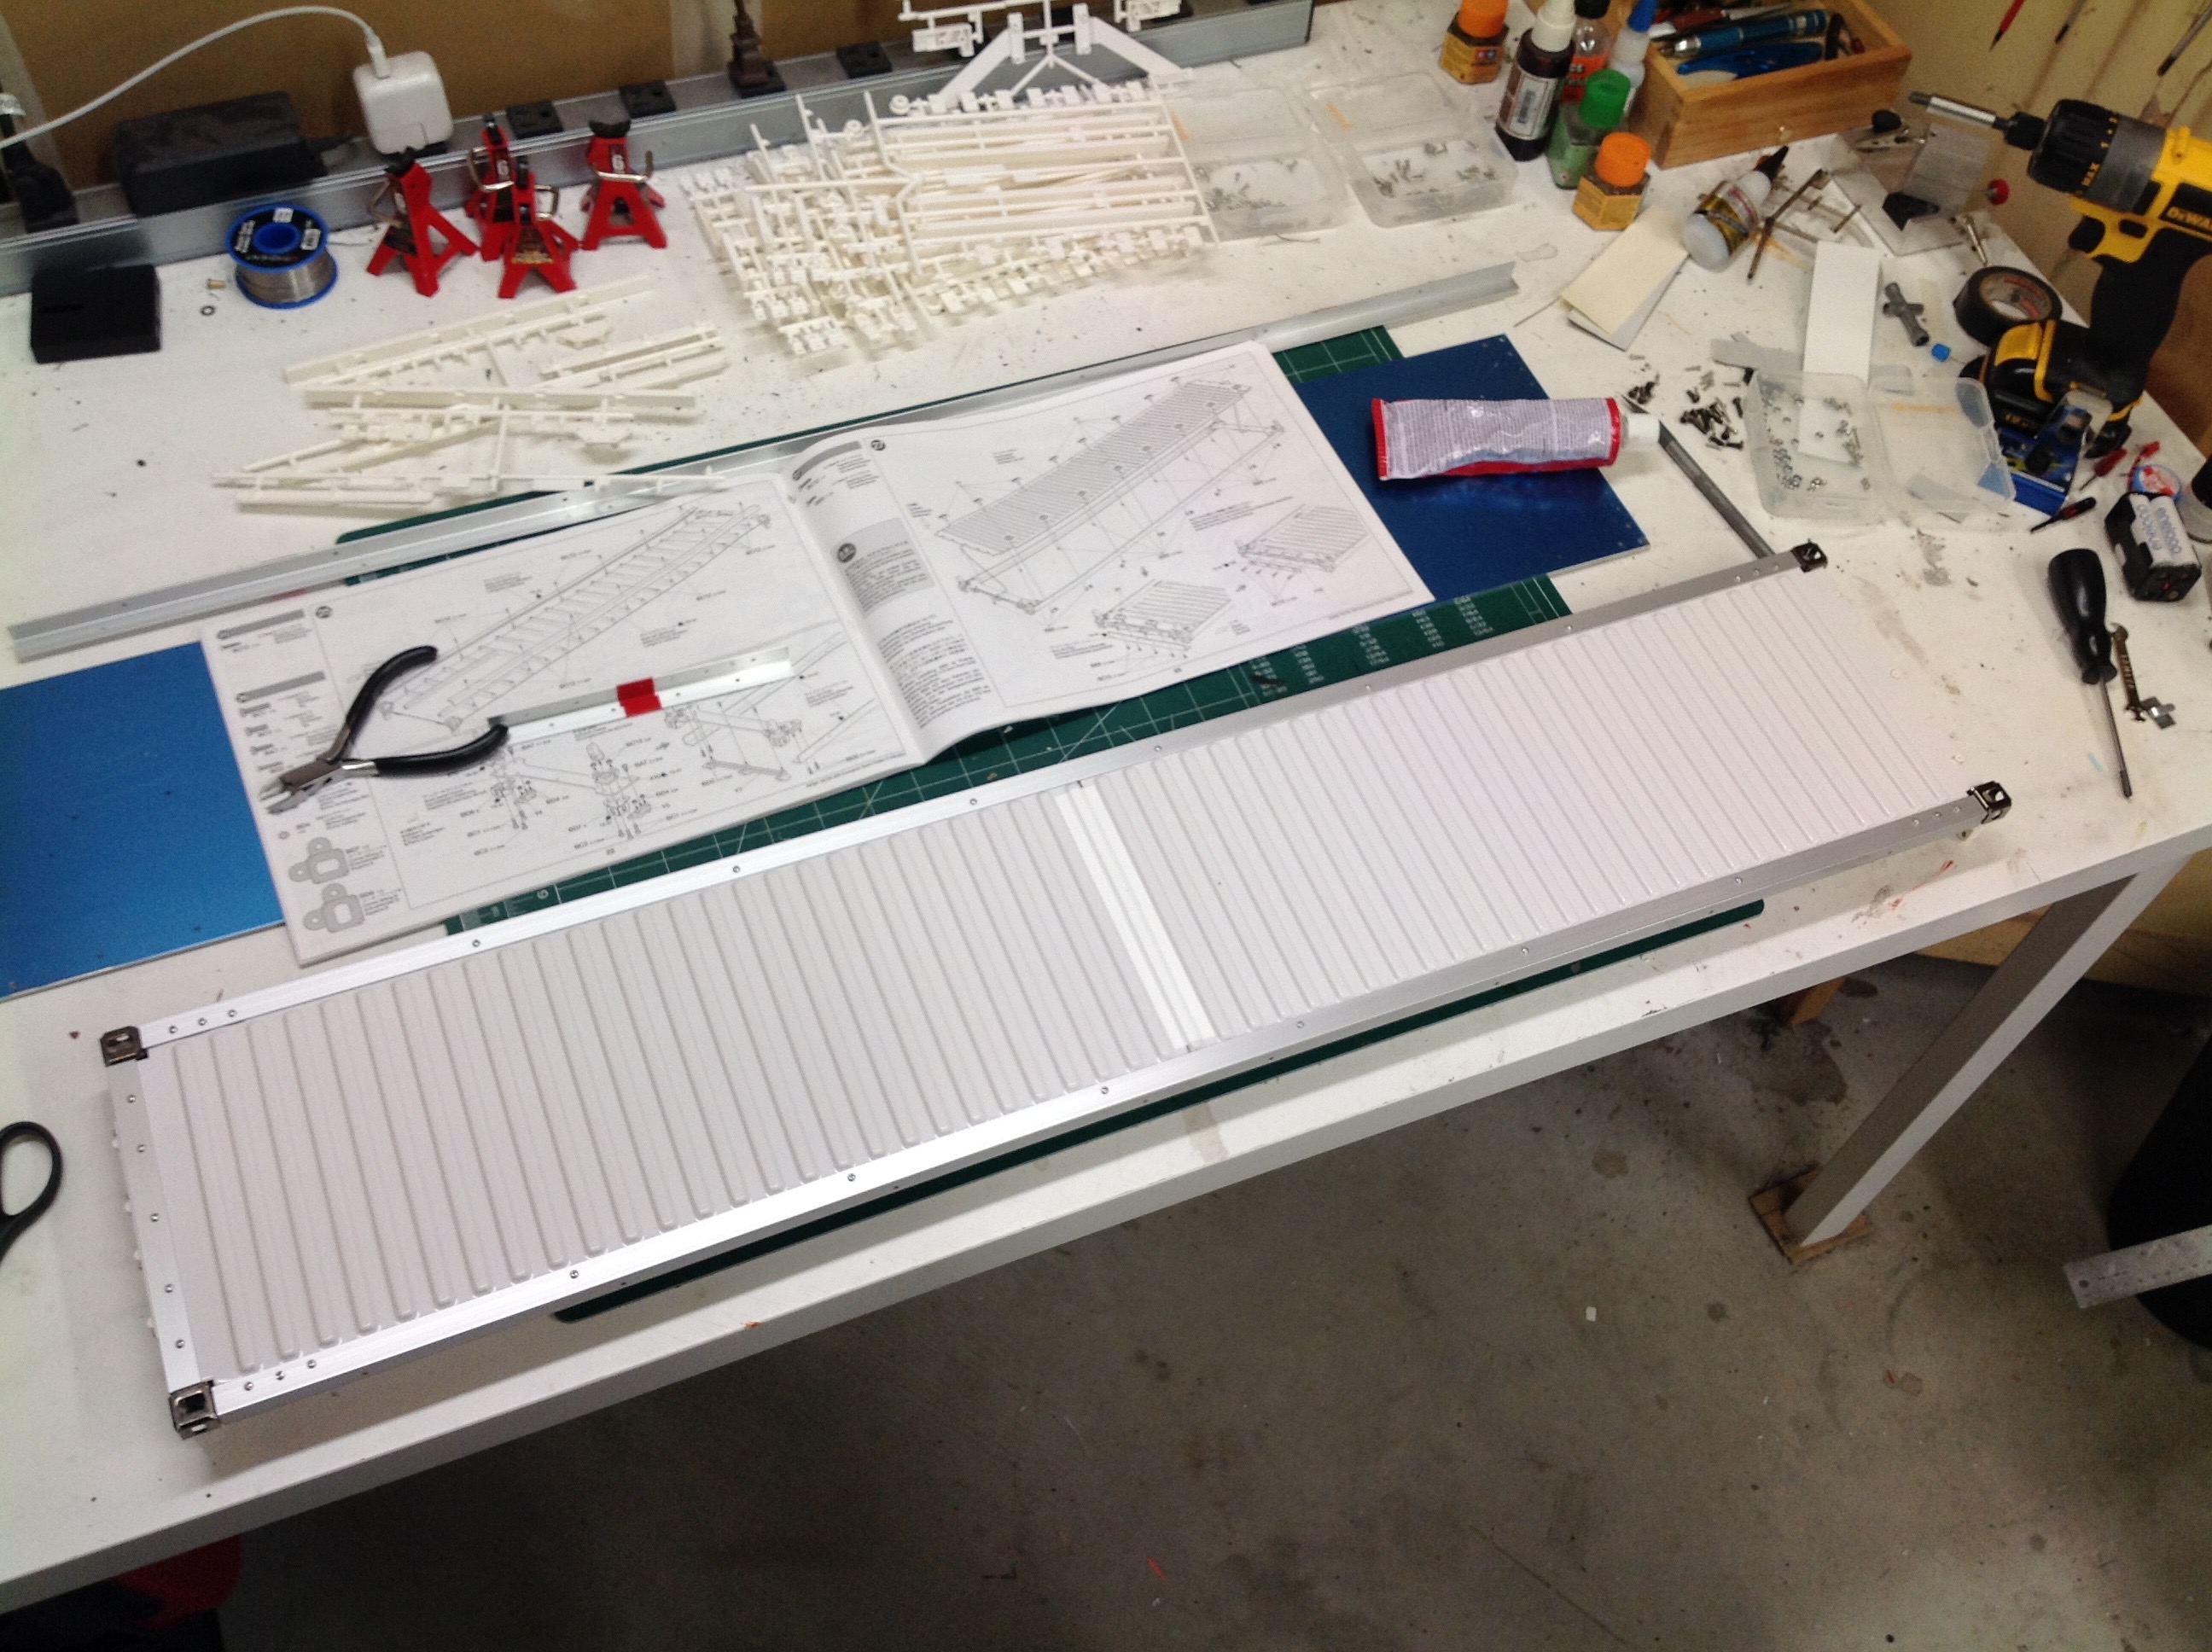
The side and top panels are half length which means the same parts
can be used to build a 20' container. For a 40' you need to
connect them end to end as shown by overlapping them and taping them
together. This may seem weak (and it is), but the frame does a
good job of strengthening everything later. The tape is a special
type that will accept paint and not be very visible. These
pictures show the top panel. It is interesting to note that the
top and sides use different types of corrugation. The corrugation
on the top stands proud of the surface and is roughly rectangular.
The corrugation on the sides goes inward instead and is tapered instead
of square.
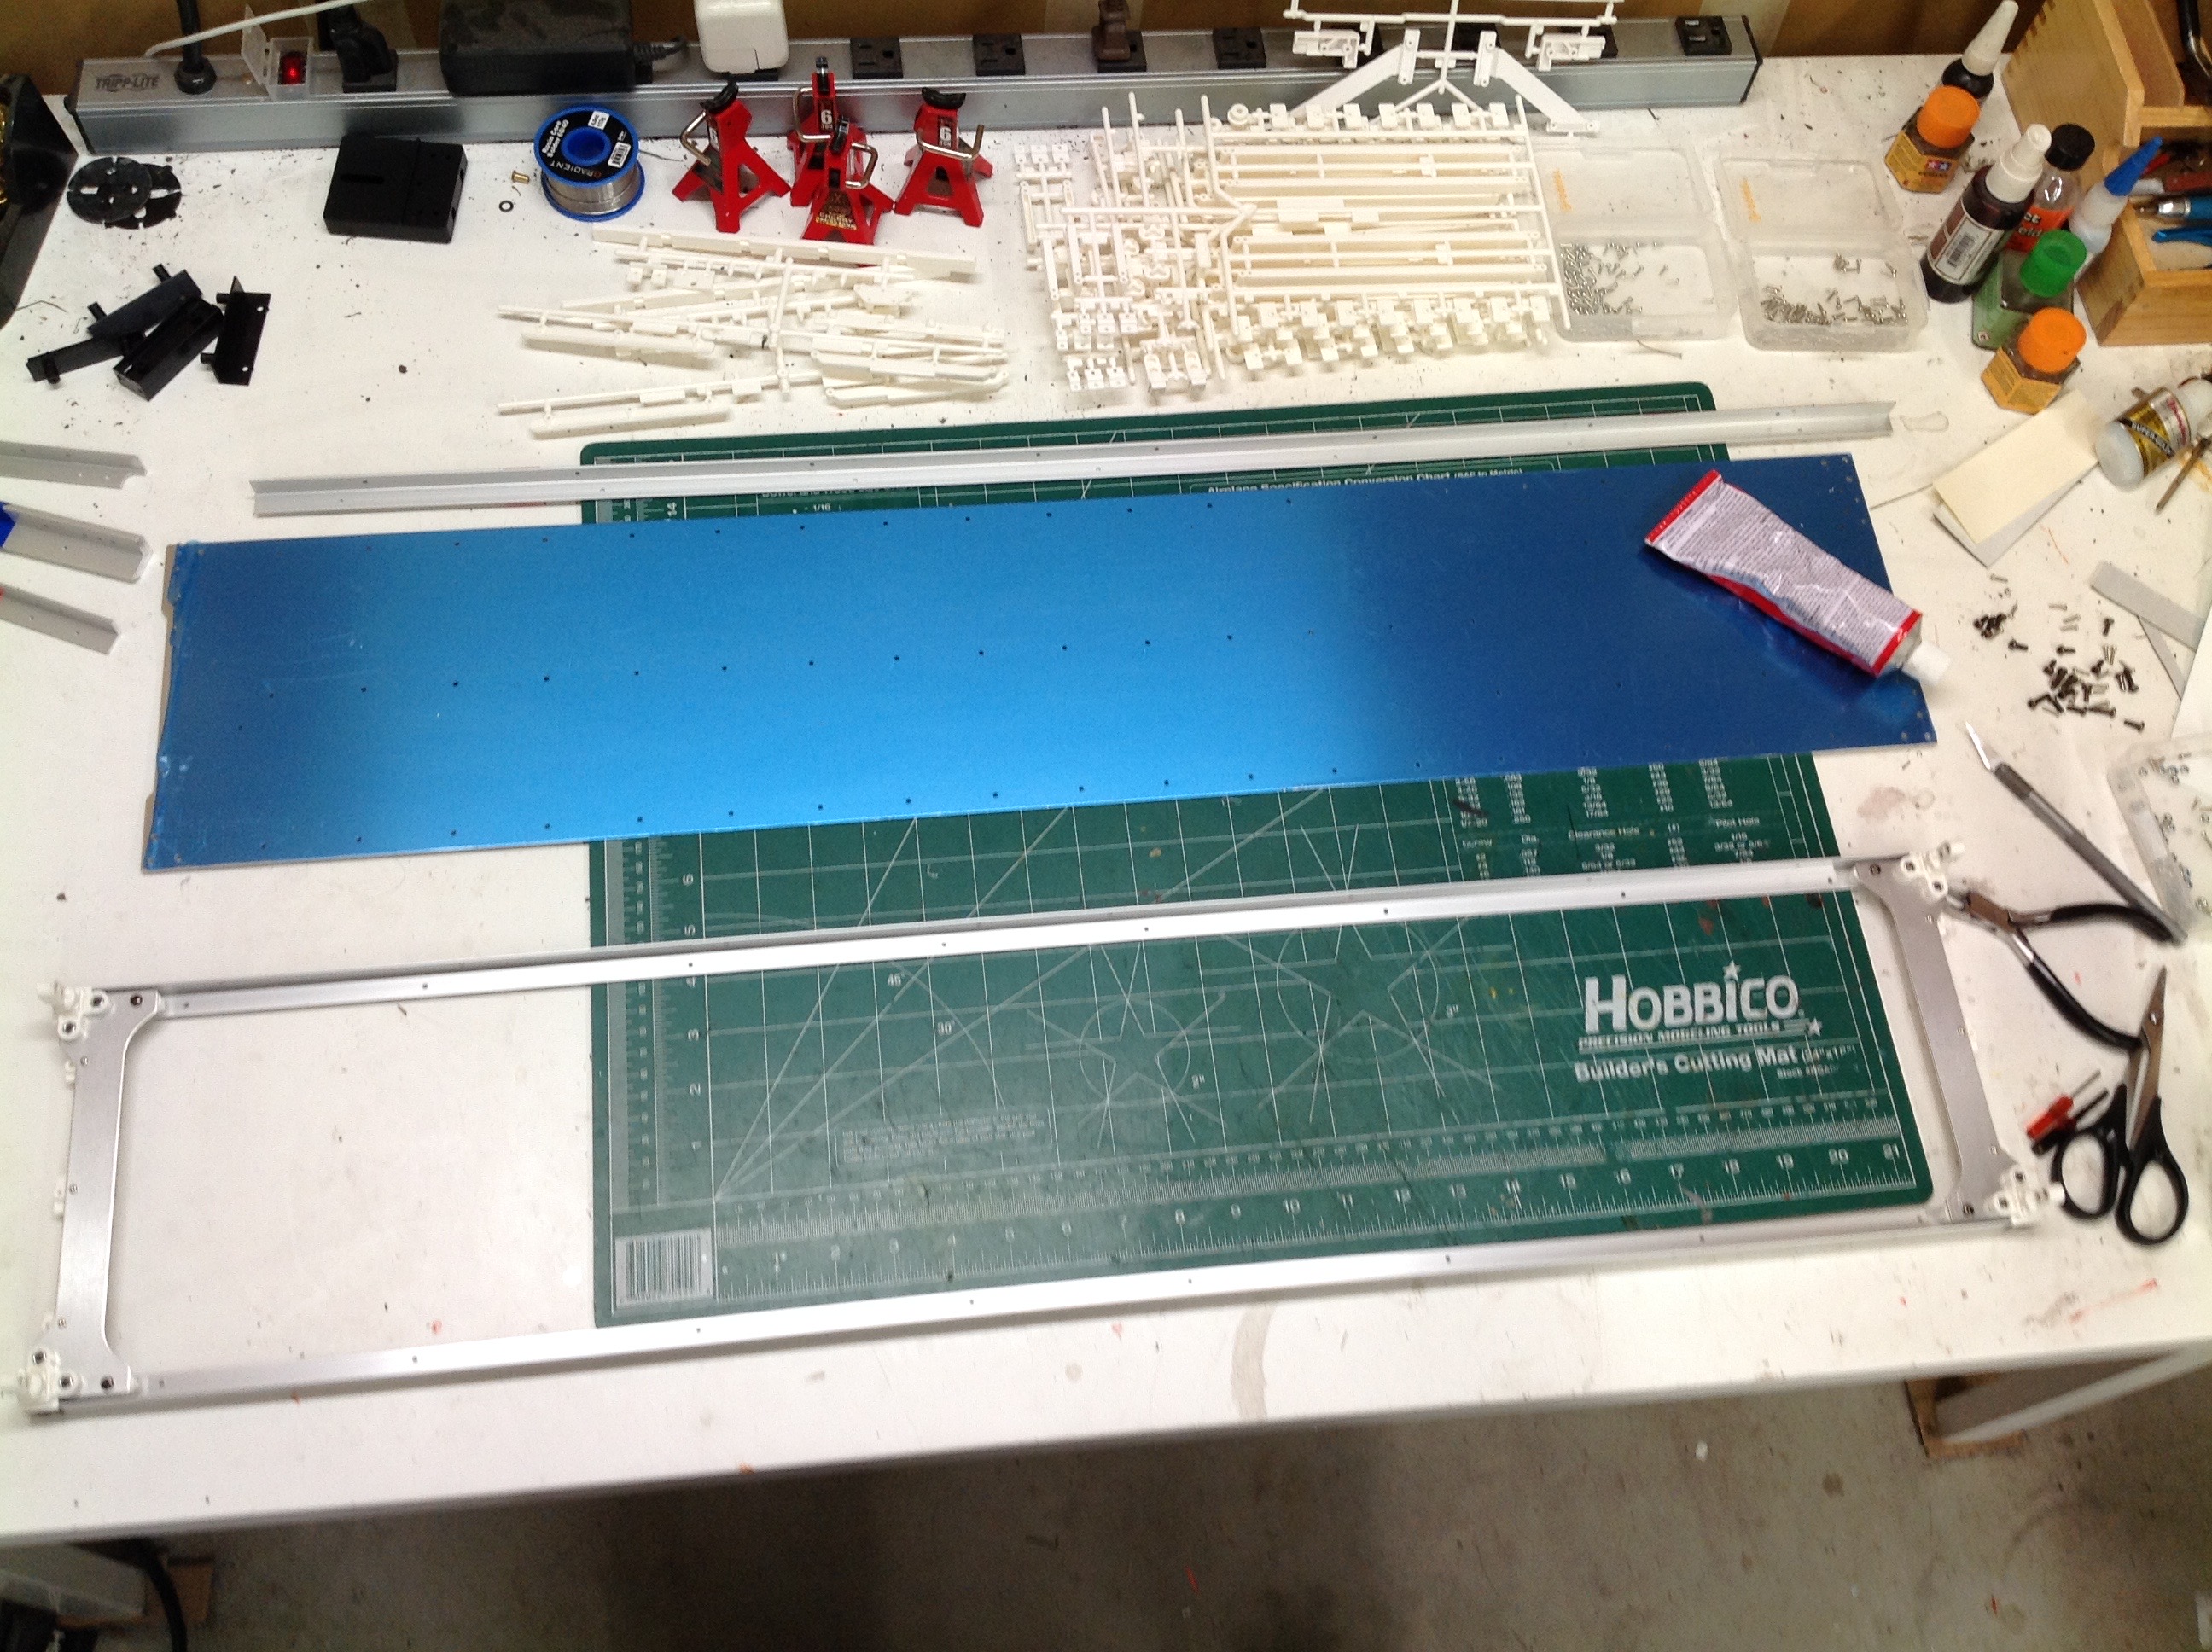
With the panels cut out and prepared we can start work on the
frames. The corners are held together with white brackets shown on
the left. These help to hold everything square and include
aluminum cross members. On the right you can see the completed top
frame shown next to the solid metal panel that will be used for the
bottom. This takes up nearly my entire build table.
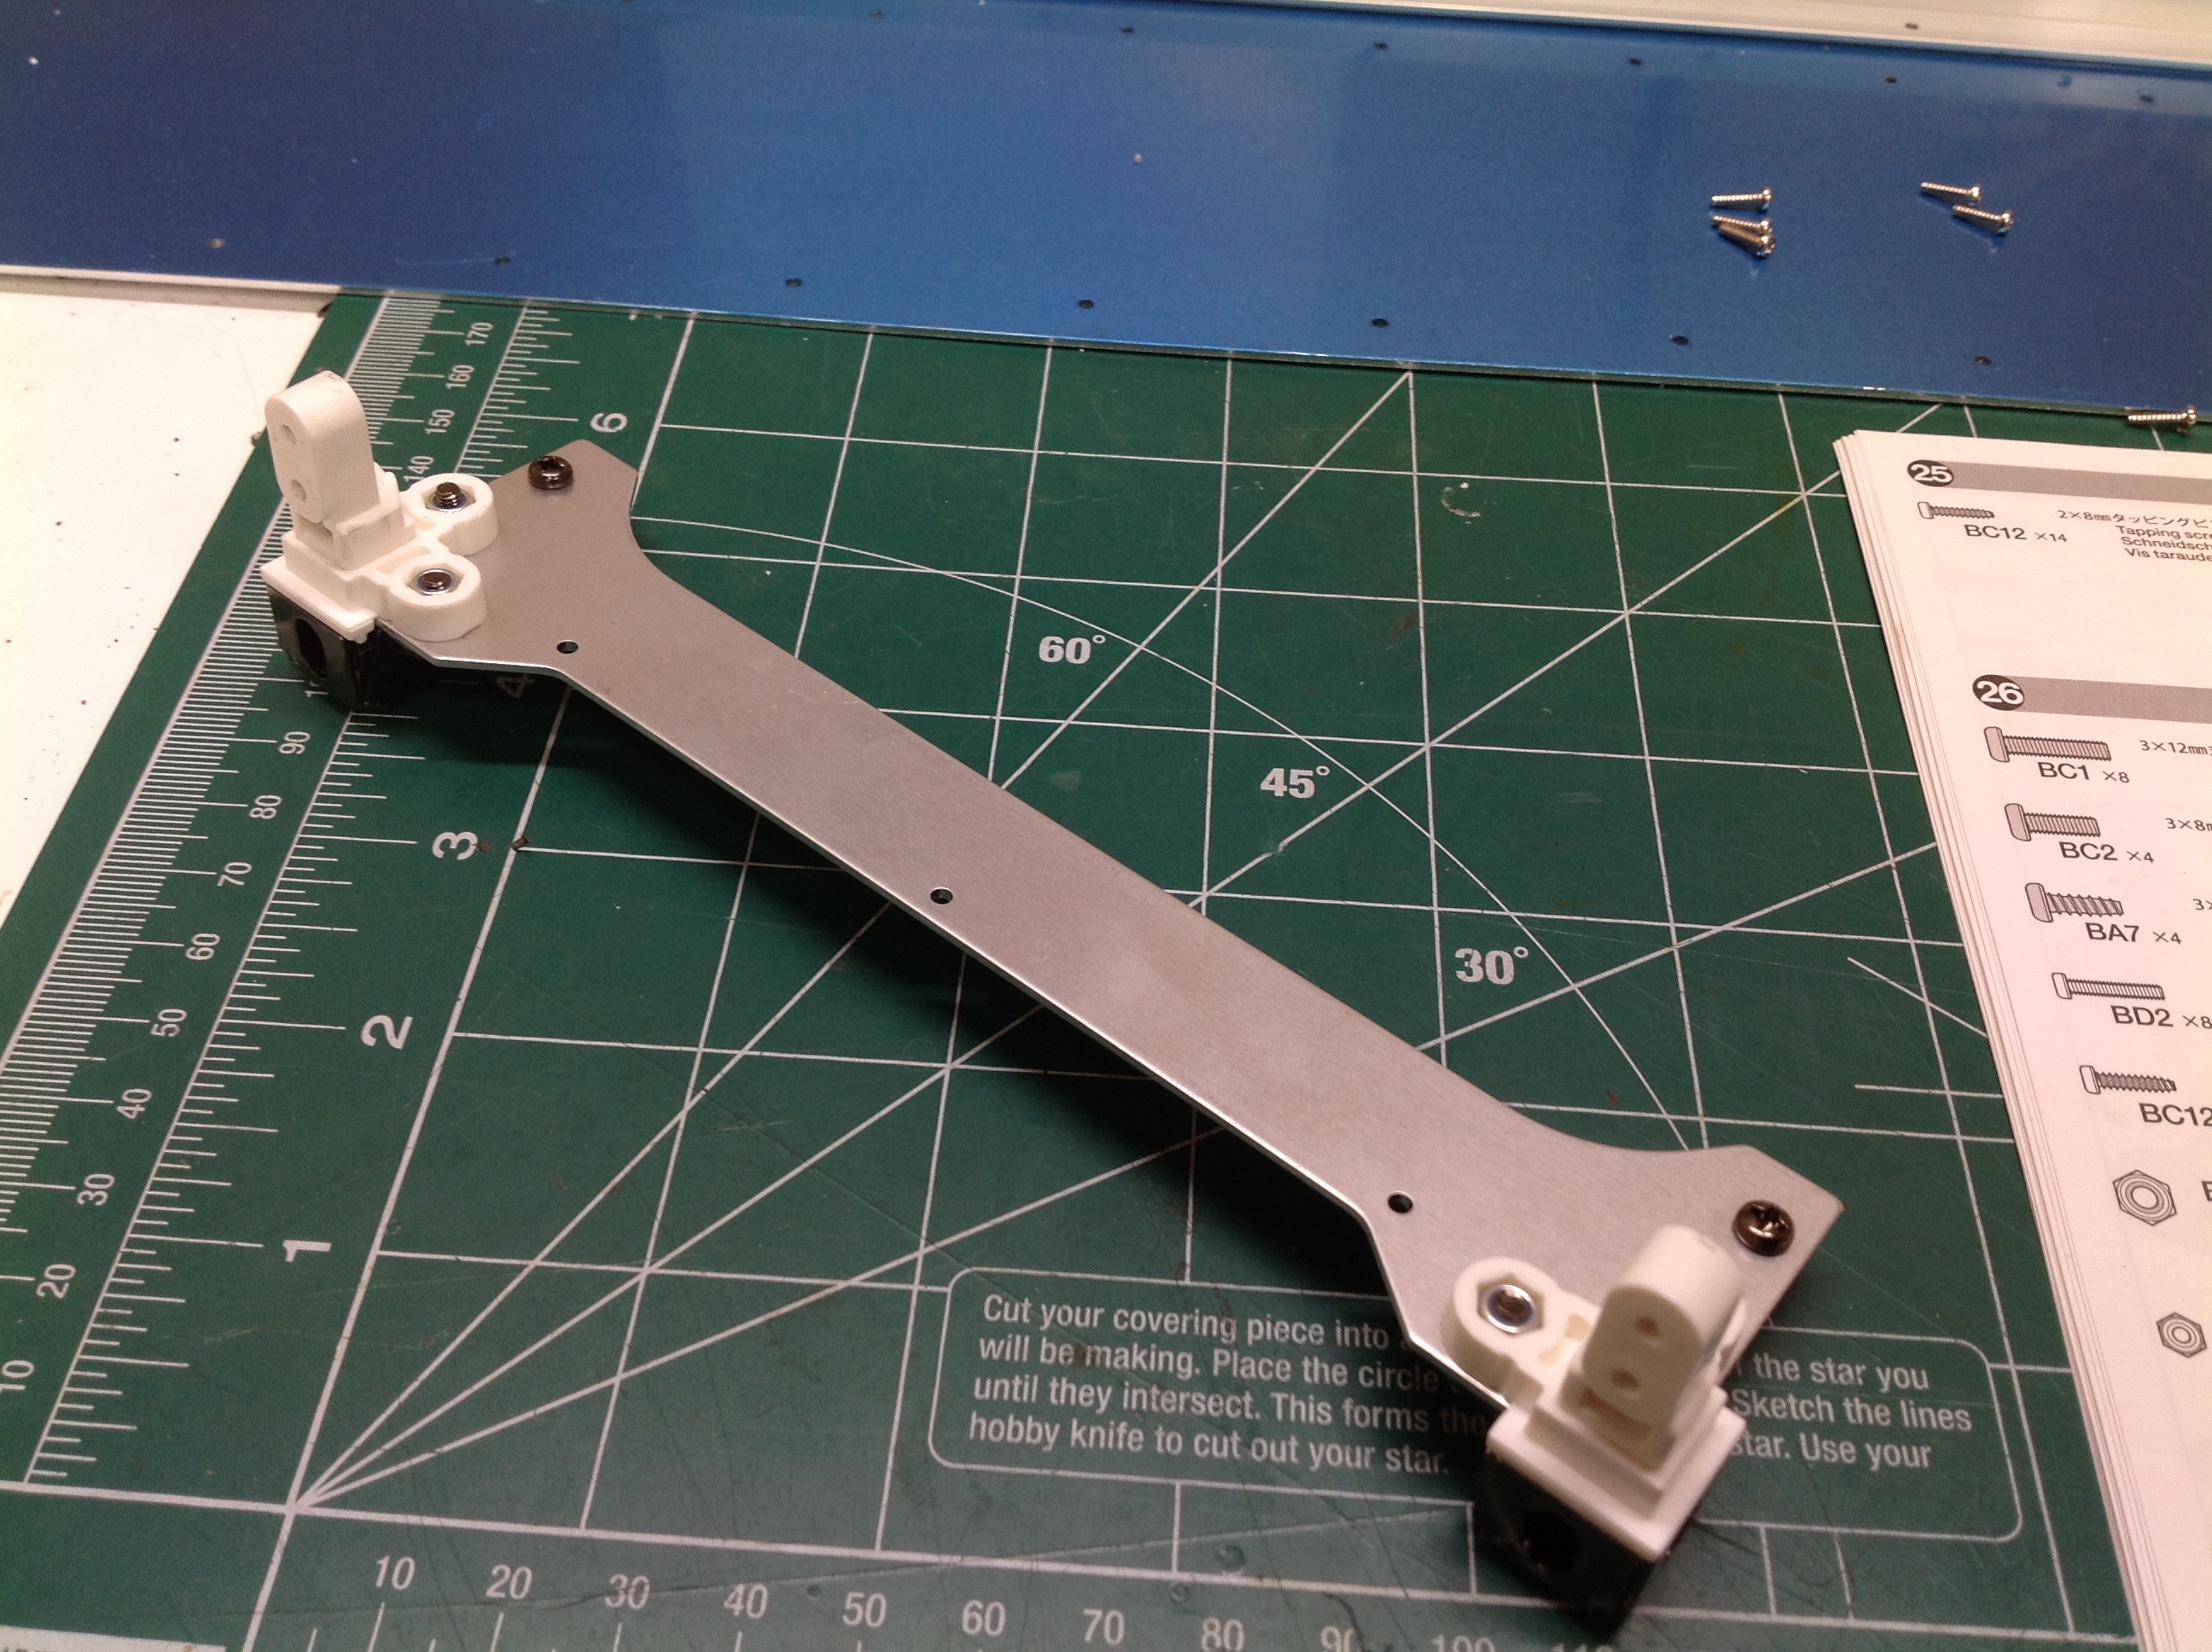
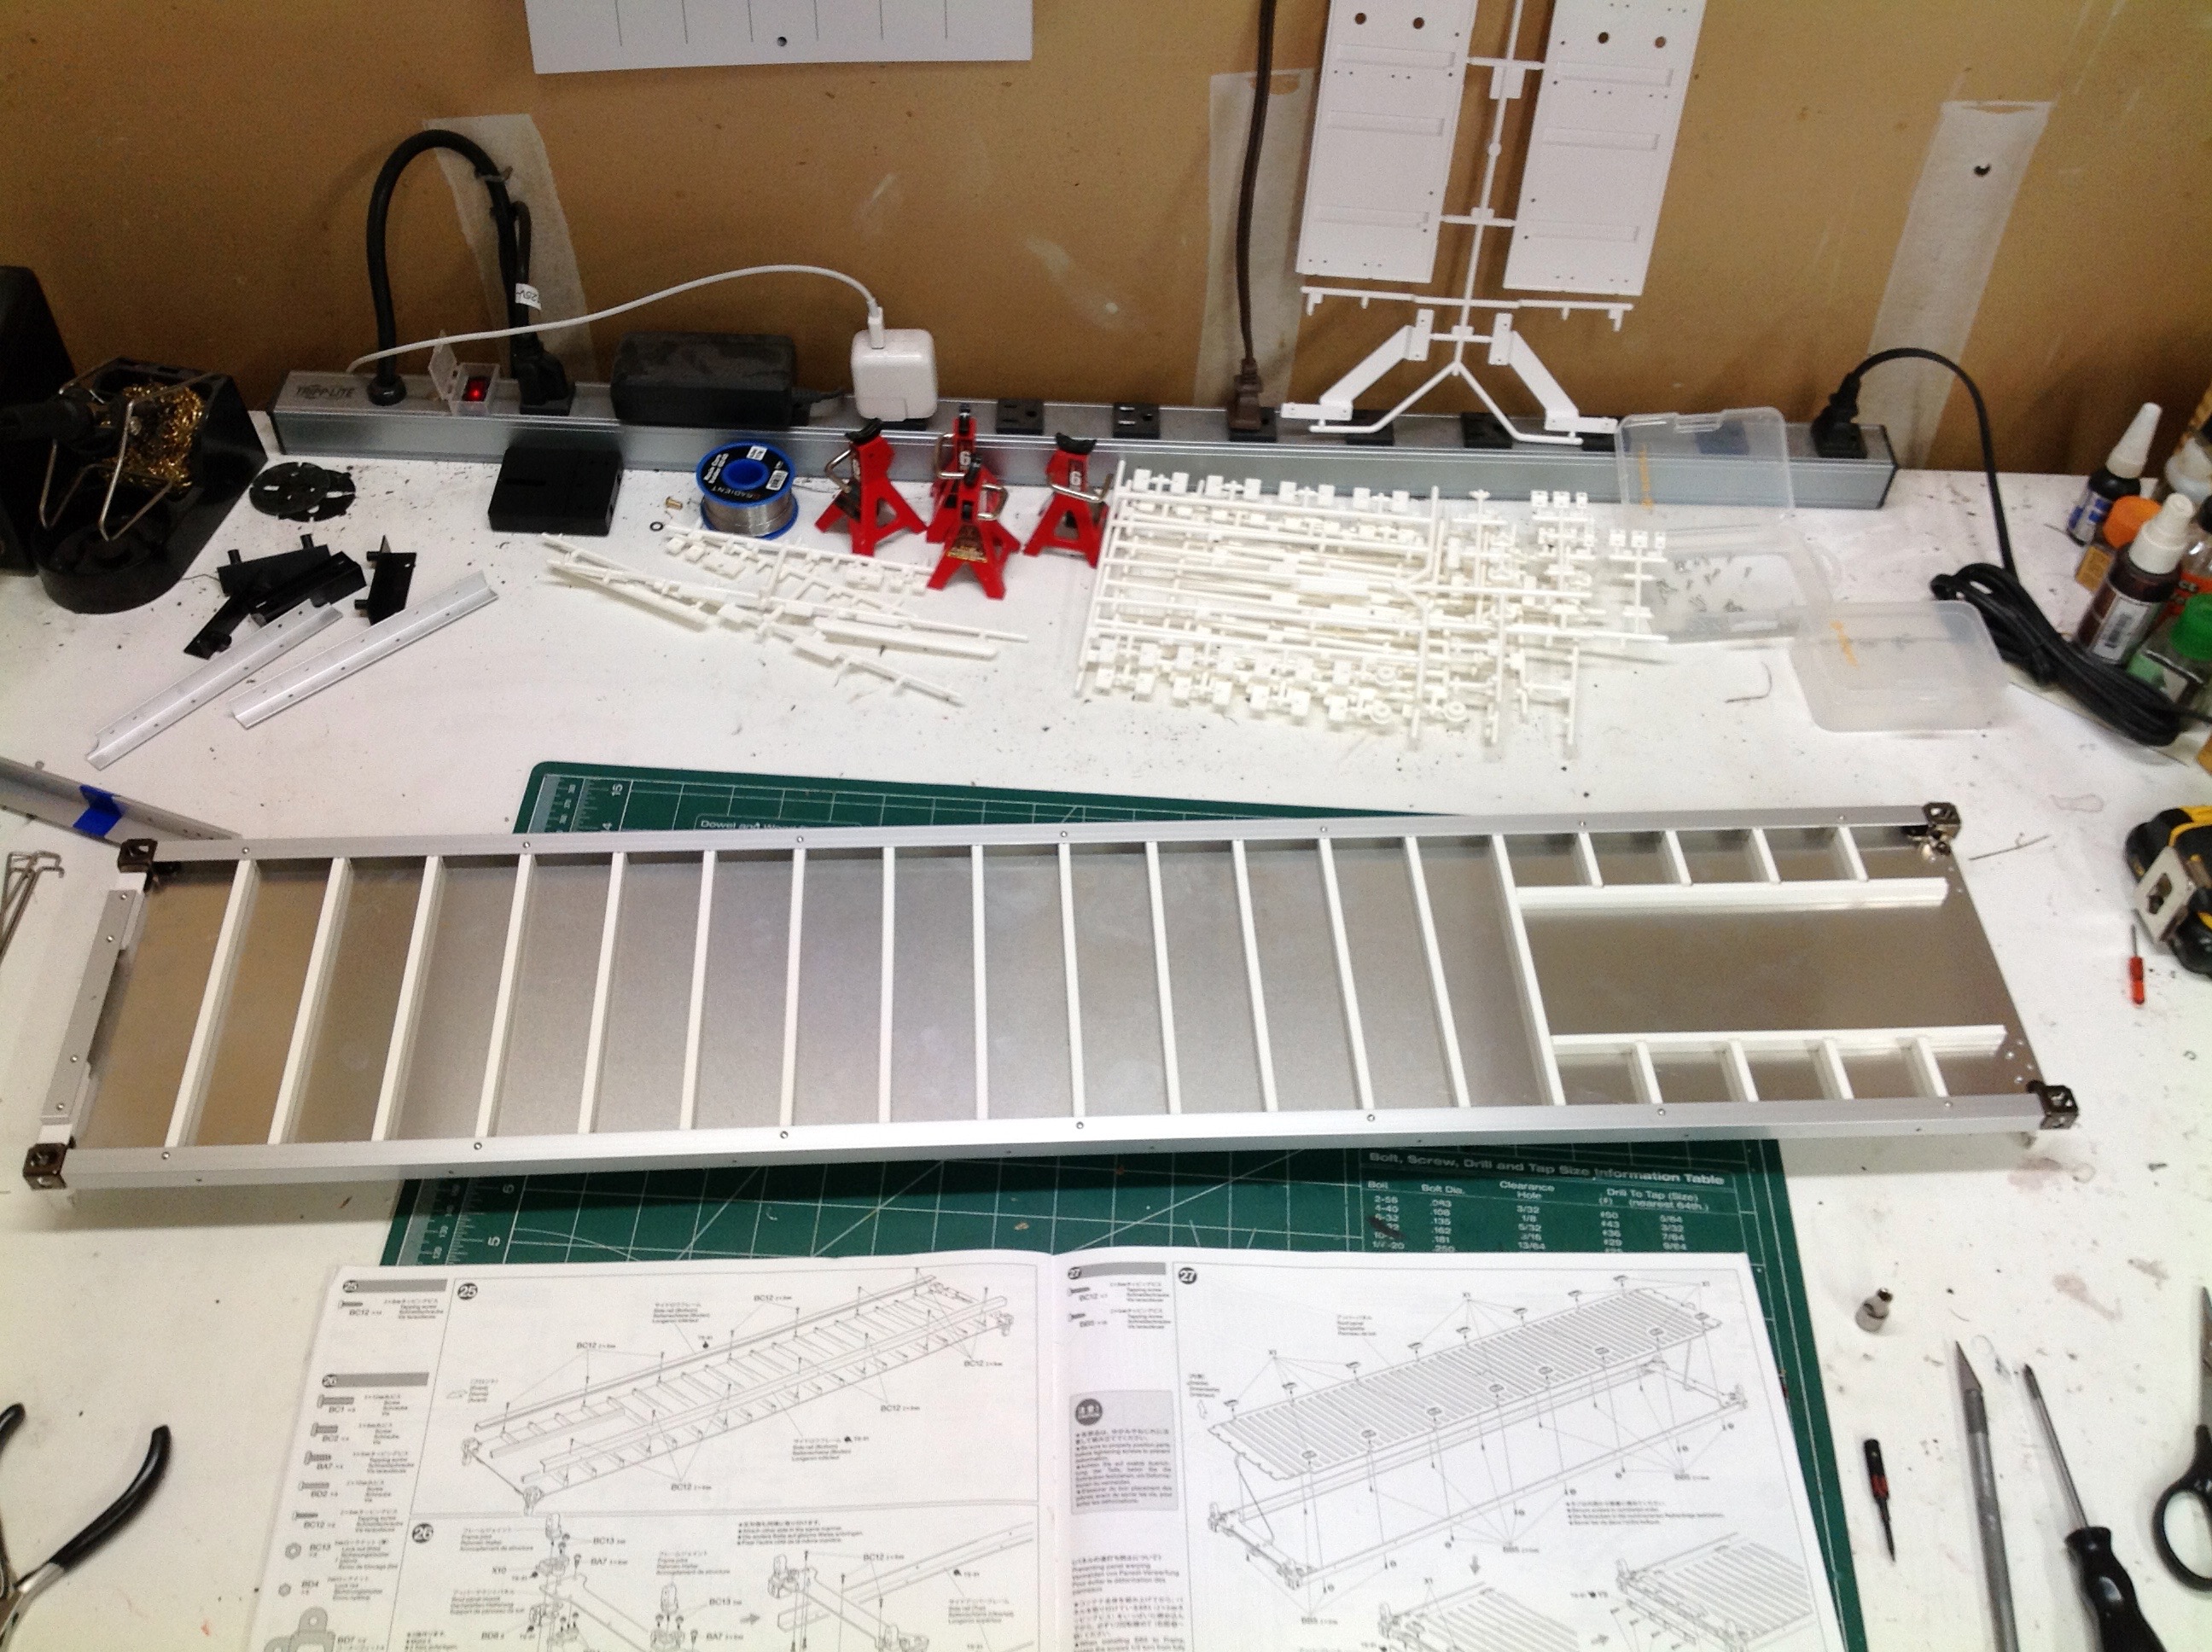
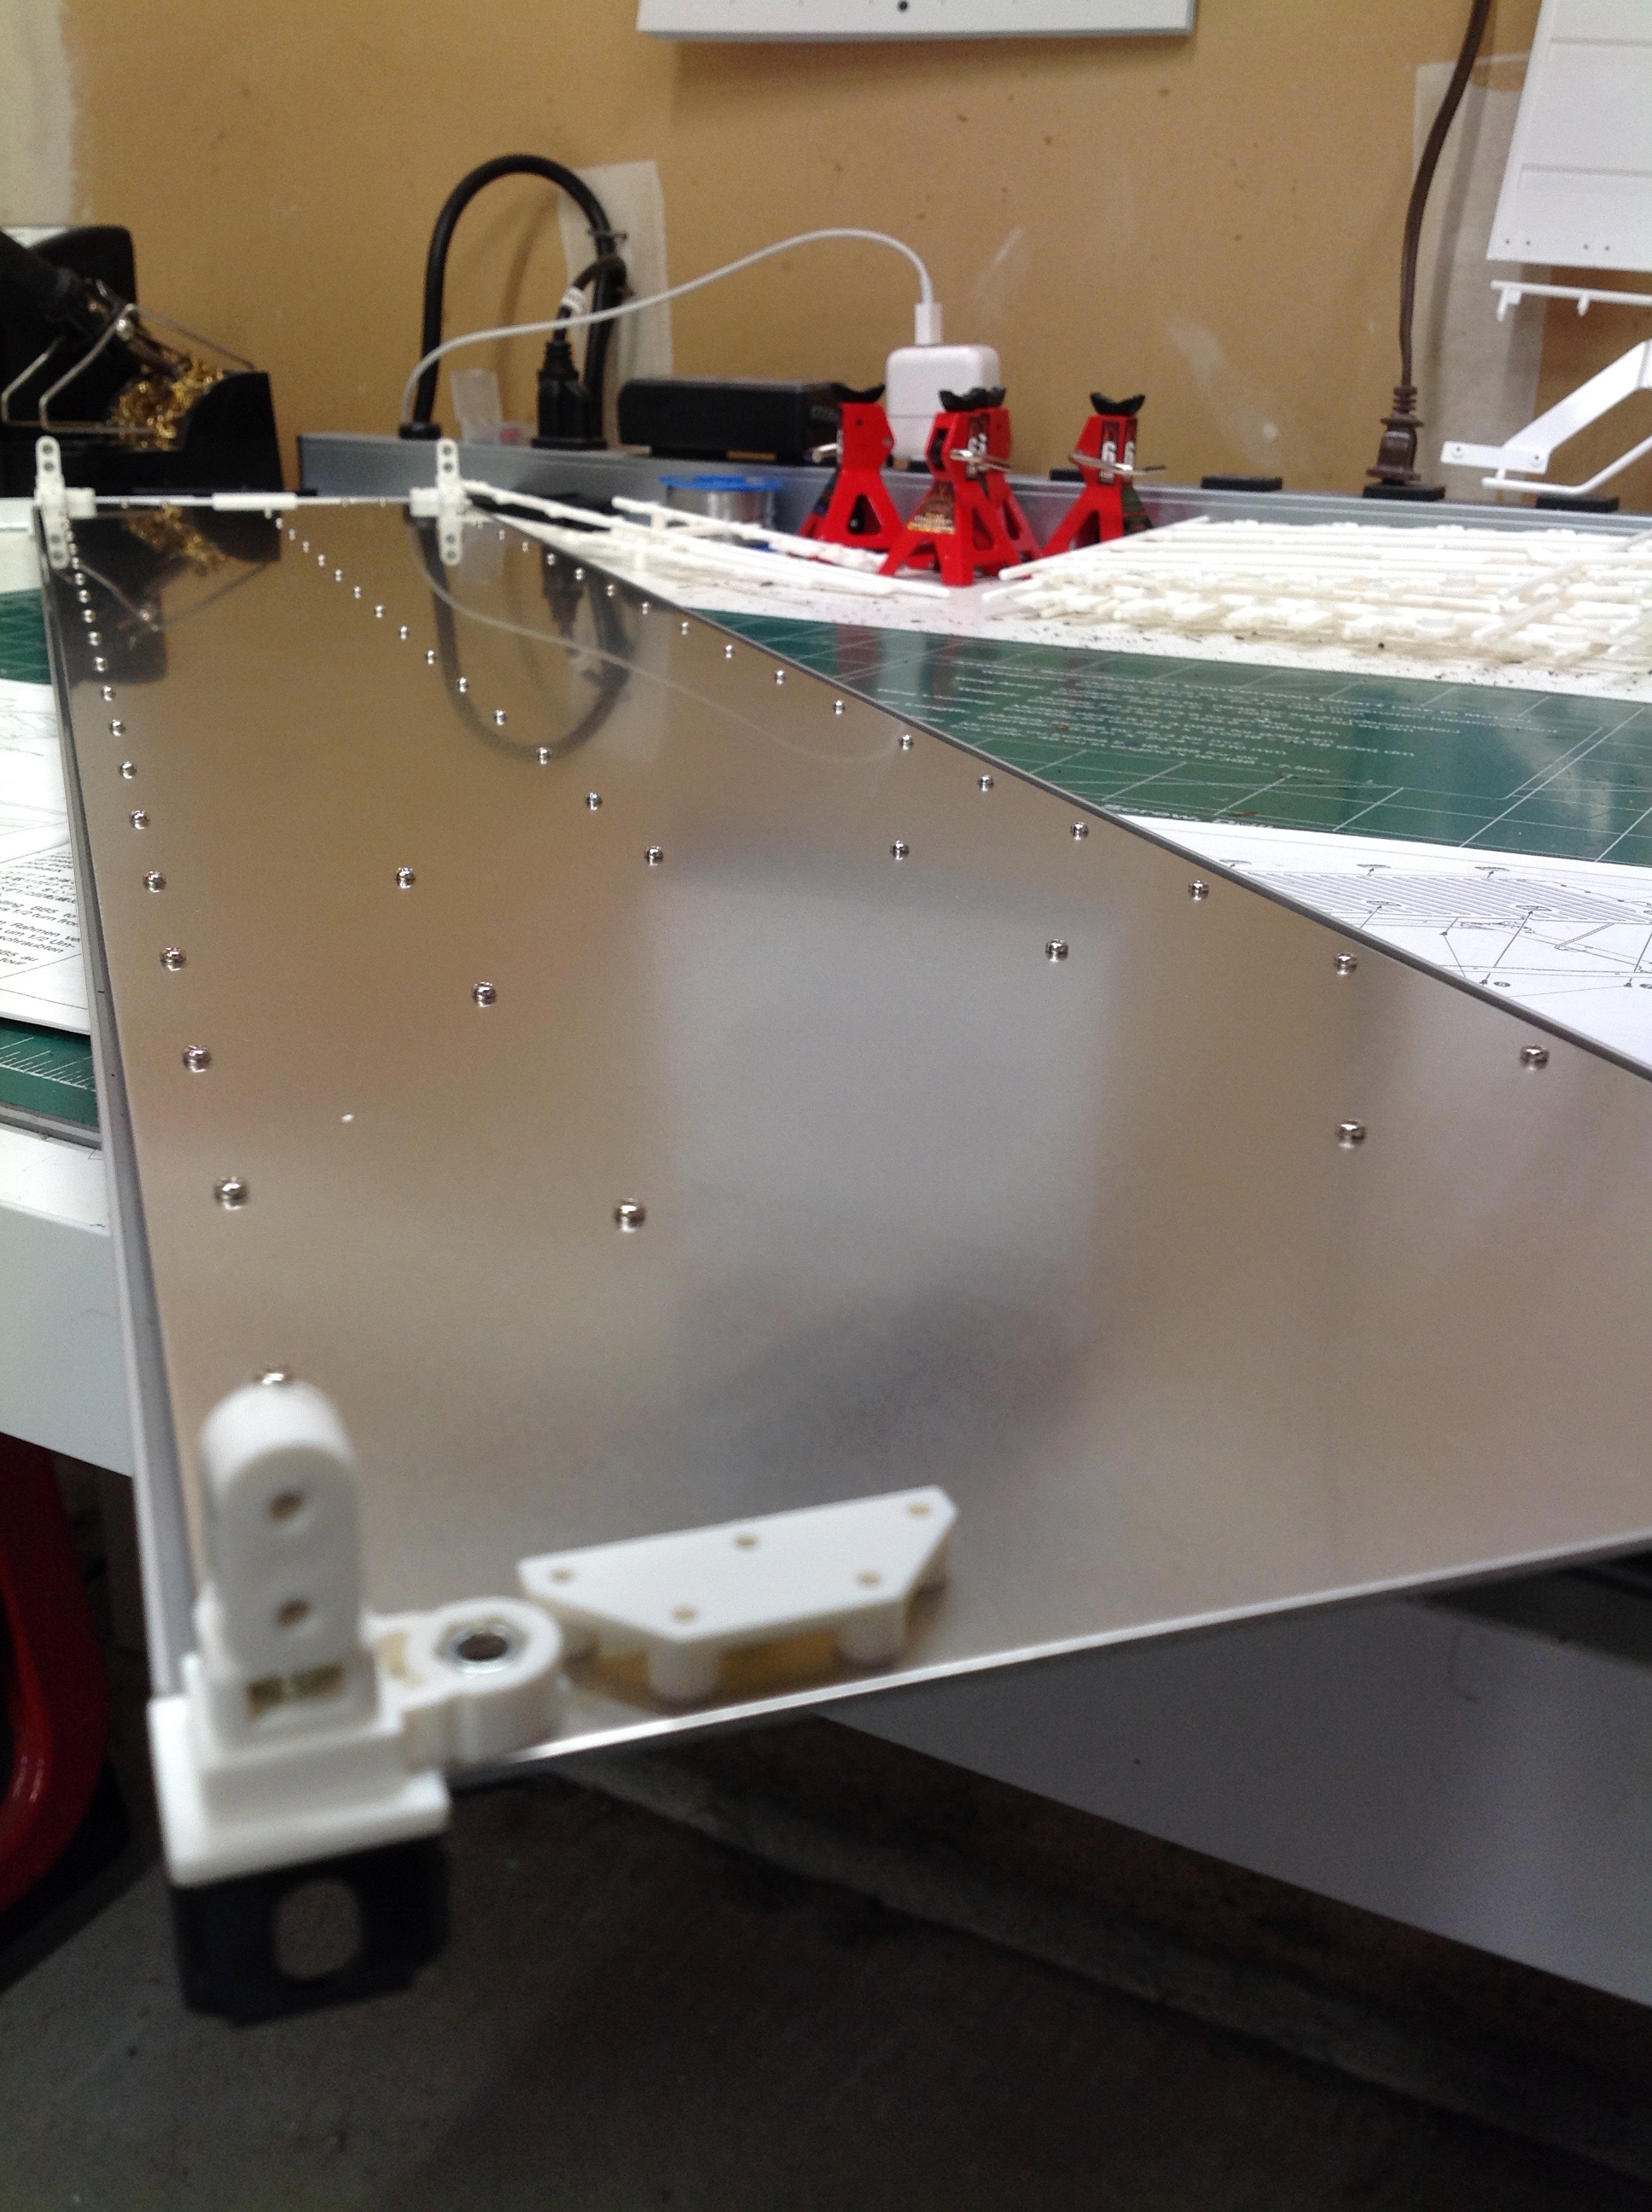
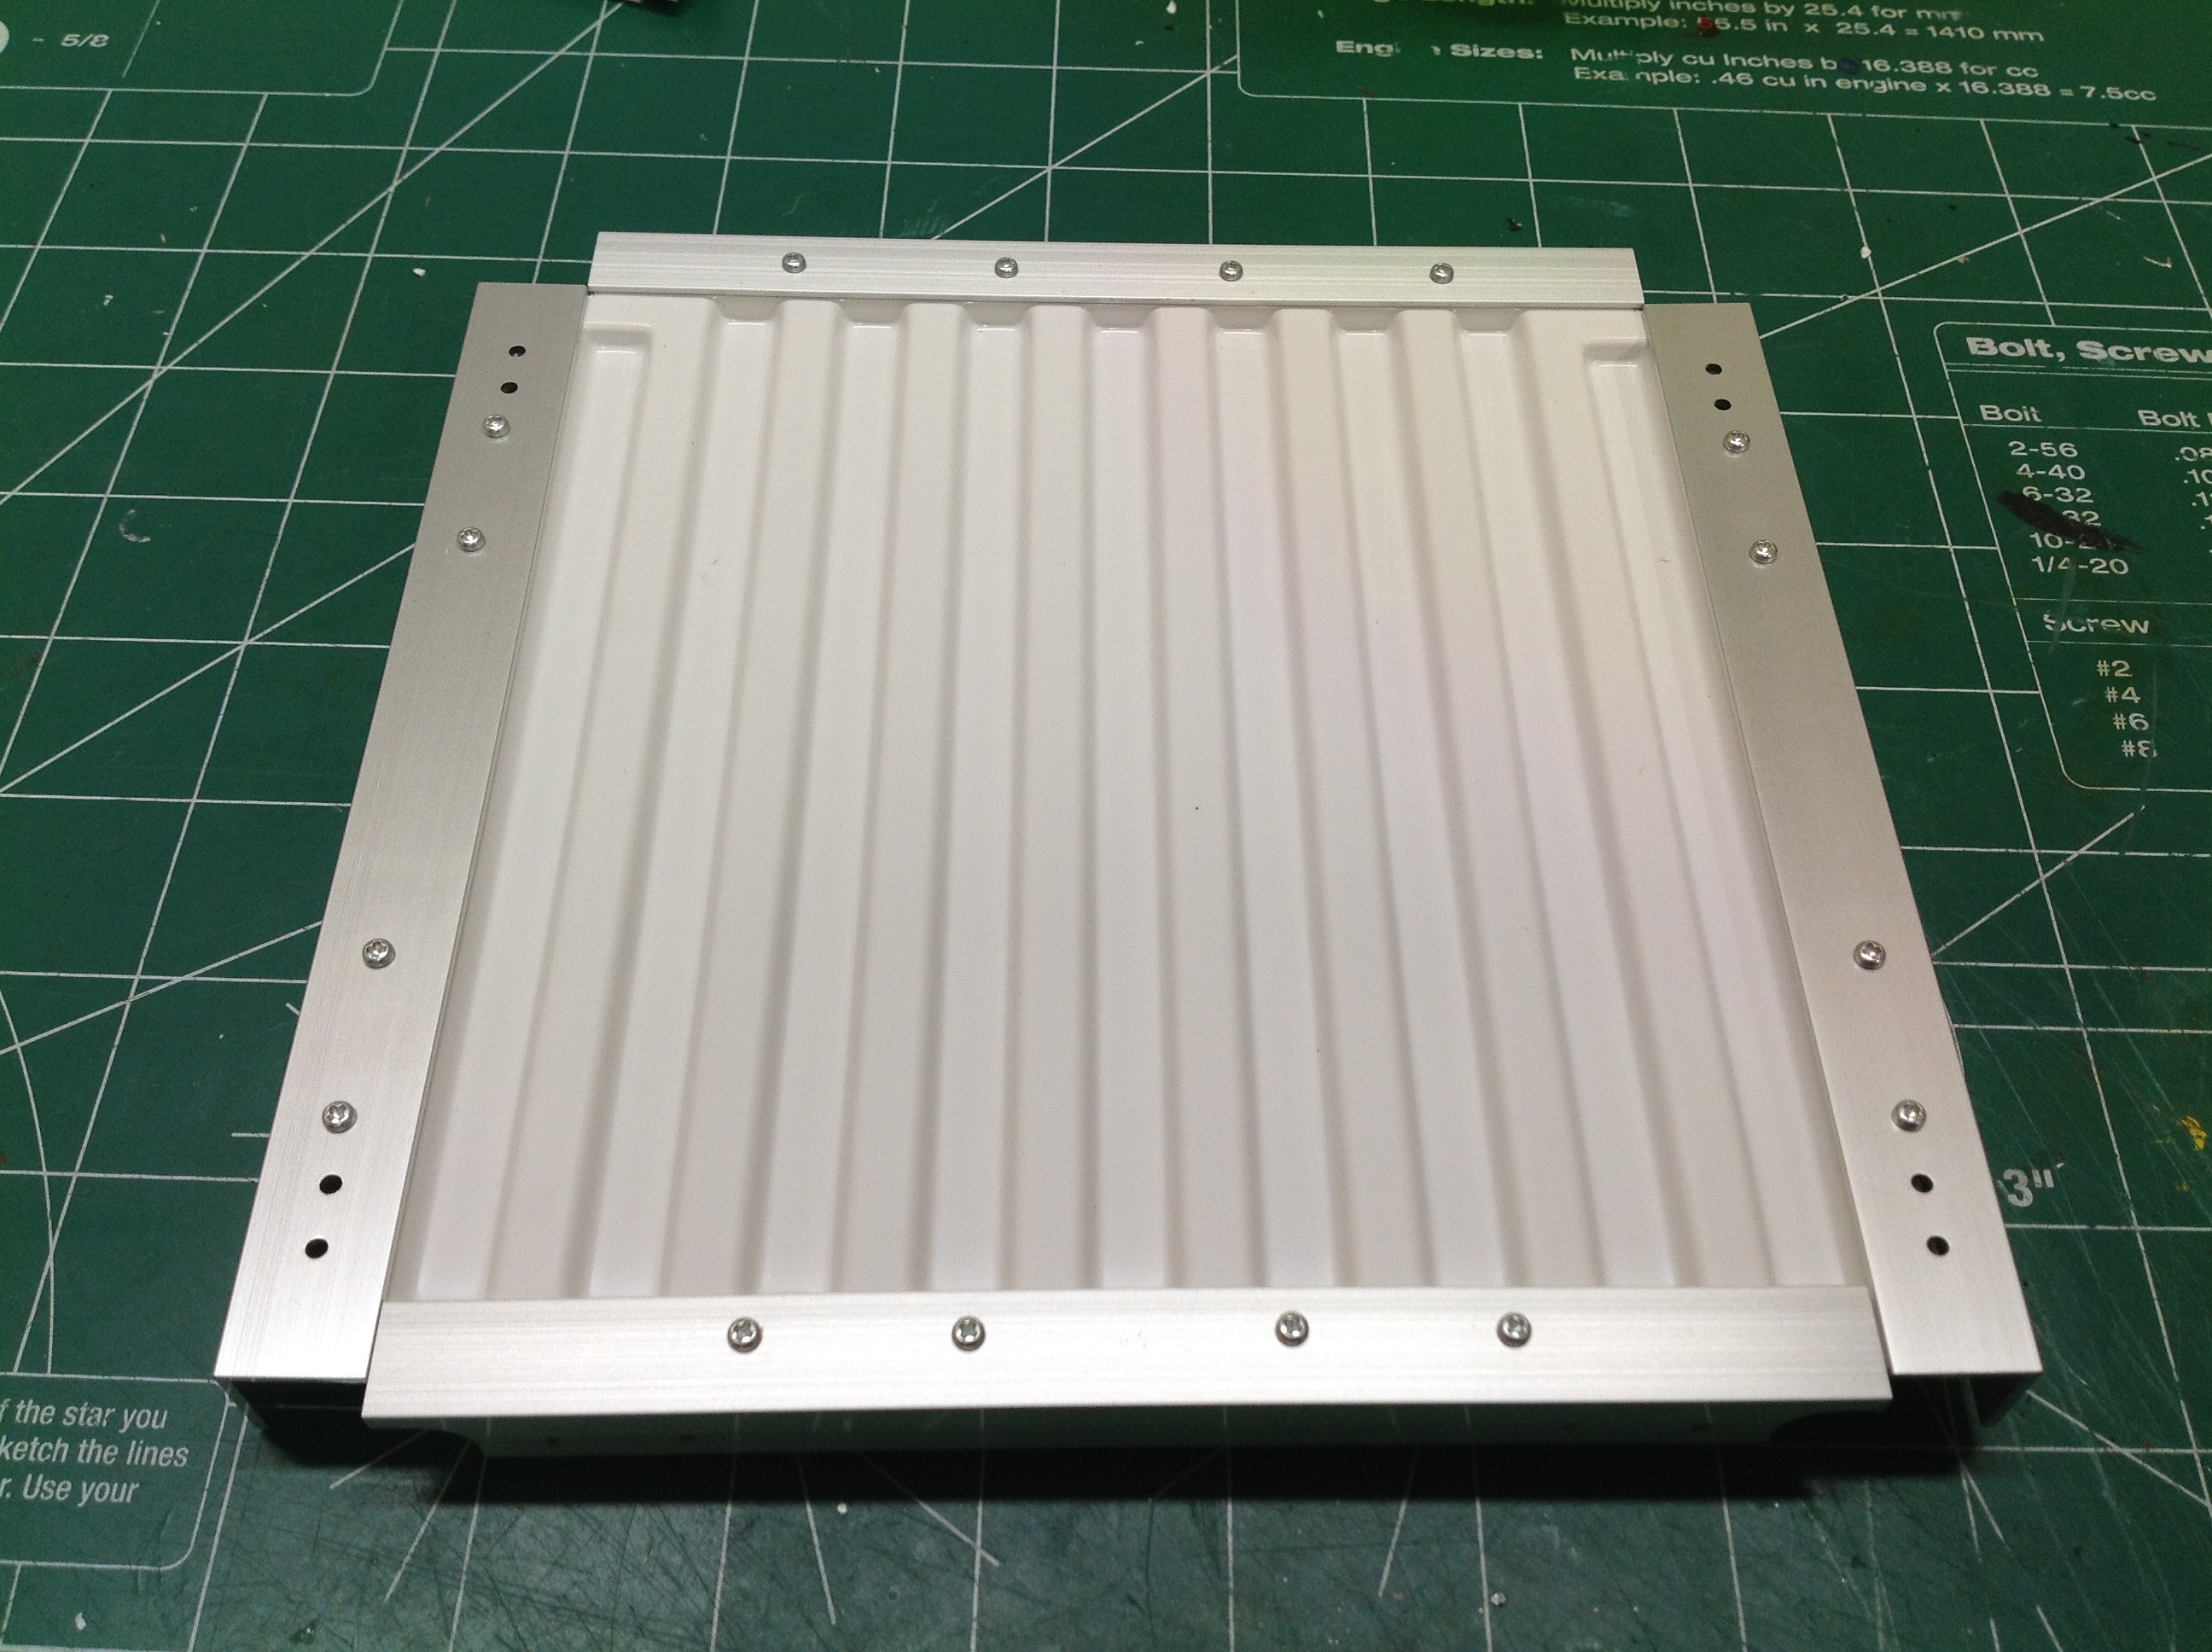
The first major assembly to be completed is the floor. You
start with the sheet metal panel then attach an L-channel rail to the
perimeter and plastic cross members to the center. In case you
thought this was easy, look at the massive number of tiny fasteners
shown on the right. You can see that the cross members are not the
same for the whole length of the floor. On the right hand end
there is a tunnel which is used to provide space for the neck of a
gooseneck trailer to allow the container to sit lower and fit under
bridges. Yes, I had to look that up. Extra points to Tamiya
for accuracy.
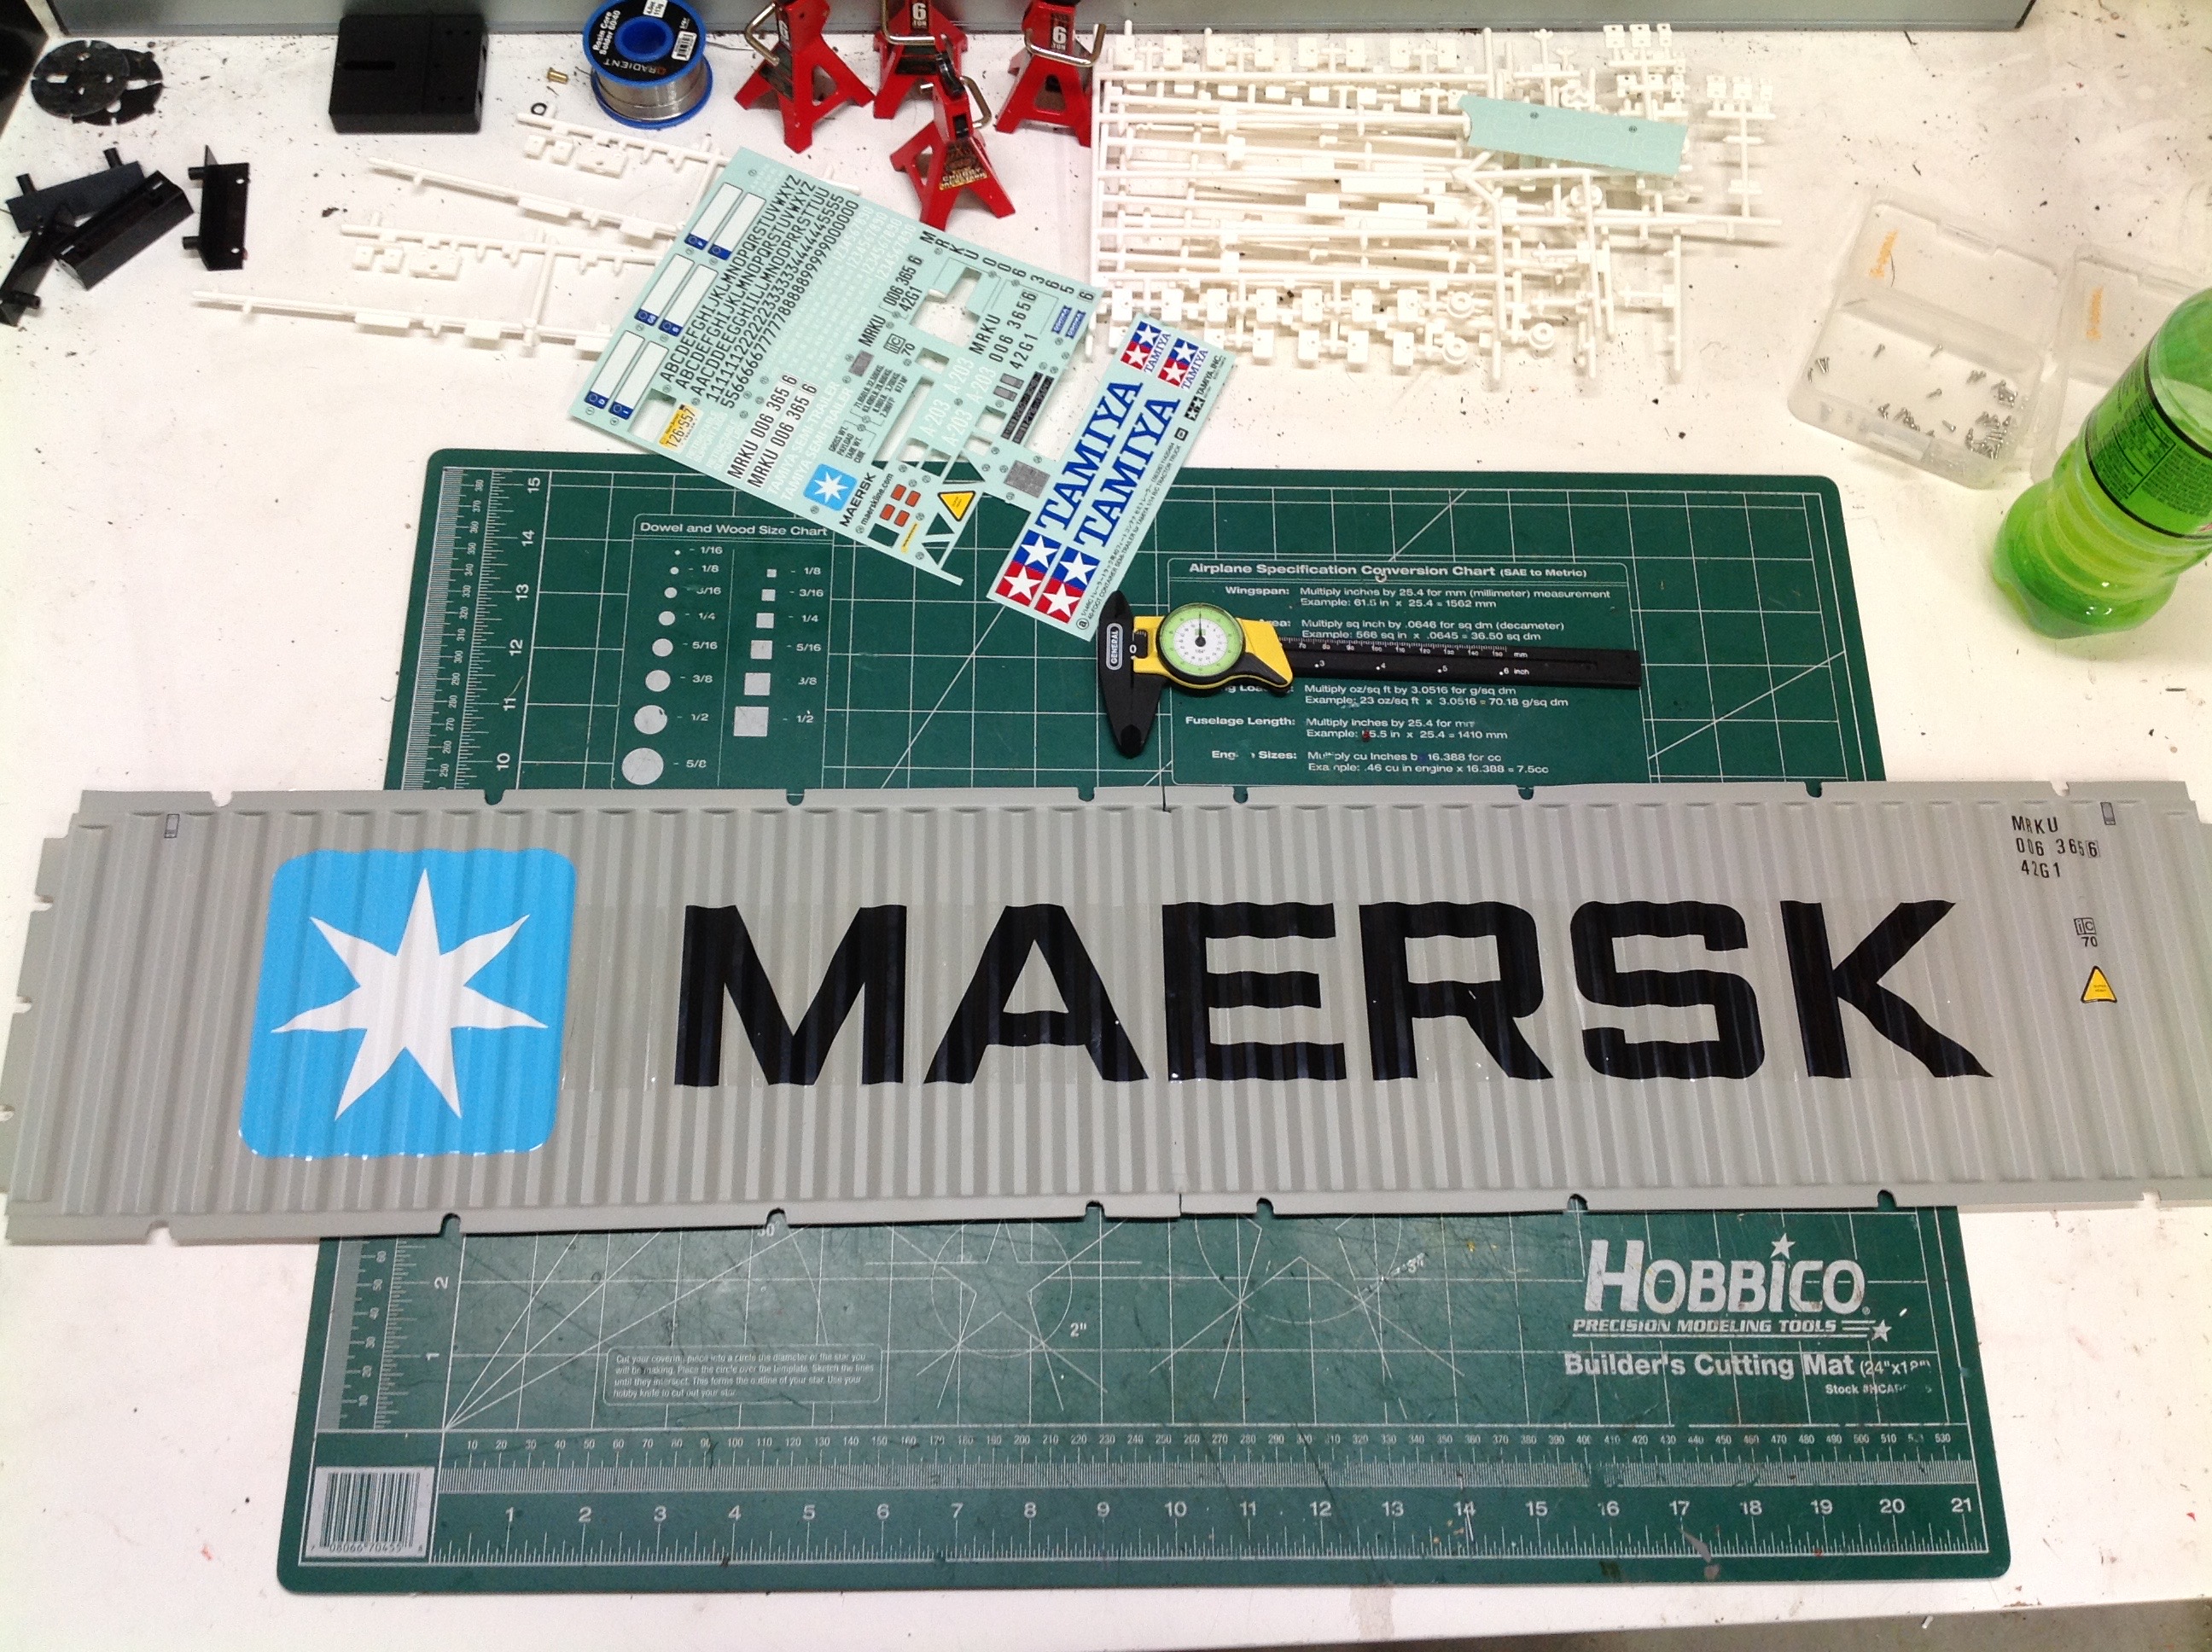
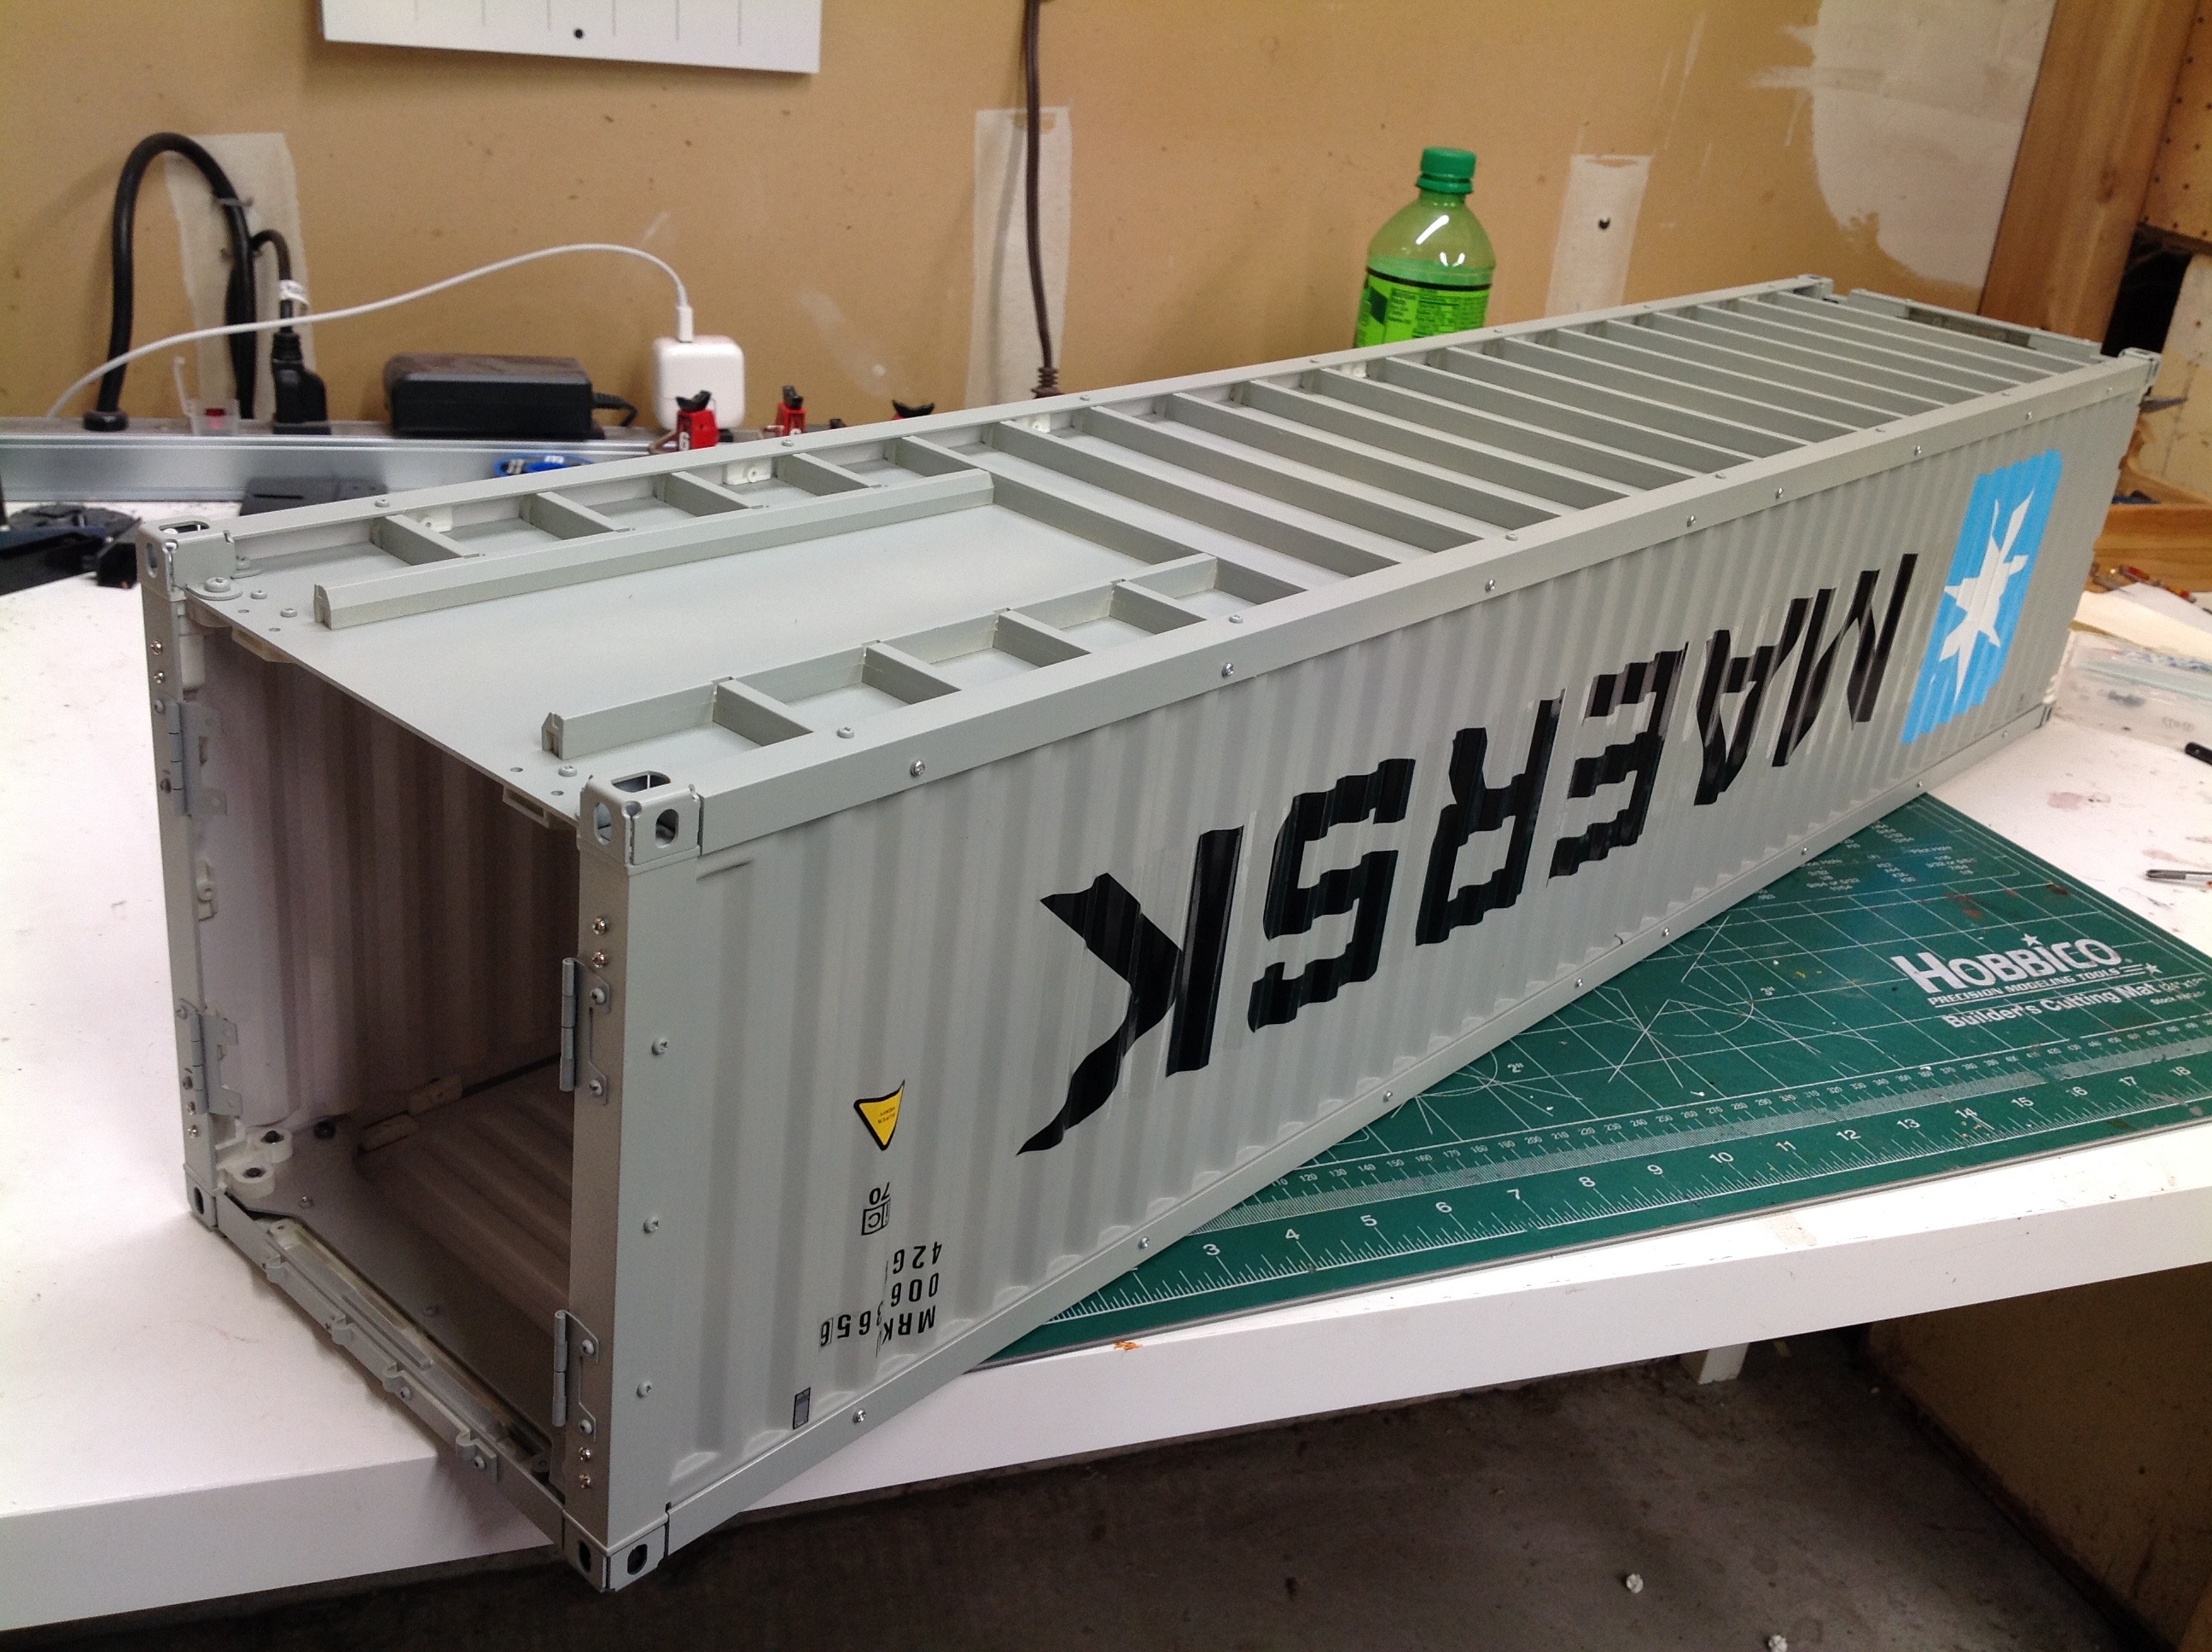
Here the first long panel has been installed into the top frame.
This is the point in the assembly when I started painting. For the
side panels, I wanted to paint and apply stickers before I put the
panels in the frame as shown on the right. The huge Maersk
stickers are very difficult to apply. Any large sticker is hard to
apply without bubbles, but this one also has to conform to the
corrugations while at the same time staying parallel to the panel.
I'd say I spend nearly an hour carefully applying it. One side
came out quite well, but the other side has a lot of bubbles.
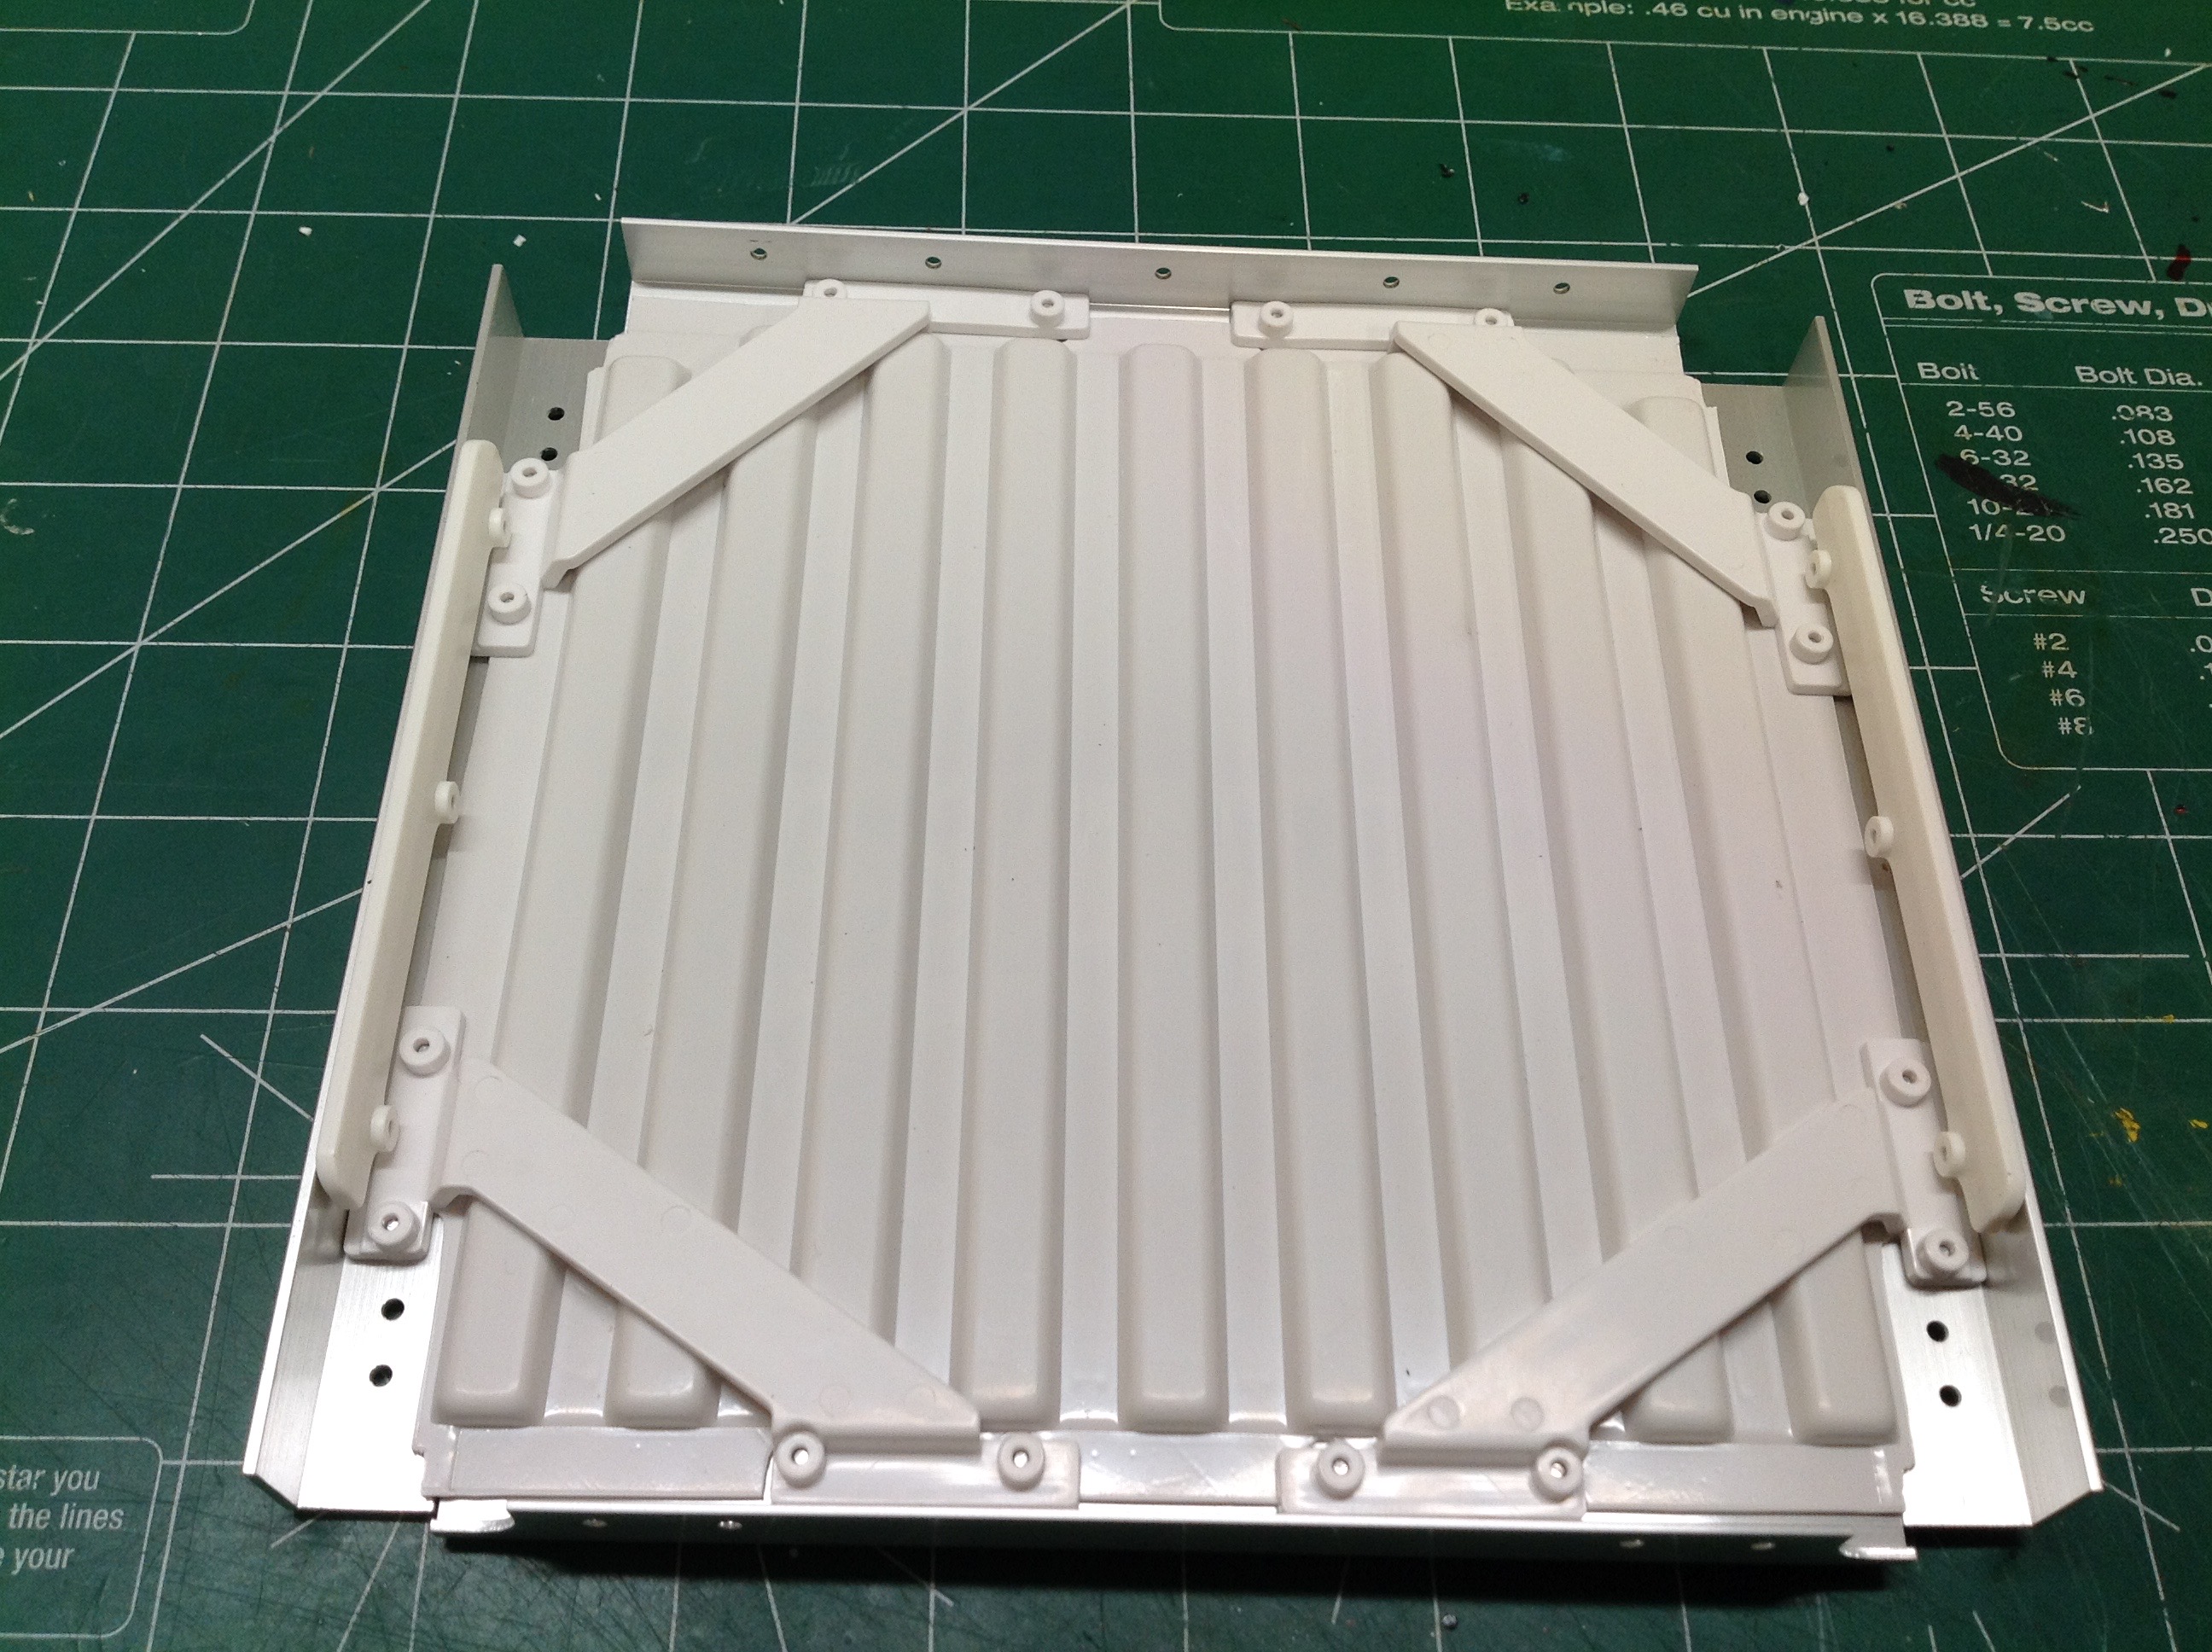
The construction of the front panel is somewhat different. The
L-channels are held together with large diagonal braces which do an
excellent job of making the end square which is really important up
front because the back has a big opening for the doors. You can
also see that the brackets overlap the panel which is what locks the
panel in place. For the large side and top panels, a huge number
of small rectangular brackets are used to lock each notch in
place. Again, lots of screws.
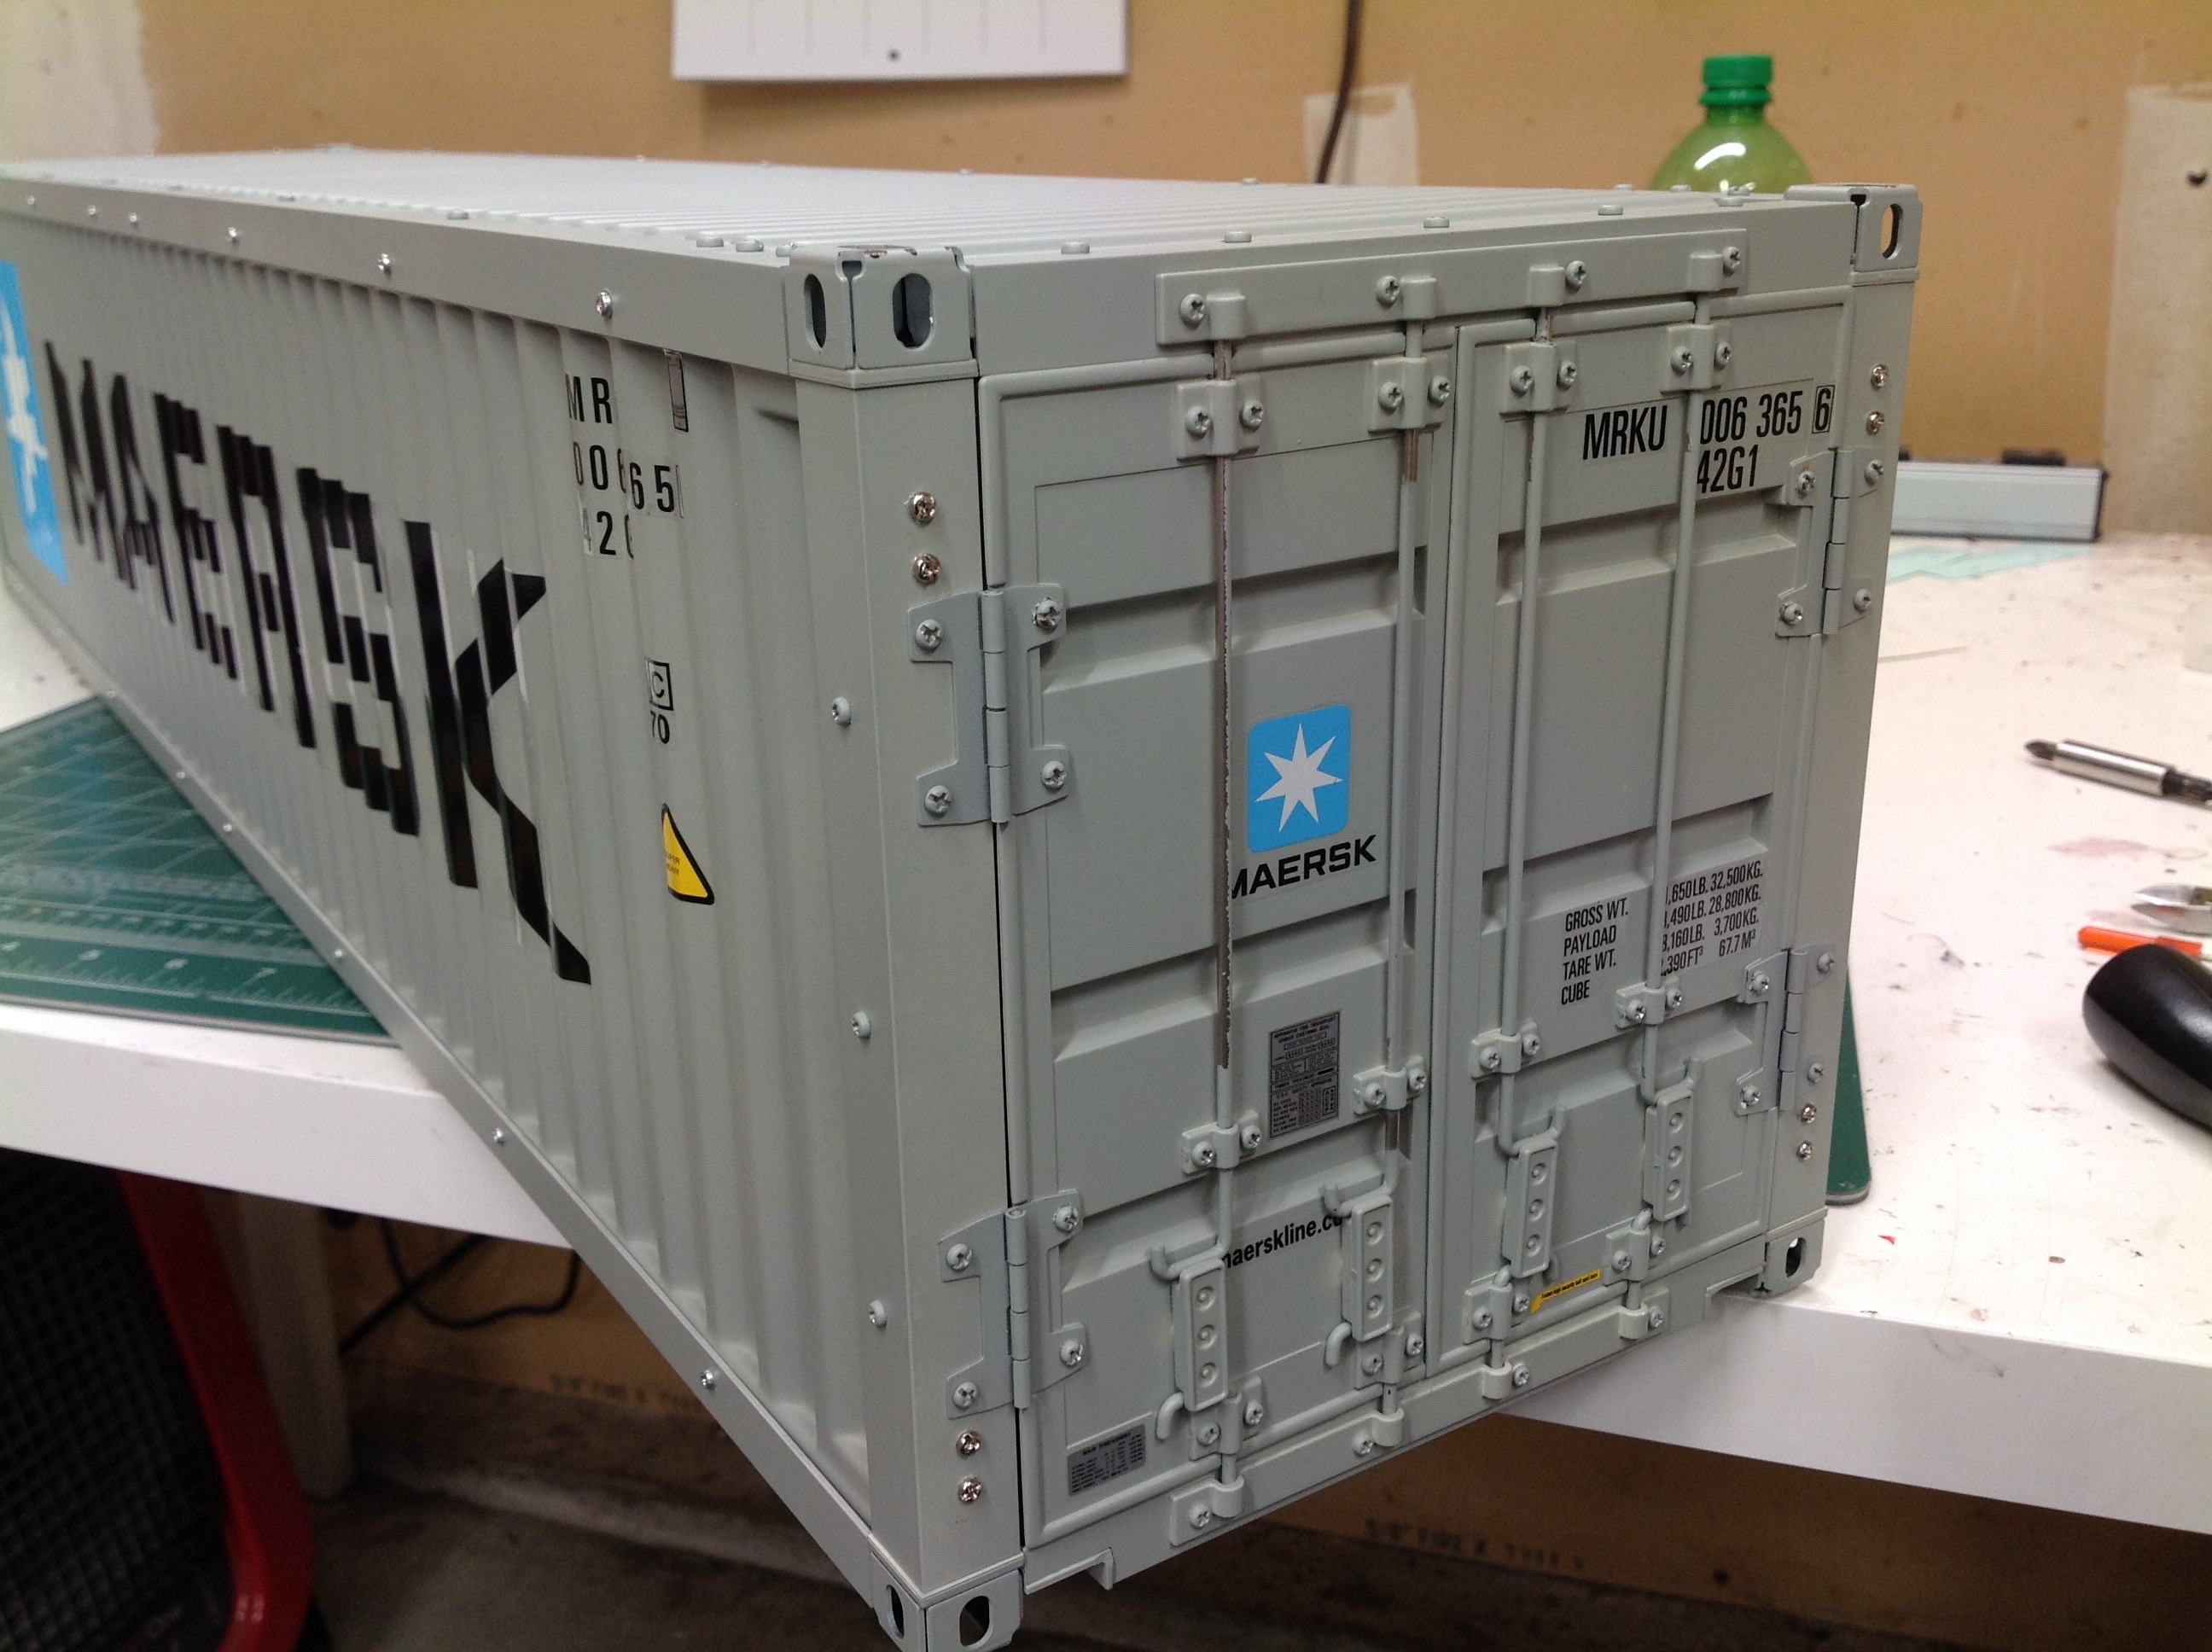
Now I'm finally starting to put the whole thing together. Putting
the last side on is quite difficult because it must correctly overlap
everything else. I helps to keep the screws locking all the panels
loose until everything is in place, then tighten them all at
once. I didn't paint the inside of the trailer since it is mostly
hidden and, so far, I haven't figured out anything to put inside
it. Some scale pallets of RC boxes would be nice.
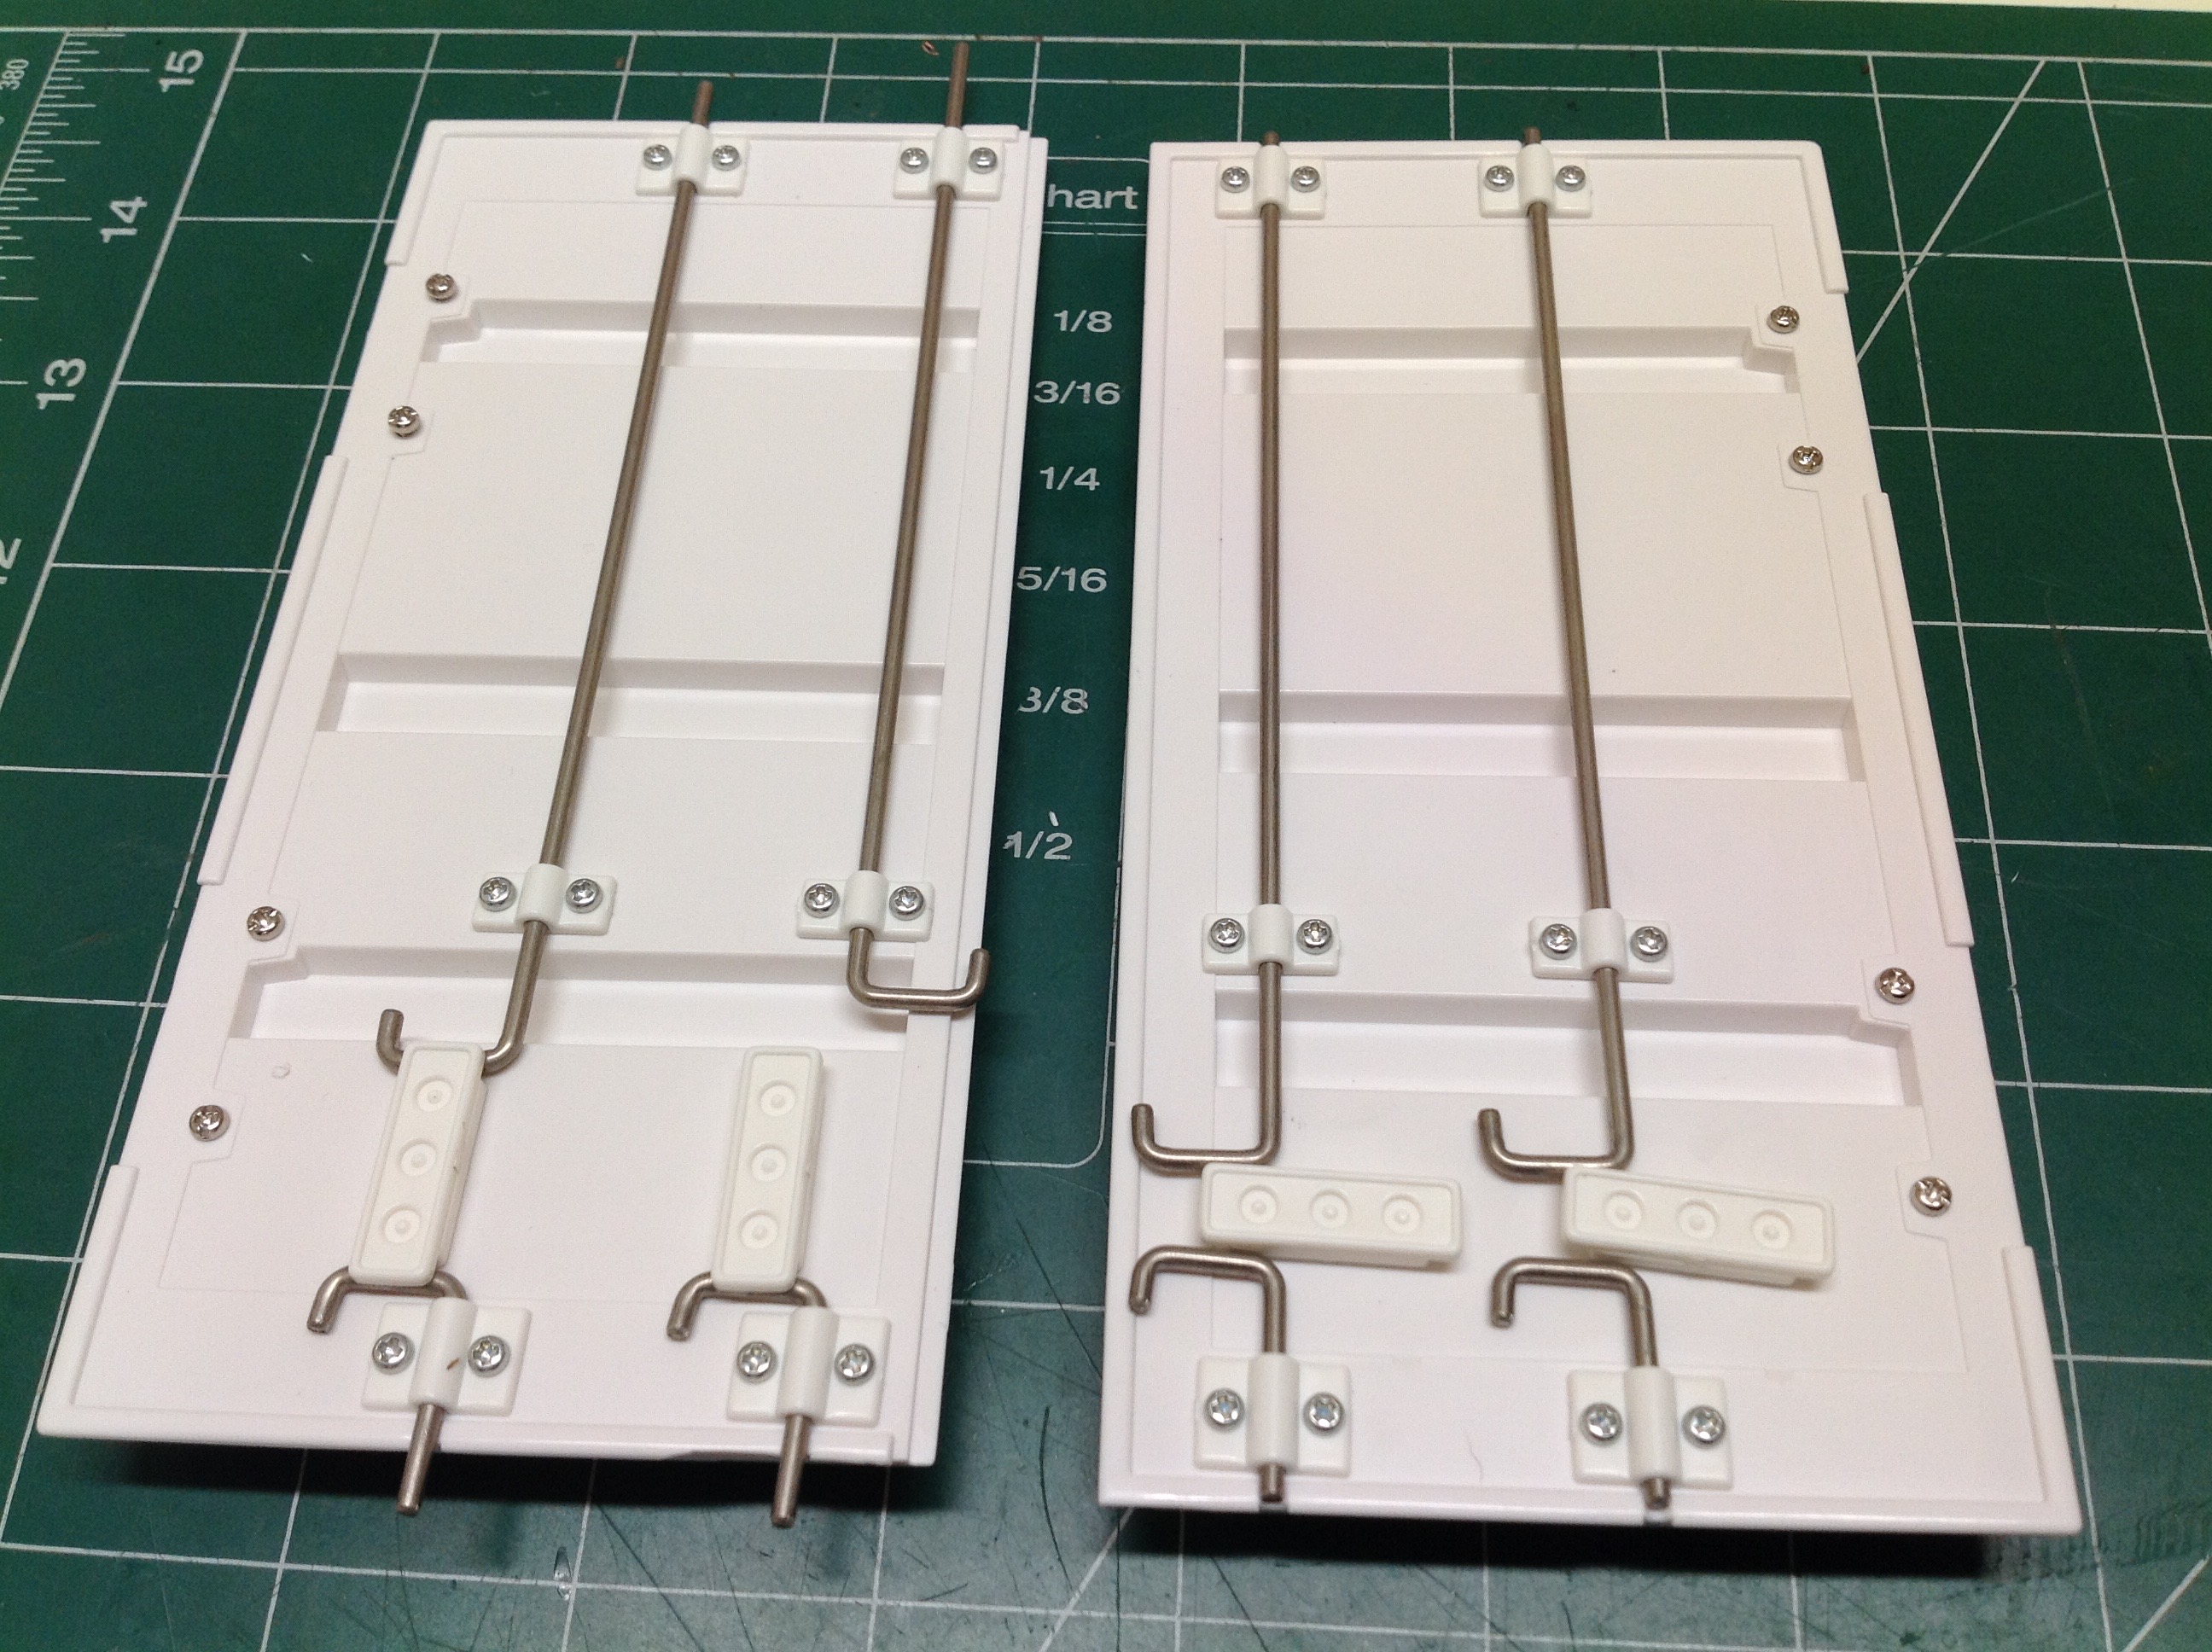
The last thing to build are the rear doors and, like the rest of this
container, they were more complicated than I expected. There are
four lock bars on each door with a pair of cranks to hold them in
place. They do a good job of helping to hold the box square when
shut.
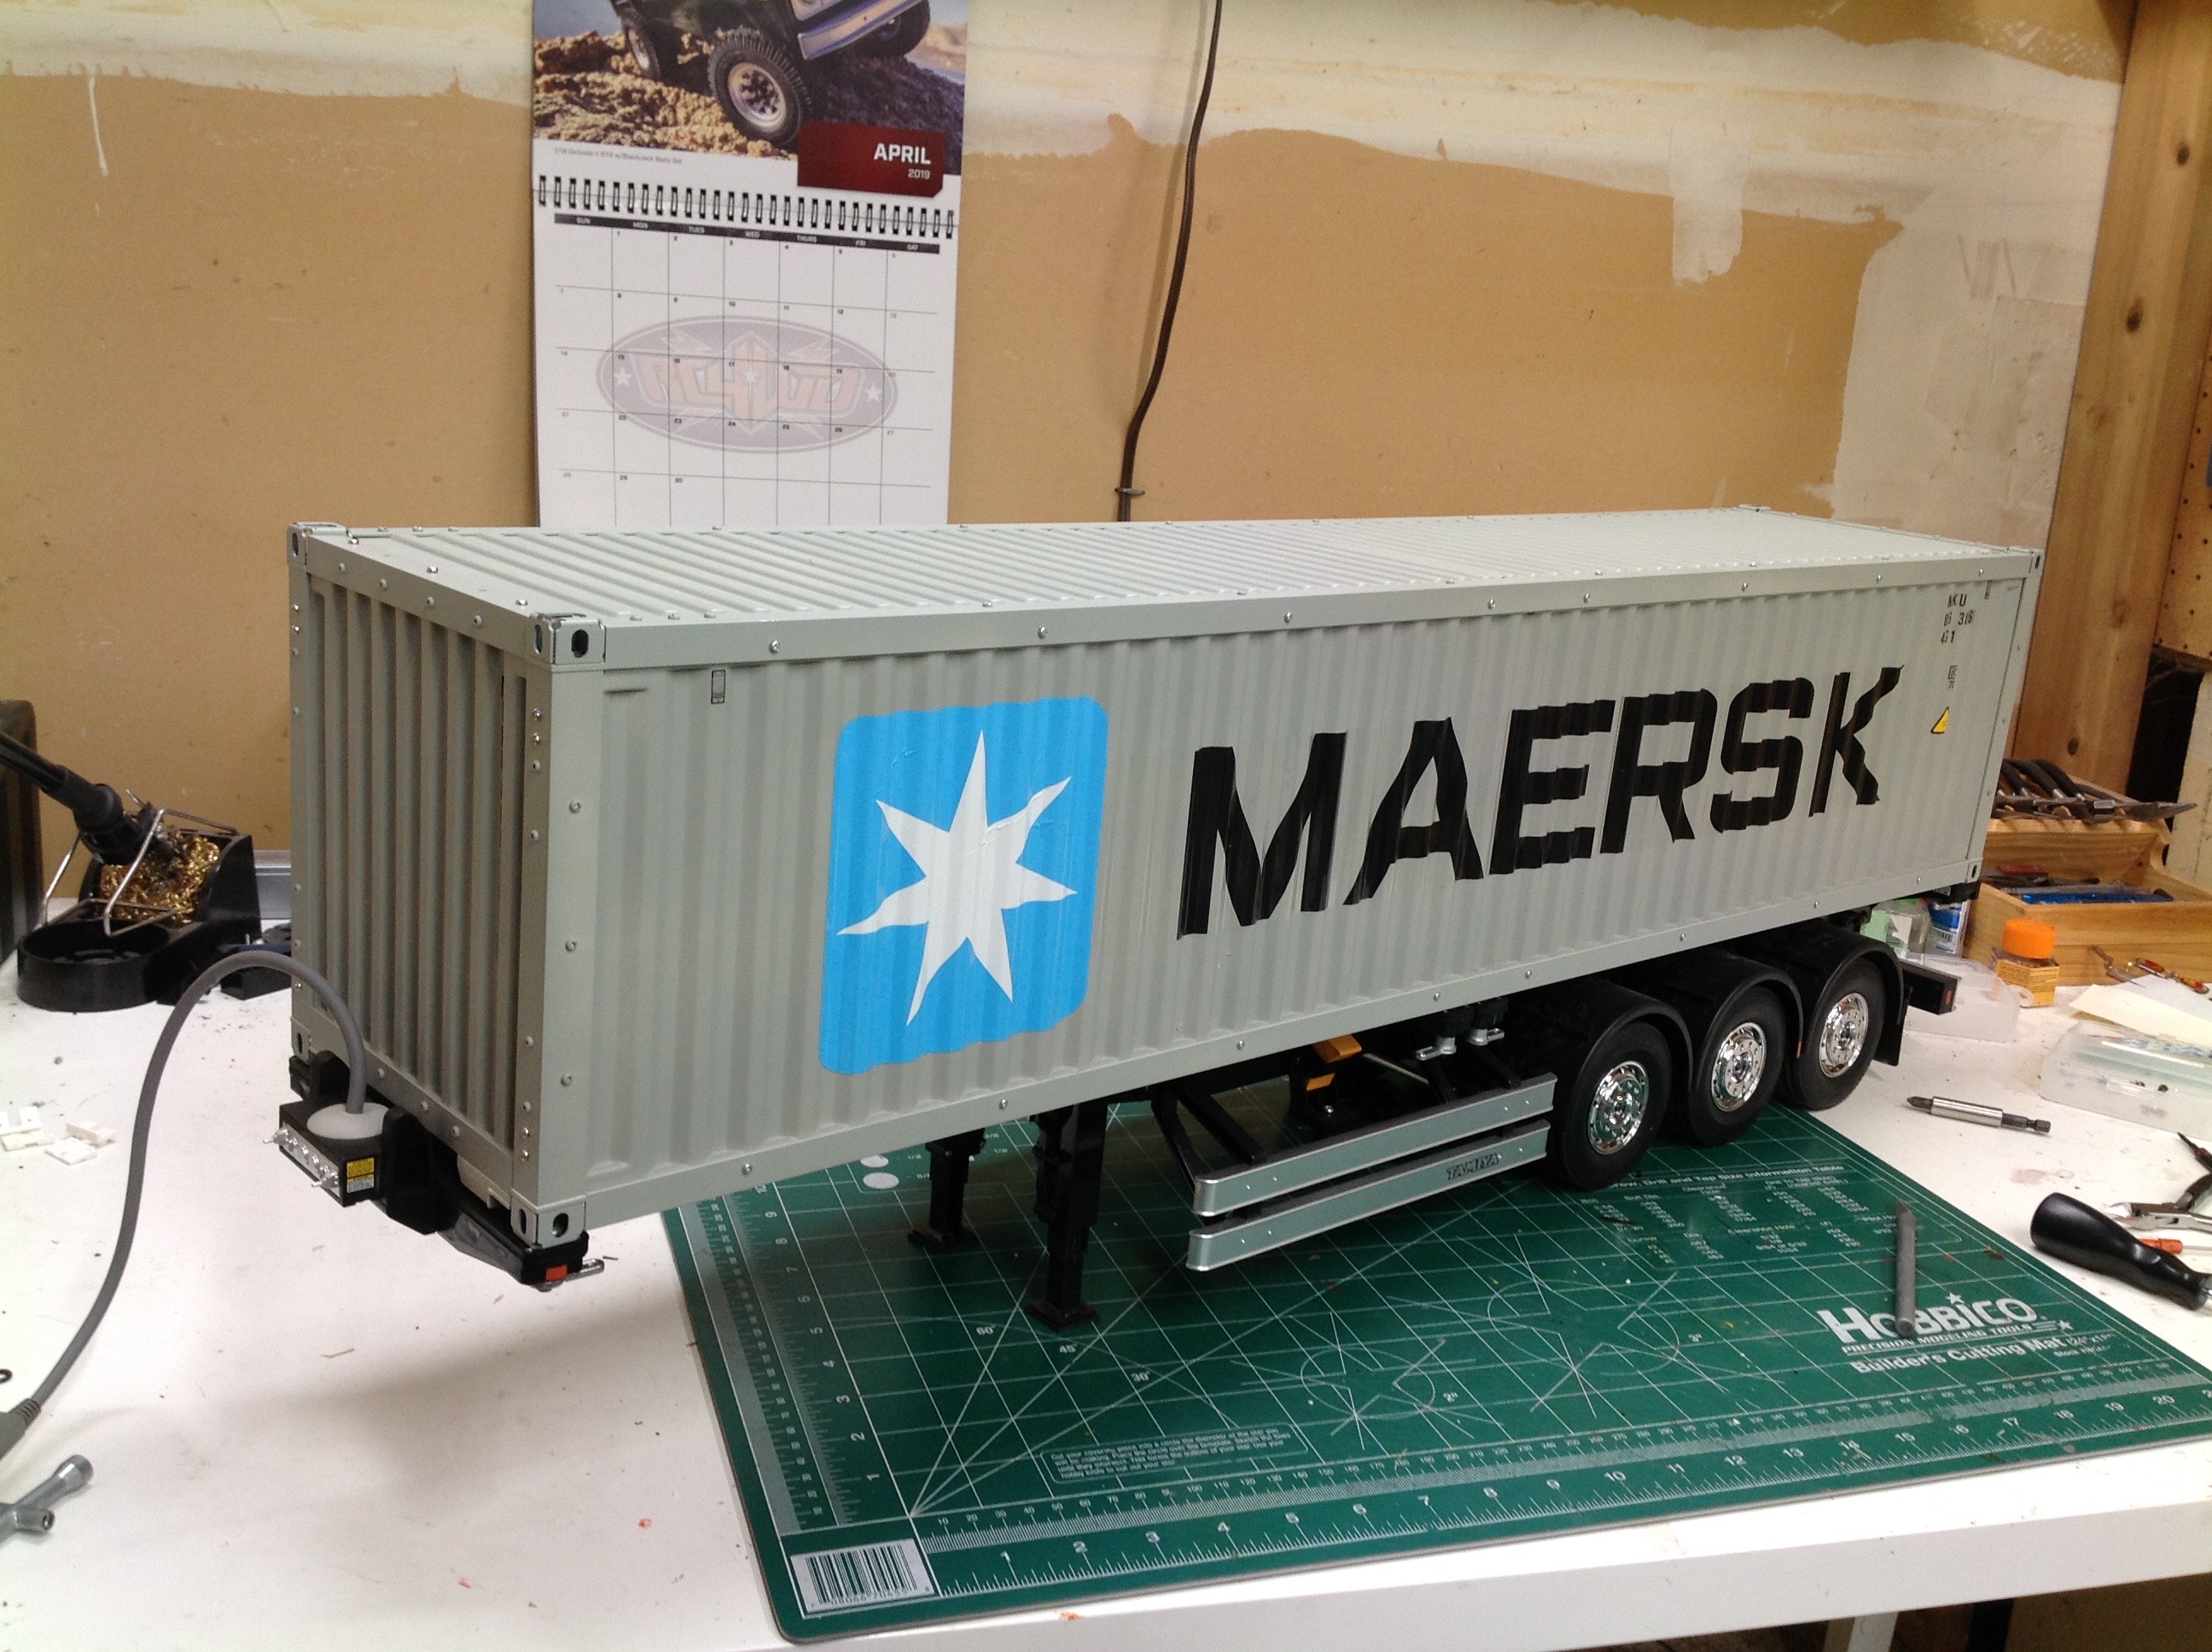
Here's the completed container atop the trailer and locked in place. It really looks realistic.
©2019 Eric Albrecht