Tamiya Monster Beetle Project
Page 1: Assembly
I was having so much fun building this that I hardly took any
pictures of the original build.
More details can be found on my Blackfoot page, which shares the same chassis, or my Frog page,
which is similar. When I came back to rebuild this model after
the fire I added a lot more pictures so most of what you see at bottom is
actually from the newer model.
The front suspension uses vertical shocks attached to a shock tower, but
the control arm arrangement is somewhat unusual. The upper and
lower control arms are simple rectangular links while the thrust loads
are carried by a wire radius arm. The spindle does not have any
bearings and does not rotate. Instead the bearings and hub are
located inside the wheel.
The rear suspension is an independent trailing arm type. This
means the wheel swings through a wide arc that needs to be accommodated
by the drive shaft. The shocks are attached to crank arms on the
axle housings. The rear axle joints are protected by flexible
rubber boots.
The rear gearbox has metal plate sides and holds a plastic gear
differential and an idler gear. The motor hangs from the top of
the gearbox and cannot be adjusted. At neutral suspension
compression the drive shafts are at a large angle which makes them quite
noisy.
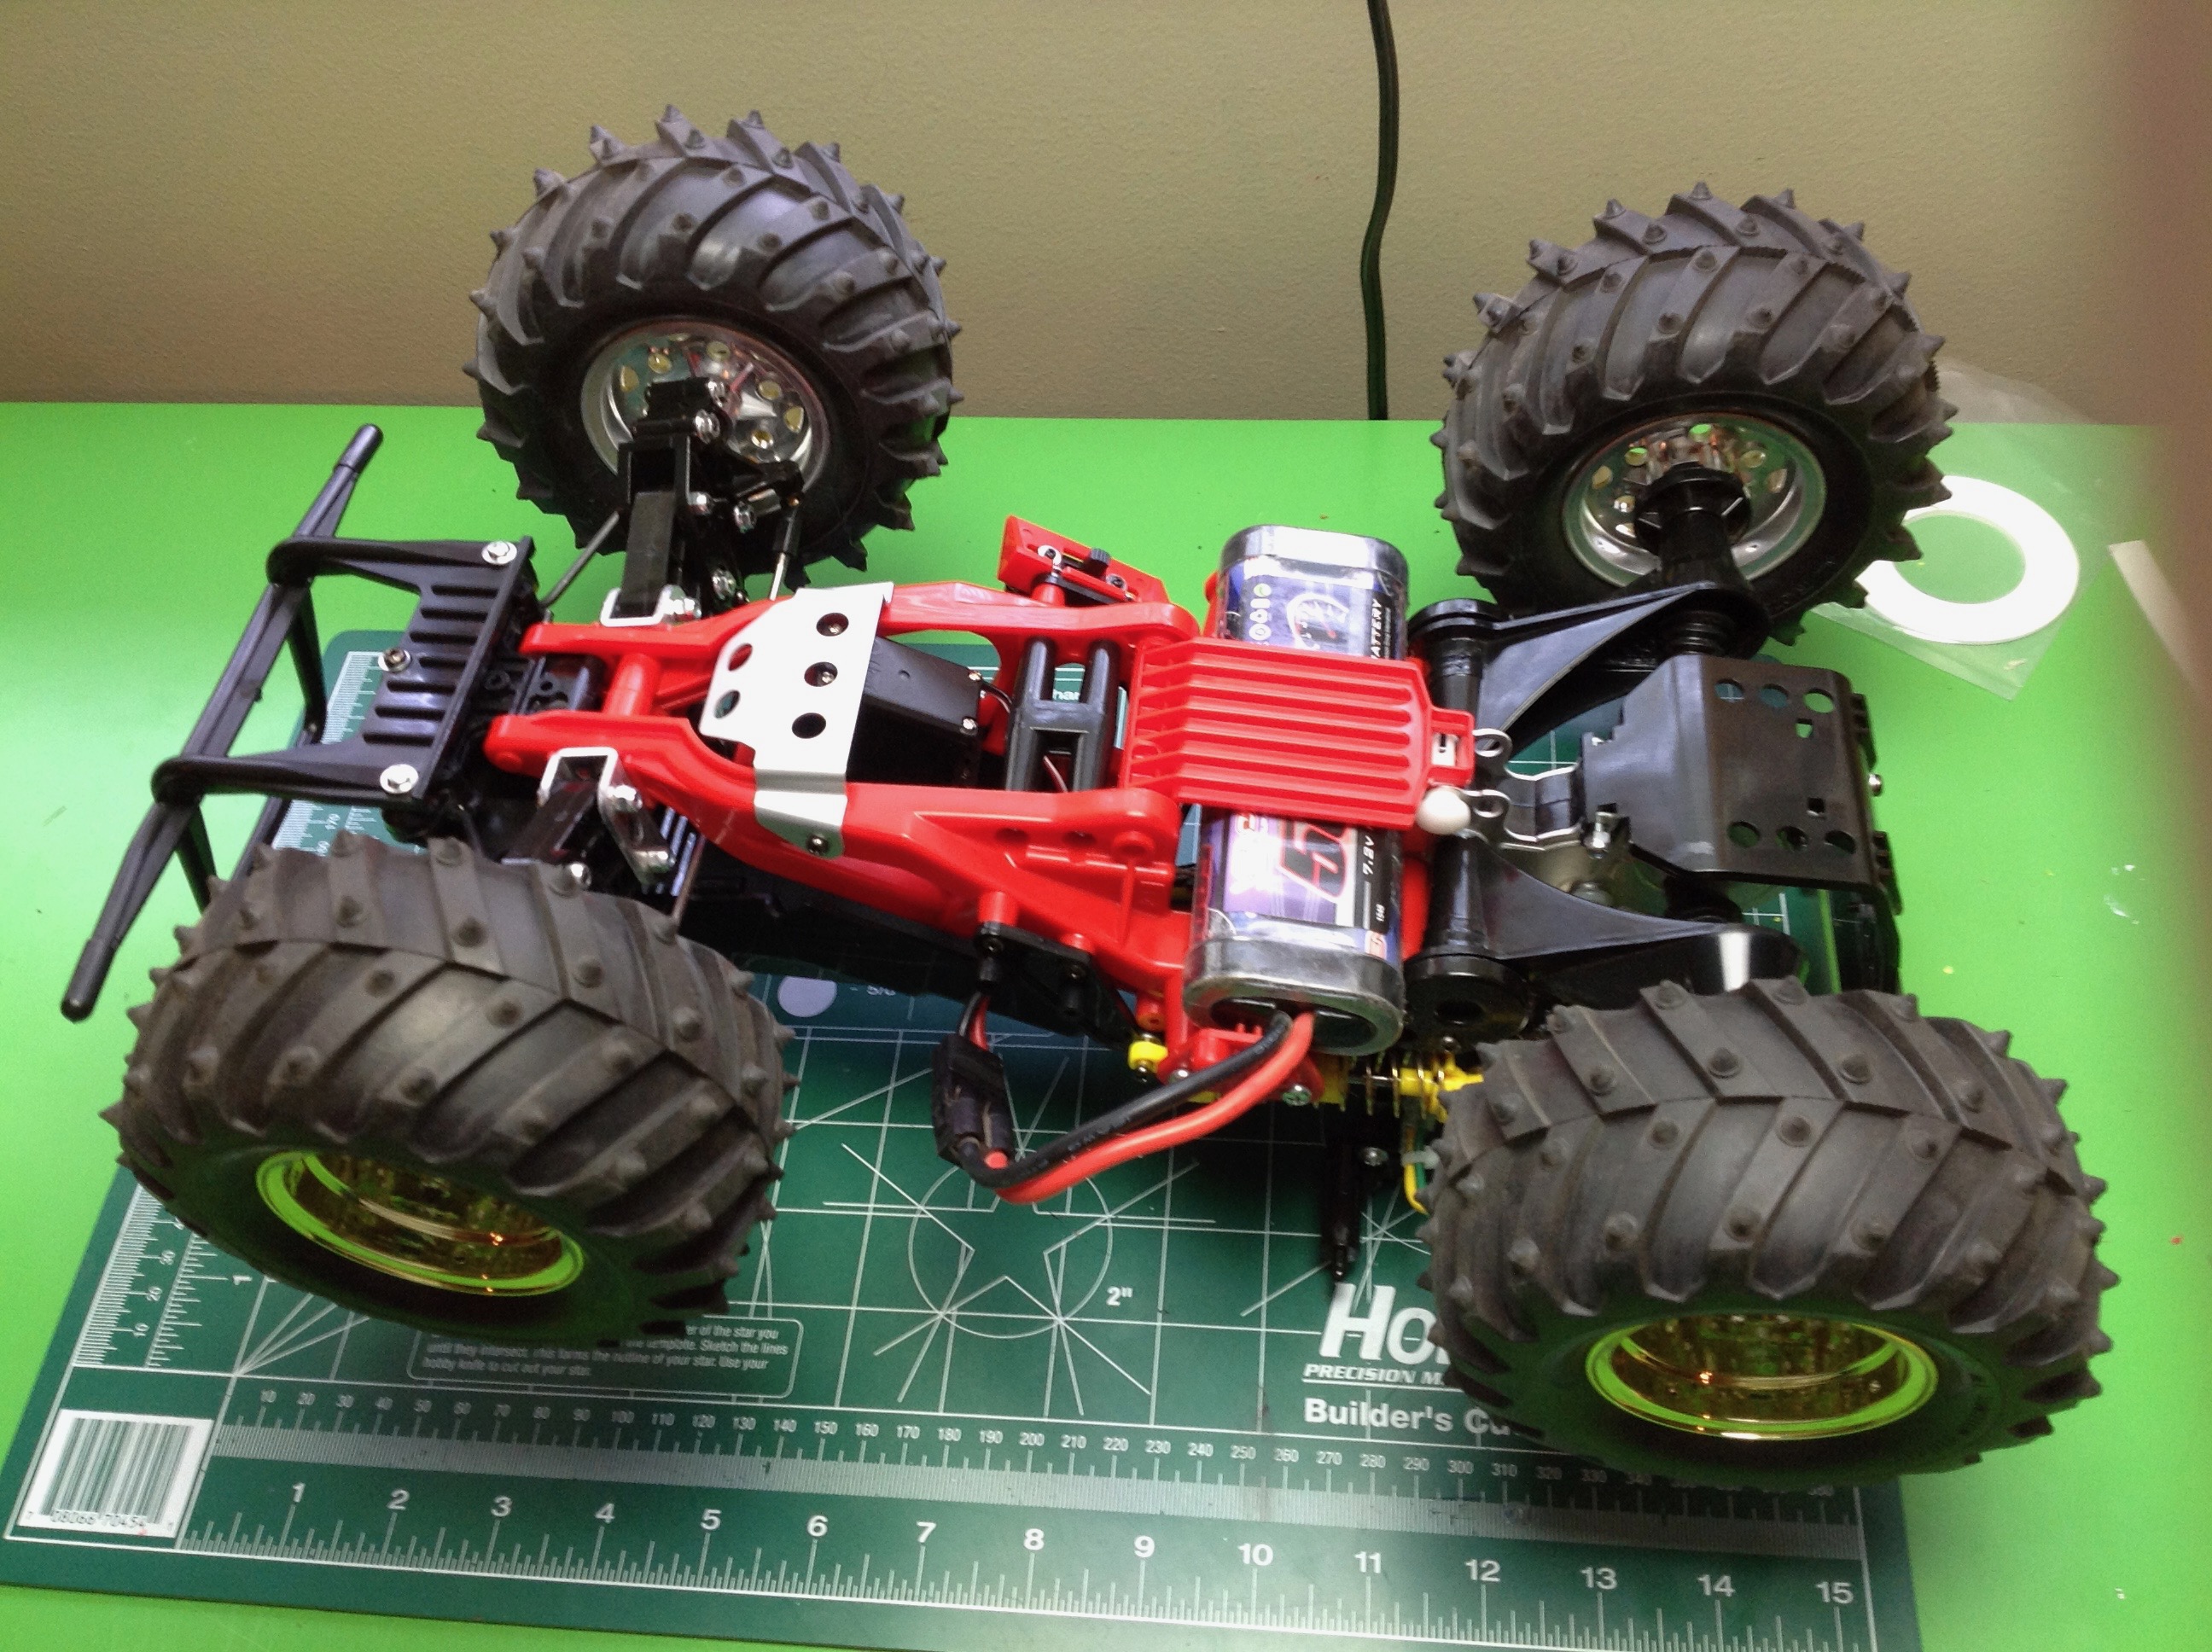
From the bottom you can see how the battery is installed. There is
a battery hatch which is latched with a white pin. The battery is
trapped from moving side to side by a pair of brackets. The
battery is the low point on the vehicle and is completely exposed, so
you need to use something durable. I use either a NiMH or a hard
pack Li-Po, but the latter only fit by trimming away part of one of the
brackets.
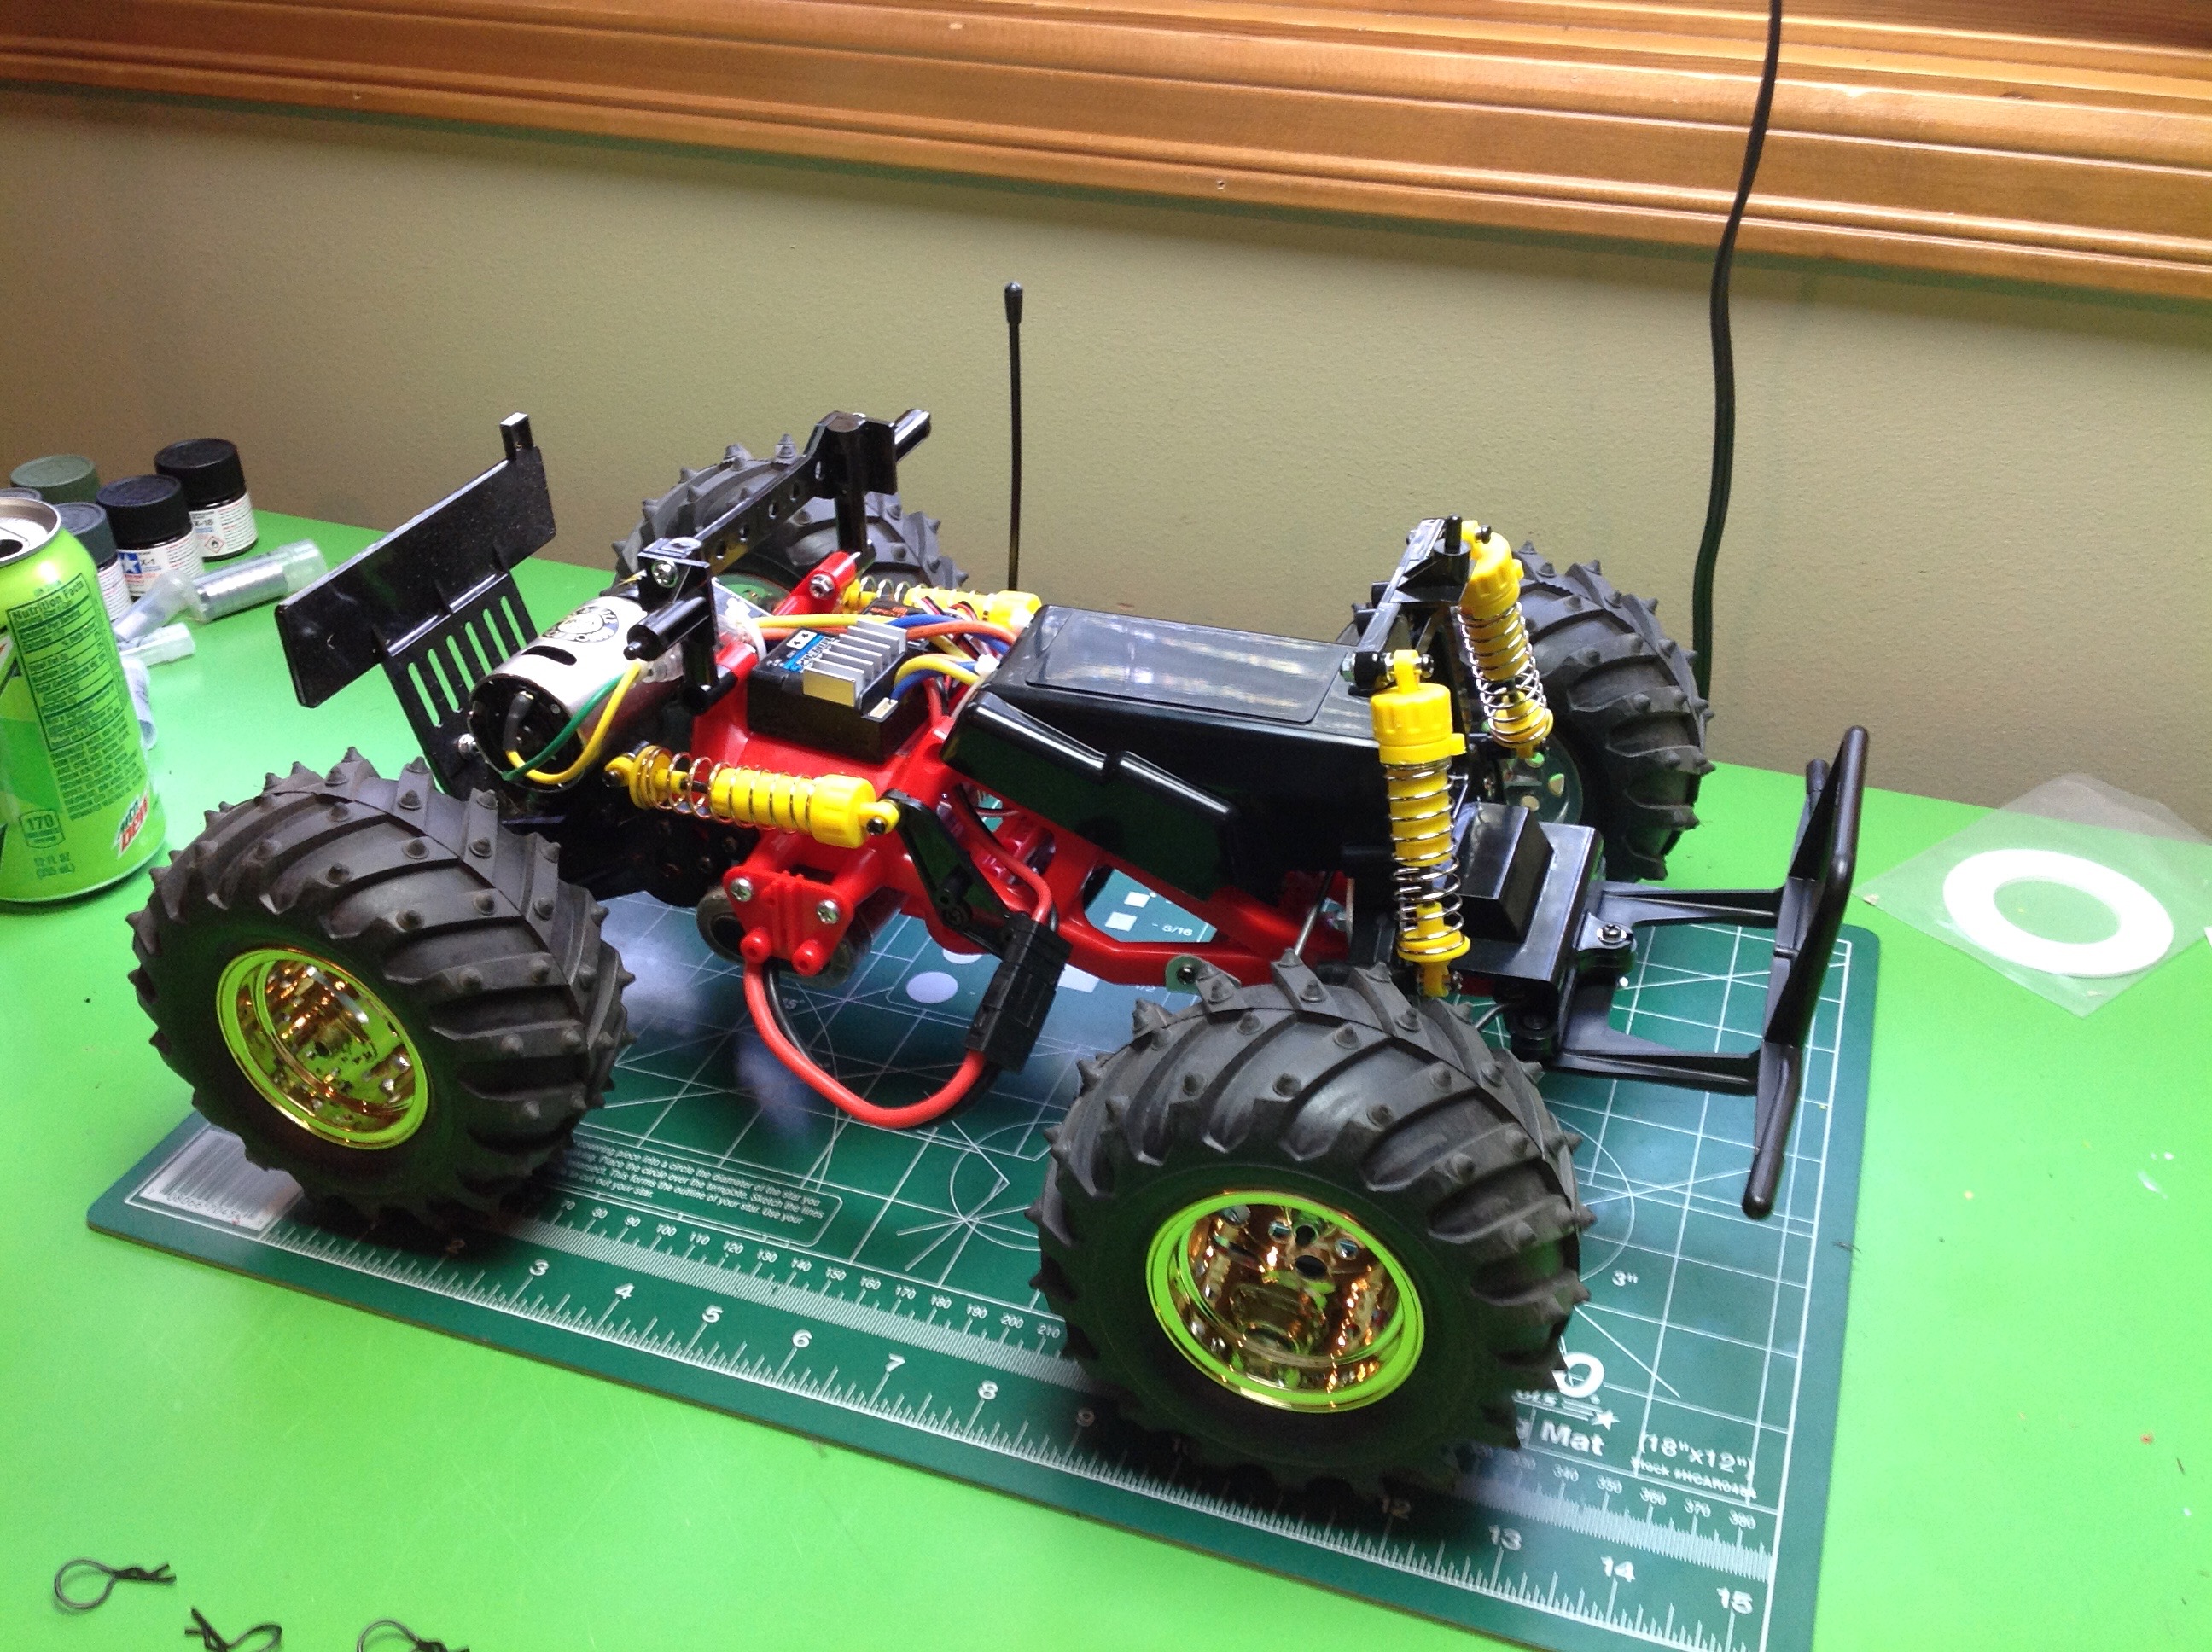
From a bit further back you can see the two piece red space frame
chassis and the black plastic dust cover which slightly protects the
servo. The ESC and receiver and almost completely exposed up
above. Although the body will later cover them, it has no rear
window and therefore they are exposed to the elements. I suppose
they are well cooled though.
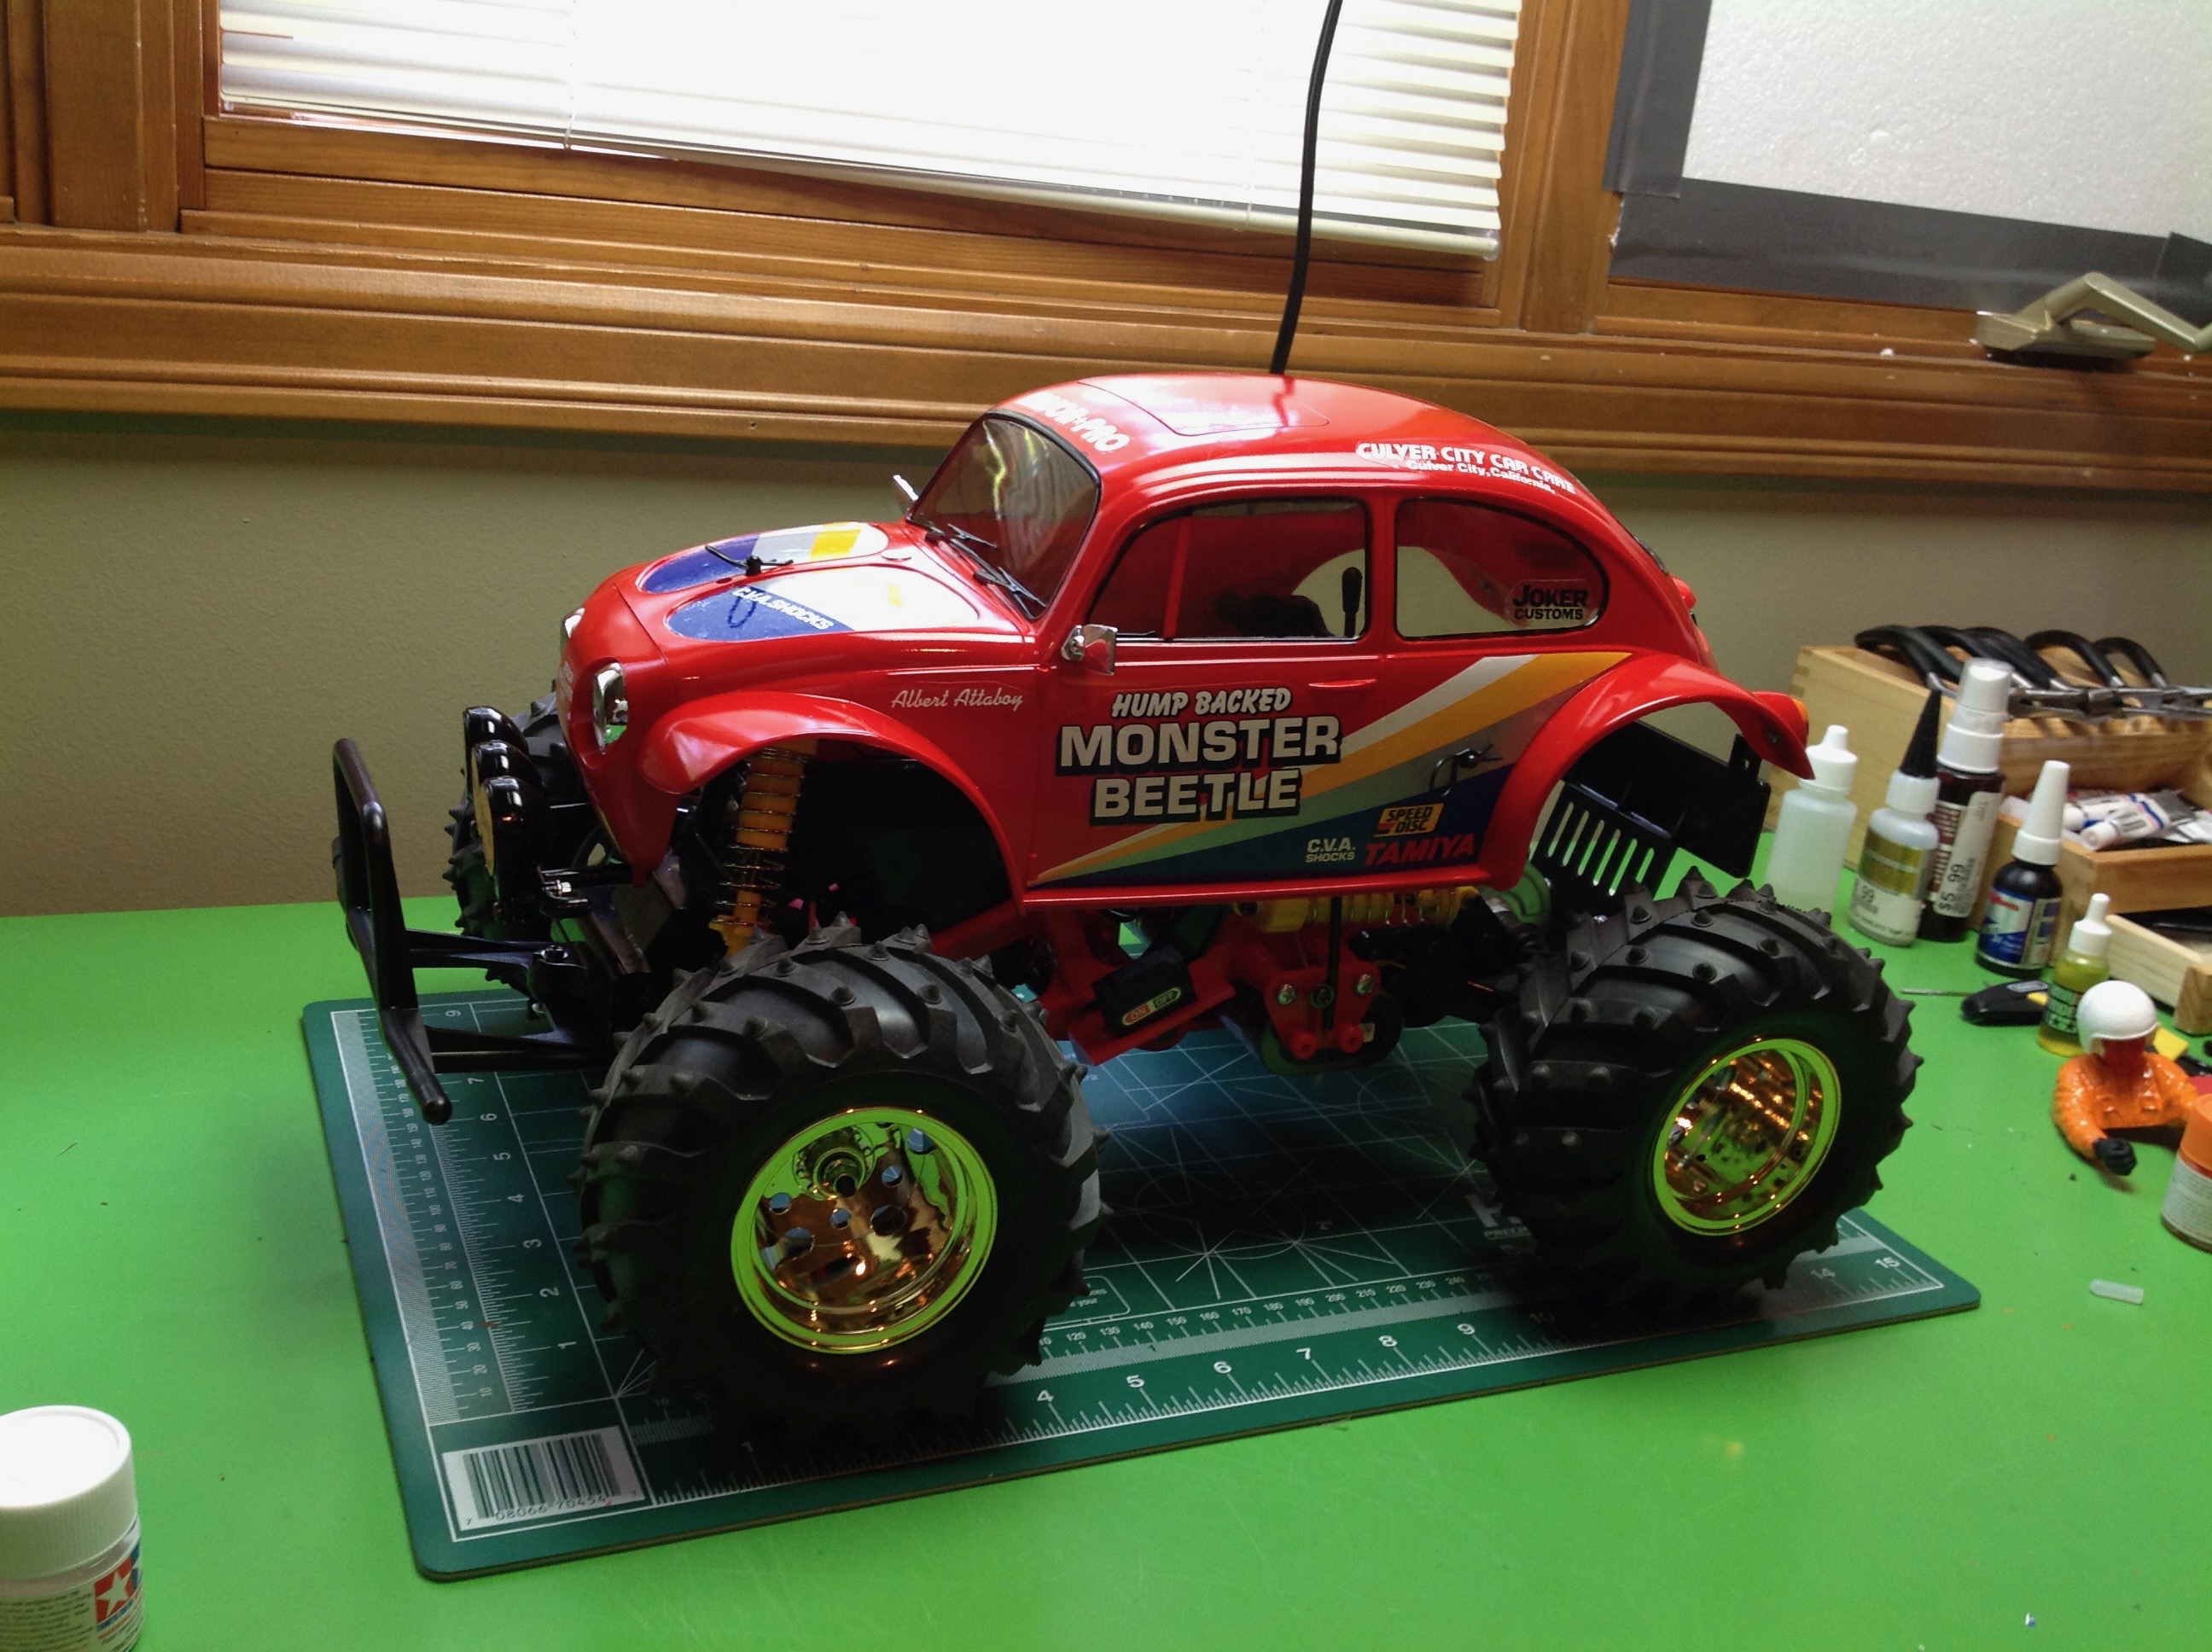
Here's the final buggy with the body attached. There is a regular
vertical body post in the front, but in the rear the body posts stick
out the side. The body rattles around like crazy as you drive.
Update: The following pictures were added when I rebuilt this model after the fire.
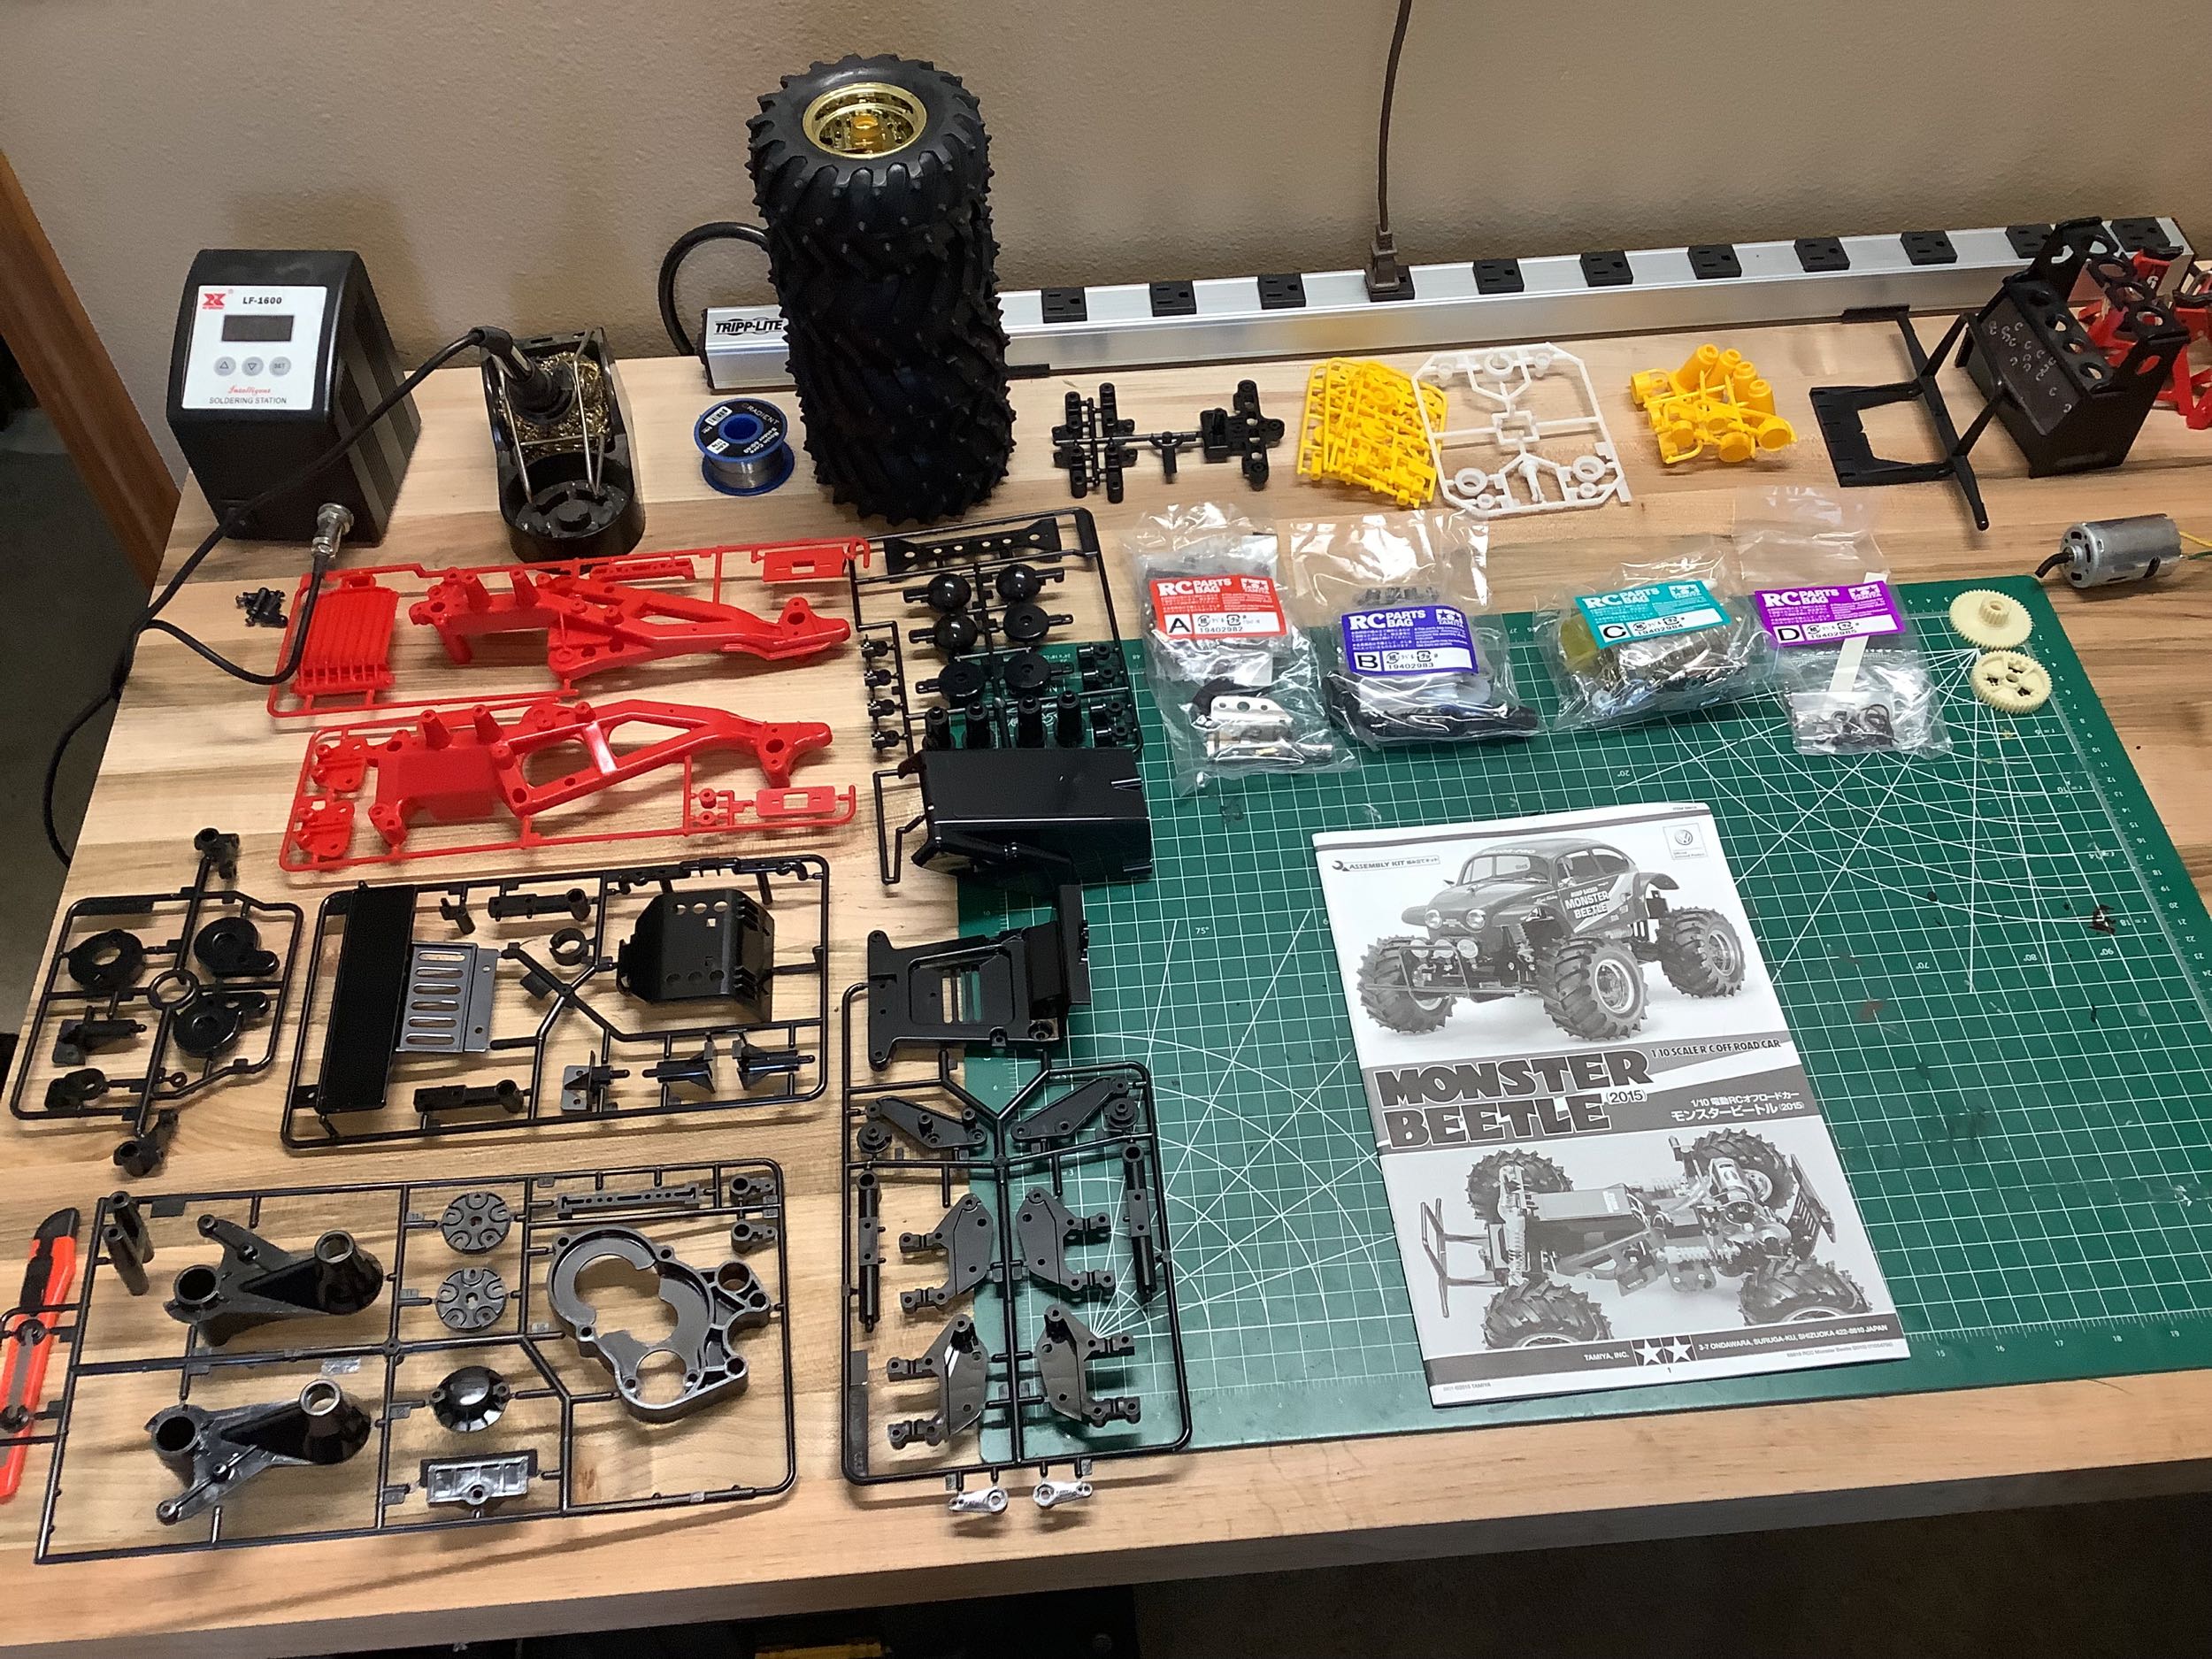
Here is the box the Monster Beetle comes in. It doesn't have
blister packs, but it everything is still nicely arranges and
displayed. On the right I've laid out everything on my build
table. It is not a complex model, but there are still quite a few
parts.
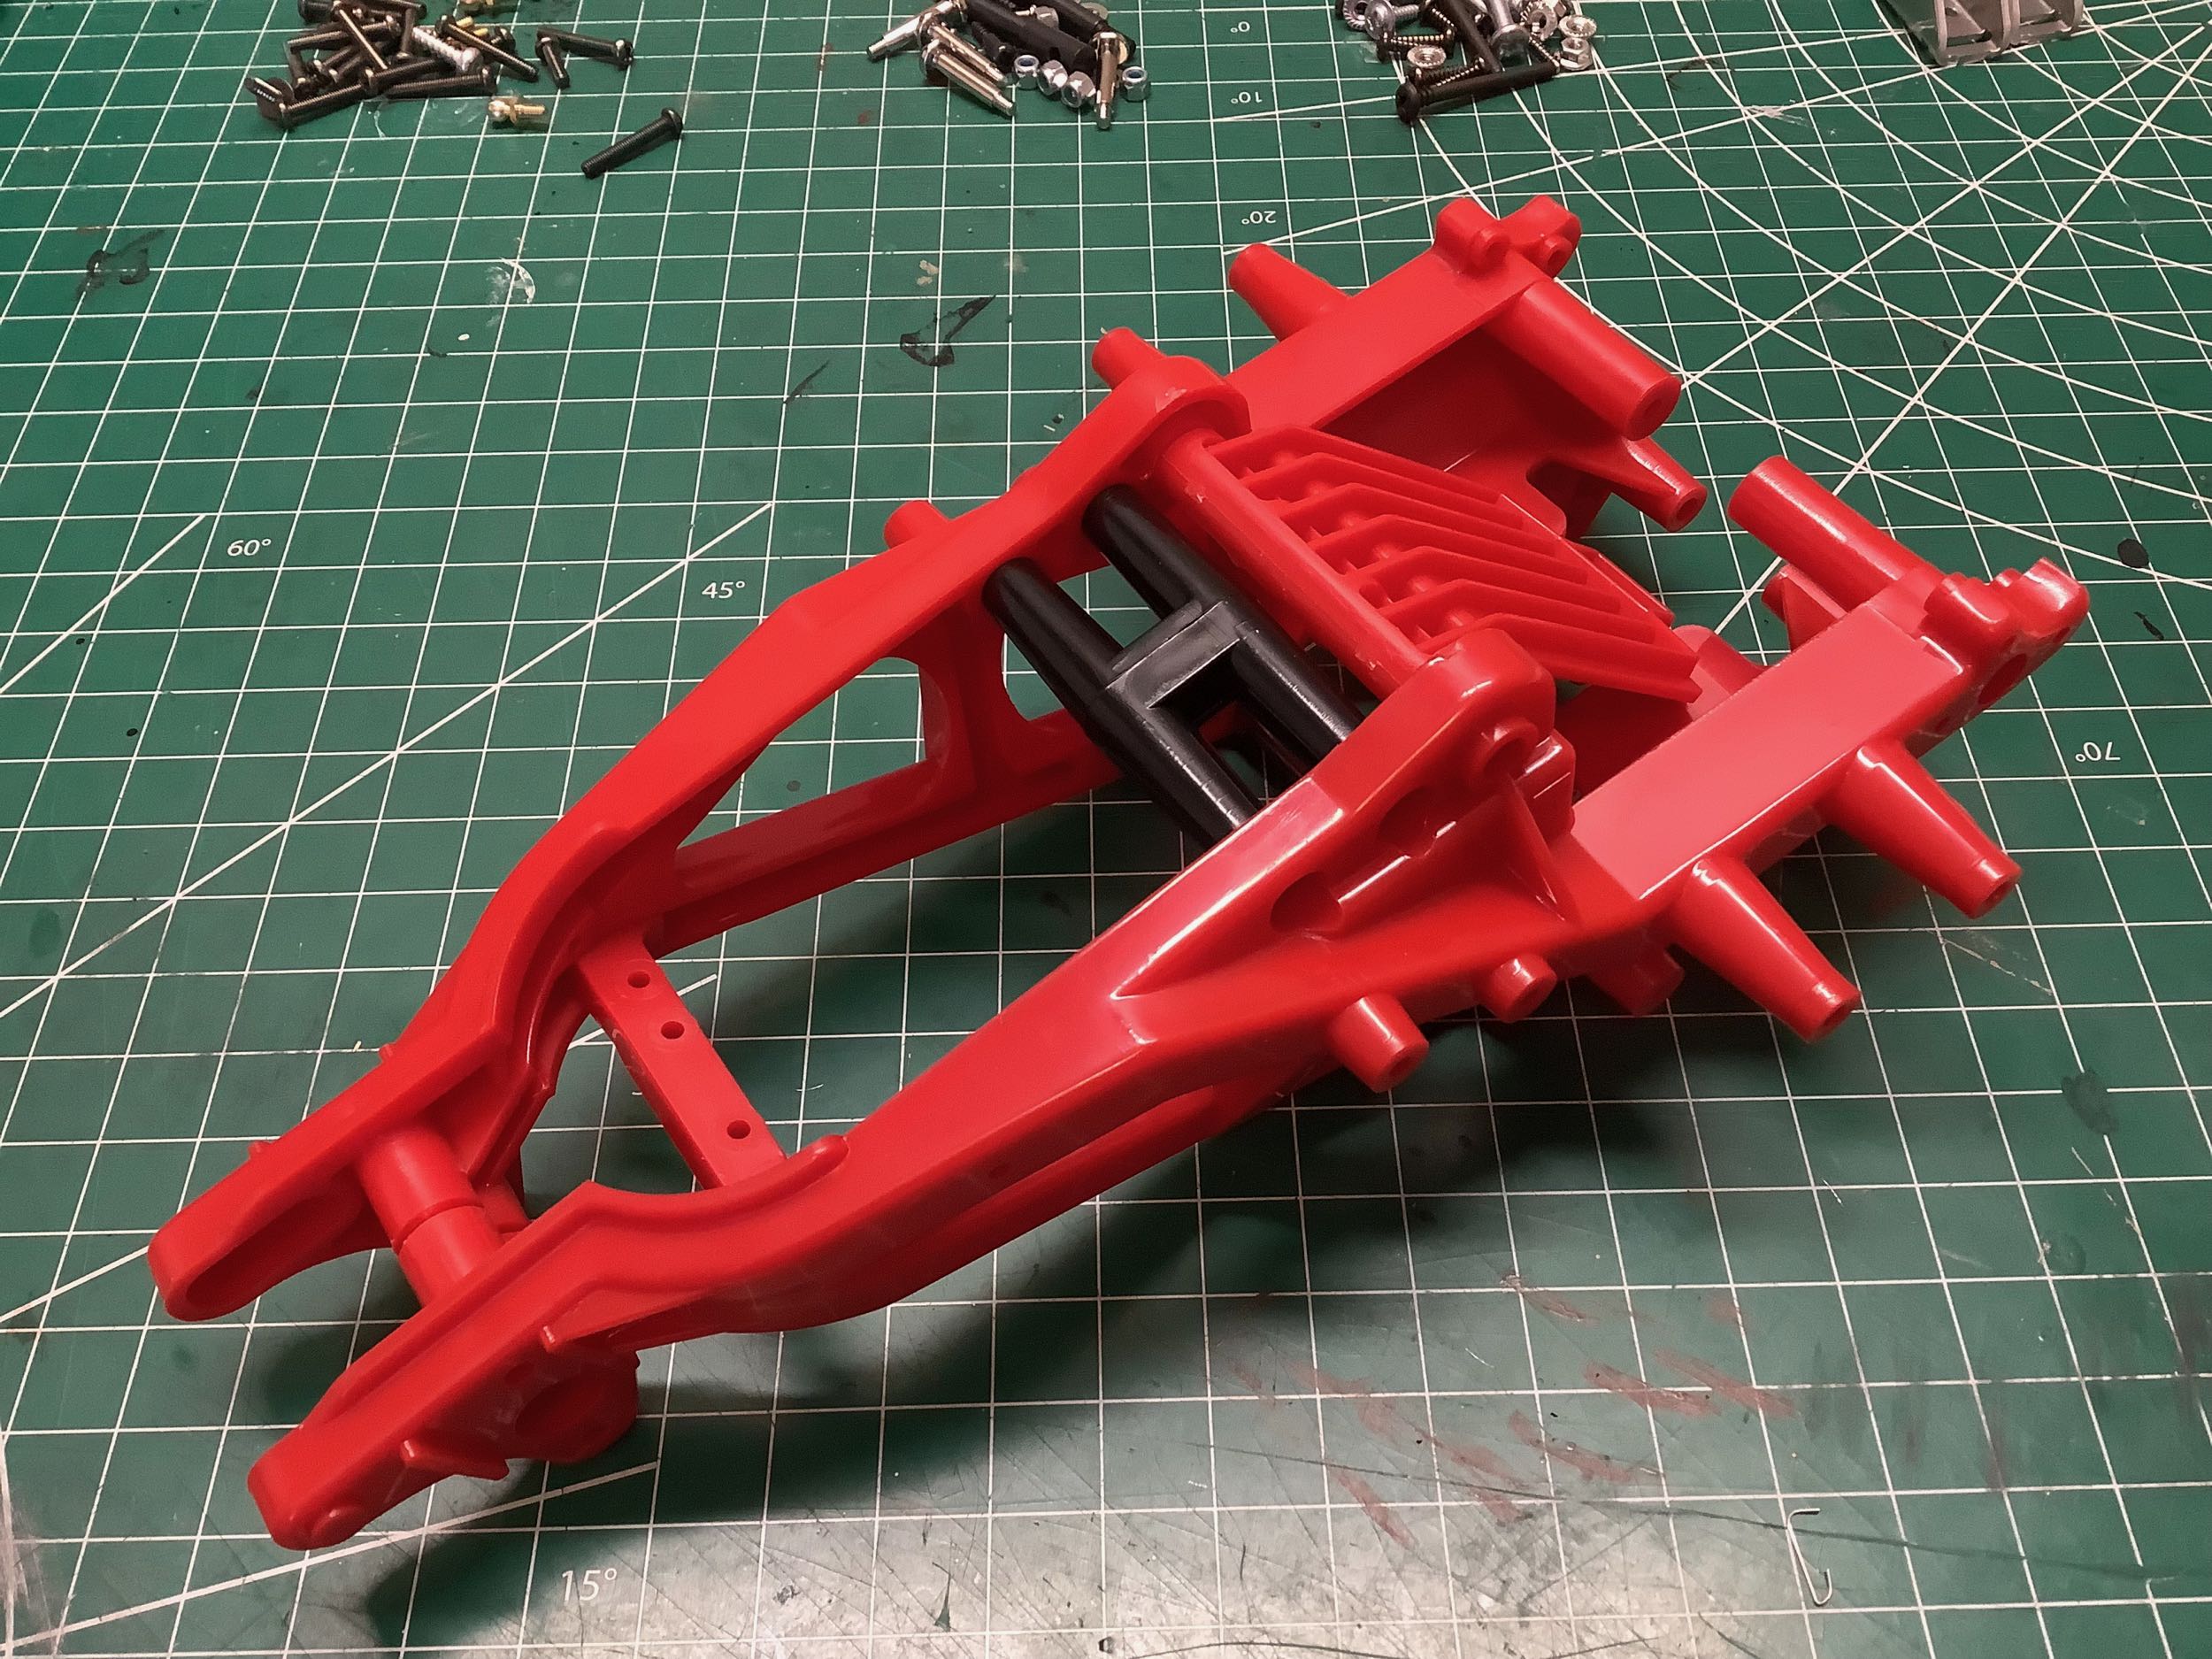
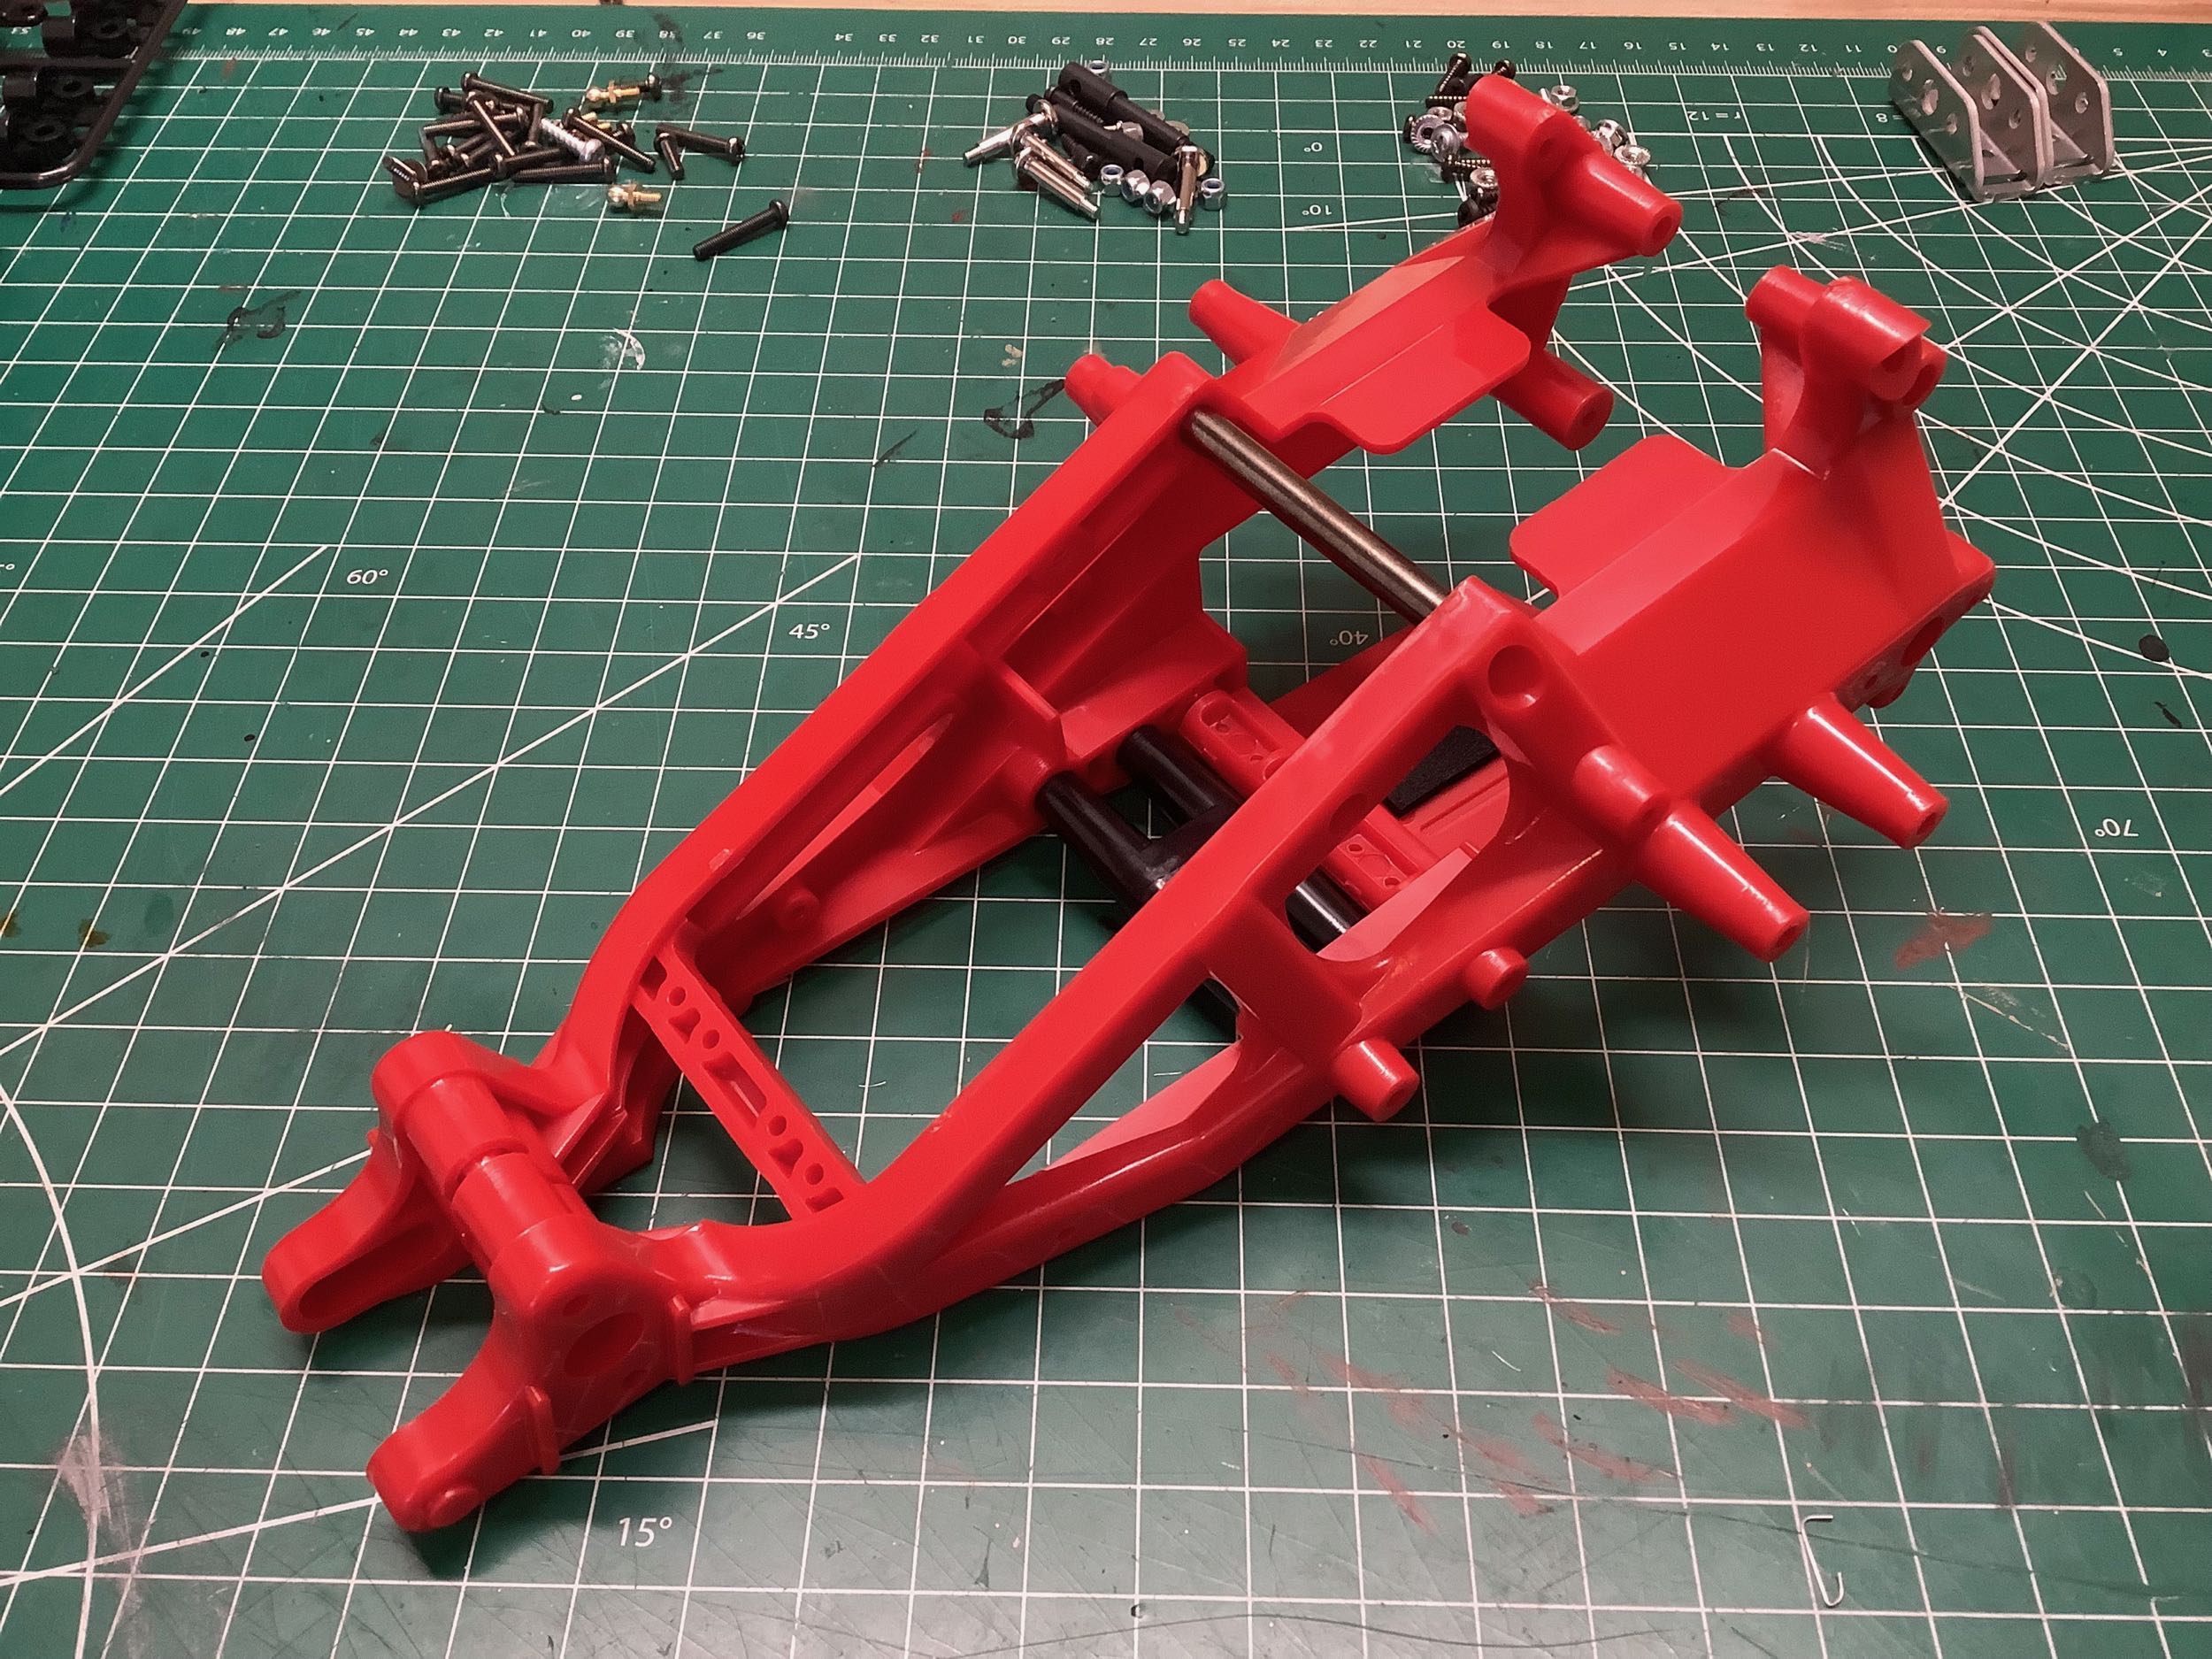
The Monster Beetle uses the chassis from the Blackfoot which is an
evolution of the ORV chassis from the Frog. It is a space frame
chassis made from ABS which comes in two halves which are screwed
together, separated by a bunch of cross members. These pictures
show the chassis from the bottom (left) and top (right). Keen eyed
viewers may note that I missed a couple of parts between the
sides. They were quite difficult to add later.
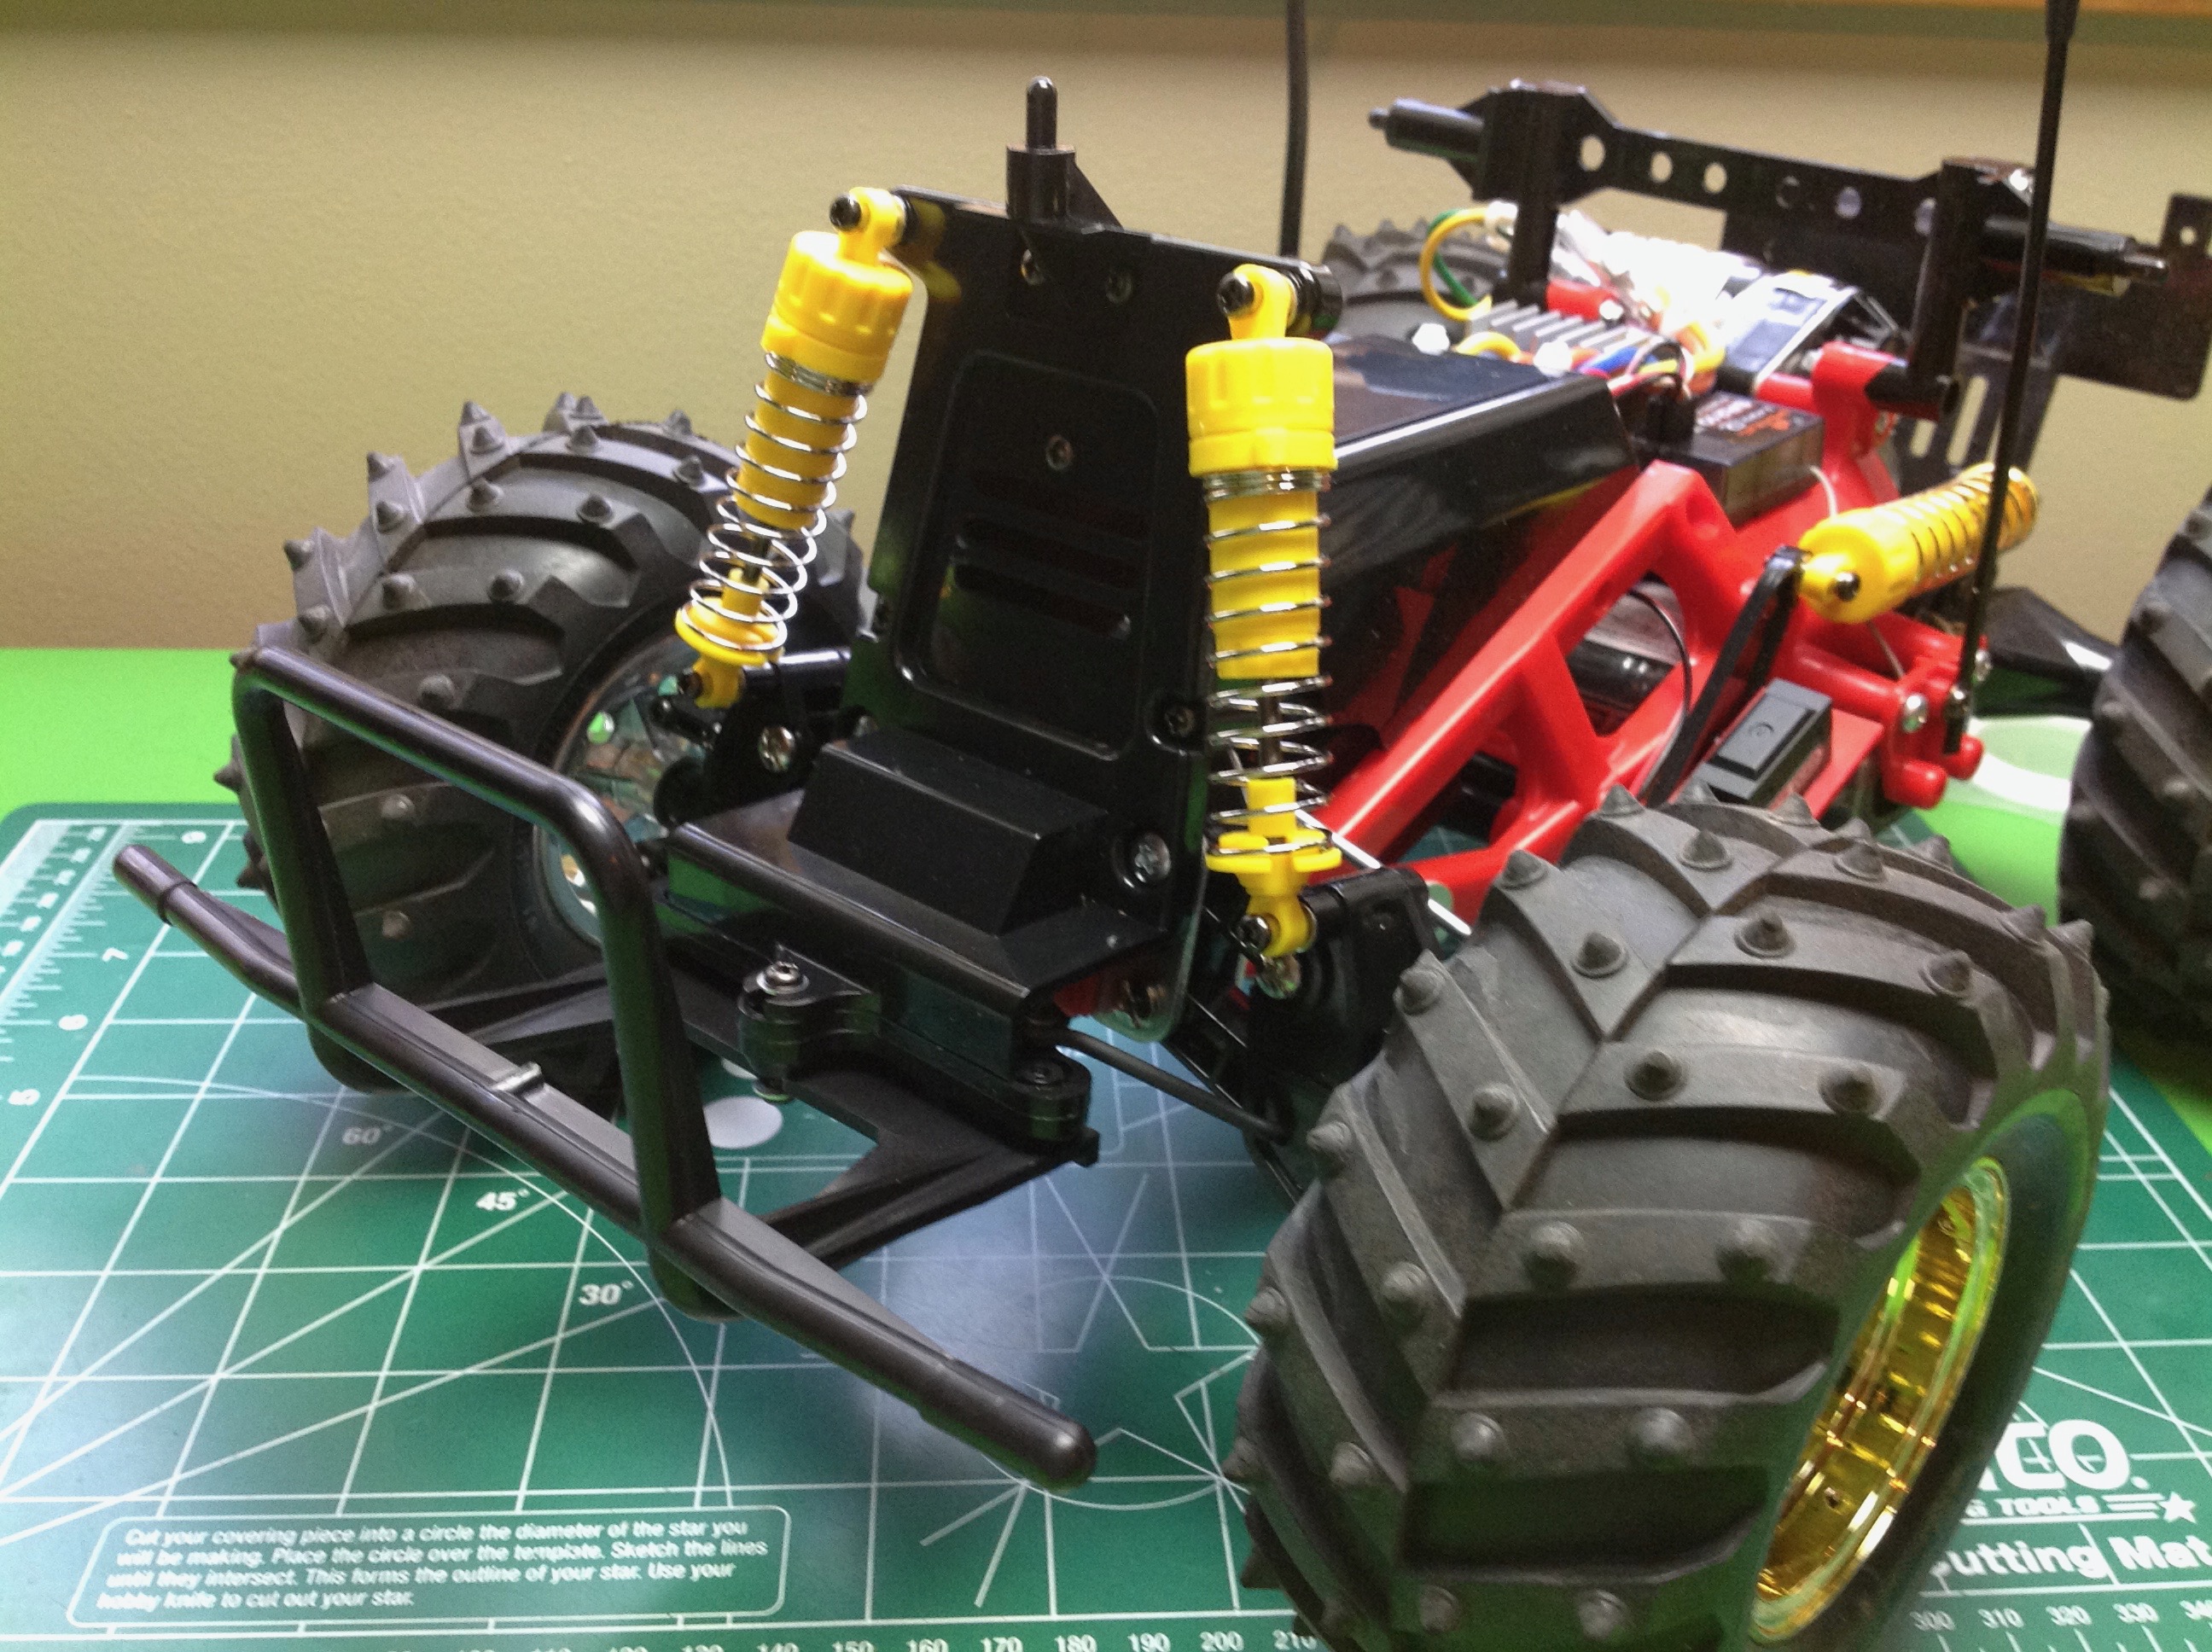
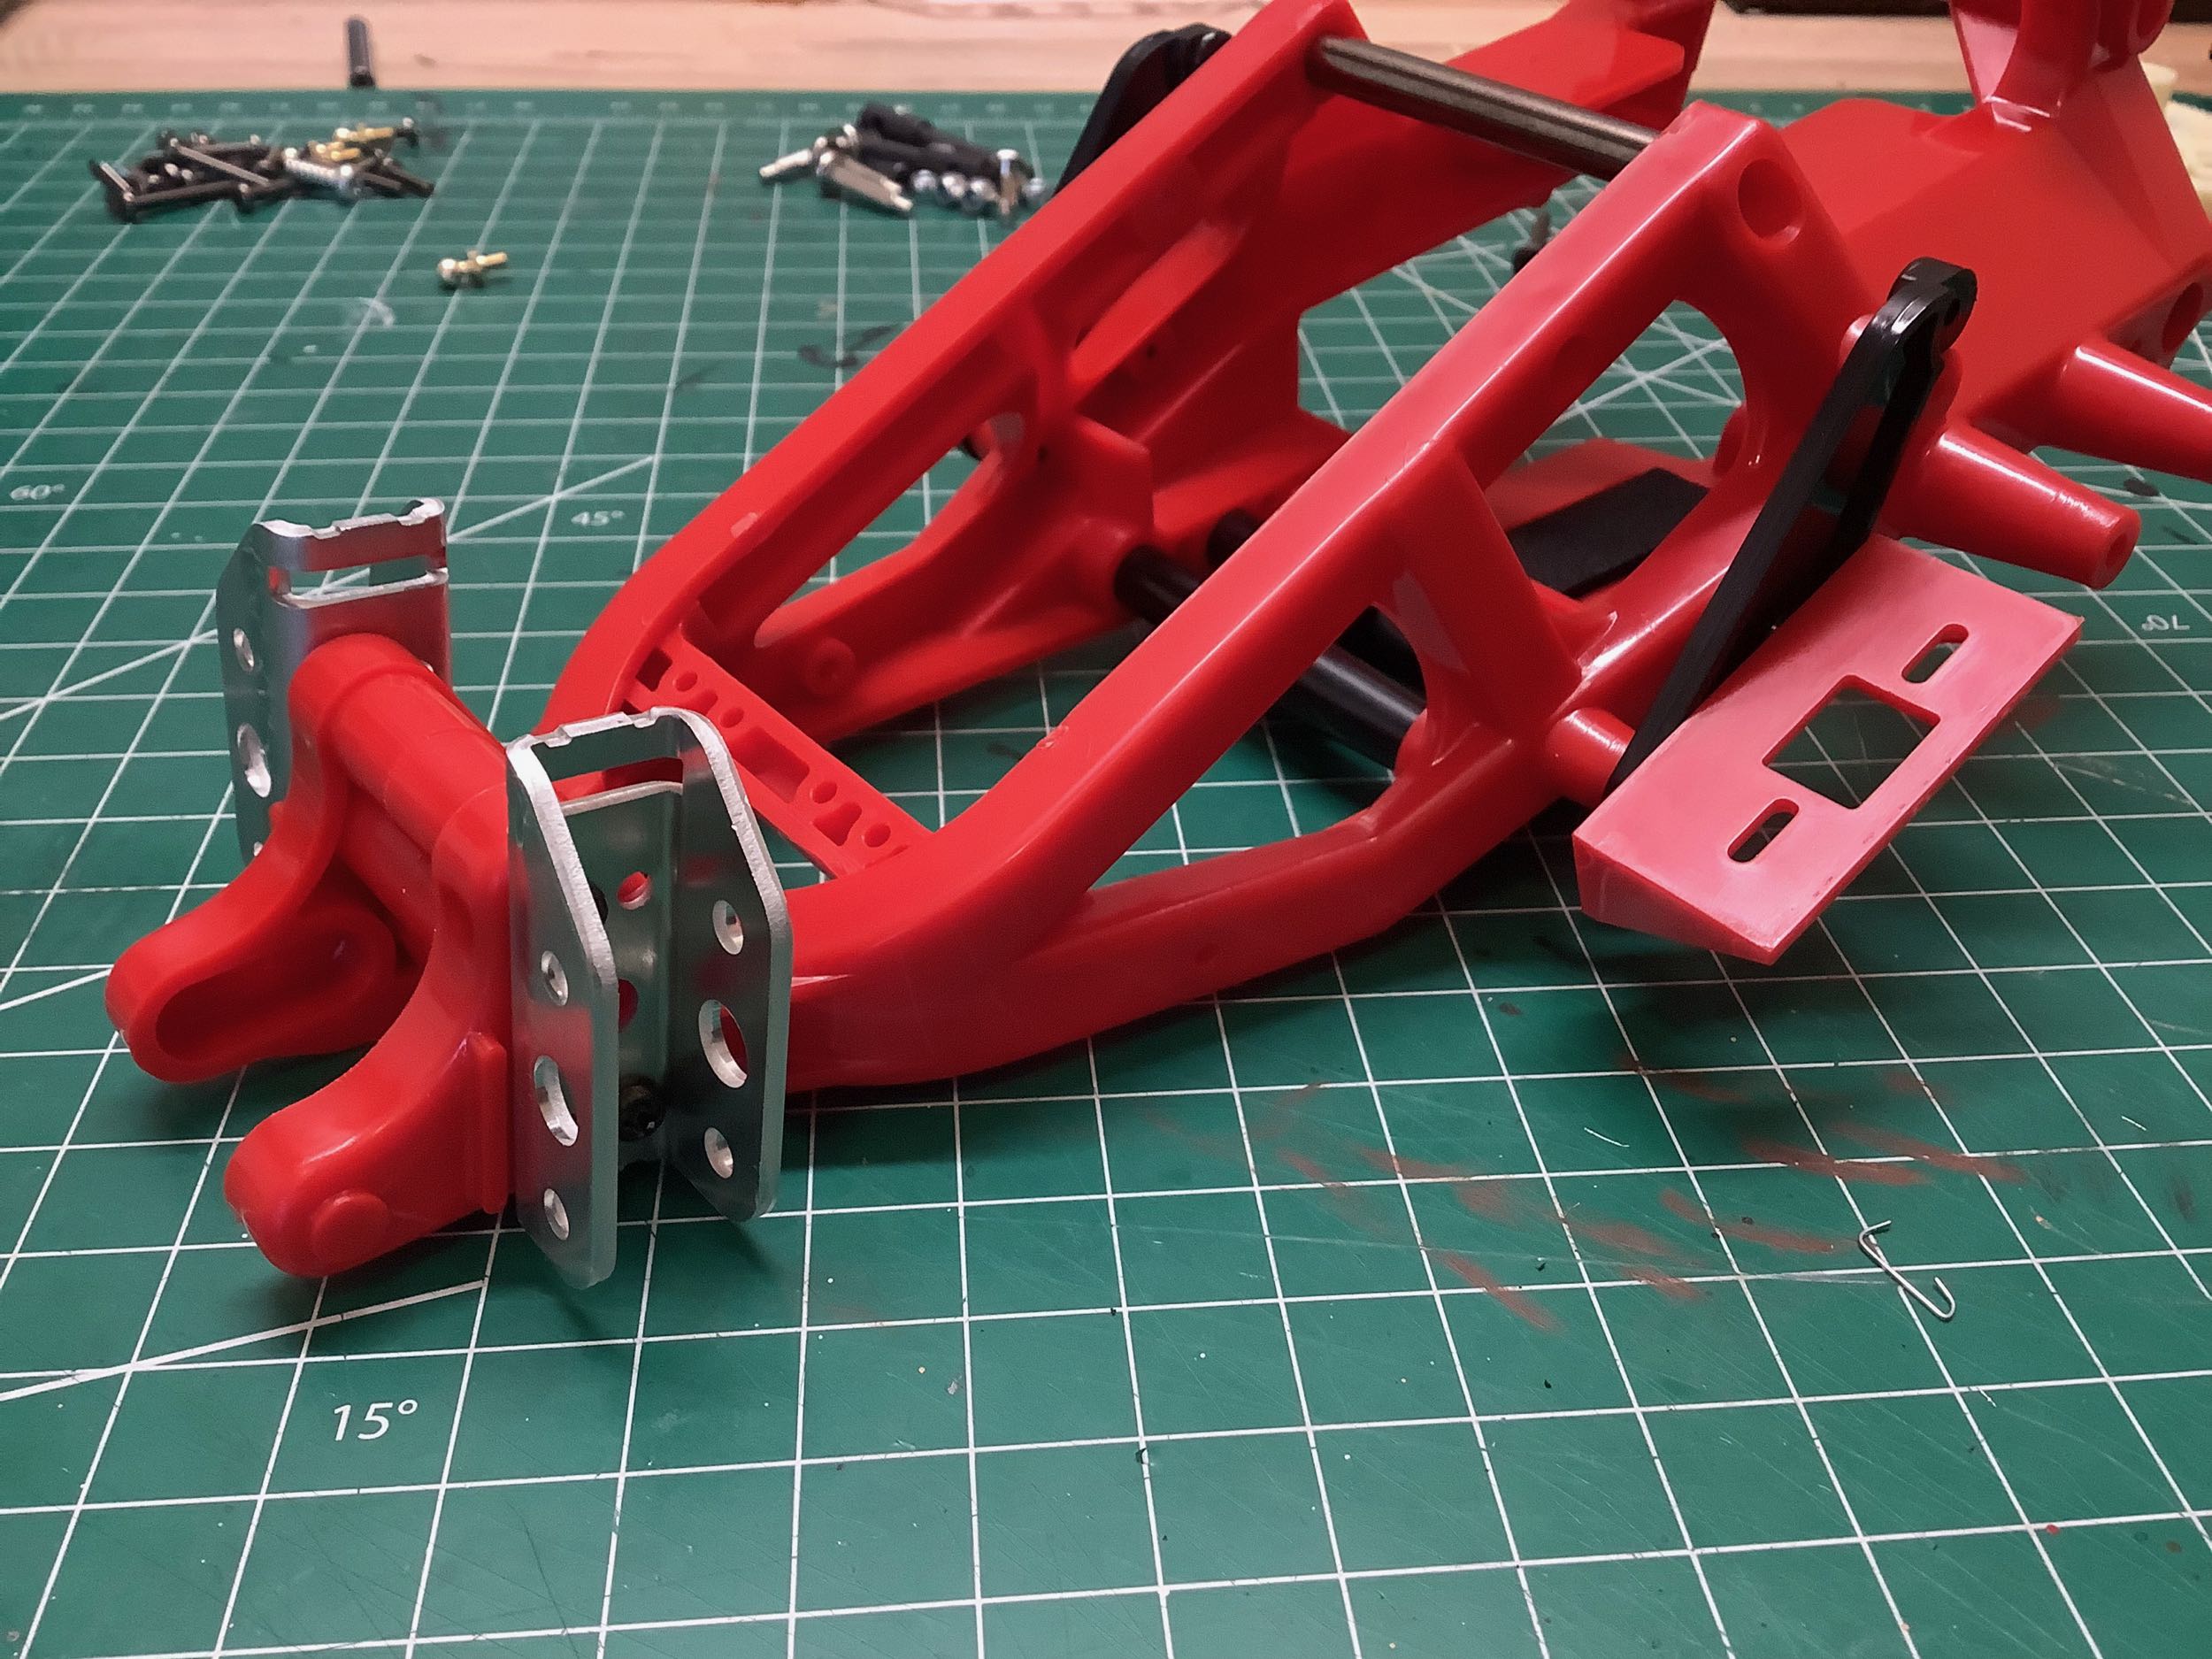
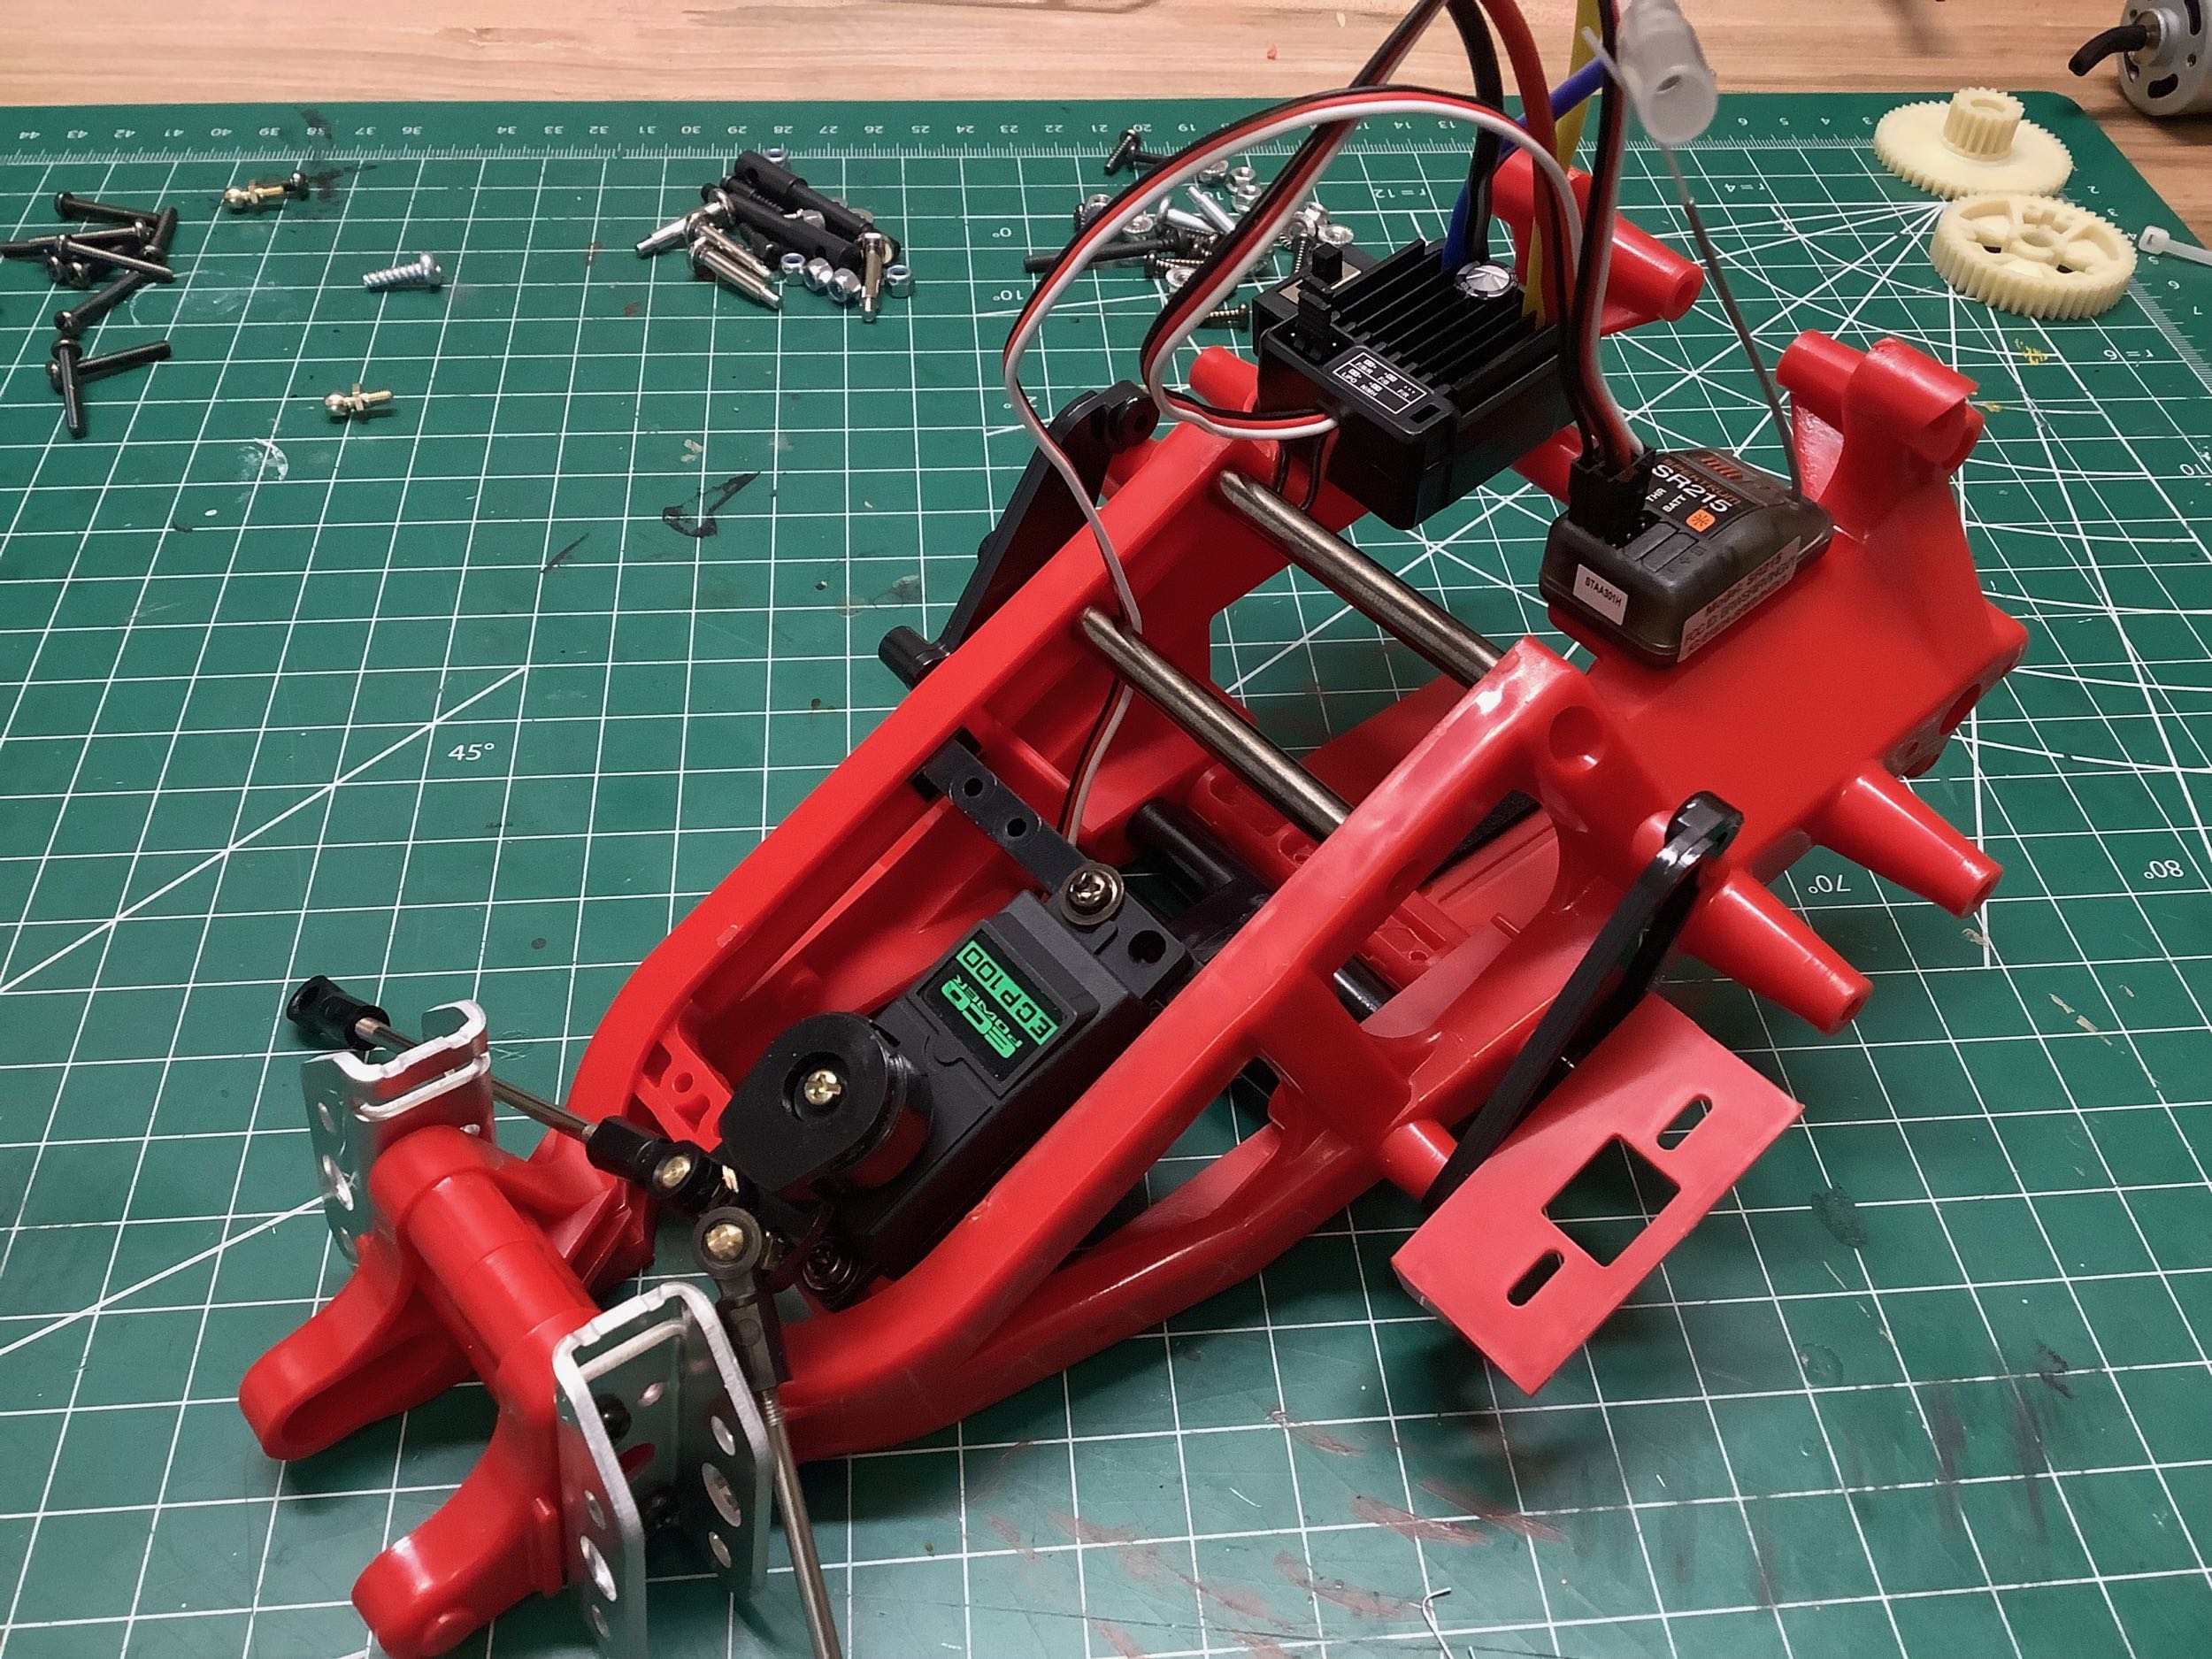
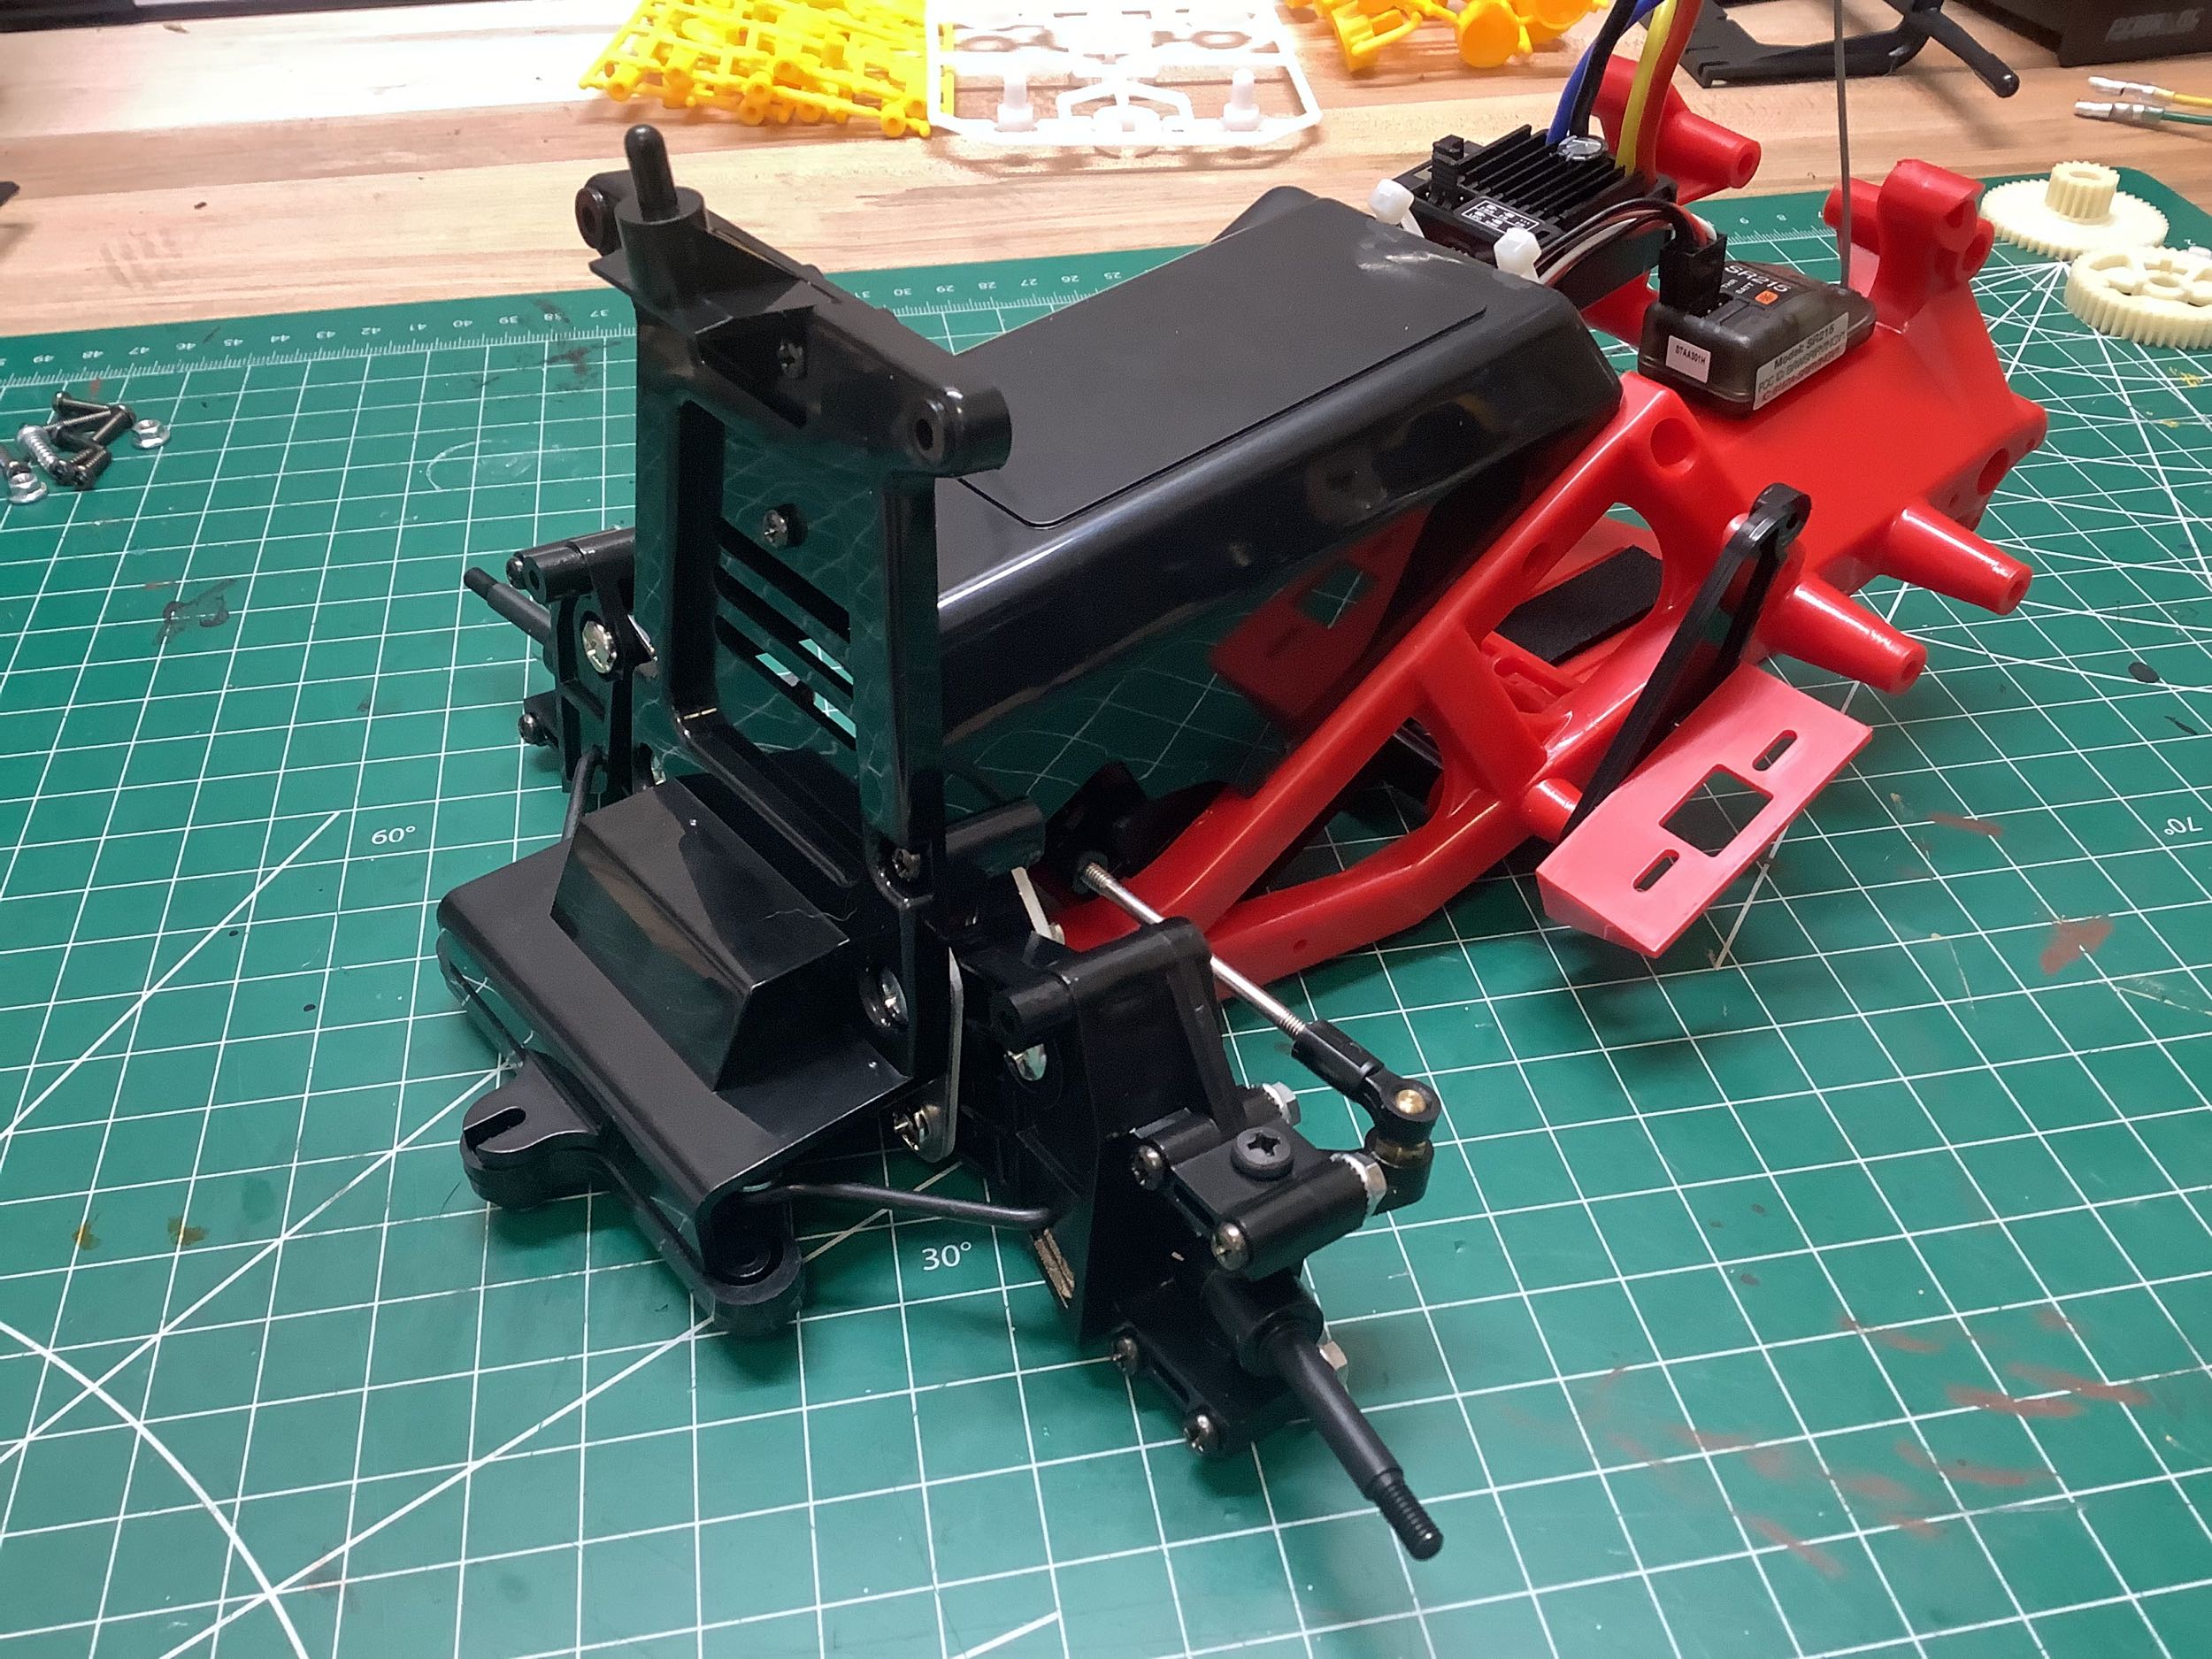
These upright aluminum brackets will support the front suspension
arms. On the right you can see that I've added the
electronics. There is room for two servos since this would have
originally used an additional servo to operate the mechanical speed
controller. There is plenty of room in back for a modern ESC and
receiver. There is also a spot for a big on-off switch, but since I
am using a Hobbywing ESC without a compatible switch, this area will
stay empty.
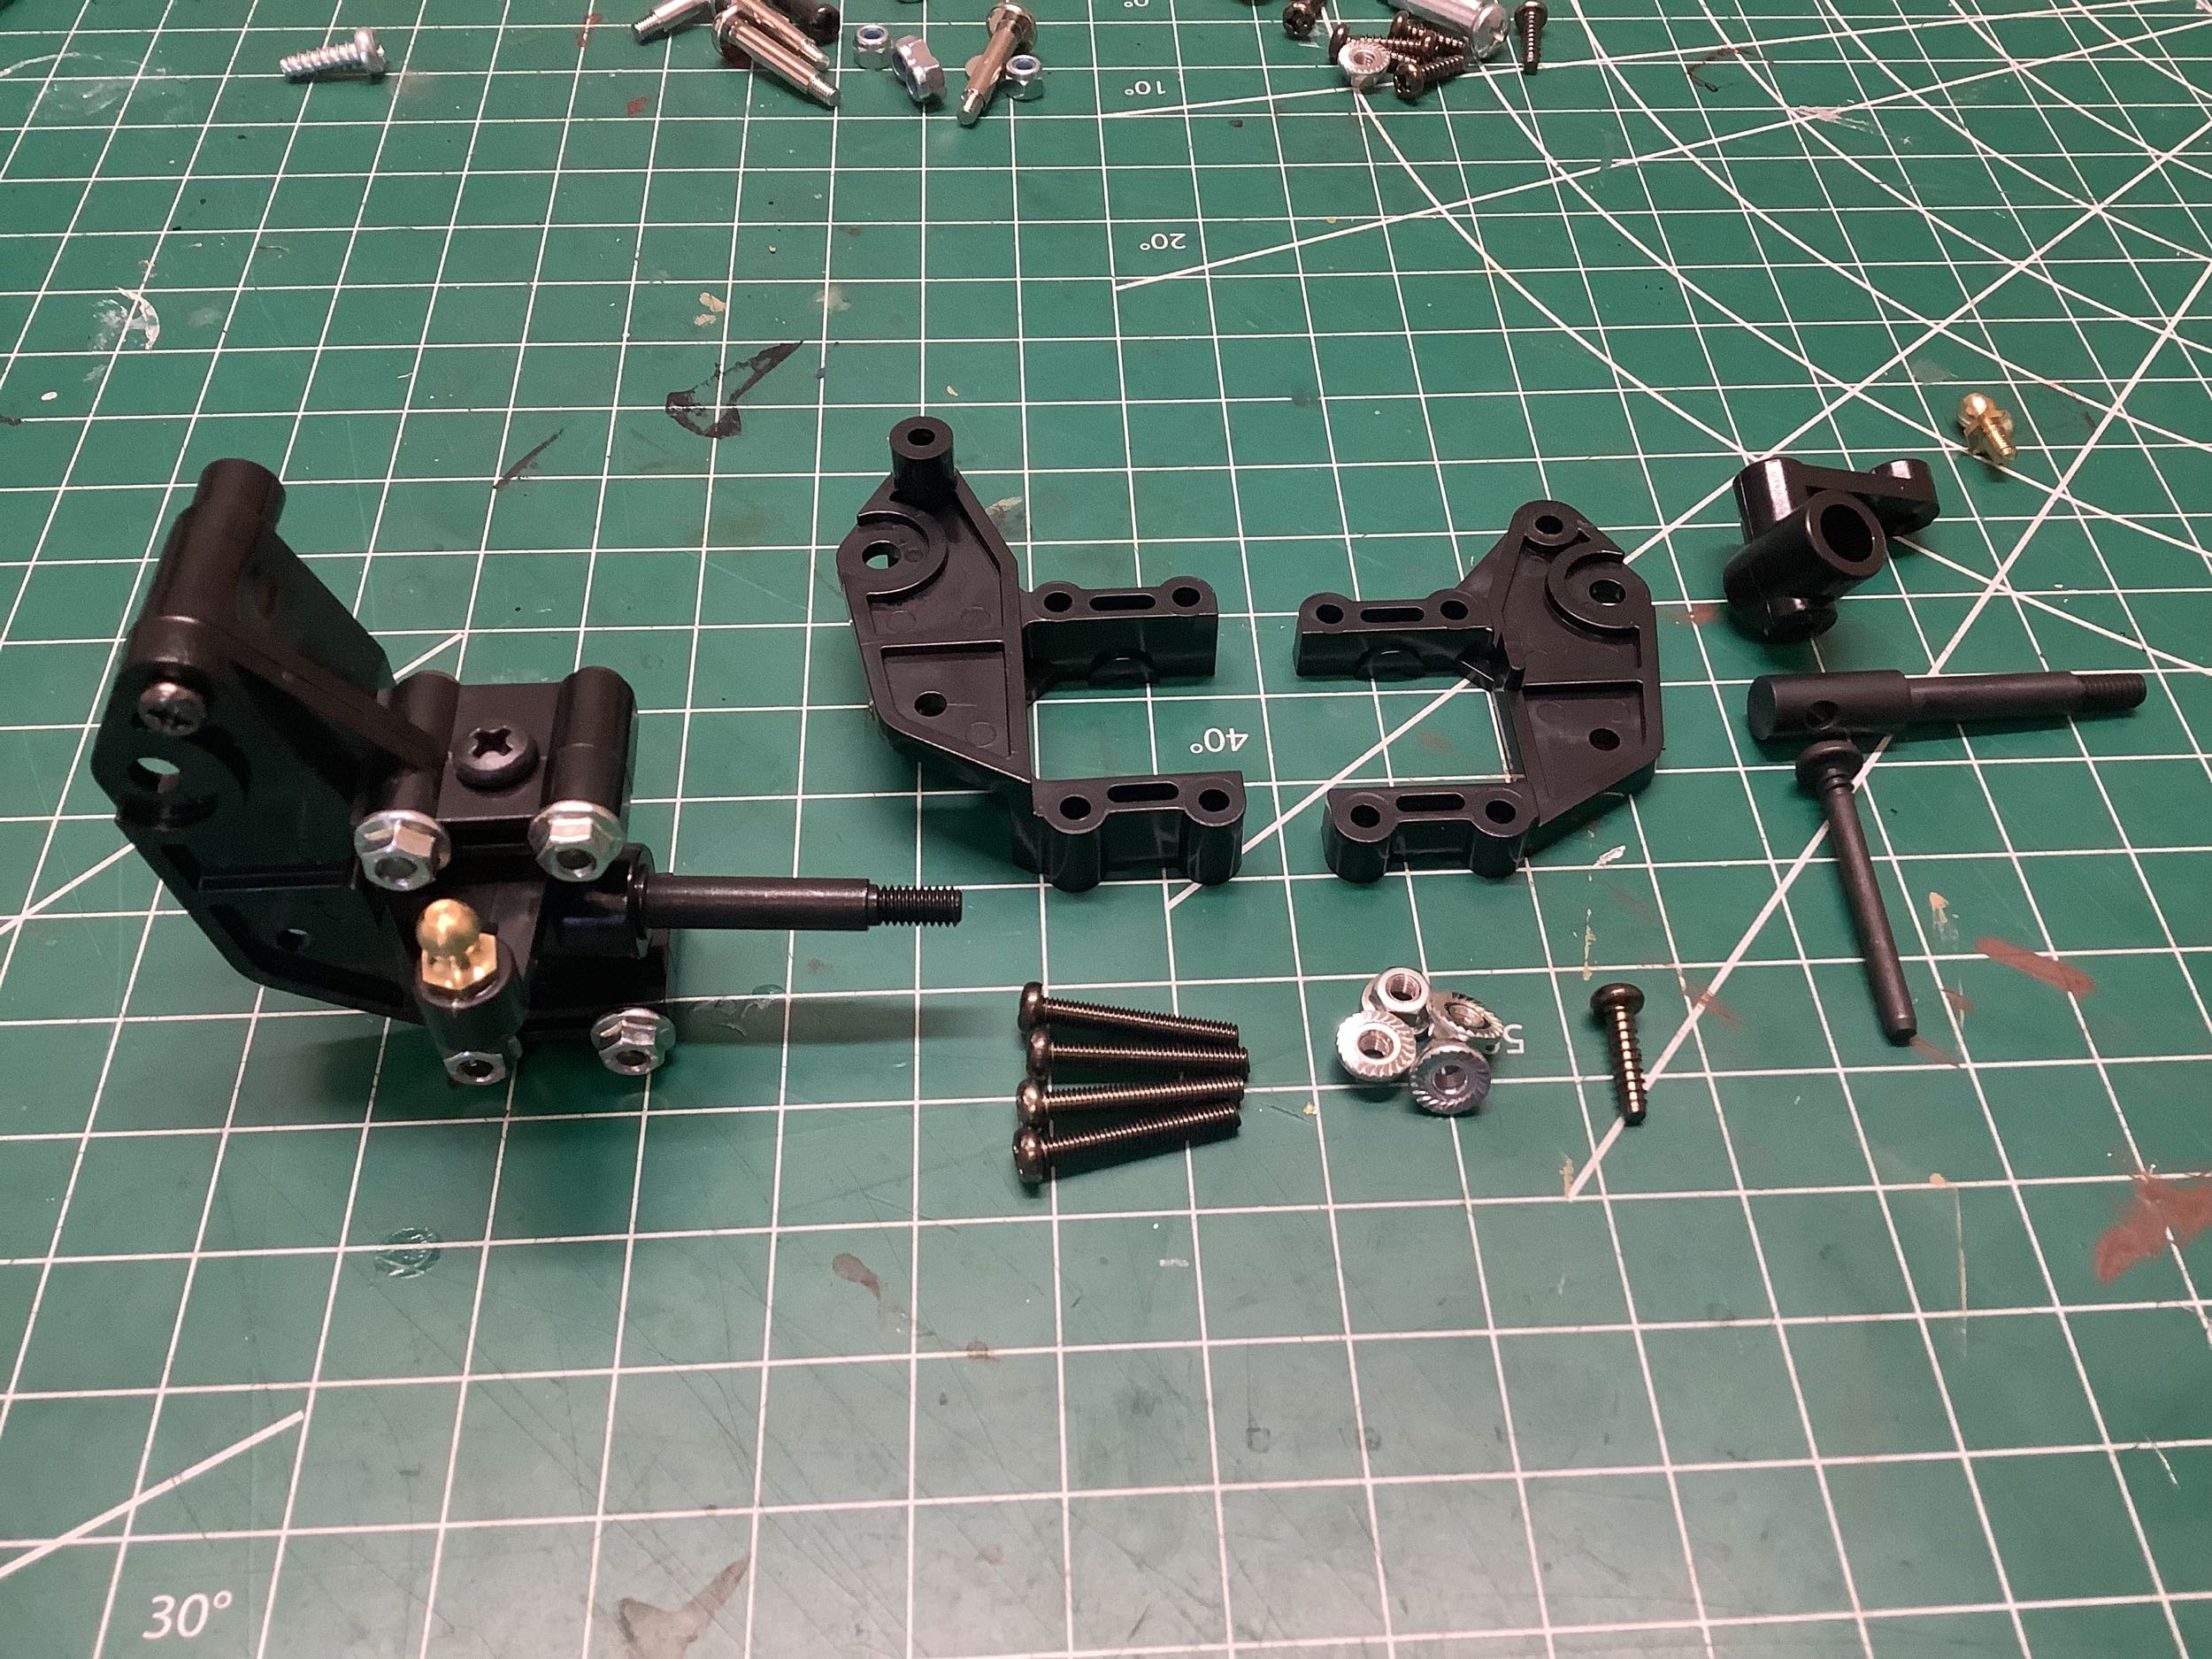
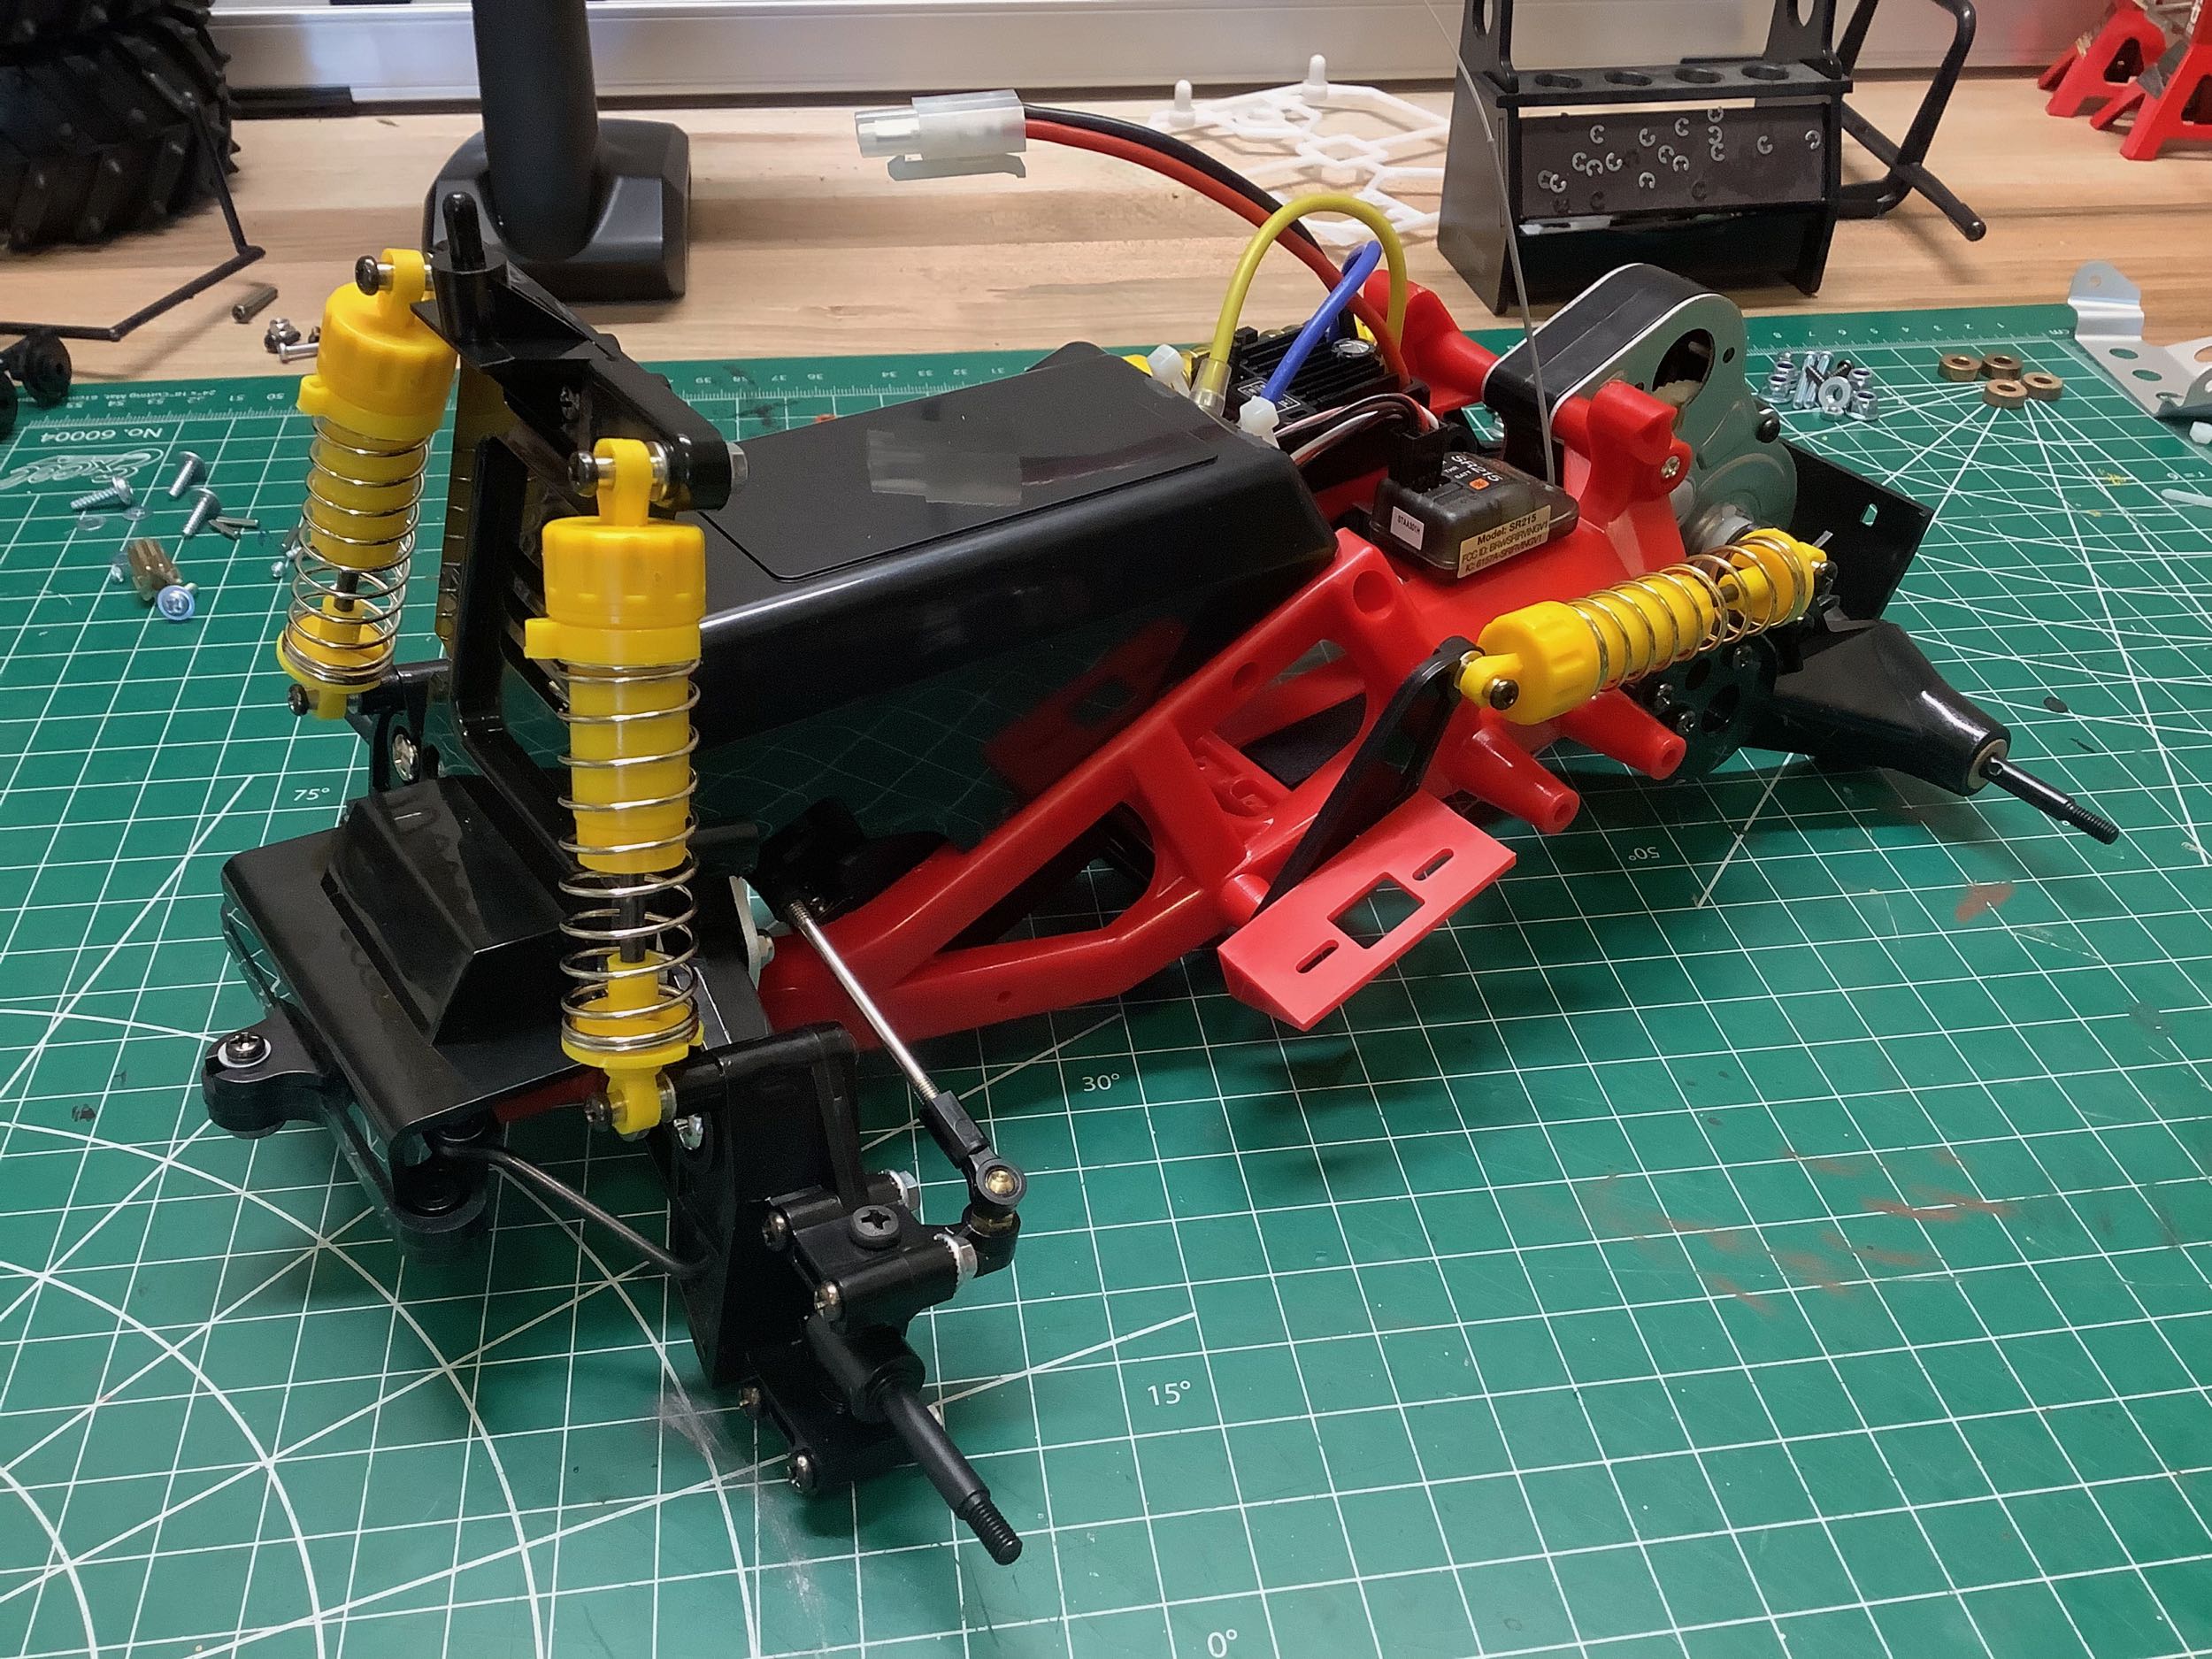
The front suspension uses dual plastic arms forming a 4-bar
linkage. The uprights are made from two plastic parts screwed
together which support a steering knuckle. That kinked metal bar
you see on the right is not a torsion bar, it is a radius arm. It
doesn't provide any spring support to the suspension (that comes from
the shocks), but it does carry thrust loads. Since this model is
2WD, there is no motor torque or braking on the front wheels so this
part mostly serves to support the suspension when the front wheel
strikes an obstacle.
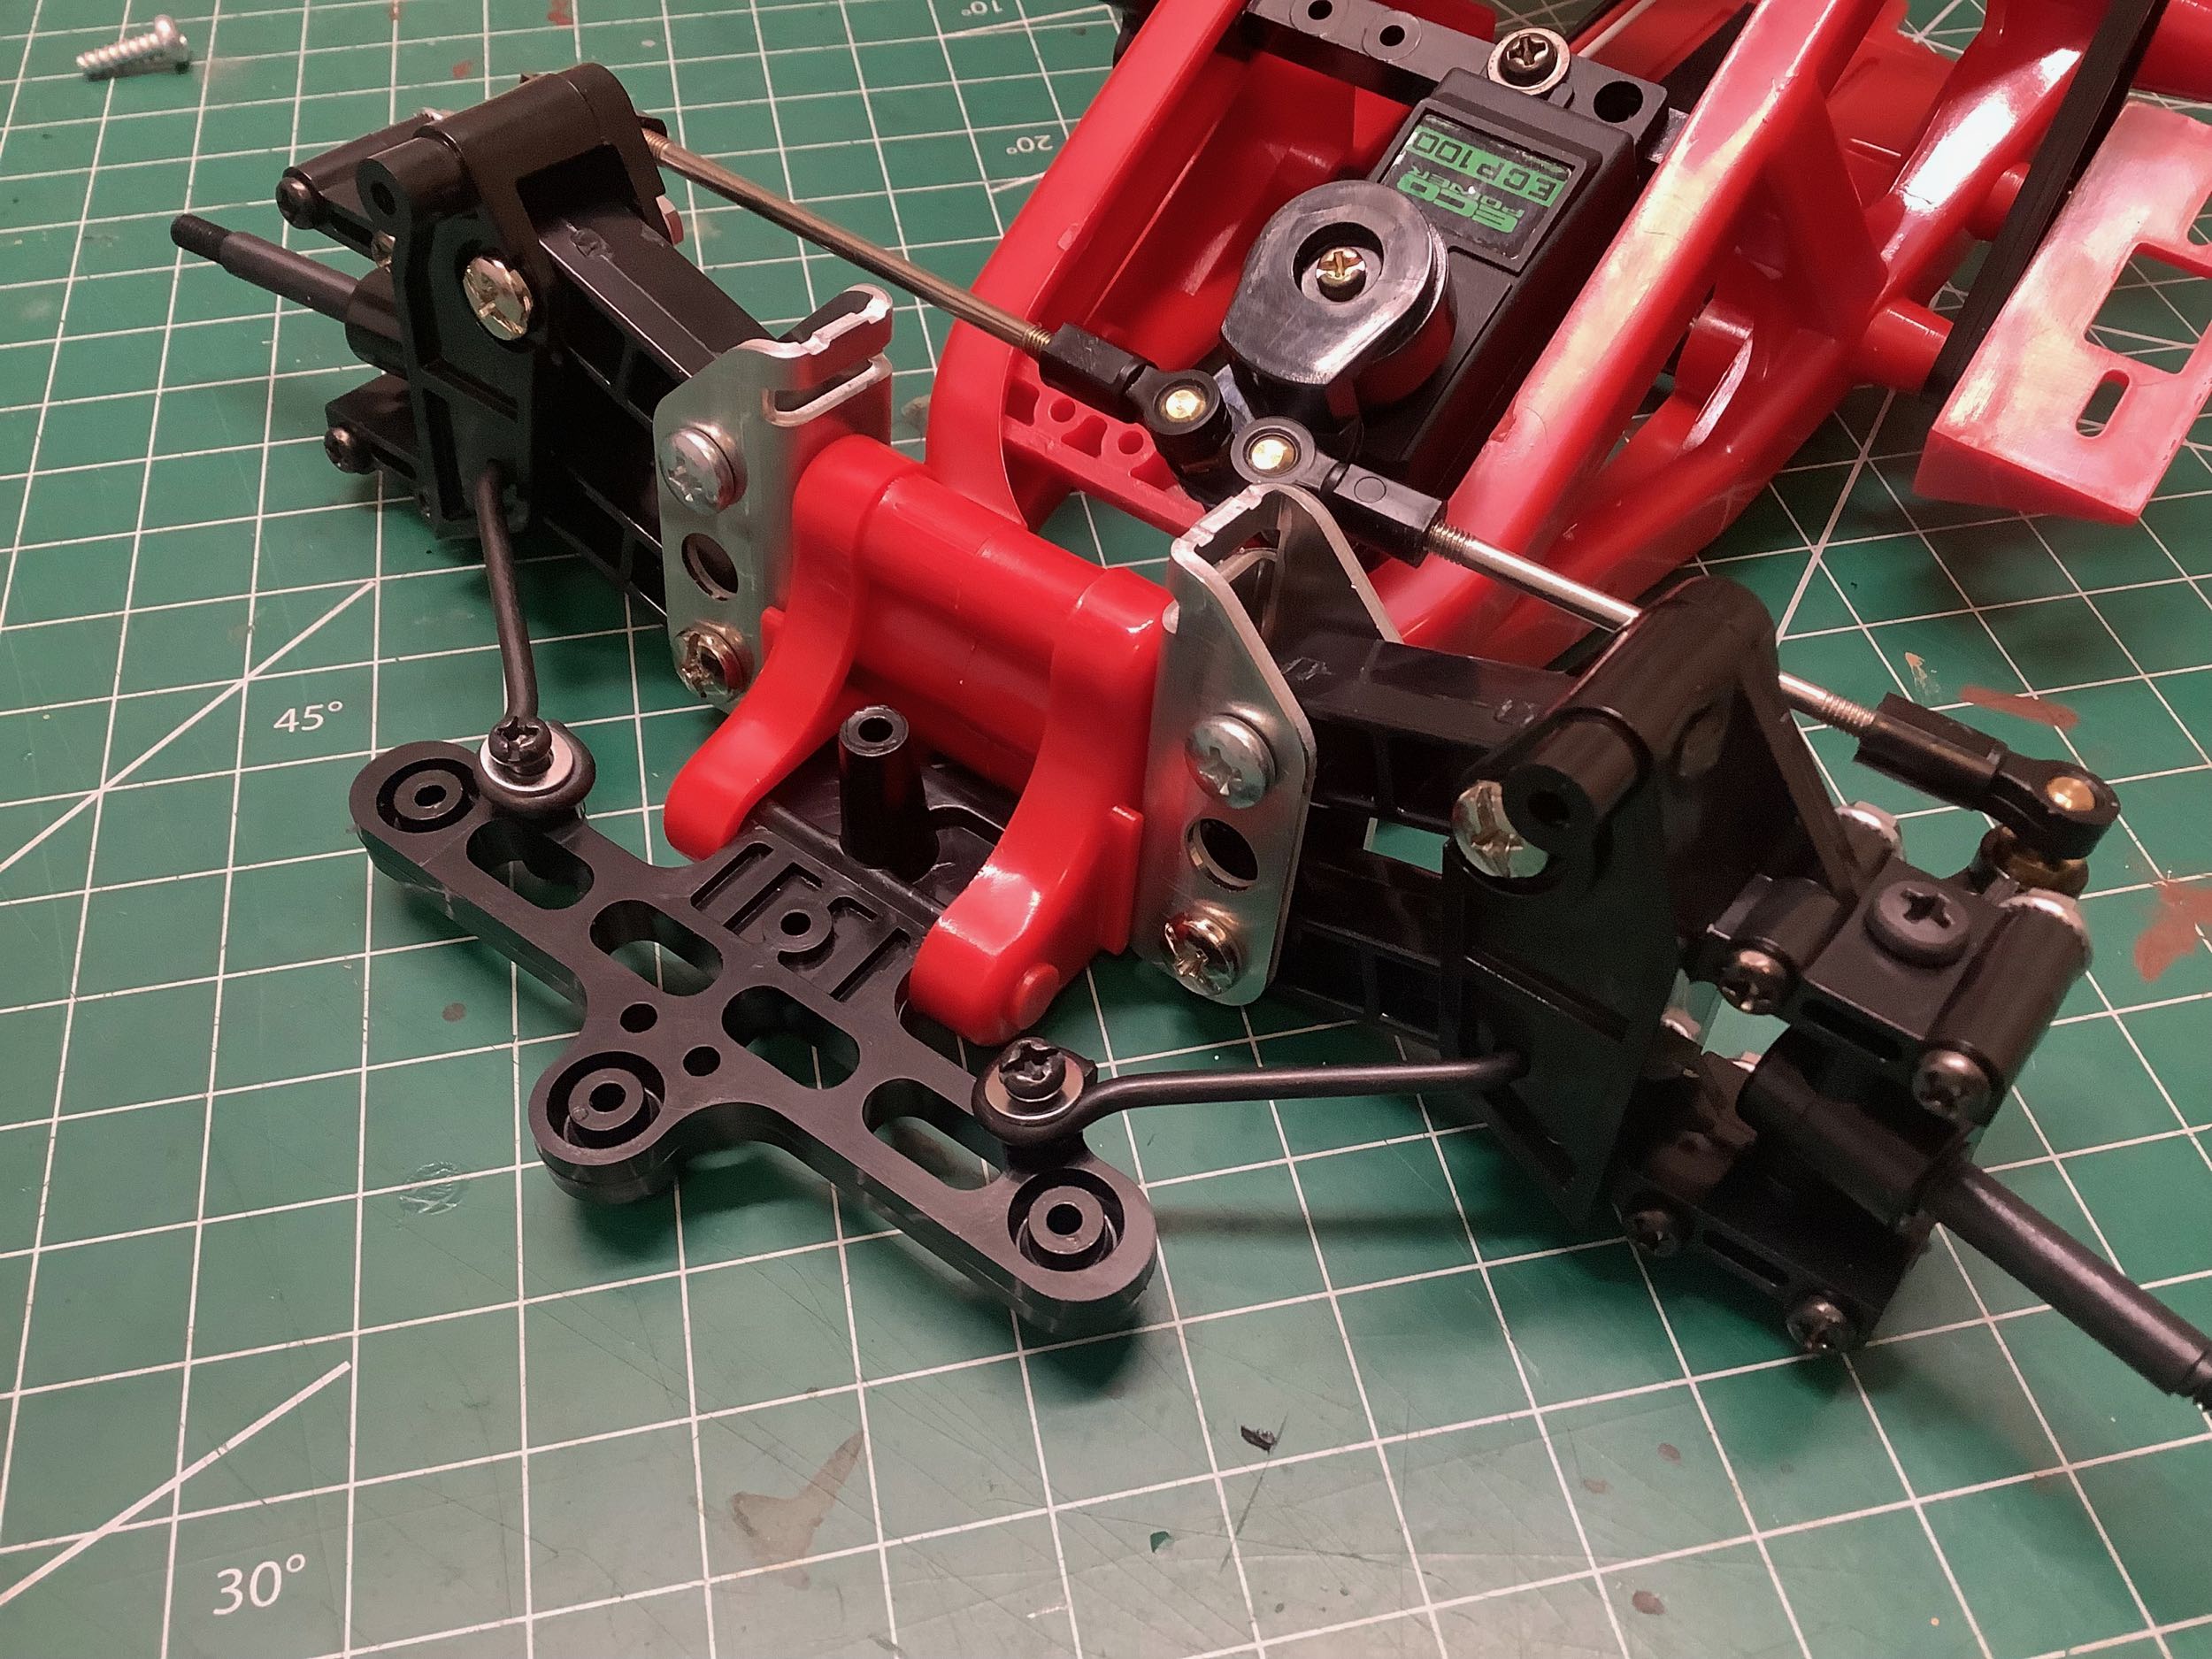
Here the front suspension has been installed along with the mount for
the front bumper that I forgot earlier. This is where the radius
arms attach. The tall shock tower you see on the right was not
present on the original ORV chassis, but was introduced with the
Blackfoot. The huge black cover behind it serves to support the
shock tower as well as protect the servos and, originally, the MSC.
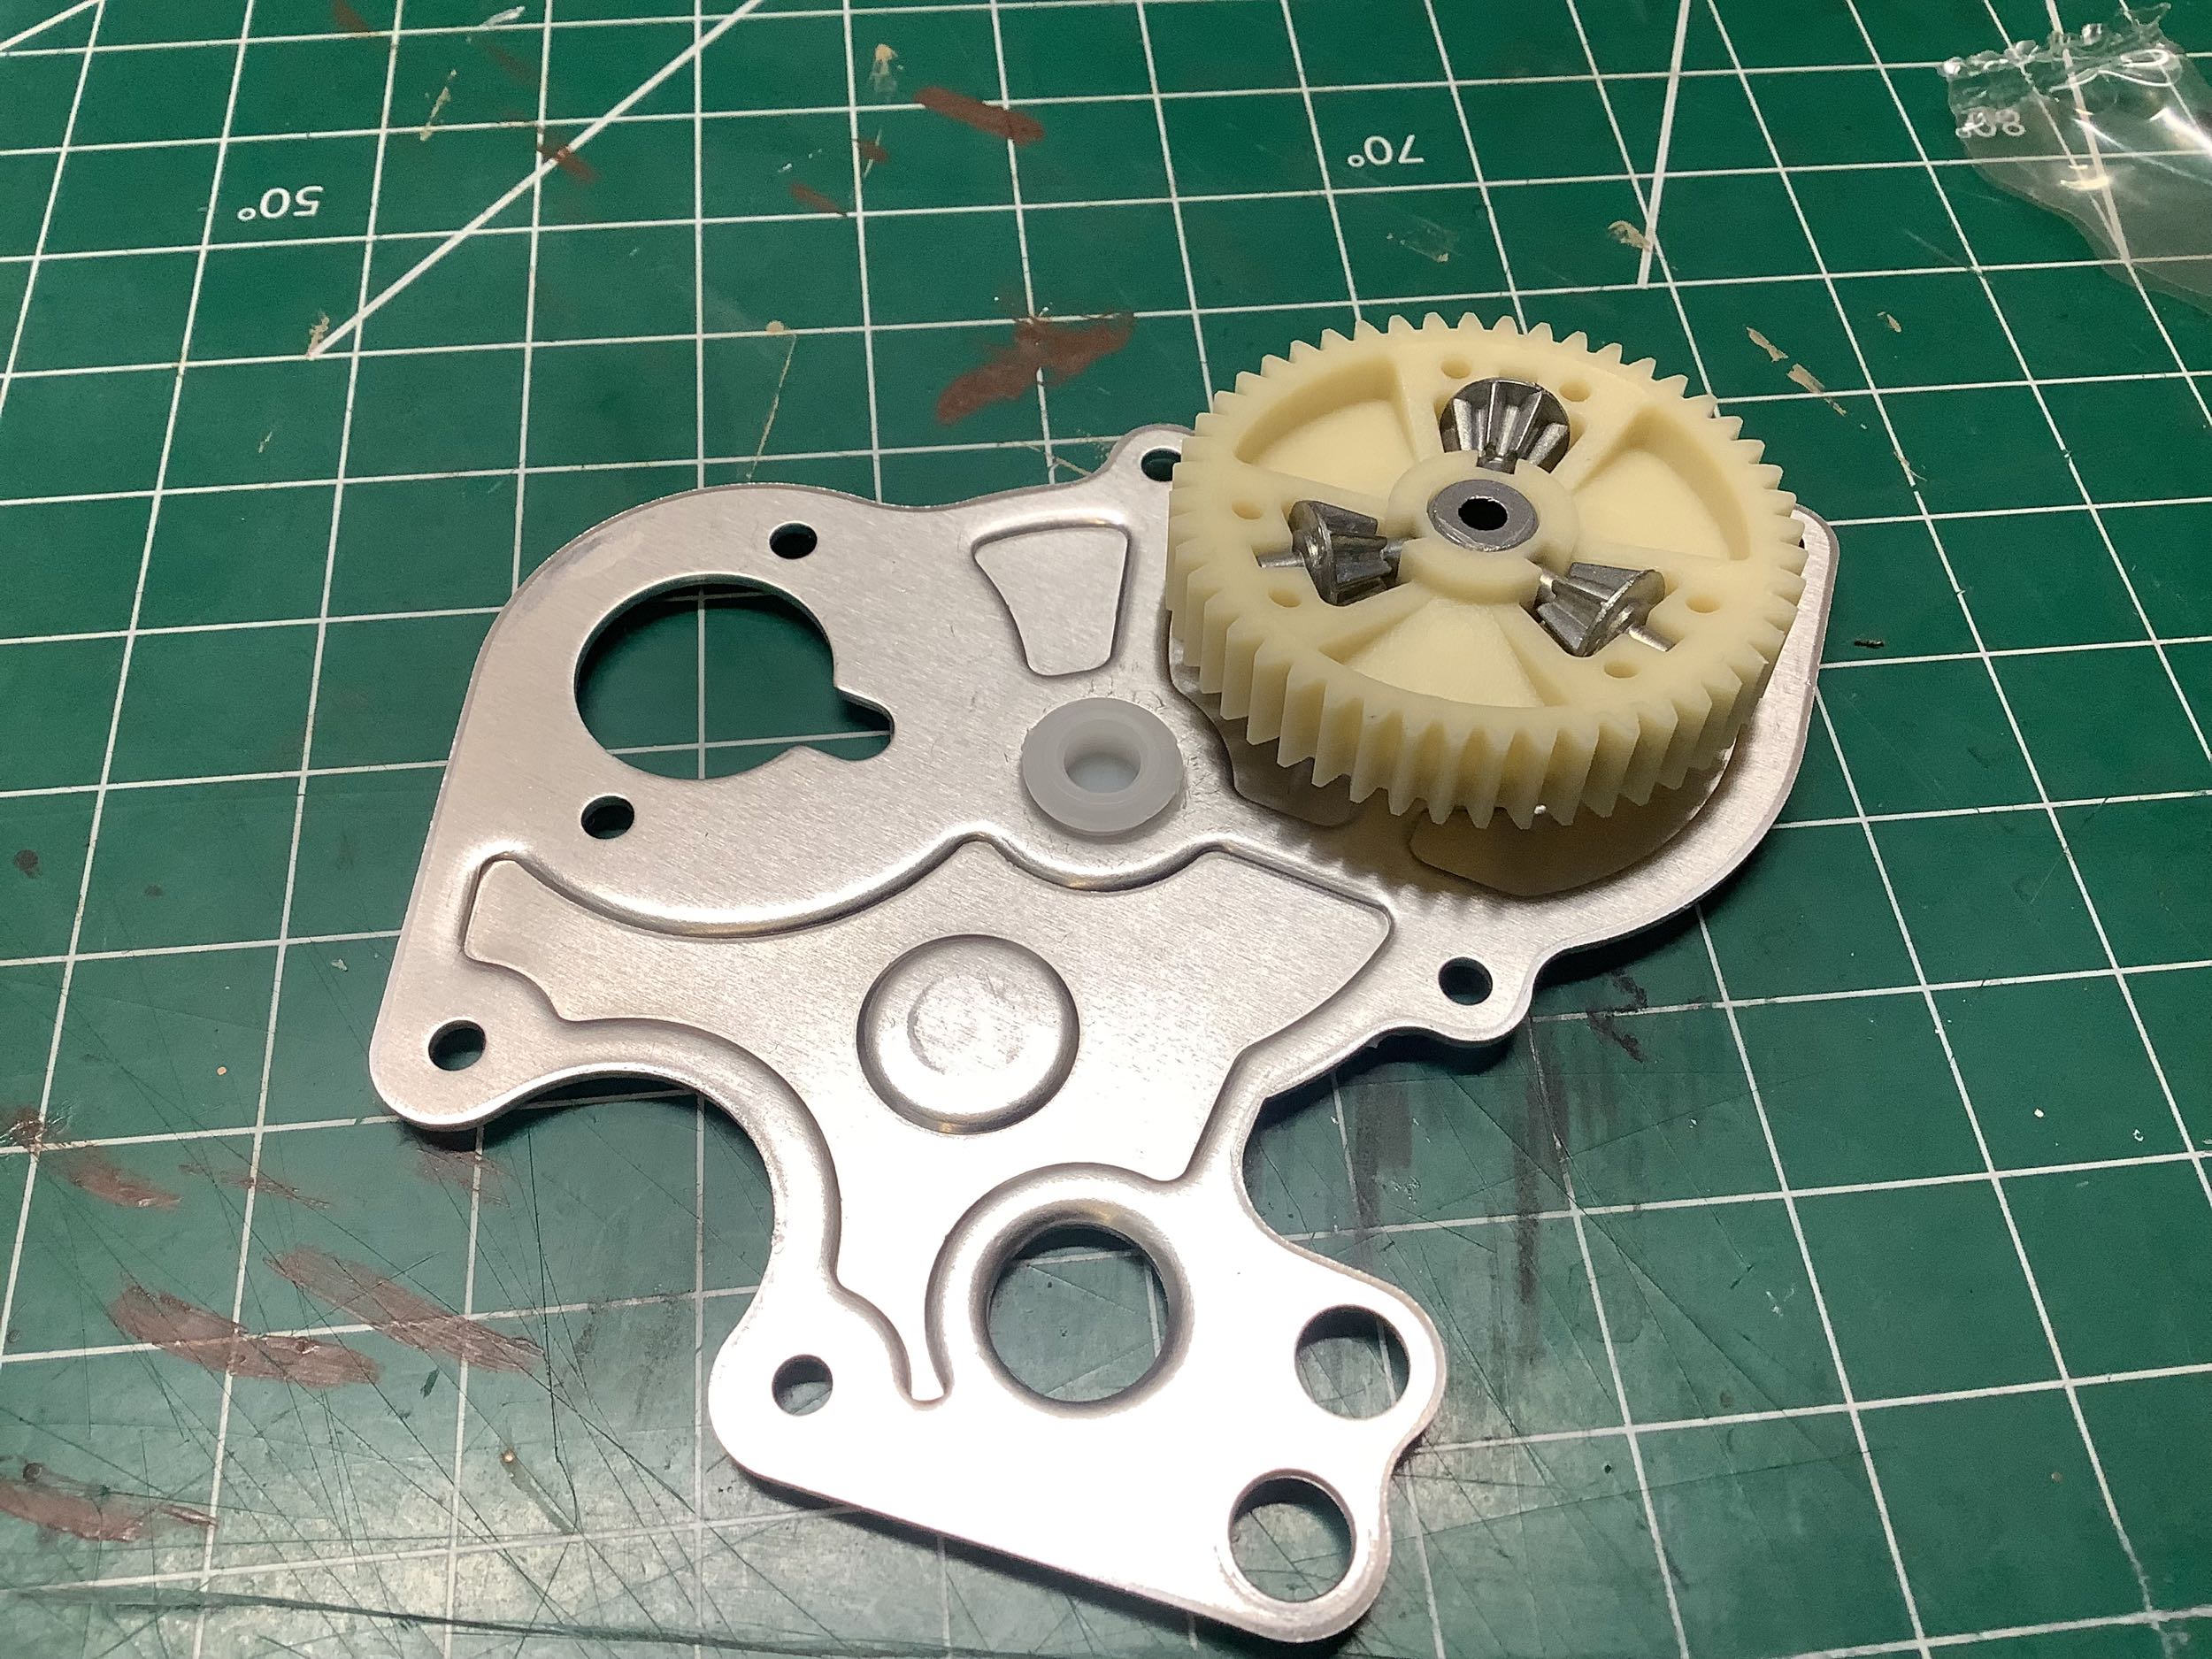
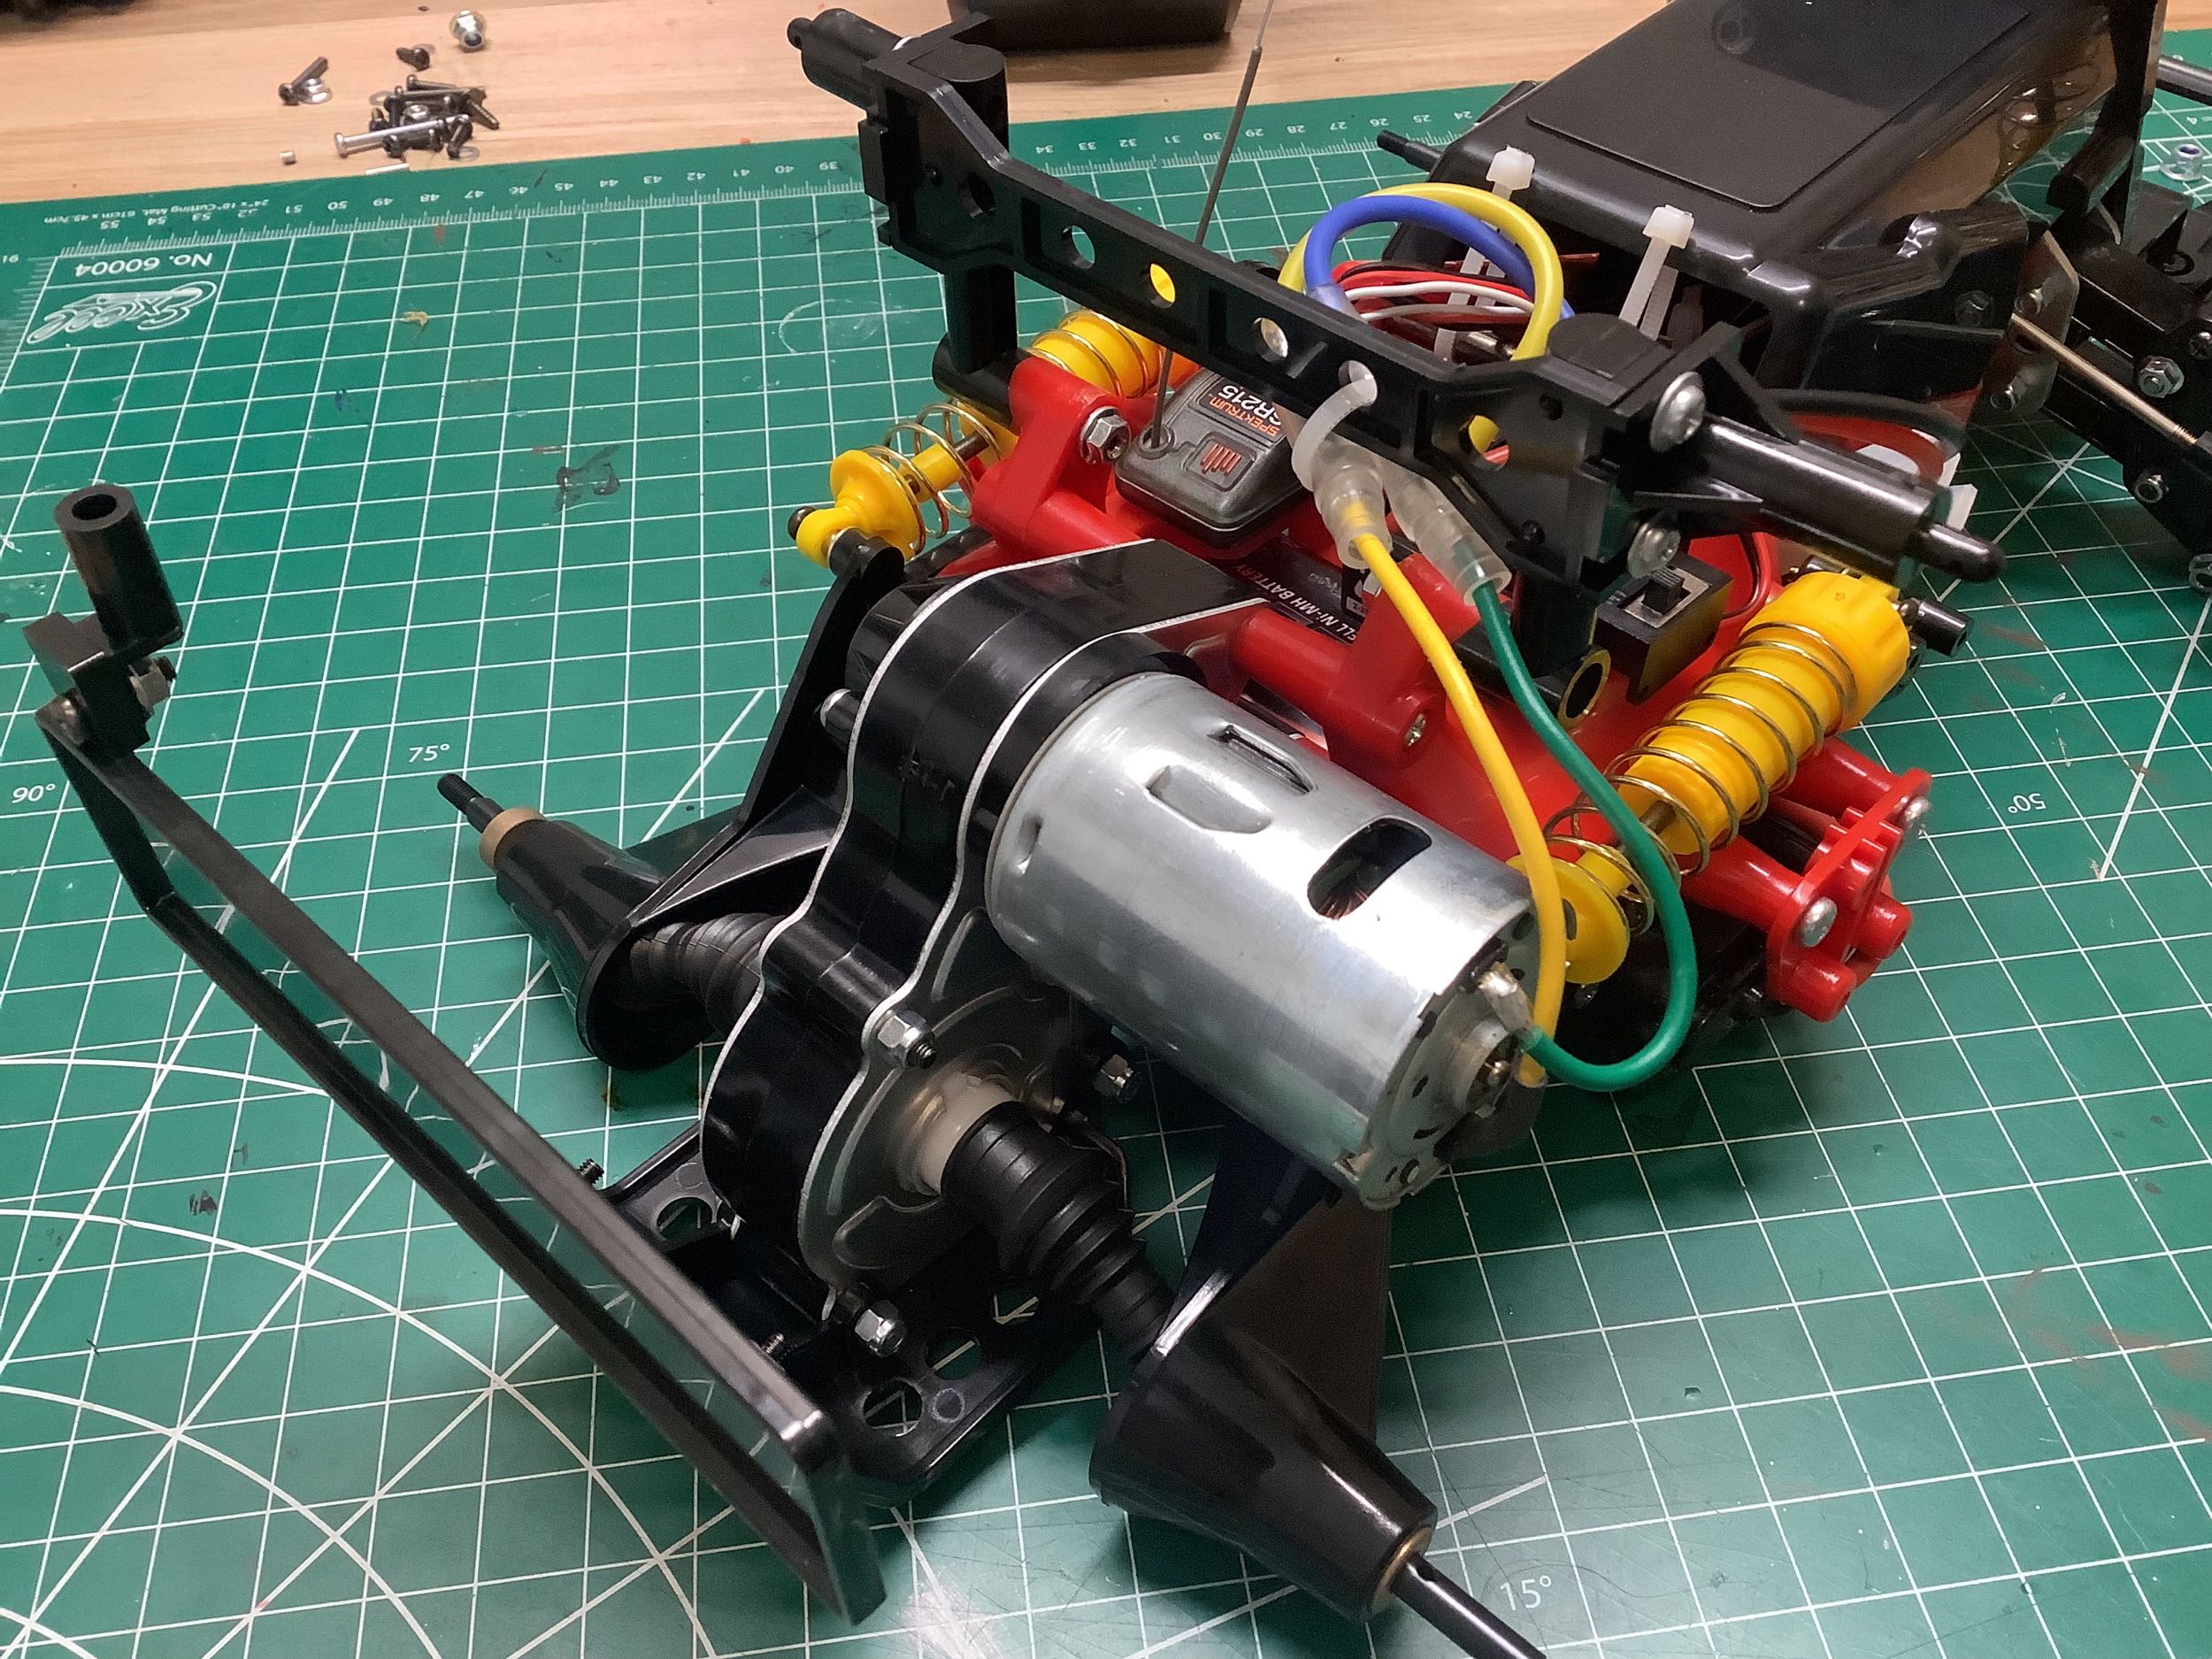
The narrow gearbox is sandwiched between two stamped aluminum
plates. The 3 spider gears of the differential site inside a large
spur gear. Plastic sleeves are used to hold the bearings (or
bushings) which support the axle shafts. I added bearings because
I'm not an animal.
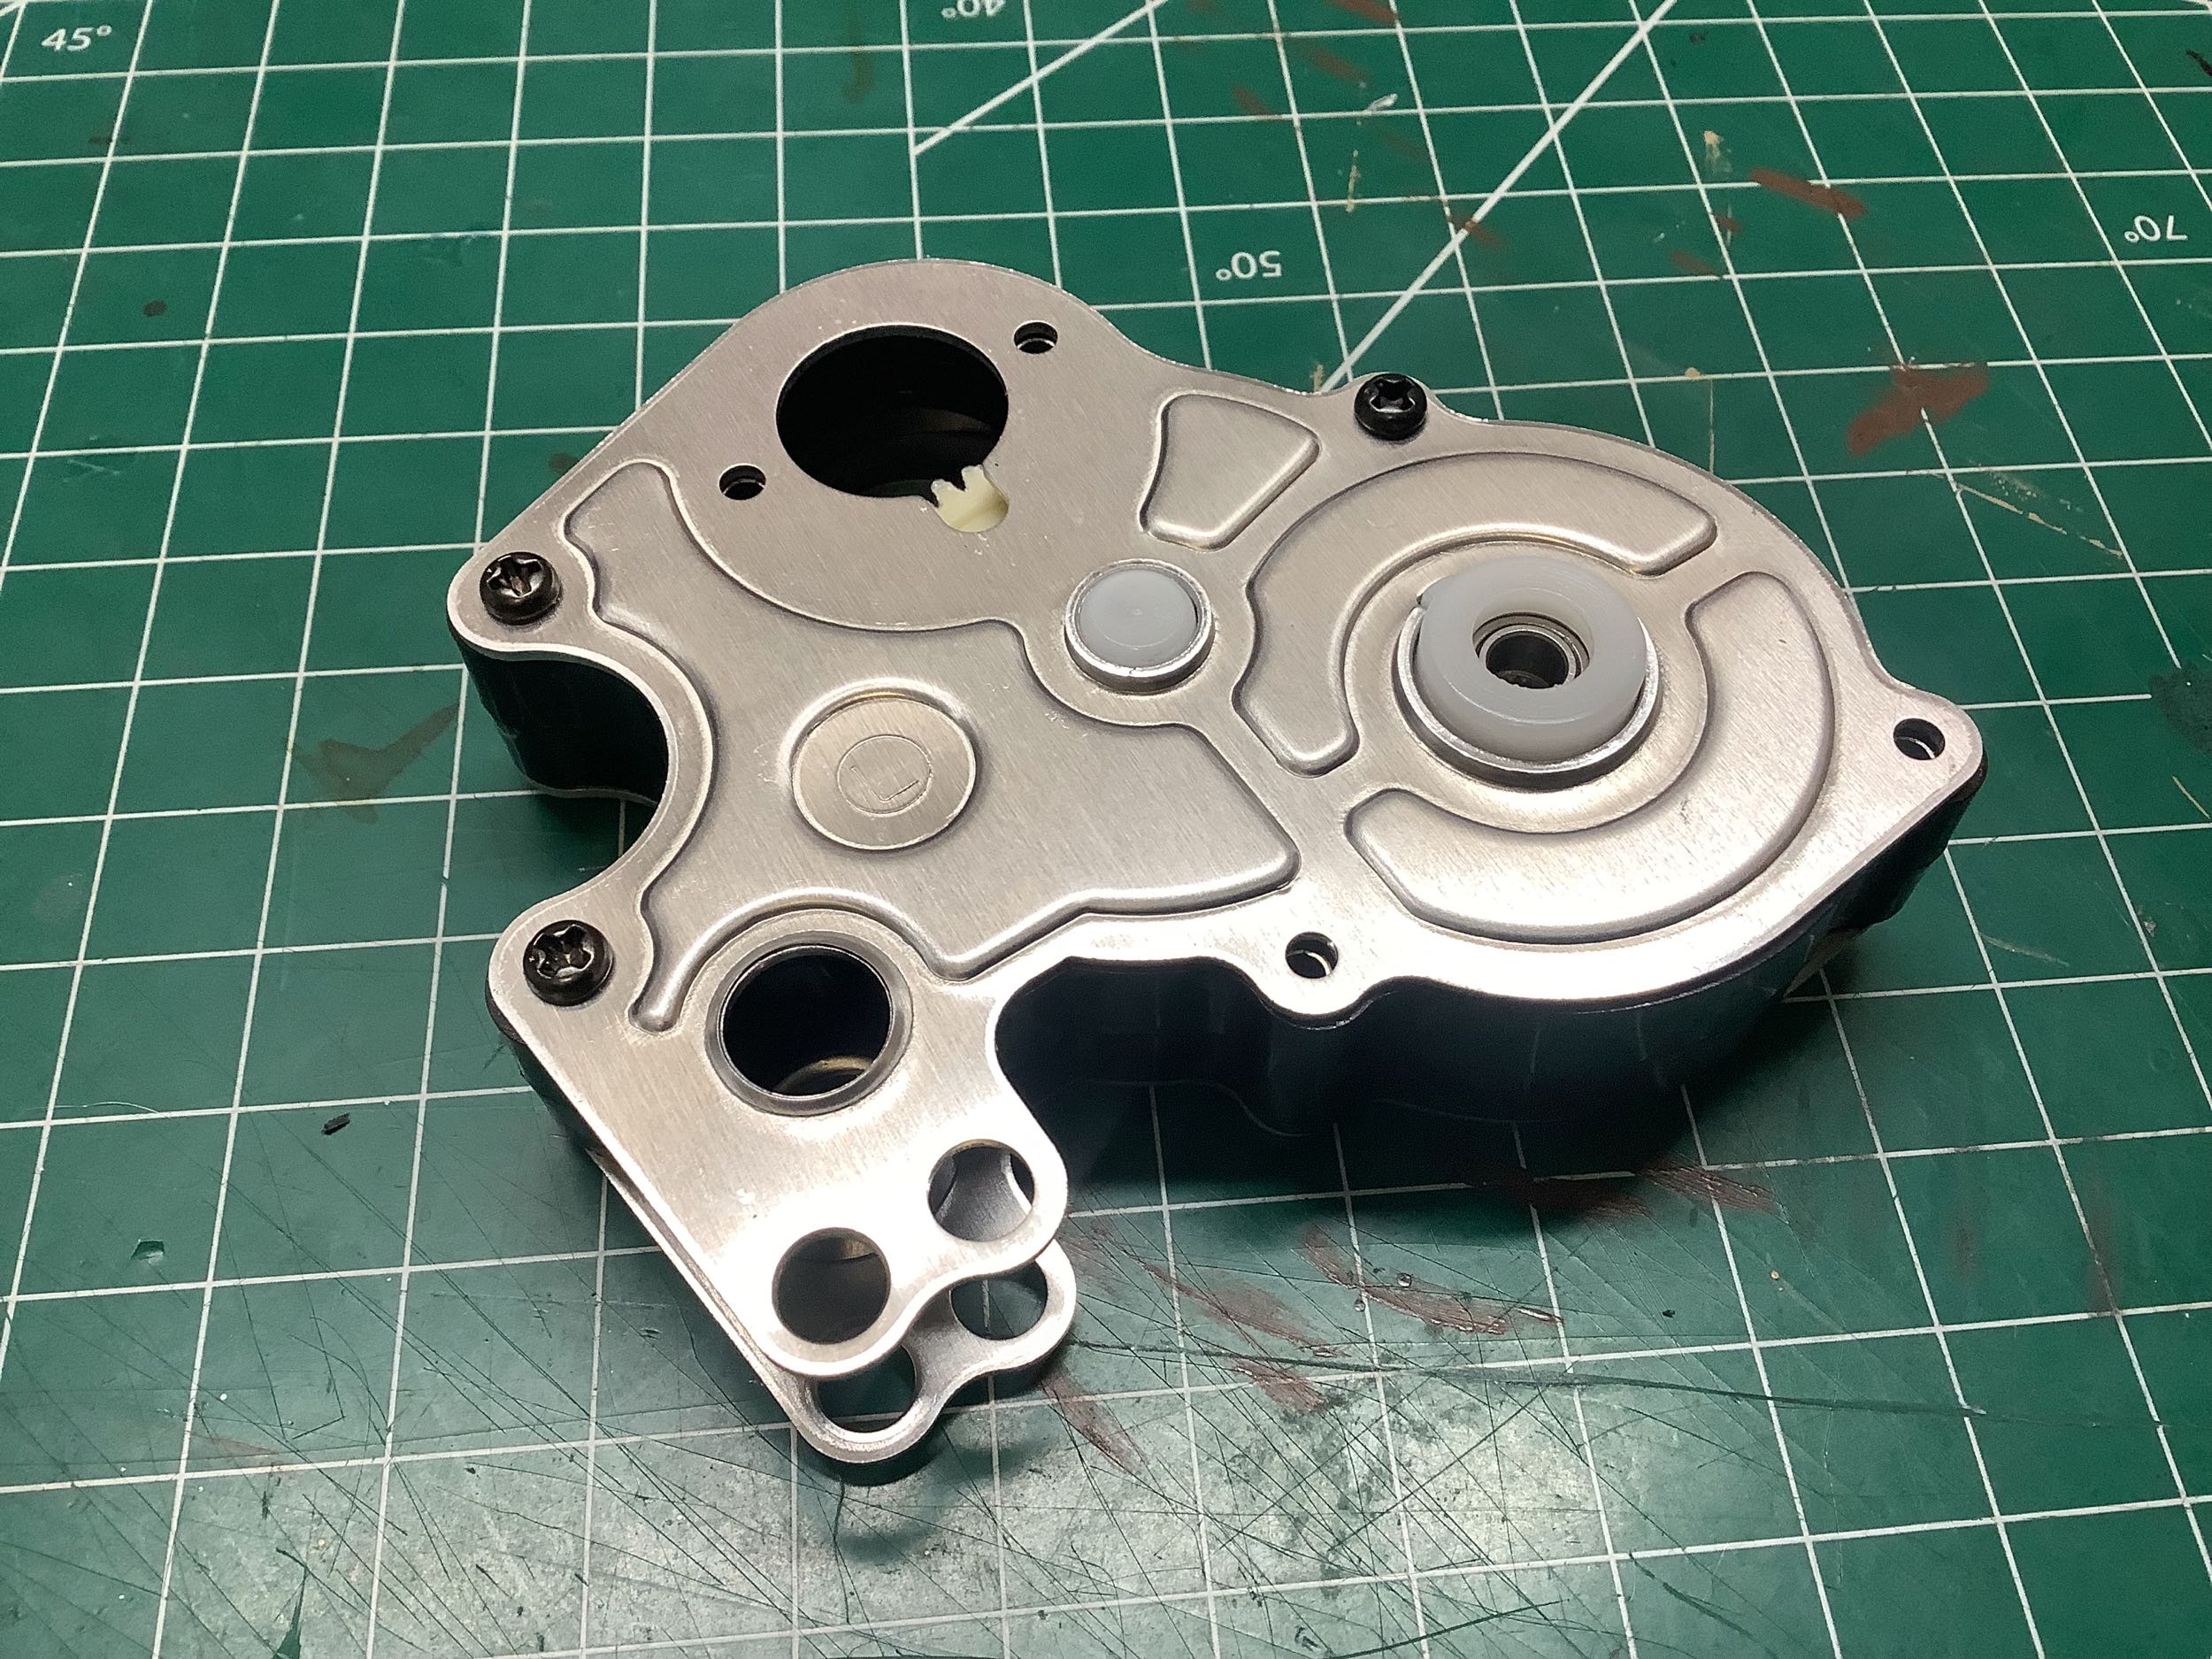
The gearbox is sandwiched between the chassis frame halves and hangs out
the back. The hole in the top of the gearbox is for the motor,
and the hole further down and forward is the pivot point for the
trailing arm rear suspension.
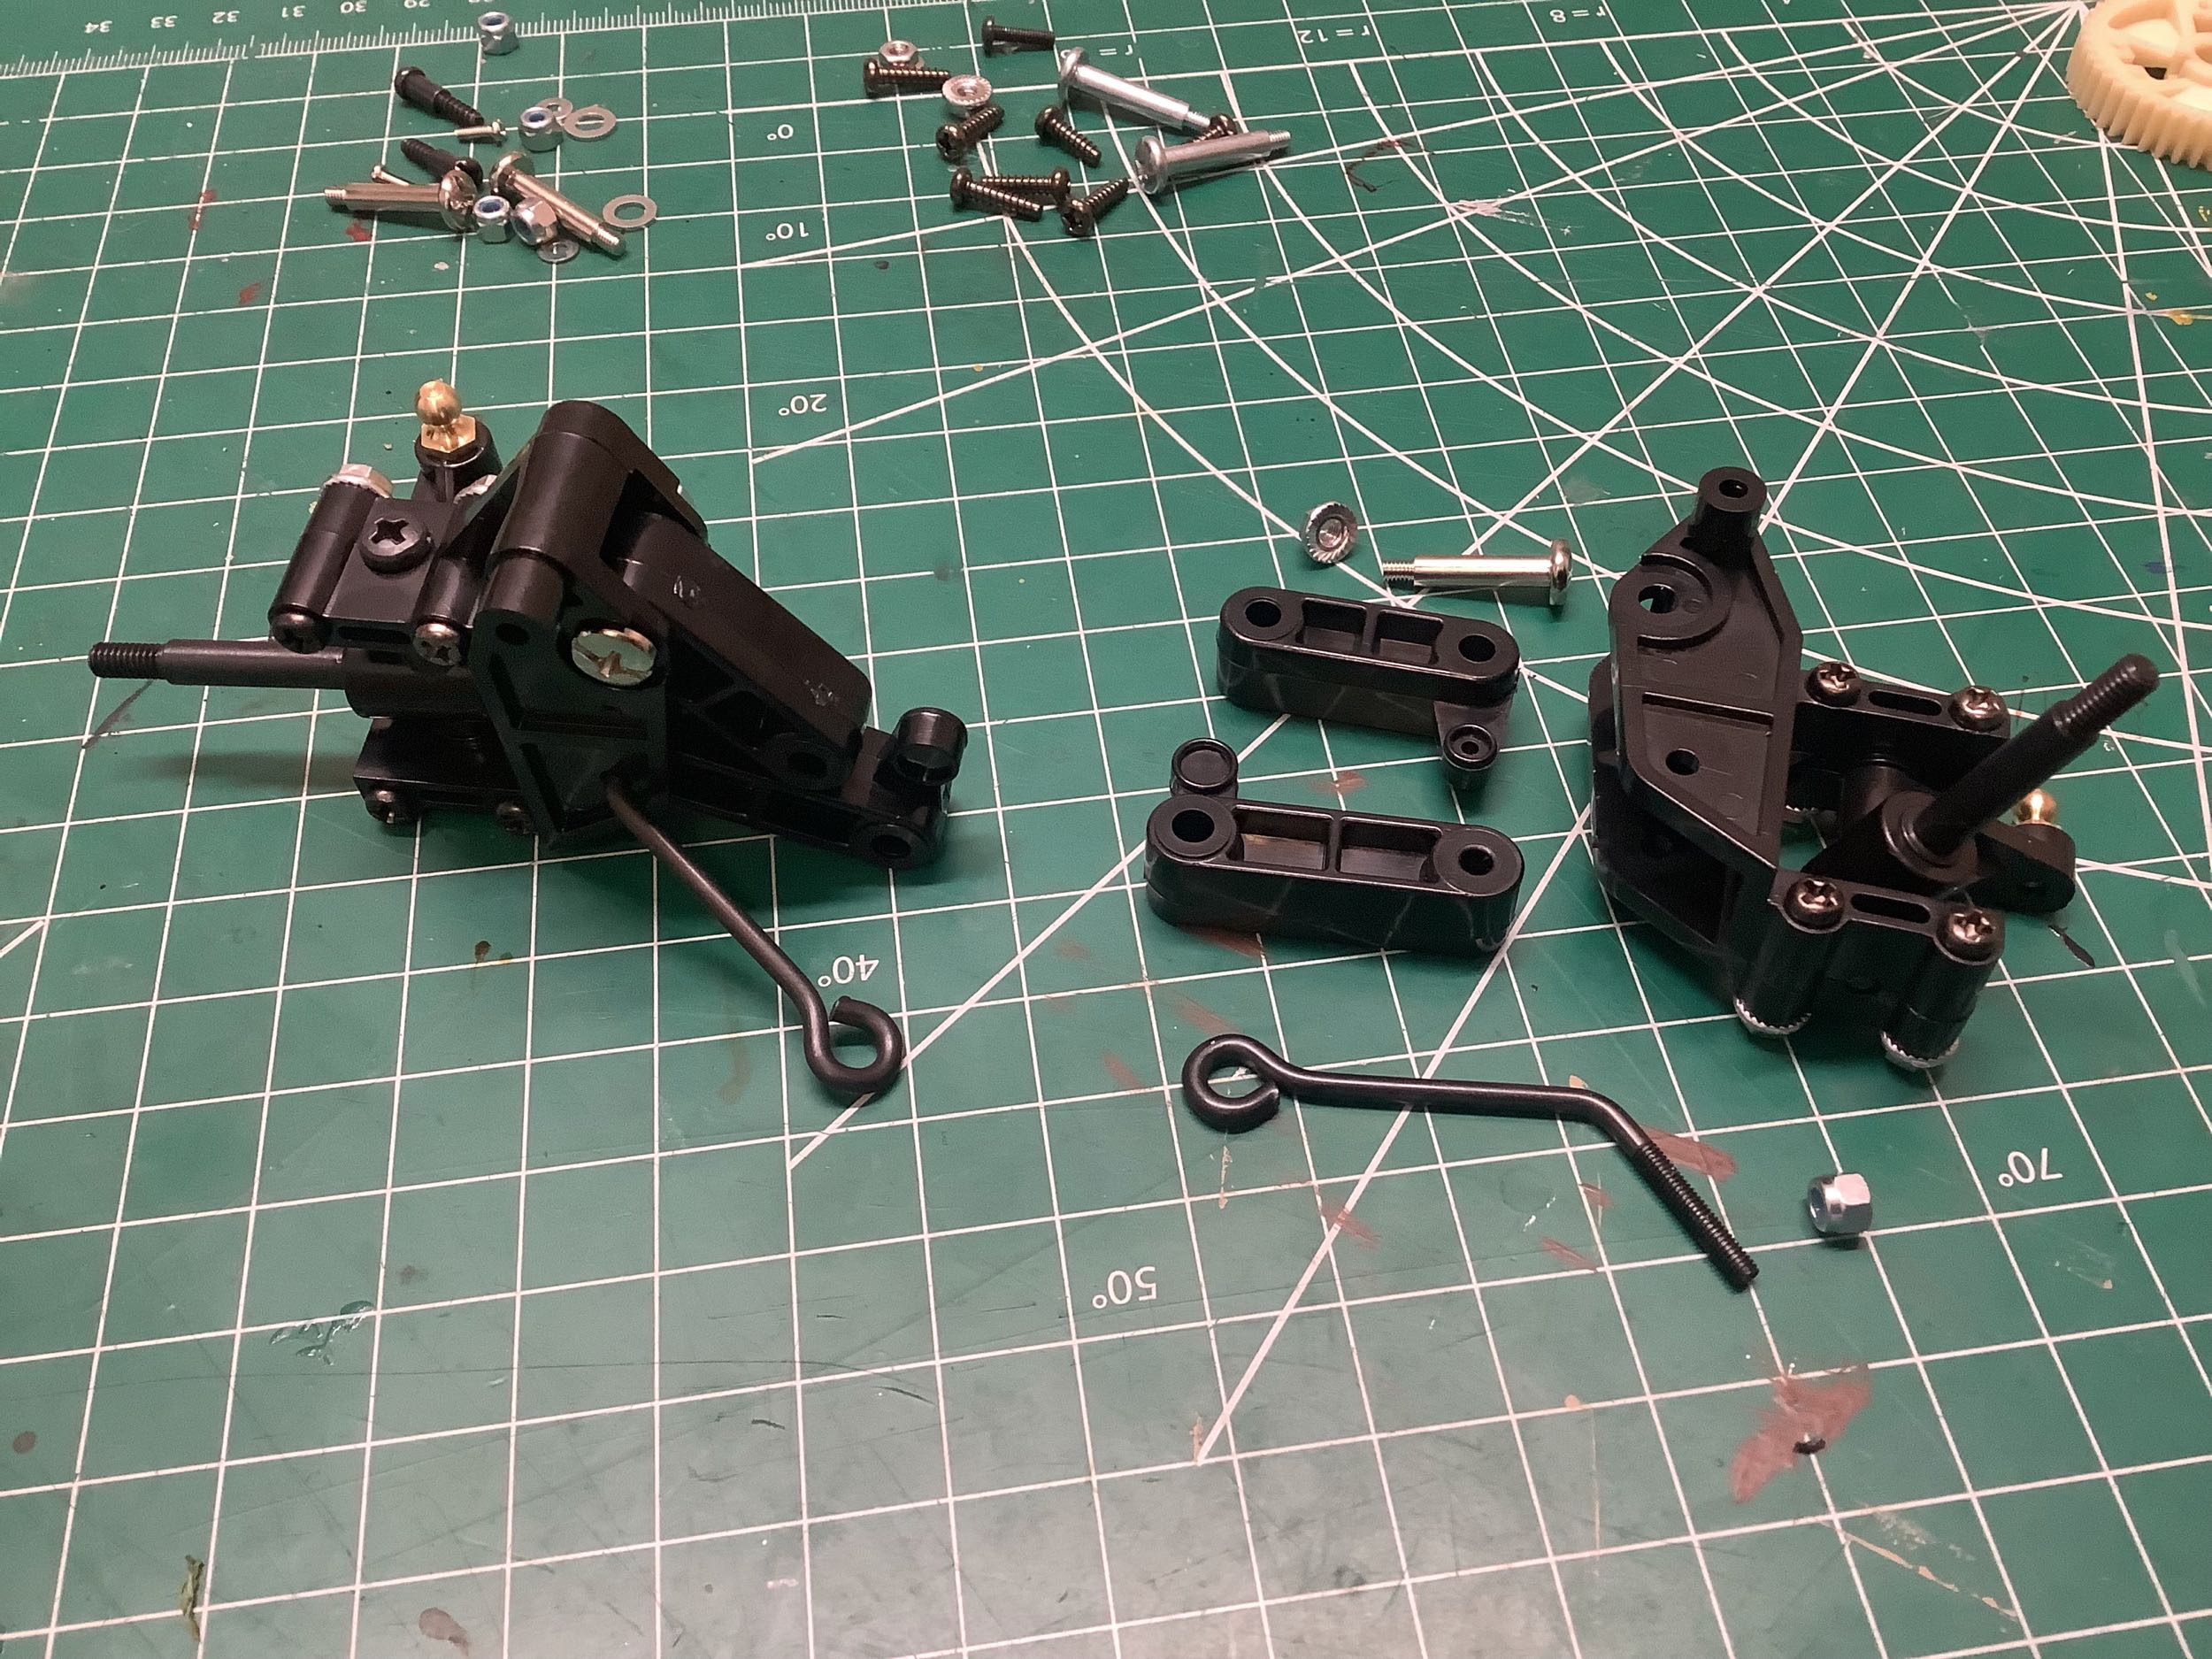
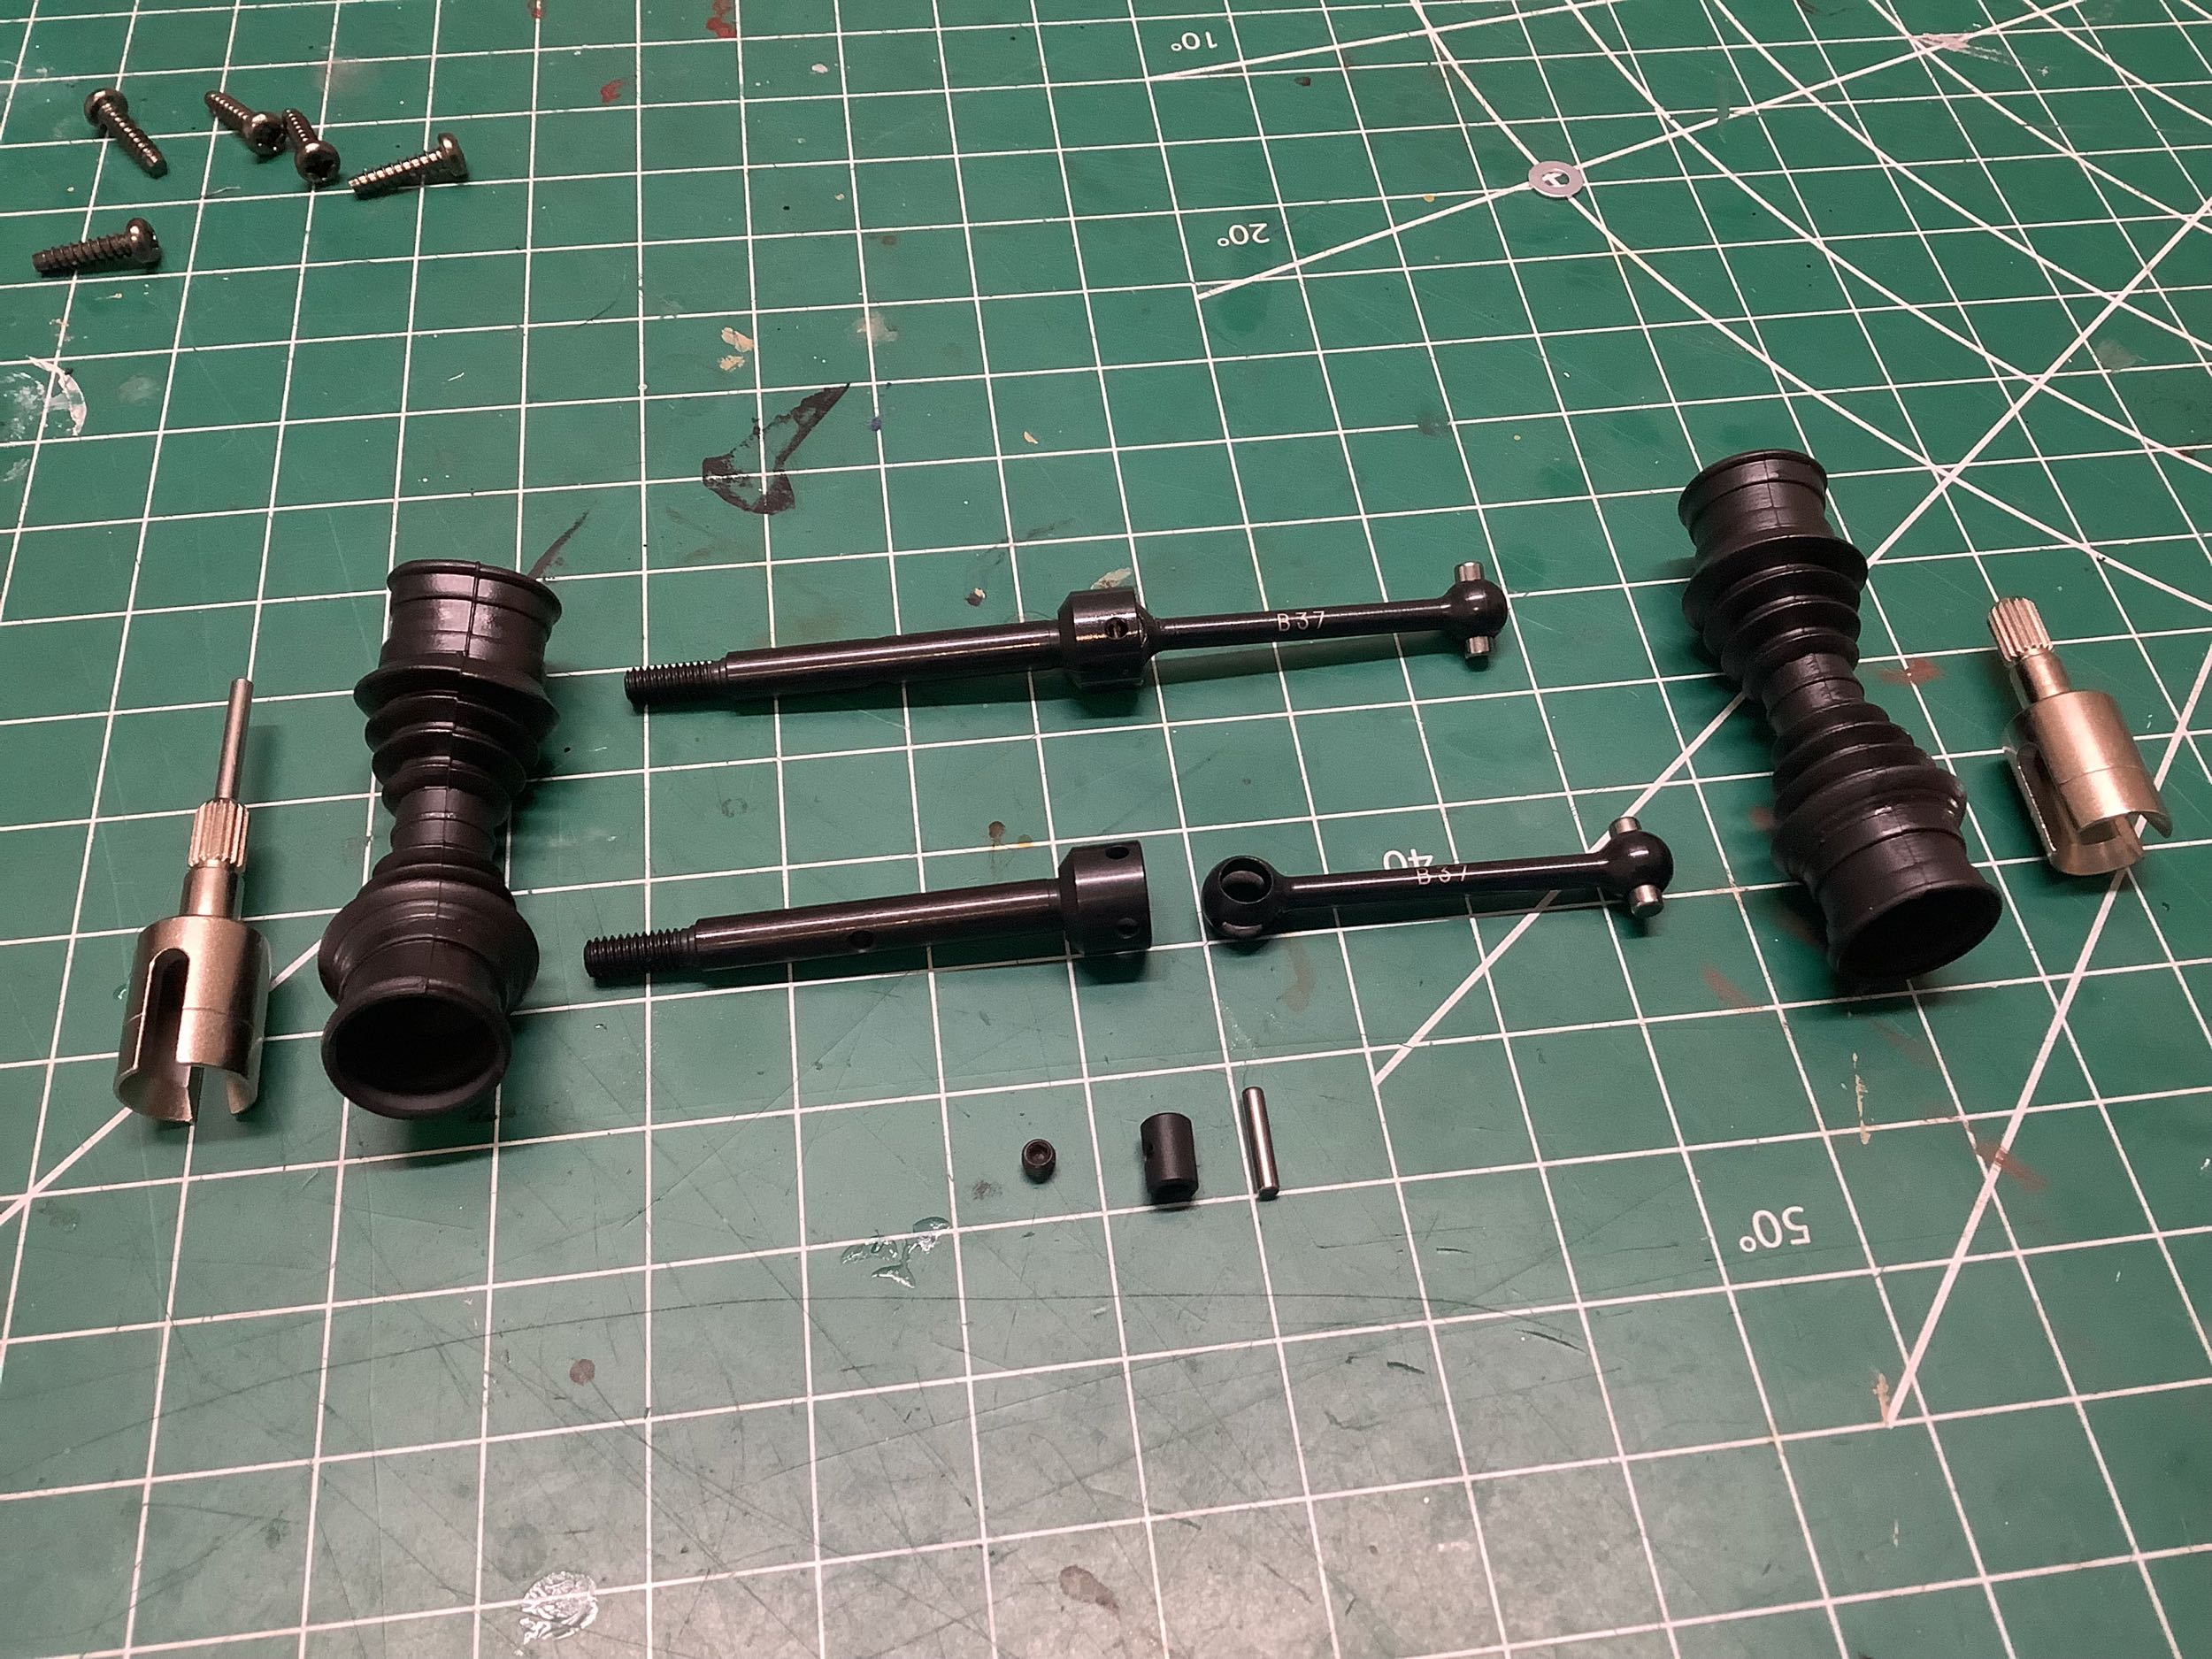
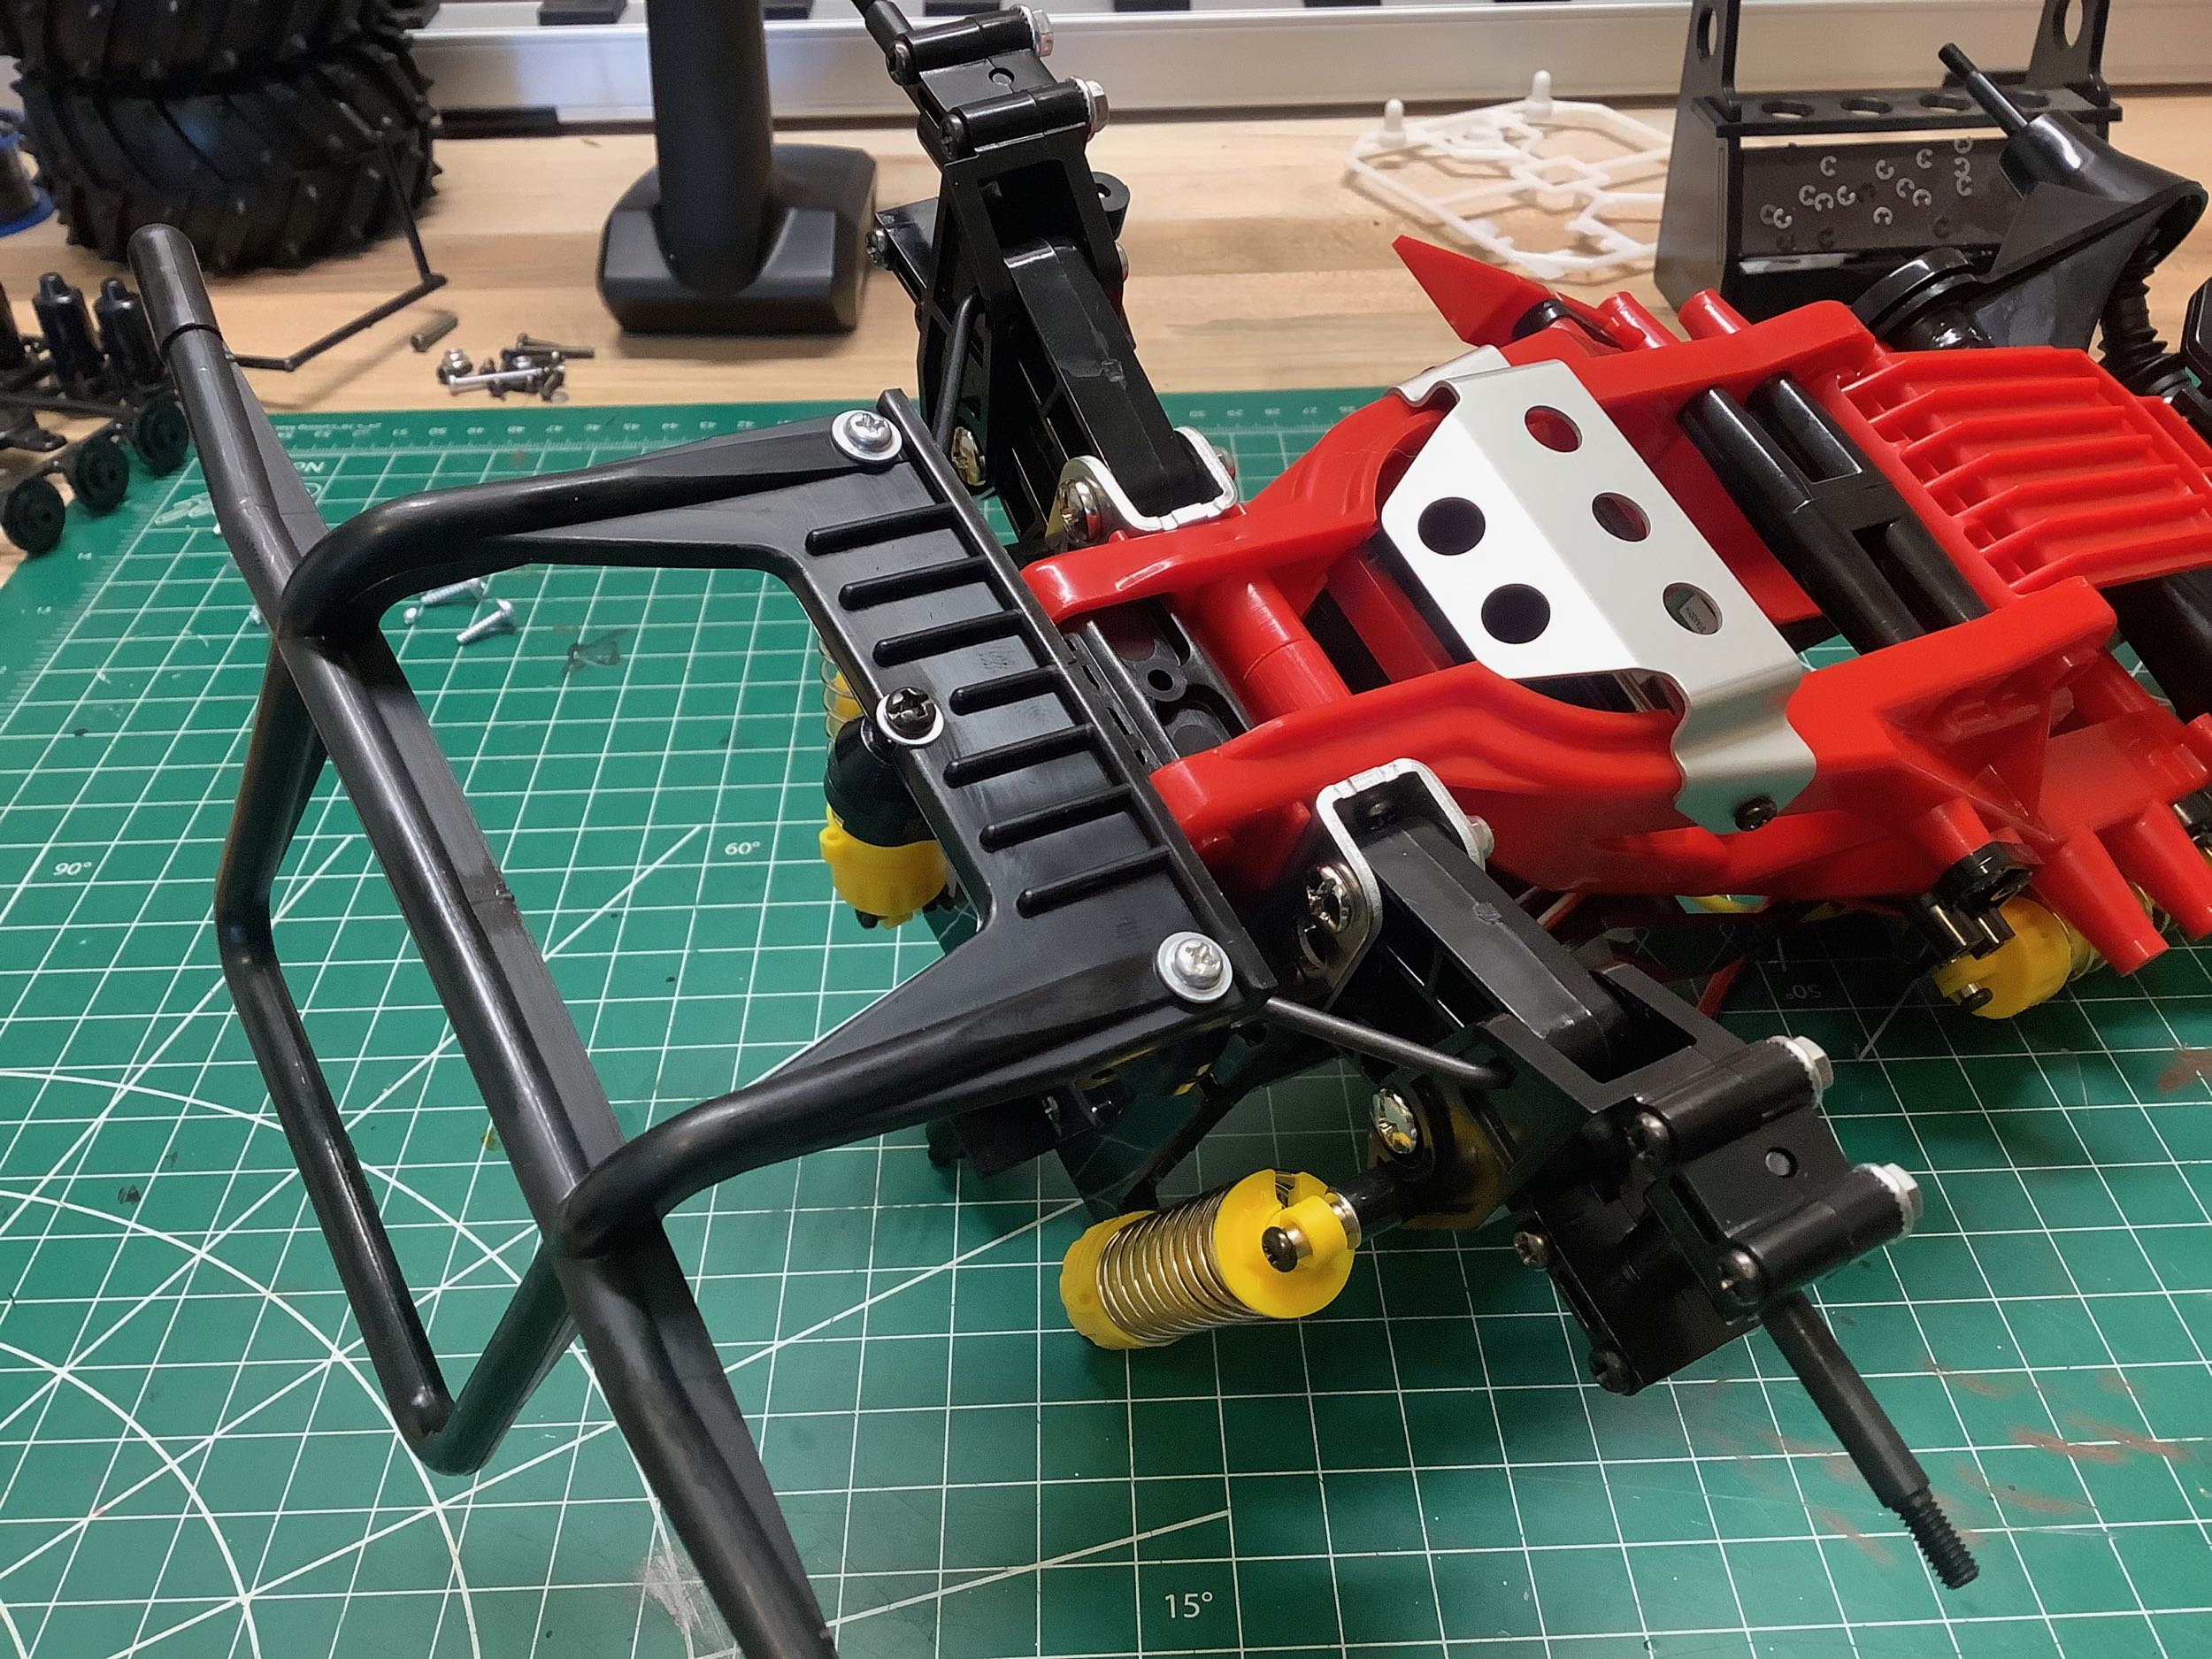
The biggest upgrade that the re-re got compared to the original Monster
Beetle is the use of these nice CVD axles instead of the hex drives of
the original. The rubber boots hide the axles though, so you can't
tell anything is different once they are installed. The huge
trailing arms for the rear suspension are fascinating. They pivot
on the sheet metal gearbox on the inboard side and on plastic brackets
attached to the chassis on the outboard side. Theses are dry
joints with no bearings of any kind.
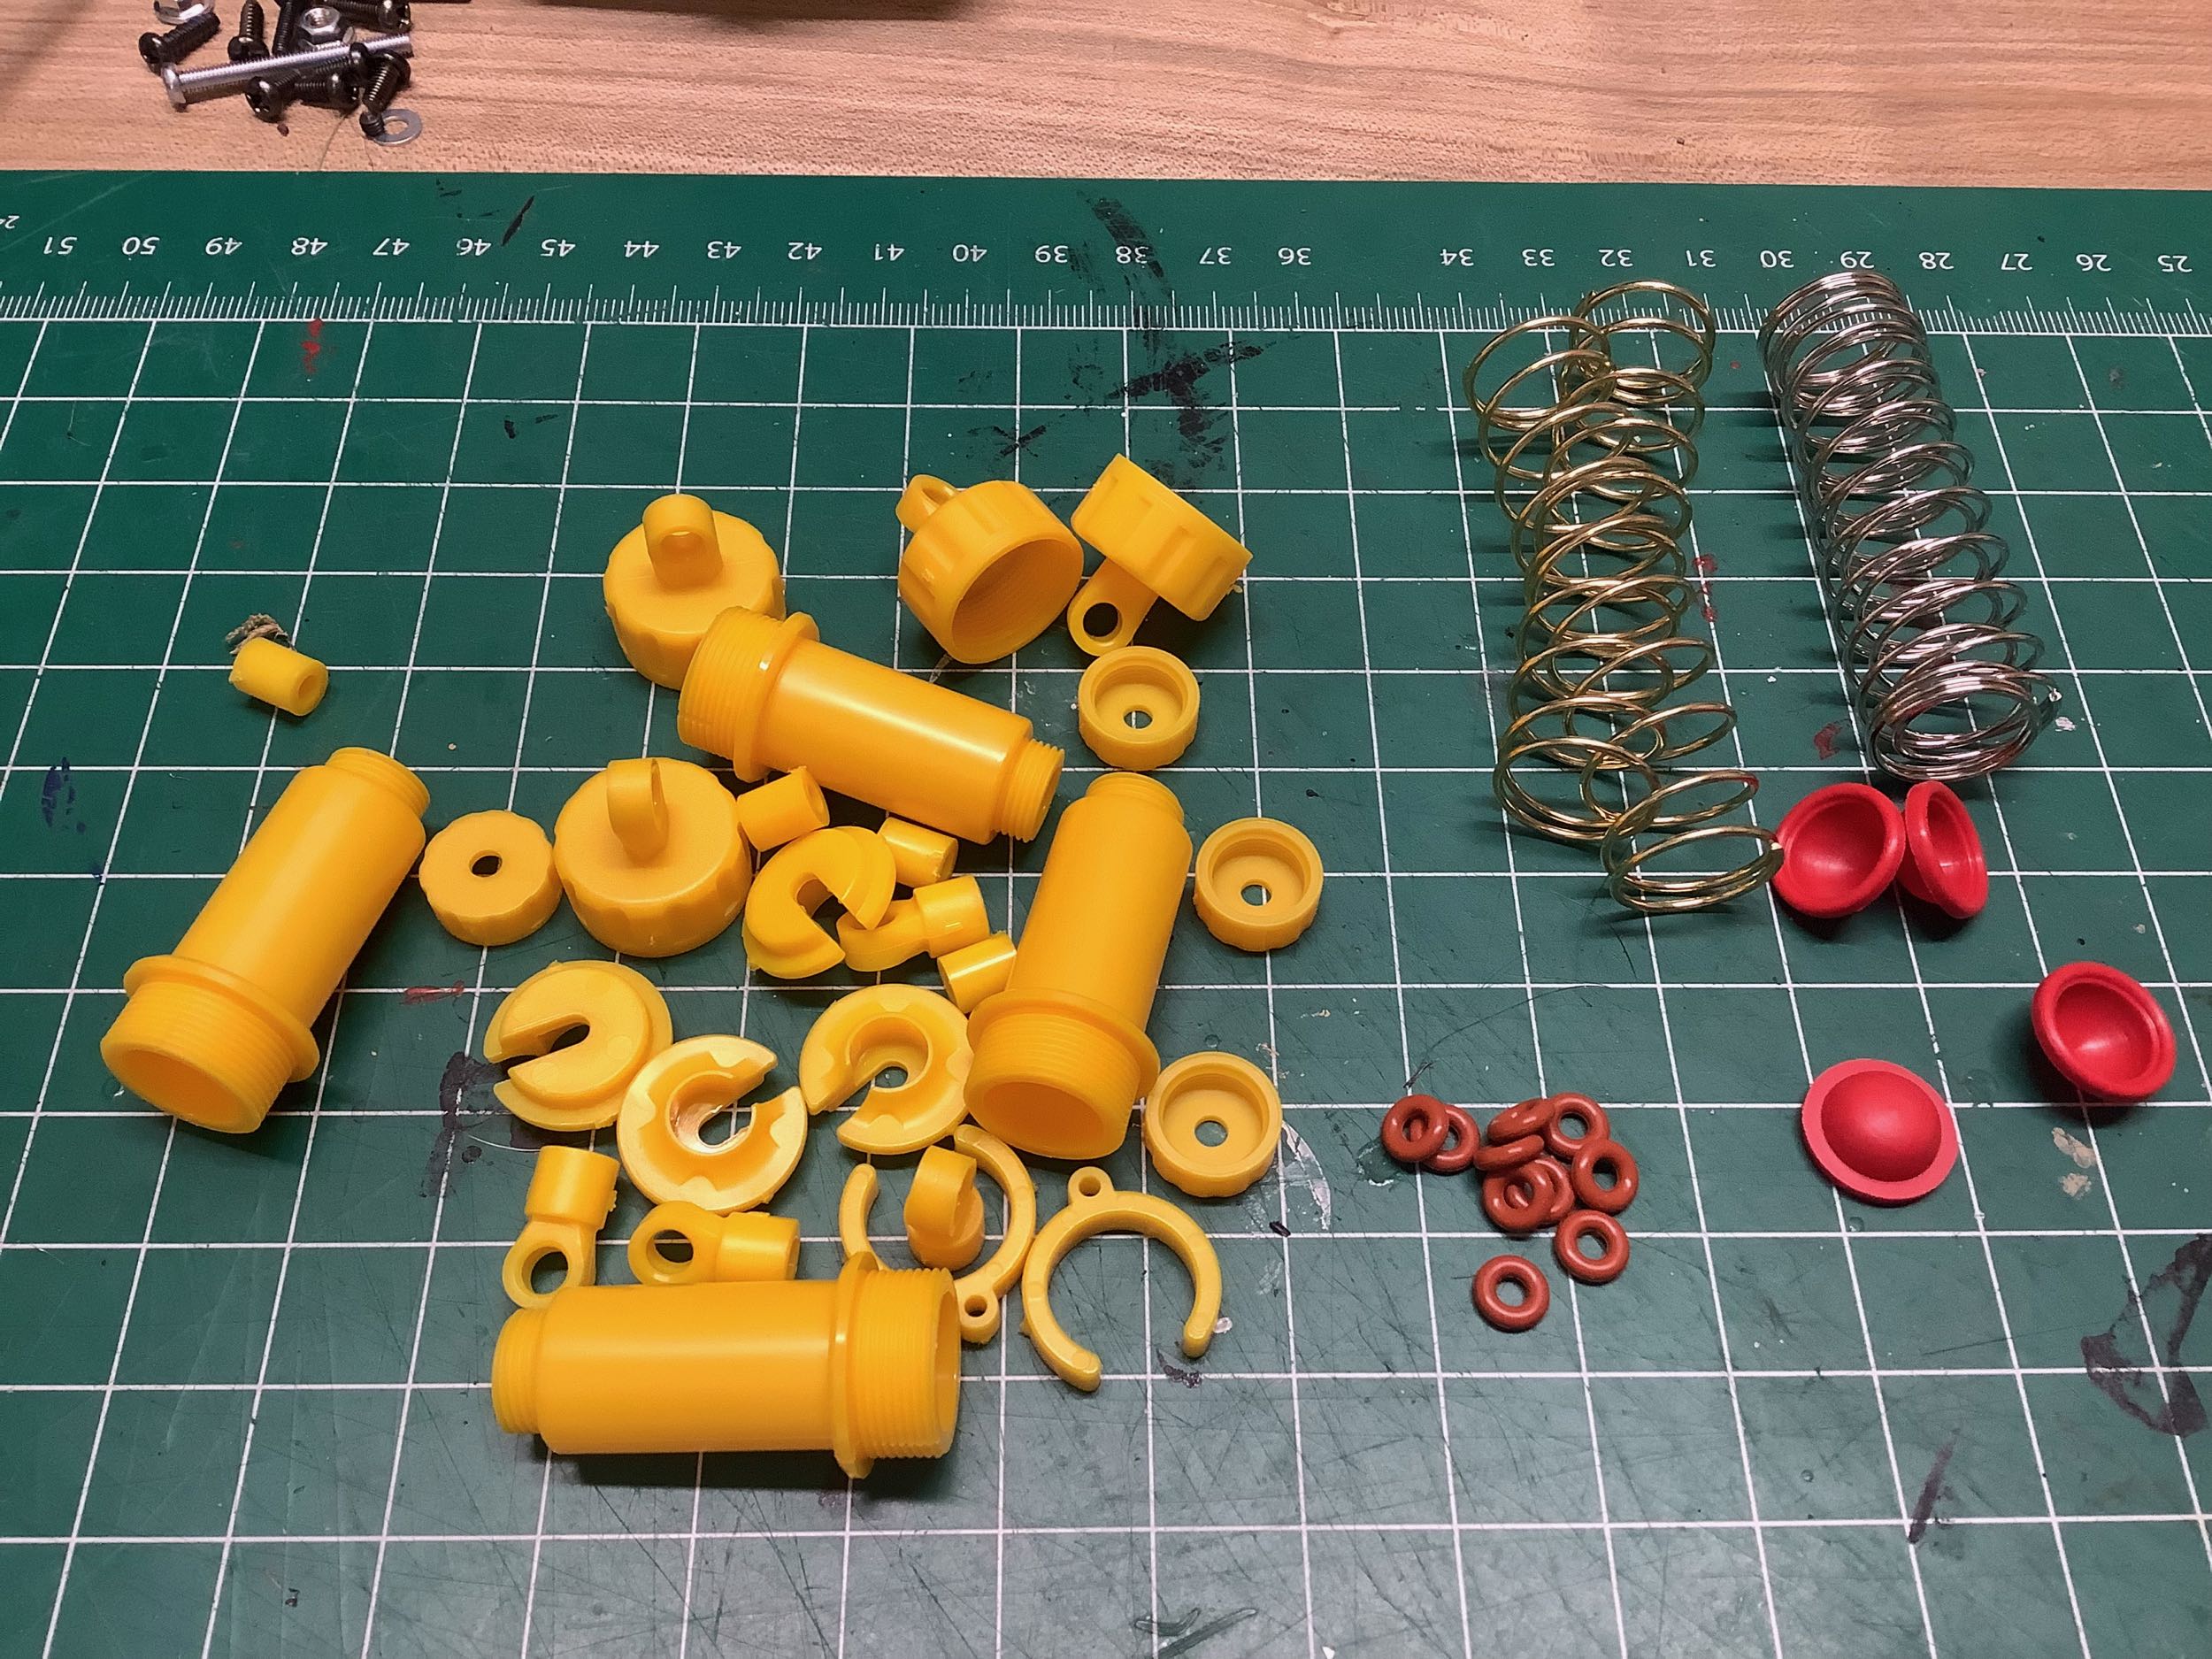
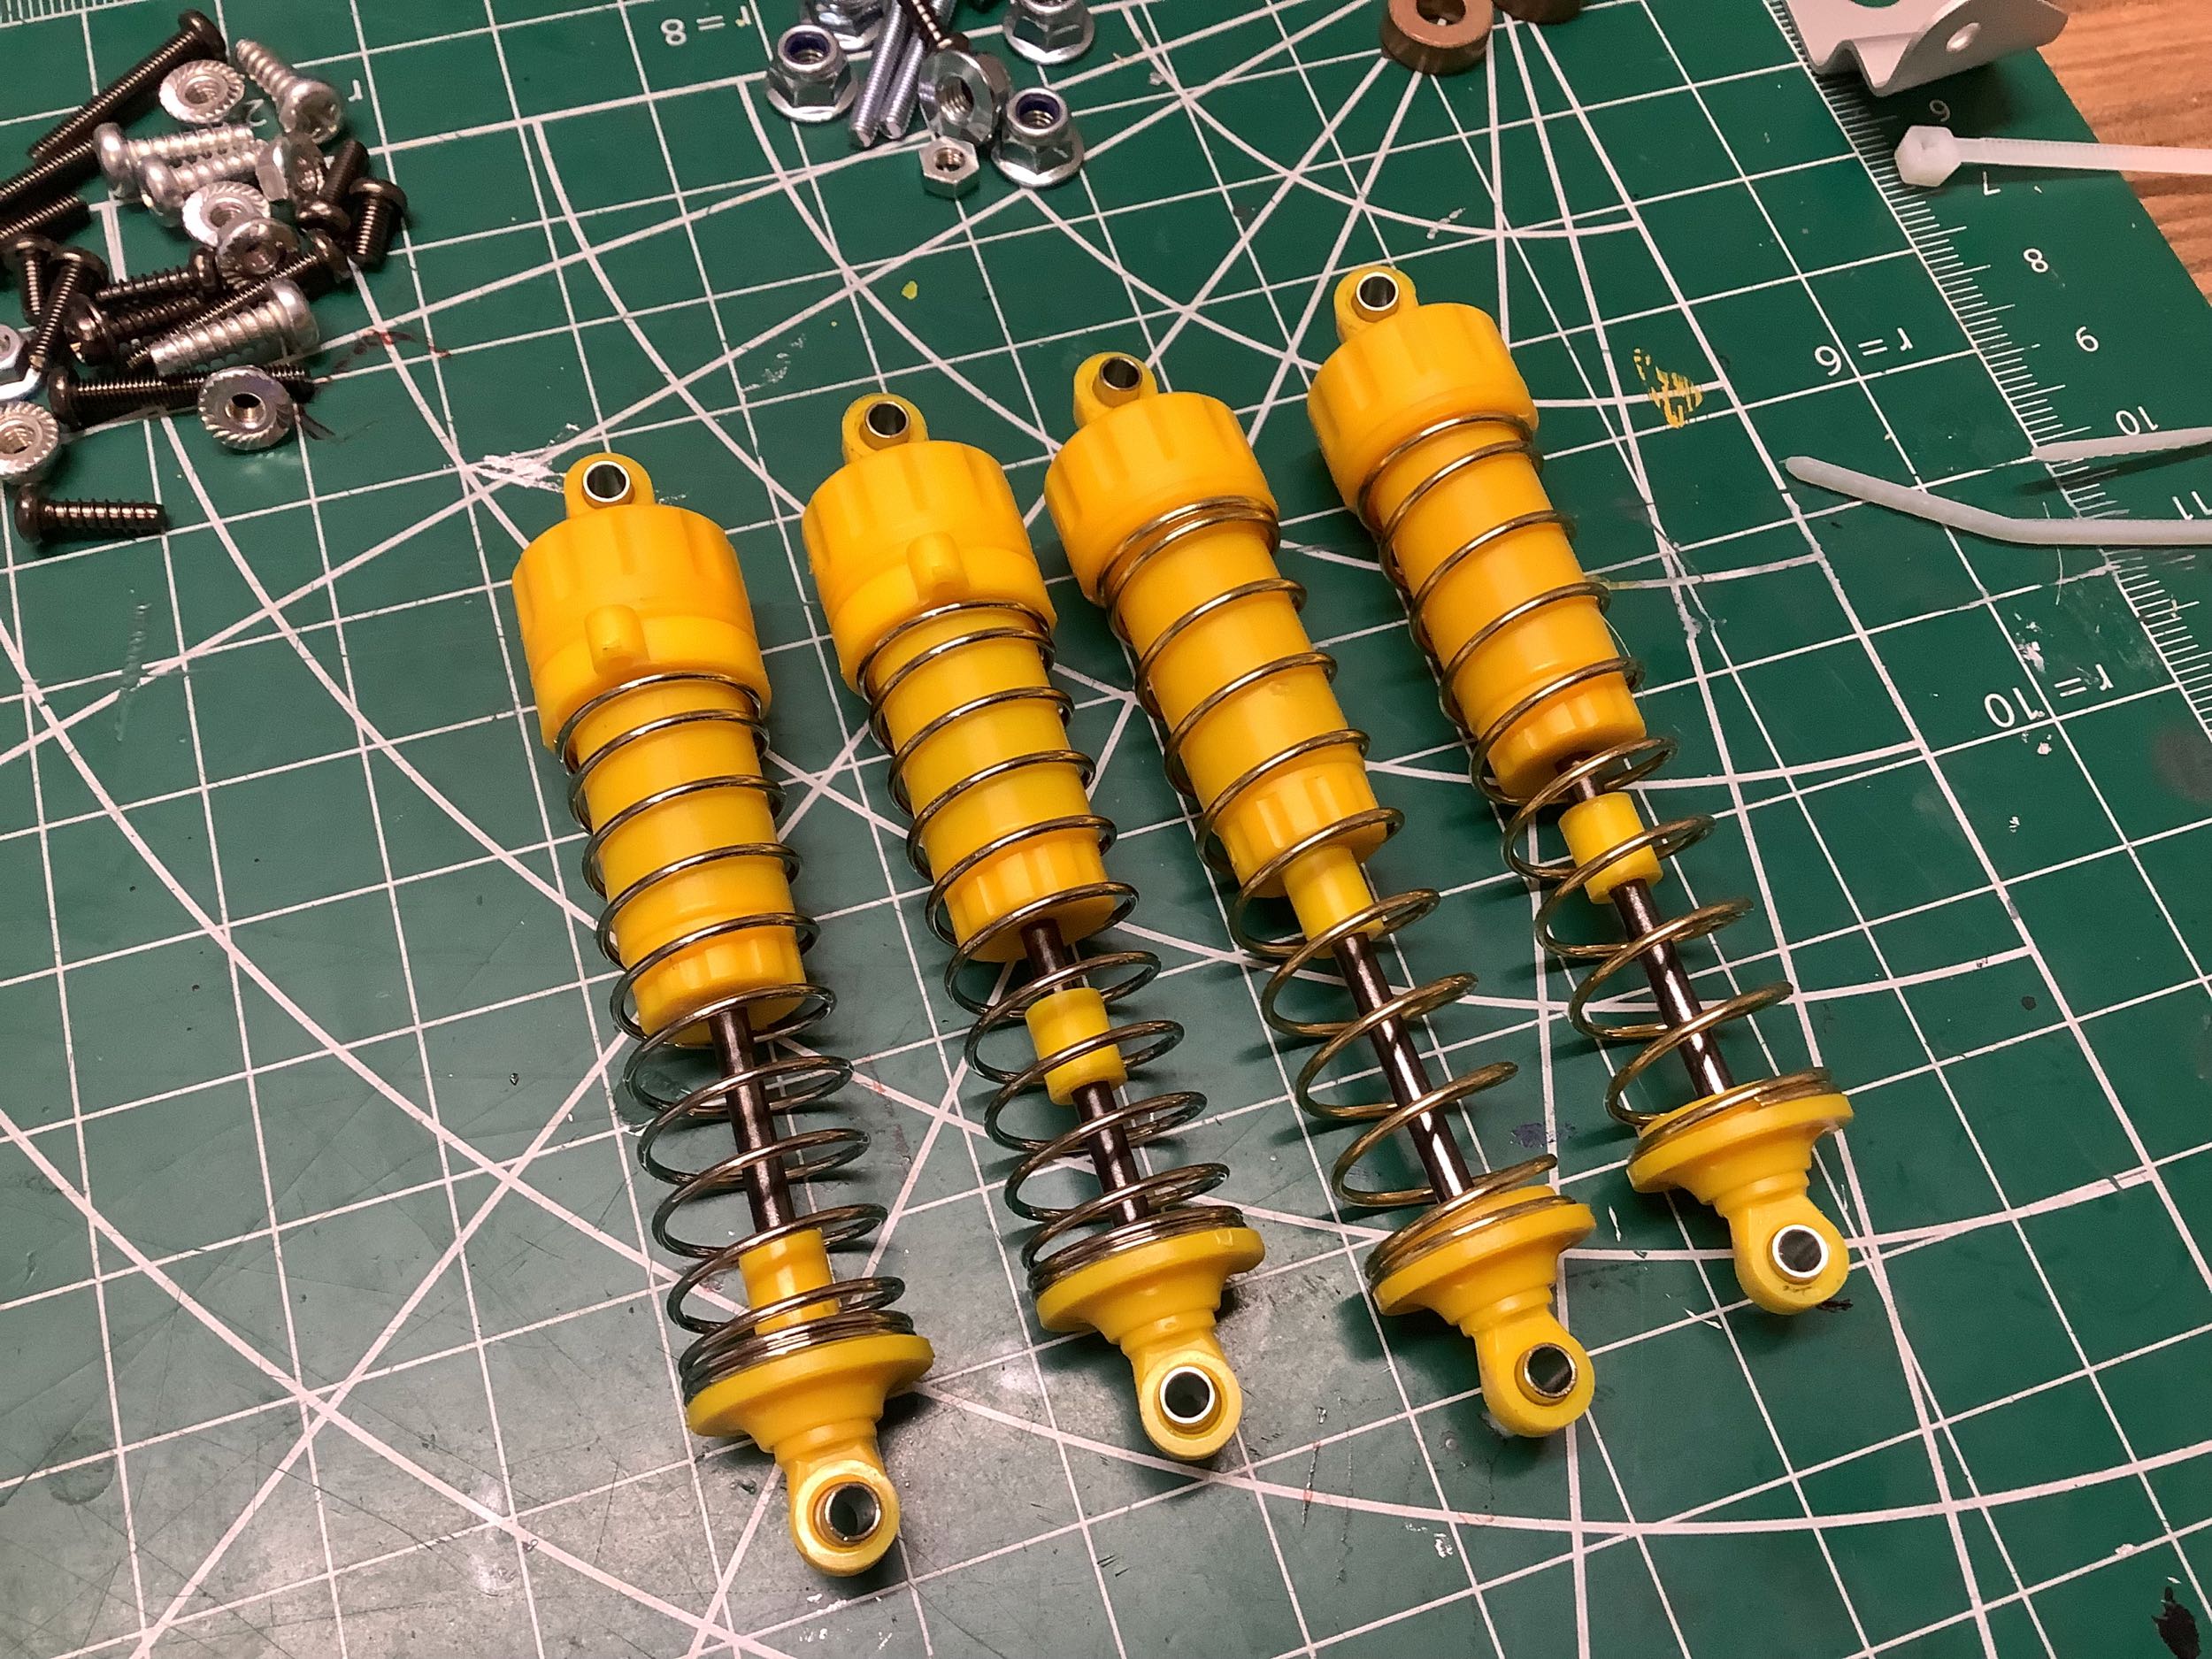
These are standard Tamiya CVA dampers. The re-re uses the modern
generation of these which are slightly different than the
originals. Front and rear are the same length but use different
springs.
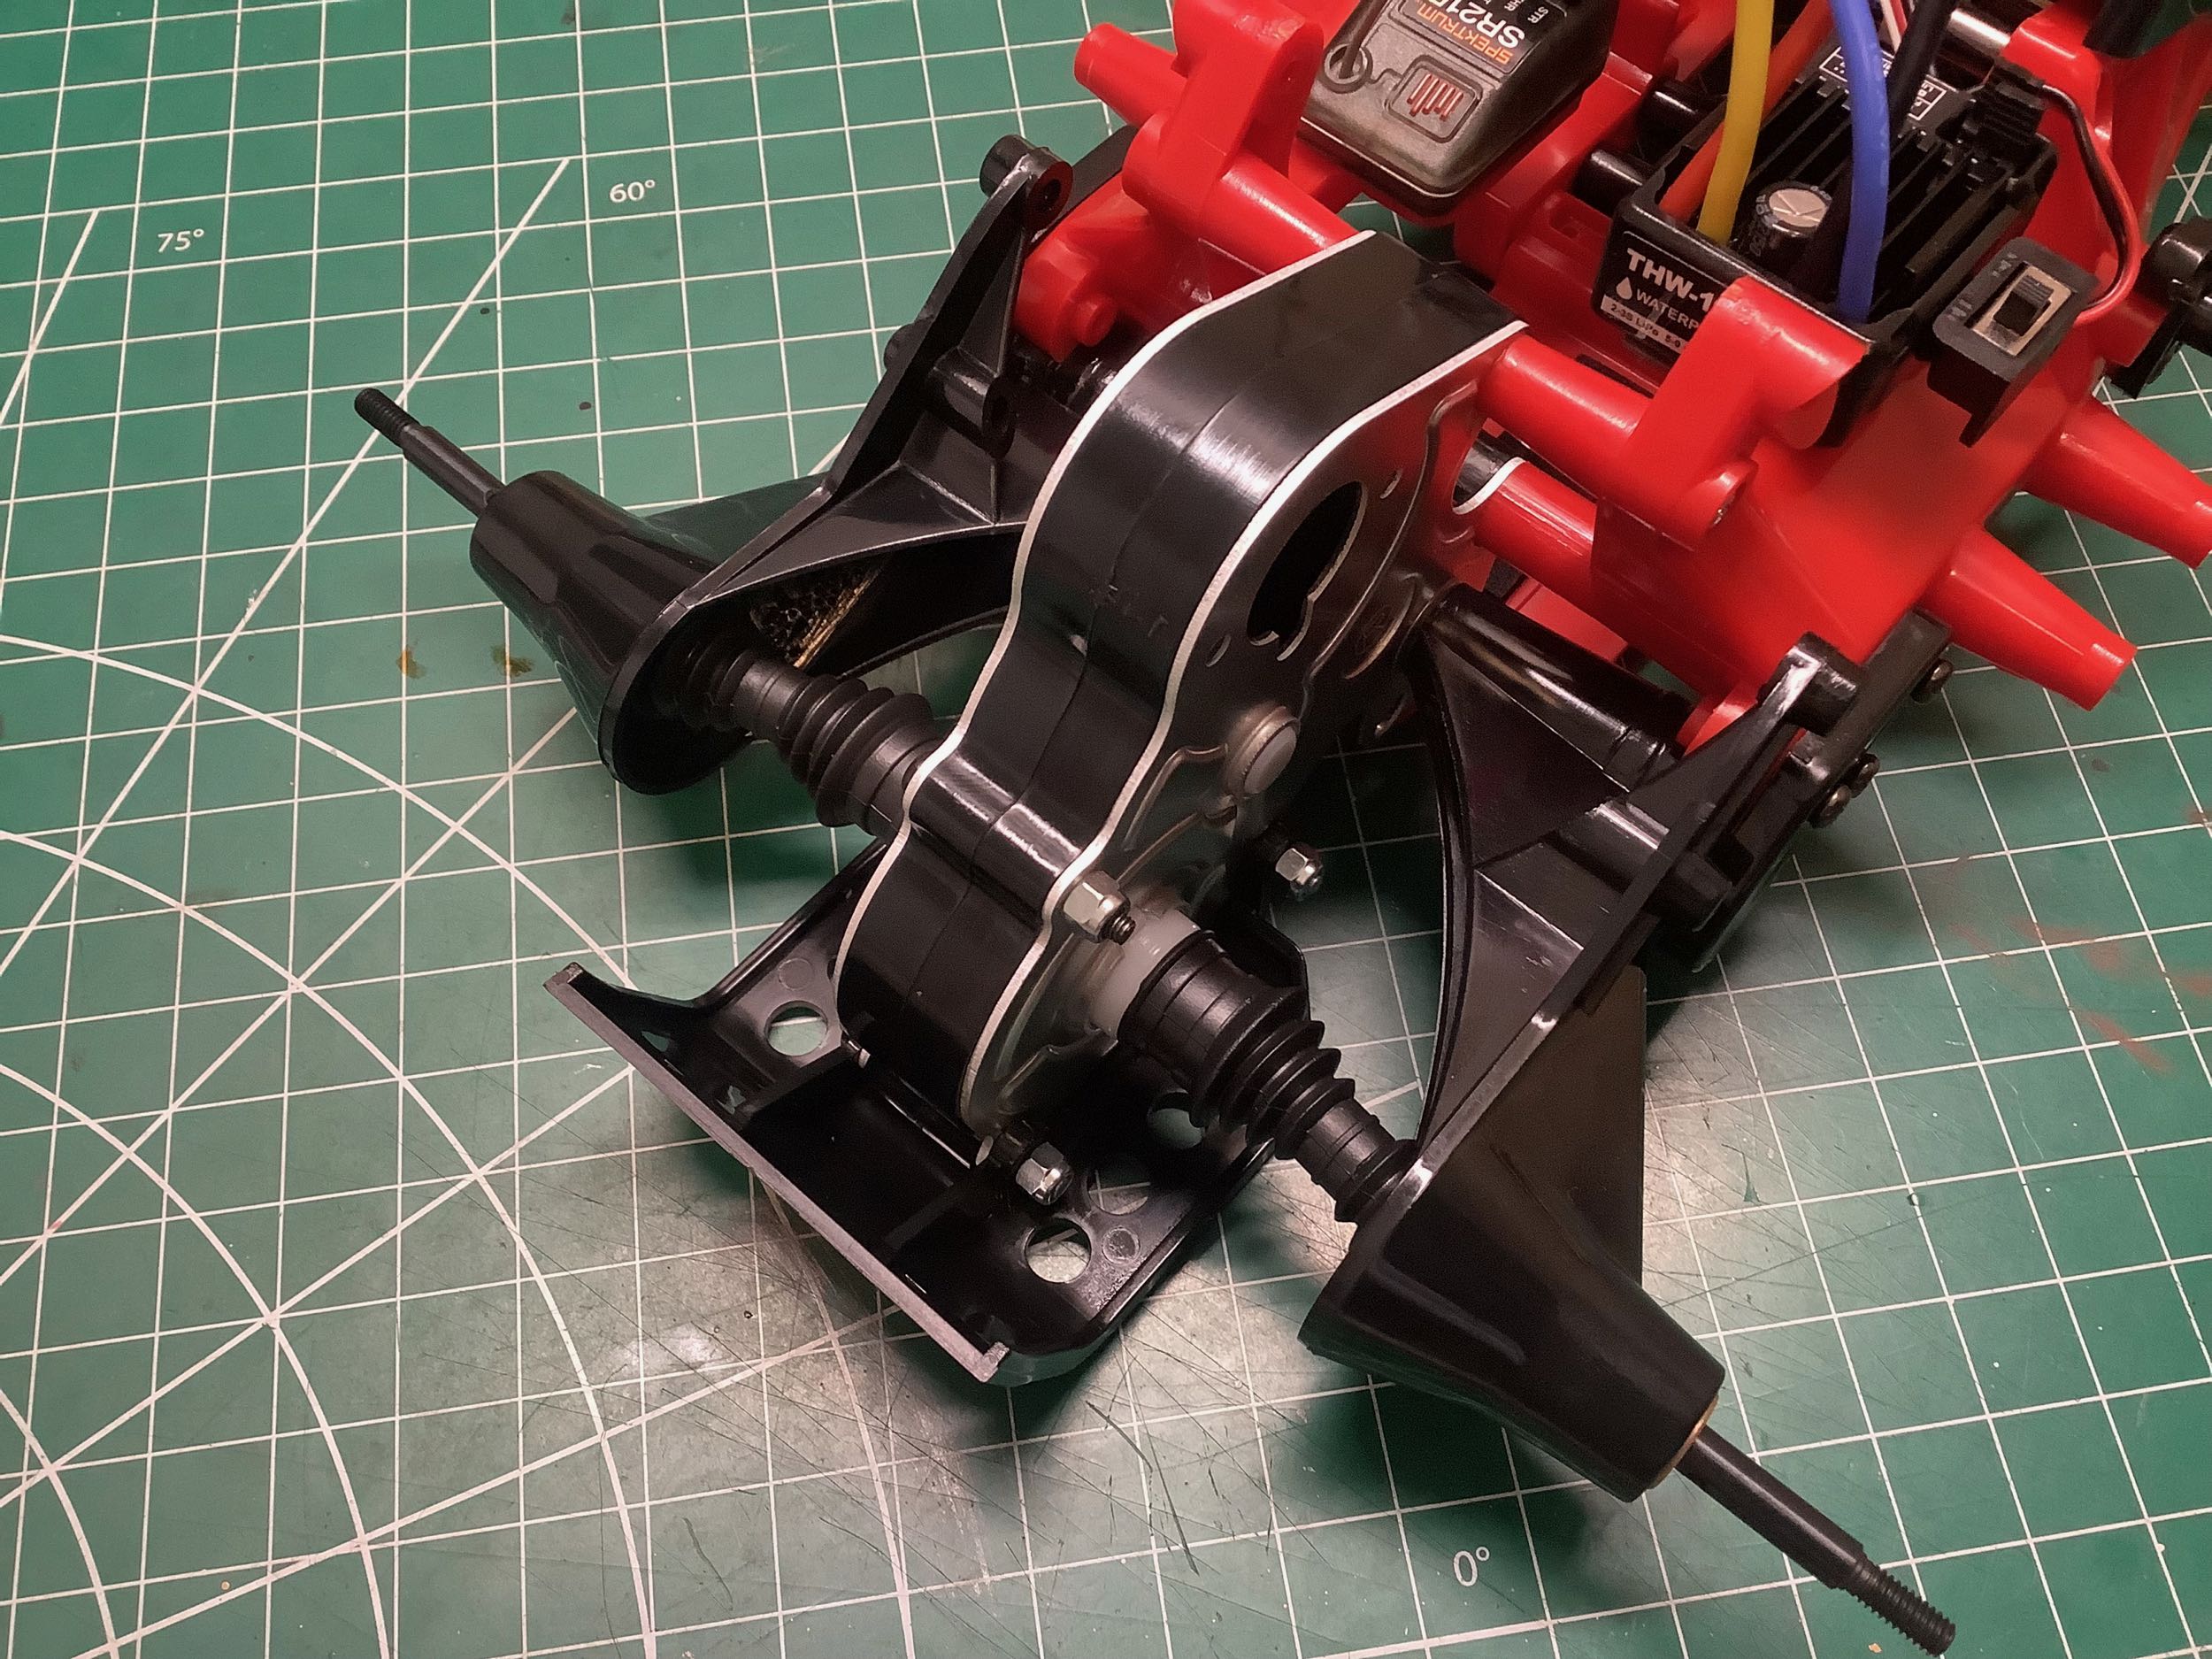
The front shocks are installed in a traditional vertical orientation,
but the rear shocks are installed longitudinally and attach to cranks on
the trailing arms.
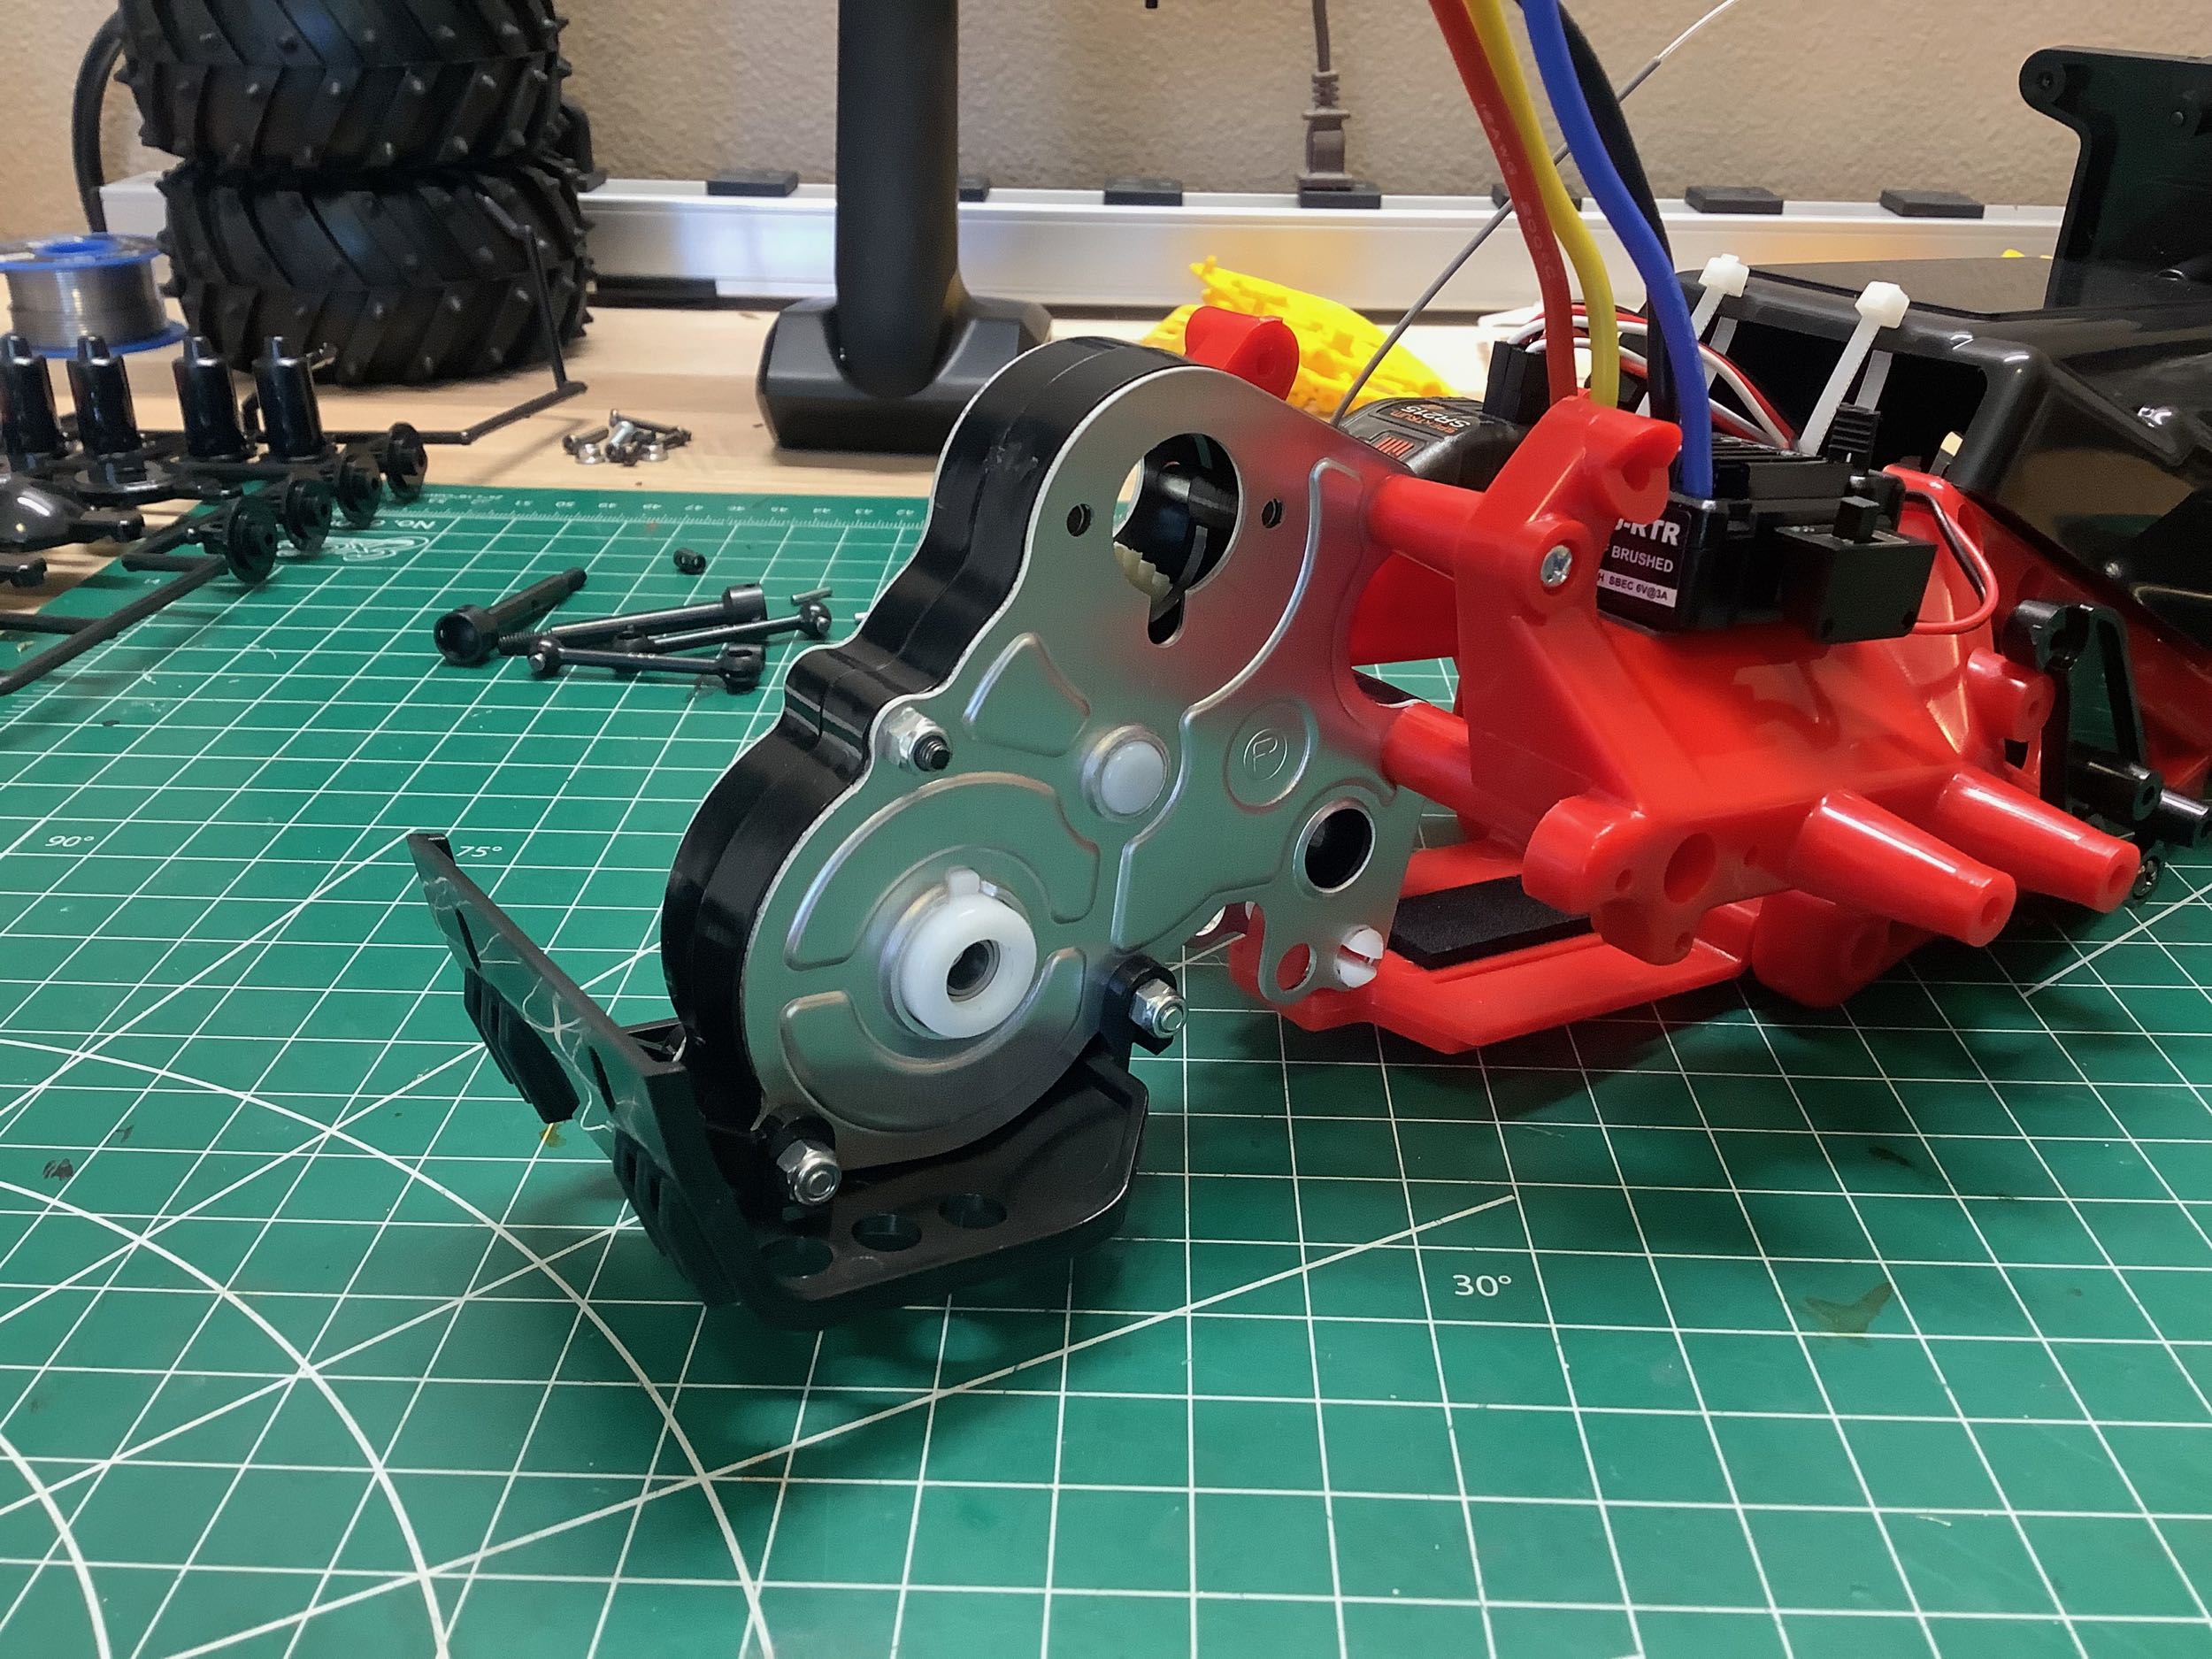
Now I can install the front bumper and a lower guard which will protect
the steering servo. On the right I've installed the standard
silver can motor and the rear body posts. The posts stick out
sideways and insert into holes in the side of the body which makes for a
much sturdier support than posts which stand upright all the way to the
body roof.
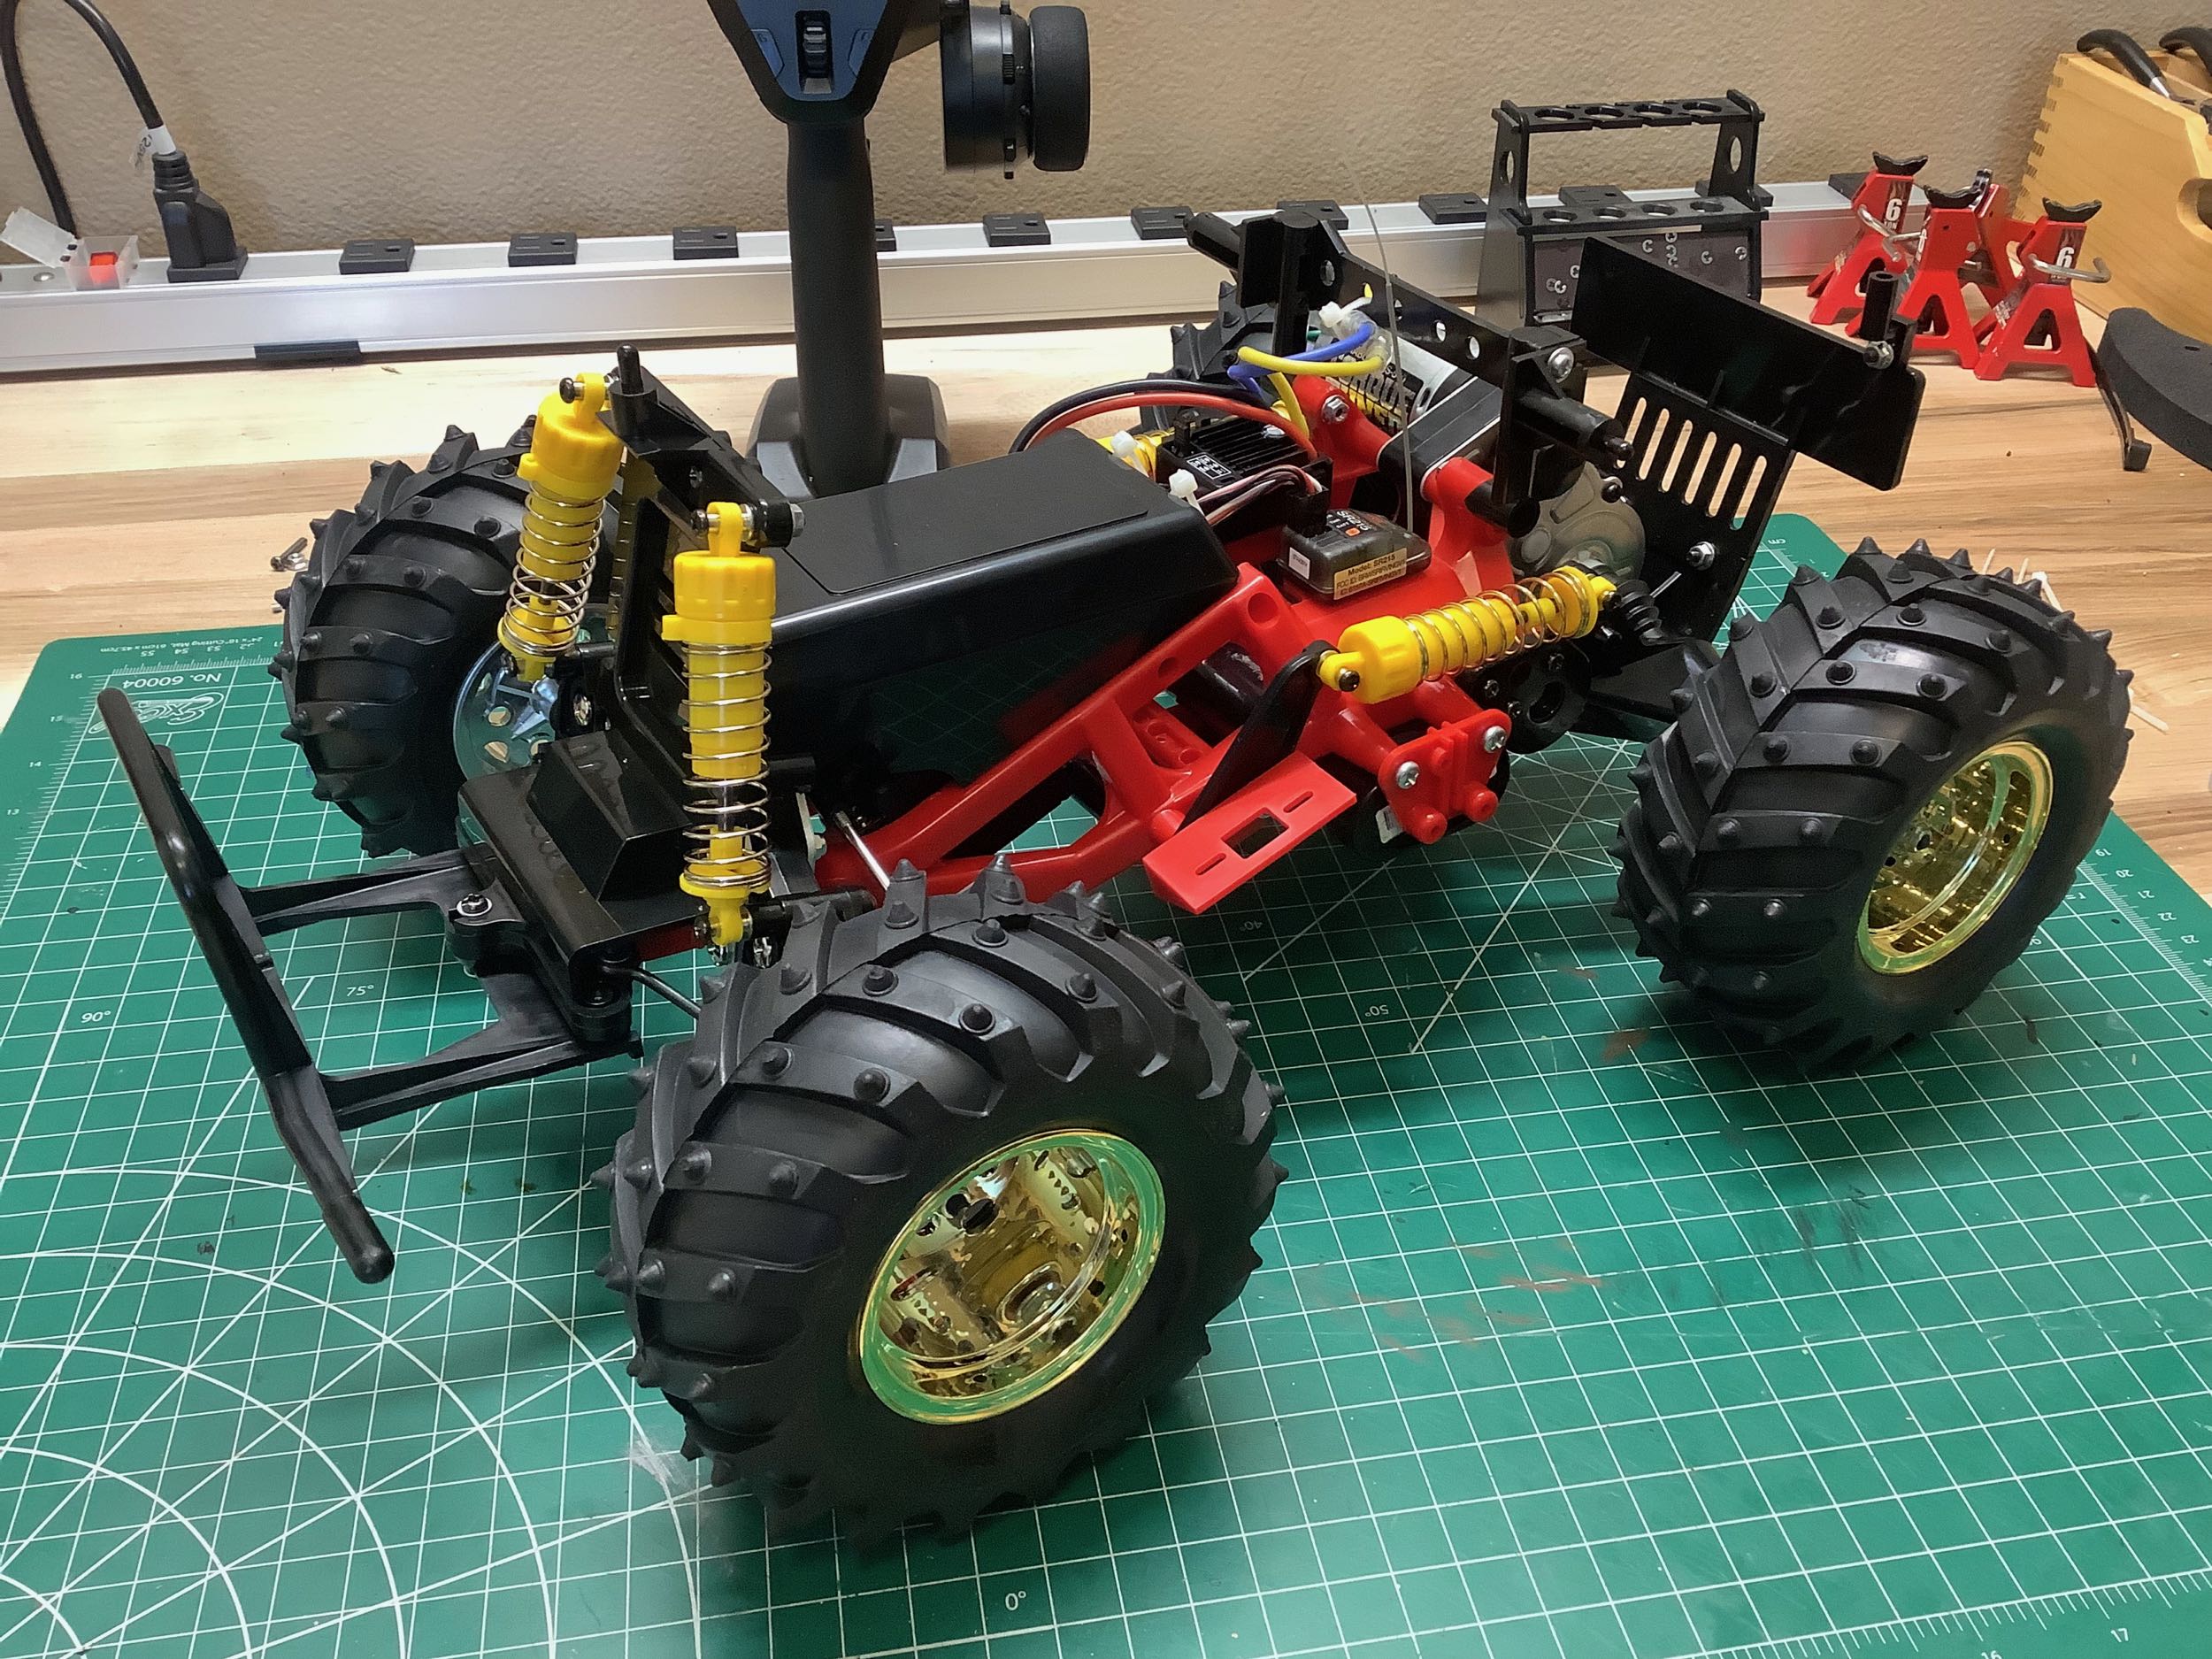
Here is the completed chassis with those beautiful gold wheels
installed. The tires are the same shape and tread as the Blackfoot
but with adder circular pins.
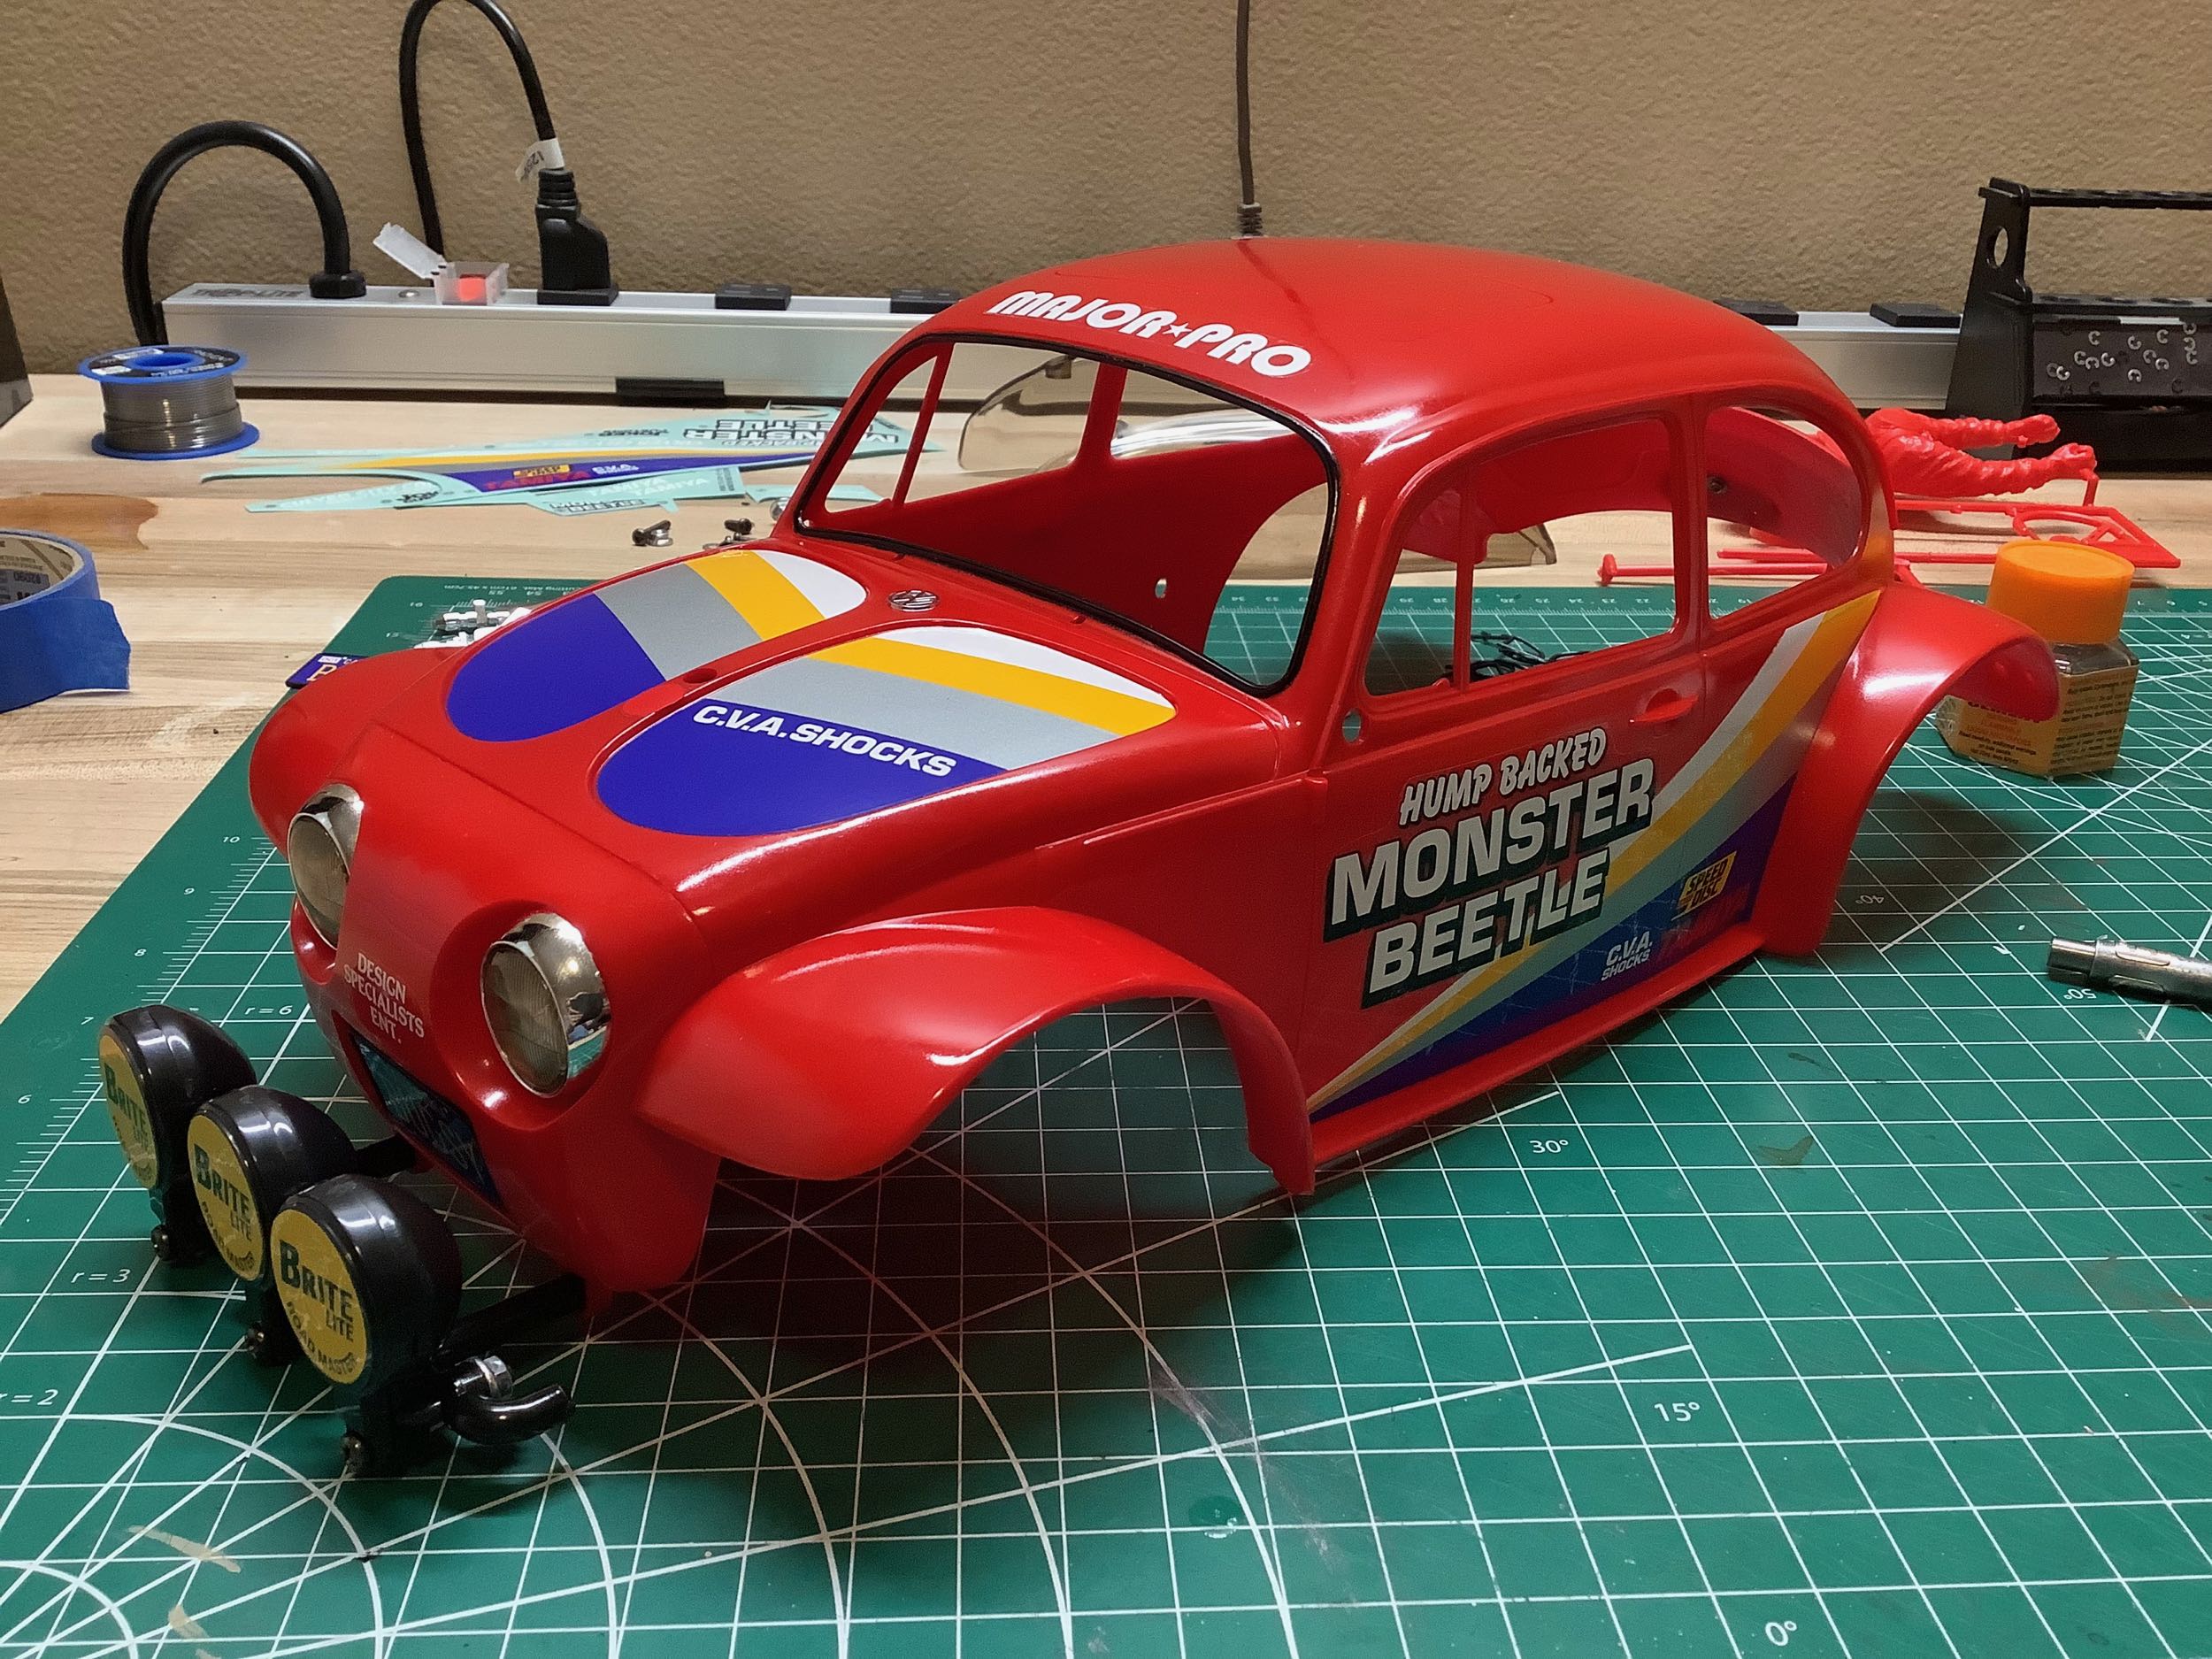
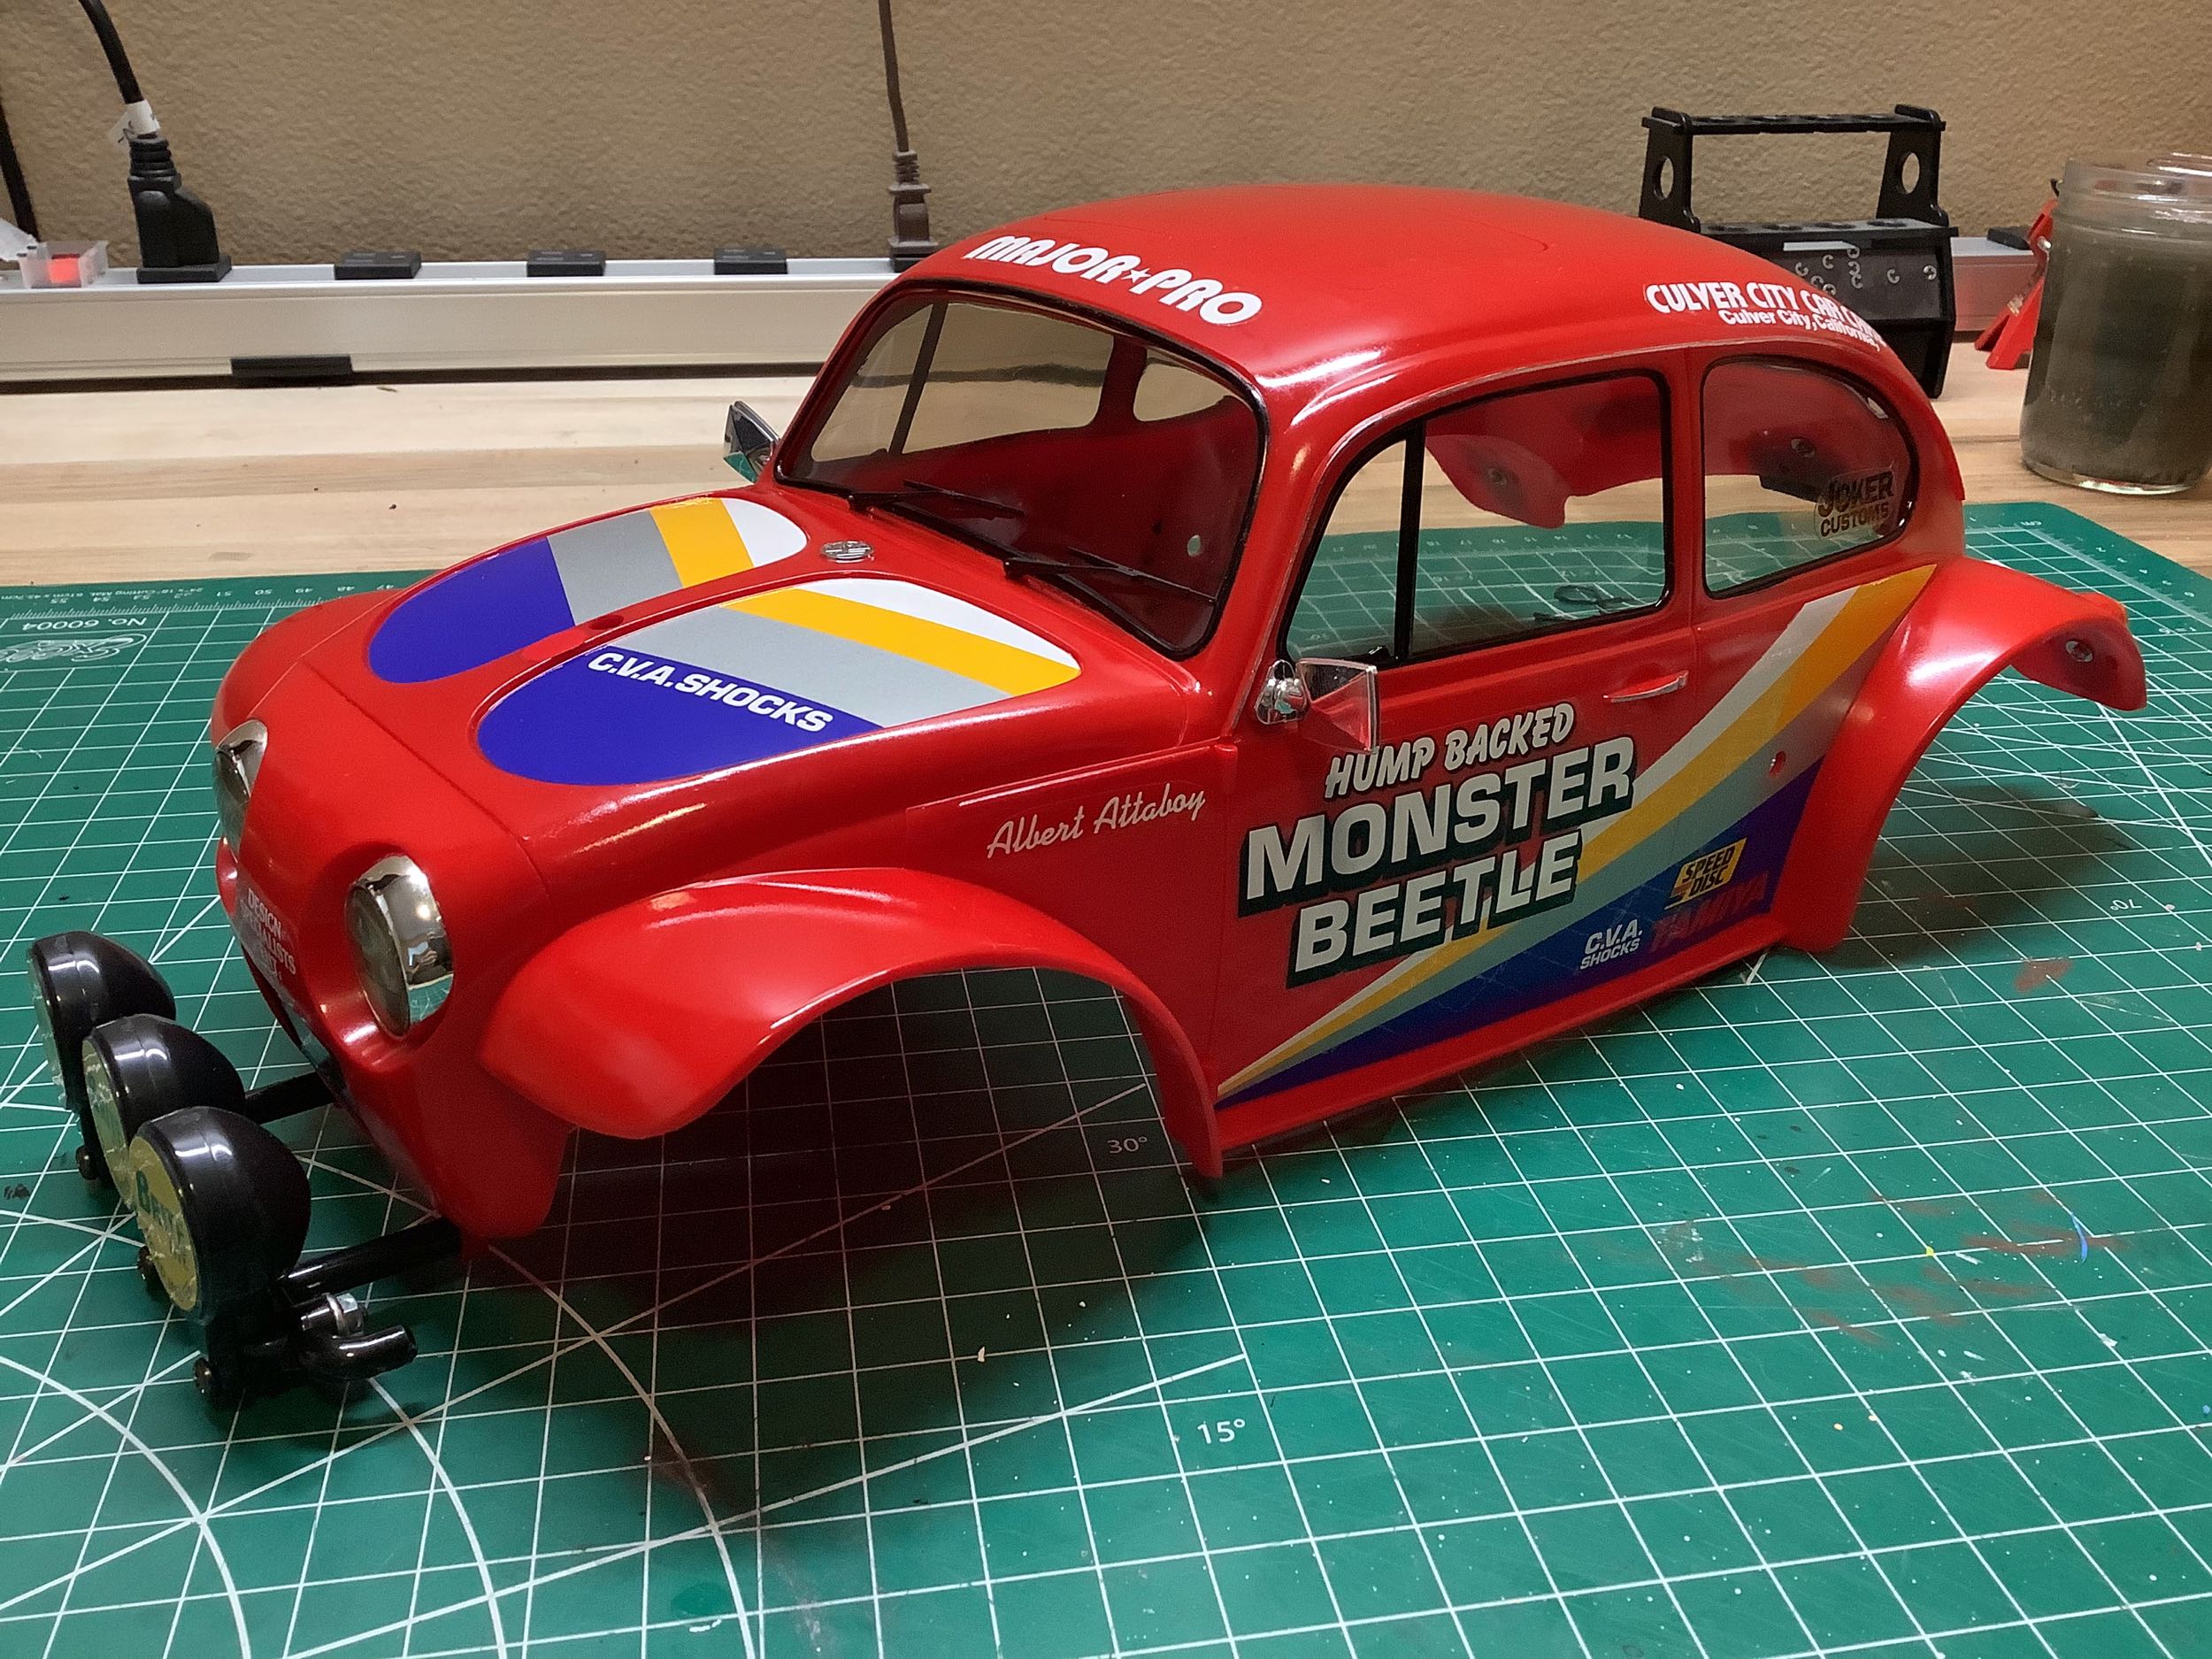
I started by spraying the whole body in Italian red. It is
molded in red so painting is not strictly necessary, but it looks a lot
better. The clear headlight lenses have chrome buckets behind
them, but there is no provision for adding actual working
lighting. On the left I've begun to add the stickers and also
painted the black molding around the front window. This is tedious
word. On the right I've added the black around the side window
openings and also installed the side mirrors, wipers, and tinted
windows.
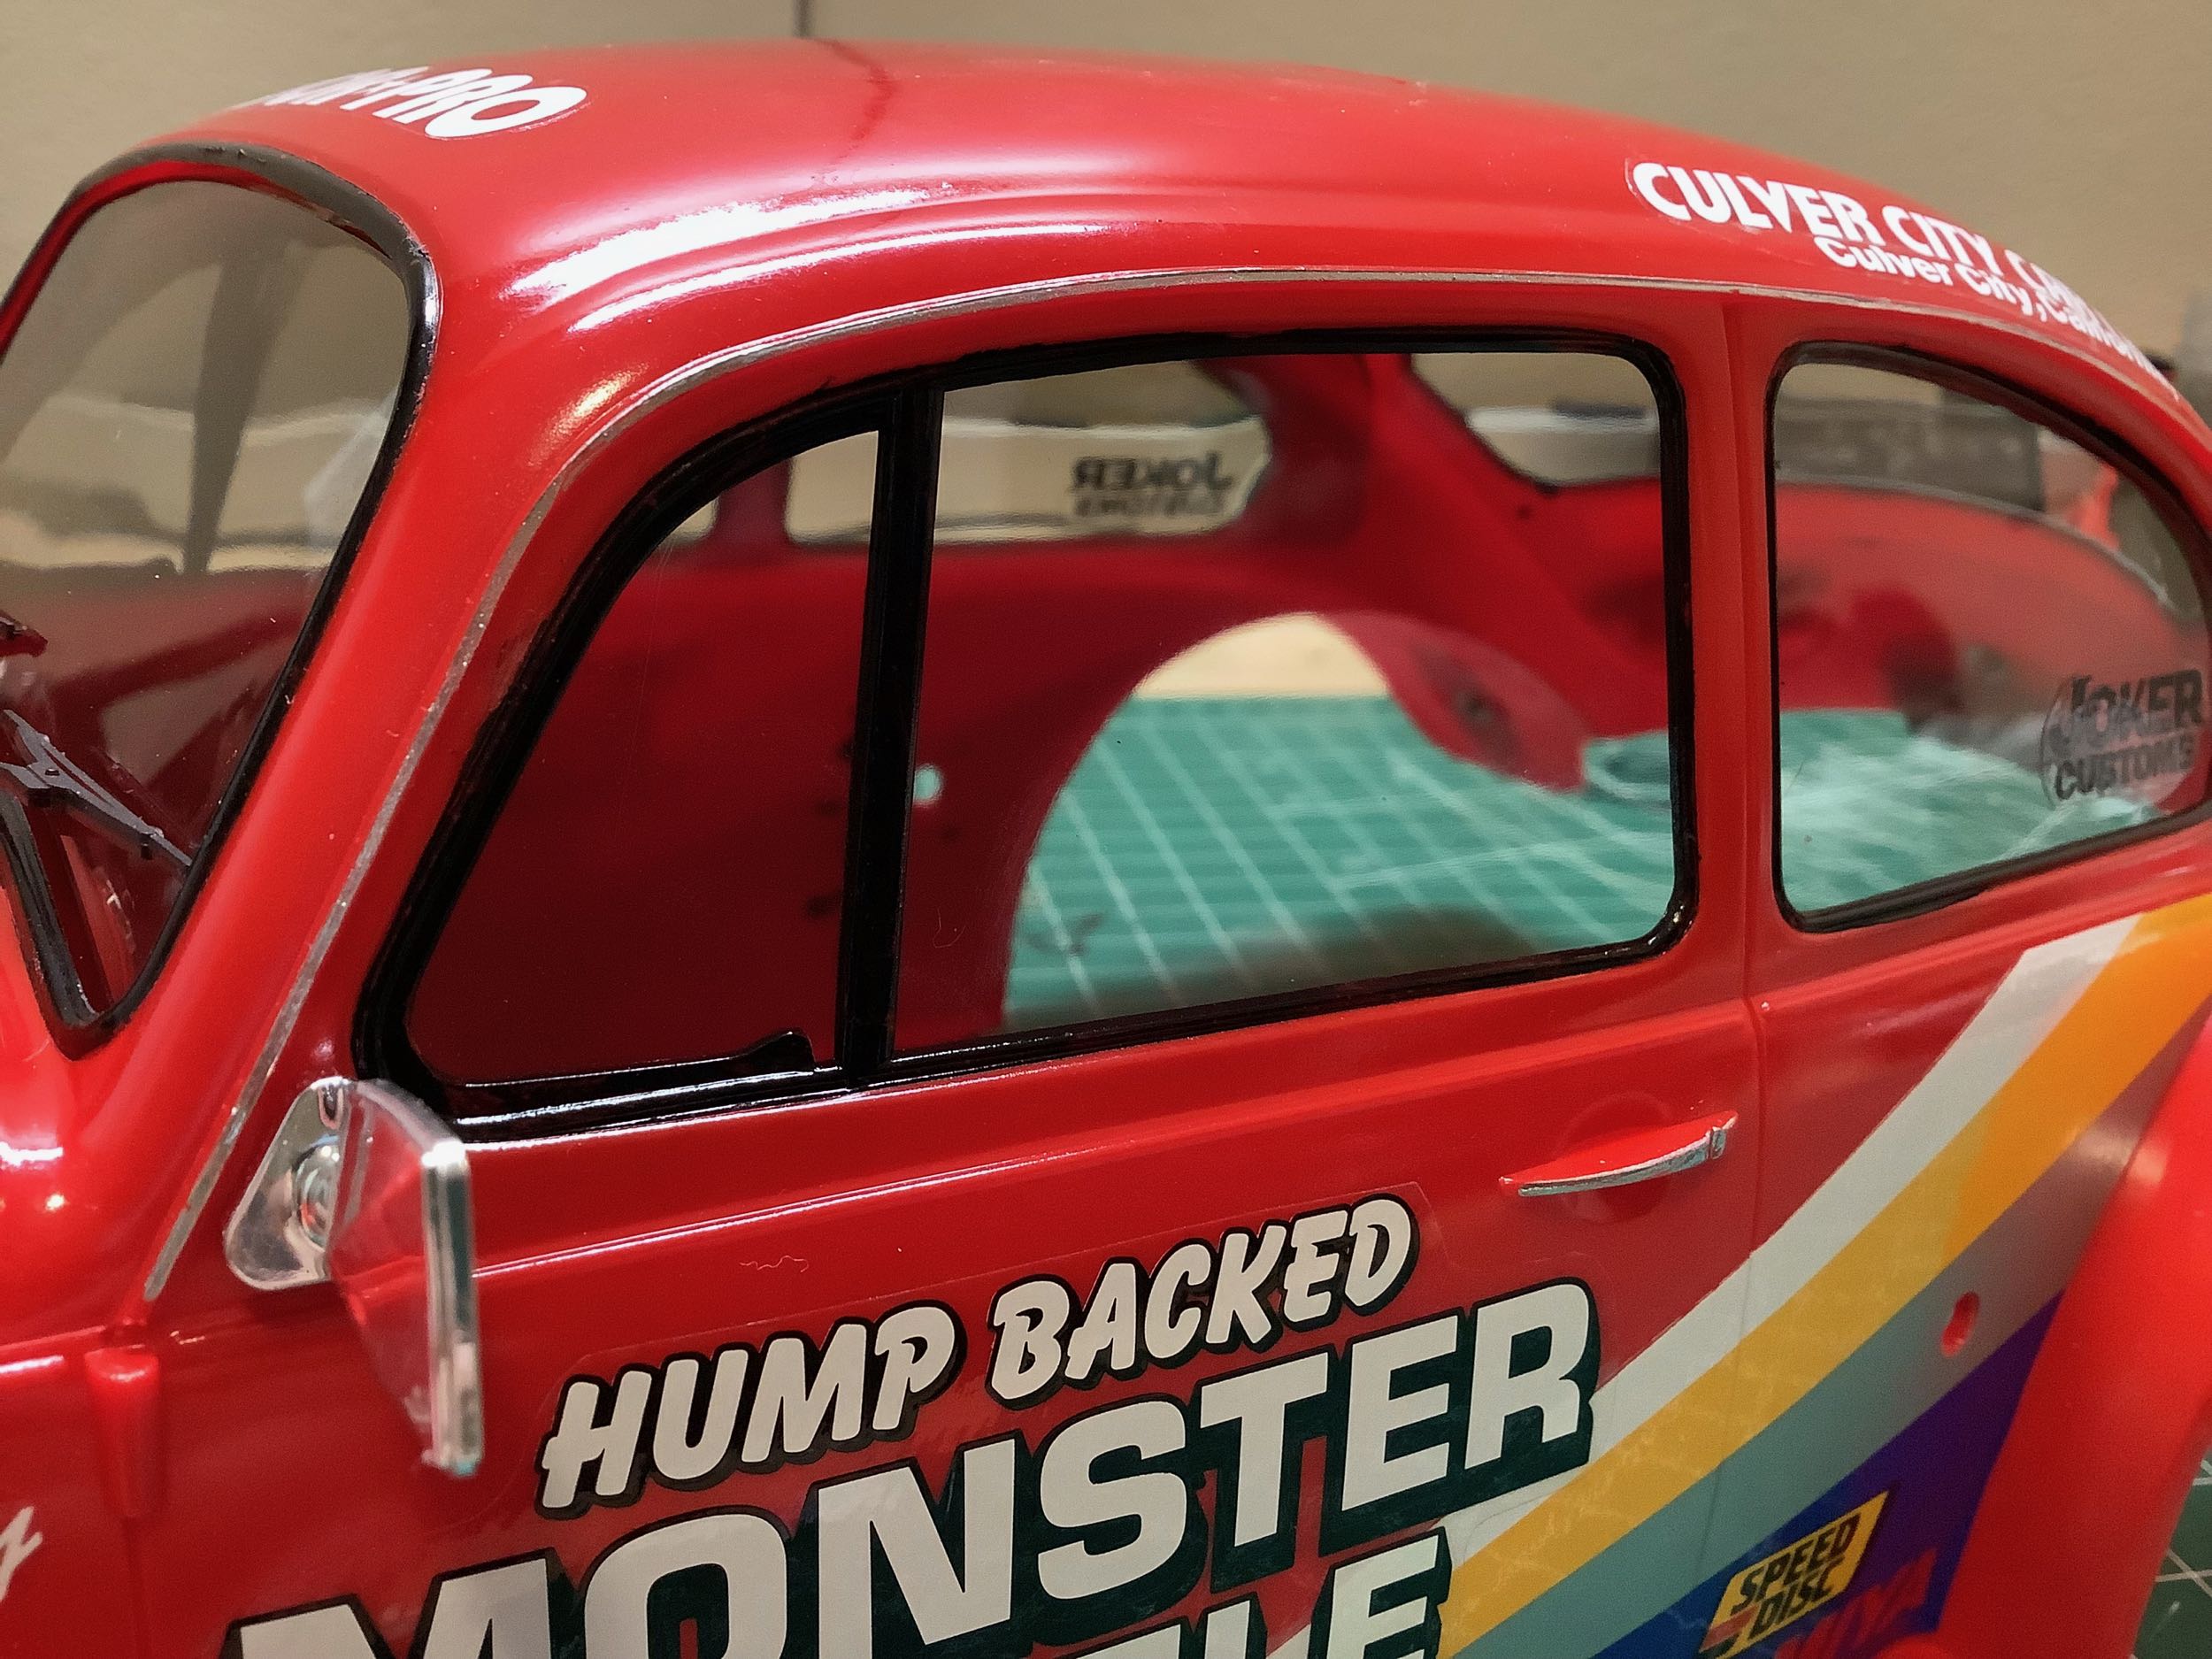
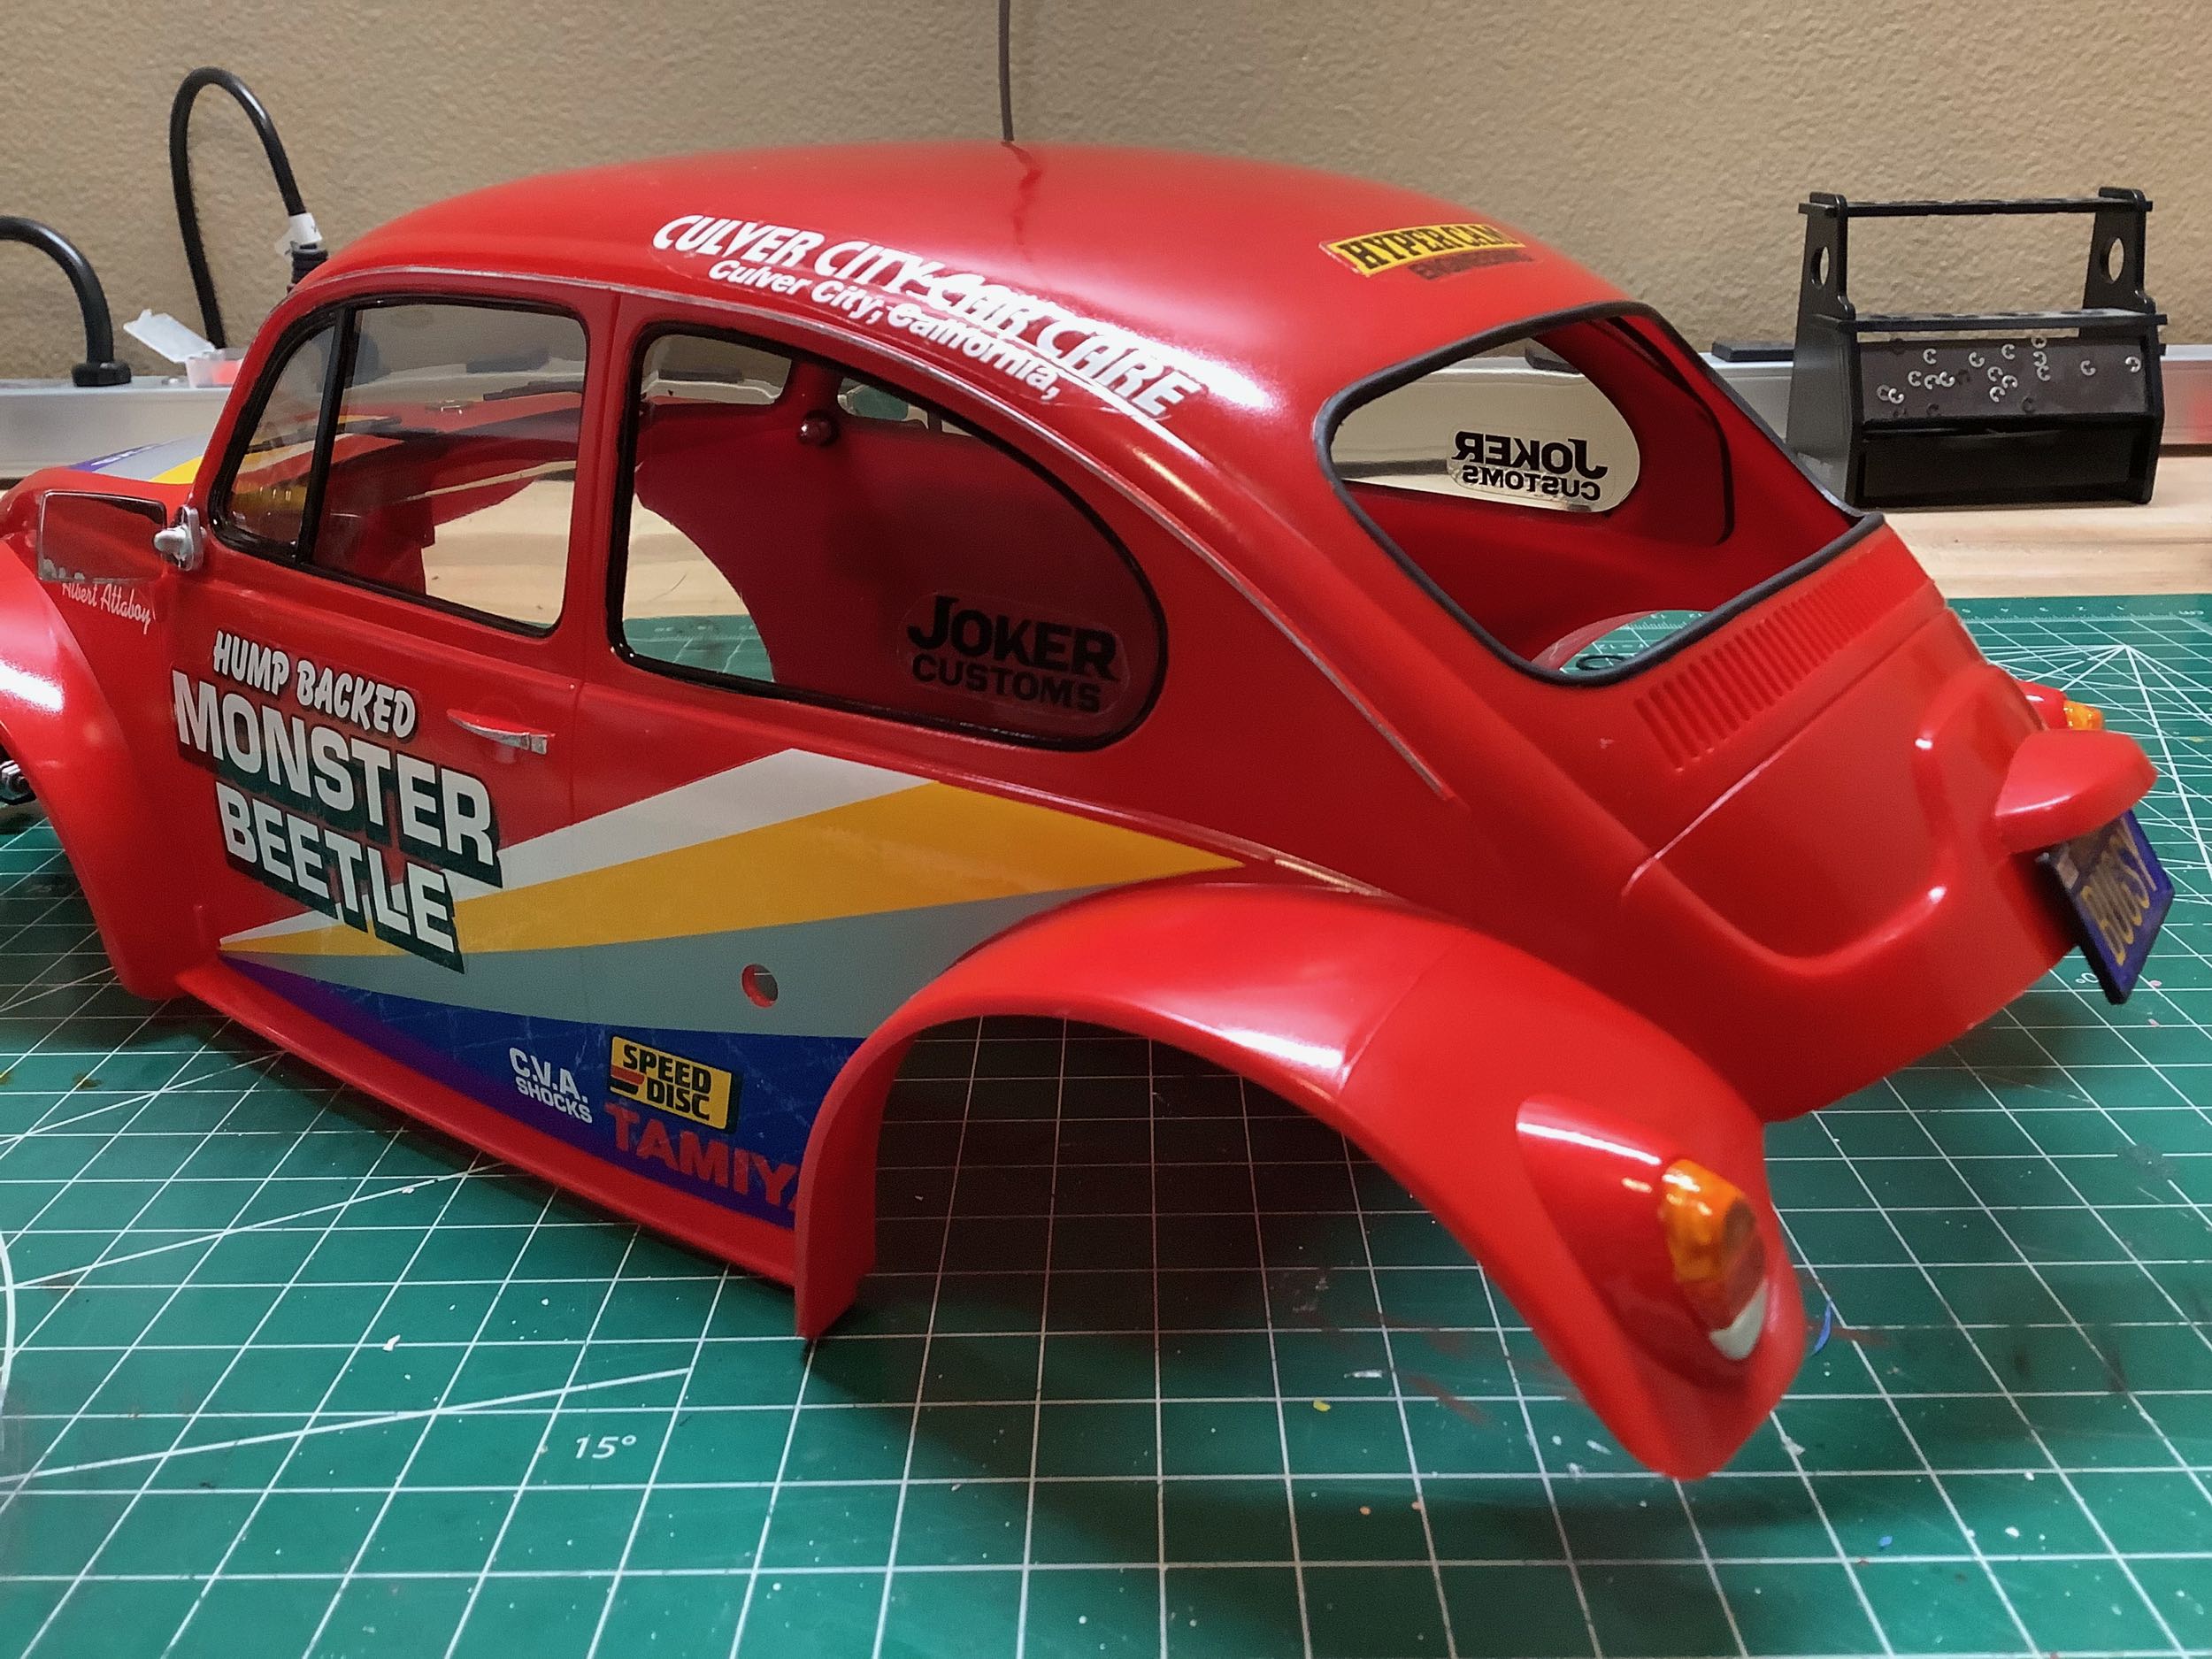
Here are some closer views of the painting I did around the
windows. I also painted the rain gutter chrome. It is a
subtle effect, but it looks nice once you see it. The tail lights
were a real pain to paint.
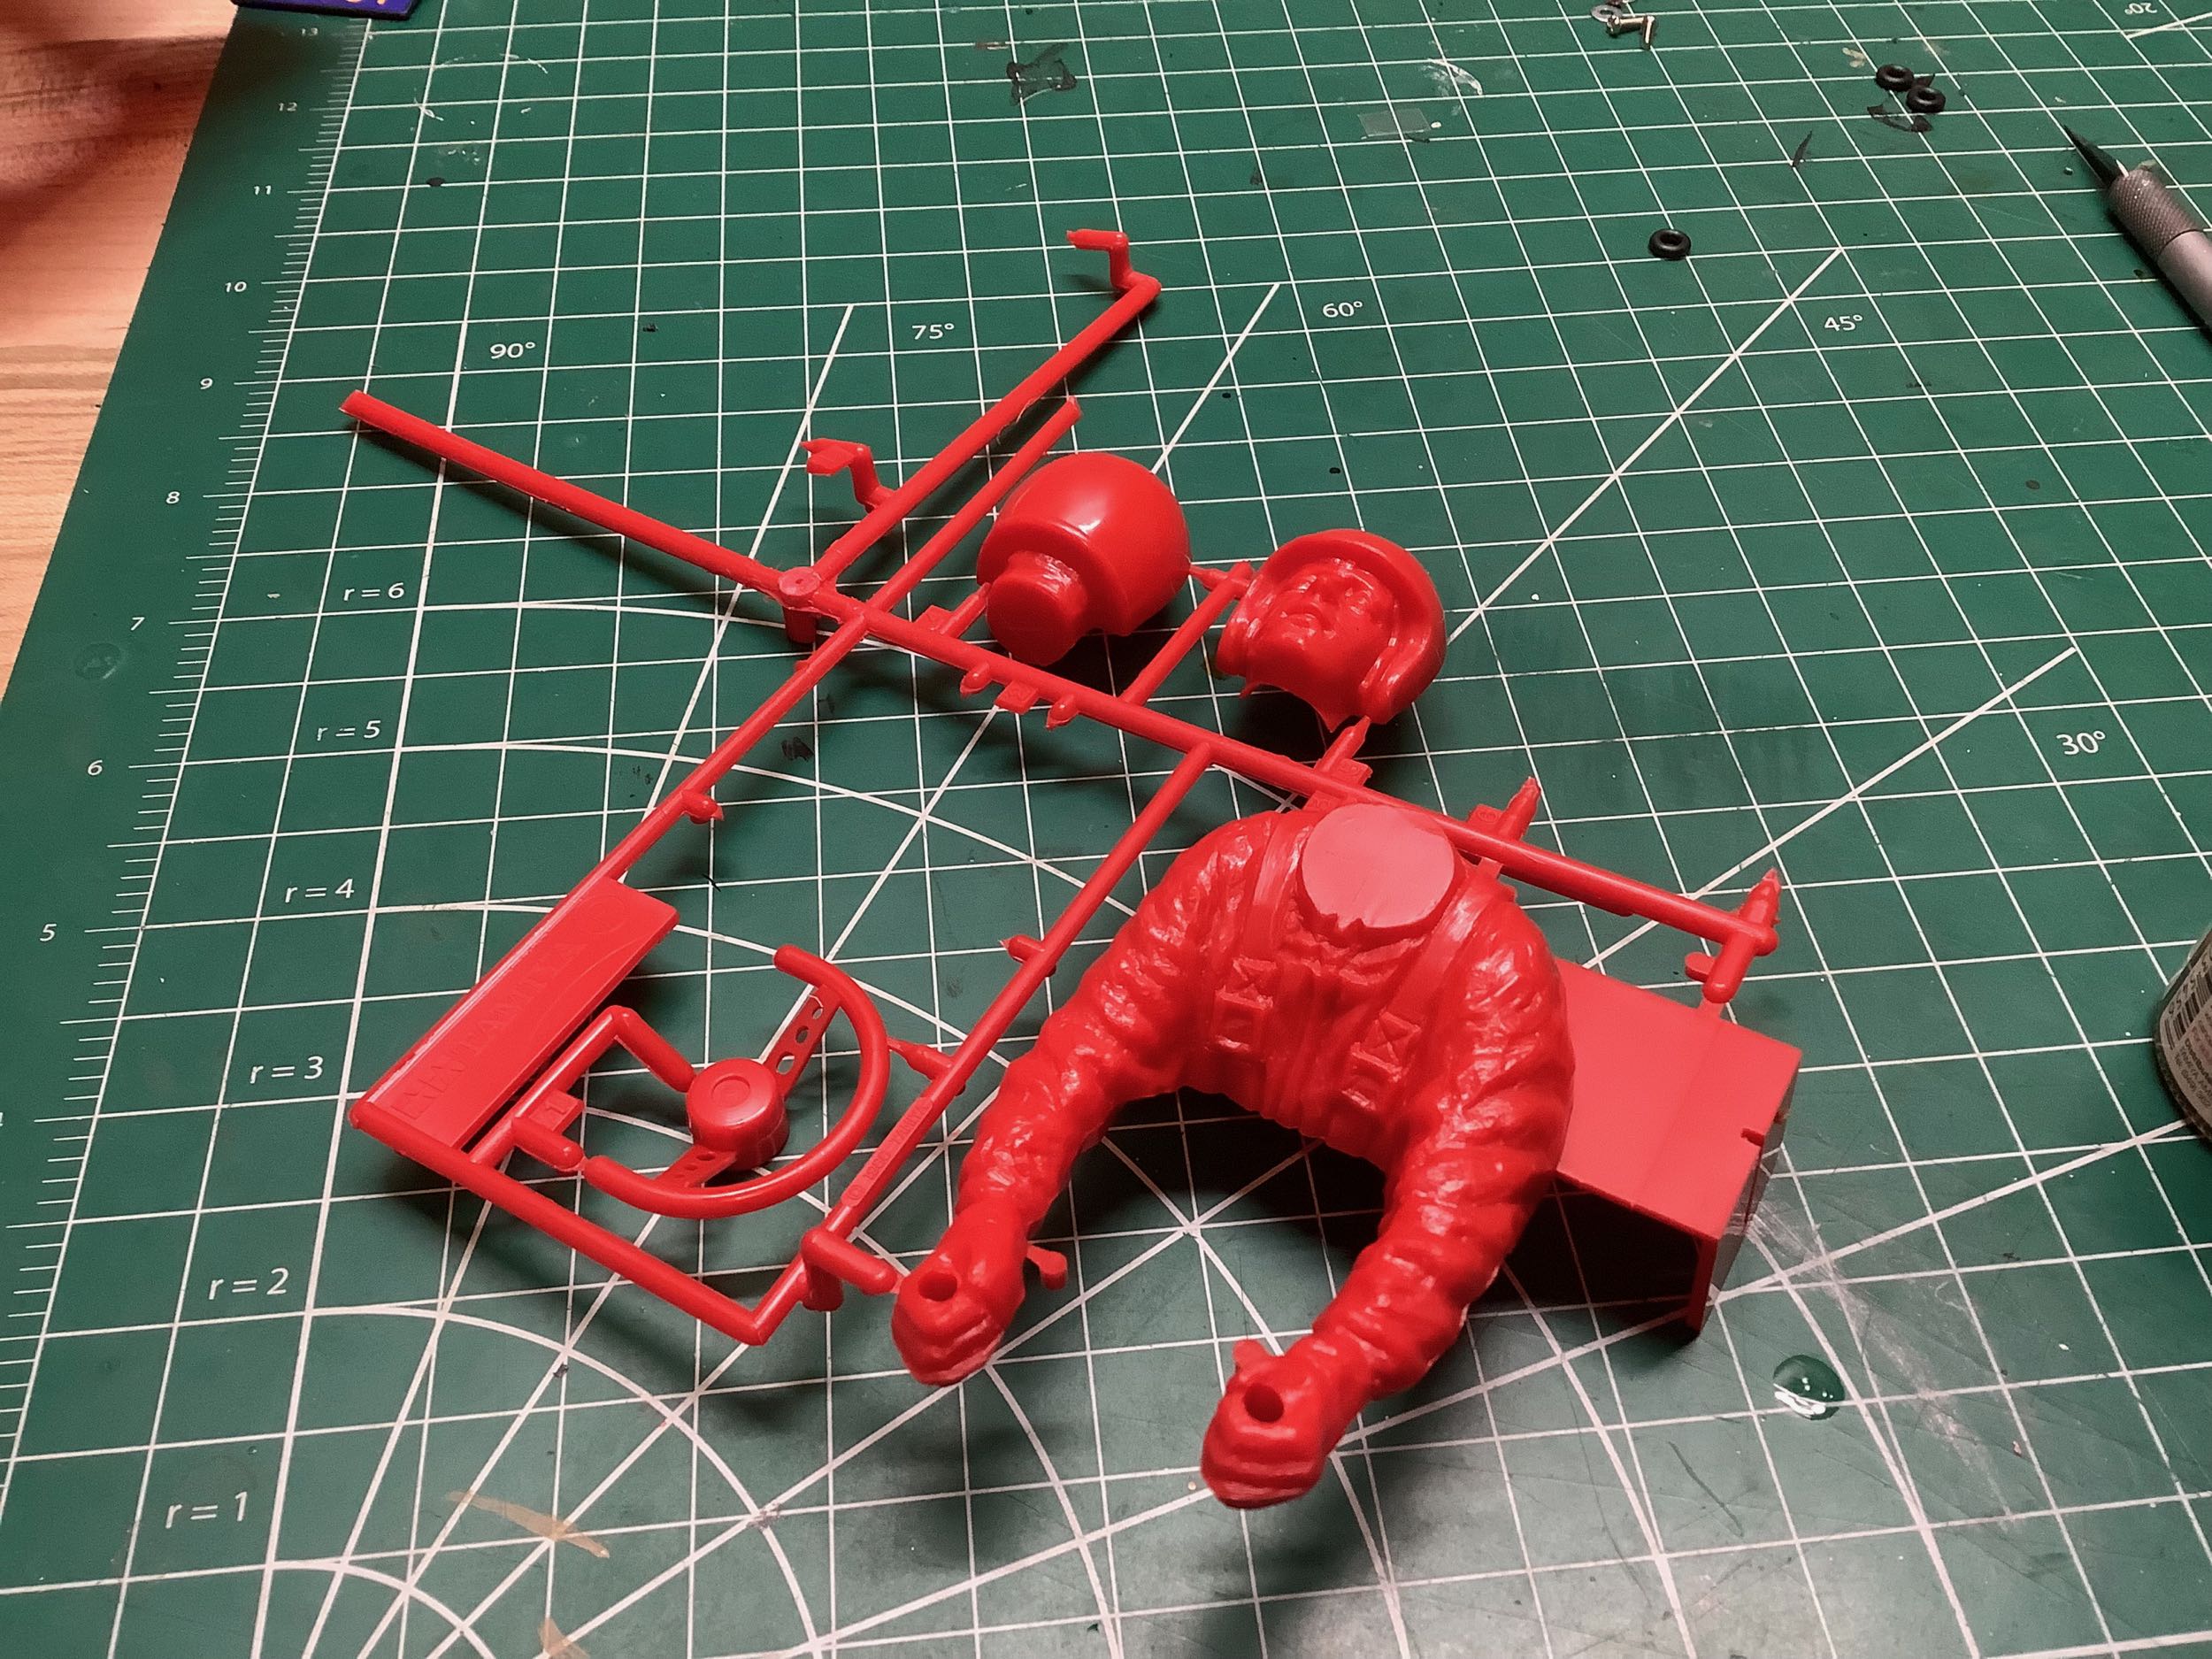
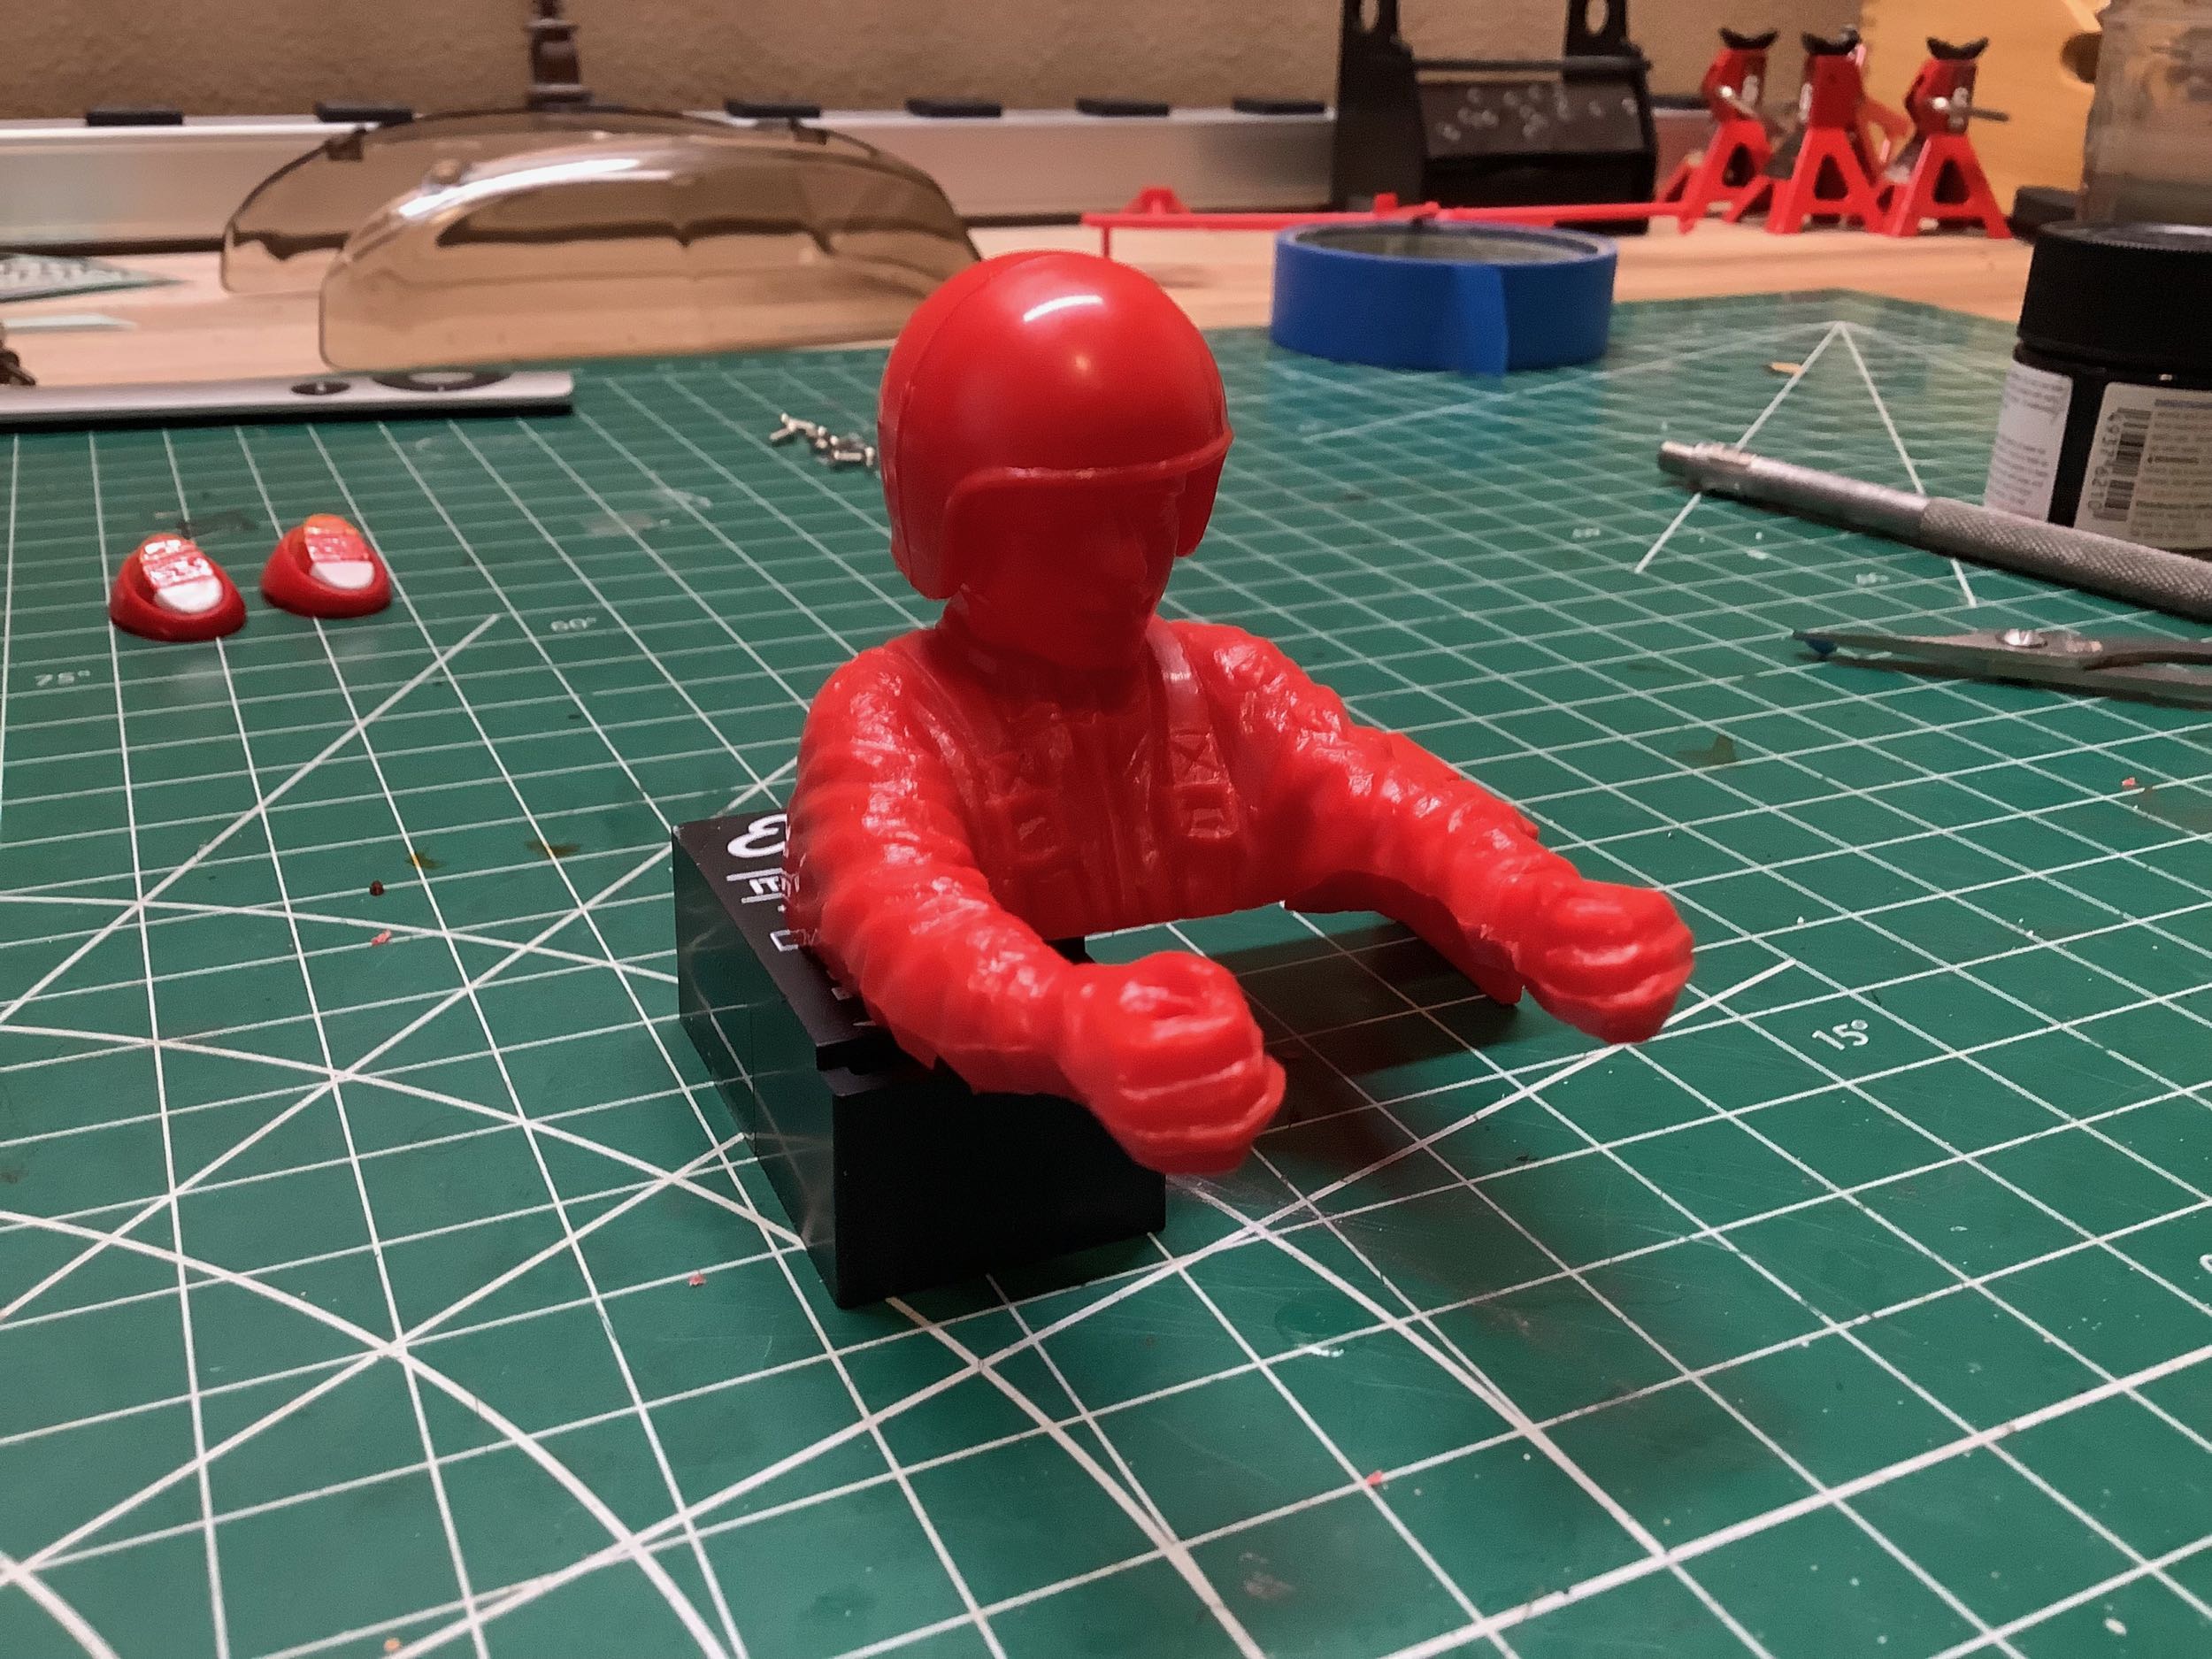
The driver figure starts out molded in red like the rest of the
body. He consists of 4 parts: a body with an integral bracket, a
2-piece head with helmet, and a steering wheel.
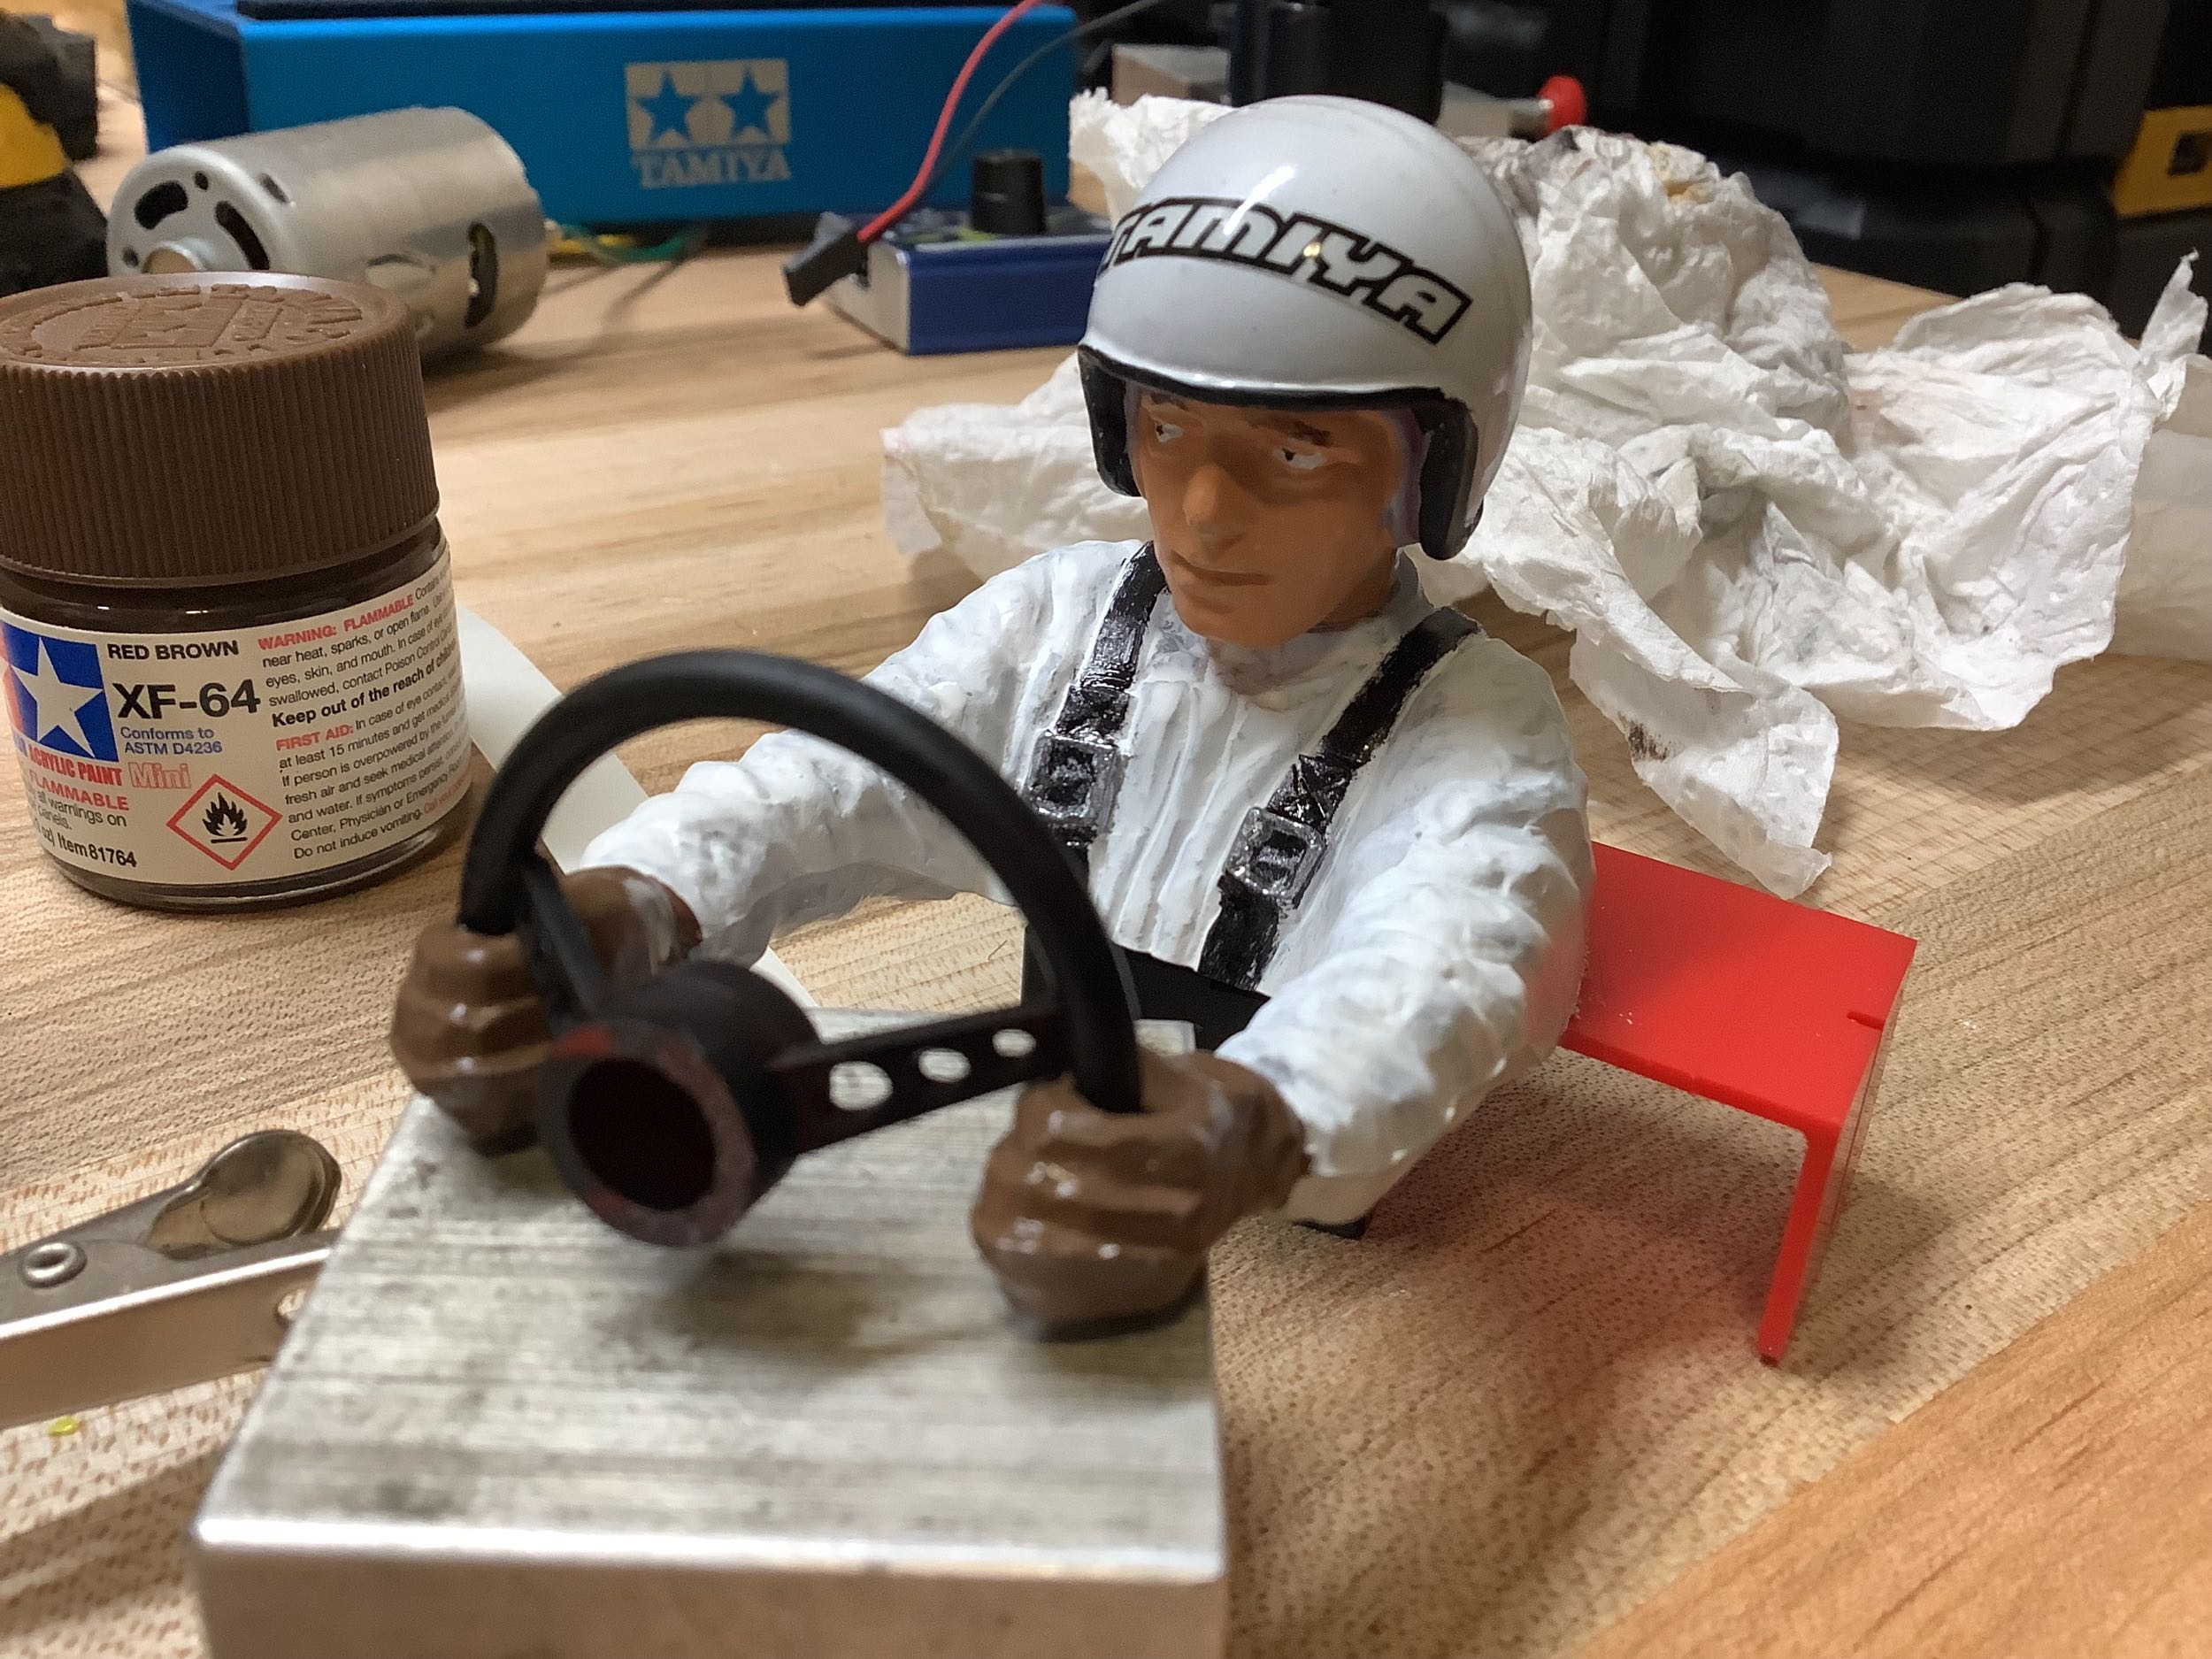
Painting drivers is not my strong point, but this looks OK. I
even gave him some eyebrows this time and added a Tamiya sticker on the
helmet.
©2017/2023 Eric Albrecht