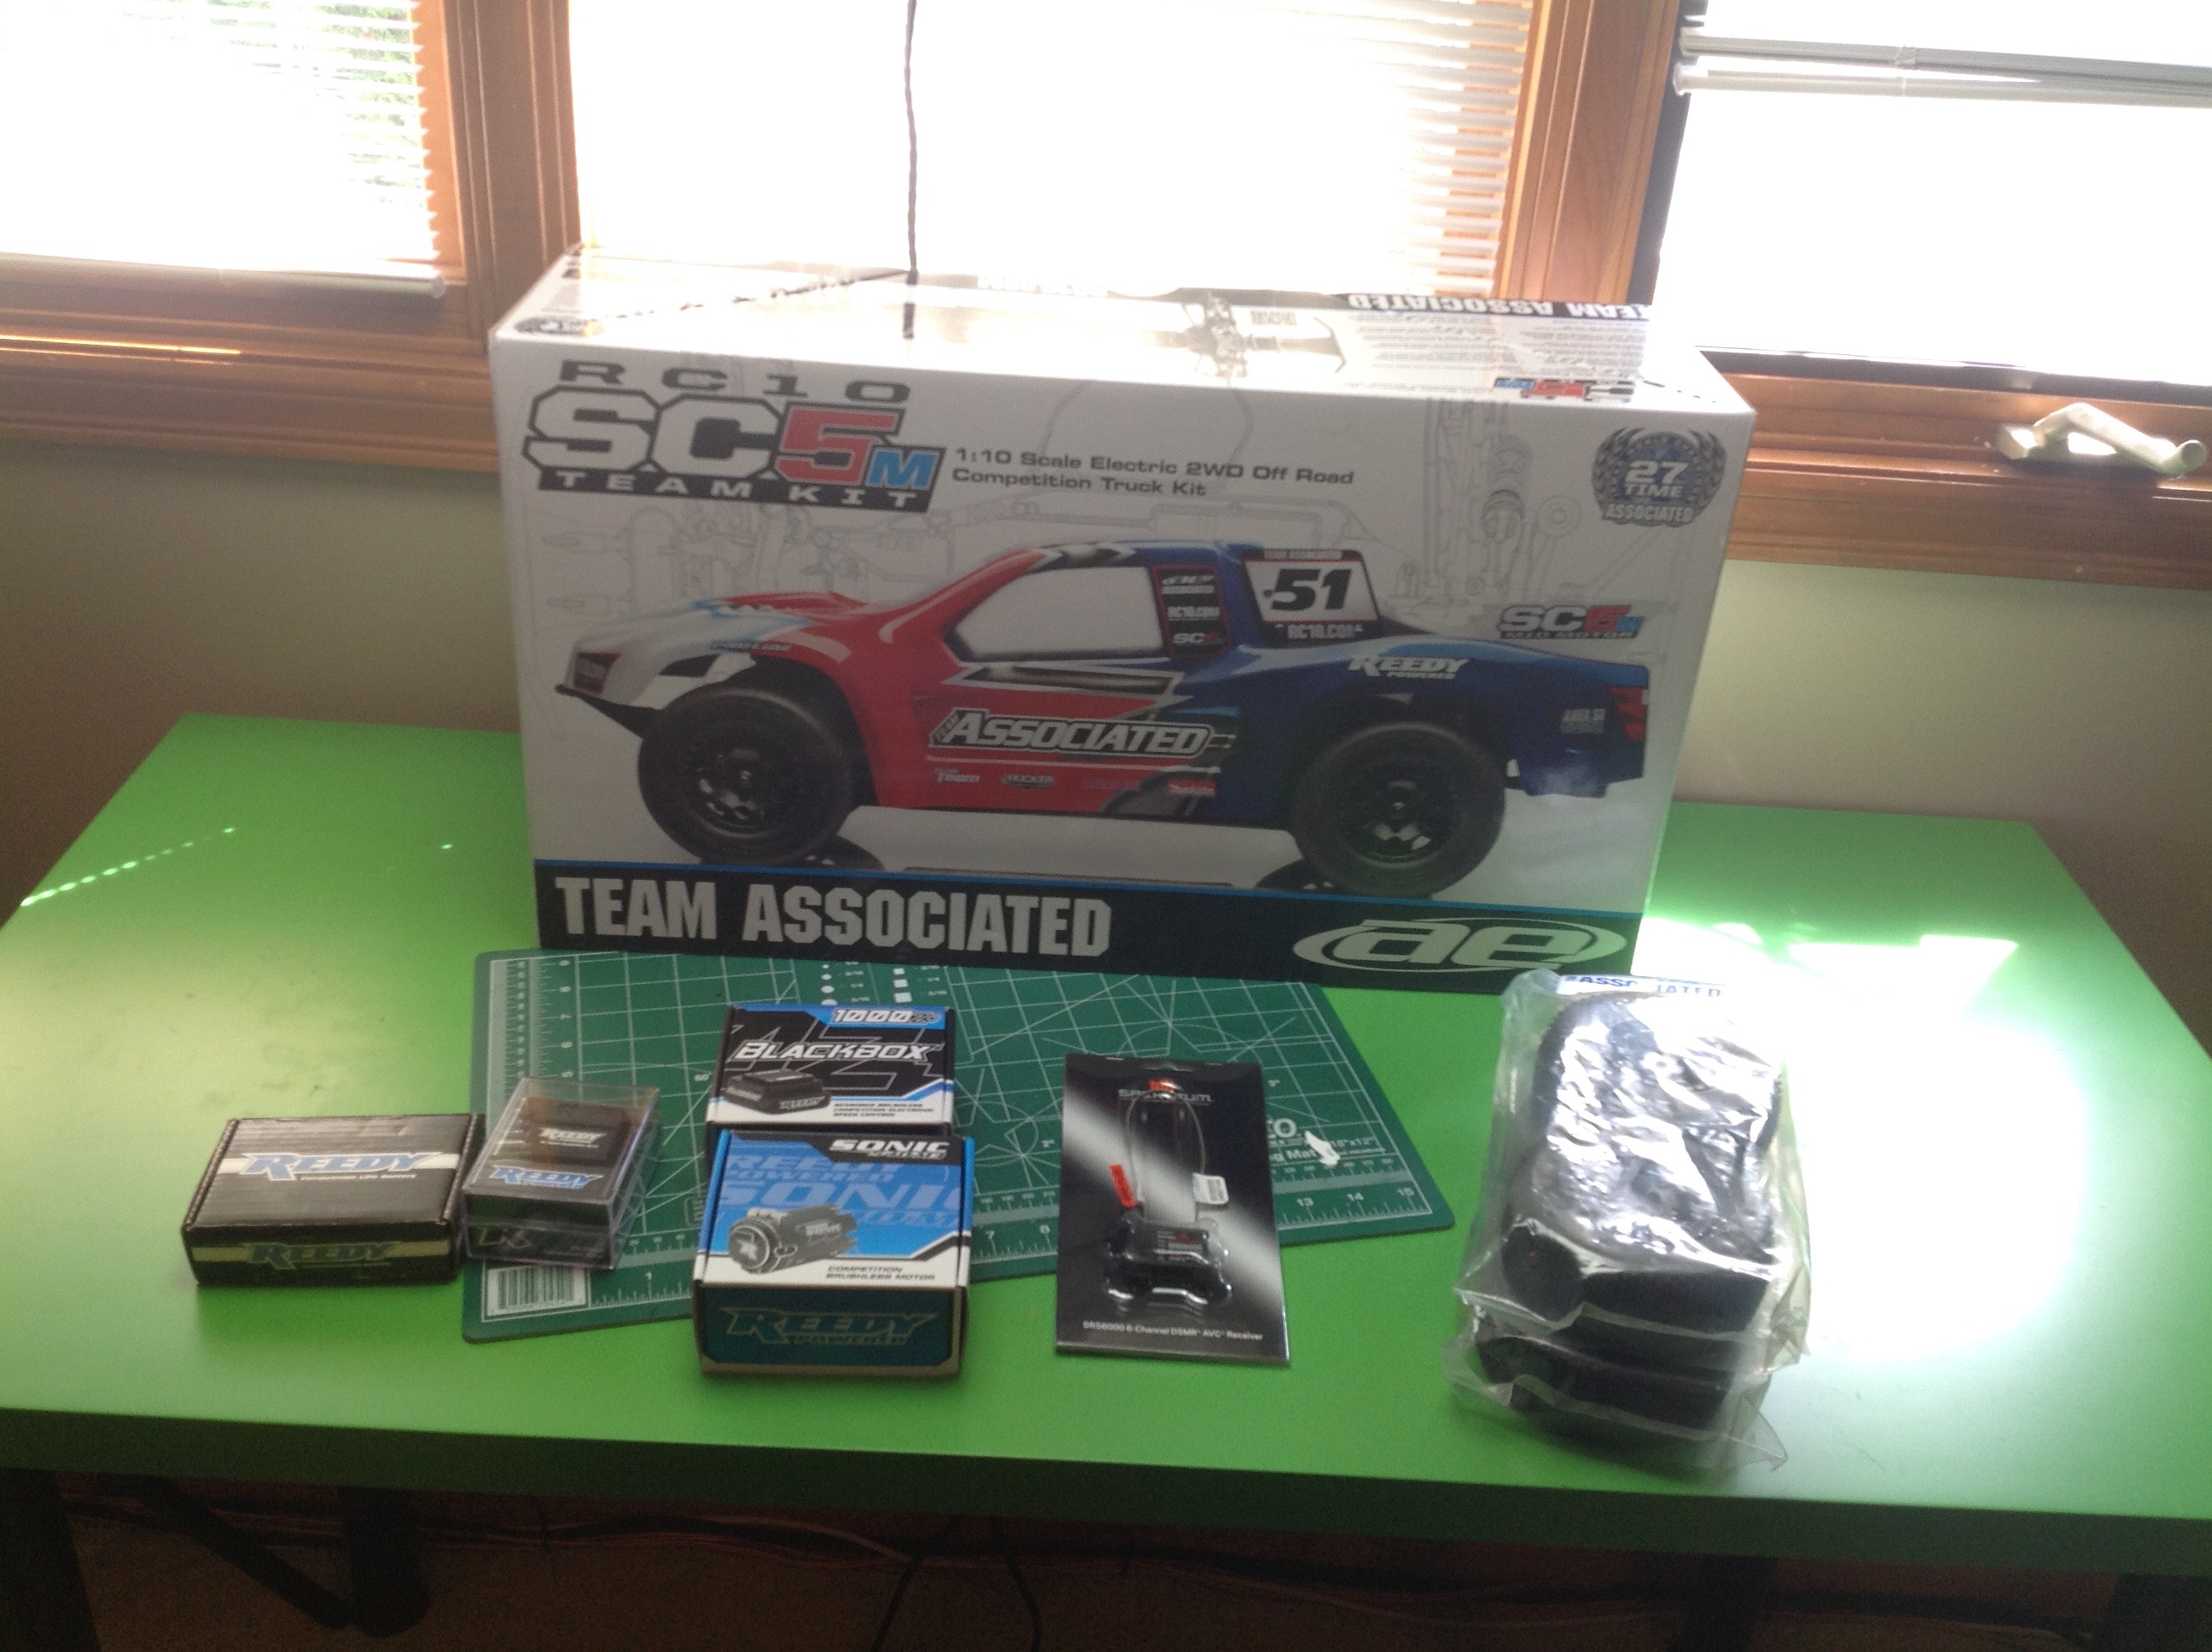
Here is the layout of my Team Associated
project. You can see the SC5M kit box along with the tires,
receiver, motor, ESC, servo, and battery. Racing stuff is not
cheap. The cost of the kit is less than half the cost of the
finished model.
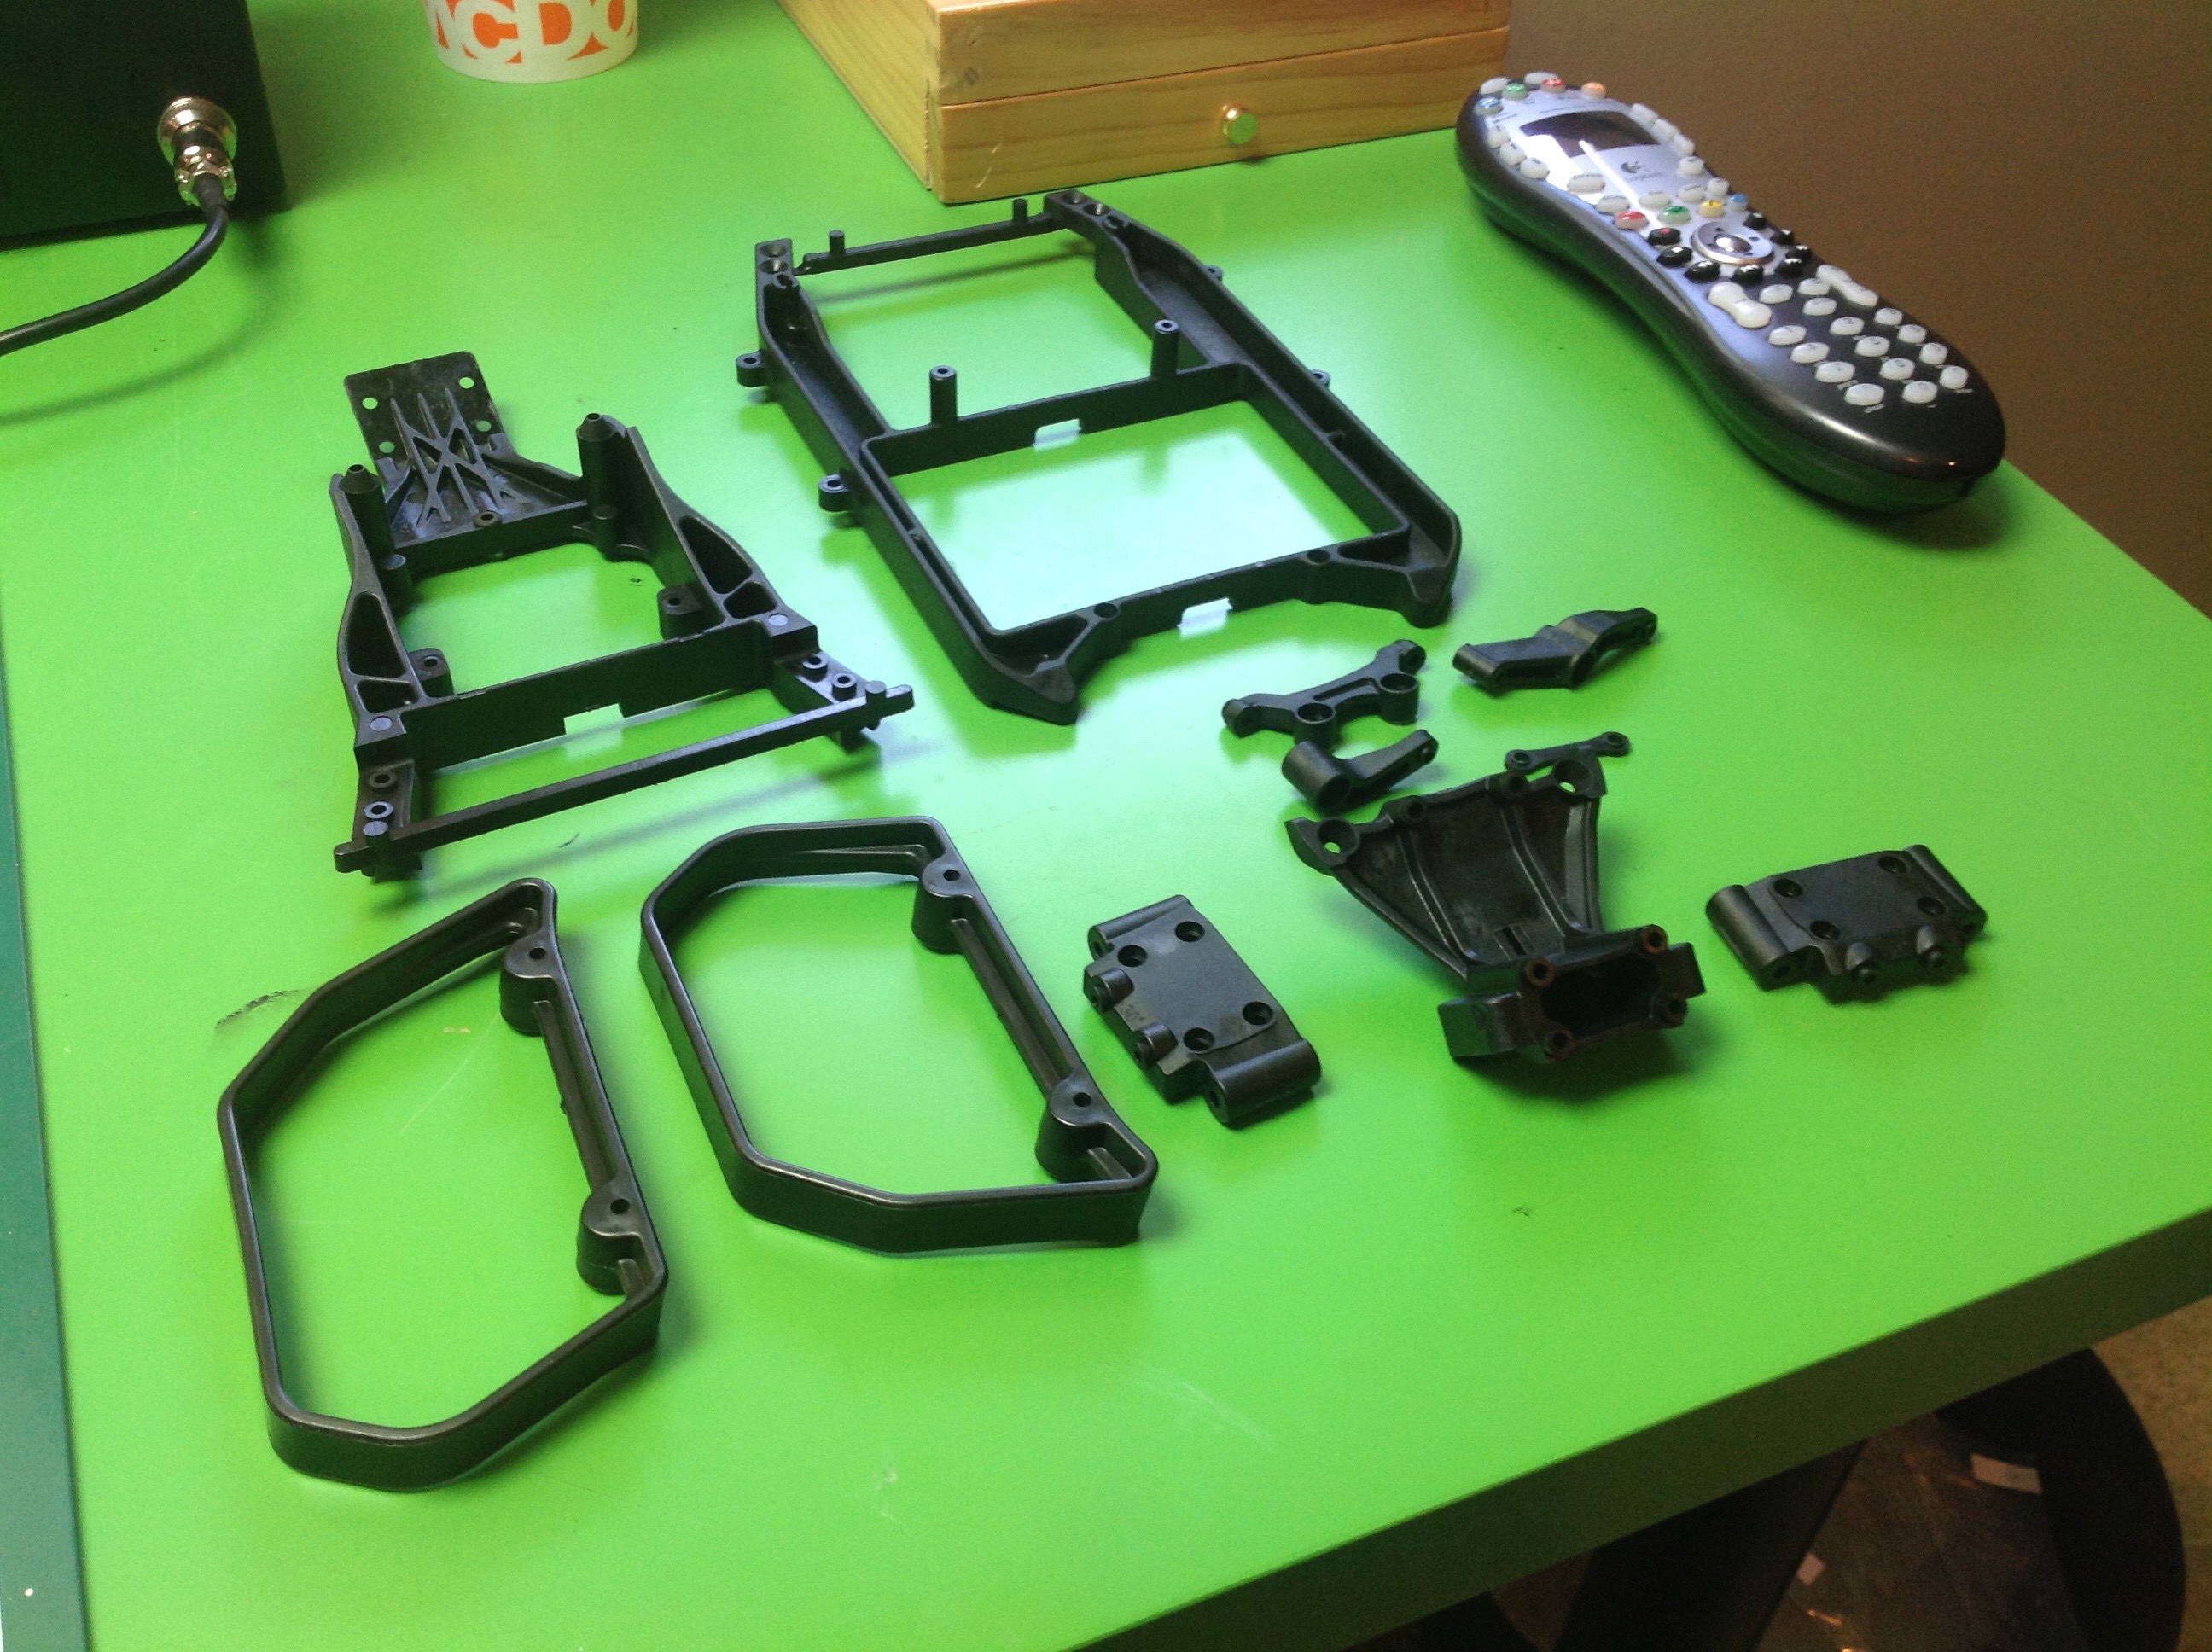
The assembly is nicely grouped into labeled bags. The large parts
of Bag A are shown above. Unlike some other kits, you usually
don't need to separate plastic parts from the sprue, these parts are all
ready to assemble. The hardware seems very high quality.
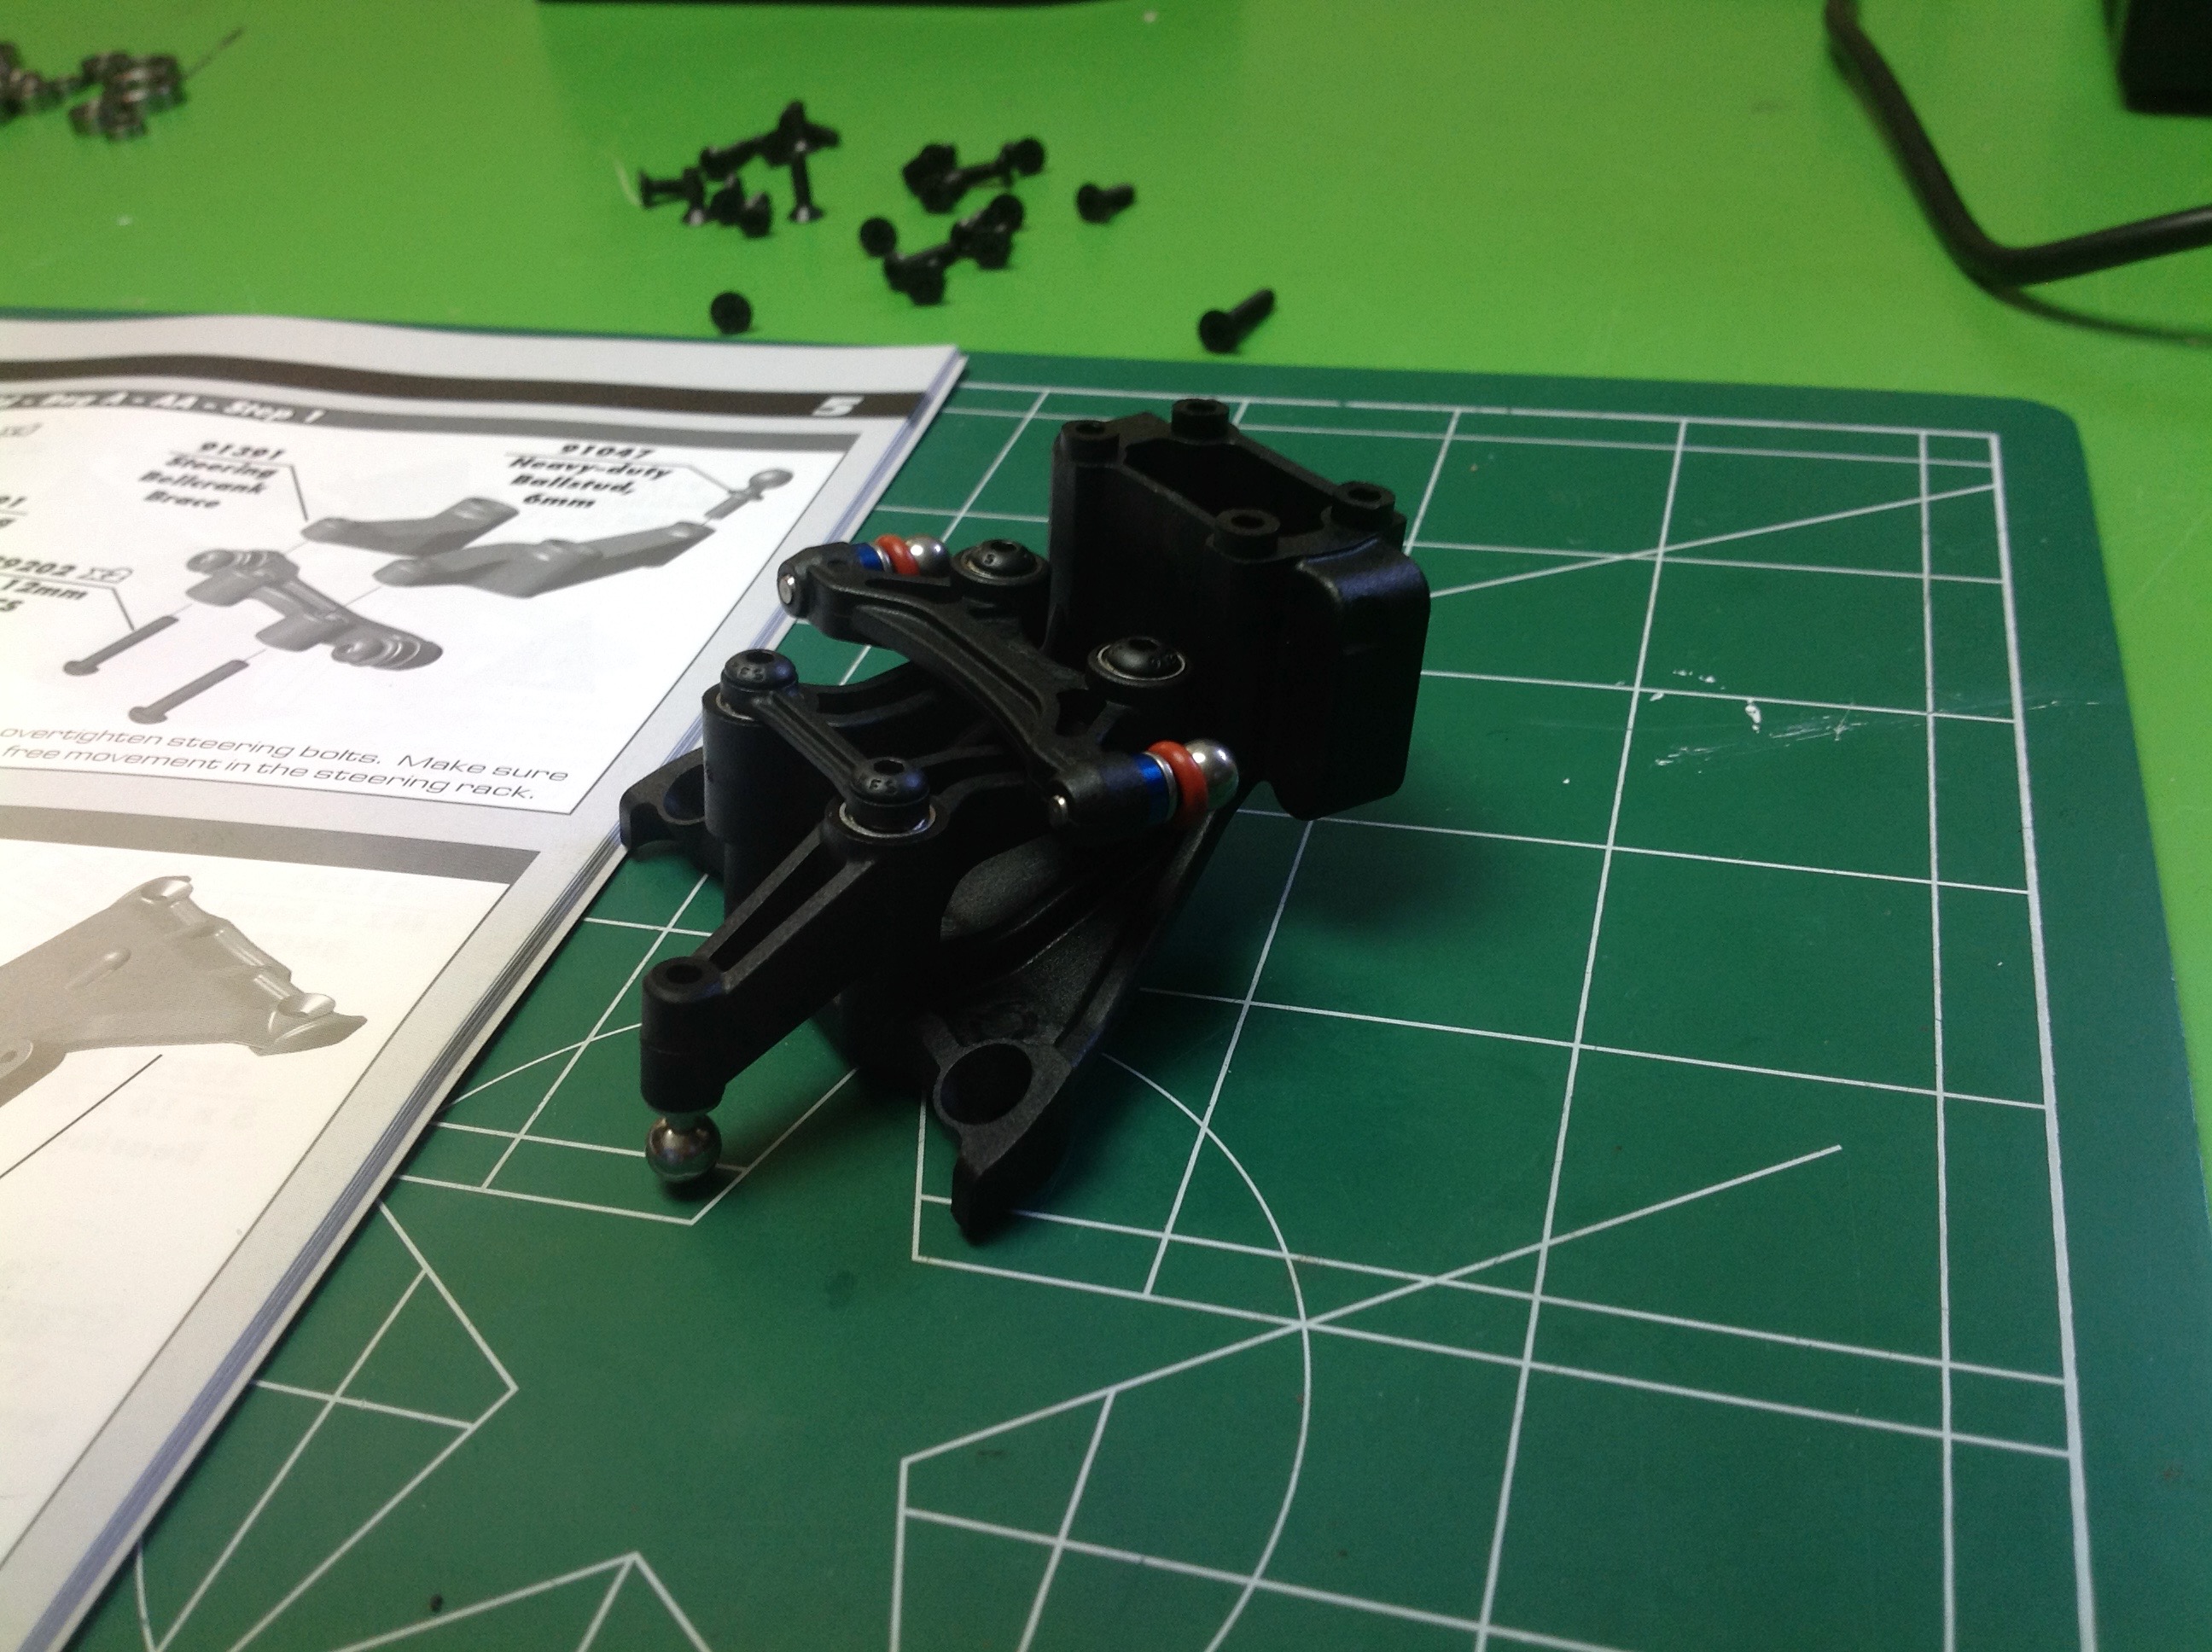
The first step involves assembling the steering bellcranks which are
supported on 8 ball bearings.
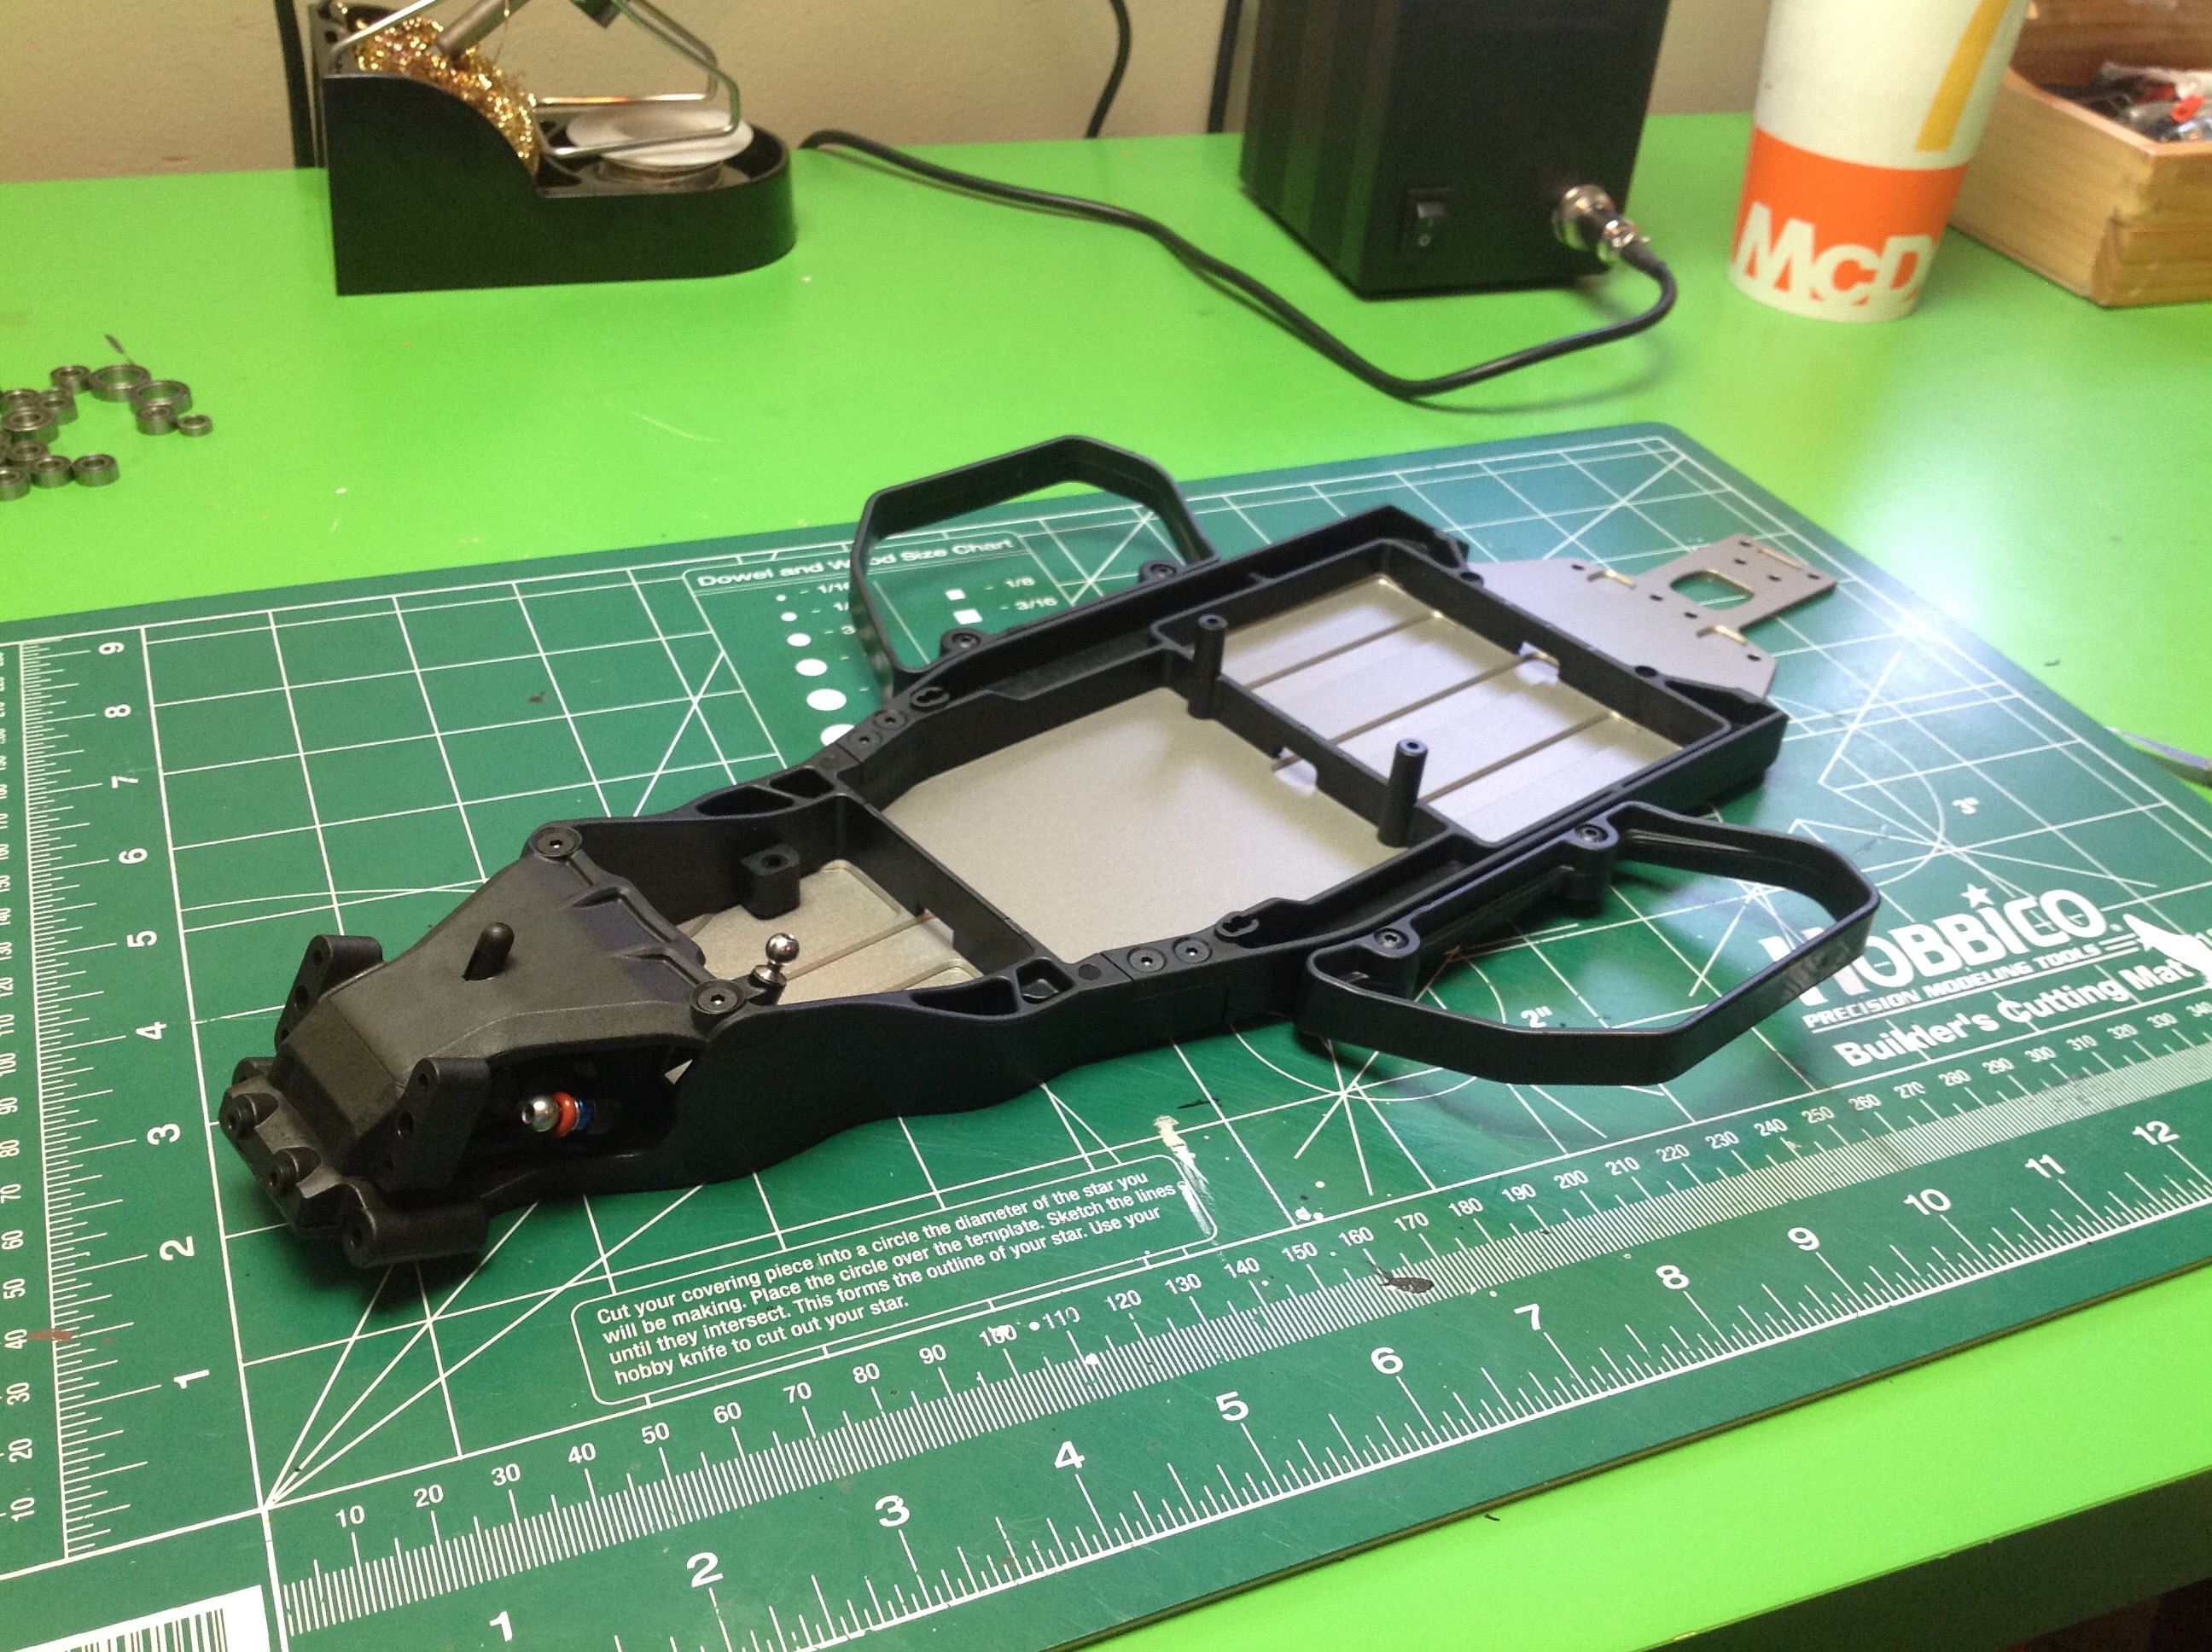
Now the steering system and all the stiffeners are added to the aluminum
base plate. The base plate is formed, but it is also milled in a
few areas. Once the plastic is all cinched down, this is a very
stiff chassis. The steering cranks are completely enclosed and
protected inside the forward compartment.
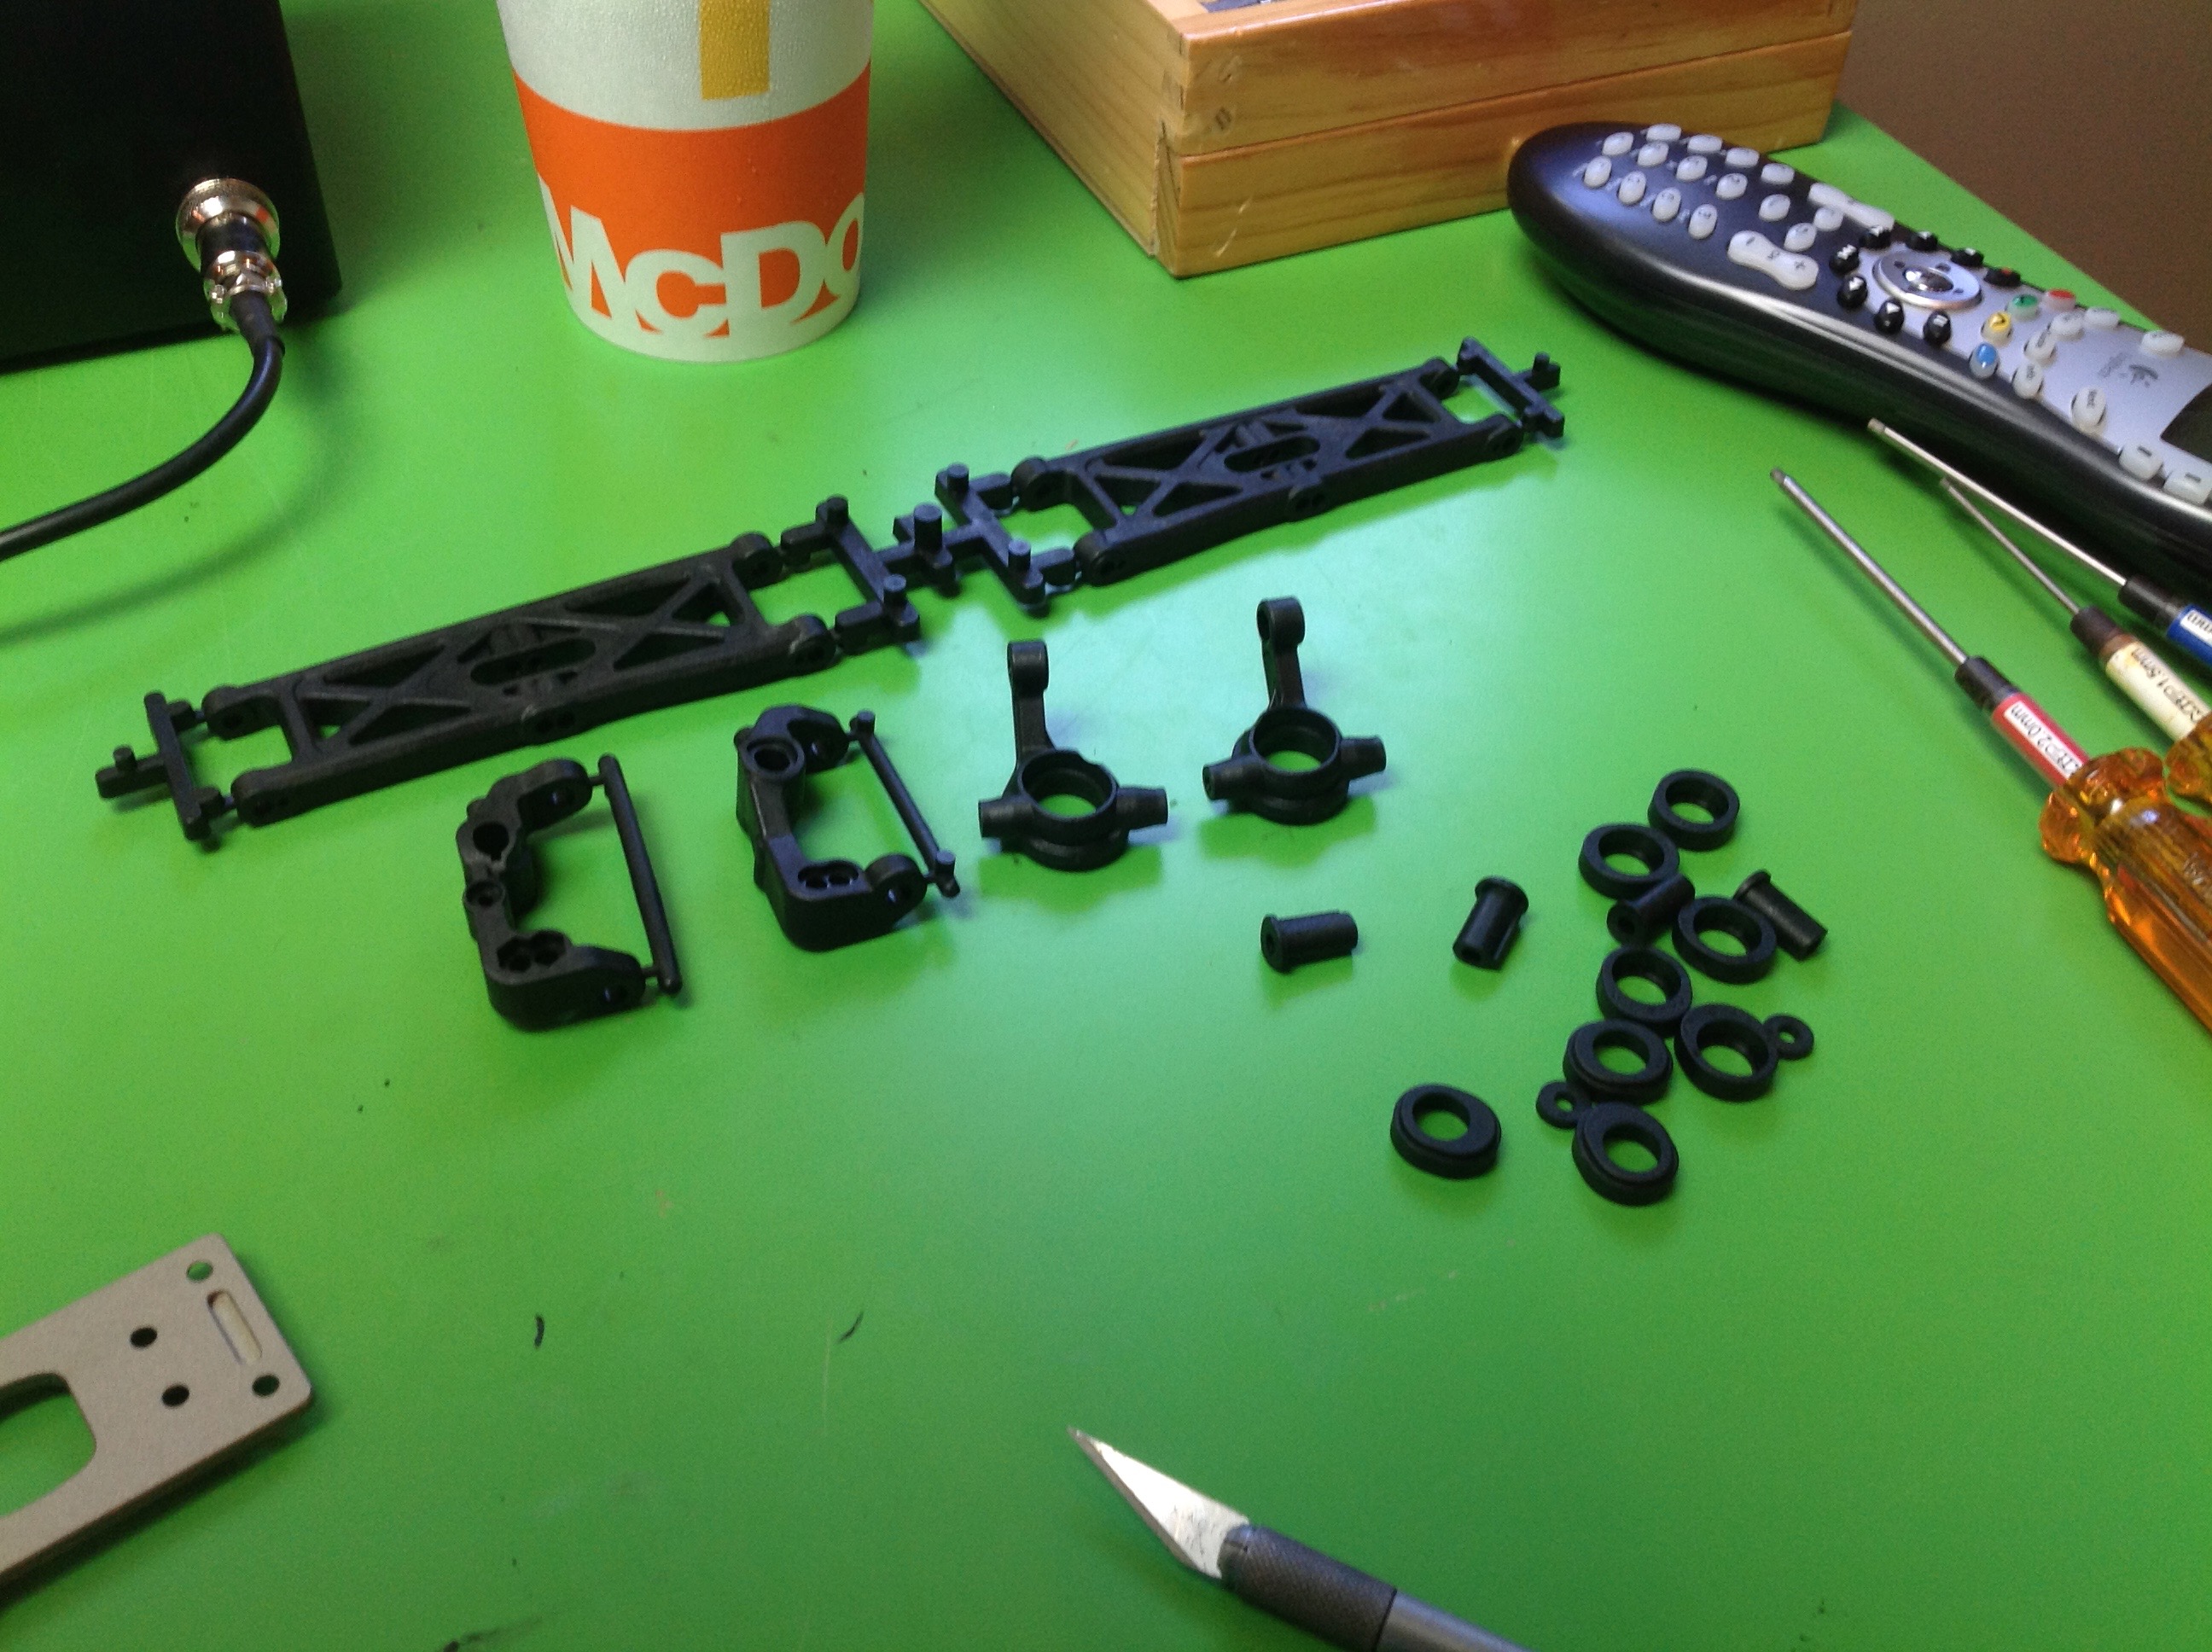
Bag B builds the front suspension. This is a
double wishbone setup with C hubs and steering arms. The C-hubs
use caster block inserts which can be used for adjustment. 5
degrees is the default setting. Kingpins are just M3 screws with
bushings. Hinge pins are steel rods retained with overlapping
button head cap screws.
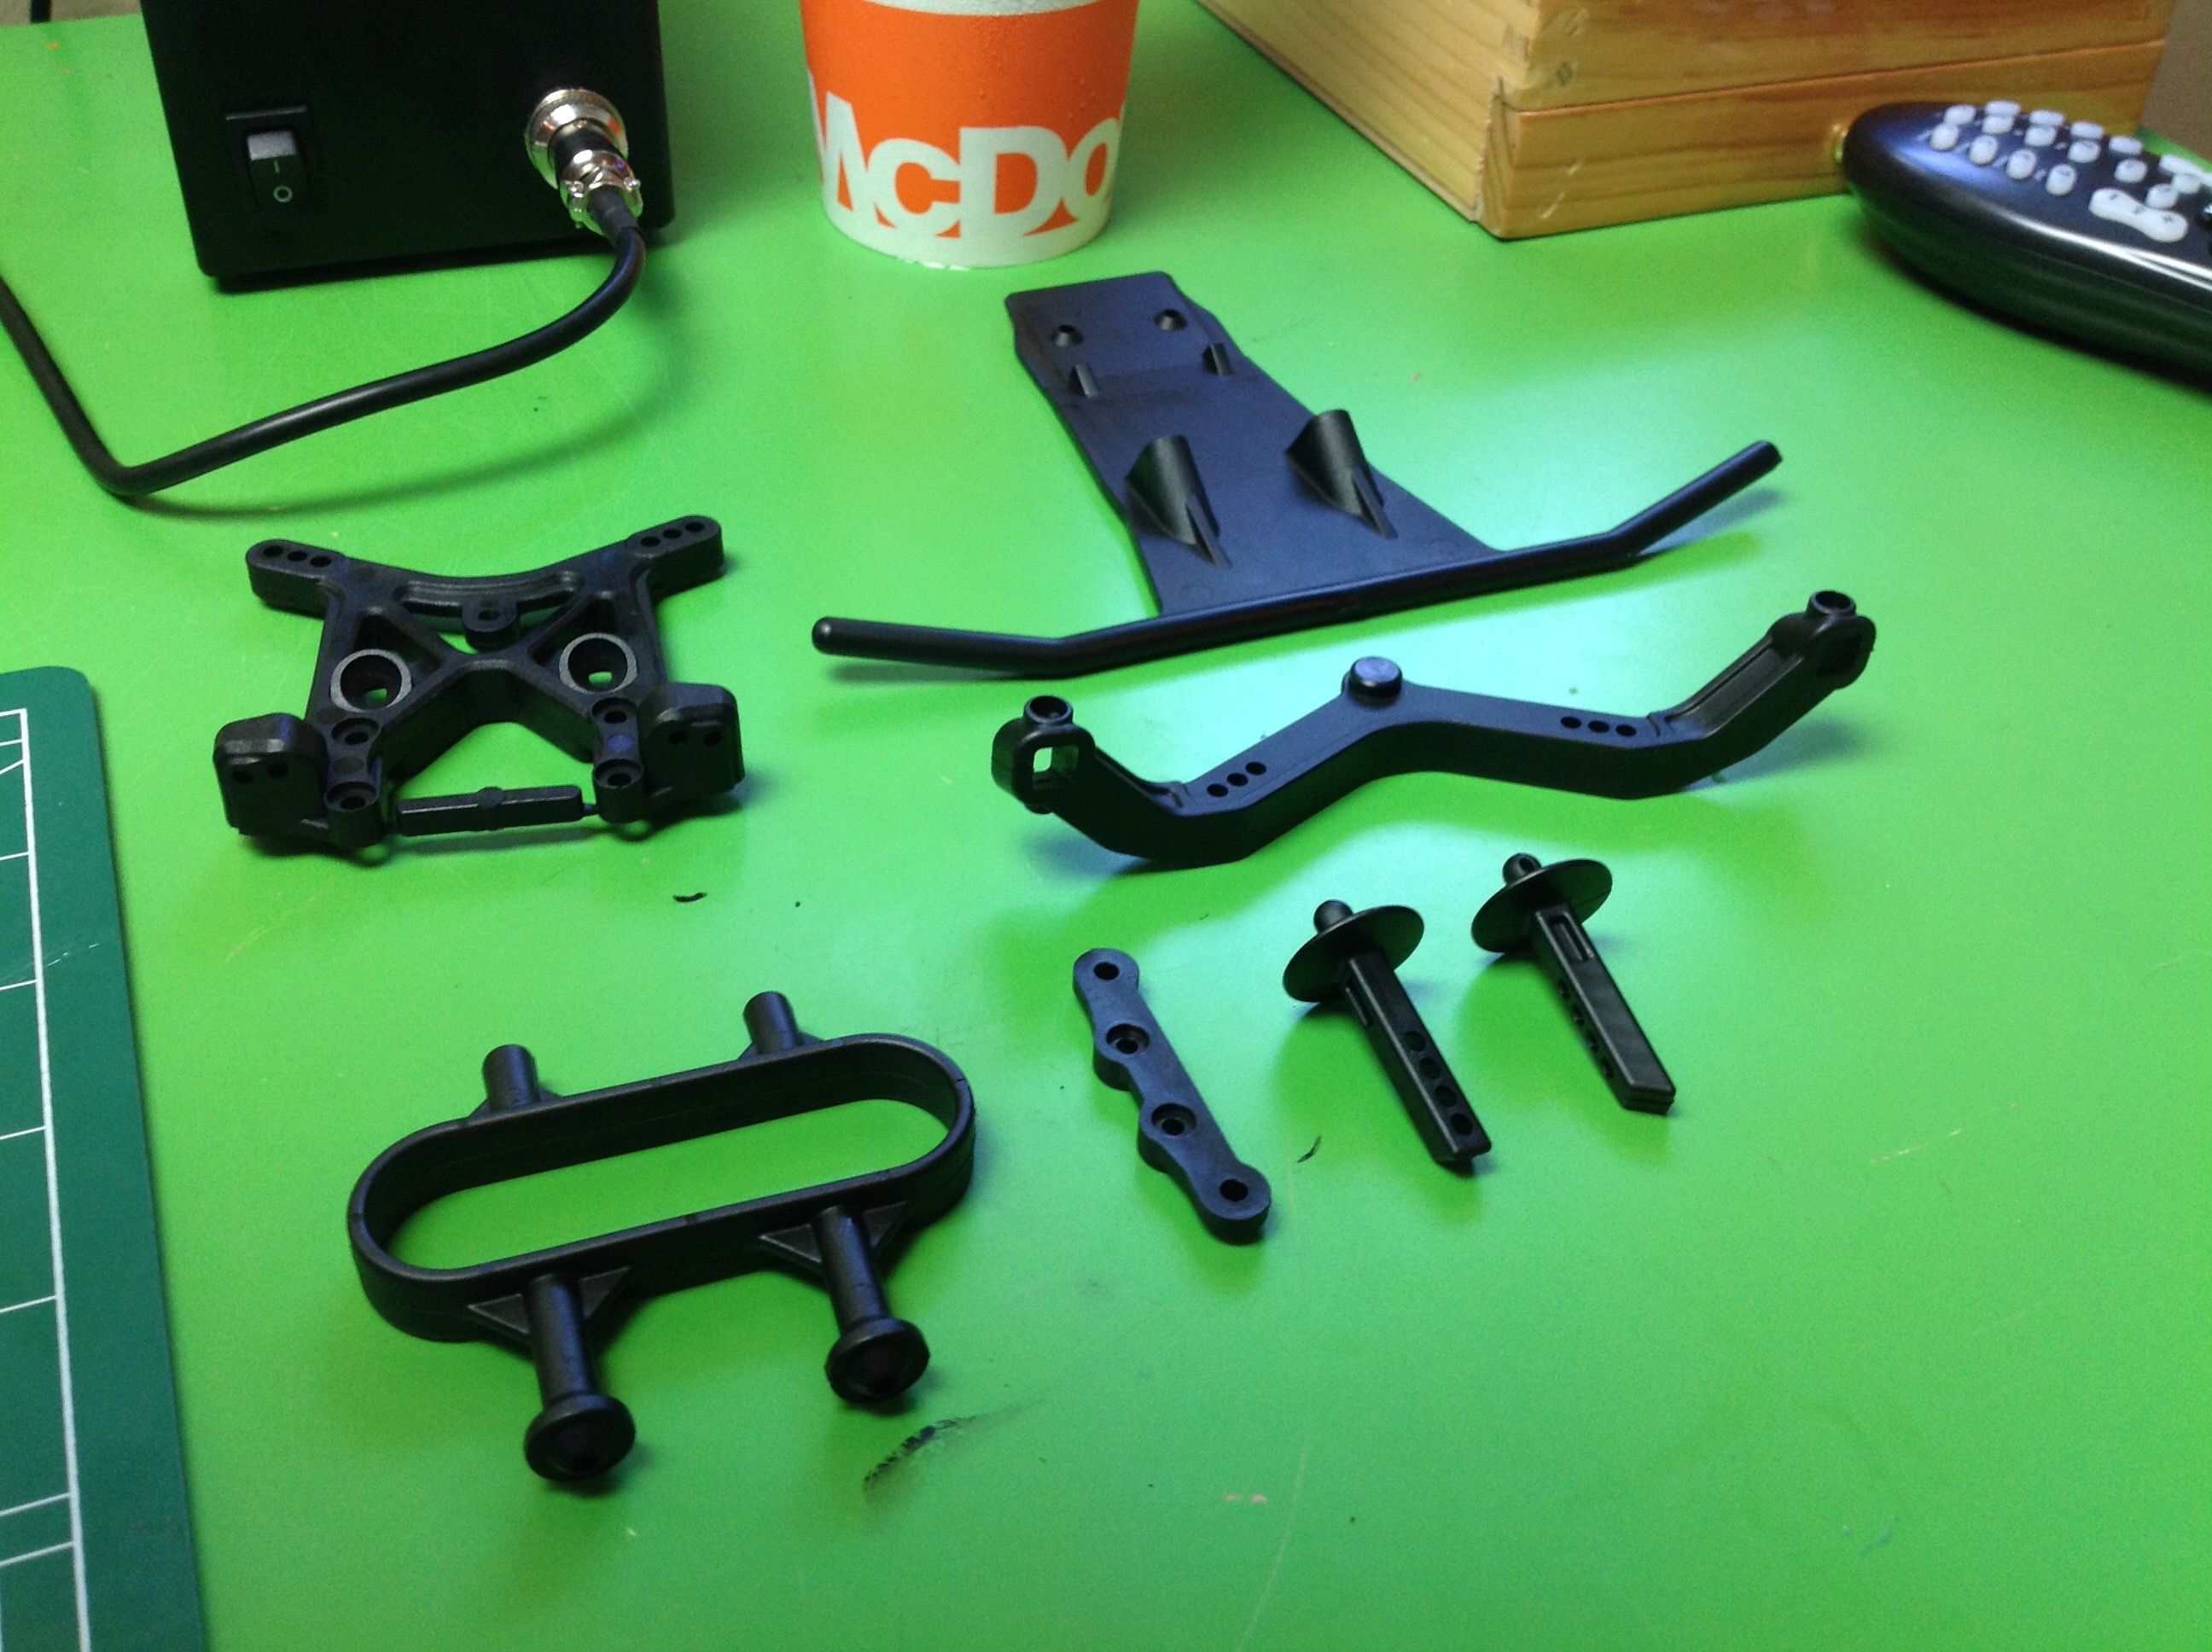
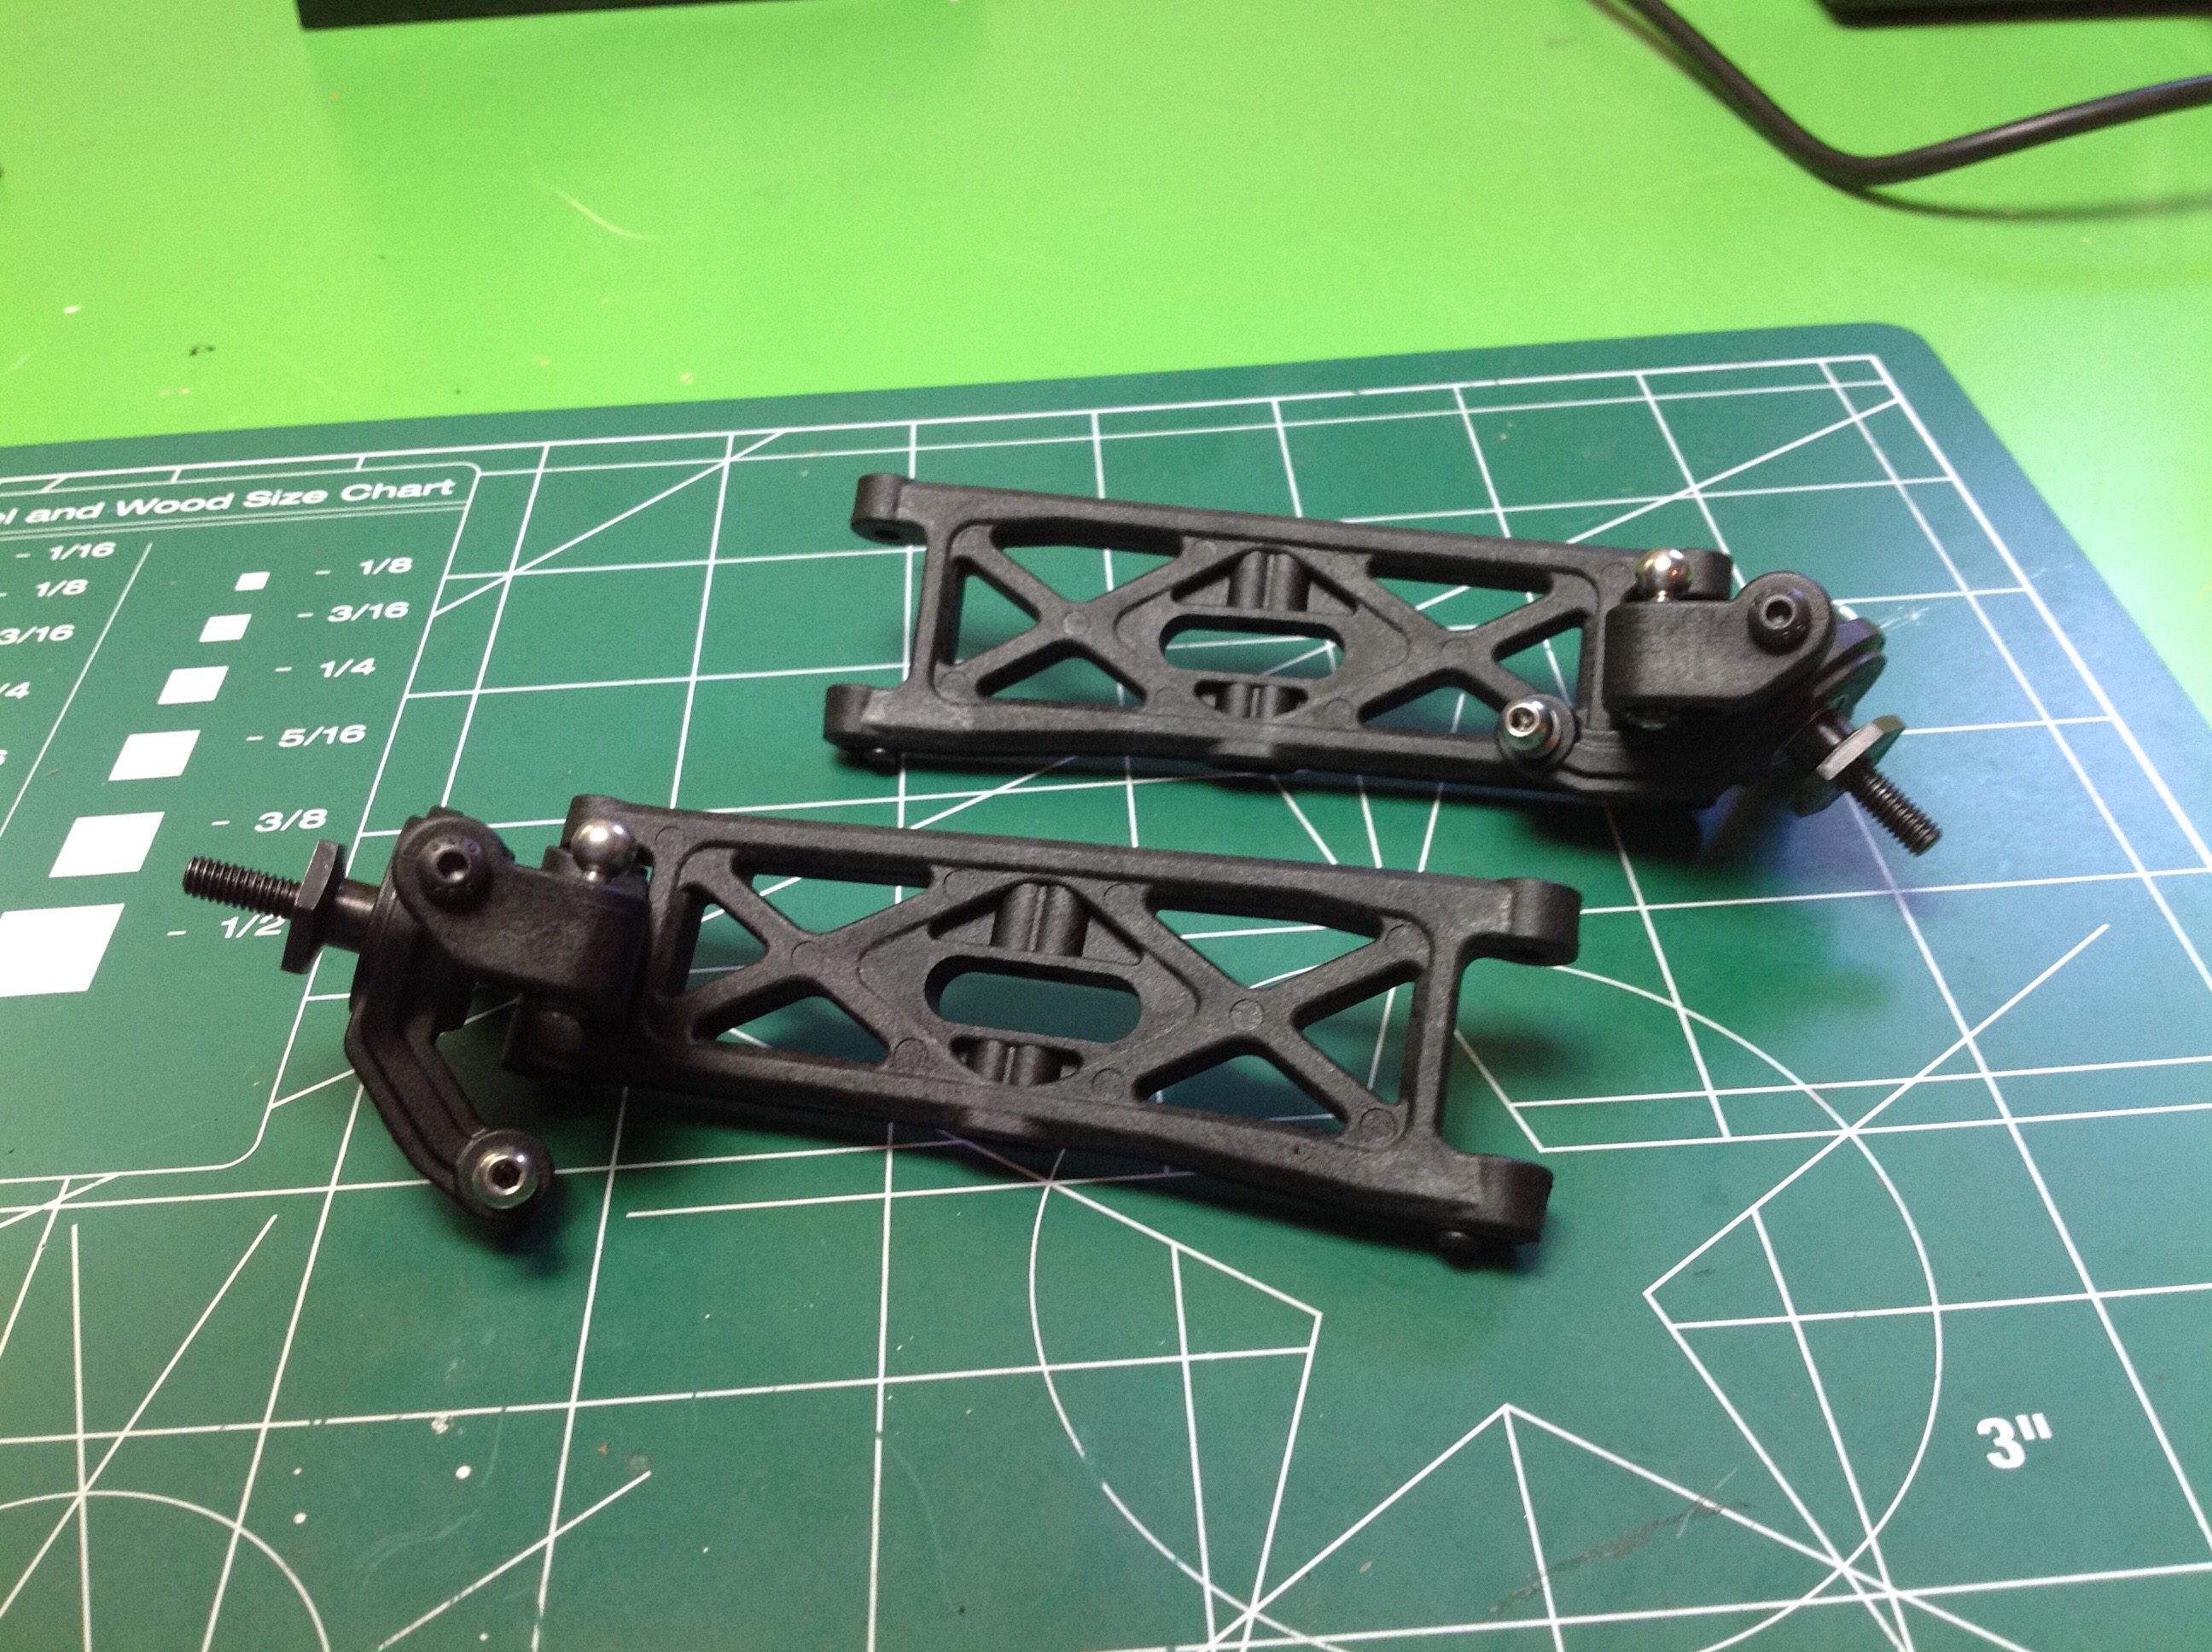
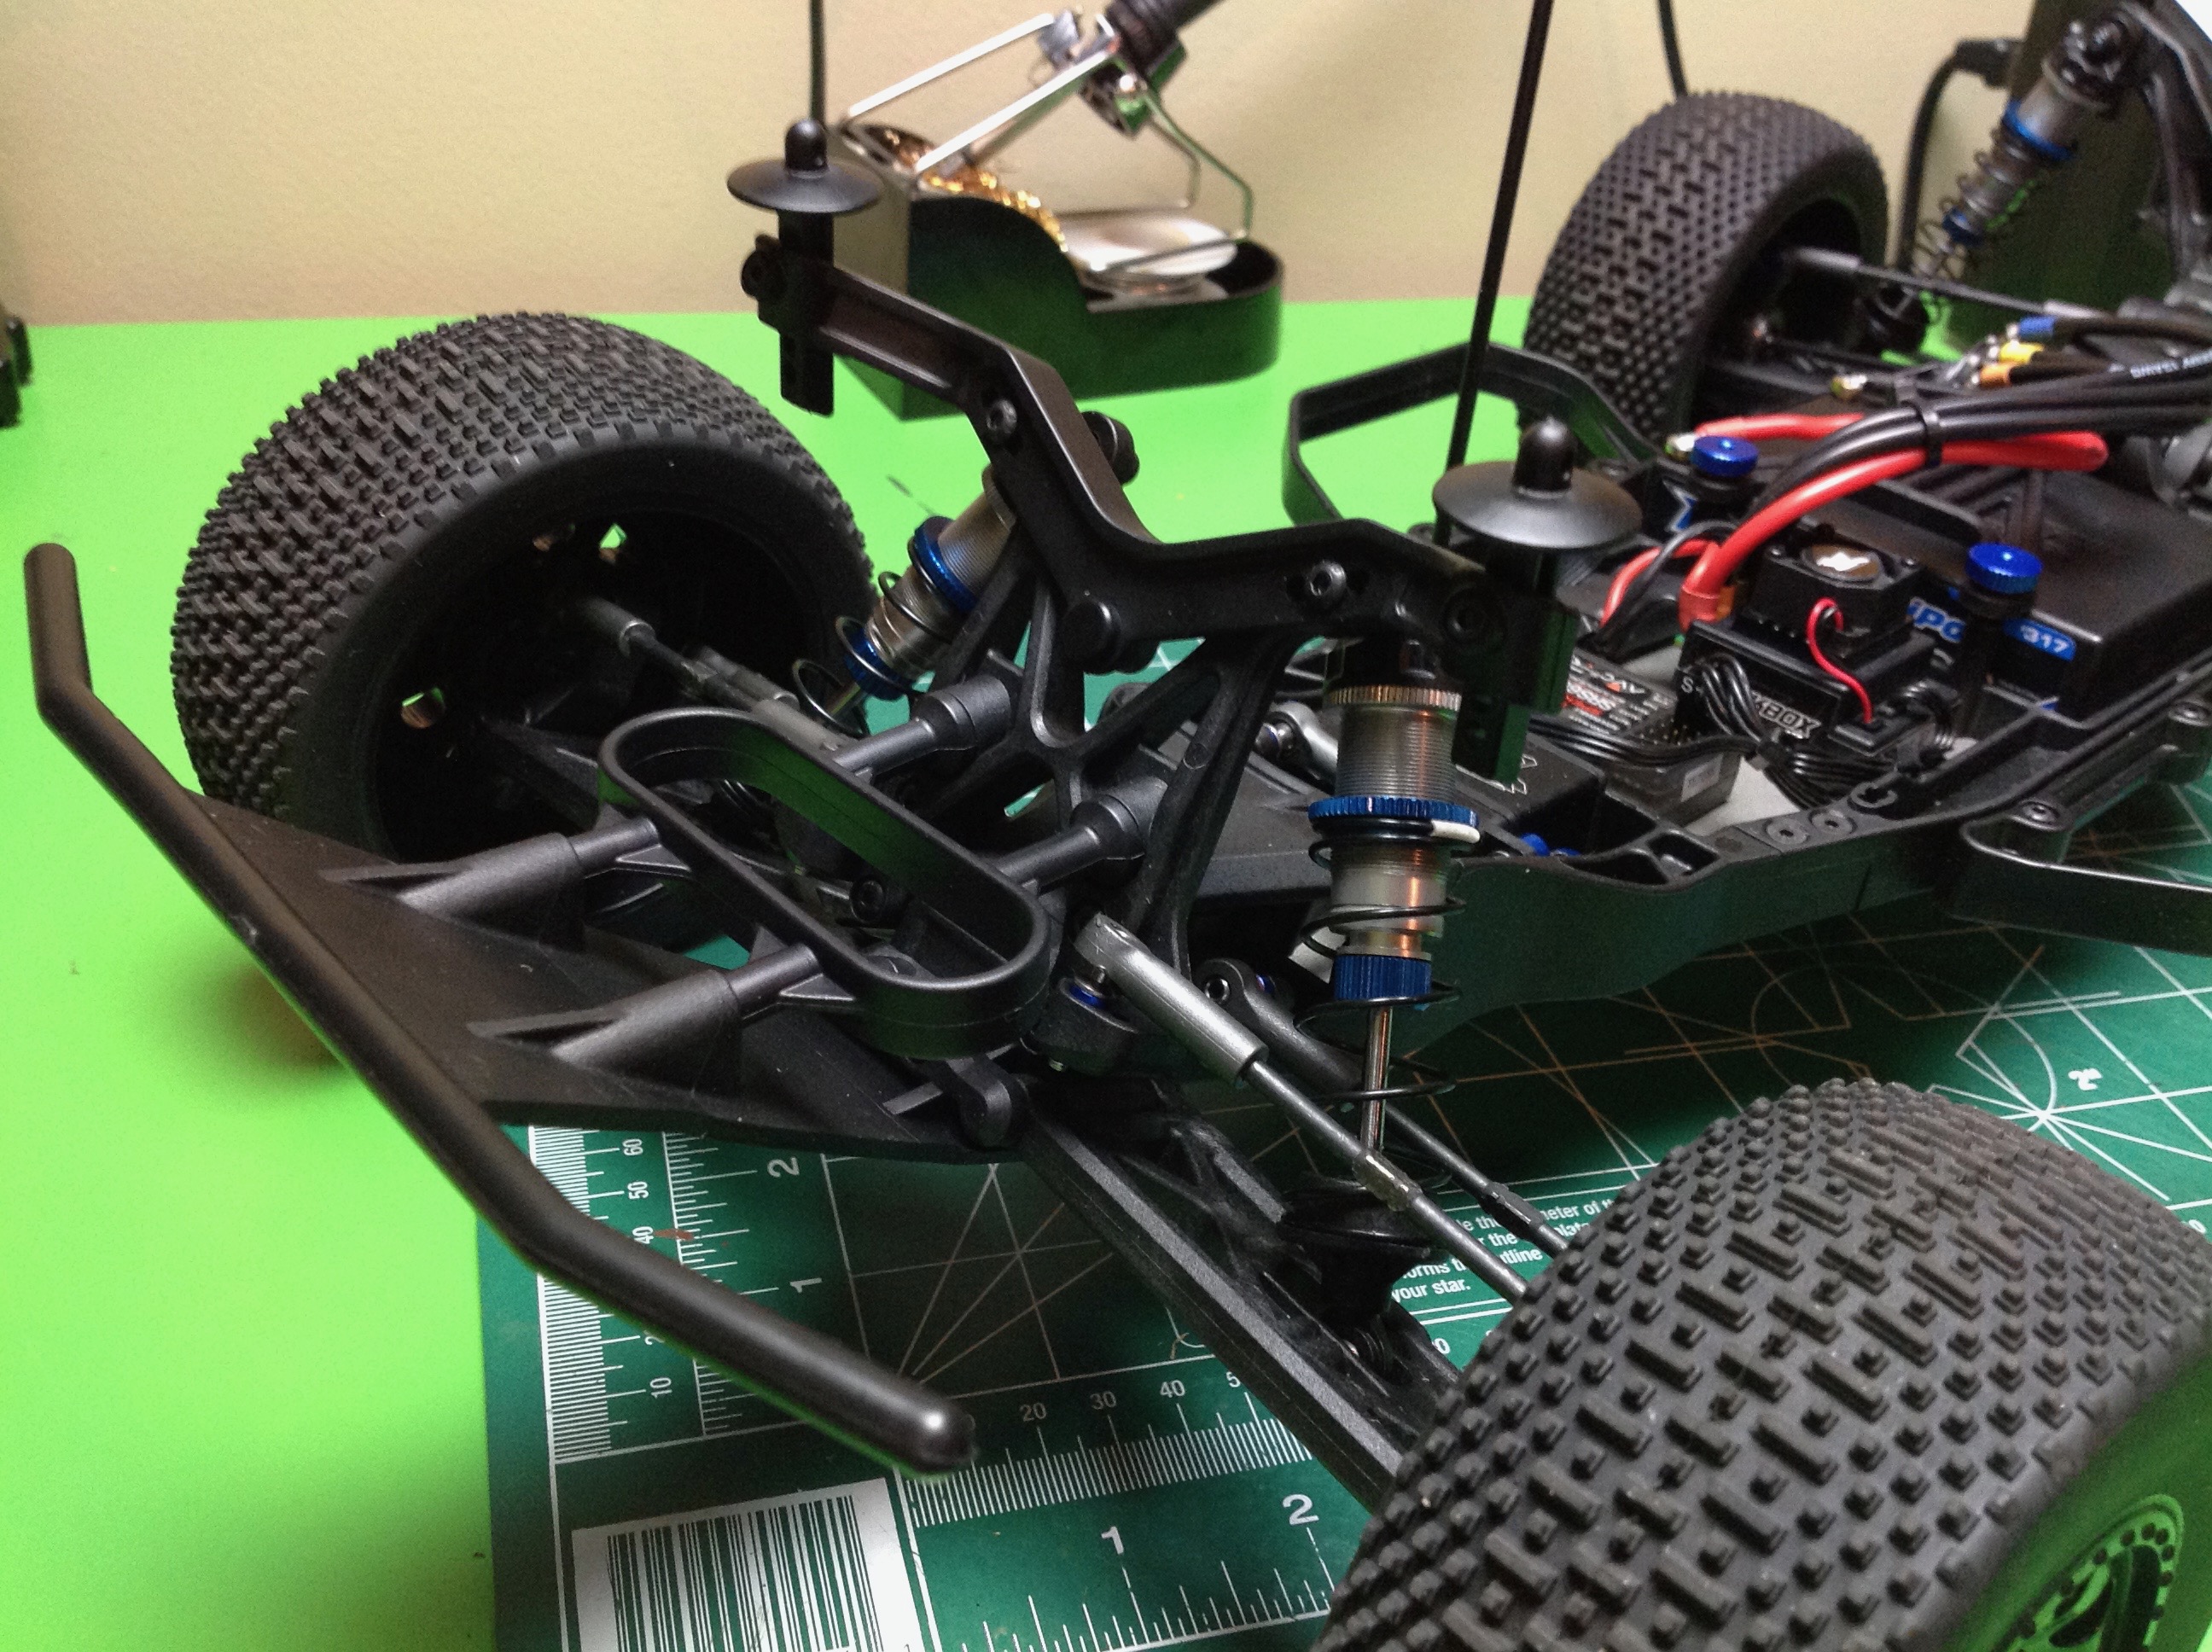
Bag C adds more parts to the front end including the bumper and shock towers.

With the control arms installed, you can see the huge 25 degree bulkhead
inclination of the front suspension. It can be adjusted up to 30
degrees. The rear suspension uses interchangeable arm mounts to set rear toe. Default is 3 degrees.
The rear drive system uses a ball differential, shown already built. A lot of tuning can be done here if you know what you're doing, which I don't.

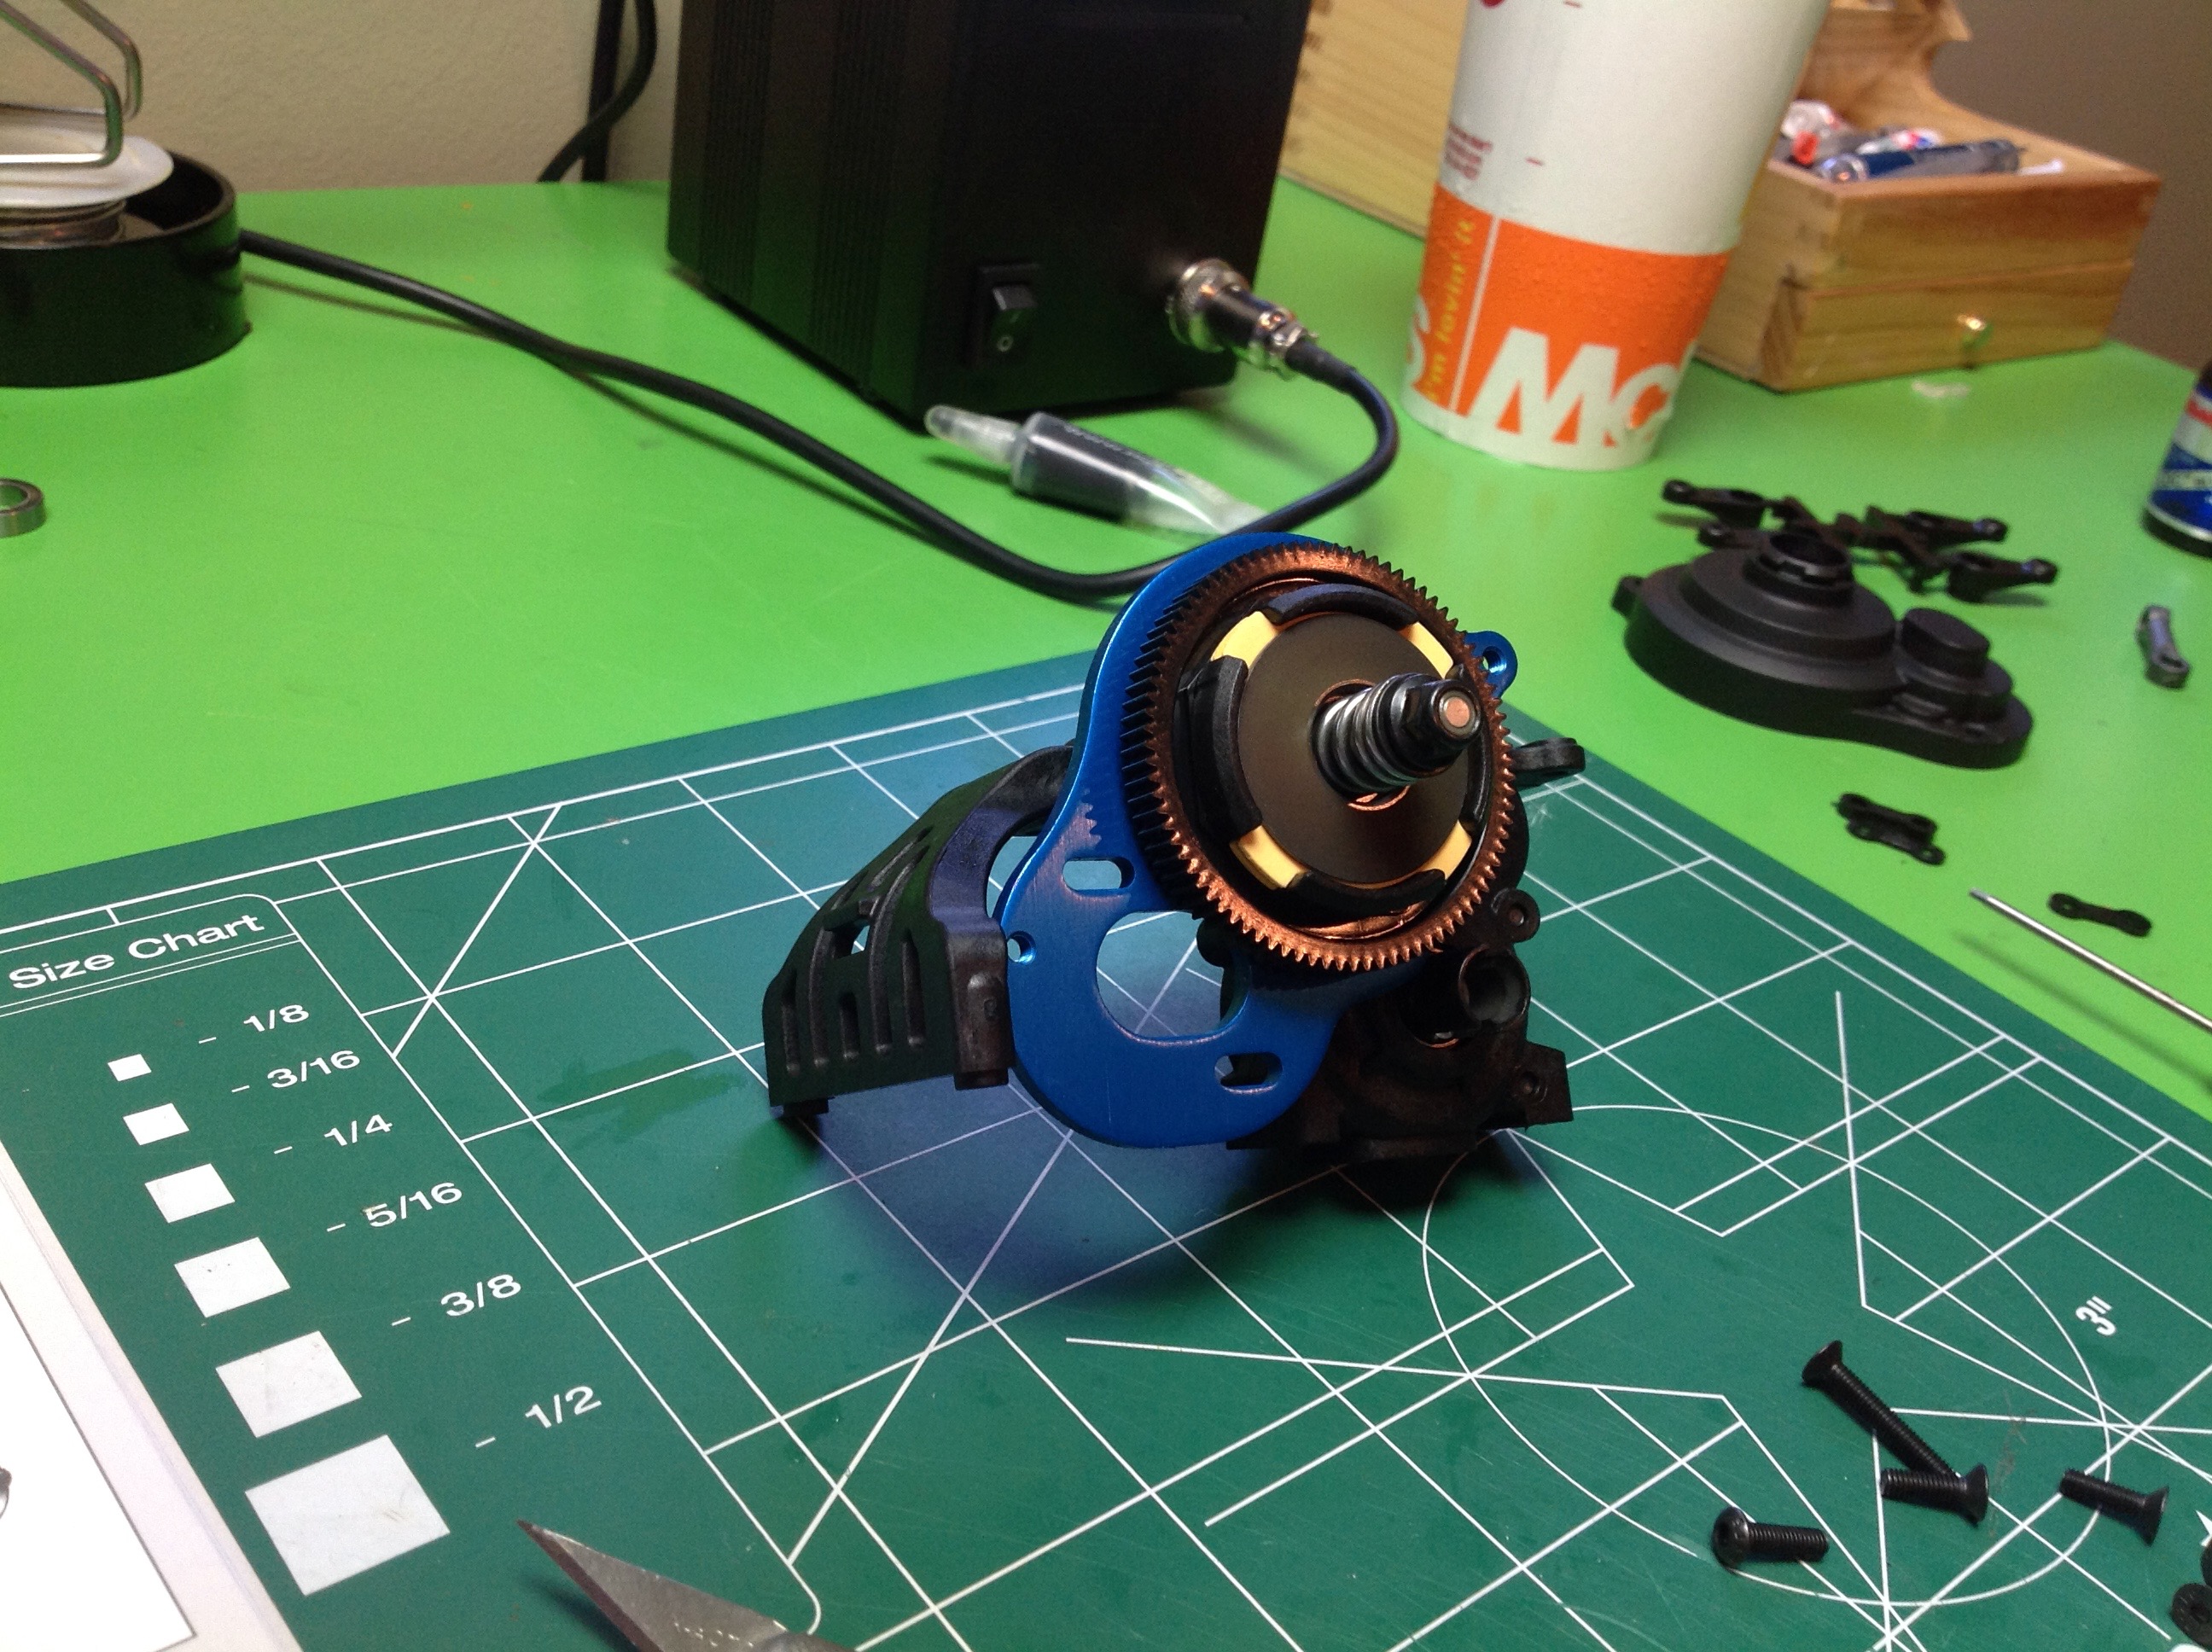
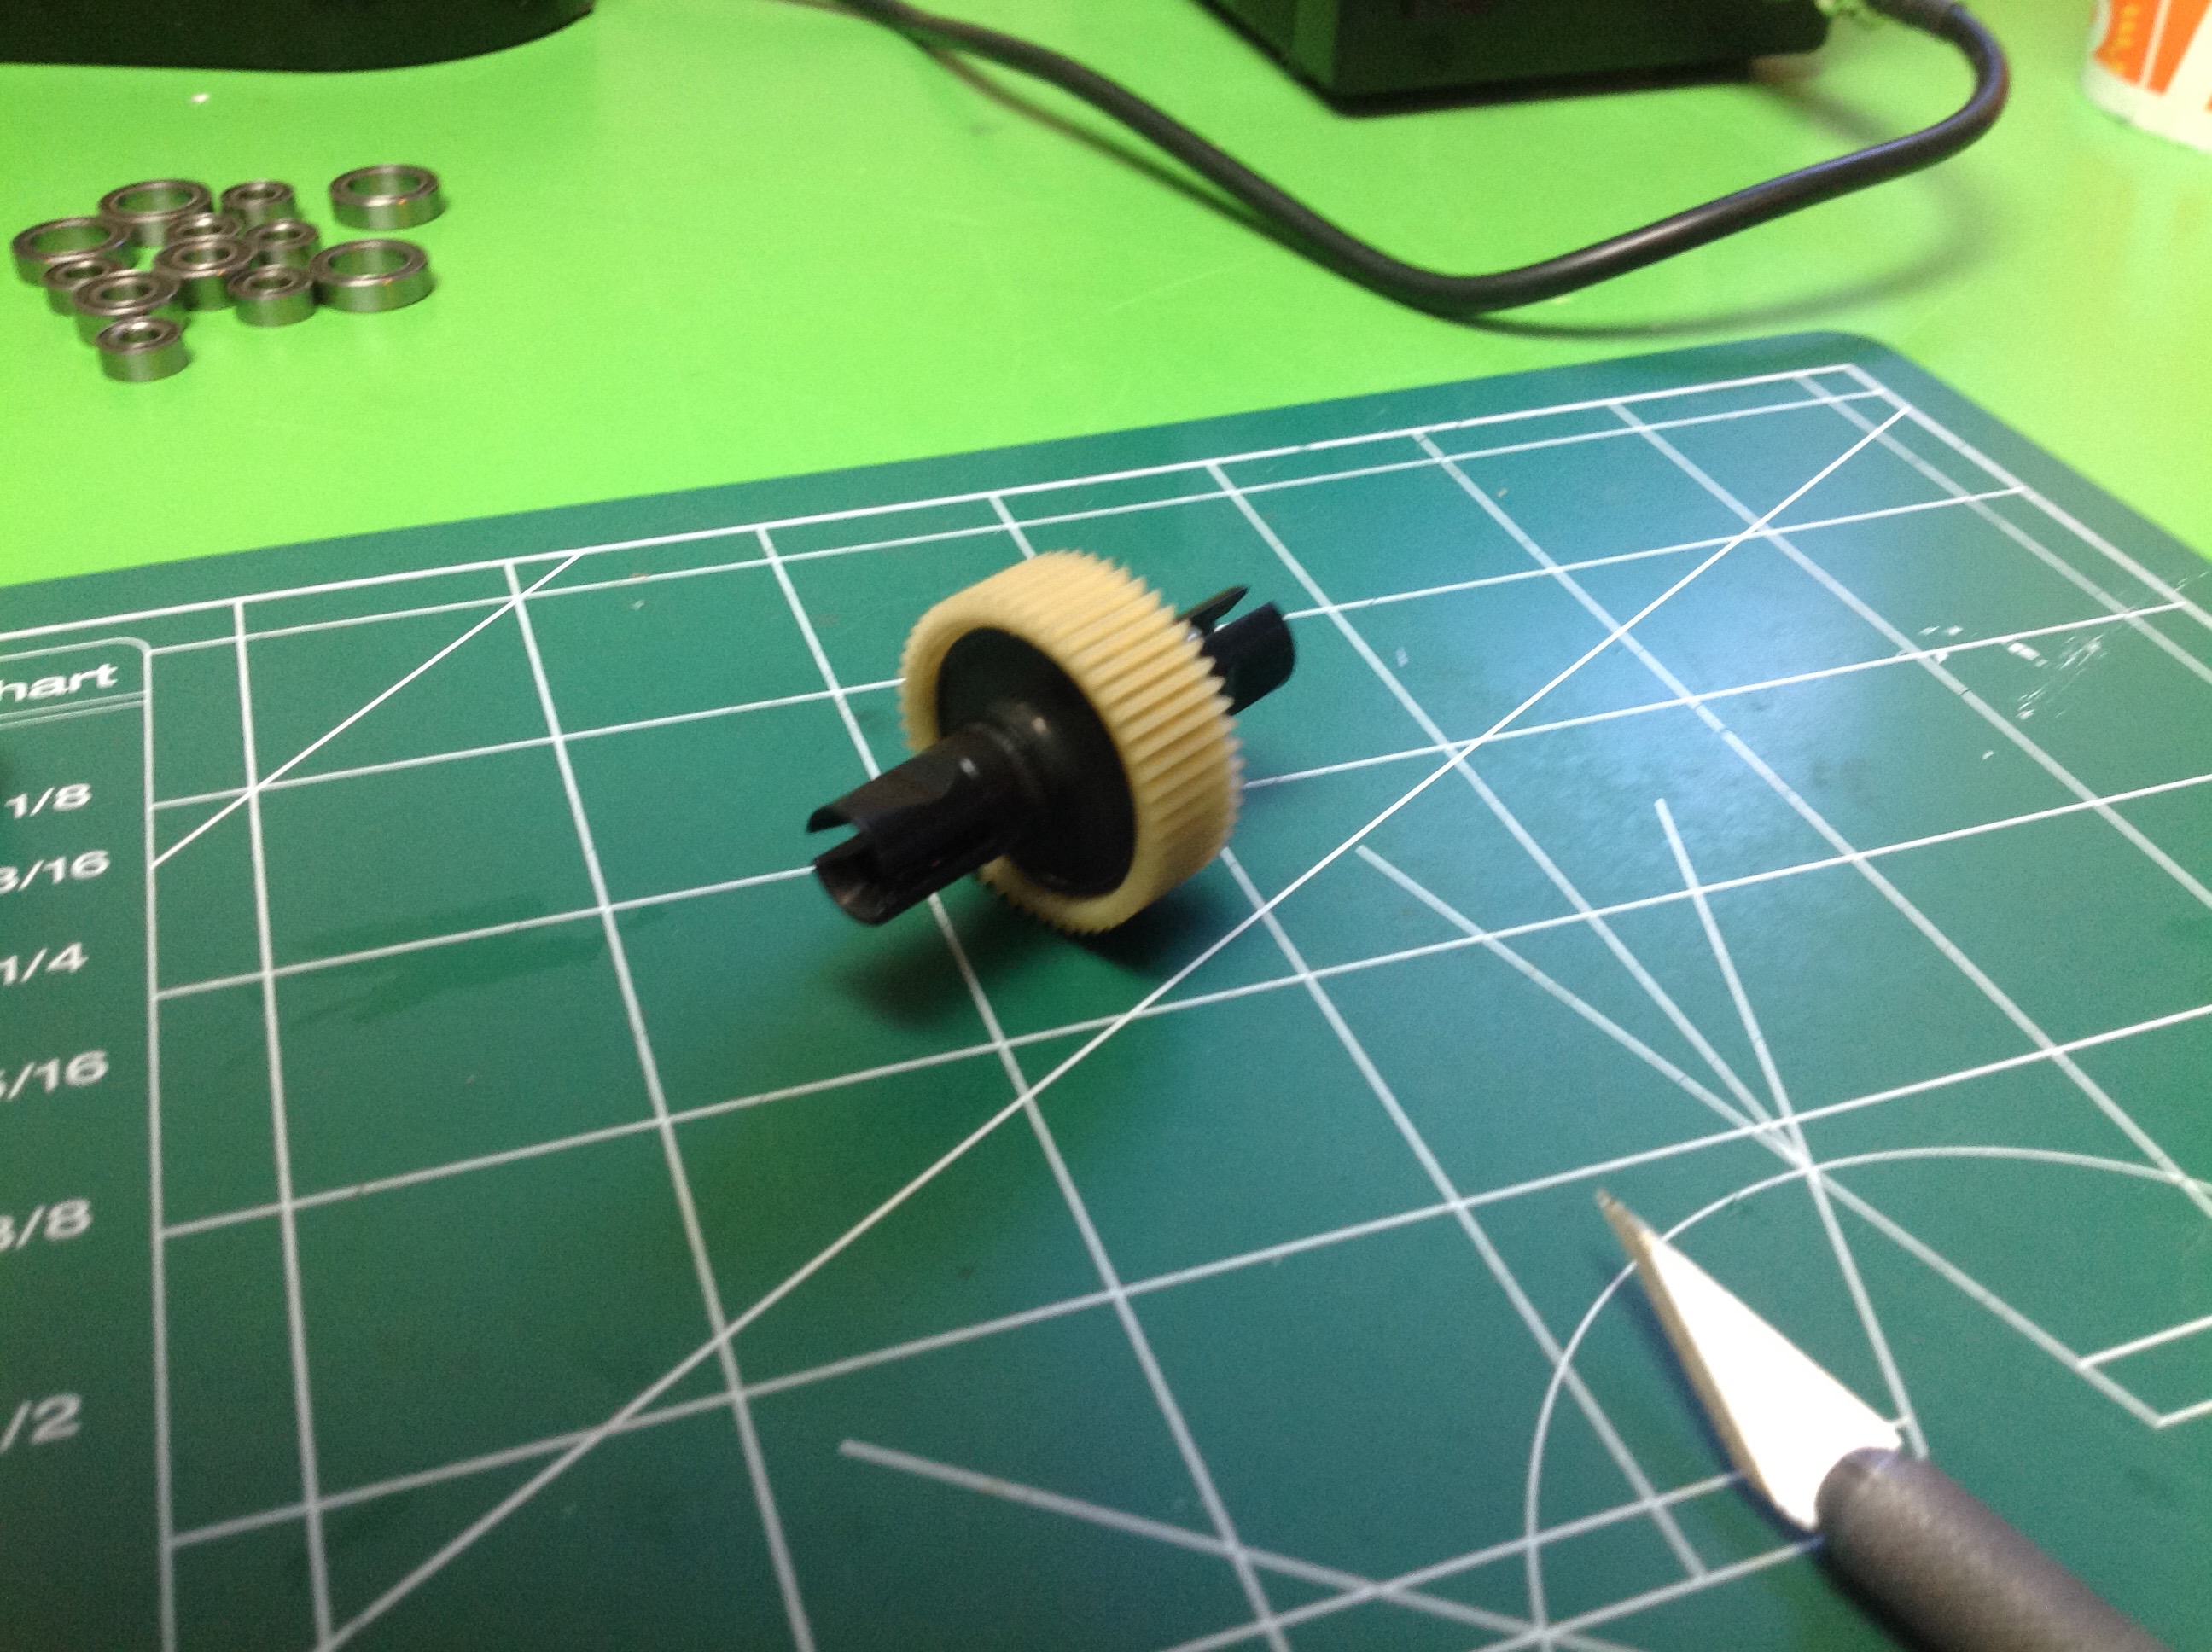
Now for the transmission. The transmission uses 3
gears: an input, an idler, and an output. The use of an
intermediate gear means the input and output are rotating the same
direction. The slipper clutch is built into the spur gear. The clutch is apparently fancier than usual because it uses a lot of parts.

Here the transmission has been installed. I like the motor ahead of the rear axle instead of hanging out the back.
The axles and tie rods come next. I officially hate these
turnbuckles. The rod ends are so tight that they break as you try
to install them. Greasing the threads doesn't help. Forget
about adjusting the length once they are installed; the ends are so
tight than any attempt at rotating the turnbuckle just pops the balls
out. I cracked several and had to replace them. If I were to
do it again, I would tap the rod ends before installing them. The
axles are CV type. The shocks are 12mm bore, oil-filled dampers
with aluminum housings. The kit comes with 32.5 wt shock oil.
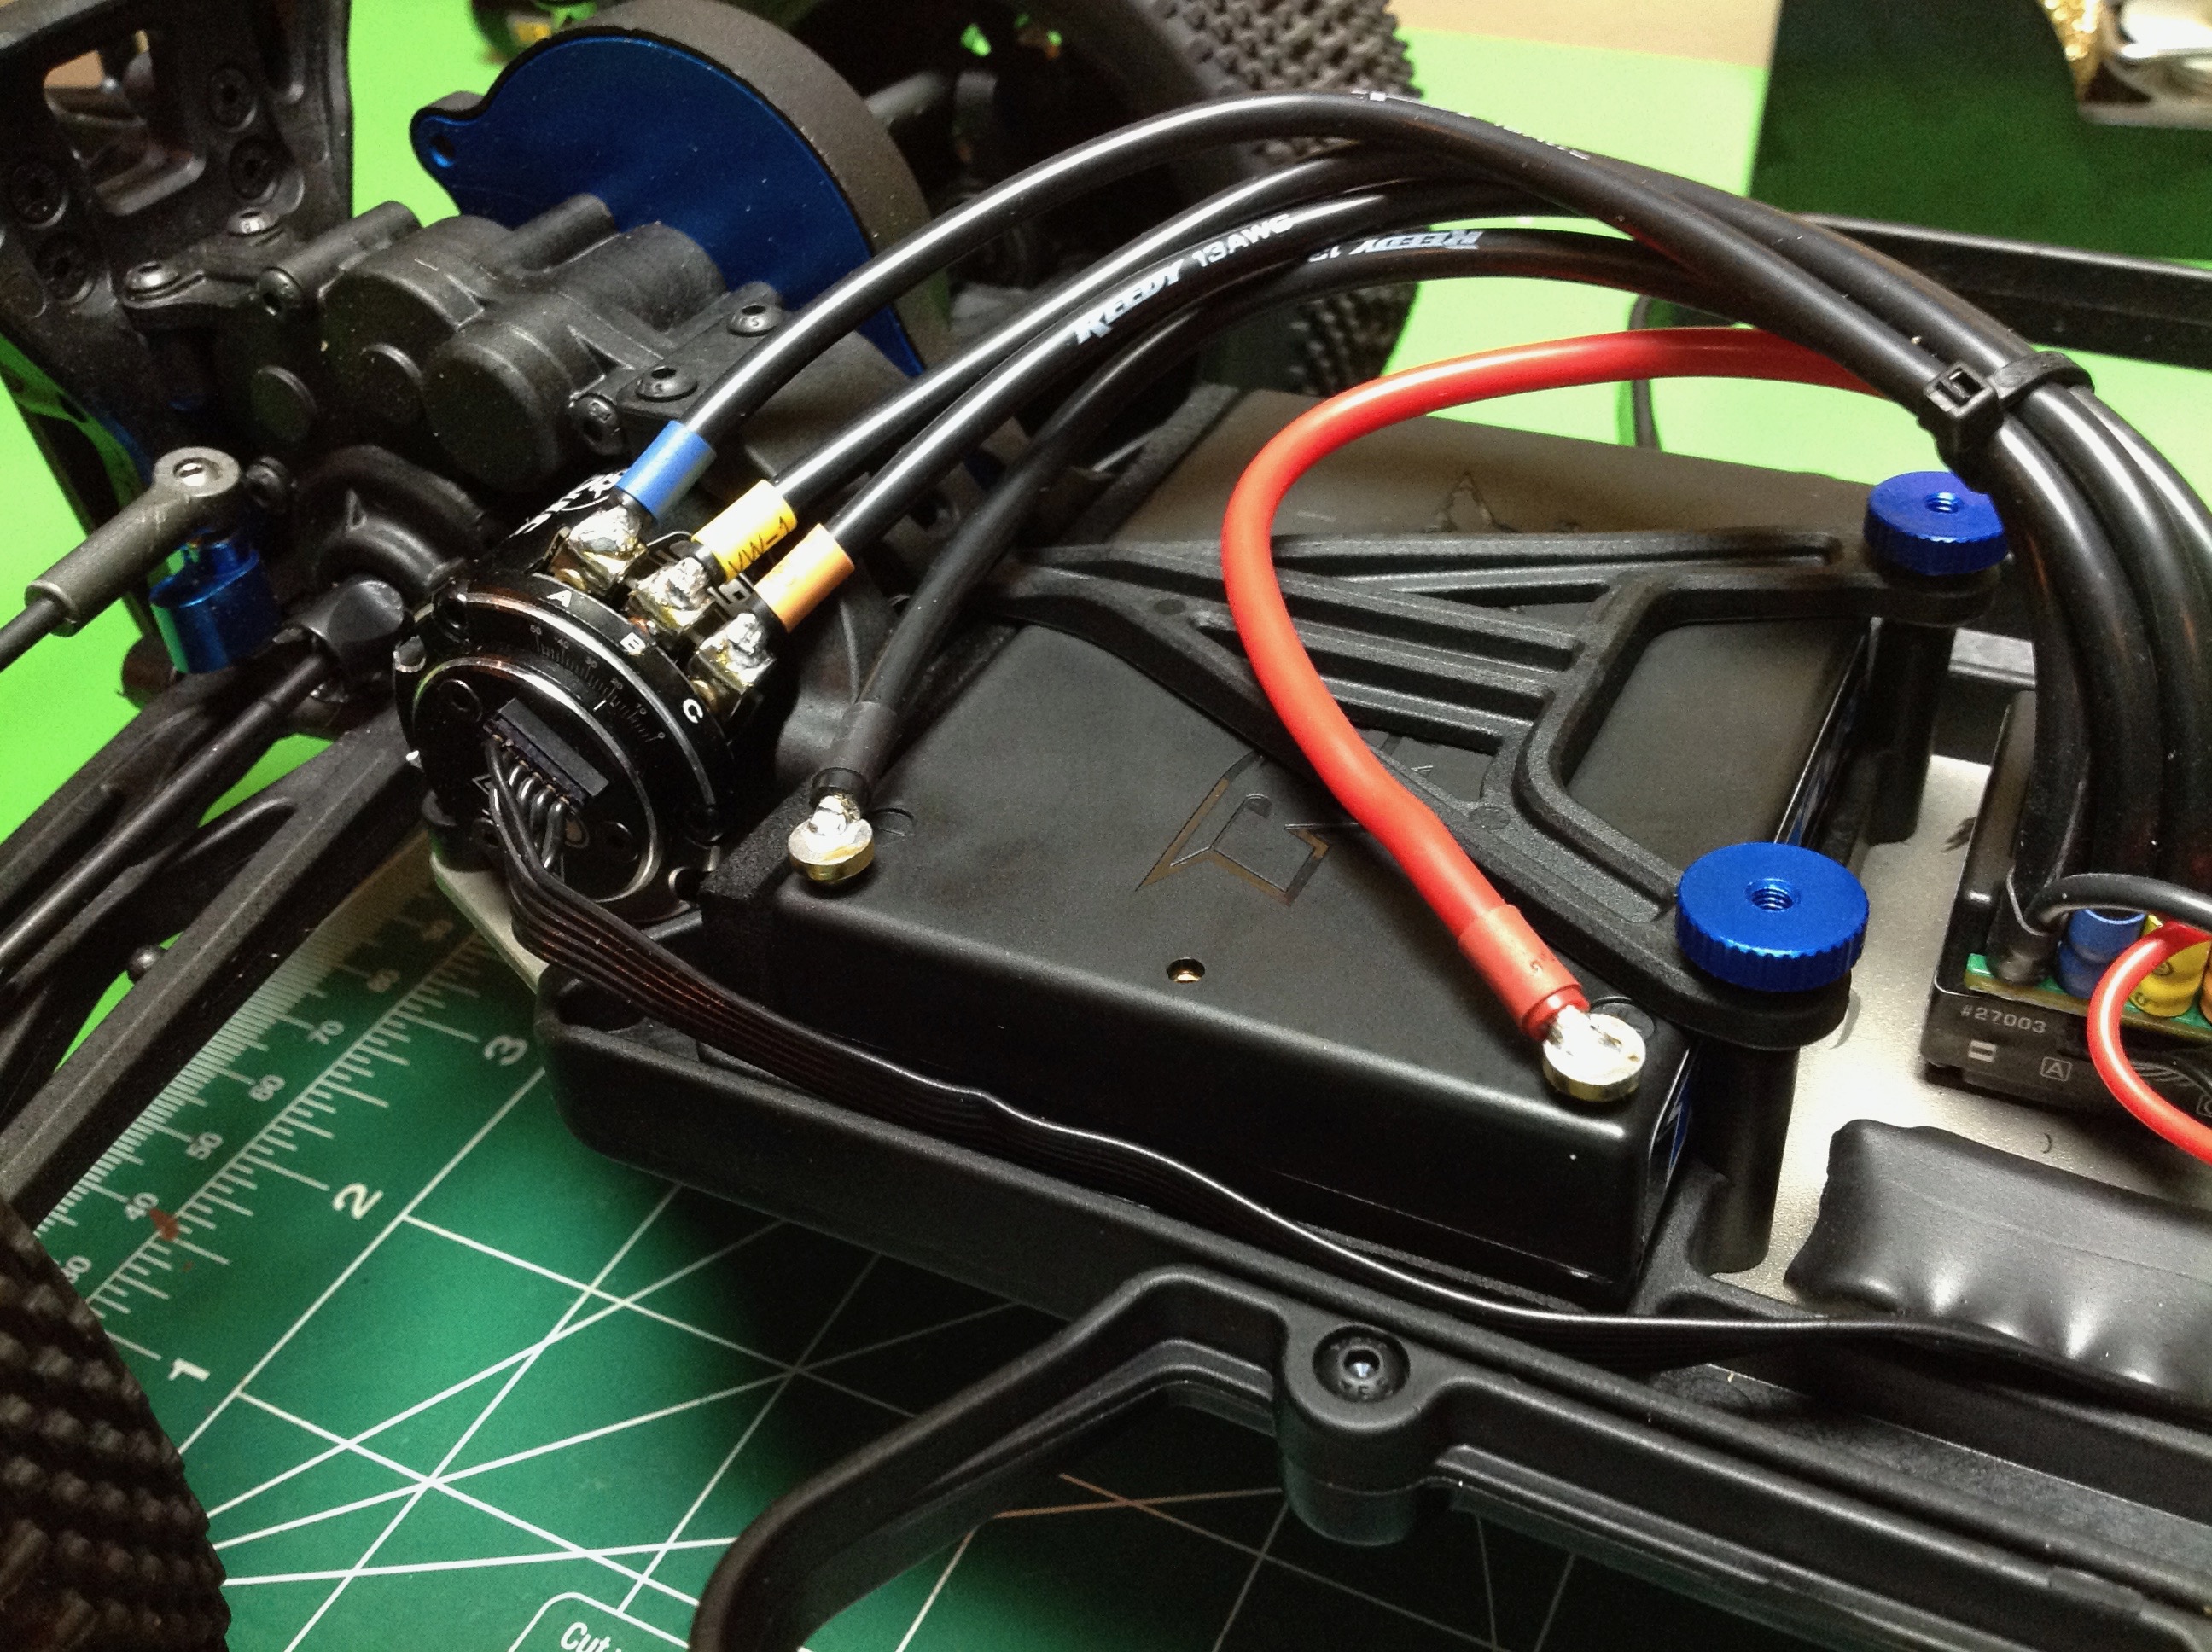
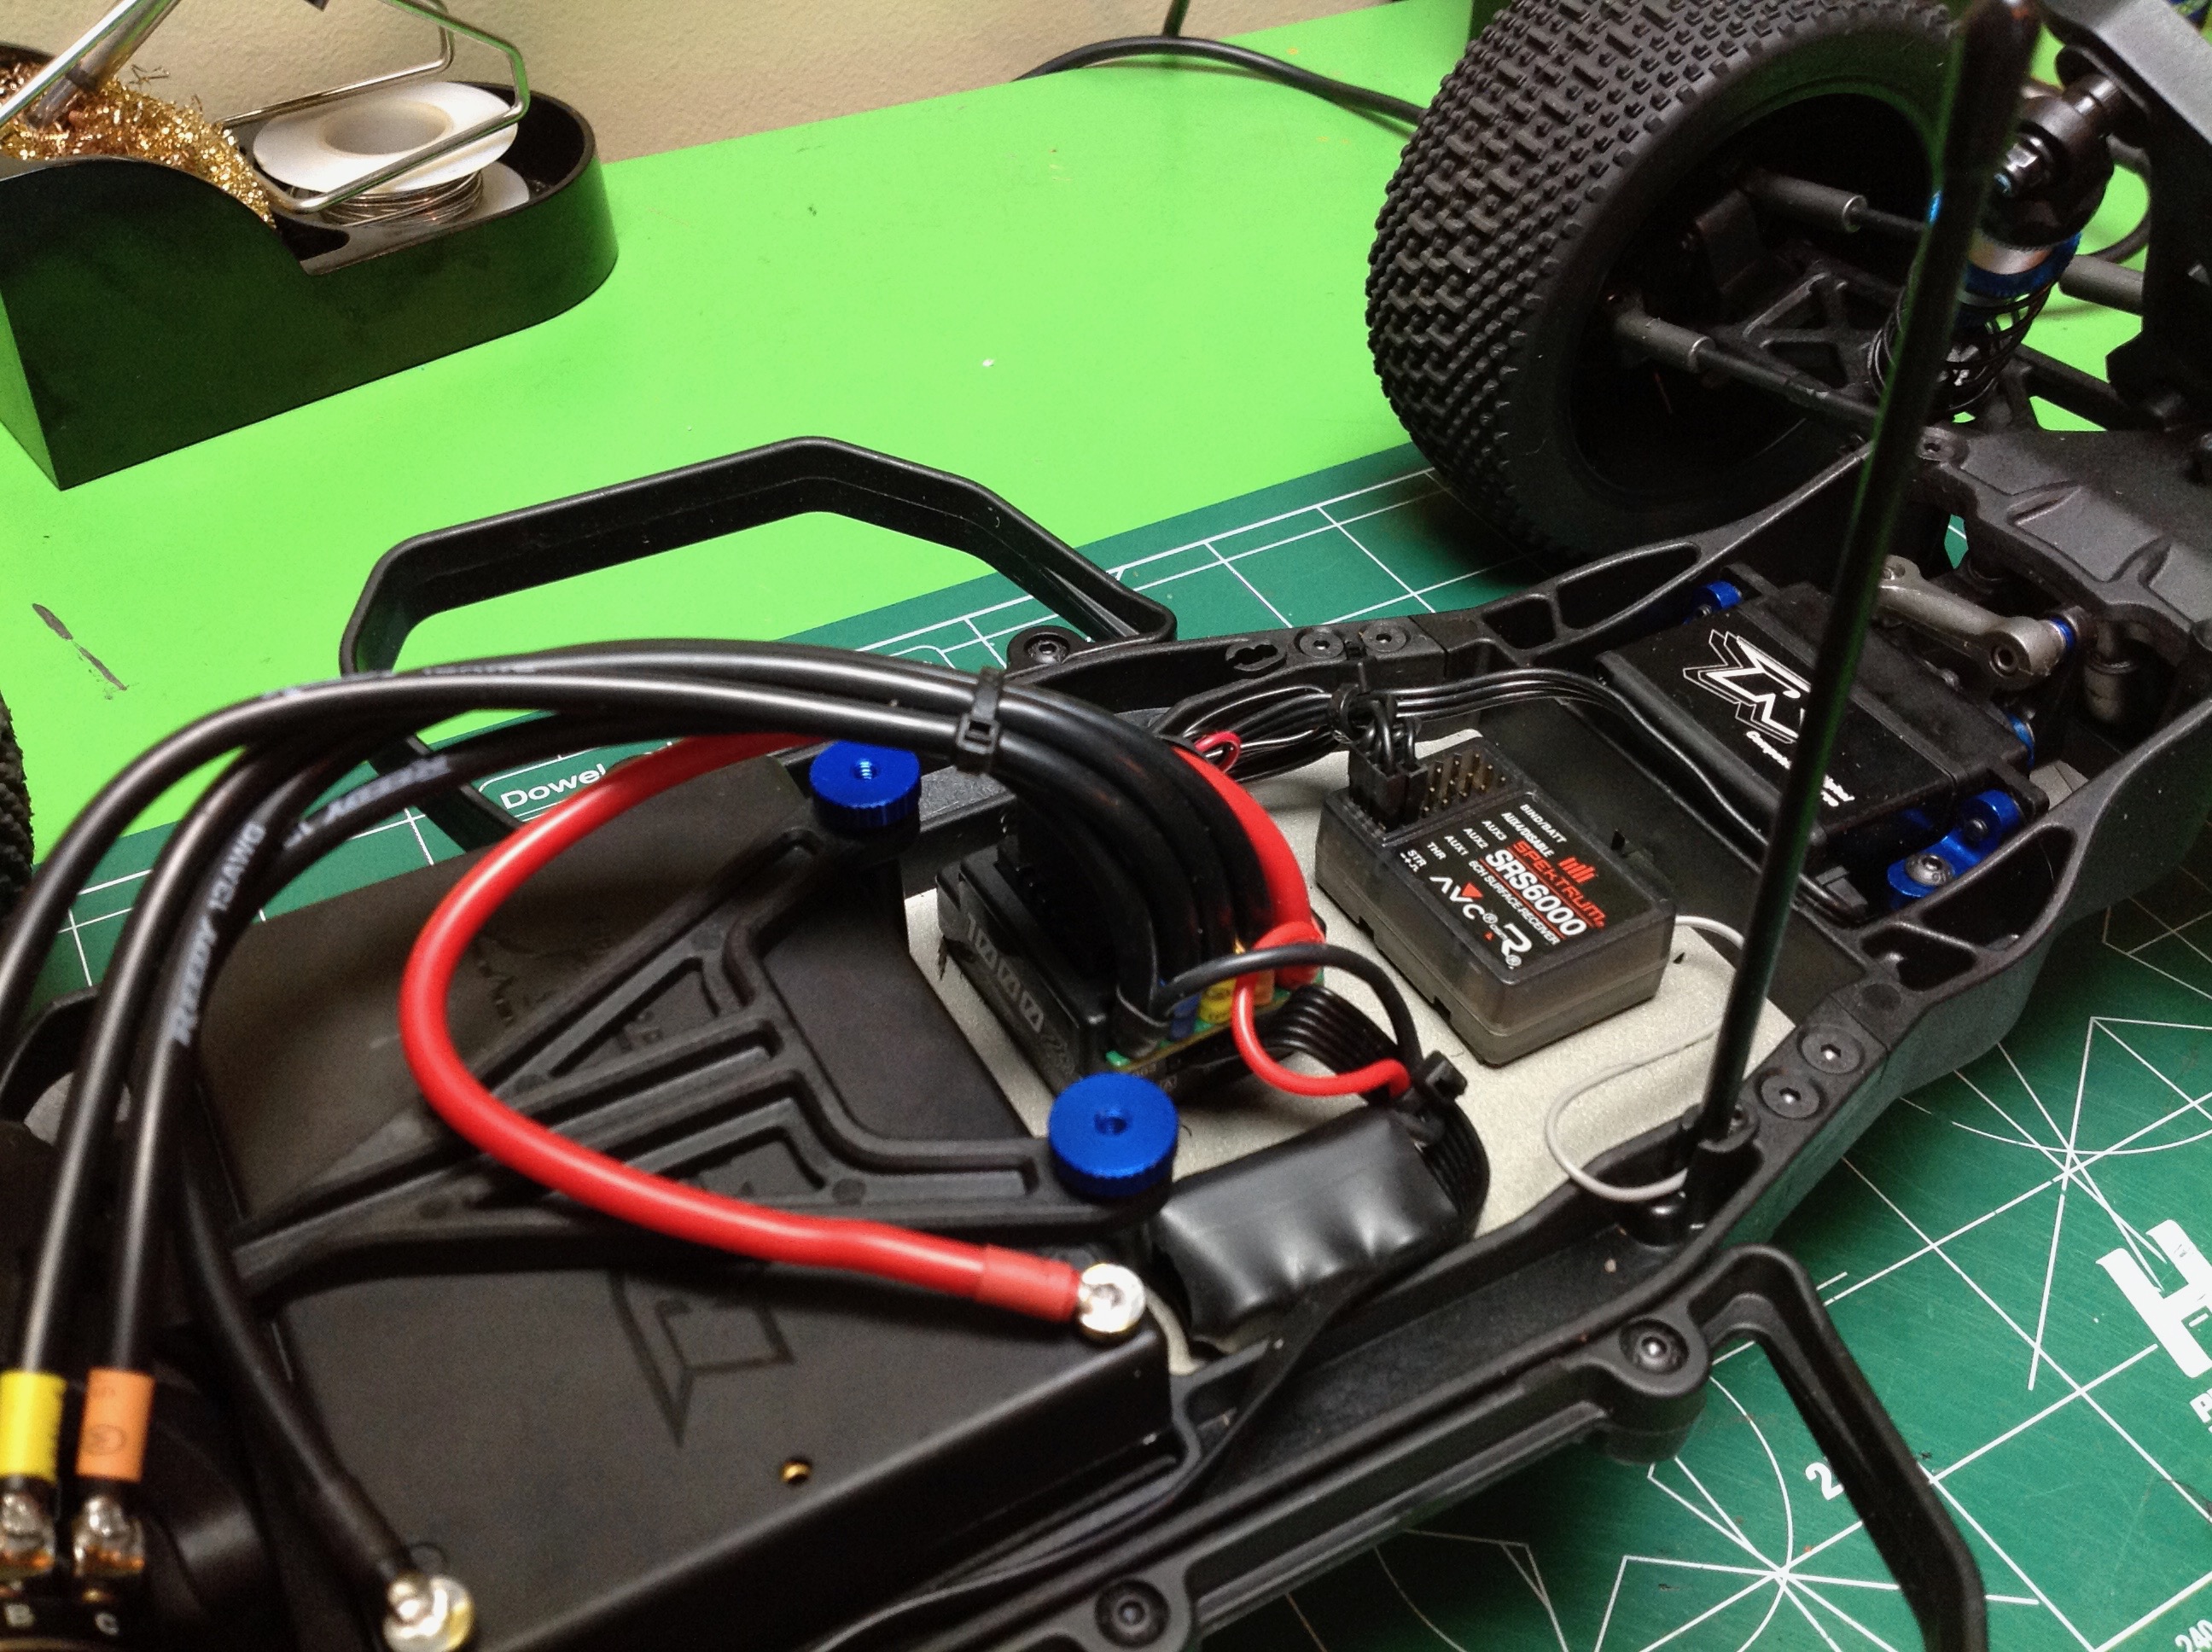
I installed a 6.5 turn Reedy Mach 3 motor, a Reedy
Blackbox ESC, and an SQ shaped racing battery. I wanted the wires
to be short and direct, so I did a lot of soldering. The receiver
has AVC traction control.
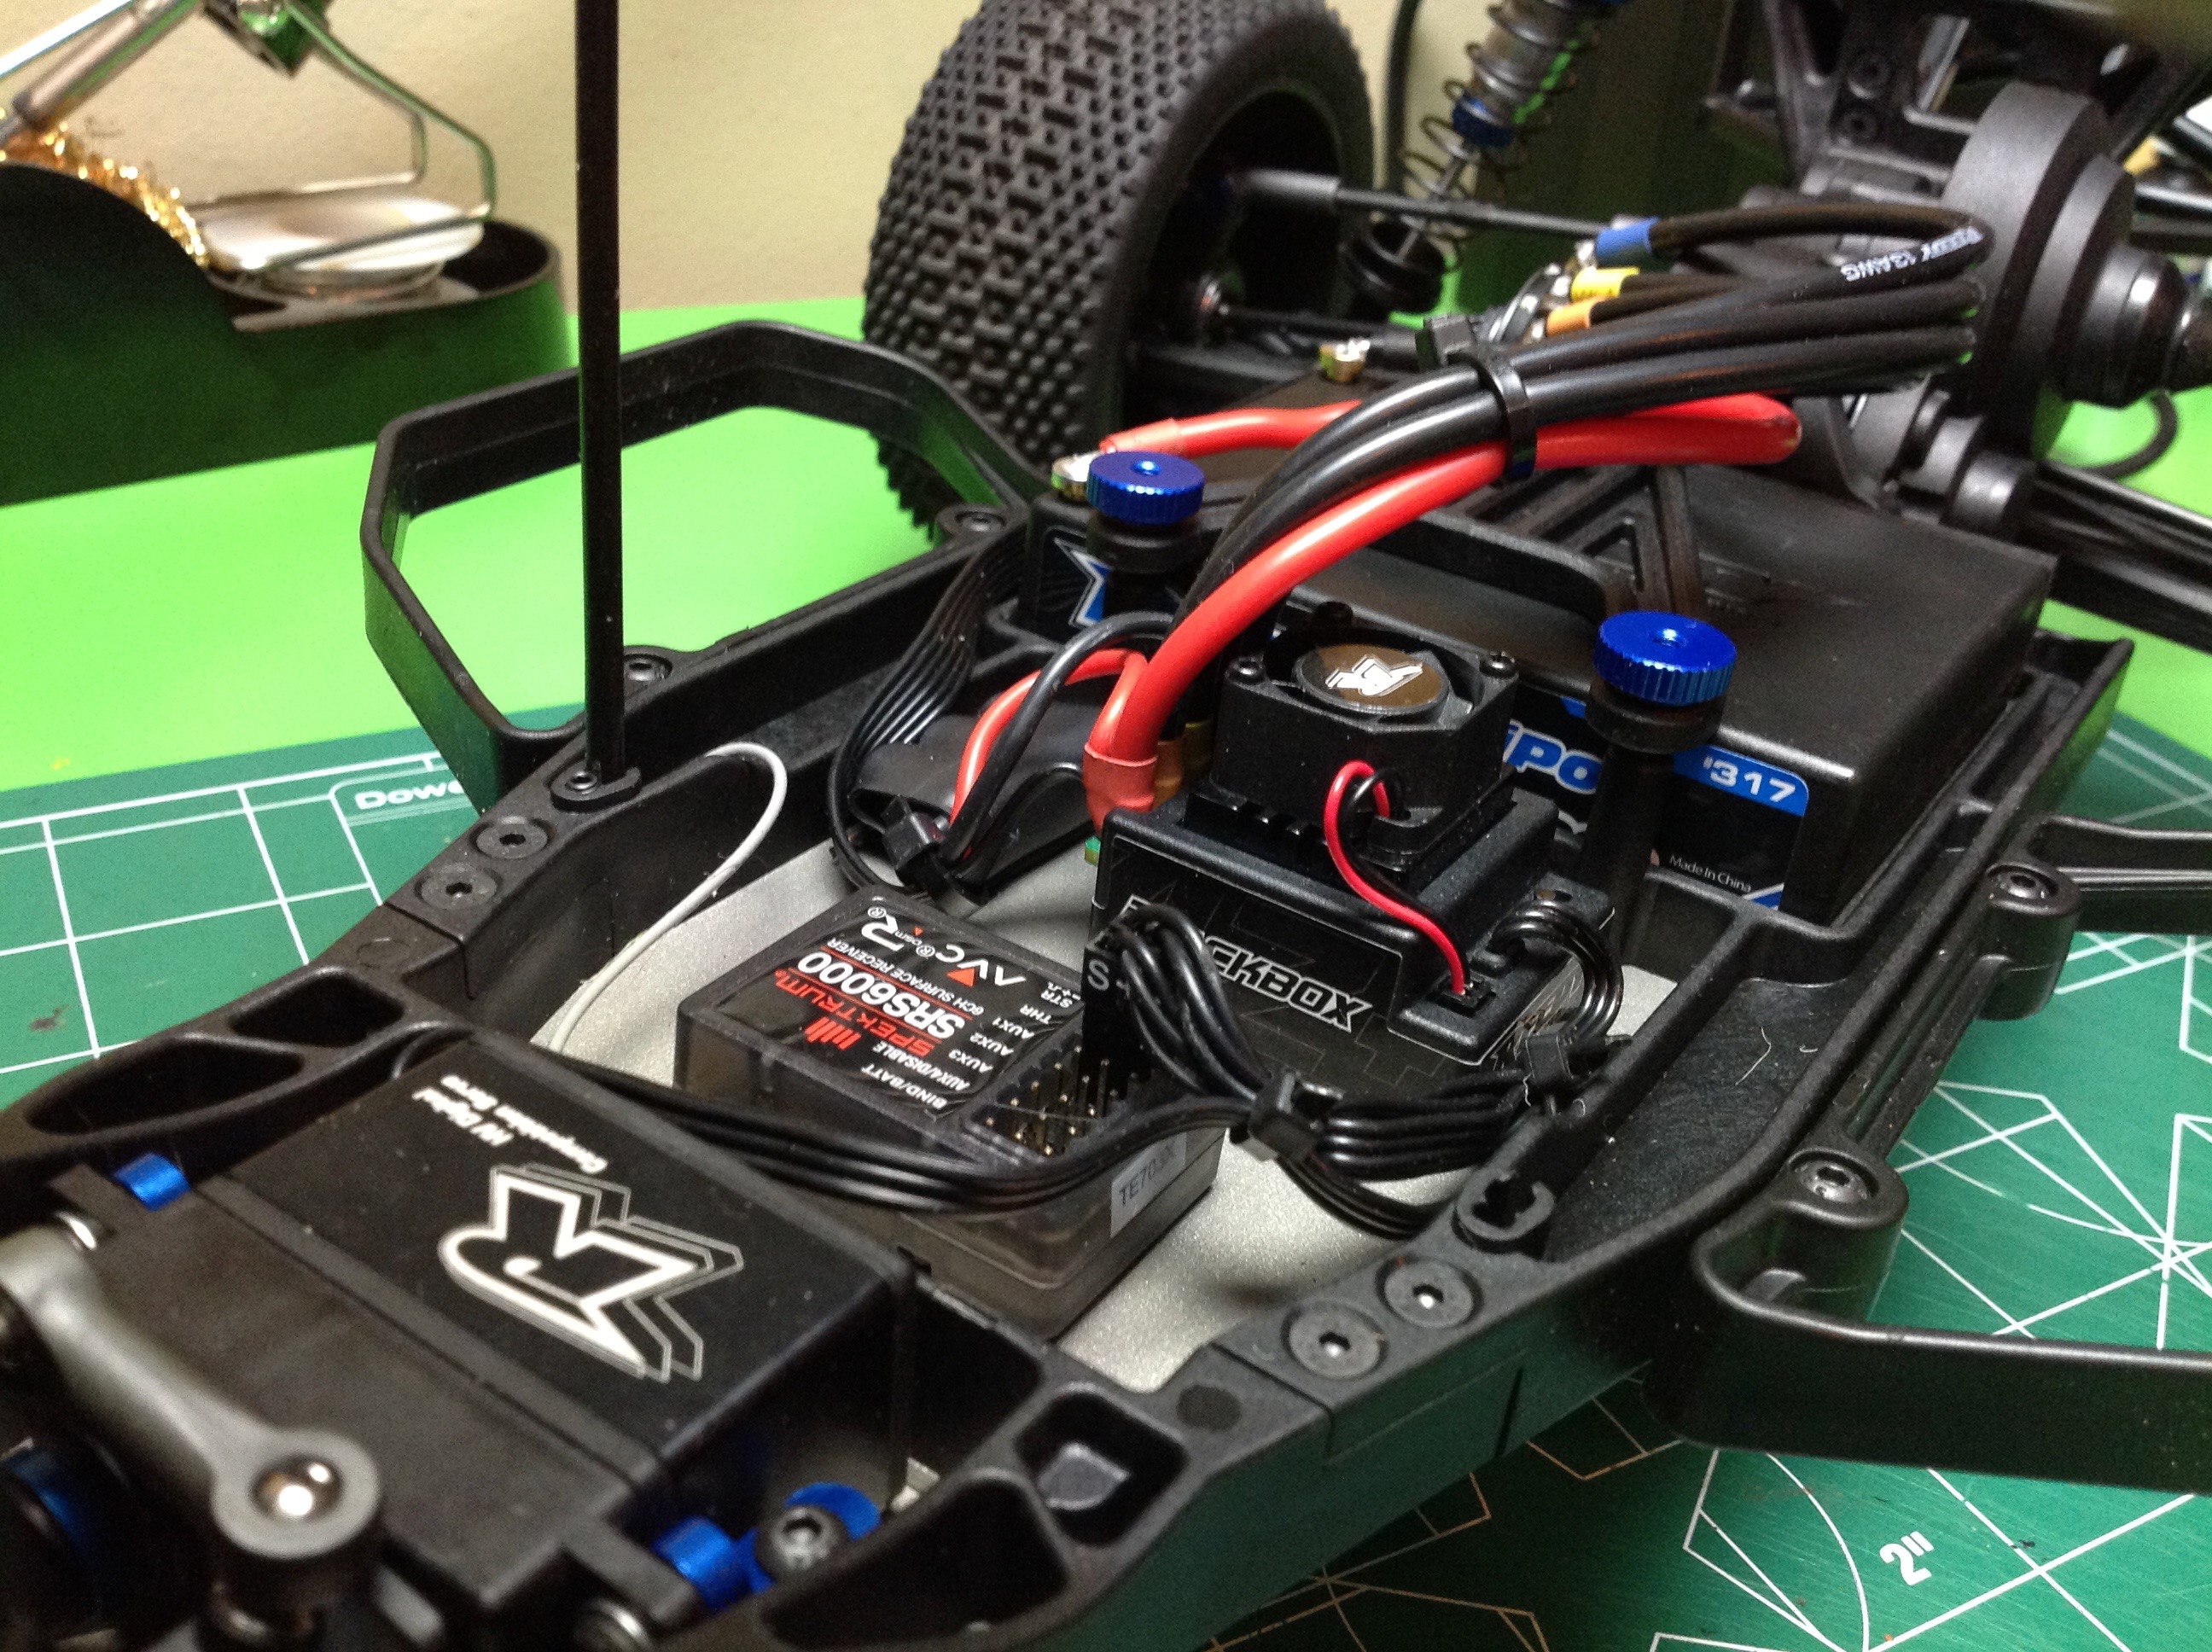
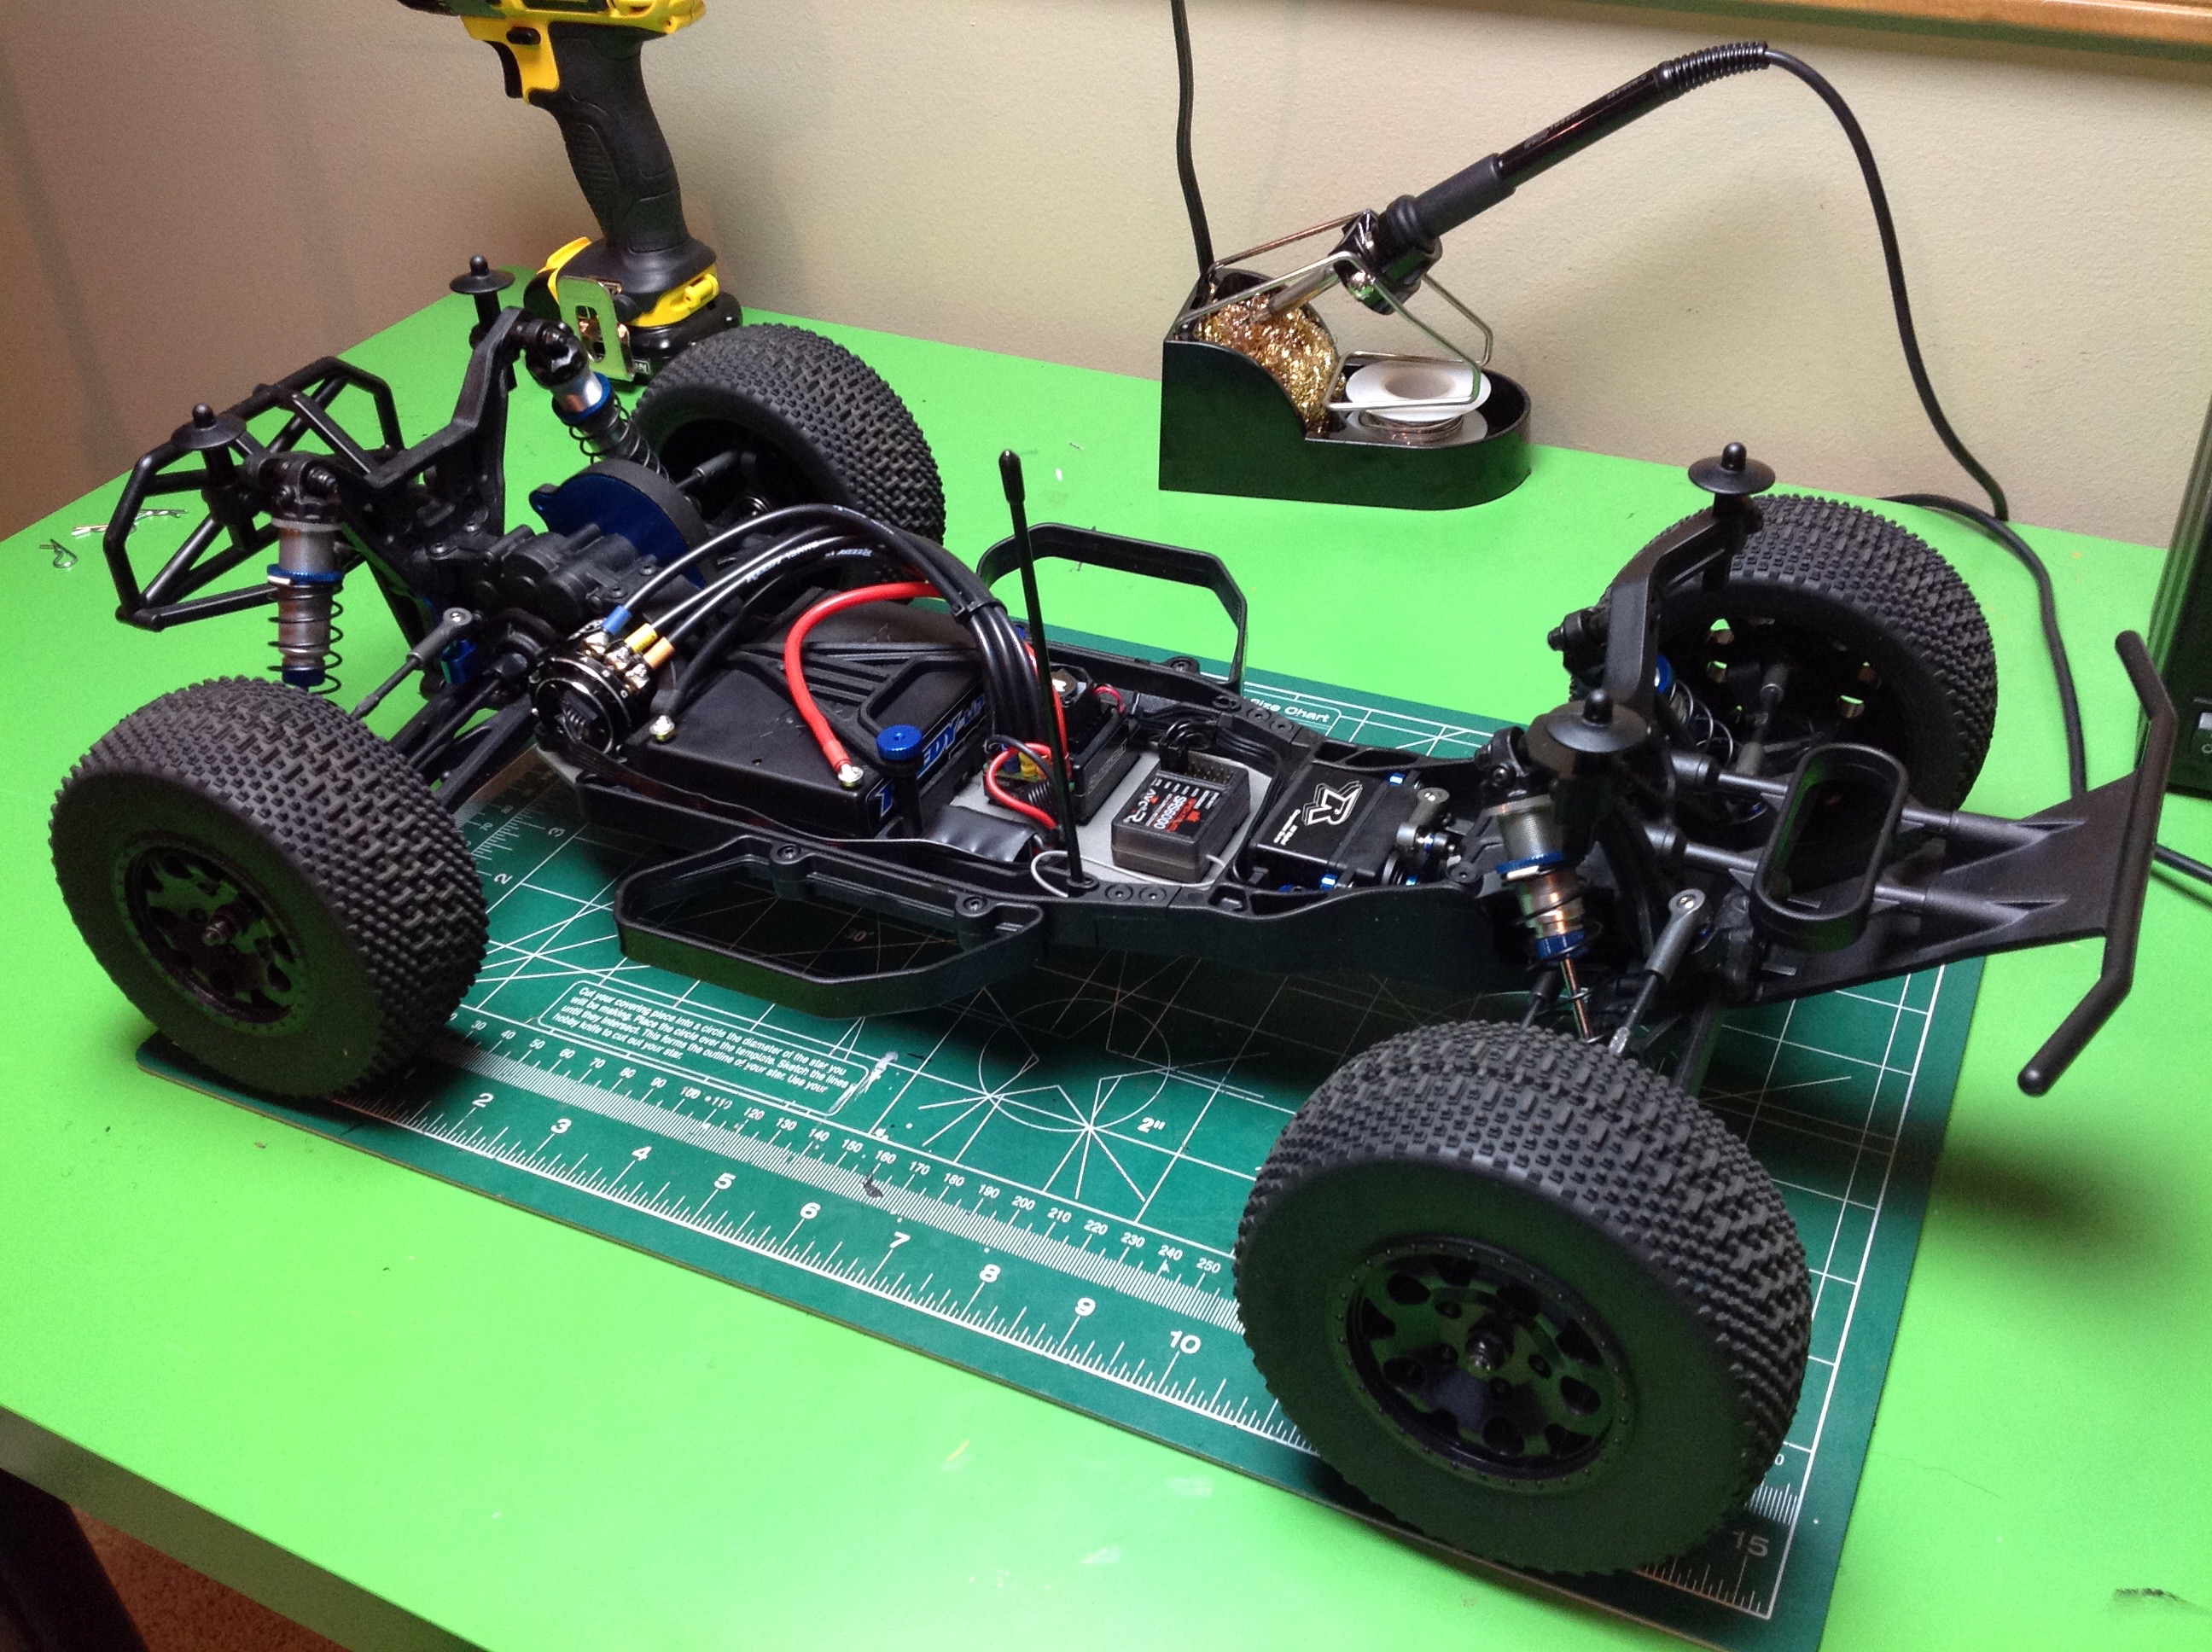
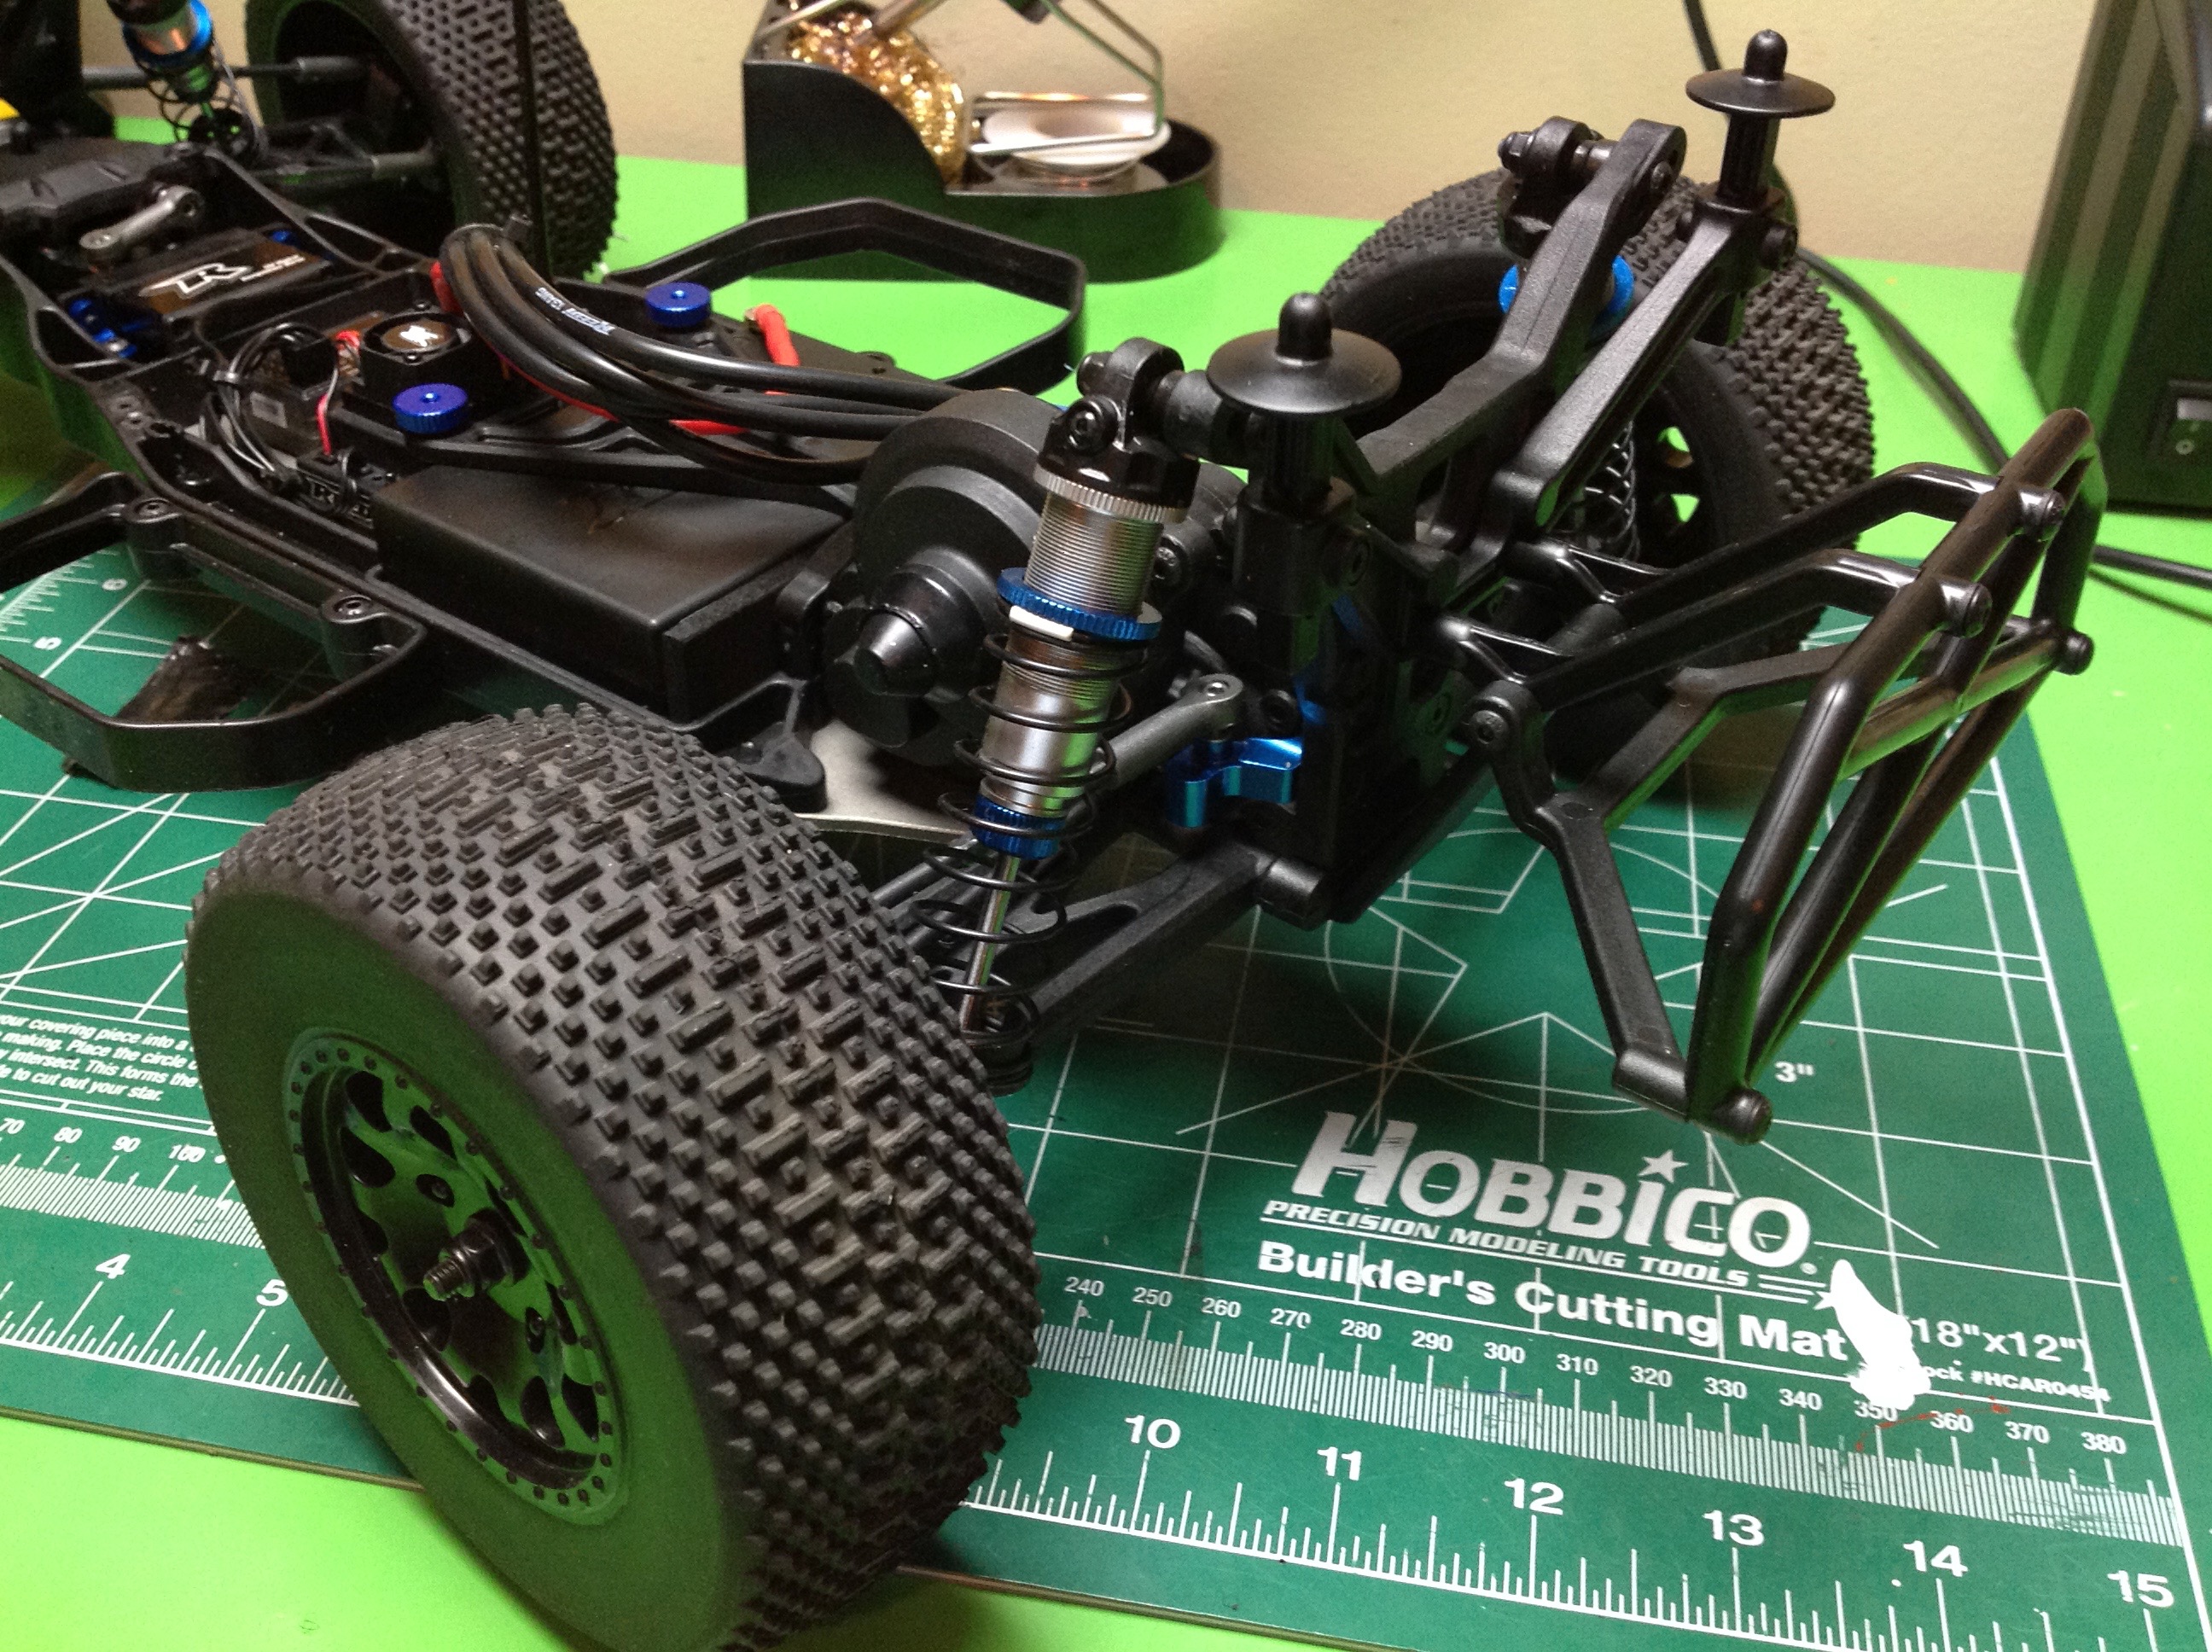
These final couple of images show the completed
electronics and chassis. It all looks very neat which I
like. Time to drive it.