Scania Highline Project
Page 1: Assembly
Since I've already fully documented a tractor truck build on my King Hauler page and the chassis is 90% similar, I'll be providing only a cursory overview of the build here.
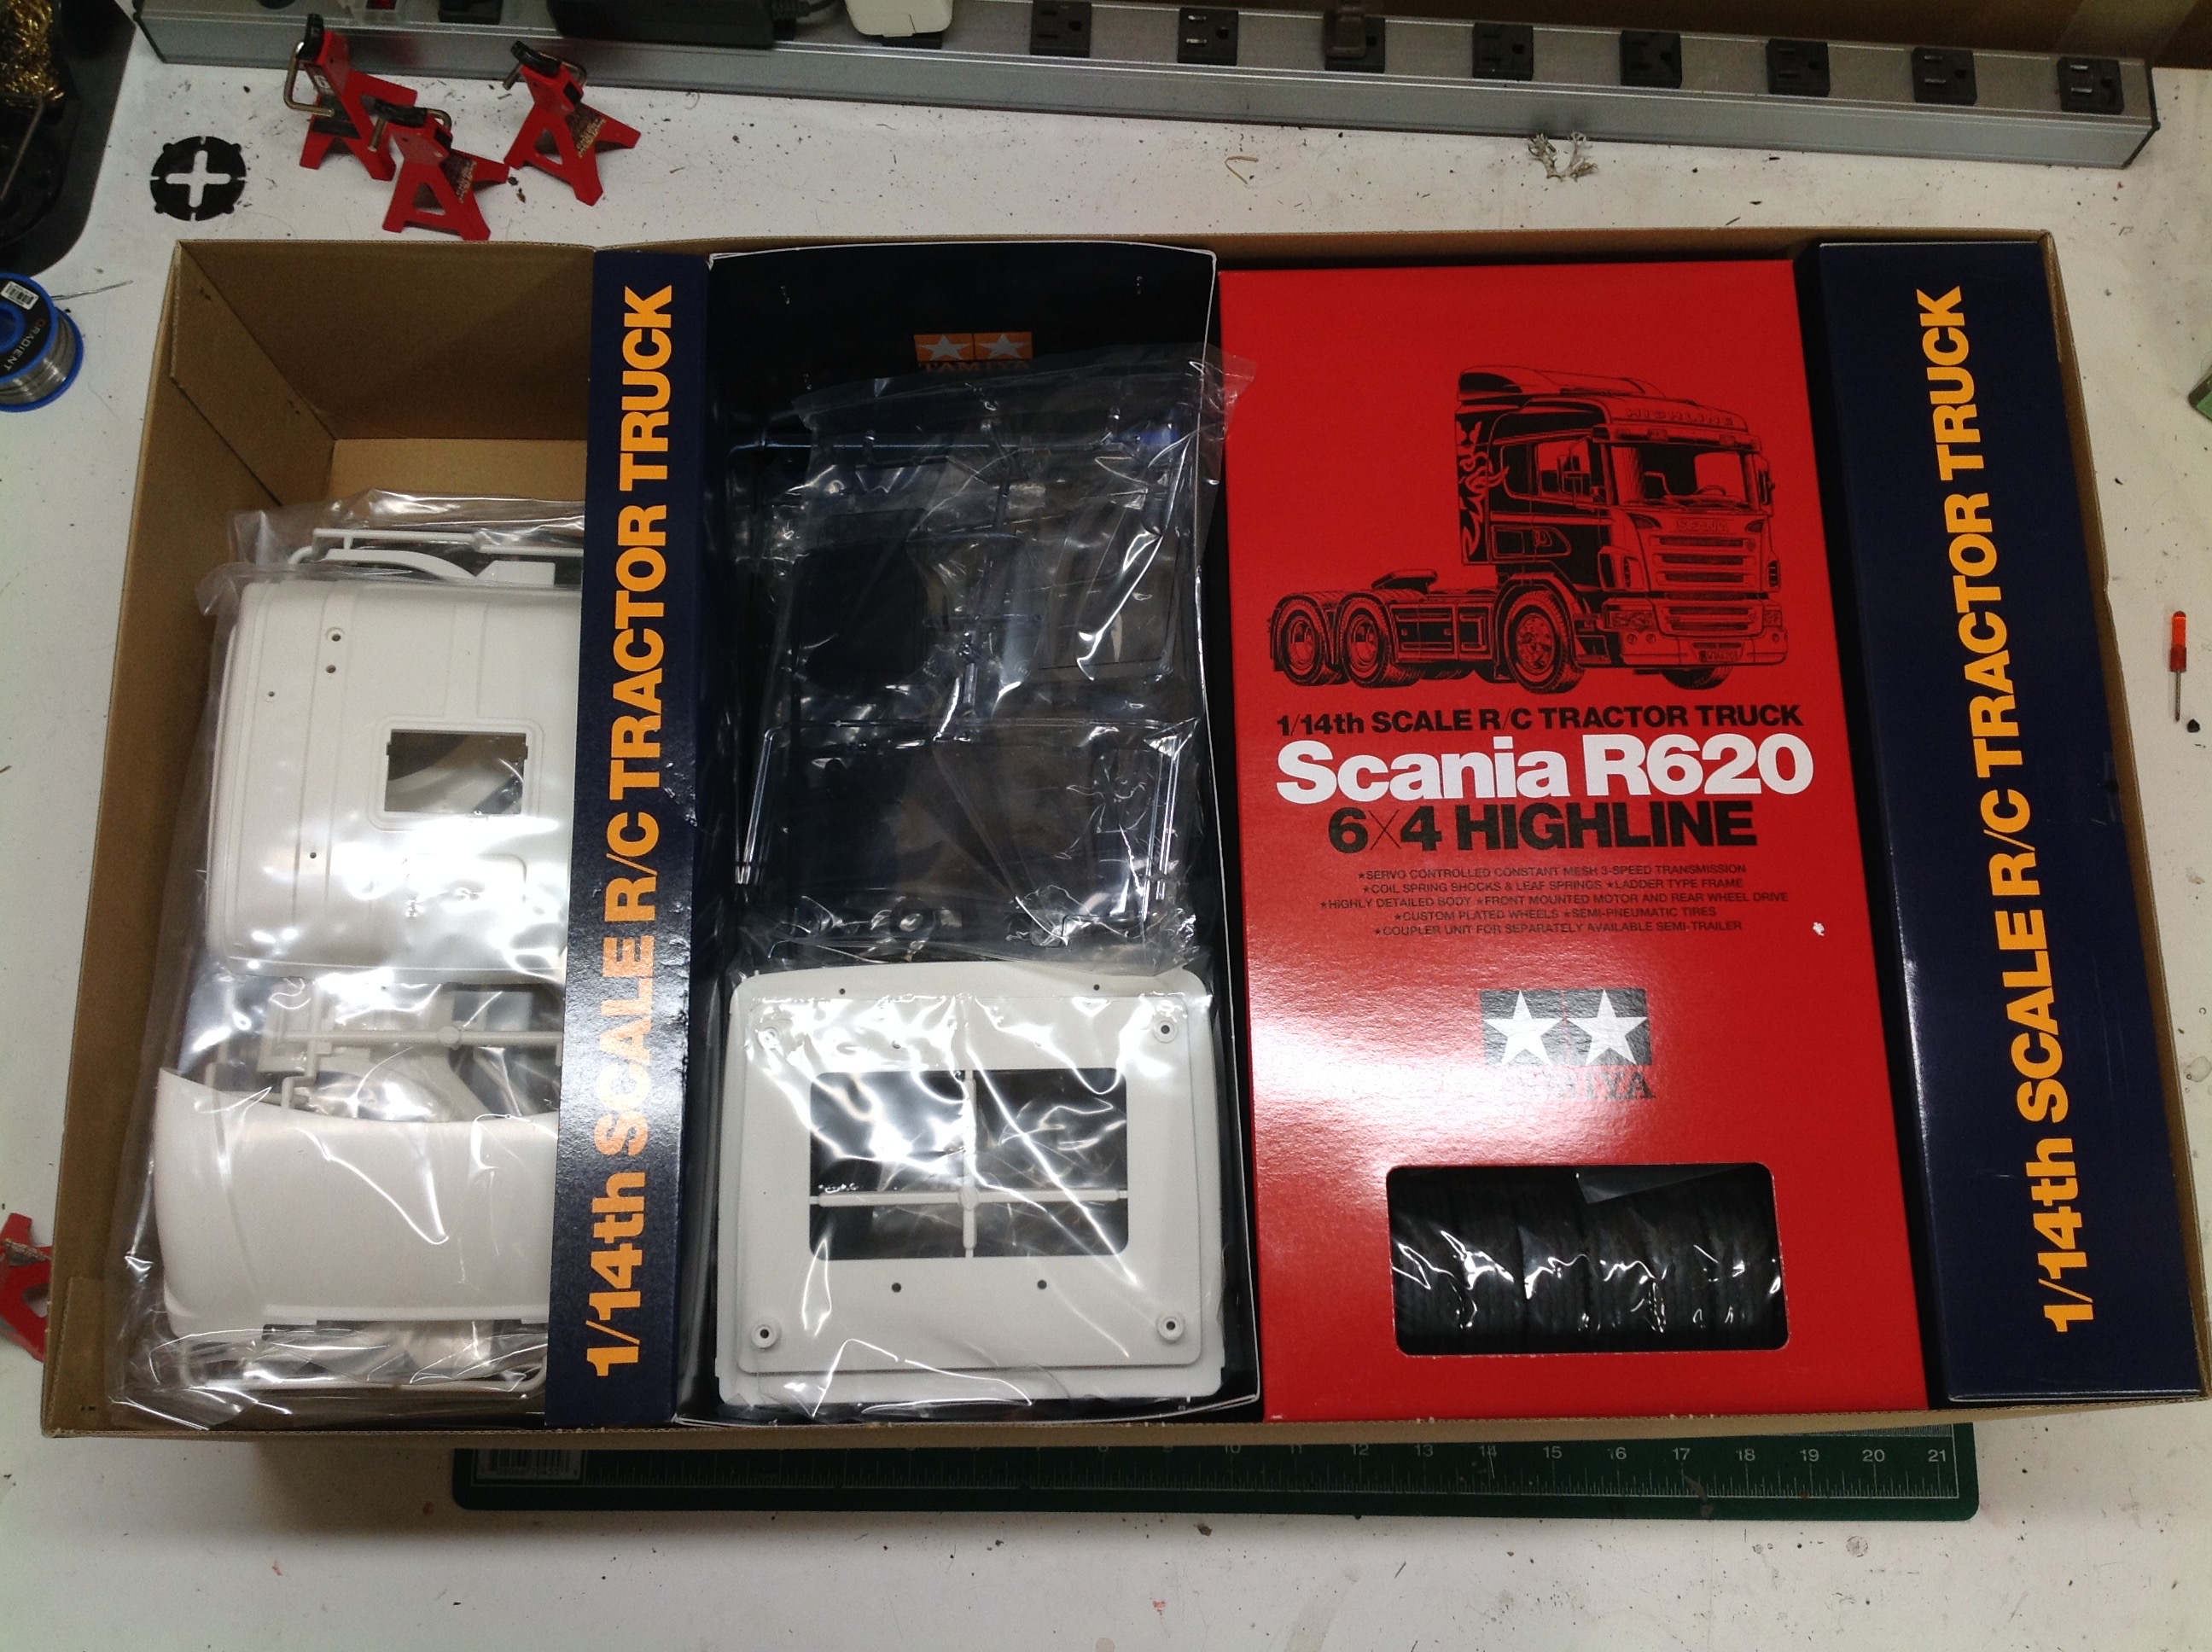
Here's the typically huge box of the tractor truck series. Unlike
many of the others which use old style white boxes, this one has a
stylish black box. Inside are the usual dividers with the main
body on the left followed by plastic sprues, tires, and finally all the
hardware on the right. There is a lot of hardware in a tractor
truck. The body parts are mostly molded in white while everything
else is black.
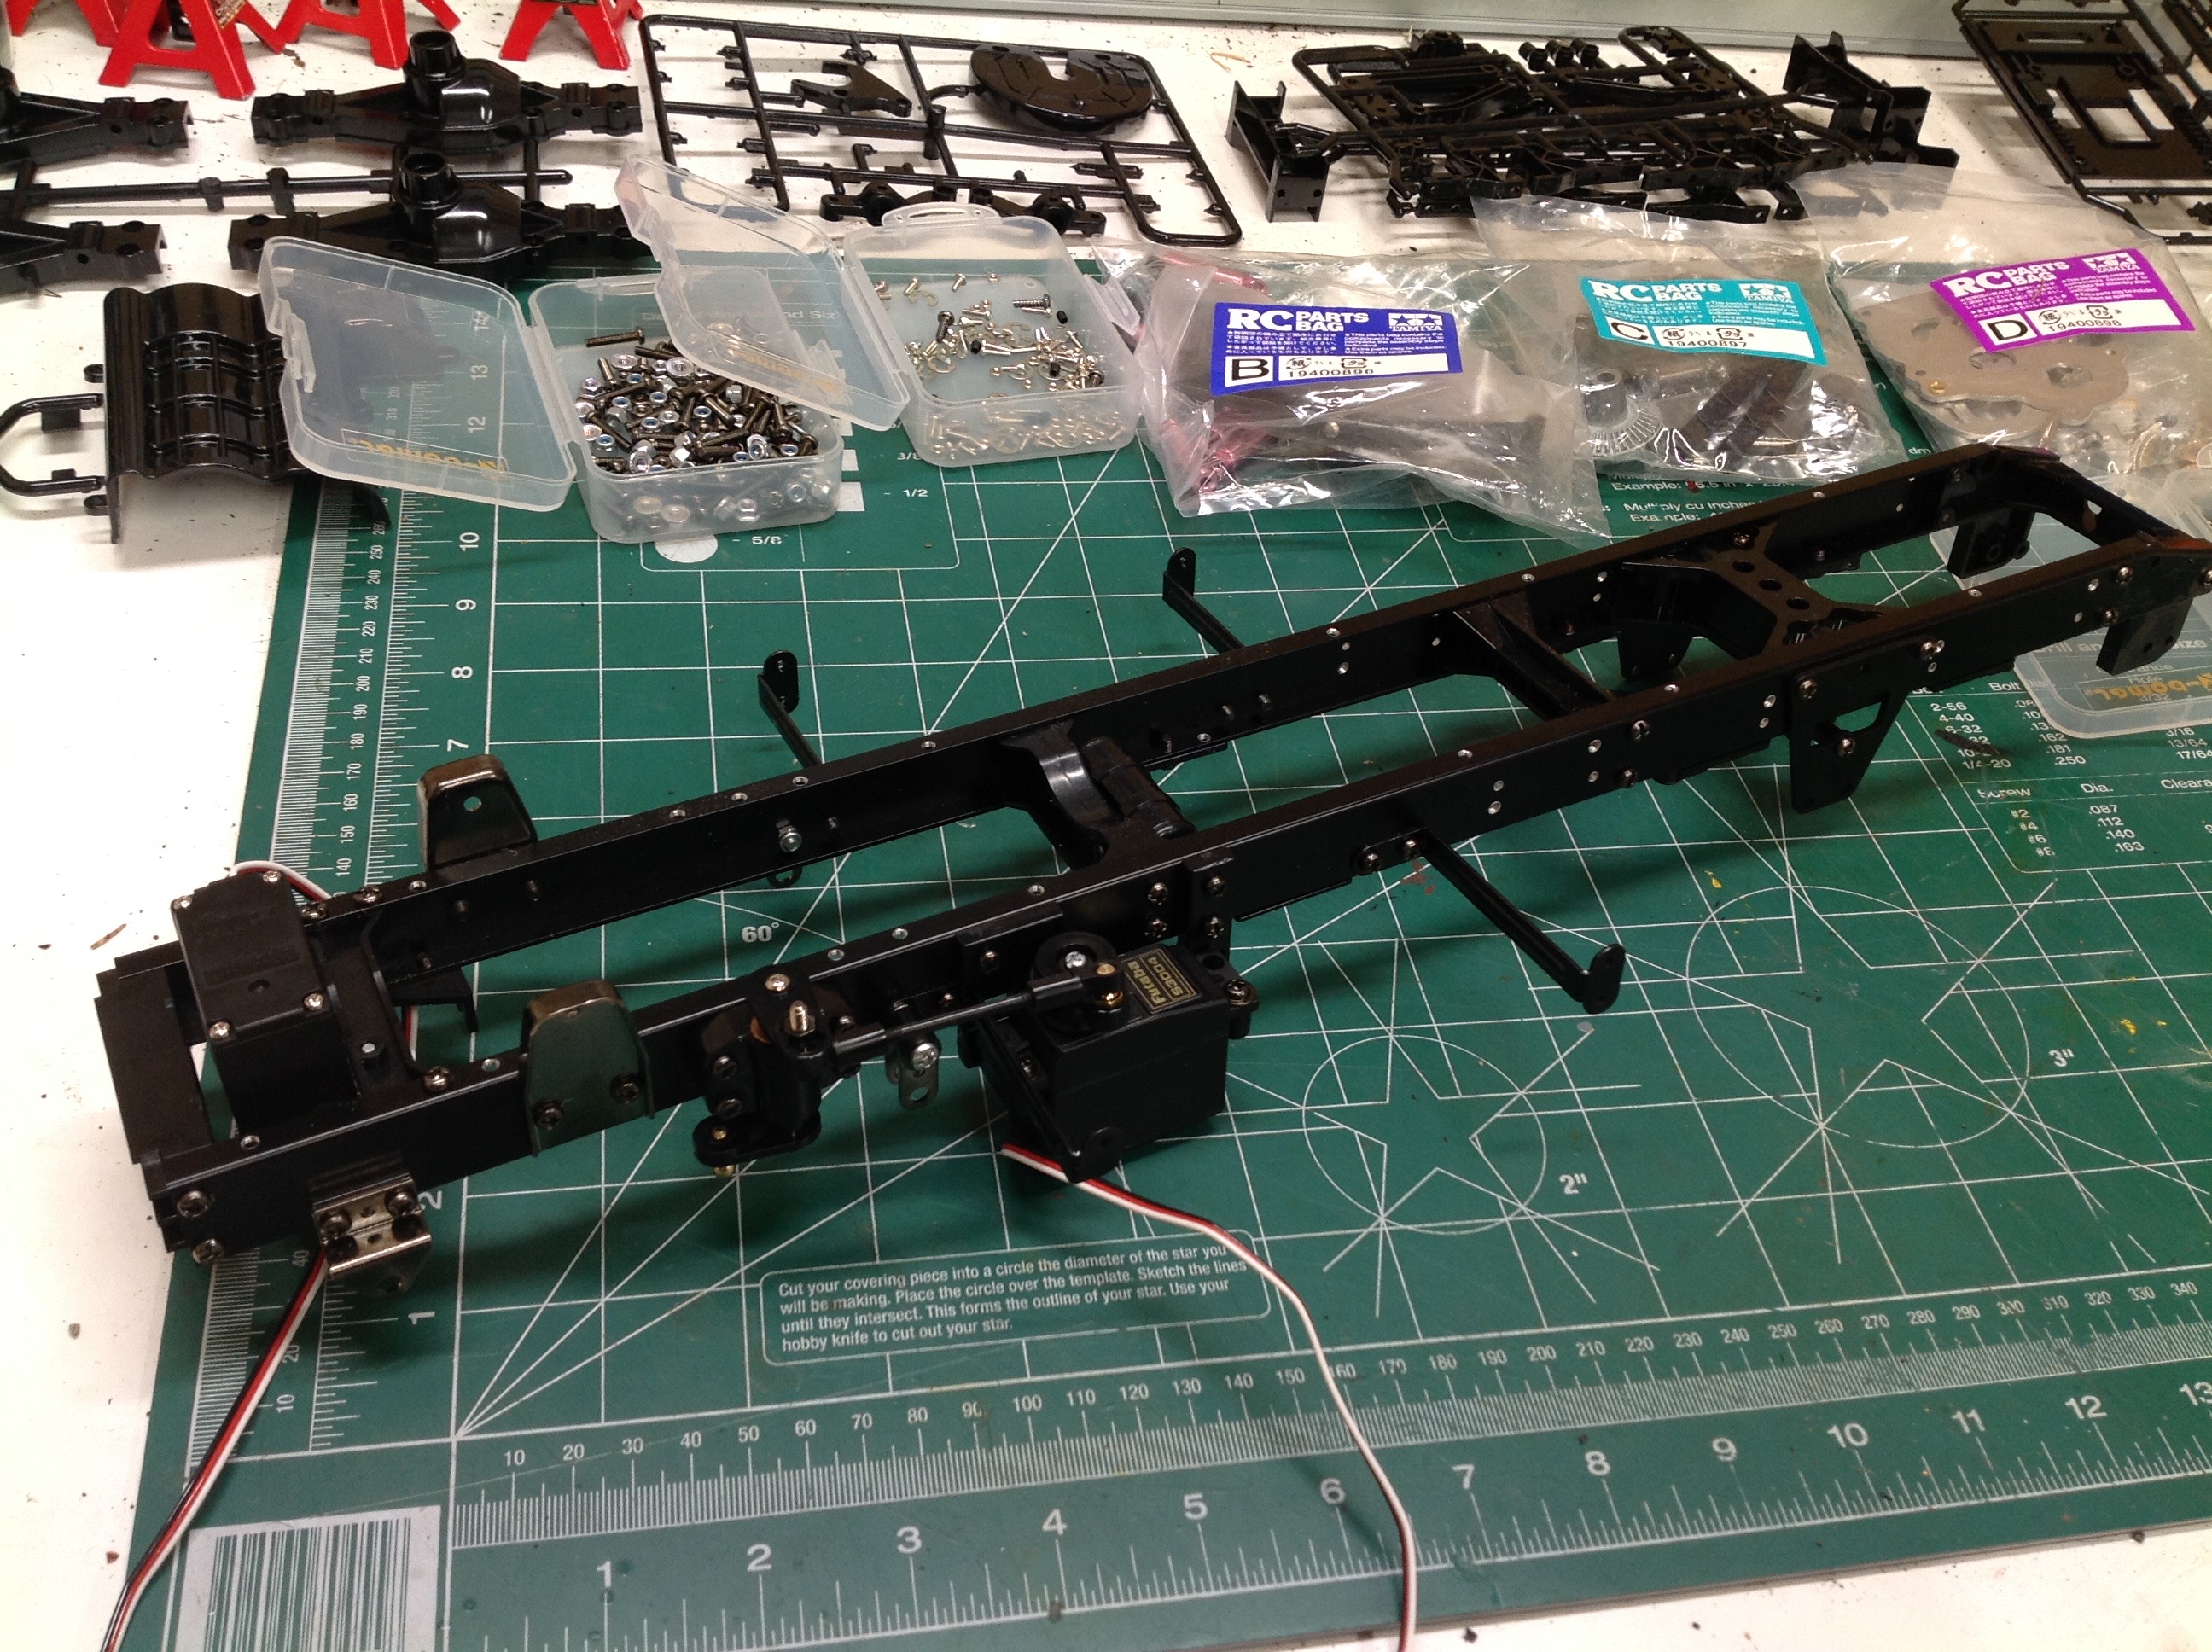
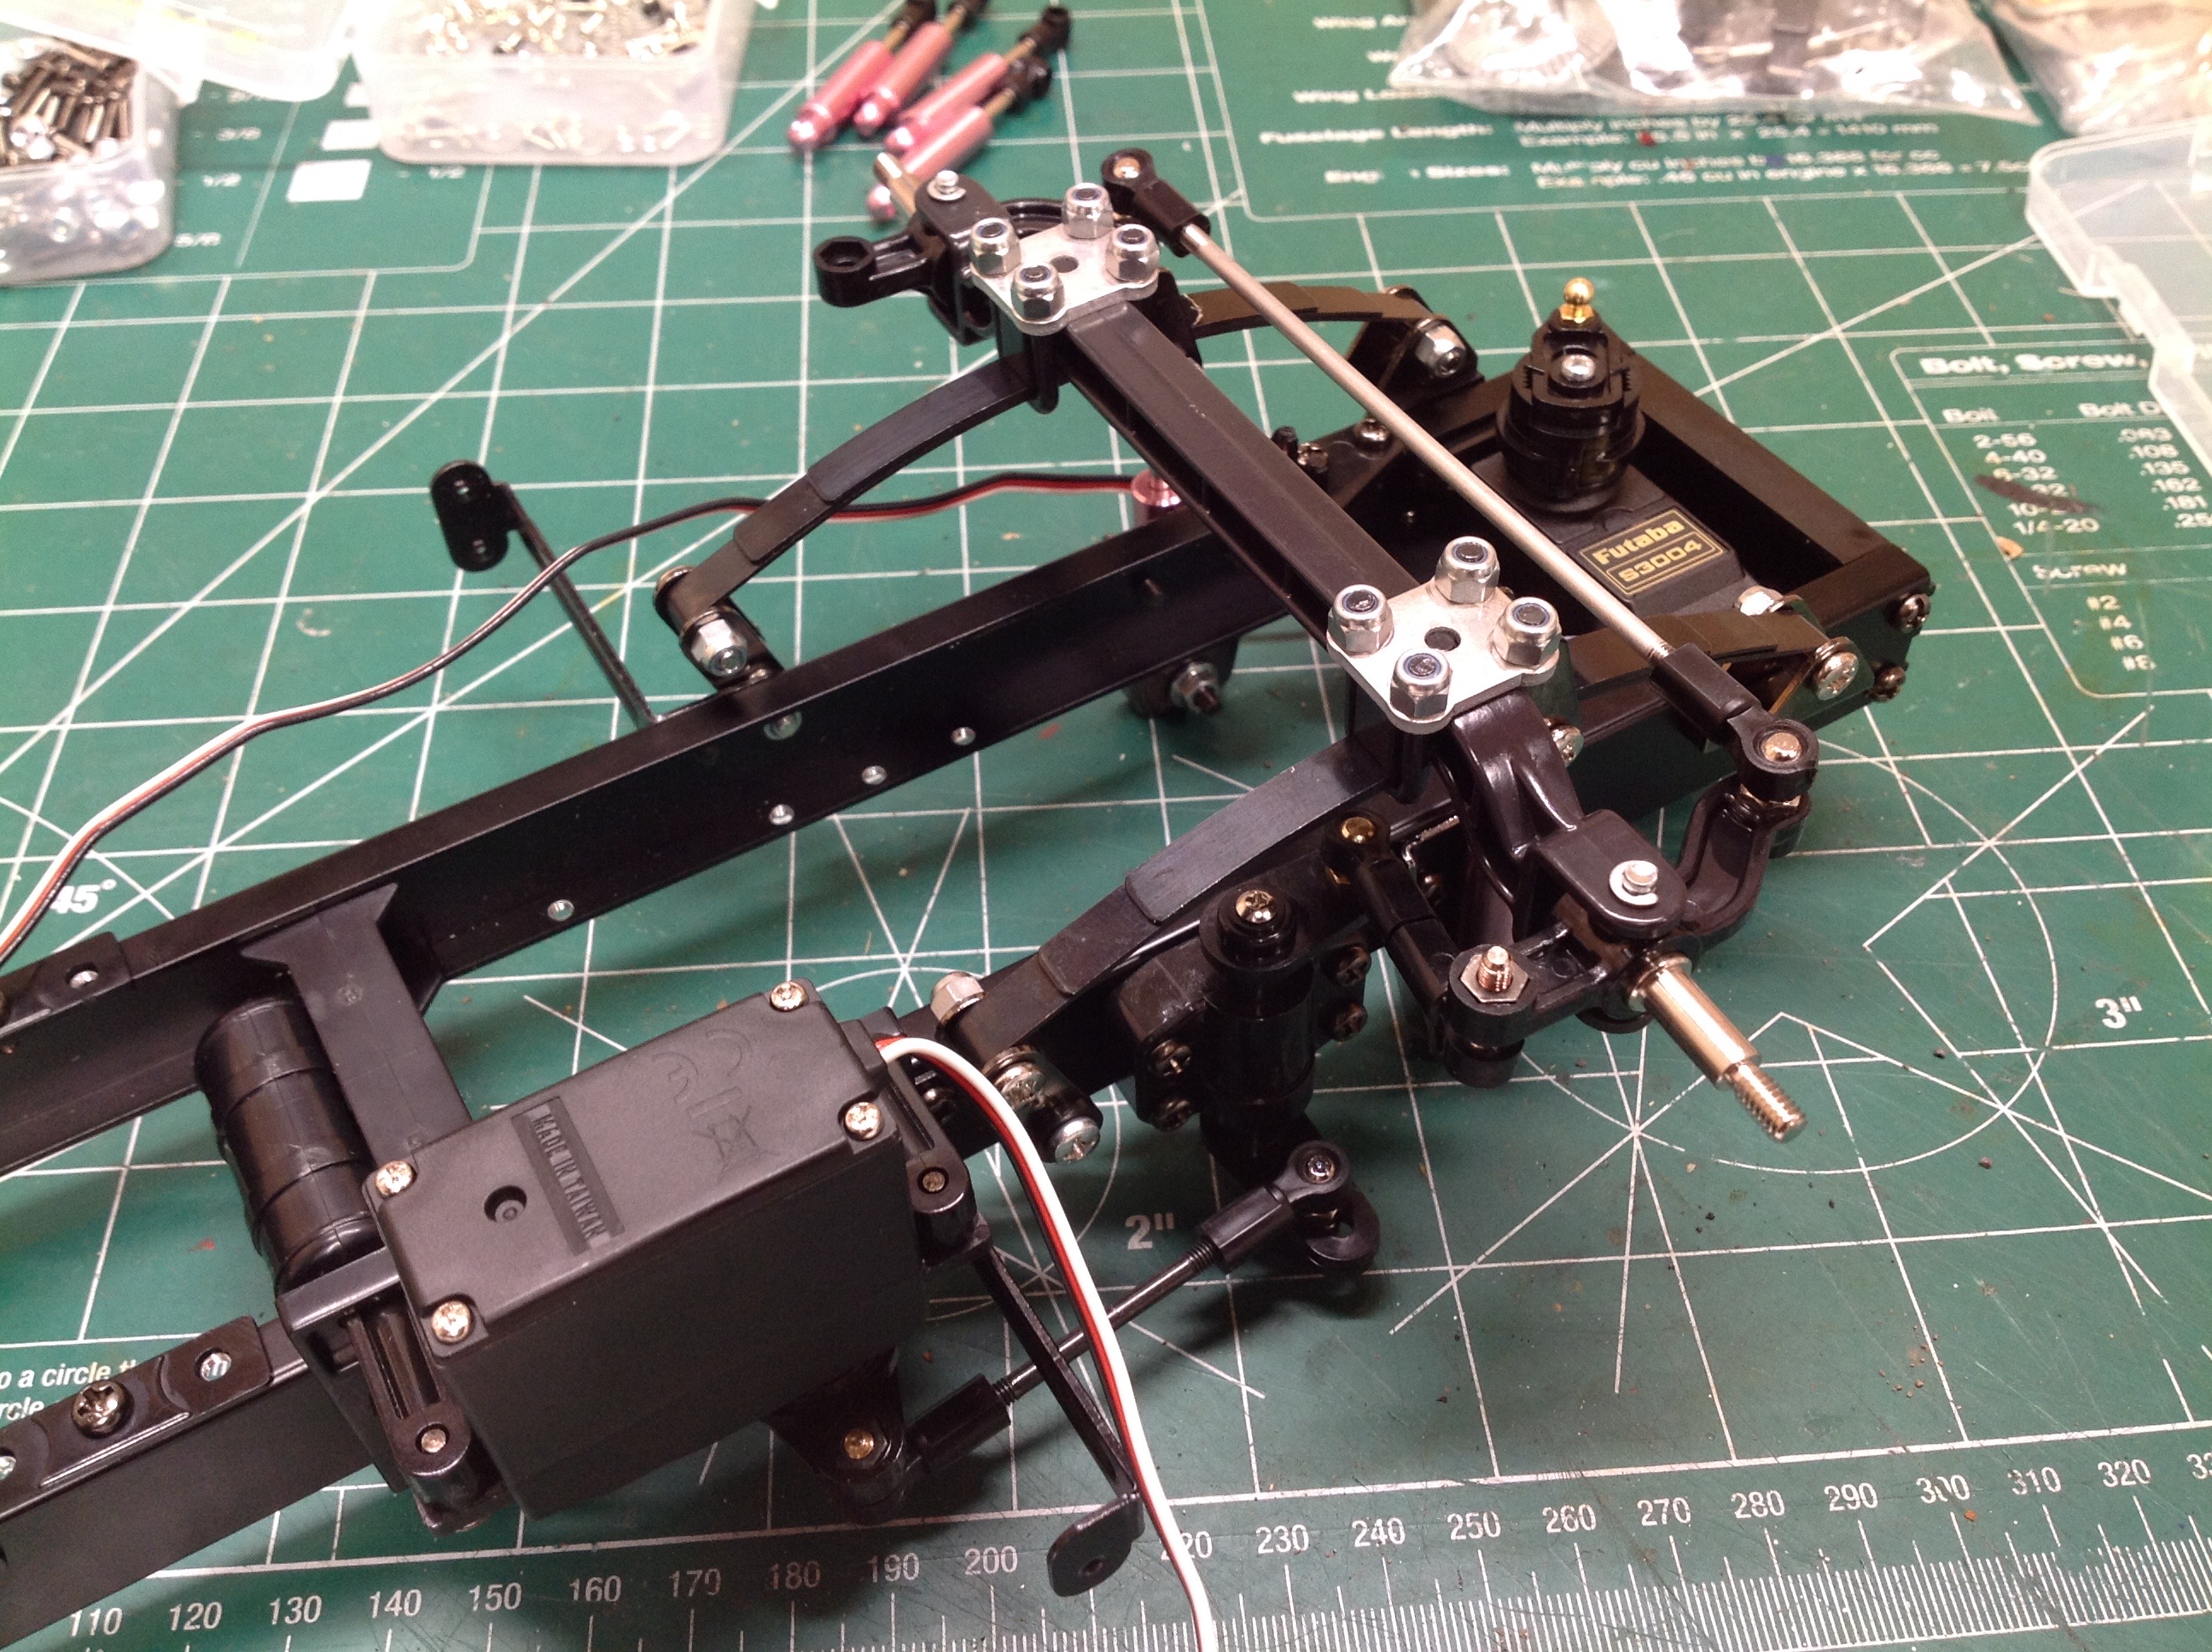
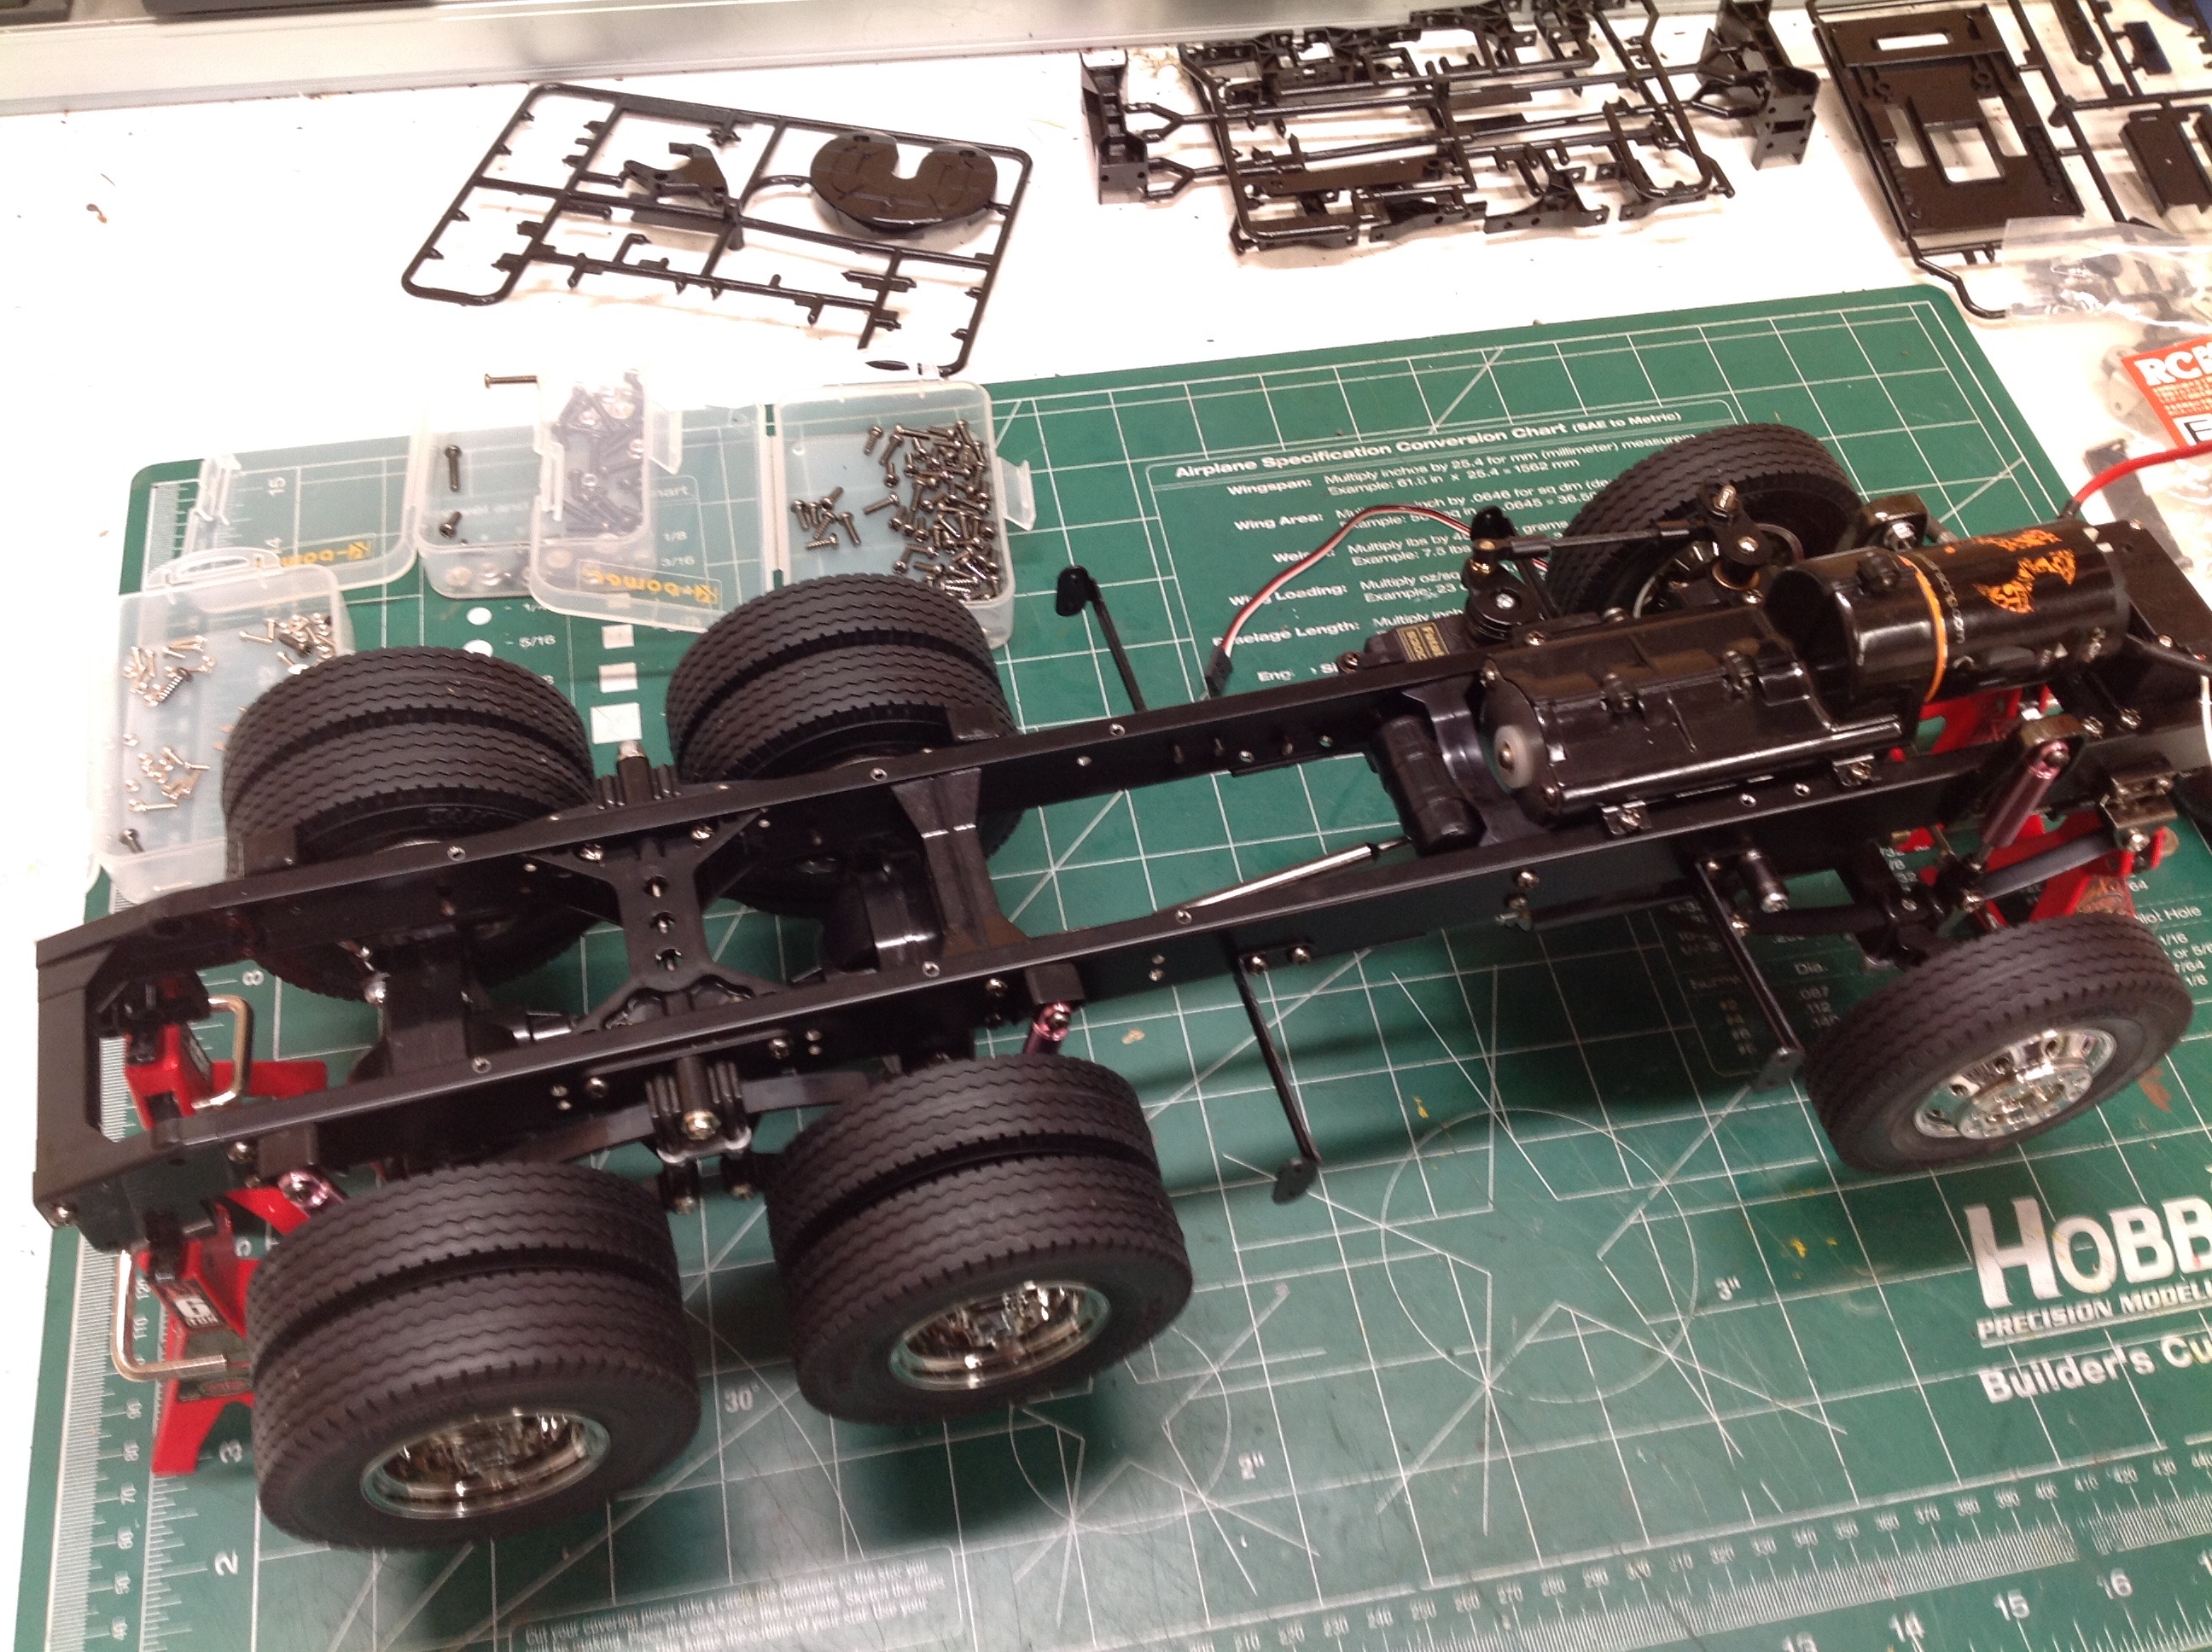
The chassis goes together exactly like the Mercedes I built earlier
with the shift servo up front and the steering servo mounted on the left
side. There are a tremendous number of holes in the chassis rails
so I was sure I wouldn't use them all. I used them all. The
right hand image shows the rigid front axle and leaf springs. It
always amazes me that you can get by with such cheap servos on a big
truck like this, but the Futaba S3004 works fine.
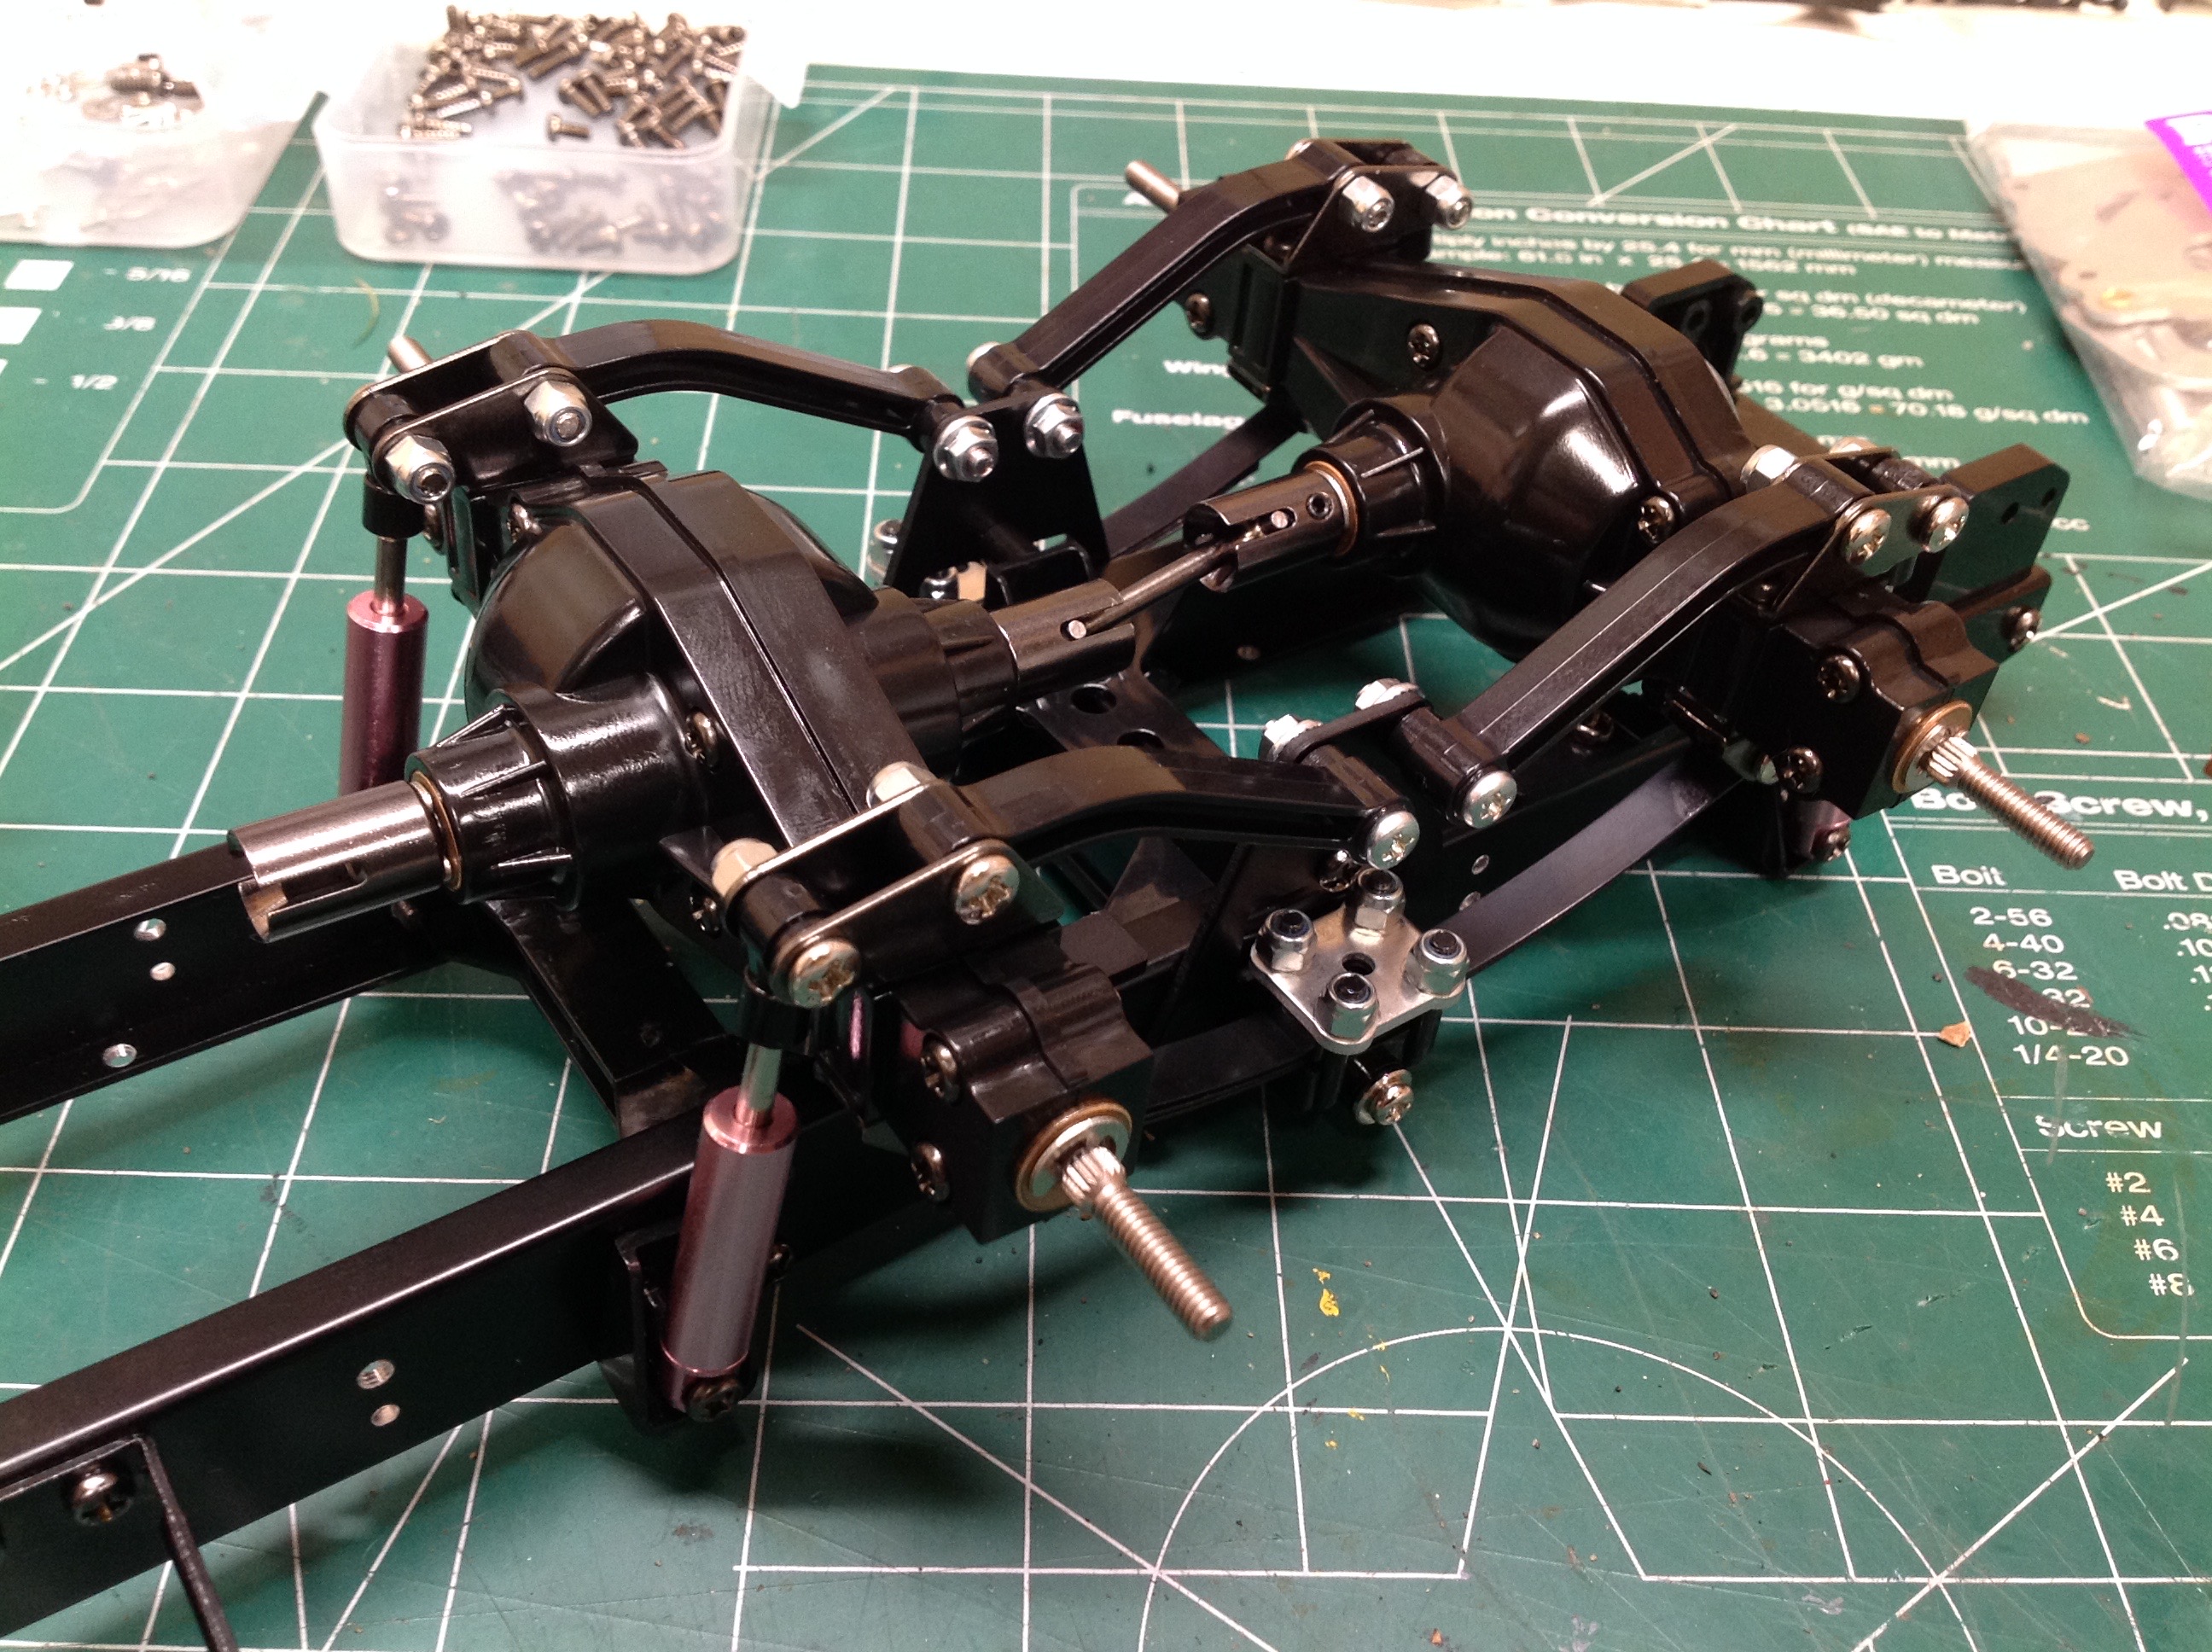
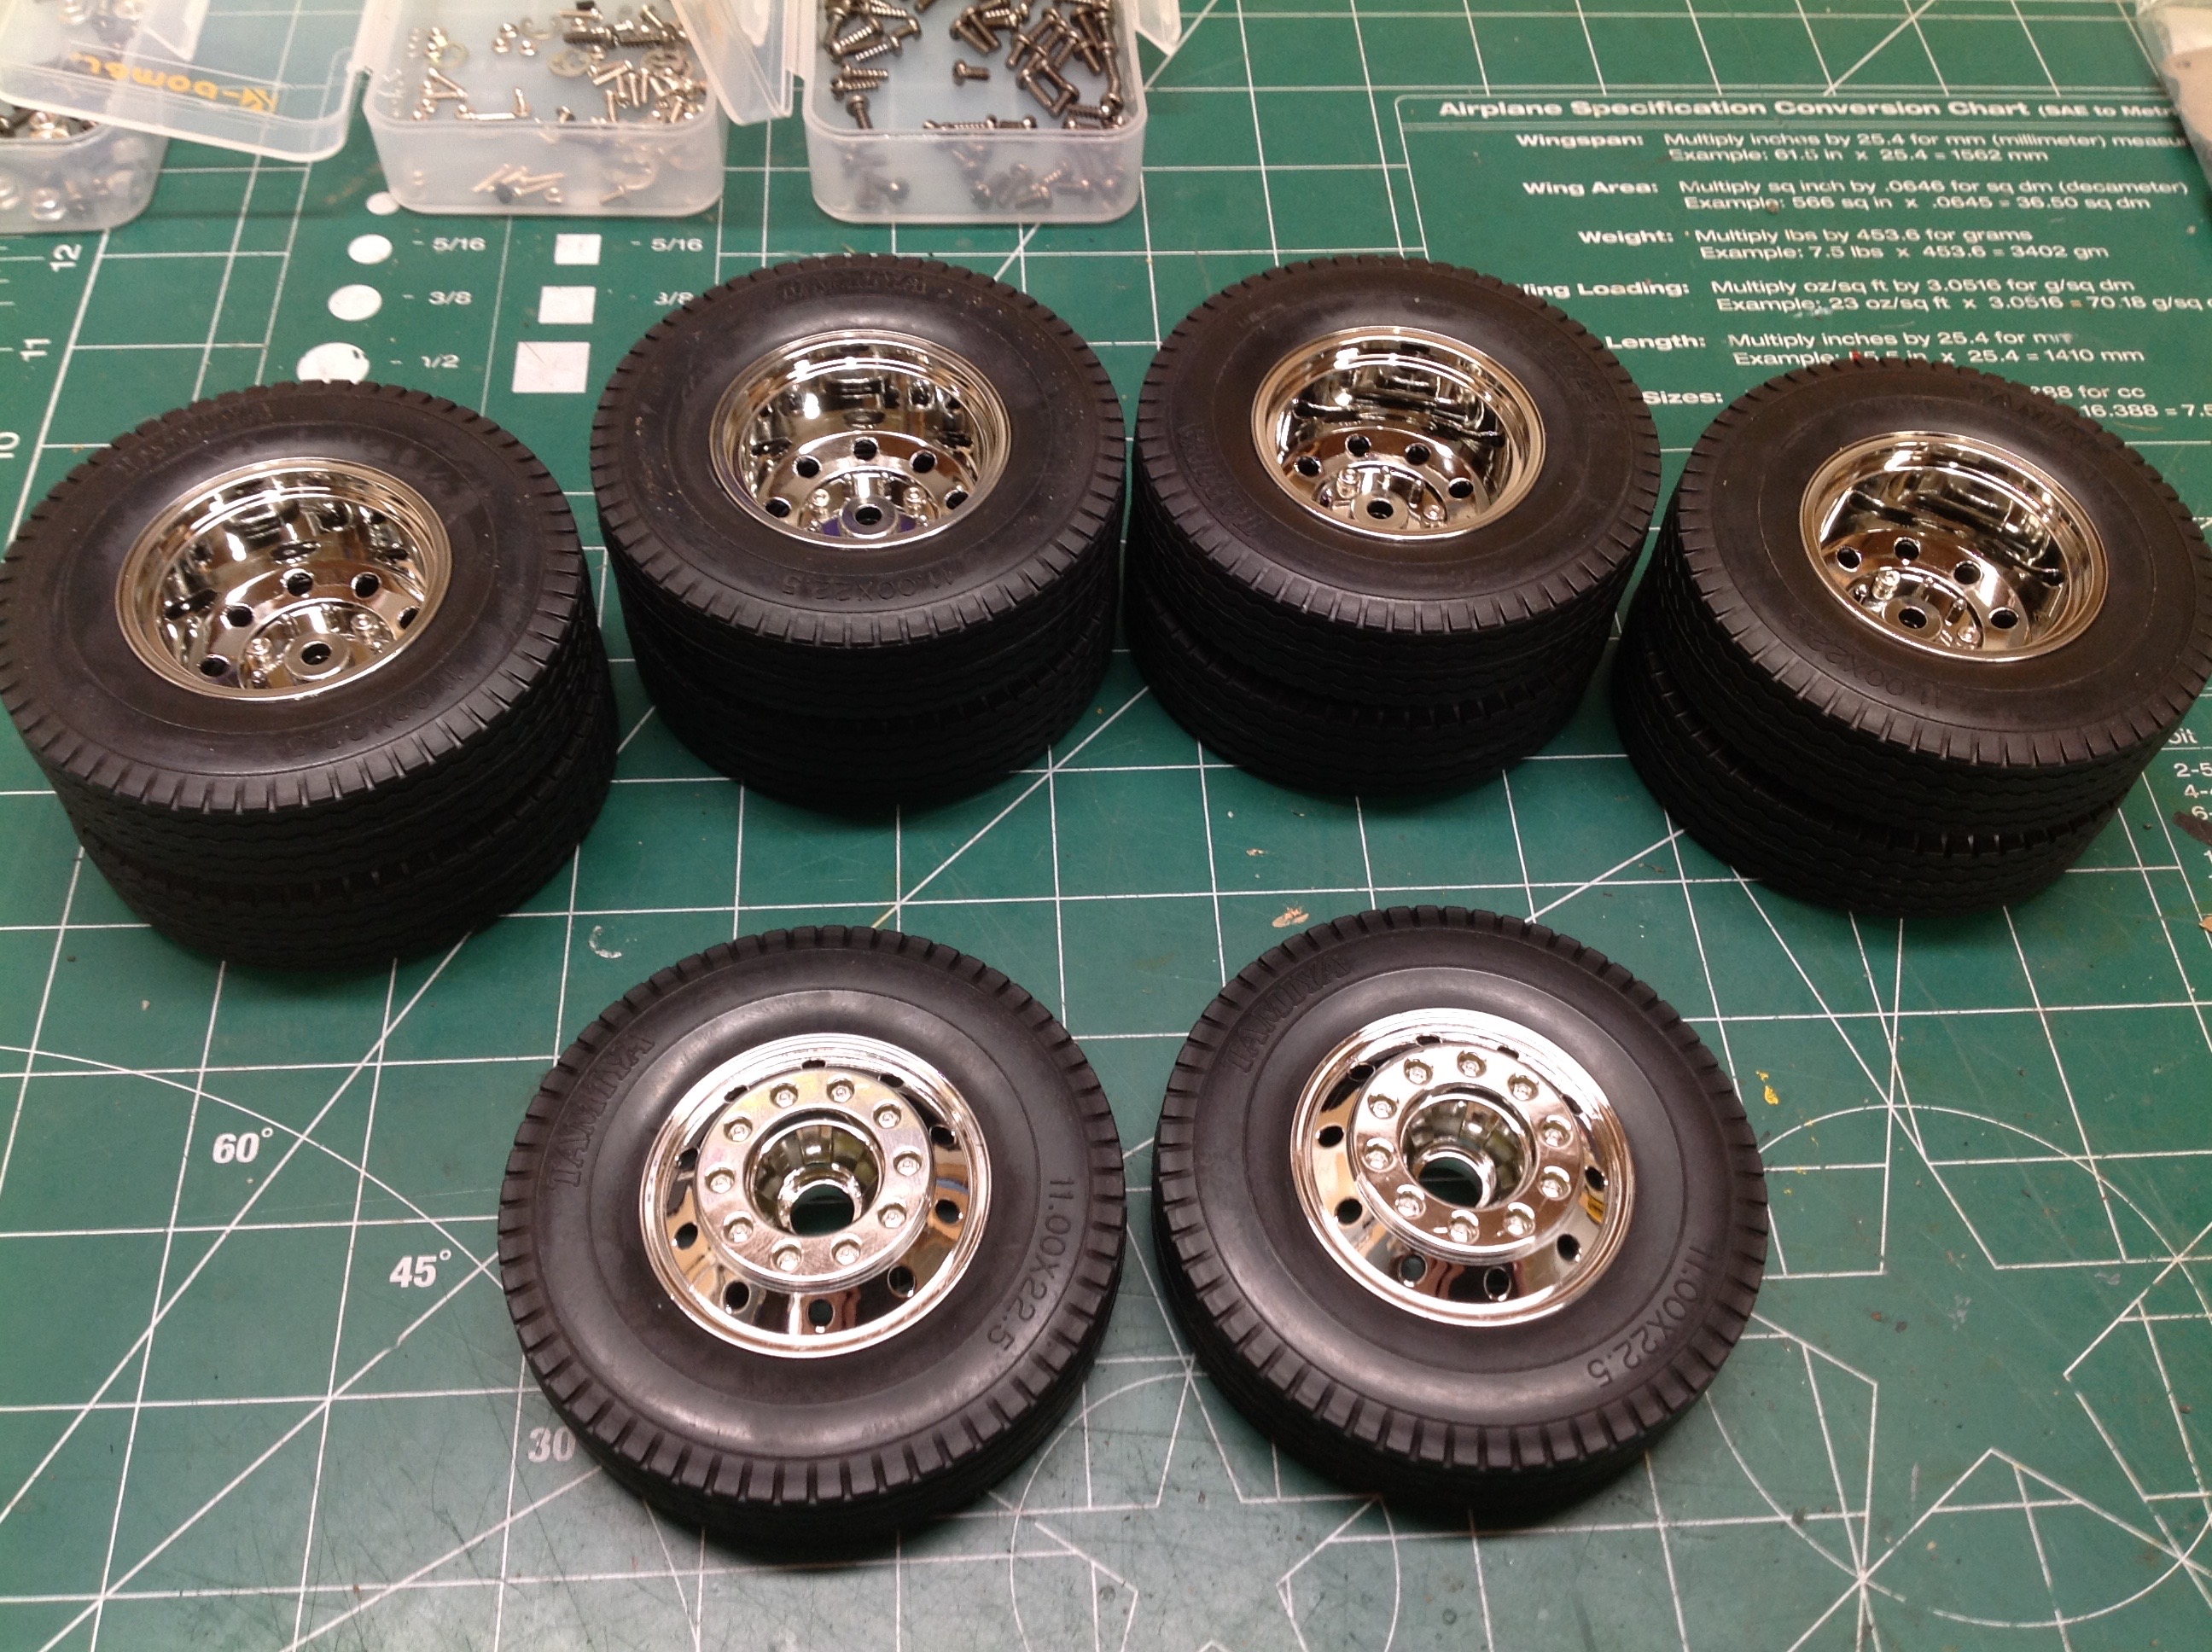
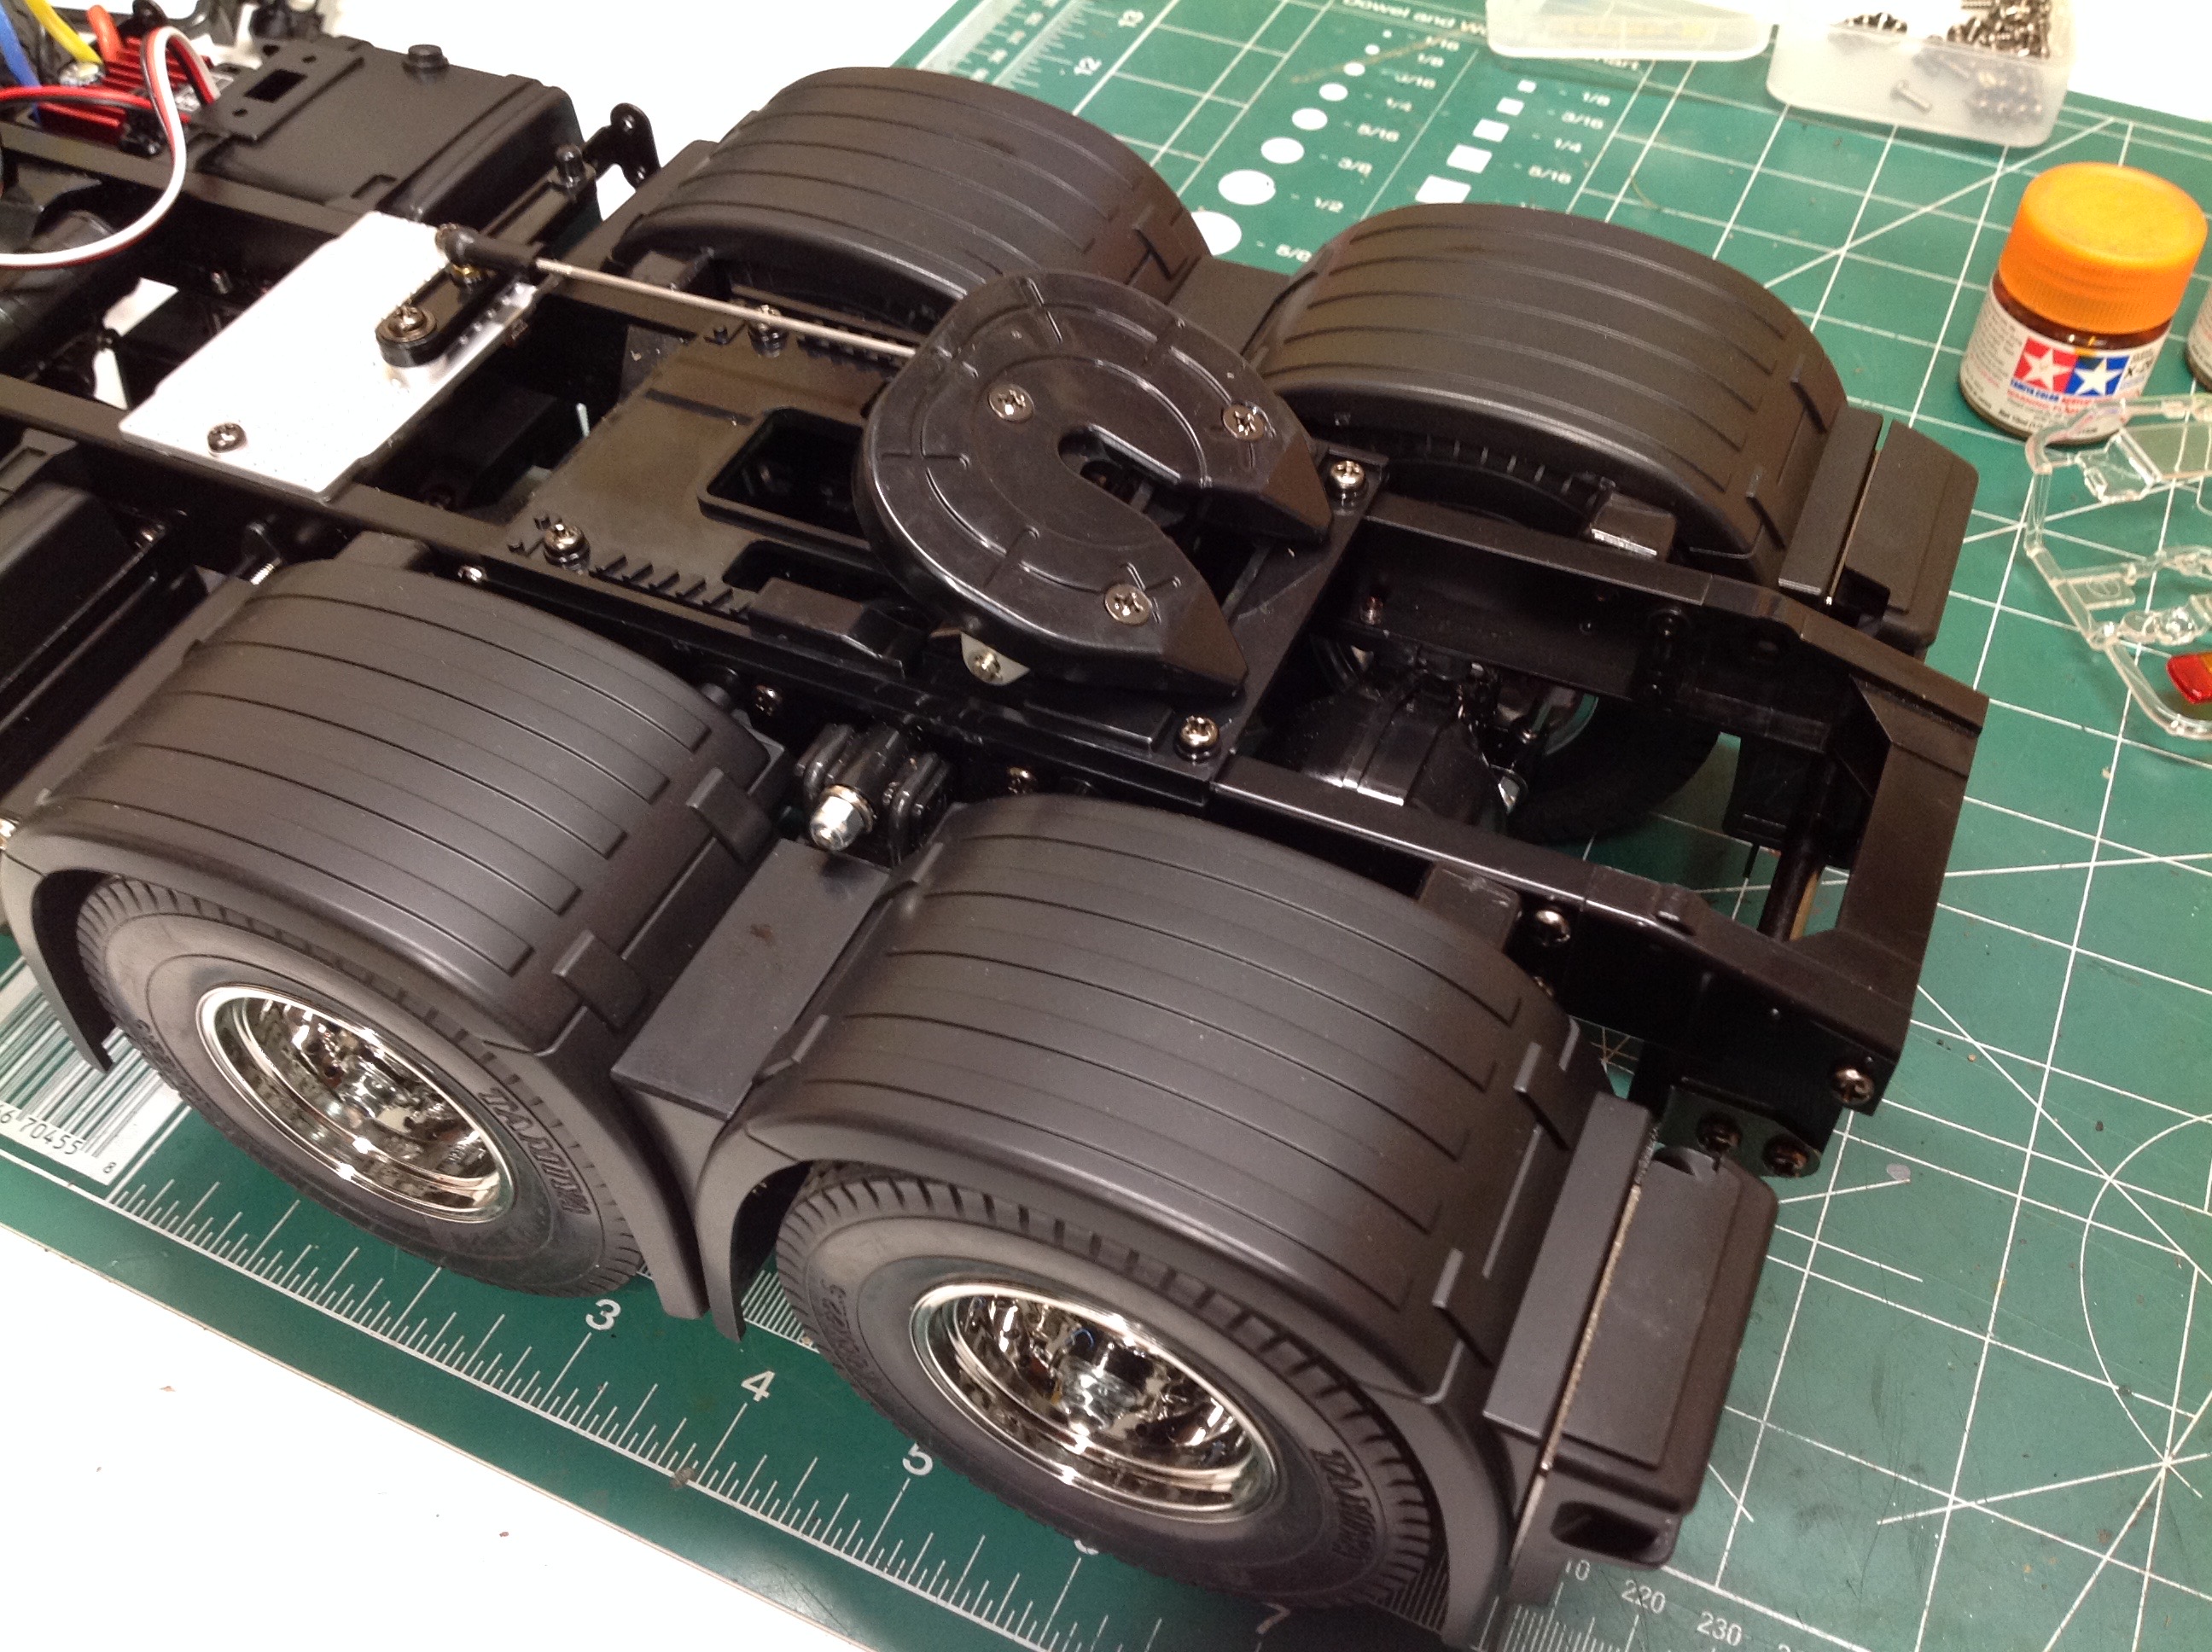
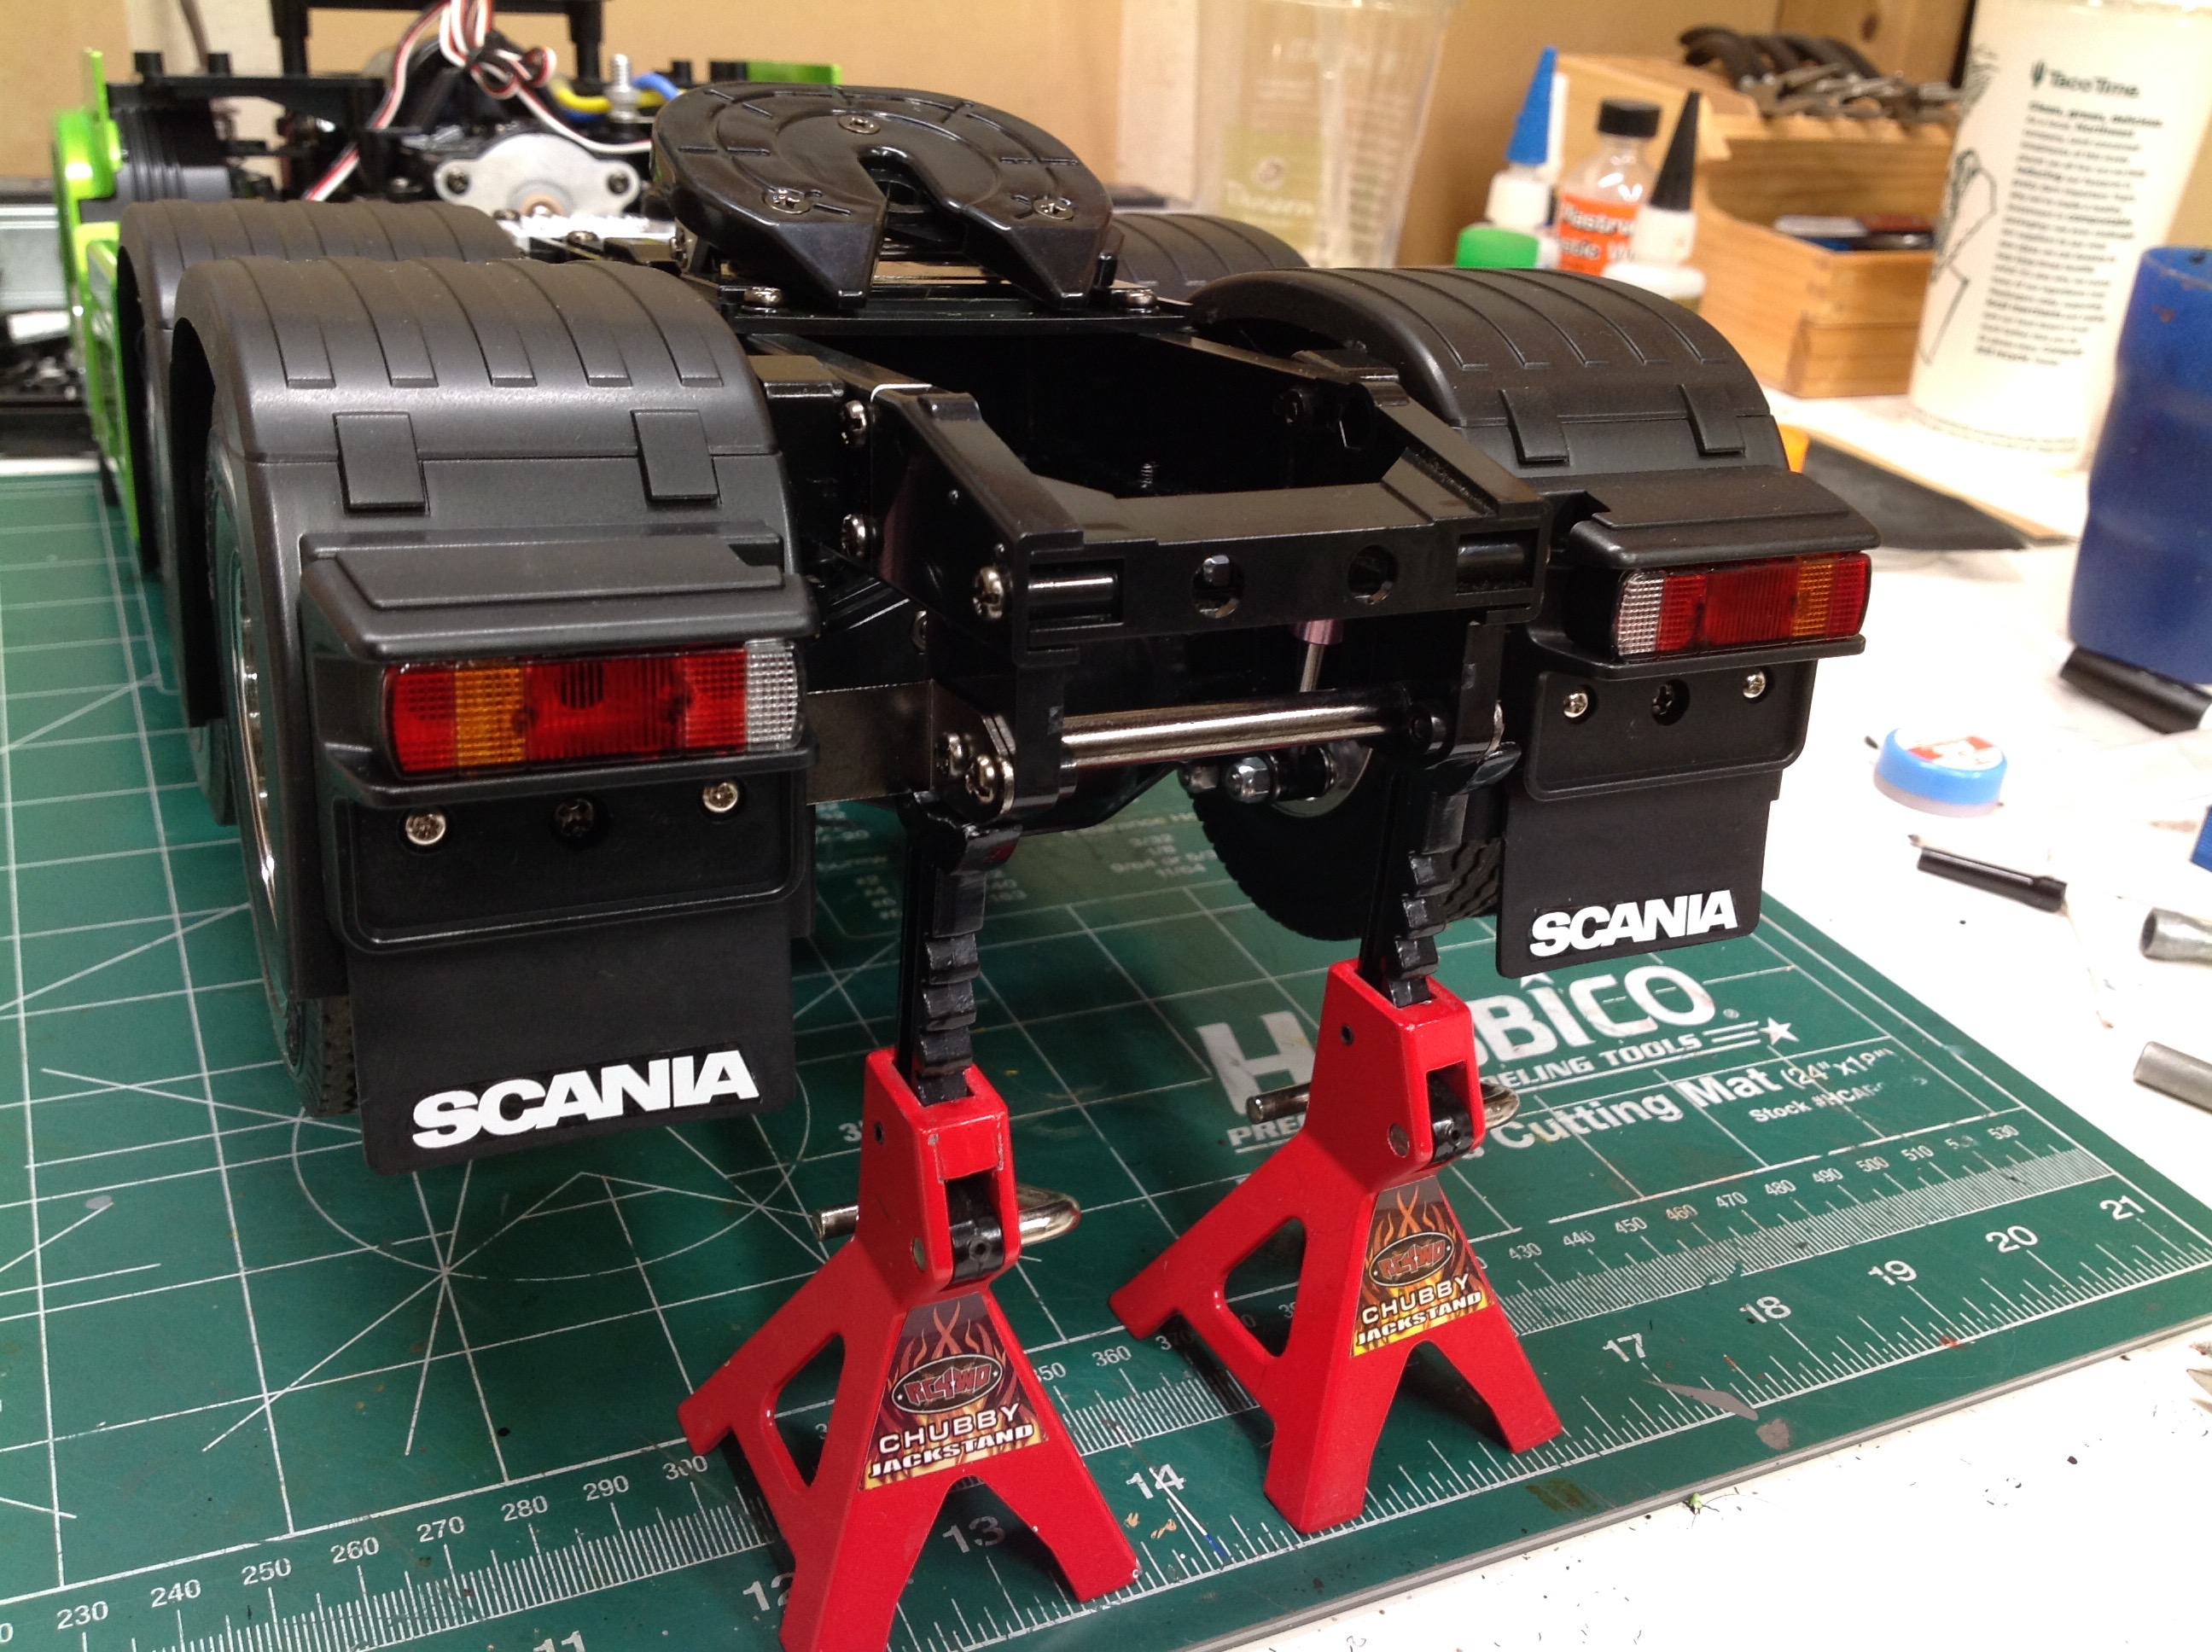
The twin rear axles are mostly like those on other trucks with one odd
exception. There are a pair of rubber stops on the chassis rails
which limit the motion of the rear suspension to almost nothing. I
suspect this is to avoid contact with the fenders which have very
little clearance. Although the suspension cannot compress with
weight, it can still tilt and therefore a wheel can drop into a divot or
up onto a bump a bit. This model uses the old style pink shock
bodies. The right hand image shows the usual wheels and tires.
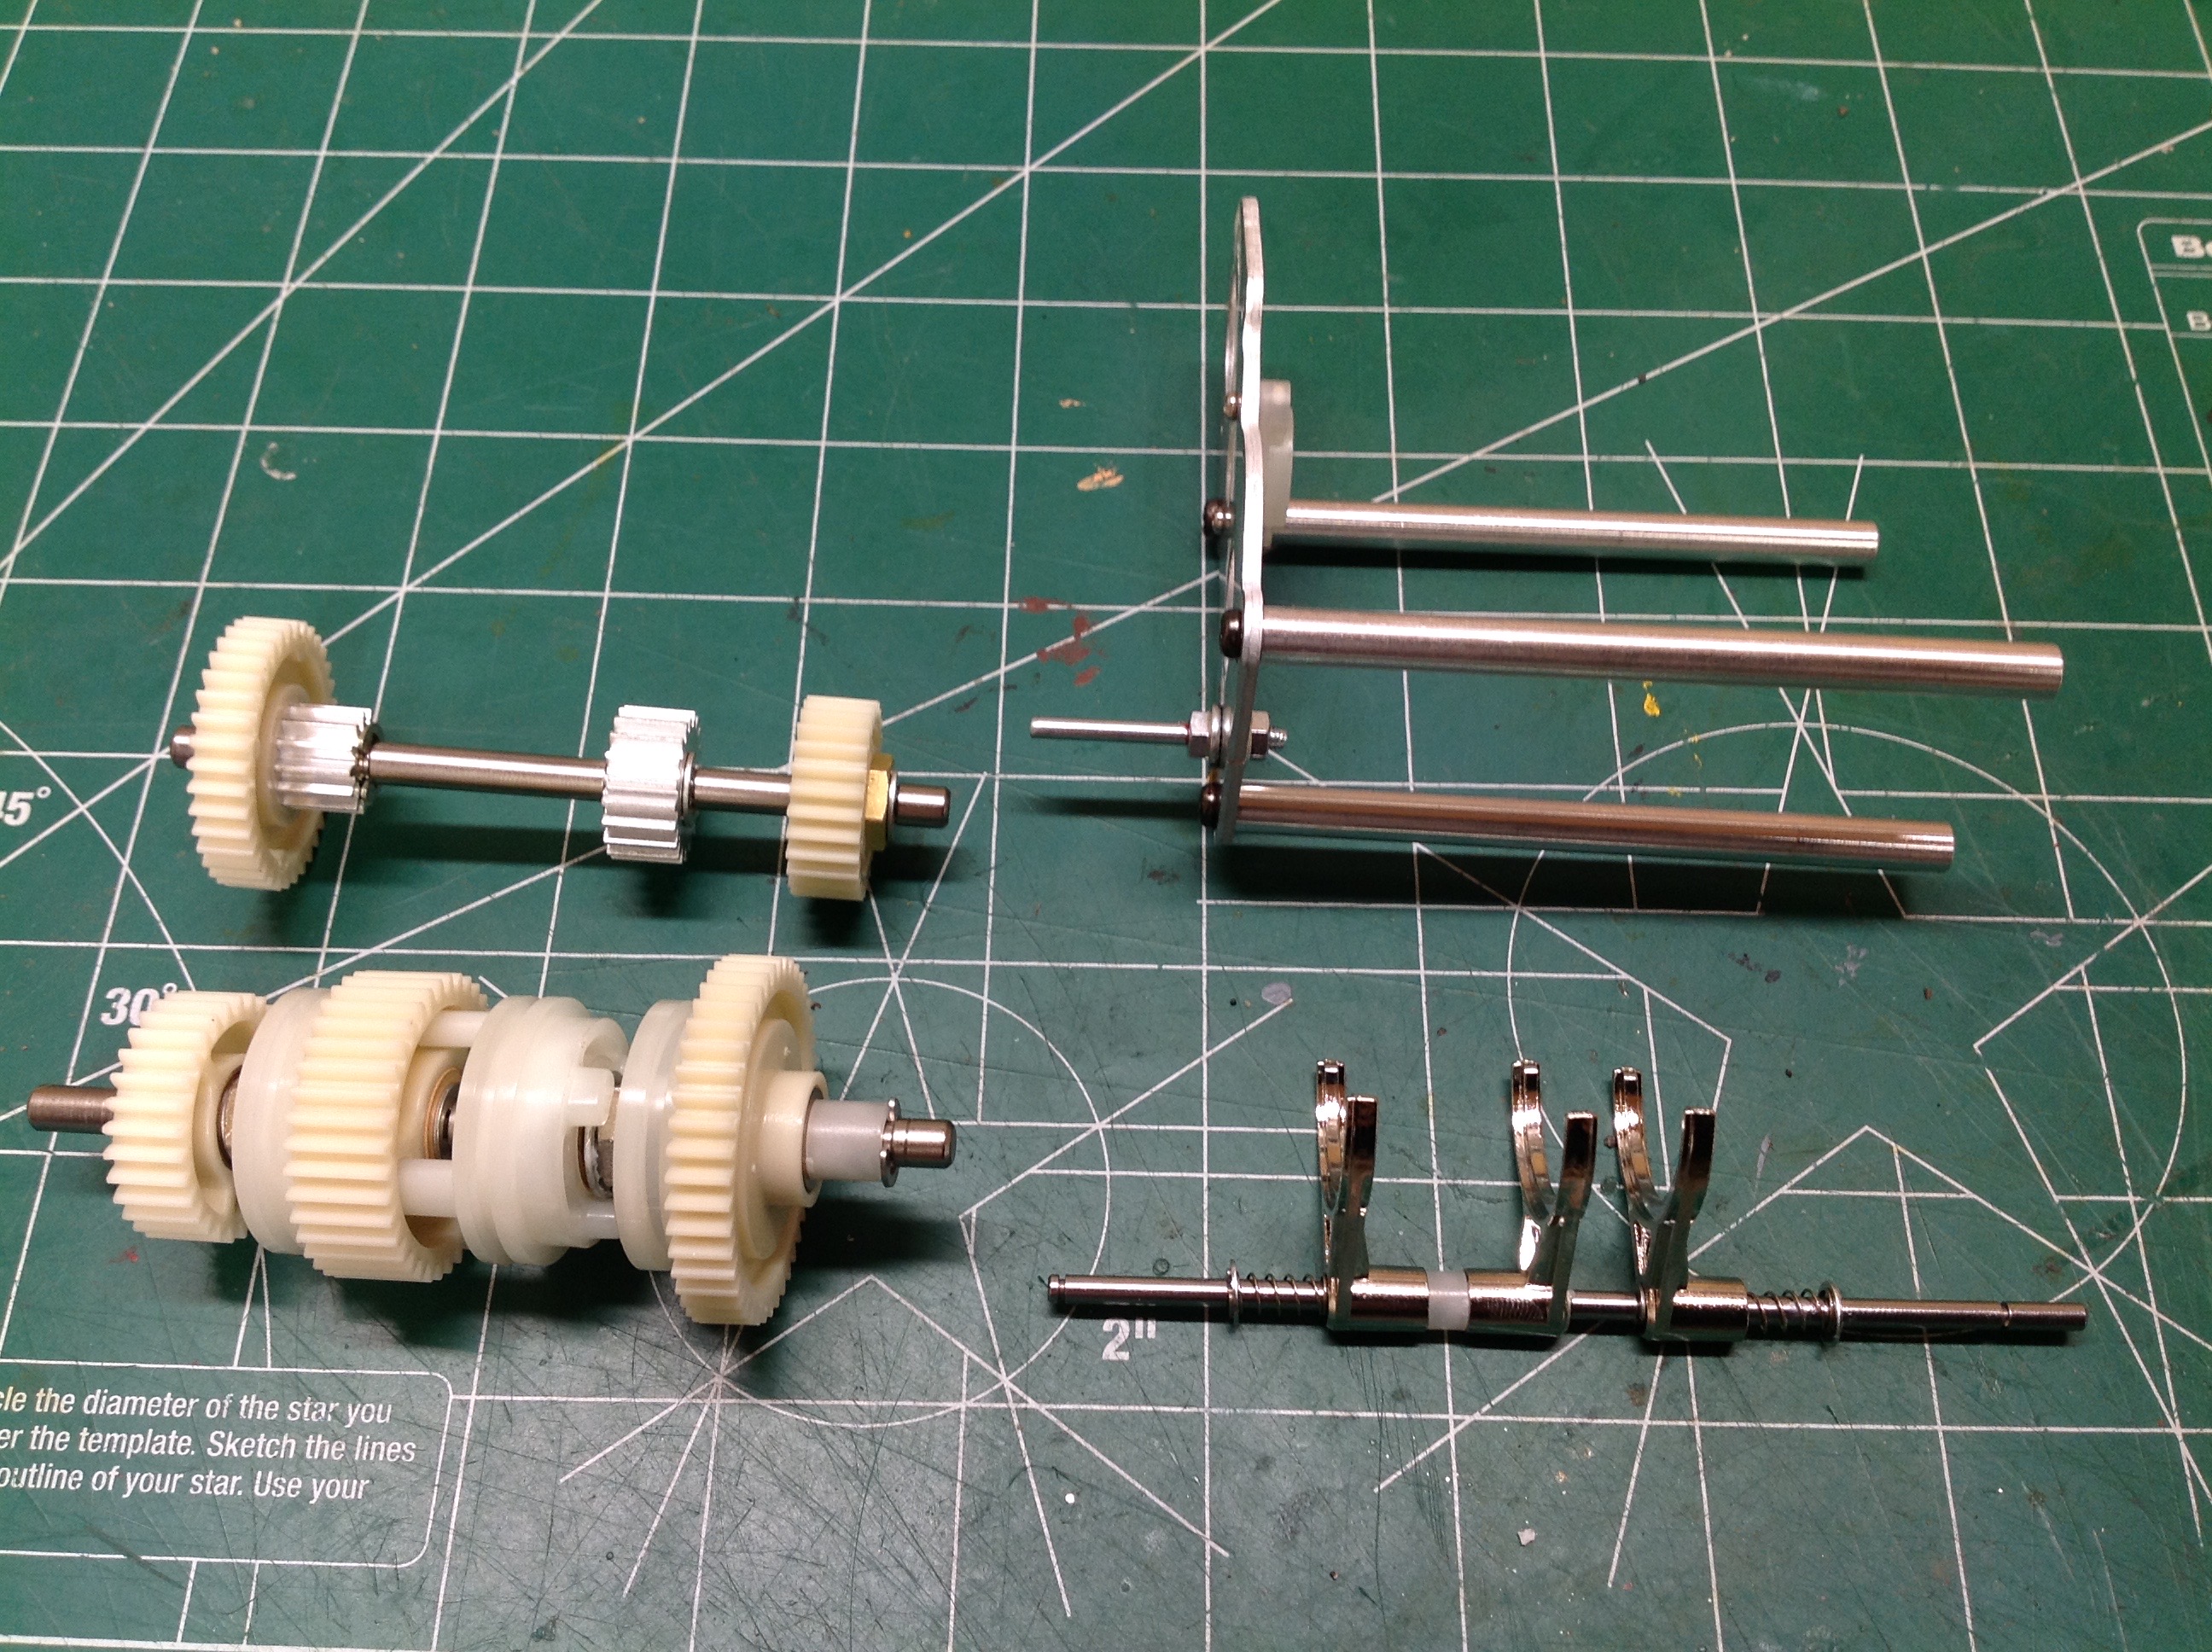
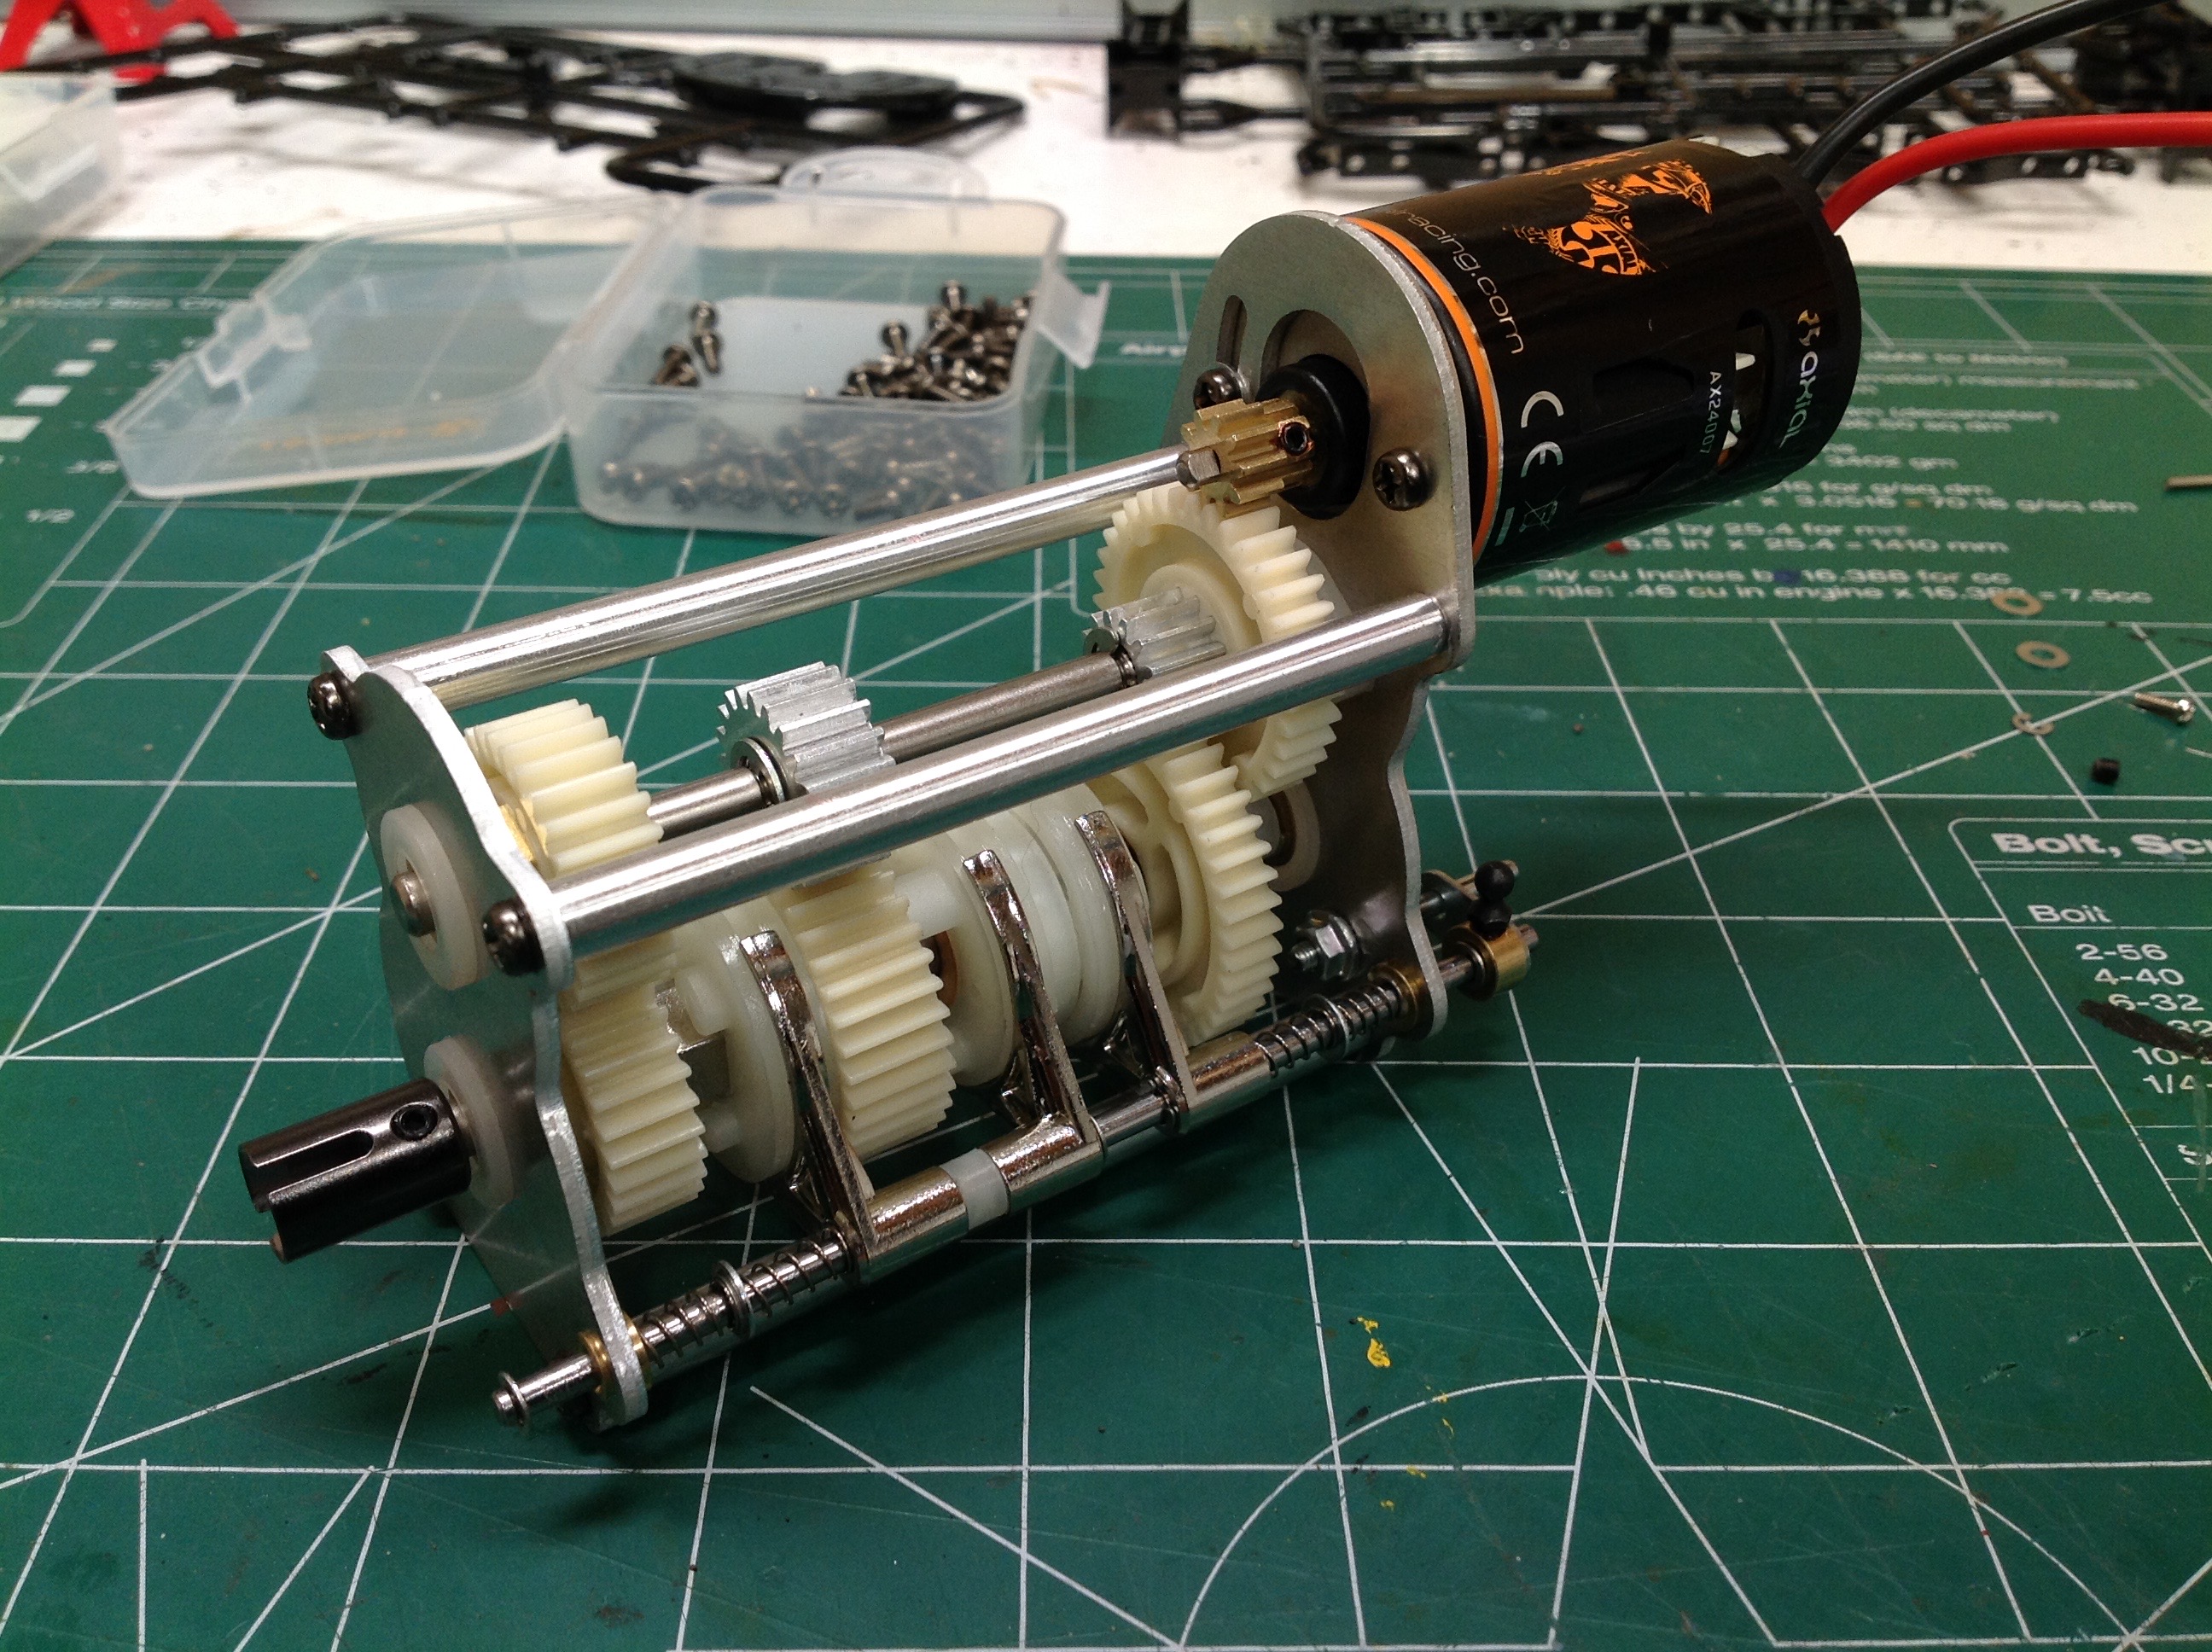
I've built this transmission a couple of times now and all the tractor
trucks are the same, but it is always worth another couple of images of
the internal geary gloriosity. I used a 55 turn Axial motor in my
King Hauler and so did it again here, but for some reason this truck
drives quite slow with it. I may need to change it out for a 35
turn.
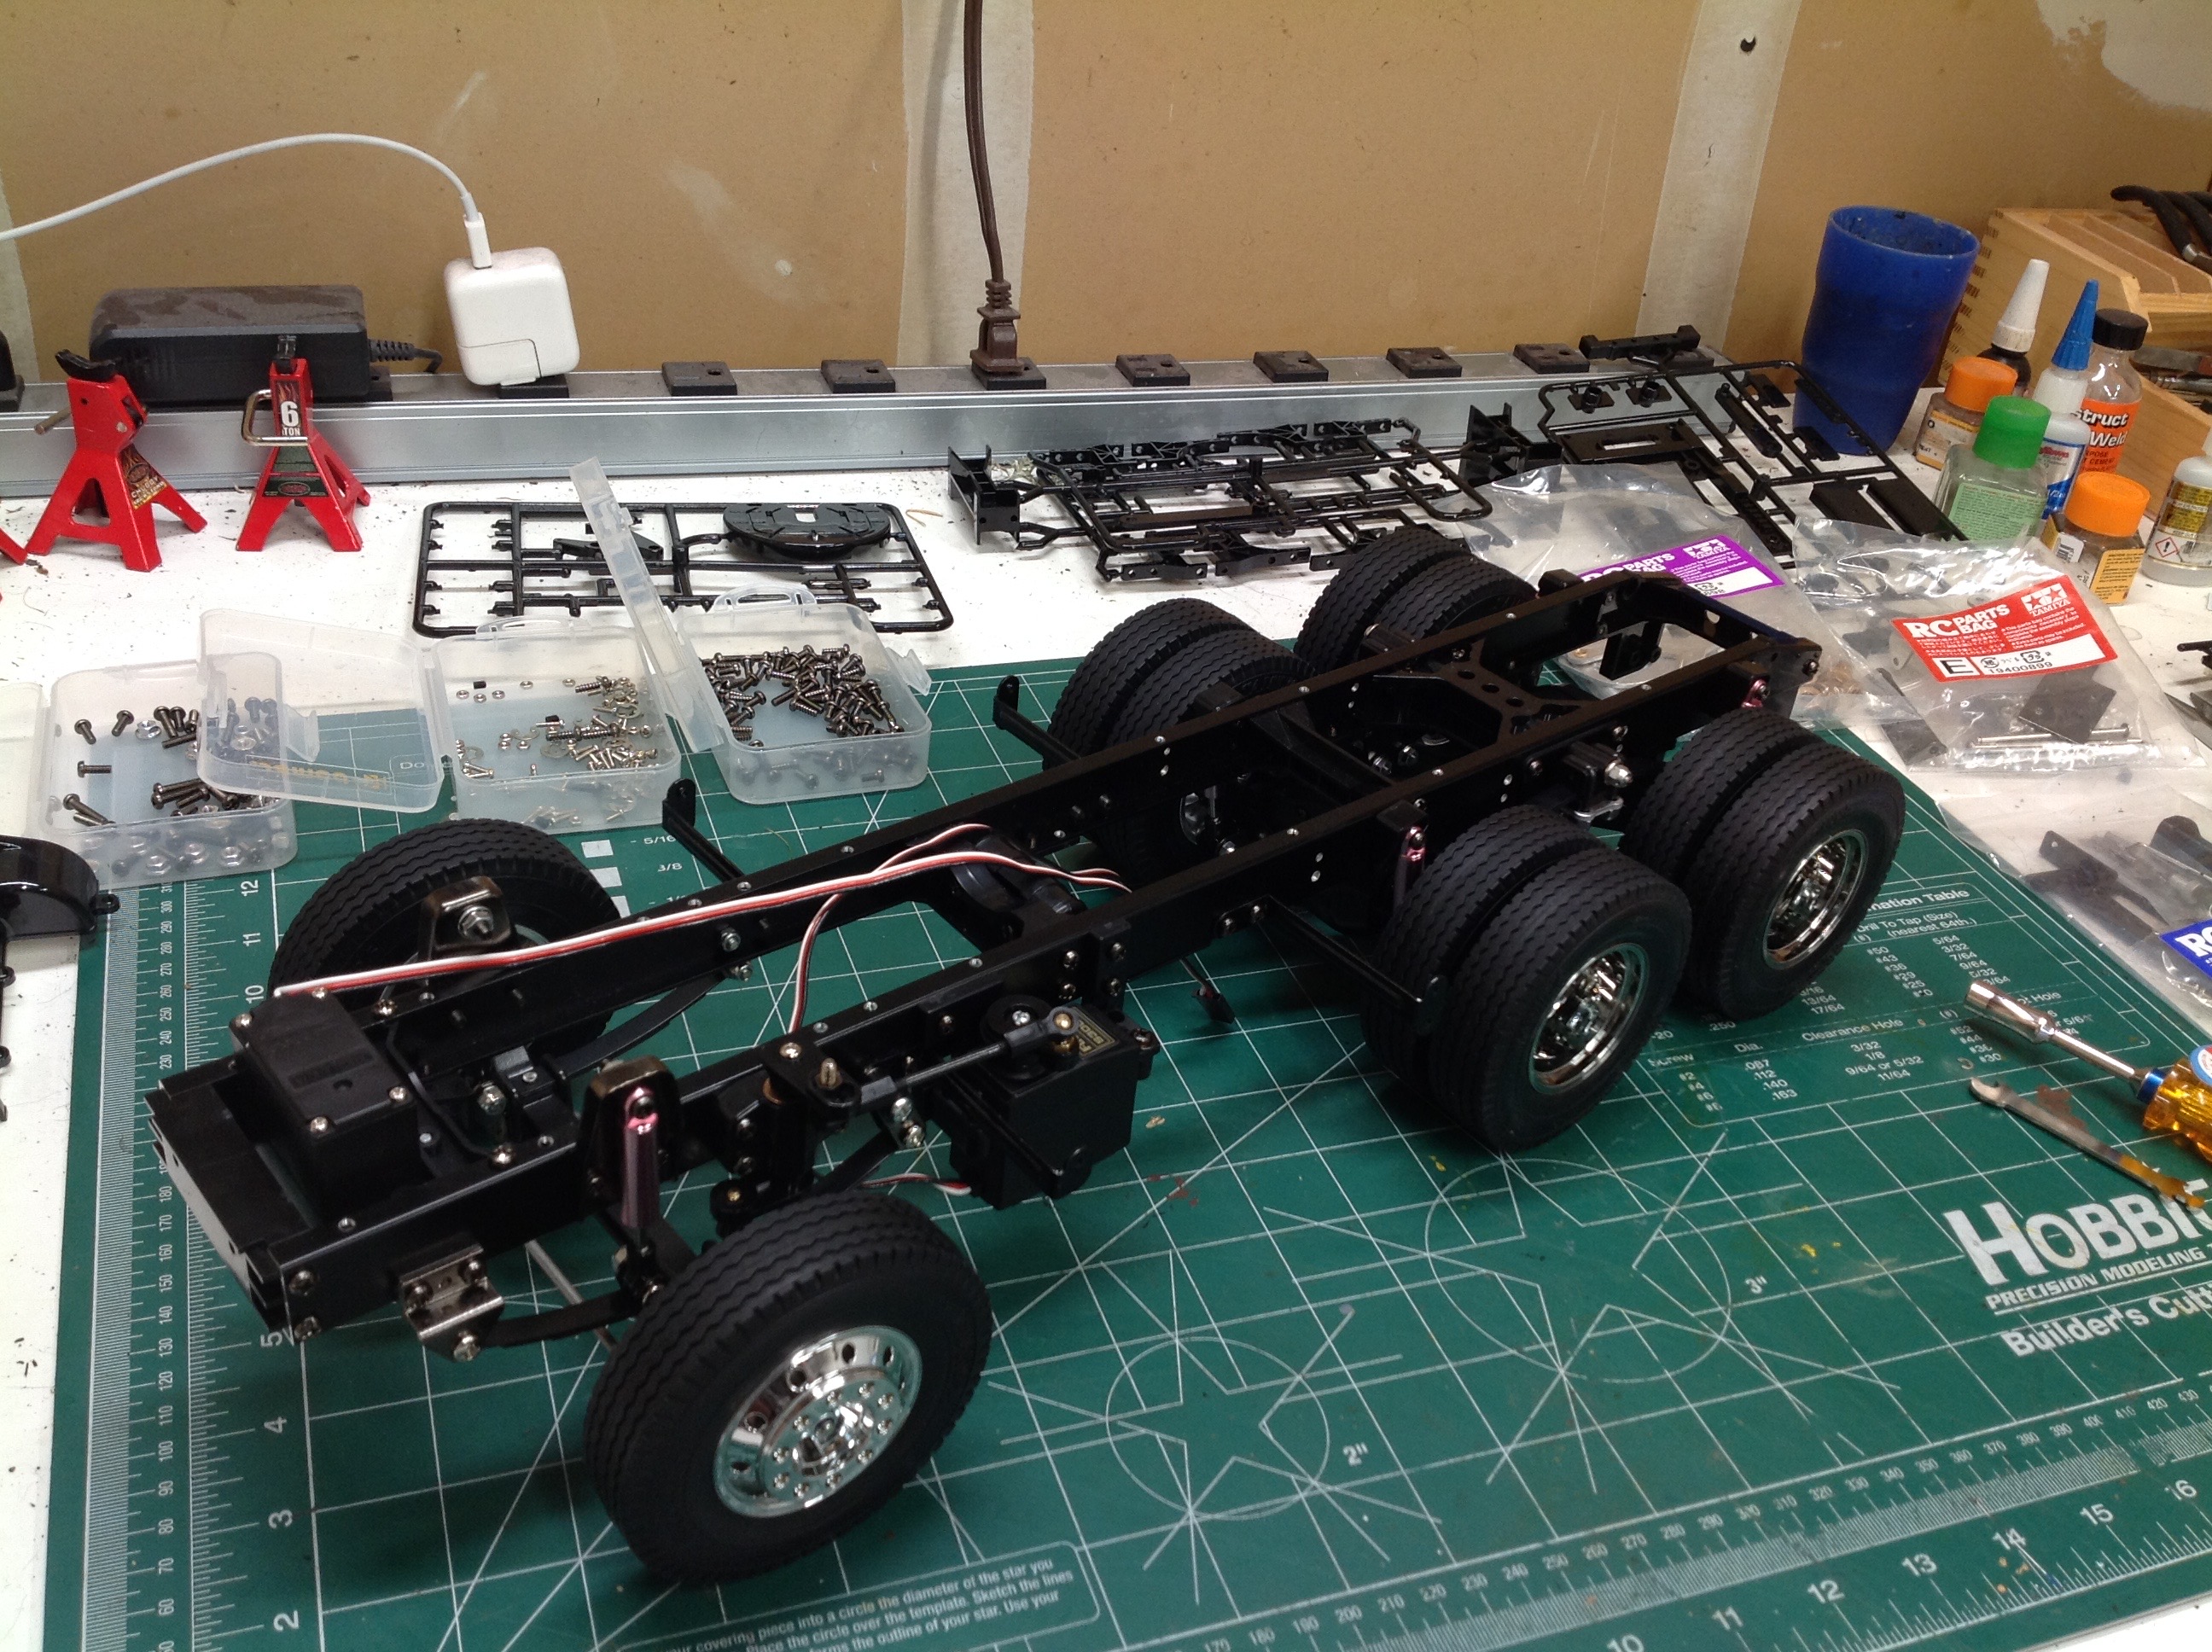
The left hand image shows the rolling chassis with the suspension and
tires installed. On the right, I've added the transmission and
drive shaft which adds a lot of weight. At this point, the model
is pretty much indistinguishable from any of the cabover trucks and
you'd have a hard time identifying it.
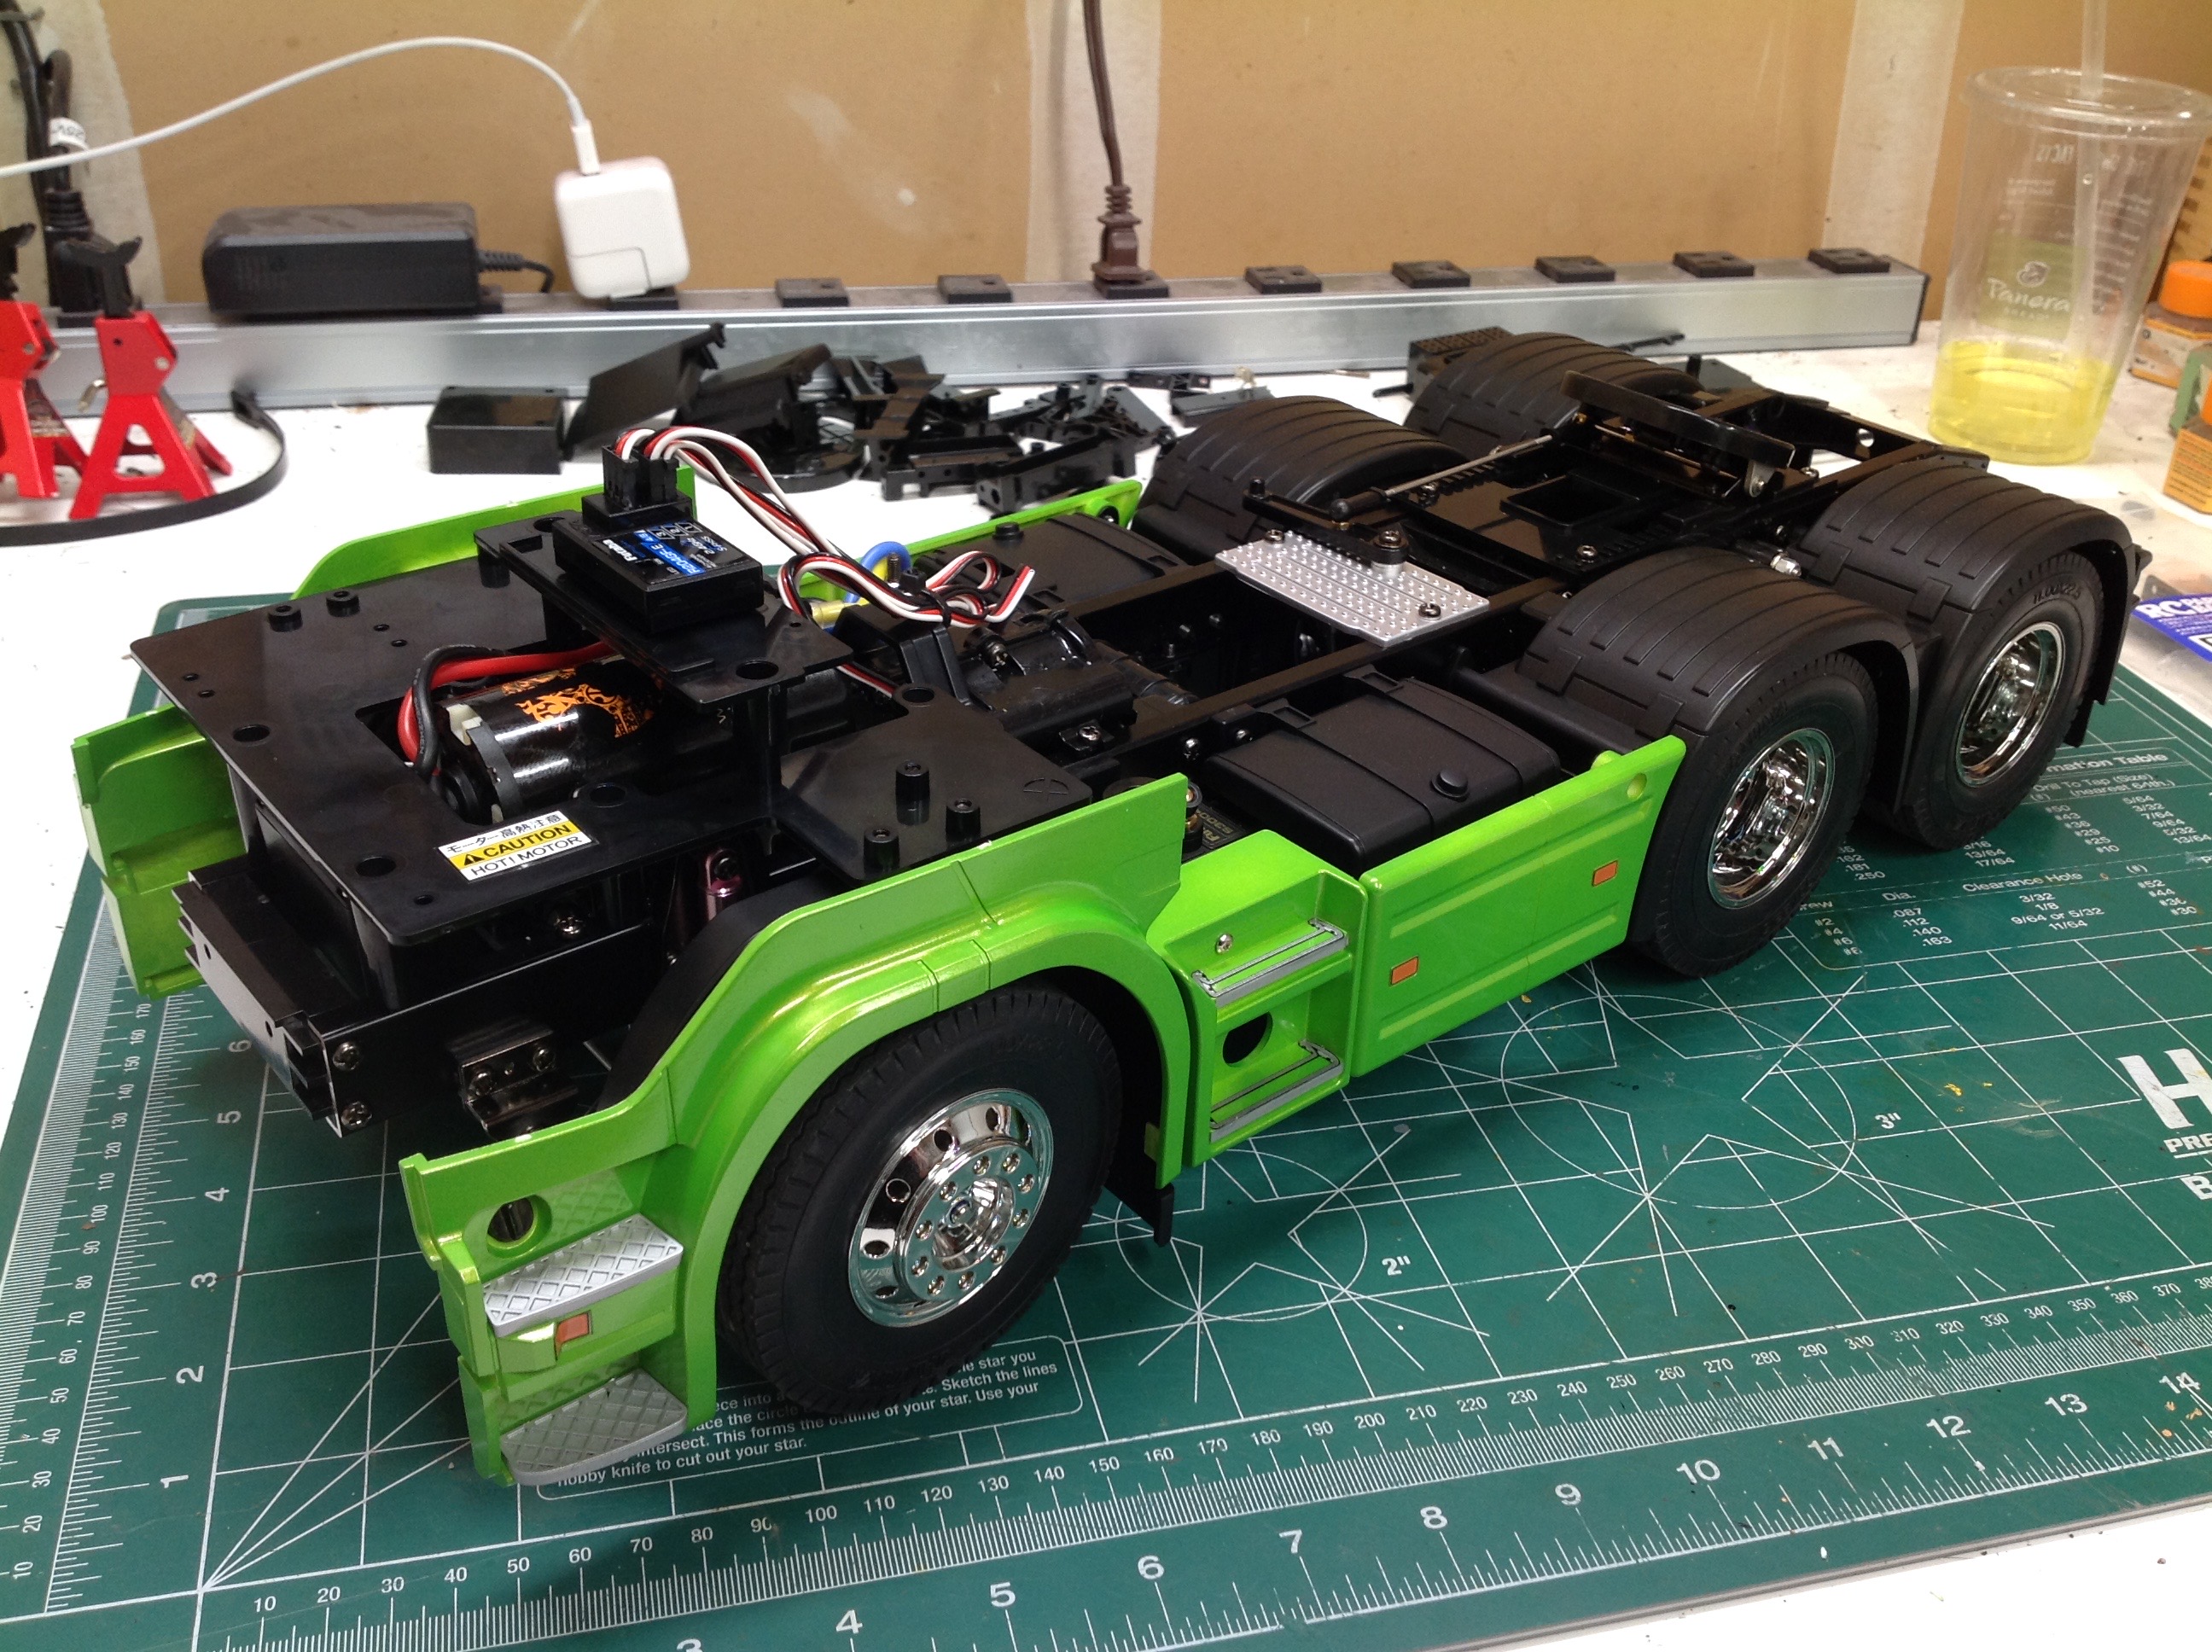
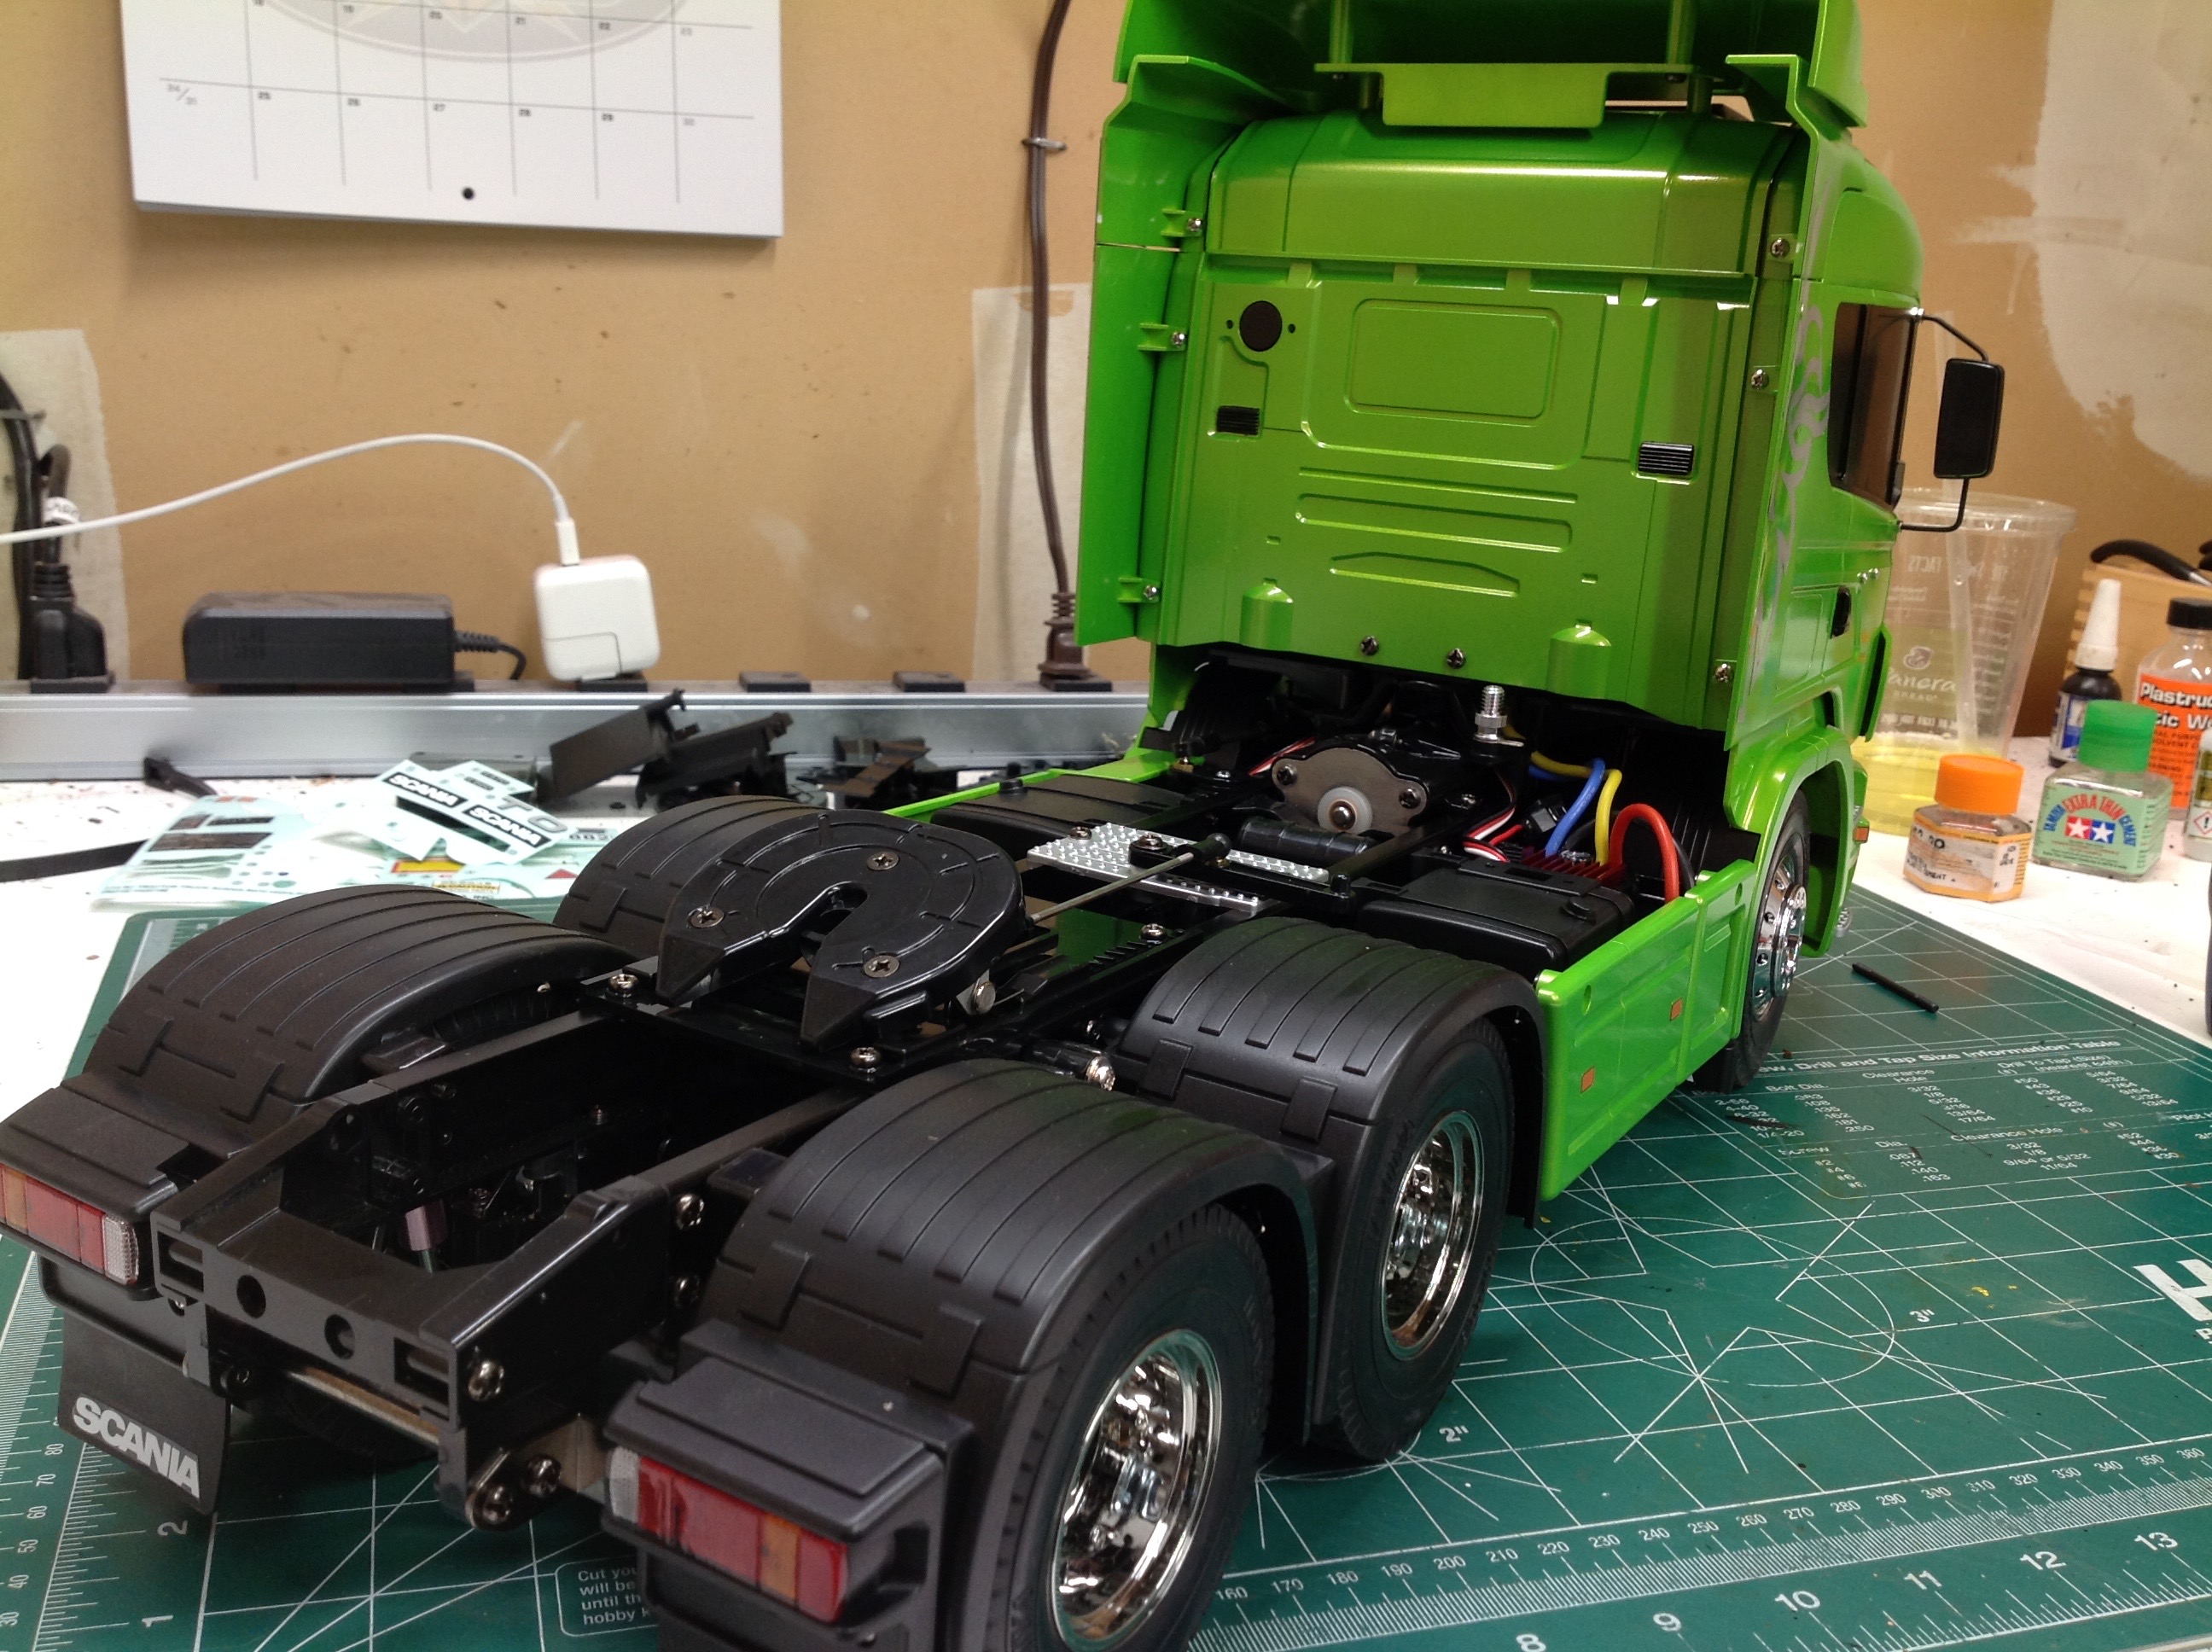
Time to start making it look like a Scania. We start with the
front fenders and side panels which must be painted first. I put
on the Candy Lime Green paint followed by the stickers (side marker
lights) and then a couple of coats of gloss clear. The side steps
are separate parts painted in silver. You can also see the huge
electronics tray containing only my tiny temporary ESC and
receiver. There are fuel tanks hidden behind the green side
panels. I painted the rear fenders
and tail light shrouds in semi-gloss black. I didn't bother painting the
5th wheel since attaching trailers would just rub the paint off.
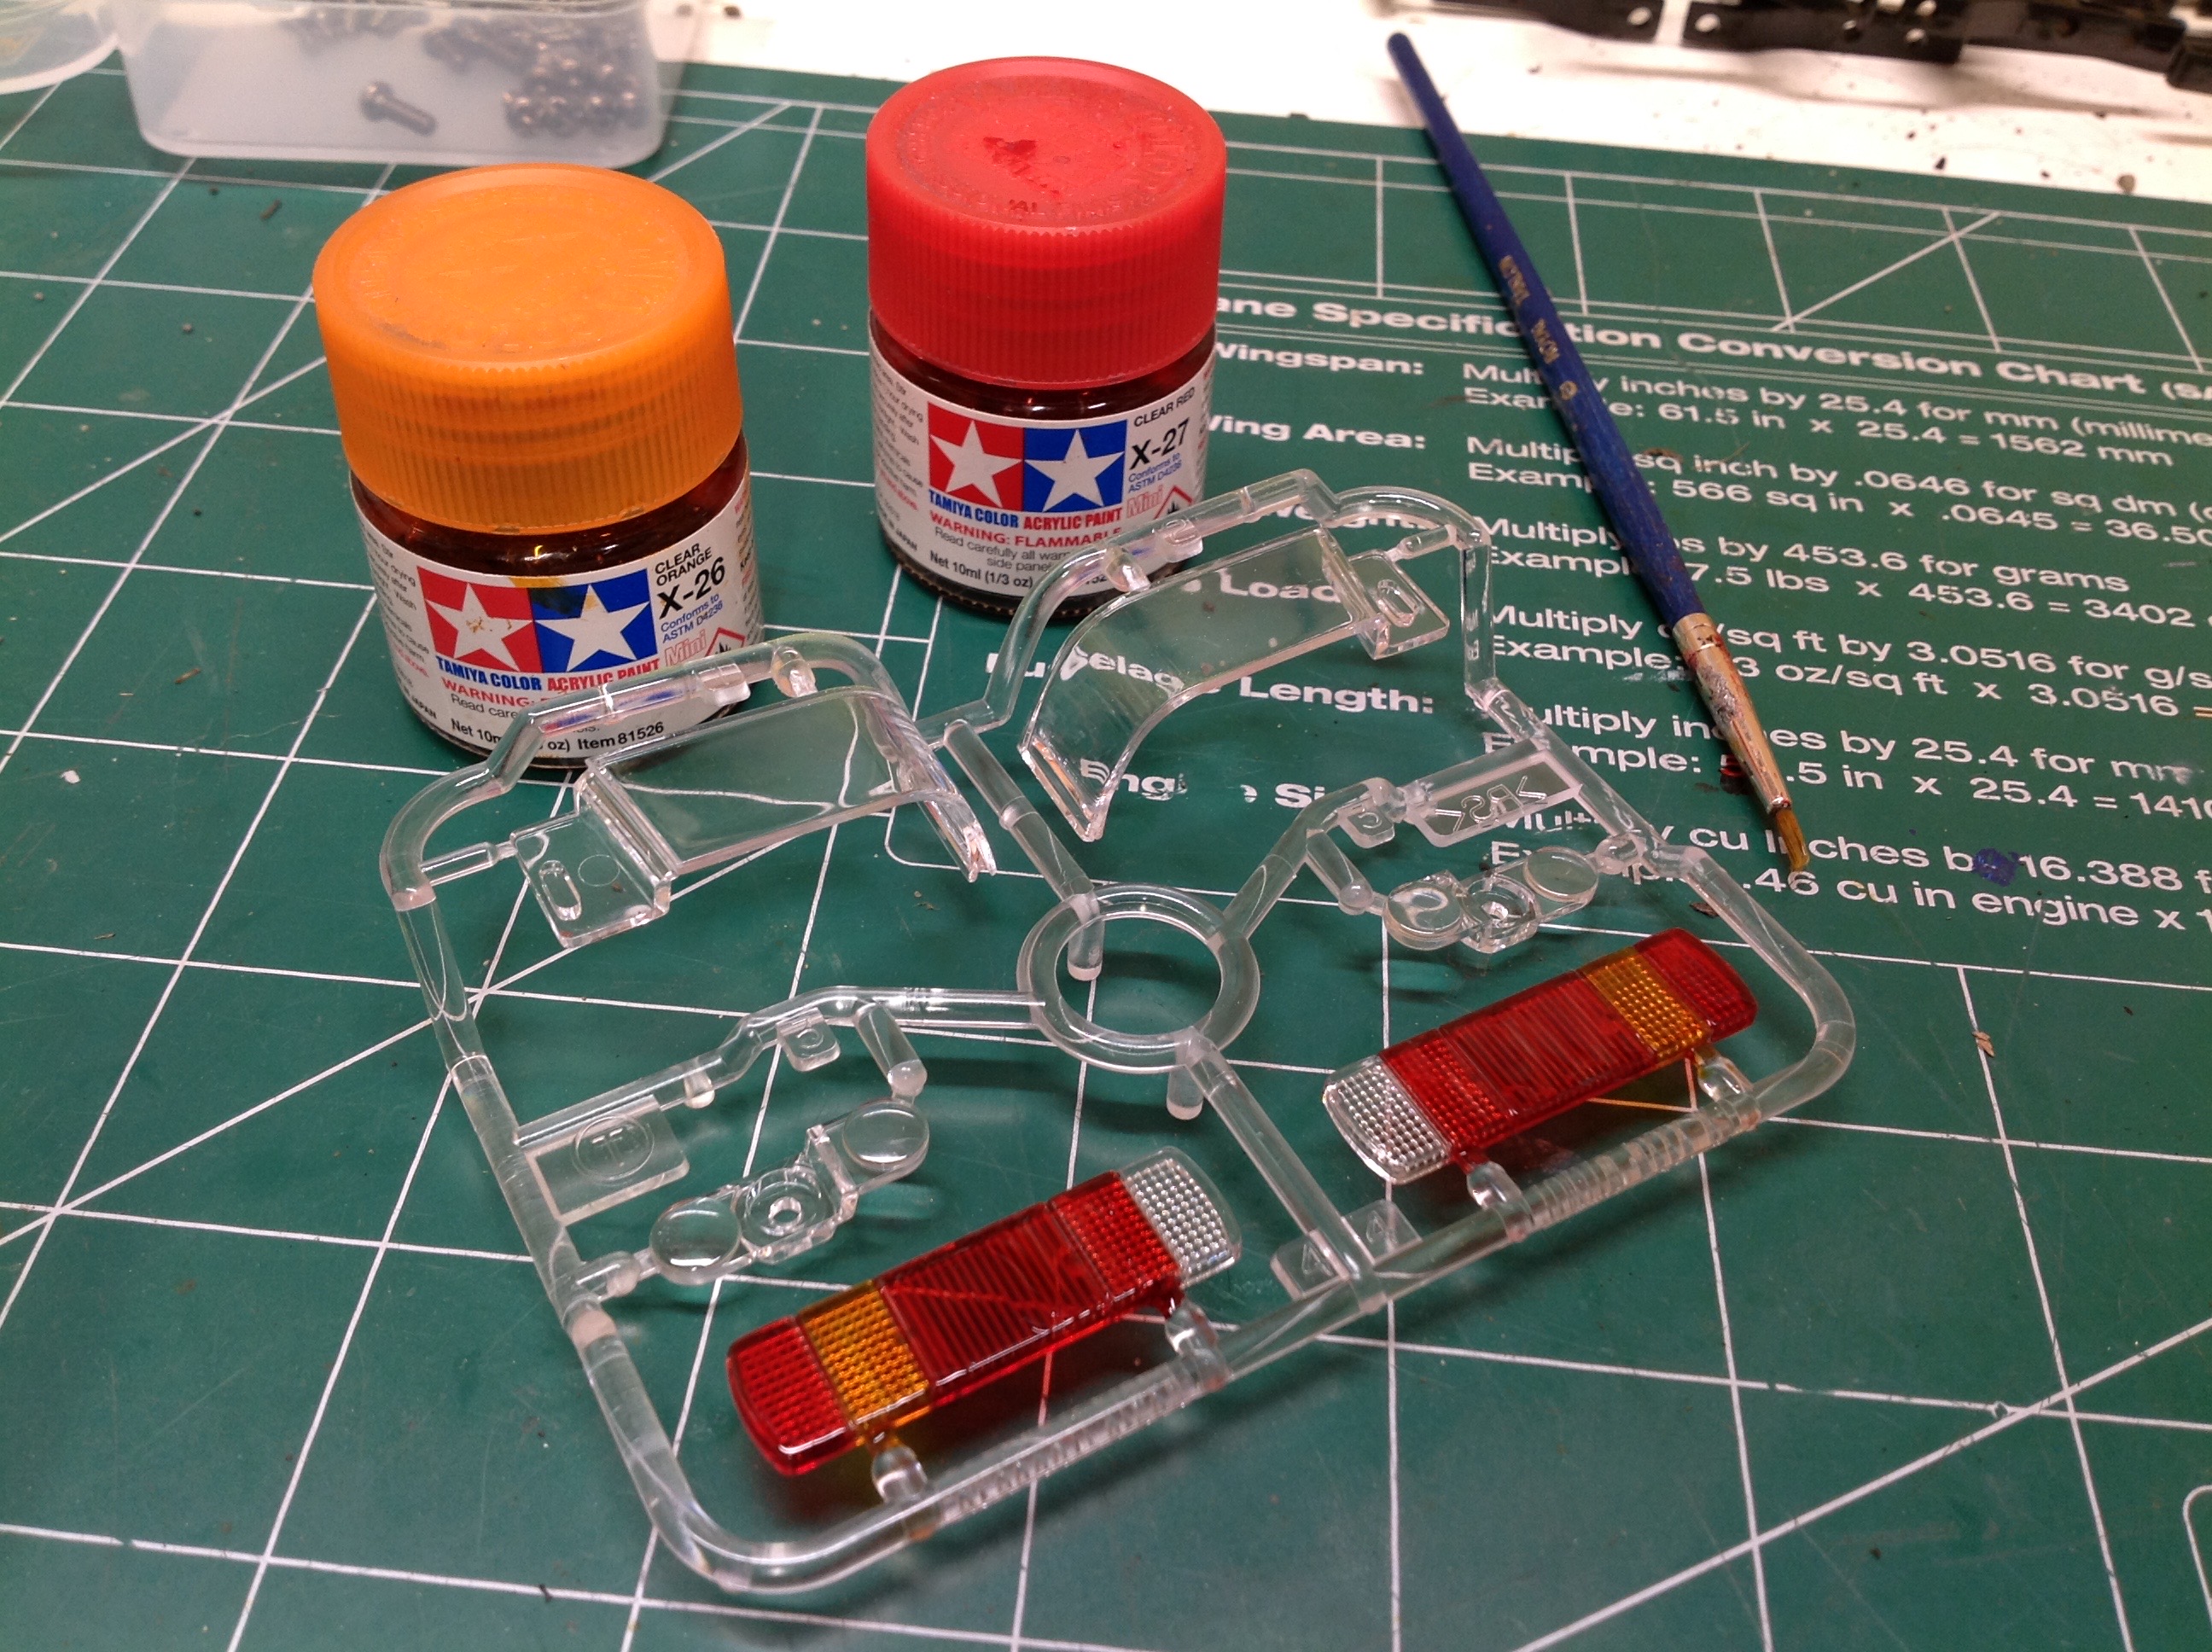
The tail light lenses need to be painted in clear amber and red.
The pattern shown is what is called for in the instructions but ends up a
bit strange. The lens is basically divided into 6 sections and
the colors from left to right are: red, amber, red, red, red,
white. However, the light buckets behind have only 3
chambers. This means the tail light only lights up 2 of the 4 red
sections, and both the turn signal and the reverse light are half
red. Doesn't matter if you don't use the lights, but doesn't look
quite right when illuminated. An online search reveals this is the
correct pattern though.
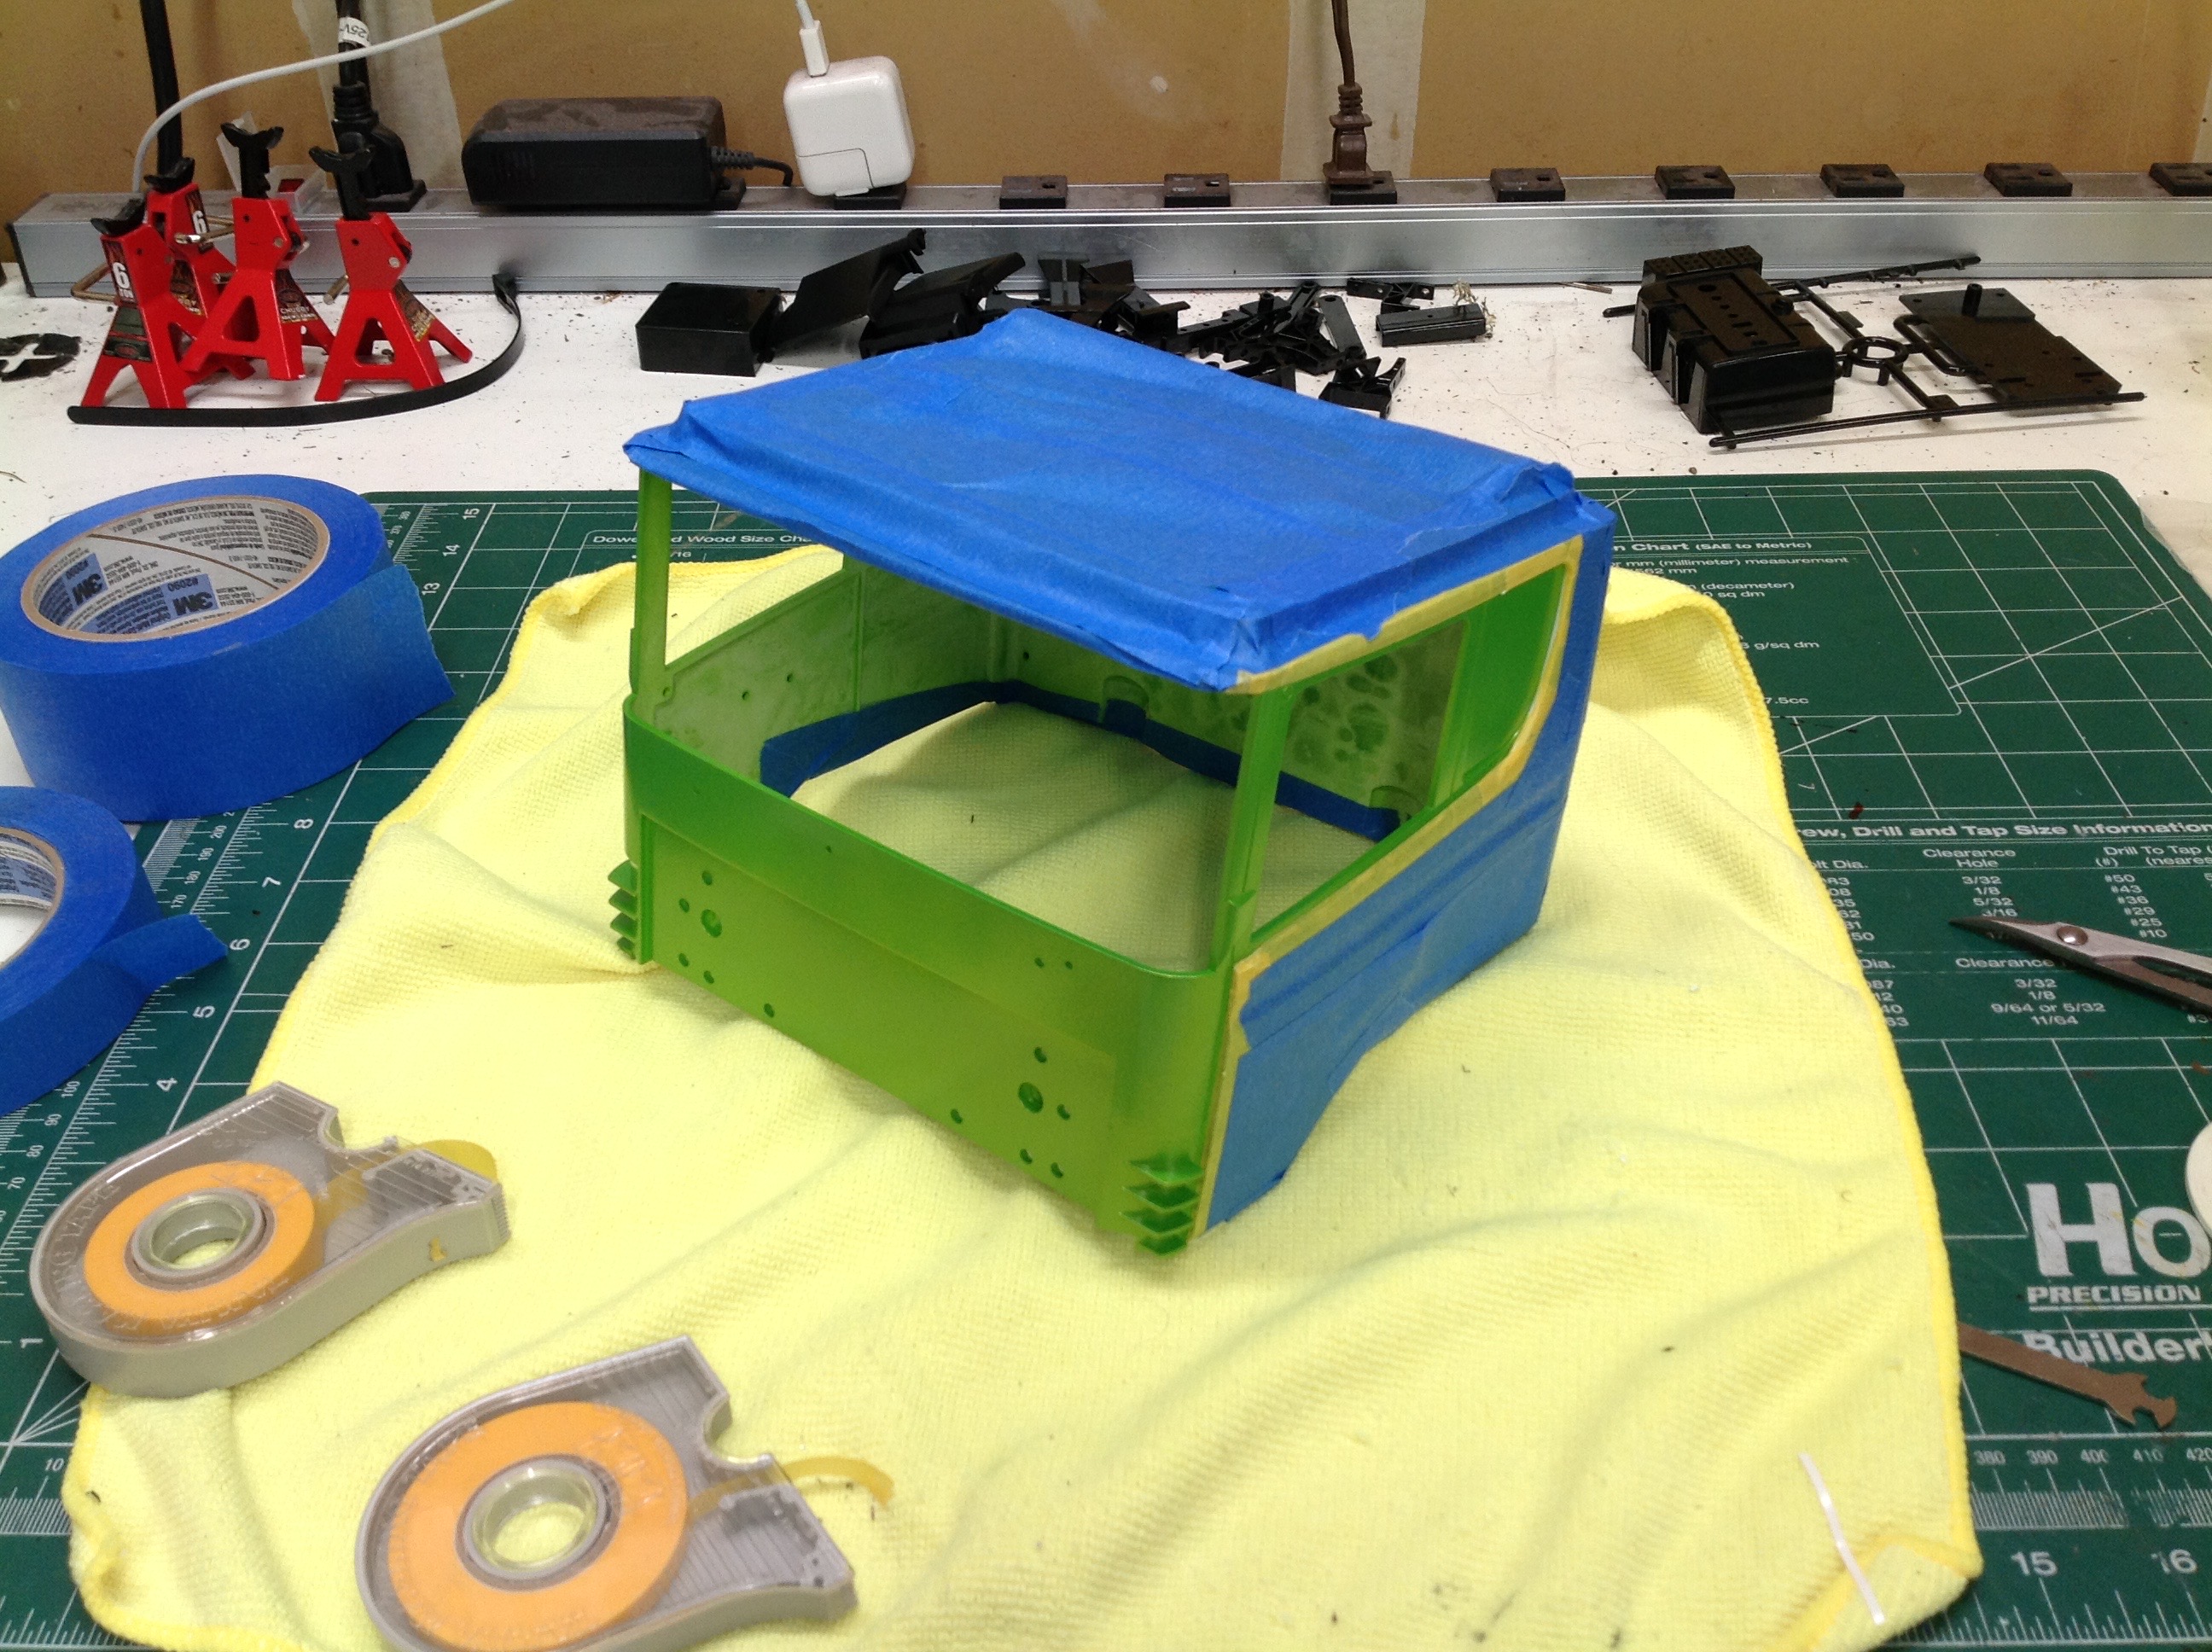
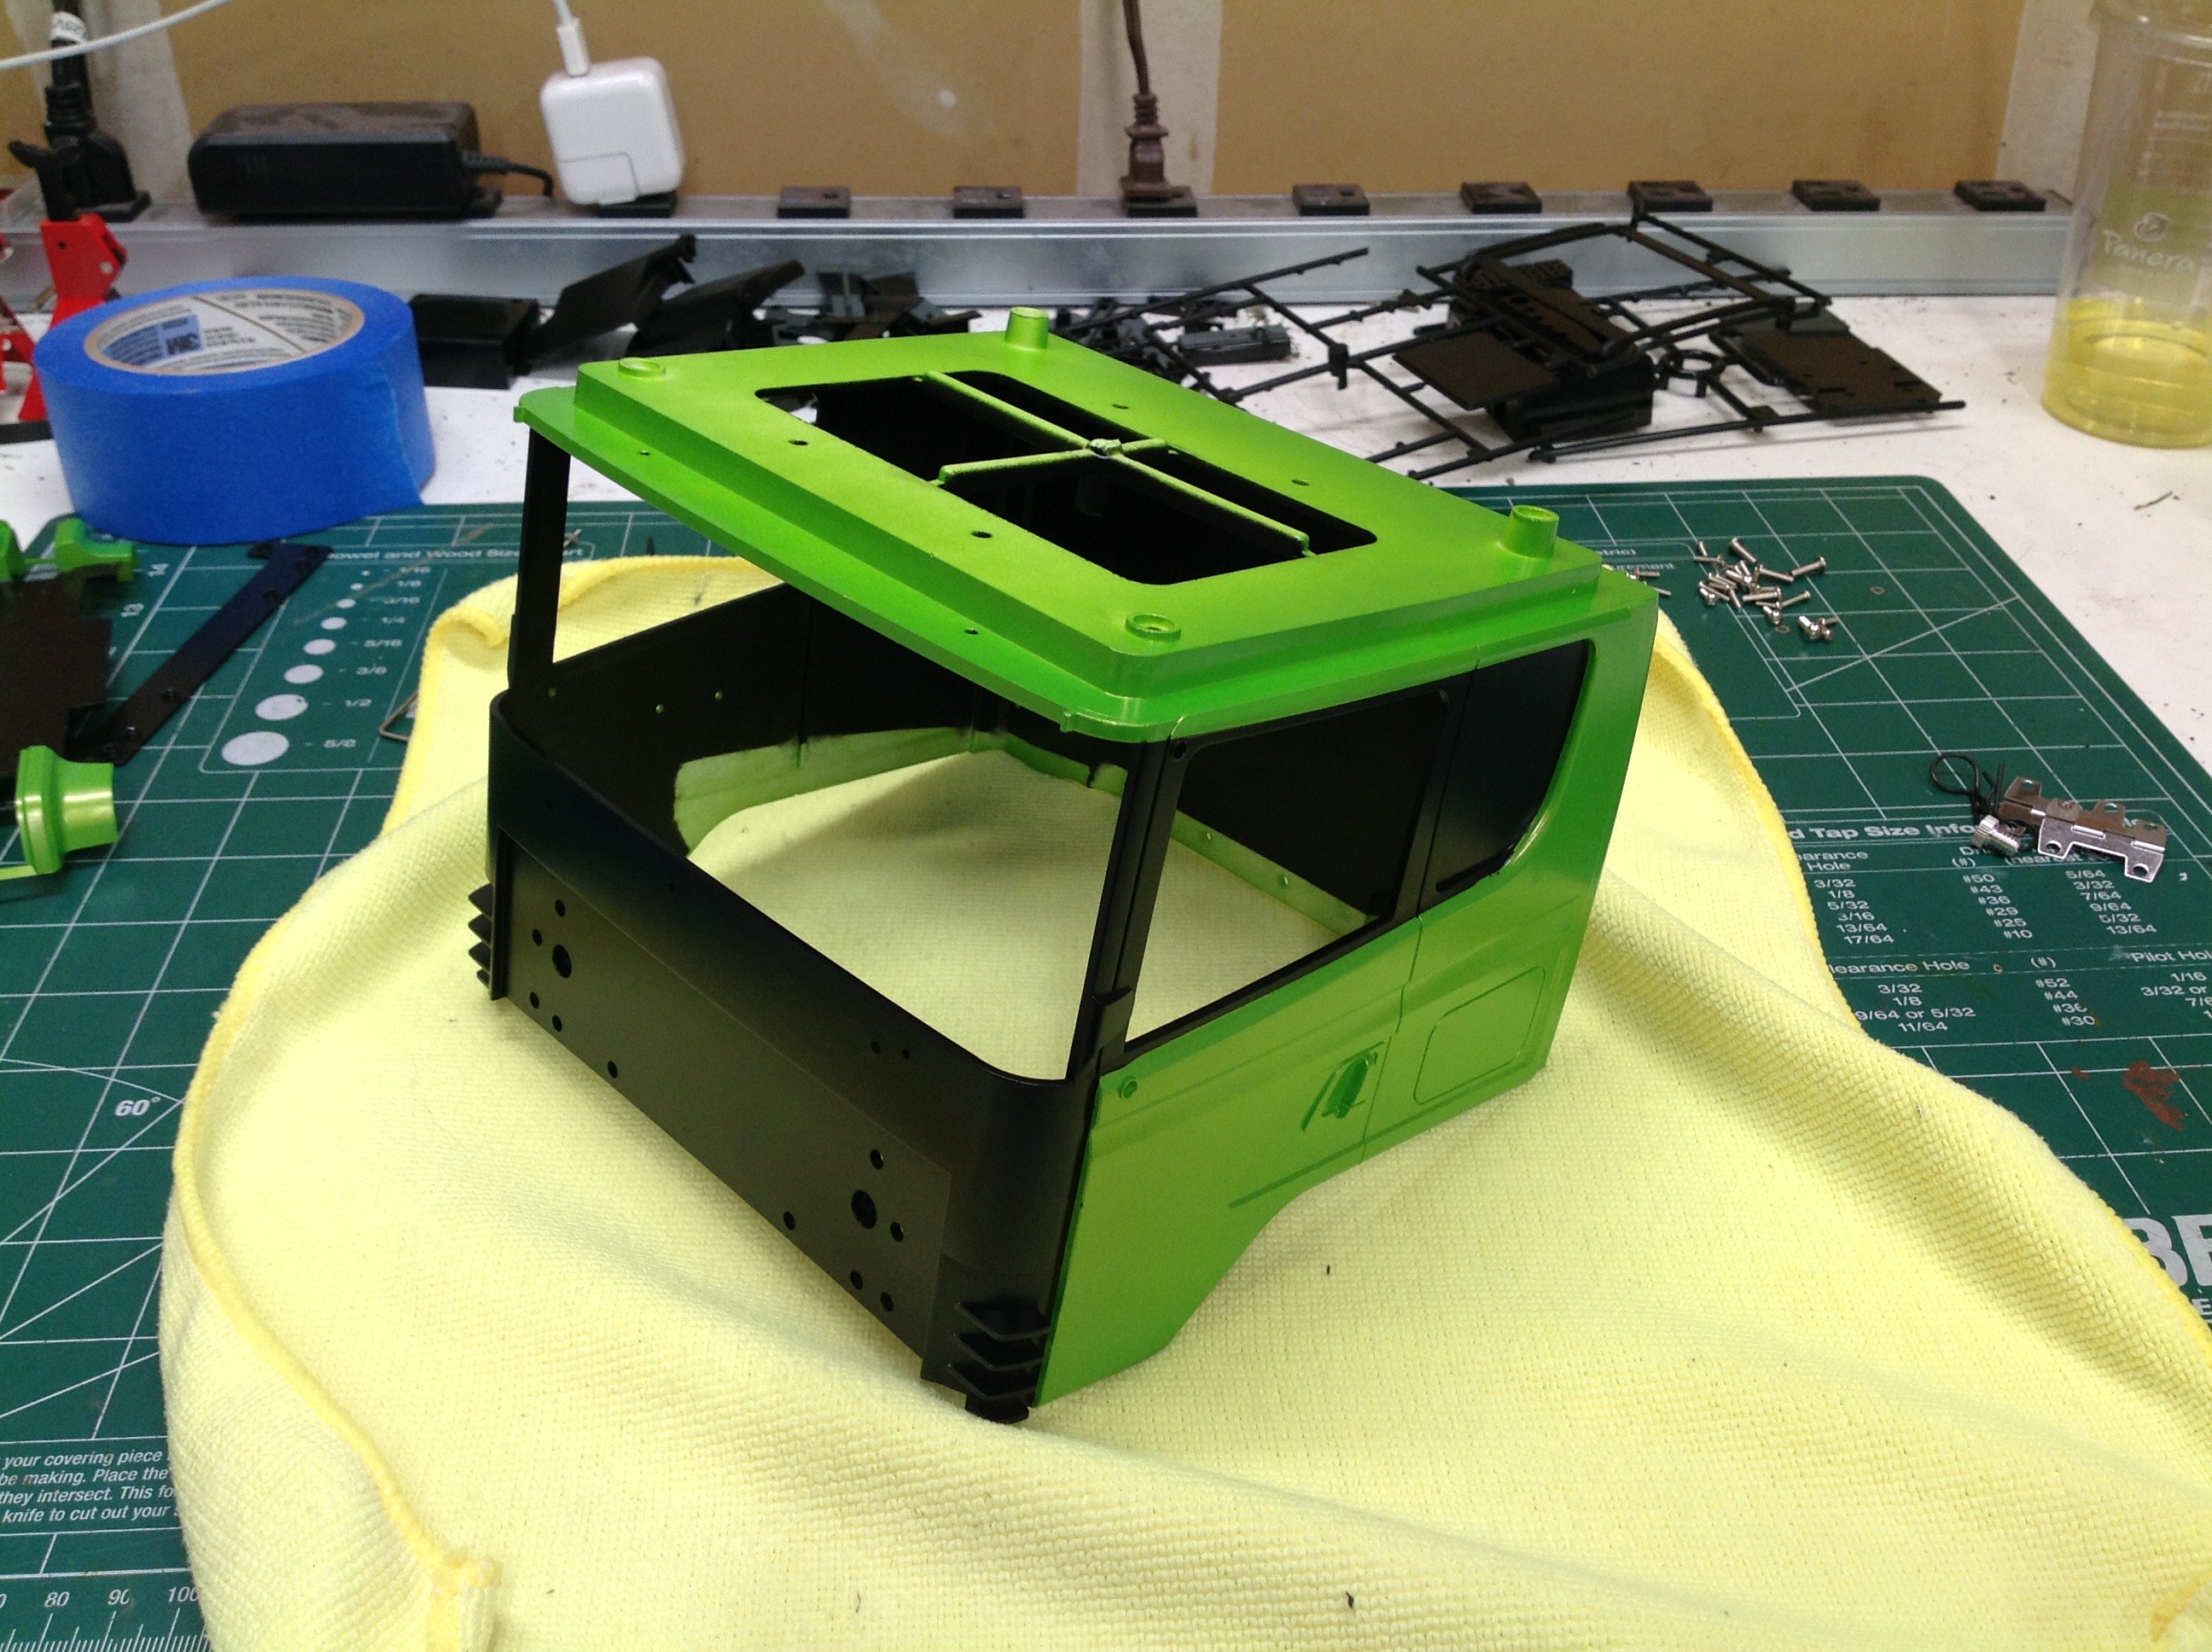
The main body takes a lot more work. It may seem like these
tractor trucks are pretty much one color paint jobs, but there is
actually a lot of black to do which requires a pile of masking. In
this case, I also wanted the whole inside painted in black to help hide
the wiring and MFC that will be installed later. The picture on
the right shows the result. The grille area, A pillars, window
surrounds, and interior are black.
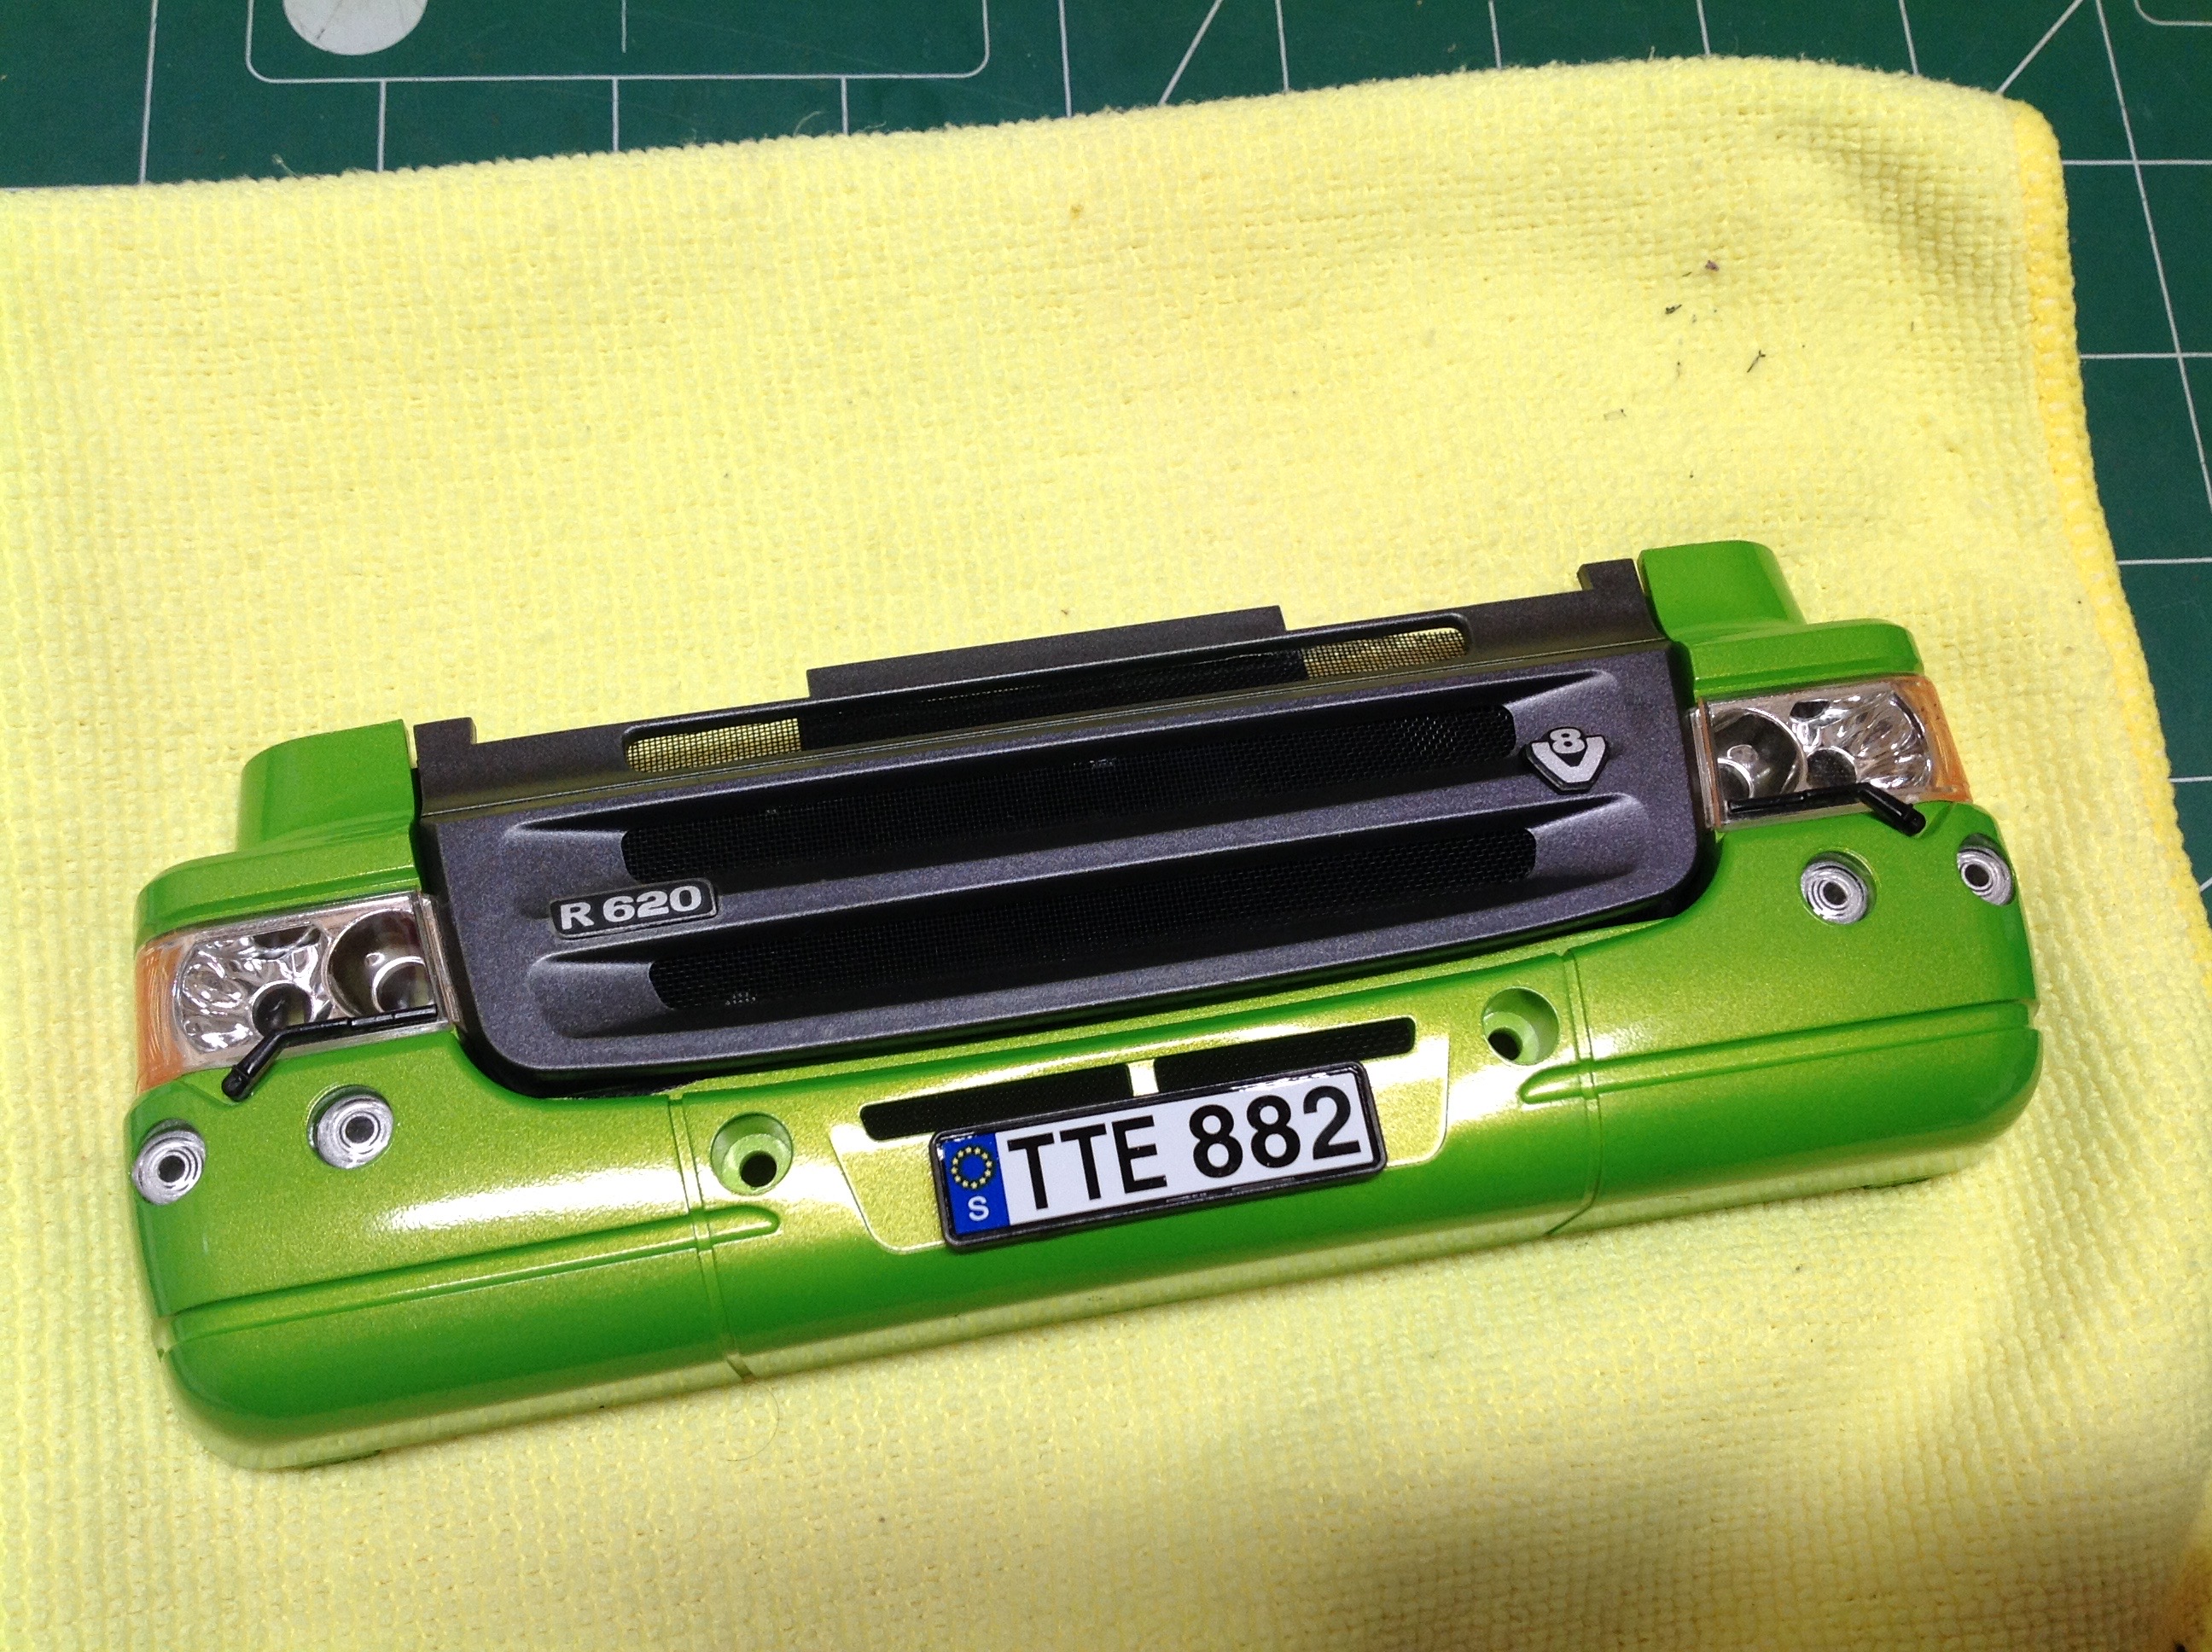
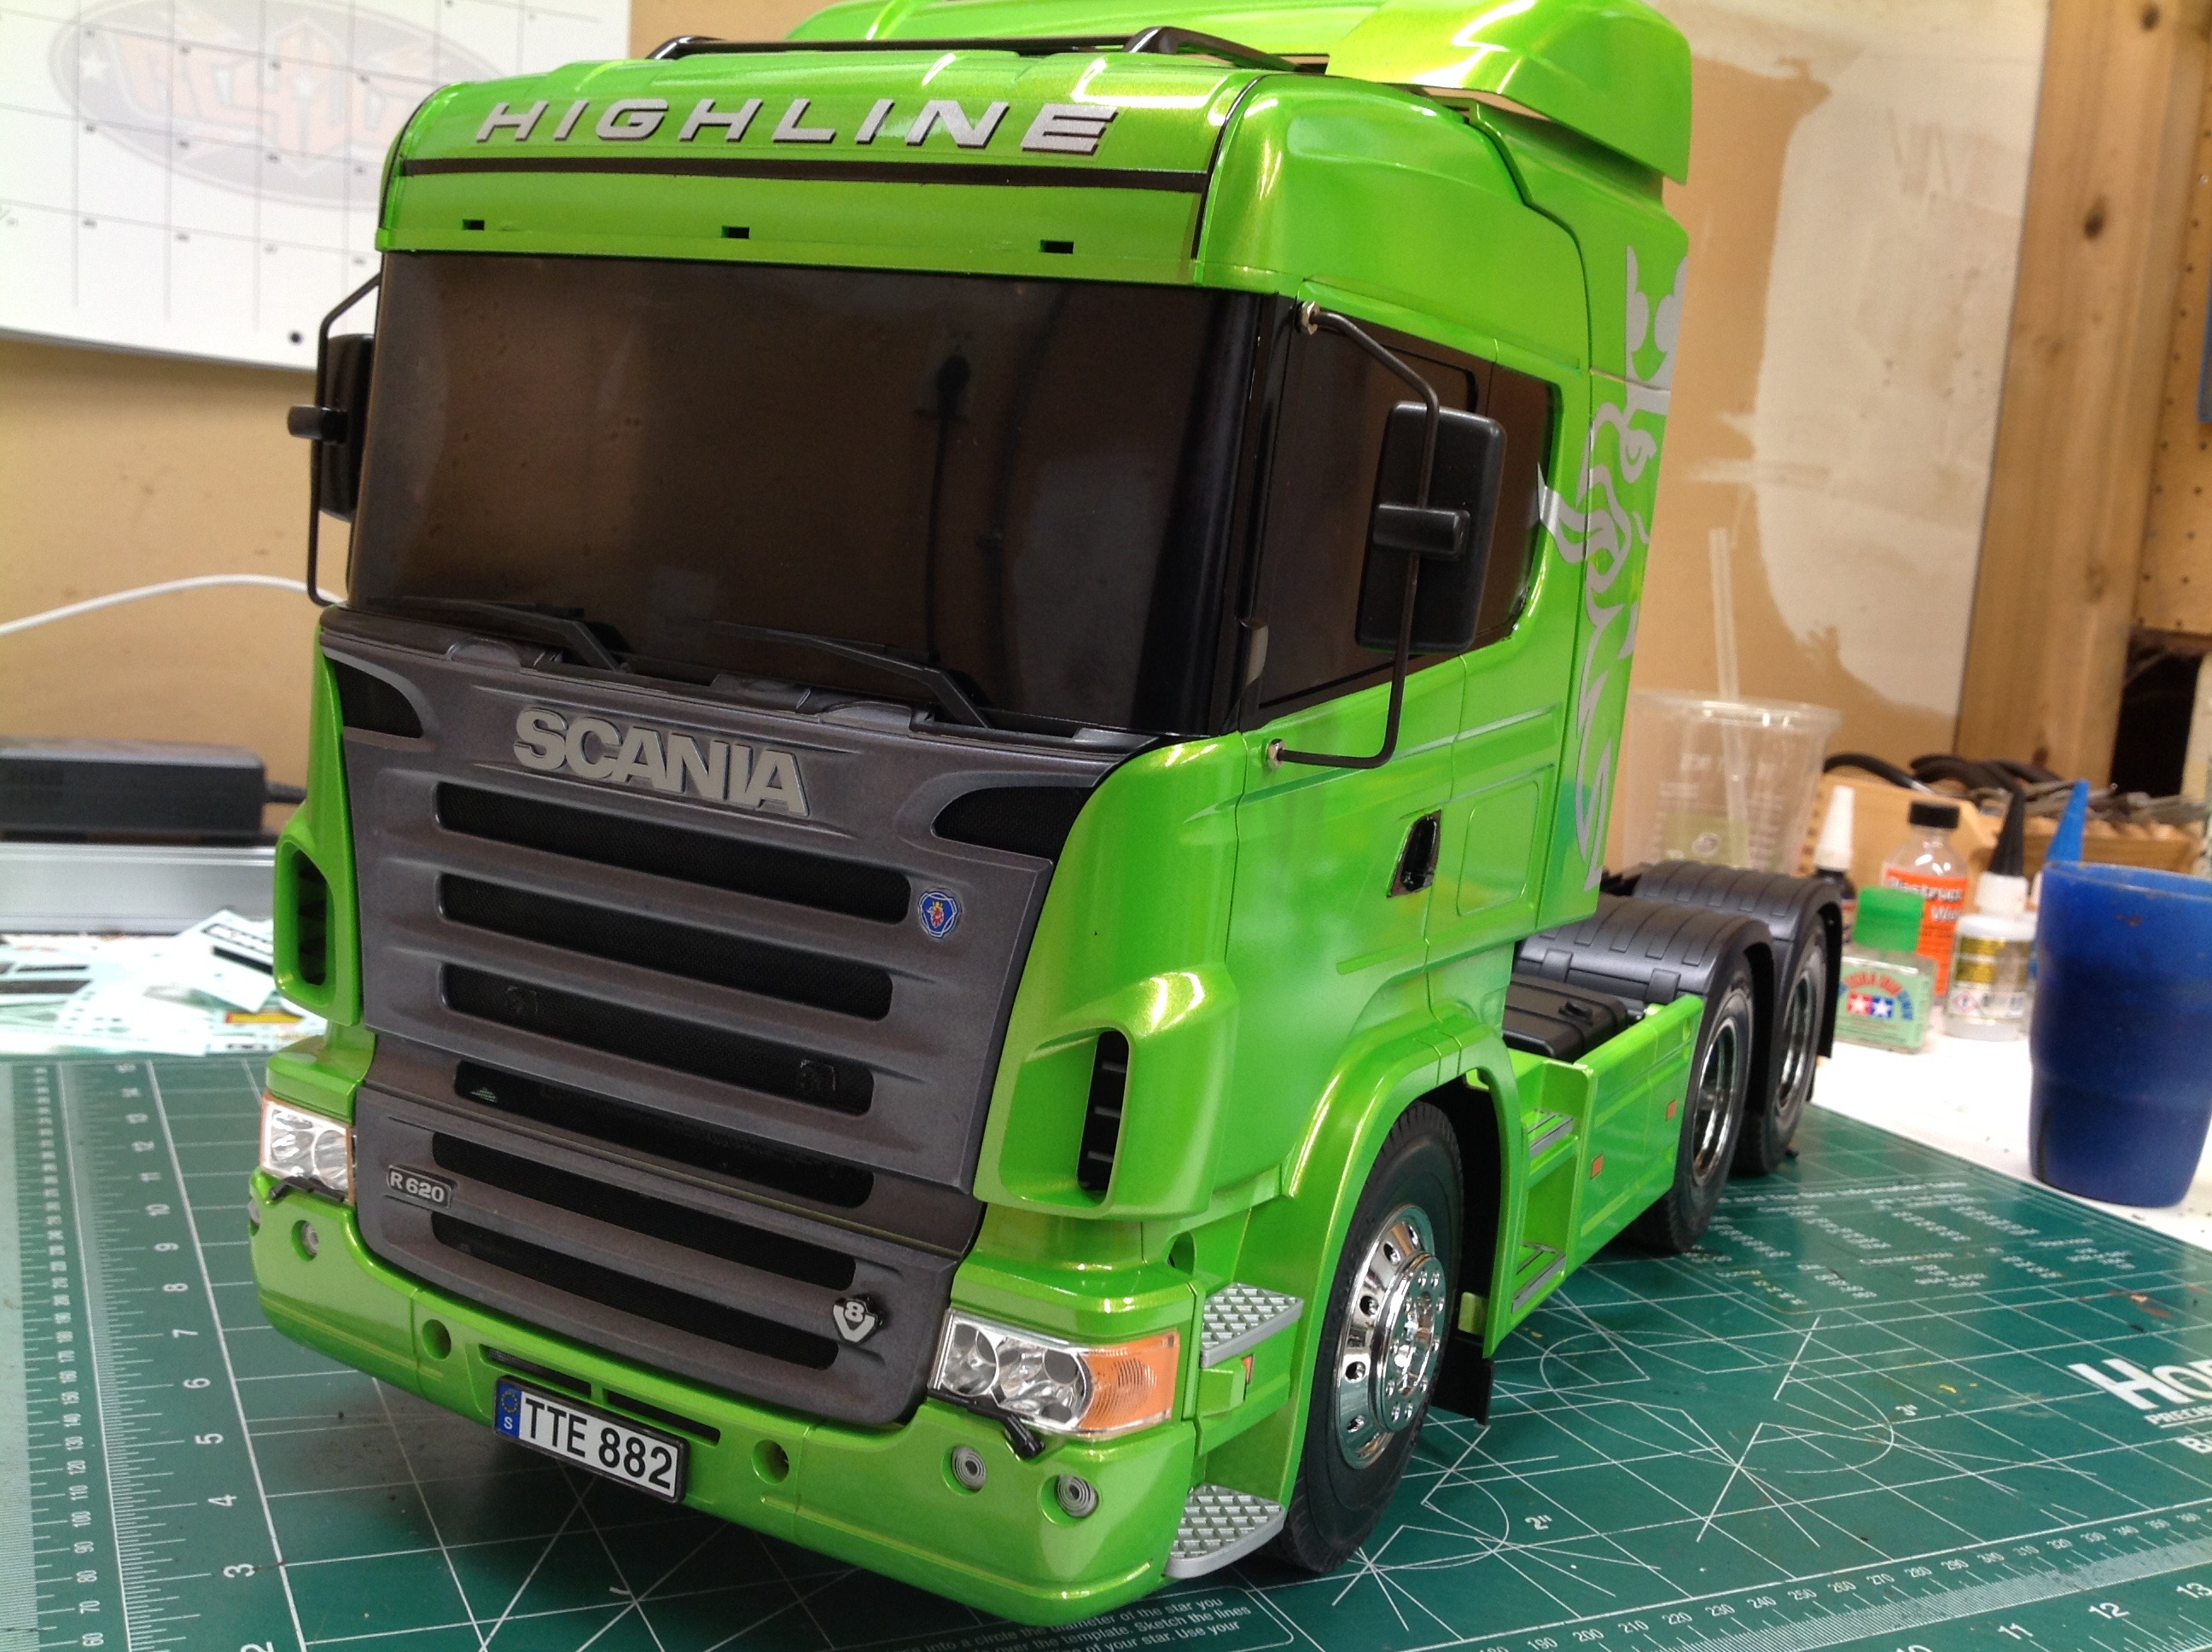
The front bumper has a lot of detail. The four small lower round
lenses are fog lights. The head lights have a low and high beam as
well as a turn signal on each side. The amber turn signal marking
is a sticker which isn't my favorite way to do it. There are
wipers on the headlight lenses and the grille is a separate part painted
in gun metal. There is actually a black mesh behind the grille
which looks like the front of a radiator. The license plate is a
separate part with a sticker. There are several EU country options
and I chose Sweden since this is a Scania. On the right I've
installed the bumper, the main body, the fairings, and the wind
deflector. The windows are painted in Smoke to hide the upcoming
wires and the interior is not installed. Yes, I skipped a few
steps here without taking pictures. There is so much labor and
concentration involved in the painting process that I tend to forget.
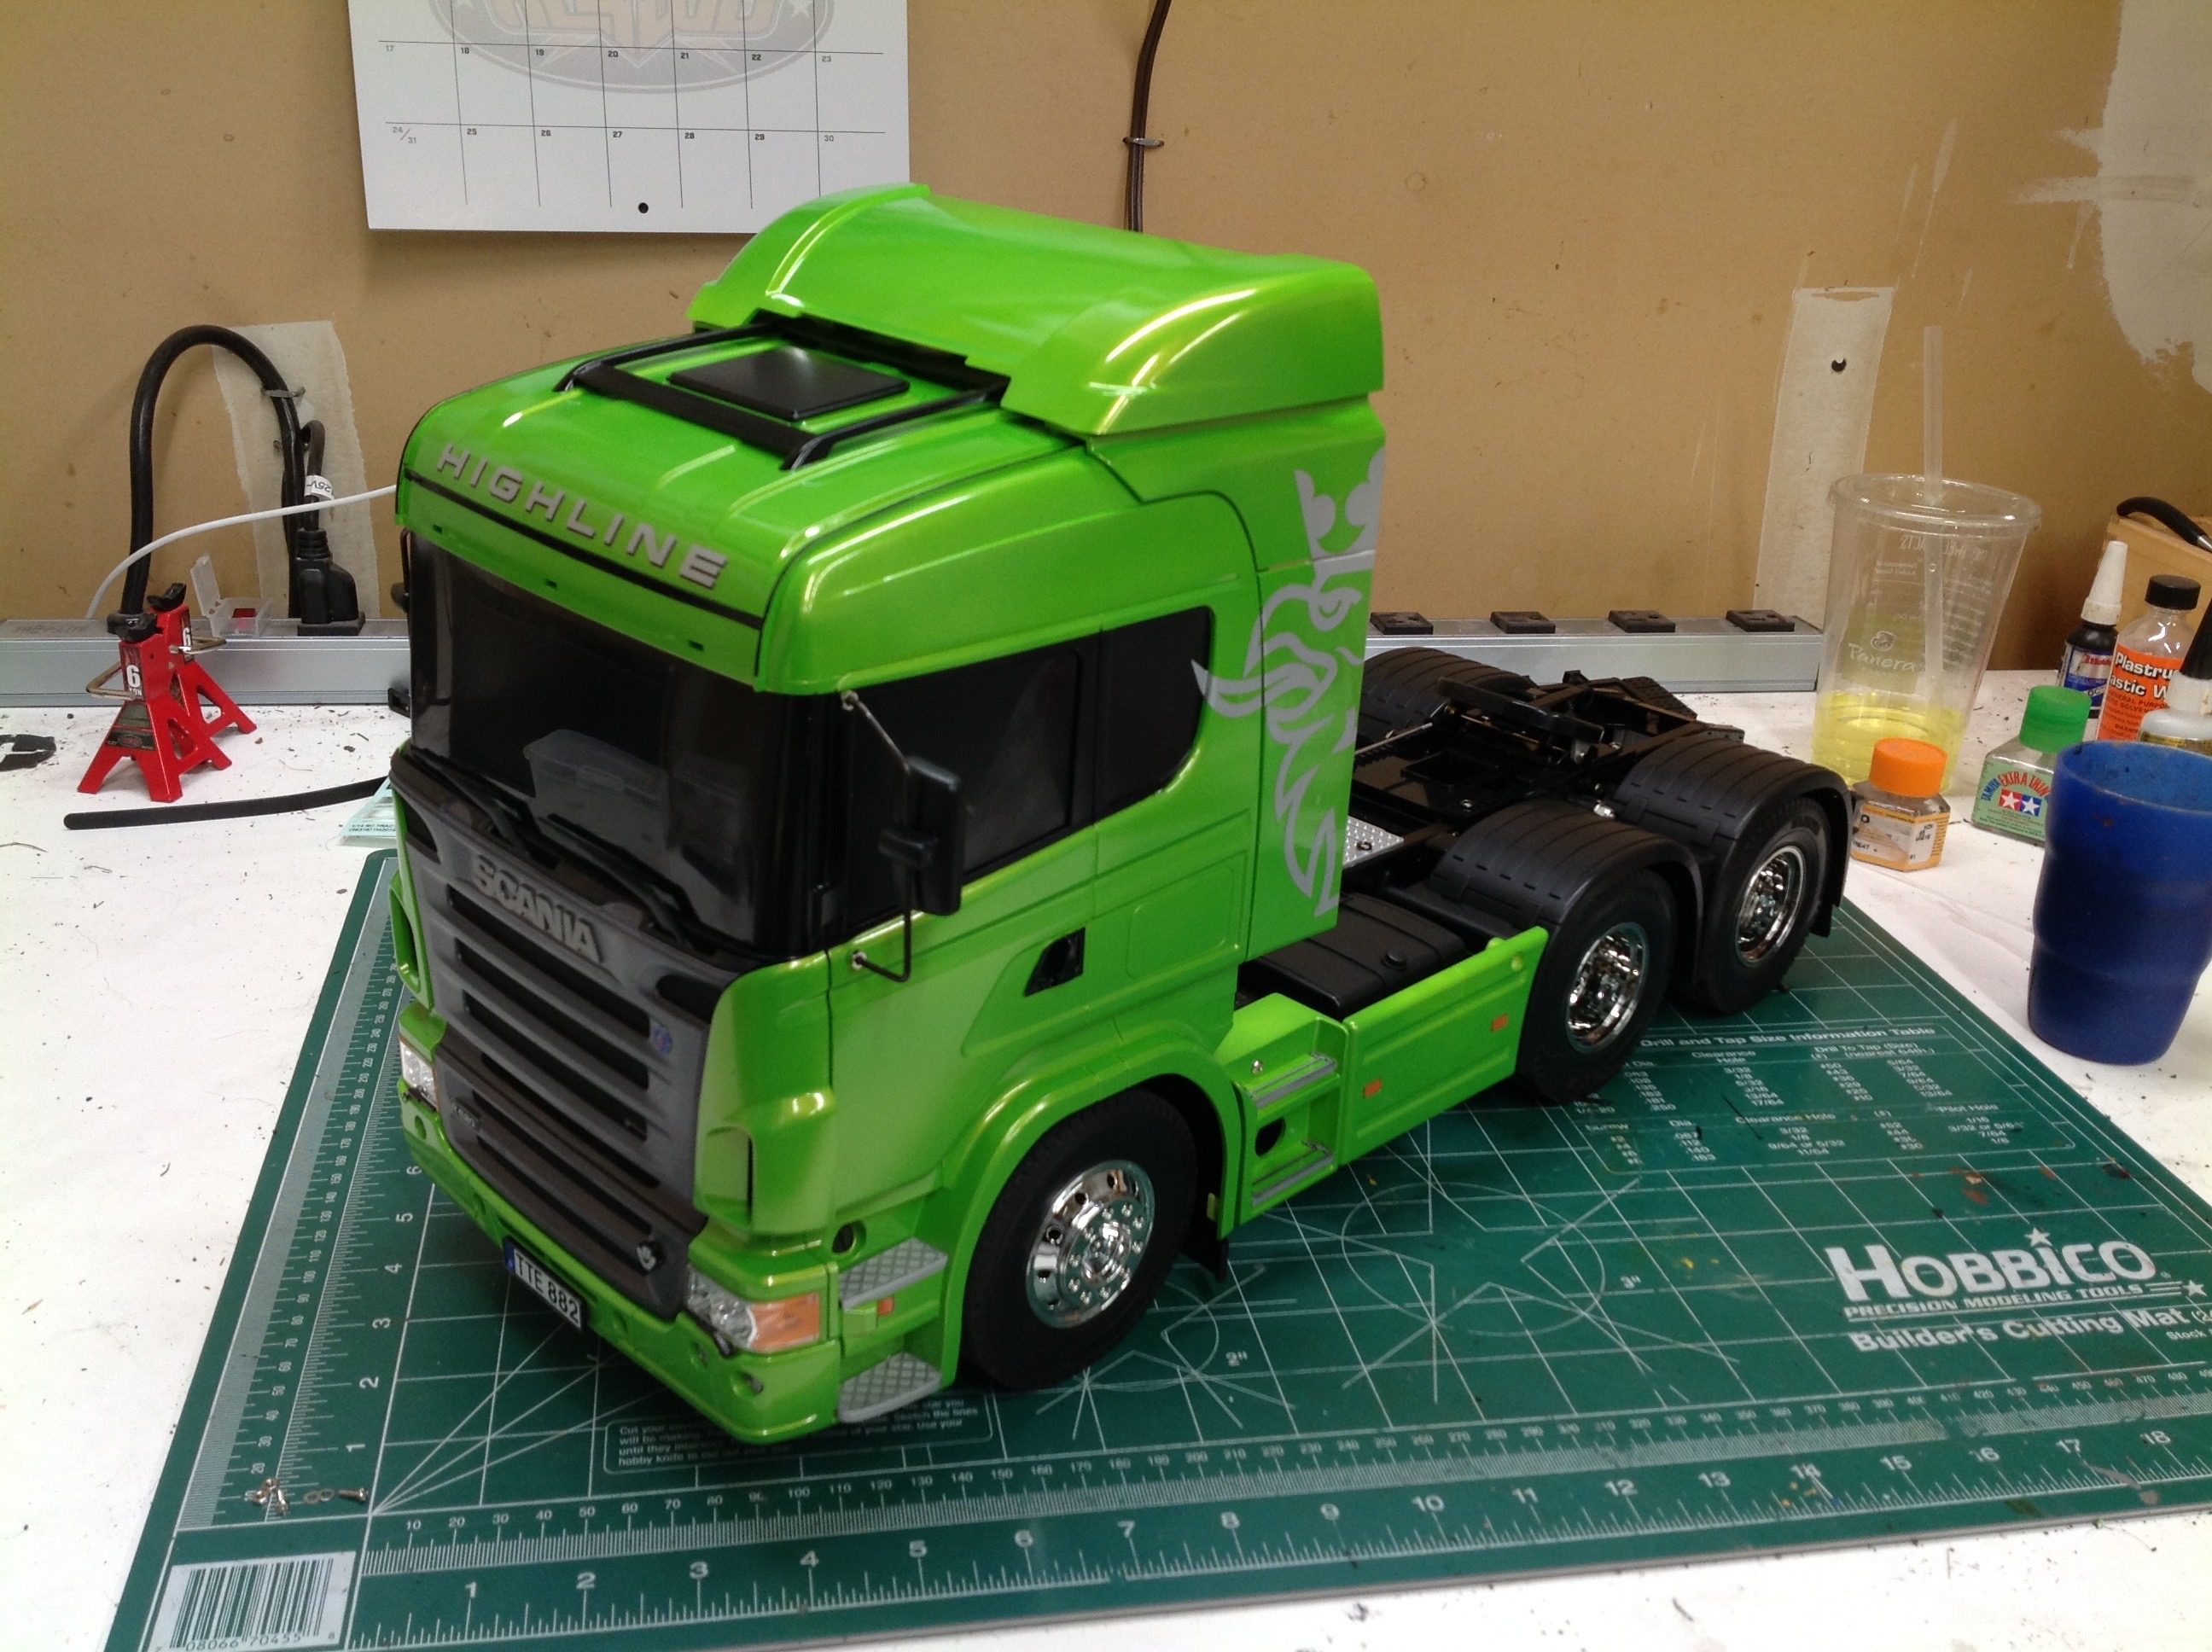
Here are a couple of shots of the (almost) completed truck. The
mirrors and stickers are installed and everything is clearcoated.
At this point I had forgotten to install the visor above the windshield
though. There is no connection between the front bumper and side
skirts which can lead to some strange gaps depending on how the model is
sitting. I wish there was an attachment here since this would
also help eliminate chattering when the vibration motor is running.
©2019 Eric Albrecht