Tamiya M4 Sherman Project
Page 1: Unboxing
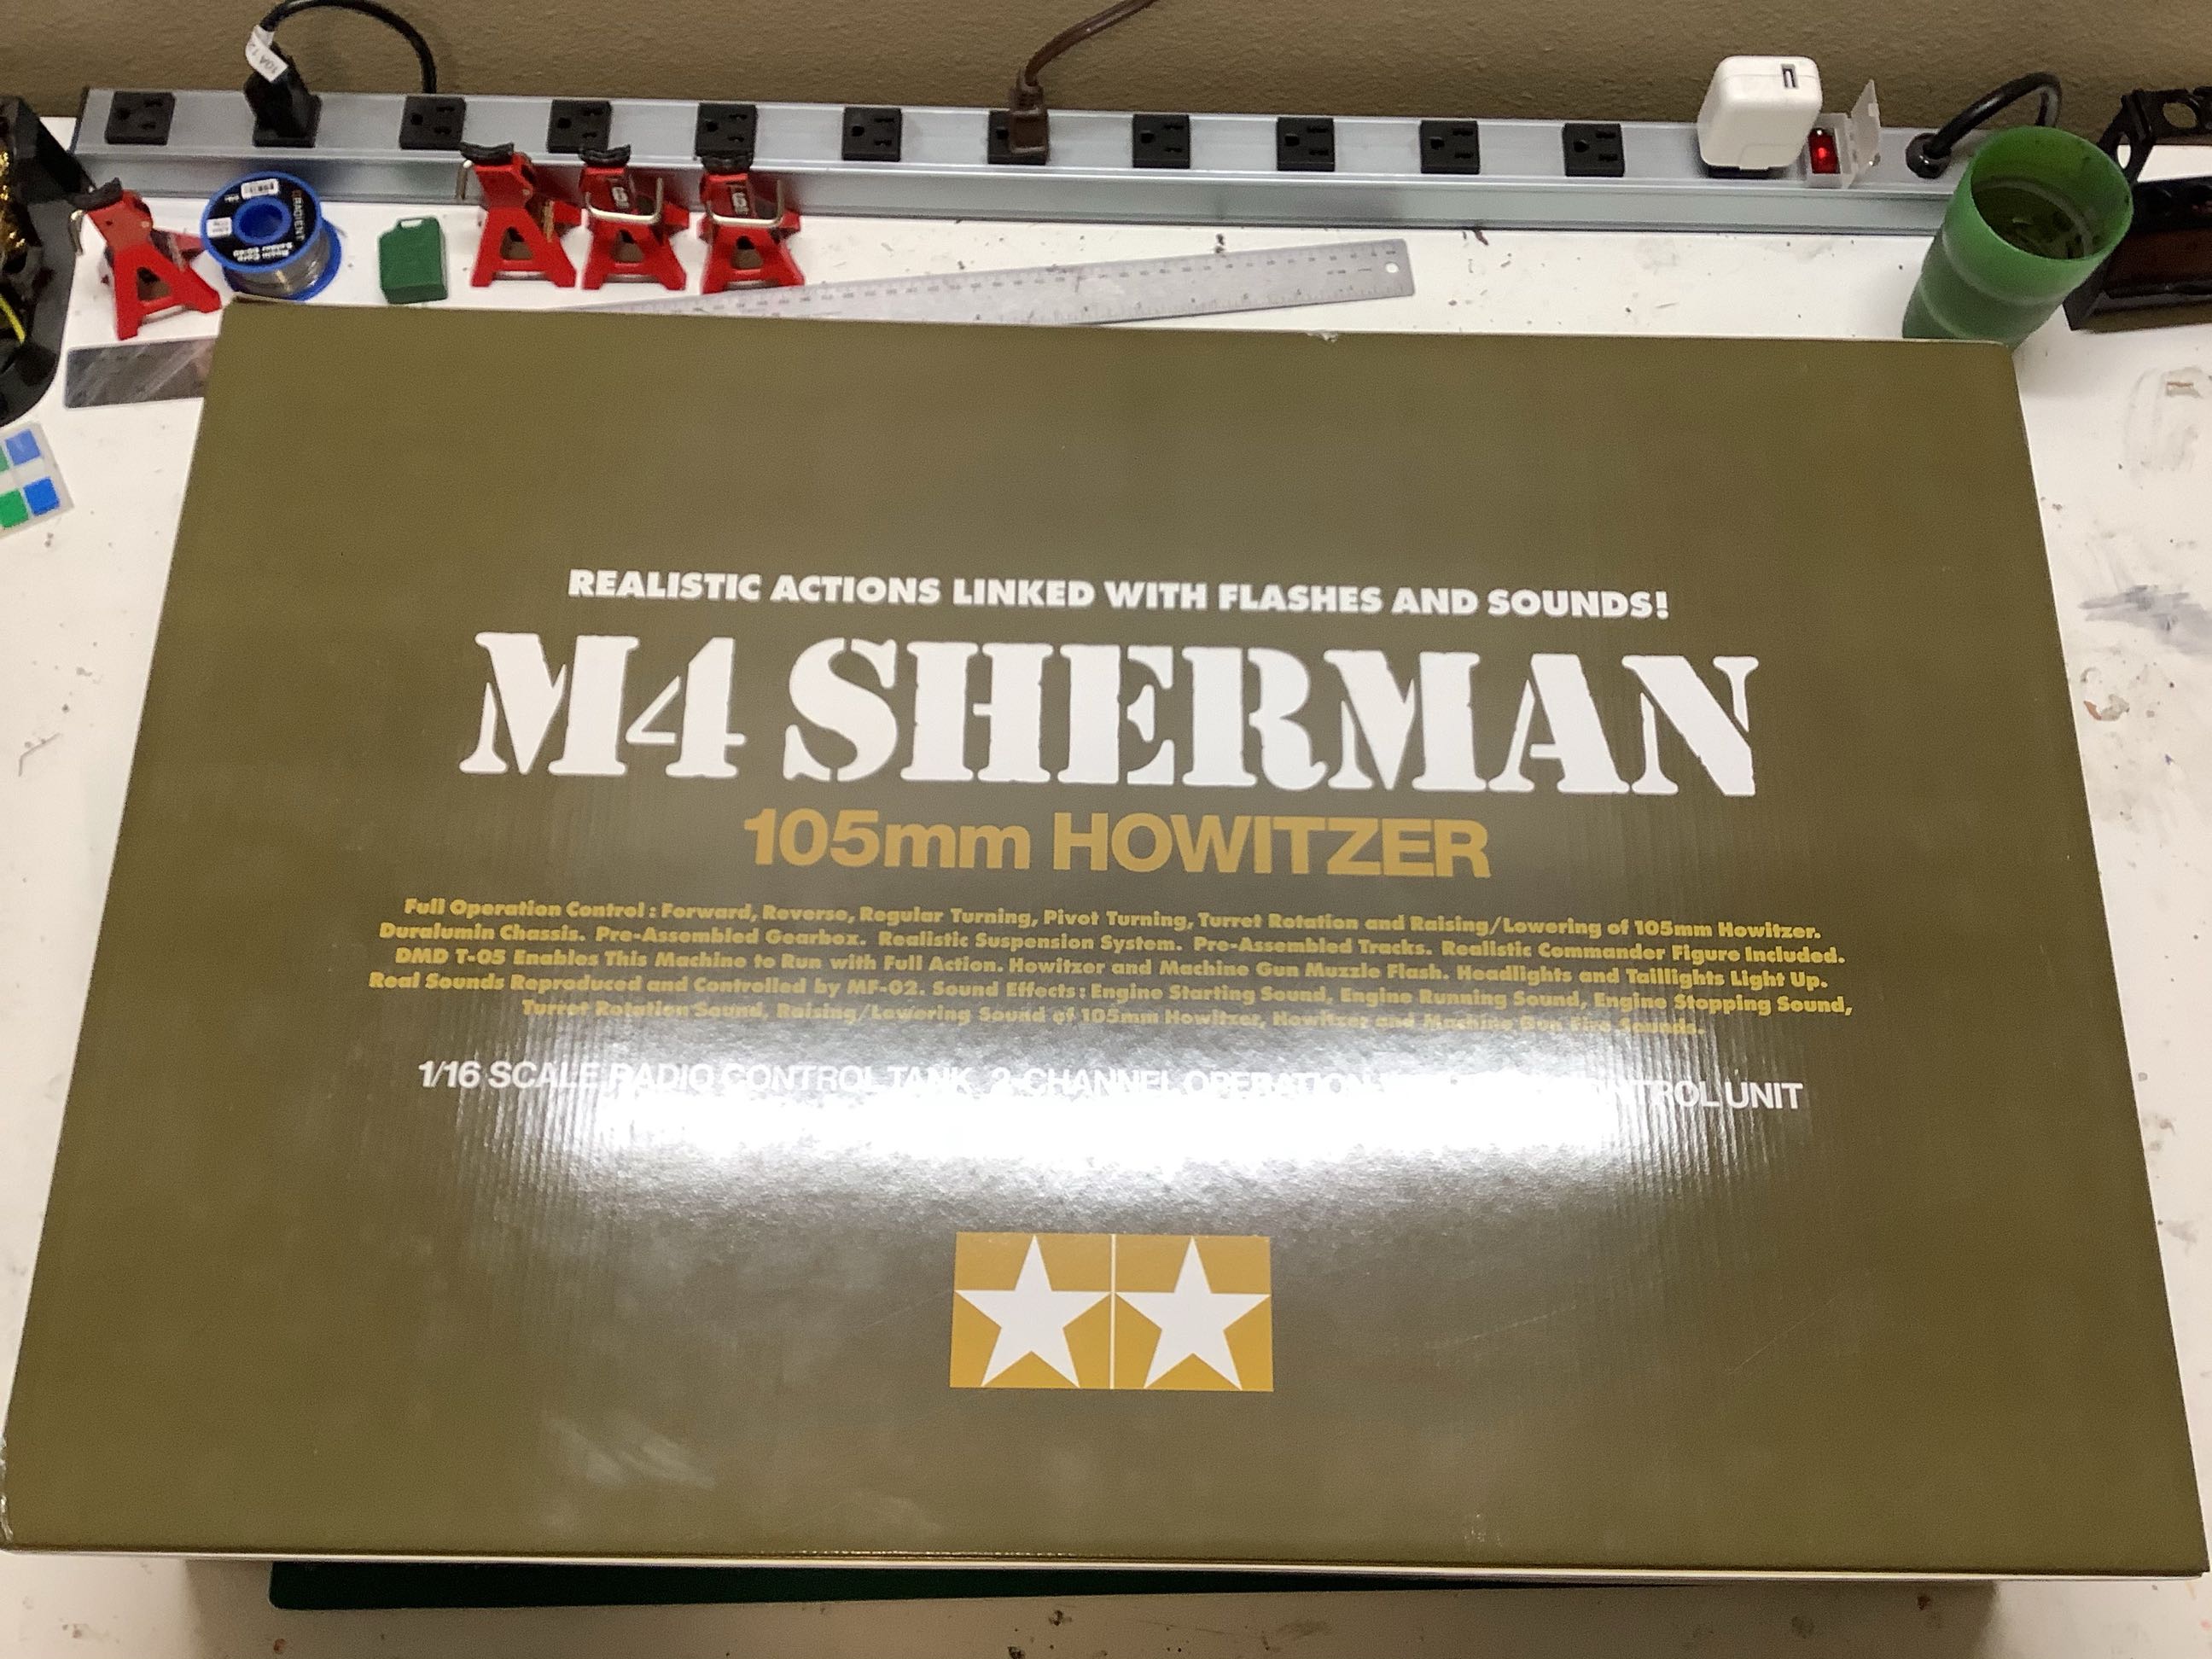
Like almost all of the Tamiya tanks, the Sherman comes with deluxe
packaging. The outer panel is actually a pretty plain olive drab, perhaps to
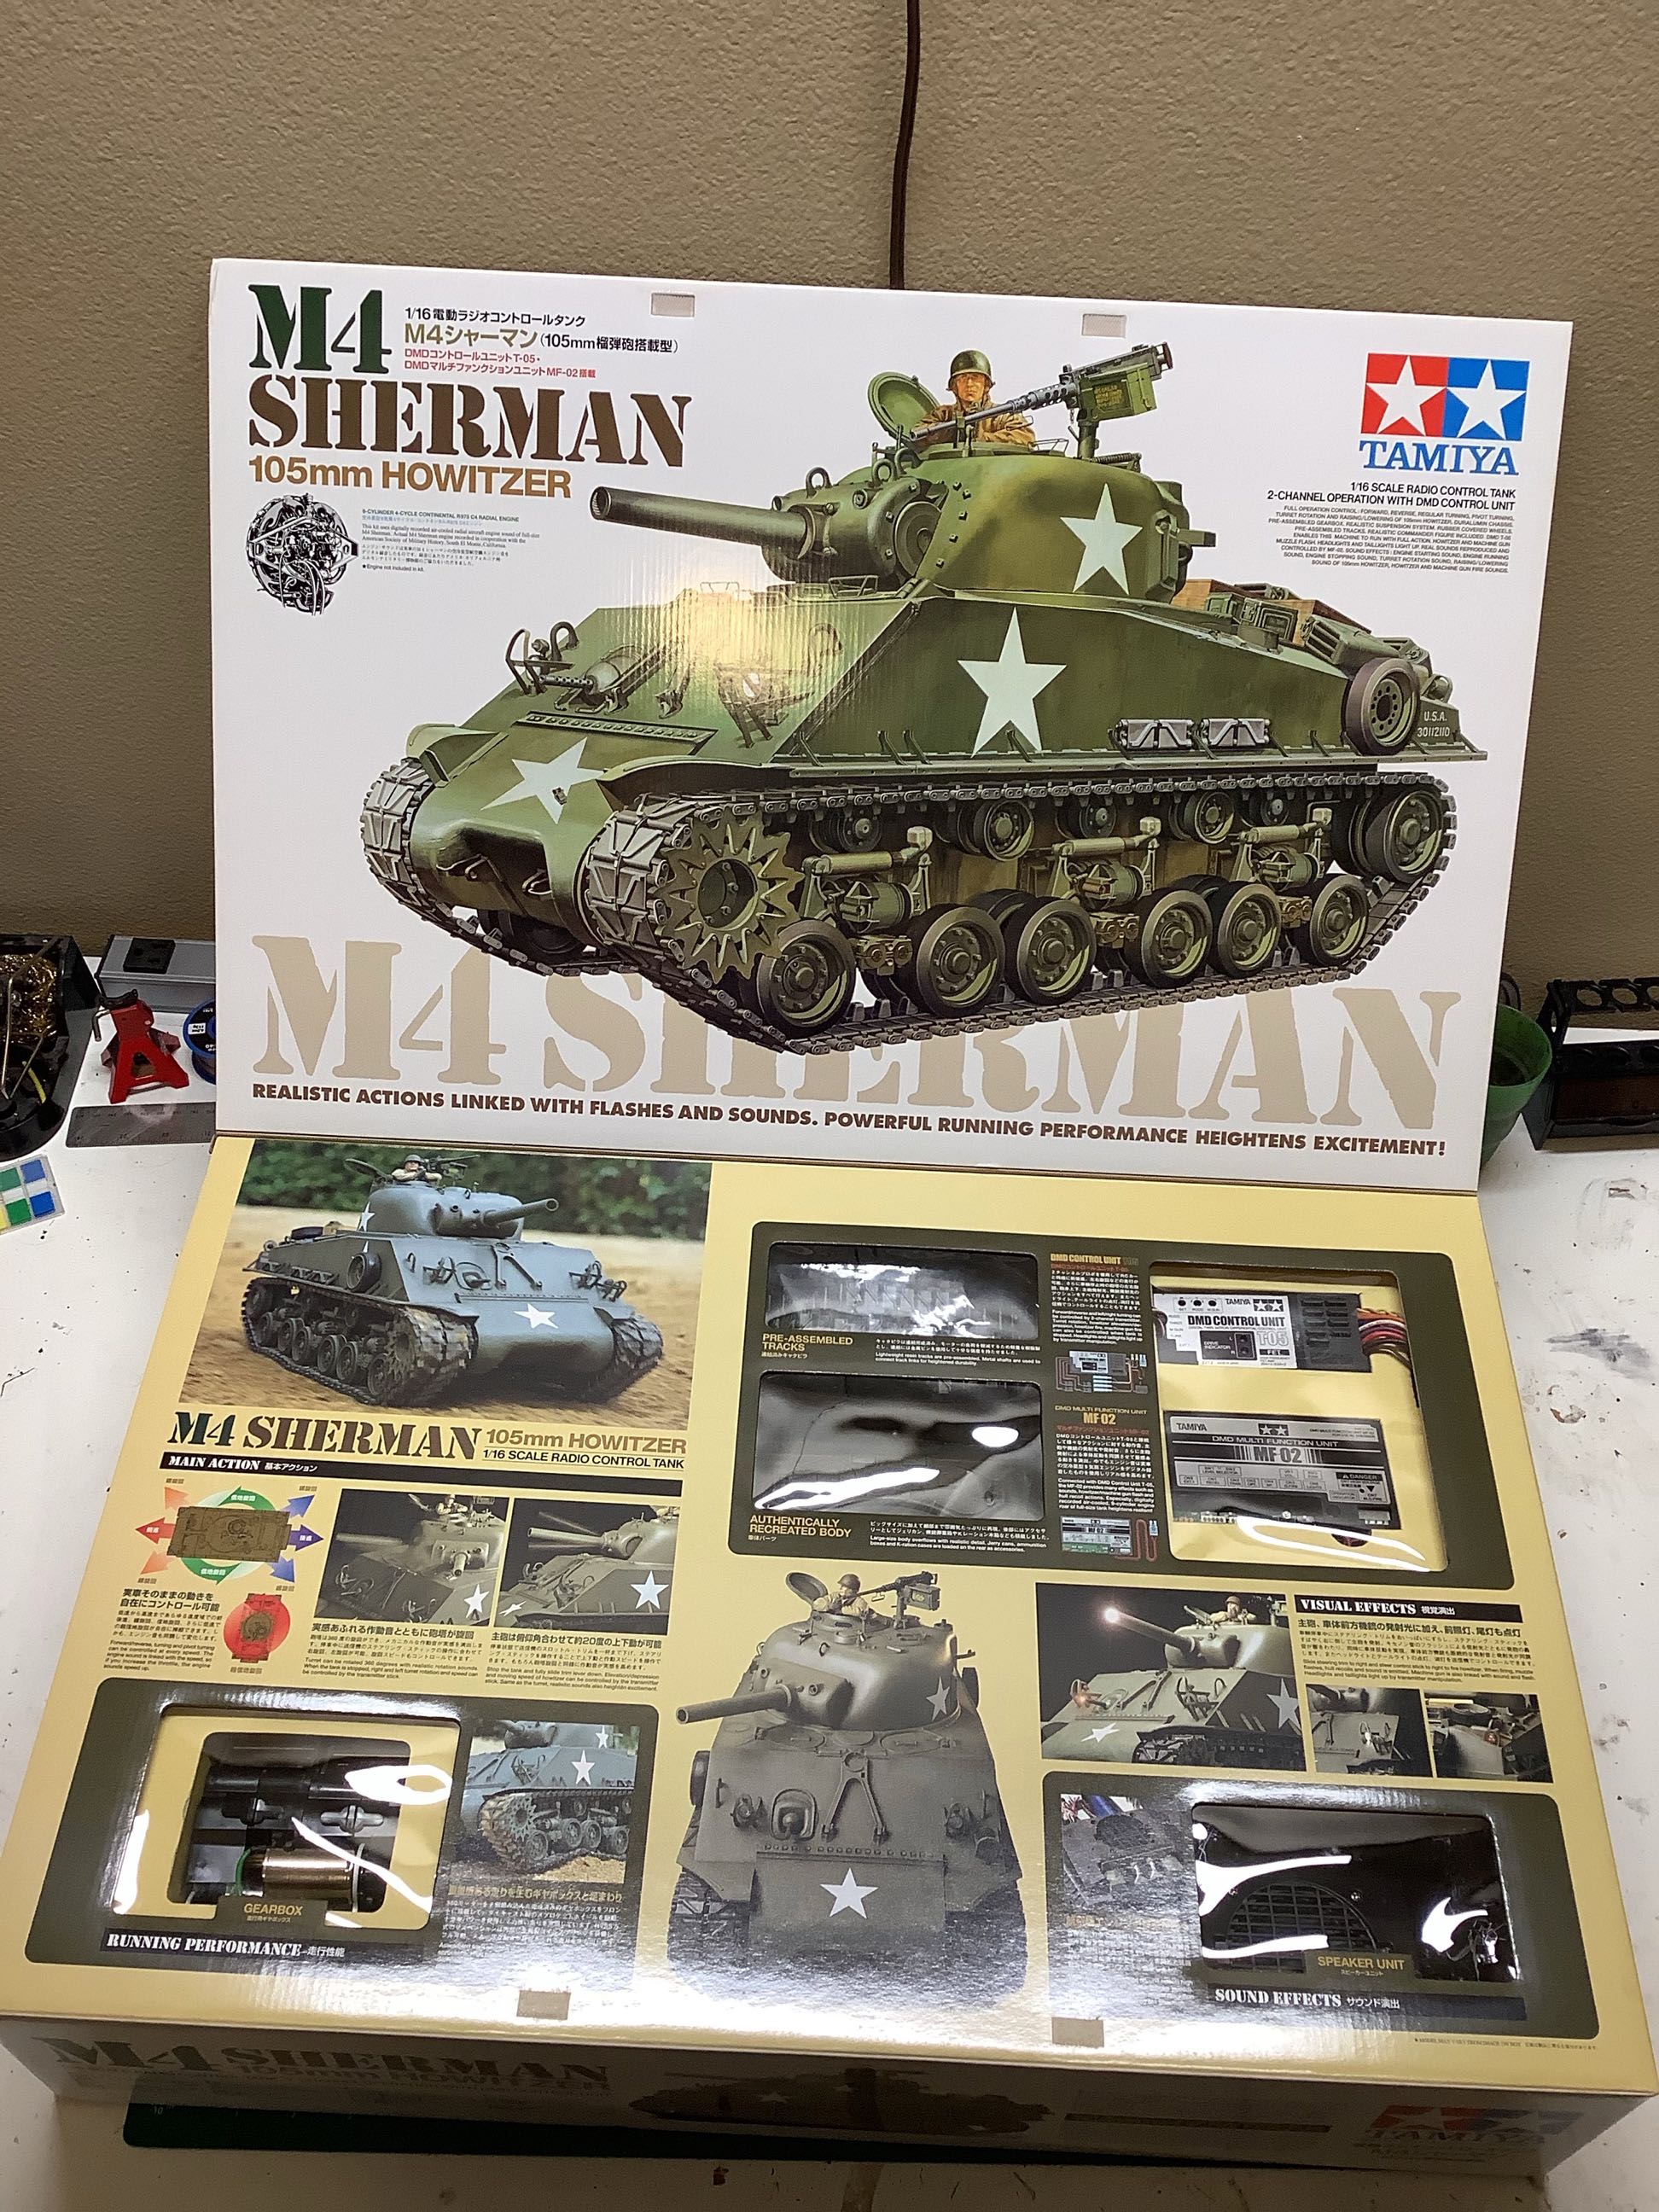
discourage theft. Once you open up that flap though, you see a
huge piece of art work, a full list of features, and a bunch of windows
highlighting some of the parts.
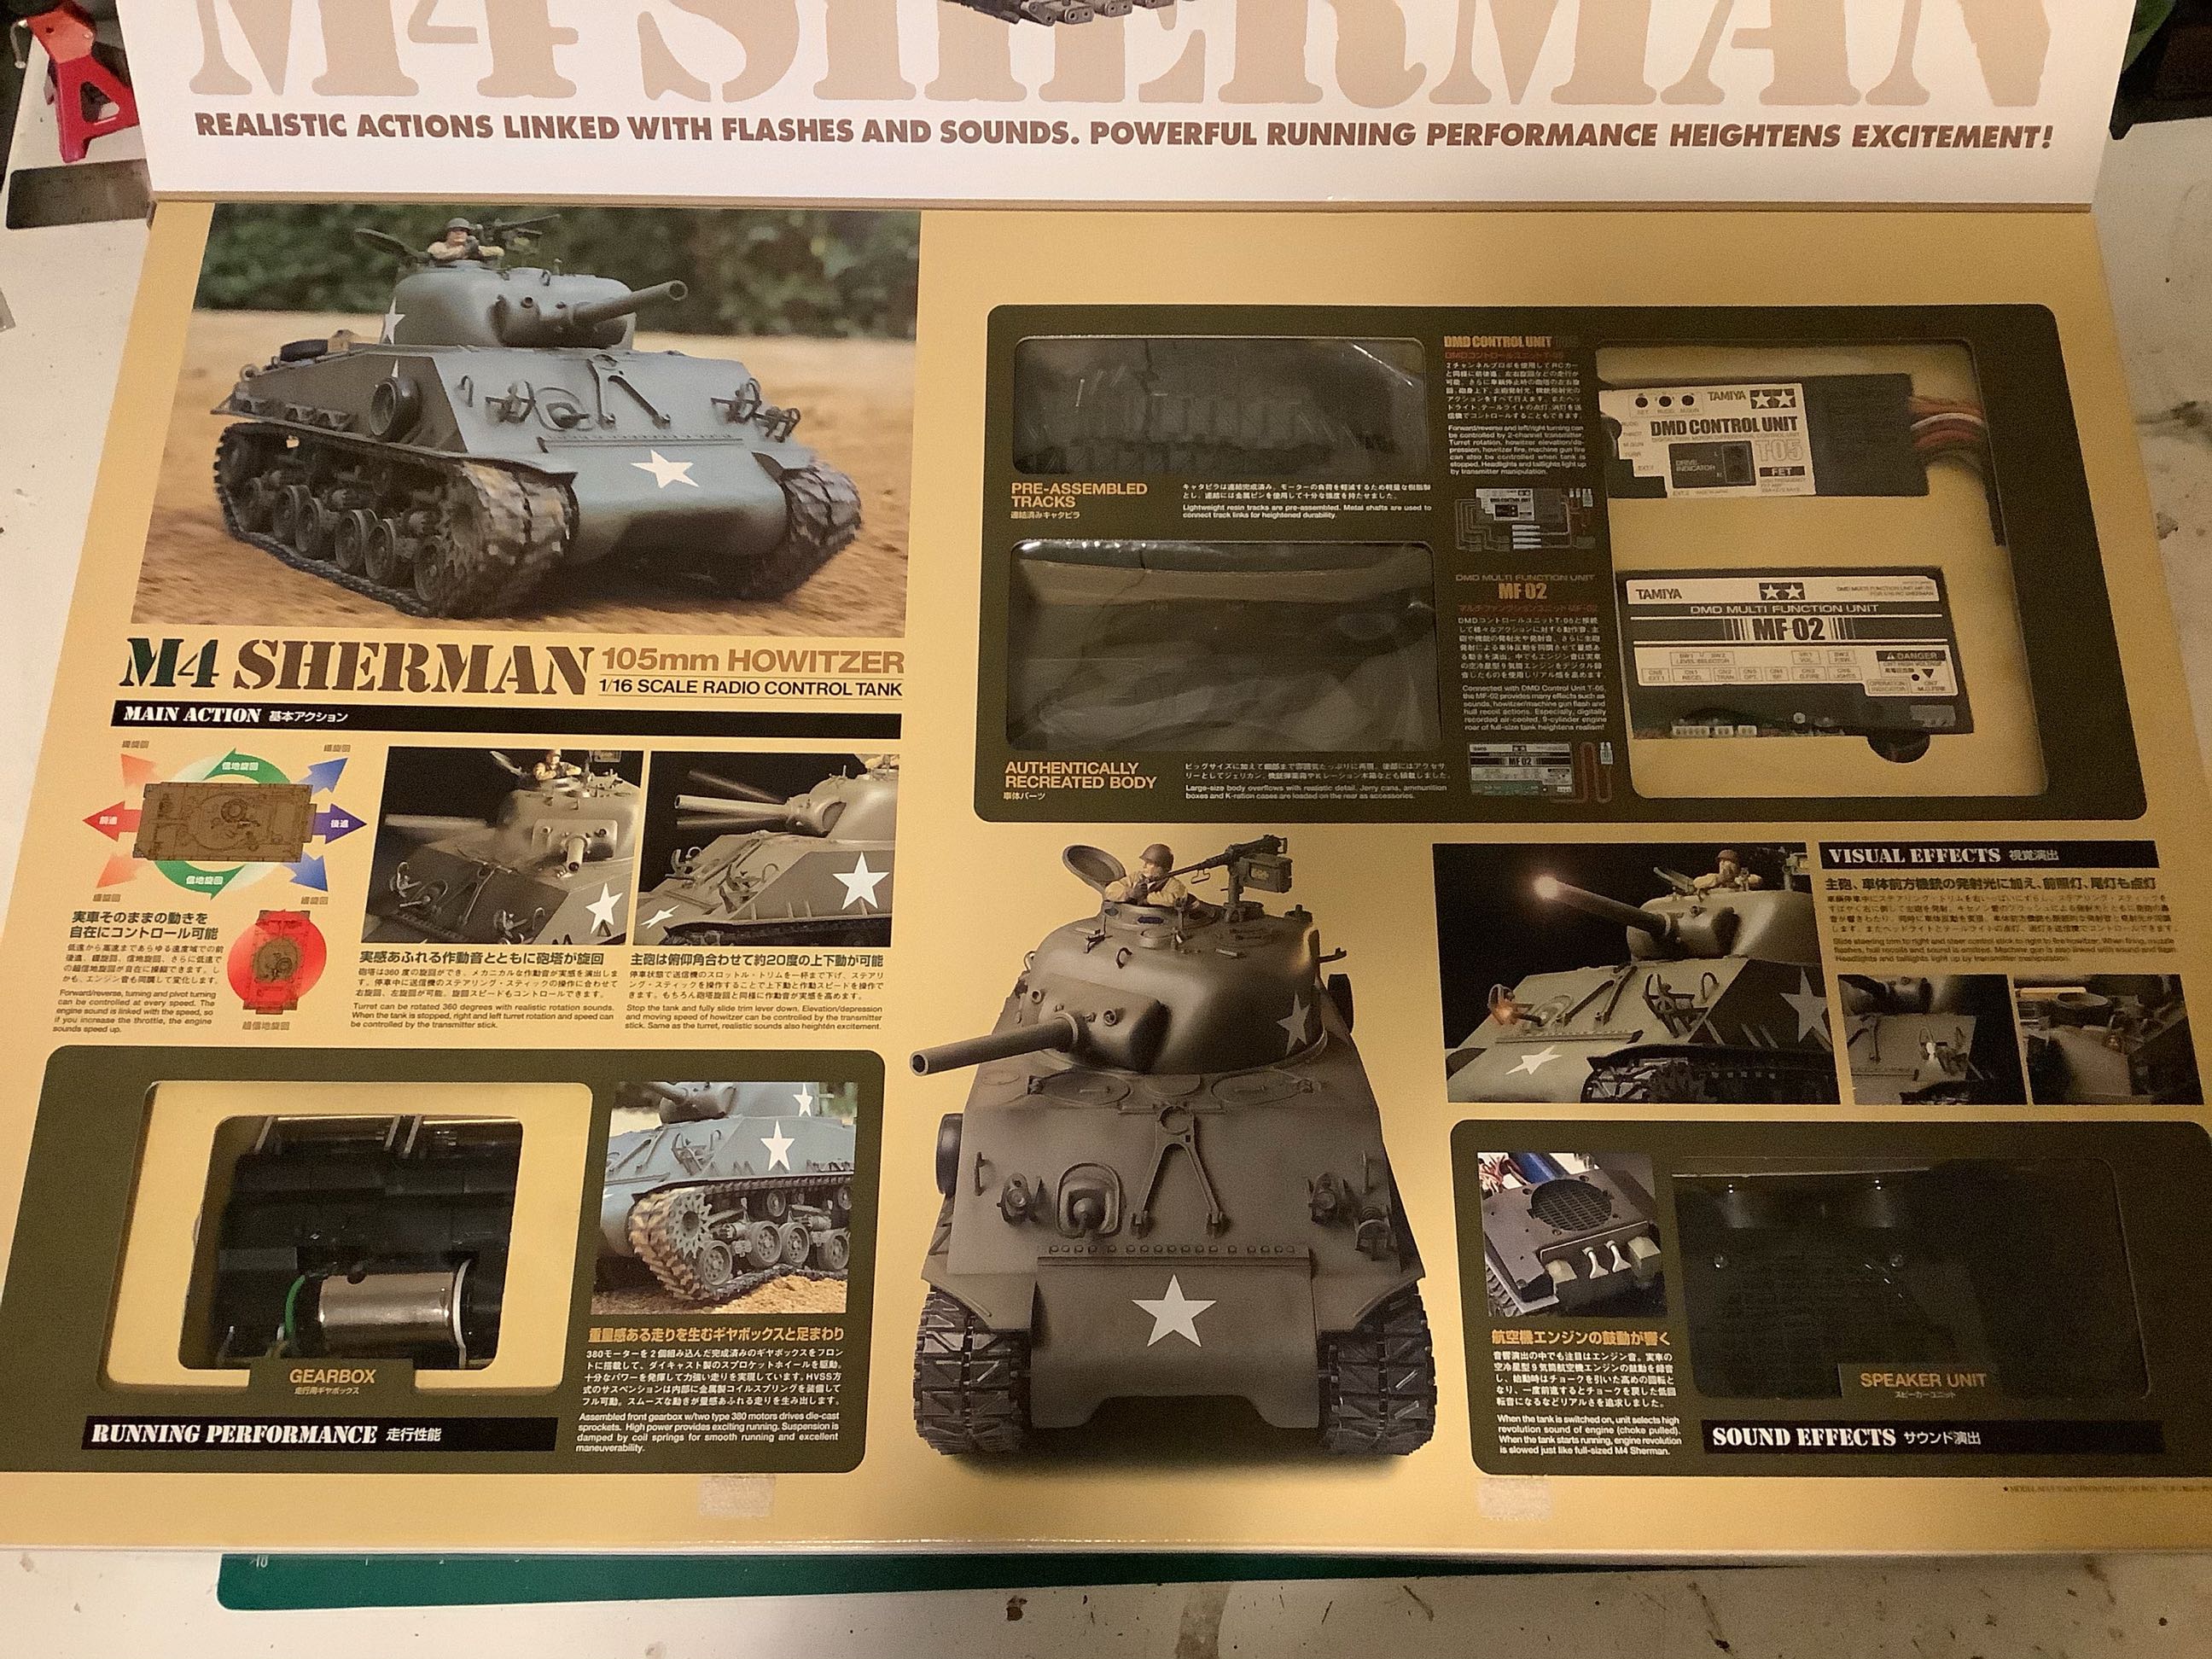
The picture on the left shows the main display highlighting the tracks,
the electronics, the speaker, and the gearboxes in clear windows.
There are also photos and descriptions of most of the primary technical
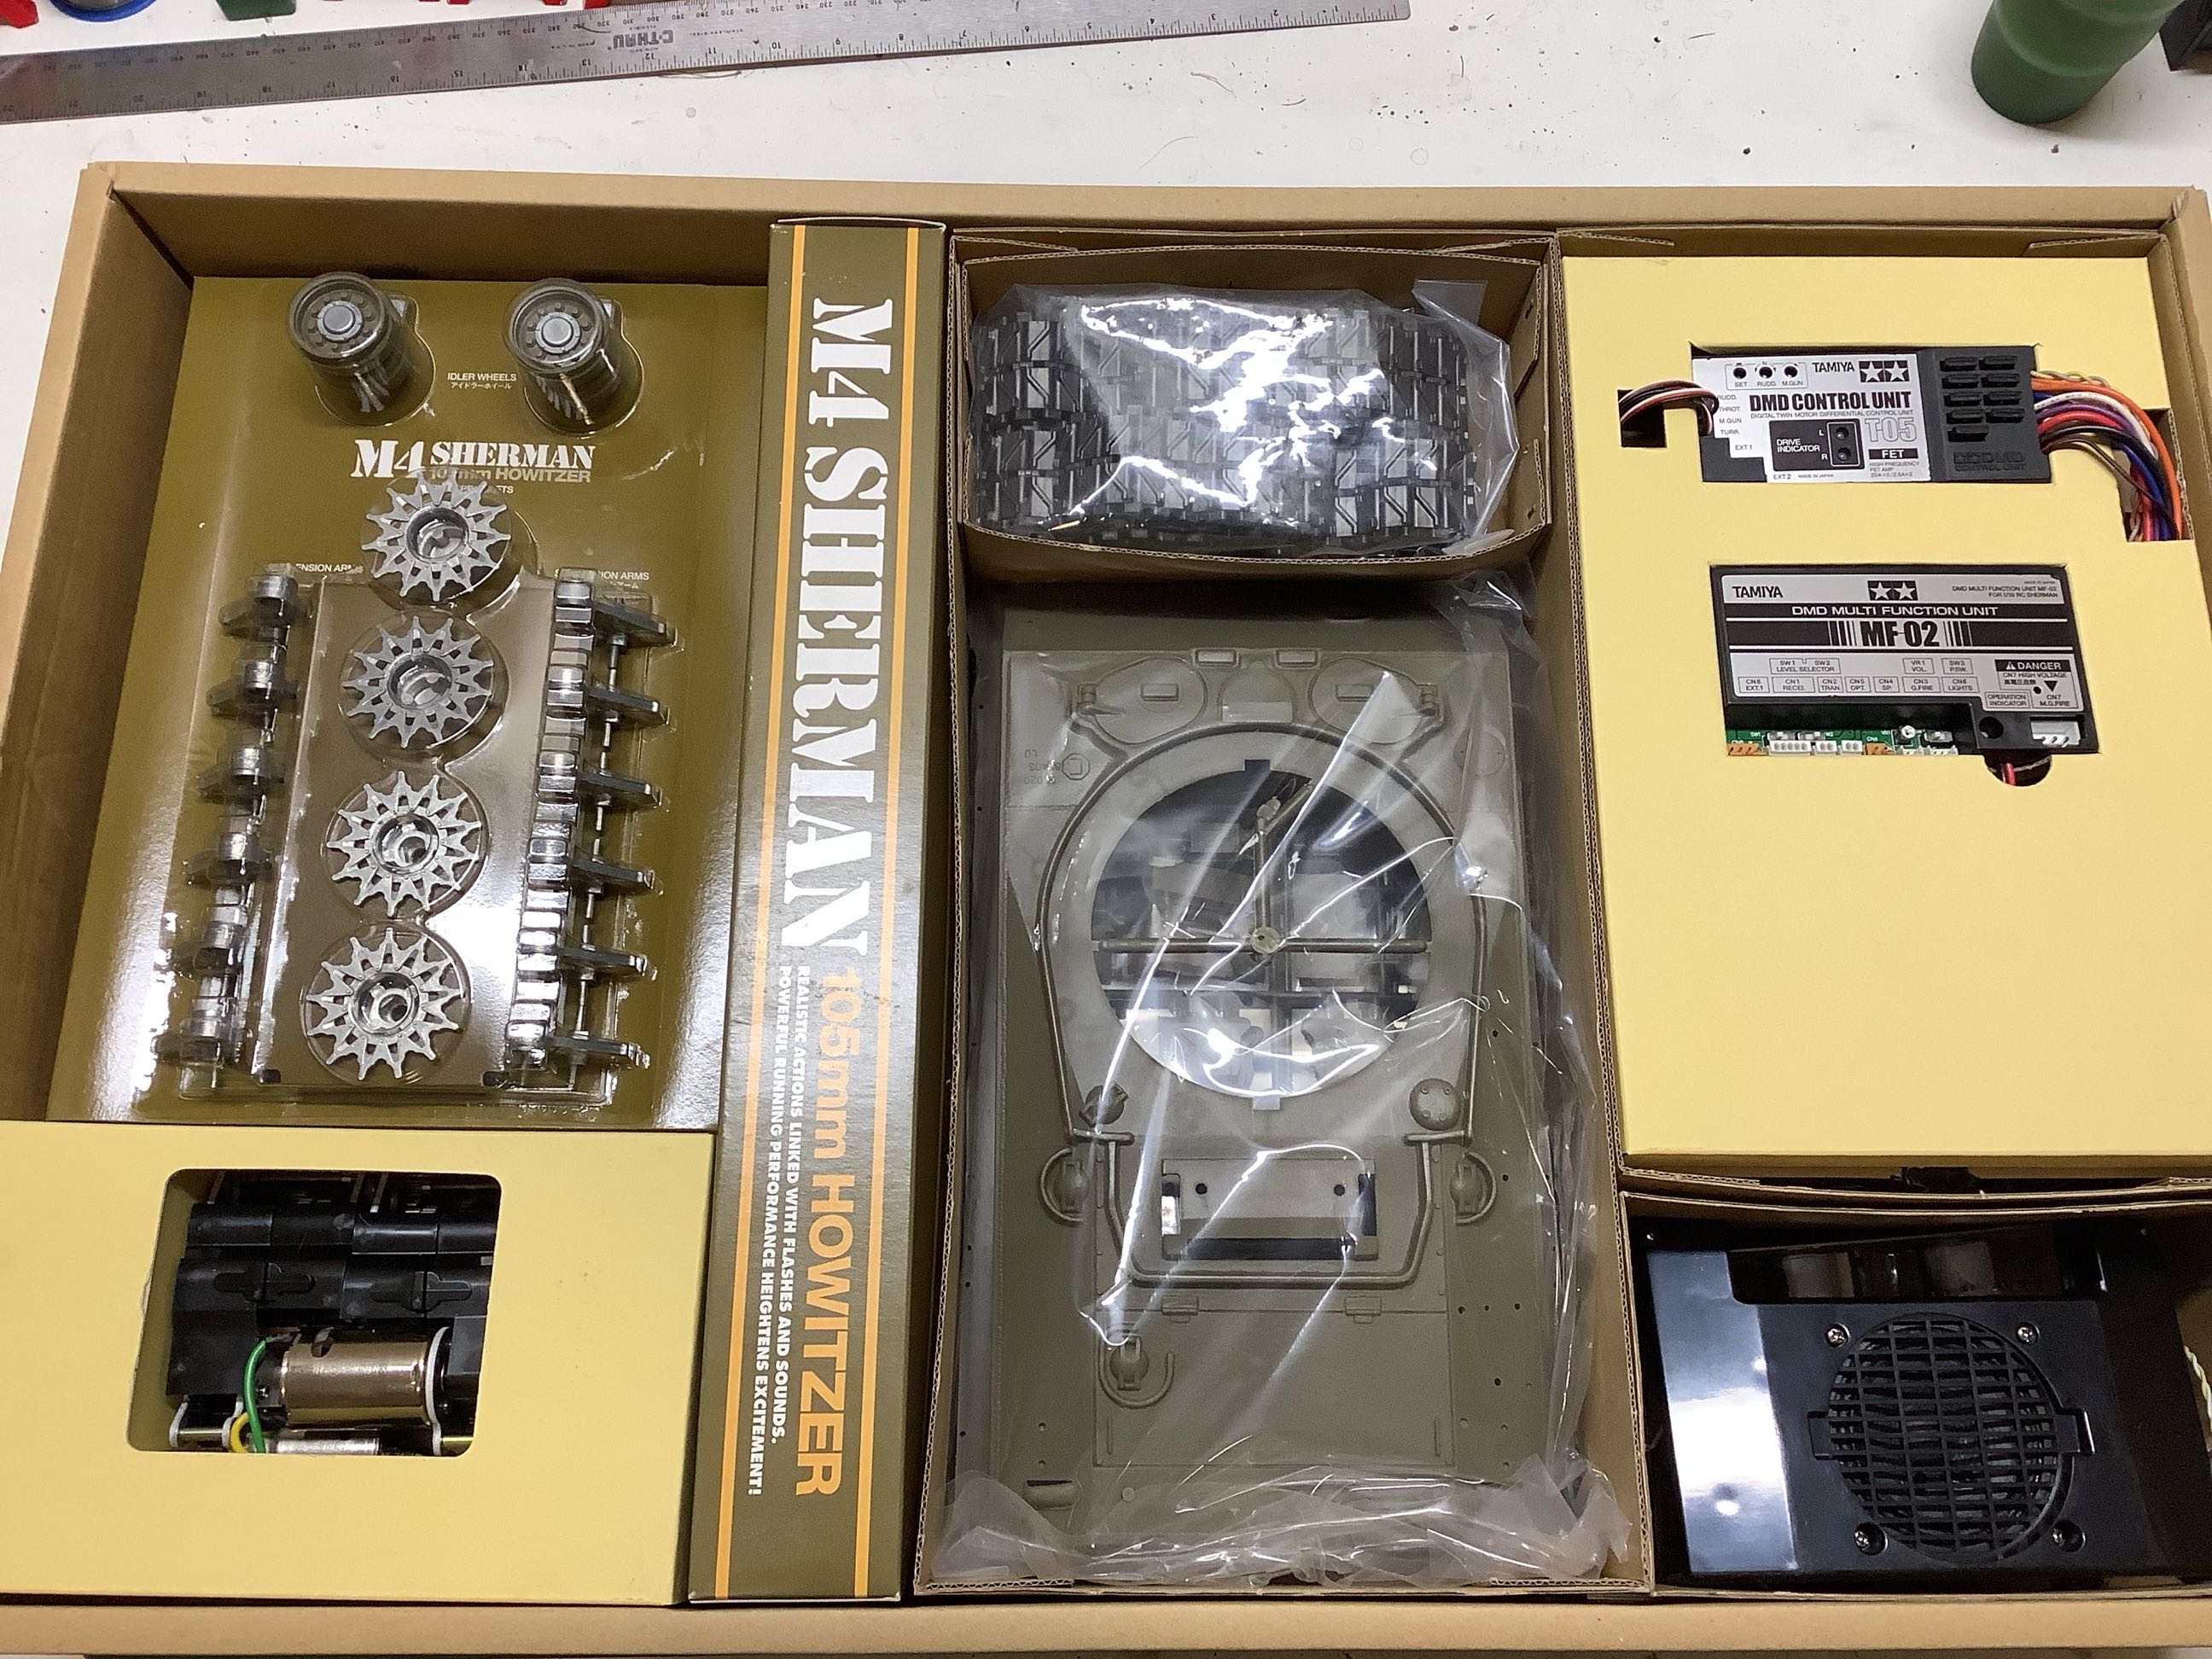
features of the model. The picture on the right shows the inside
with the box top removed. Here you can also see the metal
sprockets and suspension arms as well as the main hull piece.
To my surprise, there was a full 27 MHz AM radio system and 7.2V Ni-Cd battery hiding under the
metal parts blister pack. I didn't intend to buy the version with
a radio, but that's what I could find when I was looking. Note
that this is only a 2 channel radio, but all functions are actually
controllable with only 2 channels, albeit with a more clunky interface
than when using 4 channels. I will not be using this radio for
obvious reasons and will probably sell it to a vintage collector.
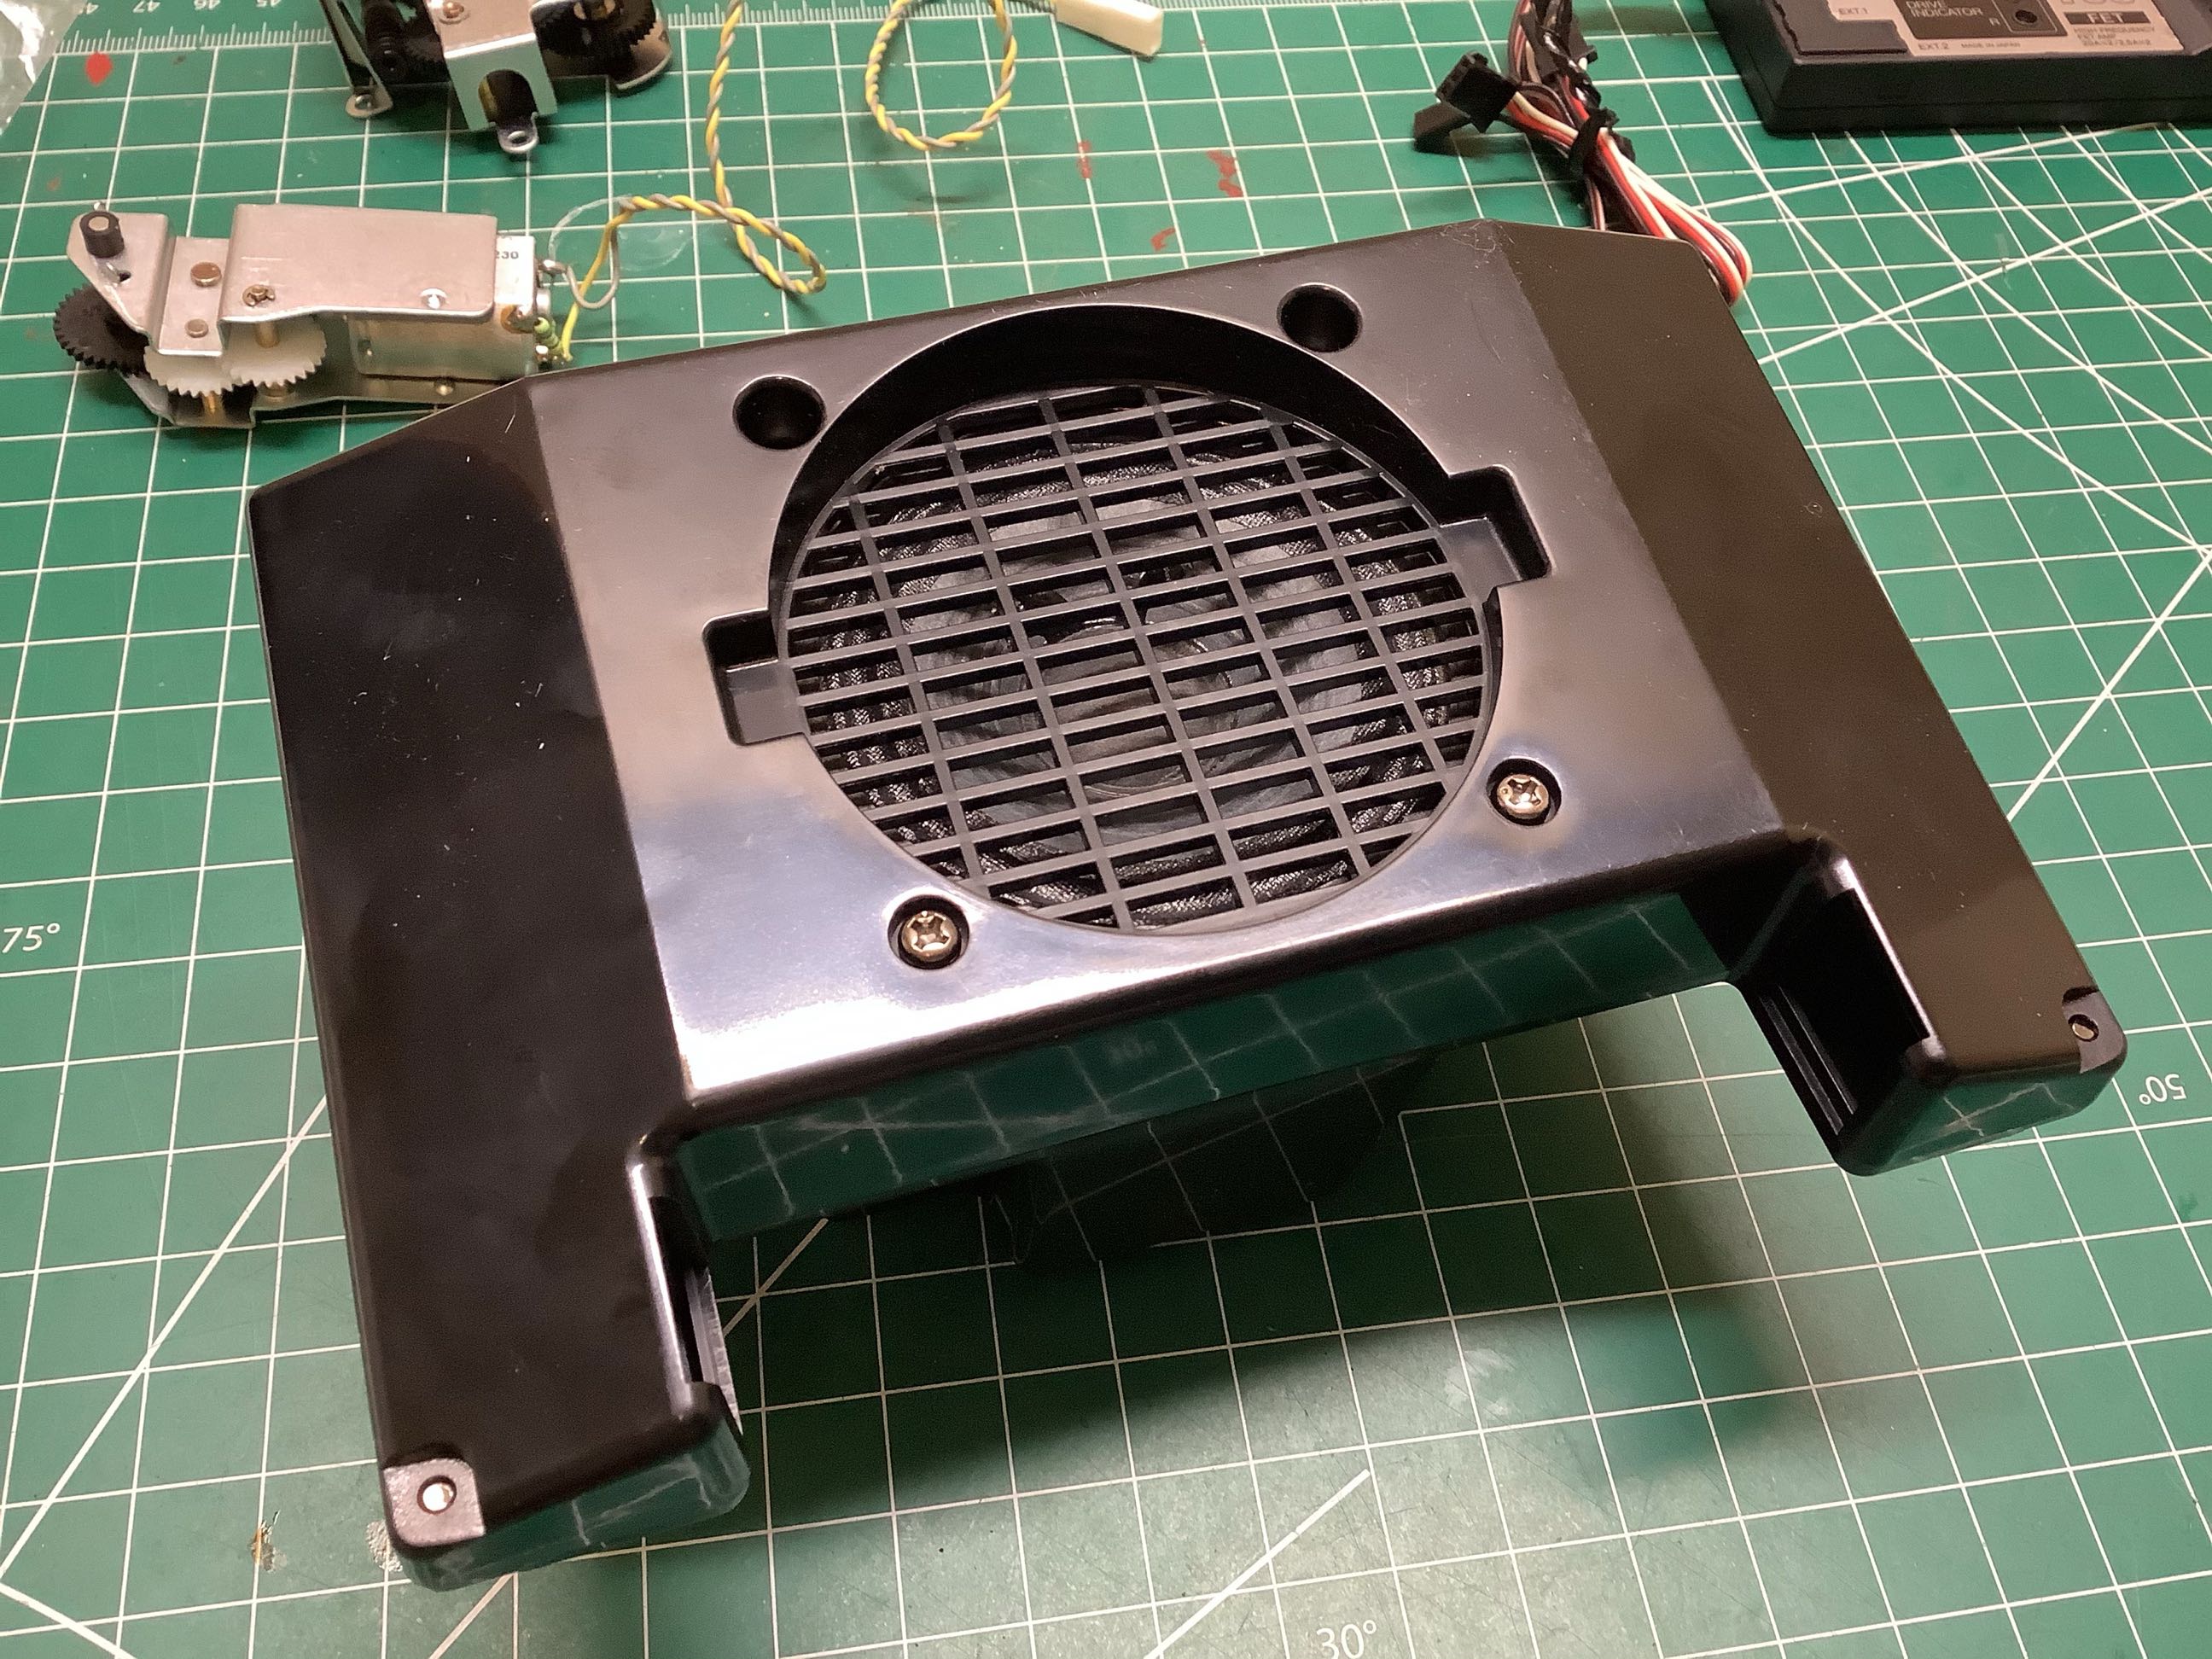
On the right you can see the large
speaker box. This is actually quite heavy implying that the
speaker has a decent sized magnet on it which will be a good thing for
projecting the engine sounds.
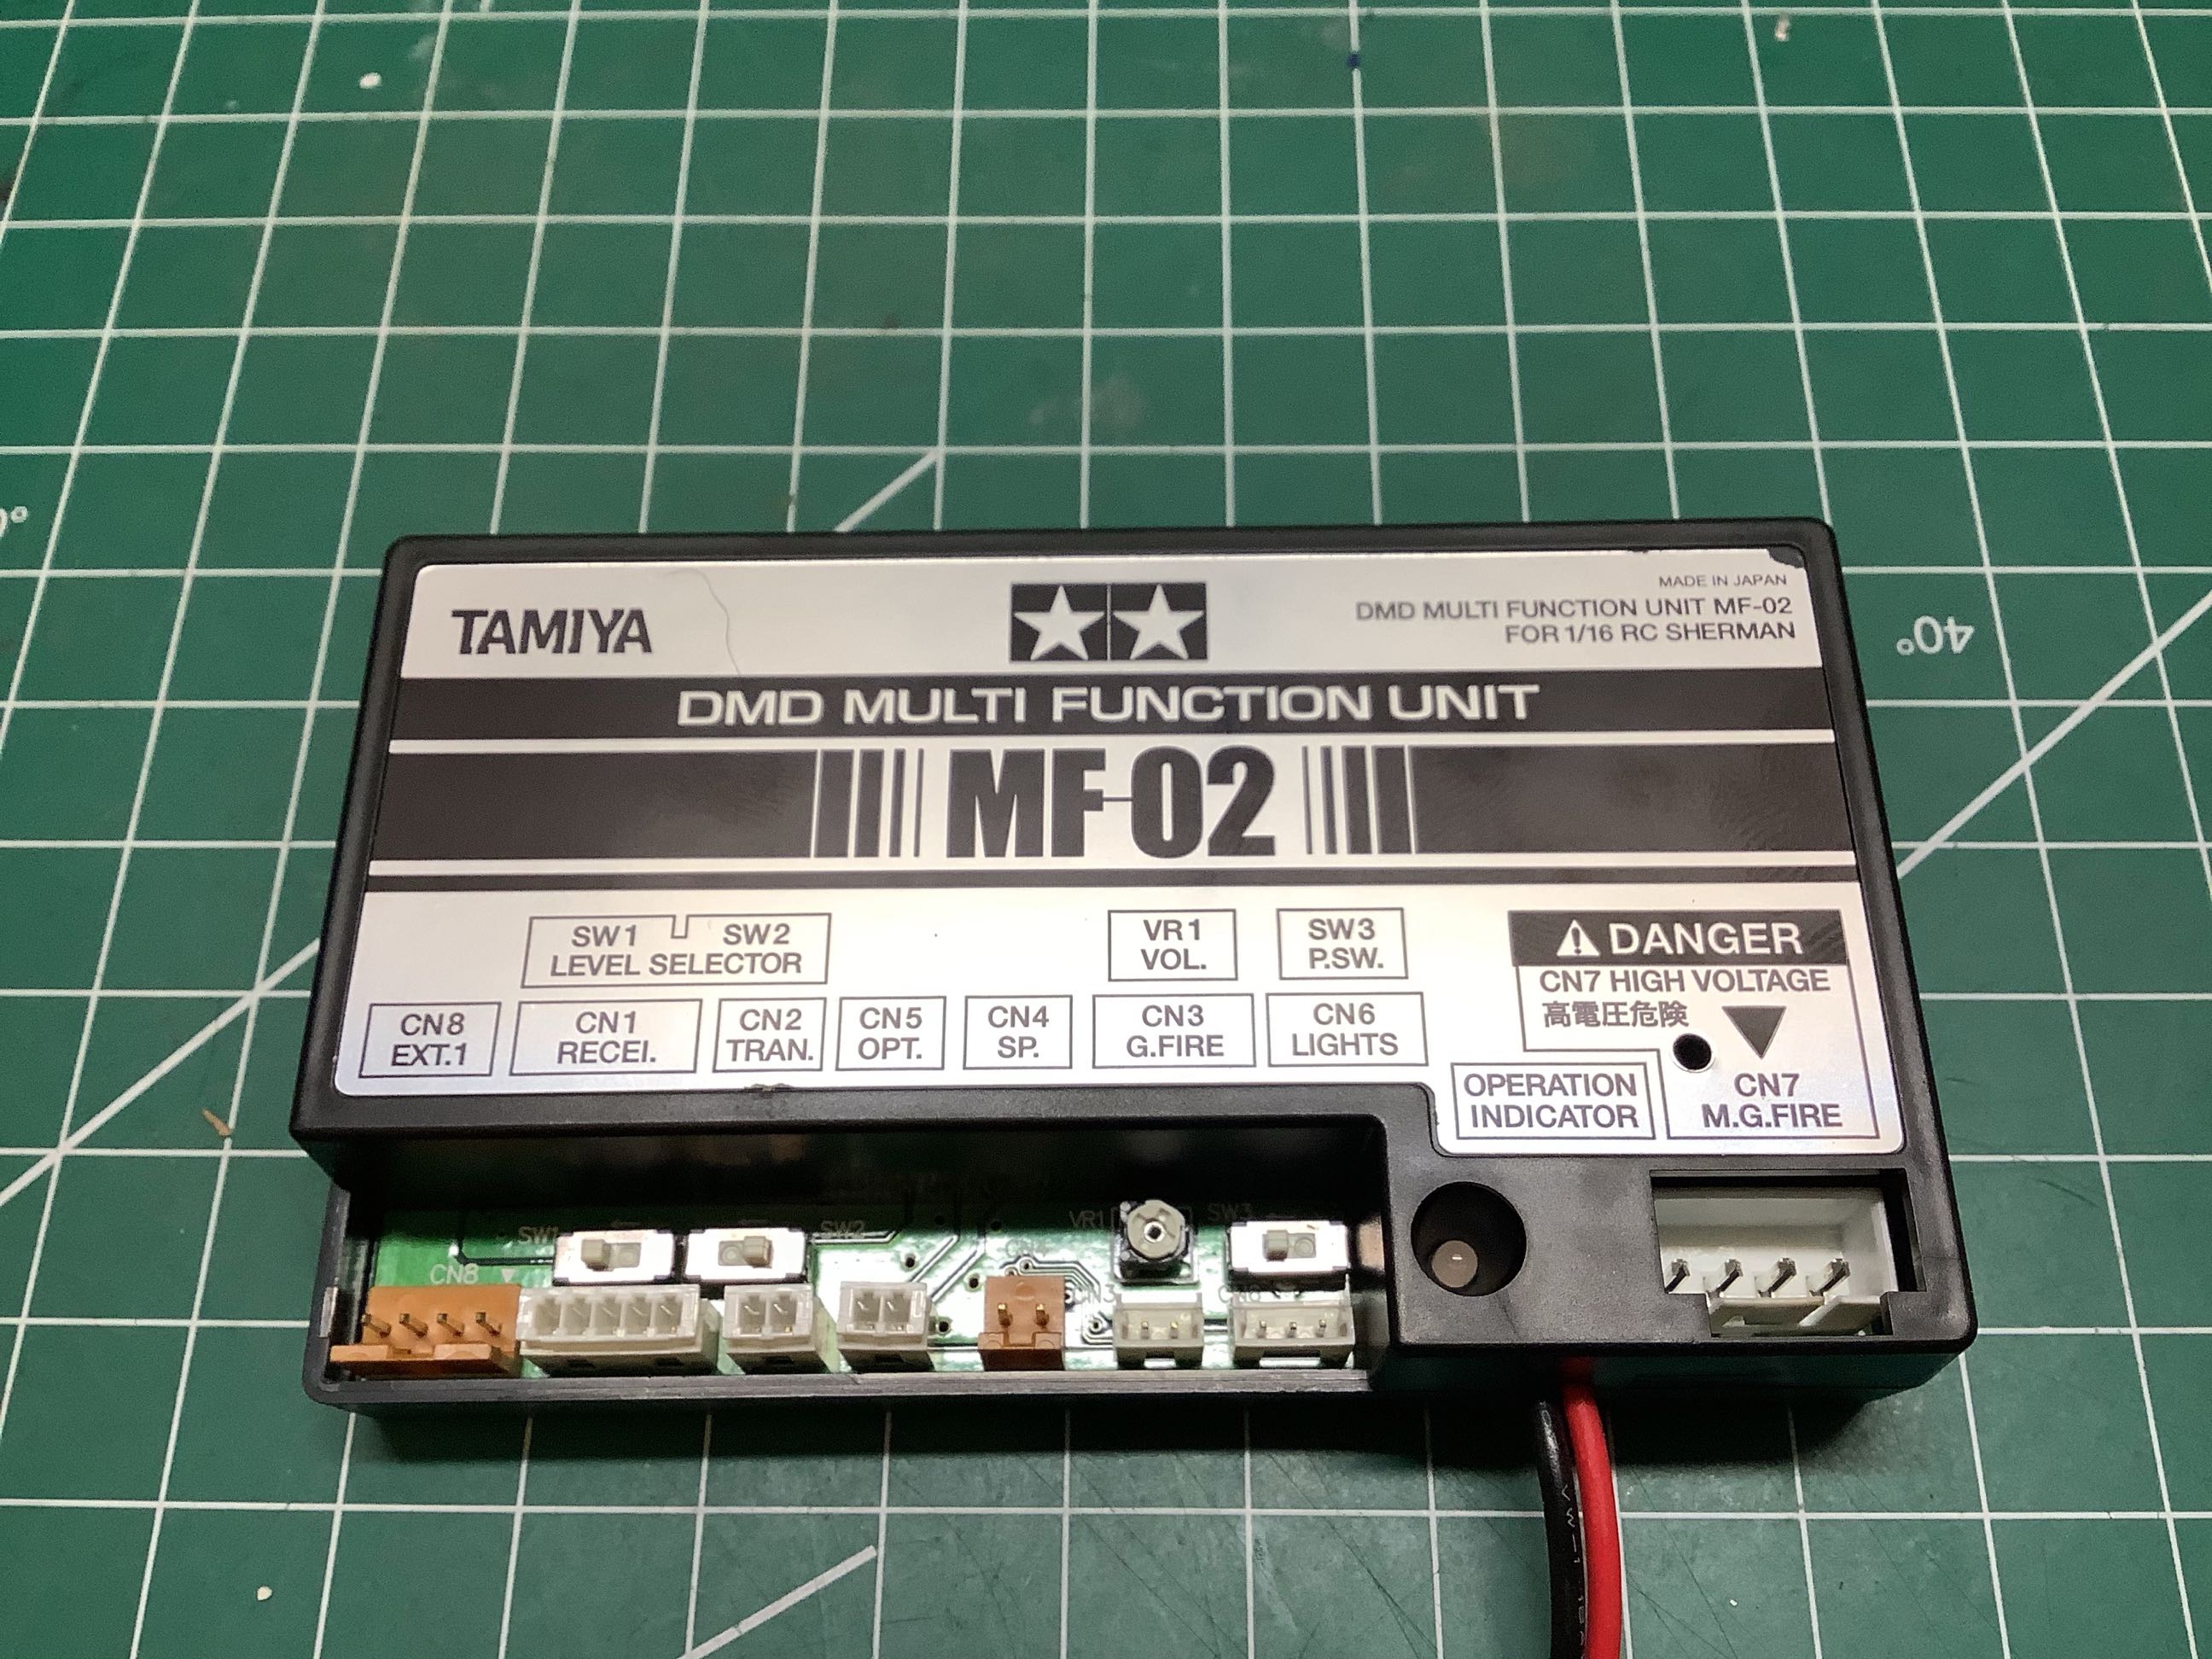
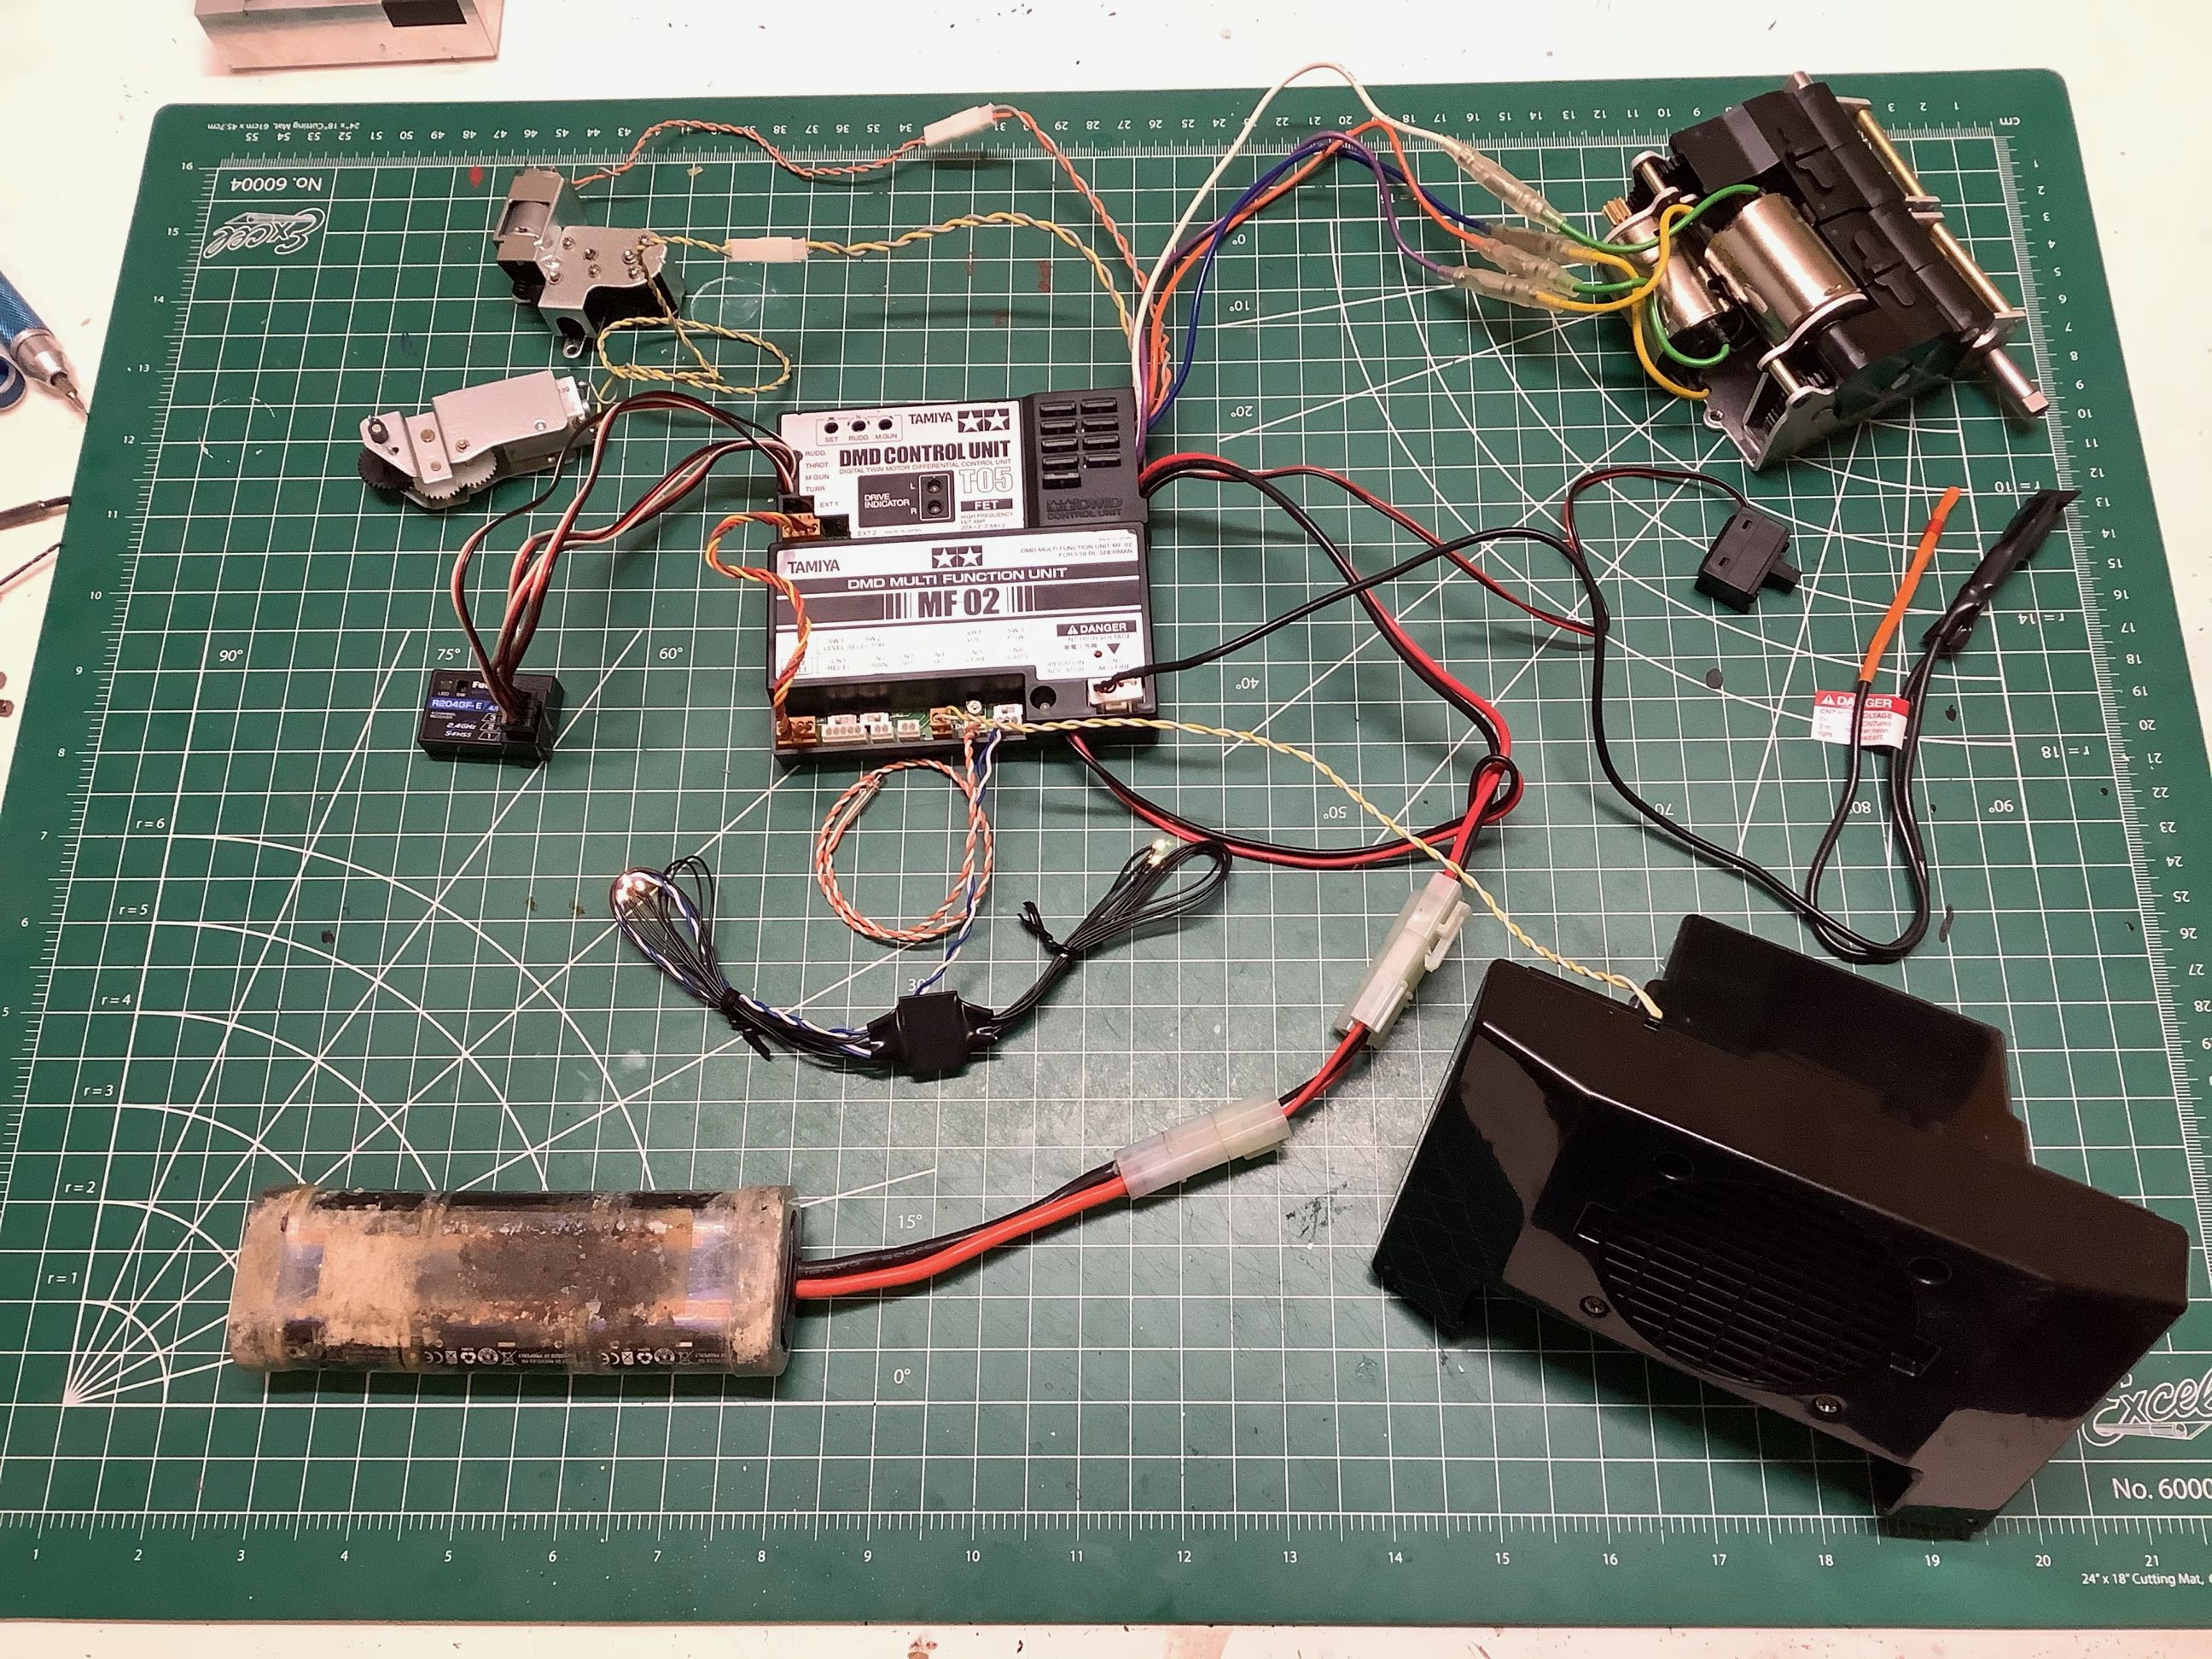
Here are the electronic units which are the heart of the model.
The DMD (Dual Motor Differential) is essentially a 4-channel ESC
(Electronic Speed Controller). The 2 main channels are 20 Amps
each and control the dual 380 drive motors. The DMD mixes the
driver's throttle and steering commands to control the independent track
motors. There are essentially 3 modes. At very low
throttle, a steering input causes the motors to run in opposite
directions resulting in a pivot turn. At moderate to full
throttle, moderate steering input is mixed allowing gradual turns at
variable radii. At full steering input one side is locked
allowing a sharp turn. High speed pivot turns are therefore not
possible which is probably a good thing. The remaining 2 channels
are 2.5 Amps and drive the turret motor and elevation motor. The
DMD T-01 was released in 1998, but in 2001 the T-05 was already in
use. The T-01 only supported 2 channels, but the T-03 already
supported 4. There is no other obvious difference between
them. The MF-02 (Multi Function Unit) controls the engine sounds,
lights, and has a high voltage output for the muzzle flash. The
MF-02 is unique to this model because it uses the radial engine sounds.
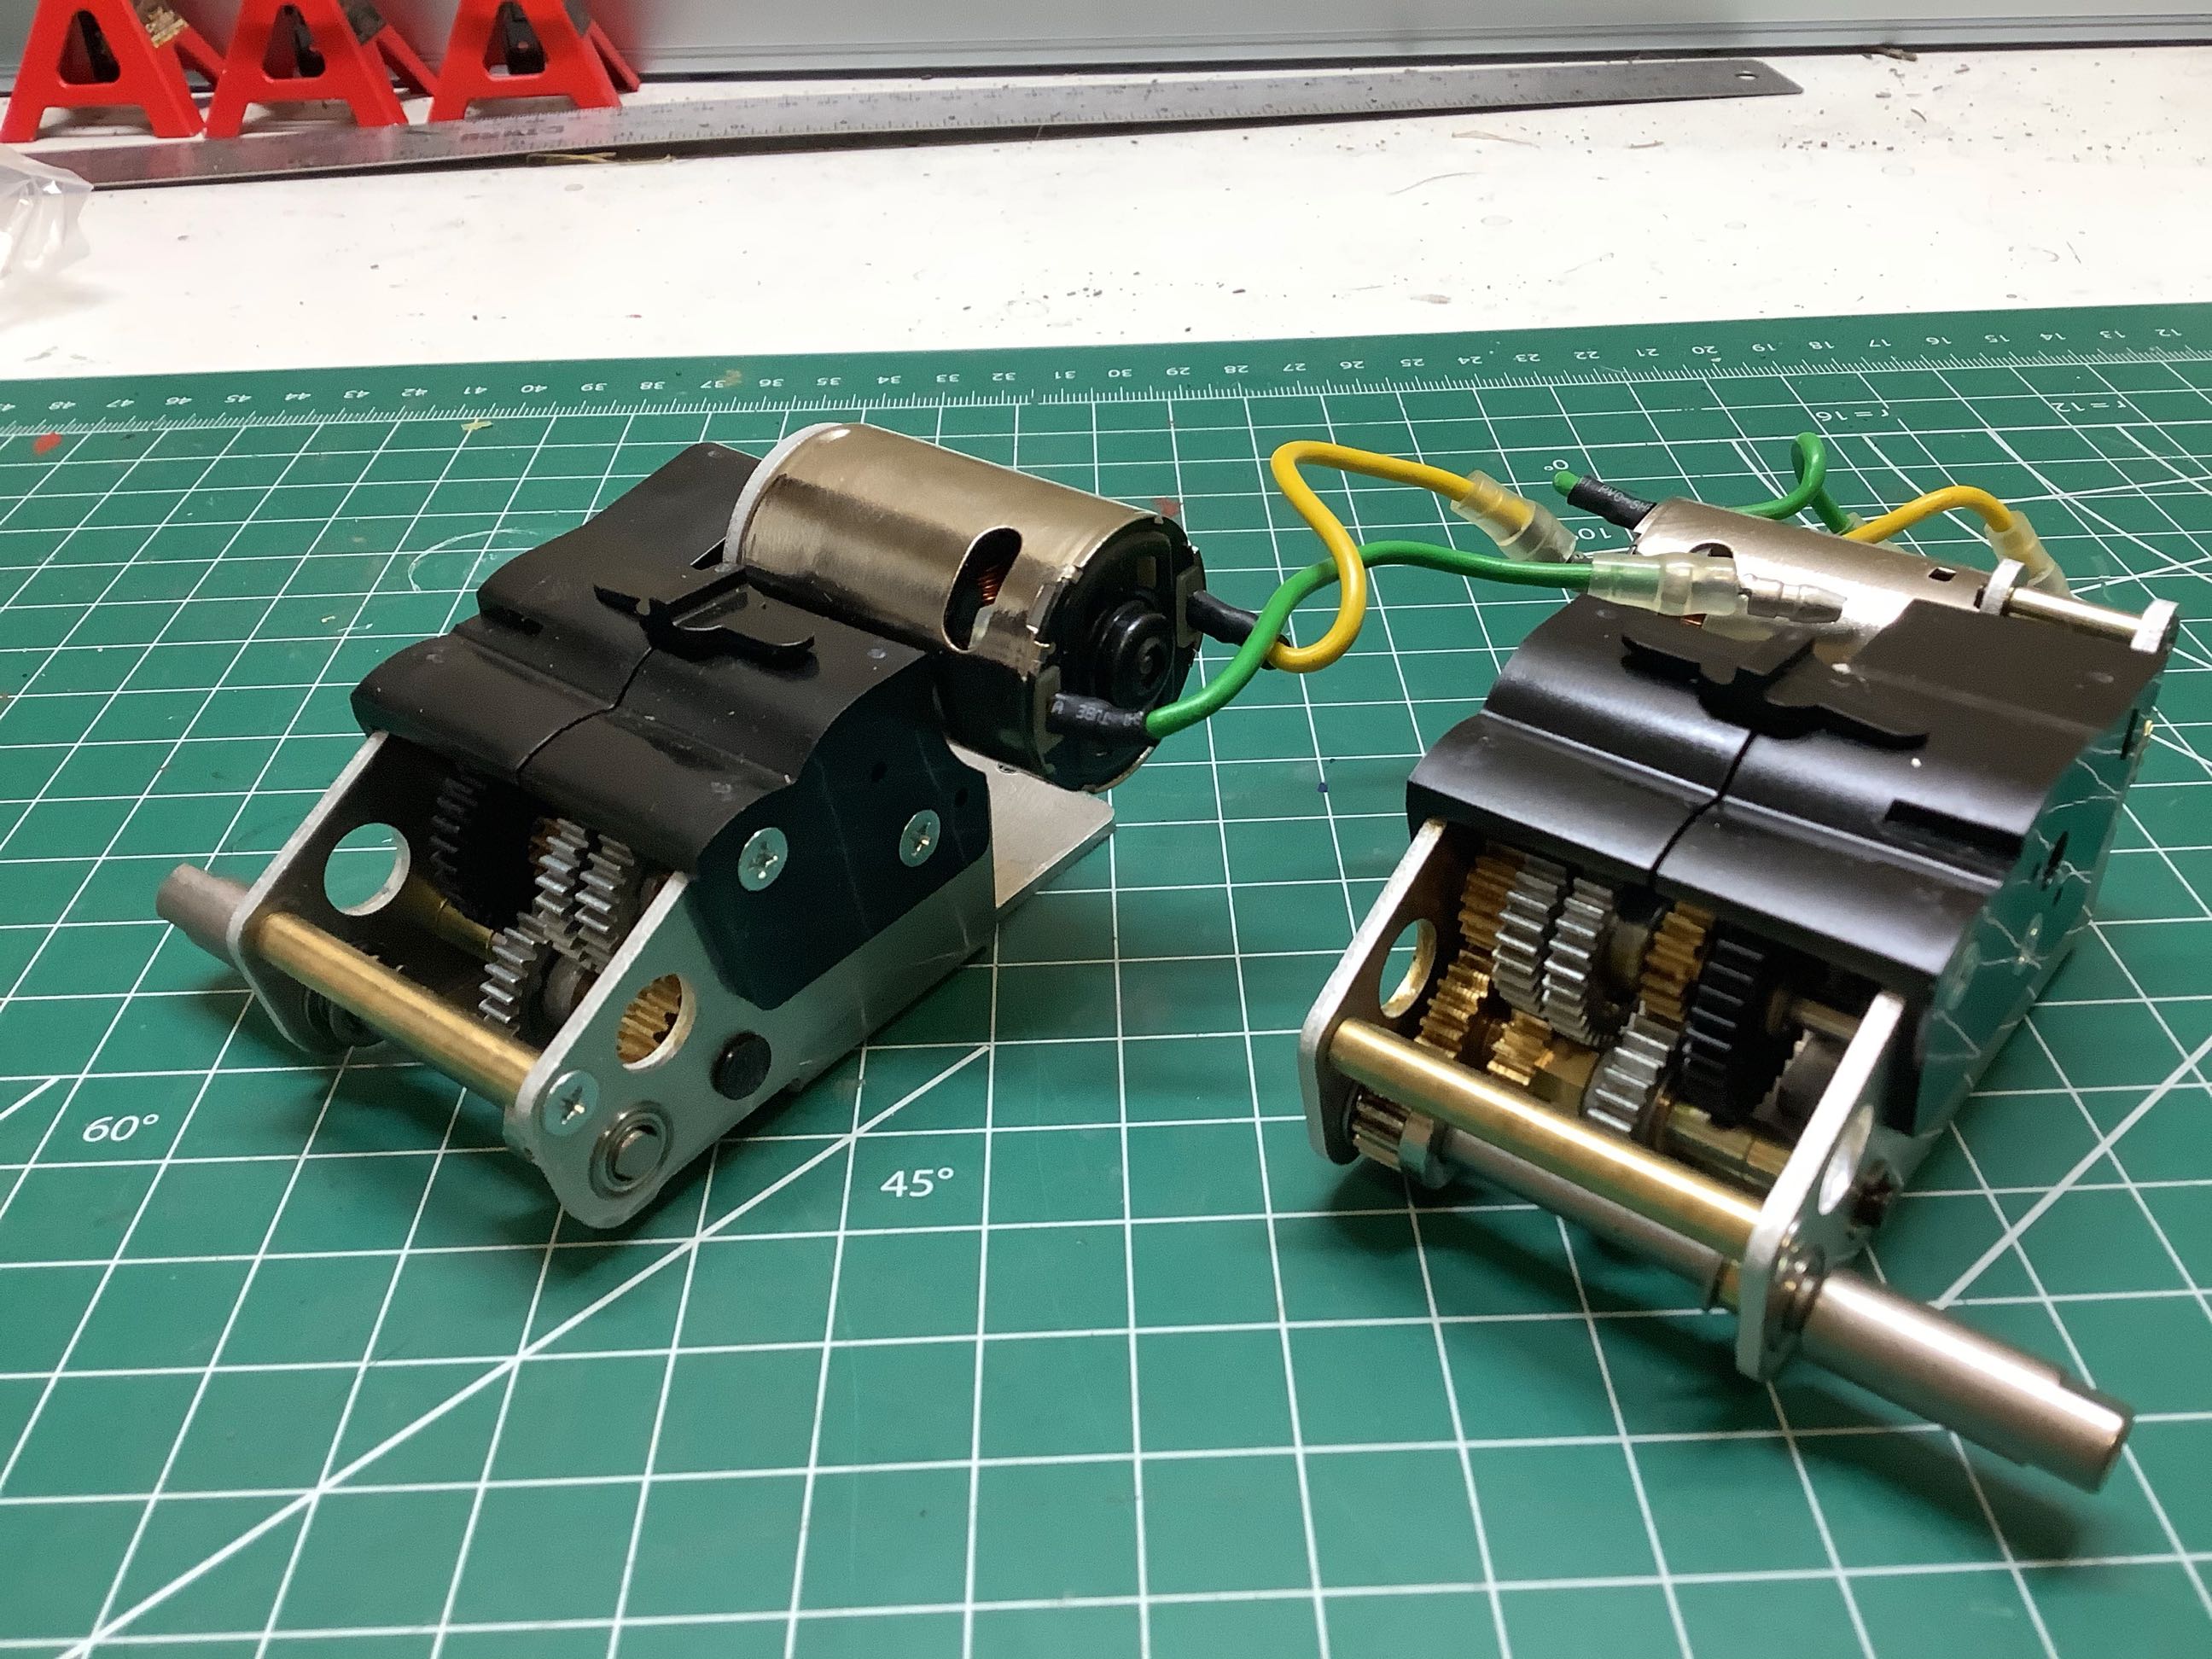
The 56005 Sherman was the first to use these gearboxes which were
carried forward for the 56013 release. These come assembled and
ready to use, but that did not stop me from tearing them down to figure
out how they work. Note that the left and right gear trains are
the same, but the motor placement is different. This allows them
to overlap for minimum space consumption in the model. That black
lever you see on top of the gearbox is used to engage an optional gear
ratio, but that optional ratio is locked out by spacers in this model.
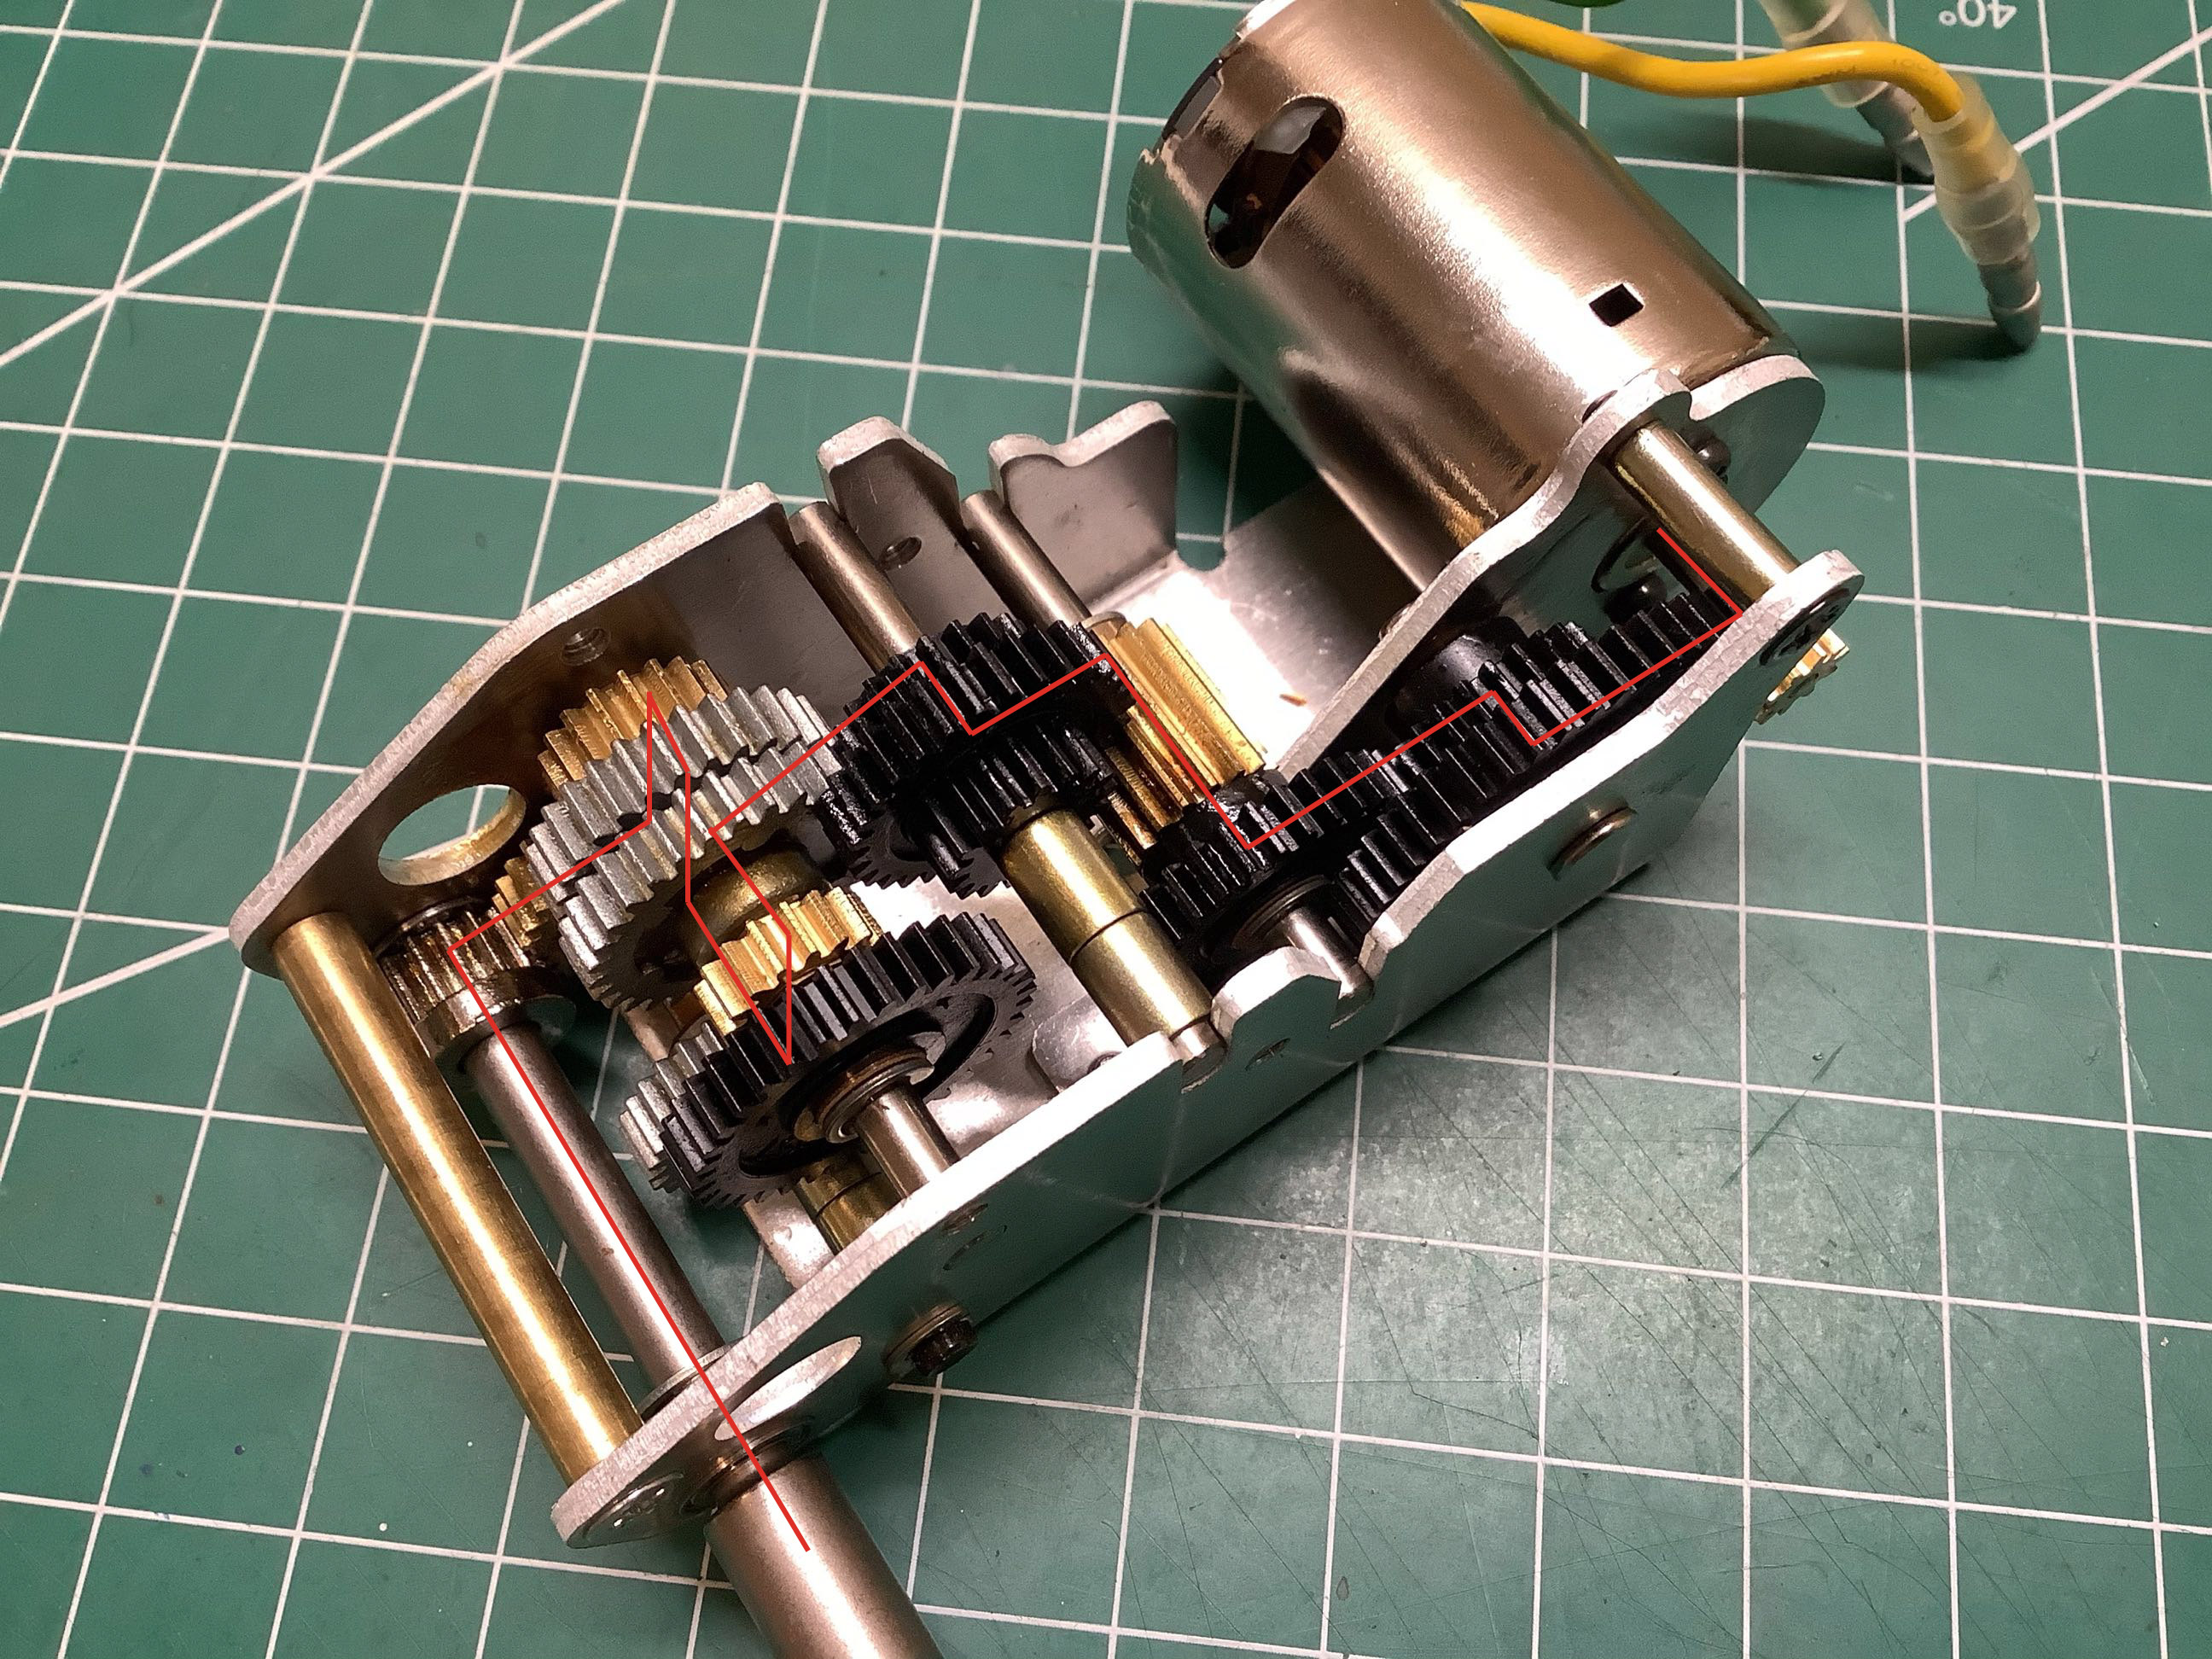
The path through the gearbox is convoluted to say the least. The
photo at the left is my attempt at a torque diagram showing the path of
torque through the gearbox. The table at right is the result of my
teardown of the entire gearbox and painstaking counting of all the
teeth. We start with a tiny 10 tooth pinion and then pass through 8
gear stages. Note that the final stage is actually a speed
increase which is a very strange thing to do since it cancels out some
of the previous reduction and adds additional inefficiency. It
seems to have been done purely for spatial purposes. That
penultimate gear diameter was needed to reach the output shaft.
The result is effectively a 60:1 gearbox. In the event the
optional gear ratio could be used, the 4th gear set ratio would change
to 2.06:1 (35:17 instead of 32:20) and the final drive would change to
approximately 77:1.
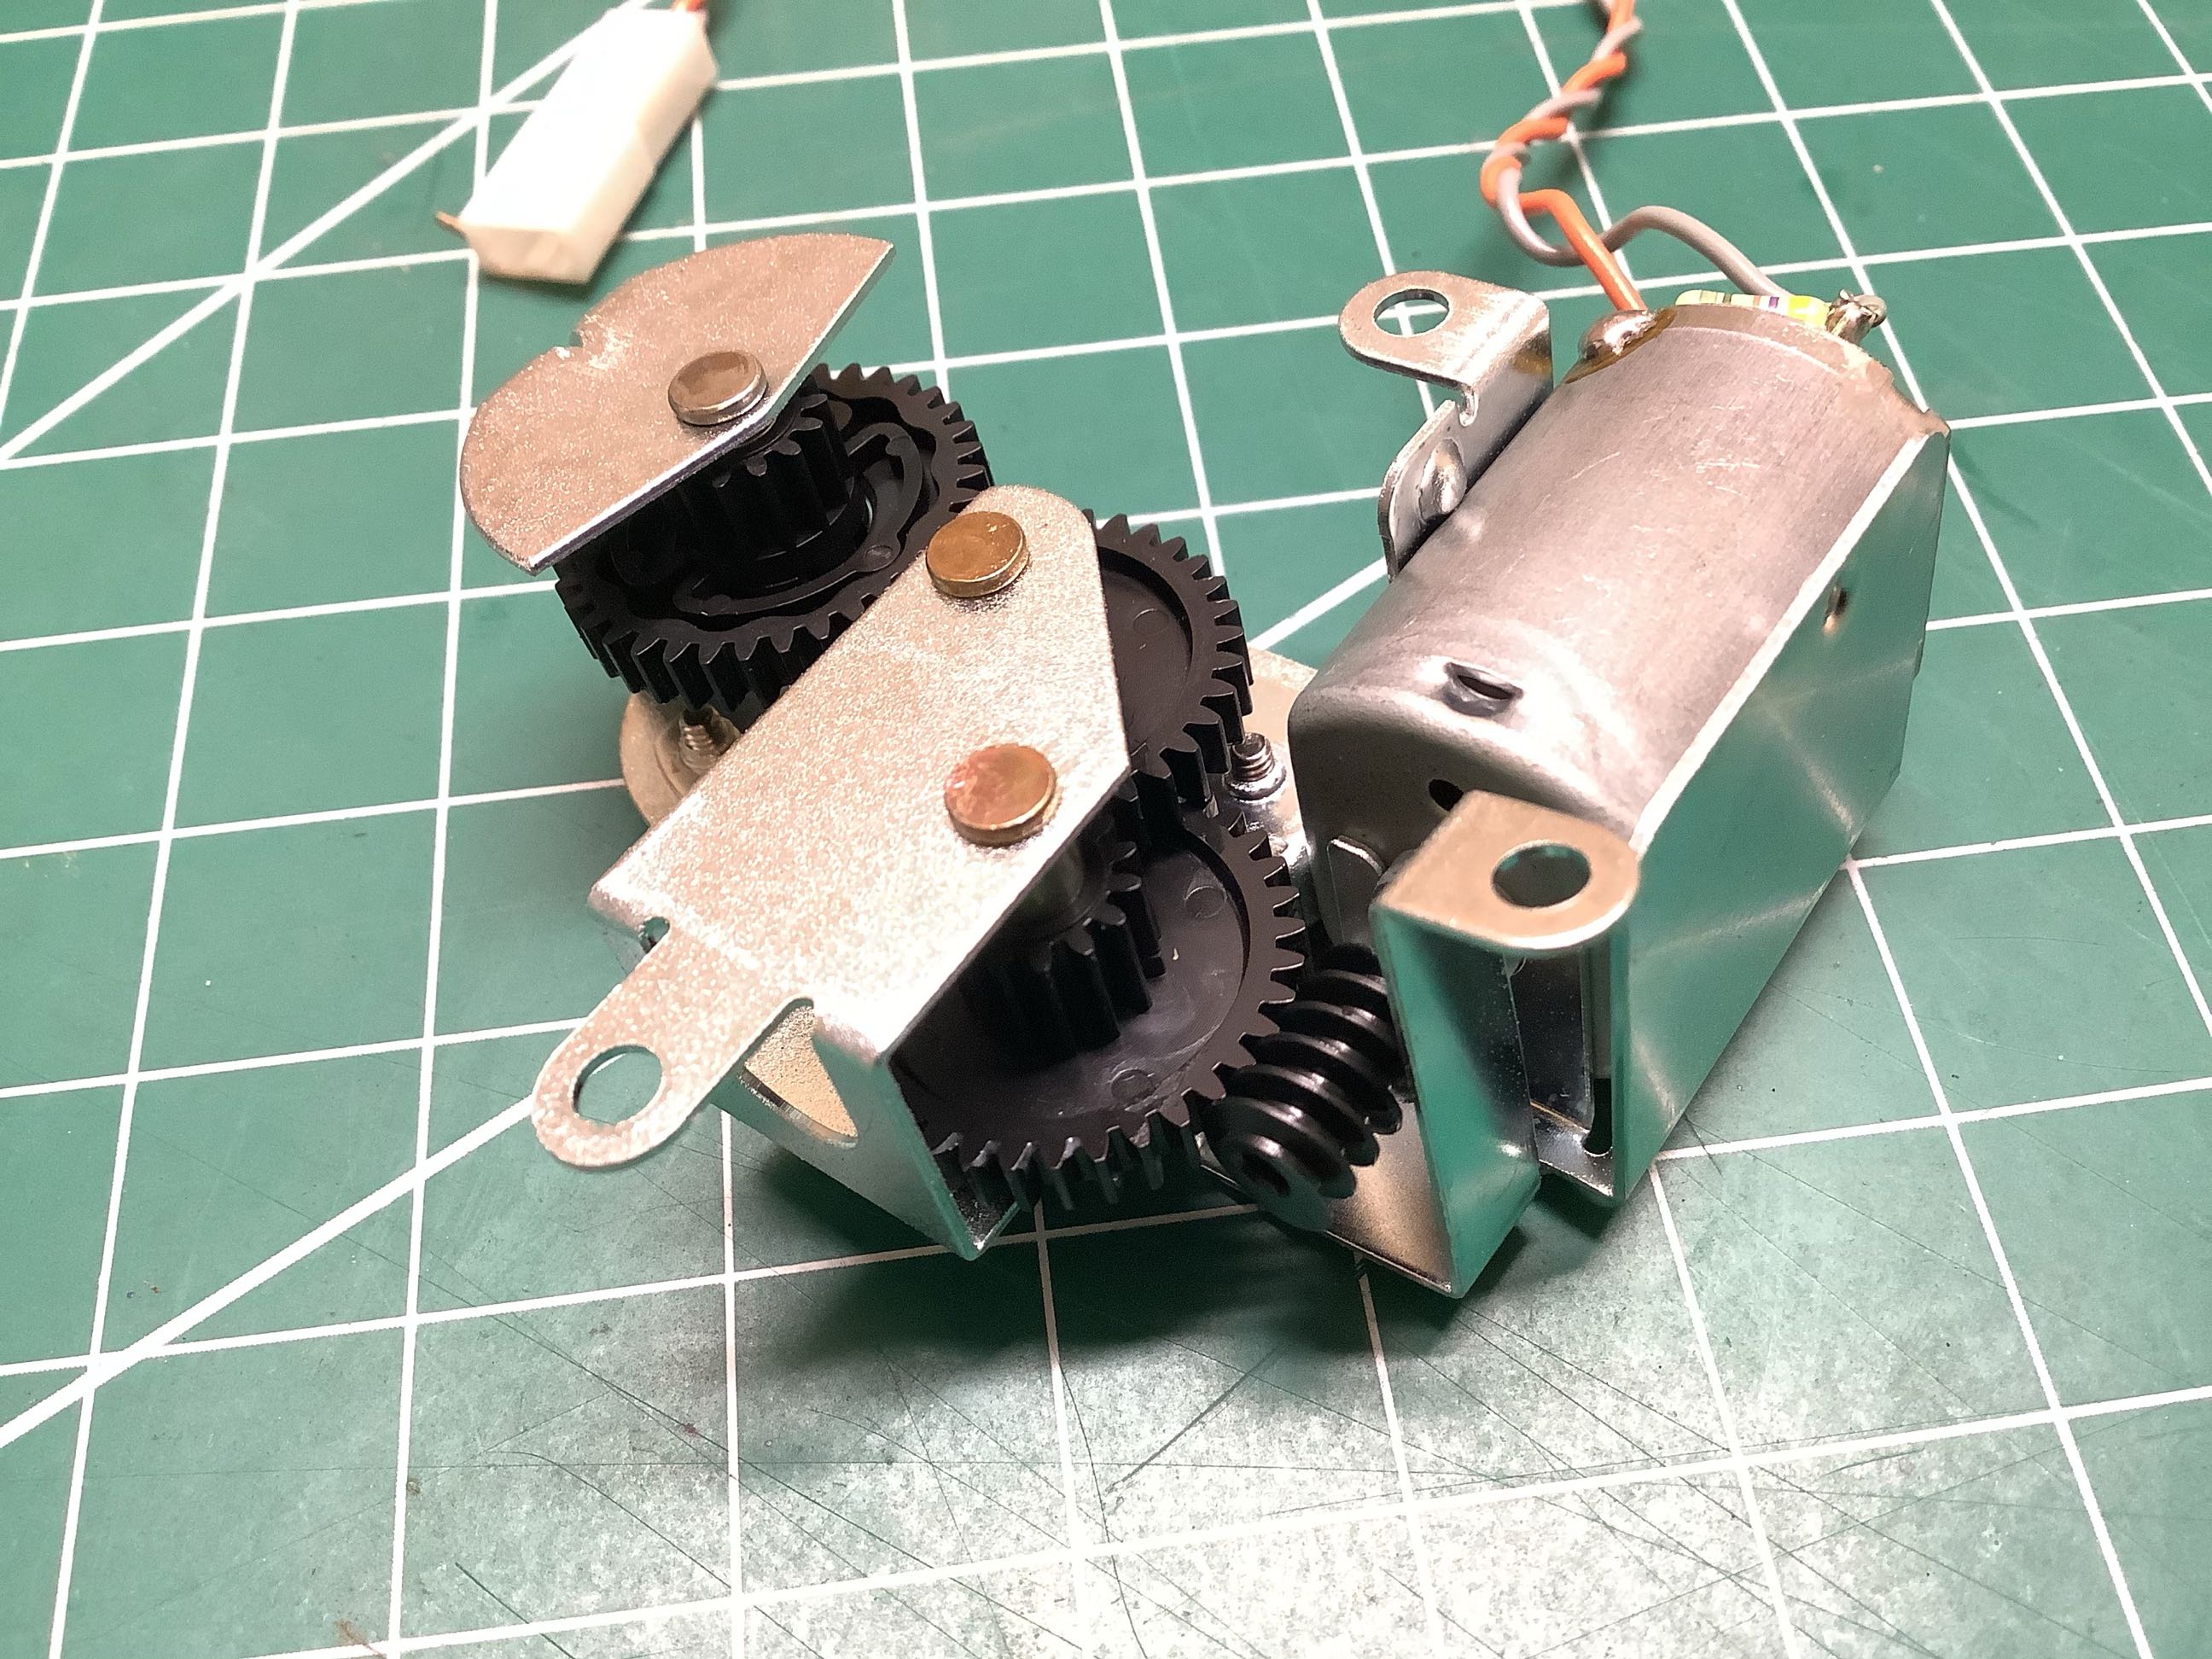
I did the same exercise on the much simpler turret rotation
gearbox. We begin with a worm drive from the motor which results
in a huge gear reduction as well as preventing backdriving. The
final ratio is almost 3000:1. I did a little quick math on this
assuming a motor speed of 18,000 rpm which results in 360 degree turret
rotation in about 9 seconds. This seems like a very scale accurate
speed. A close look at the last gear stage at the top left of the
left image reveals a ratcheting clutch which prevents breaking anything
if the turret rotation is blocked.
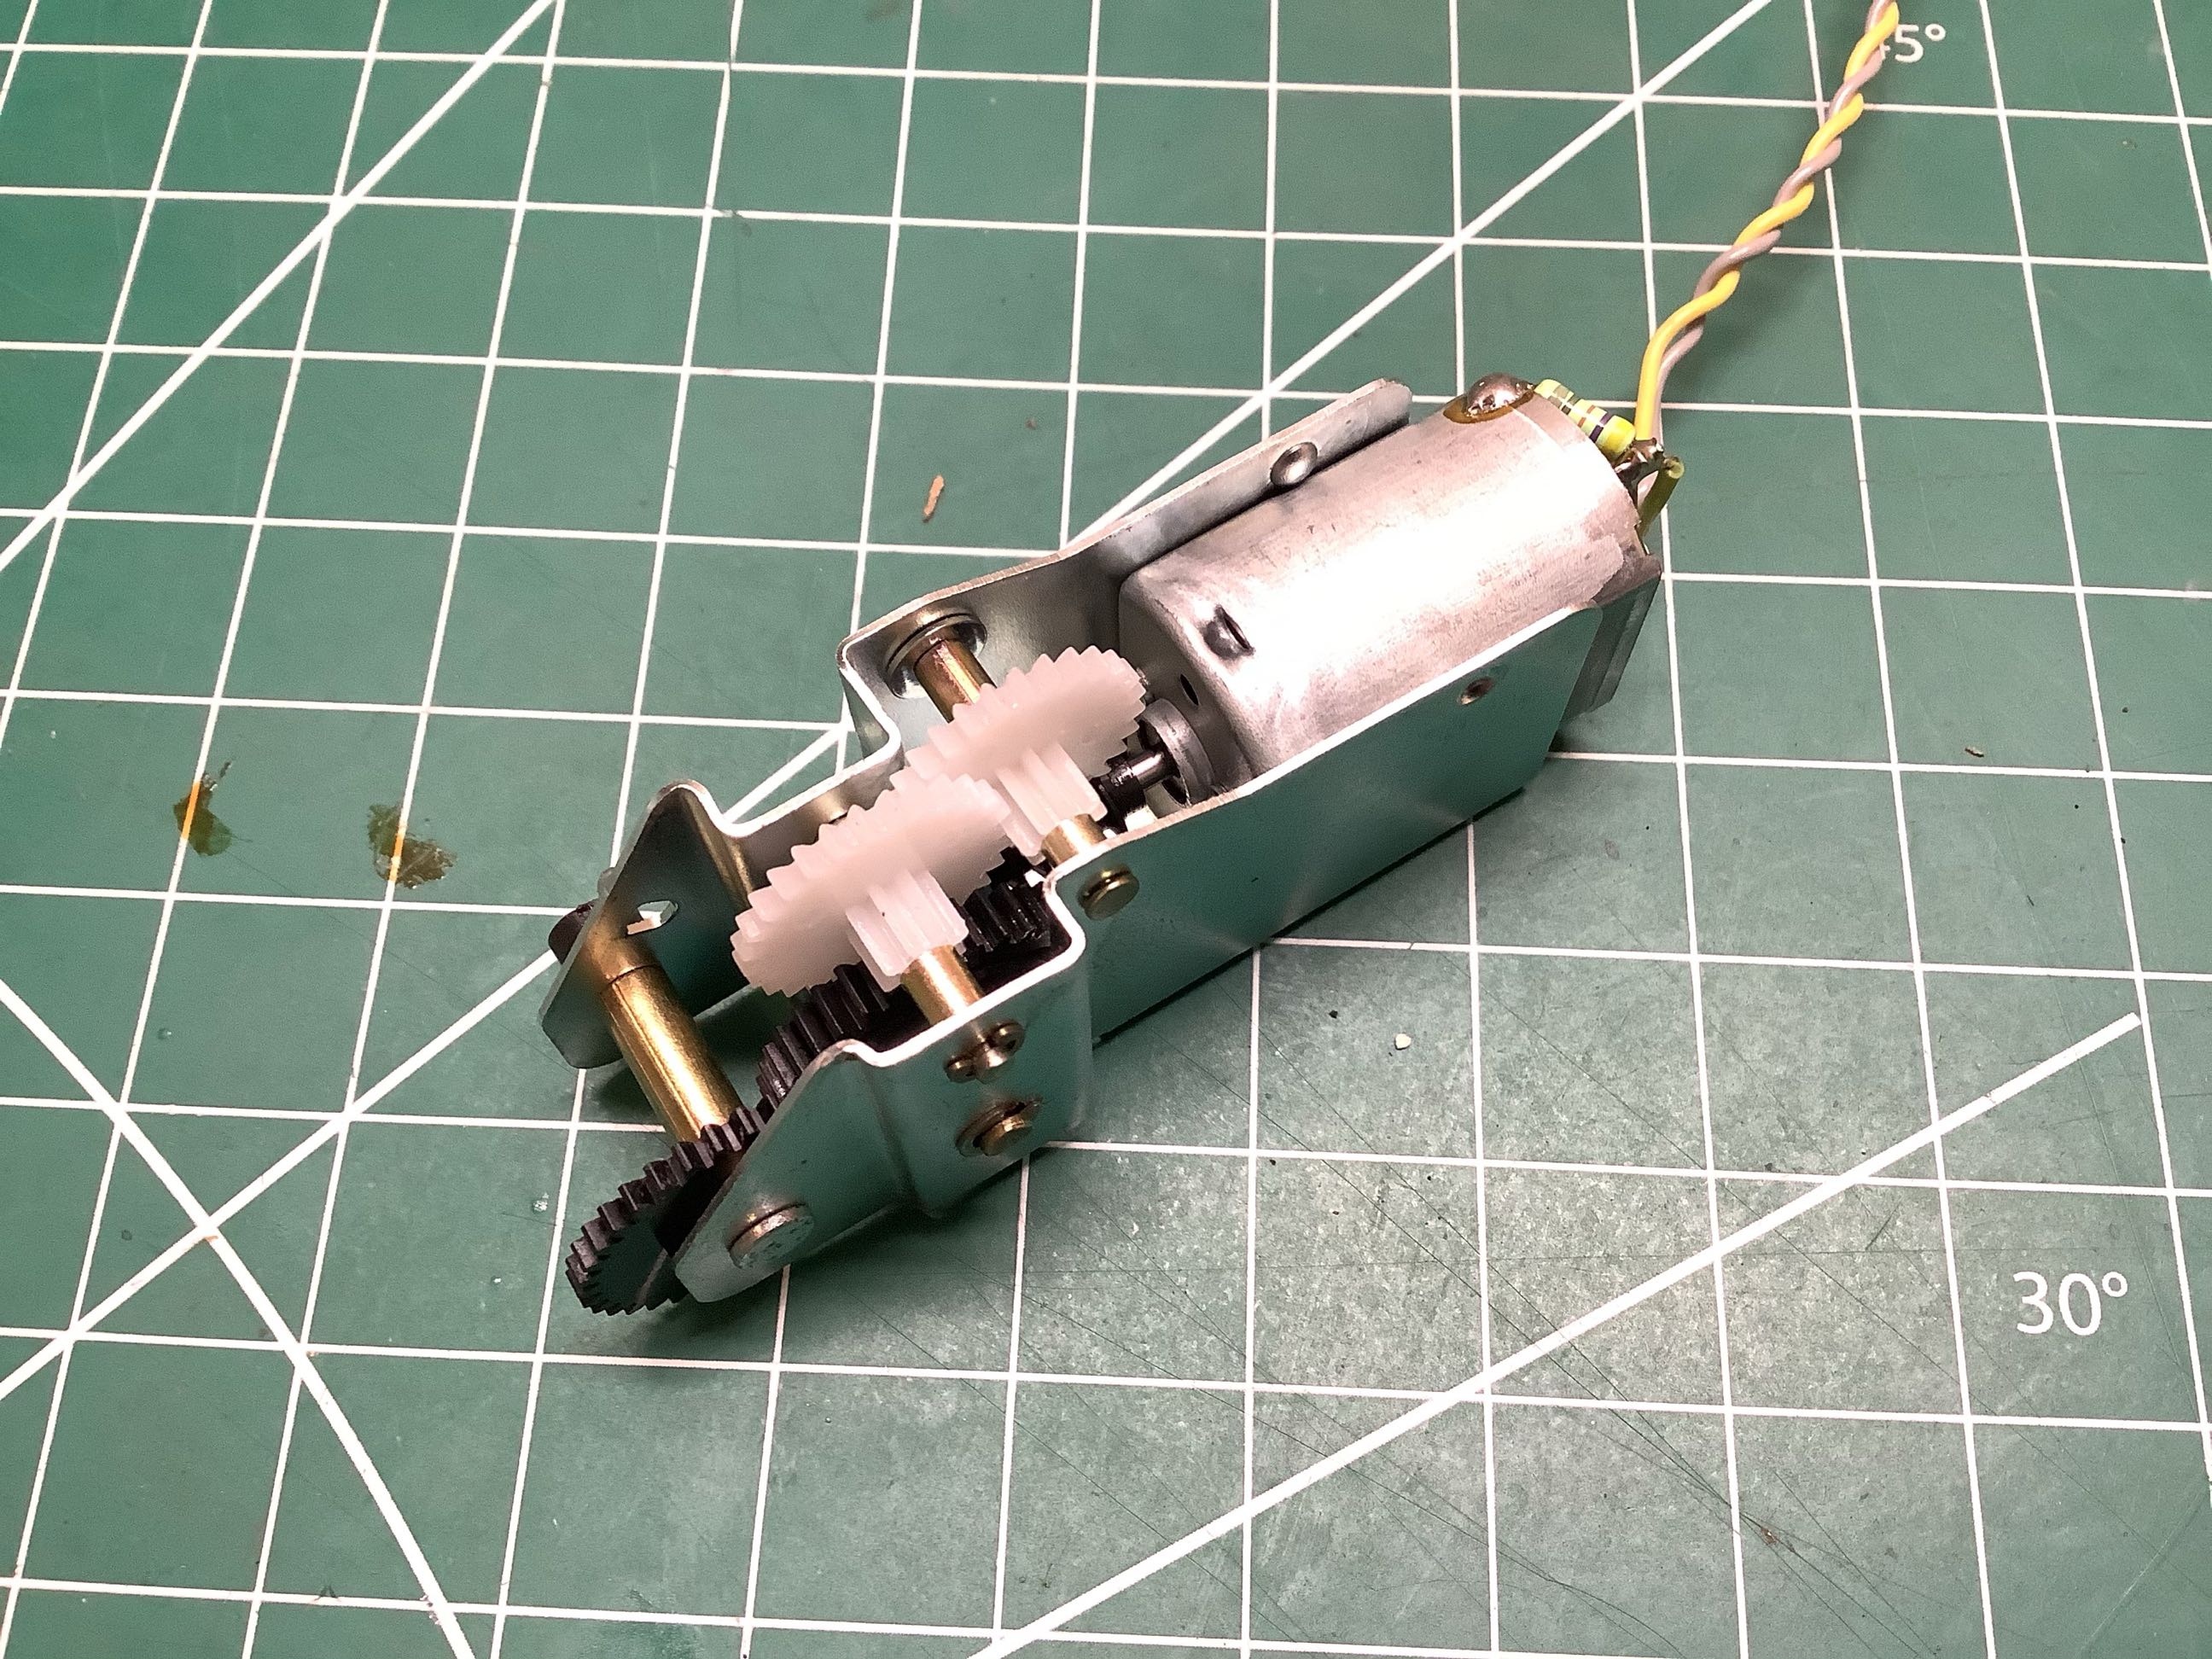
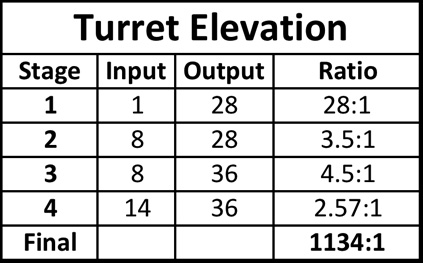
Finally, here is the same analysis for the elevation gearbox which is
very similar using the same motor and worm gear. The final ratio
is about 1100:1. Note that this output only ever moves a couple of
degrees to lift and depress the barrel. The total elevation above
level available on the model is not very much and is probably based on a
tank with a scale 75mm gun. The 105mm howitzer was capable of
elevating much higher (35 deg) which the model does not replicate.
At this point I had to hook up the entire electronics package and try
everything out. The sound of the startup of that radial engine is
really impressive. From what I can tell, the main headlights and
tail lights are actually incandescent bulbs, but the machine gun uses an
LED. 2001 was early for LEDs. The muzzle flash is some sort
of high voltage neon. It is very bright and illuminates very briefly. You can hear the high pitched whine of it recharging after firing.
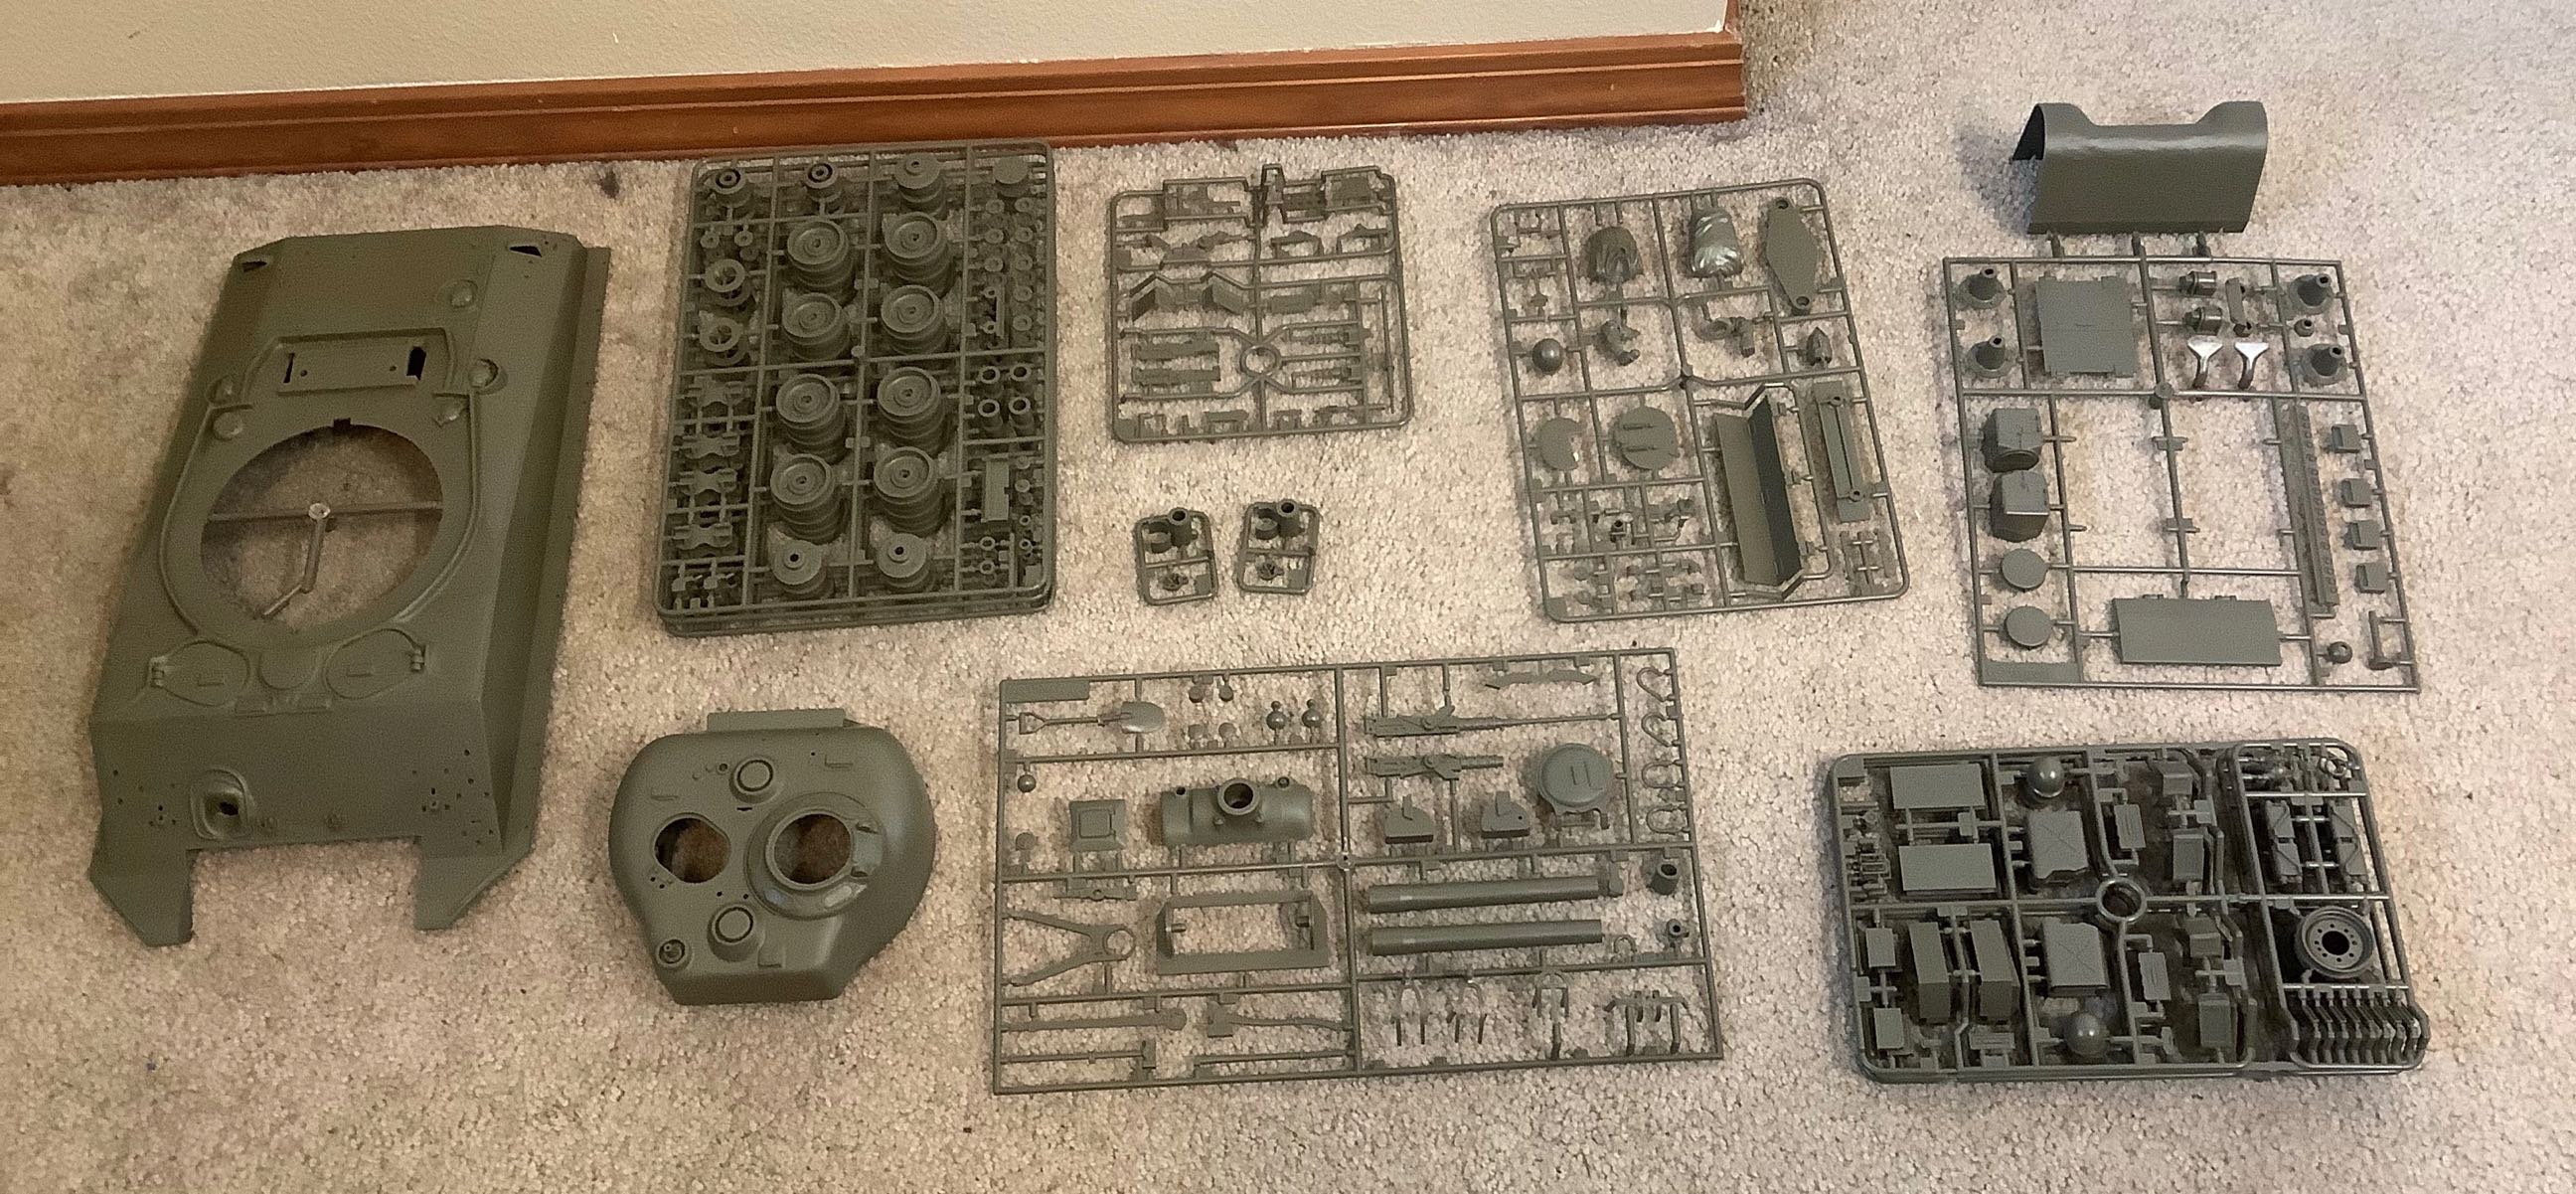
This is a relatively small number of plastic parts compared to the
Leopard 2A6 which I had built previously, but still vastly more than any
regular RC vehicle. This is really a plastic model kit sitting on
top of an RC platform. Almost all of these parts are common to
the original model from 1974.
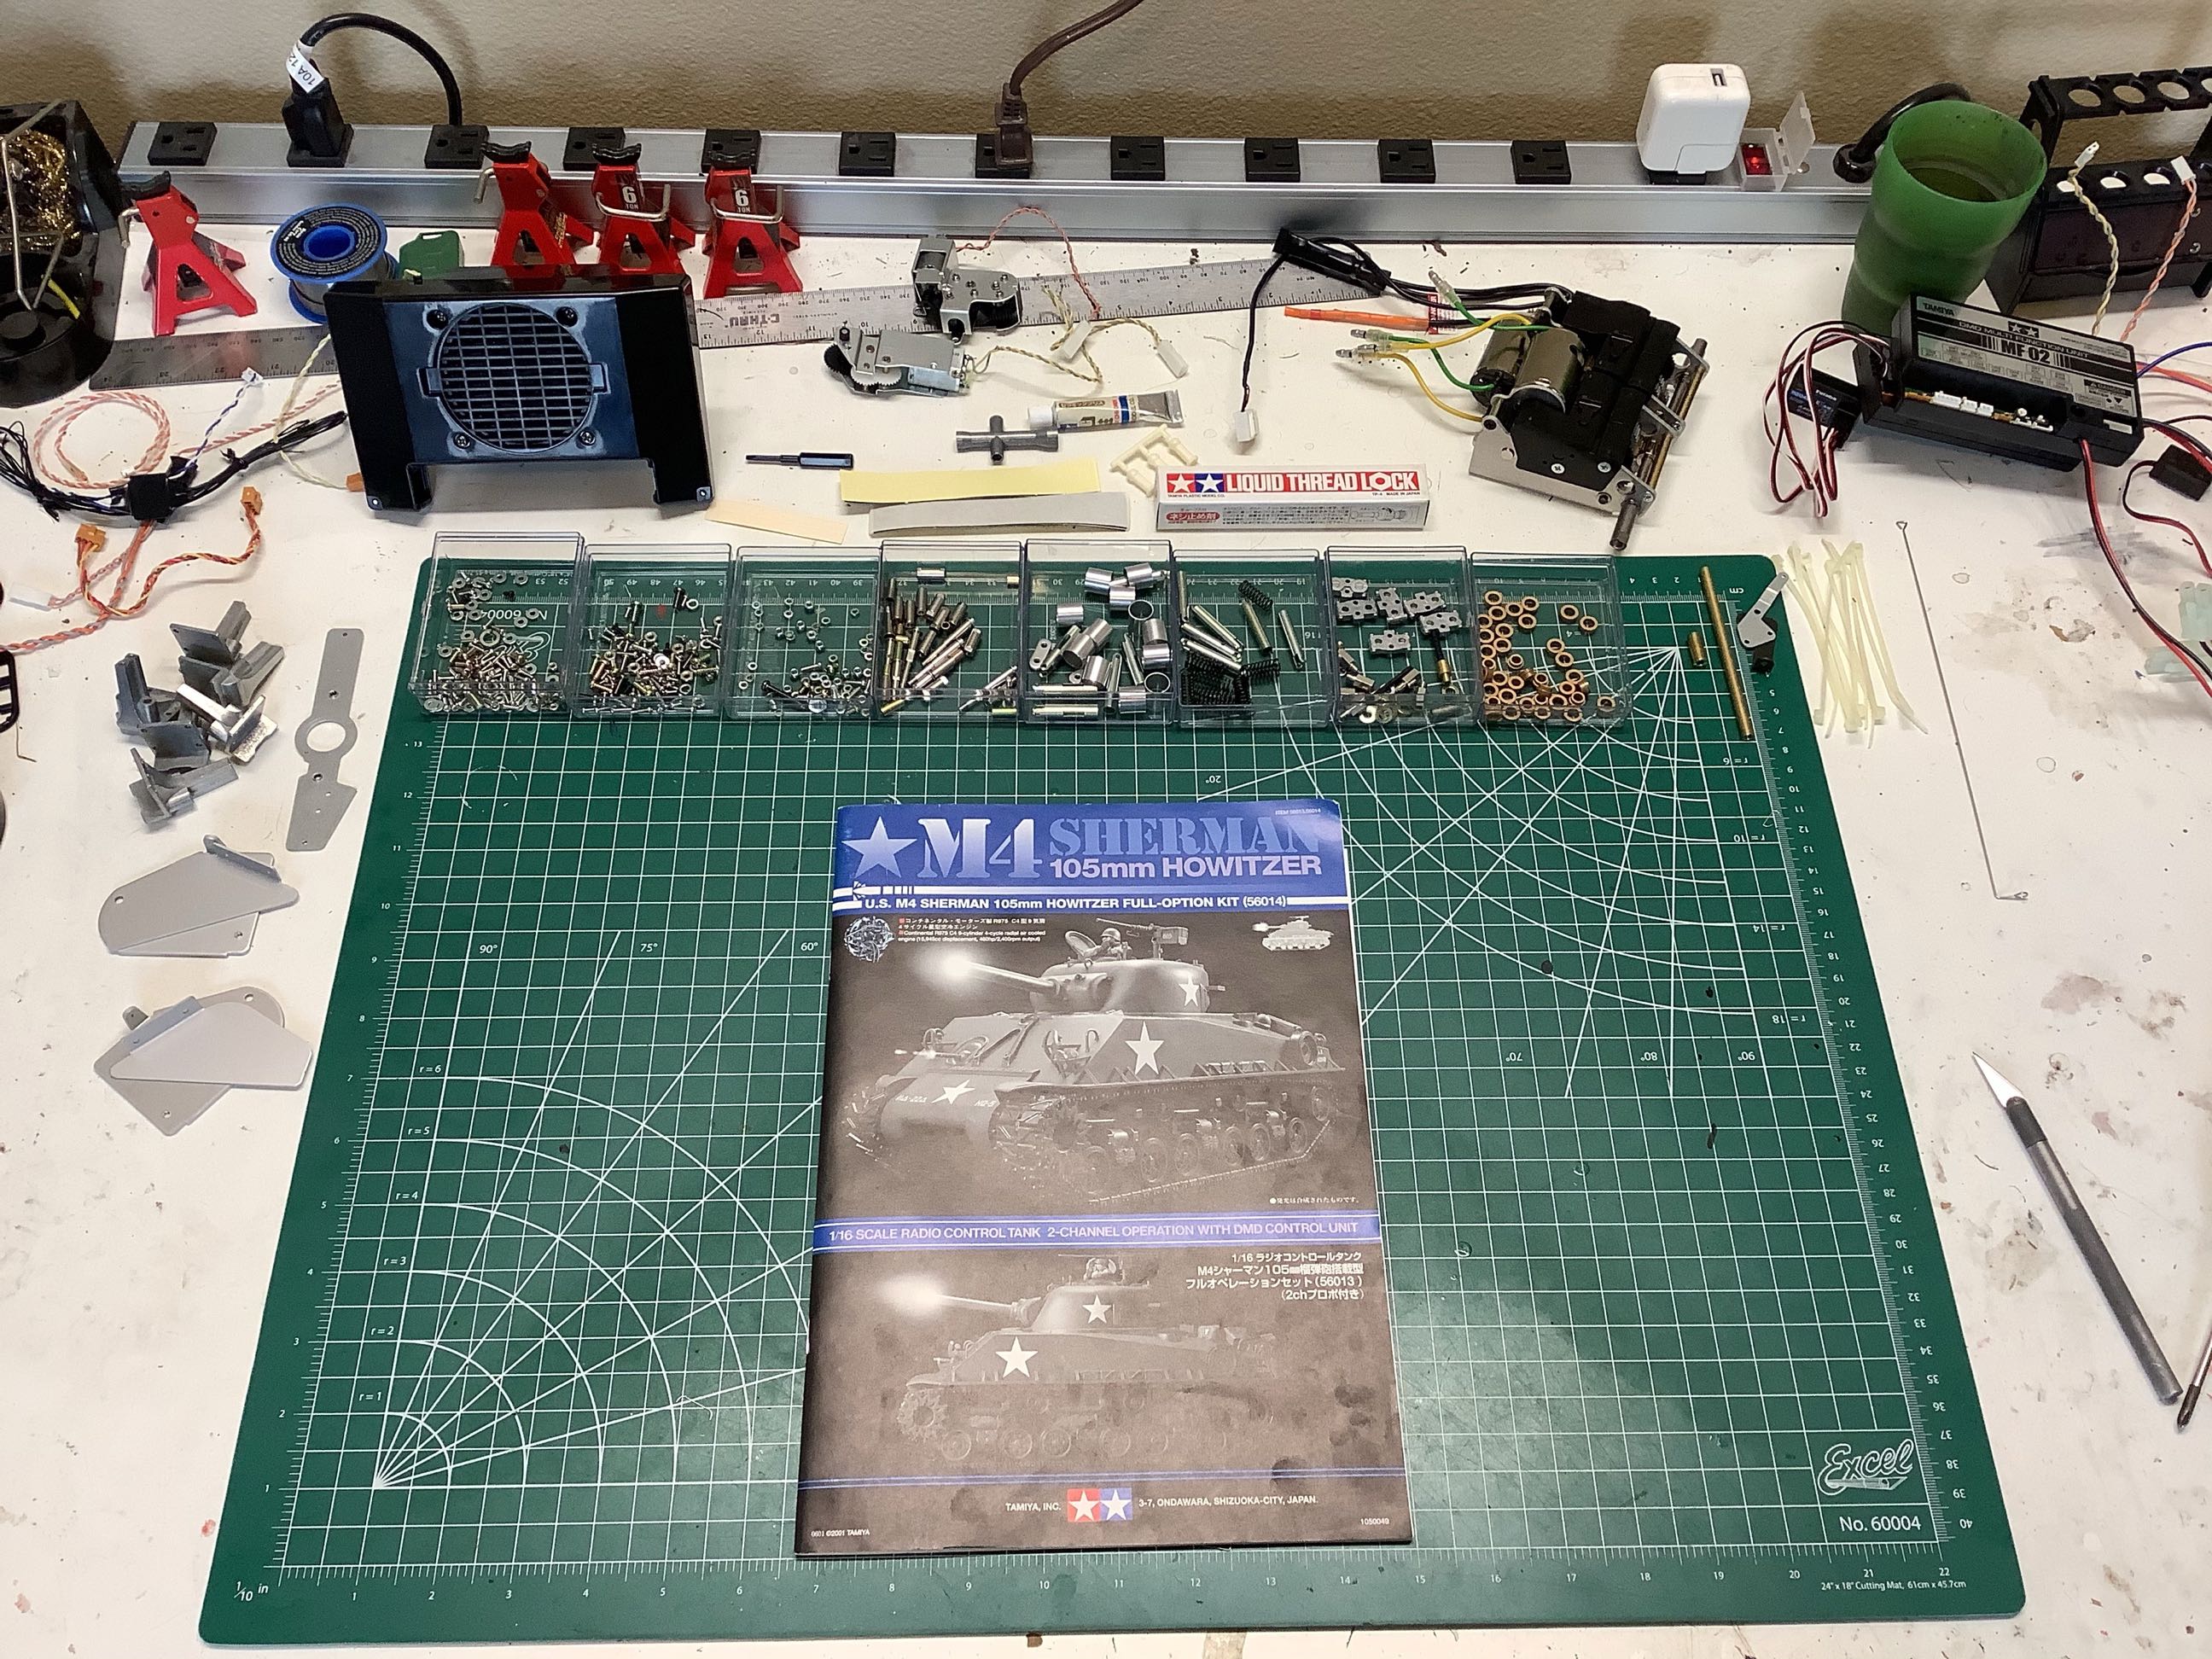
And here I've unpacked all of the hardware and am ready to start building. Let's go!
©2021 Eric Albrecht