HEMTT Project
Page 2: Upgrades!
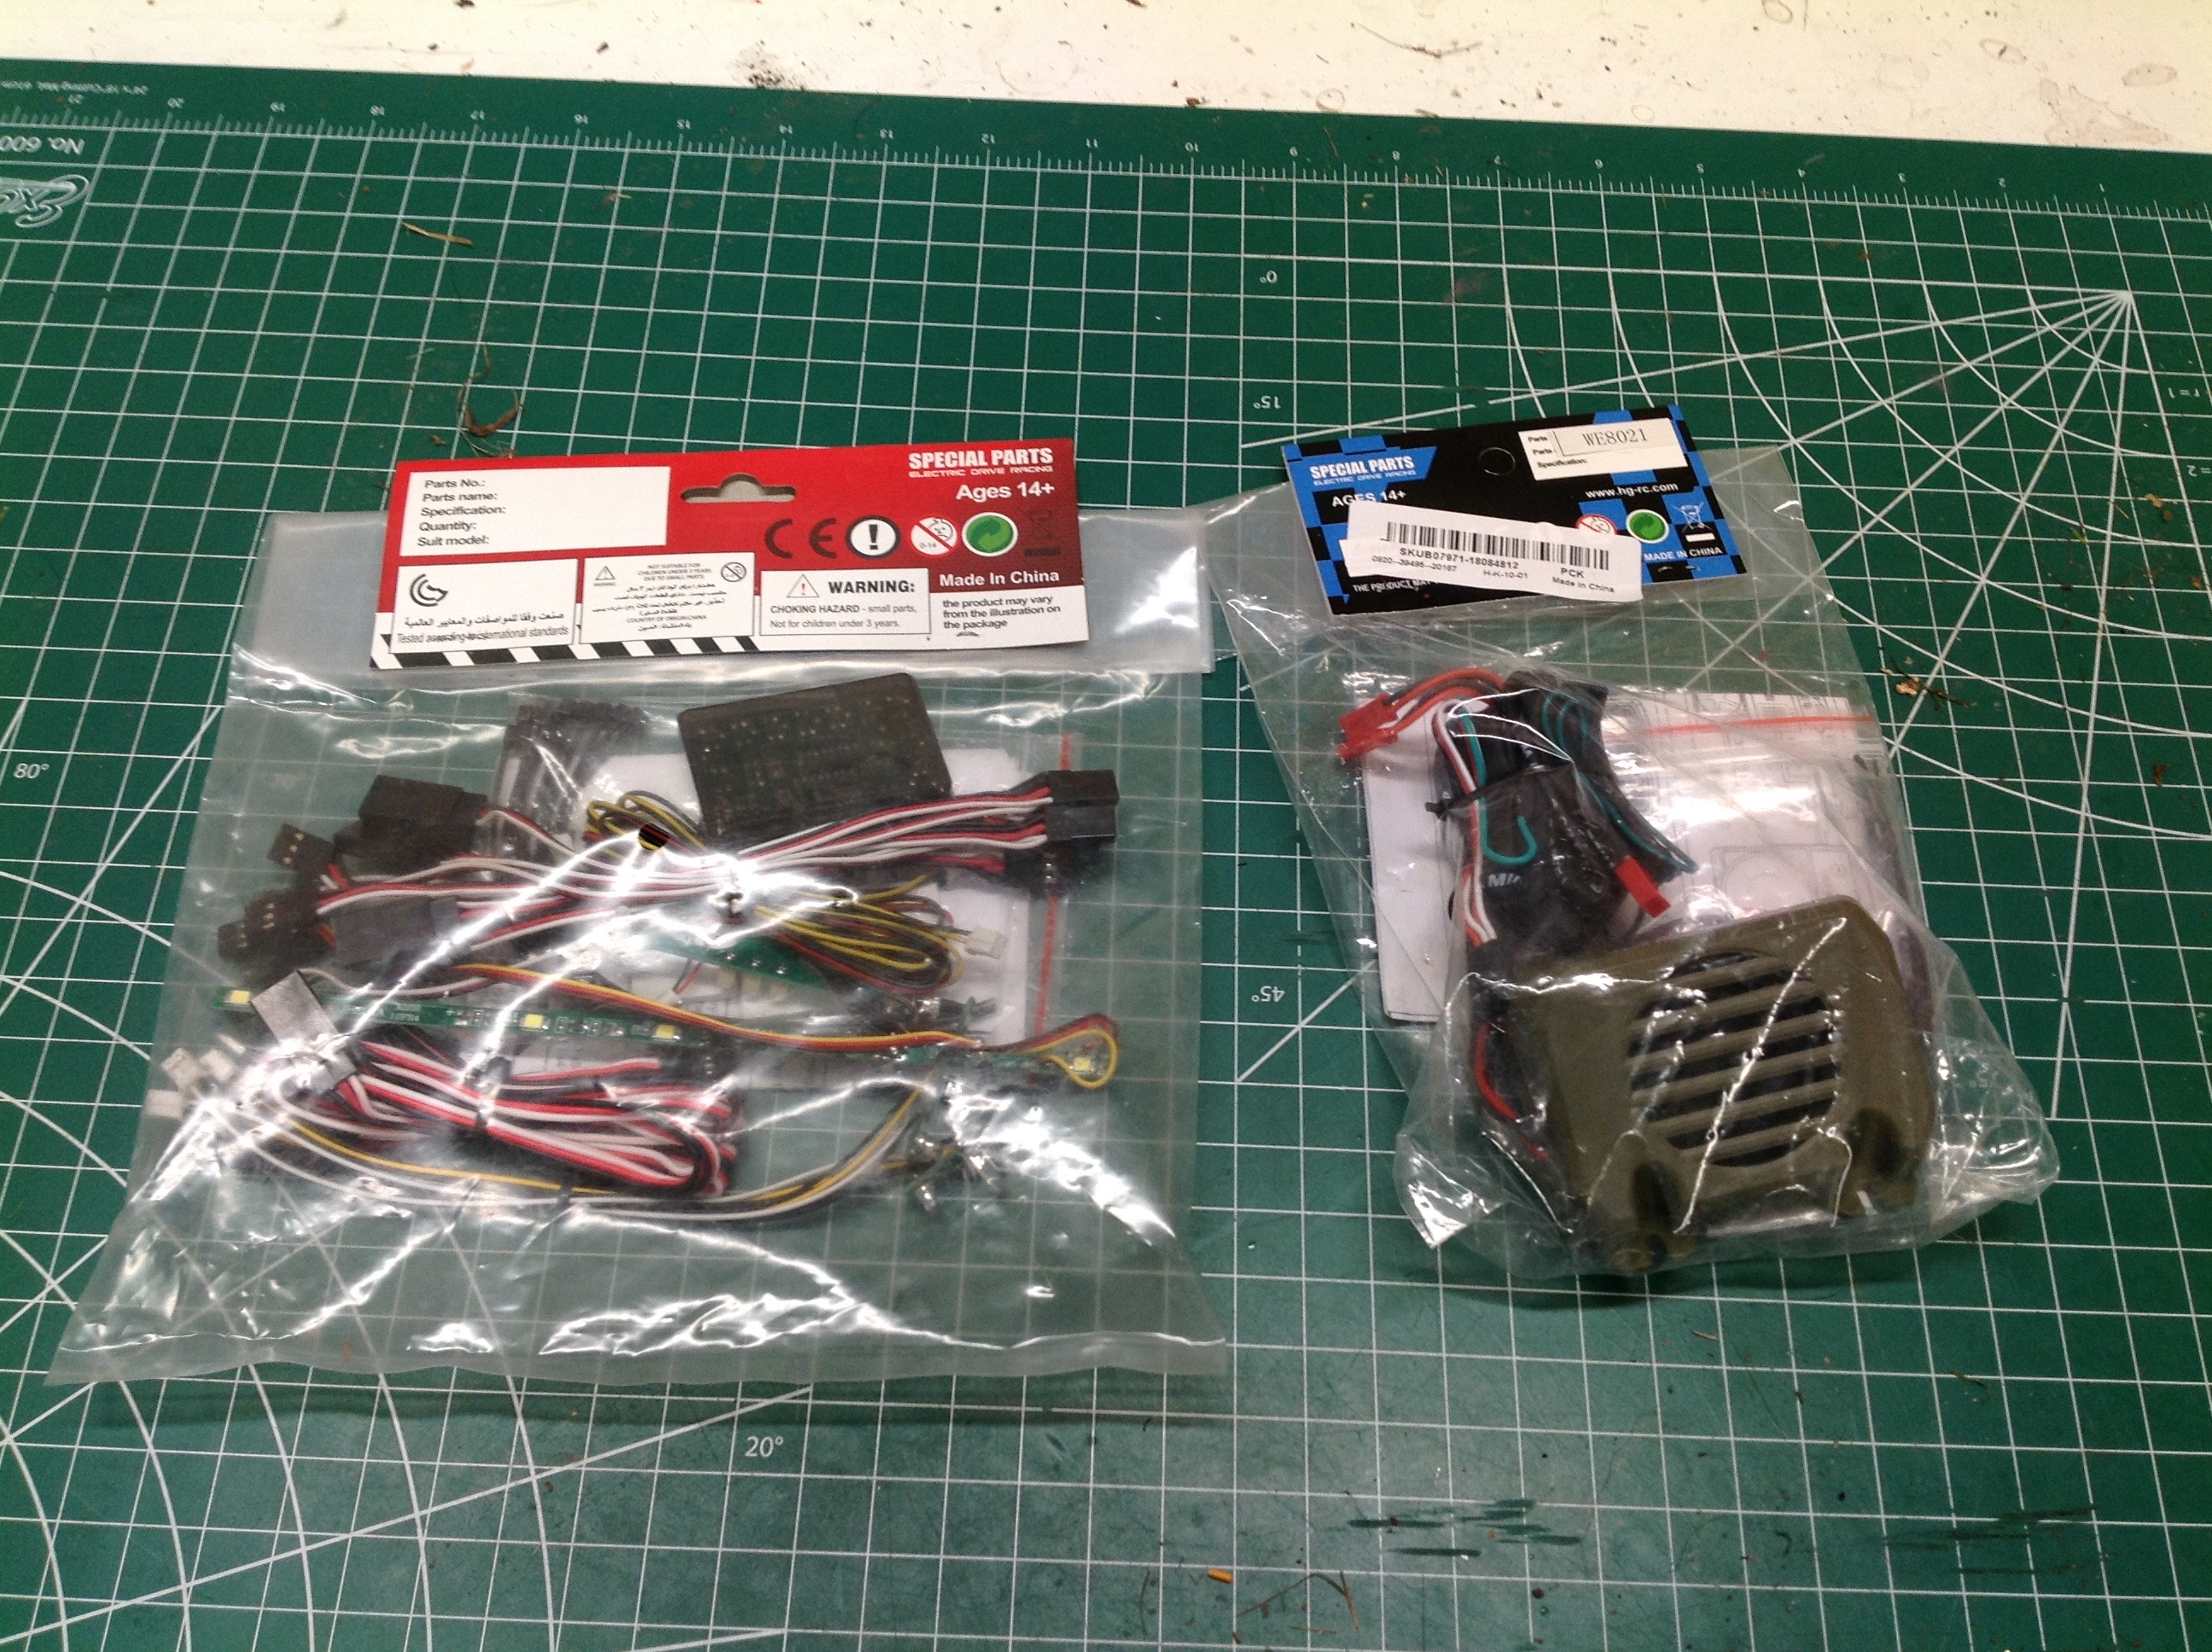
I made the same mistake with this model that I made with the P408,
ordering it without light and sound. I quickly realized this
oversight needed to be remedied. I was not really prepared for how
much work it was going to be. Looking at the packaged light and
sound modules on my desk, they don't look that complicated although
there are a lot of wires involved. The hard part is disassembling
the model enough to install them. Another issue is that the shape
and style of the lights doesn't match what is showed in the instructions
which further complicates matters. The sound module needs a
throttle signal and another channel for a horn, and the light module
needs both throttle and steering signals. Since all of these come
from the radio system halfway back the model, this makes for a lot of
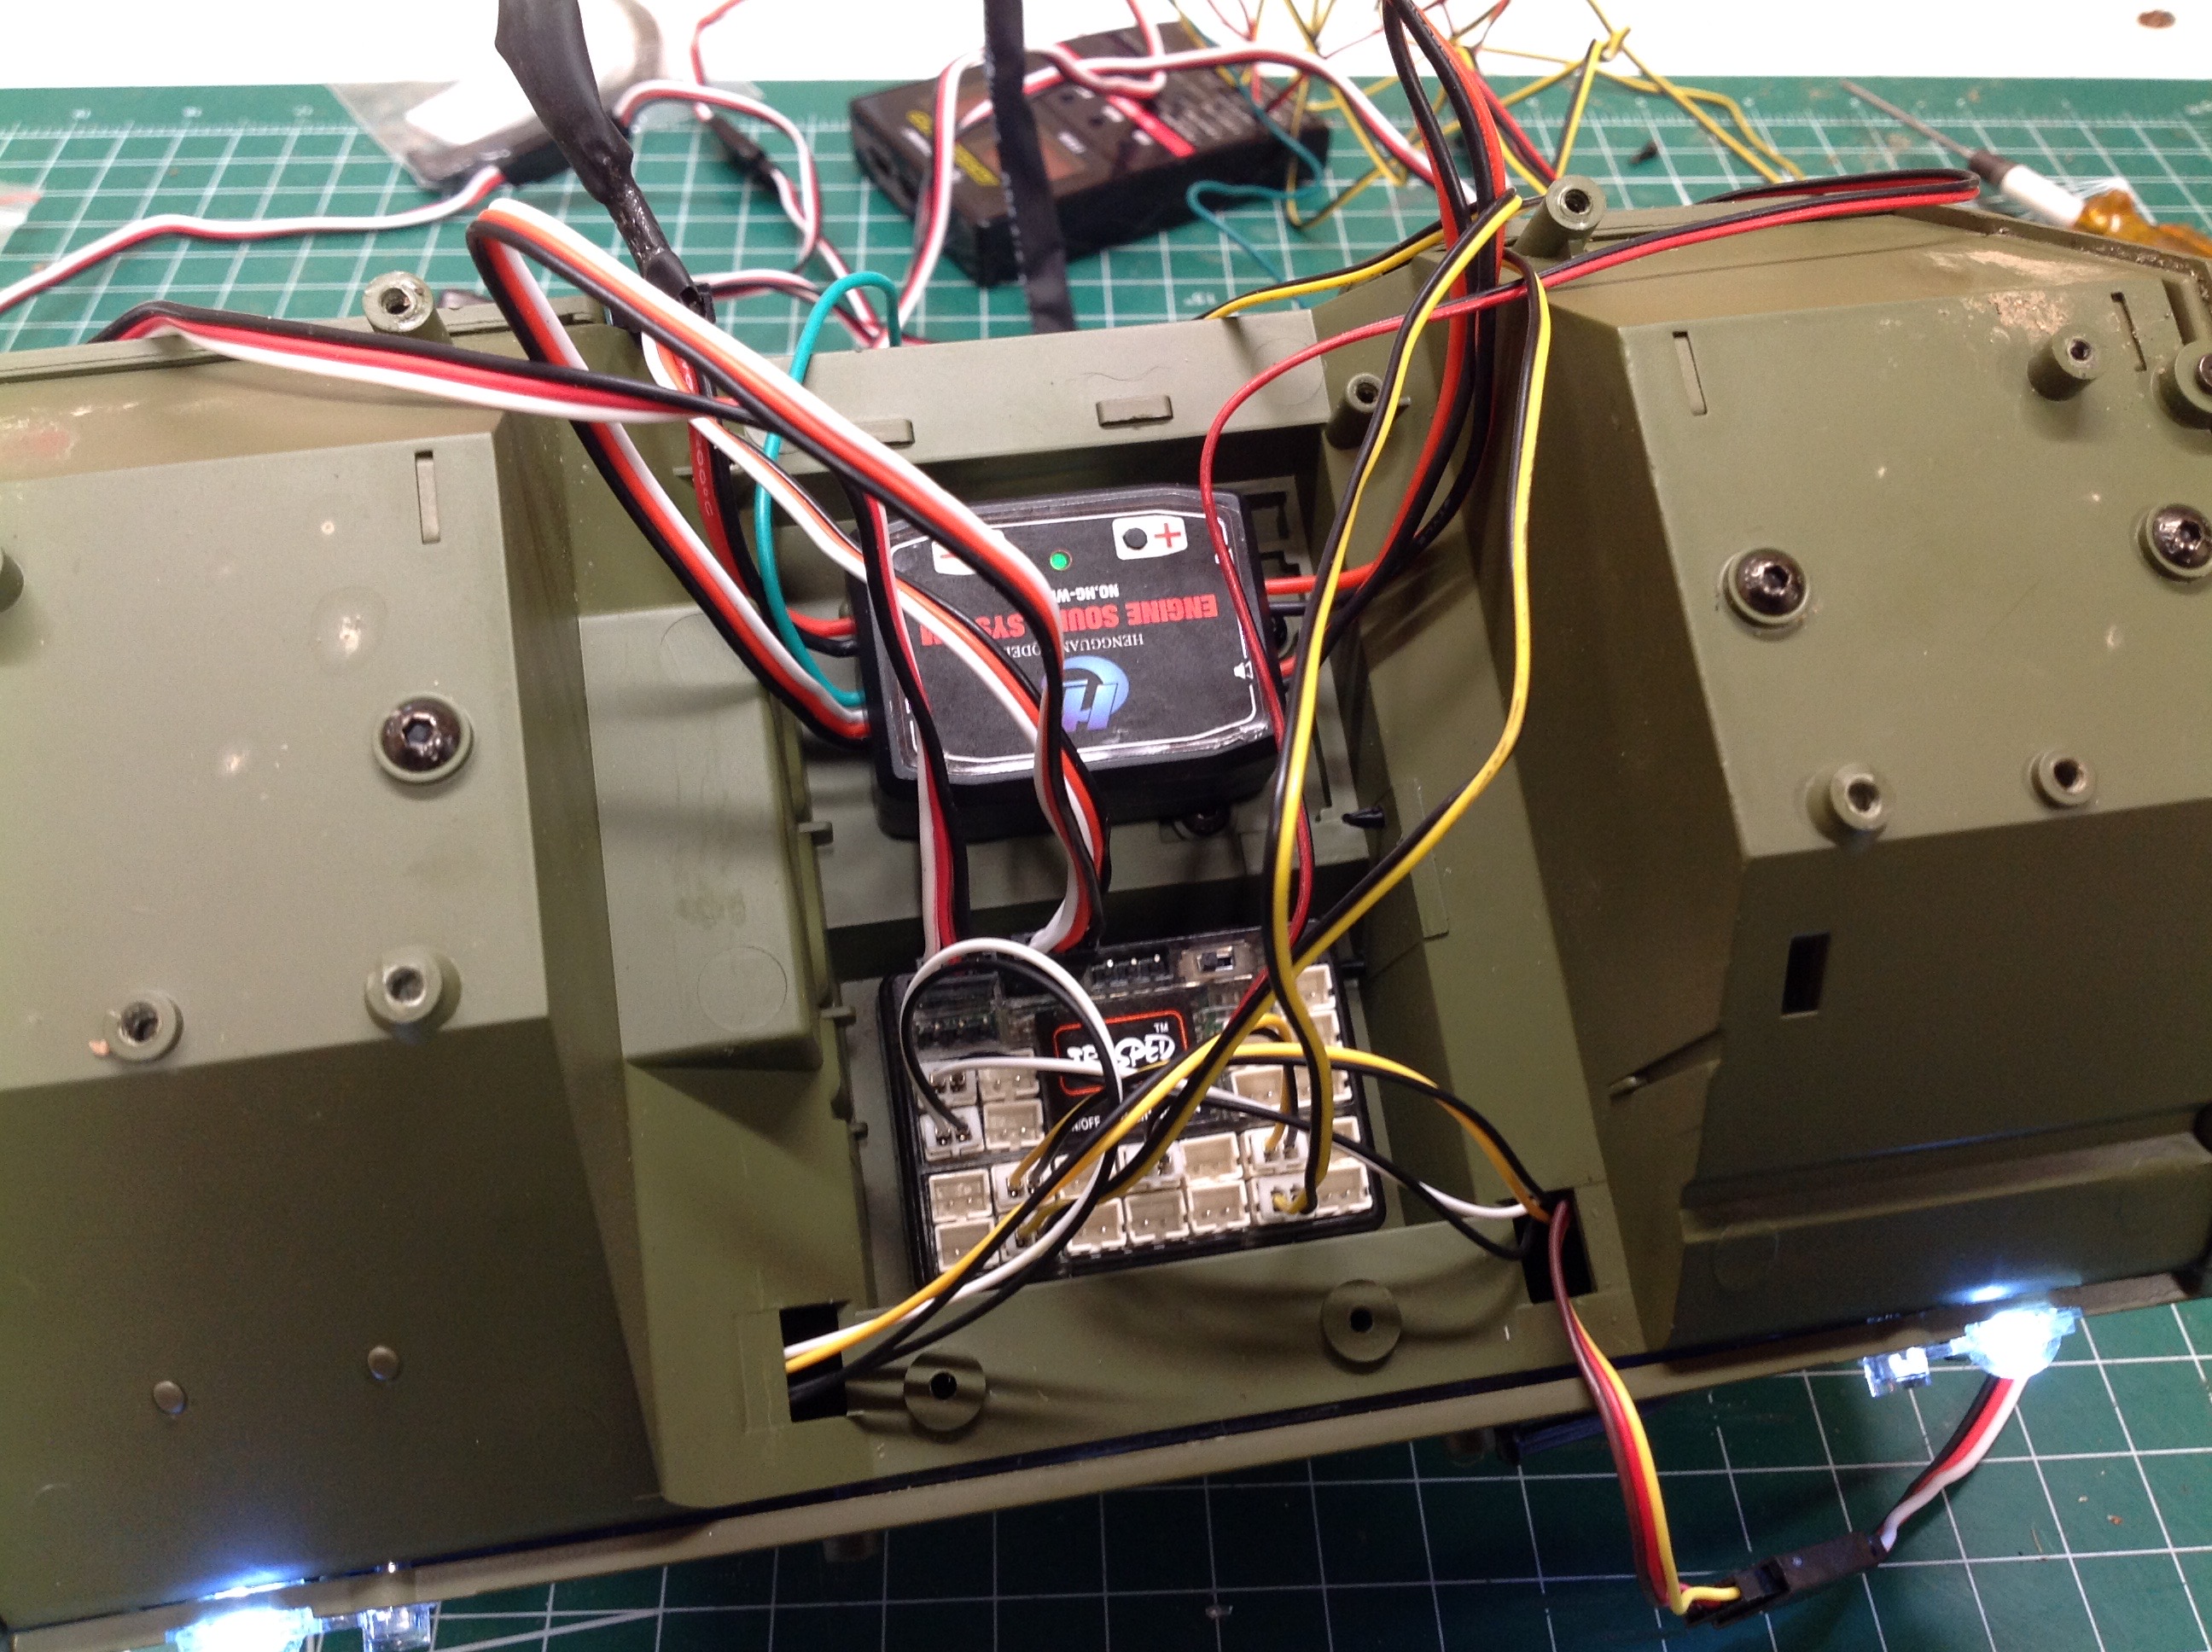
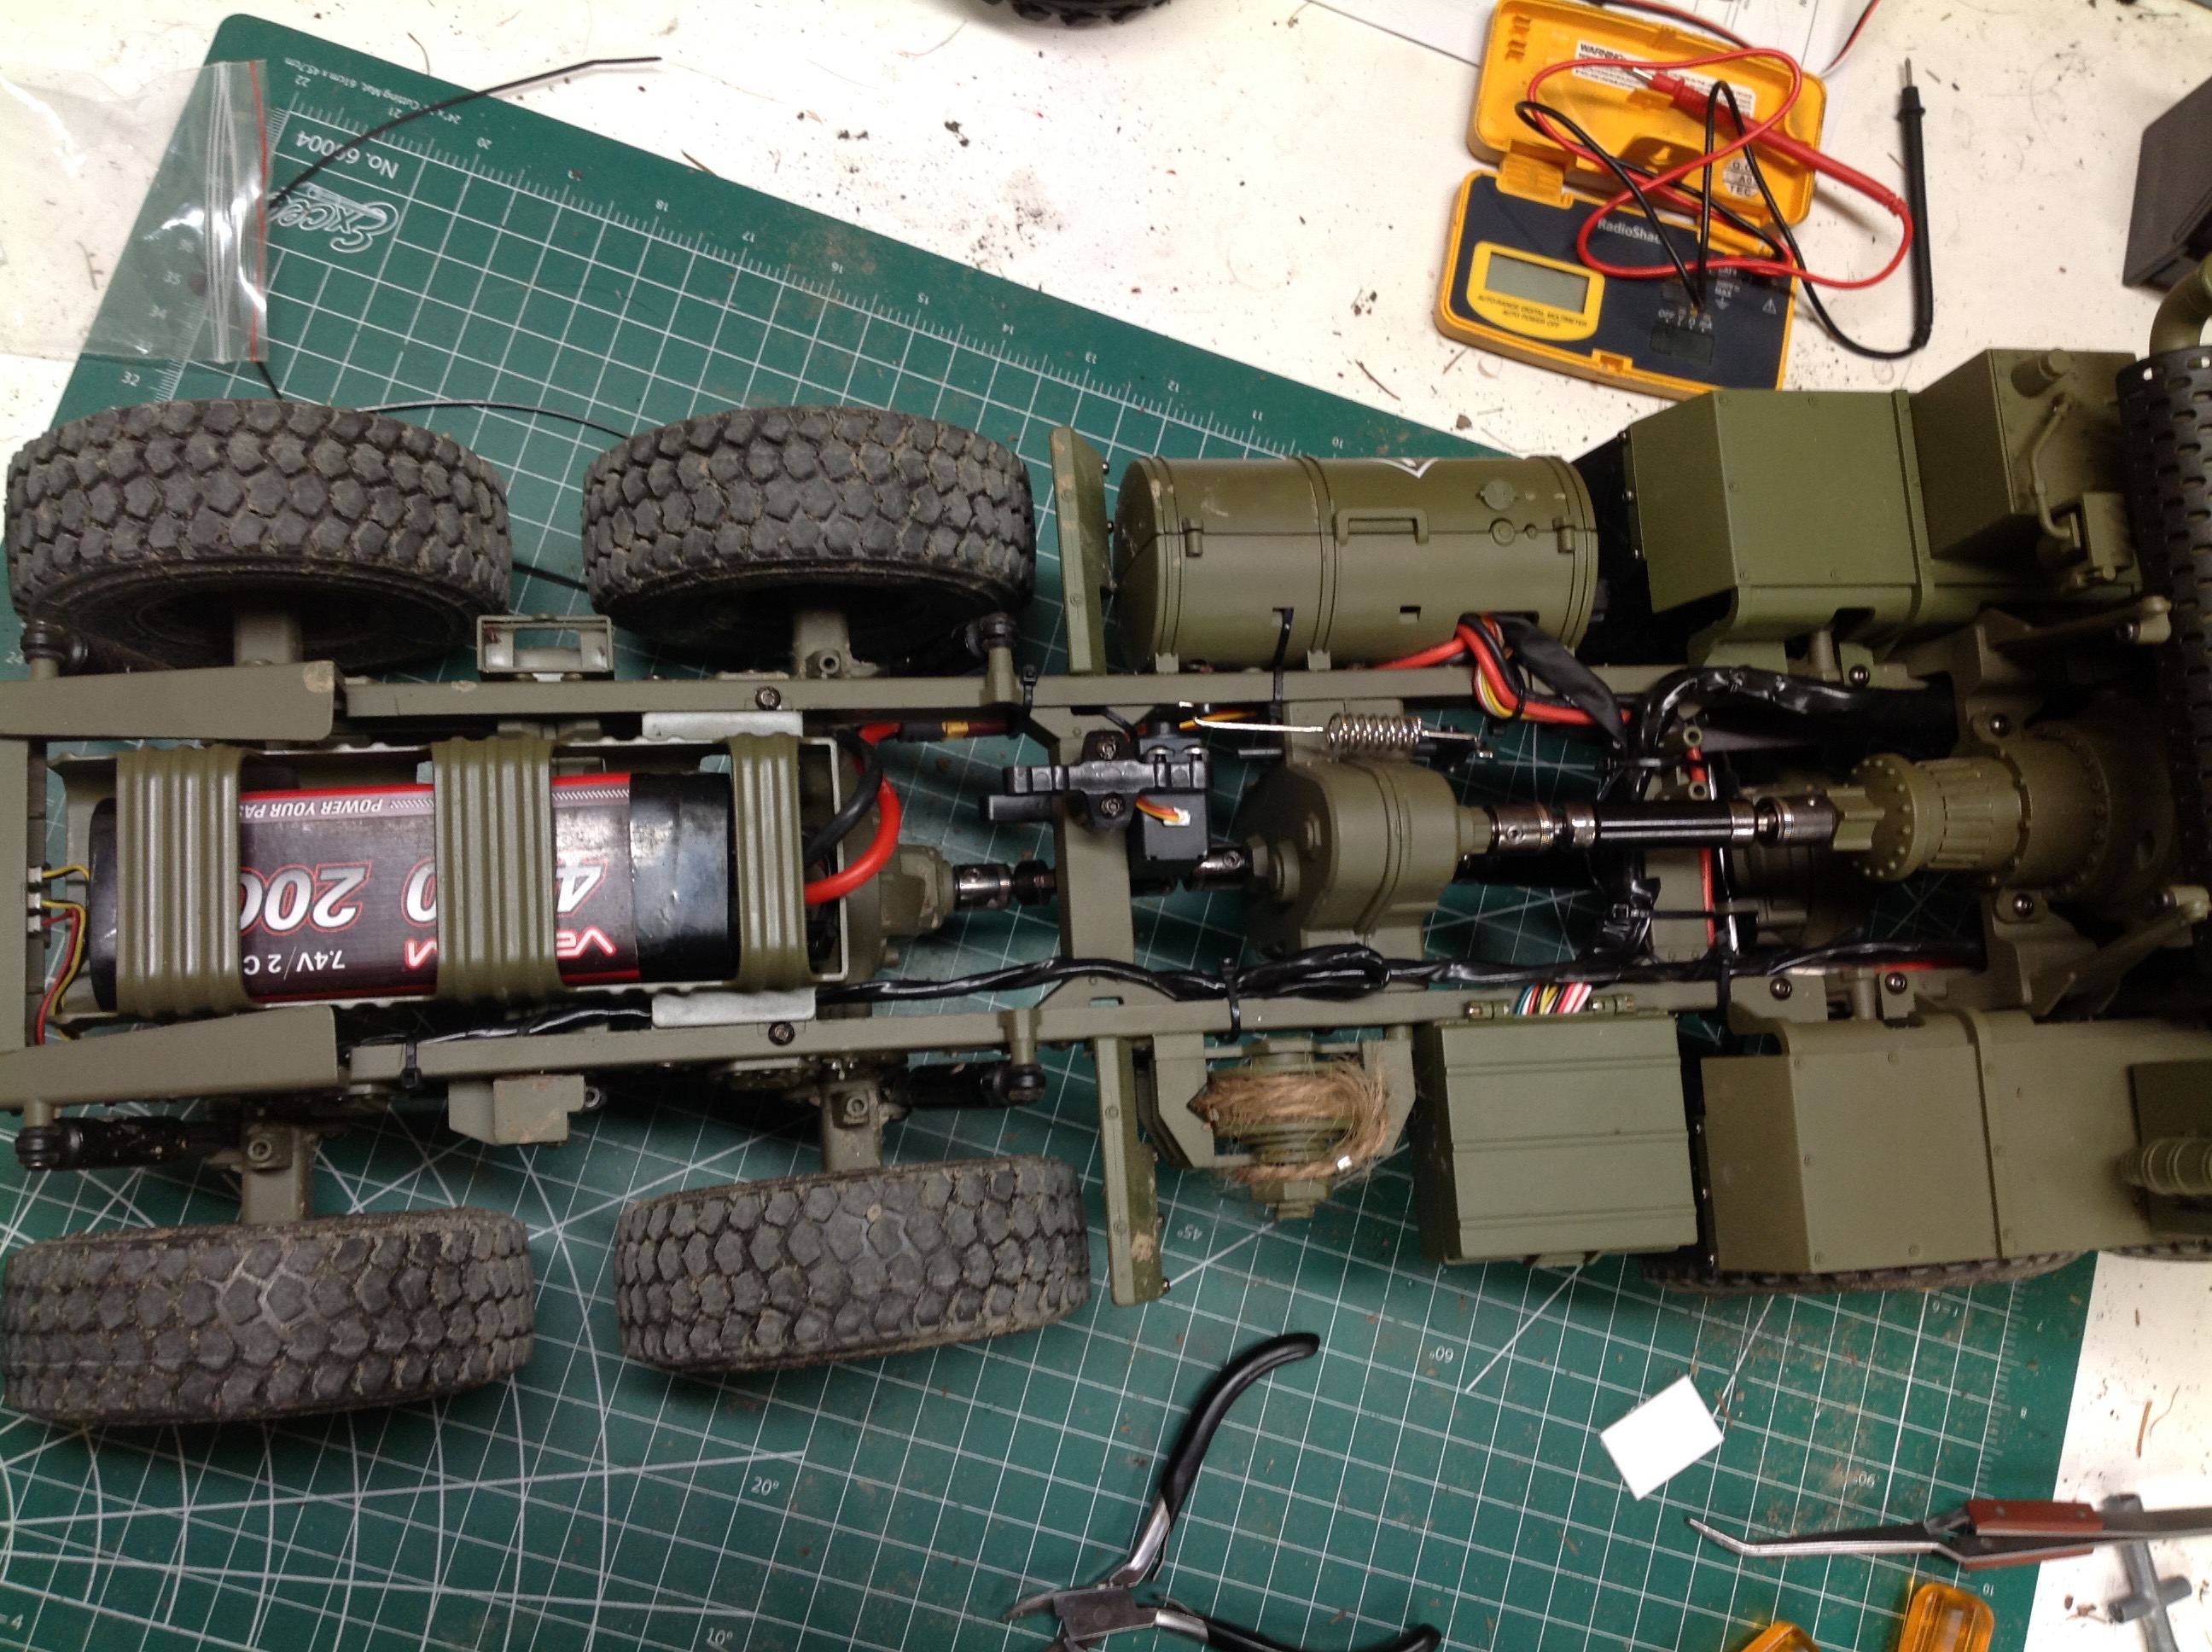
servo extension work. The right hand image shows the bottom of the
cab after I removed it, tore it down to install the lights, and then
placed the control modules.
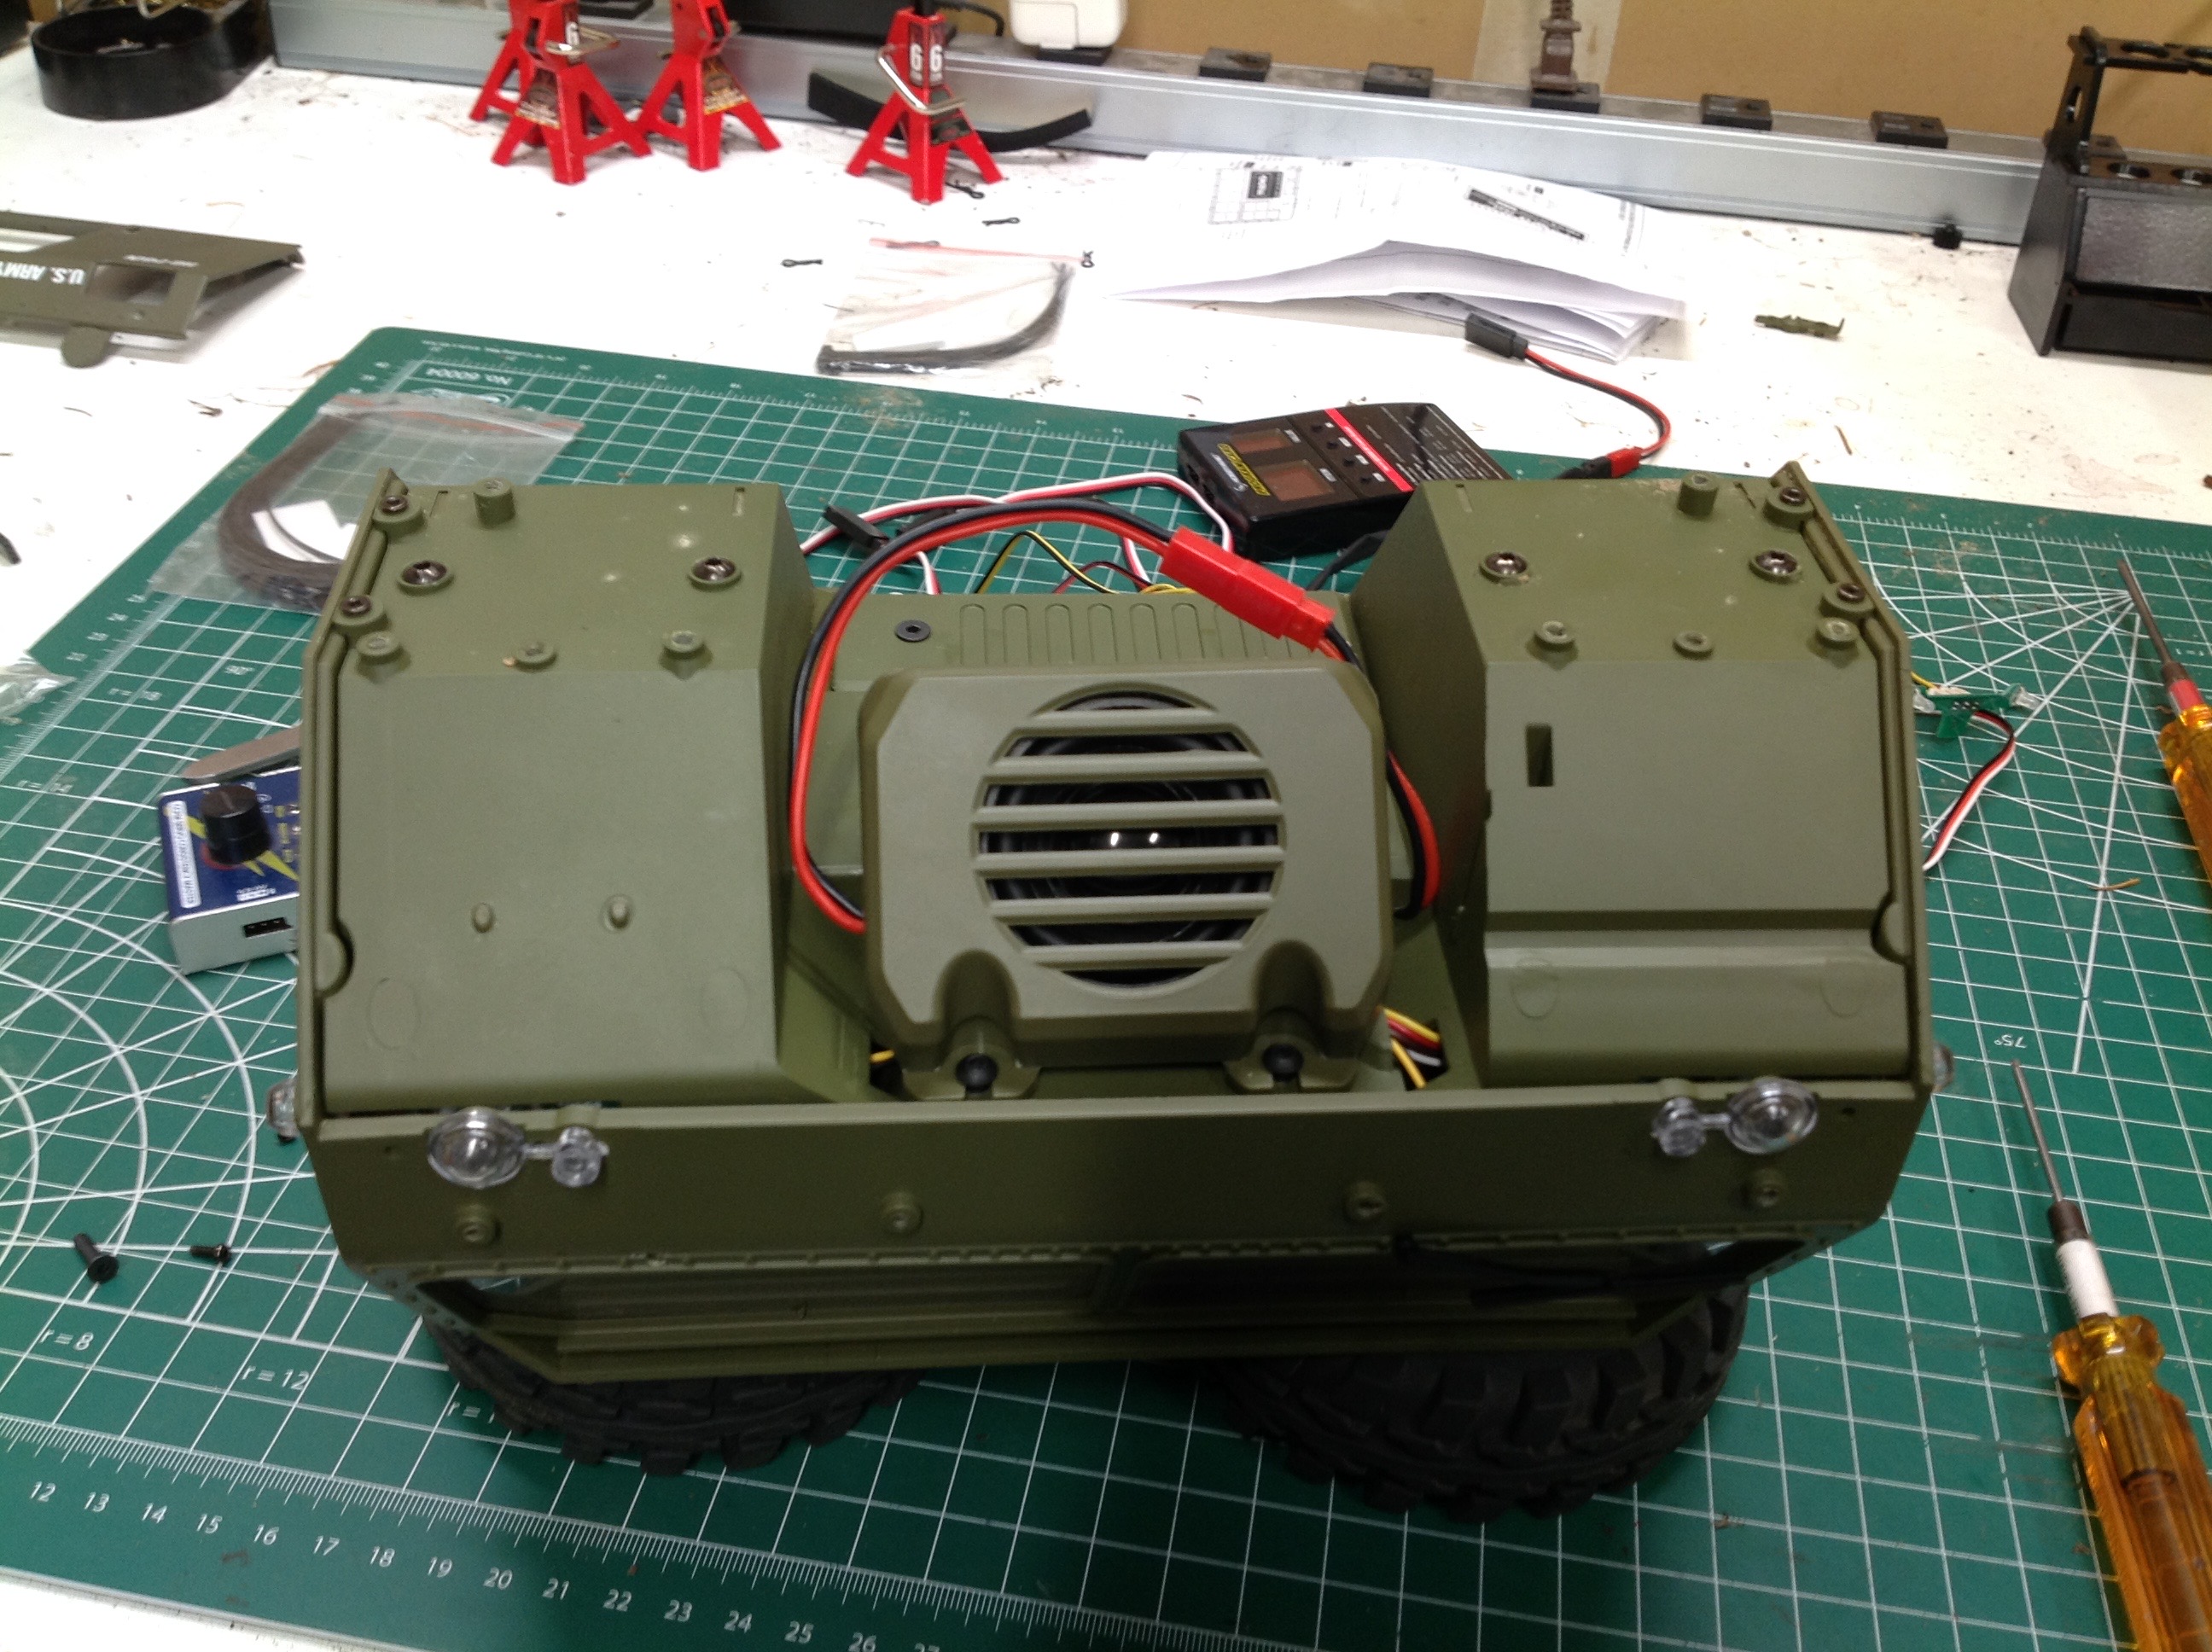
The speaker attaches under the cab as shown. This is a good place
to be installed for sound projection, but it completely hides the
control module meaning you can't change the volume or sound type without
totally tearing the cab down again. The picture on the right
shows all the wires which must now be routed.
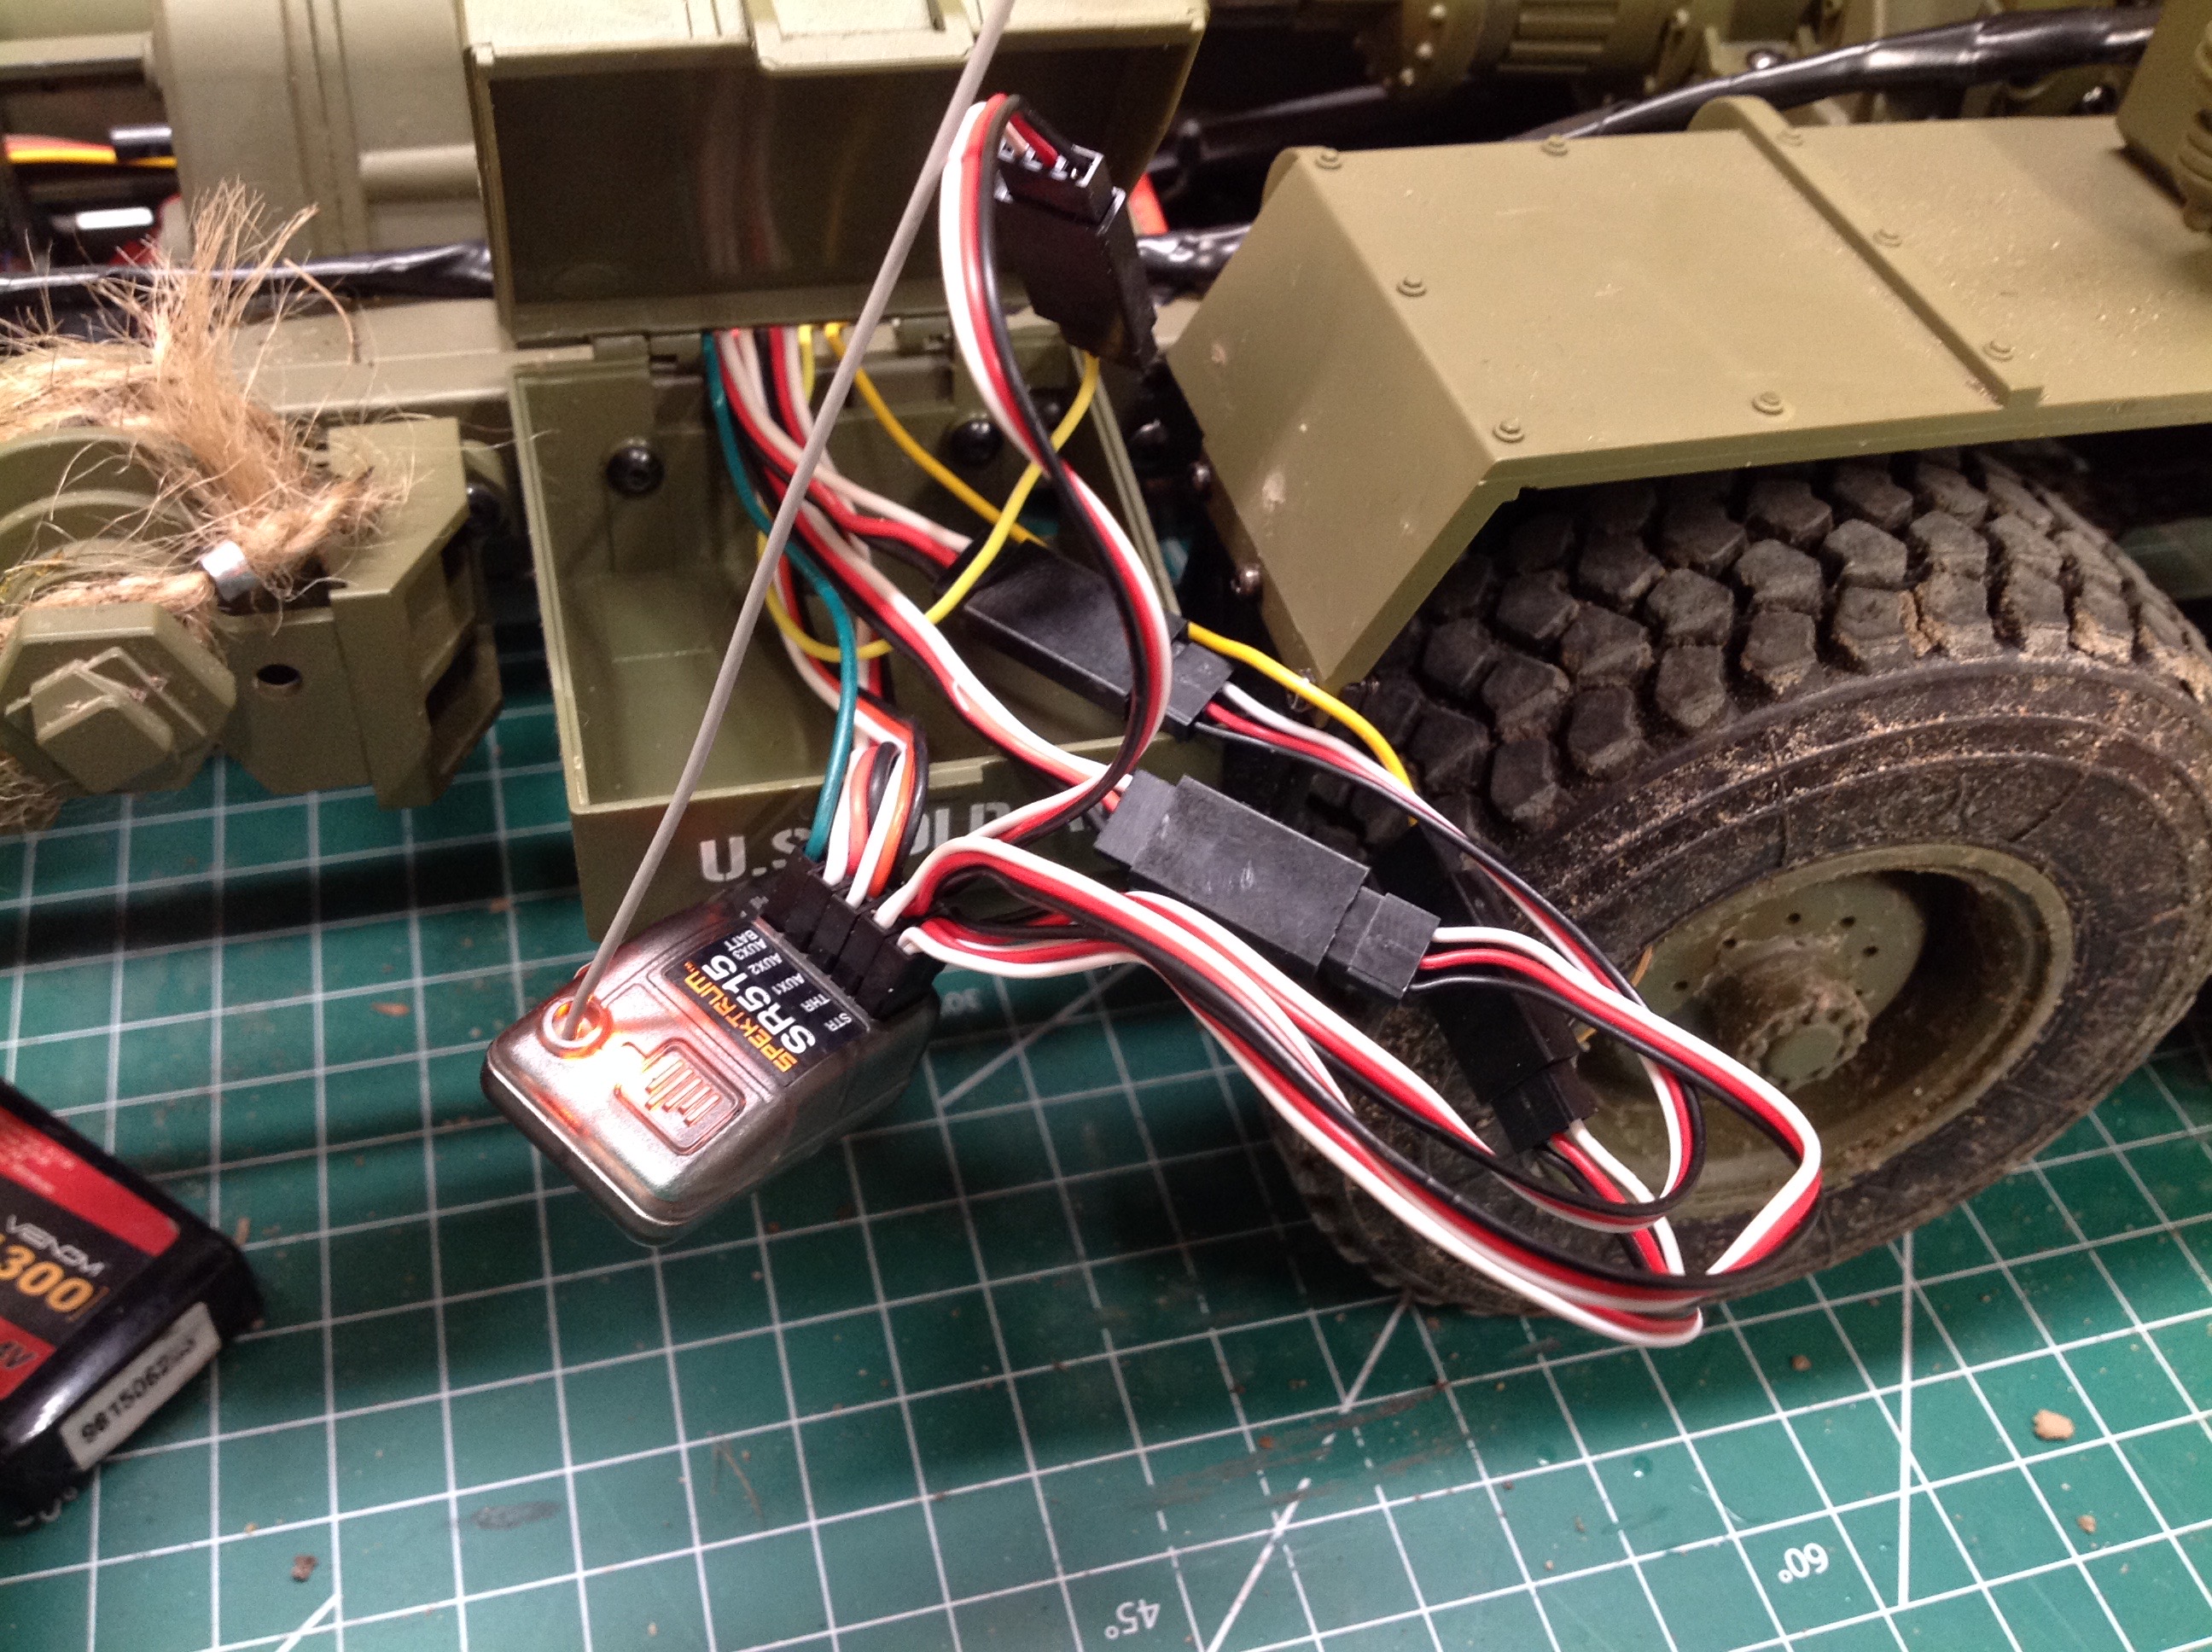
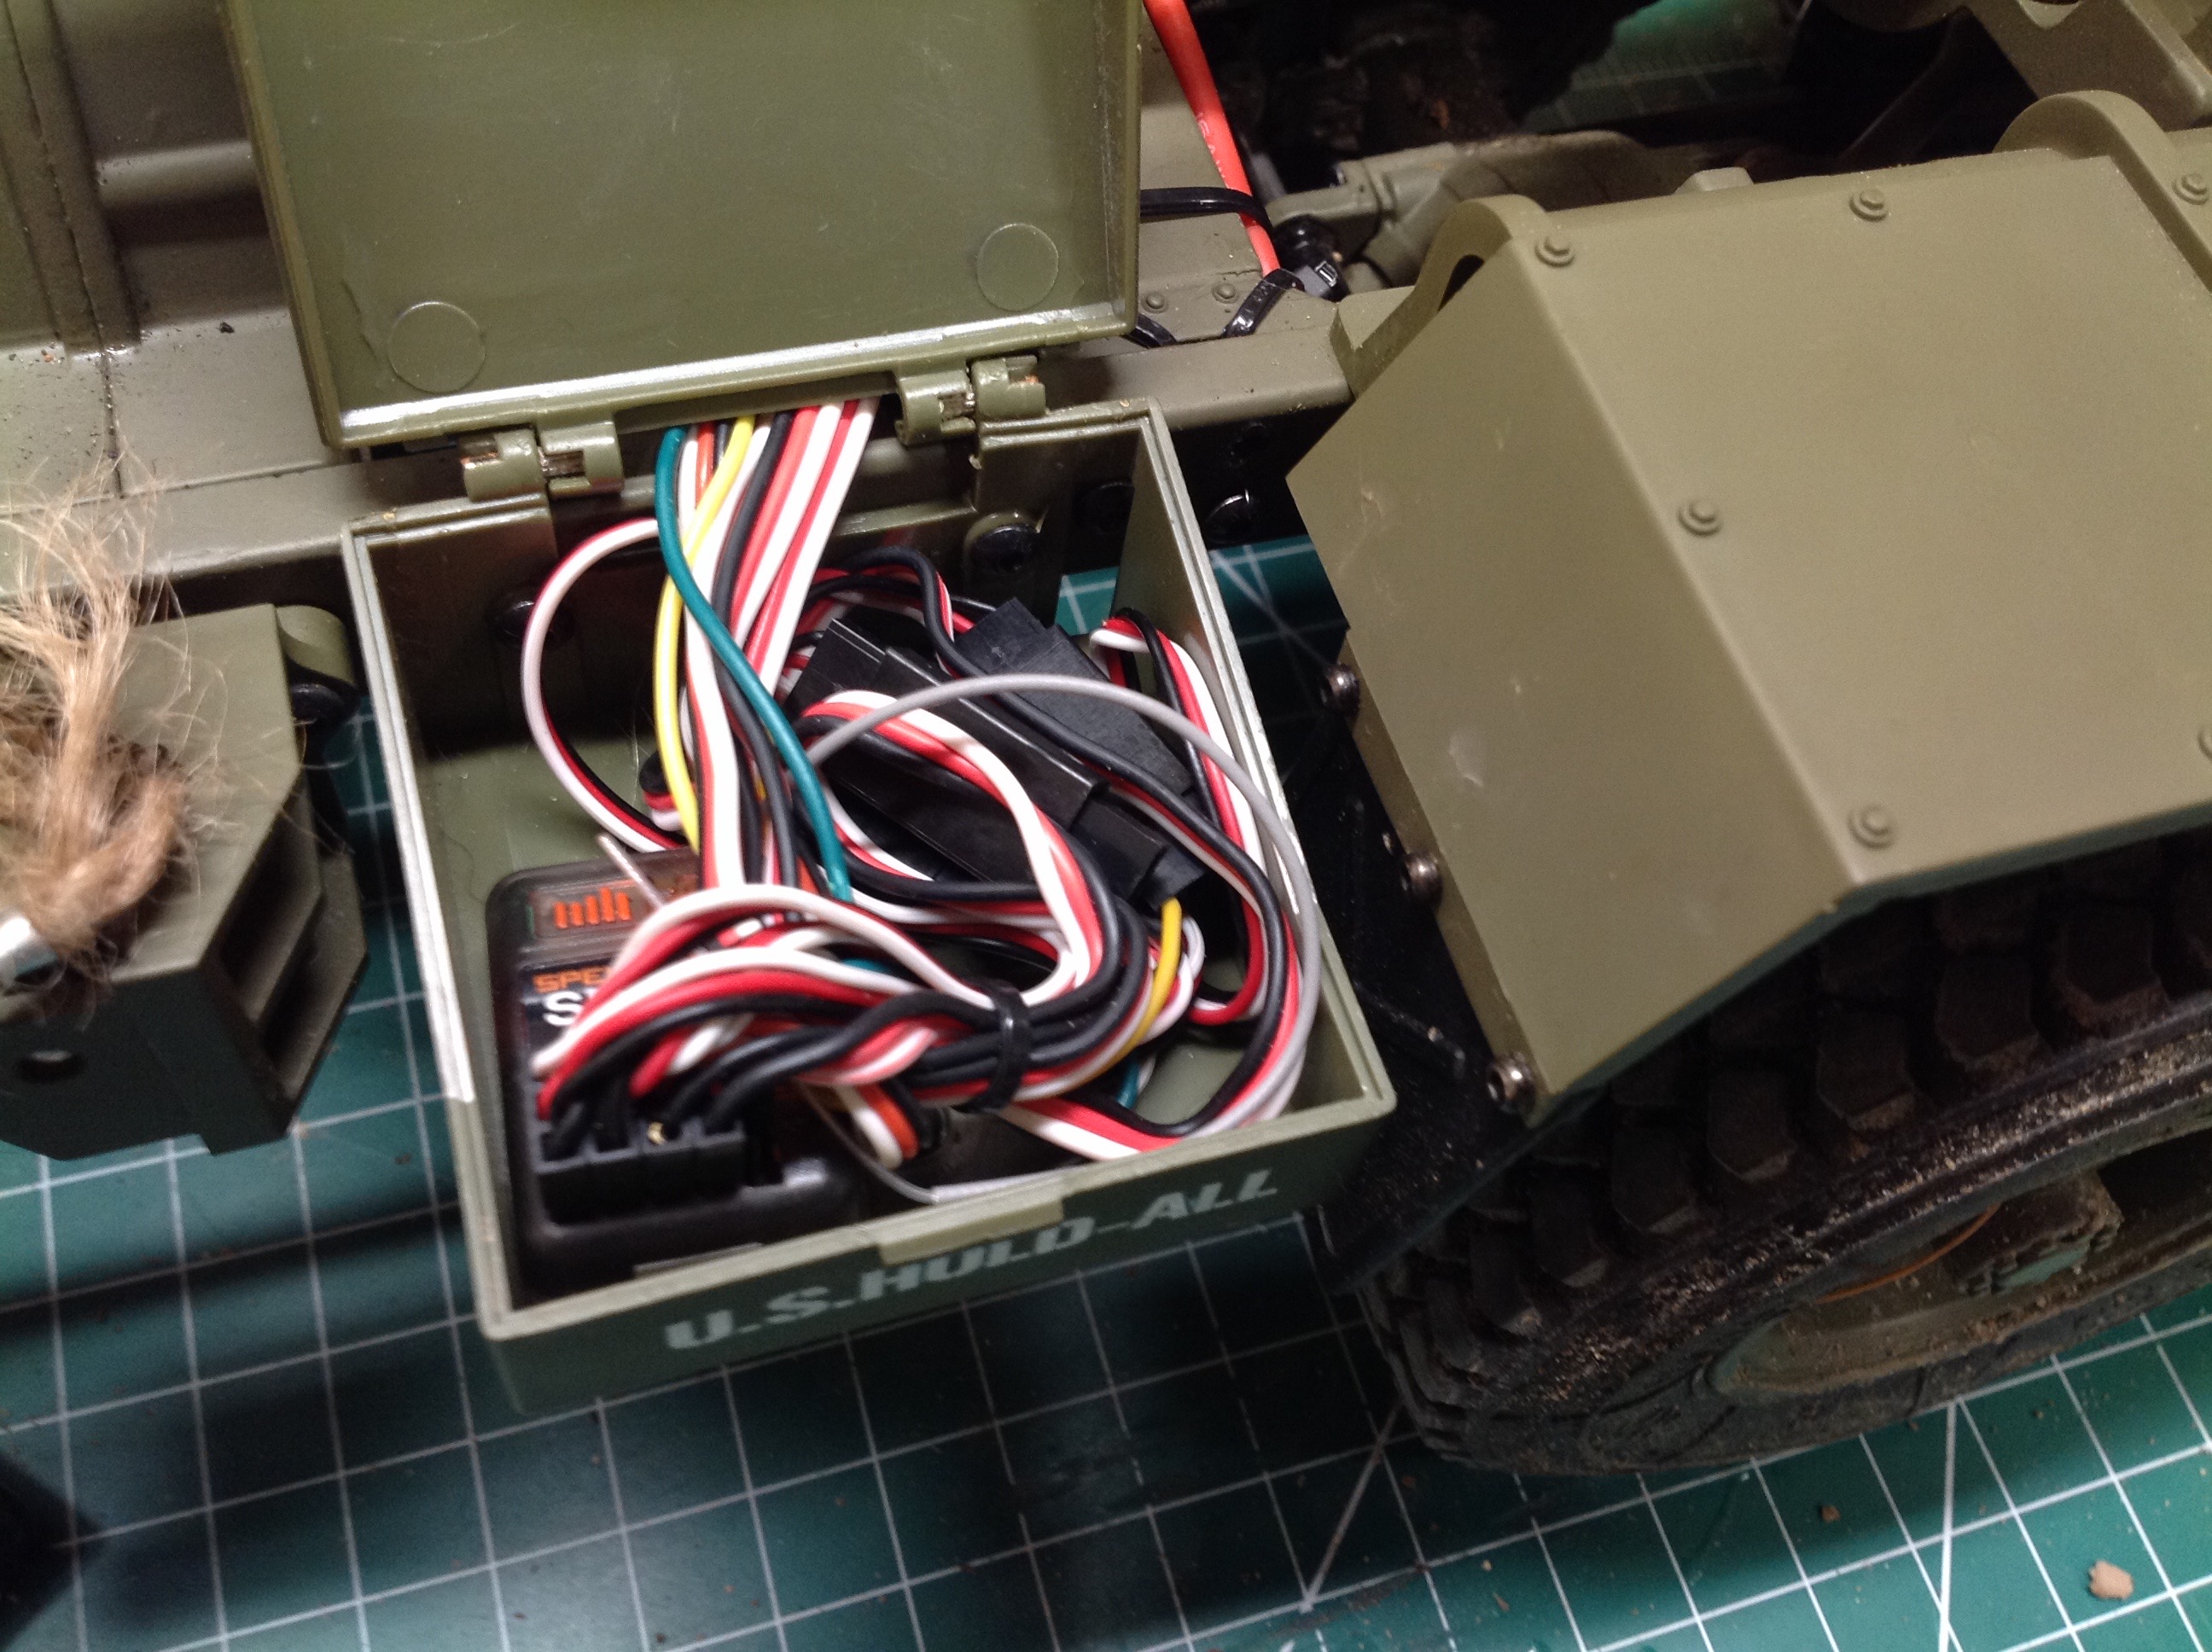
These photos show the installation of the wires into the radio. I
ended up with 5 channels: throttle, steering, transmission, horn, and
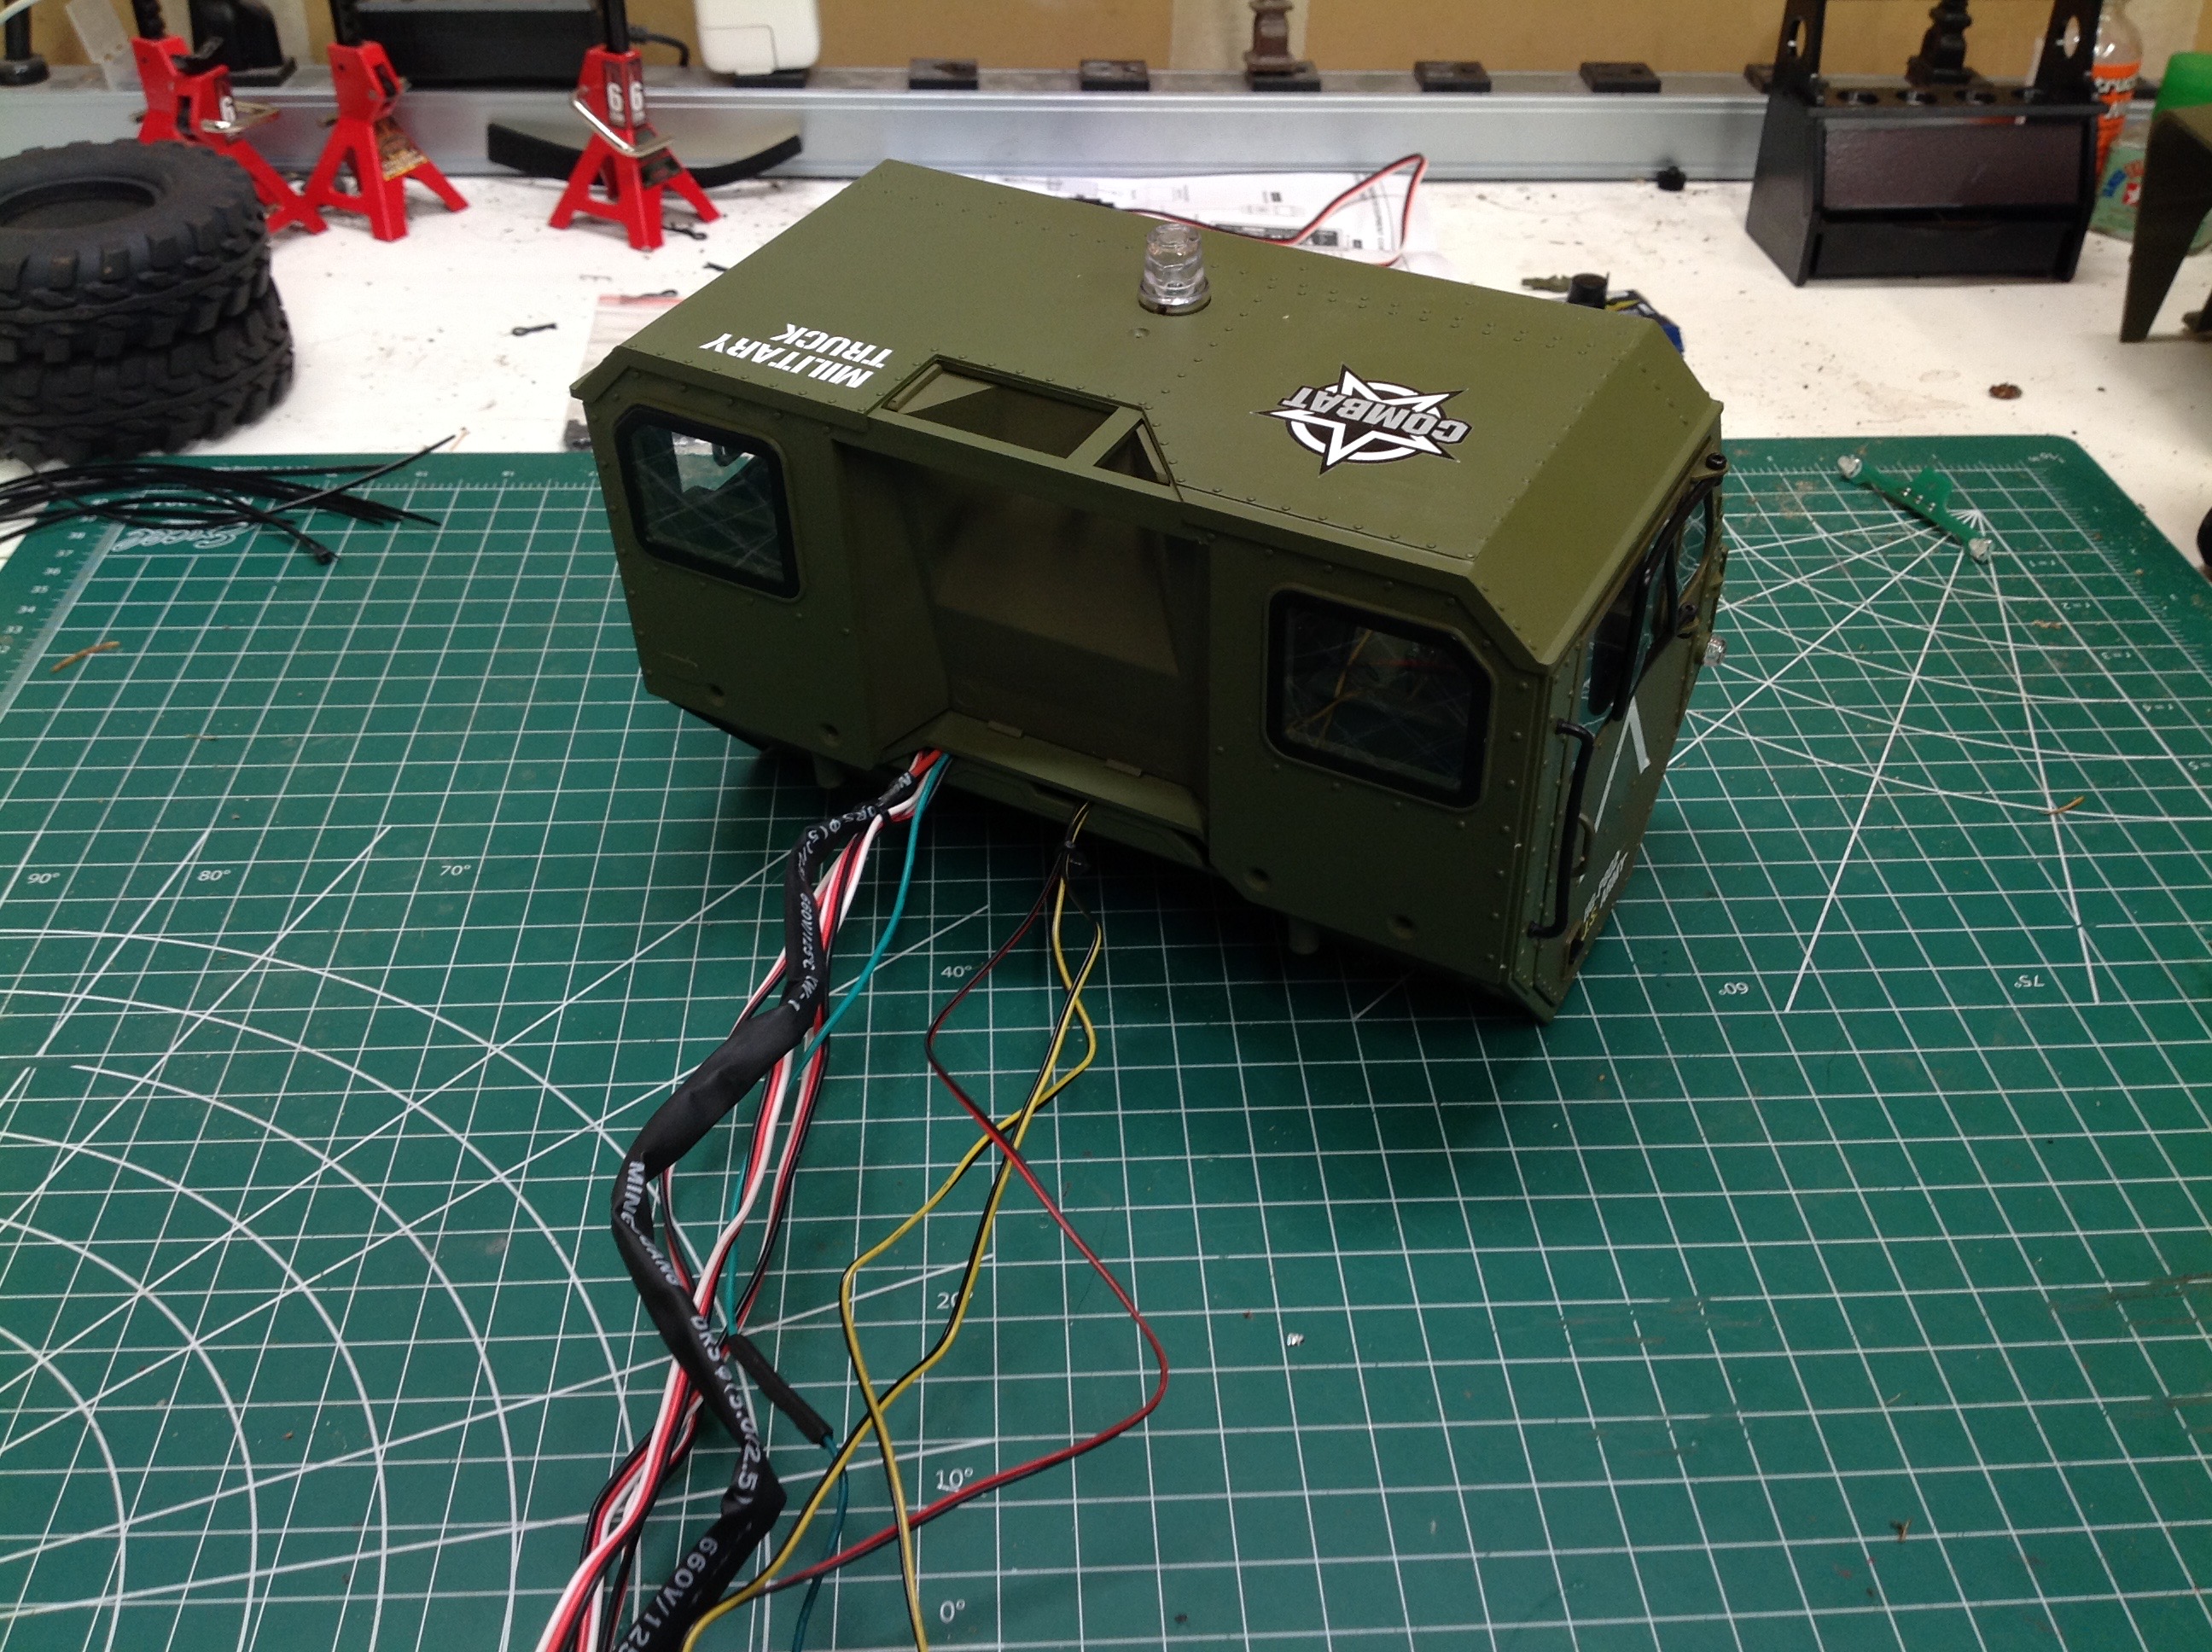
light mode. The light mode switch controls the light bar above the
windshield and the roller on the roof. Each single push of a
button on the controller changes modes. The front light bar has 5
LEDs and can change between various types of synchronized or sequential
flashing. The roller on the roof is a chip made of blue and red
LEDs in a ring which allows either flashing or a rotating effect.
This last part was particularly hard to fit because it is not shaped
correctly to fit into the available space in the lens. At least I
was able to package all the wiring neatly as shown.
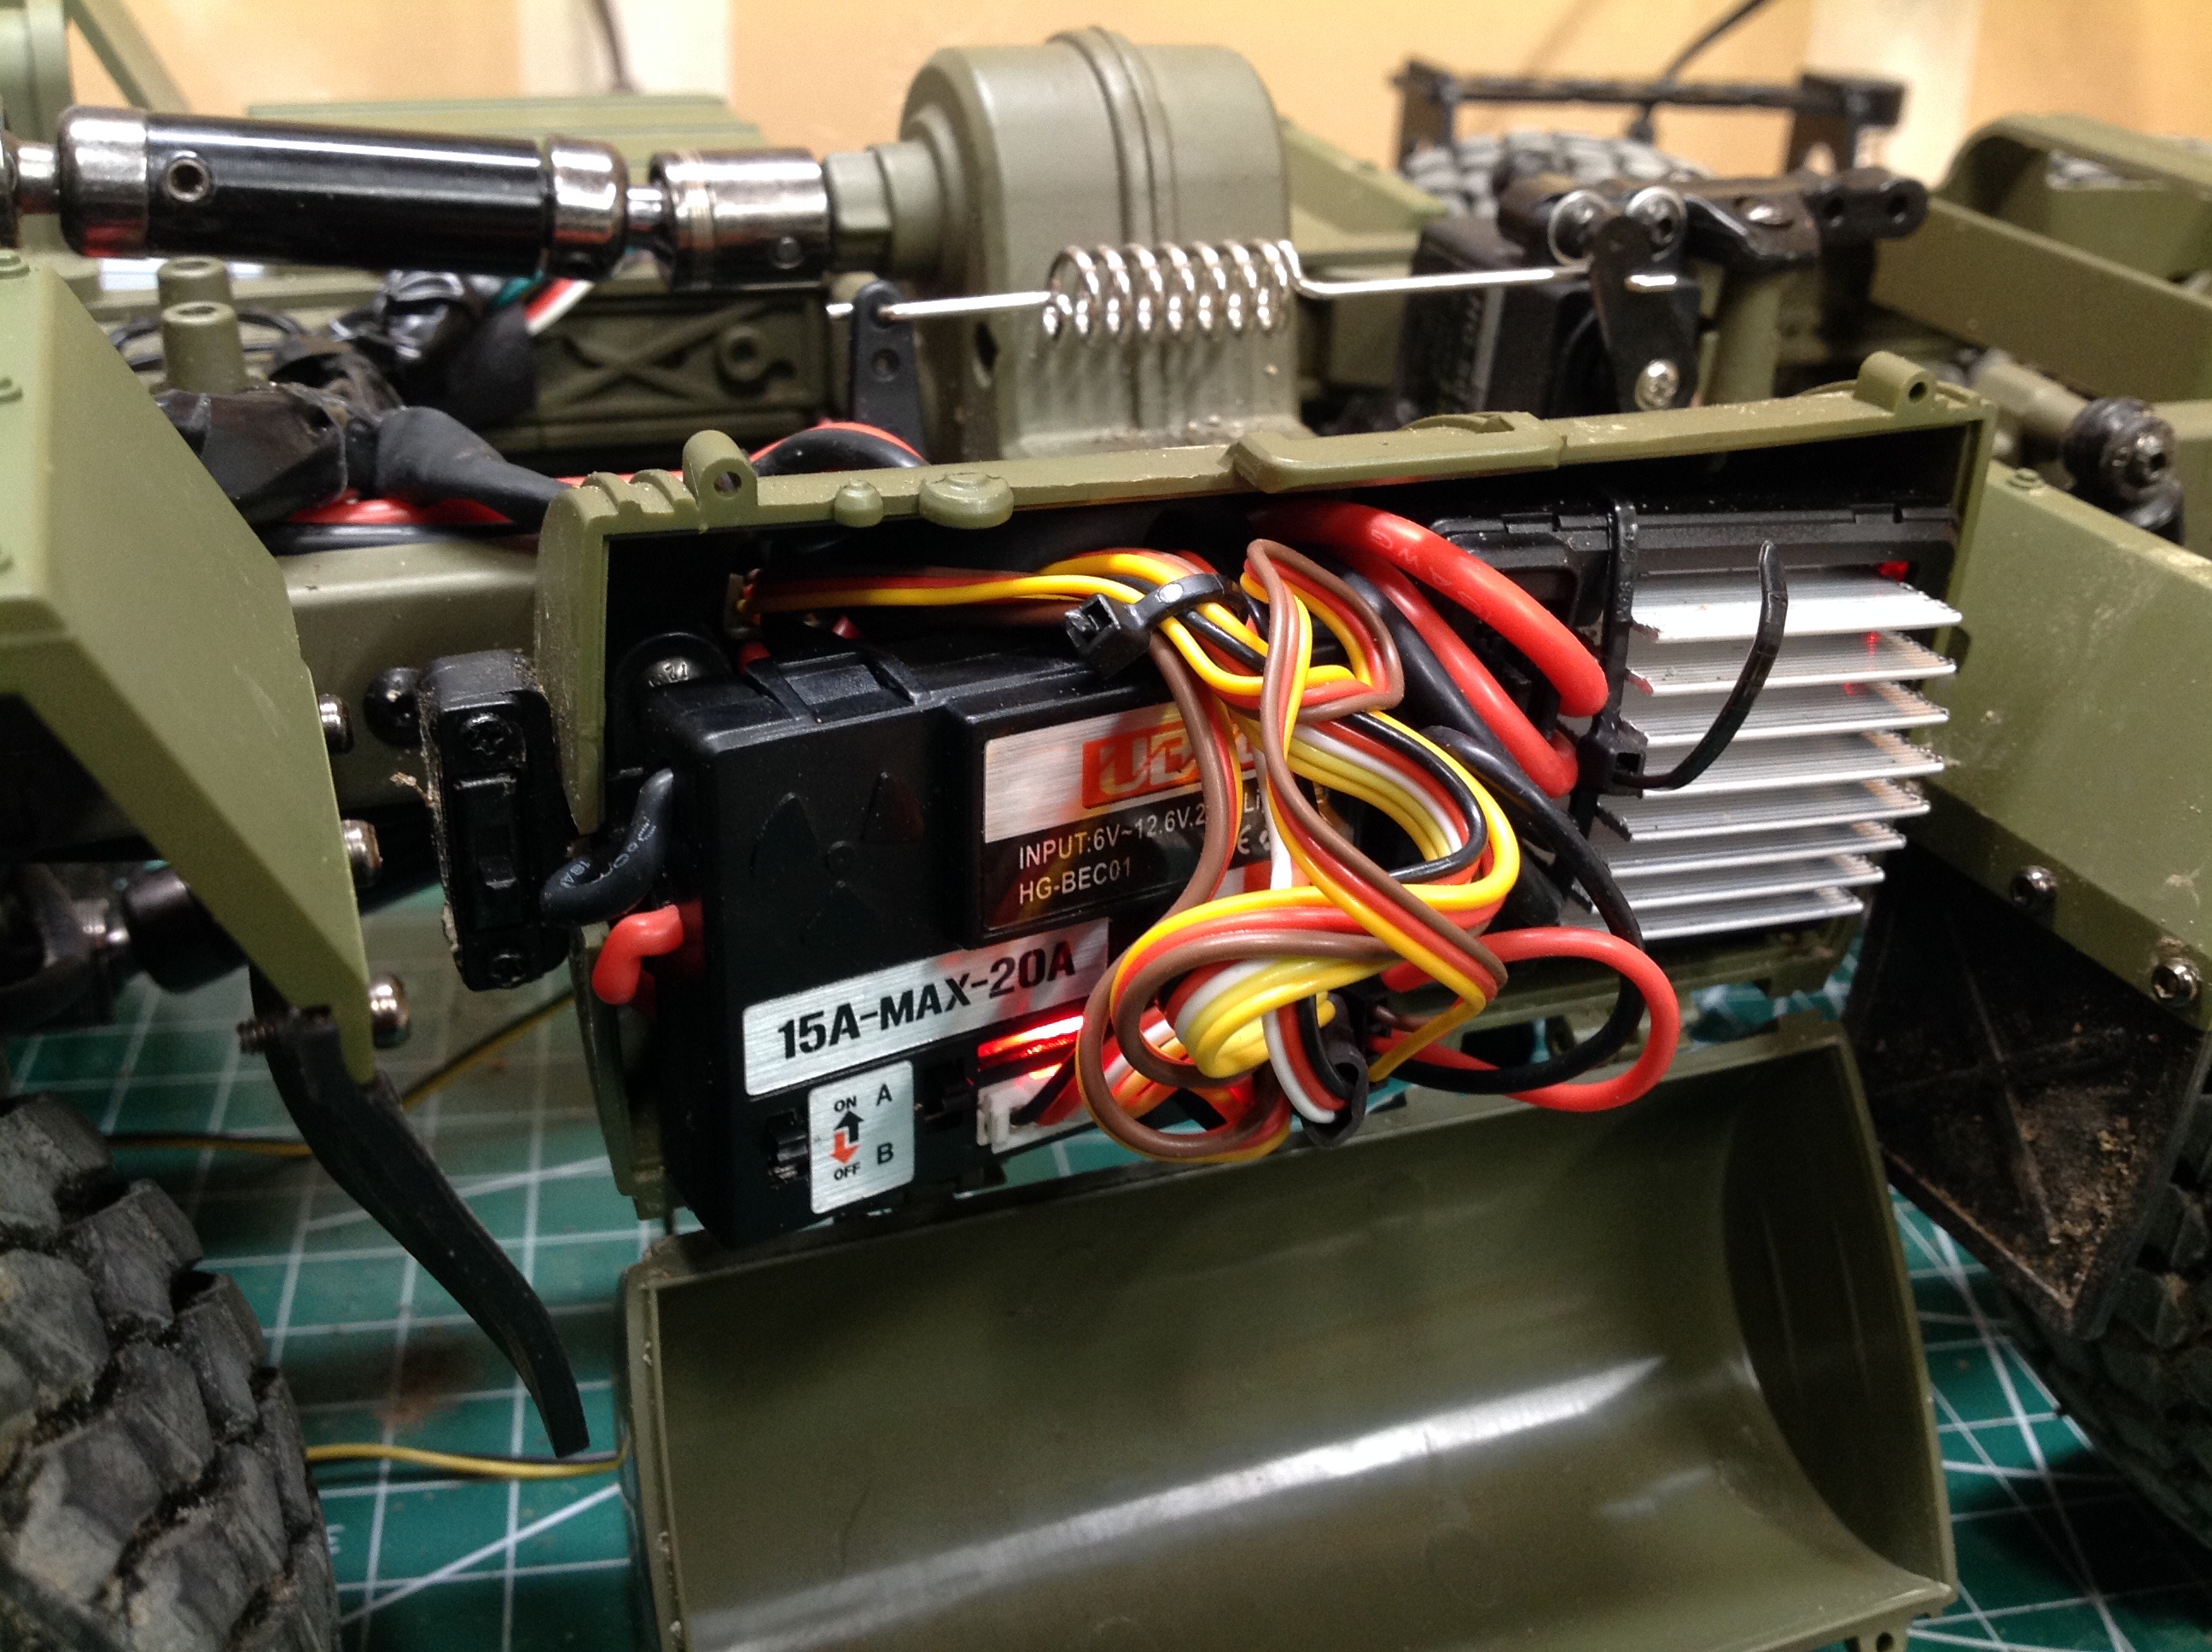
The speaker is powered directly from the external BEC which was already
wired with a JST plug for that purpose. Shoving more wires into
that fuel tank wasn't easy though. On the right you can see my
final wiring installation. I wrapped each wire bundle with
electrical tape to help hide it. The tail light wires are the
longest, running all the way to the rear bumper. They need
additional length because the bumper must be removable to access the
battery compartment.
©2019 Eric Albrecht