Stanchion Trailer Project
Page 1: Building the trailer
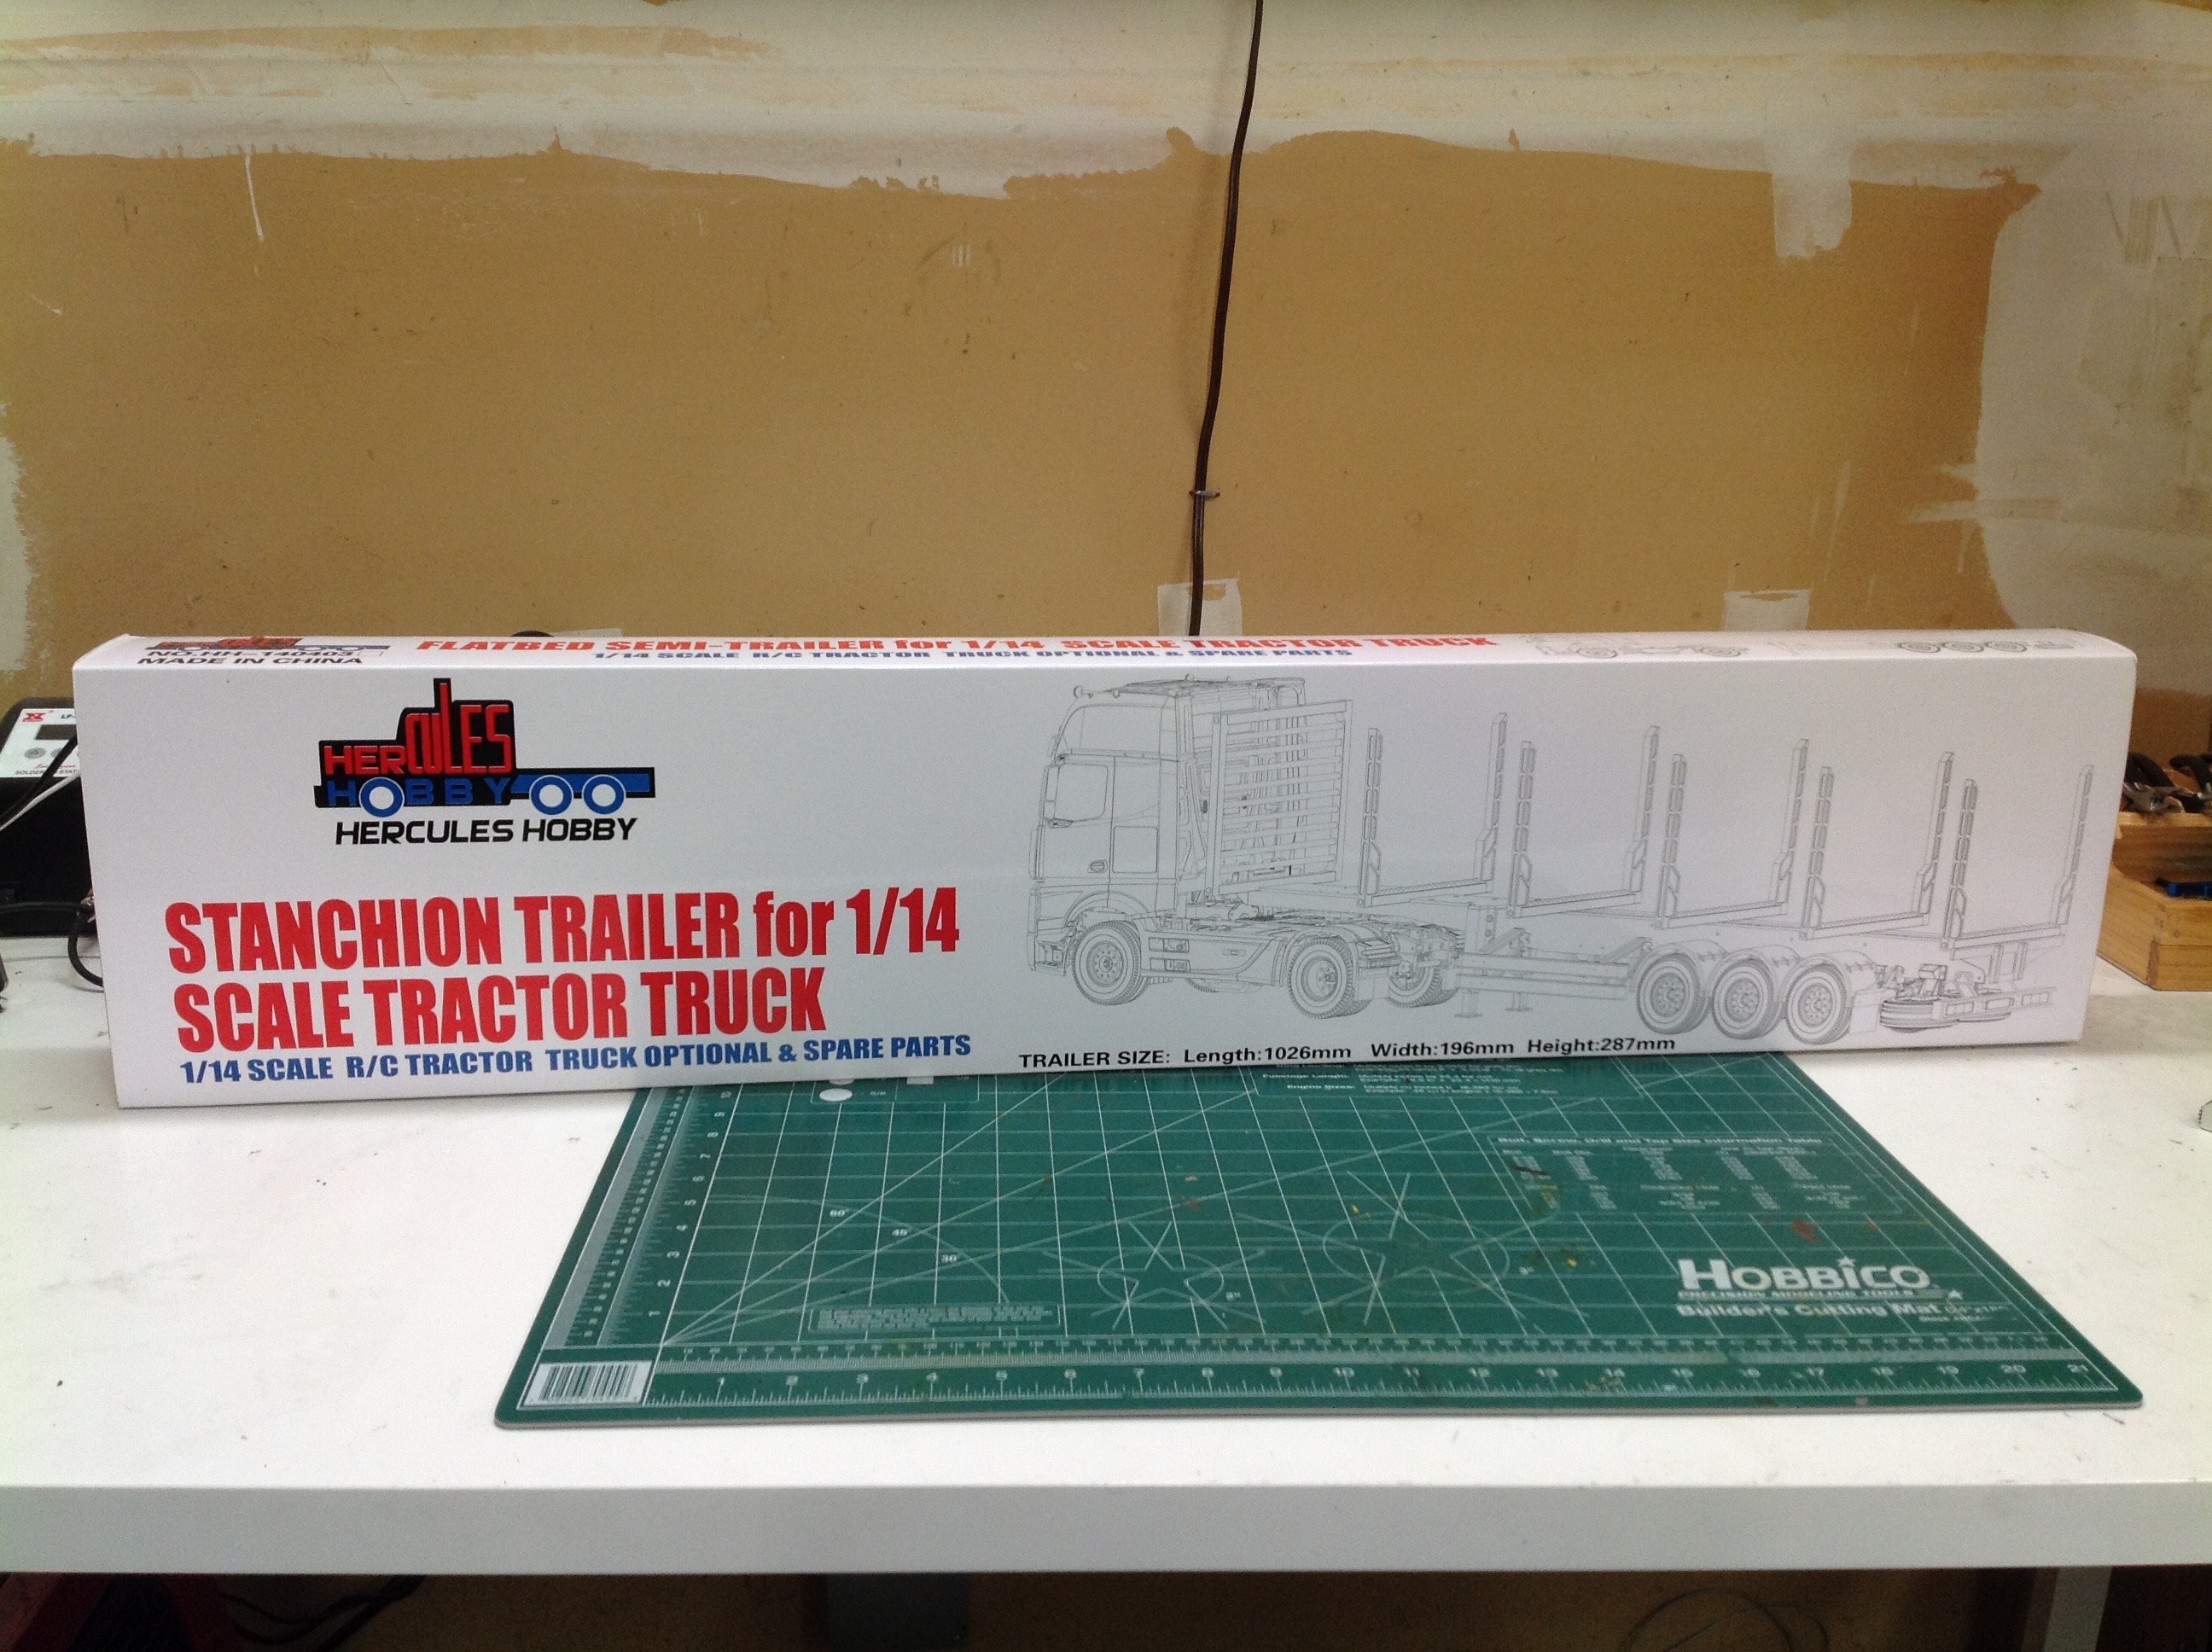
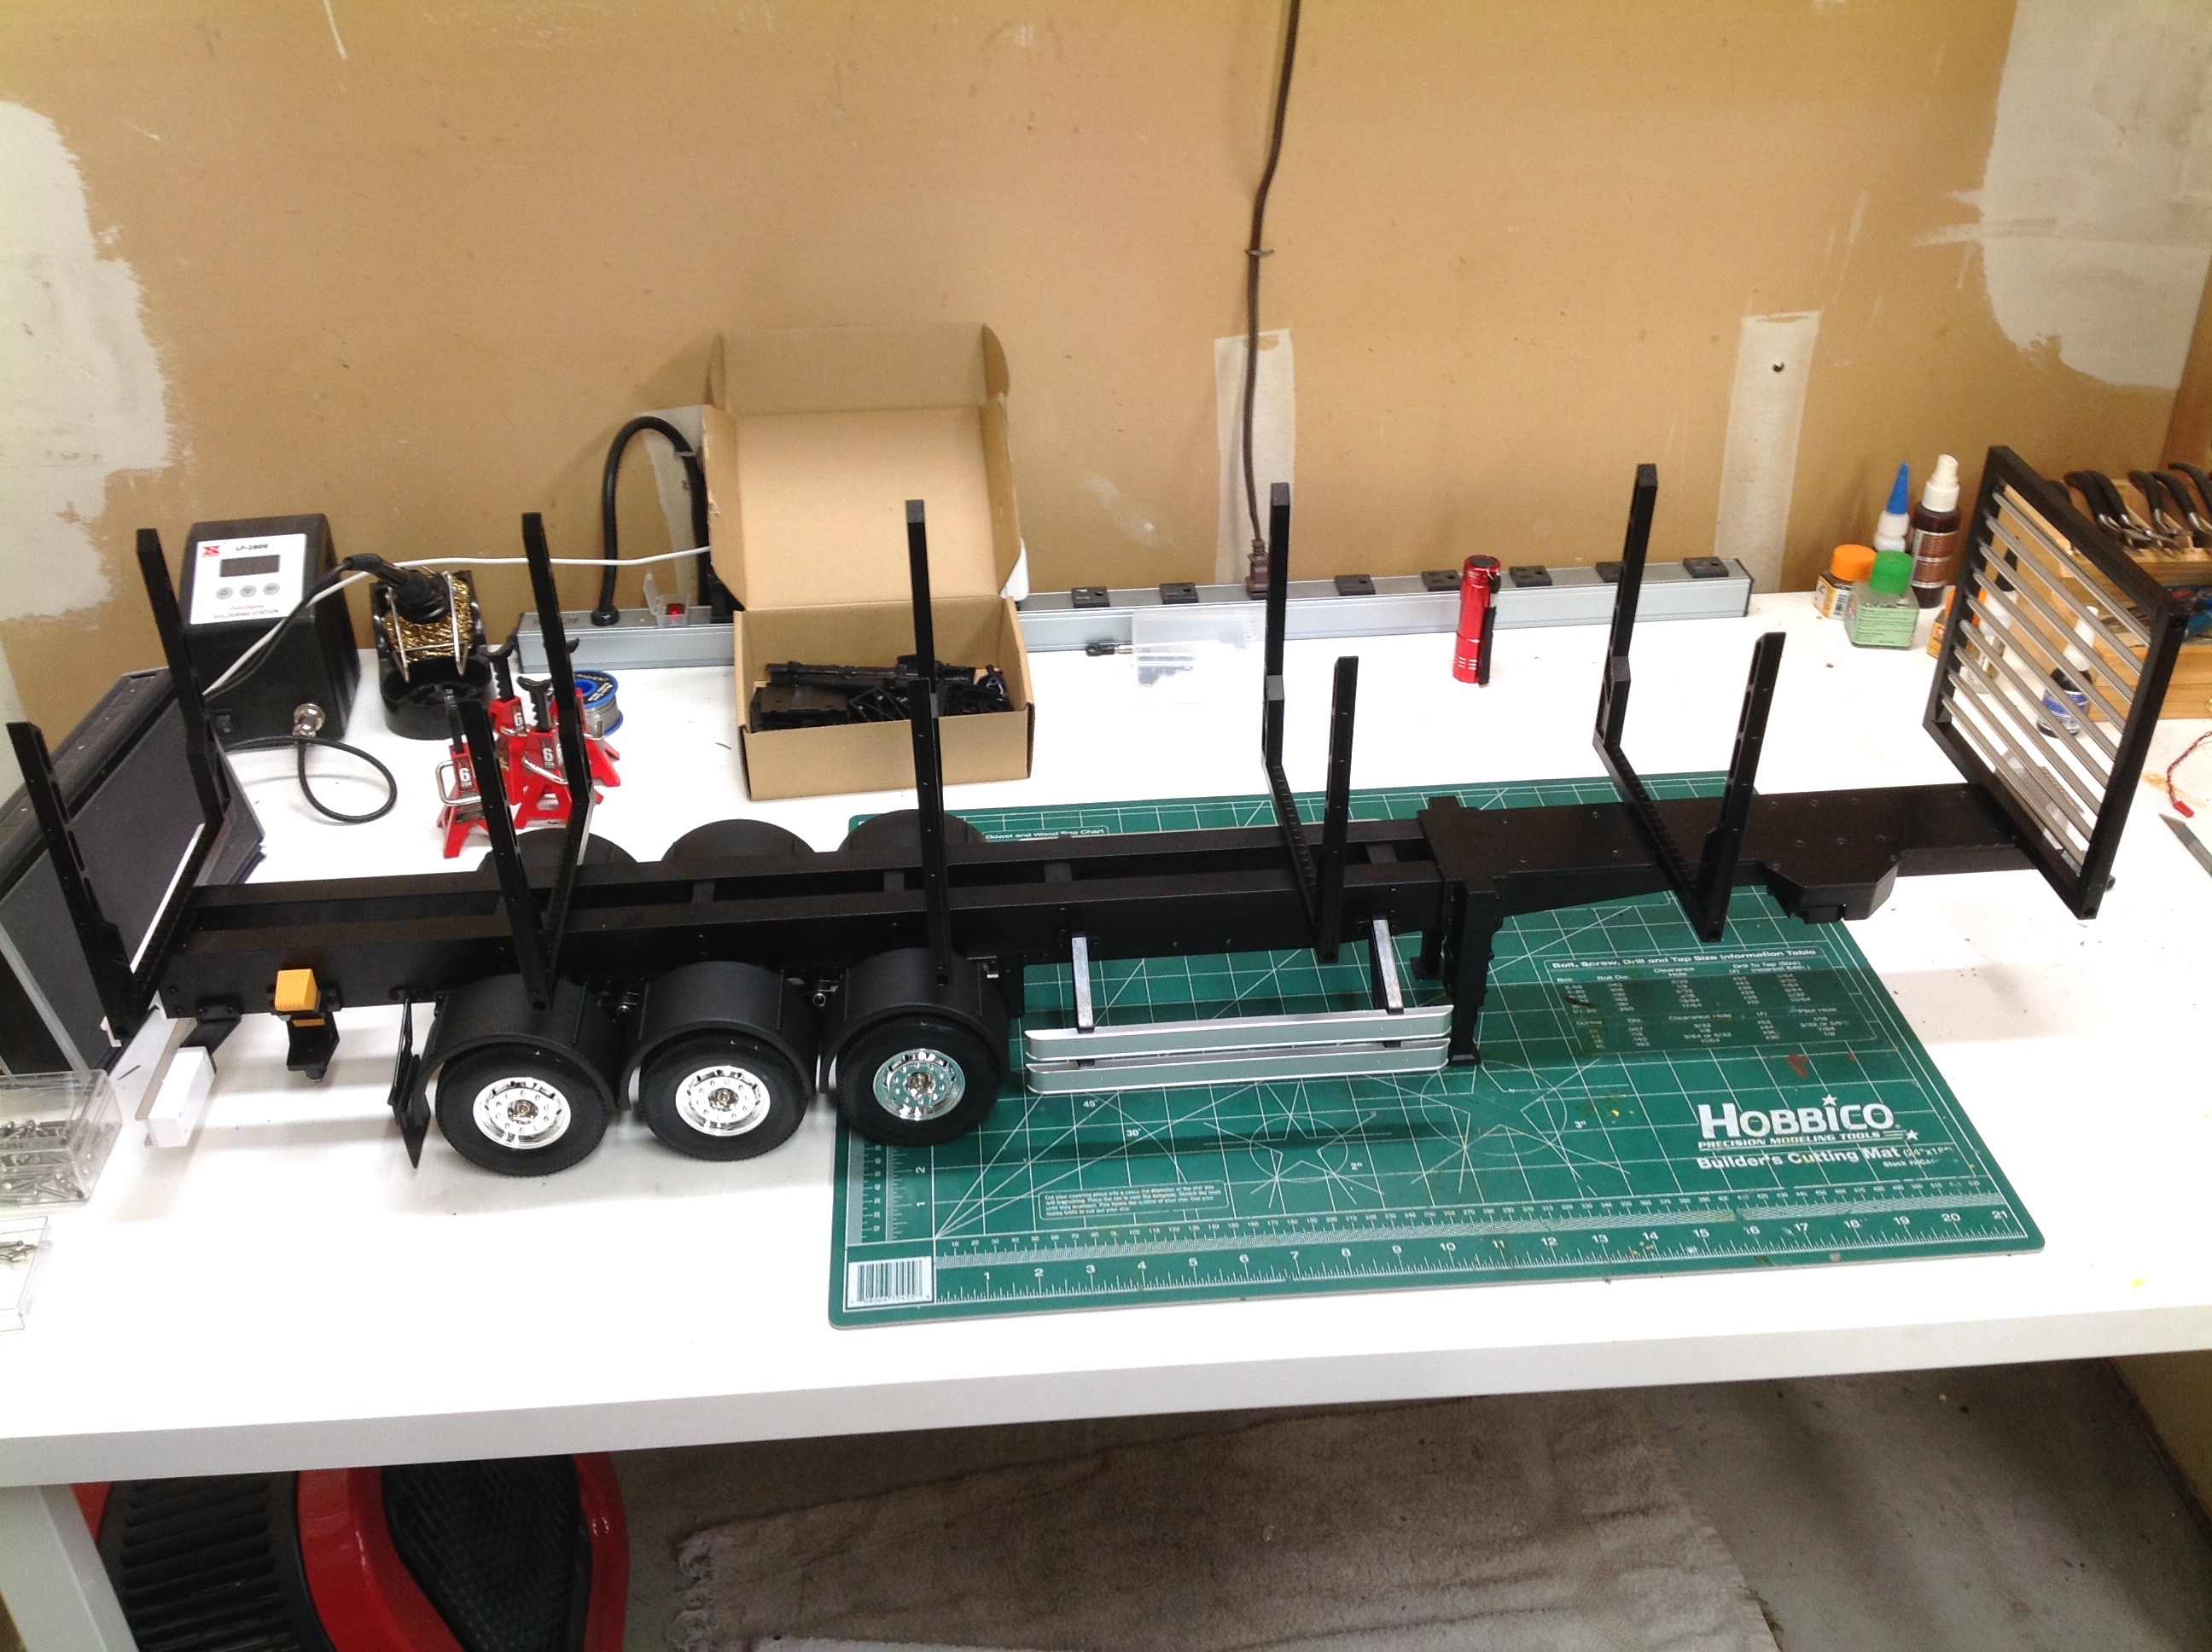
This is a really long box because this is a really long trailer.
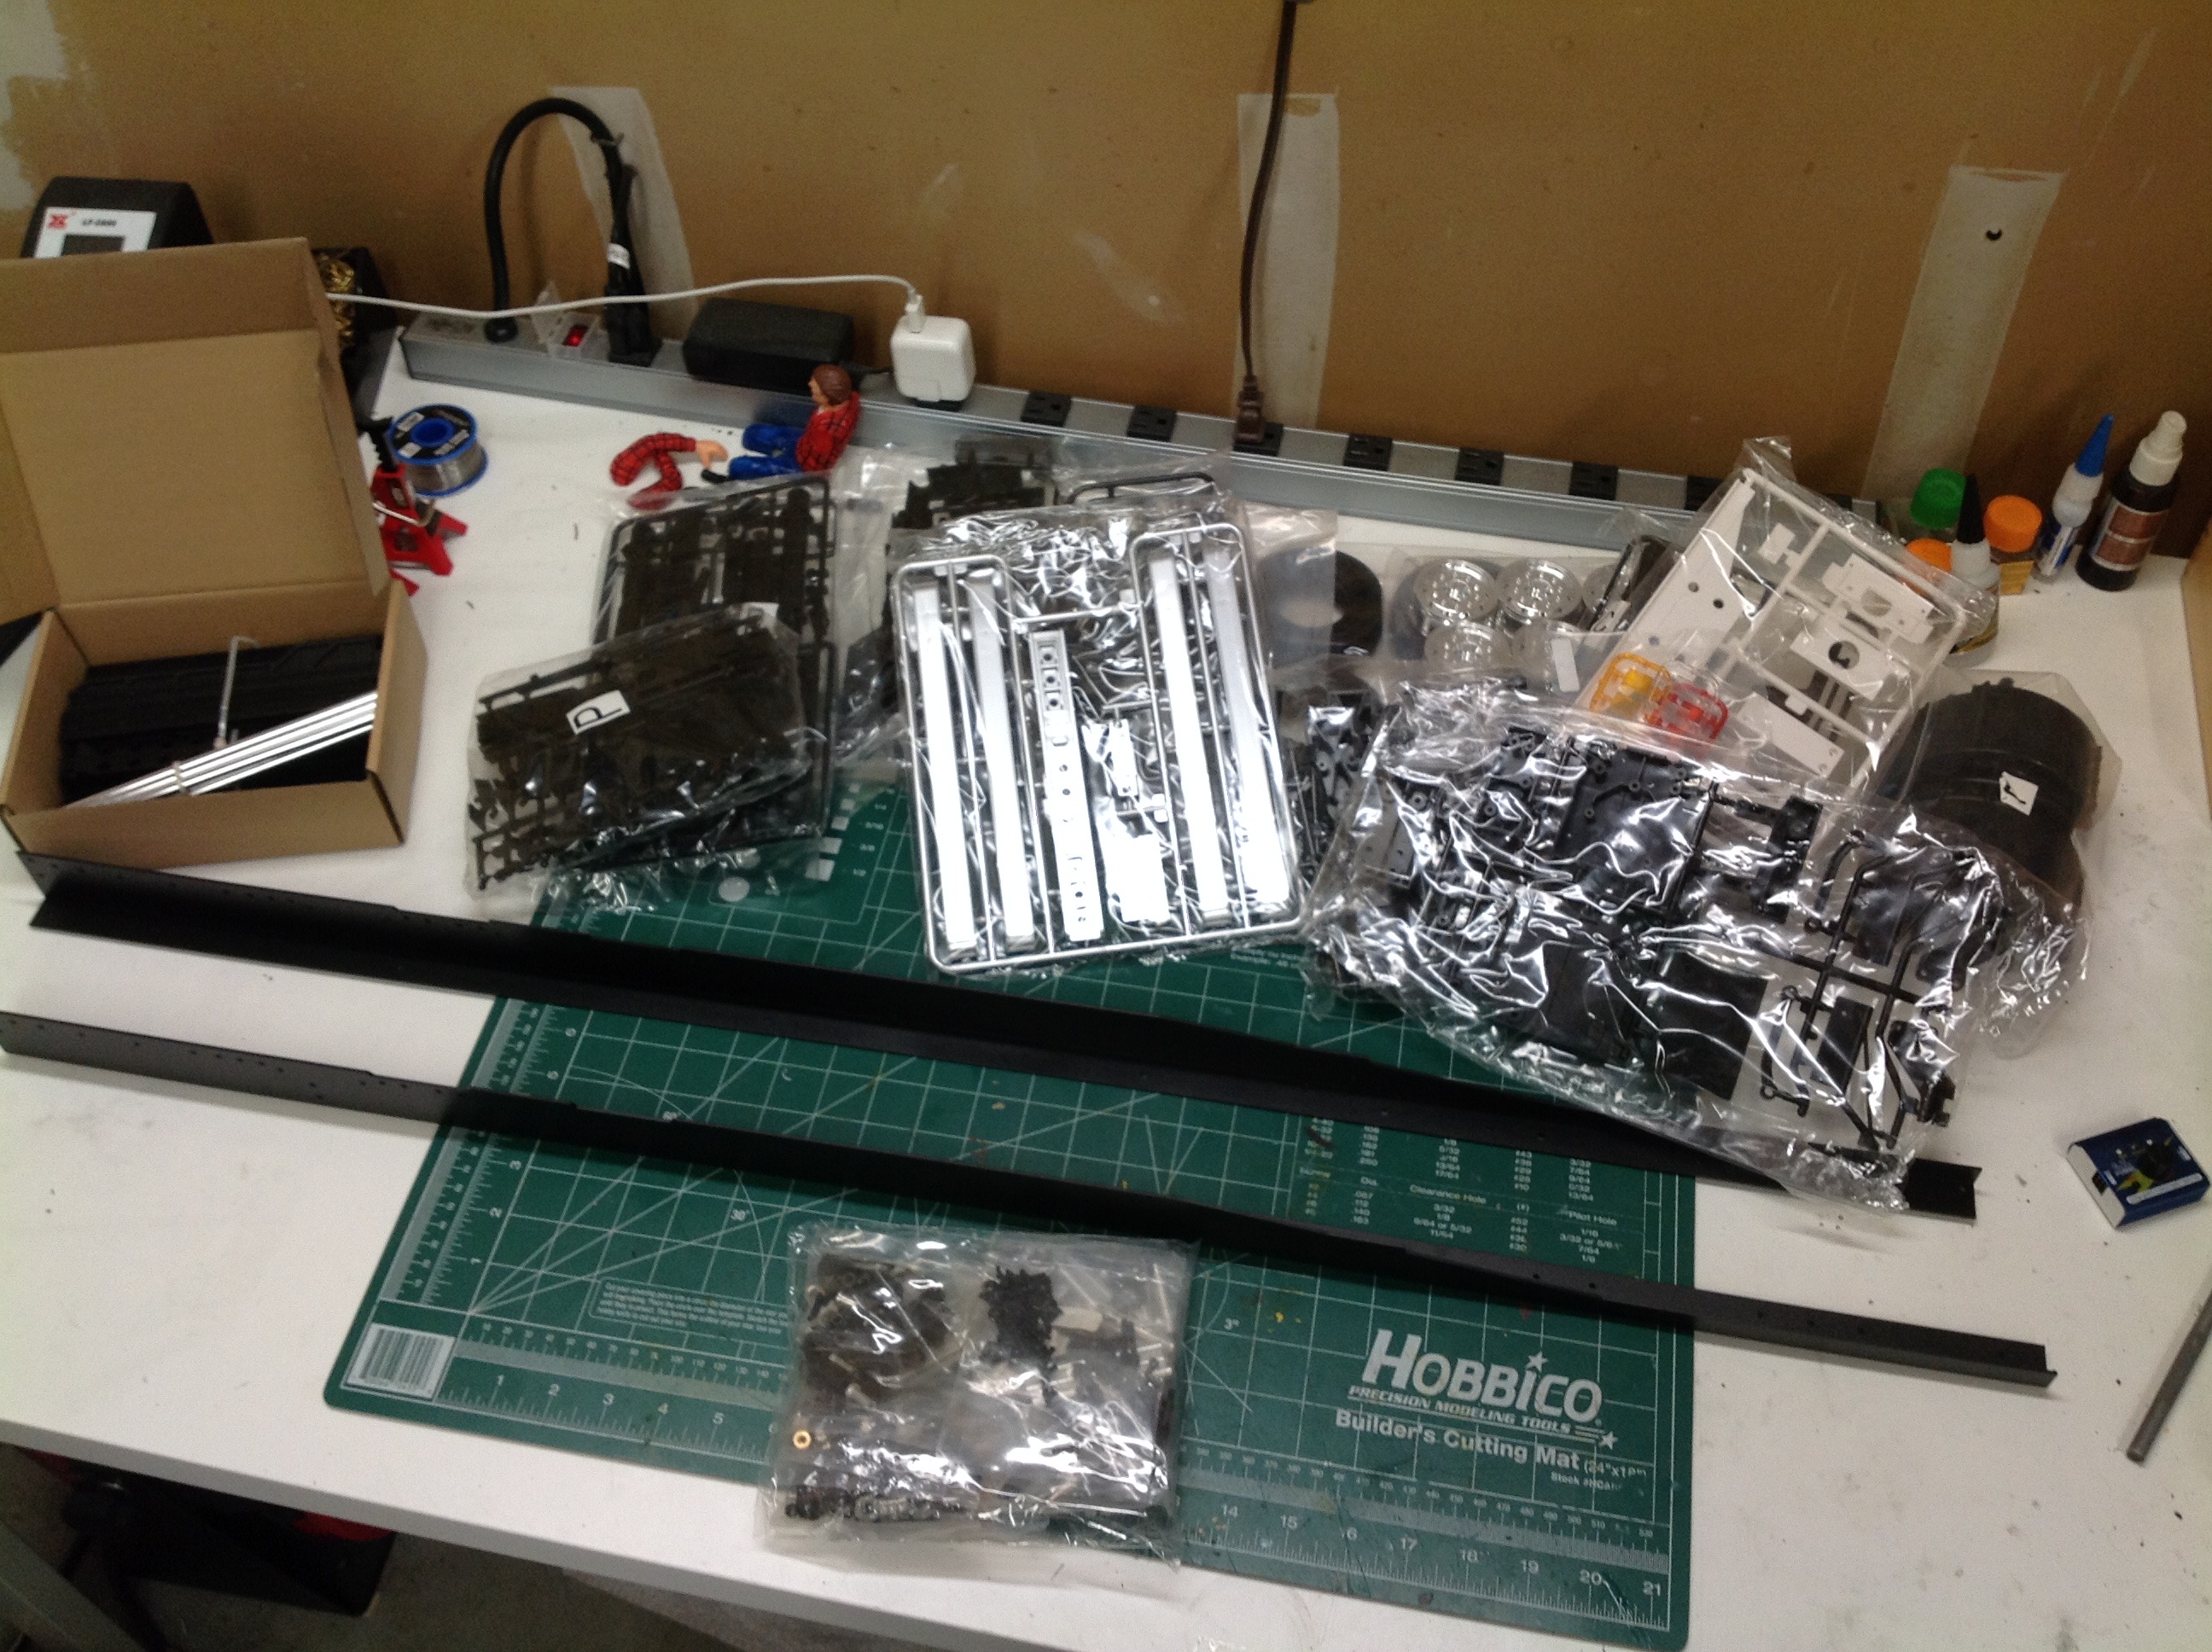
Once opened, you can see that the entire length of the box is used by
the huge frame rails. There are a handful of plastic parts trees,
but most of the model is aluminum parts and steel hardware. It is
quite heavy.
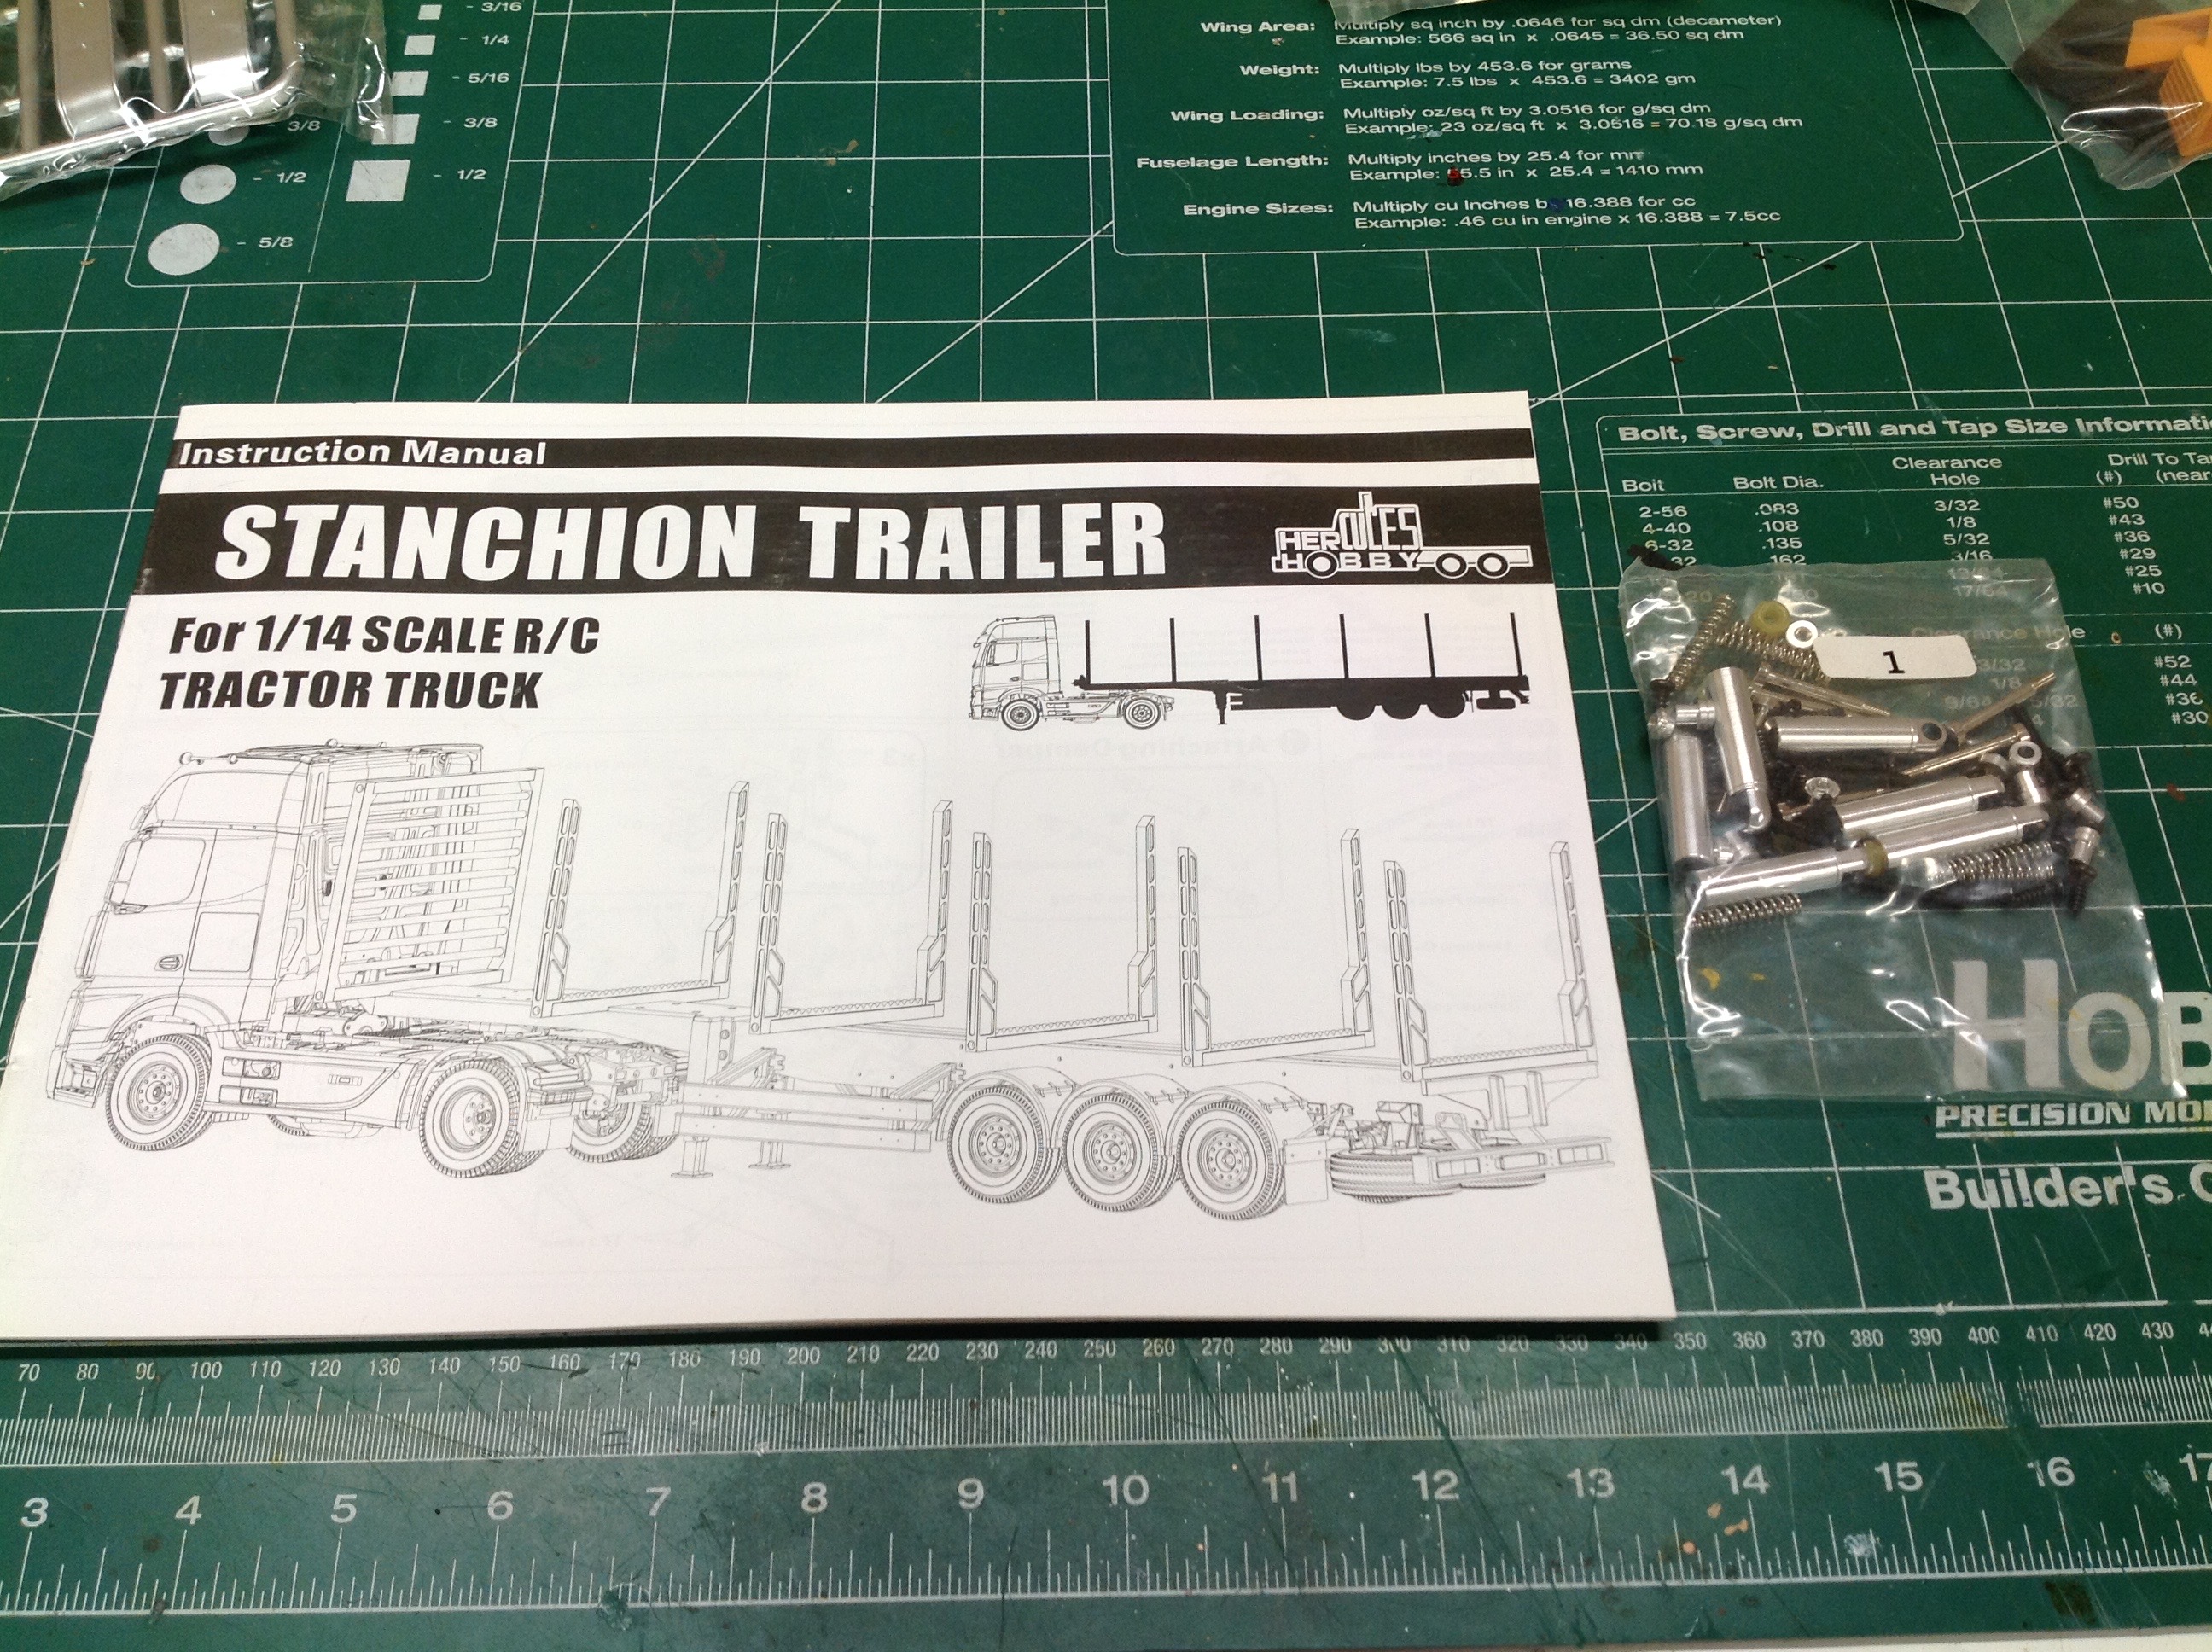
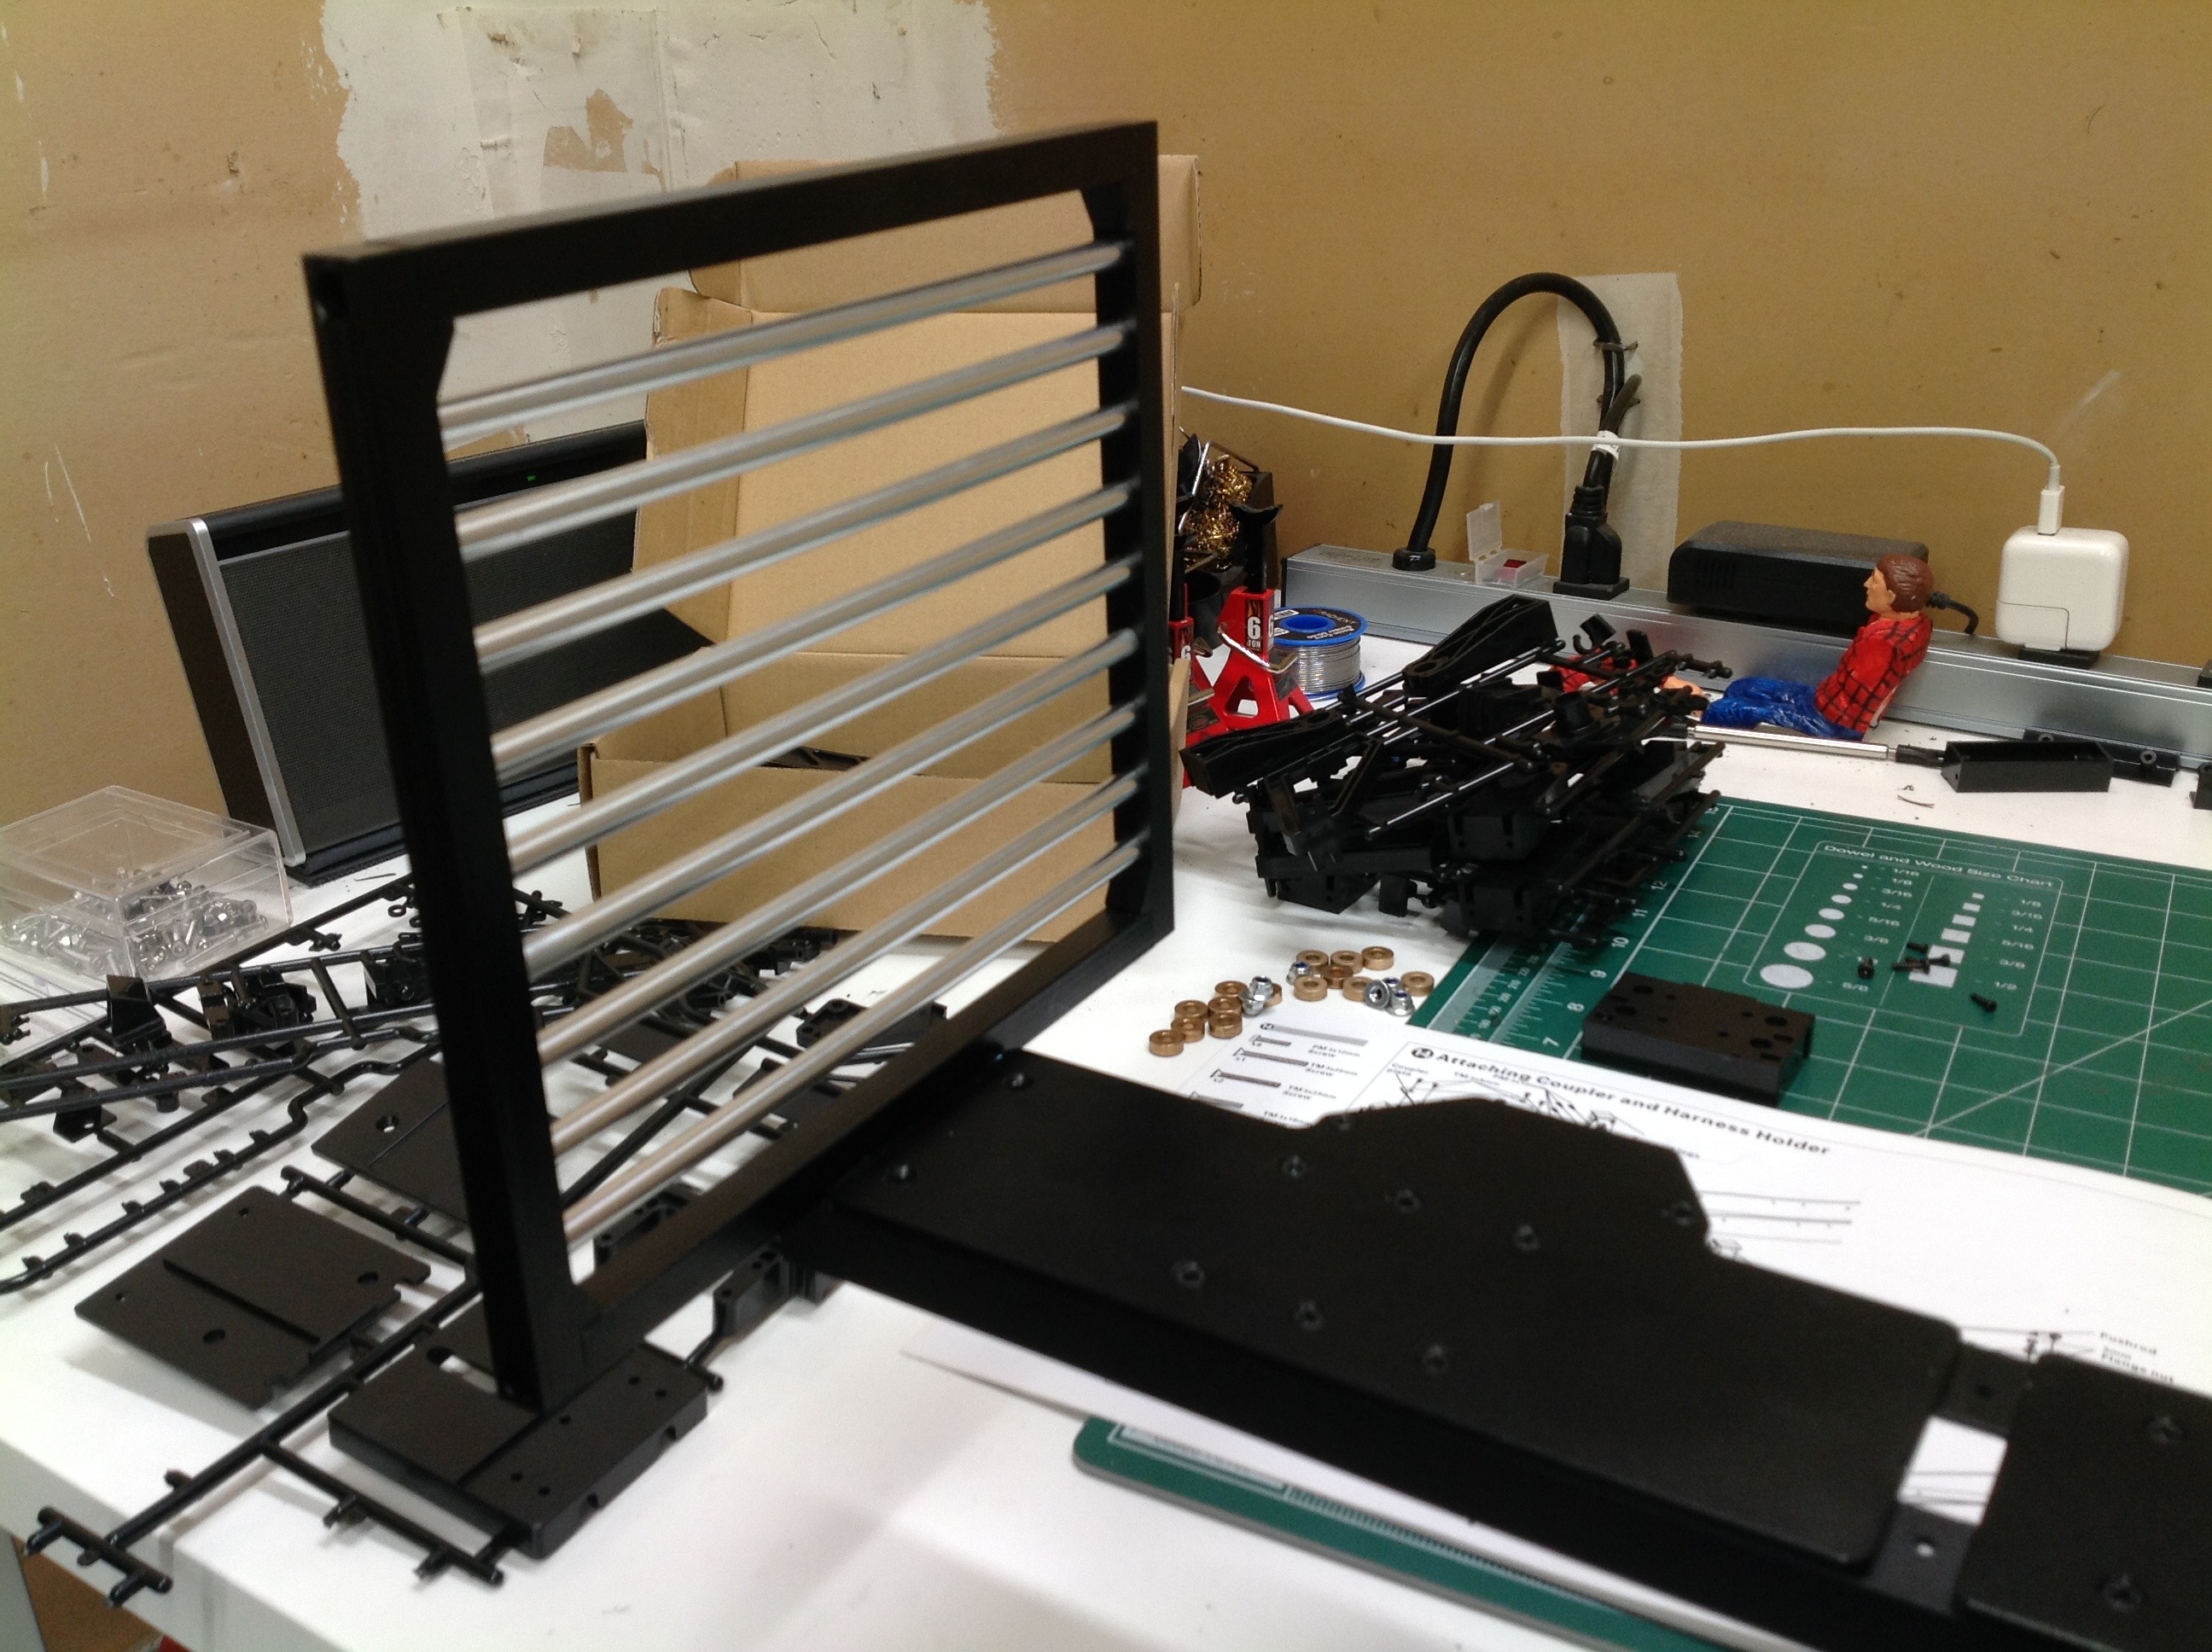
For some reason, instructions that are printed in landscape orientation
always seem odd to me. Other than that though, these Hercules
Hobby instructions are of quality similar to Tamiya. This is a
dual purpose manual also covering the flatbed trailer which is identical
apart from the stanchions.
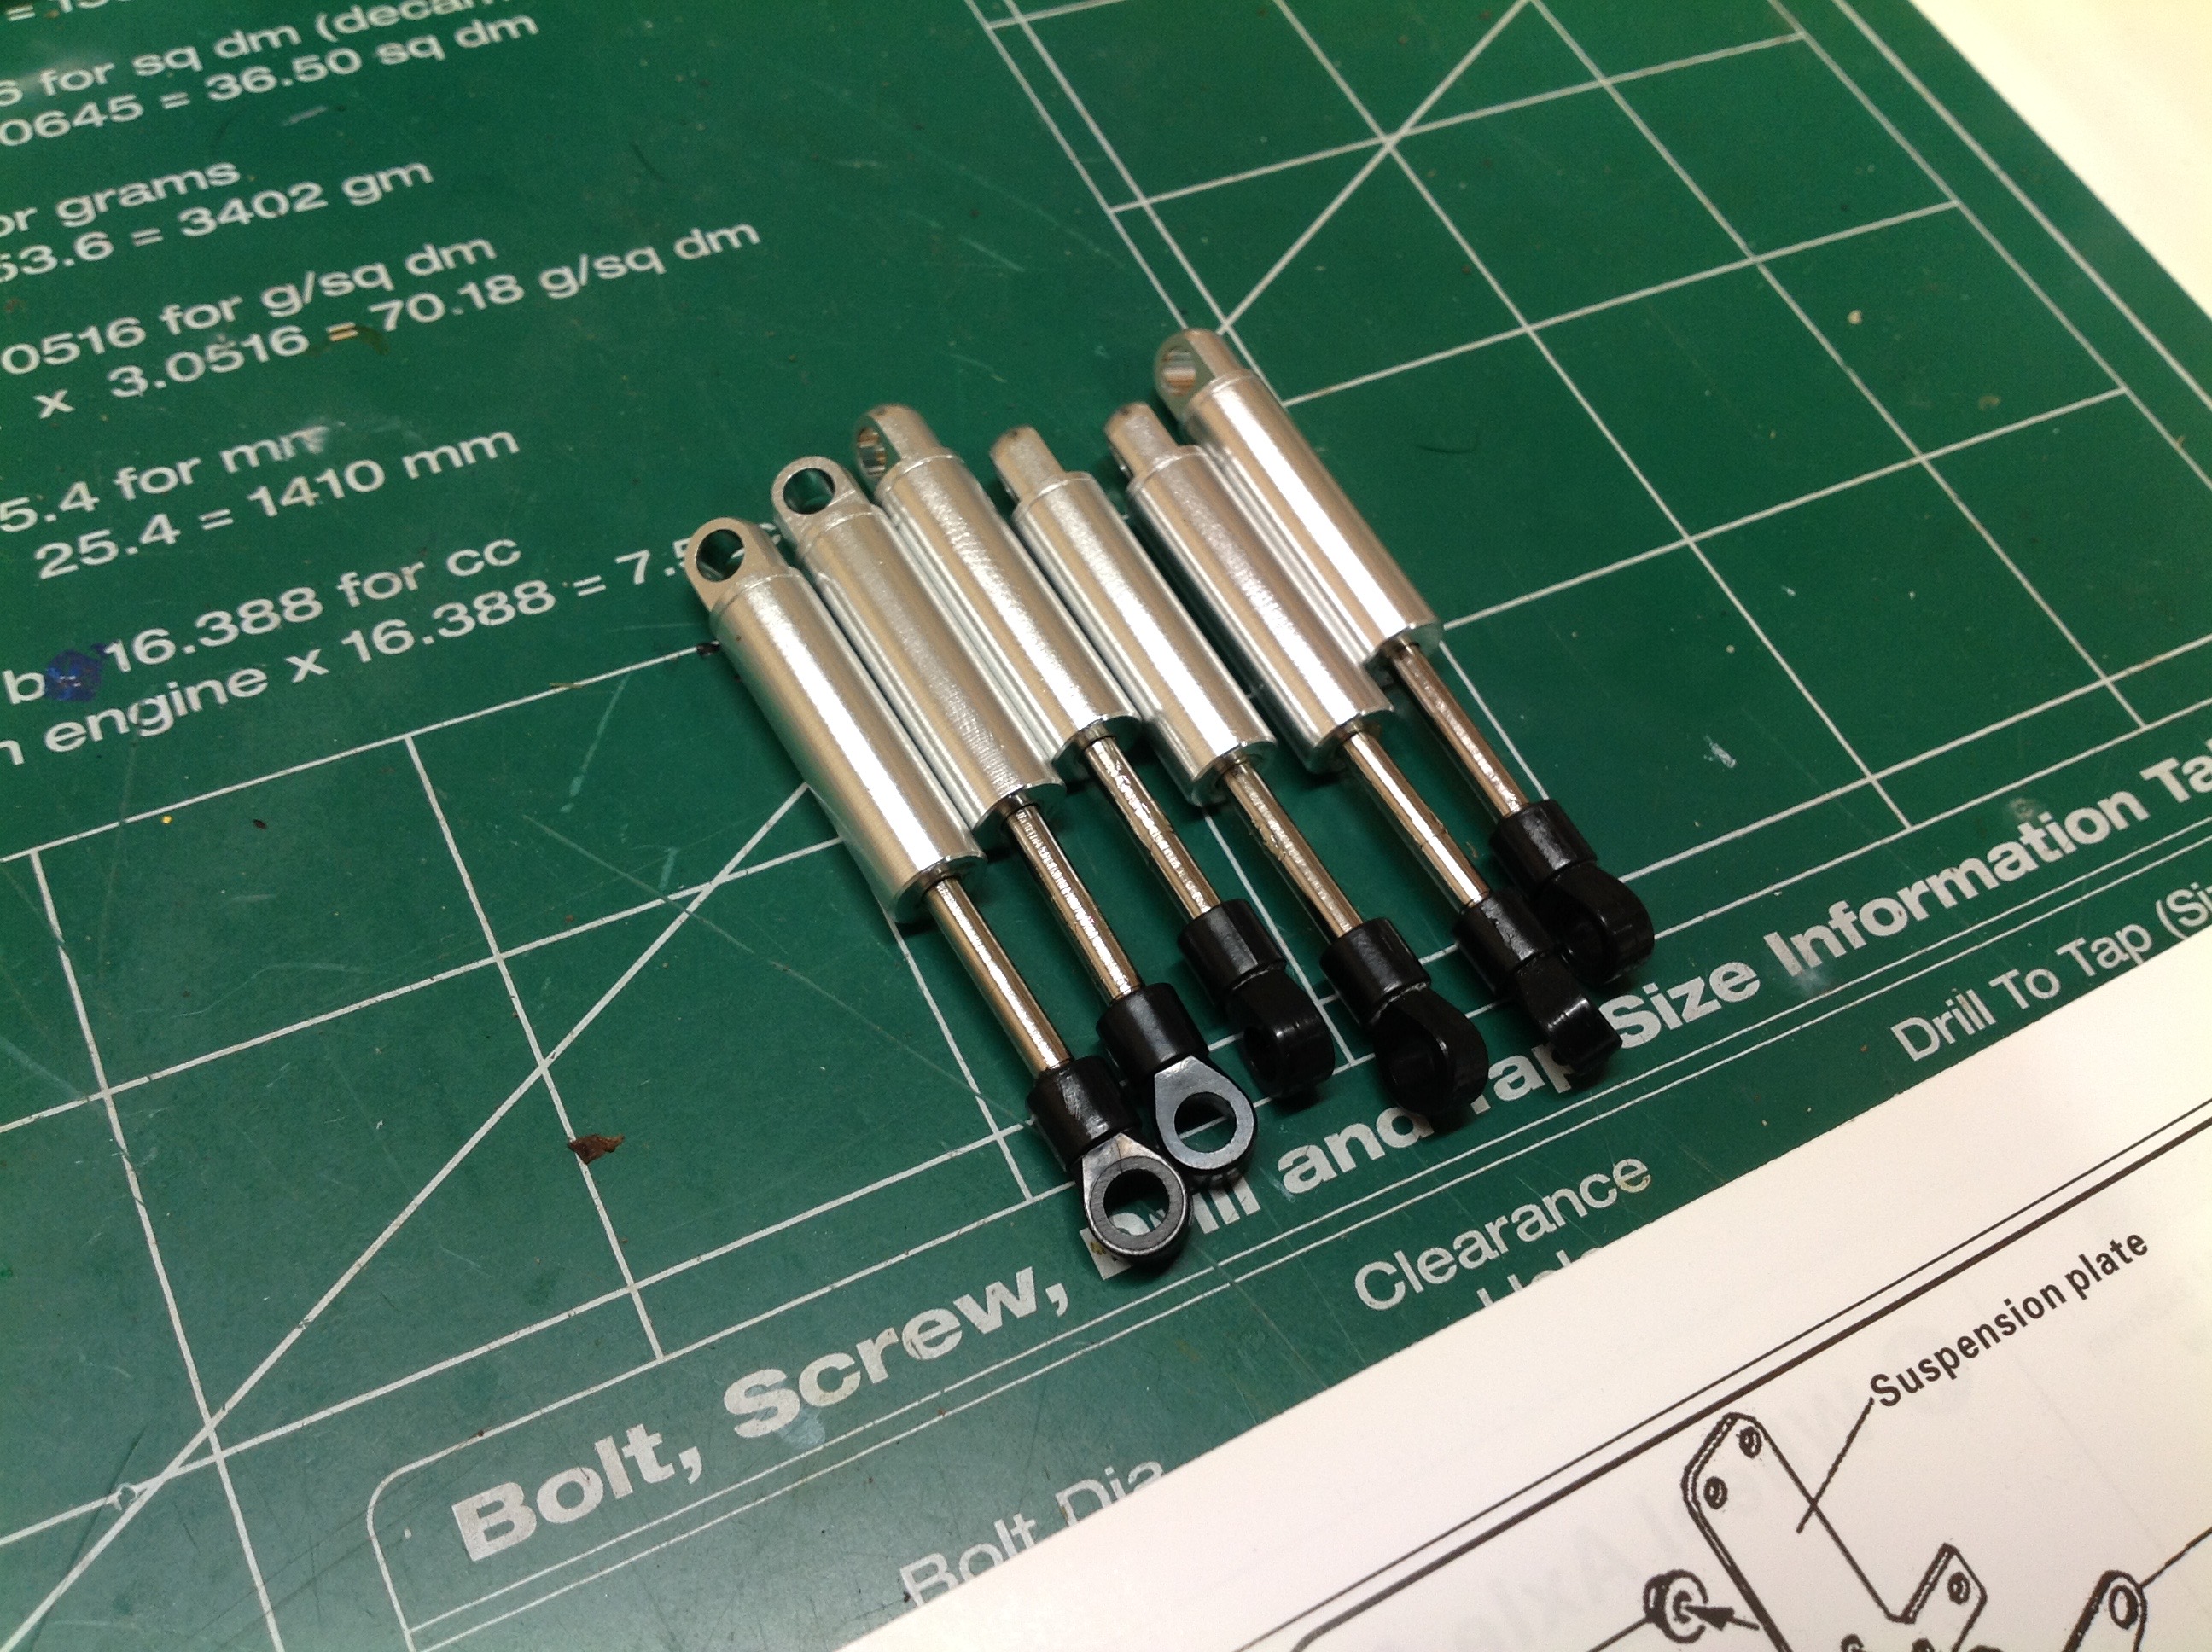
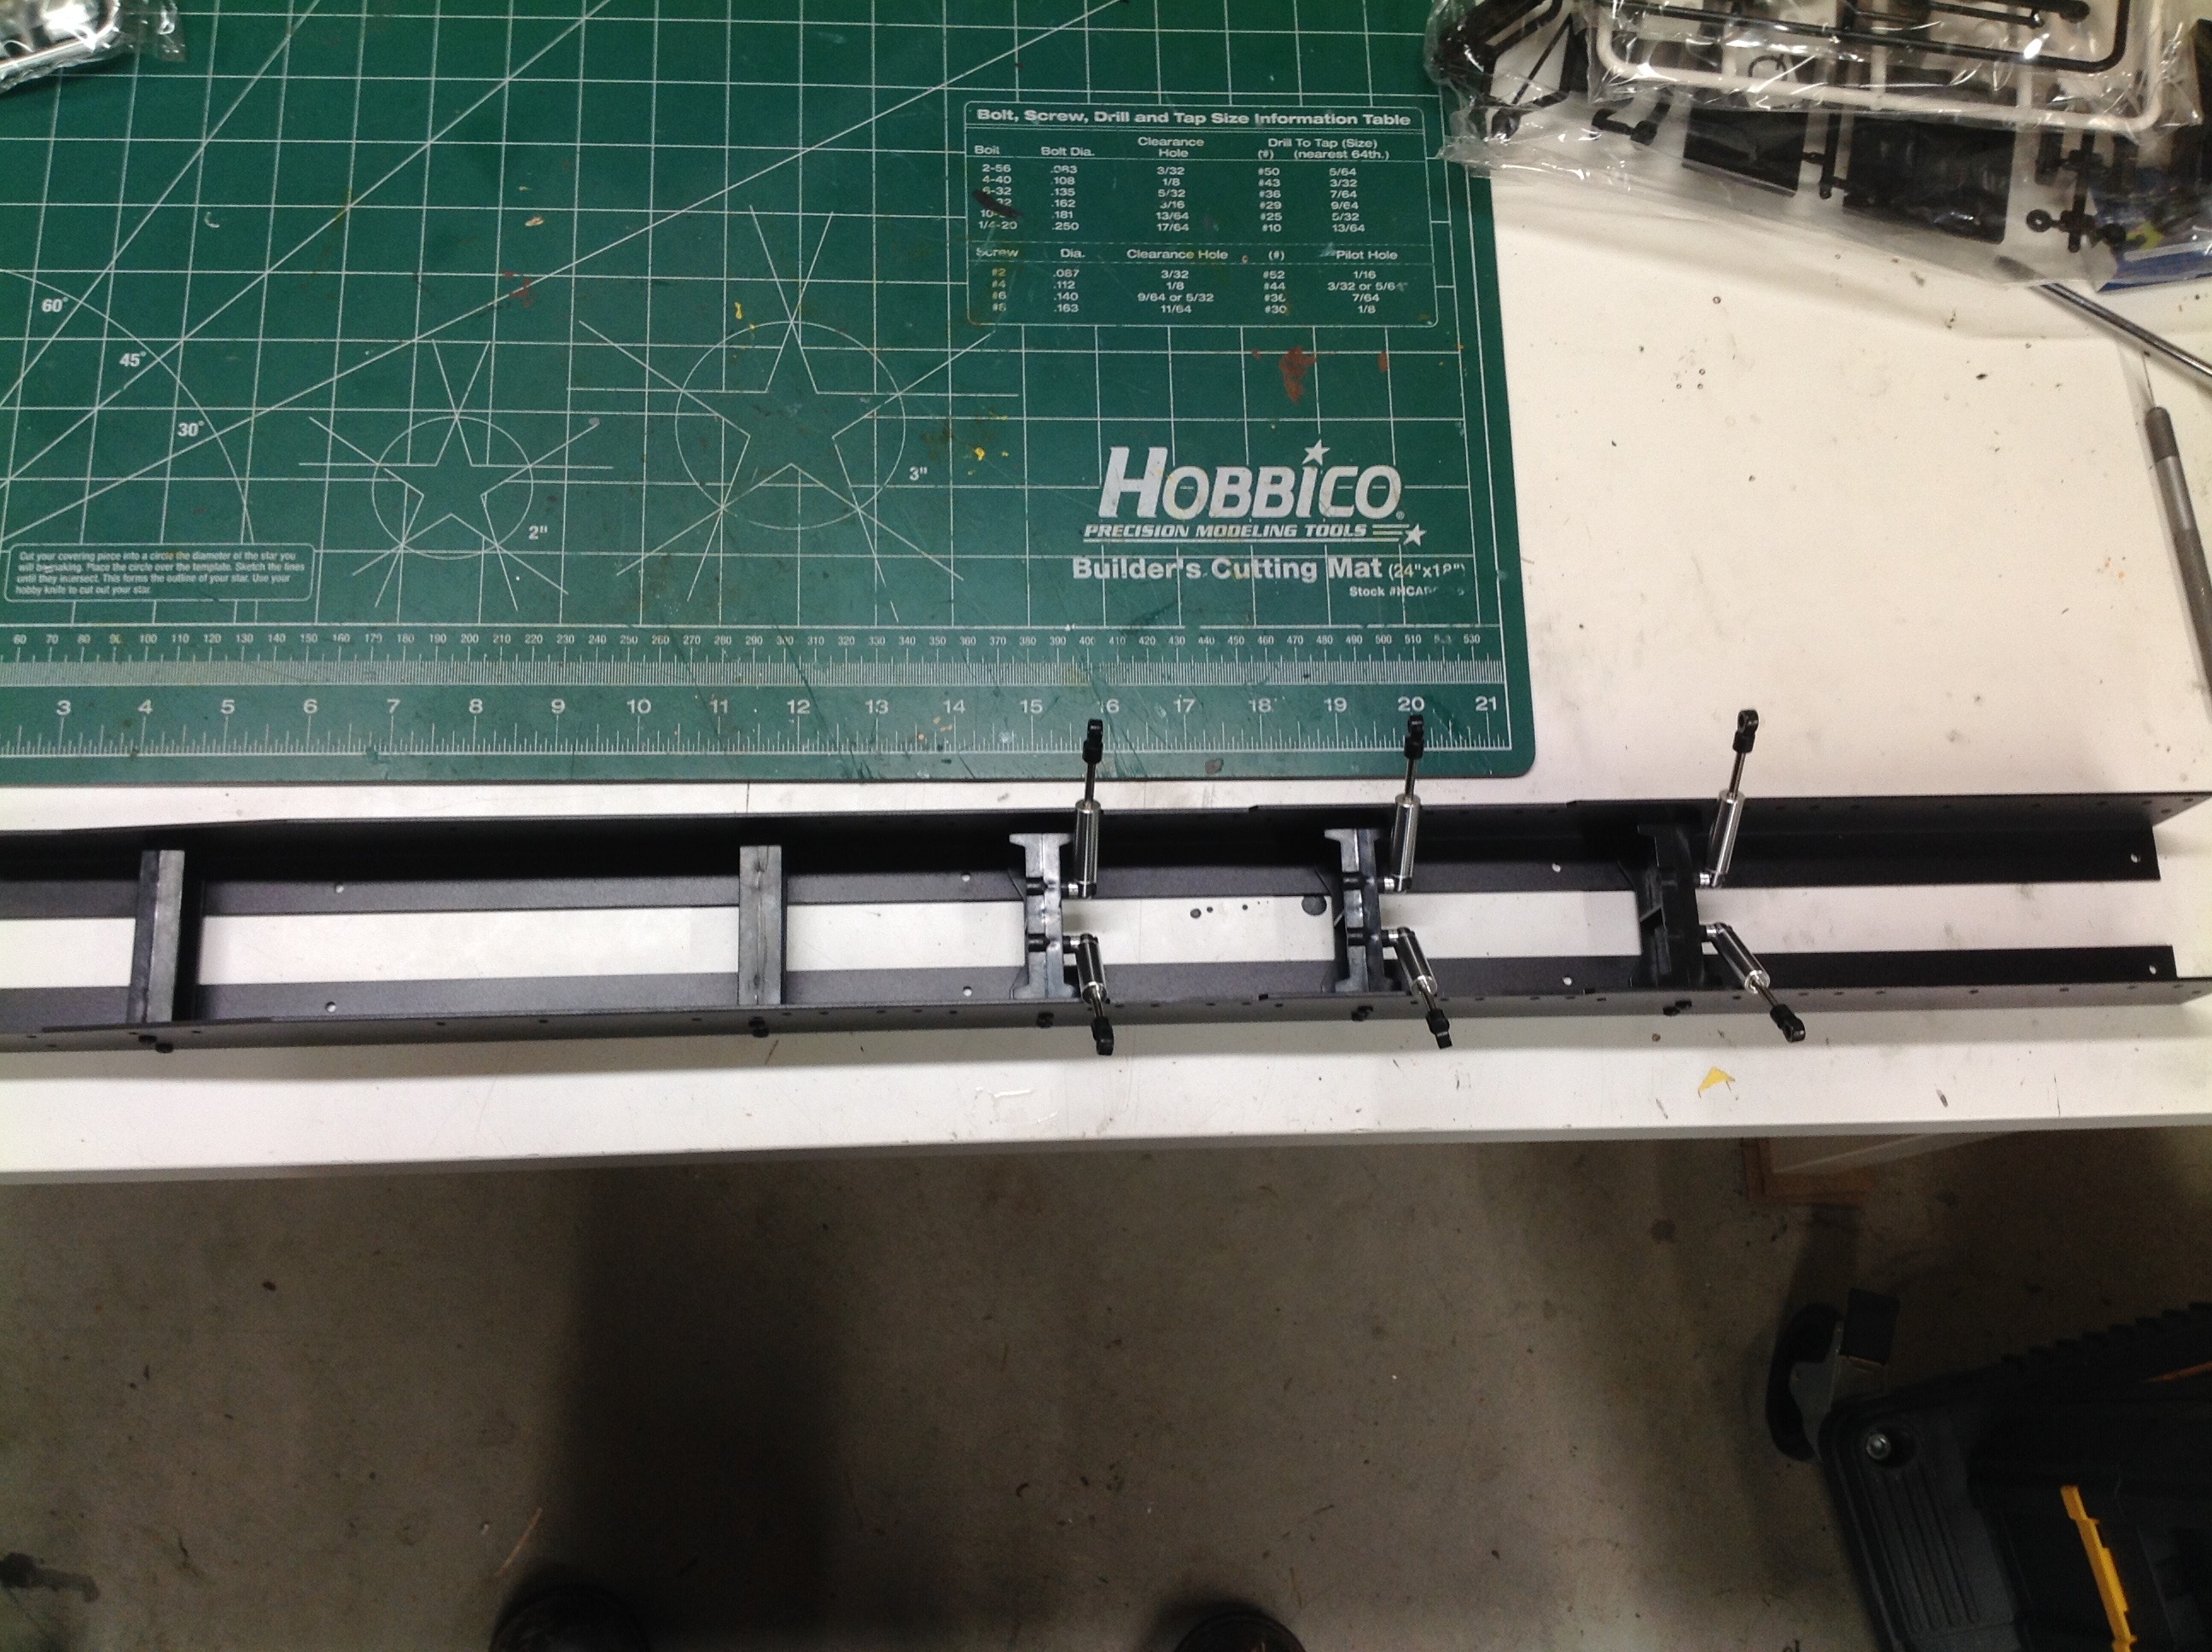
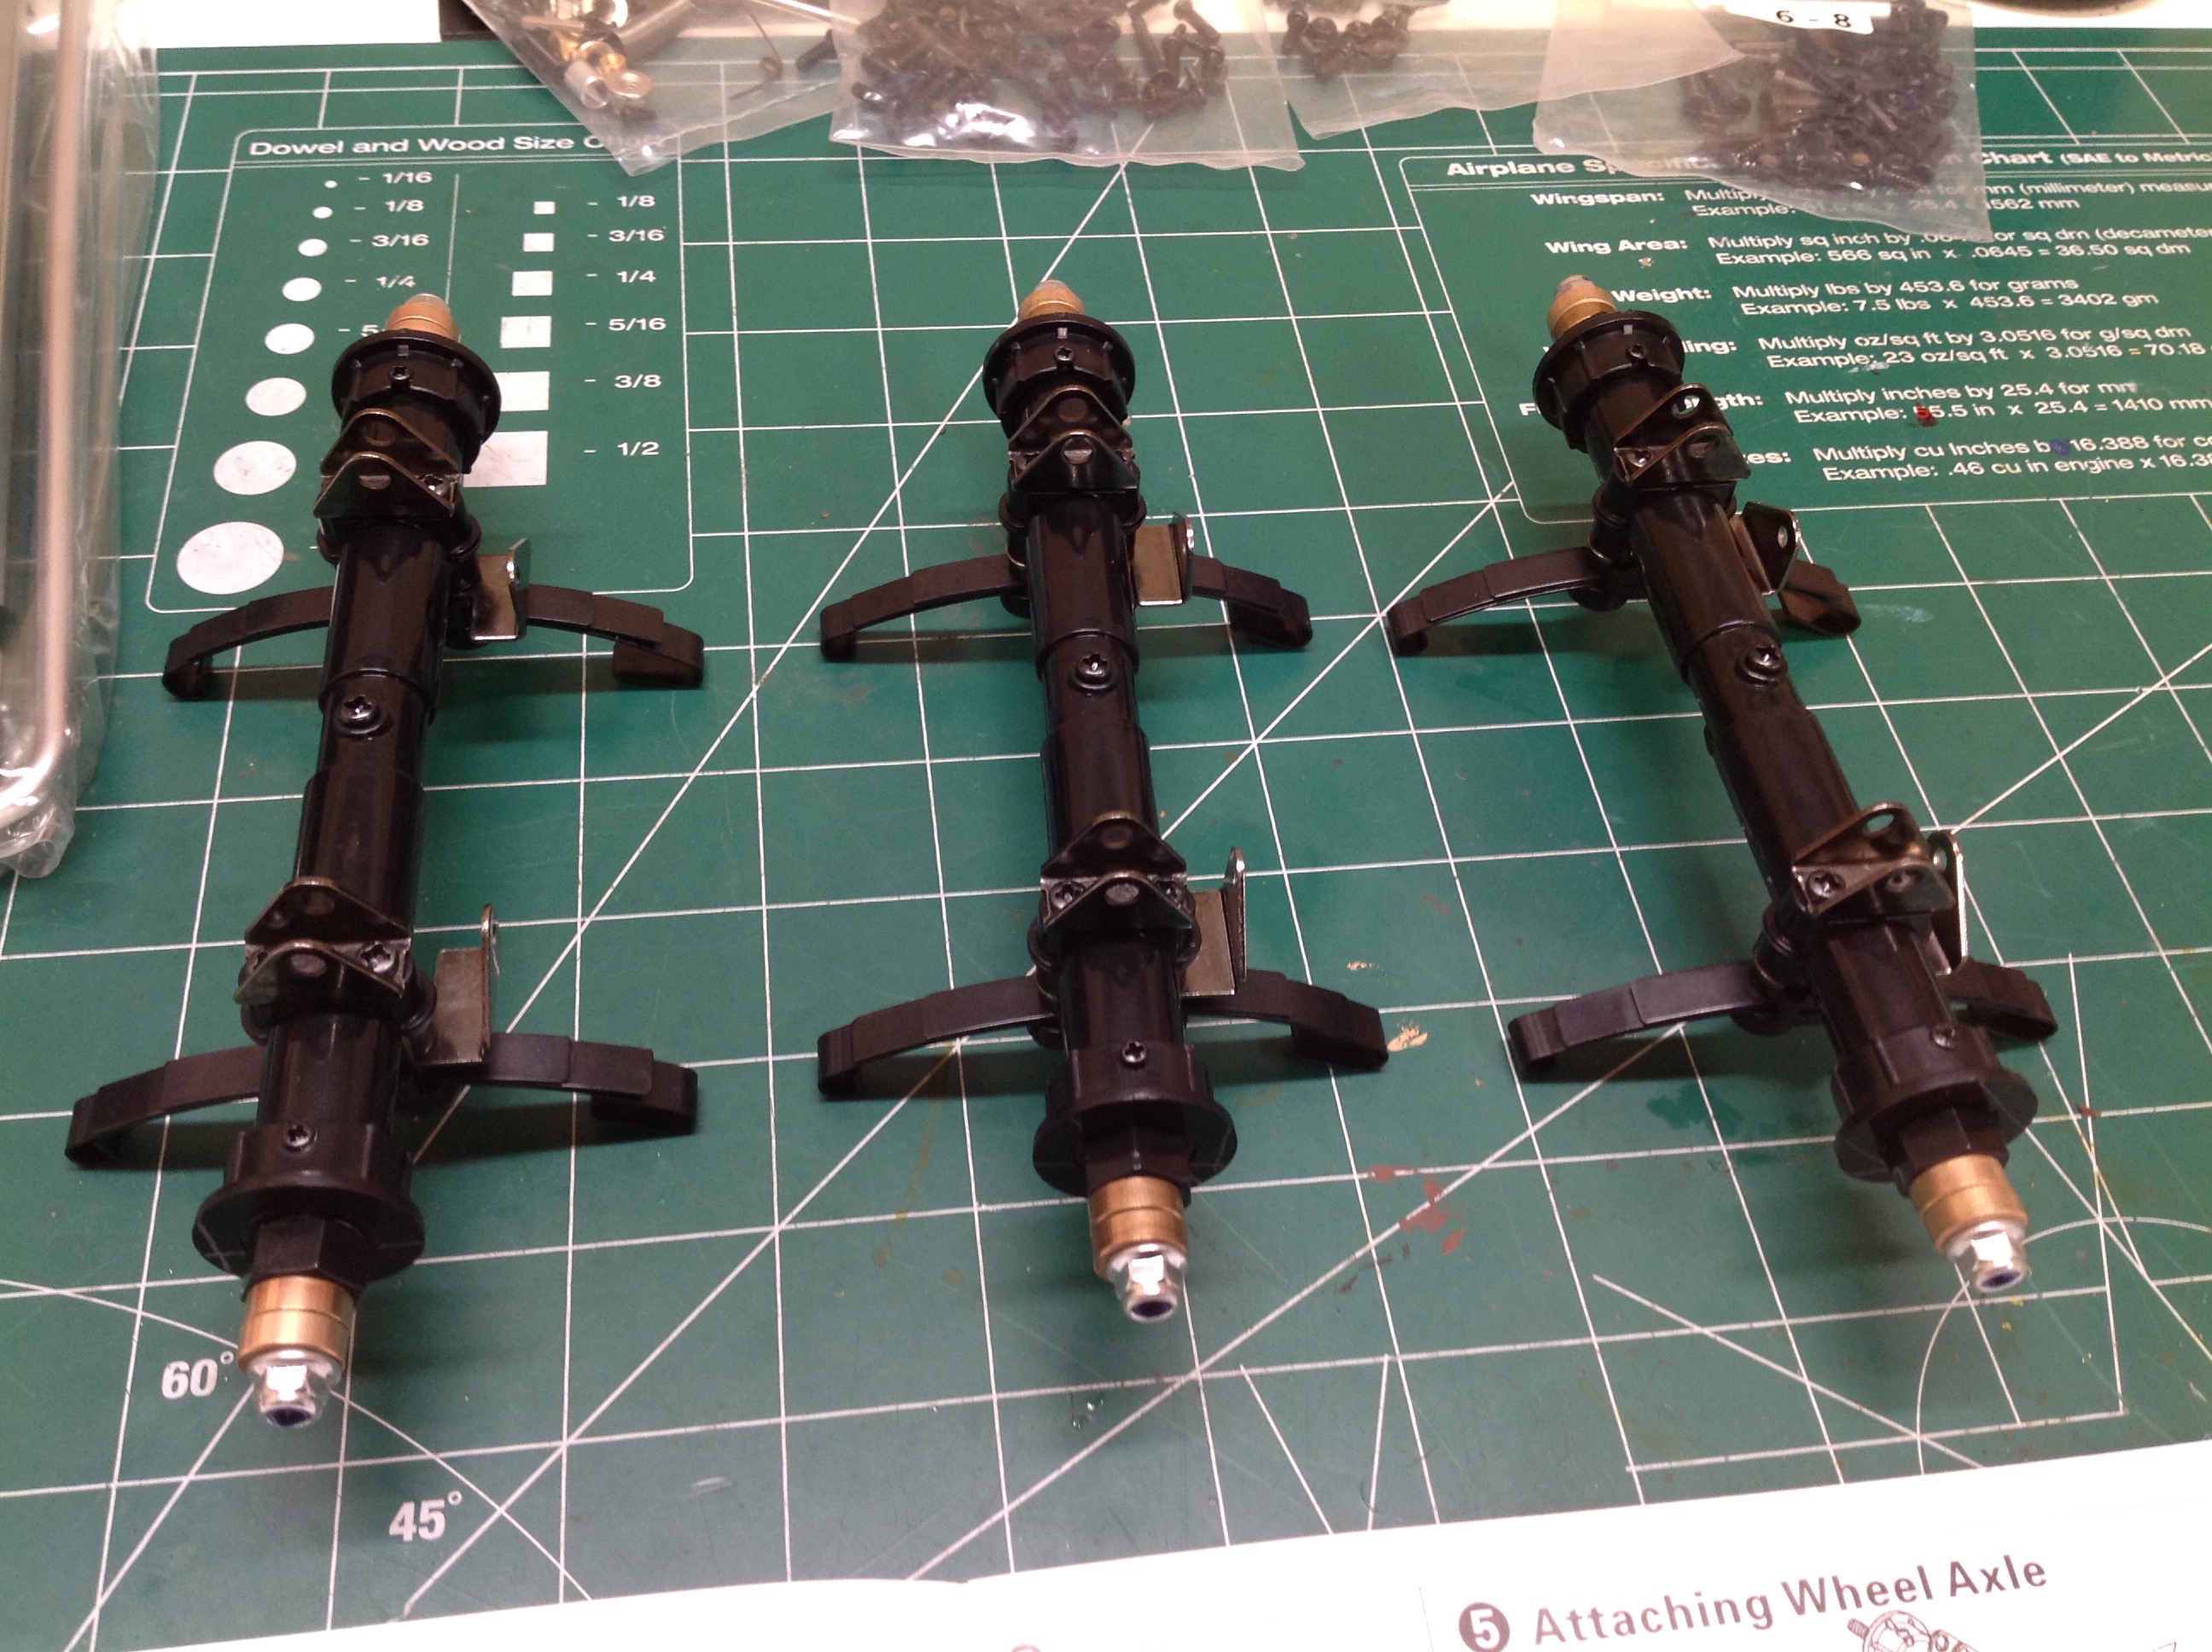
The aluminum bodied shocks are the same type you see on the tractor
trucks. These are internally sprung with no damping, so they are
really just for appearance. Two shocks are attached to each of the
three rear frame cross members as shown.
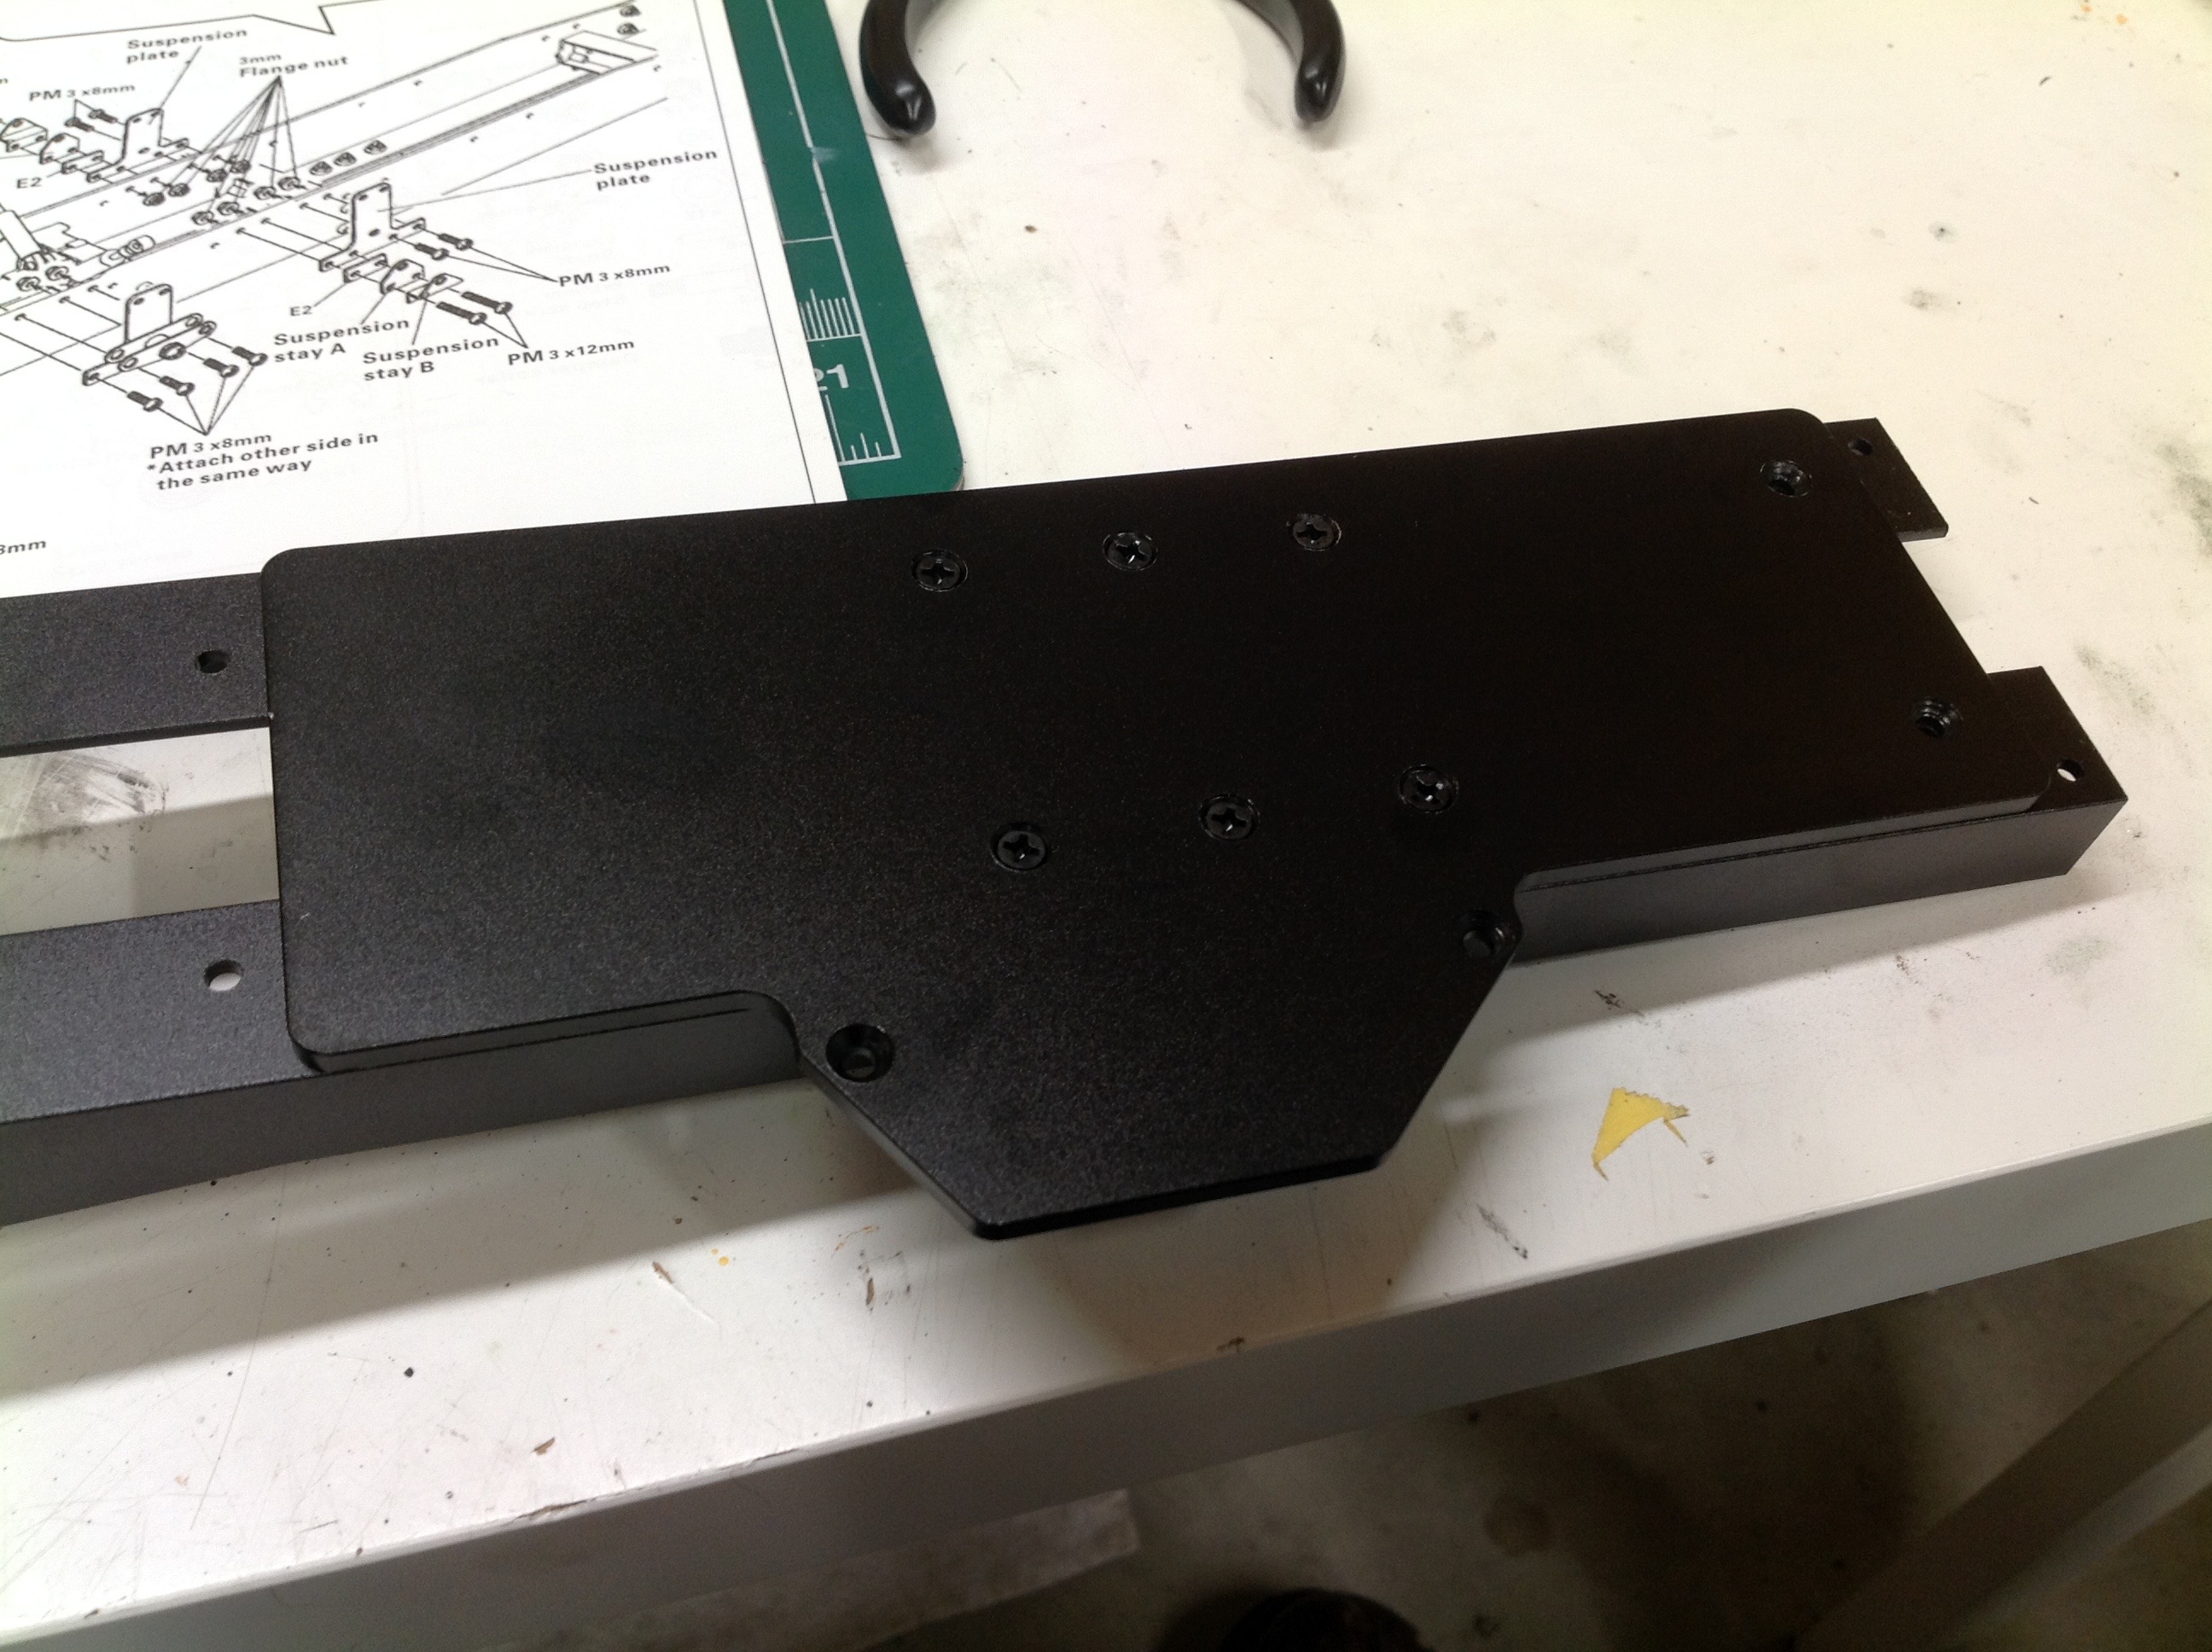
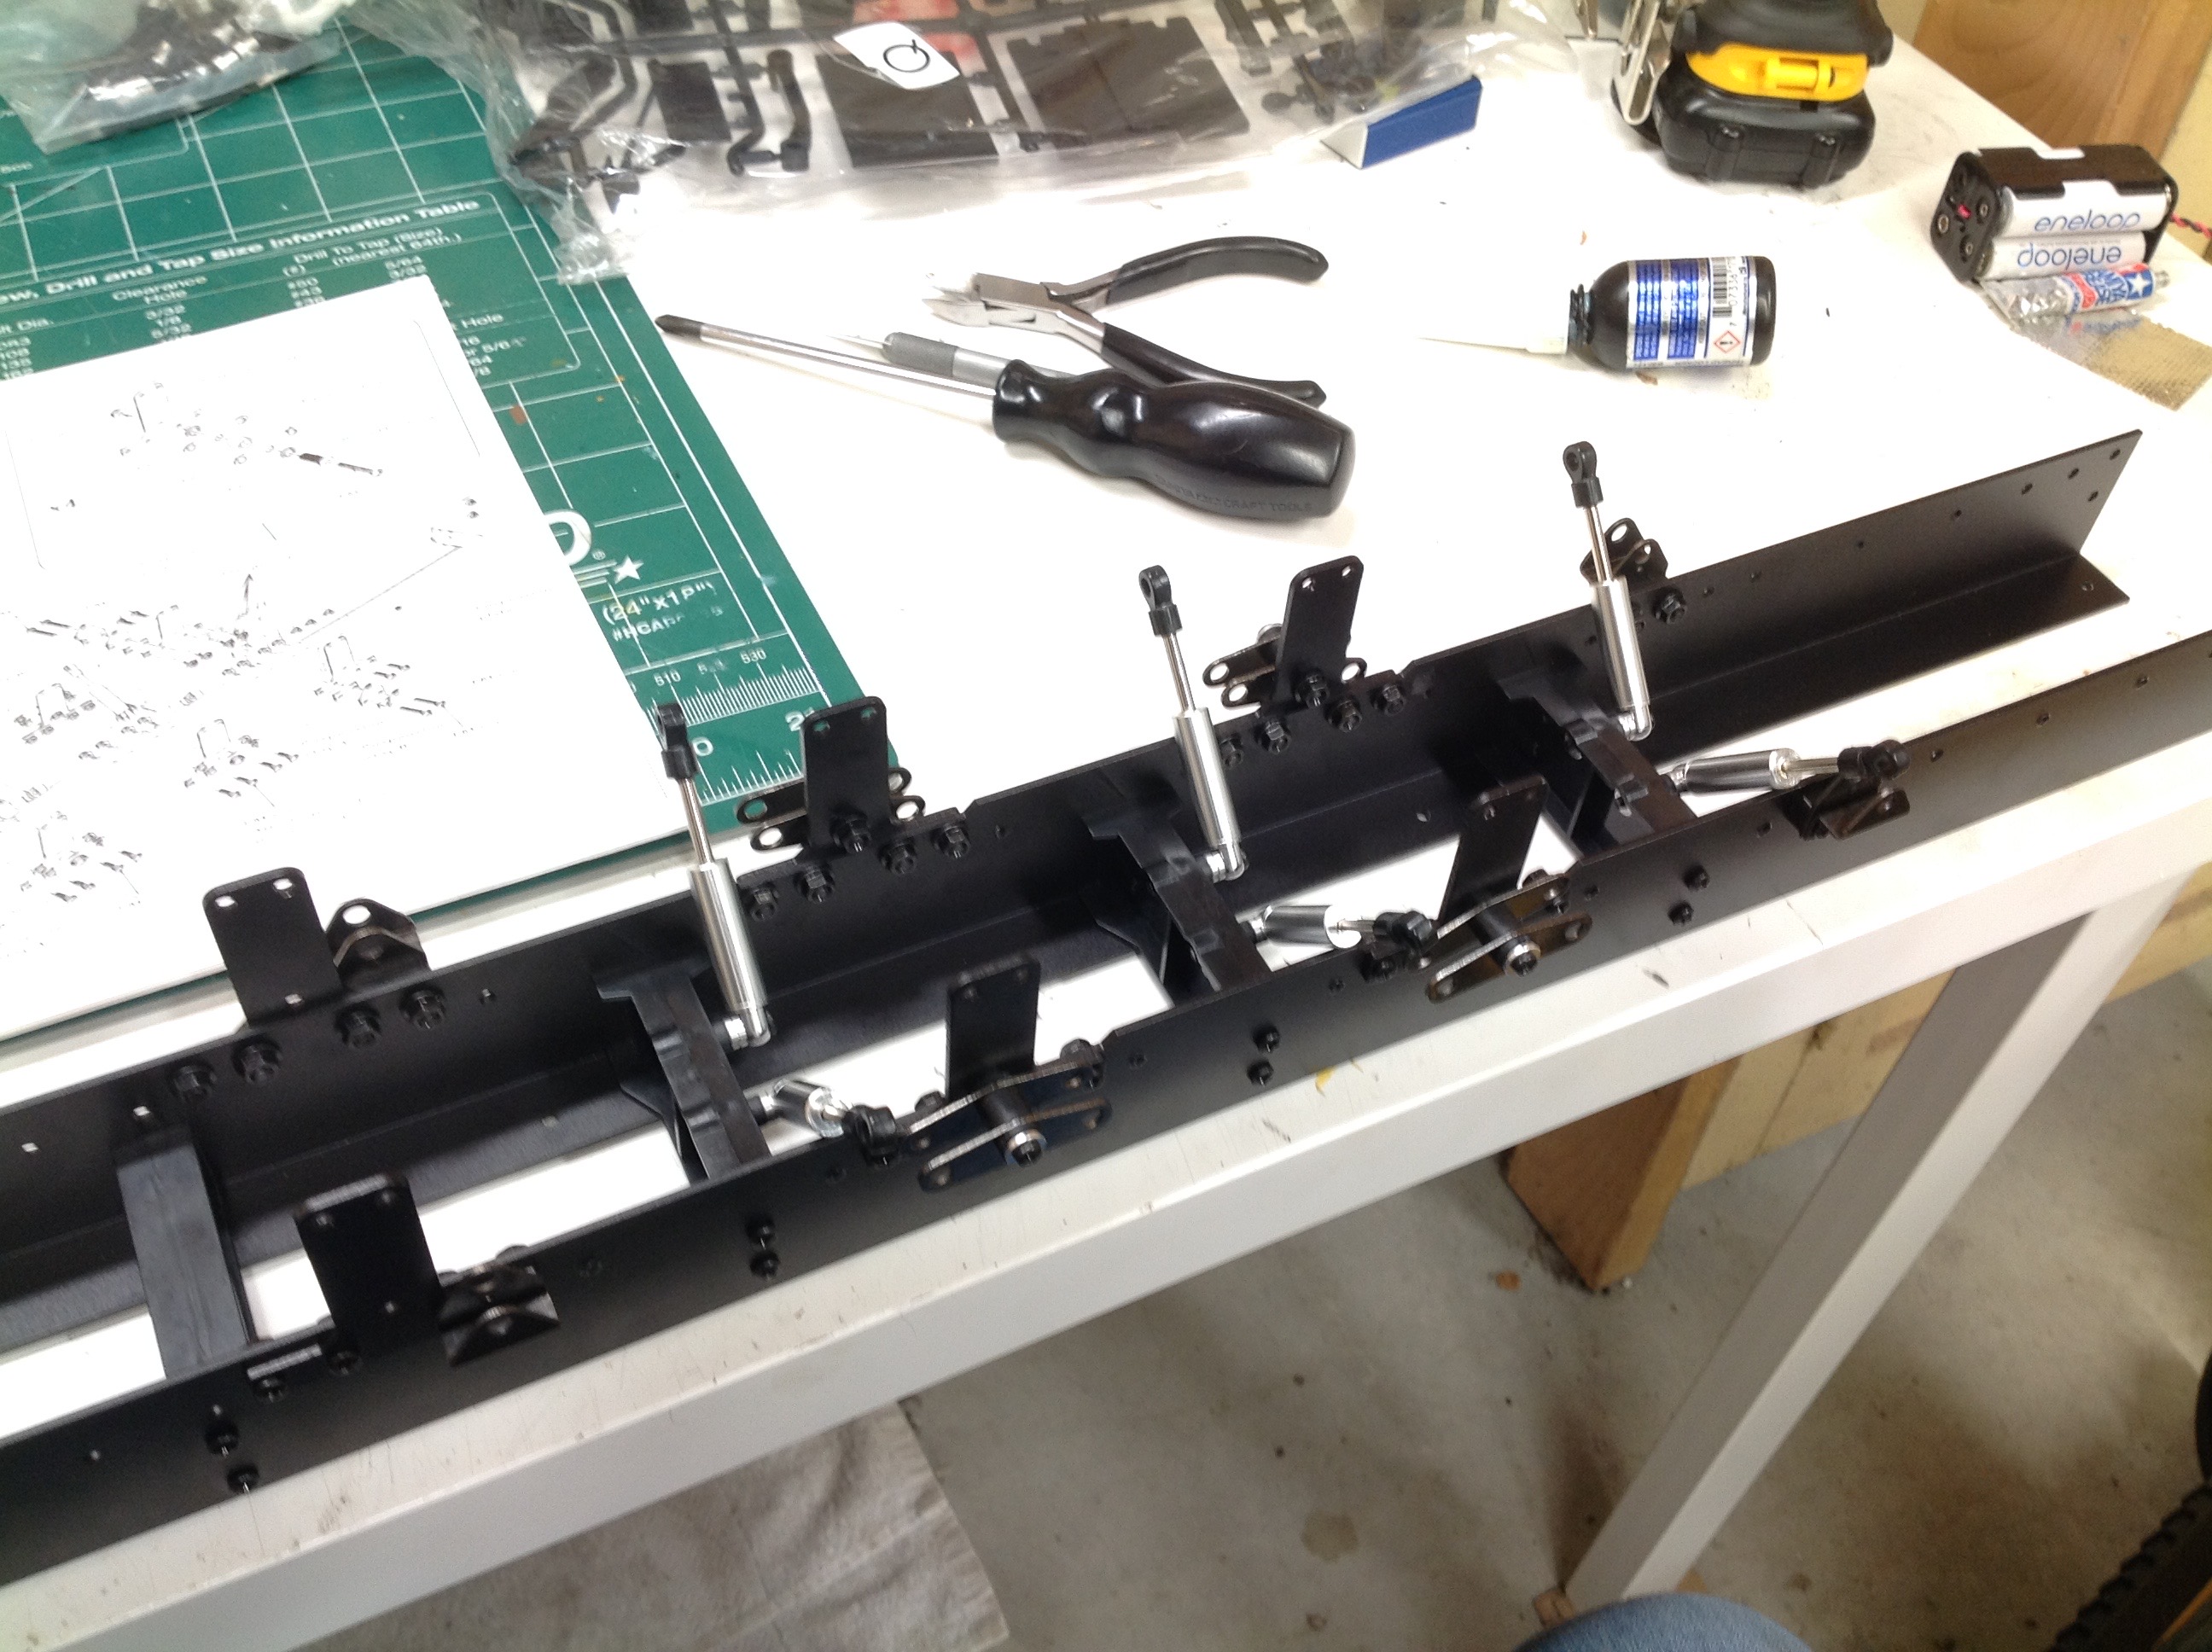
Now we'll add some extra details to the frame rails. Up front is a
nice solid metal plate joining the two rails which will also serve as a
mount for the leg release mechanism. In the rear I've attached
all the hangers and shackles for the leaf springs and radius arms of the
suspension.
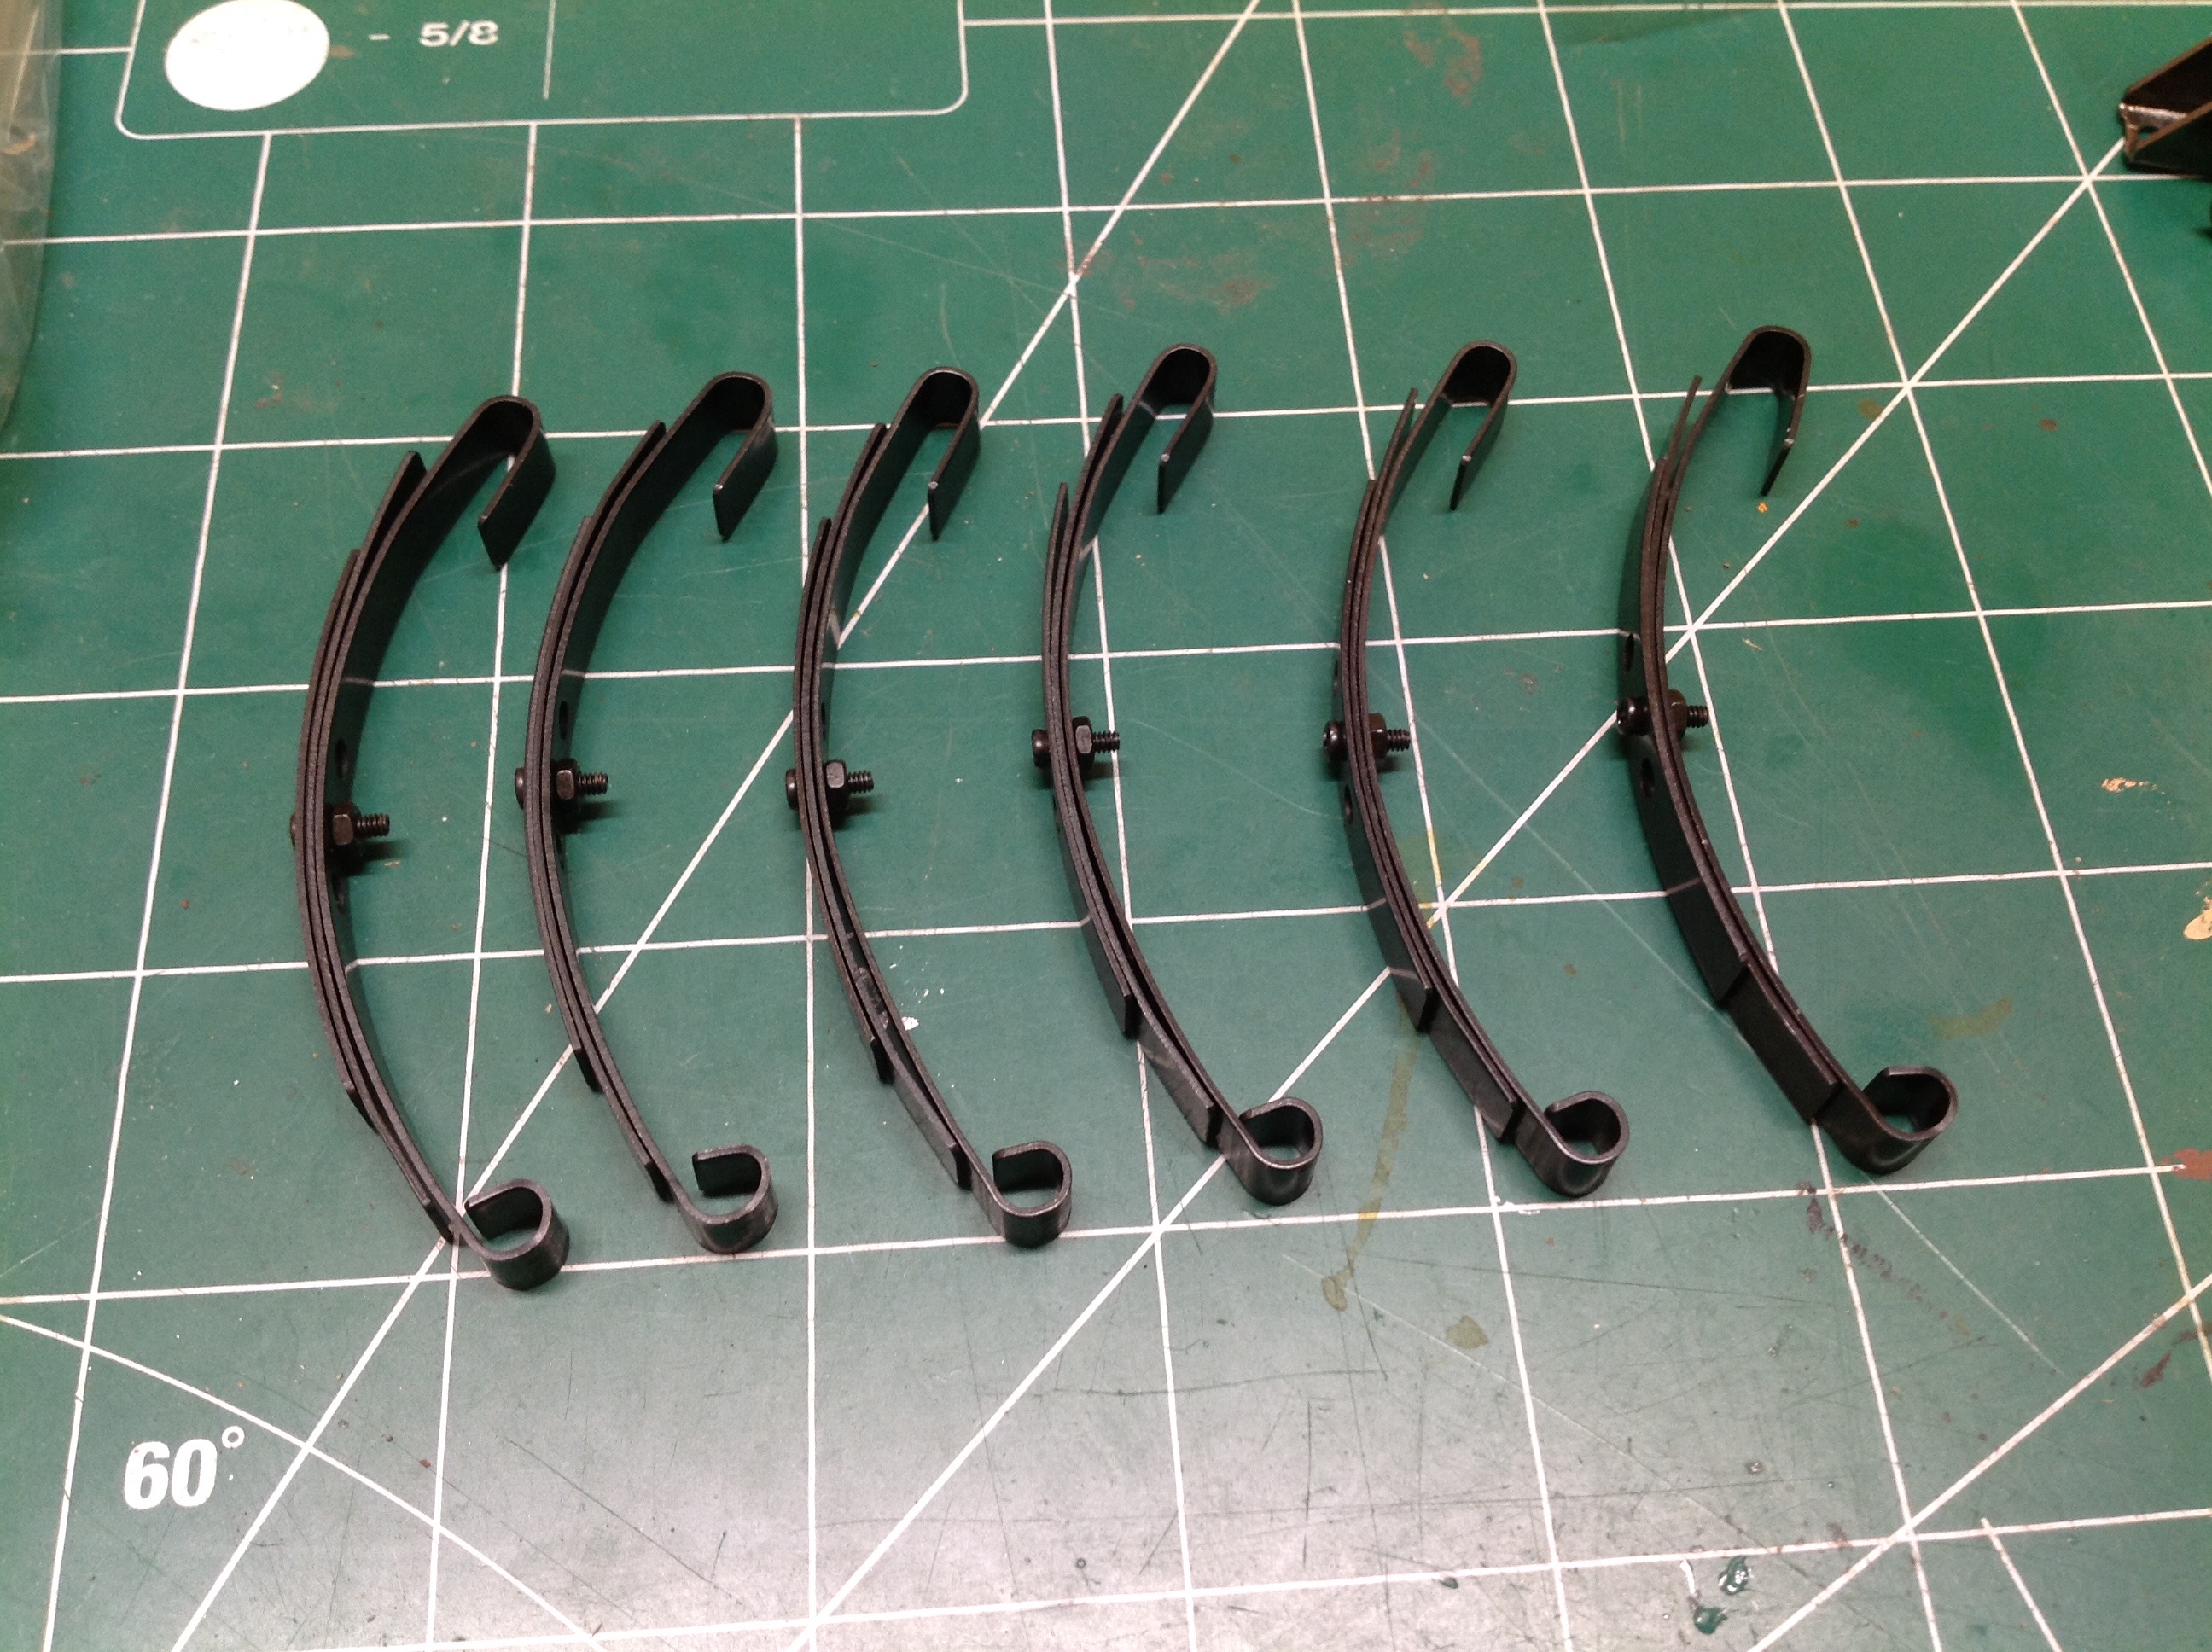
The six leaf spring stacks each contain 3 leaves and must be bolted
together before attaching to the axle housings. The are no
differentials here, just independent axle shafts, left and right,
allowing the tires to turn at different rates. The bushings you
see are just being used as spacers until I install the wheels
later. The trailer kit came with full ball bearings.
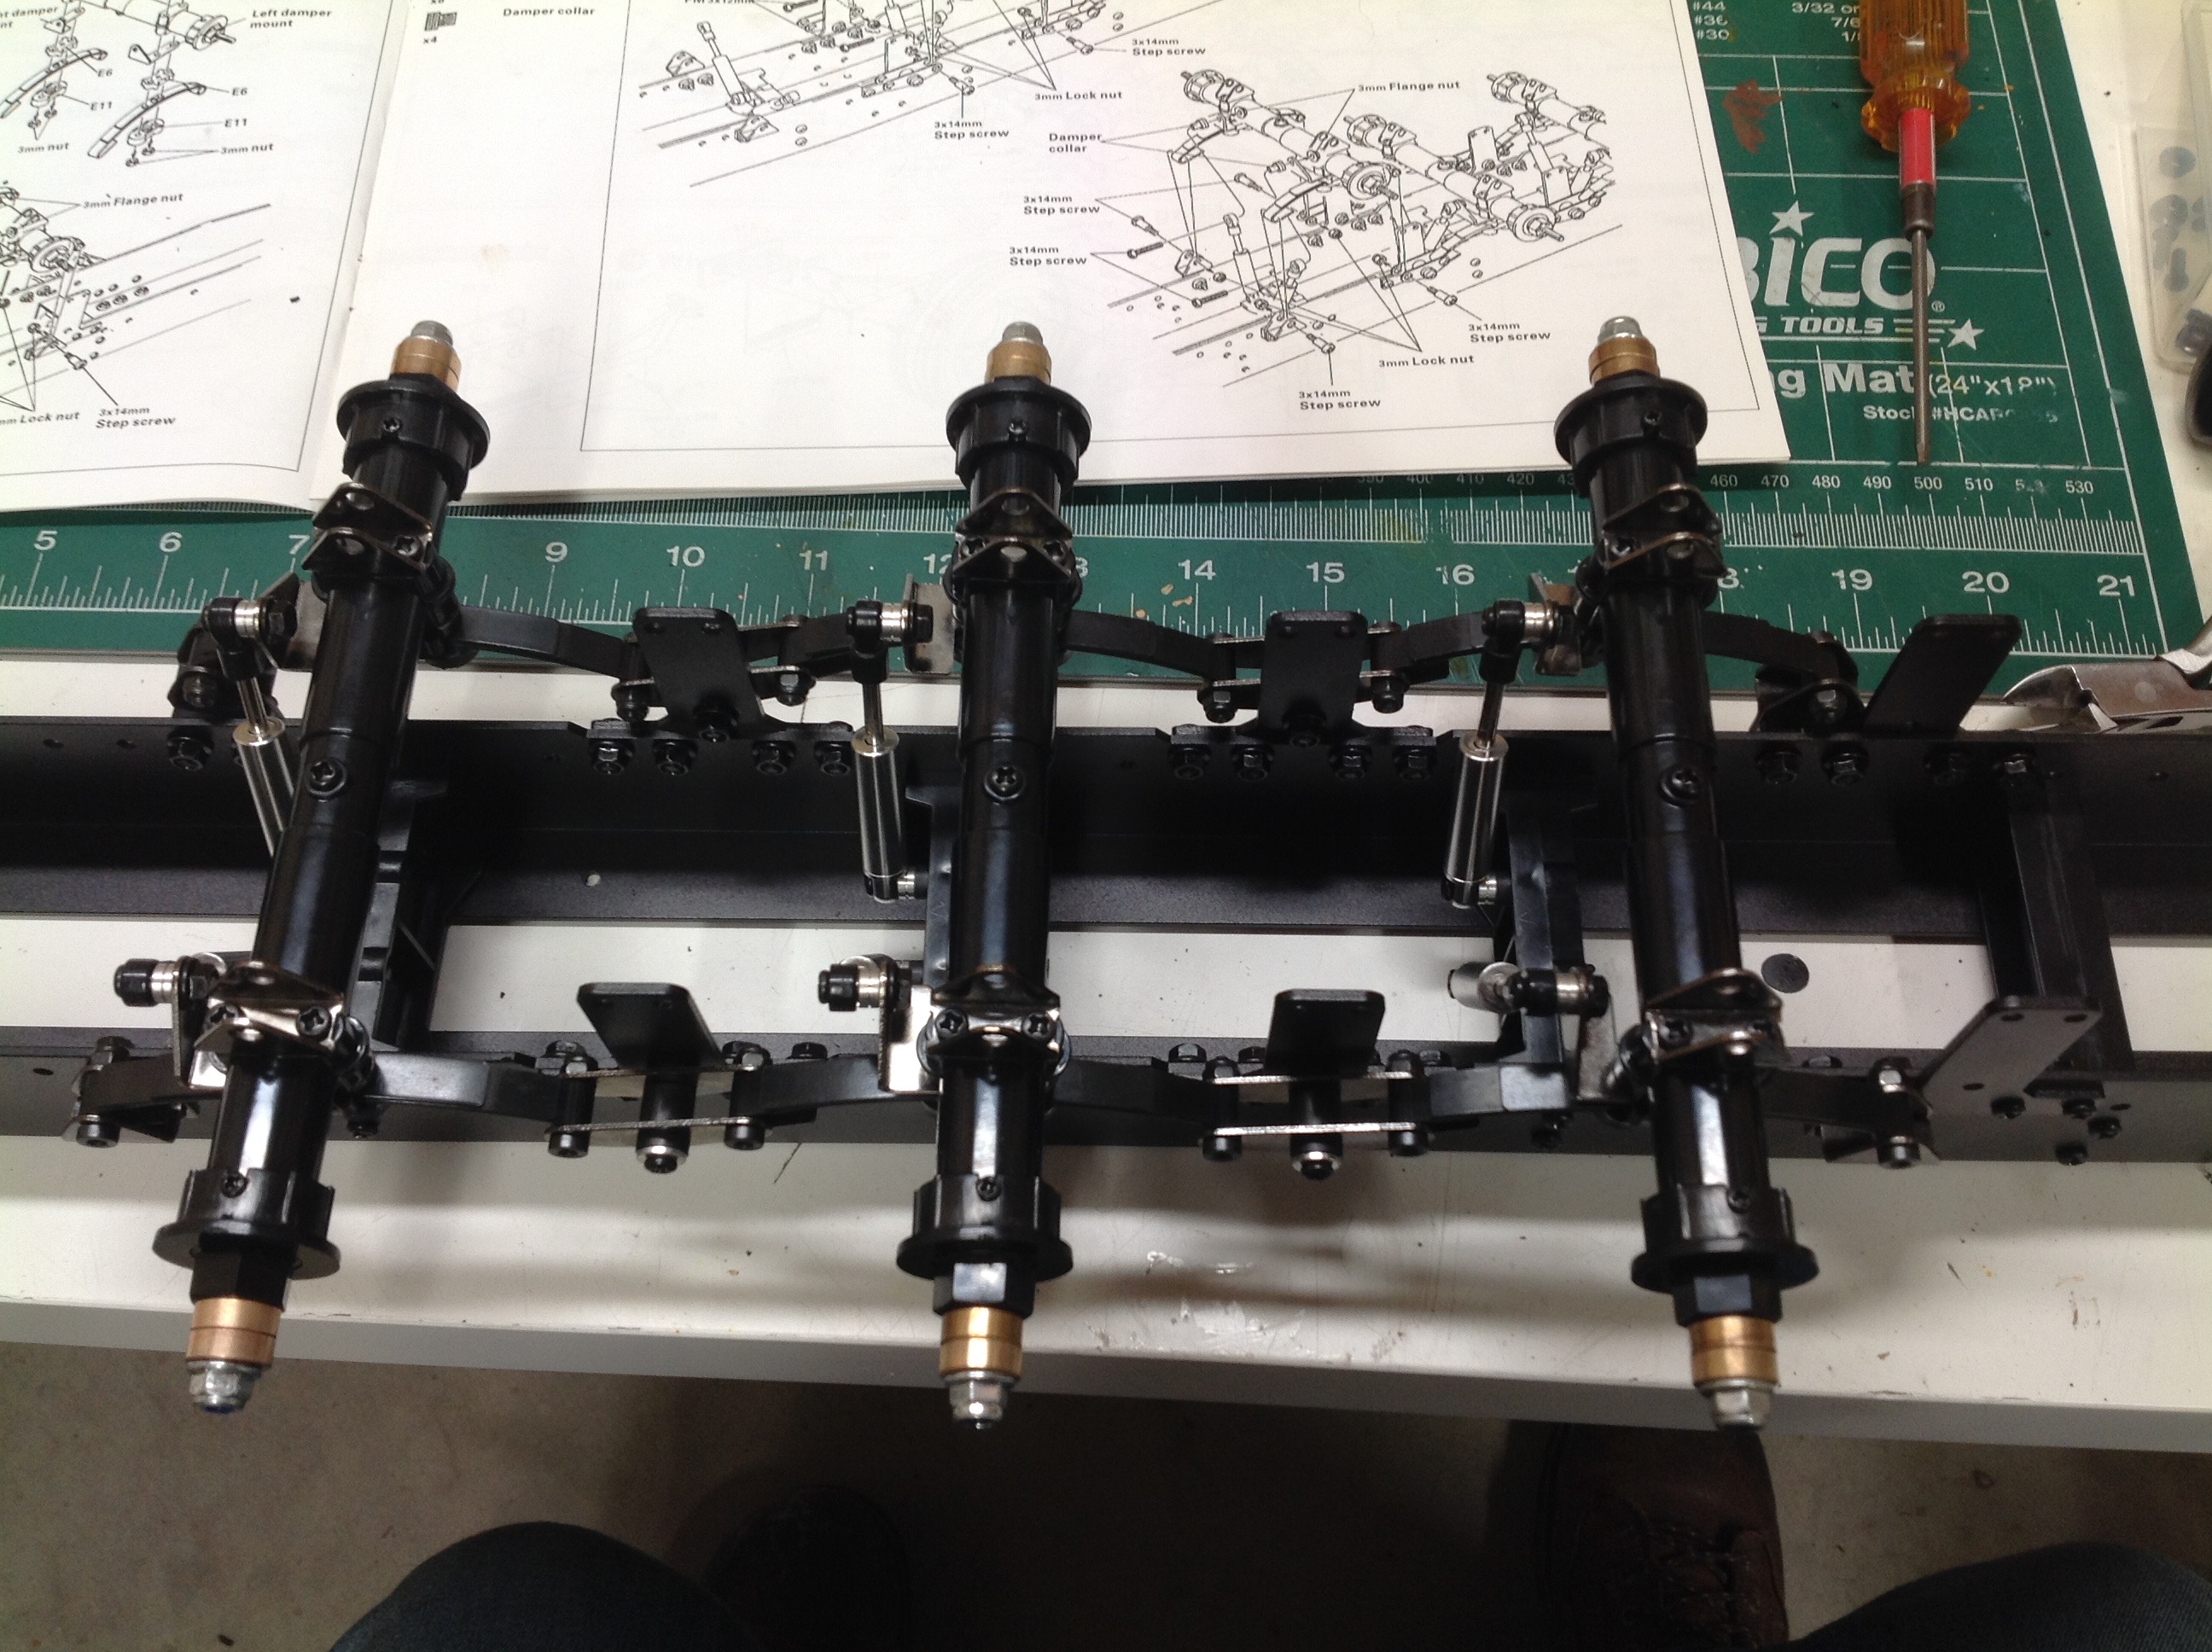
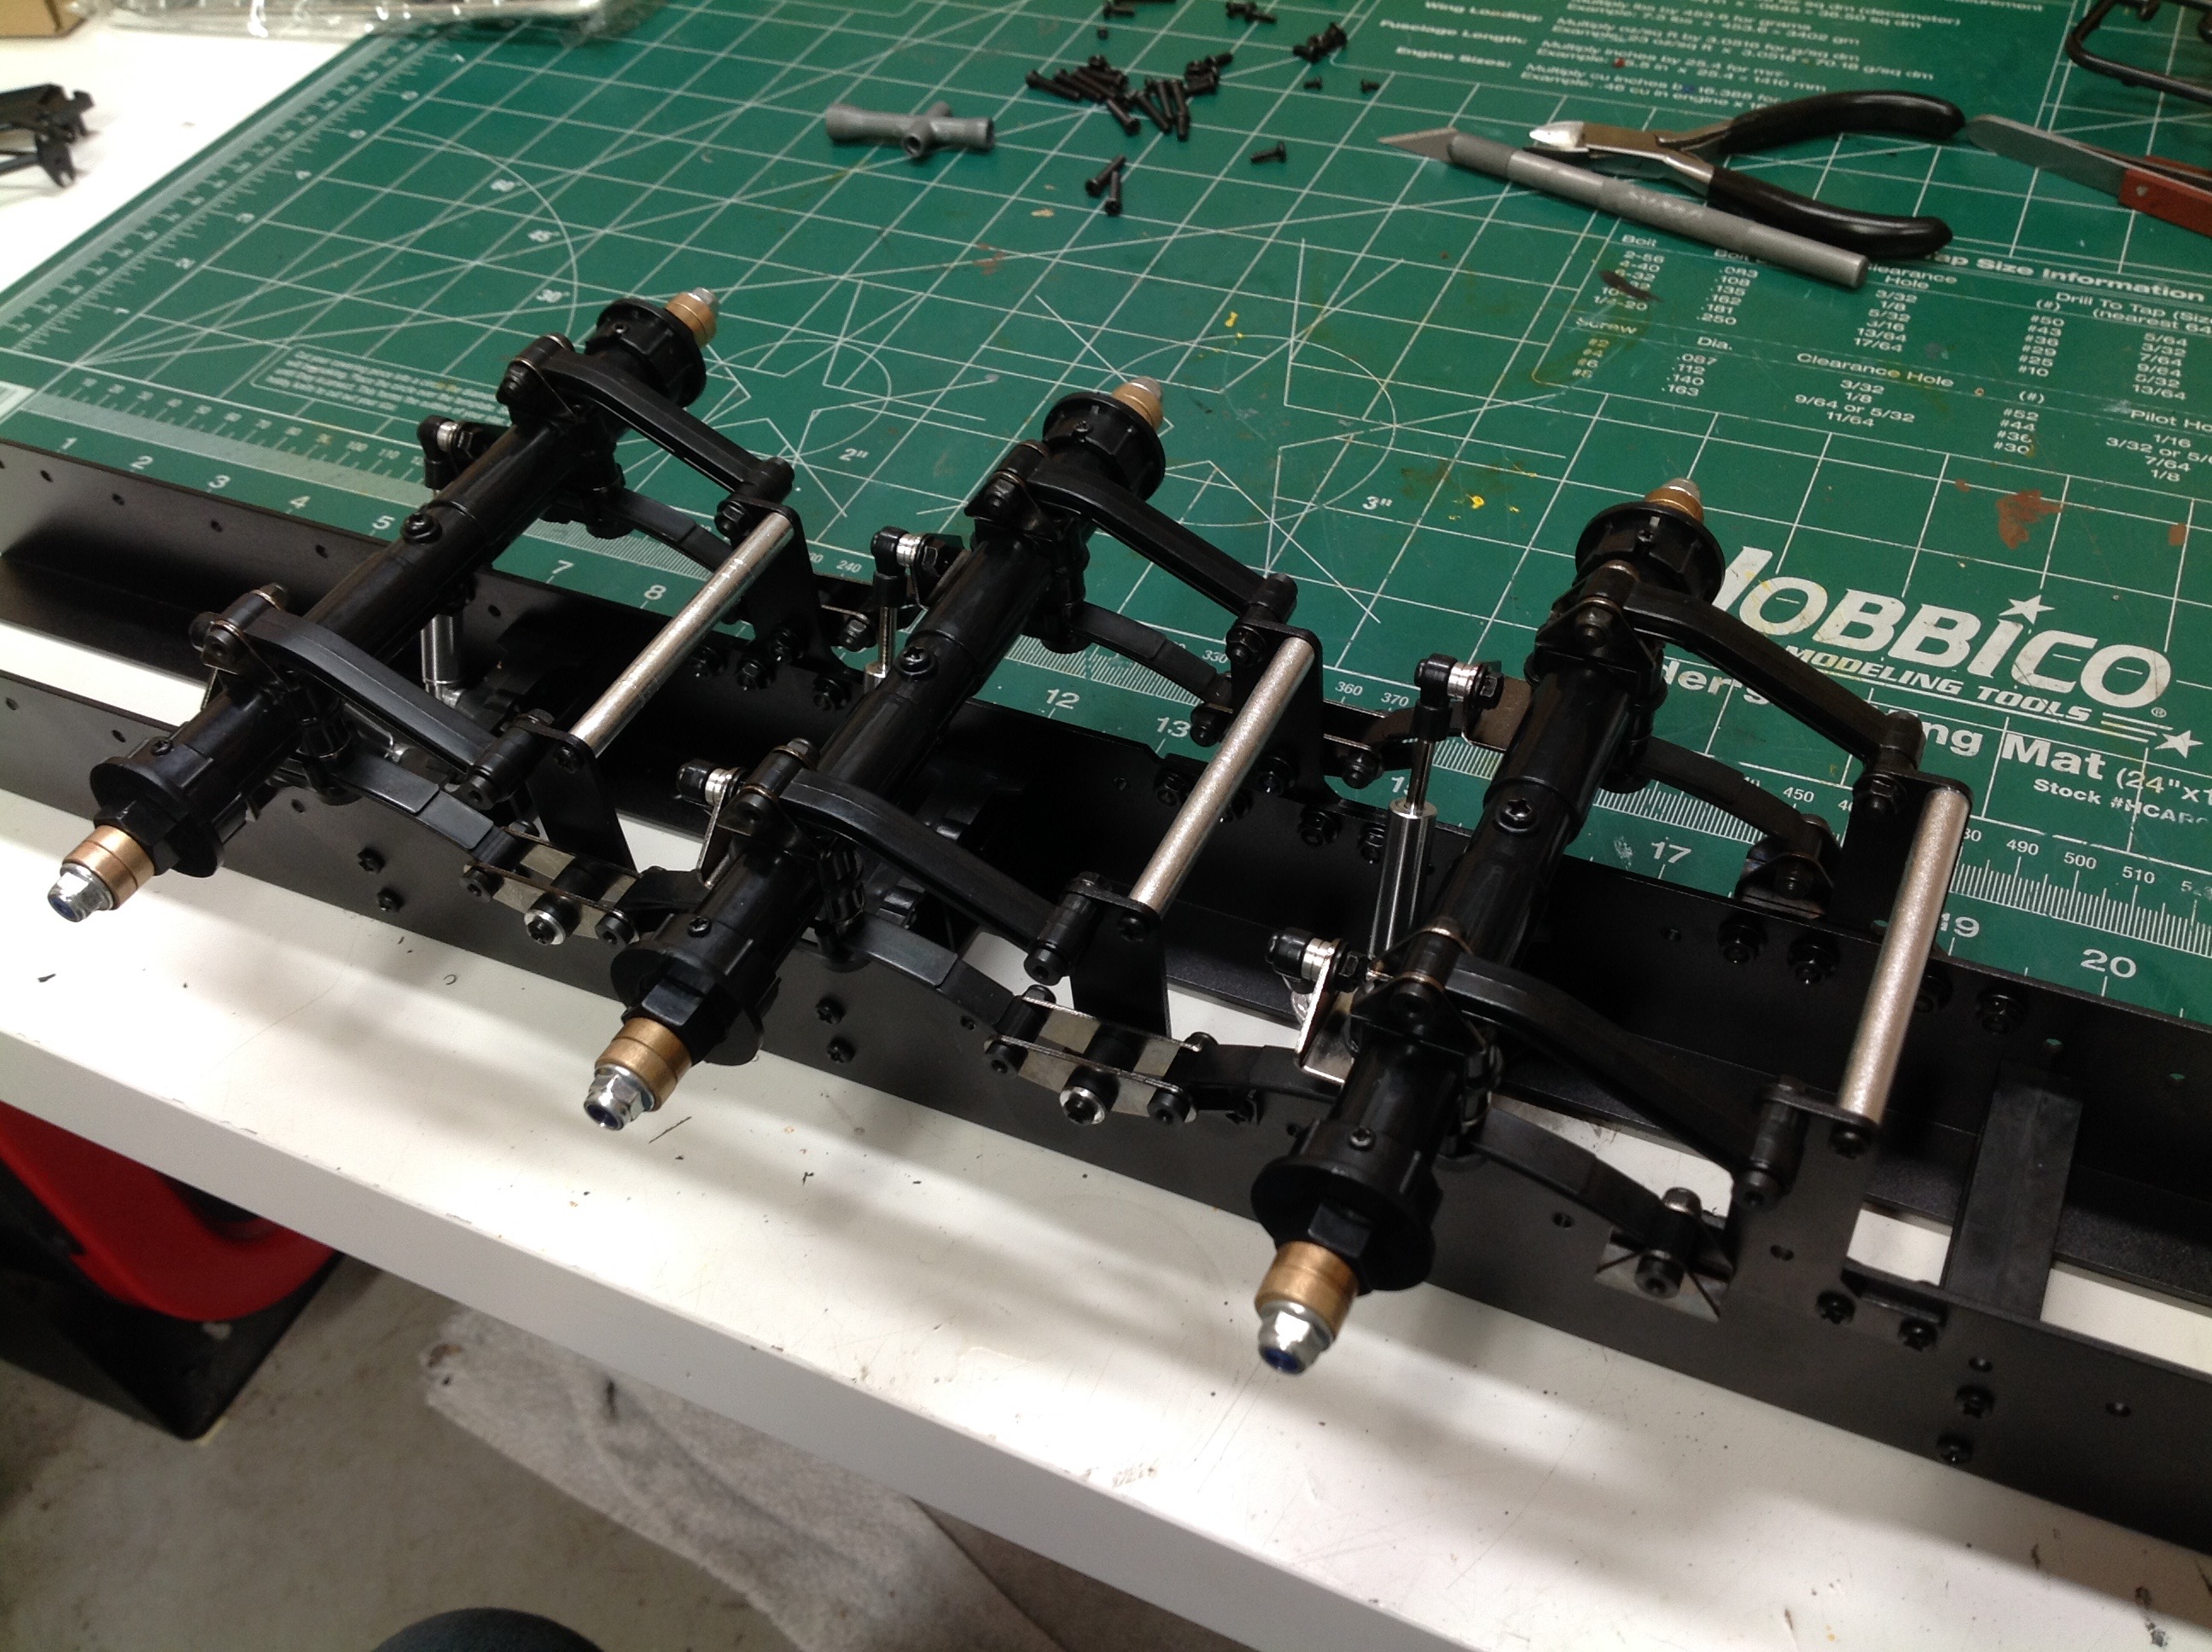
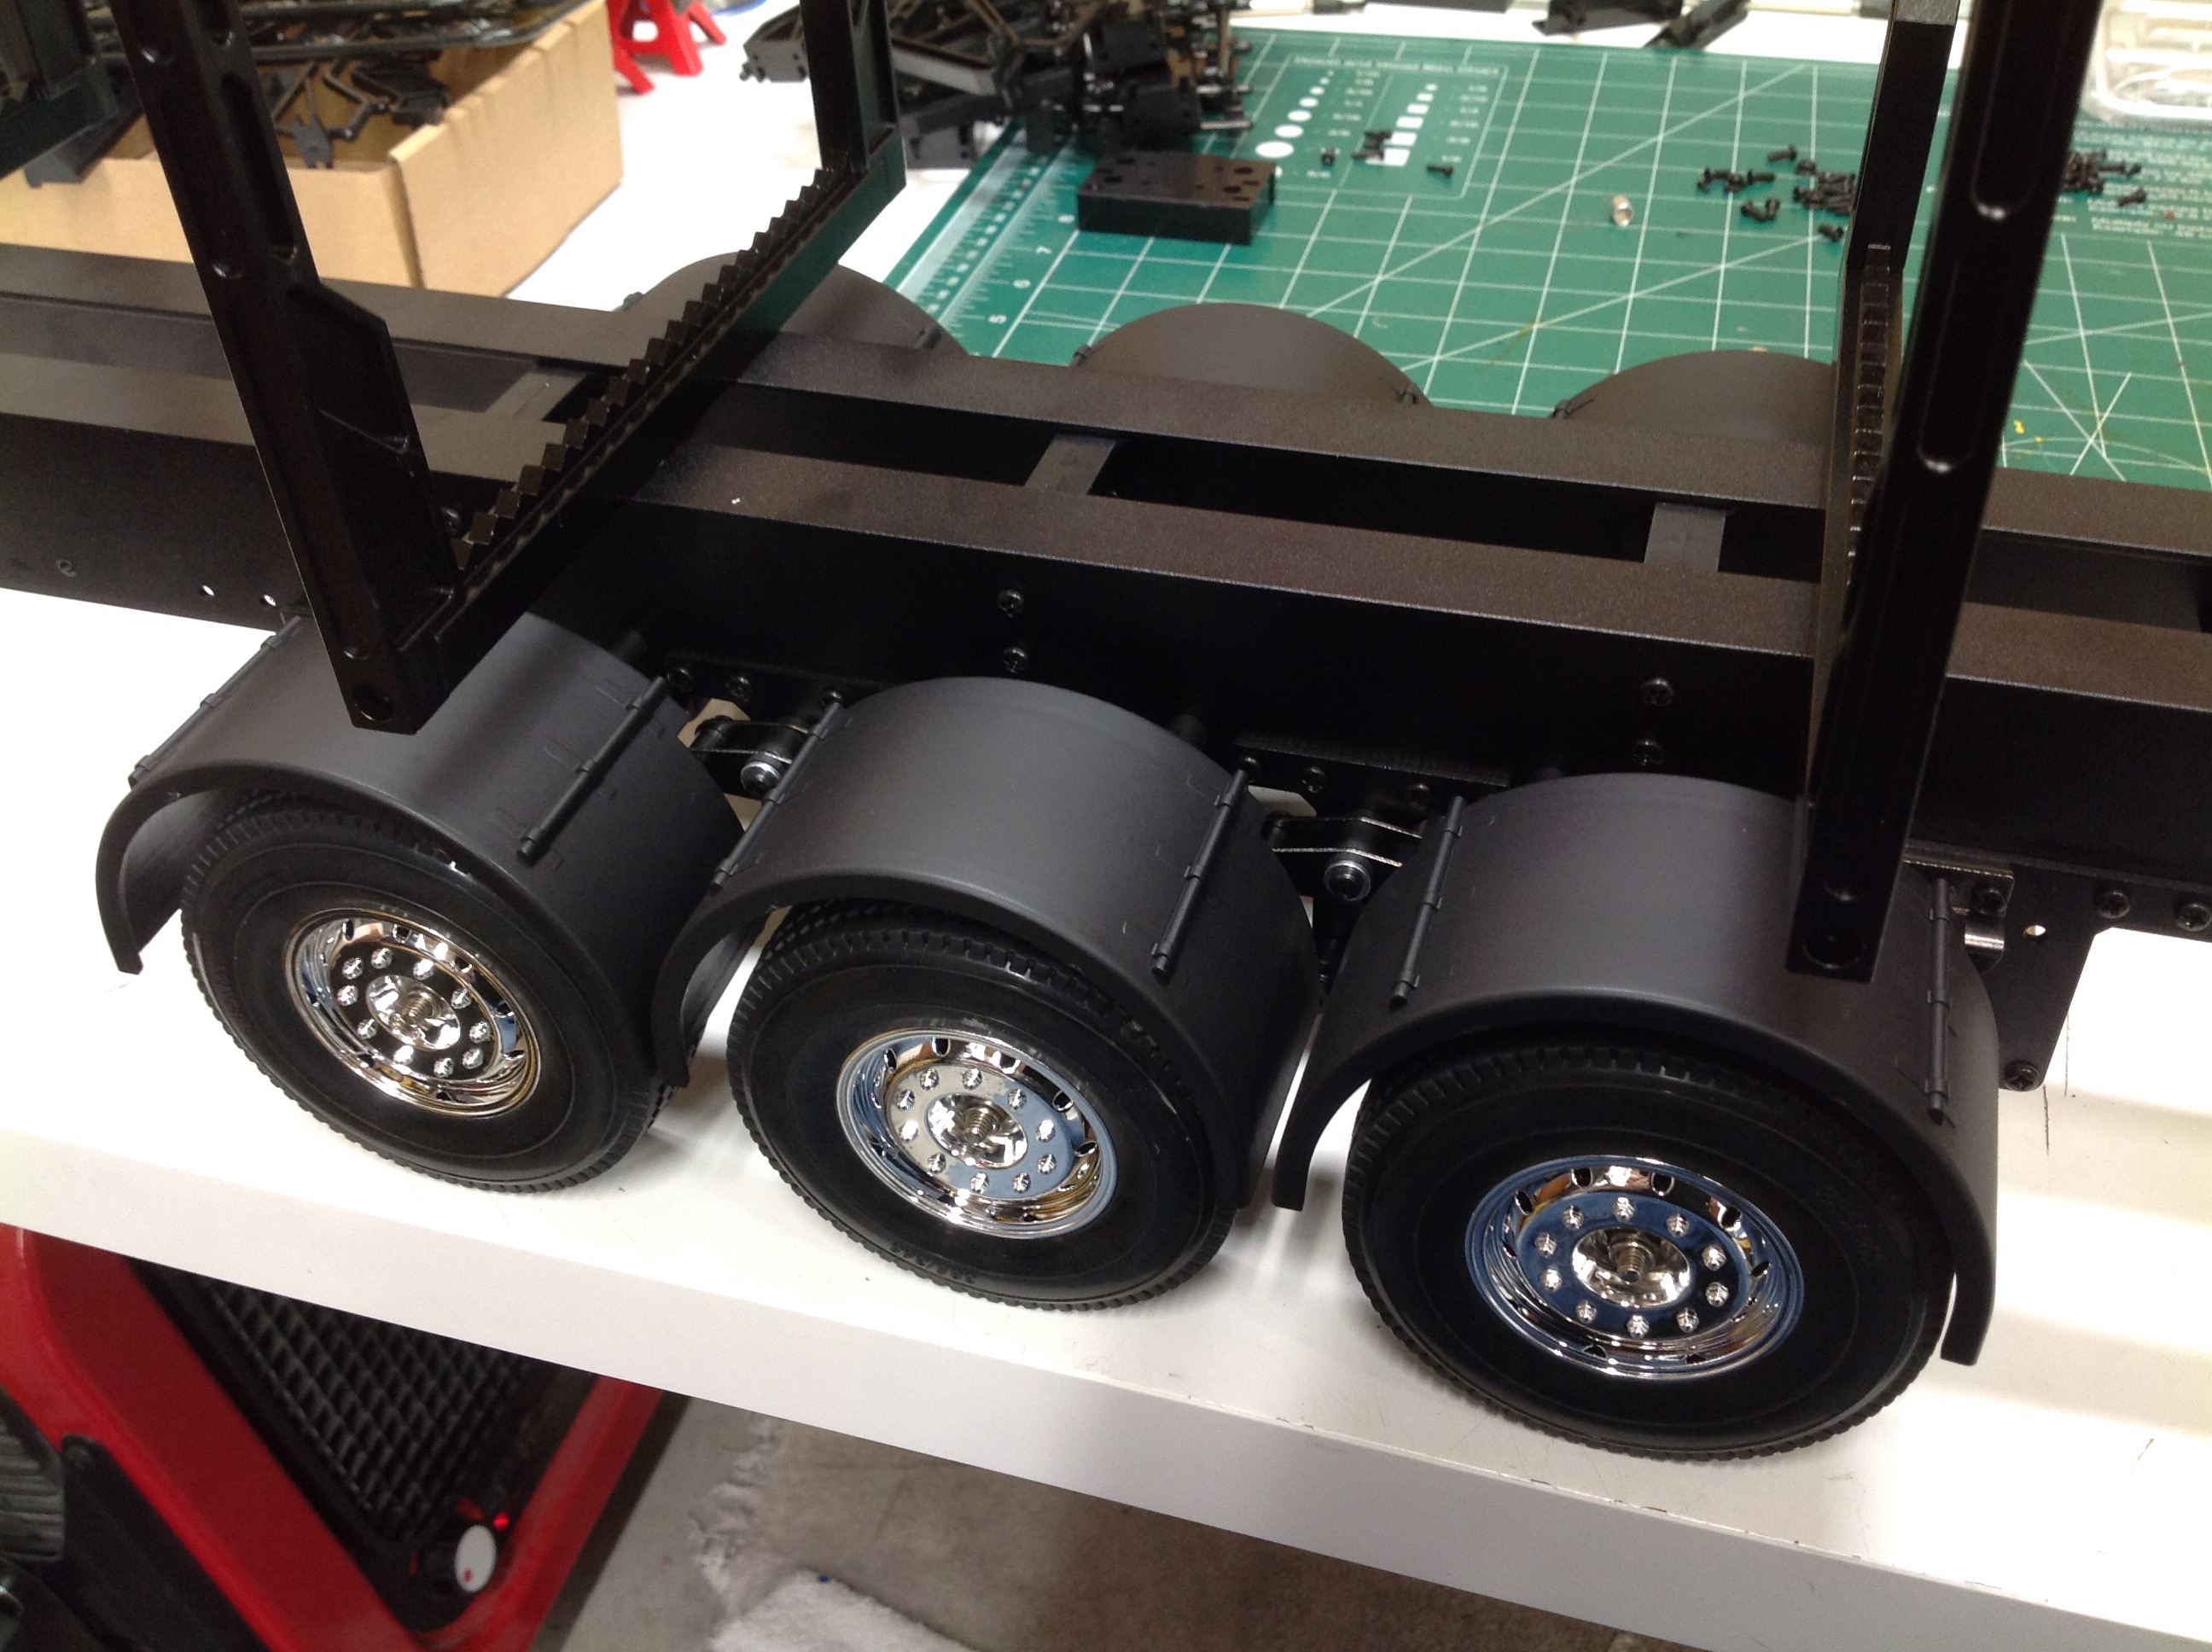
Time to install the axles and suspension to the frame. The center
axle shares a leaf spring rocker with each of the other axles, meaning
that if one one them goes up, the other one goes down. A set of
radius arms on each axle keeps them centered and prevents wandering
front to back.
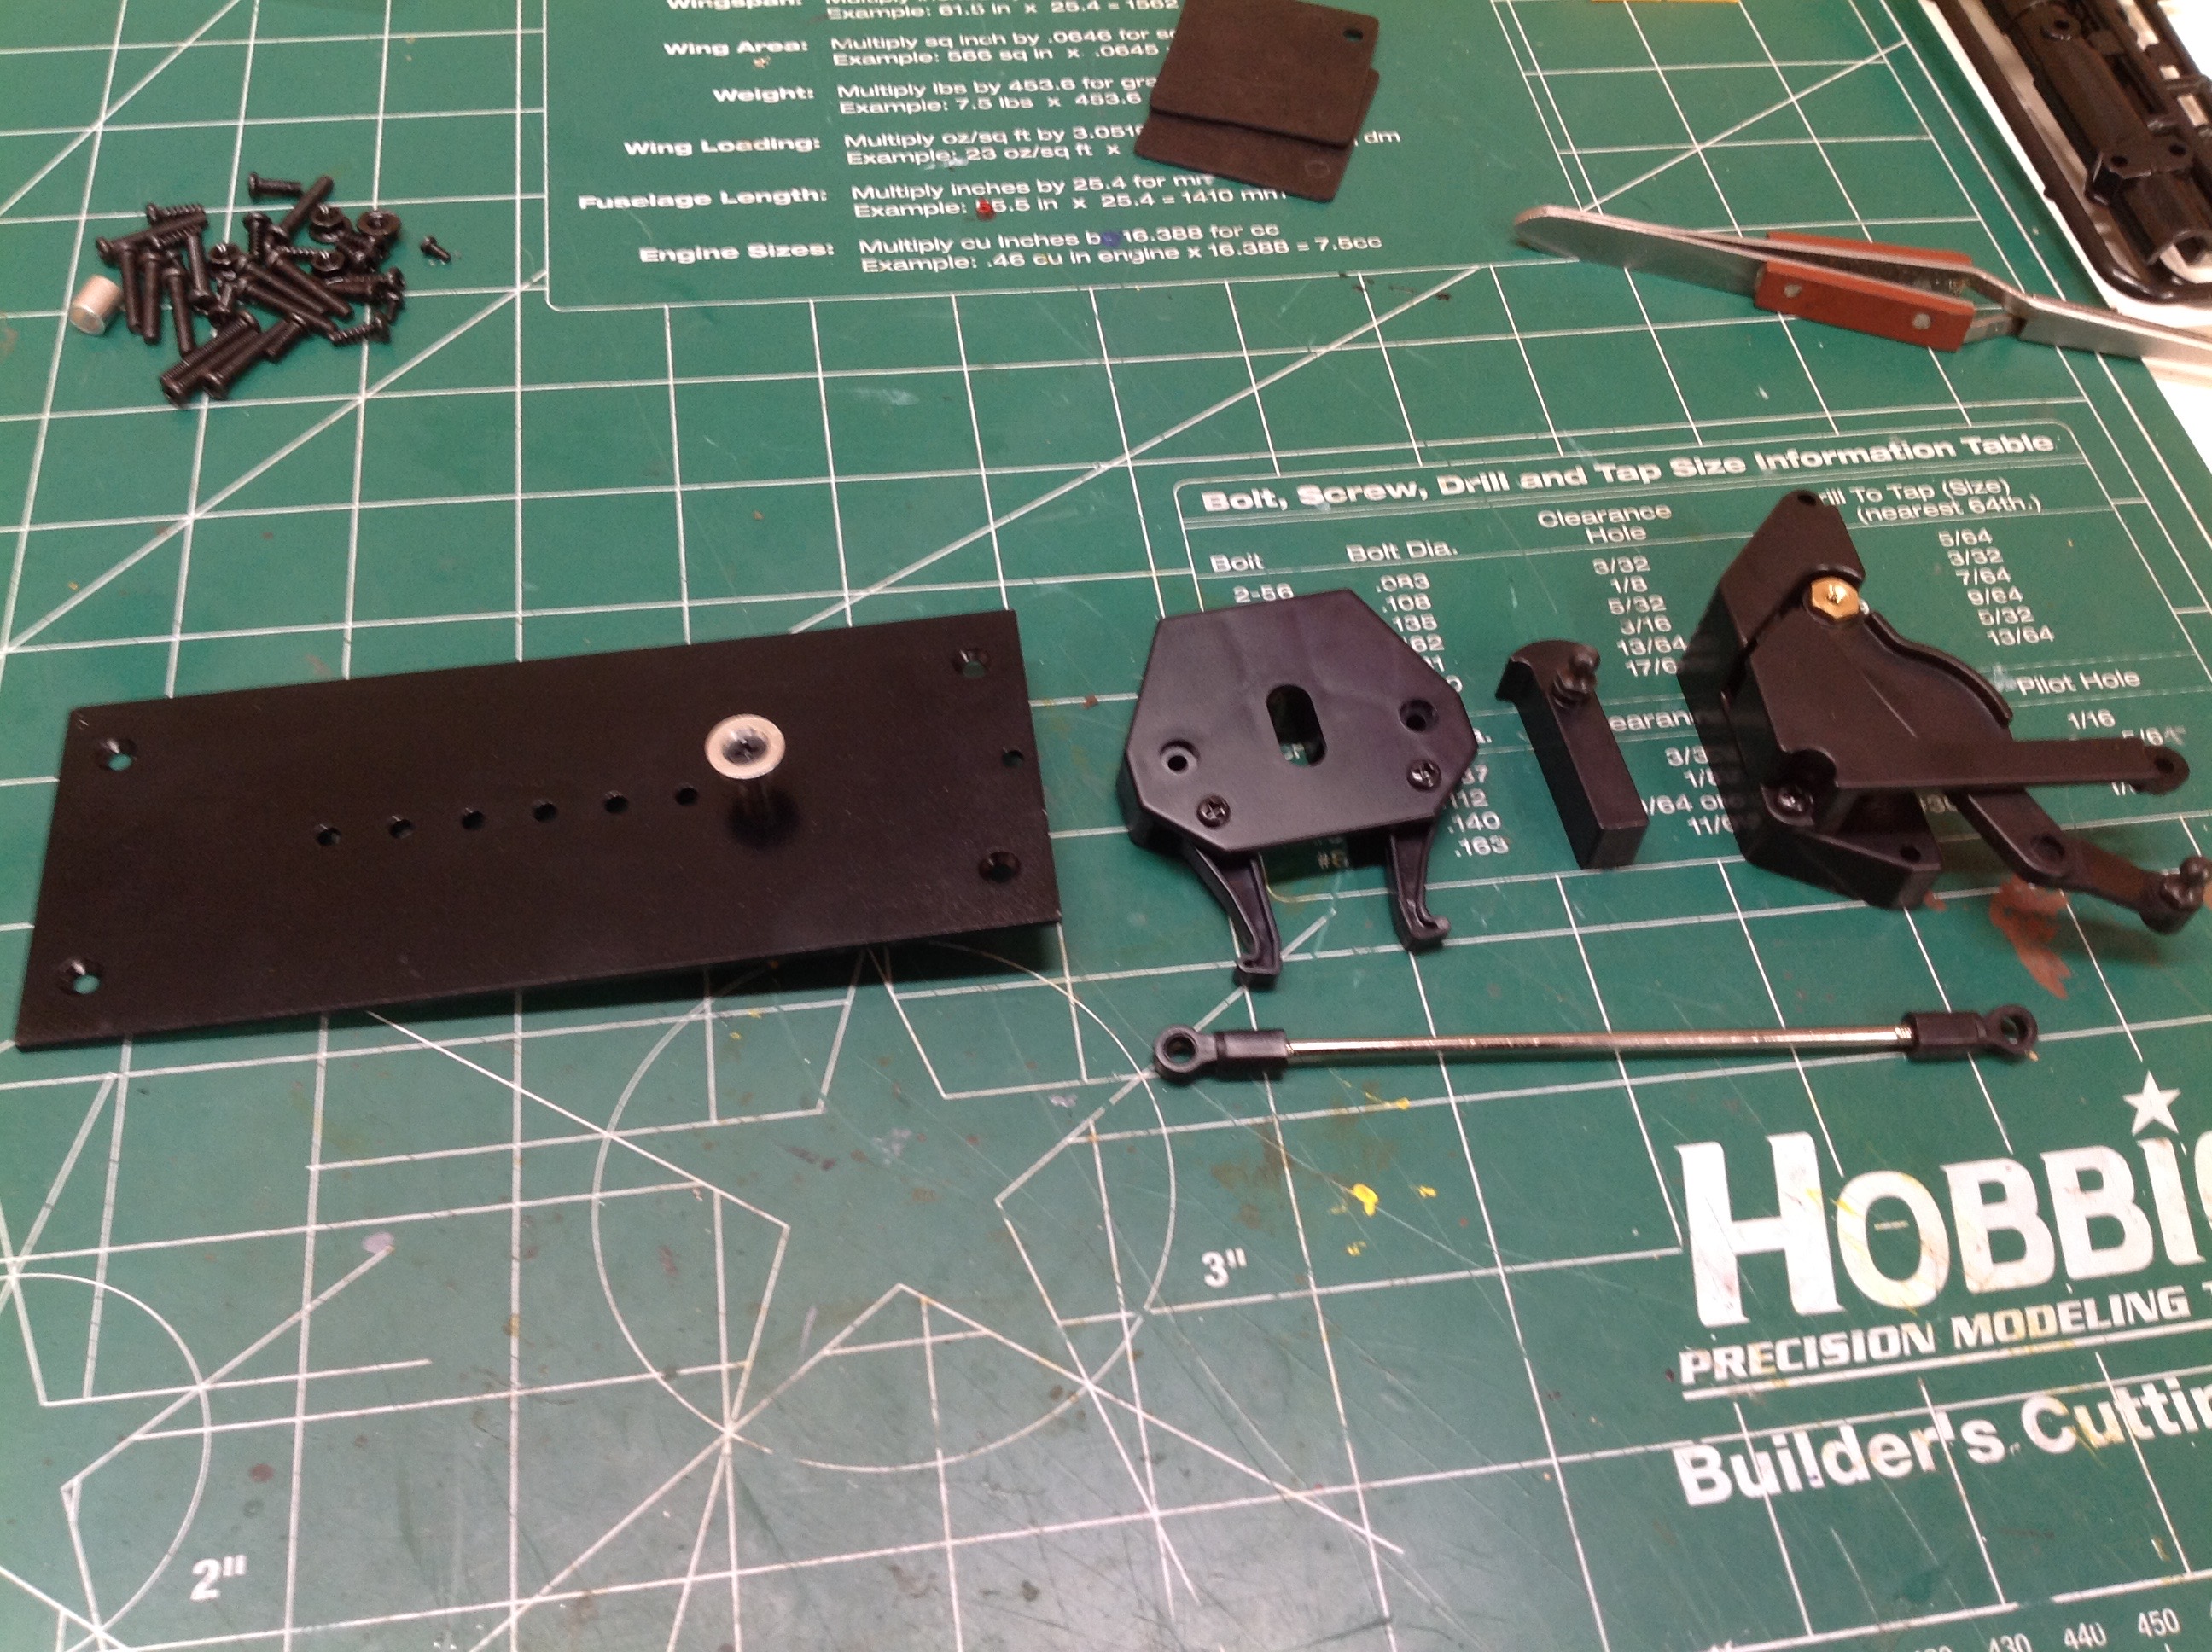
The support legs work exactly like those on a Tamiya trailer. The
legs are spring loaded to be retracted, but can lock down
manually. A touch to the trigger driven by the tractor's 5th wheel
will automatically retract the legs and allow the trailer to be driven
away. Extension is manual. You can
see the spring system inside one of the legs.
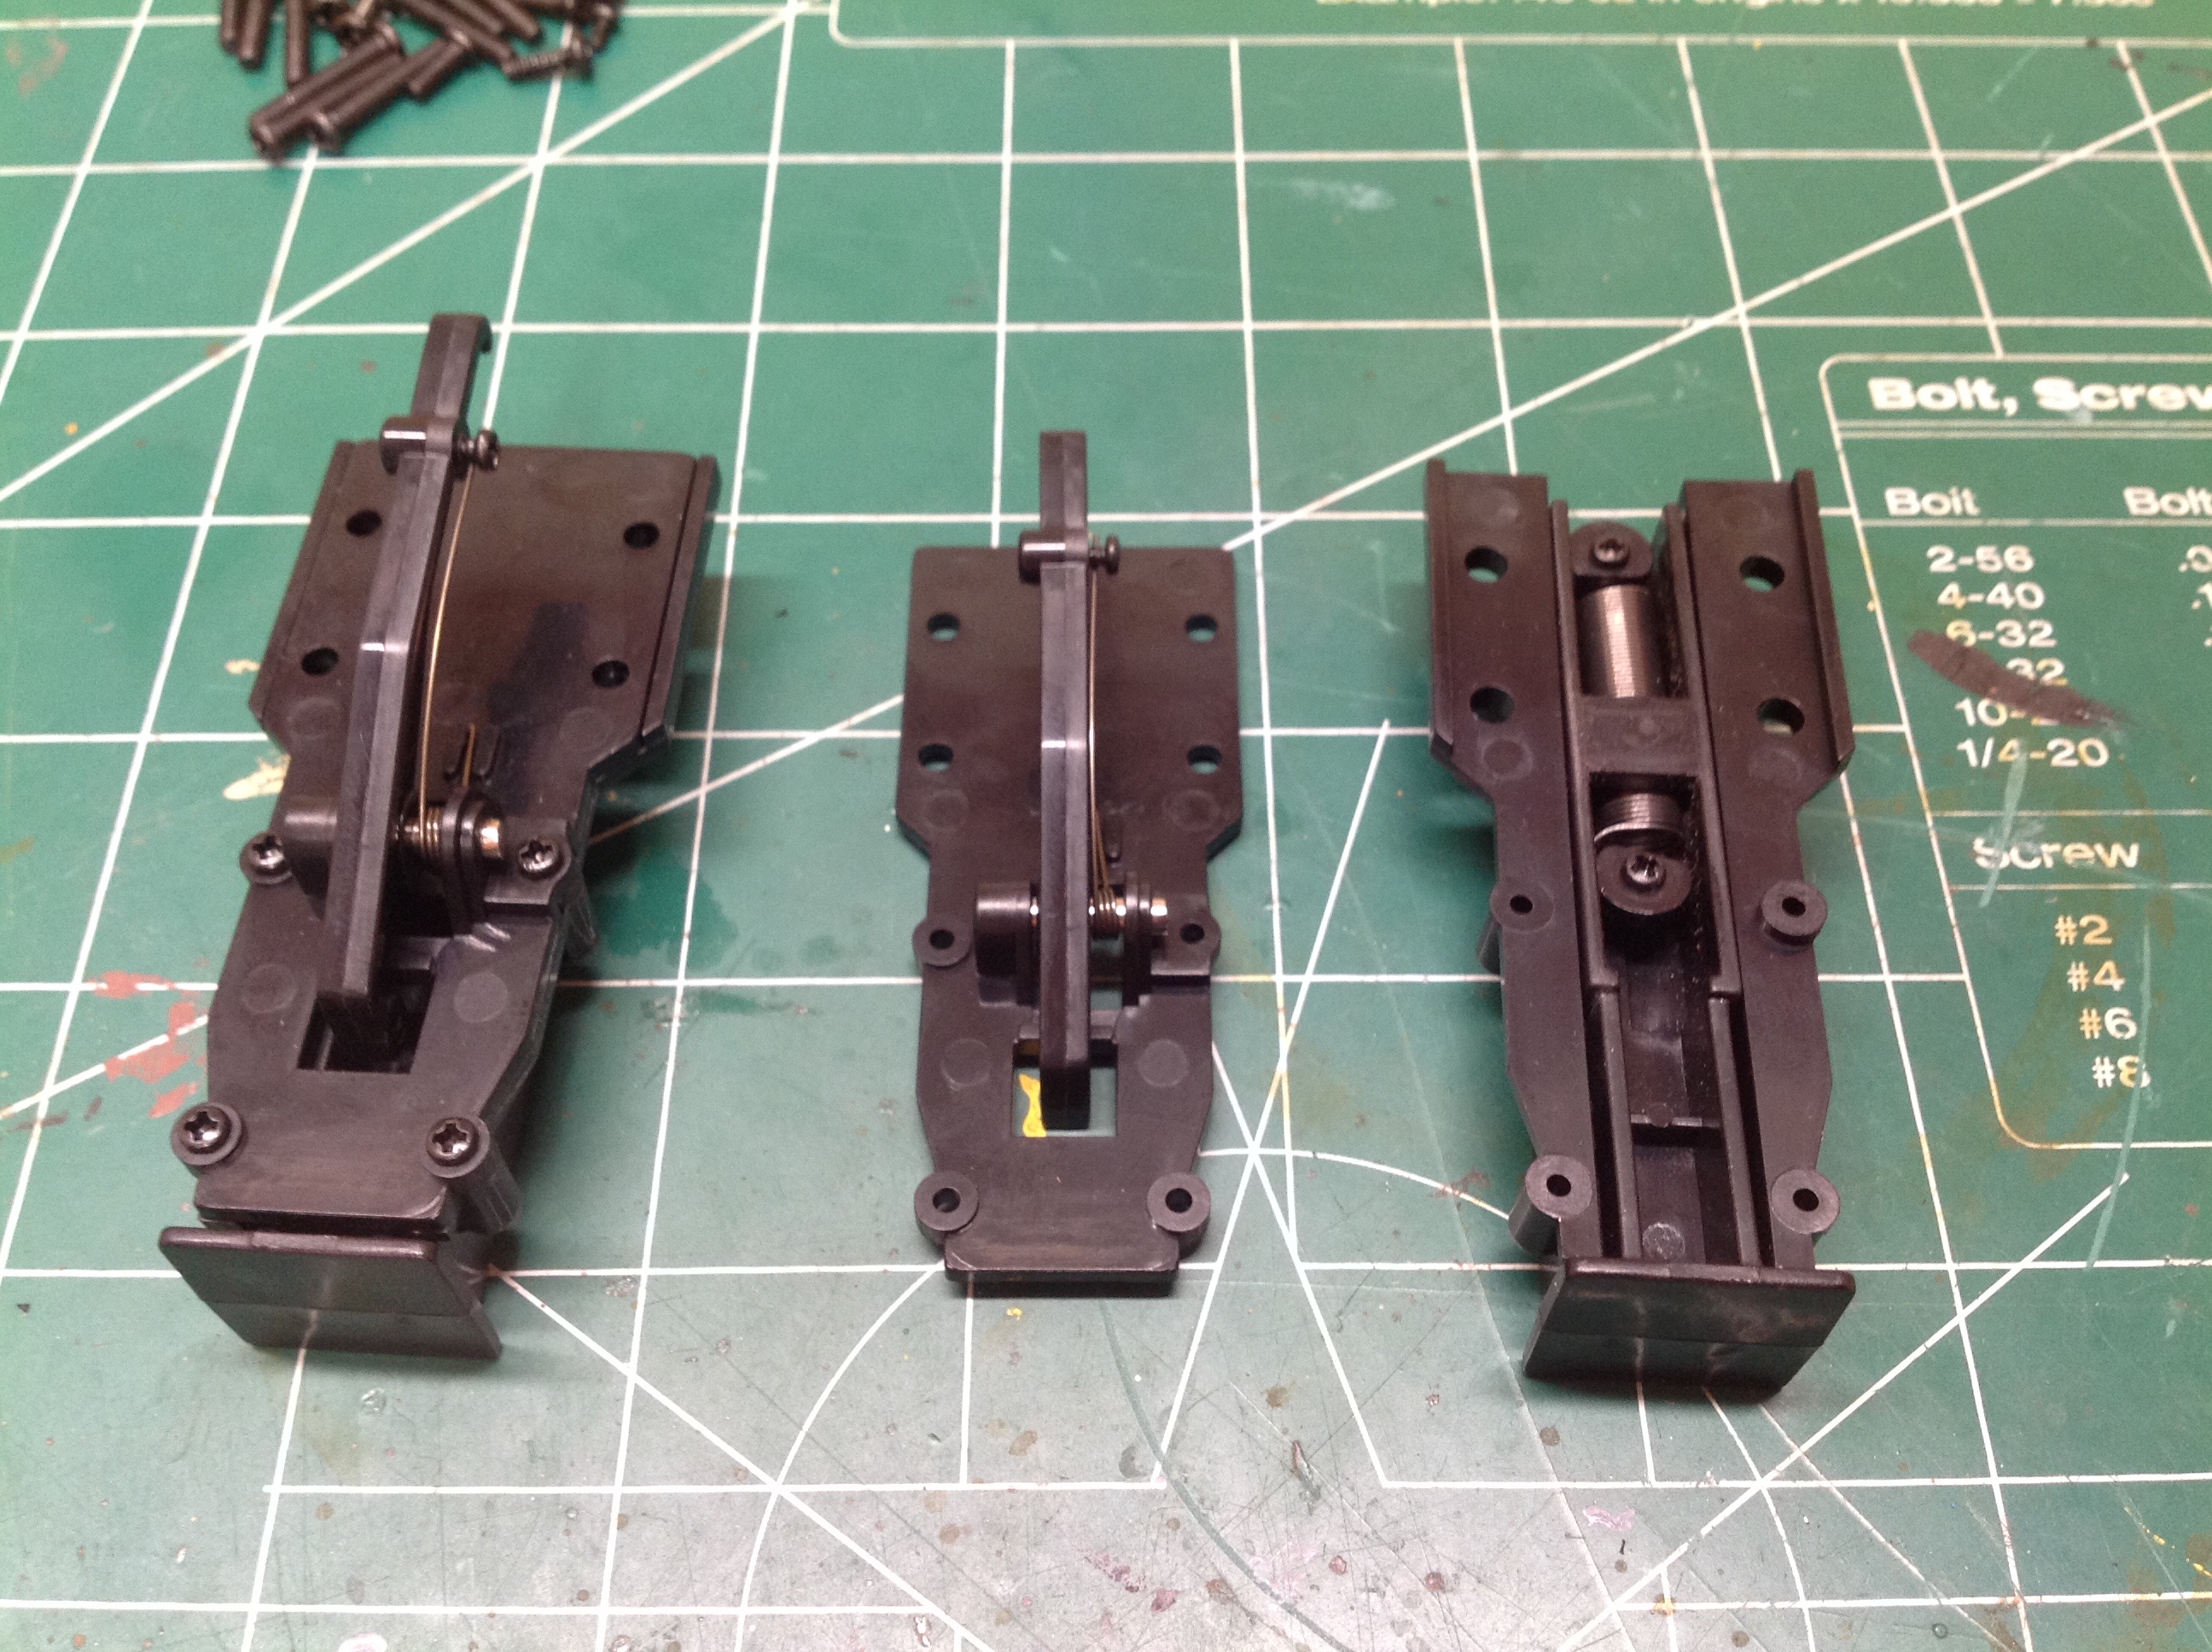
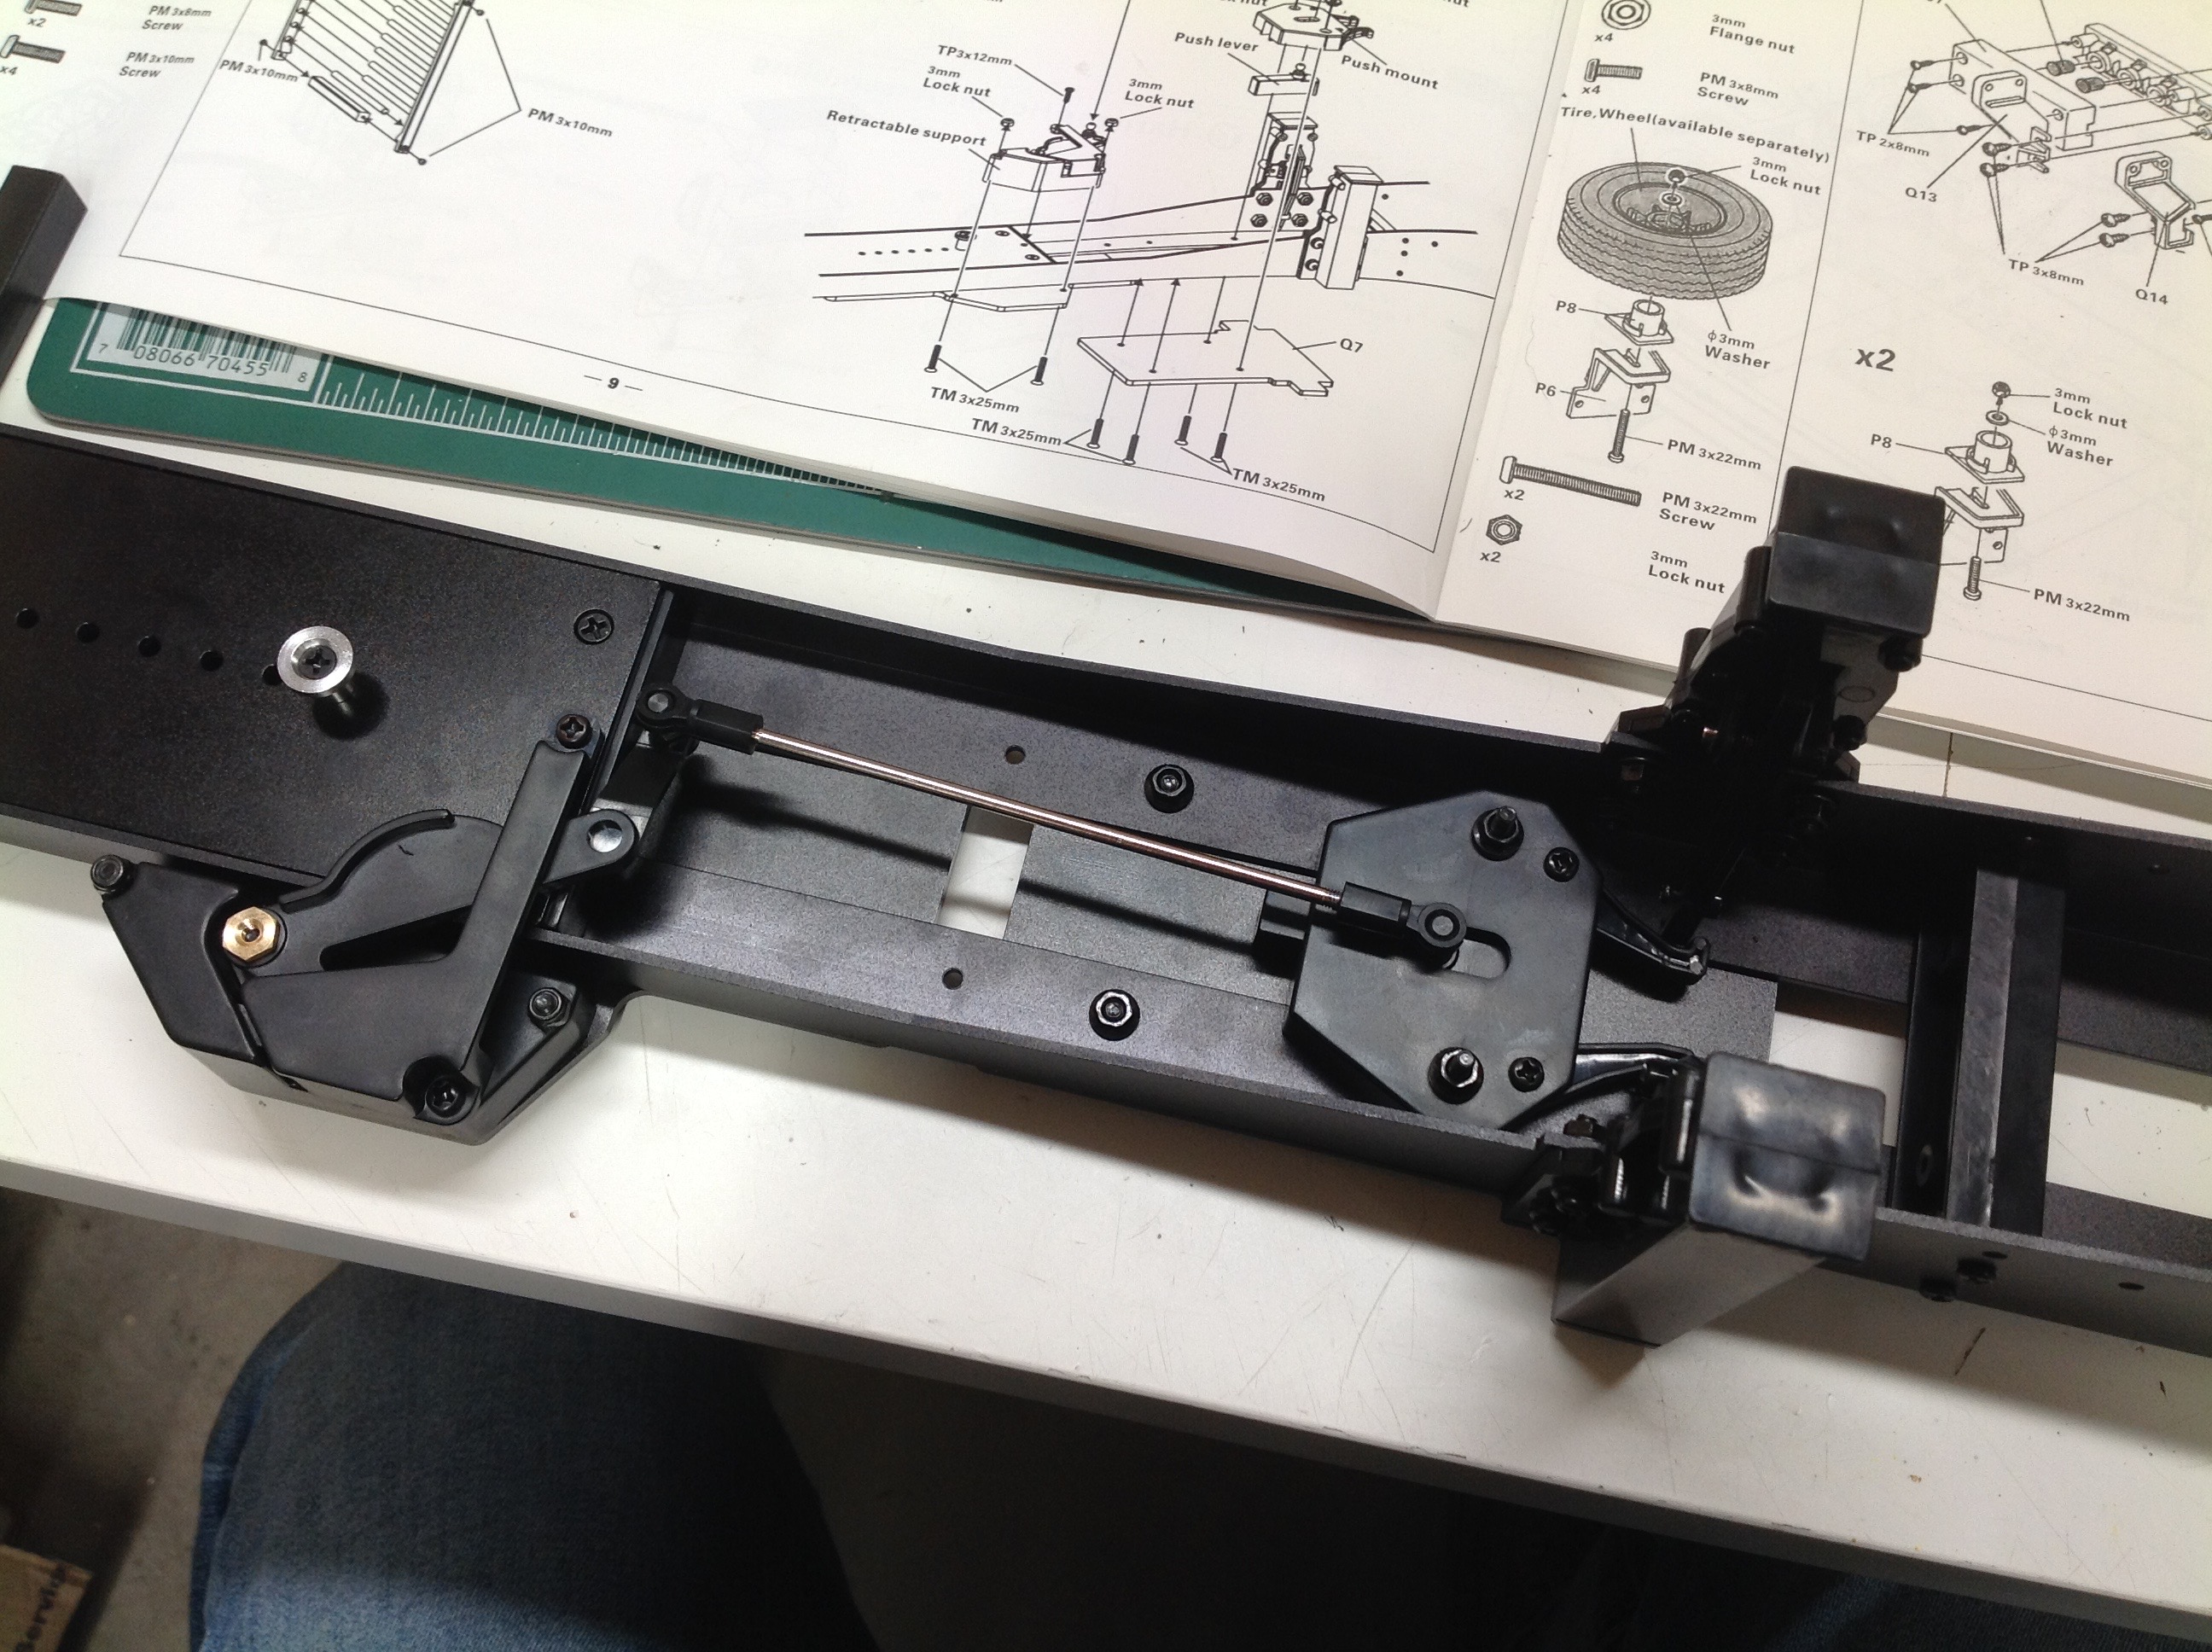
On the left you can
see some of the parts of the mechanism including the kingpin, the link,
and the levers. On the right we can see the completed mechanism with the cover removed to show
the inner workings. A touch to the cam on the left pushes the
rod. The rod slides another cam which pushes the two "claws"
outward. Those push the triggers on the leg supports which release
the ratchet, allowing the spring loaded legs to retract.
Voila!
Now I've enclosed the whole leg mechanism and
installed the front guard which will keep logs (or other cargo) from
sliding forward into the tractor under heavy braking. The guard
and stanchions are all nice machined aluminum parts. The bottom
toothed parts and the side rails are separate and are bolted
together. If I have any complaints about the design of this model,
it would be that there is only a single bolt holding each vertical rail
to the bottom rail. This means there is nothing to react prying
loads except the head of the bolt, therefore you don't want to put
anything really heavy on the trailer. I've also installed the
plastic fenders over each wheel.
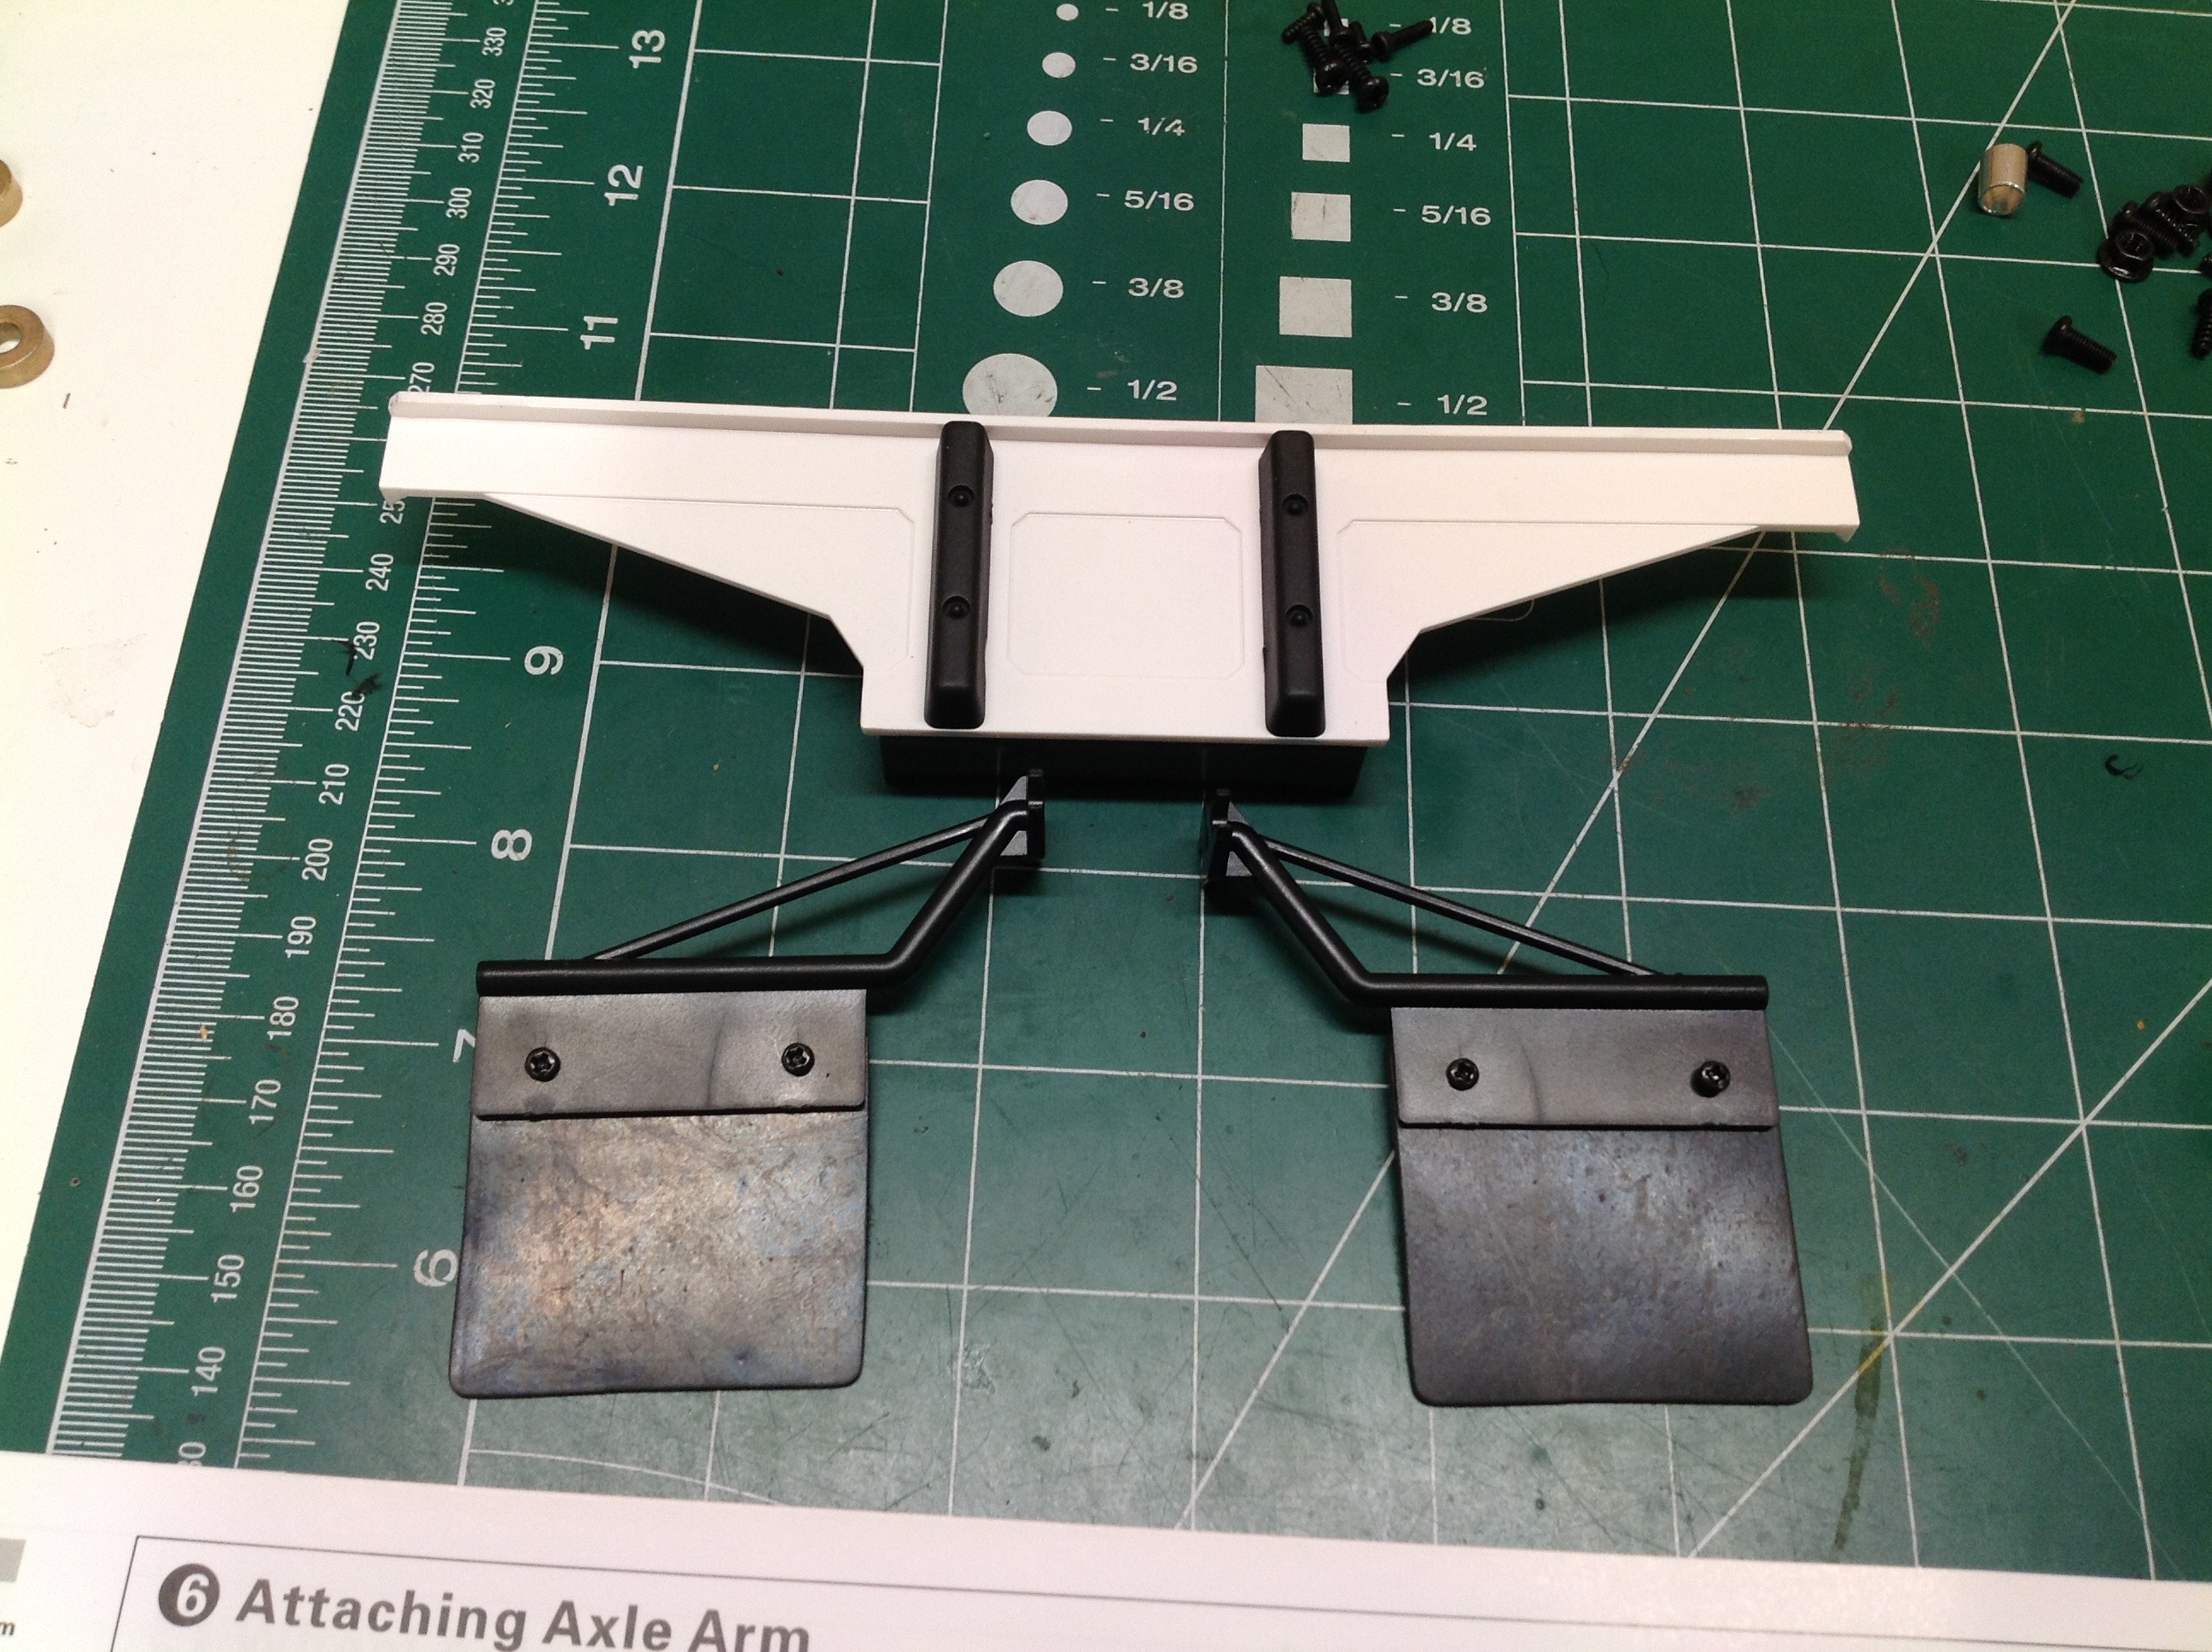
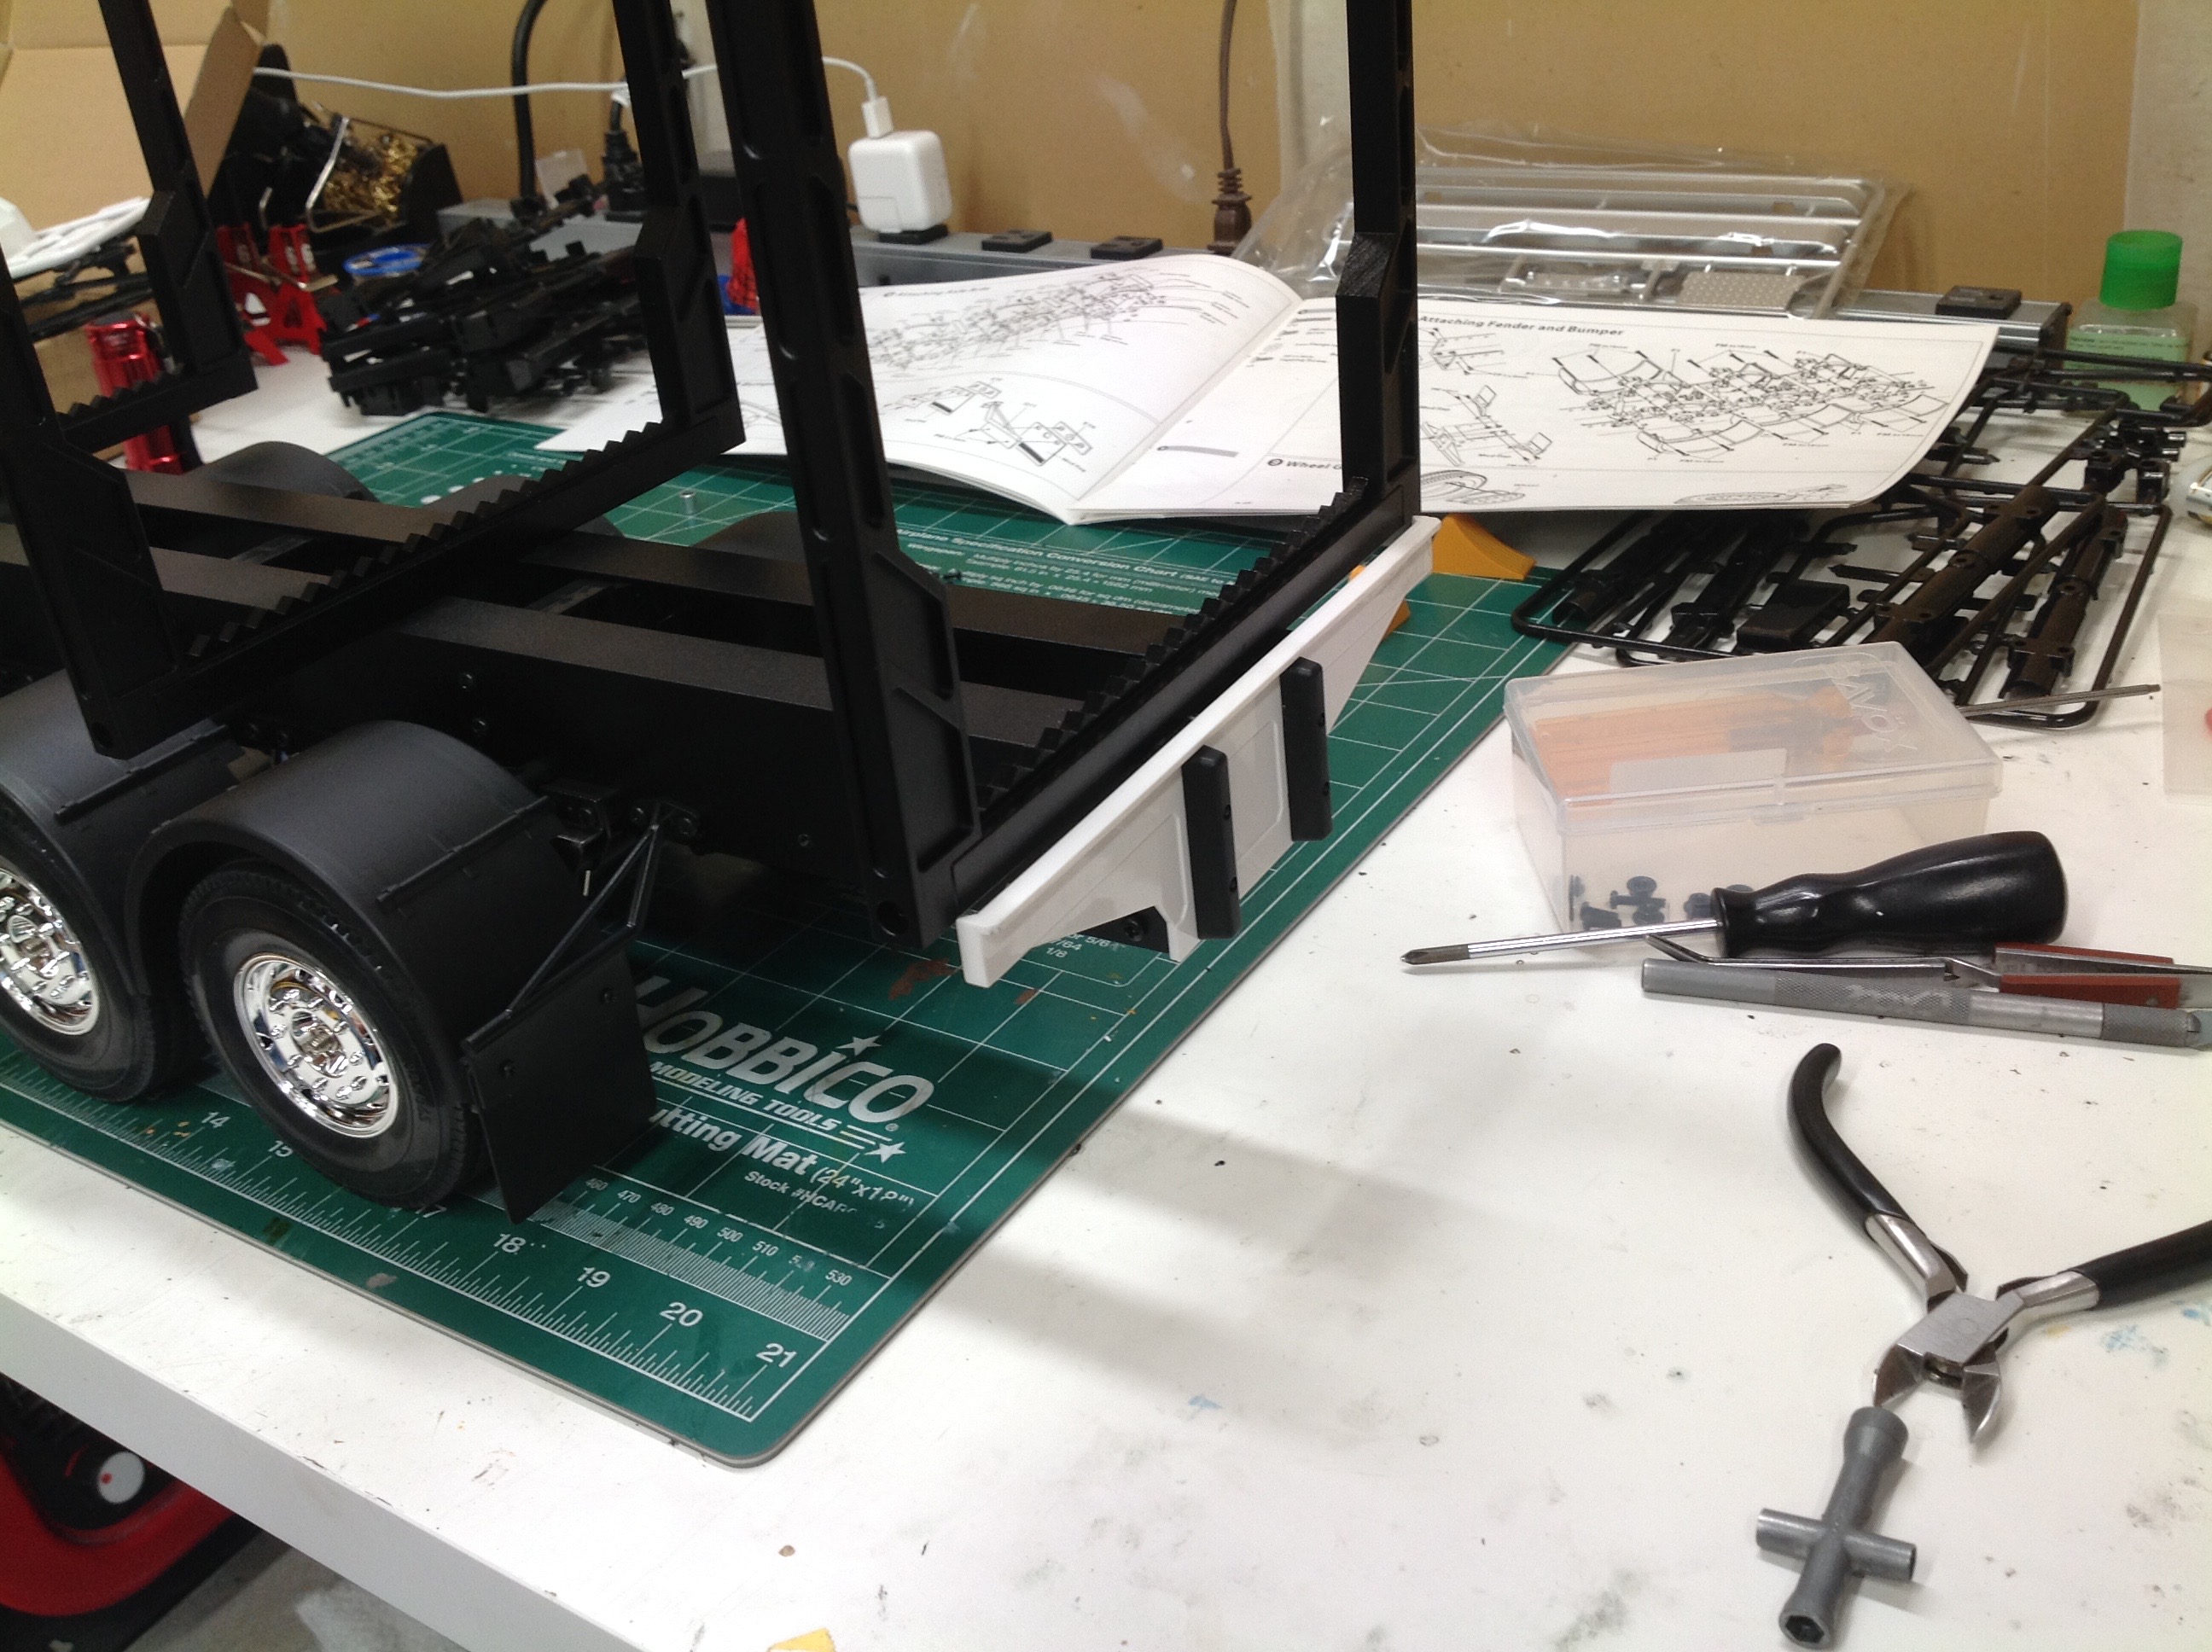
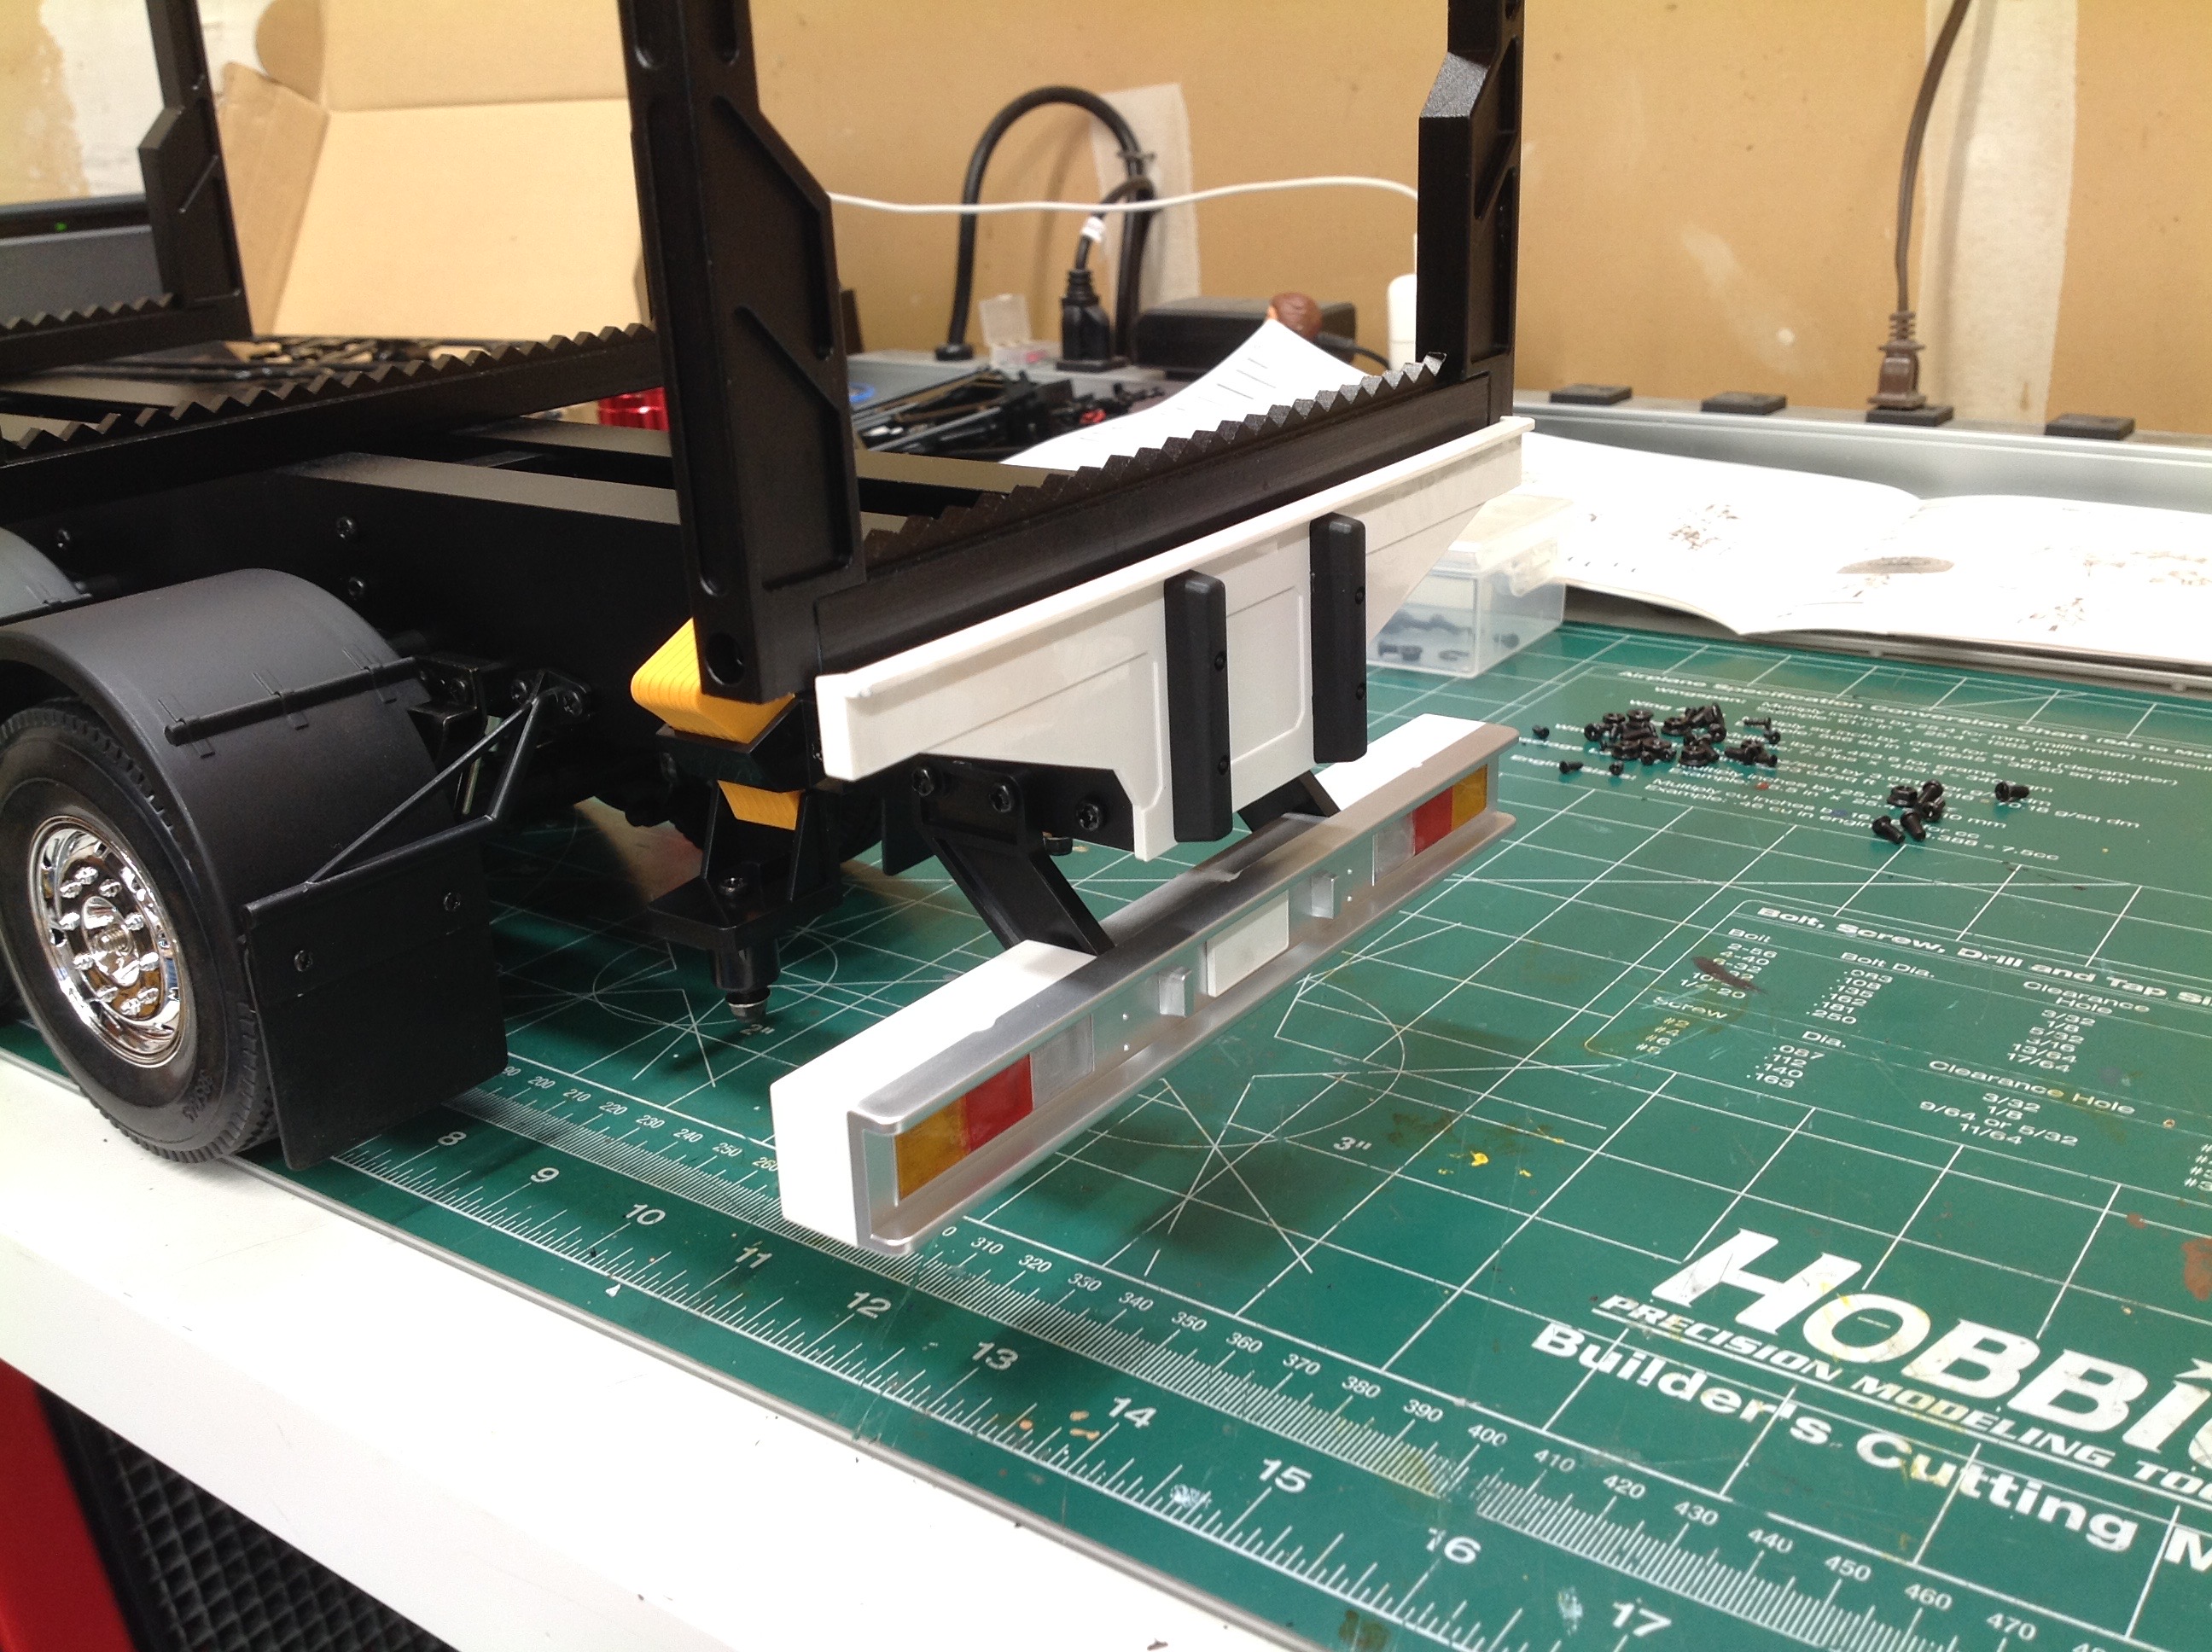
Here I've started on the plastic rear bumper and the rubber mud
flaps. On the right you see them installed on the trailer
frame. I haven't decided whether or not I like the white, but
that's what was called for in the instructions.
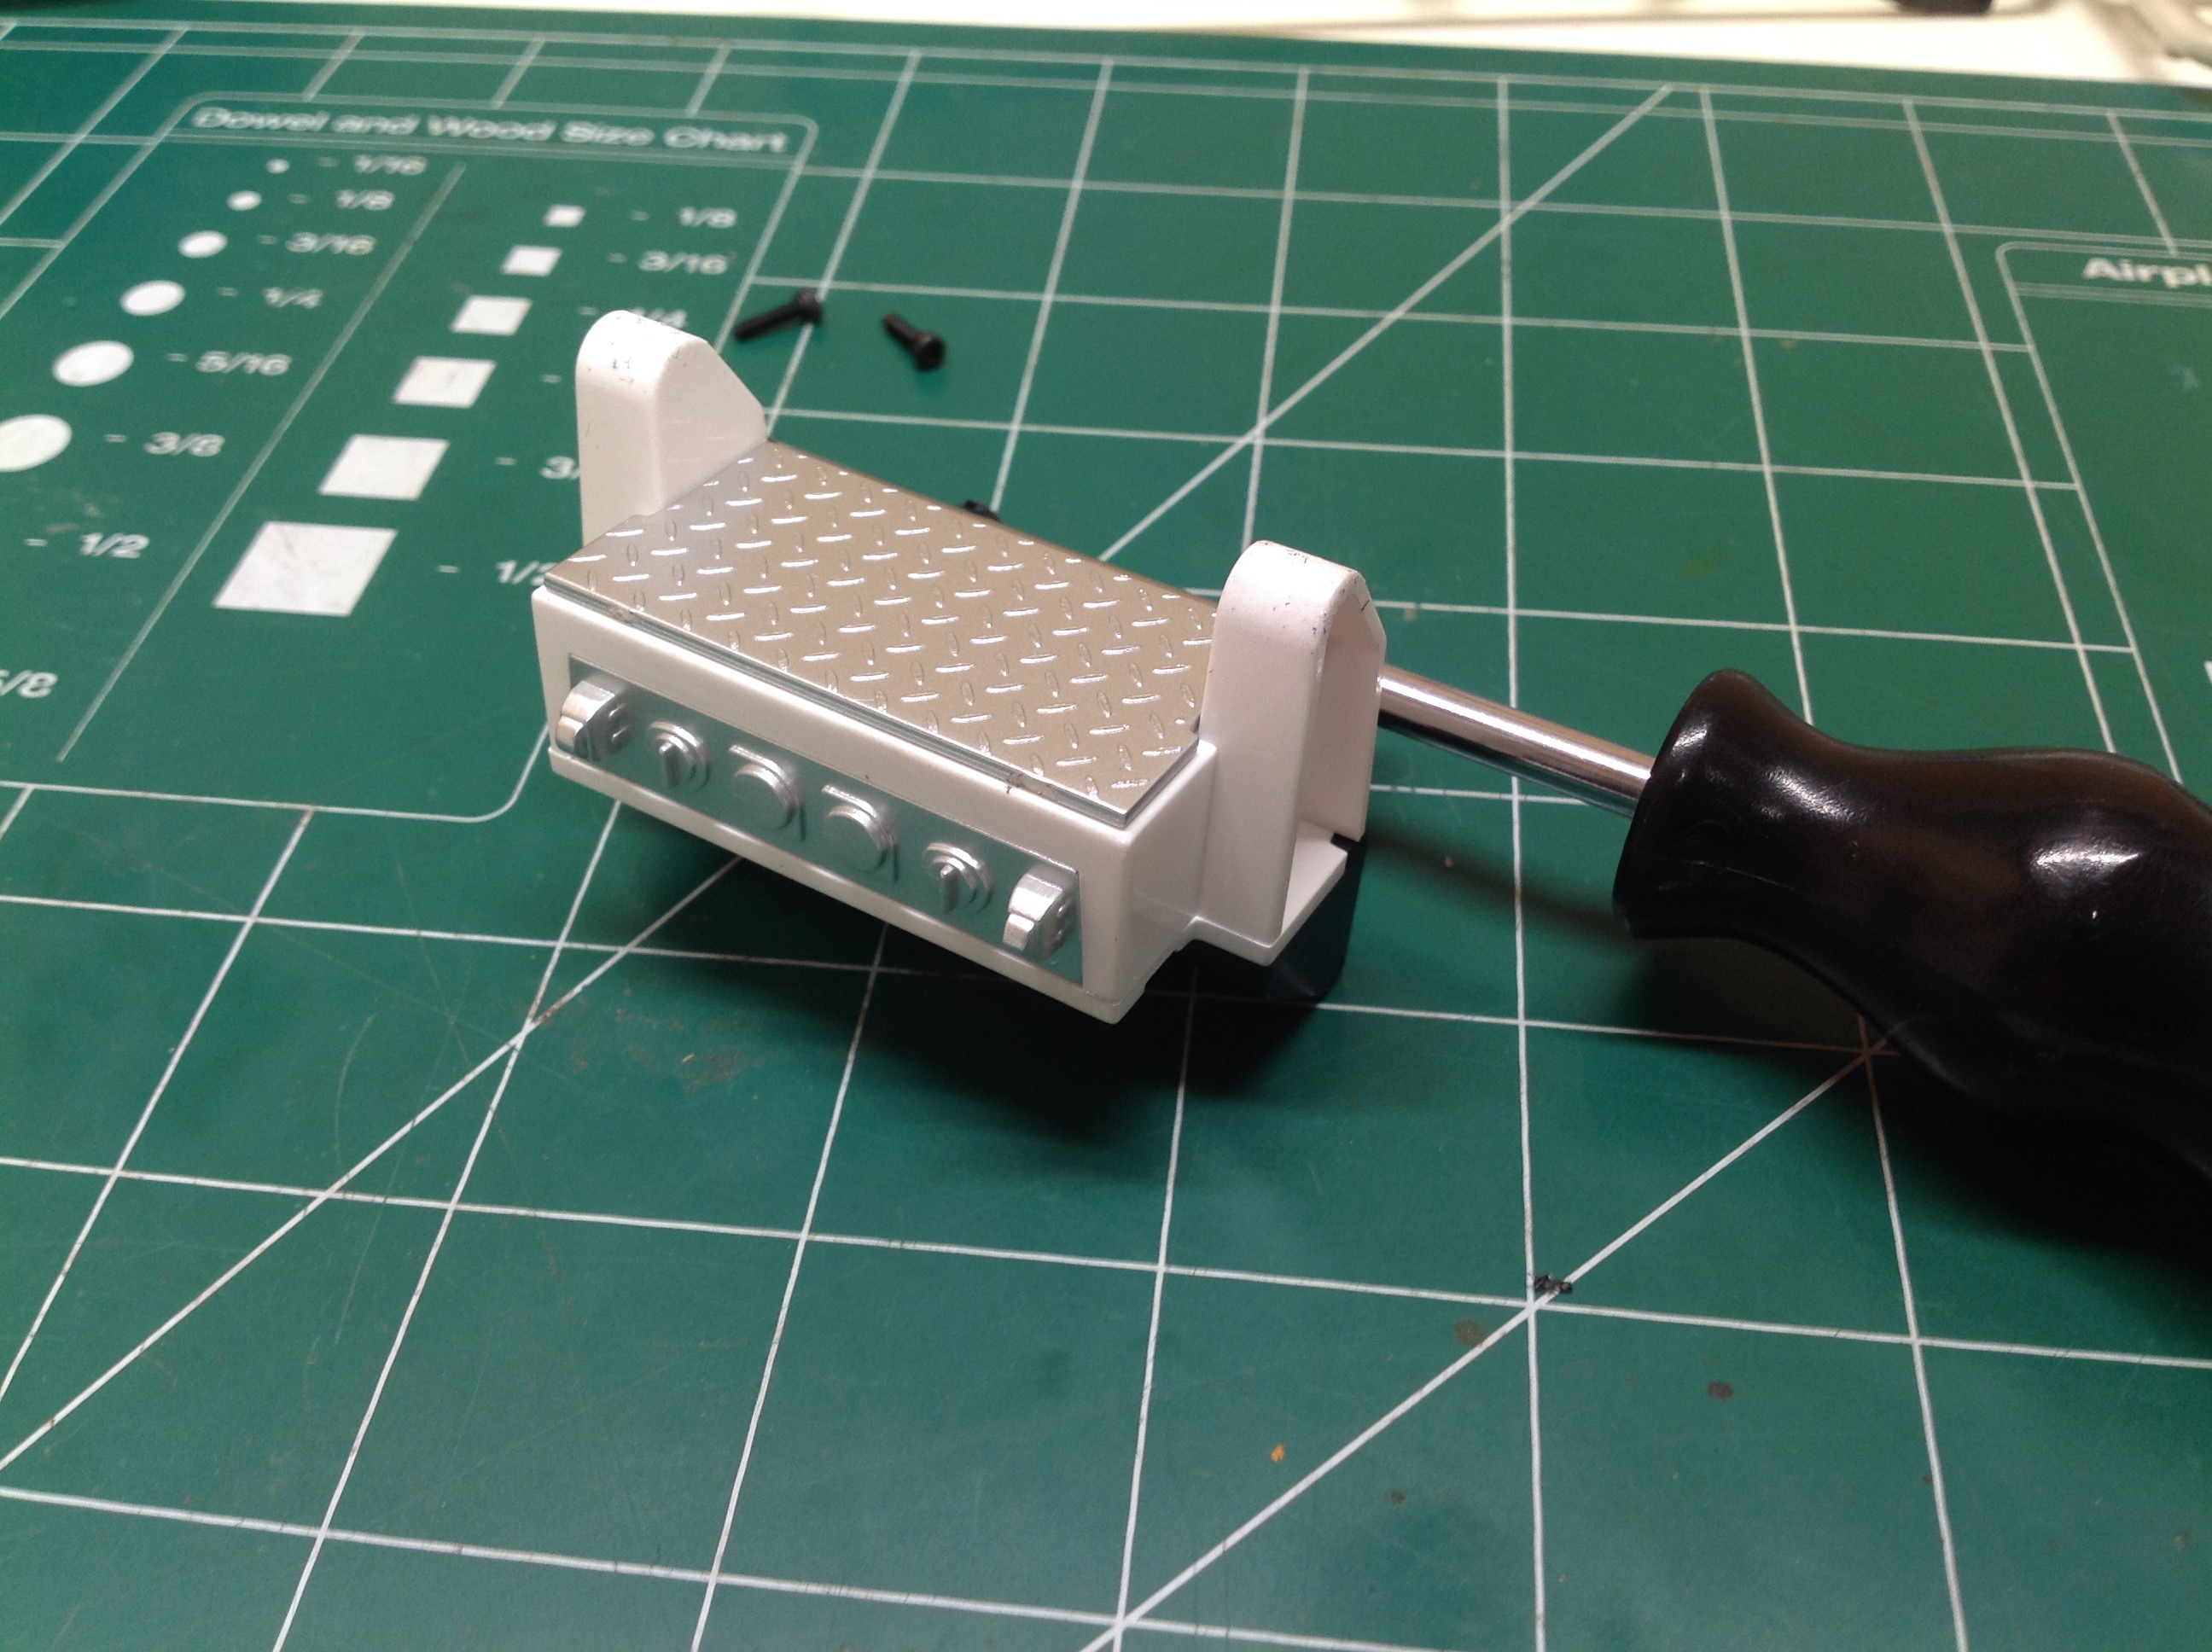
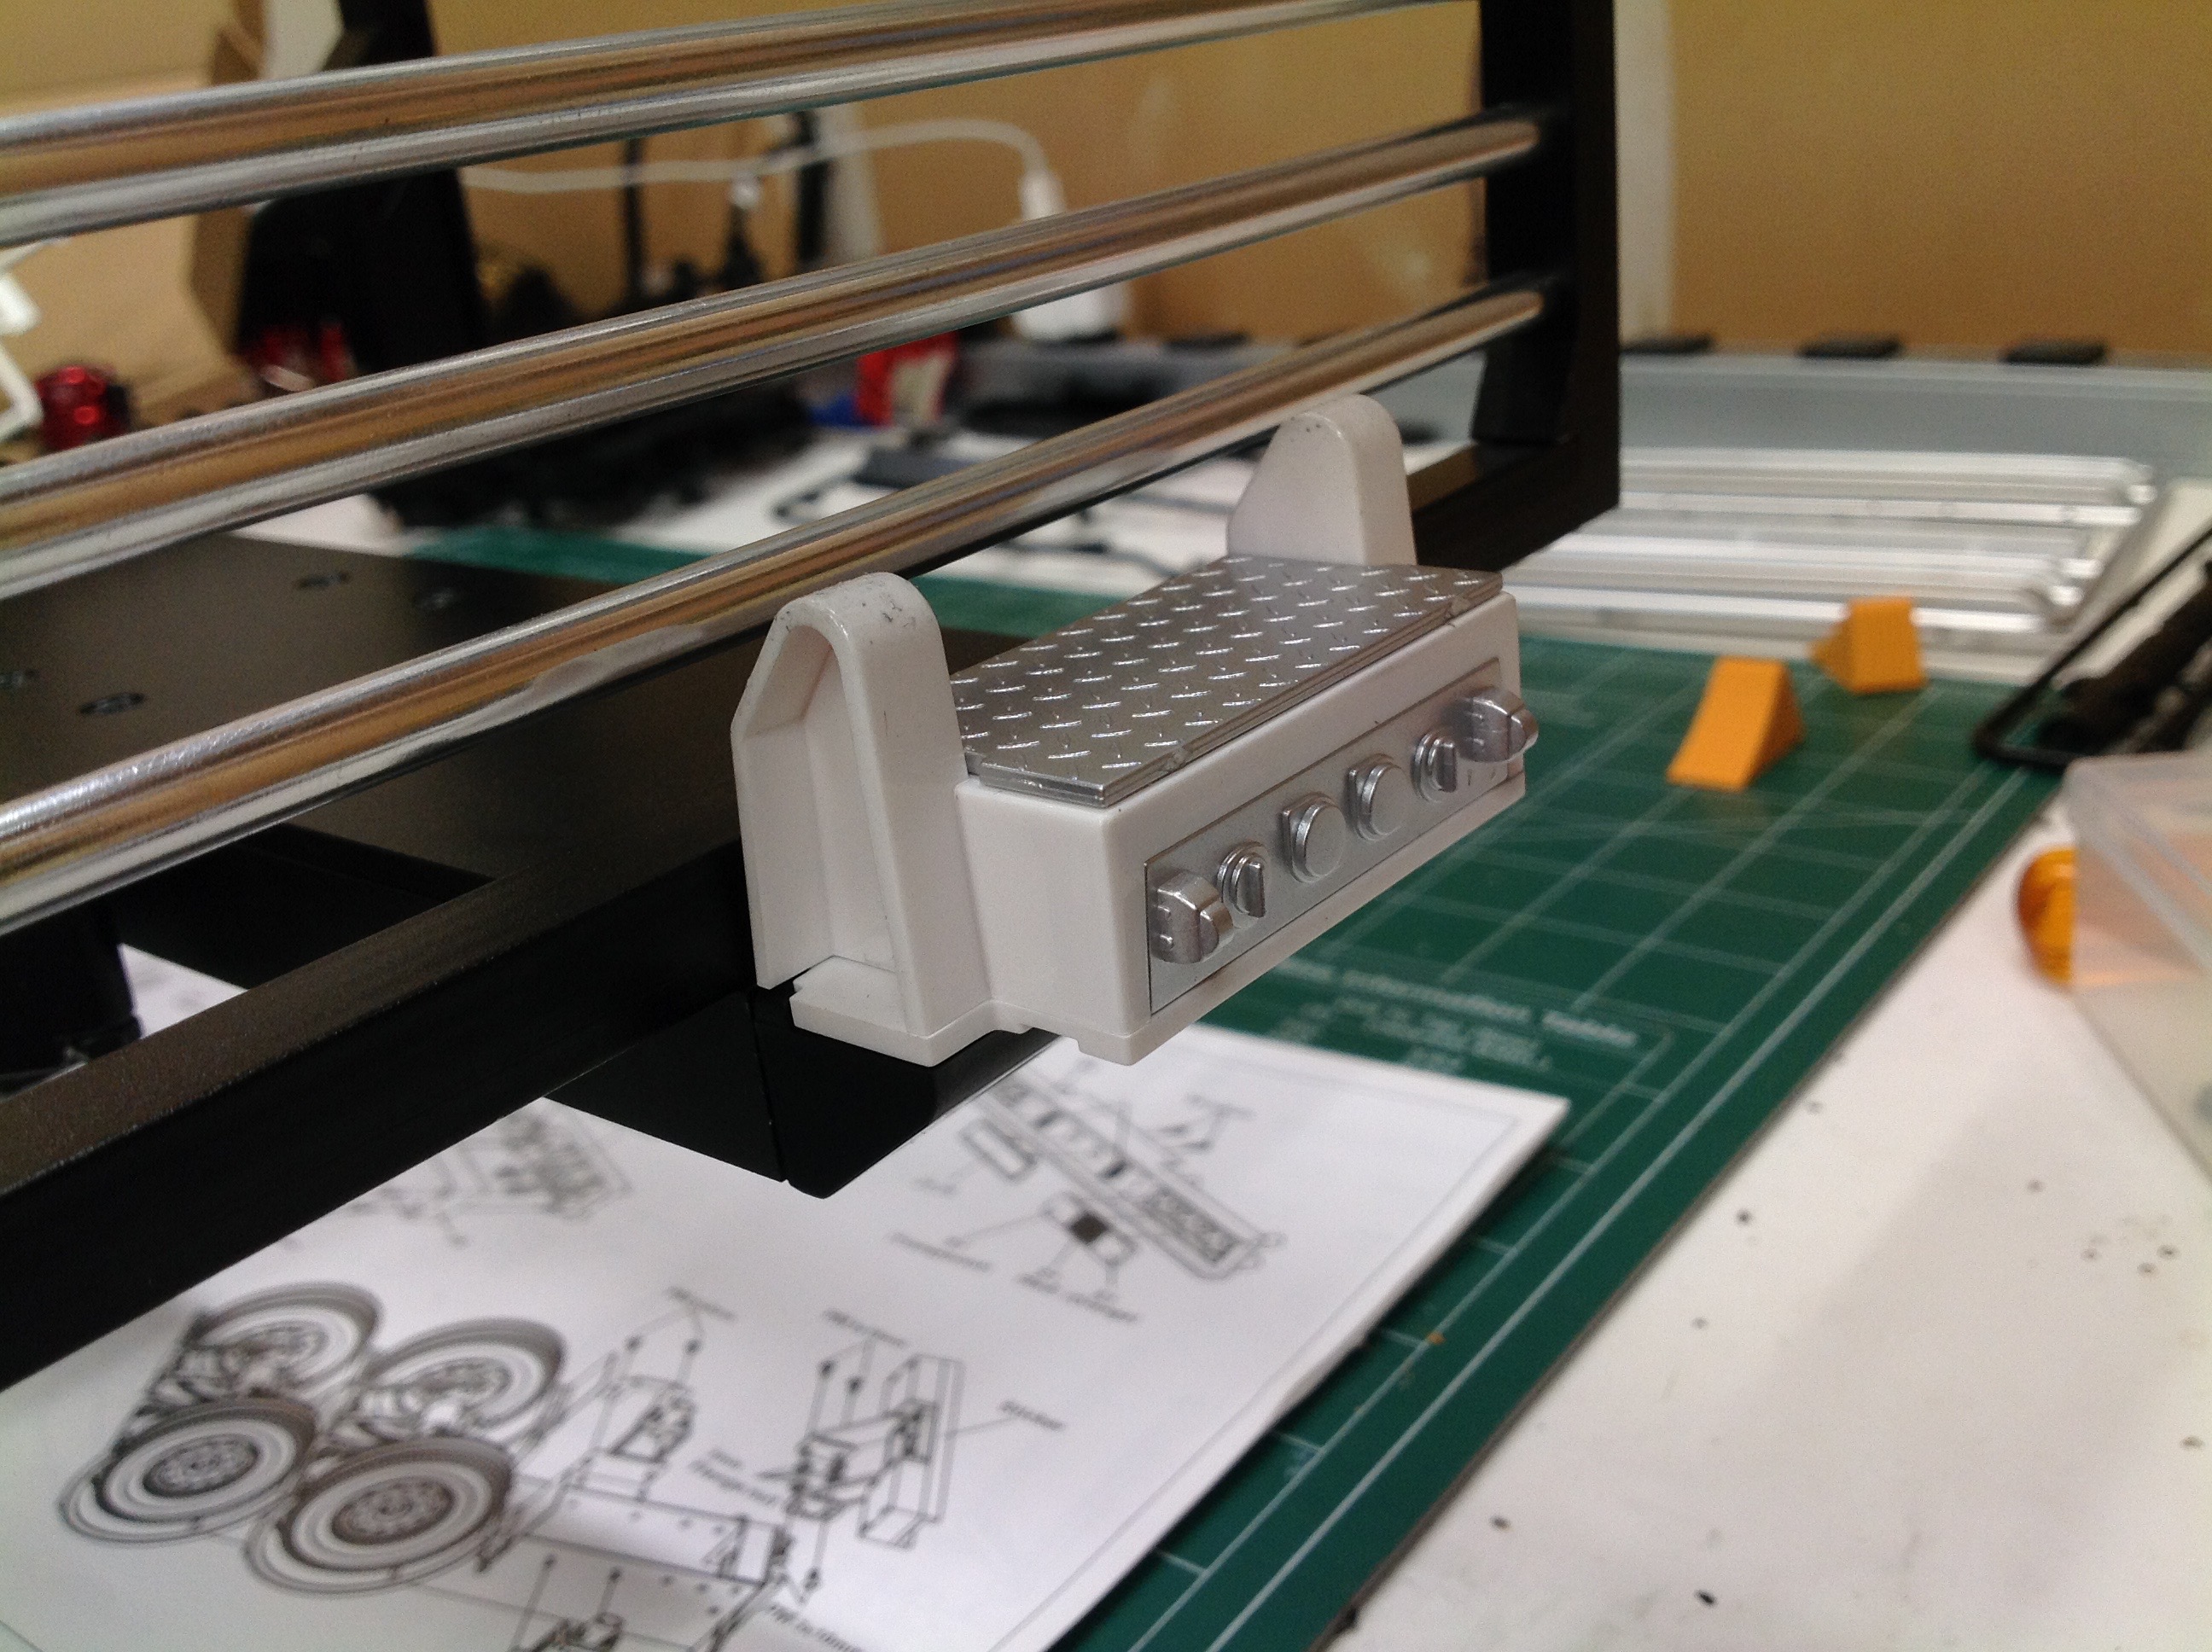
This front box would be a control panel on a real trailer, and maybe an
attachment for the air brakes and lights. It can serve much the
same function on the model. If the optional trailer lights are
installed then the diamond plate cover must be removed to allow the
wires to pass through.
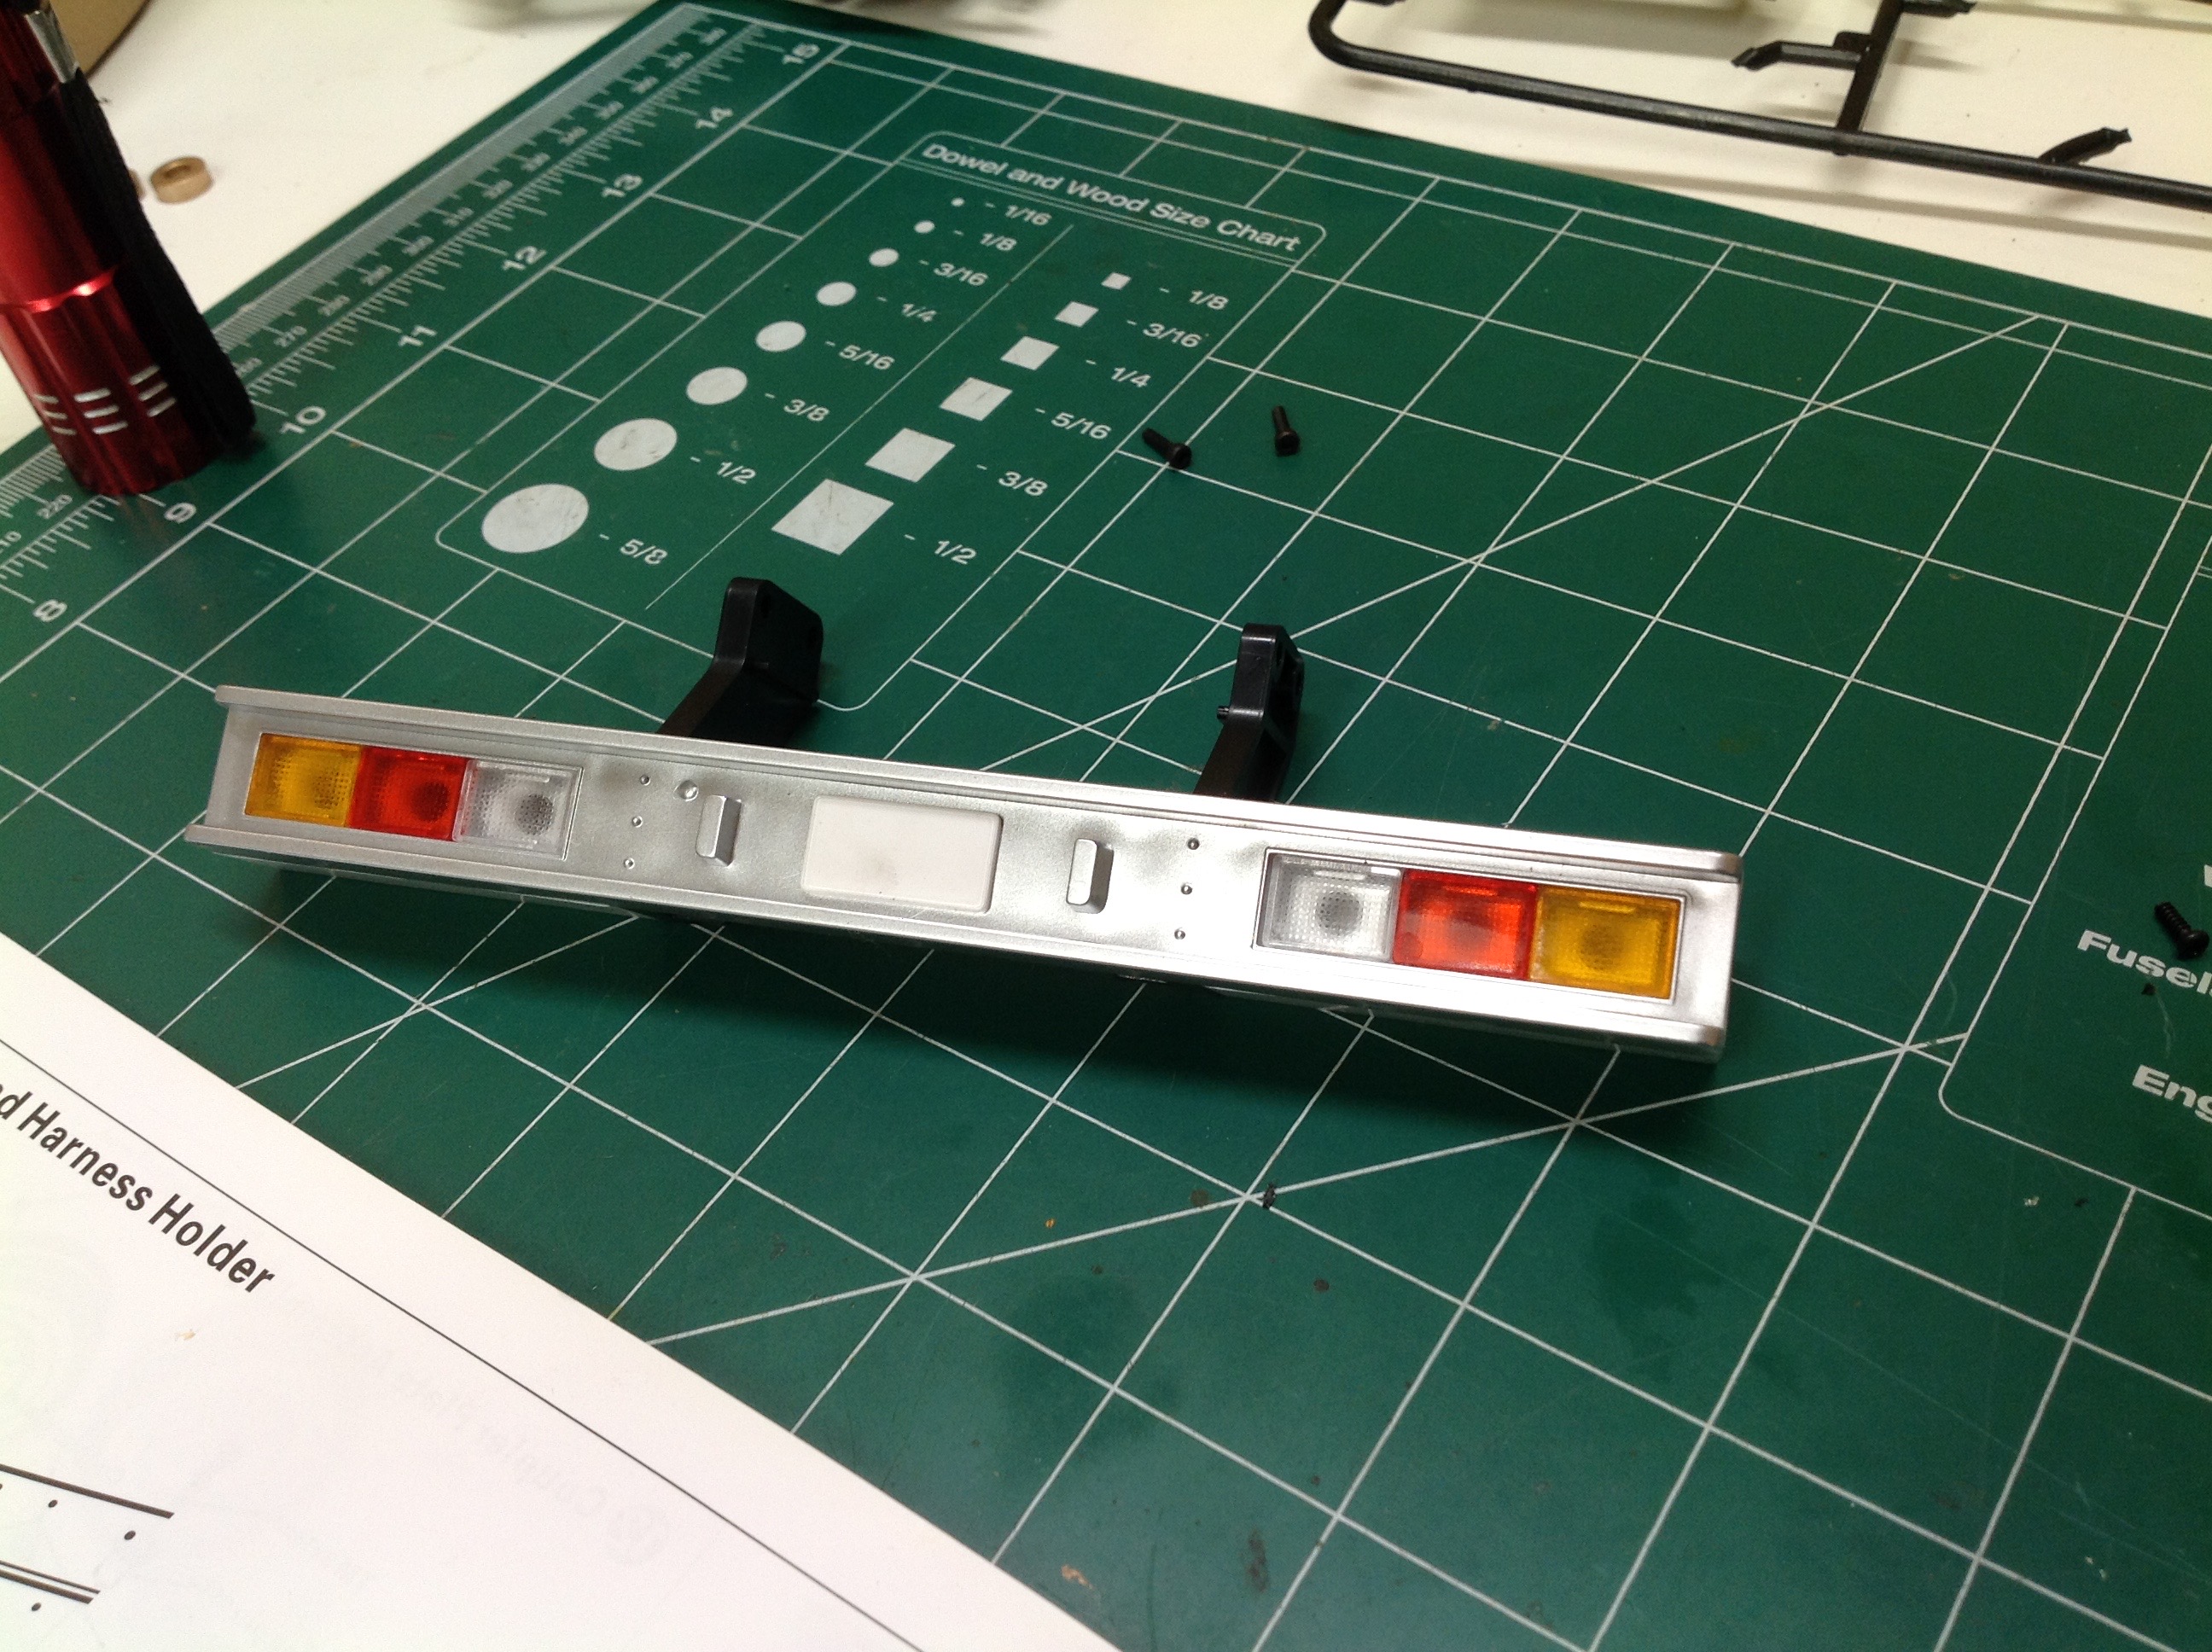
Here's the rear tail light housing. It is provisioned for turn
signals, brake lights, and reverse lights but the optional lighting
system does not include reverse lights. There are no stickers
included so nothing to use on the license plate. You can also see
the tire chocks installed here. There is a mount for a spare tire
in the same area, but no extra tires or wheels come with the model.
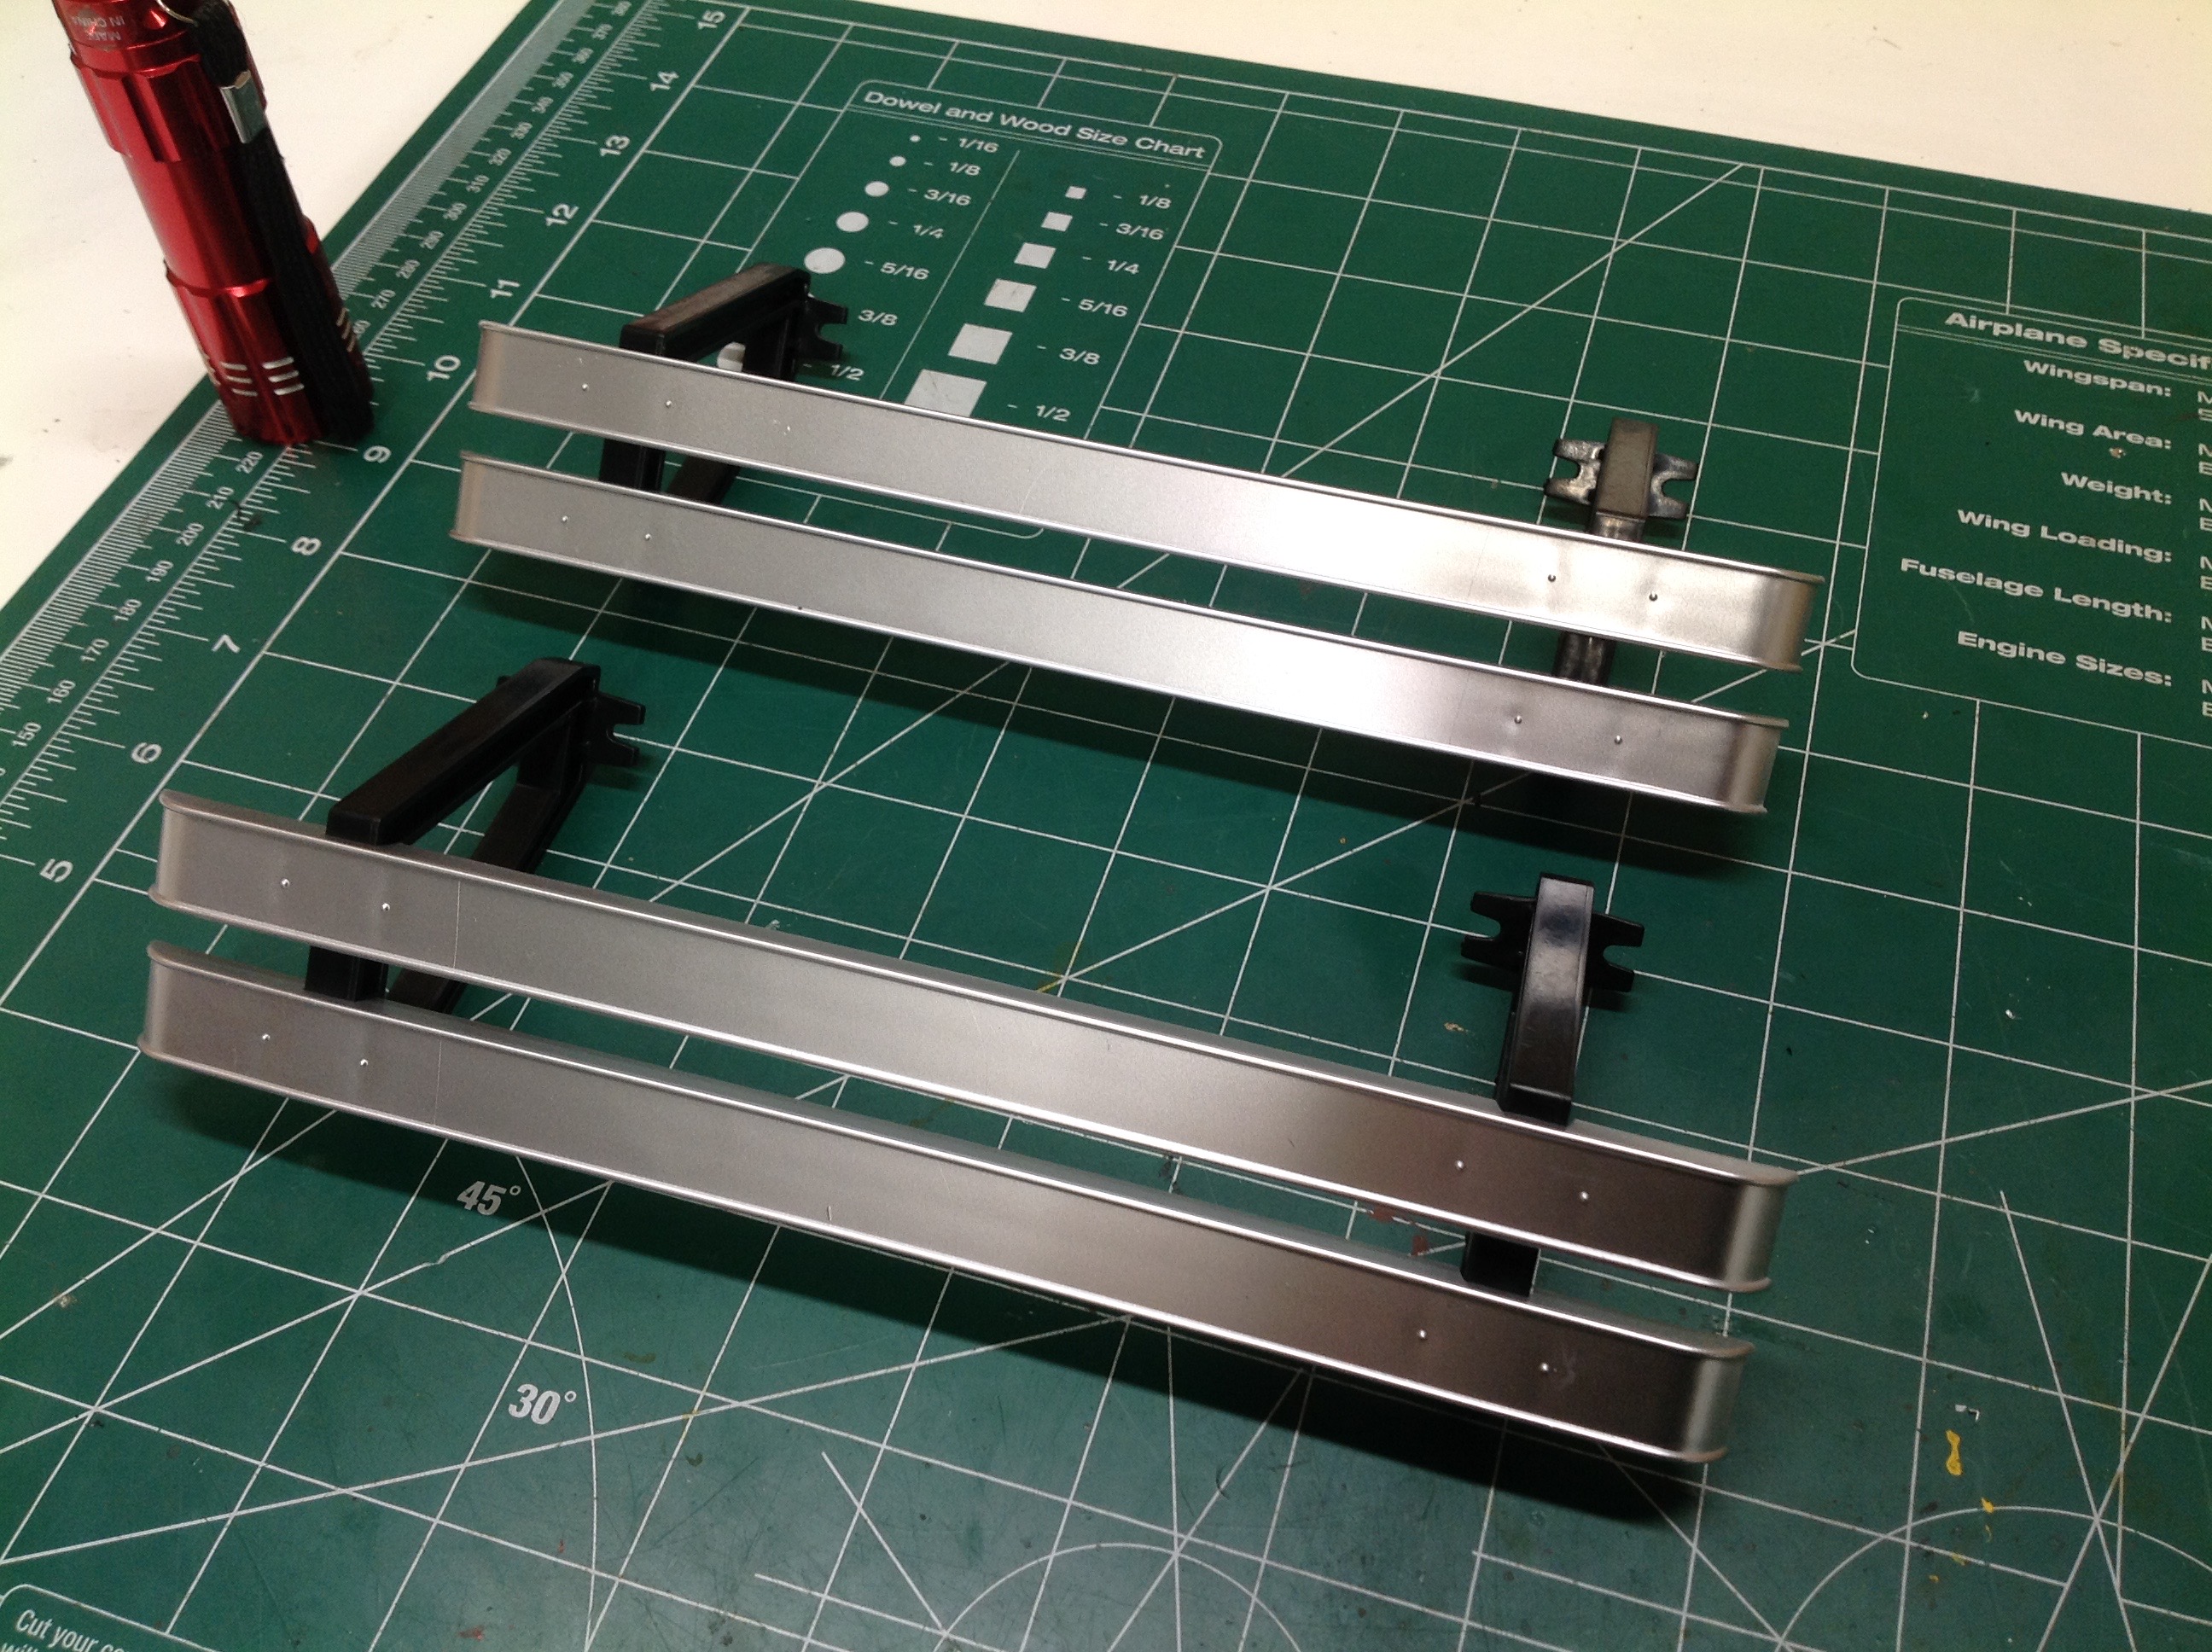
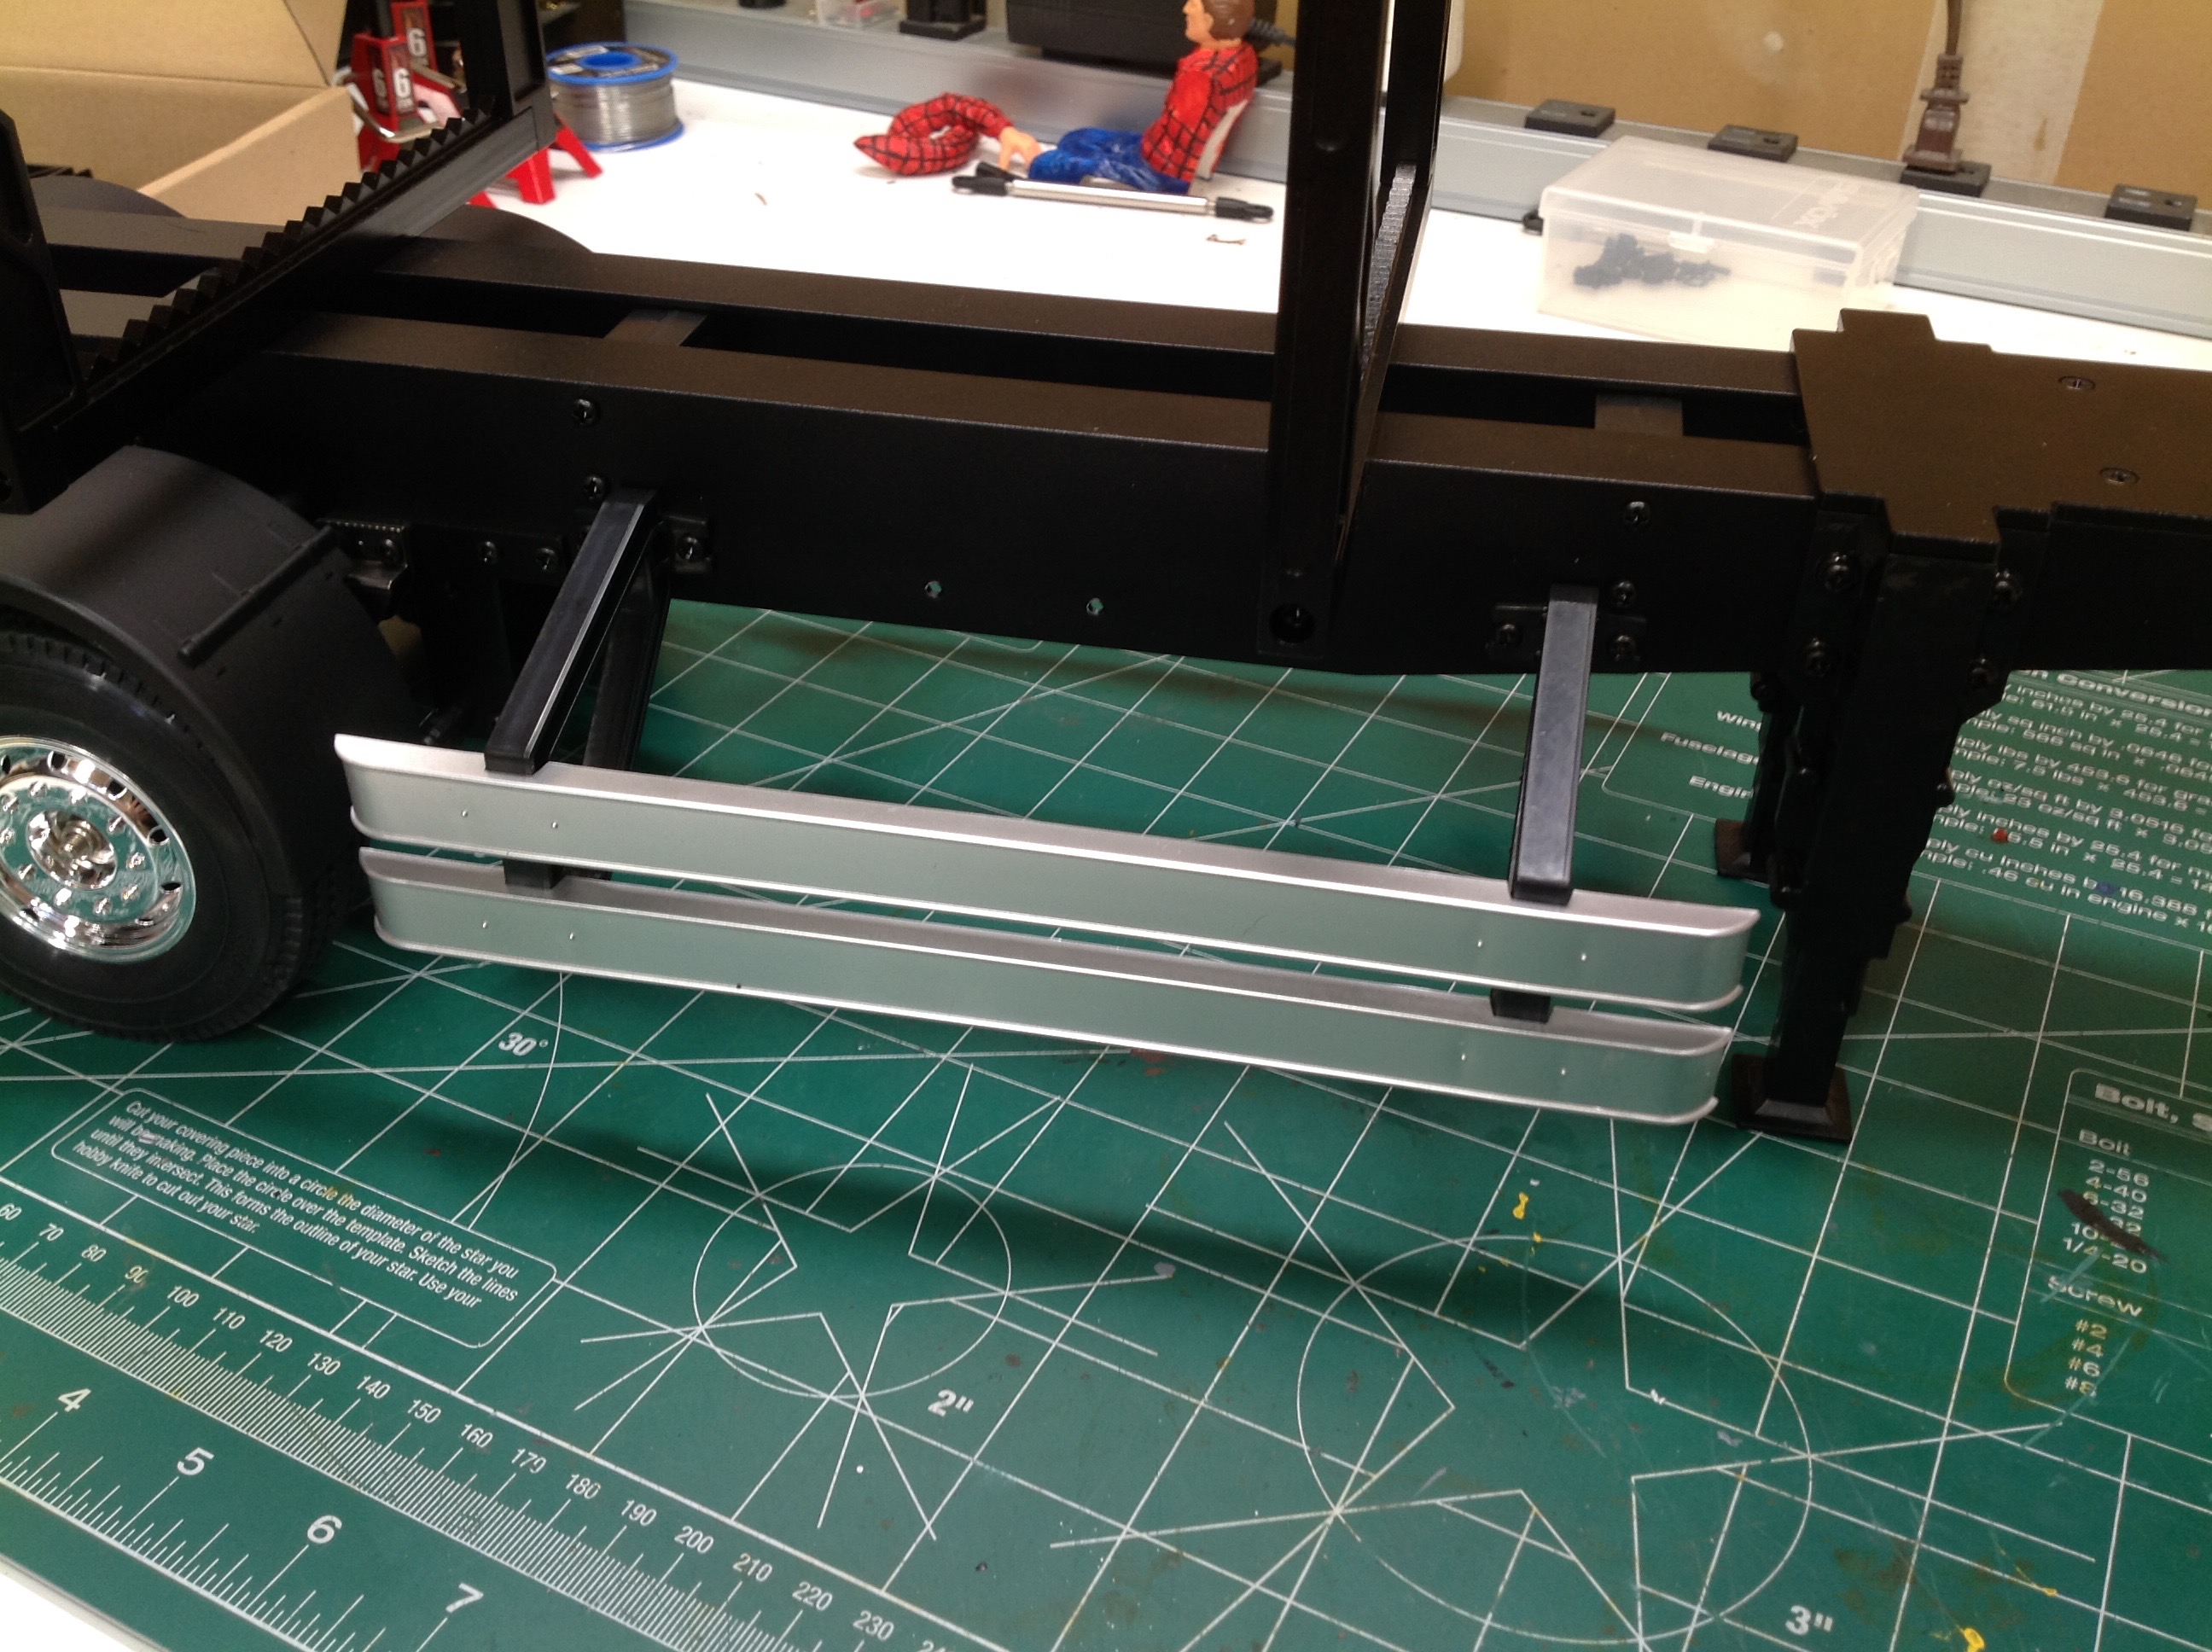
The last detail to add are the nicely plated (but plastic) side guards
which do a lot to fill out the otherwise narrow trailer frame.
The completed trailer is a lot heavier than it looks, very sturdy, and fills my whole table.
©2019 Eric Albrecht