Tamiya Porsche 934 RSR Project

Page 1:  Assembly


Assembly begins with the rear ball differential.  First the 8 balls are inserted into the ring gear with a bit of grease, then the raceways and clamping sleeves are installed.  The sleeves are internally splined to attach to the axle shafts.


The next part of the assembly is a bit unusual.  It is normal for a ball differential to come with a thrust bearing which allows the unit to be clamped without locking itself to the clamping screw.  But in this case you actually have to build the thrust bearing.  This is some tiny, intricate work.  There are 6 tiny balls in a cage that you can see in the left hand image.  They are sandwiched between a pair of thrust washers and then clamped.  Finally, the drive cups are inserted.


The motor mount plate uses a determinant assembly with different sets of holes for each pinion size.  The kit comes with a 21 tooth aluminum pinion which I replaced with steel.  The motor is then clamped to a fairly complex little gearbox which uses an idler gear between the spur and the rear differential, and a separate bevel gear on the spur to control the center drive shaft.


The next step is to install the FRP (fiber reinforced plastic) rear shock tower which also supports the rear upper plastic control arms.


You have to build the rear CVD axles.  A bit of anti-wear grease keeps them rotating smoothly.  The installation of the lower controls arms, axles, and hubs completes the rear gearbox and suspension assembly.


The front differential is a gear type instead of a ball type, but is housed in a similar plastic ring gear housing.  It slides into another little gearbox with a set of right angle bevel gears.


The front suspension assembly is constructed similar to the rear with the addition of an FRP shock tower followed by the plastic control arms and CVD axles.


The plastic CVA shocks are built and installed next which completes the front and rear suspension assemblies.  The photo on the left shows how similar they are, the primary difference being the motor on the back and the steering on the front.  The central chassis plate goes together in only two steps with the attachment of a pile of plastic brackets and the dual bellcrank steering linkage which uses ball bearings at the vertical axles.


Time to finish the basic chassis by bolting on the front and rear suspension assemblies and installing the center driveshaft.  Note that it is not a dogbone type, but just a solid steel rod with flattened ends.


I skipped forward a few steps here.  I installed the speed controller, the receiver, the steering servo, and the battery and wired them all up.  There's also an upper FRP stiffener which prevents the lower plate from having to react all the torsional forces.  The two piece wheels with inner foams are the last step along with the slick tires.  I did not glue them due to the low power of this electronics system.  From the bottom view you can see the totally flat lower surface with nothing to catch.  On the other hand, the ride height is very low so it is easy to bottom out over bumps in the road.


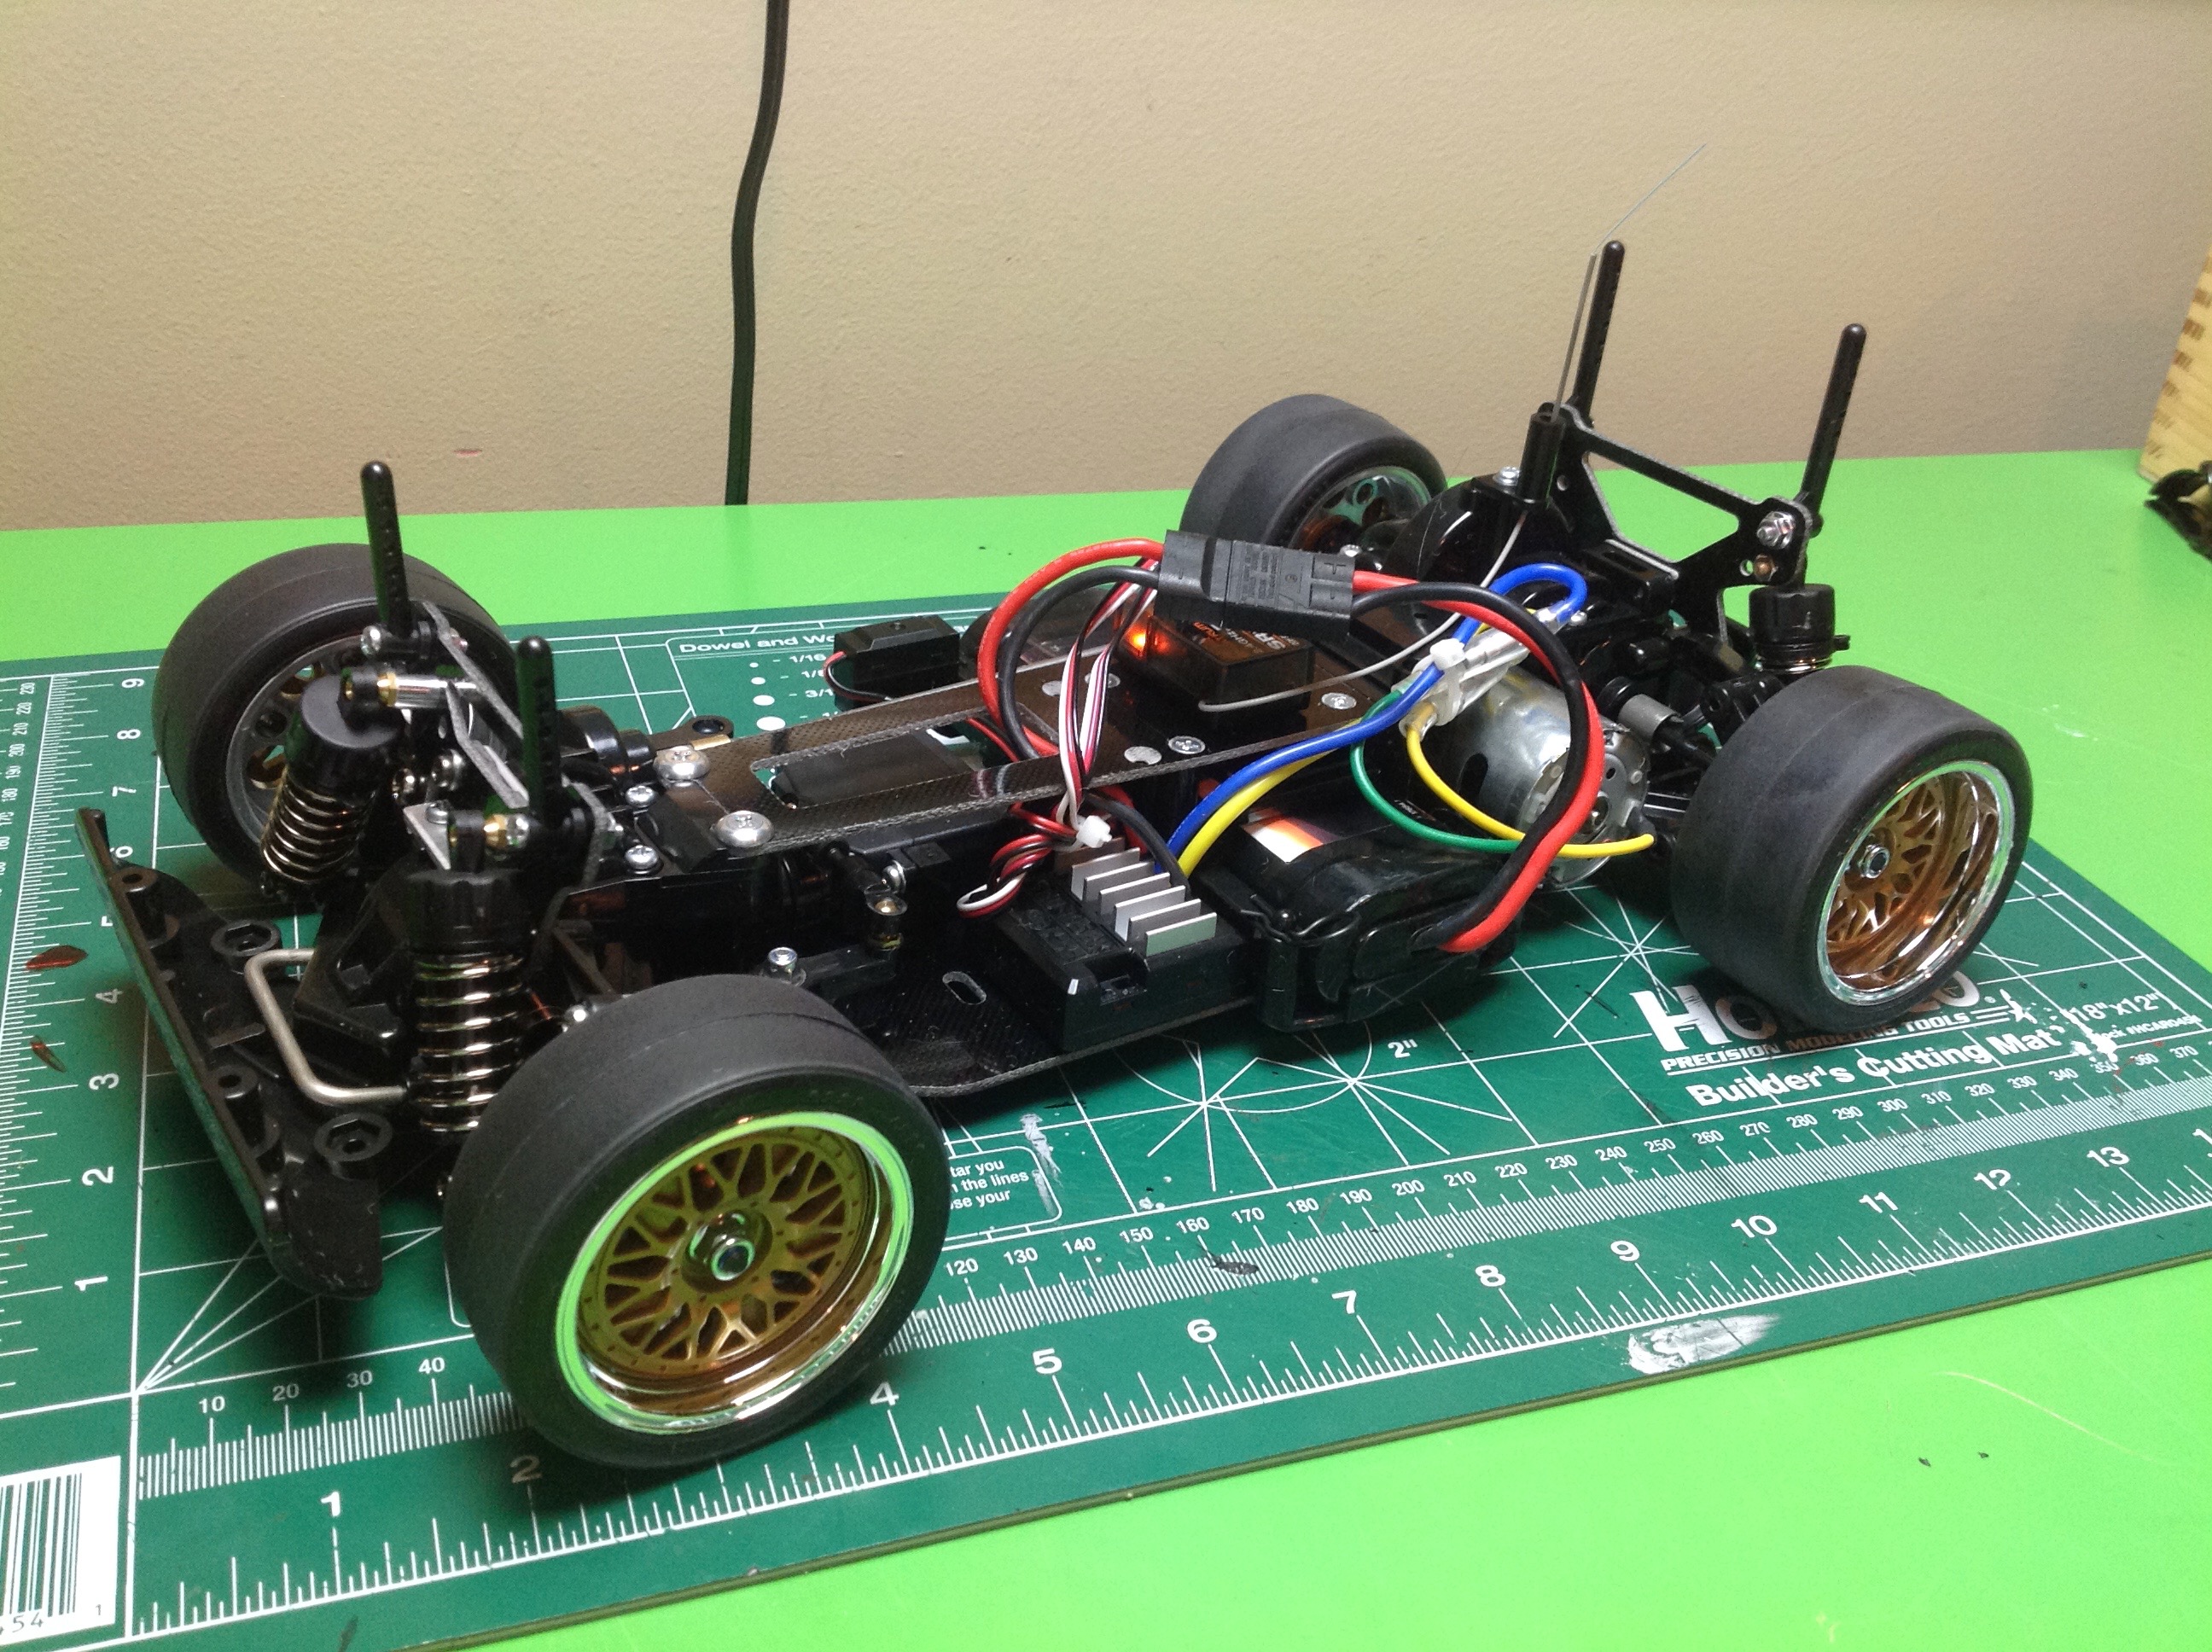
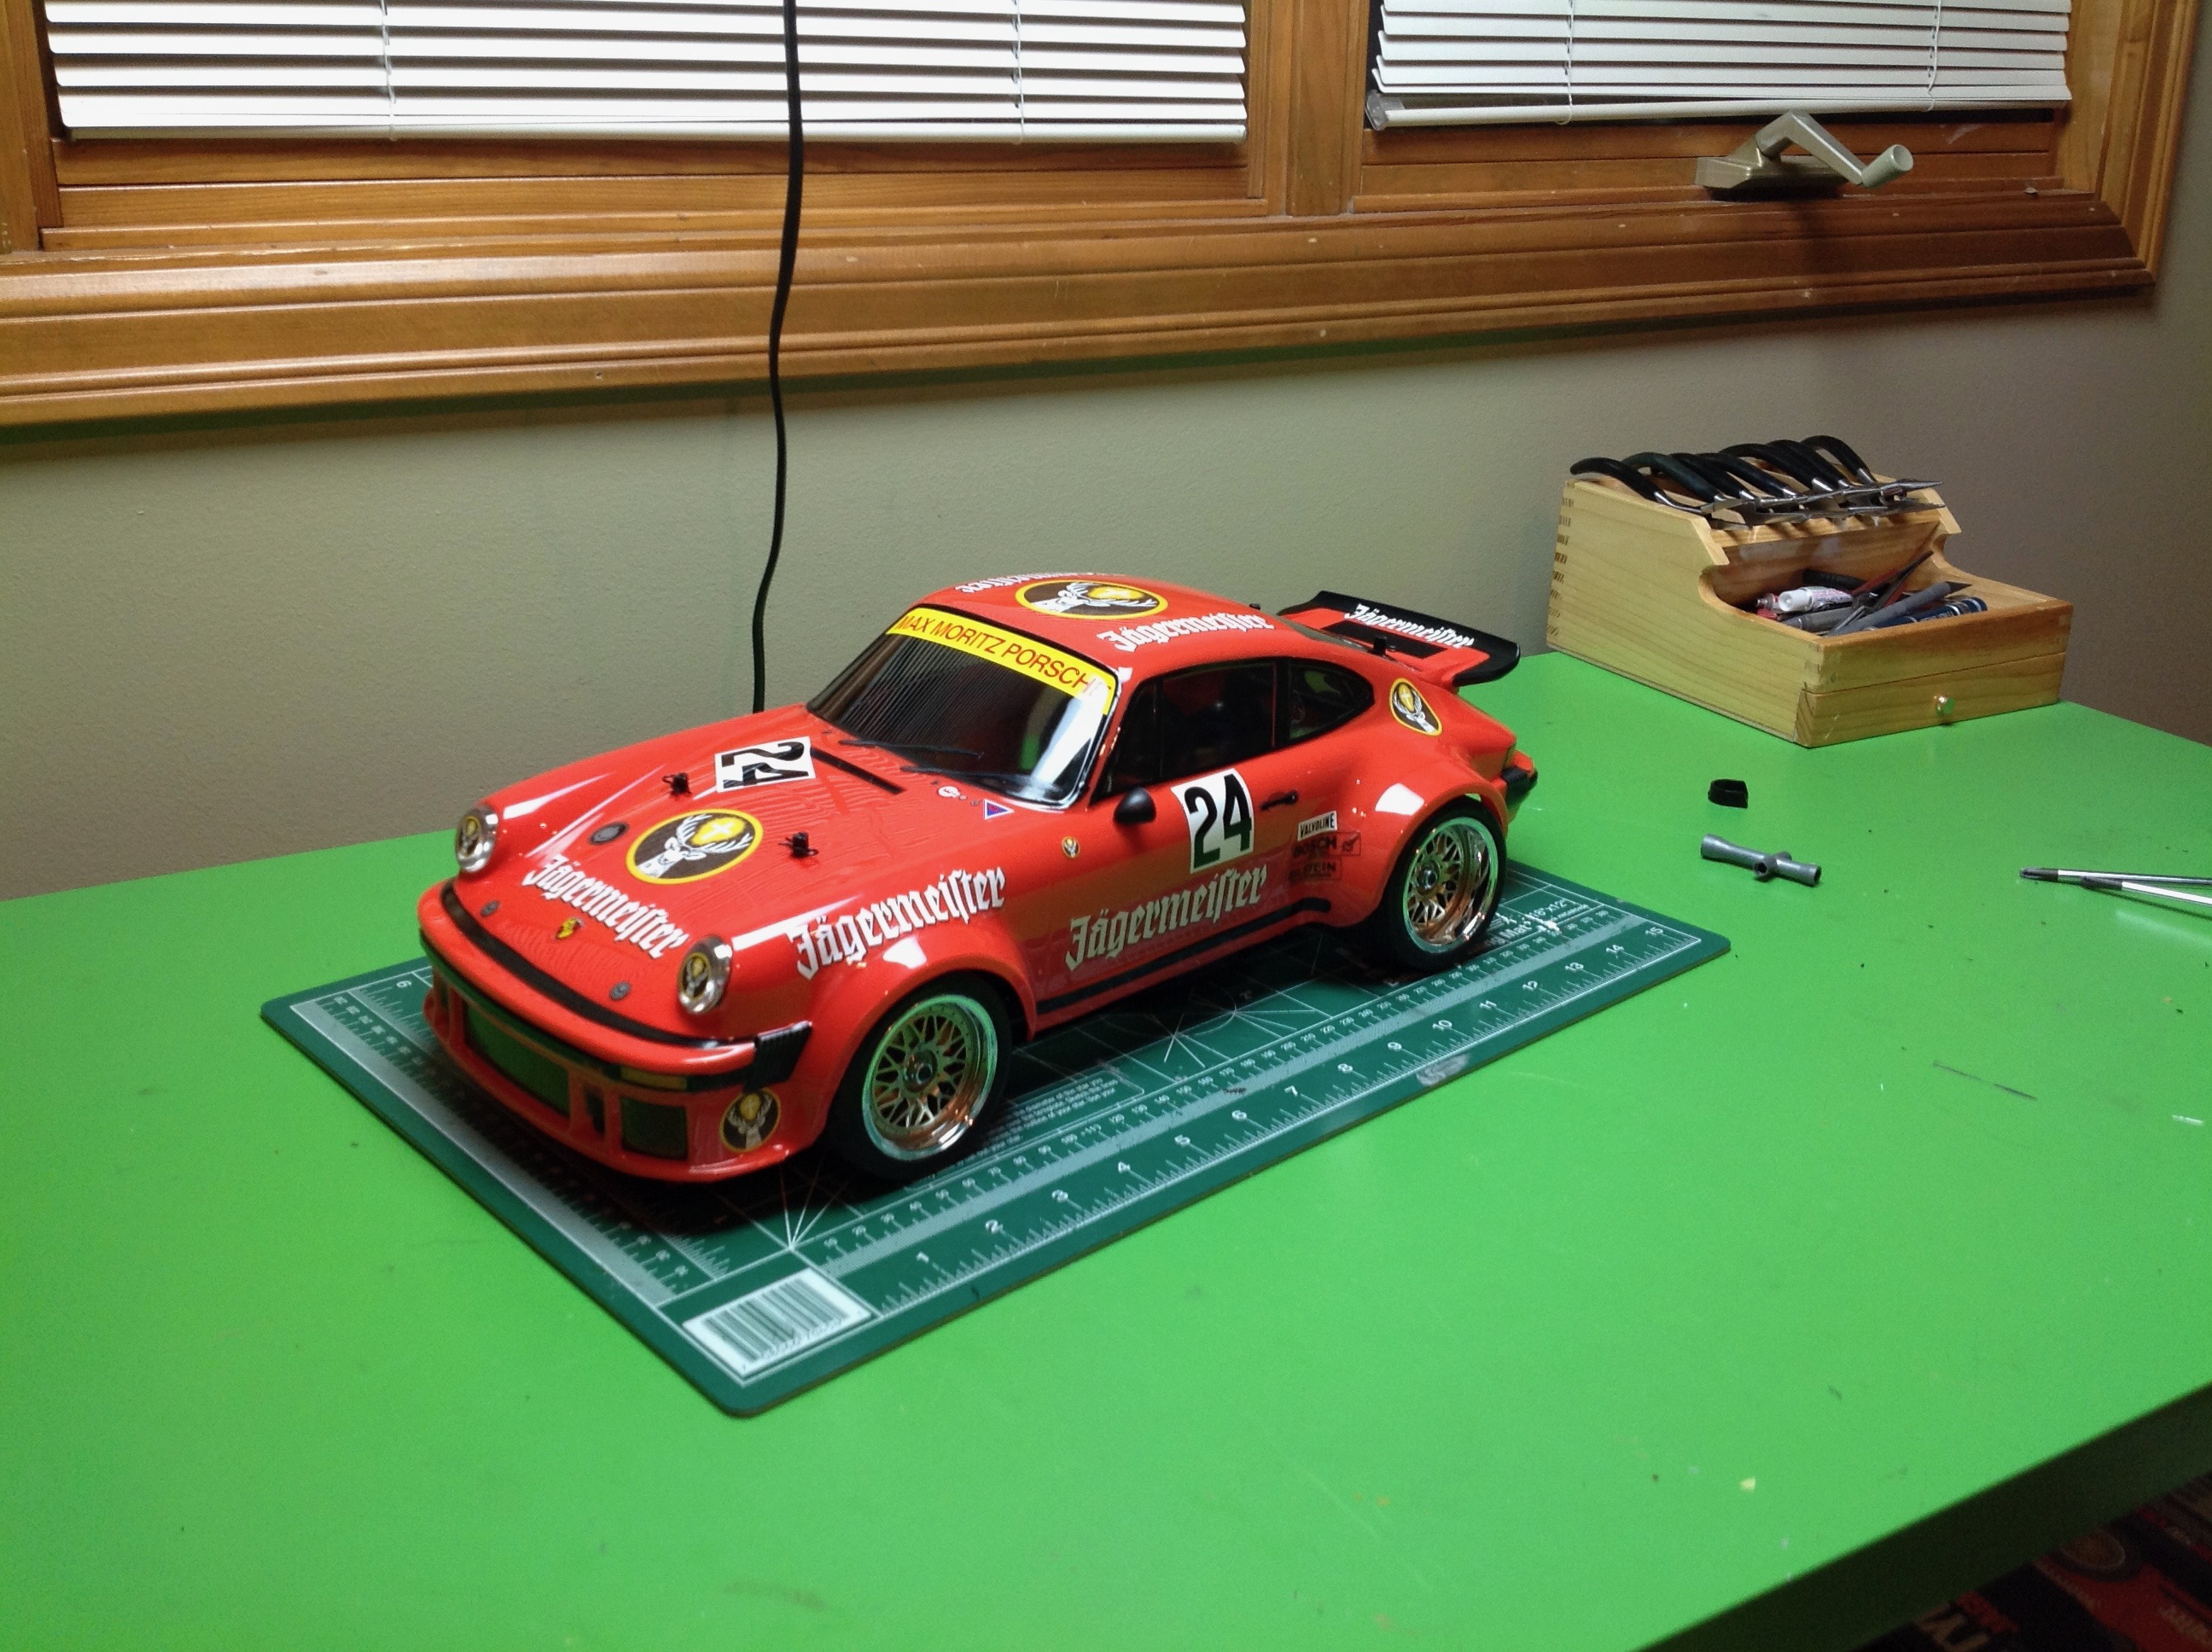
With the body on you can see how low this car is.  Although the shadow hides the undercarriage a bit, in the previous images you can see how the low slung battery actually hangs beneath the body and is almost on the ground.  Because of the limitations of the battery compartment, you can only use a 6-cell NiMH or similar shaped pack.  The stickers took nearly forever.  There were 71 of them.  I have made no upgrades to this set and don't really intend to, but I may put a driver figure inside at some point to complete the look.
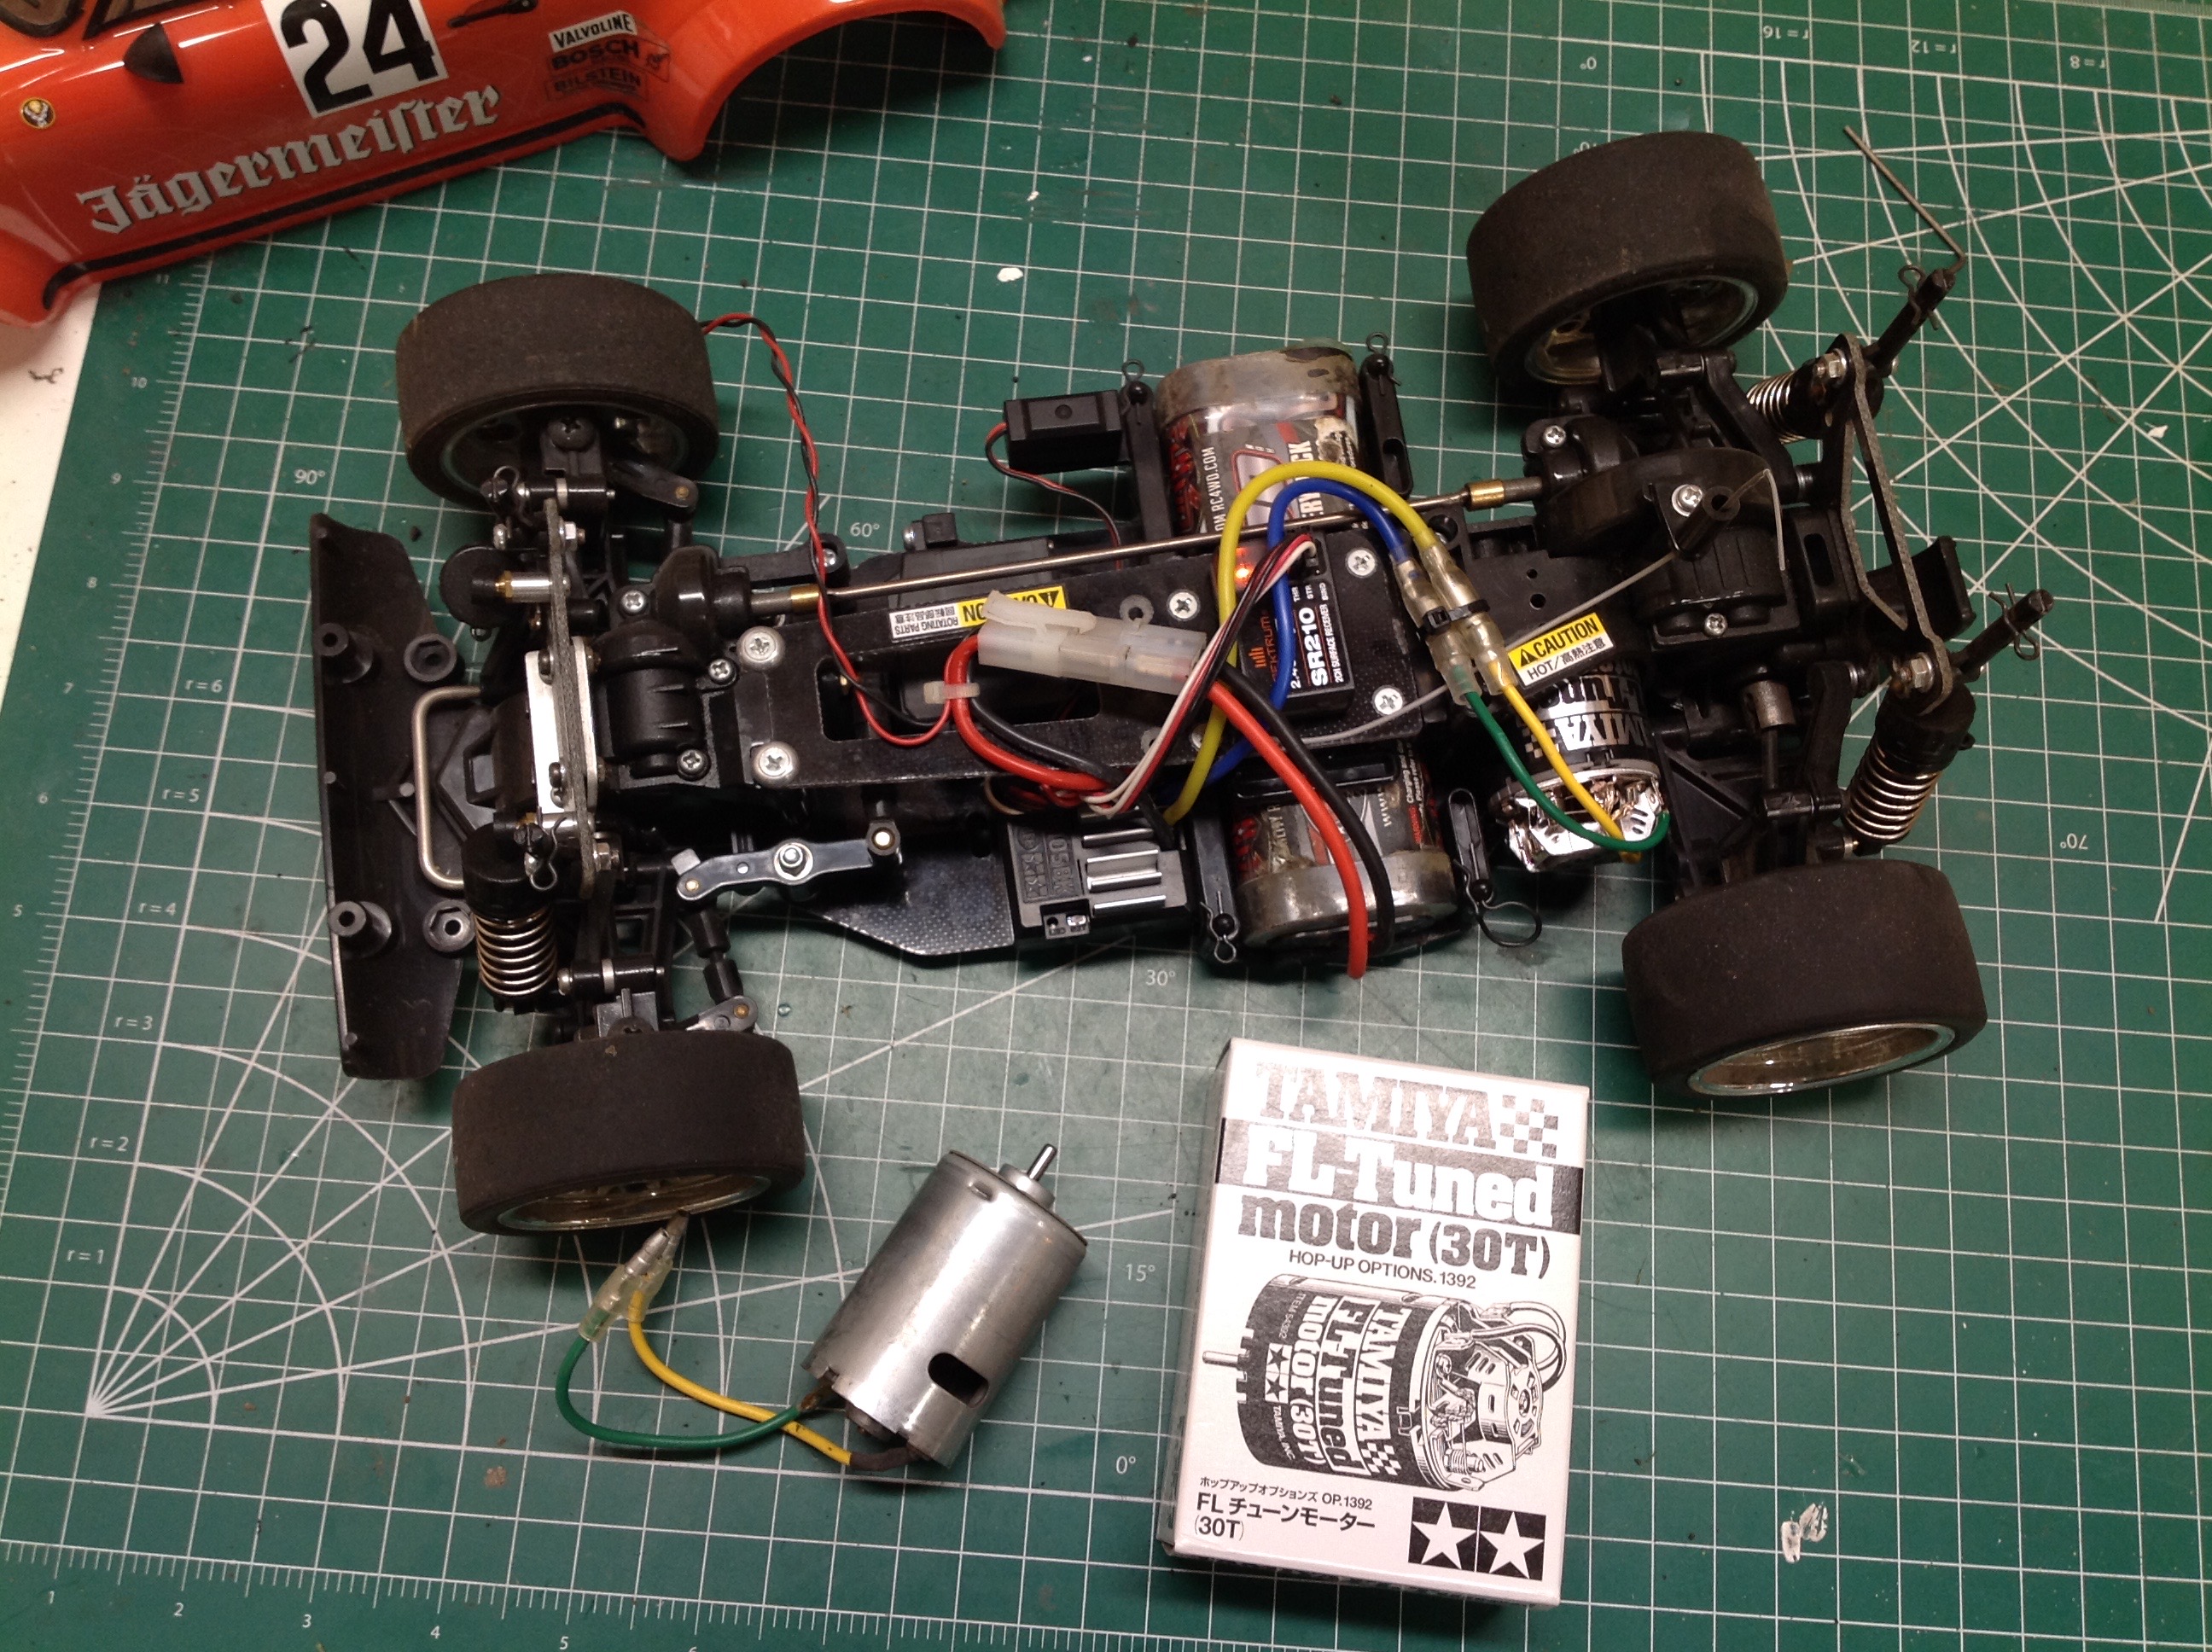

Update:


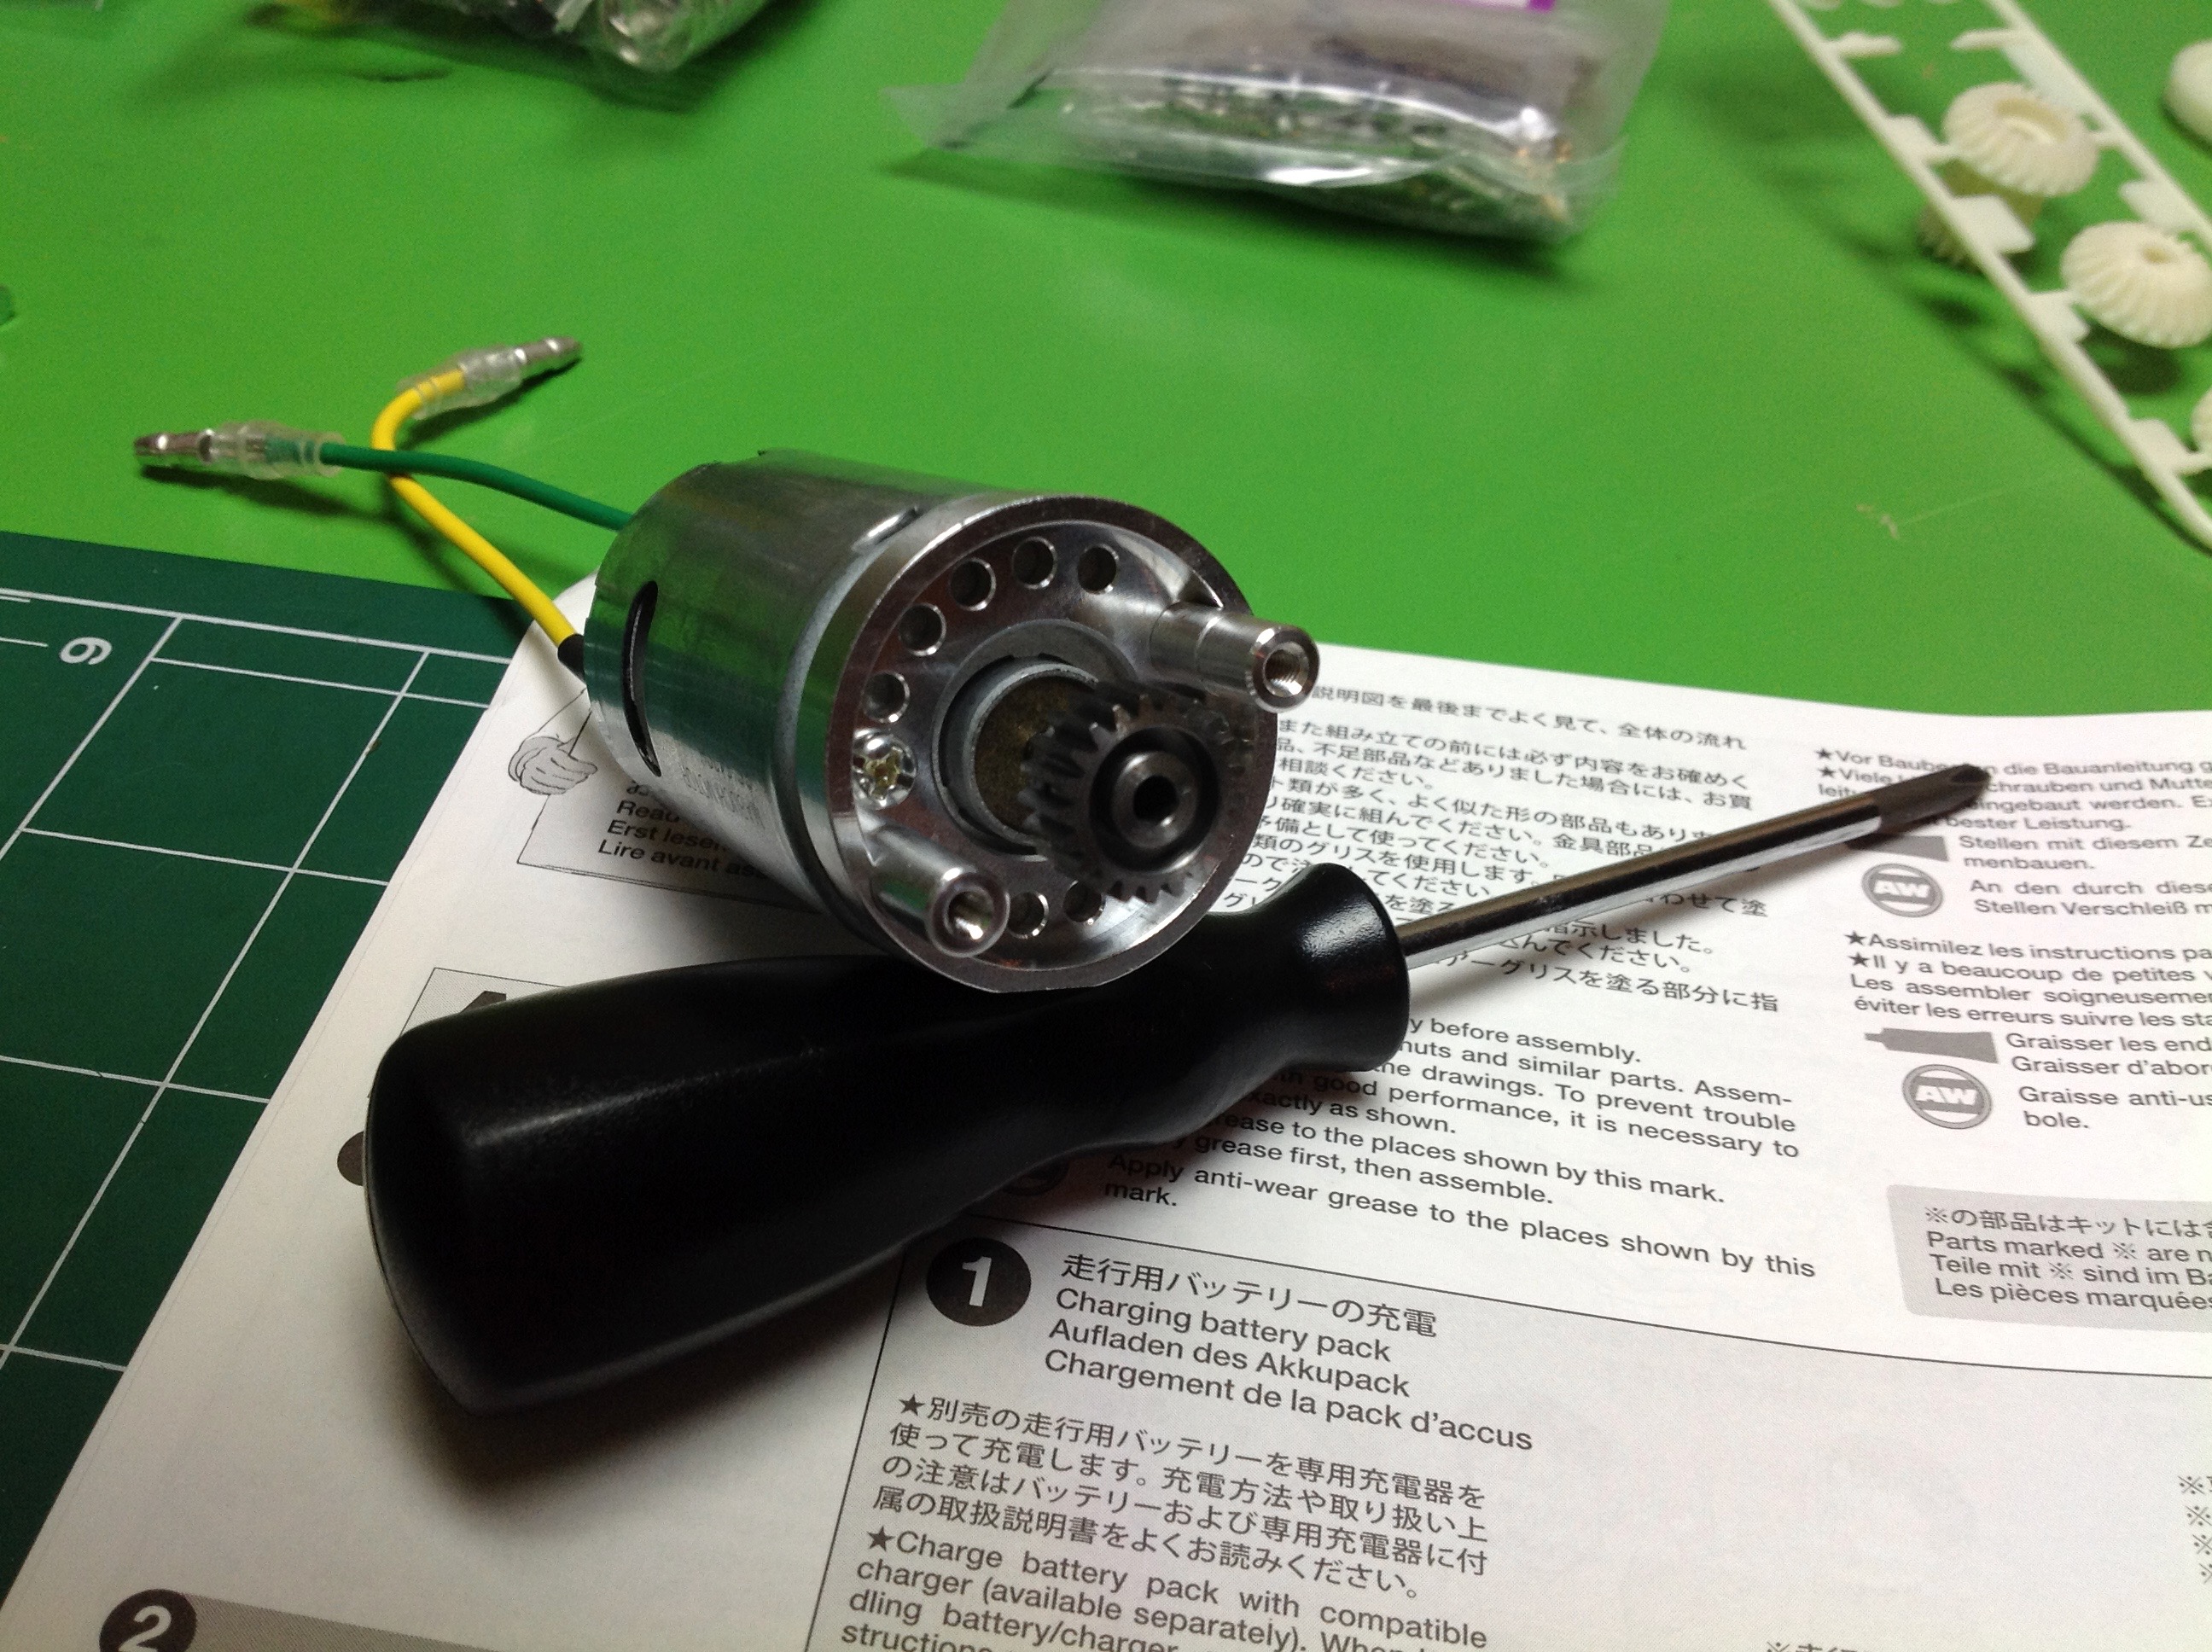
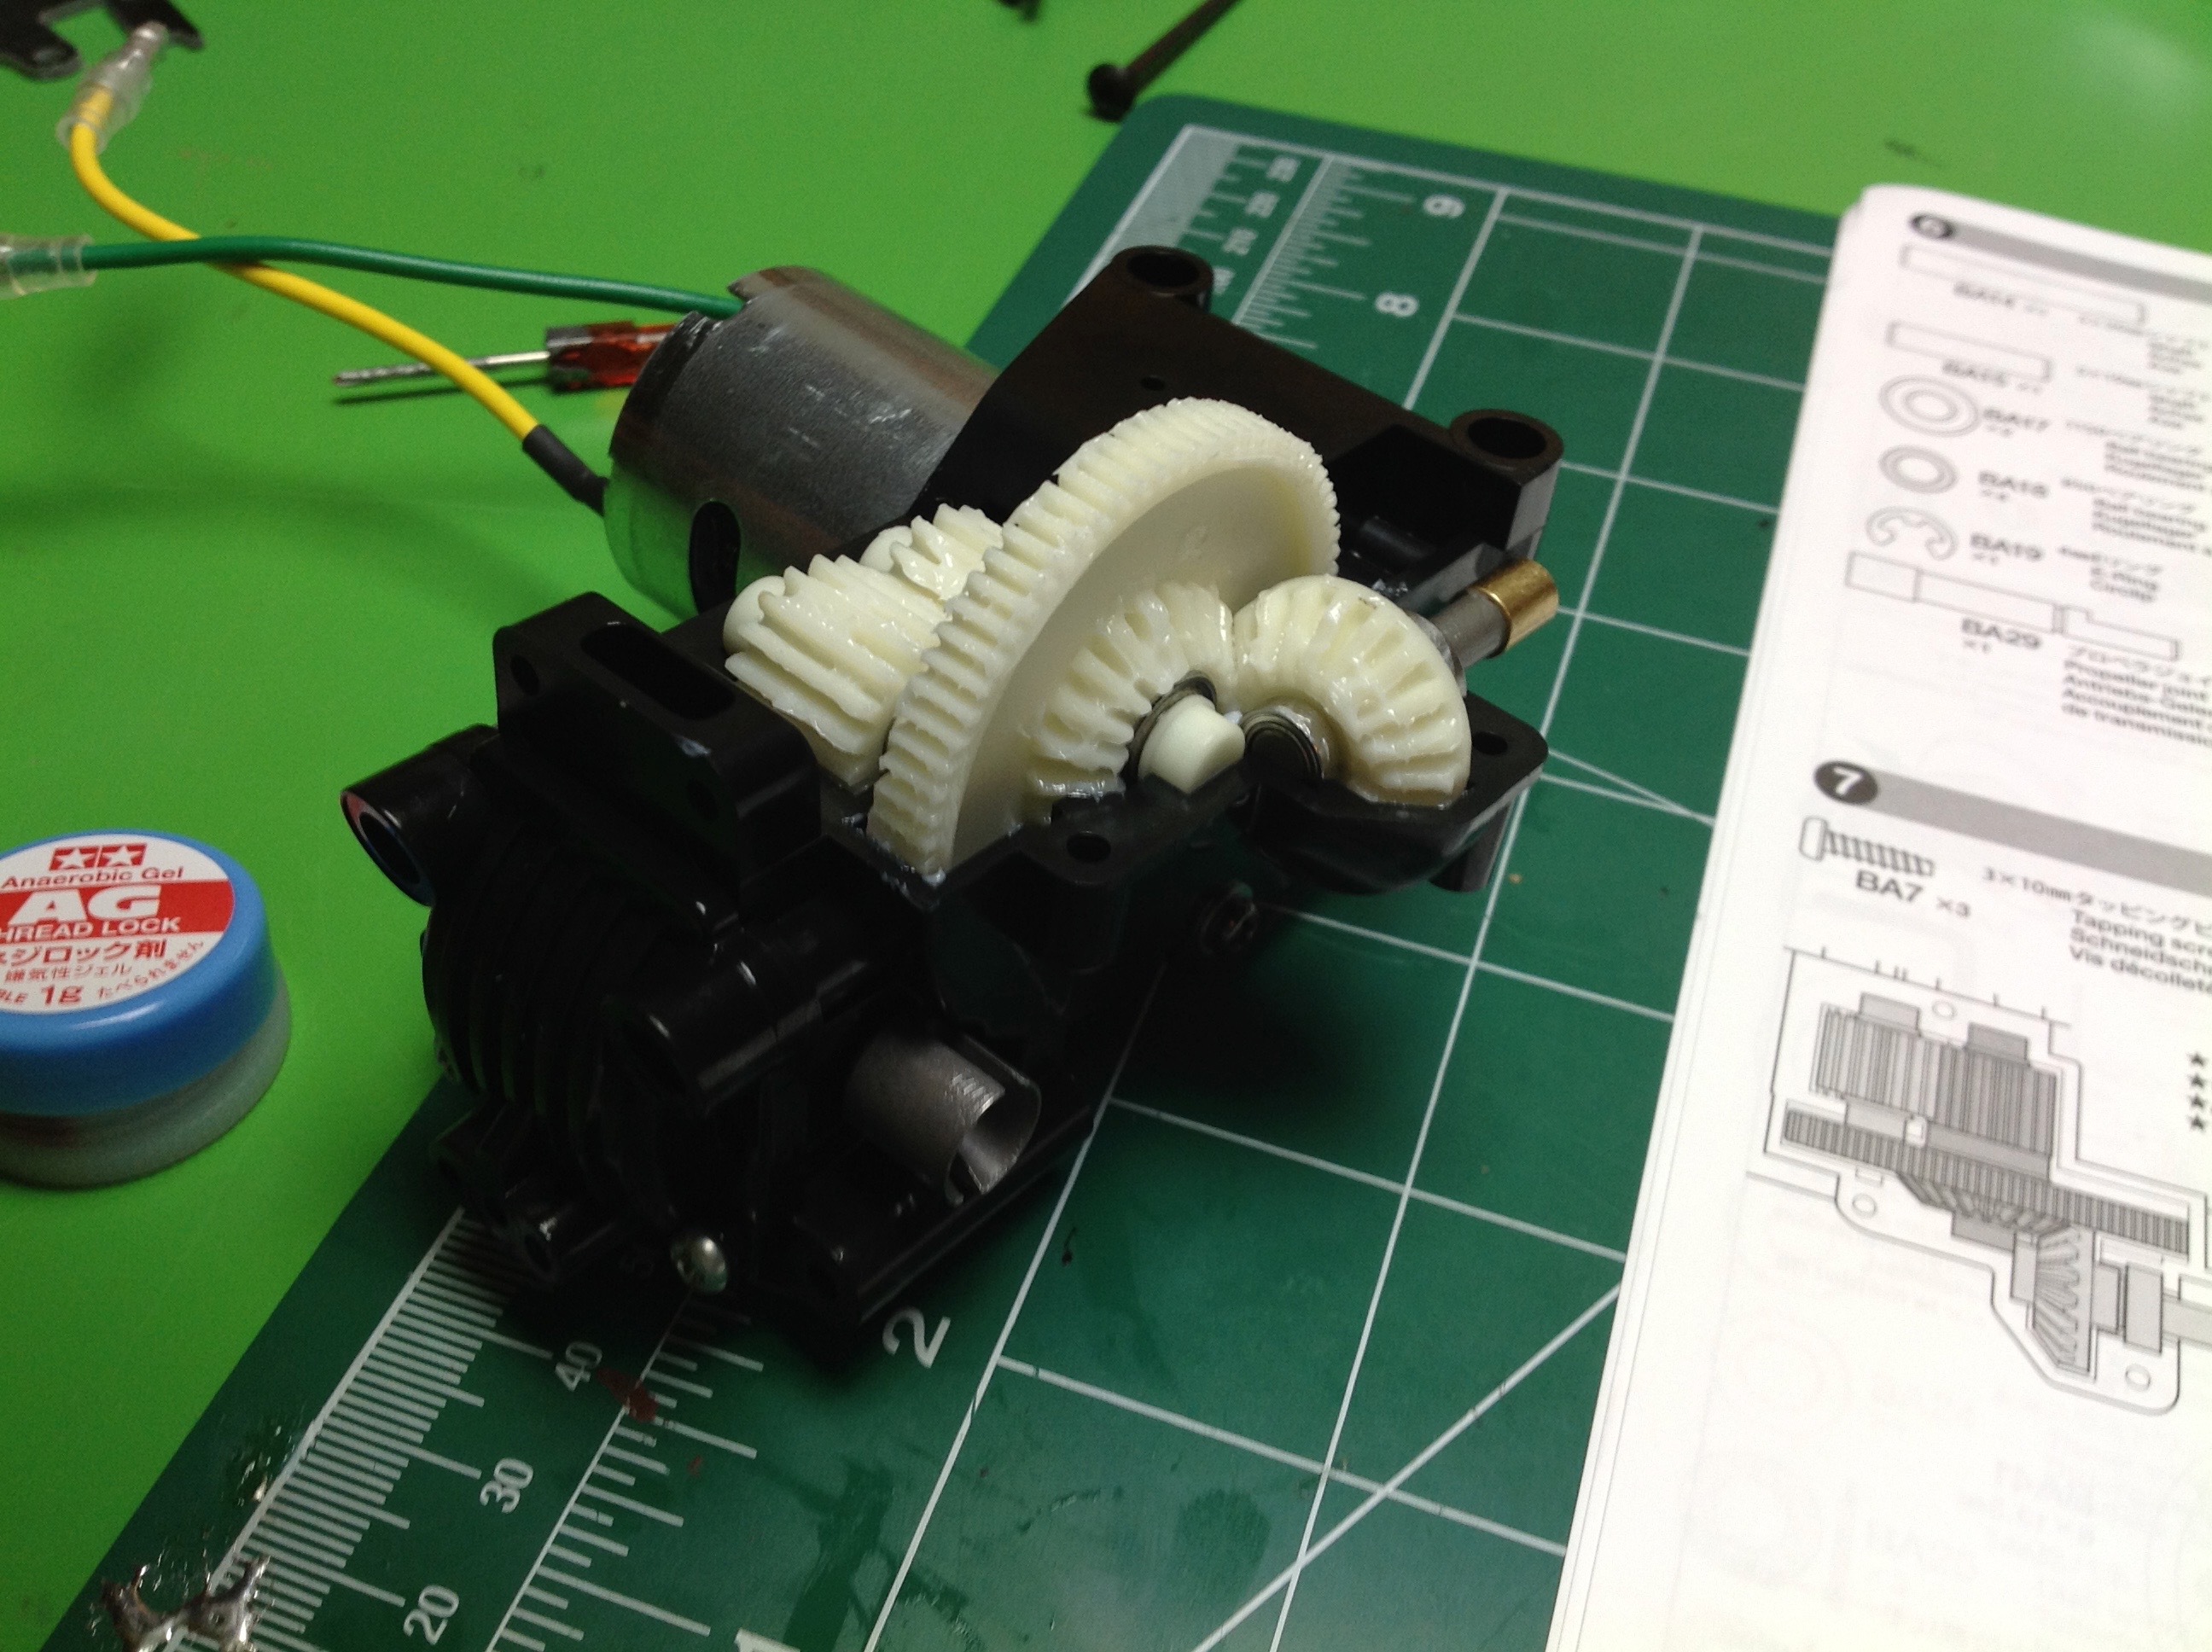
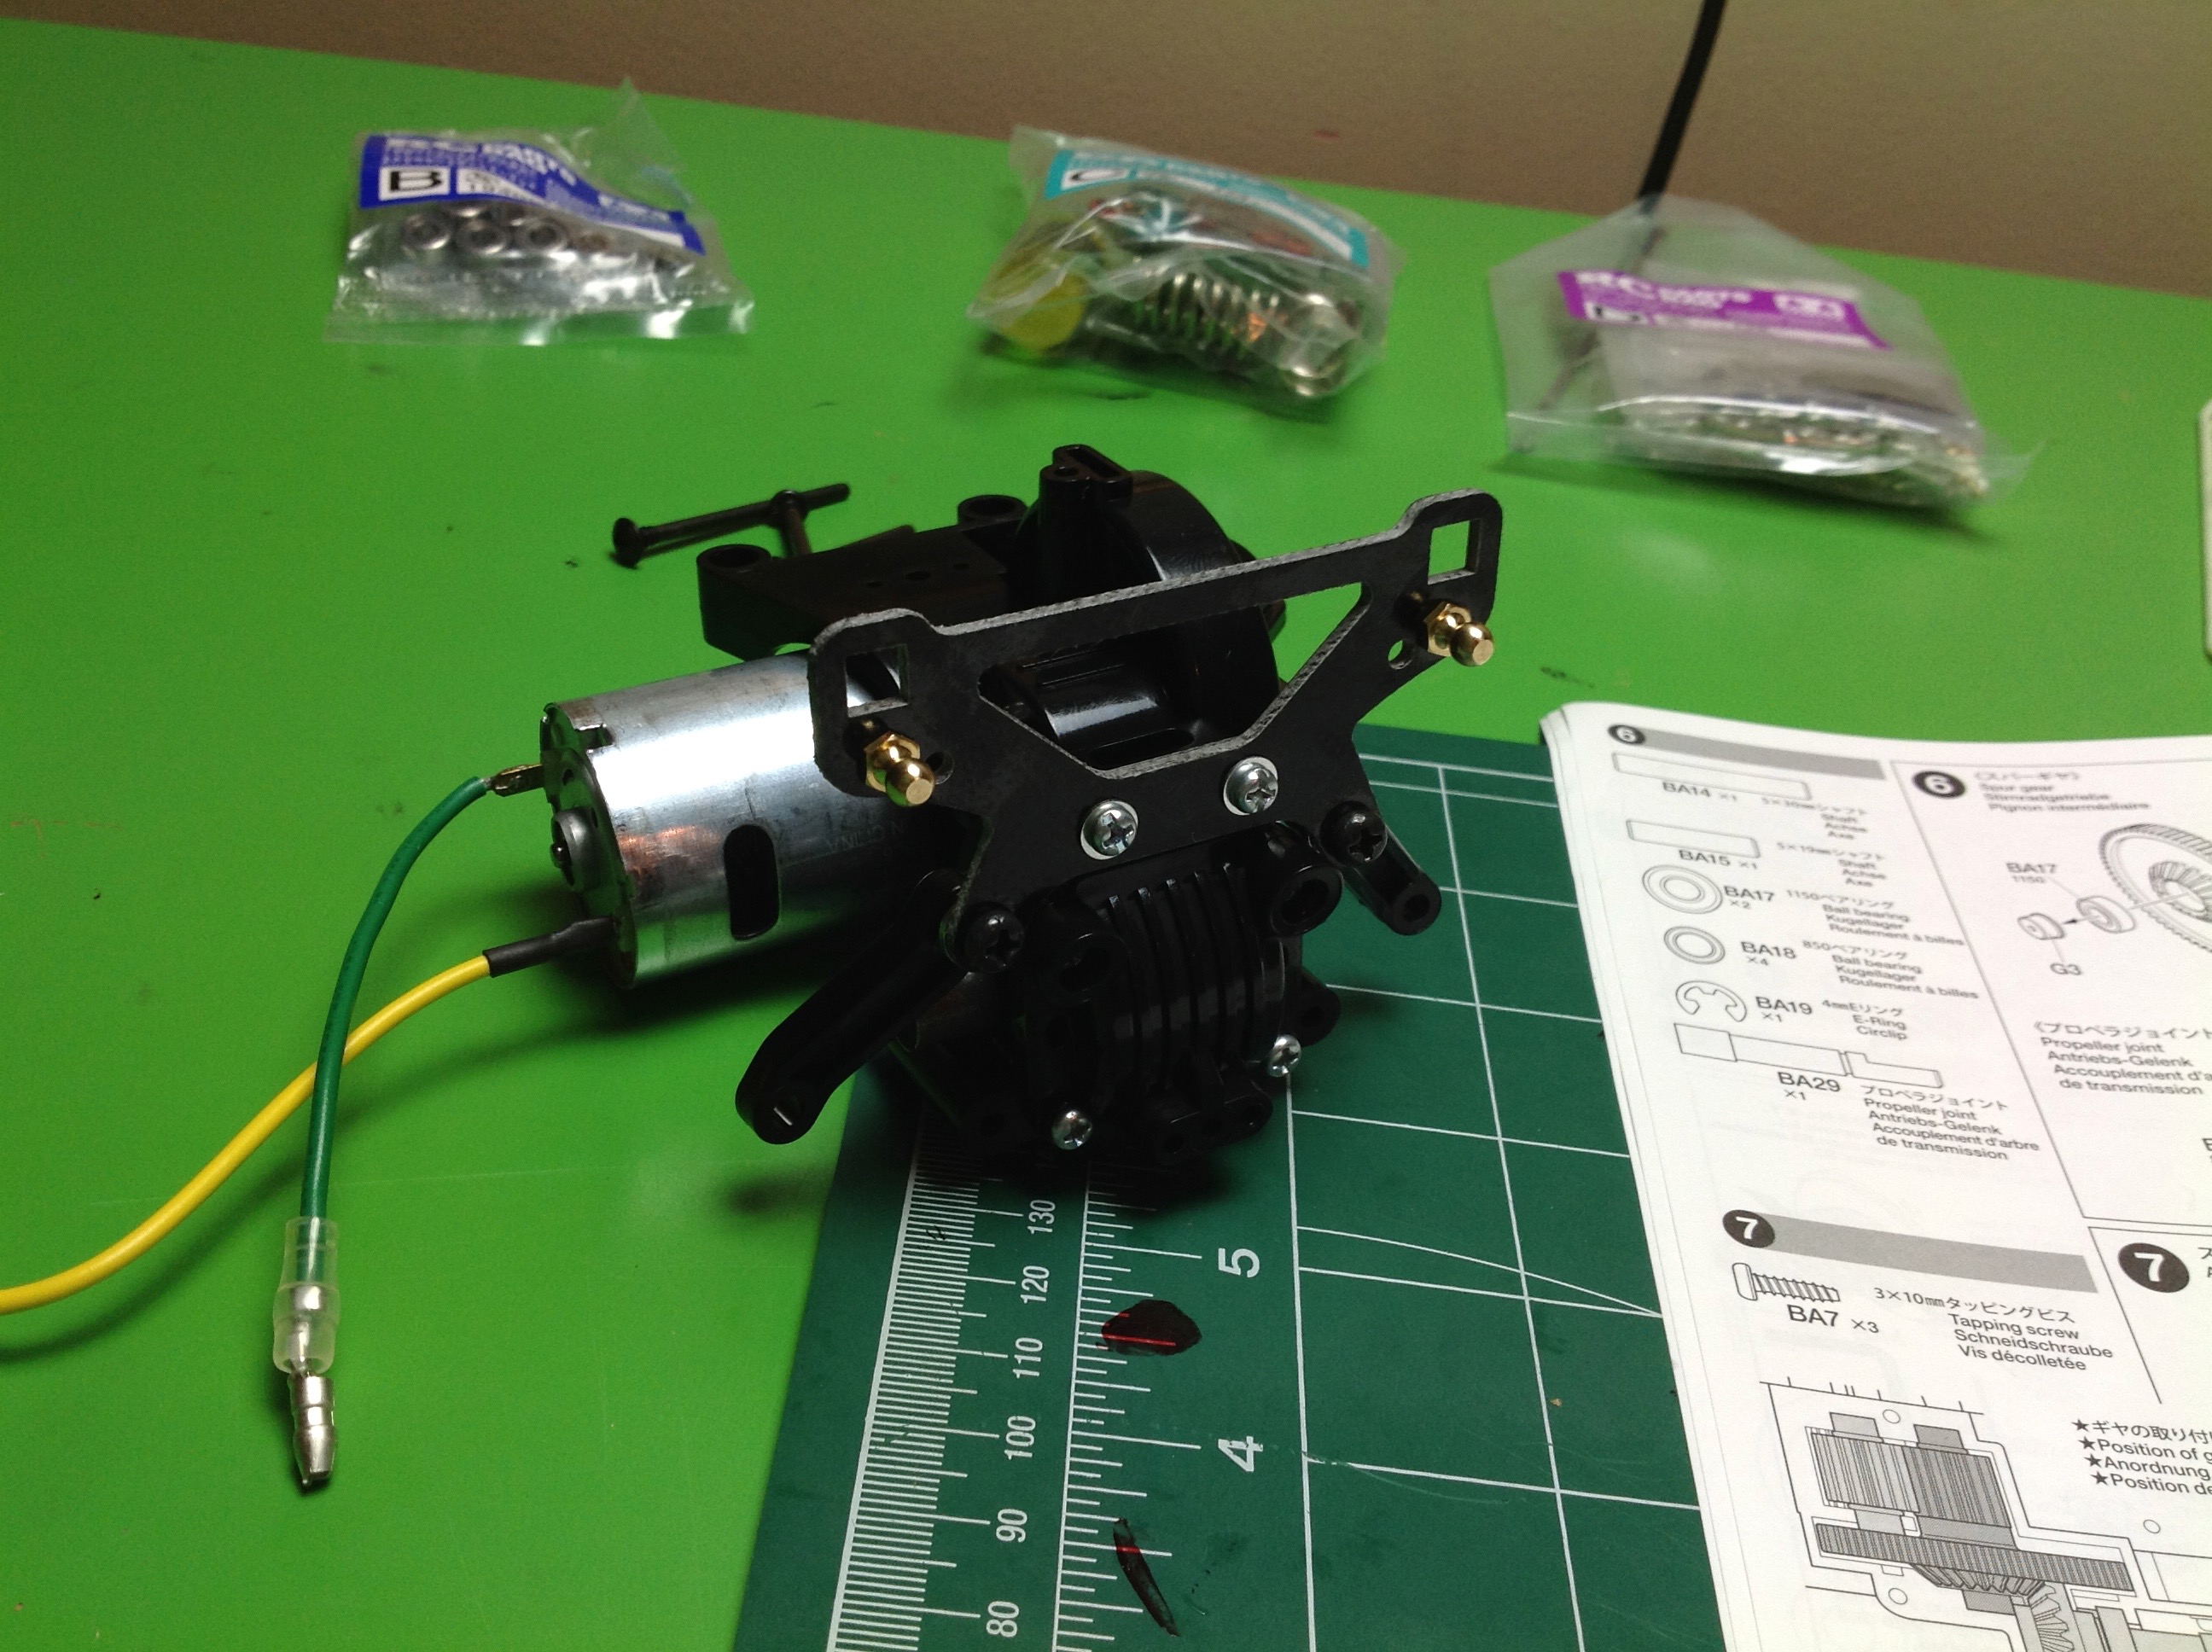
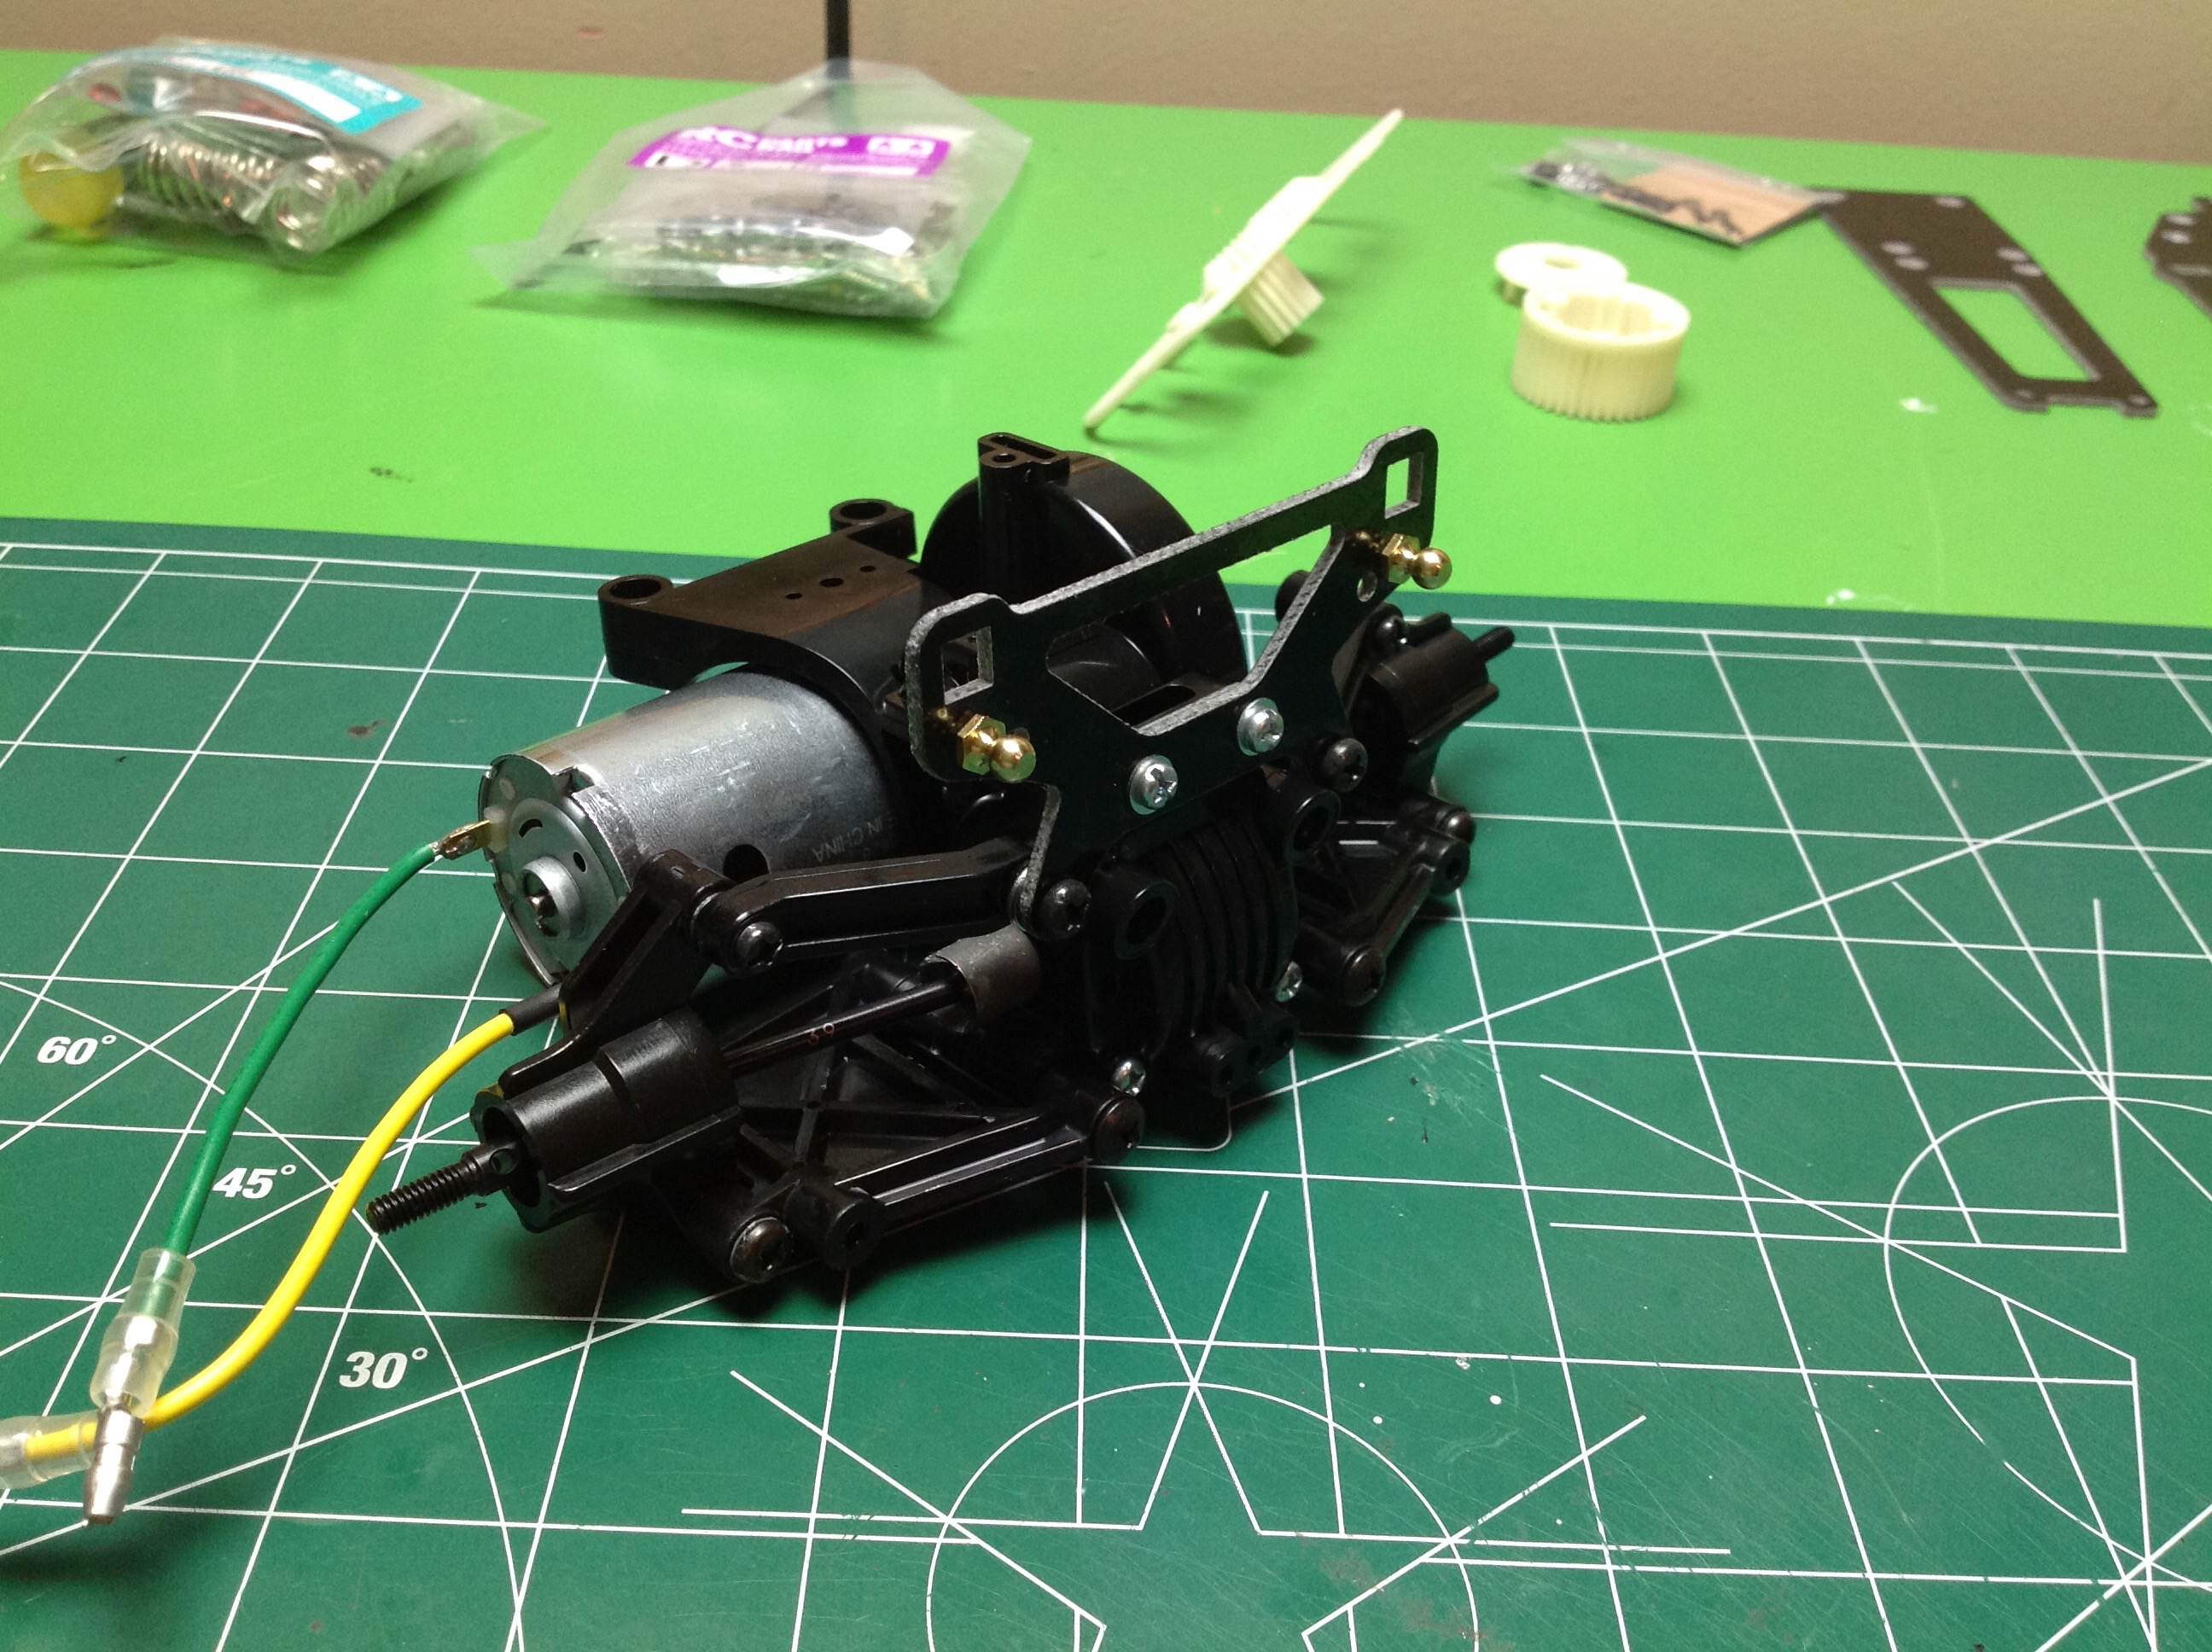
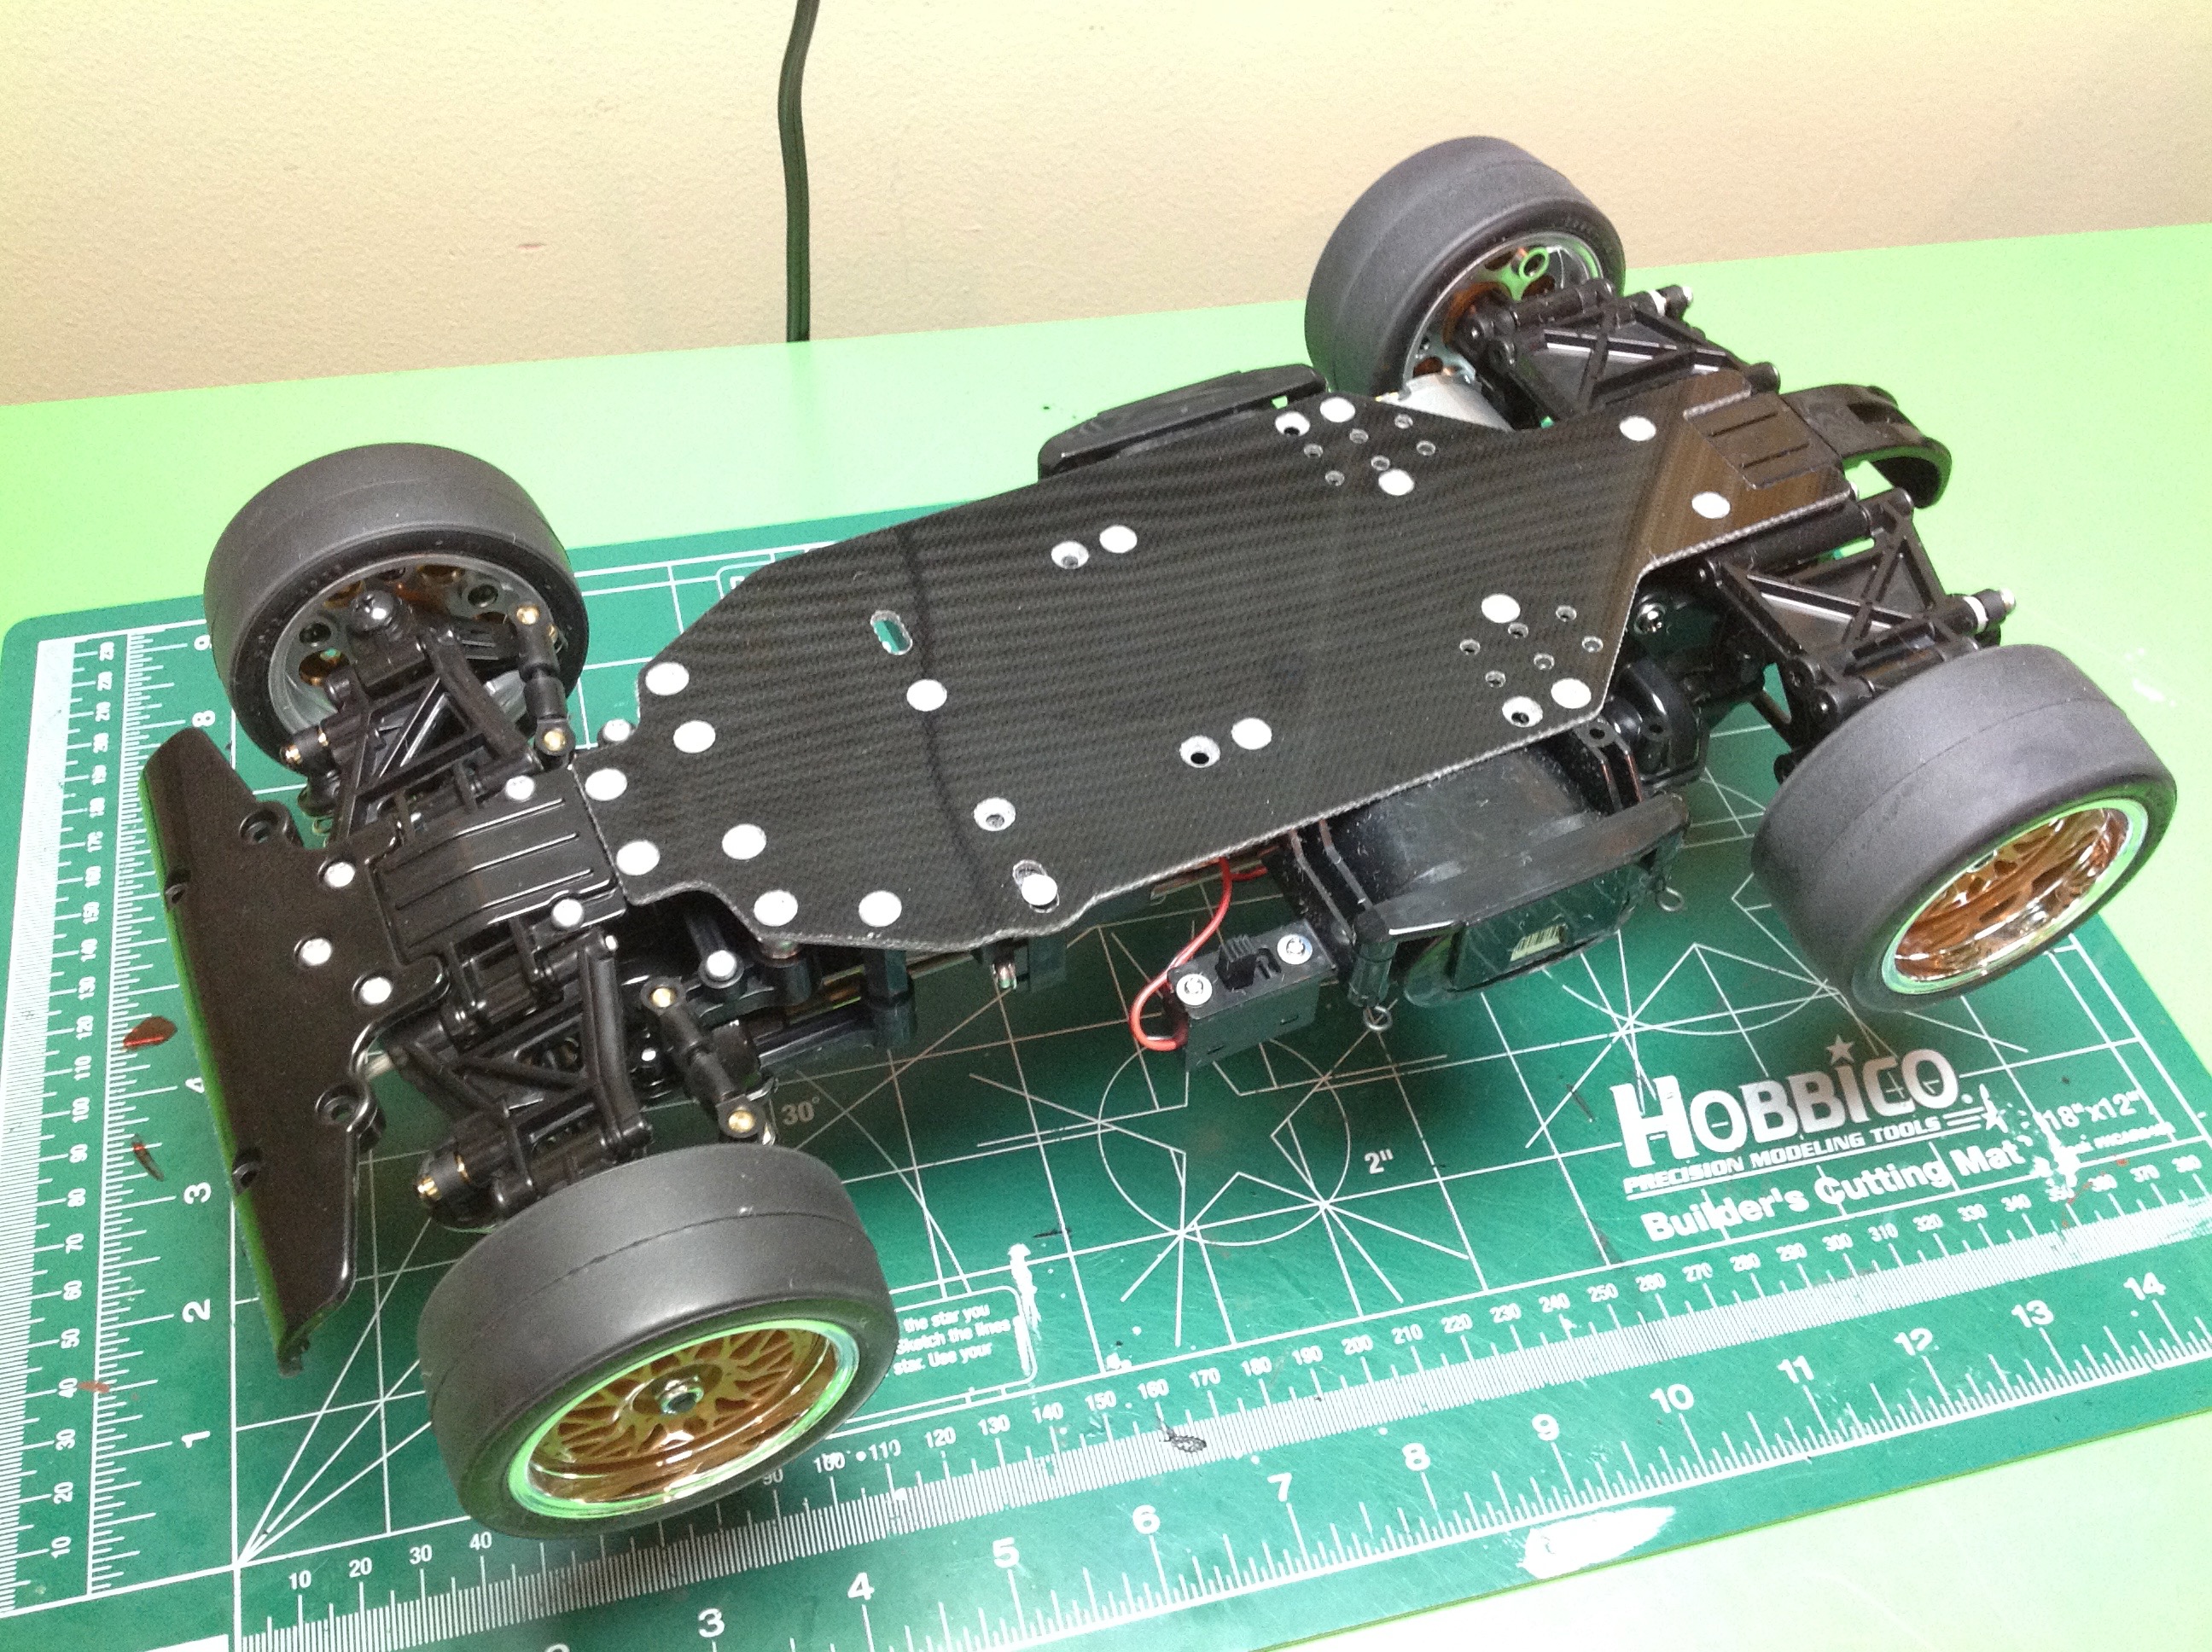
I later replaced the standard silver can motor with a 30T FL-Tuned motor.  This doesn't make the car any faster (actually a little bit slower), but I thought a special motor was a better fit for this special car than the generic silver can.  It looks pretty good in there too, and the slightly slower speed will actually help prevent me from rolling it over and ruining the body.

Up to Index | Go to Page 2
©2018 Eric Albrecht