Tamiya Lanica Delta Project
Page 2: Upgrades!
This is a very minor upgrade. The rear track width should be
slightly wider than the front. Without this, the rear tire is
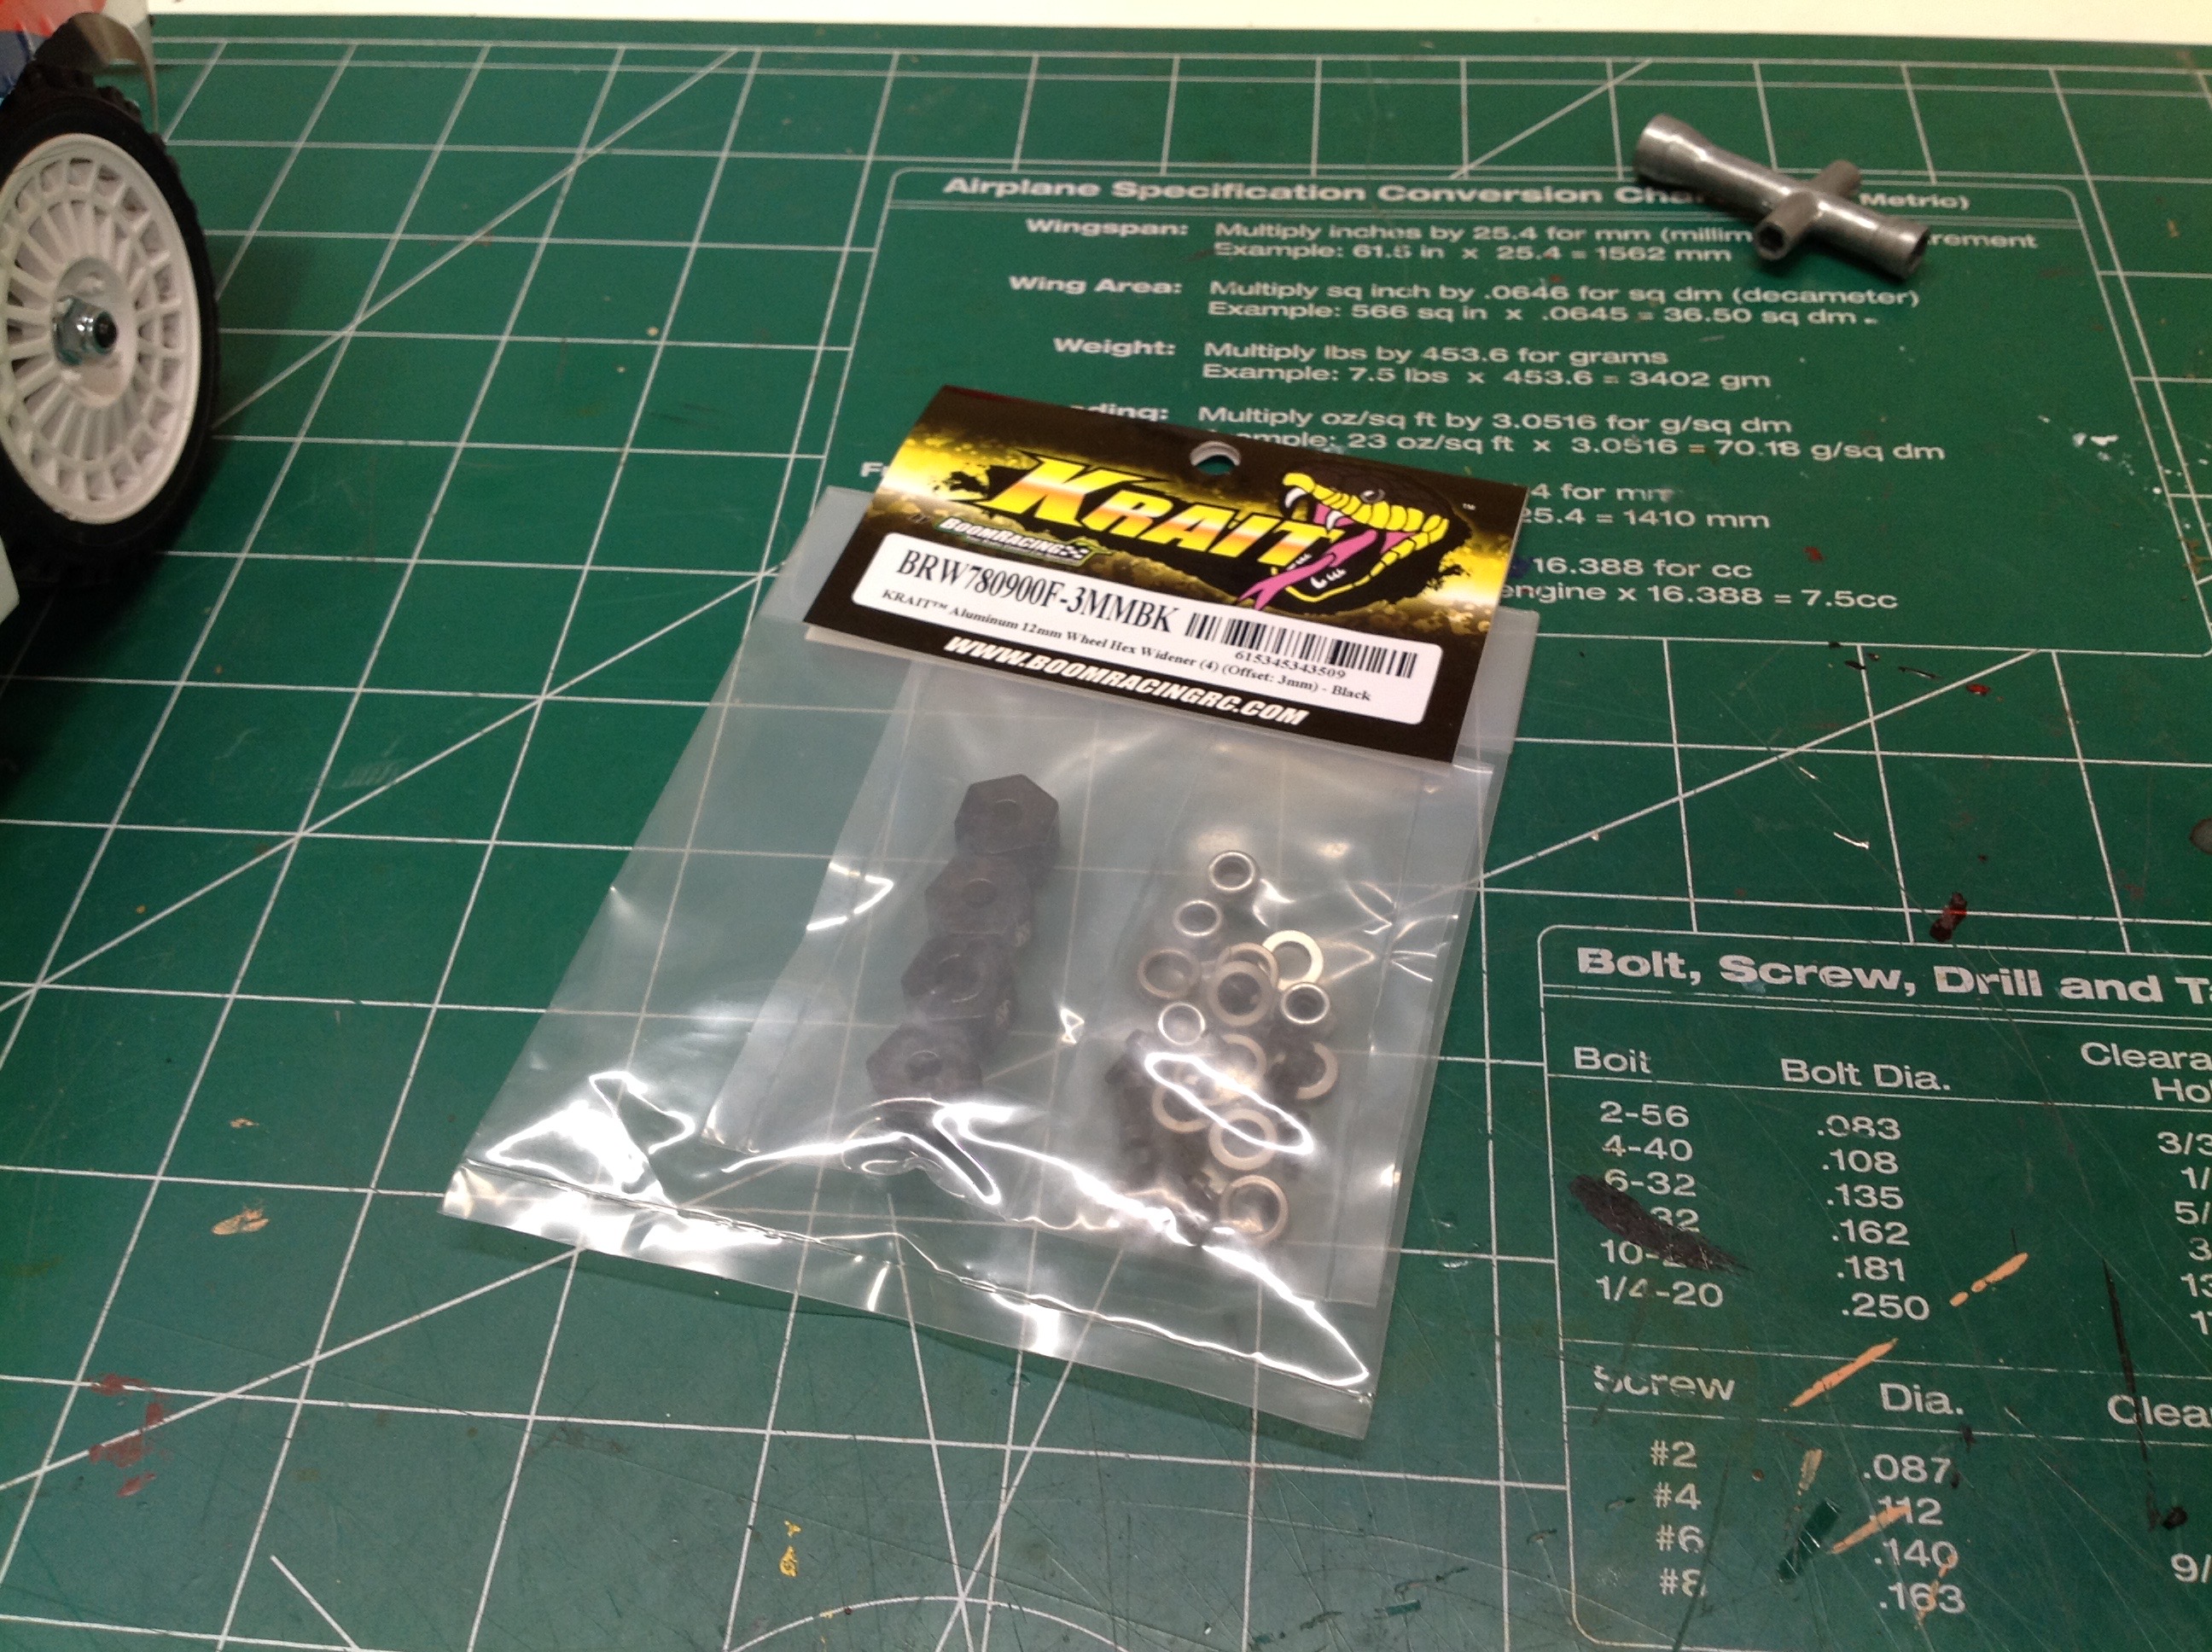
tucked too far inside the wheel well. To solve this I got some
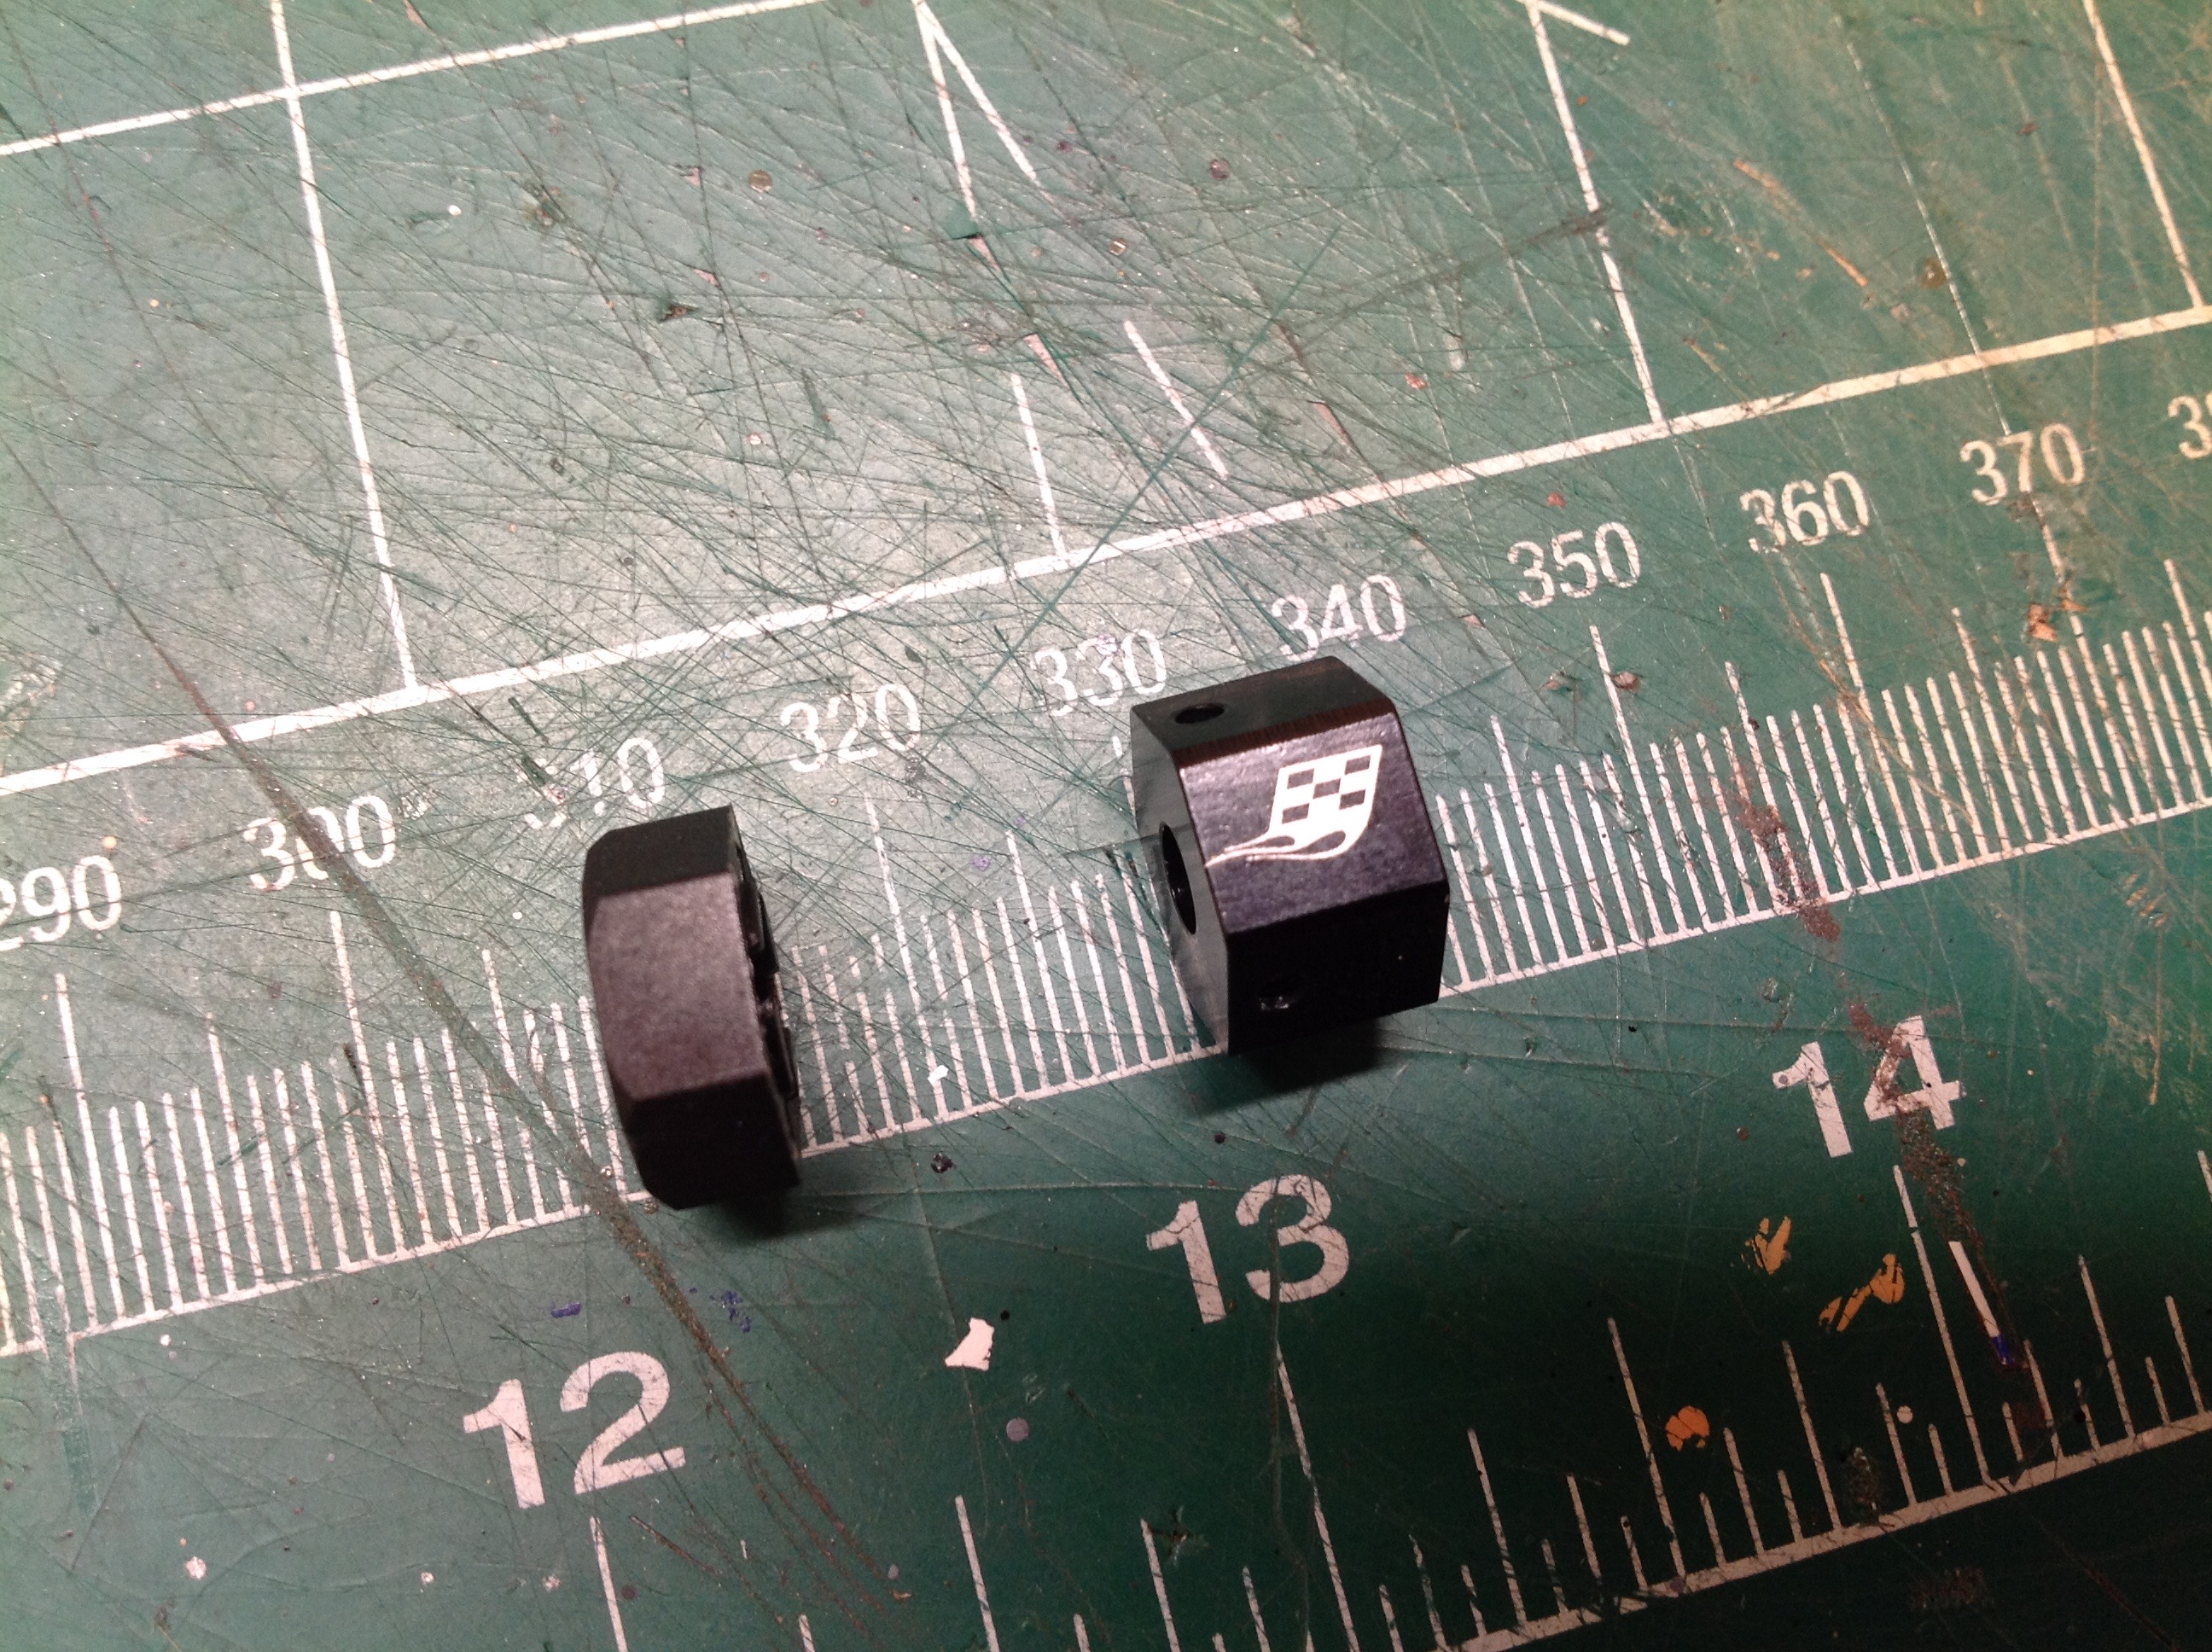
wheel wideners. This simply consists of a 12mm hex which is
thicker than normal and therefore increases the wheel offset. You
can see a comparison of old and new above.
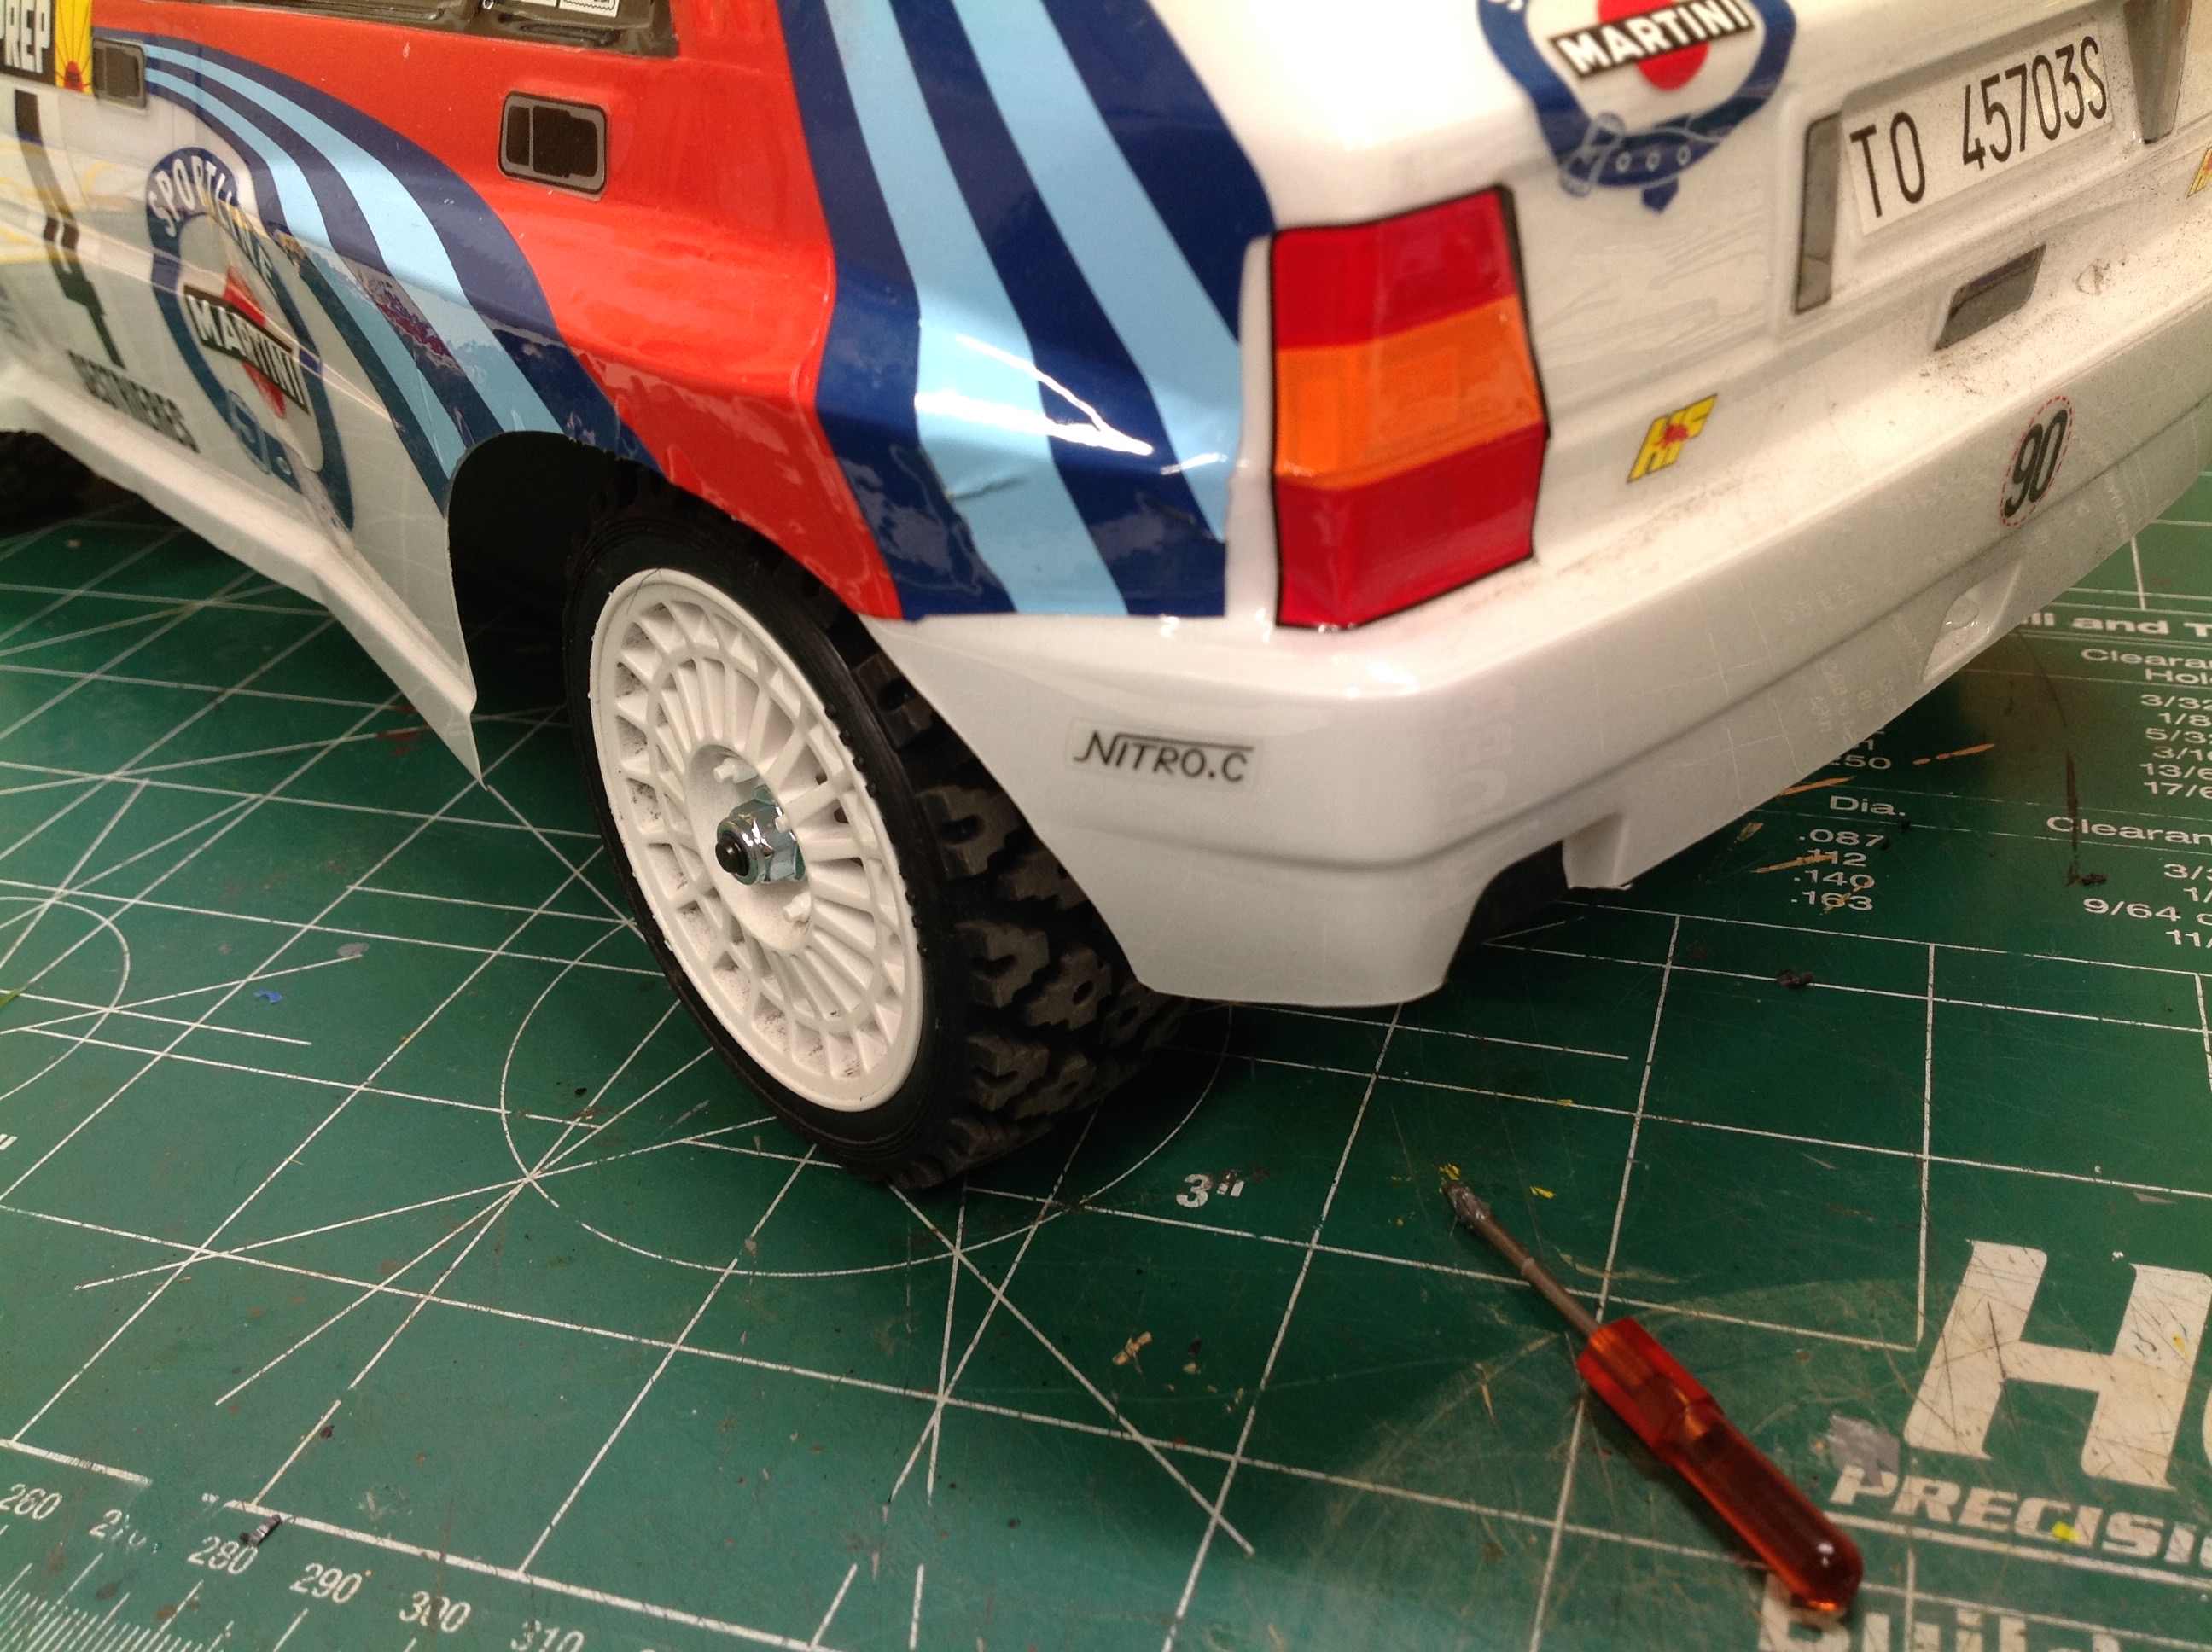
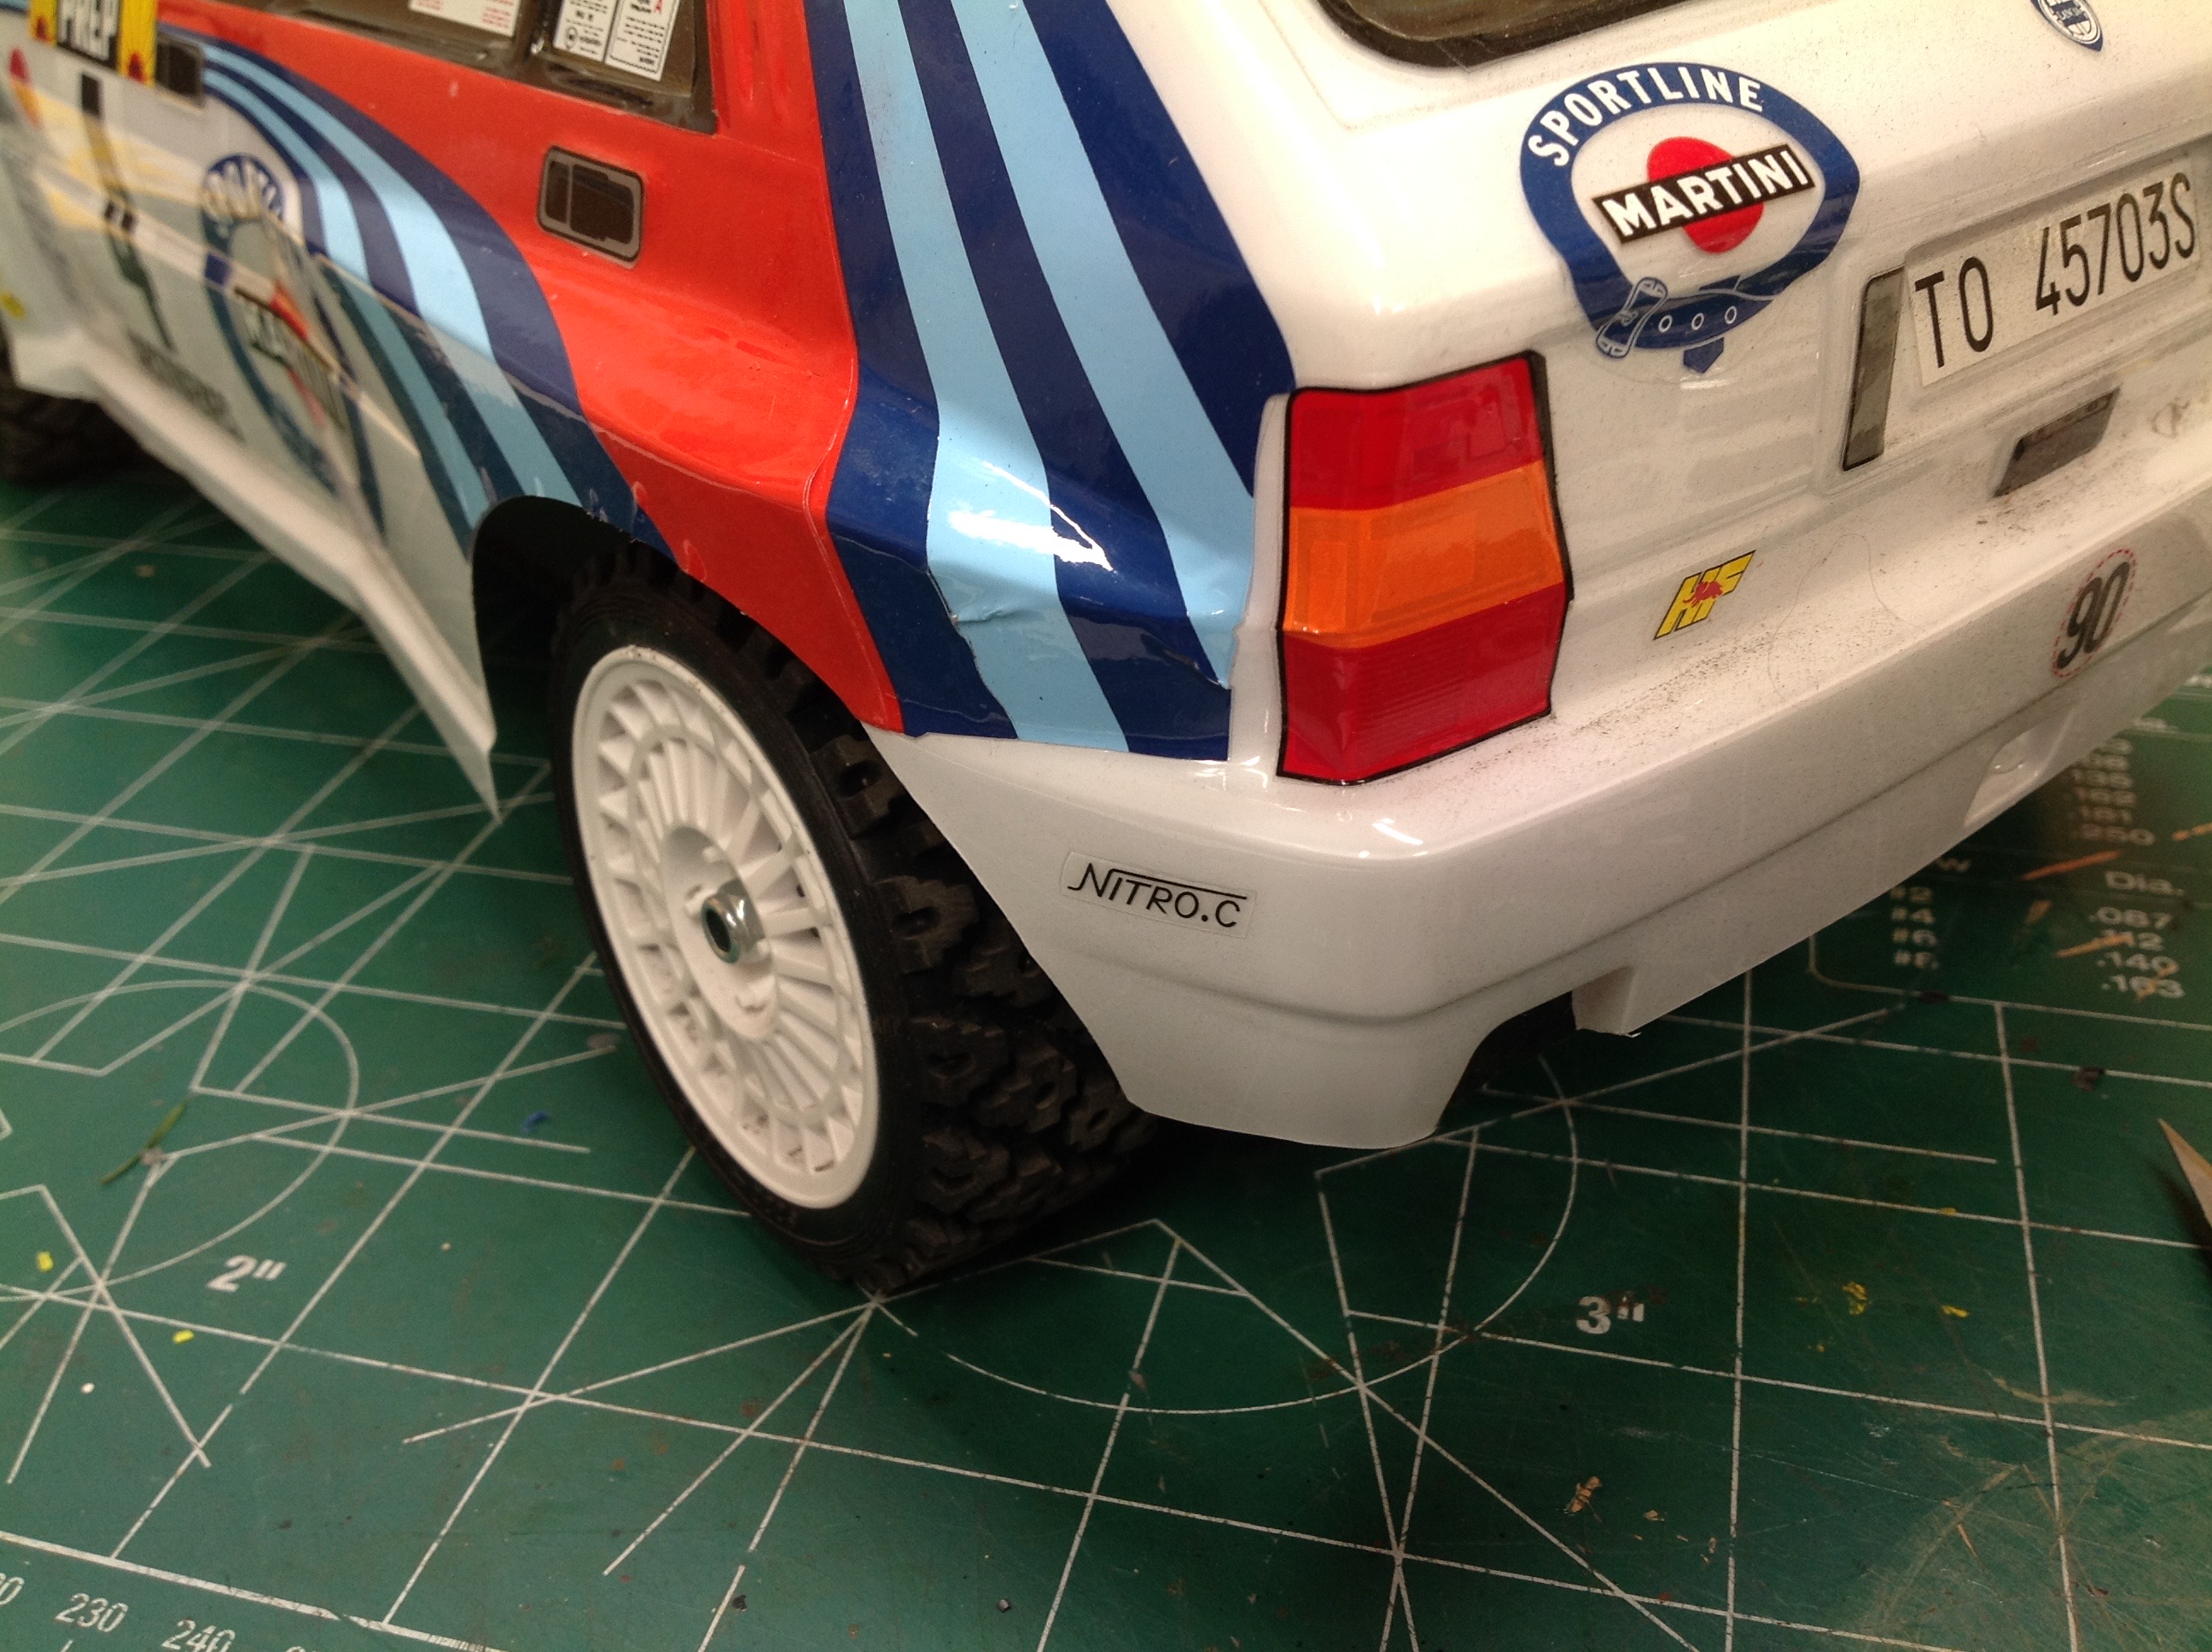
Now we can compare the car before and after the change. You can
see that the wheel has been moved outboard a bit making it more flush
with the side of the body. A side effect is that less thread is
available to attach the wheel nut so I had to switch to a thinner nut
style.
Phase 2:
Here's a prime example of procrastination. Before I even built
this model in the first place, I saw the Killer Body had their own
version of the Delta Integrale body prepainted and decorated. I
bought it right away, but while I was waiting for it to arrive I built
the stock body. I was so placated by my stock build that it took
me 3 years to get around to installing the aftermarket body, mostly
because I didn't feel like painting the interior.
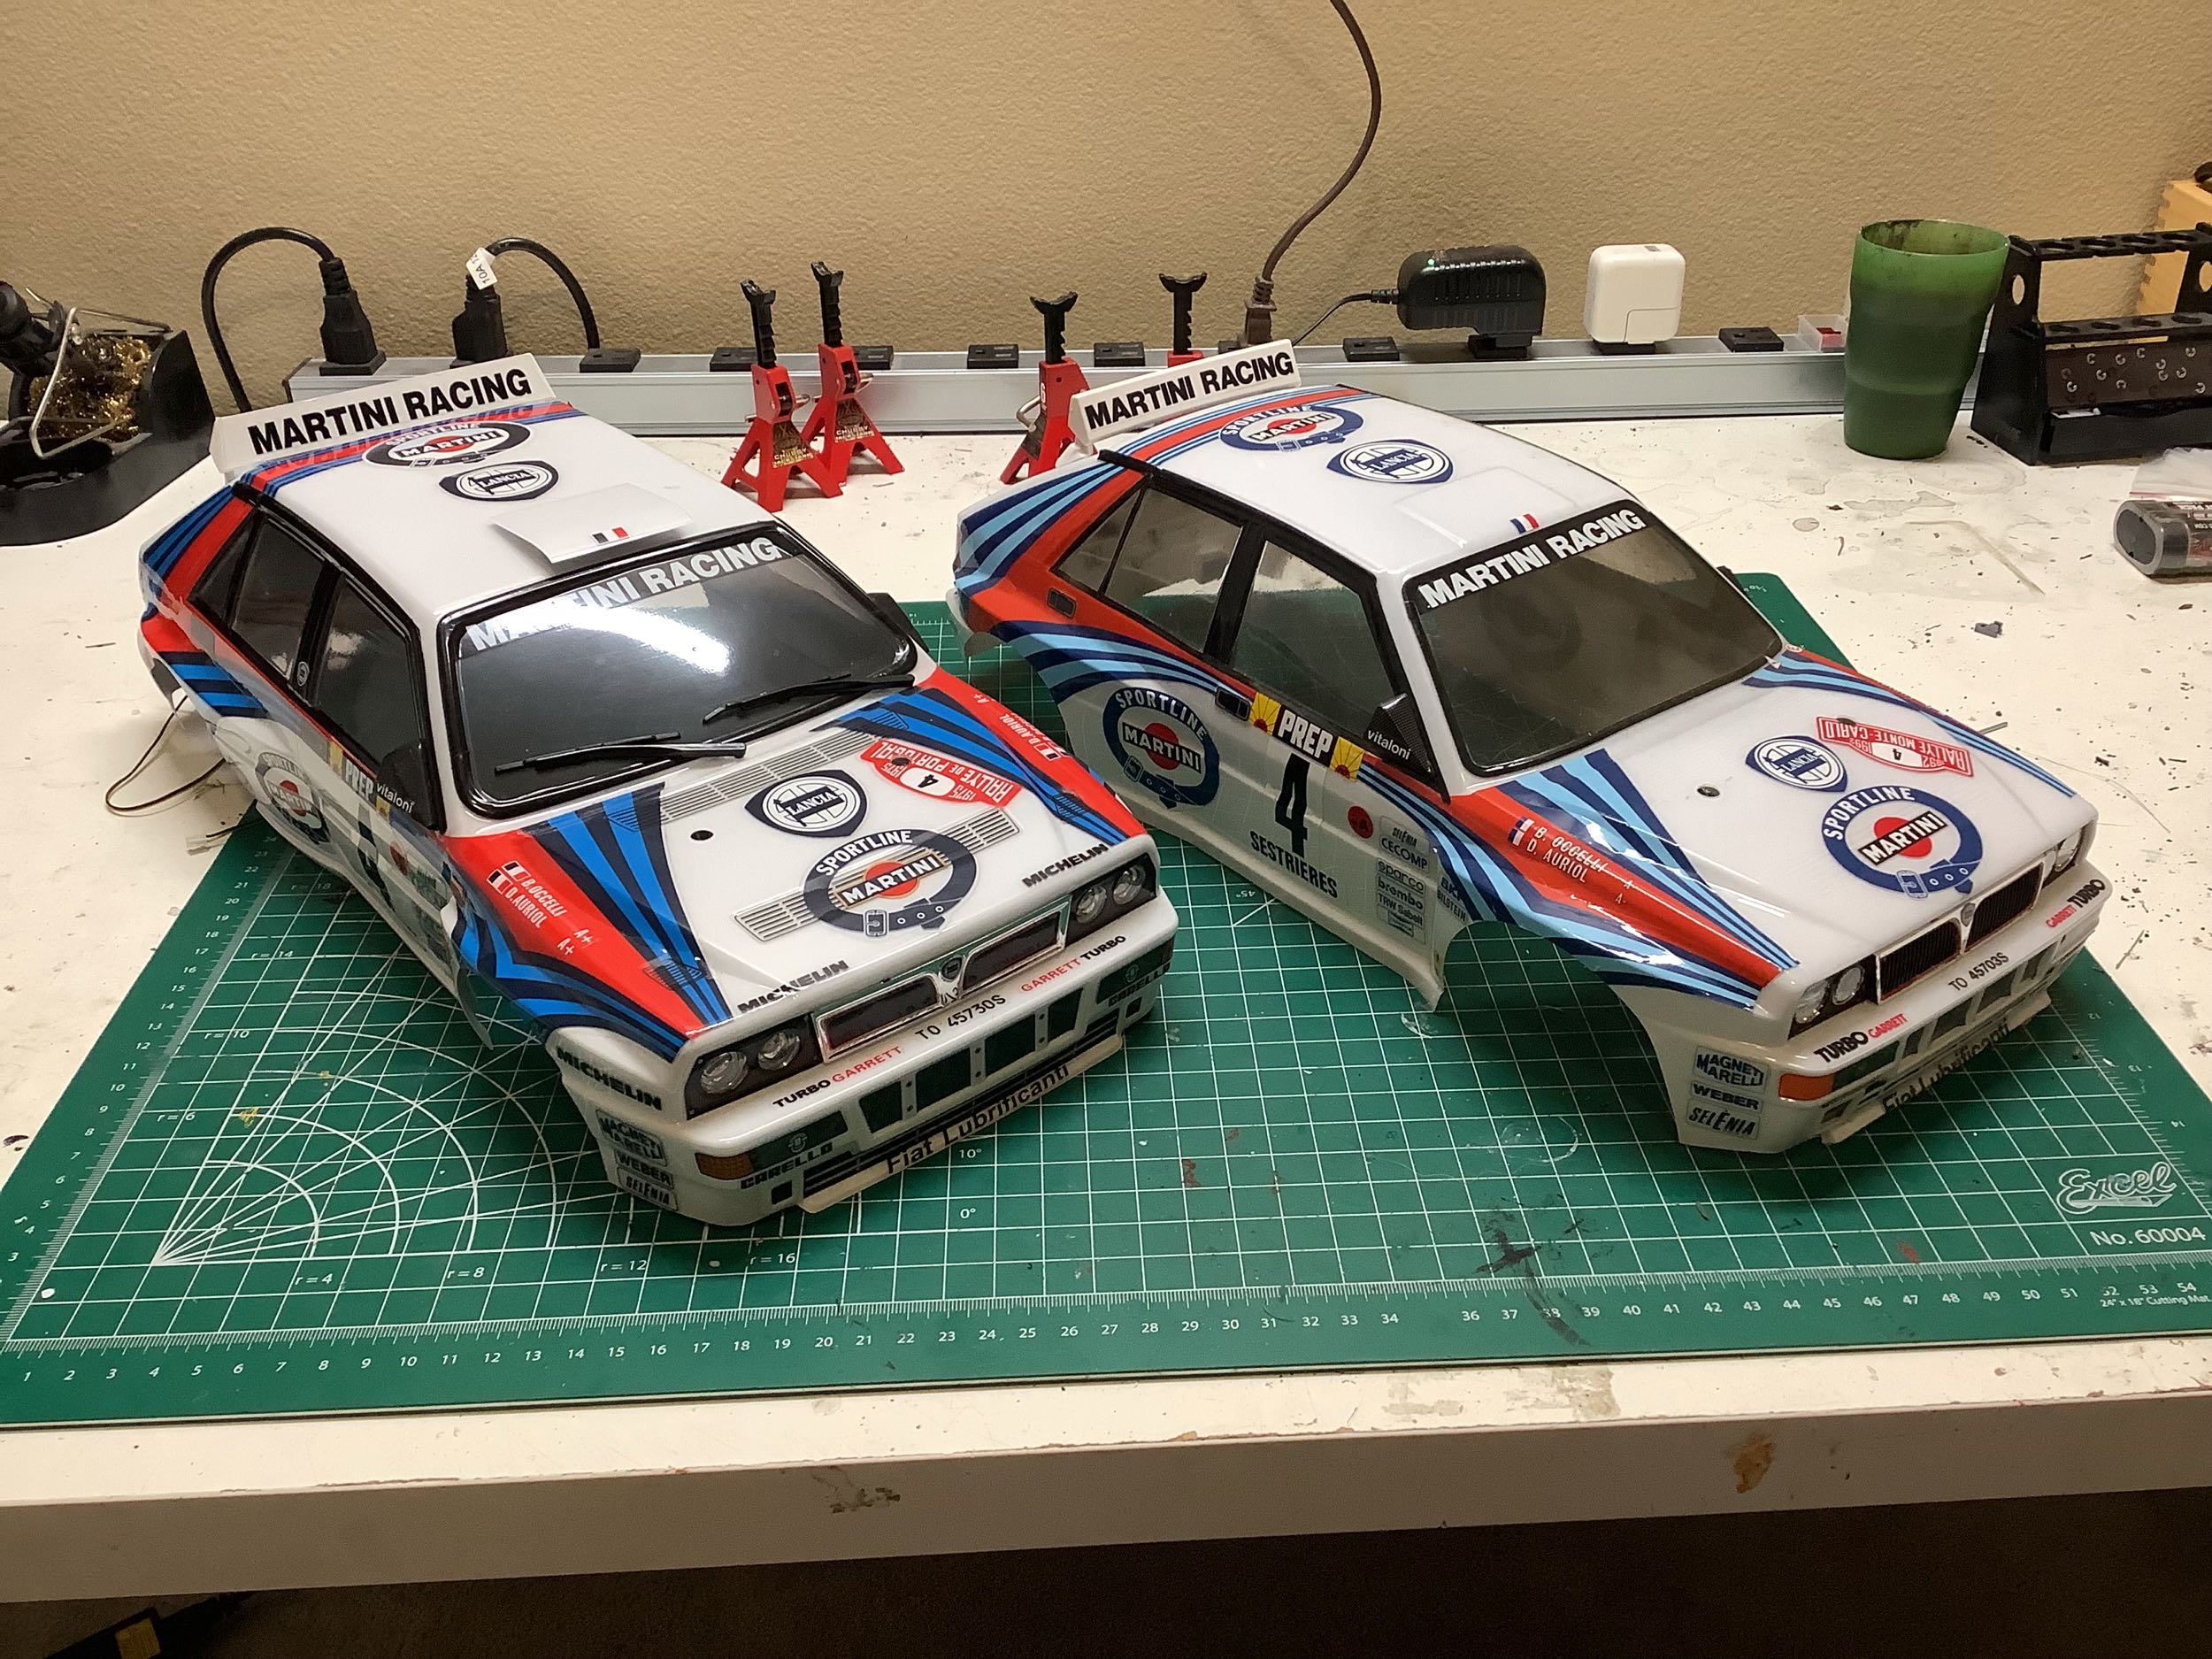
Besides displaying a better of job of decorating than I ever could, this
aftermarket body also had light buckets which I thought was
critical. I didn't really understand the other differences until I
got it. The next few photos compare them (Killer Body on the left
in each photo). The first thing you'll notice is that the blue is
more vibrant in the stripes. Comparing to the real thing, the
Tamiya coloring is actually more accurate. Looking closely at the
isometric
view, you may also notice the separate roof scoop part on the left and
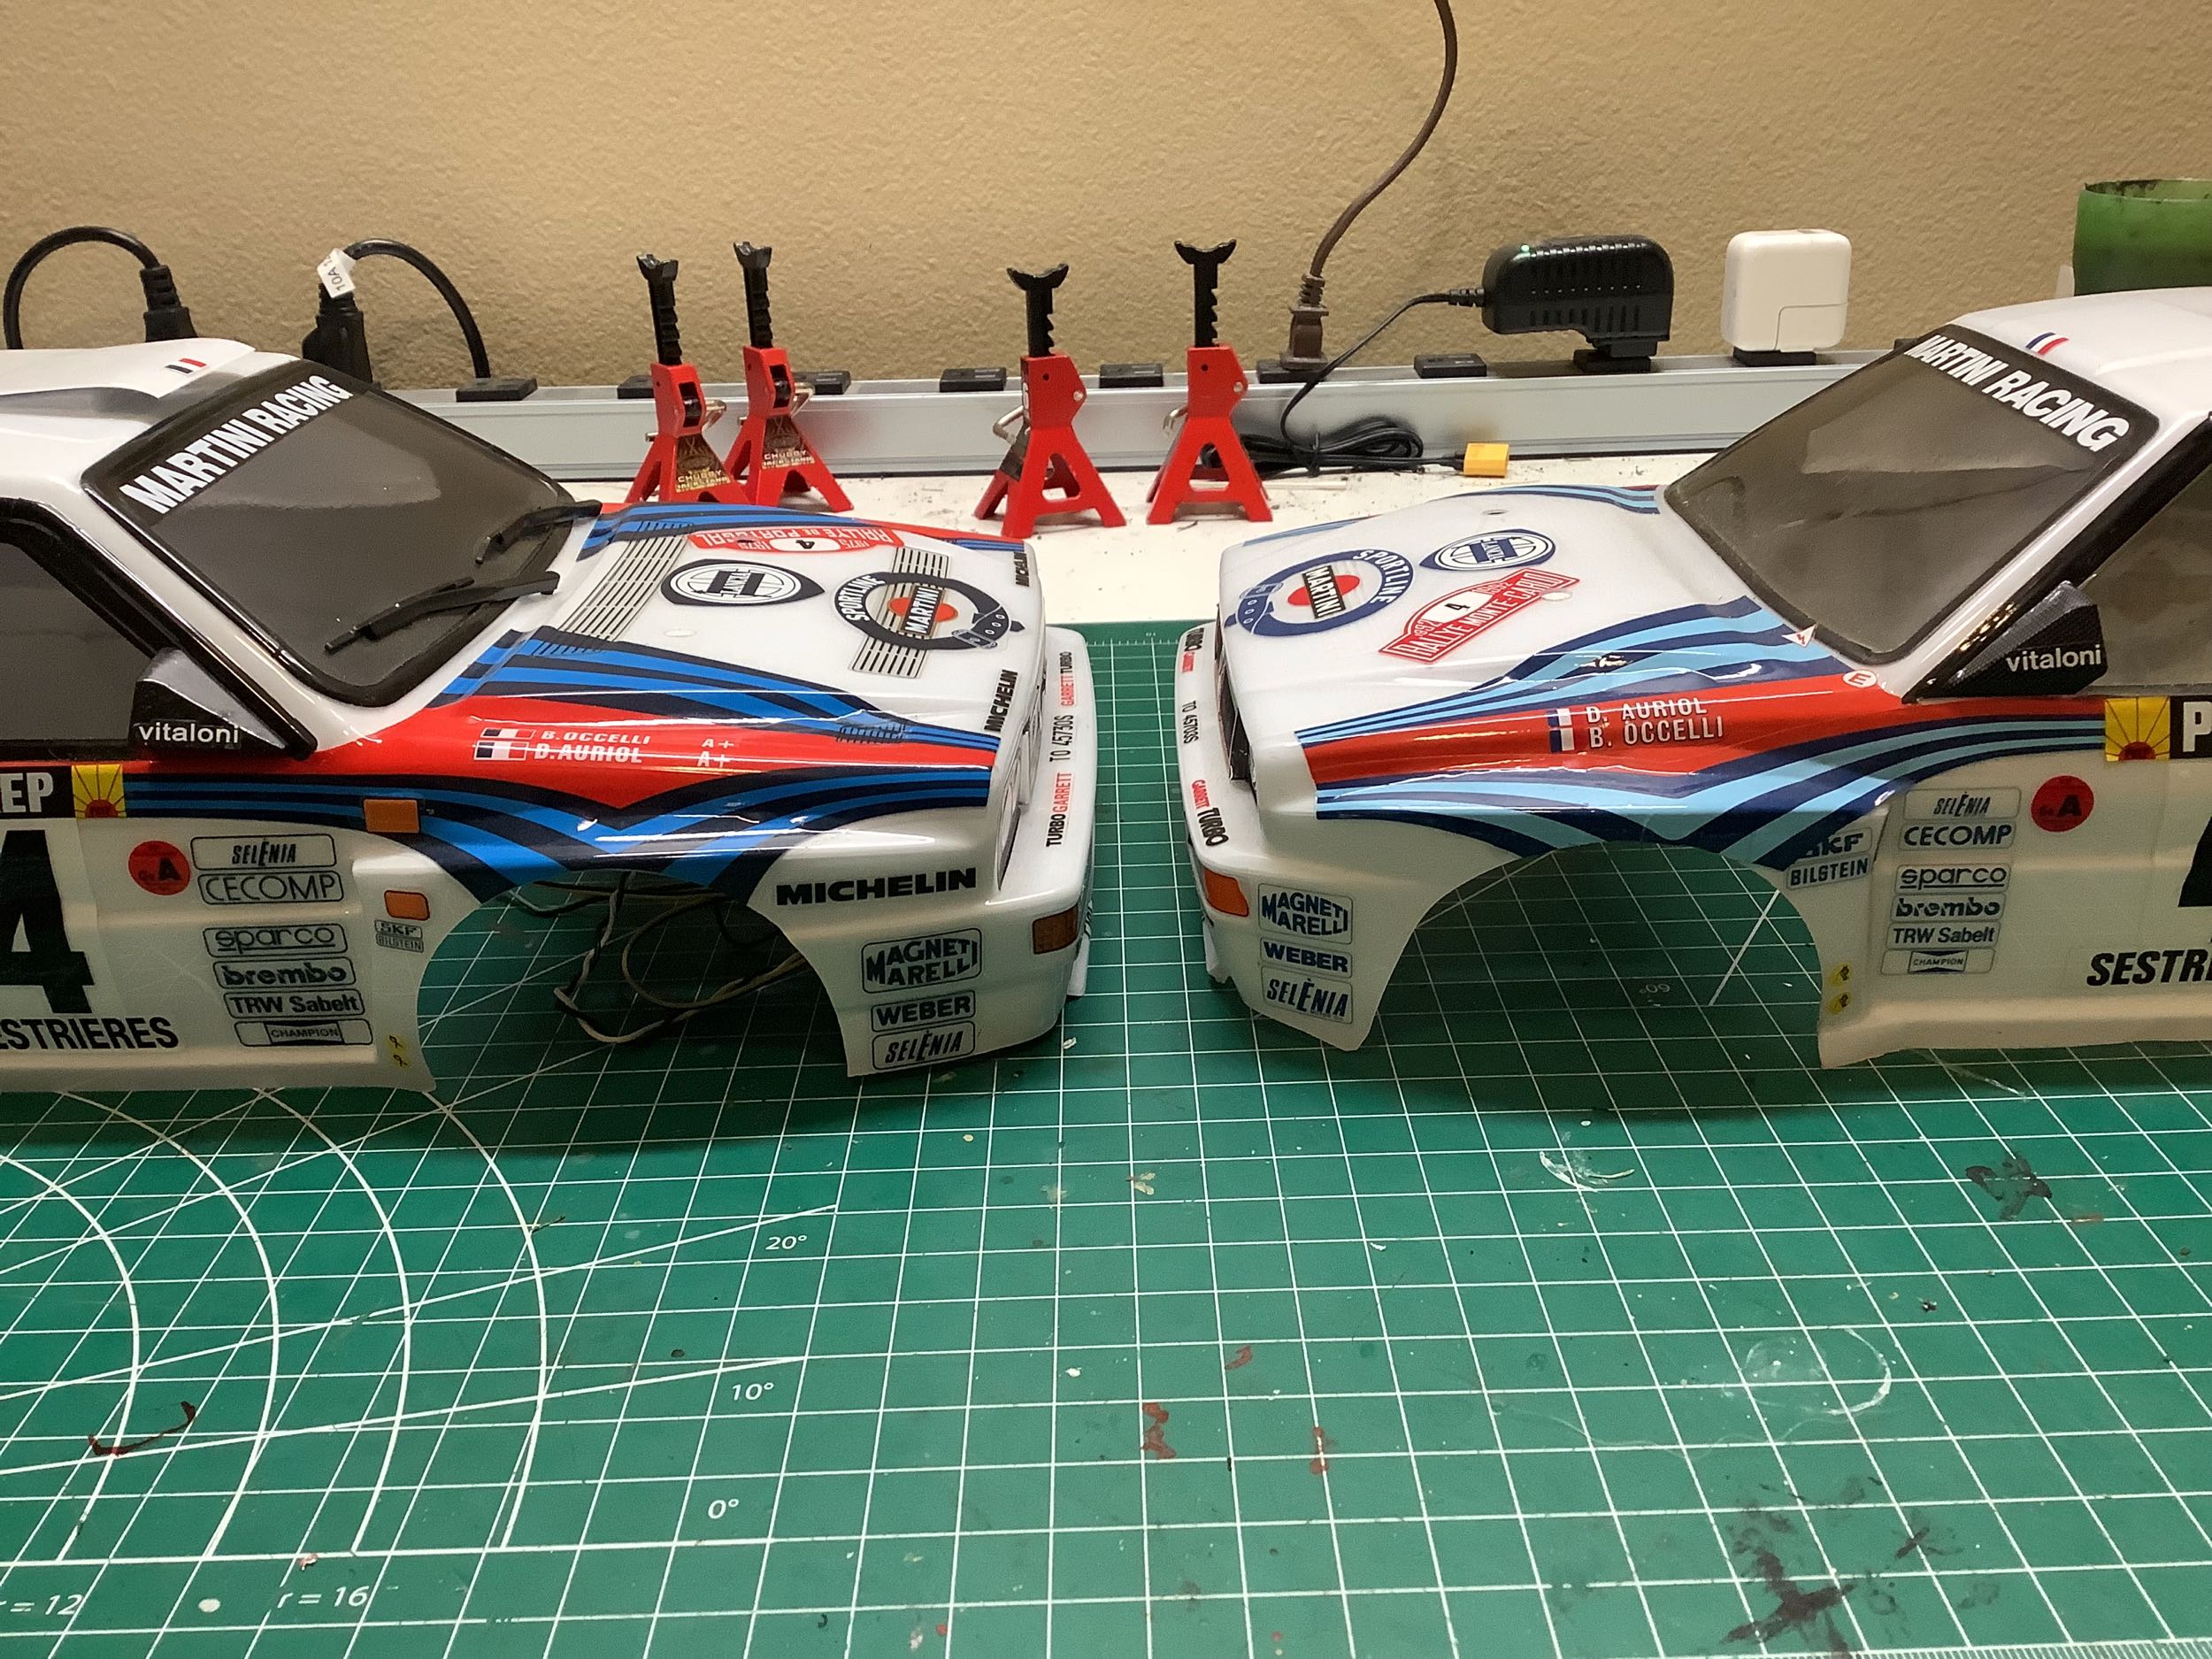
the fact that the rear spoiler is wider. From the side you can see
that there is more overhang ahead of the front wheel arch making for an
overall longer body (but with the same wheelbase). From this view
is also quite apparent that I did not put on the stickers right because
they don't come all the way to the front of the car.
Something I didn't notice until I was writing this summary is that the
Tamiya body is from the Monte Carlo Rally but the Killer Body is from
the Portugal Rally.
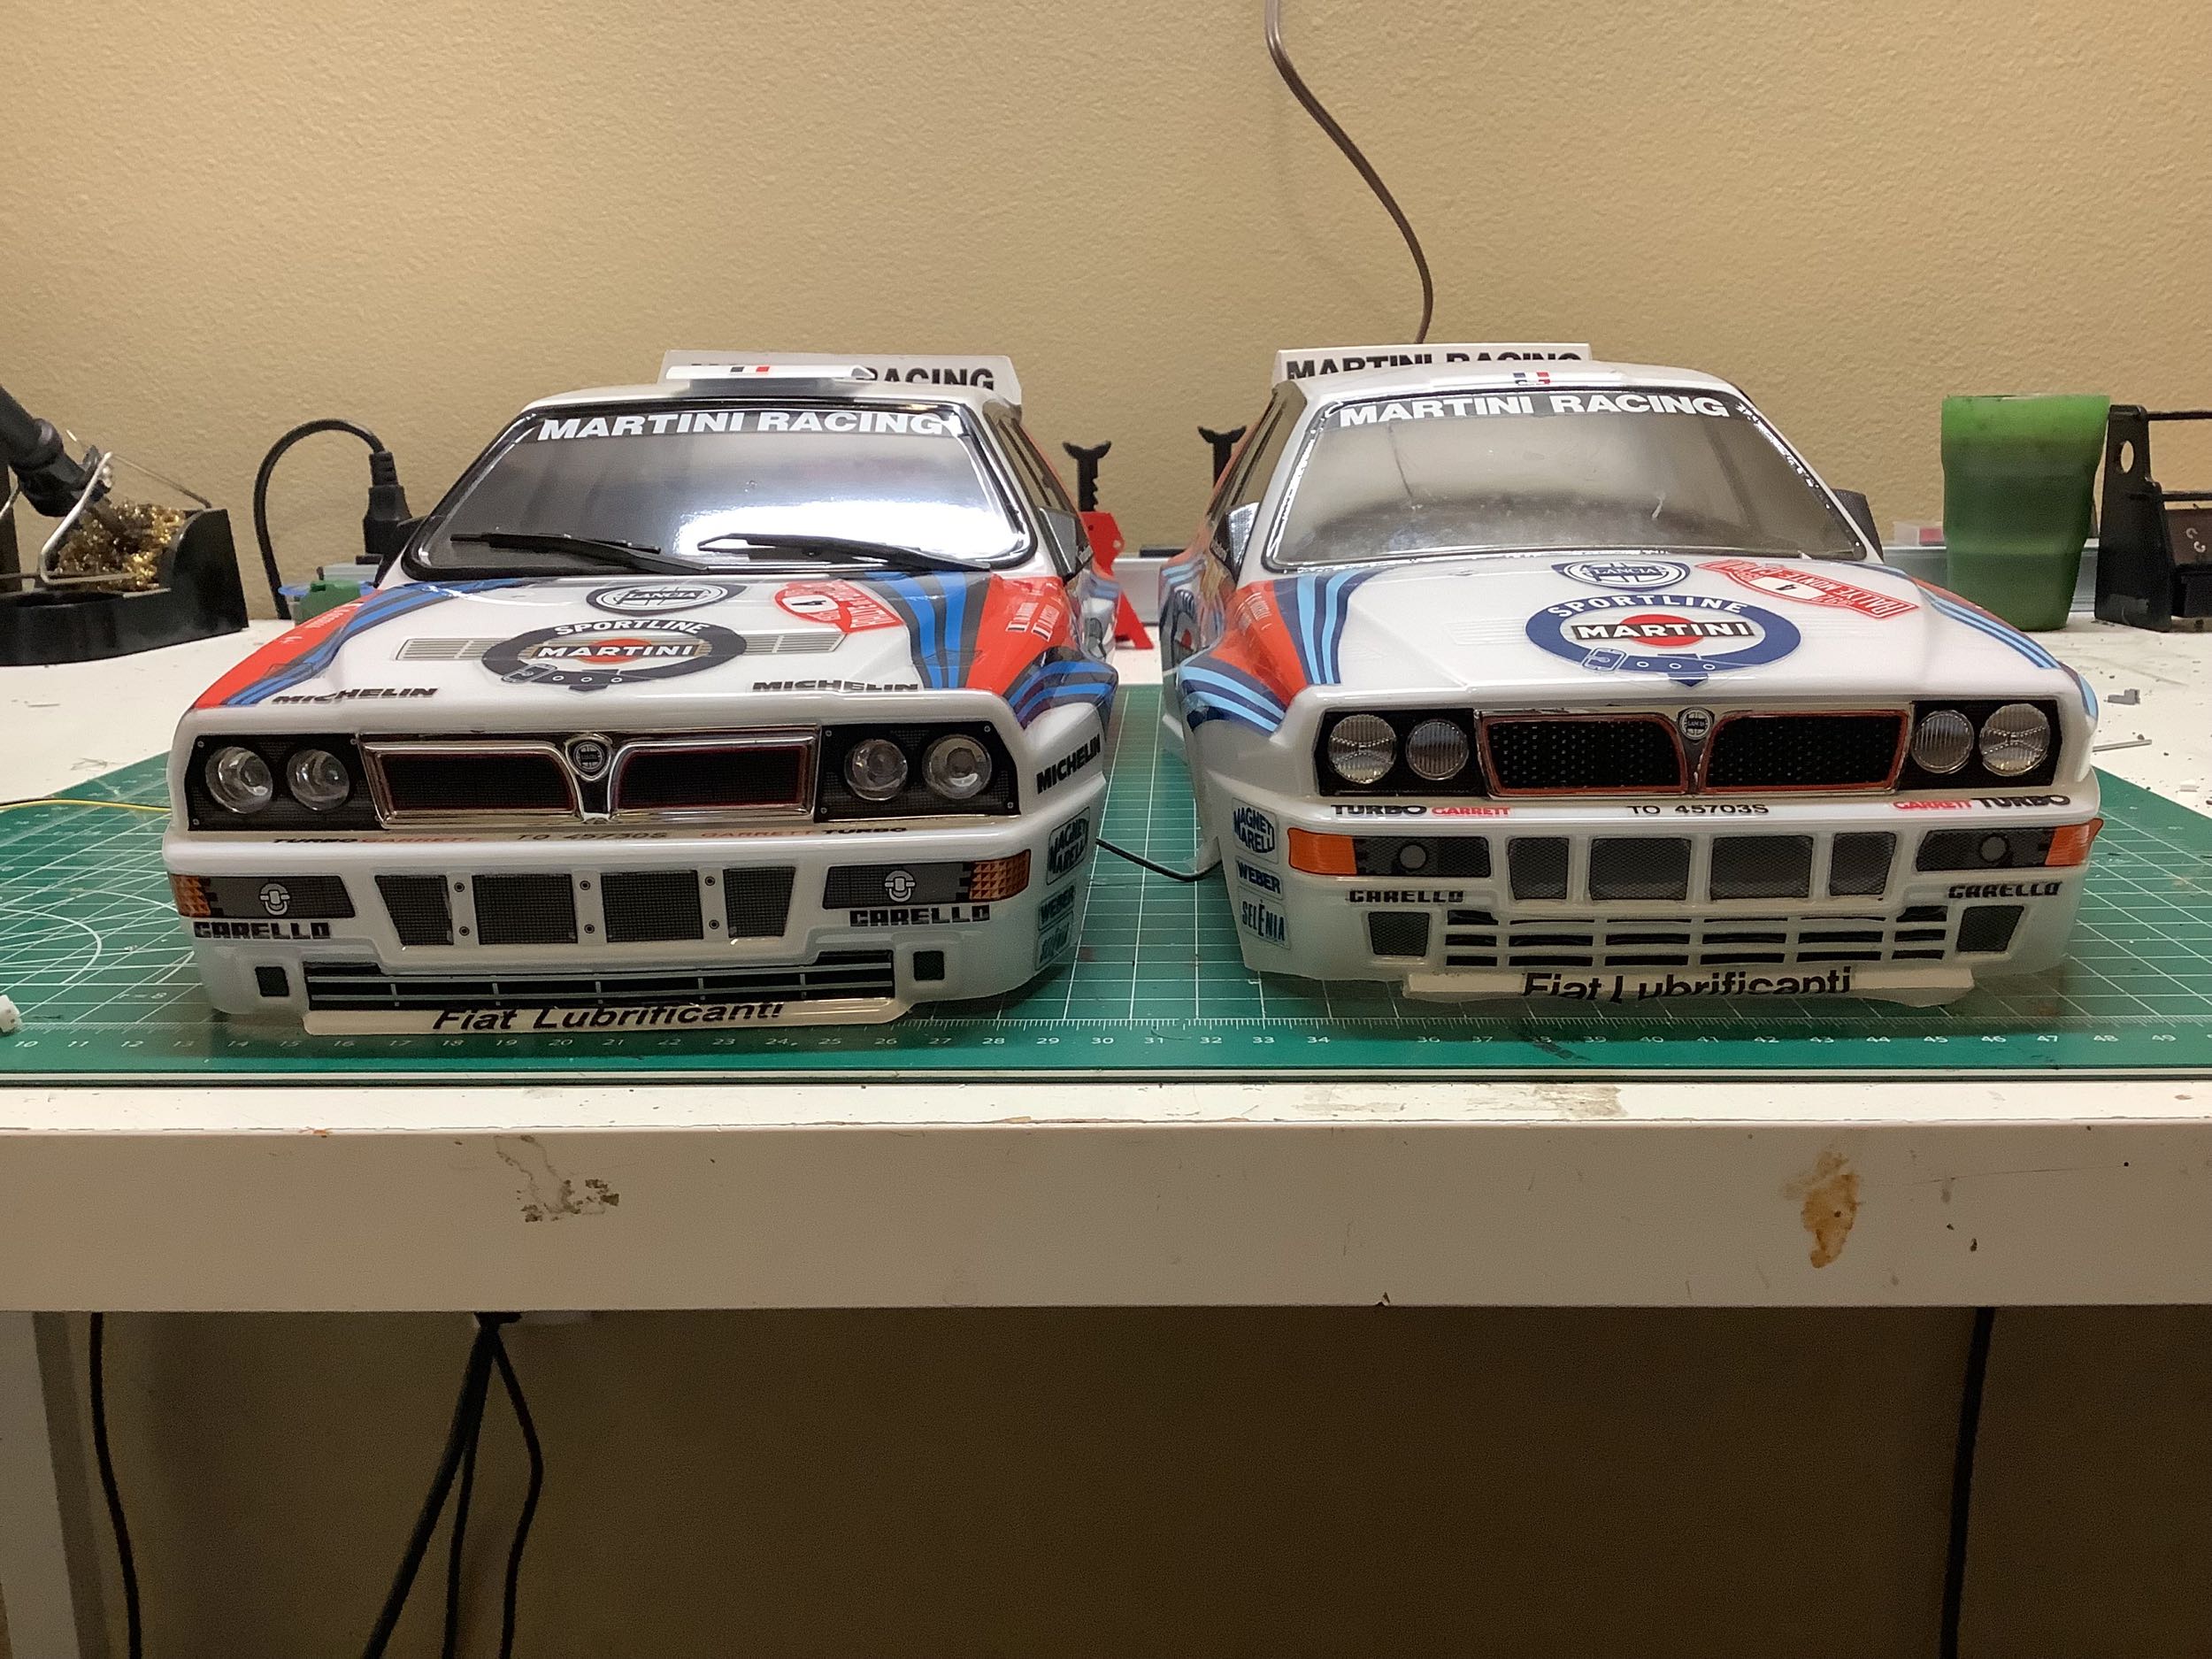
From the front you can see some differences in the fascia, the bumper,
and the splitter. The Tamiya body is very detailed, but the Killer
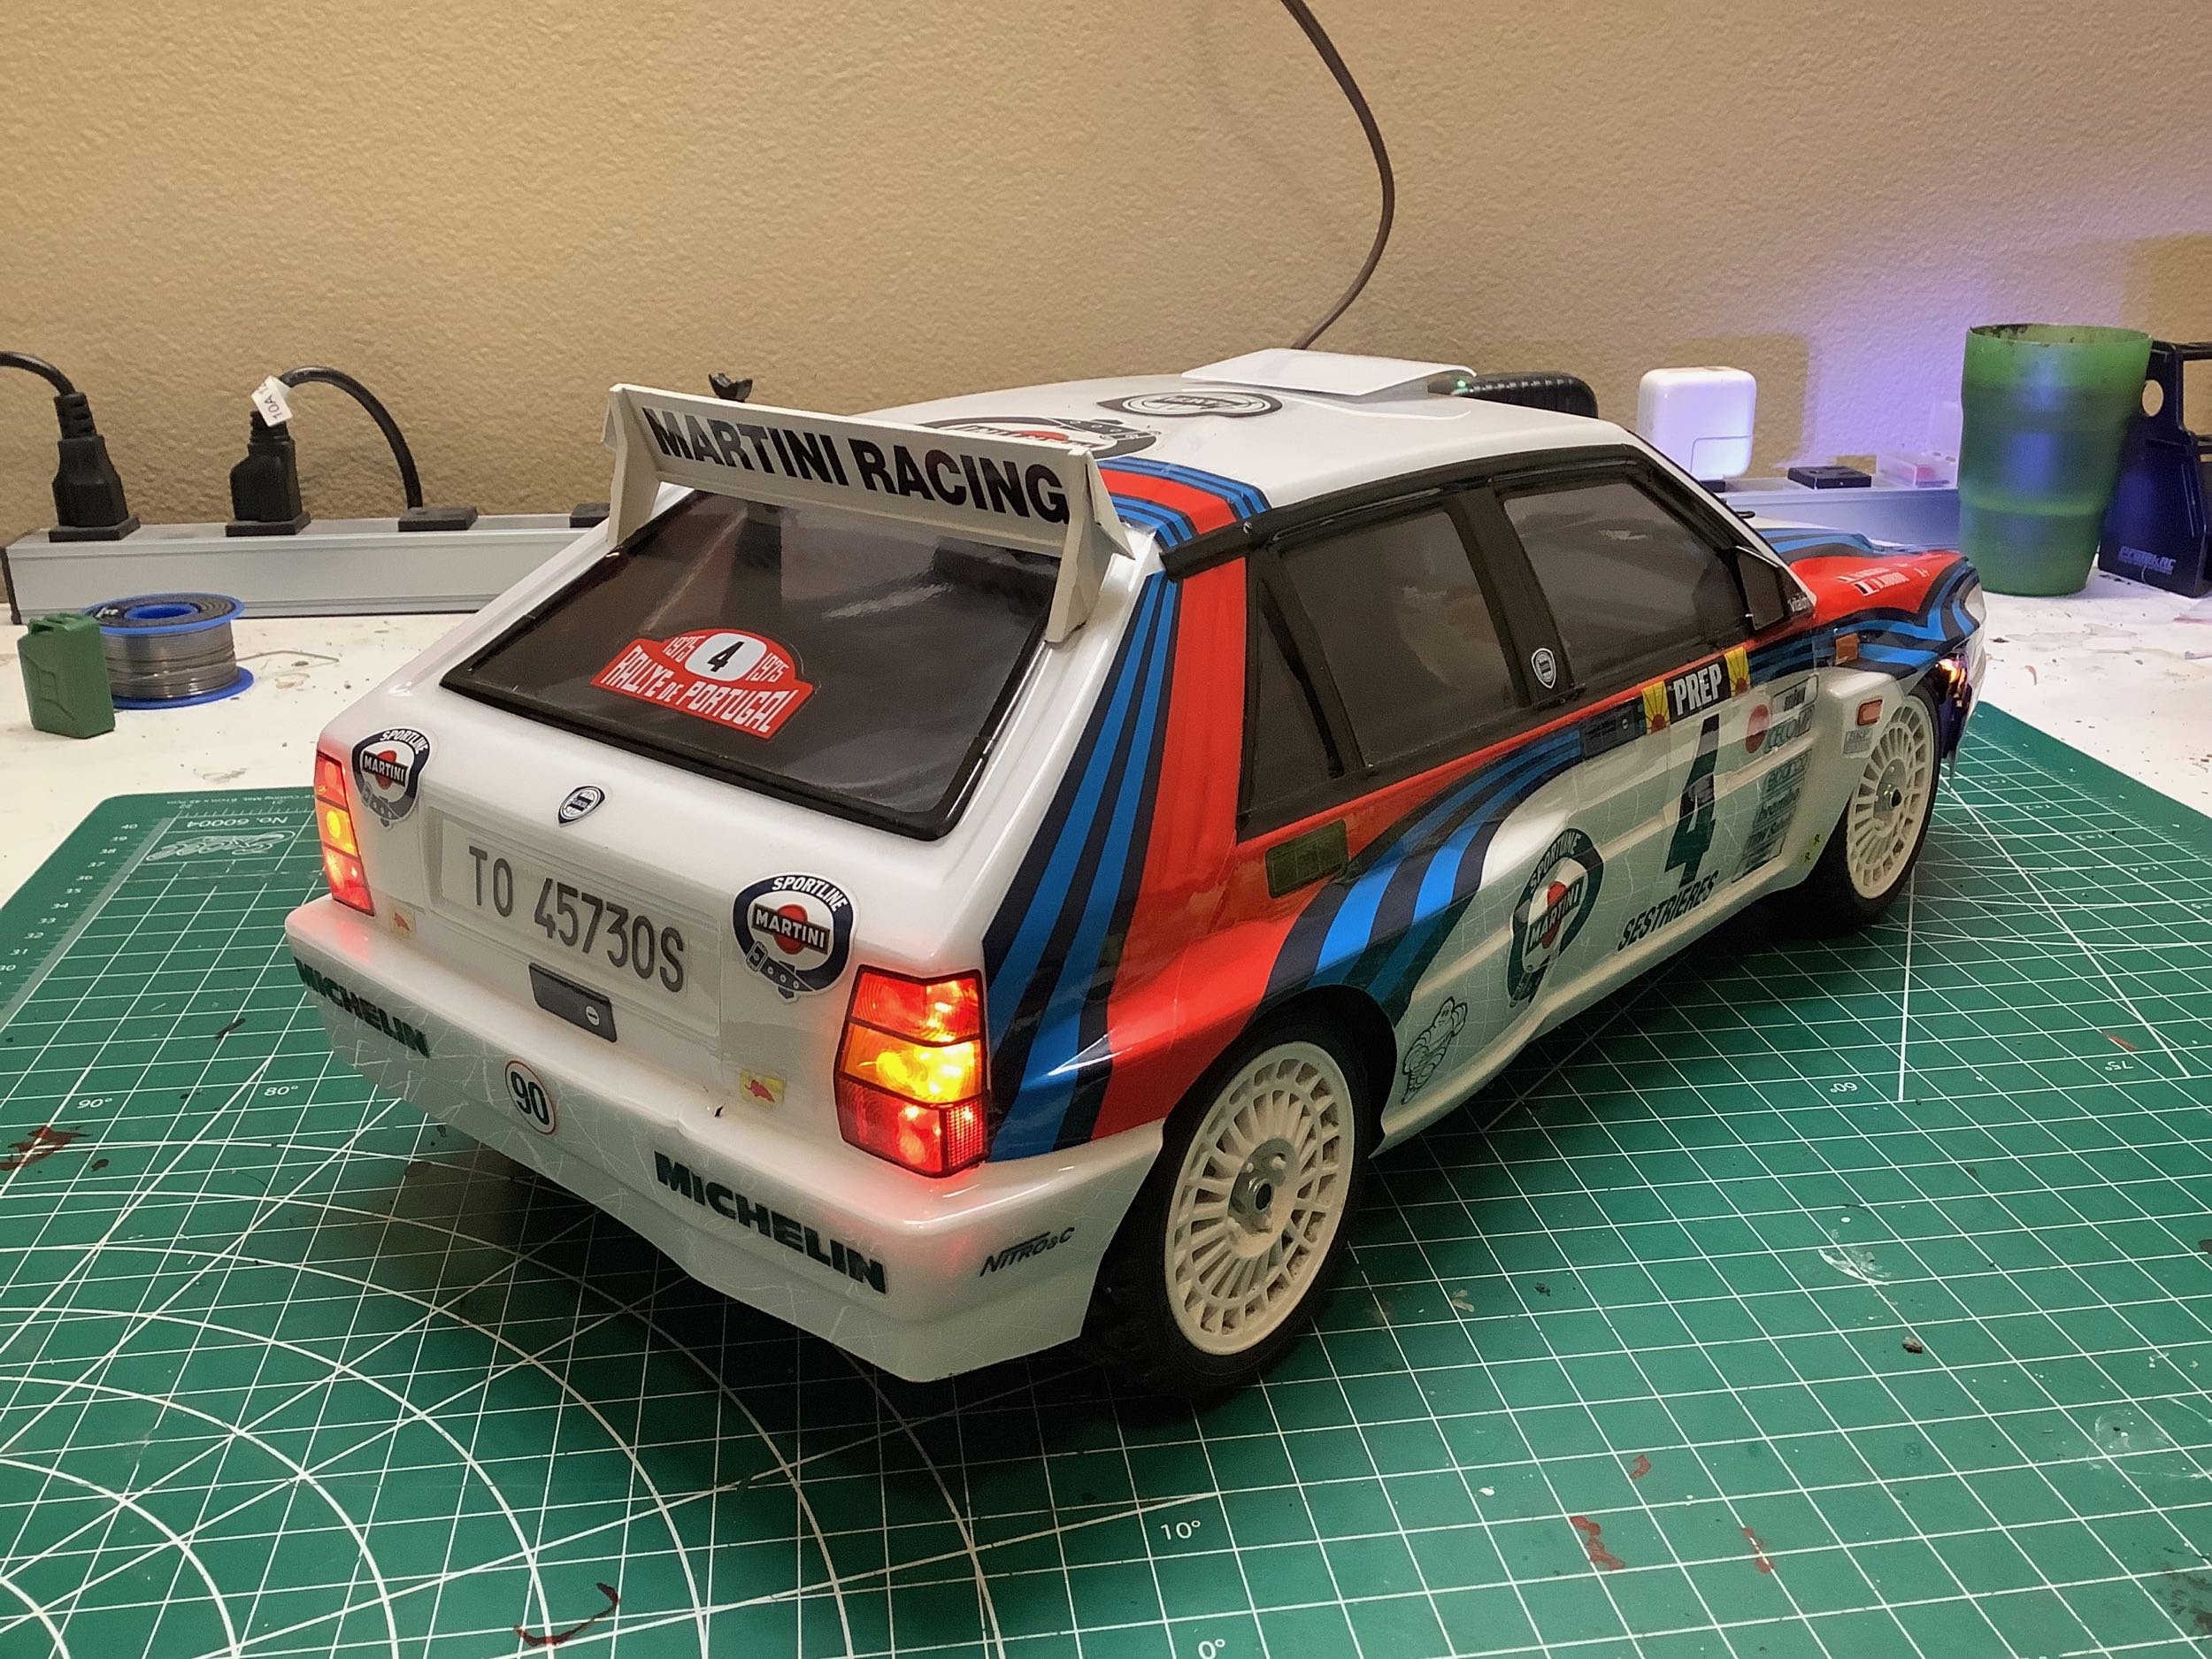
Body has a bit more. It also adds wipers. From the back you
can see the difference from switching to light buckets instead of
stickers. I actually think Tamiya did a better job around the
license plate; the Killer Body looks a bit flat.
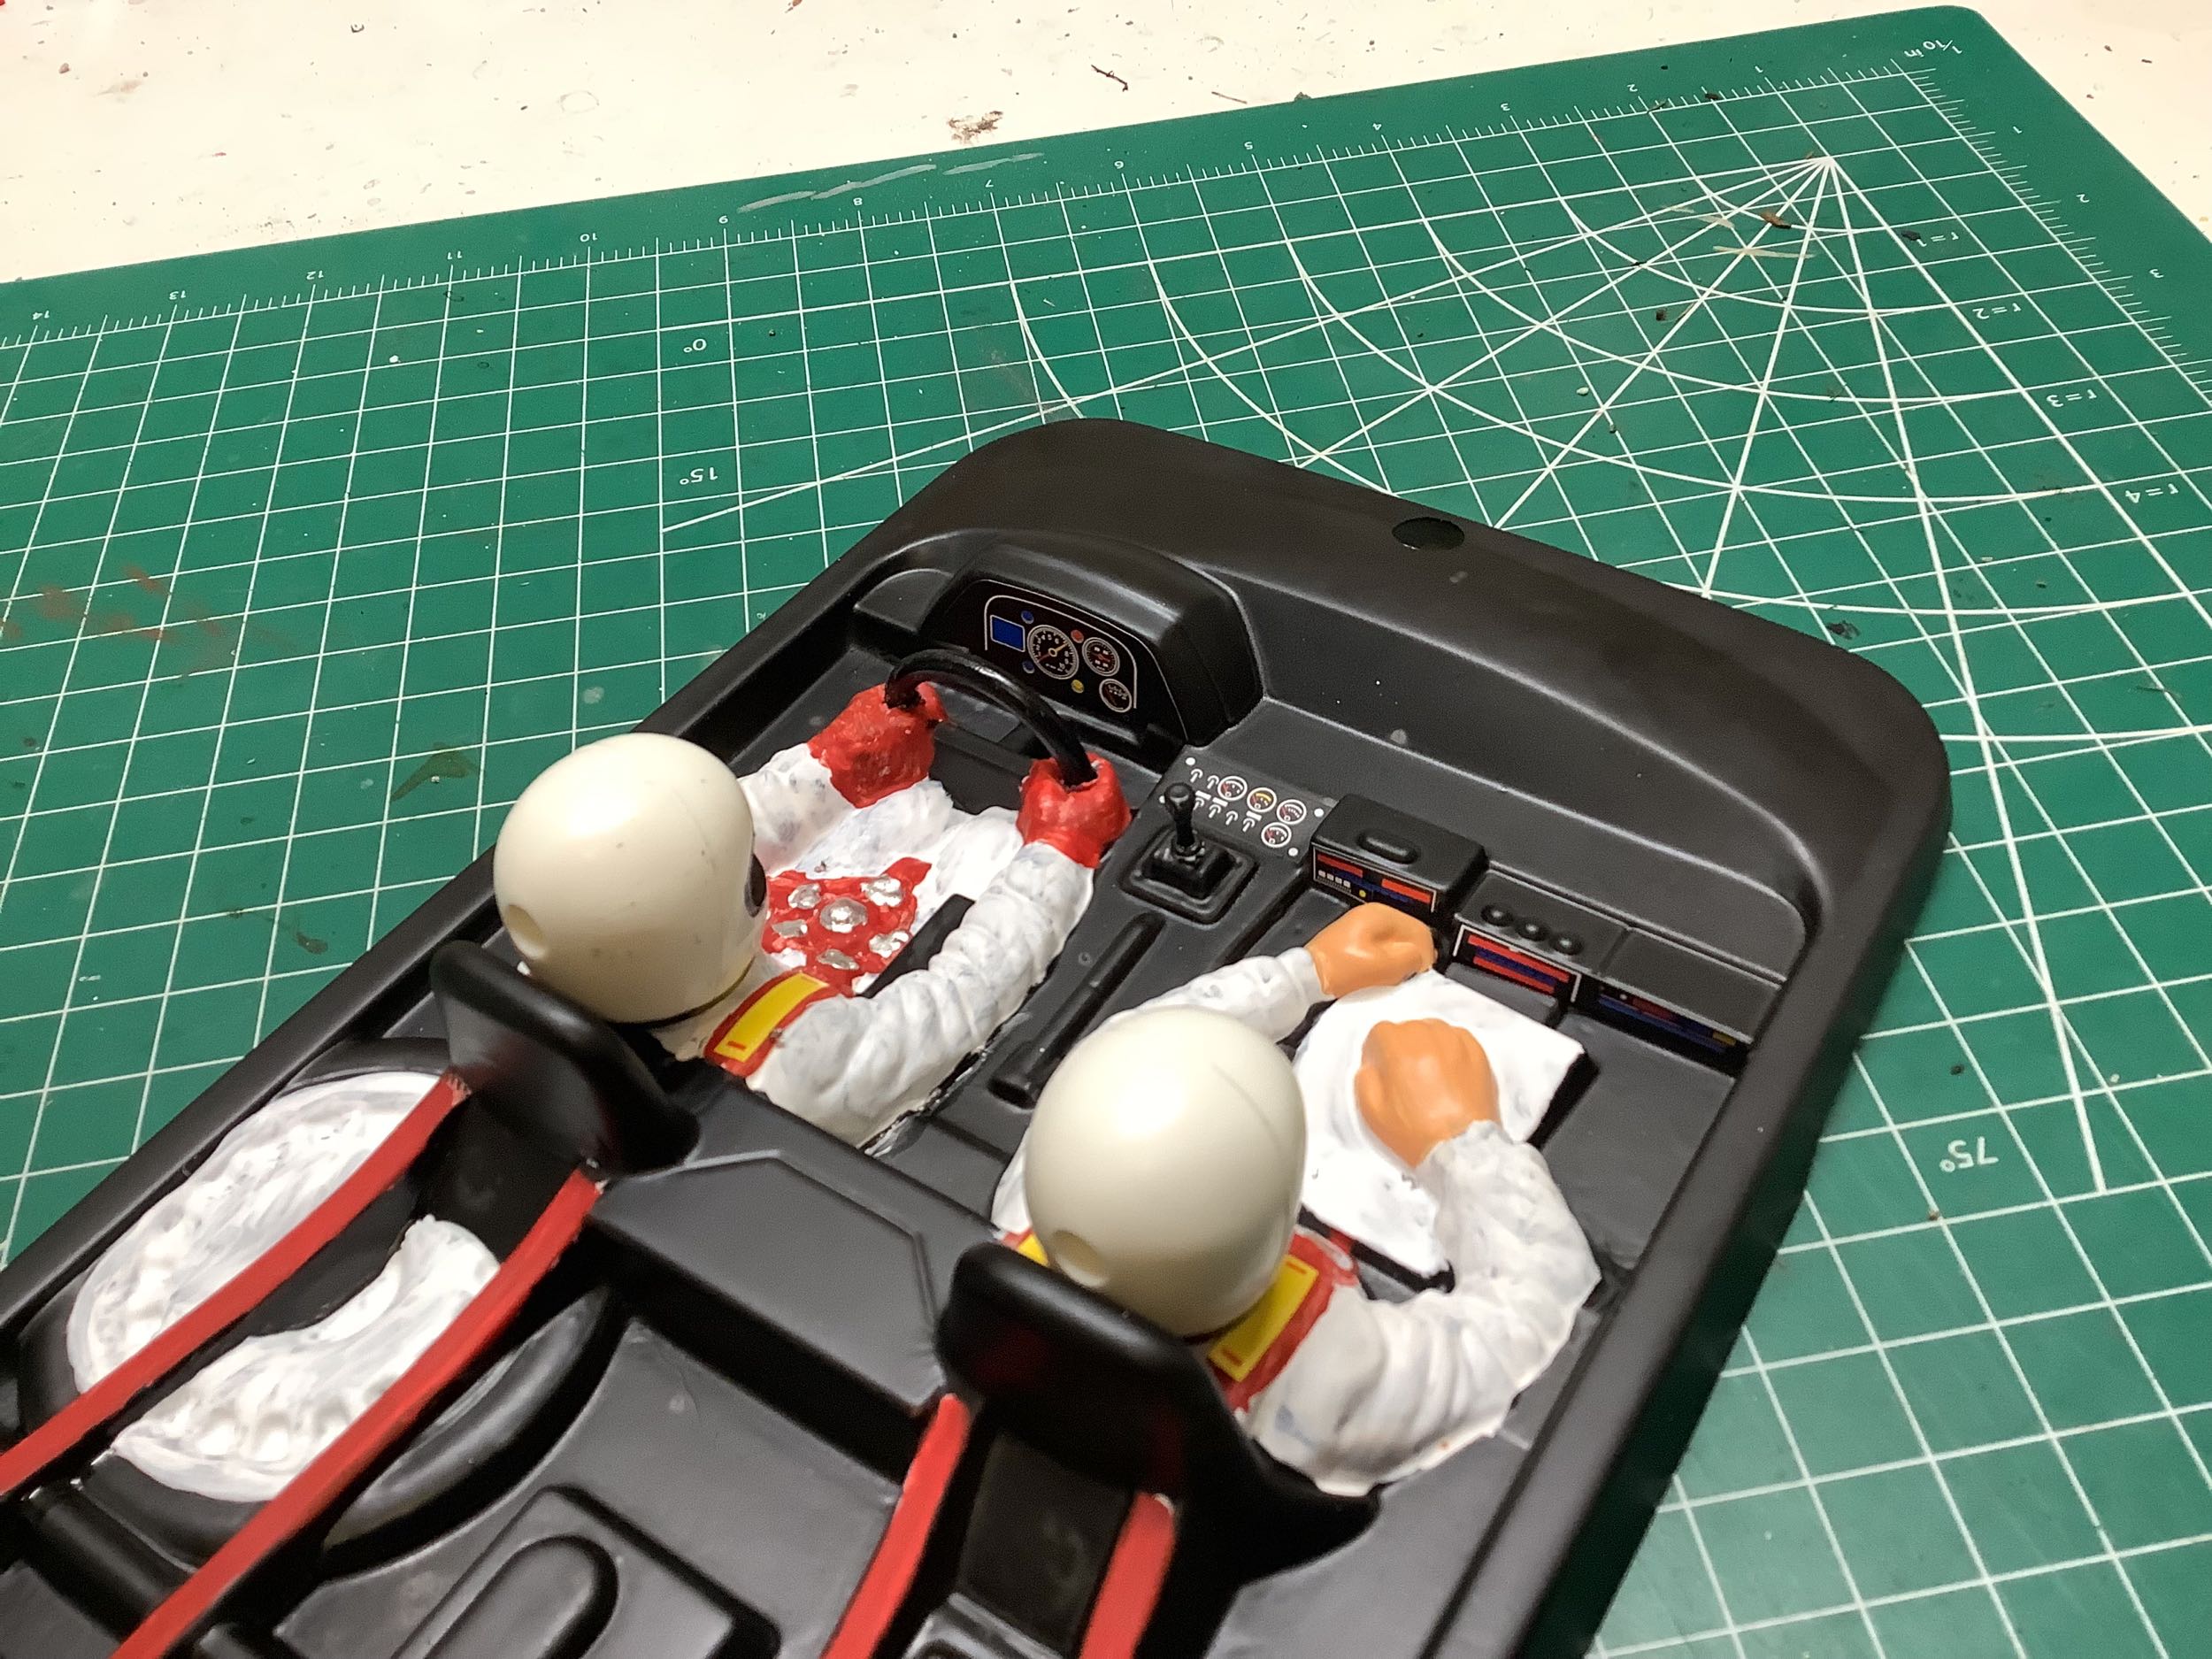
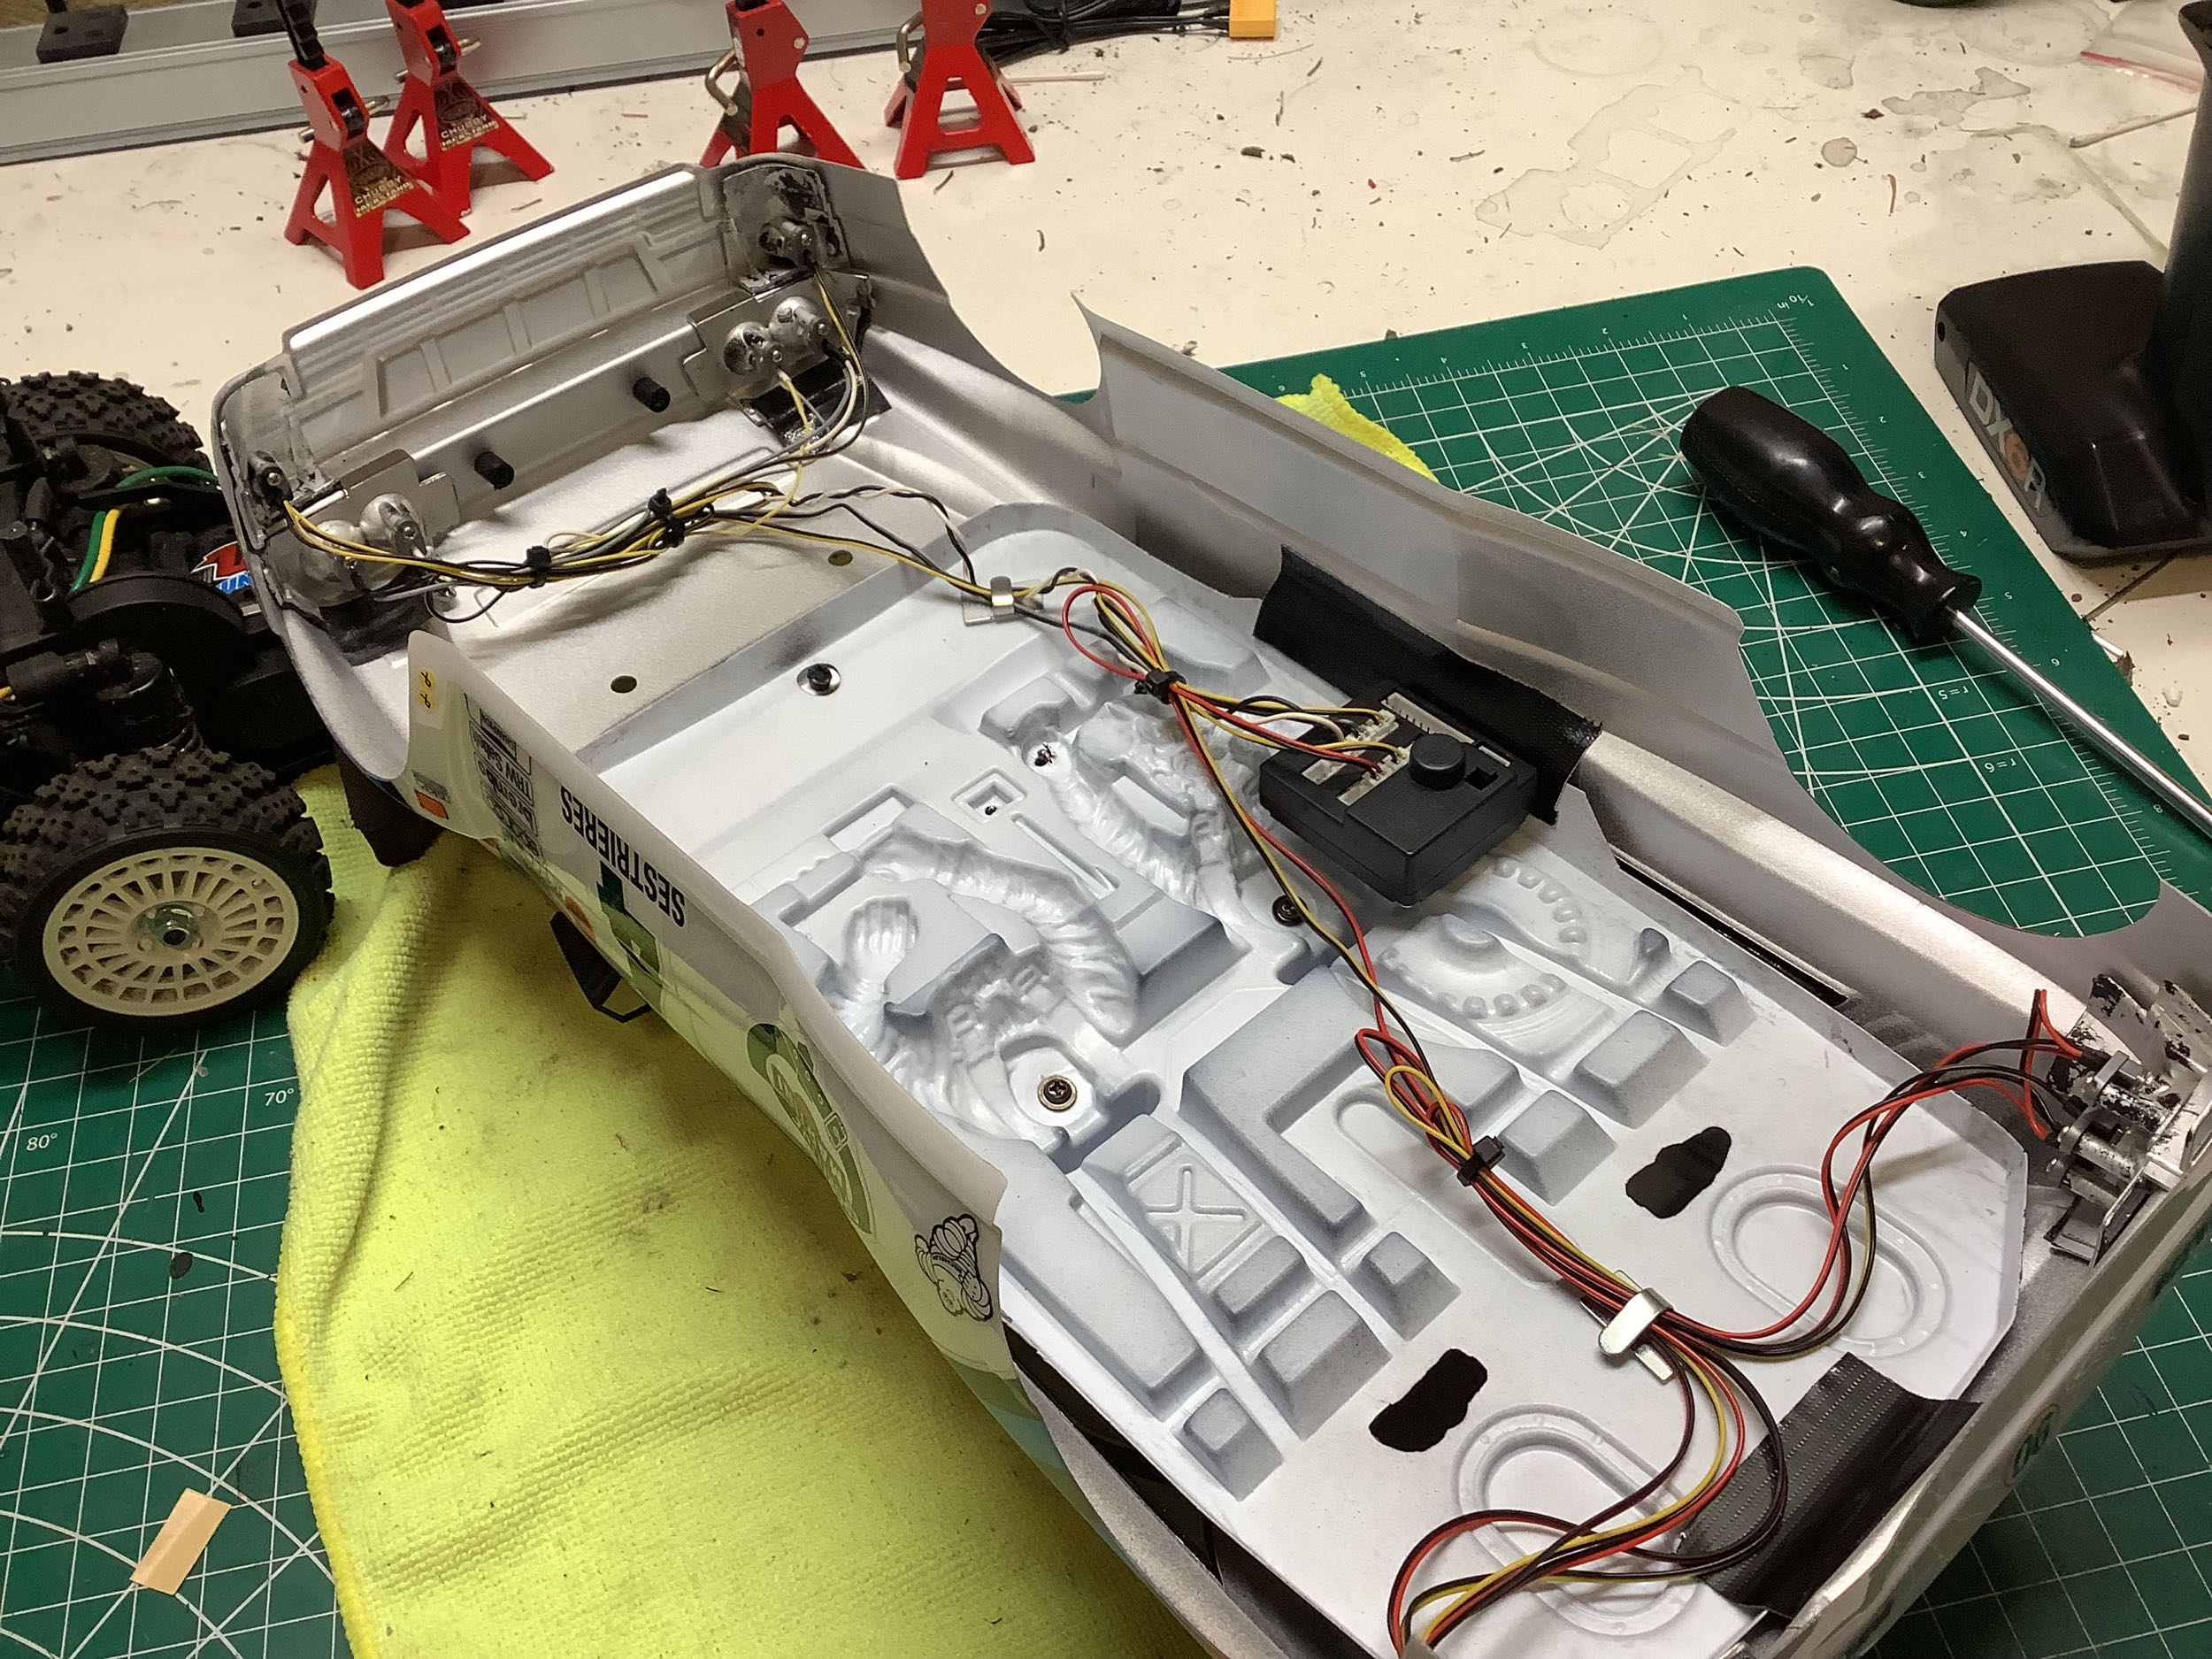
I bought a Tamiya rally interior which should have come with this model
in the first place. The XV-01 chassis has the rear body posts in a
different position than the TA-02, so I had to cut some slots in front
of the fuel cells which worked just fine. After all my delays to
avoid doing this painting, I'm actually very happy with how it came out.
From below you can see the new body with the interior installed as well
as a TLU-01 light kit and 6 sets of lights. Since the body doesn't
need to be removed to access the battery on the XV-01, this should all
stay pretty much hidden forever.
The headlights use 4ea 5mm LEDs and the tail lights use 4ea 5mm red
LEDs. No problem there. The problem is that the amber marker
lights are also 5mm and Tamiya only makes these in 3mm. I was
lamenting what to do about it when I discovered that I actually had two
sets of 5mm amber LEDs in my random electronics bin. I have no
idea where they came from. Generally random lights are not
compatible with the TLU-01 unit because of different voltage
requirements, but these actually worked perfectly. I rarely get so
lucky.
©2019/2022 Eric Albrecht