CA10 Project
Page 2: Building the Body and Interior
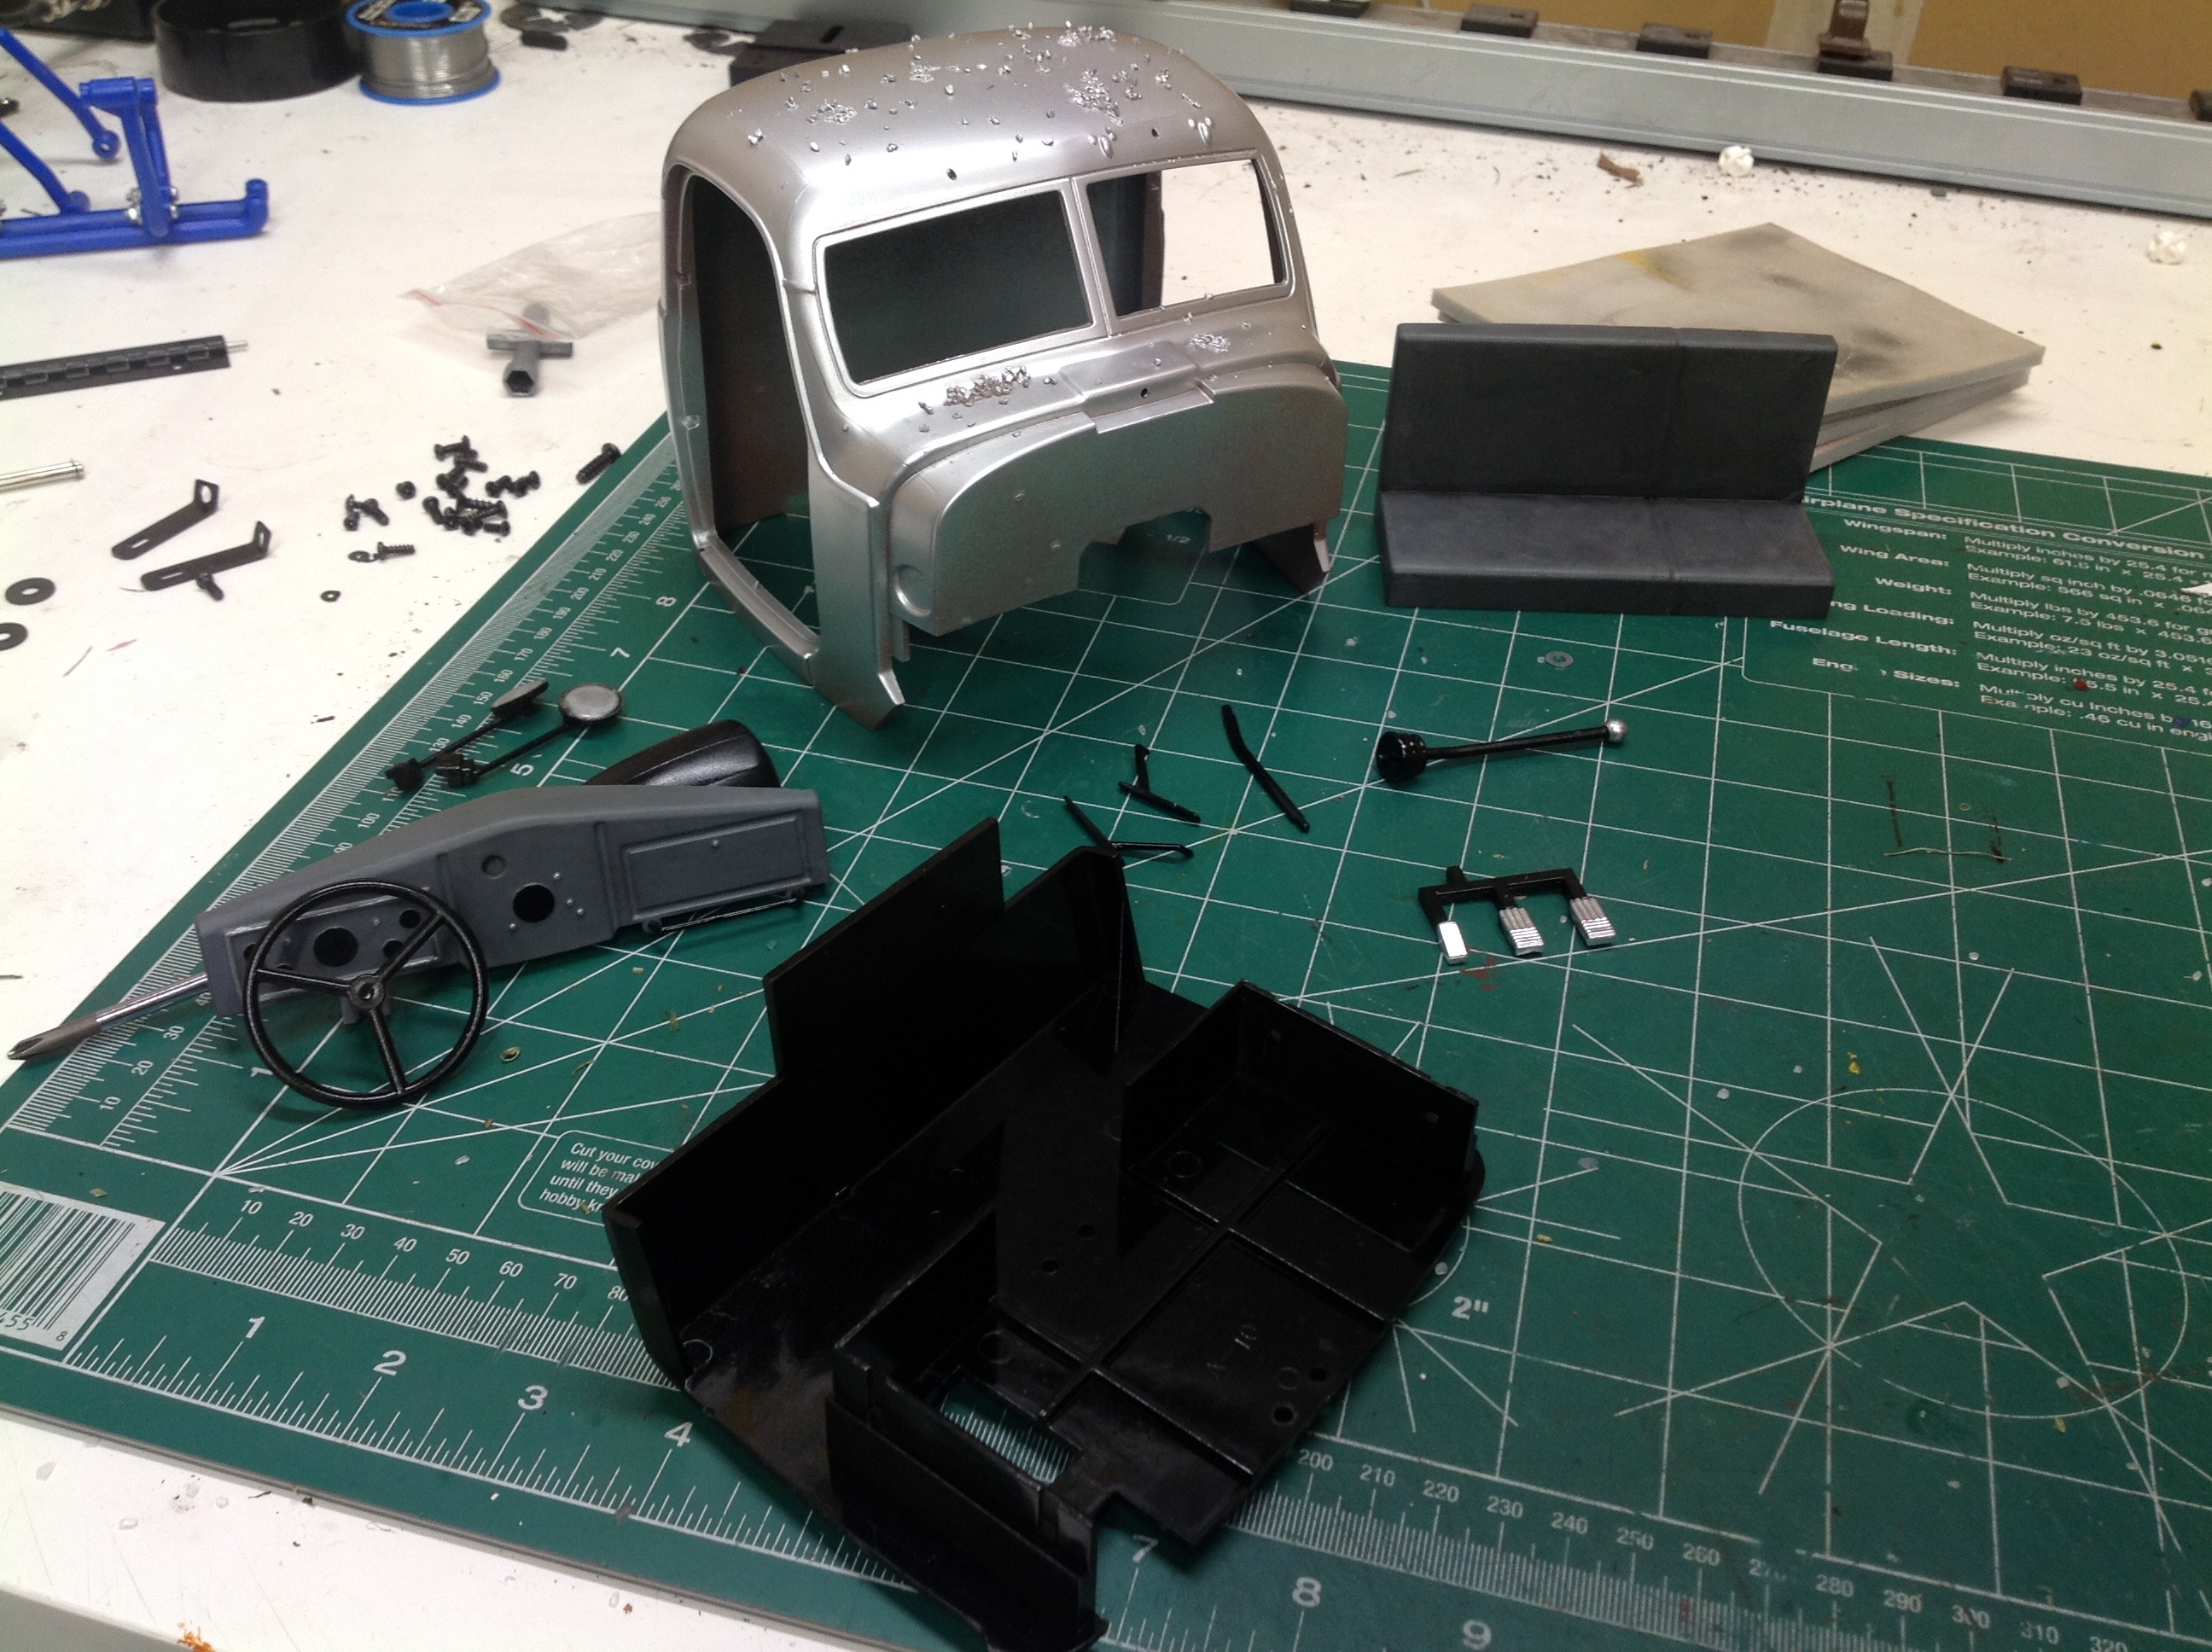
In a model like this, the process of building the interior is as
significant as building the rest. A problem I noticed immediately
is that the model comes with no obvious place to install the
battery. Considering the excellent scale look of the body, I
didn't want it anywhere that could be seen. The only likely
location is under the seats. There is a good amount of space
there, but it is not accessible without removing the body which isn't
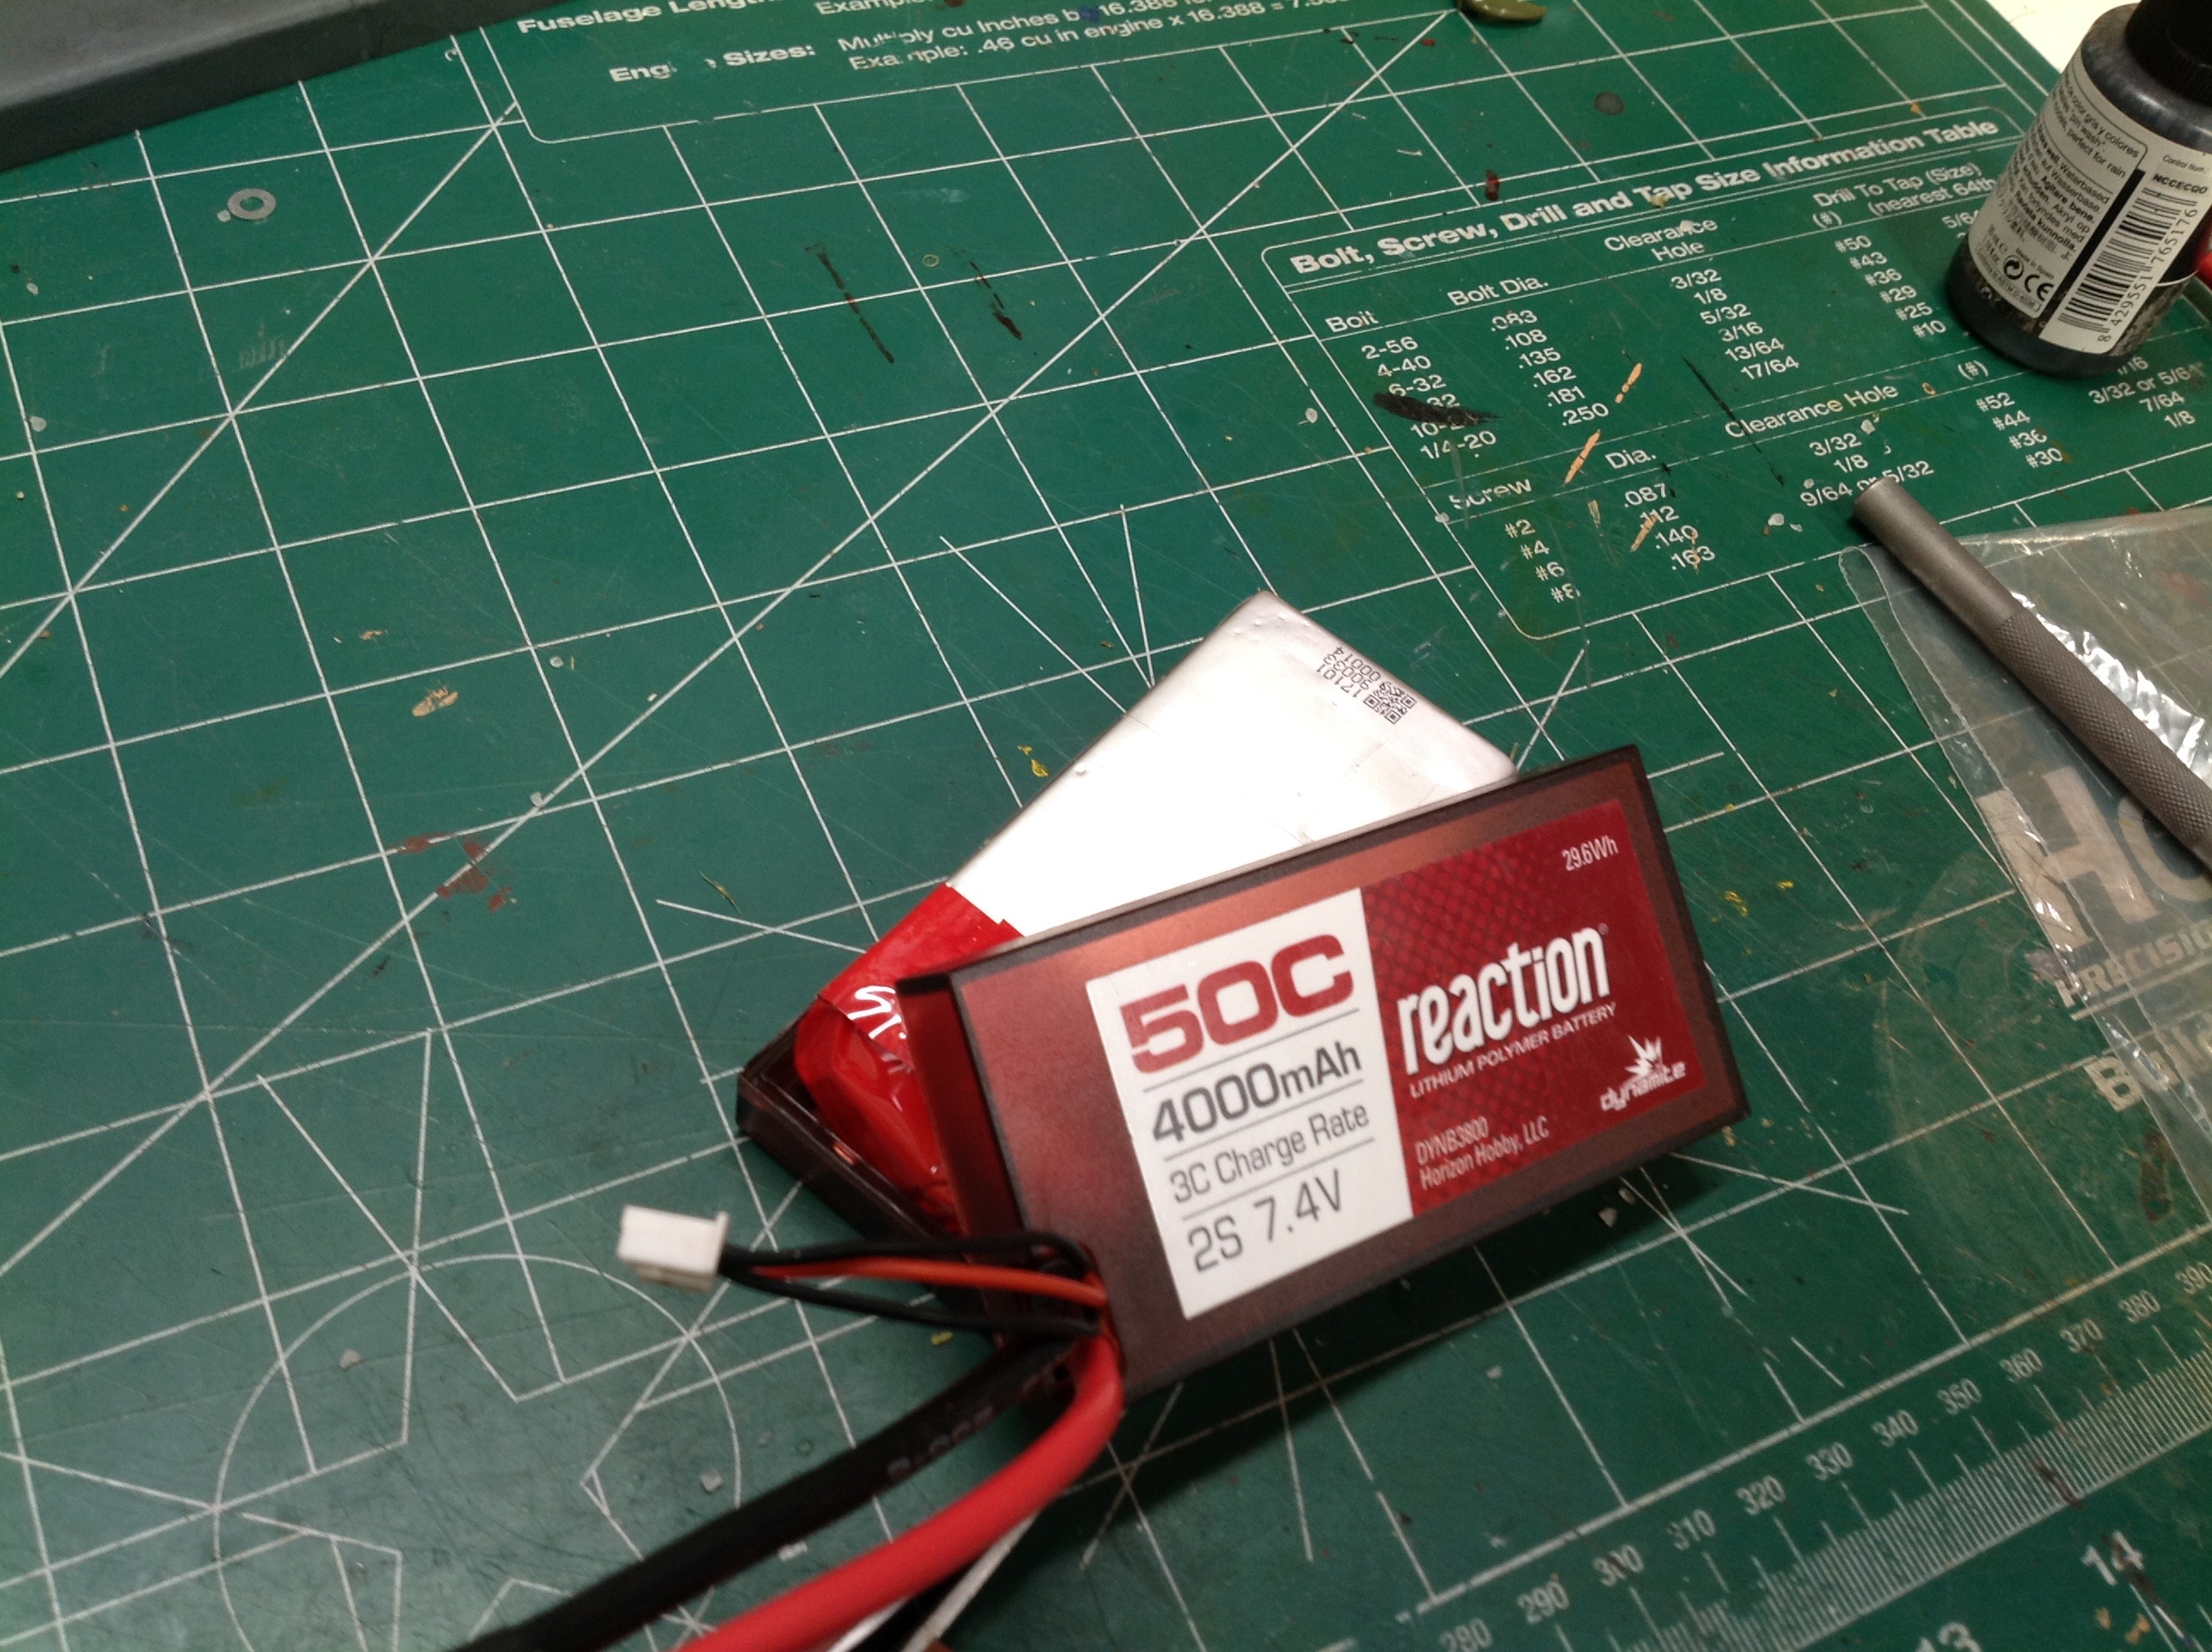
trivial. I decided to use the biggest battery I could fit and
entomb it inside the model permanently, charging it in place. I
cut the case from a 4000mAh LiPo battery as shown and sanded some of the
stiffeners away from the floor boards to make it fit. Sooner or
later the battery will puff and I'll have to replace it with something
smaller.
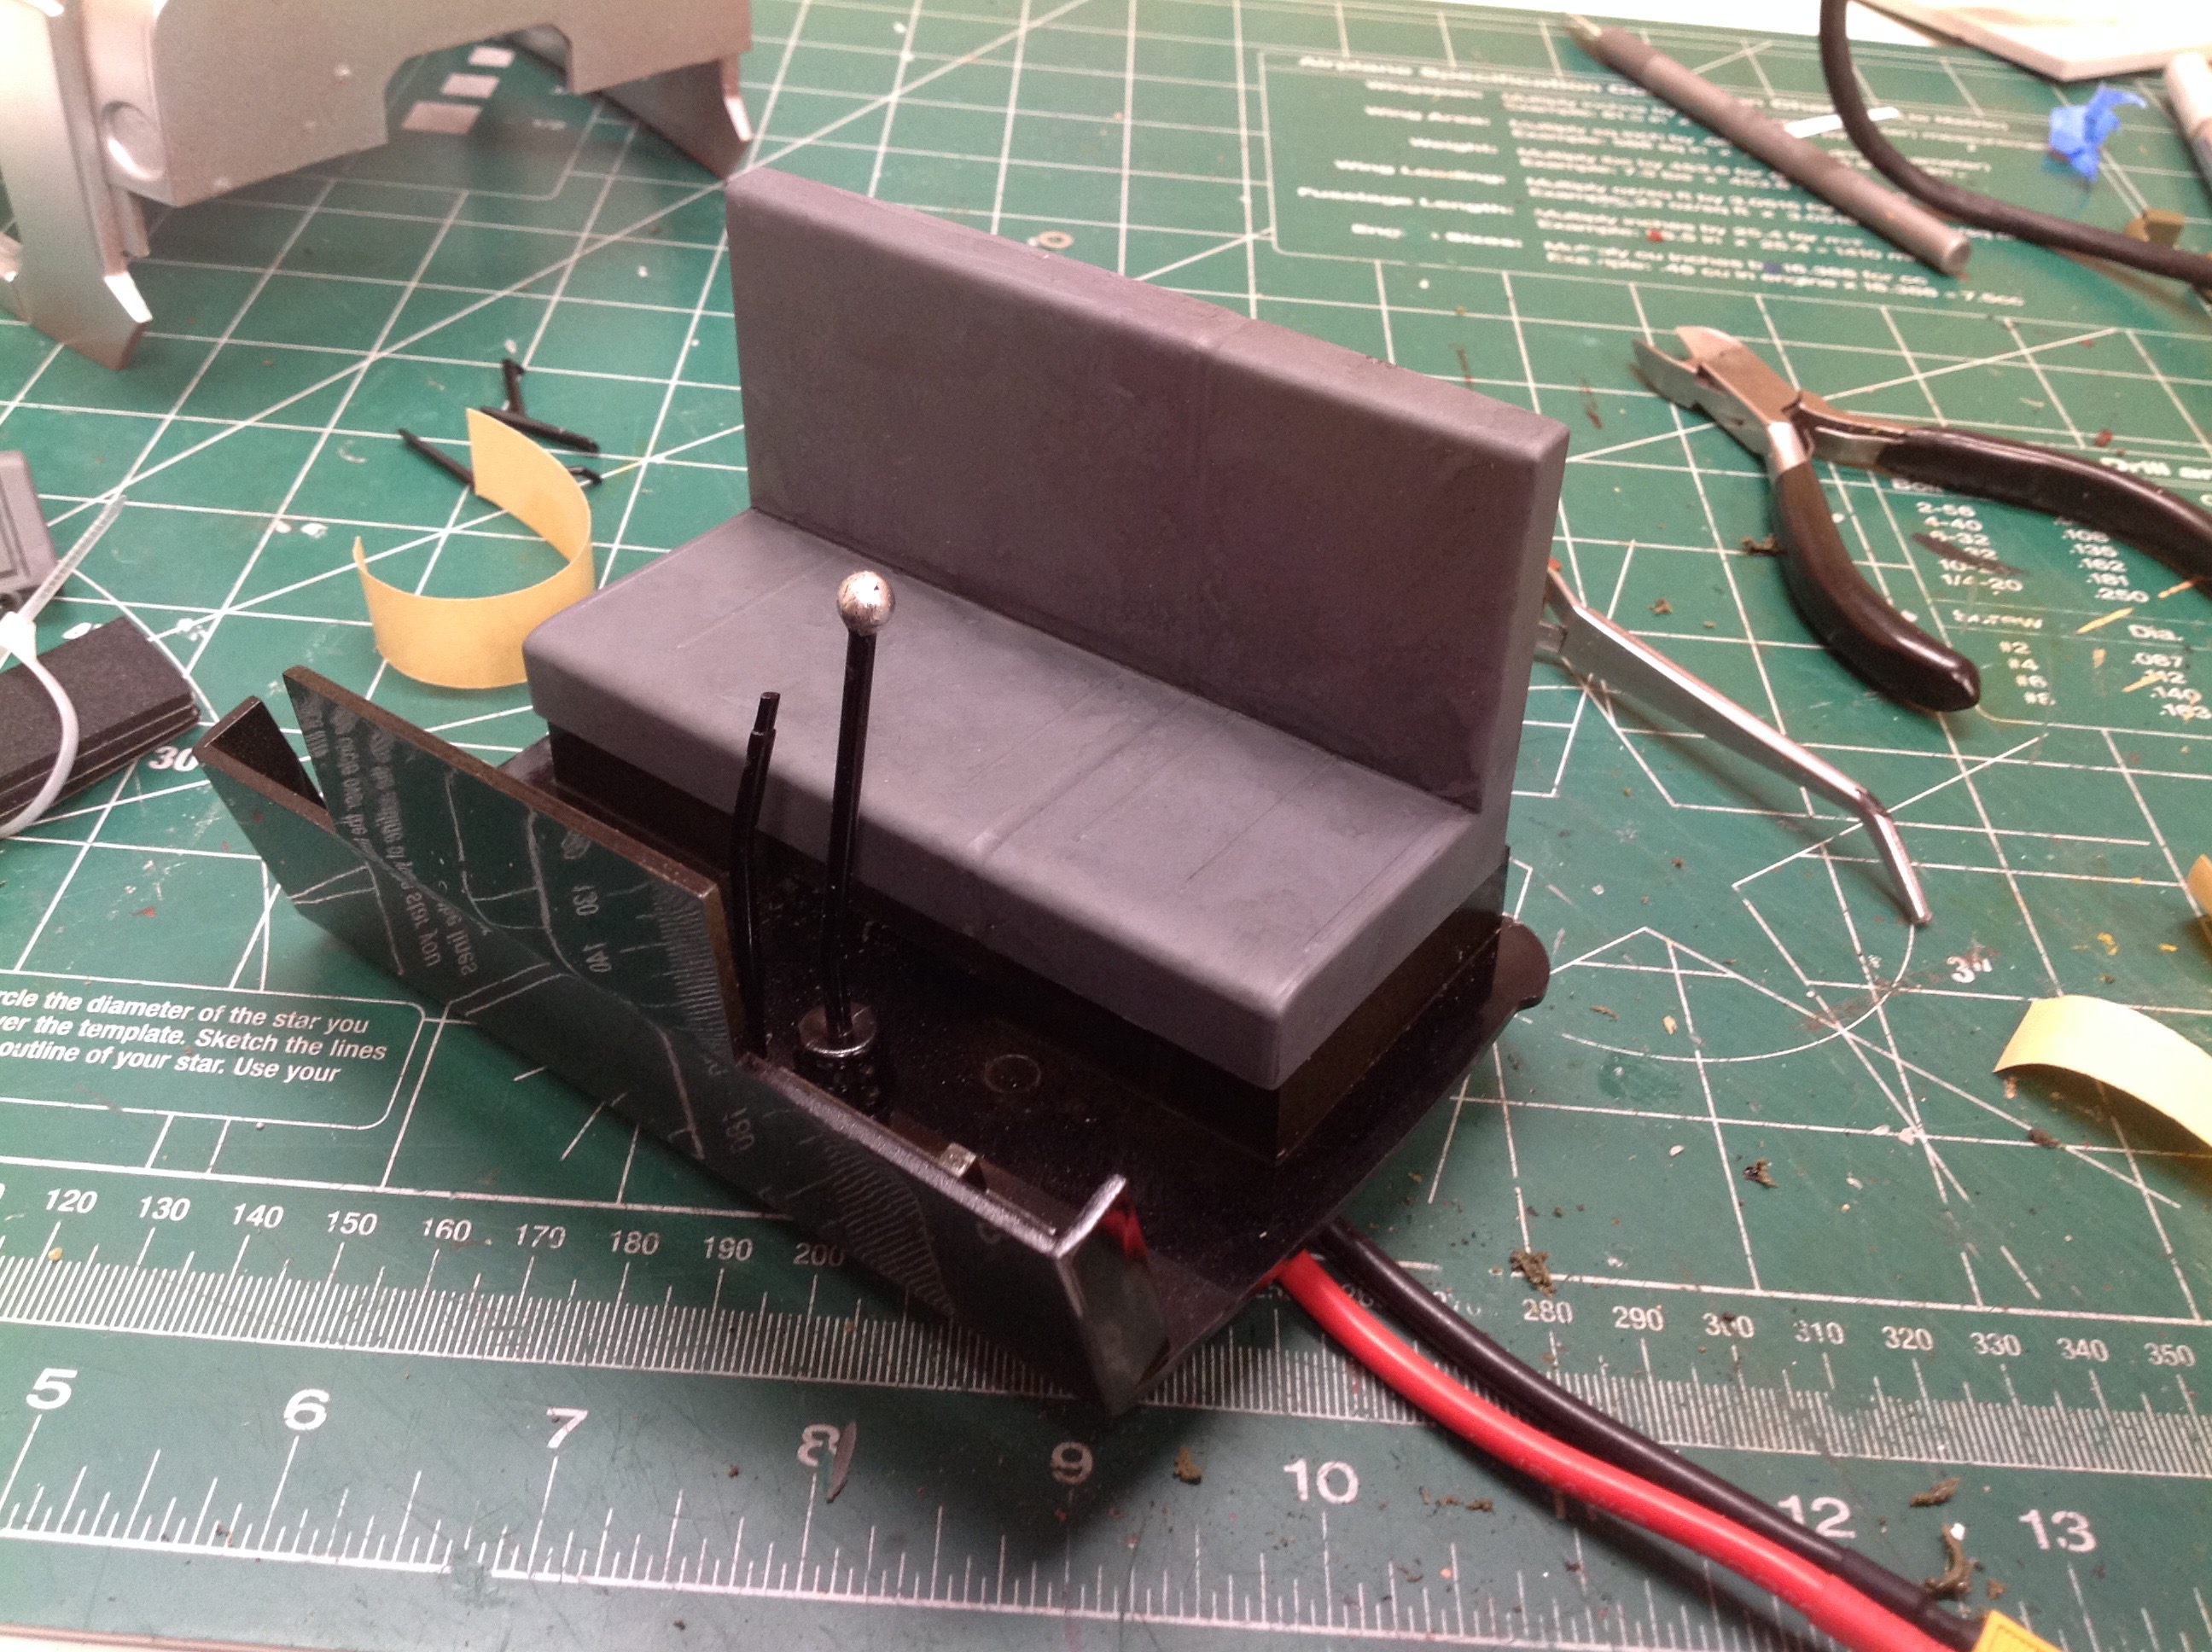
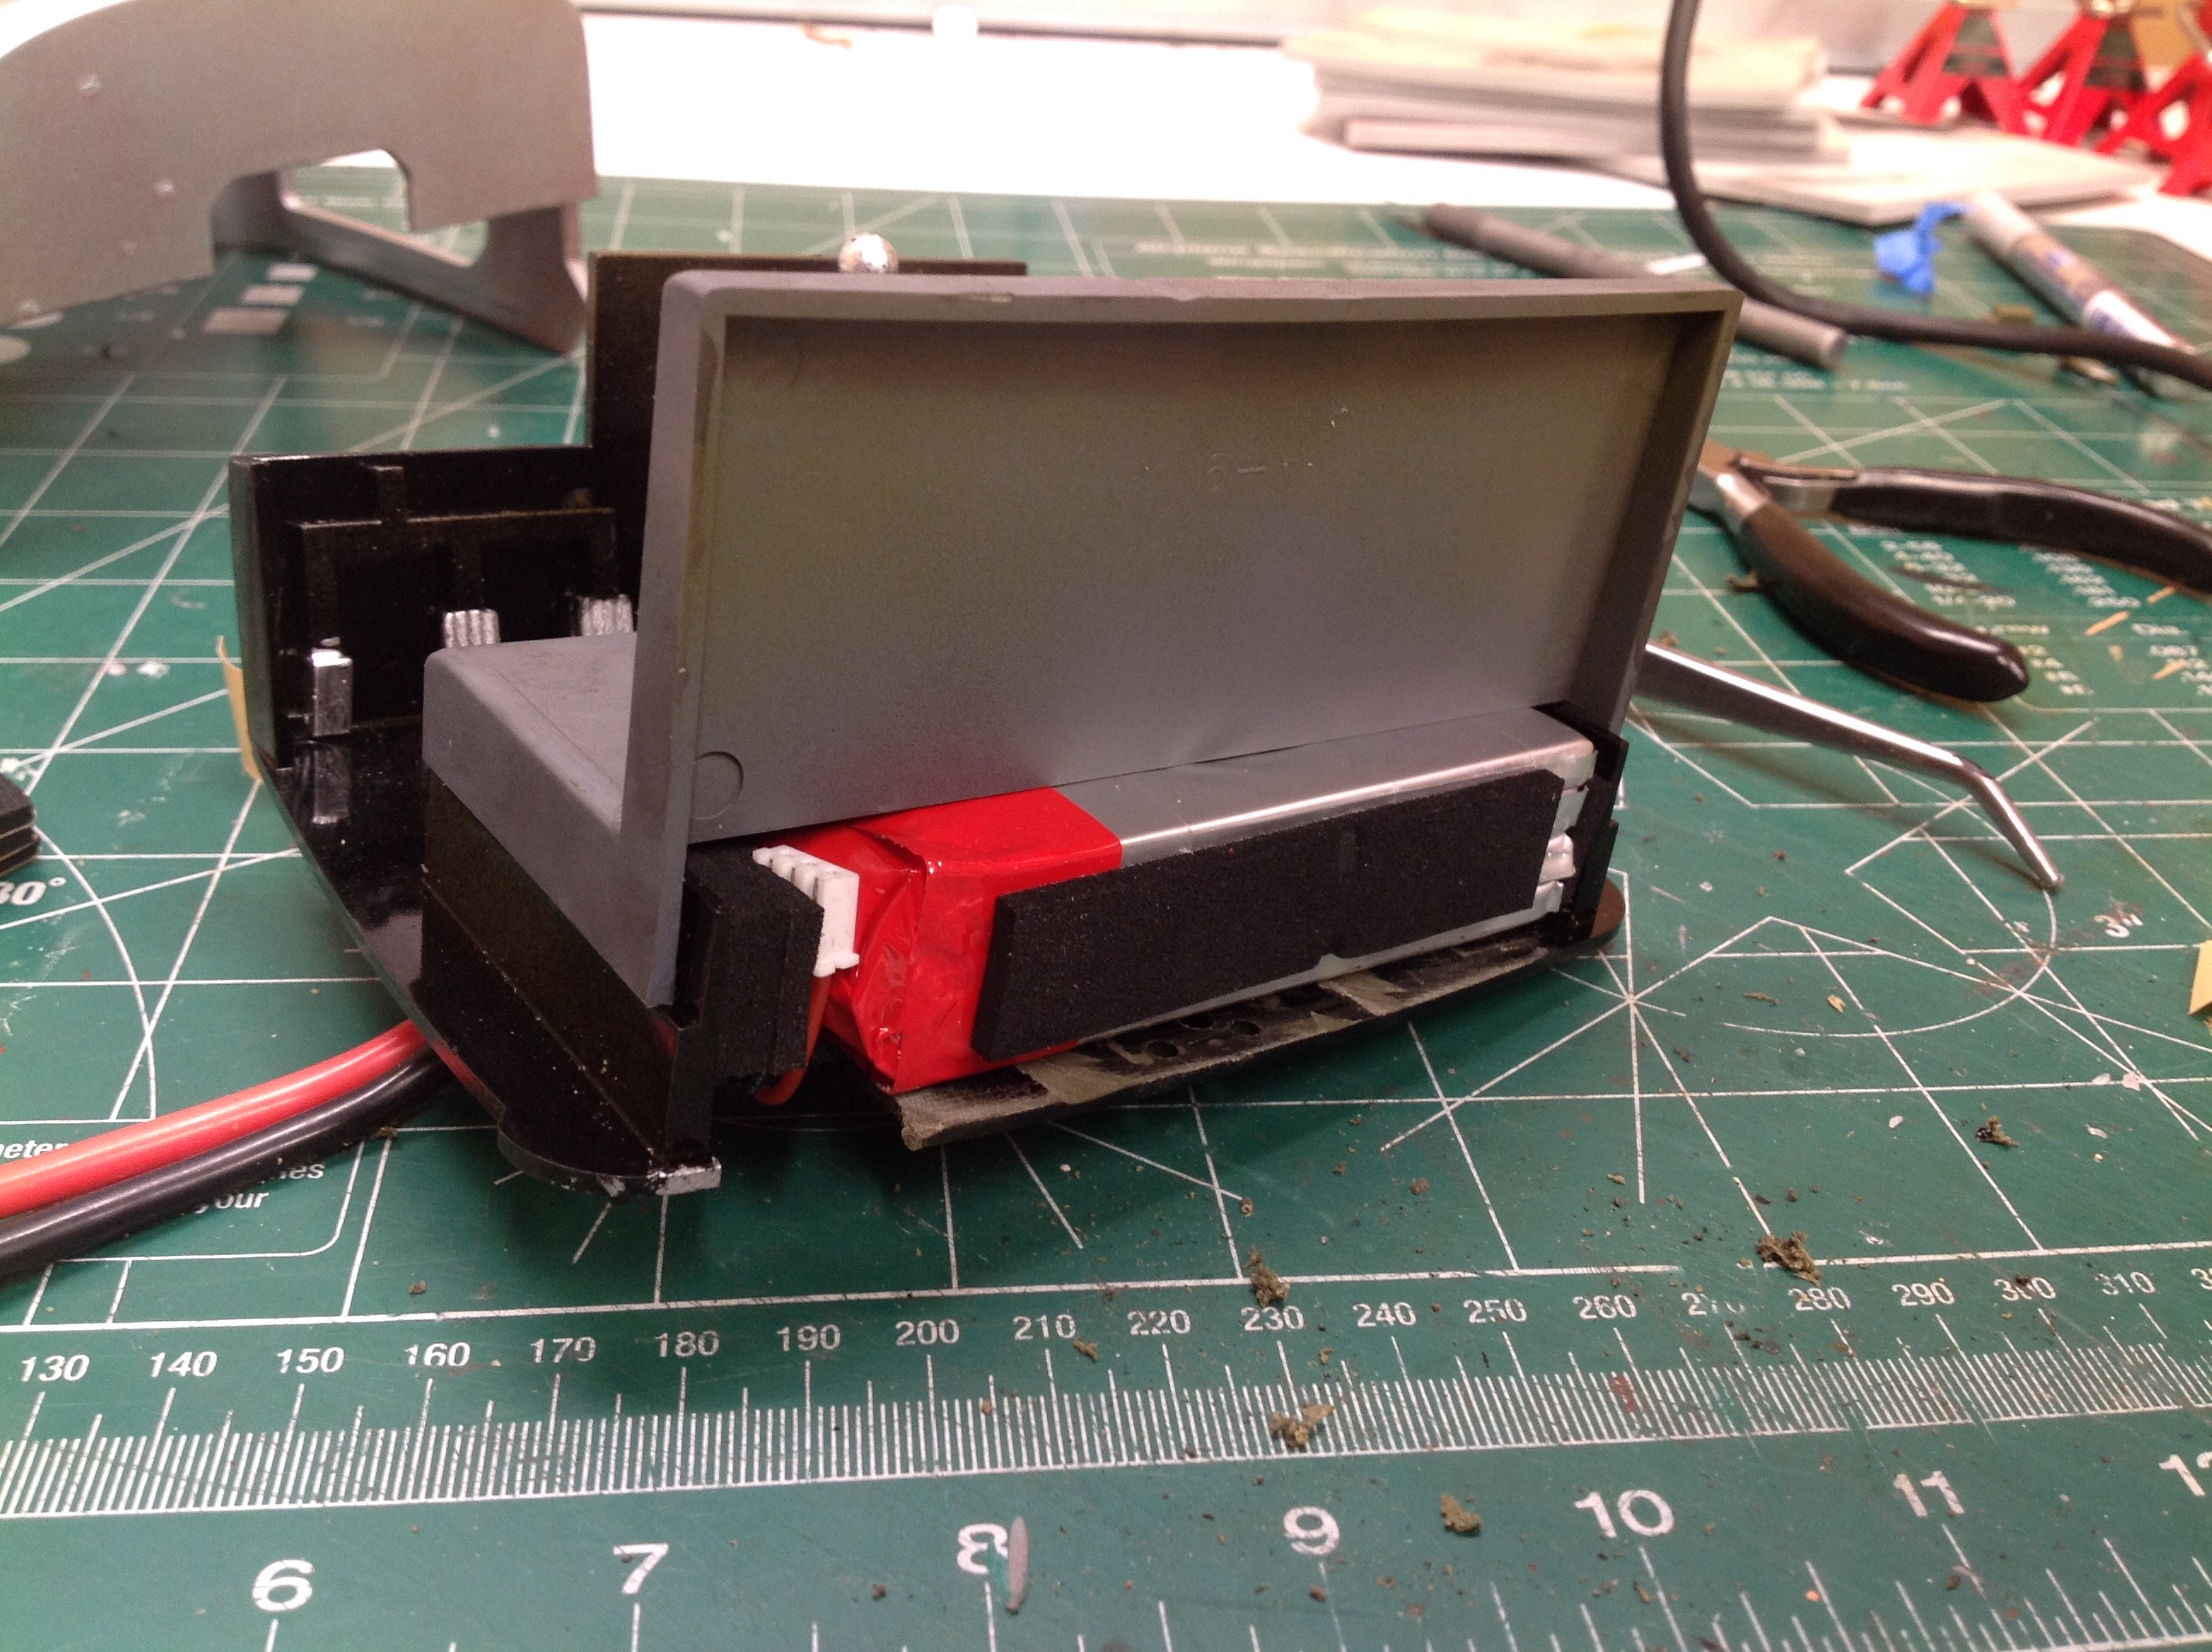
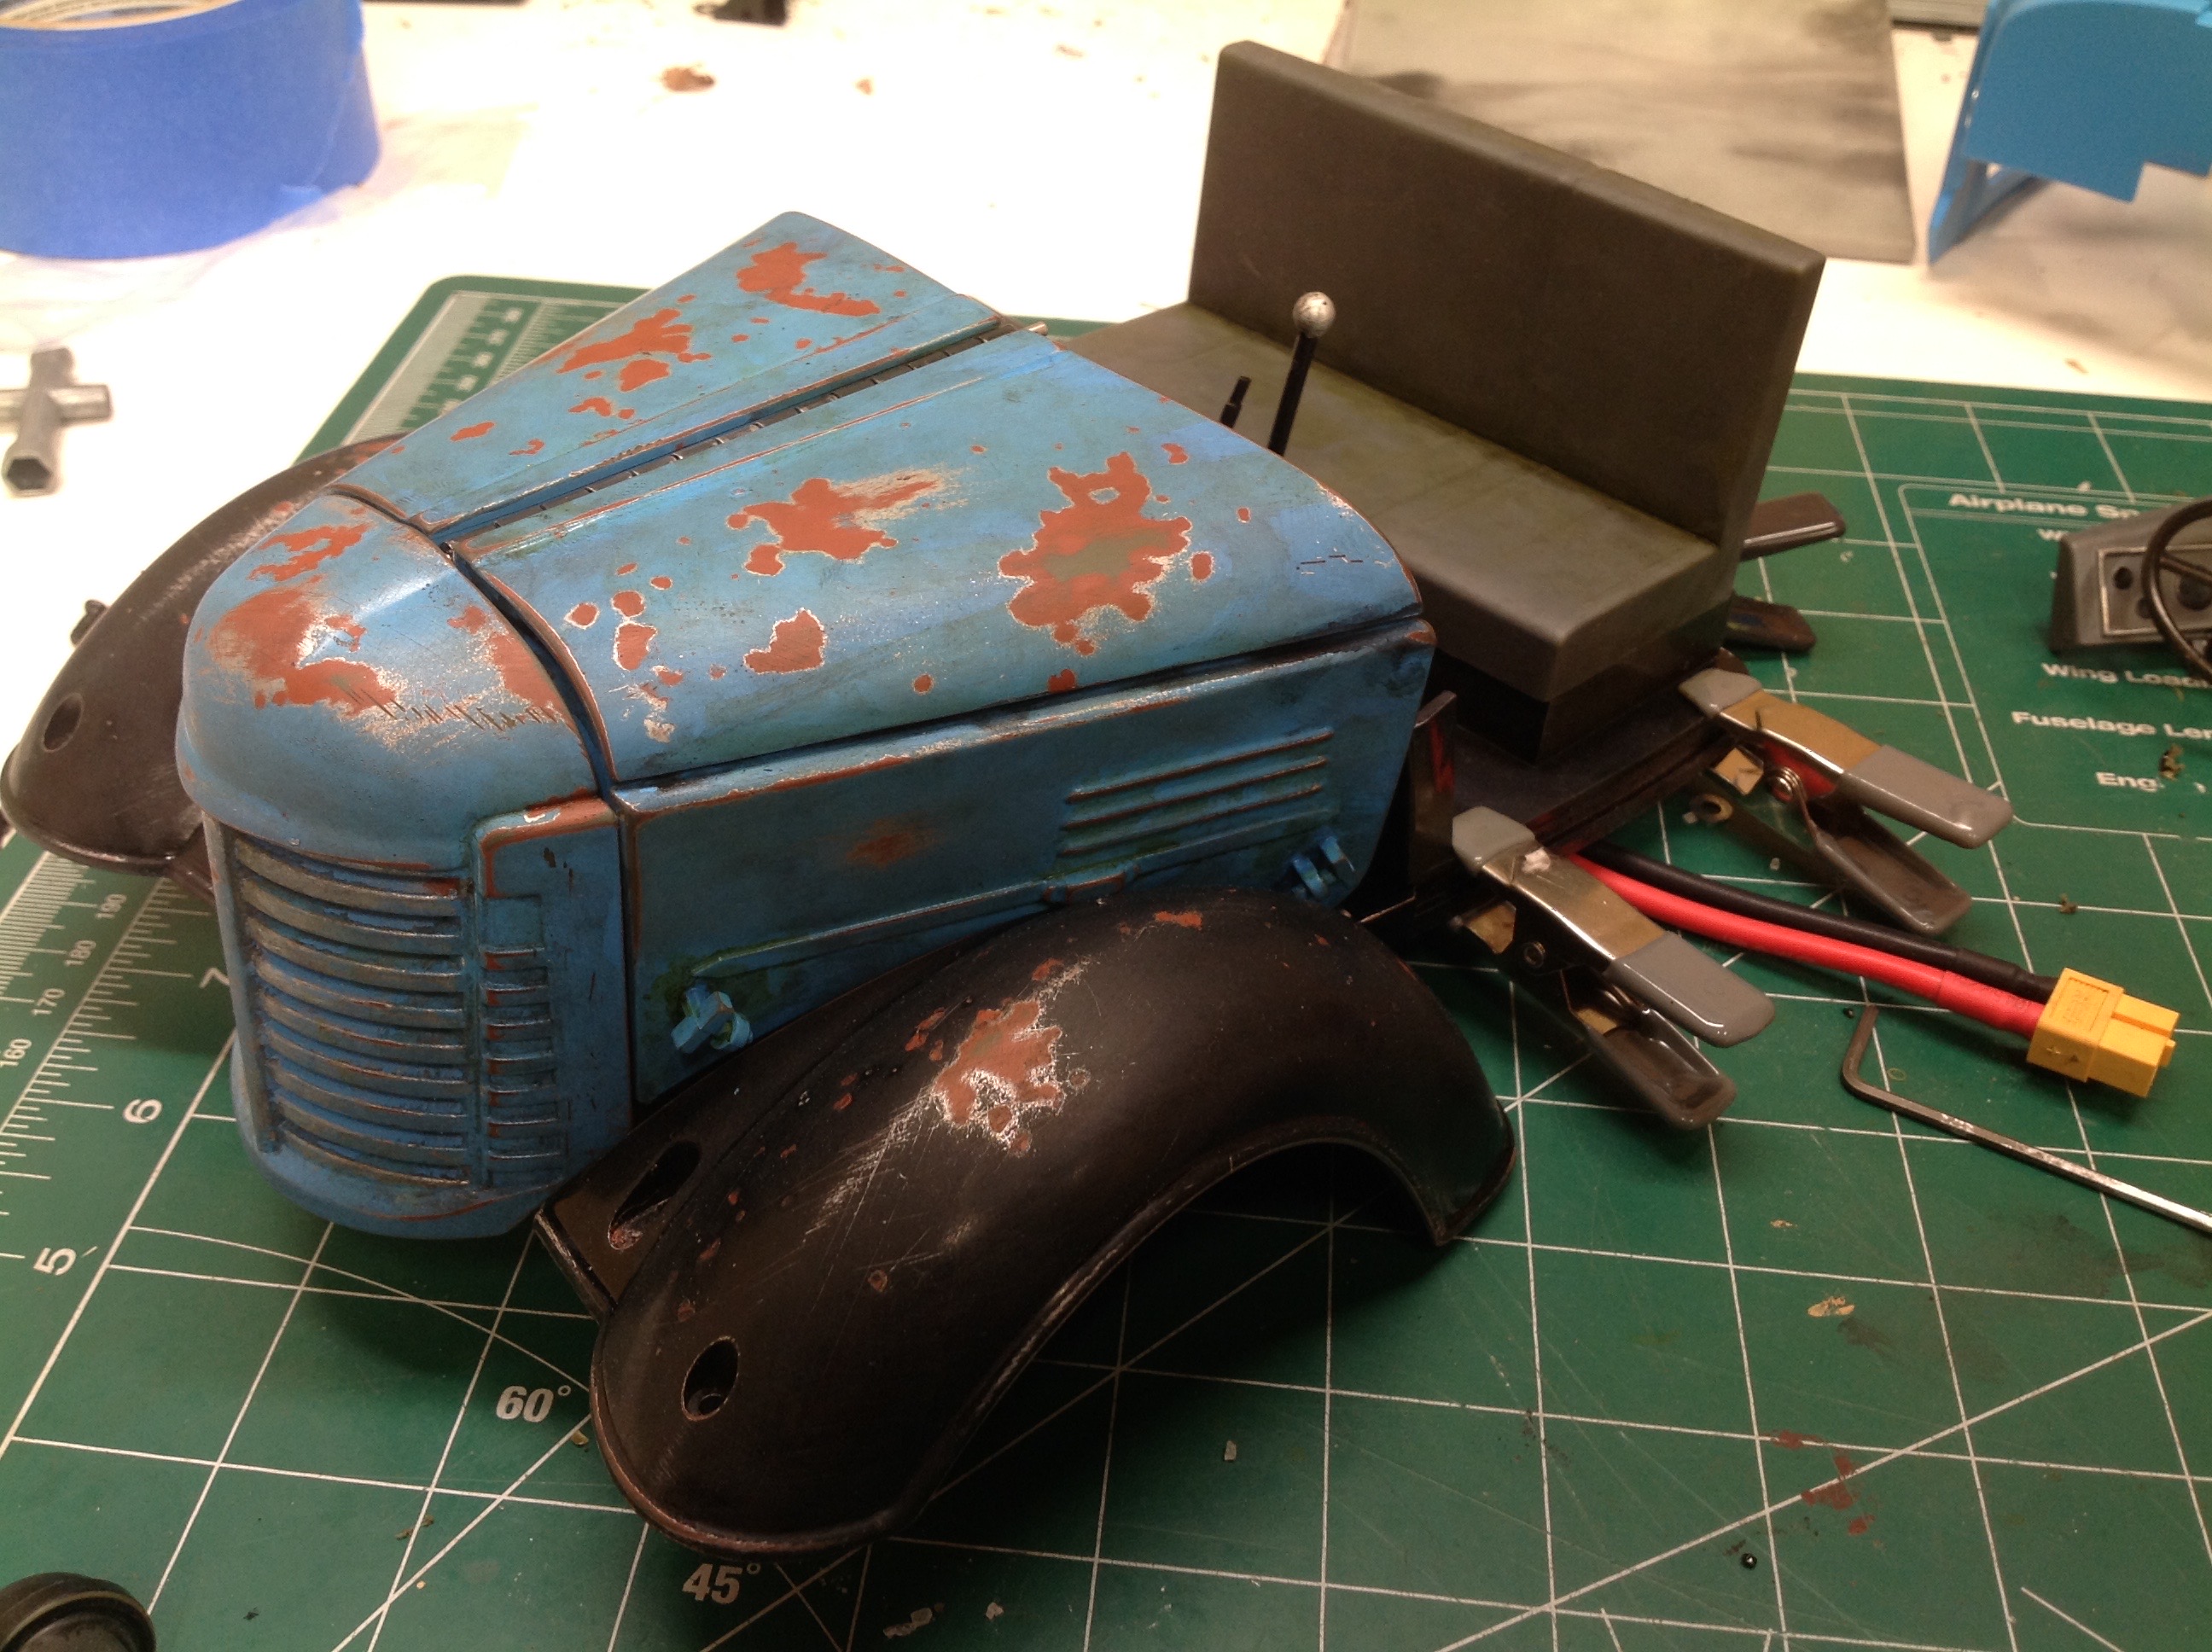
These photos show the seat installed over the top of the battery with no
room to spare. I packed the sides with strips of foam so the
battery was as protected from movement as possible.
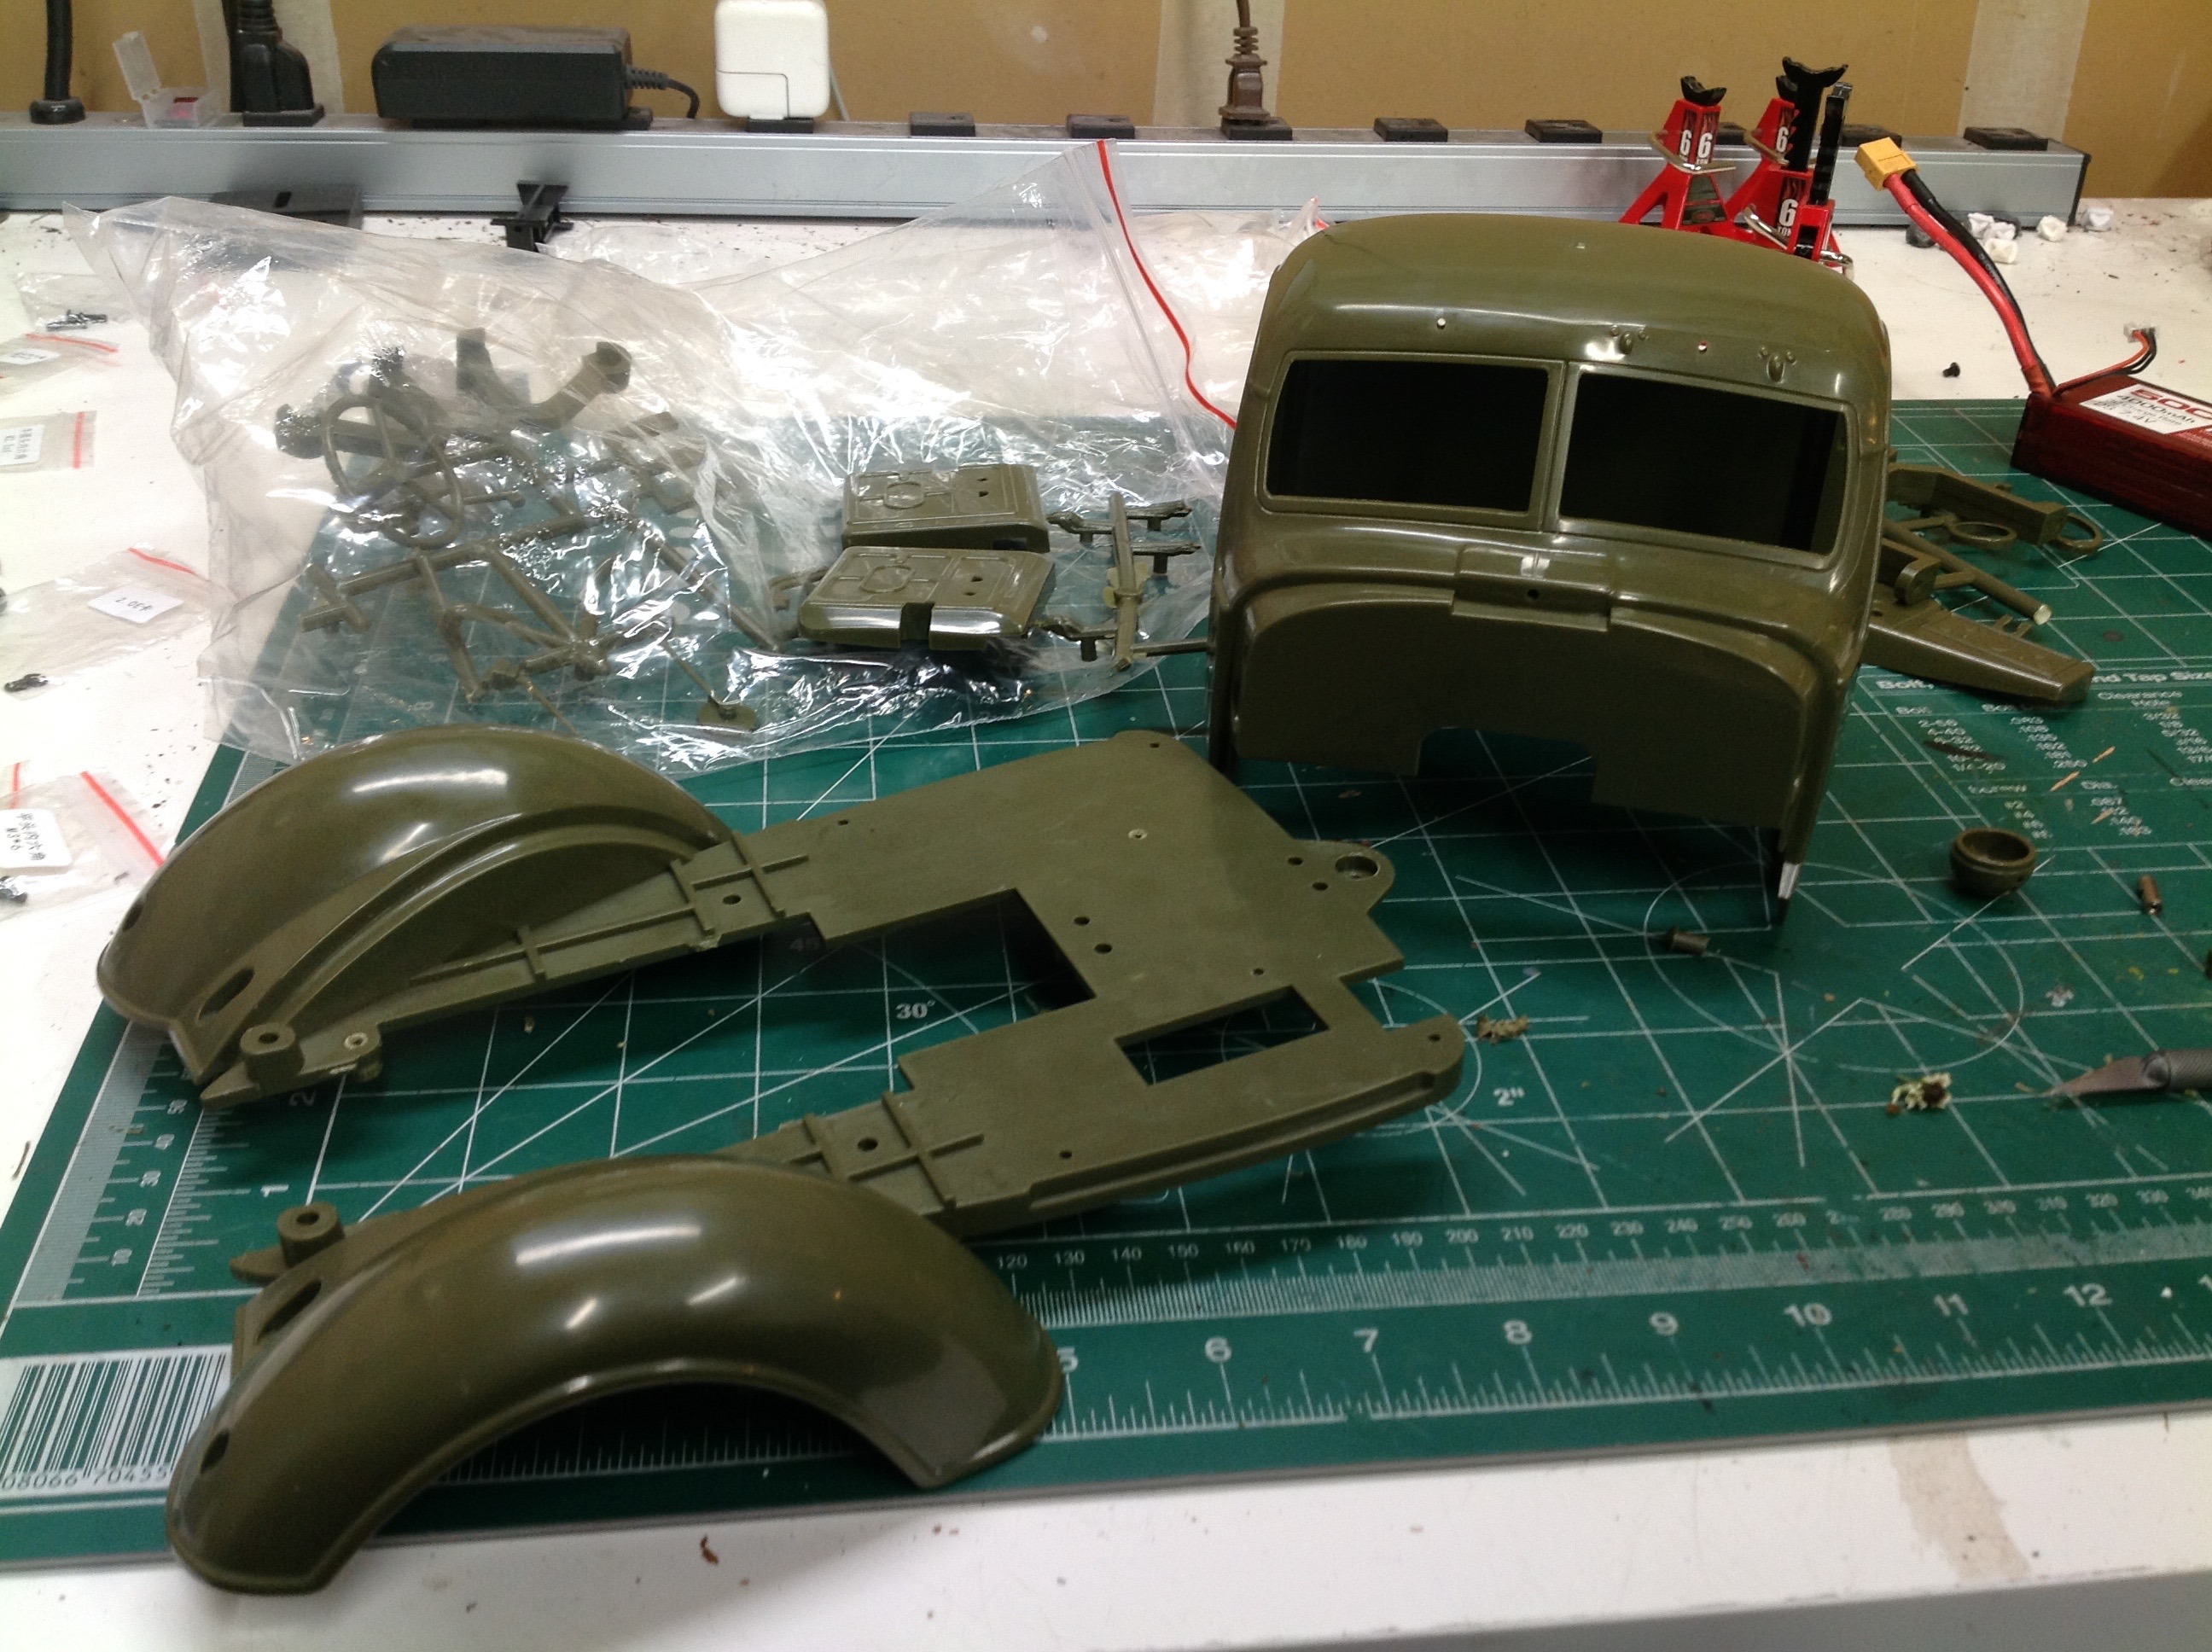
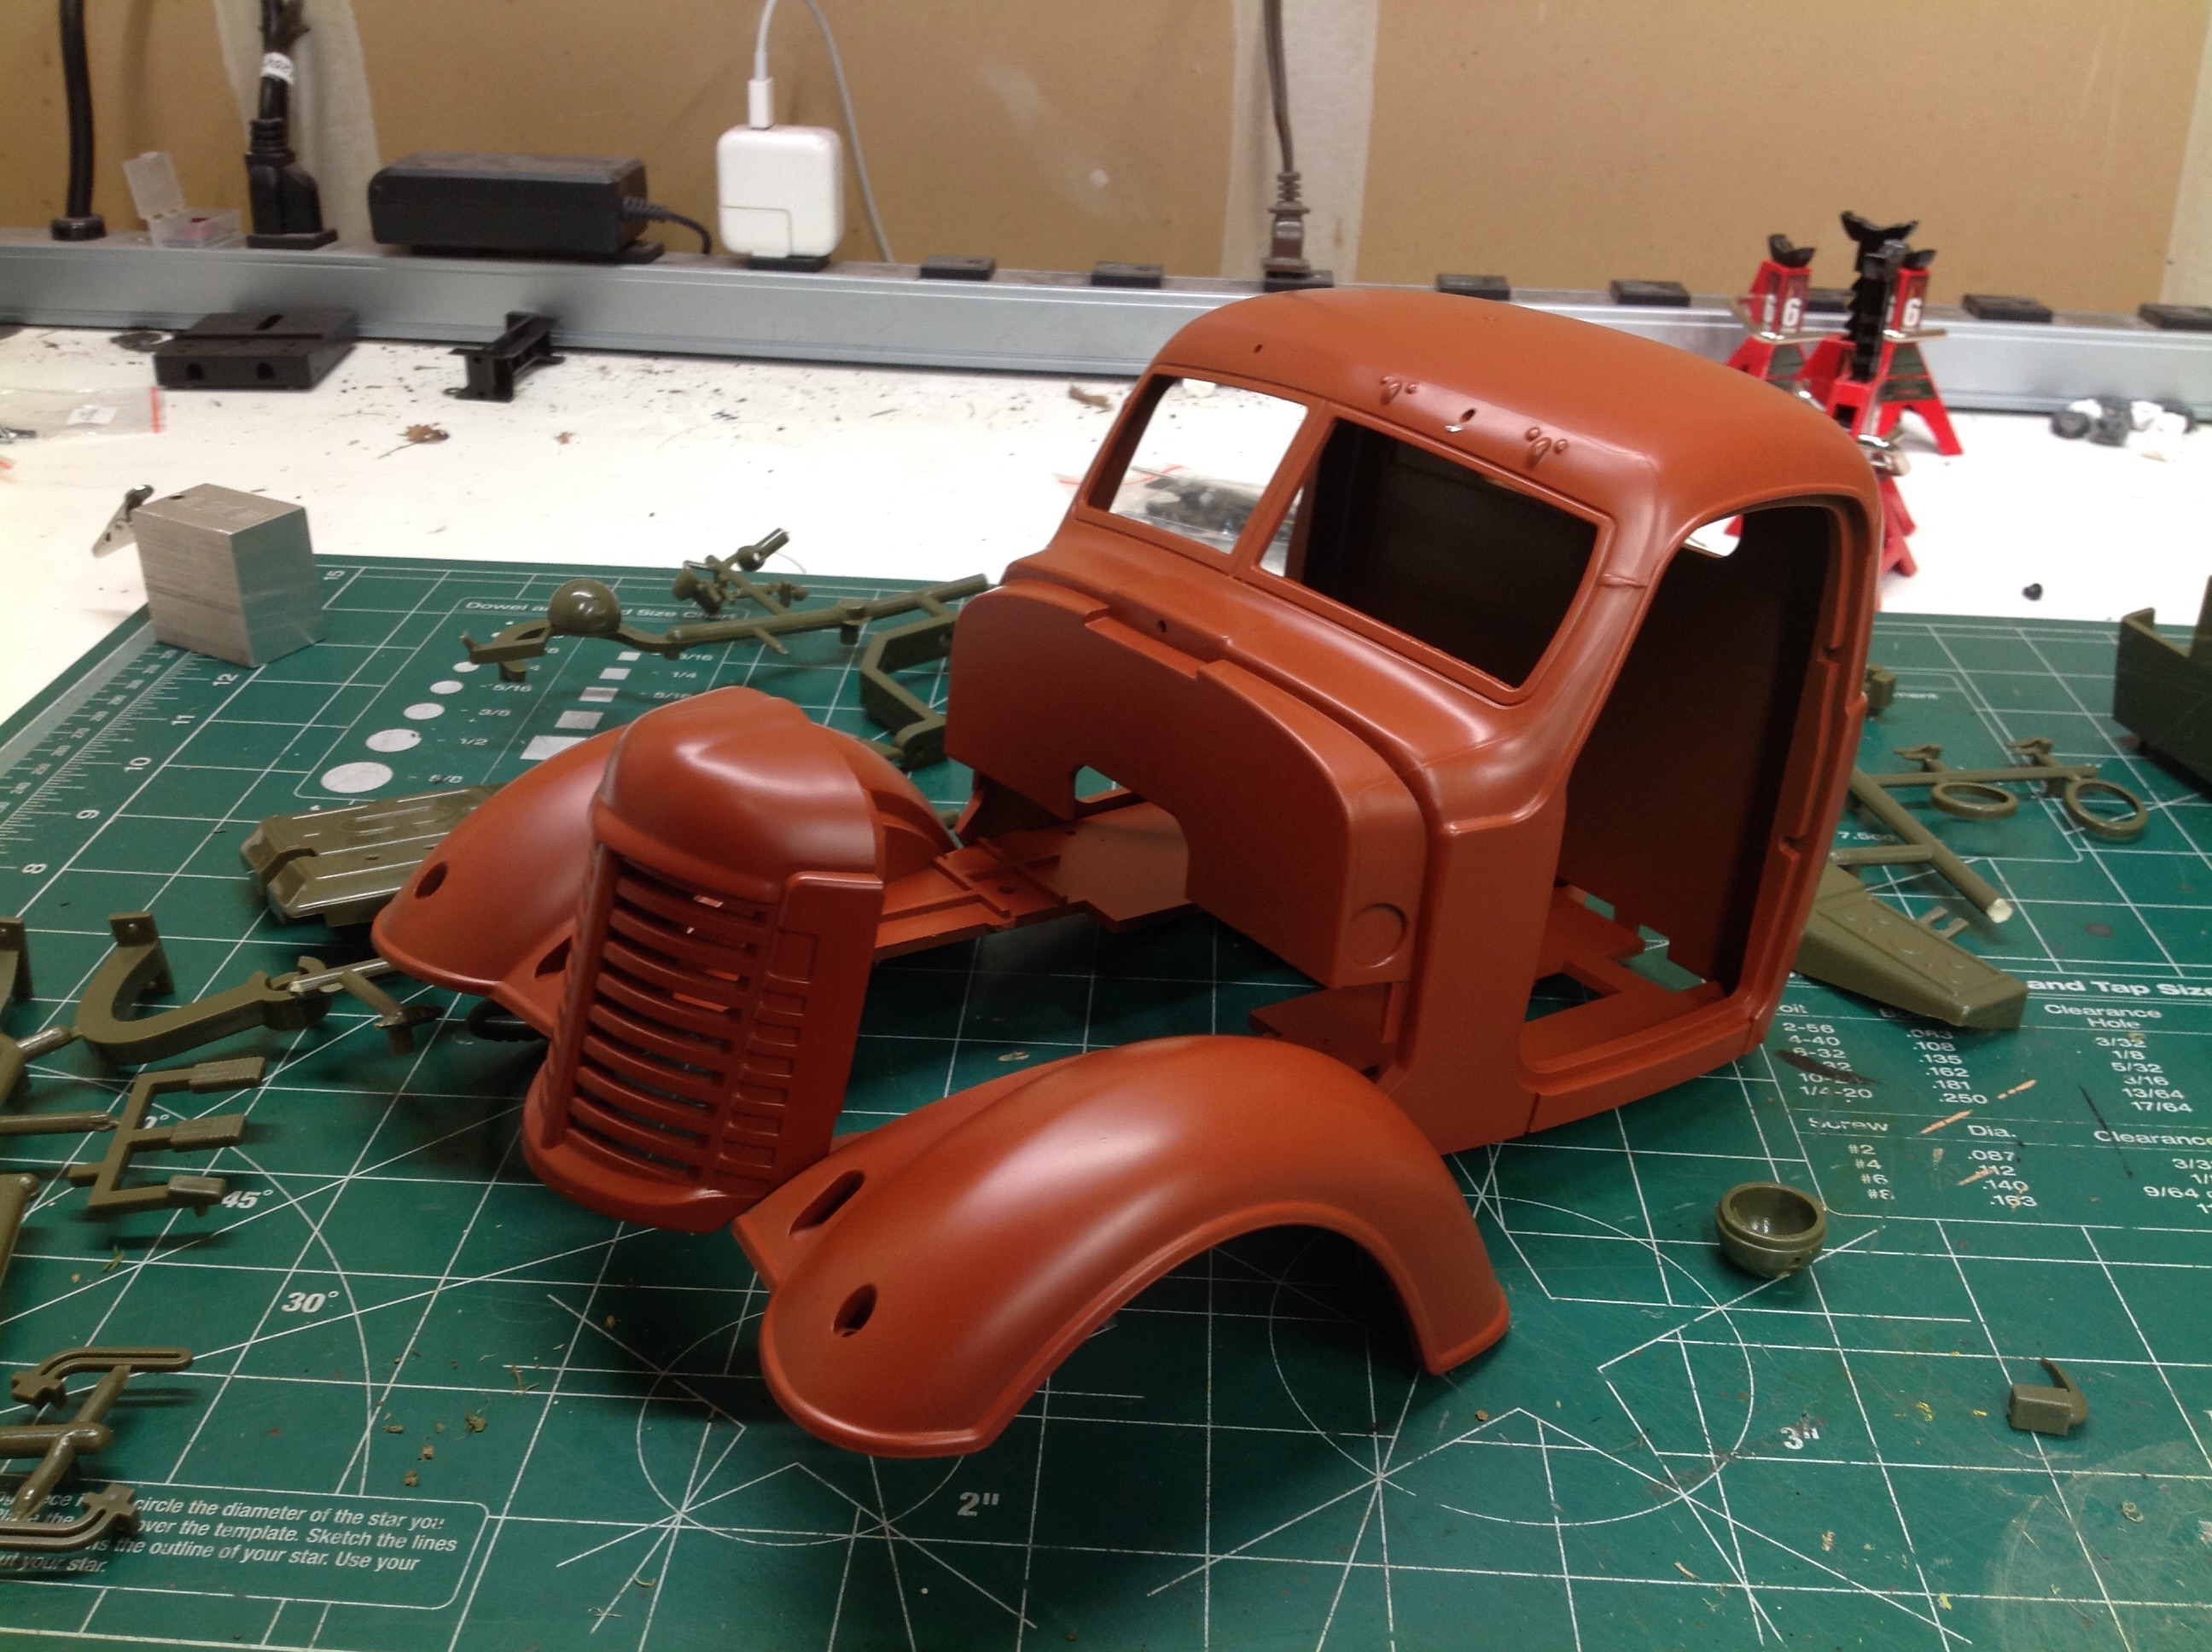
I had big plans for painting and weathering this model. The
plastic parts come molded in olive green as shown. I did not plan
to use green as a final color, but it didn't matter since my first step
was to spray the whole thing with rust colored primer as a base coat.
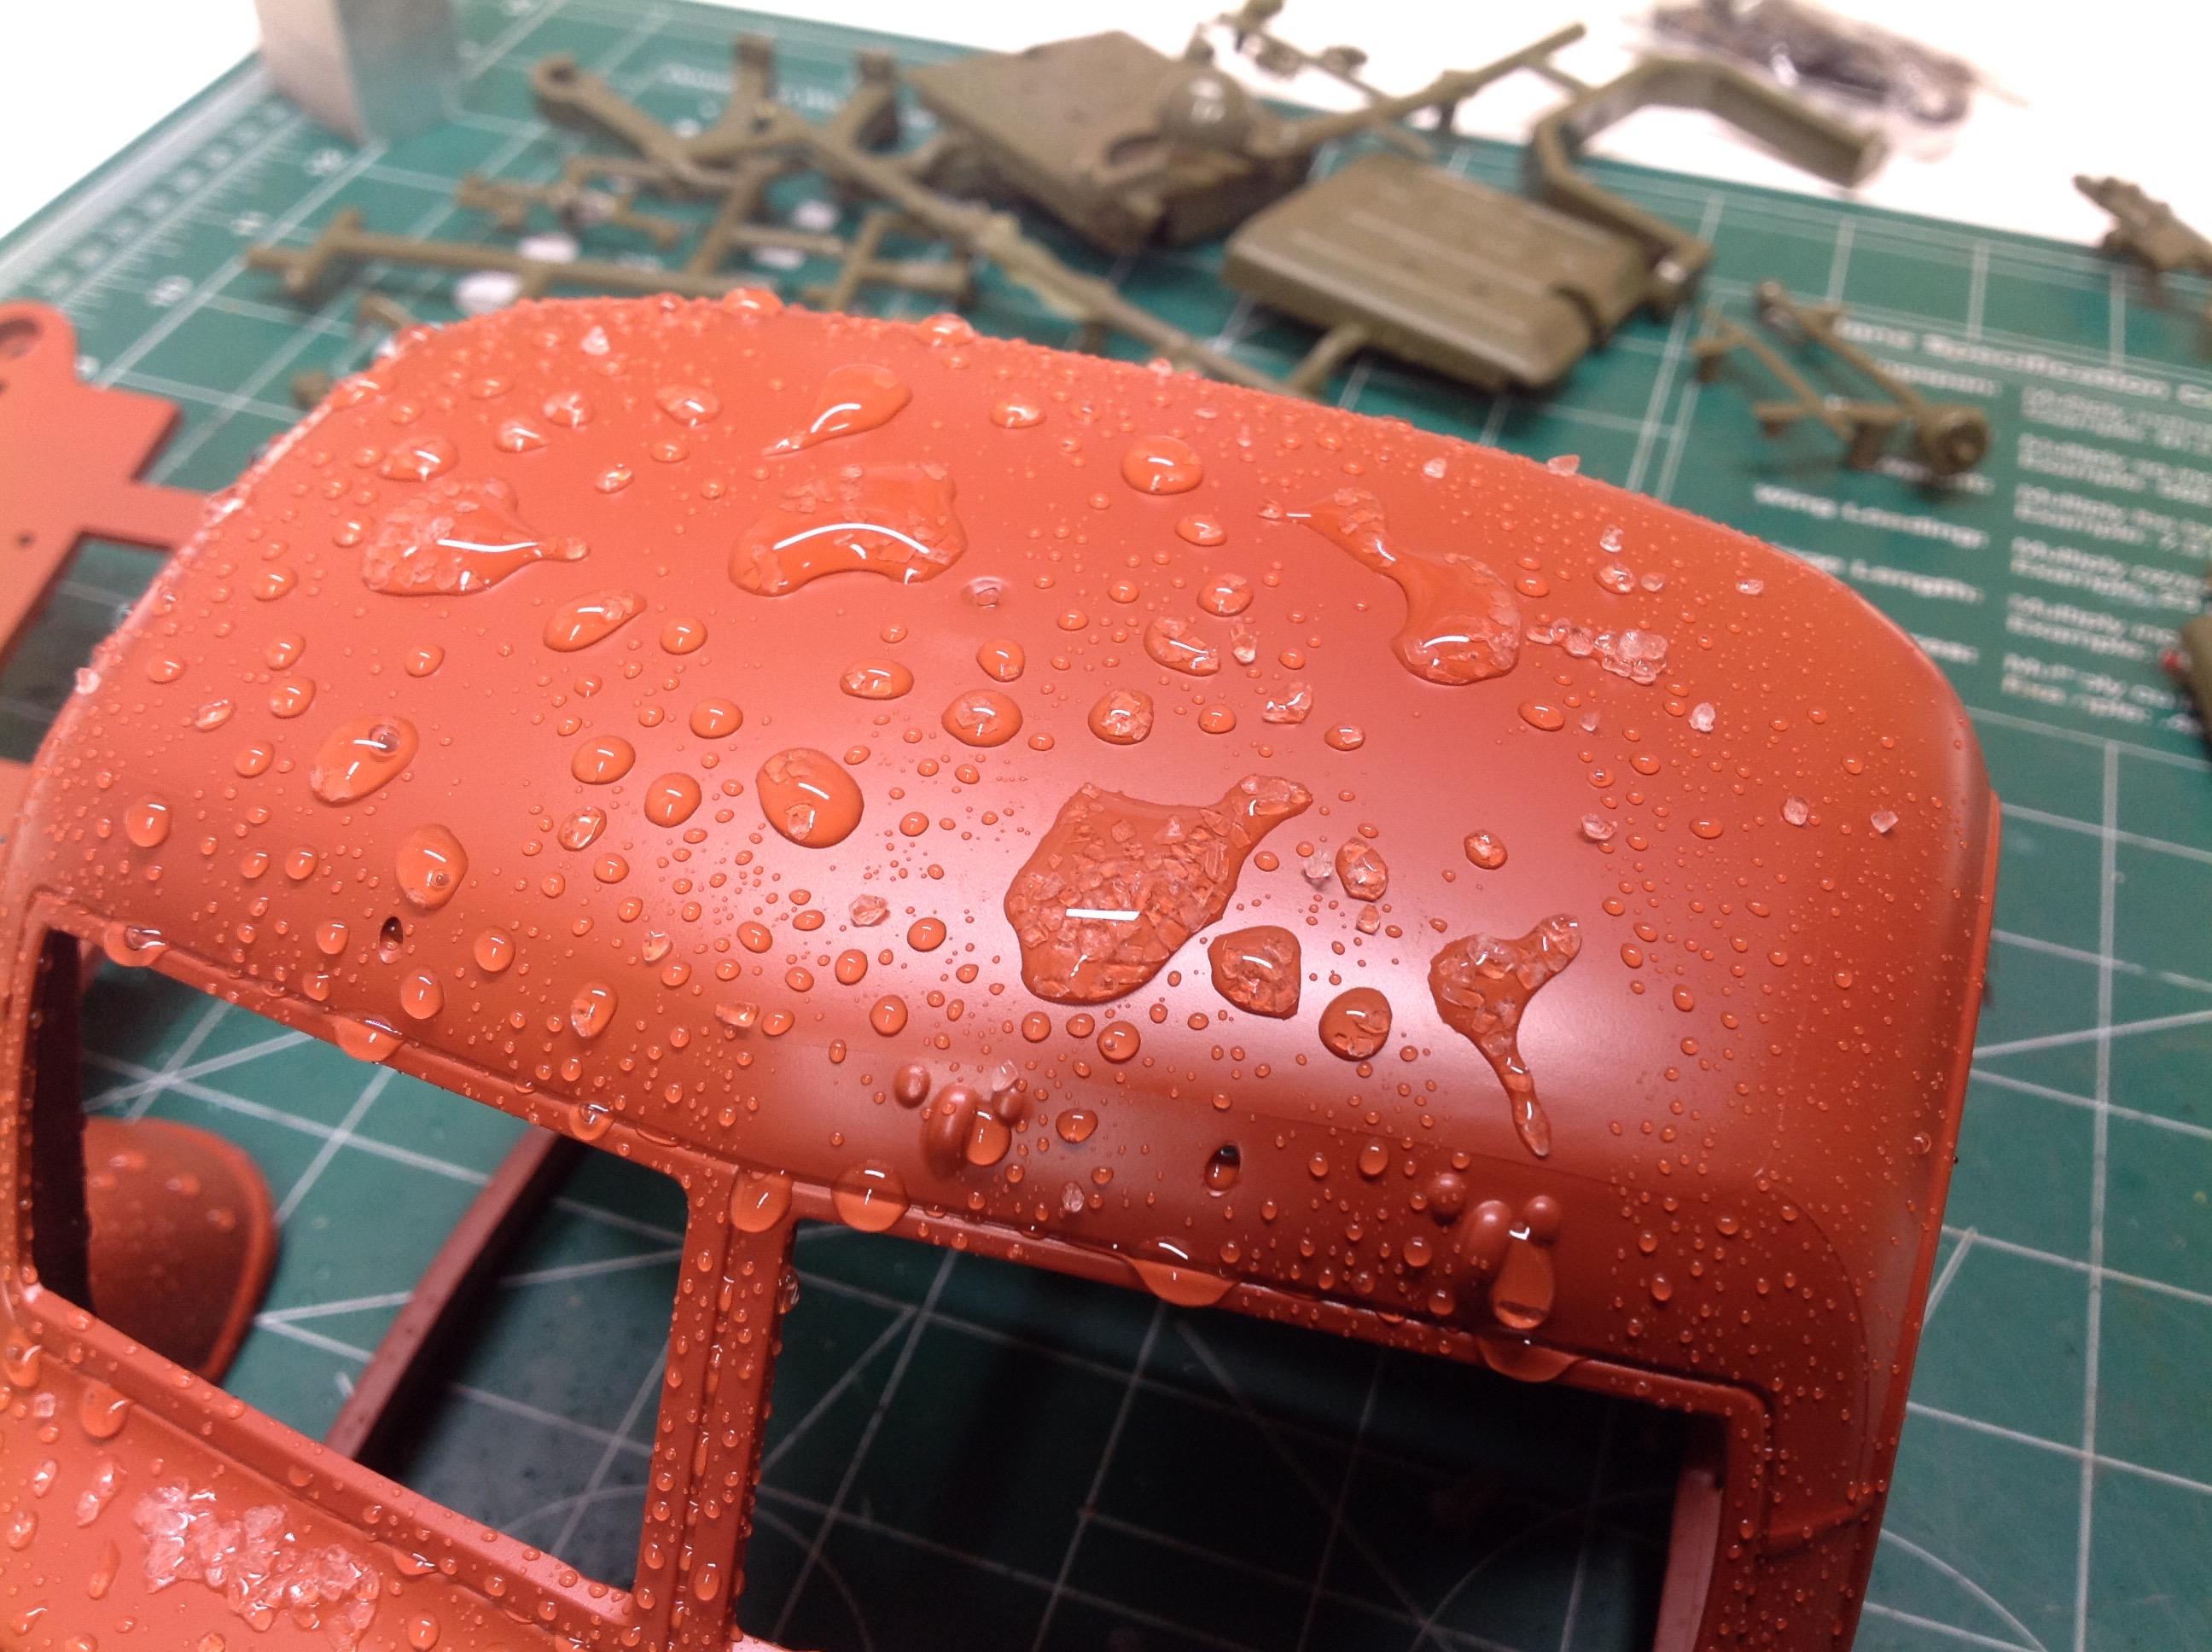
I intended to allow the rust to show through in certain places, so I
sprayed the whole model with plain water and then sprinkled coarse sea
salt randomly around the flat surfaces. After the water
evaporated, I sprayed the whole model with metallic aluminum as
shown. I figured that around each area of rust this would allow a
little stripe of bare metal to show. I painted the interior in
dark gray and flat black.
I sprayed the front fenders with semi-gloss black. I really wanted
a flat finish, but I figured it was irrelevant since I planned to sand
it anyway. I was right. I sanded the whole thing with a very
fine 2000 grit foam pad and then took a coarser grit pad to the rusted
areas. The effect came out perfectly as you can see. The
rust spots show through where the salt blocked the paint, and the metal
color around the rust patches really sells it. The sanding left
everything completely flat with specular highlights but no reflections.
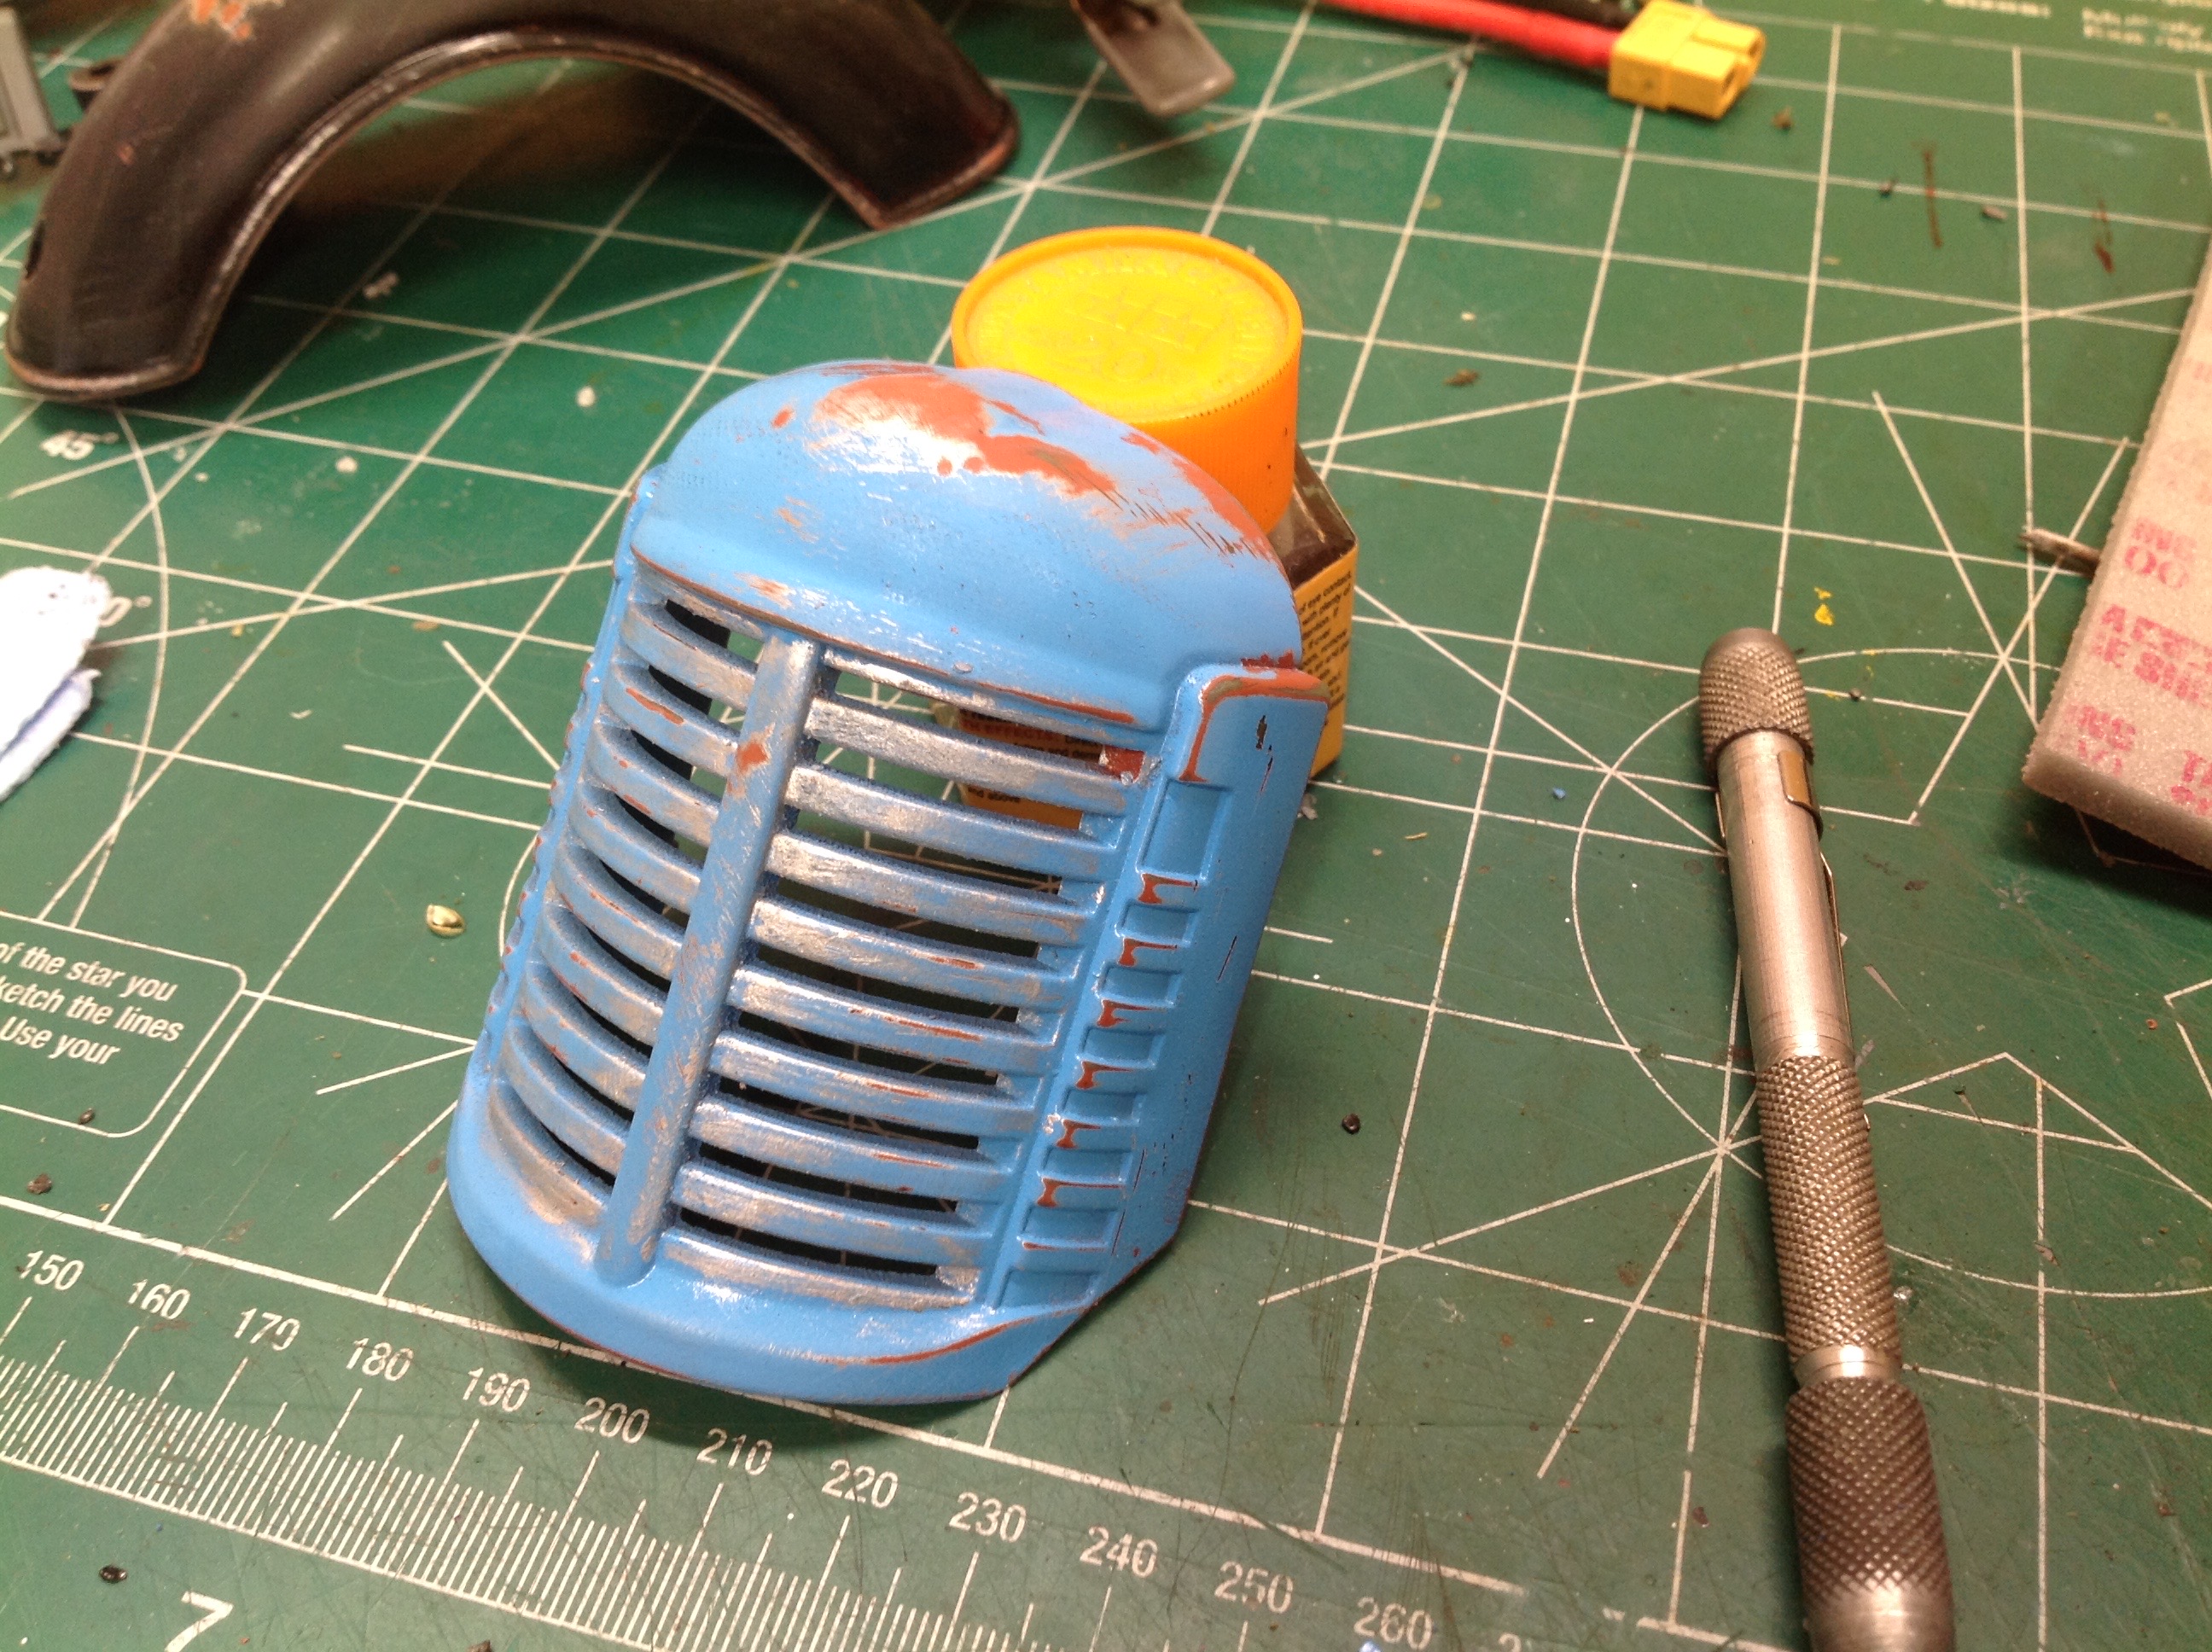
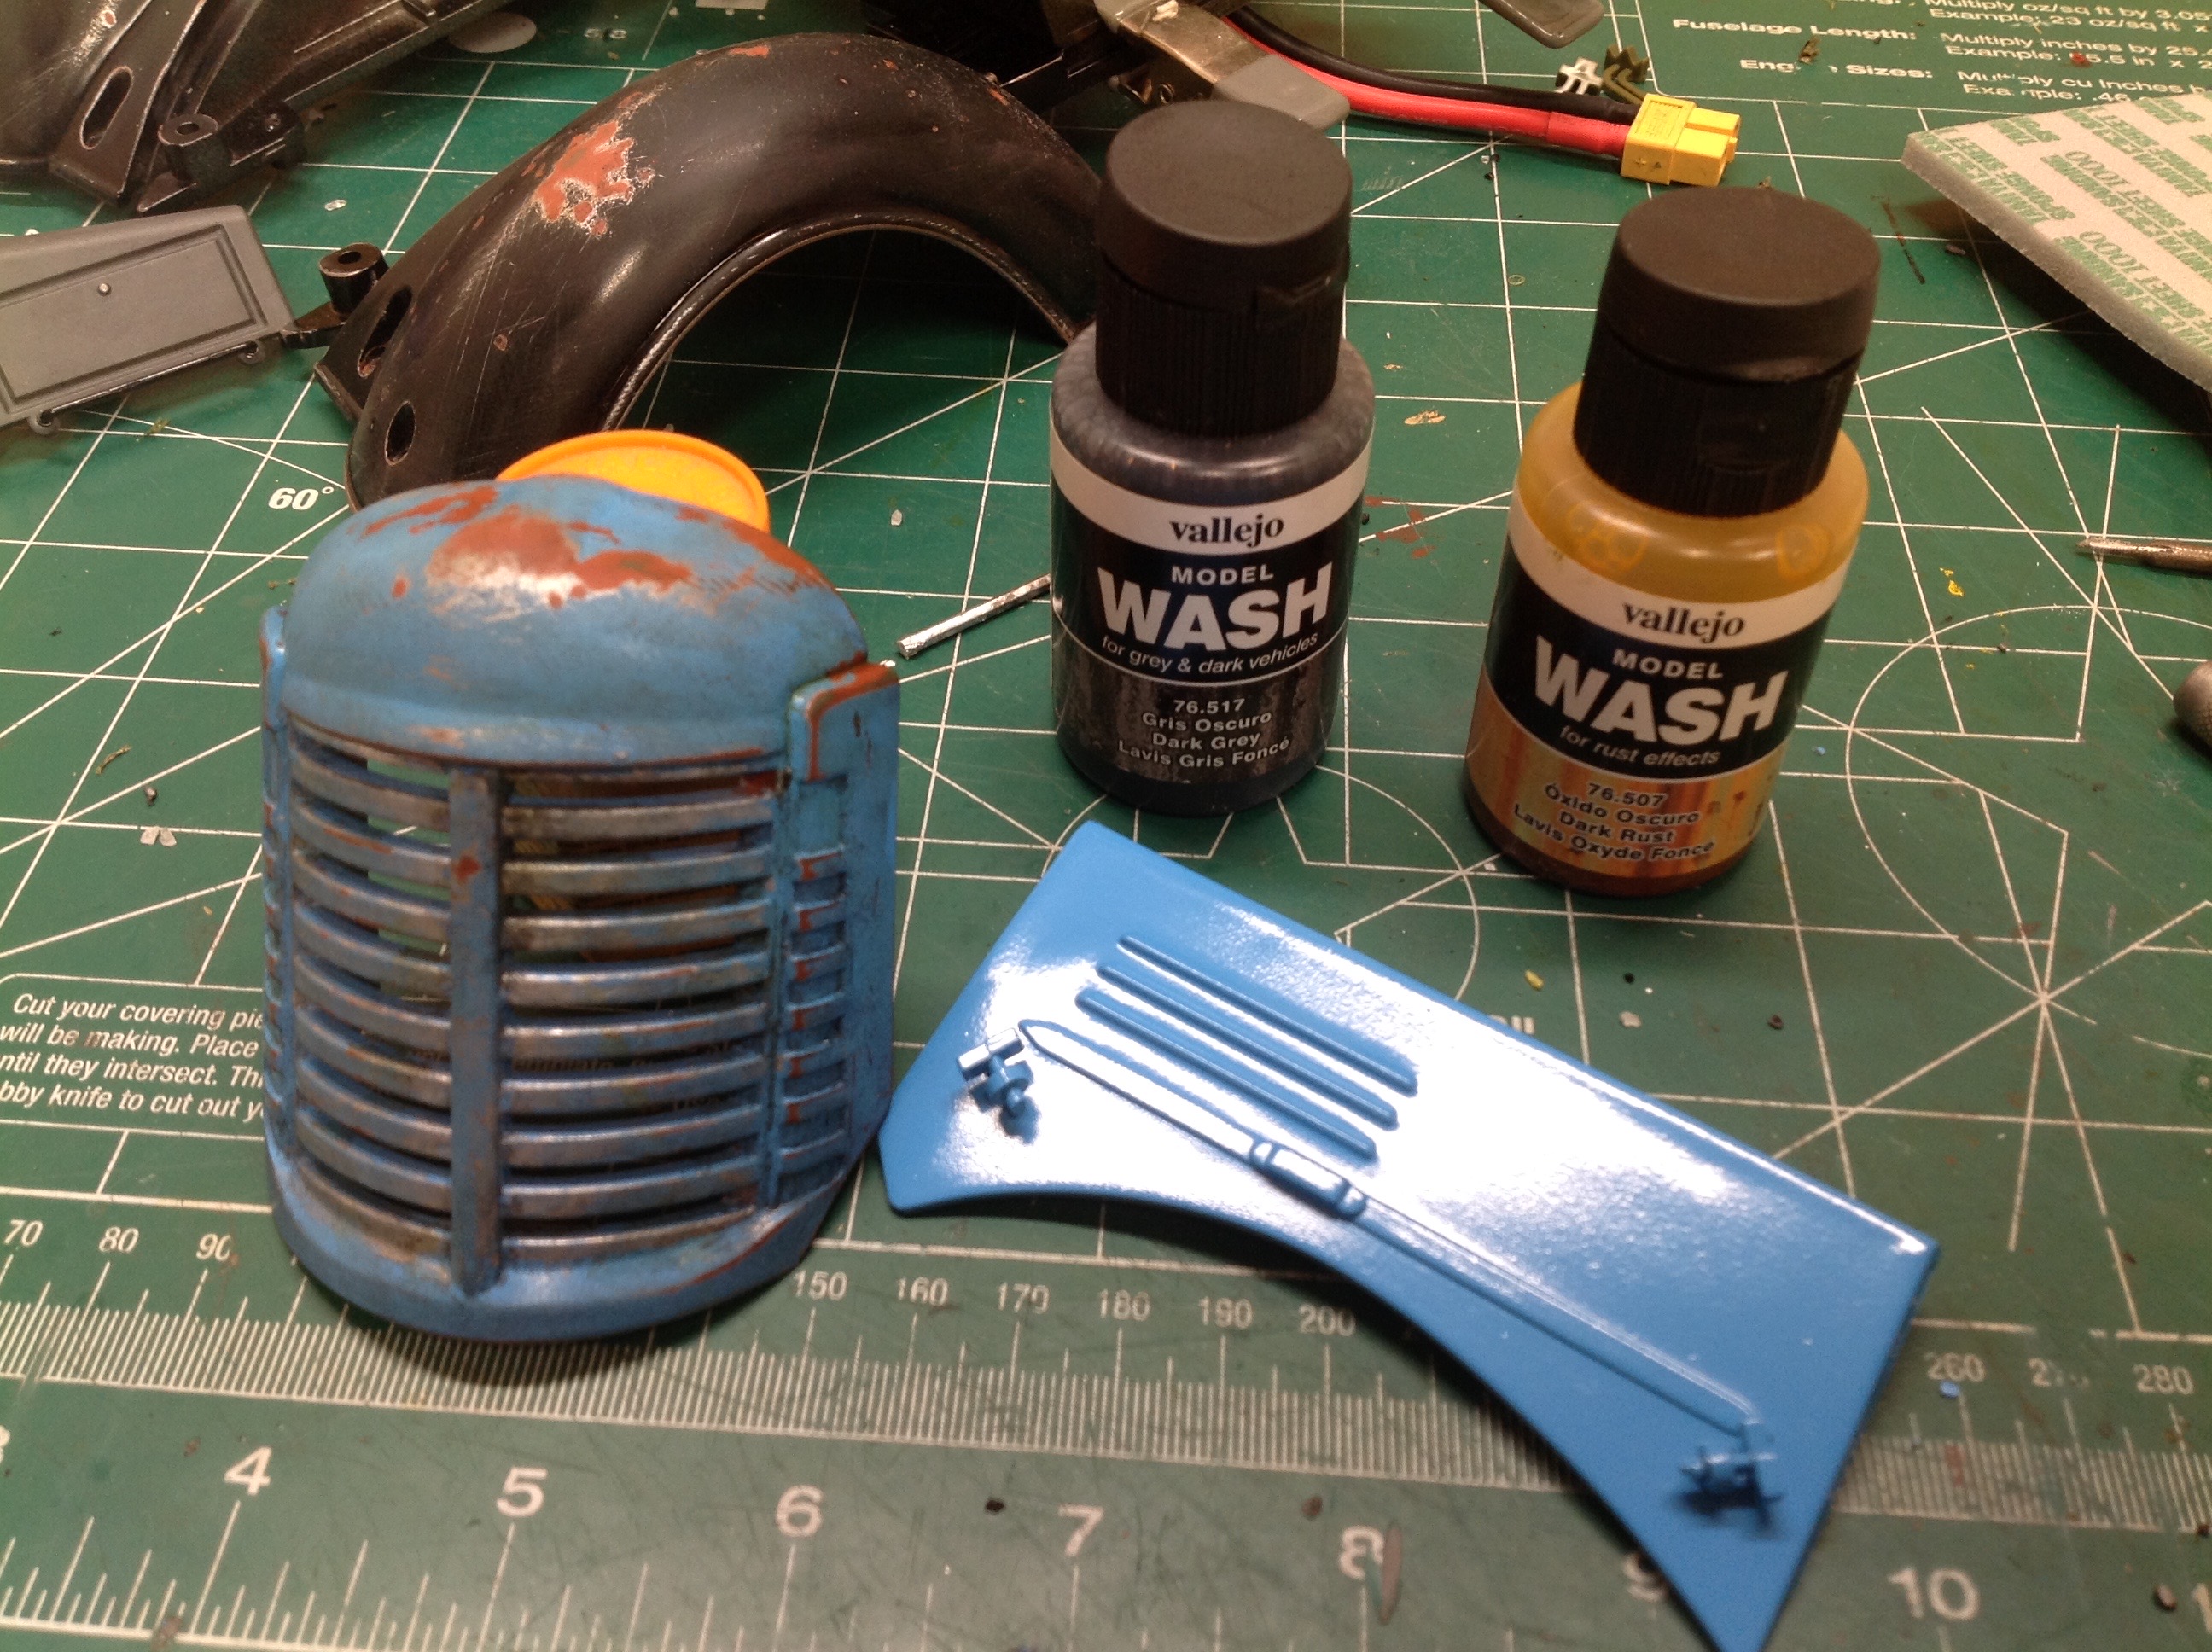
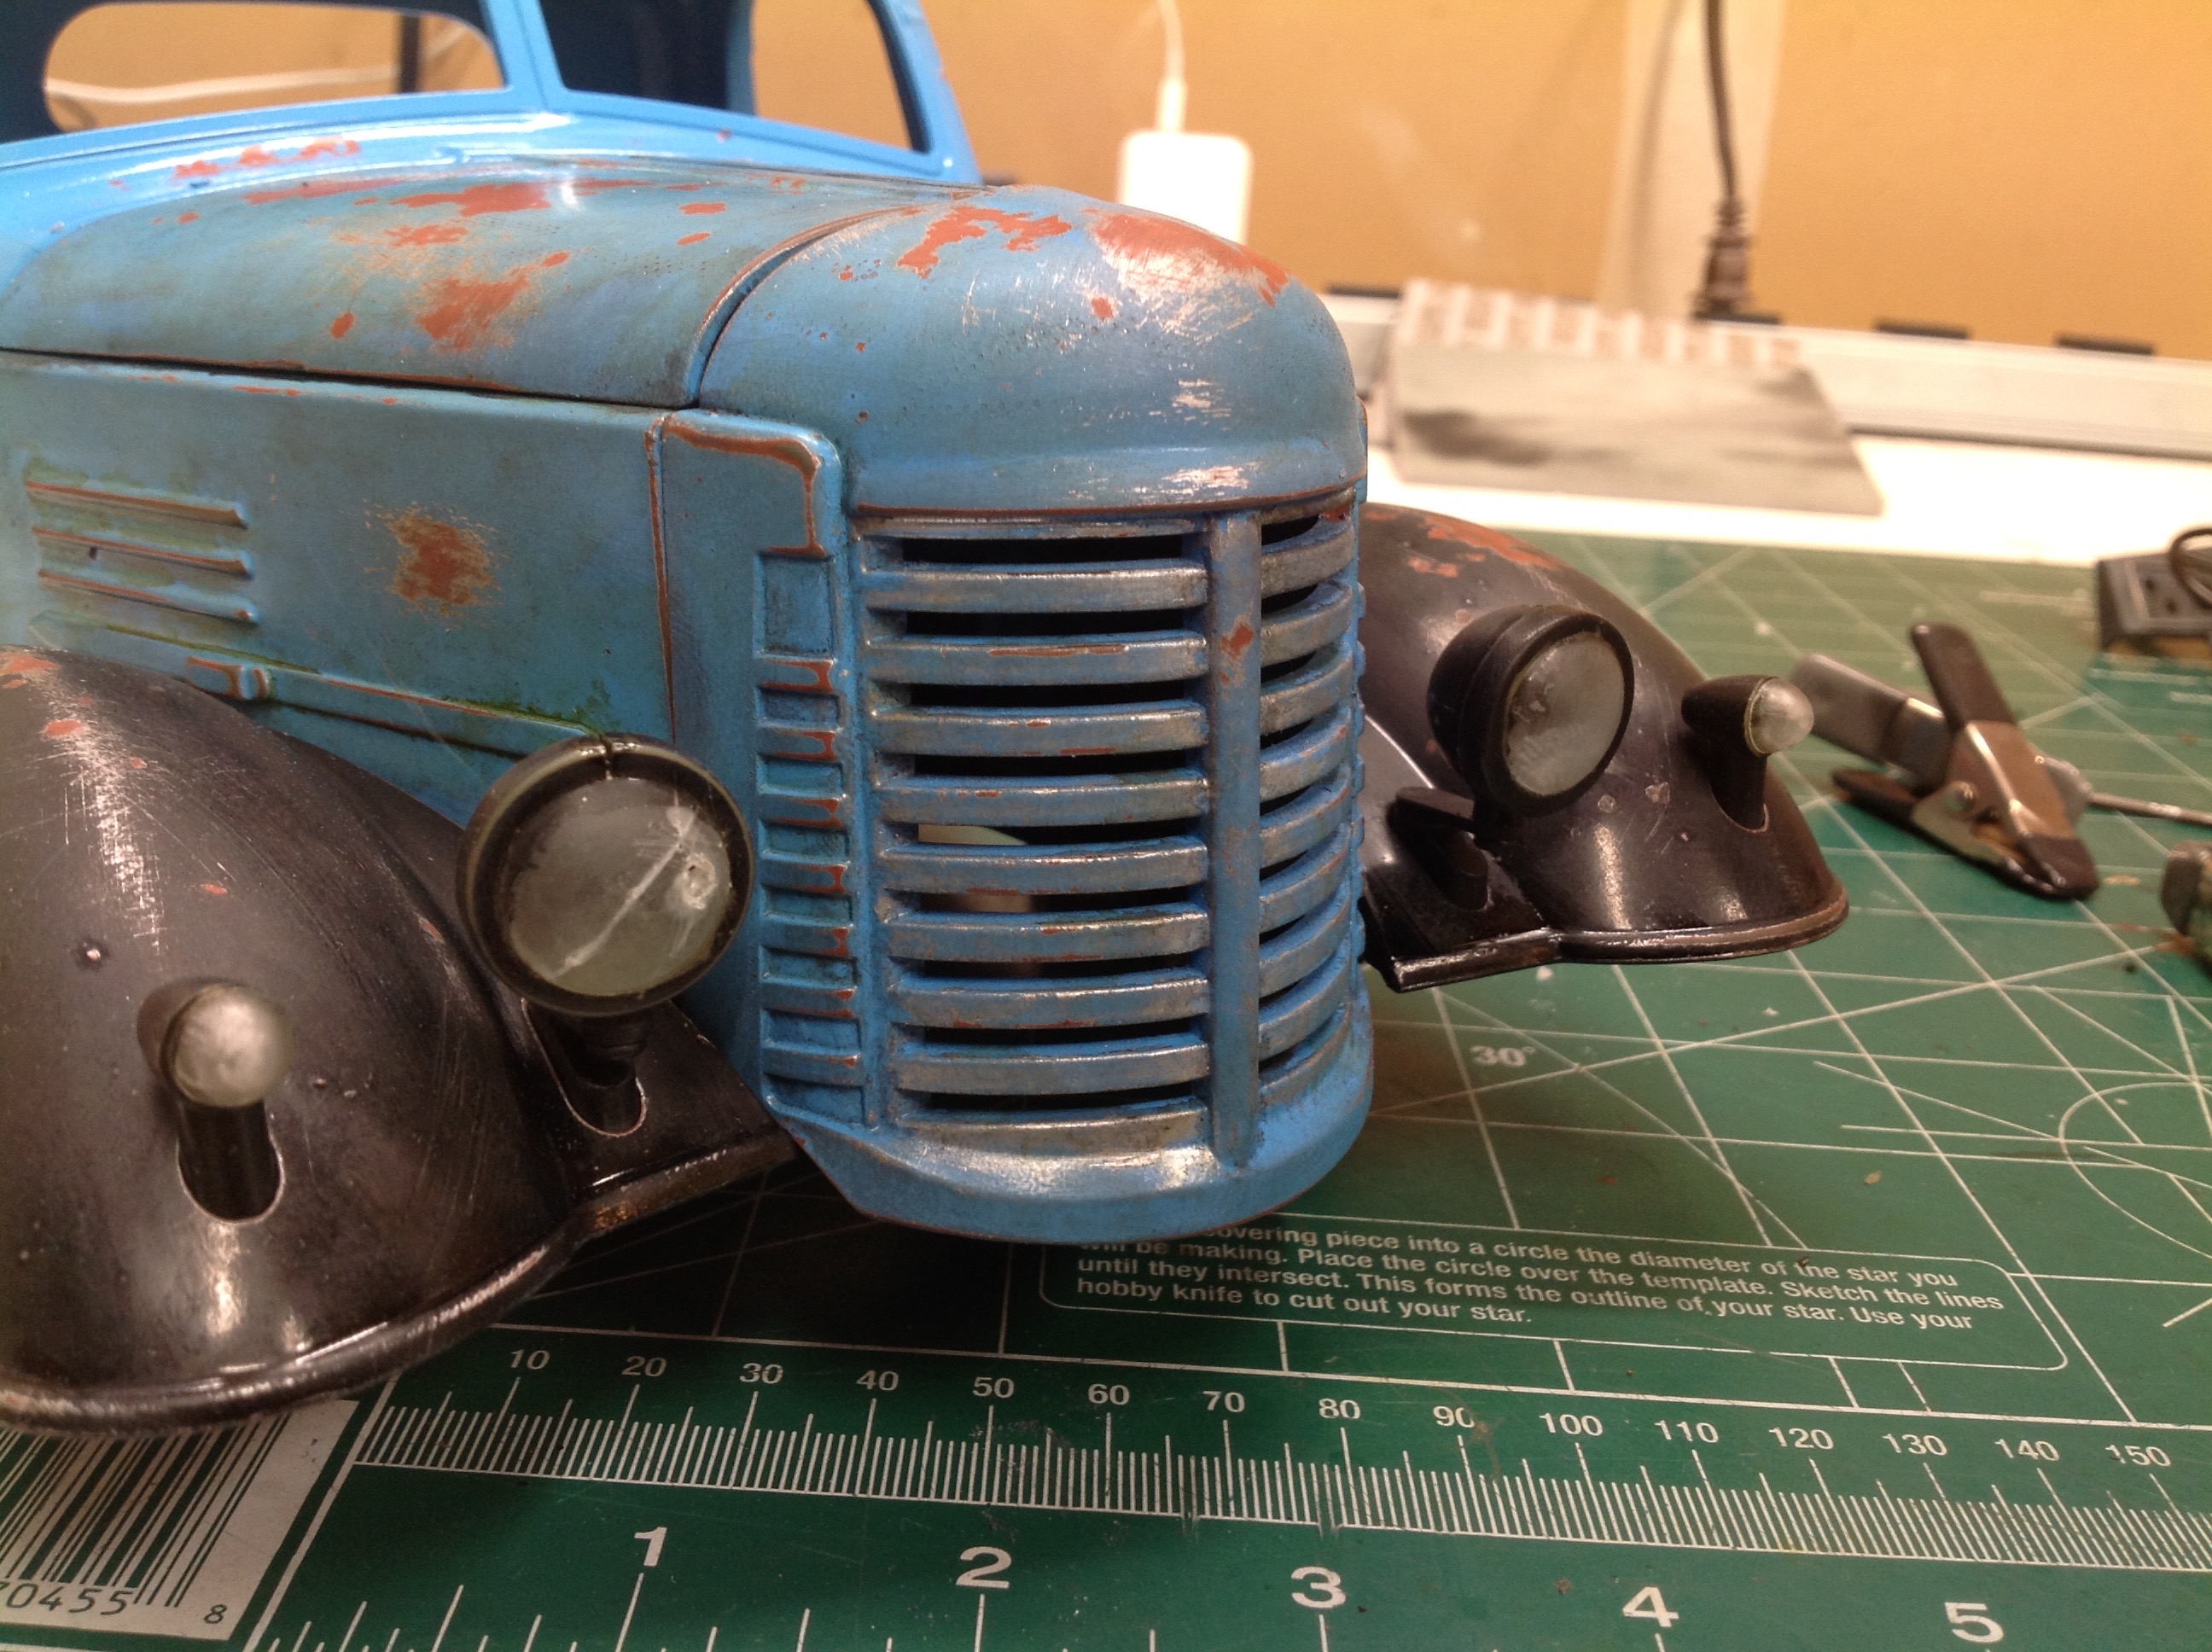
I used the same process on the front grille but it was more difficult
due to the complex geometry. The picture on the left shows the
grille after sanding and painting. On the right I've also added a
pair of washes: rust color to deepen the weathering, and black to look
like grease.
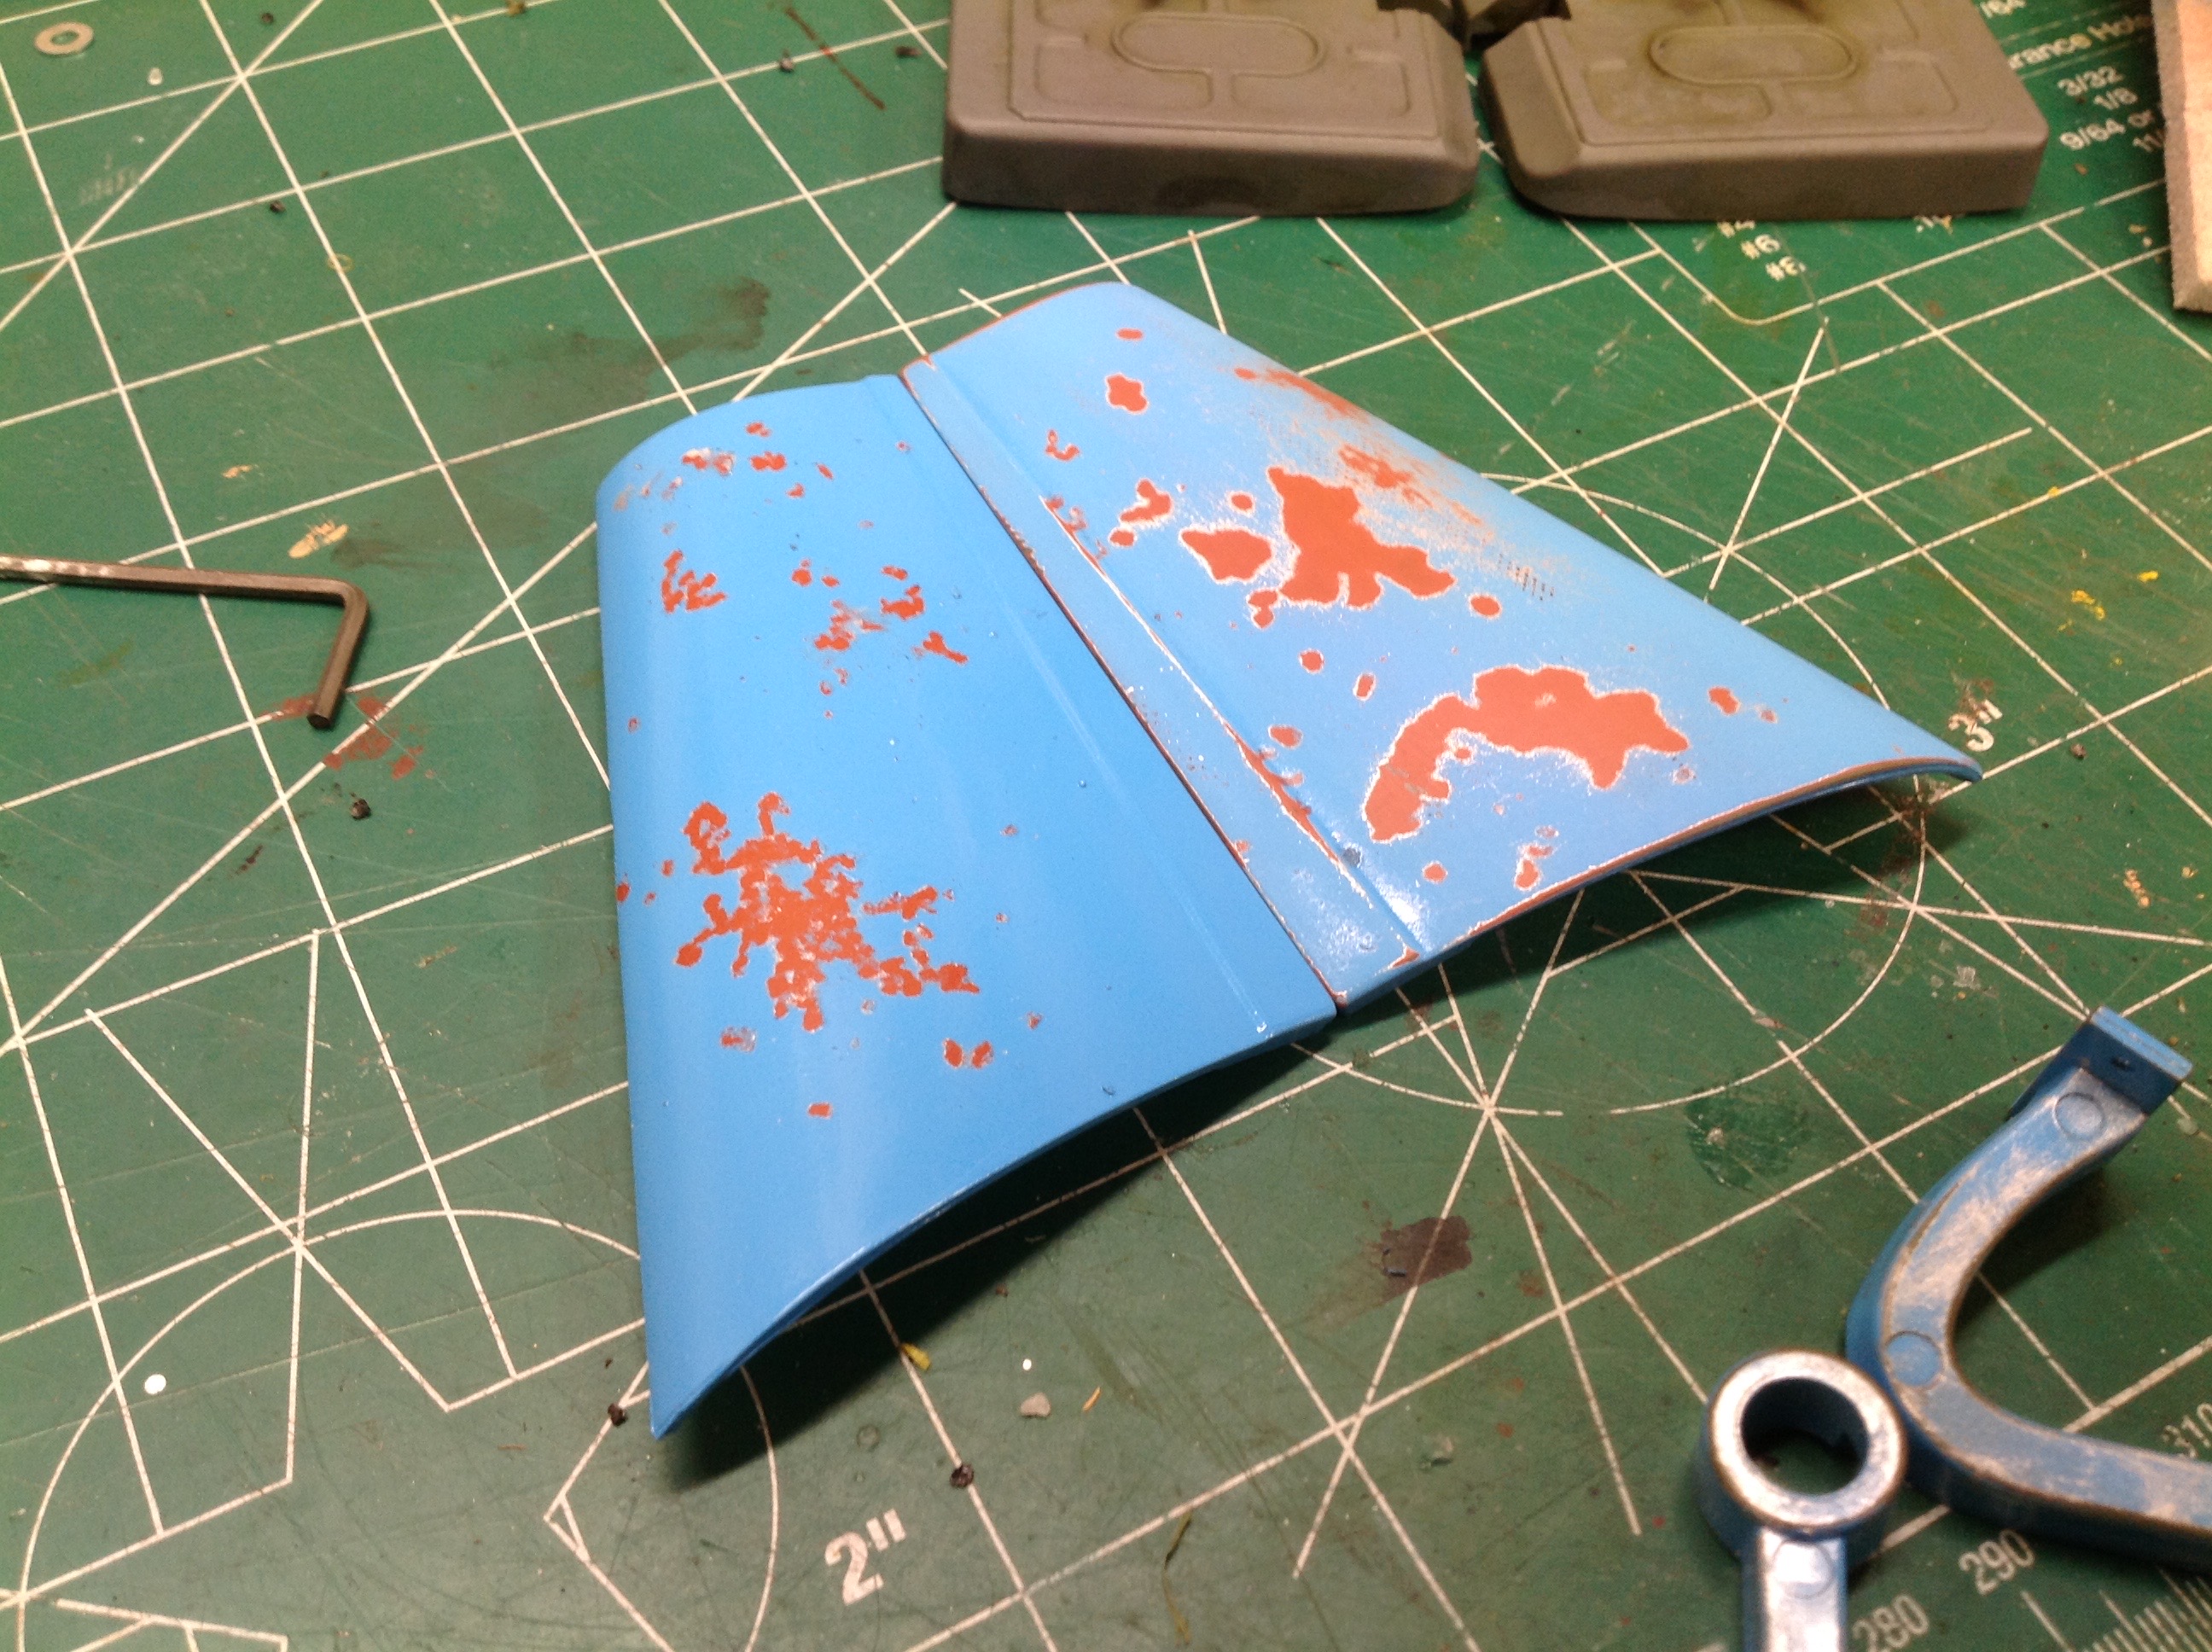
These photos are intended to show the effects of the weathering
process. On the left you can see the two sides of the hood before
and after sanding. The left side is still glossy and the salt
pattern is plain. The right side has been sanded smooth and the
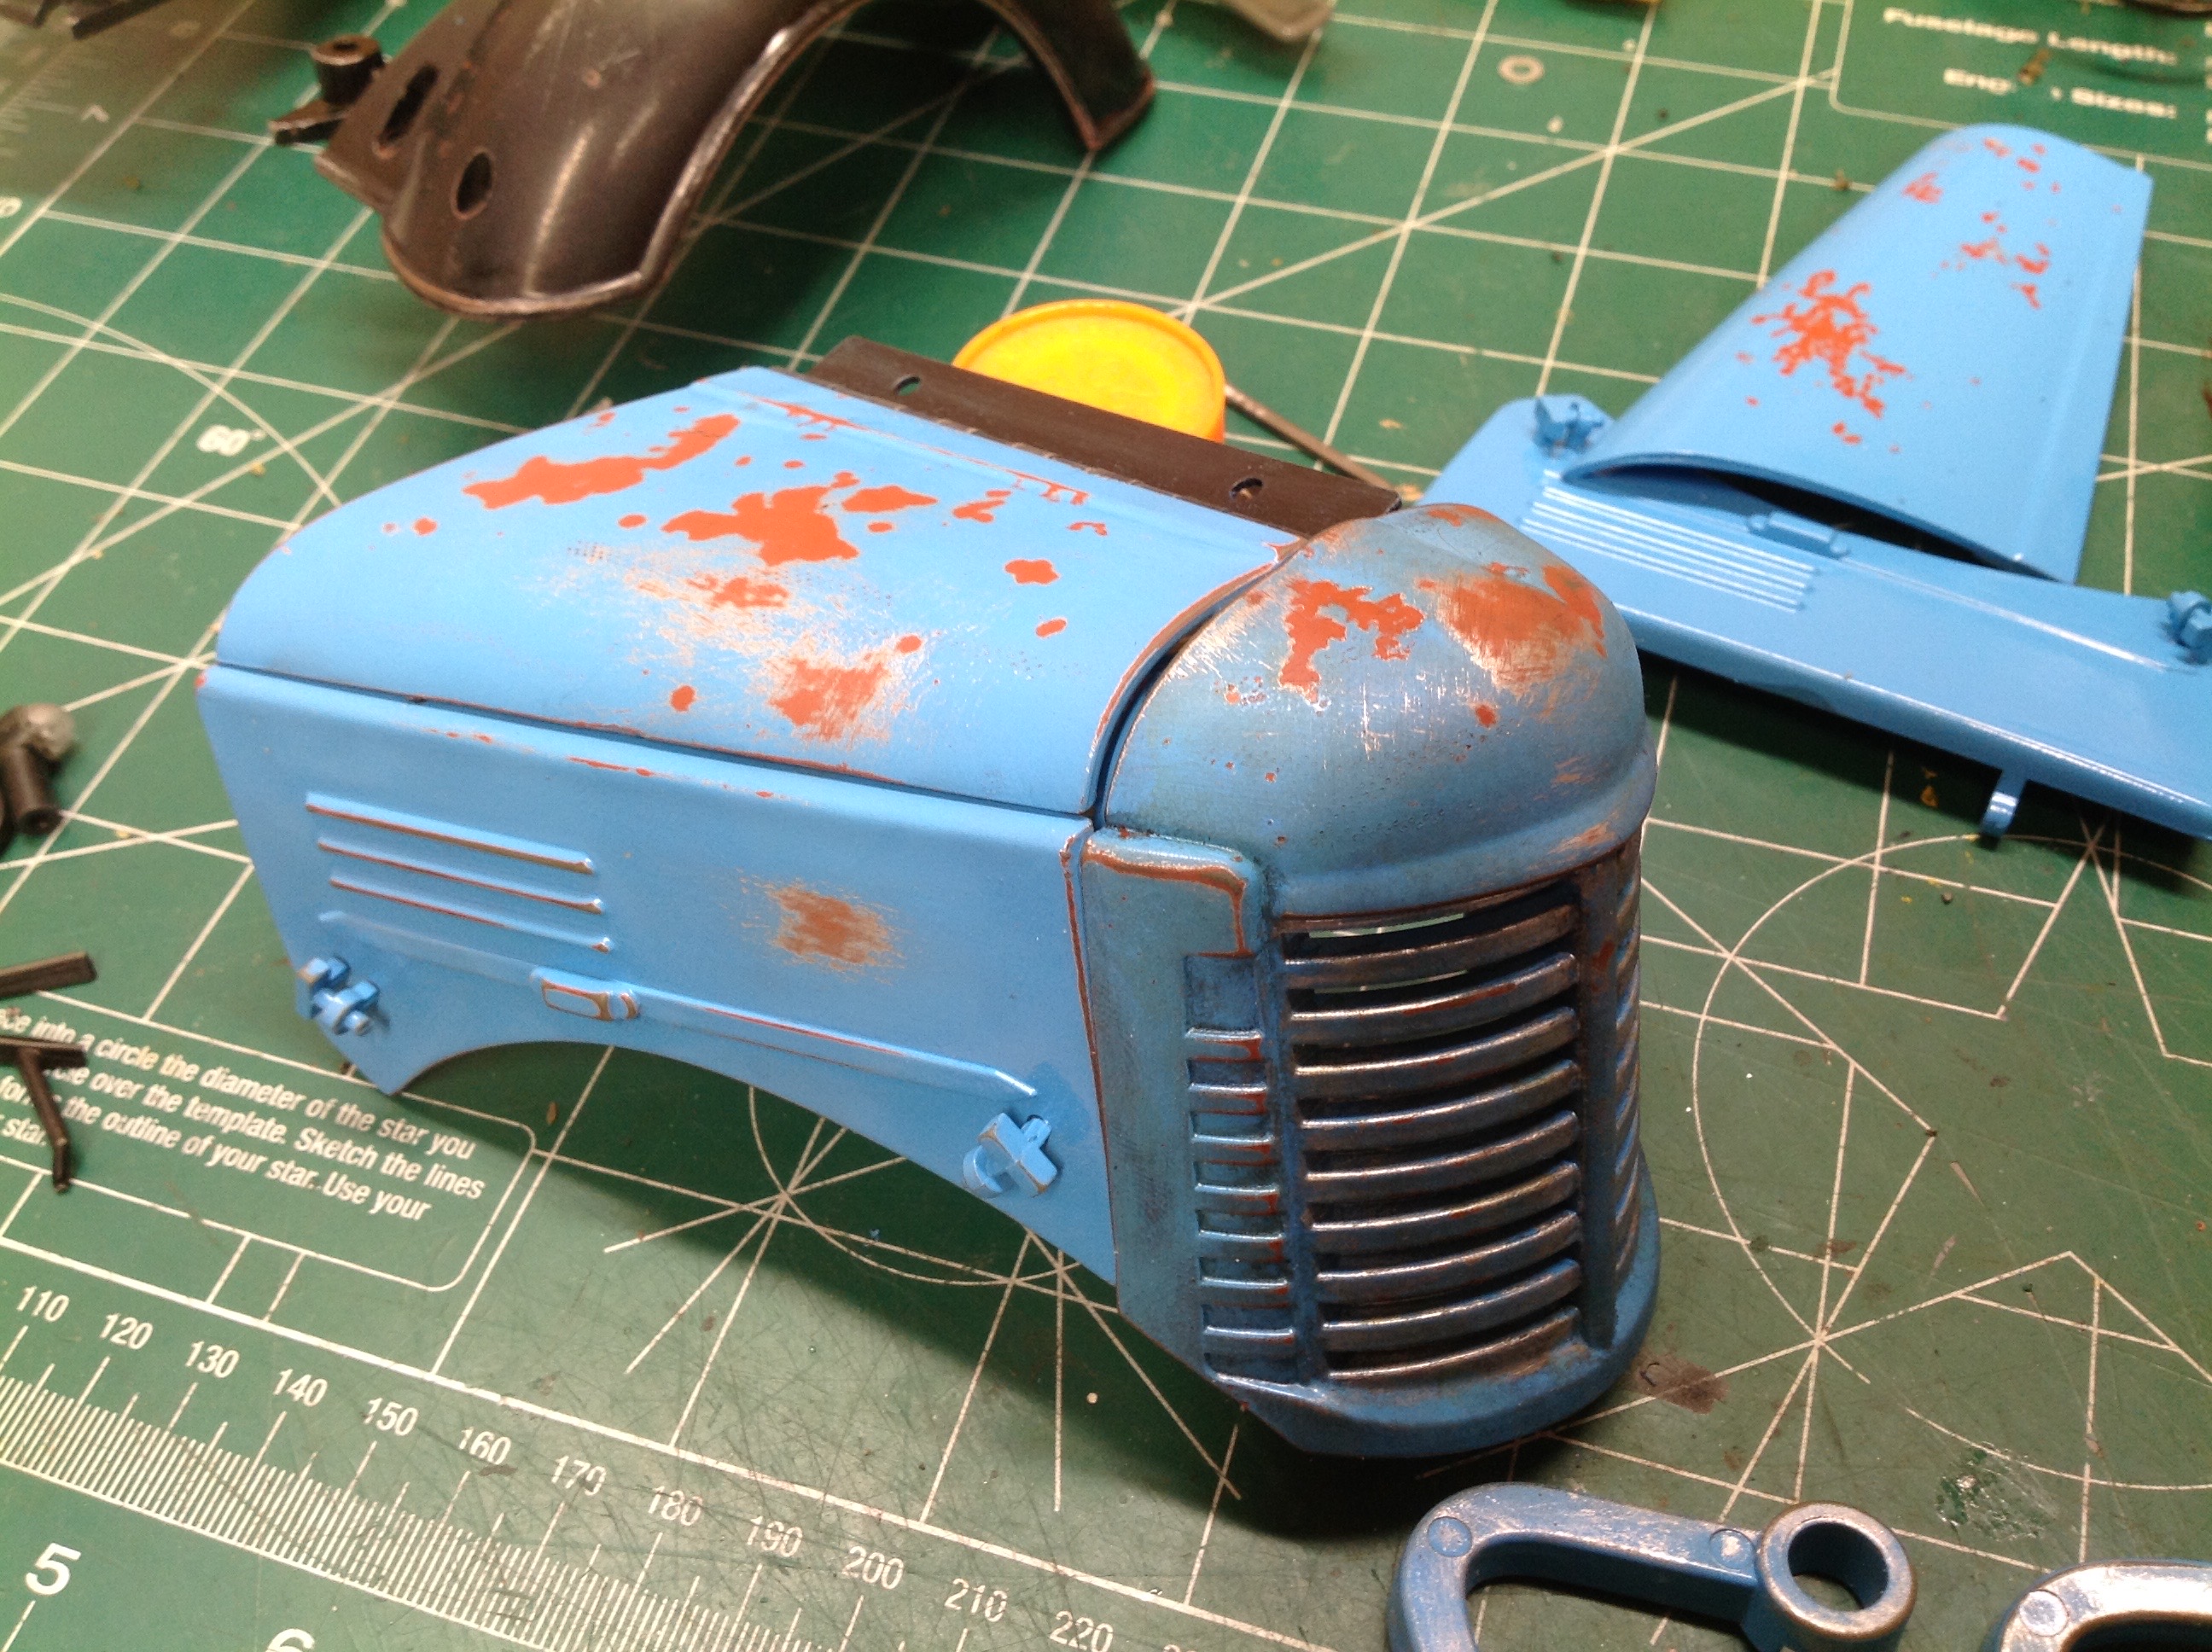
rust patches expanded exposing the silver. The right hand image
shows hood panels which have been sanded compared to the grille which
has also had the wash applied. The wash makes it look much
dirtier.
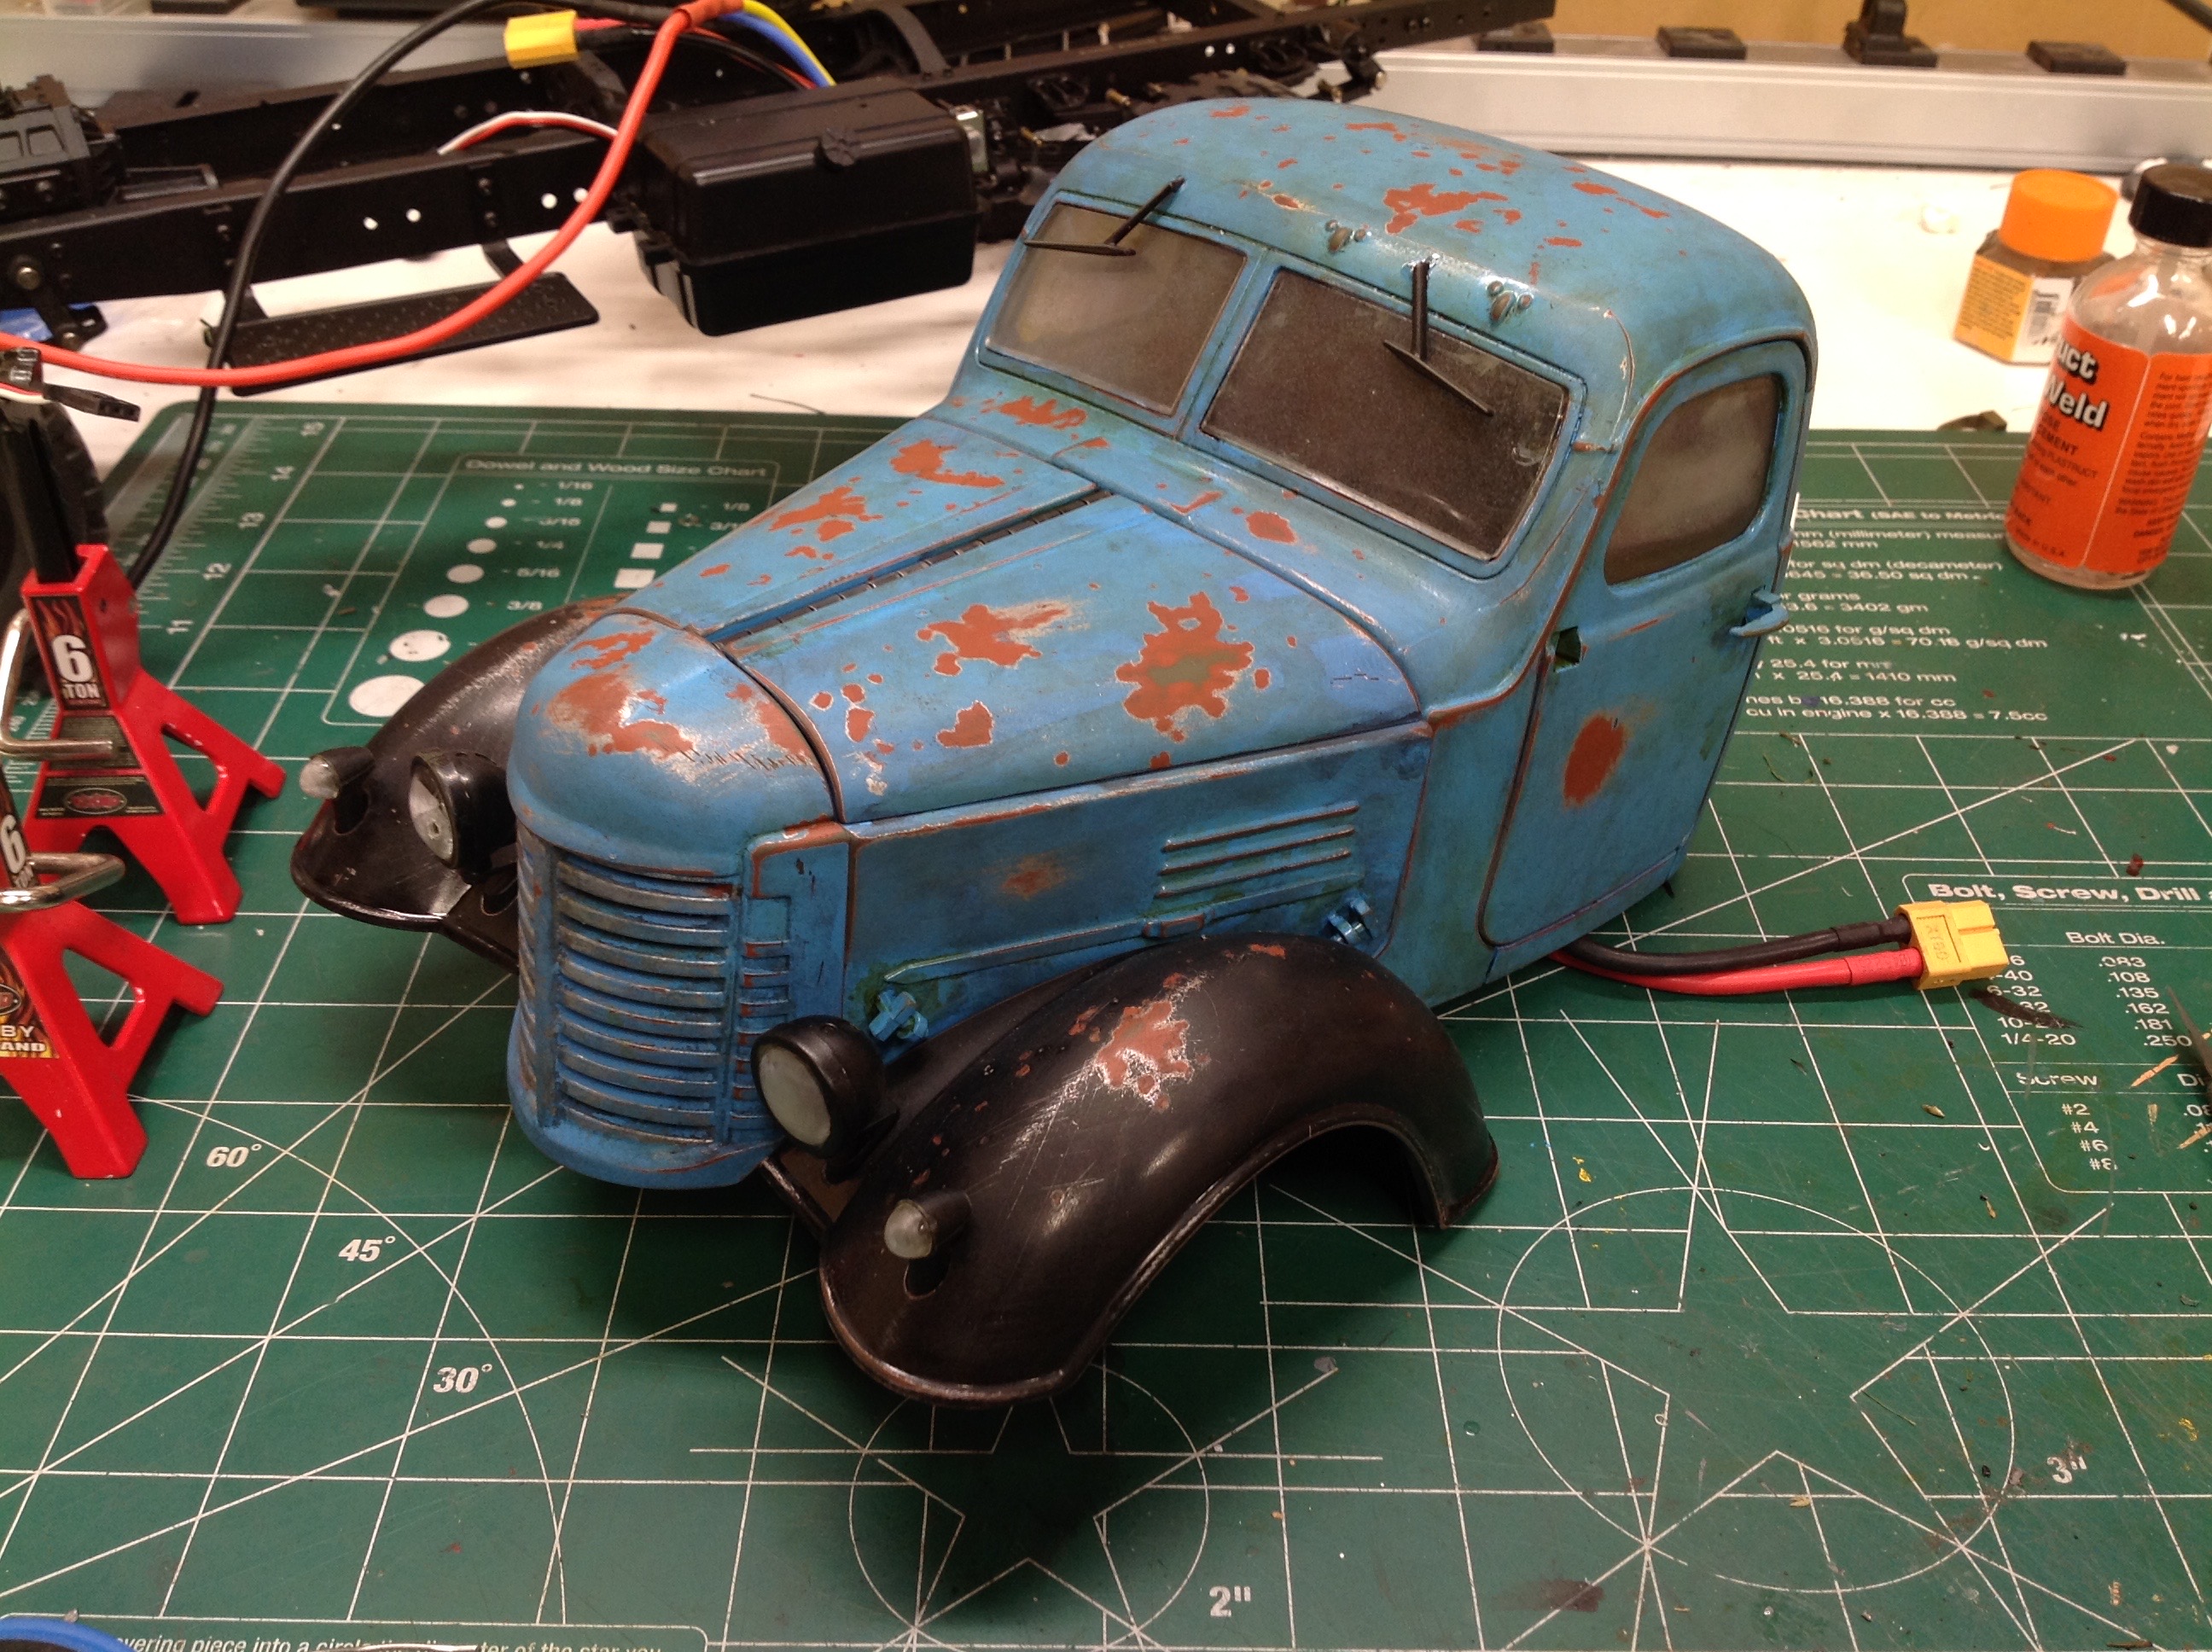
I figured an old engine would be leaking a lot of oil so I covered the
inside of the hood with a greasy black wash. The right hand image
shows the completed weathering of the front end.
The last detail on the front end is the headlights and marker
lights. I intentionally shattered one of the headlights to make it
look old and broken. I do not plan to make these light up.
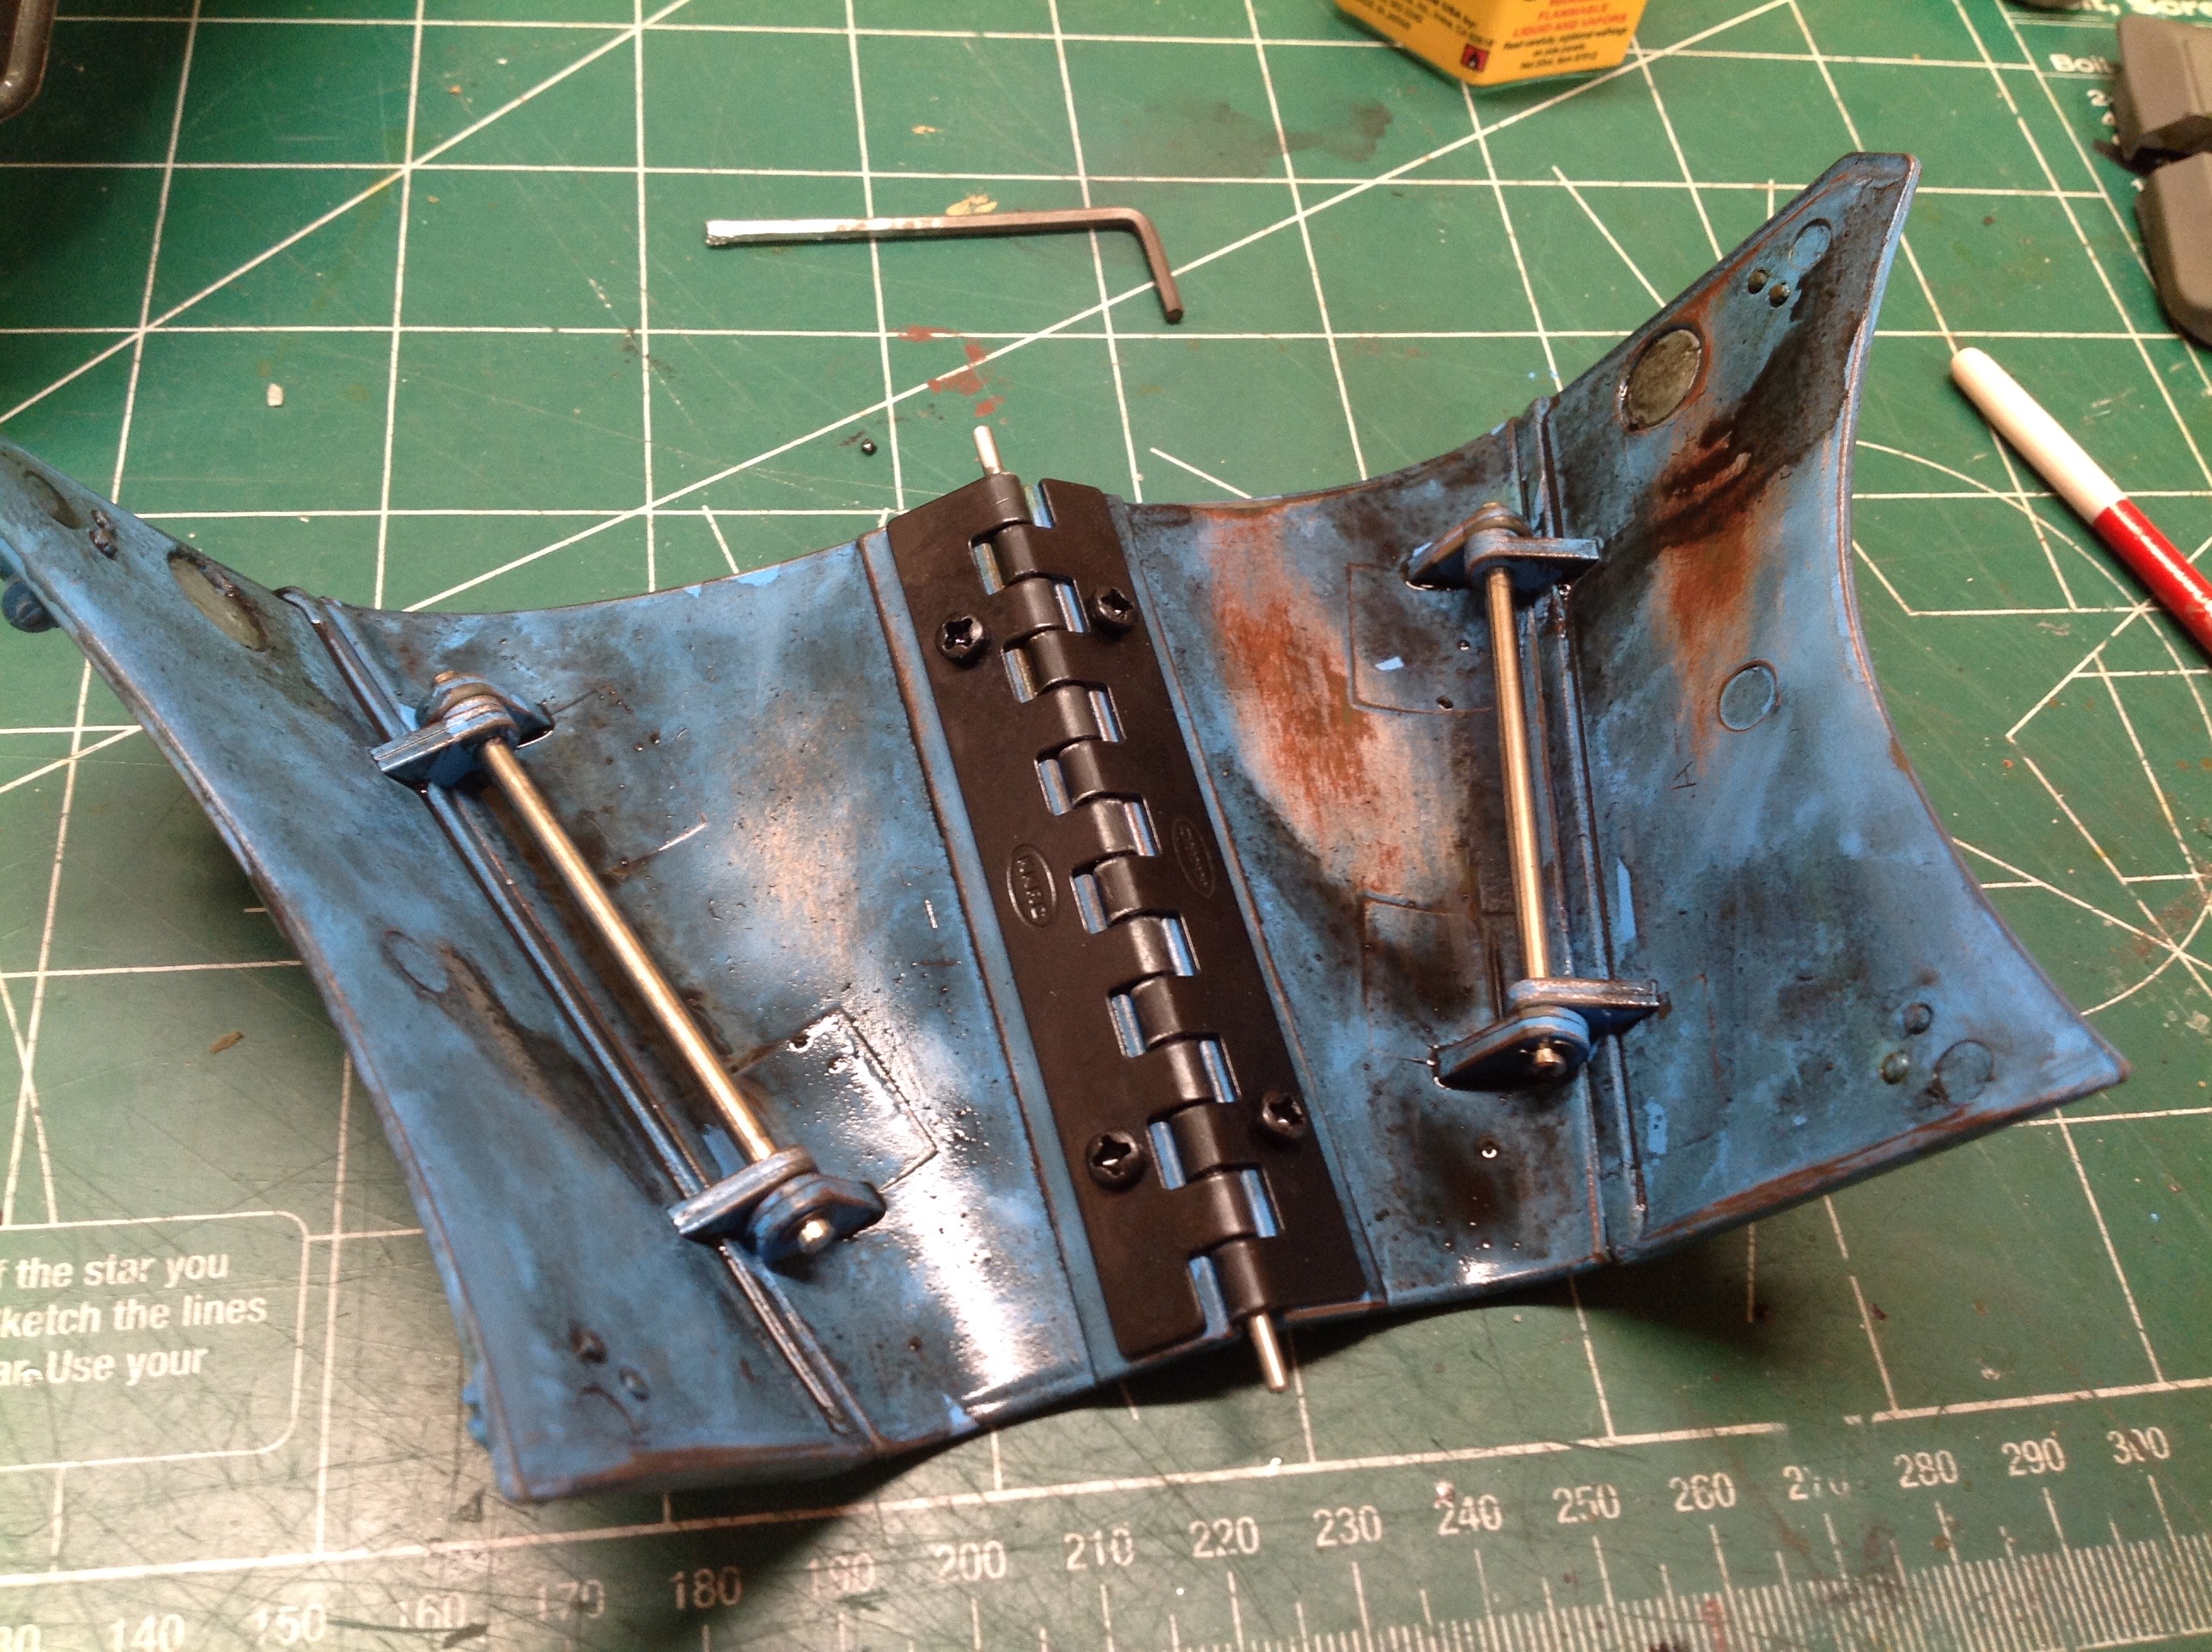
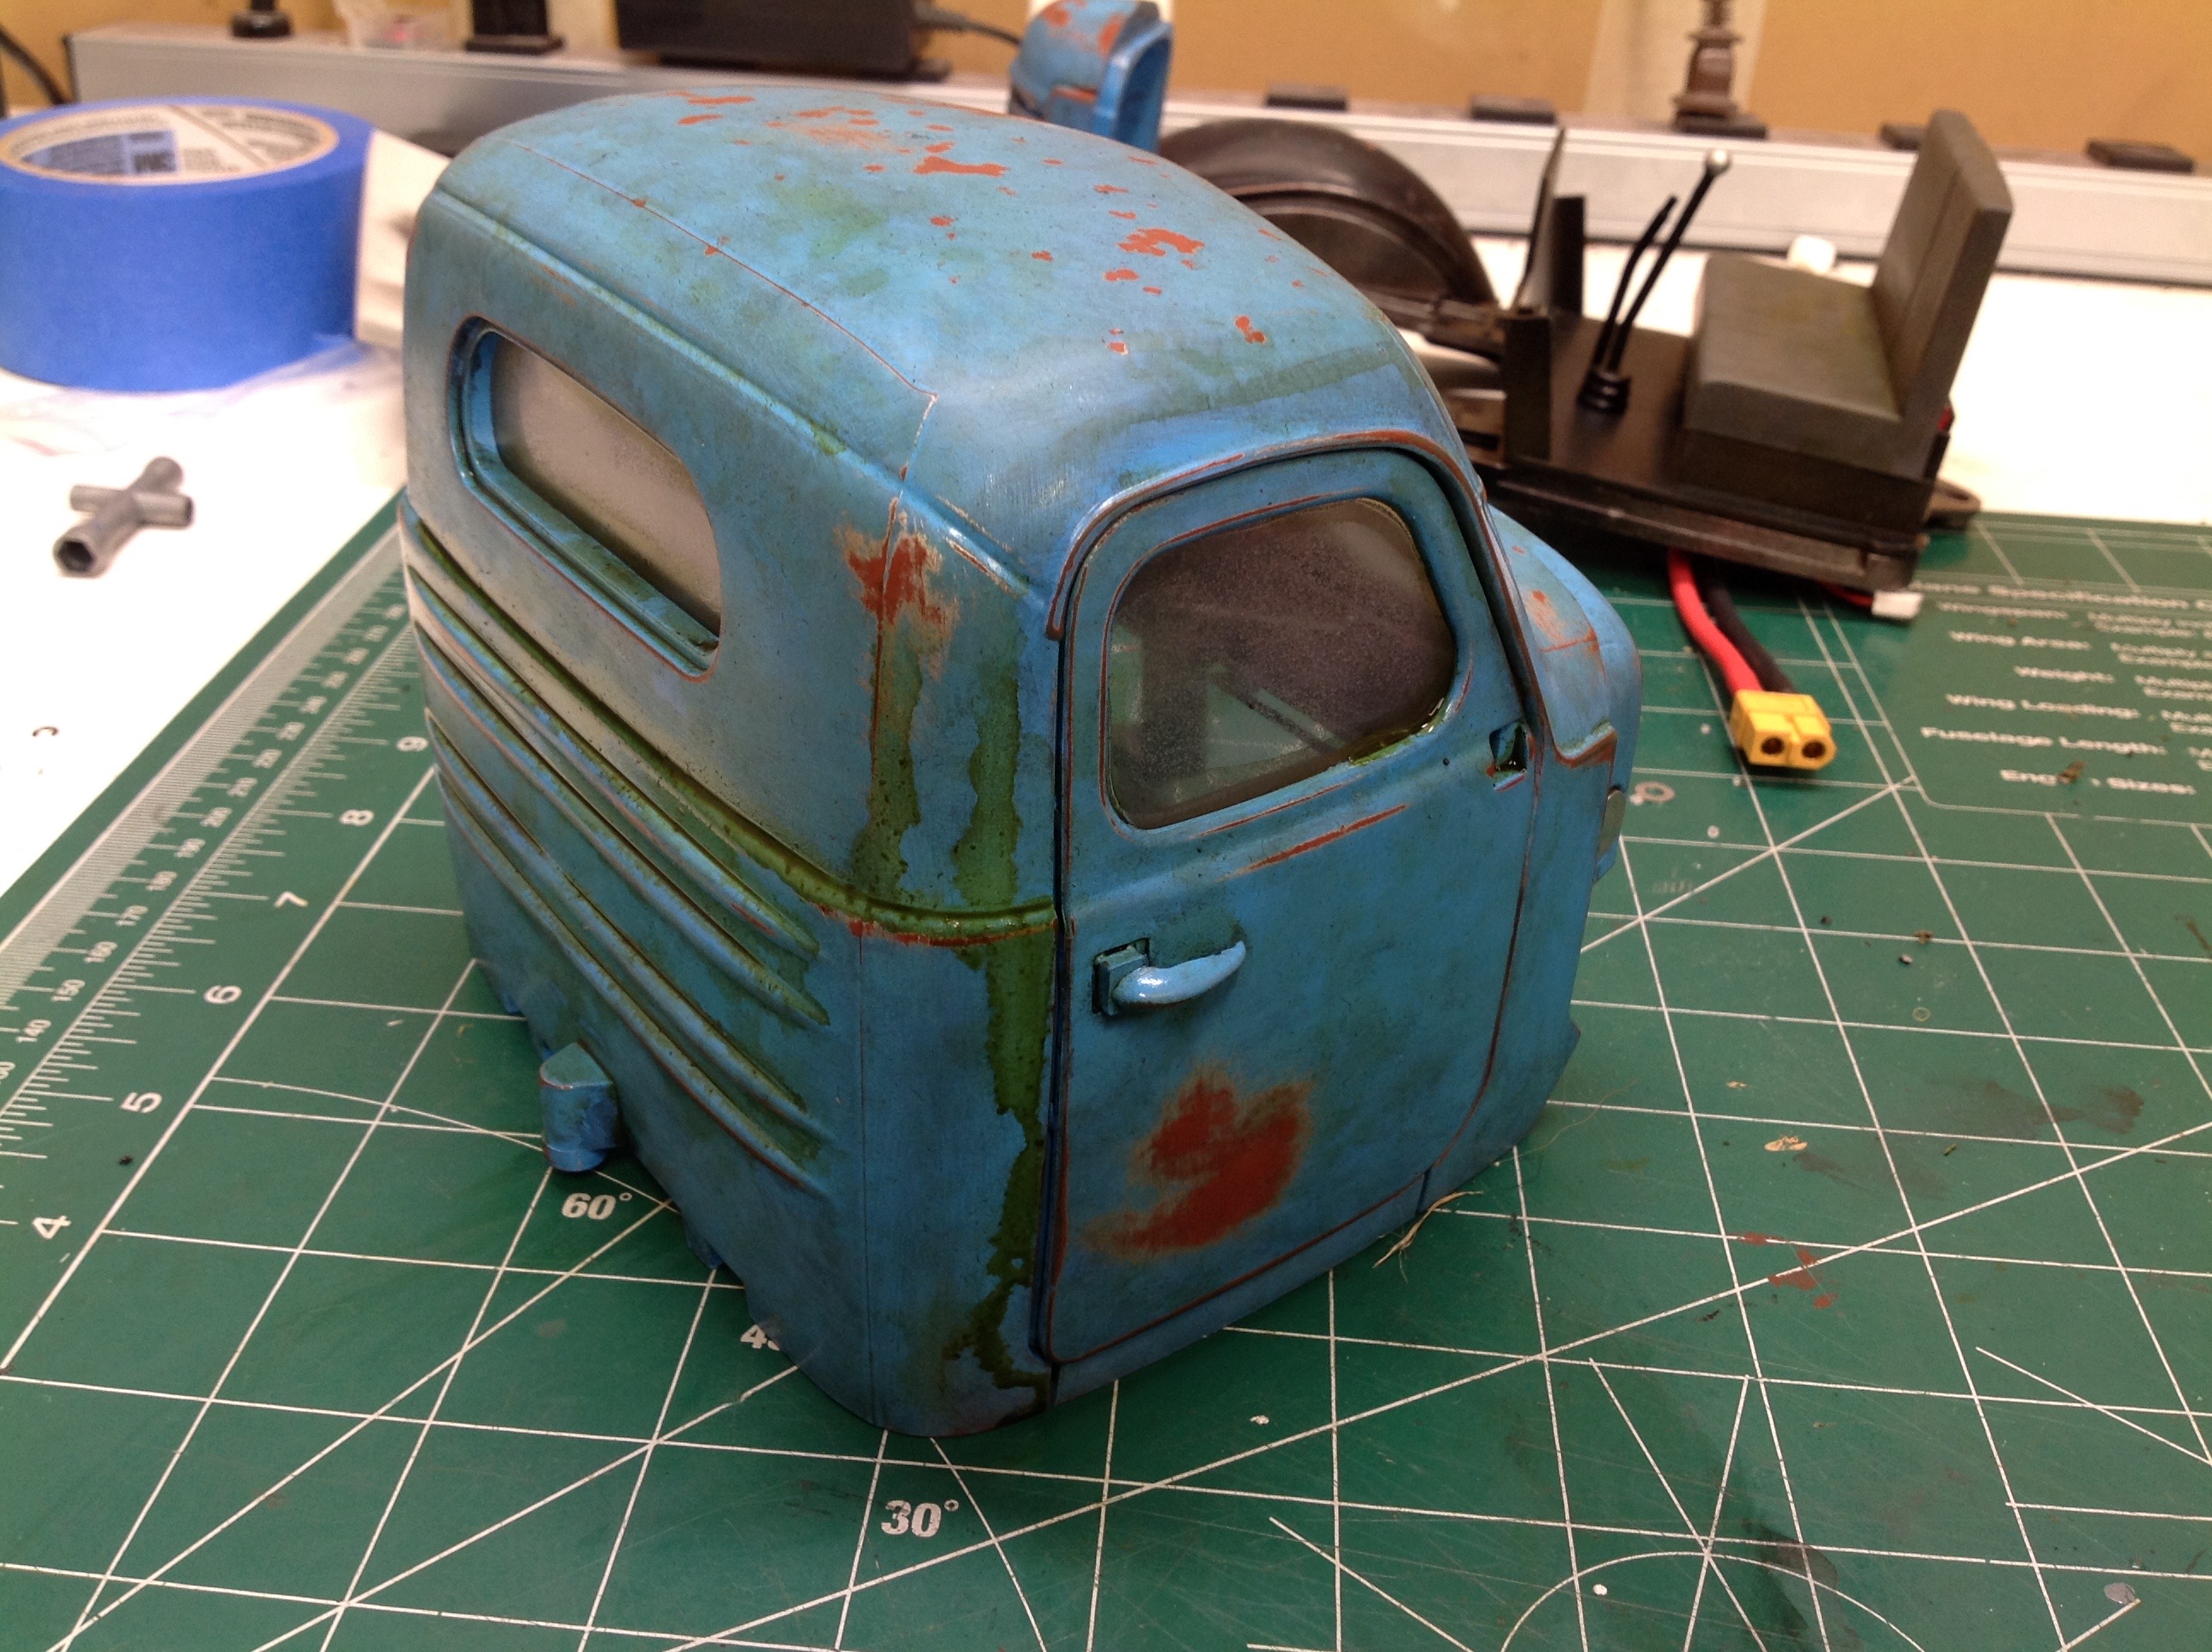
On the right you can see the additional weathering I did to the
cab. I added a dark green wash which I allowed to run down the
side to look like mildew from sitting in a field for years in the rain.
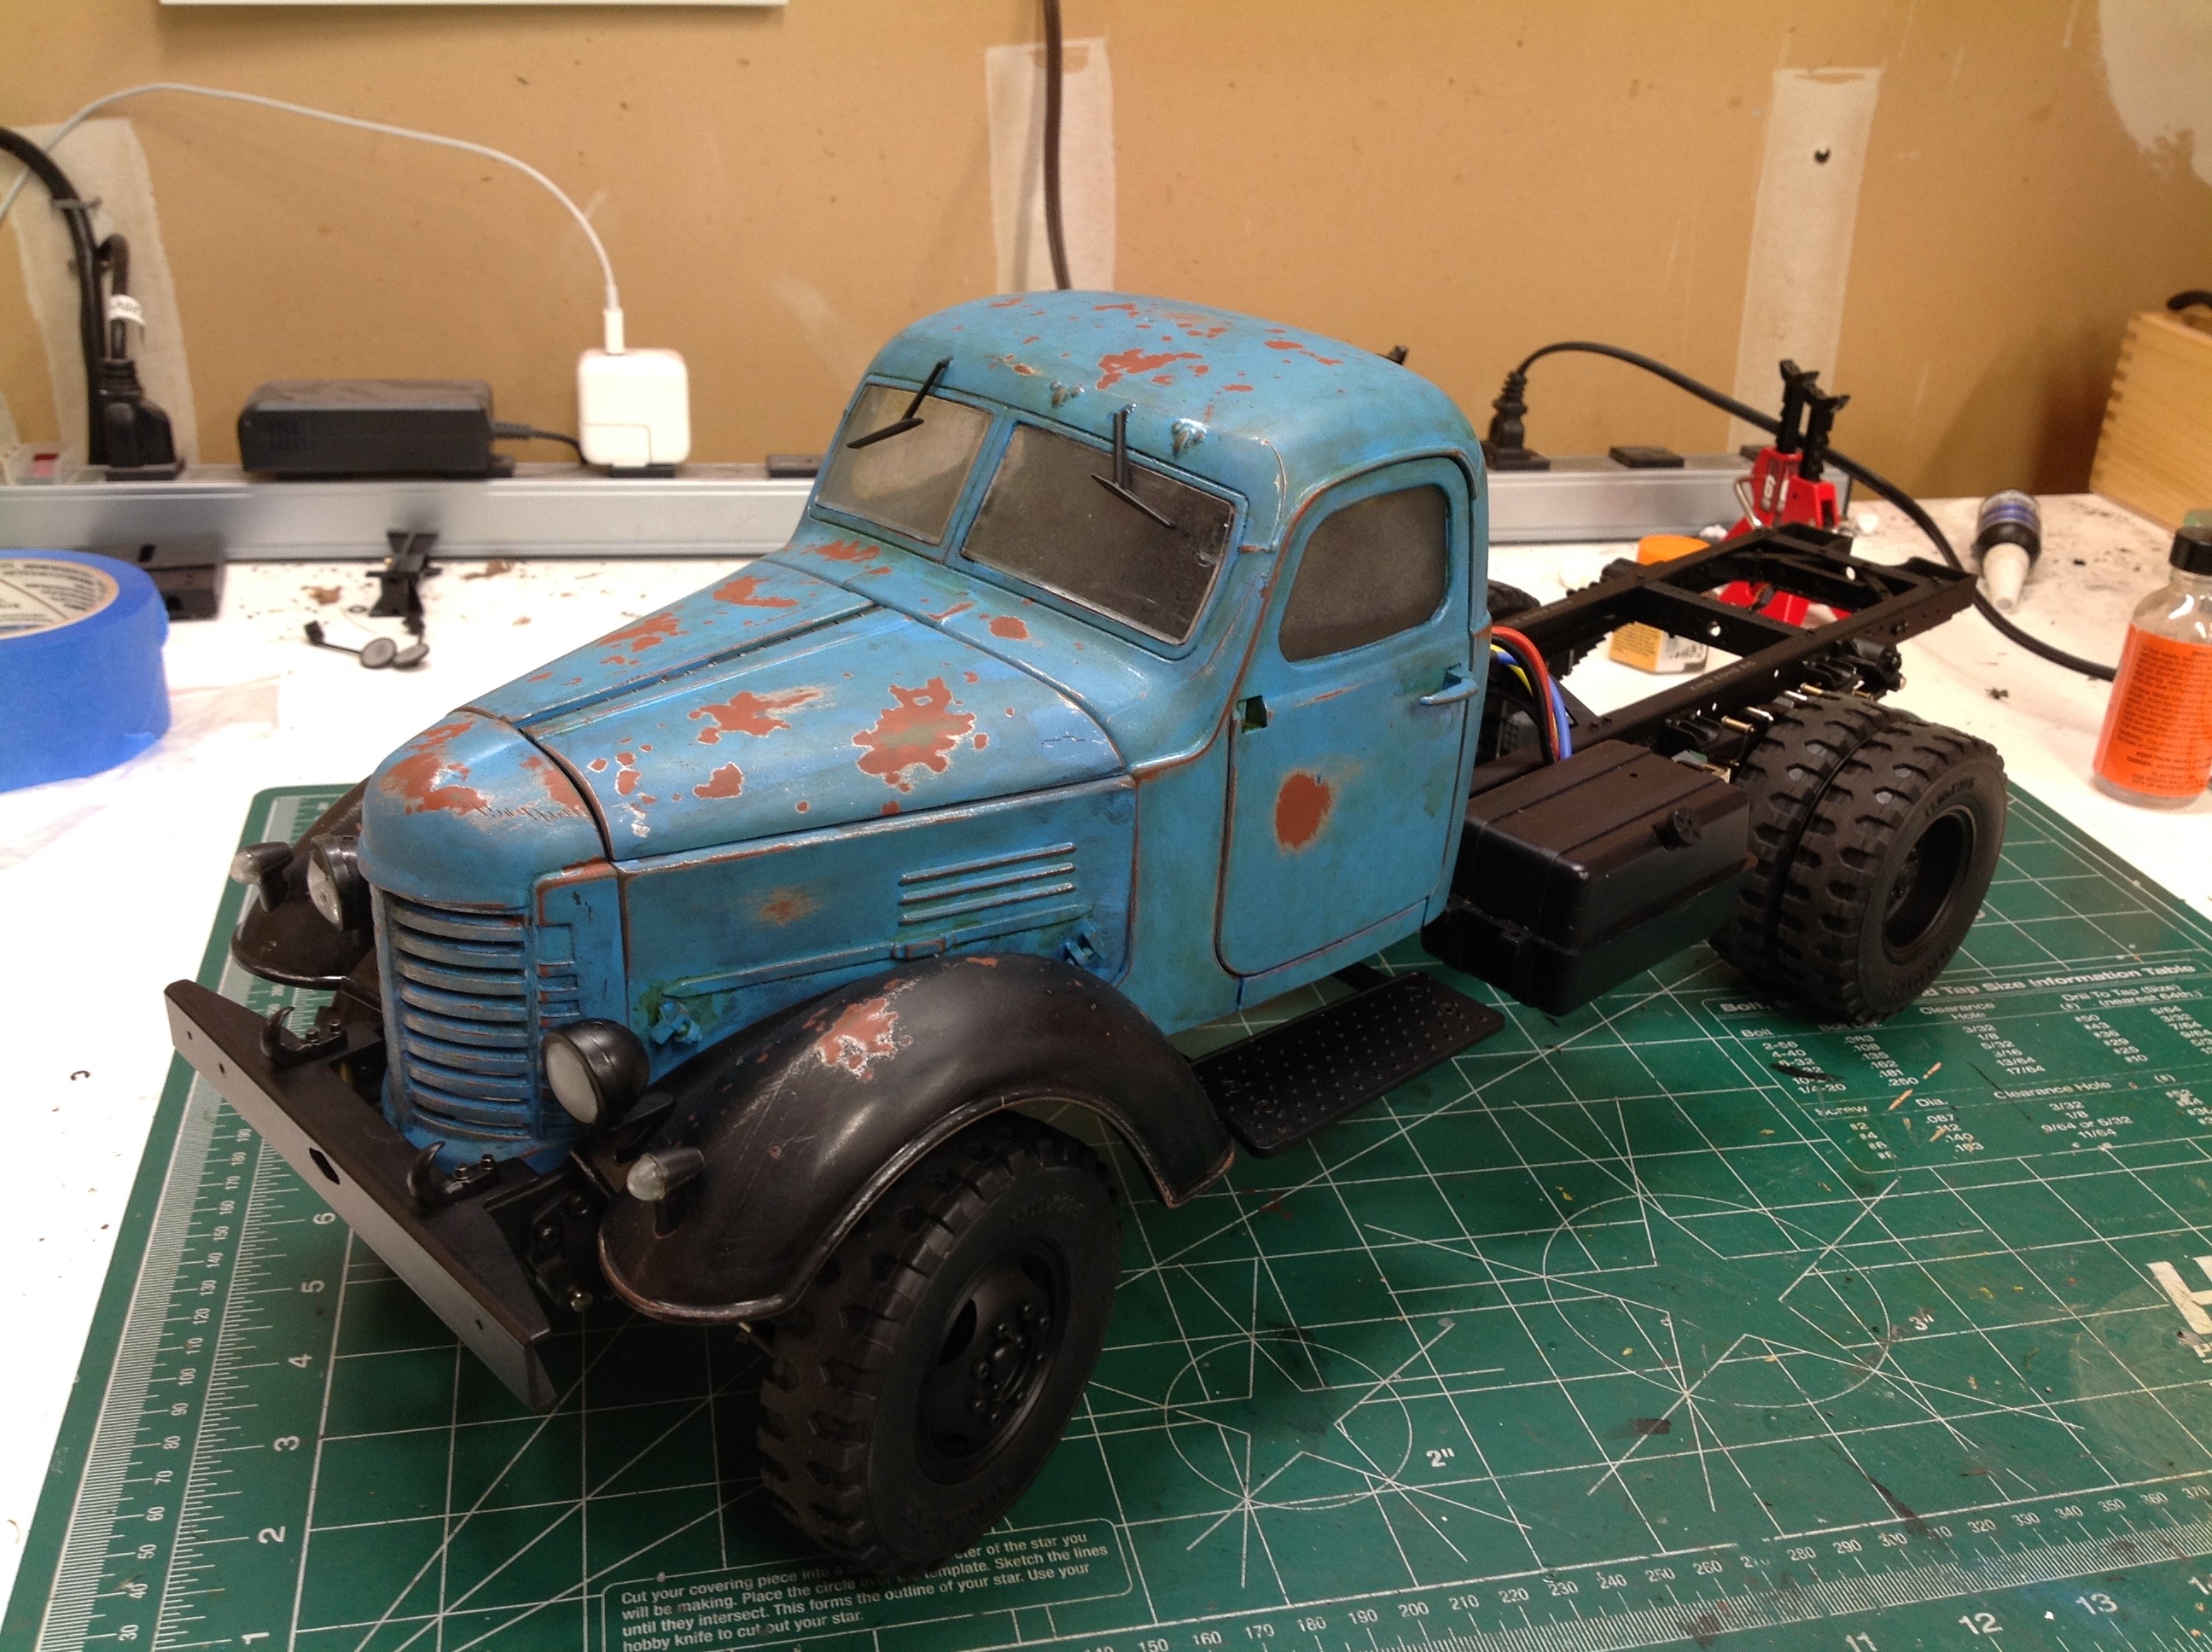
Once the cab is screwed to the front end, the body and interior are
complete. I frosted the windows slightly to make them look dirty
and then added the wipers. On the right you can see the body
installed to the chassis. The chassis is still entirely too clean
to match the body.
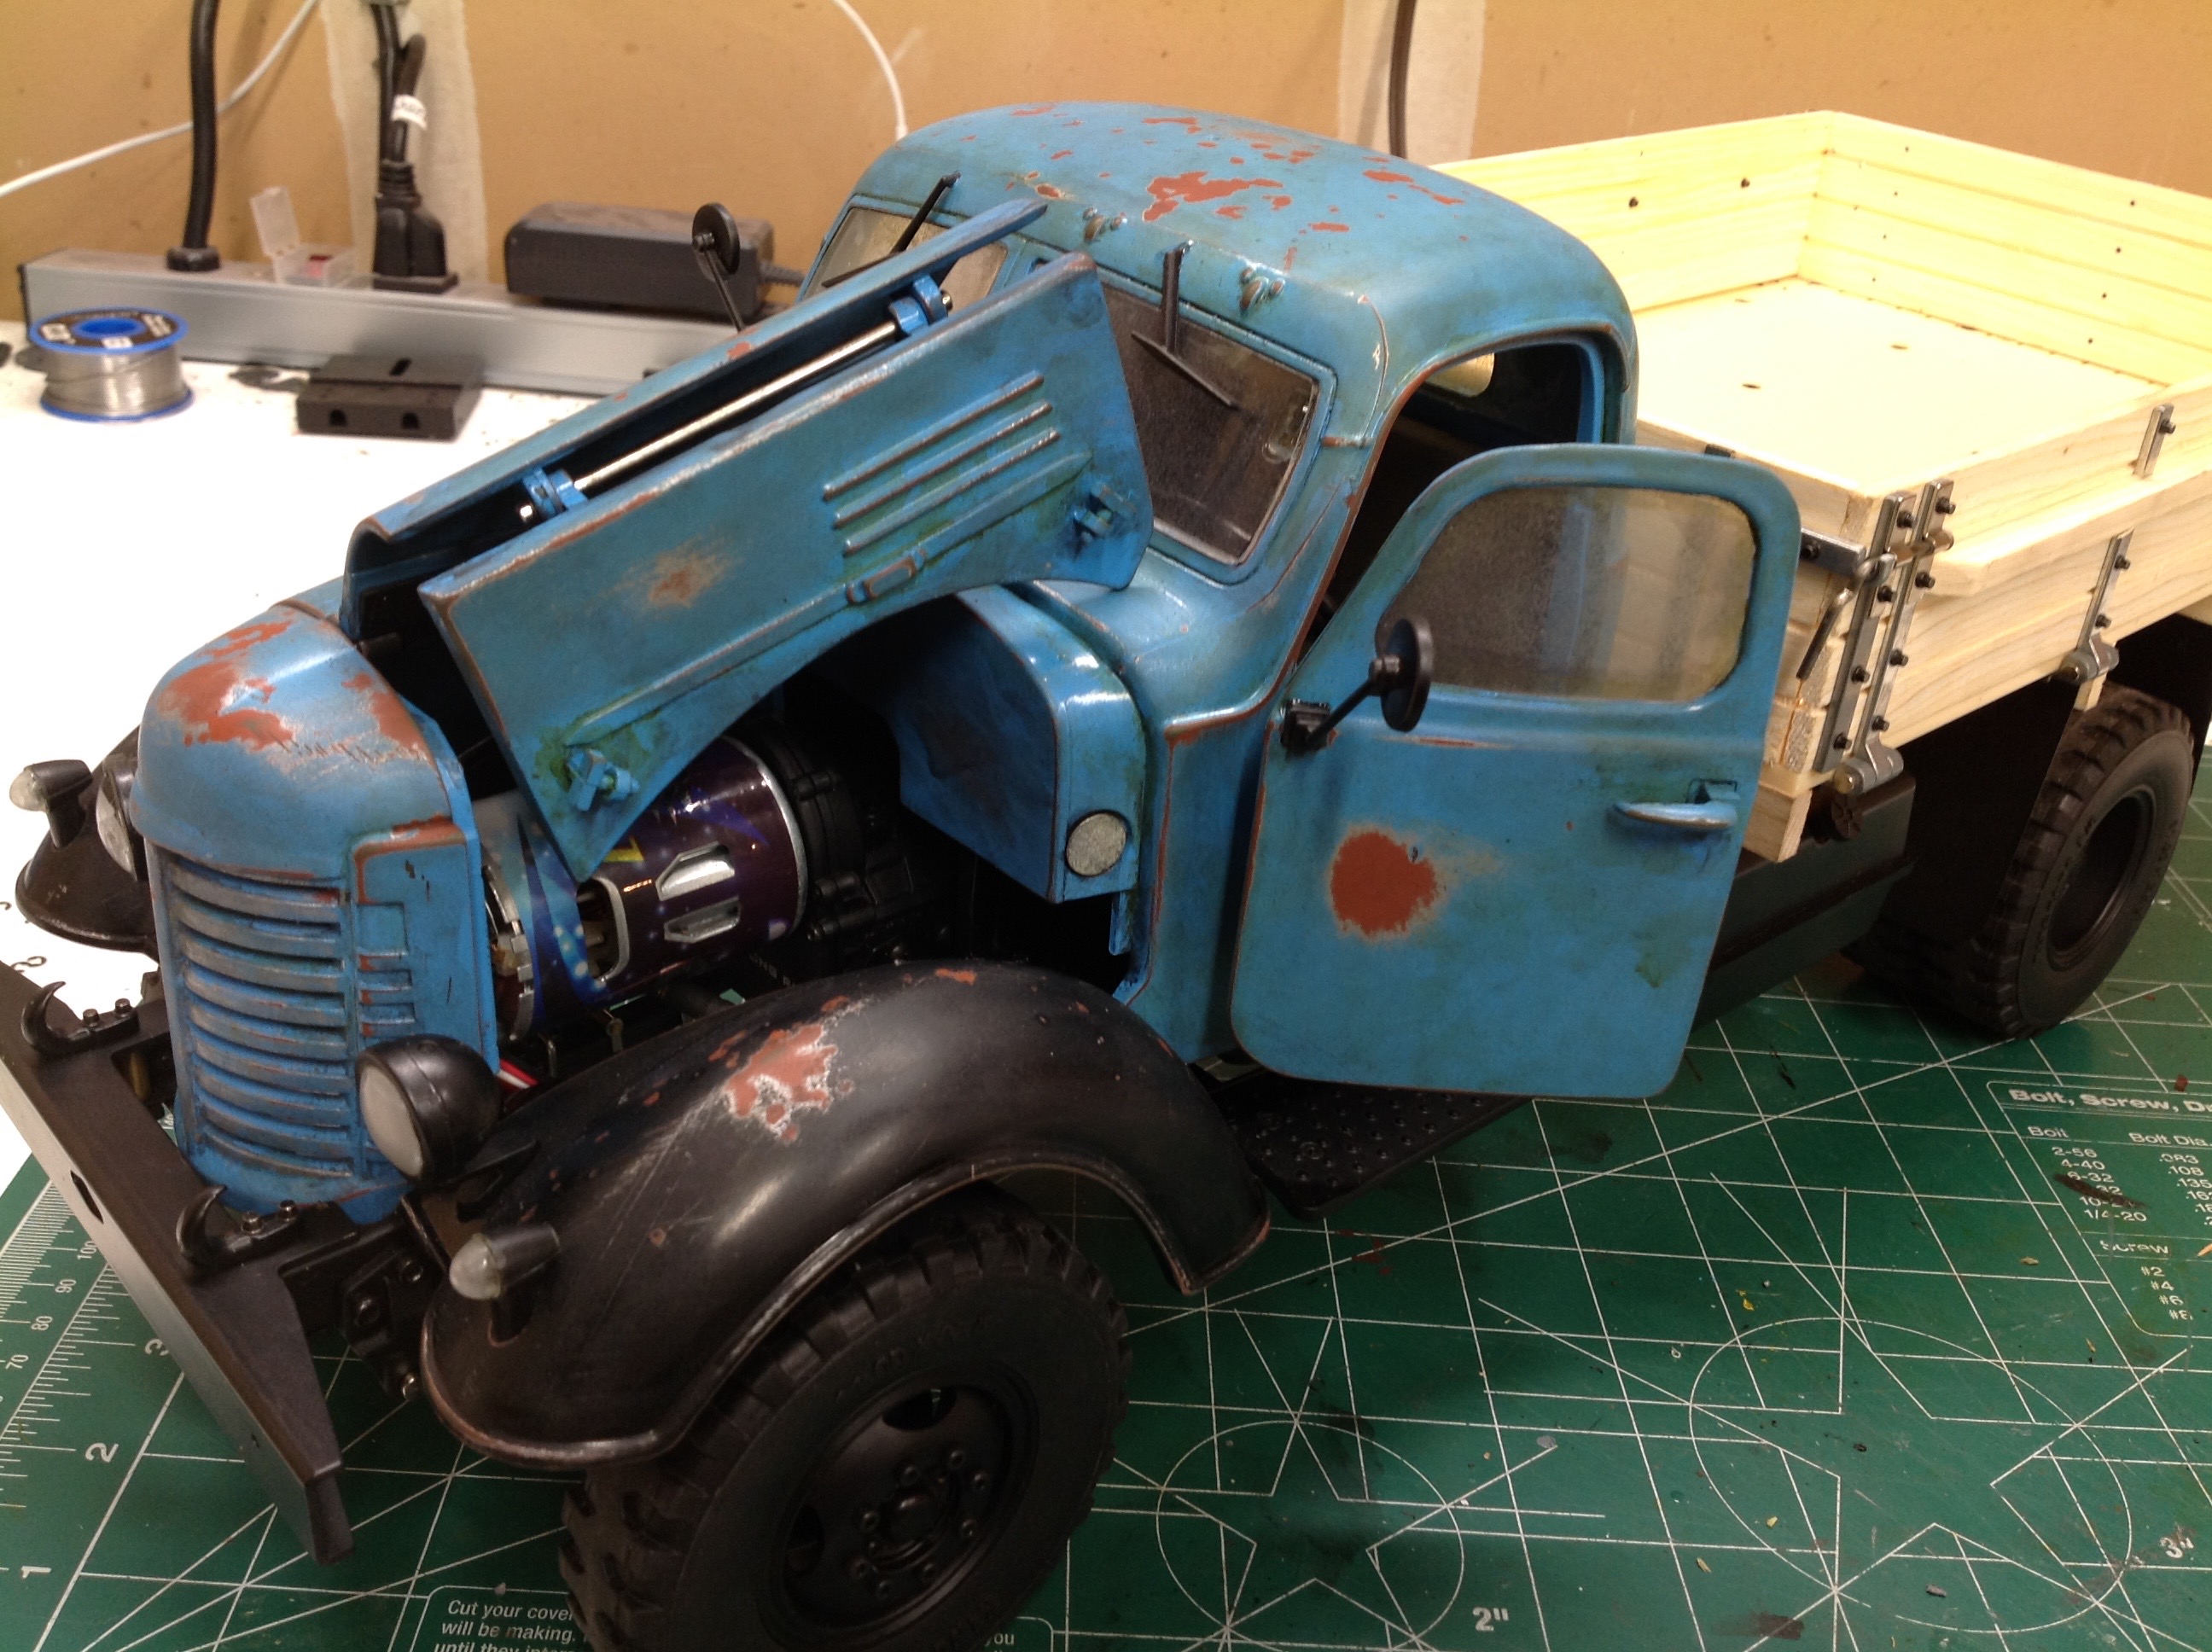
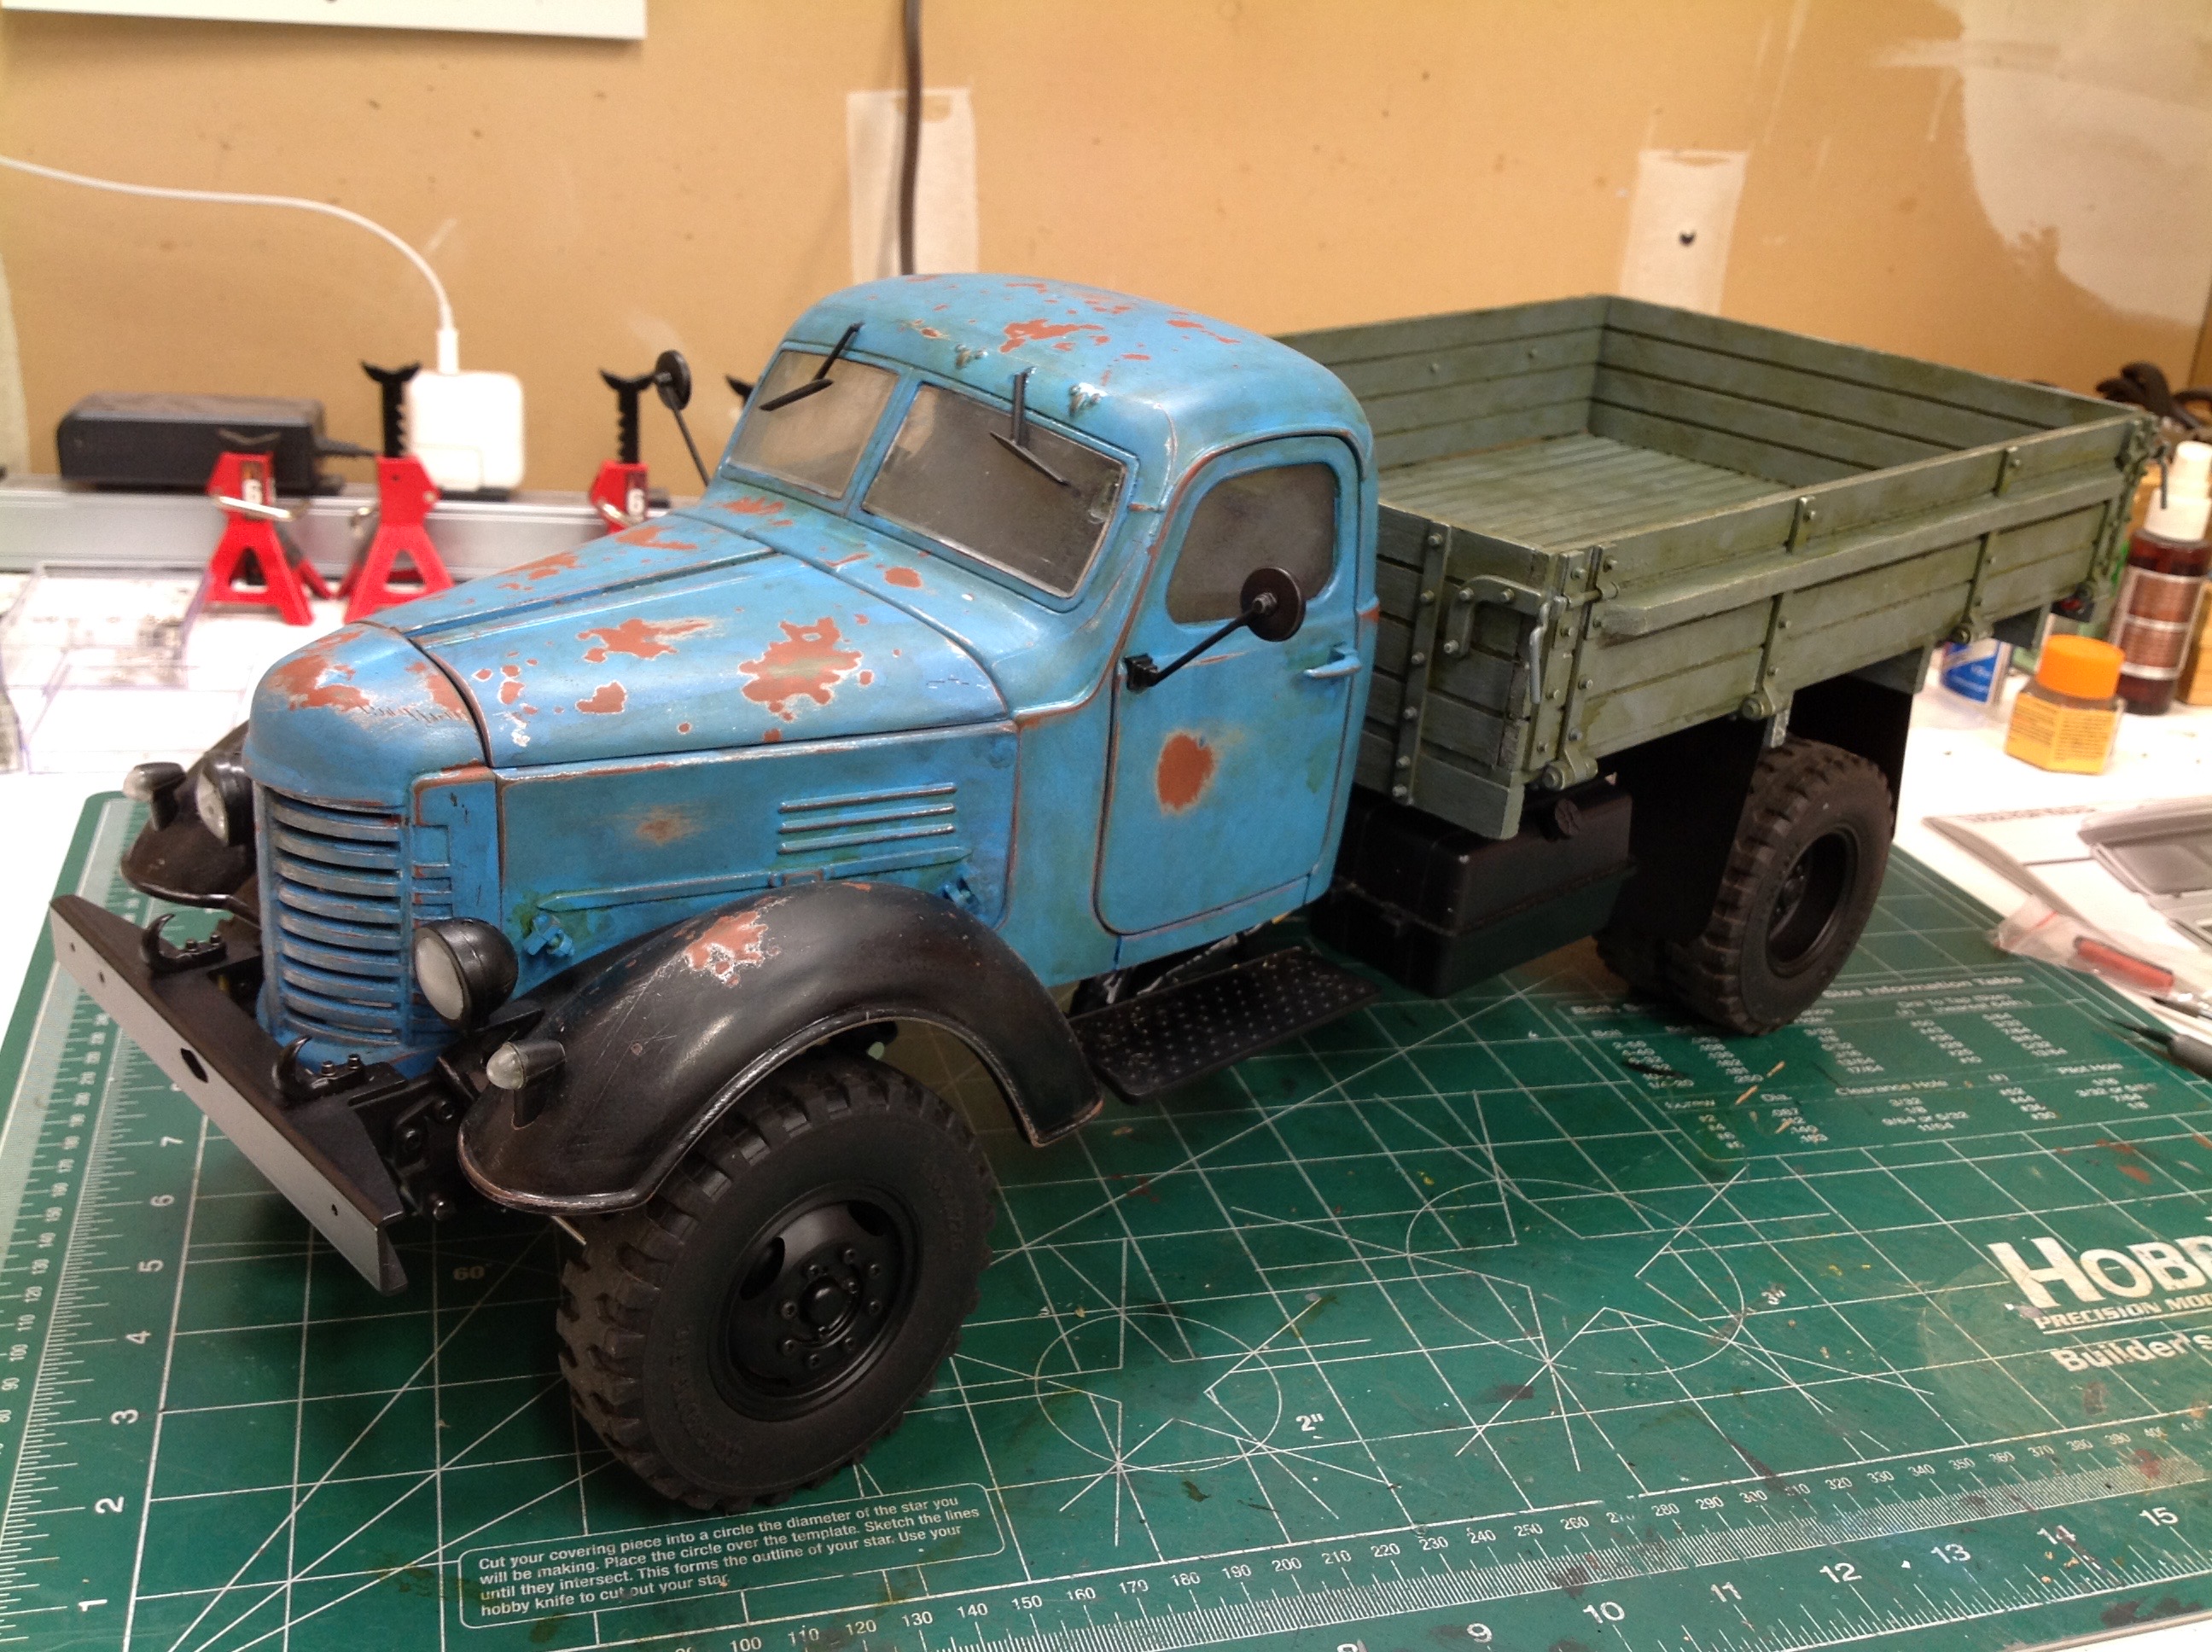
Here's the completed truck with the body weathered and the hood open
exposing the motor. At this point the clean bed clearly needs some
work, and I'd like to eventually get a scale engine for under the hood.
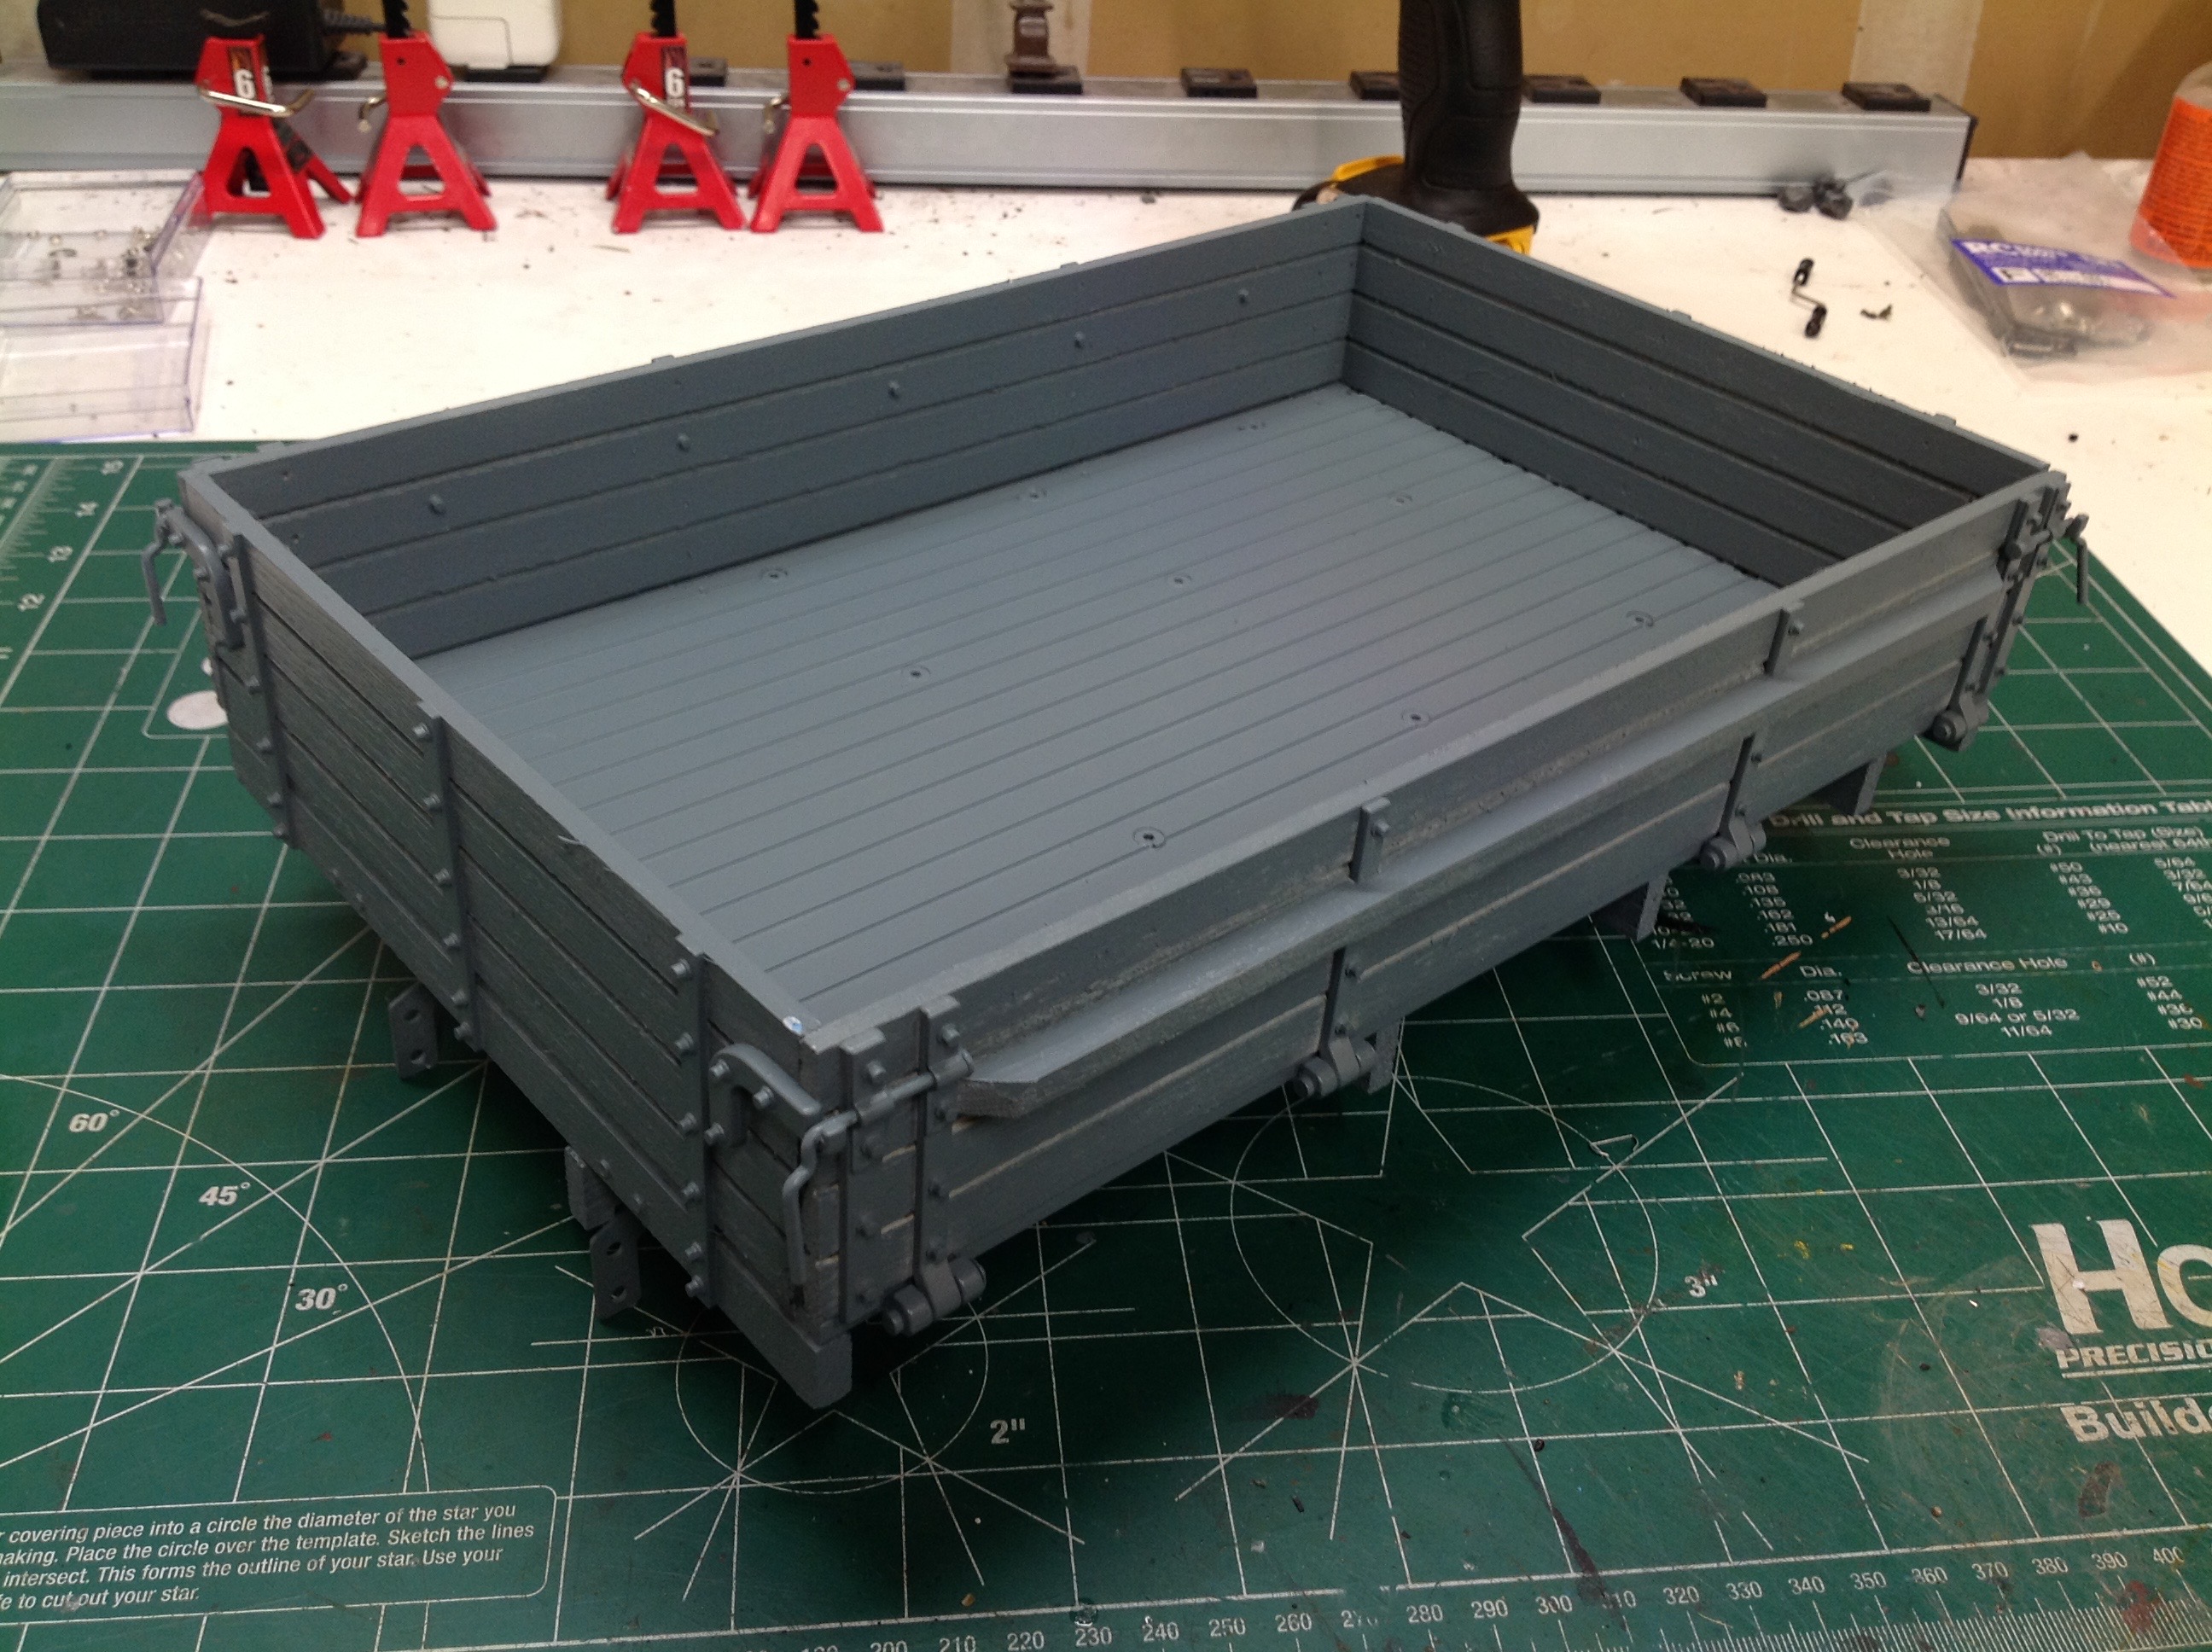
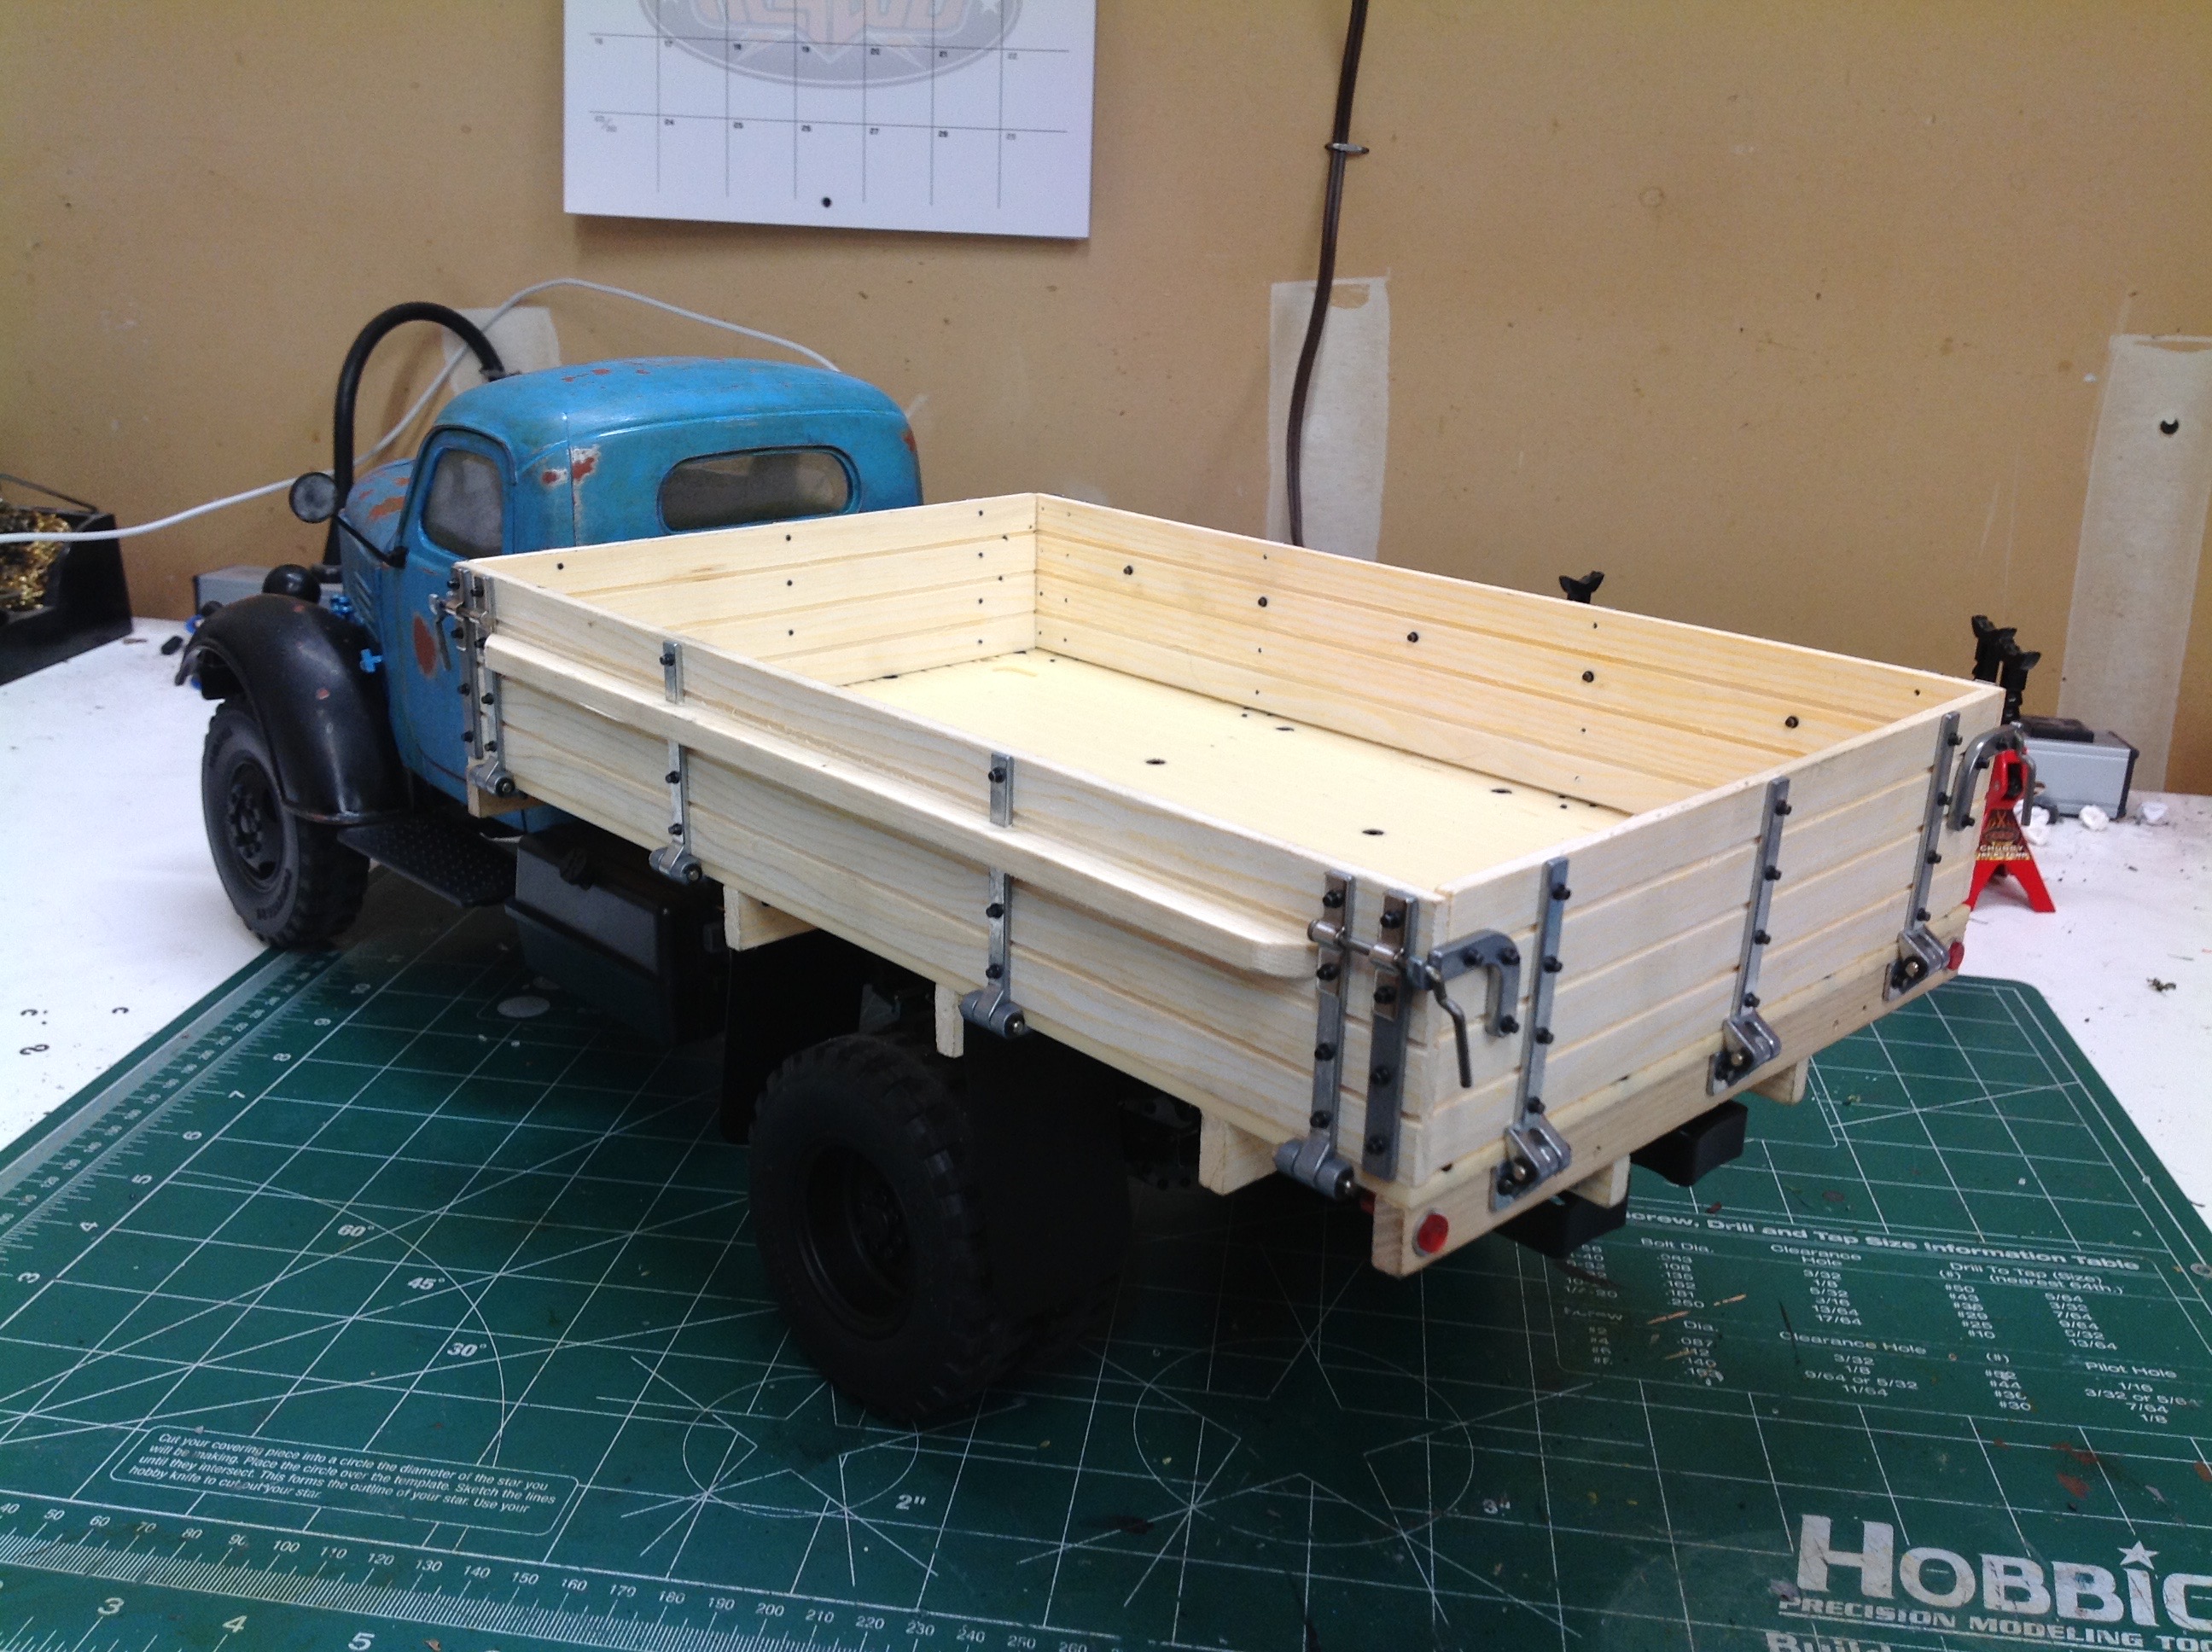
I would have preferred to stain the wooden bed, but because the bottom
is plastic that wouldn't work. I started by priming the whole
thing and then painting in the shade of gray I hoped would be
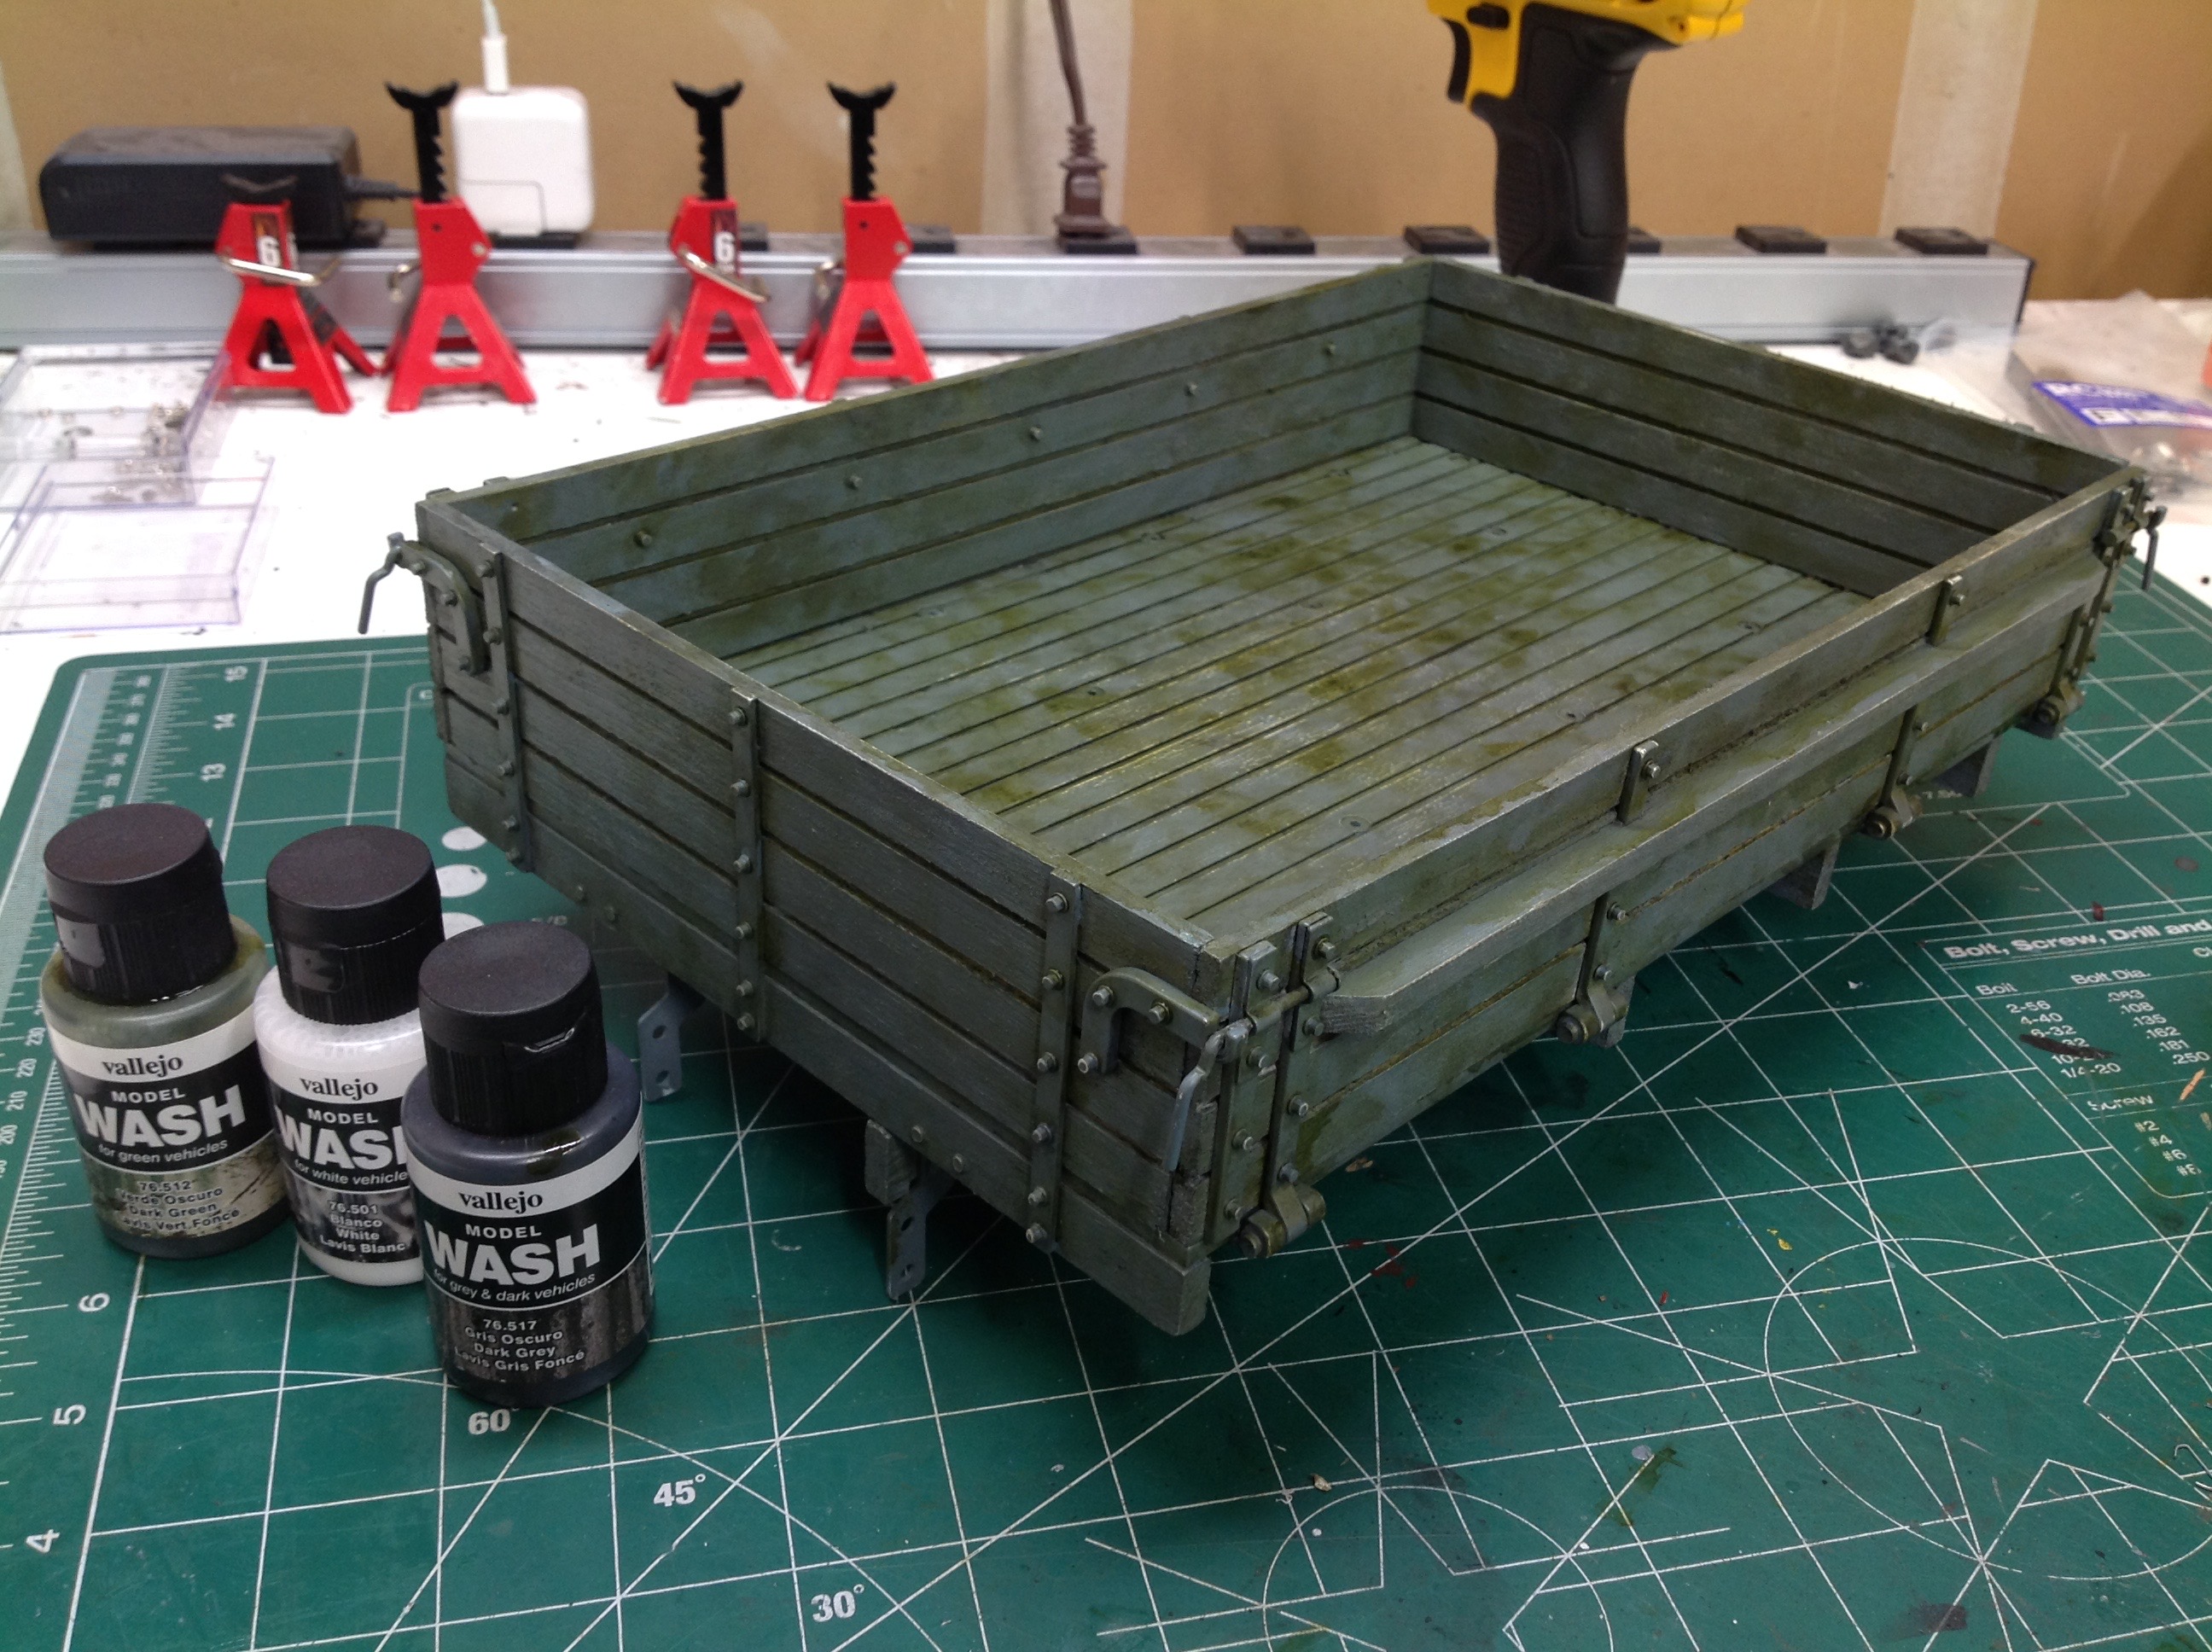
reminiscent of old wood. The real character came from the washes
as shown on the right. I used white to bring out the grain, black
to make it dirty, and green to make it moldy. It certainly doesn't
look new any more. To apply the wash I brushed it over the whole
surface and then randomly blotted it with a crumpled paper towel.
These last two photos show the different look of the bed before and after weathering.
©2019 Eric Albrecht