Tamiya Toyota Hilux Project
Page 1: Assembly
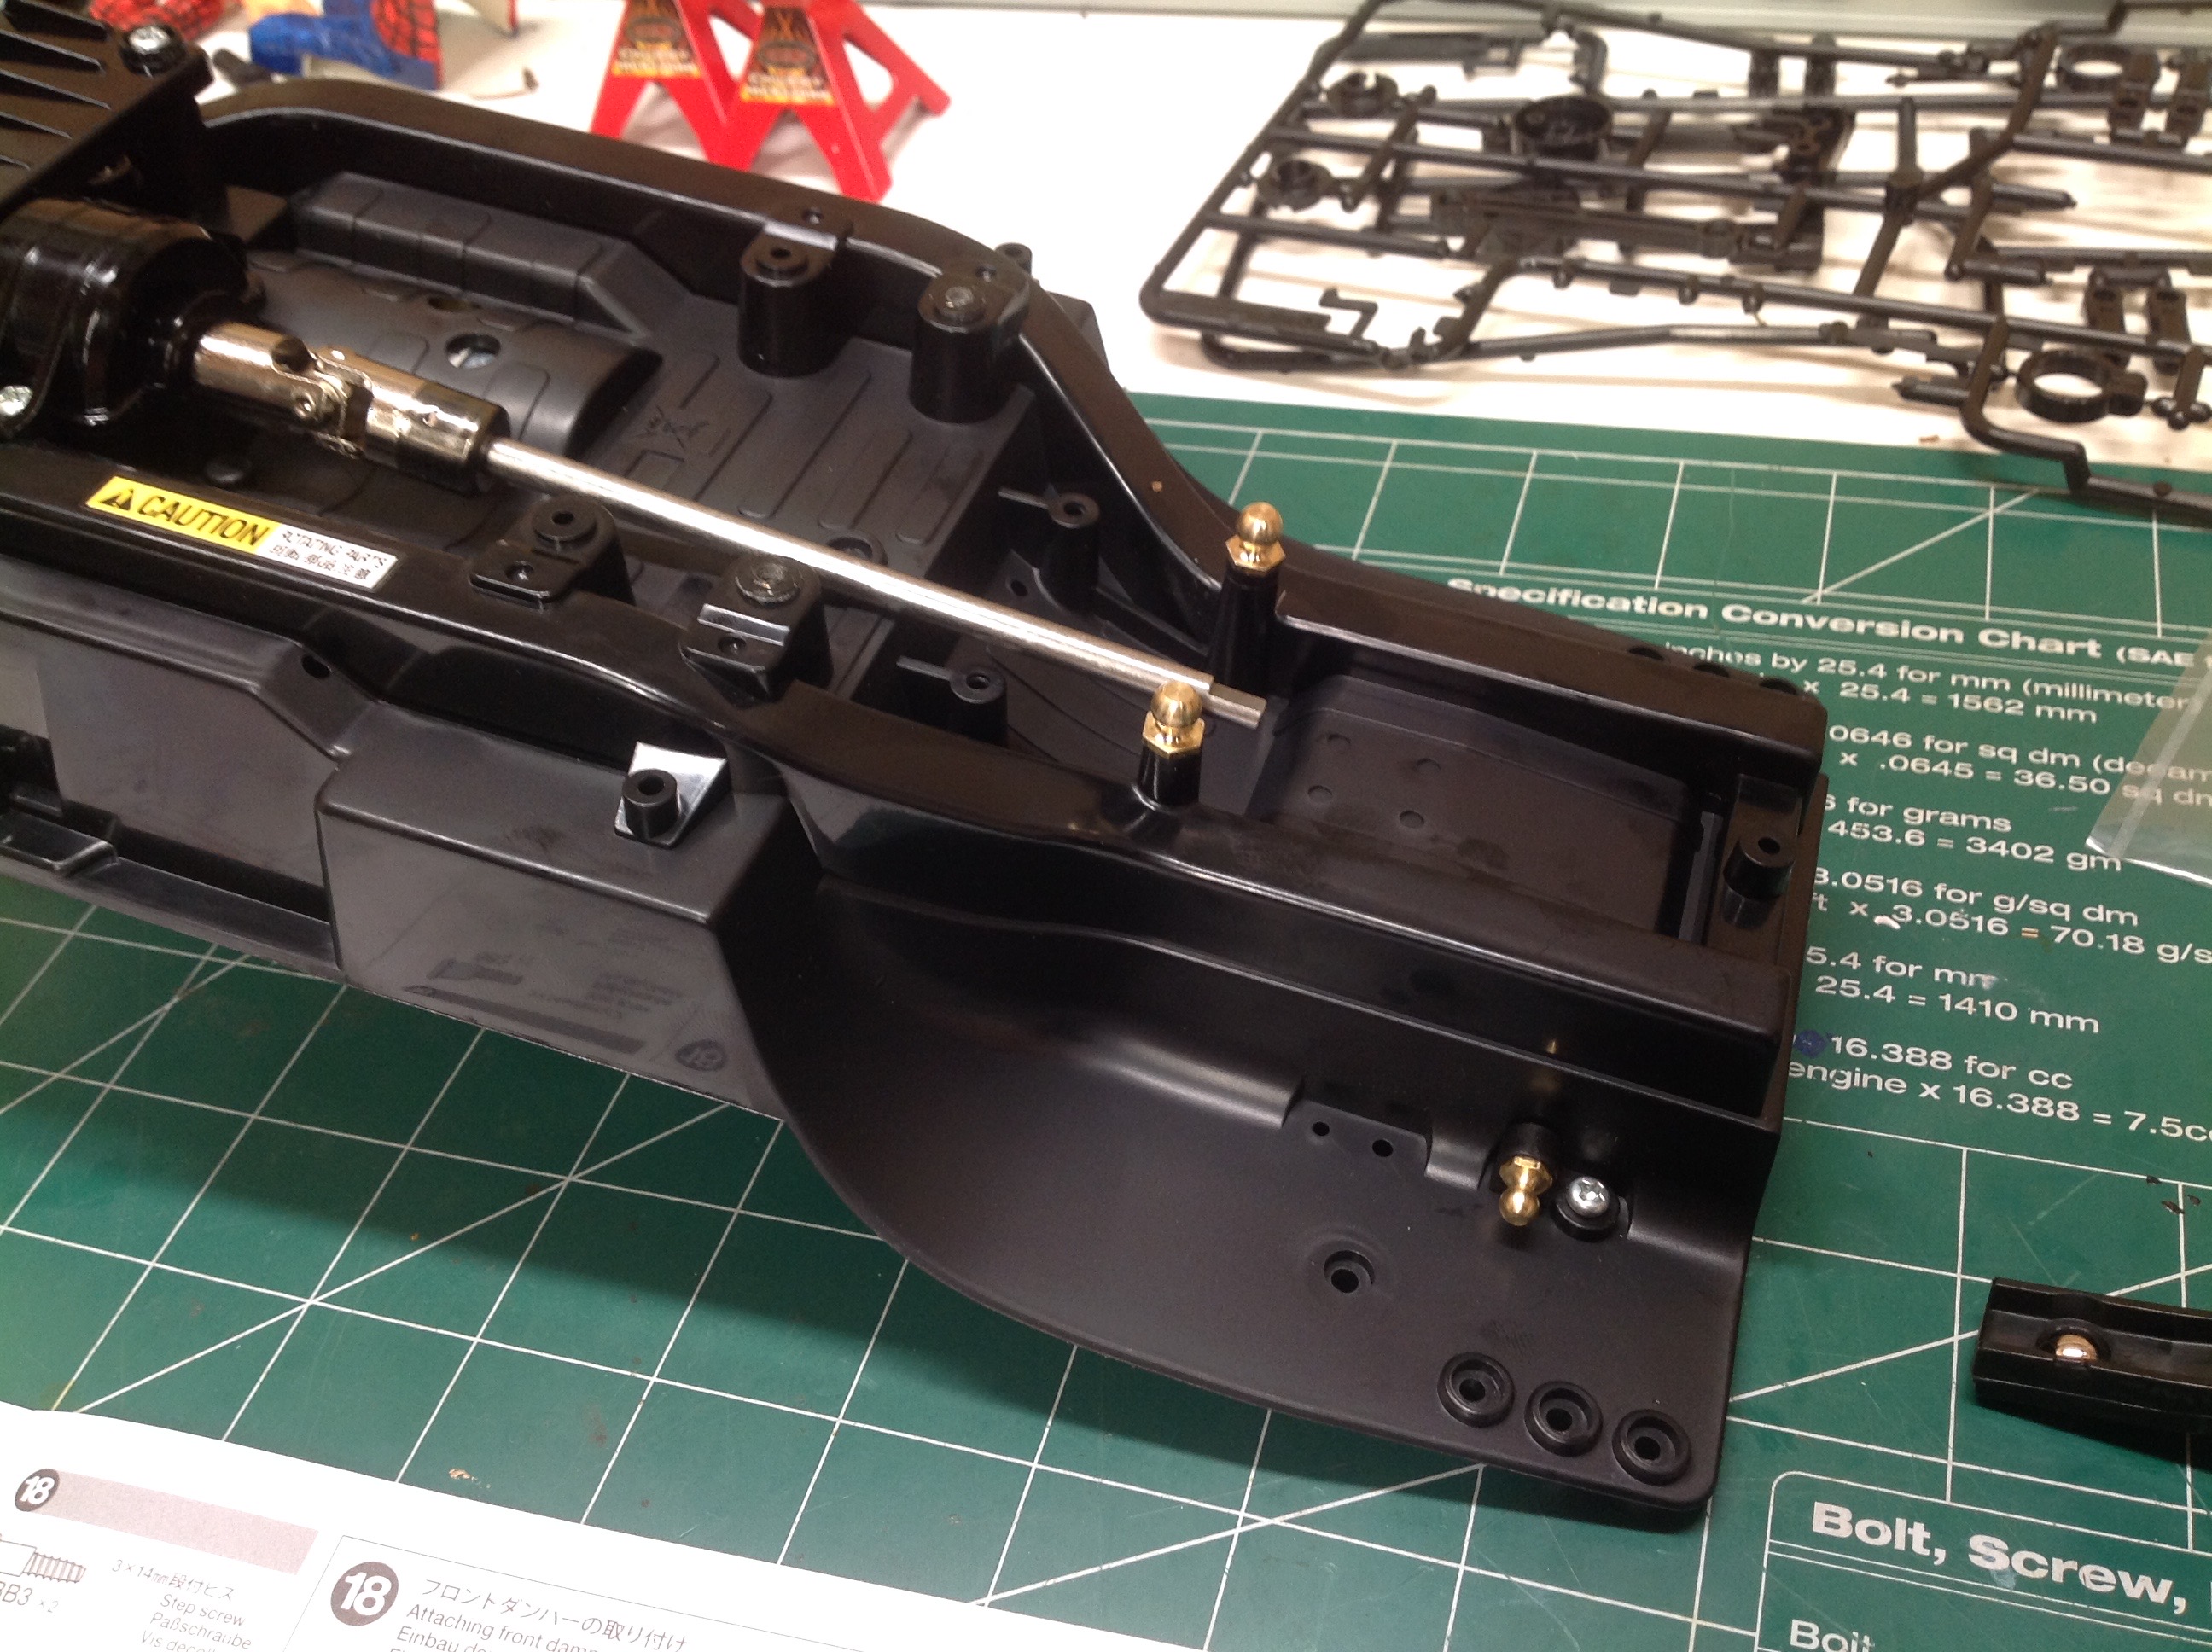
Because I have already built several other CC-01's, I did not record most of the build process here.
For those interested in more information about the build of this
chassis, a detailed build record of another CC-01 can be found on my Land Rover Defender page.
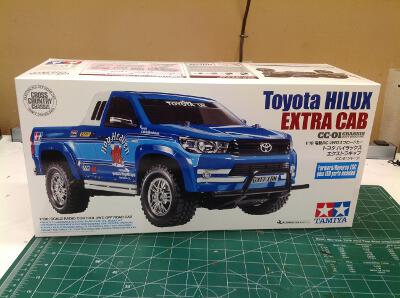
The Hilux comes in a lovely box, but with a photograph instead of
the more traditional Tamiya artwork. Note that nowhere on the box
does it make any reference to the name "Bruiser" though there is no
mistaking it if you have ever seen the original.
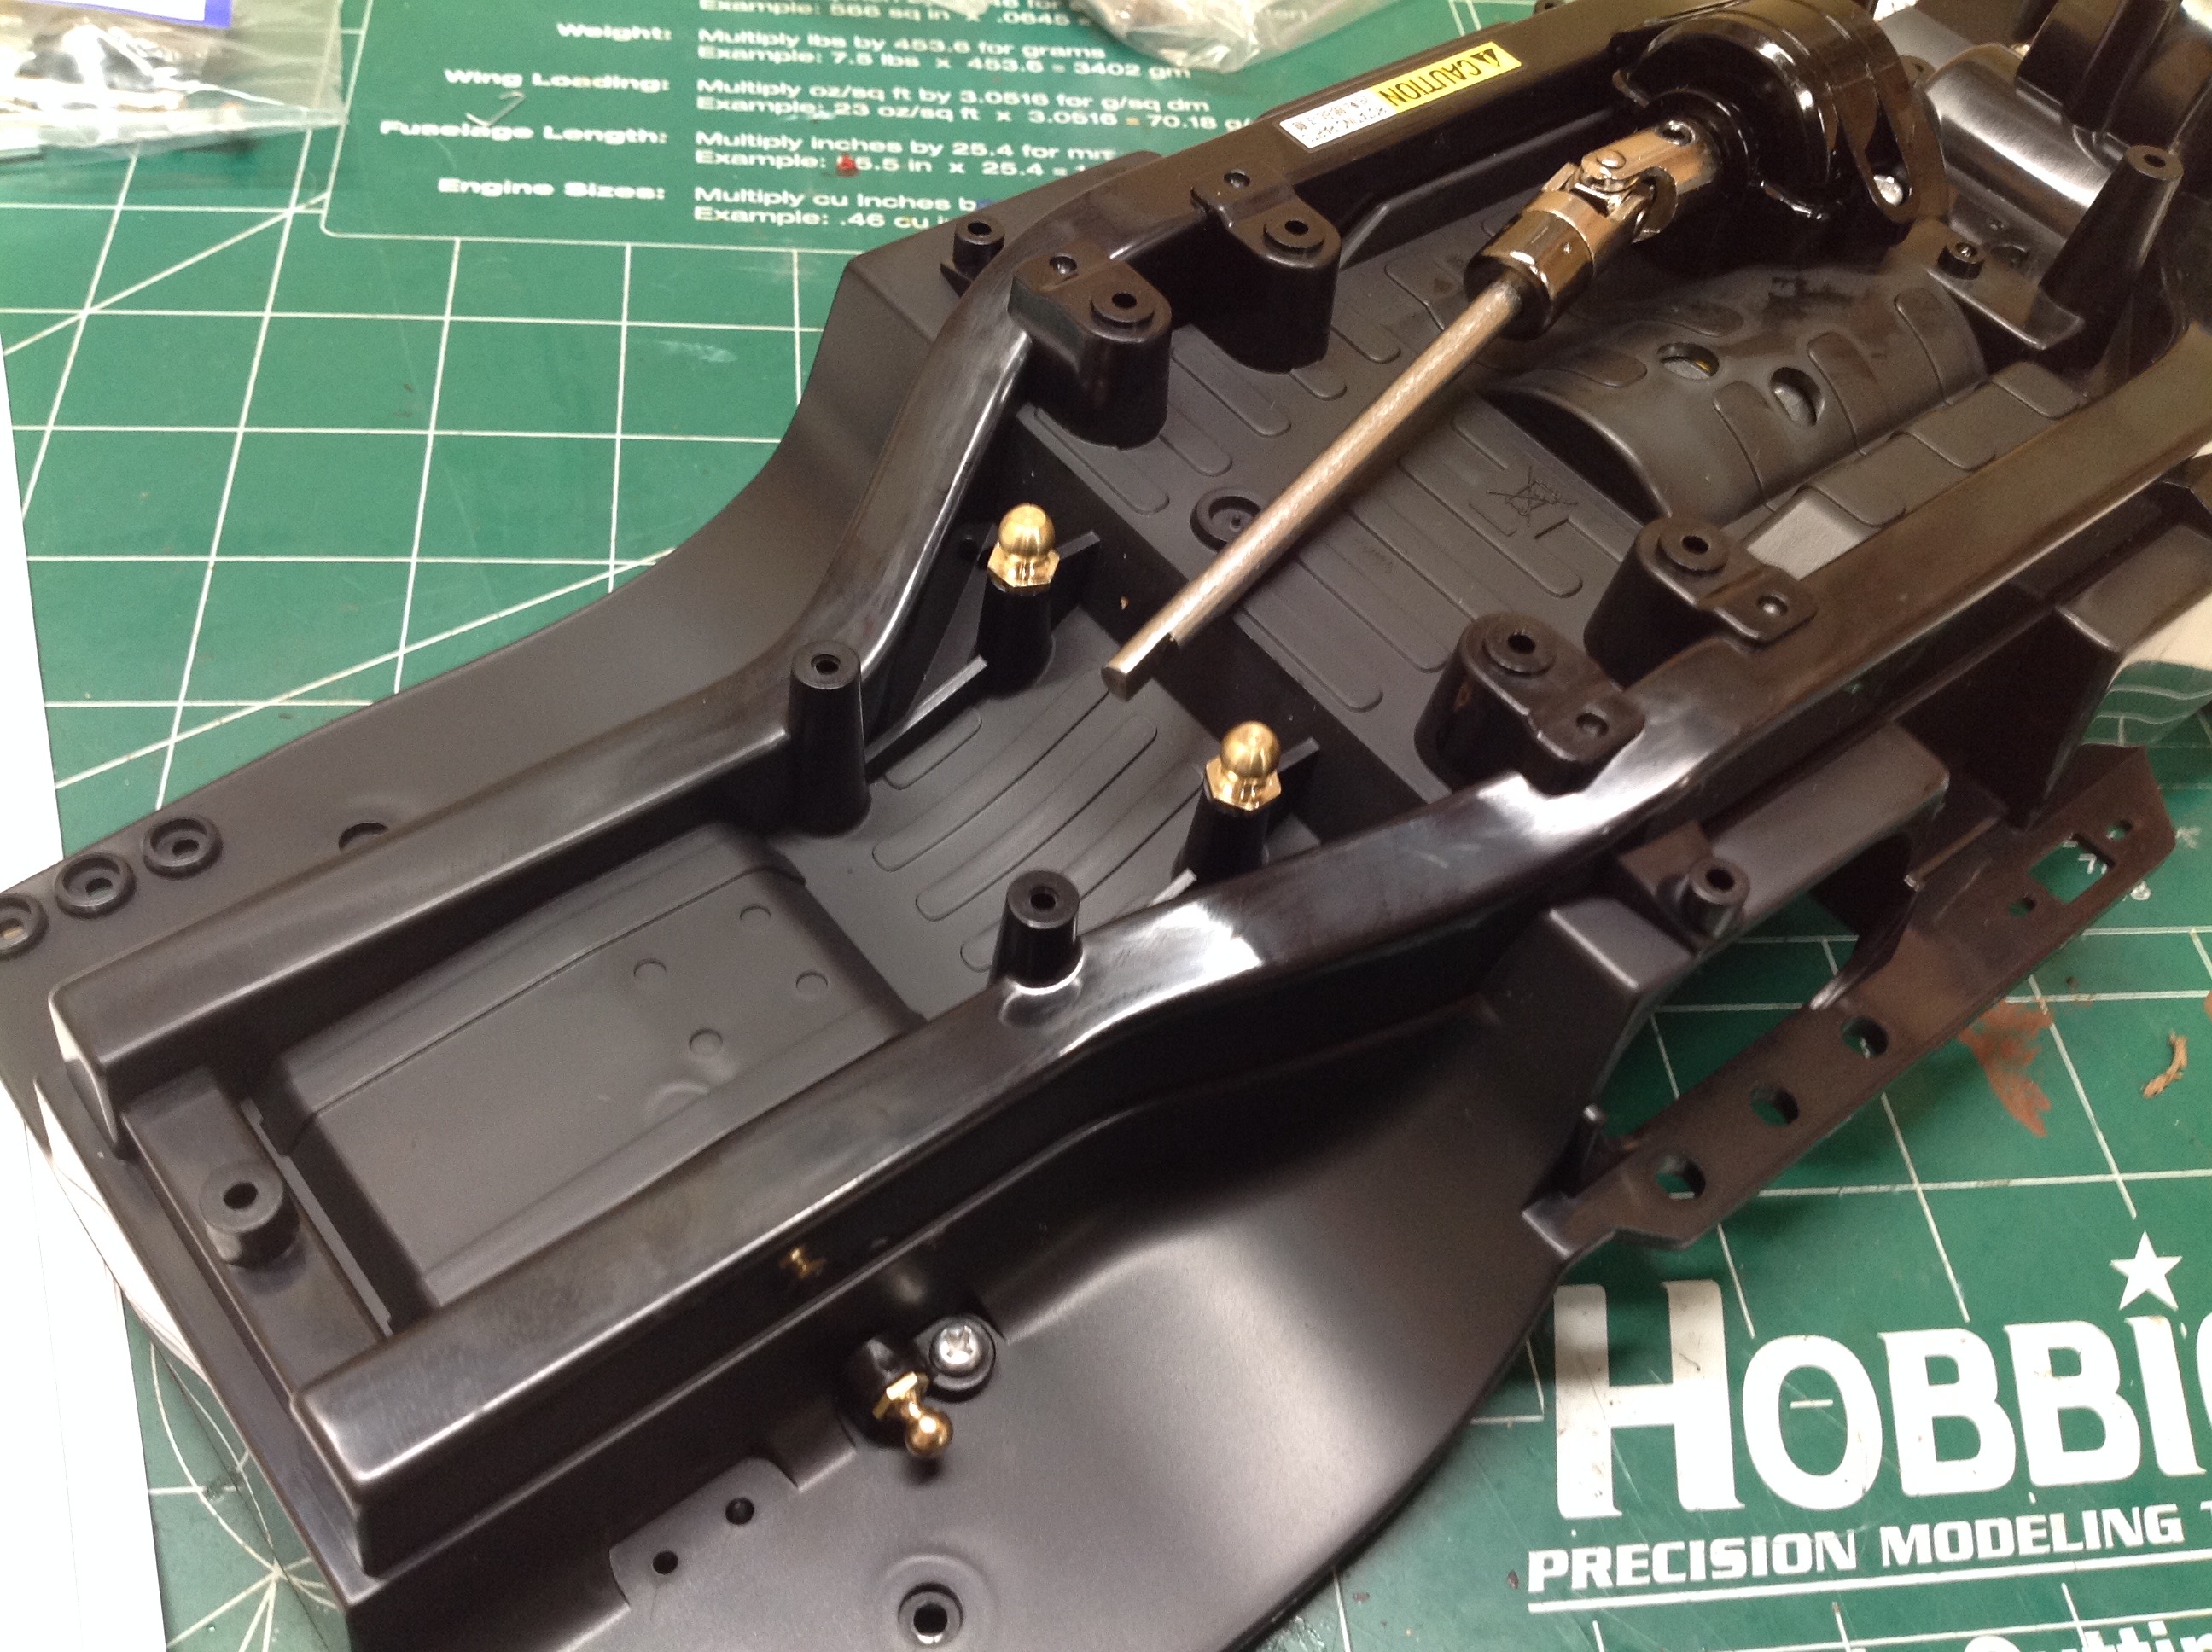
Of my 5 CC-01 chassis models, this Hilux is the only to use the long
wheelbase option. The standard wheelbase from the Defender is
shown on the left, and the longer wheelbase from this model on the
right. The difference is in the location of the ball joints for
the suspension and shocks as well as the length of the drive
shaft. Having a longer wheelbase also means the inner fender does
not really line up with the rear tire.
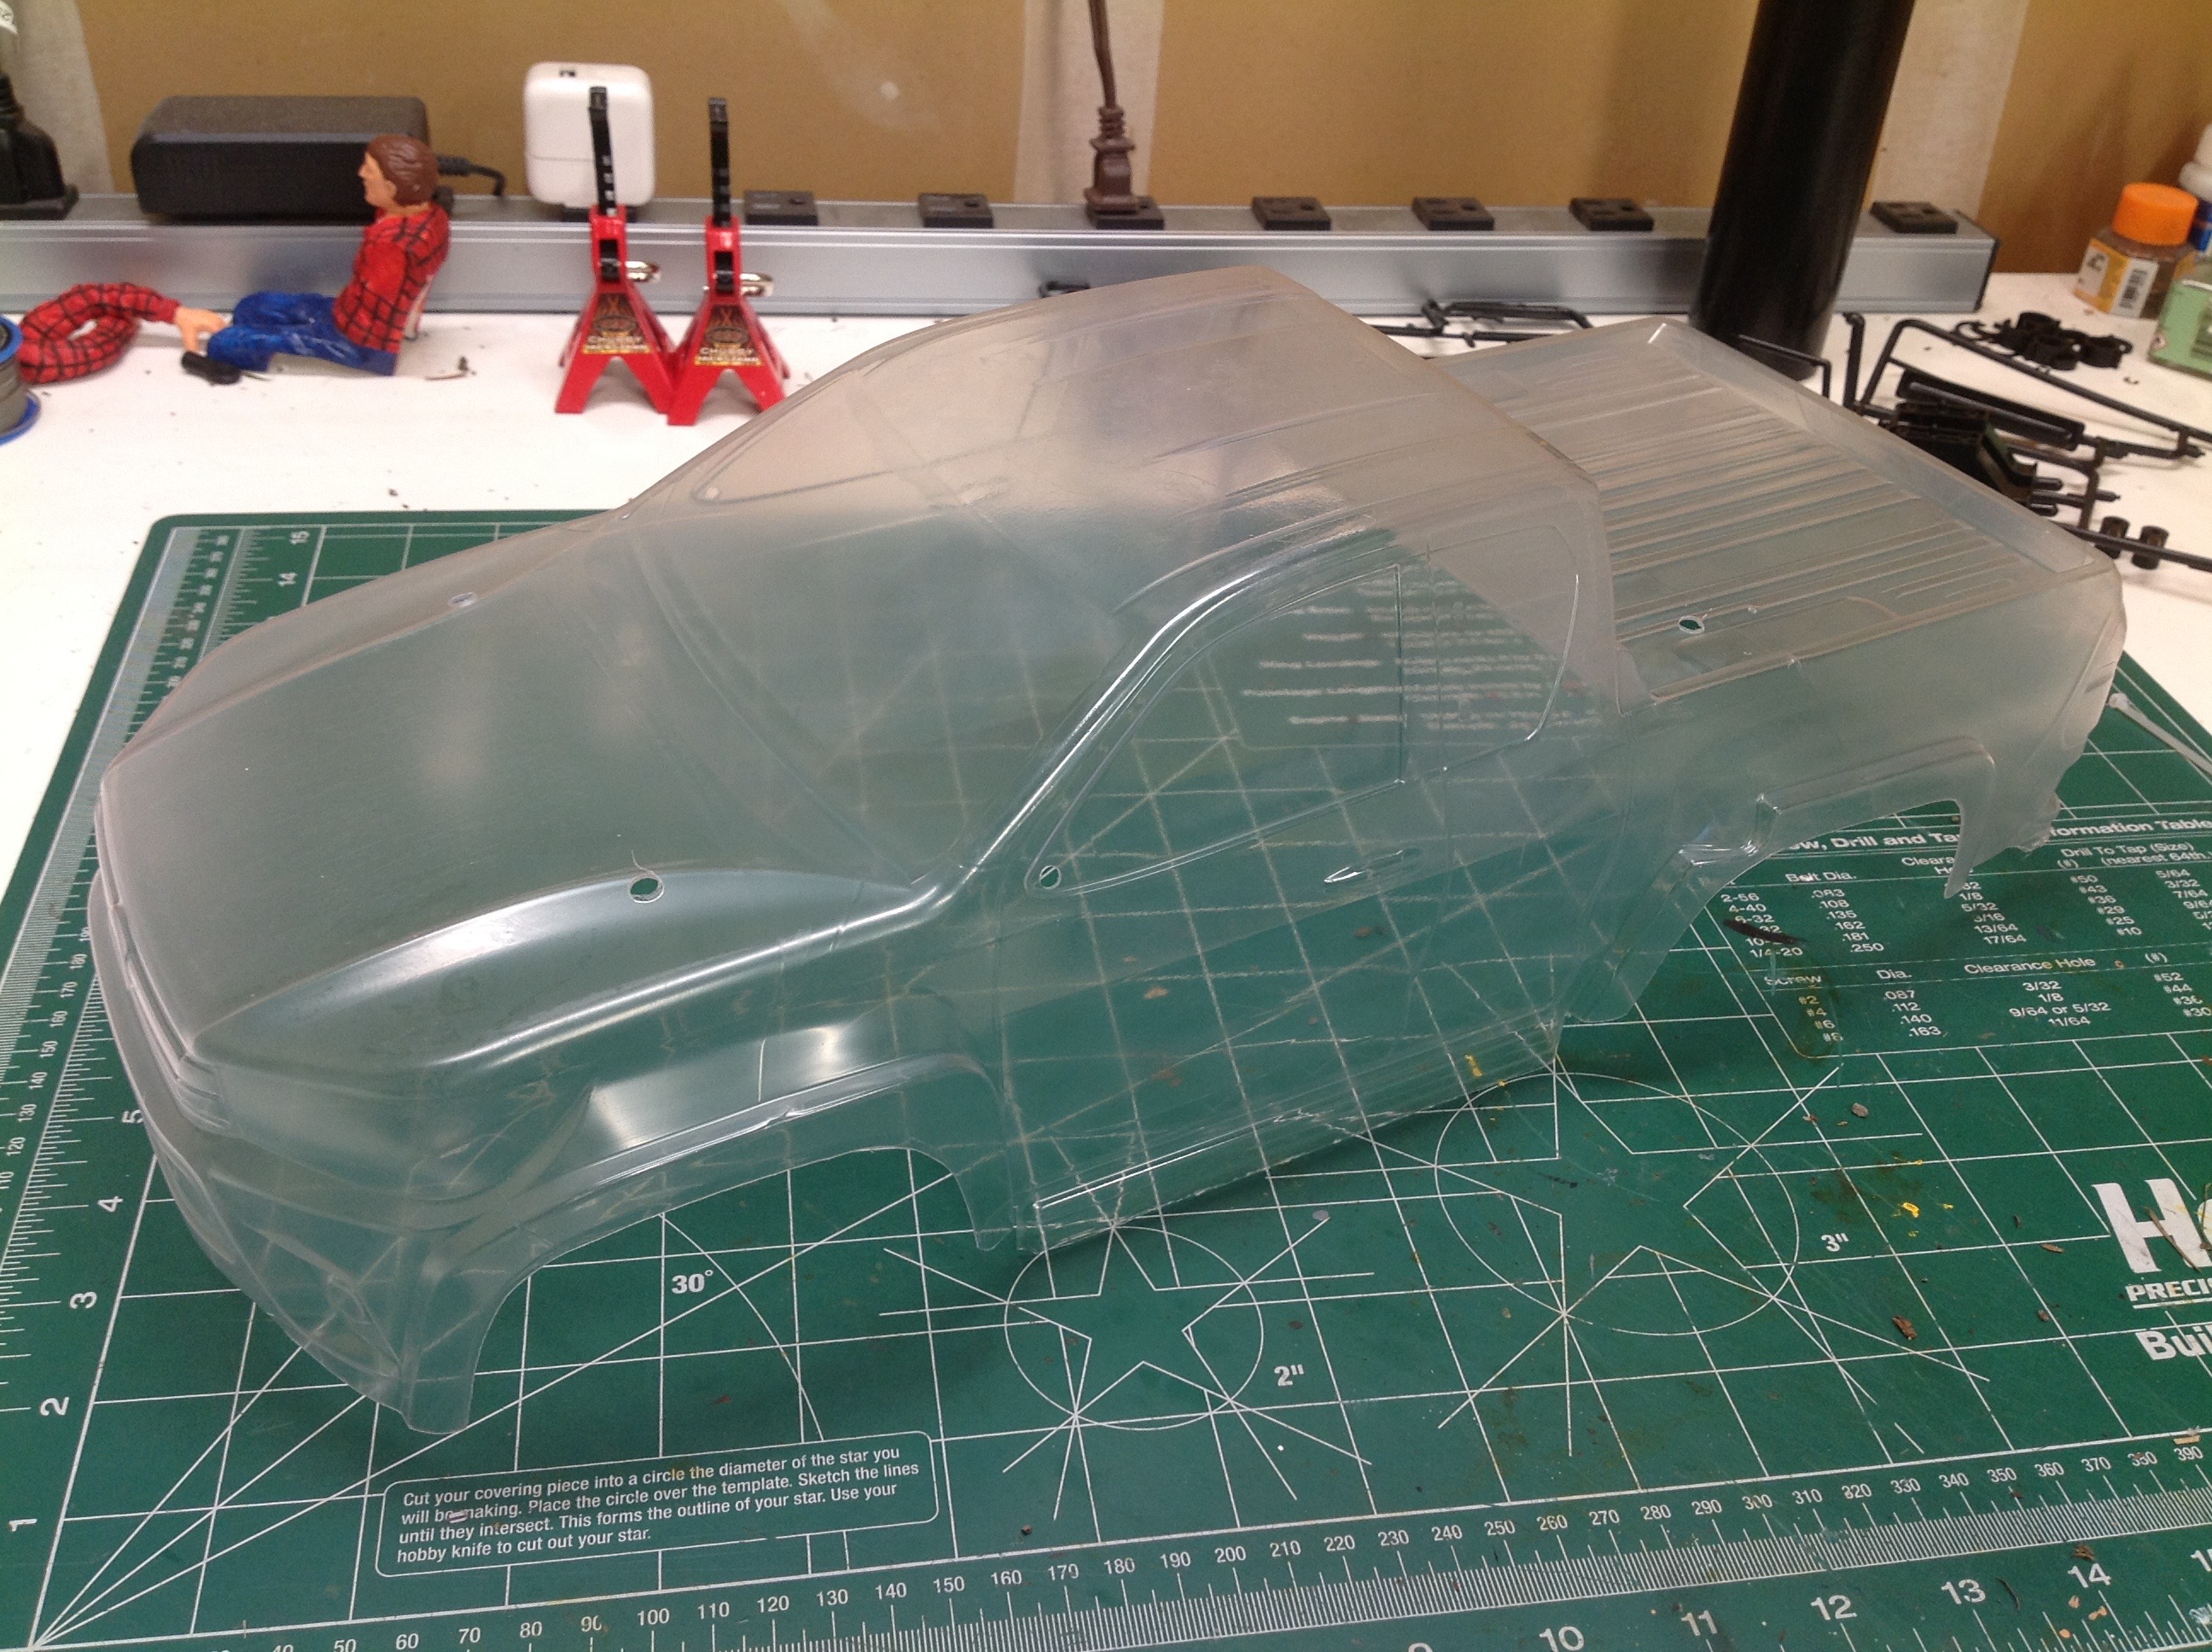
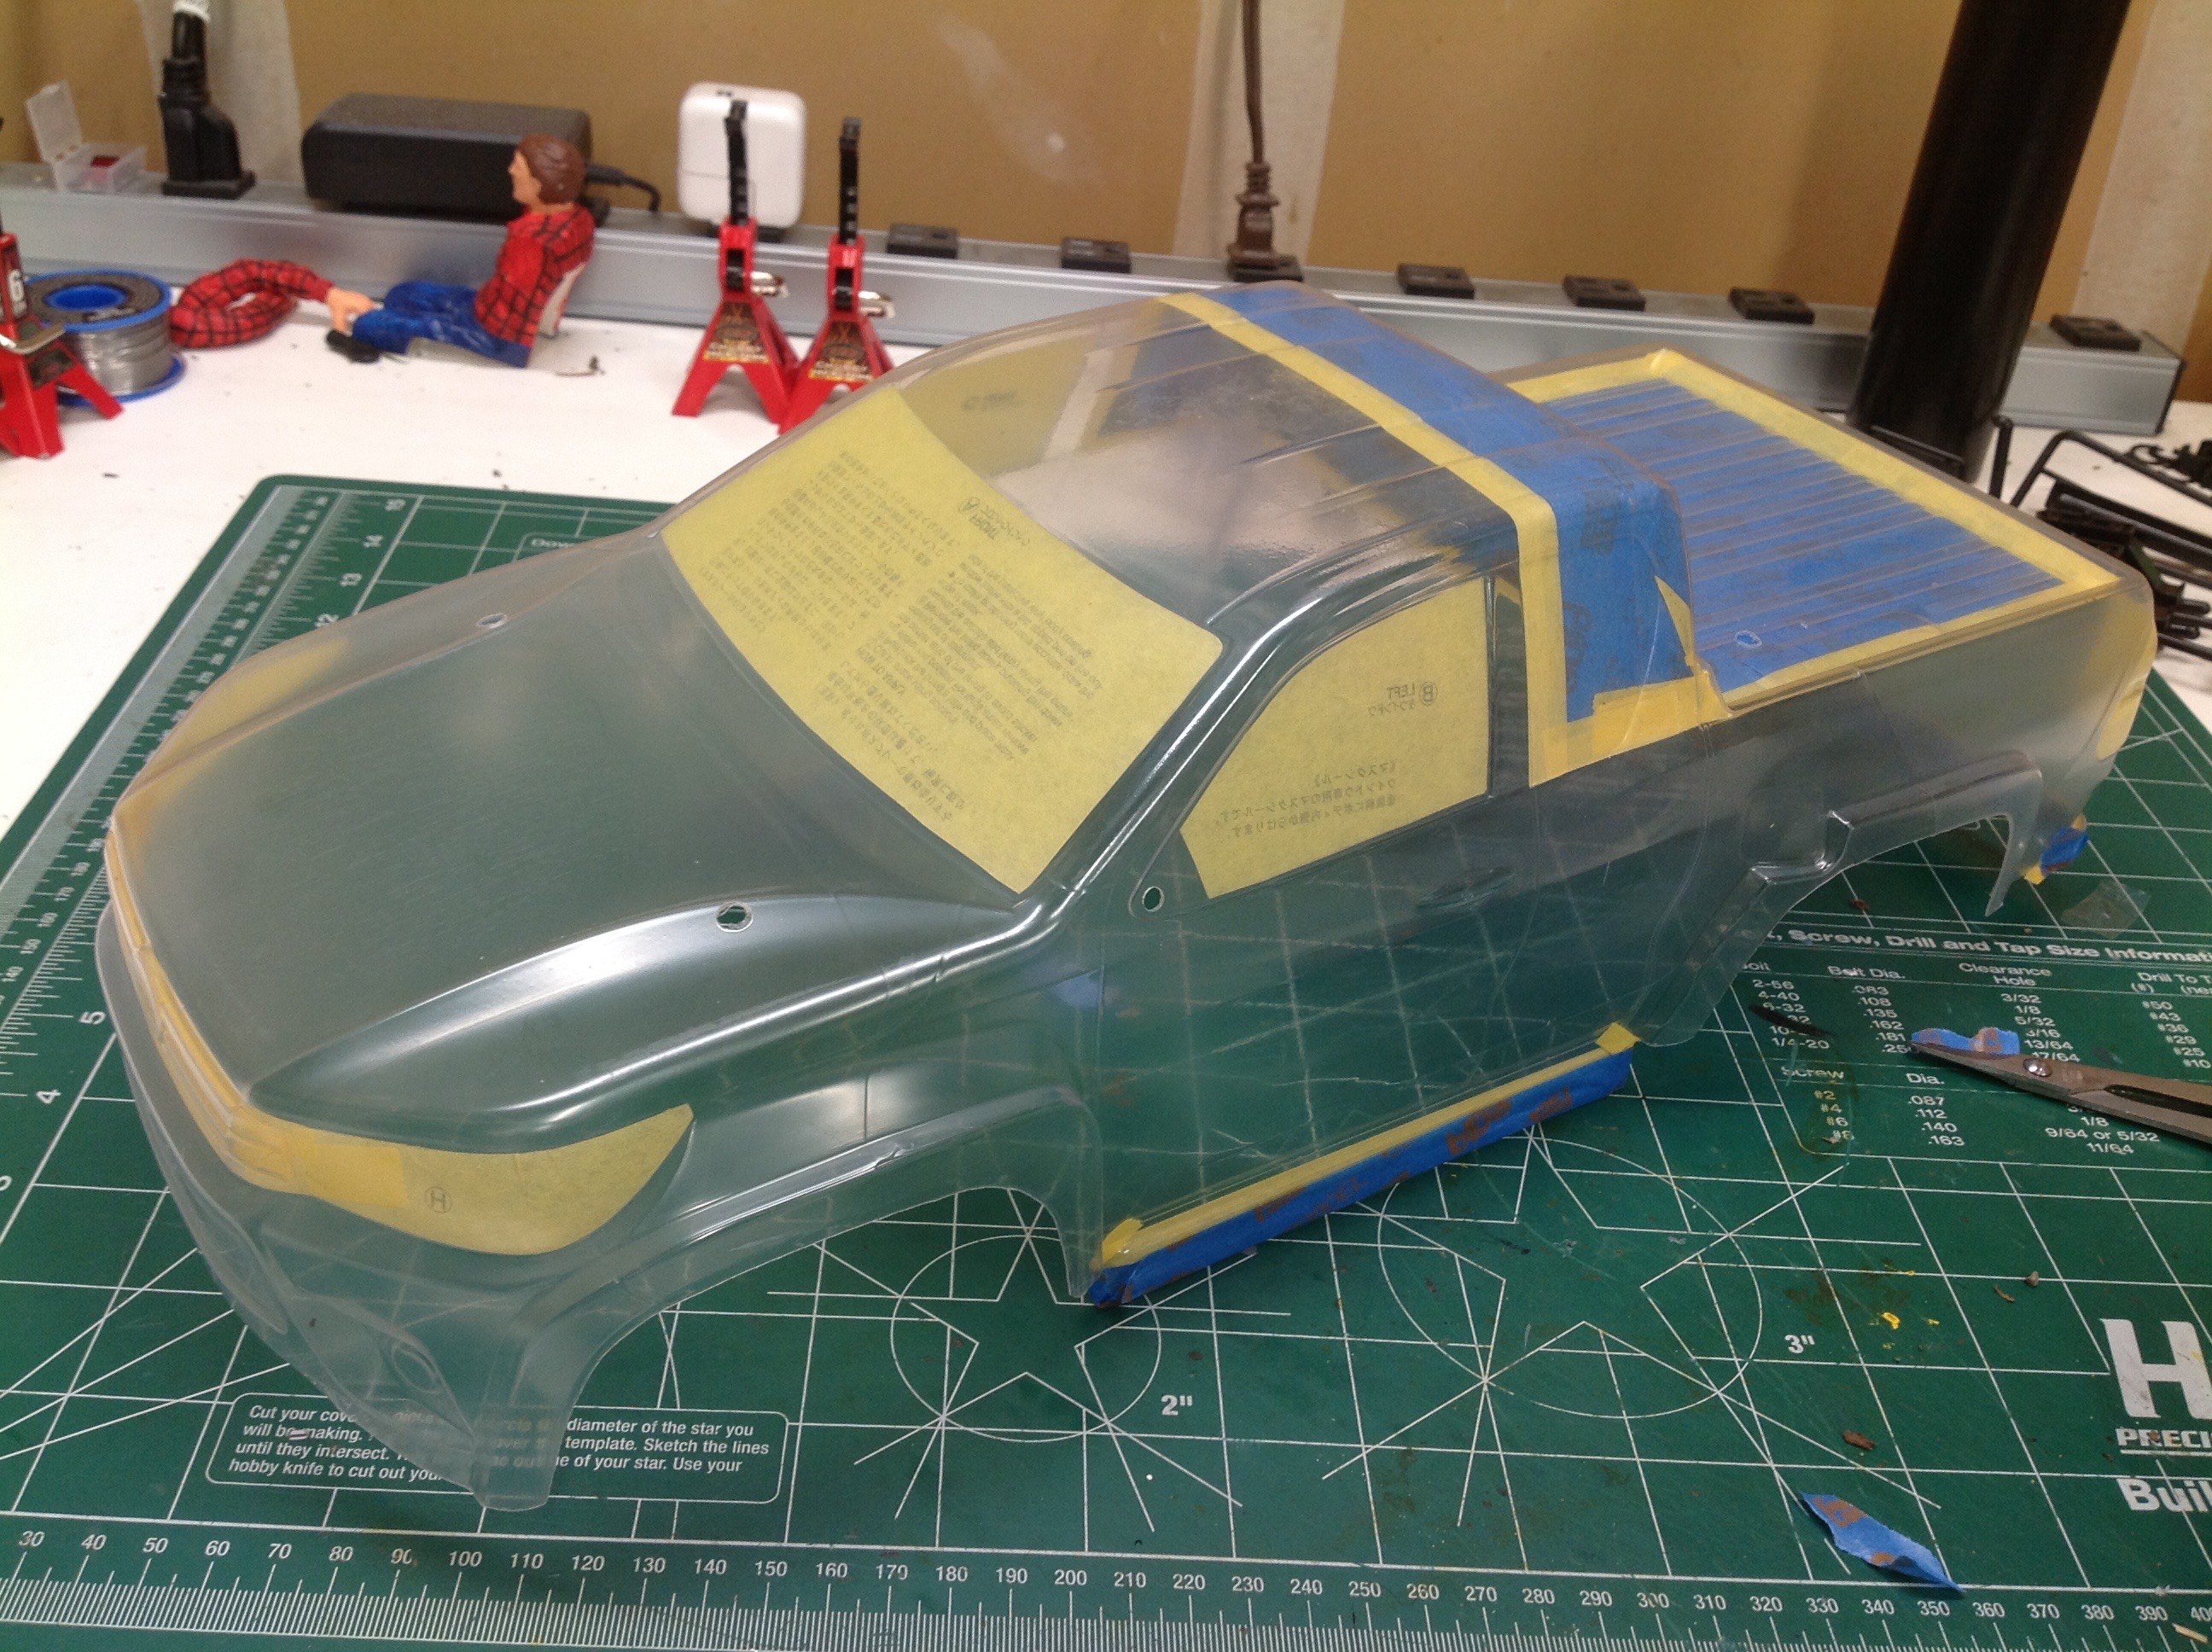
All of my remaining work consisted of preparing the lovely Lexan
body. I started by trimming and drilling the body shell as shown.
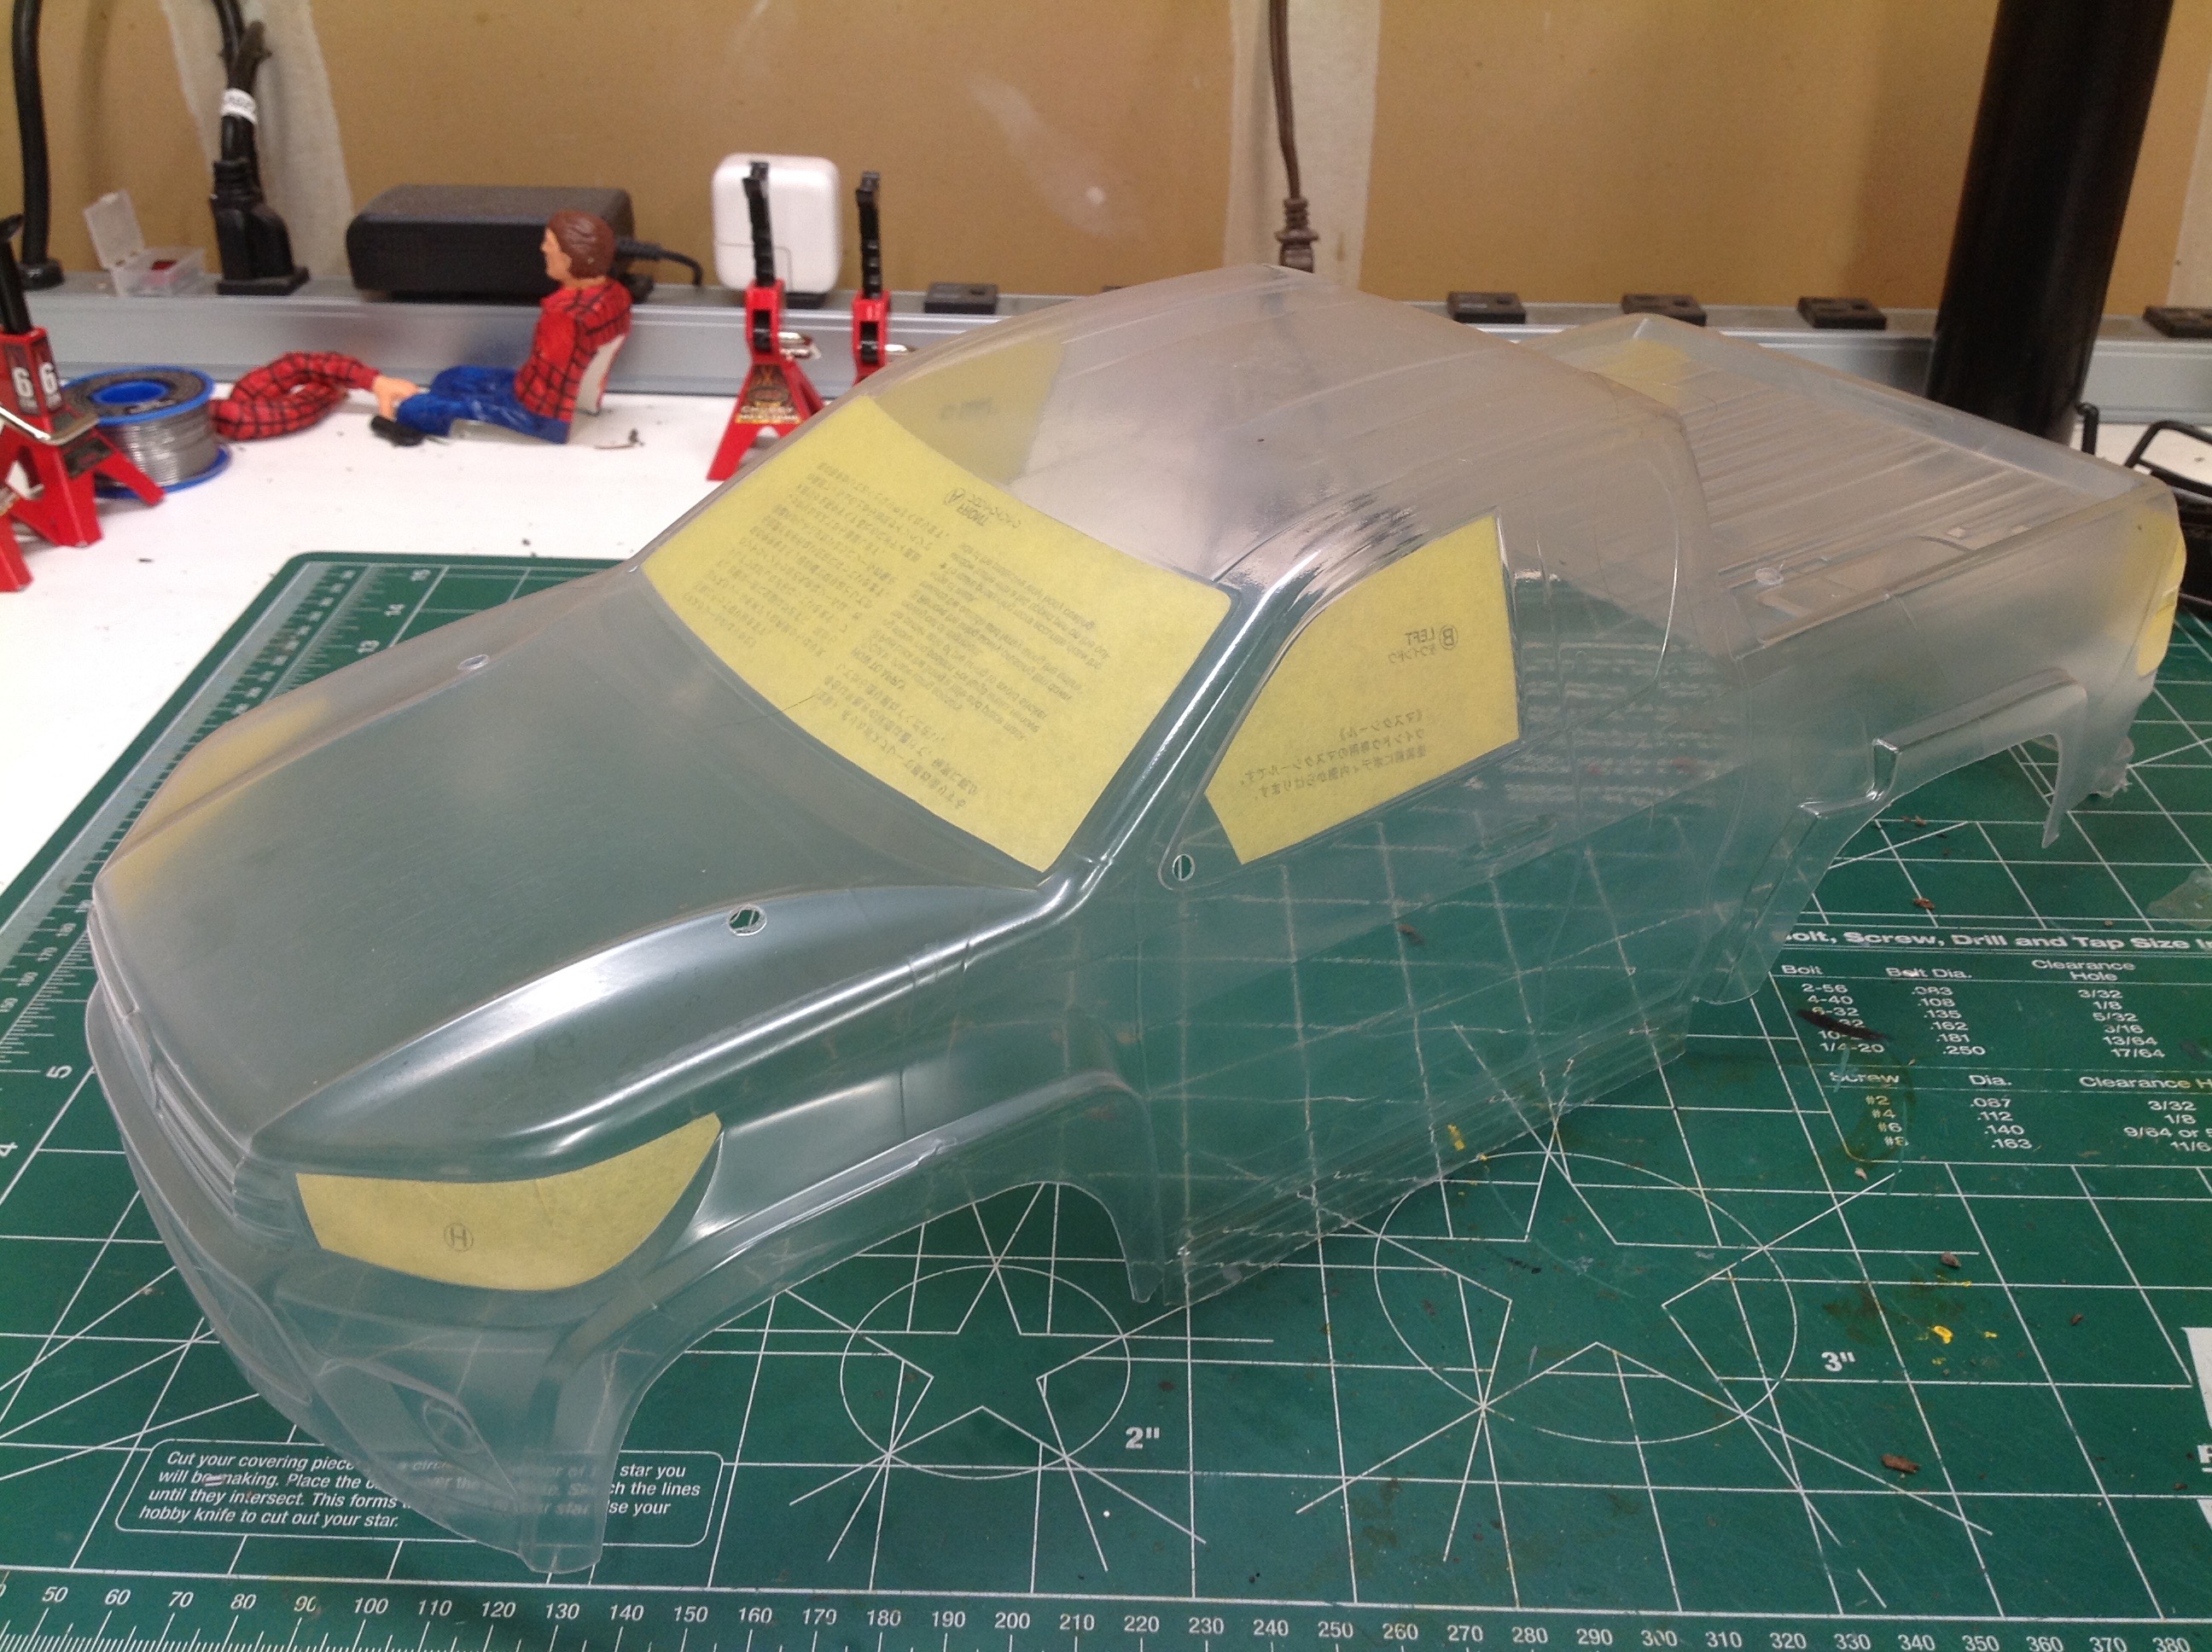
The next step was applying the masking. I first cut and attached
the kit supplied window masks as shown on the left. I then
manually masked the areas to be painted white or black including the
topper, the bumpers, the sliders, the grille, and the bed.
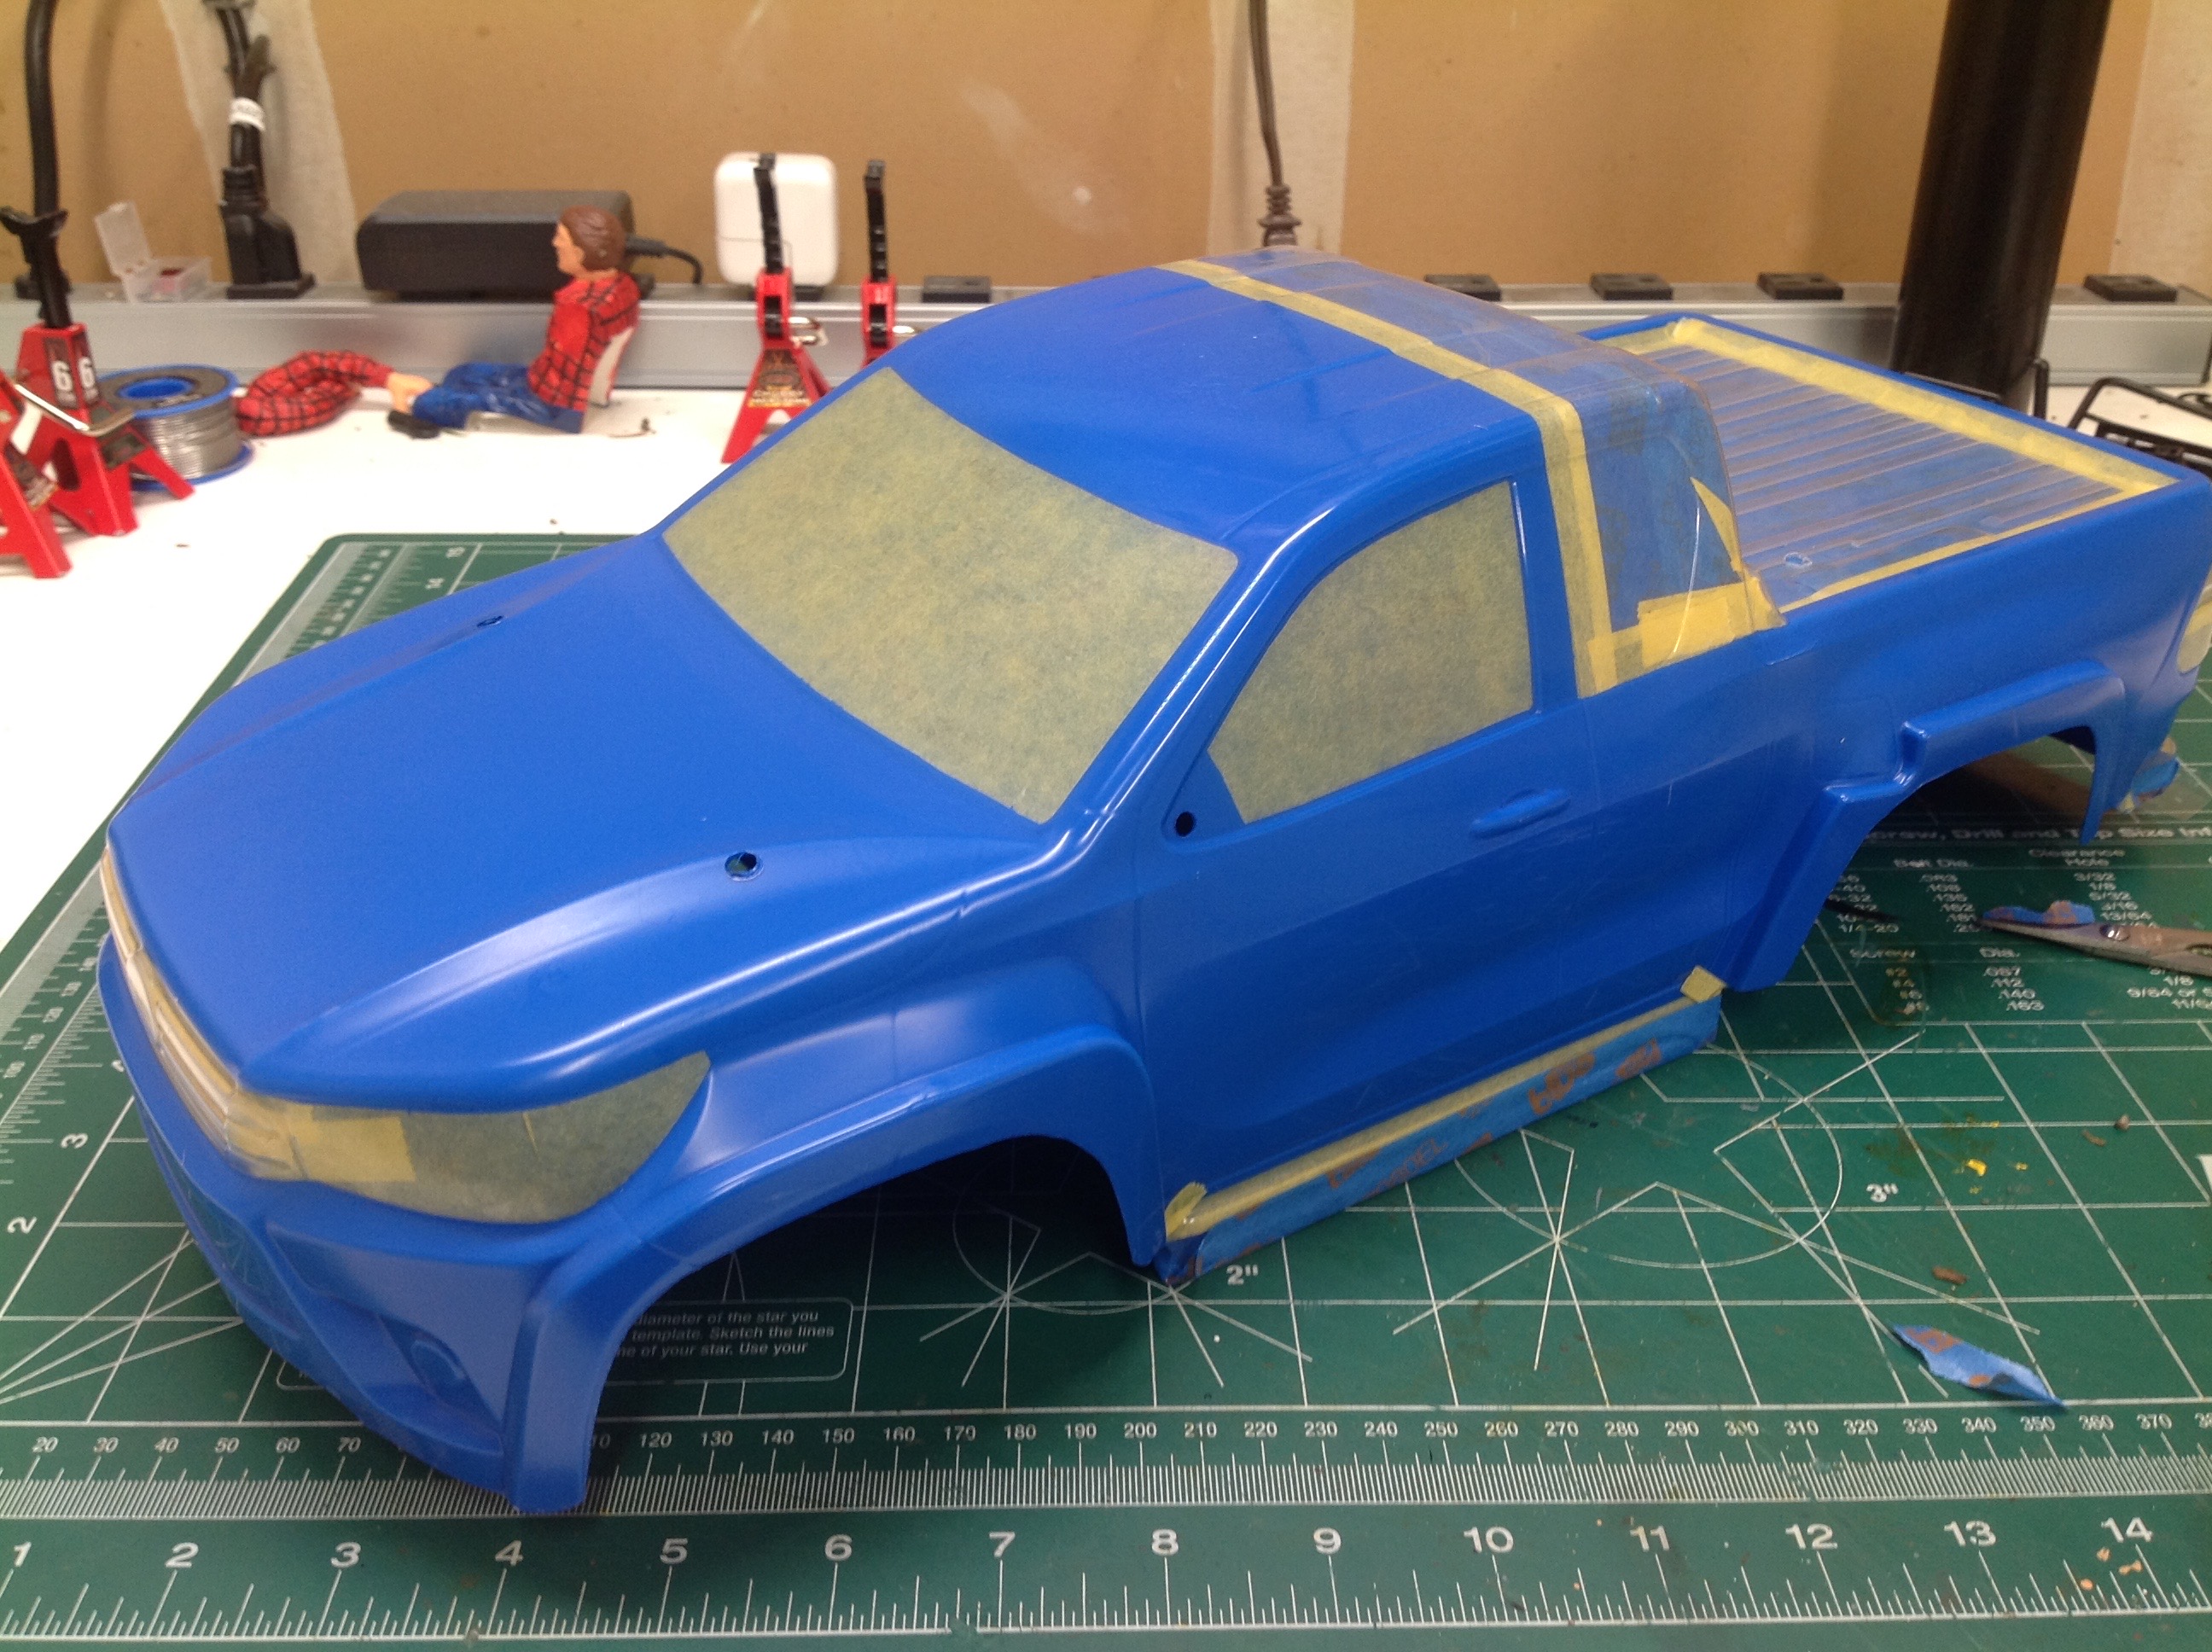
Time to start the paint. I expected this to be the same color as
the original Bruiser, plain blue. However, the instructions call
for PS-30 Brilliant Blue which I admit looks really good. I
applied several coats of blue first and then removed the masking from
the topper and the sliders. The right hand image shows the result
after the application of the pearl white. I had a bit of problem
with the thin pearl paint running, but luckily it is not noticeable
since it was painted on the inside.
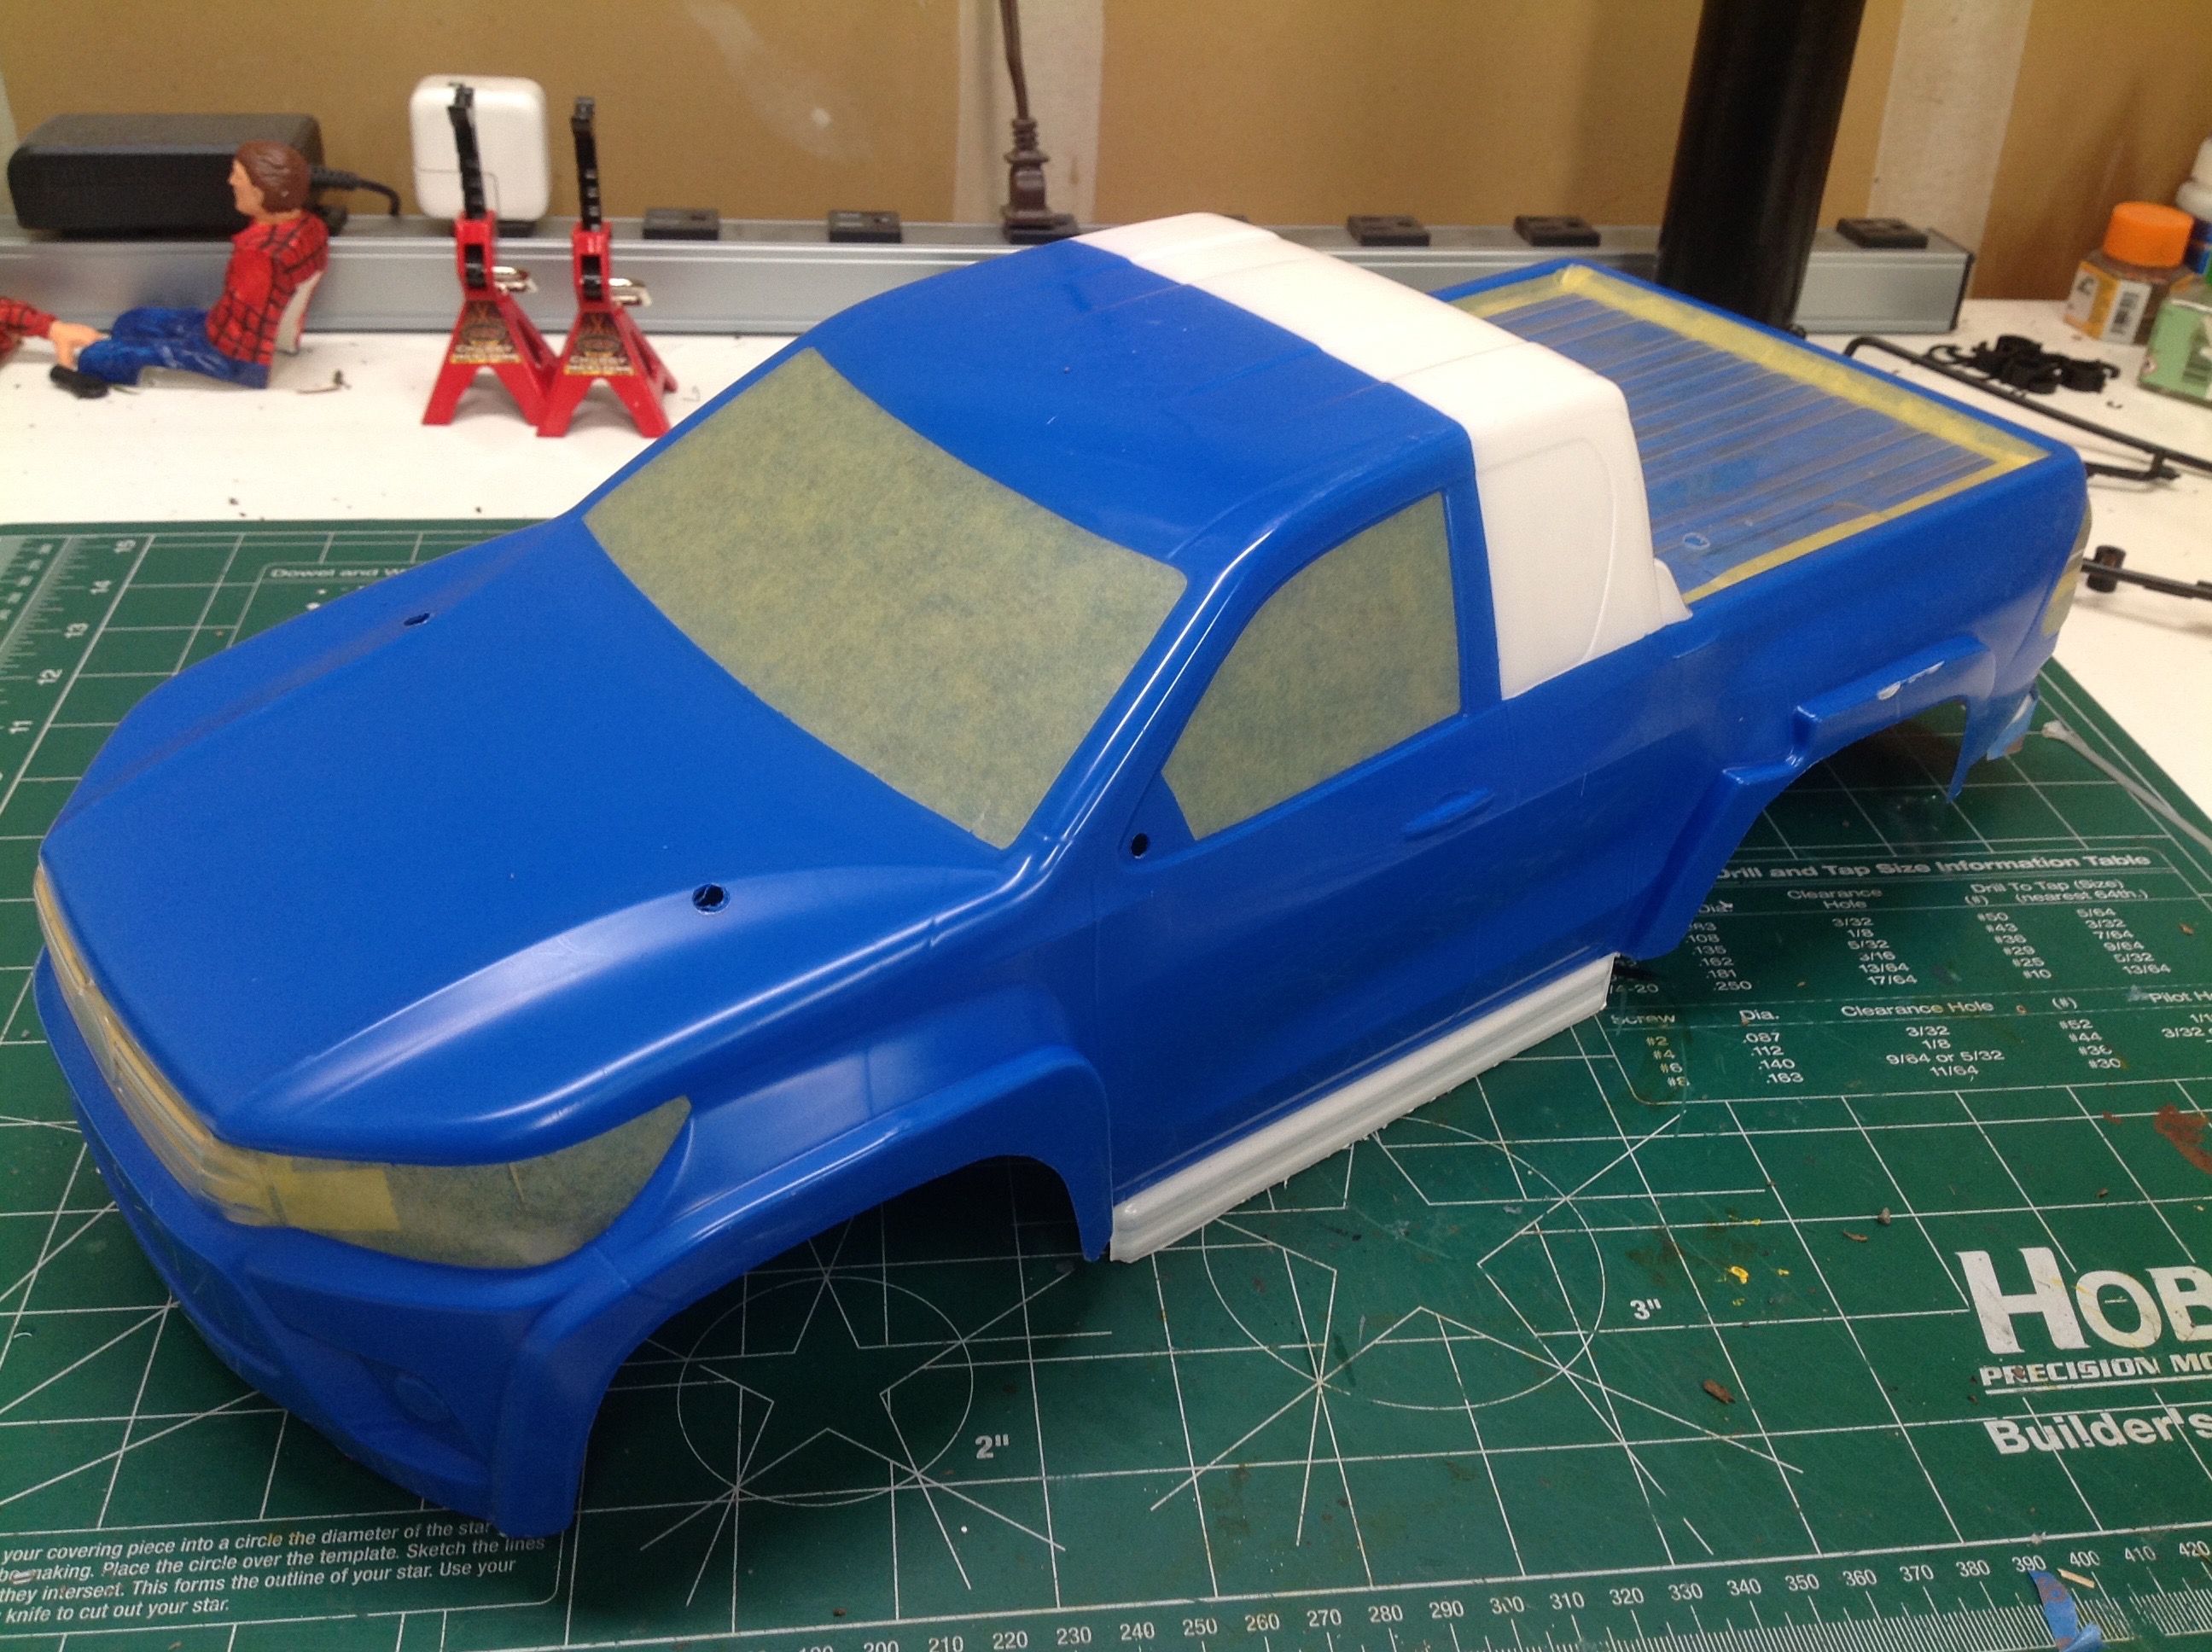
After removing the next layer of masking I was able to apply the black
as shown on the left. Normally you want to paint the darkest
colors first, but since I always back my bodies in black anyway I chose
to do it last. This requires the white to be plenty thick so the
black does not show through. Finally, I removed the window masks
and applied smoke for a tinted effect. This was not applied to the
headlight and tail light areas which were kept clear.
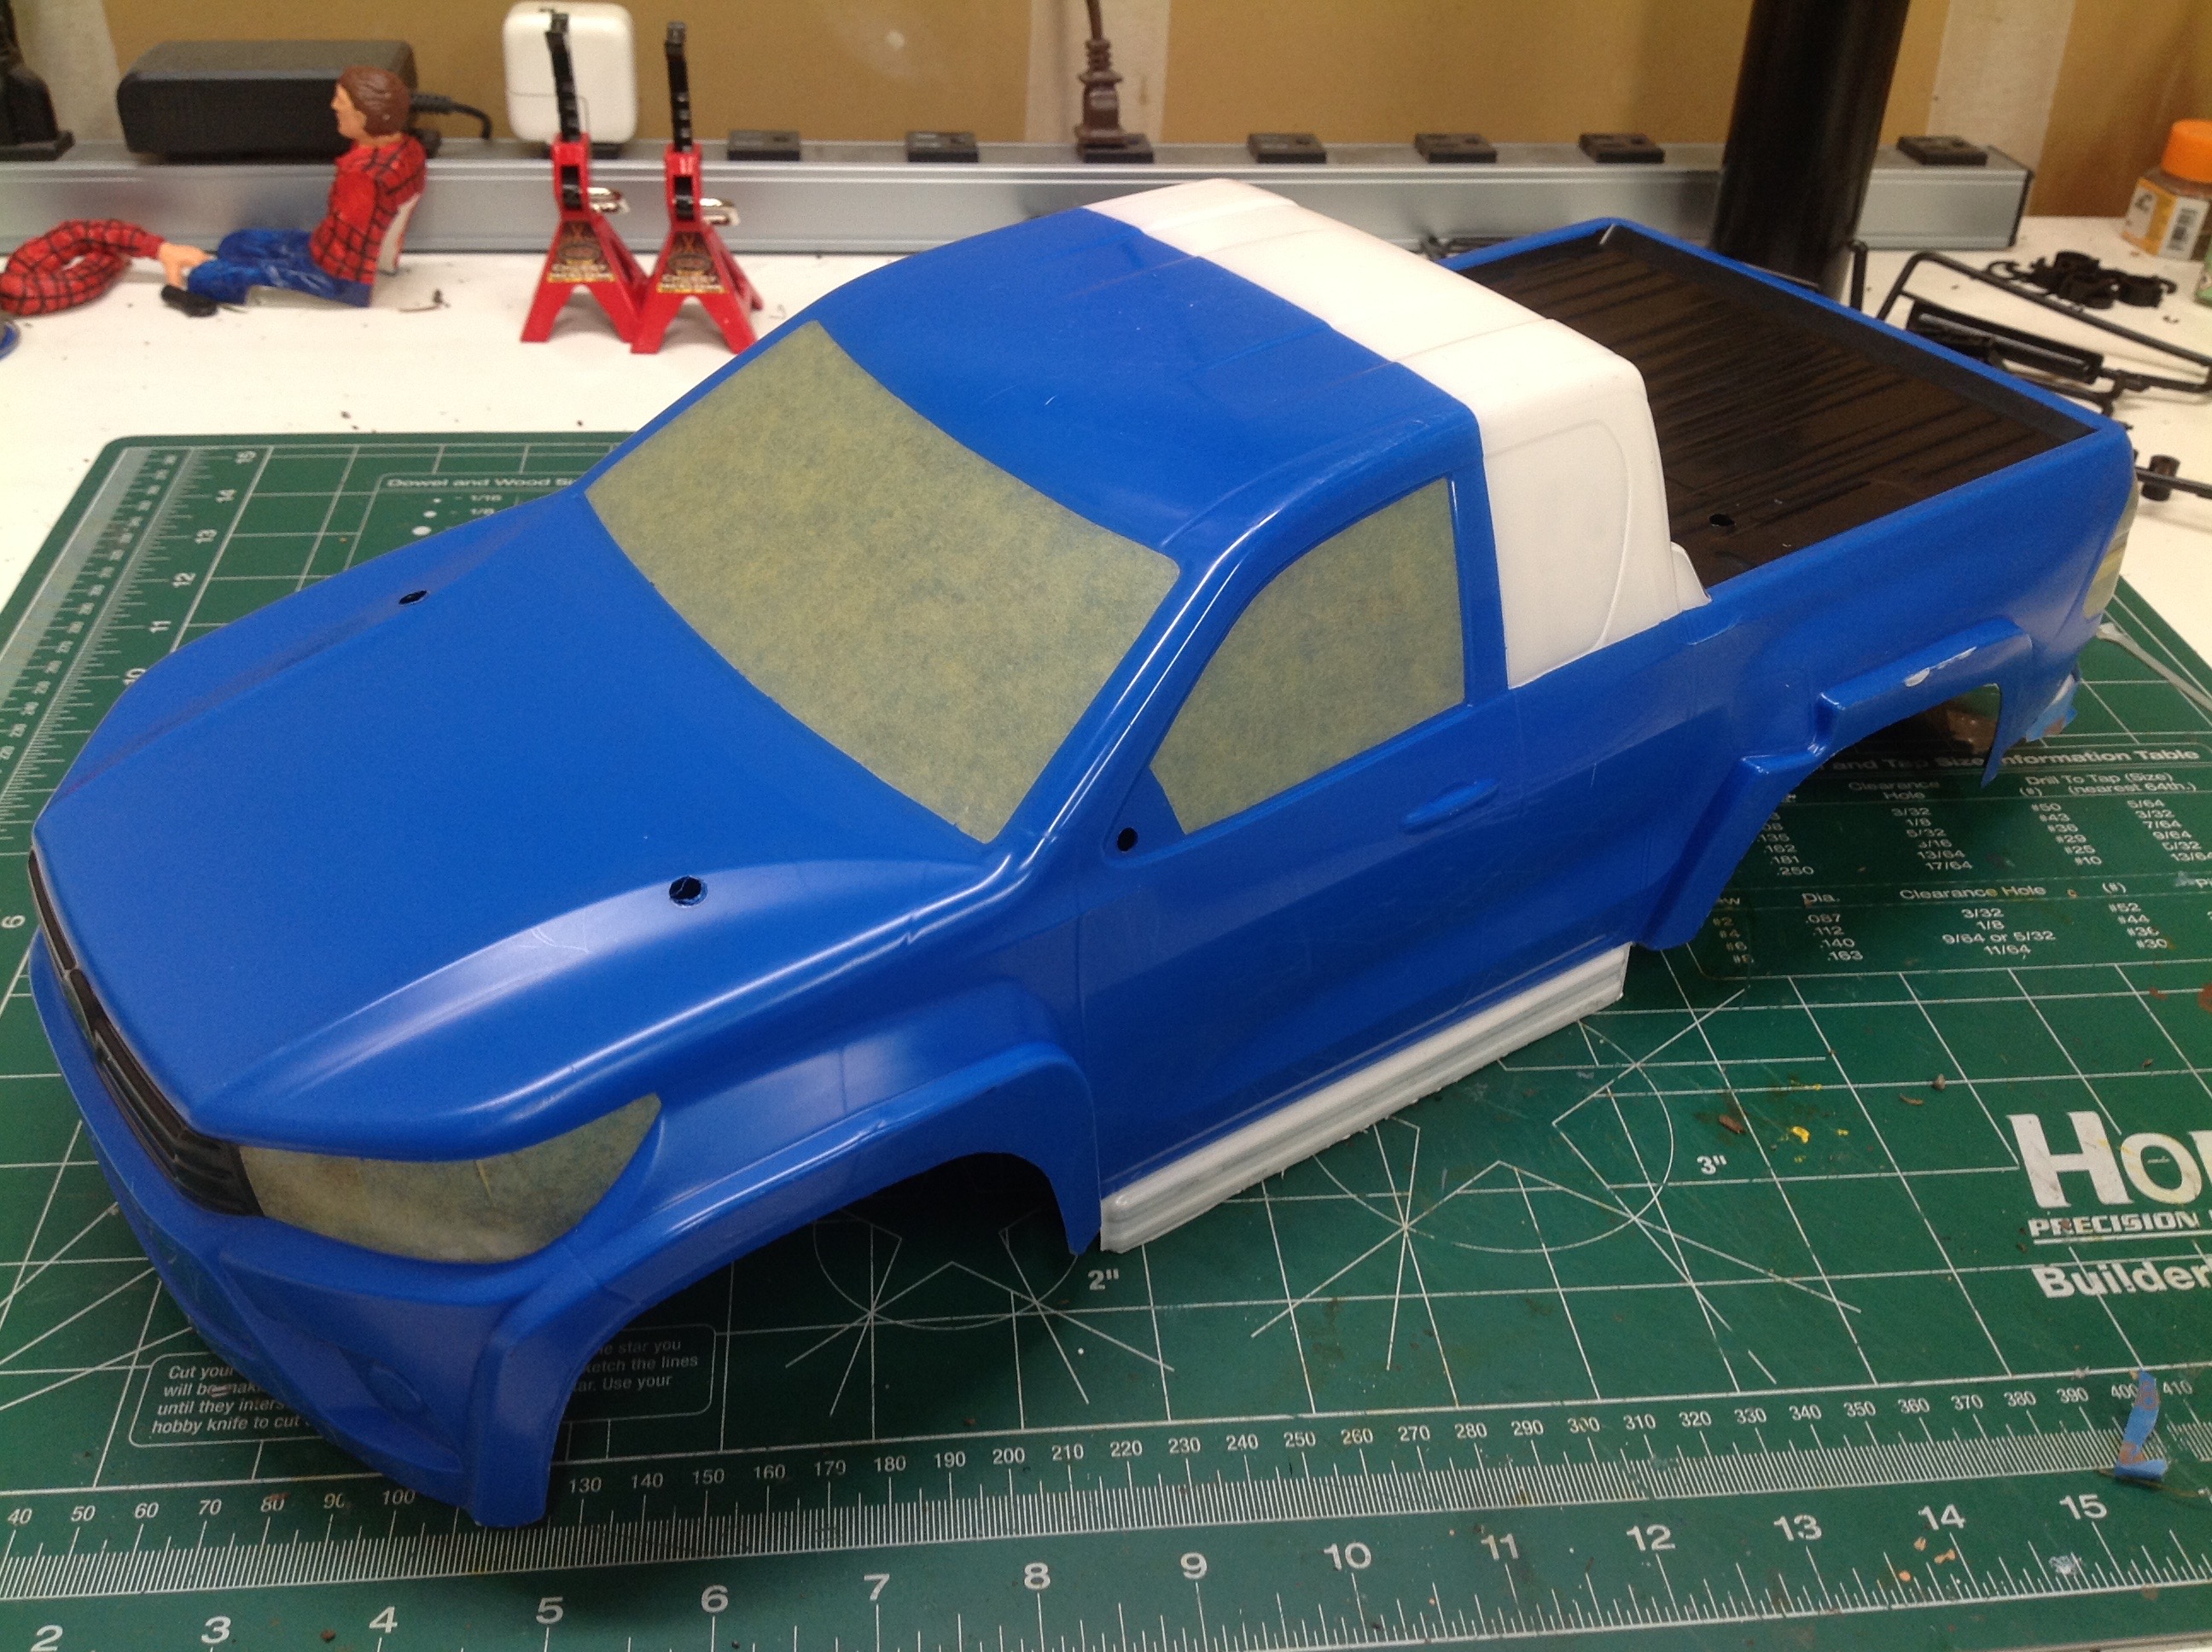
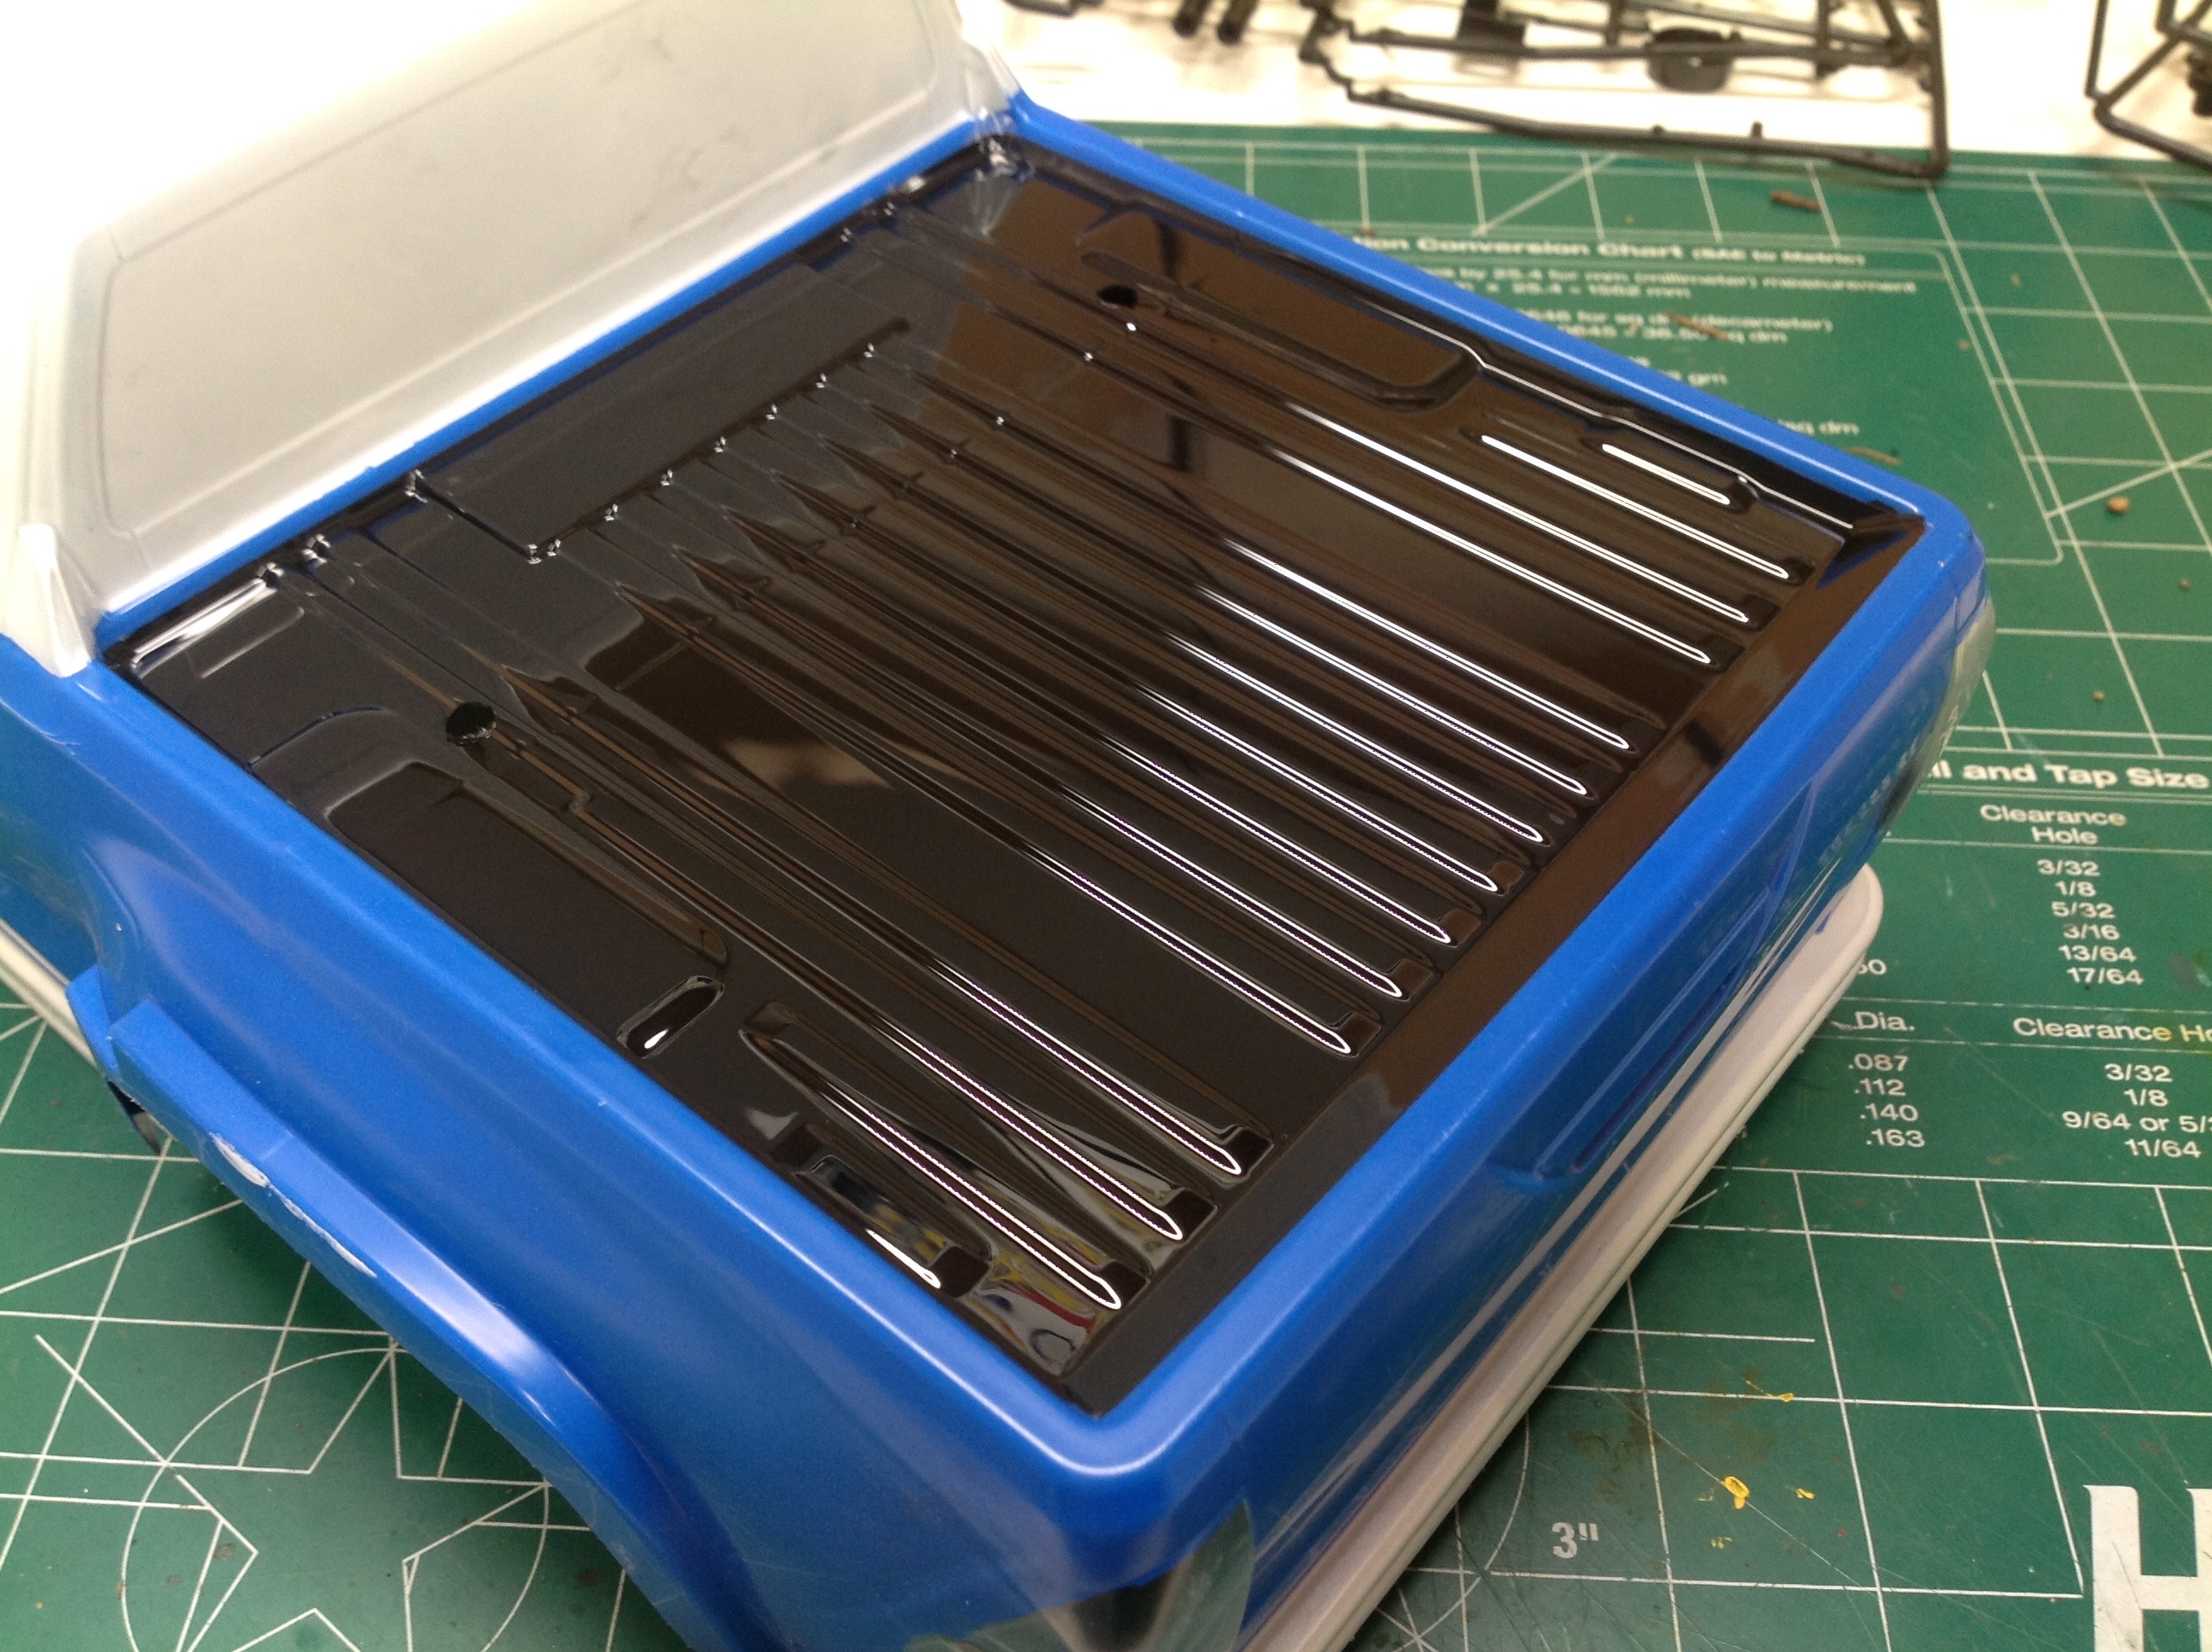
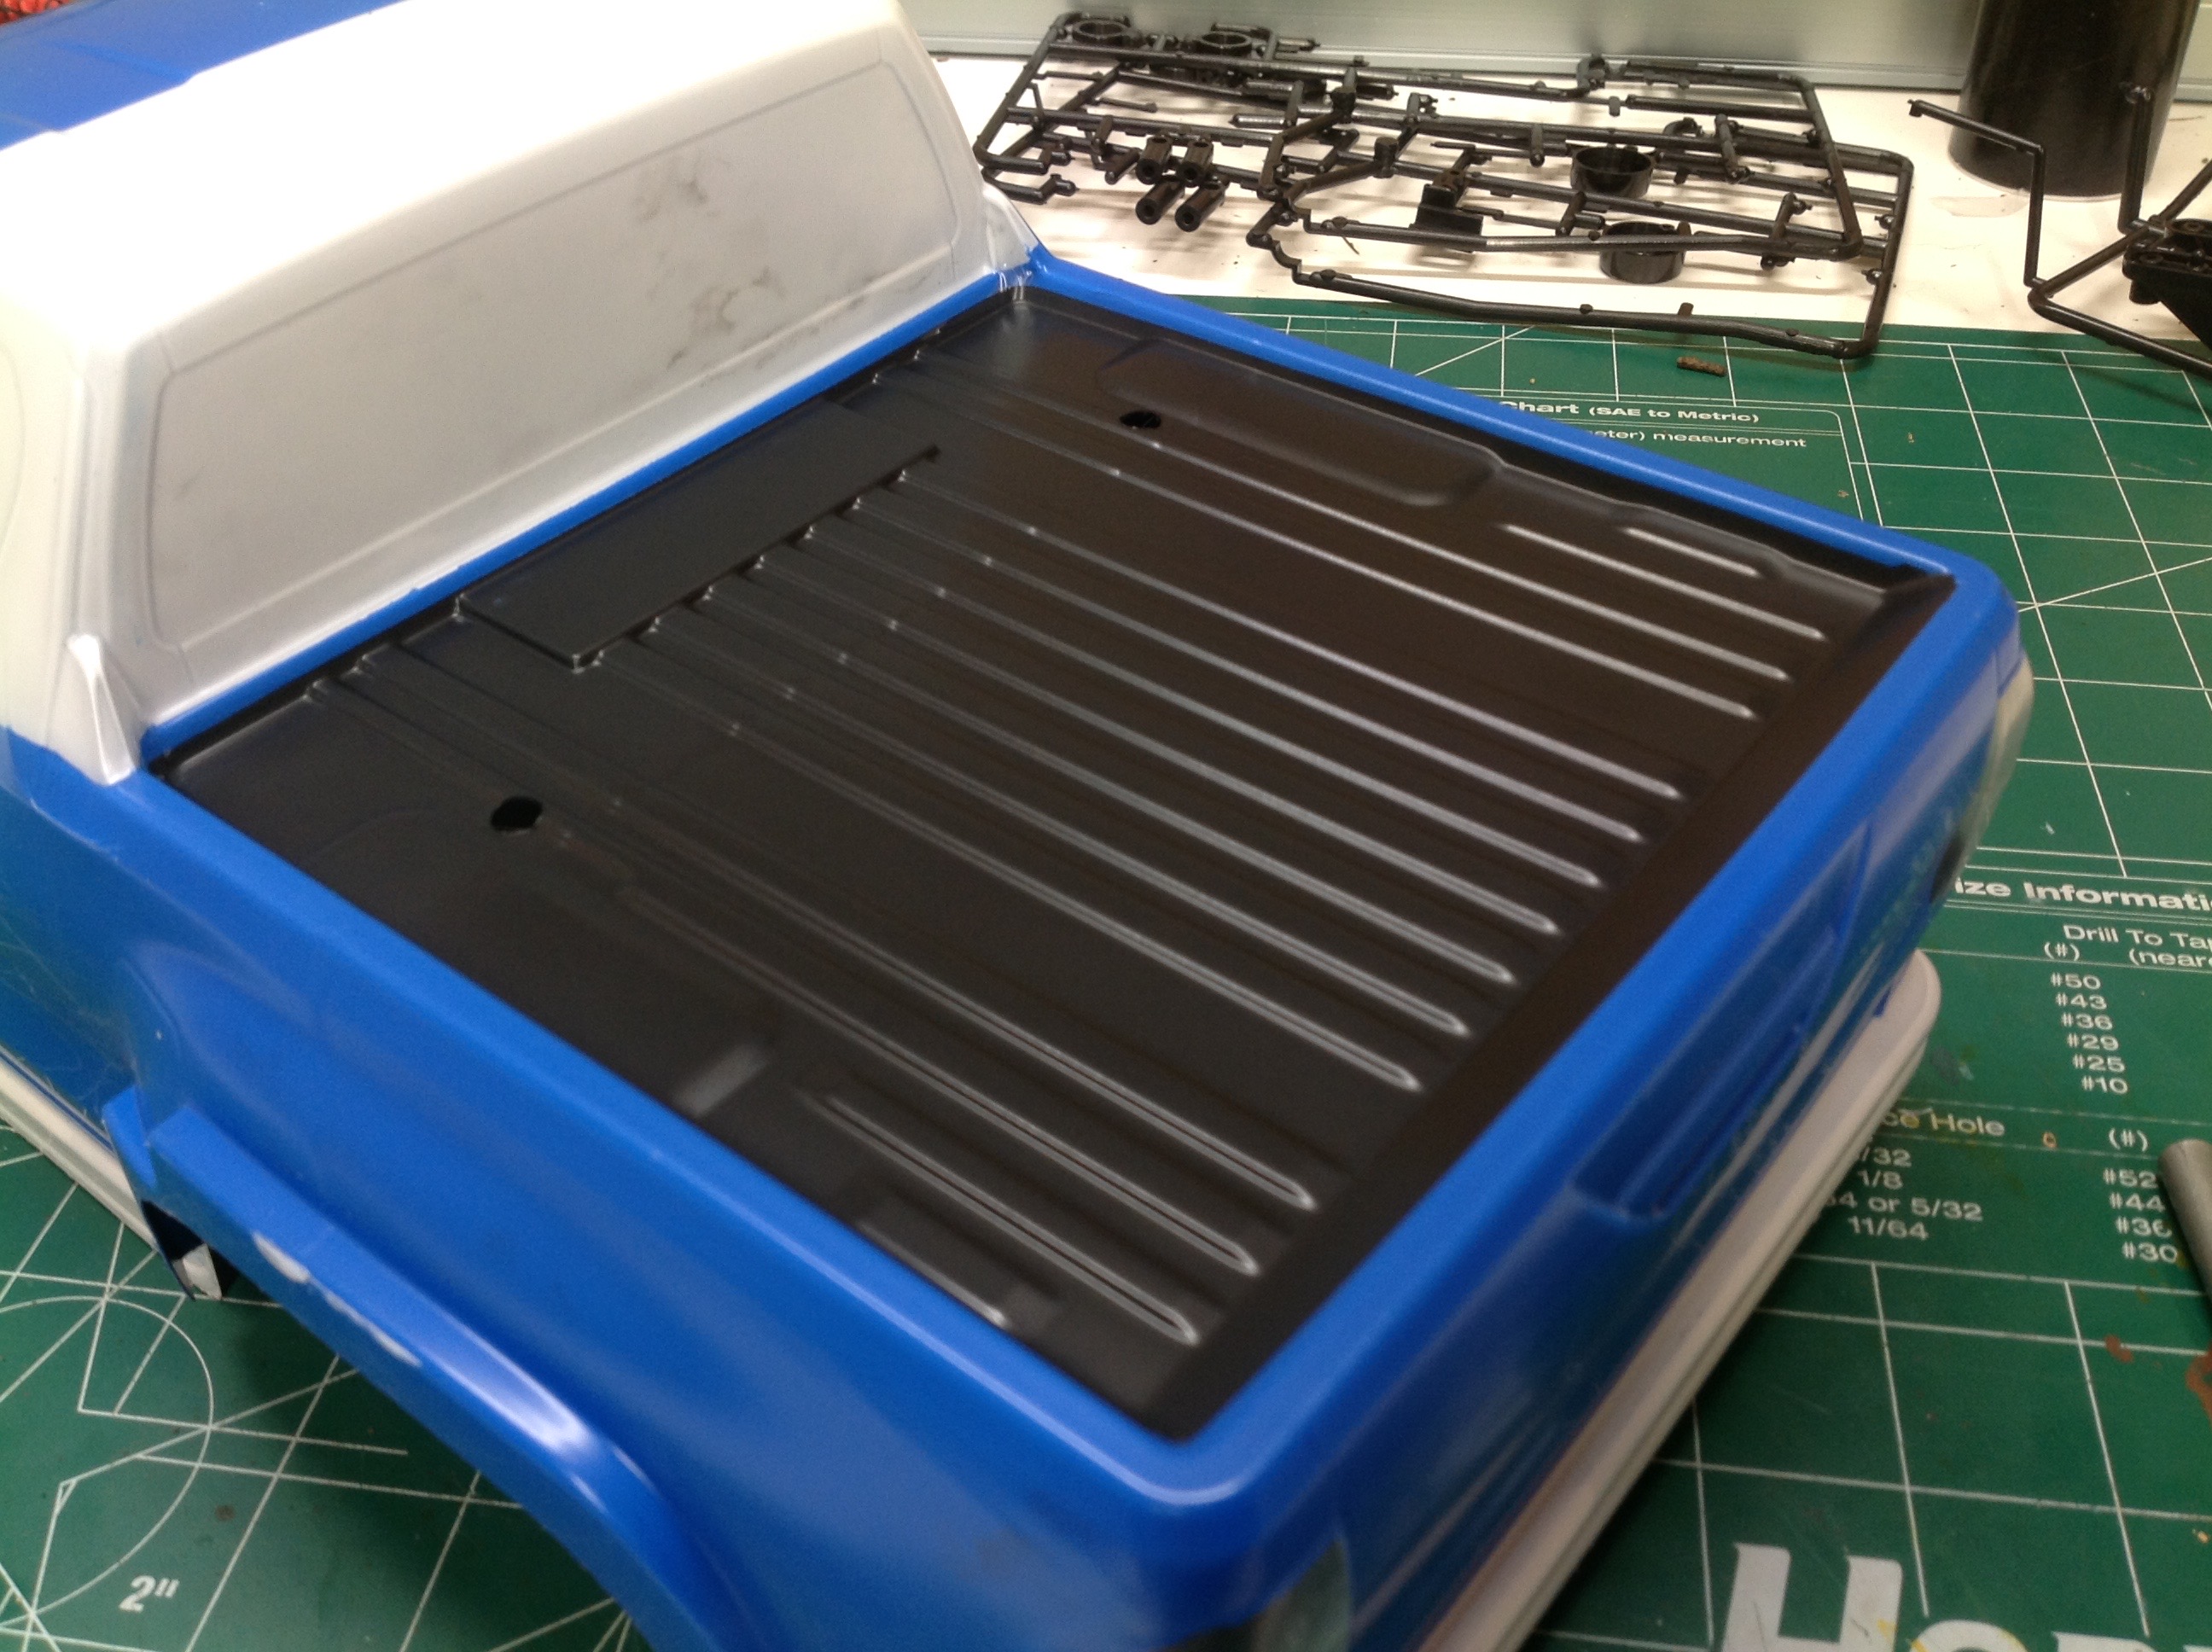
Once the overspray film is removed the whole truck will be very glossy,
but I actually want the bed to be matte black. Using matte black
paint won't change anything since it is painted from the inside, so
instead I trimmed away the film with a sharp knife over the bed and
applied flat clear on the outside. The above pictures show before
and after.
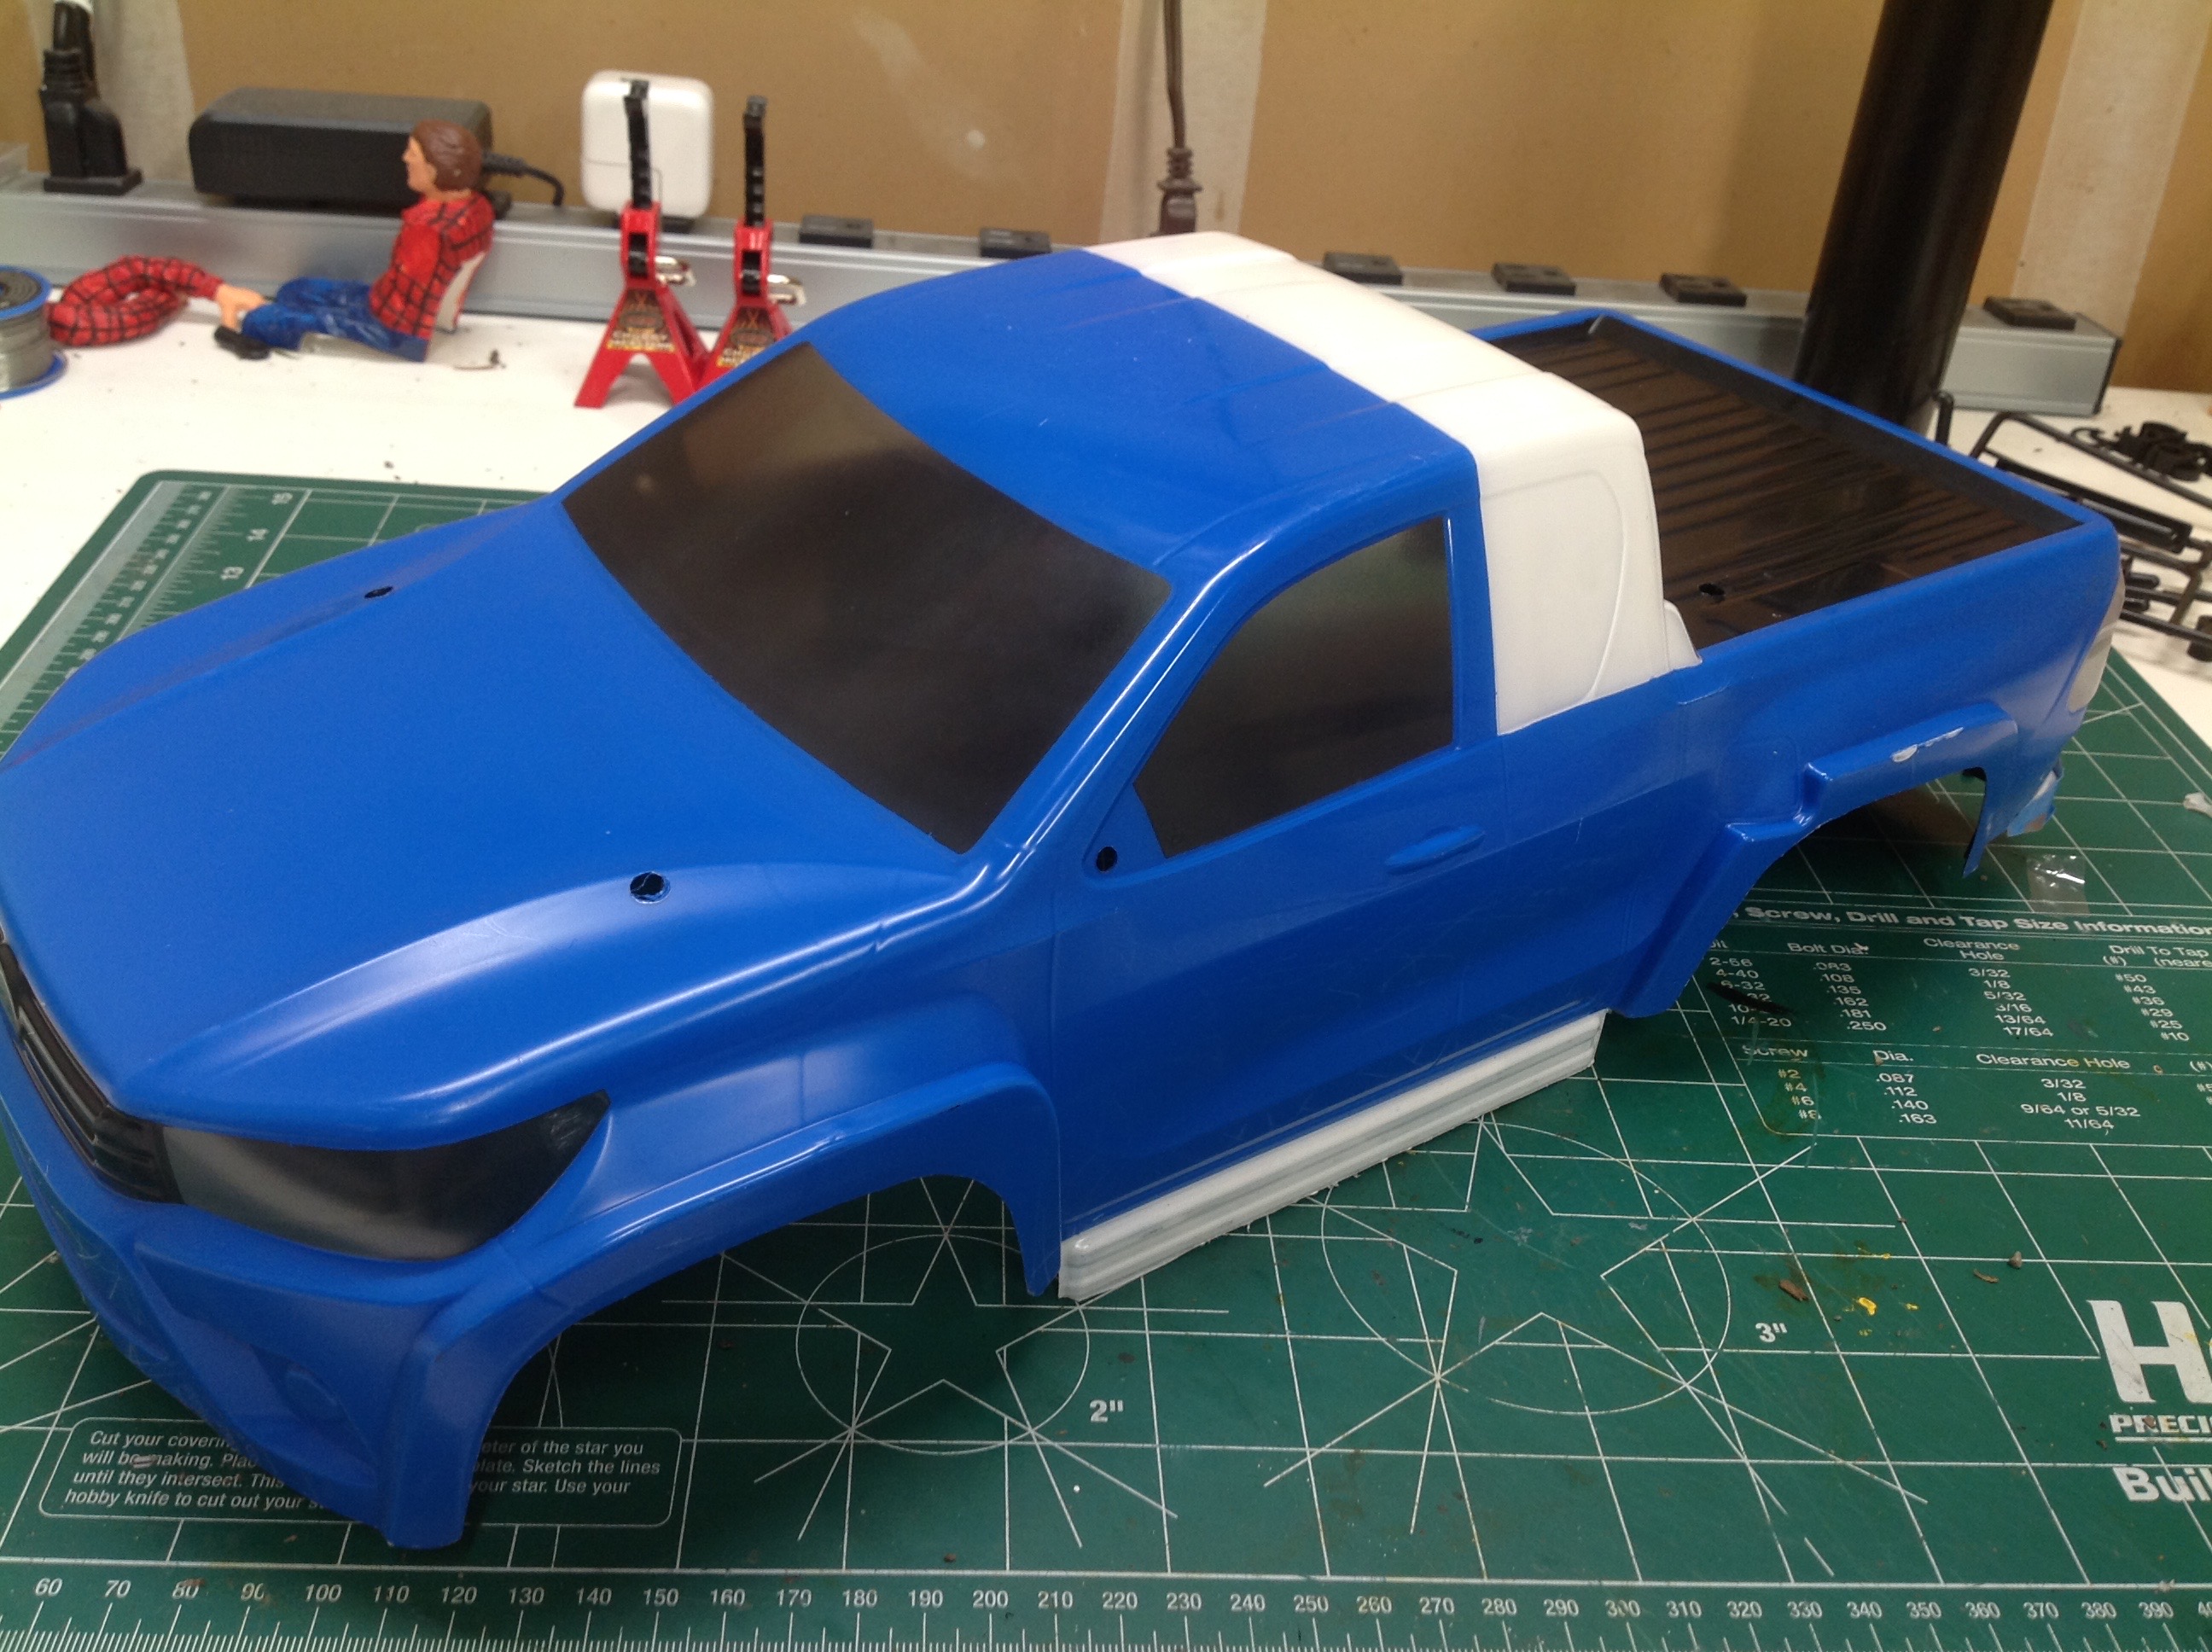
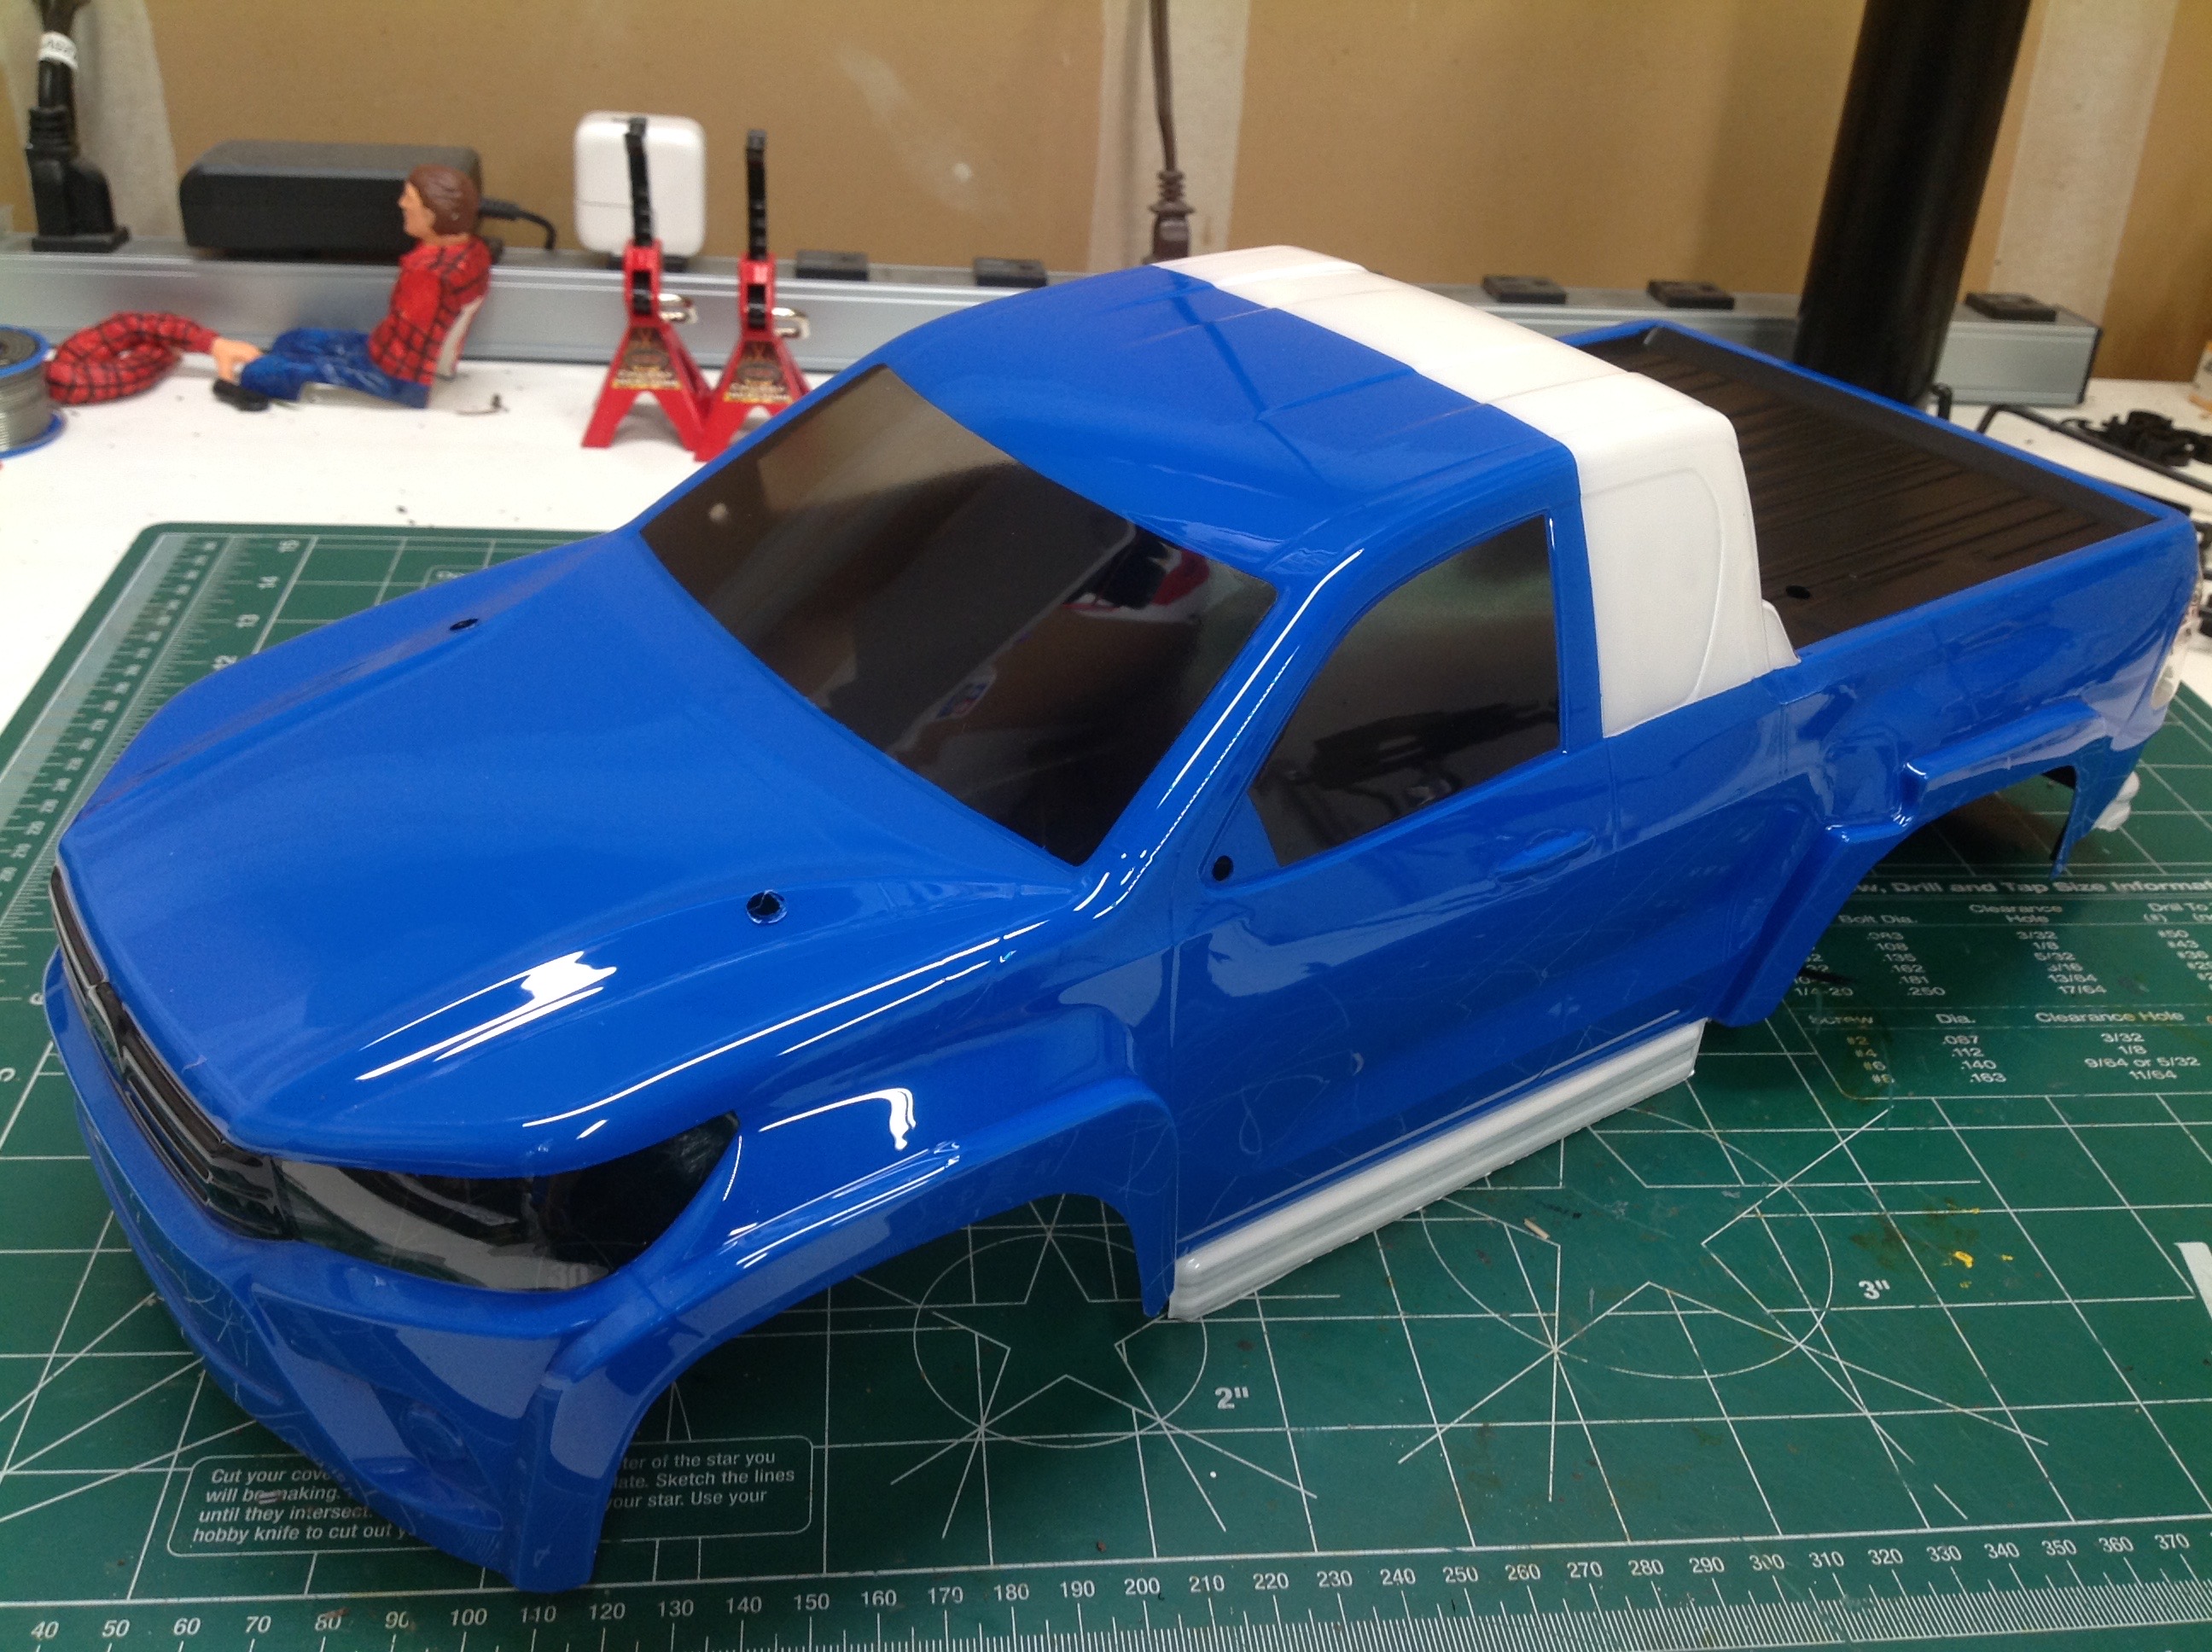
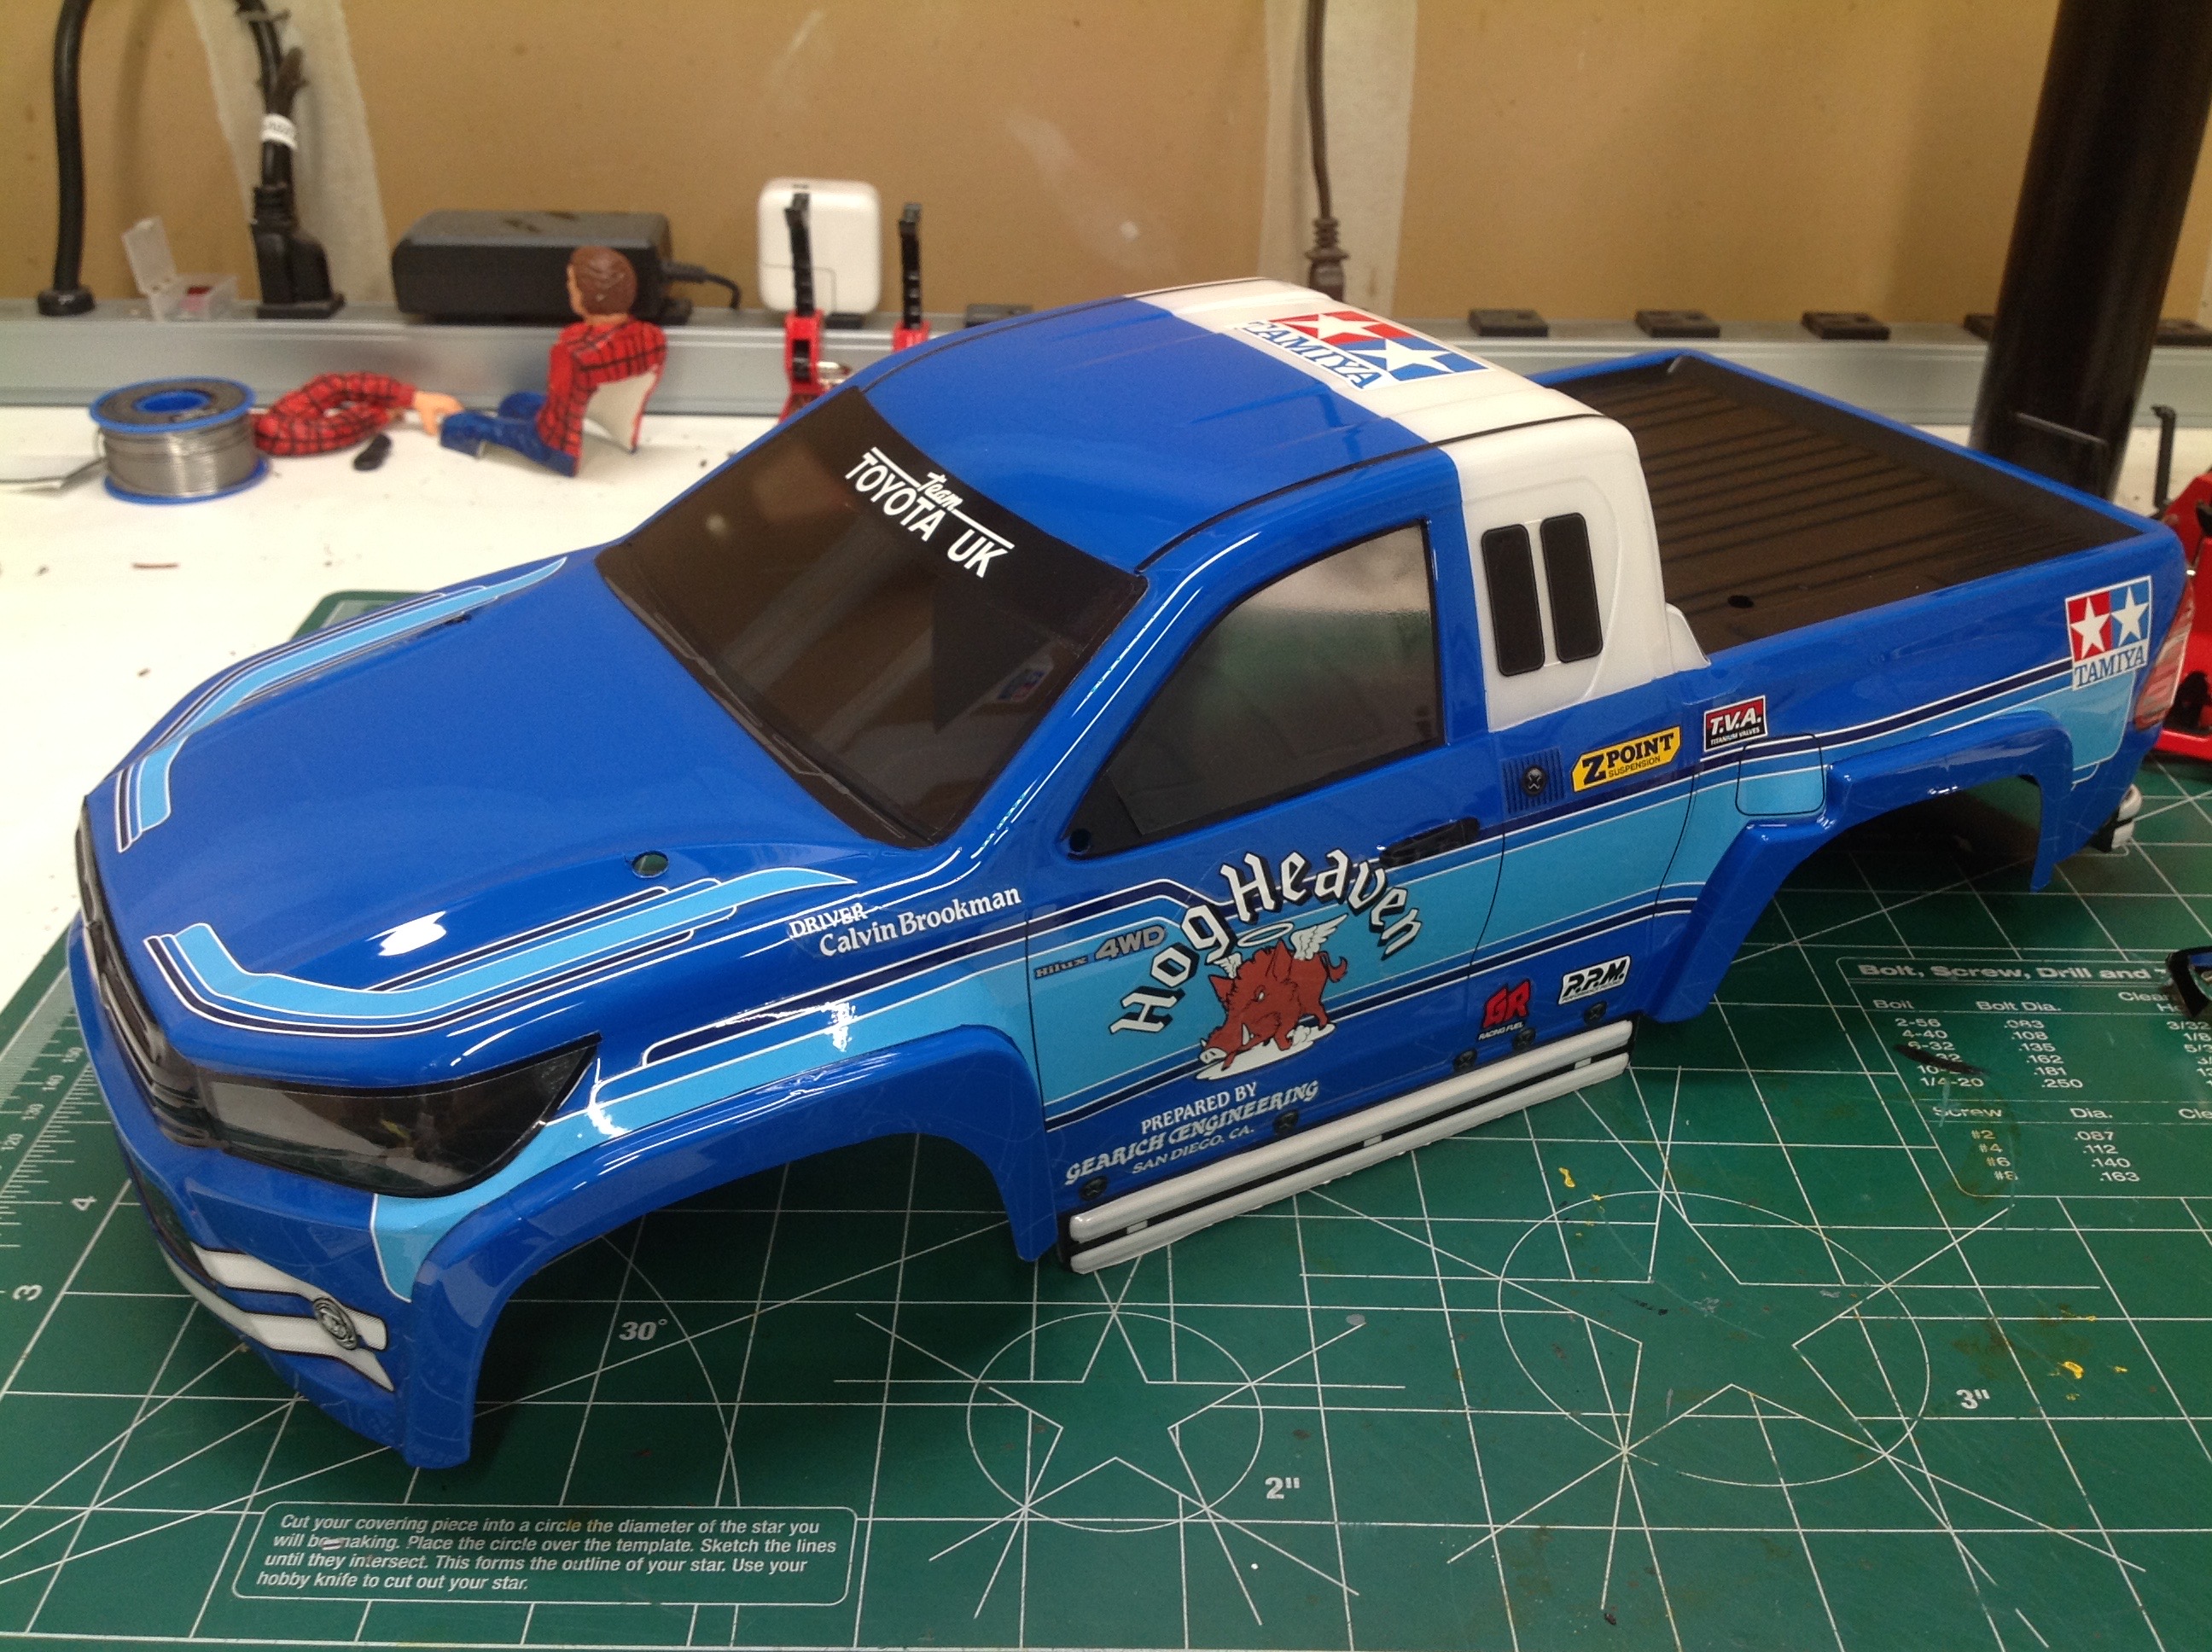
On the left you can see the finished paint with the overspray film
removed. Looks glorious. I spent the next couple of days
carefully cutting out and applying the nearly 100 stickers to get the
final result on the right. The large stickers representing the
stripes on the side are particularly difficult to apply straight without
removing them or getting bubbles.
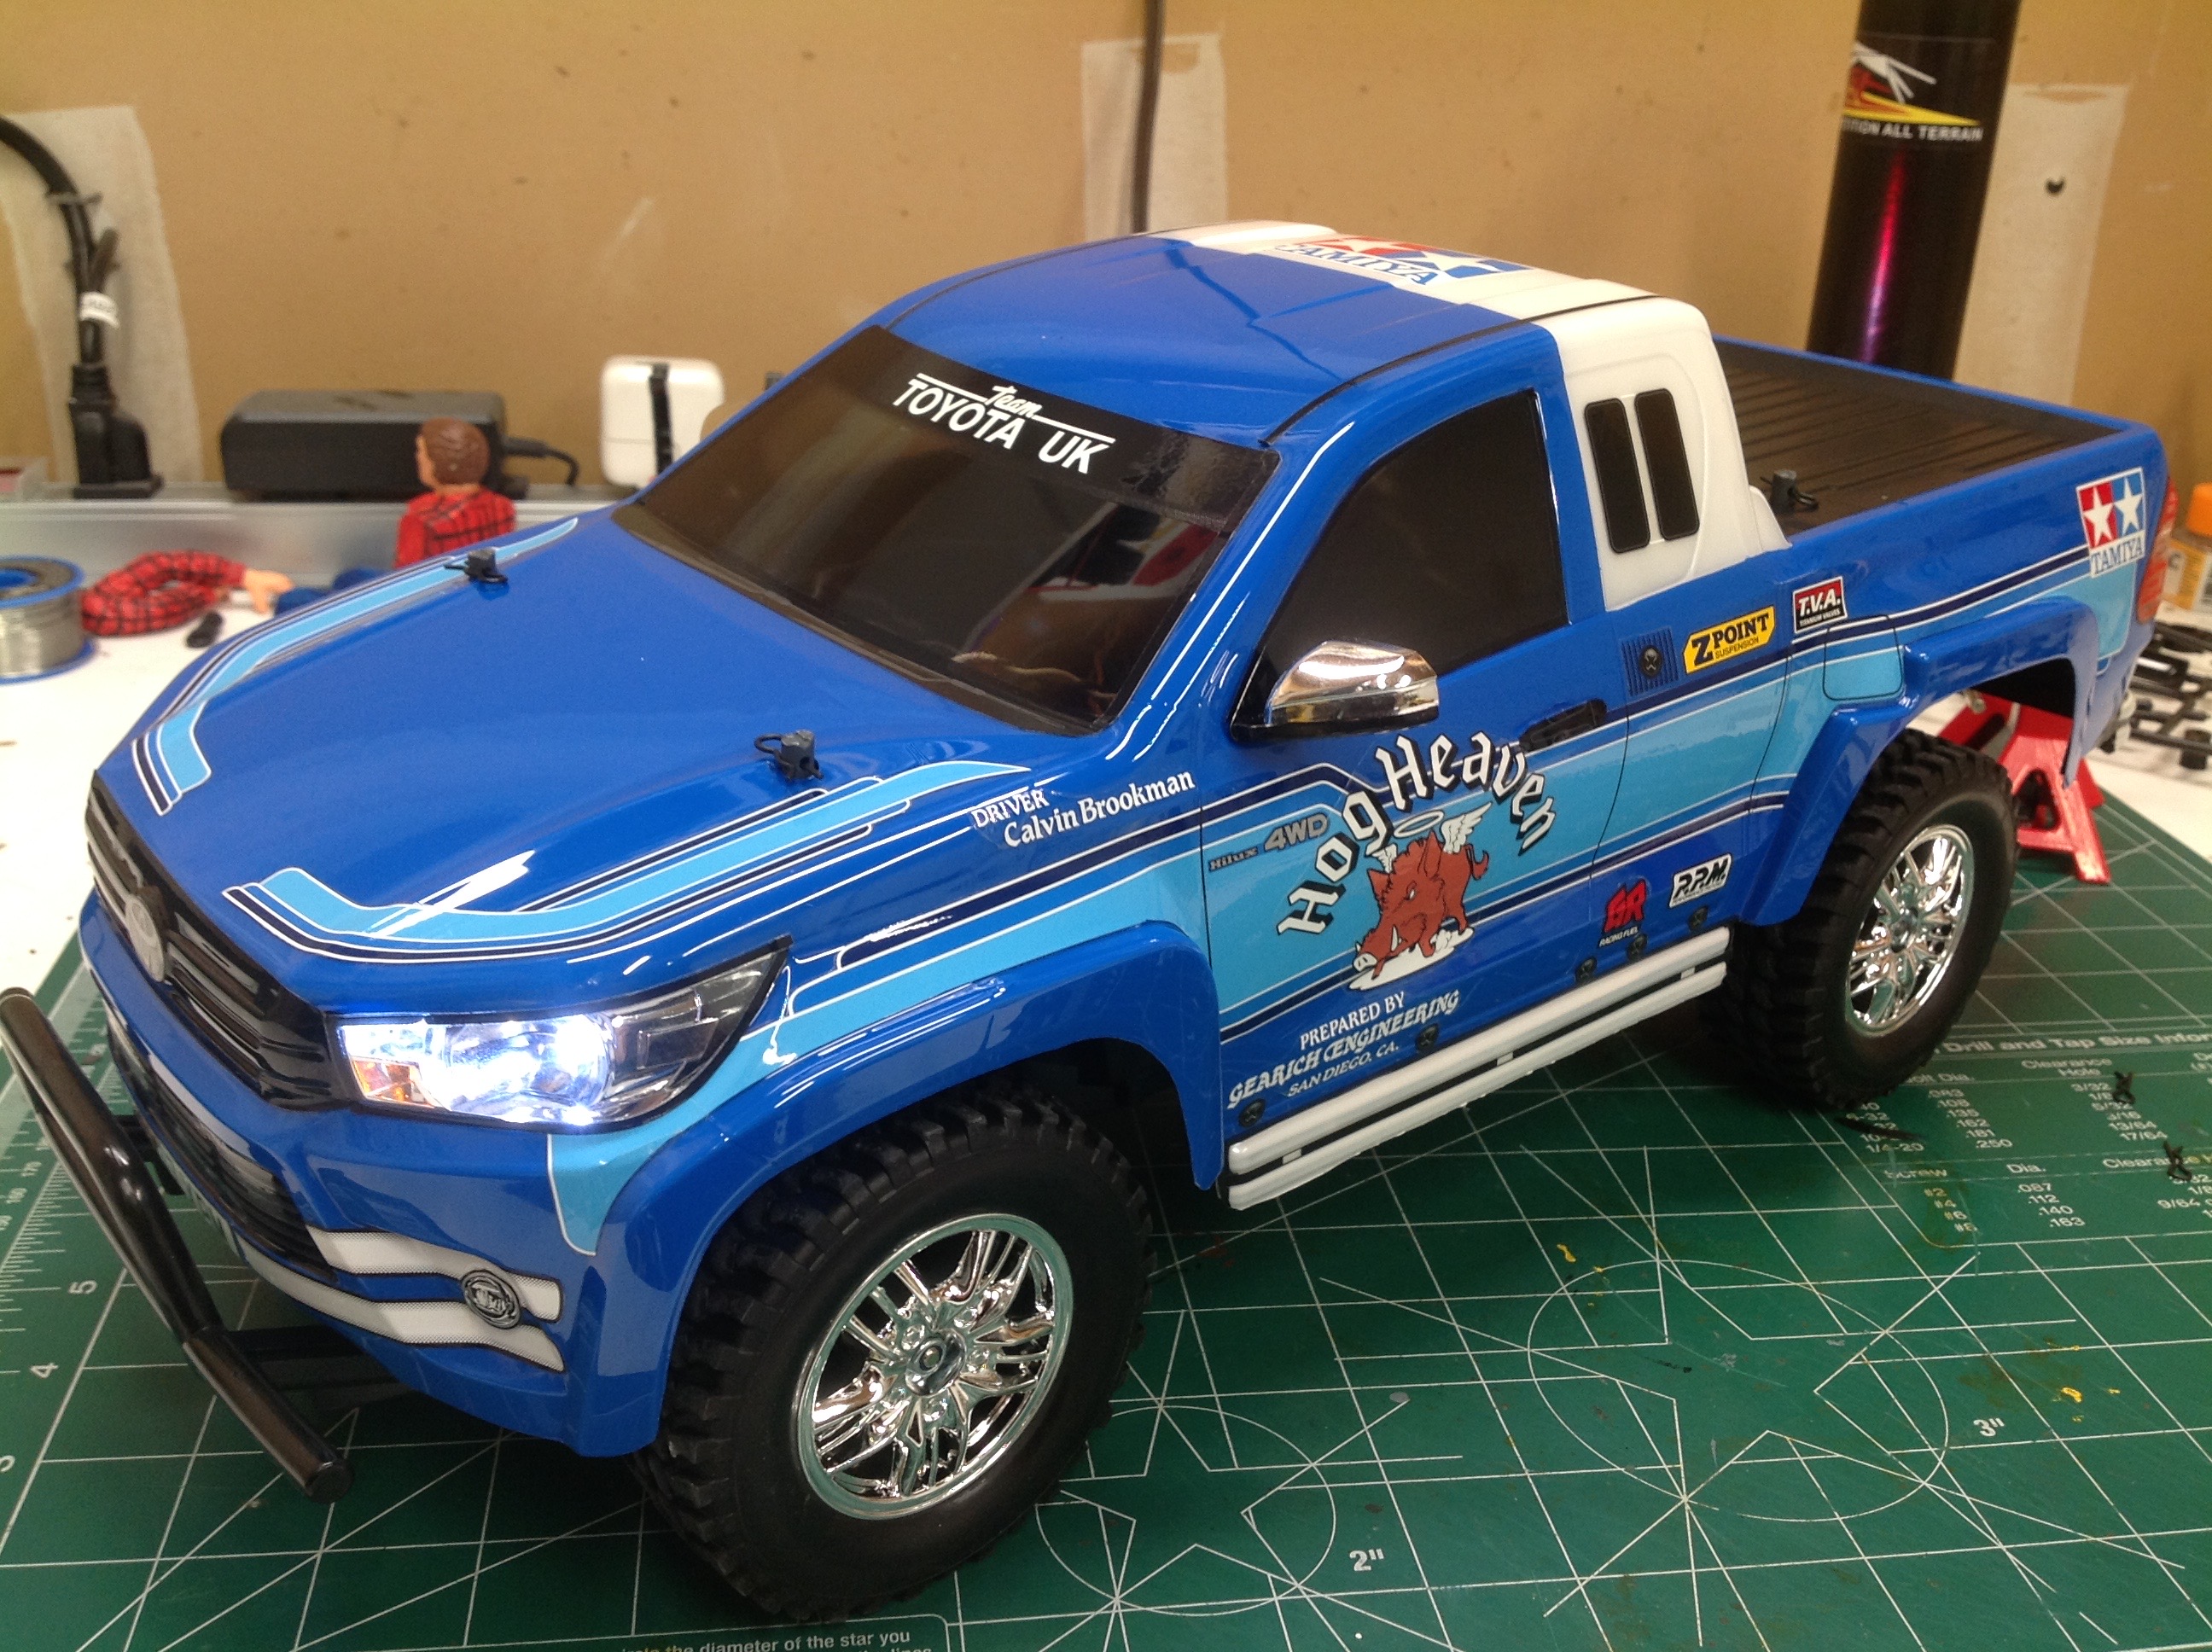
Once all the paint and stickers were applied I turned my attention
to the mirrors and light buckets. The buckets for the tail lights
need to be partially painted in transparent red, and the headlight
buckets get some stickers. Both are installed with servo
tape. The mirrors are retained with o-rings and body clips.
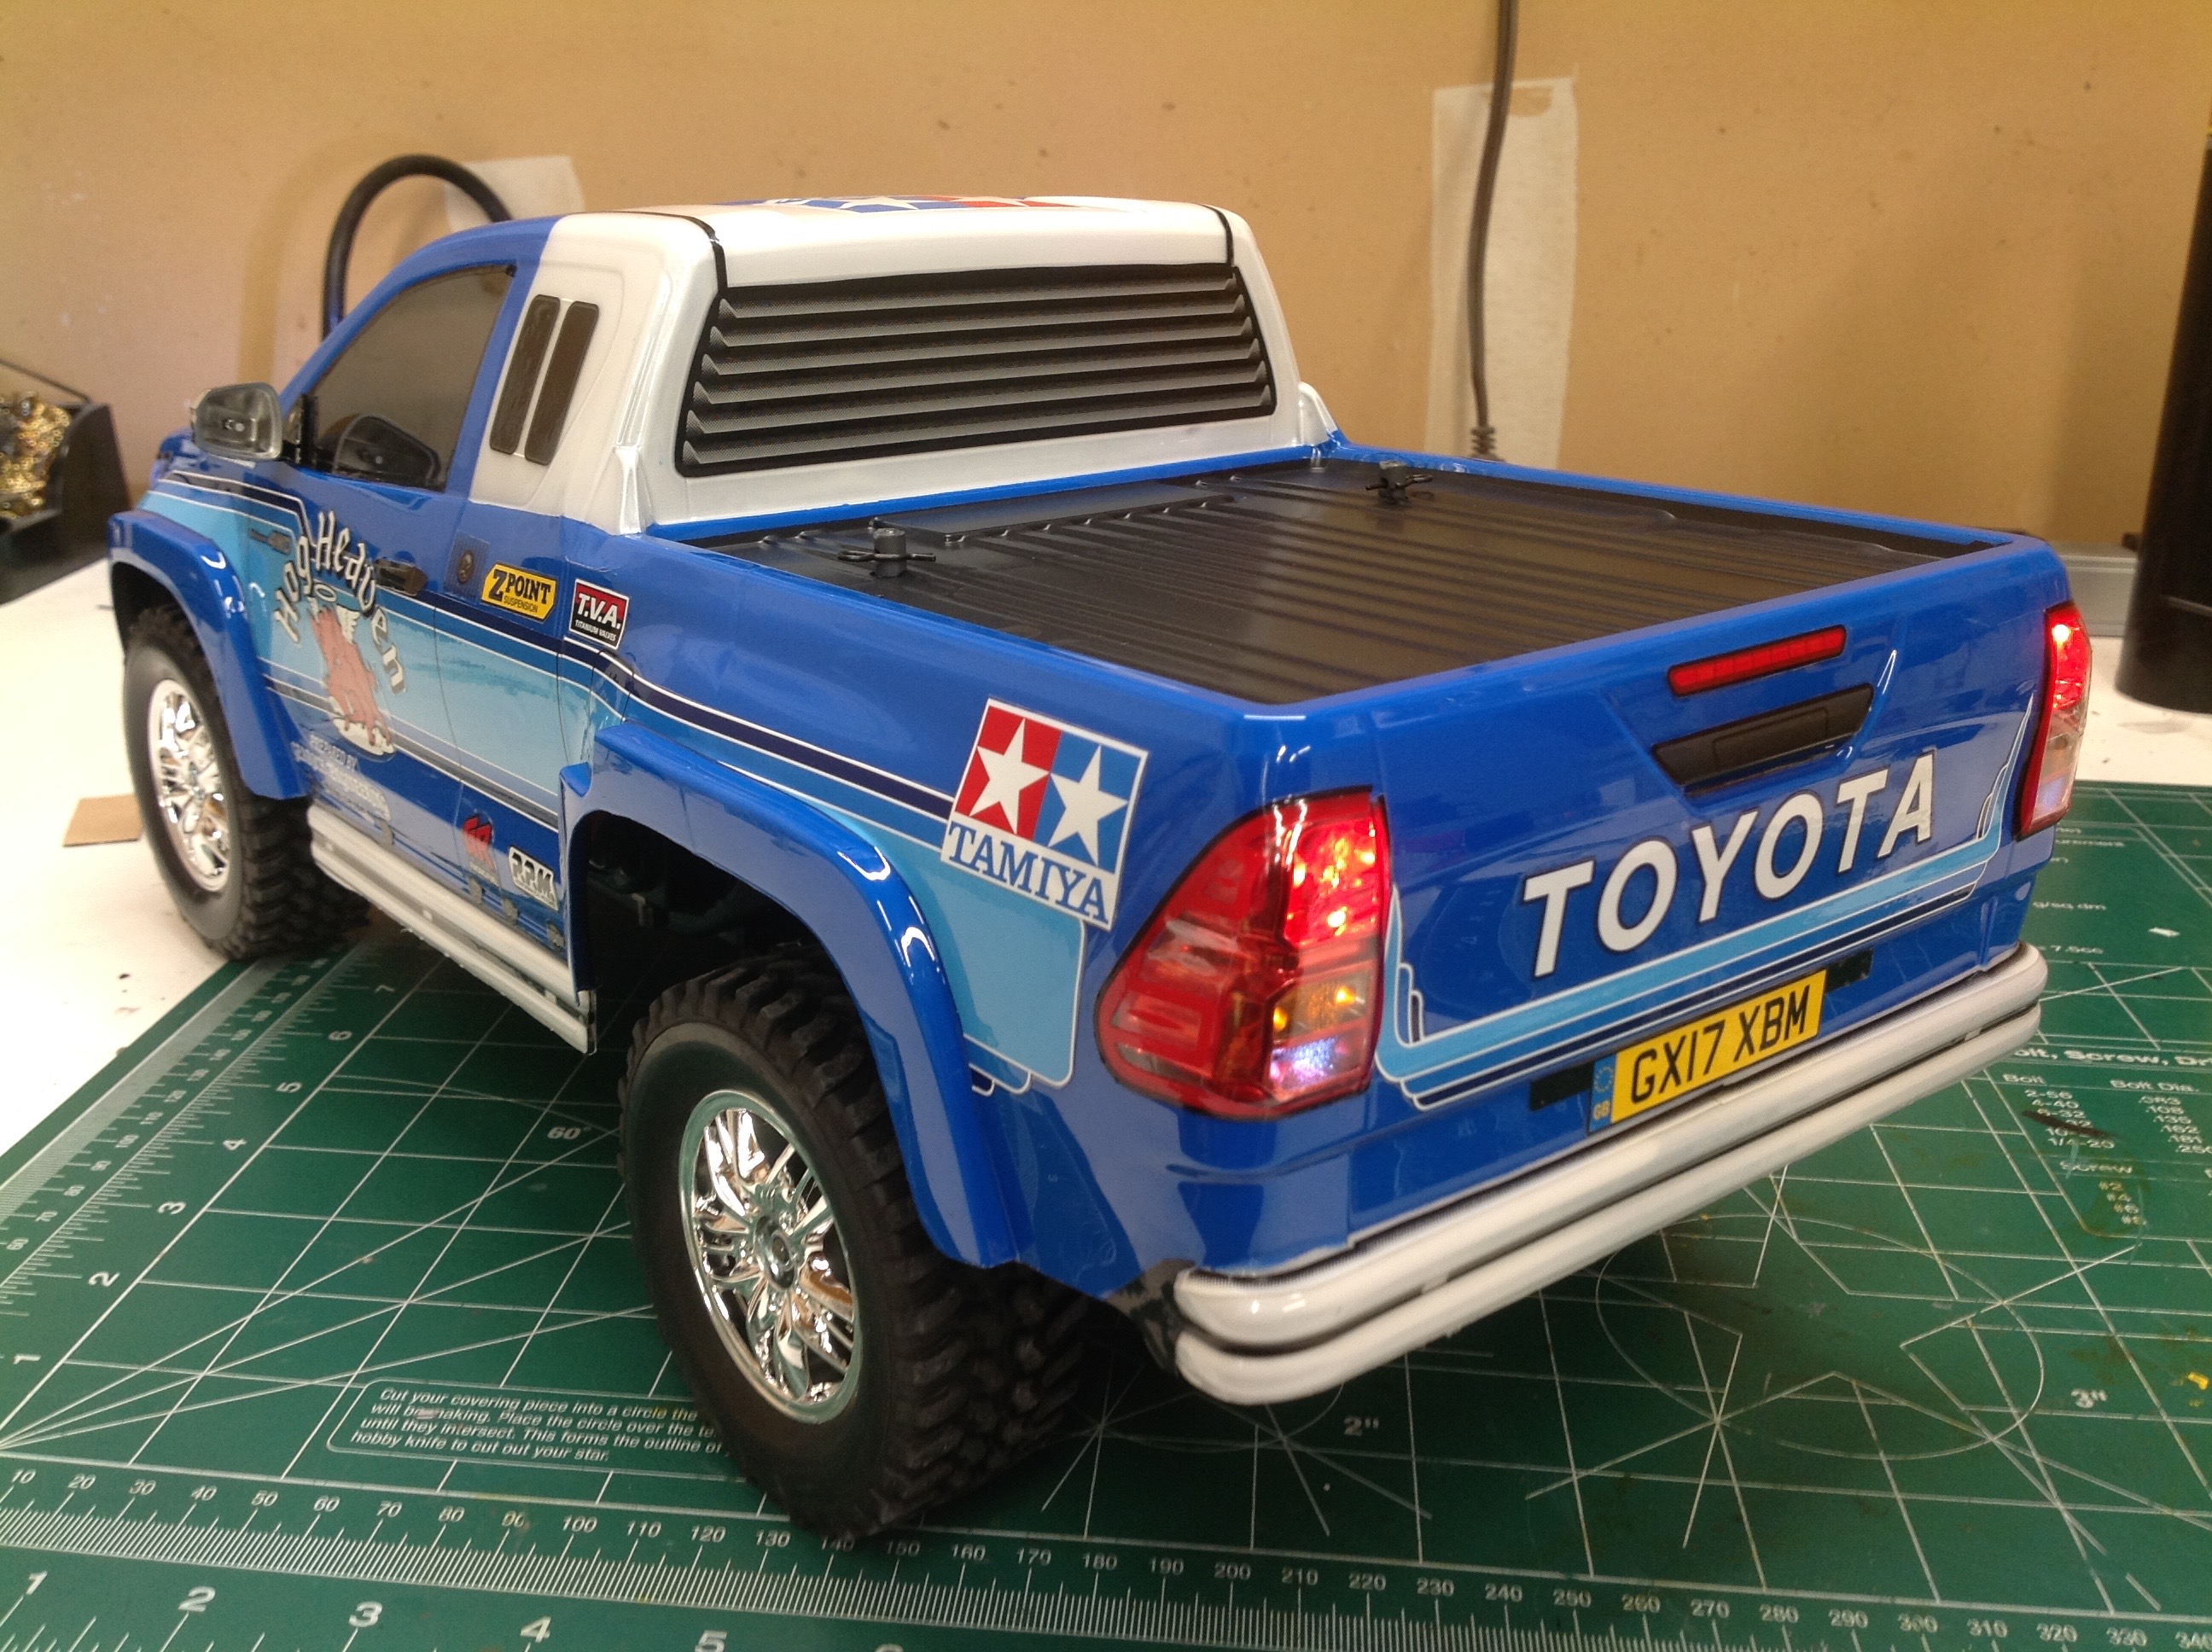
Finally, I installed a TLU-01 lighting system which includes 6 LEDs in
front and another 6 in back. Four came with the kit and the rest I
added myself. Although this body has far fewer plastic details
than the Defender, I think the final result looks very good
indeed. One possible issue is that the rear of the truck hangs
far behind the chassis so you need to be careful when lifting the model.
©2019 Eric Albrecht