Tamiya Mitsubishi Pajero Project

Page 2:  Upgrades!


The Pajero is a pretty good model and doesn't really require much in the way of upgrades.  Most of what you'll see on this page is just because I thought it was cool.  I'll point out the places that the upgrades really made the model better.  Above you can see the pile of parts from Tamiya, Jun-Fac, and GPM.  During the initial build I changed all the plastic bushings for sealed ball bearings.


One real problem with the CC-01 chassis is the steering system.  The long vertical crank axle is very sloppy and this makes directional stability really bad.  GPM makes this aluminum upgrade which also puts bearings on the vertical axle.  The first picture shows the stock versus the aluminum system.  Sadly, the new parts are just as sloppy as the old when first installed.  I discovered that this is due to a hardware problem.  The flat head screw that attaches the lower crank to the vertical shaft is too long.  It bottoms out in the threads which prevents the crank from gripping the bearing tightly and causes wobble.  Once you replace this with a shorter screw it works great.  No more steering problems.  I did lose a couple of screws during the first couple of battery packs due to not using enough thread lock.  You need plenty on these bouncing, moving parts.


I replaced the entire front suspension with GPM aluminum parts including the skid plate.  I didn't want to go with any fancy anodized colors here, so I just used black and silver.  There is certainly nothing wrong with the stock suspension.  The factory plastic parts will never break under normal use because this truck just isn't that fast.  The aluminum sure does look cool though.   I suppose it also lowers the CG a bit. The above pictures compare old and new.  Pretty much everything you see except the king pins and bearings is new.


These photos compare the stock and new front suspension as installed.  Geometry is the same but the new one looks really nice.  I did not replace the shocks.  The plastic CVA shocks are really quite good and aluminum upgrades cost too much to be logical here.  (Not that logic applies....)  Maybe some day.


Now this upgrade really does make a big difference.  It is called the Tamiya "stroke extension kit".  What it does is attach the upper end of the rear shocks to a swing arm instead of directly to the chassis tub.  This results in much more articulation than stock as you can see in the right hand image.  This also makes the off road performance much better because the wheels don't come off the ground so easily.  I suppose it also makes the model look less stock, but only at extreme articulation angles.  Under normal driving it looks the same as always and the ride height is unchanged.  One of the best things about this model is the scale appearance, so I'm glad it is not affected.


This might look like just a pile of loose hardware, but it is actually a Jun-Fac 4-link conversion kit for the rear suspension.  Note the black aluminum skid plate sitting there as well.  The right hand photo shows the suspension rods assembled and ready to install.


These pictures compare the stock and modified rear suspension.  Converting to aluminum links doesn't really change much since the original was already a 4-link type.  The overall movement is about the same.  The addition of the center skid plate is really nice for protecting the drive shaft though.


Here's the full chassis before and after.  From above, you can hardly tell anything was changed.  You can see the steering crank arm on top and a few hints of aluminum on the rear suspension.  It might just be my imagination, but the extra weight seems to make it feel more planted when driving.


Last but not least are some LEDs.  Scale vehicles, especially hard bodies, really benefit from lighting.  I added a Tamiya TLU-01 lighting system along with a few LED headlights and tail lights.


In the front I chose to use halogen colored lights for ultimate realism.  This includes the fog lights.  The rear does not have any light buckets so I just drilled some holes and popped in some 5mm red LEDs.  It doesn't look that great, but in twilight looks fine.  I have a set of lenses for the rear lights that I need to install some day.  After these pictures were taken I also drilled out the marker lights behind the front wheel wells and installed 3mm amber LEDs.


Phase 2:


I revisited this model later to add some aluminum shocks.  This upgrade is wildly unnecessary because the plastic CVA shocks are adequate for the level of performance this vehicle has, but I really like the shocks and the way they integrate with the already upgraded aluminum suspension.  They also leak a lot less.  These shocks do not come with springs and need to re-use the springs from the stock shocks.


Here the new shocks are installed.  I cannot claim with certainty that the handling is actually improved, but it certainly seemed so to me on the first drive.  This is turning into a pretty good looking CC-01.  Now I guess I better work on the body so it is as good as the chassis .......


Phase 3:


For the next phase of upgrades I knew the main thing I wanted to do was fix the lighting.  I had put in lighting right from the beginning, but the tail lights in particular were unacceptable because I had just shoved some LEDs through holes I drilled in the body.  There were no lenses and the shape was not right.  I found some 3D printed lenses but avoided installing them for months because I knew how much work it was going to be.  Finally, I got to it.  The image above shows the new lenses.  In order to install them I had to carefully clean away the thick ABS body with a Dremel and then file it smooth to make the lenses fit.  It was hard and I didn't do a great job, but it looks OK from this distance.


Here is the before and after.  On the left you can see the original round lights unceremoniously protruding from the body.  In the new version on the right it not only looks better but adds function.  There are 4 LEDs on each side: 2 red for tail lights and brake lights, one orange for turn signal, and one white for reverse.  These are all now functional.  Brake lights get brighter when stopping, reverse lights come on when backing, and signals blink when turning.


Here is same process performed on the front.  I already had working headlights so those stayed the same.  I added two lights to each side, a white marker light and an orange turn signal.  I had to get rid of the fog lights.  This is partly because I didn't have enough channels for them, and also partly because I was changing the front bumper anyway.  Notice the little side marker lights behind the front fender.  So far I have left these alone.  They are still just sticking out of the body but don't look bad because they are so small.


The before and after wiring.  I already had a TLU-01 lighting unit stuck under the hood in the old version.  On the right, I moved it to the roof to allow all the wires to reach.  I hope to install an interior later which will move it down beneath that to be hidden.  Looks reasonably neat though, and is not very visible with the tinted windows (which I also later plan to replace).  I'm using all 8 channels of the TLU-01 for a total of 16 LEDs.


It is not enough to just install these lights in the body.  Because I want them to be active, they need to be able to see throttle and steering signals.  For this I installed a TLU-02 control unit in the chassis, wired directly to the battery and connected in series with the servo connections.  The left hand image shows the mess when I was trying everything out, and the right hand after everything had been cleaned up.  When the body is installed, the black ribbon cable on the far right needs to be plugged into it which takes care of all the connections.


Next up is a nice steel brush guard.  I removed the factory plastic bumper which was not scale at all and installed the new one shown above.  It looks much better, but also partially blocks access for body installation so it means I need to loosen some screws every time.


I also added a steel roof rack from the same company which has a nice ladder in back.  The right hand image shows the final result.  I really like the look of this Pajero now.  It looks more ready for serious long trips off-road instead of just getting groceries.  Next phase will be interior, clear windows, and maybe some scale accessories up top.  This thing isn't done yet!


Phase 4:


The next thing I wanted to do was install a tiny winch to the new steel front bumper.  The pictures on the web site where I bought the bumper (n Czech Republic) showed a winch so I ordered it from them.  It has an integrated chip controller and bolted right on to the bumper.  I had to wire the power directly to the battery but the winch can be controlled from the transmitter.


Although the steel bumper sat nicely in front of the plastic bumper on the body, this was no longer true once I added the winch.  I had to trim away a big chunk of the stock plastic bumper to make room.  It looks pretty ugly but is all hidden once the winch is installed.  This winch doesn't have a lot of power but this is also not a very heavy vehicle.


Because I want to add an interior, I can't just keep the stock tinted windows.  However, I won't be adding a complete interior all the way to the back so I need to retain the tinted rear windows and sun roof.  I did this by cutting away the front windows and windshield.


The new clear windows are just flat sheets of polycarbonate so I couldn't screw them in like the old plastic windows.  Instead I used clear double sided tape which I was able to hide pretty successfully.


I ordered a very nice interior set at the same time as the roof rack and bumper but I ran into quite a few problems with it.  The set comes with a complete detailed dash and interior door panels.  The dash fit the body wonderfully, but when I tried to install the body on the chassis it didn't fit.  In the fine print it says that it doesn't actually fit the CC-01 chassis without trimming, and it takes a lot of trimming.  I had to cut away almost the whole center of the dash to clear the motor.  I also couldn't use the door inside panels.  Still, it looks OK through the windows which was the whole point.


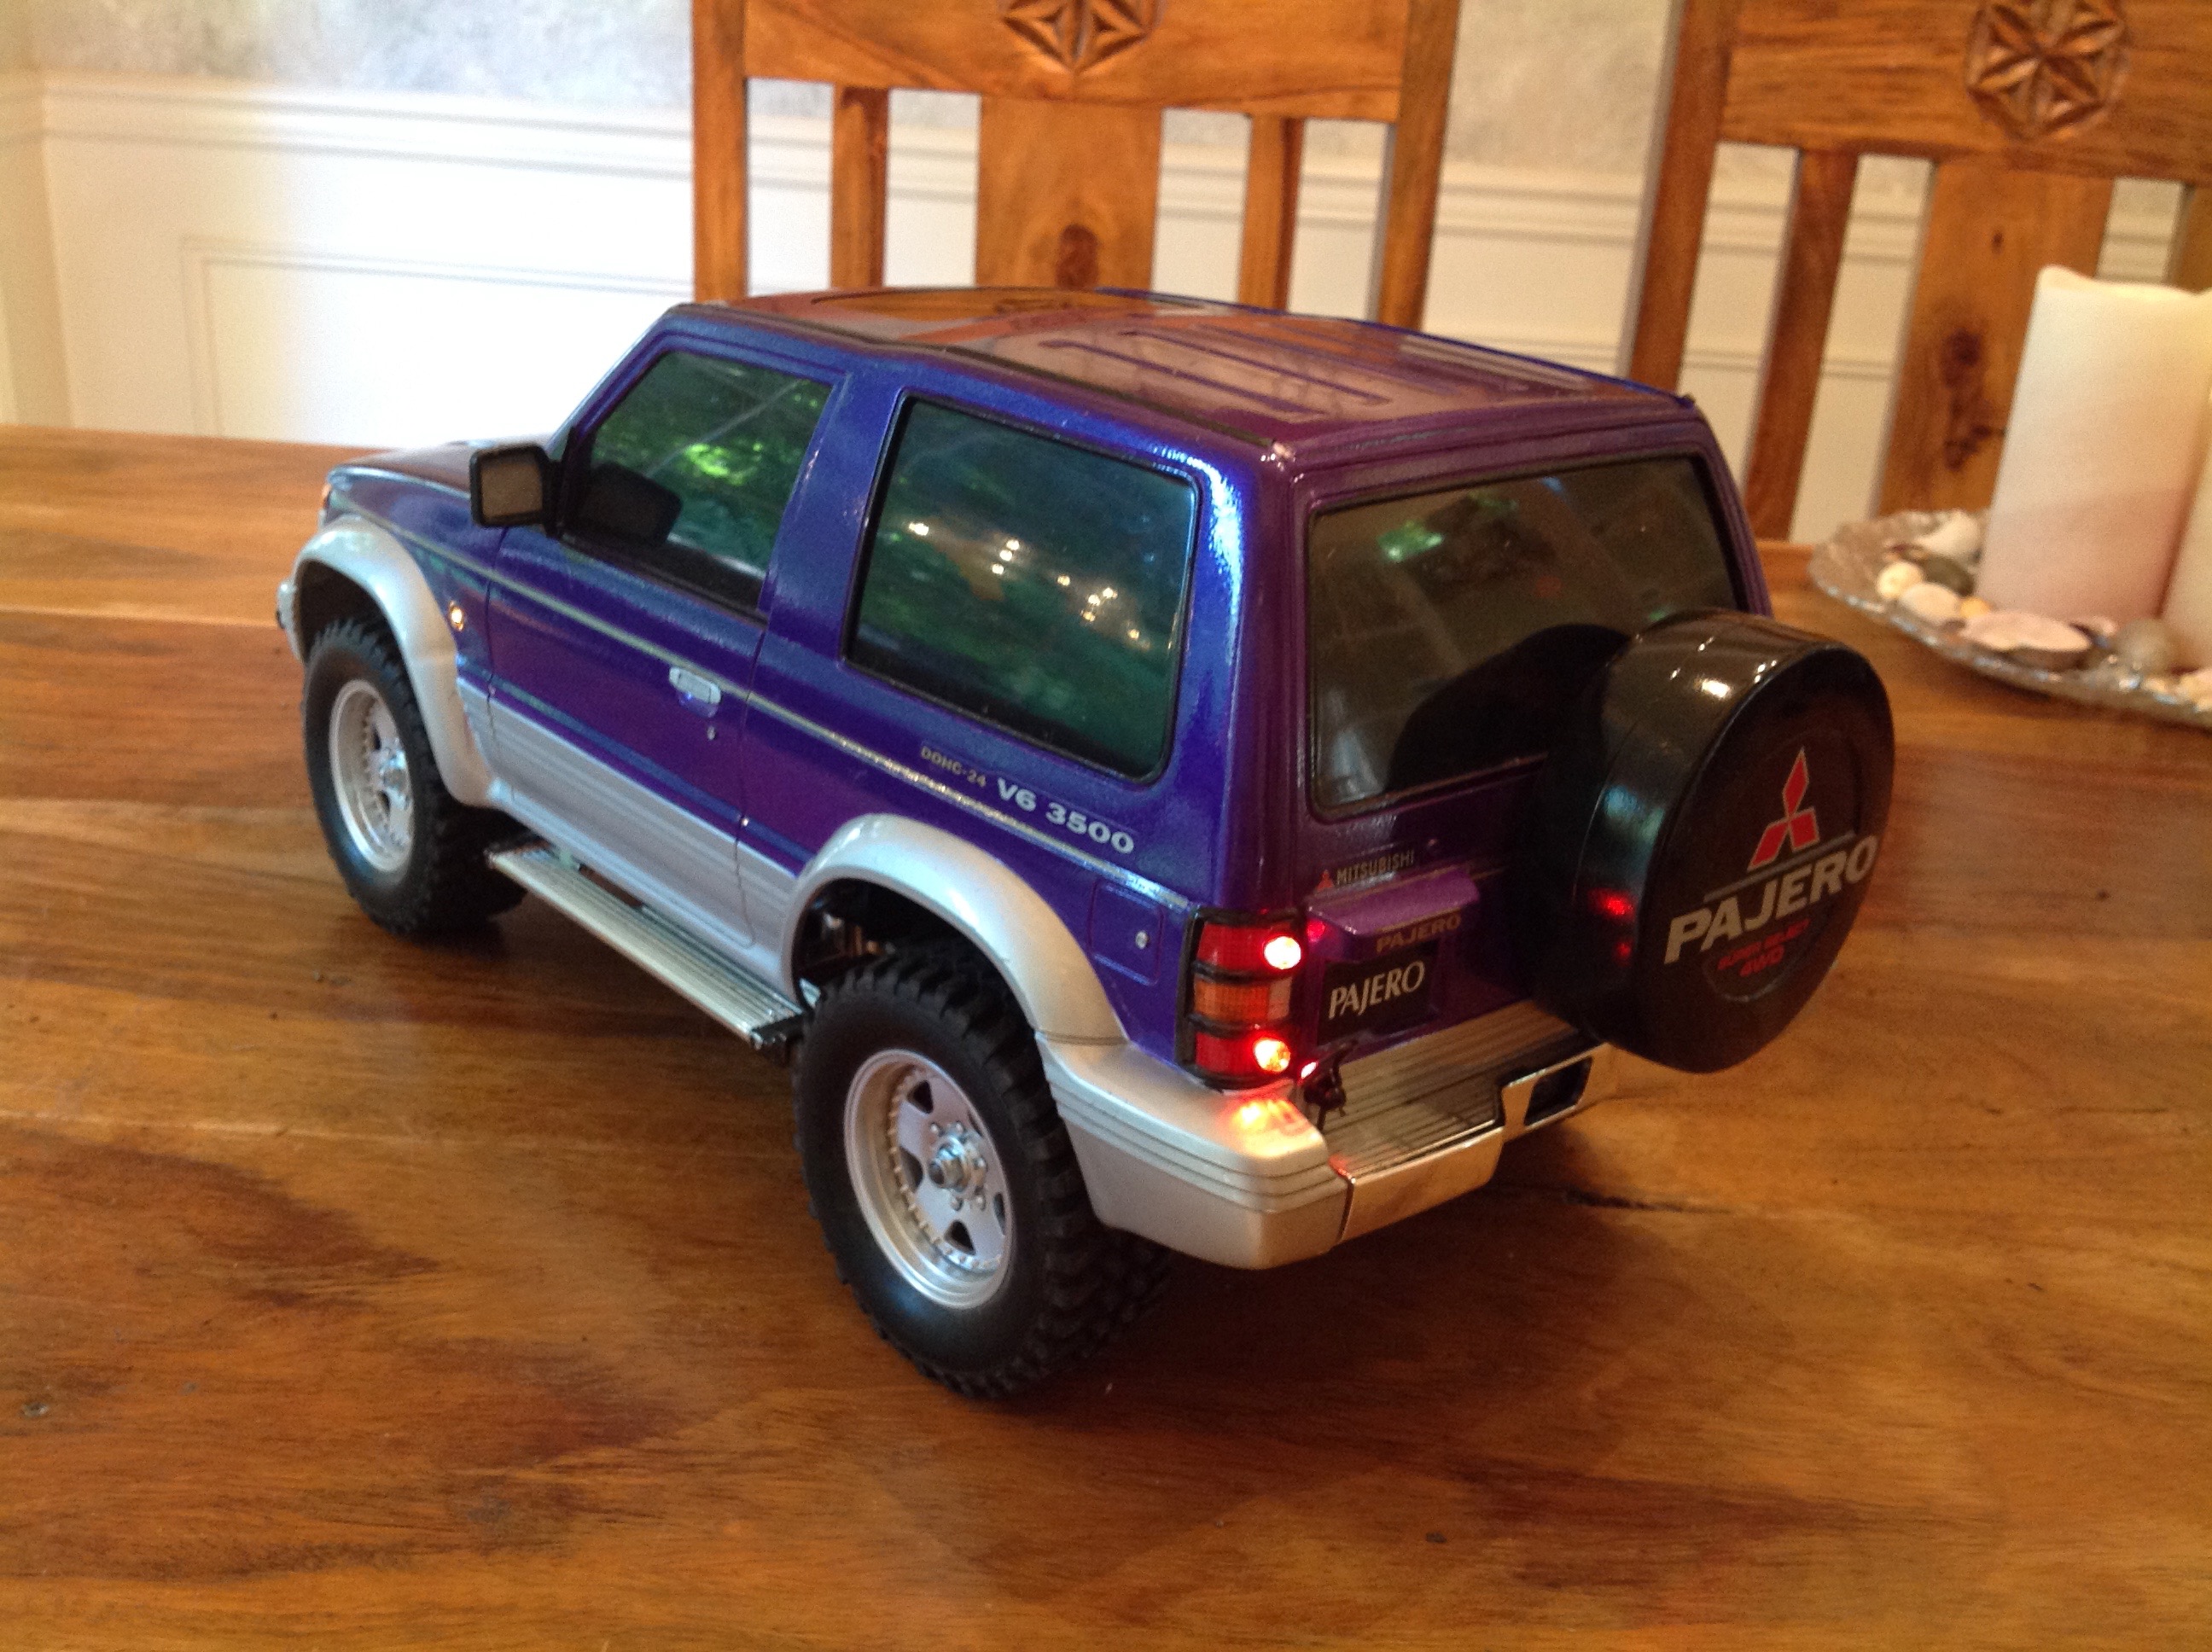
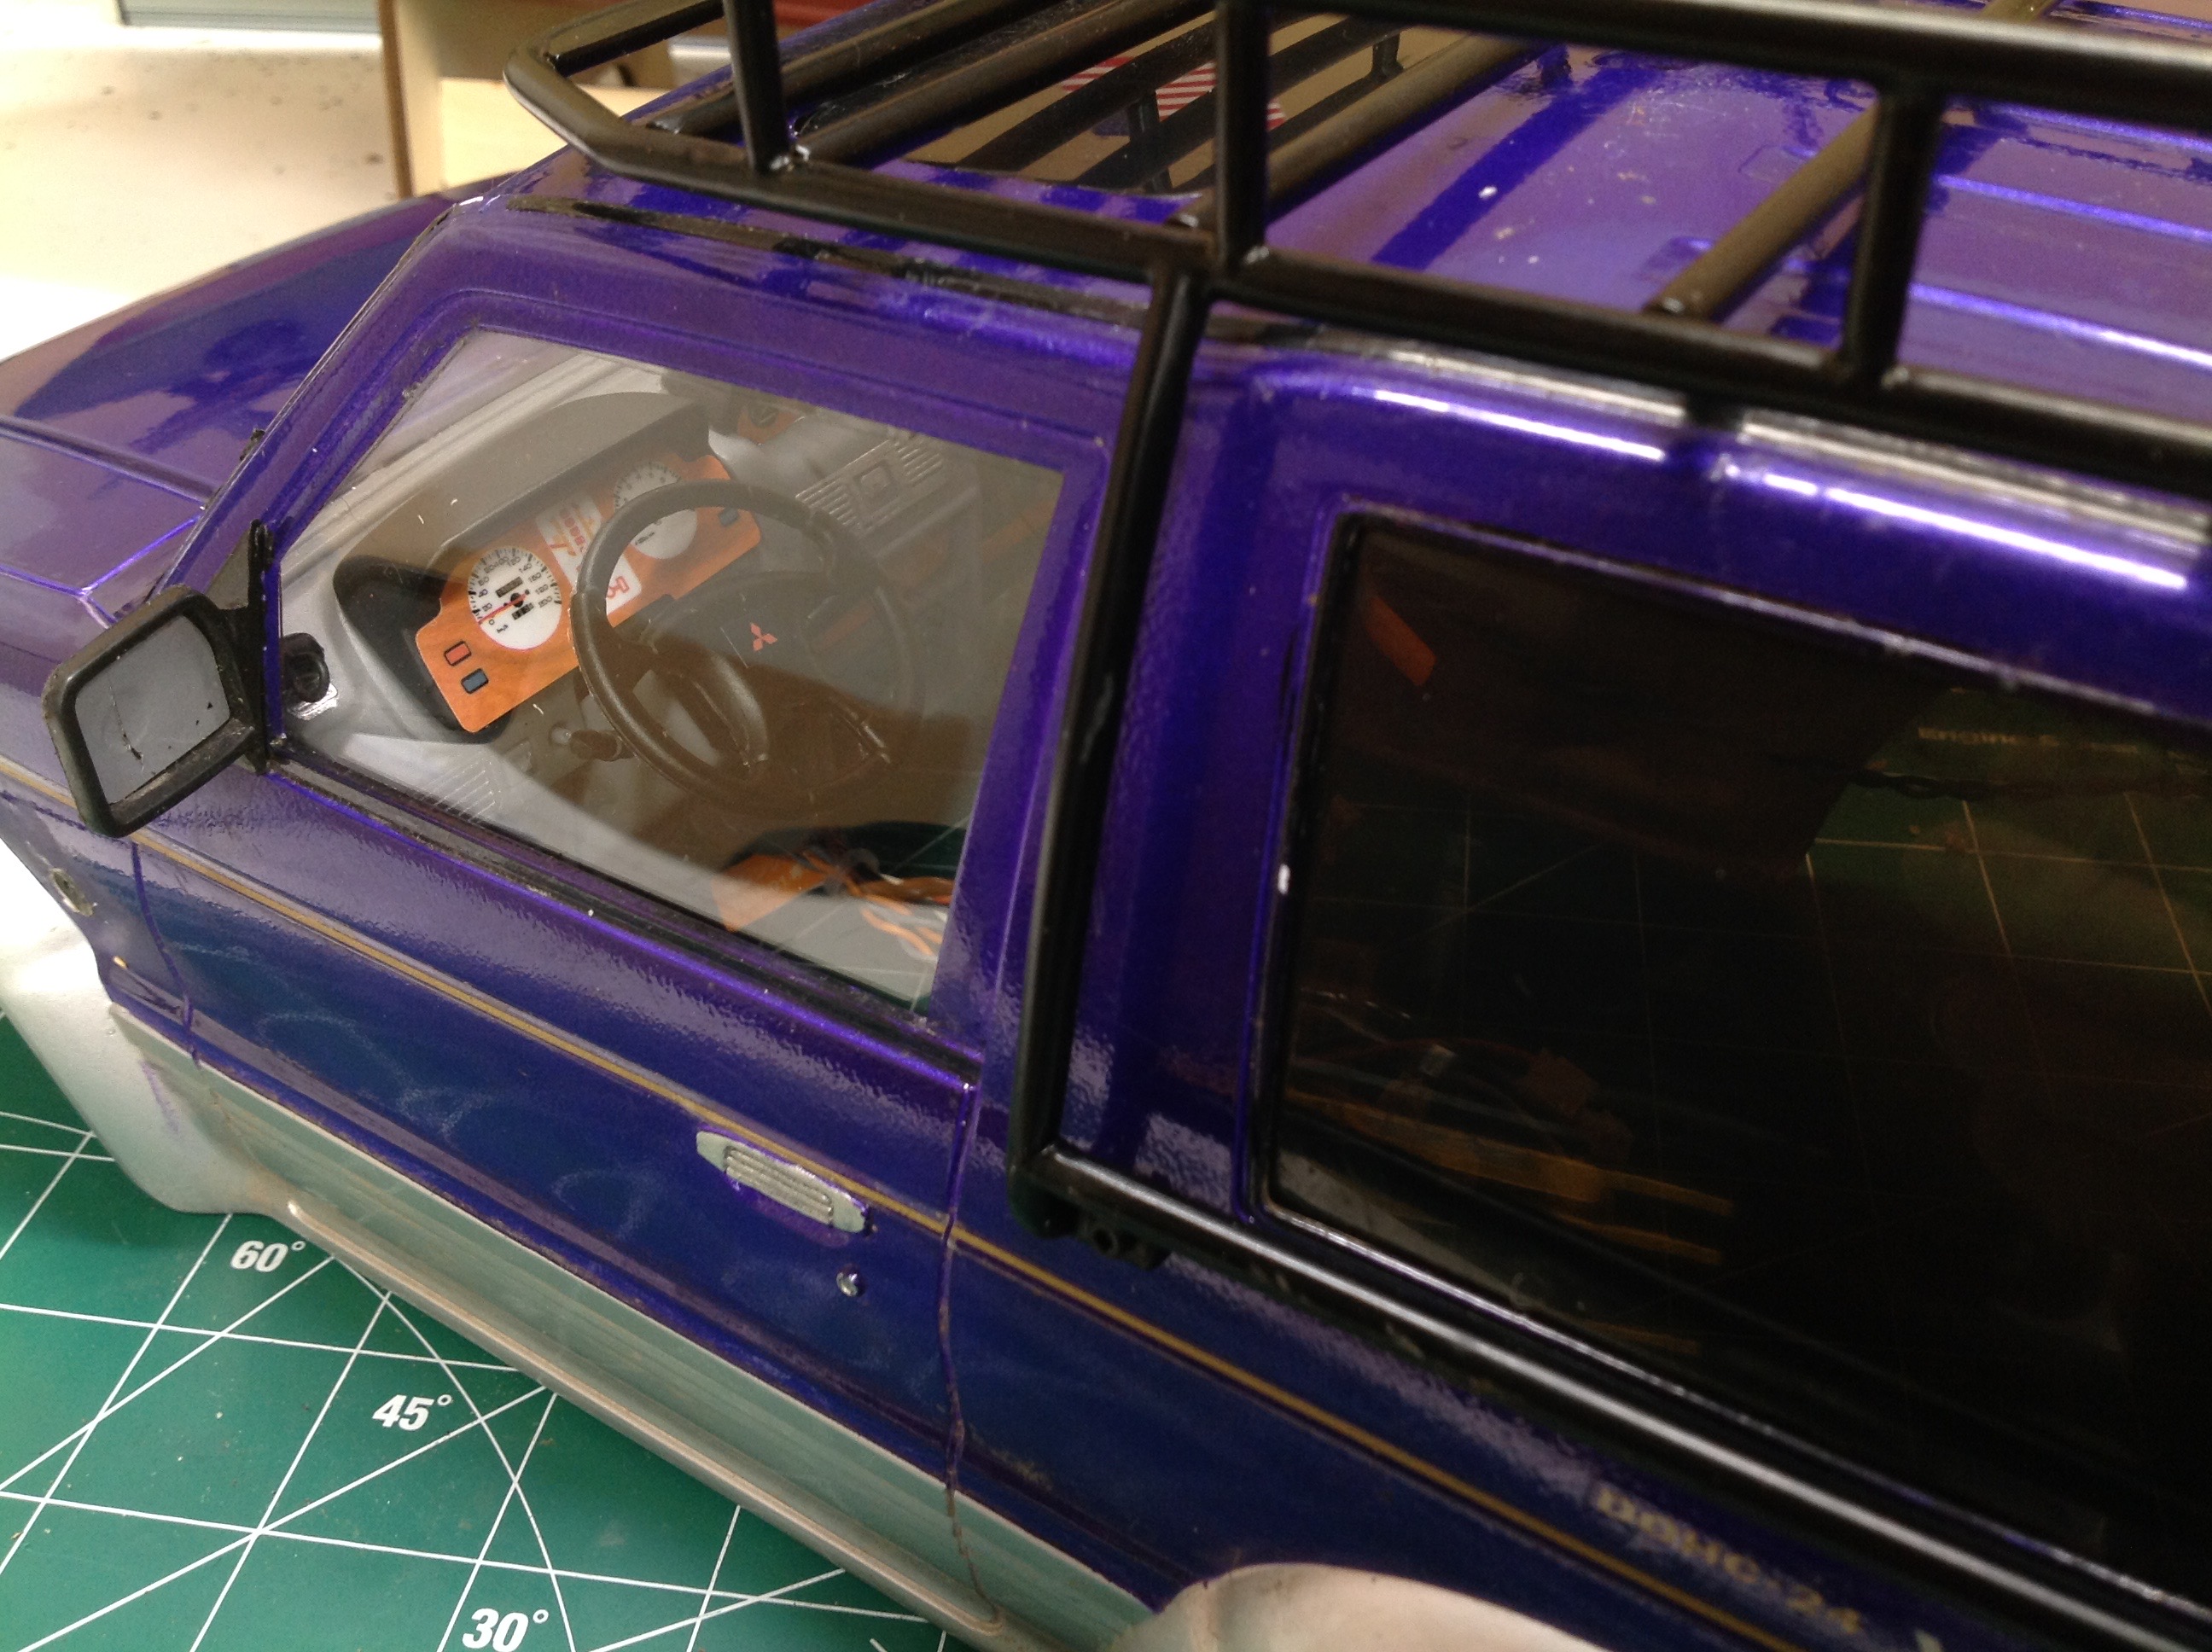
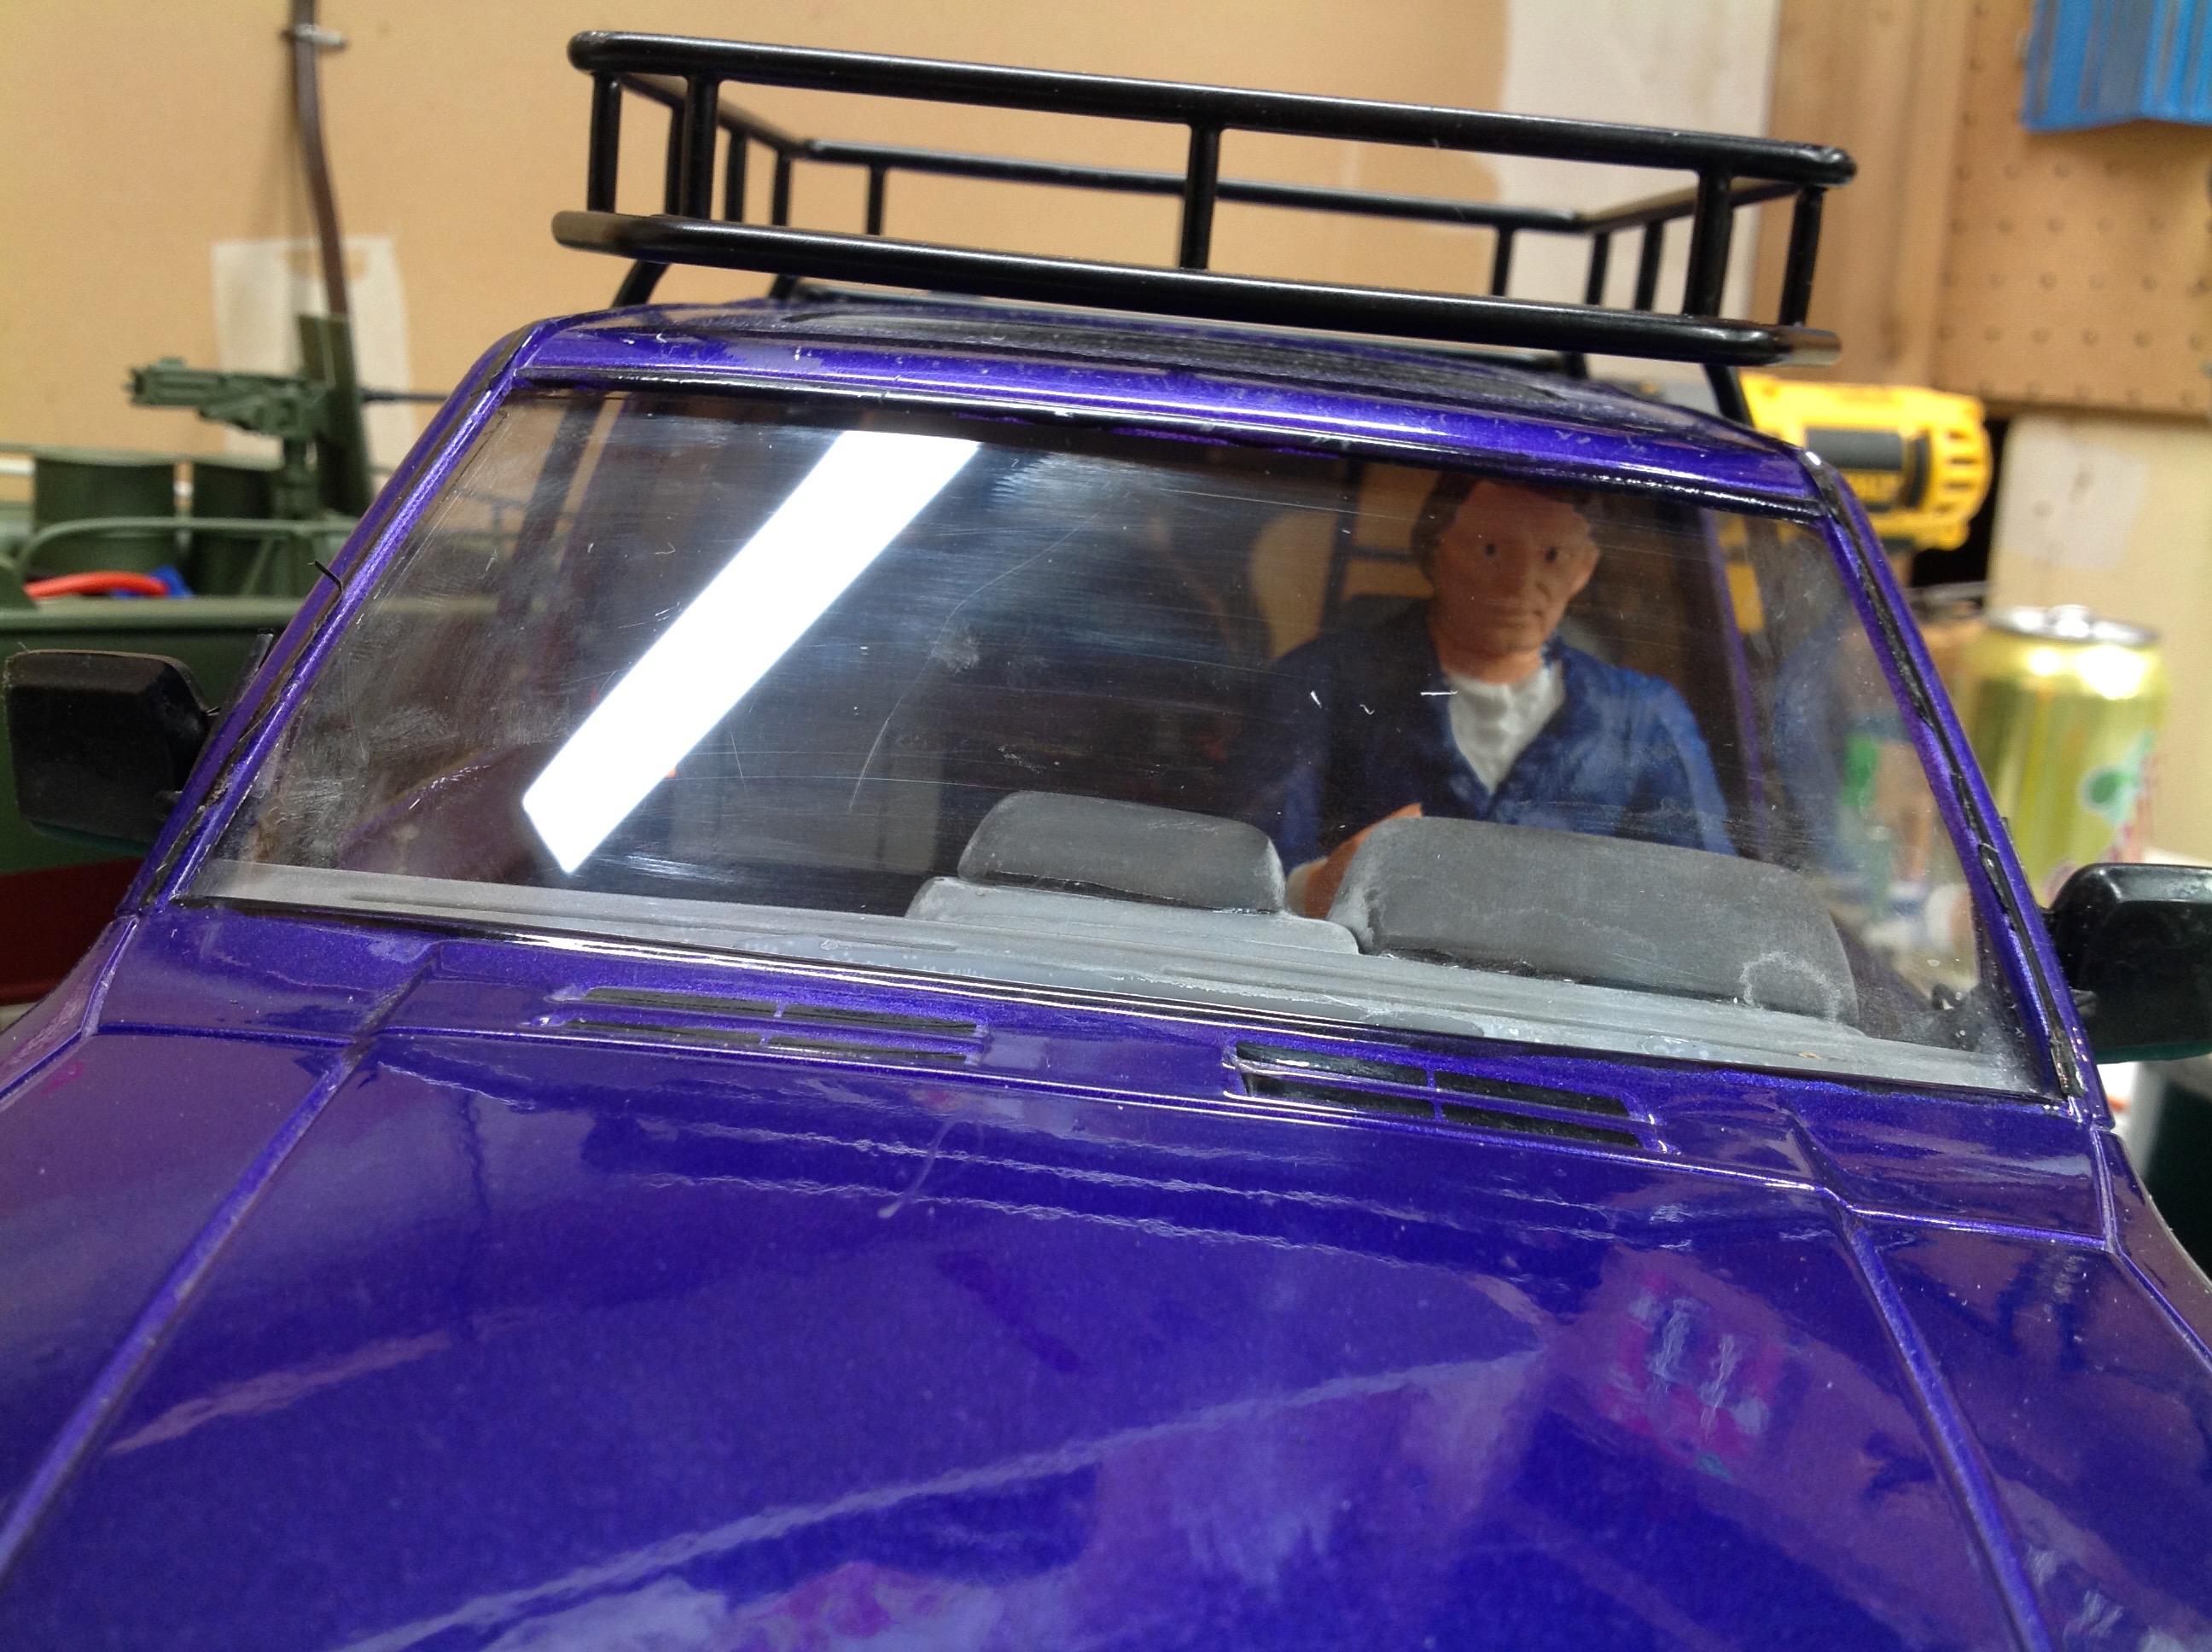
I used a Tamiya 1/10 scale 4x4 driver figure, but I had to heavily mutilate him to make him fit.  Only the top of the 
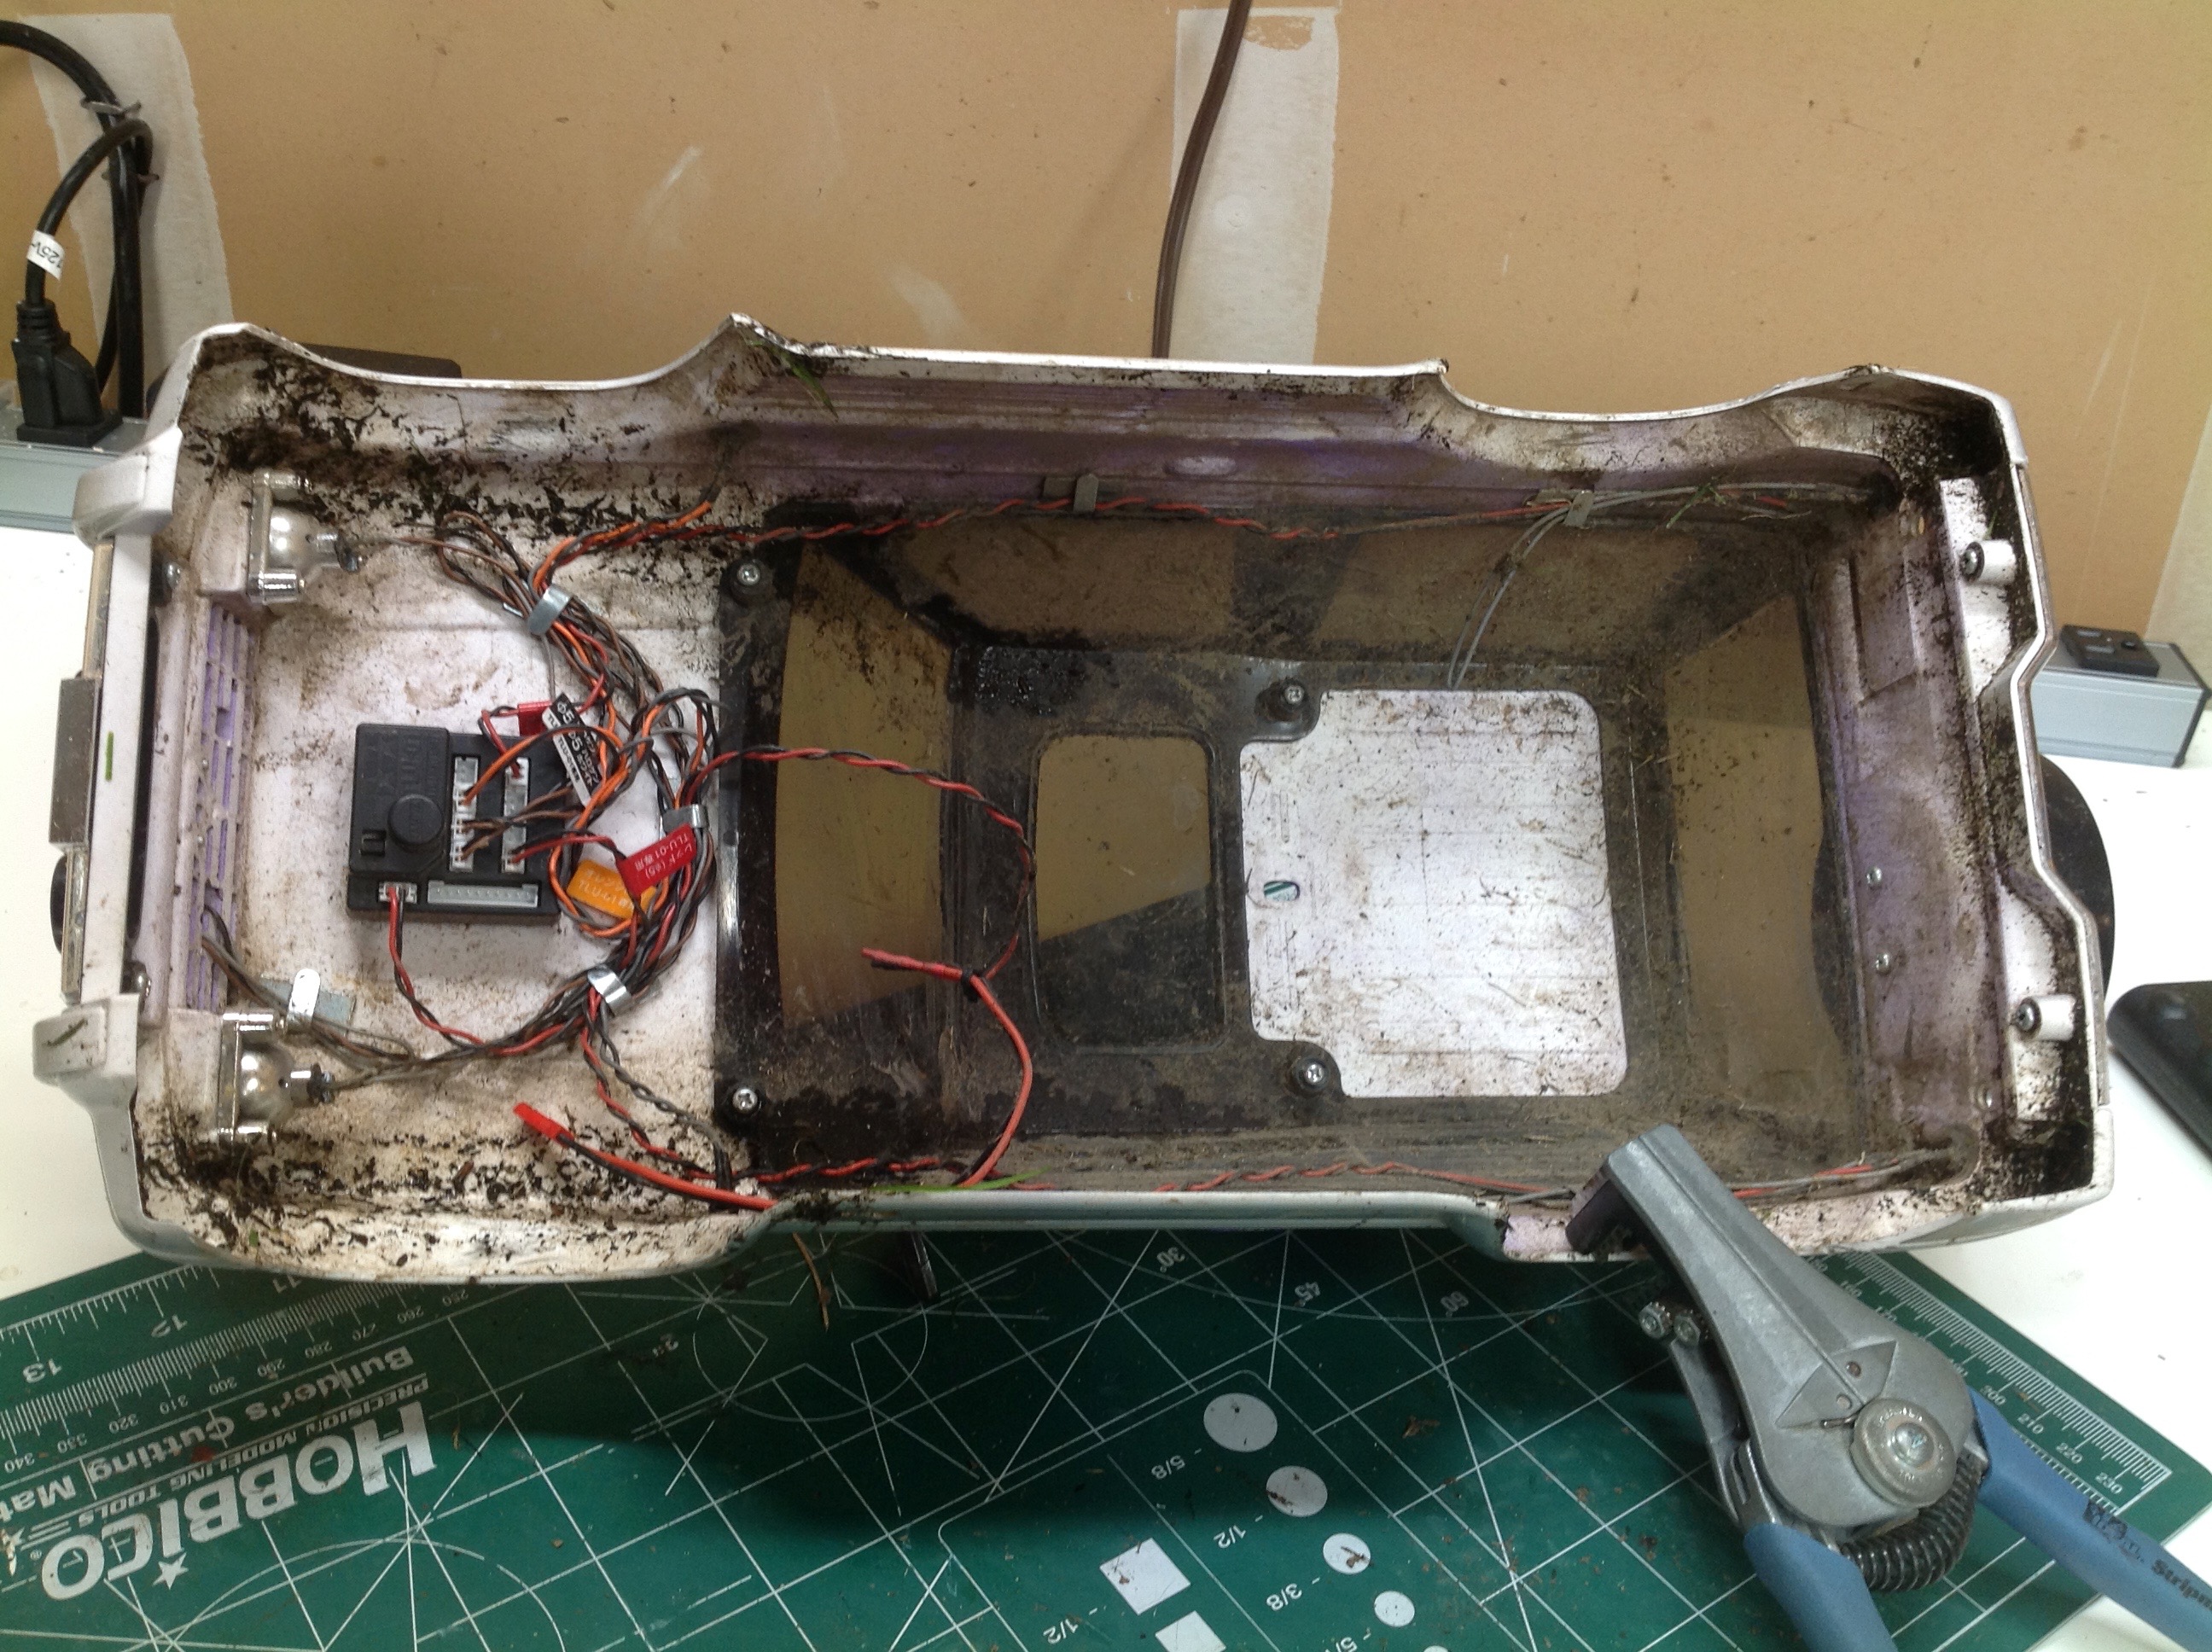
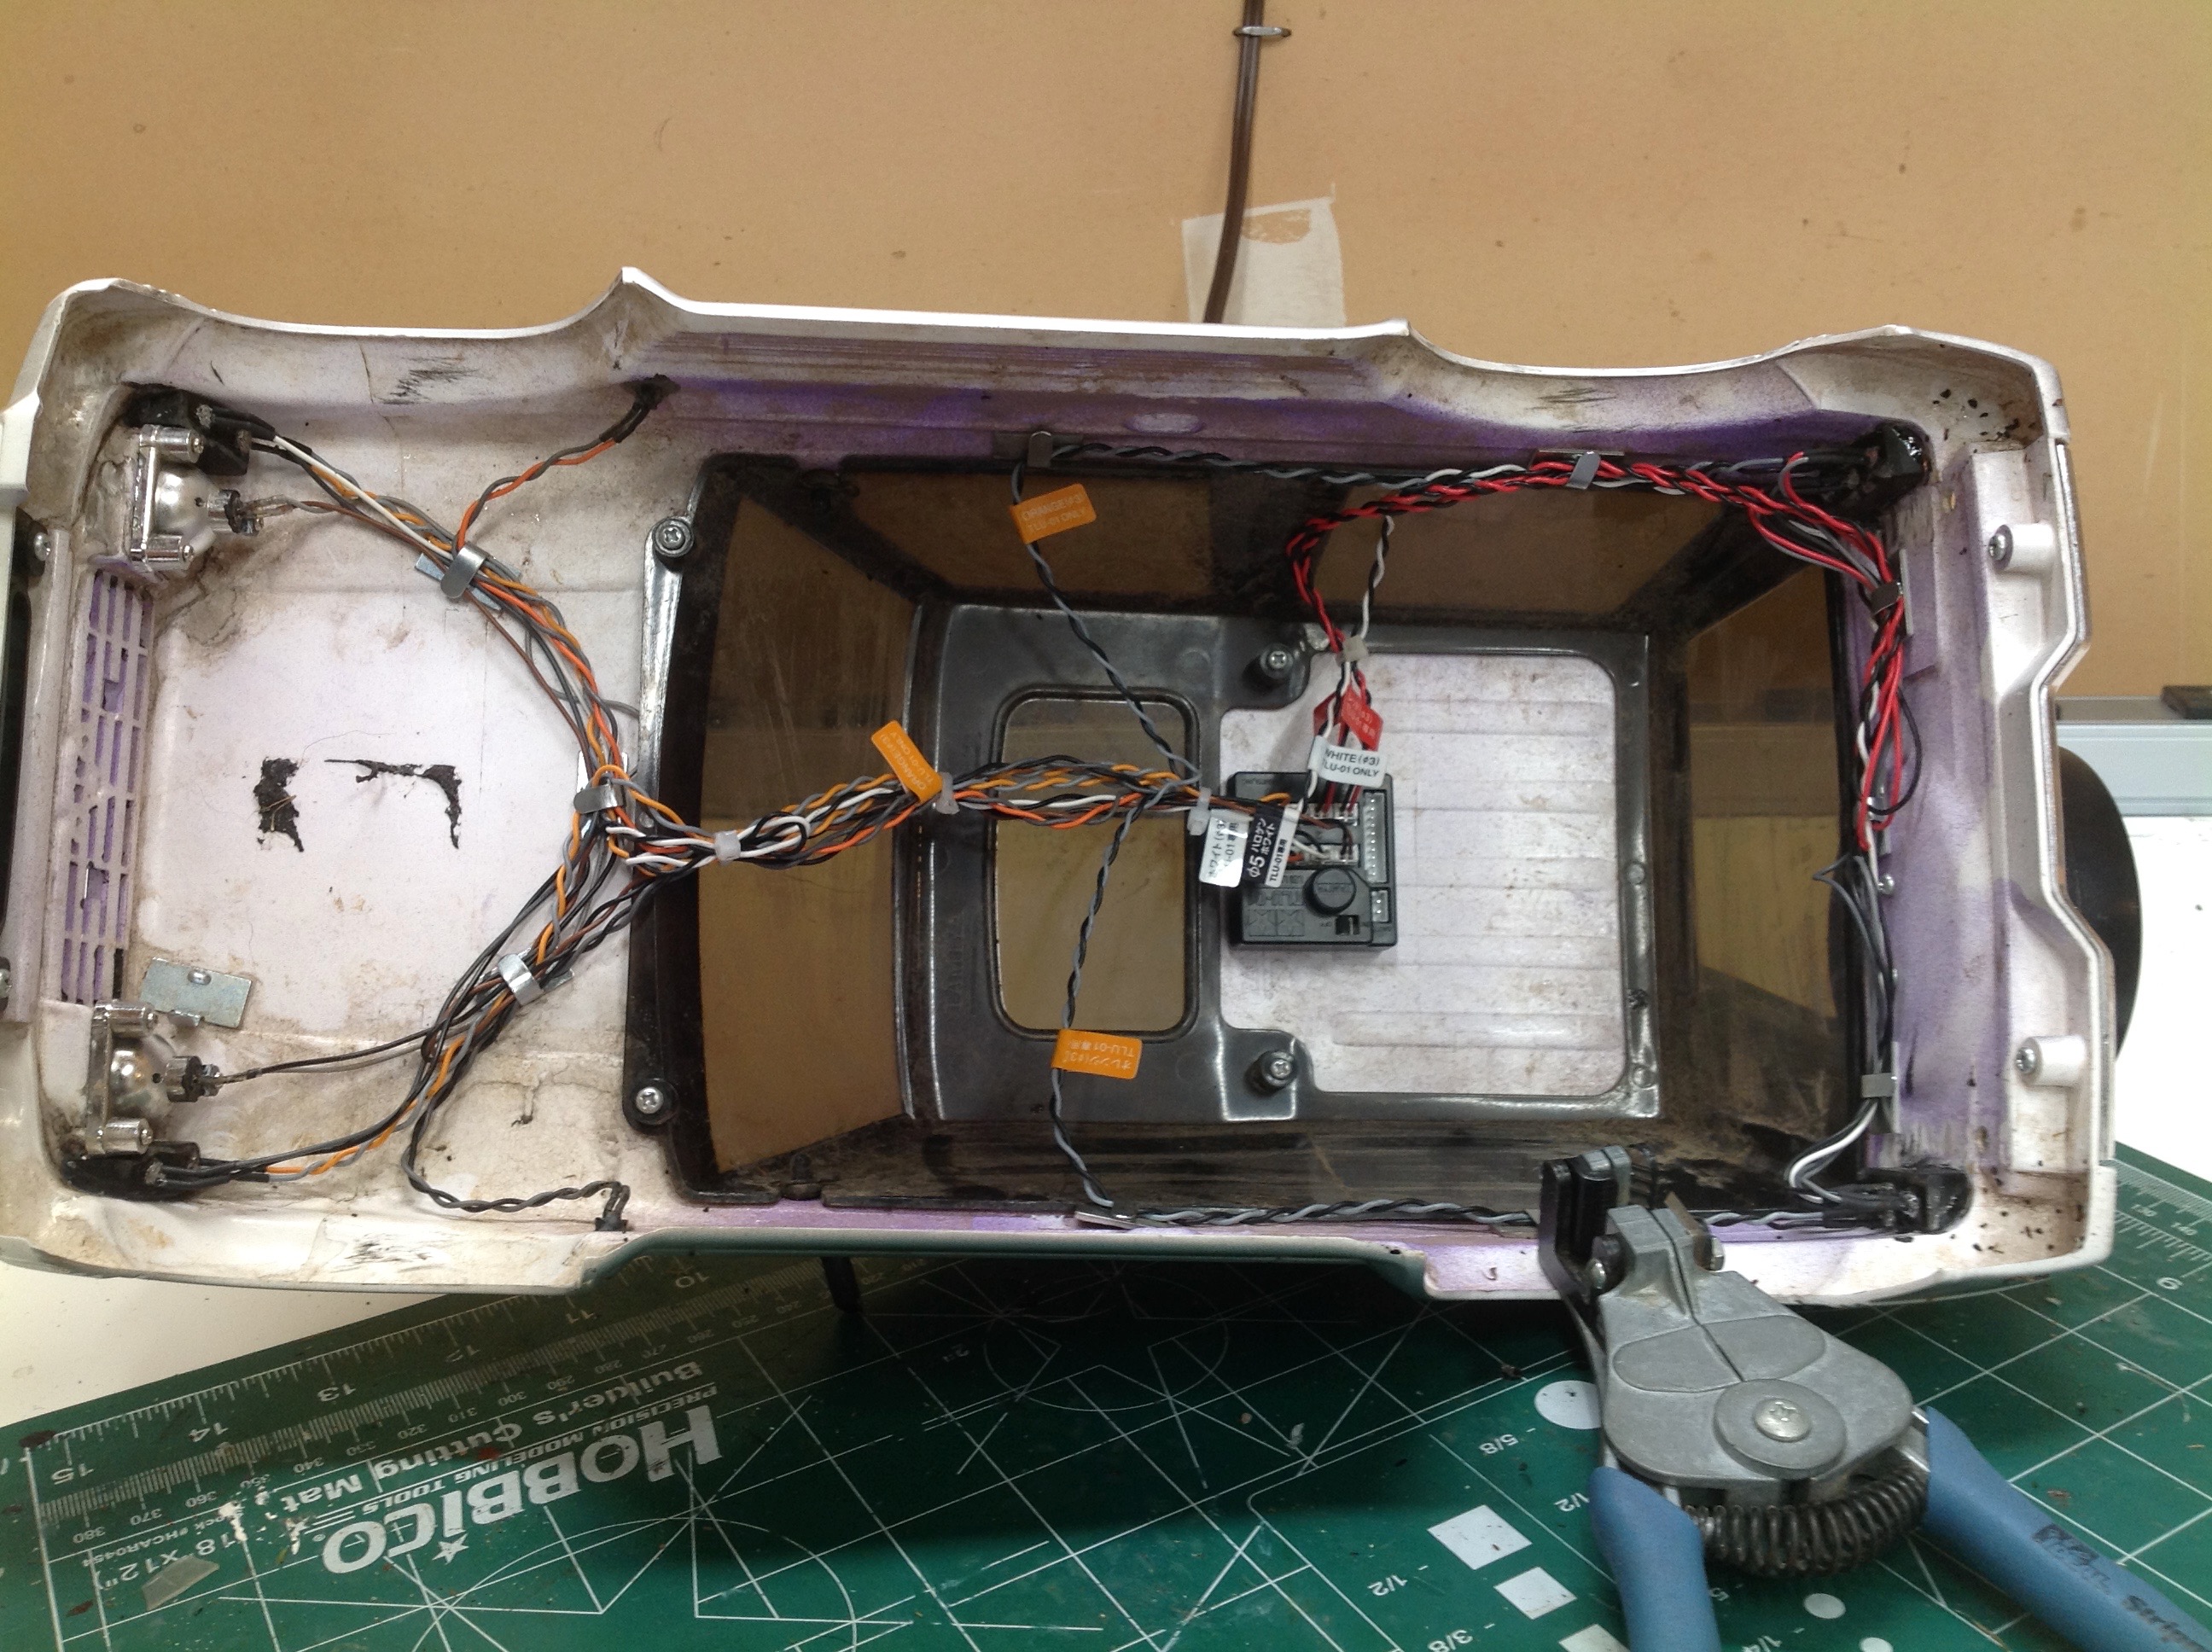
torso and arms are present.  Under that is a flat black metal sheet to hide the internal wiring and support the driver.  I also carved
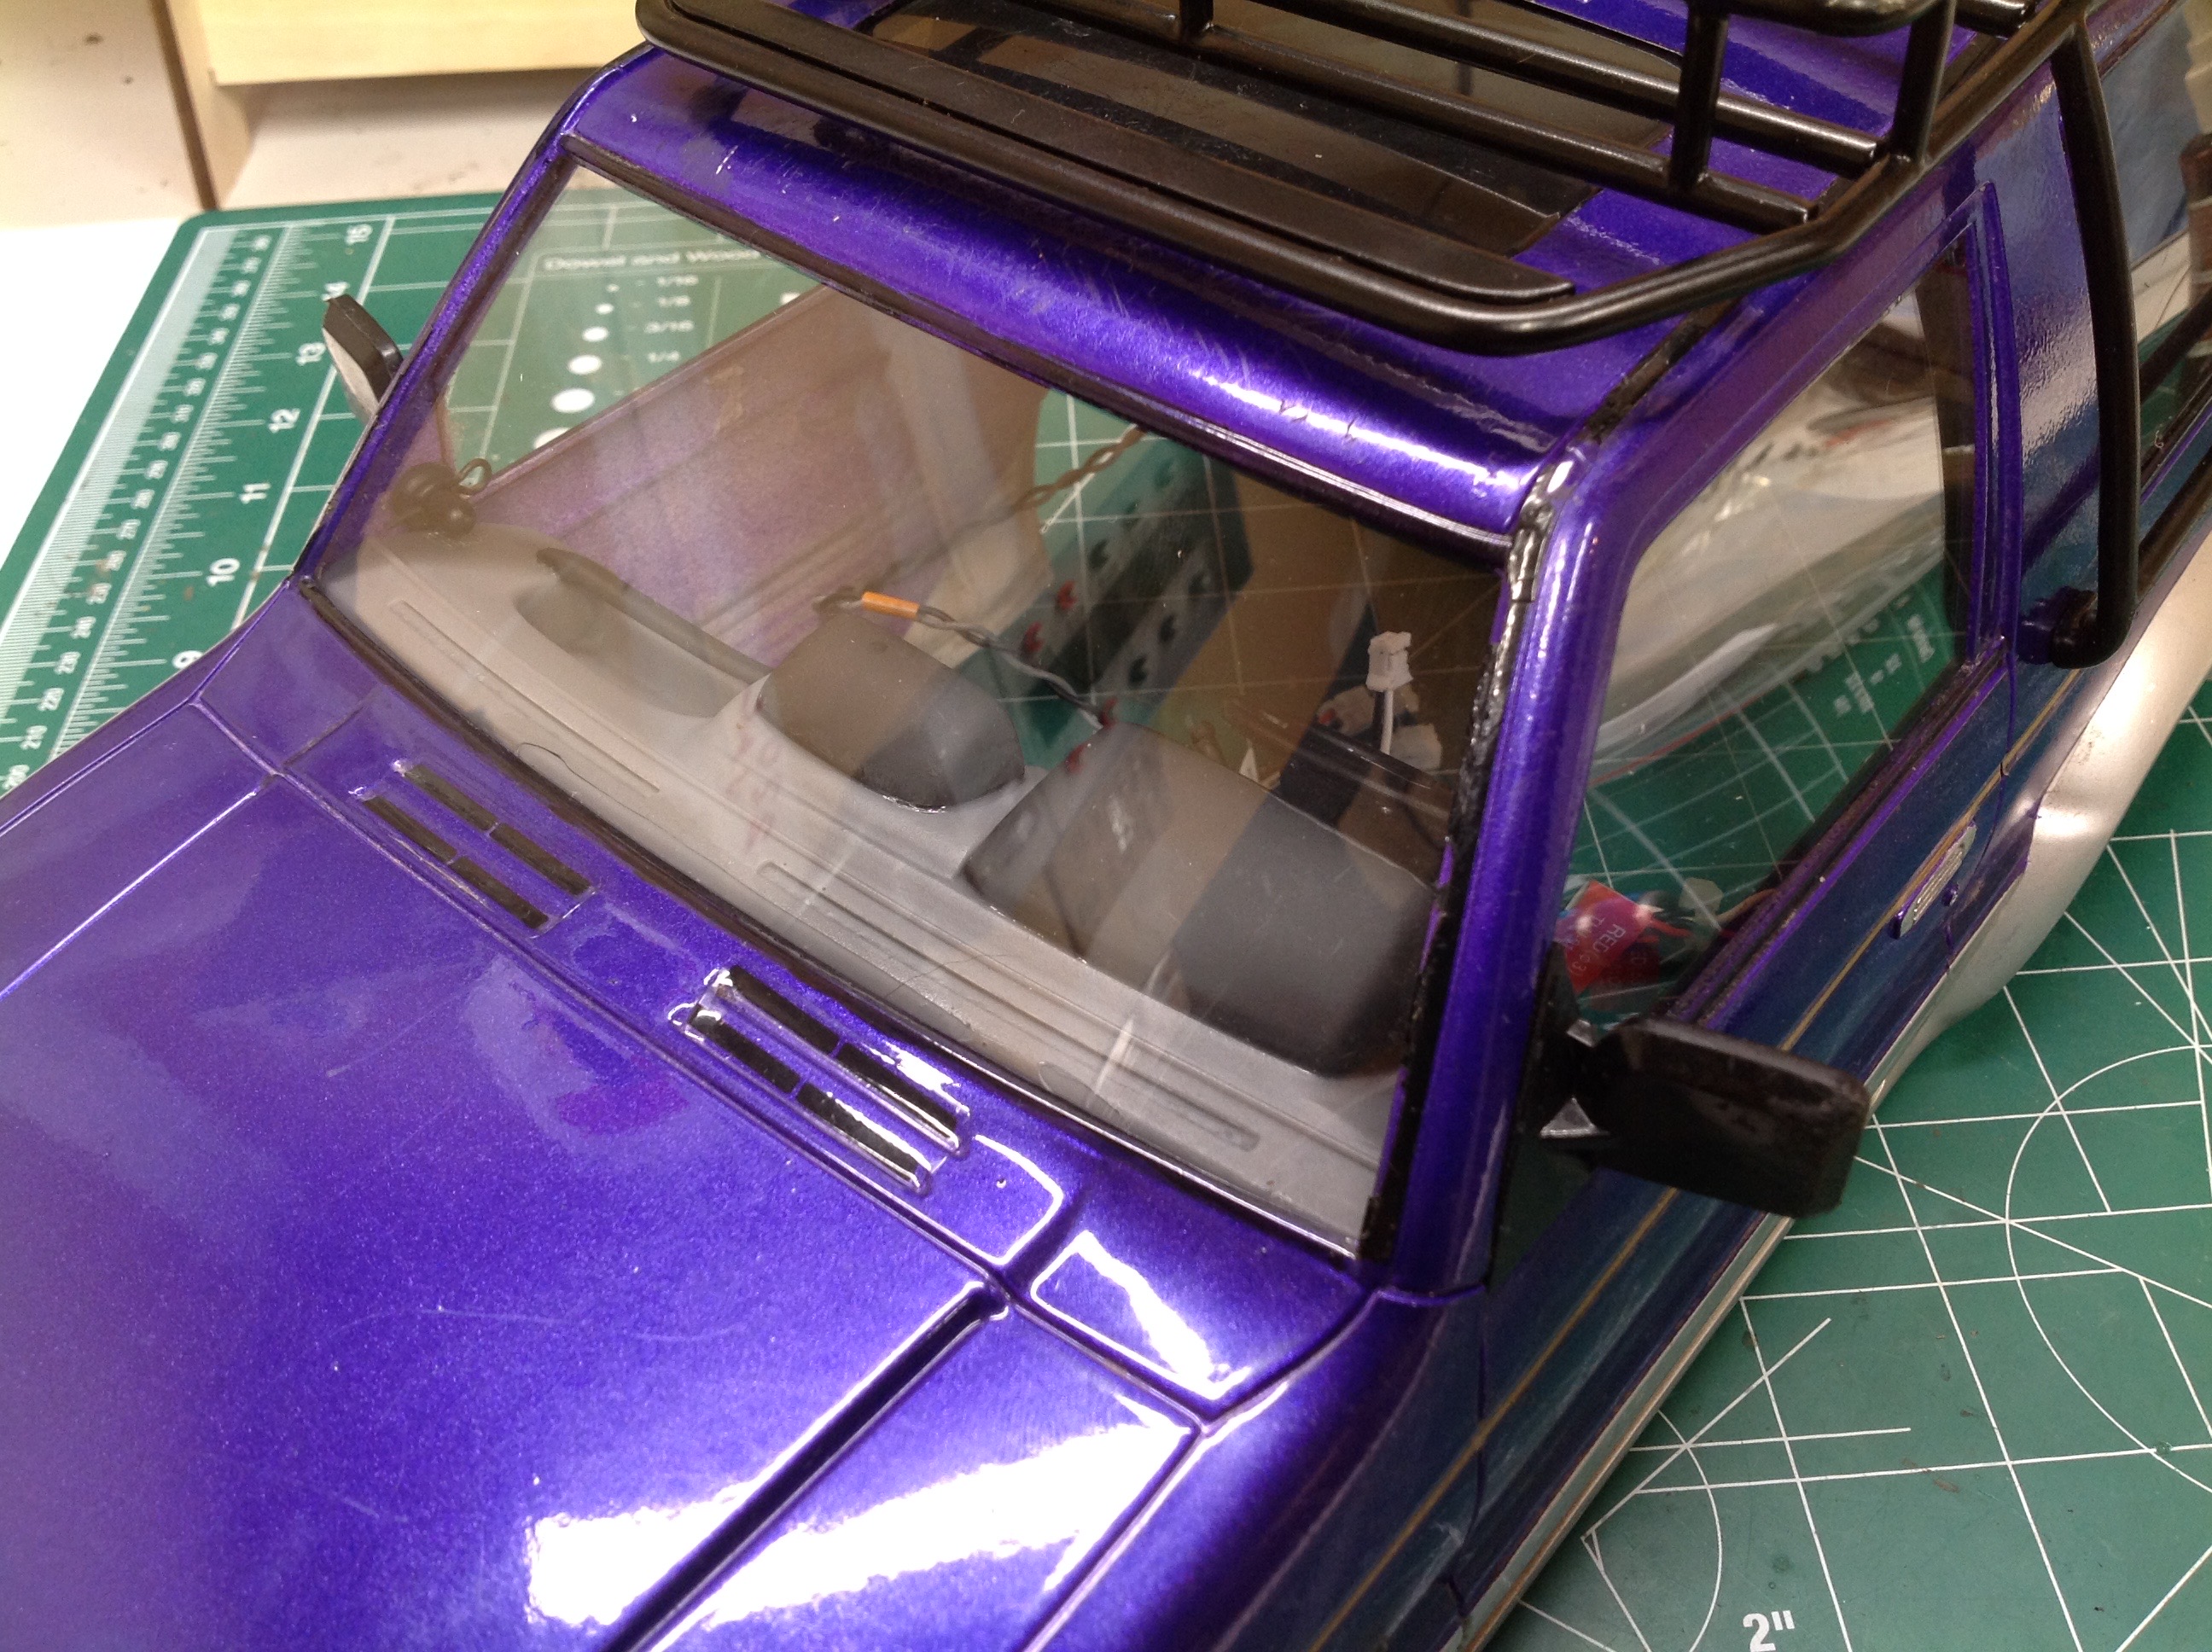
 some very simple seat backs from balsa.  Not sure if you can 
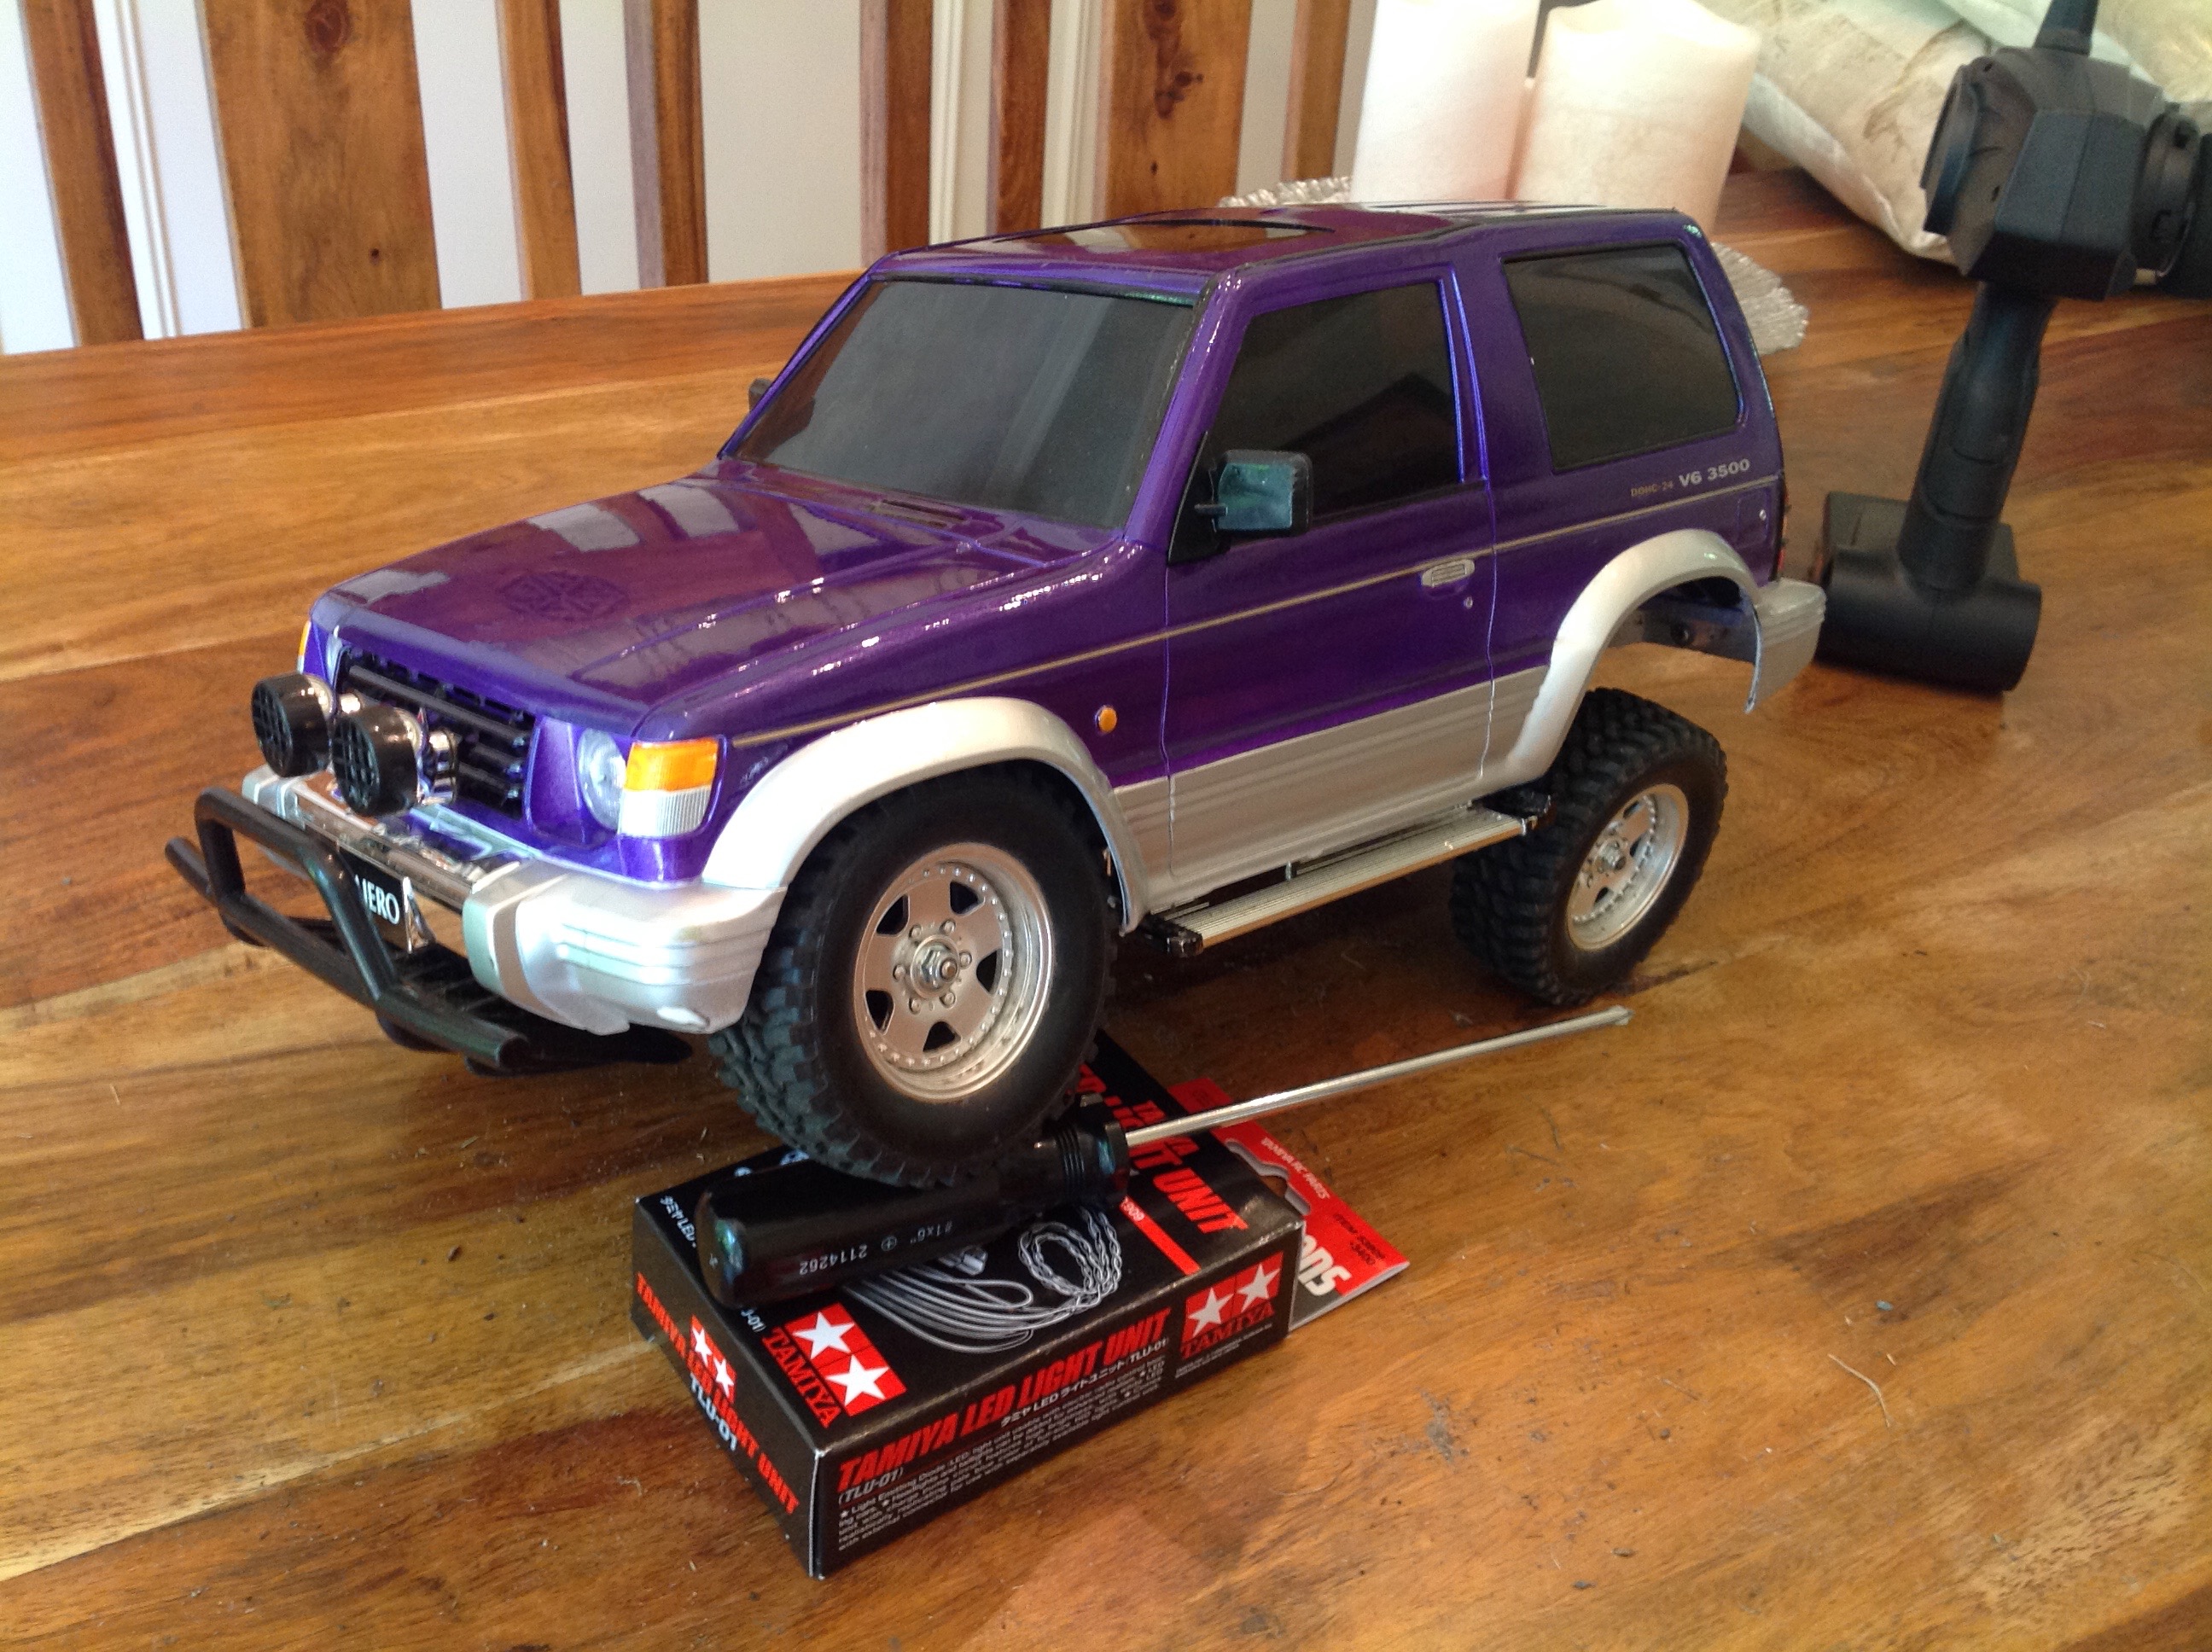
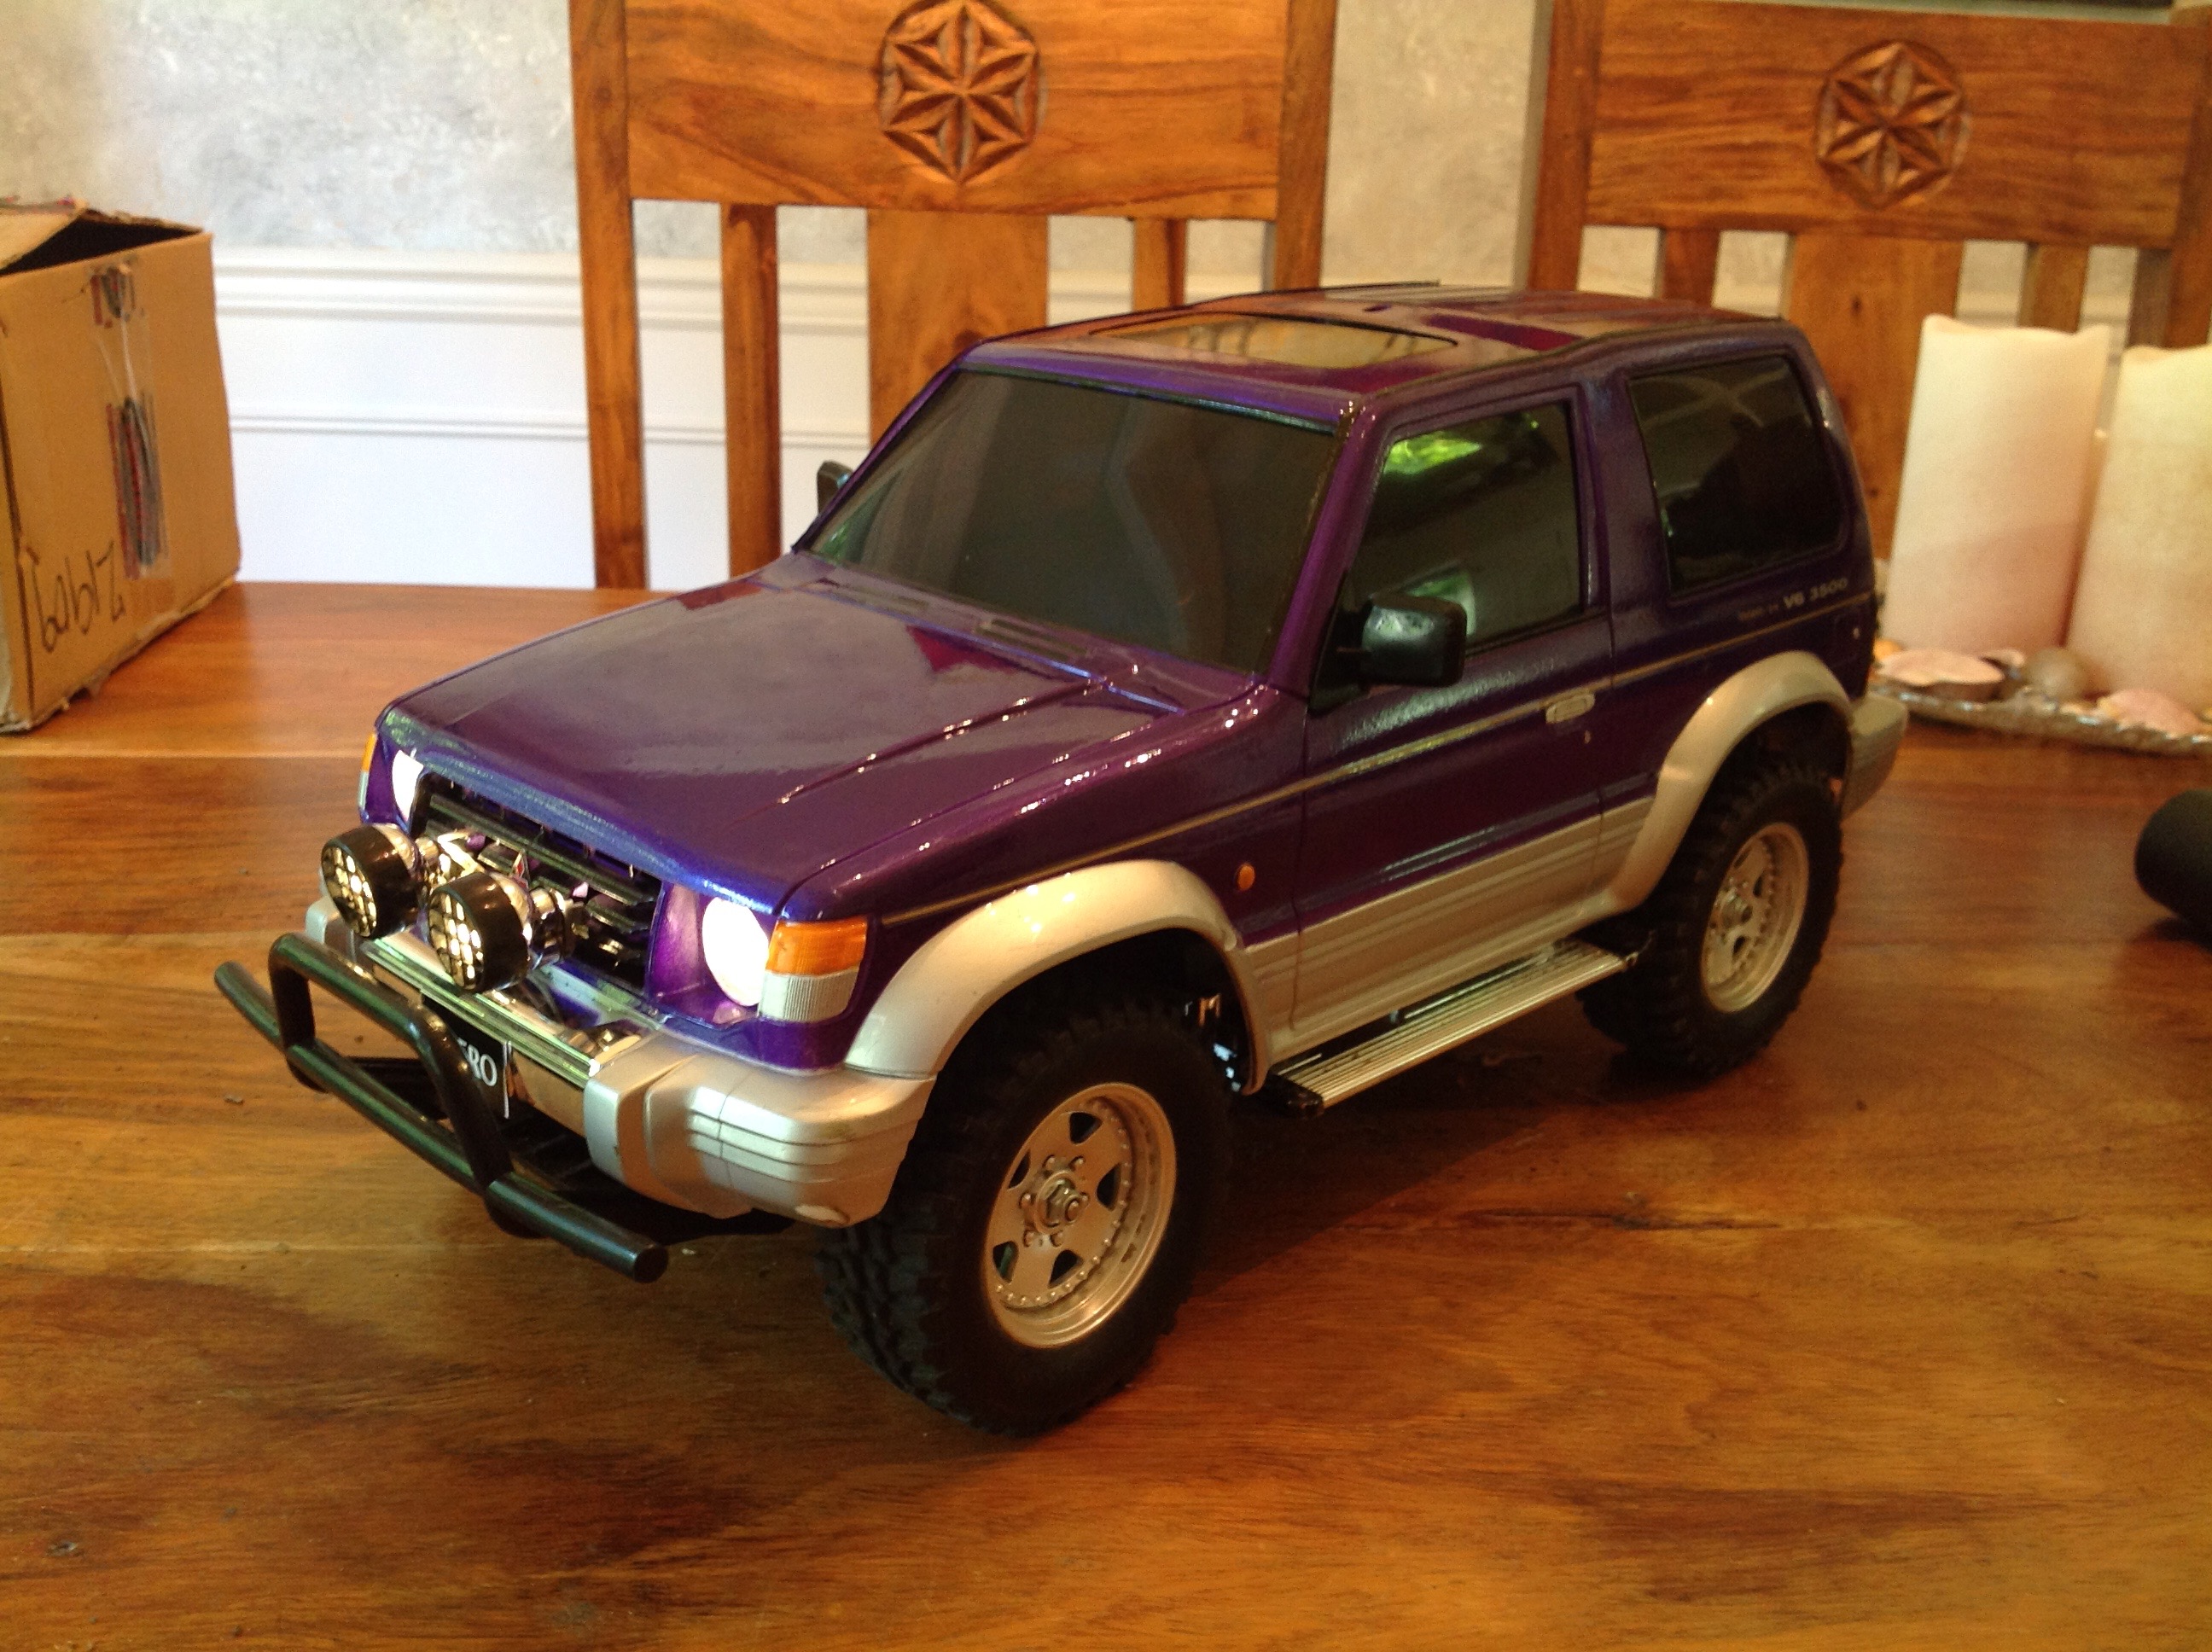
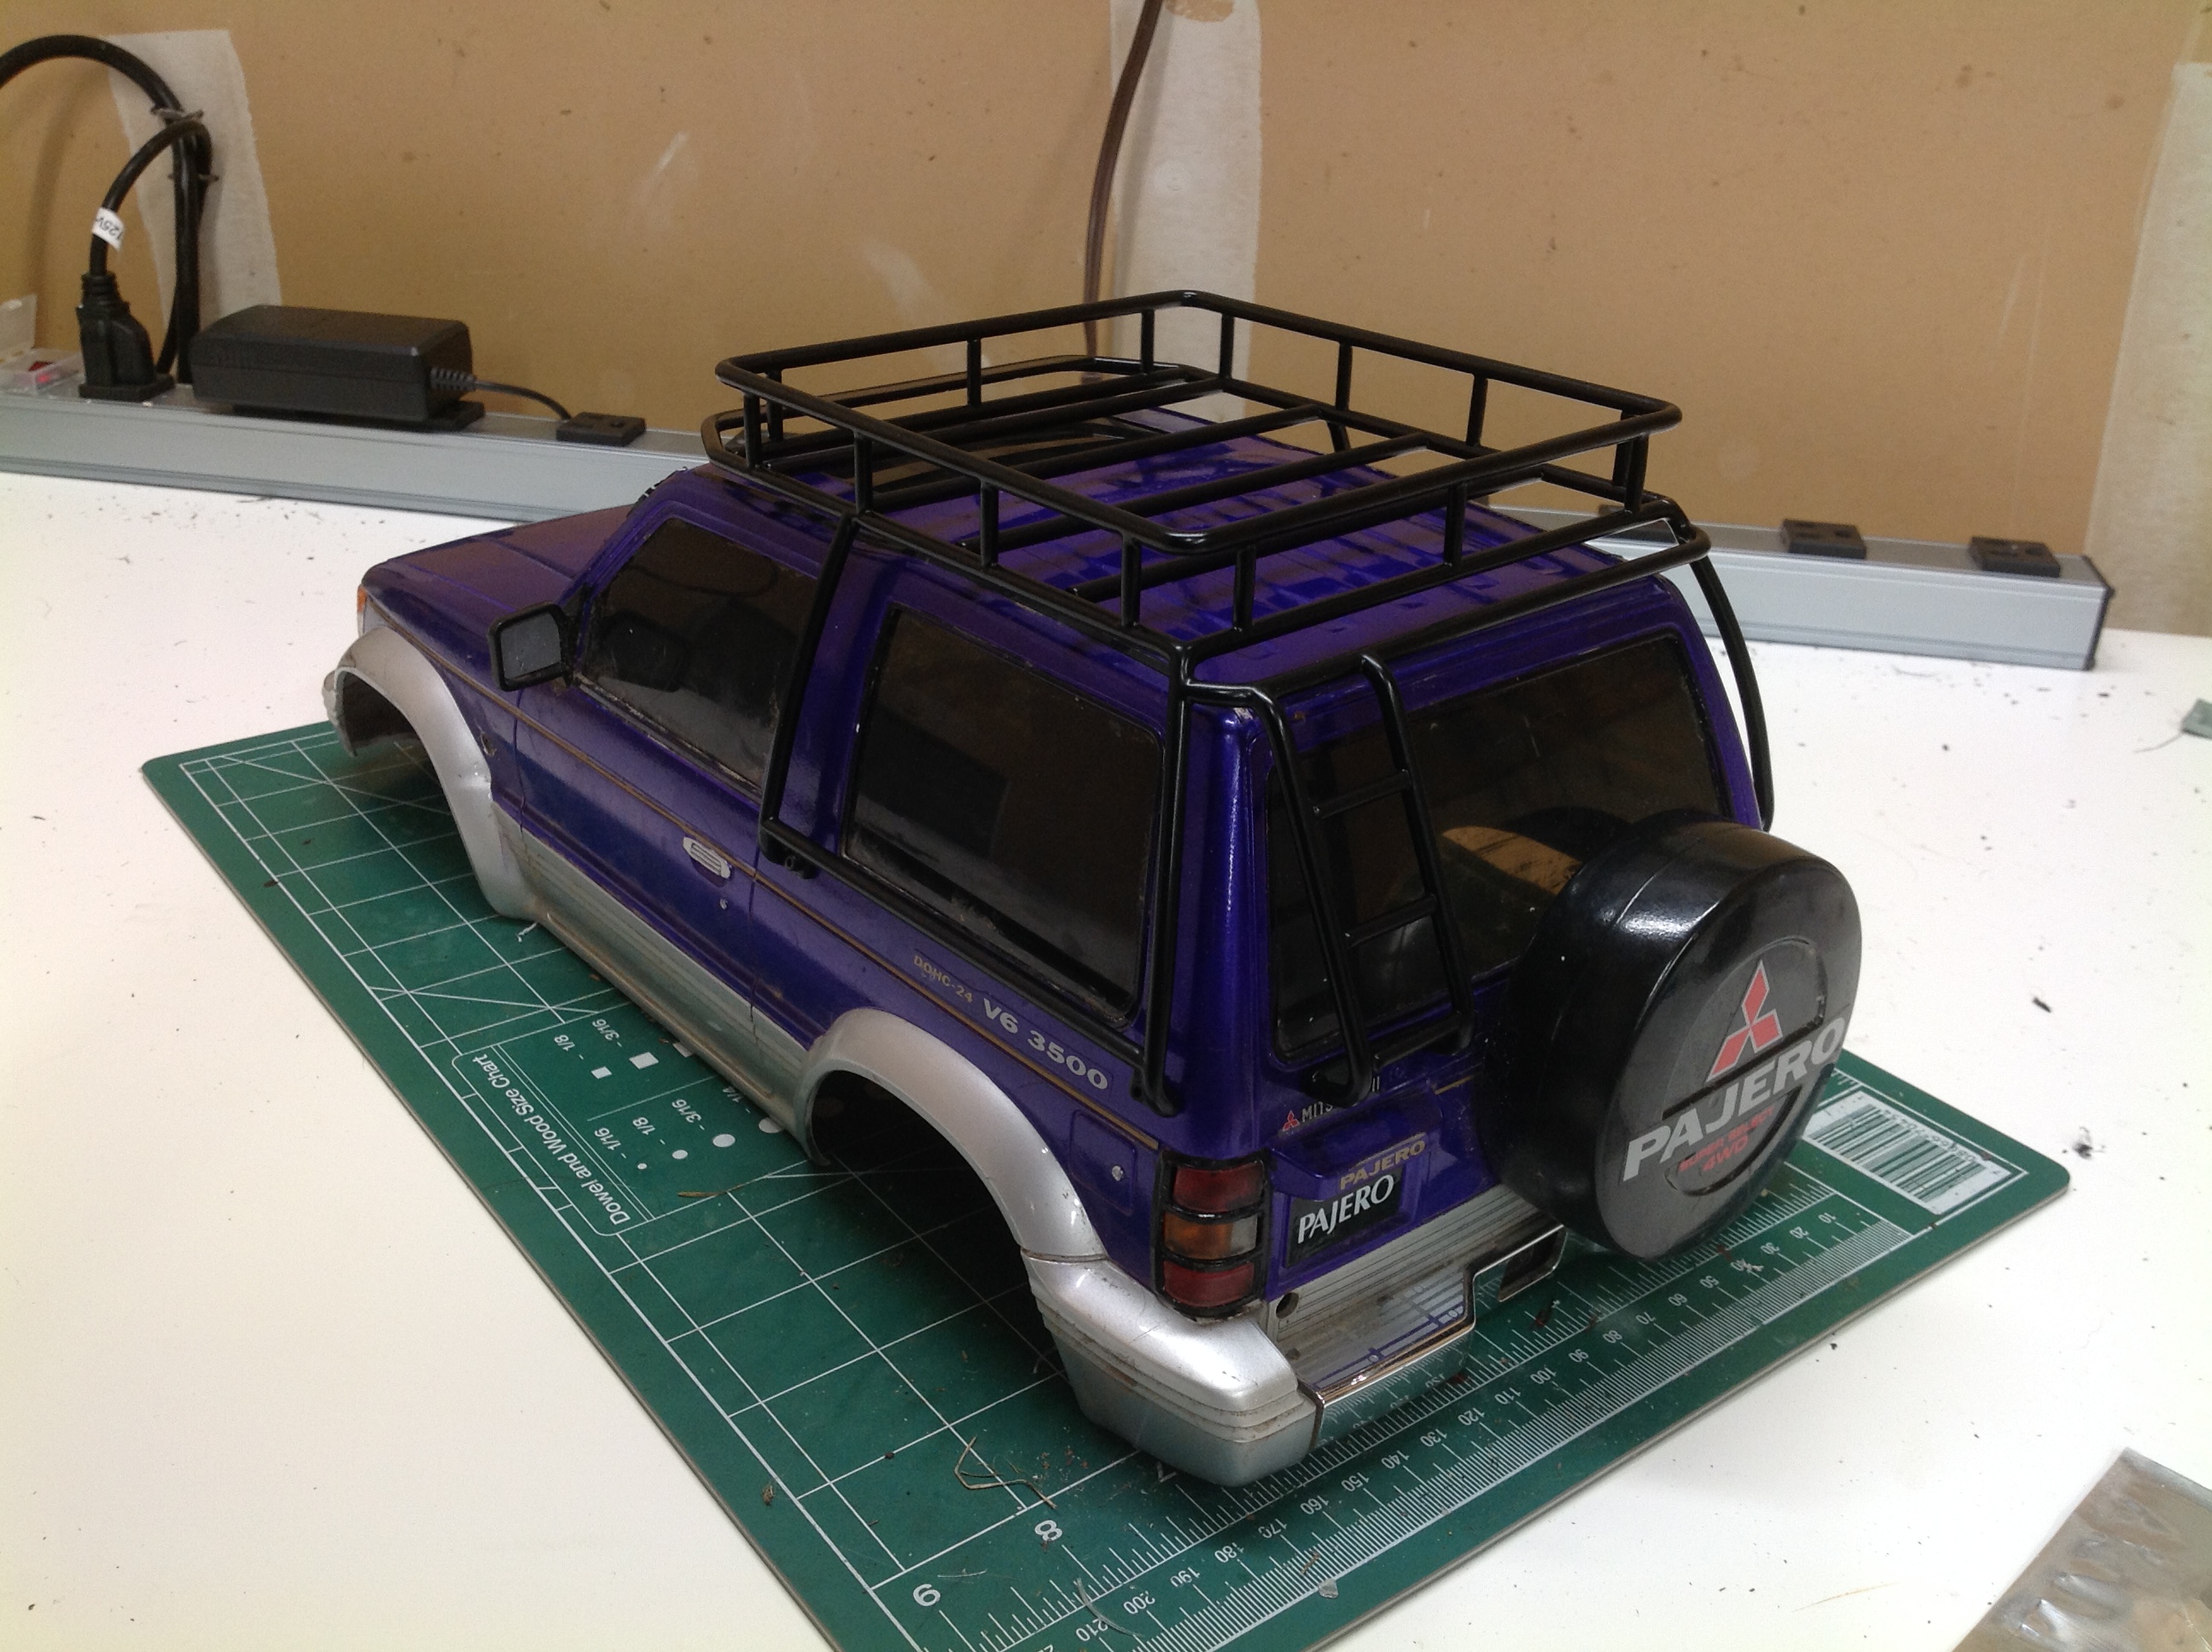
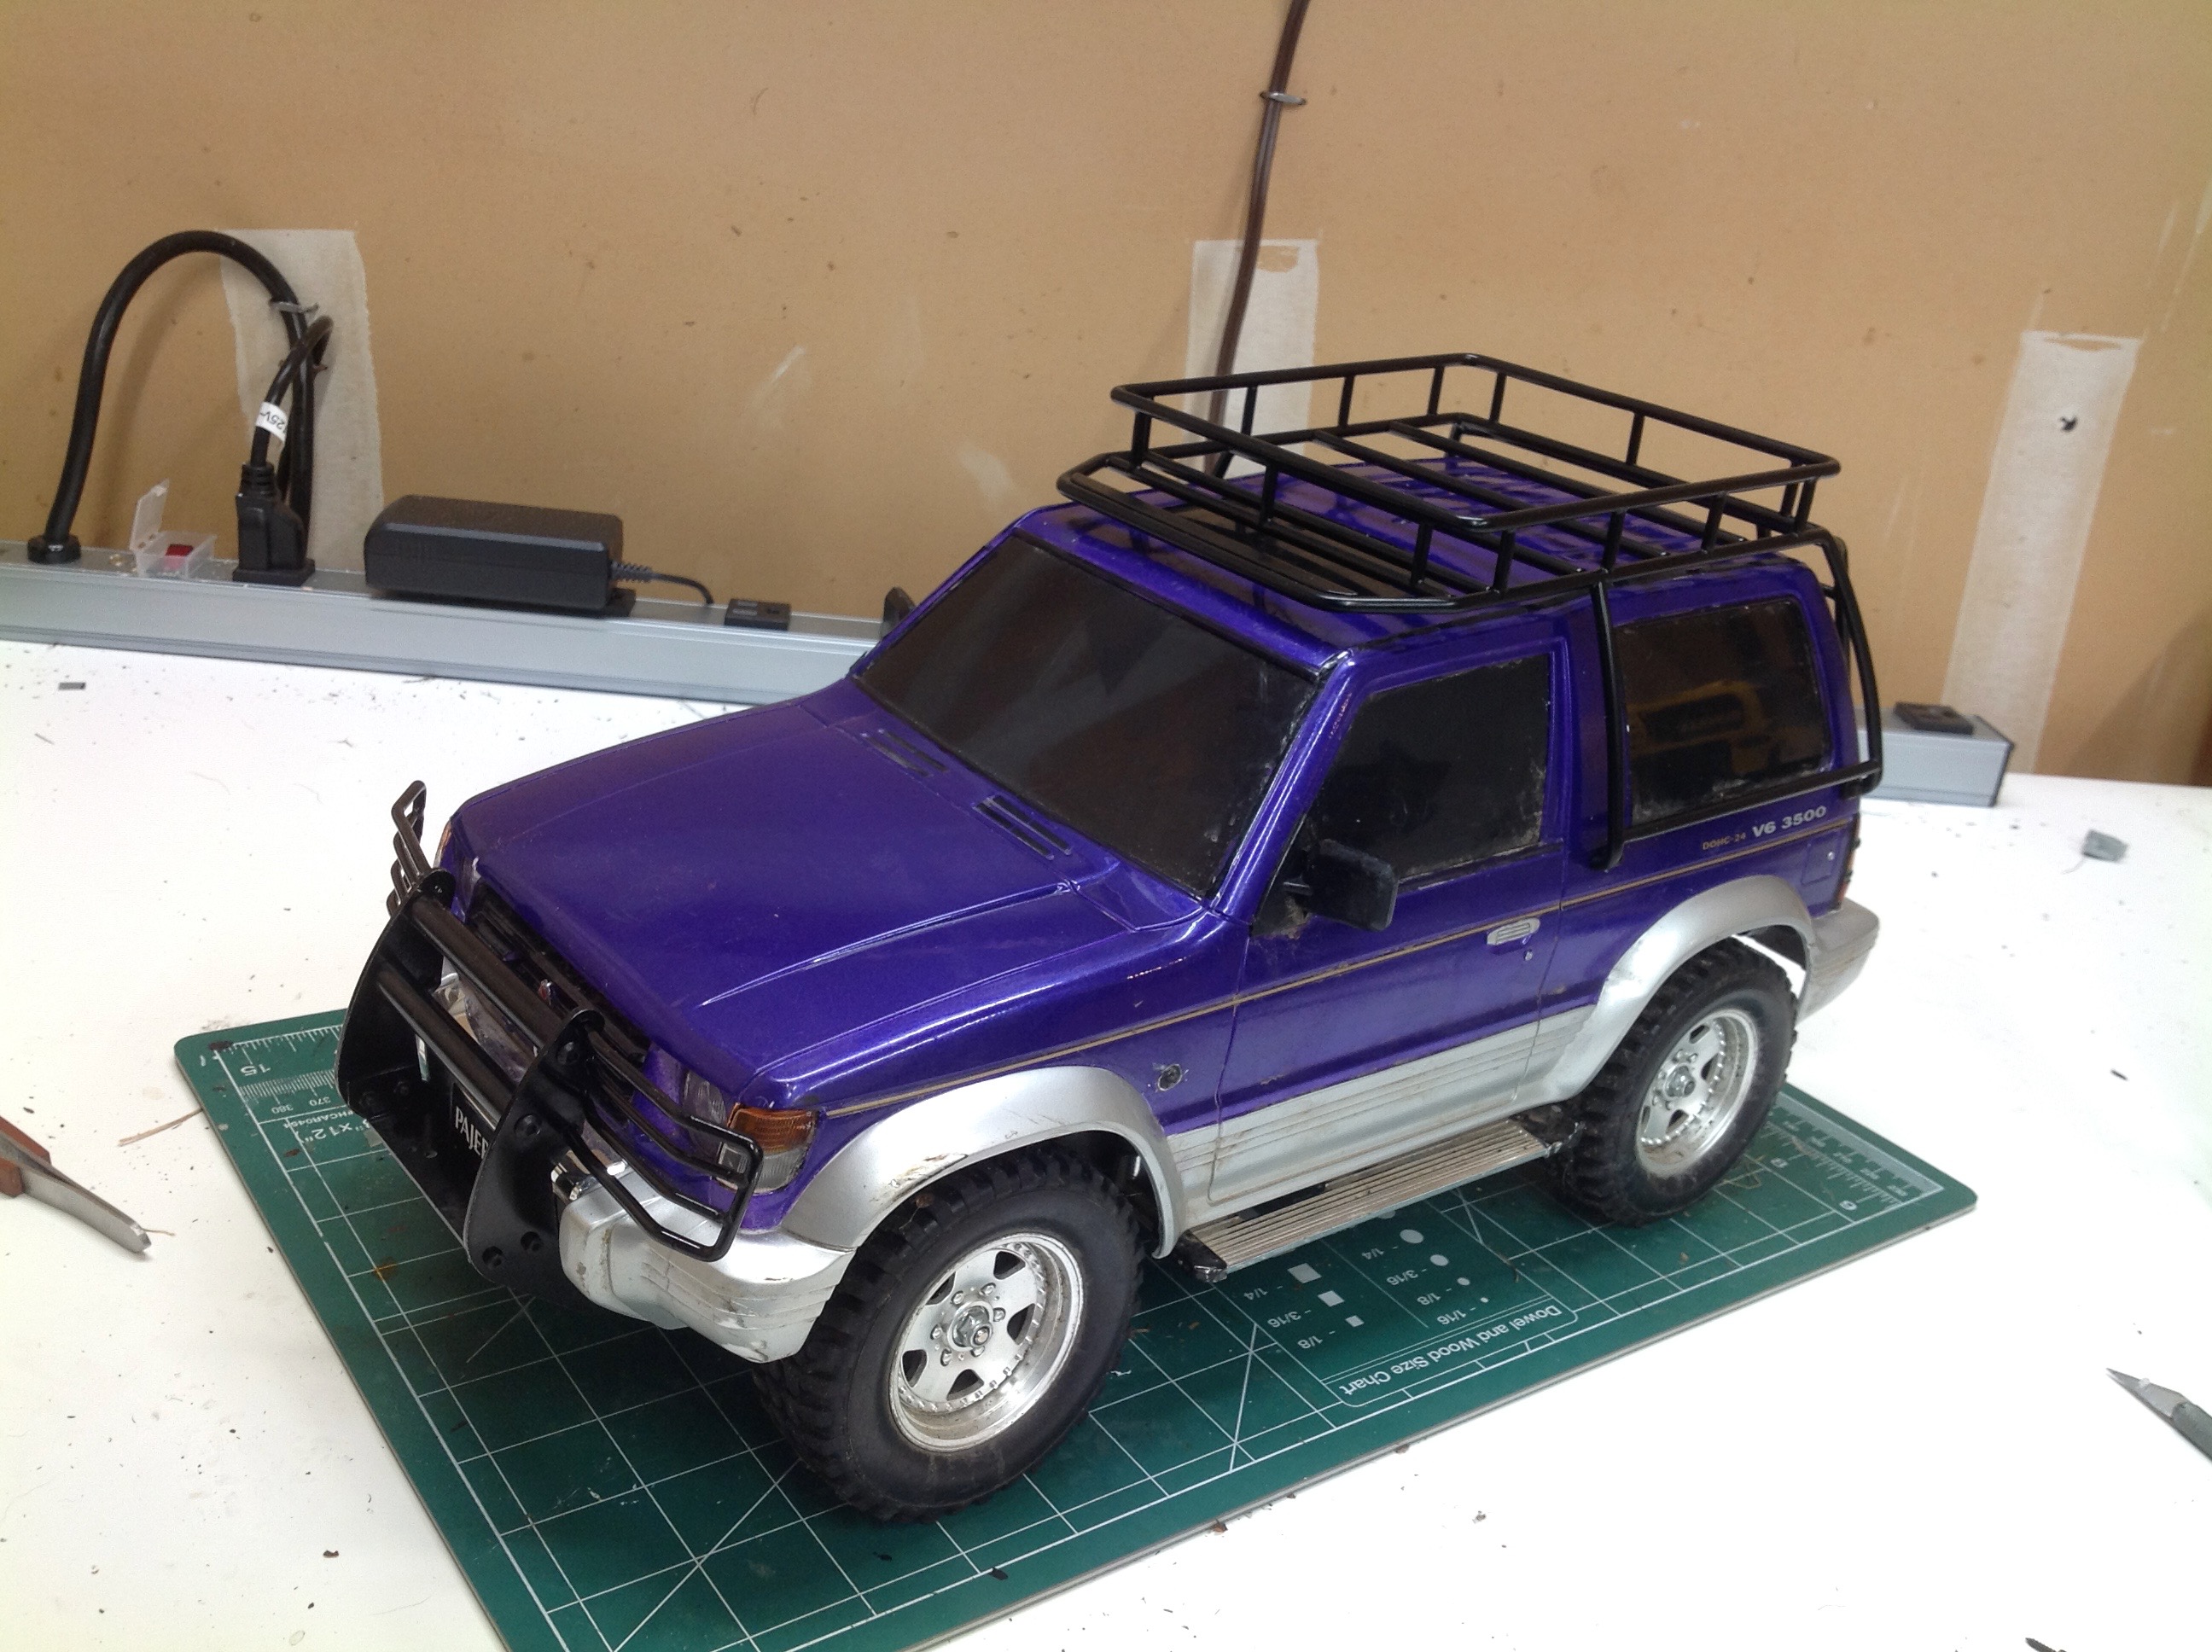
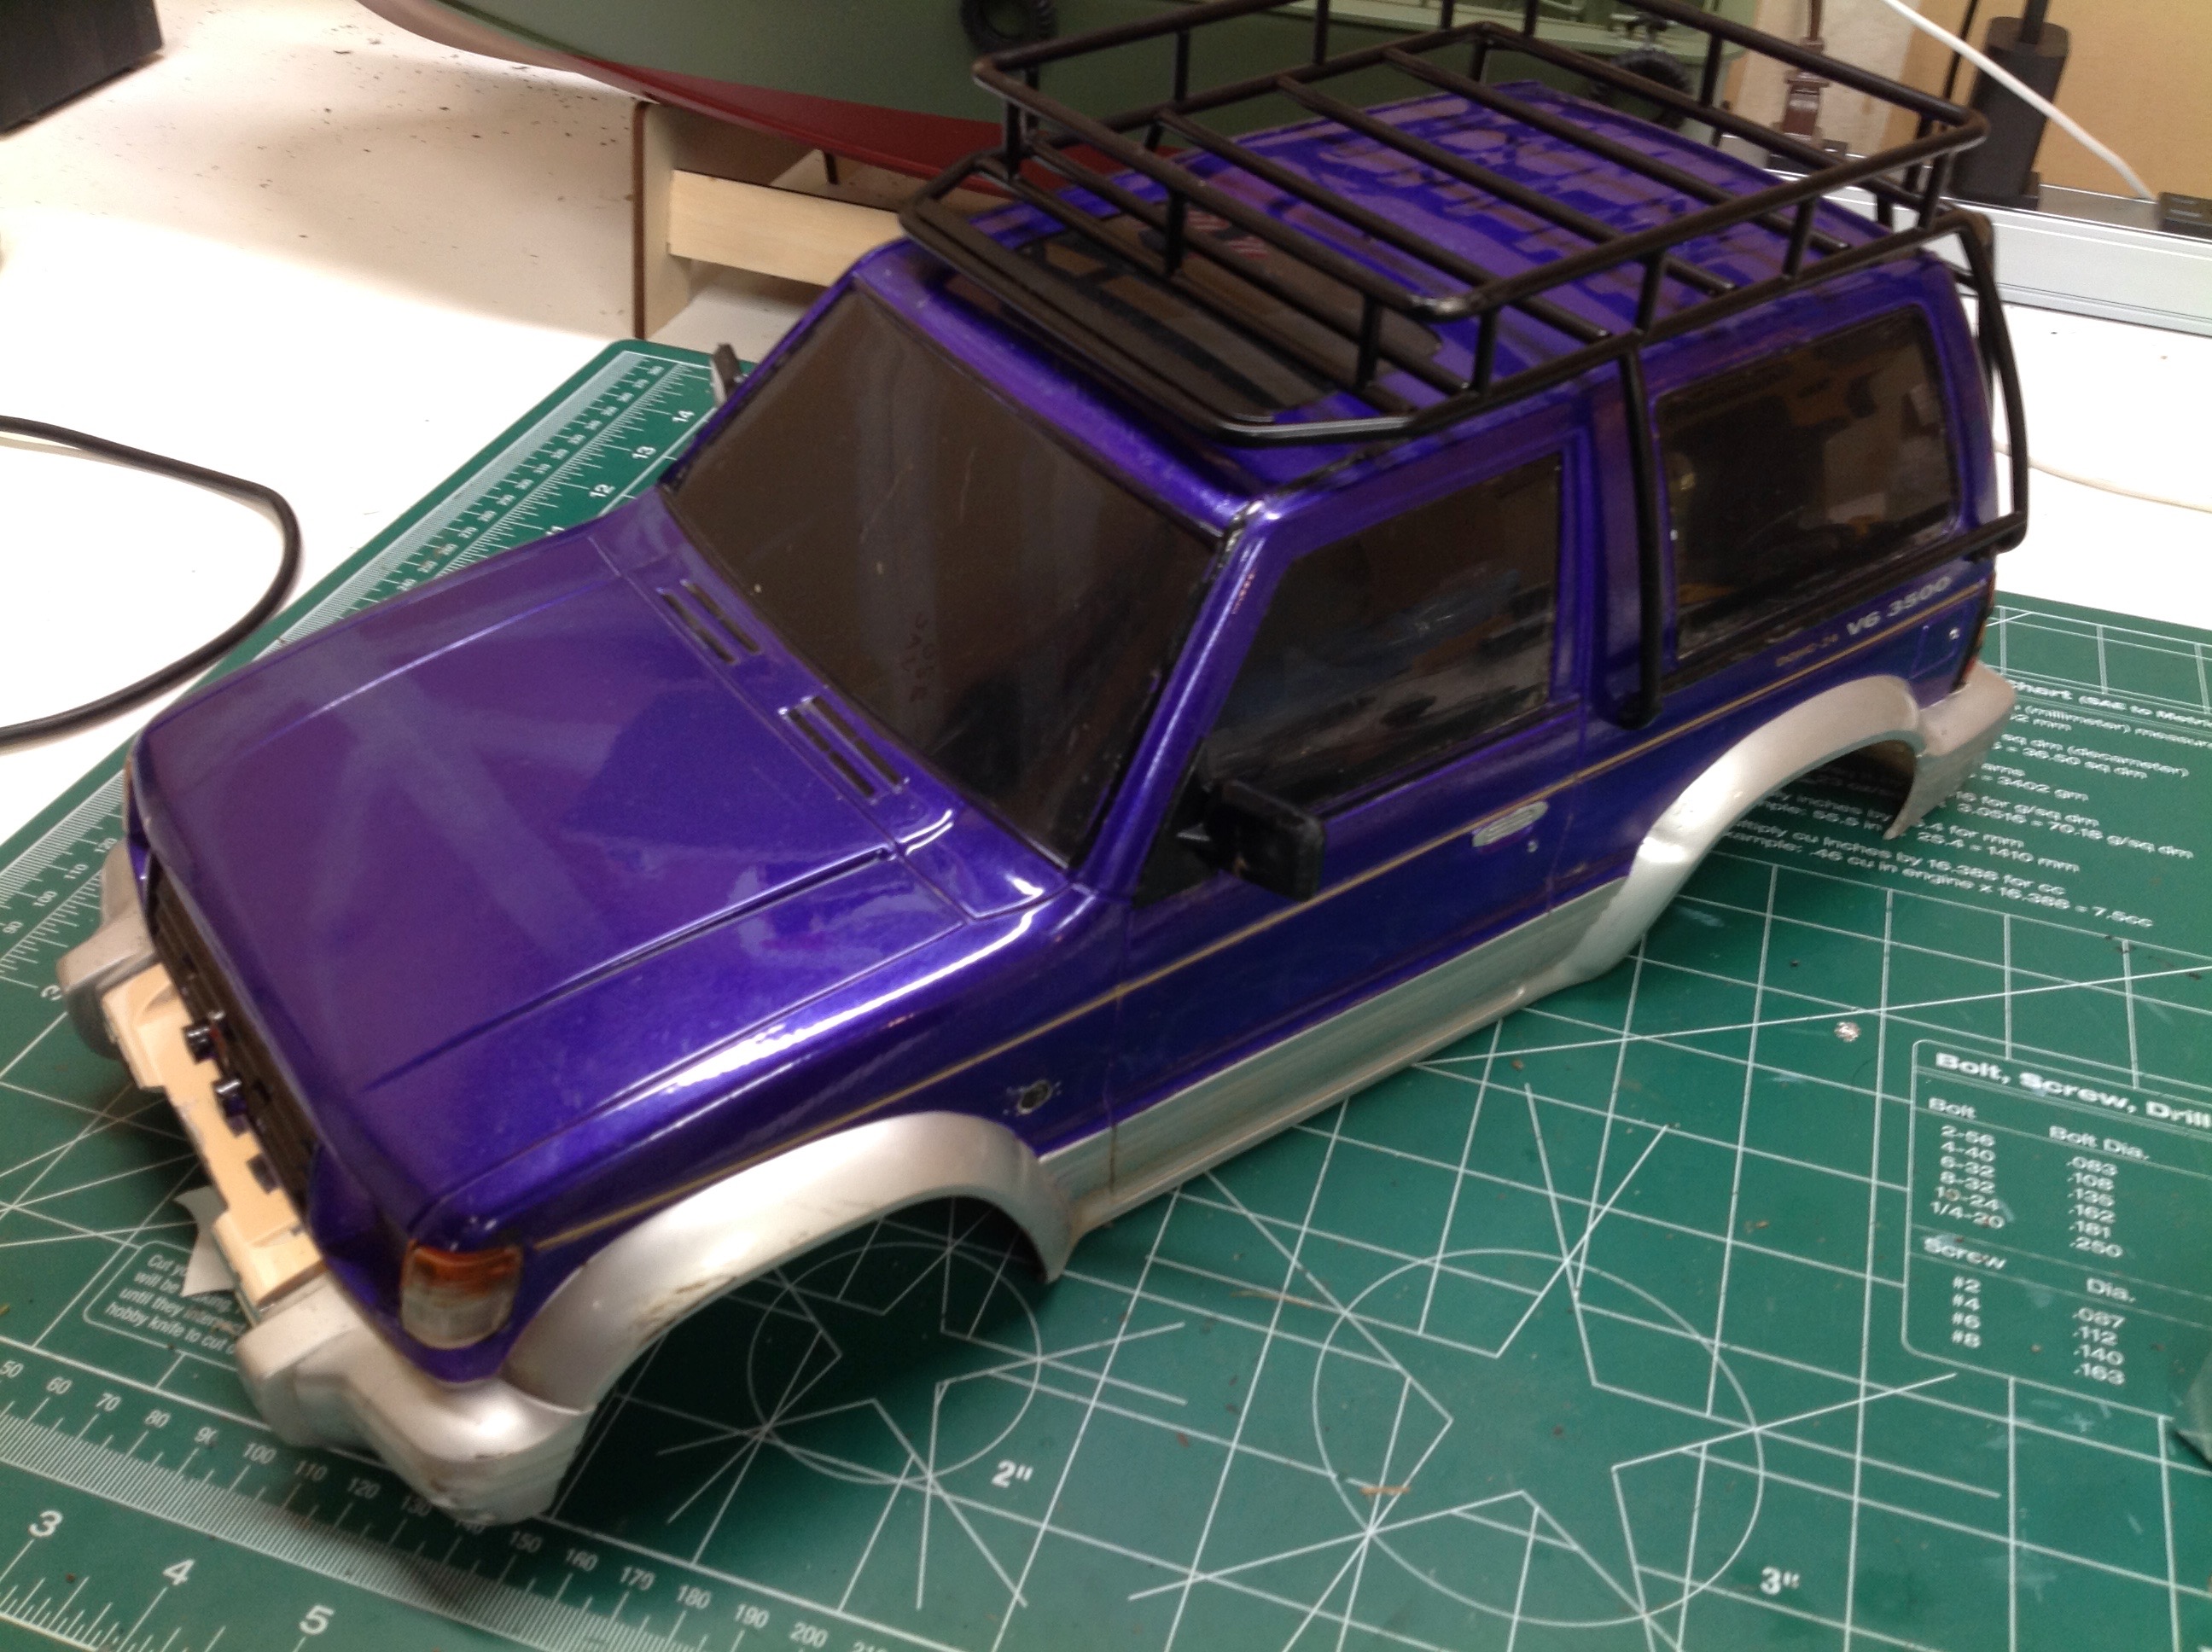
even quite see them through the window.  After 4 upgrade phases, I think this thing might finally be done.  Of course it could always use some scale accessories in that roof rack ....


Phase 5:


After all that work to improve the appearance, I eventually decided I better attack the performance as well.  The two weak spots of the CC-01 chassis are the rock hard tires and the way too high gearing.  For a long time there weren't really any appropriately 
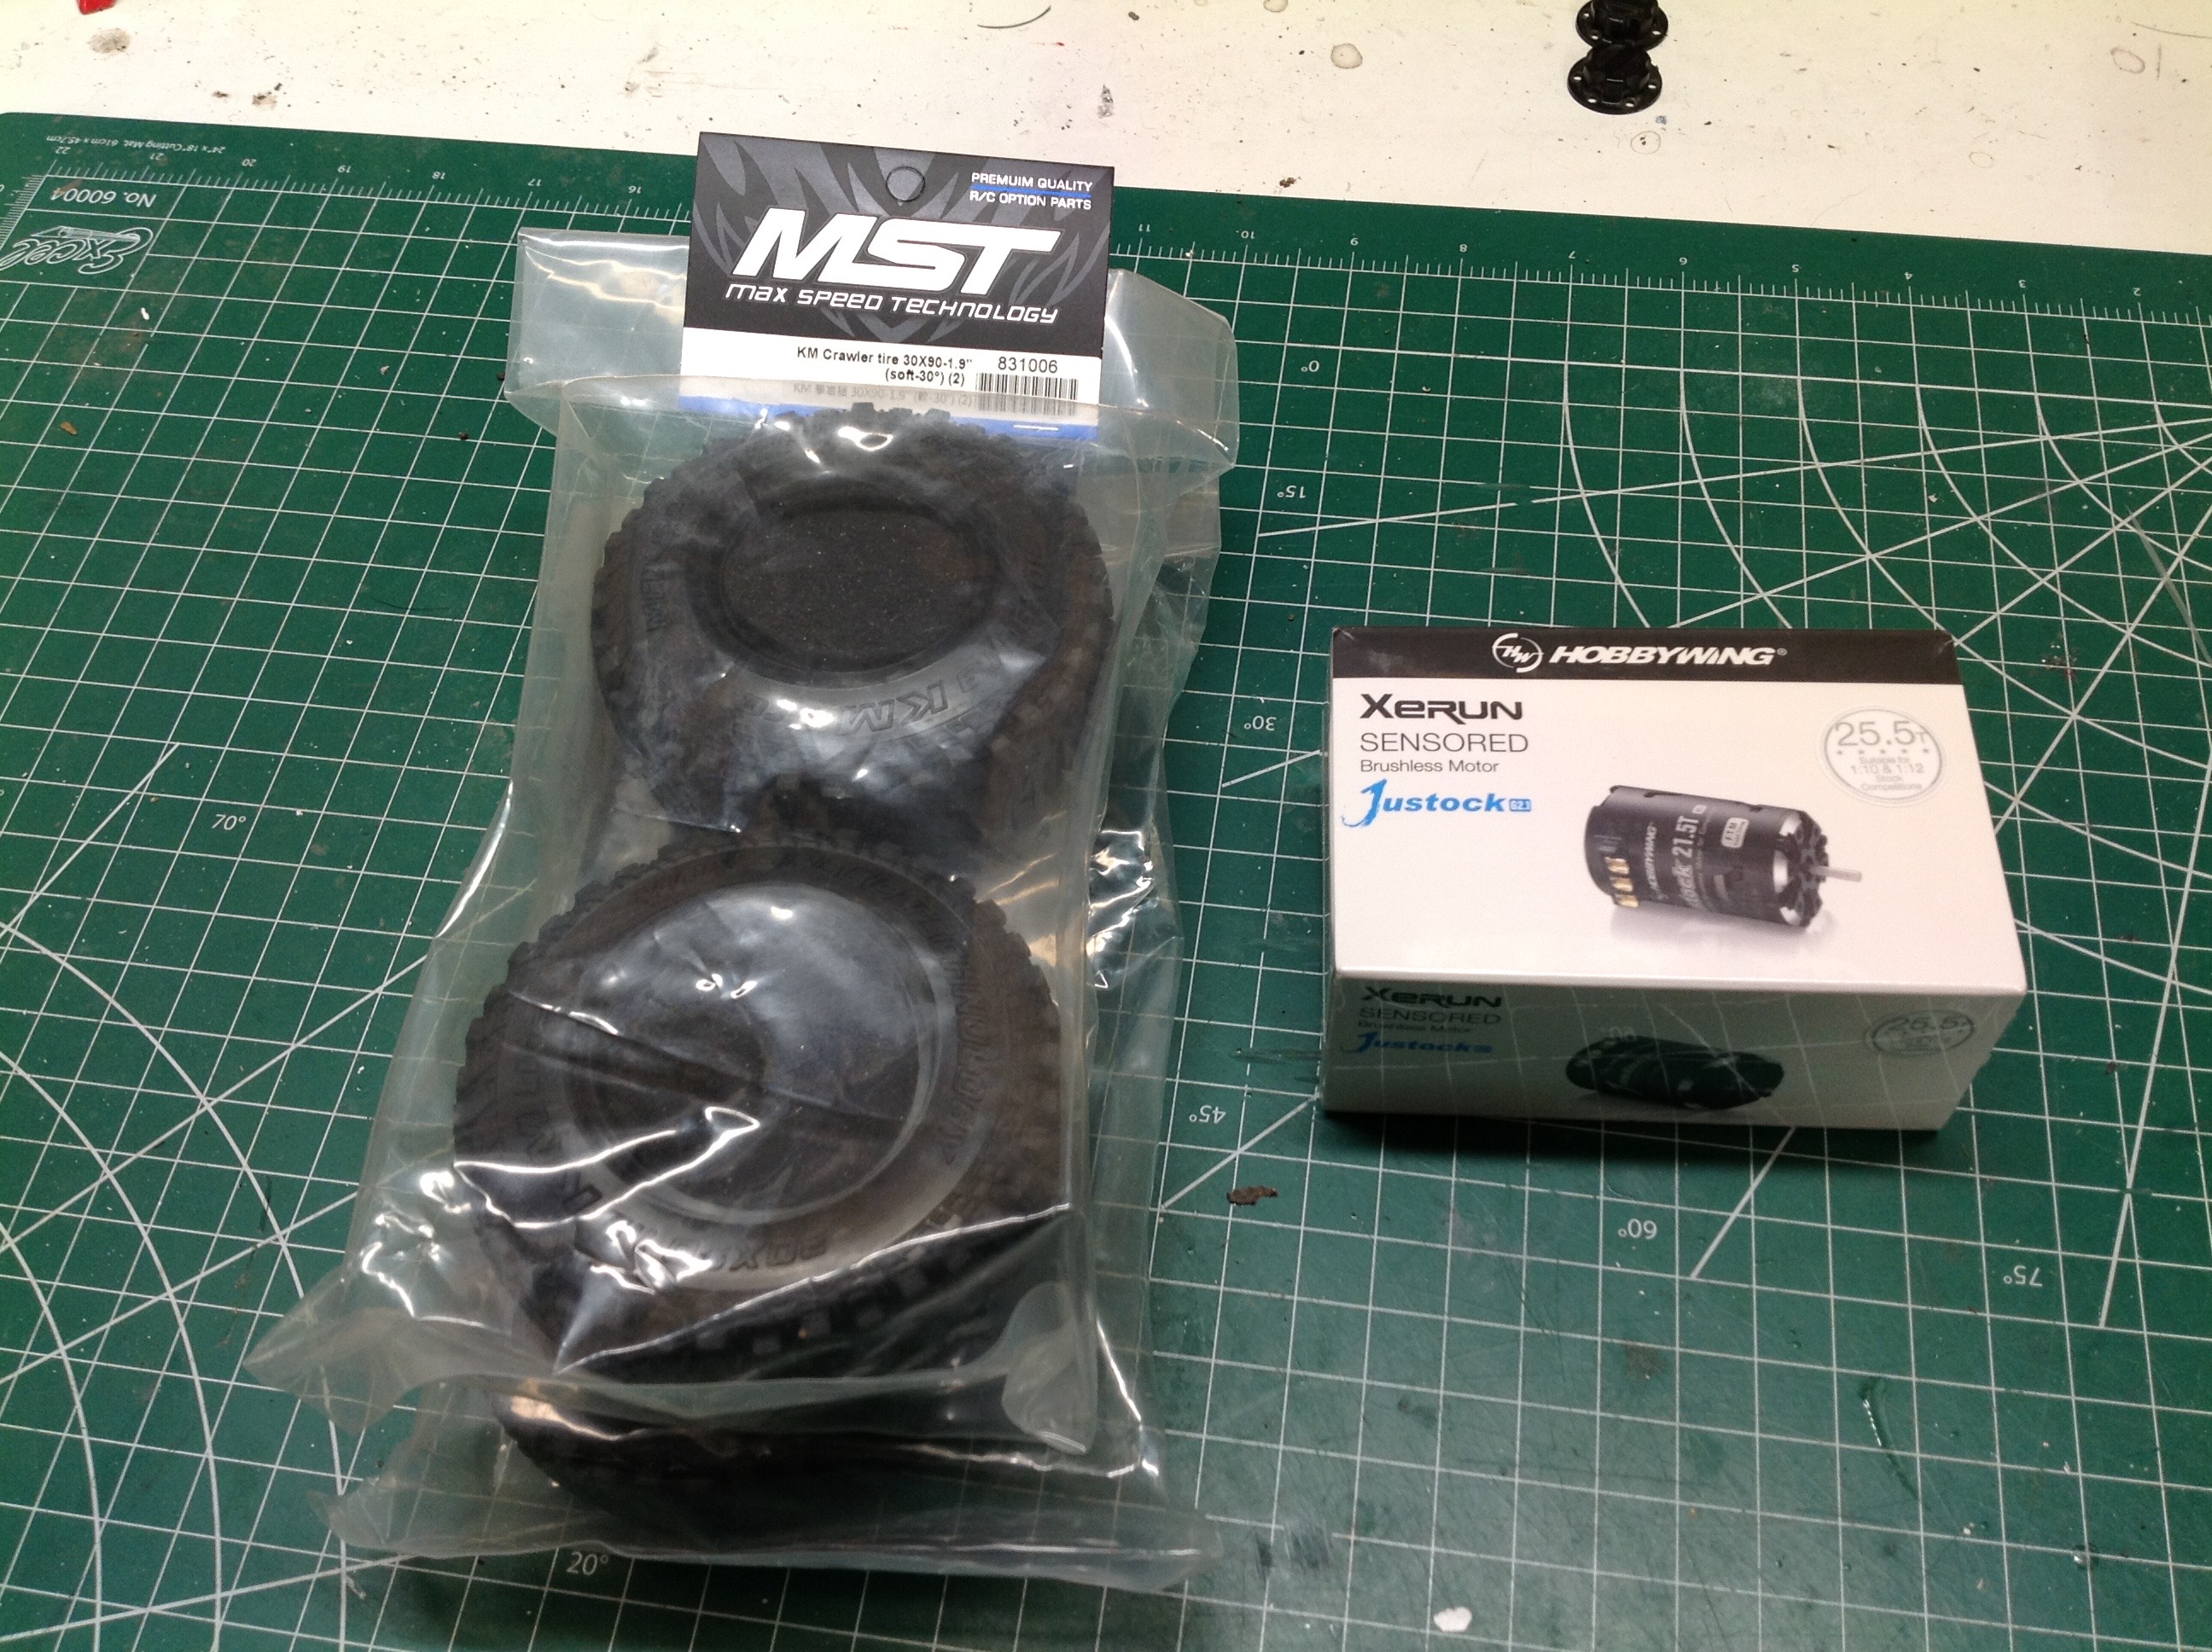
sized tires to use as a replacement, but MST came to the rescue with the 90mm tires shown which are much softer and stickier than the stock 
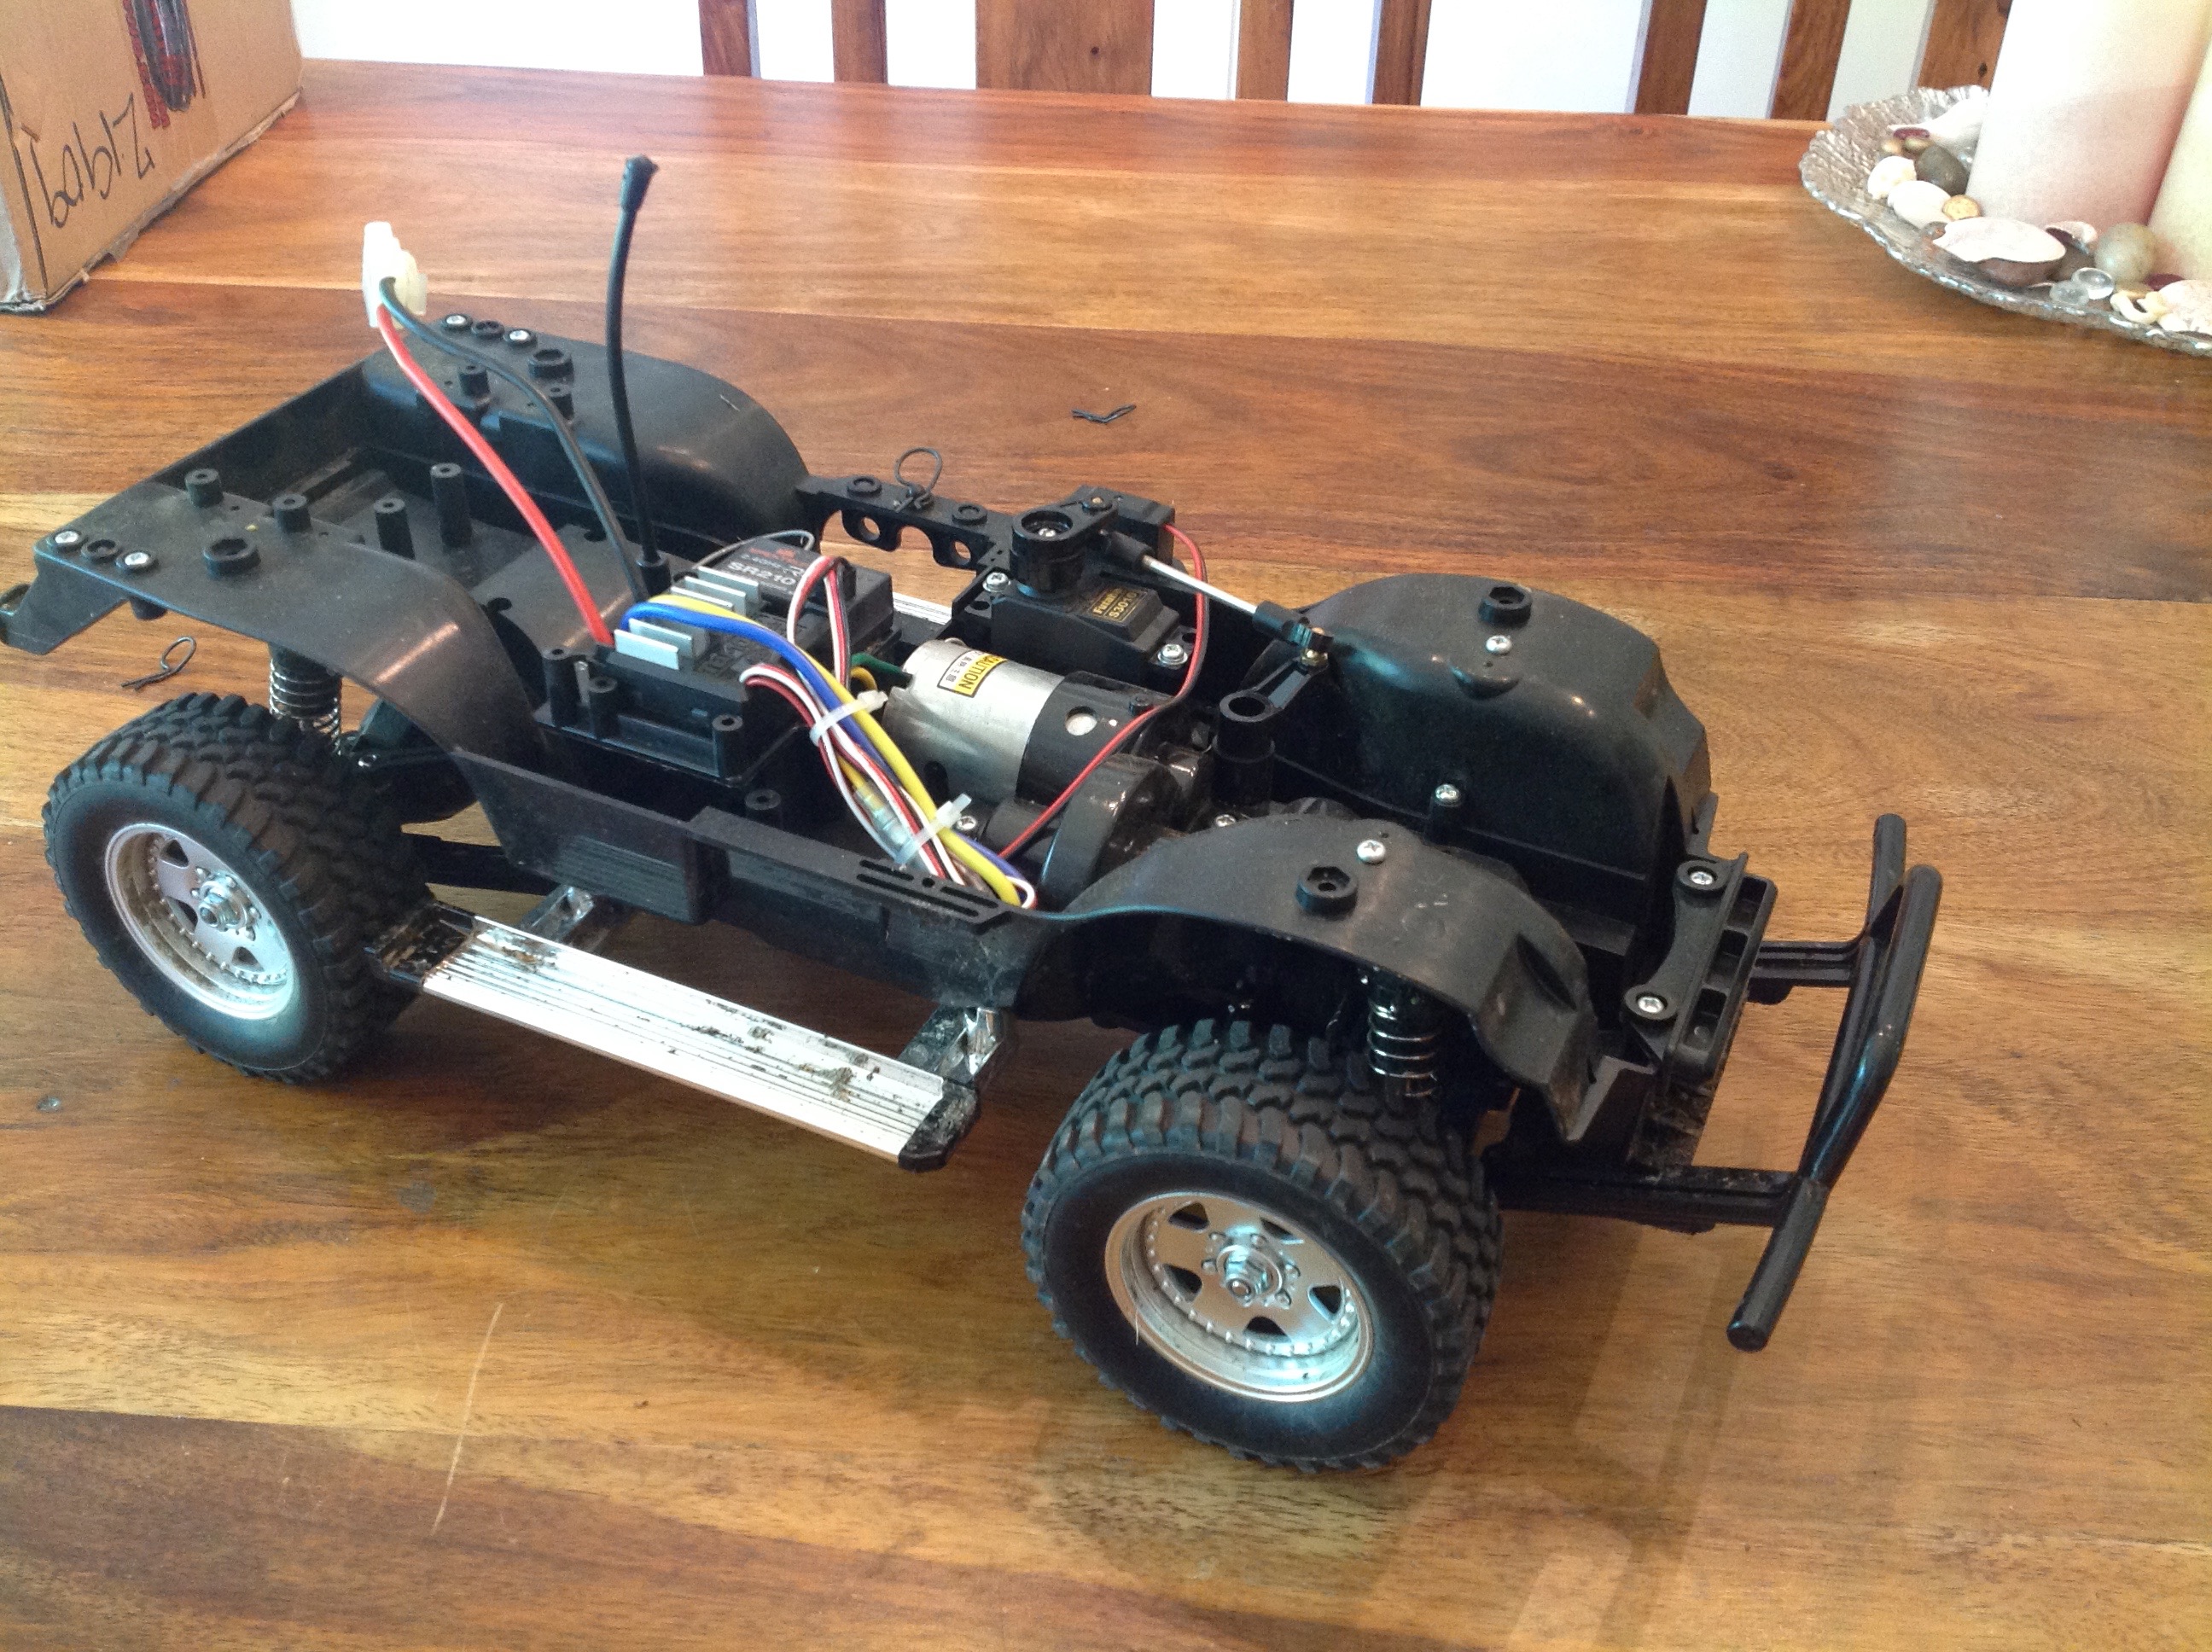
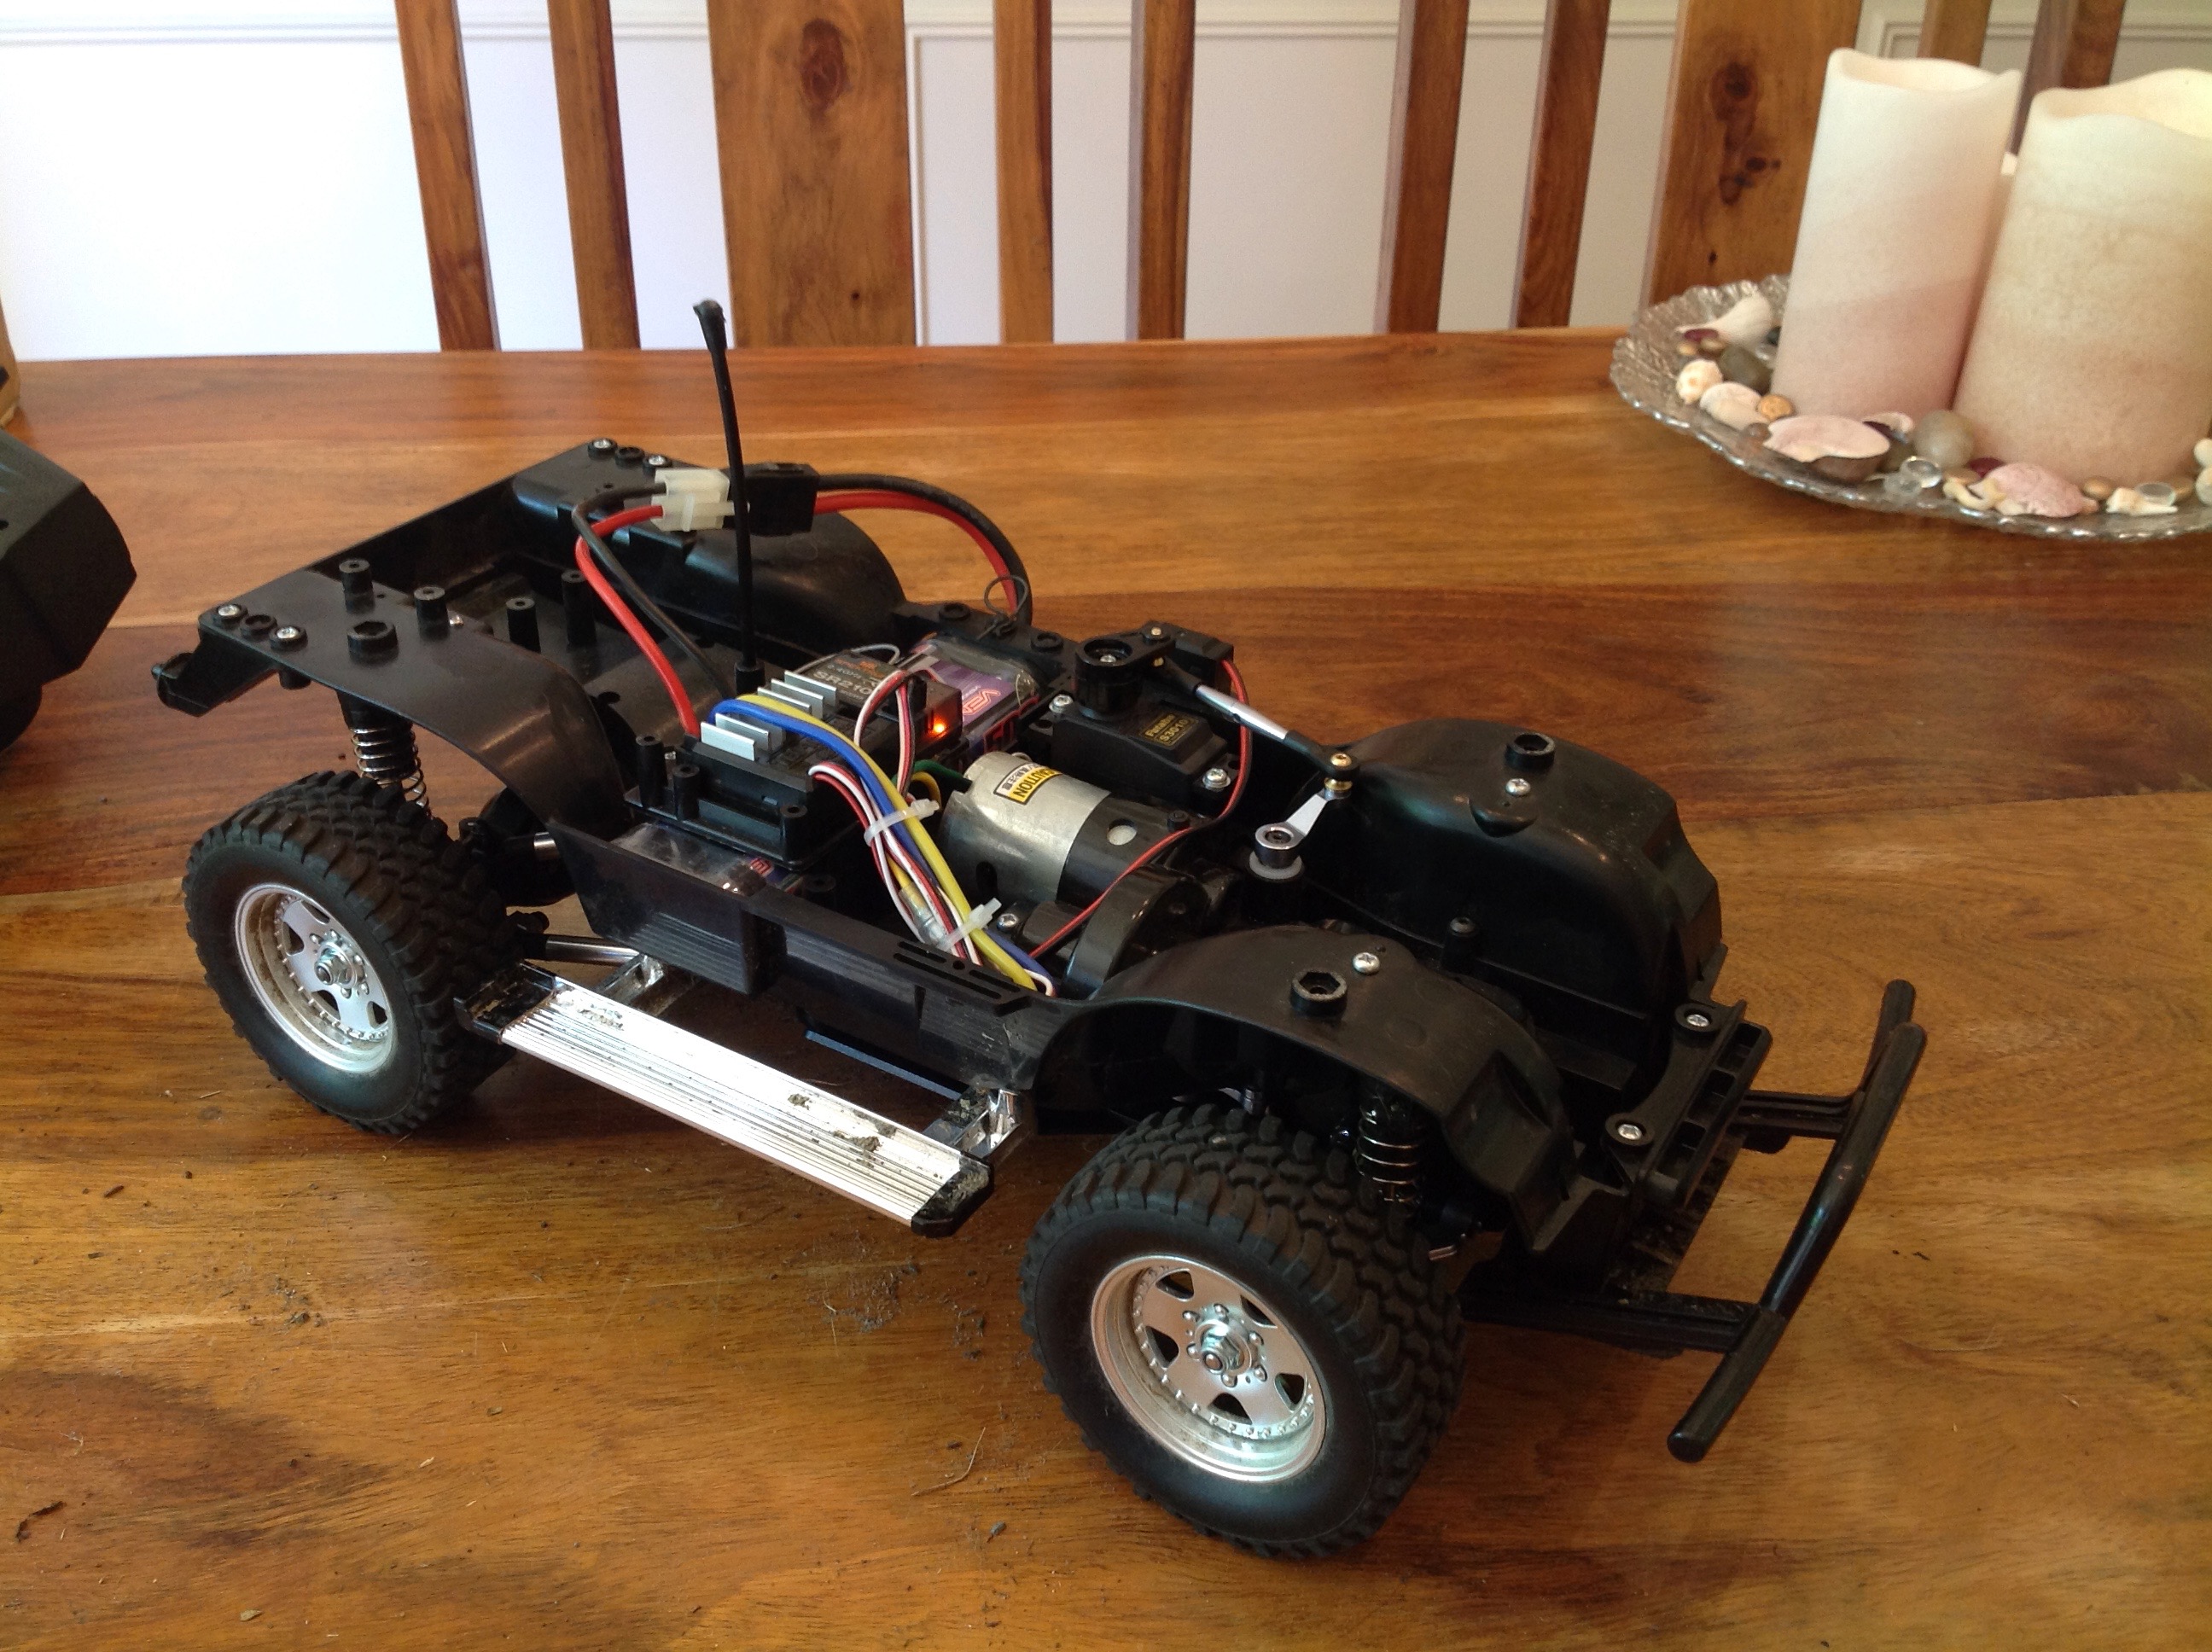
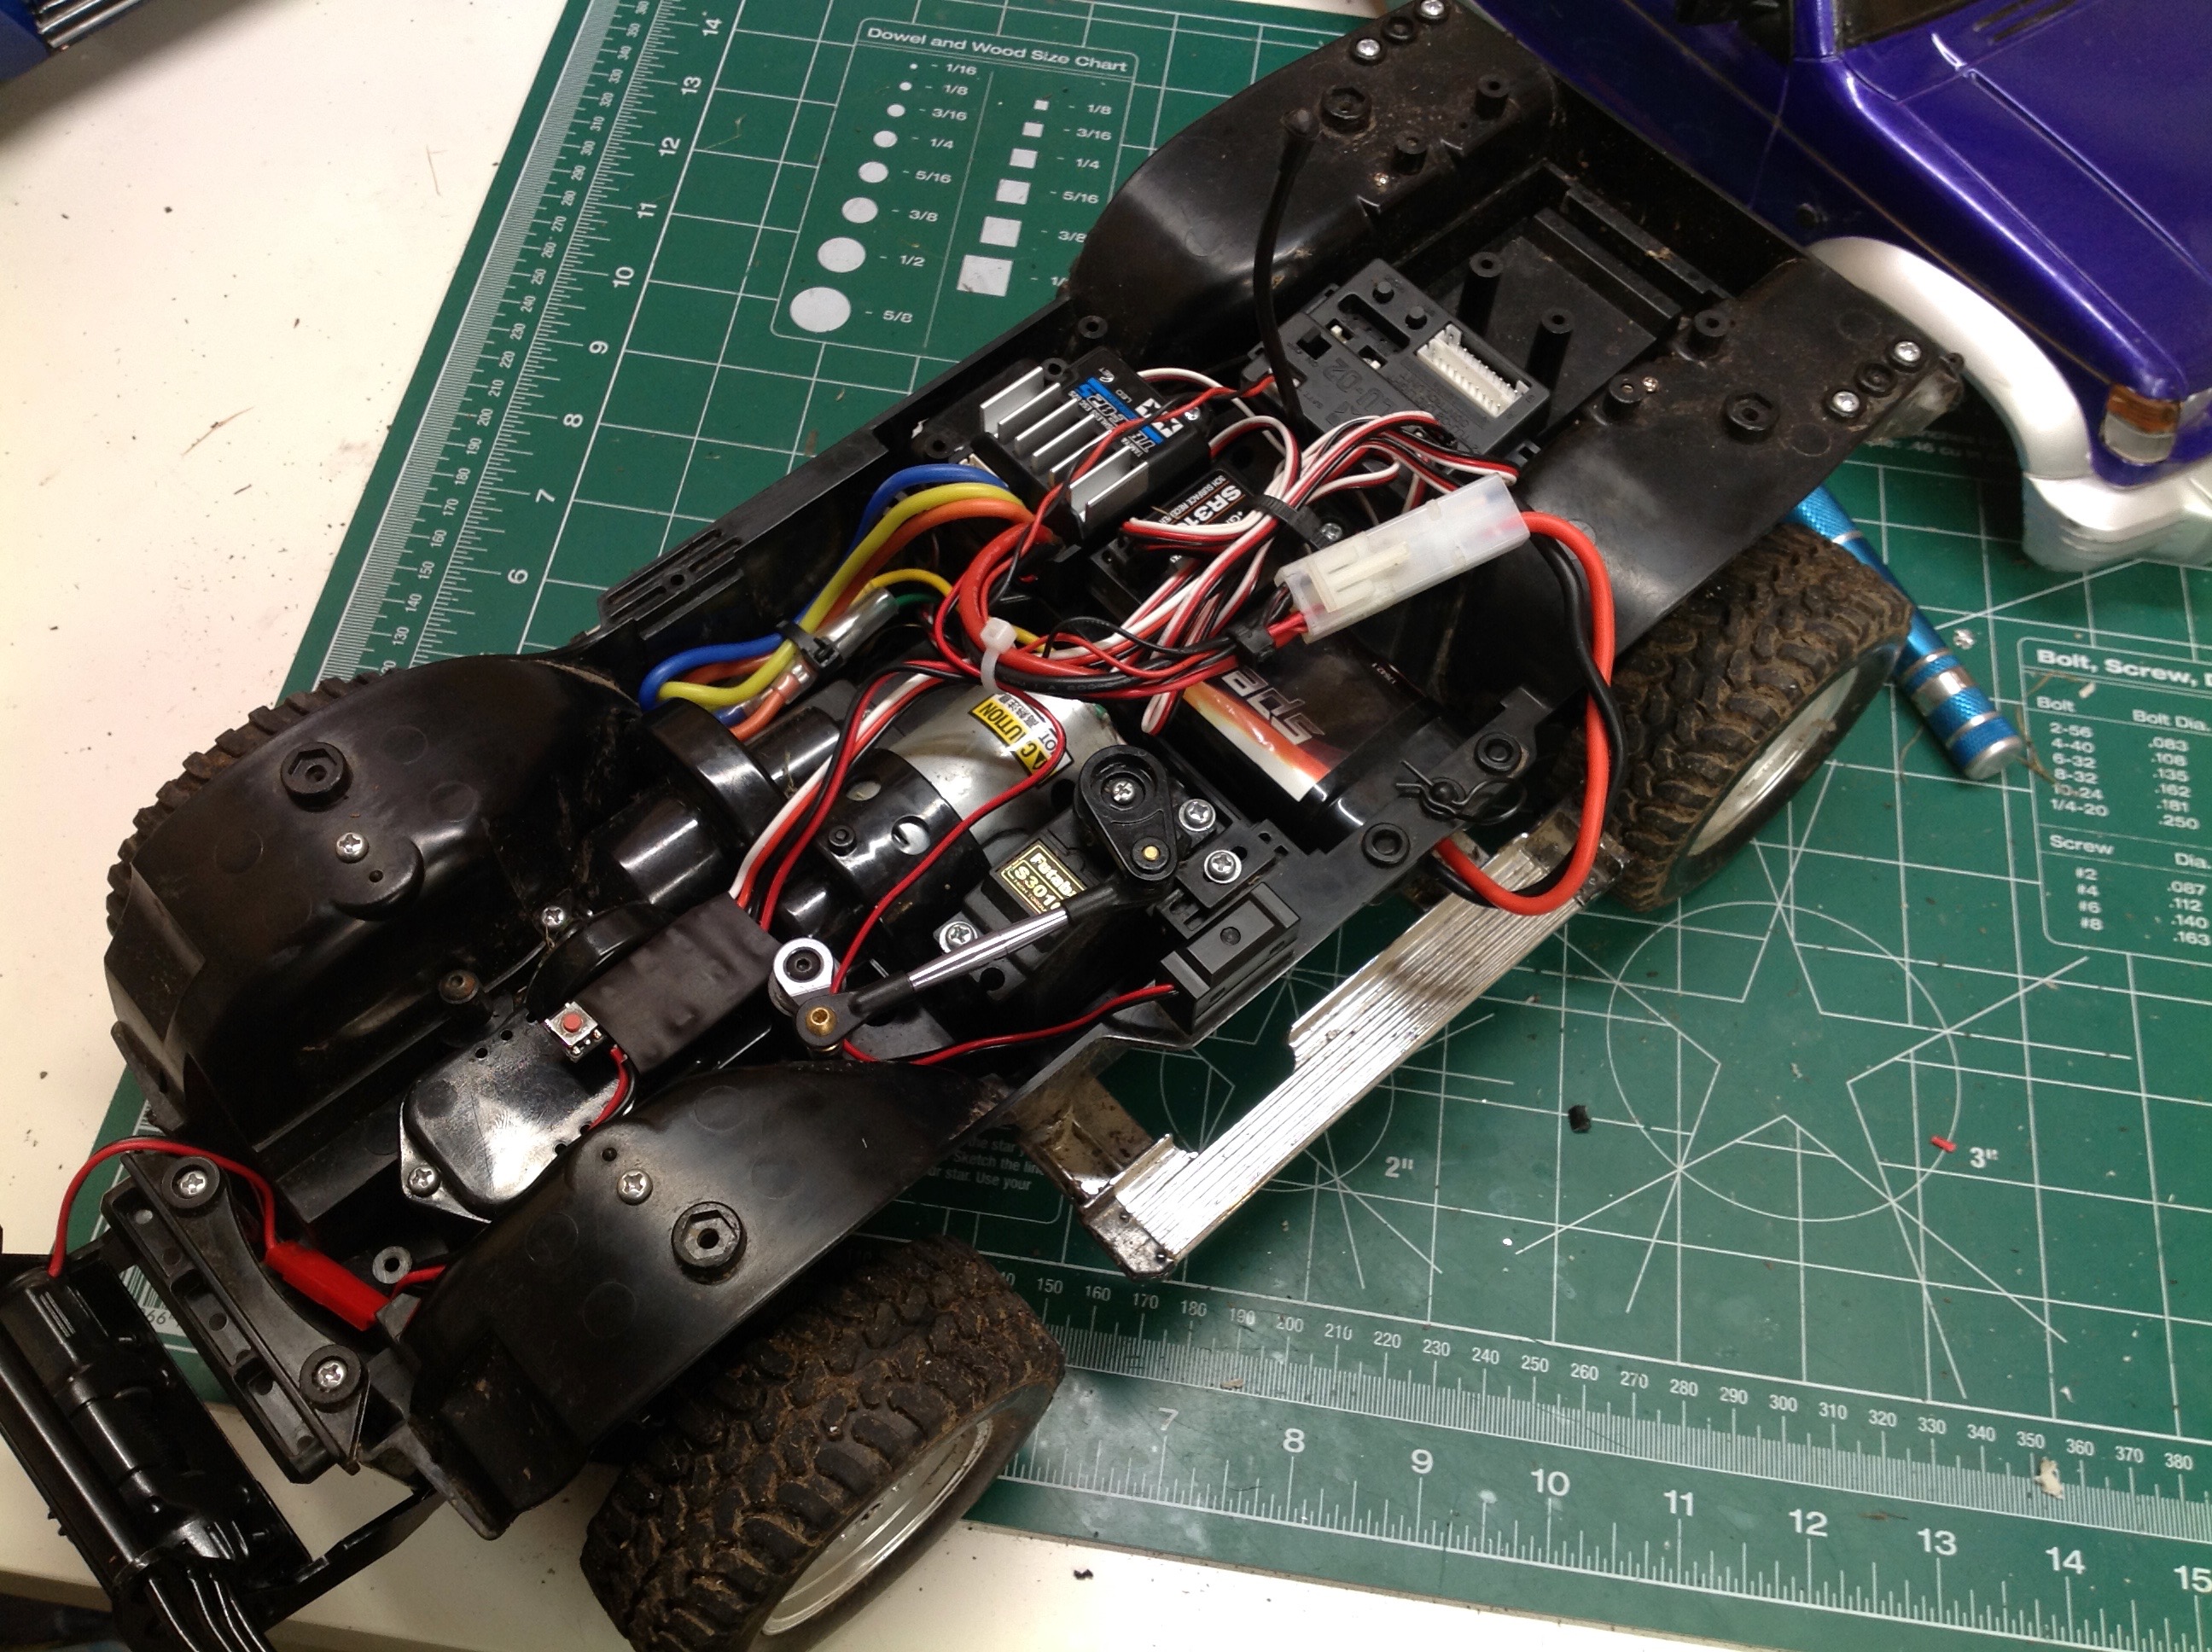
tires.  To solve the low speed problem, and since I was already using the TBLE-02s speed controller which supports sensored brushless motors, I got a 25.5T Hobbywing motor.


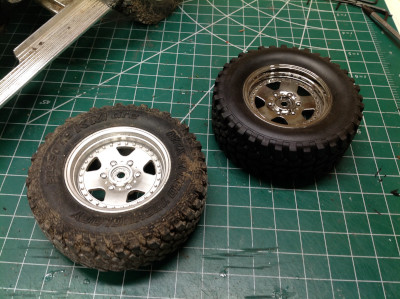
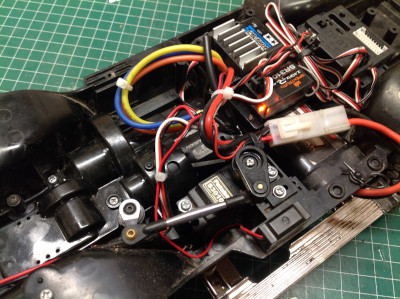
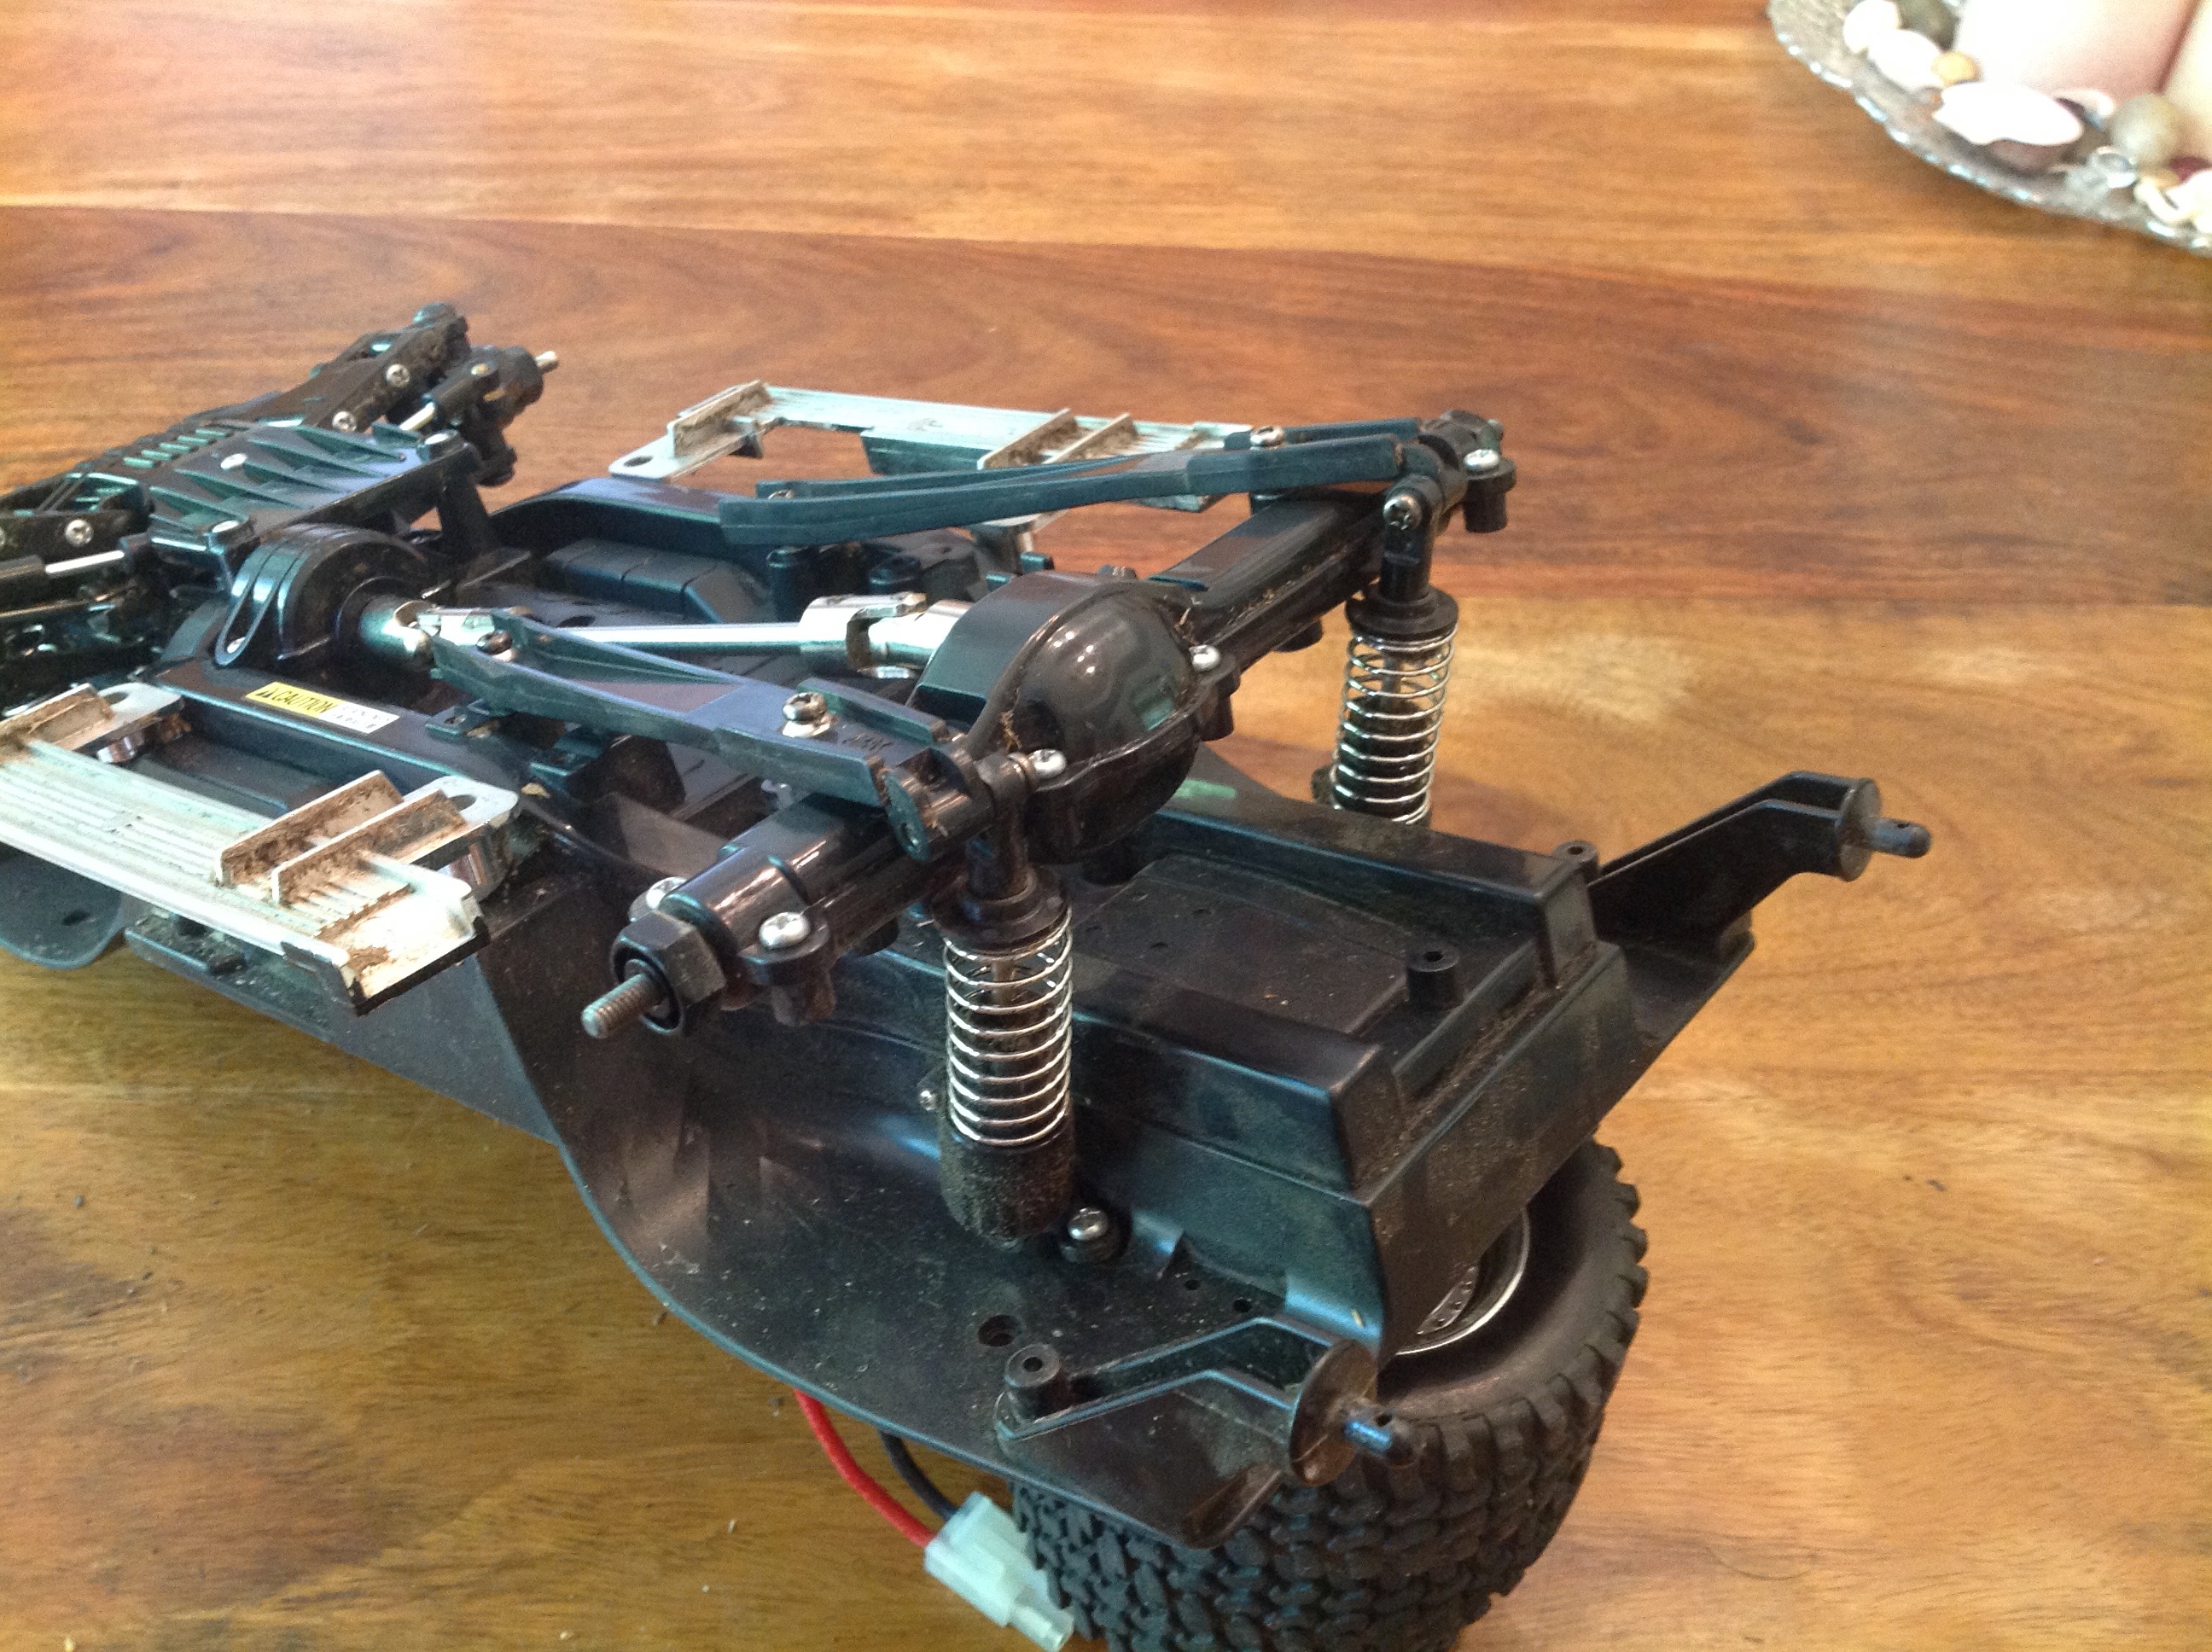
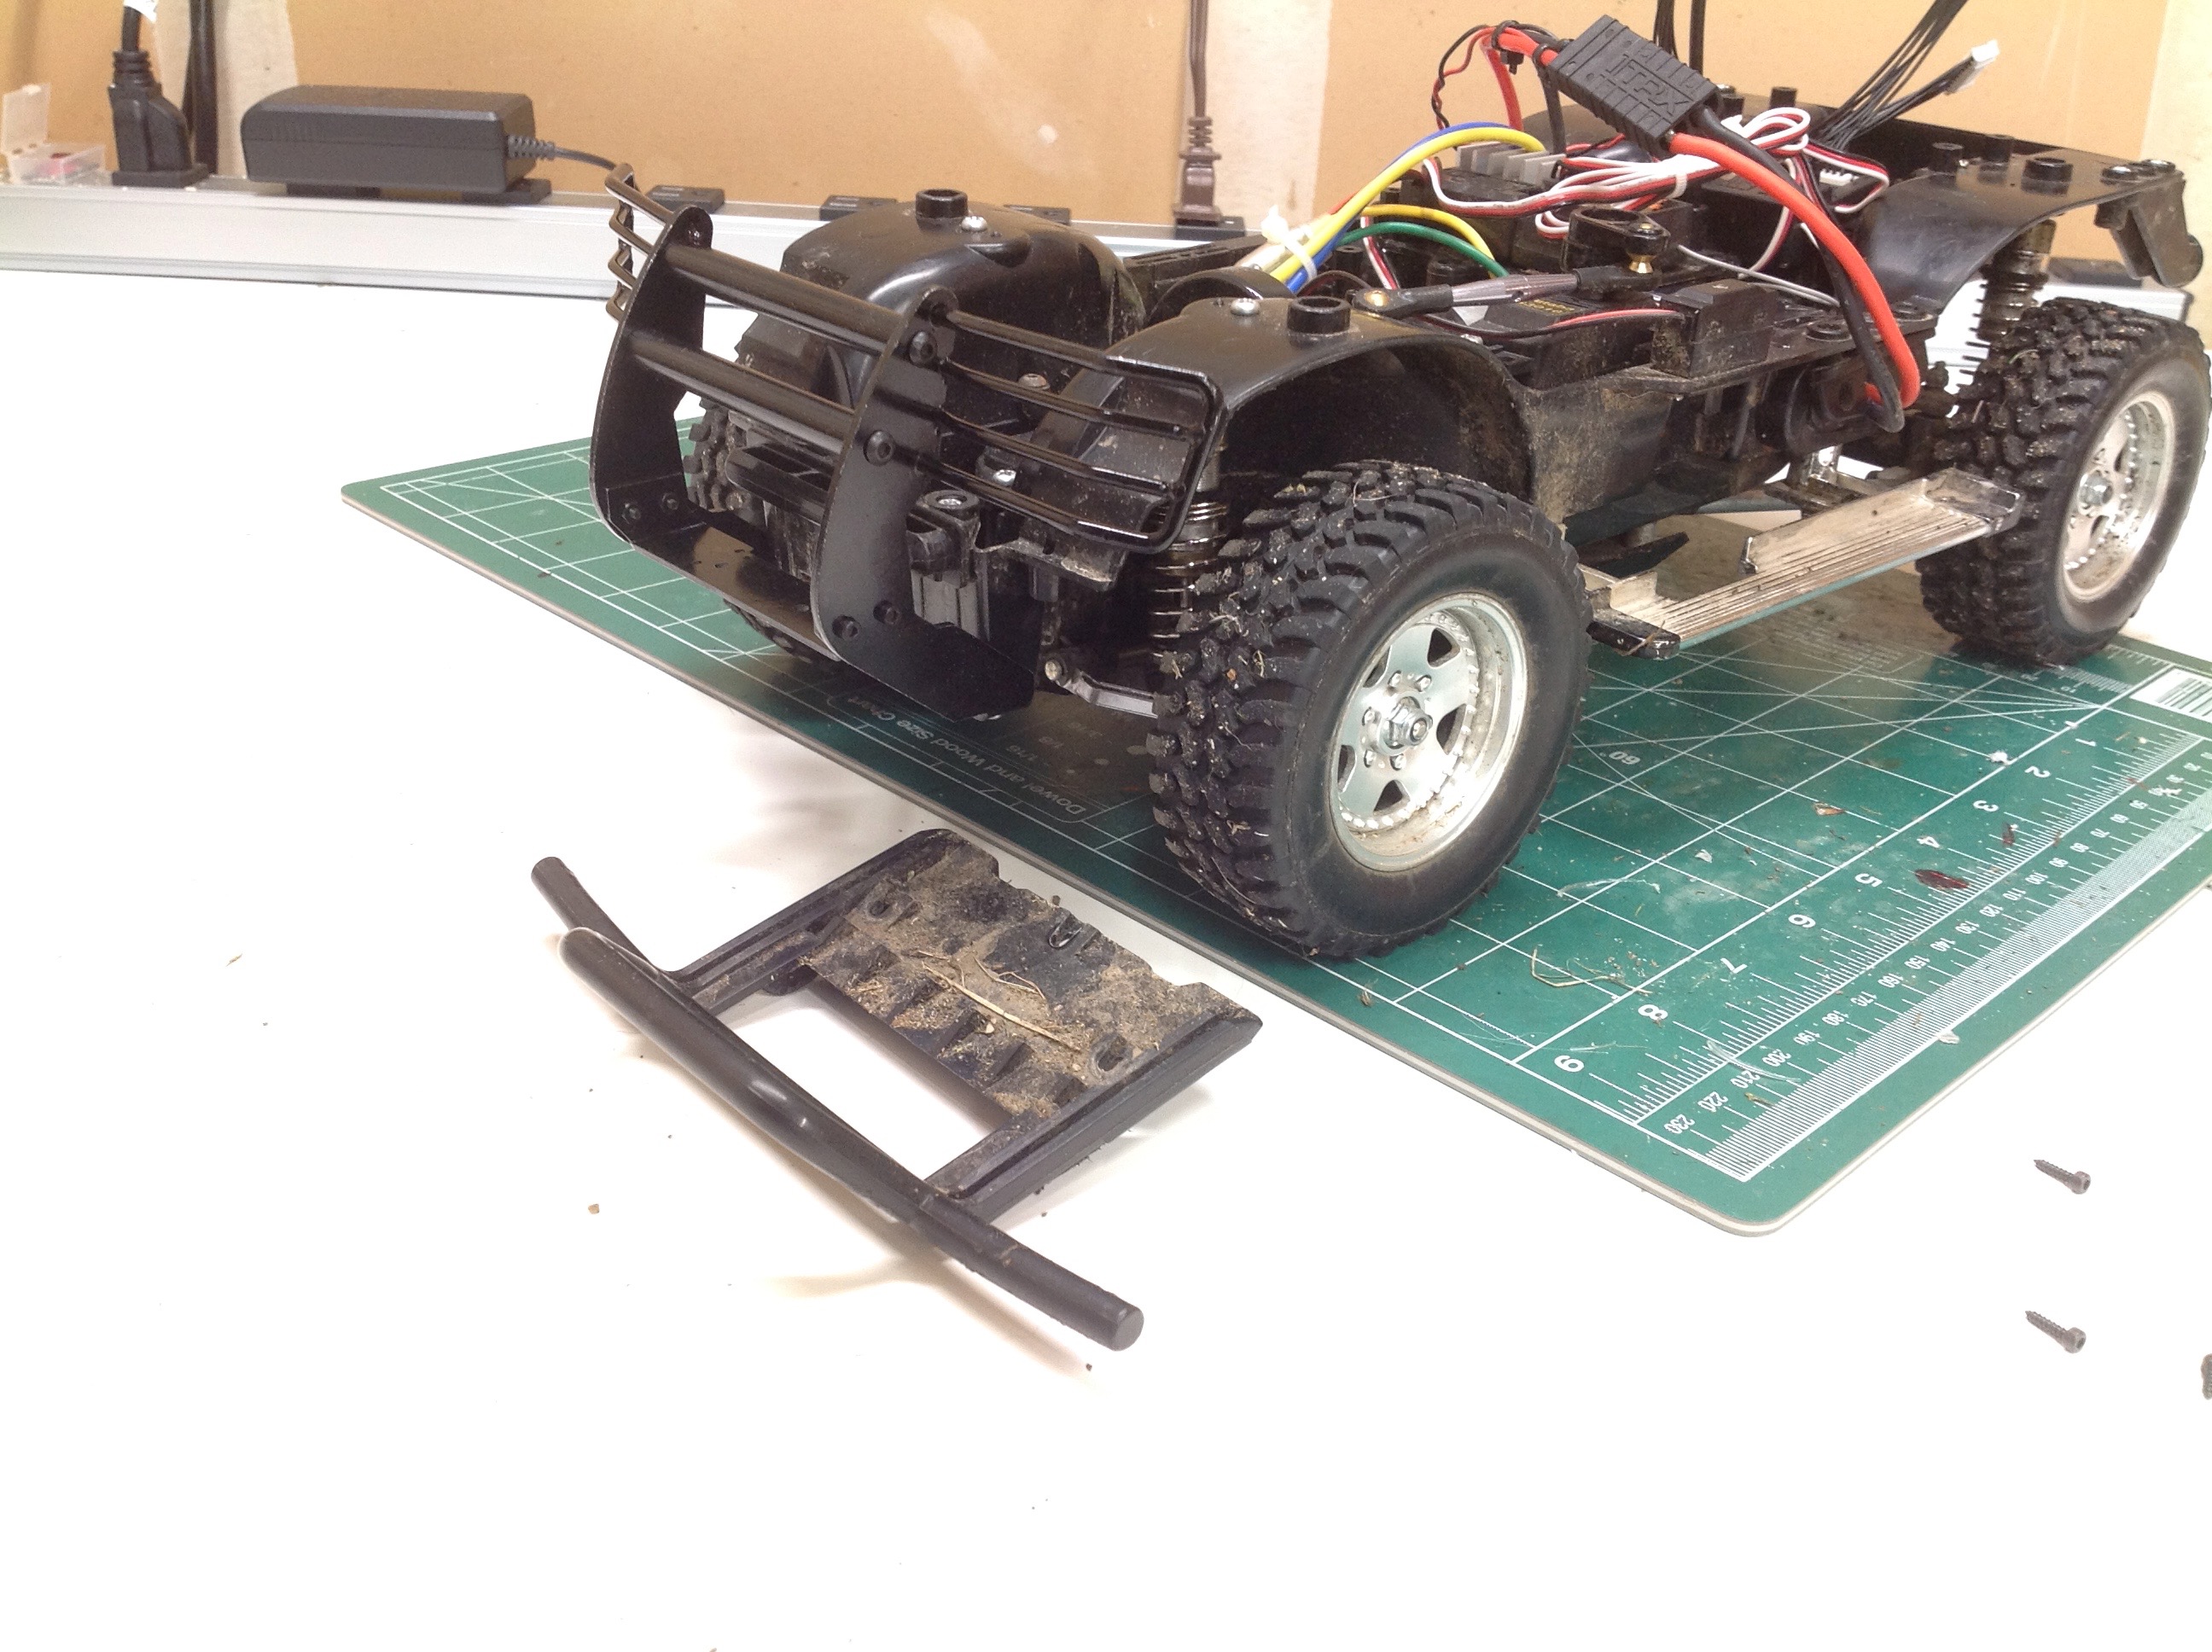
The picture on the left compares the new and old tires.  The dirty tire on the left is actually the new tire because I took this picture after I'd already tried it out.  You can see that the tire and tread pattern are nearly the same.  What you can't see is how much softer the new tire is.  The new tires are very slightly larger in diameter which makes for less clearance in the wheel well.  There can be minor rubbing under extreme articulation conditions, but the 
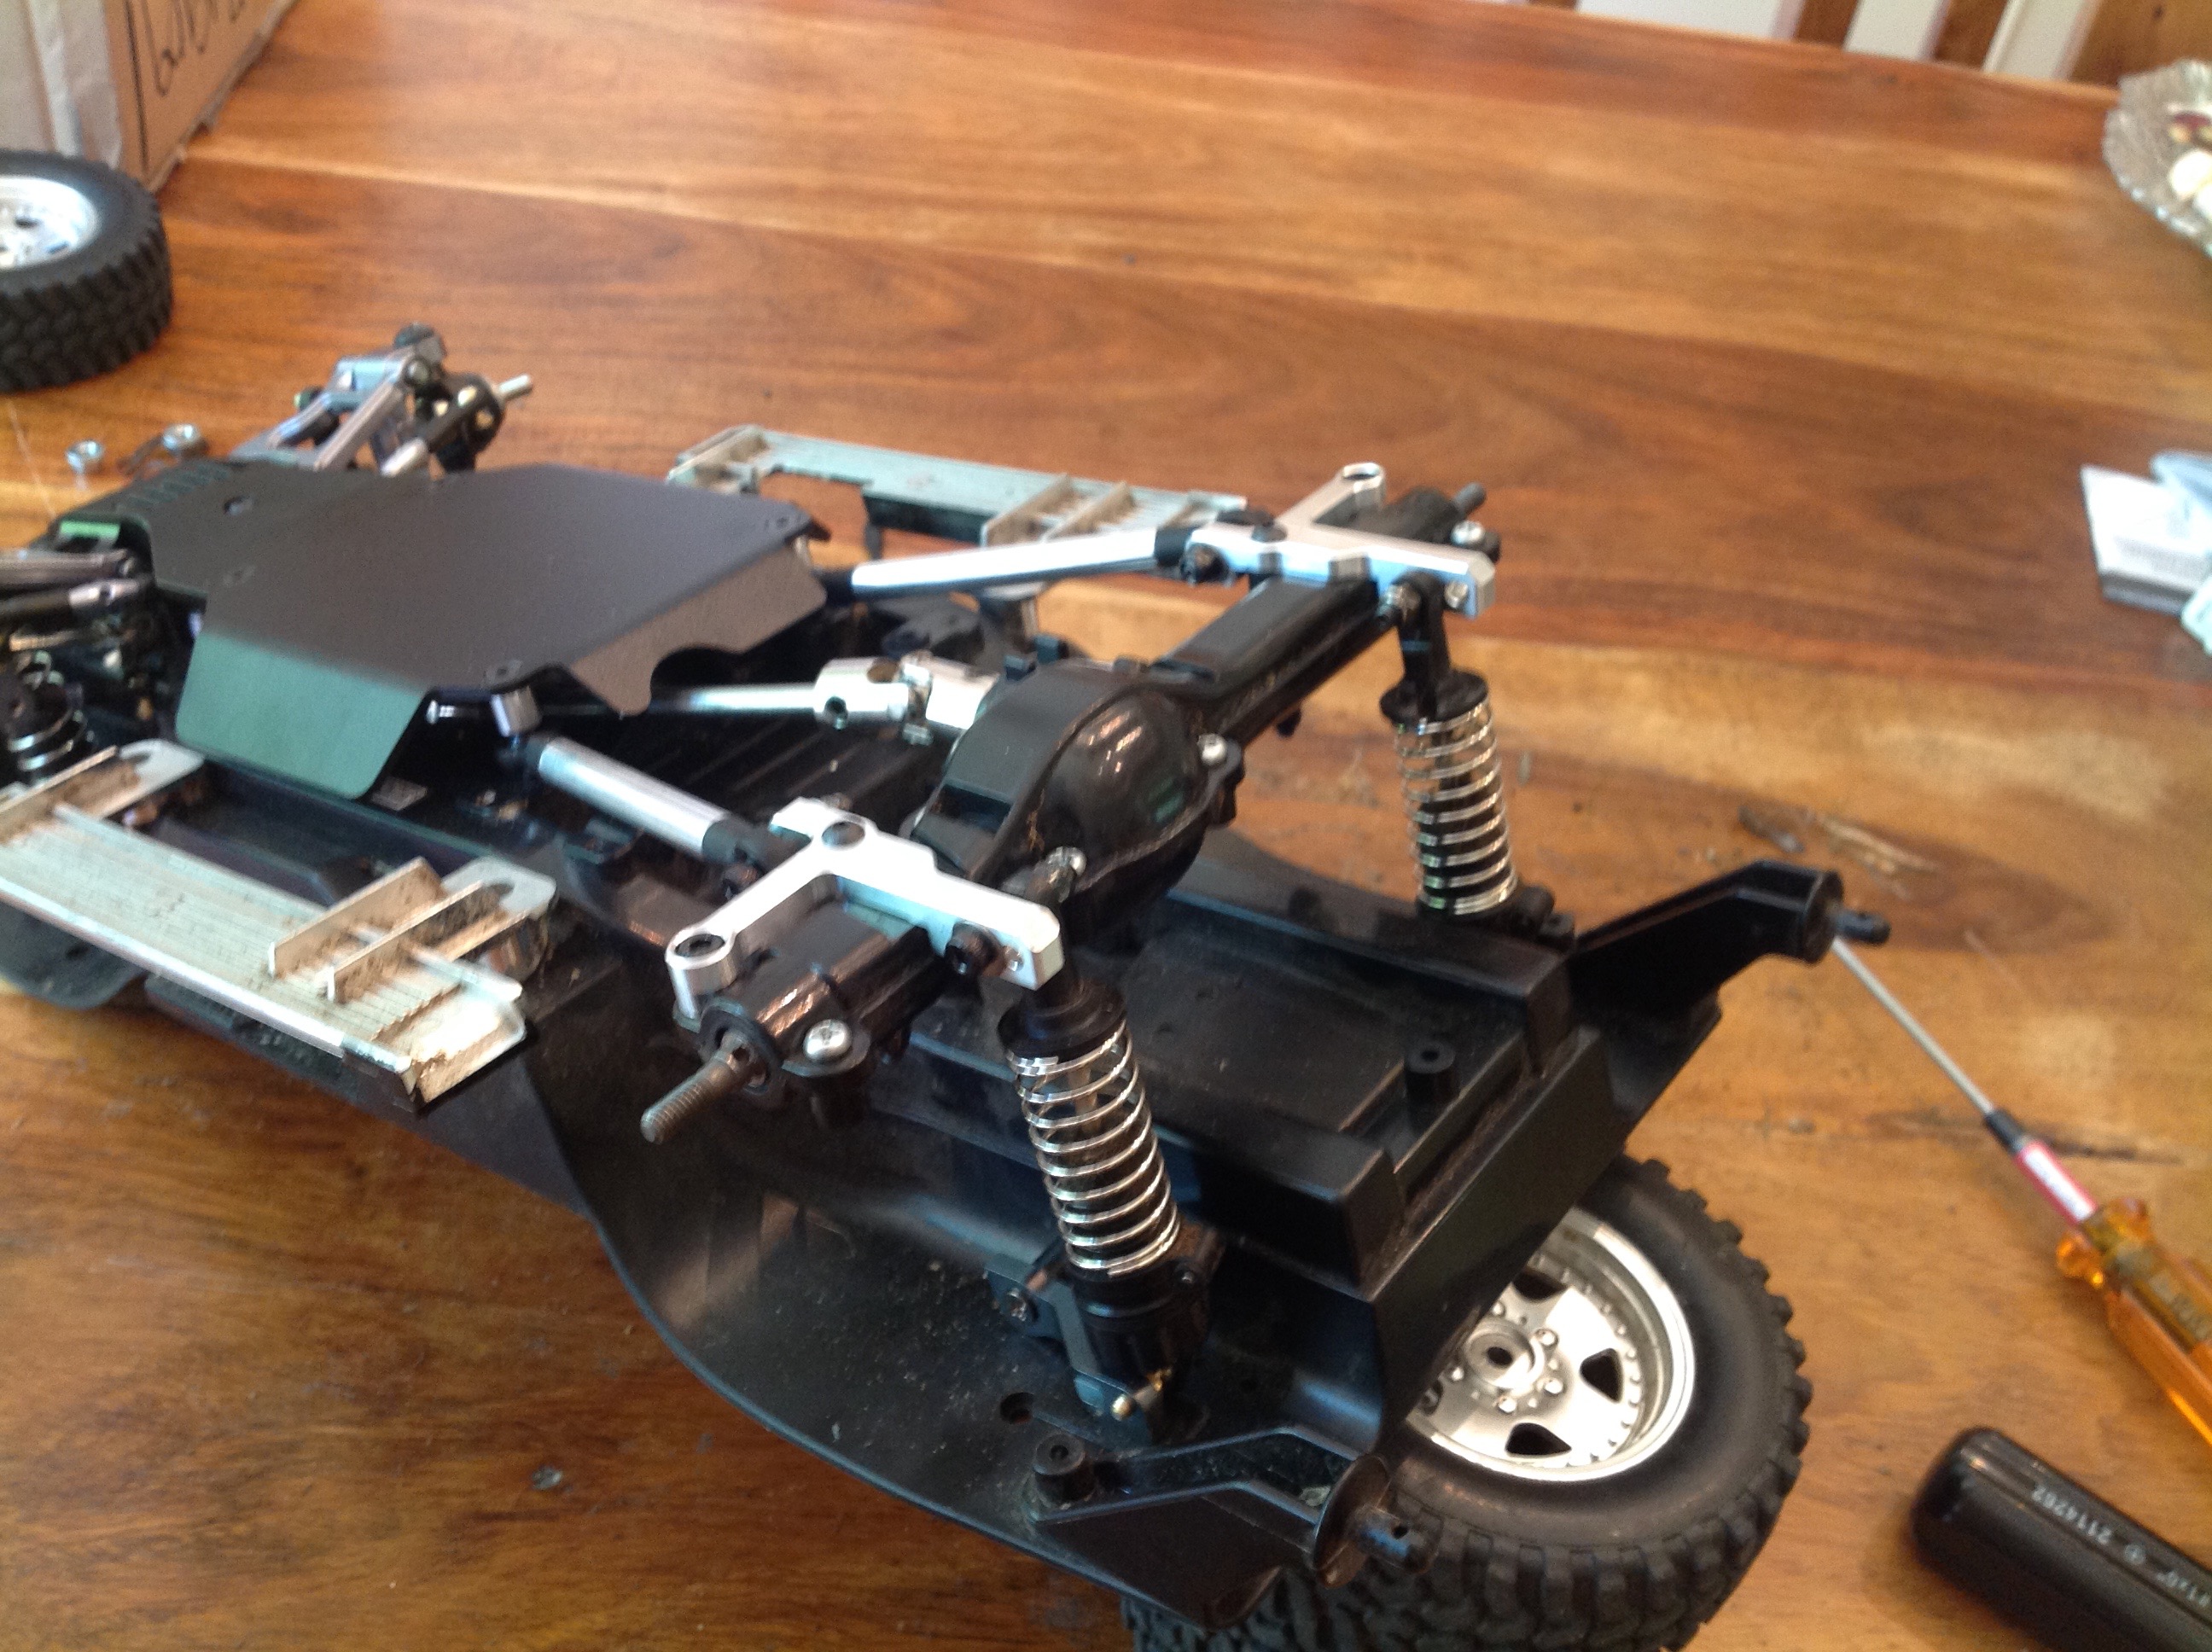
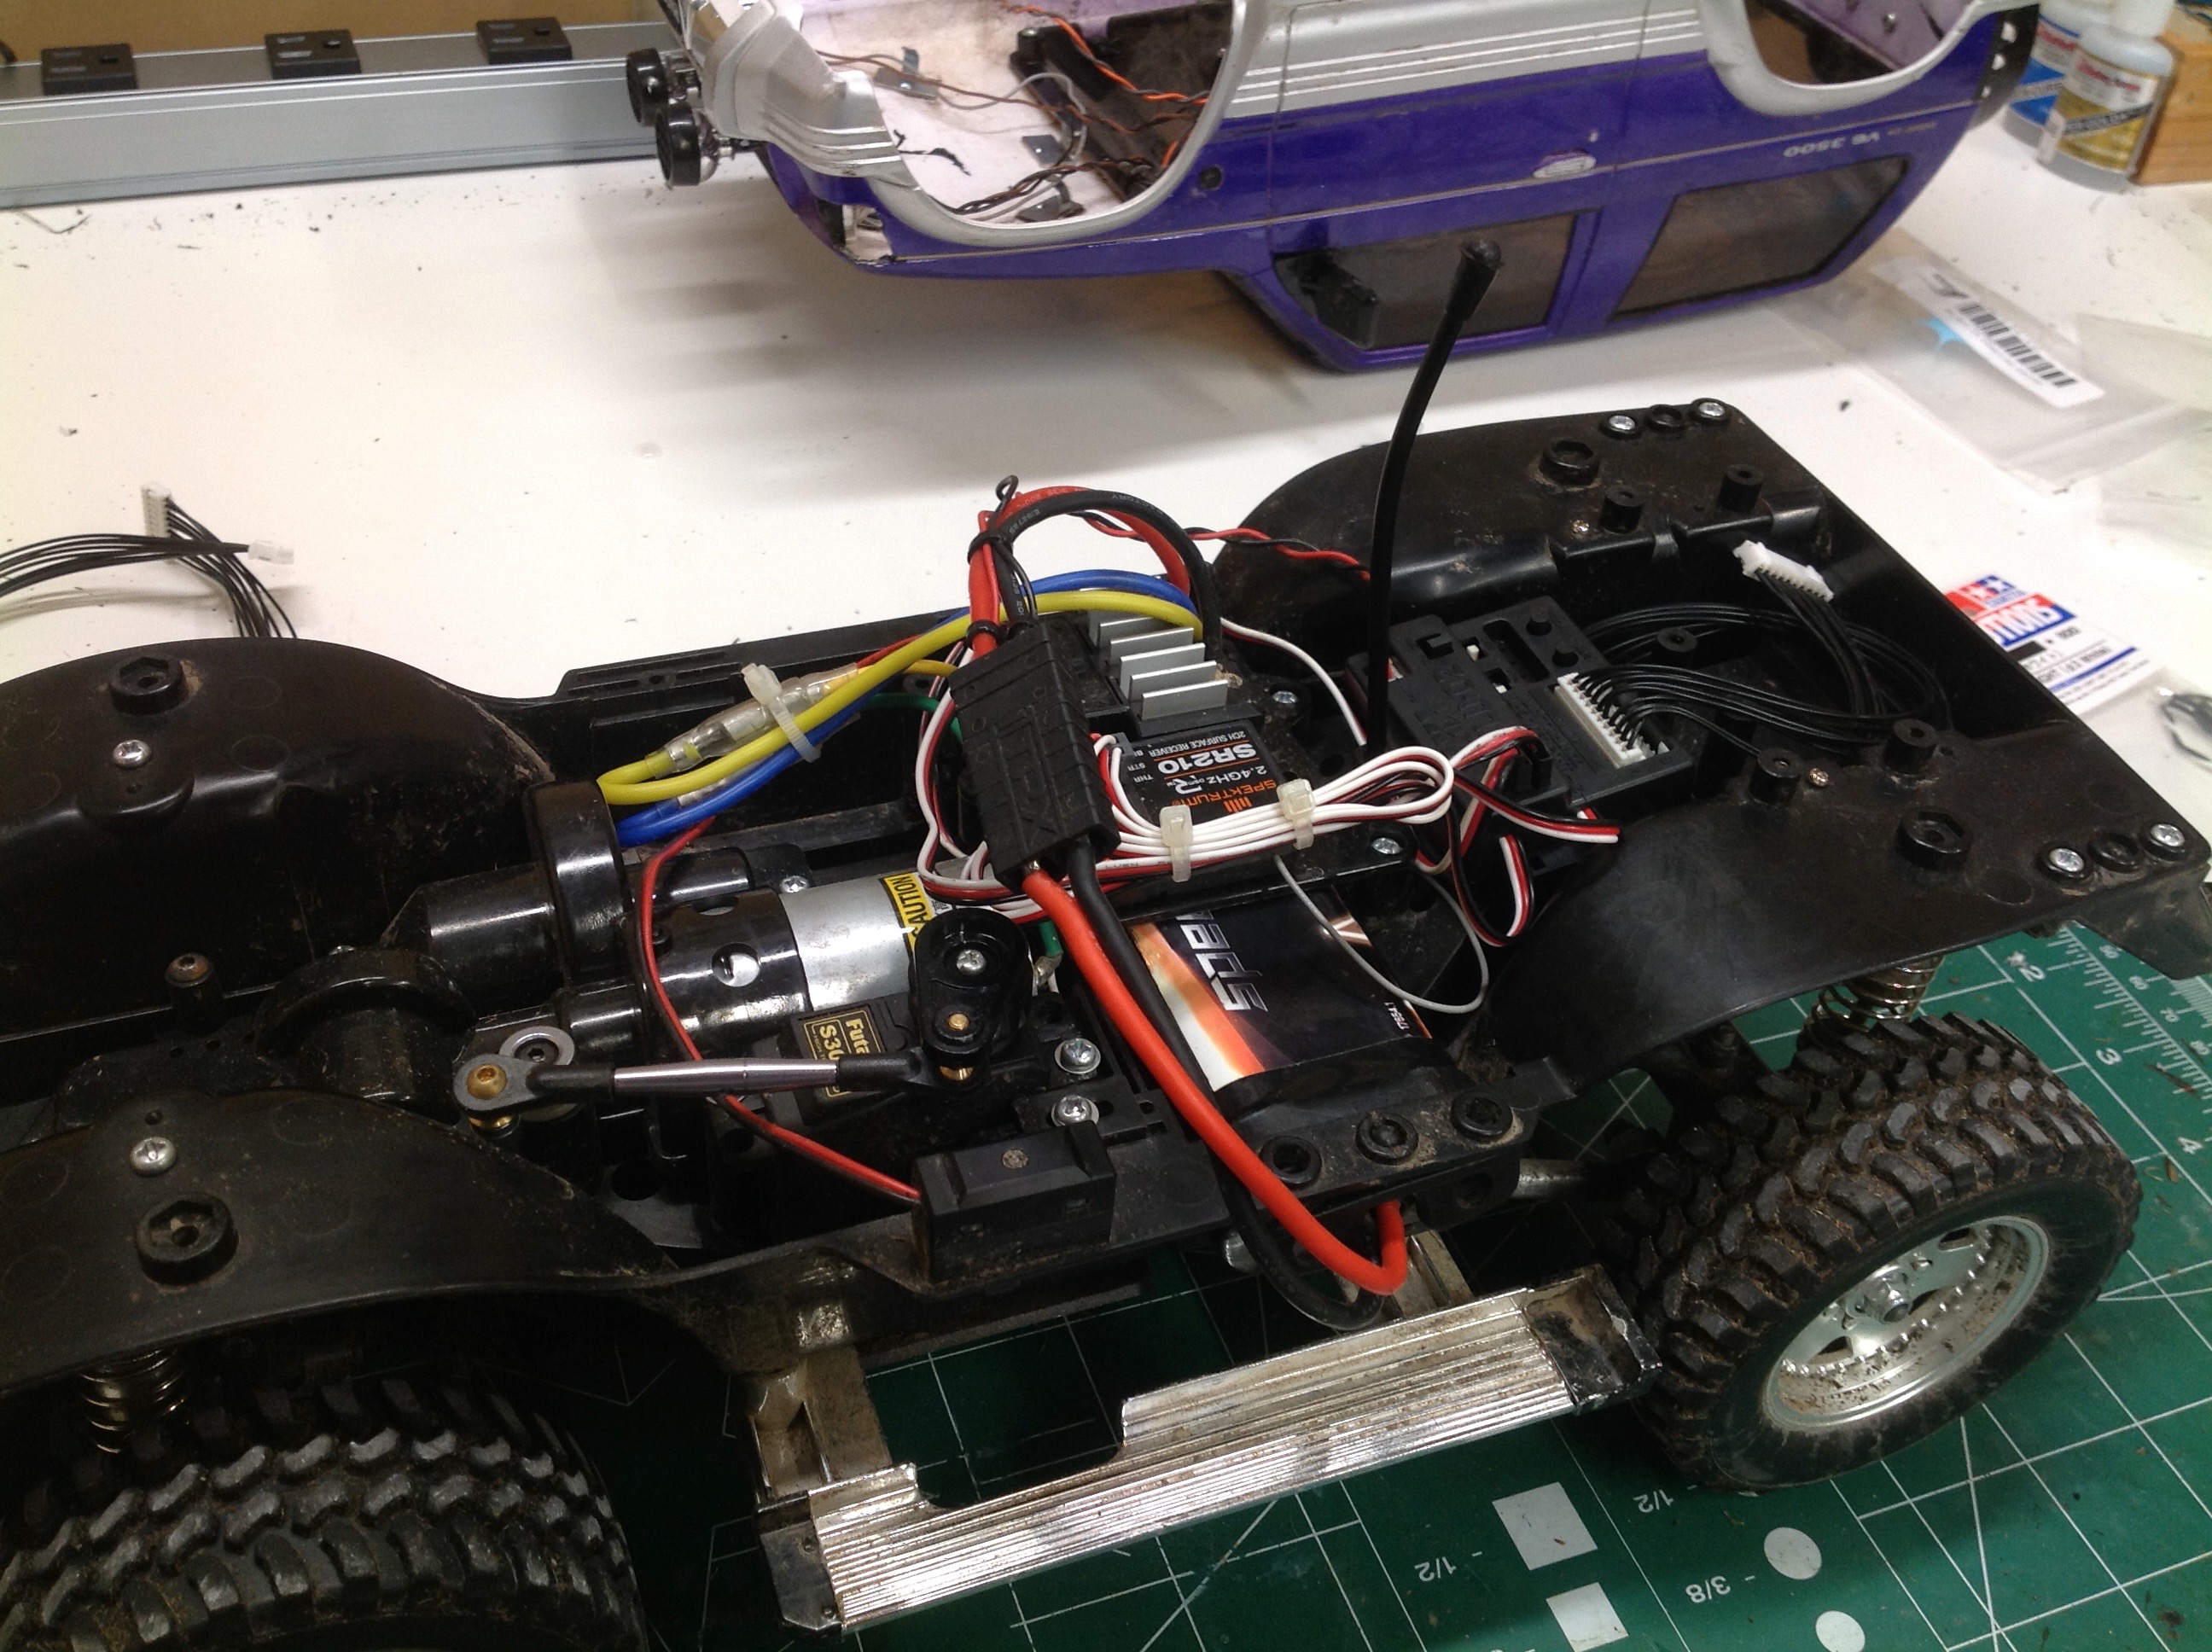
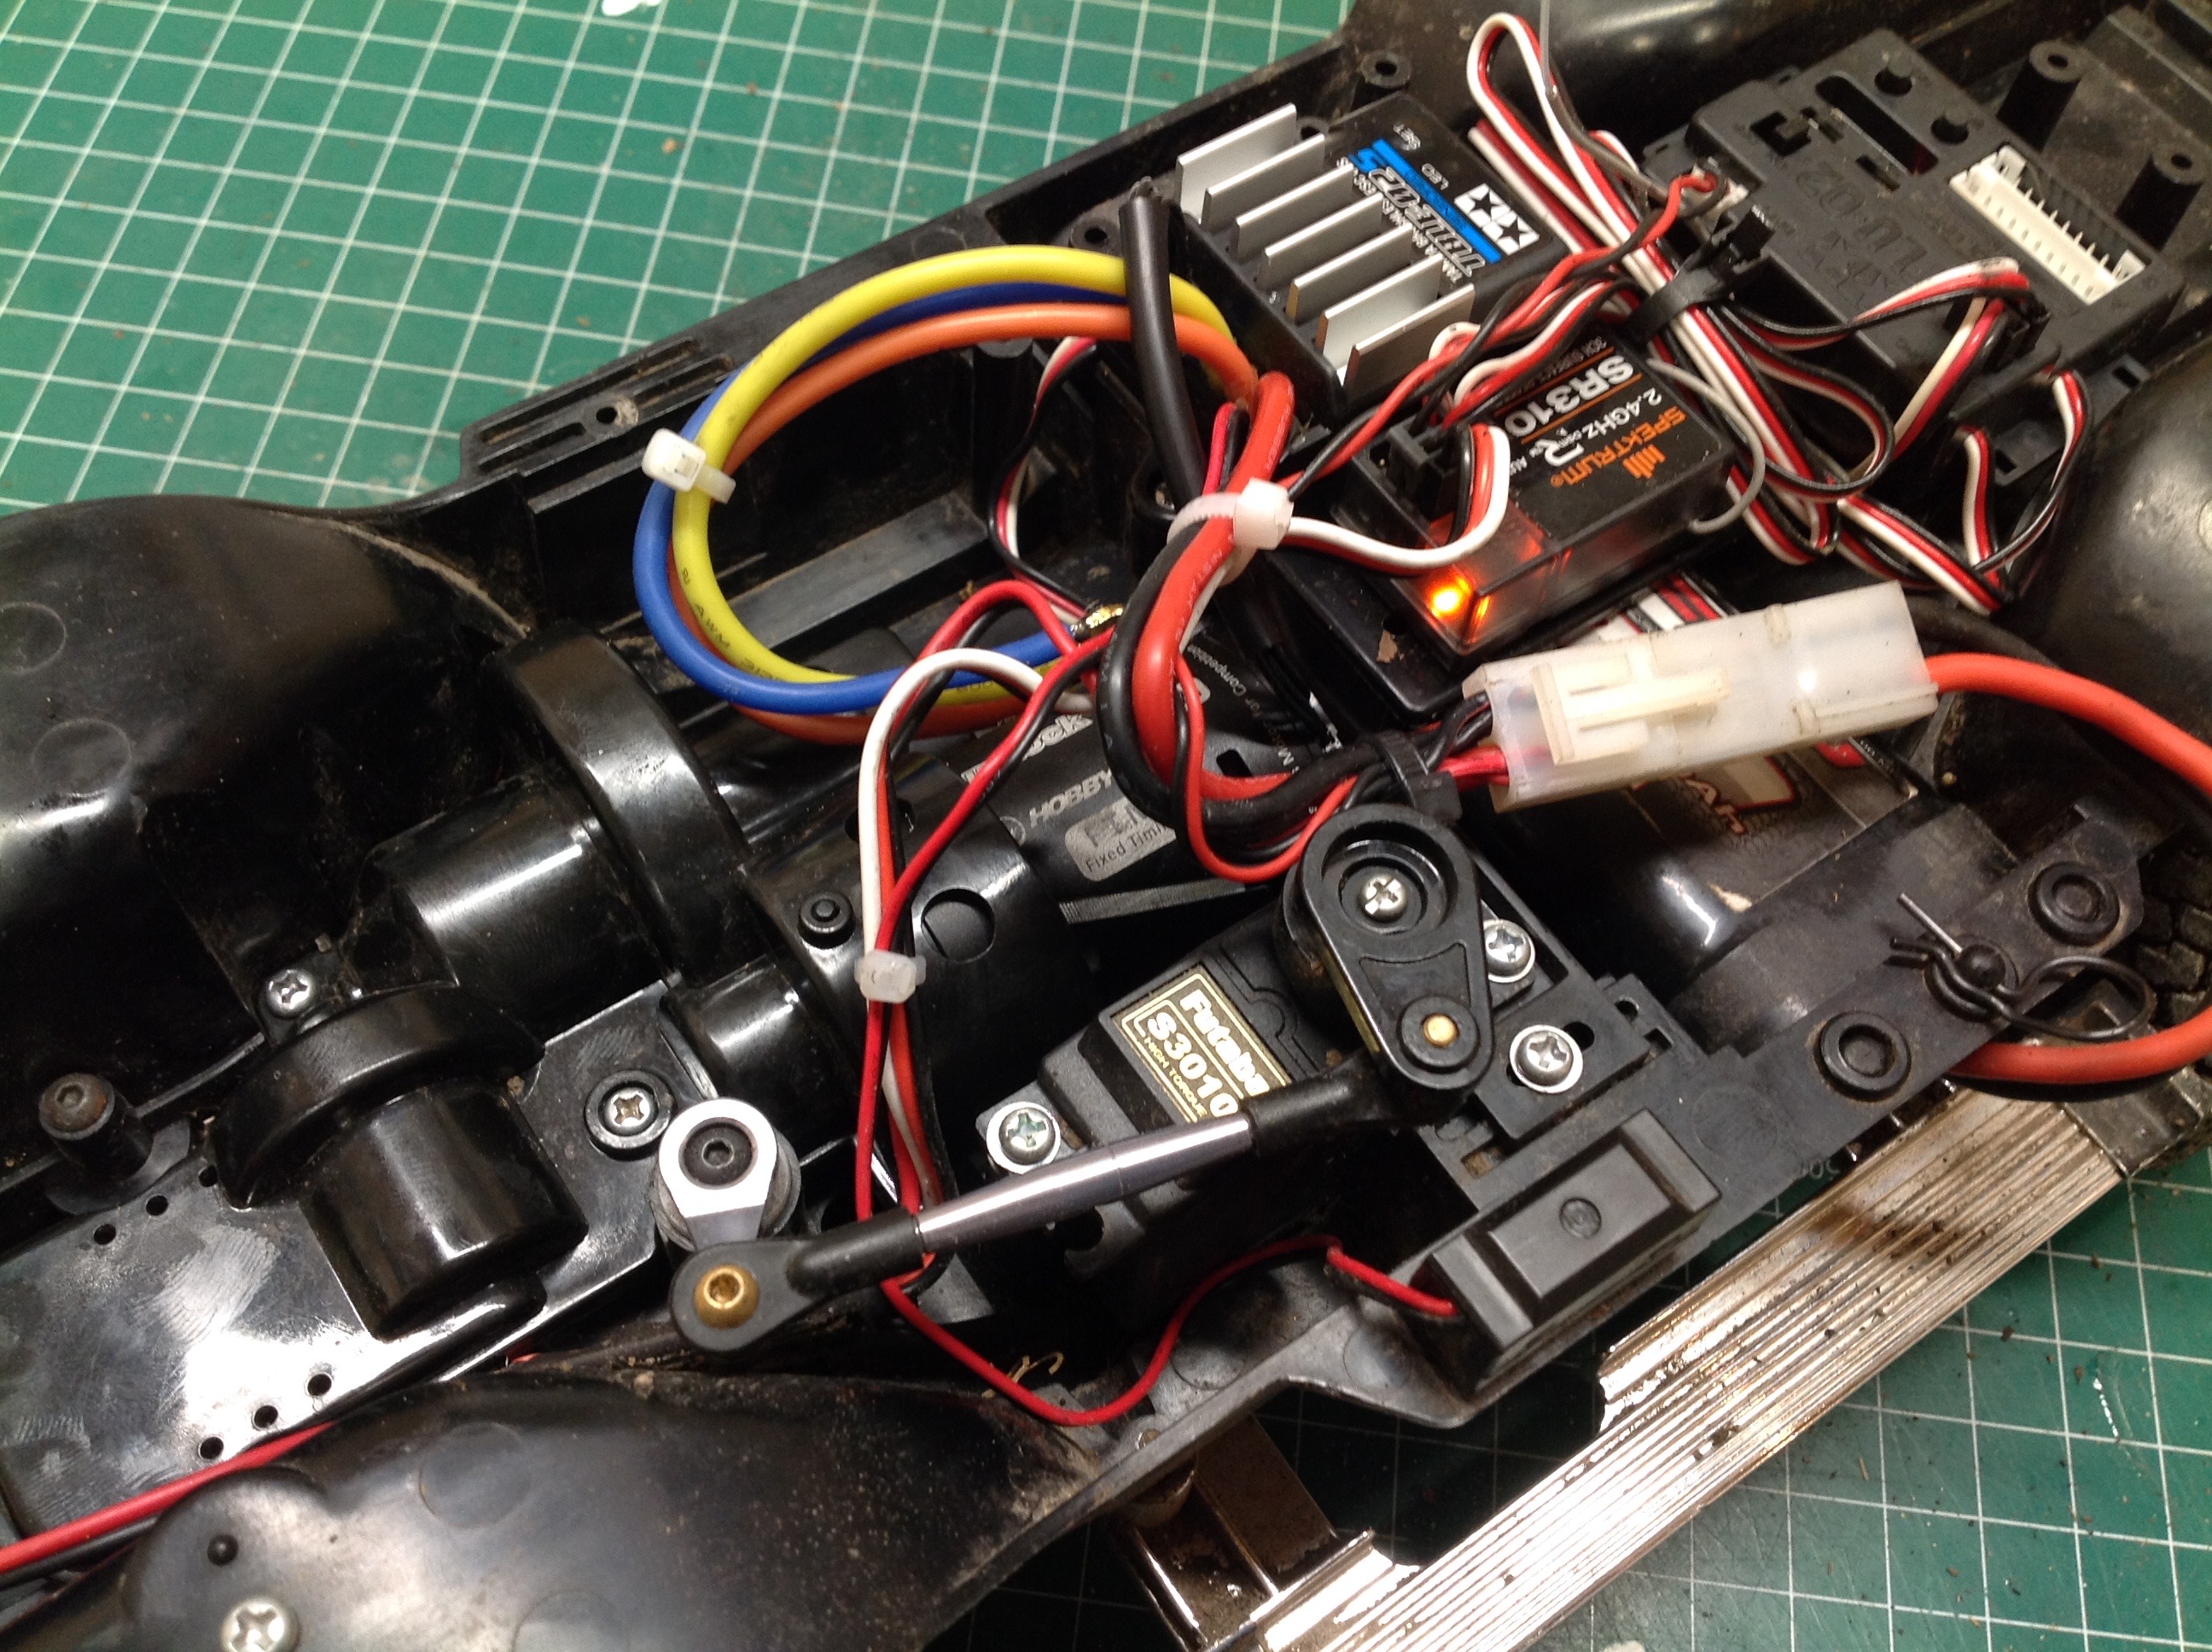
improved performance makes this more than worth it.  On the right you can just barely see the new brushless motor installed in the chassis.  This made a huge difference with much more power at low speed while still maintaining a plenty high on-road top speed.

Back to Page 1 | Up to Index | Go to Page 3
©2020 Eric Albrecht