Tamiya Jeep Wrangler Project
Page 2: Chassis Upgrades!
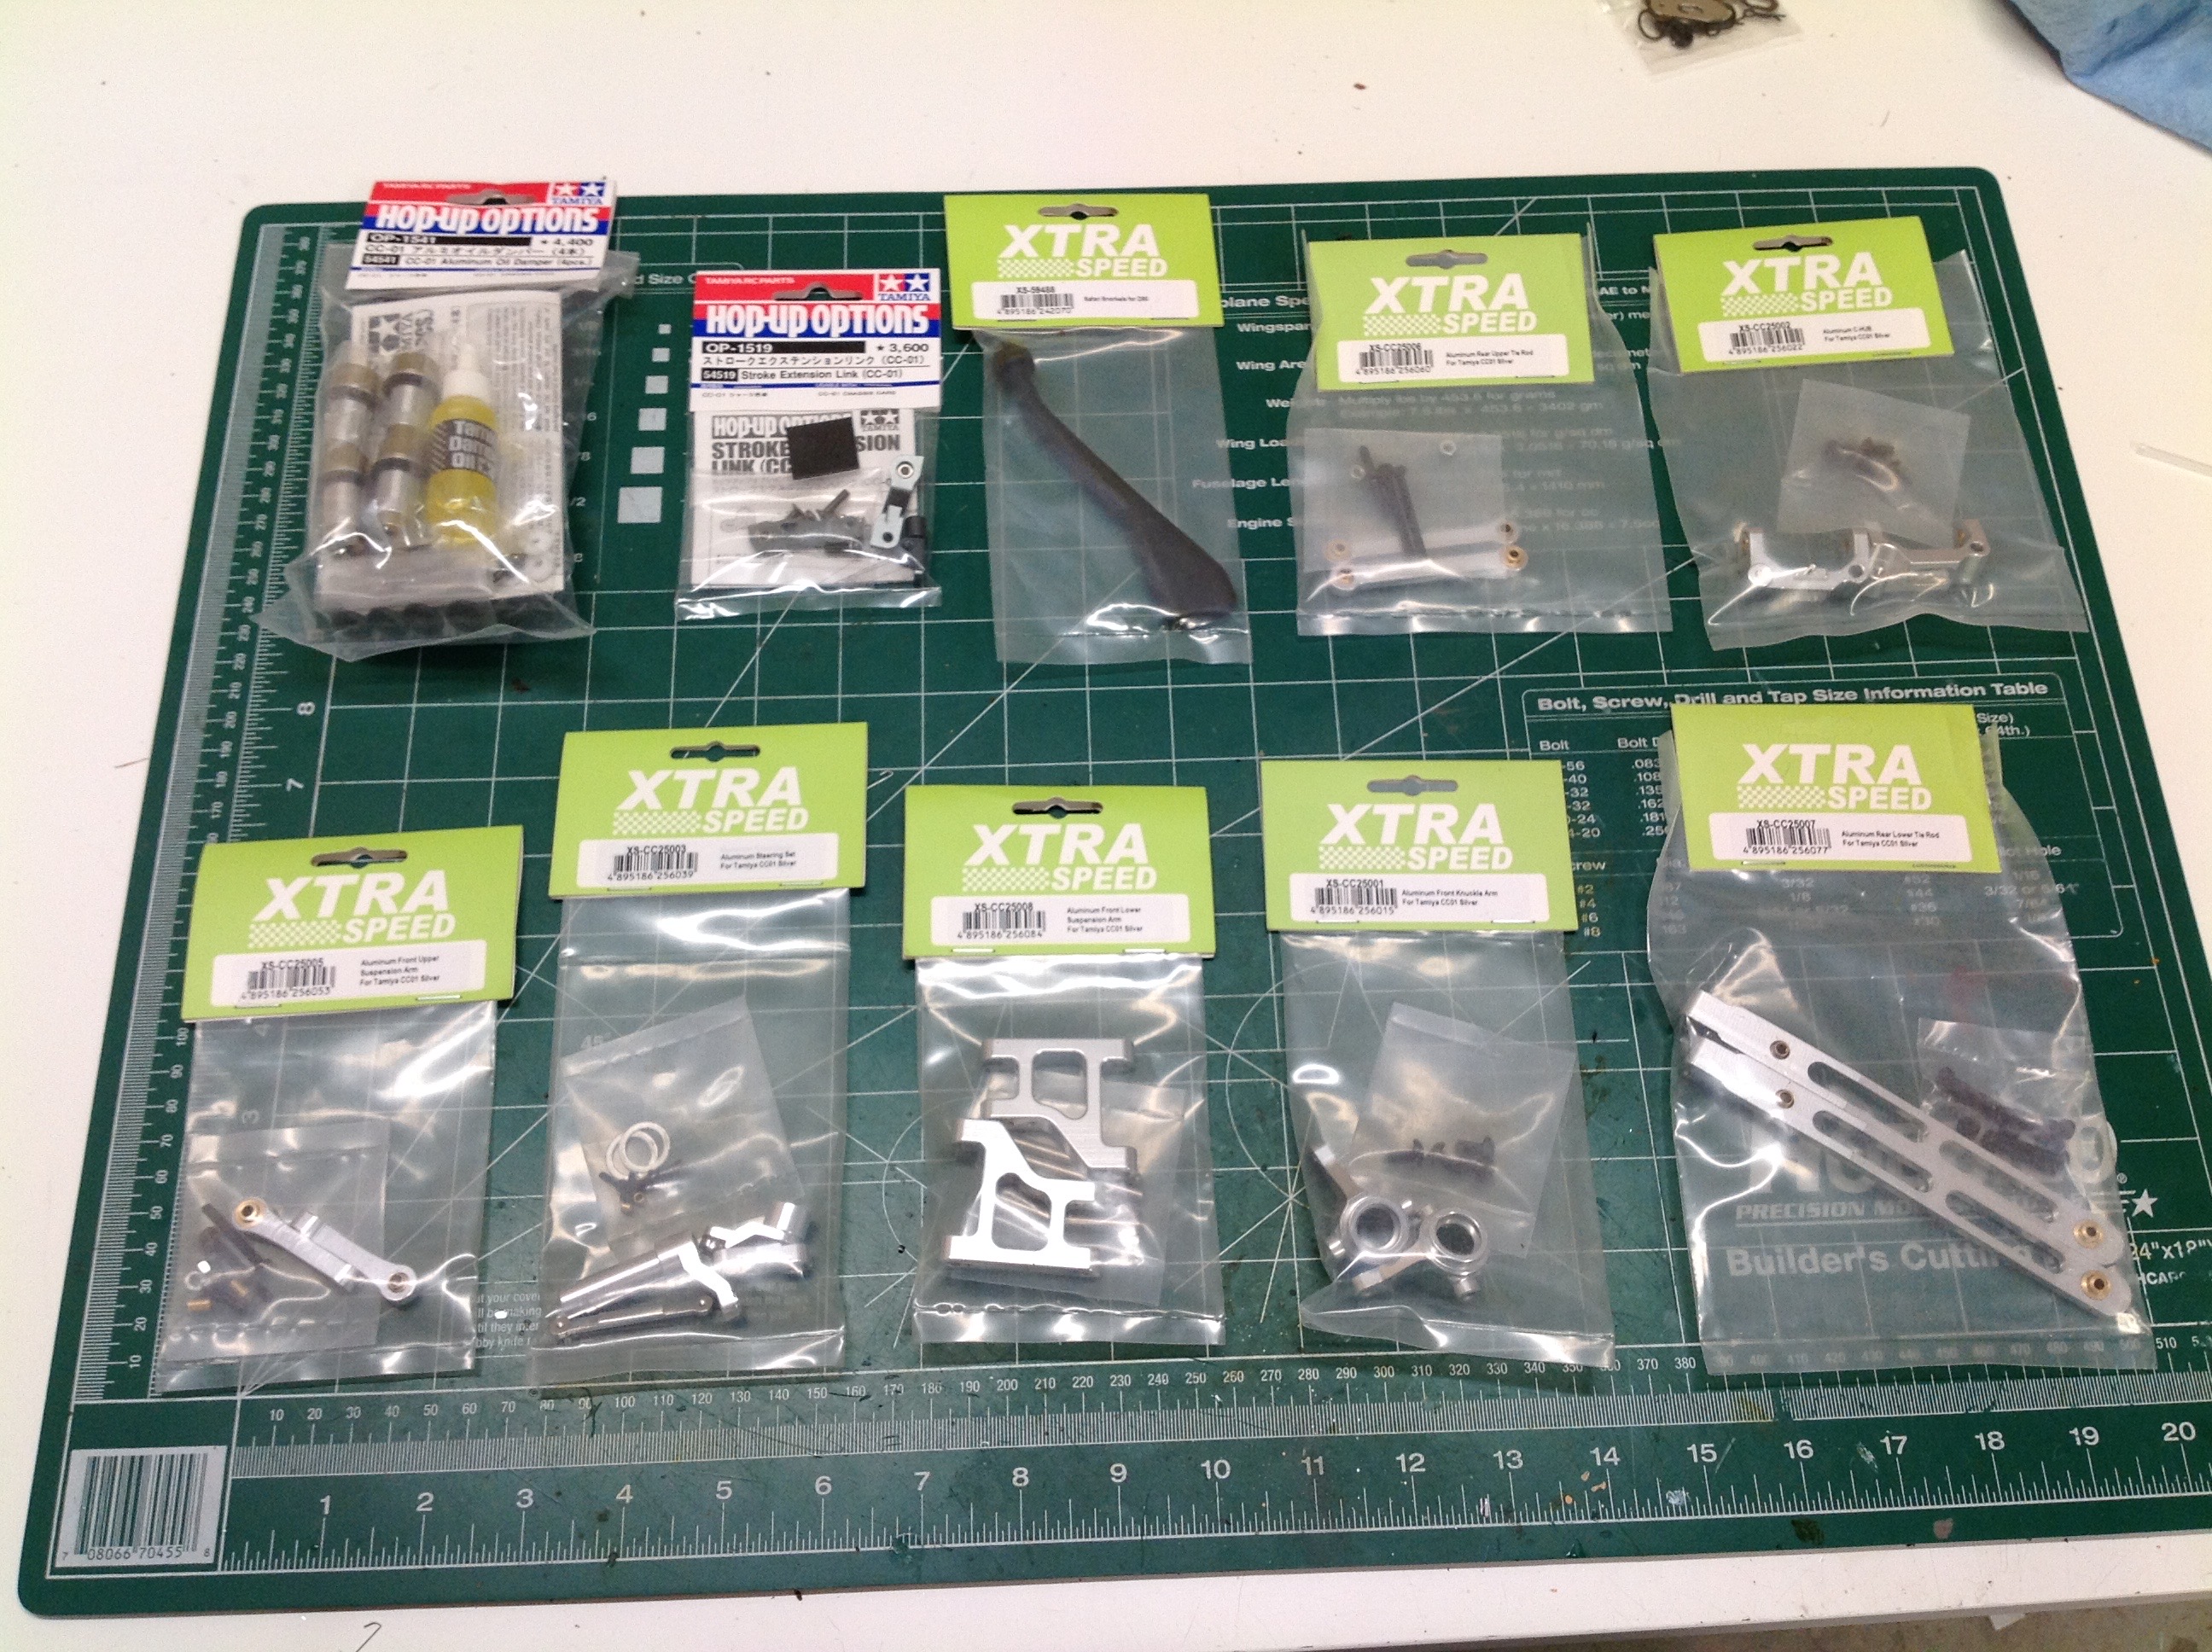
Here is the pile of upgrade parts that I purchased before even starting
the build. I wanted this to be a unique and spectacular Jeep given
that I was putting all this effort into creating one from another
kit. The bulk of the parts are from an Xtra-Speed aluminum kit,
but I've also got some Tamiya shocks and stroke extension kit.
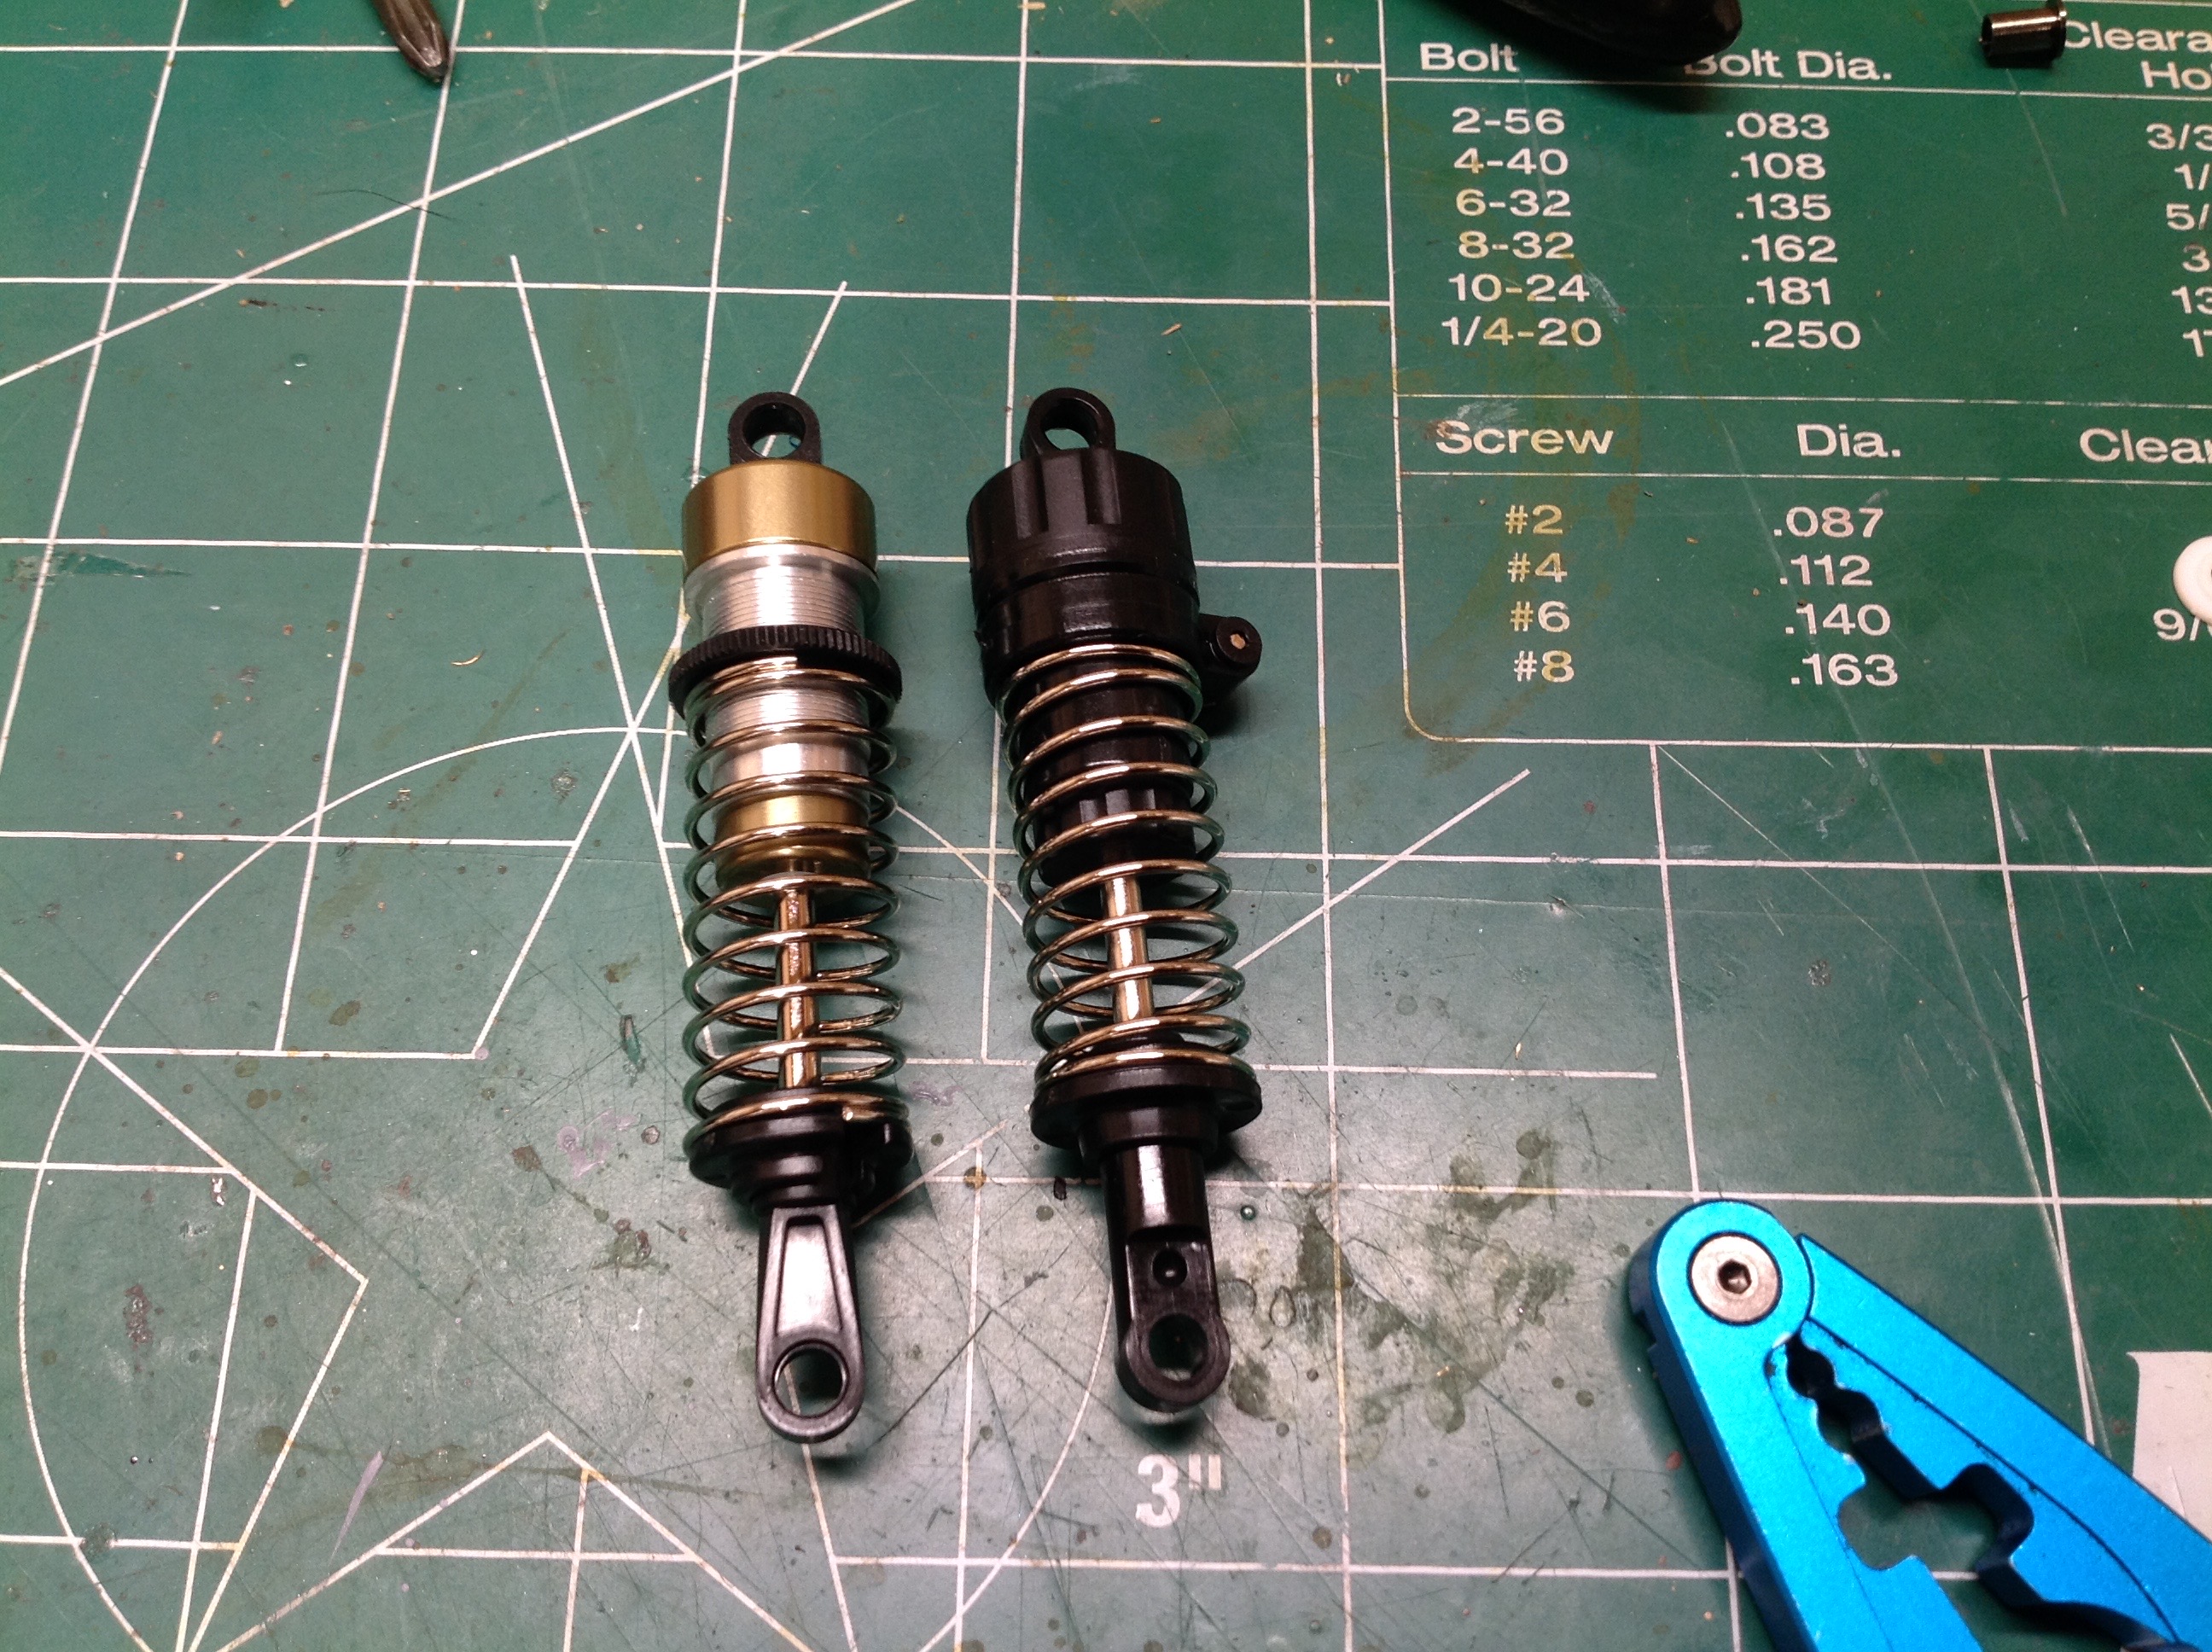
Here is a comparison of the nice aluminum CC-01 shocks with the plastic
version contained in the kit. Honestly, the plastic version are
fine but I required the aluminum parts in order to make my Jeep
"ultimate".
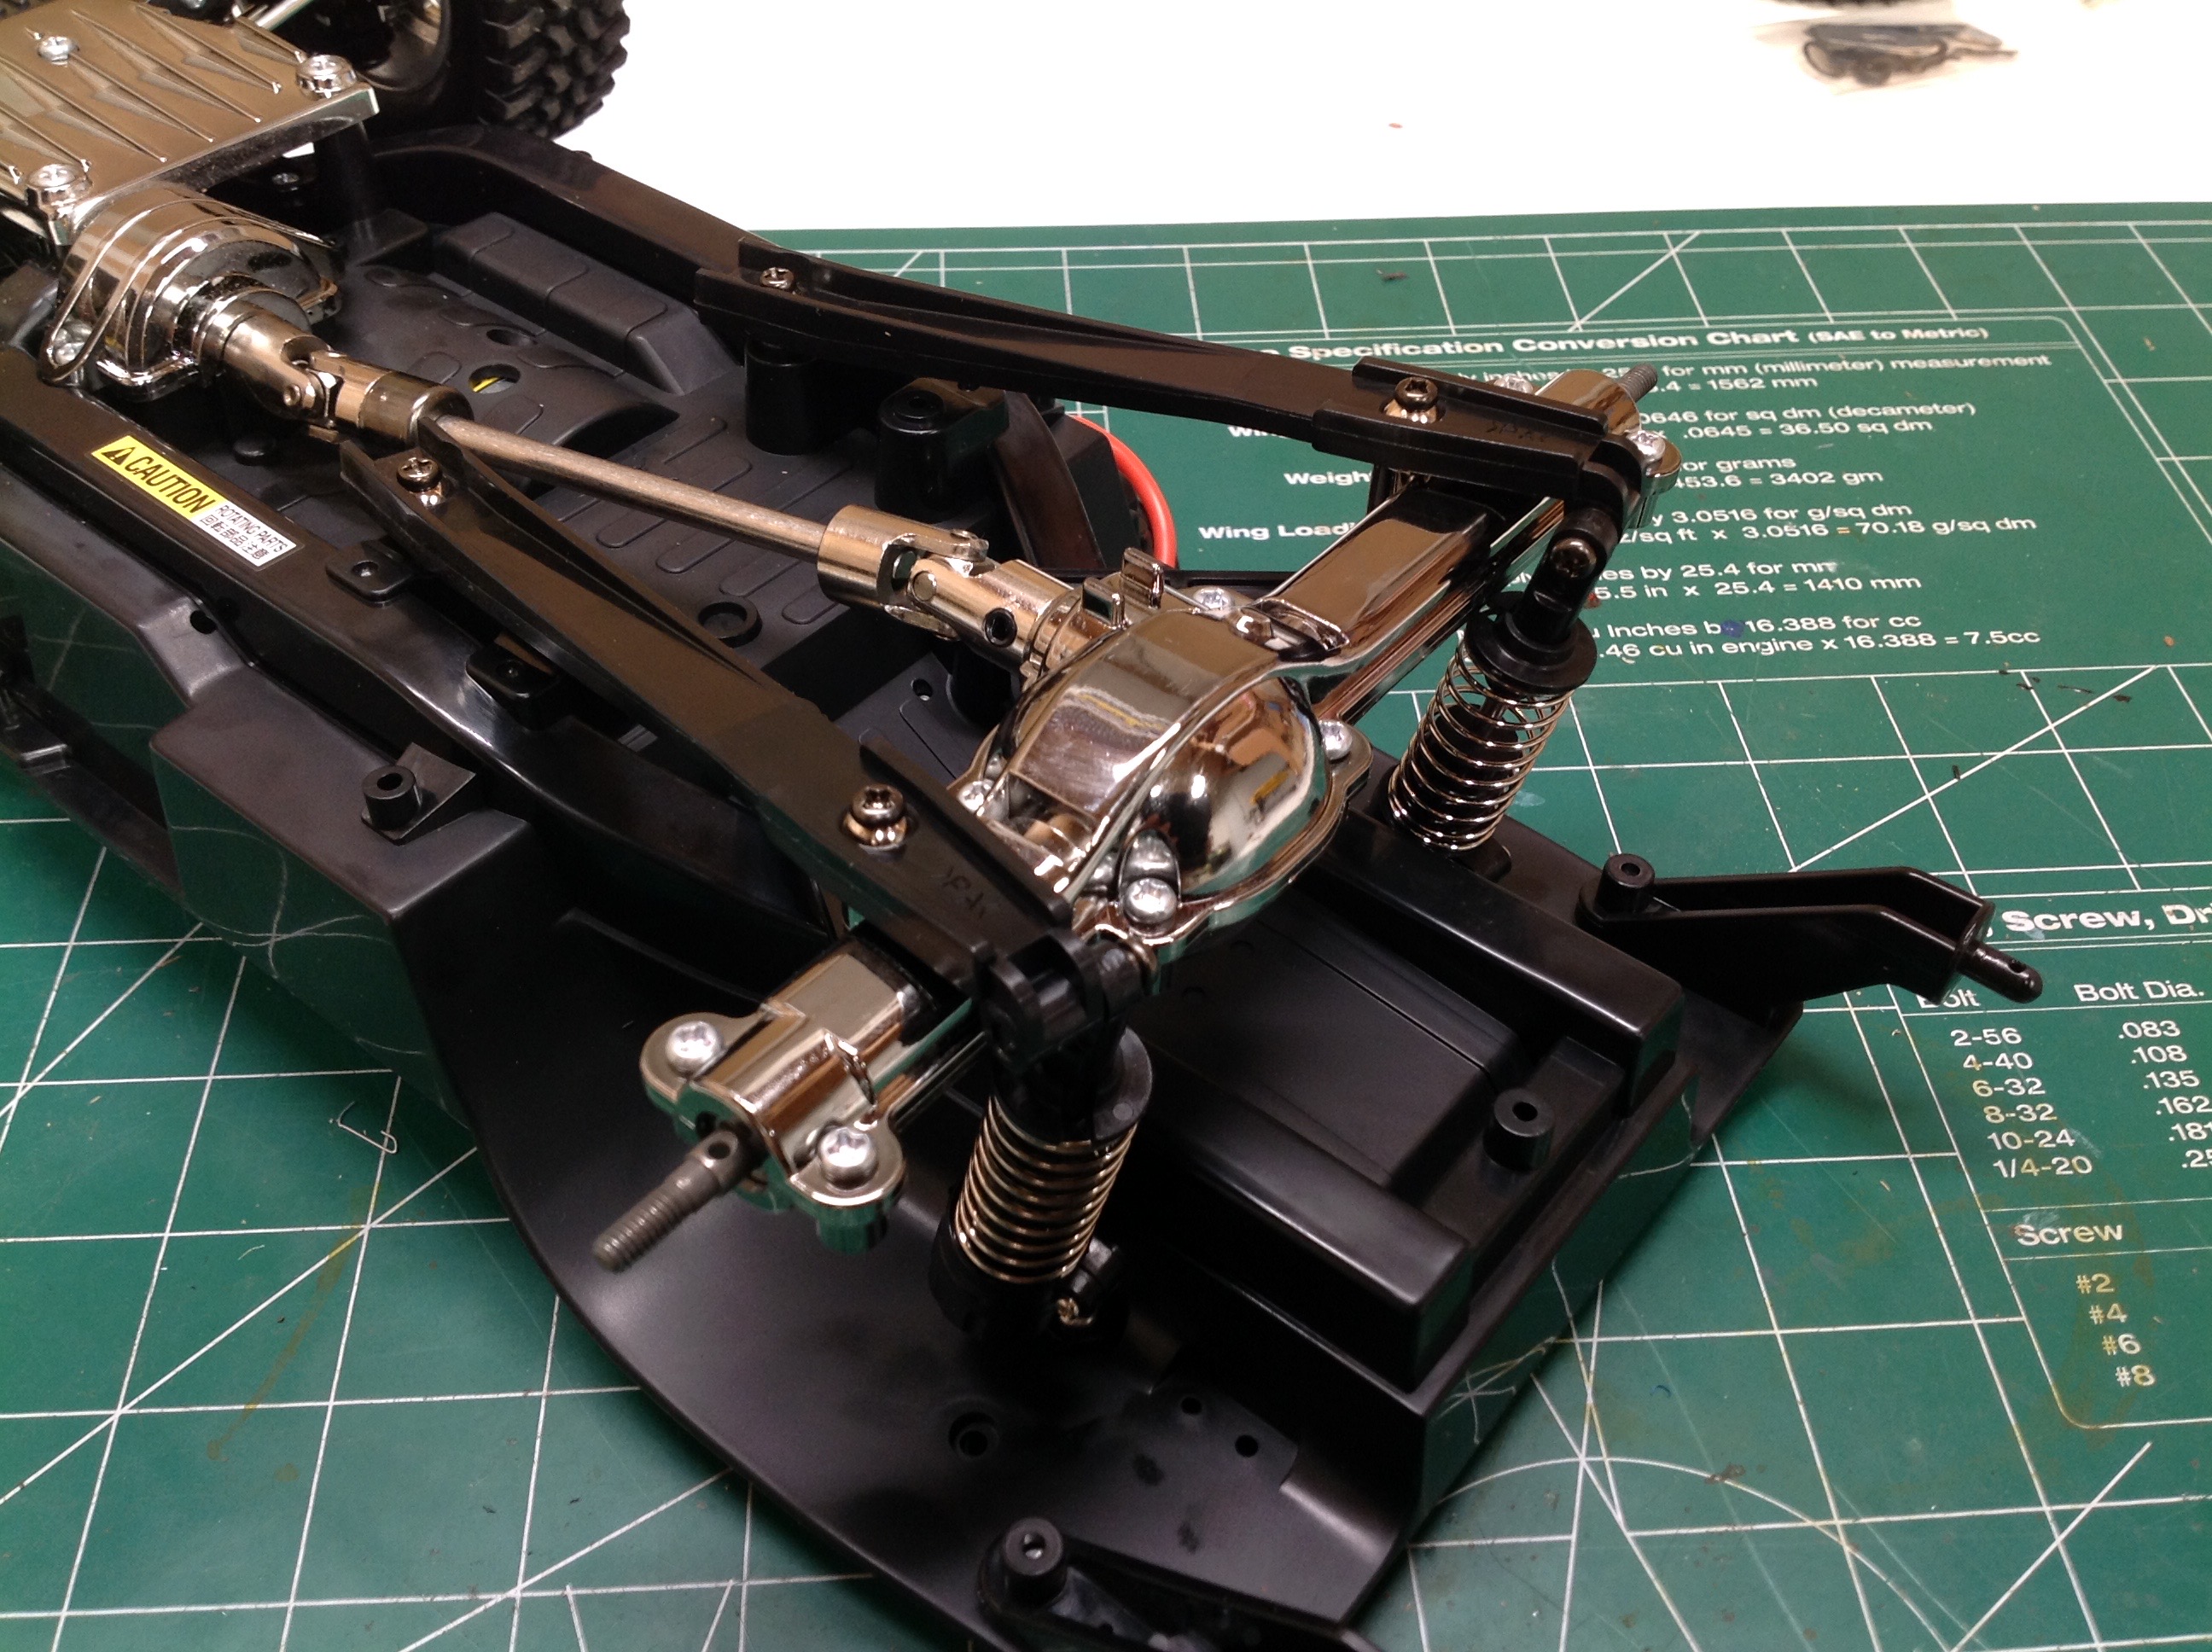
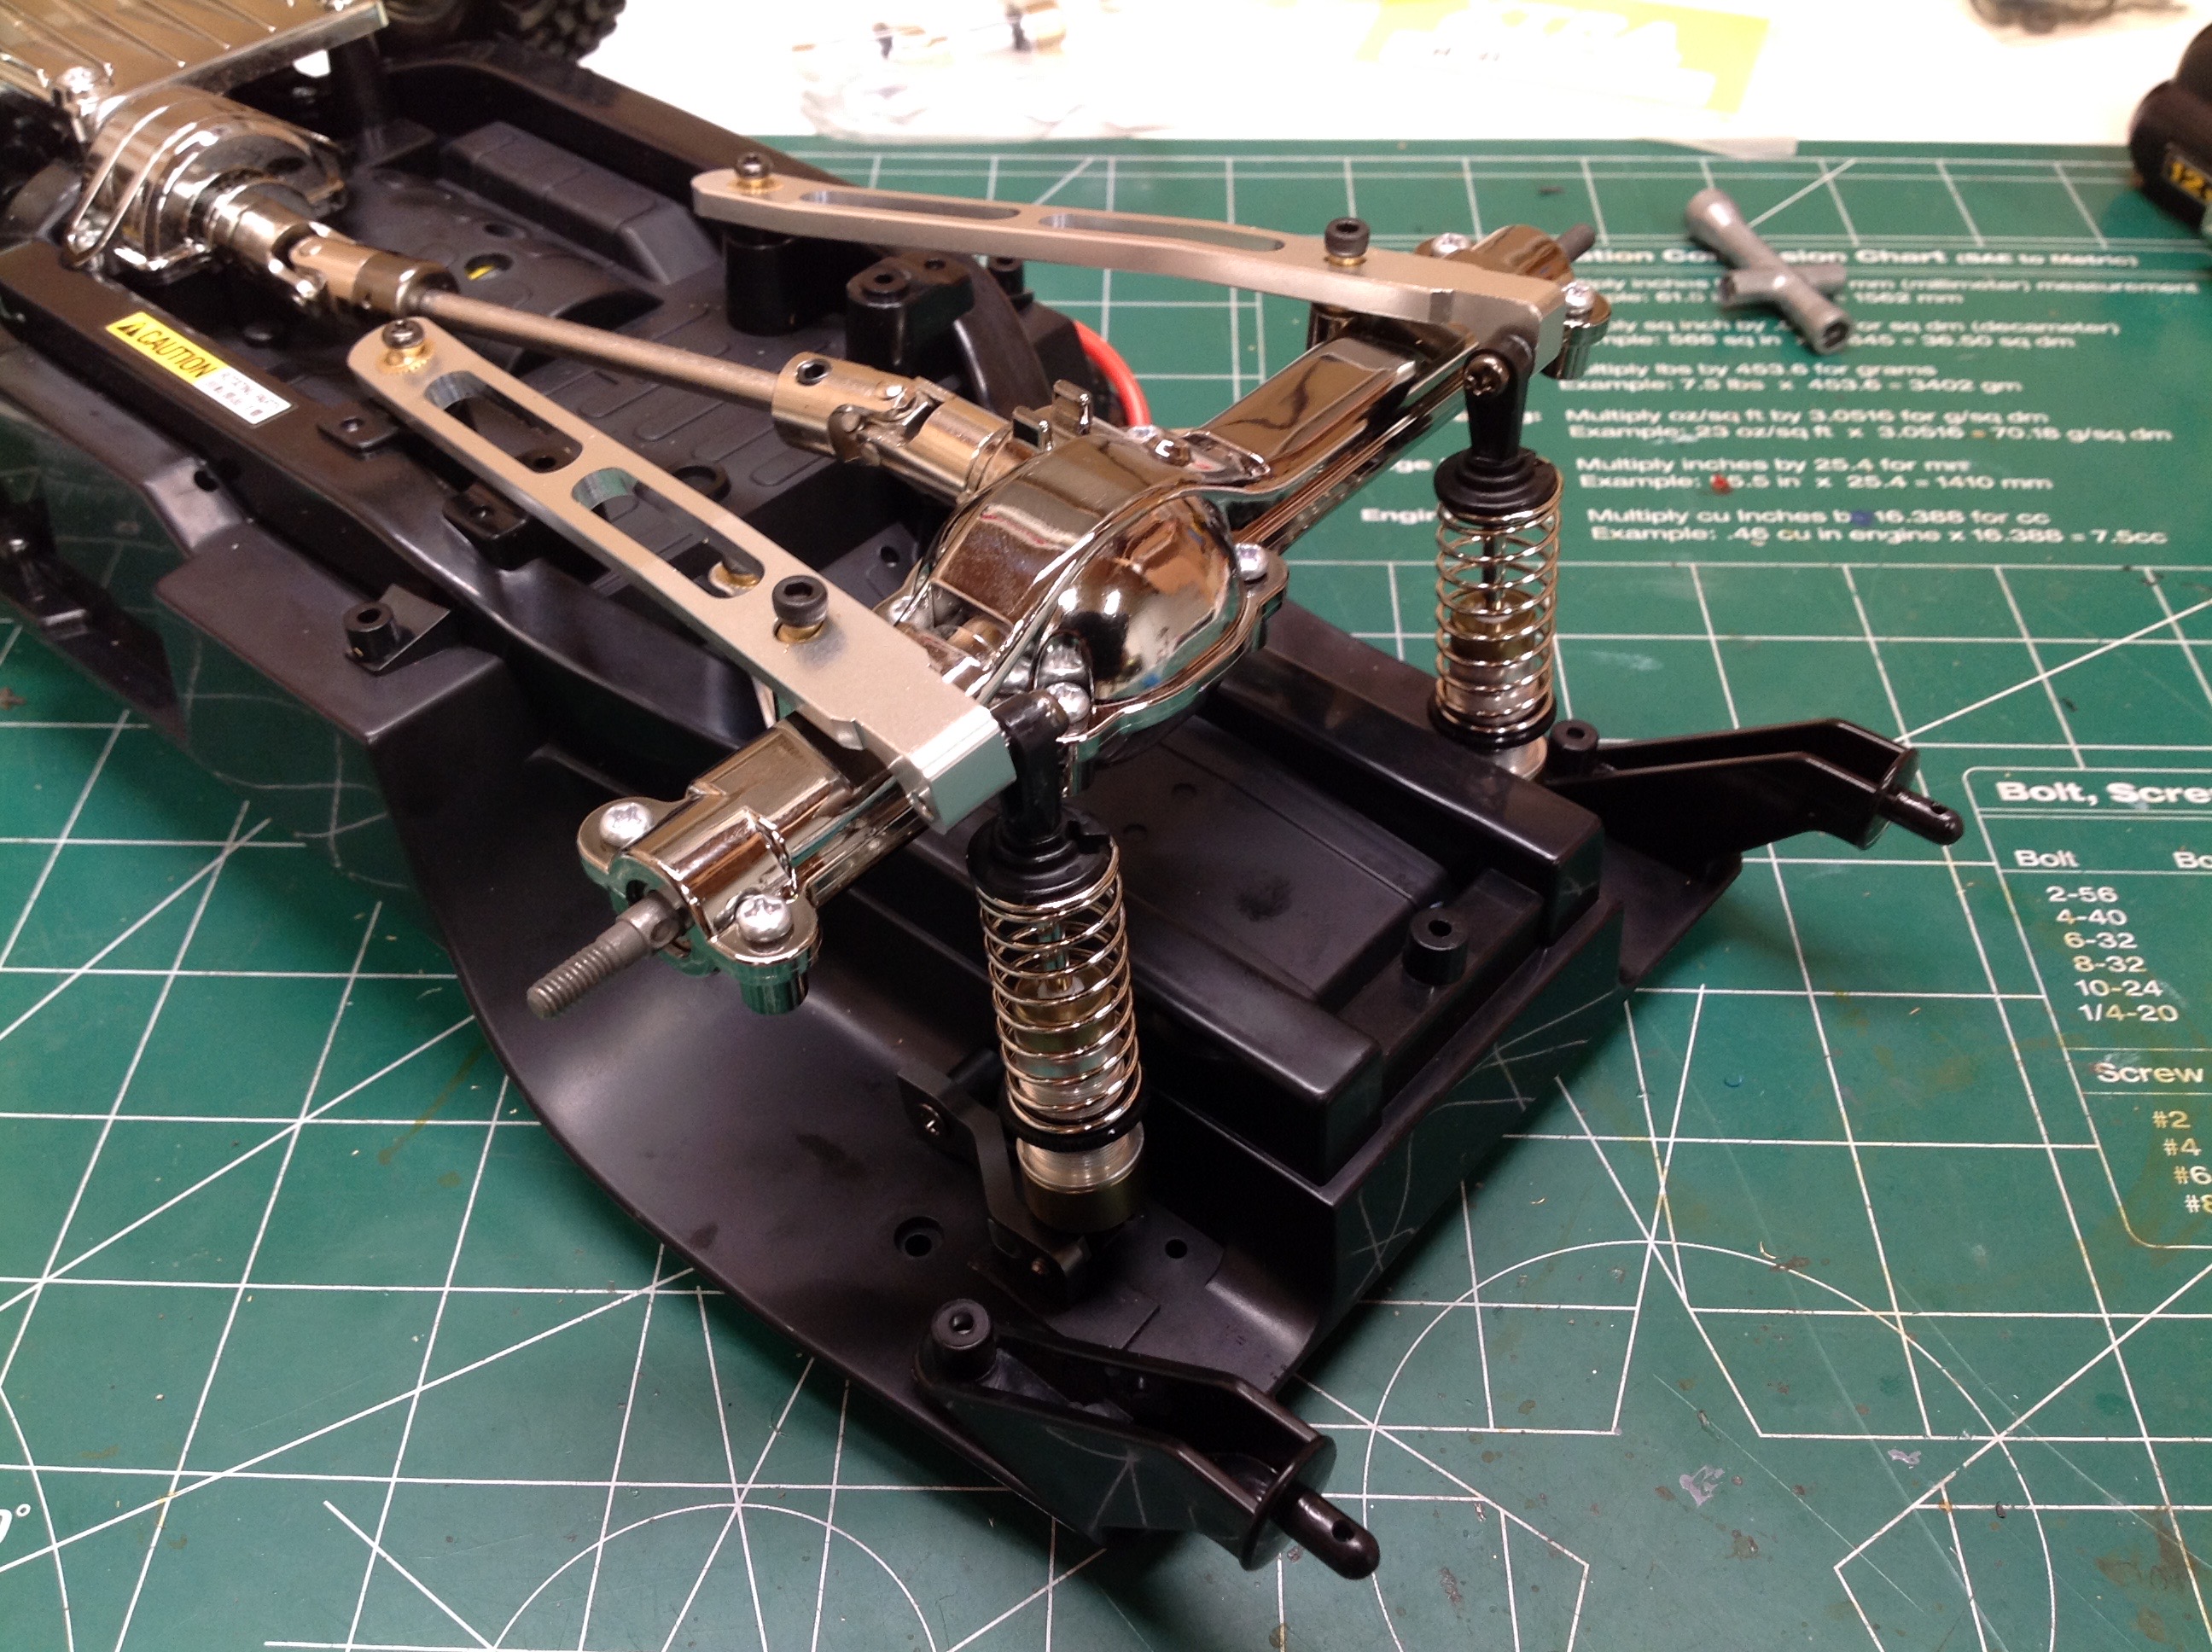
The next thing to install was the aluminum 4-link "upgrade". You
can compare before and after above. I was not very happy about
these parts. Although they look OK, they have a much smaller range
of motion than the plastic parts. This wouldn't matter if the
suspension was otherwise stock, but the stroke extension link set
requires the links to be able to drop down lower when a wheel drops into
a pit. That is not possible with the aluminum links and therefore they
effectively prevented the stroke extension link from doing
anything. The other thing I didn't like is the bolt head which
protrudes down below the lower links. This will hang up on rocks
if I try to slide over anything.
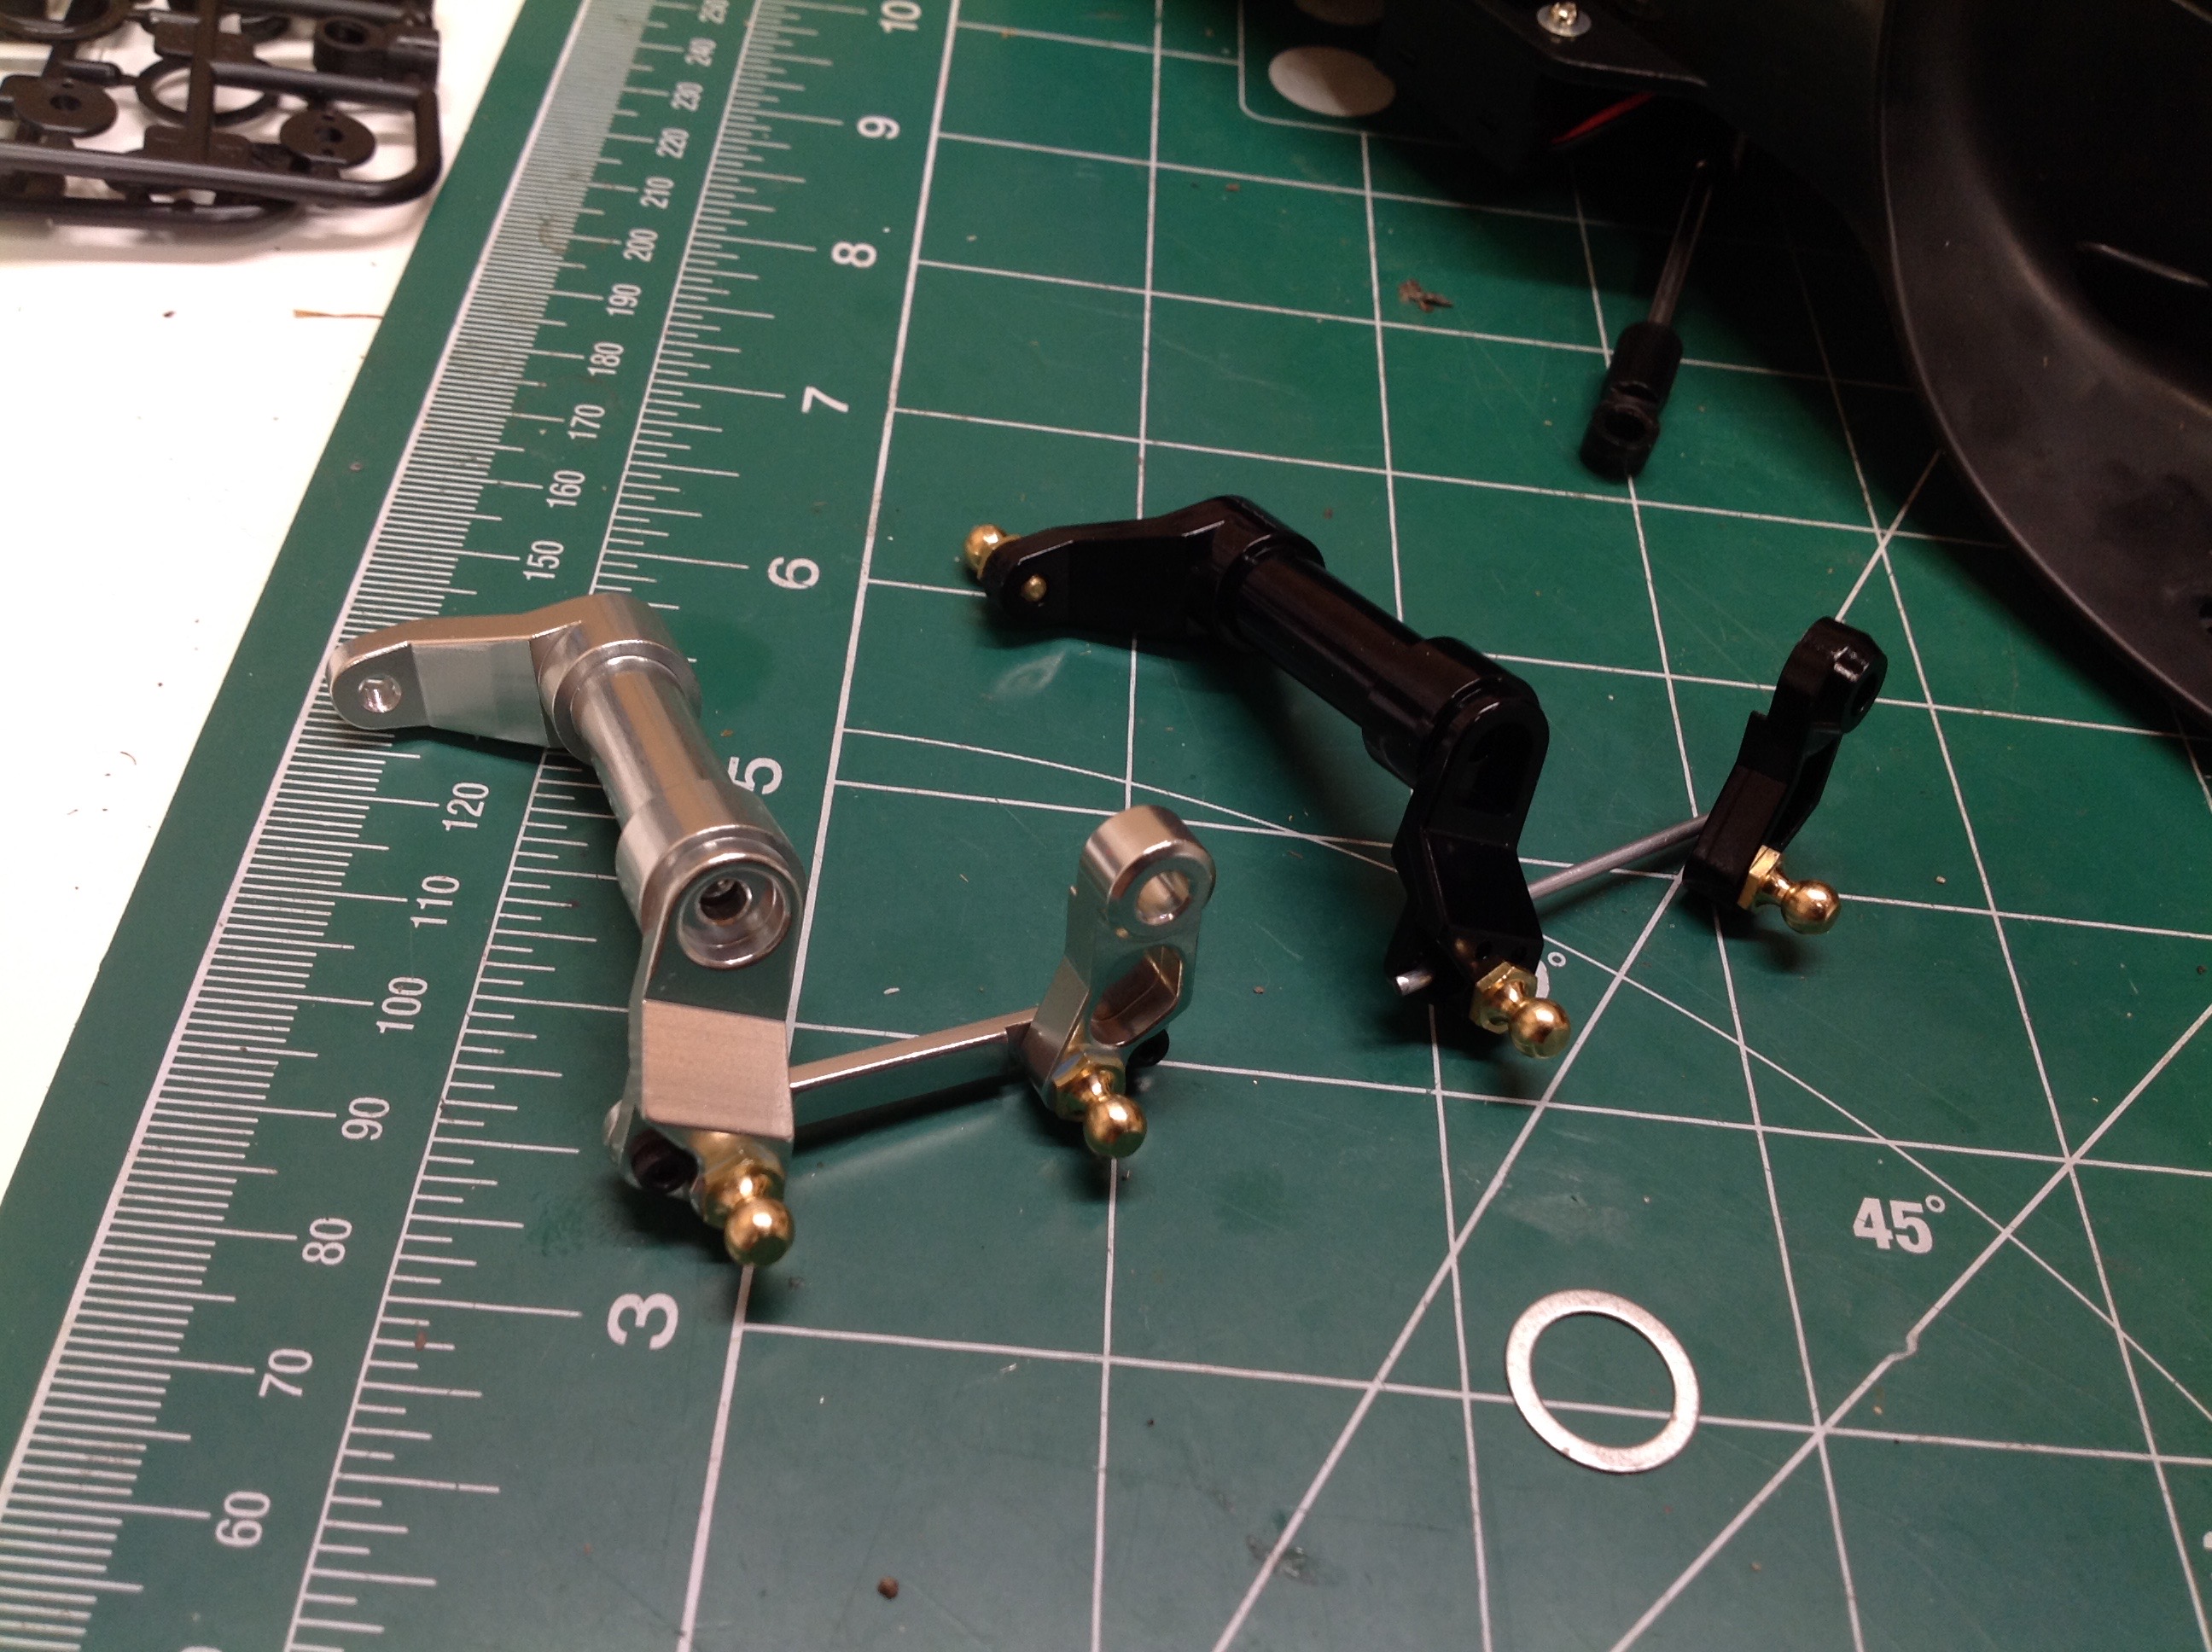
Next up is a replacement of the notoriously sloppy steering
linkage. Shown is a comparison of the nice looking new aluminum
parts next to the original plastic parts. After installing the new
parts, I found them to be absolutely terrible. Much worse than
the original, actually. At this point I gave up on the Xtra-Speed
chassis kit, removing the parts already installed and returning the
originals.
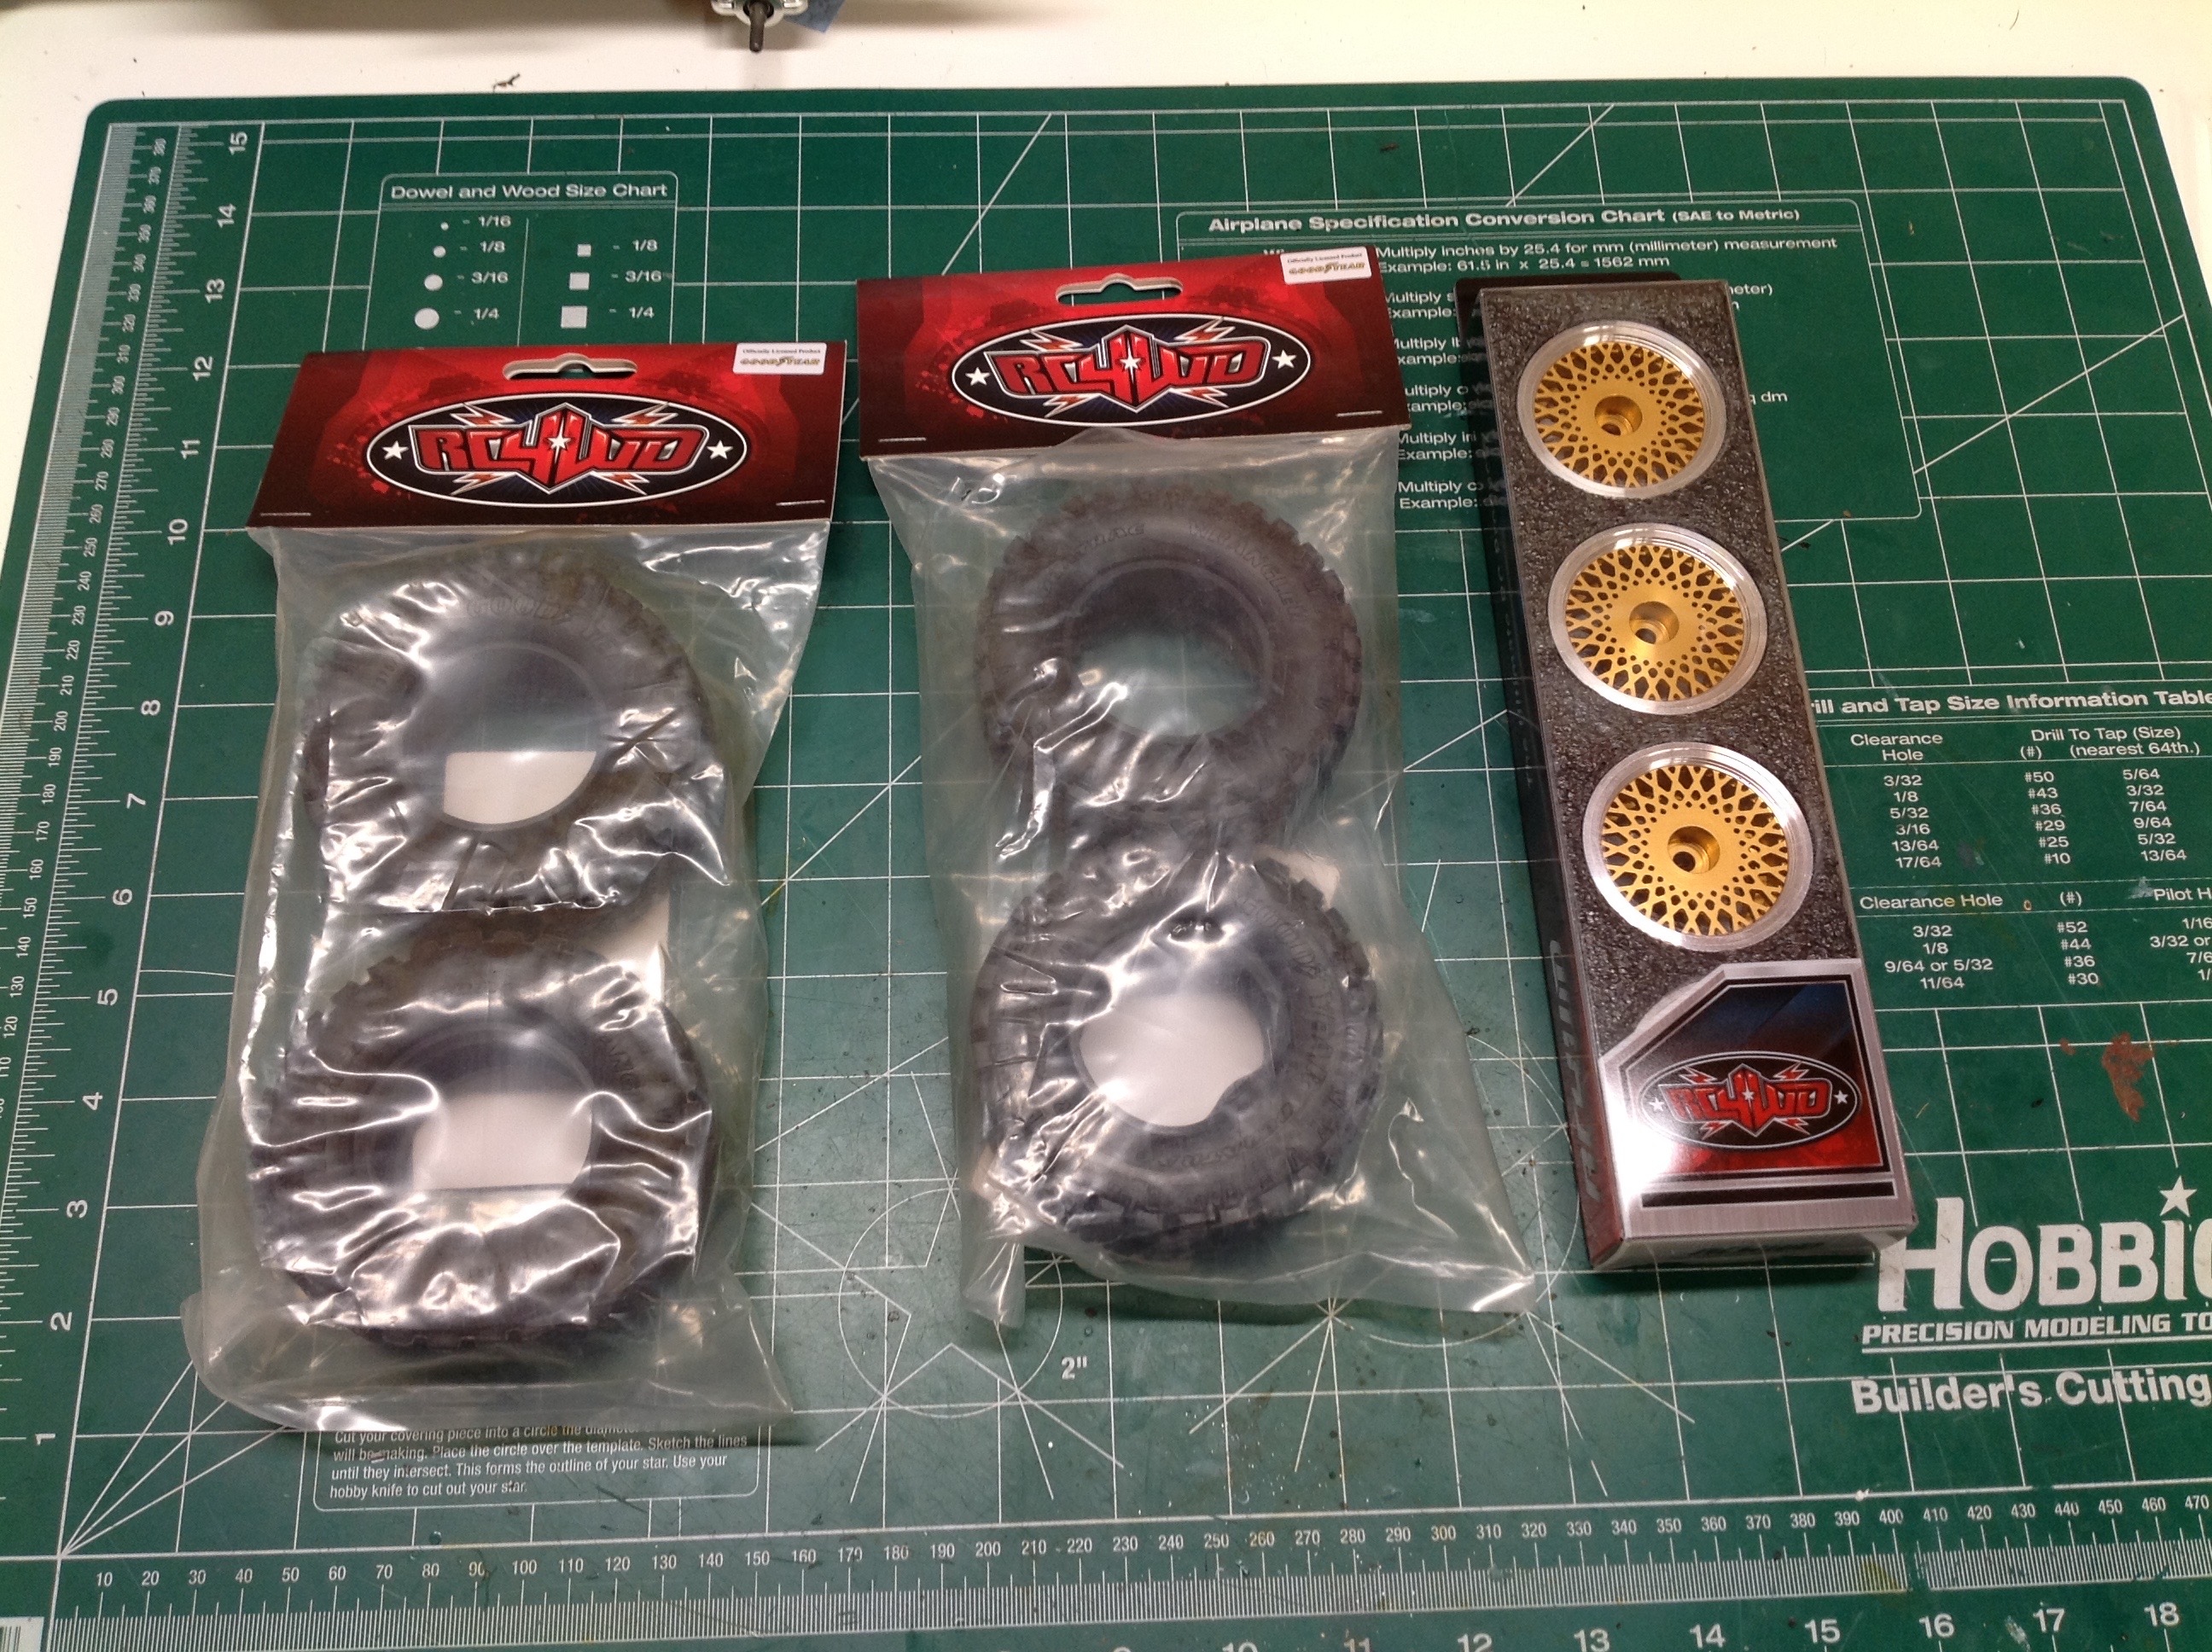
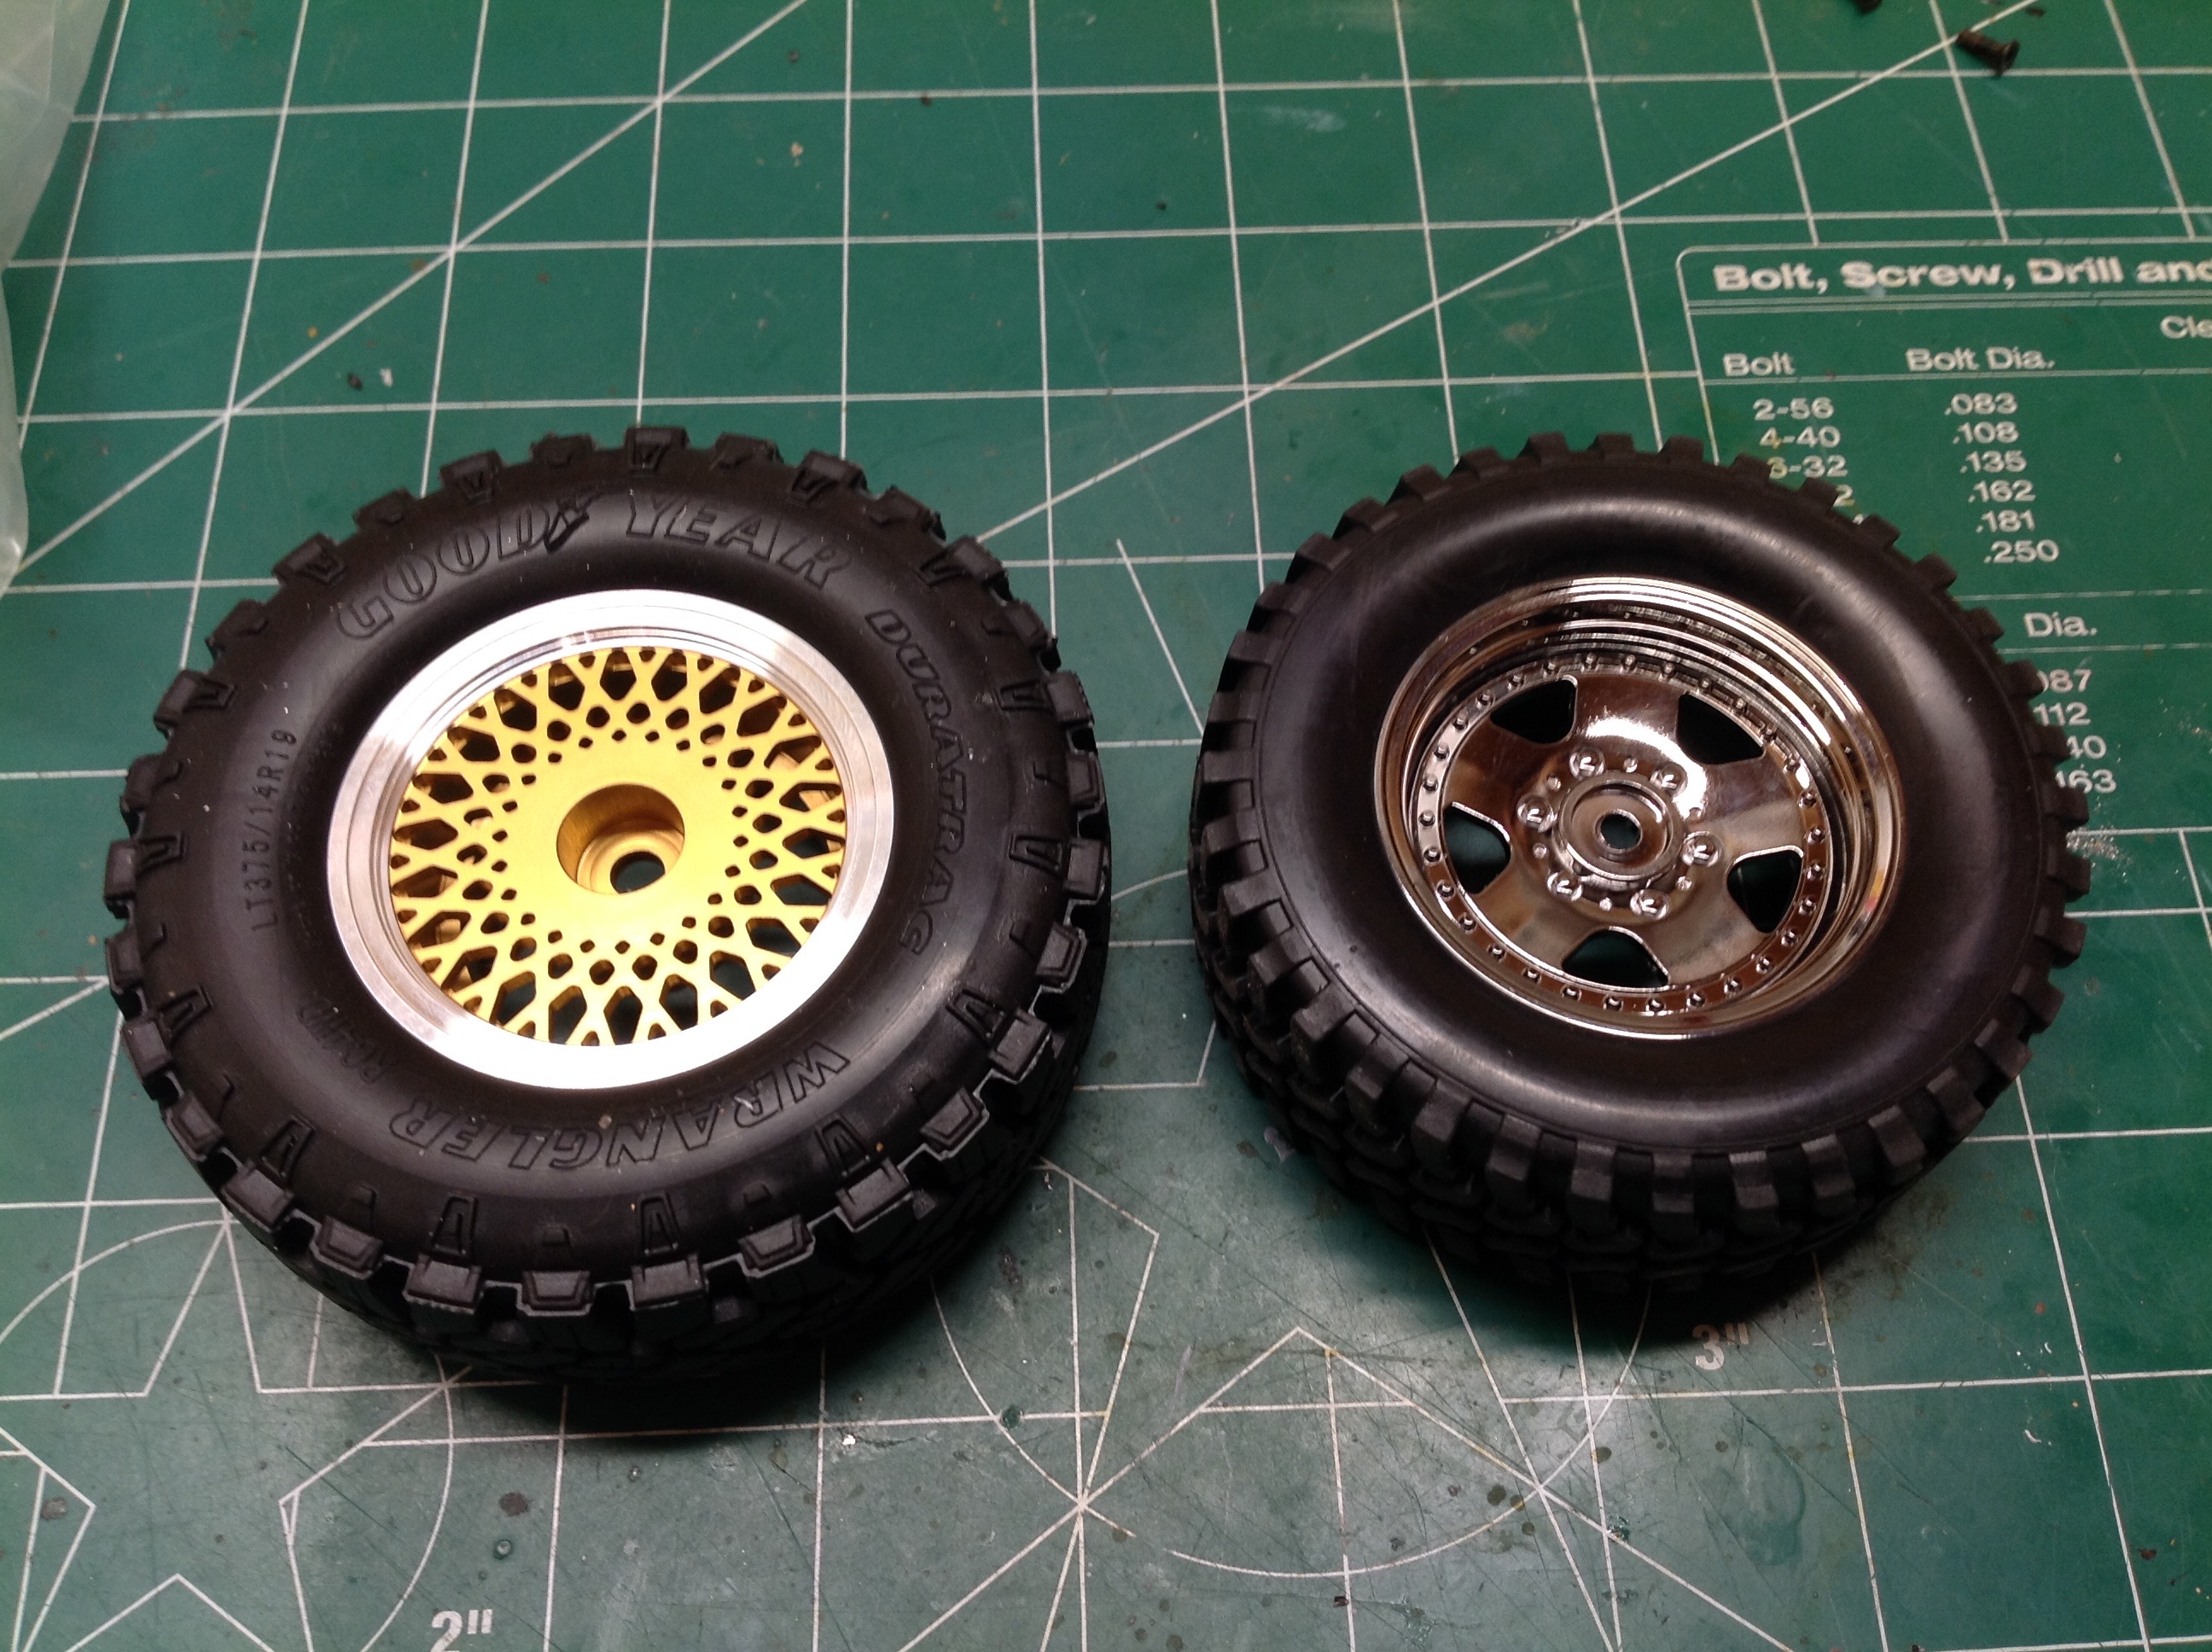
The original CC-01 Wrangler came with nice (plastic) wire mesh wheels
which are now impossible to find. I was able to get these even
nicer aluminum beadlock versions from RC4WD. I also installed a
set of real Goodyear Wrangler tires which seemed appropriate. As
you can see in the comparison photo, the aftermarket tires are somewhat
larger in diameter than the stock Pajero tires.
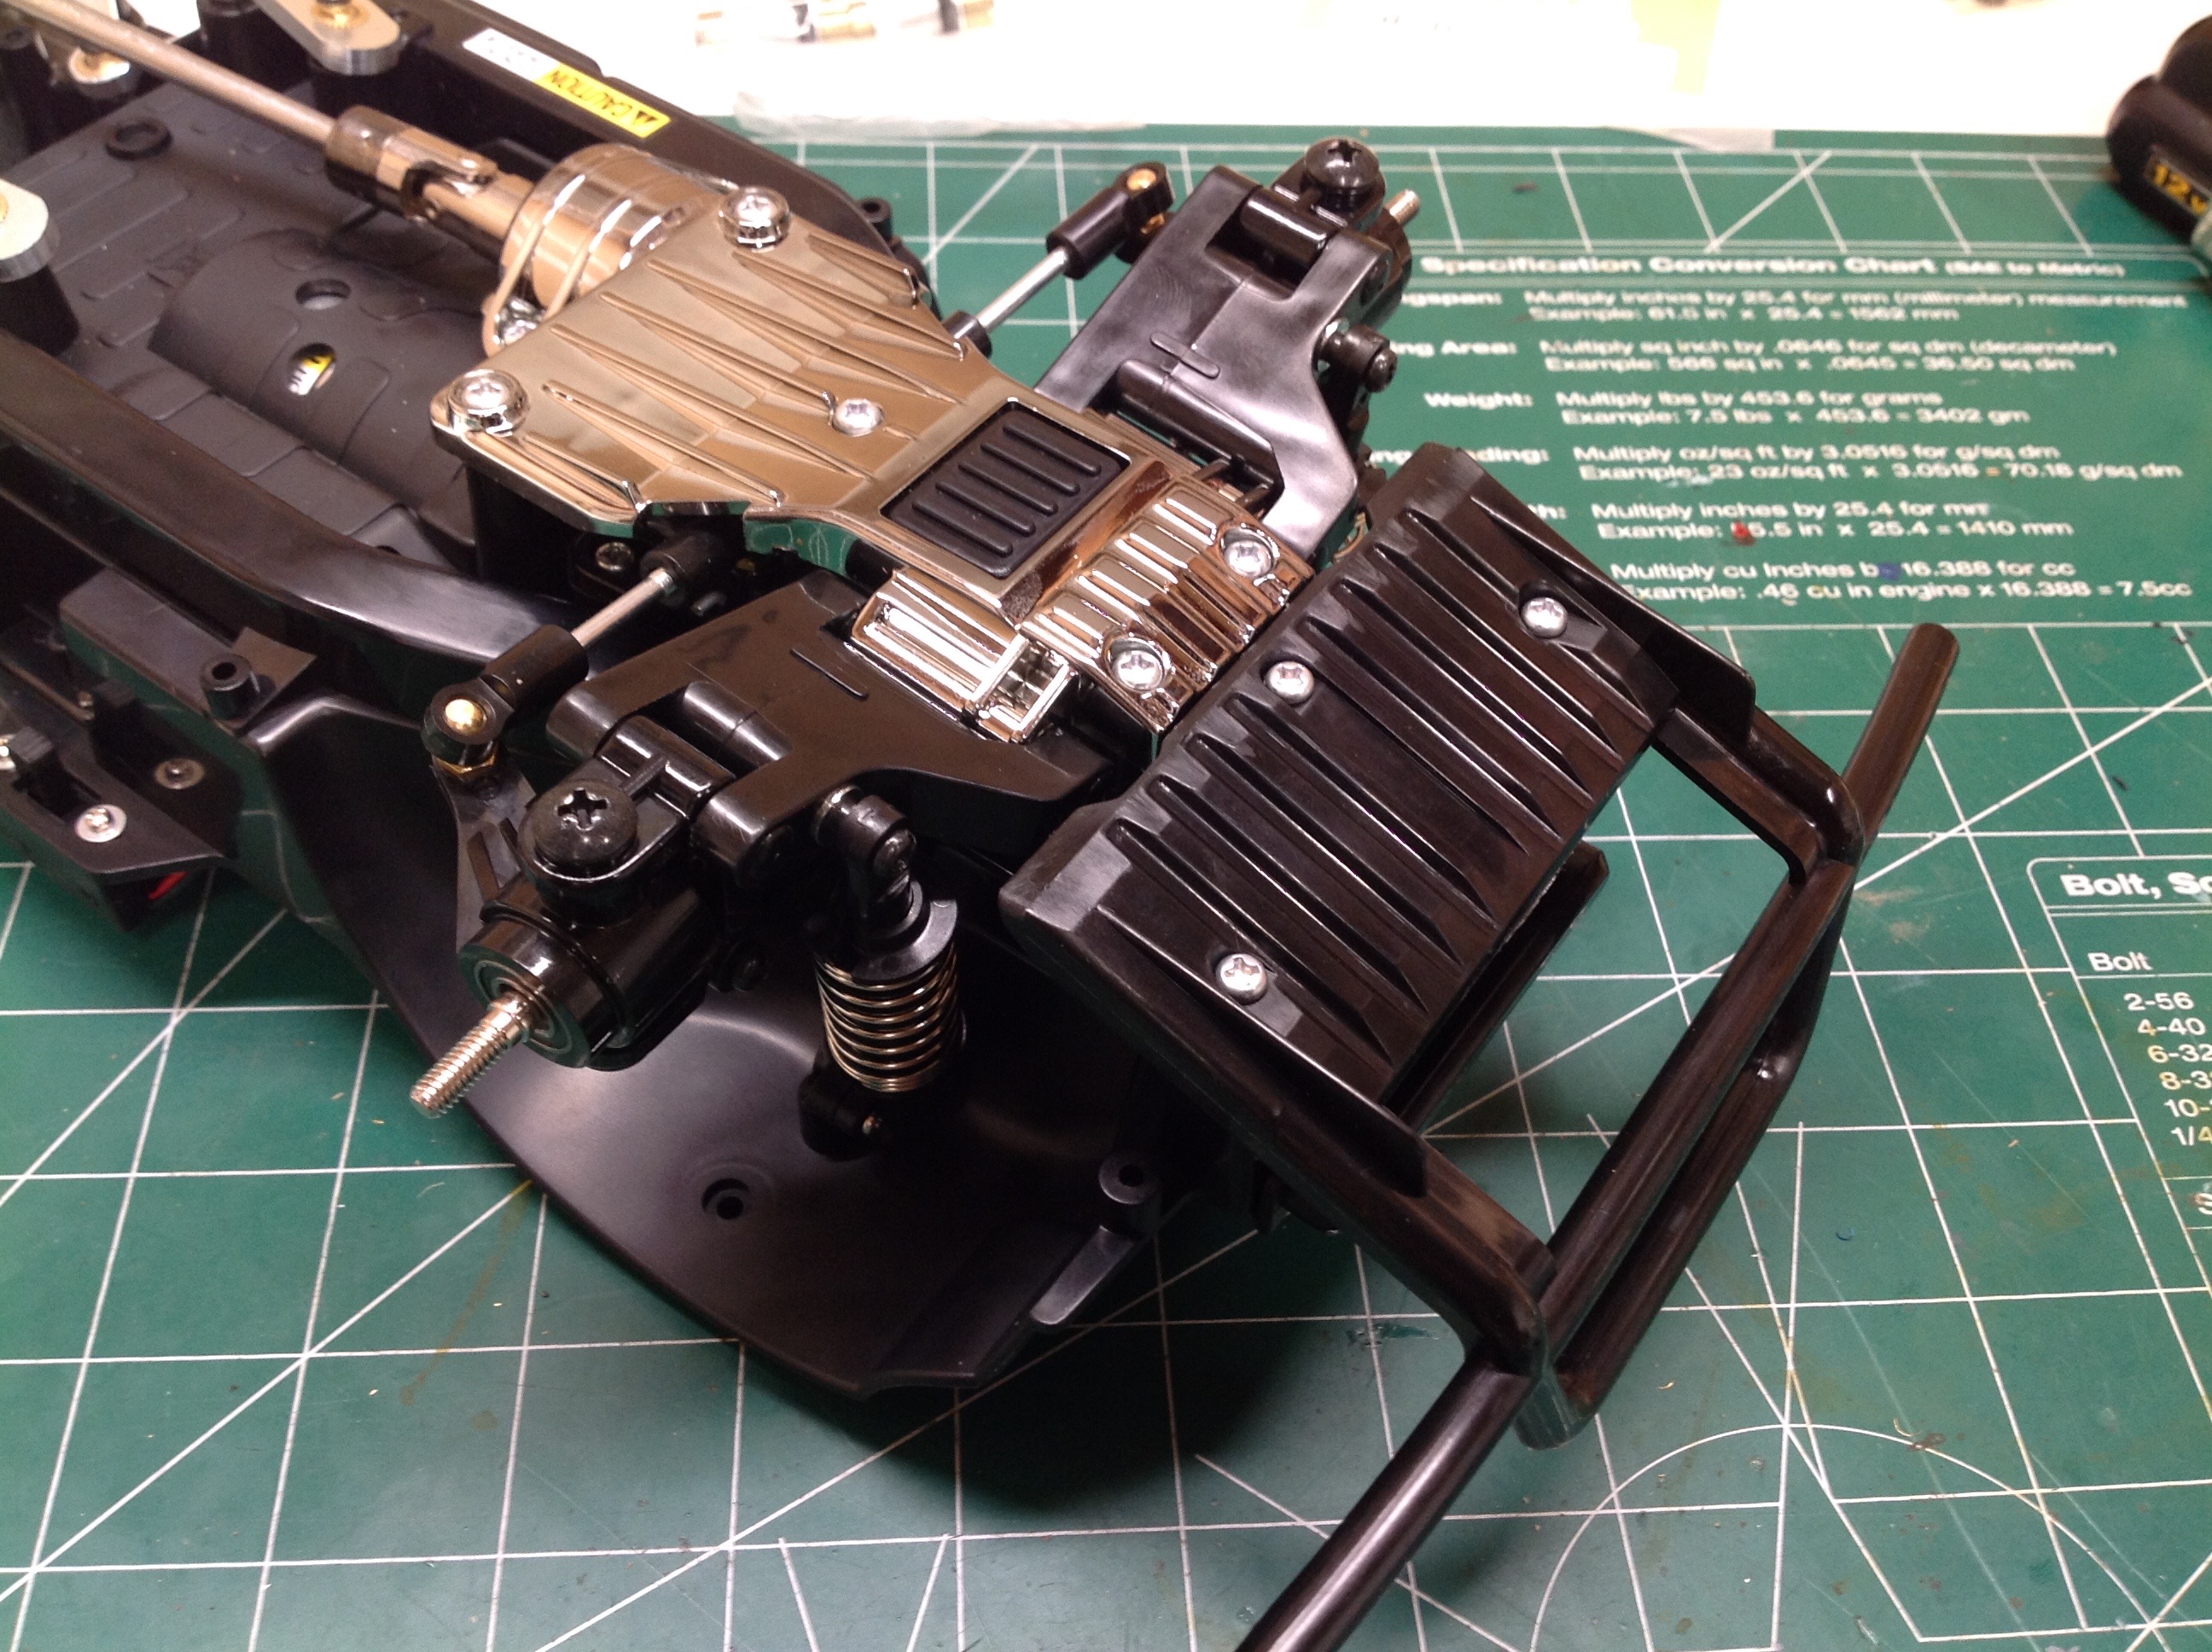
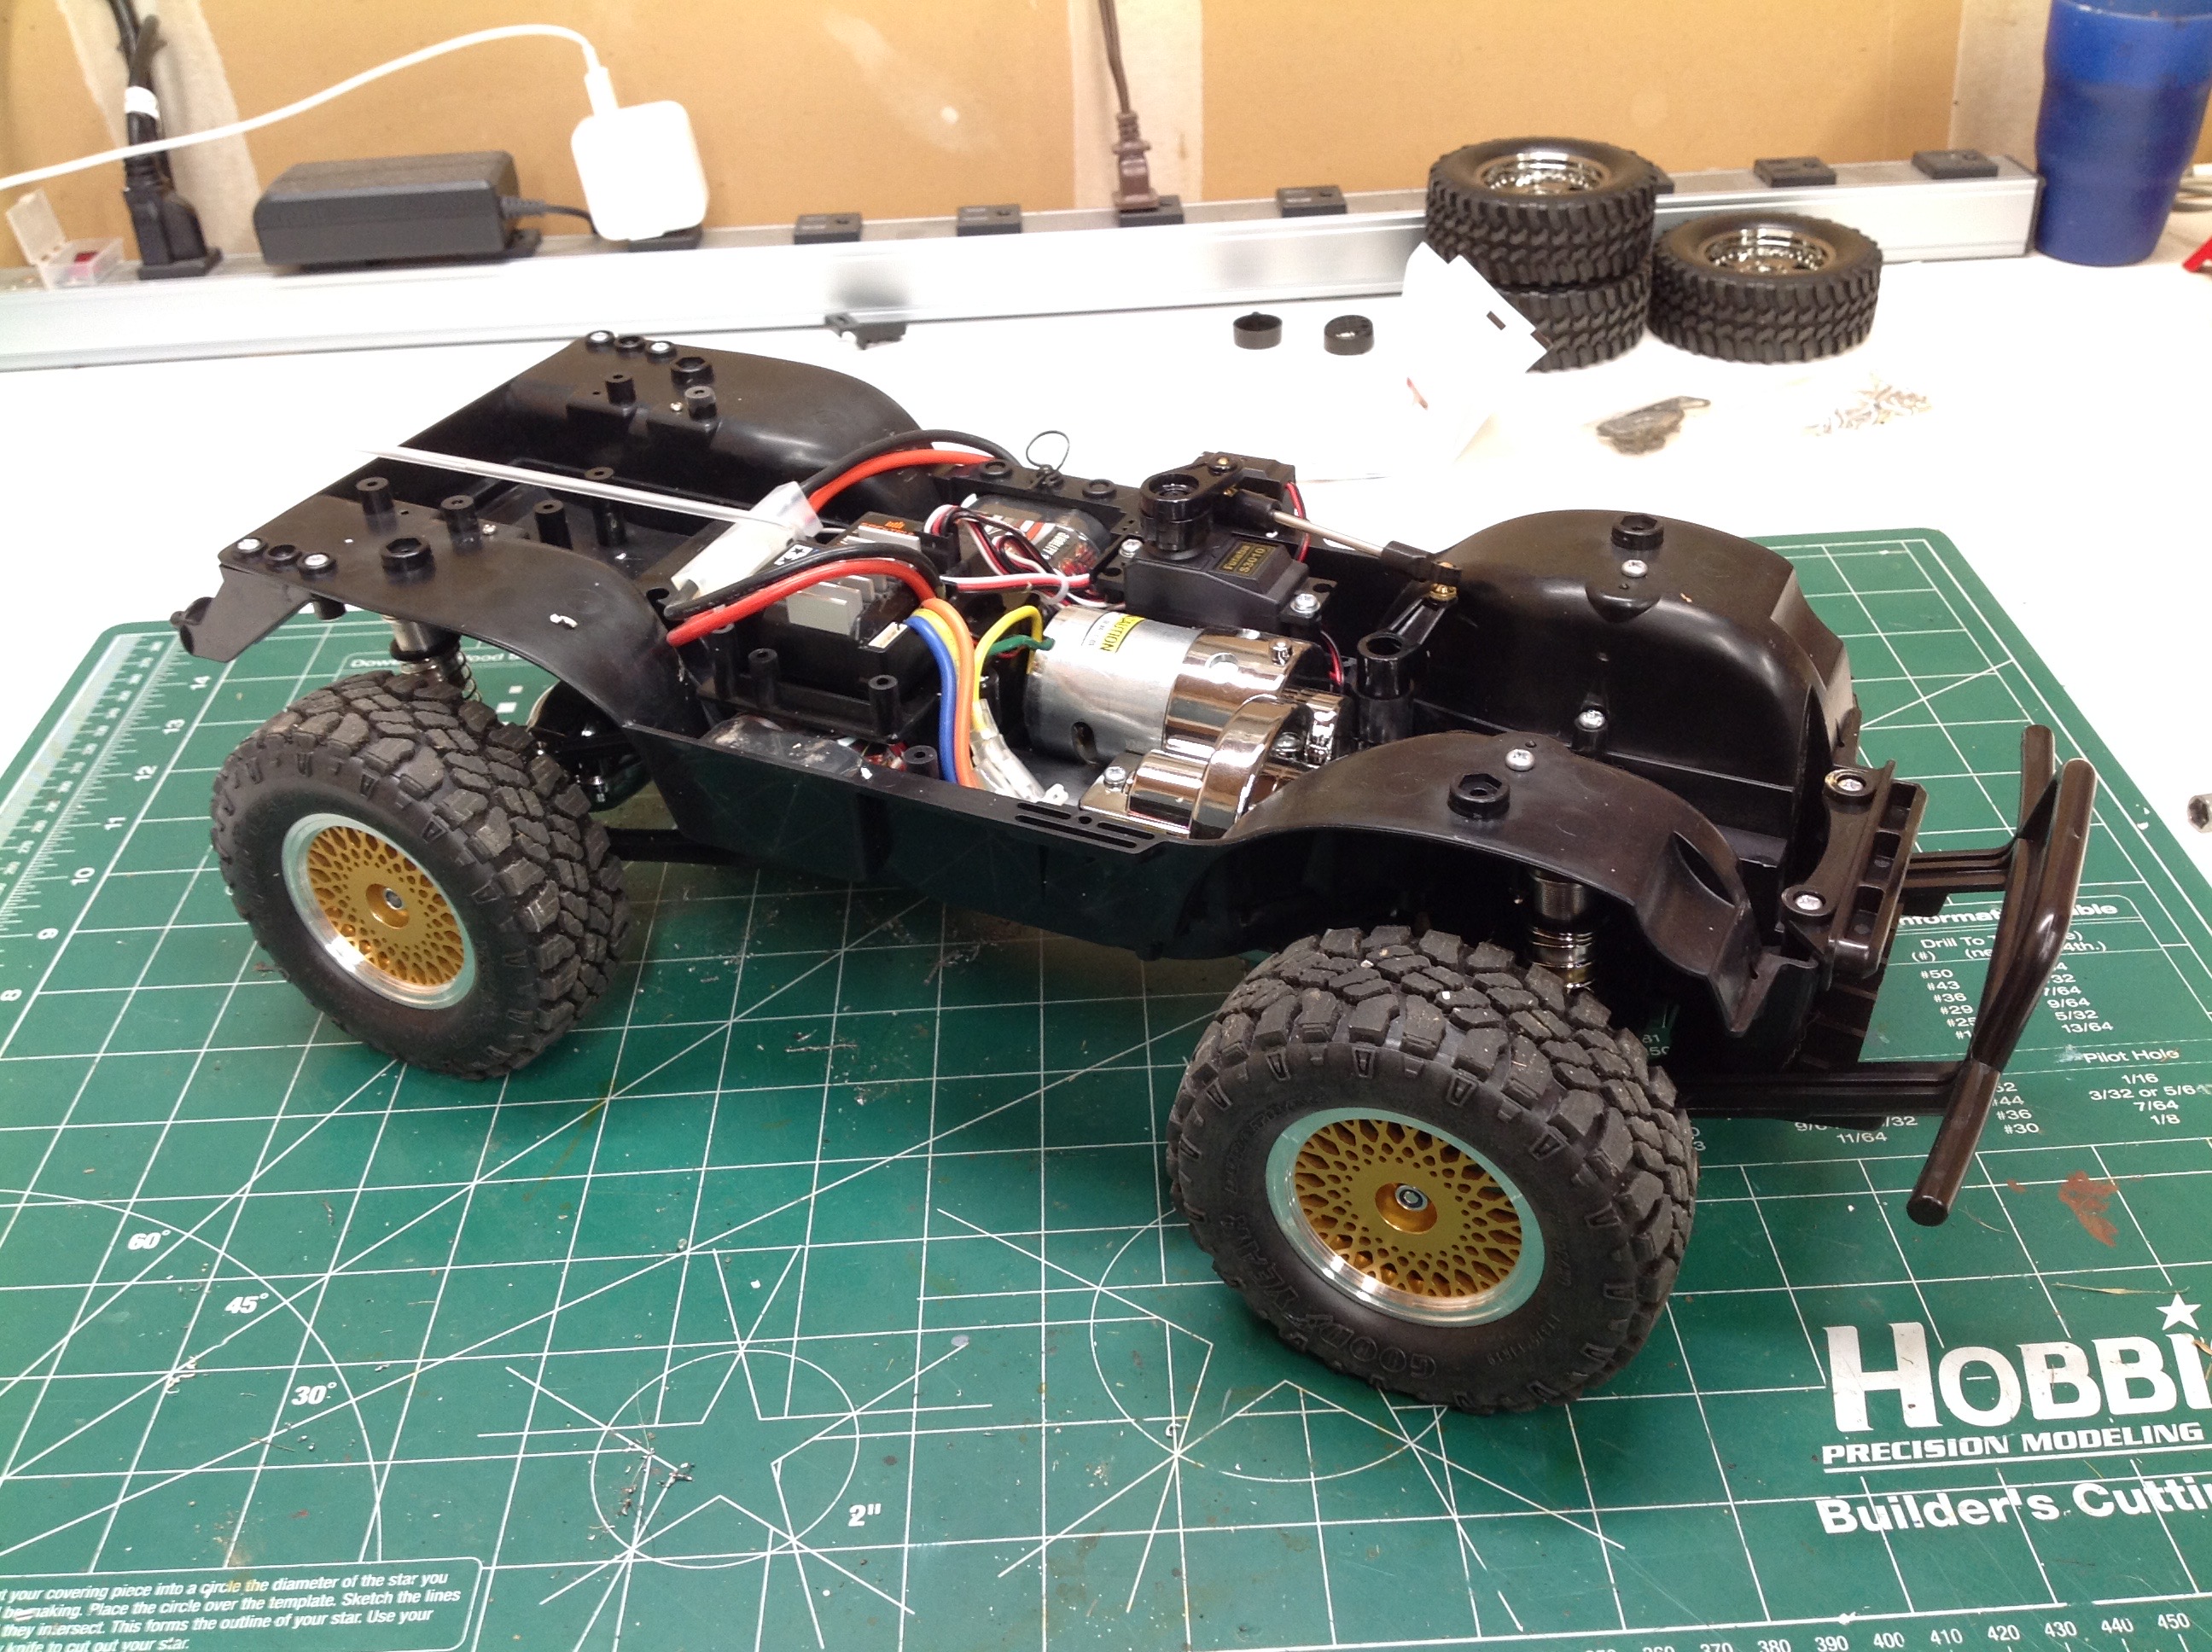
This upgraded rolling chassis ended up having nothing new except for the
new wheels and tires and the stroke extension kit. I had to
increase the ride height significantly to make room for the new tires so
they wouldn't hit the wheel well or body, especially when
turning. In the back I actually put shims under the stroke
extension kit to lift the neutral position up about 1/8" (3mm).
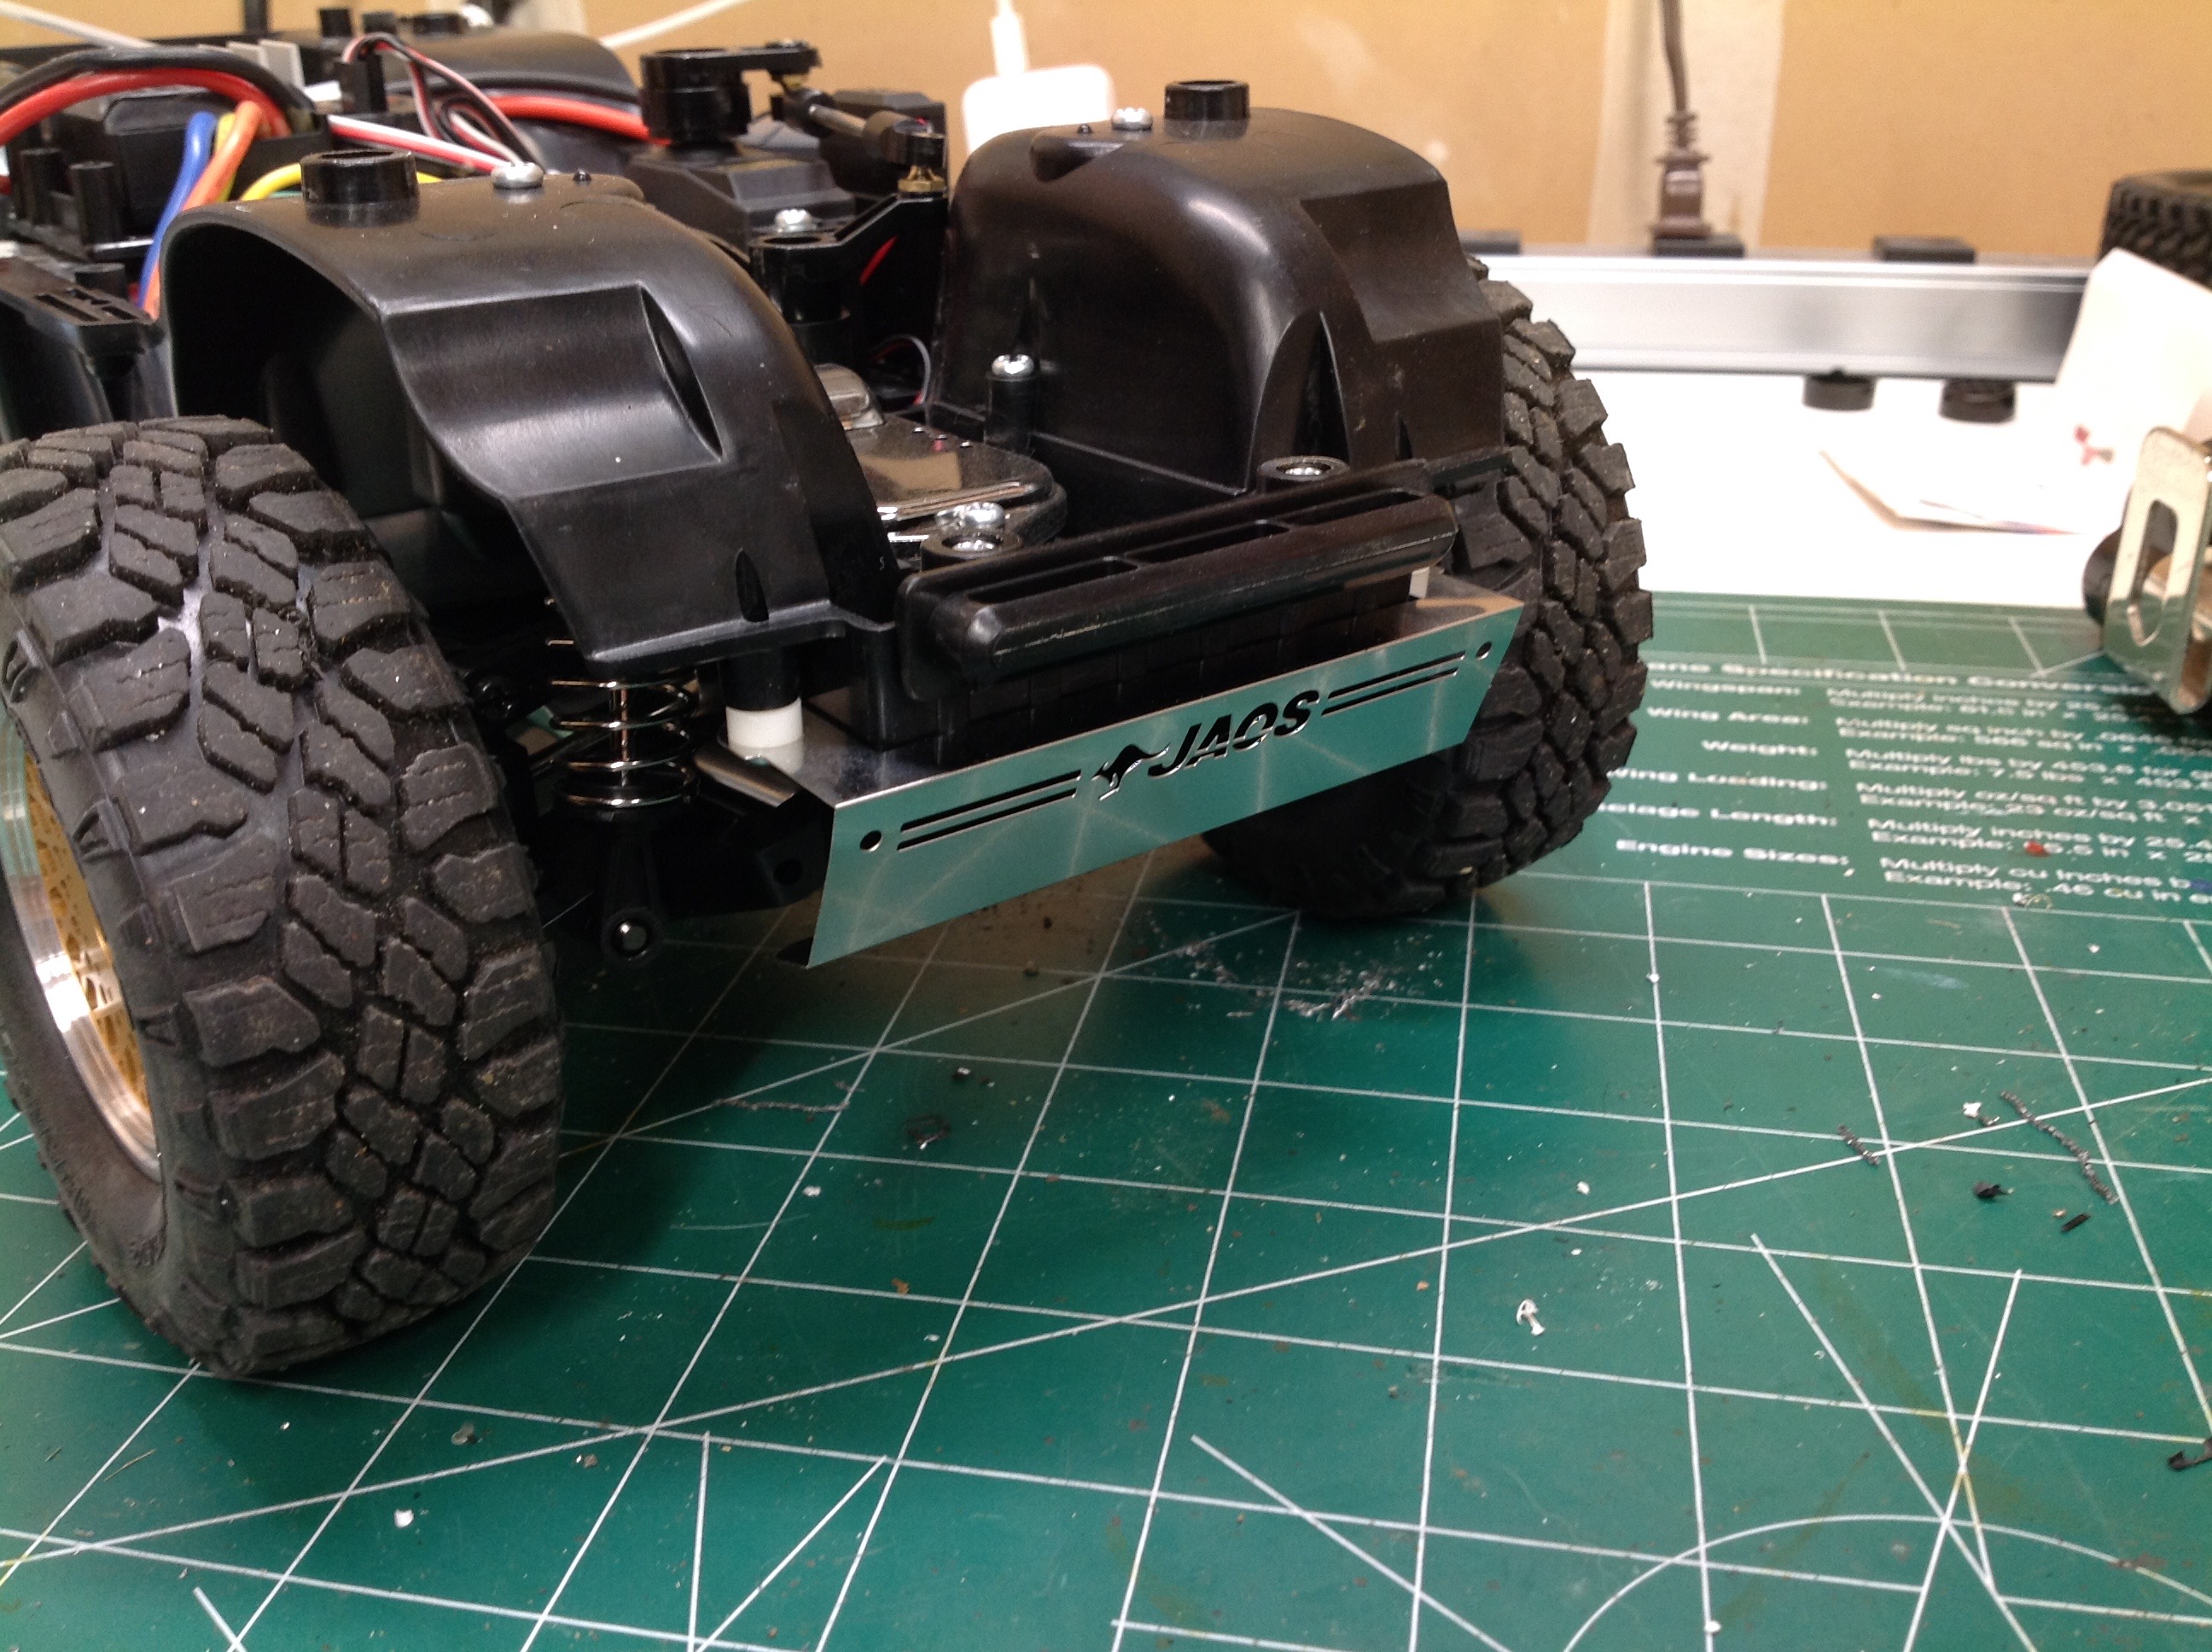
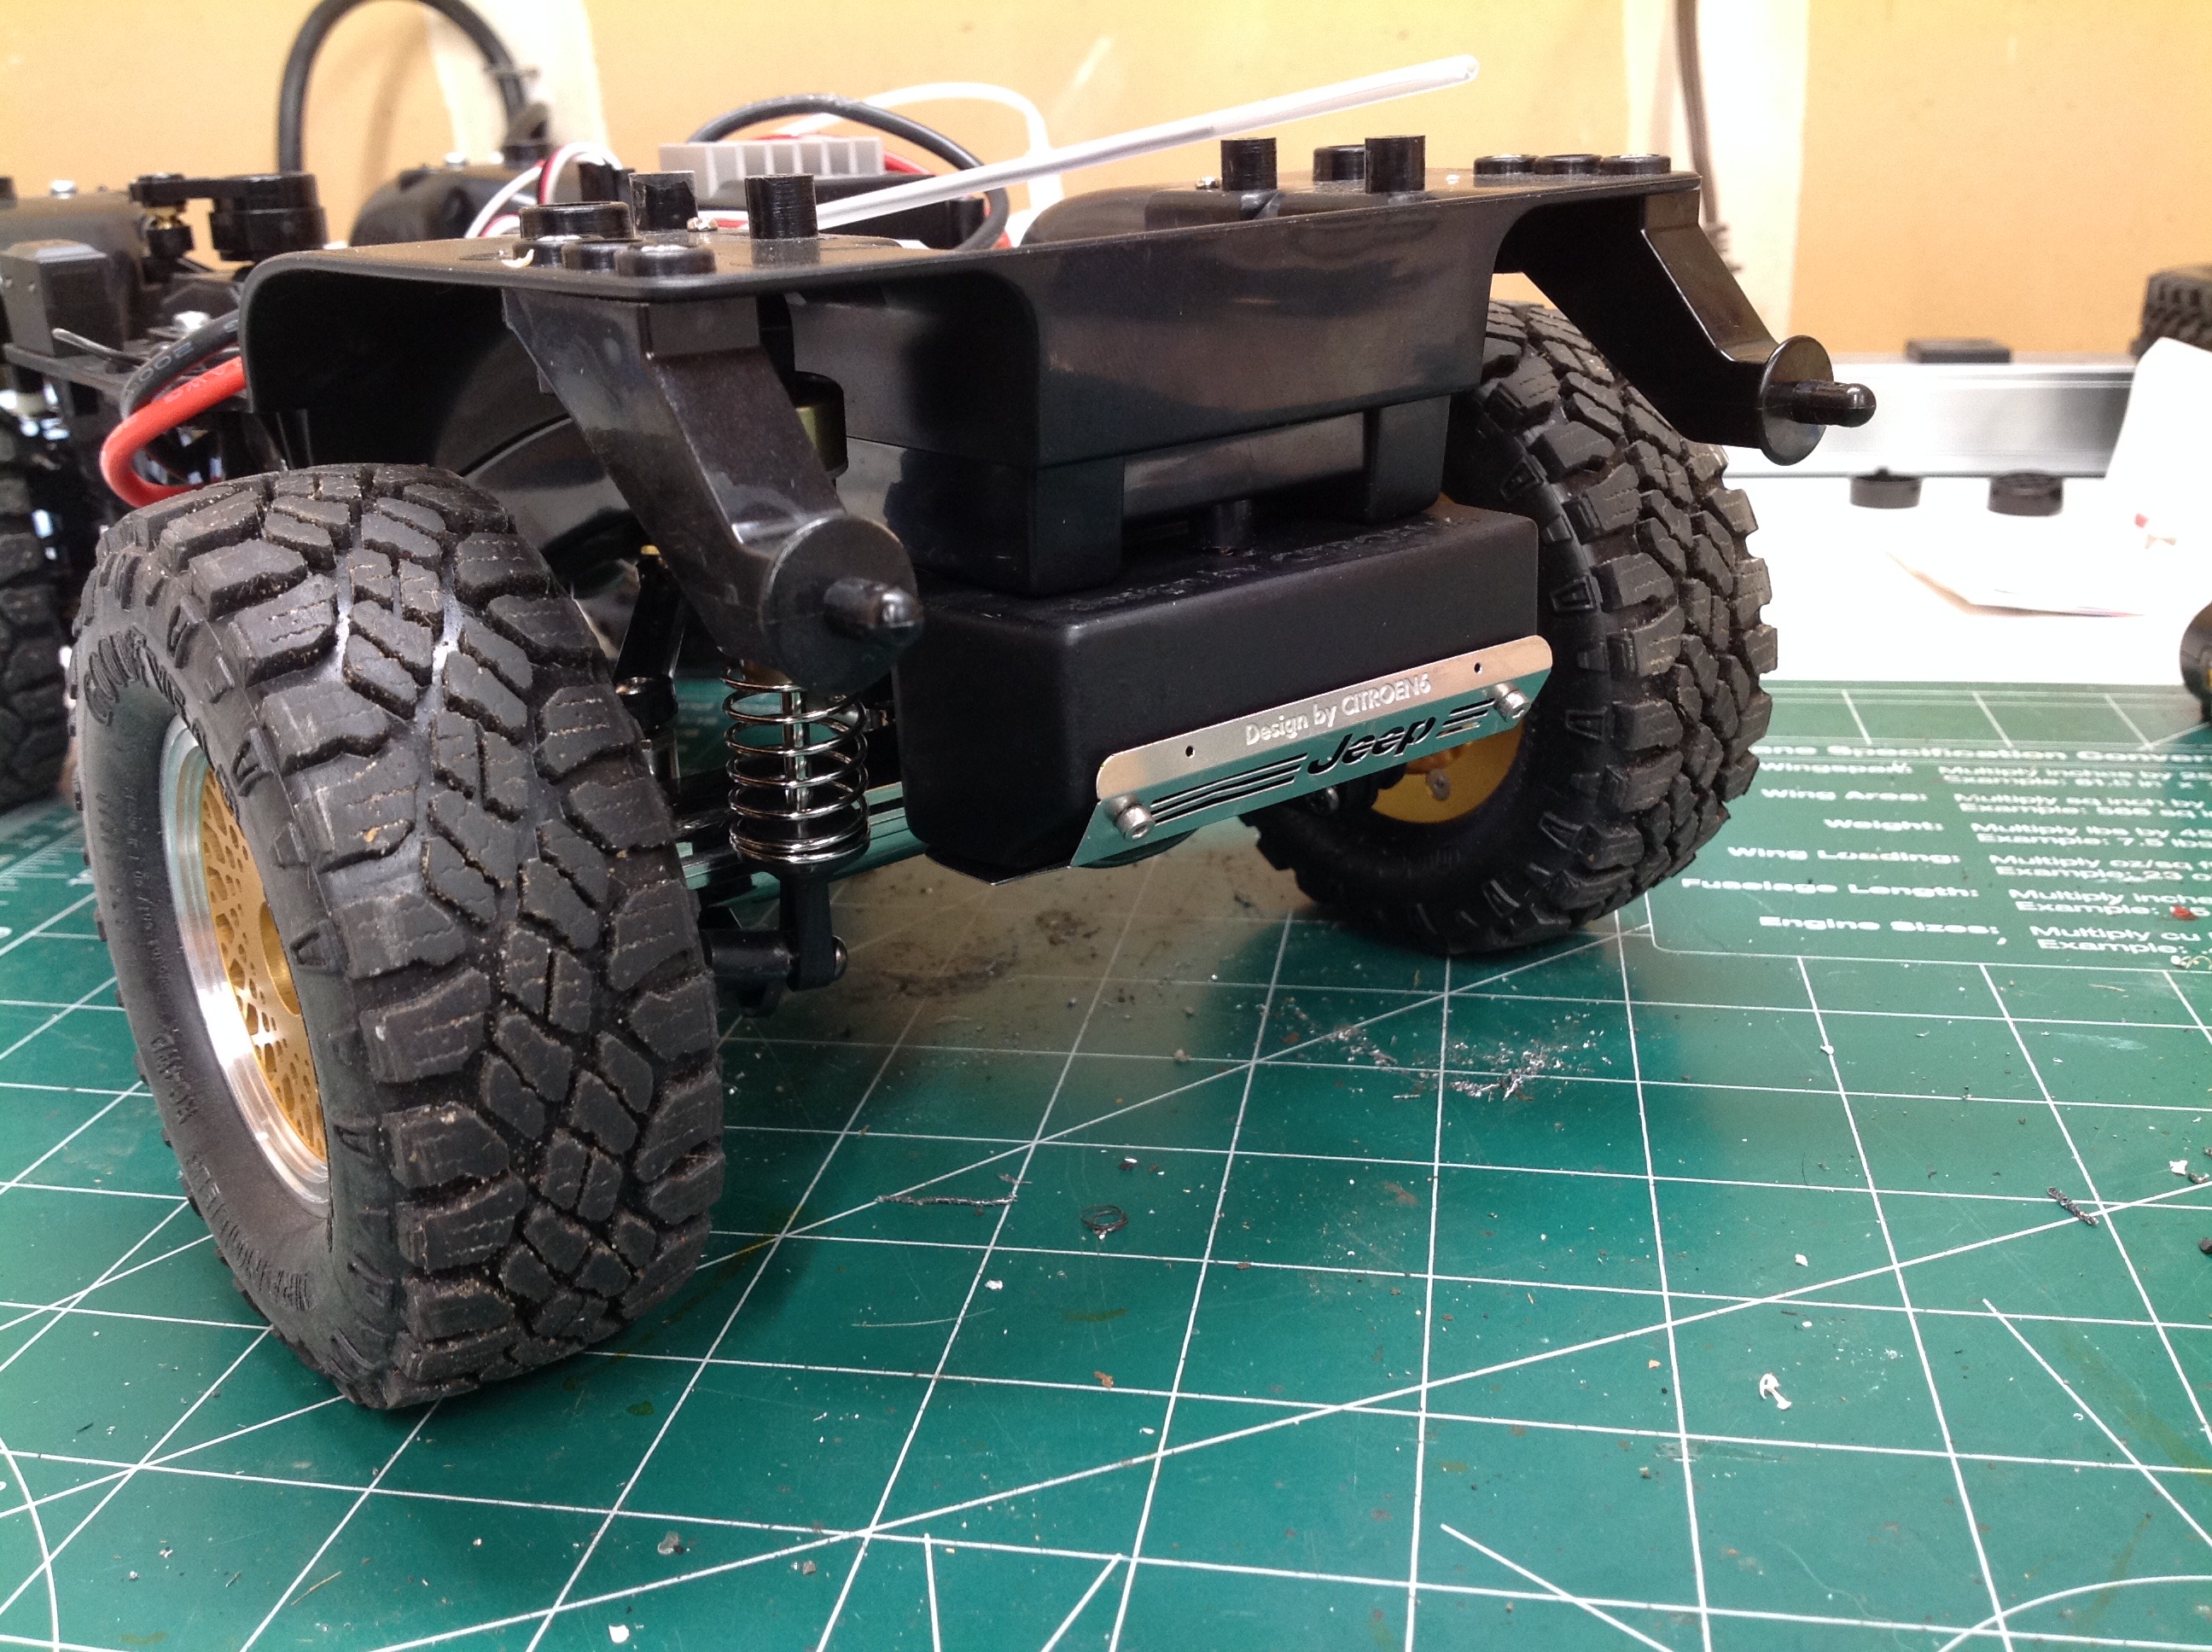
These accessories from CCHand comprise a skid plate in front and a fuel
tank in back. The front skid plate takes a beating since it is
just sheet metal.
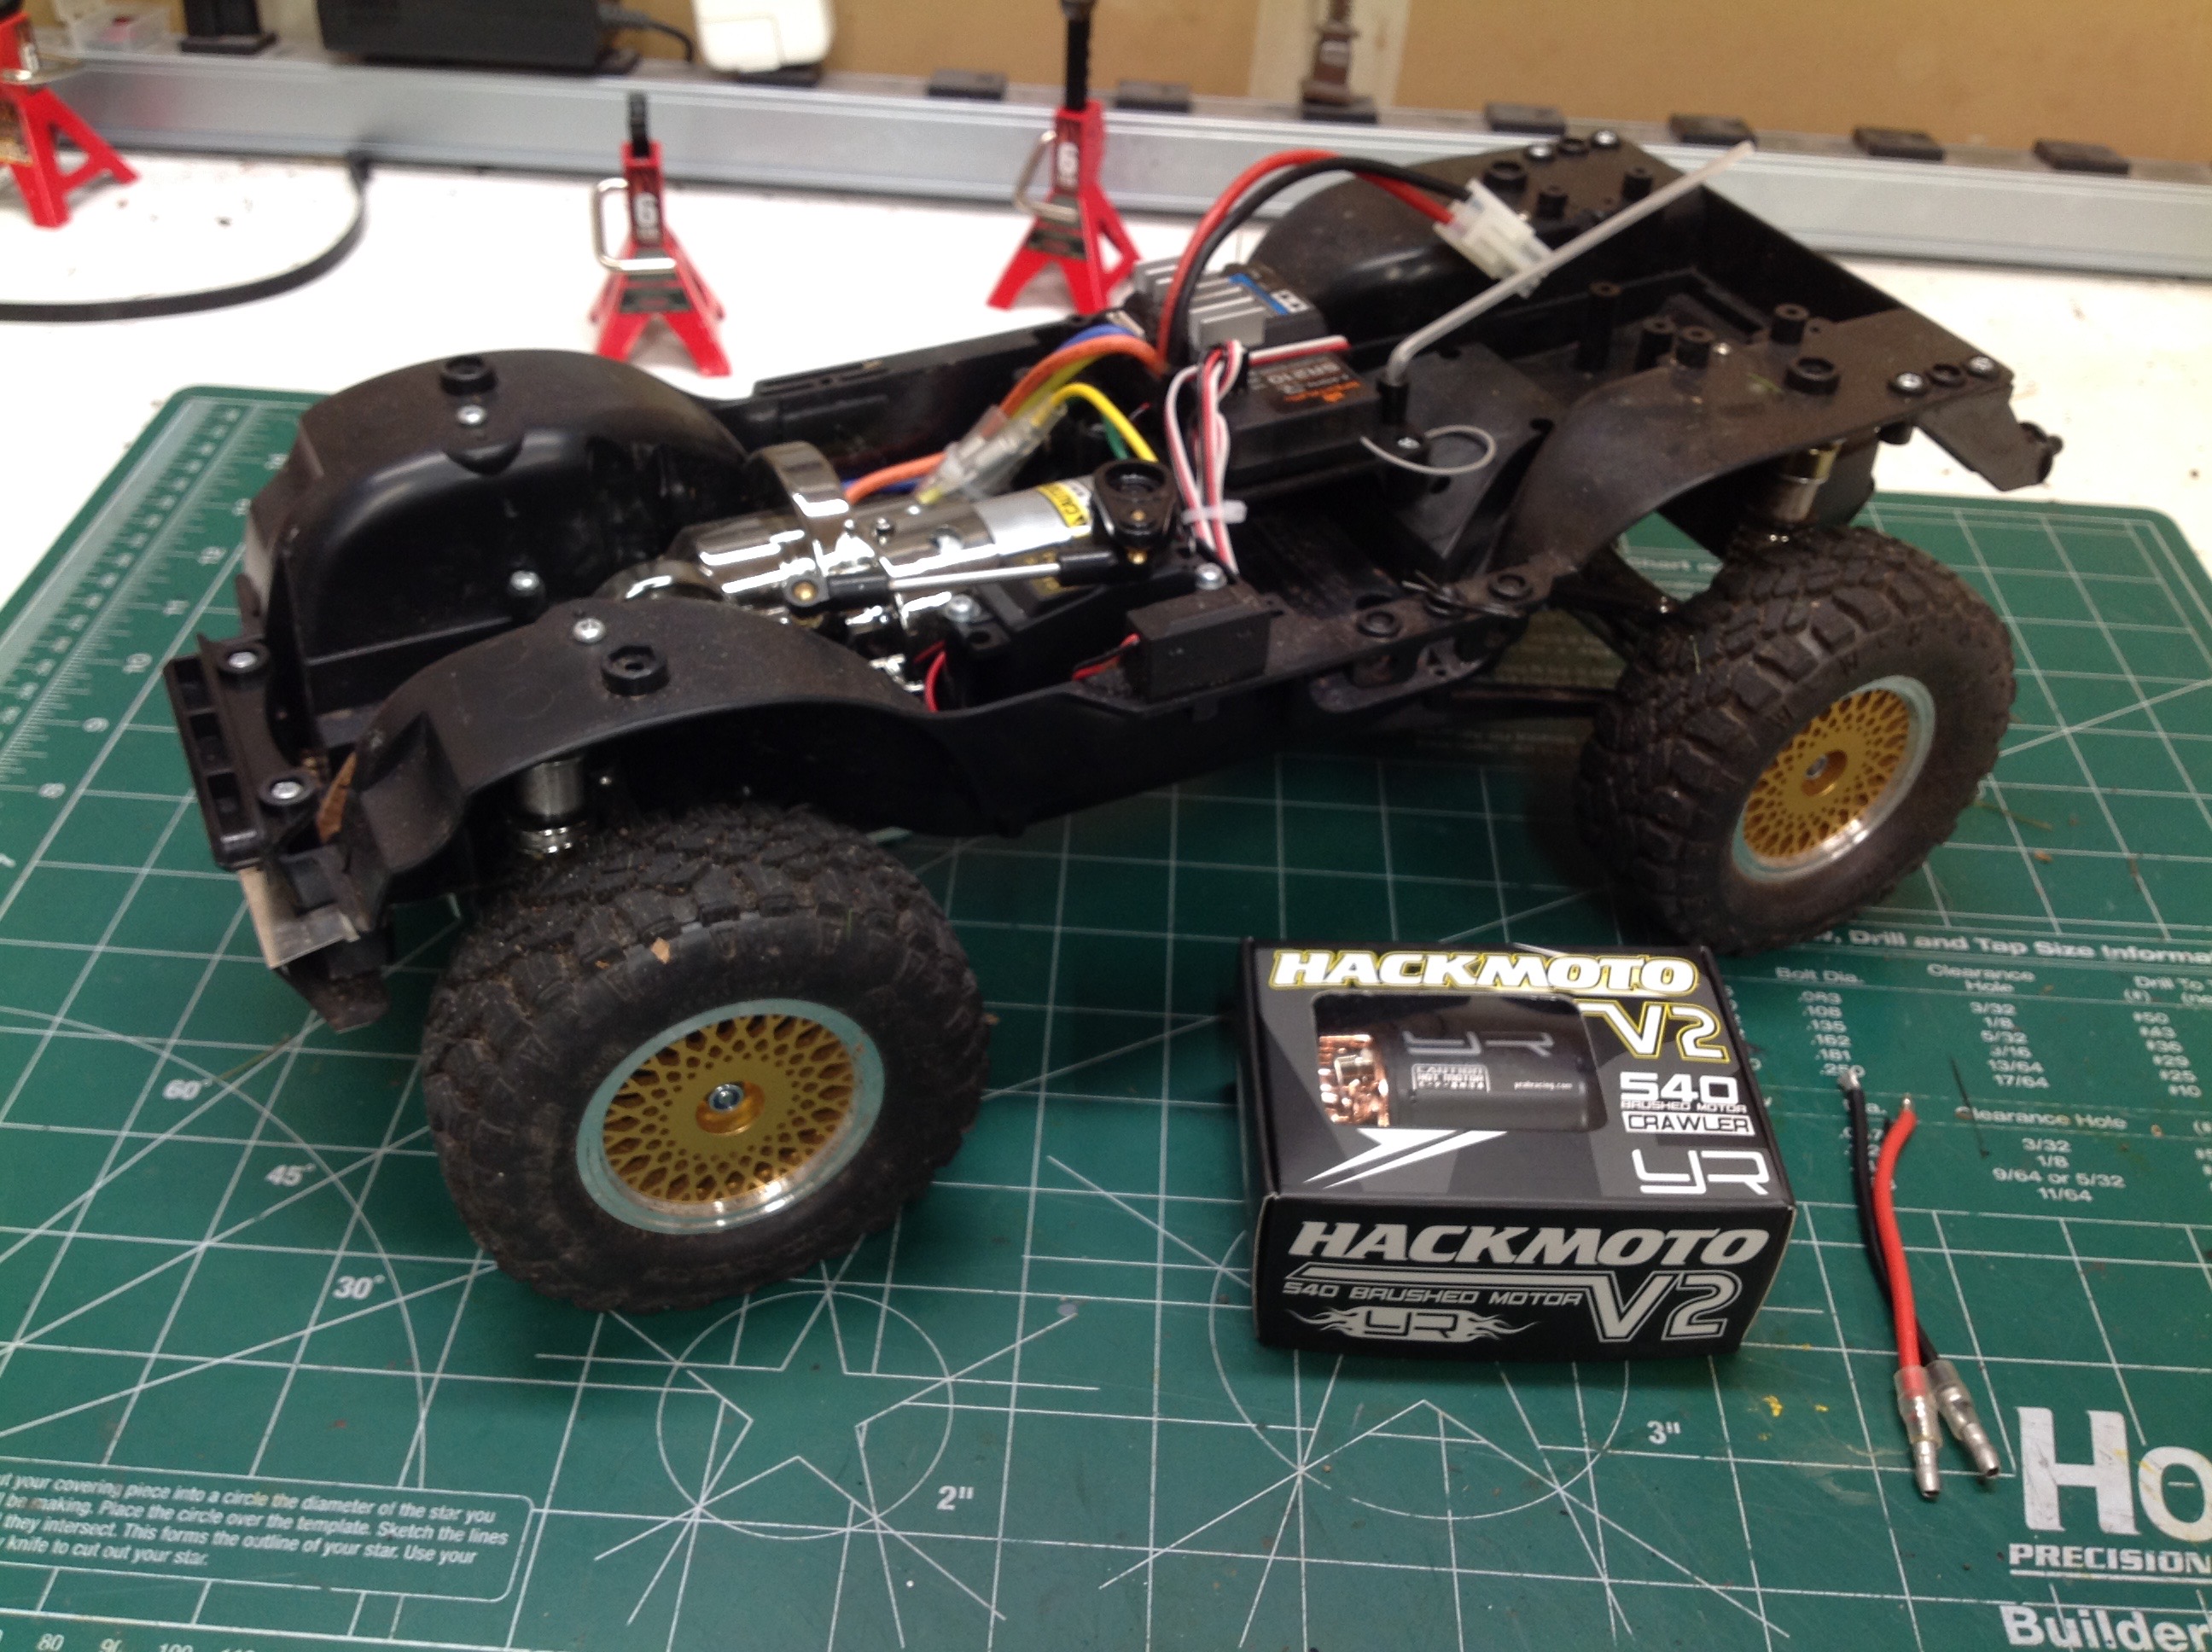
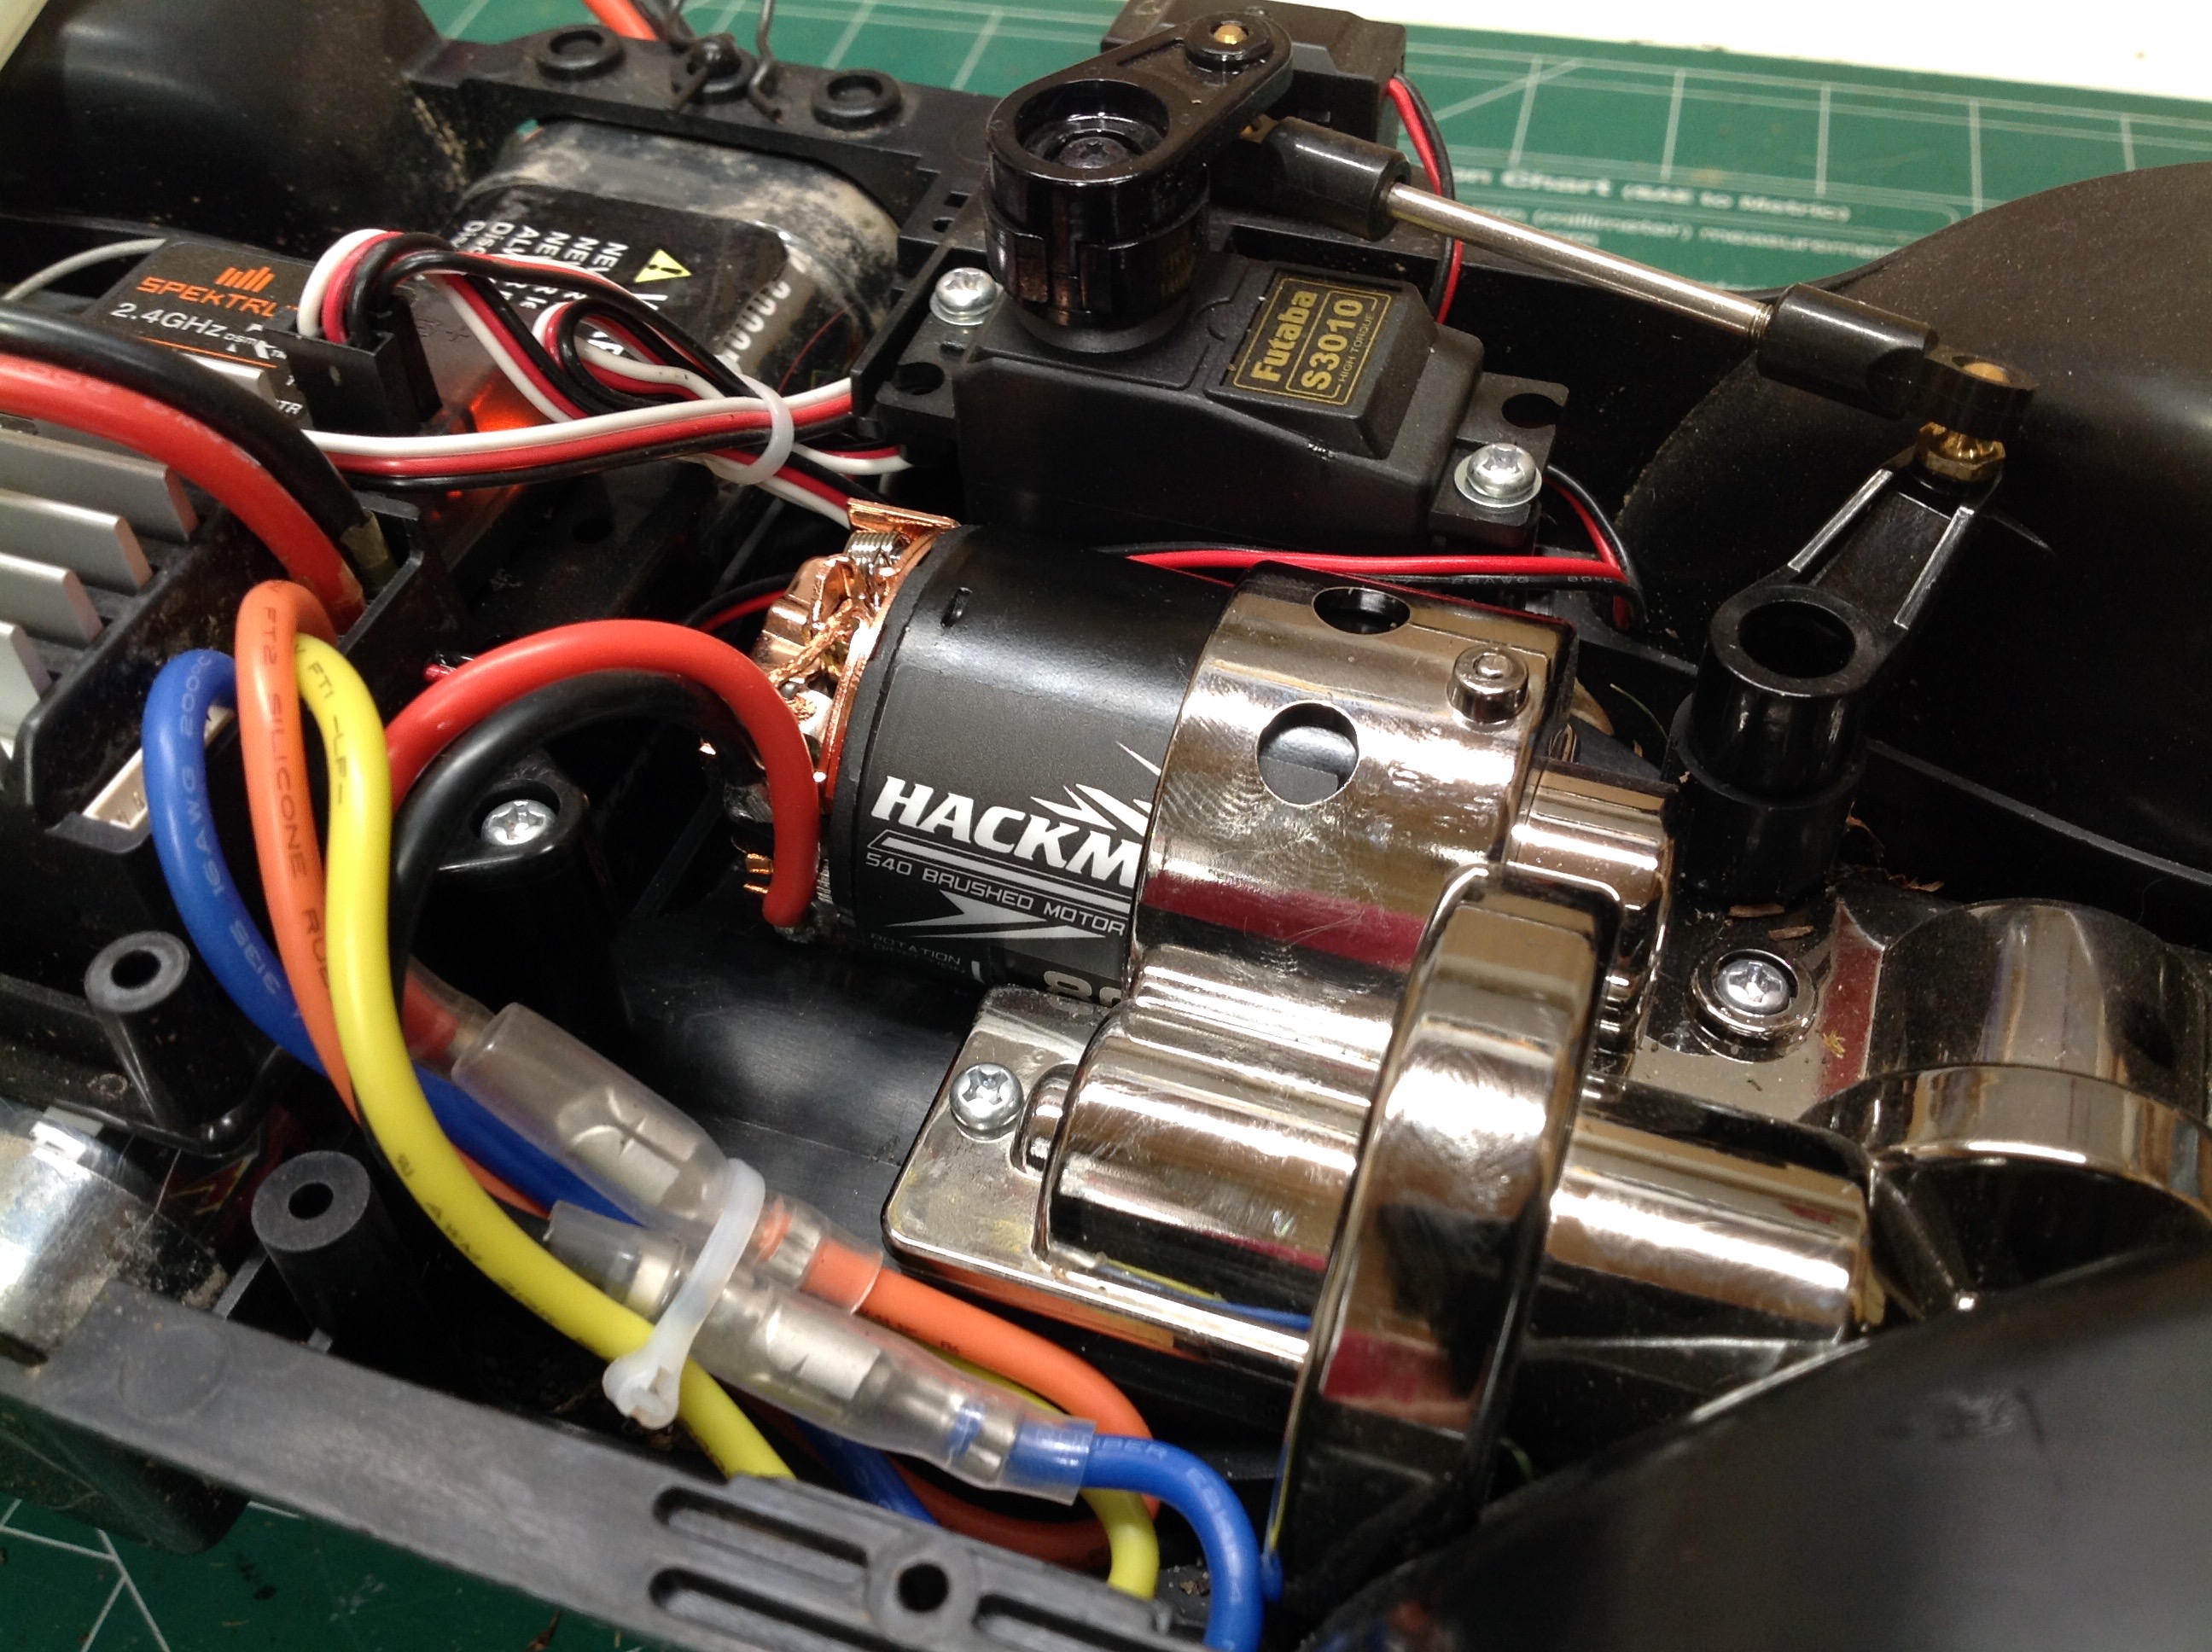
Phase 2:
Months after completing this model, I found that I was wishing this
particular CC-01 behaved more like a crawler. In particular, the
stock motor and gearing is way too fast for hard off road use which
makes it difficult to go slow and crawl over obstacles. I solved
this problem by swapping out the stock 27 turn silver can motor for an
80 turn from Yeah Racing. This dropped the speed by almost a
factor of 3 and makes it a much better low speed machine, though at the
expense of top speed of course. High turn motors also have very
little torque so it is pretty easy to stall this one out. Not an
ideal solution, but acceptable.
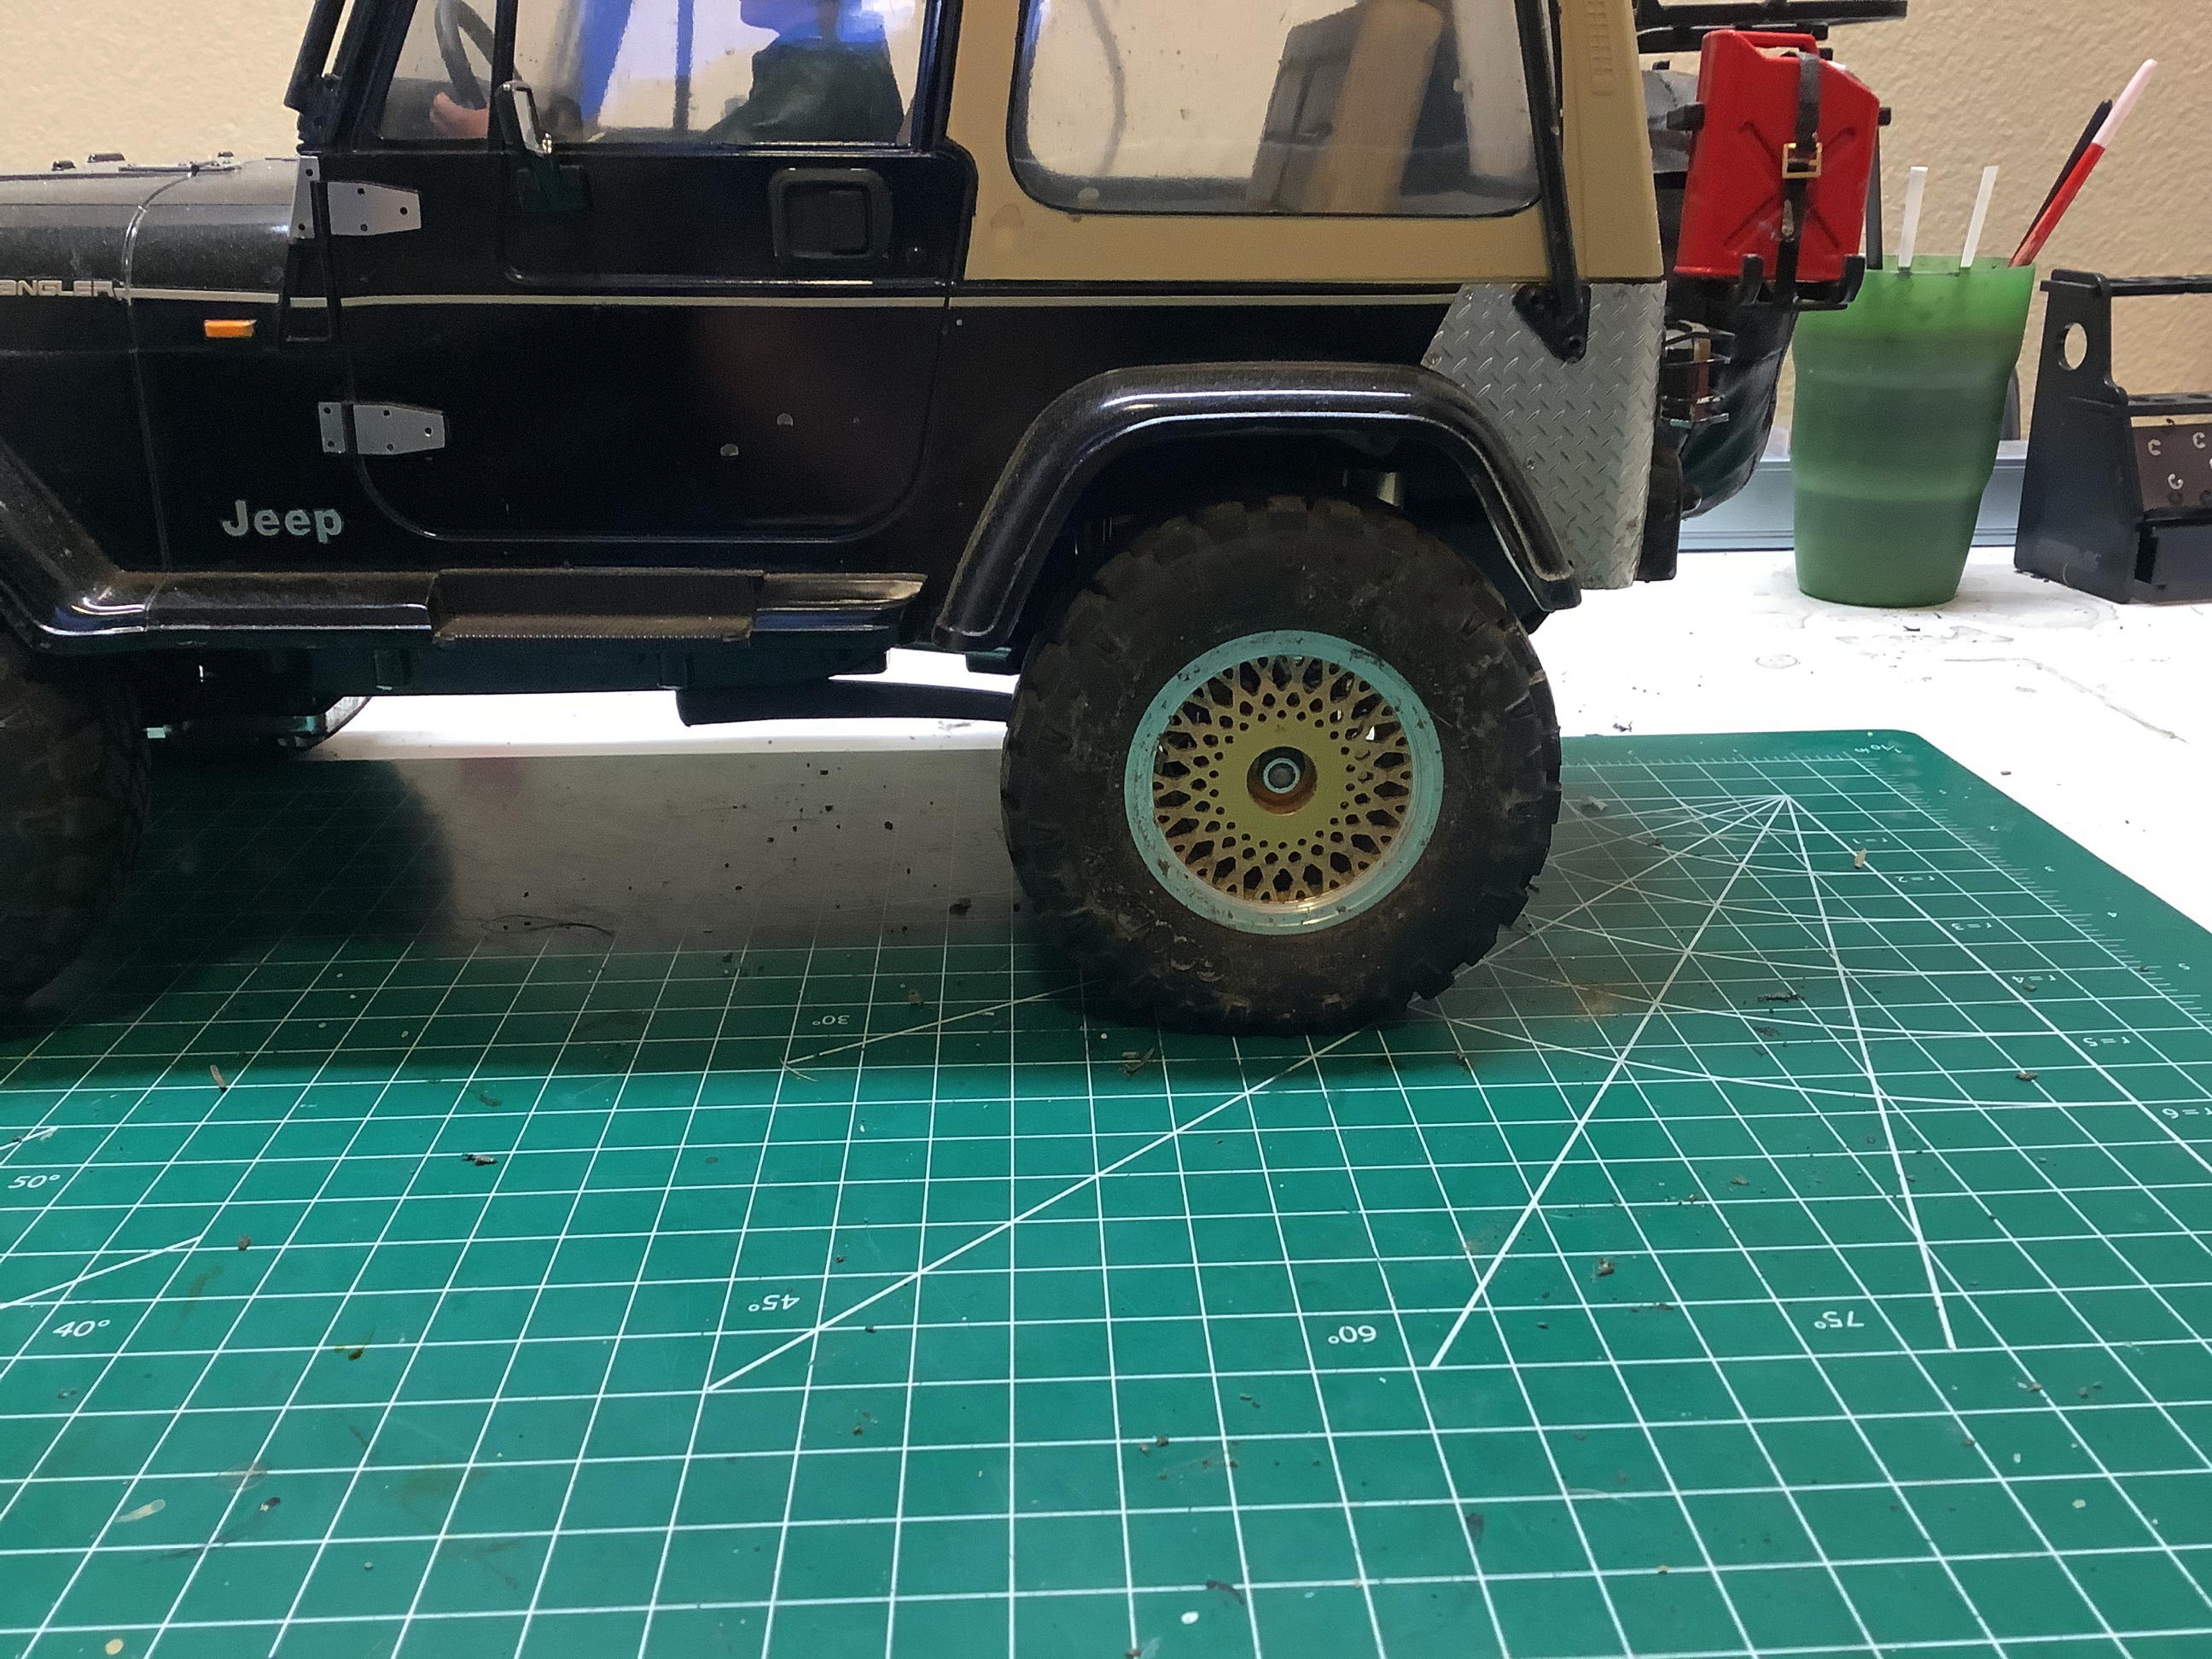
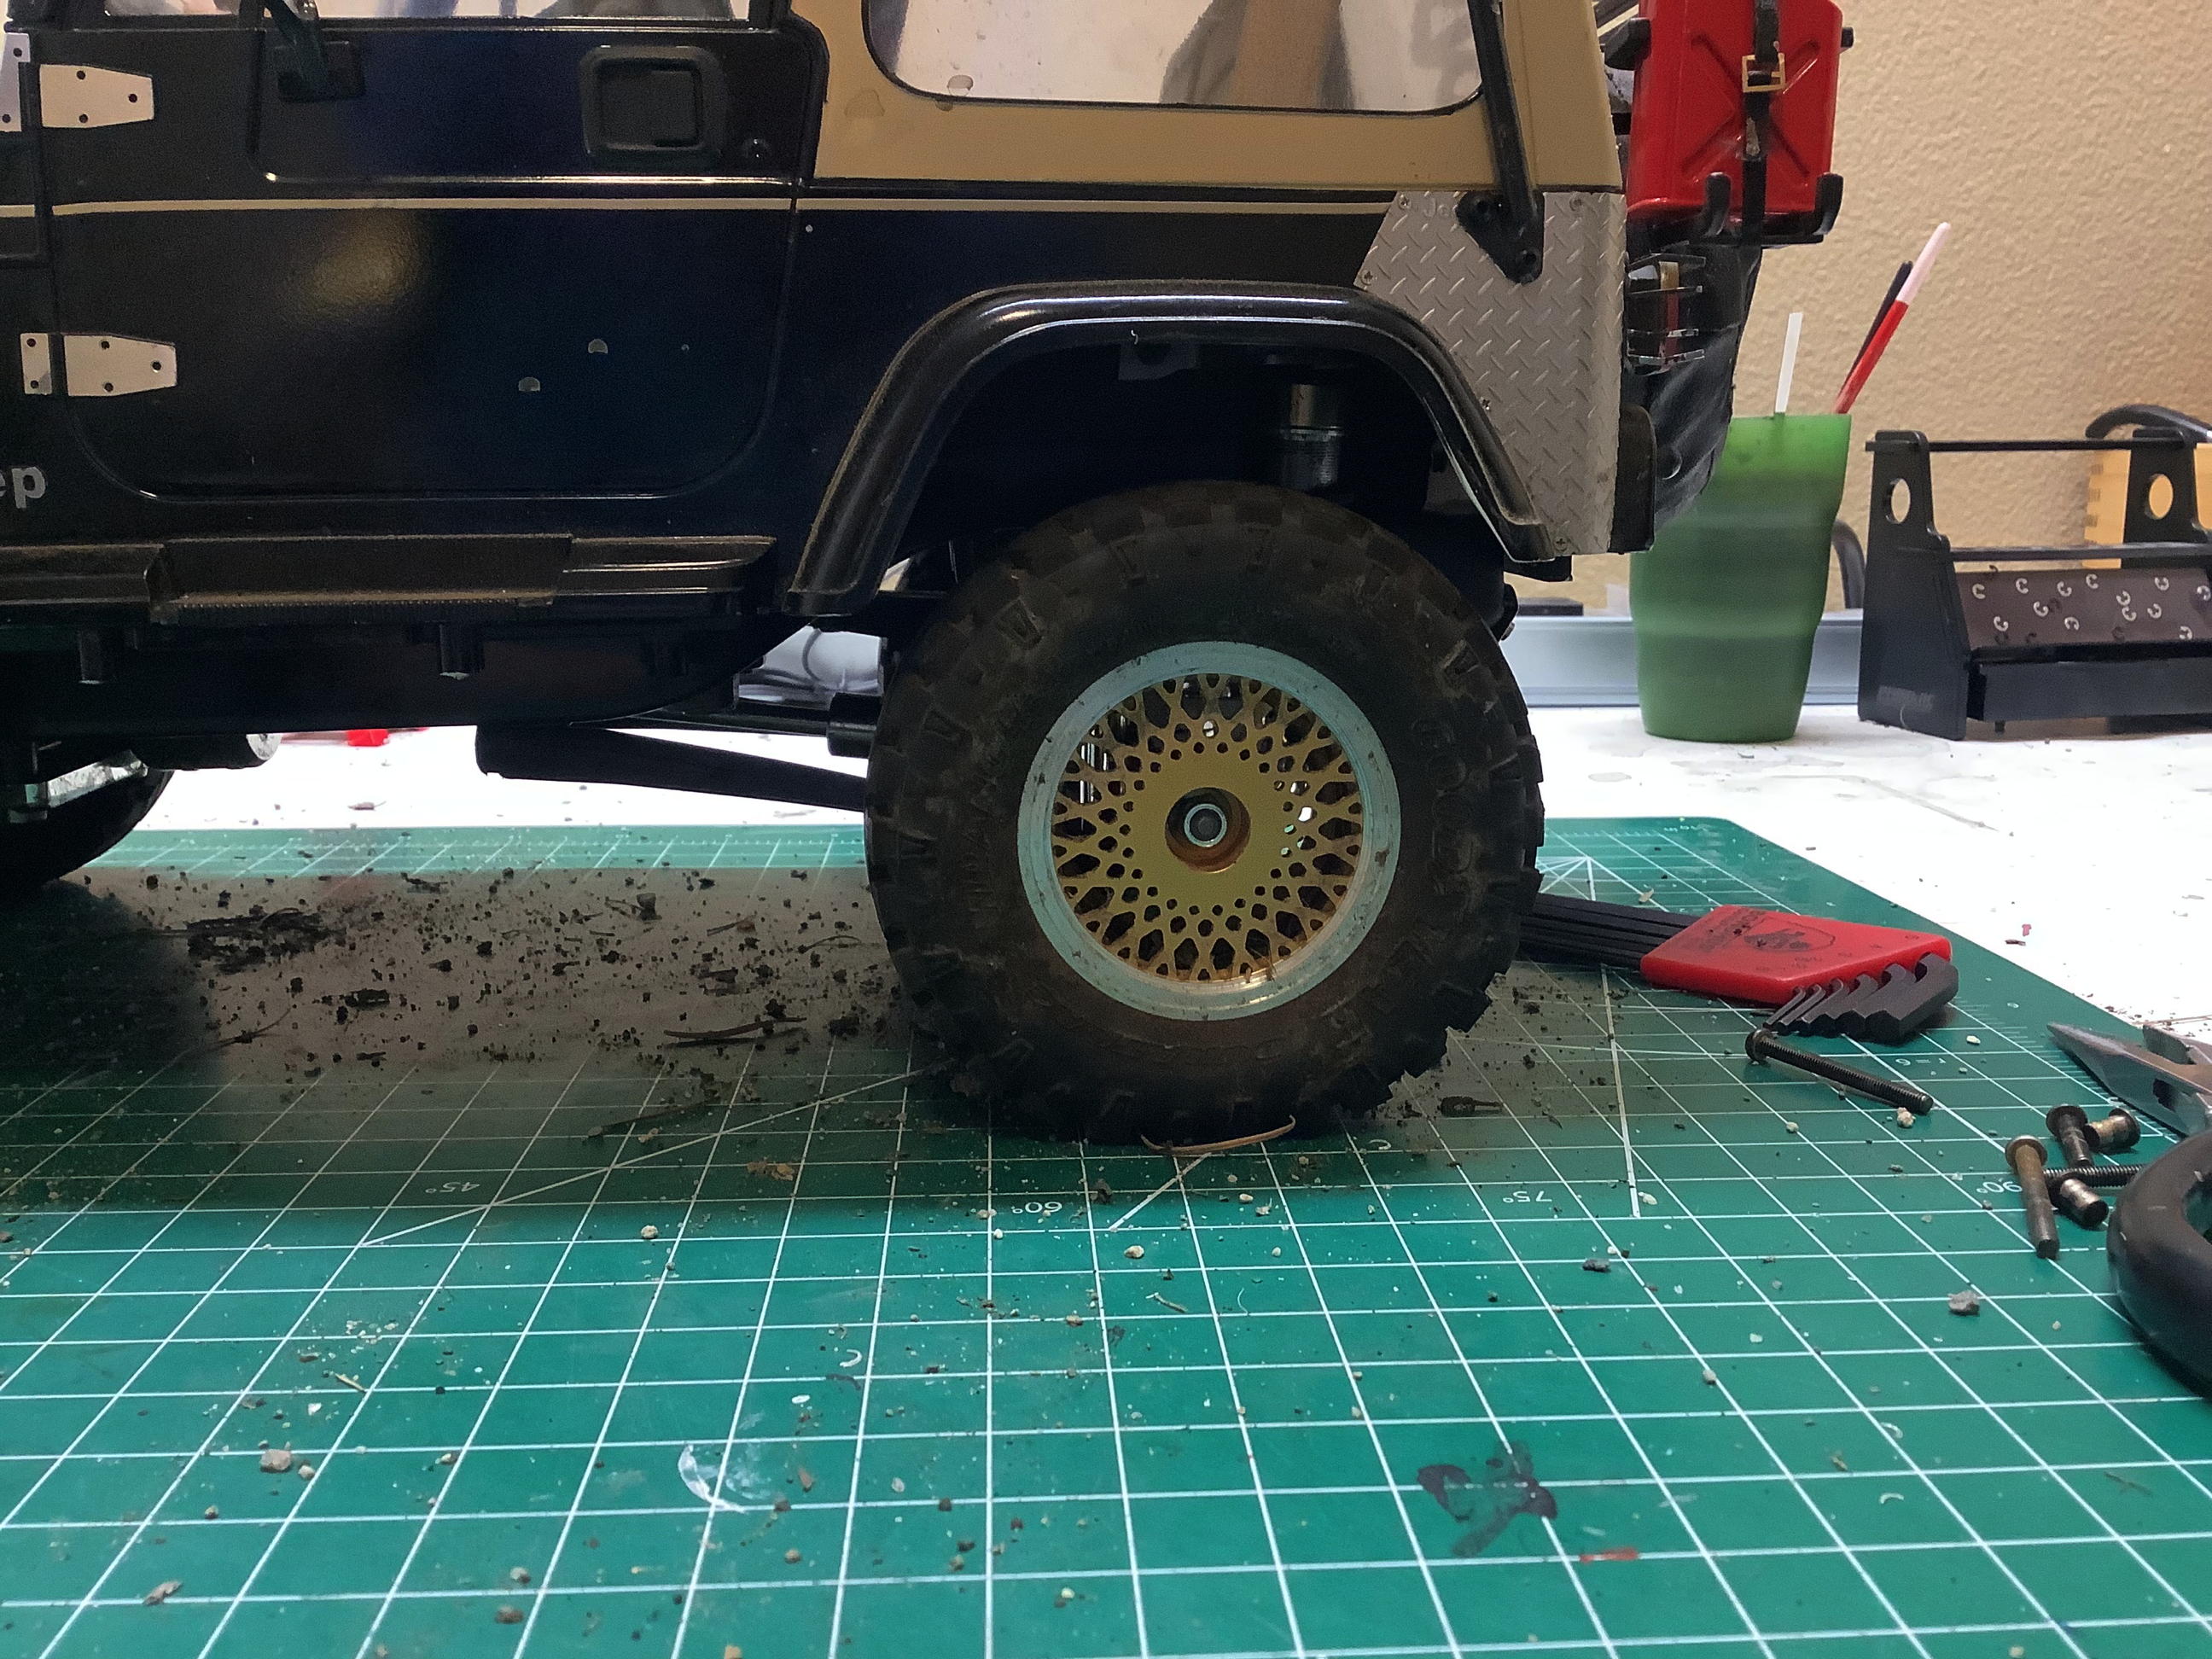
Phase 3:
The remaining problem I had with this model was the weight.
Because of all the accessories I added, the rear sat really low and the
rear tires would scrape on the body even on level ground. I tried
to fix this by adjusting the collars on the shocks as far as they would
go and adding a bunch of spacers under the stroke extension links, but
even so it scraped going over even minor obstacles. On the left
you can see the best I was able to get it even with all those
adjustments. It was years later that I managed to find a part
which would correct the problem. The result is shown on the
right. It may not look like much, but that extra 1/2" made all the
difference.
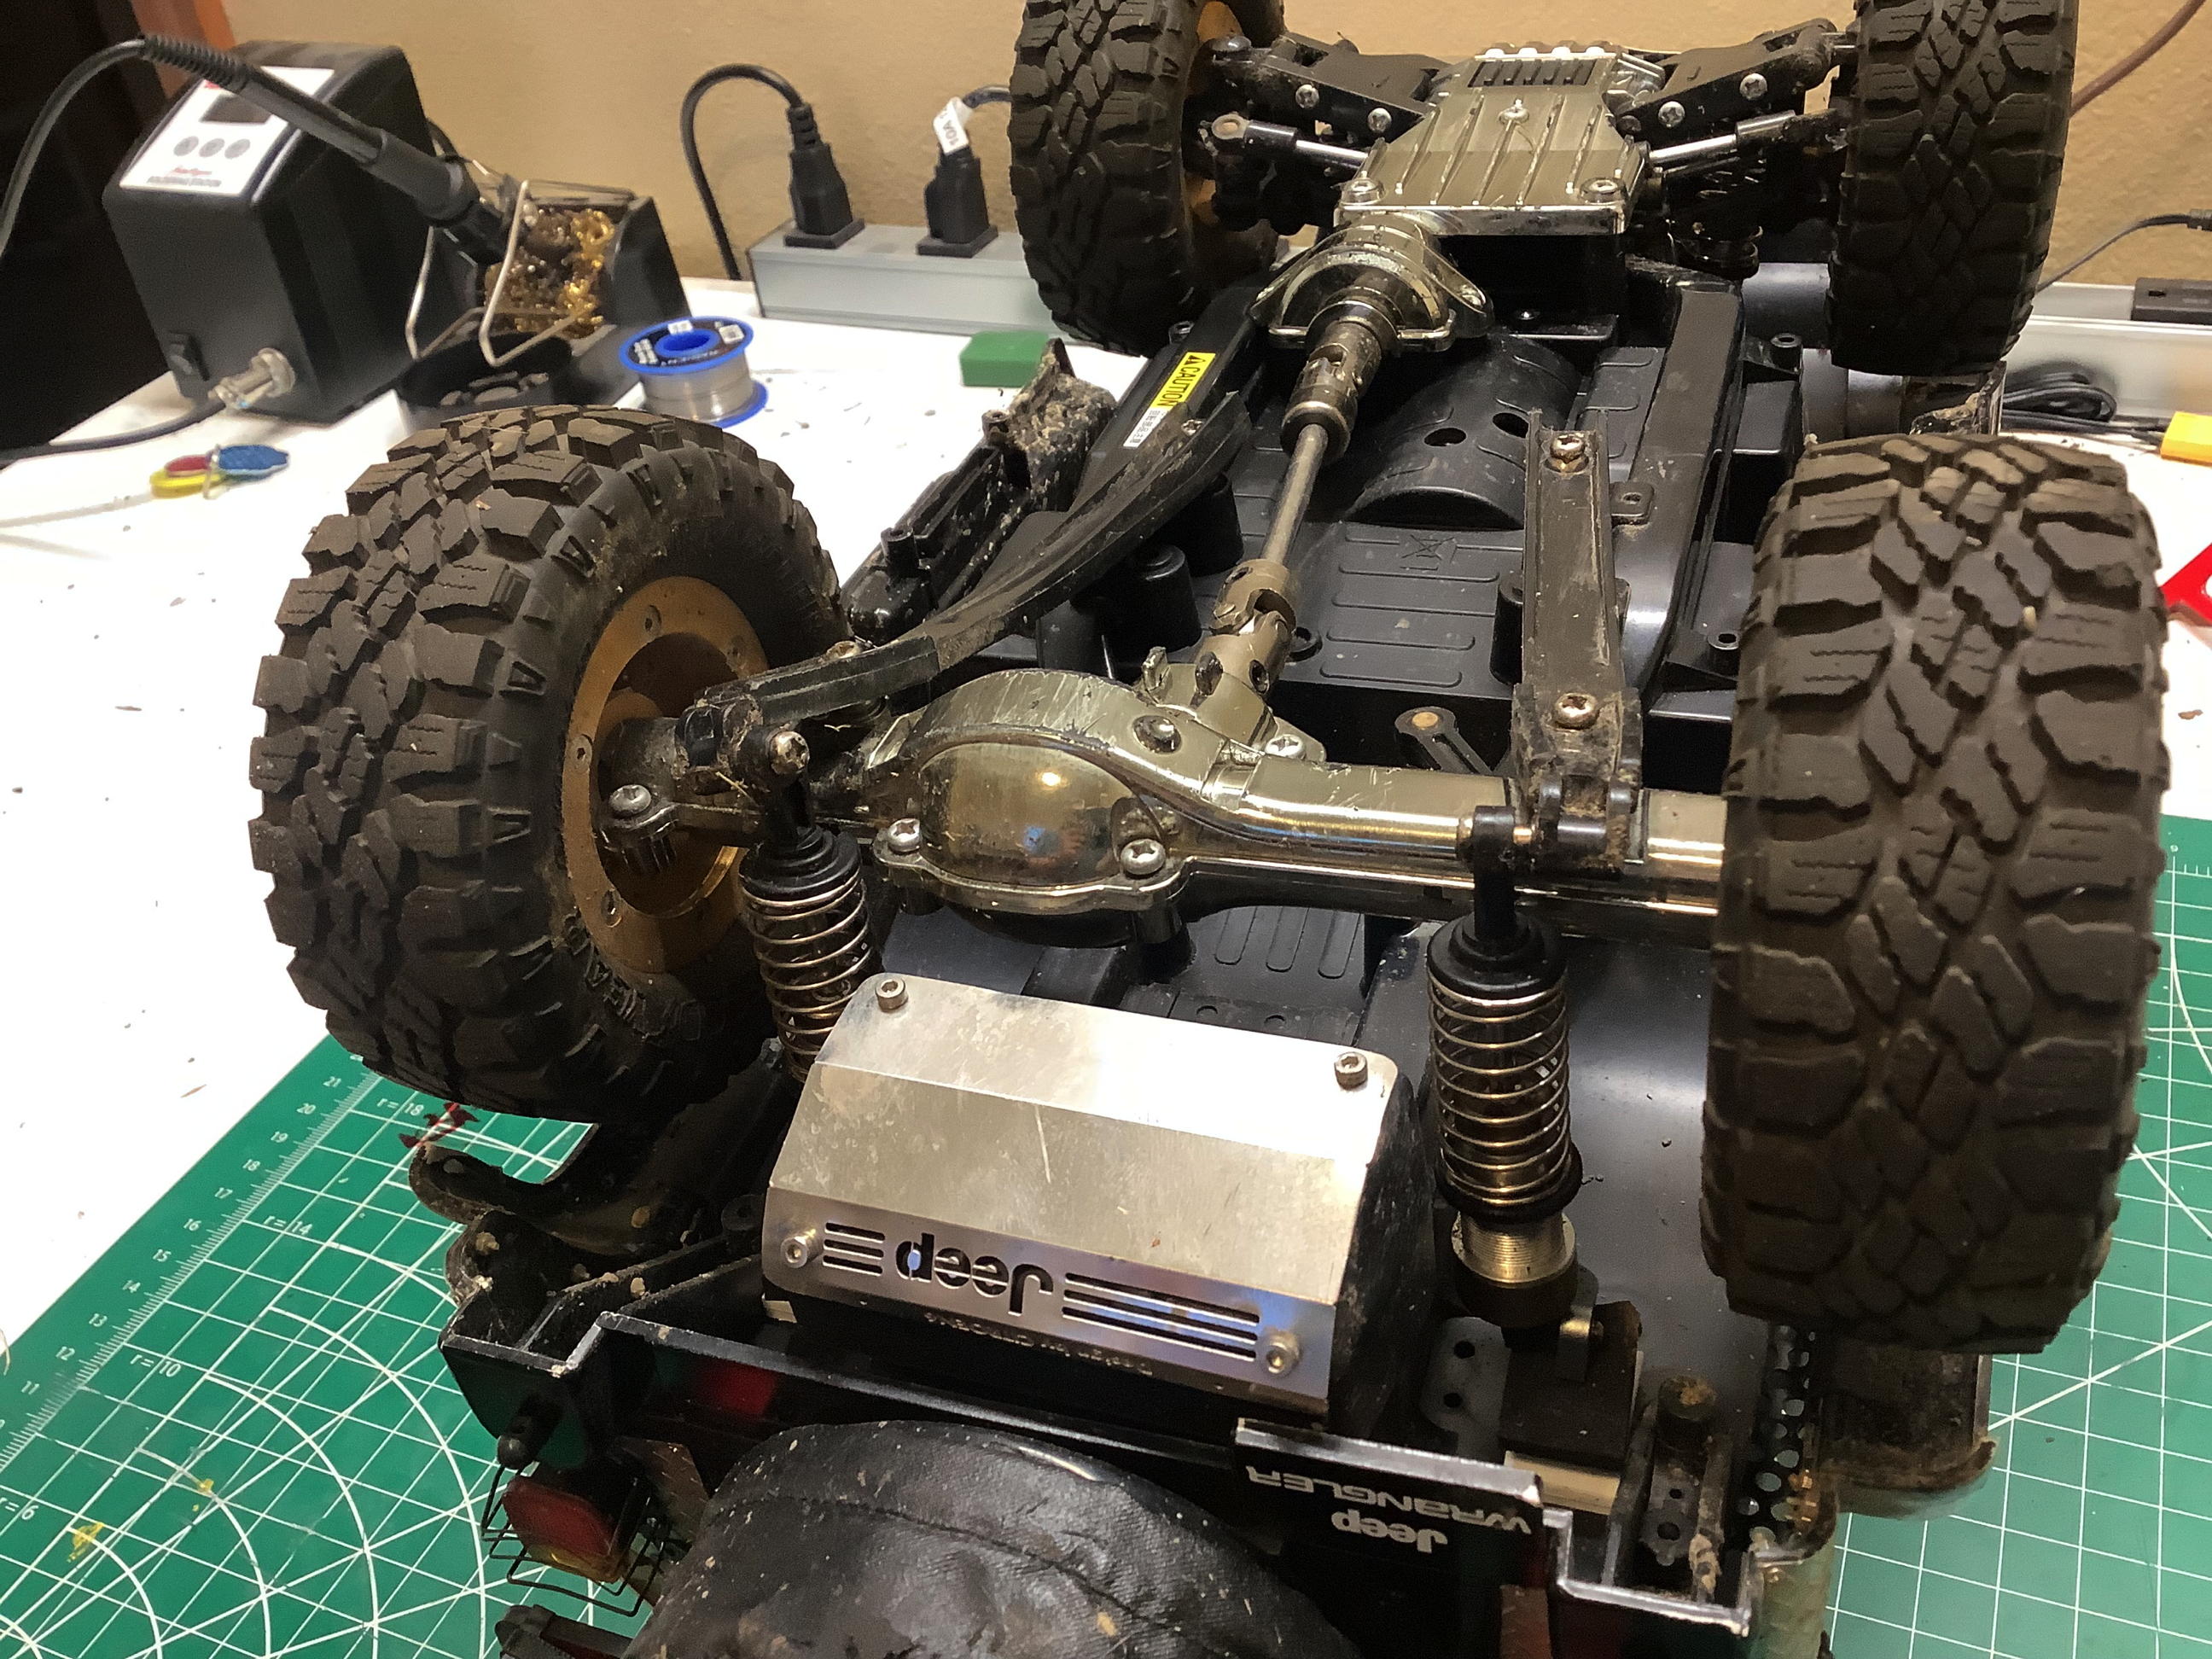
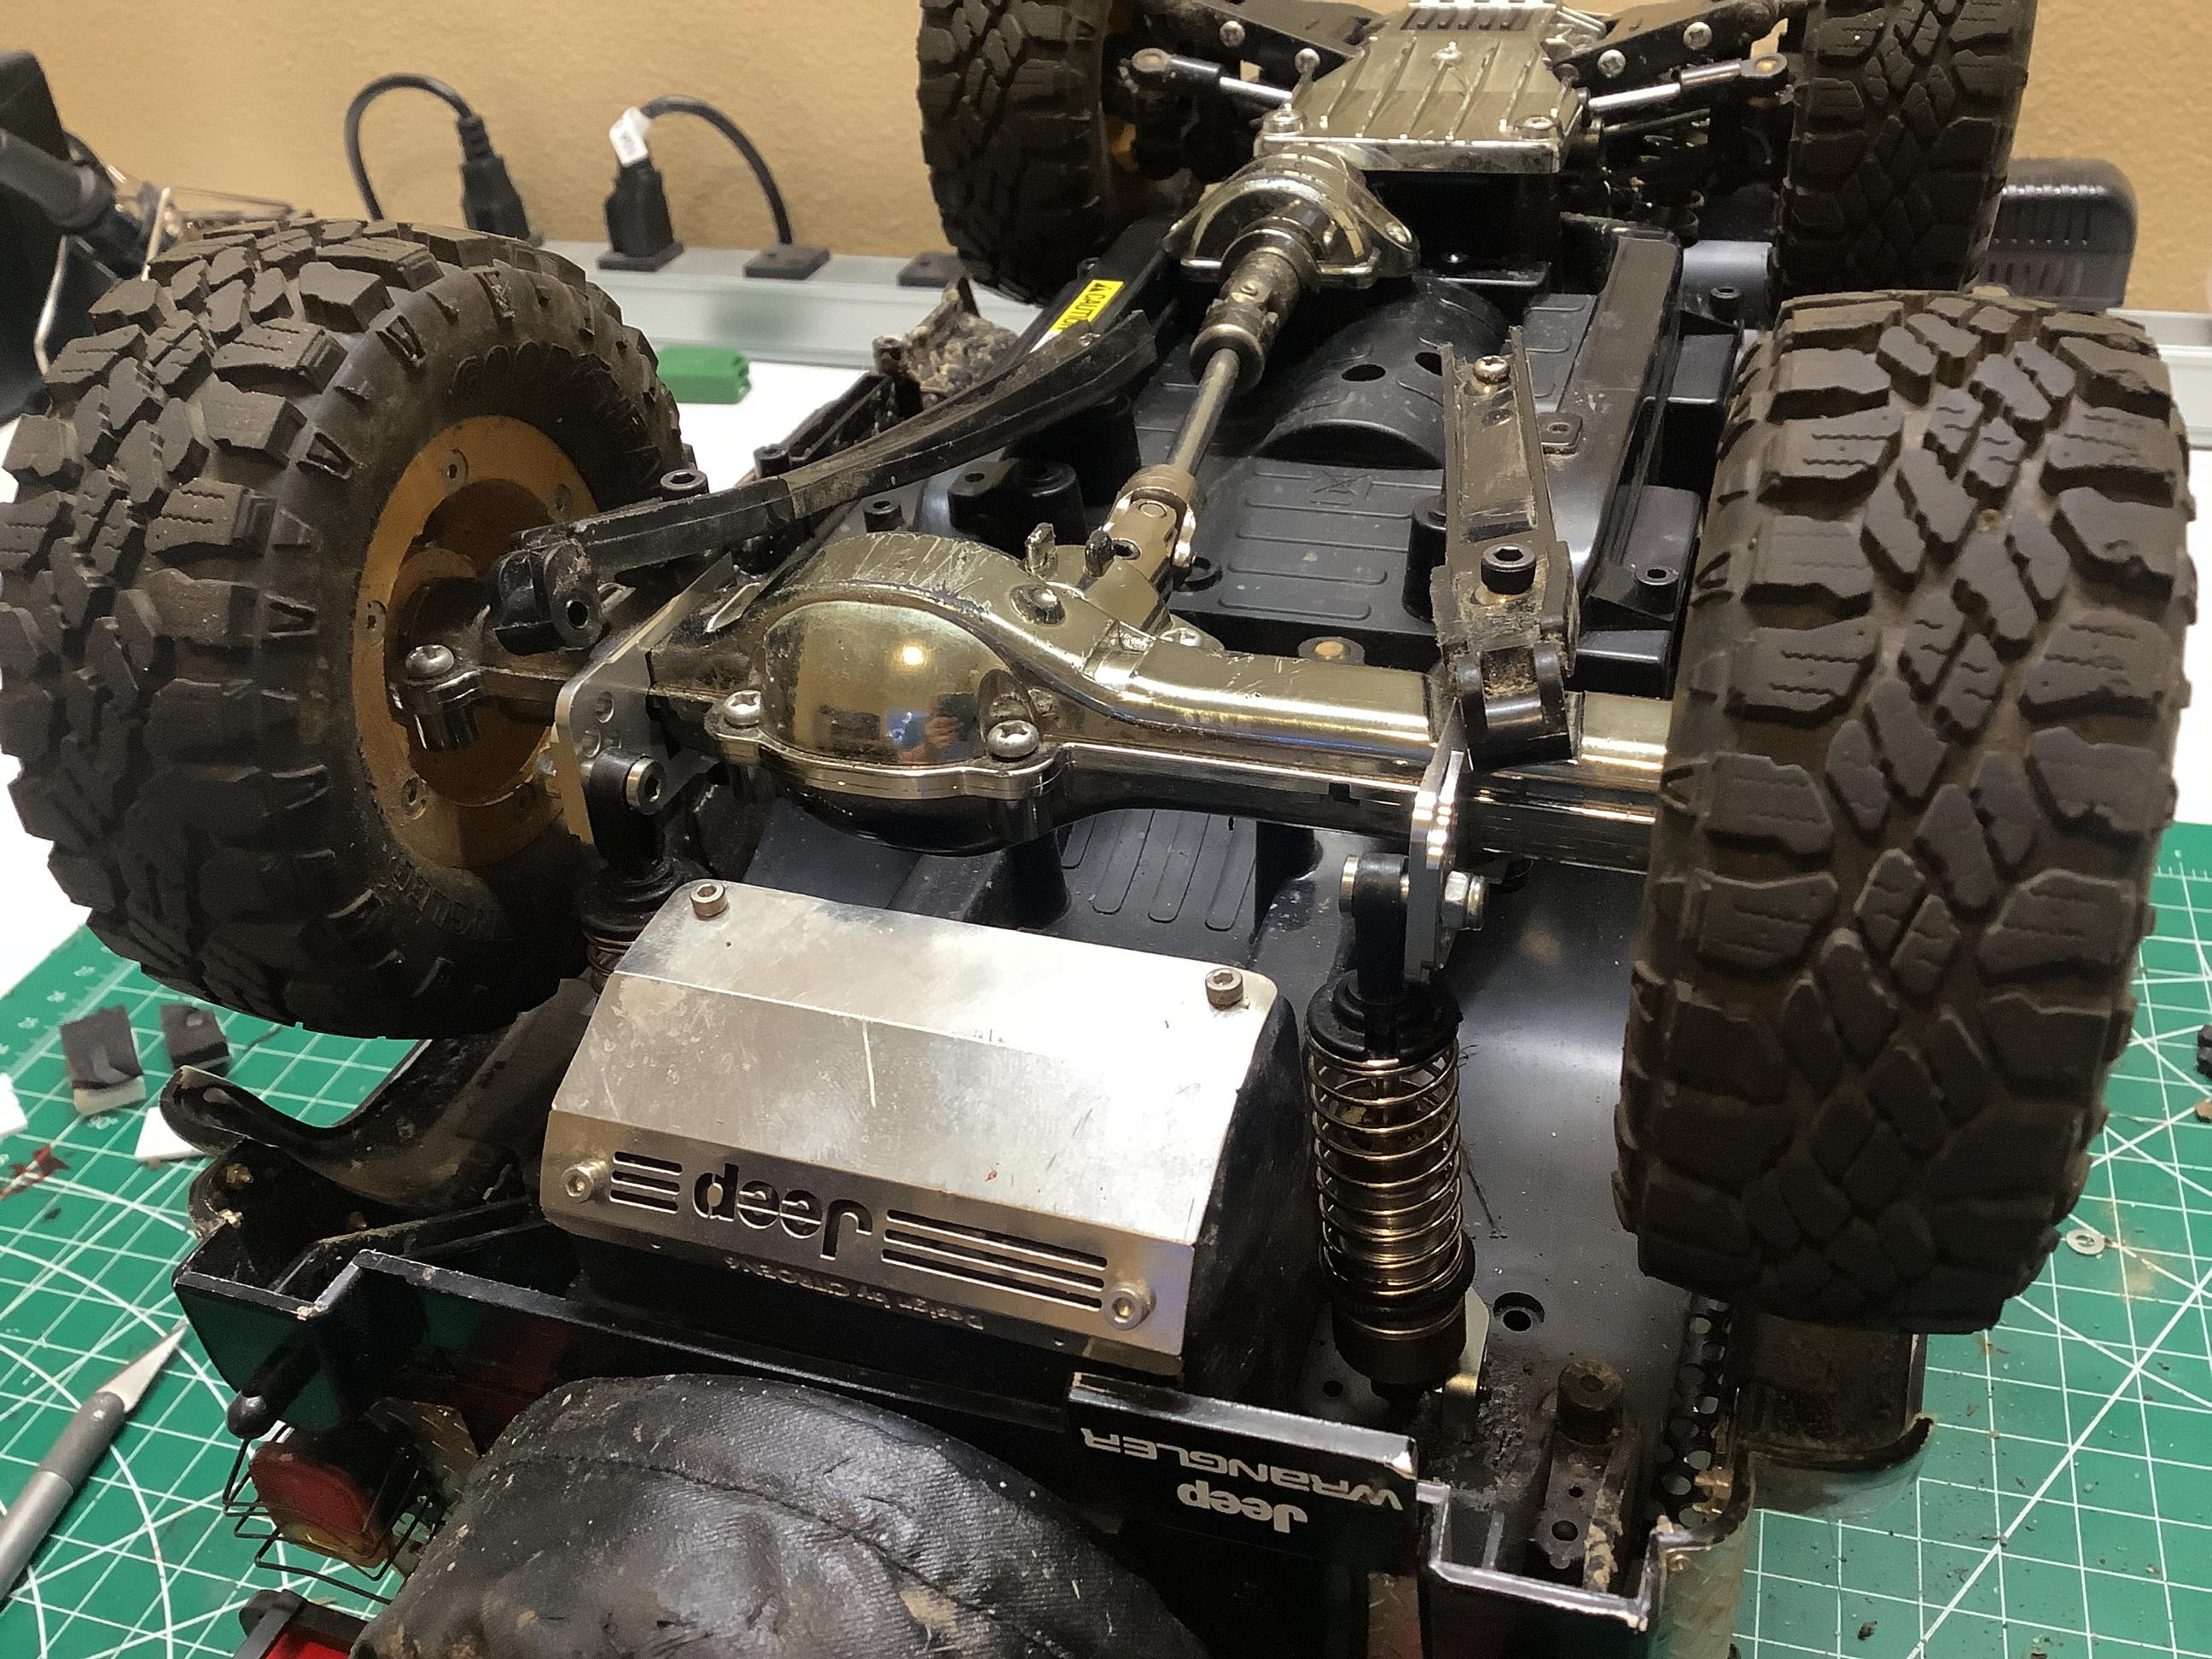
Here is a before and after view from the bottom. On the left you
can see that the shocks attach to the side of the lower links behind the
axle. The links are made of such a soft material that they bend
and roll to the side nullifying much of the suspension height. On
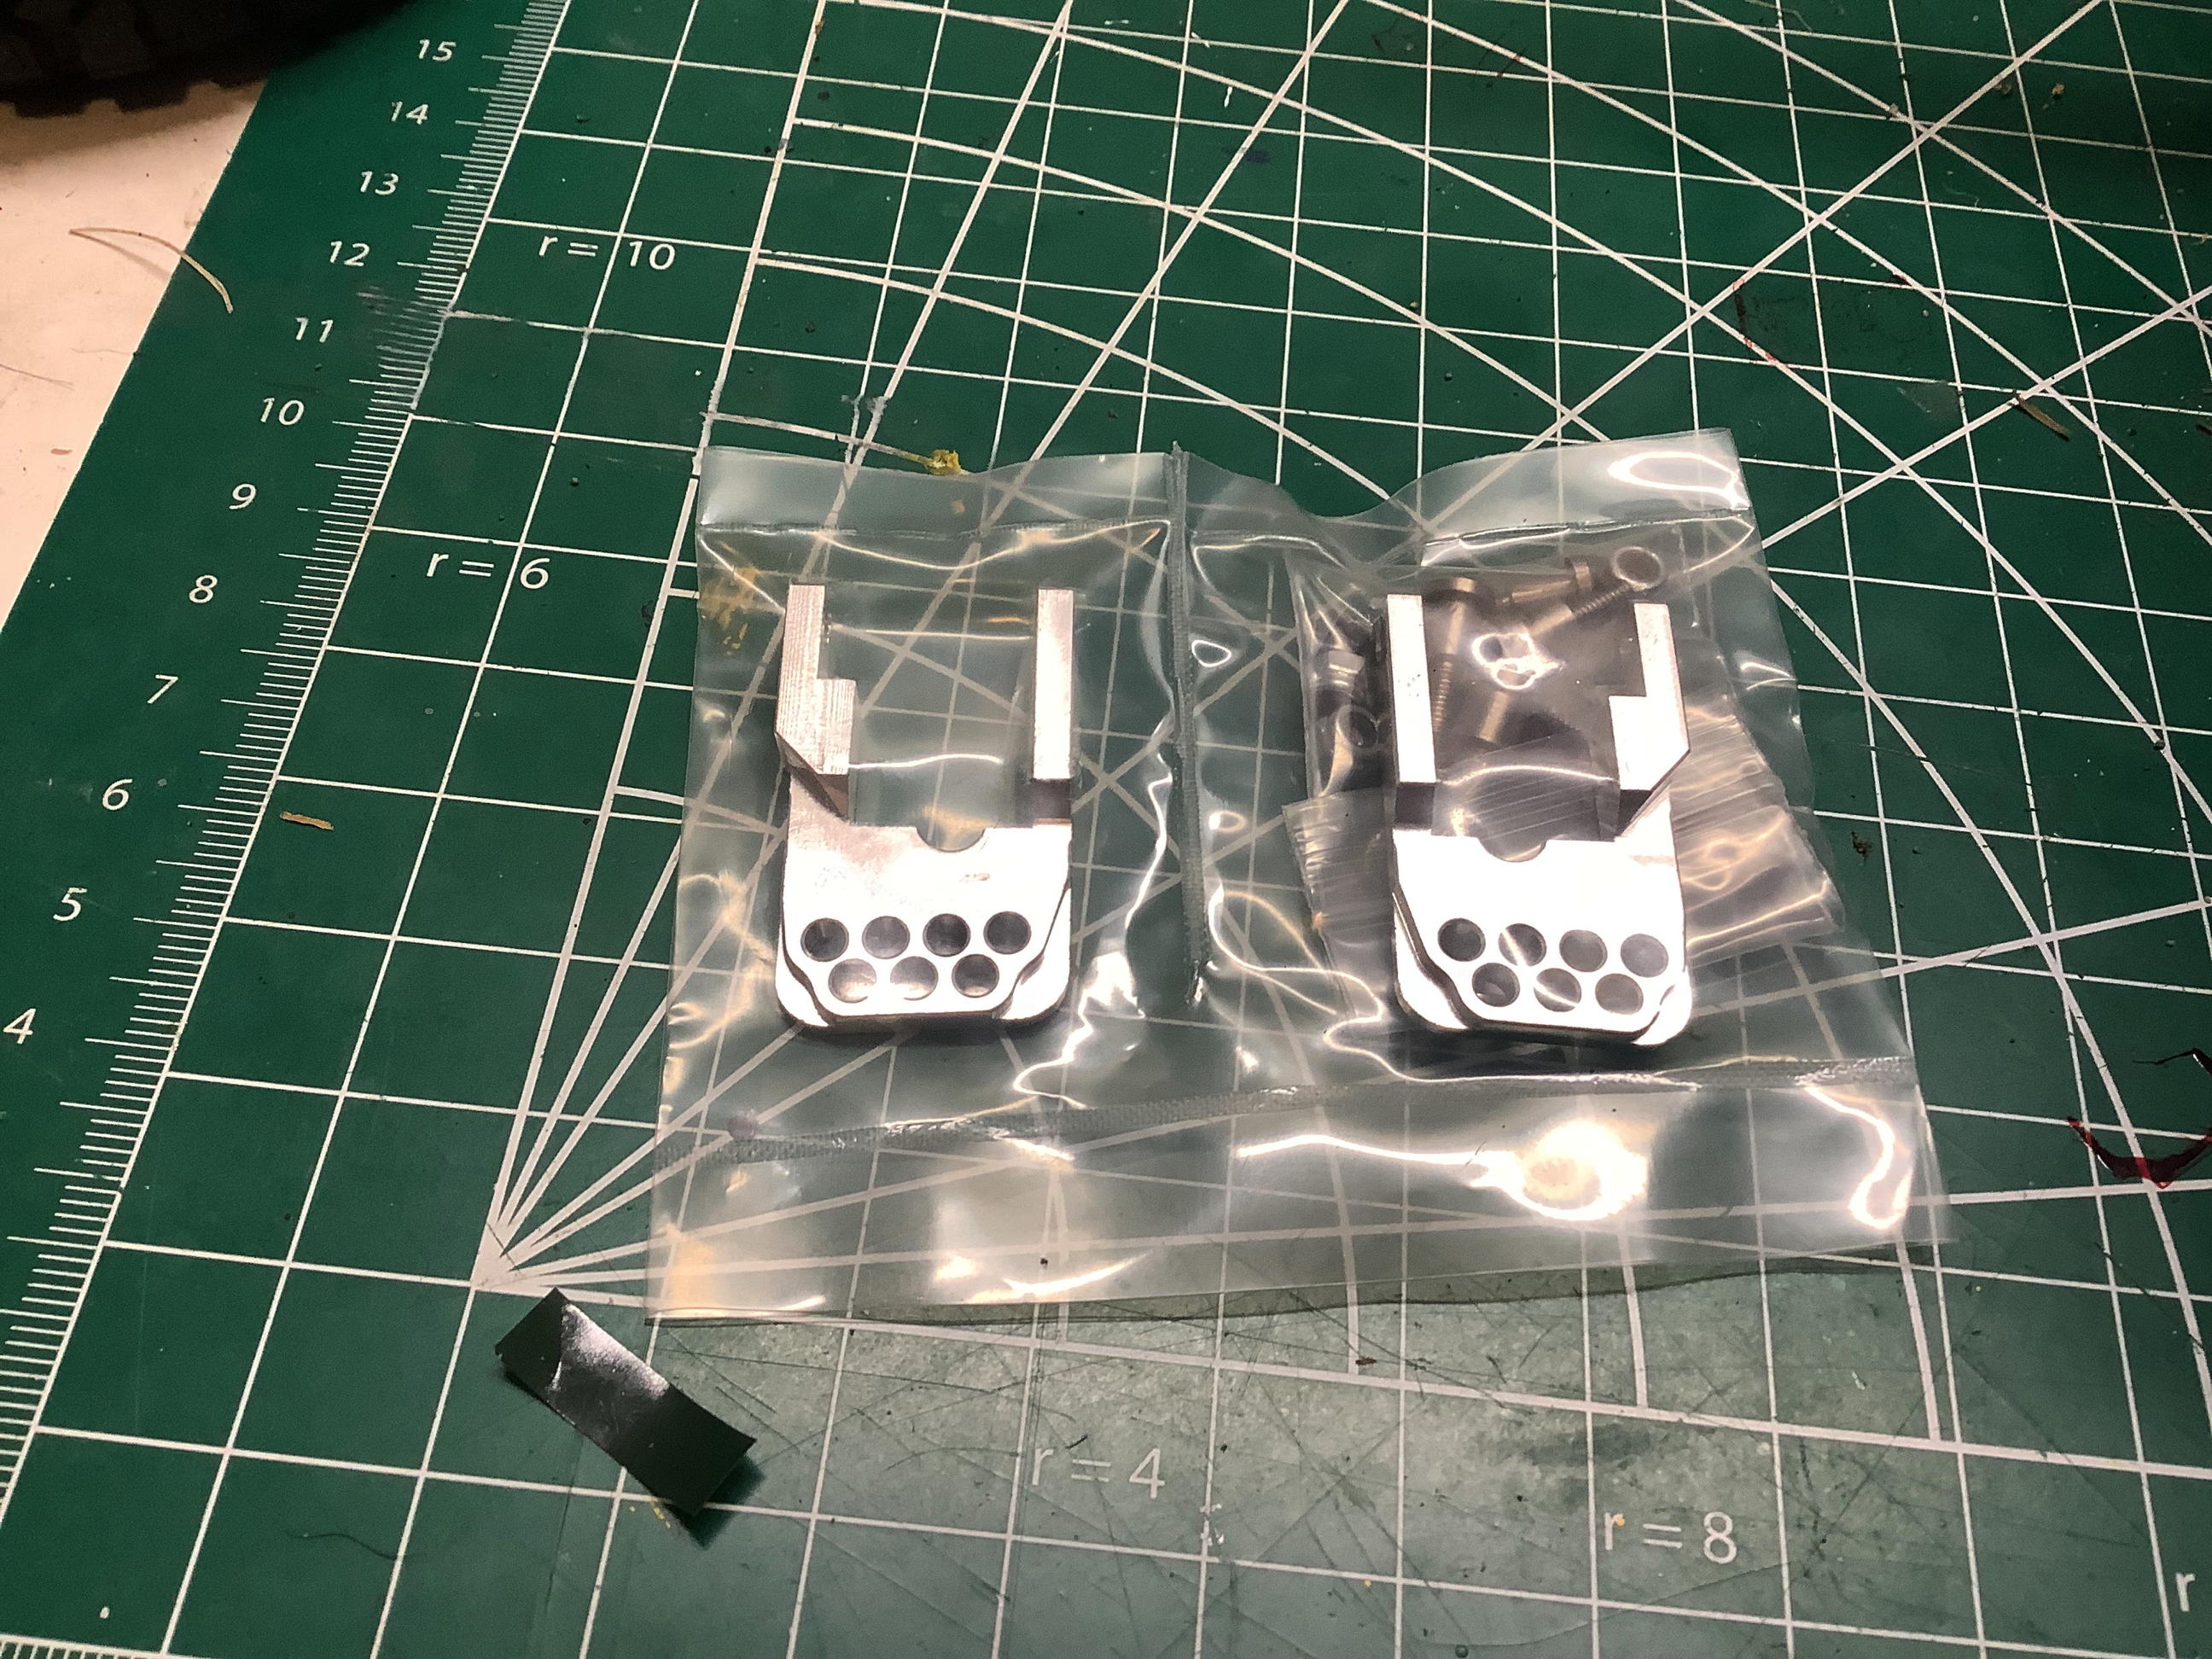
the right I've added the brackets which move the shock attachment points
to a rigid bracket with many hole options to choose from.
Since it's pretty hard to even see the parts I added in those photos, here is what they look like.
©2018 / 2022 Eric Albrecht