Tamiya Jeep Wrangler Project
Page 3: Body Upgrades!
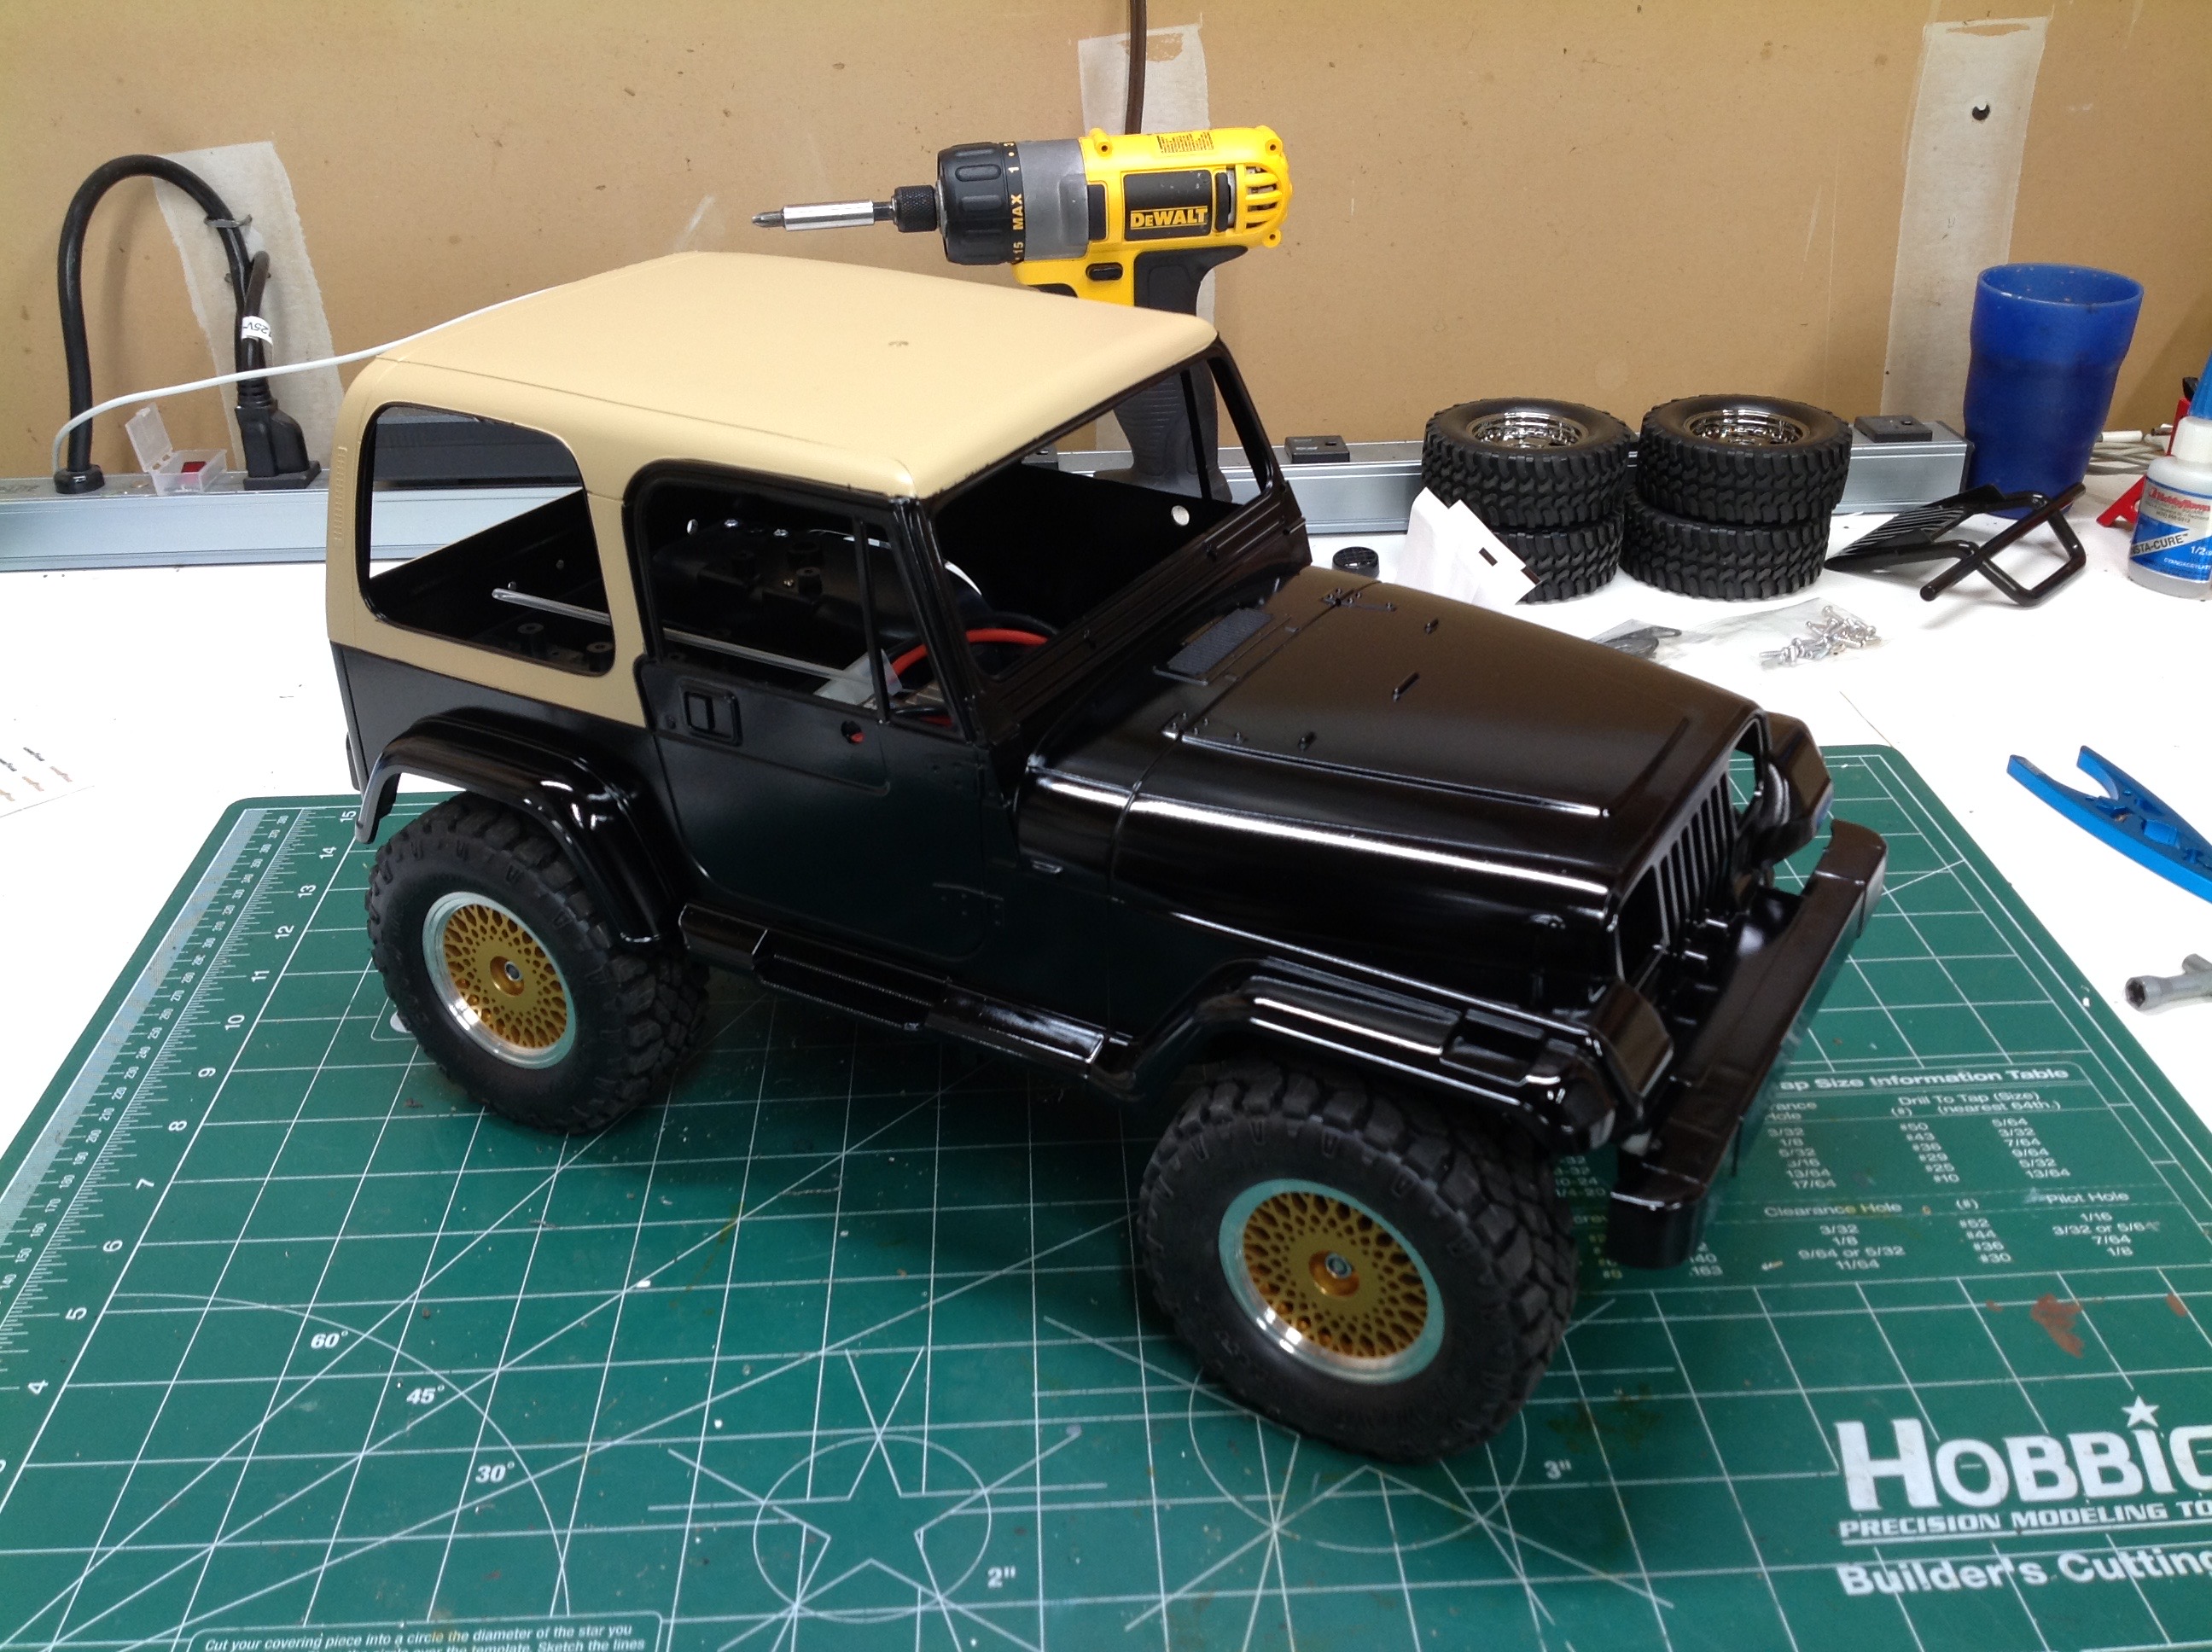
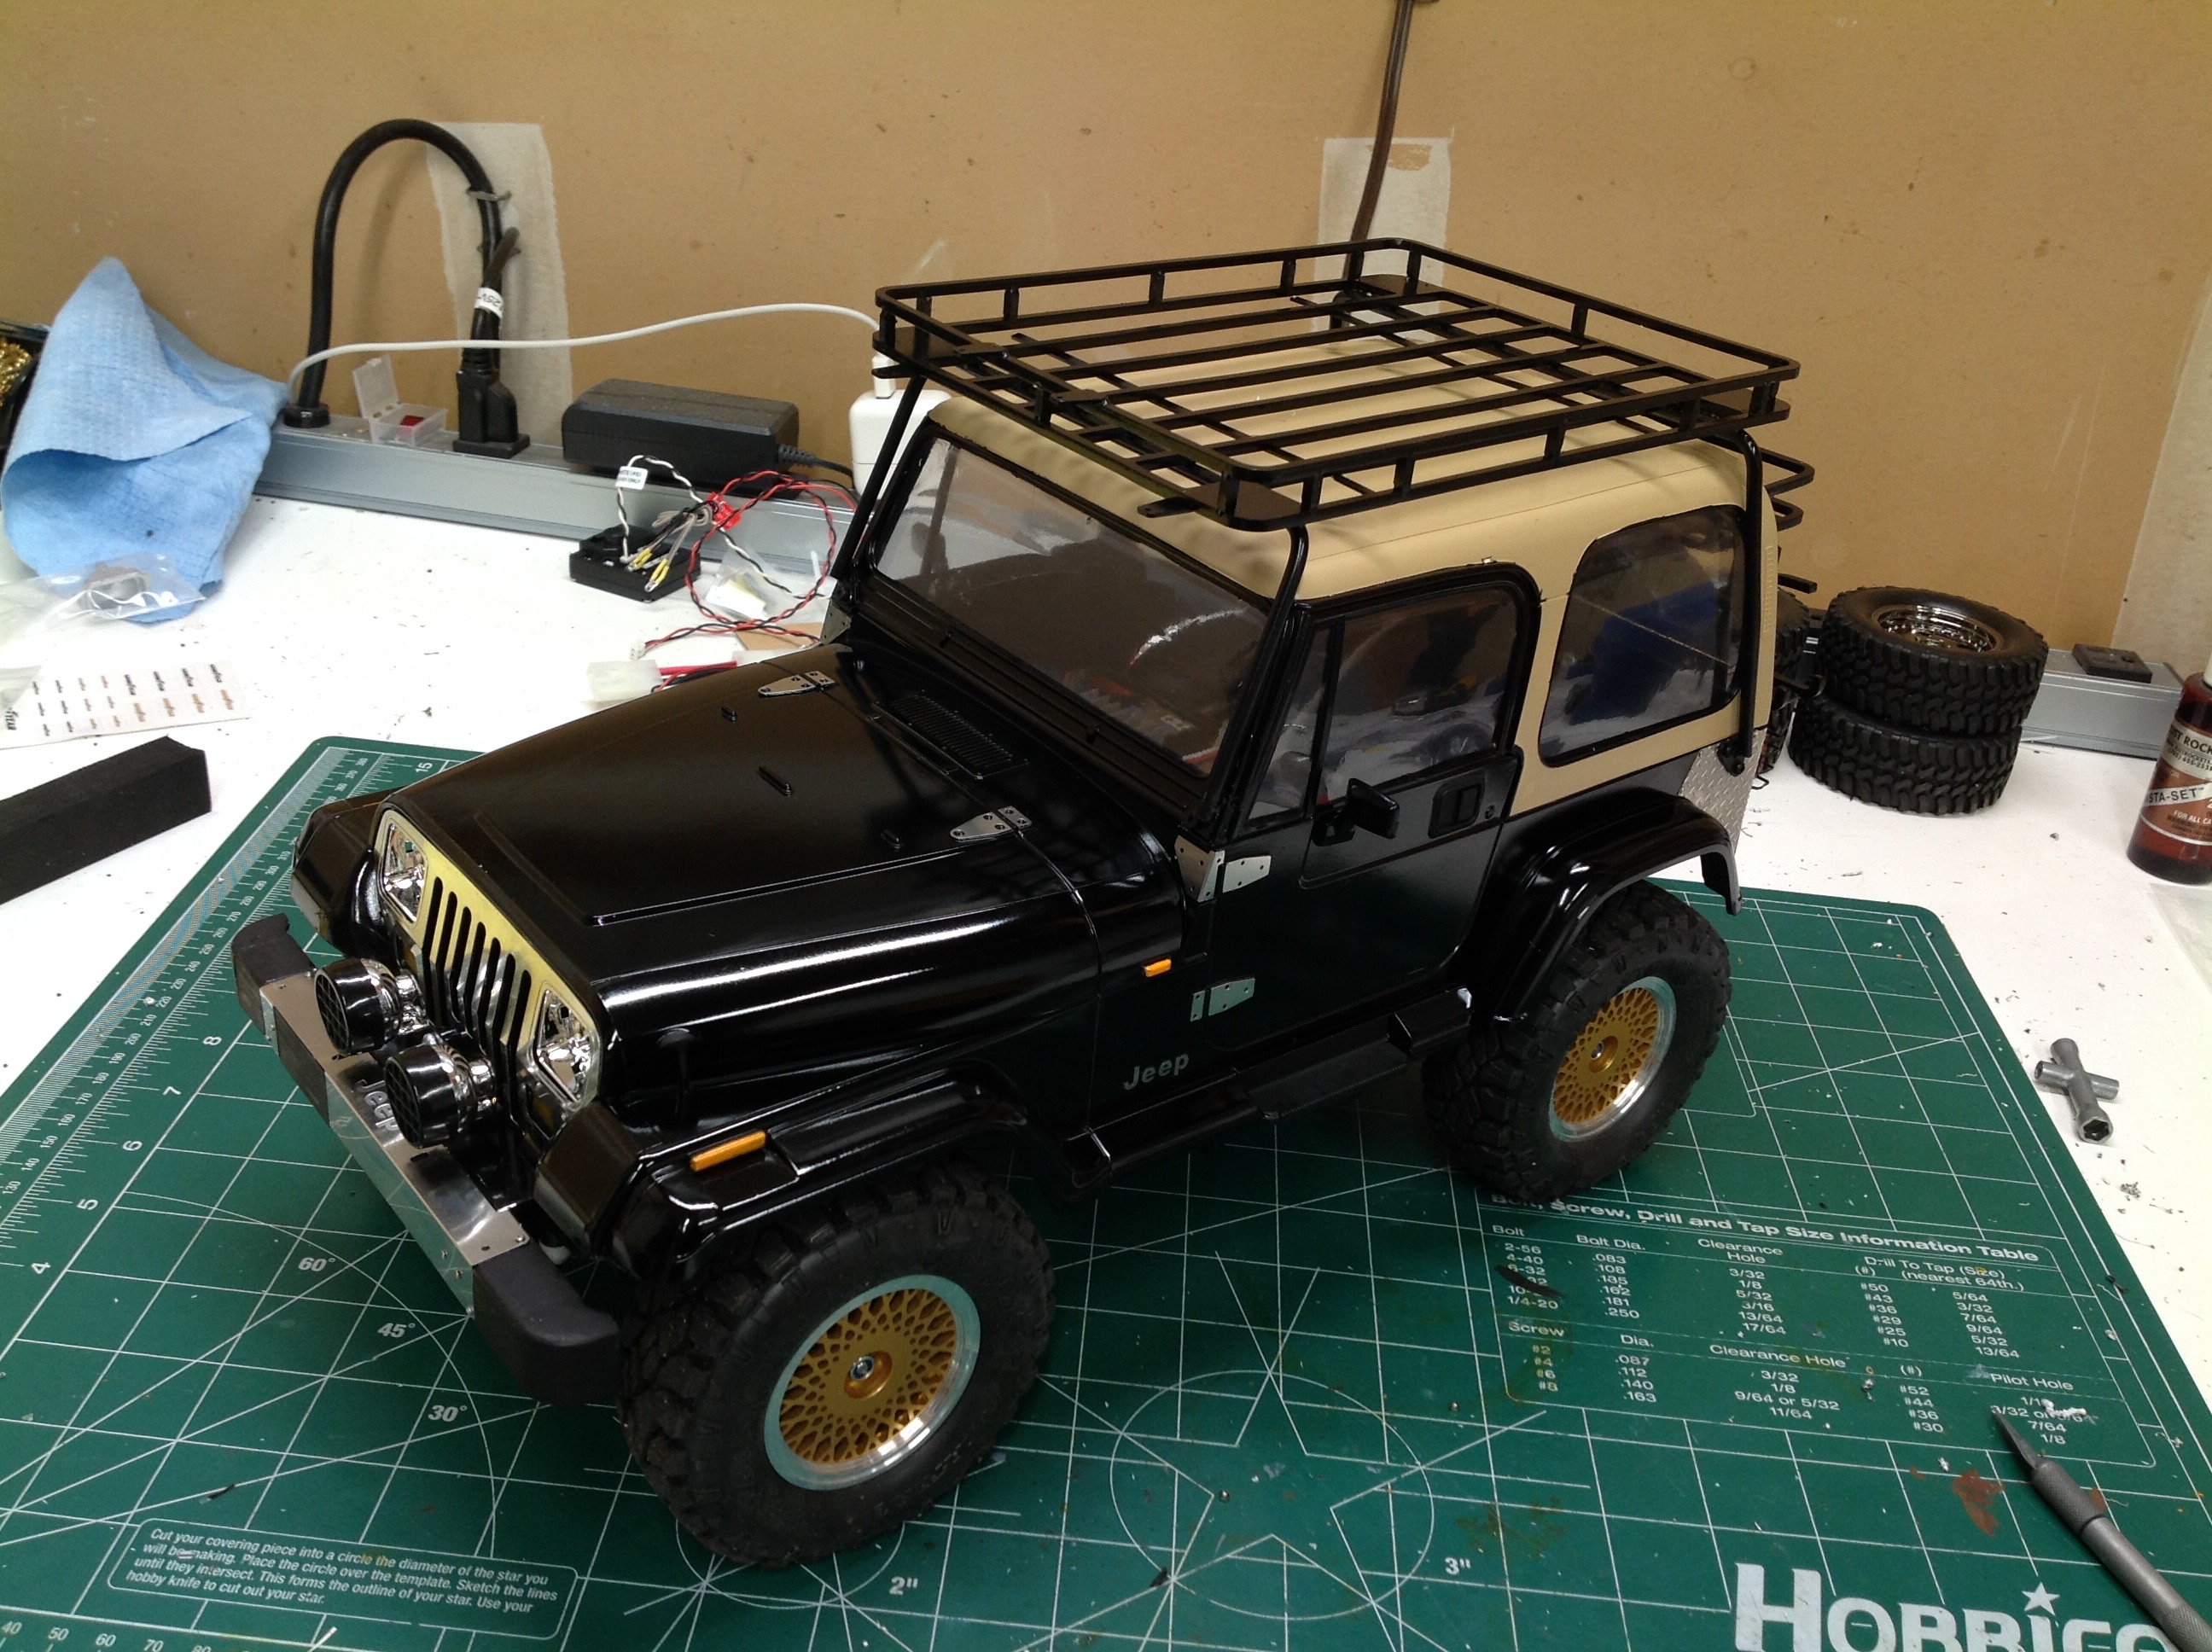
As I starting point I painted the ABS hard shell in stock colors.
The main section is black and the roof is tan. This model is
intended to be a hard top rather than cloth, so this is not supposed to
be canvas but just desert tan paint. I painted the inside of the
body all in black. I also used this stage to check clearances with
the larger tires.
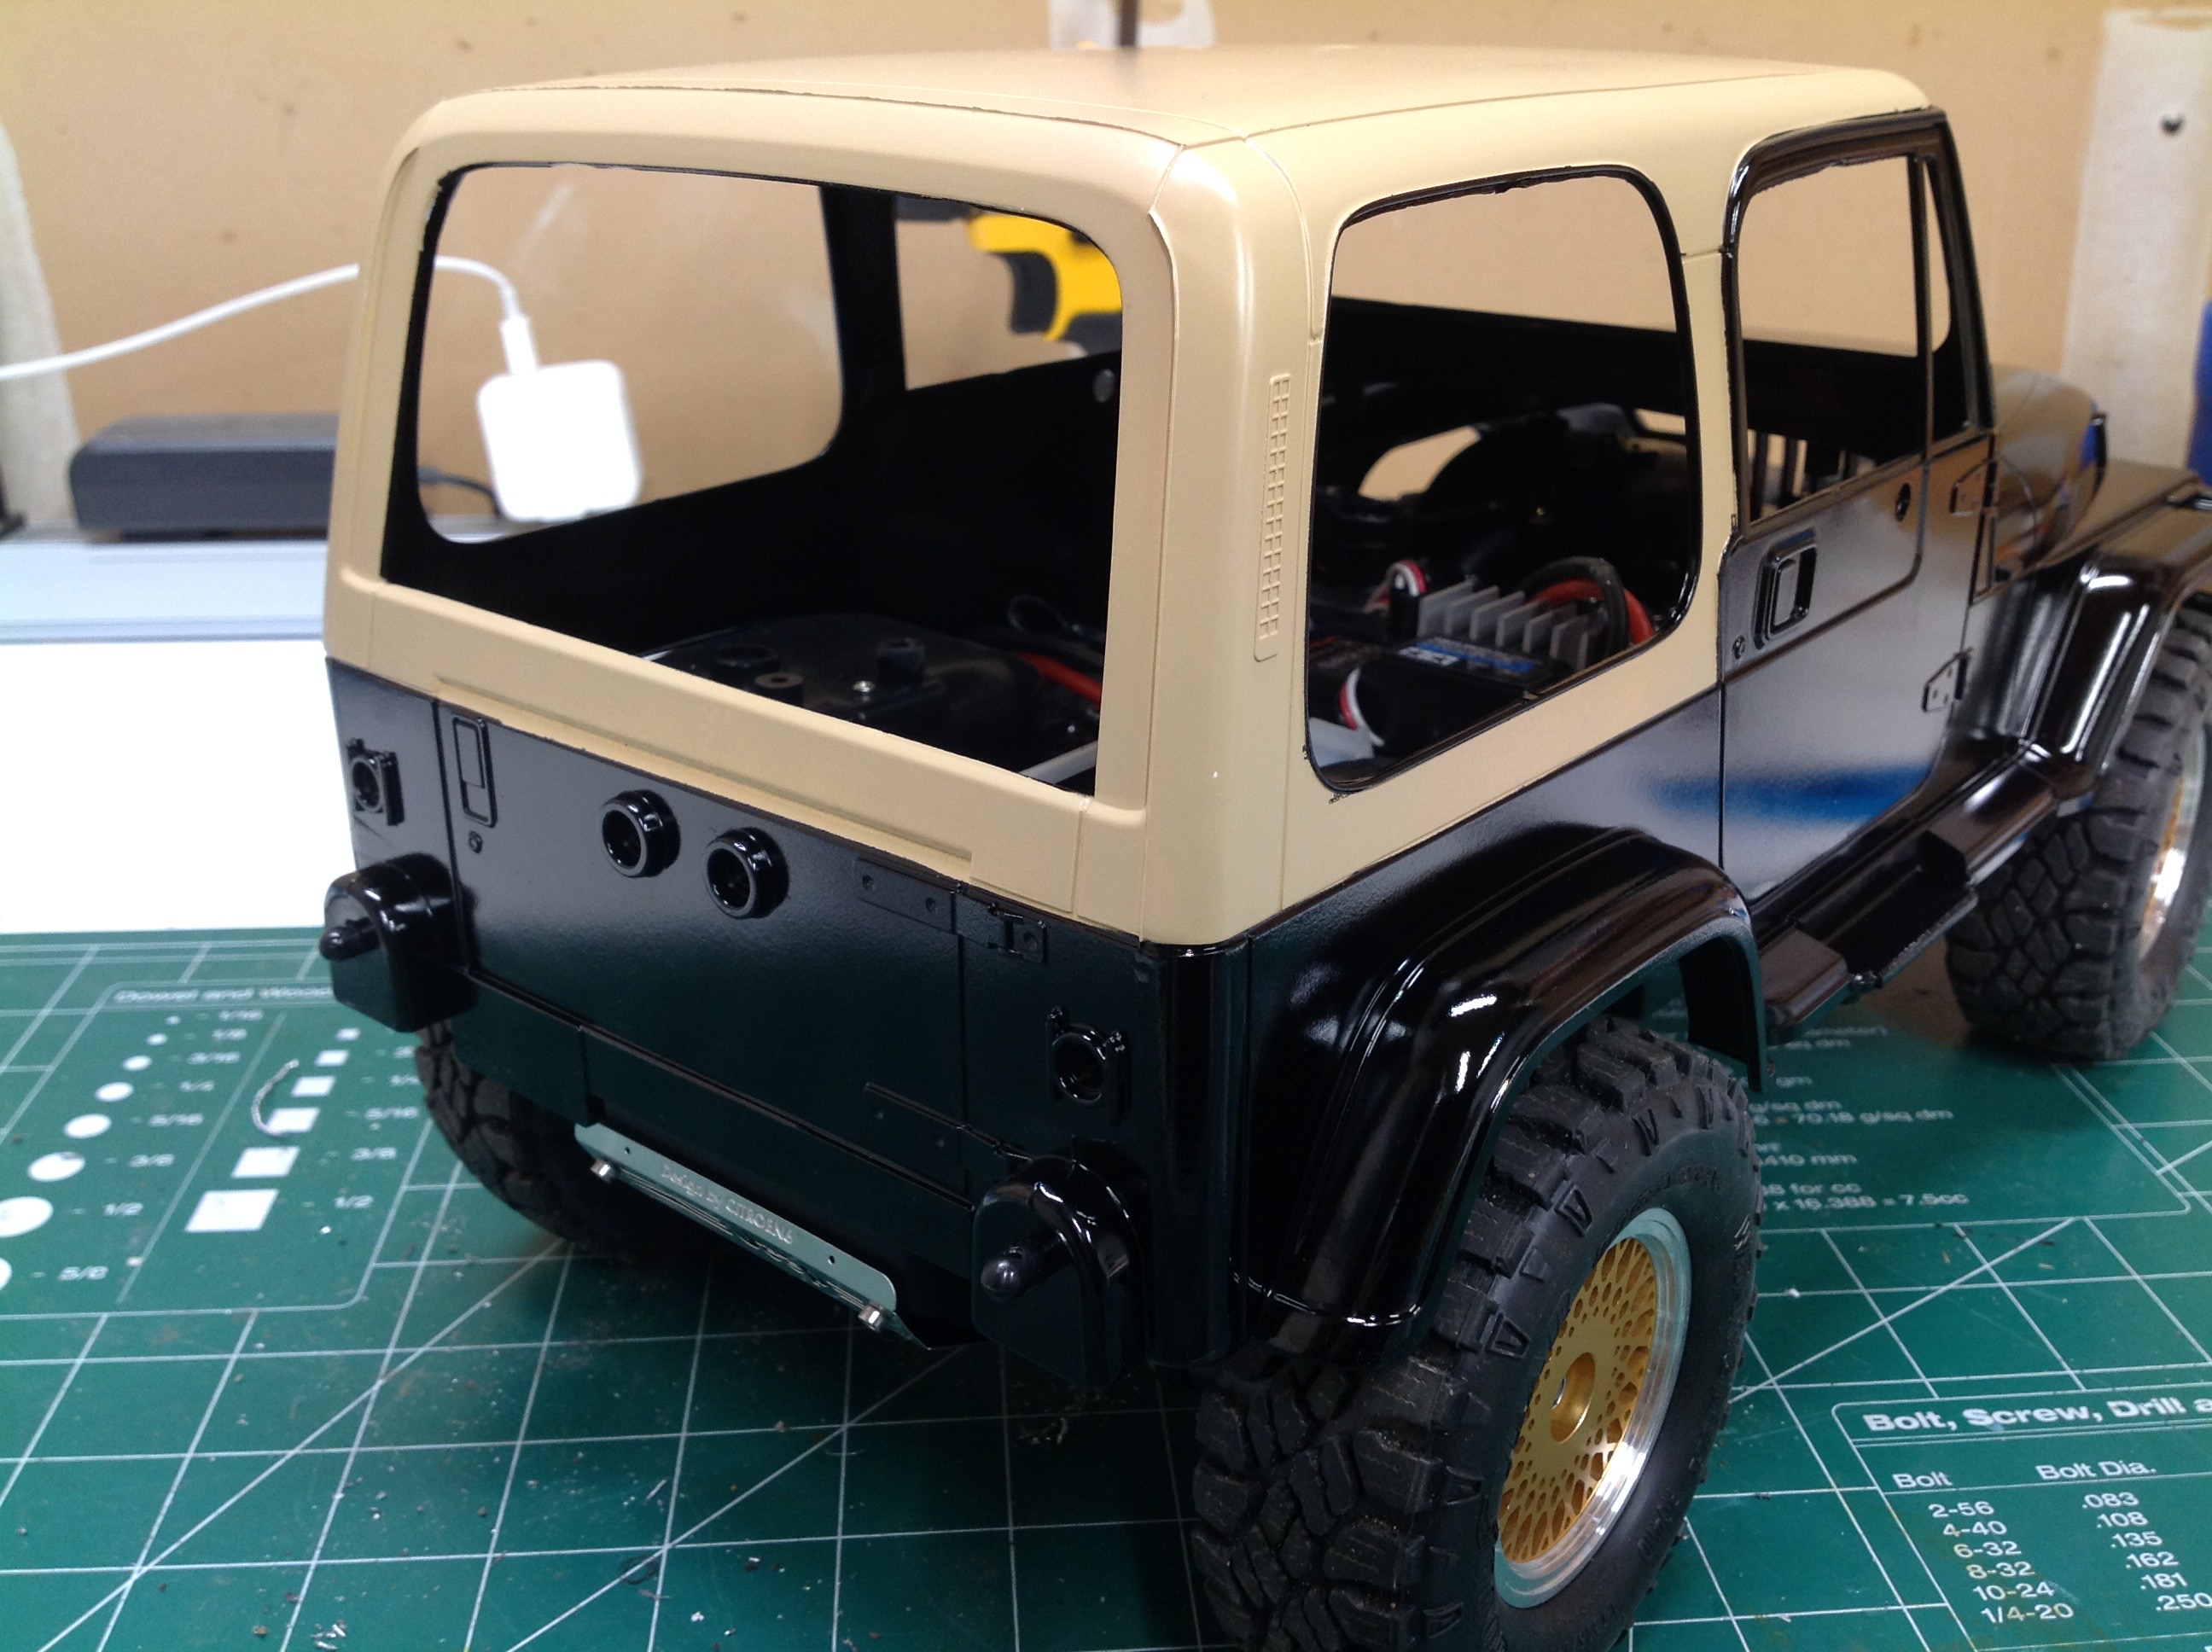
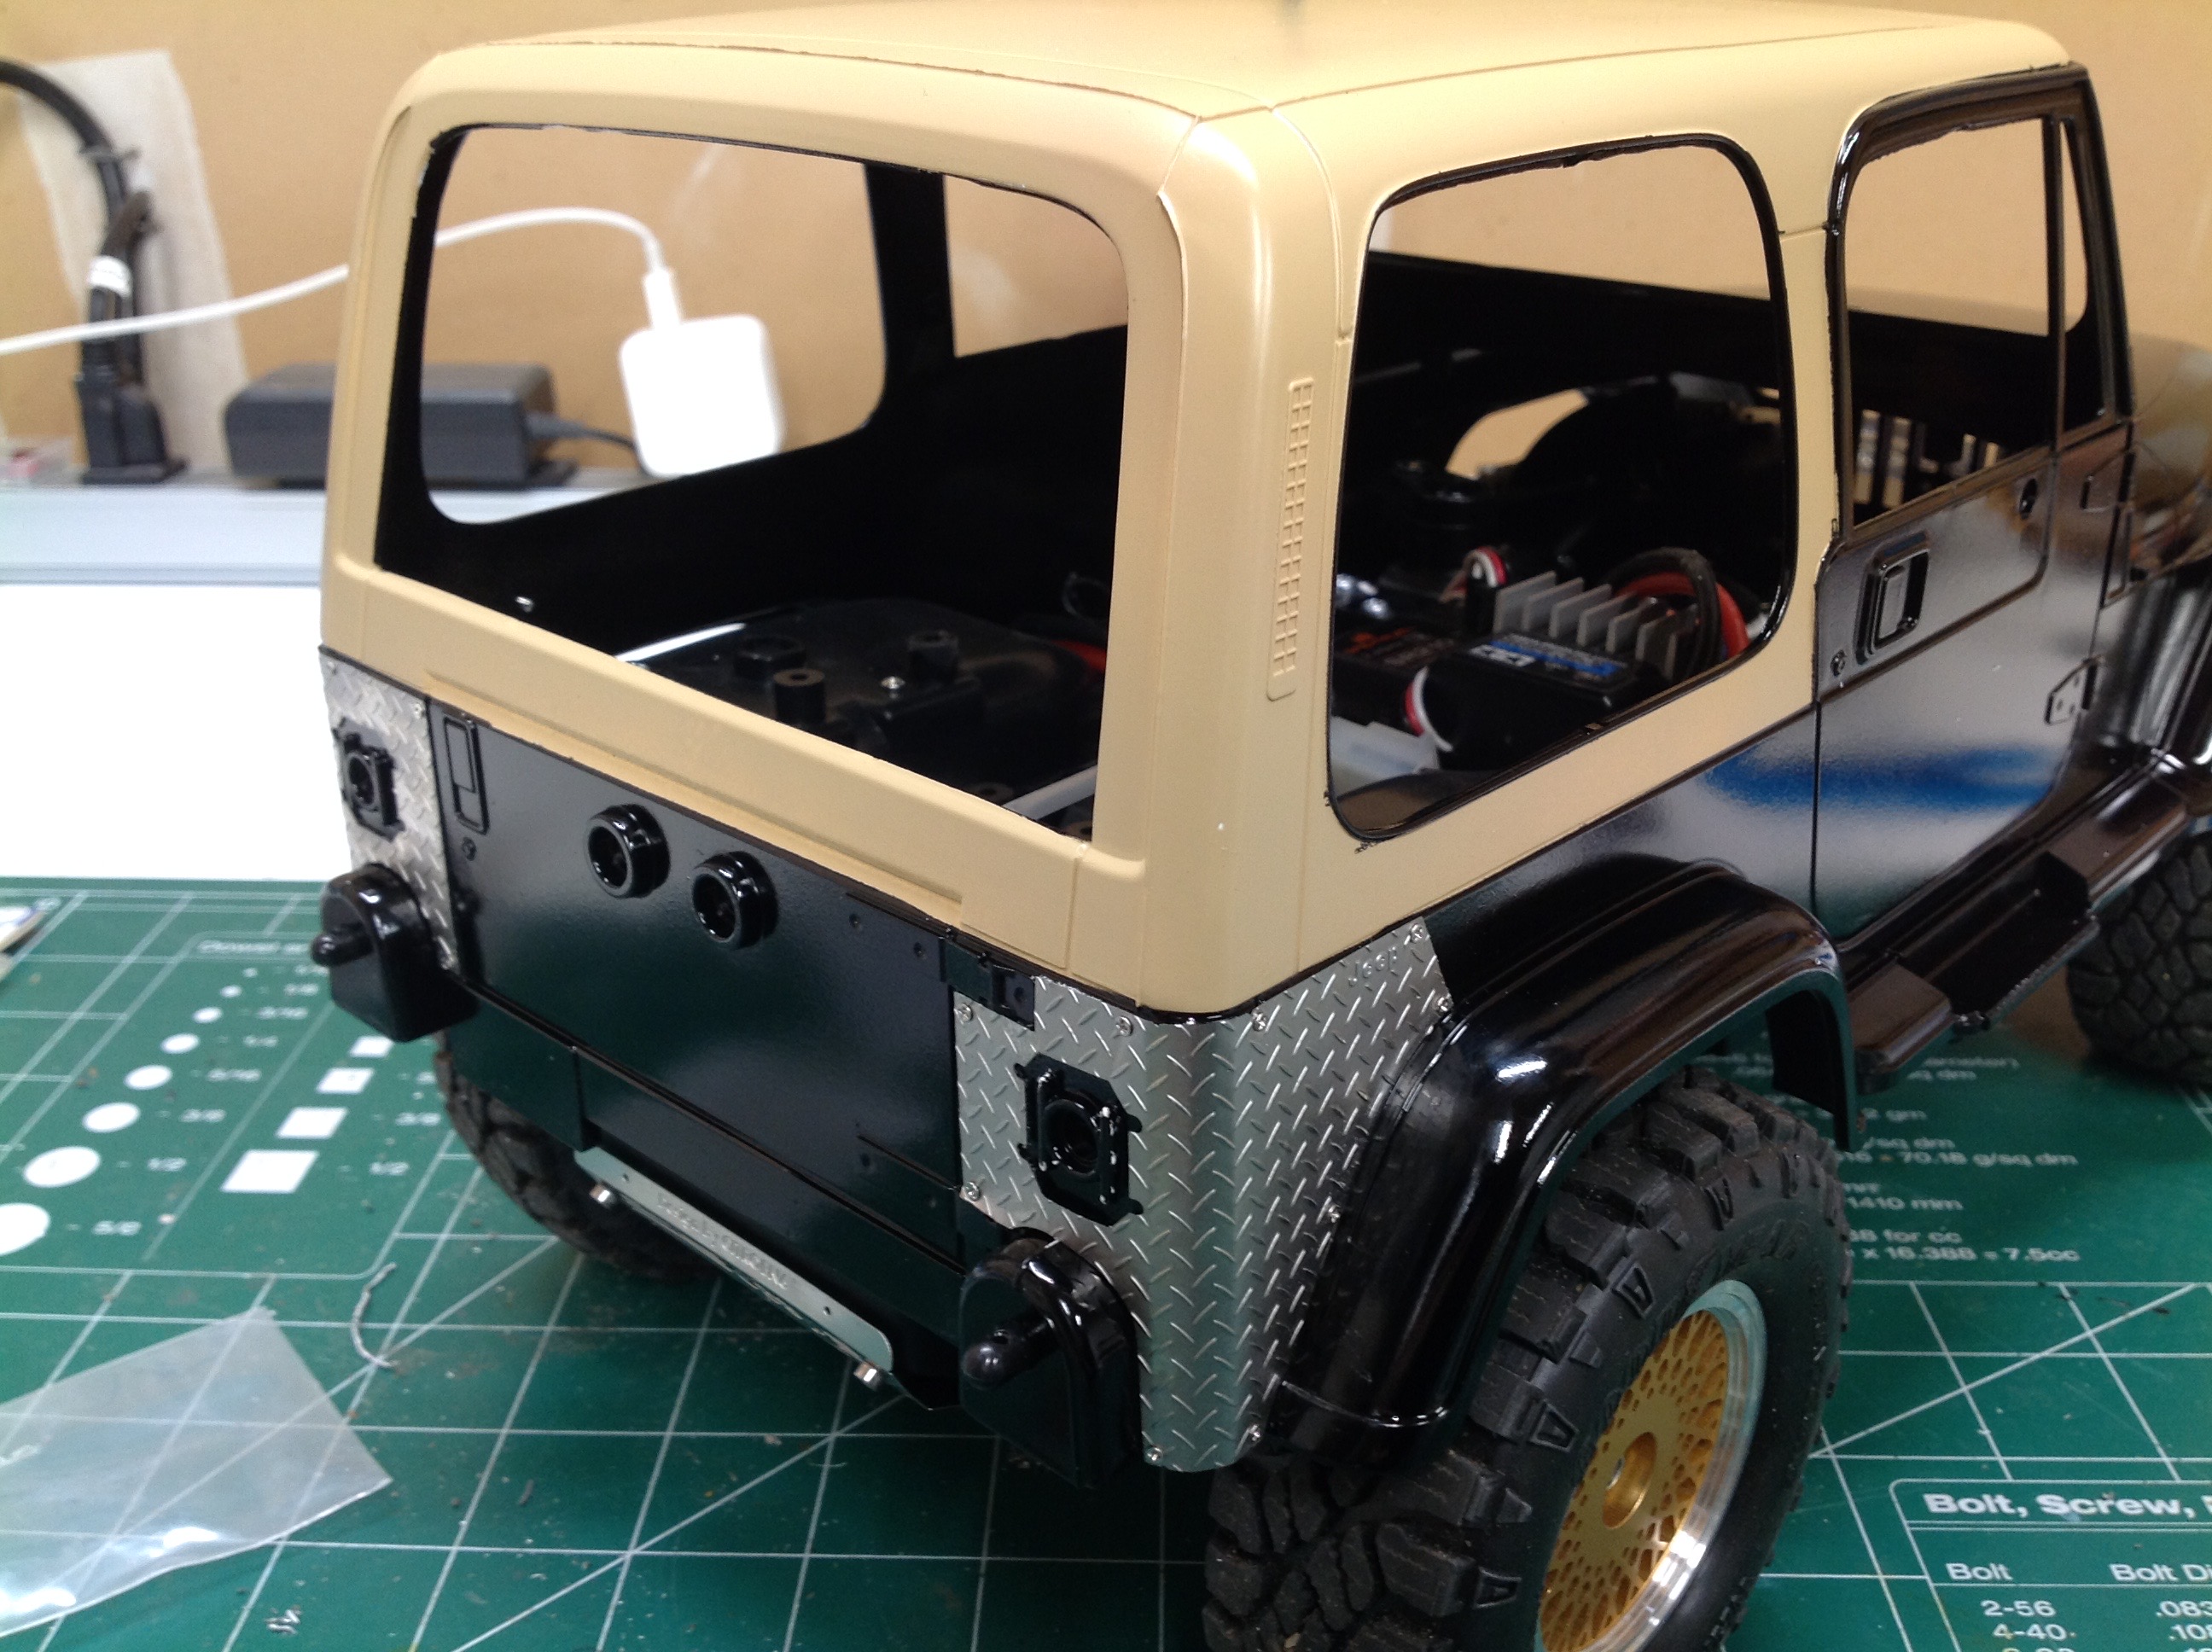
My next step was to add diamond plate covers to the rear corners.
These are installed with almost microscopic machine screws and
nuts. The photos above compare before and after. These parts
became a bit of a problem later when I installed the roof rack because I
had to drill through the metal to install the mounting screws.
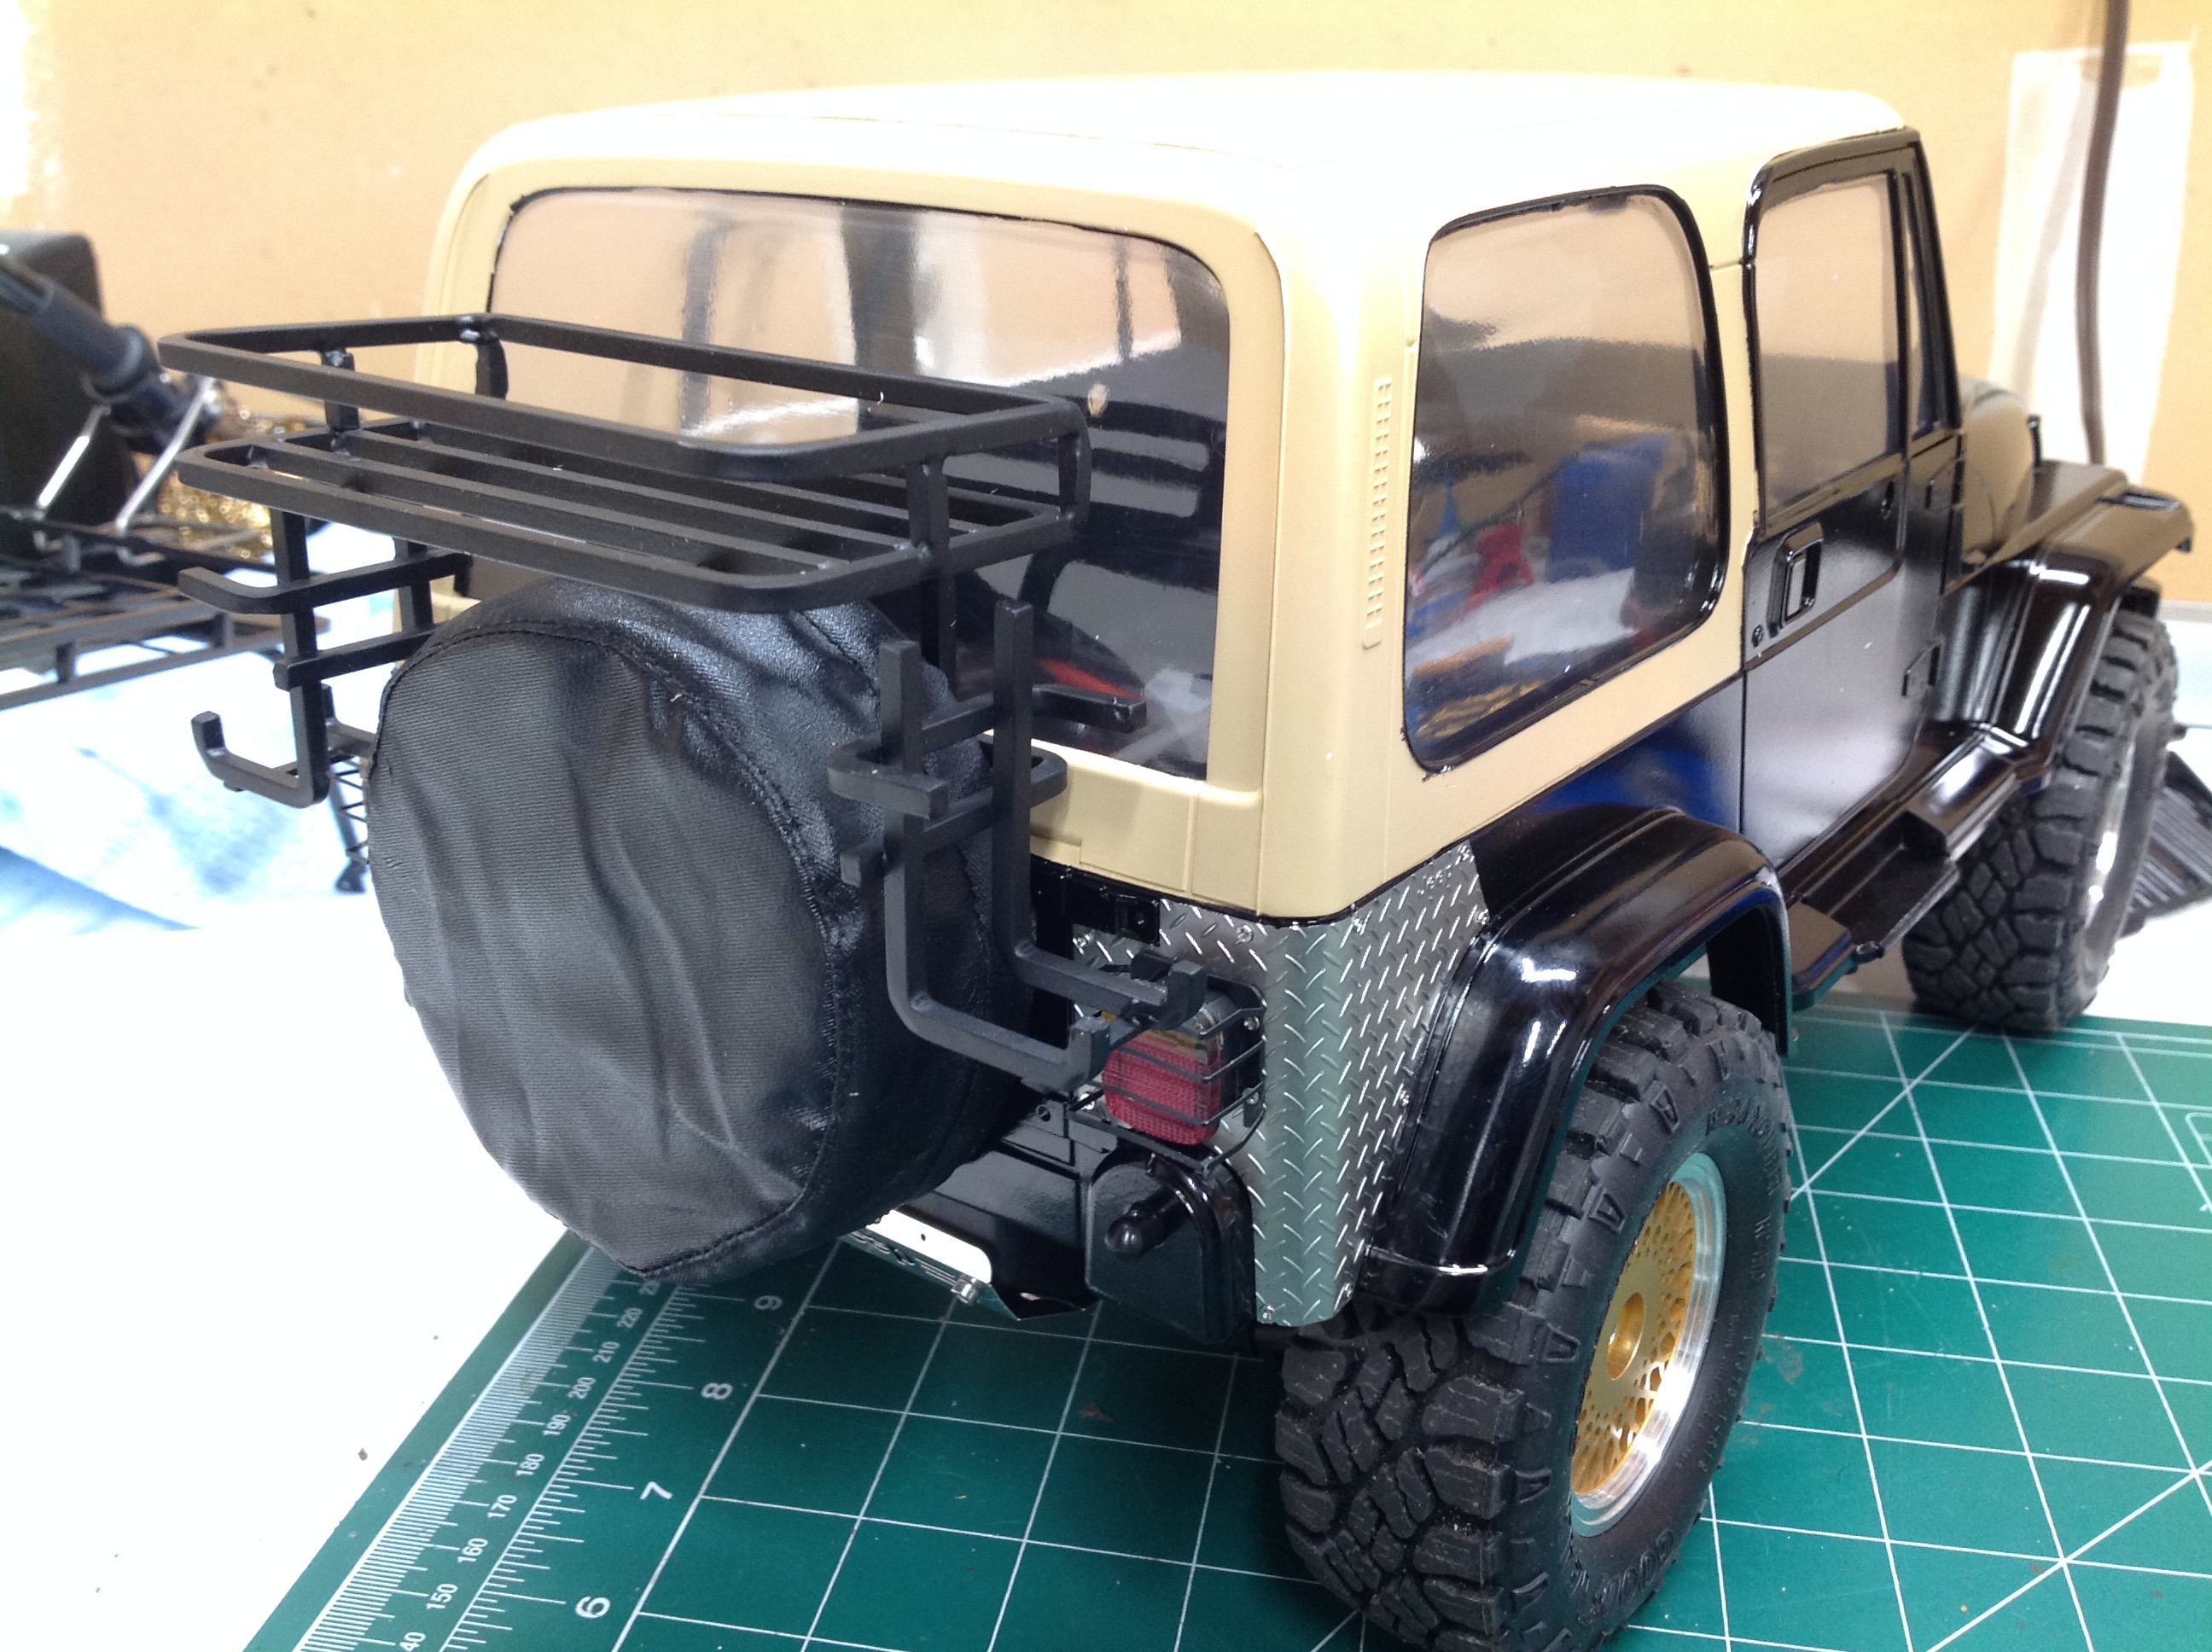
I used some tail light lenses which were prepainted in transparent red
and orange. I thought I ordered the most detailed versions, but I
accidentally ordered the second most detailed by mistake. I
suspect no one will know the difference. The major difference is
that the most complex versions have room for both a stop light and a
reverse light (and I'm not doing reverse lights anyway). Wrapped
around the lenses are an extremely fragile set of real metal
guards. They look great, but you have to be careful not to crush
them when grabbing the body to remove it. Luckily they can be
easily pushed back into shape after being damaged.
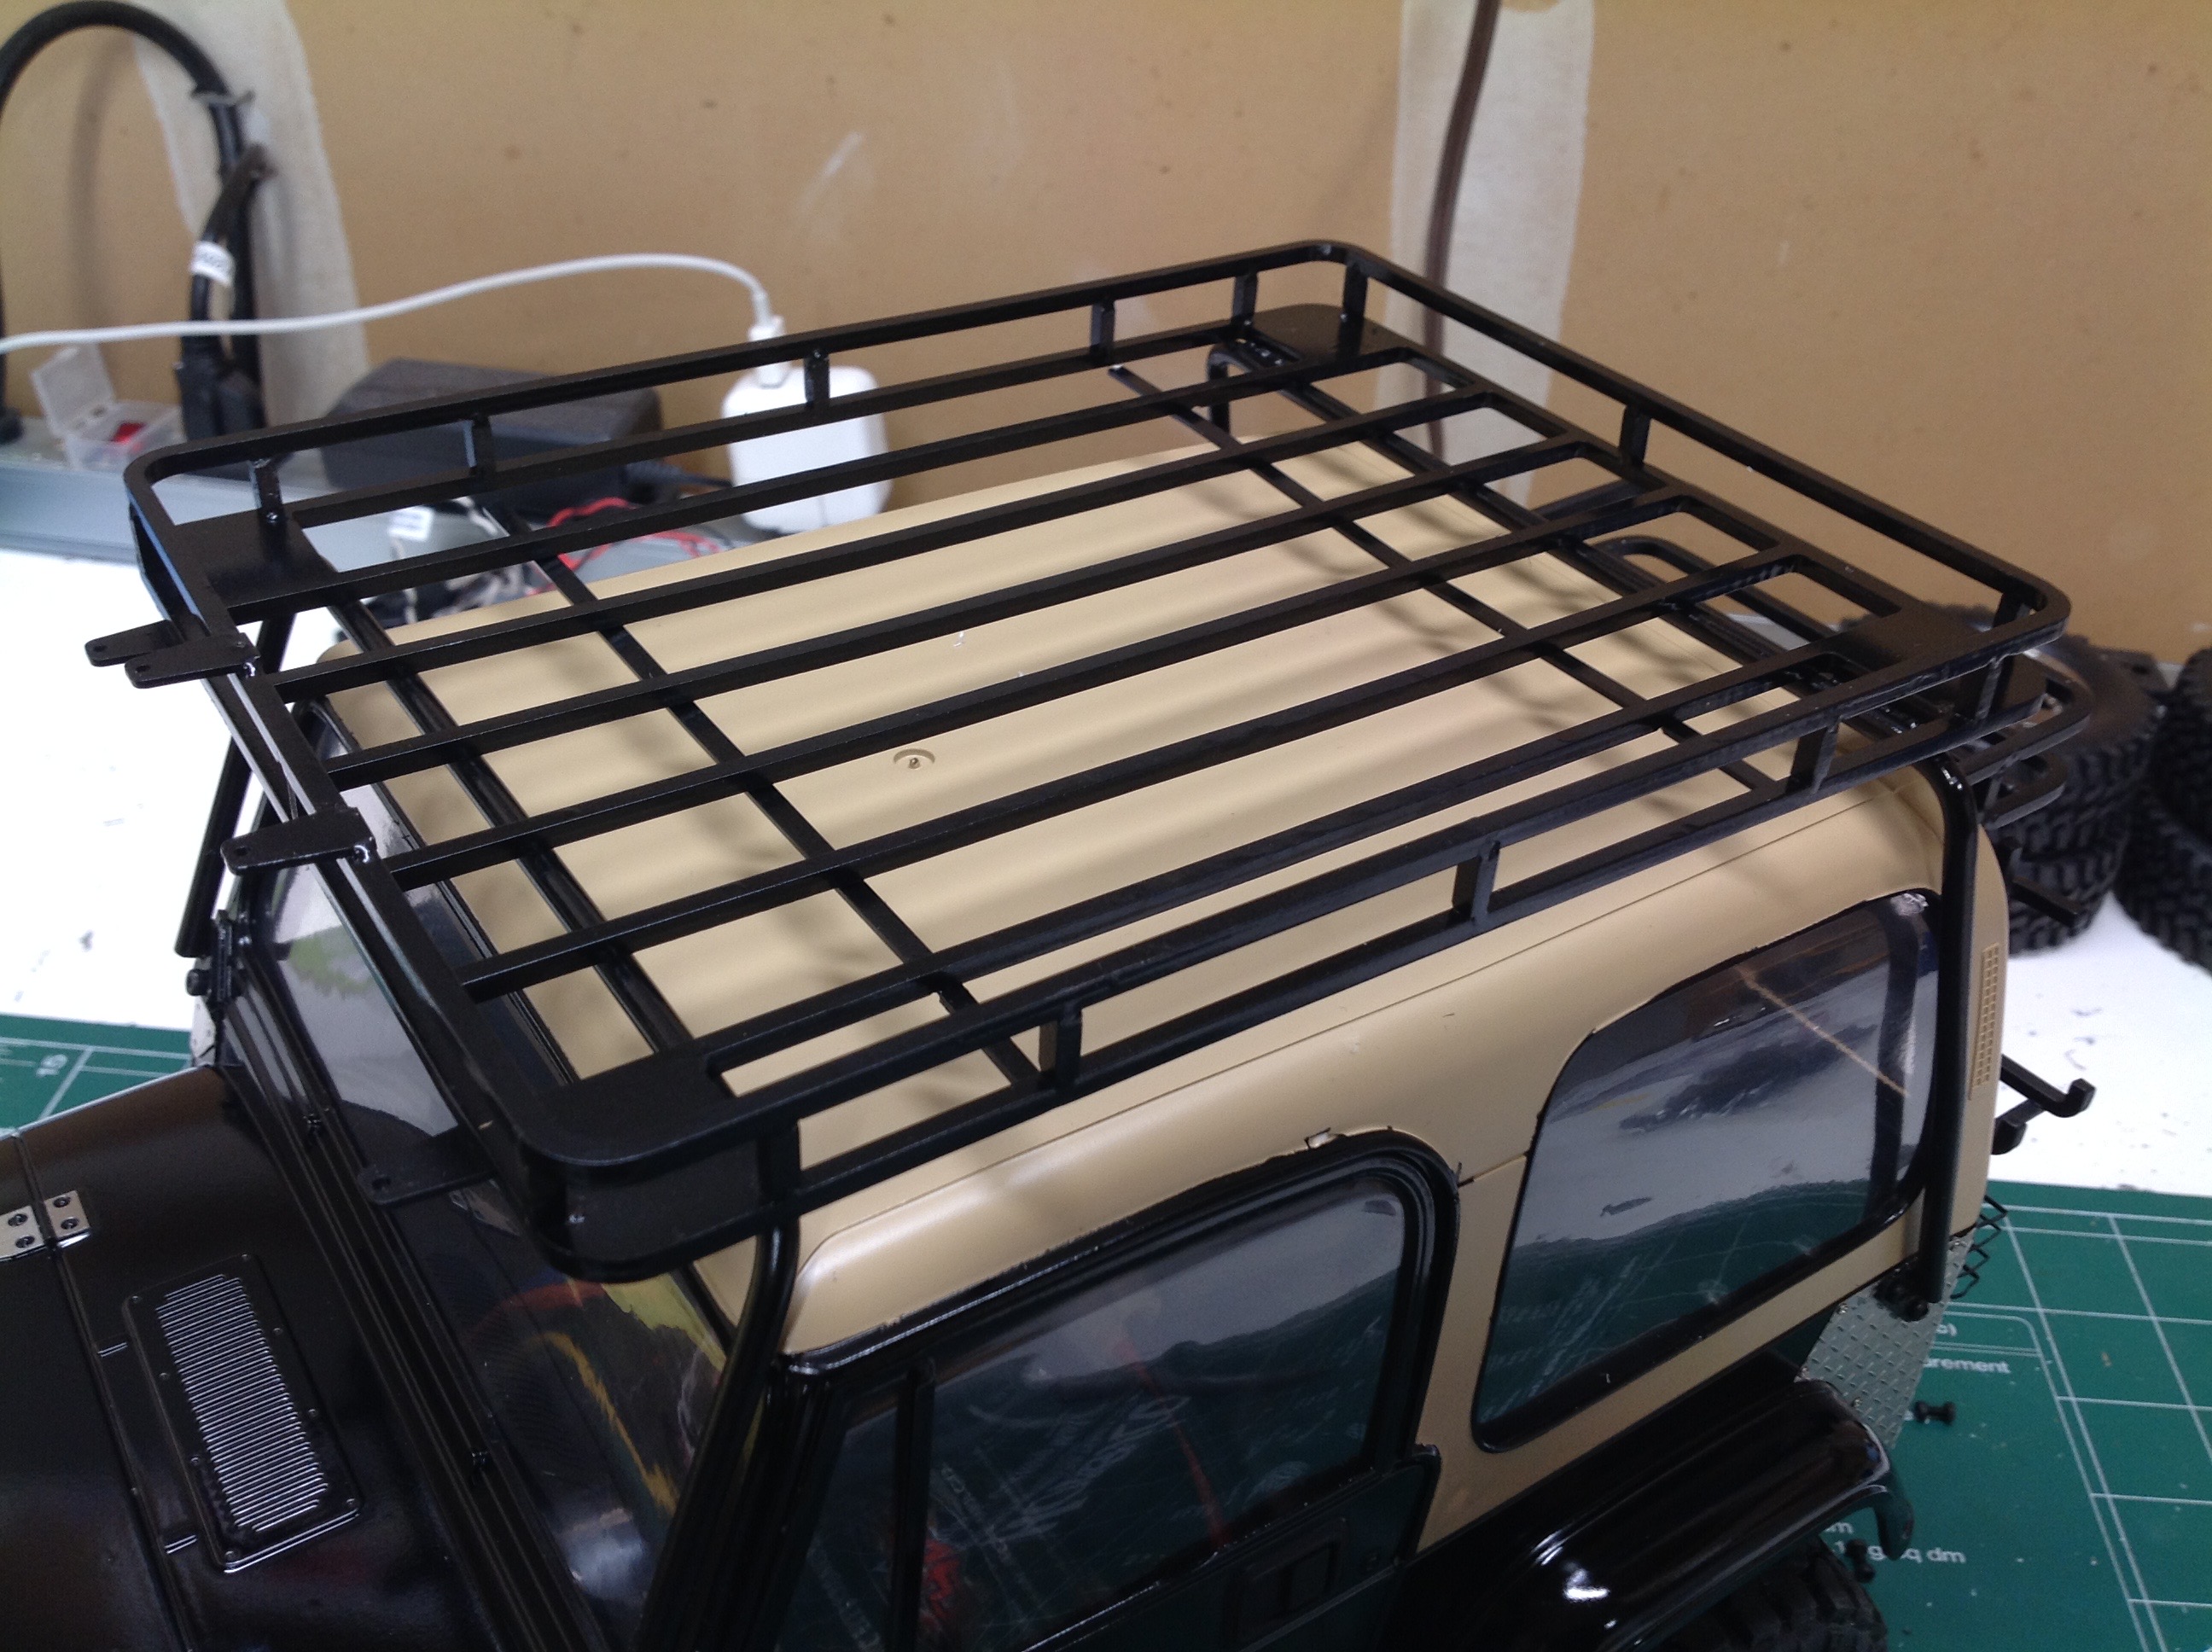
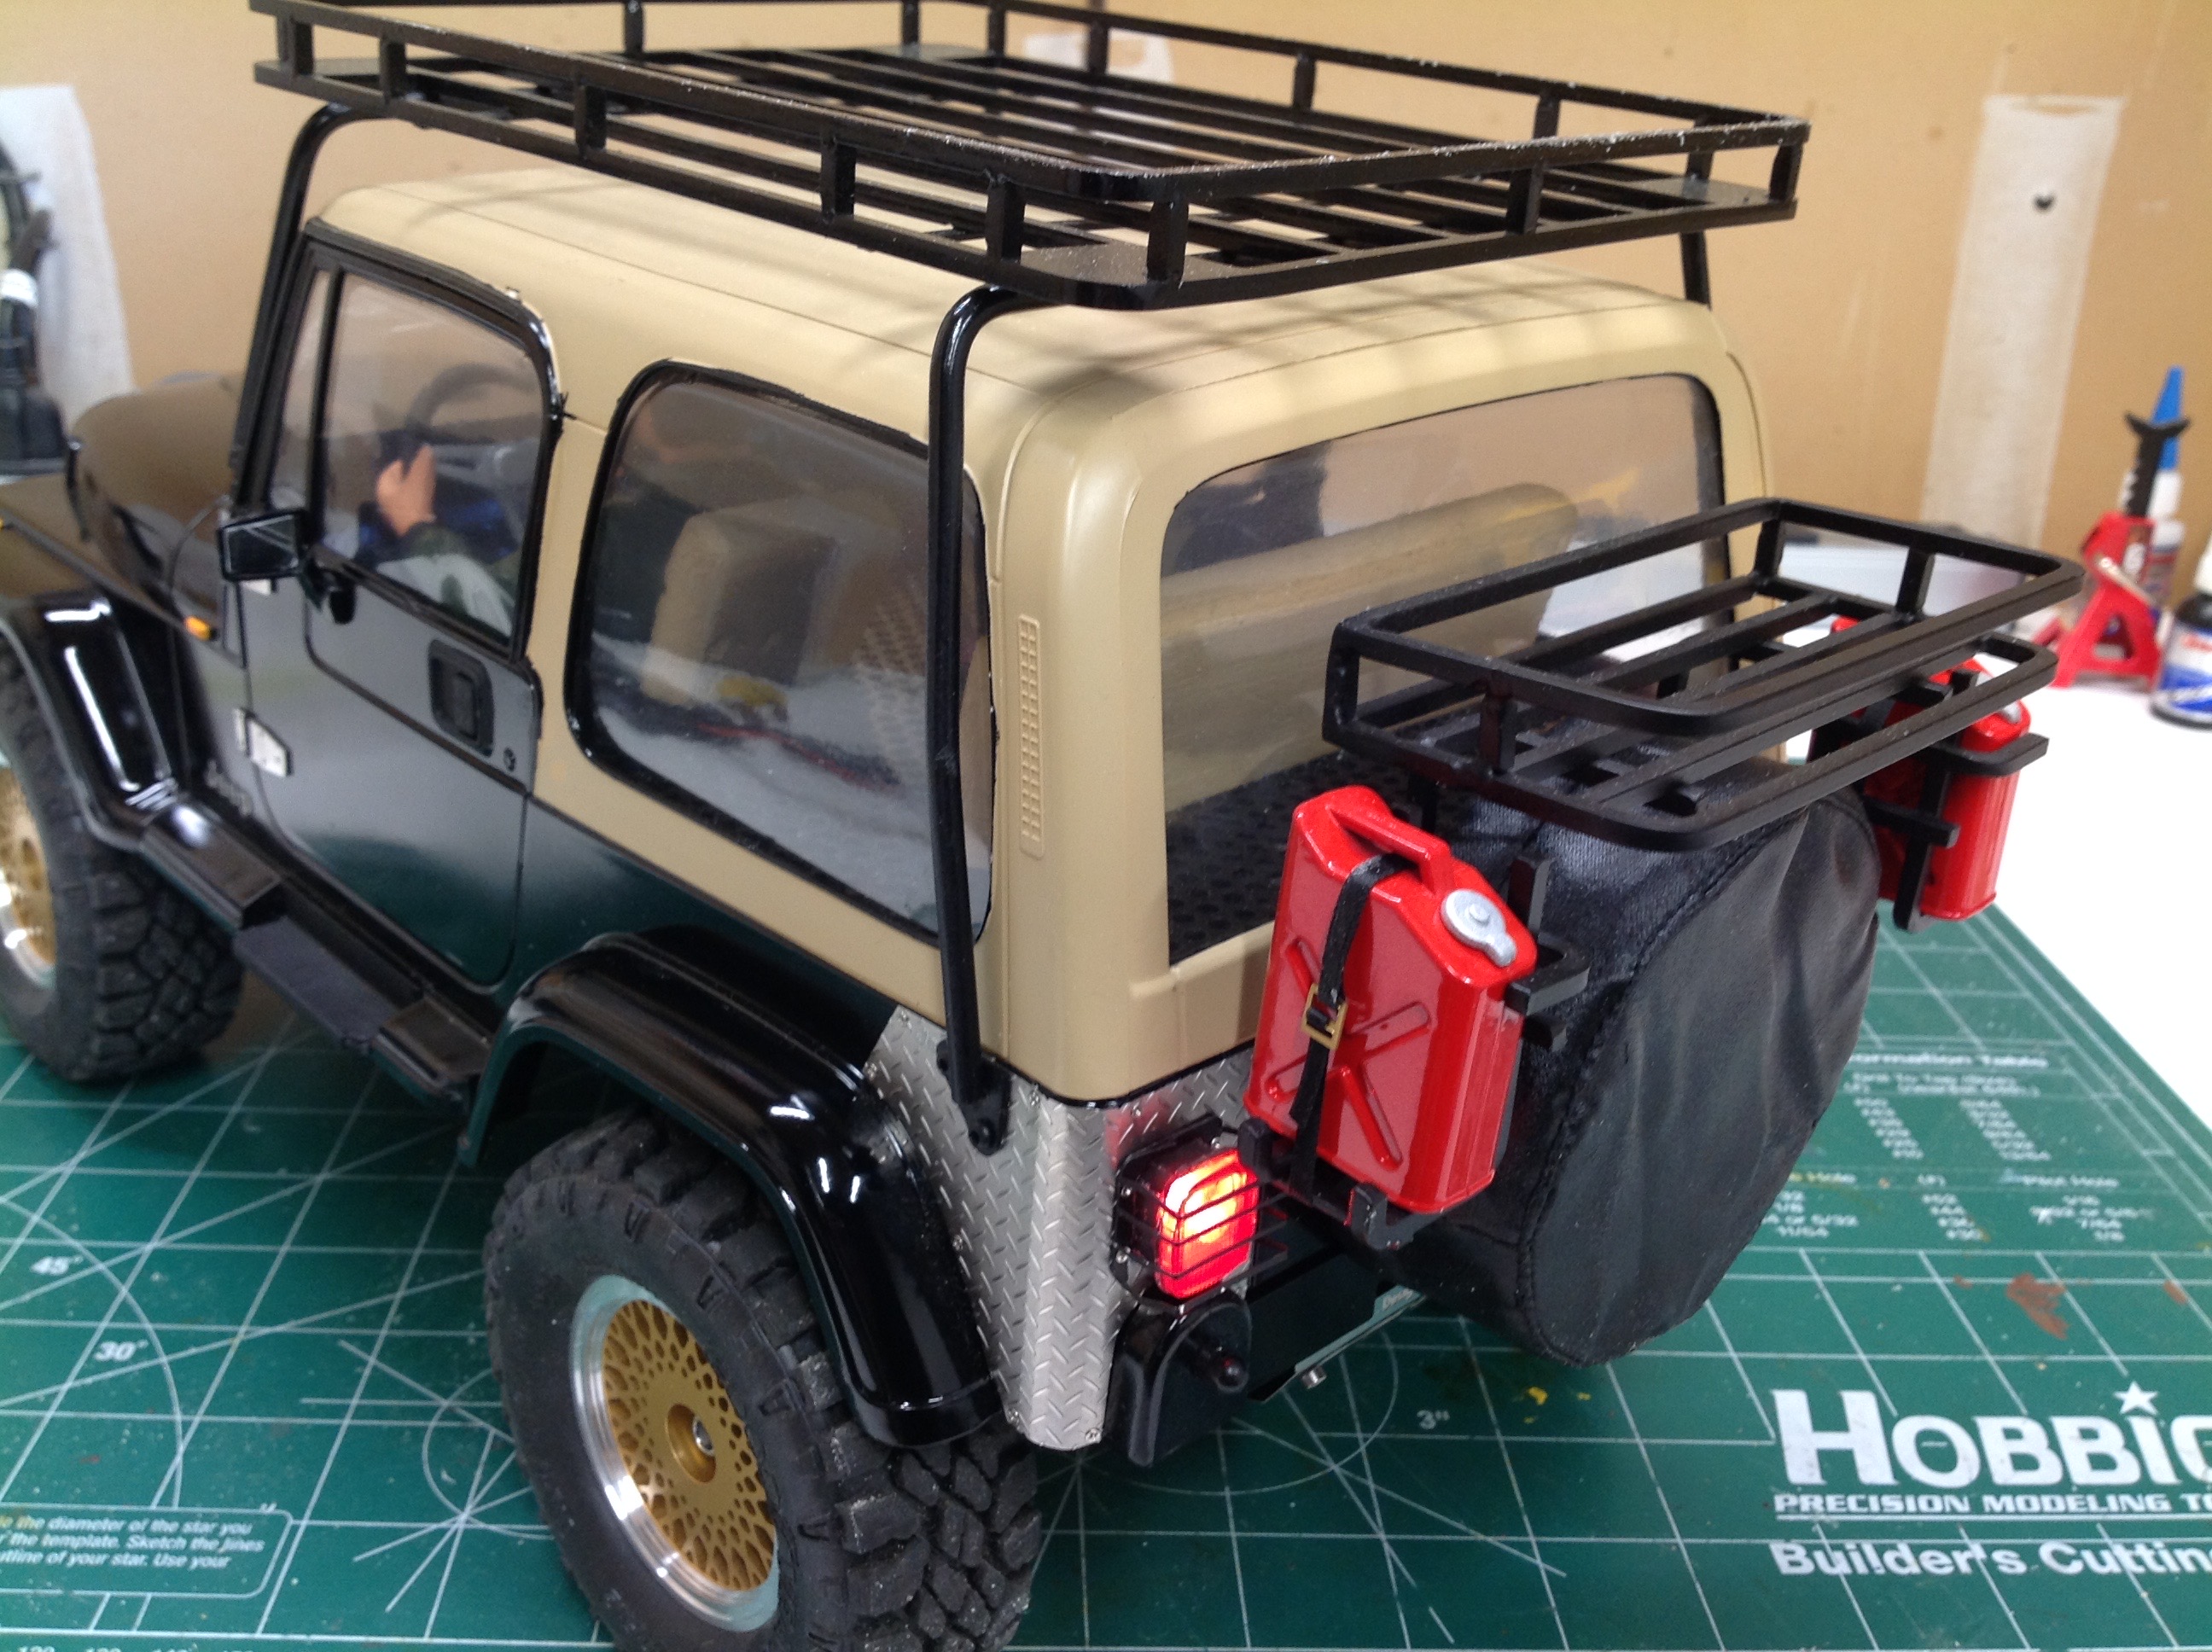
Several things have been added in these images. Most obvious are
the rear rack on the left and the roof rack on the right. Both of
these are heavy racks made of real metal and screwed in place. You
can also see that I've installed the kit spare tire, but over the top
of it I've placed a real cloth cover. Finally, I've installed the
windows. The stock body comes with darkened windows which are
nearly opaque. However, I knew I wanted an interior so I installed
clear Lexan windows.
This picture is here to show the crazy number of ridiculously tiny
screws that were needed to install all the accessories in the
rear. These were all done with a pin vice and needle sized drill
bits.
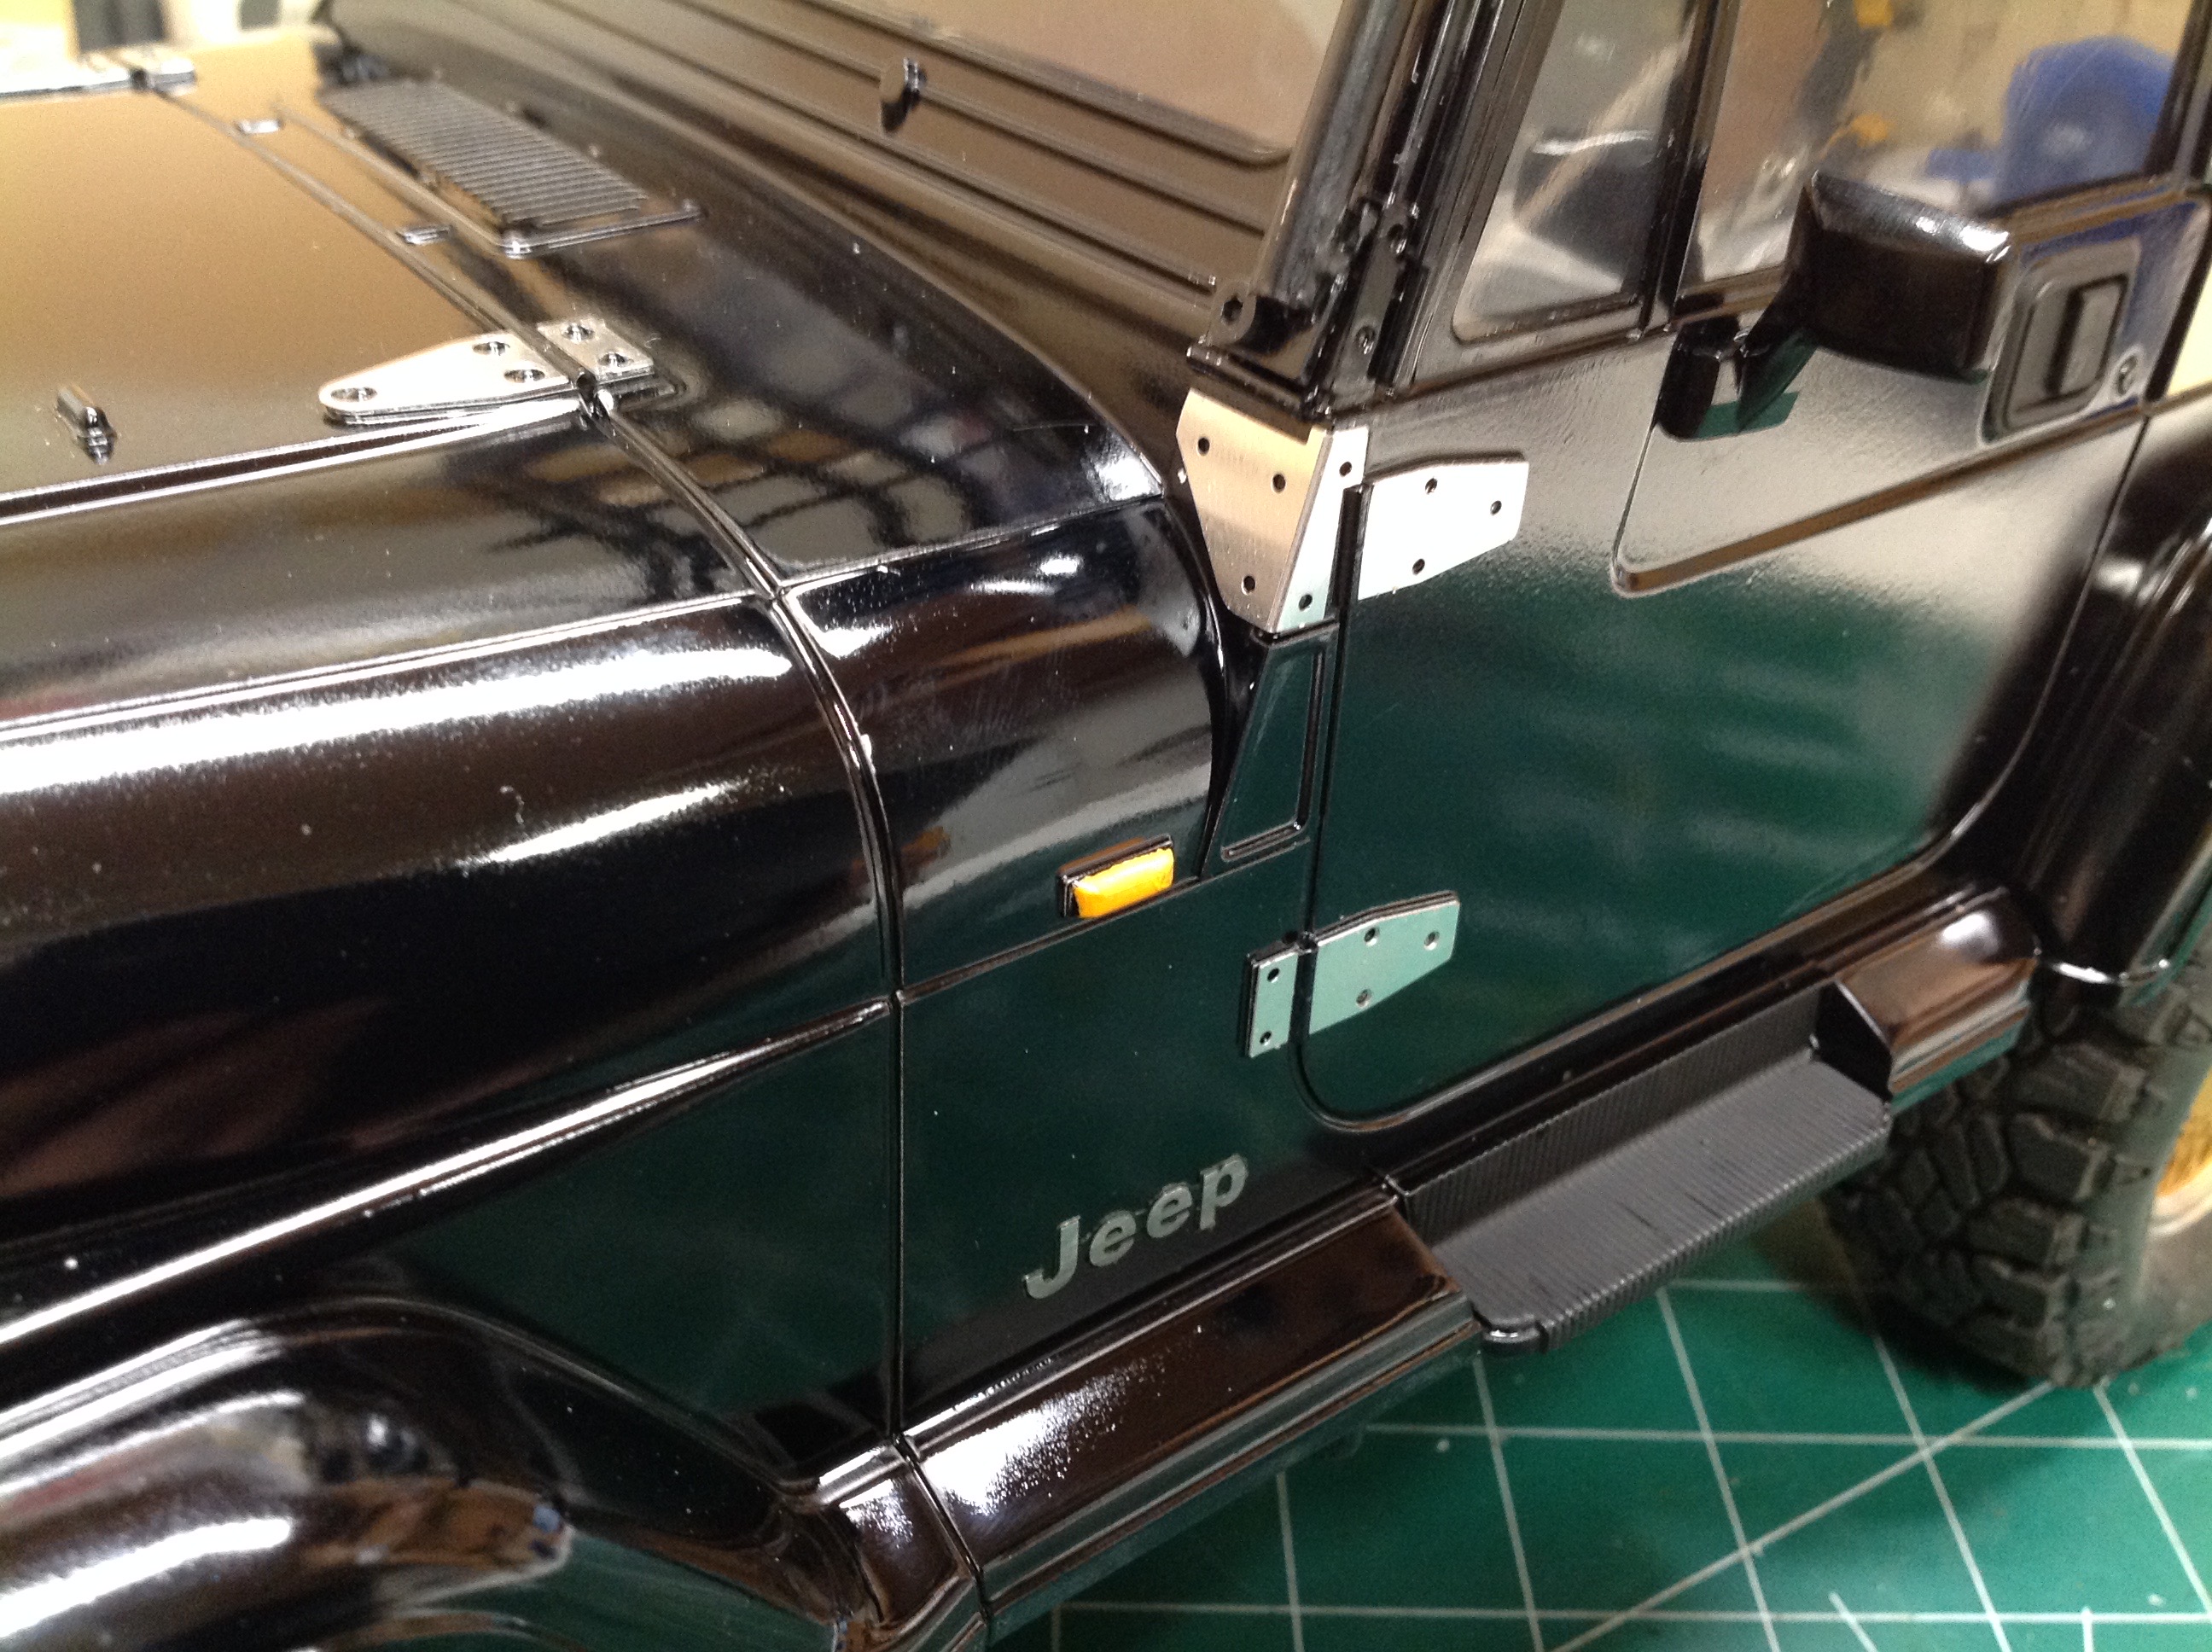
With the back done we can move on to the sides. I installed etched
metal door, window, and hood hinges. It is way too dangerous to
use CA glue here since you could end up with runs or fingerprints, so I
used 3M 77 spray adhesive. After that I installed similar thin
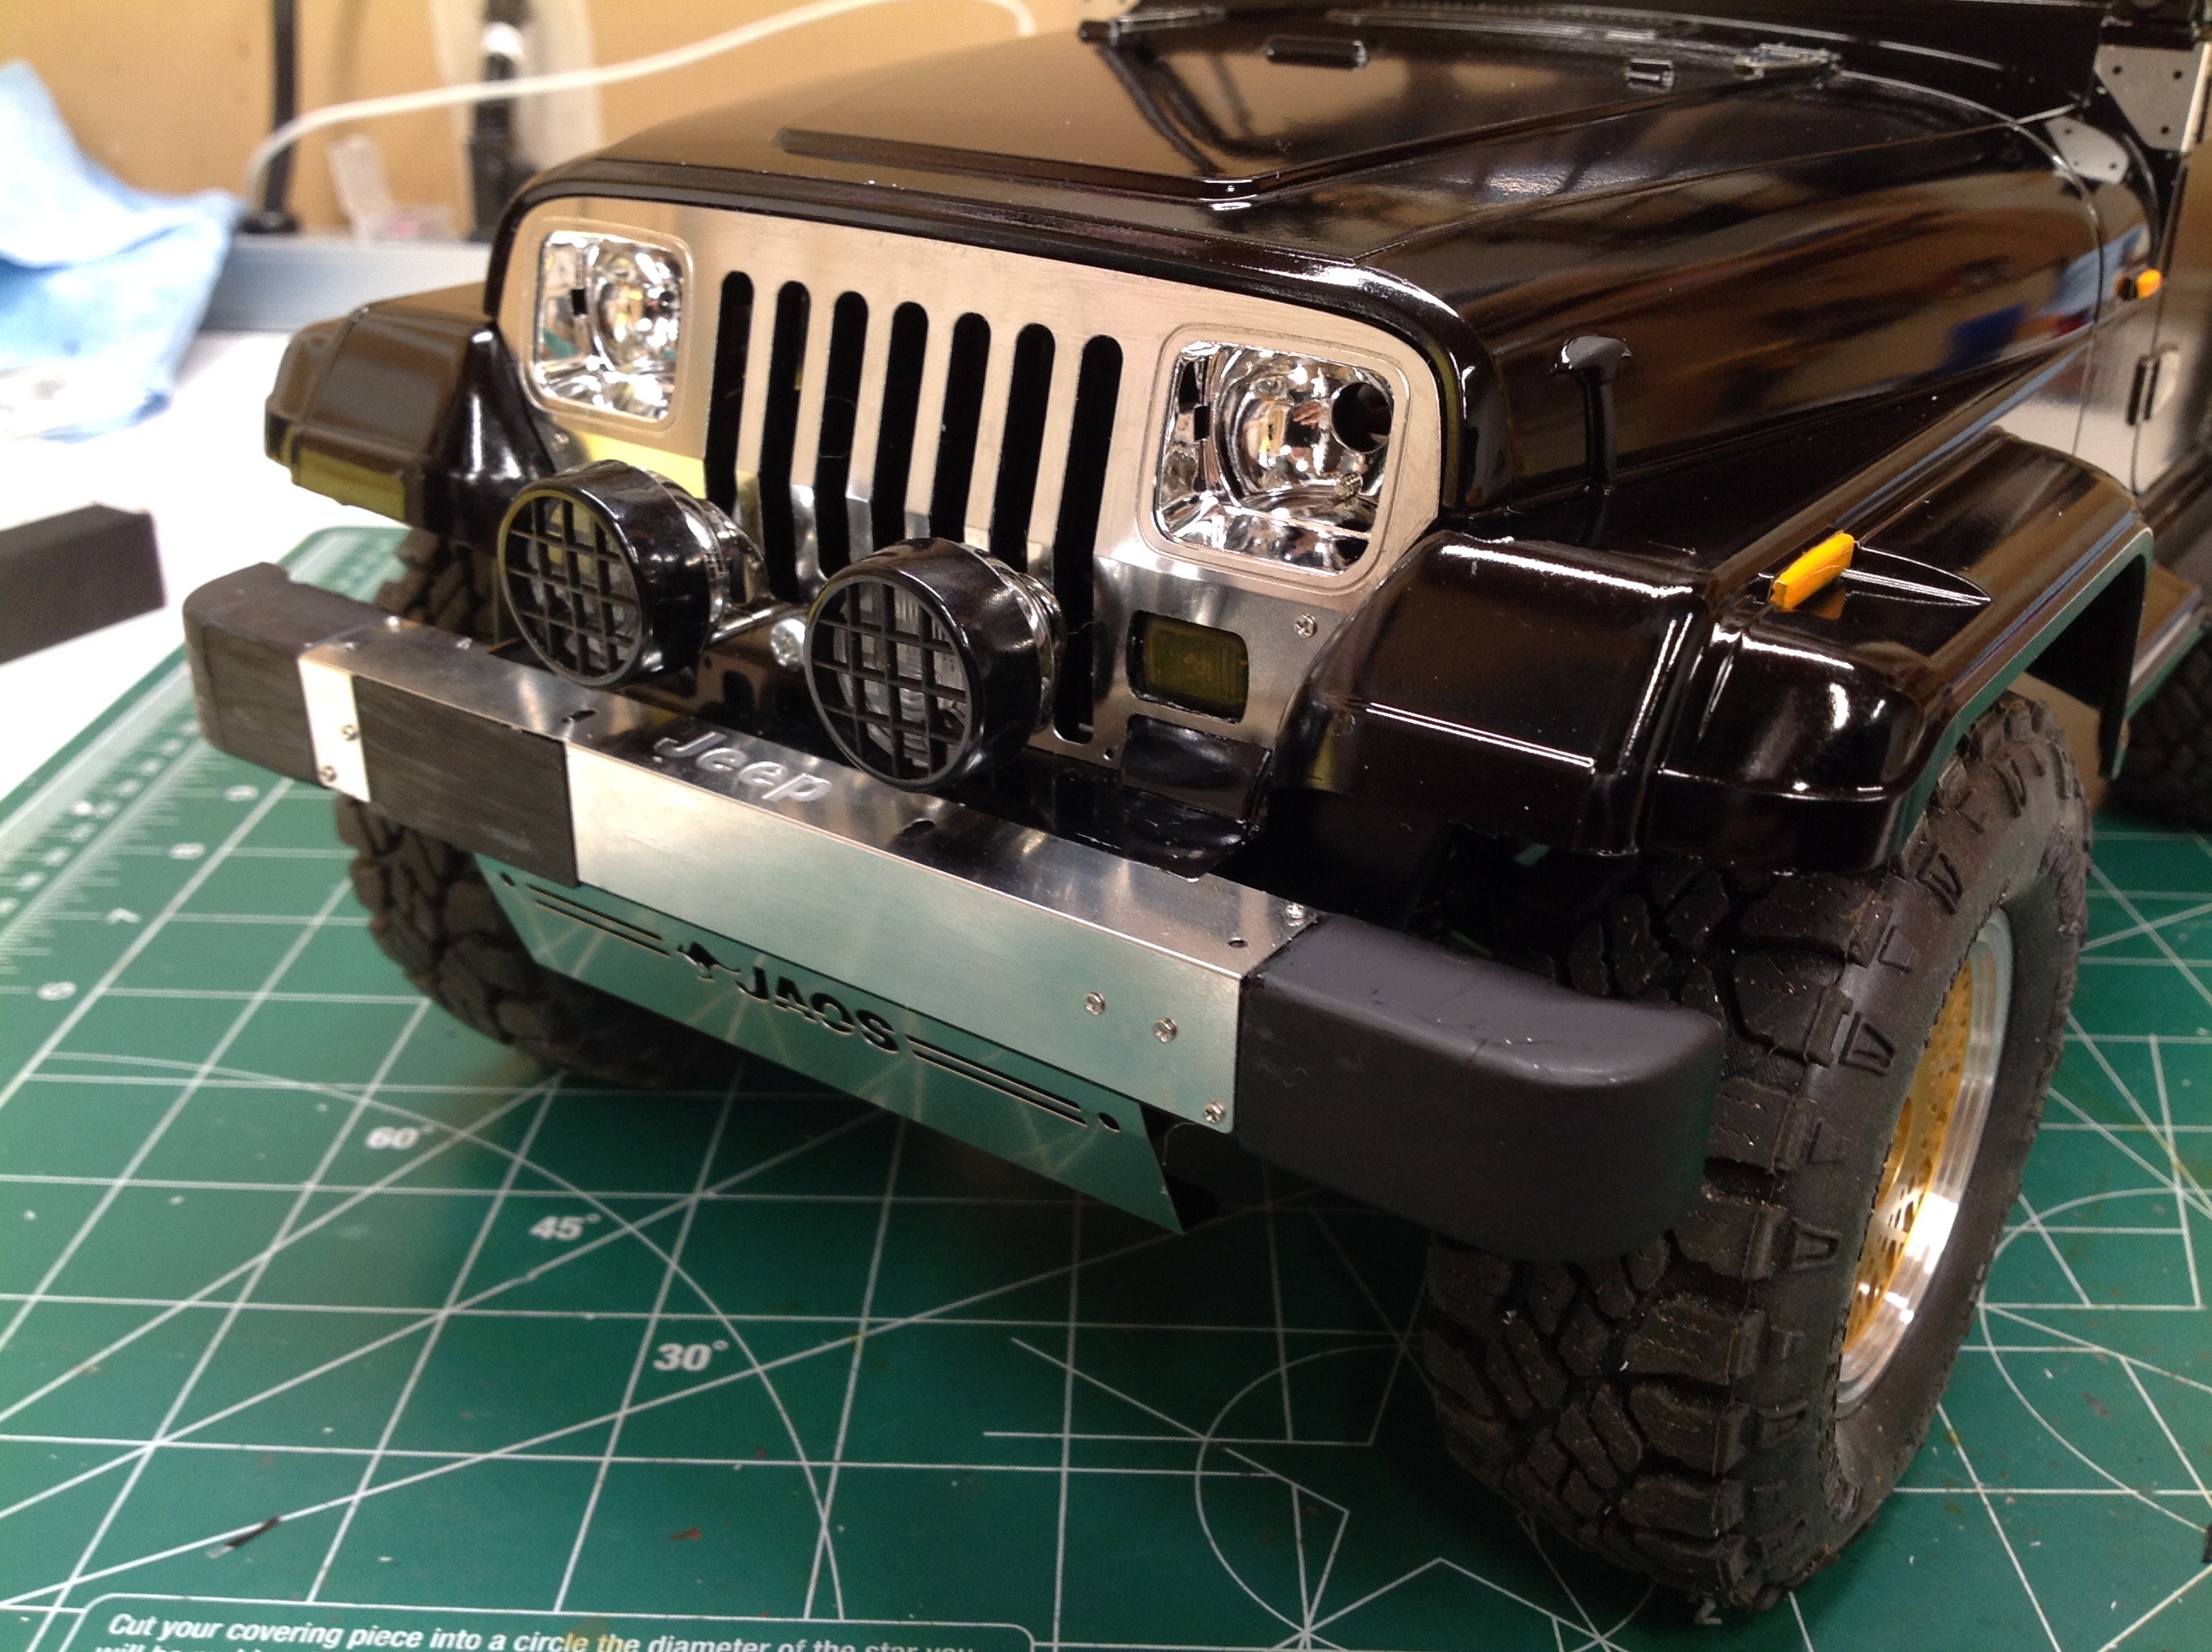
sheet metal accents on the grille and front bumper. I particularly
like the look of the grille. I was able to acquire factory chrome
light buckets and I used the fog lights from the Pajero kit.
Here we can see the body both before and after all the details were
installed. It actually looked pretty good with nothing but paint,
but it looks substantially better in it's final state and I like that it
is differentiated from box art without being unrecognizable.
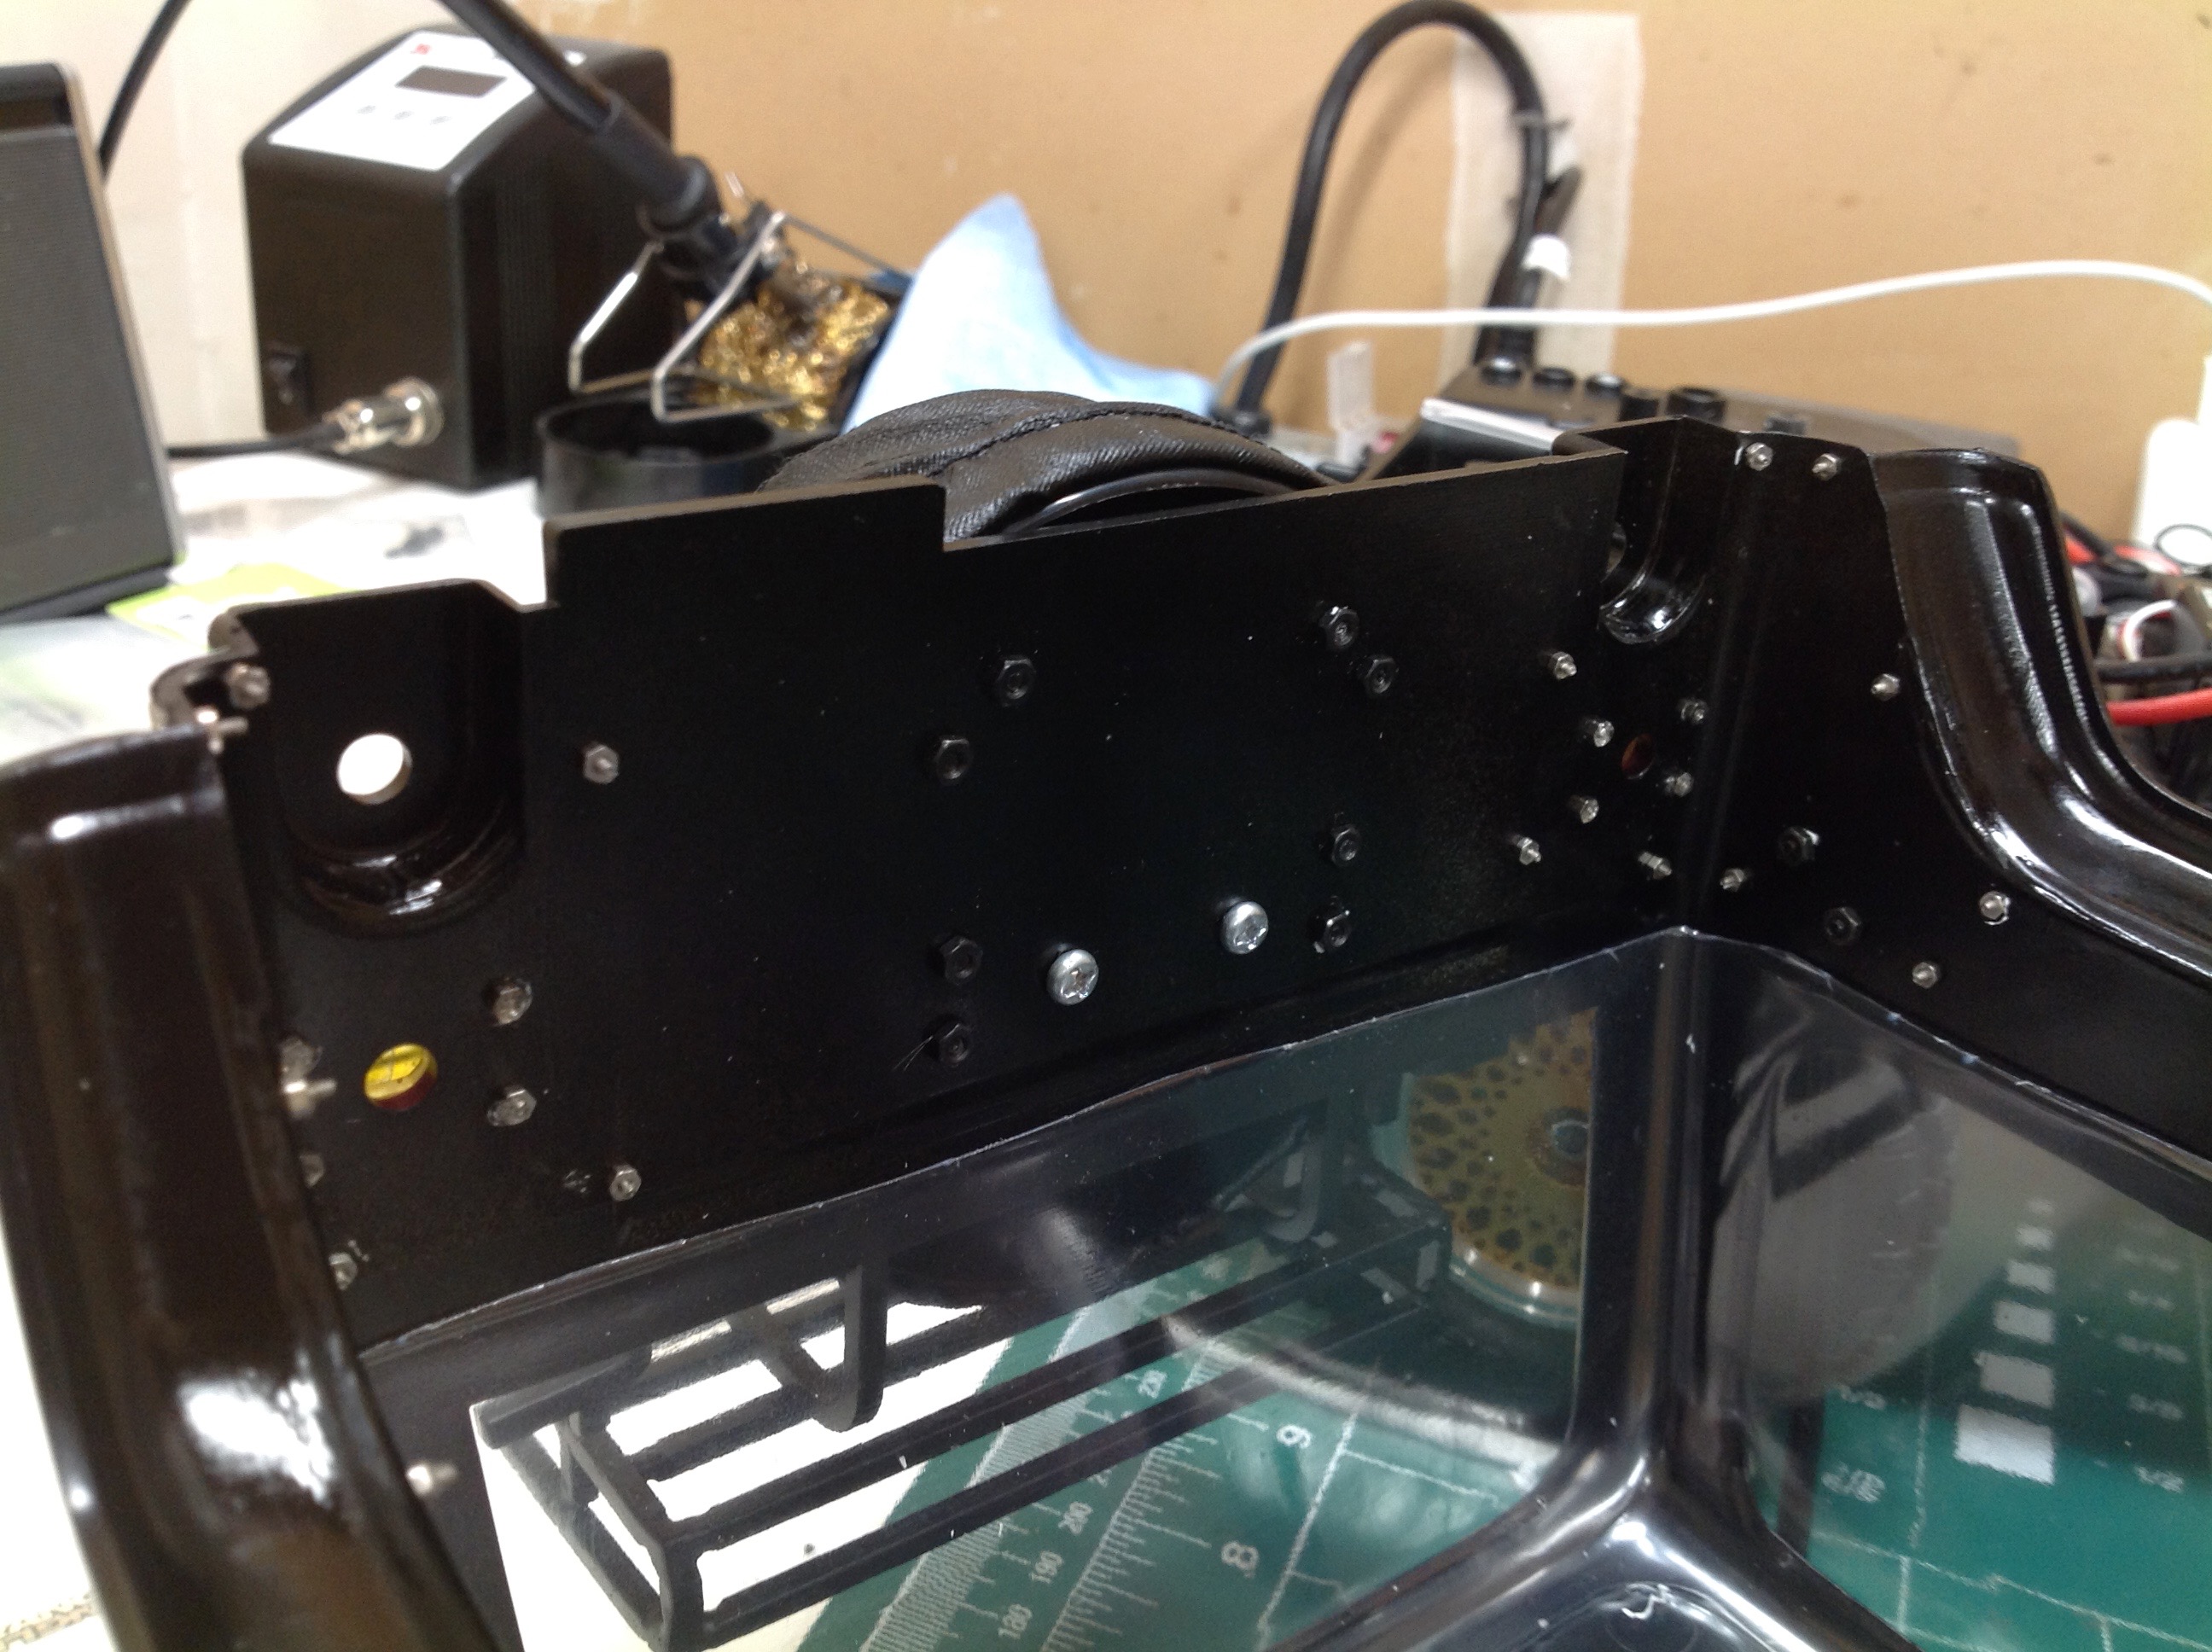
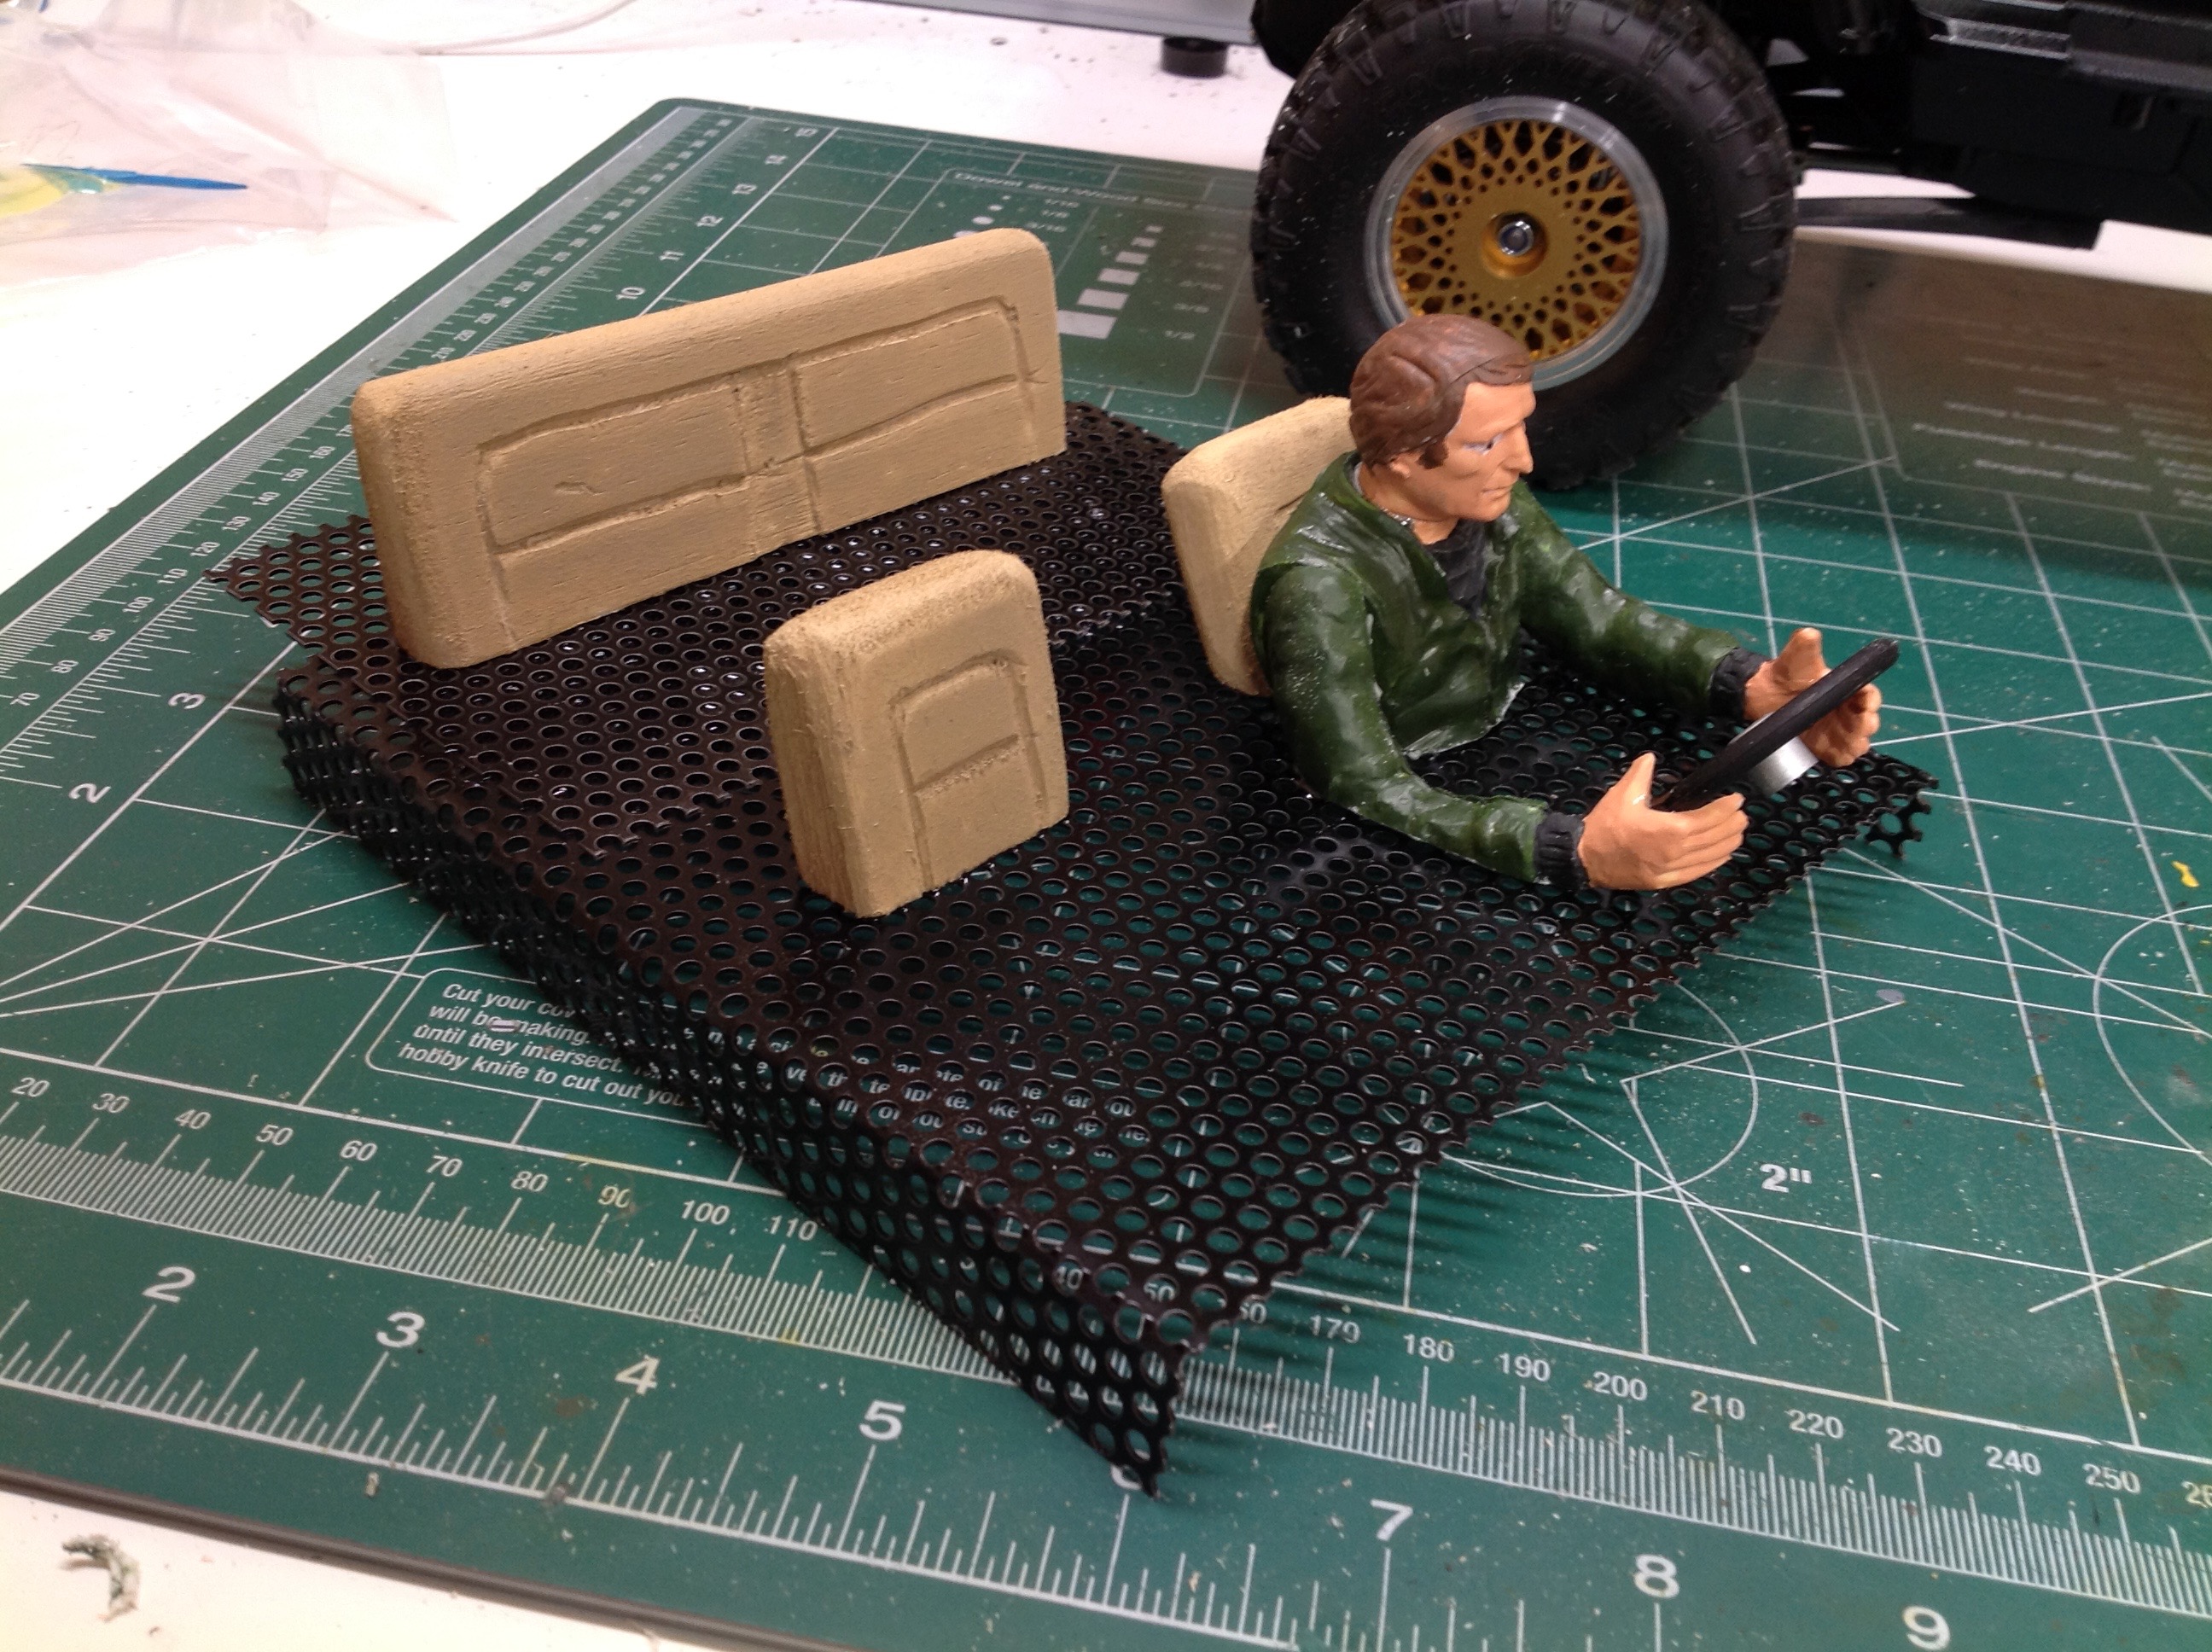
I have started to believe that all hard bodies must have at least a
rudimentary interior for realism. The design of the CC-01 chassis
does not allow for a full depth interior, but it is easy enough to
attach some seat backs and a sawed off driver to a flat metal plate as
I've done above. The right hand image shows the final result with
the interior simply taped inside the body shell.
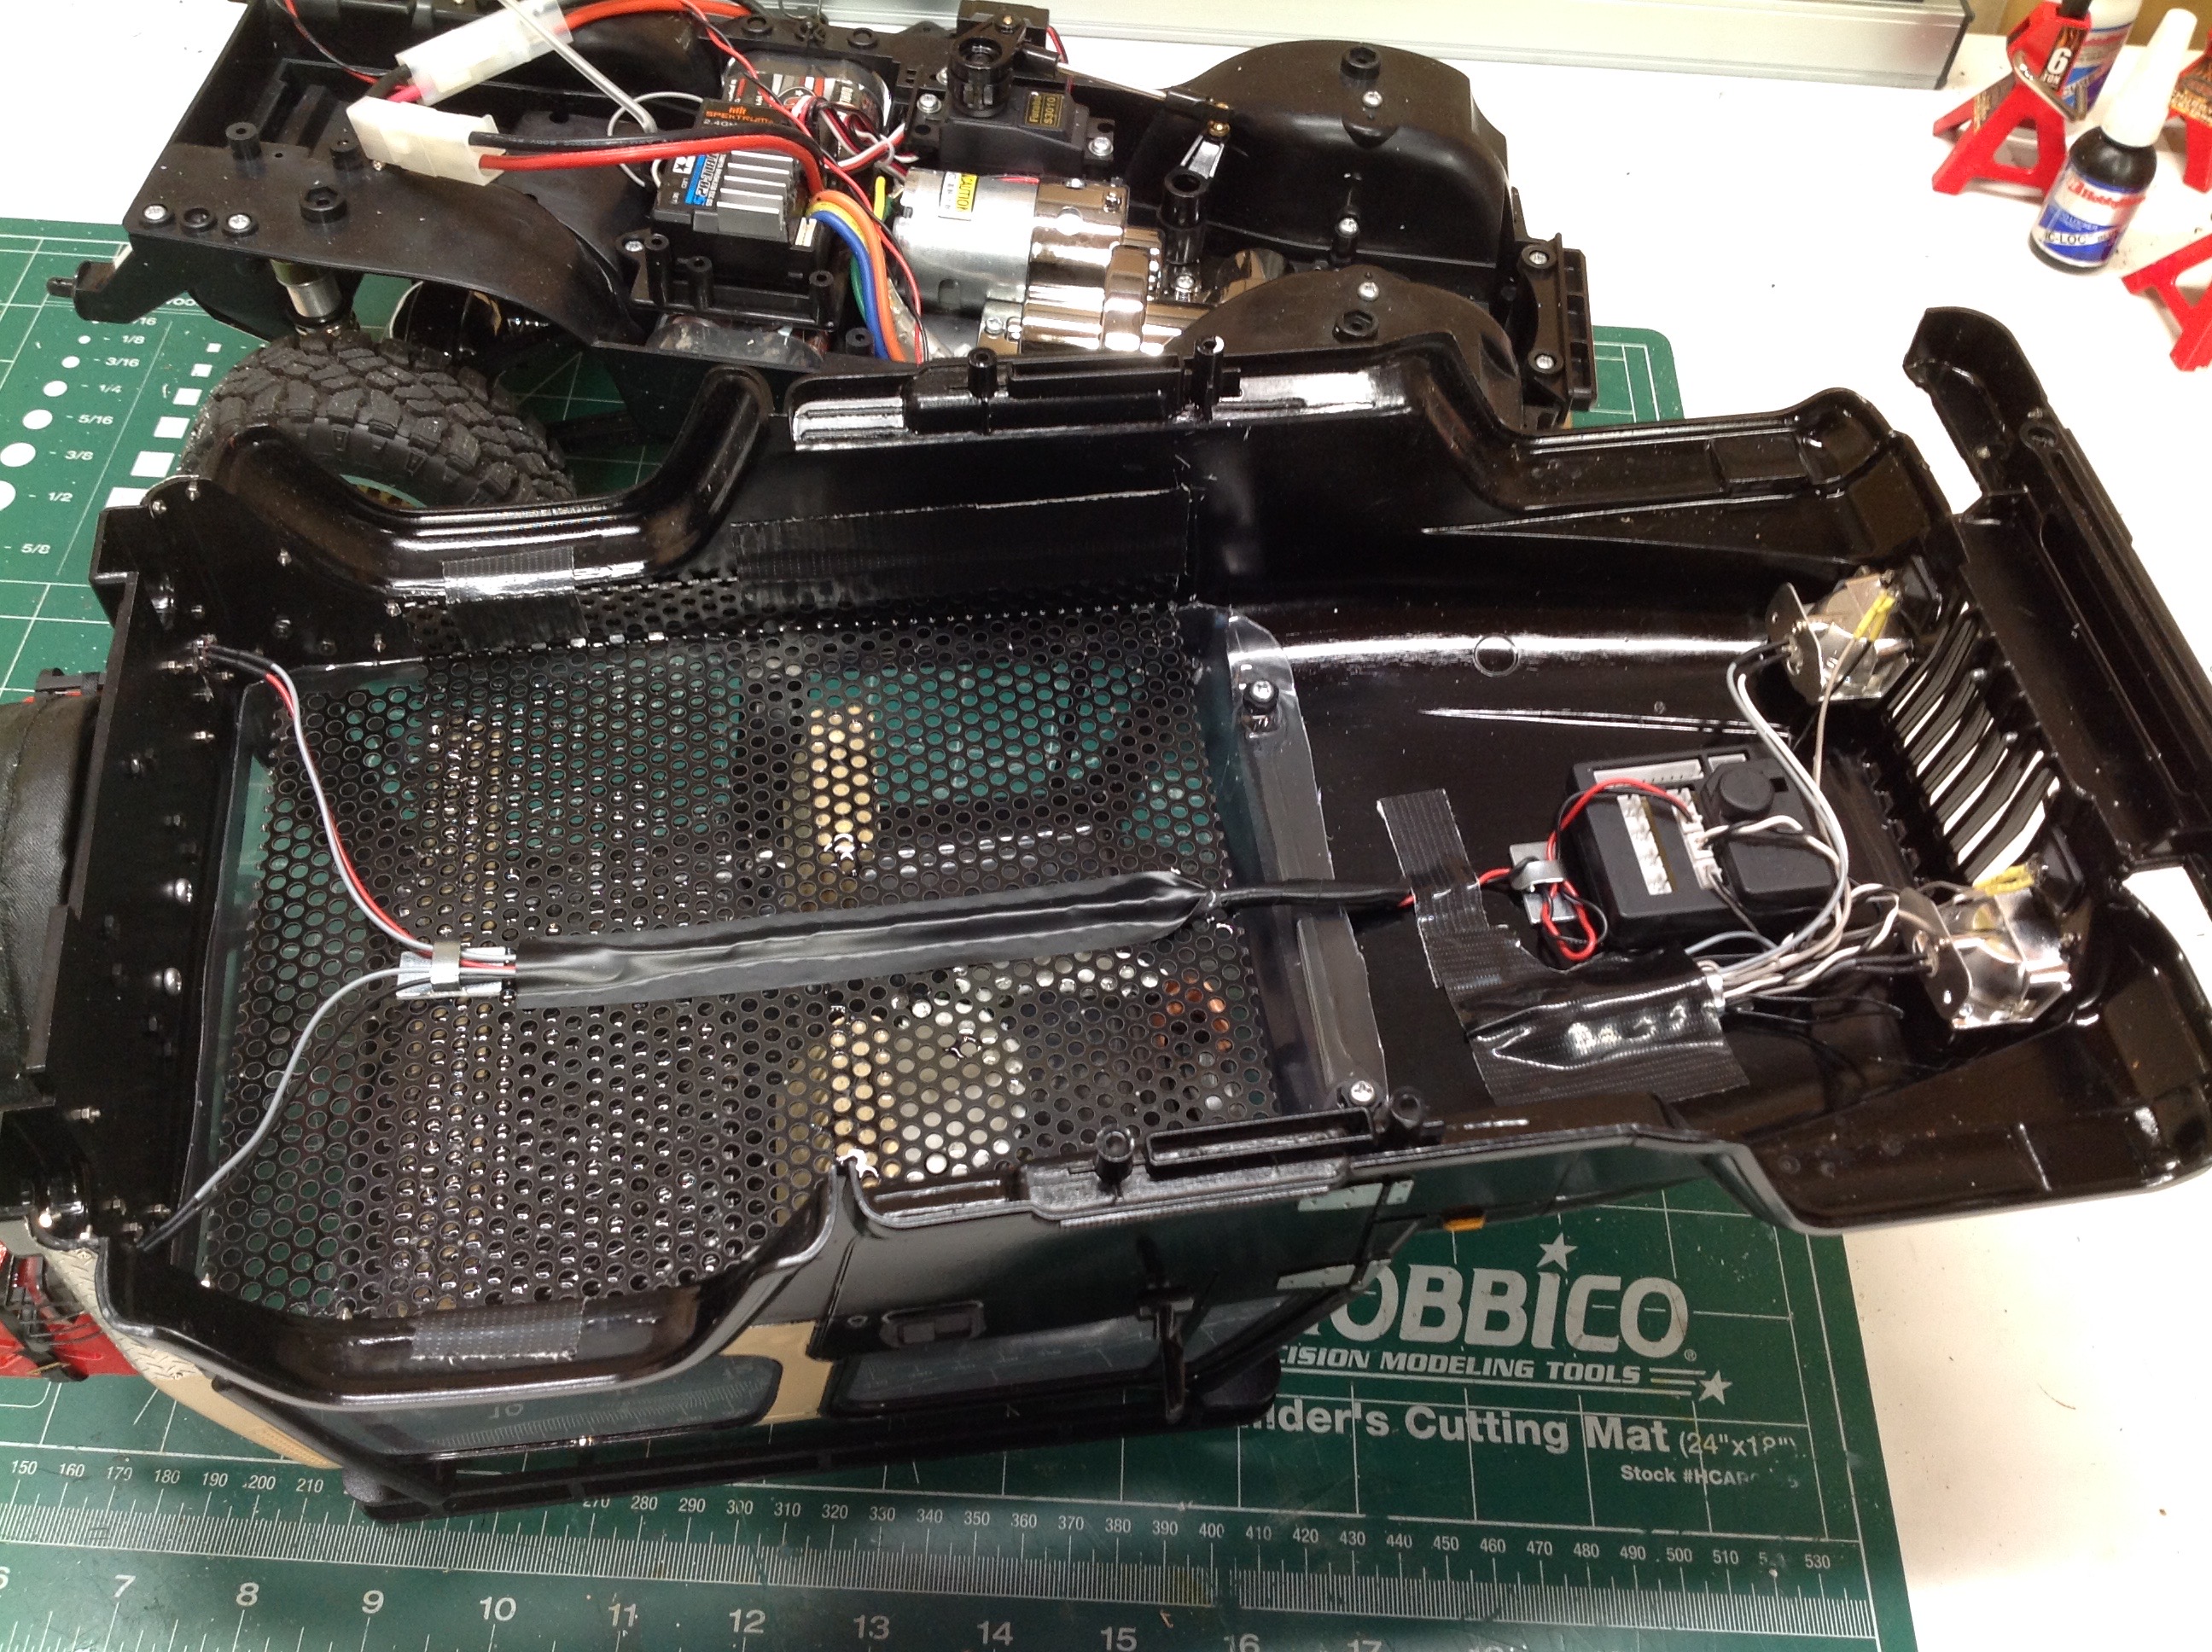
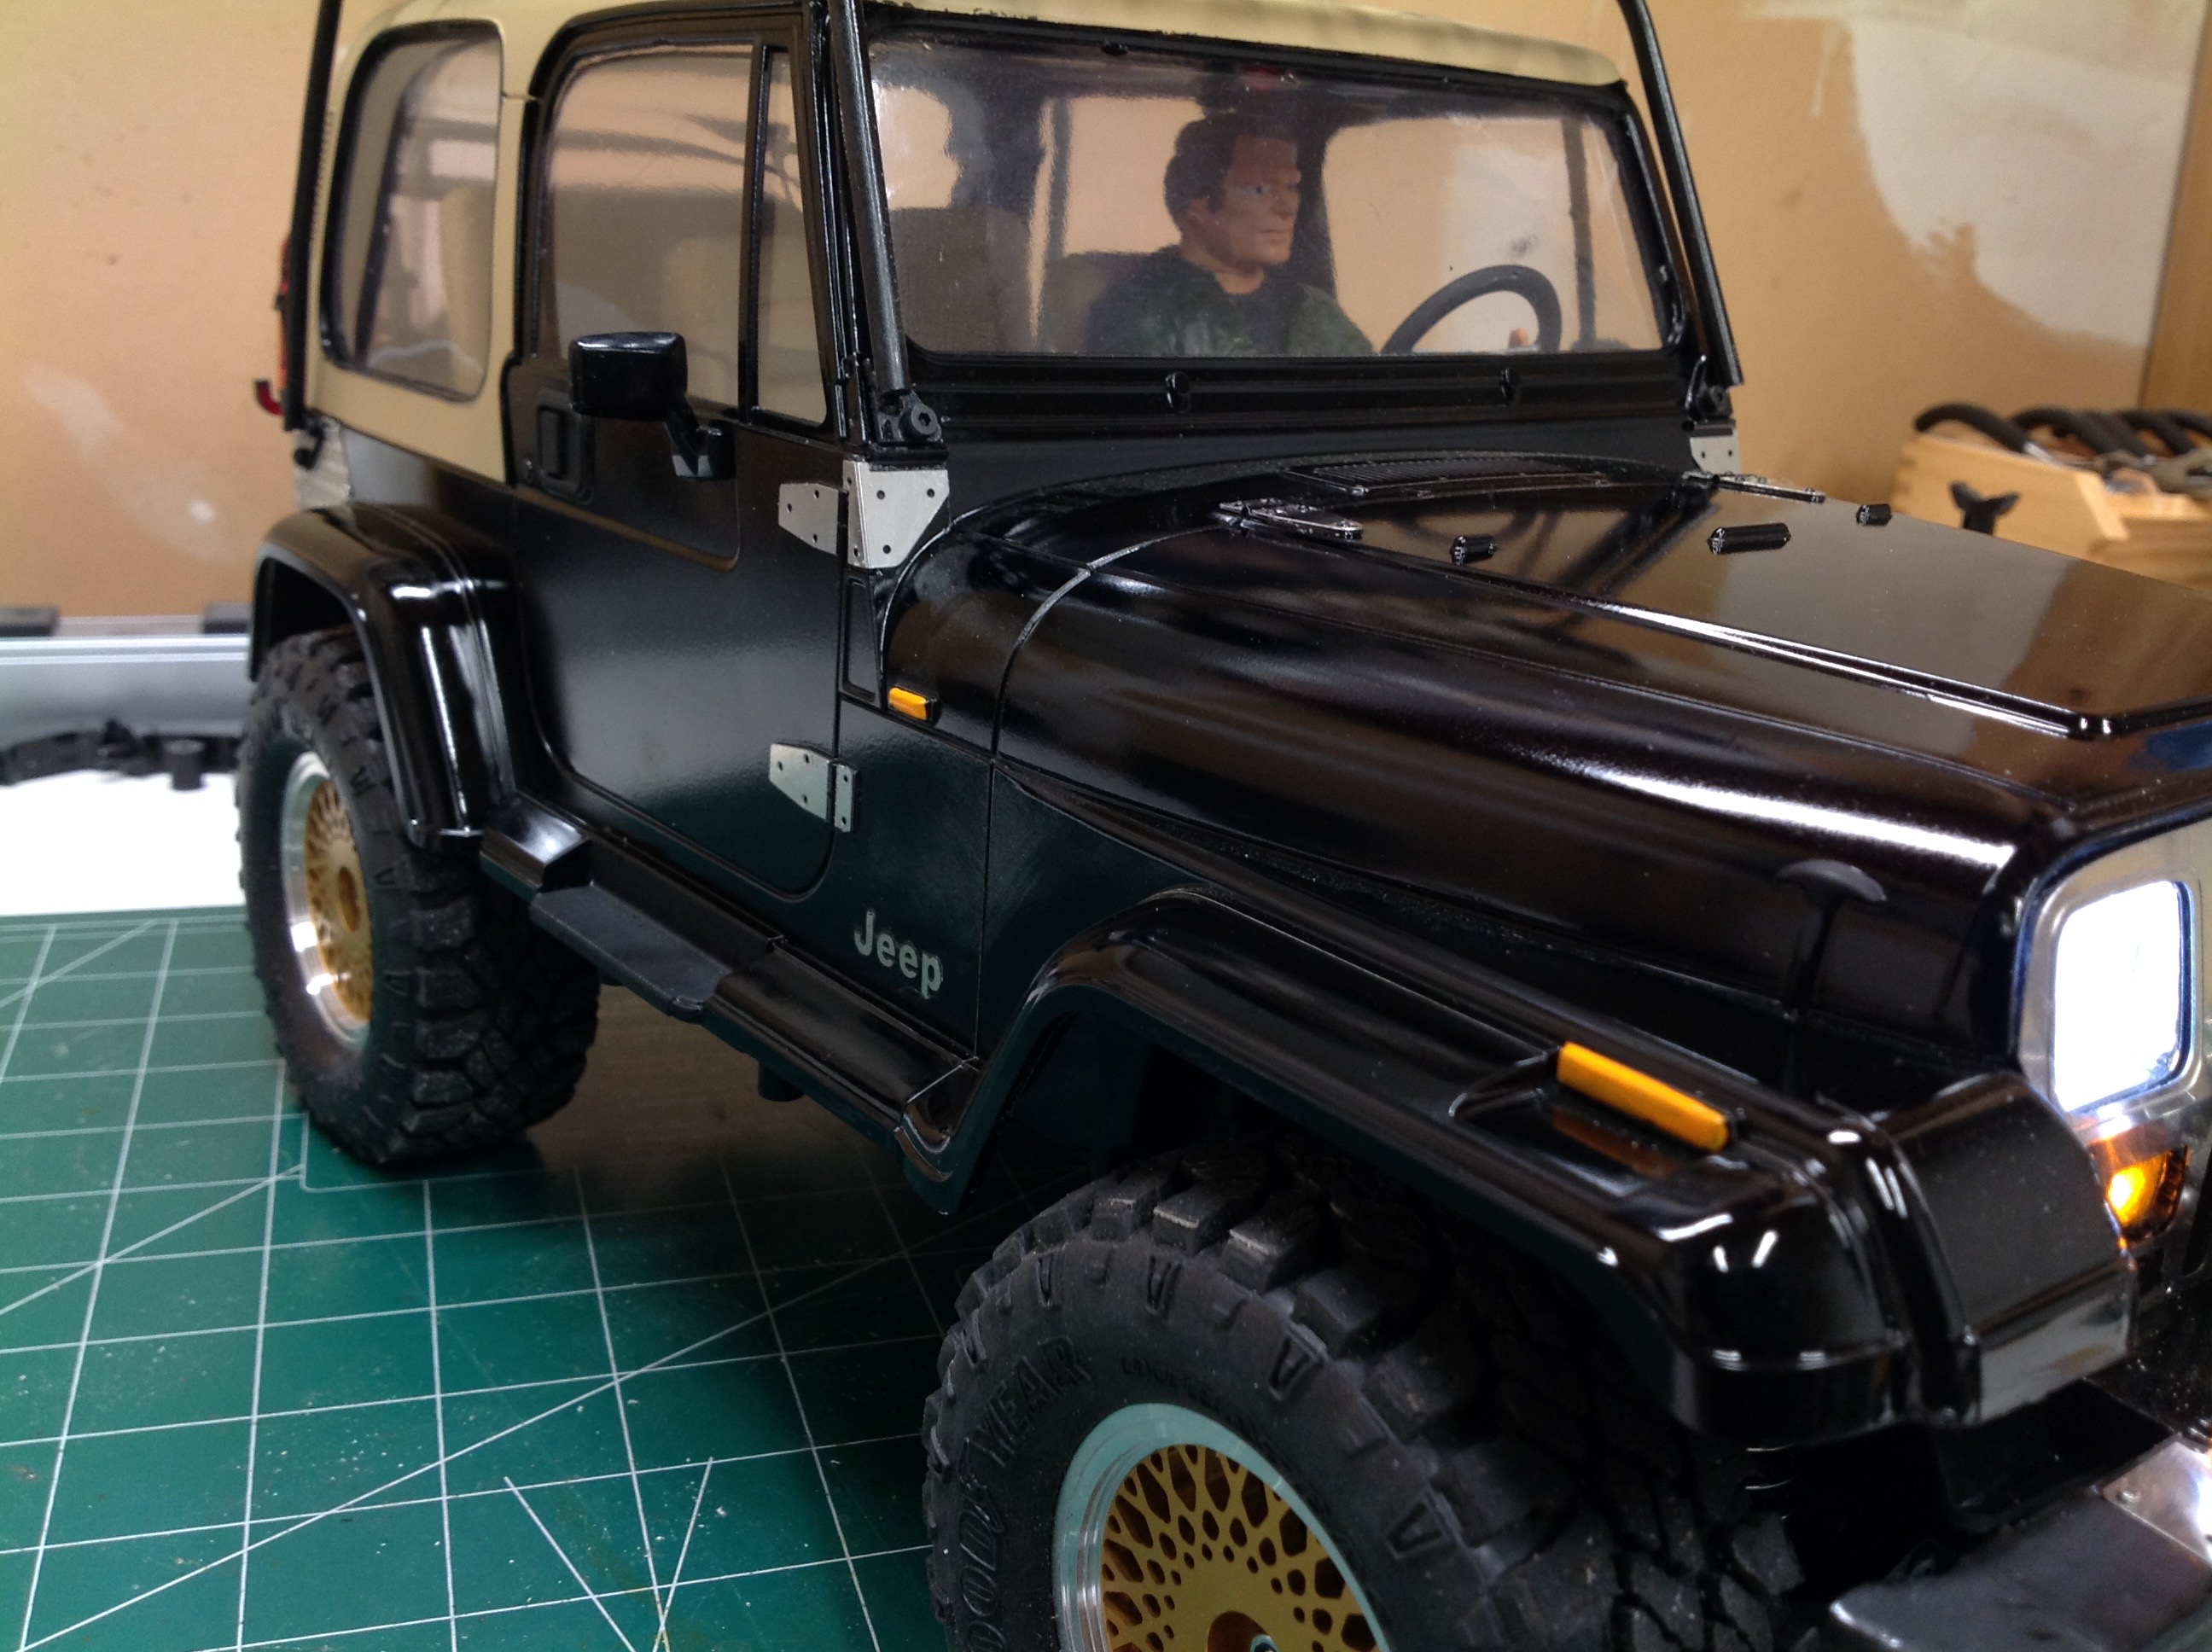
Last but not least, I need some lights. The front buckets are
designed for 5mm LEDs as are the fog lights. The aftermarket tail
light lenses I bought also accept 5mm LEDs. For the front marker
lights, I carved out the solid ABS to install real working amber
lights. Finally, I installed the control unit under the hood and
routed all the wires as shown.
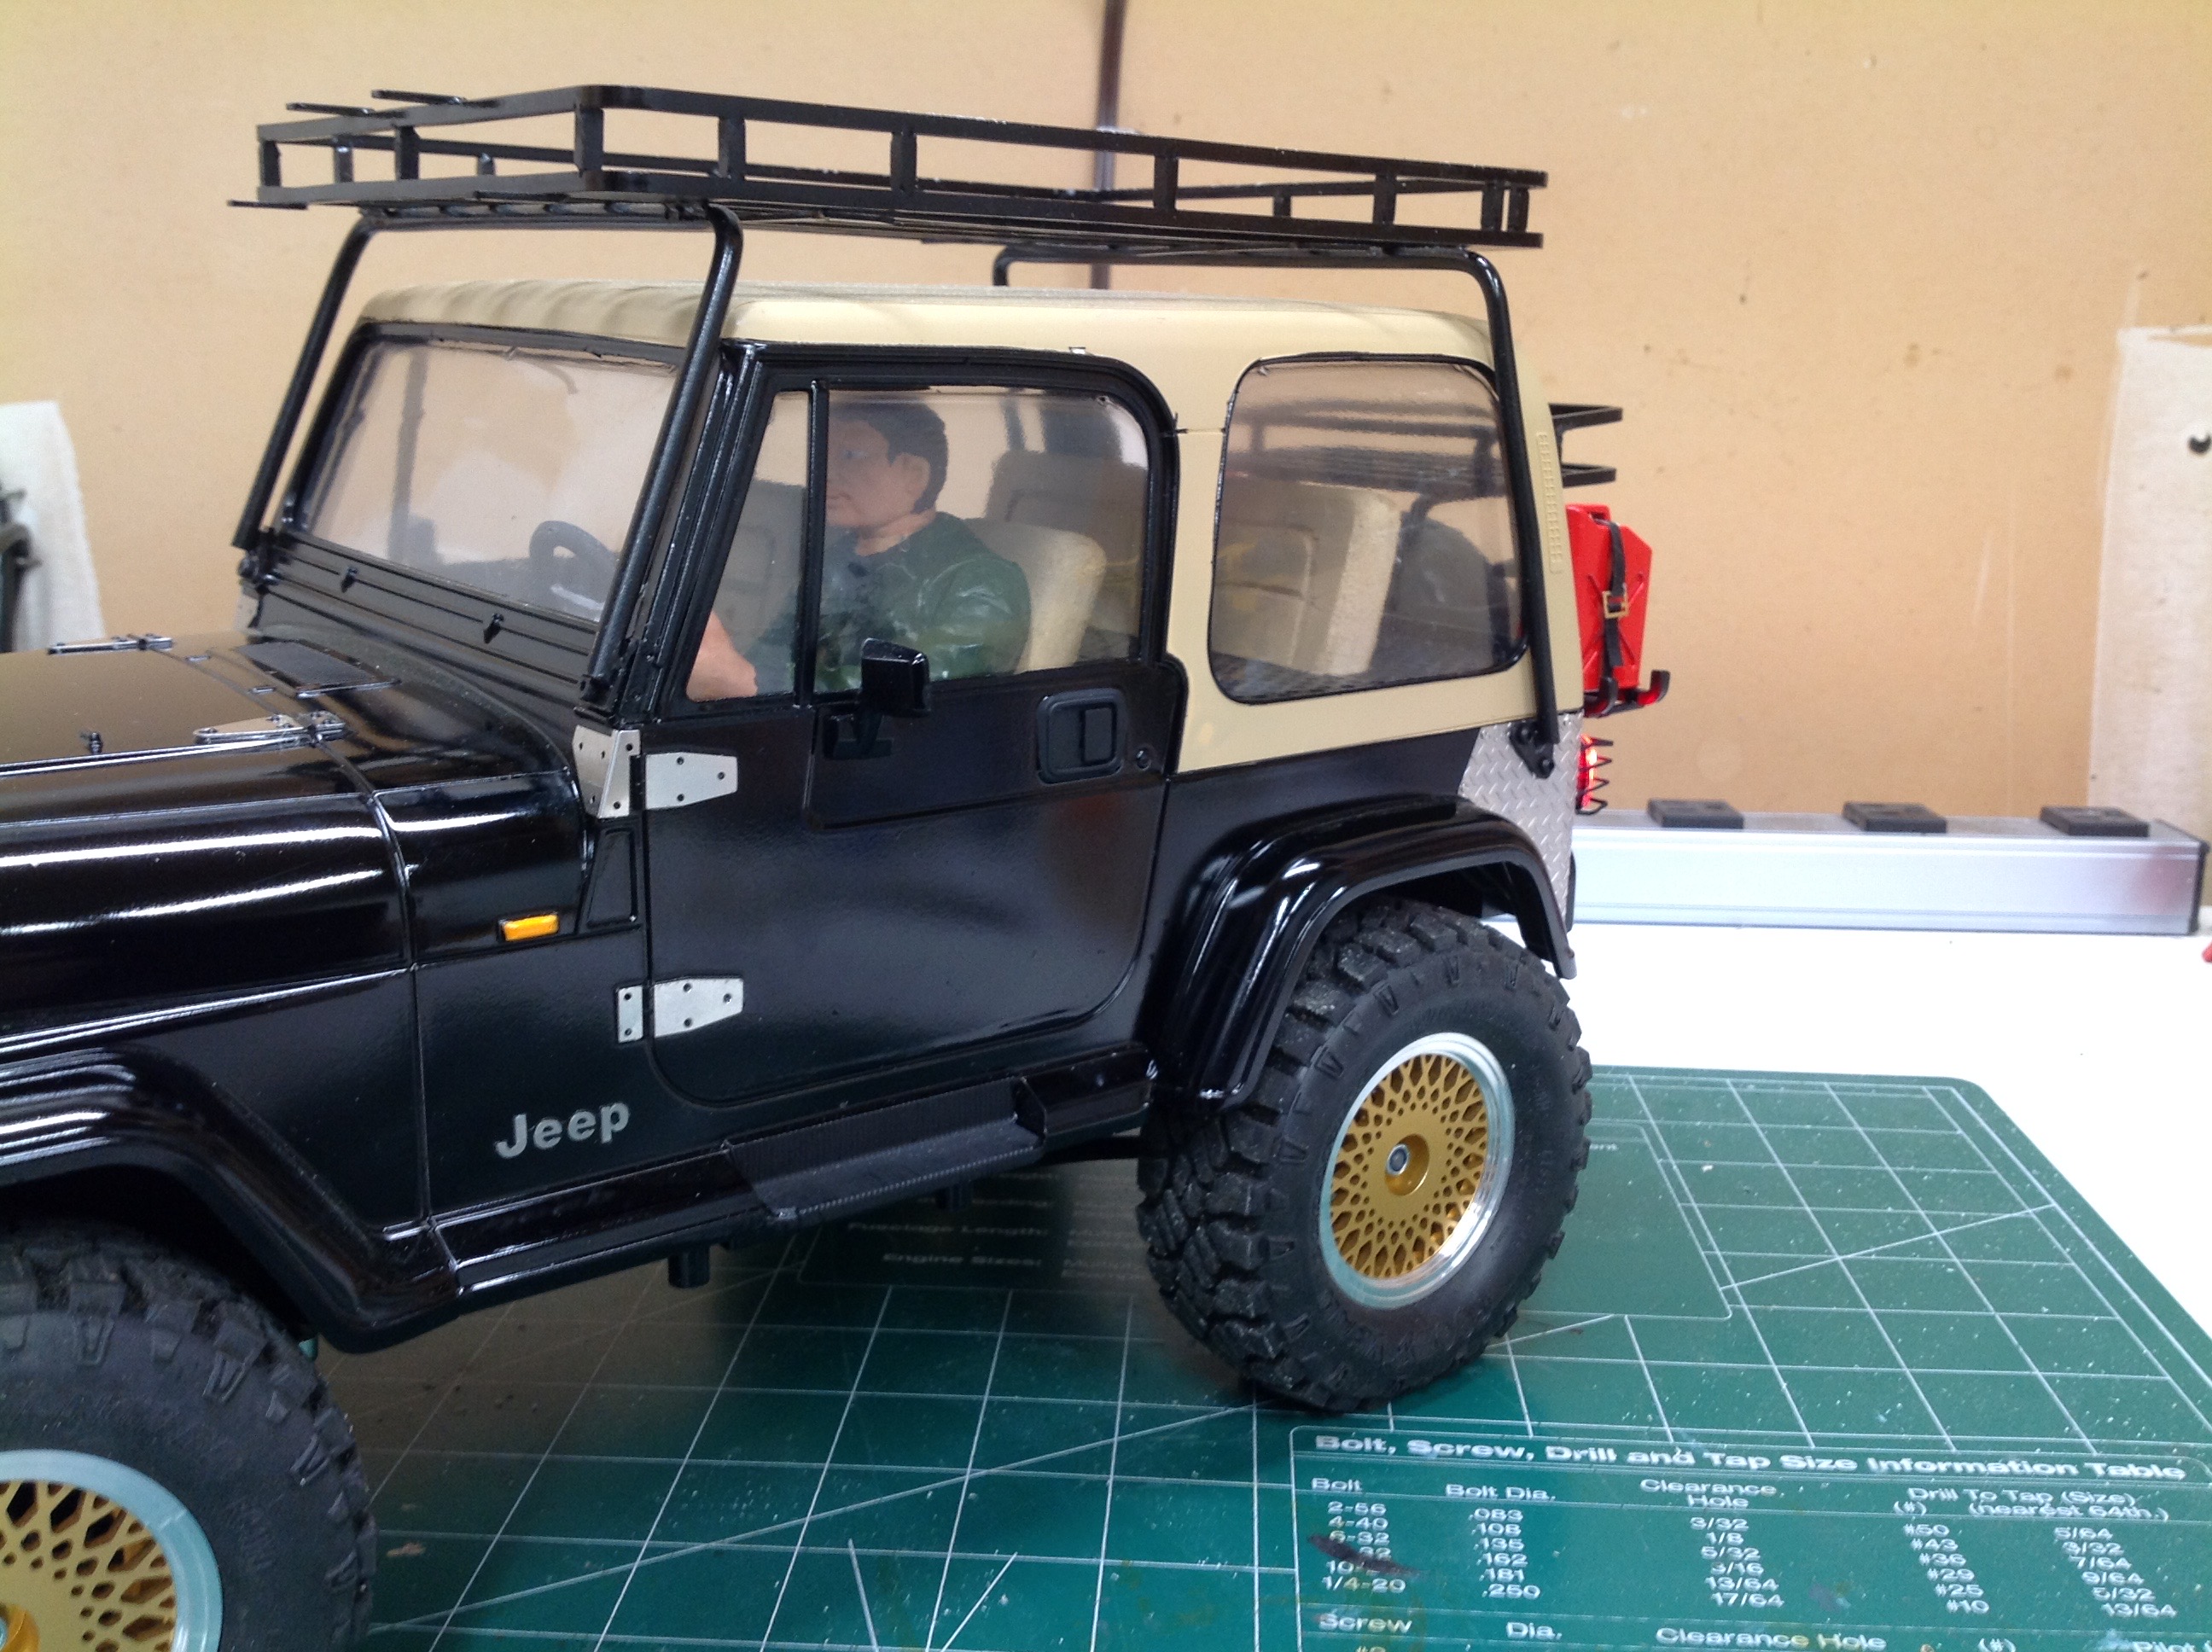
Here are a couple of shots of the completed body showing the lights,
accessories, driver, and also a pair of jerry cans strapped to the rear
rack.
©2018 Eric Albrecht