Tamiya Ford Bronco Project
Page 1: Assembly
Because I have already built another CC-02, I did not record most of the build process here.
For those interested in more information about the build of this
chassis, a detailed build record of another CC-02 can be found on my Mercedes Benz G500 page.
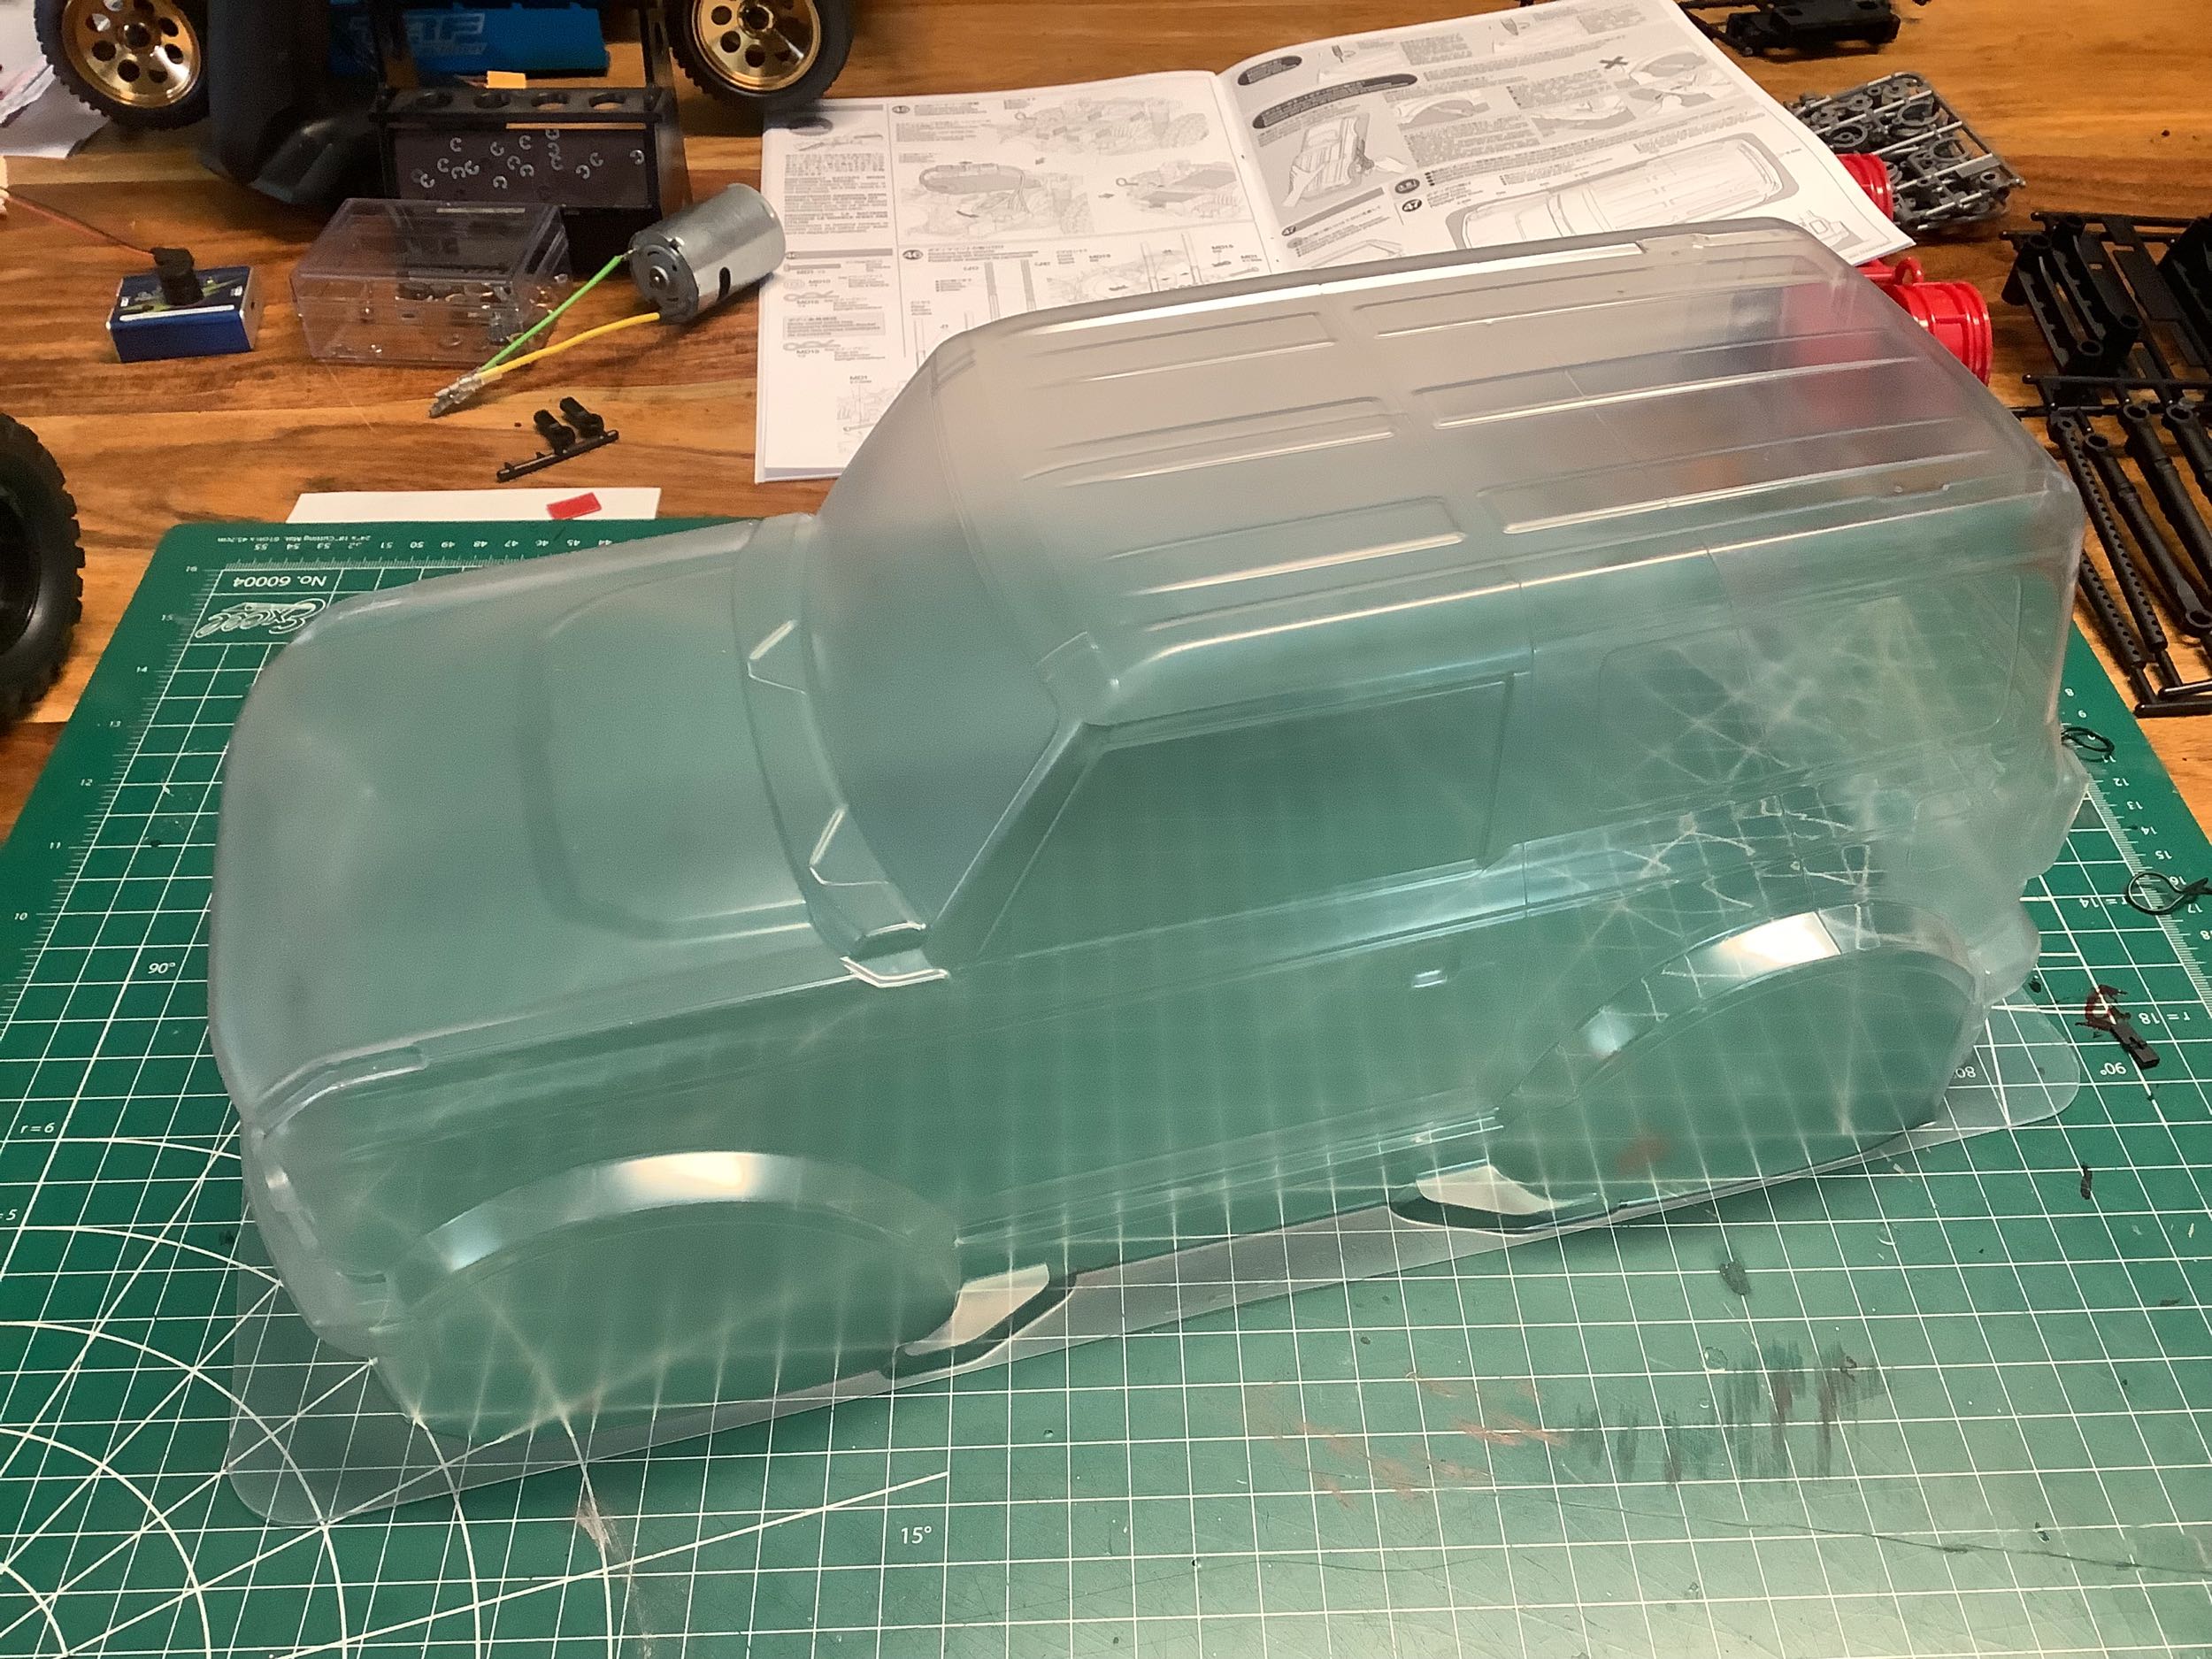
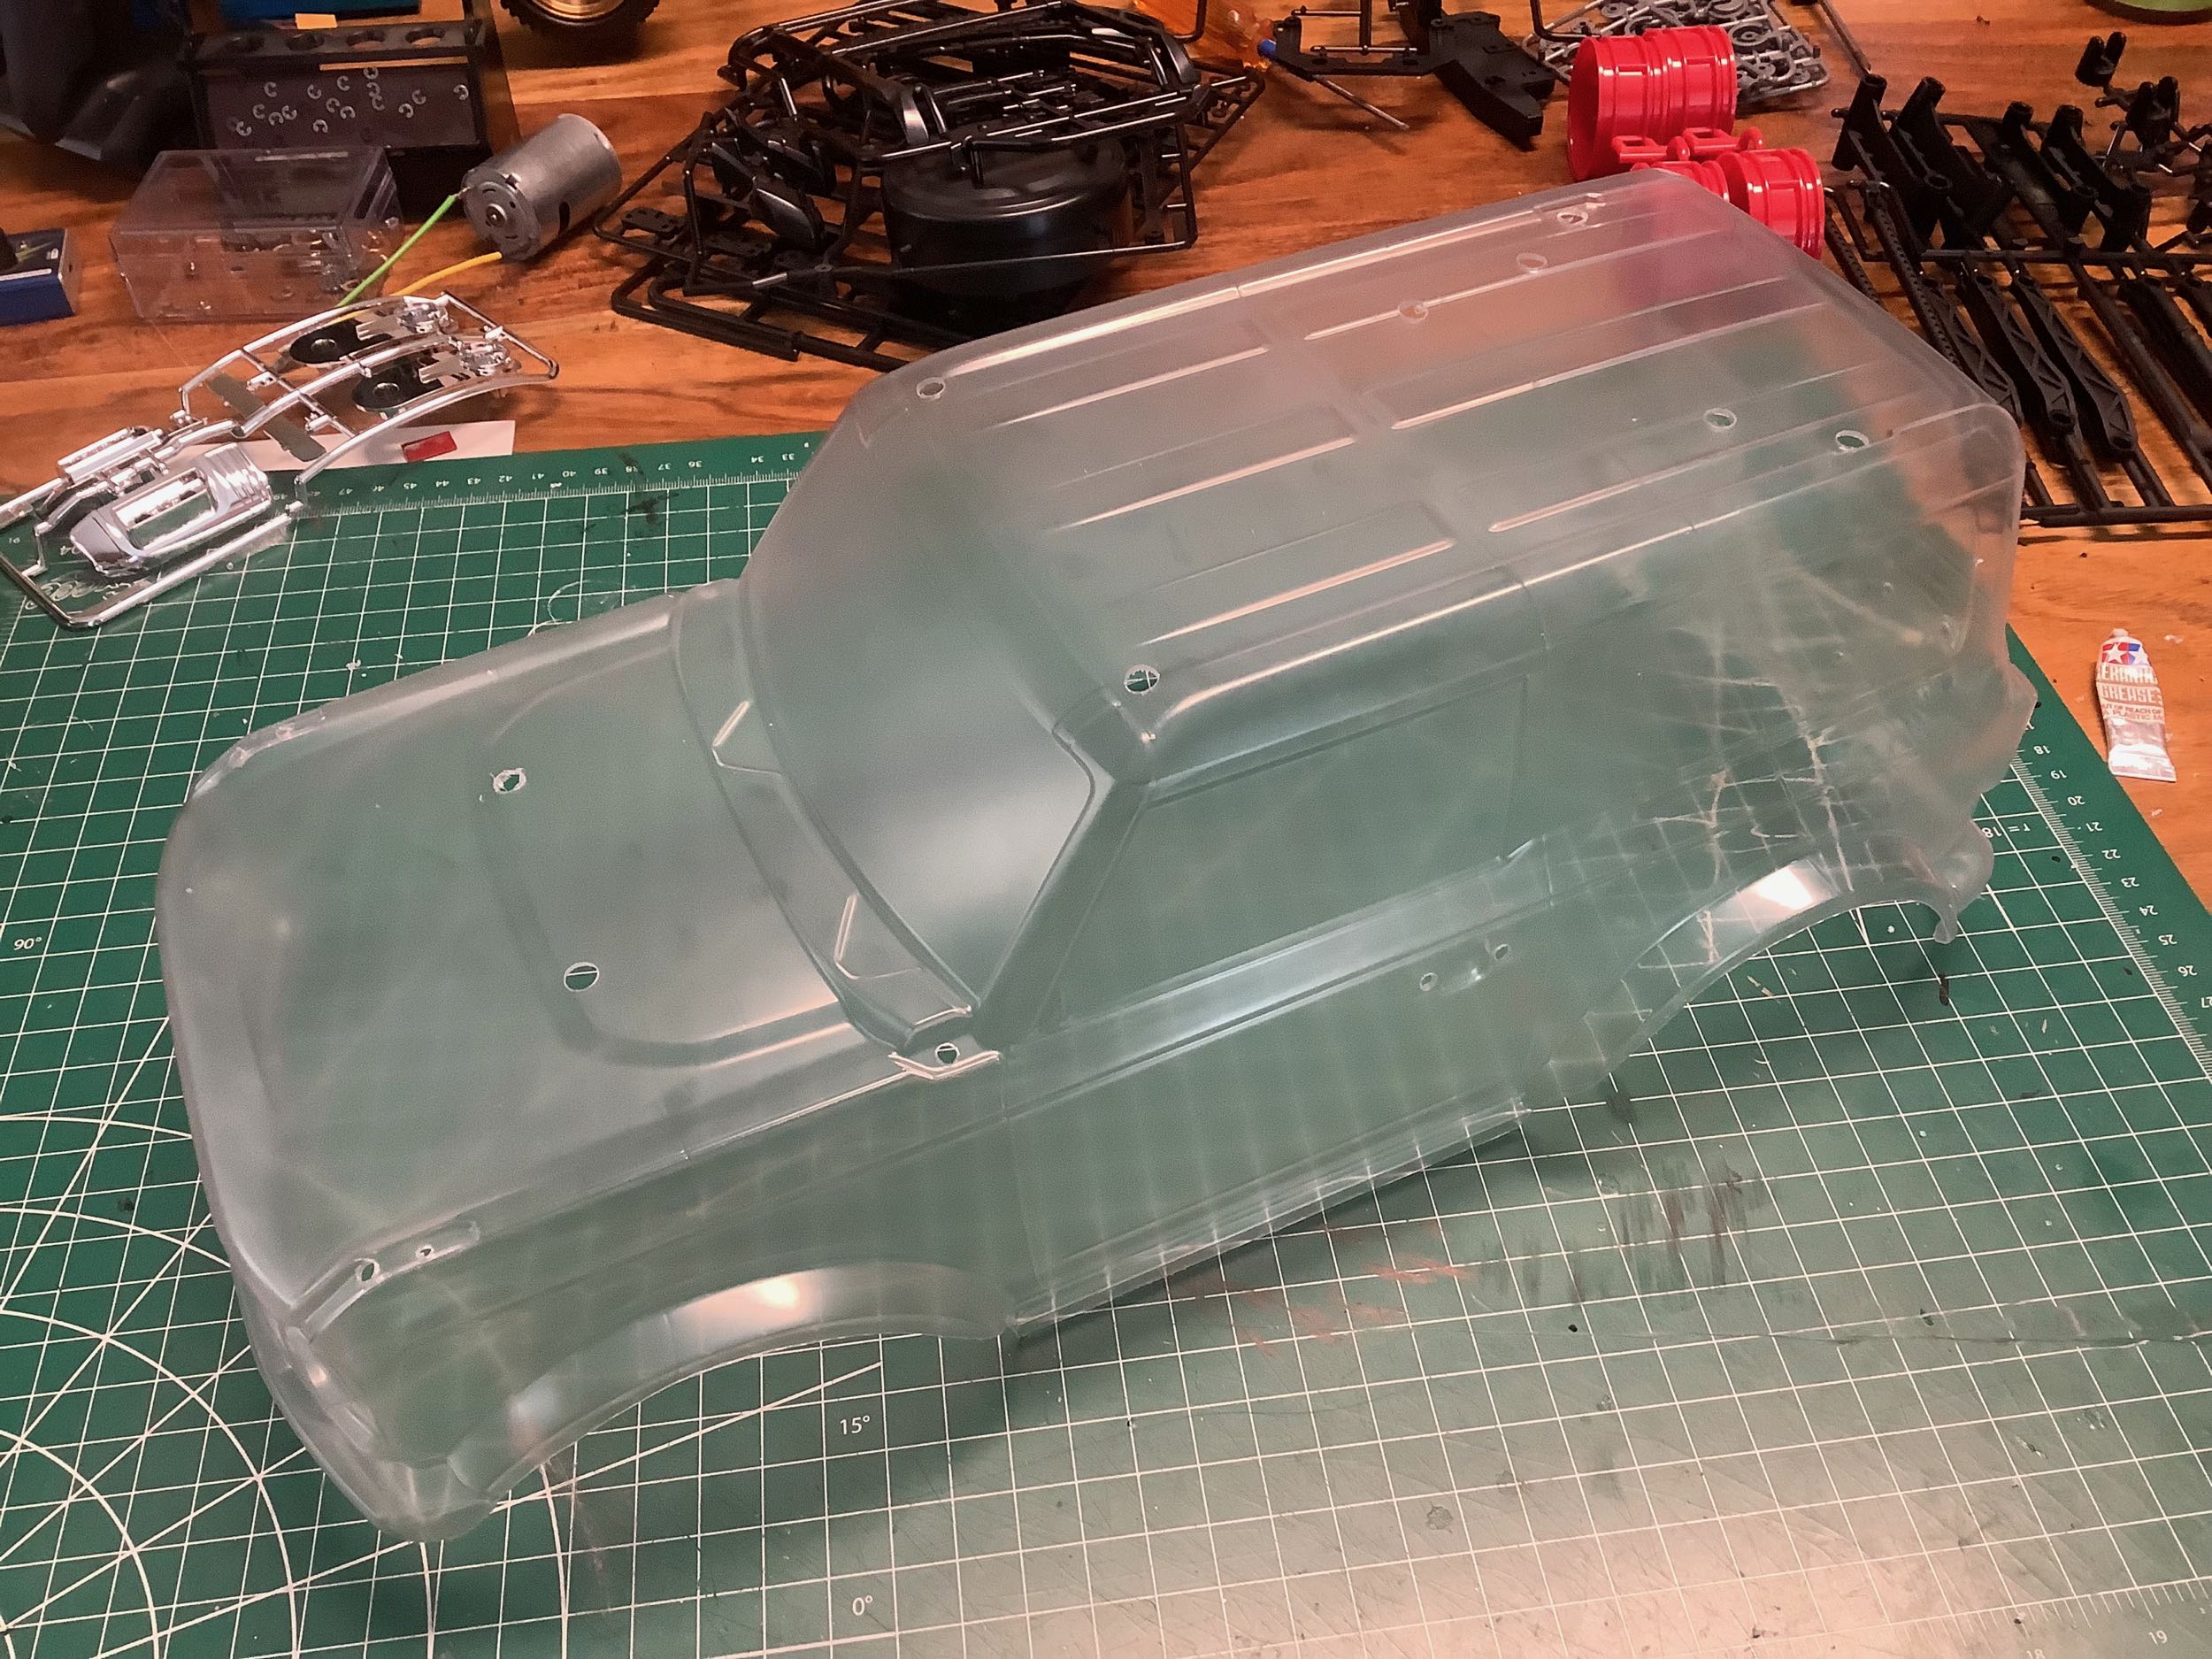
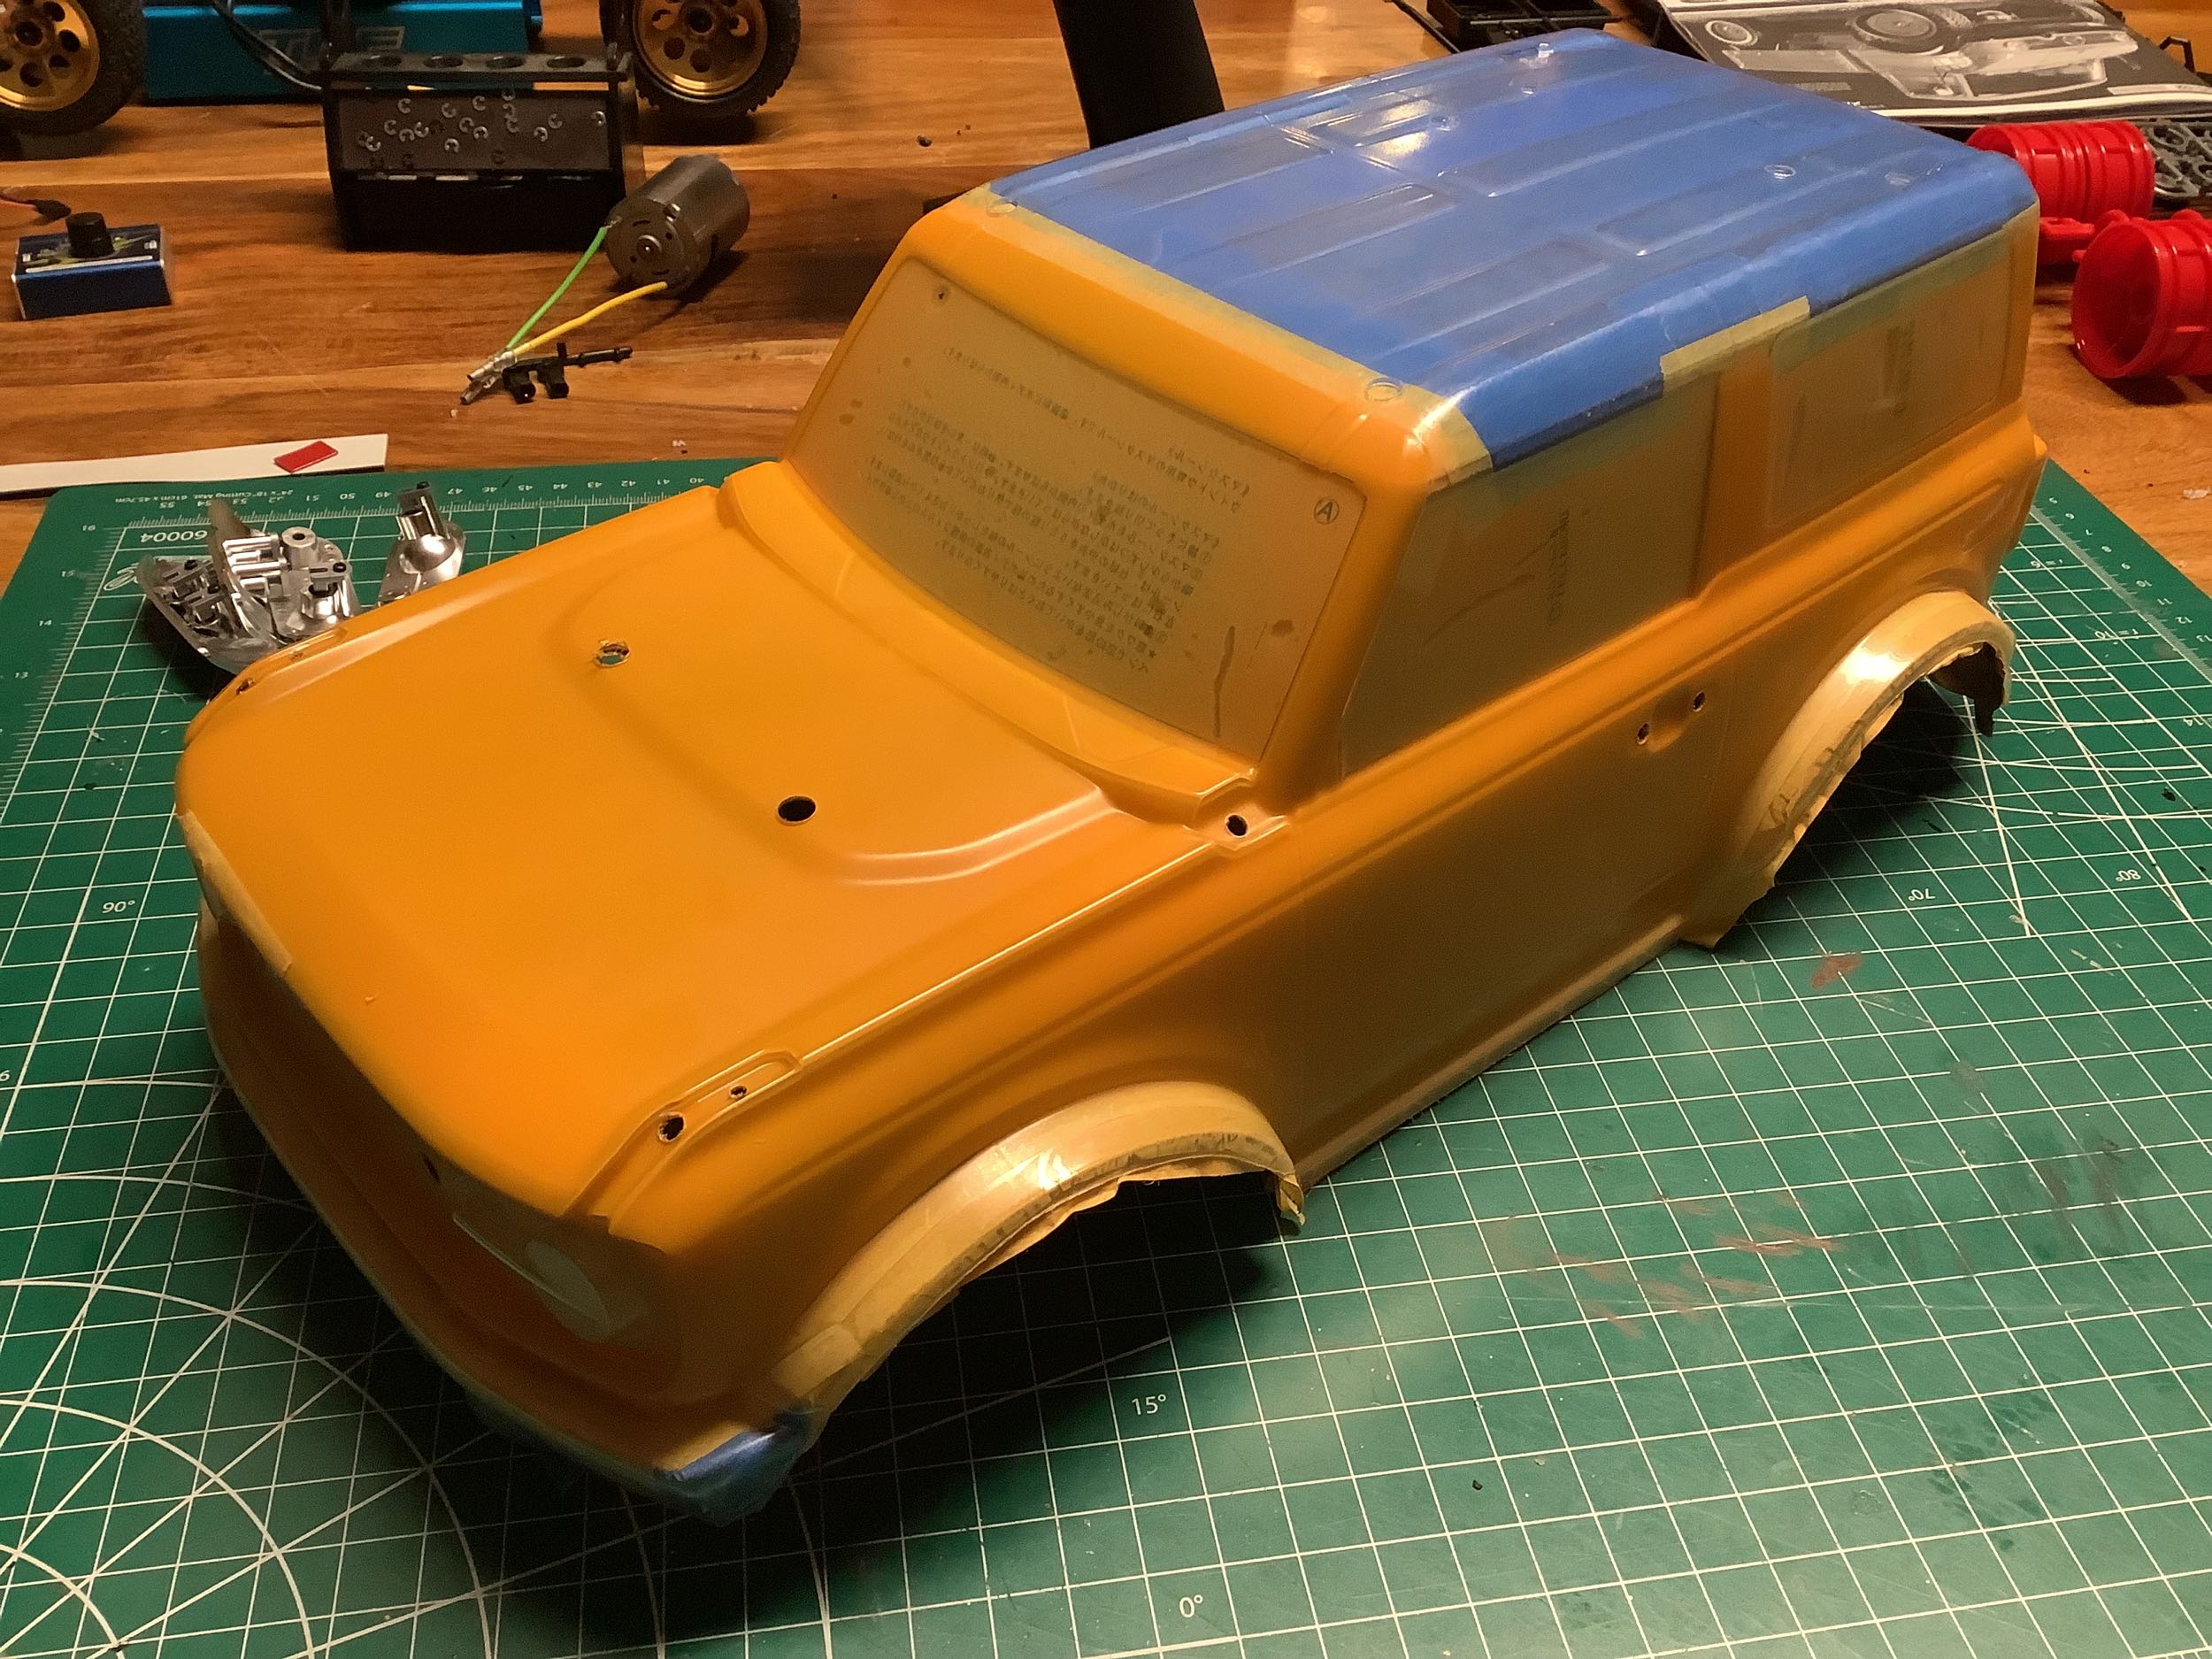
The first step is always to cut out the polycarbonate body. The
untouched body is shown on the left, and on the right it has been
trimmed. That's not all the preparation though, I also need to
ream 31 holes in the body to support attachment of all the accessories.
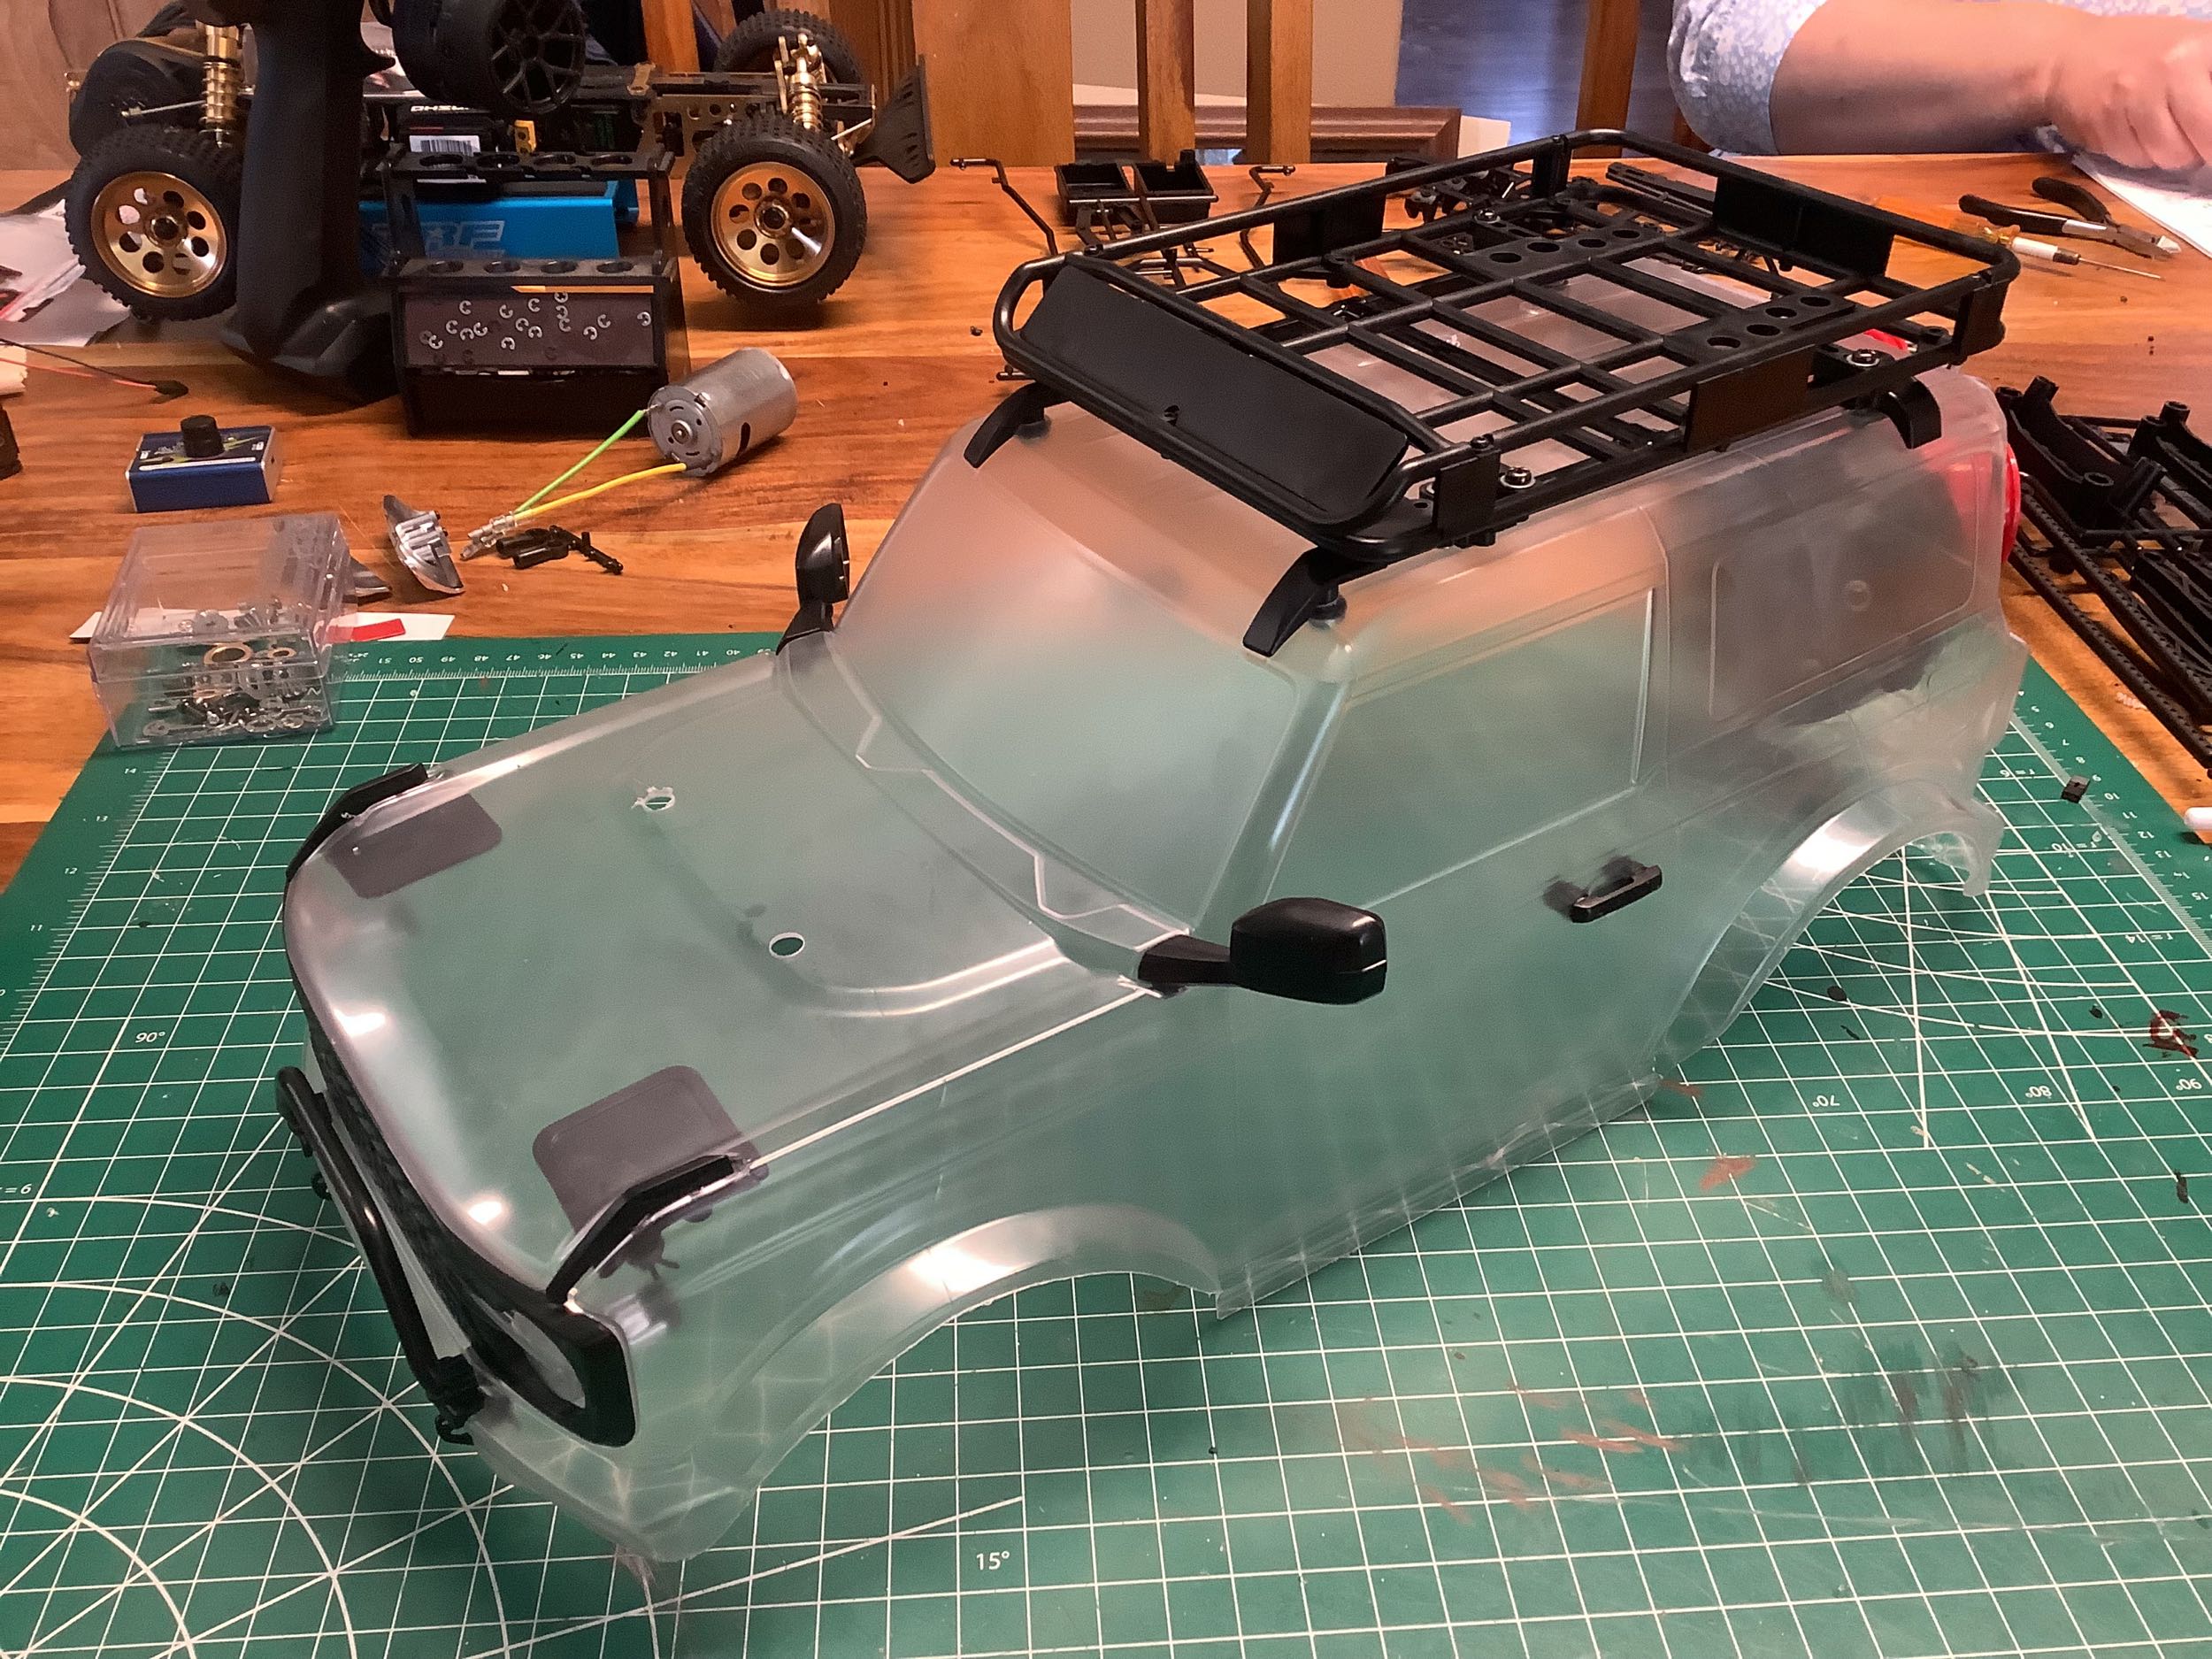
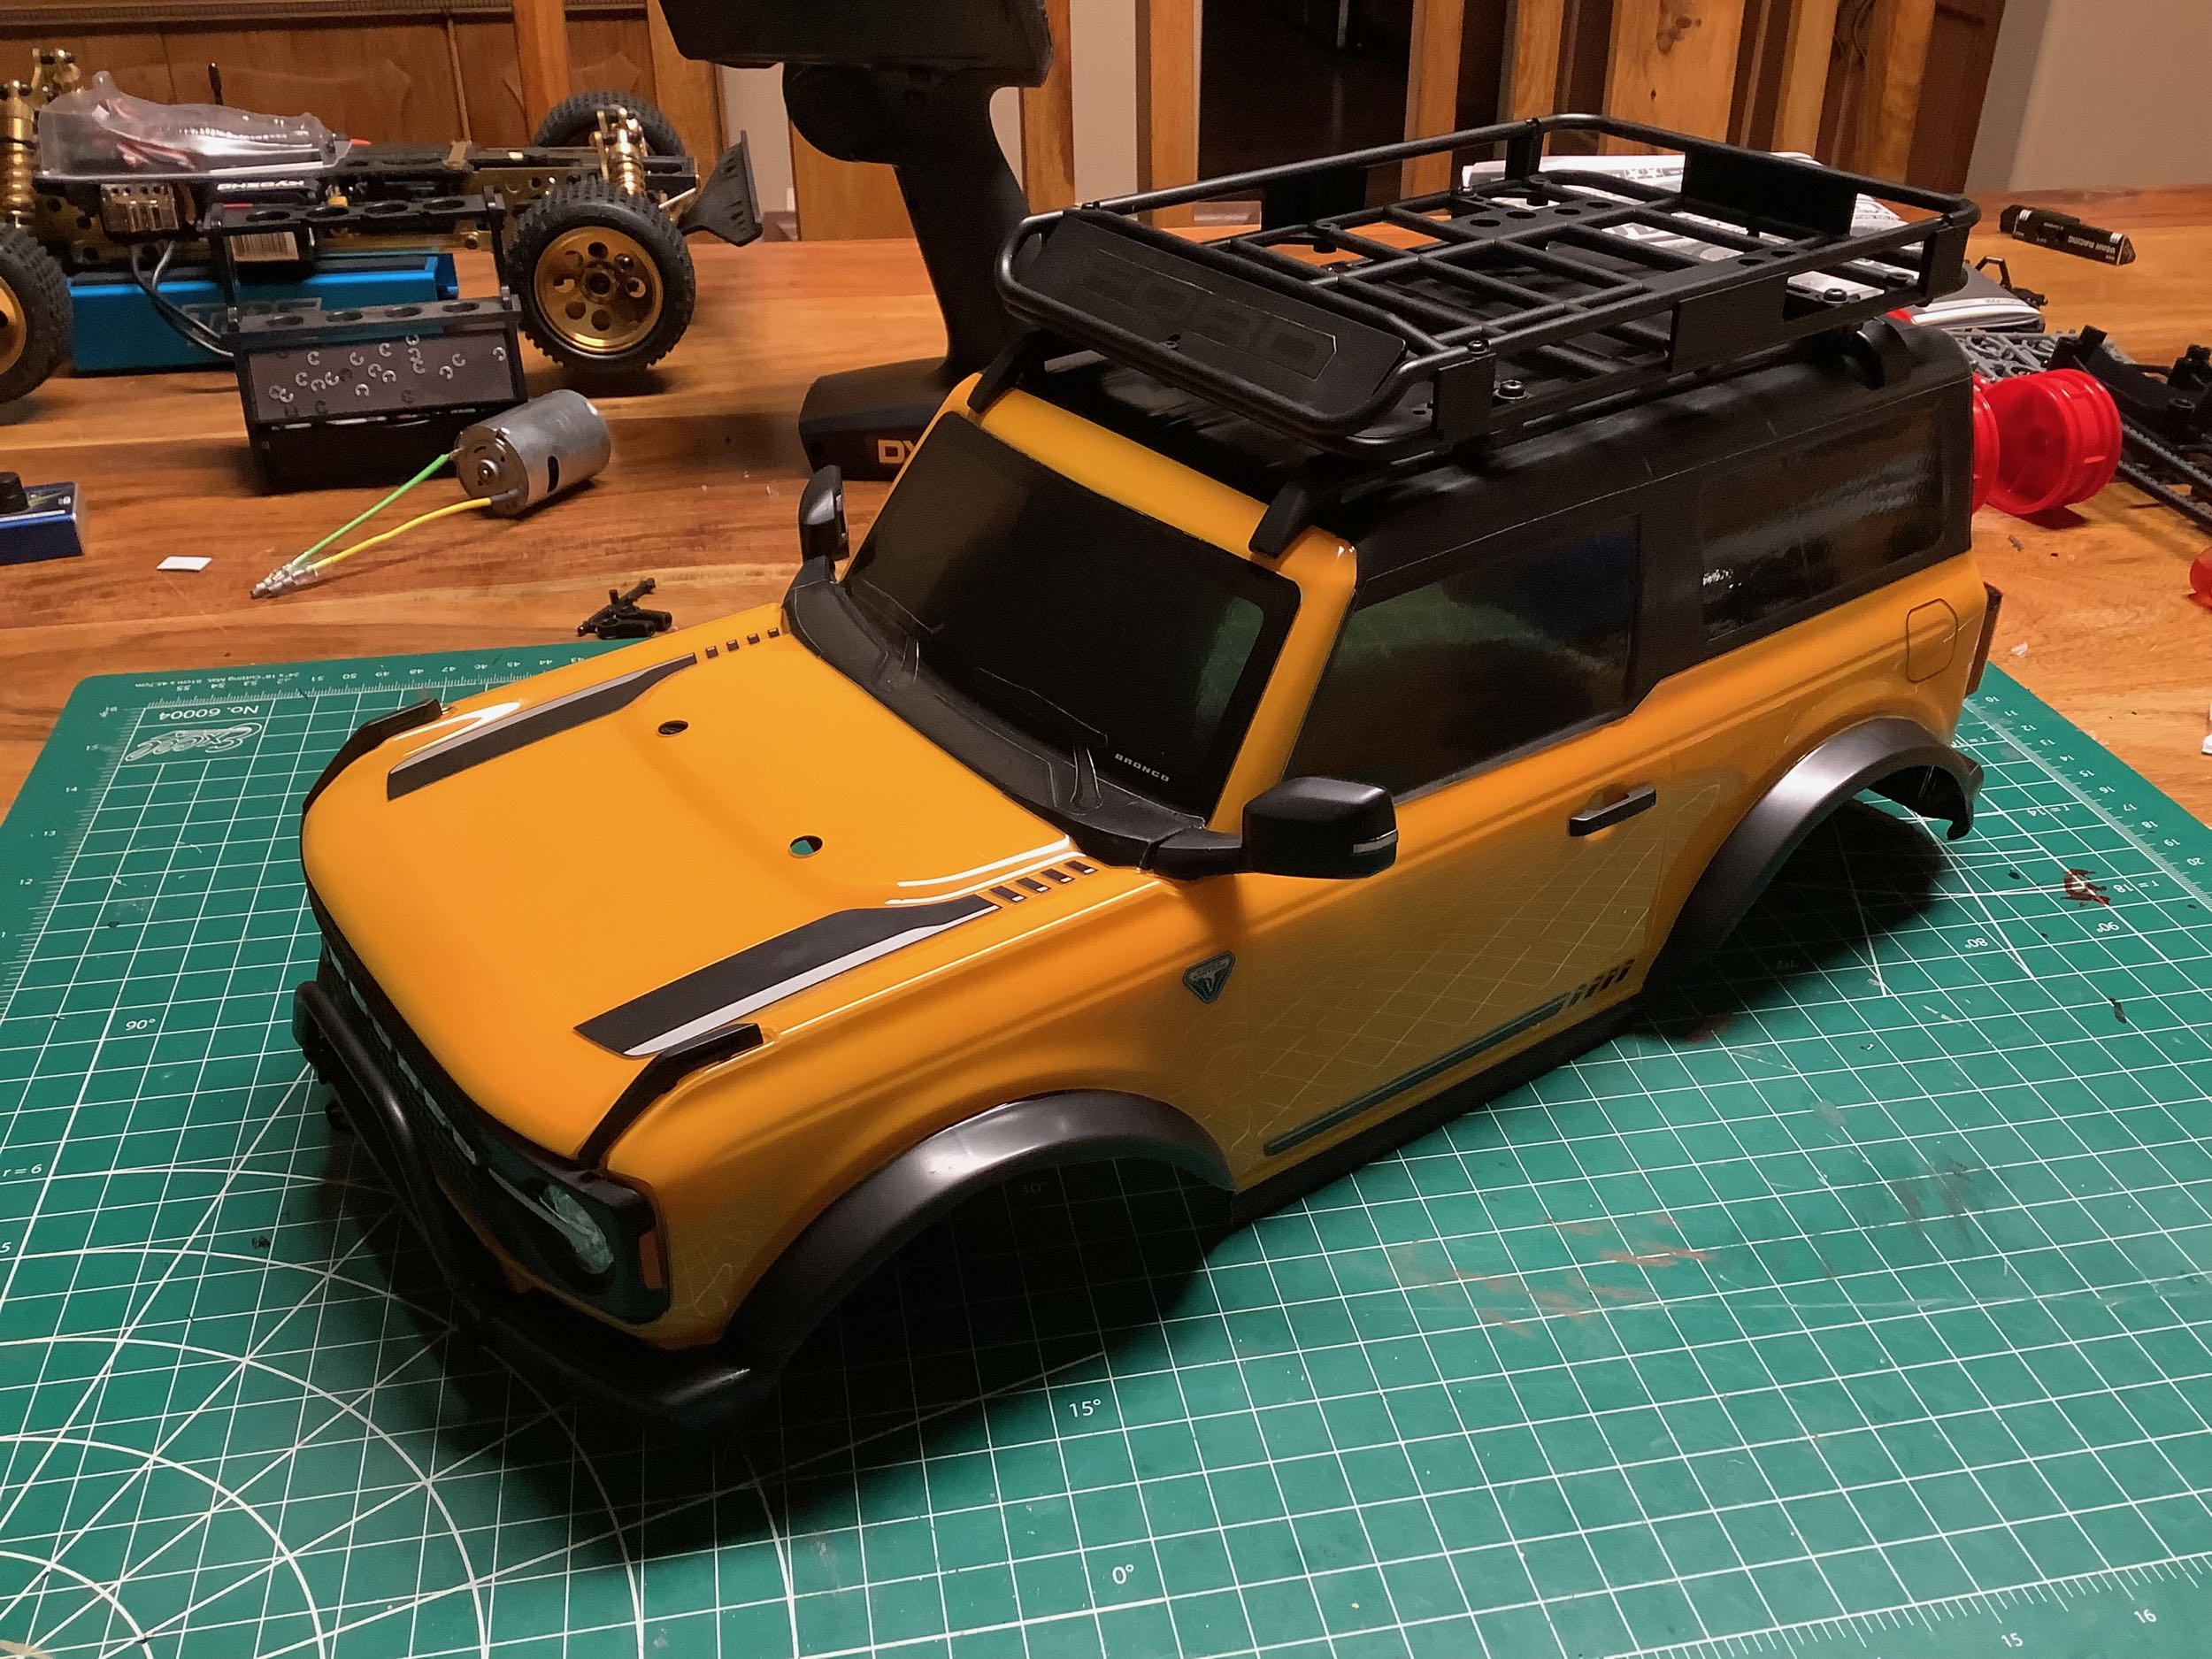
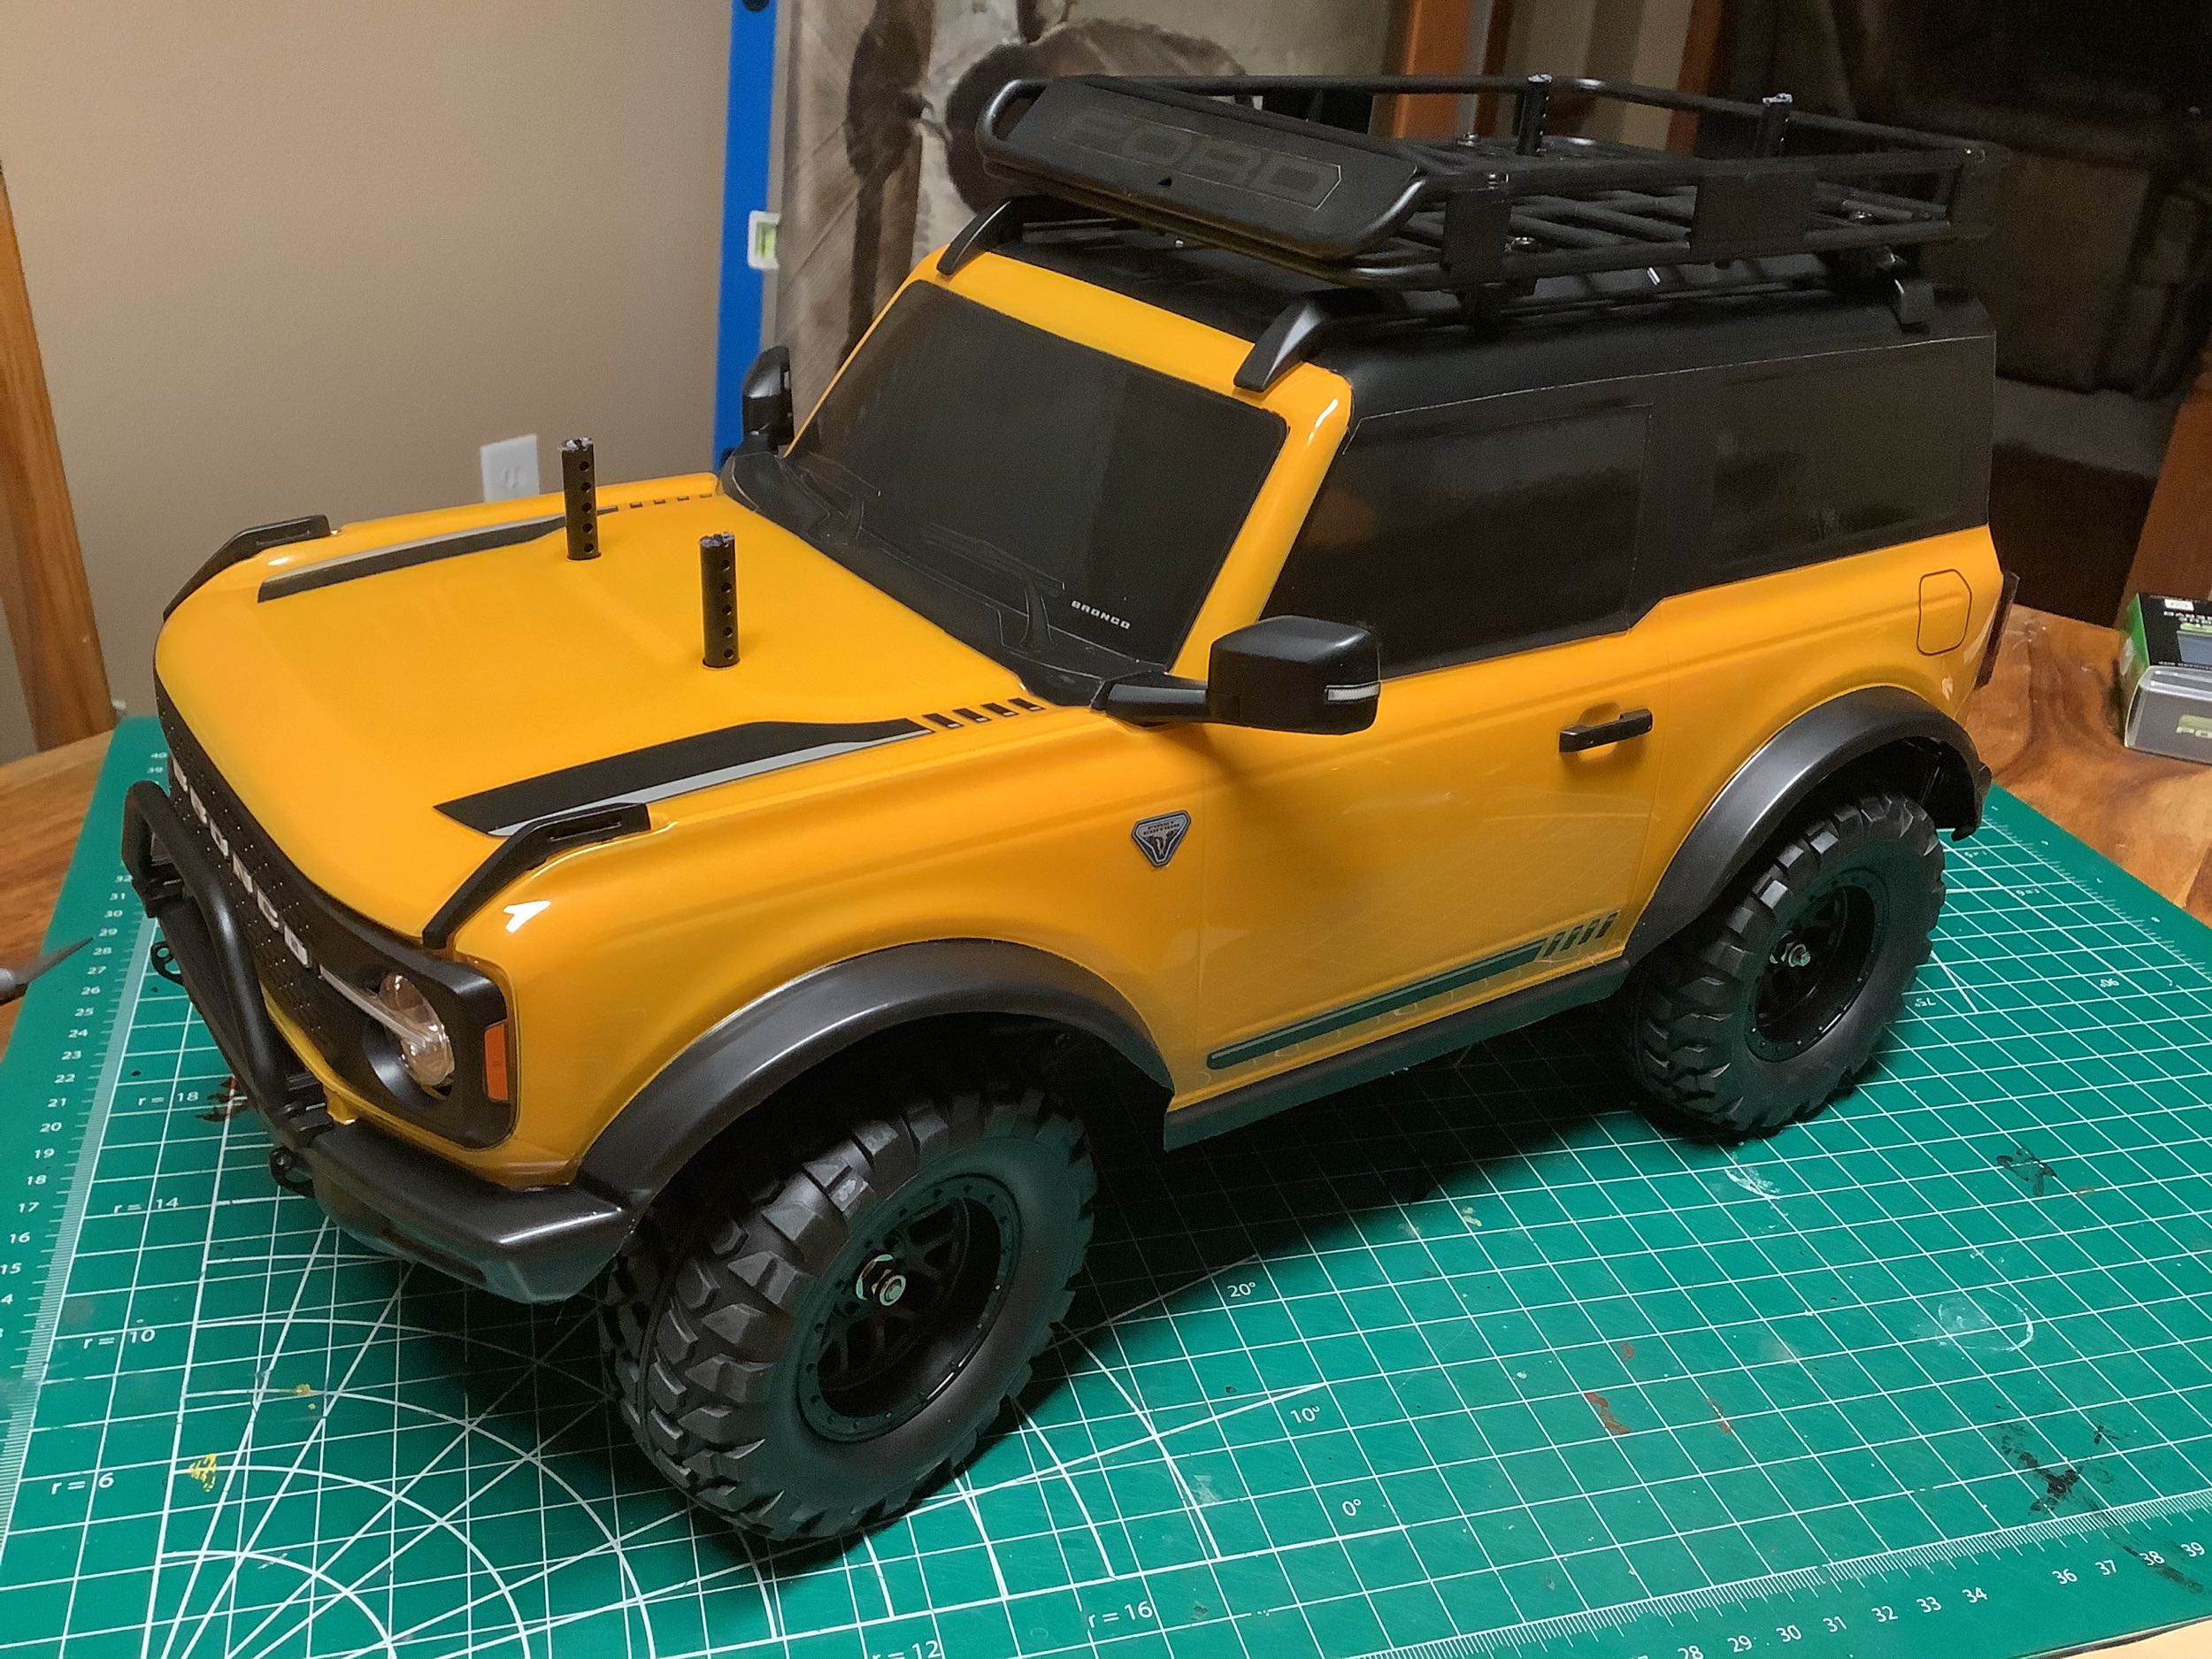
Here I've attached all the hard molded accessories just to see what they
look like. There is a bull bar, front D-rings, grille, trail
sights, door handles, side mirrors, rear handle, spare tire, and a
copious roof rack. The final 4 holes are to mount the body to the
chassis. There are also light buckets installed inside the body
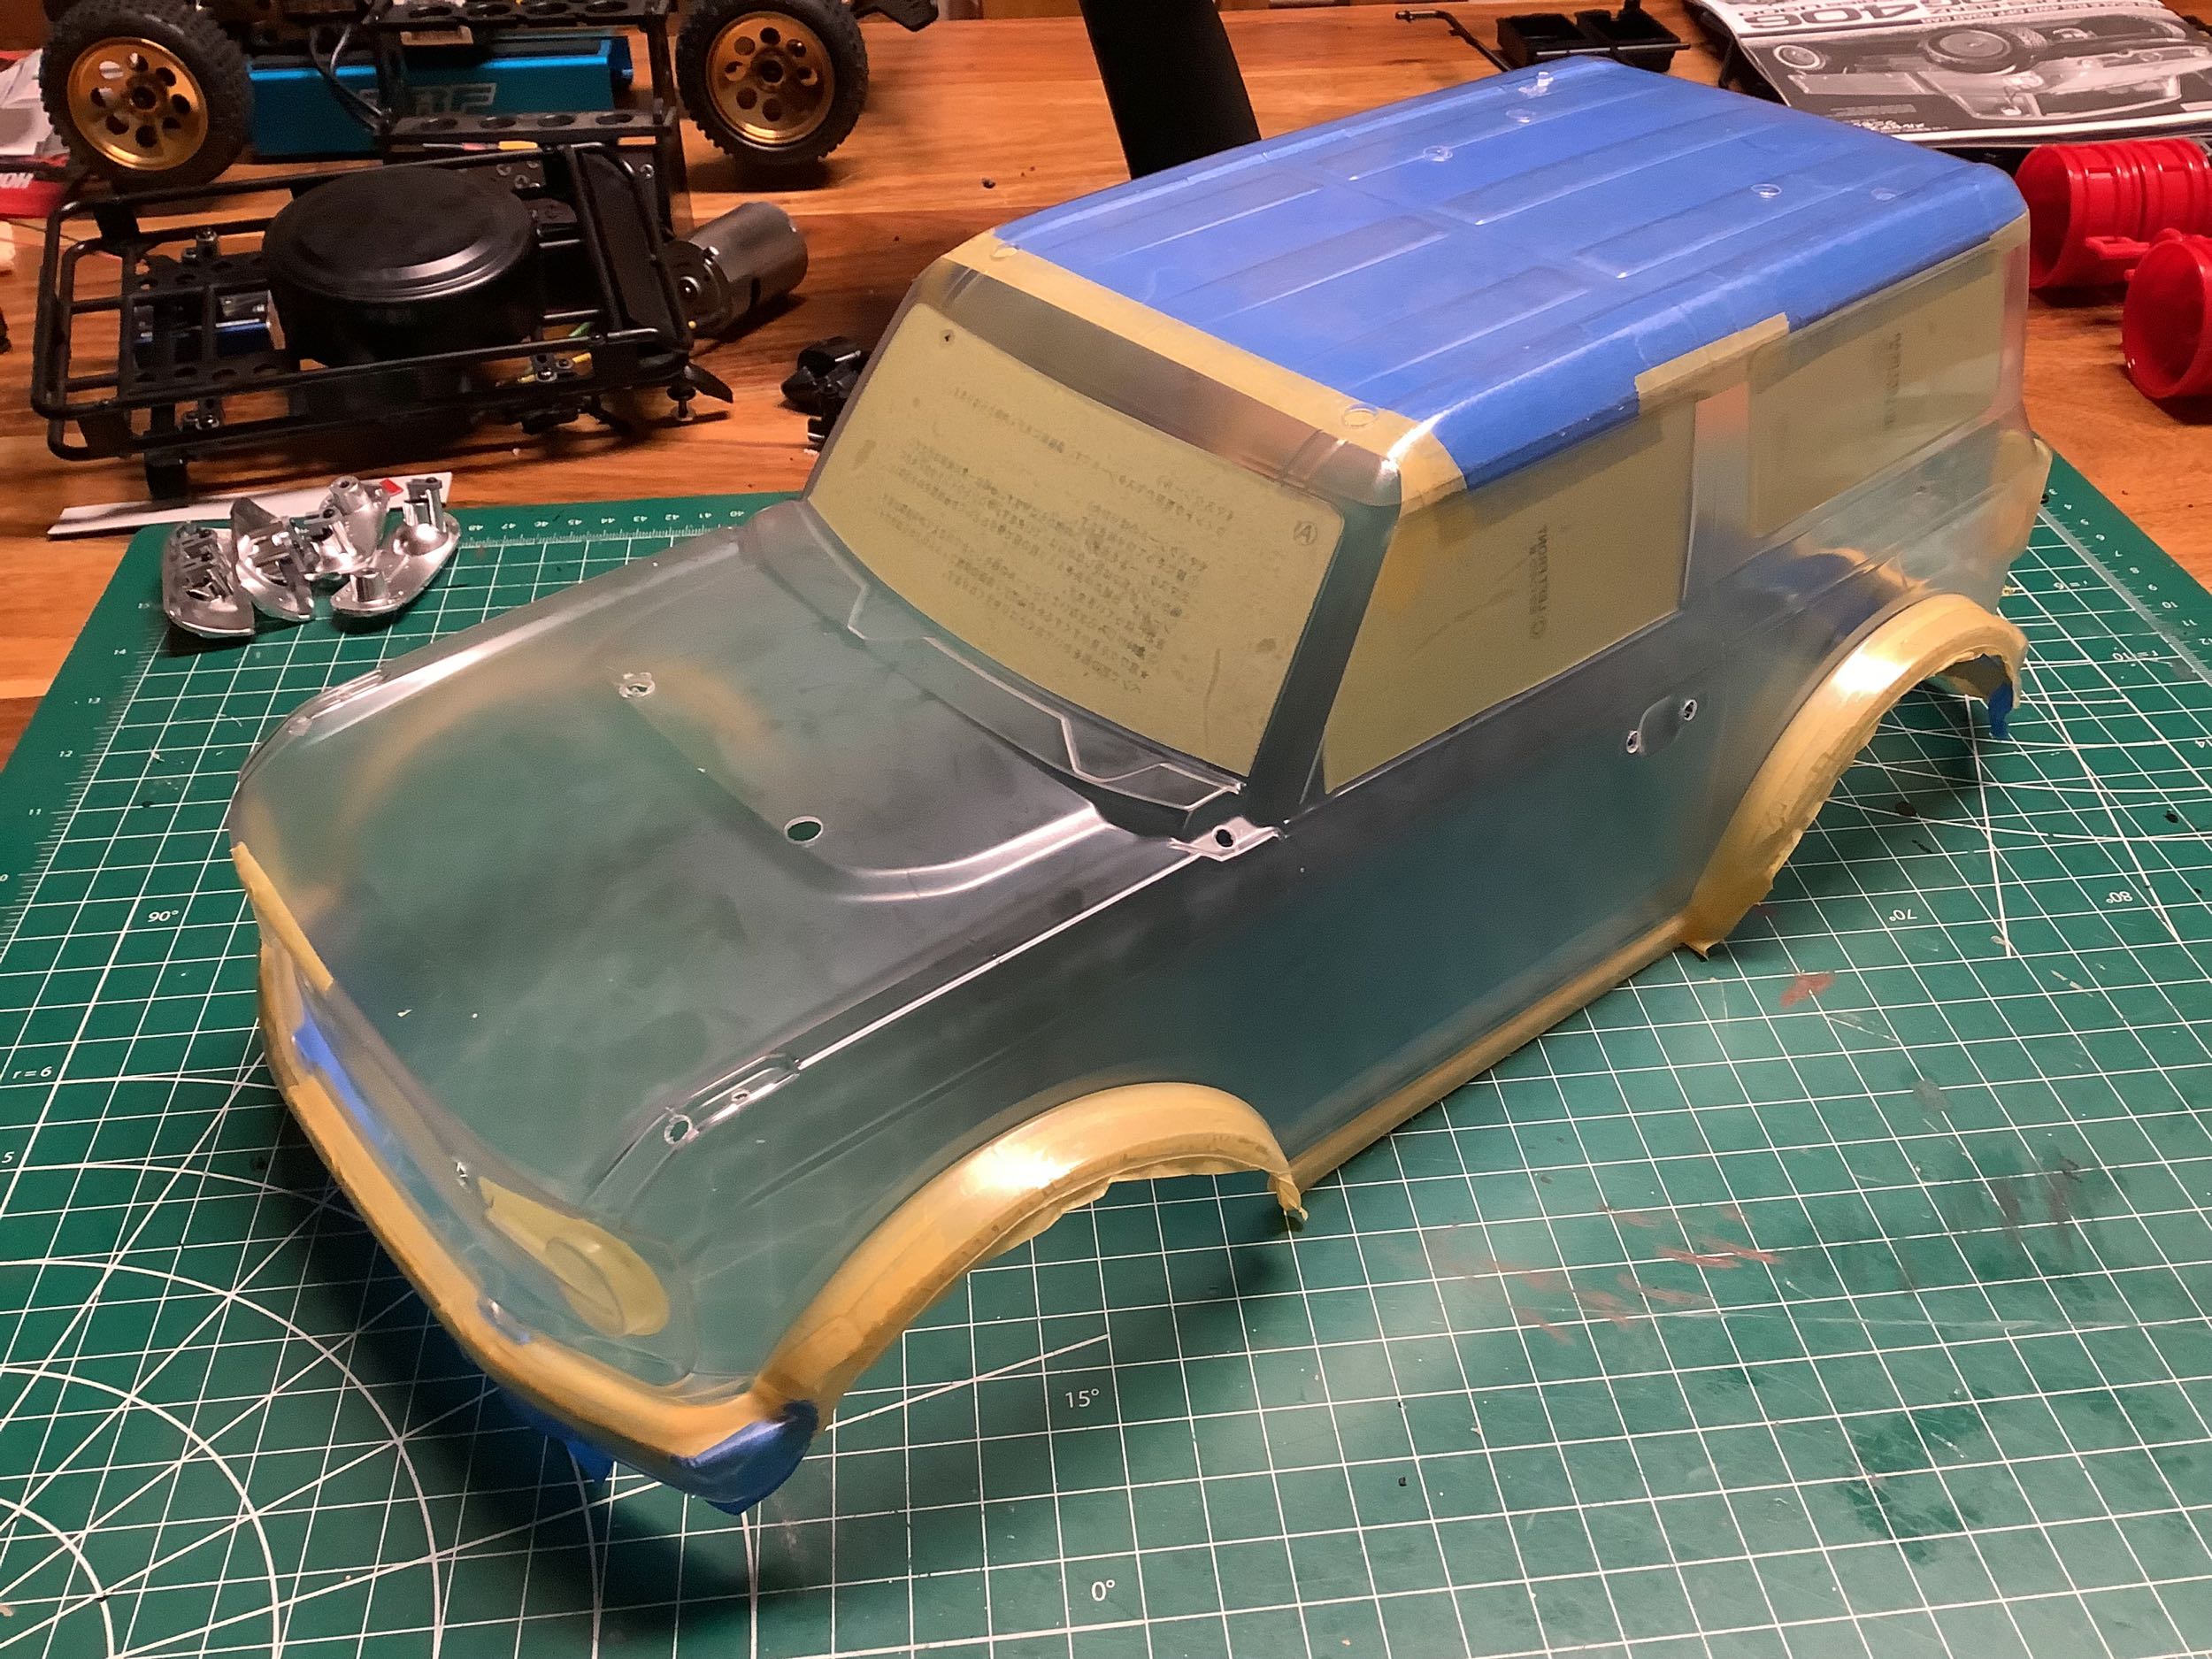
front and rear. On the right I've done the masking which is very
extensive. The kit comes with masks for the 6 windows, the
headlights, and the tail lights. The roof and bumpers nee to be
masked manually. The manual has the fenders and side skirts made
black with stickers, but I much prefer to mask and paint these areas
which will make the black more durable. Getting it all right took a
couple of hours of work.
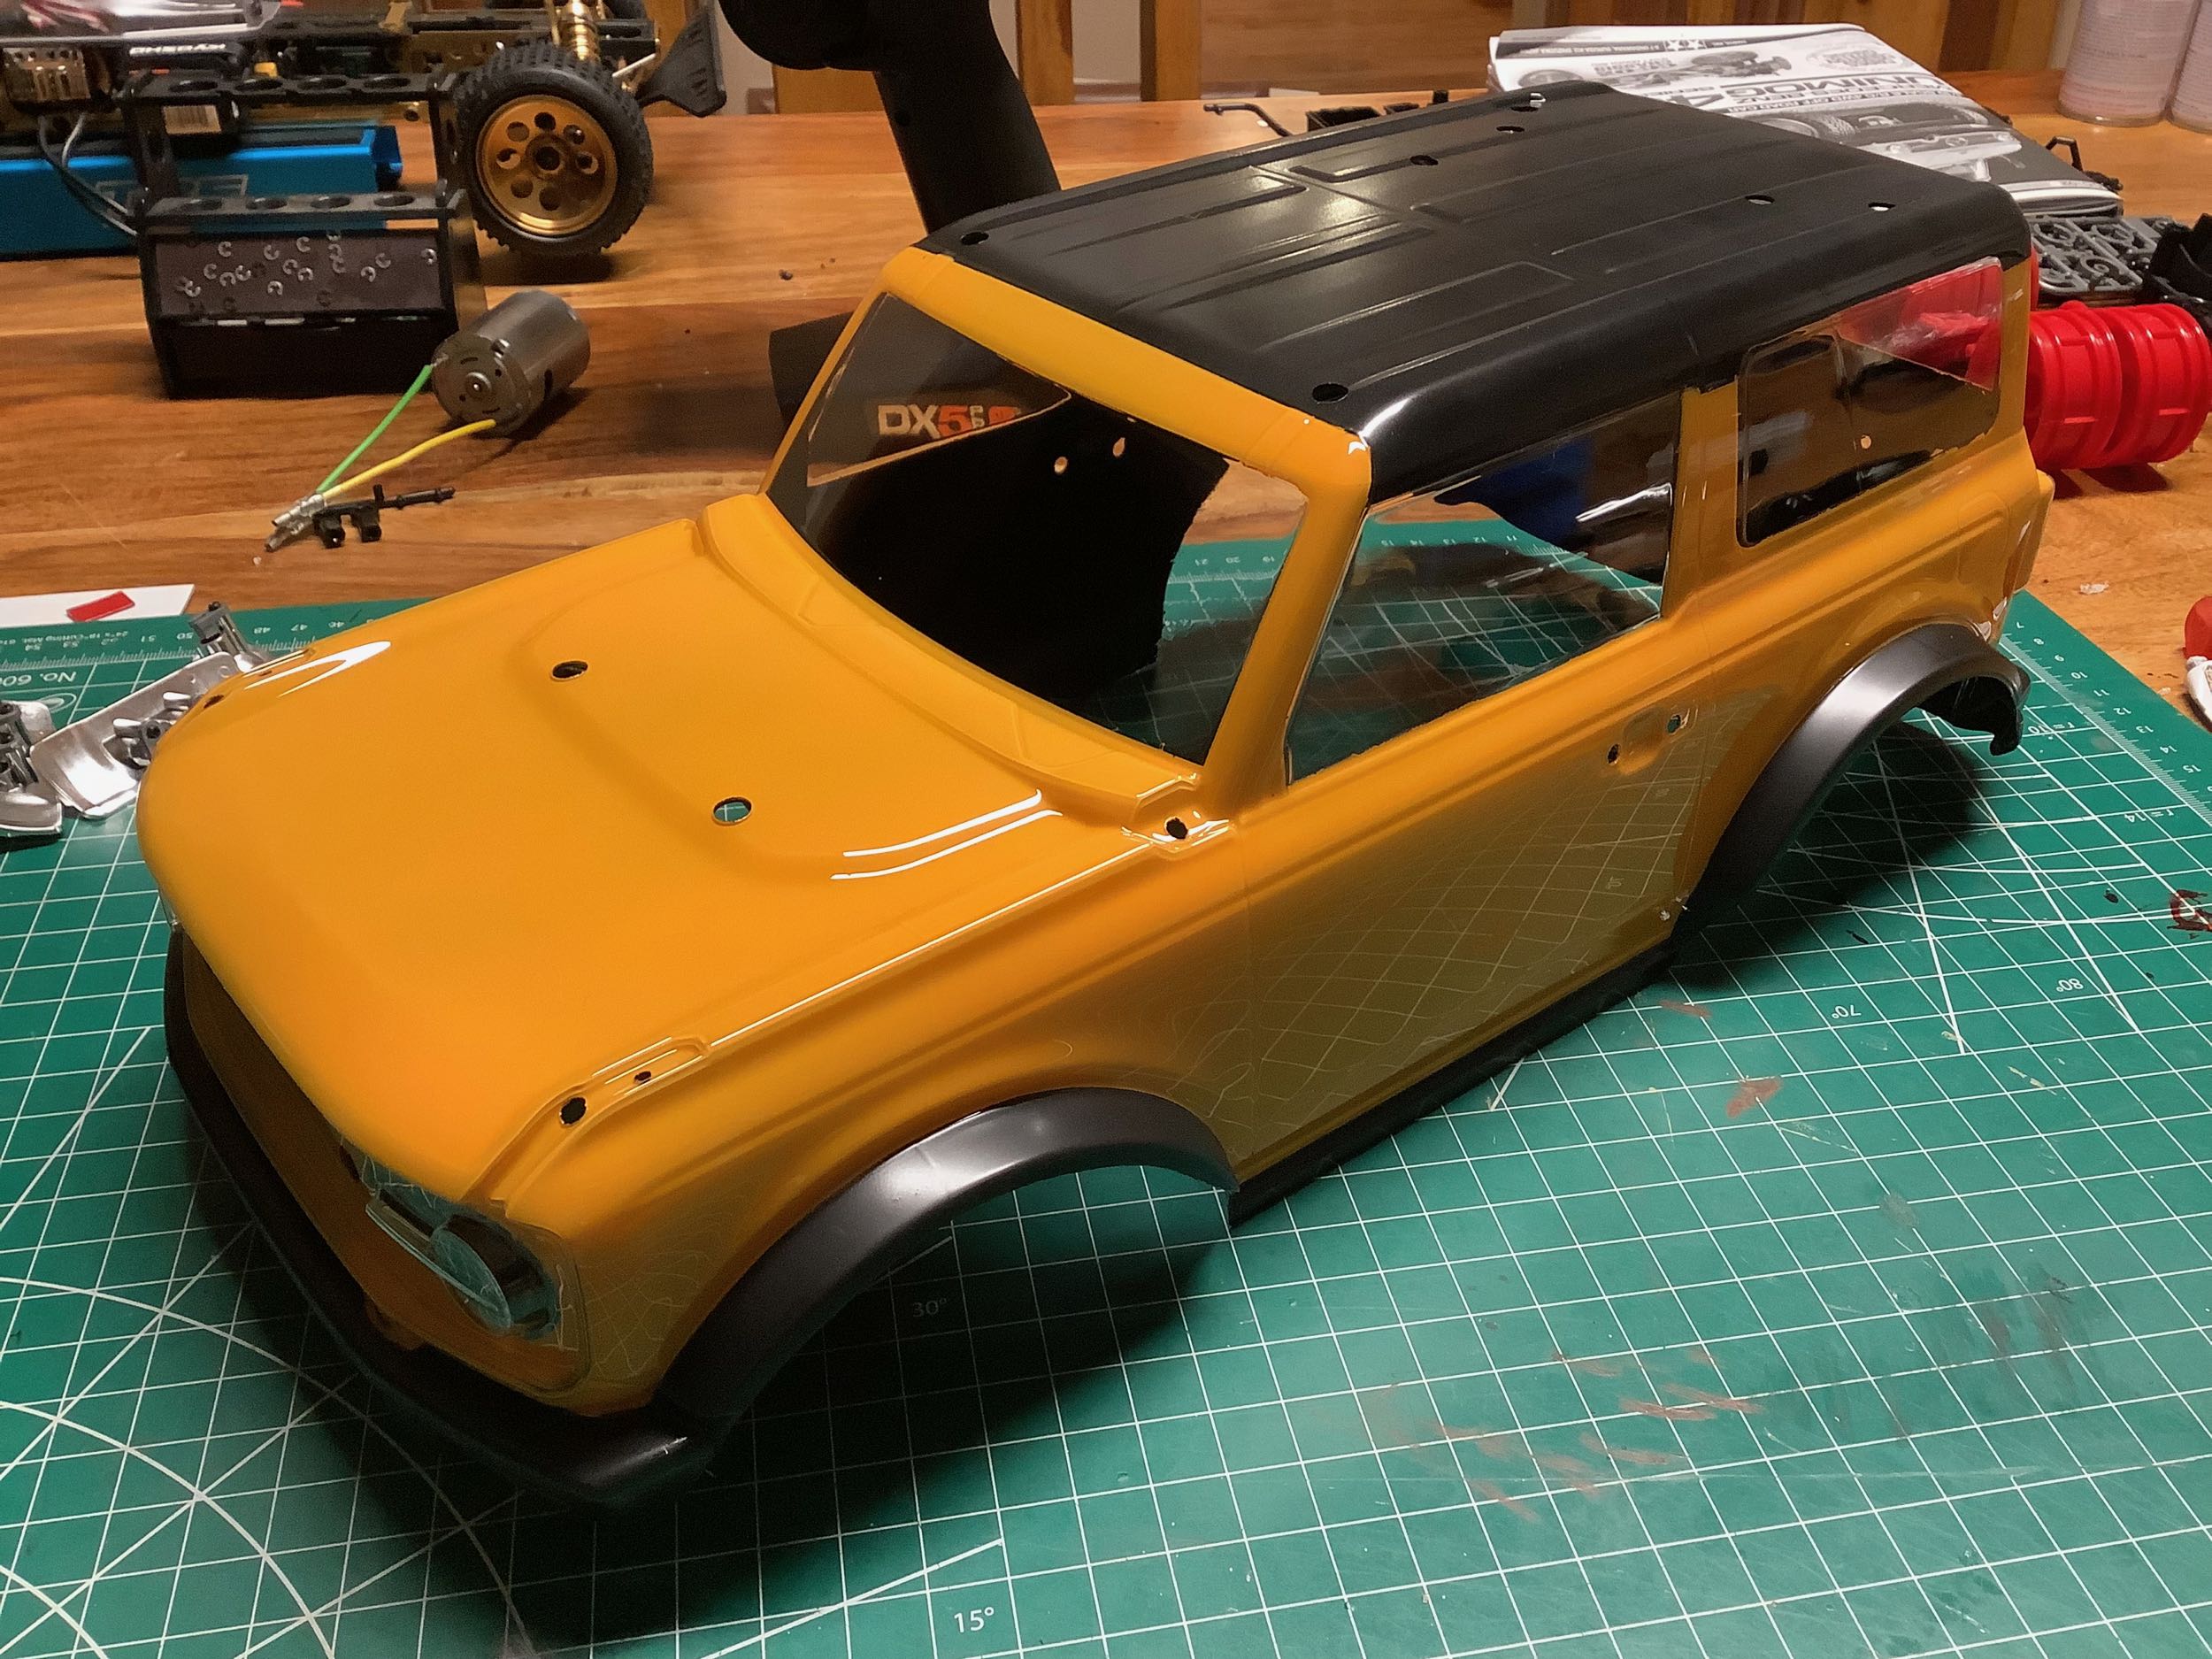
I started with a couple of coats of Camel Yellow on the left.
After that I removed the masking for the areas to be black. After
the black was applied as shown on the right, the paint still wasn't
done. The removable top of the real Bronco does not have shiny
clear coat, so the usual gleaming transparent polycarbonate wouldn't be
right. I trimmed away the overspray film from the outside of the
body over the top and then covered it in flat clear. Normally I
would also smoke the windows, but in this case there are stickers to
tint them all so it is not necessary.
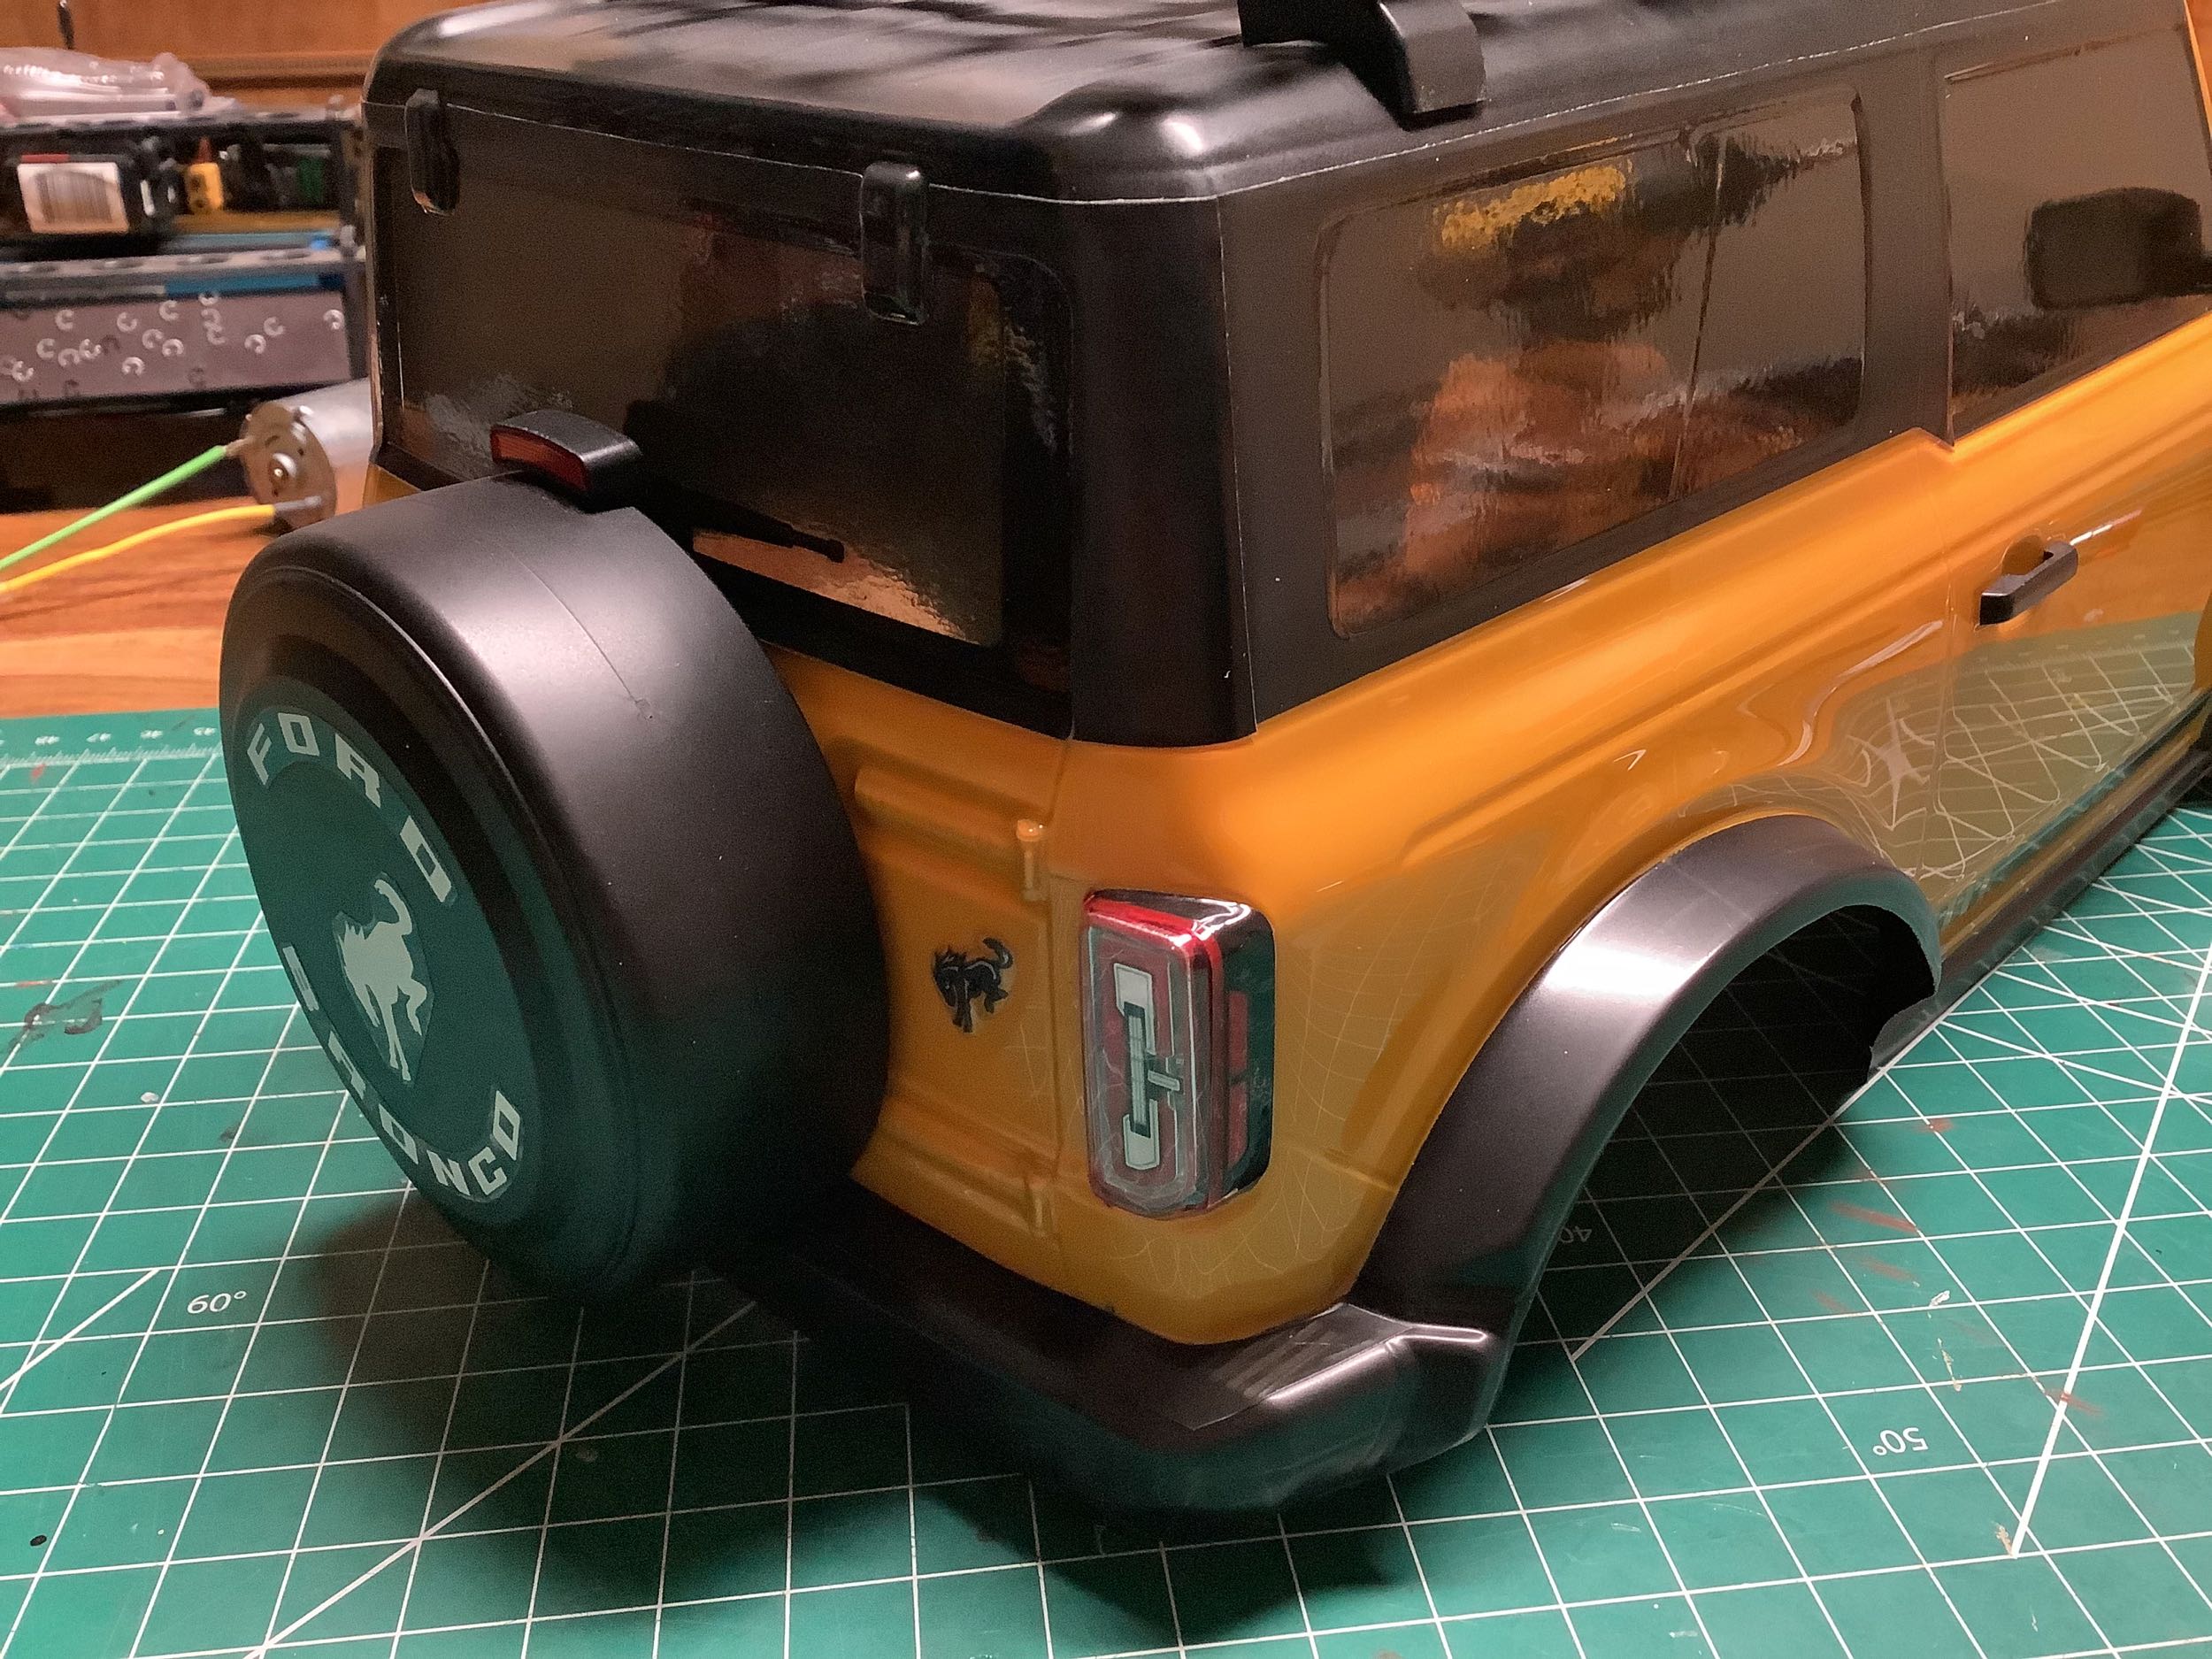
After another couple of hours of work I had all the stickers
applied. I was able to save a bit of time because I didn't need
the stickers for the fenders and running boards, but that still left me
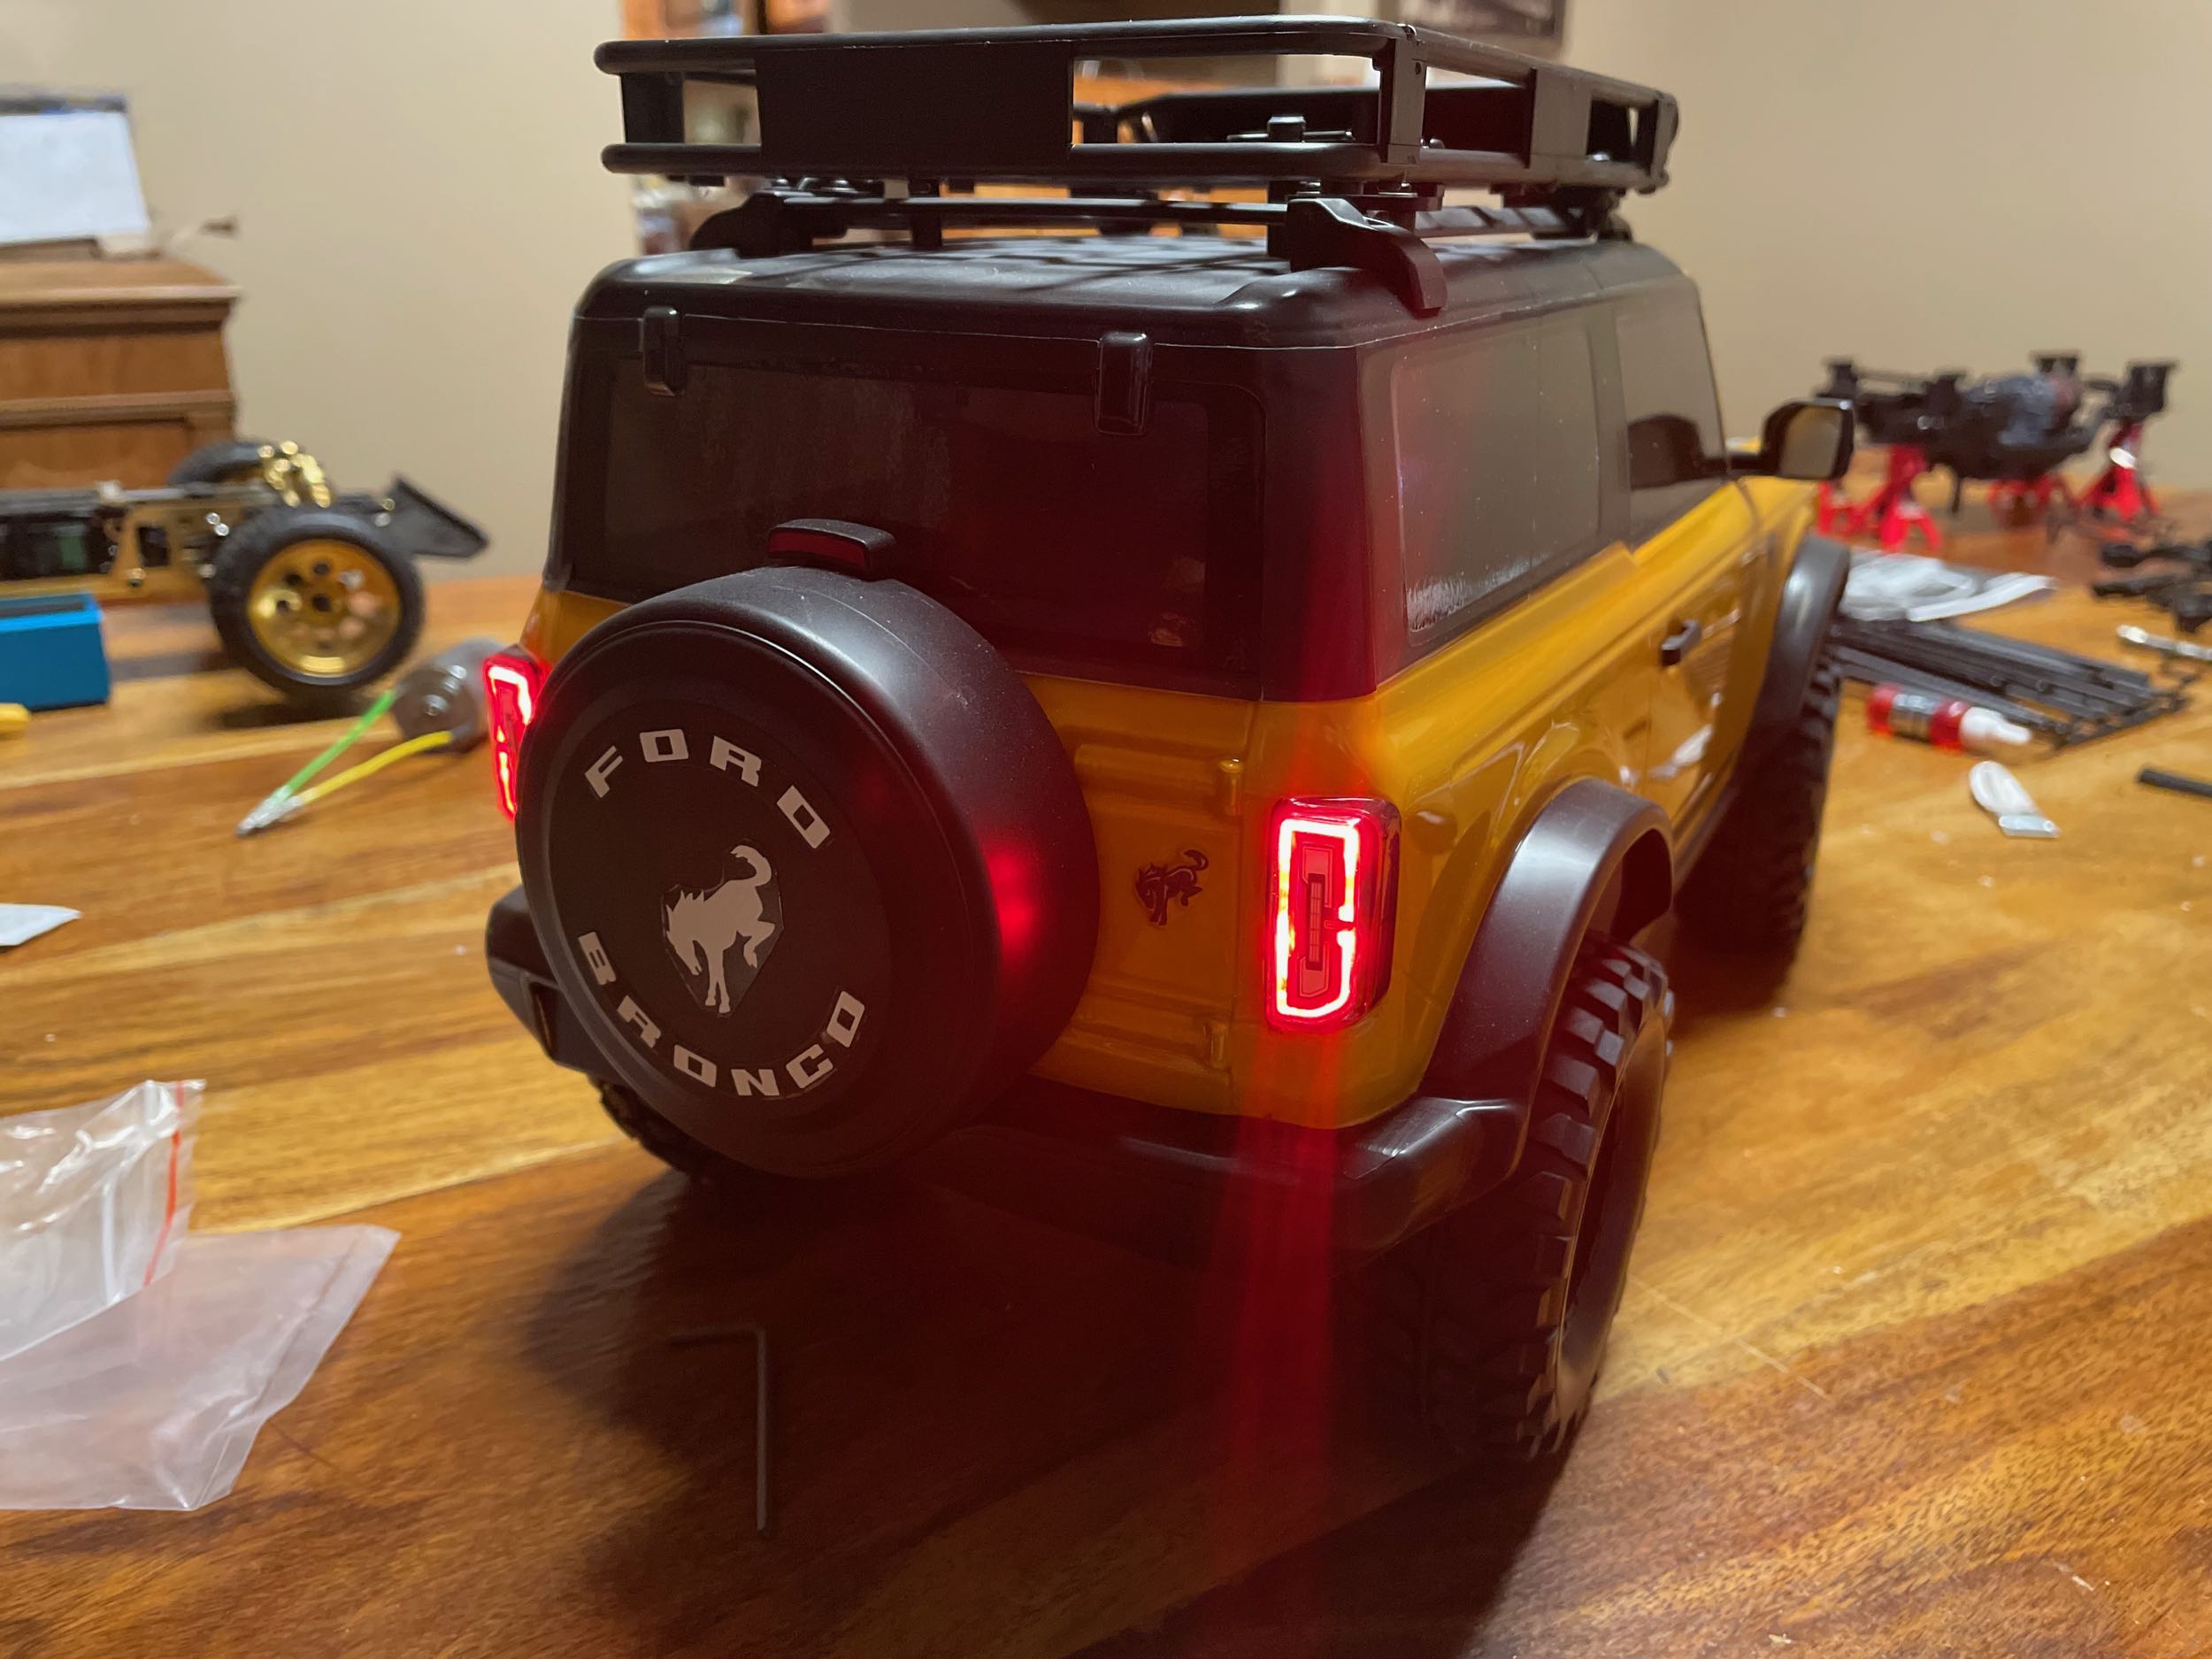
with dozens to cut and apply. The tail lights were especially
complex.
Here is the final result attached to the body. All that is left at
this point is to trim the body posts. One little oddity here is
that the rear body posts actually protrude through the roof rack.
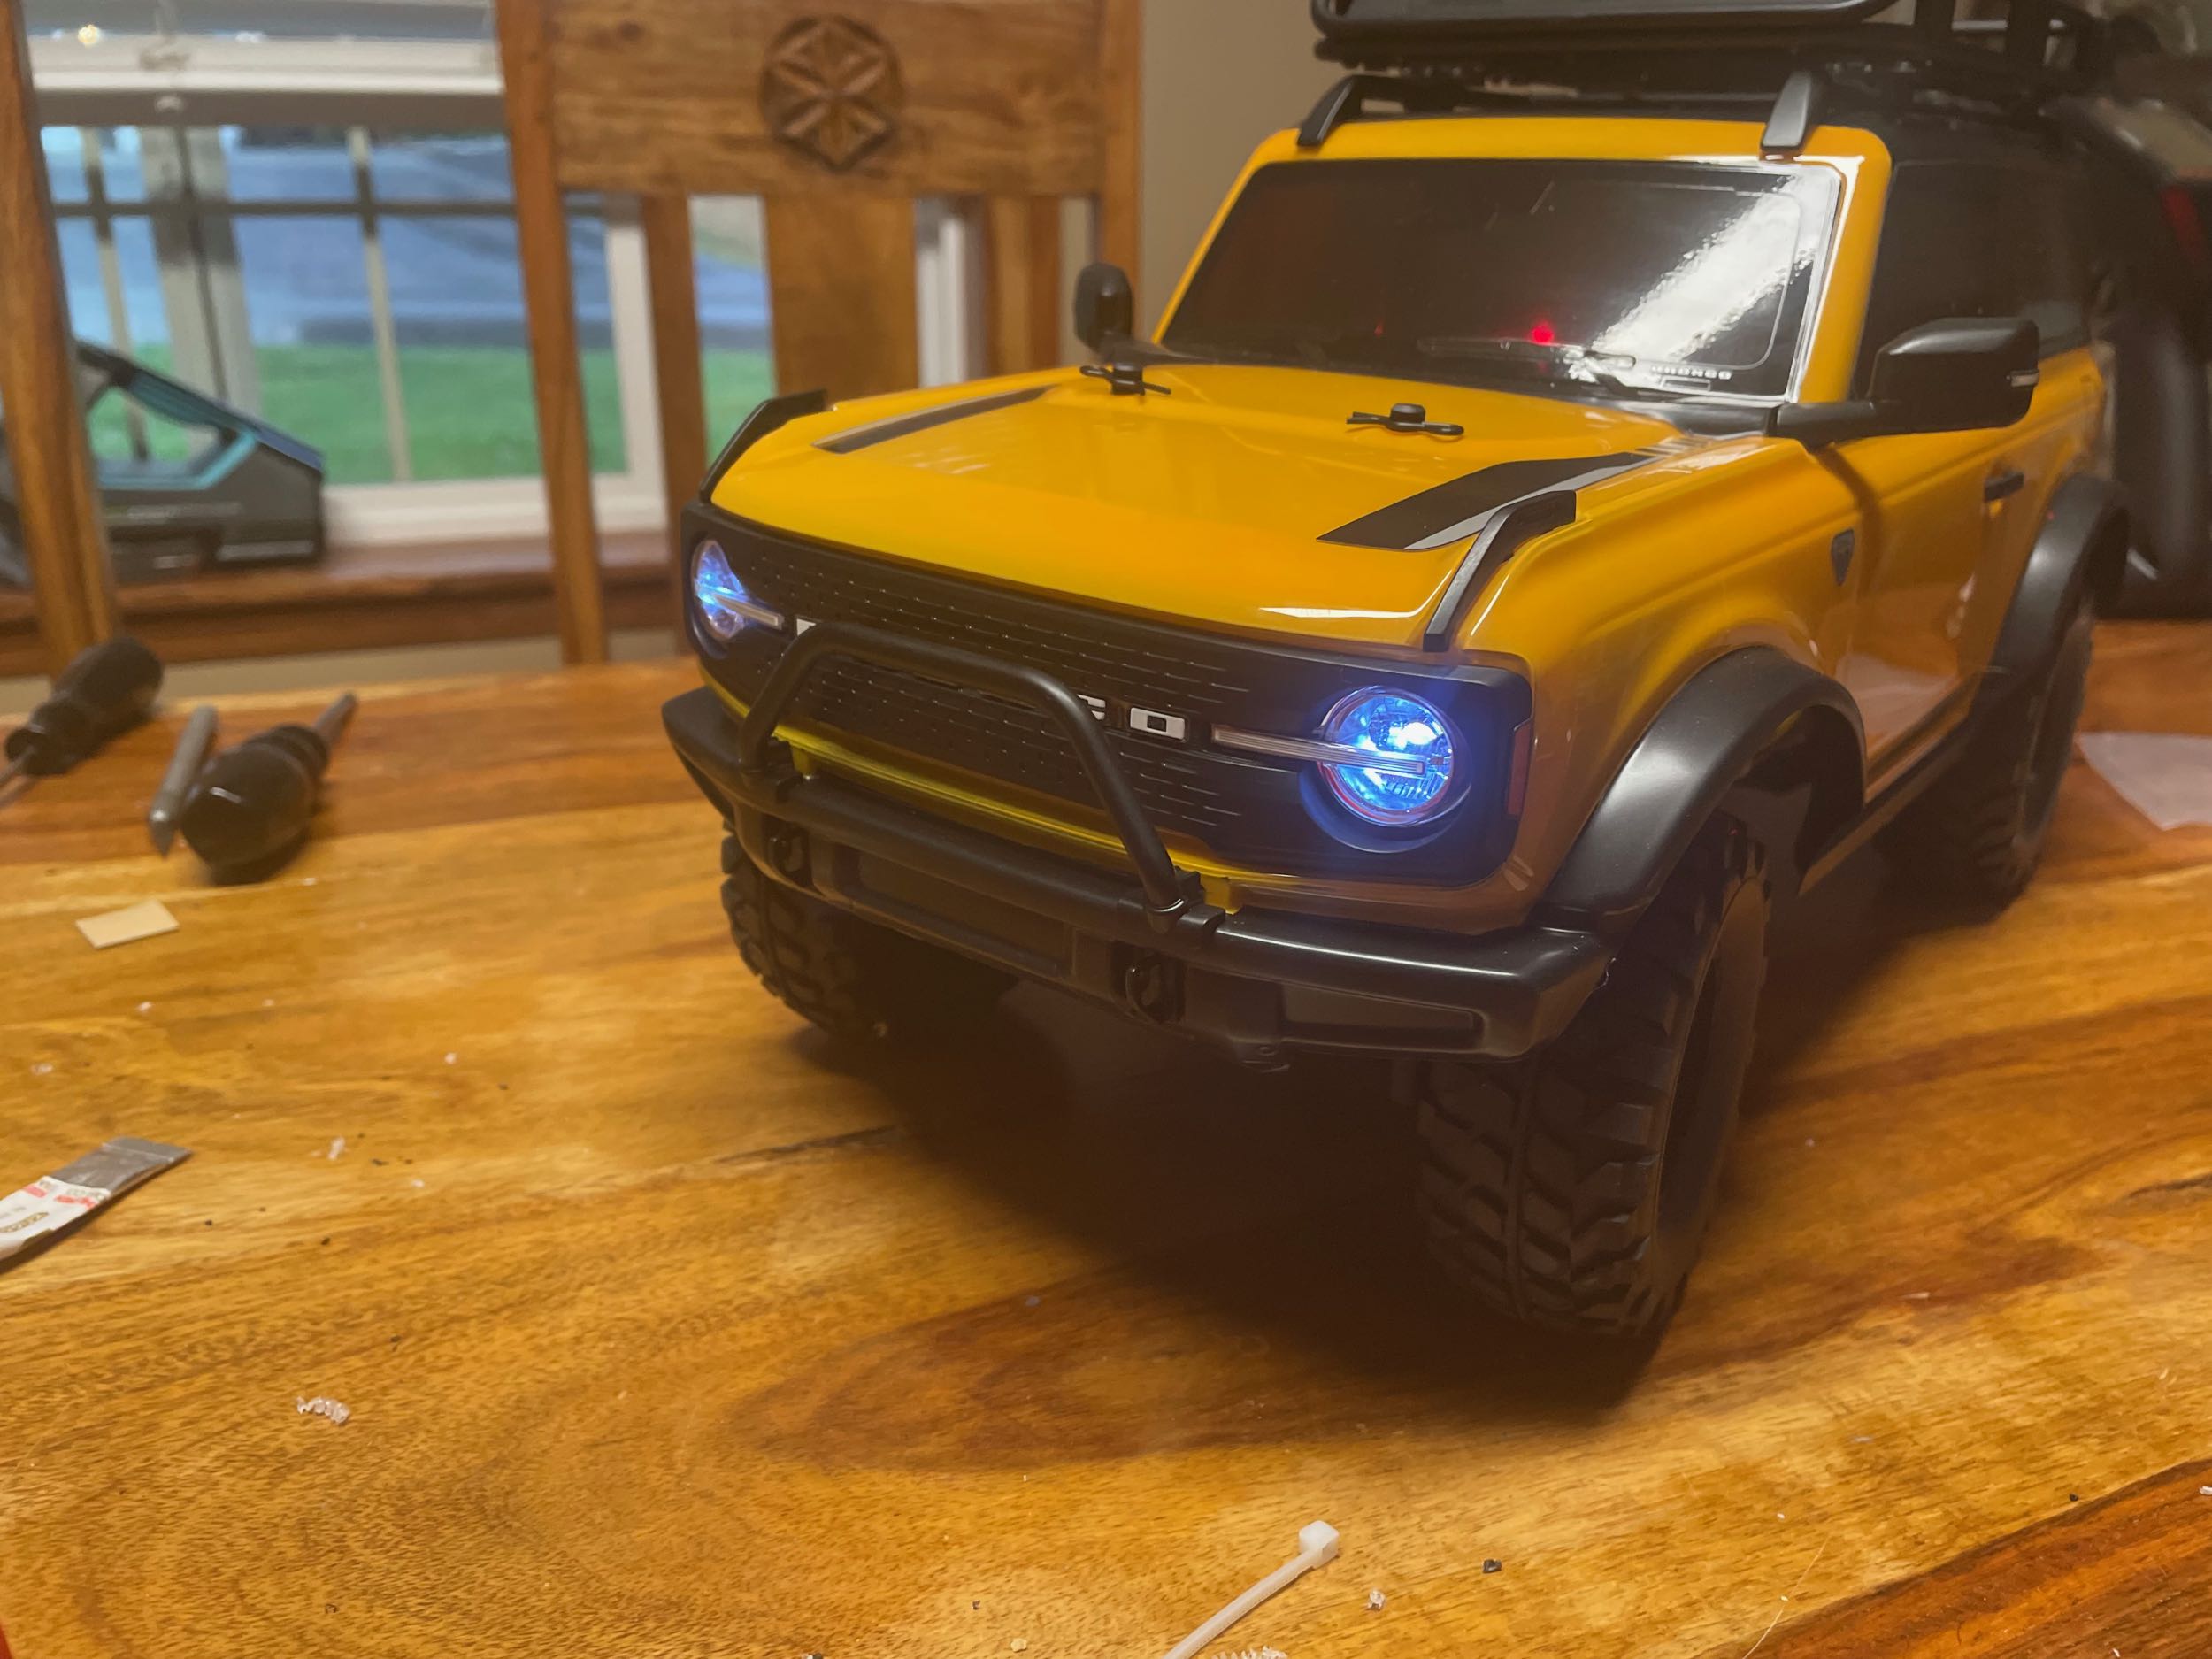
The kit came with a TLU-01 light kit, but that fancy light kit is too
much for this model so I'll save it to use on the Bruiser. I got
and installed a cheap set of LEDs which look just as good and simply
plug into the receiver.
©2023 Eric Albrecht