Page 2: Building the Body
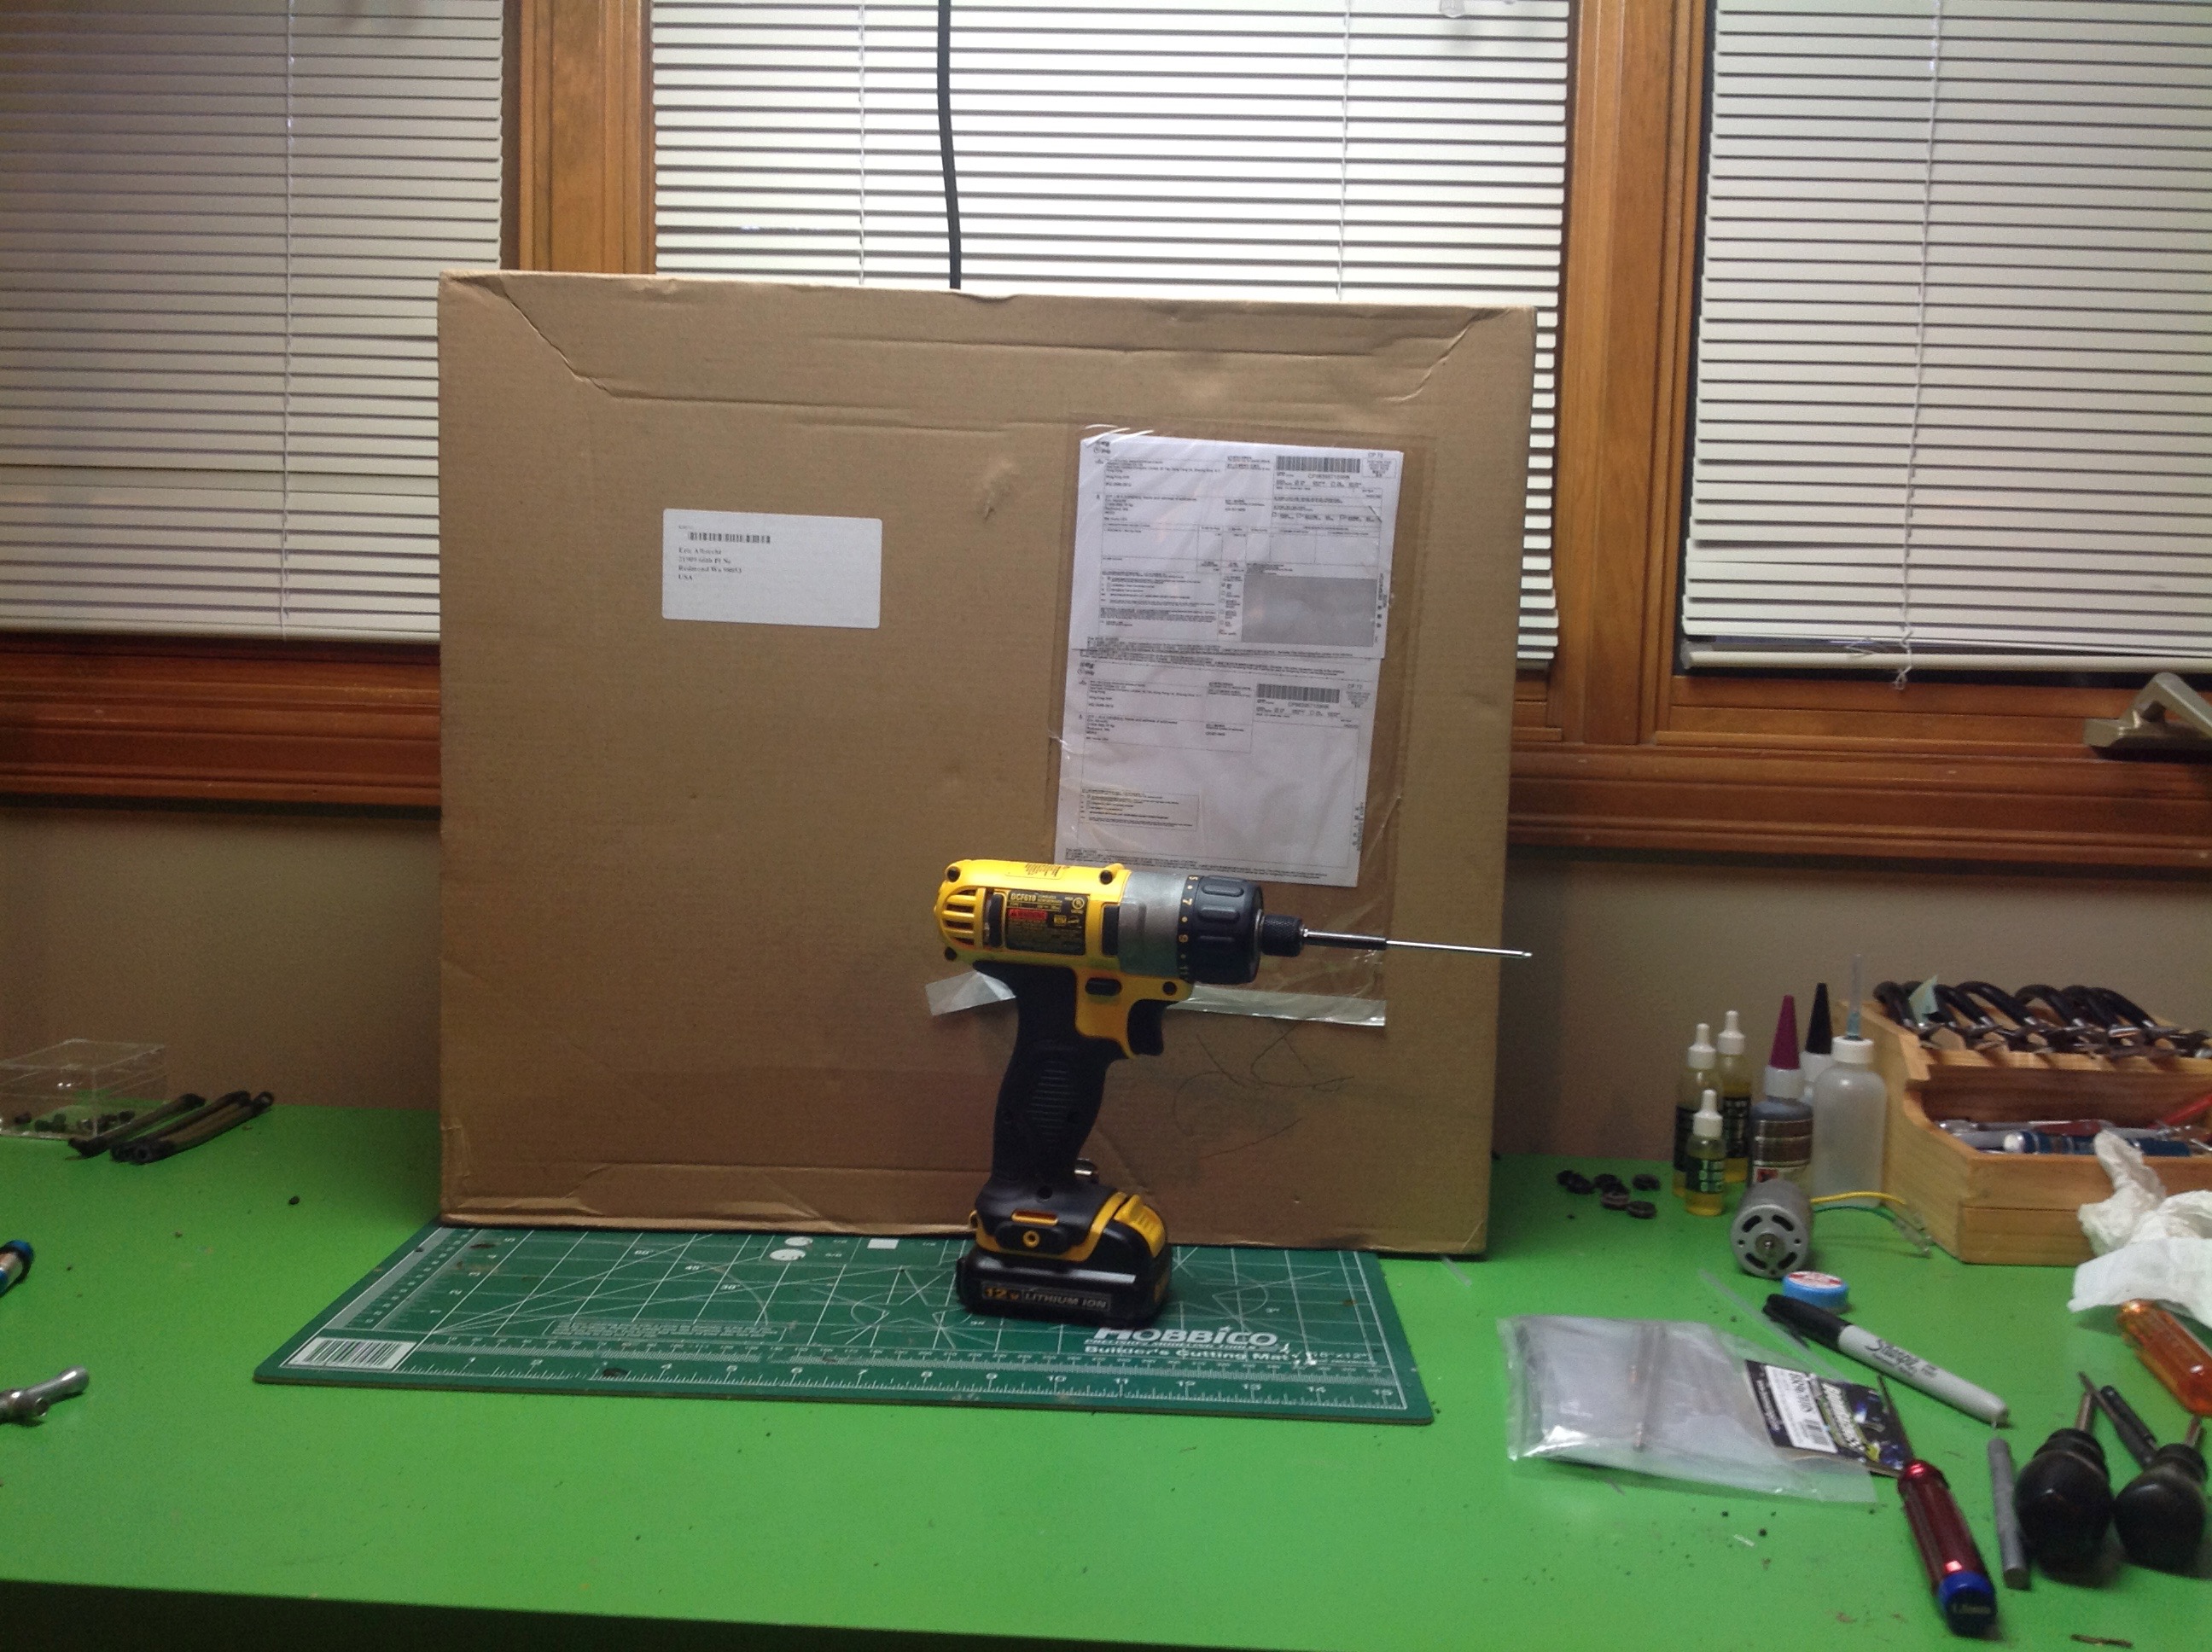
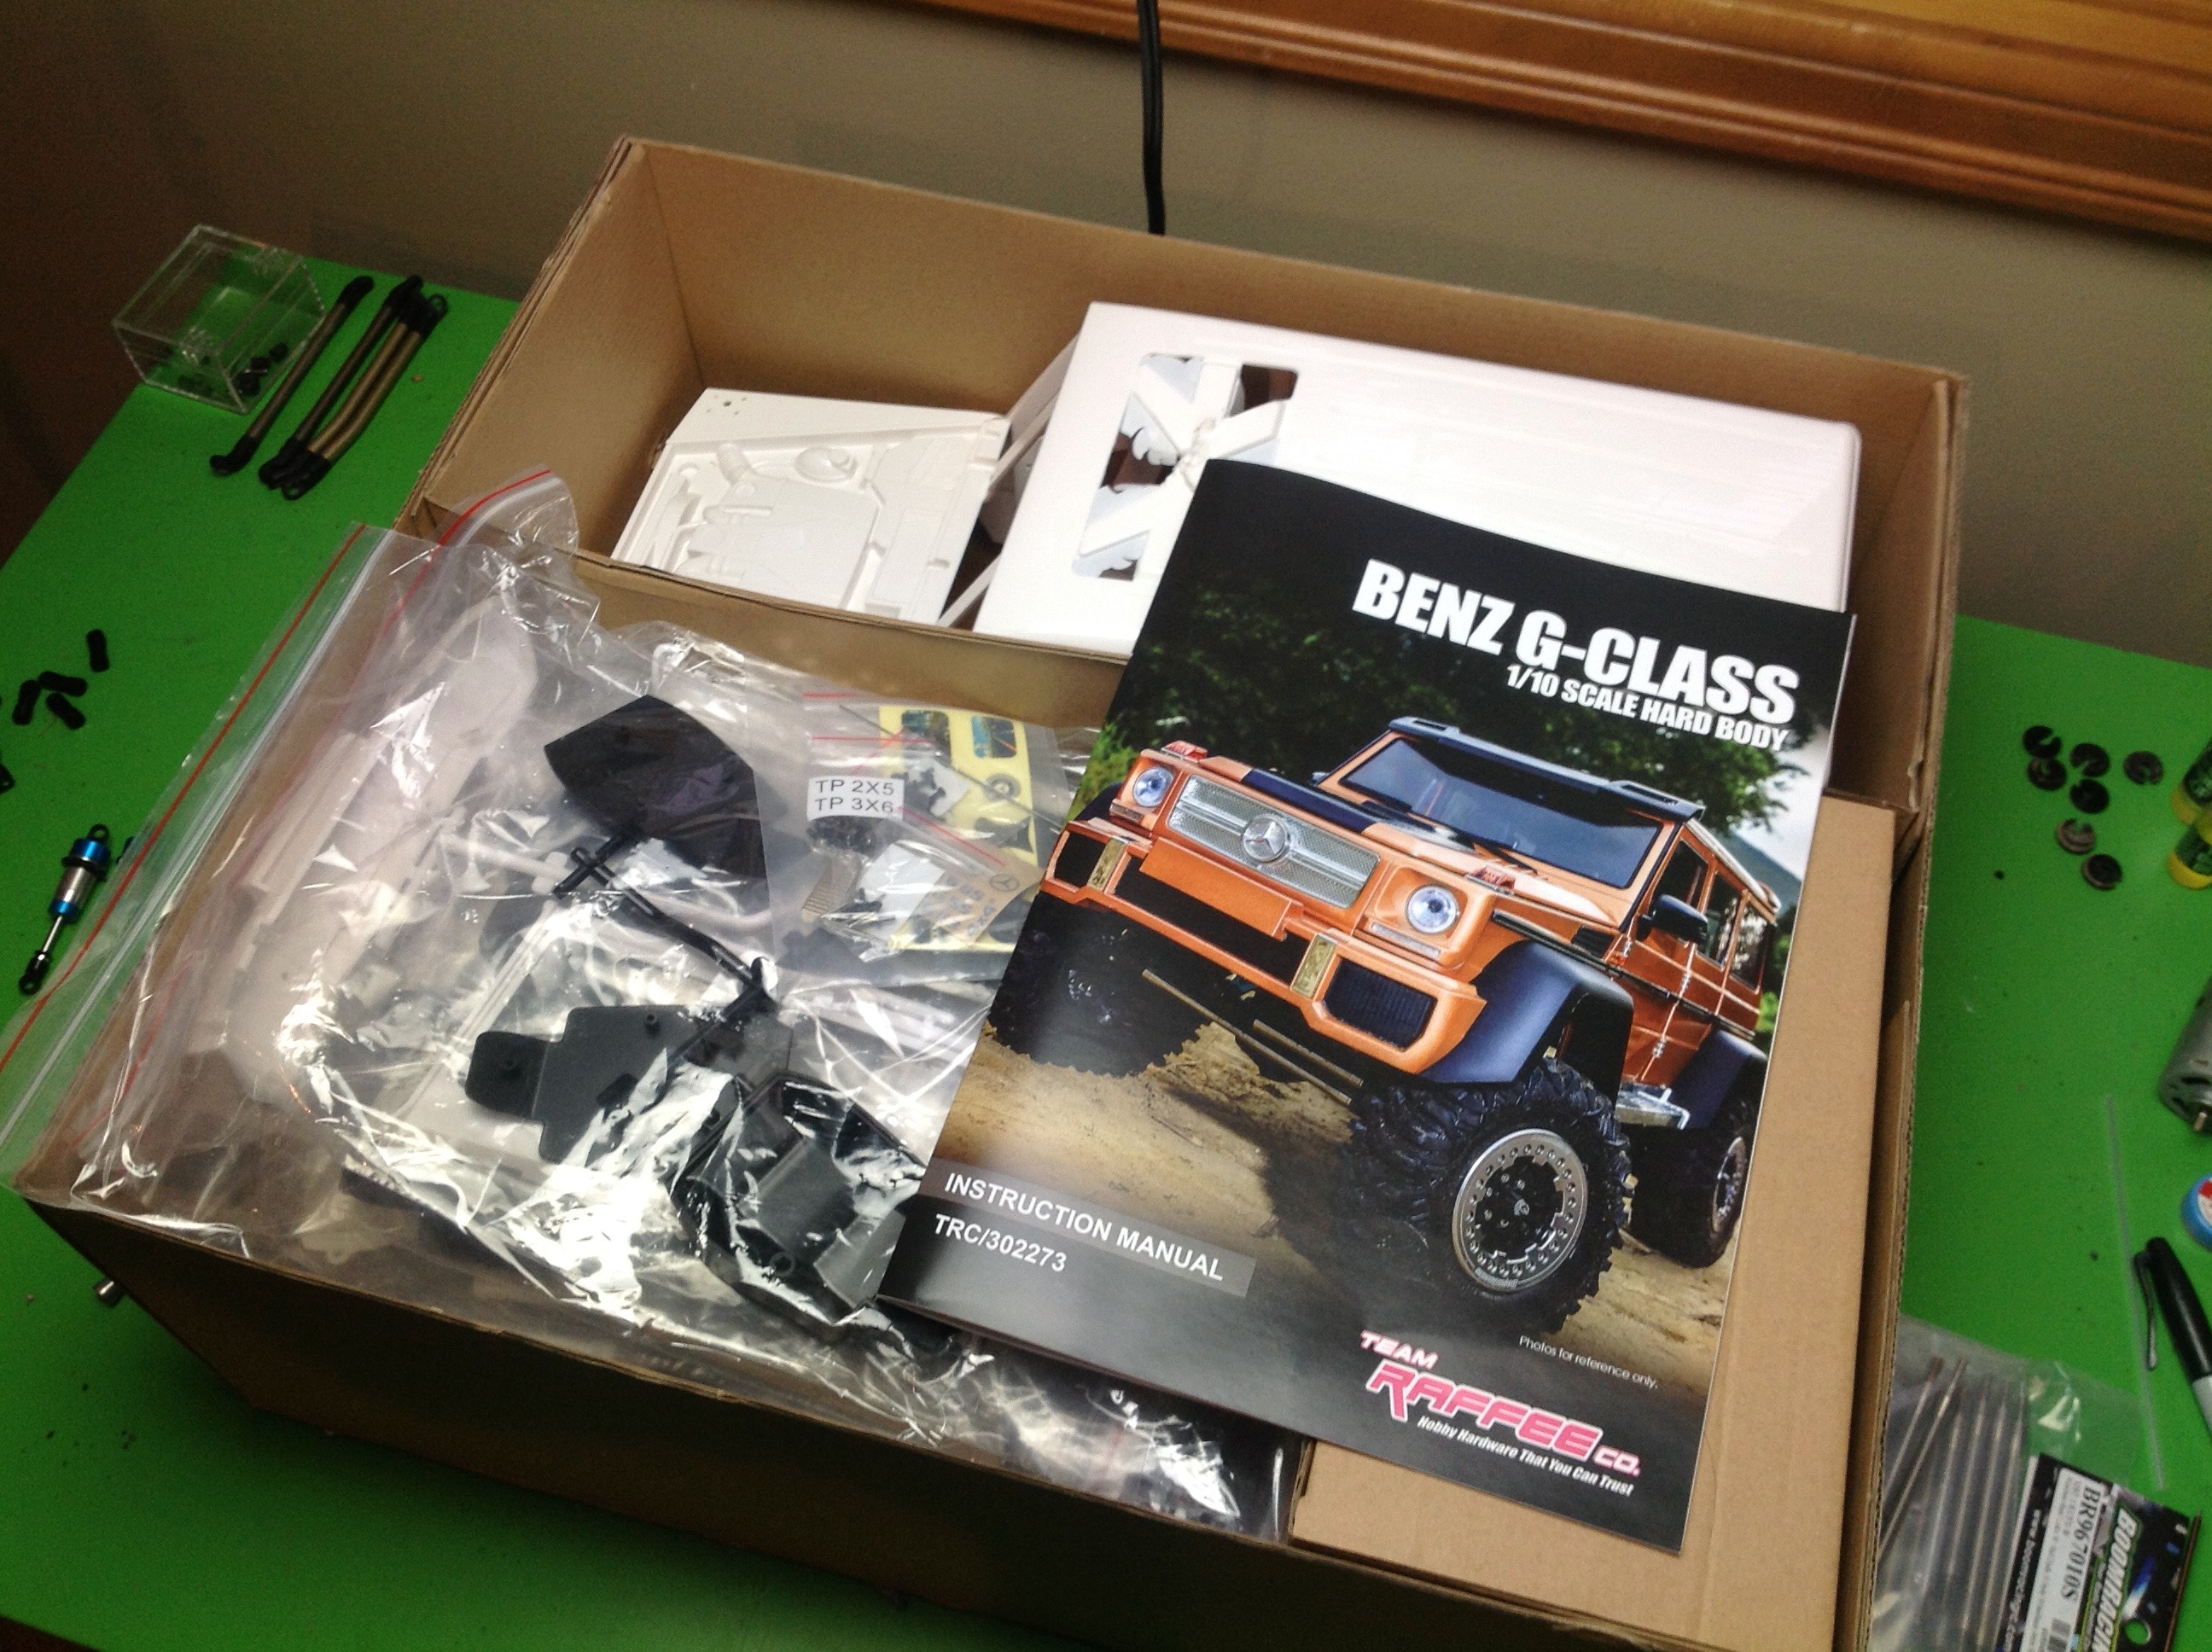
The body arrived from Hong Kong (via Asia Tees) in a much bigger box
than the chassis. In fact, it is almost as big as a Tamiya tractor
truck box. Inside is a one piece outer shell along with 100+
smaller parts to build this plastic model. The instructions are
very nice with a full color cover.
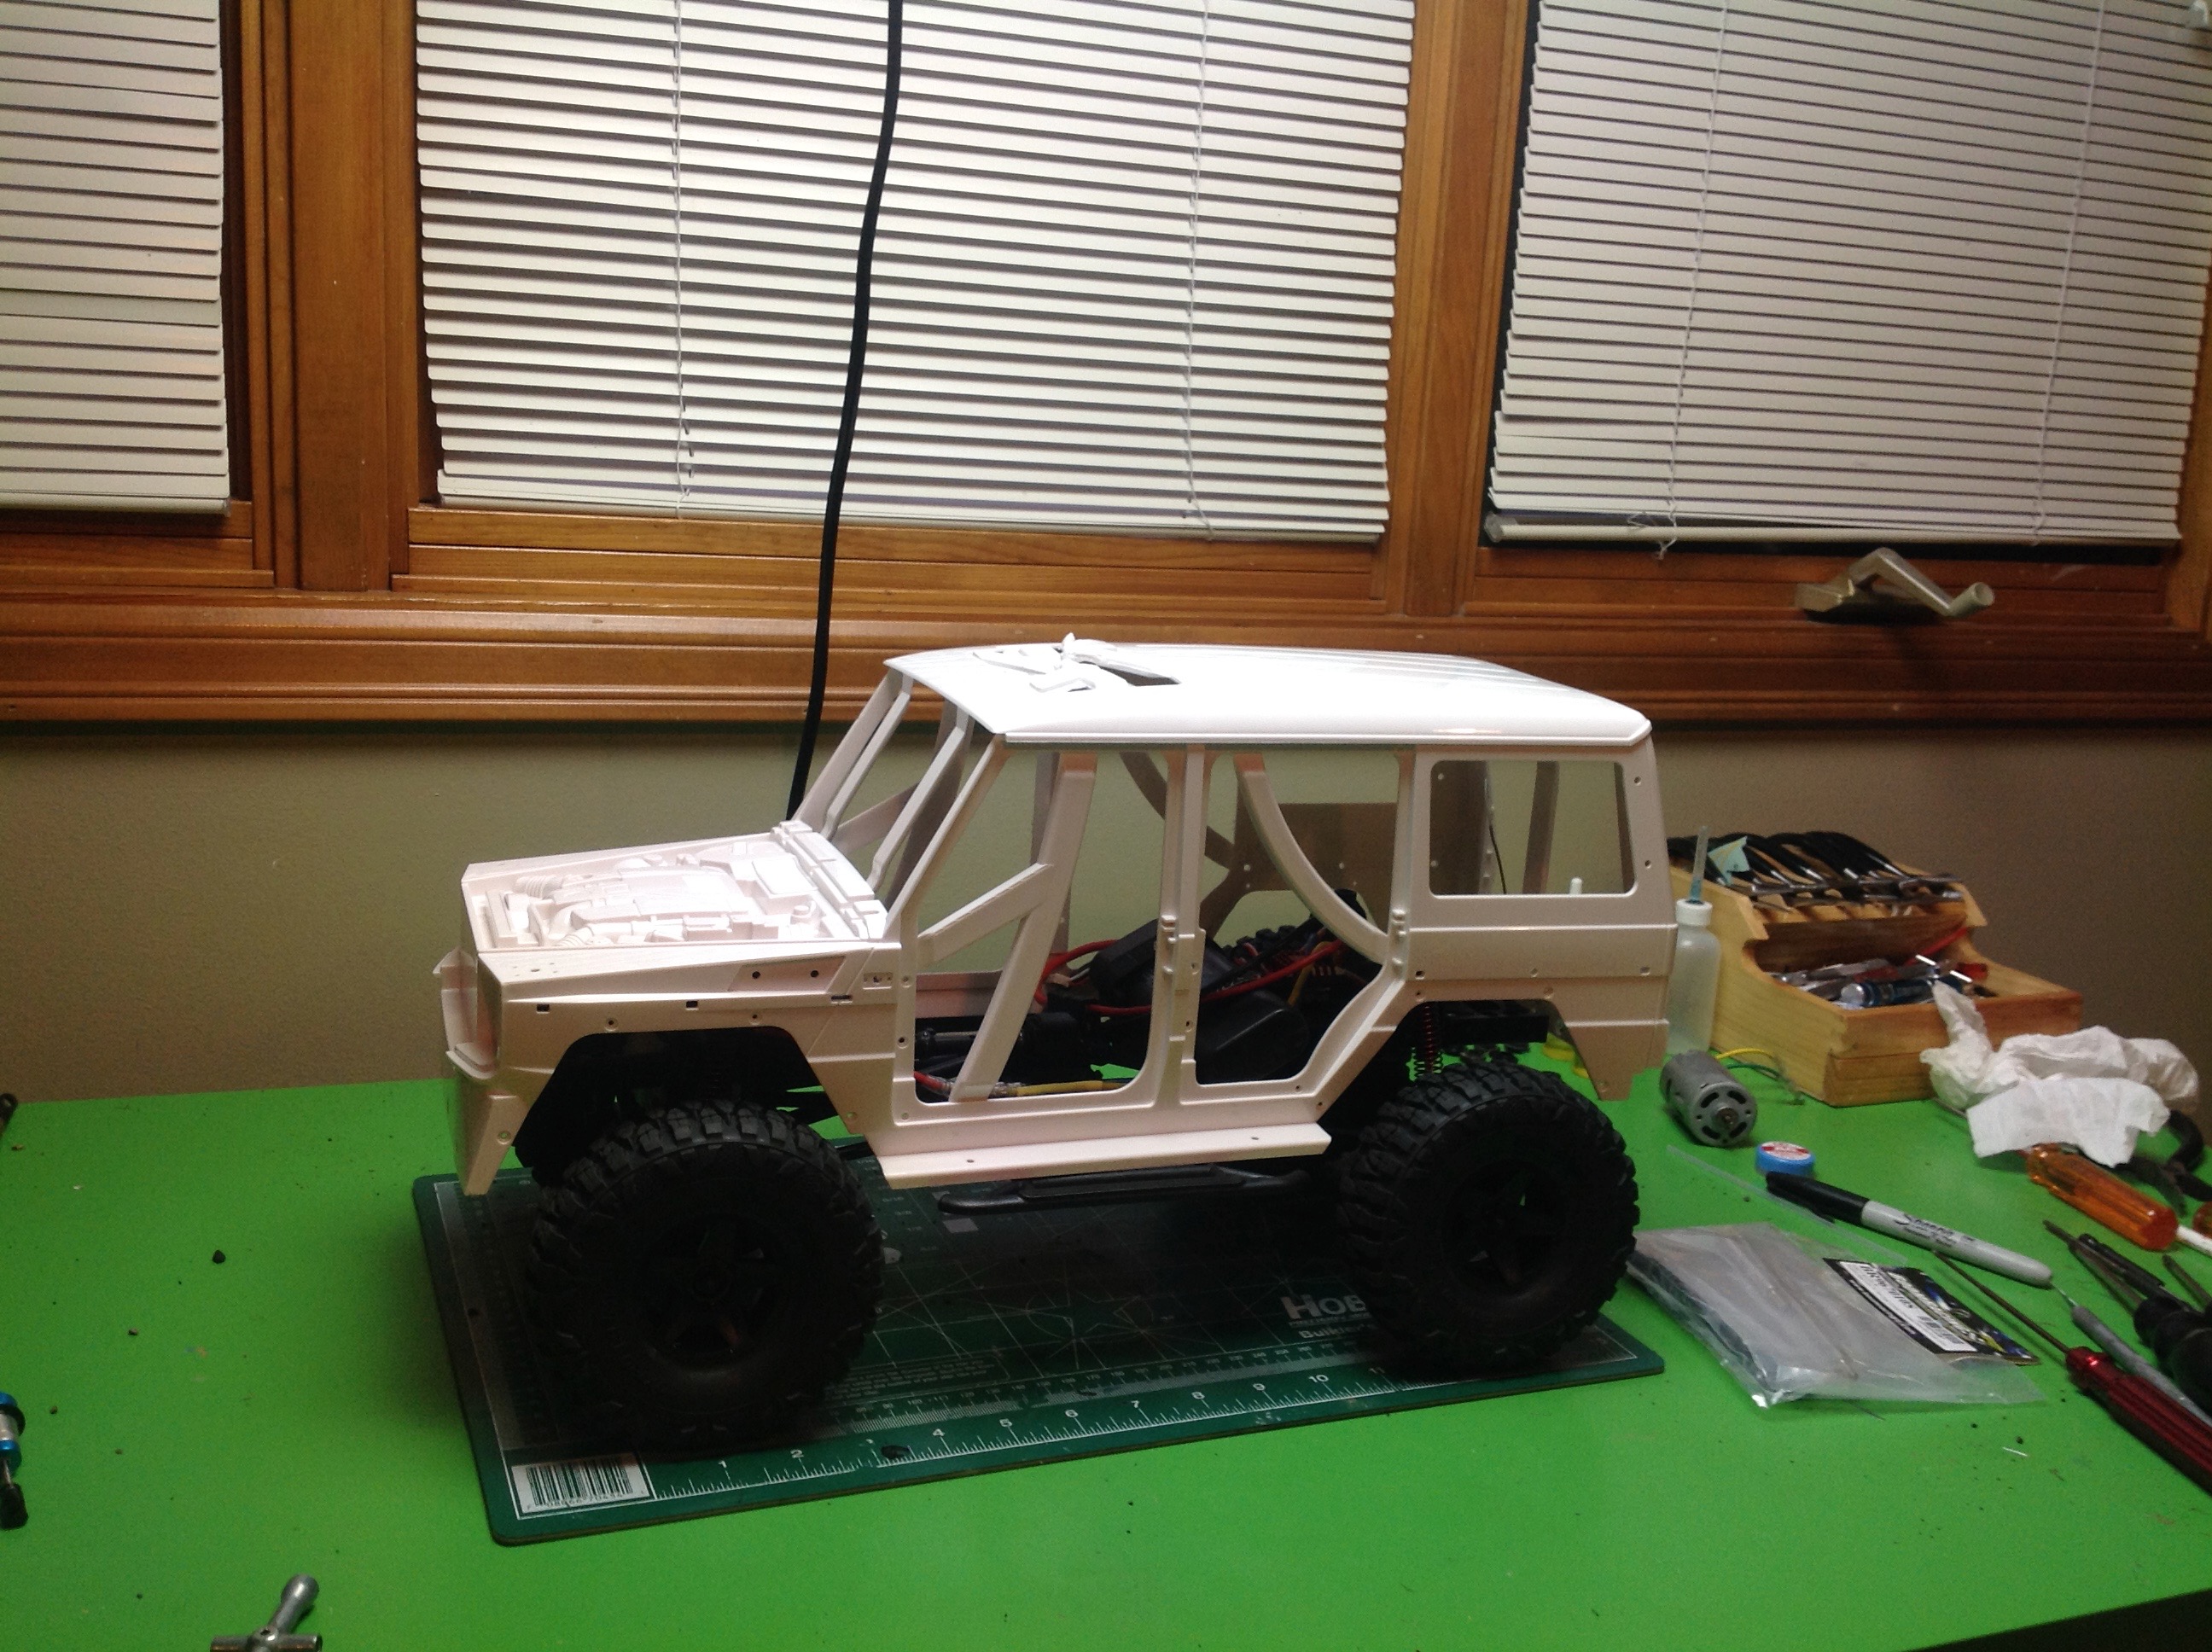
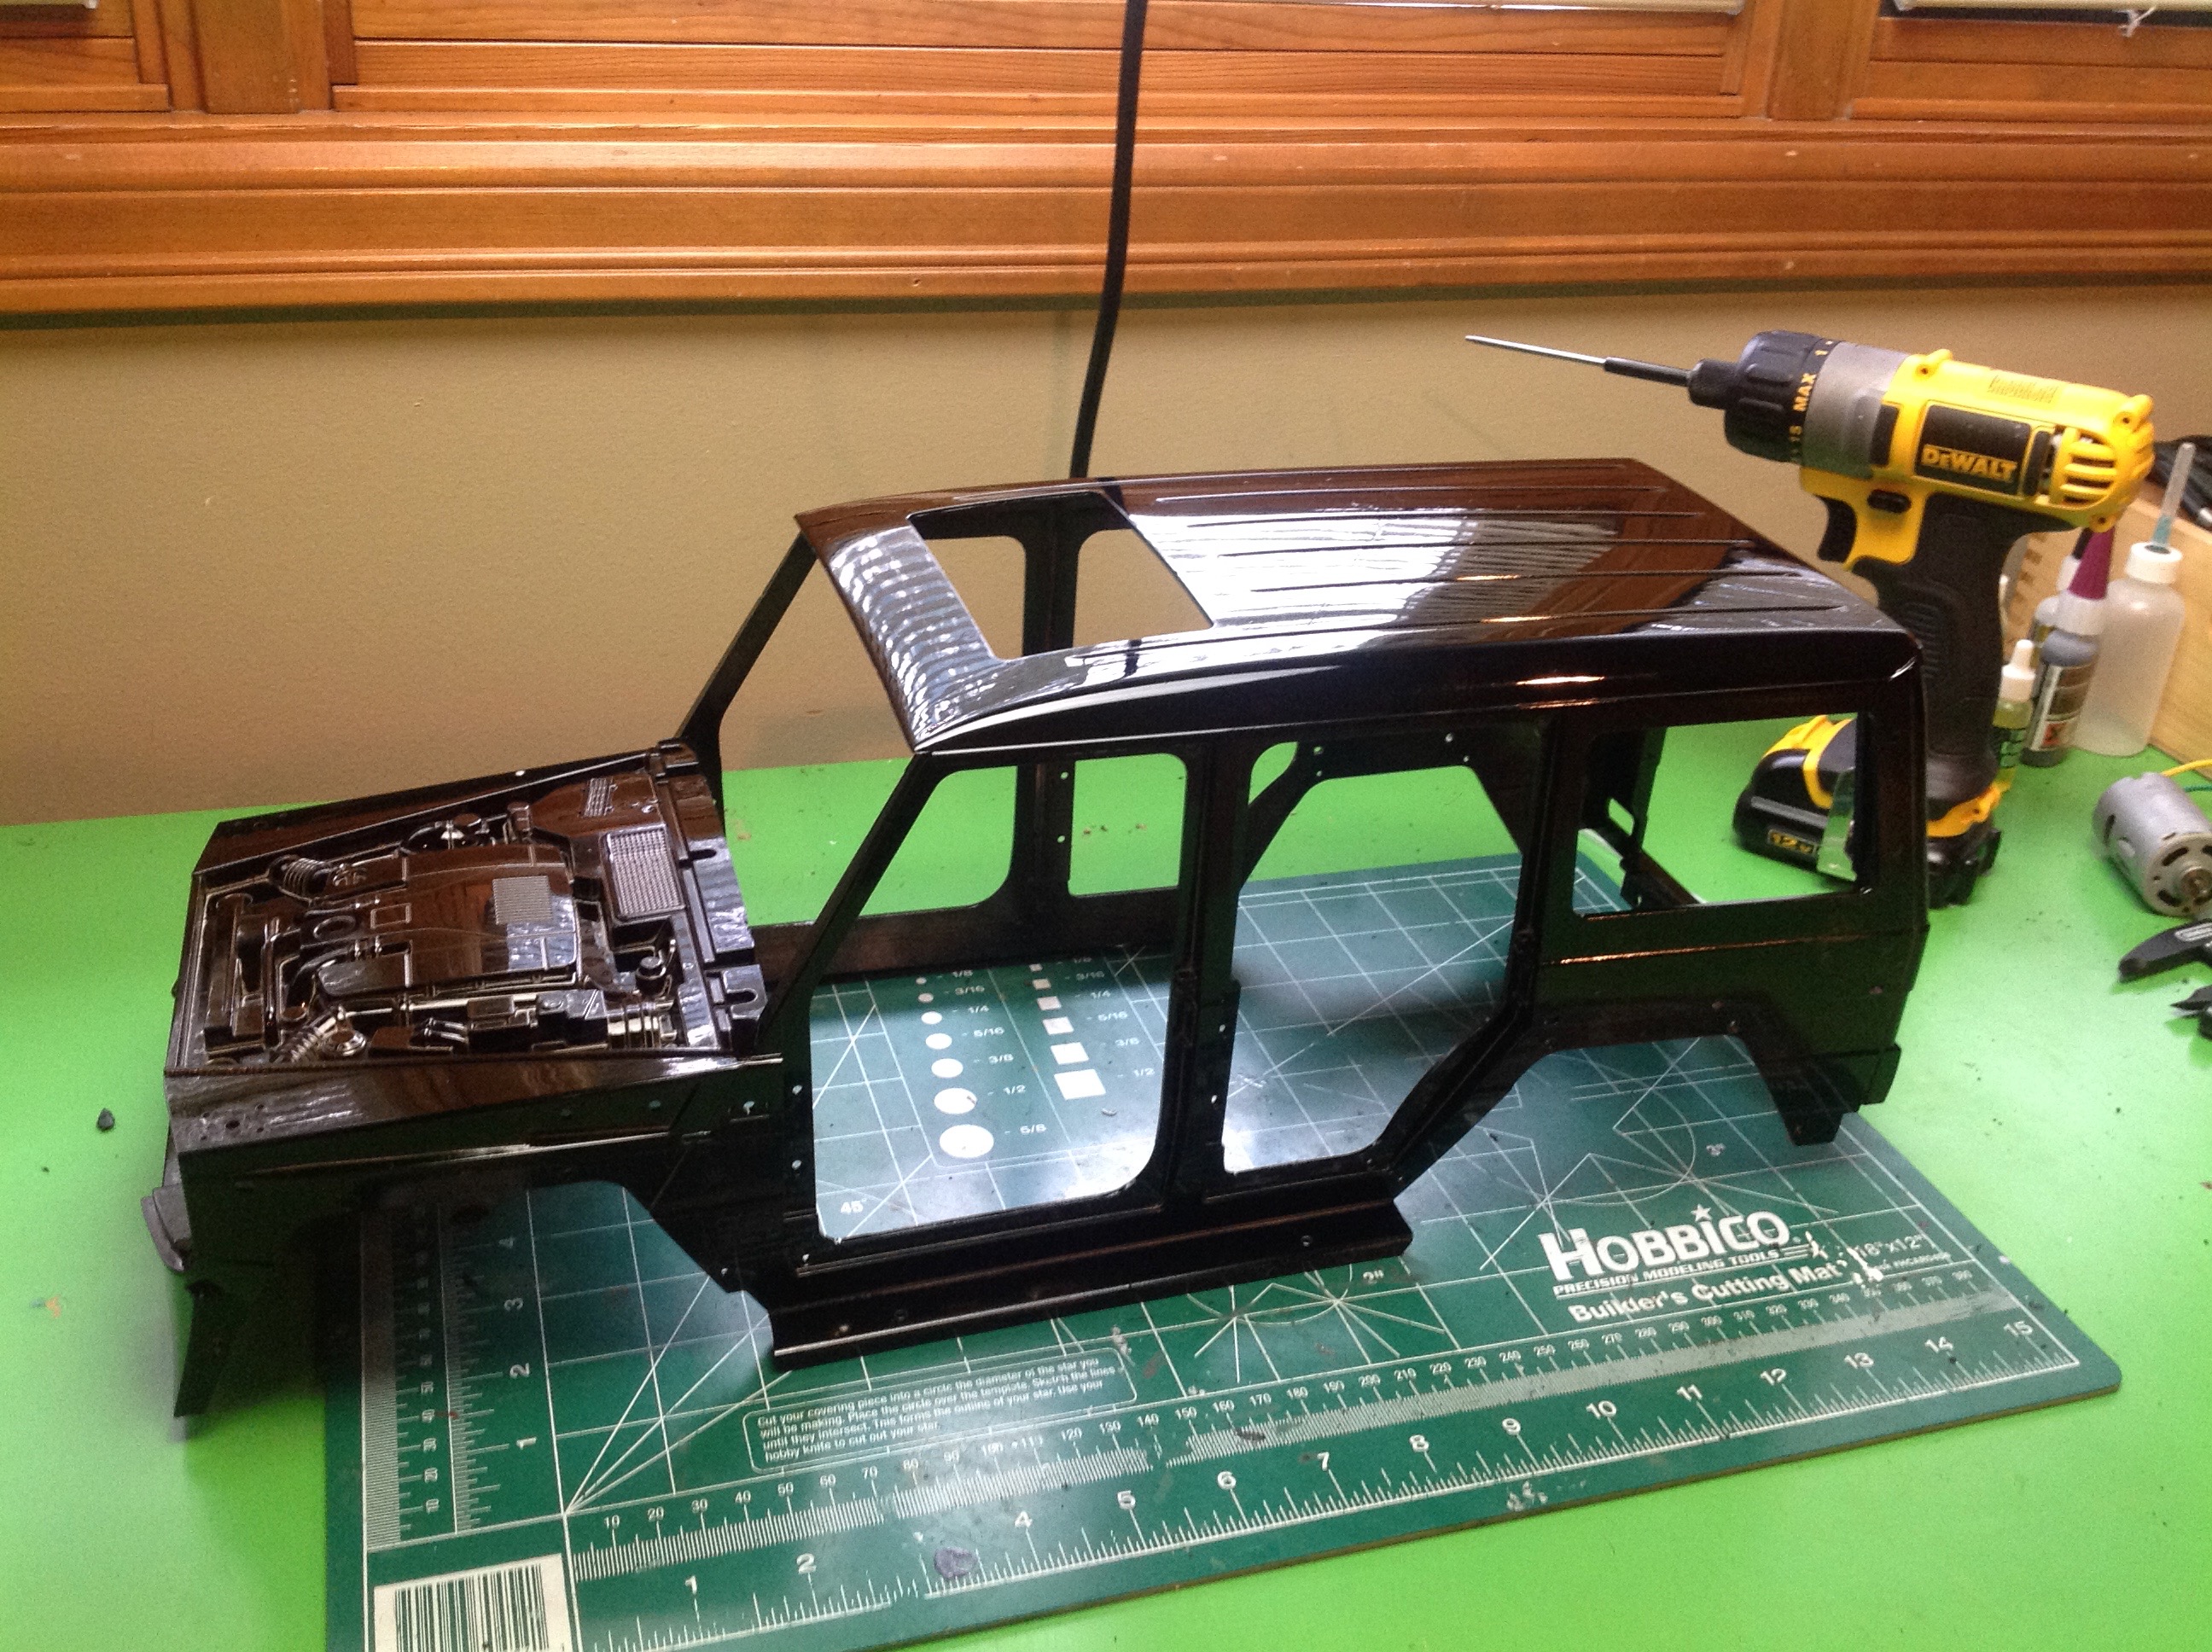
The first thing I did was set the body shell on the chassis to see how
it would look. The wheelbase was originally wrong, but I've
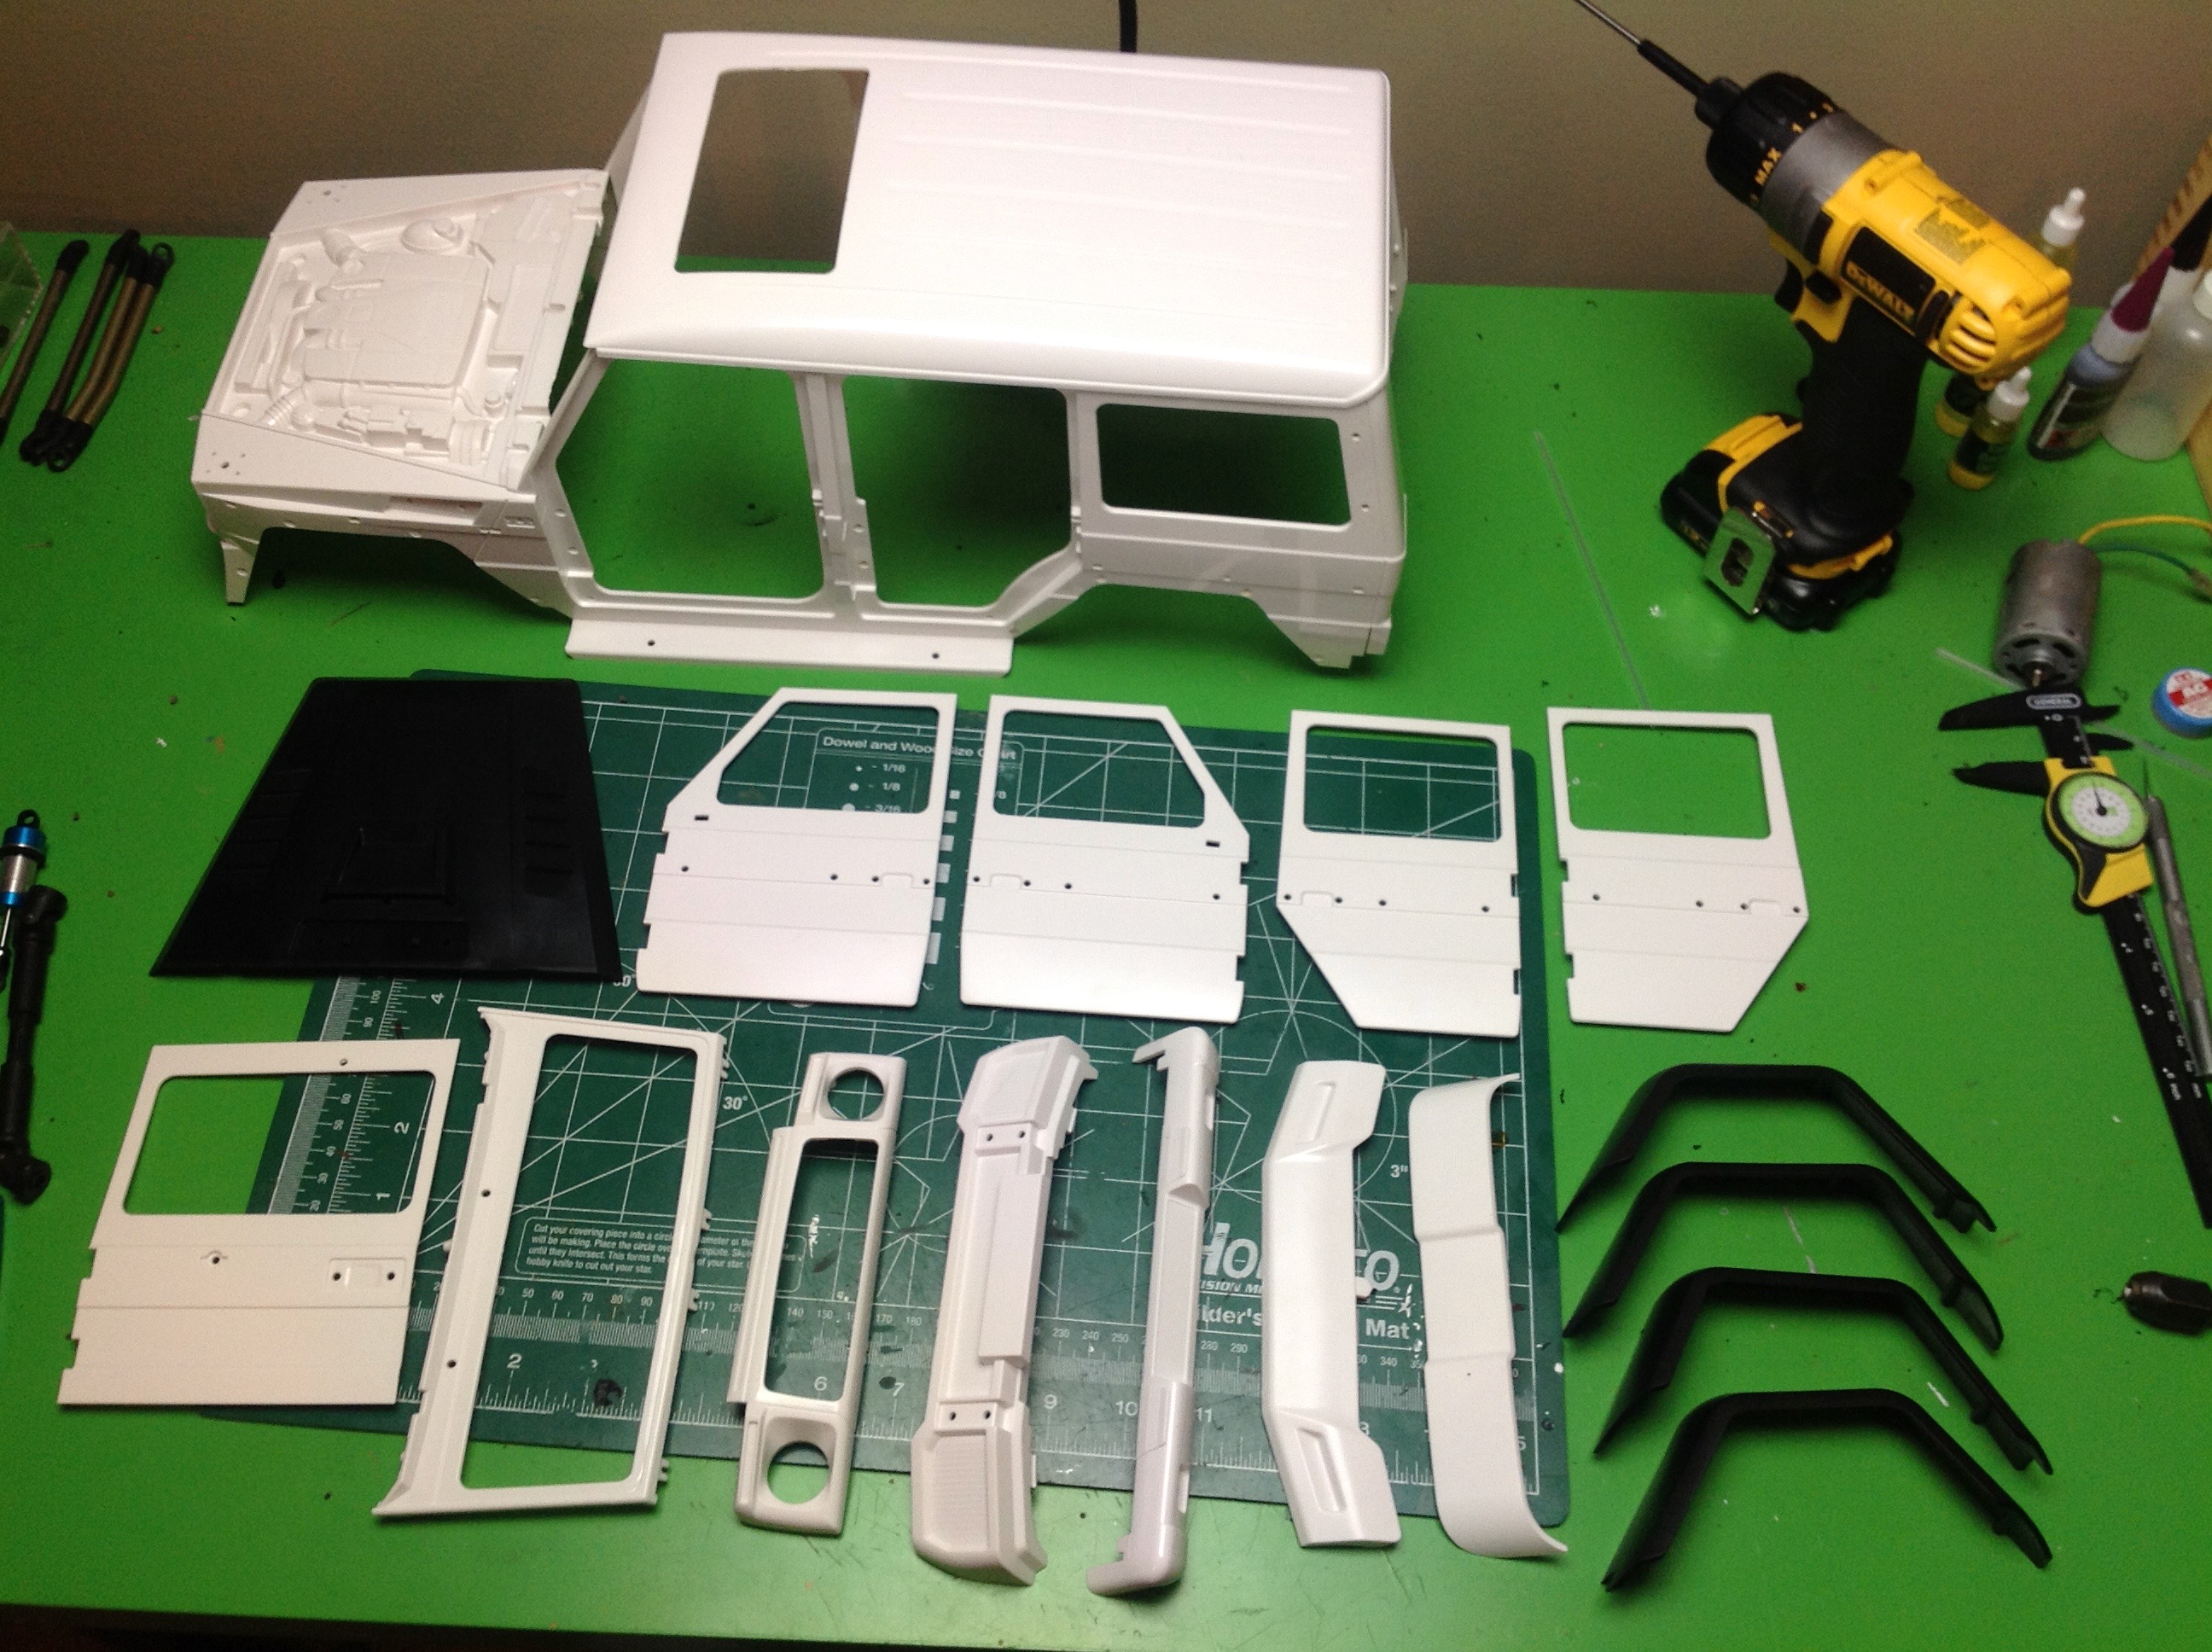
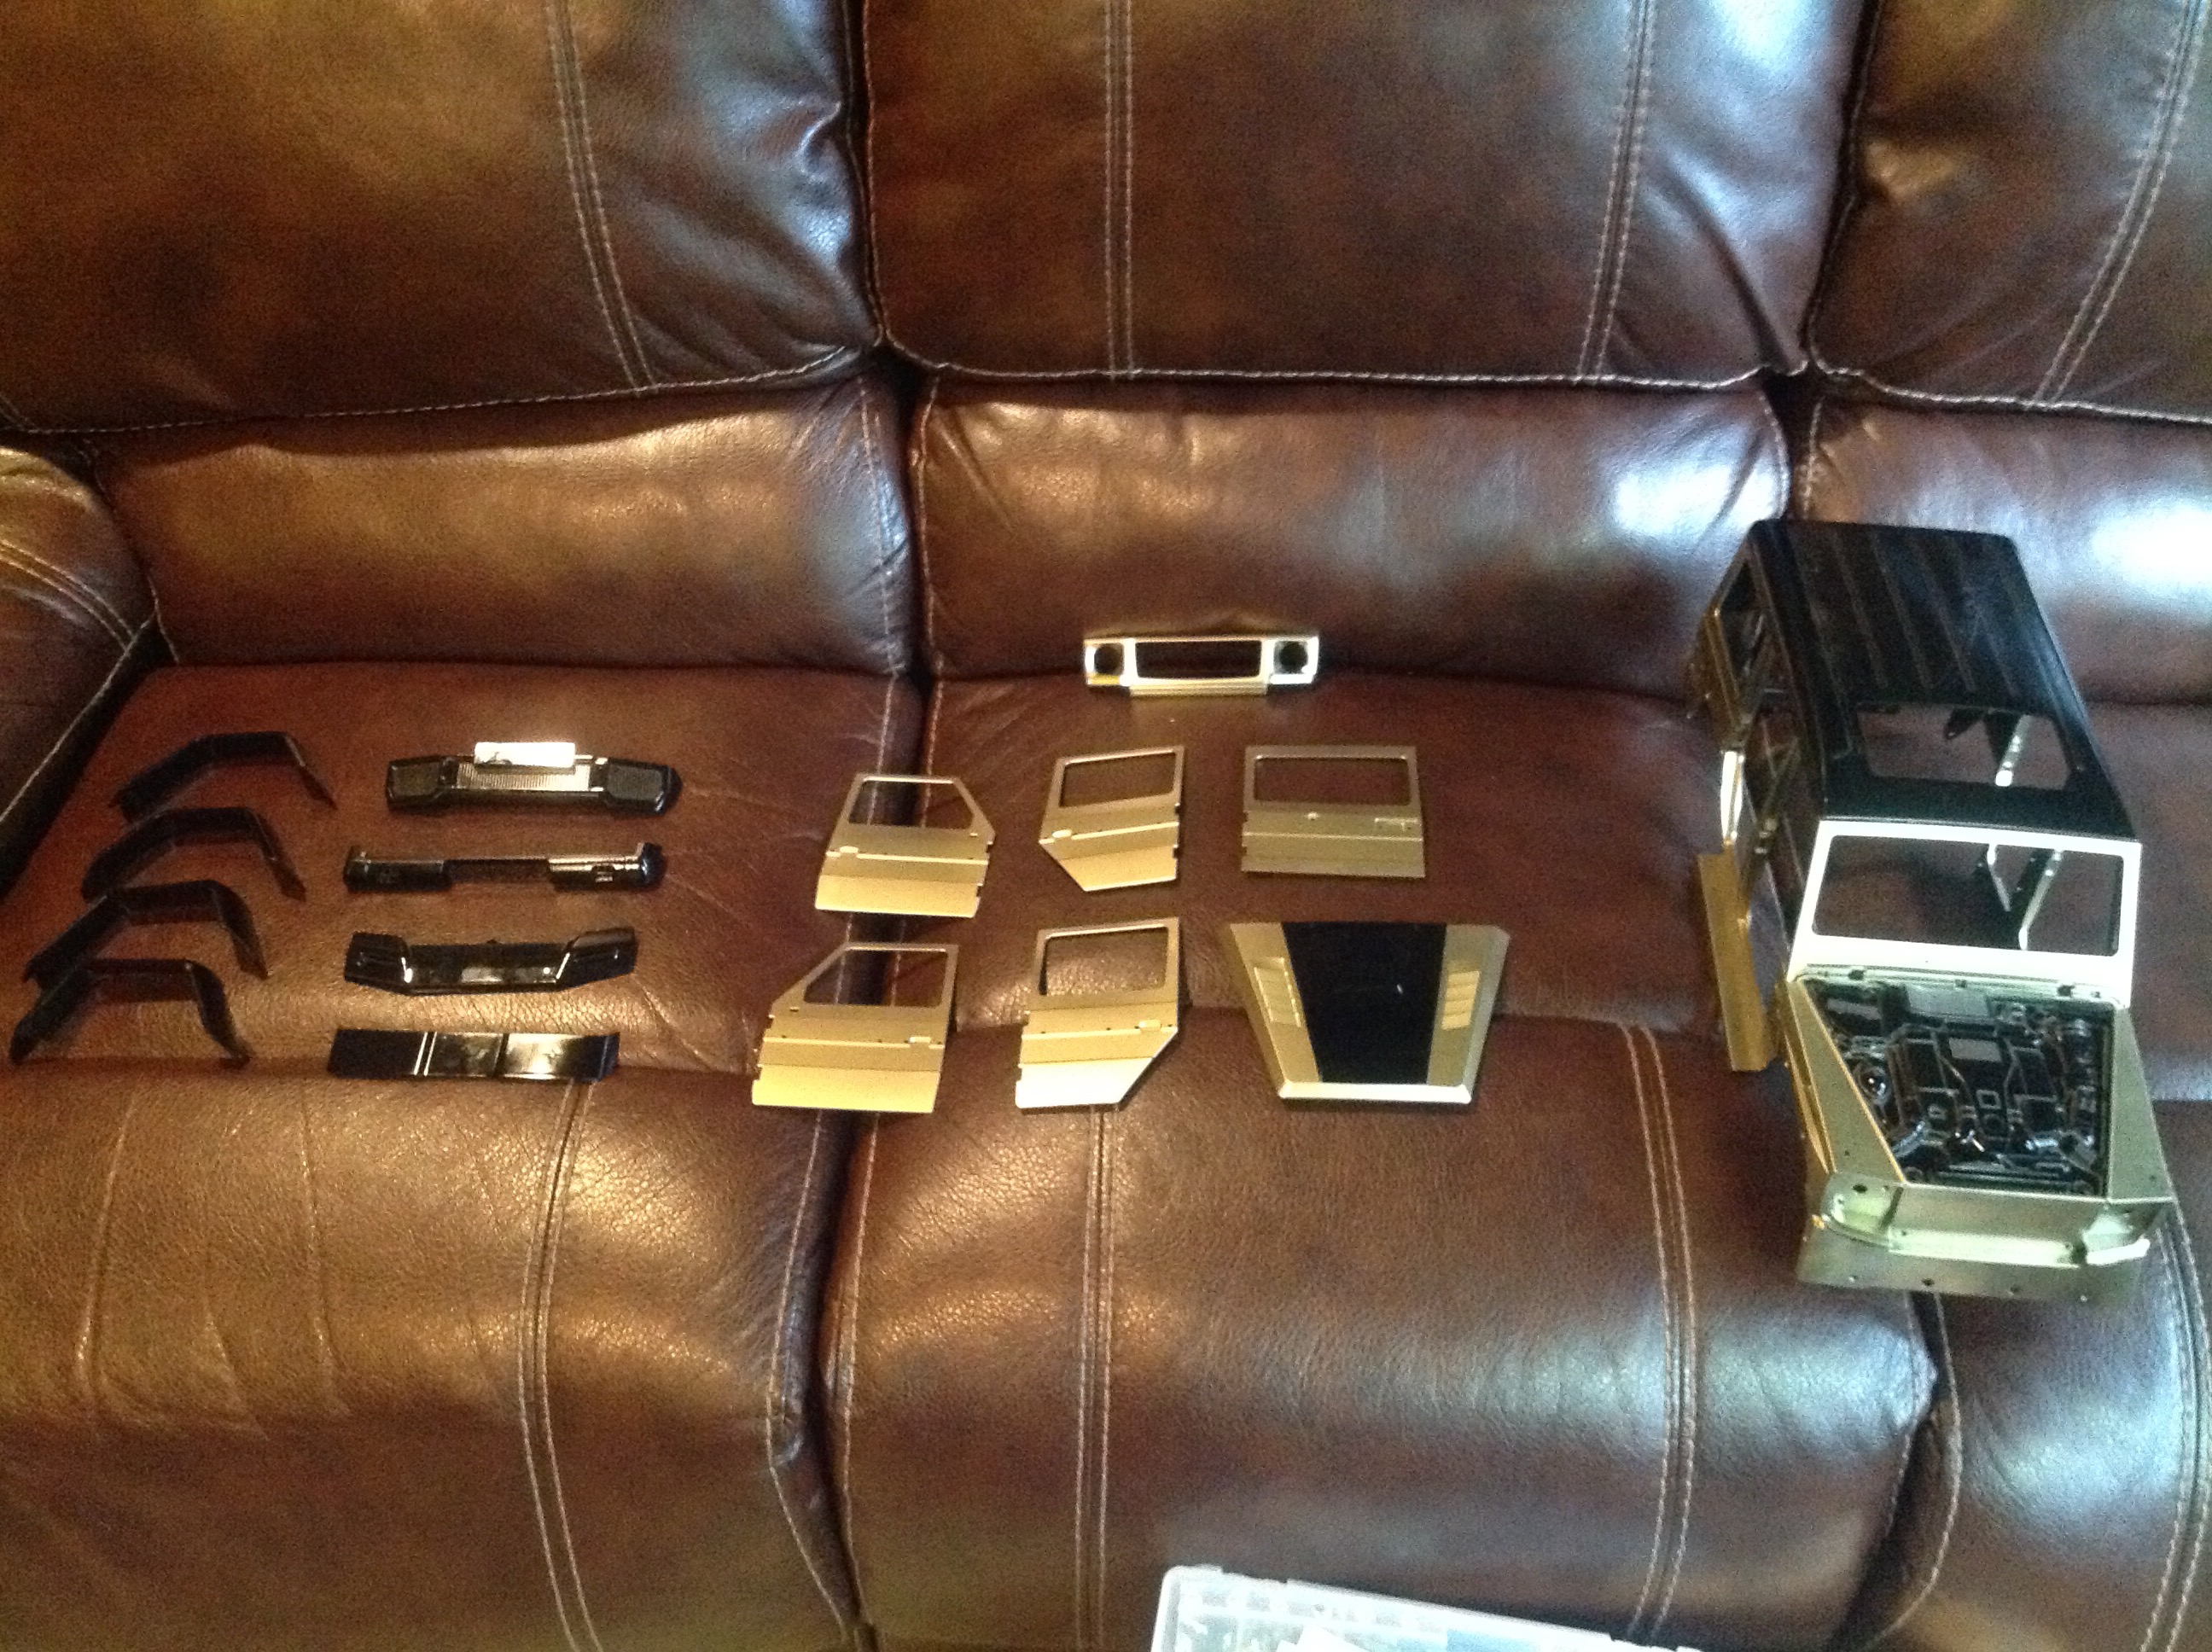
already fixed that in this photo. The right hand image shows all
the large plastic body parts after trimming including shell, hood,
doors, rear door, fenders, grille, windshield, and spoilers. Most
of the parts were molded in white, but a few are black as you can see.
For best results, I usually paint before building. The metallic
gold I chose requires a black backing, and I wanted black in certain
areas anyway so I started with a full coat of gloss black.
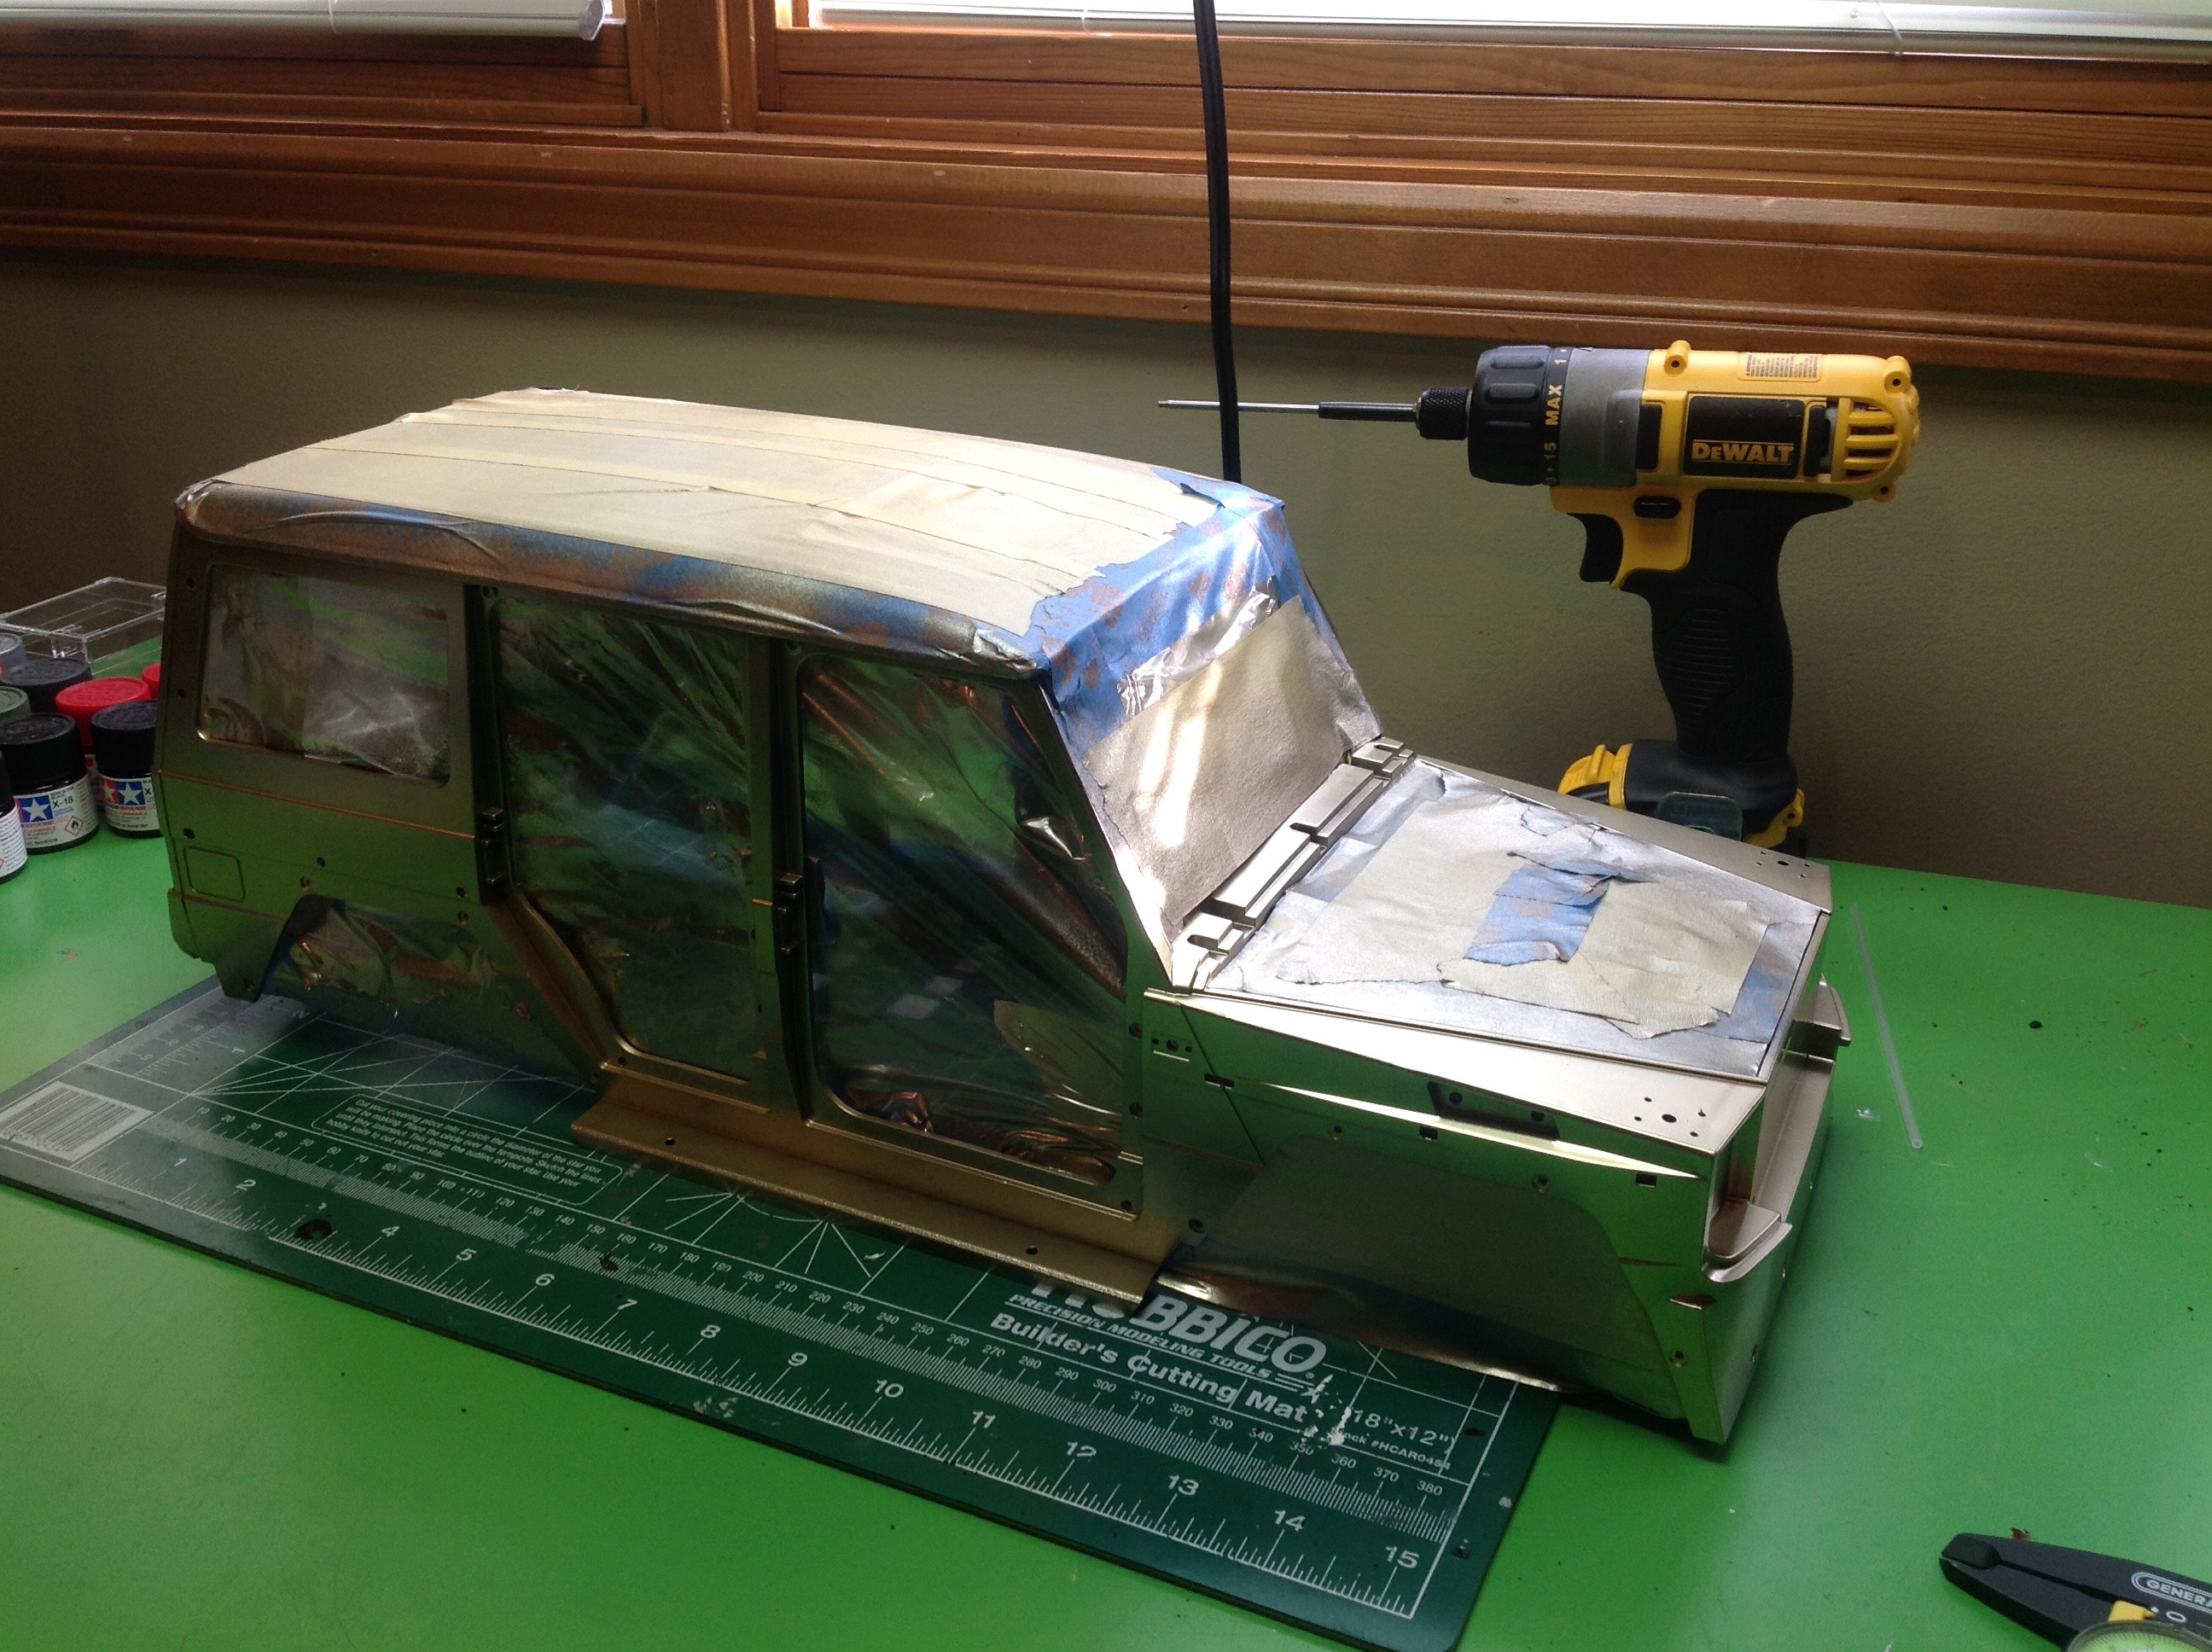
Once the black was dry I masked off the areas to stay black including
the roof and the engine, then sprayed in gold as shown on the
left. On the right are the results after the masking was
removed. It is already looking pretty good. I also brush
painted the entire inside flat black to match the interior.
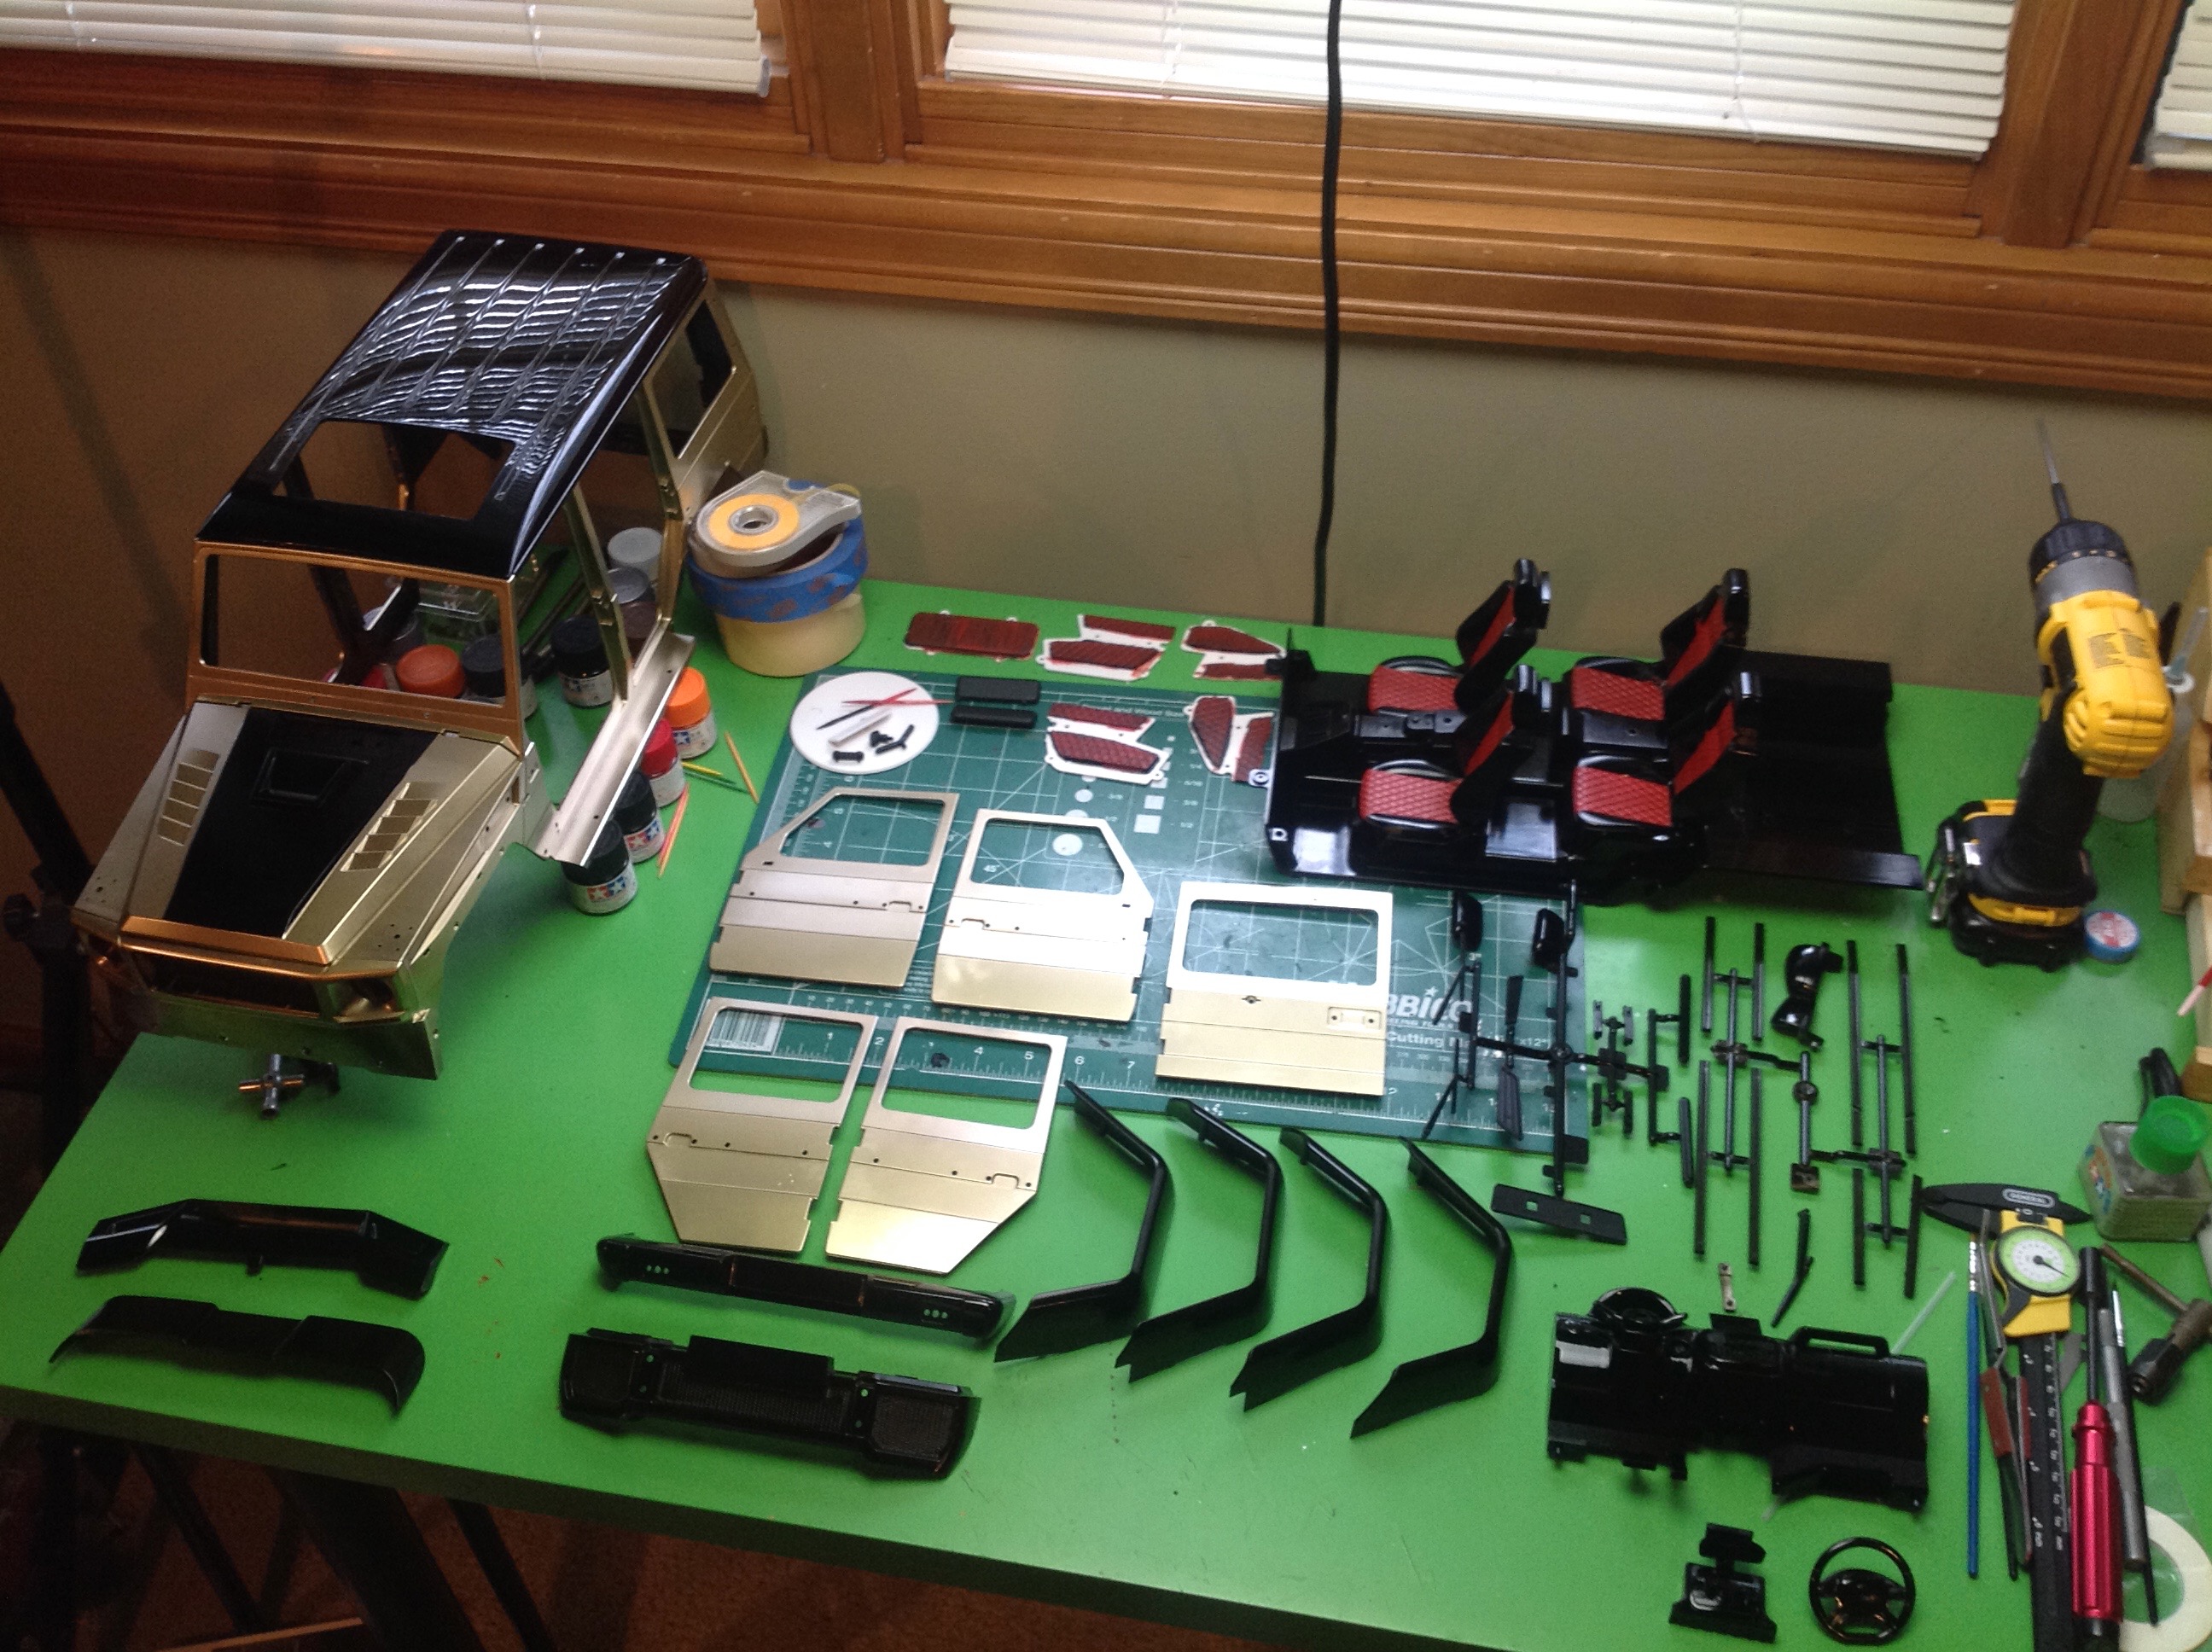
That was just the outer shell; there is still a lot more painting to
do. Most of the remainder of the parts were either black or gold
solid color, but I decided to do the hood in two-tone as shown.
After all the painting was done we have what you see on the right.
Only touch up and detail work to do now.
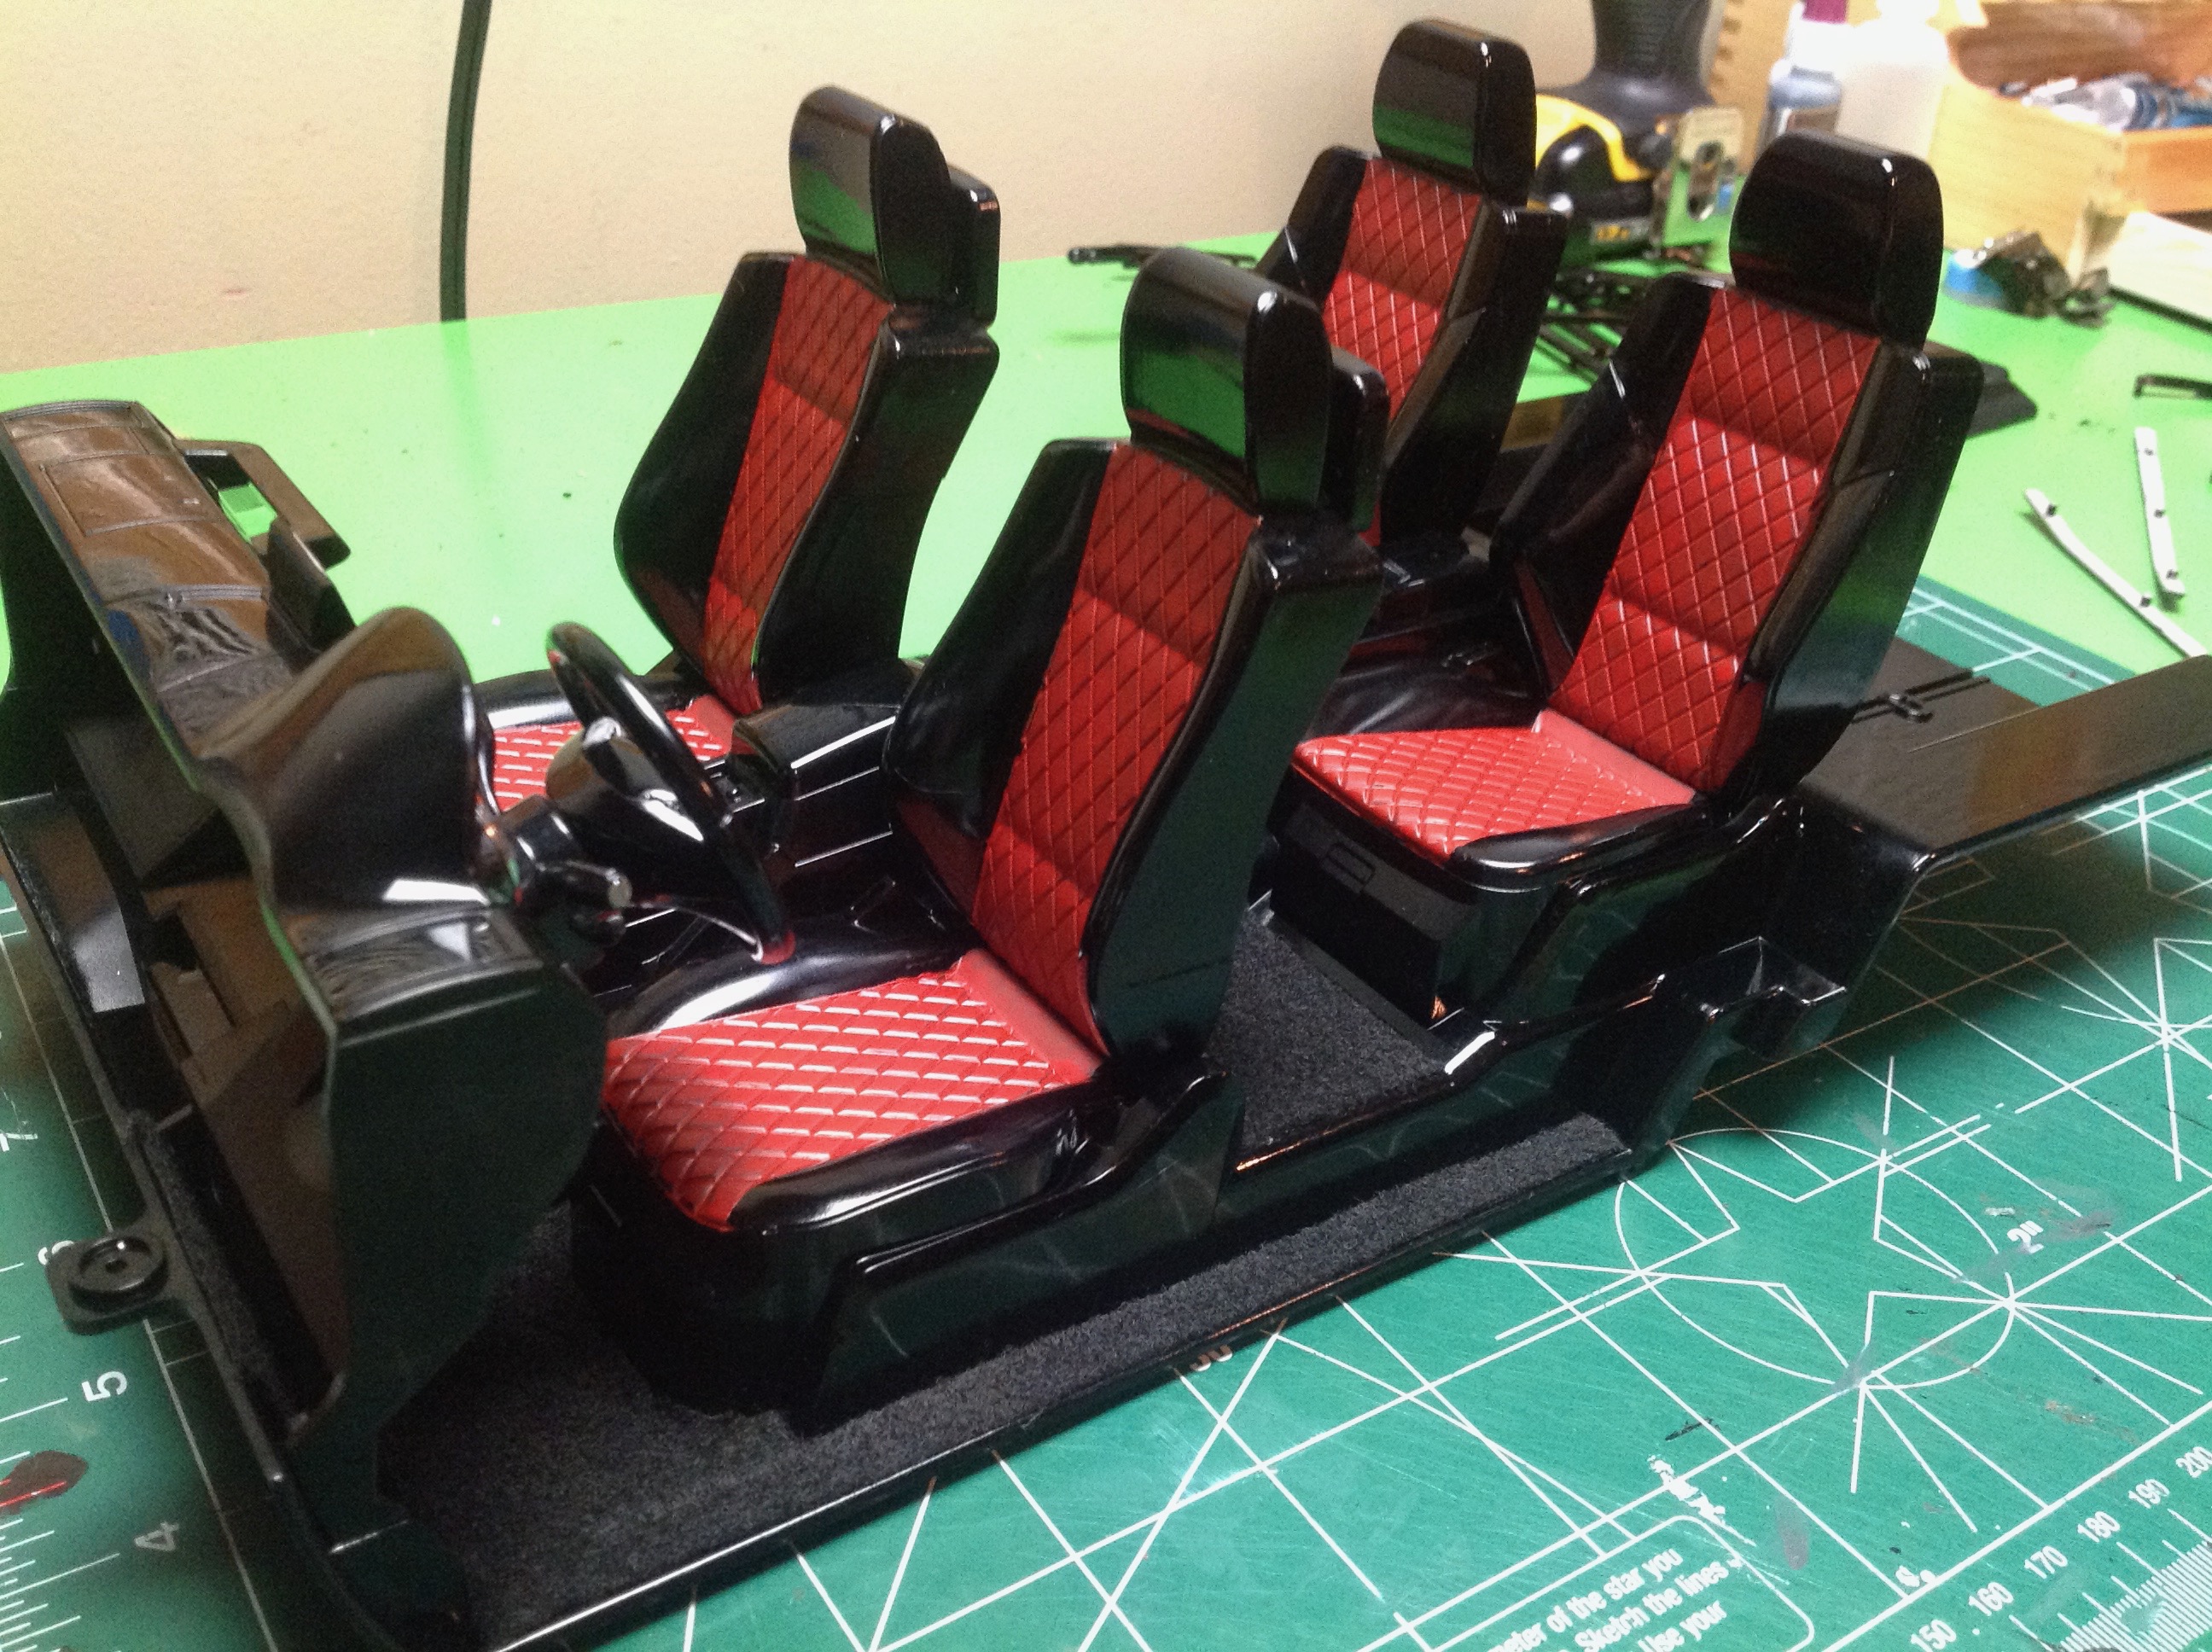
This is the most detailed interior I had built to date. It
includes pretty much everything you would expect to see including
detailed seats, center console, dash, steering wheel, and even LCD
screens built into the headrests. I considered making these light
up. Maybe some day. I chose the interior color palette based
on a real option for a G-63 AMG.
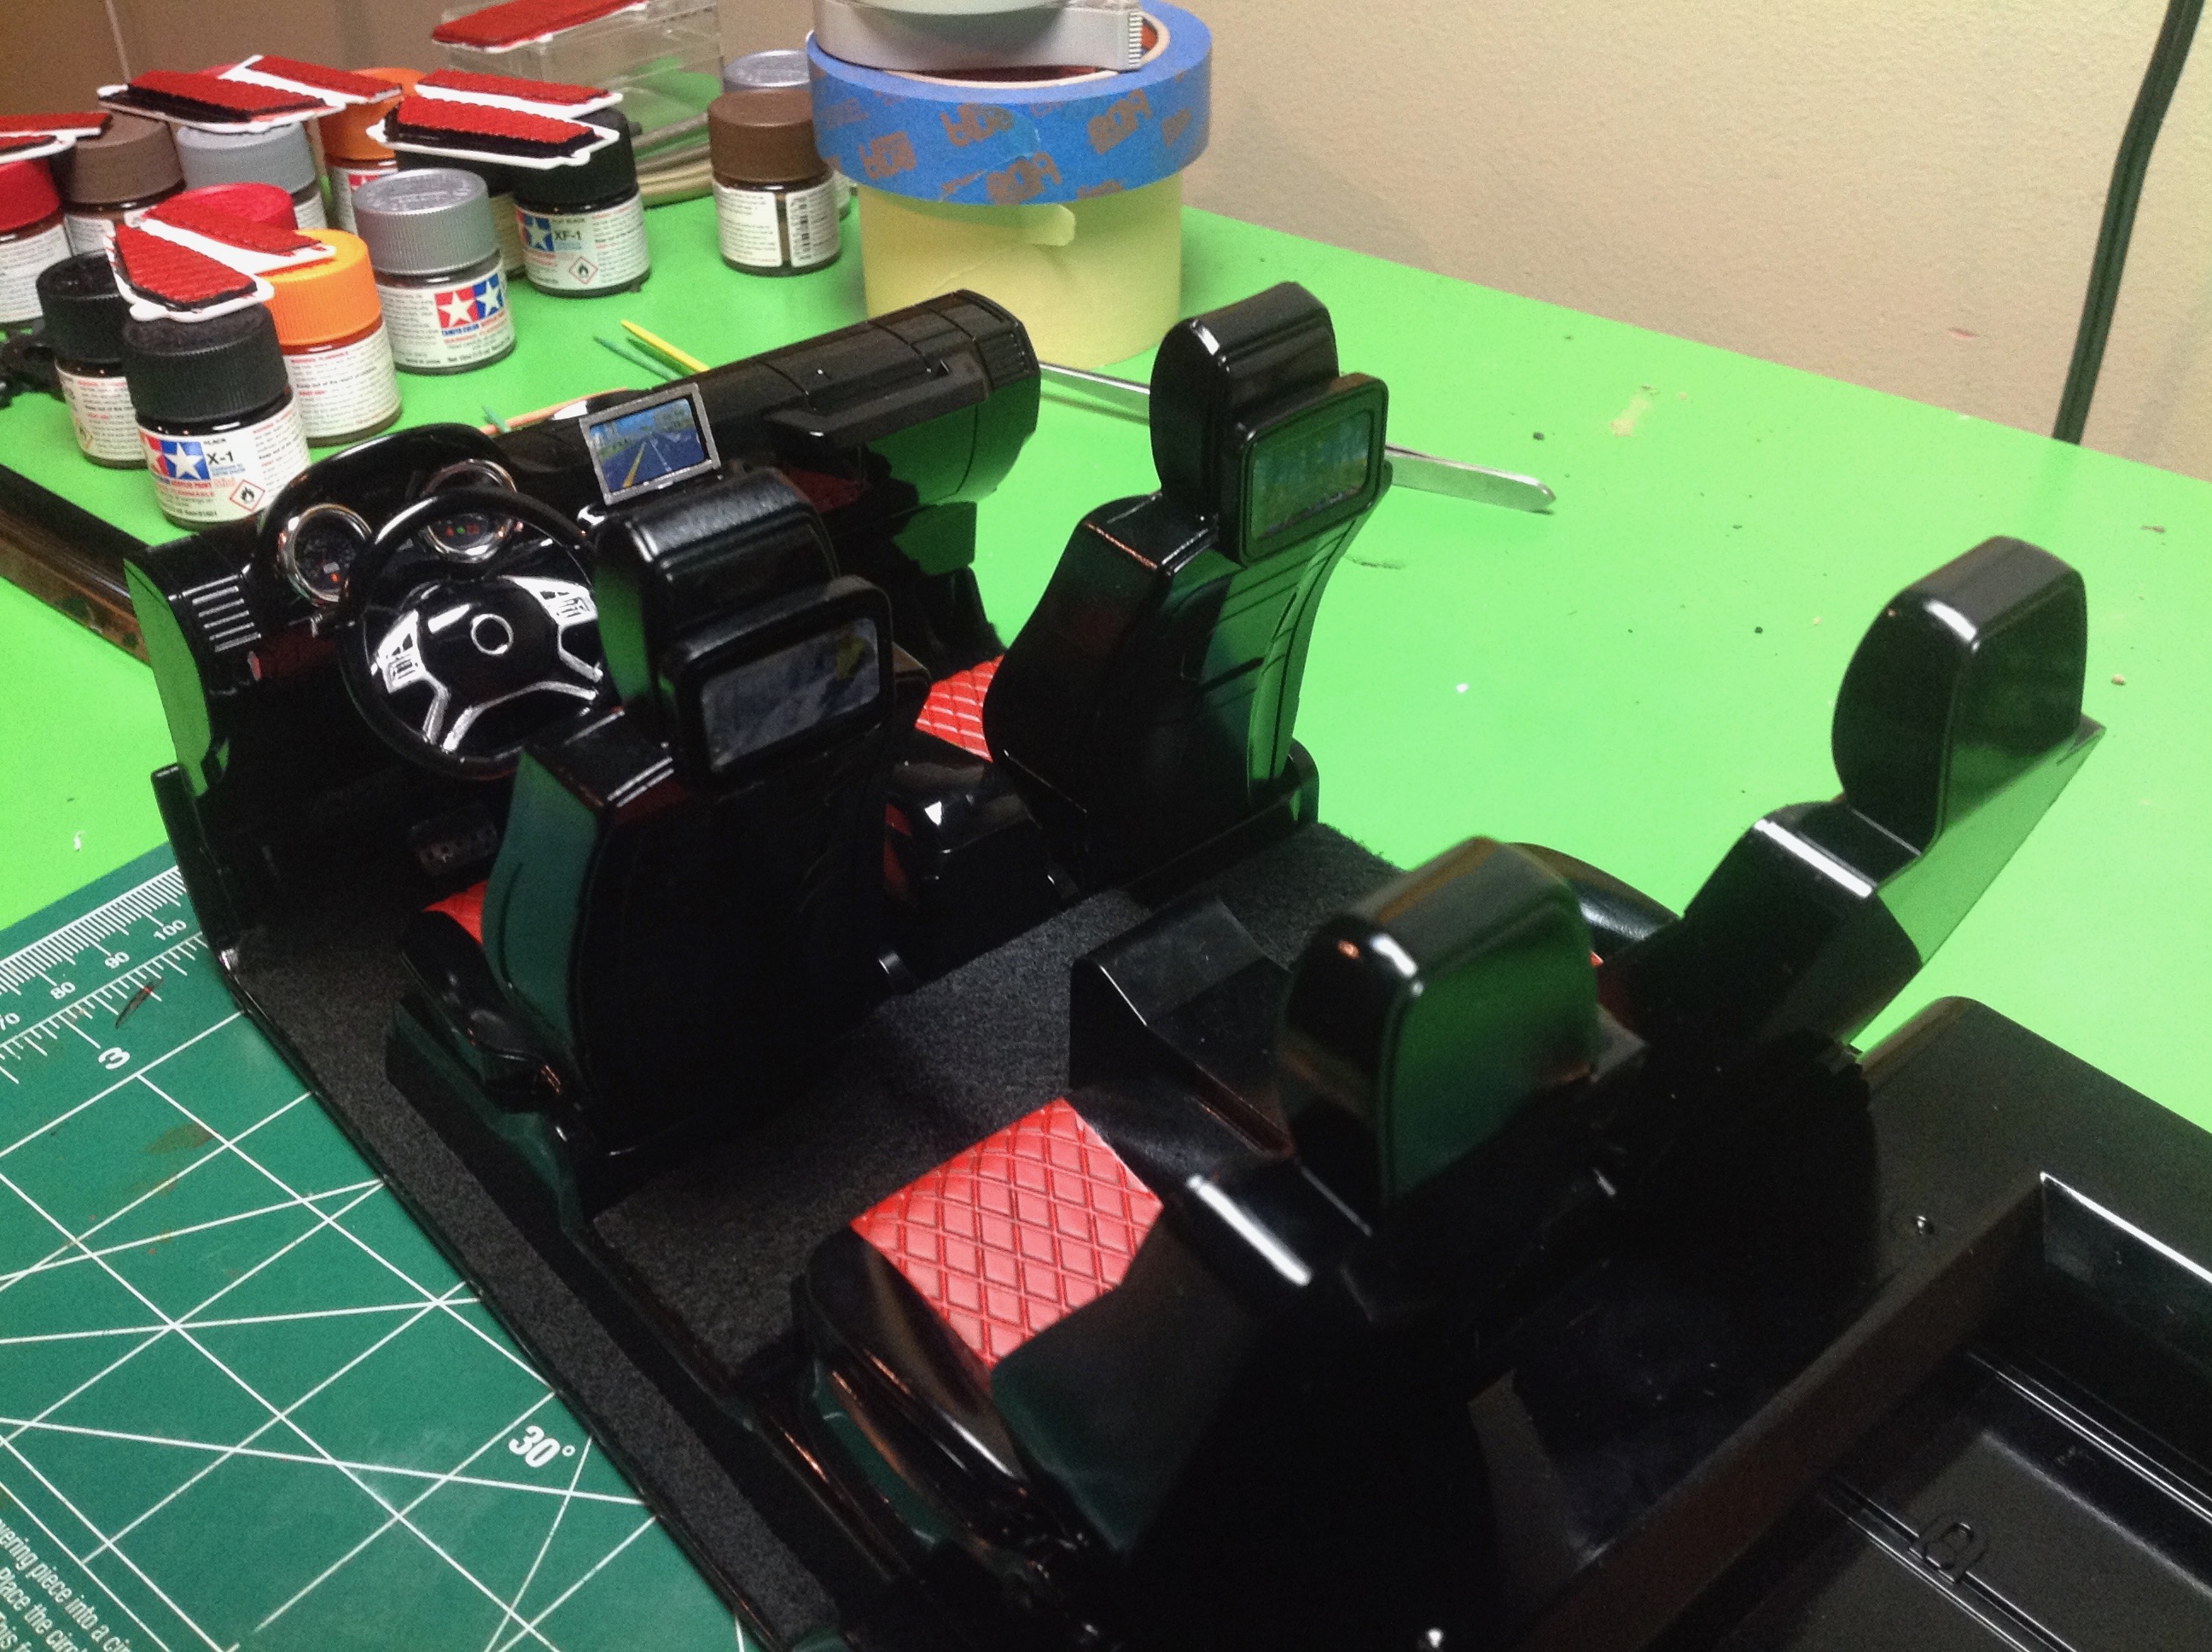
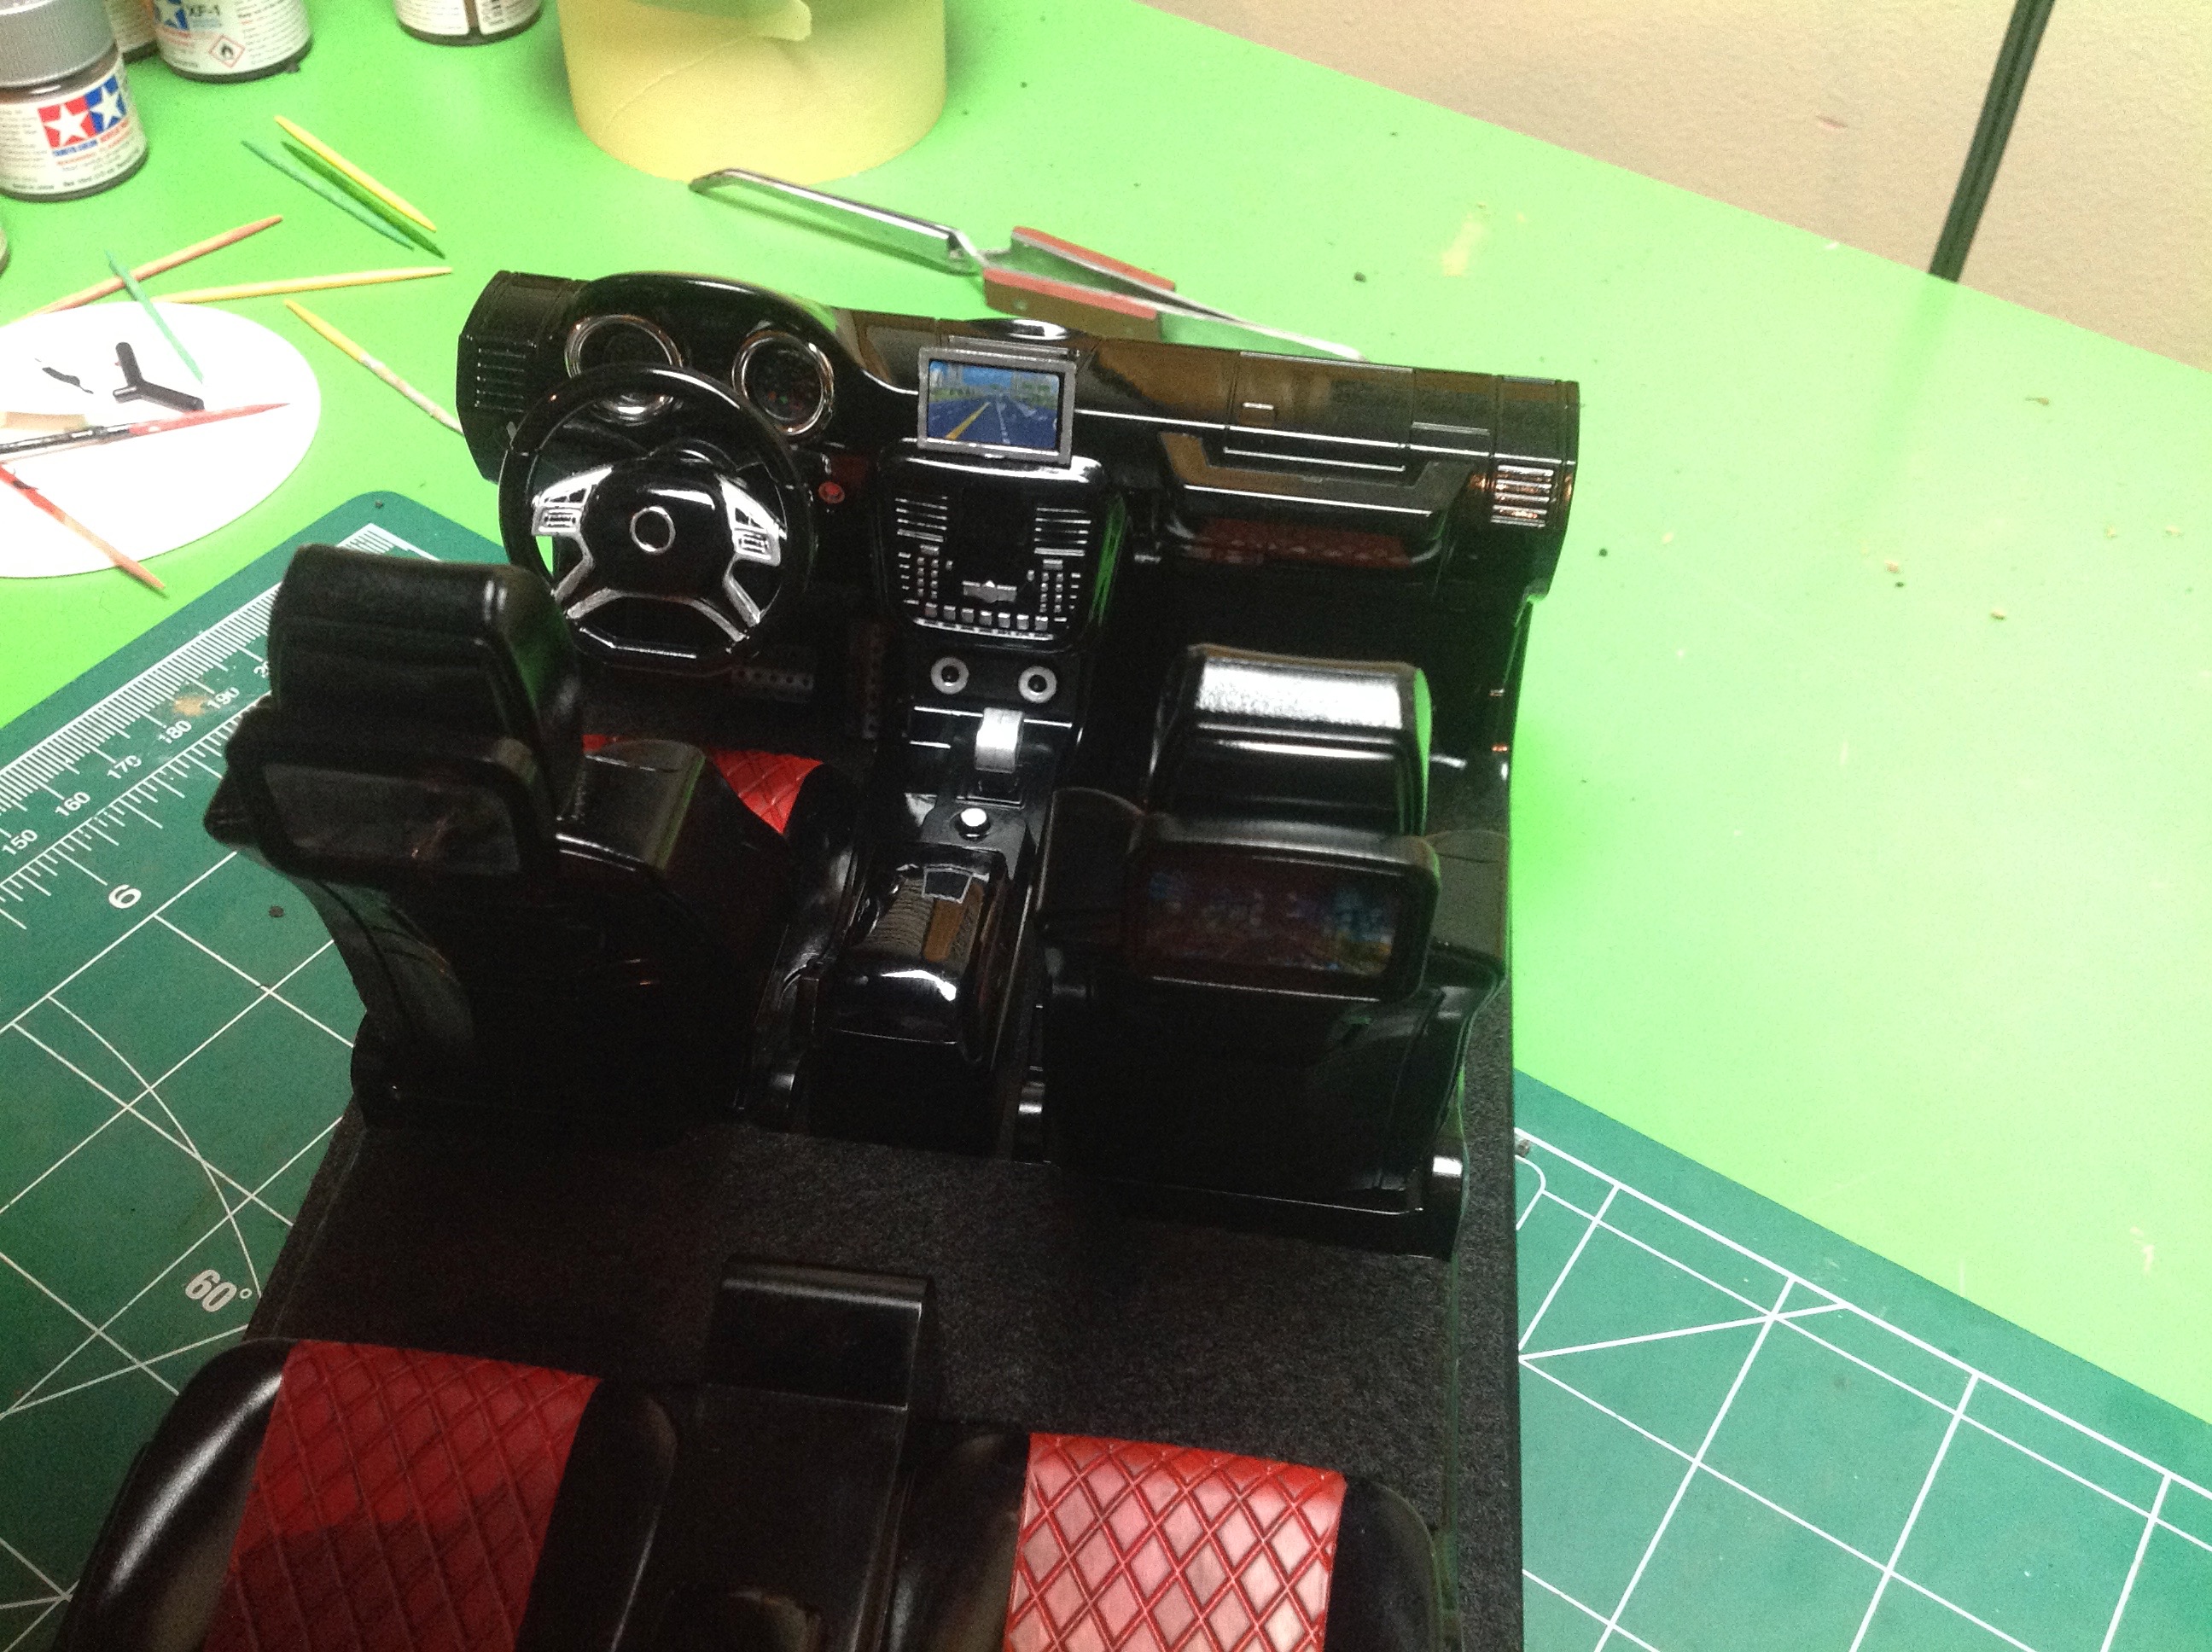
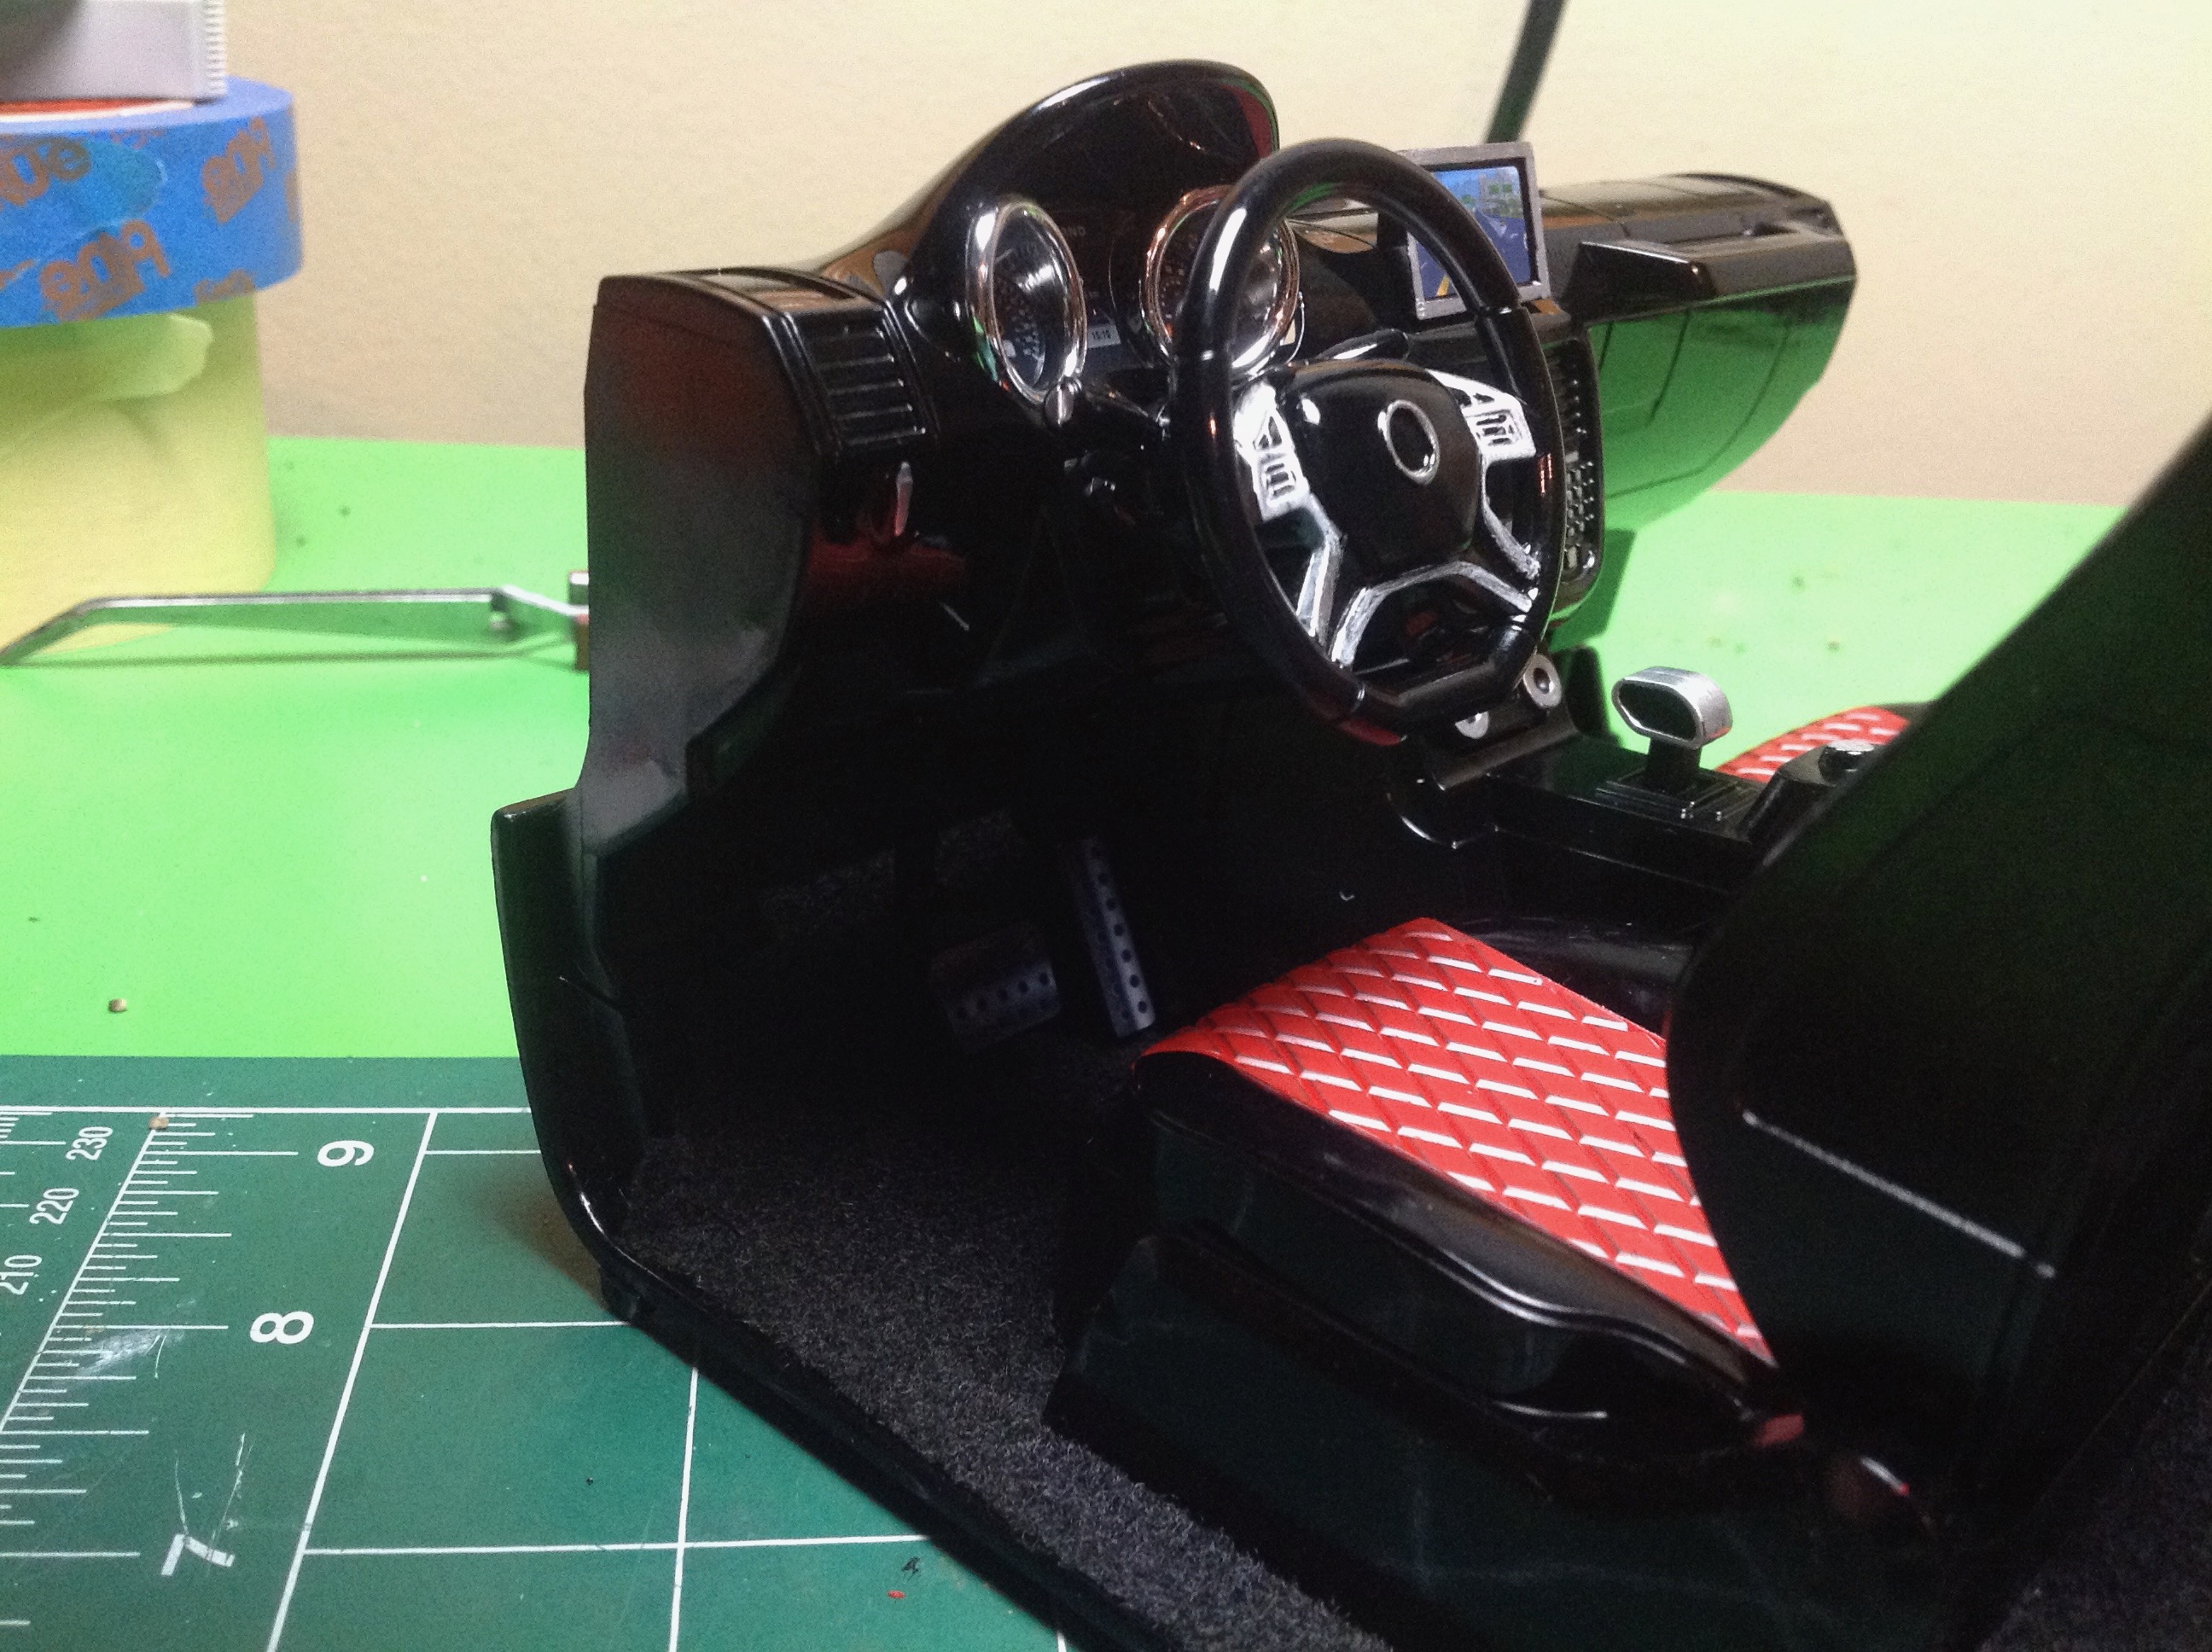
Here are some closer shots of the interior. I detailed the chrome
and silver parts of the dash with a paint pen. I also added
adhesive backed felt for carpet which really added a lot to the
realism. You can see the pedals, the instruments, the shift lever,
and the GPS clearly in these photos.
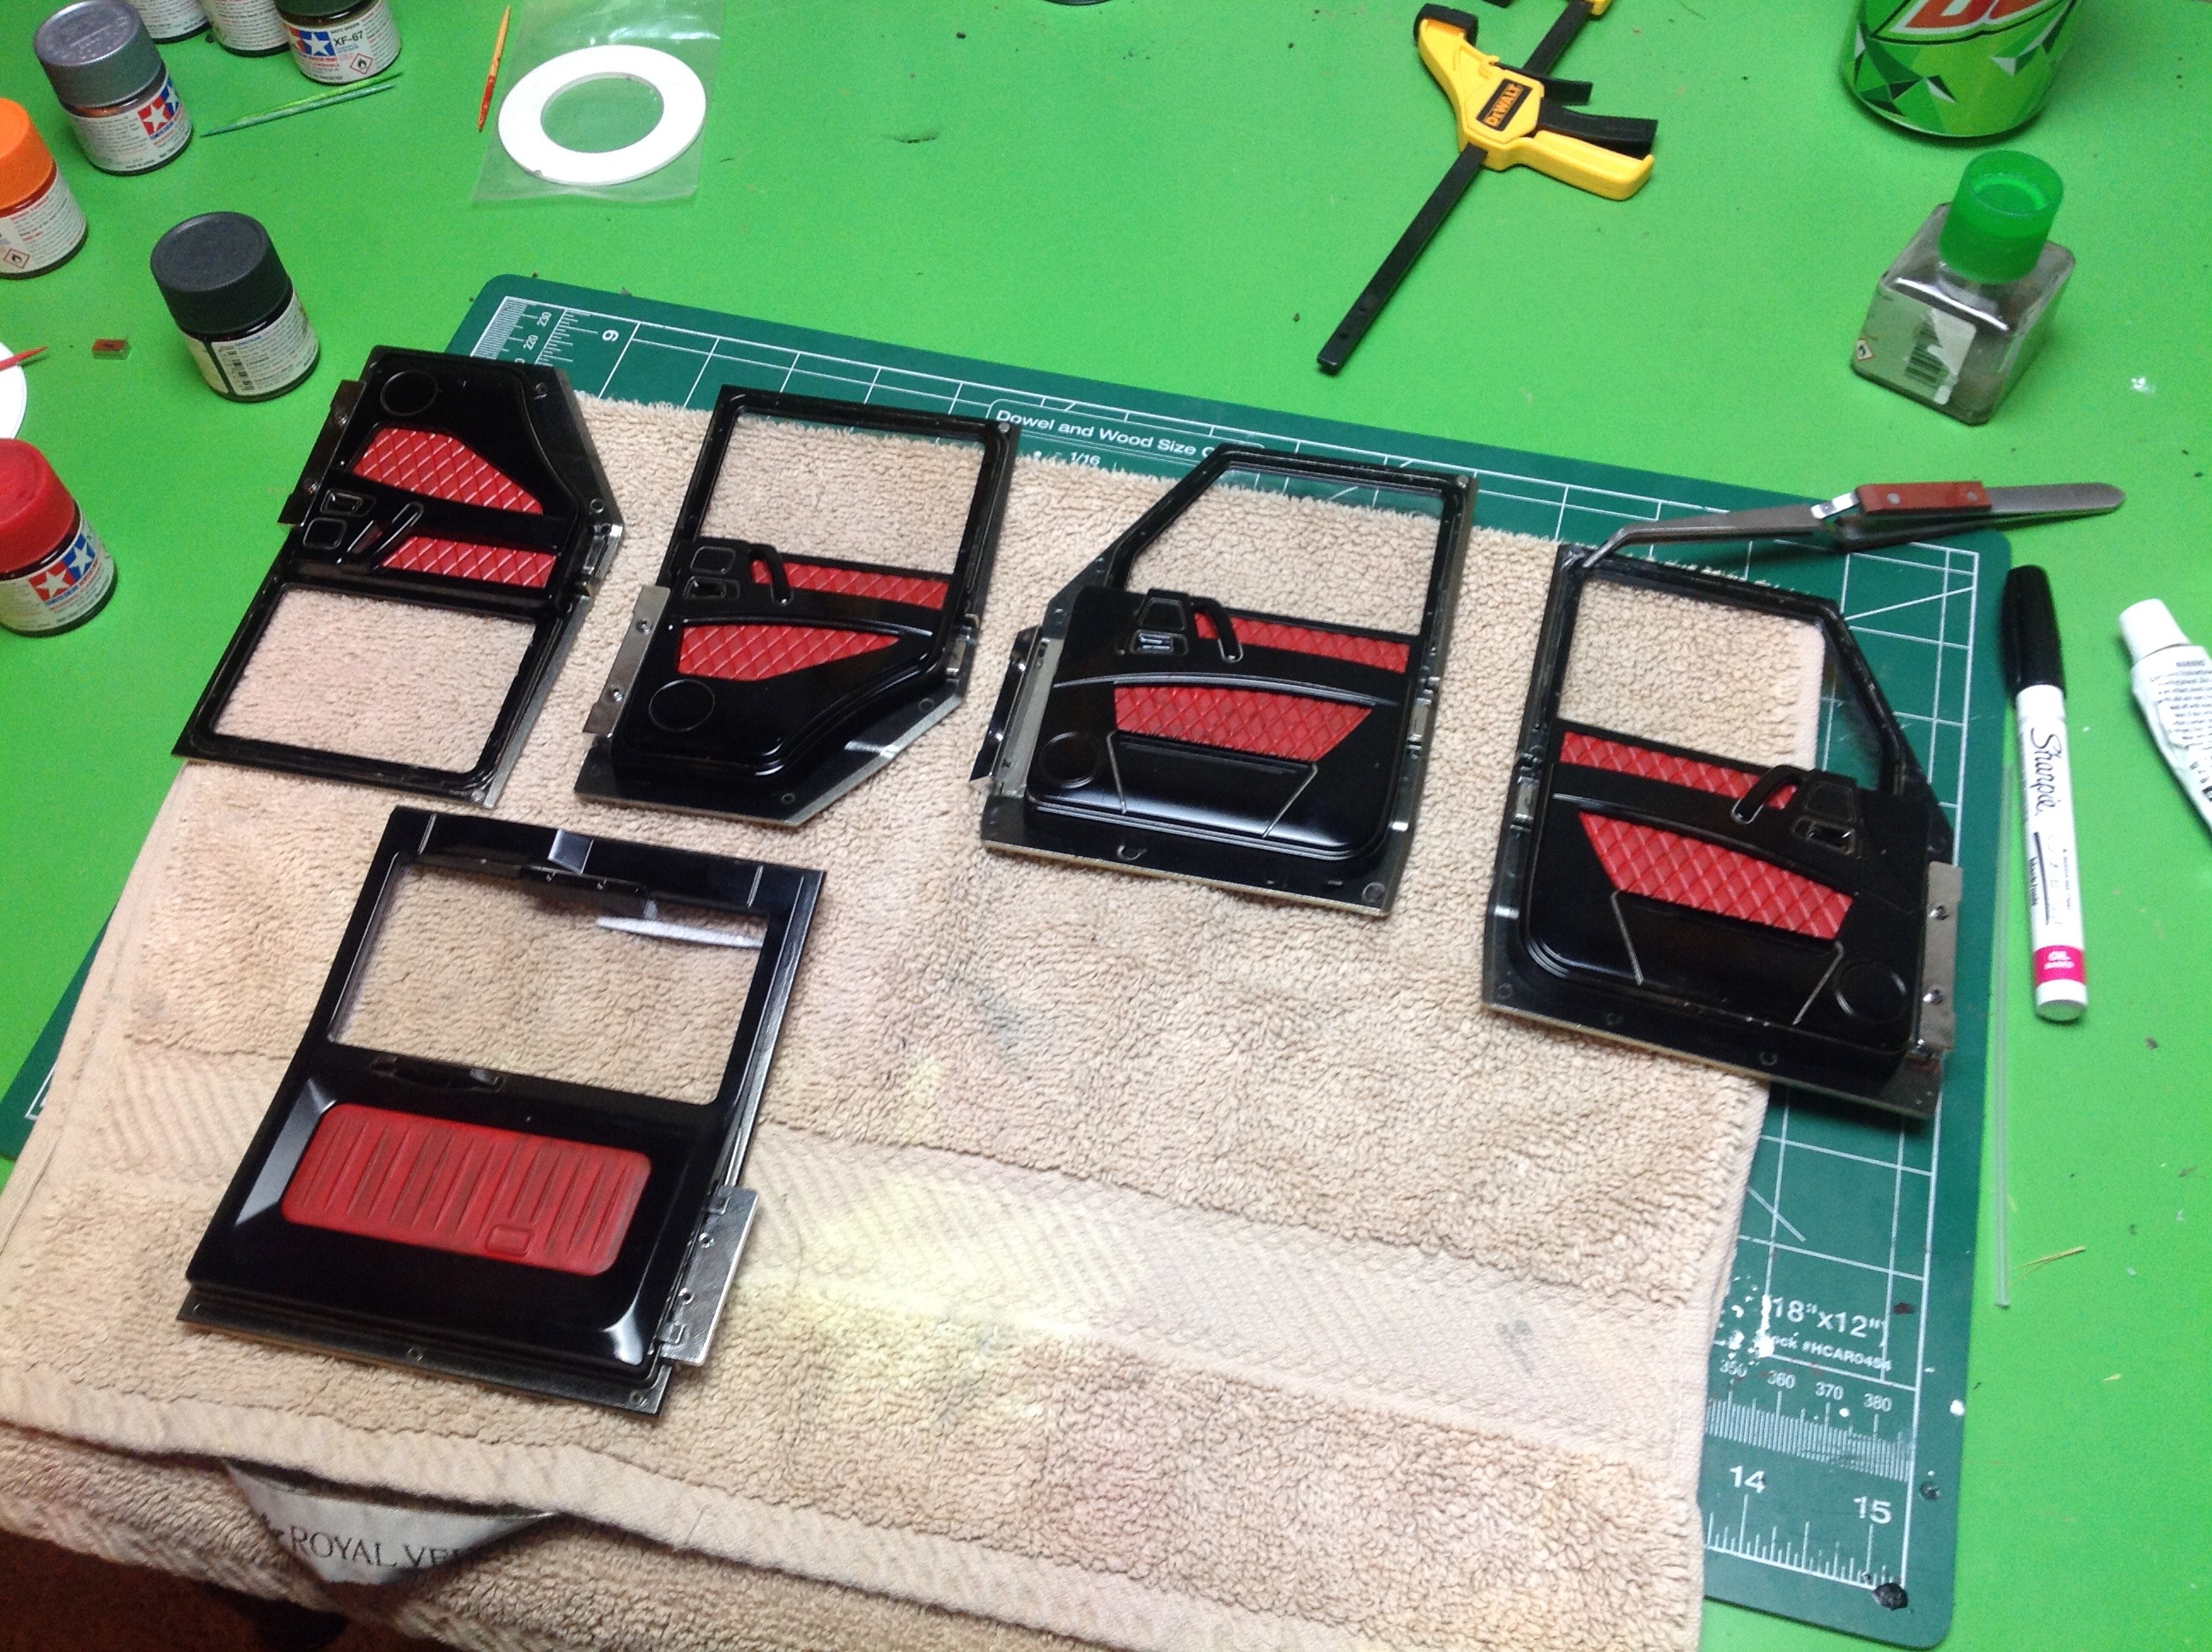
The interior door panels needed to be detailed to match the
interior. Again, I referenced photos of a real interior for
inspiration.
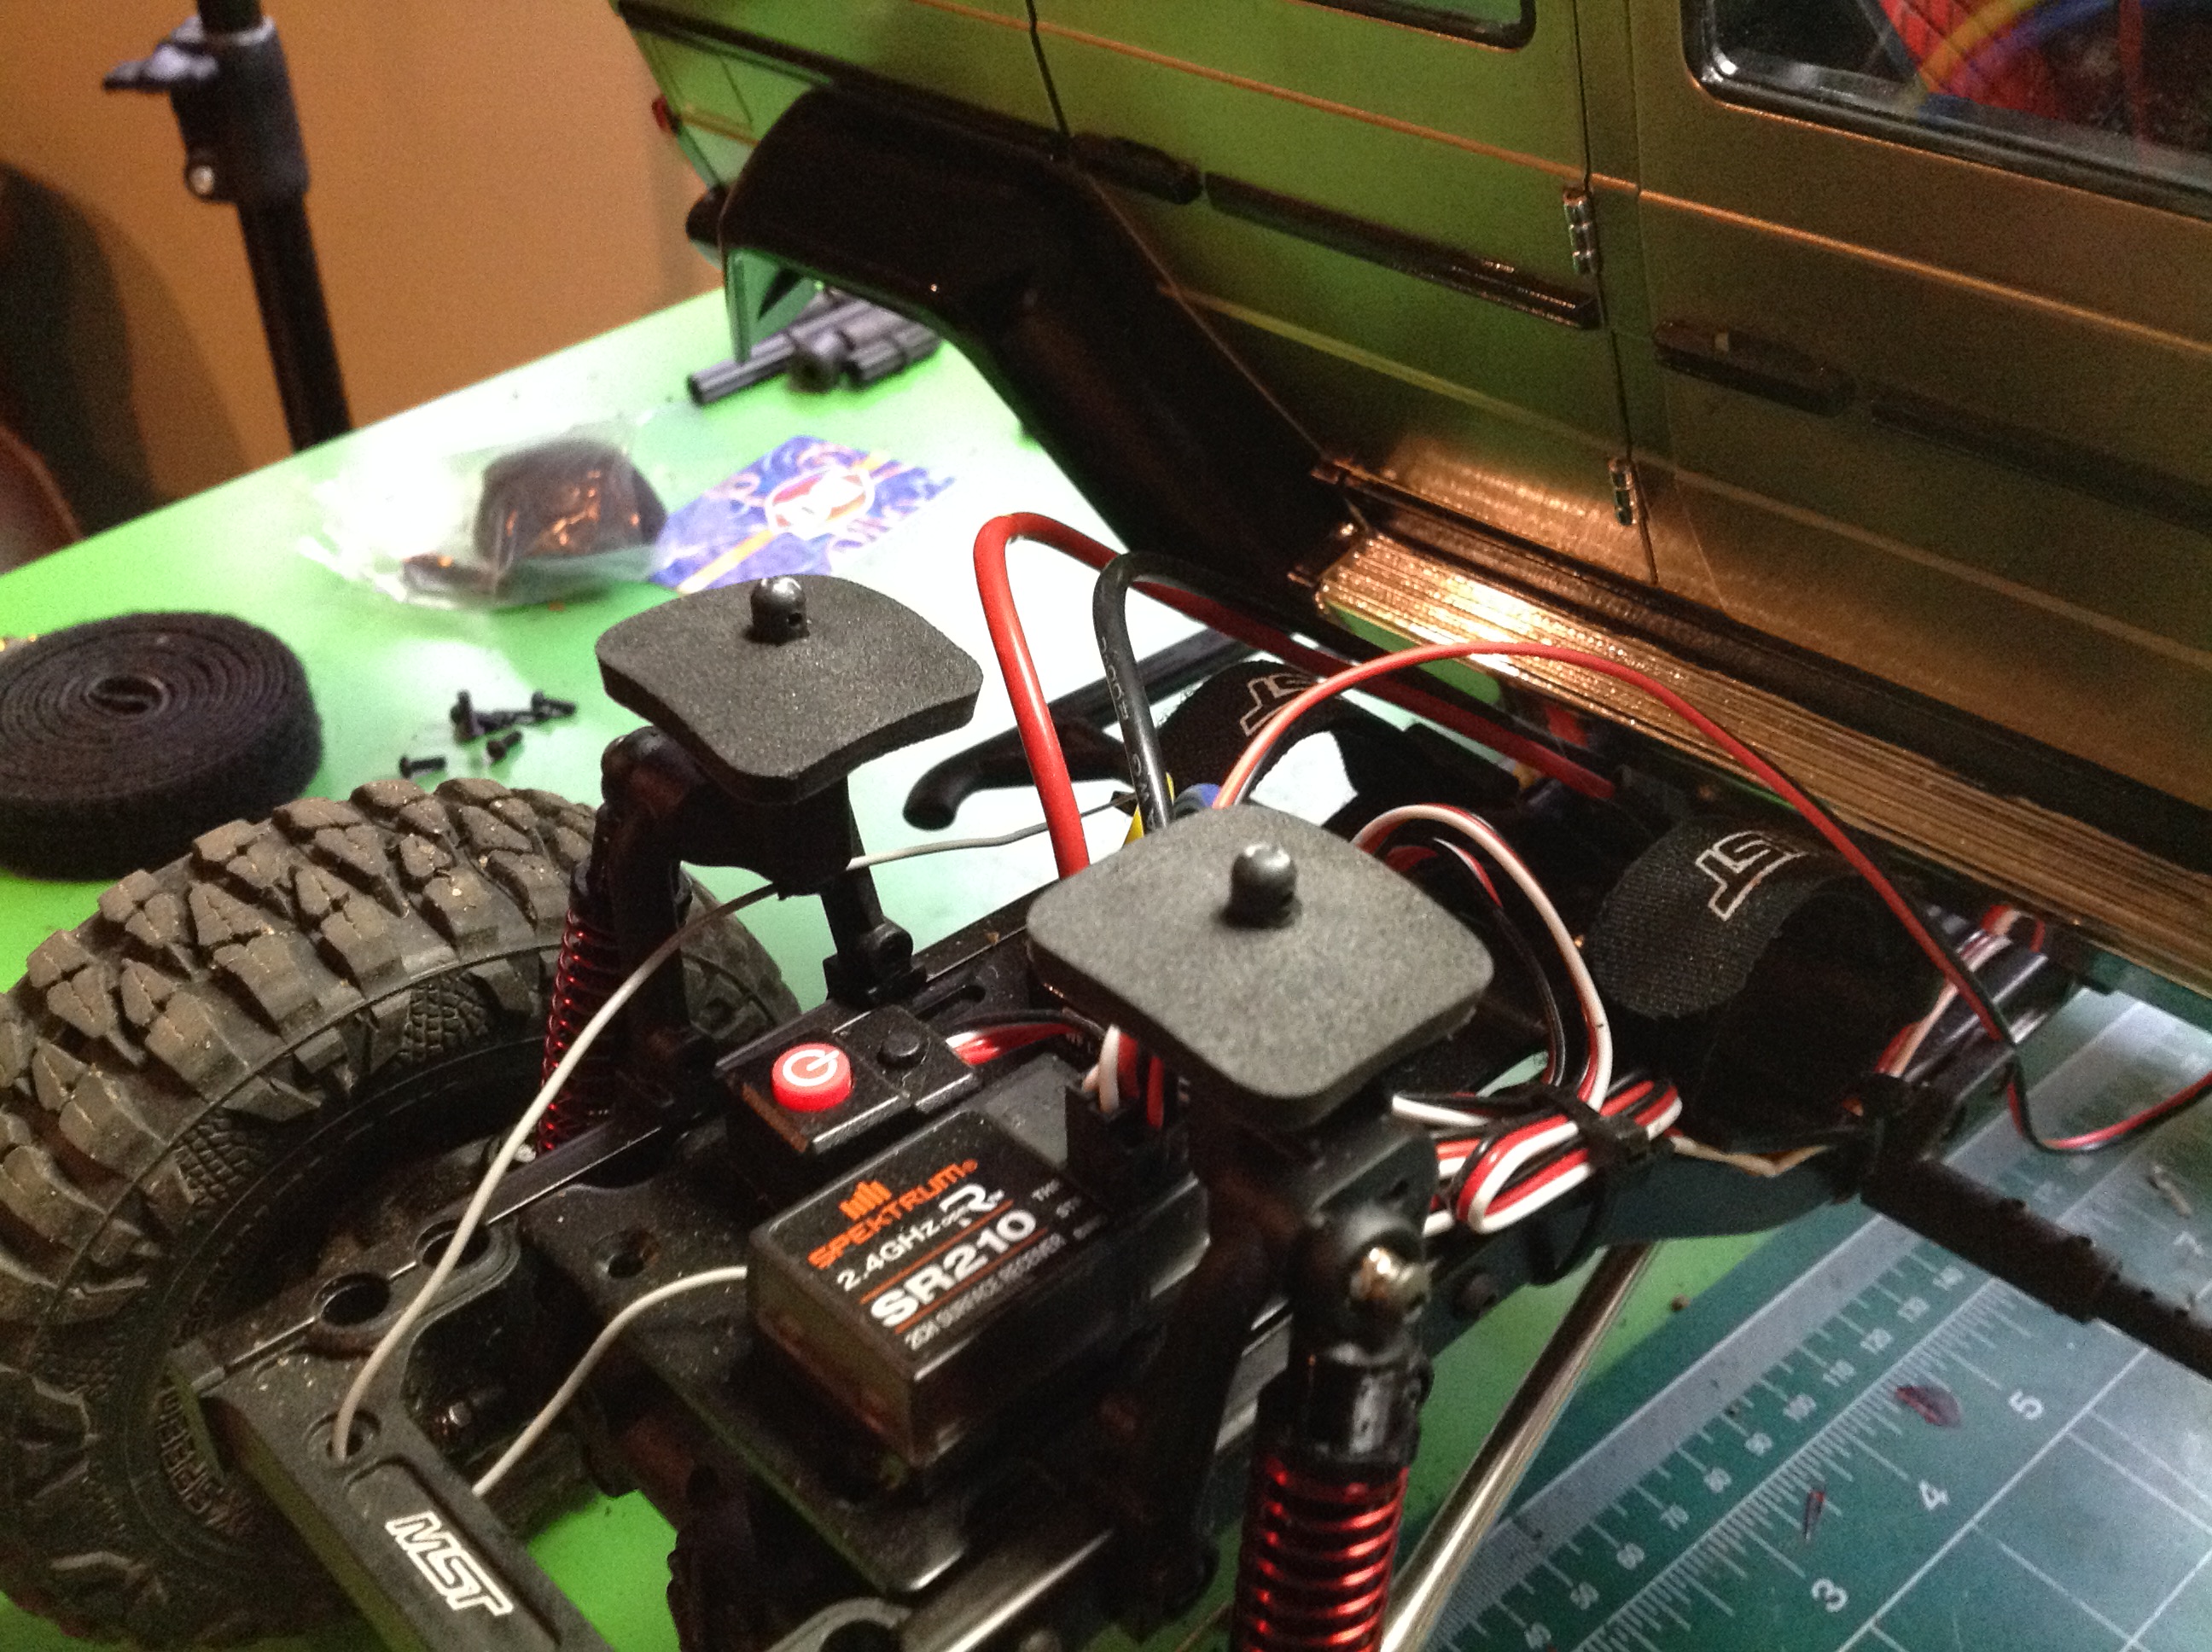
Once the body was assembled, a great challenge was figuring out how to
mount it. I didn't want to just drill holes through it and have
body posts visible from the outside. The left hand picture shows
what I did in the rear. I was able to hide the body posts inside
the rear of the body, and I added some foam pads to stop it from
rattling on the trail. In the front, I hid the body posts under
the hood but they don't stick up far enough to insert a pin or the hood
won't close. Instead, I used them just as guides and added some
magnetic mounts to actually hold the body down. Worked great.
Pictures of the model with the hood and doors open can be found in the last section.
©2018 Eric Albrecht