Mercedes 1850L Project
Page 1: Stock Assembly
Since I've already fully documented a tractor truck build on my King Hauler page and the chassis is 90% similar, I'll be providing only a cursory overview of the chassis build here.
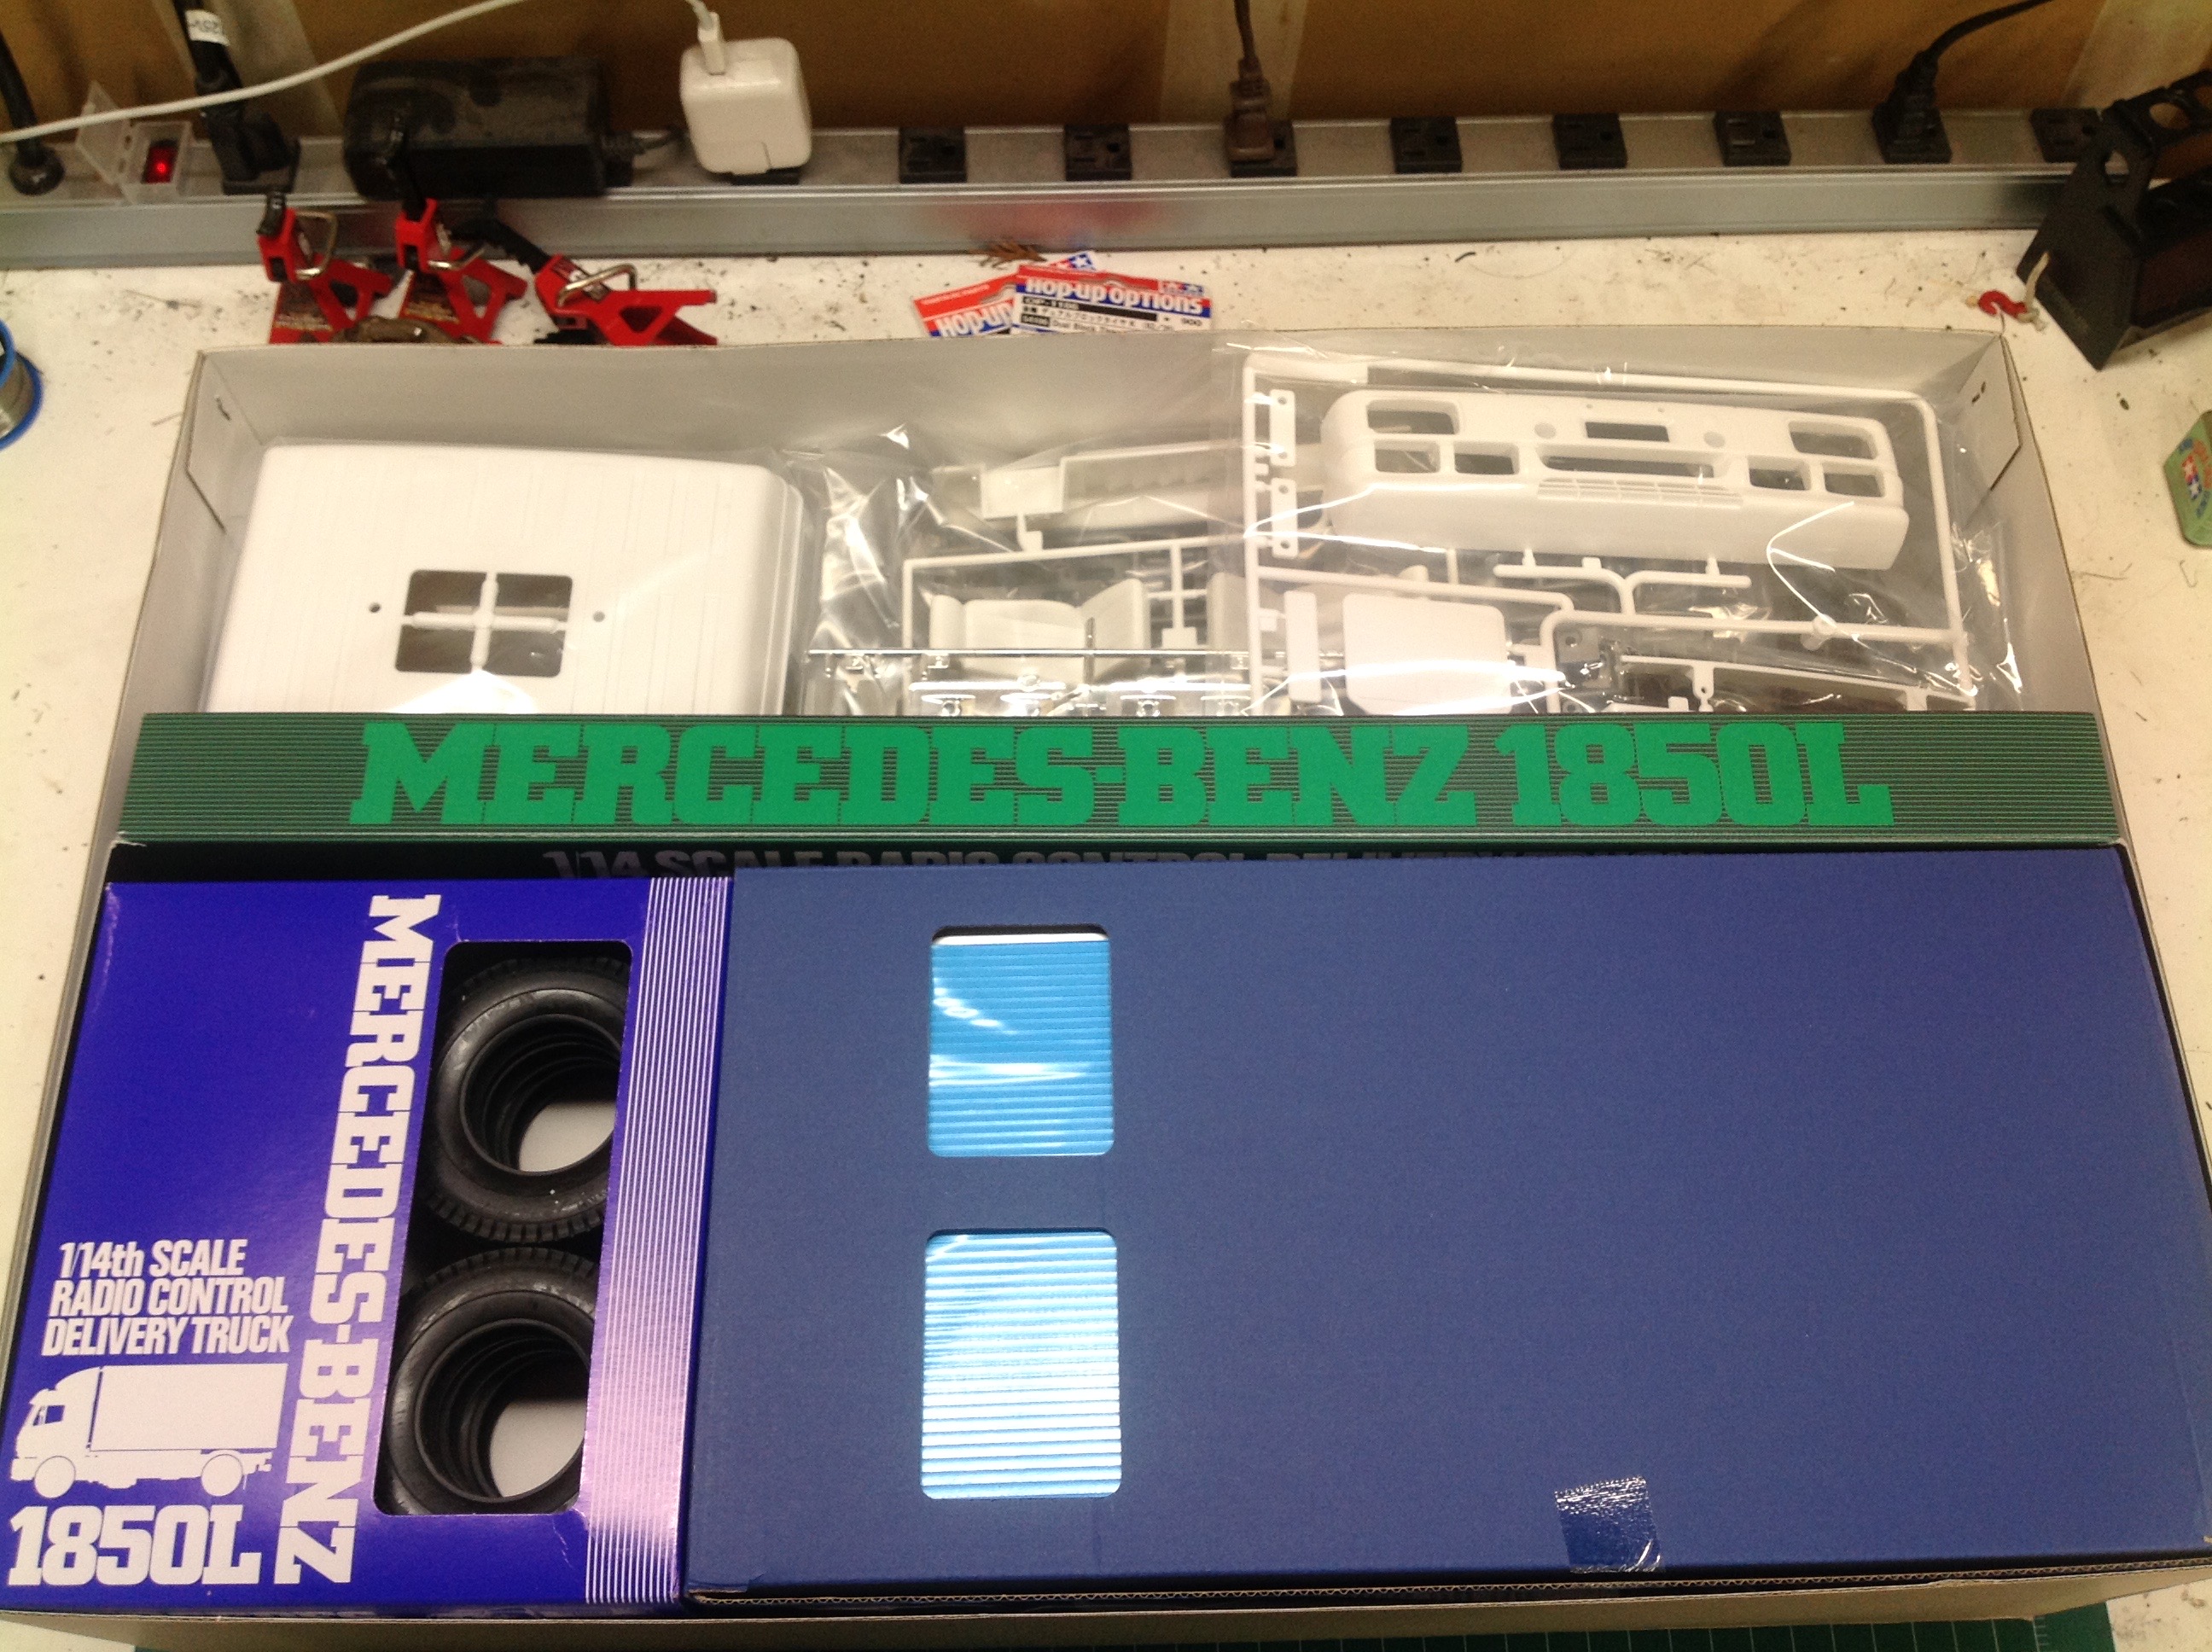
The 1850L comes in a typically huge box which looks strangely empty when
opened. The lower right quadrant is covered by an internal box
containing the walls, roof, and floor of the cargo box. Most of
the chassis parts are located beneath this, while the body parts are in
the upper half. Finally, most of the hardware is located in the
box with the tires.
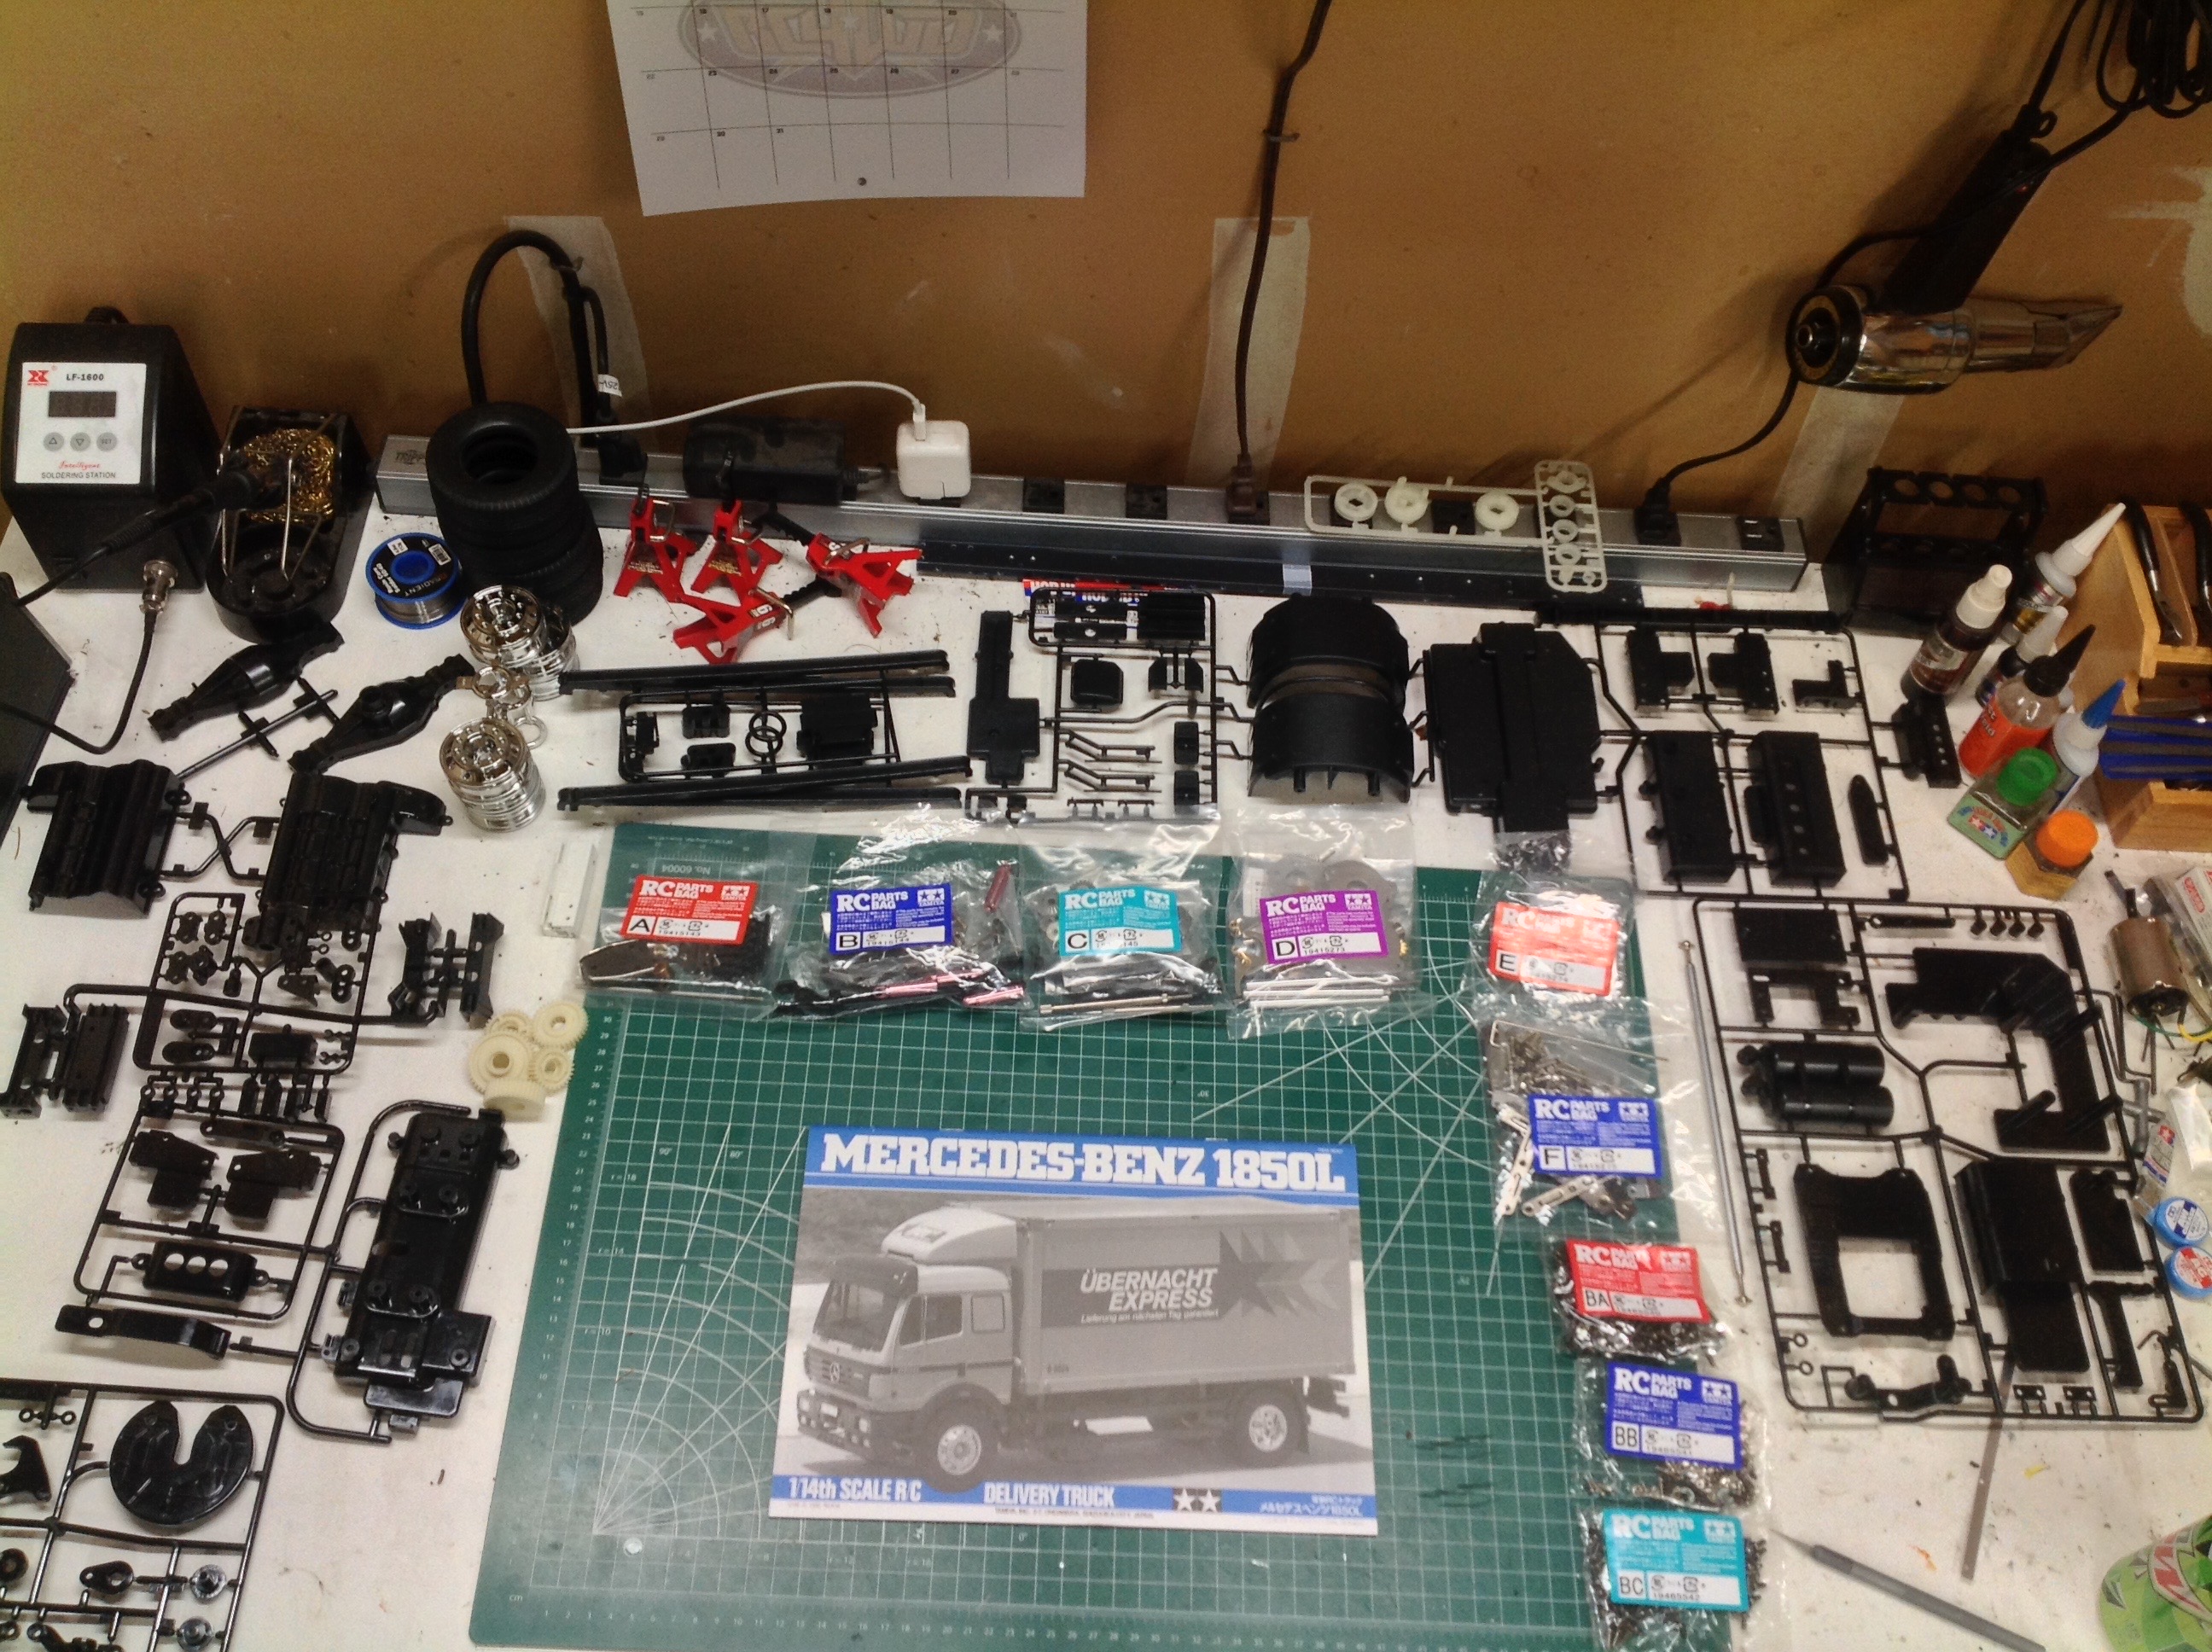
Here are the parts for the chassis including the 9 hardware bags.
The super long chassis rails are sitting in back along my power strip.
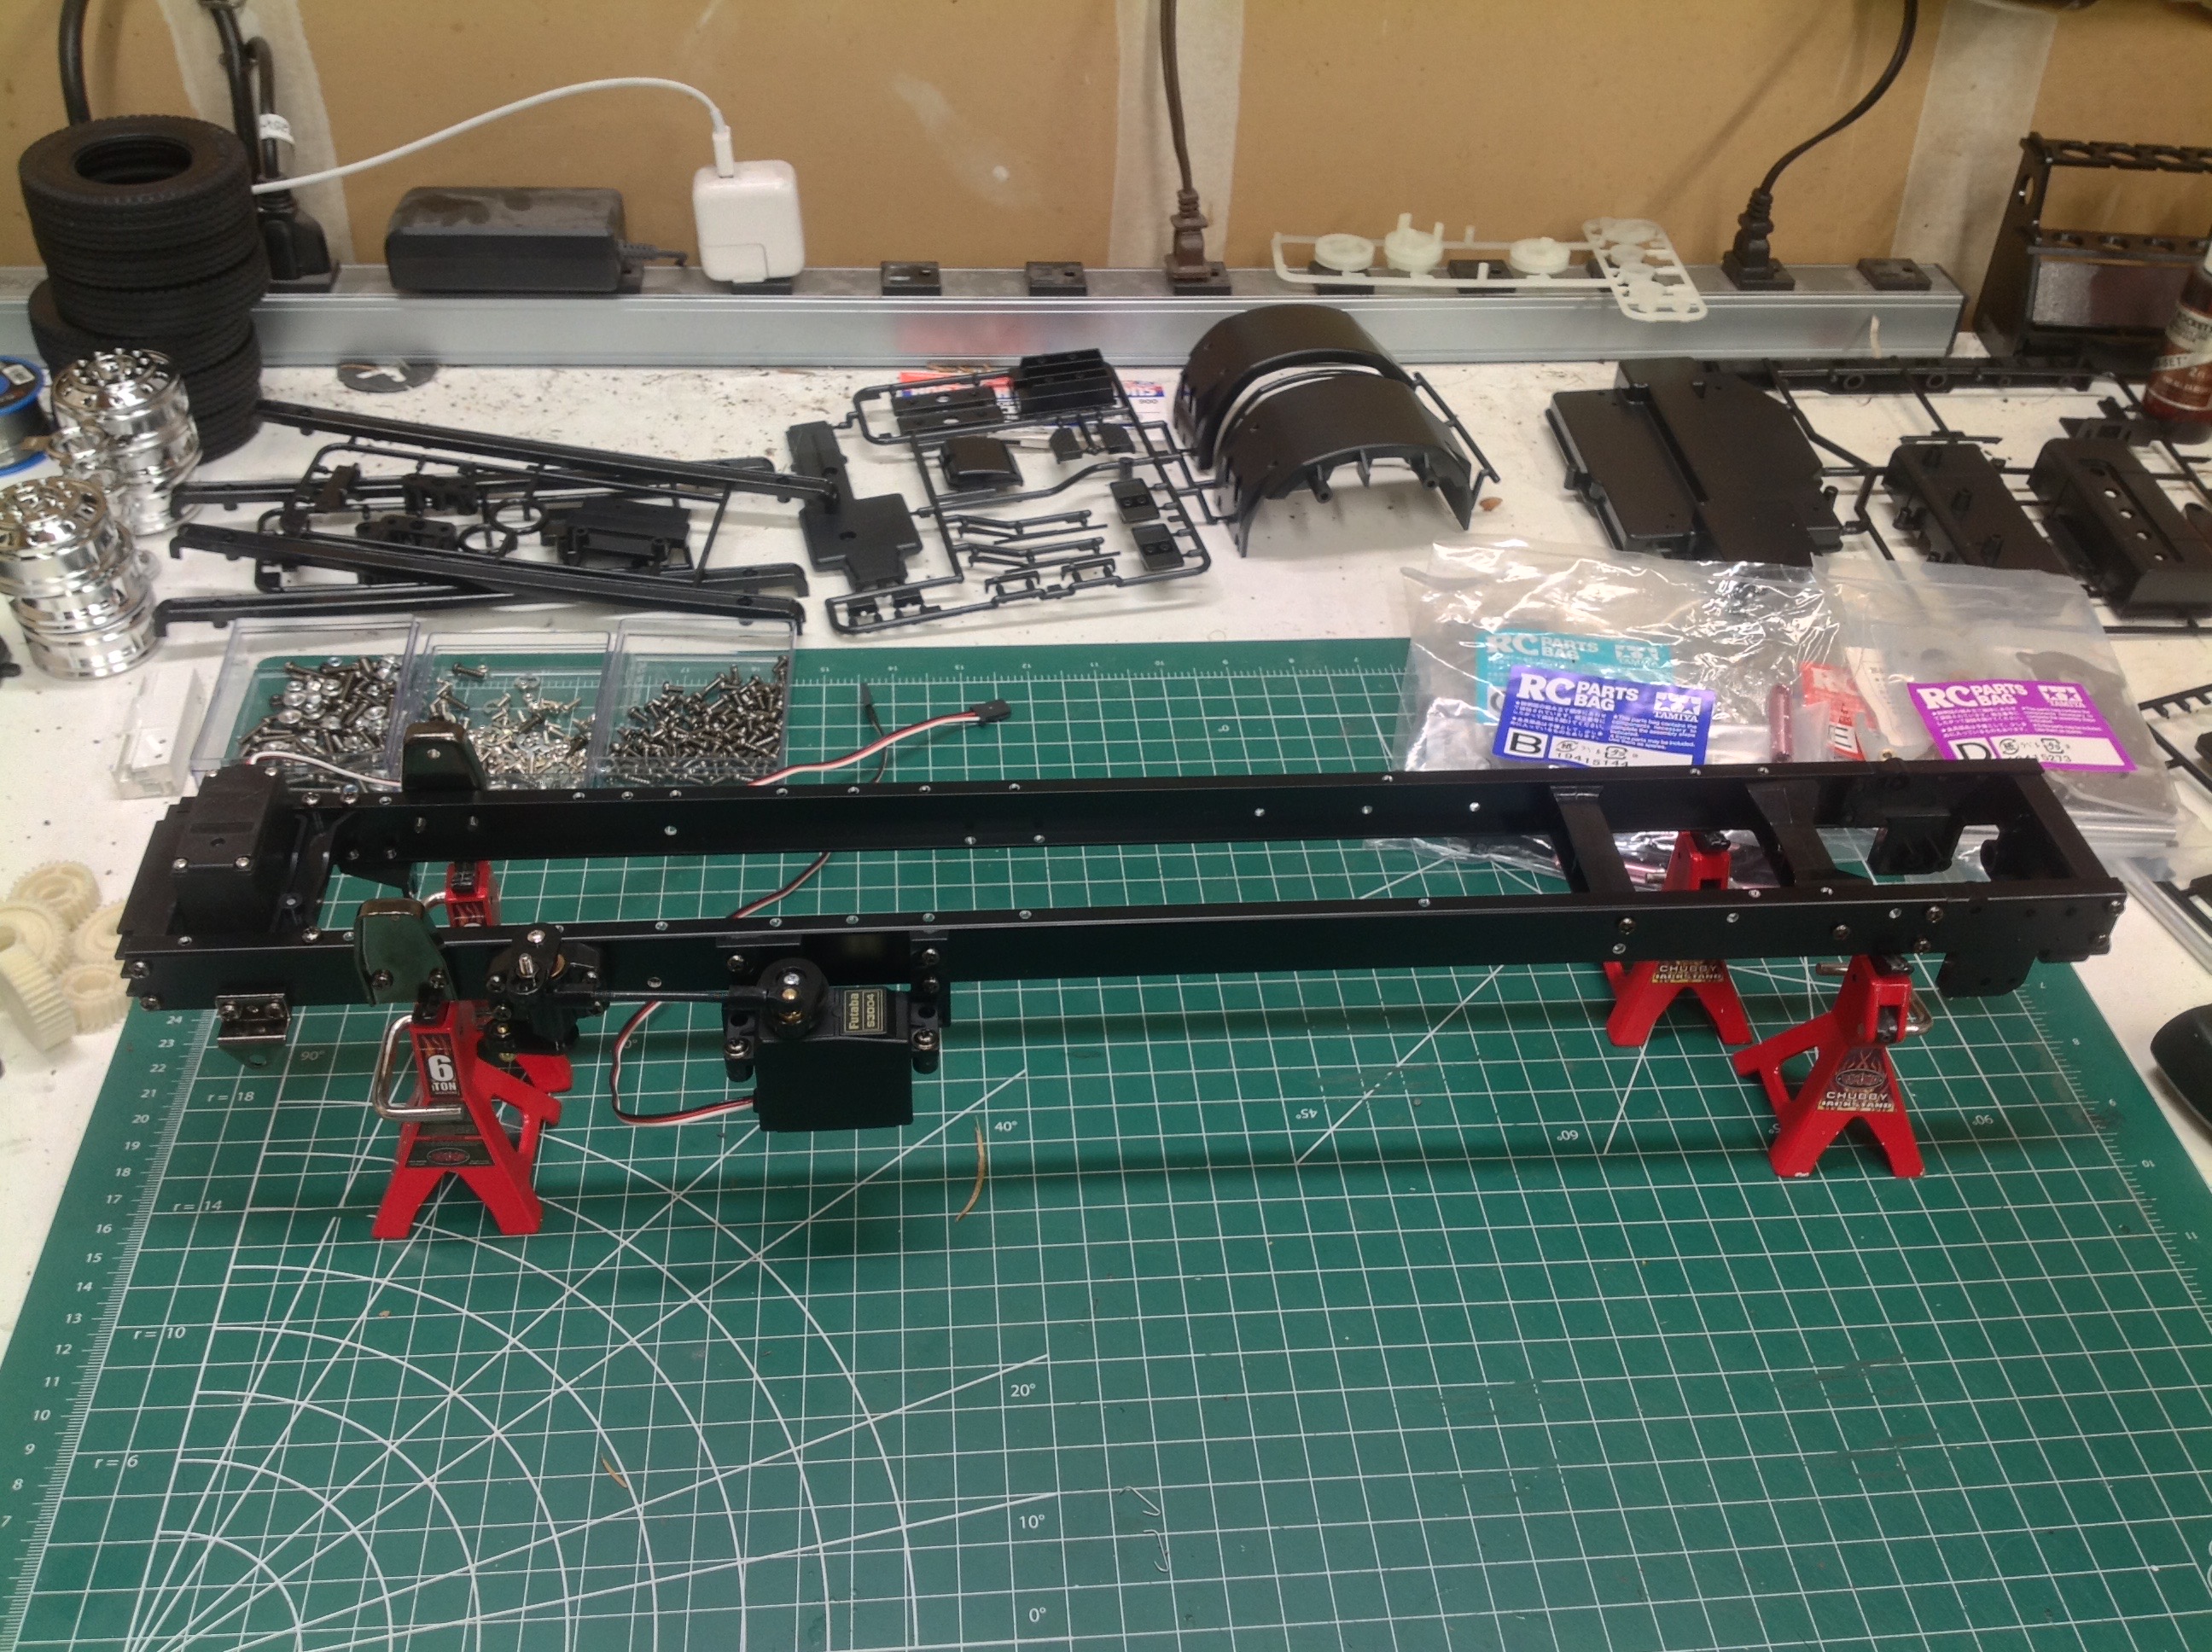
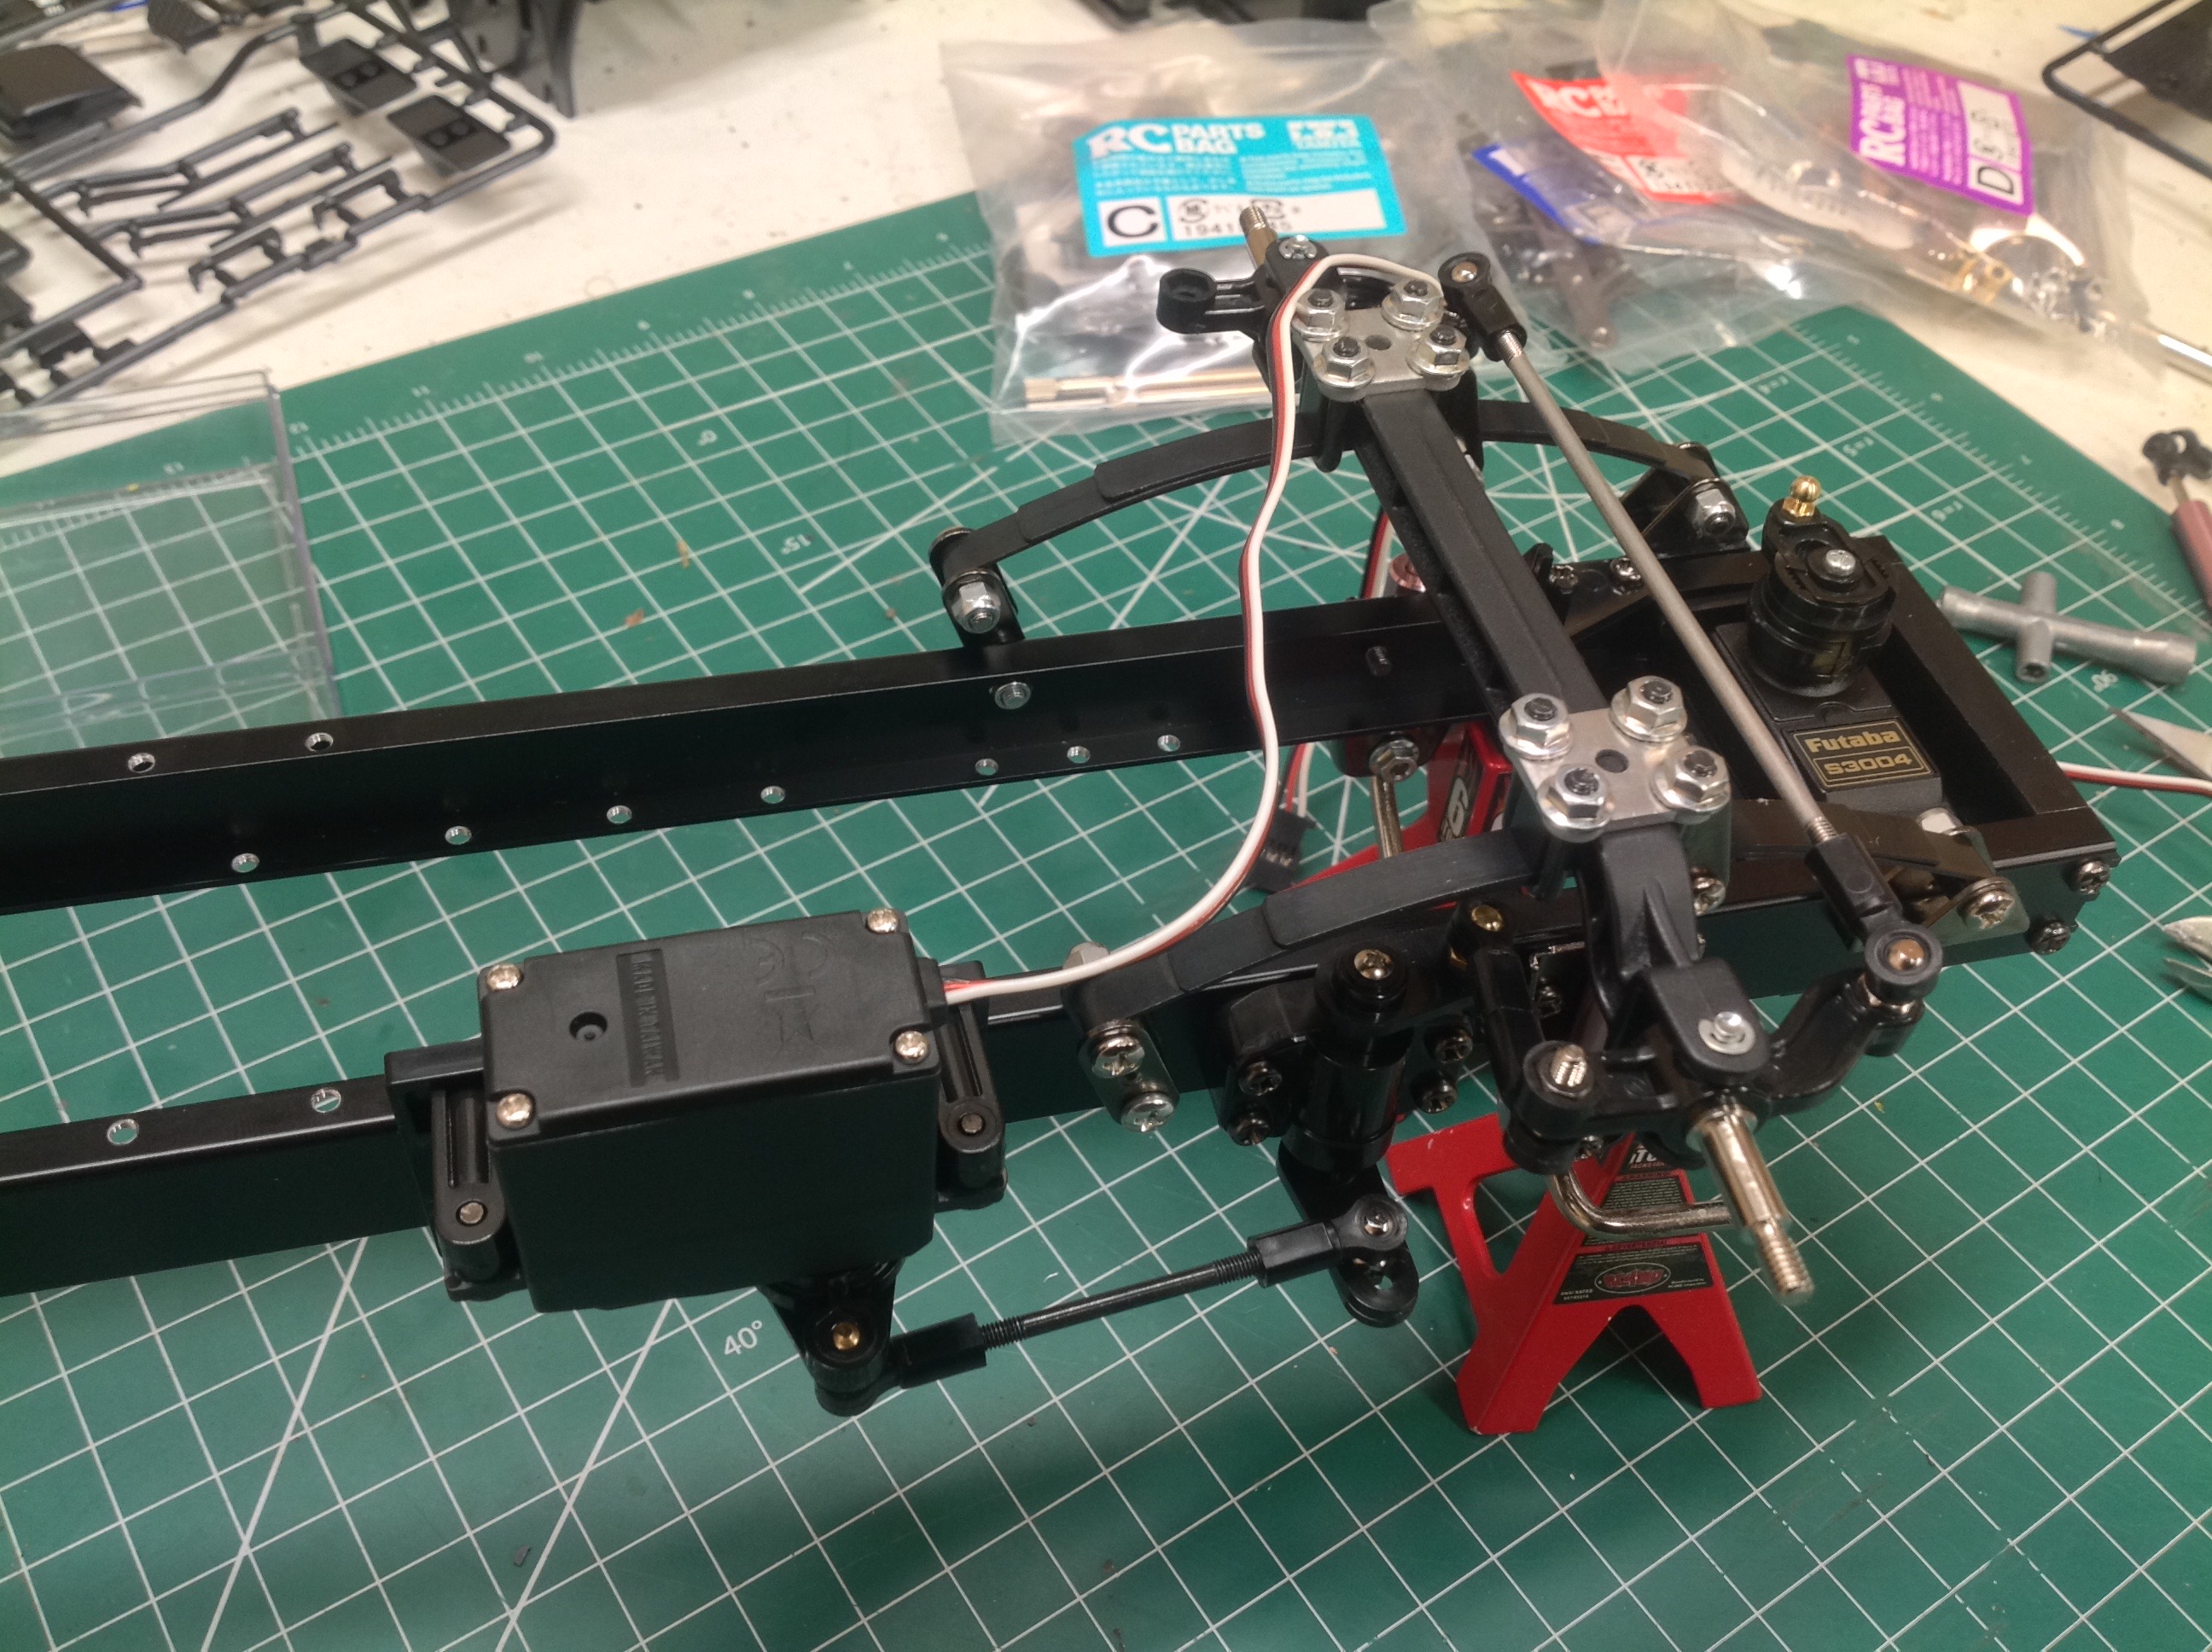
The basic ladder frame is completed quite quickly. The front
servo is for shifting the transmission while the servo on the left side
is for steering. You can see the shock hoops and leaf spring
hangars to the left (front) and a few cross members to the right
(rear). The transmission itself will become the primary cross
member.
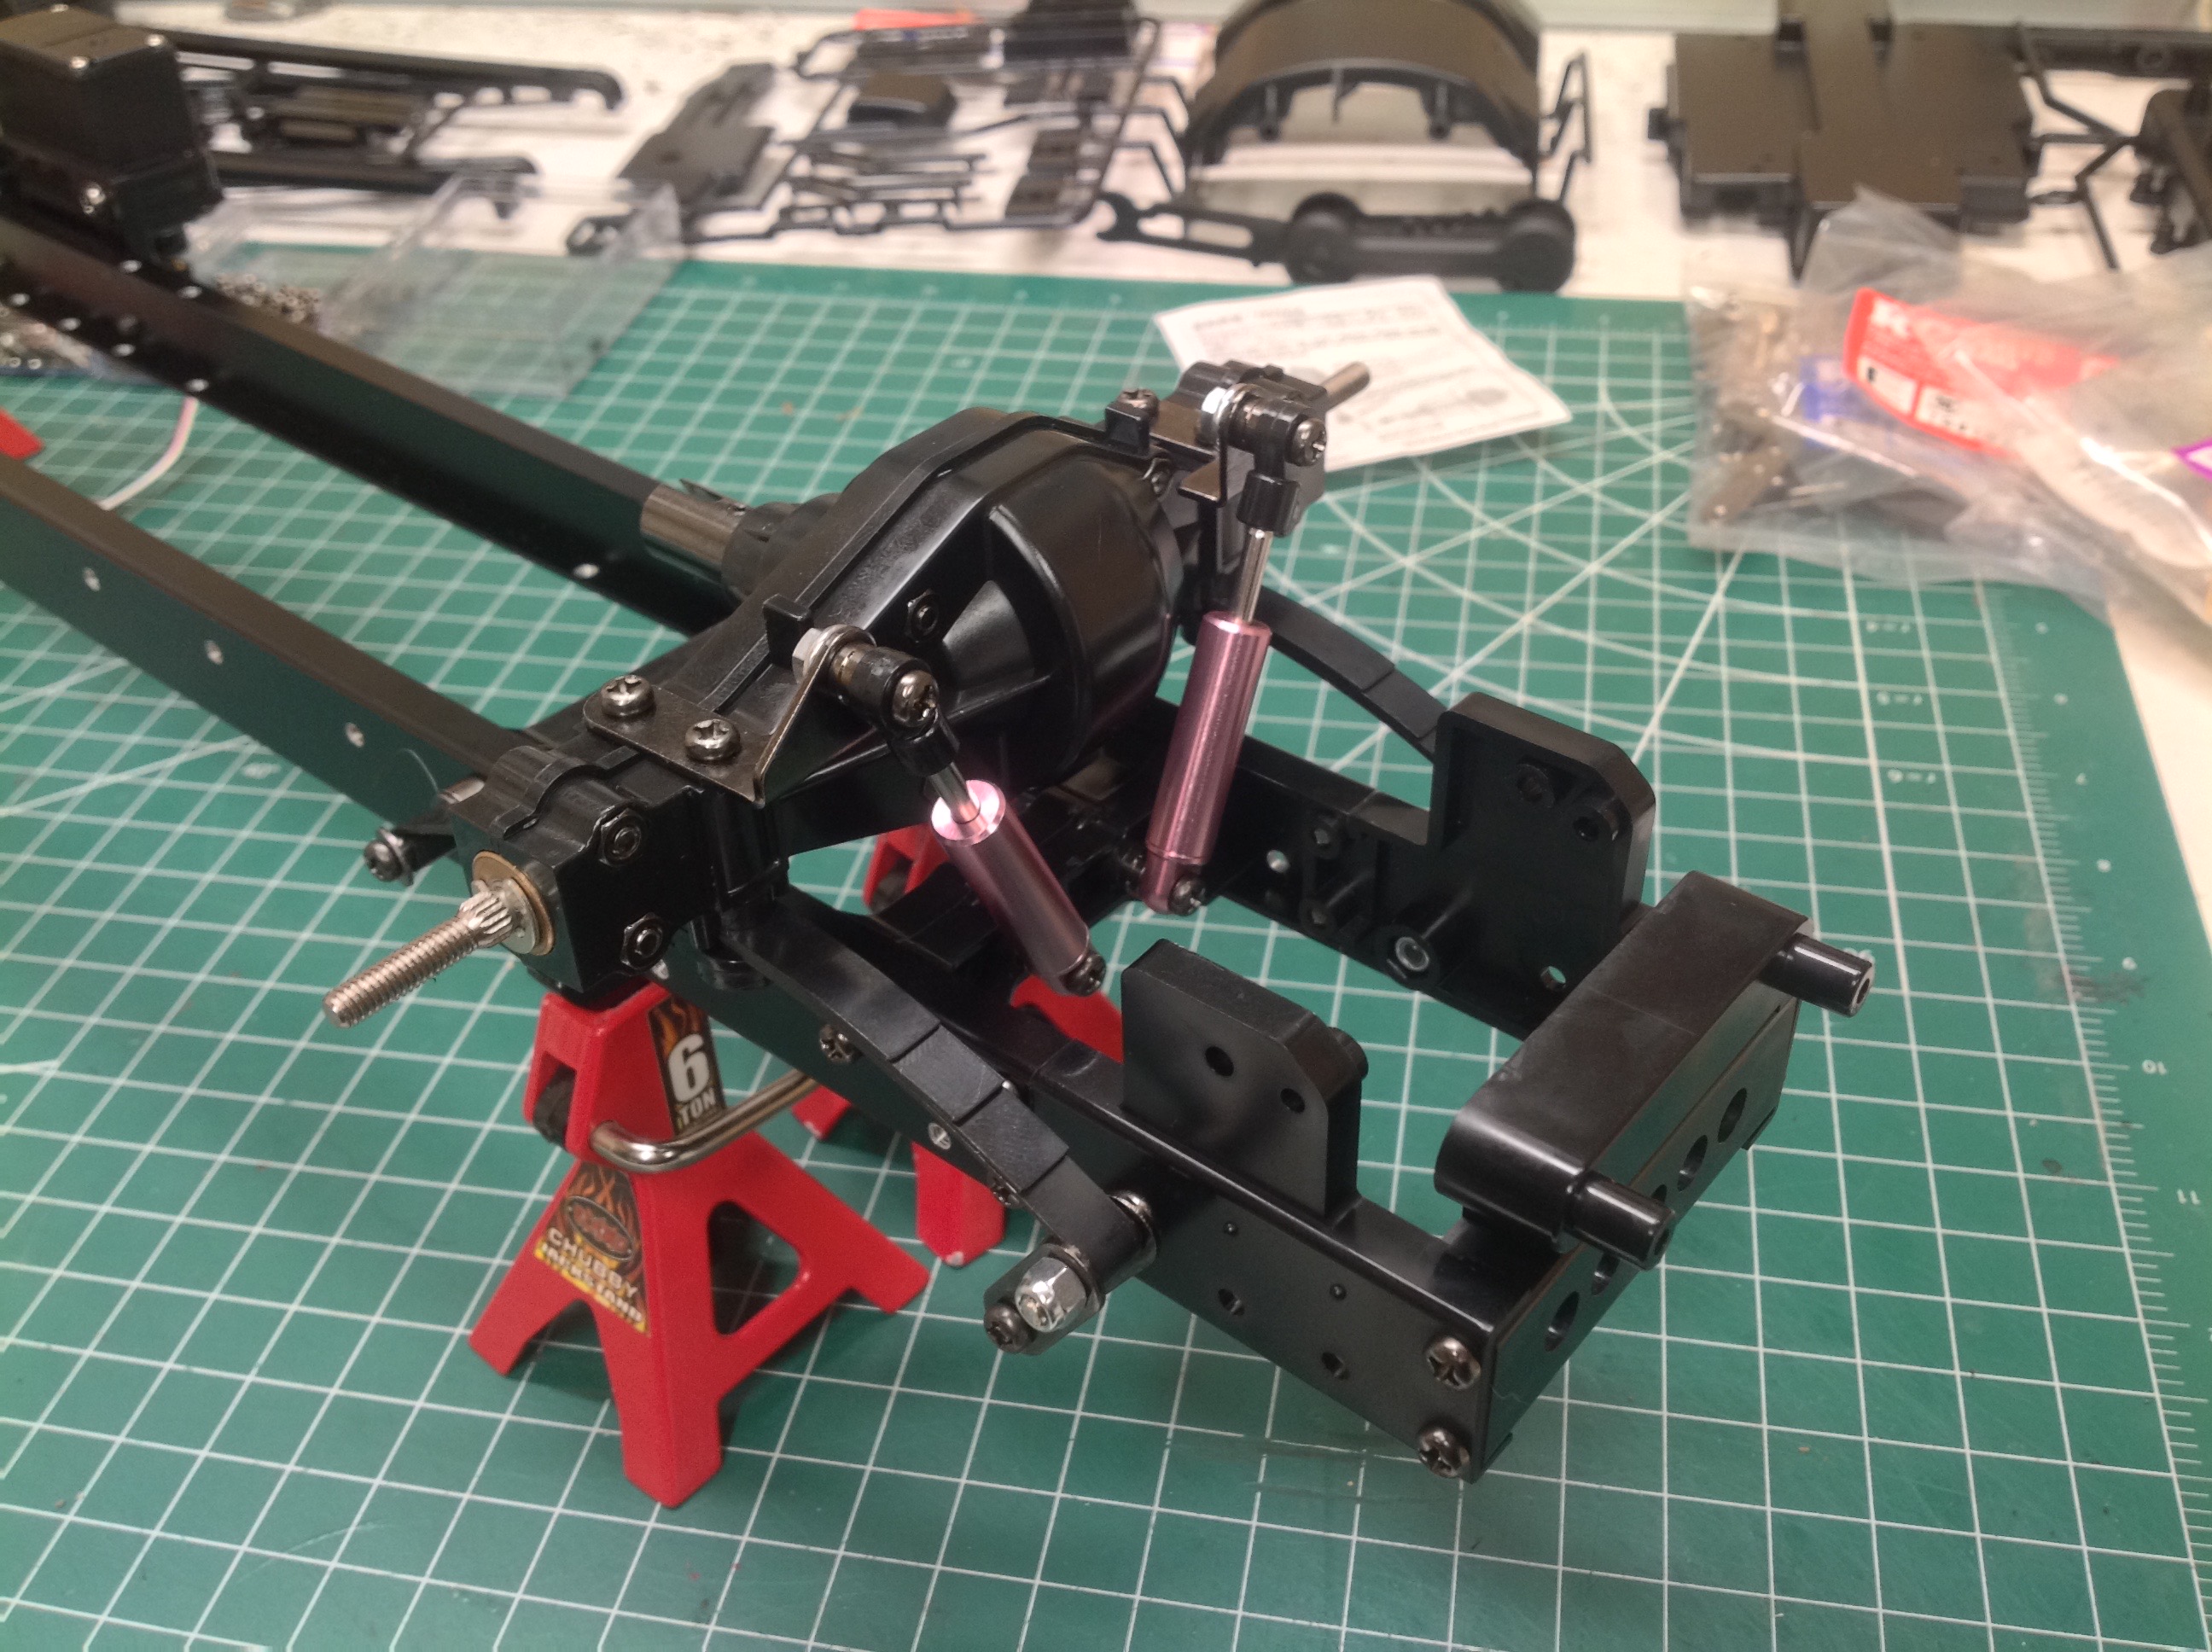
In the left hand picture you can see the inverted front end of the
chassis with the solid front axle and leaf springs. The right hand
picture shows the solid rear axle with open differential and diagonal
dampers.
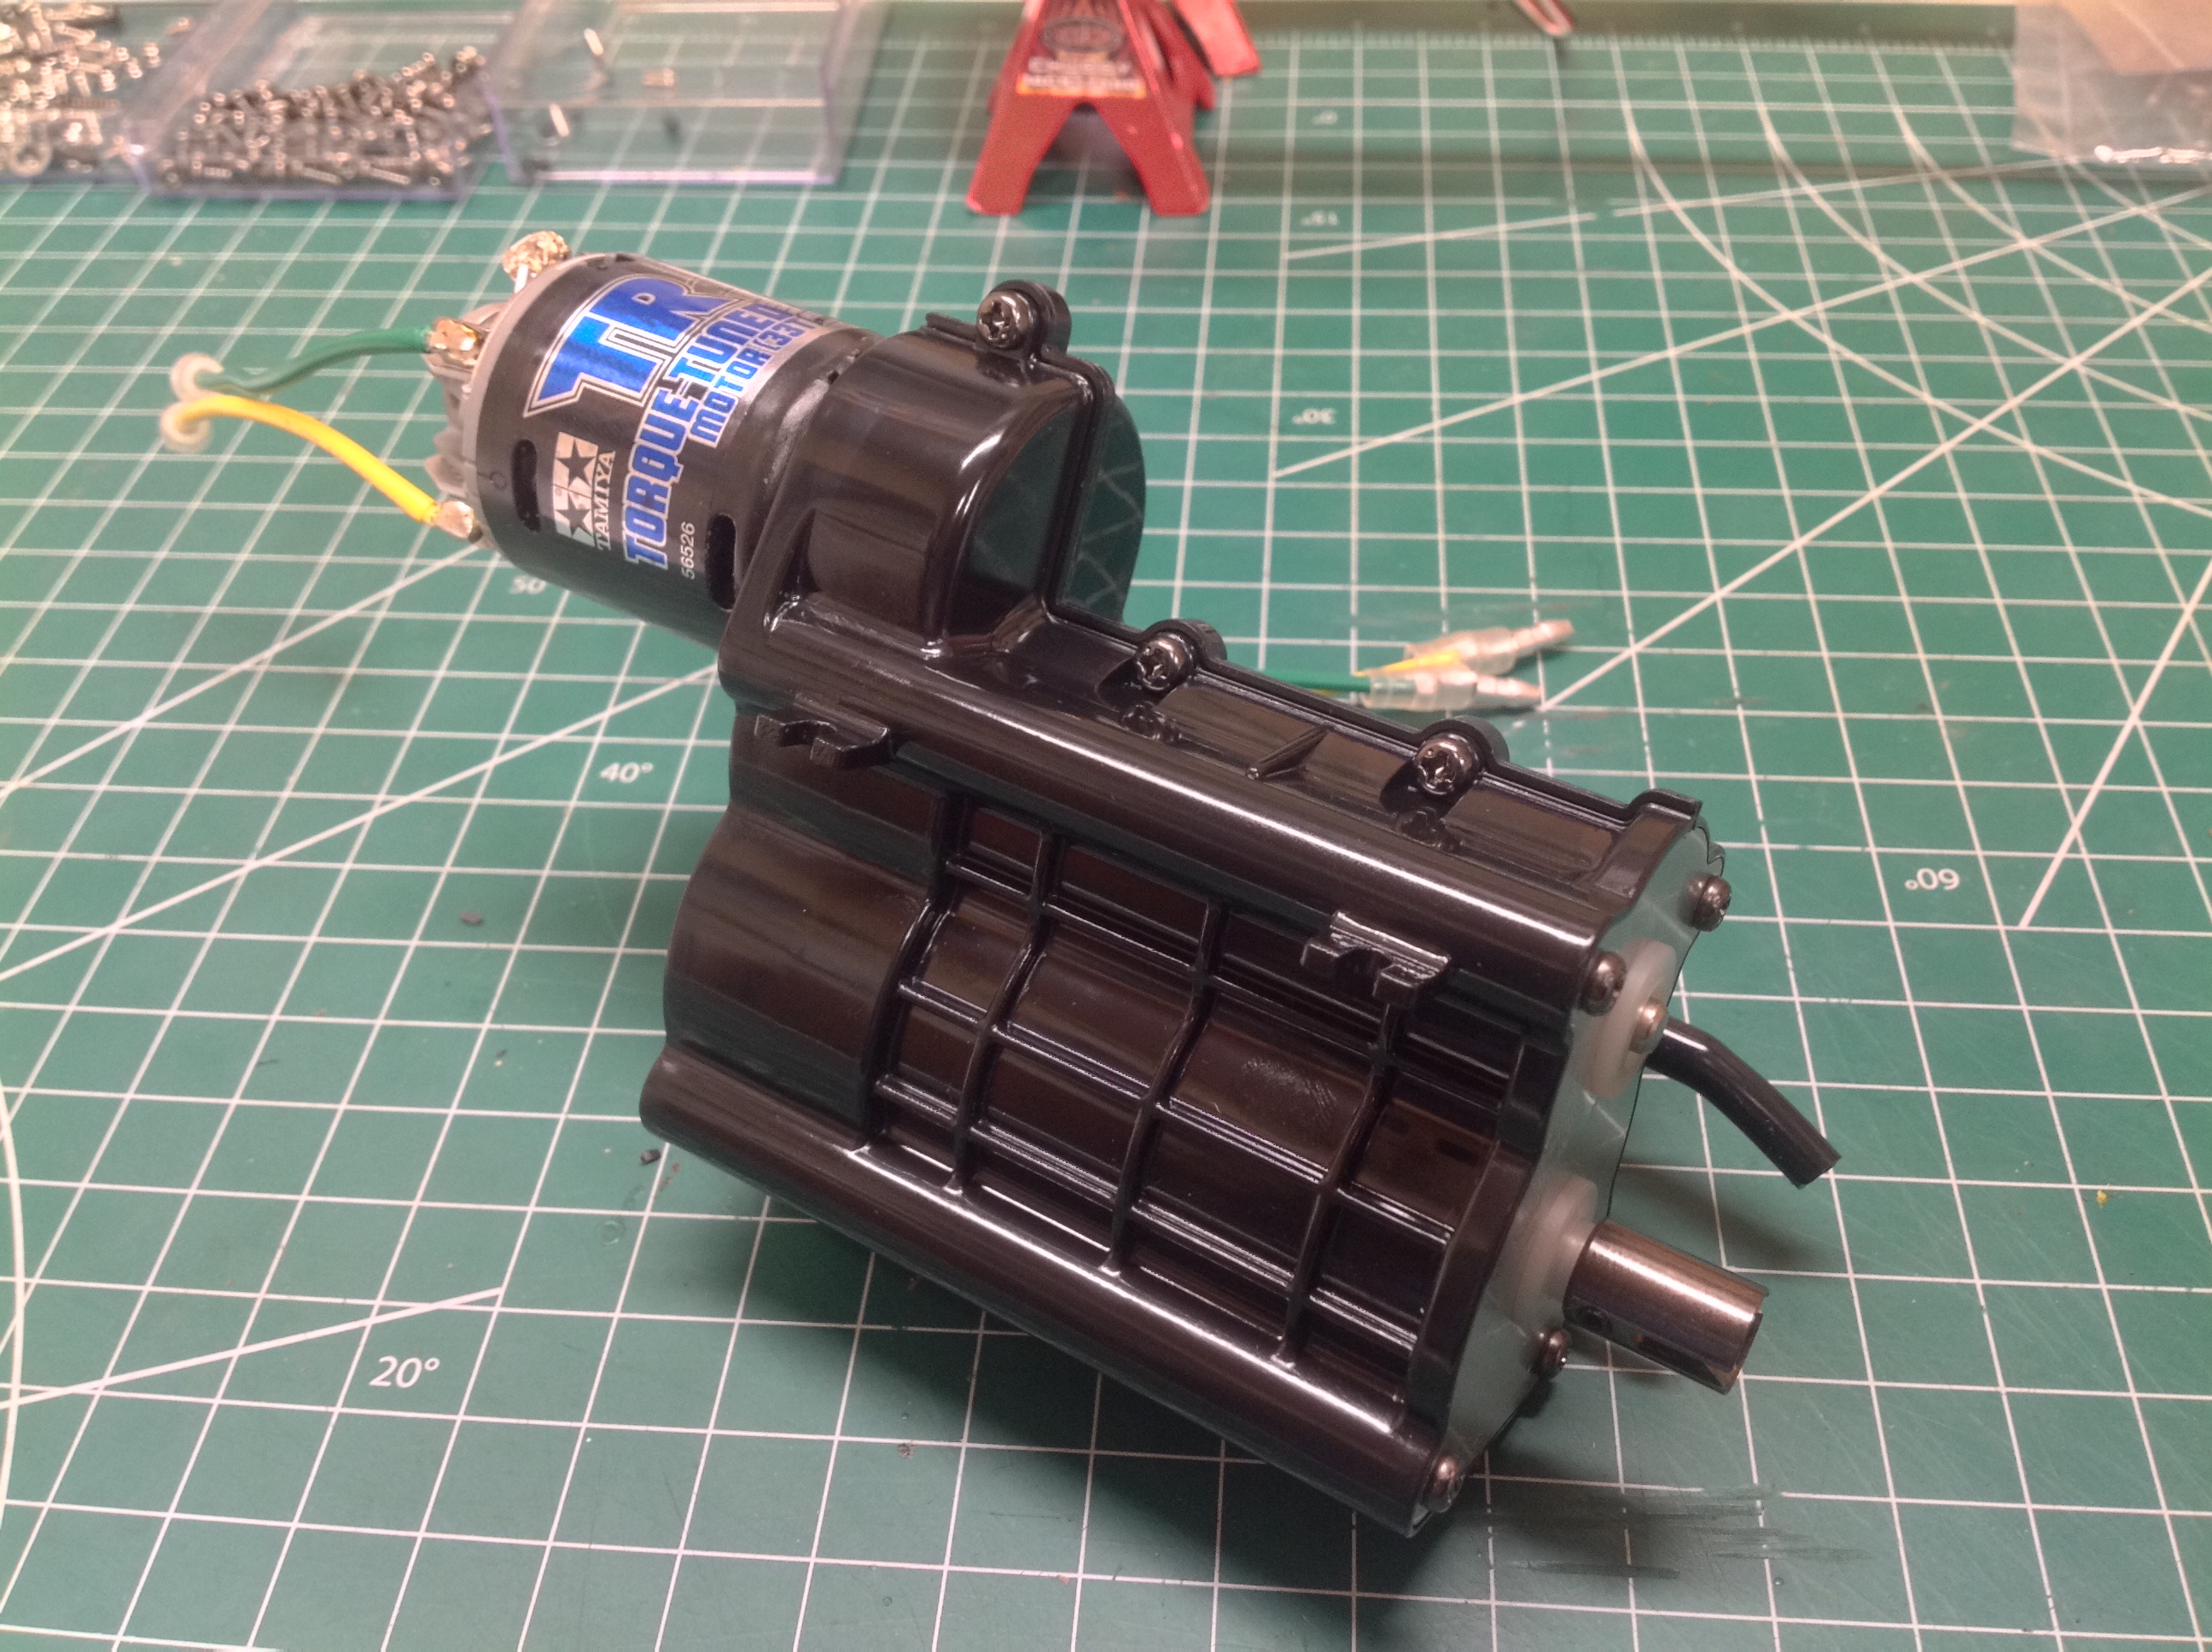
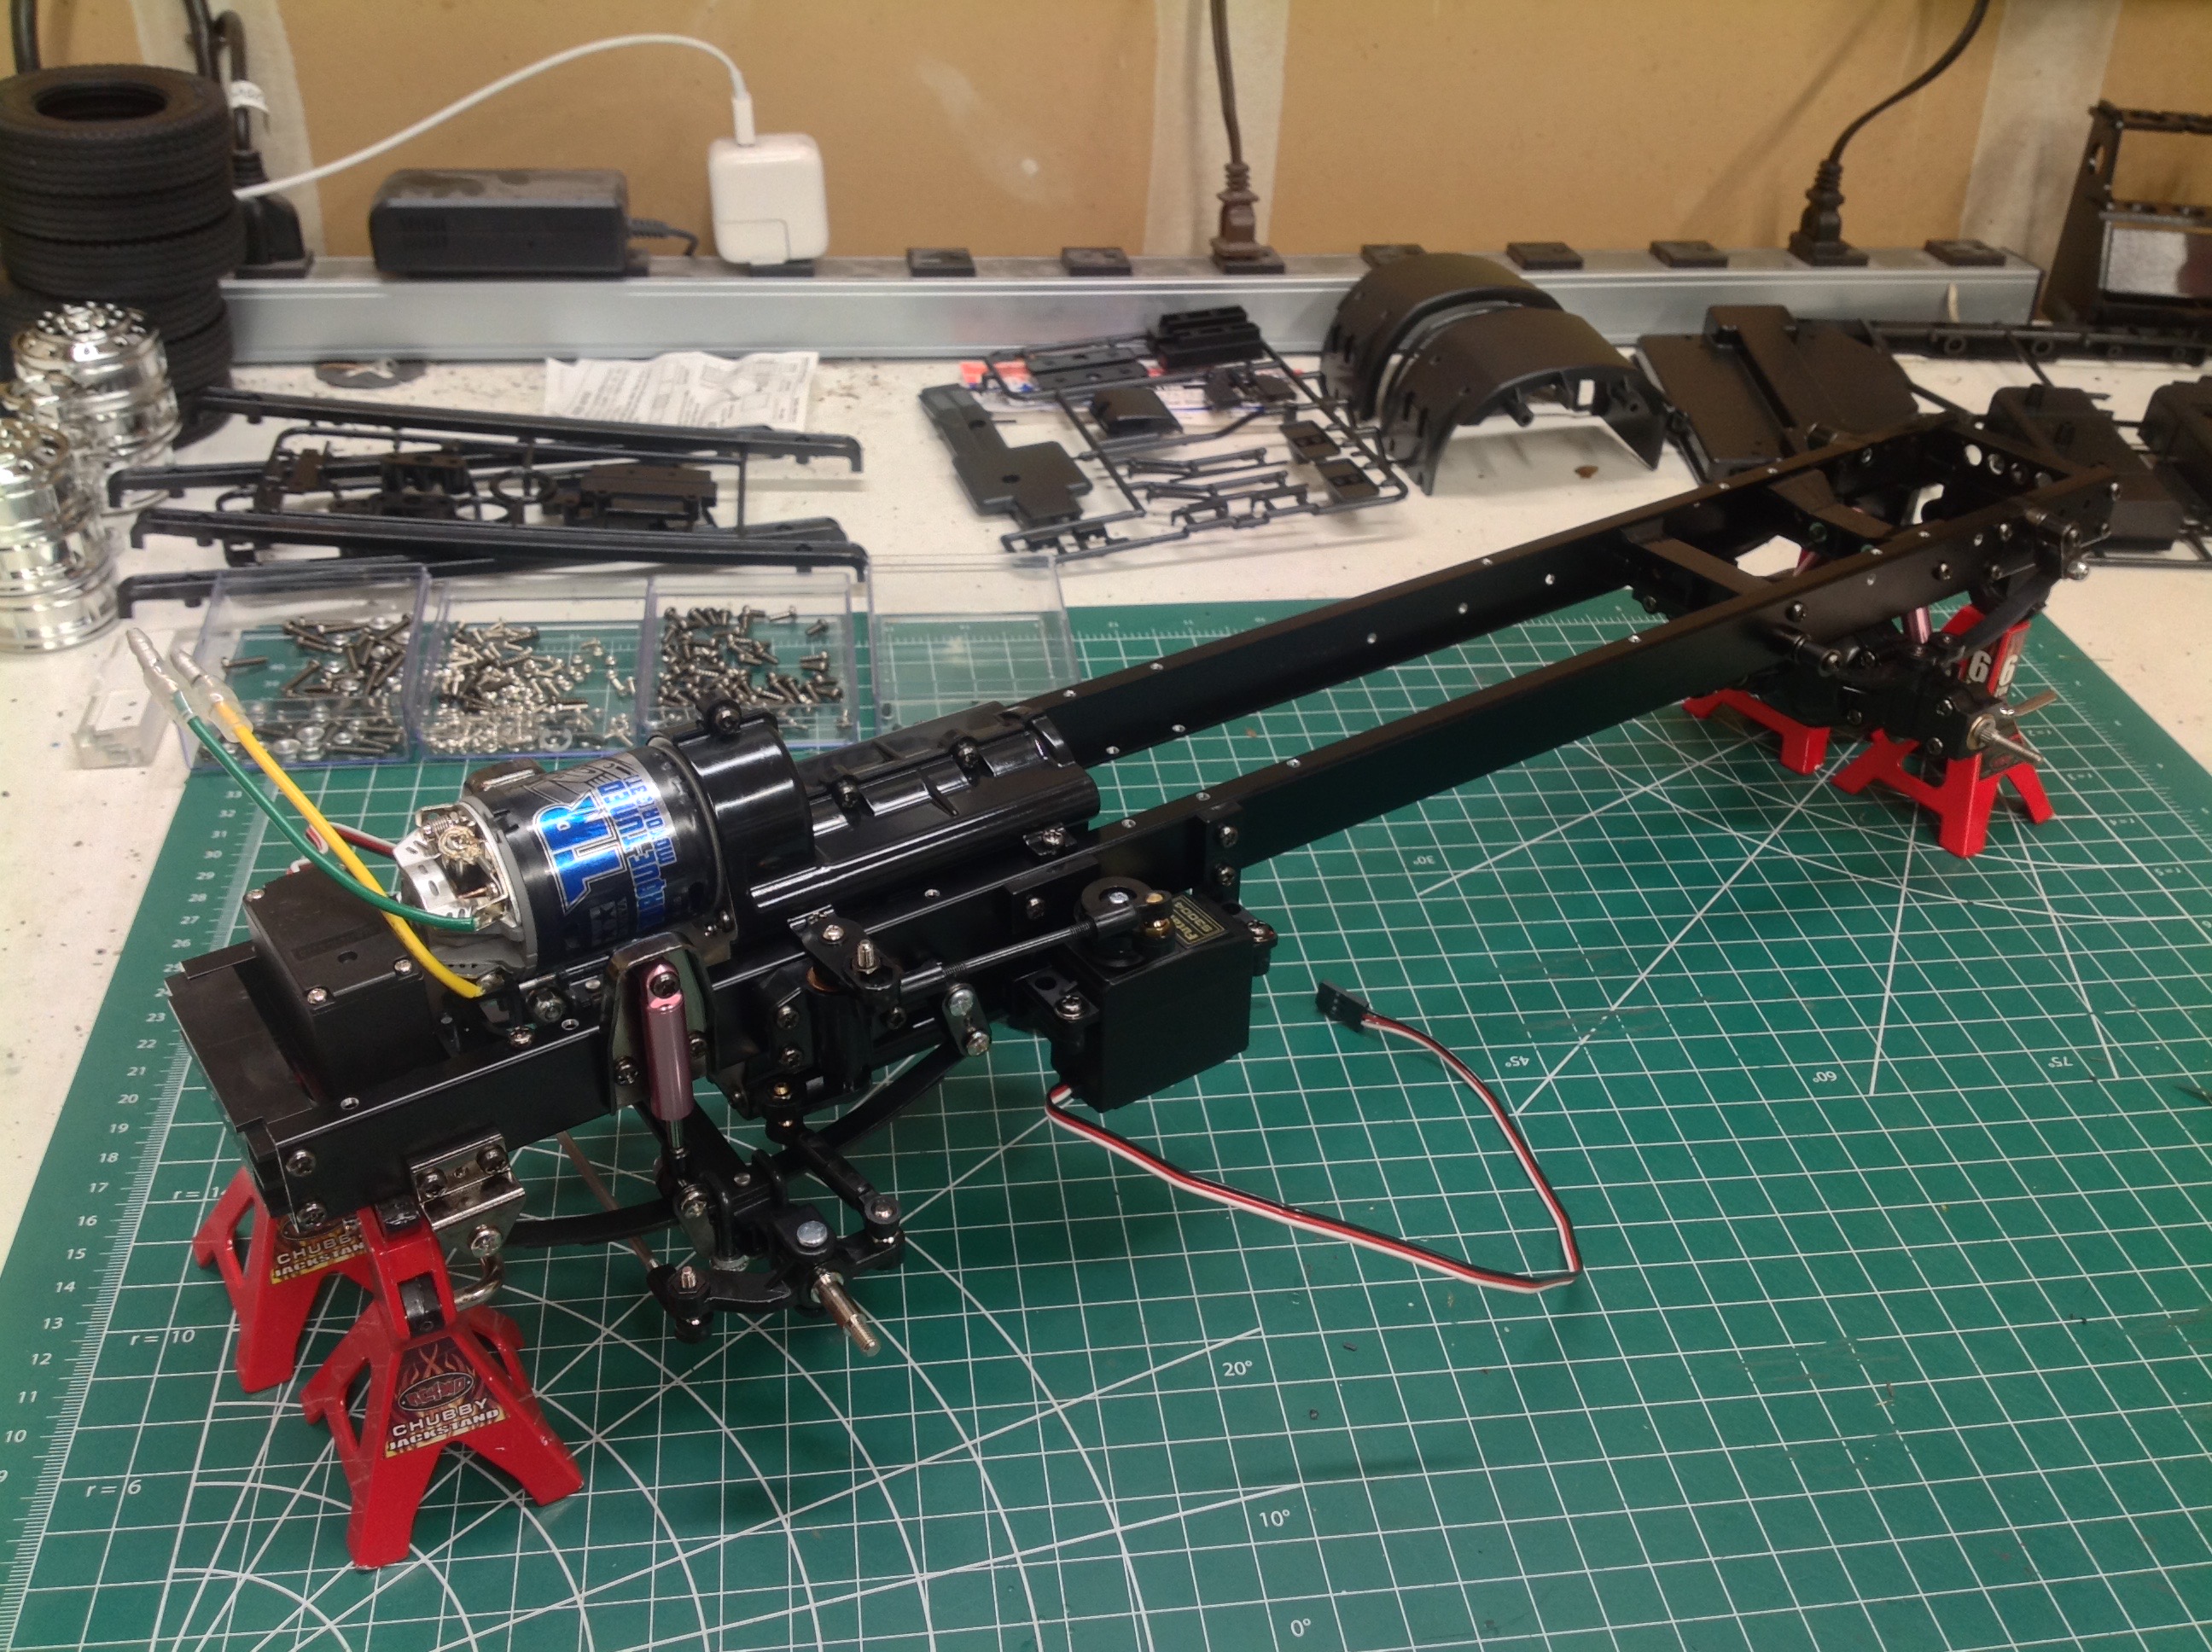
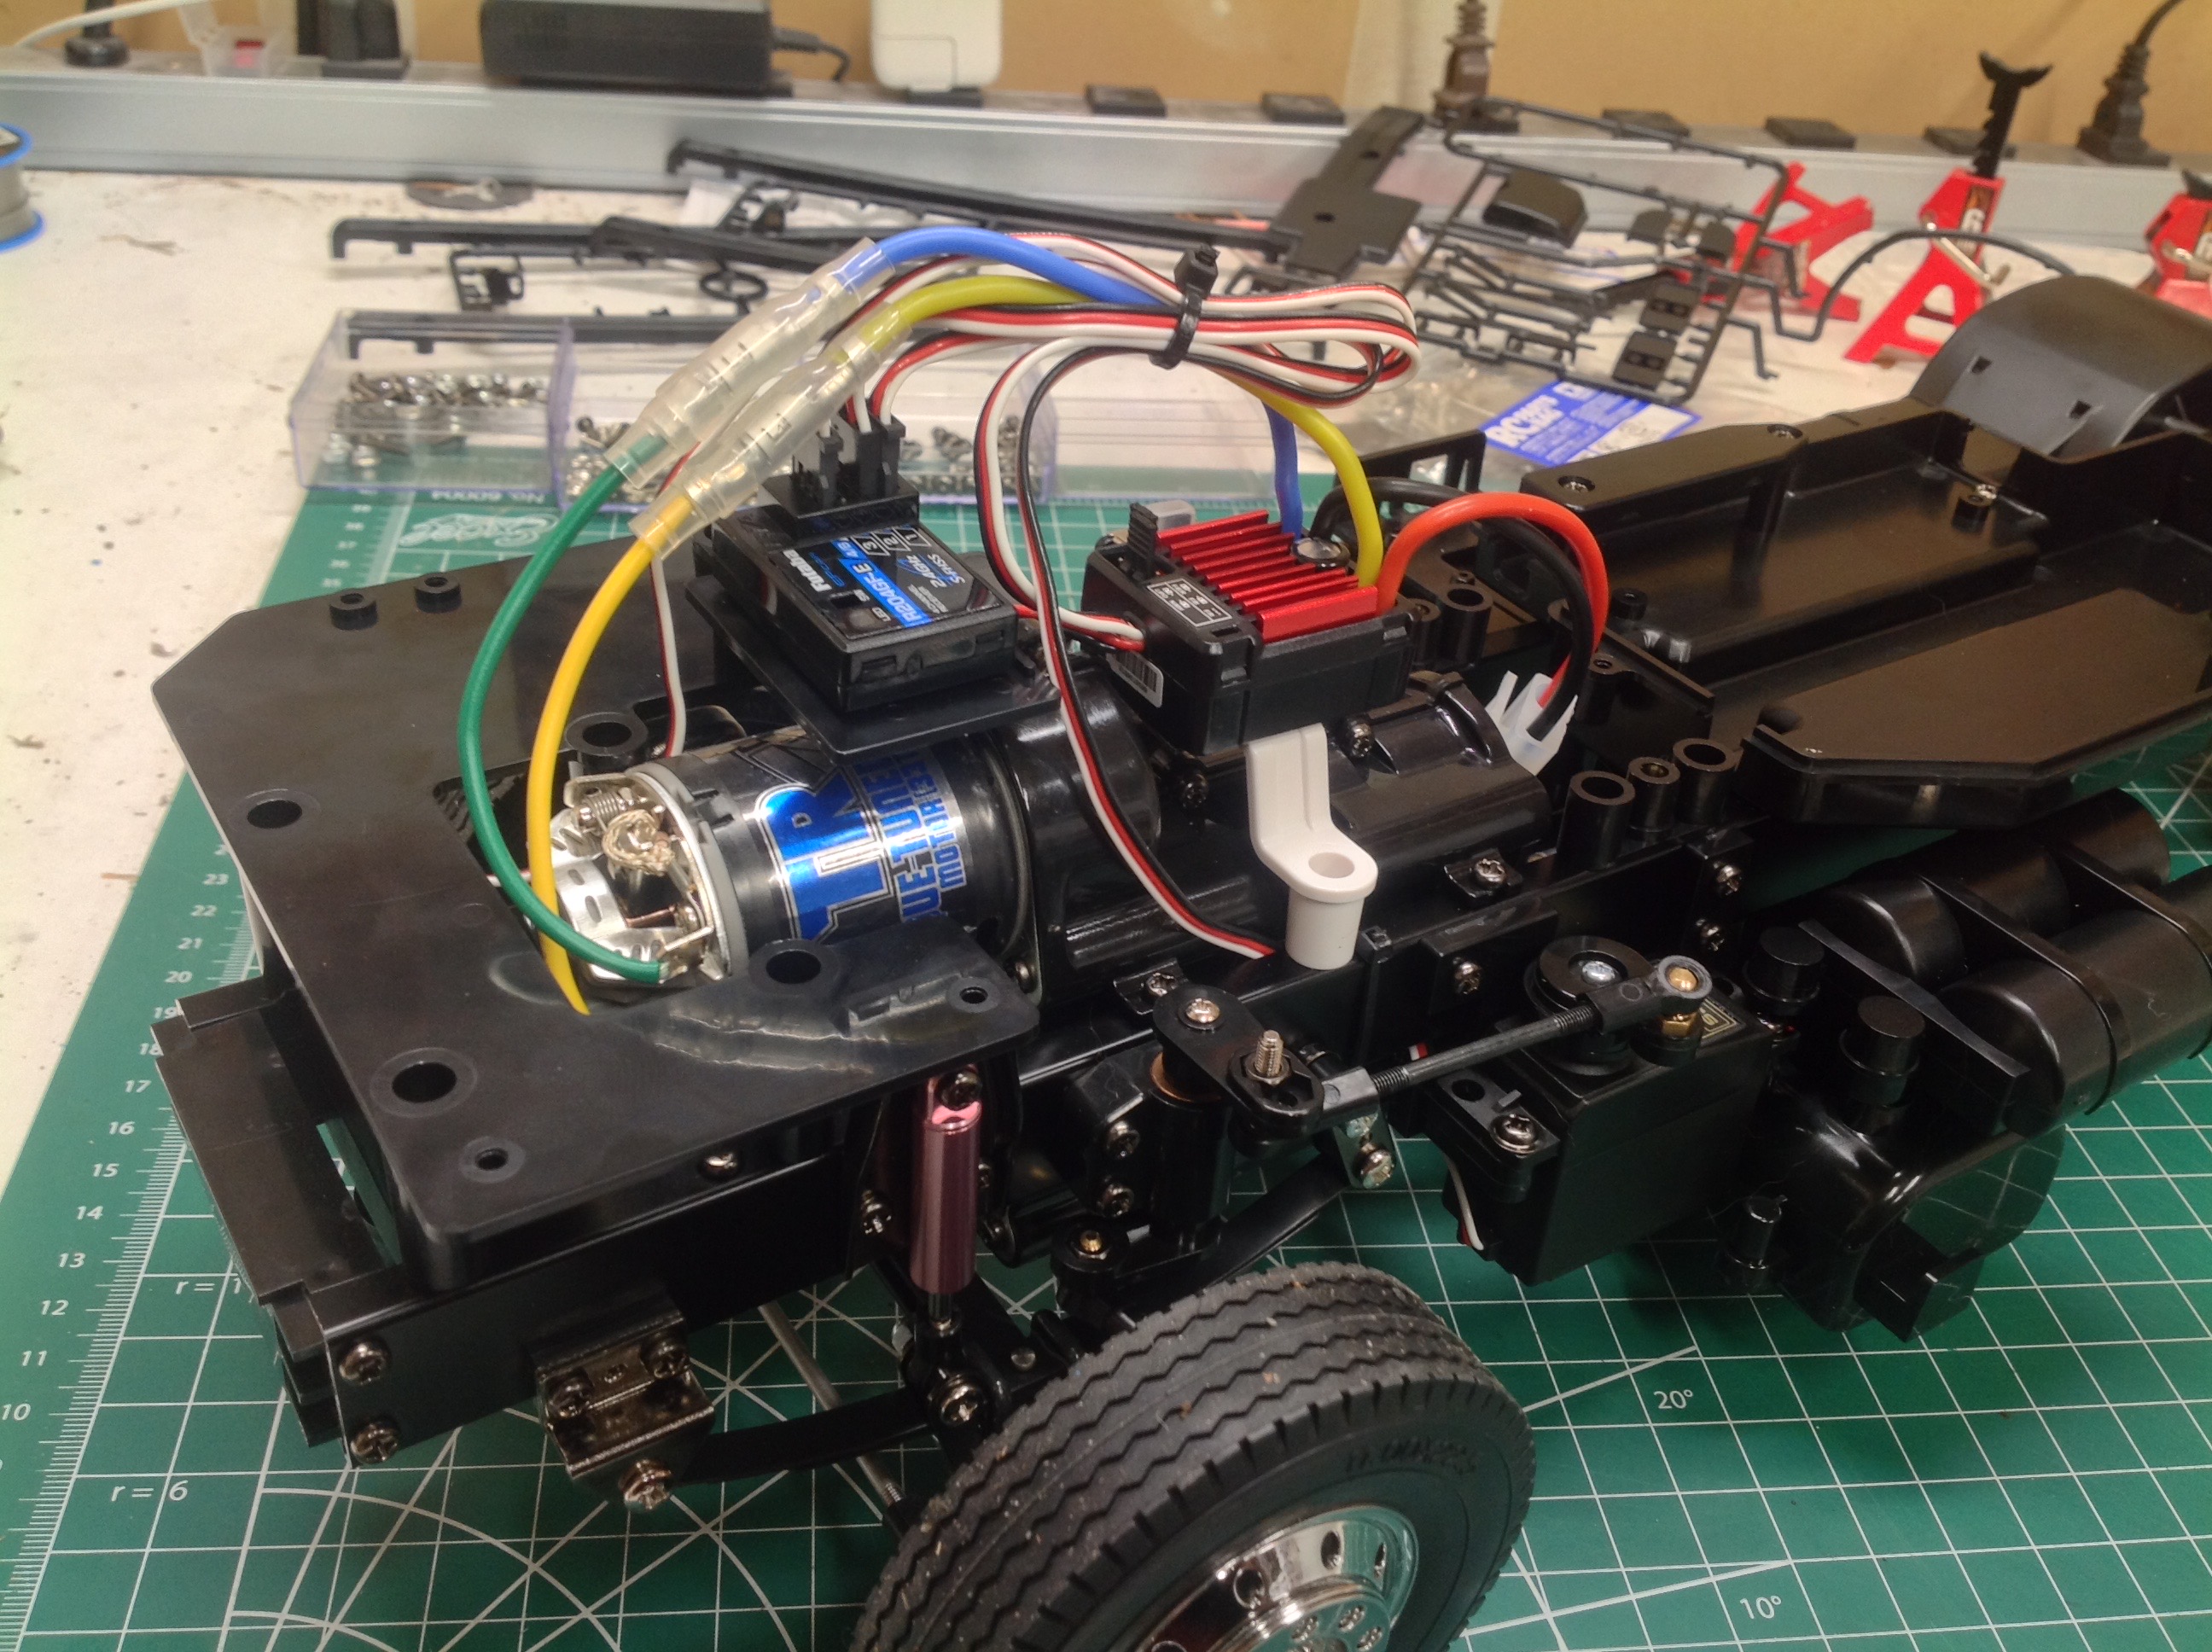
The 3-speed transmission is common to all the other tractor
trucks. I installed the Tamiya TR Torque Tuned motor which is
ideally suited to these trucks. The right hand image shows this
installed in the chassis.
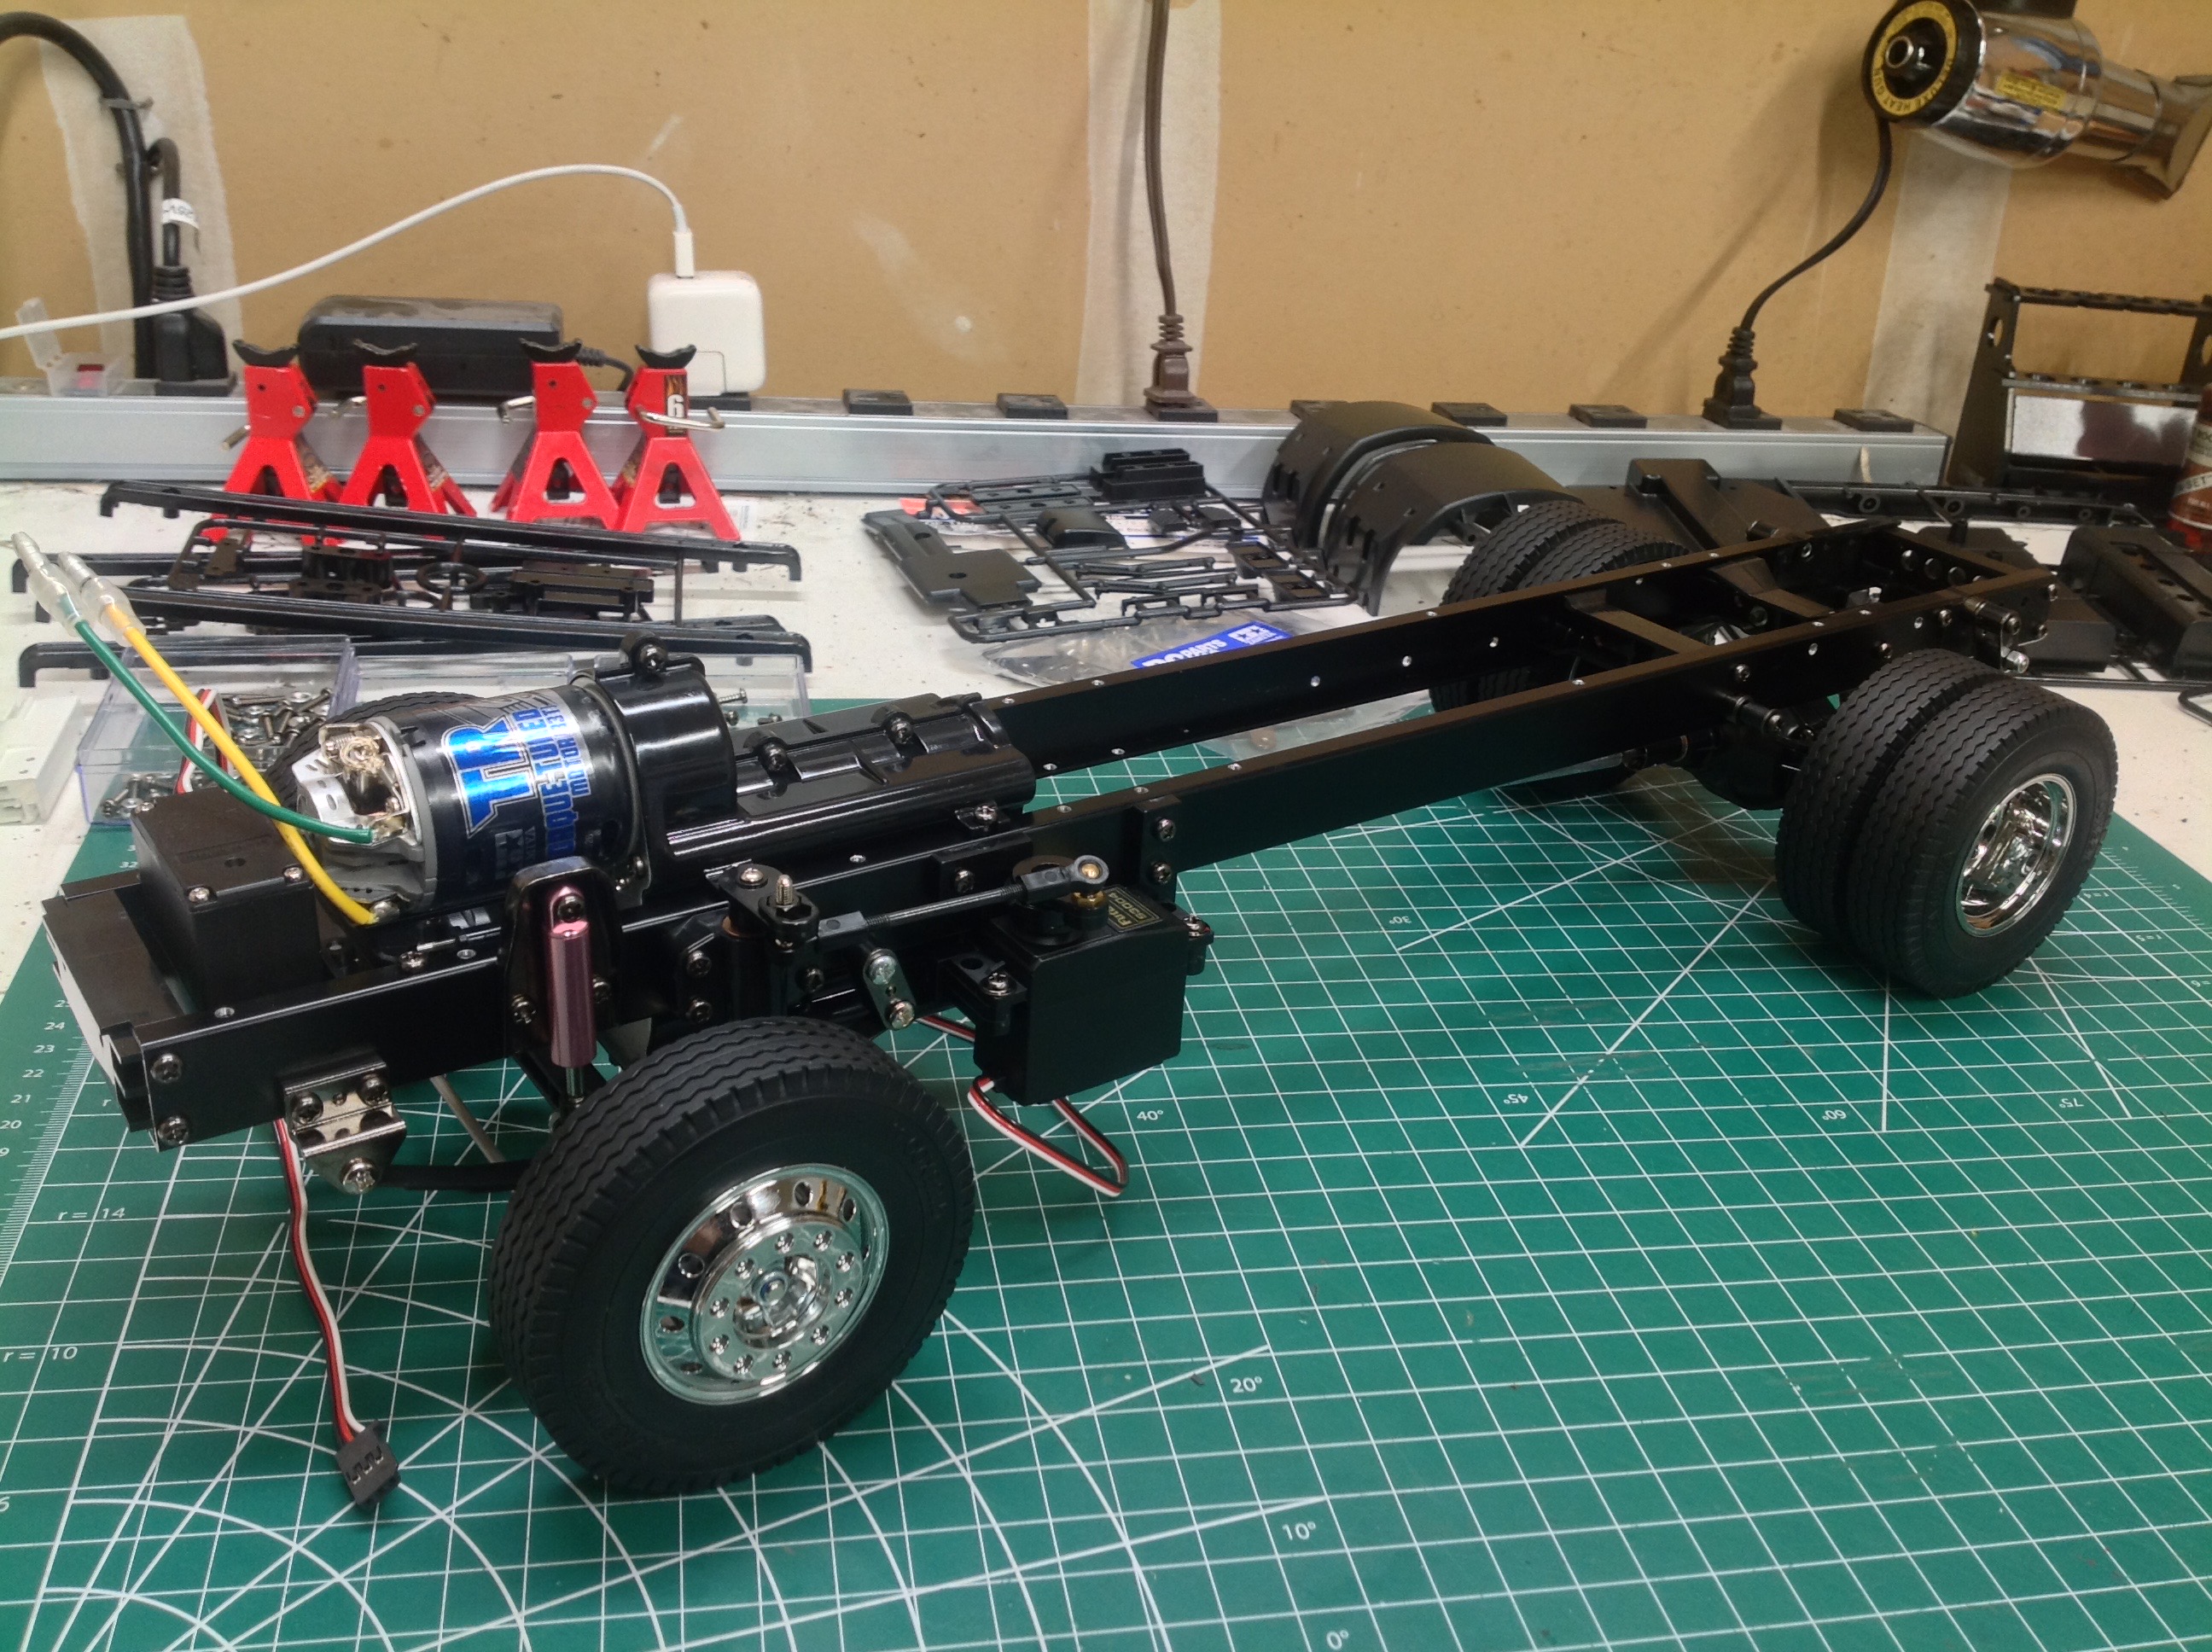
The rolling chassis is now complete with the installation of the wheels
and tires, but many details still need to be added. I think this
truck uses the longest dog bone drive shaft I have ever seen.
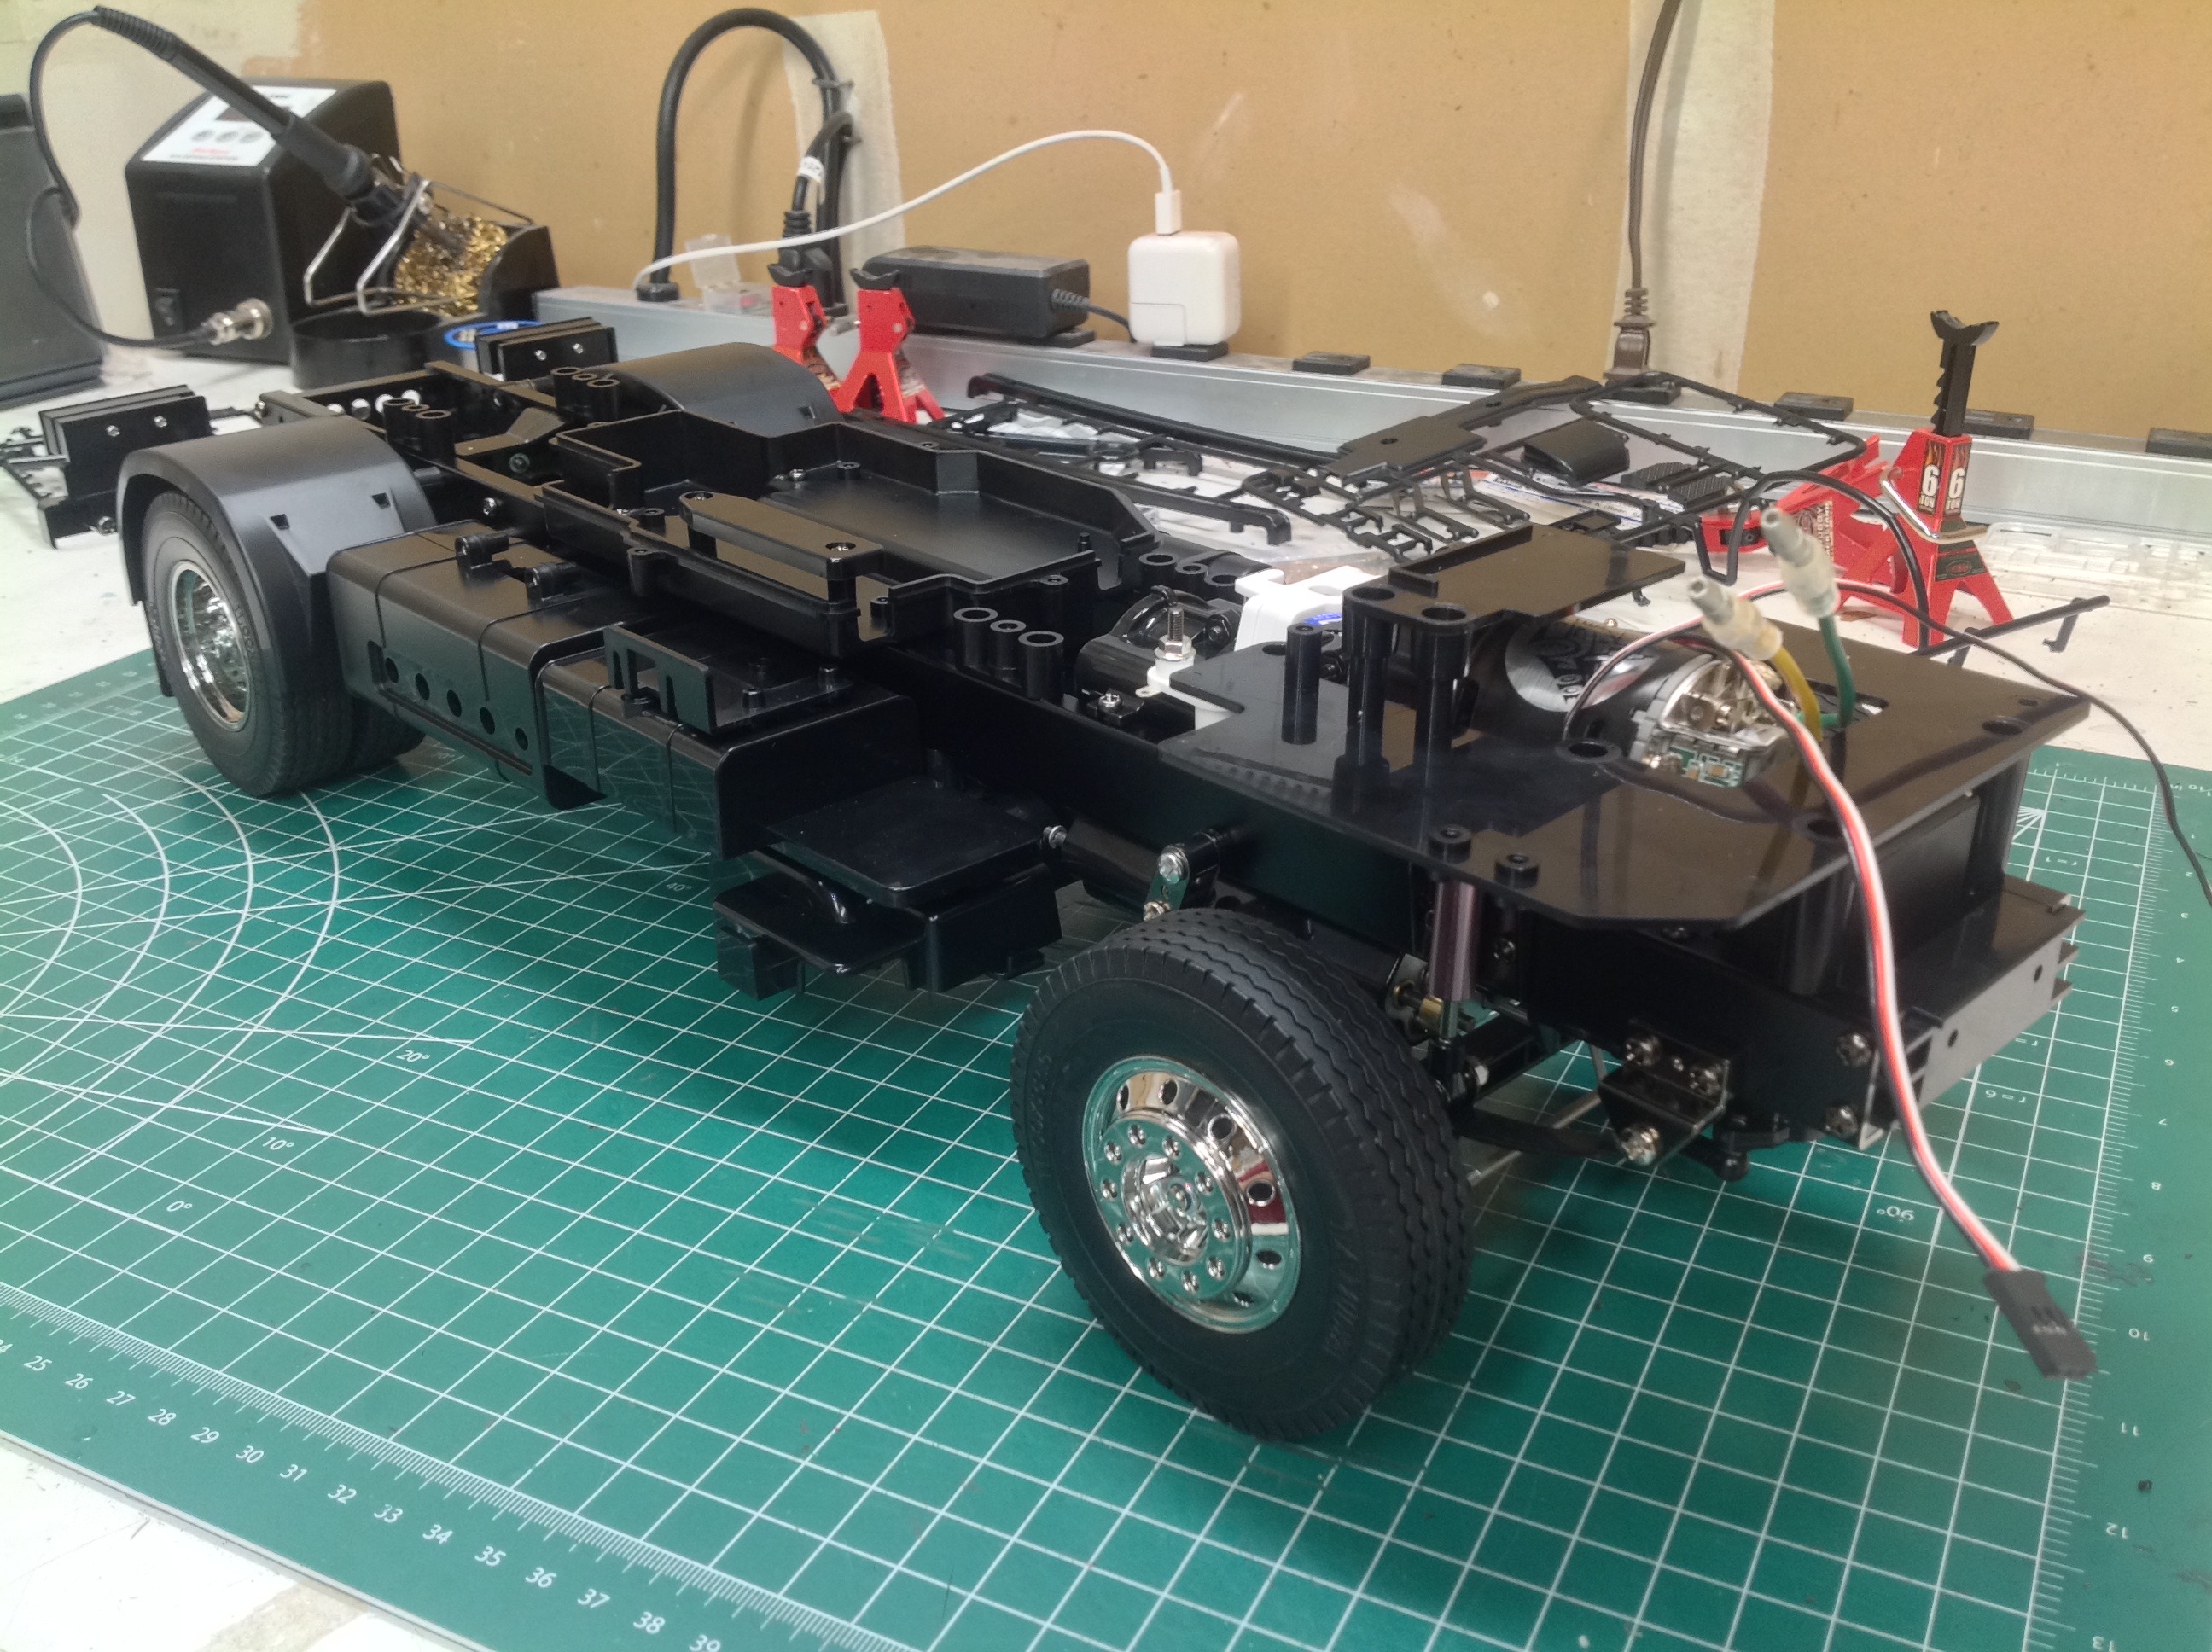
I've installed the electronics platform surrounding the engine and also
the tanks and compartments on either side of the frame. The
battery sits under the chassis rails between the tanks and there are
wheel arches over the rear wheels as well. The irregular tub in
the middle of the chassis is a tray for the old Electrical Unit
Set. On the right you can see the minimal temporary electronics I
installed to test out the chassis.
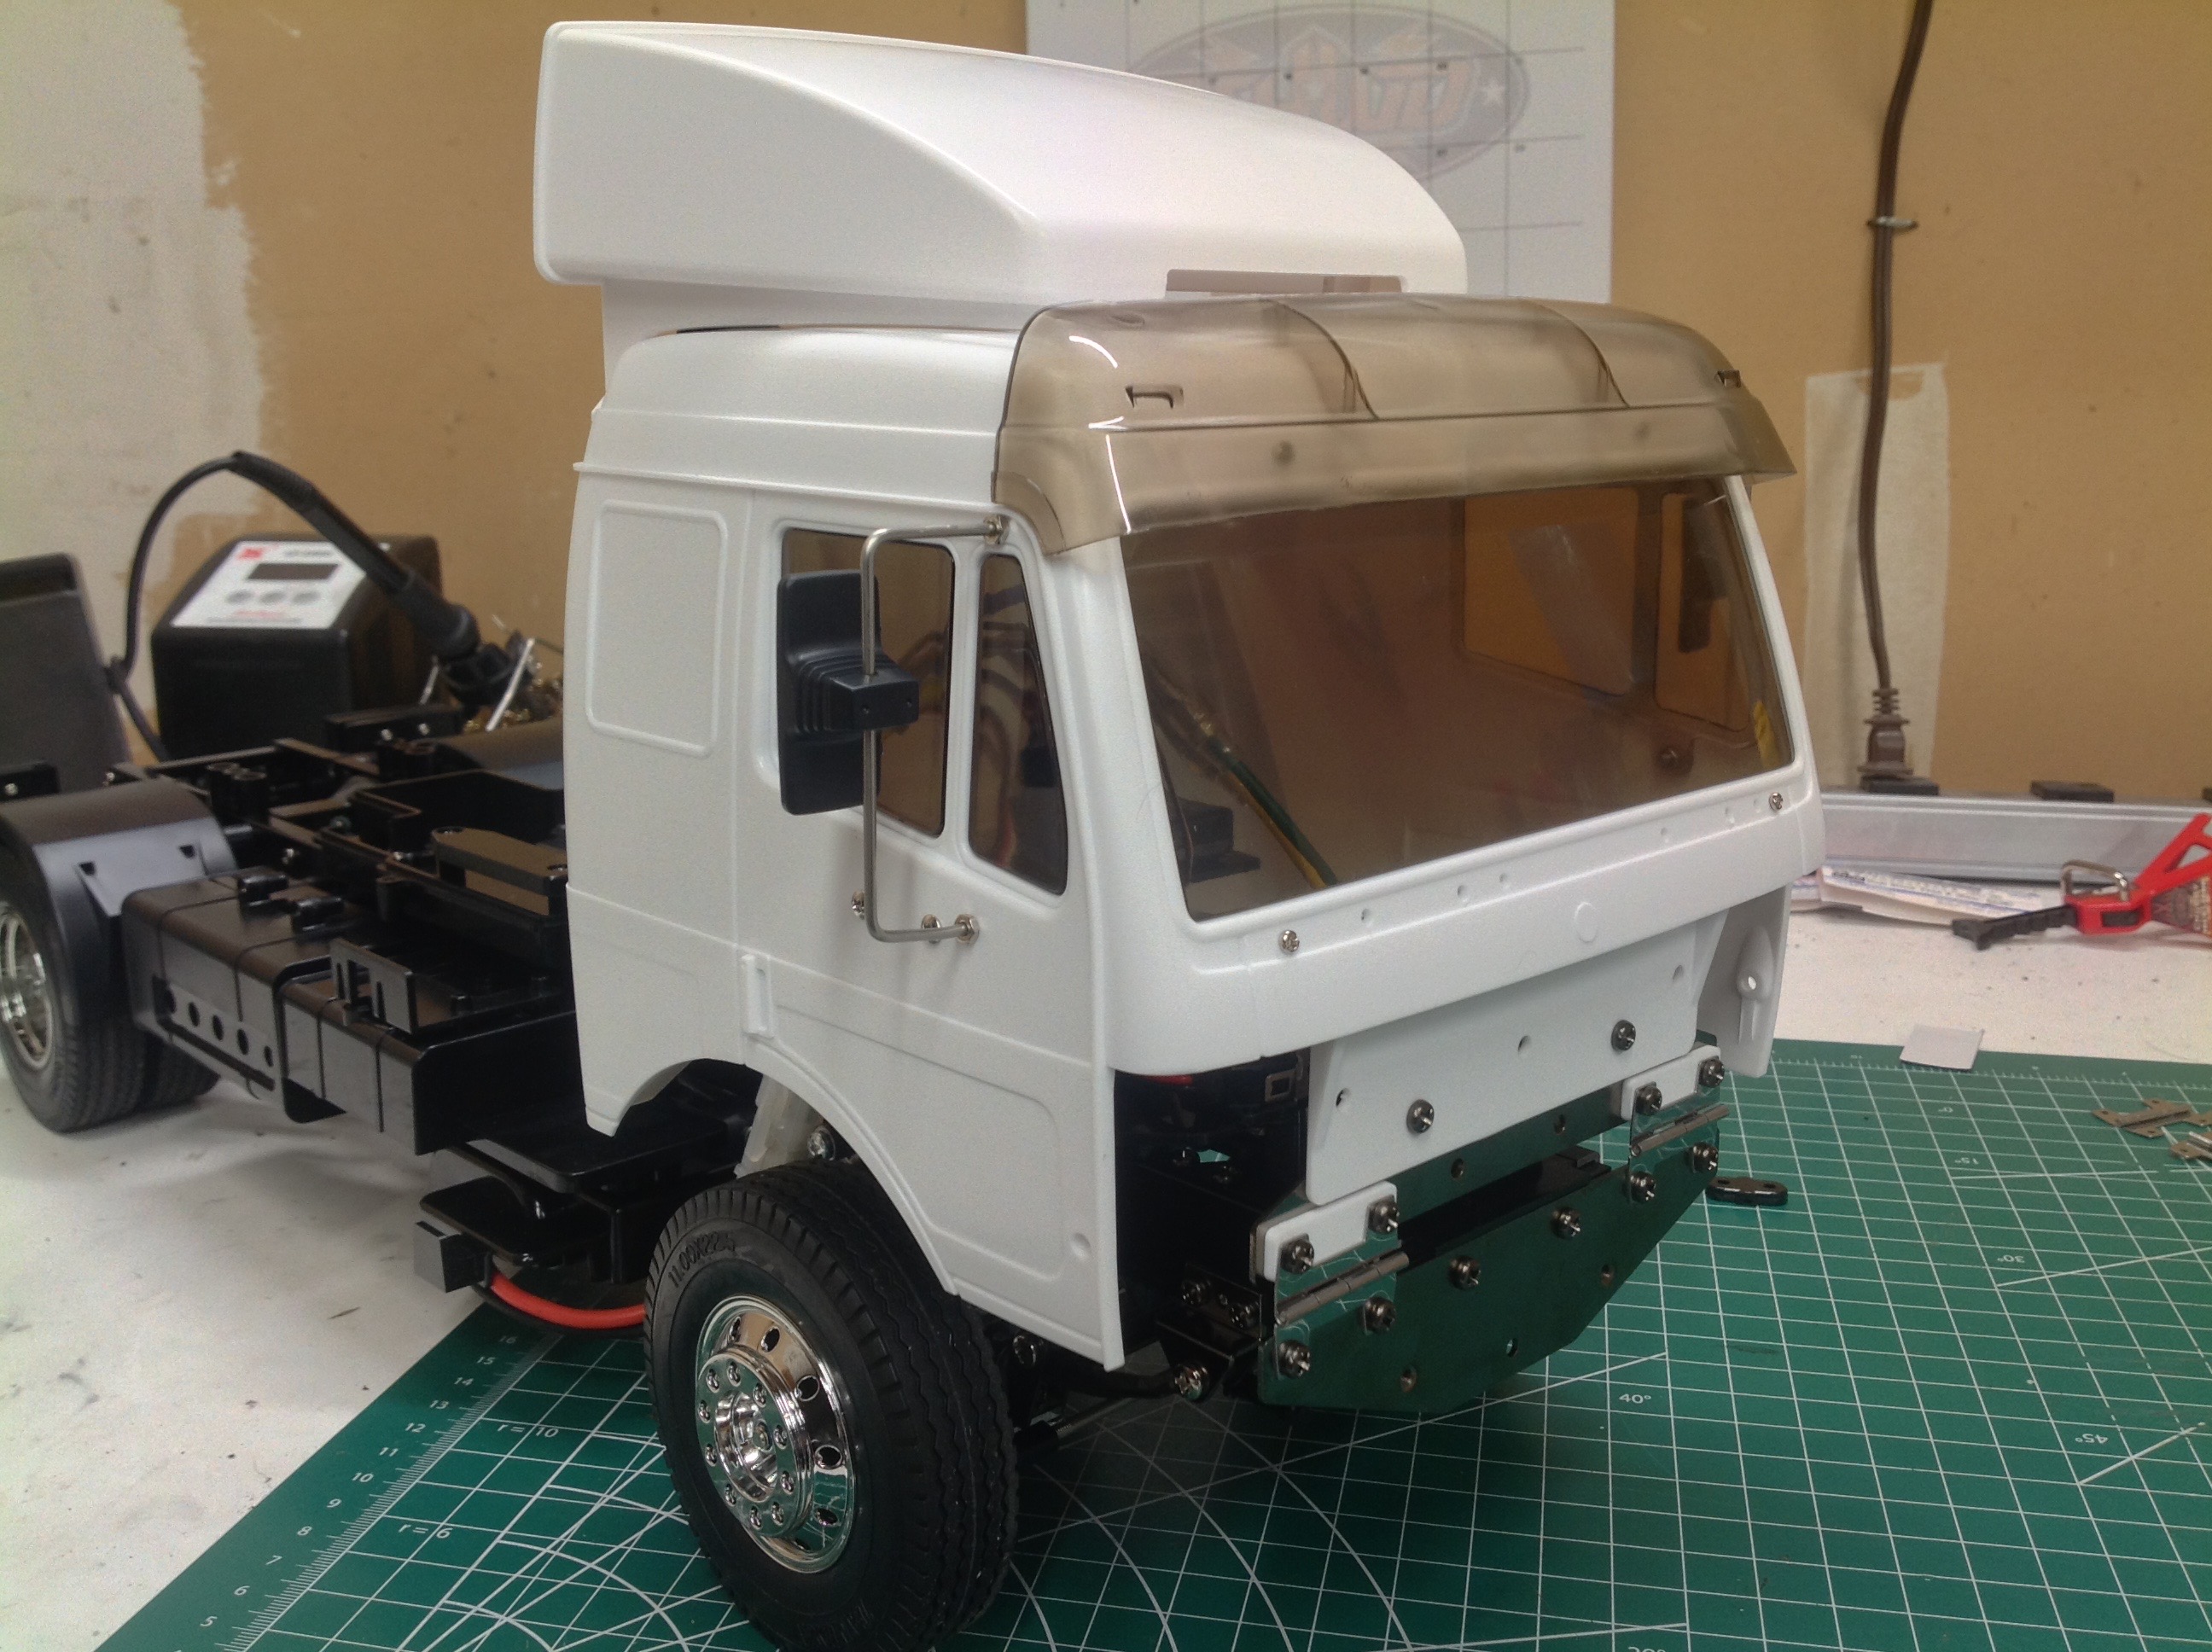
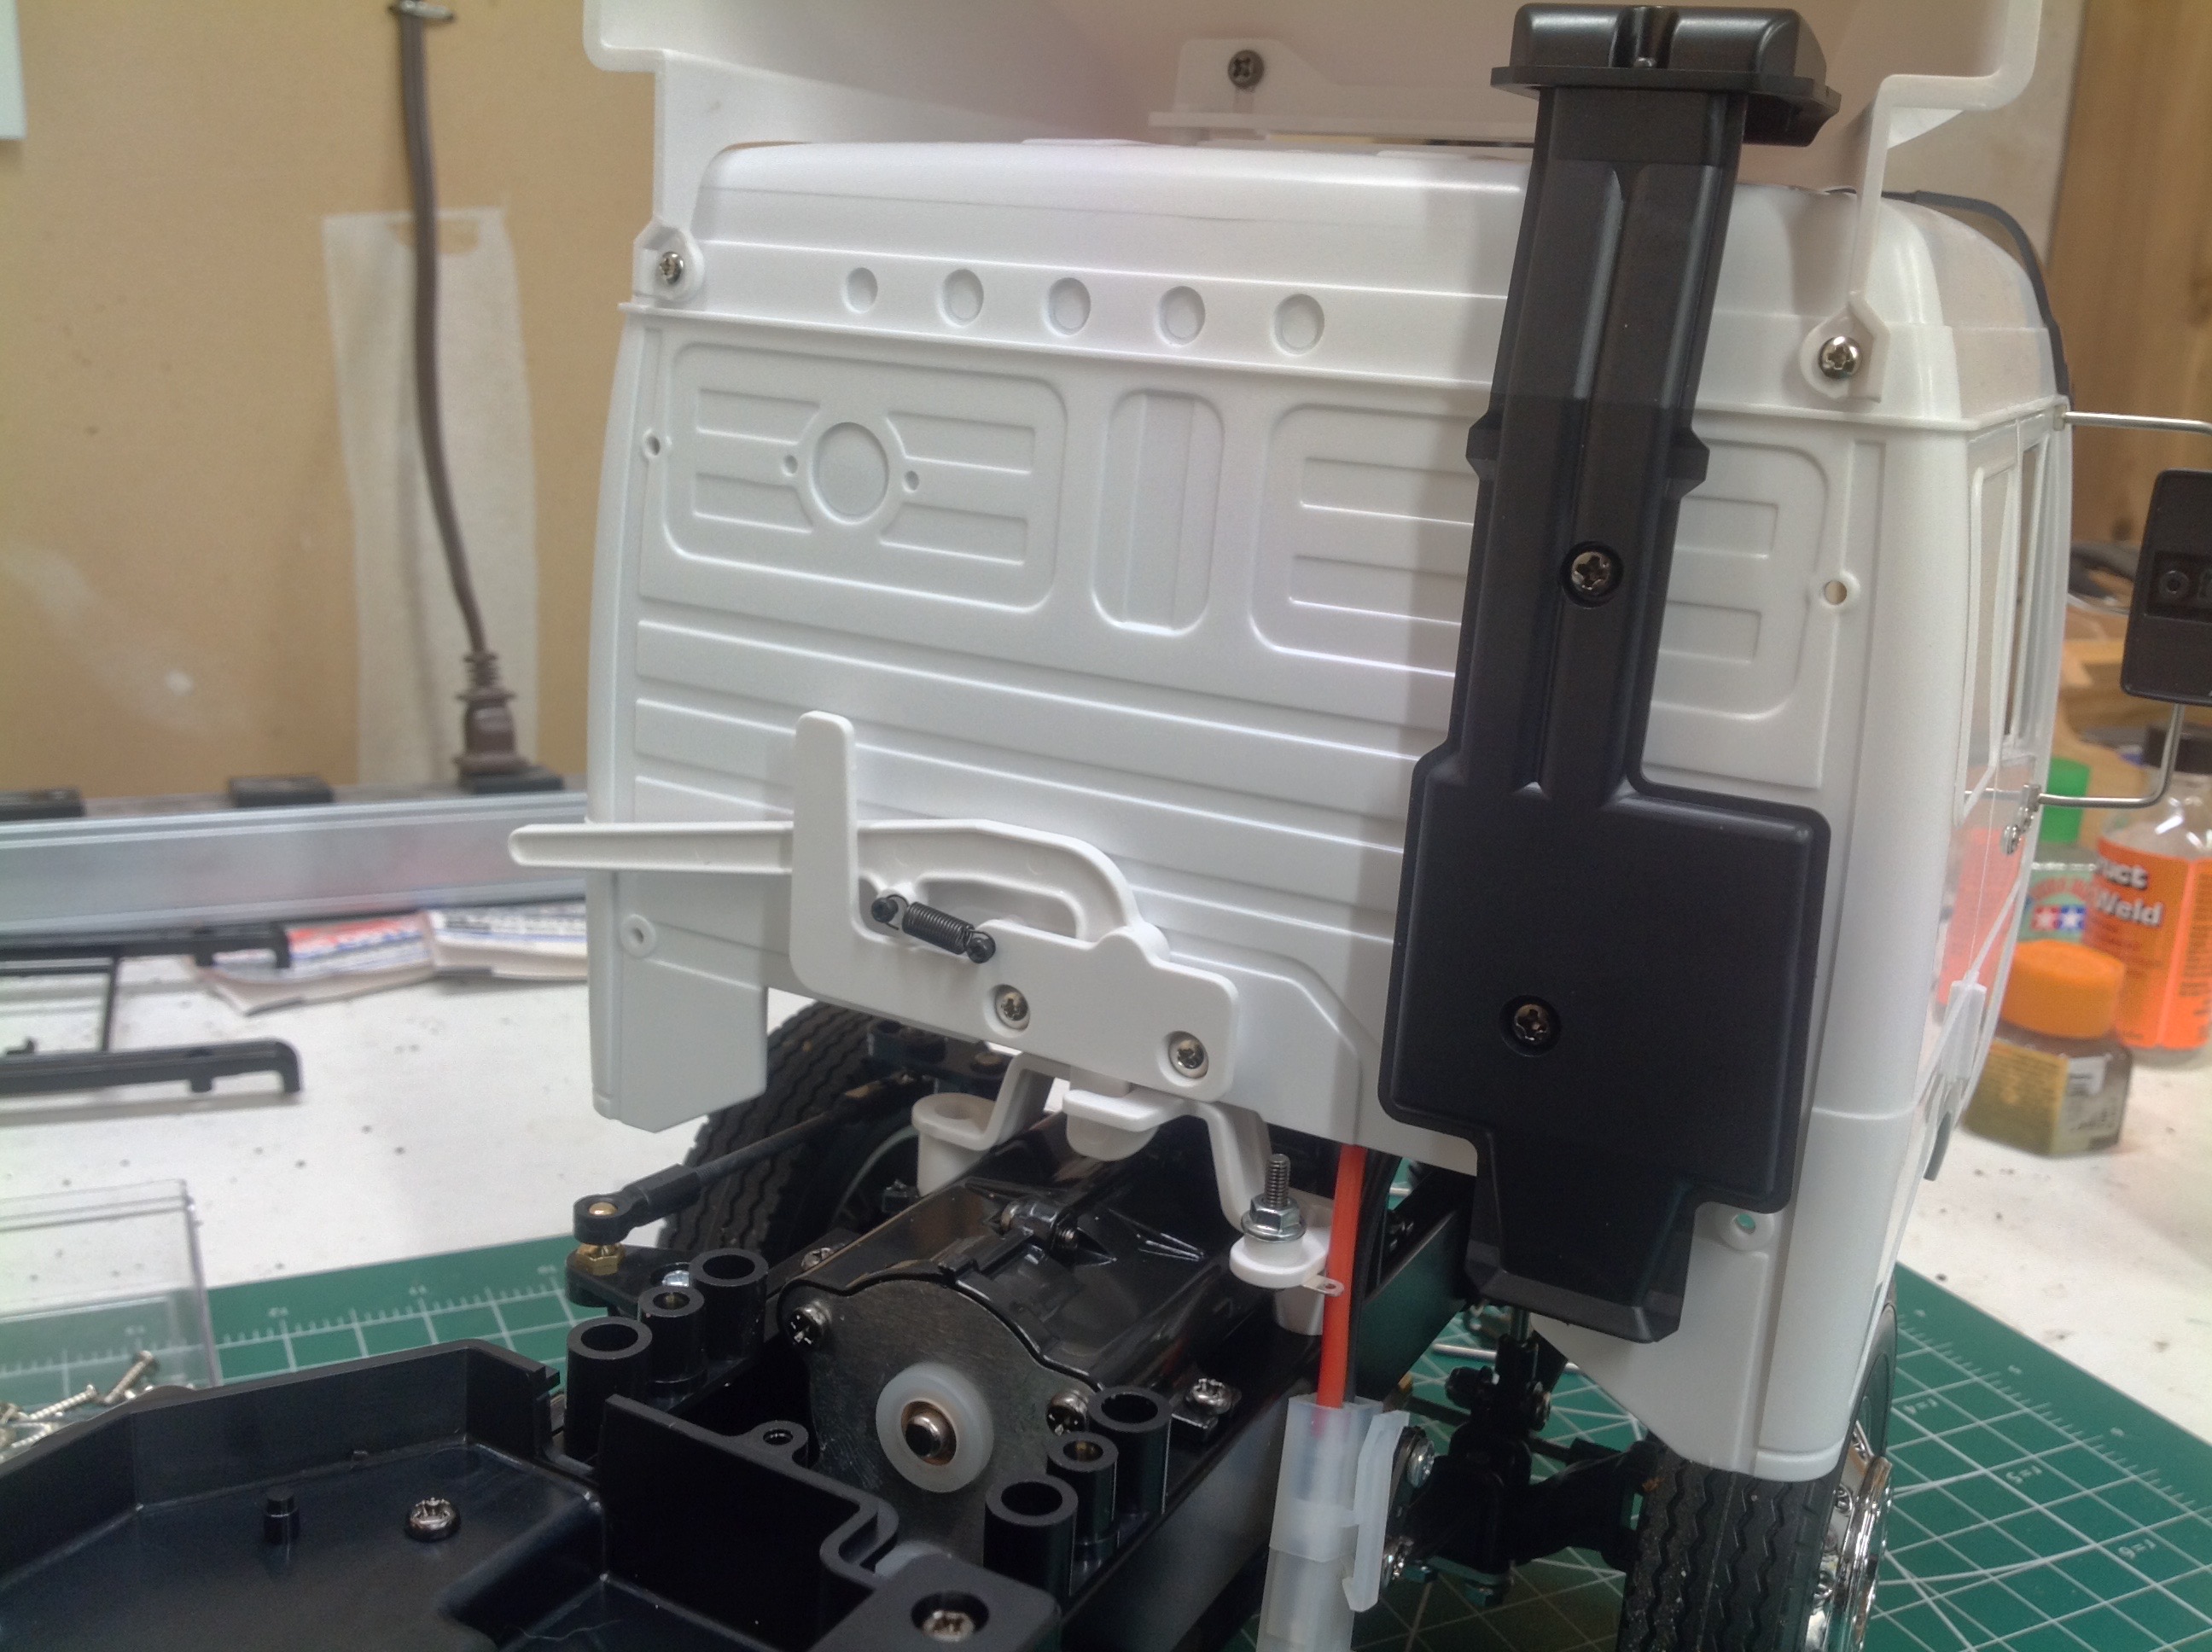
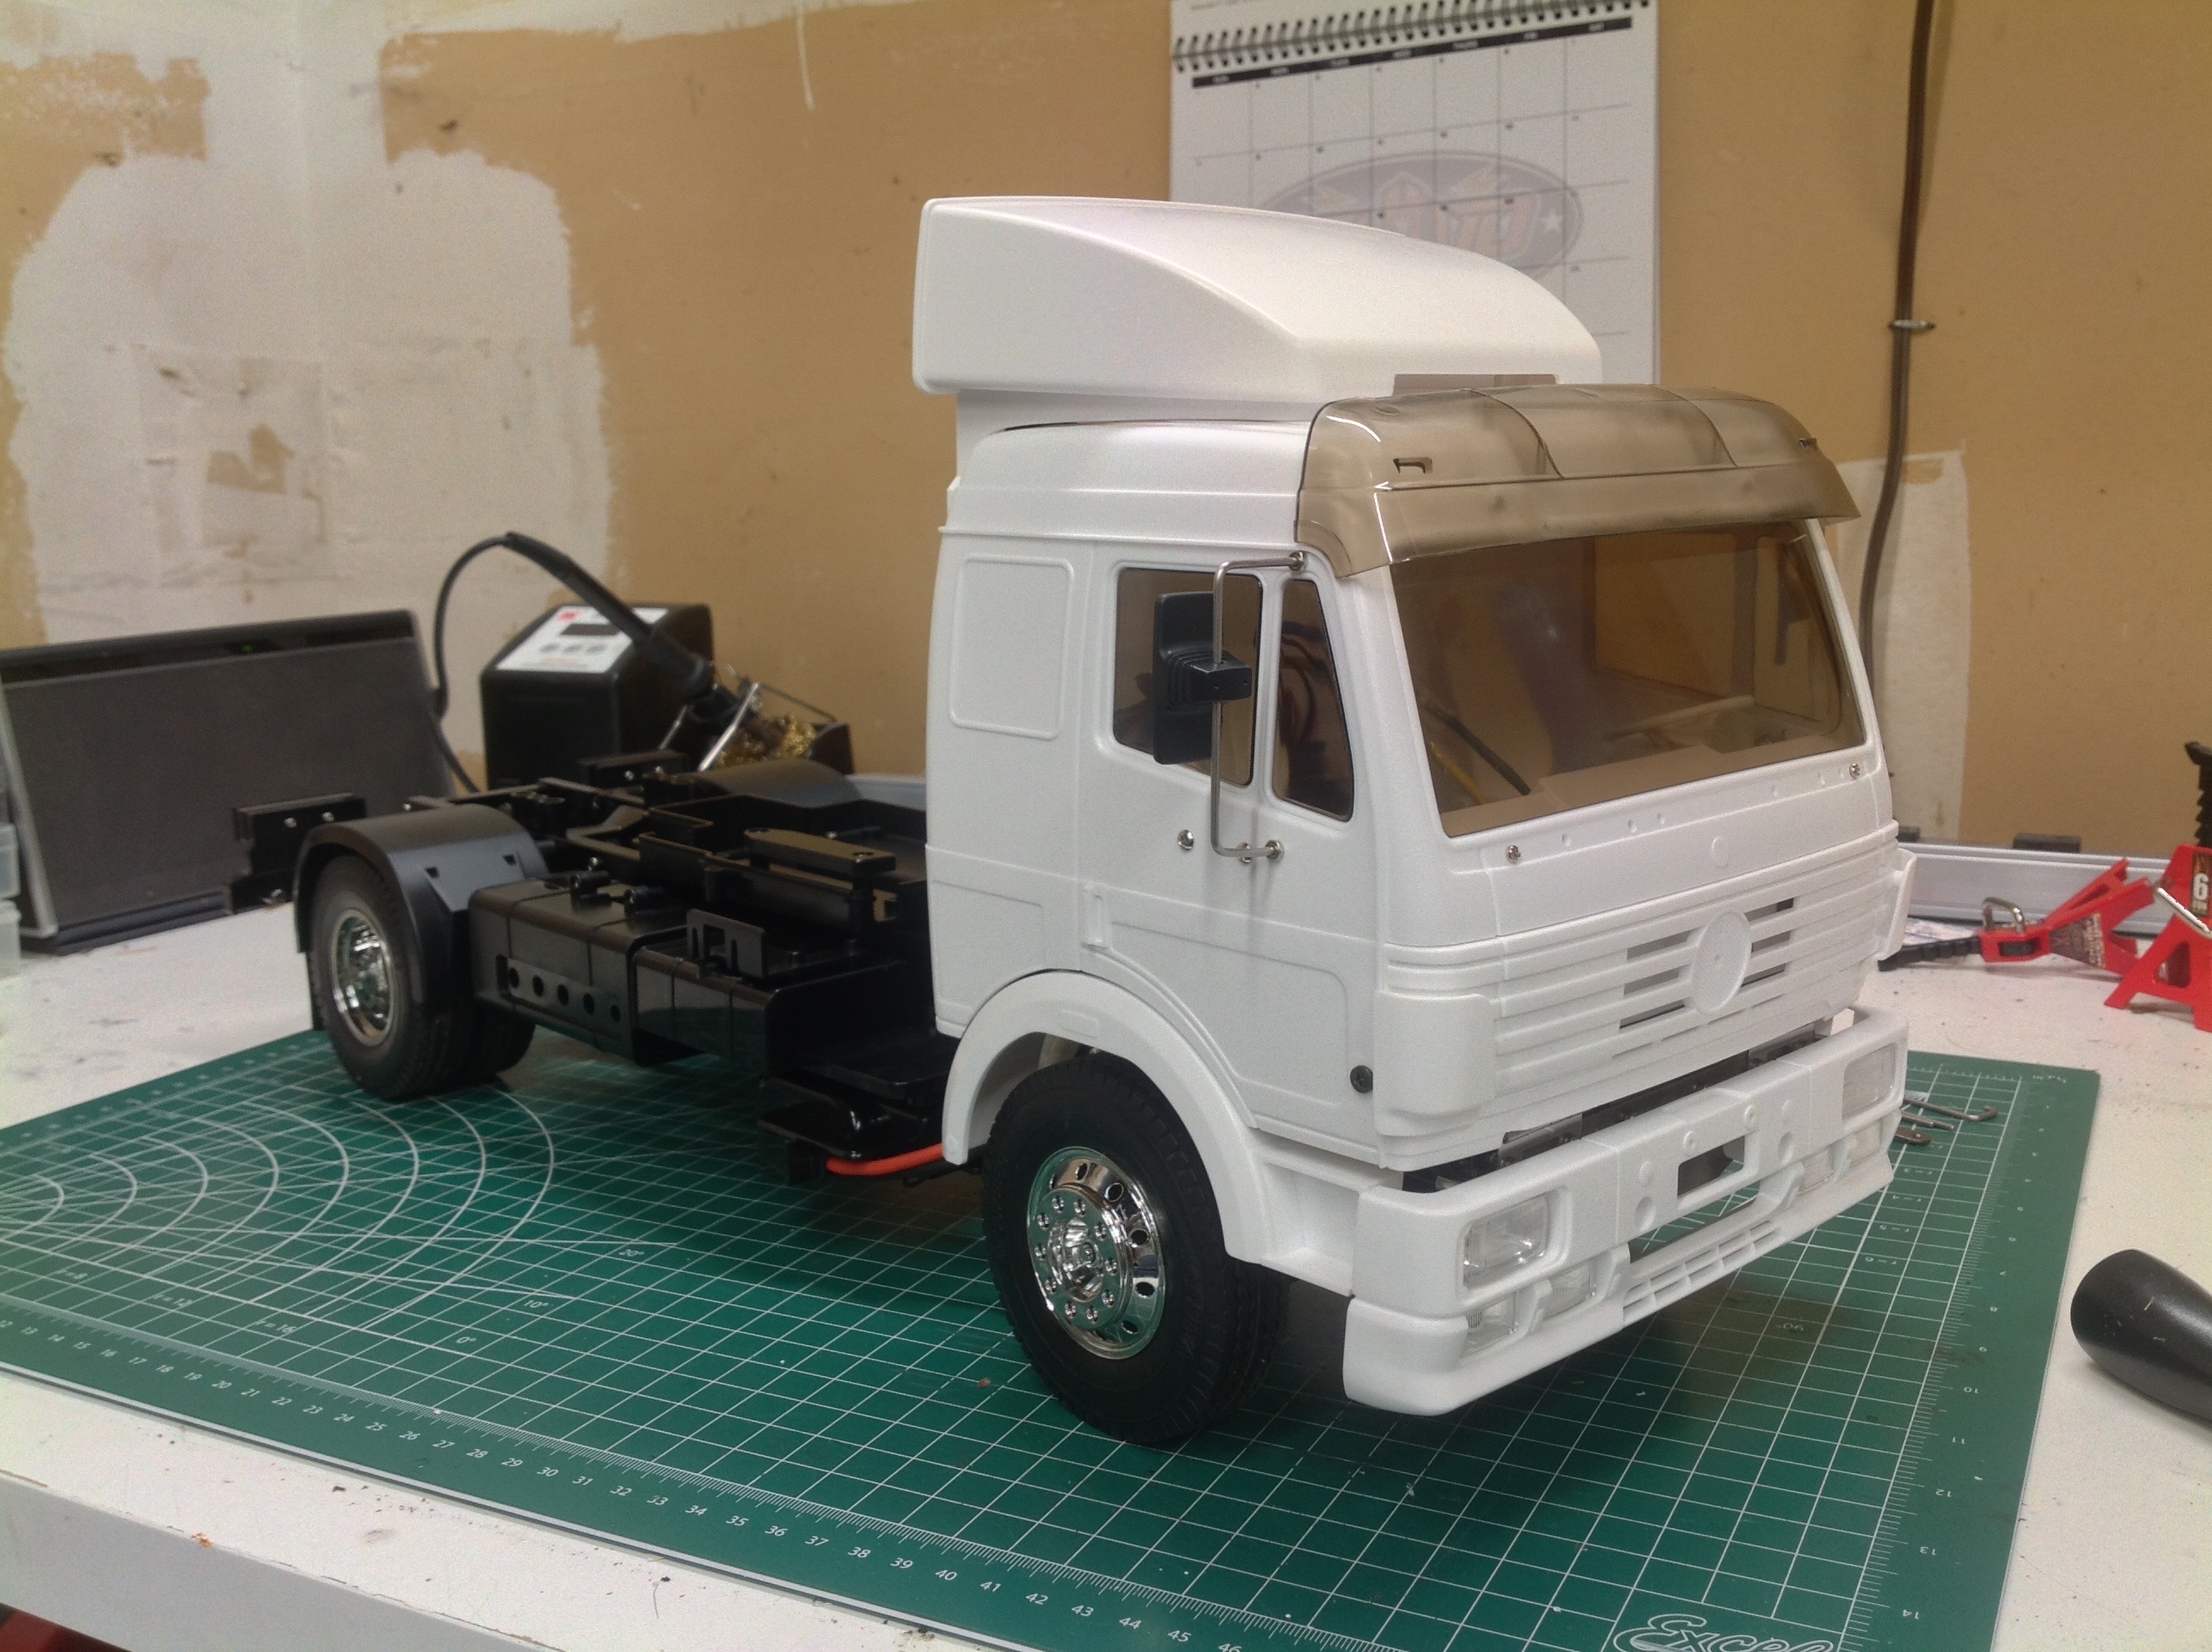
I decided to assemble the entire truck in an unfinished state before
returning to paint and decorate it later. The cab is mostly one
big part with a windshield, side windows, mirrors, wind deflector, and
sun shade. On the back you can see the latch which releases the
cab to swivel open and the exhaust stack.
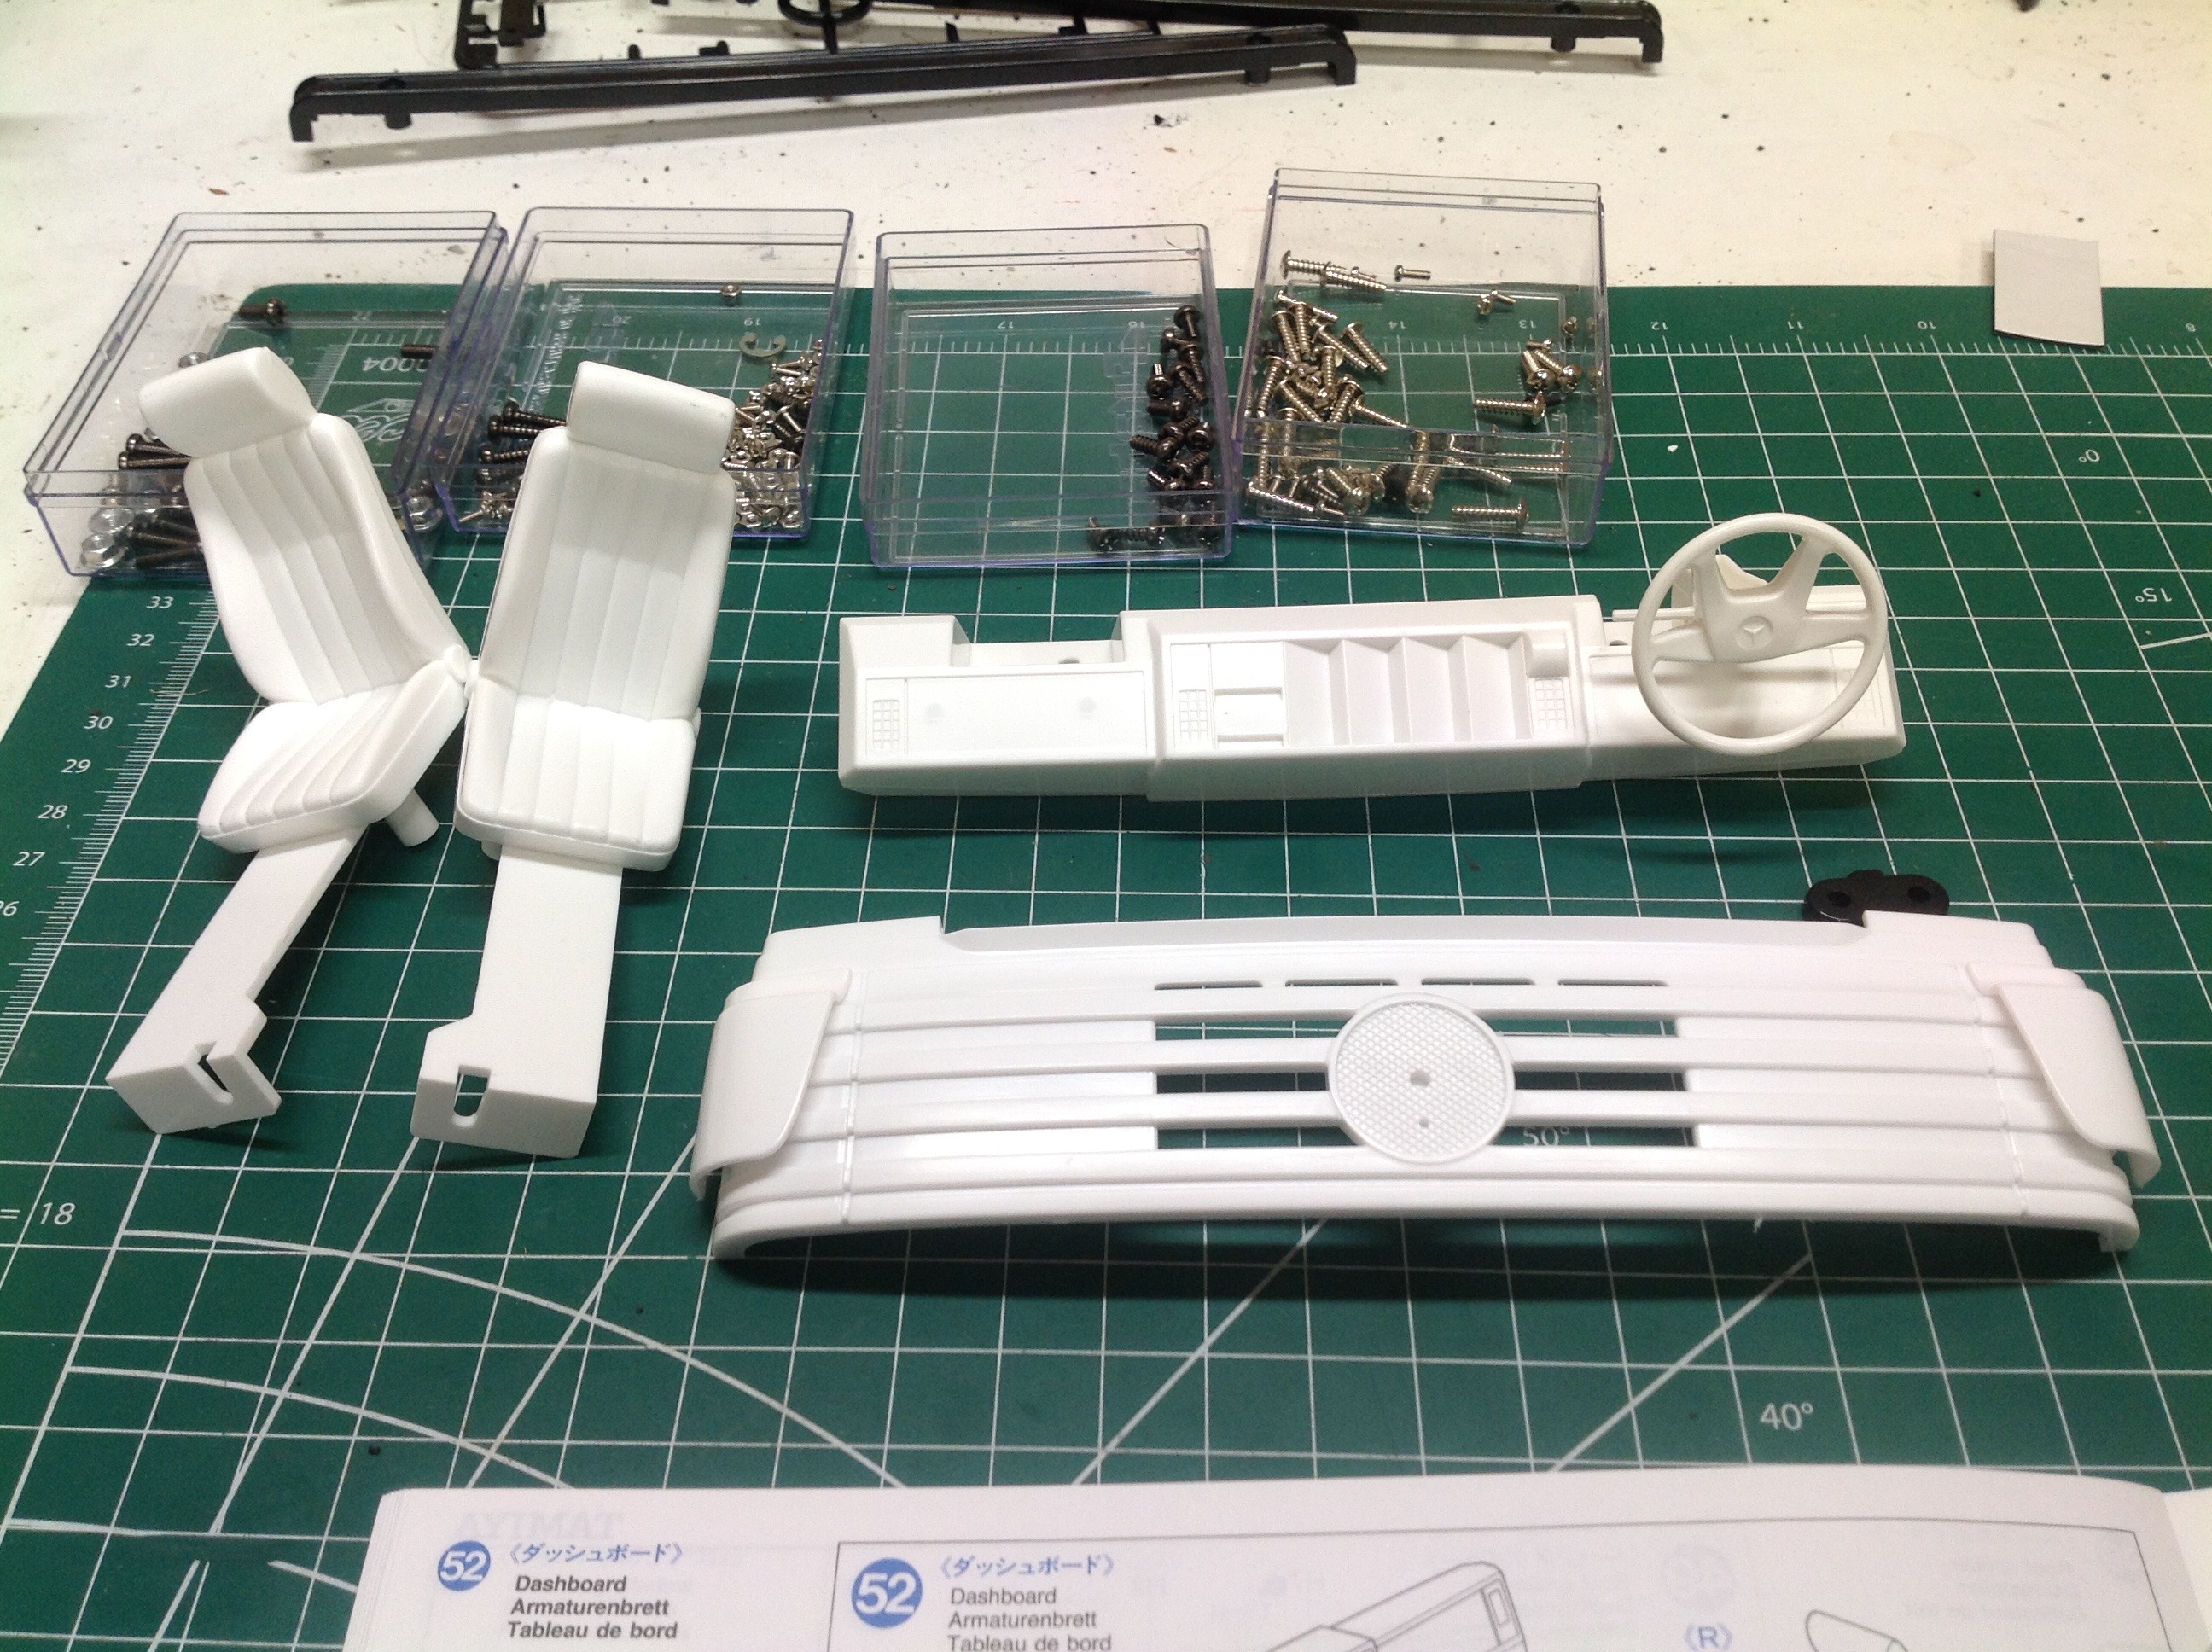
On the left are the seats, the dash, and the grille. On the right
you can see them installed onto the truck. This is a really simple
process when you don't bother painting anything.
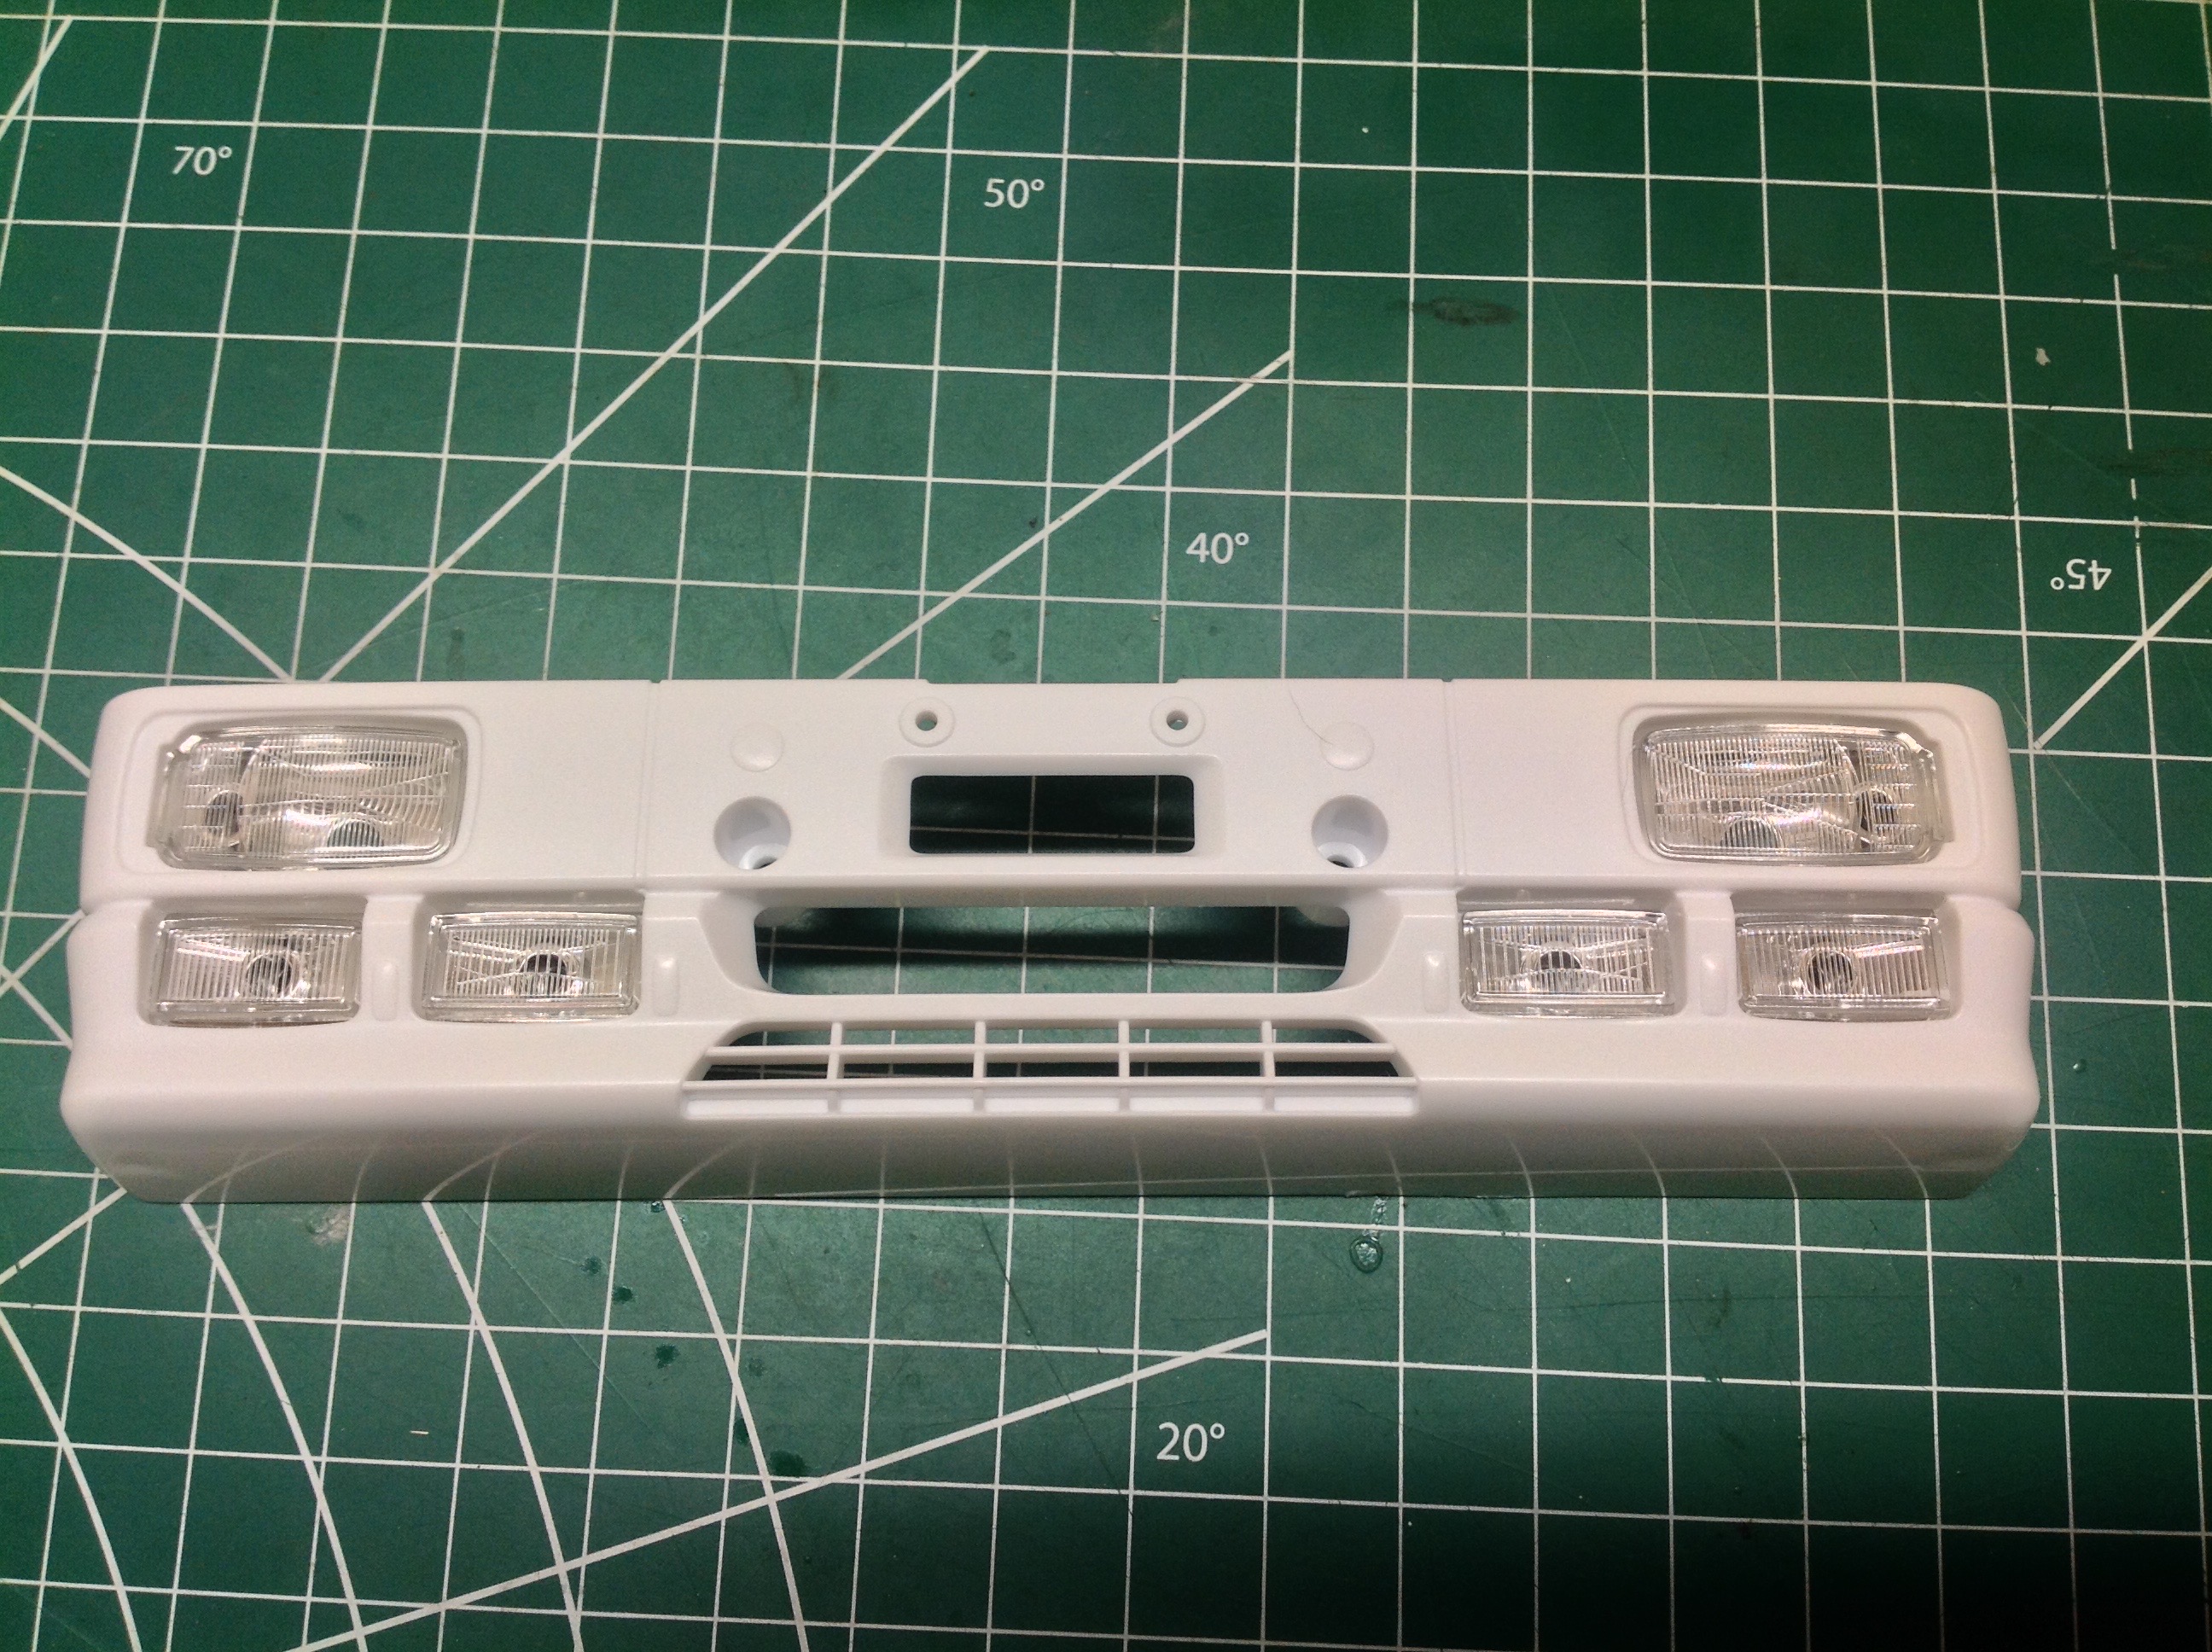
A light bucket on either side of the bumper contains 3 lenses with
positions for 4 lights. The lenses on each side are molded into a
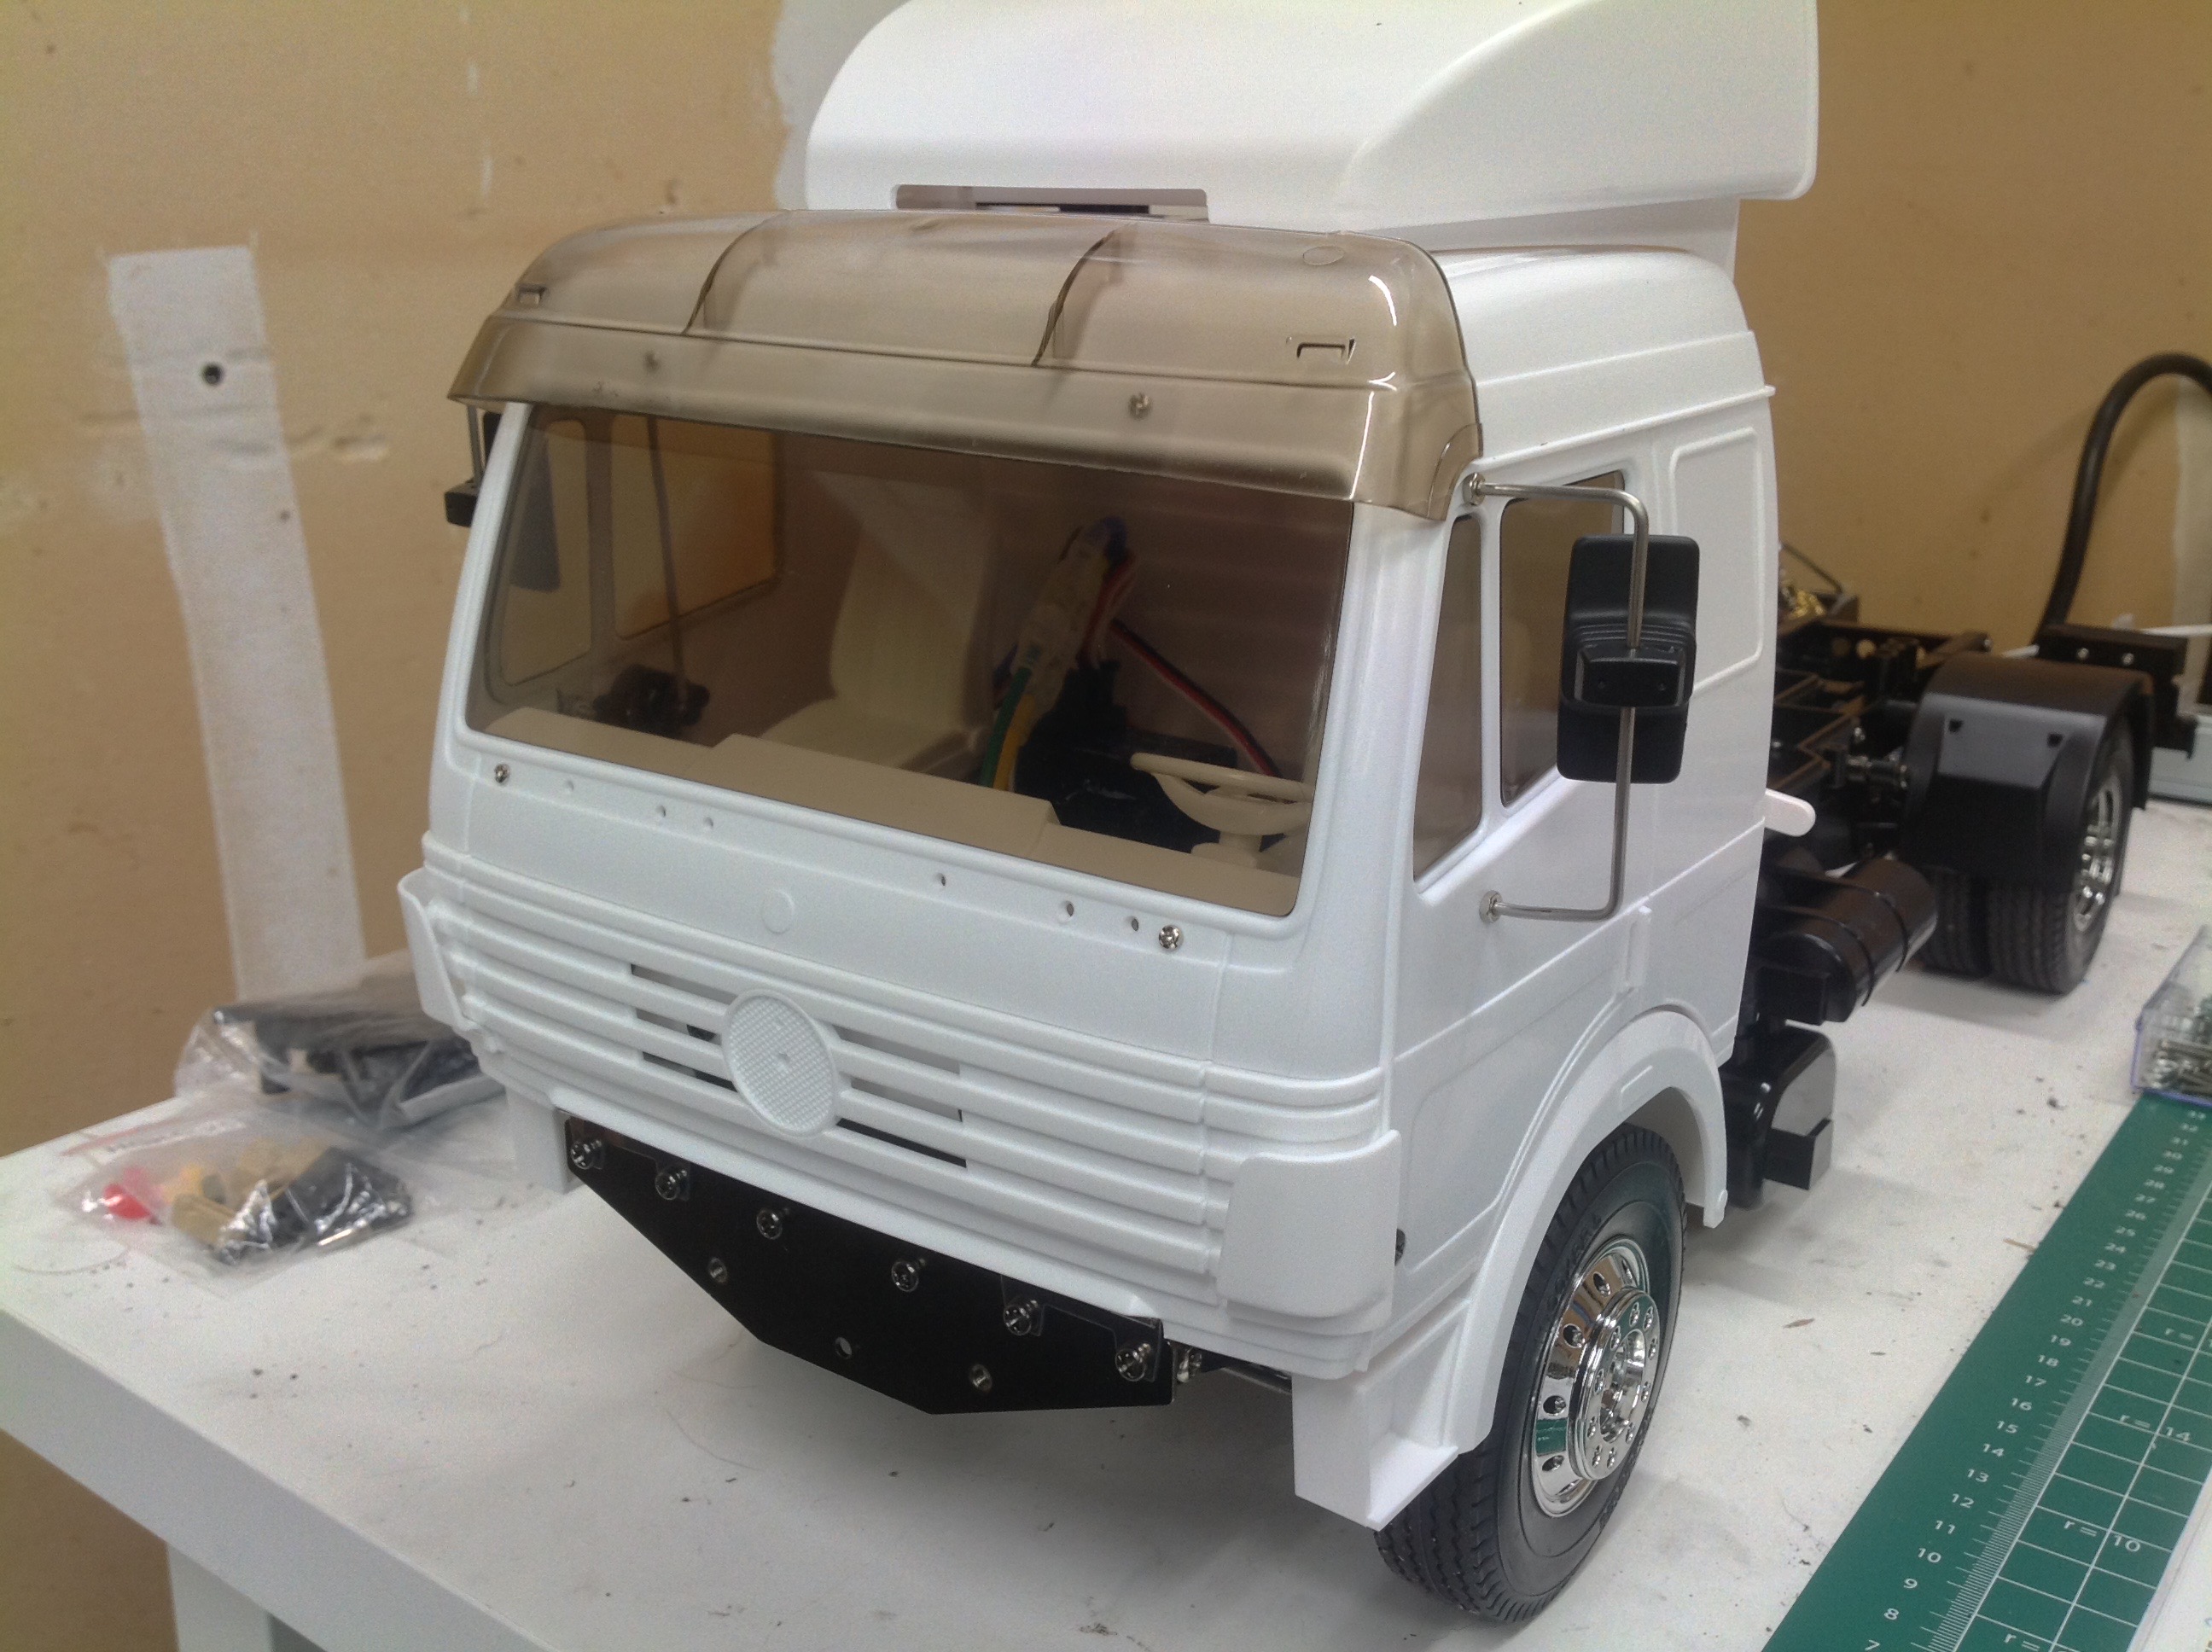
single part. On the right you can see the completed cab. If
this was a tractor truck I'd also be attaching some side fairings, but
they are not used for the box truck version.
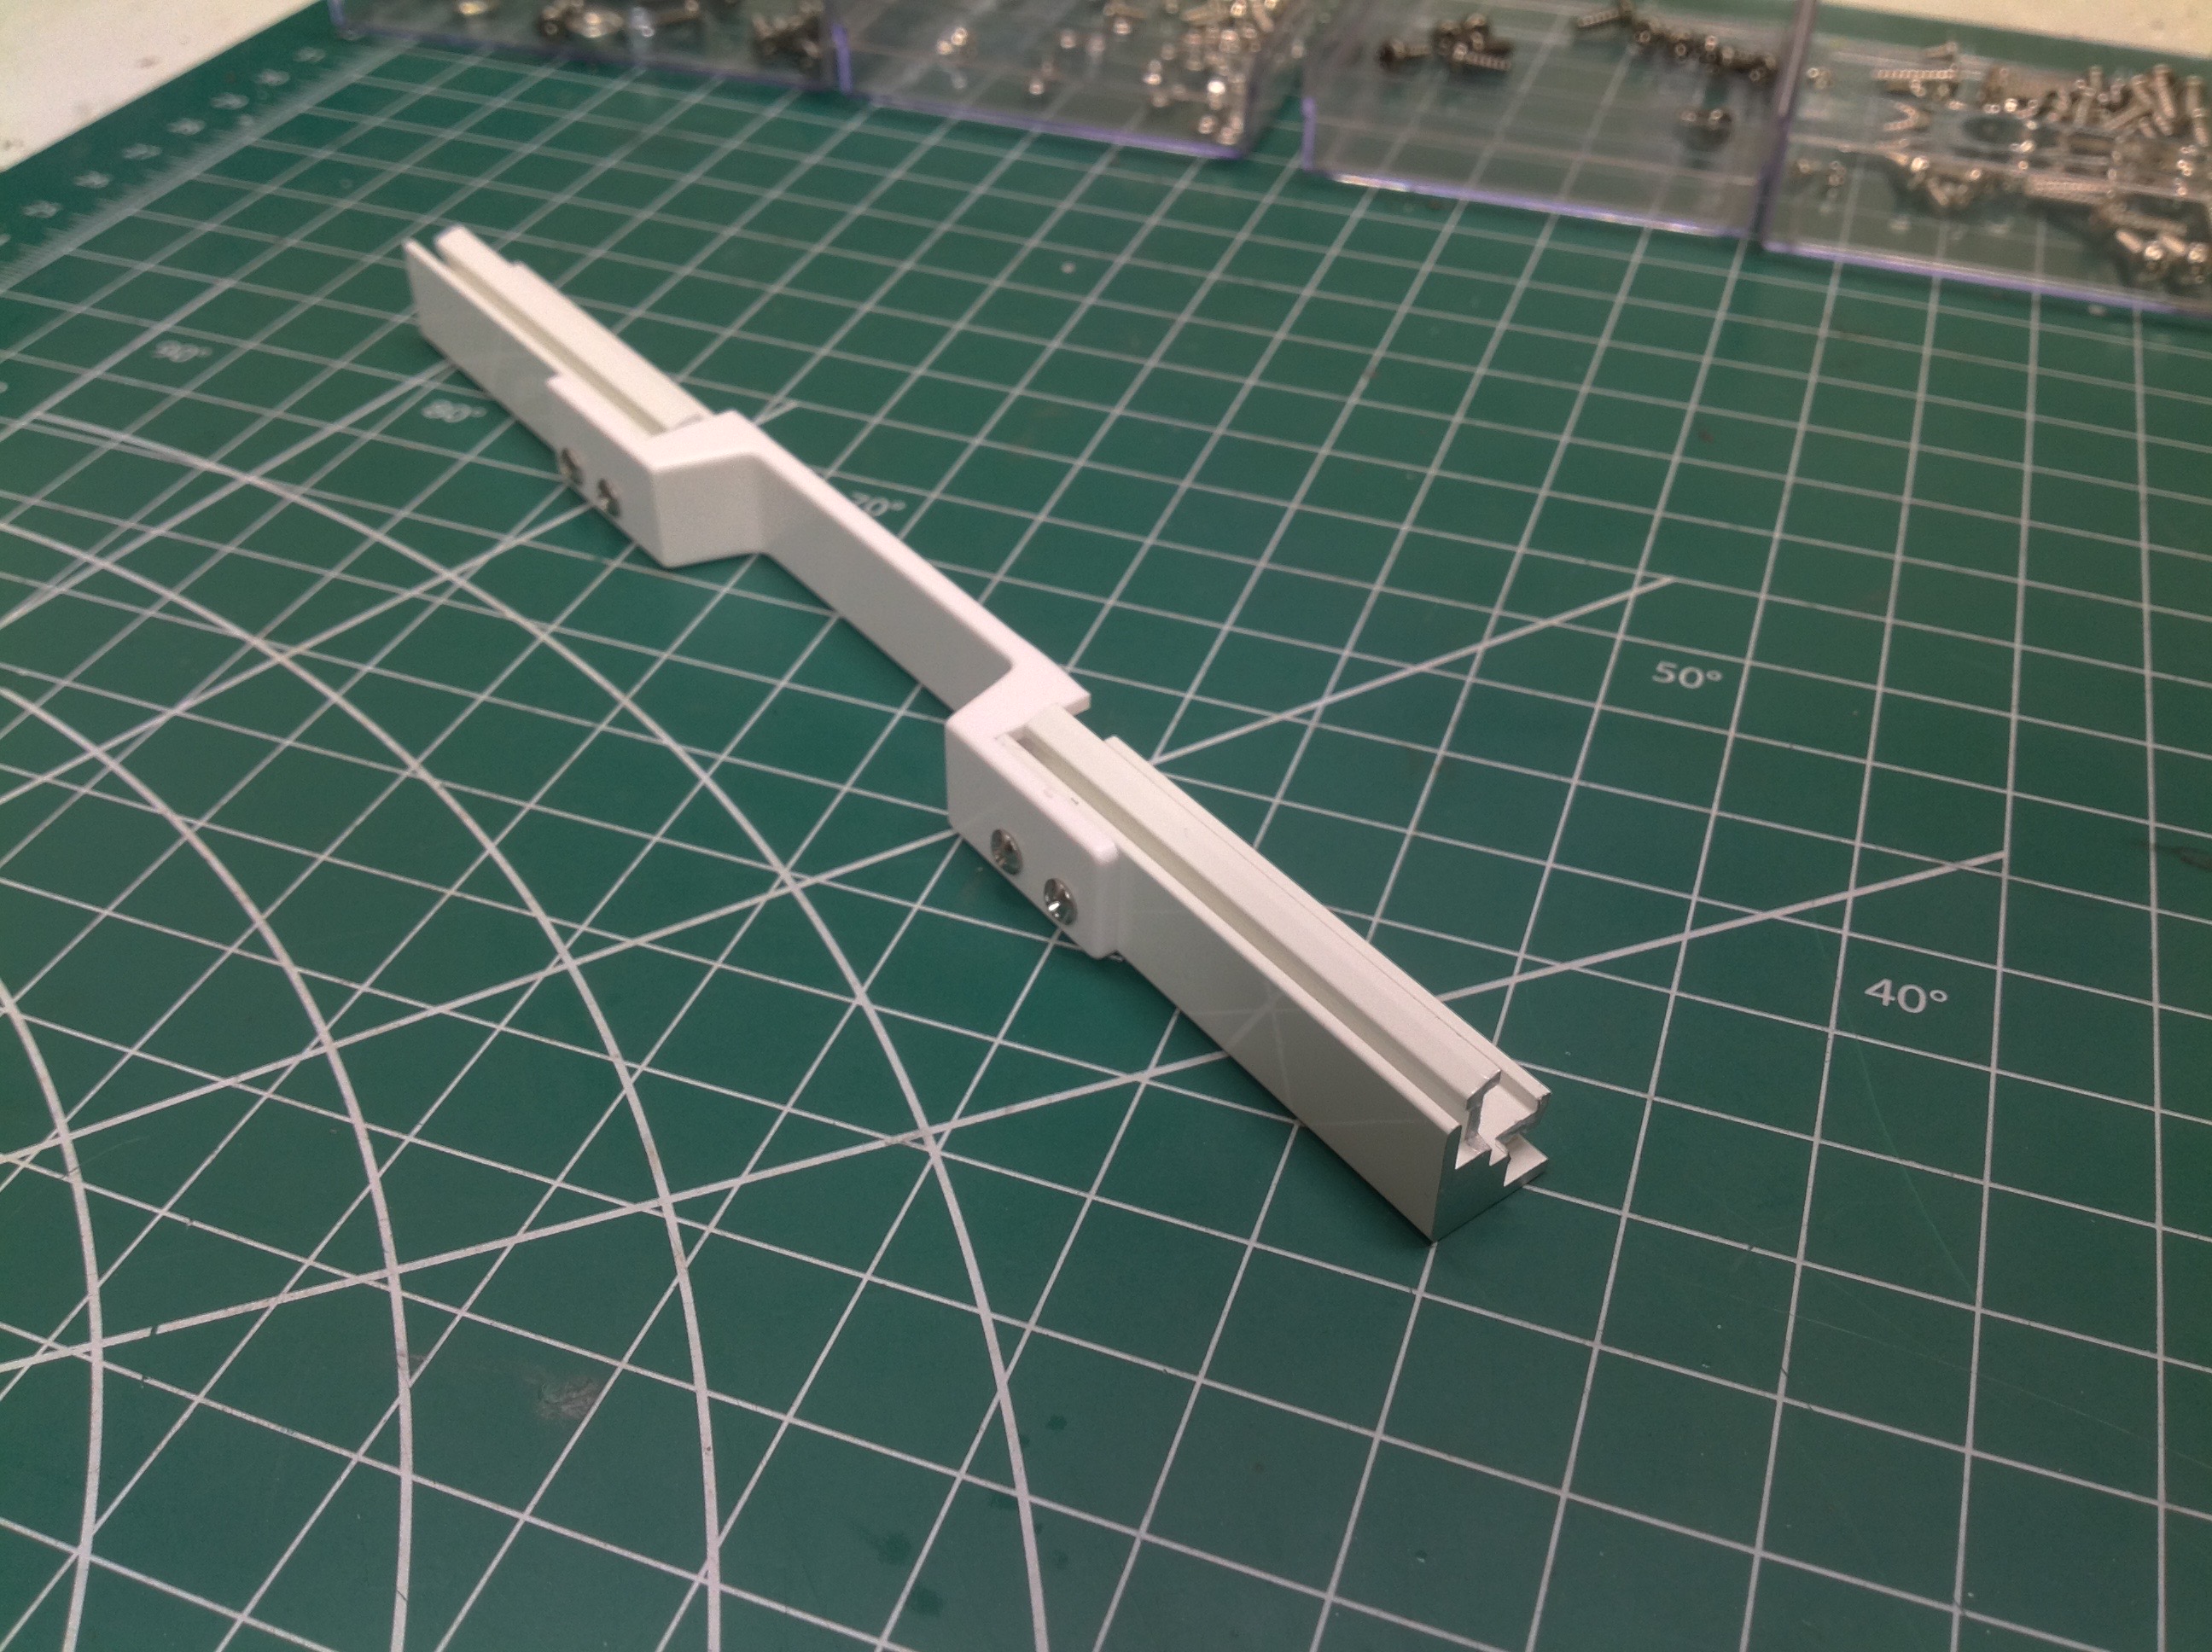
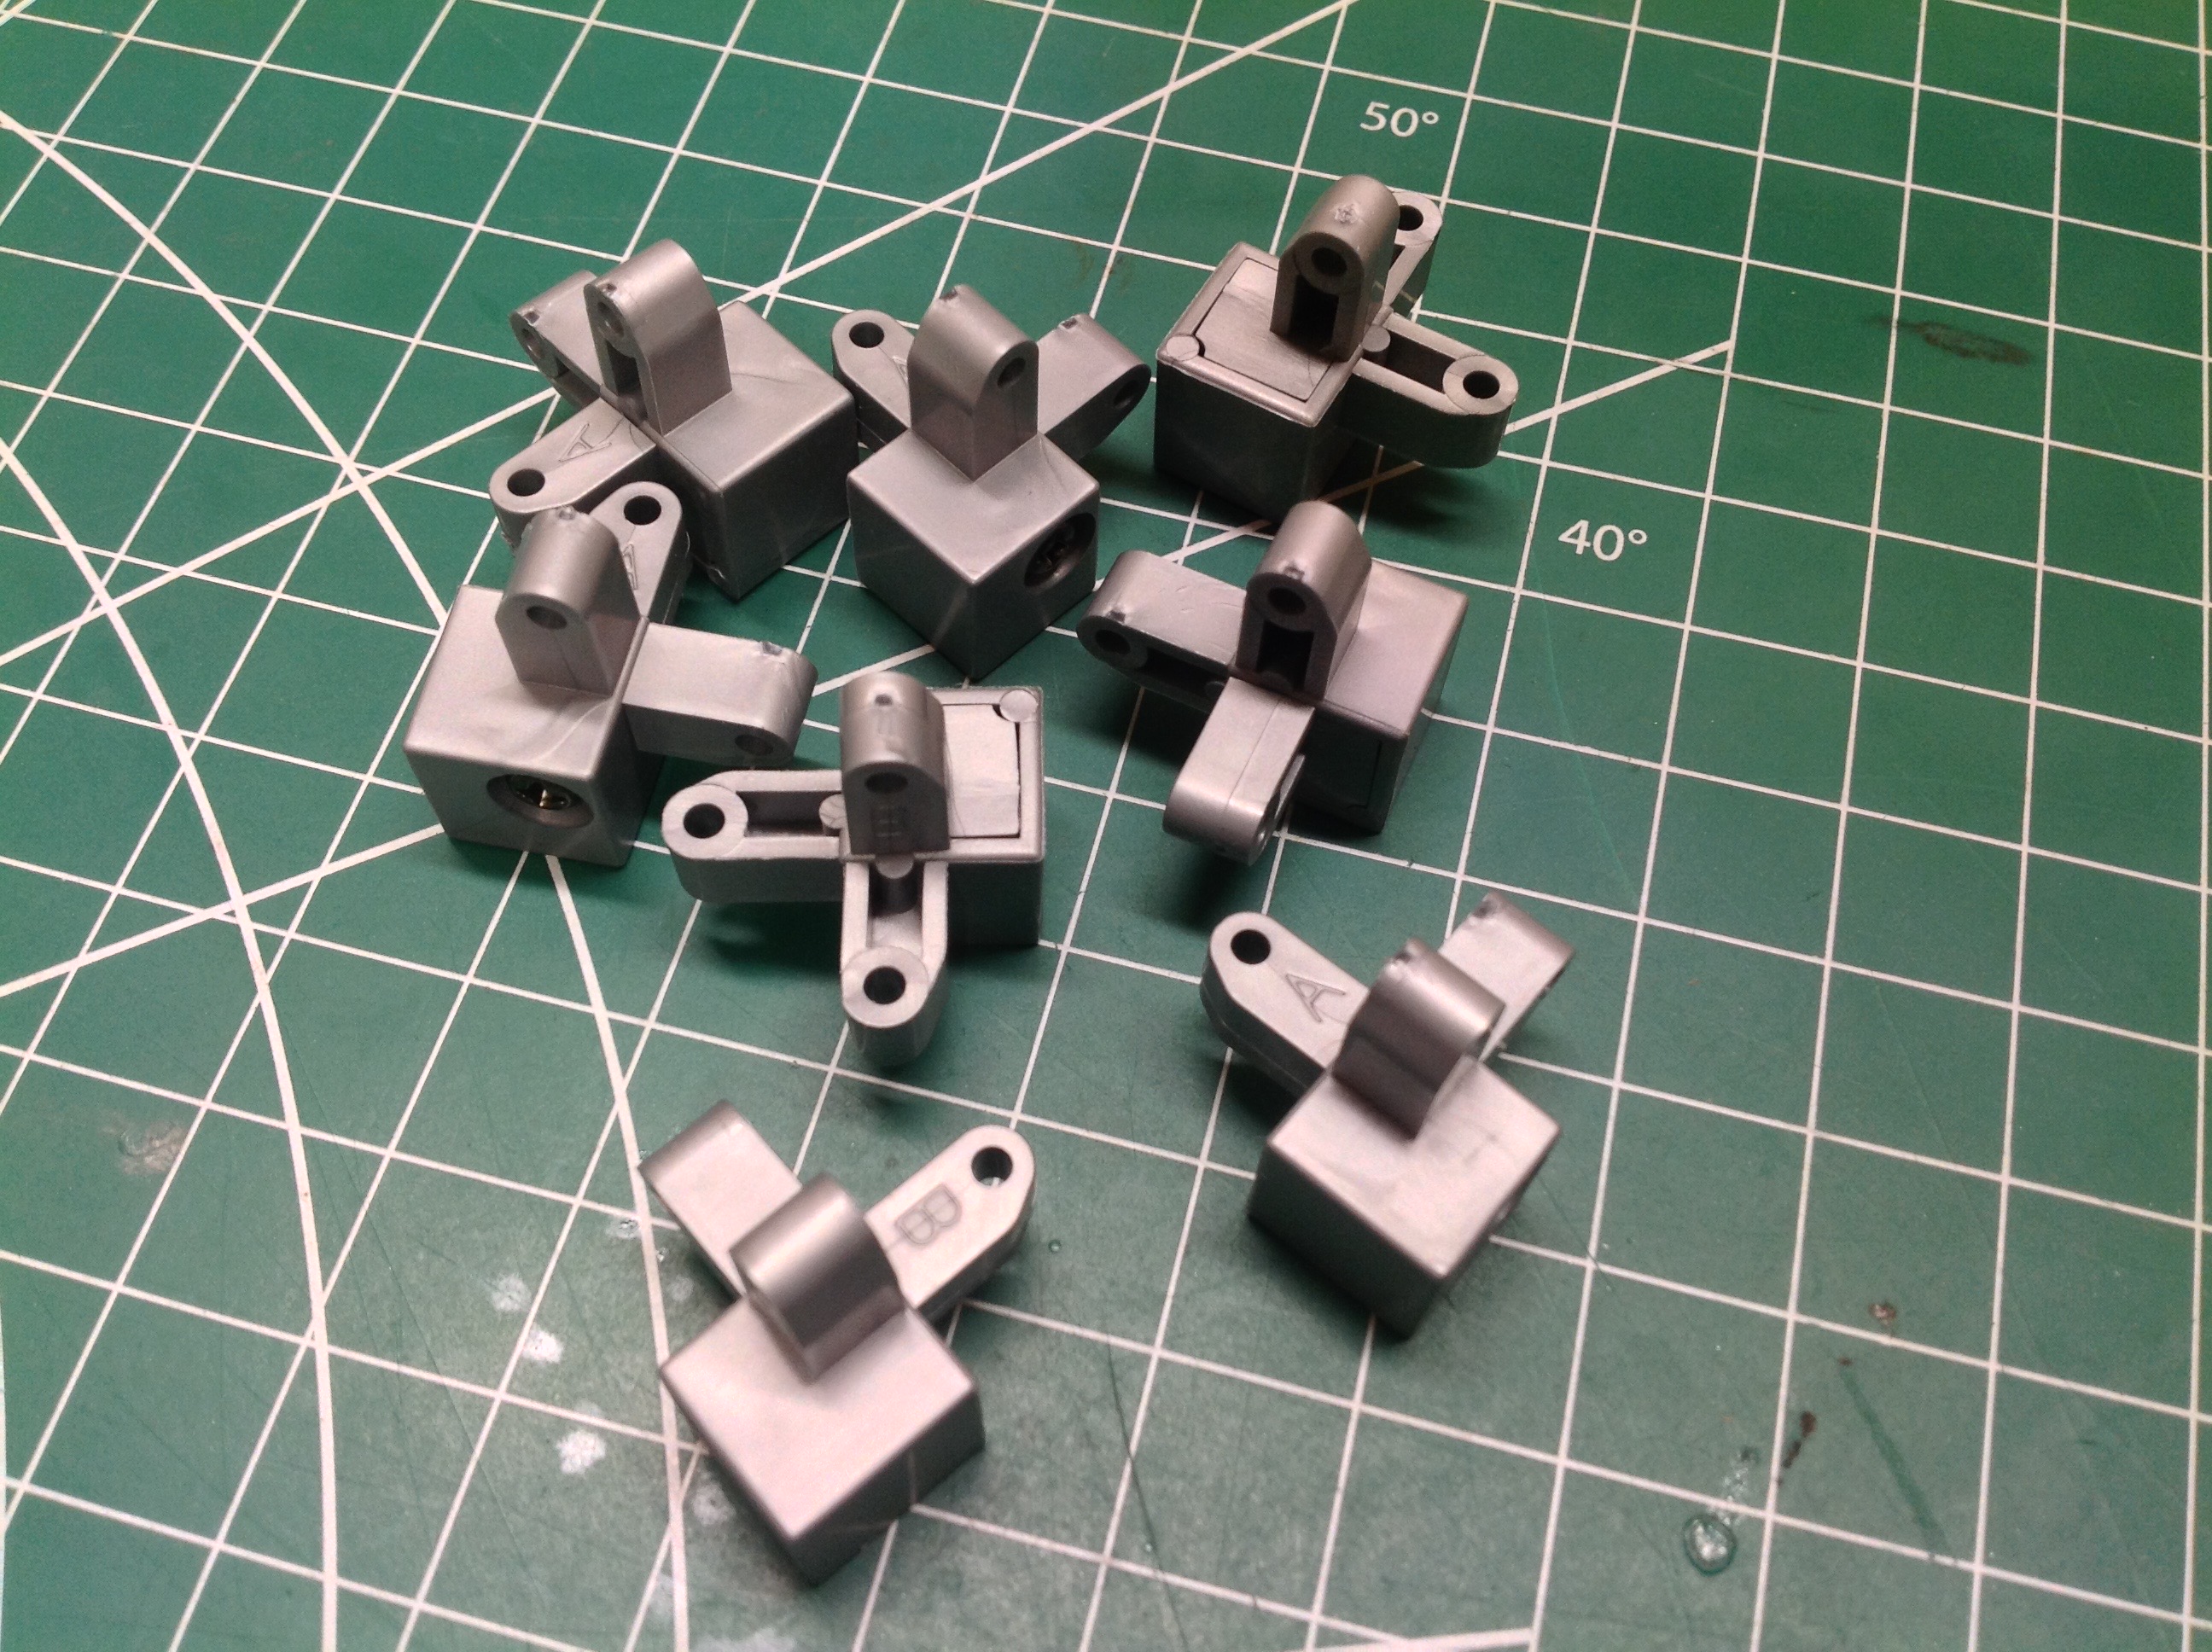
Building the box starts with the part shown at the left. This may
look like a bumper, but it is actually the lower front rail of the
box. The cutout is there to clear the rear end of the transmission
housing. The corner blocks shown at right are the key to
assembling the box. These hold the 3-dimensional right angles at
each corner.
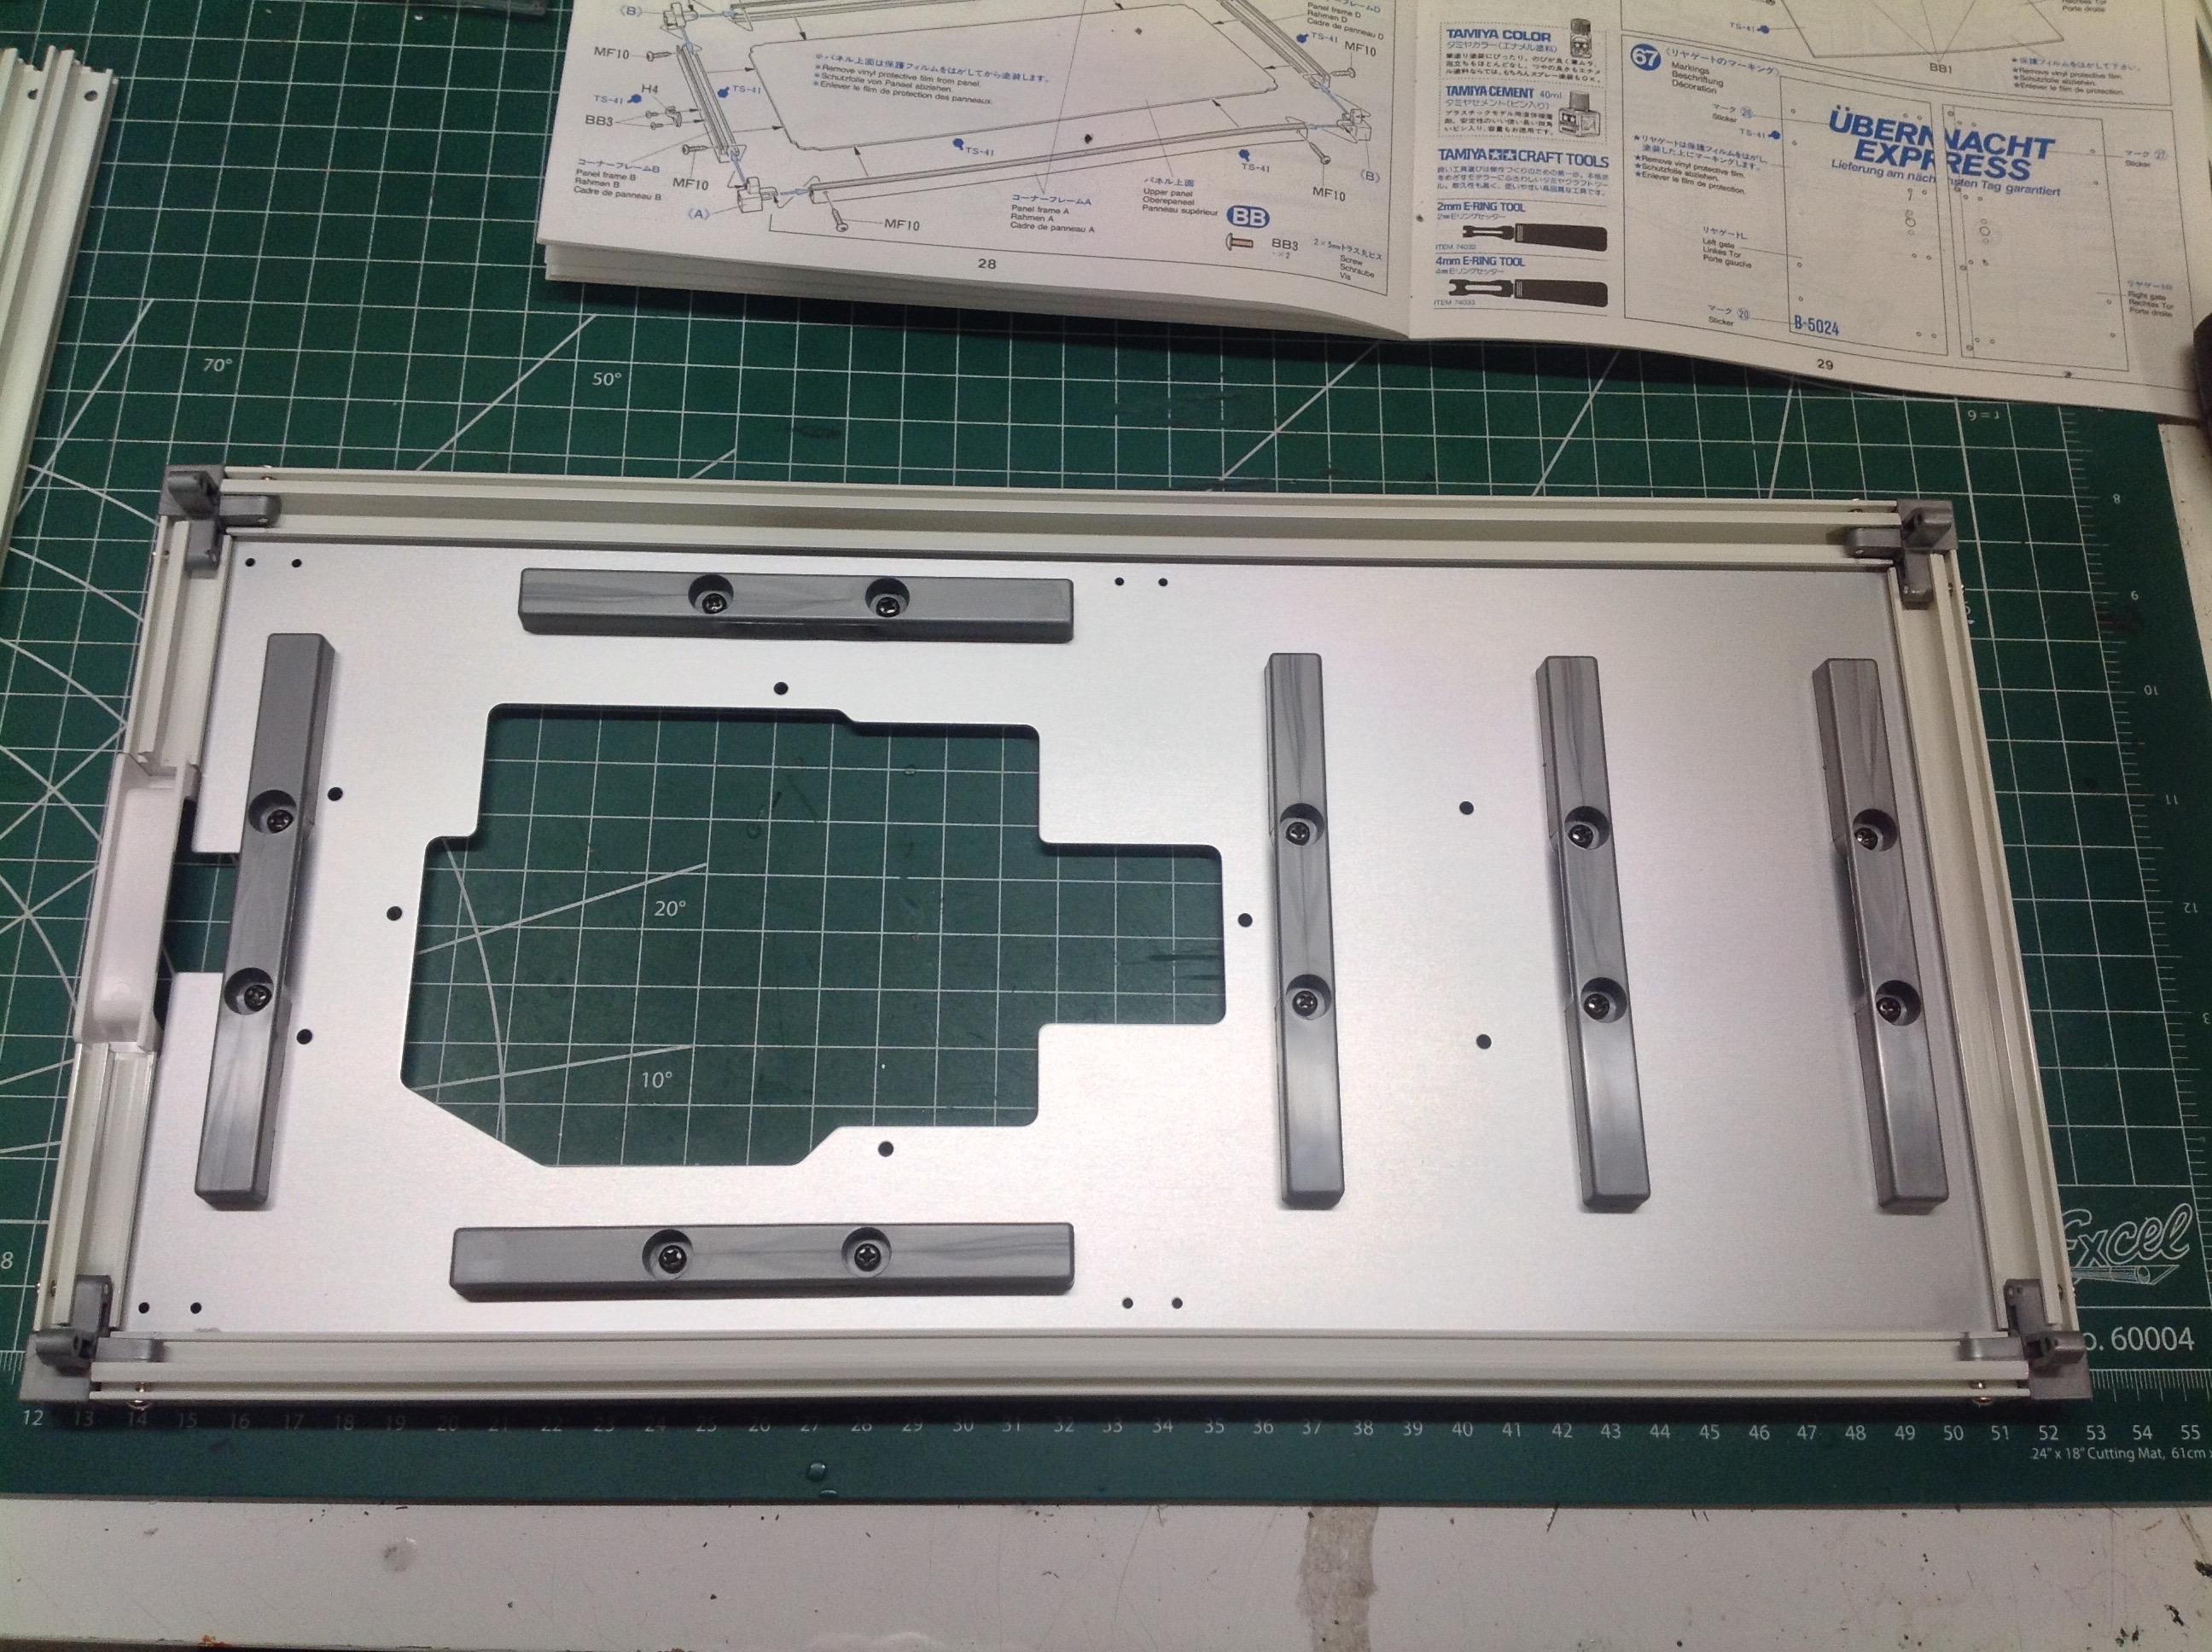
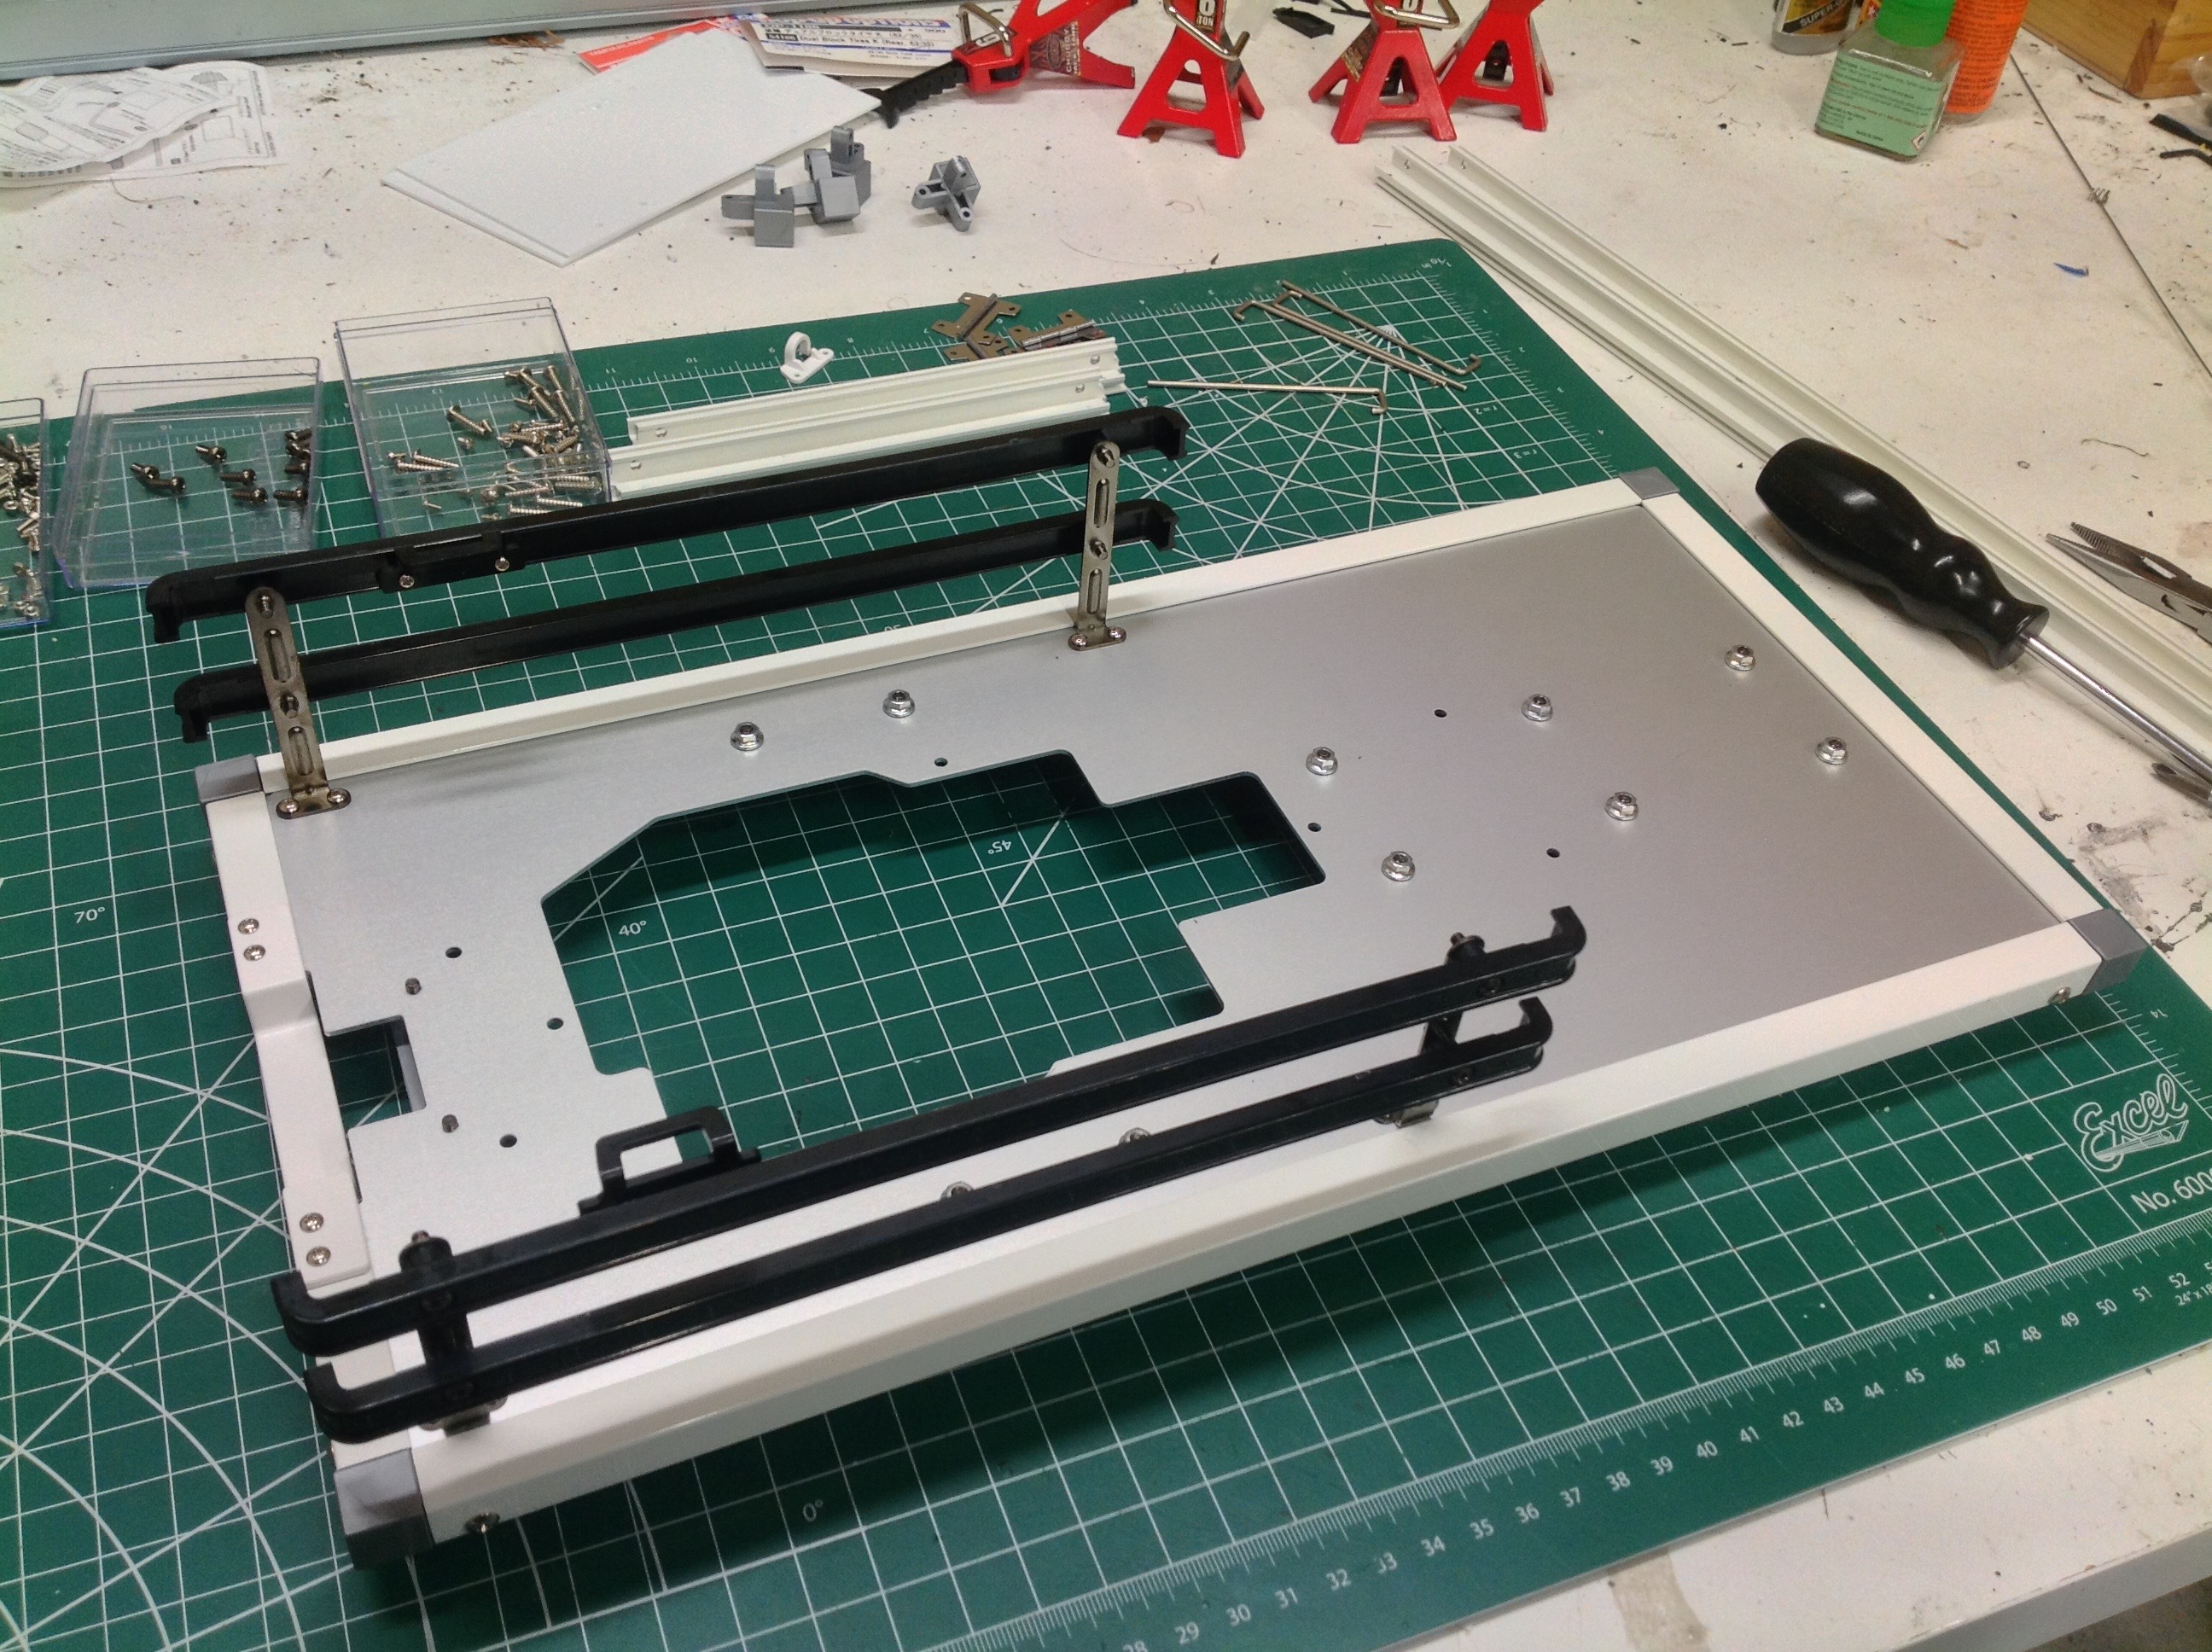
The first thing to assembly is the cargo box sub-floor. There are 4
rails around the perimeter and the center panel is an aluminum
sheet. The cutout in the sheet is for the electronic tray.
The 6 beams shown act as stiffeners to support the cargo floor which sits on
top of them. In the right picture, you can see the side guards
which hang down below the box.
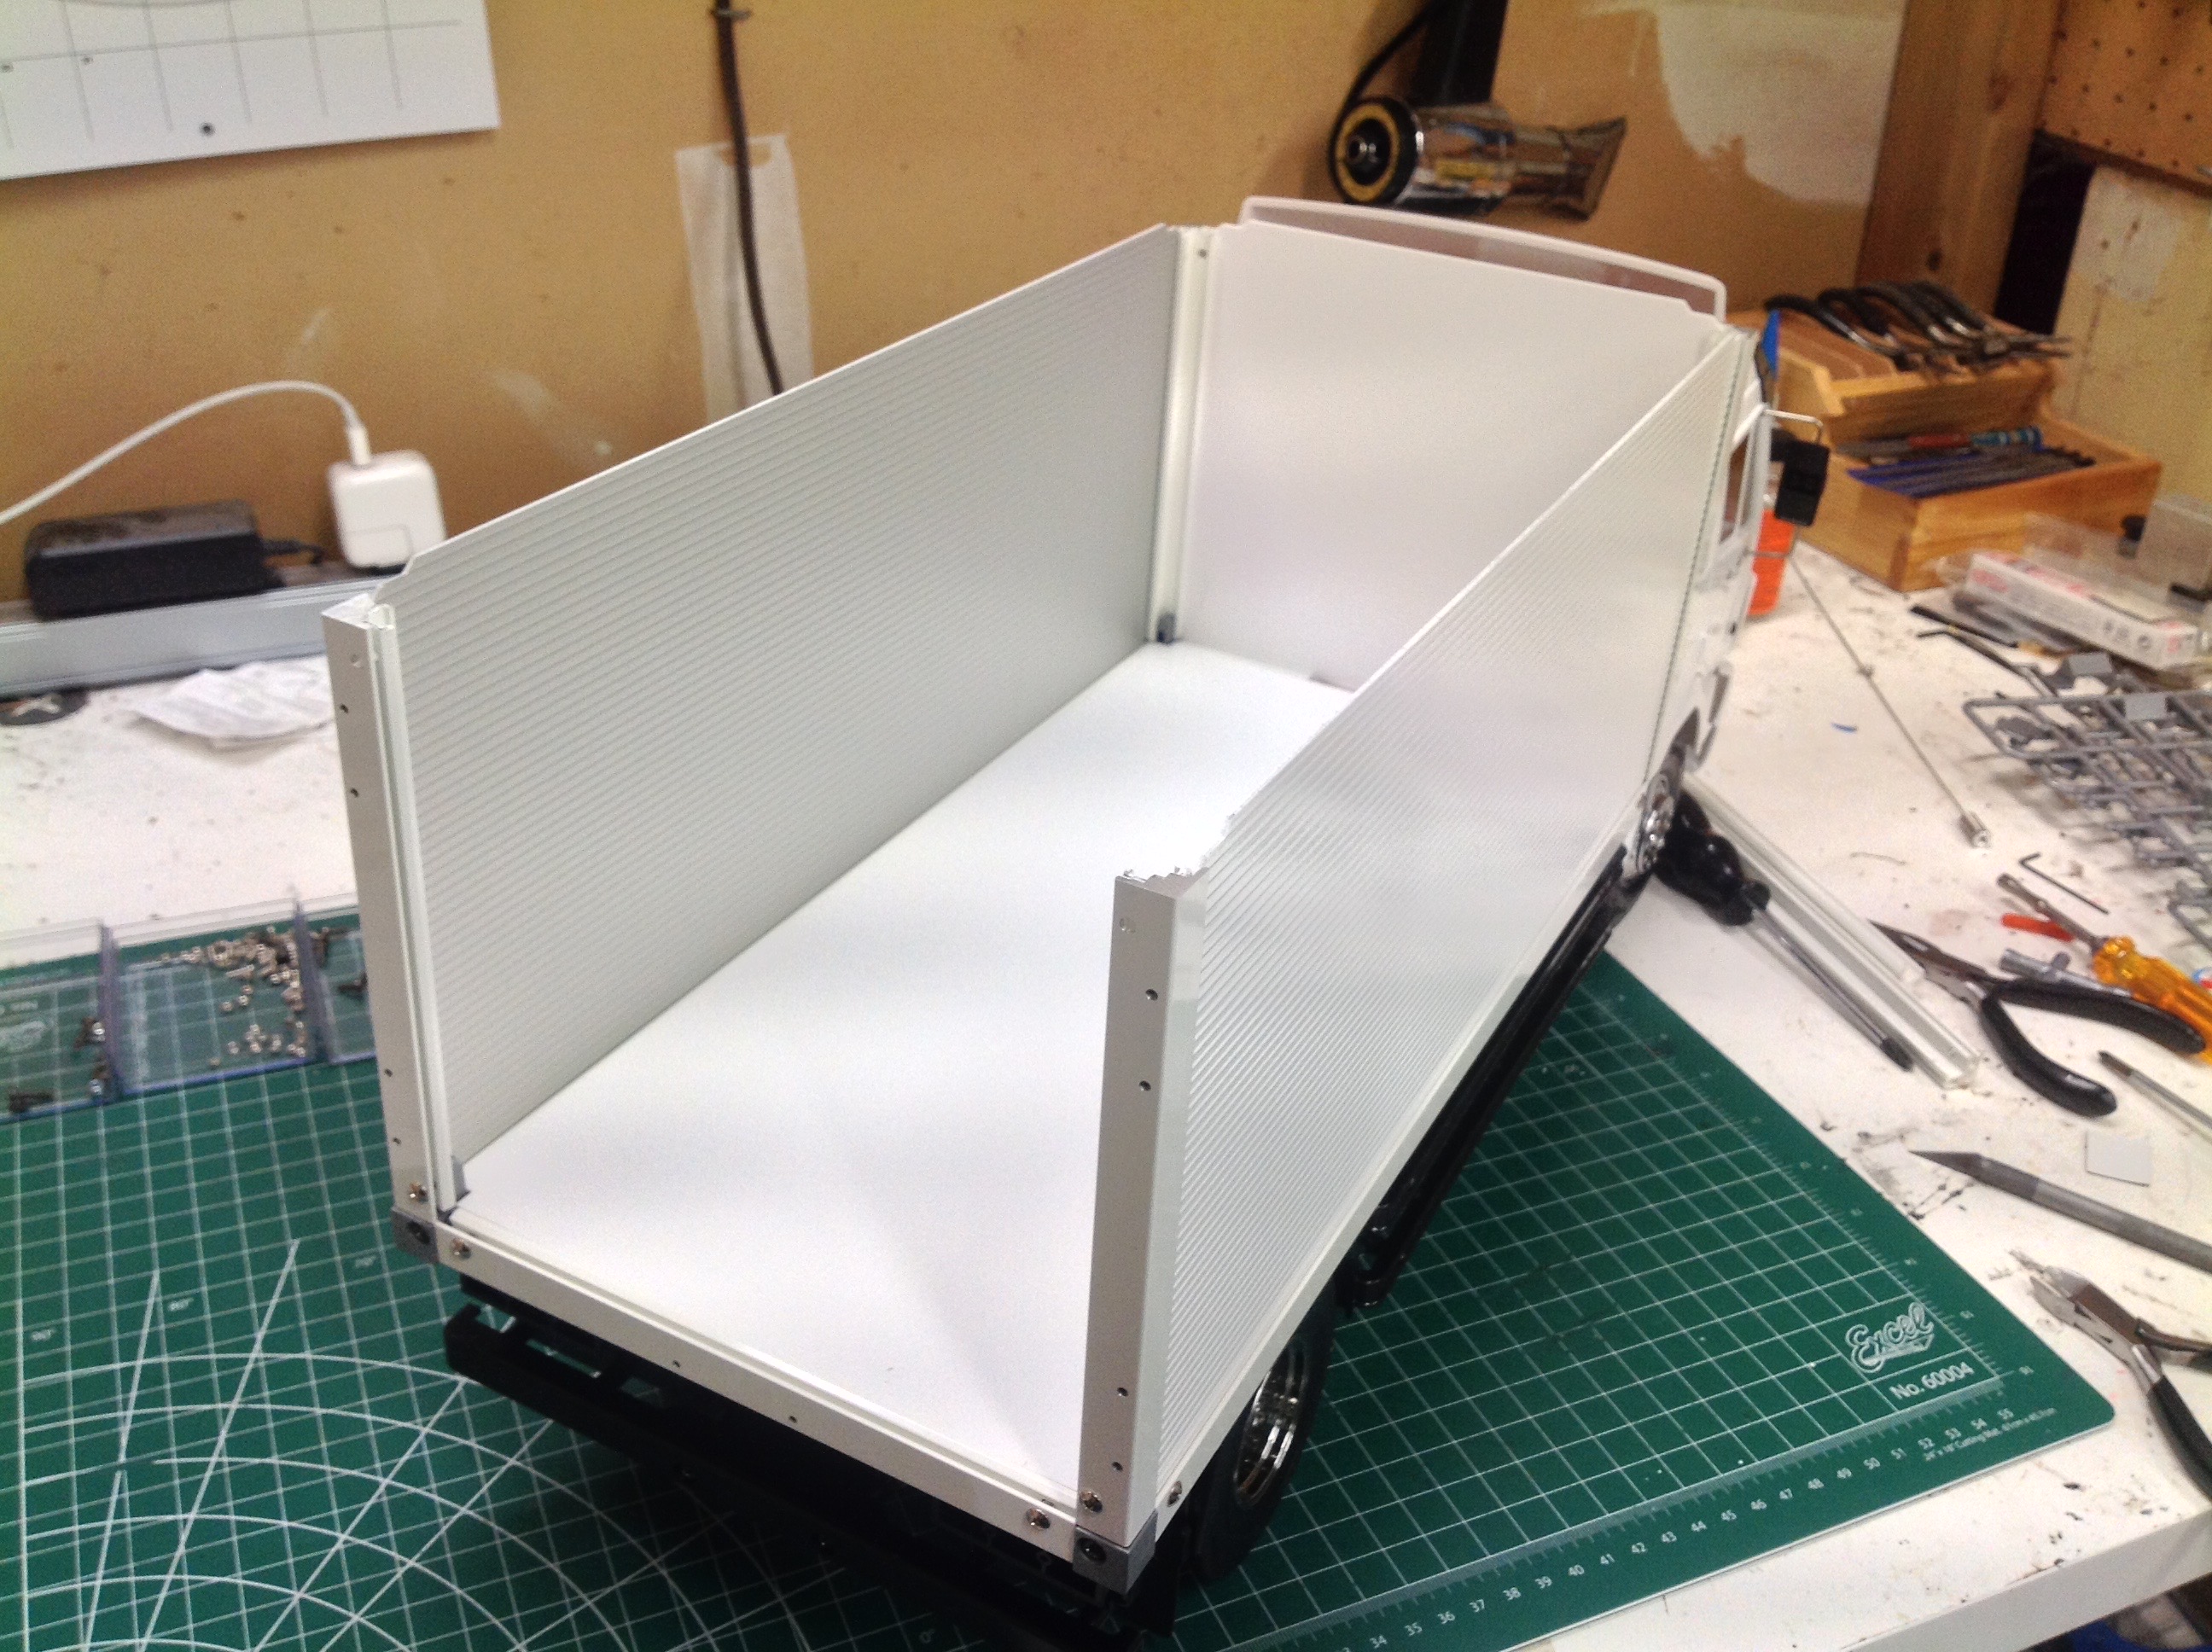
Now the sub-floor can be attached to the truck. You can see how
the electronics tray sticks through, and how the plastic slab floor sits
on top. The edge rails are all aluminum extruded forms with slots
for the panels. The side panels are corrugated aluminum while the
front, bottom, and top are plastic. The sub-floor is also
aluminum.
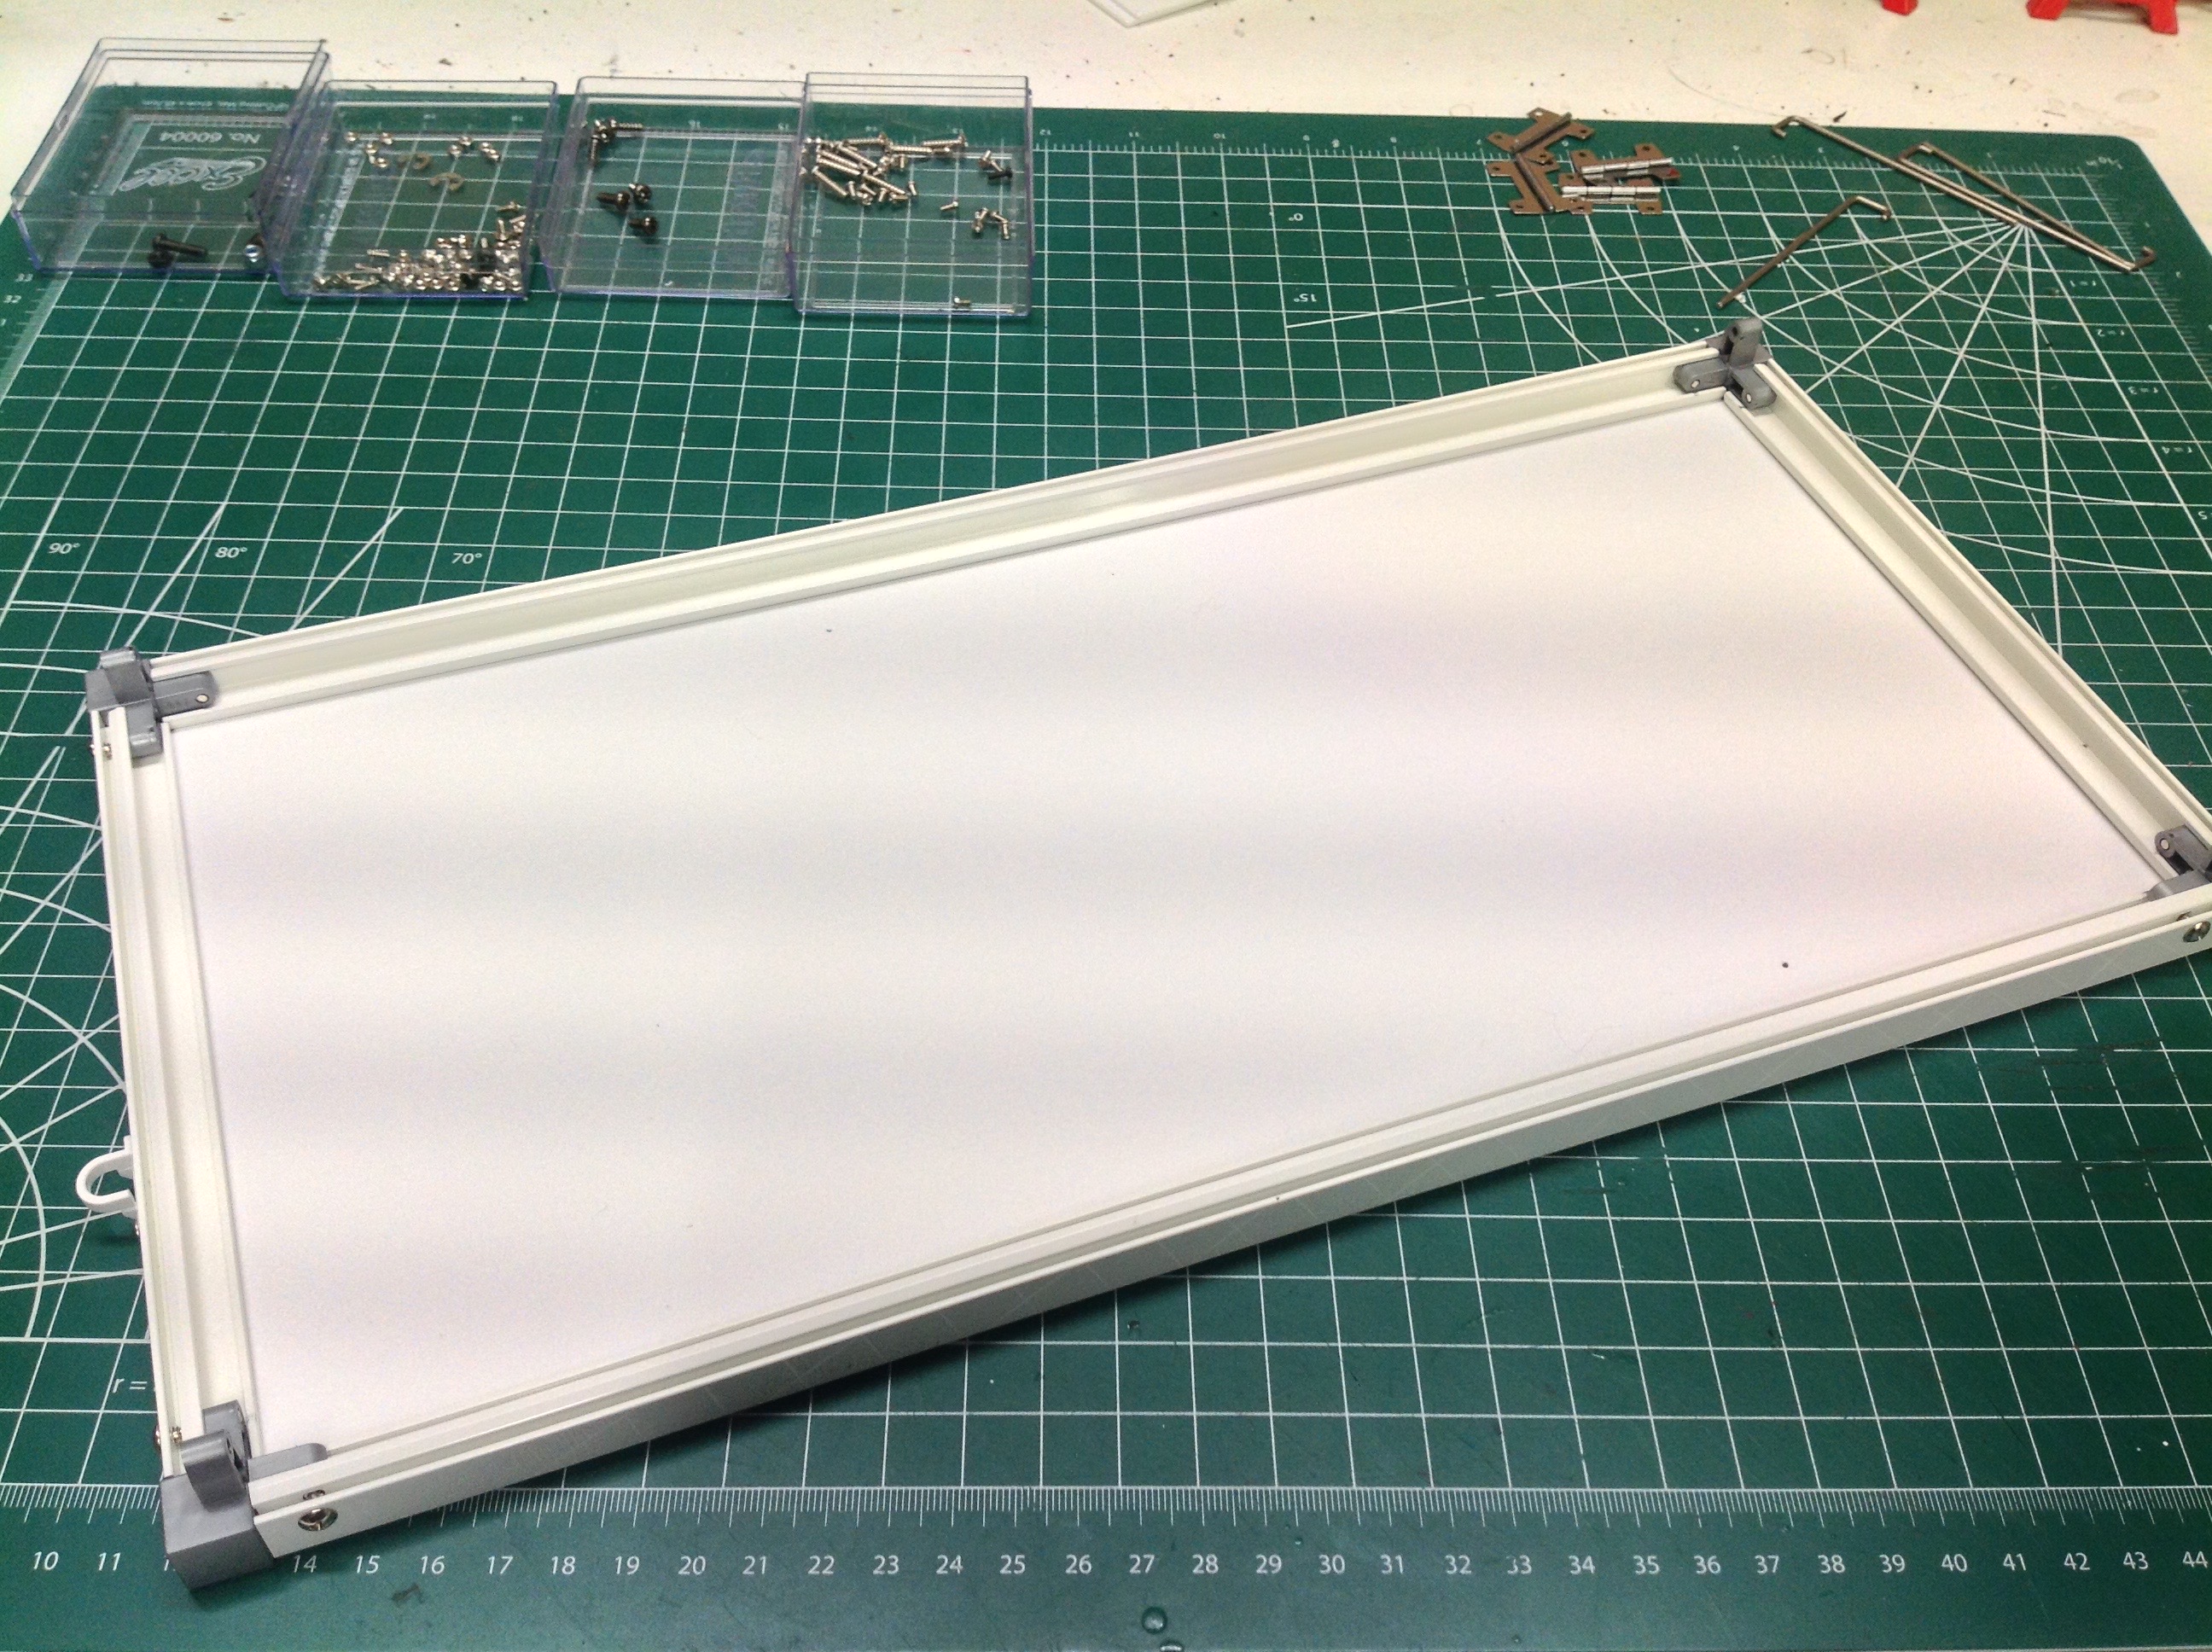
Here's the roof. It is built just like the floor and then just plugs into the box walls from the top.
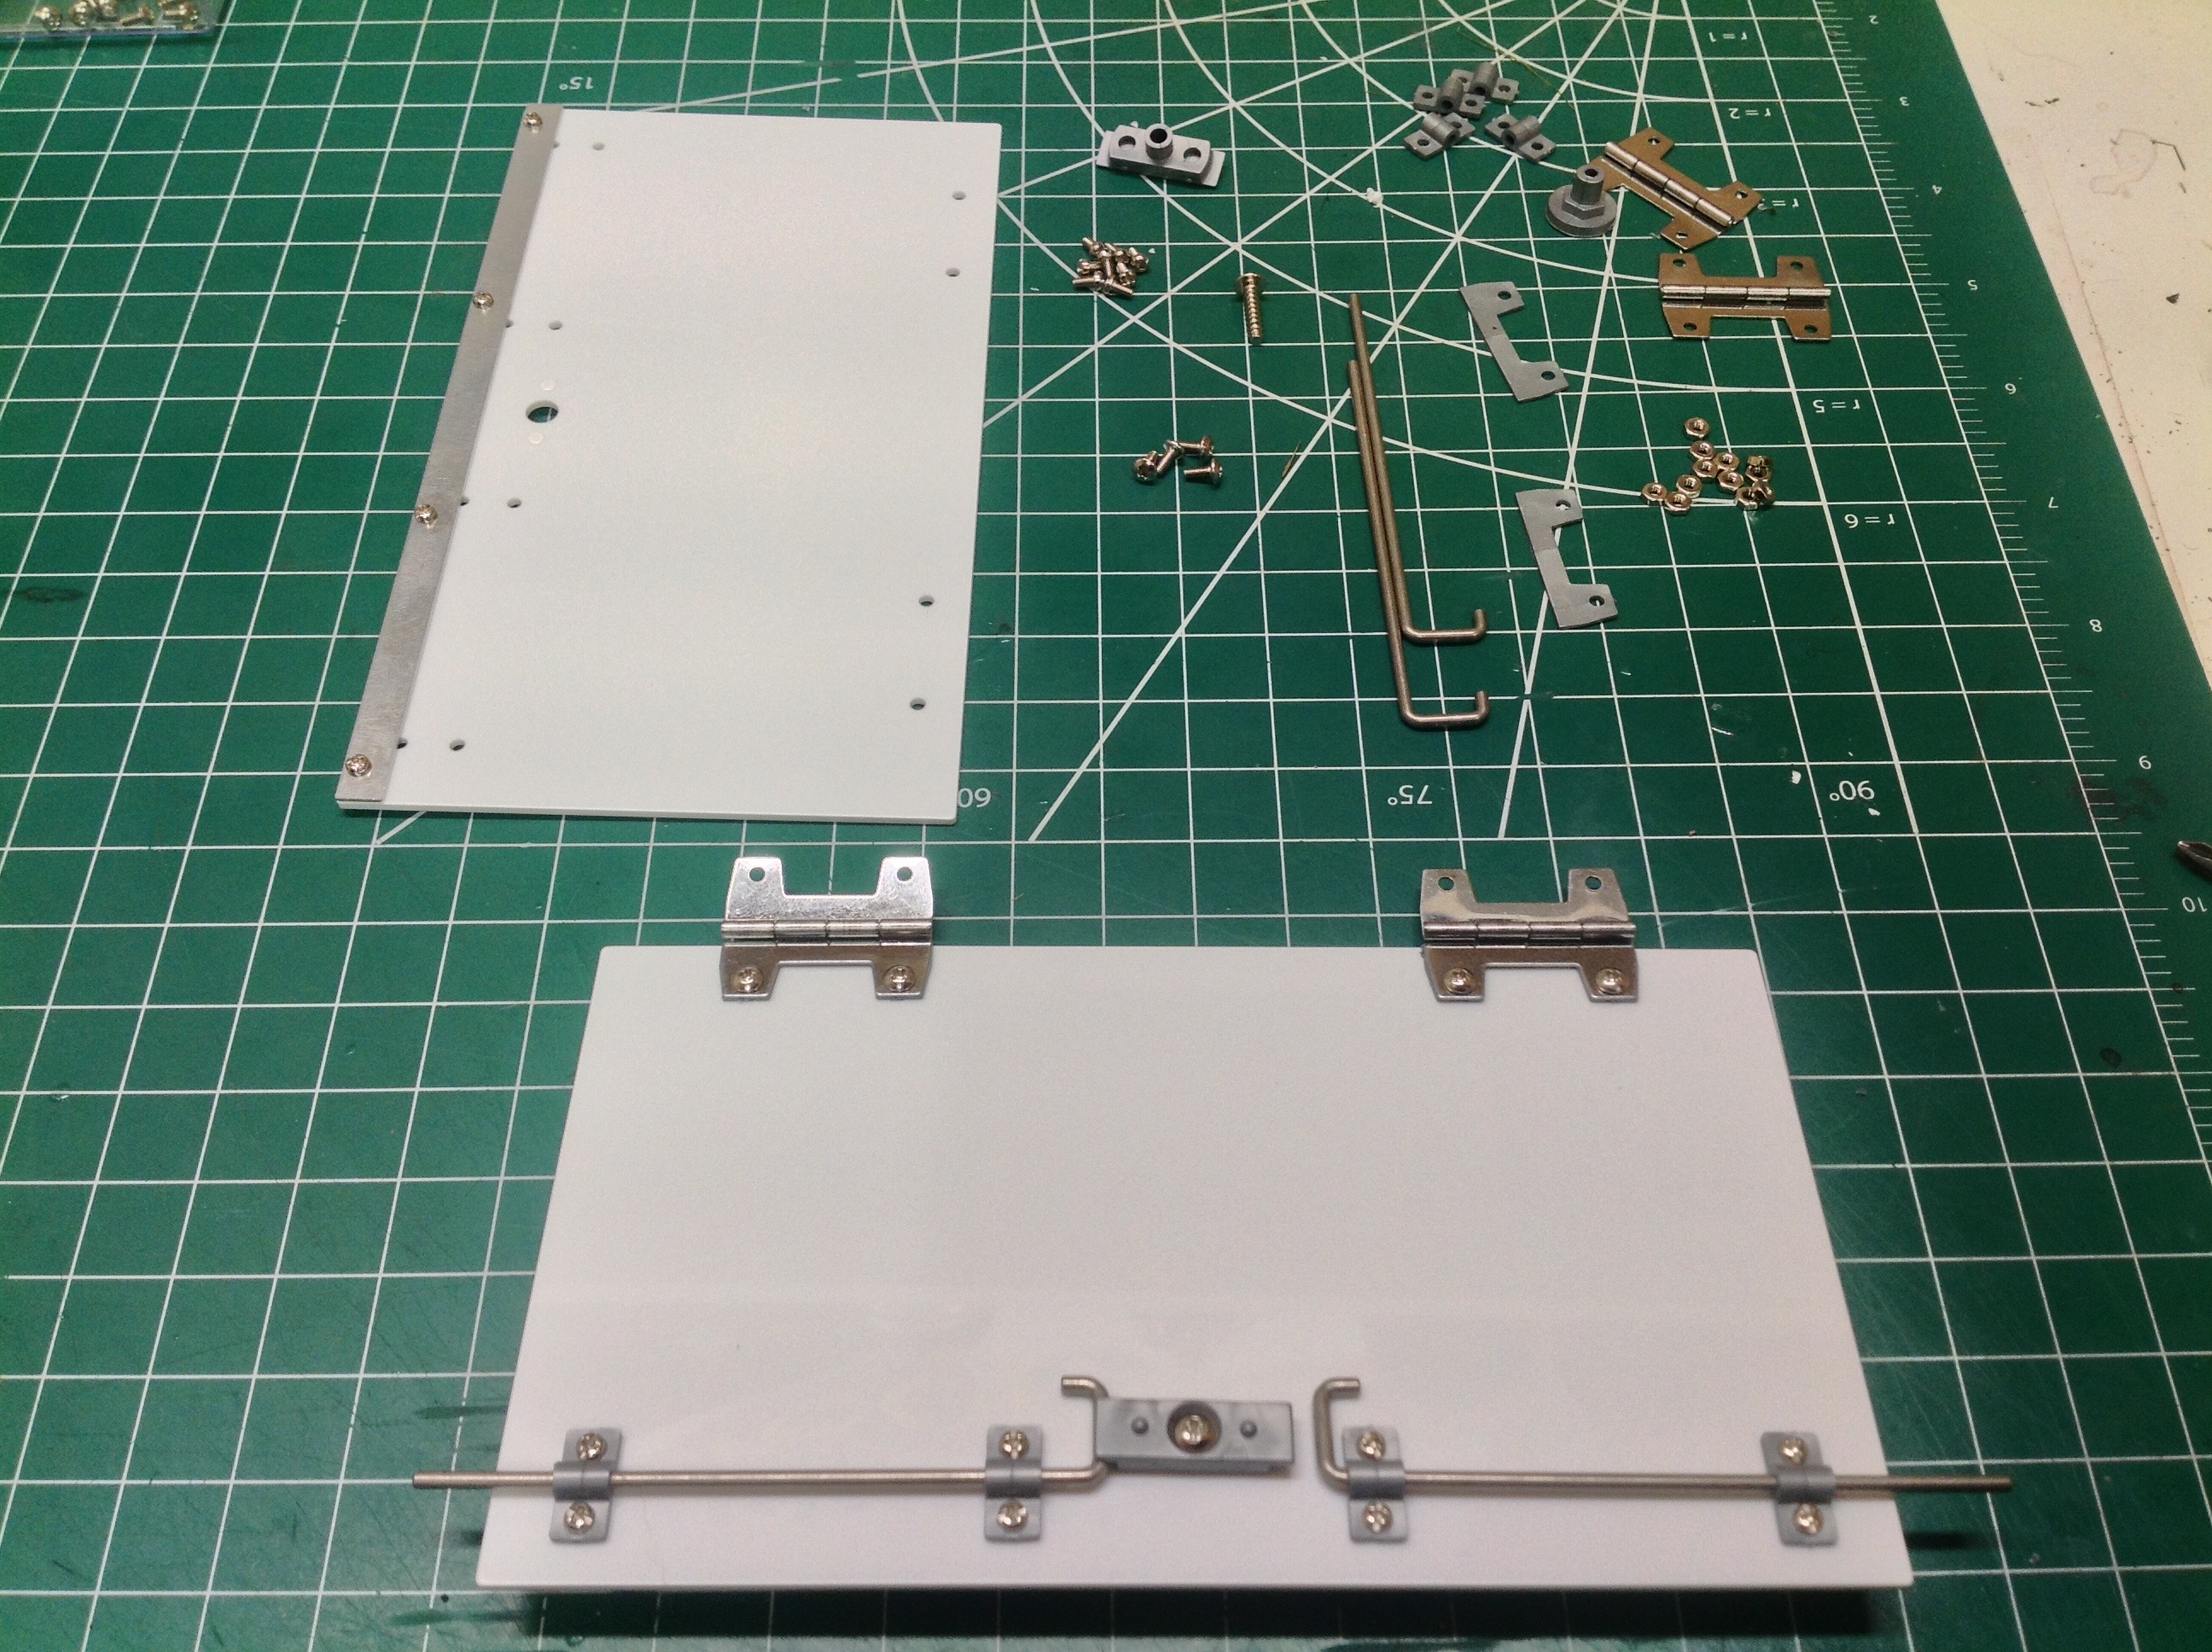
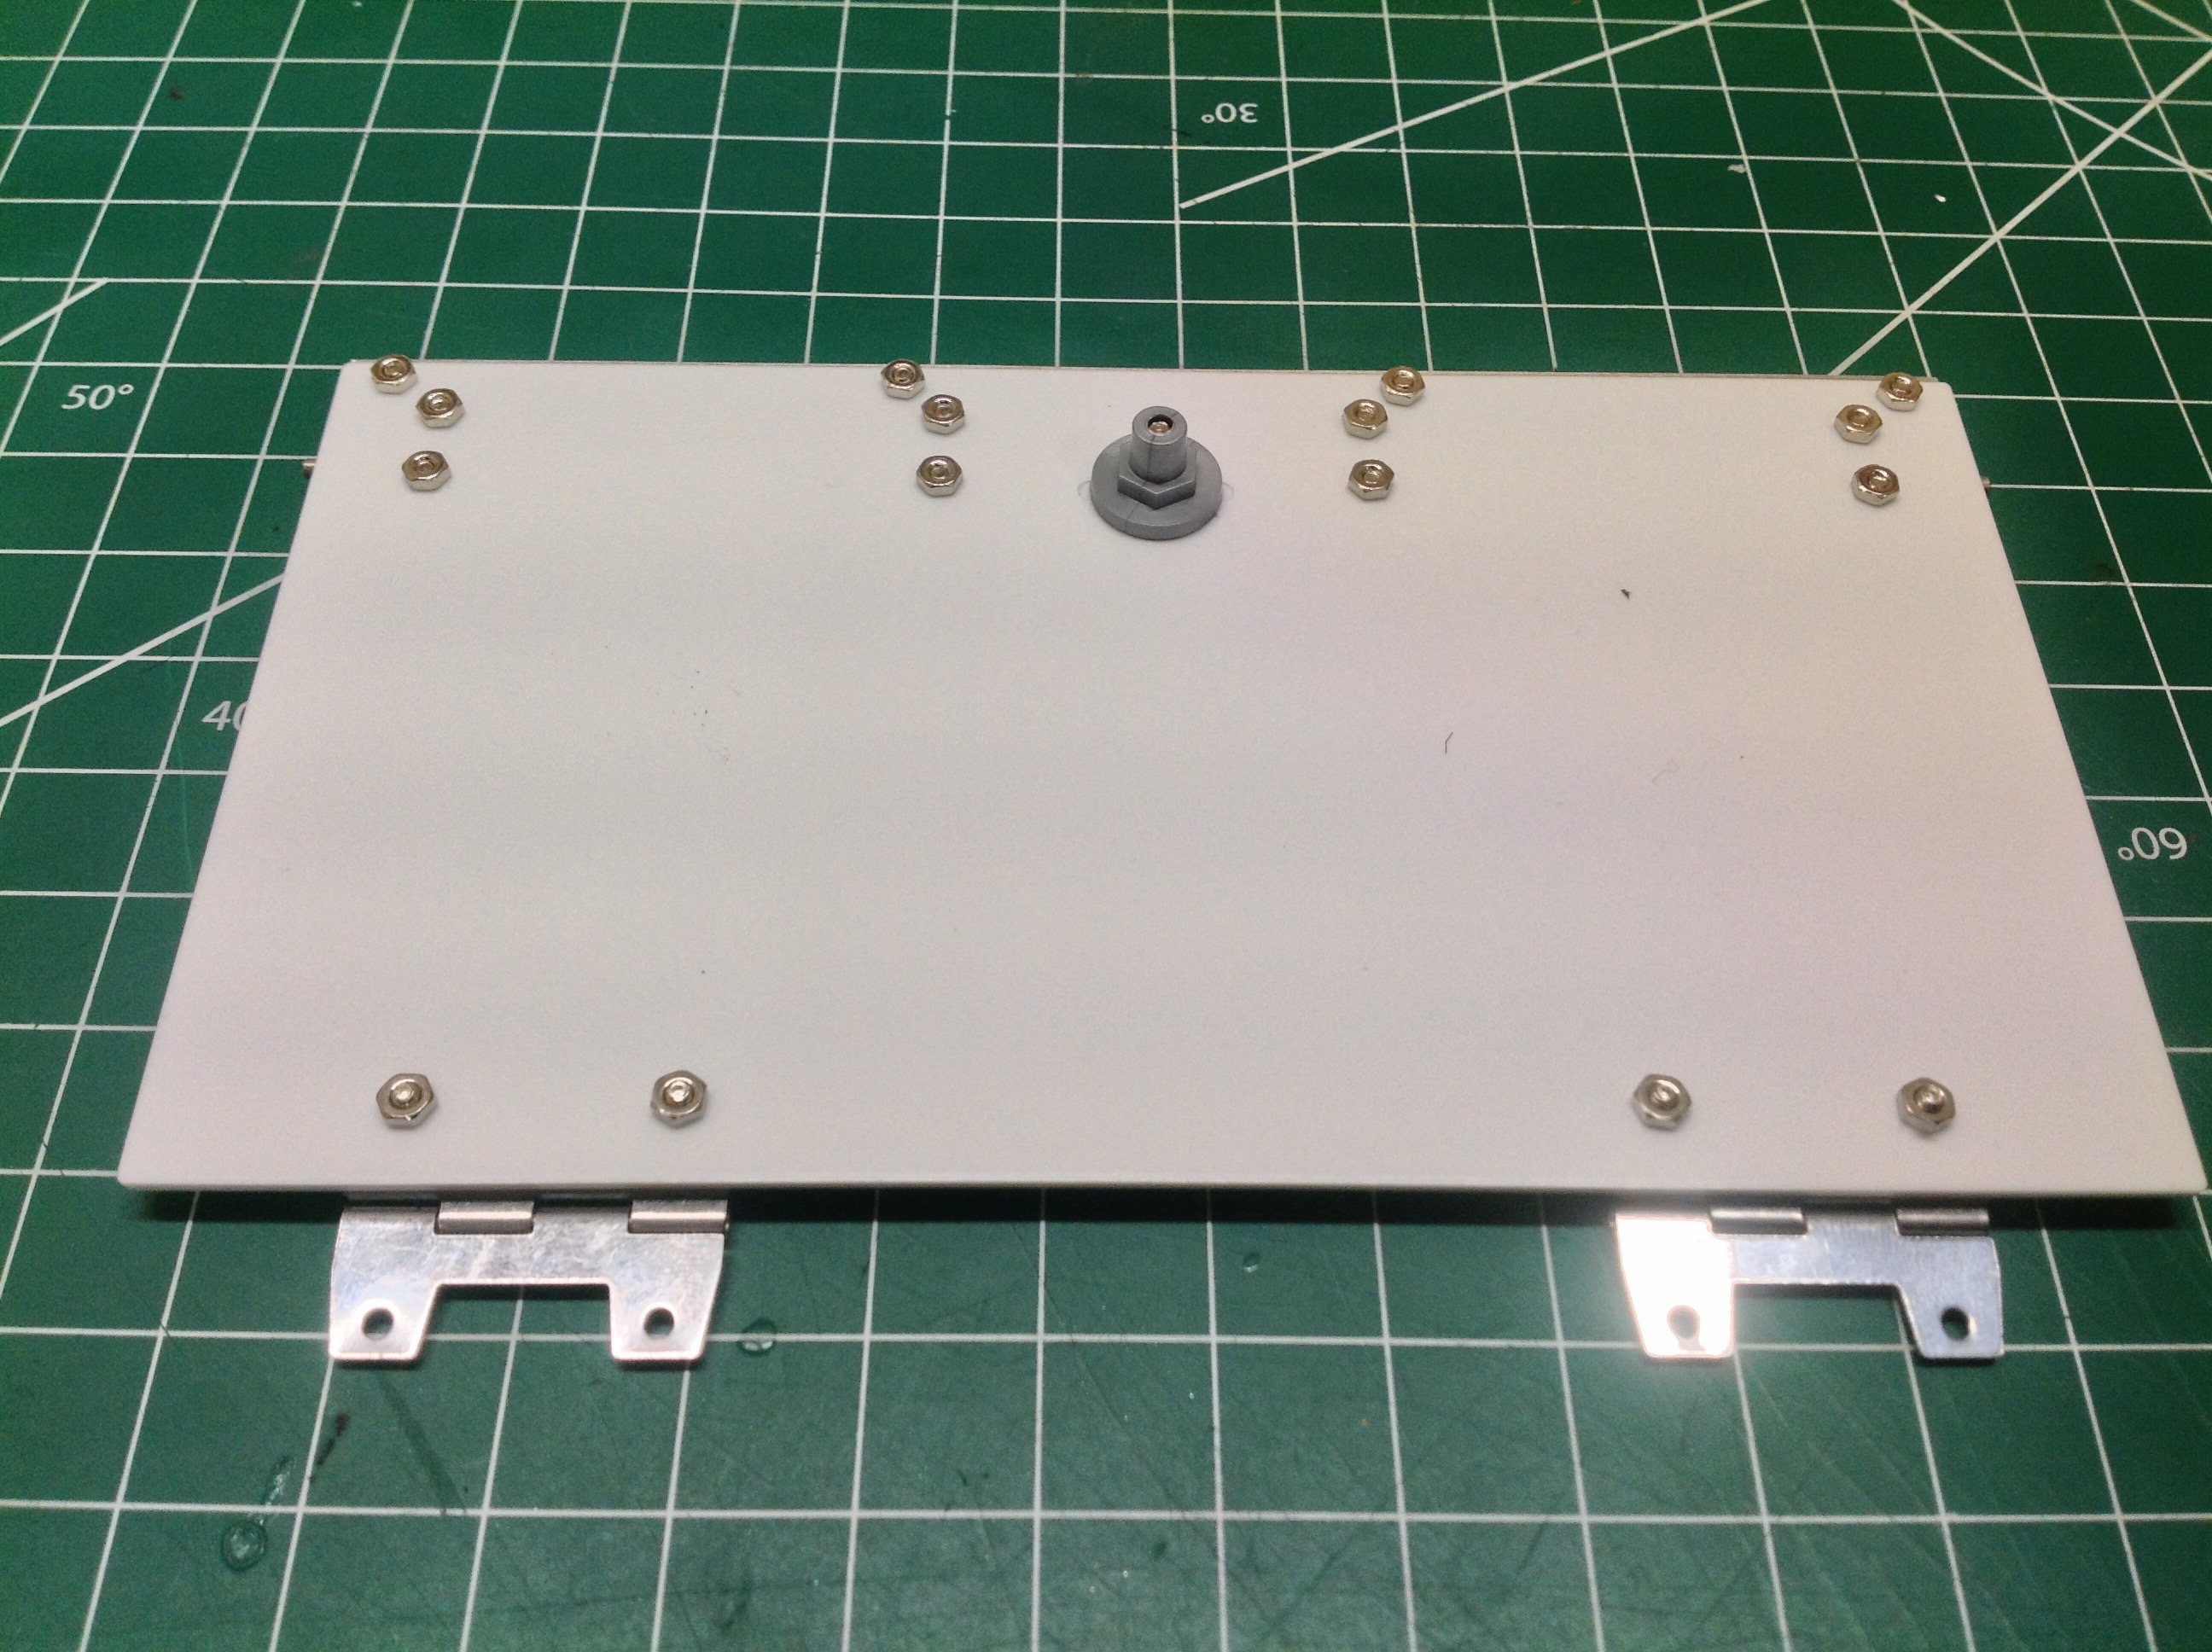
The plastic rear doors have a fairly complex latching system which grabs the upper and lower rails to hold the door shut.
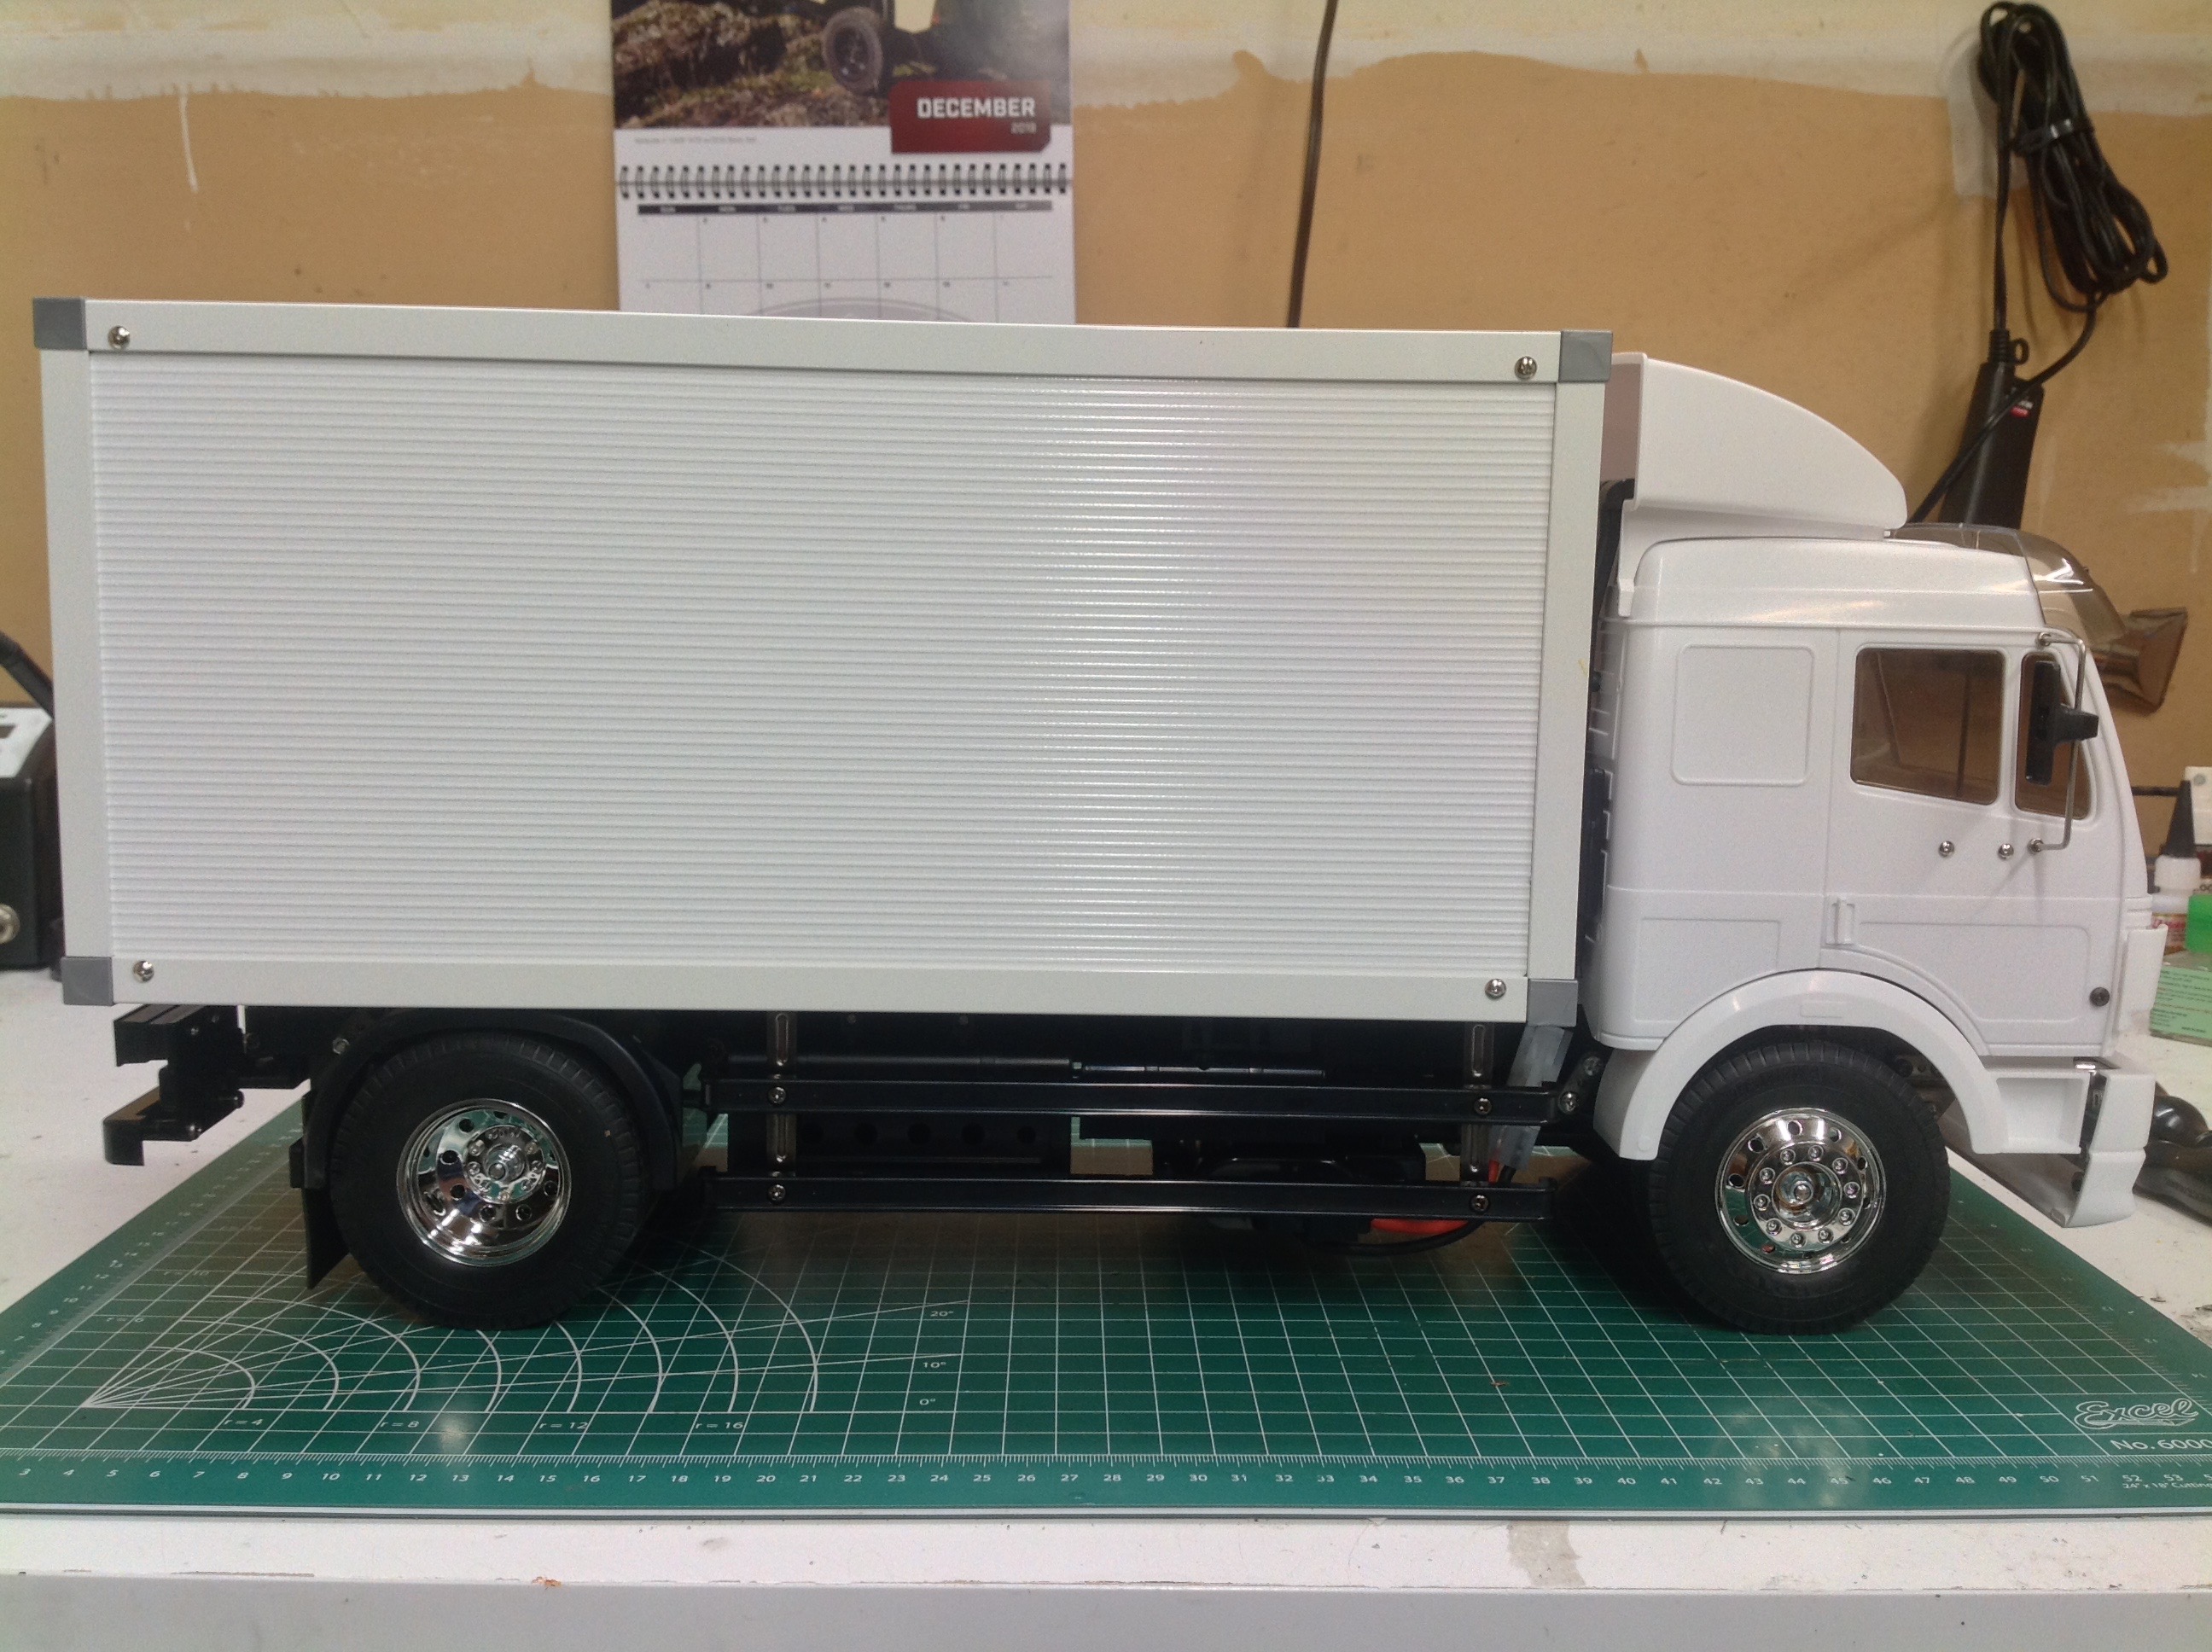
Now the truck has been physically completed. The doors were the
very last thing installed. At this point I was able to drive it
around and decide if I wanted to change anything before committing to
painting it.
©2020 Eric Albrecht