Mercedes 1850L Project
Page 2: Painting and Finishing
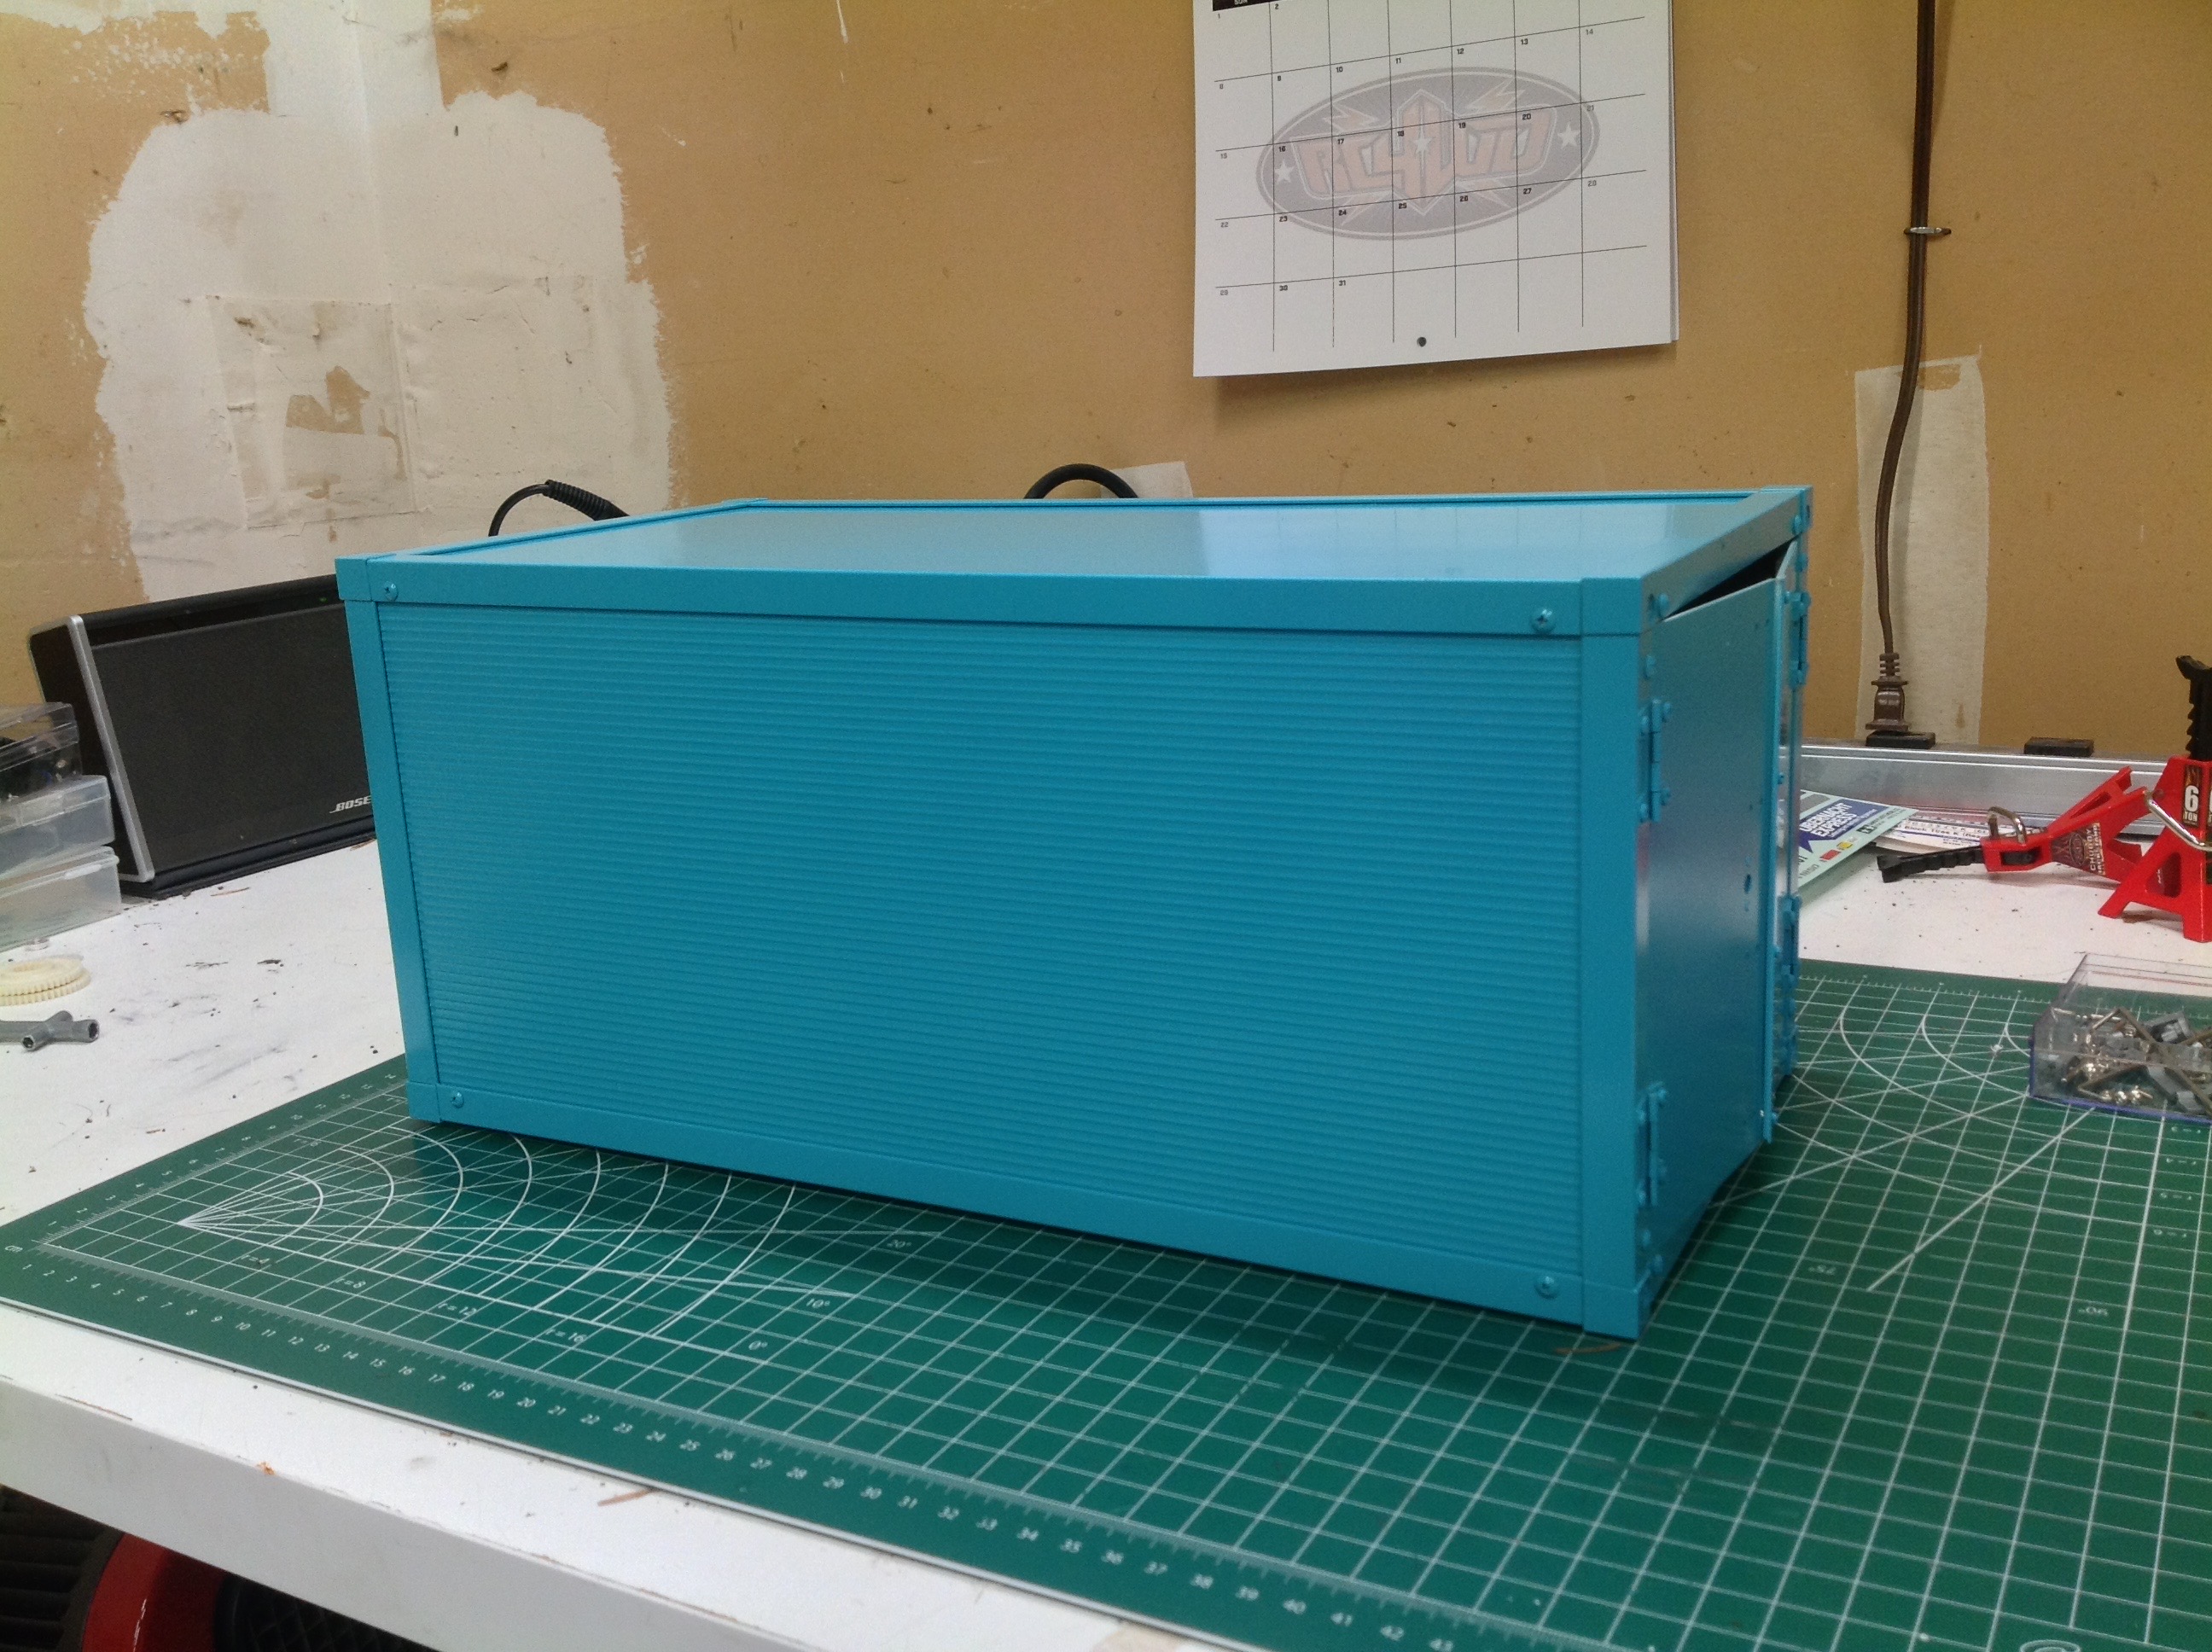
The one color Cobalt Blue paint scheme might seem quite simple, but that
doesn't make it easy. I started with the box. Because it
consists of a combination of metal and plastic, I chose to prime it
white first. I also decided to paint it already assembled rather
than paint the parts separately. This results in paint on the
fasteners as well, however I left out the rear door latch hardware so it
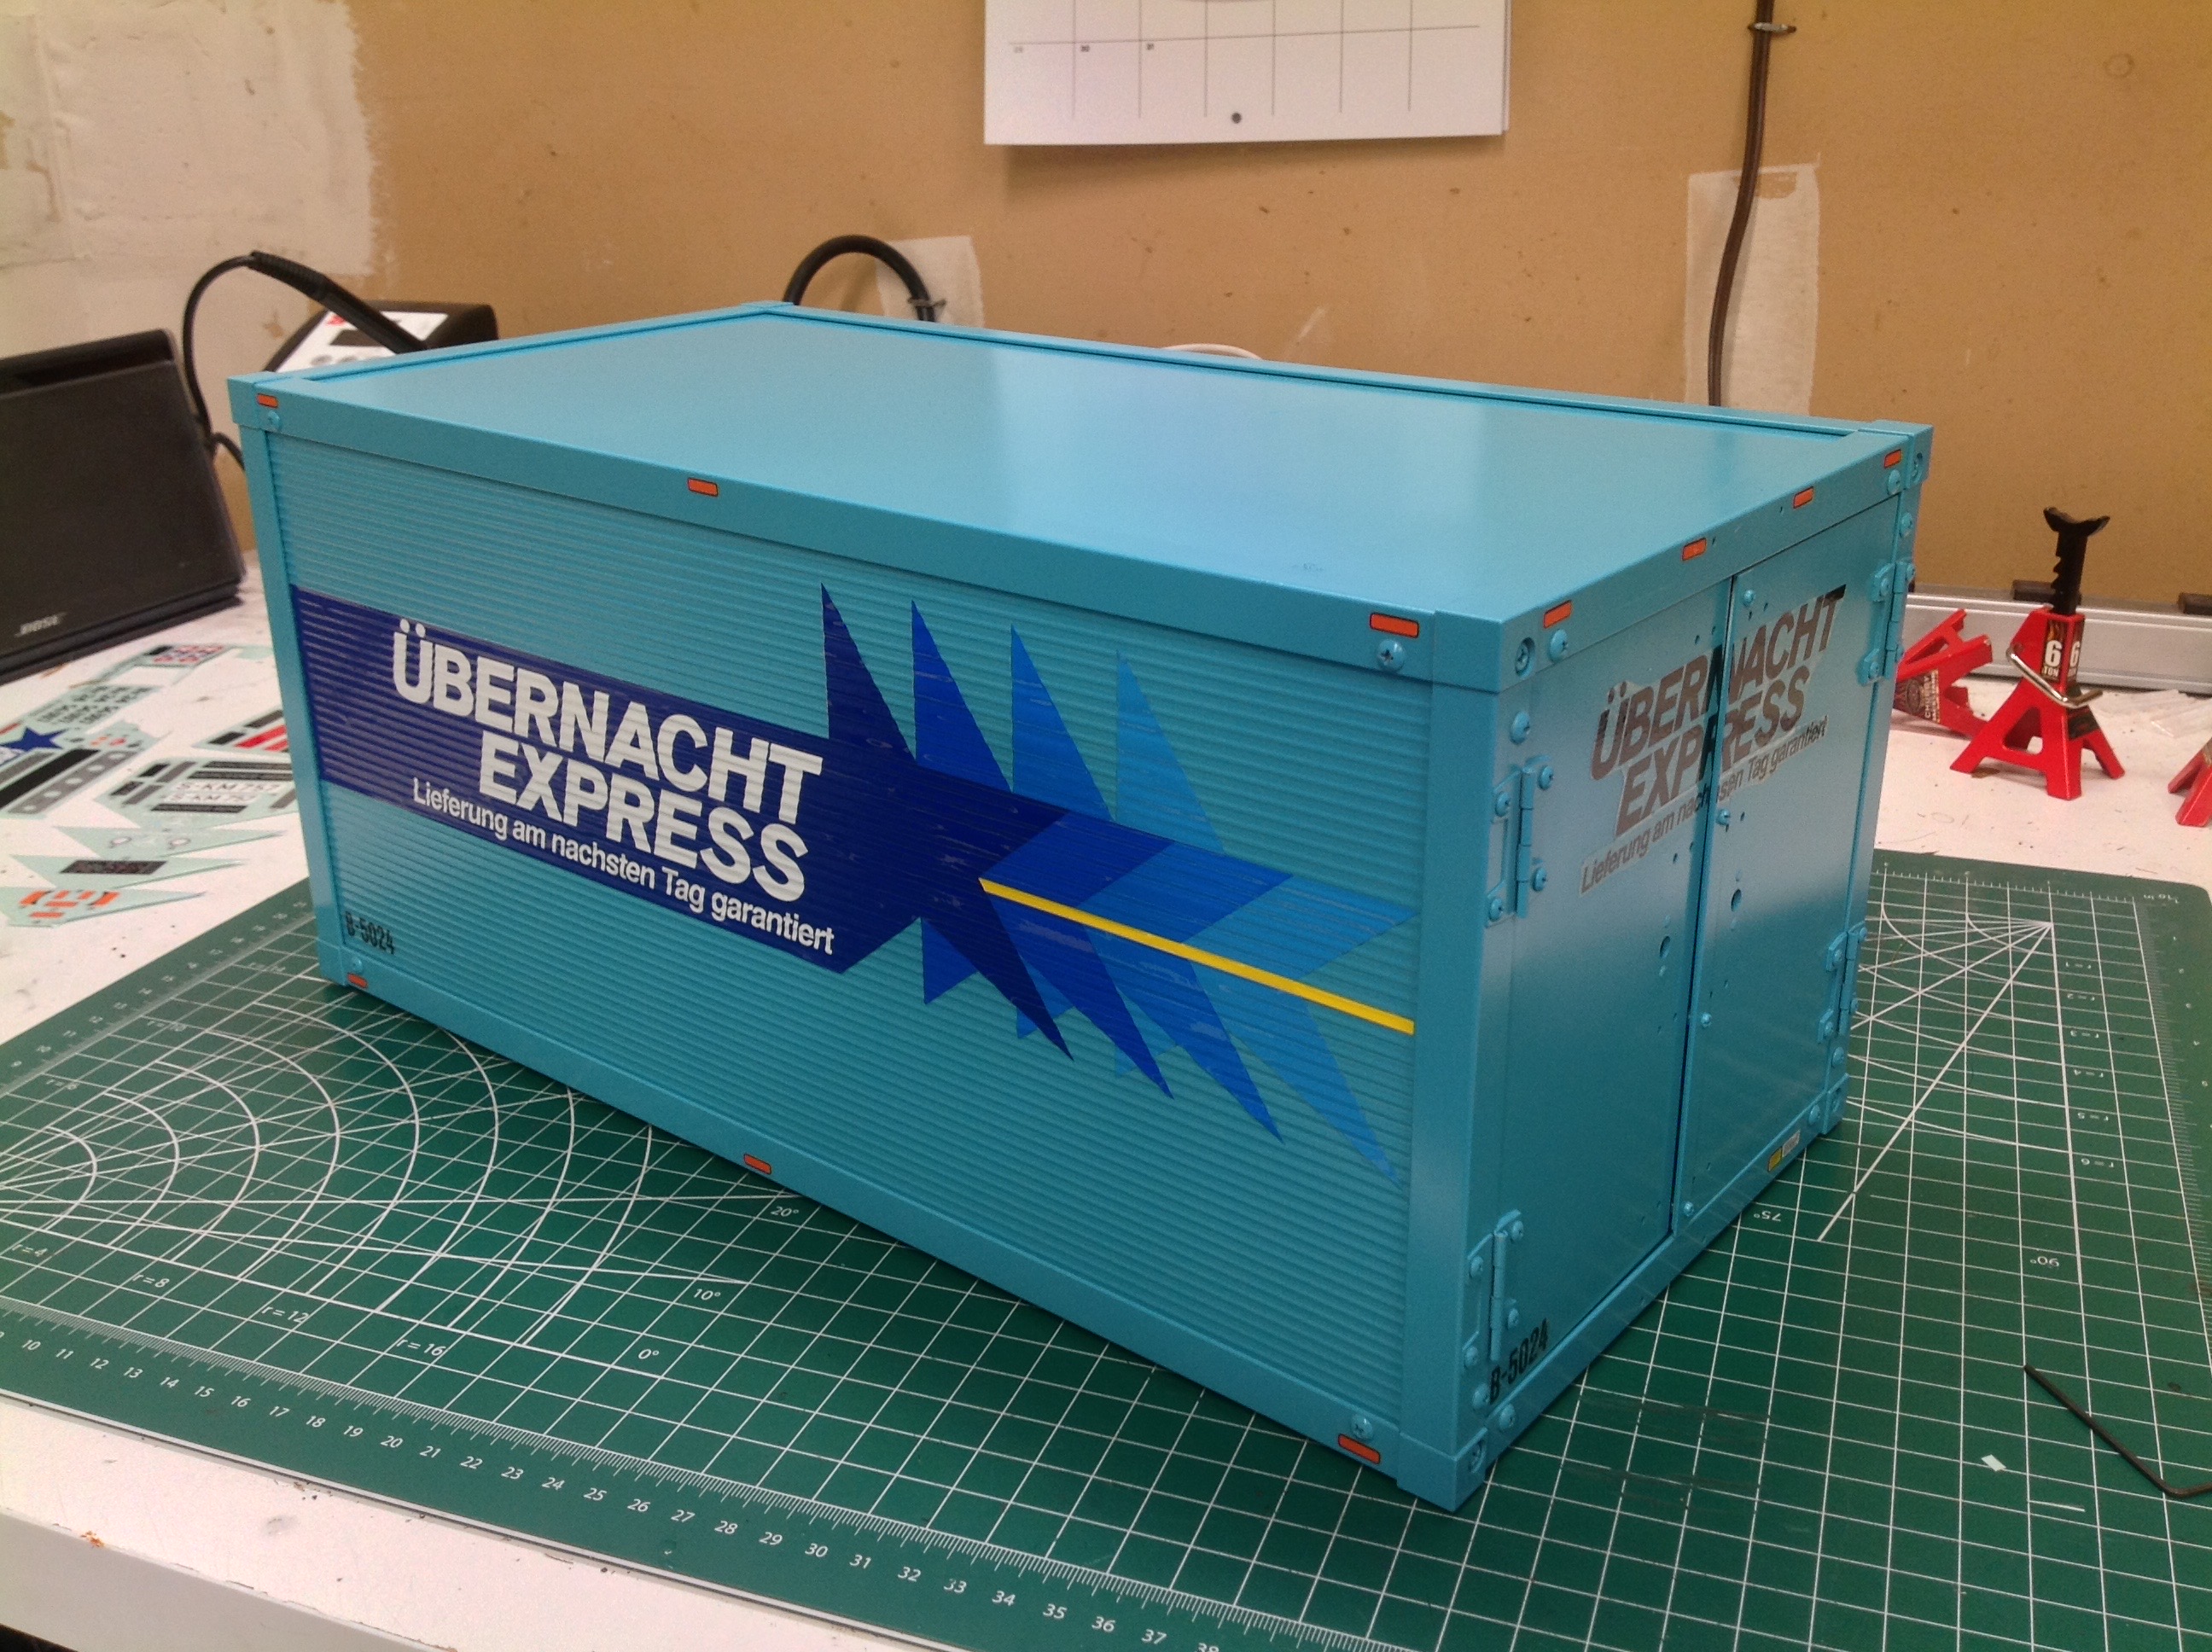
would still appear metallic. The hardest part of the whole
project was the application of the huge stickers on the side of the
box. It is always hard to apply large stickers without bubbles,
but the presence of the corrugations makes it even worse. The
other side effect of the corrugations is that is very easy to see if the
sticker is not straight because it will not line up. You only get
one chance to put down the sticker straight and then smooth it
out. After I was done, I applied clear coat to the whole thing.
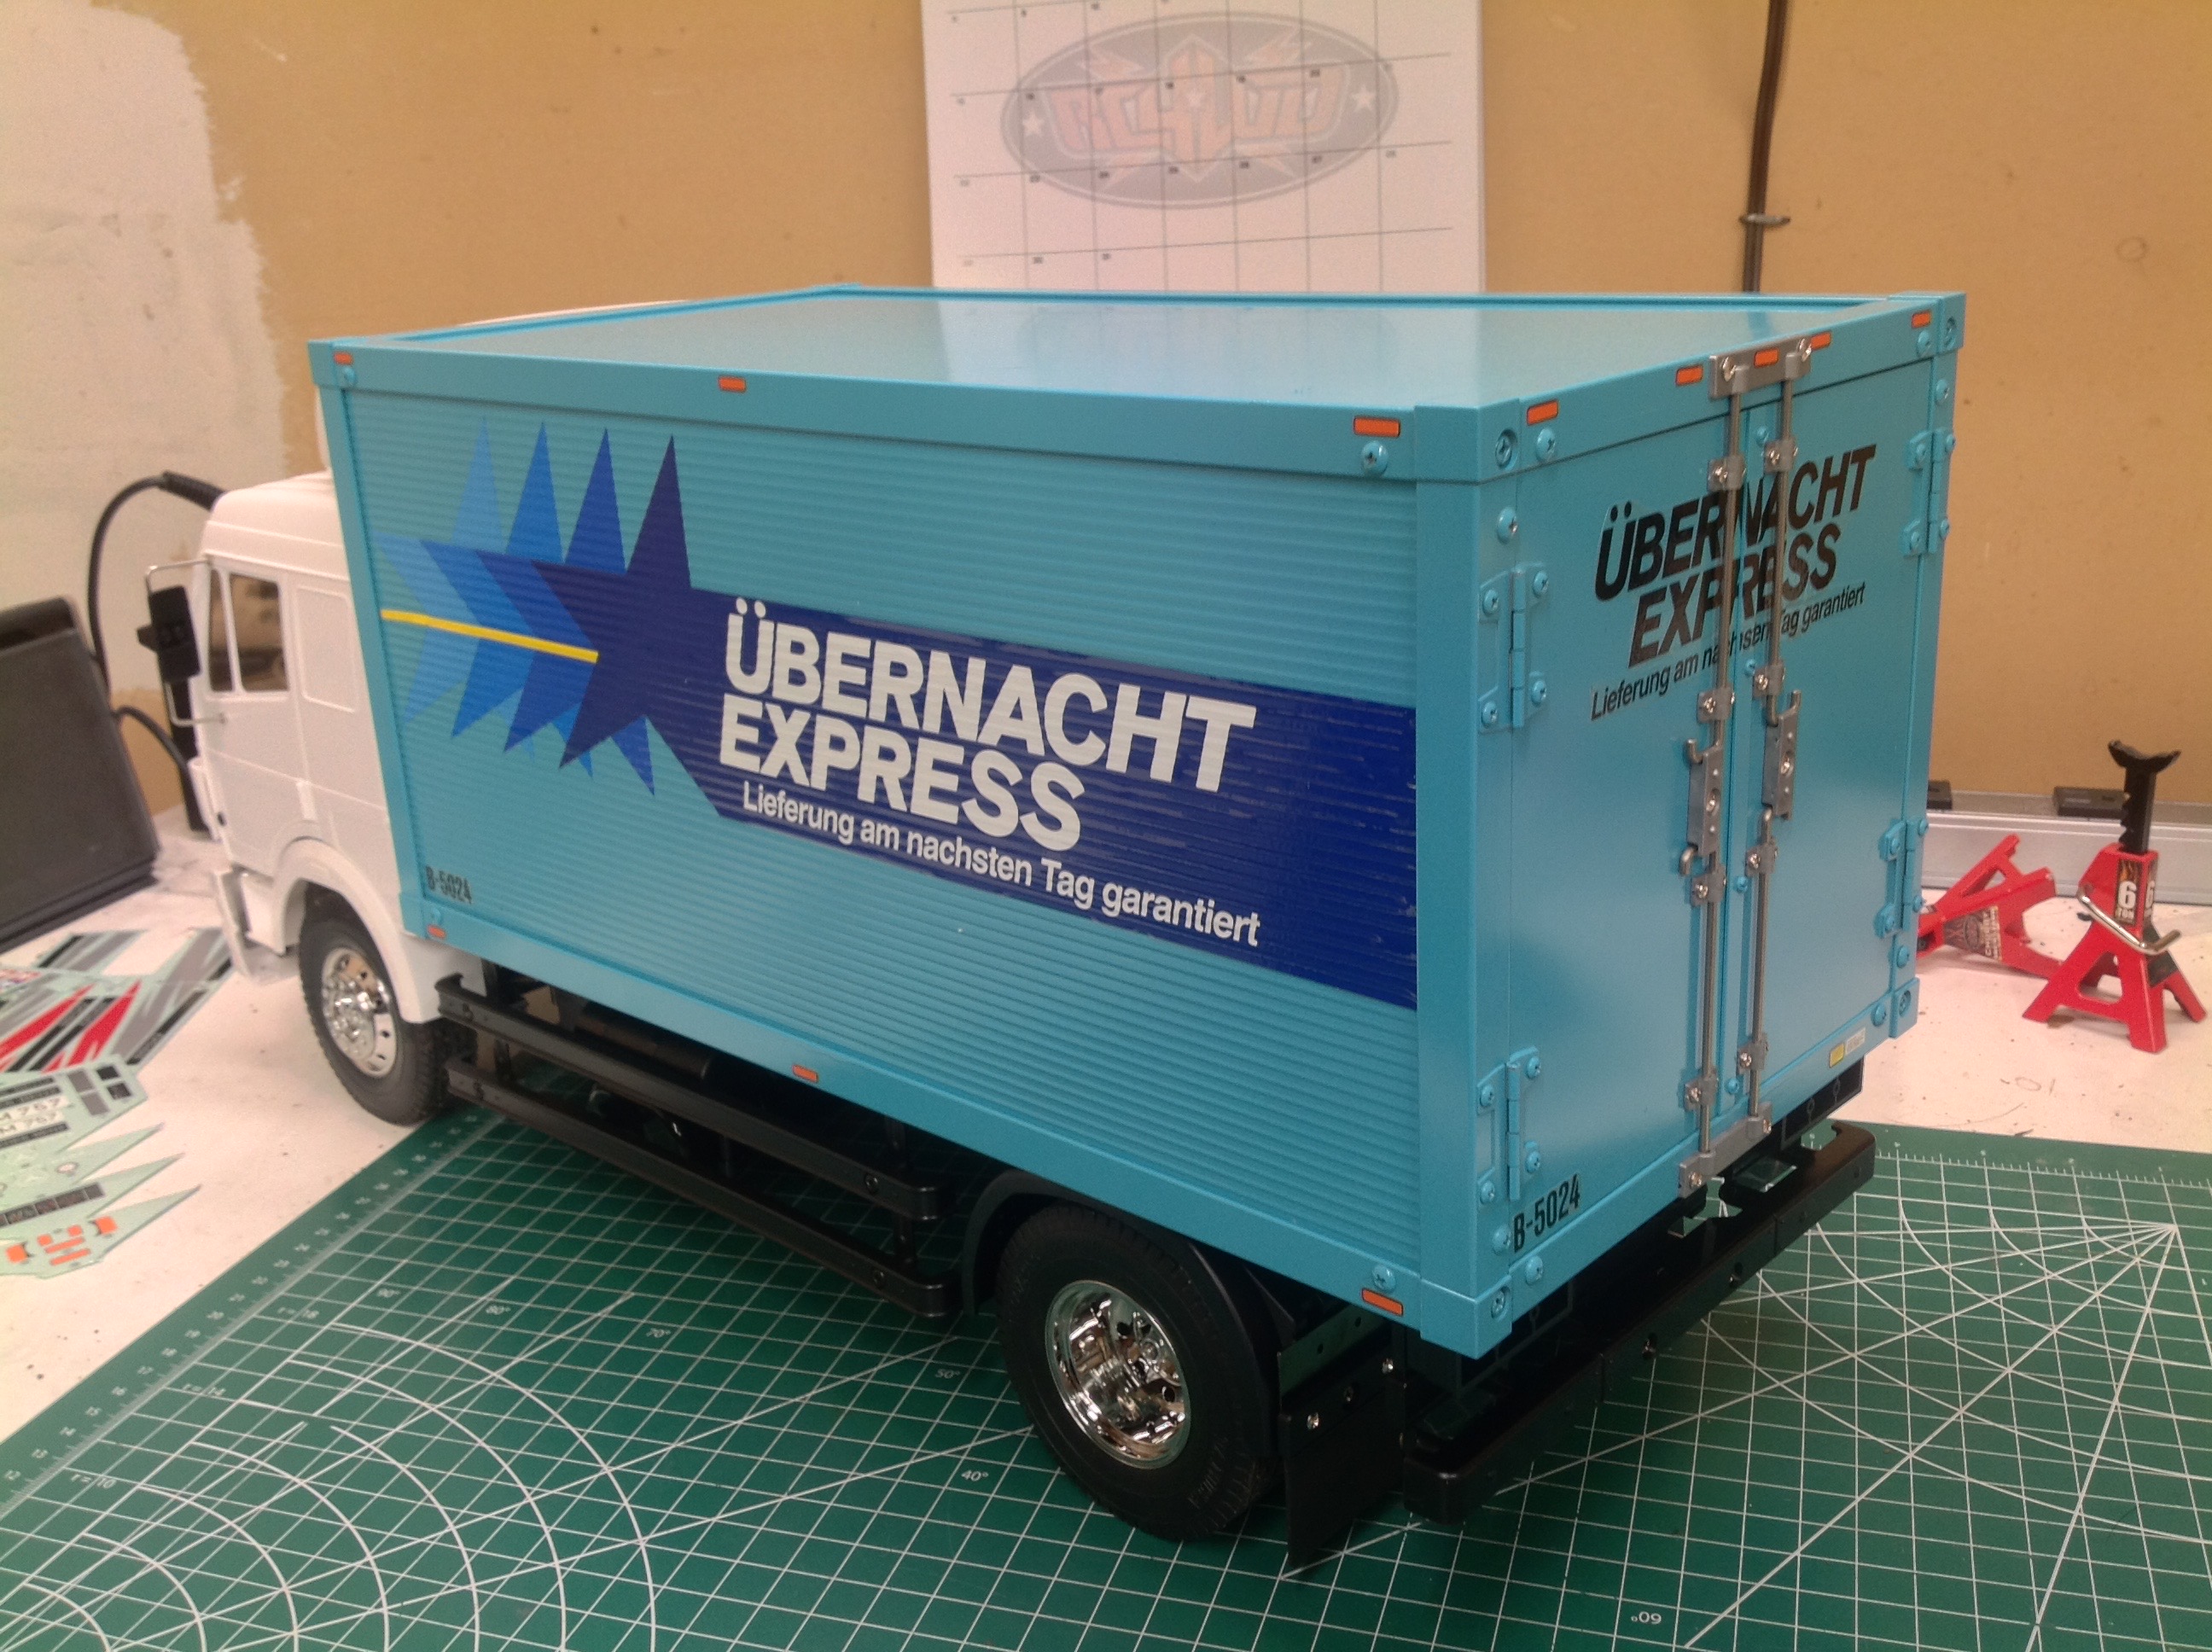
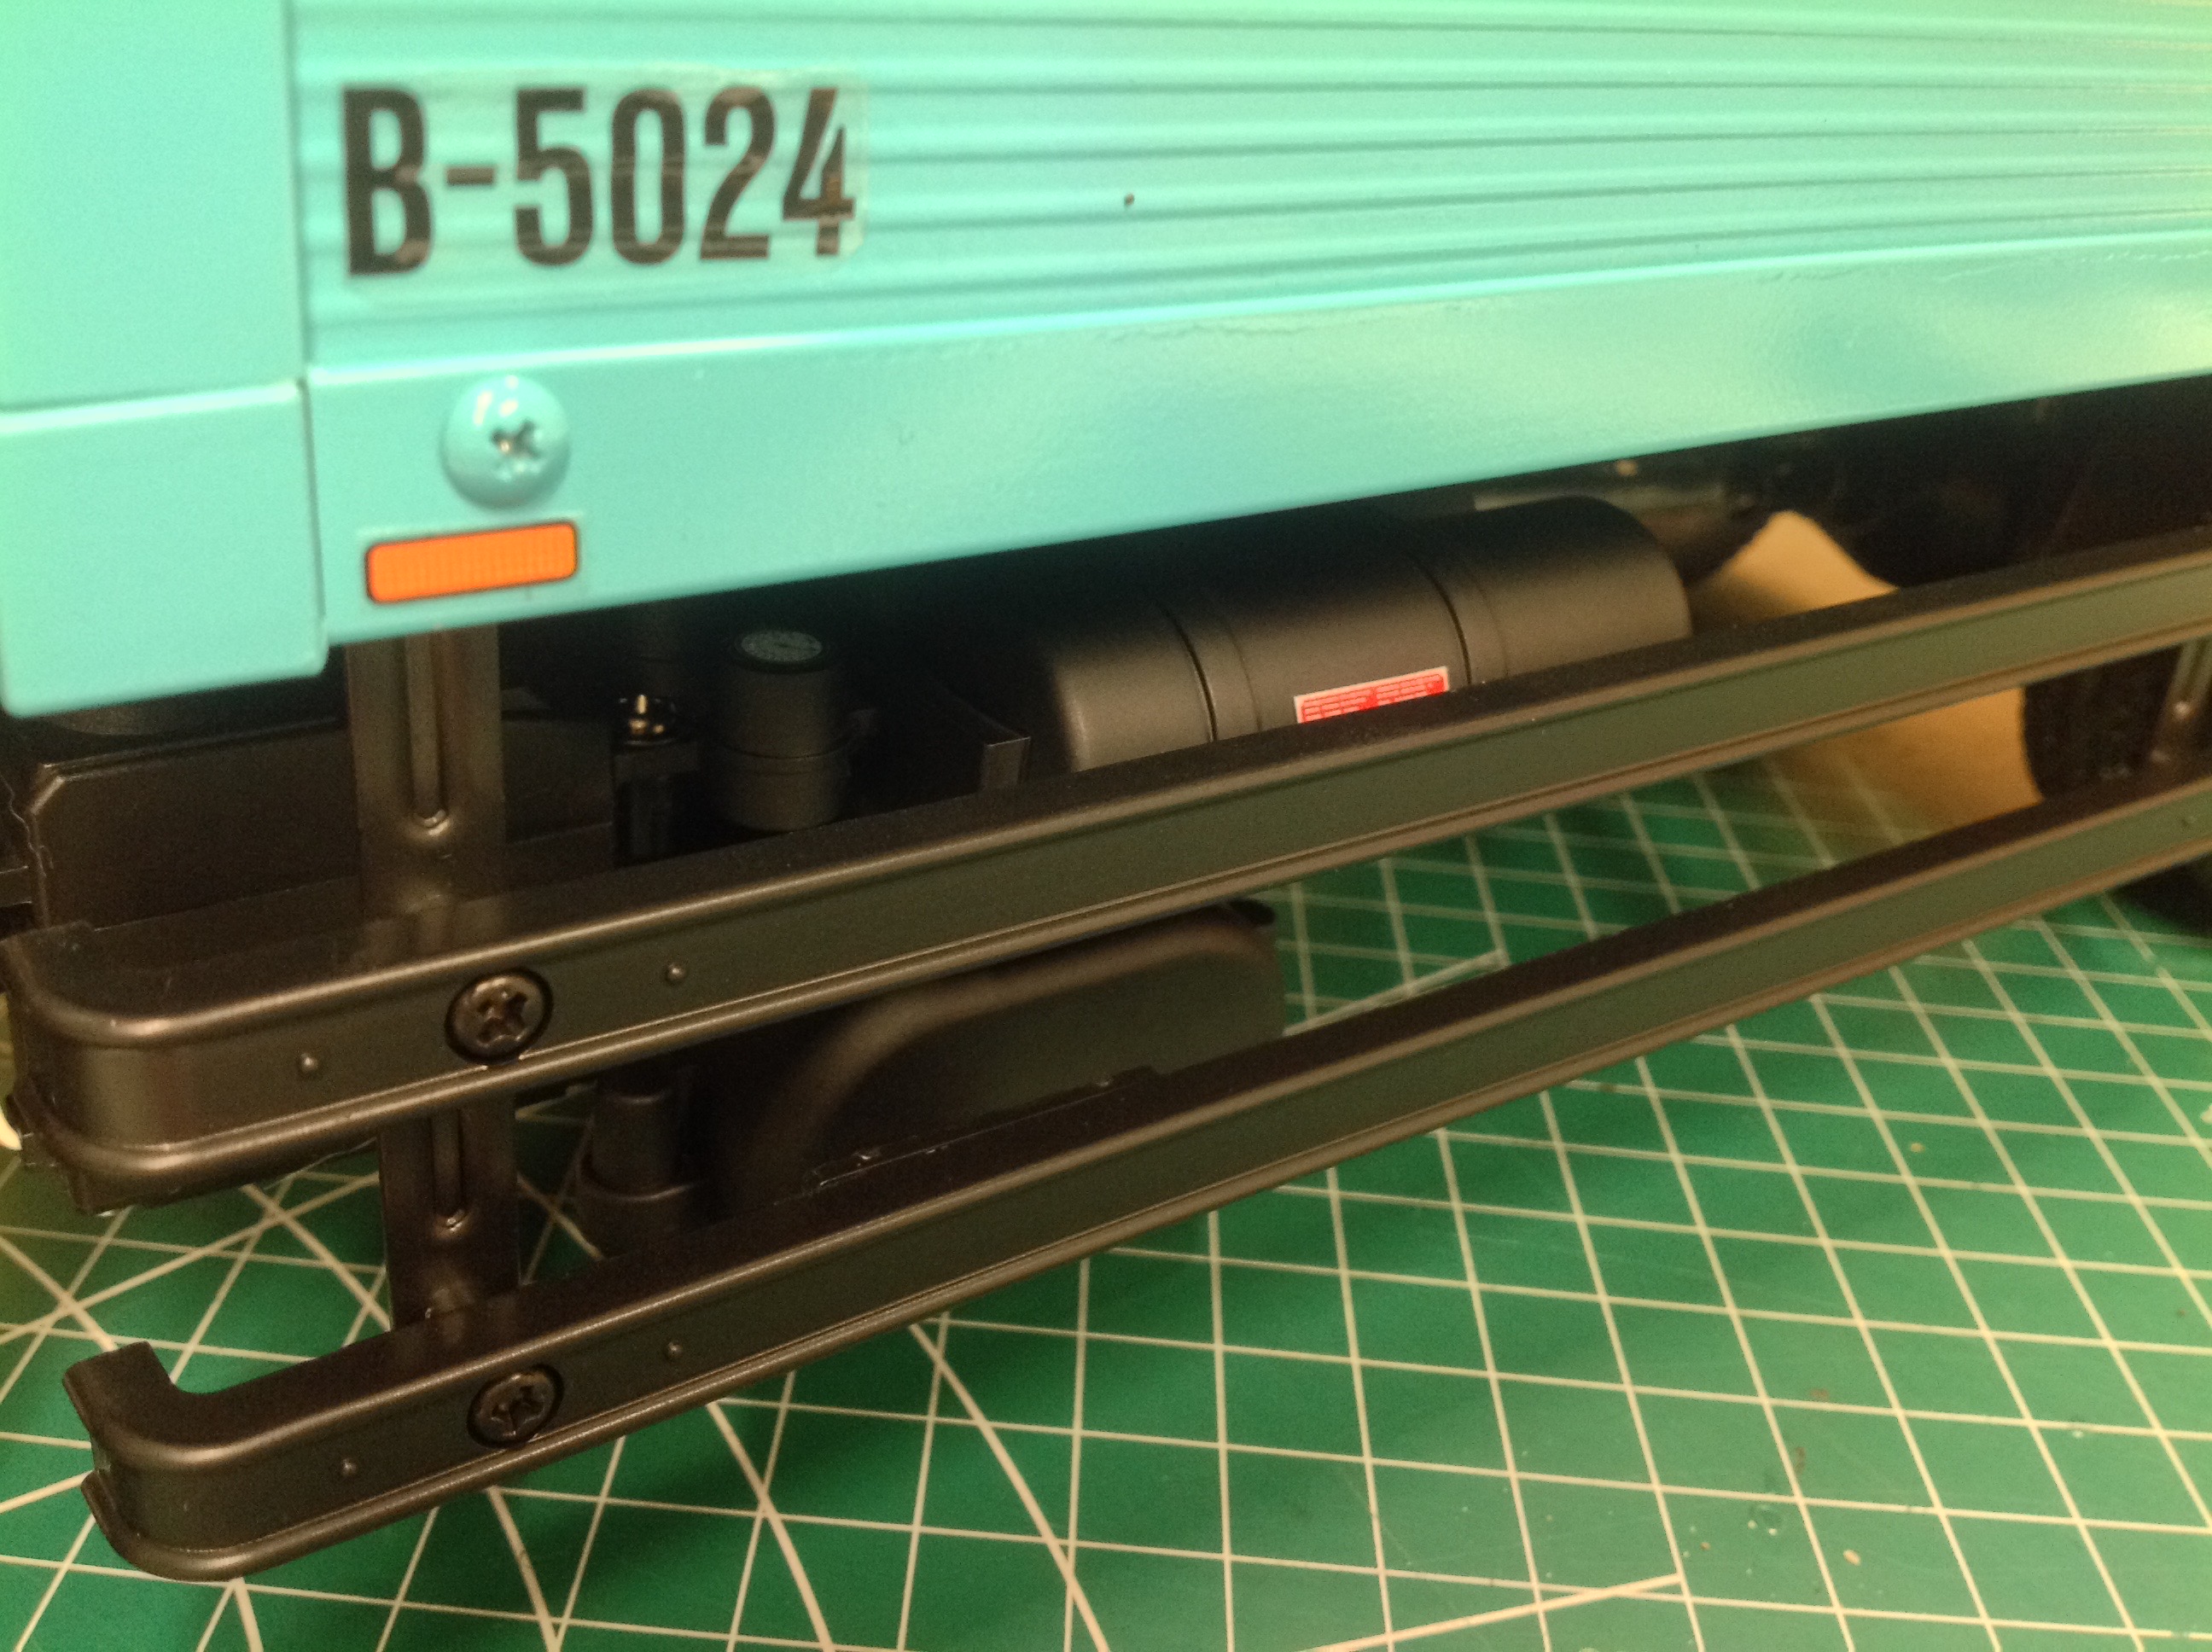
Here's the fully decorated box attached to the chassis. The side
rails you see between the front and rear axles actually hang from the
box so they needed to be painted flat black and attached now as well.
Tail lights are always tricky. I started by assembling them to the
rear bumper and spraying the whole thing flat black. After that I
used a brush to apply chrome silver paint inside the light
buckets. The lenses come off the tree clear, so I applied
transparent red and amber paint as shown. Note the entire inner
third of the lens ends up lighting up white with the reverse lights even
though it should really be split into a reverse light and an inner tail
light. The right hand picture shows all of this installed in the
truck along with the license plates, mud flaps, and stickers.
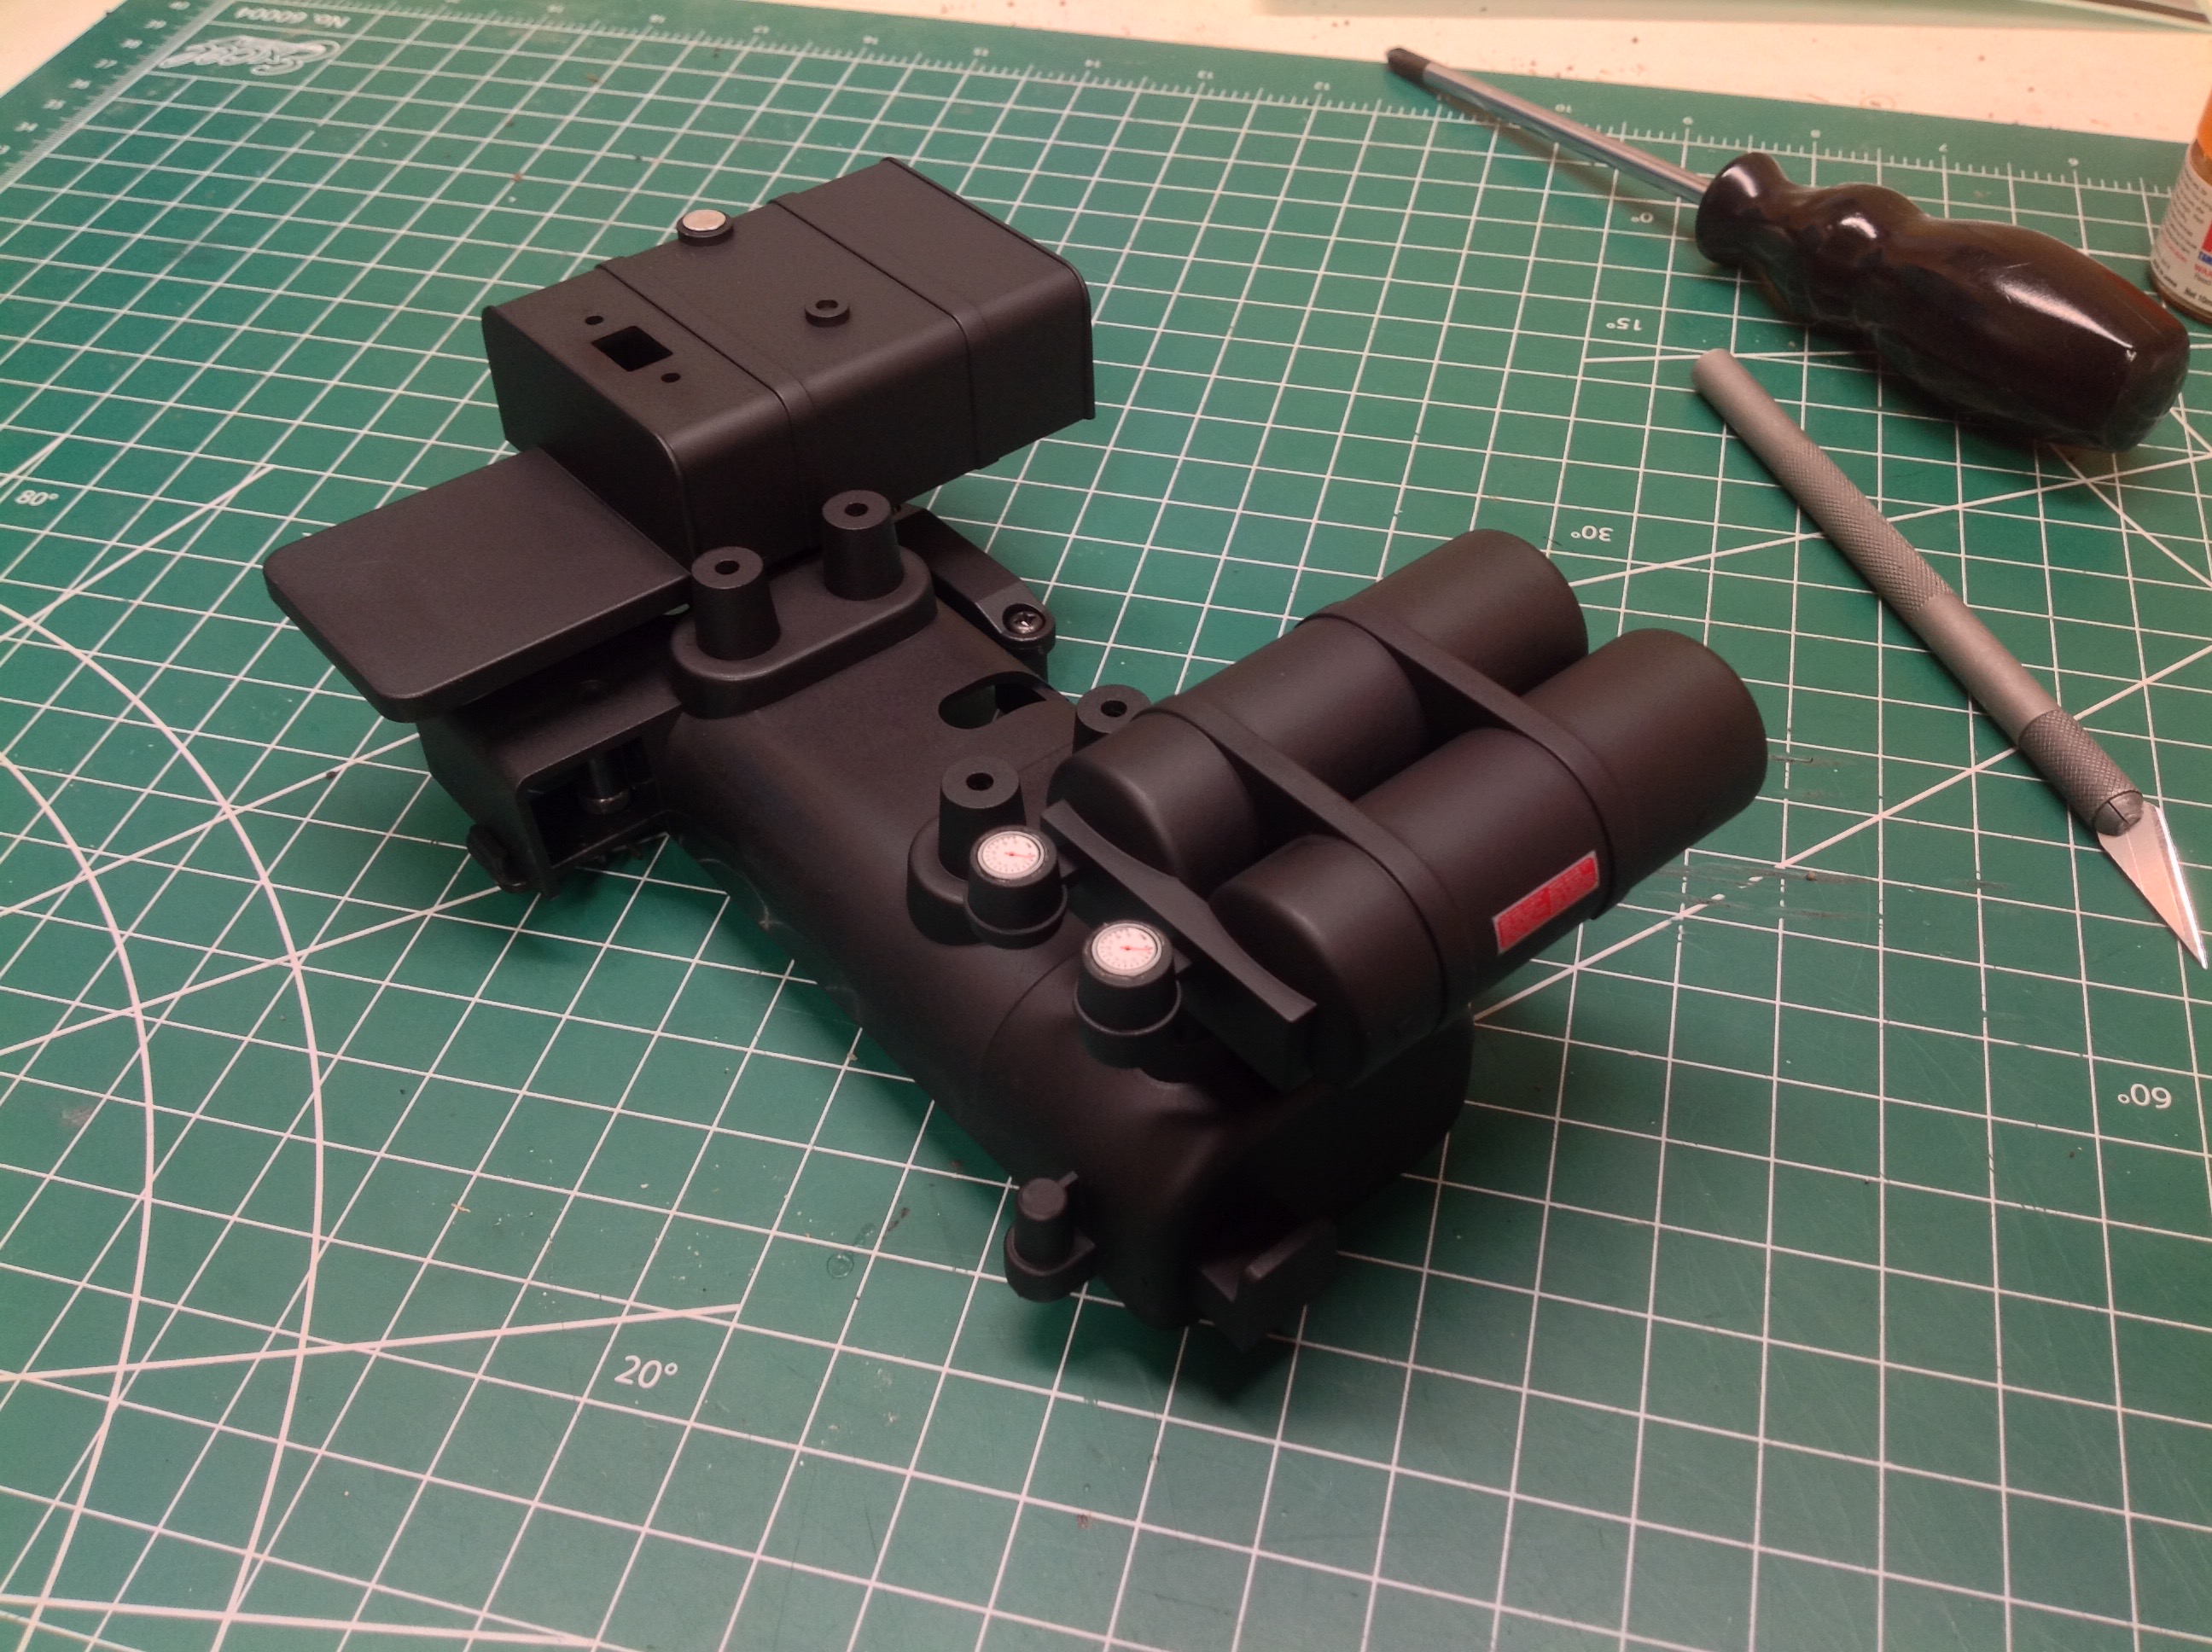
The fuel tank on the right side of the chassis got replaced by an MFC
control panel, but the oil (or air?) tanks and battery box on the left
side remain. I painted them flat black and applied the stickers as
shown.
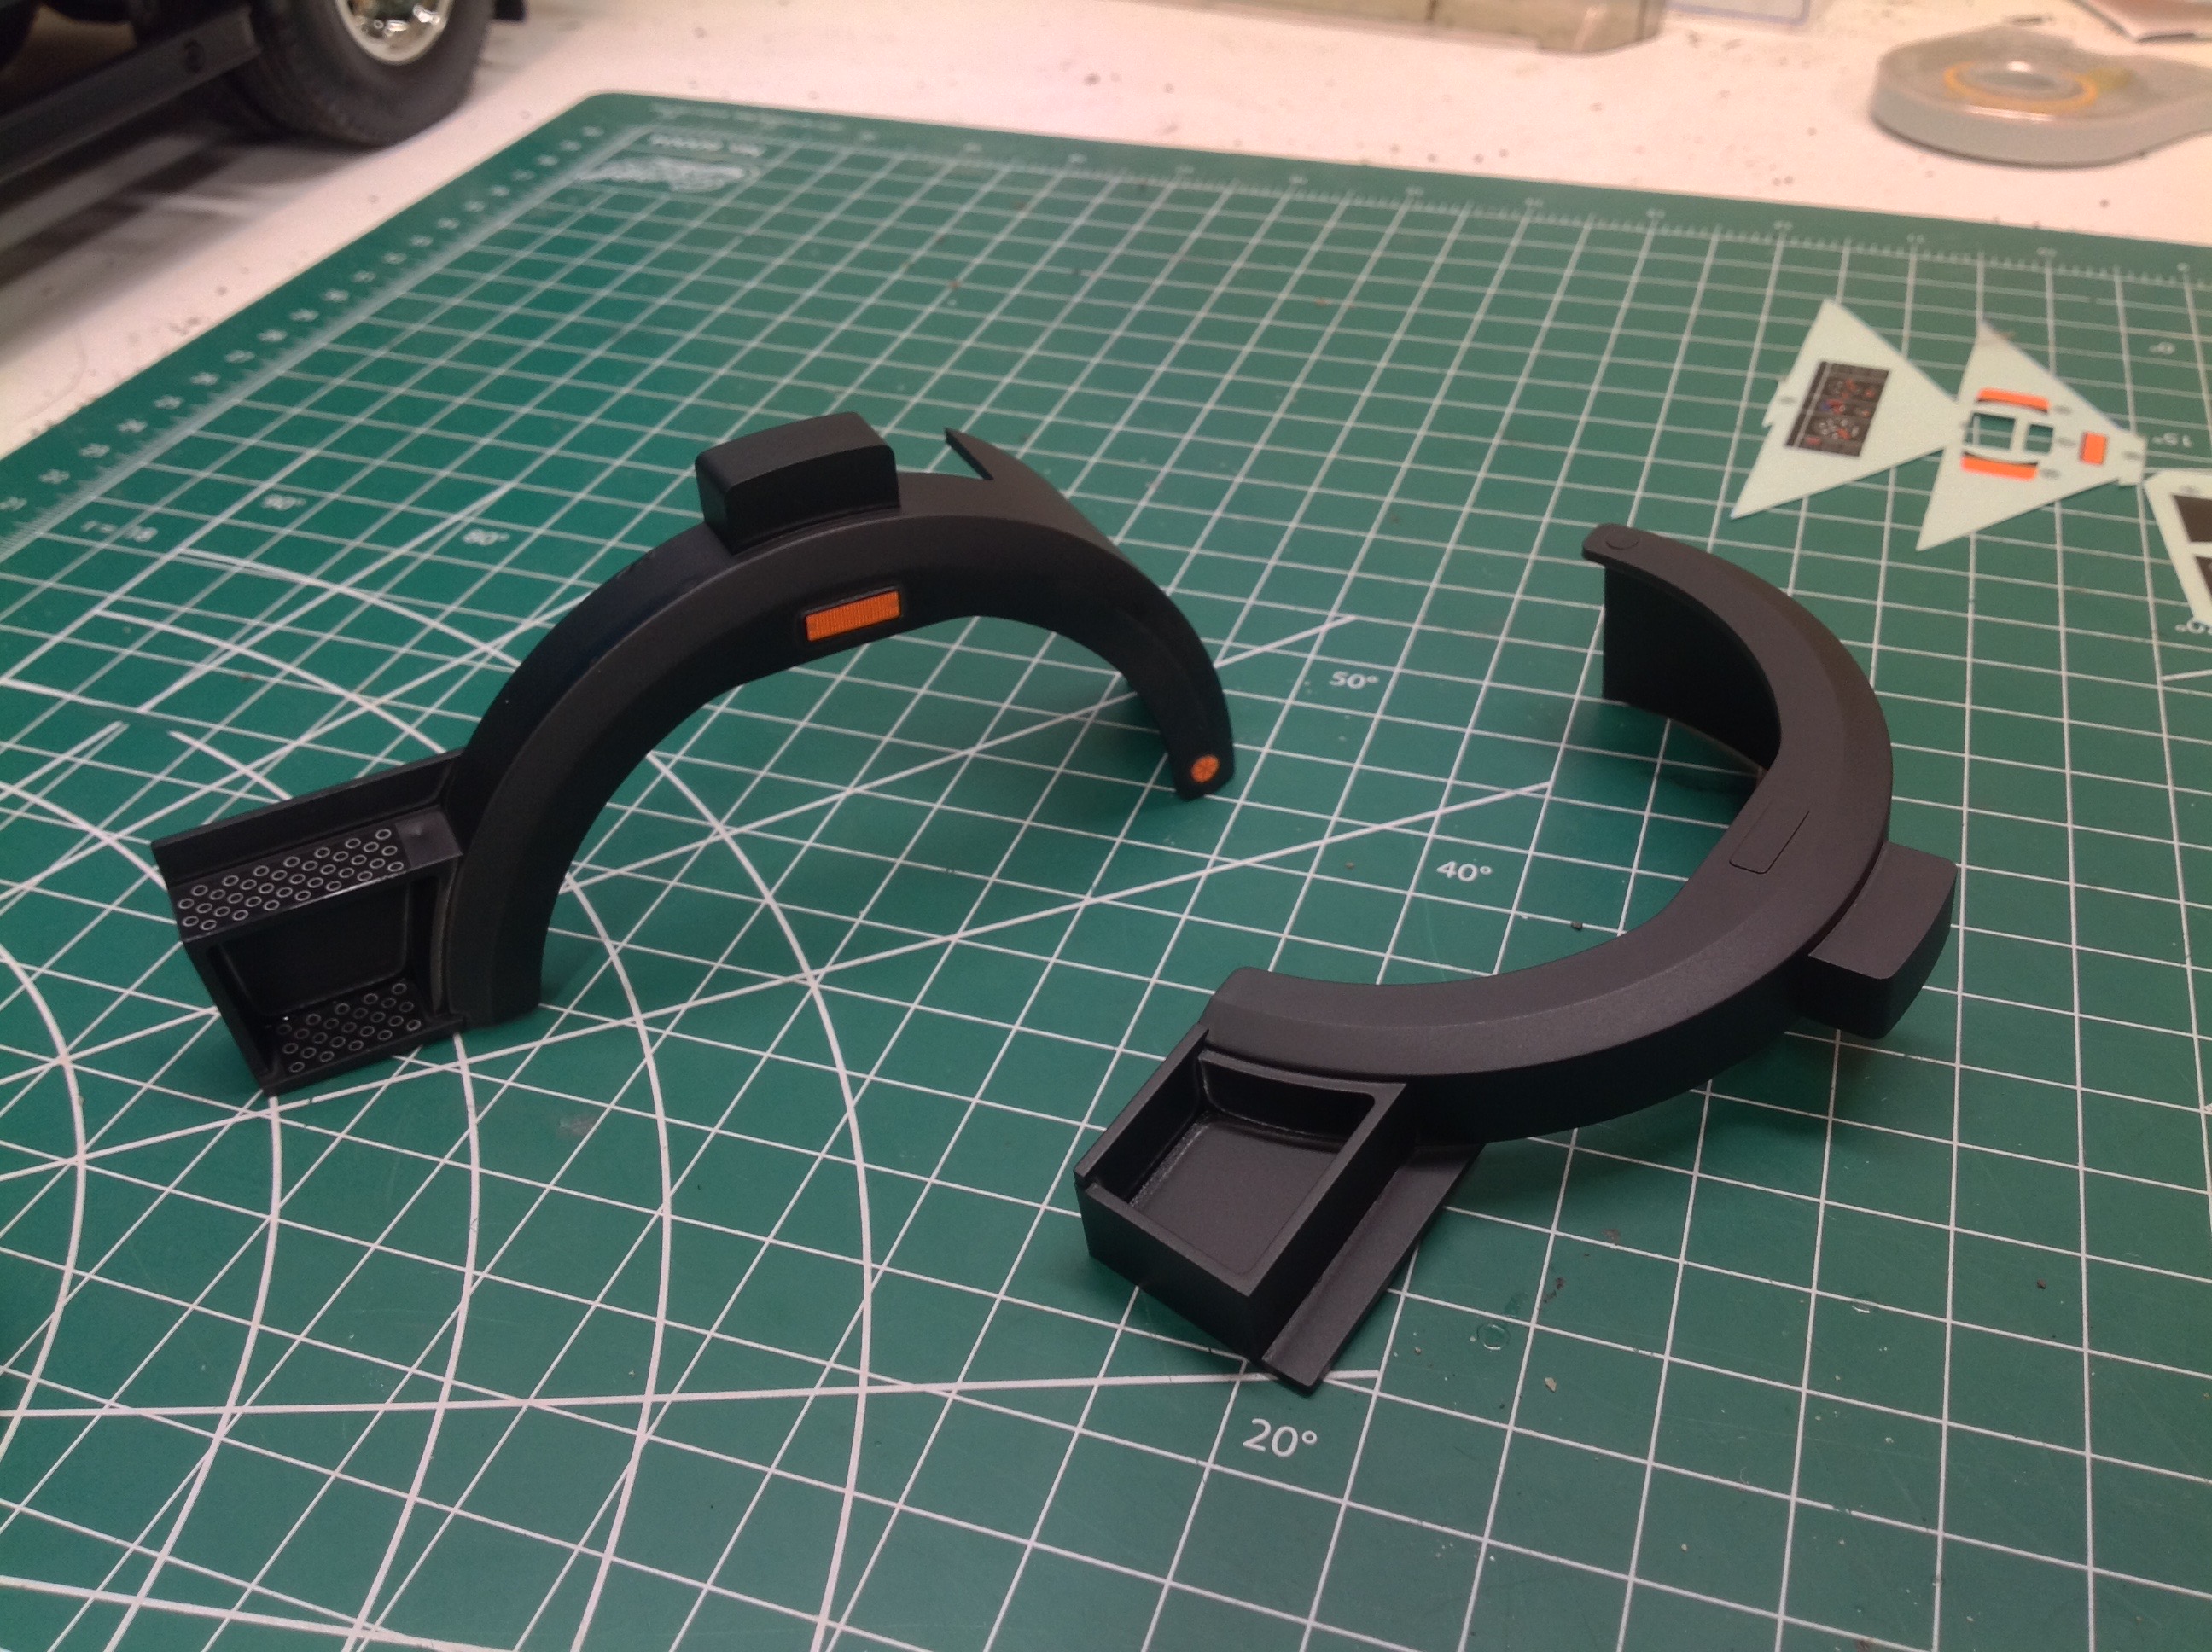
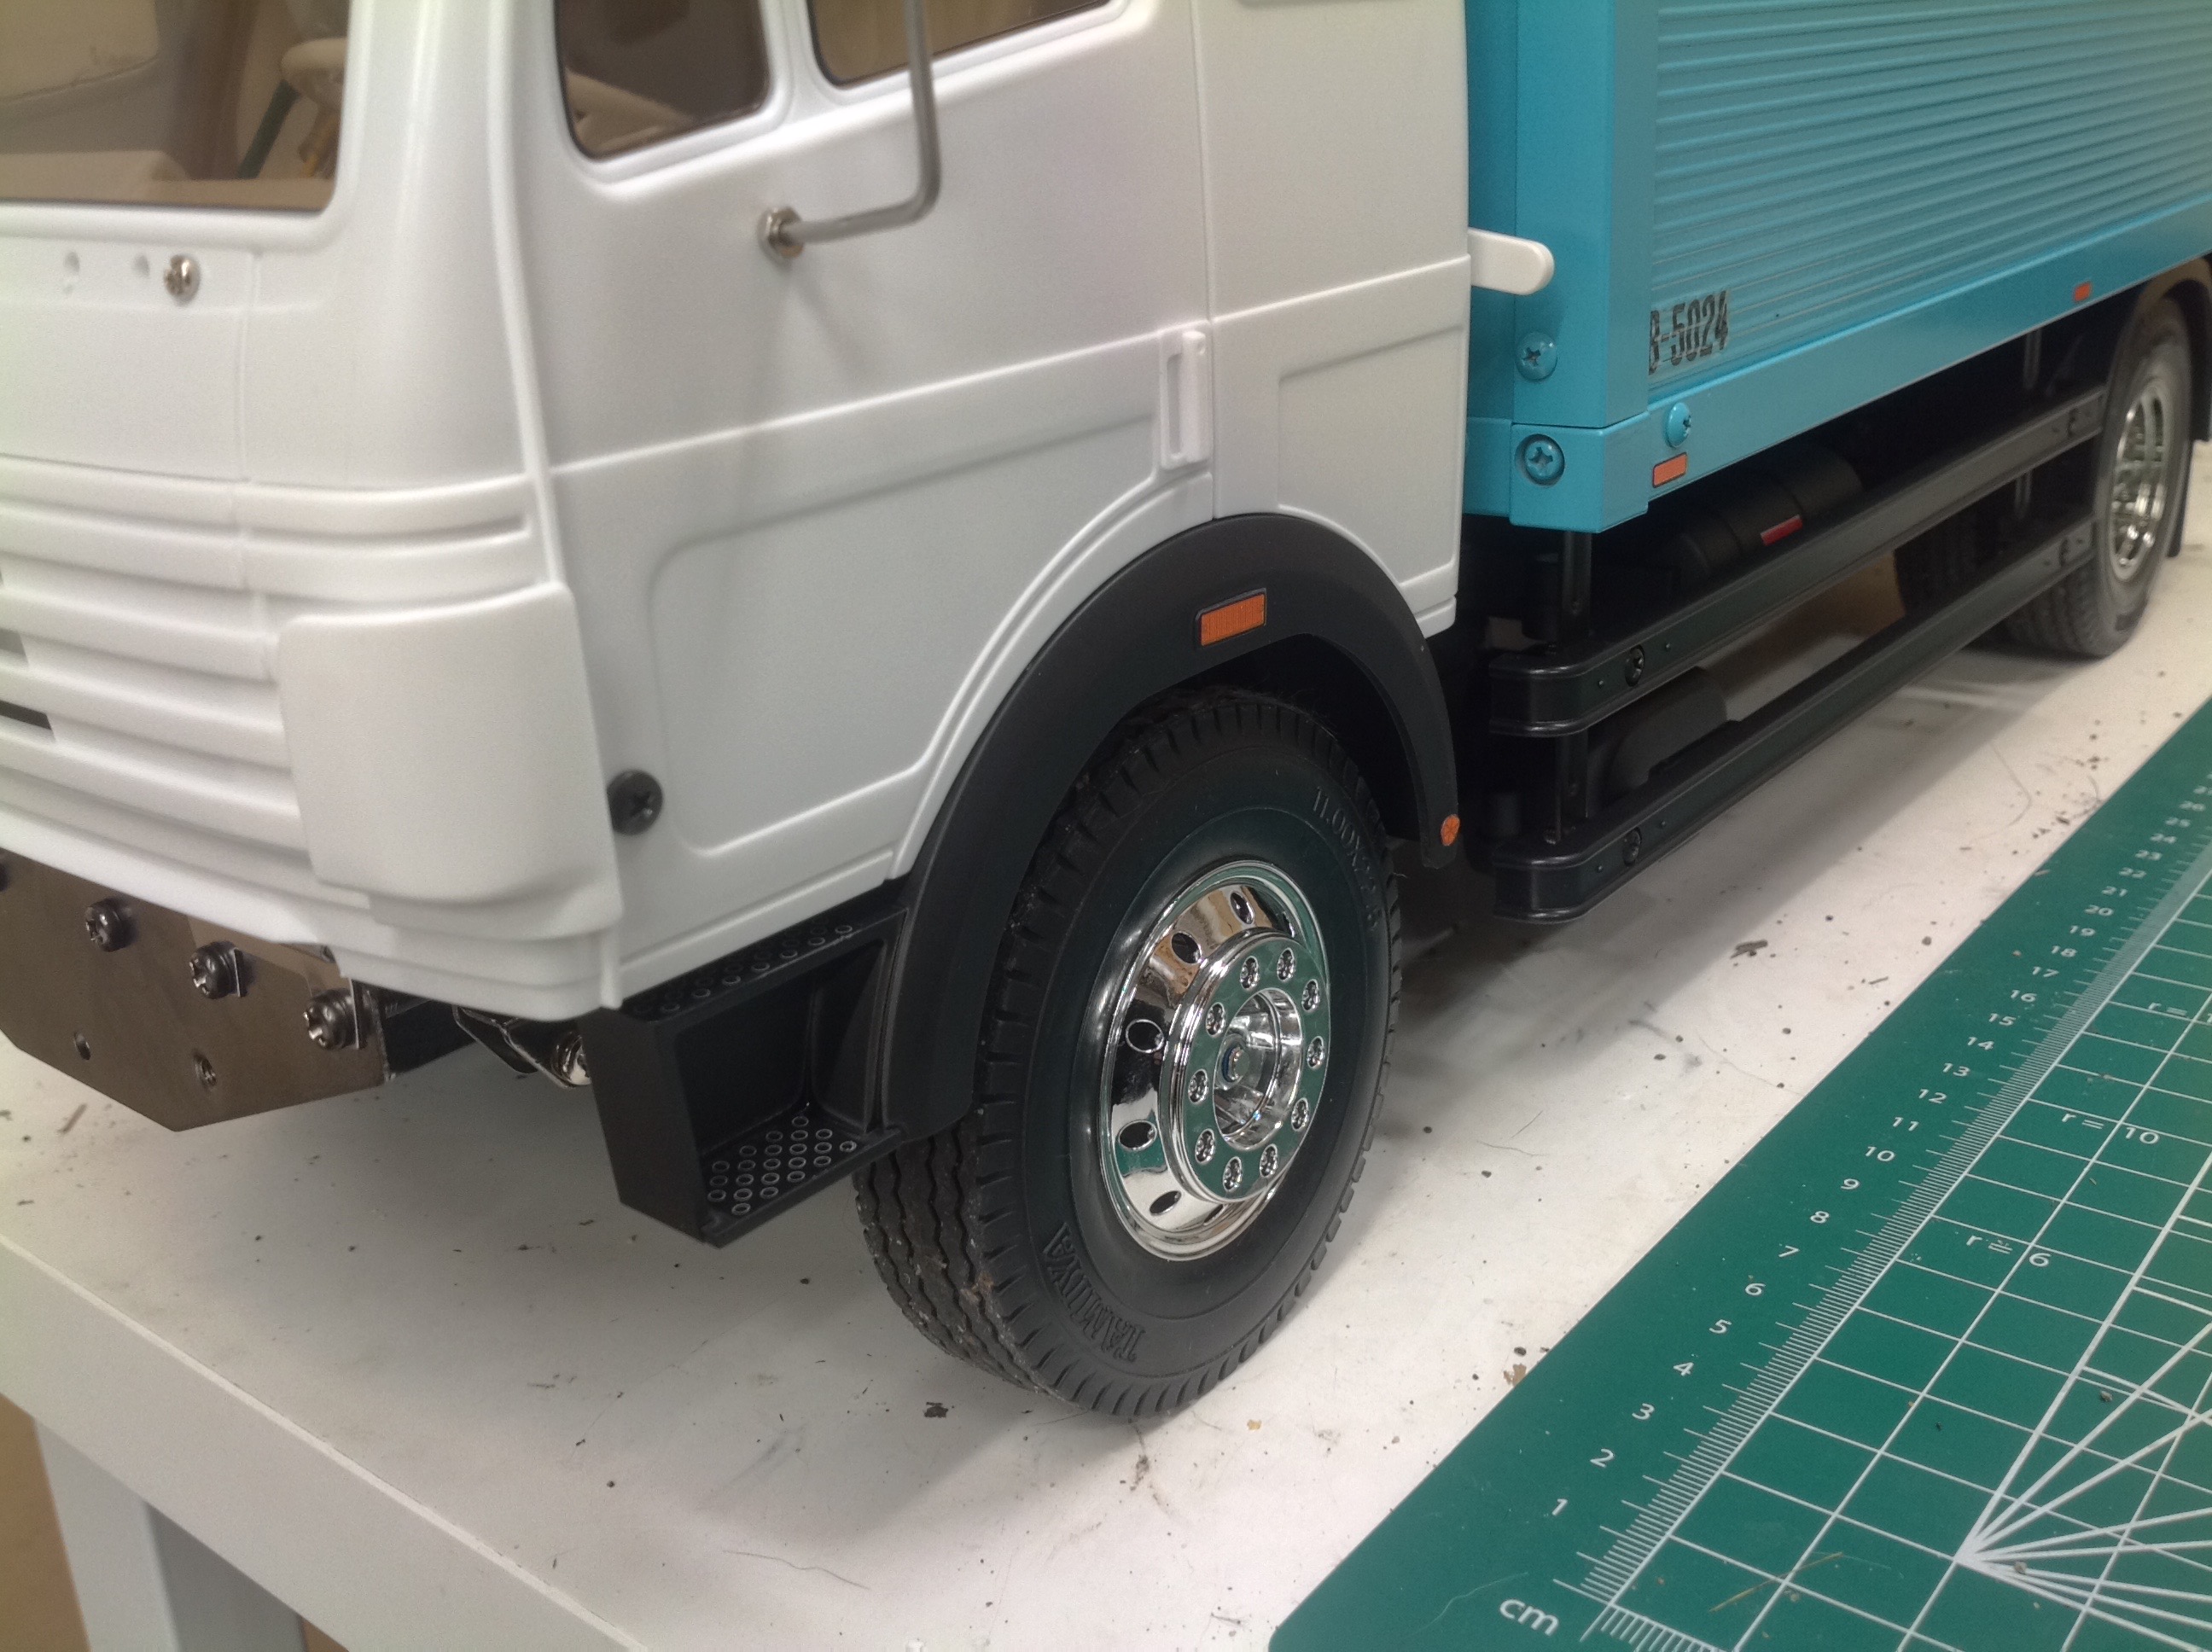
The front fenders are separate parts from the cab. I painted them
with semi-gloss black and applied some amber marker stickers.
There is no mechanical attachment between these parts and the cab; the
little tab on top just sticks on with double sided tape.
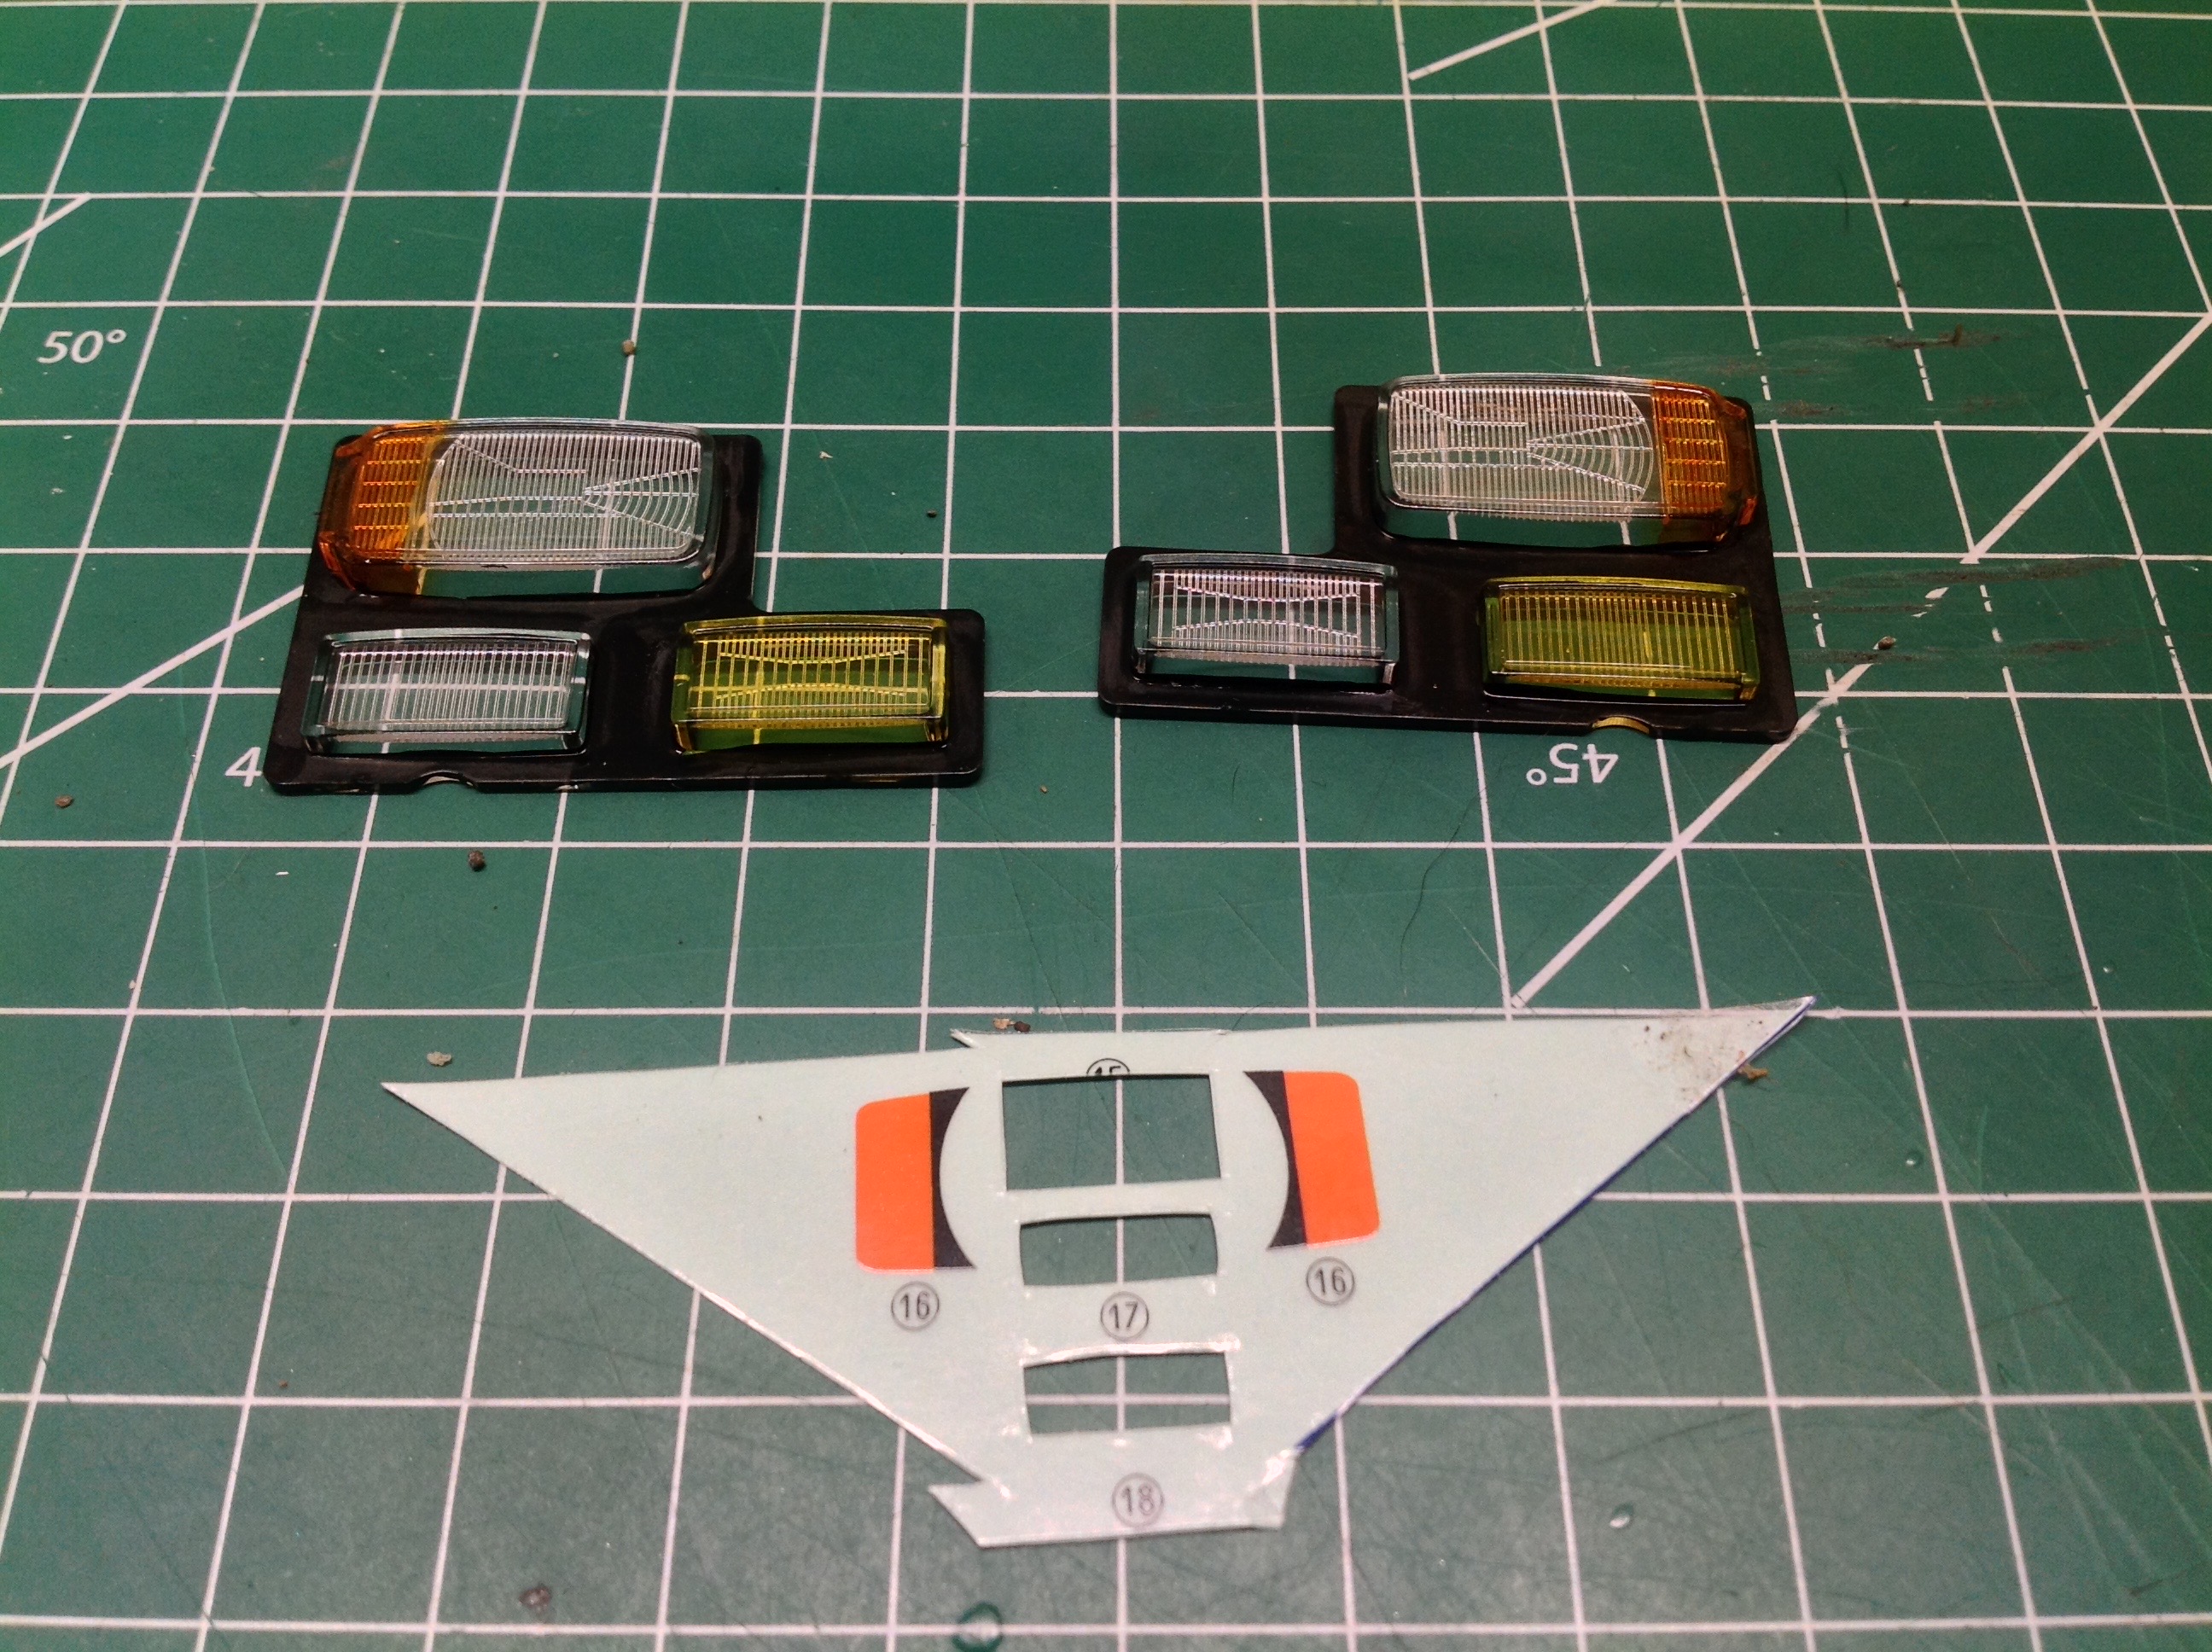
Quite a bit of painting is required to make the headlights look
good. First you need to surround all the lenses with flat
black. The amber markers are intended to be stickers, but I don't
think this looks very good so instead I painted them transparent orange
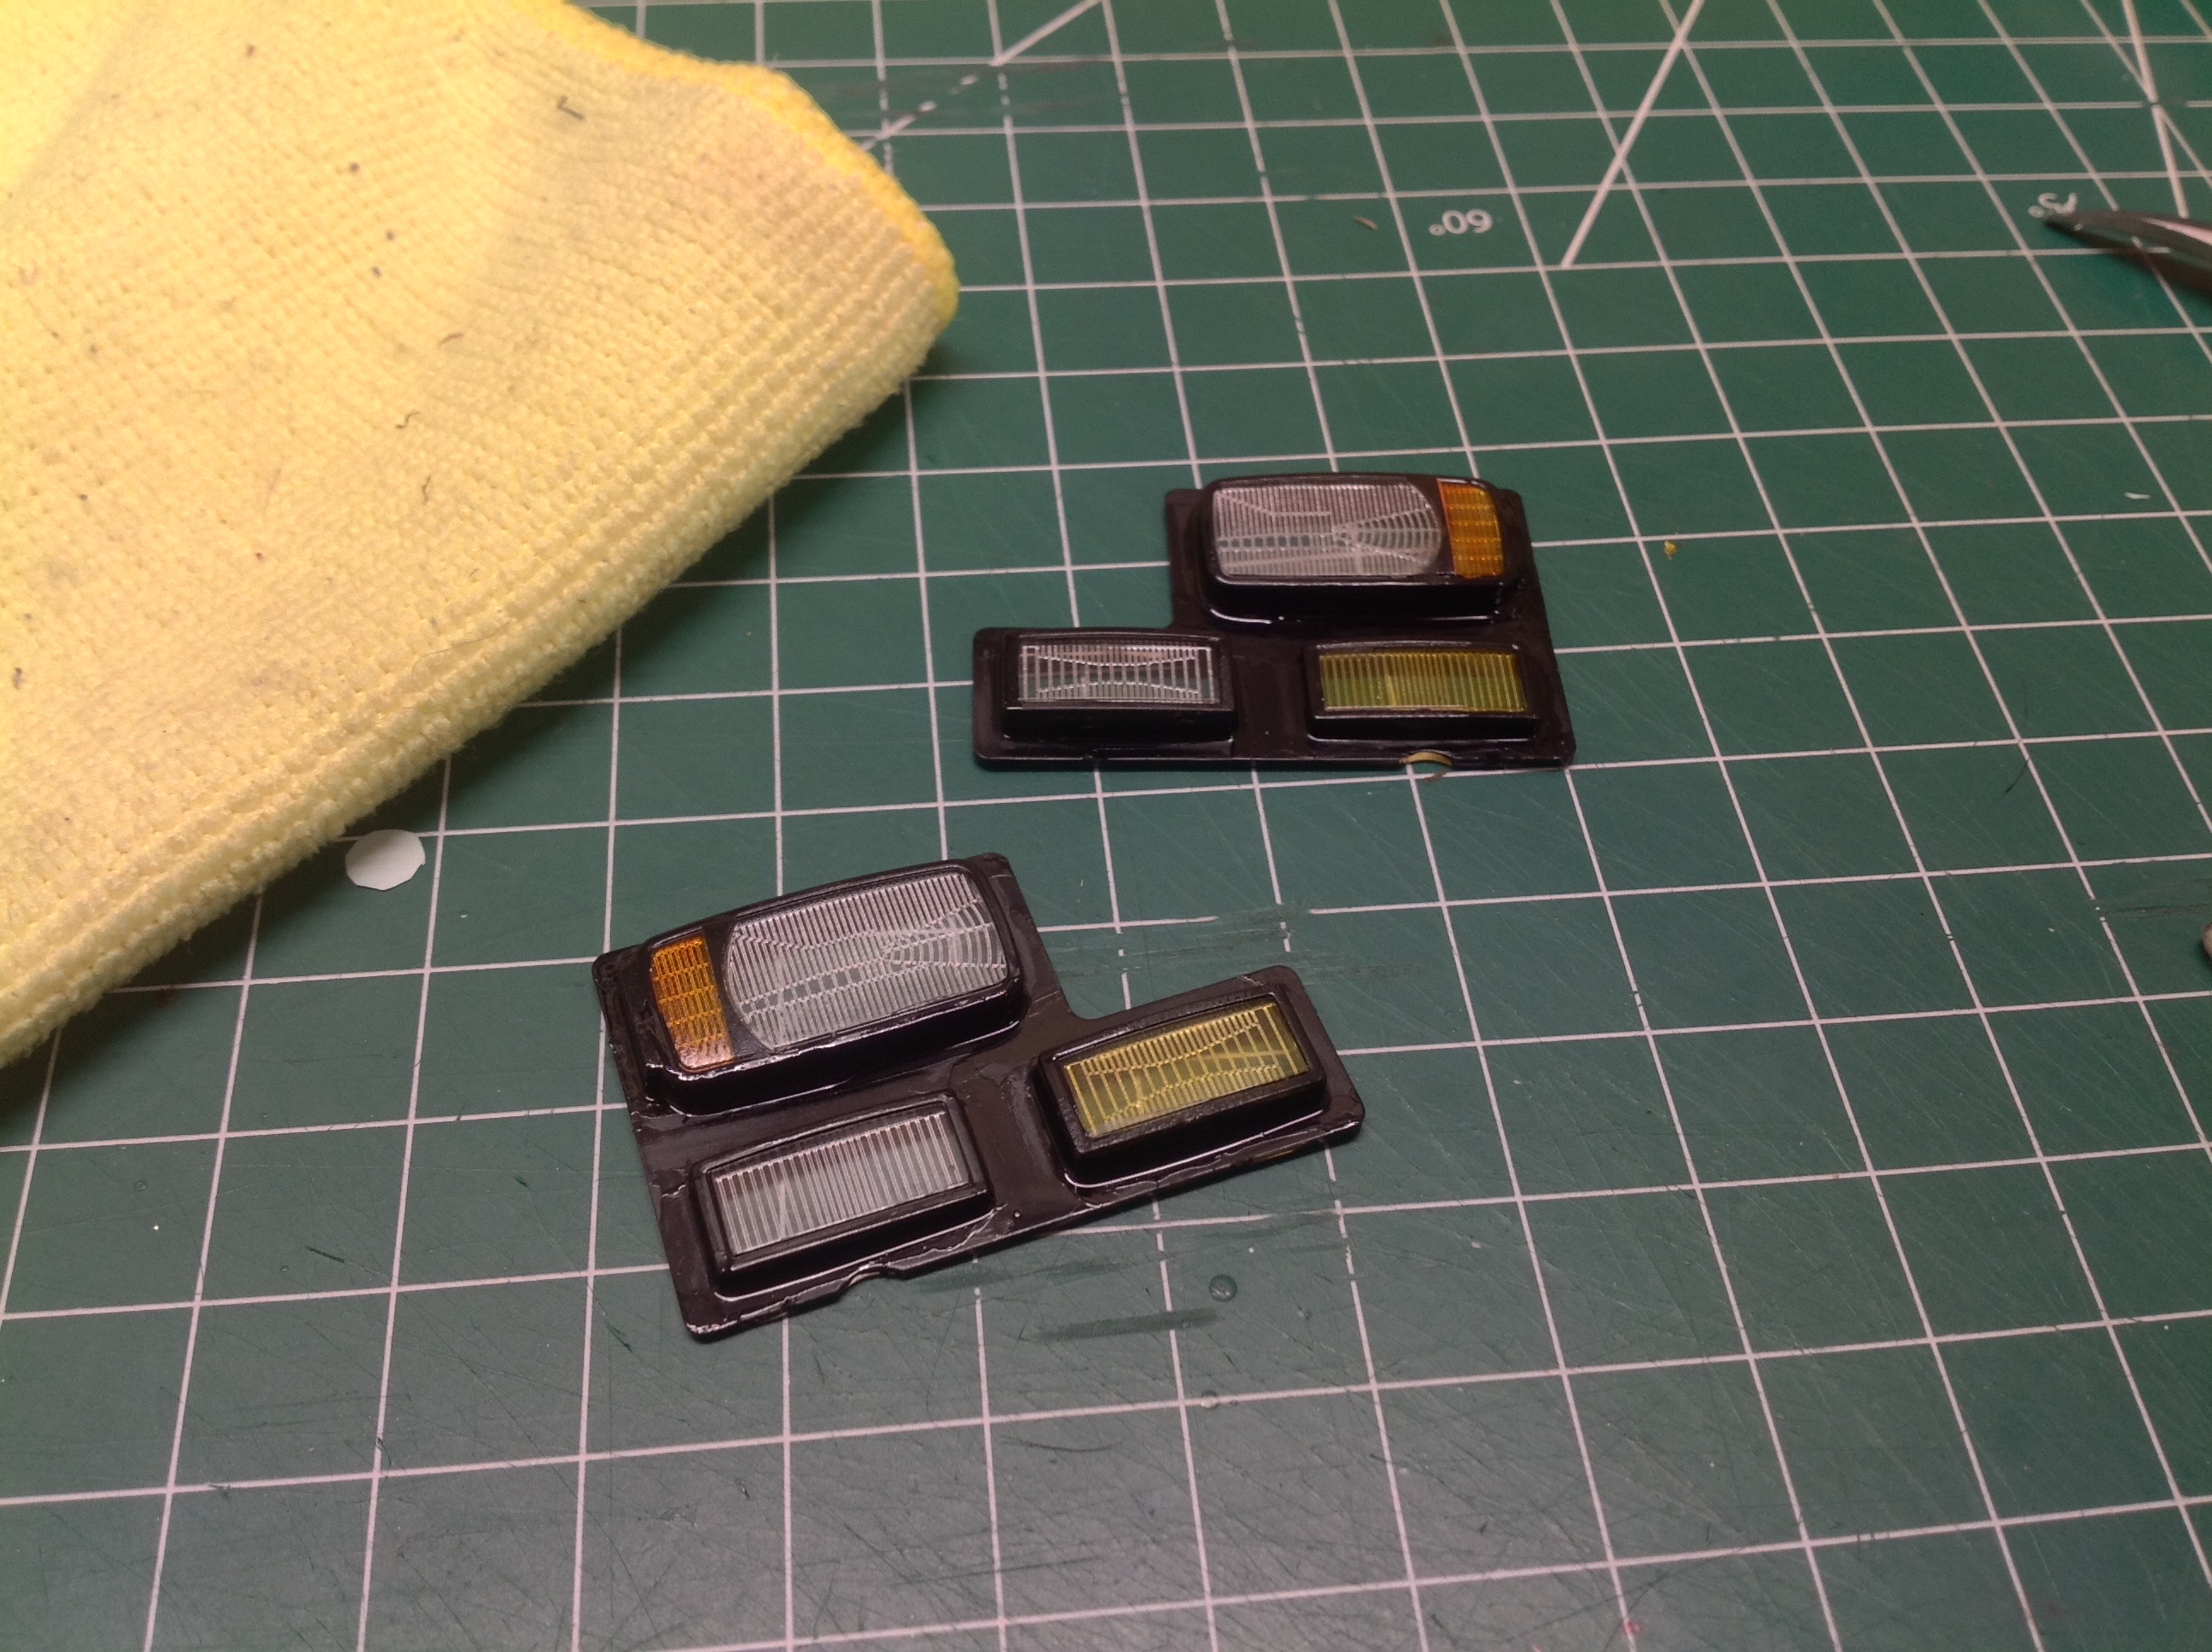
as shown on the left. I still used the black portion of the
sticker as a divider though. You can see the final result on the
right. I also chose to paint some of the fog lights yellow for
some variety, and also because I saw some pictures of real Mercedes
trucks using this scheme.
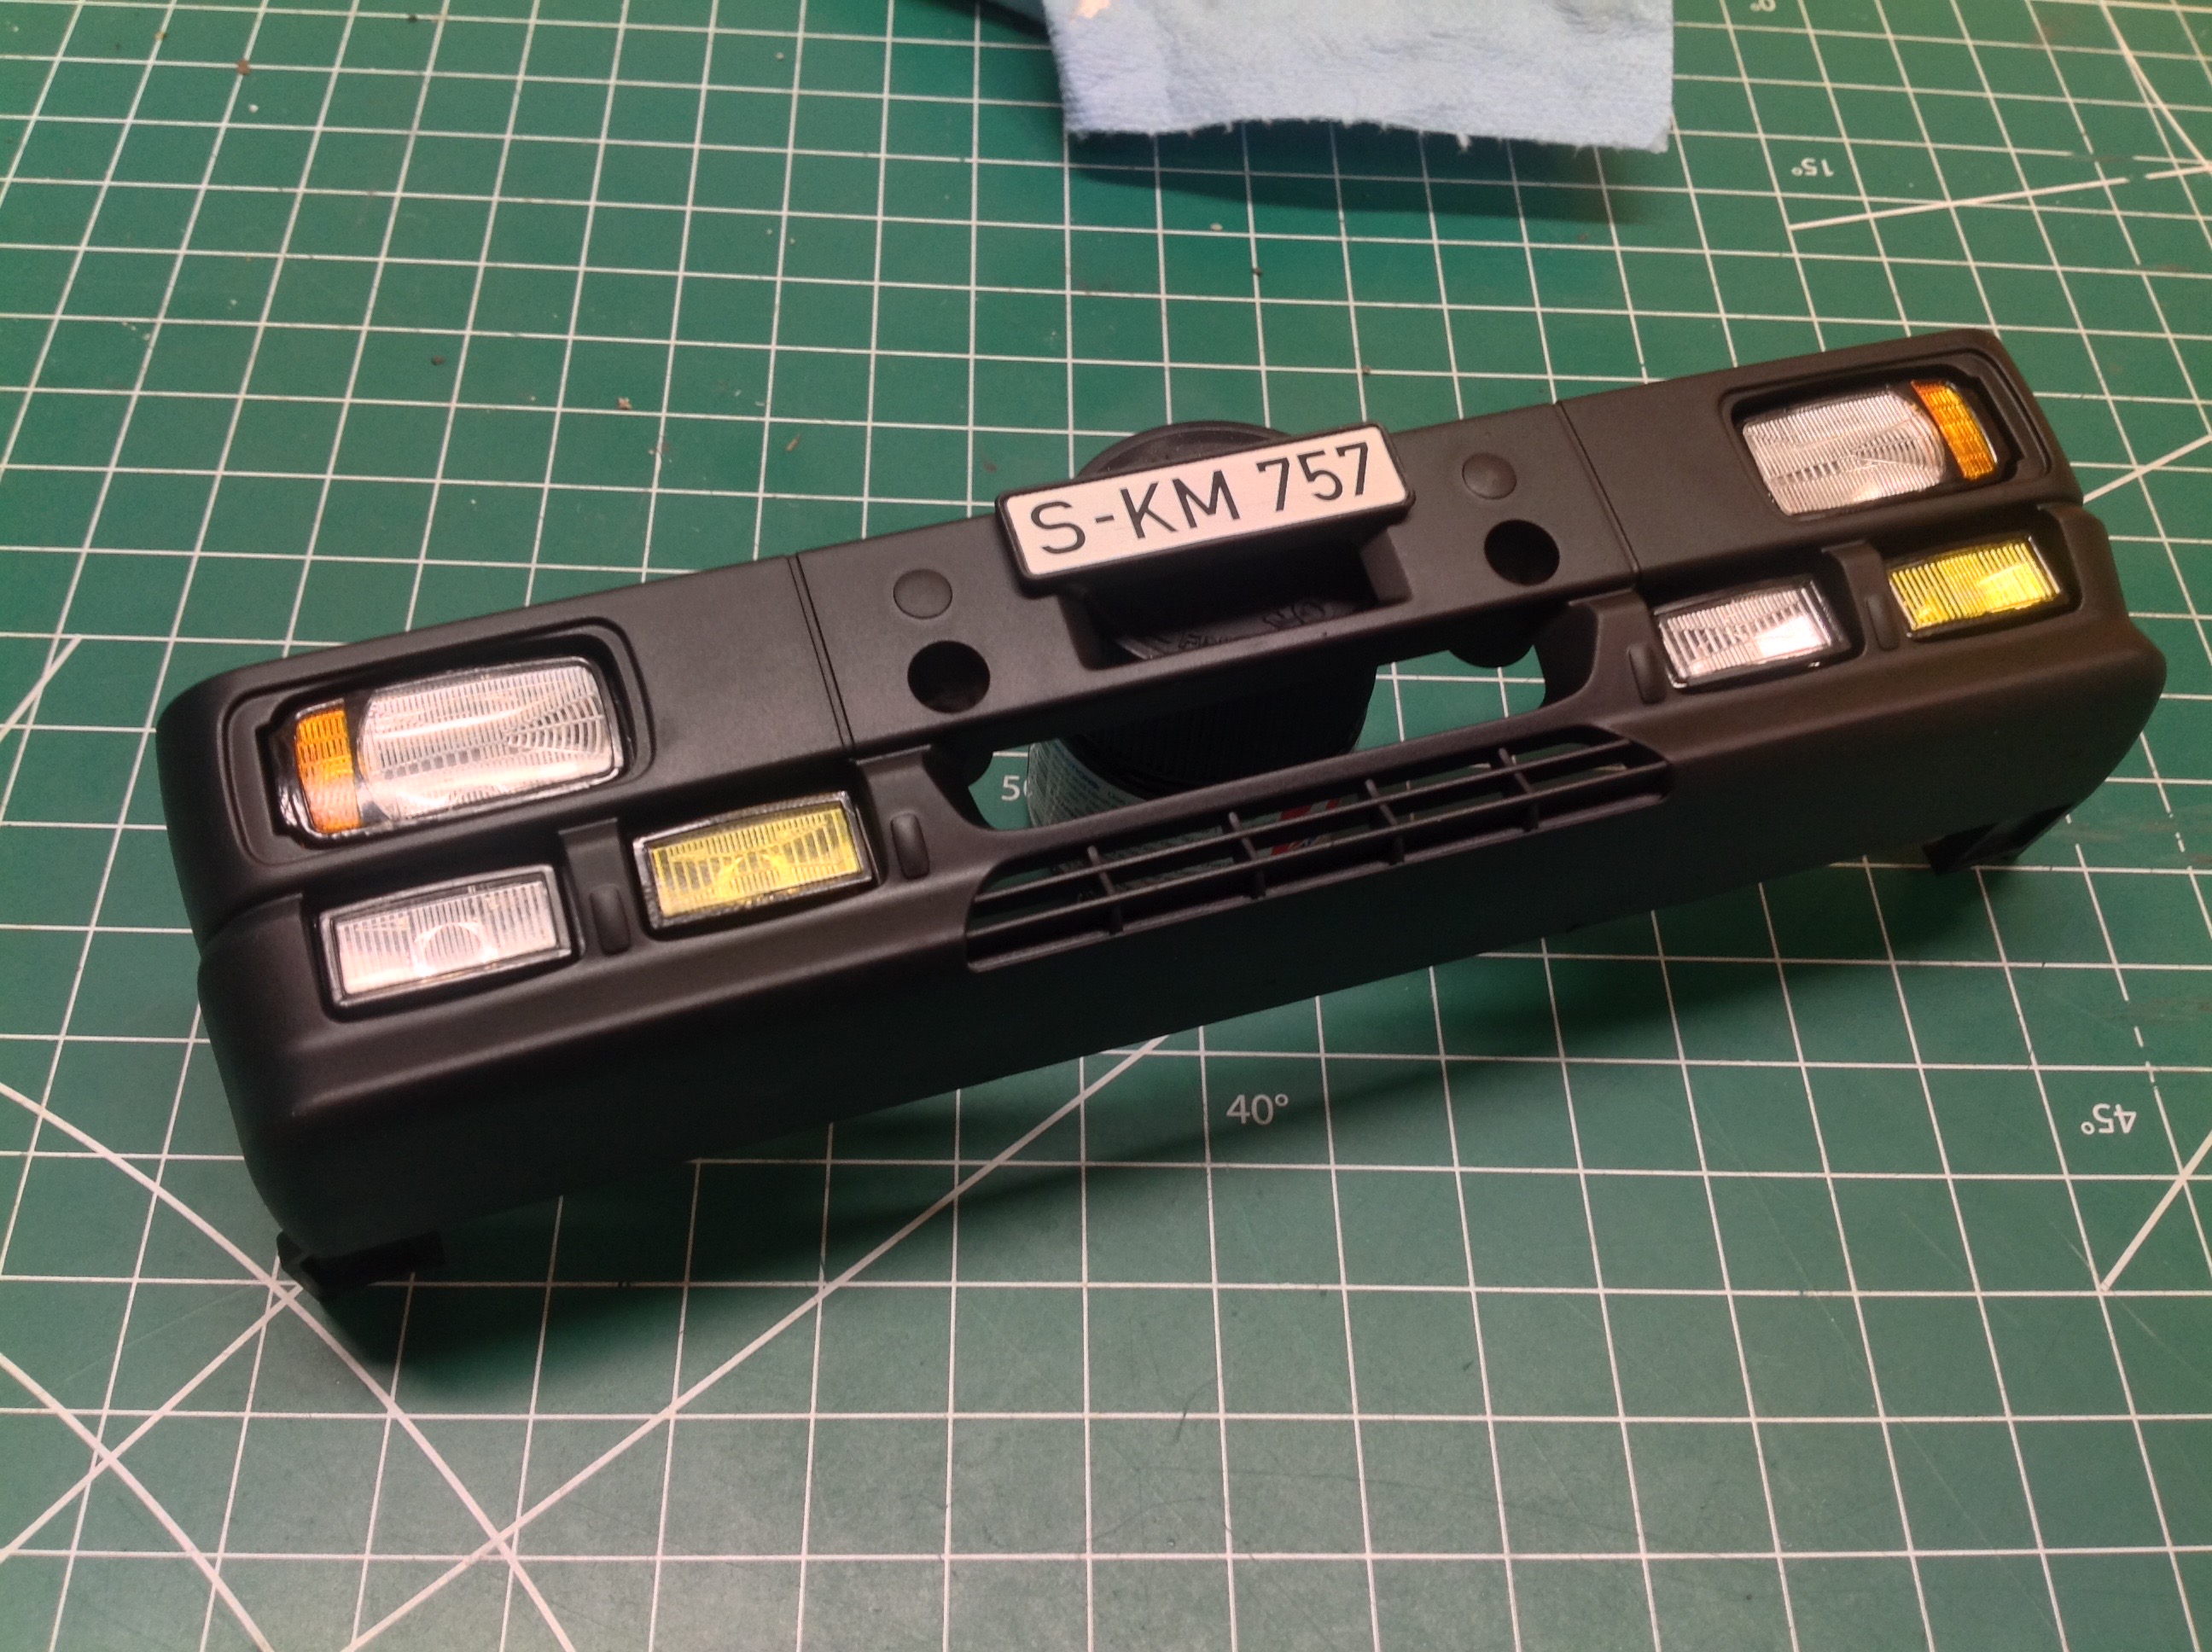
Here are the lenses installed in the front bumper. You can see
that I screwed up the yellow lenses. I should have painted both
outside lenses but instead I painted both right lenses. I had to
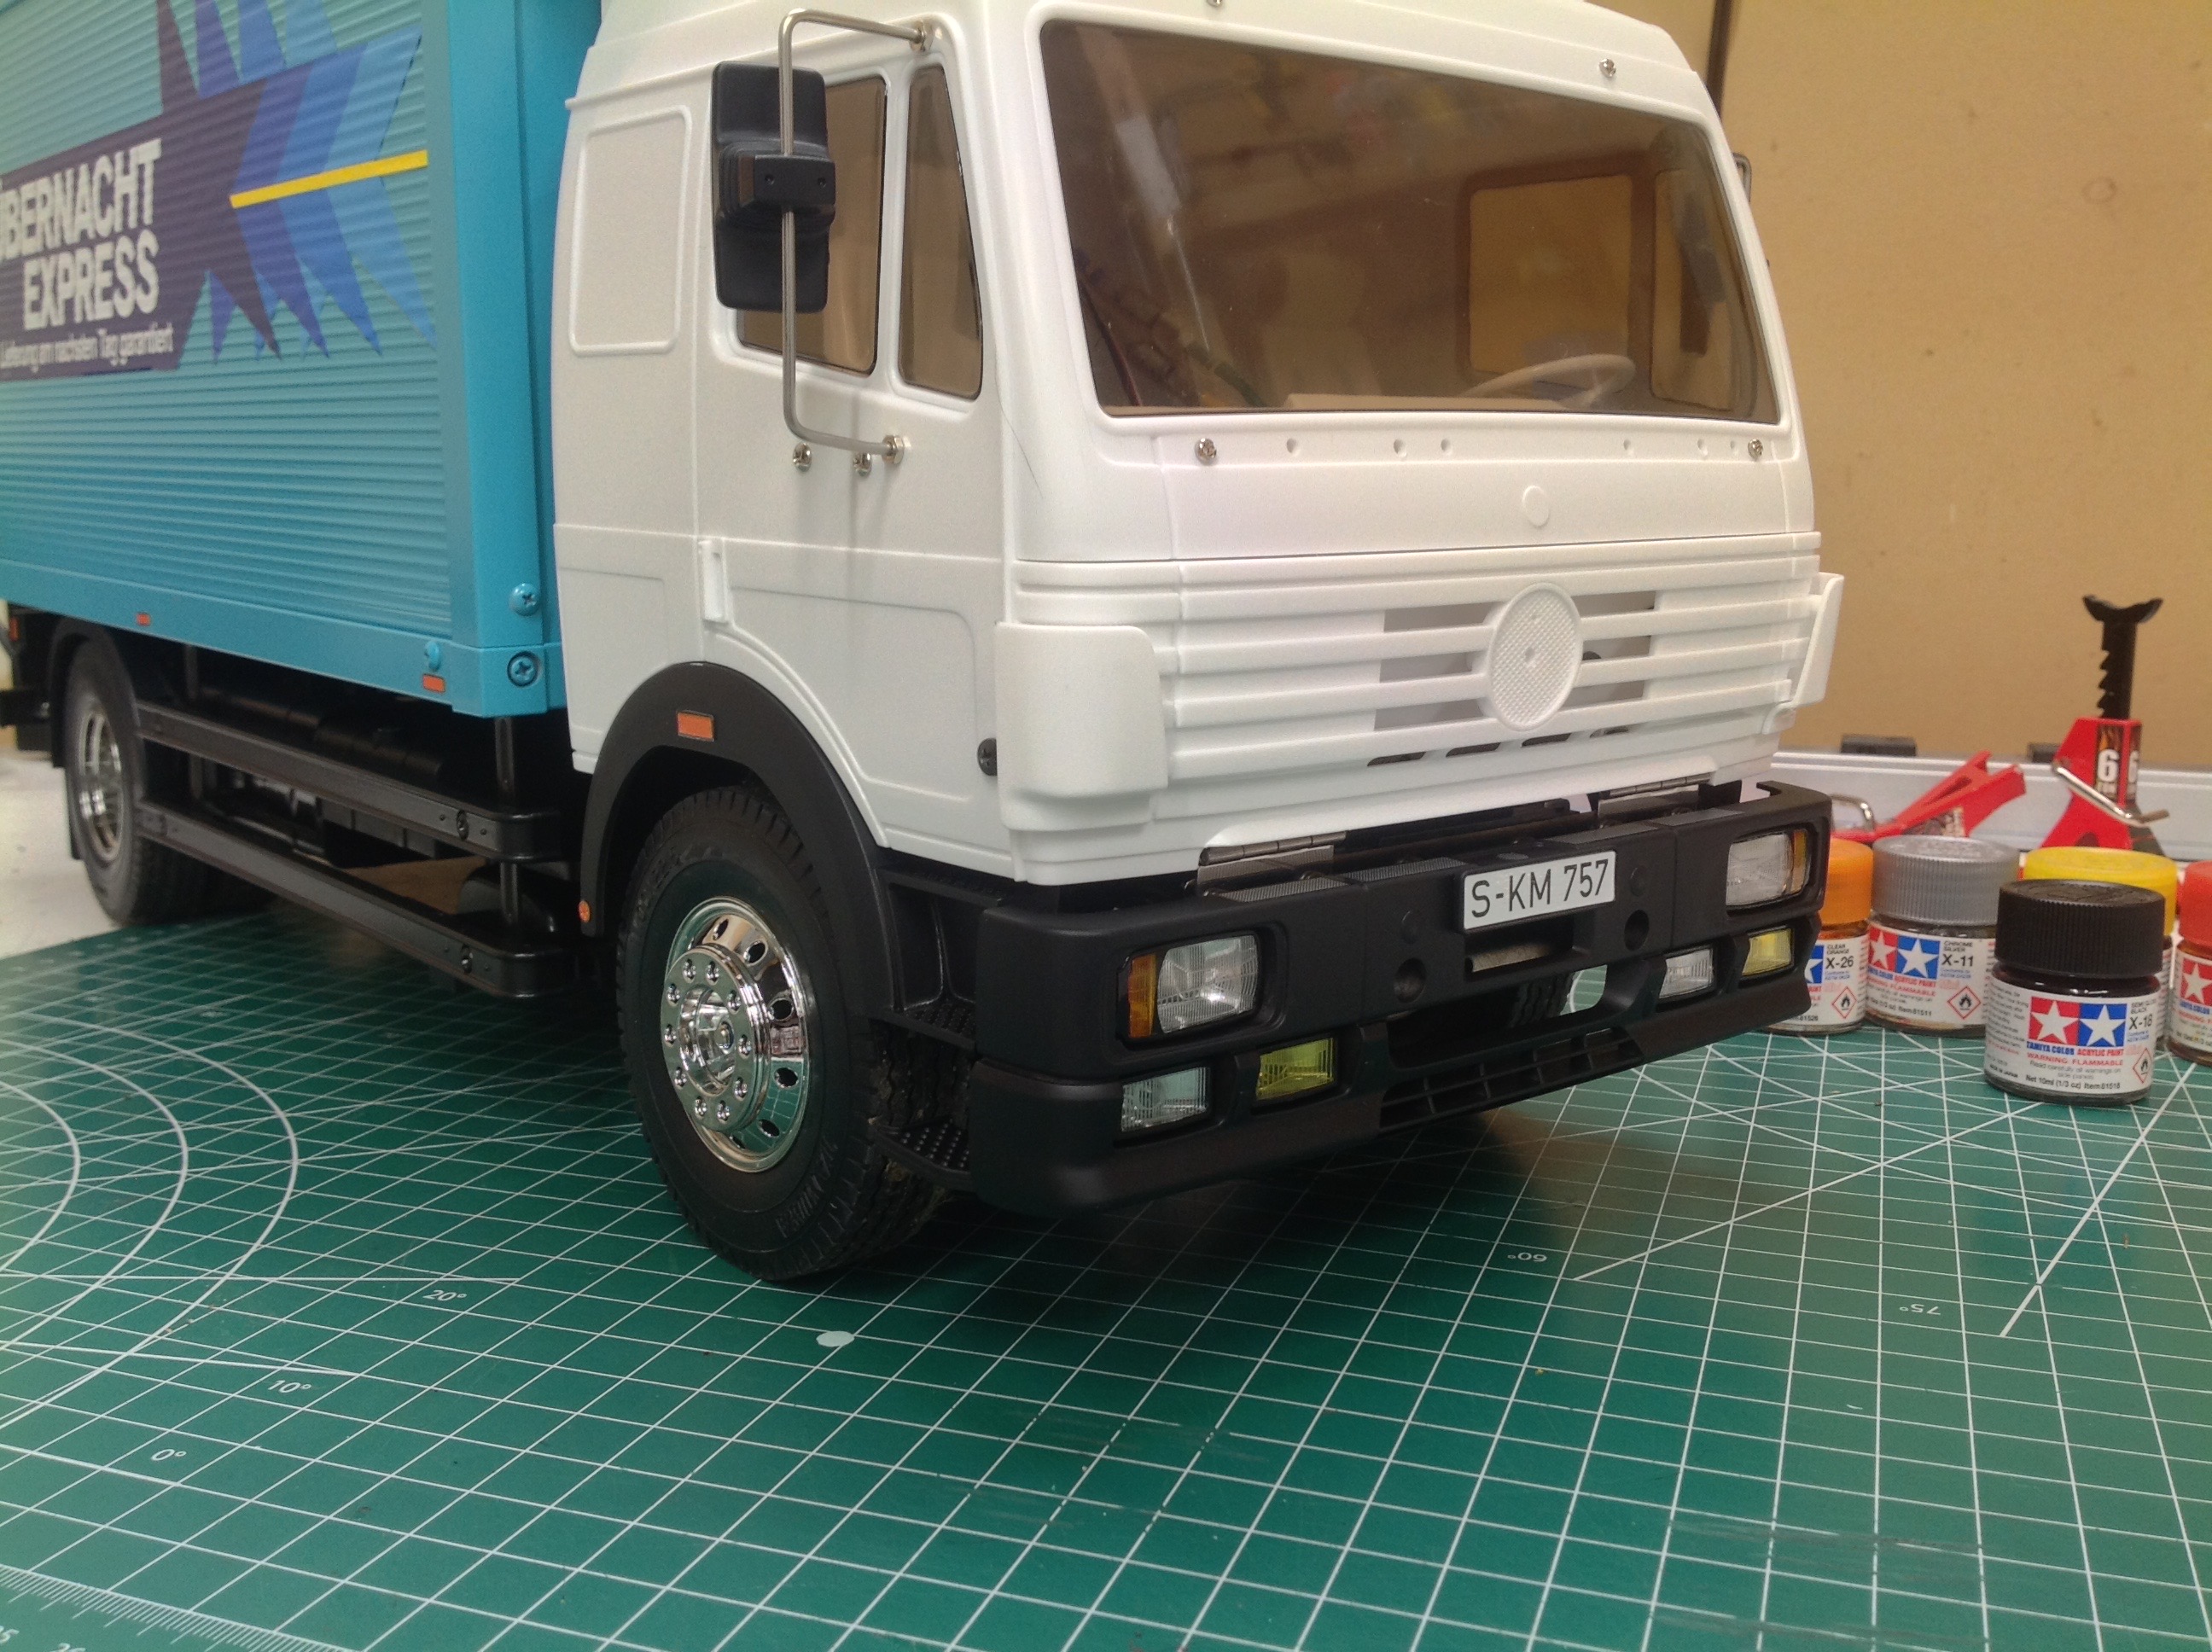
go back and fix them later. The right hand image shows the
completed (but not corrected) bumper on the truck.
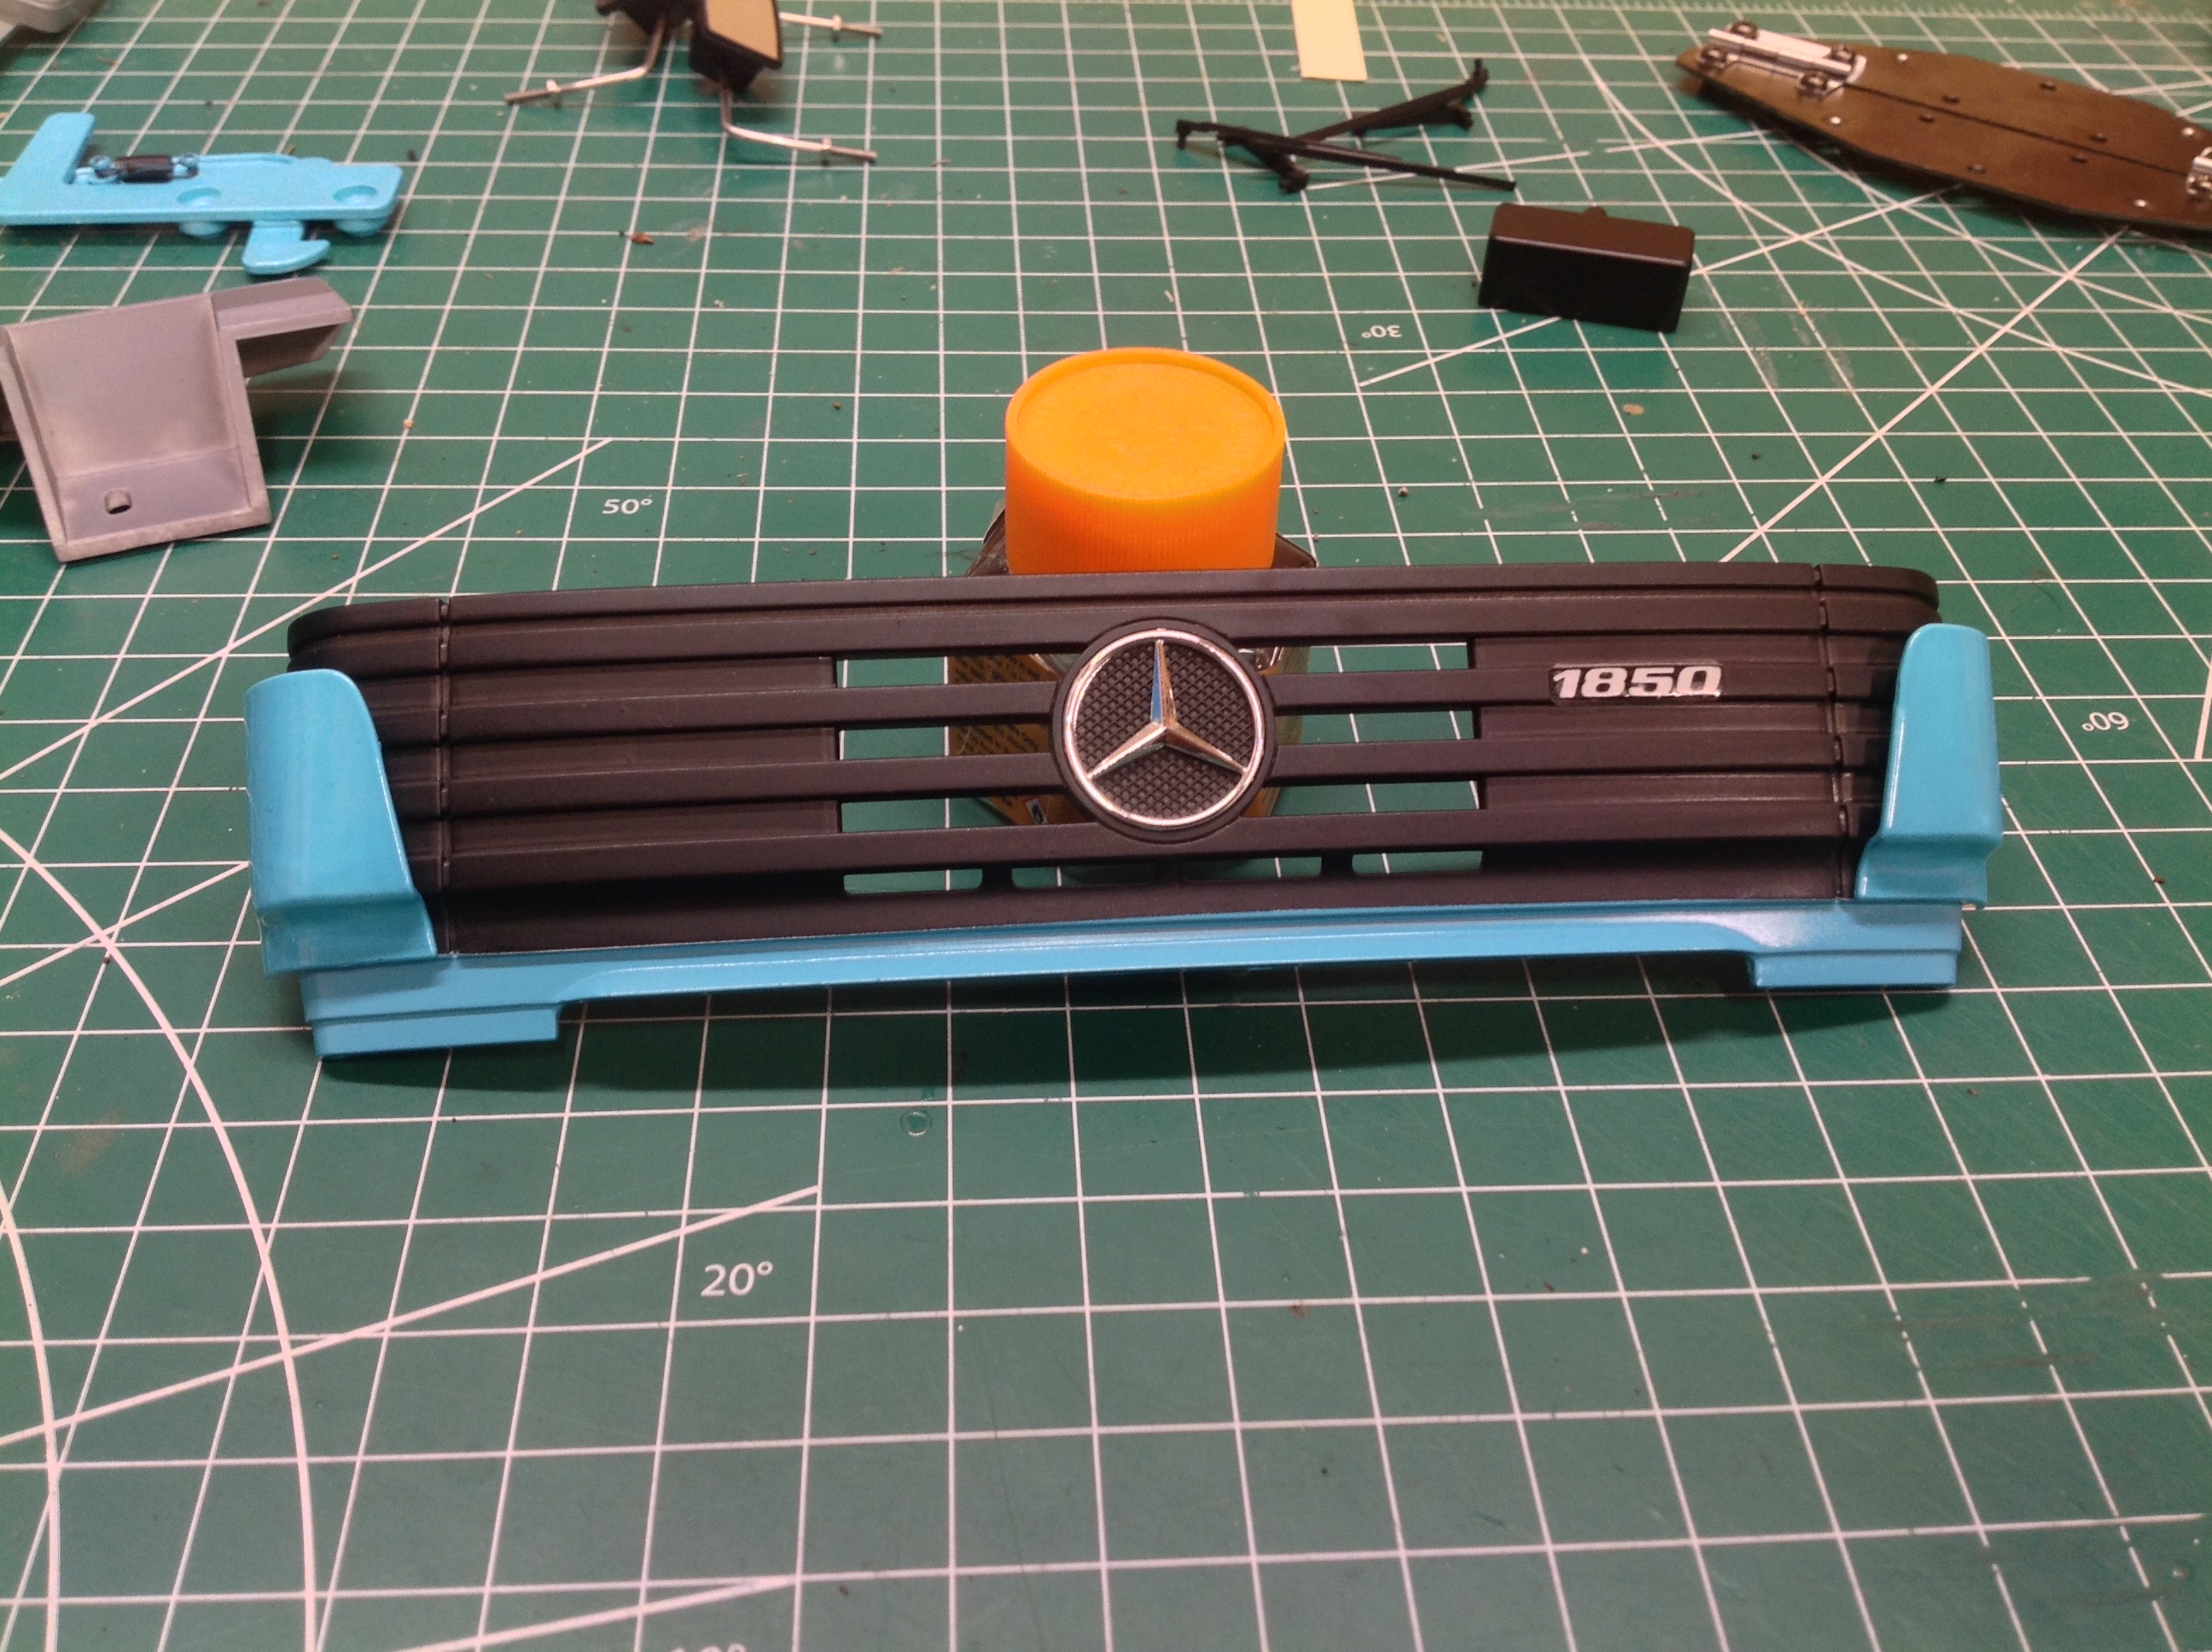
The grille needs some careful painting. The border is blue but the
slats are flat black. The Mercedes star is a separate plated
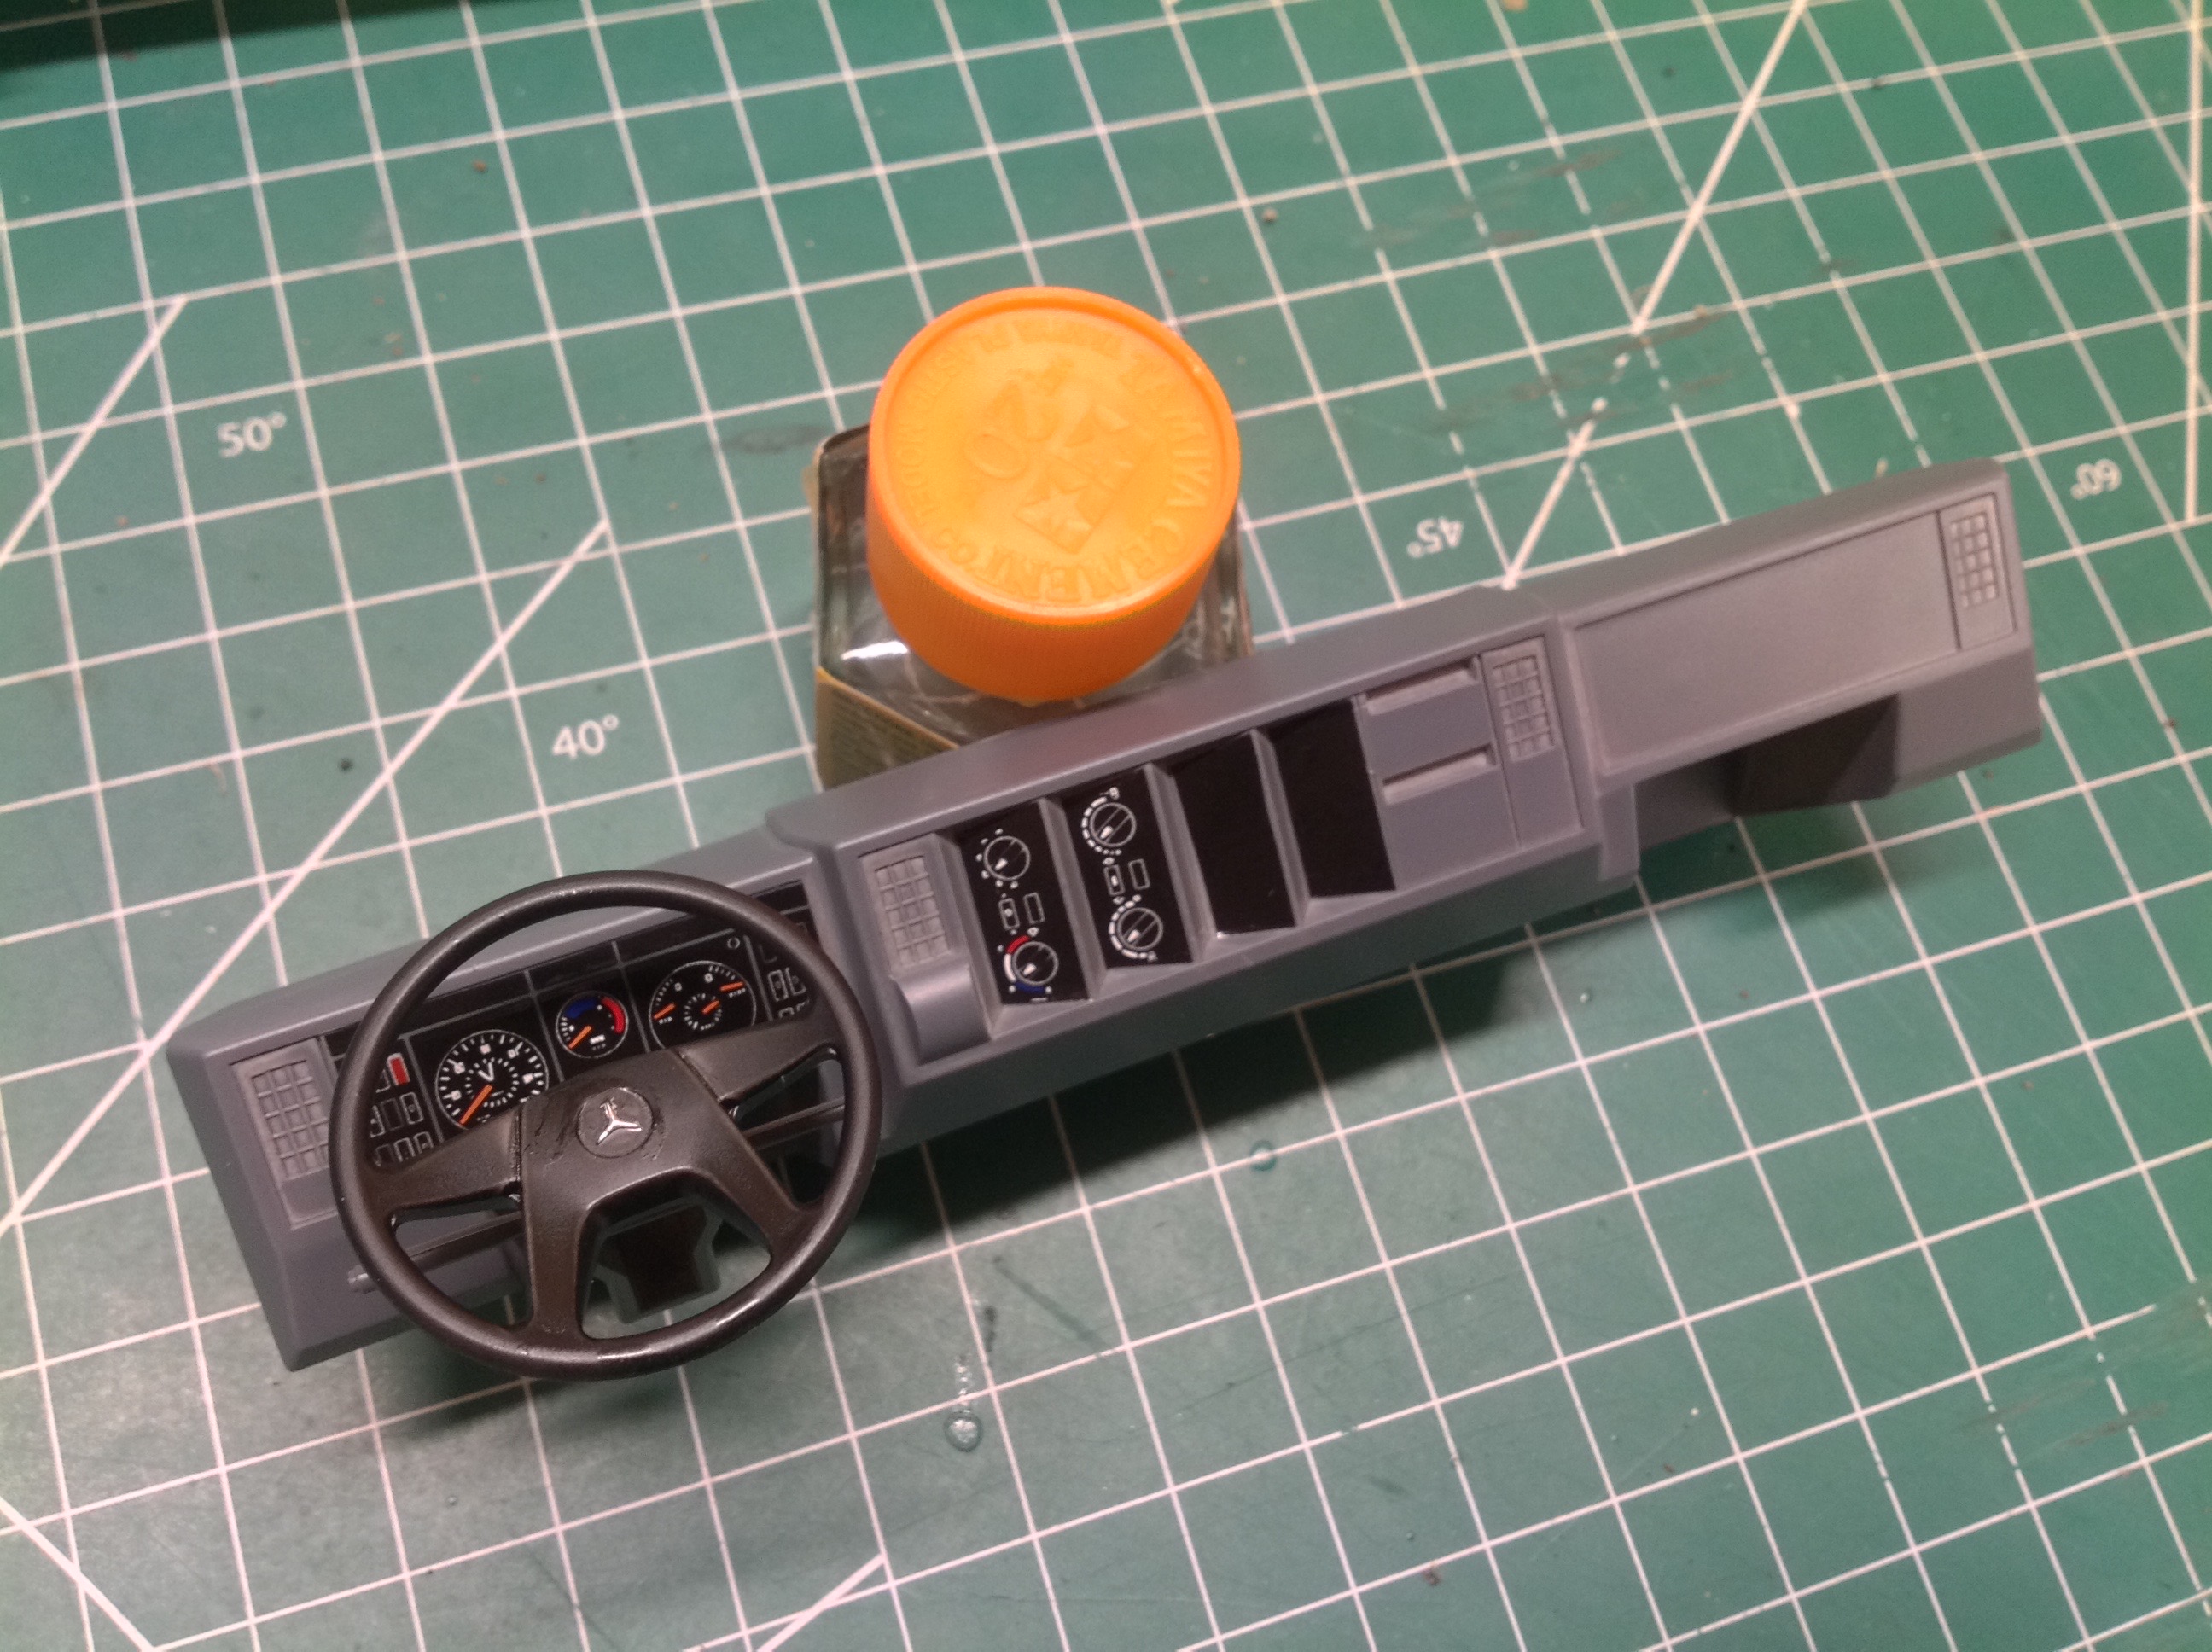
part, as are the side air deflectors. The dash board is also
nicely detailed, although it is almost completely unseen once the cab is
assembled. The windows are tinted so the interior is not very
visible.
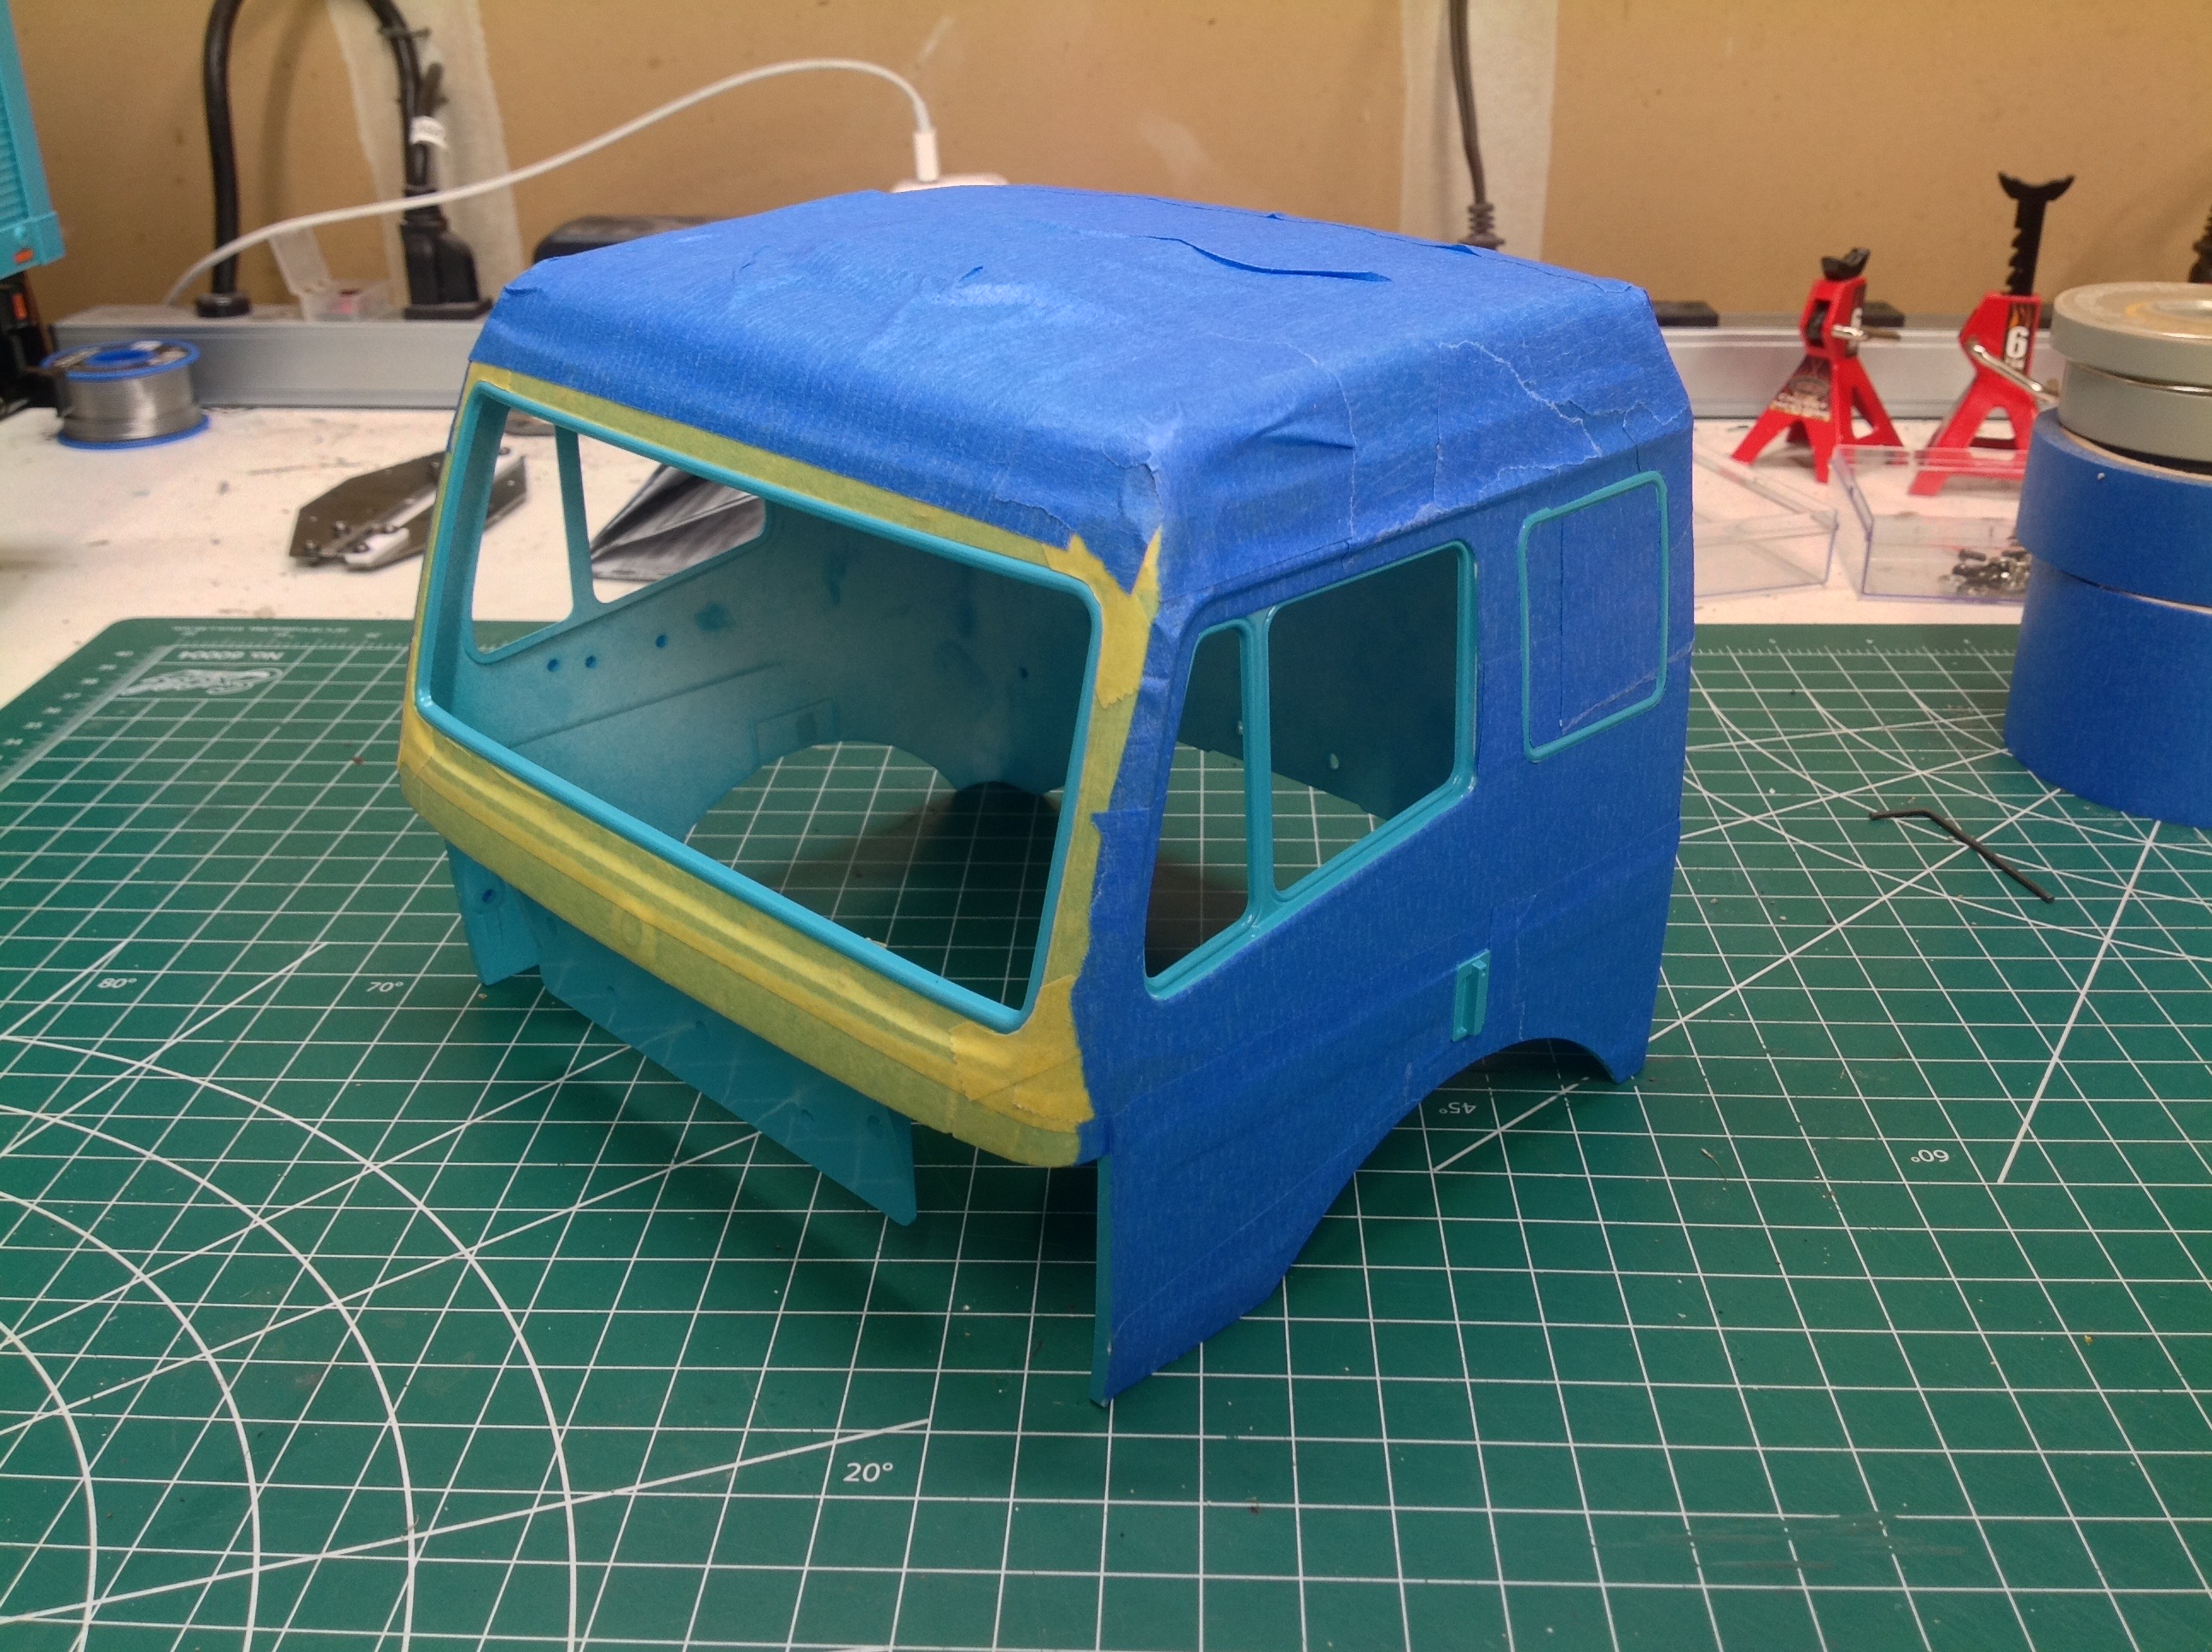
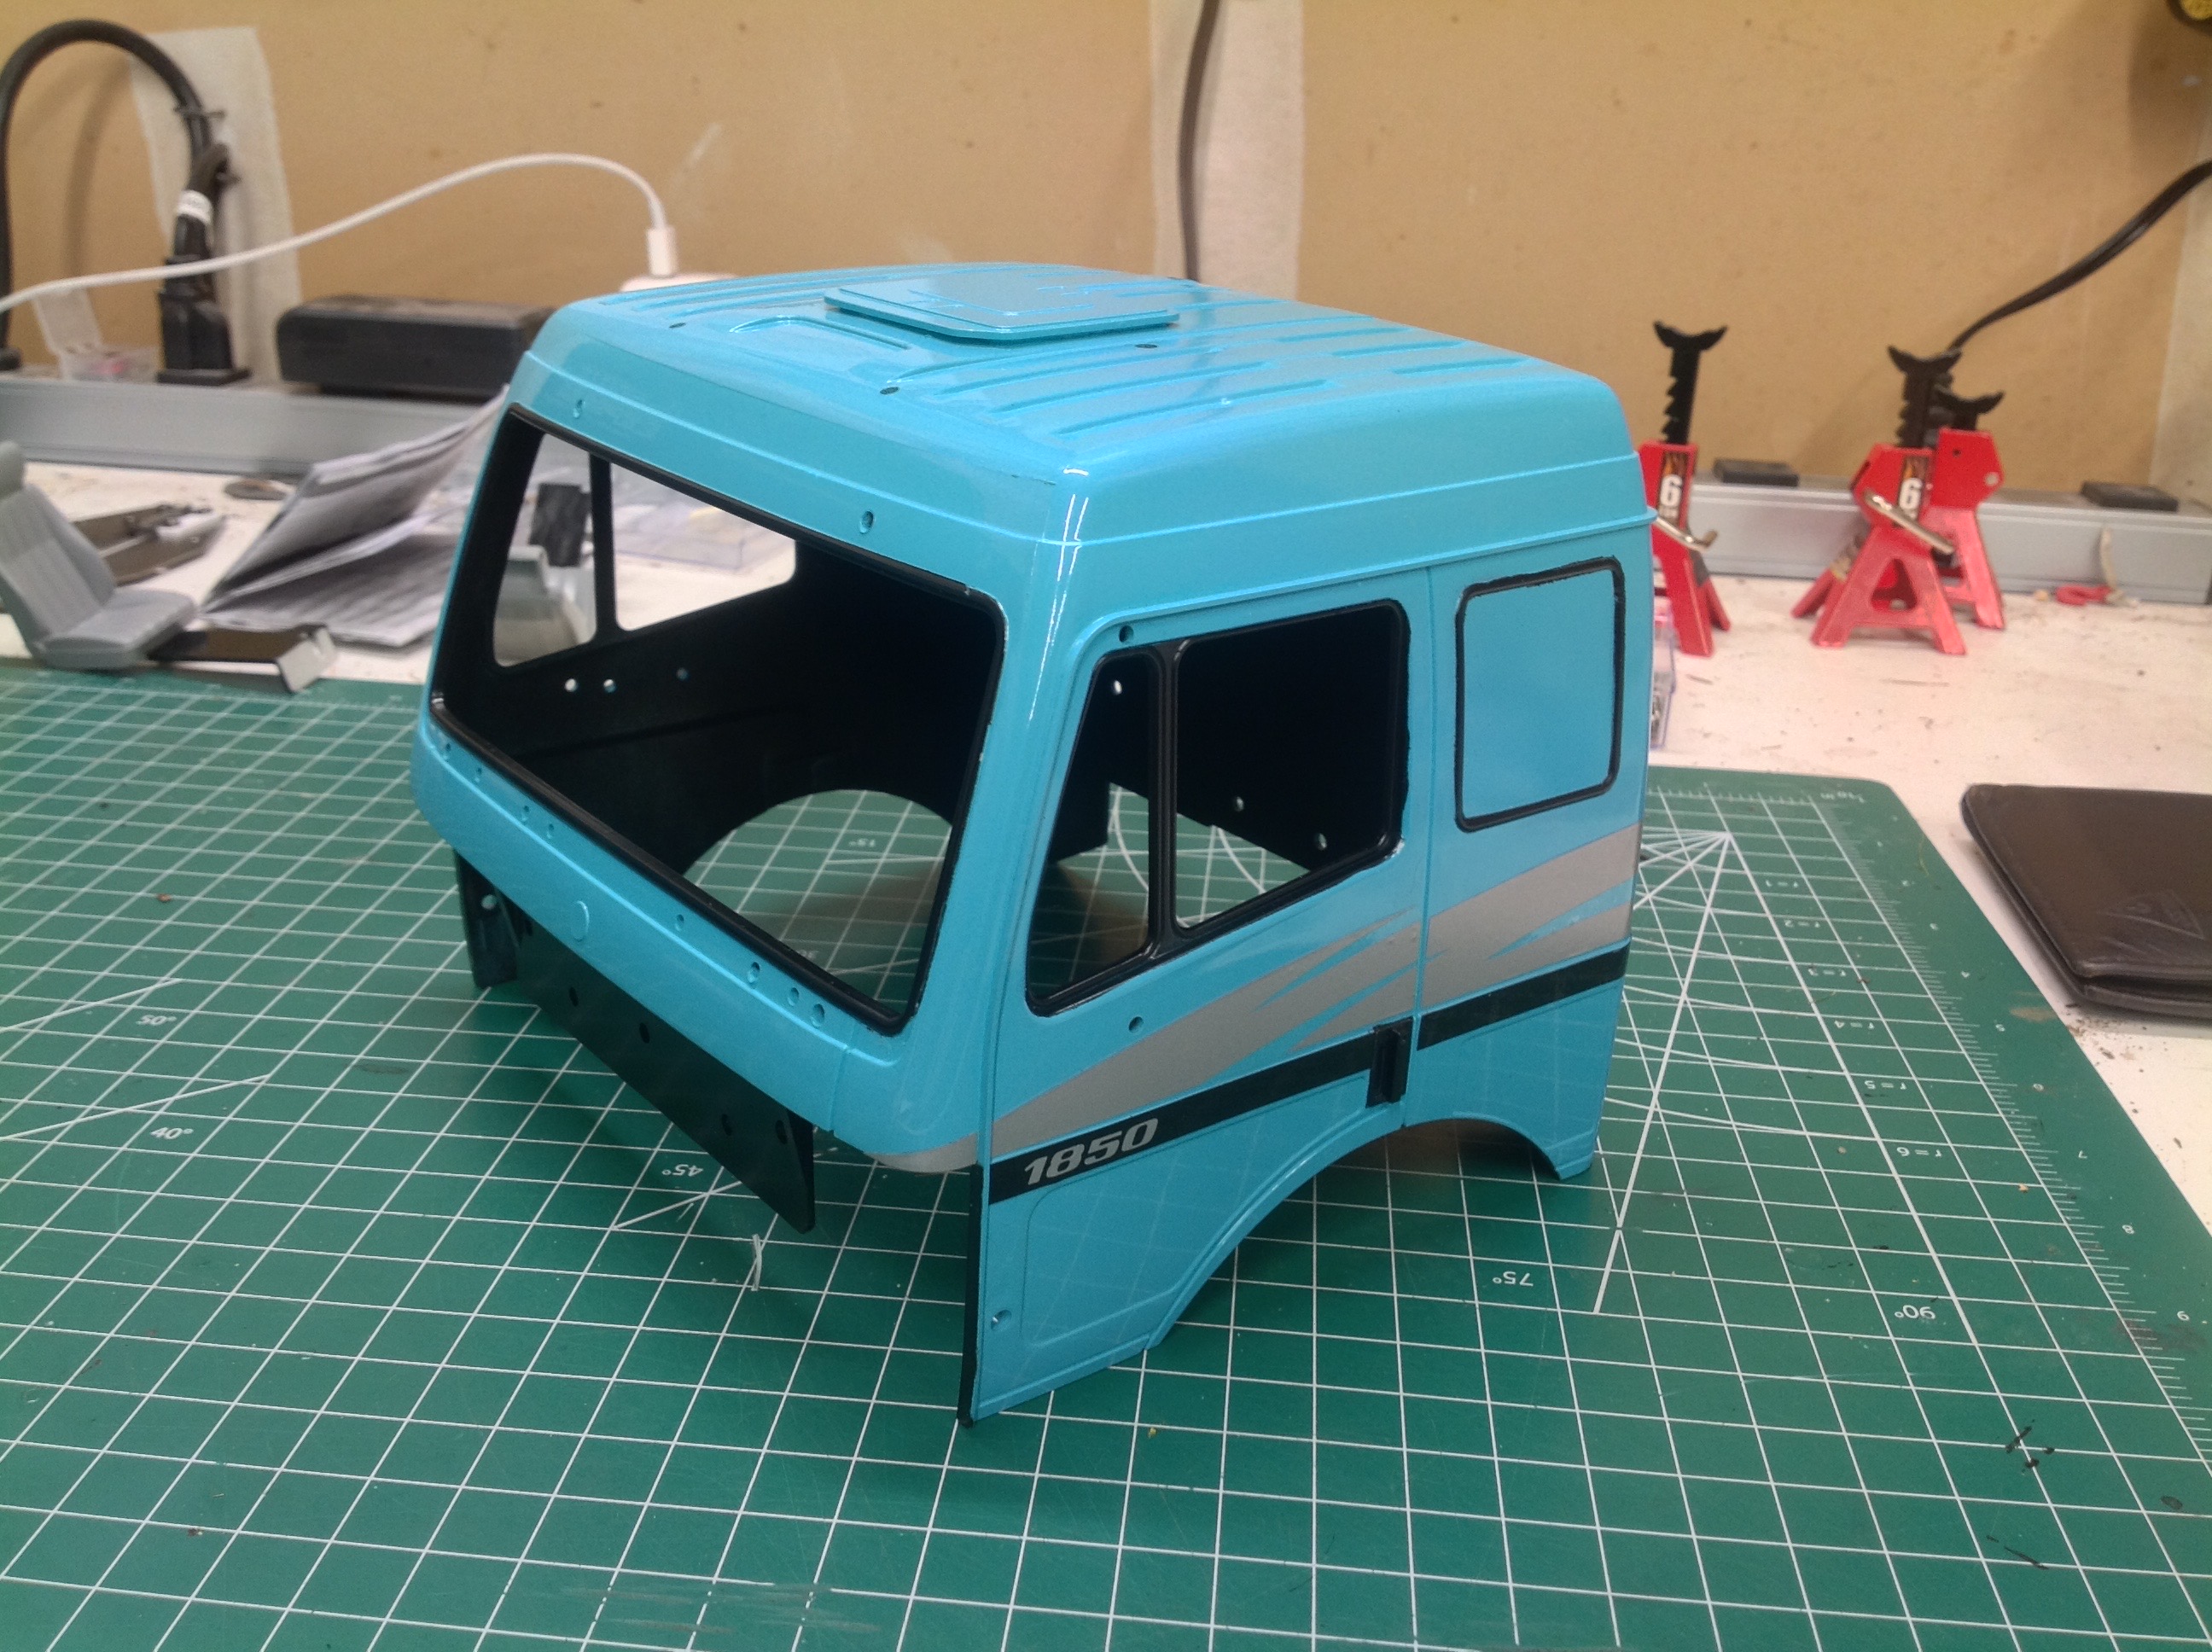
Painting the mostly cubic cab was way more work than I expected because
all the window trim (and some other details) needs to be black. I
started by painting the whole thing cobalt blue on the outside, then
masked everything that didn't need to be black. This involved a
lot of trimming as you can see. I also painted the whole inside
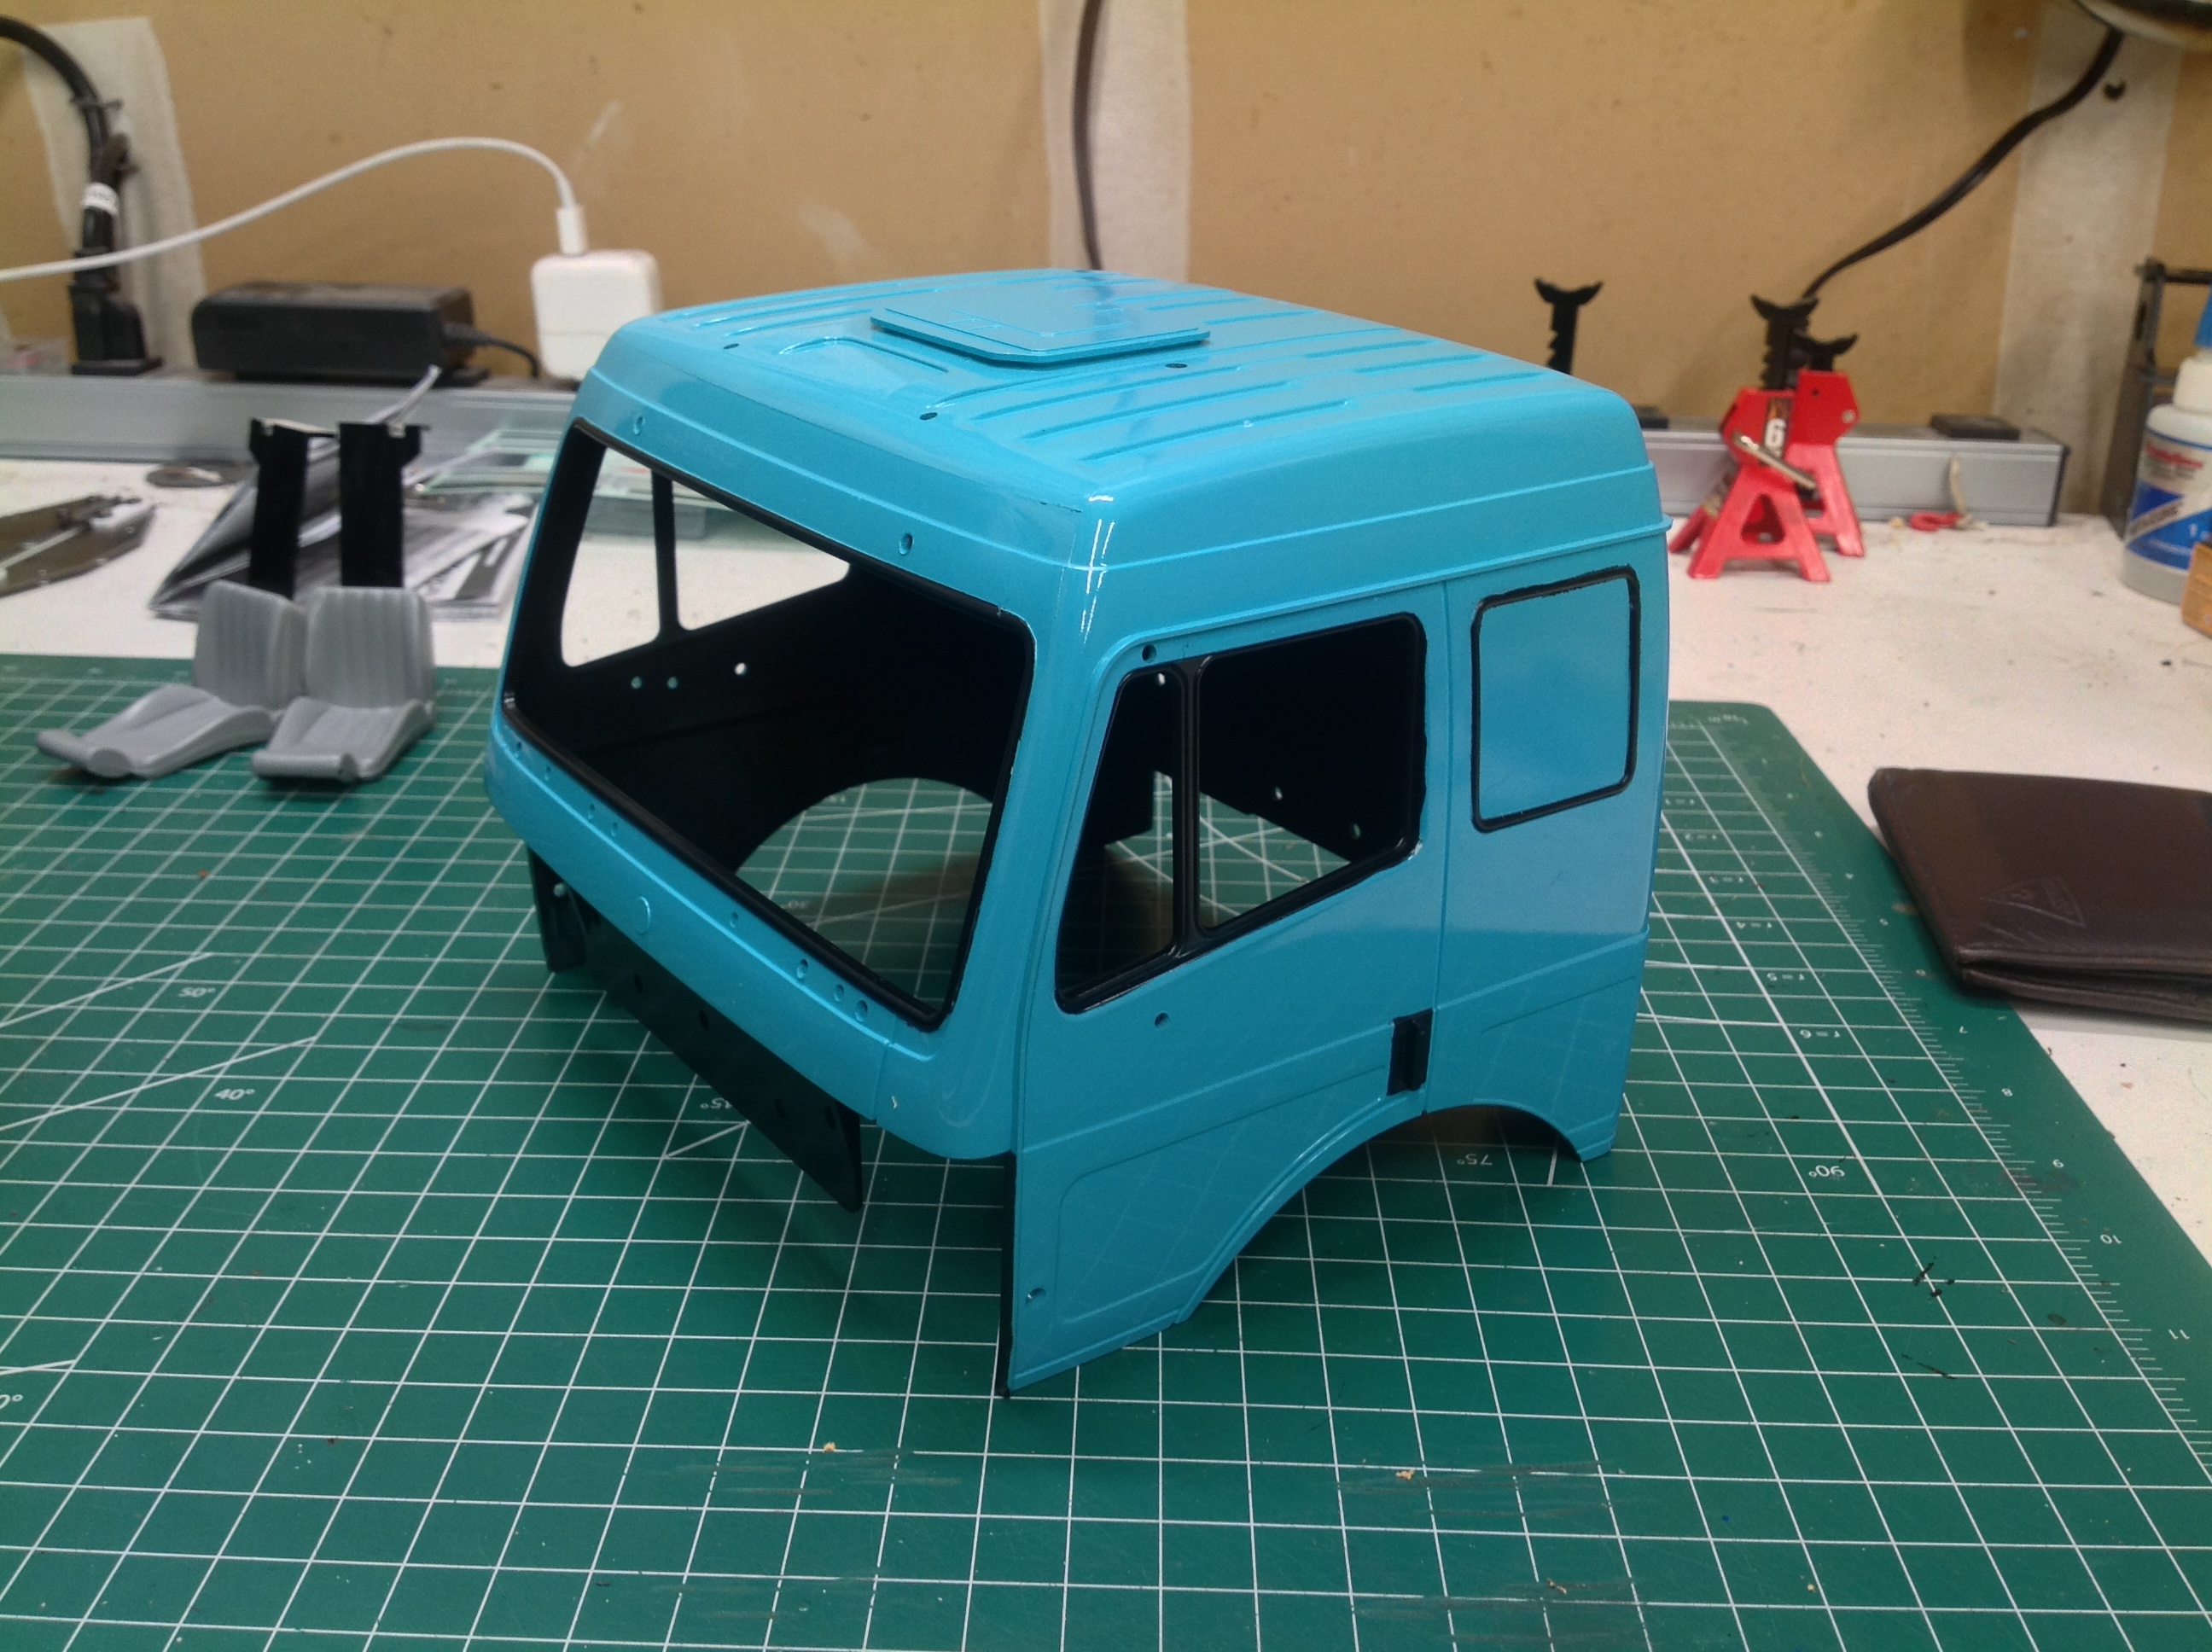
surface black so no white plastic could be seen. The final result is on
the right. This took a couple of days.
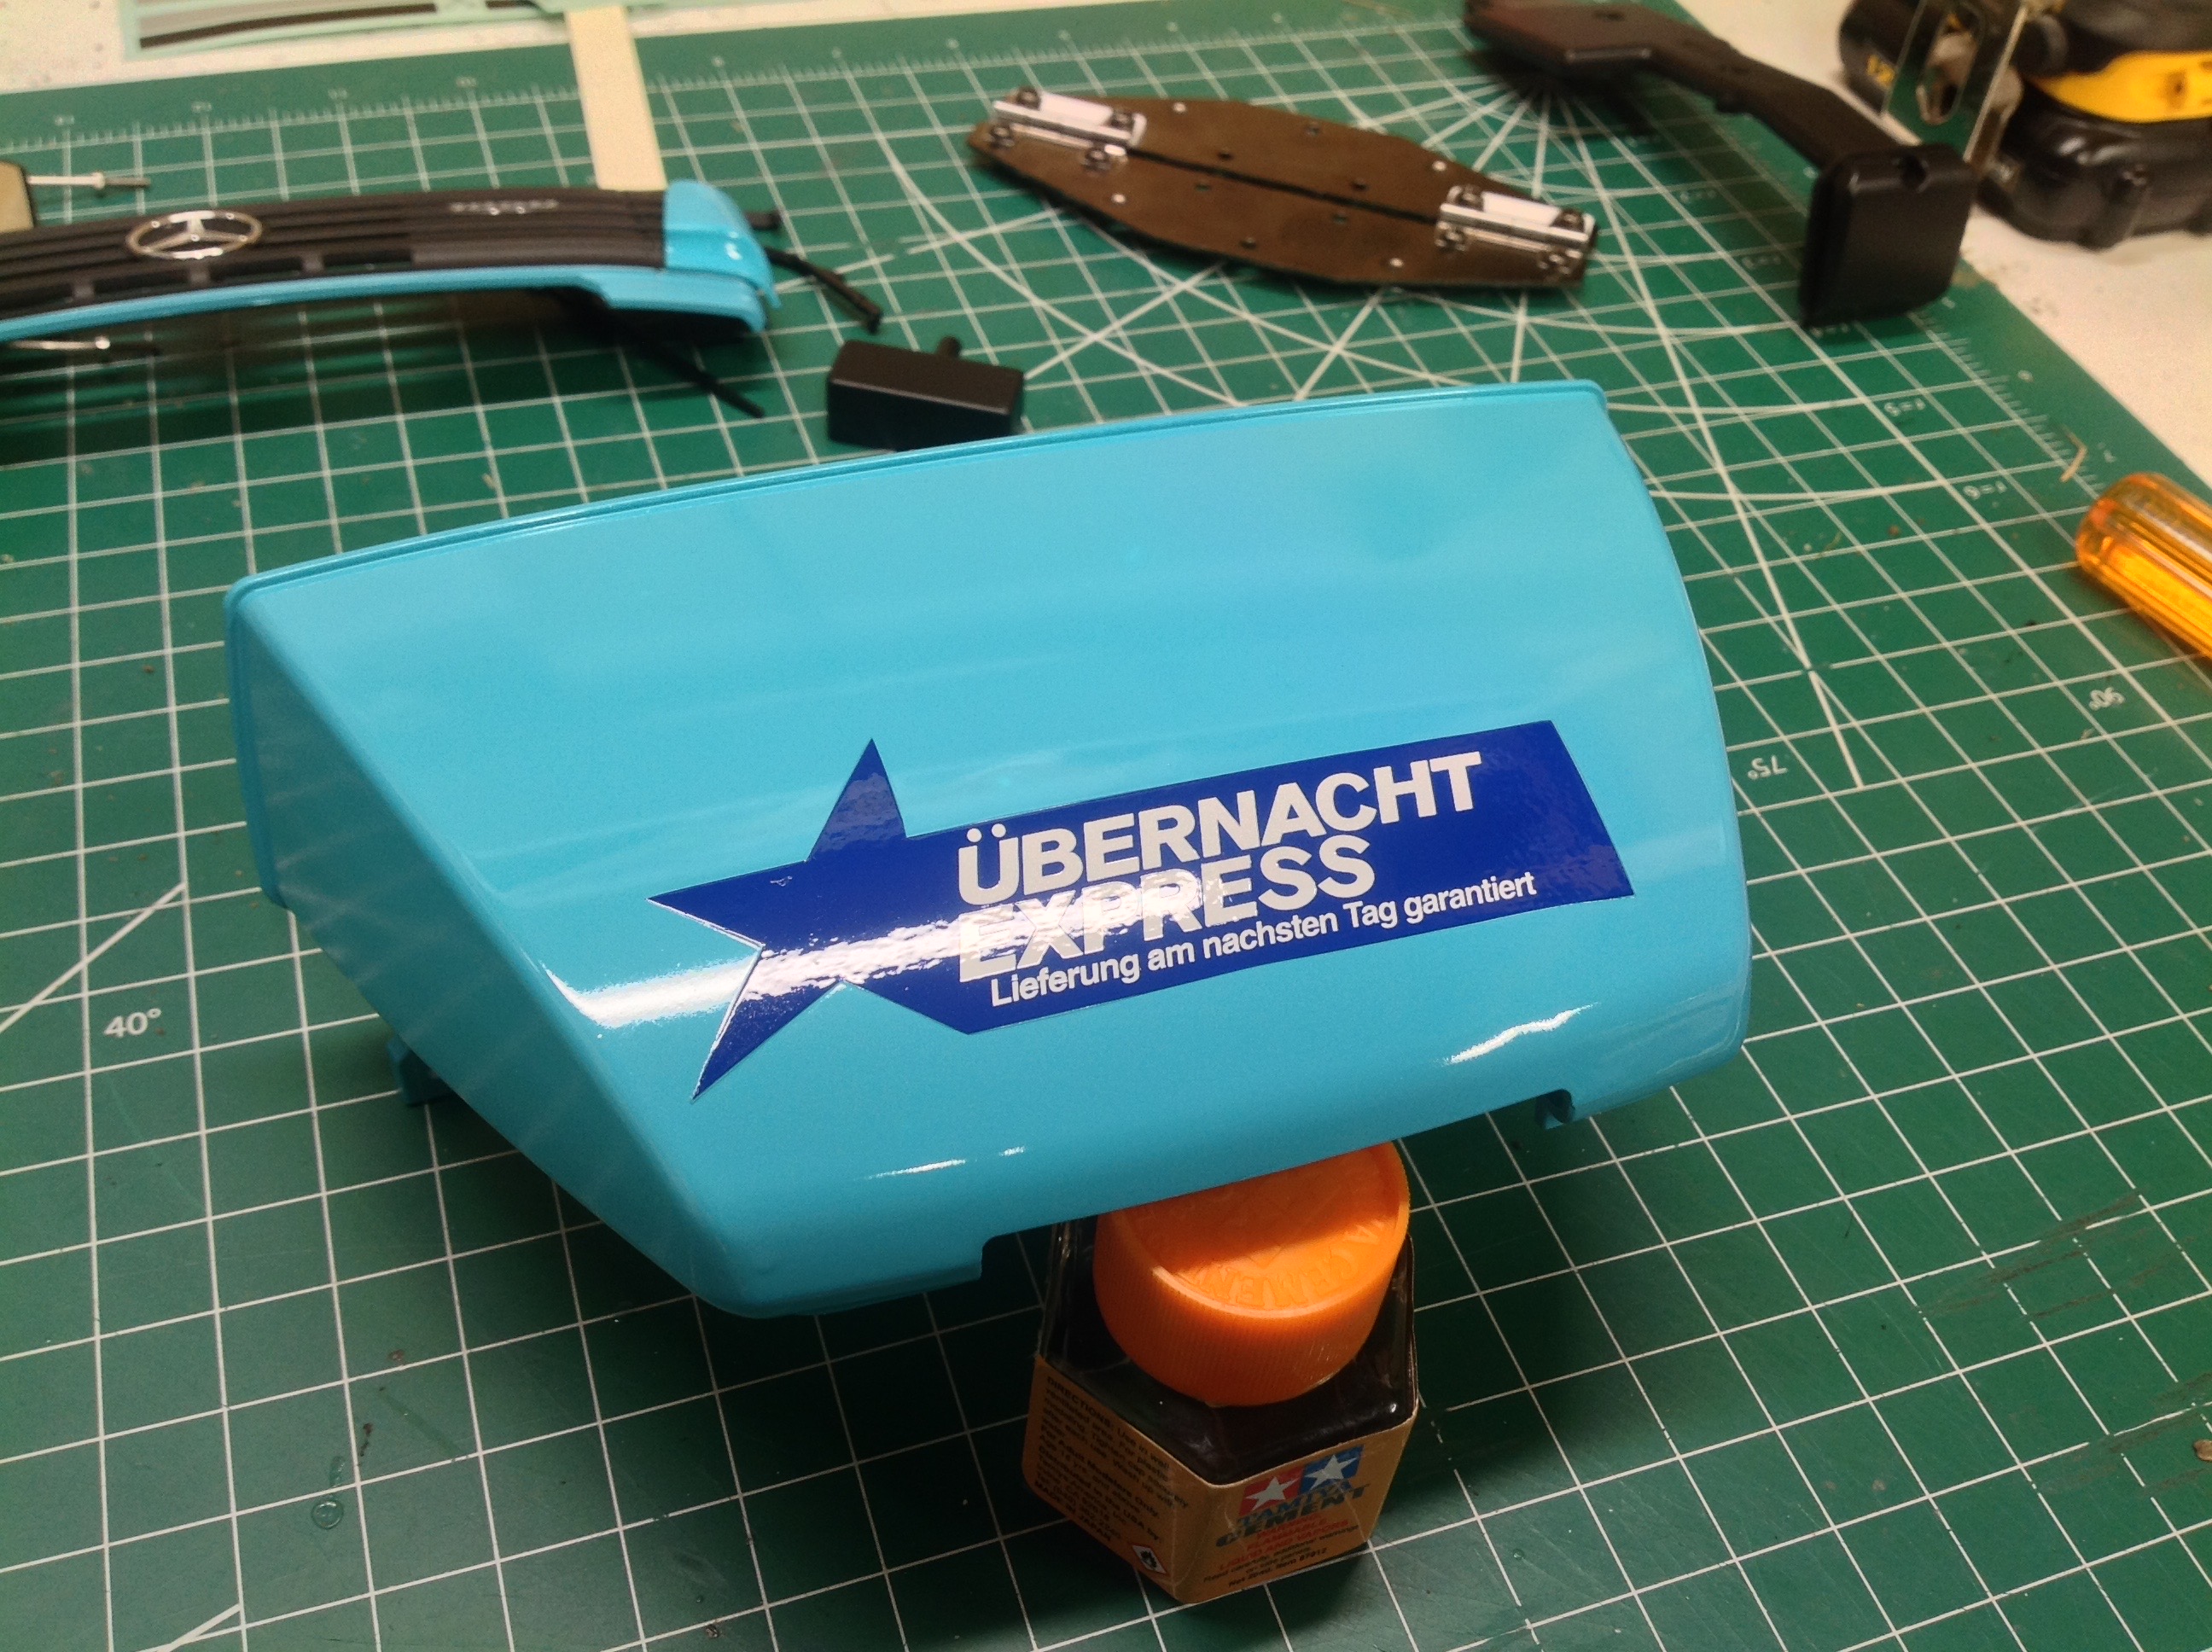
The striped decals in this kit come in two colors: silver and
maroon. Presumably the colored versions are intended to be used
with a more neutral paint scheme. With the stickers applied, I put
several coats of clear over the top. The picture on the right
shows the completed wind deflector. This picture does a good job
of showing the reflectivity of the clear coat.
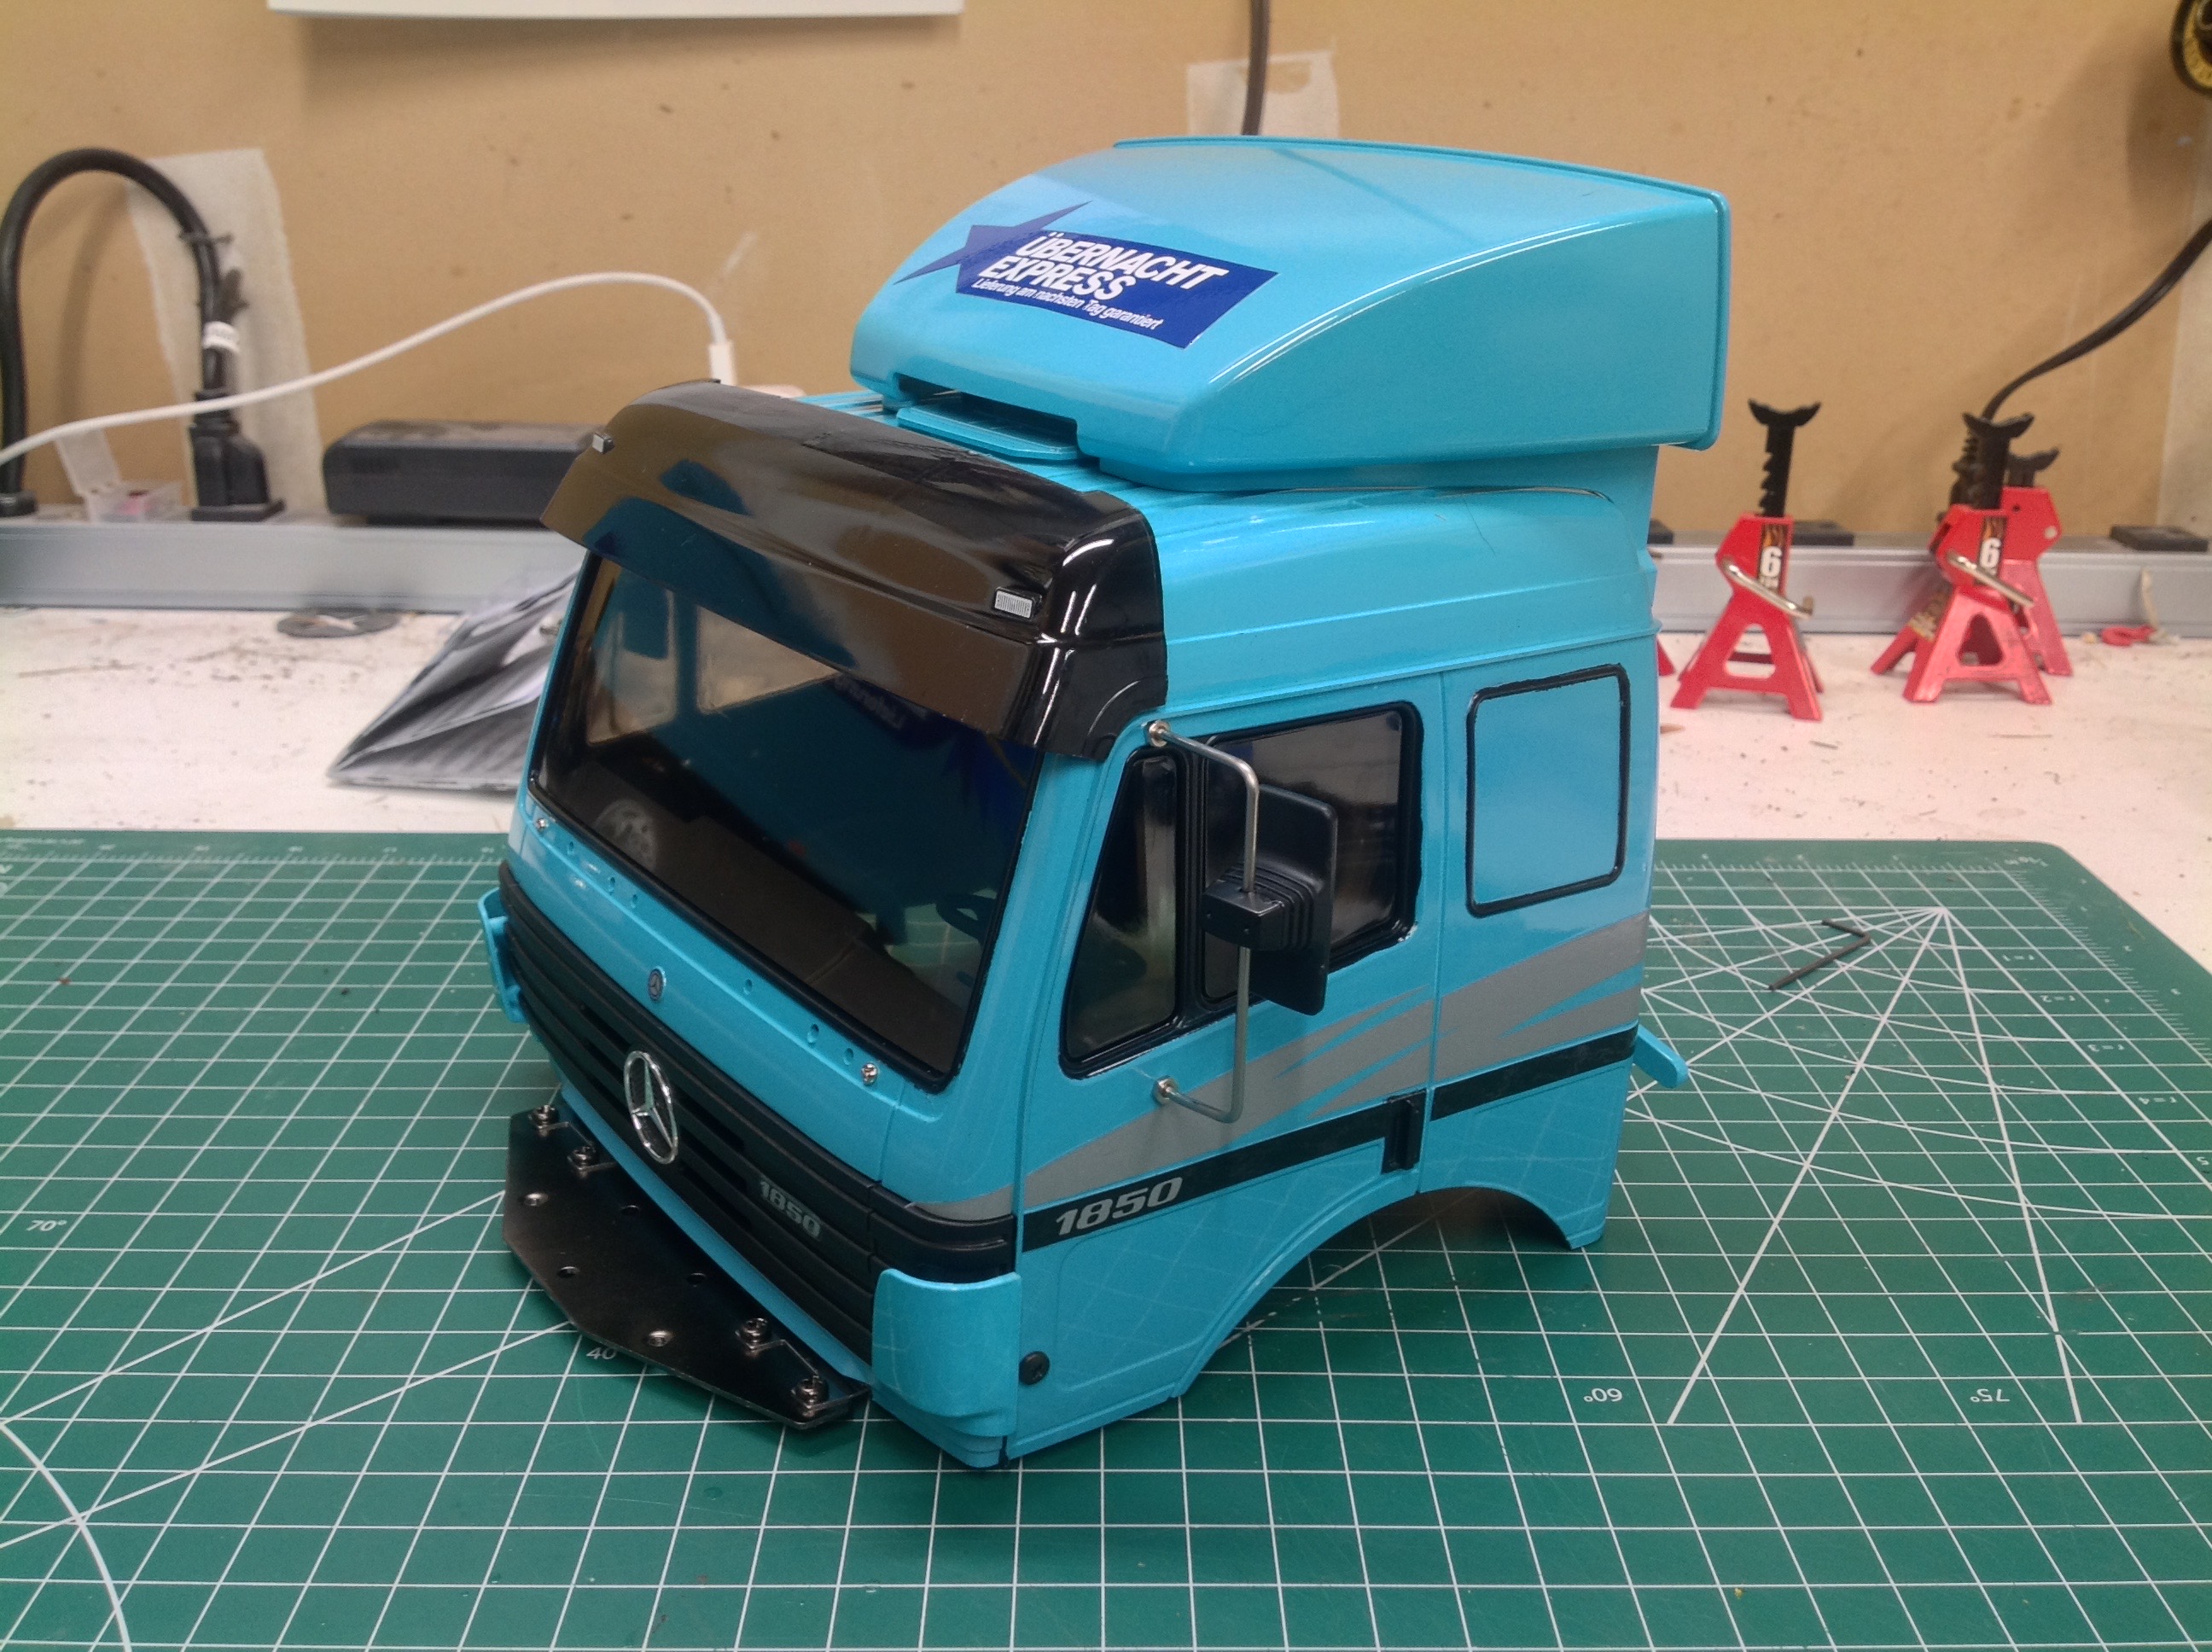
The completed cab includes the main "cube", the wind deflector, a sun
screen, side mirrors, and the grille. The interior is also
attached directly to the cab (rather than to the floor) so it tips up
with the cab. On the right the whole truck has been painted and
assembled.
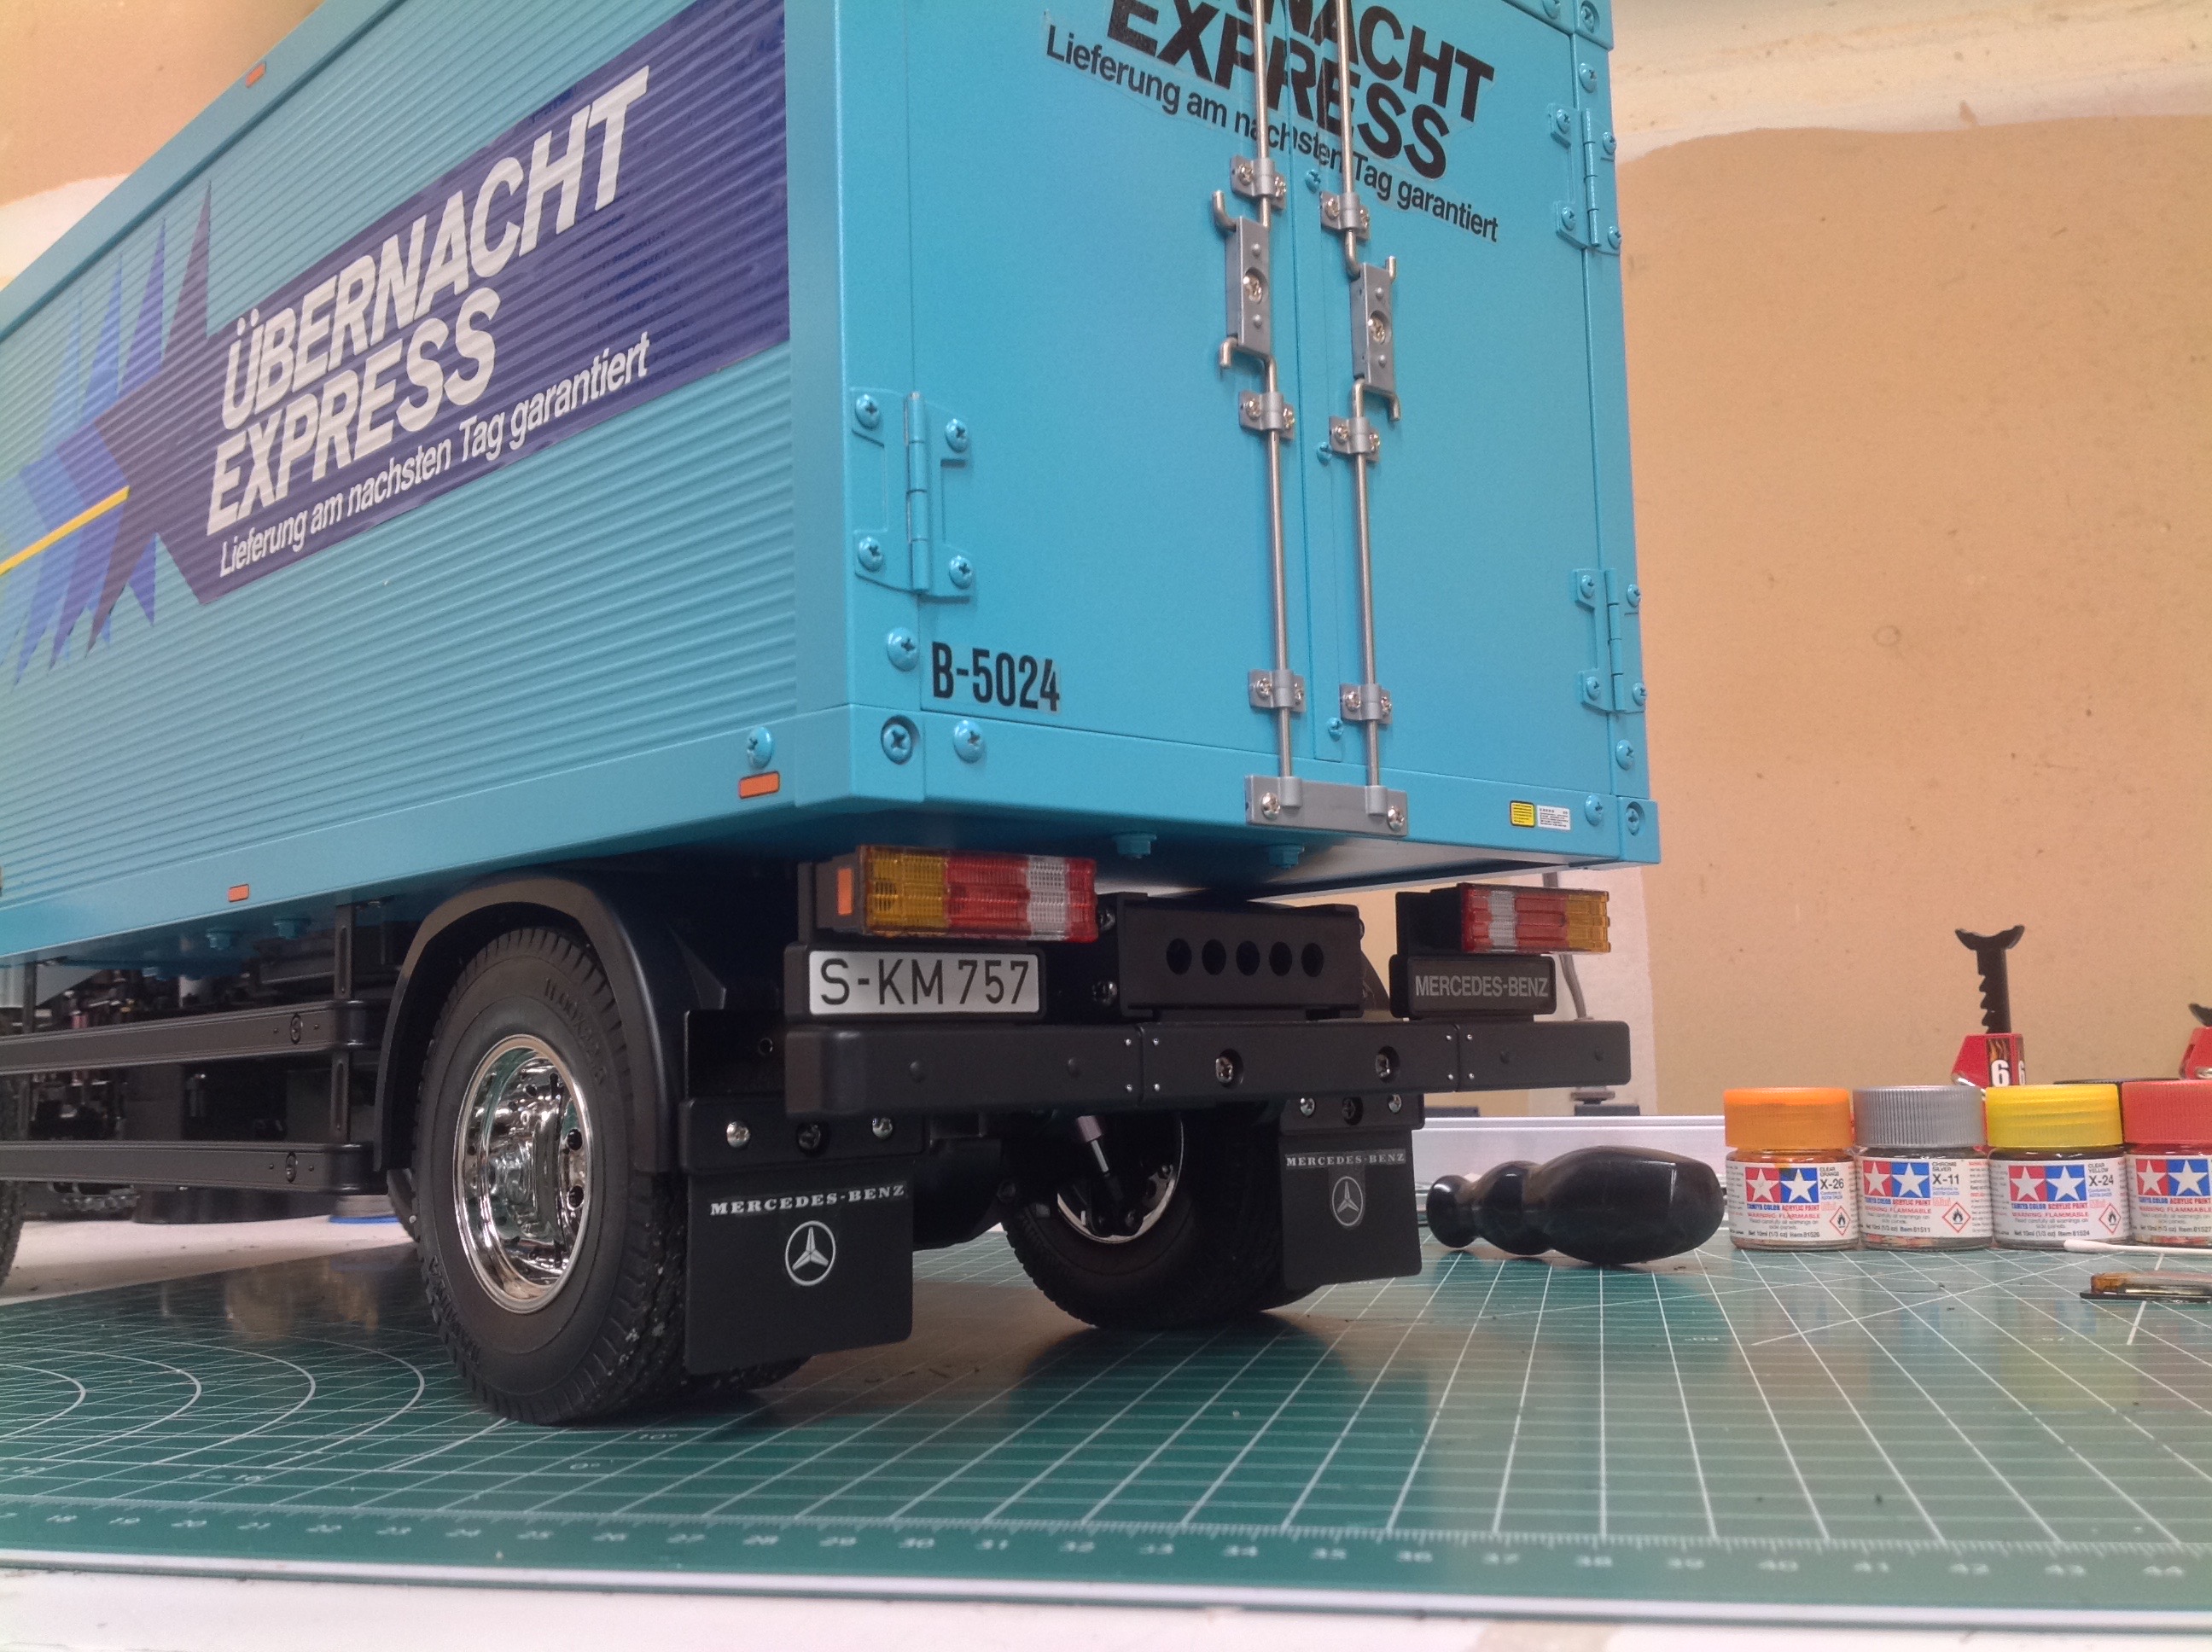
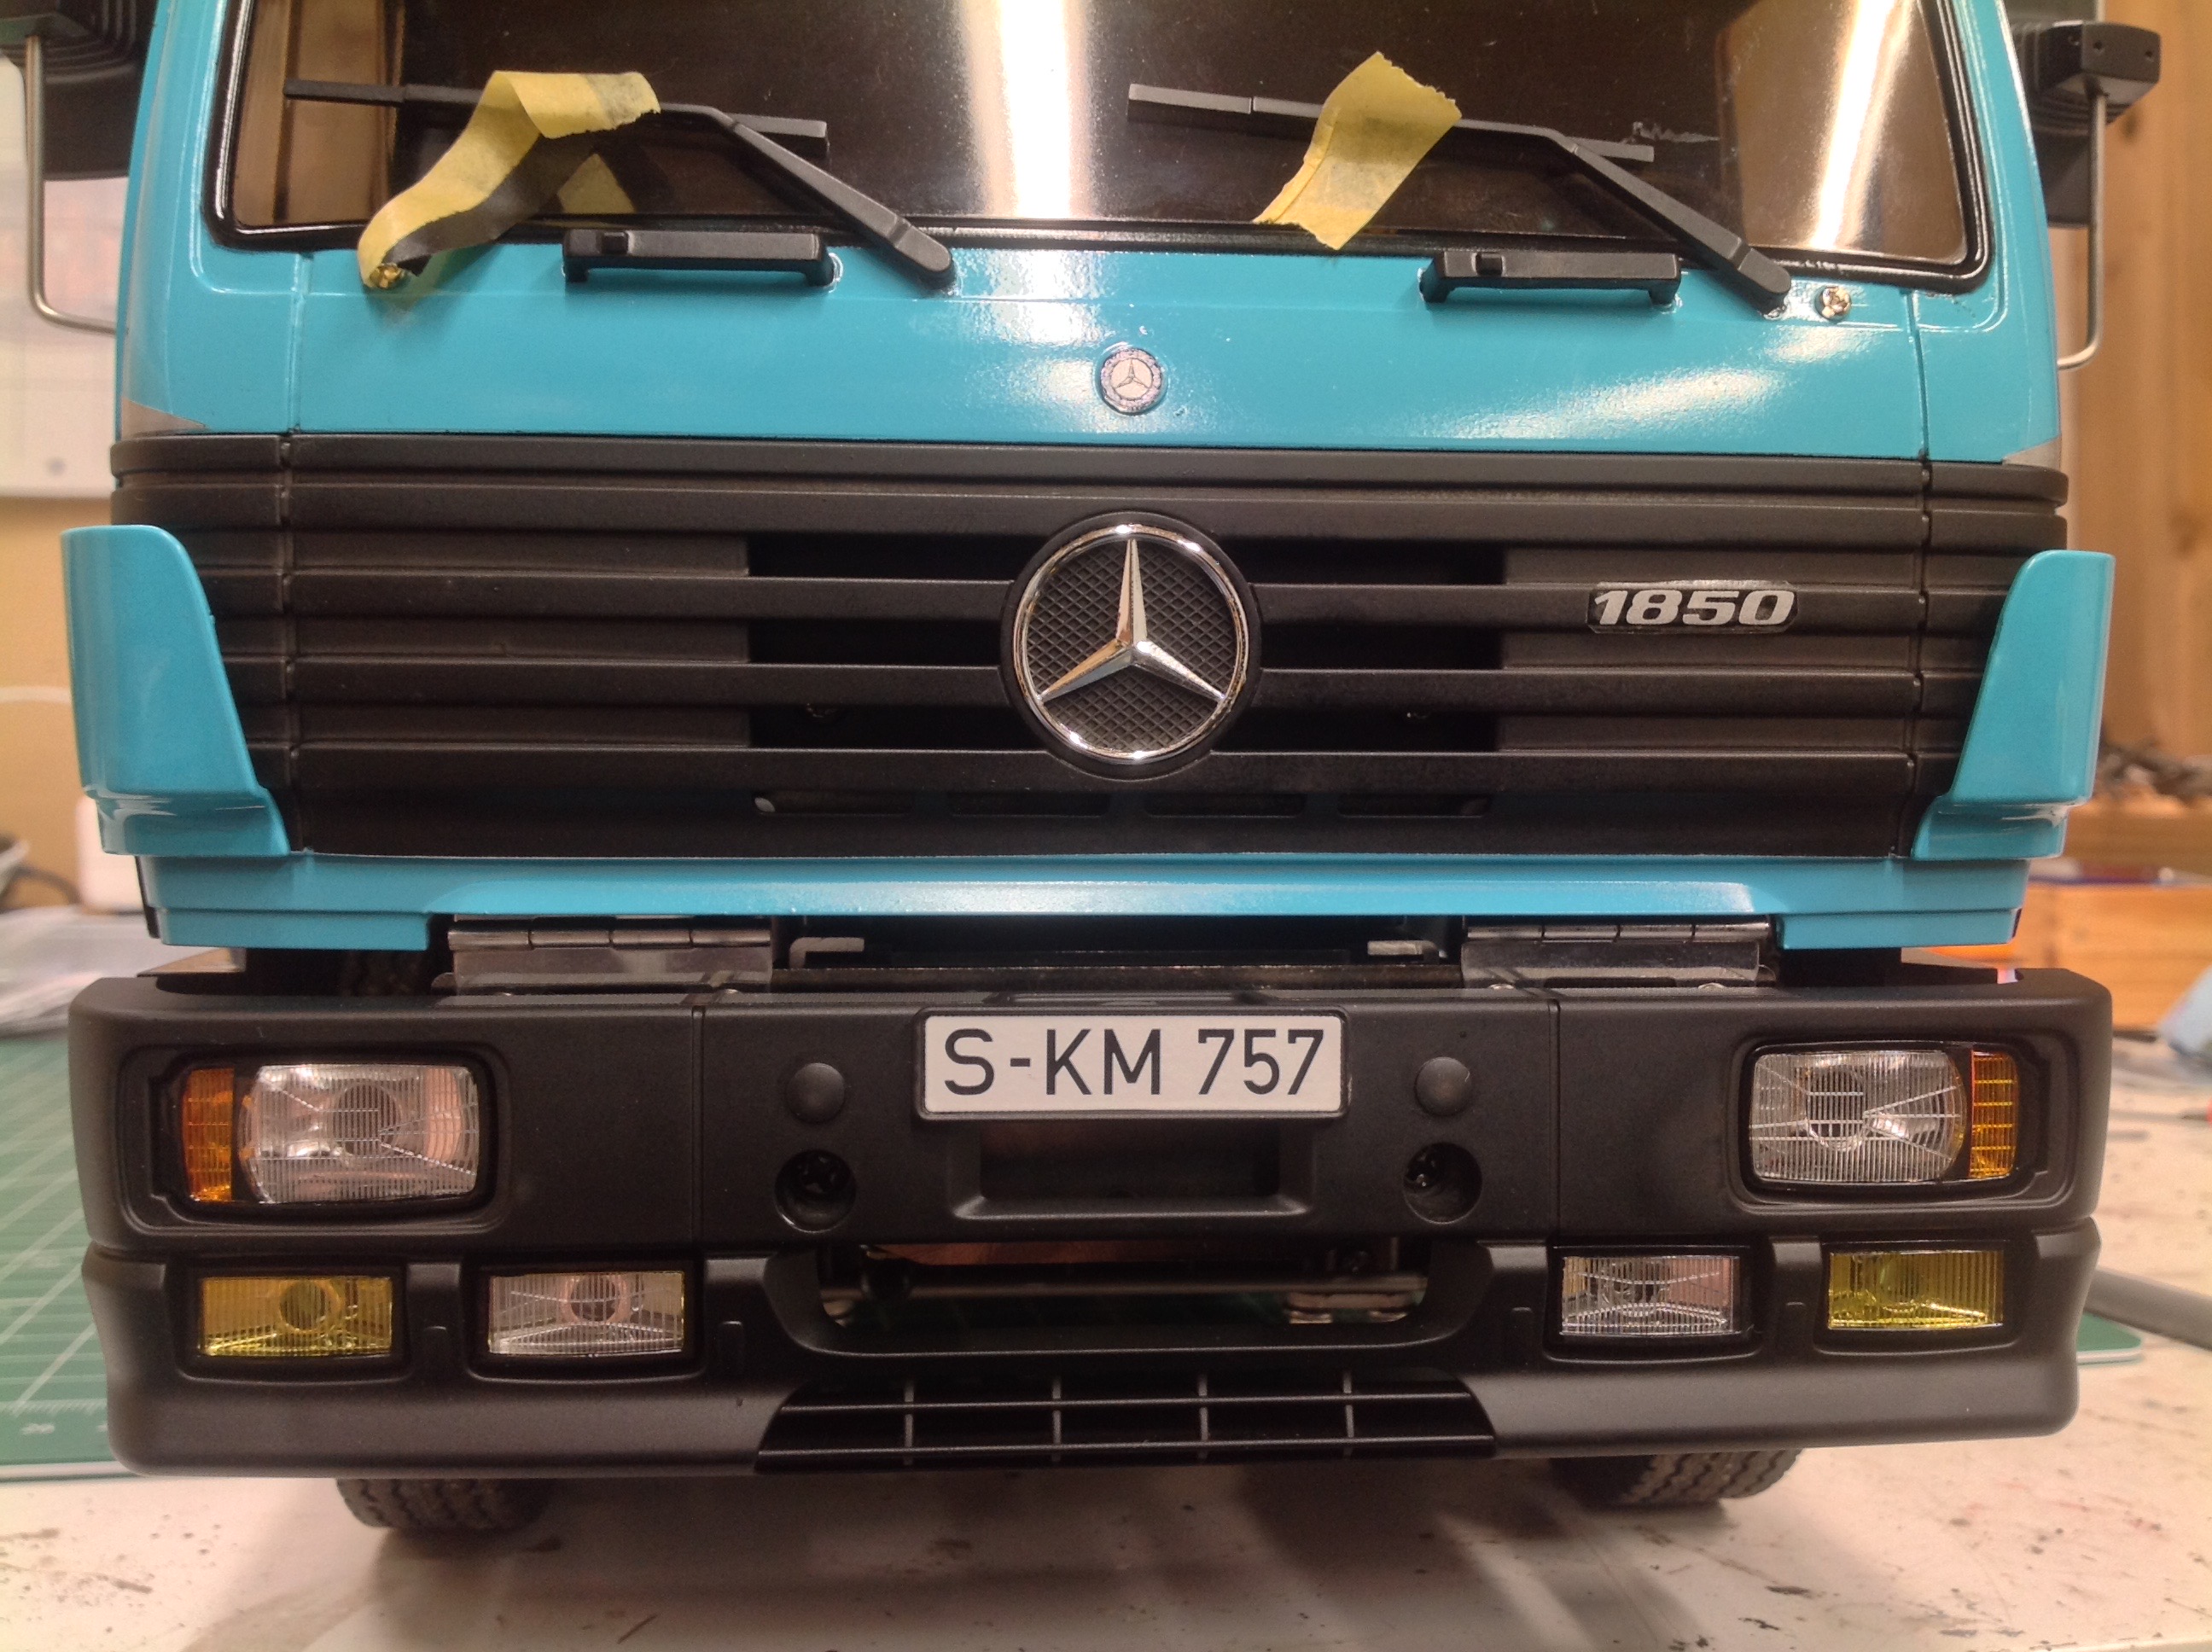
Here are closeup views of the front and rear of the truck. You can
see that I've fixed the wrongly painted yellow fog light and I've also
added windshield wipers (taped in position while they dry). From
the back you can see the bumper, mud flaps, tail lights, and the door
latching mechanism.
©2020 Eric Albrecht