Merecedes 1850L Project
Page 3: Upgrades!
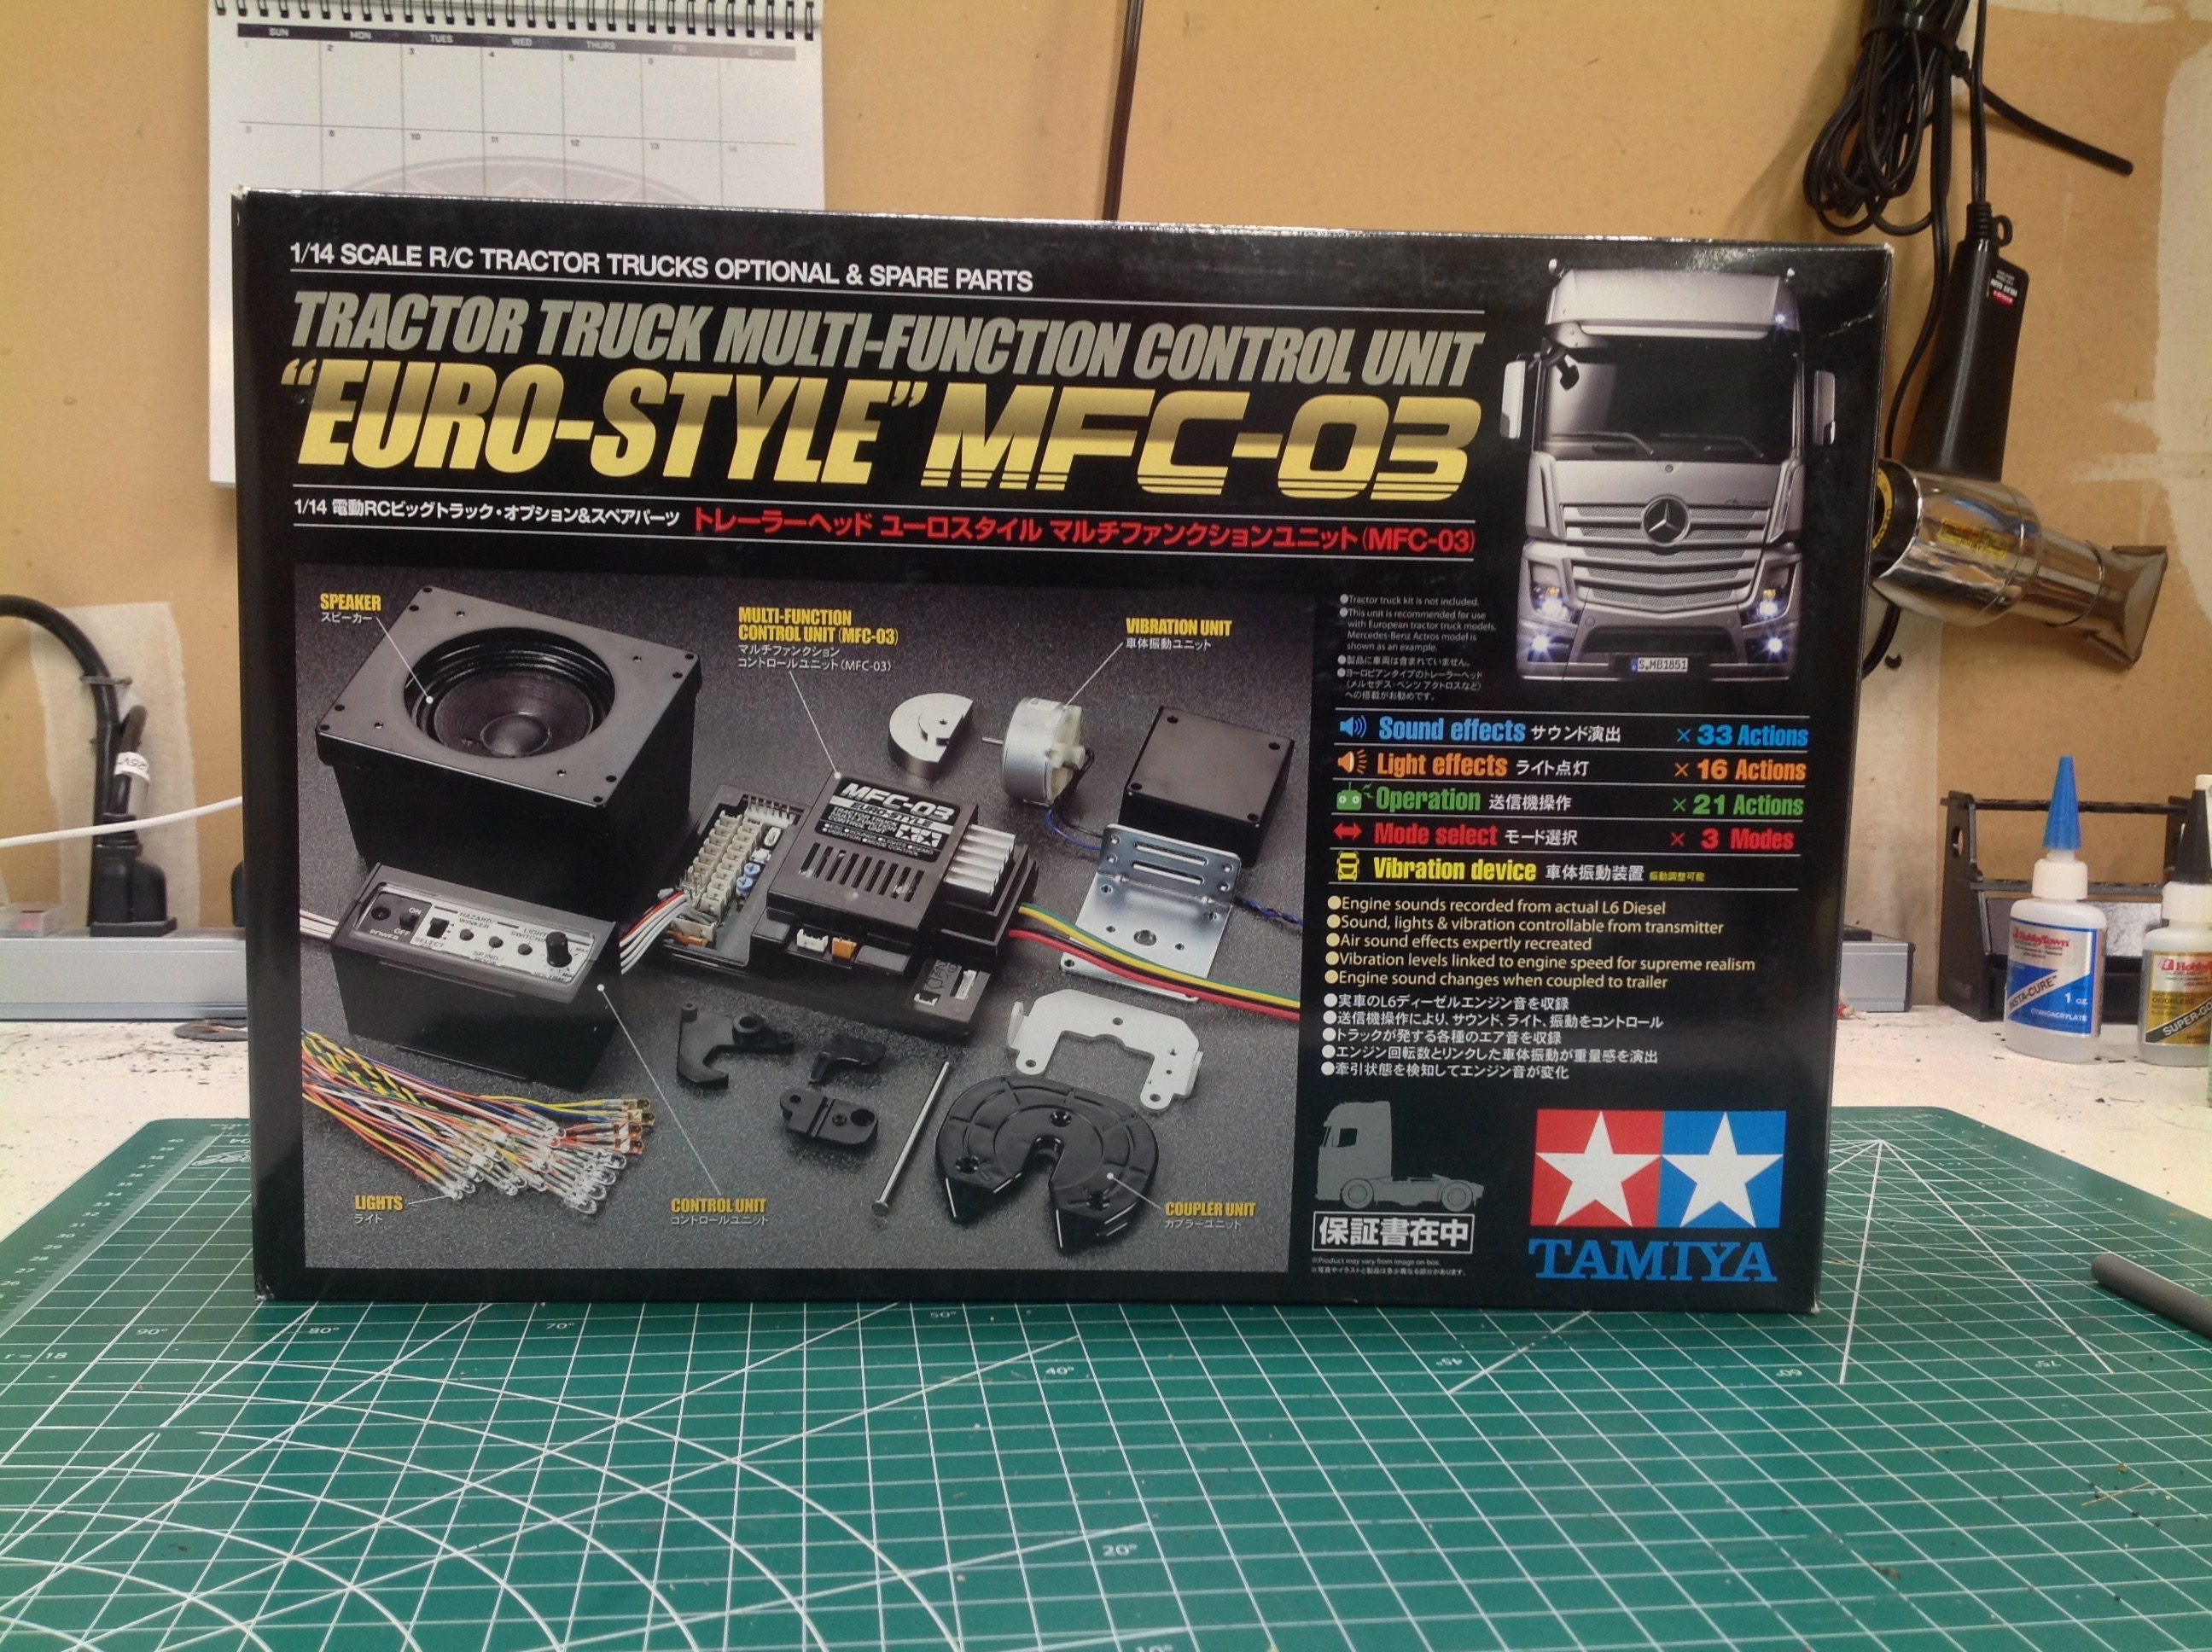
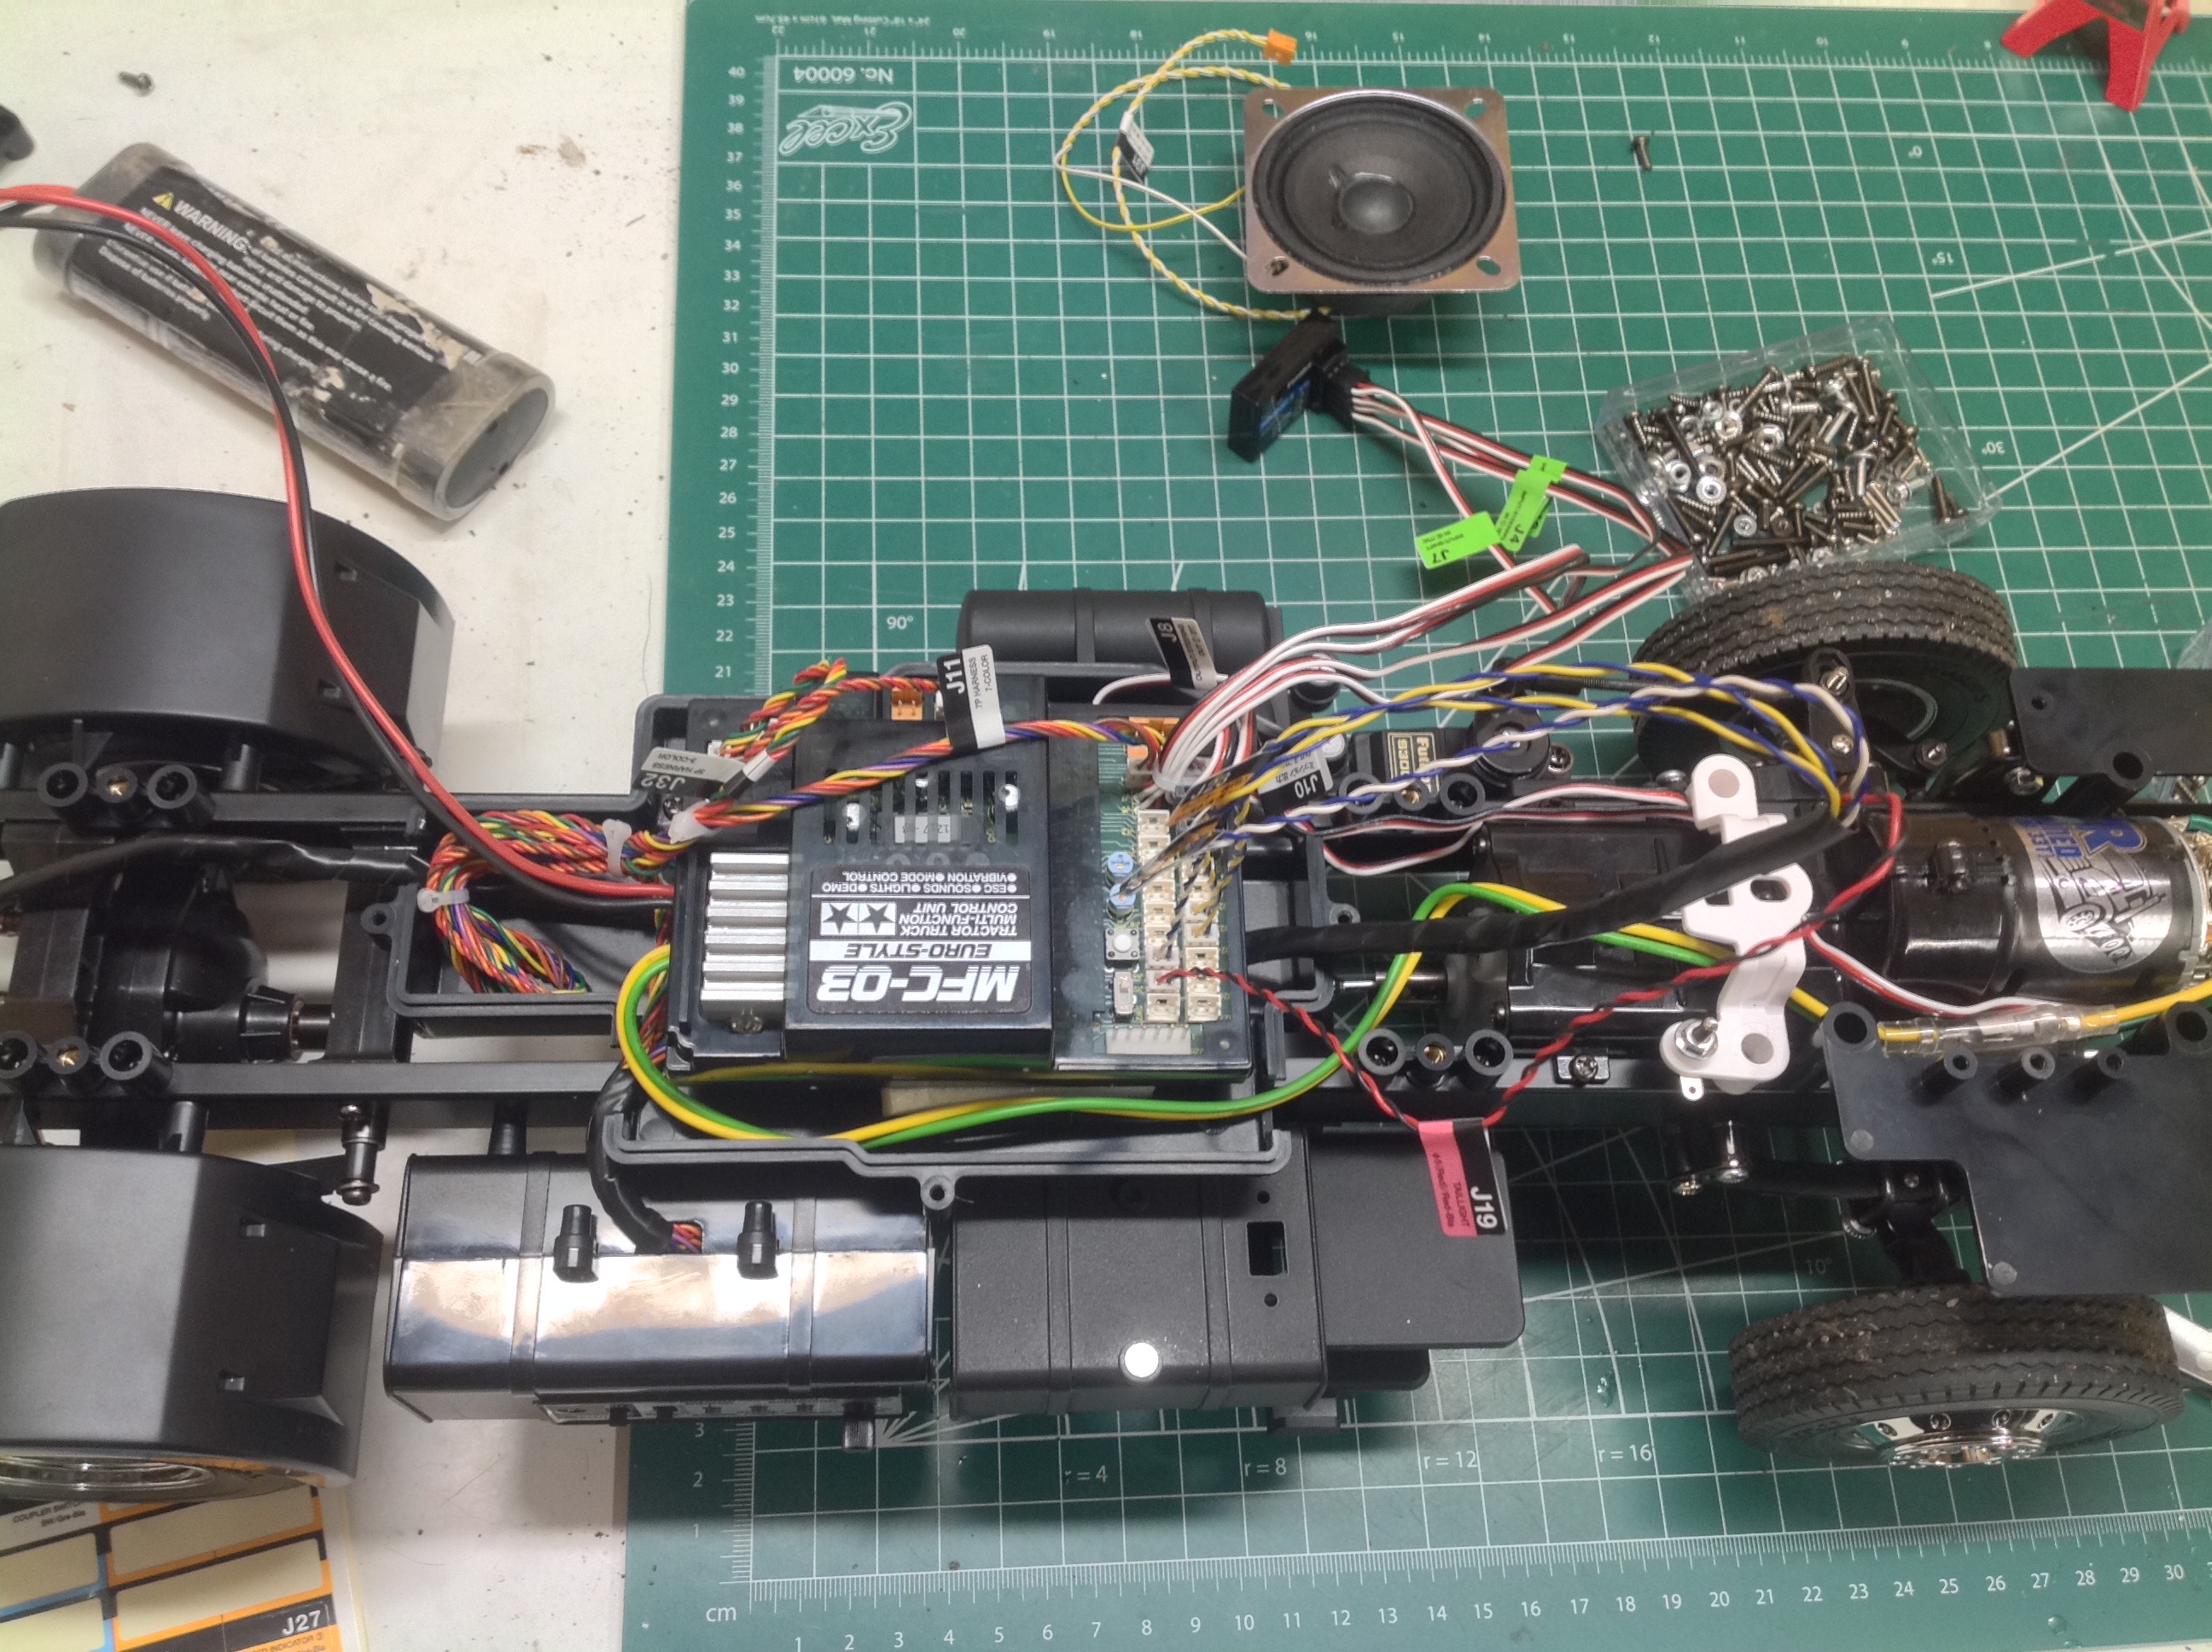
Like my other tractor trucks, a Multi-Function Control unit was
installed here to add lights, sounds, and vibration. I used the
MFC-03 "Euro-Style" unit here. I've covered the installation of
these before so I'll keep the details here to a minimum. The parts
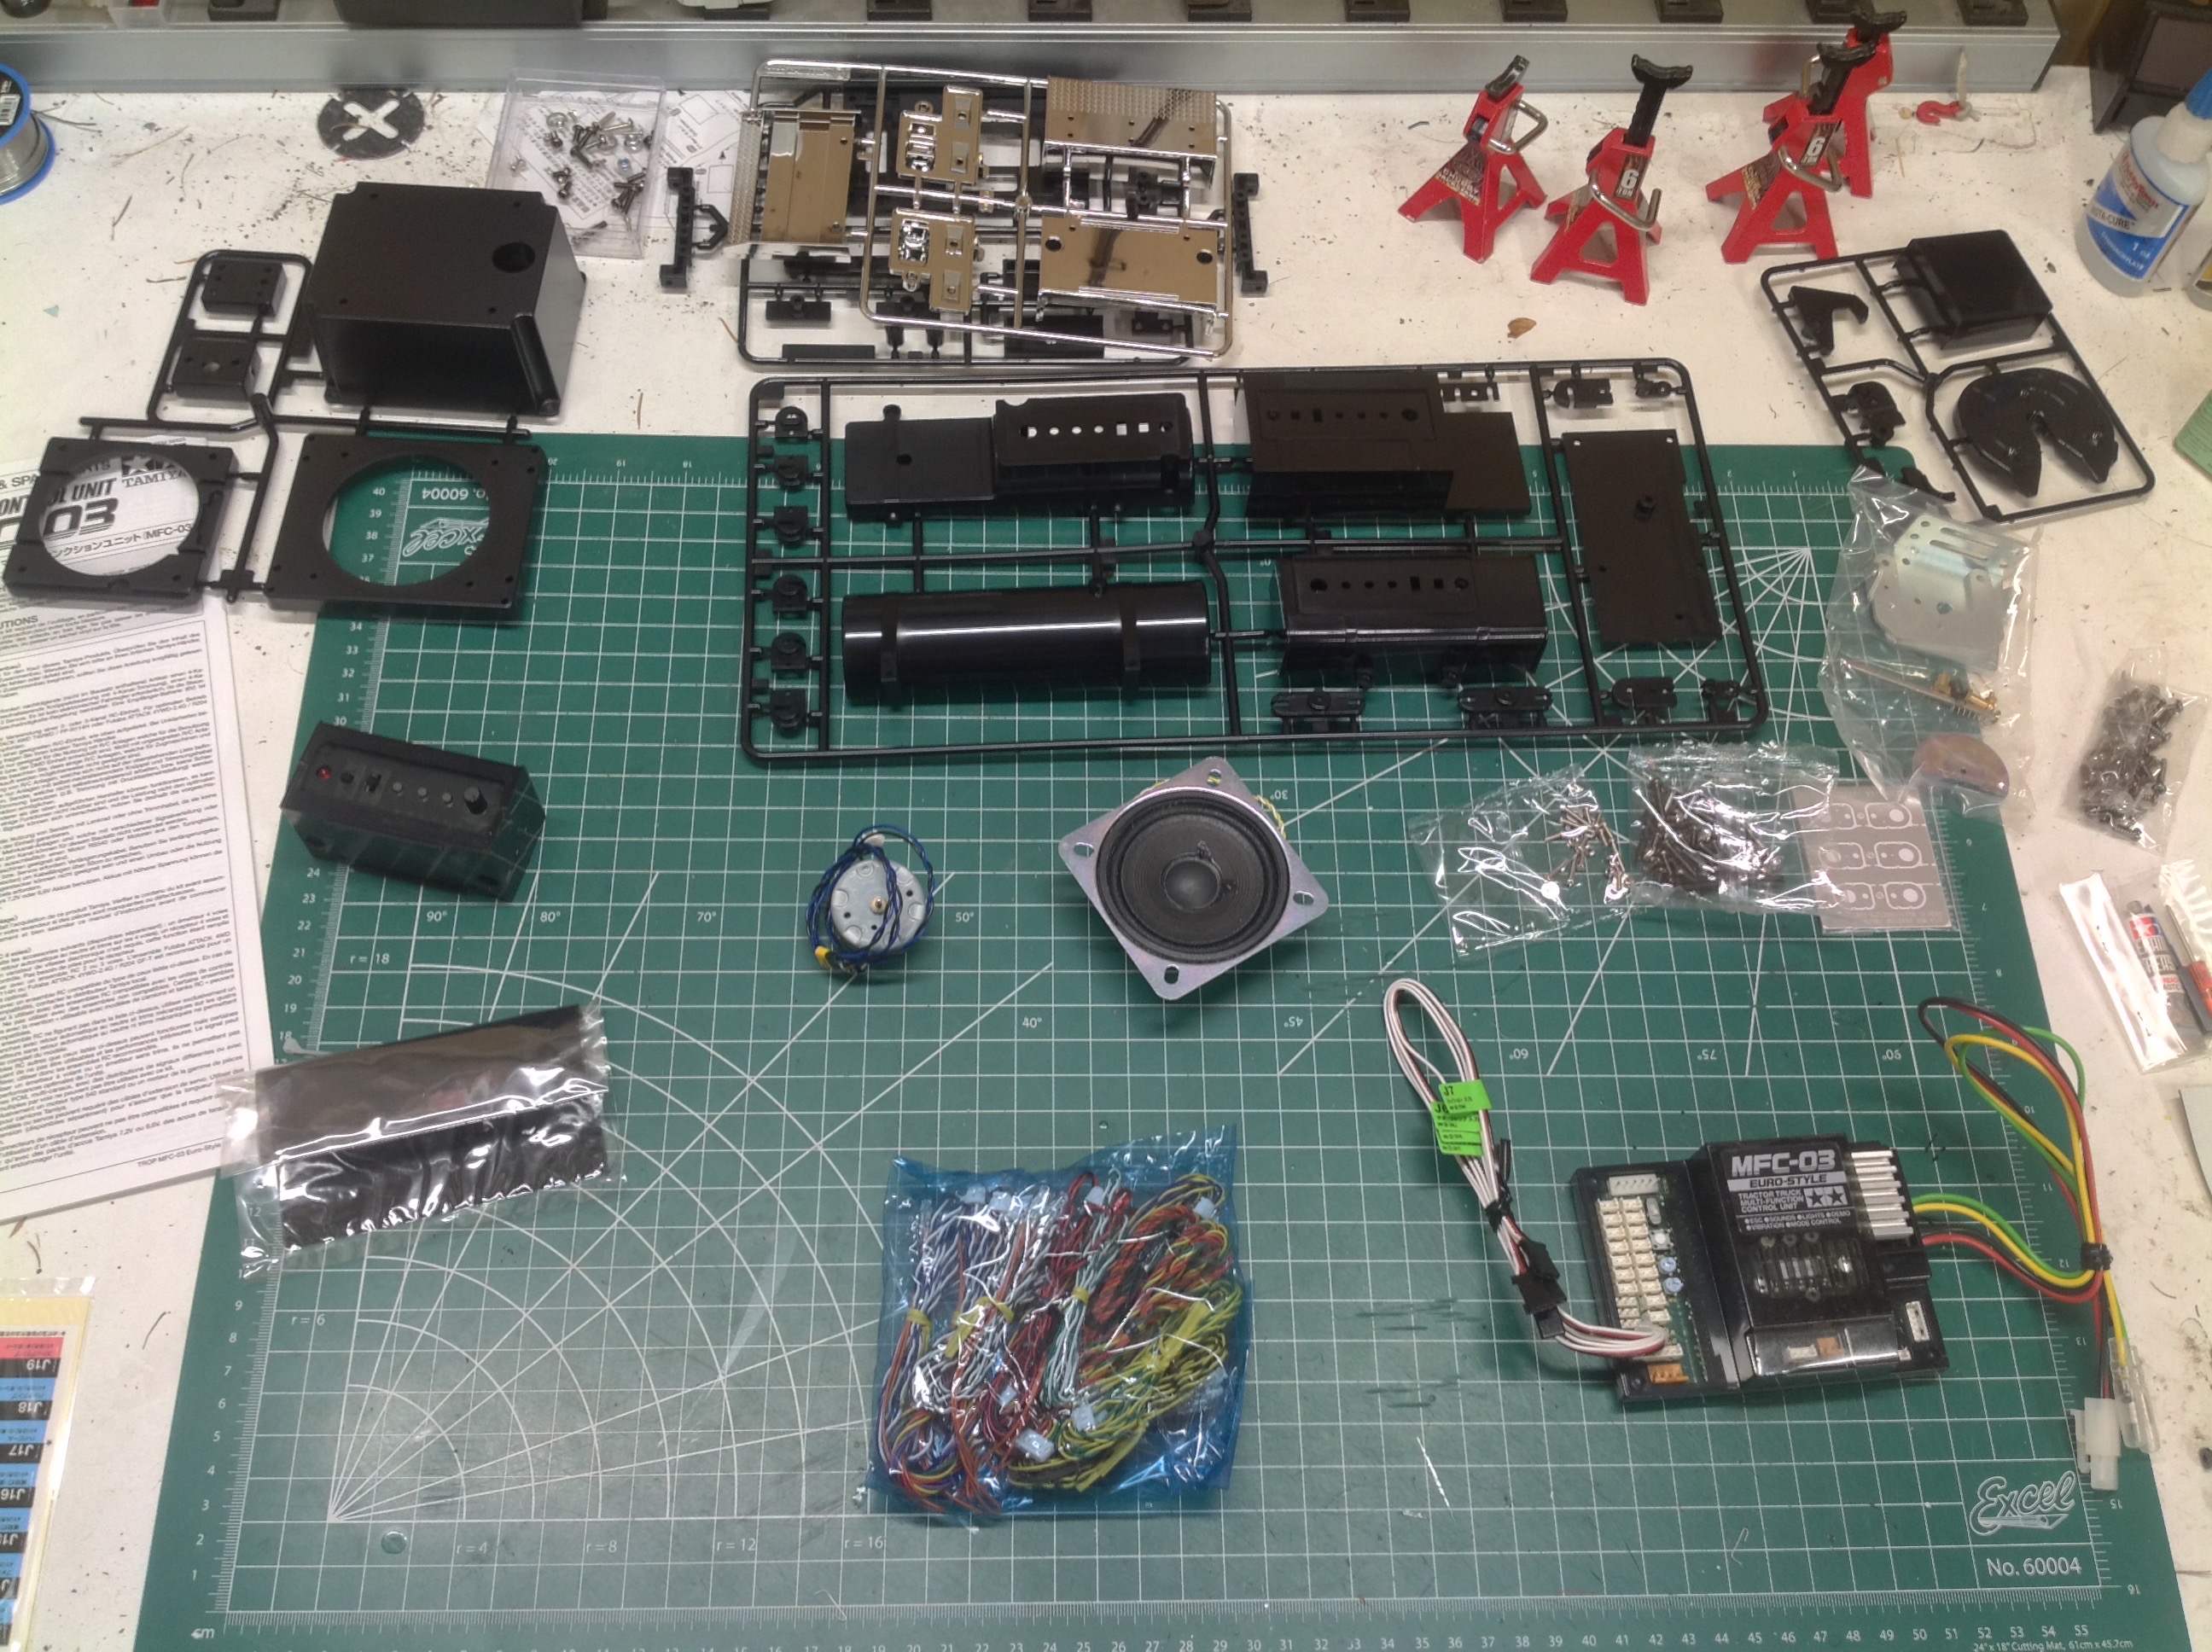
which come with the kit are shown on the right. The vast bulk of
the plastic parts are options which allow the MFC to be installed in any
tractor truck, but for any given truck only a tiny handful of them are
used. The rest are surplus. For this truck I used some
headlight buckets, a speaker box, and a fuel tank to house the control
panel. This truck has no fifth wheel so none of those parts were
needed.
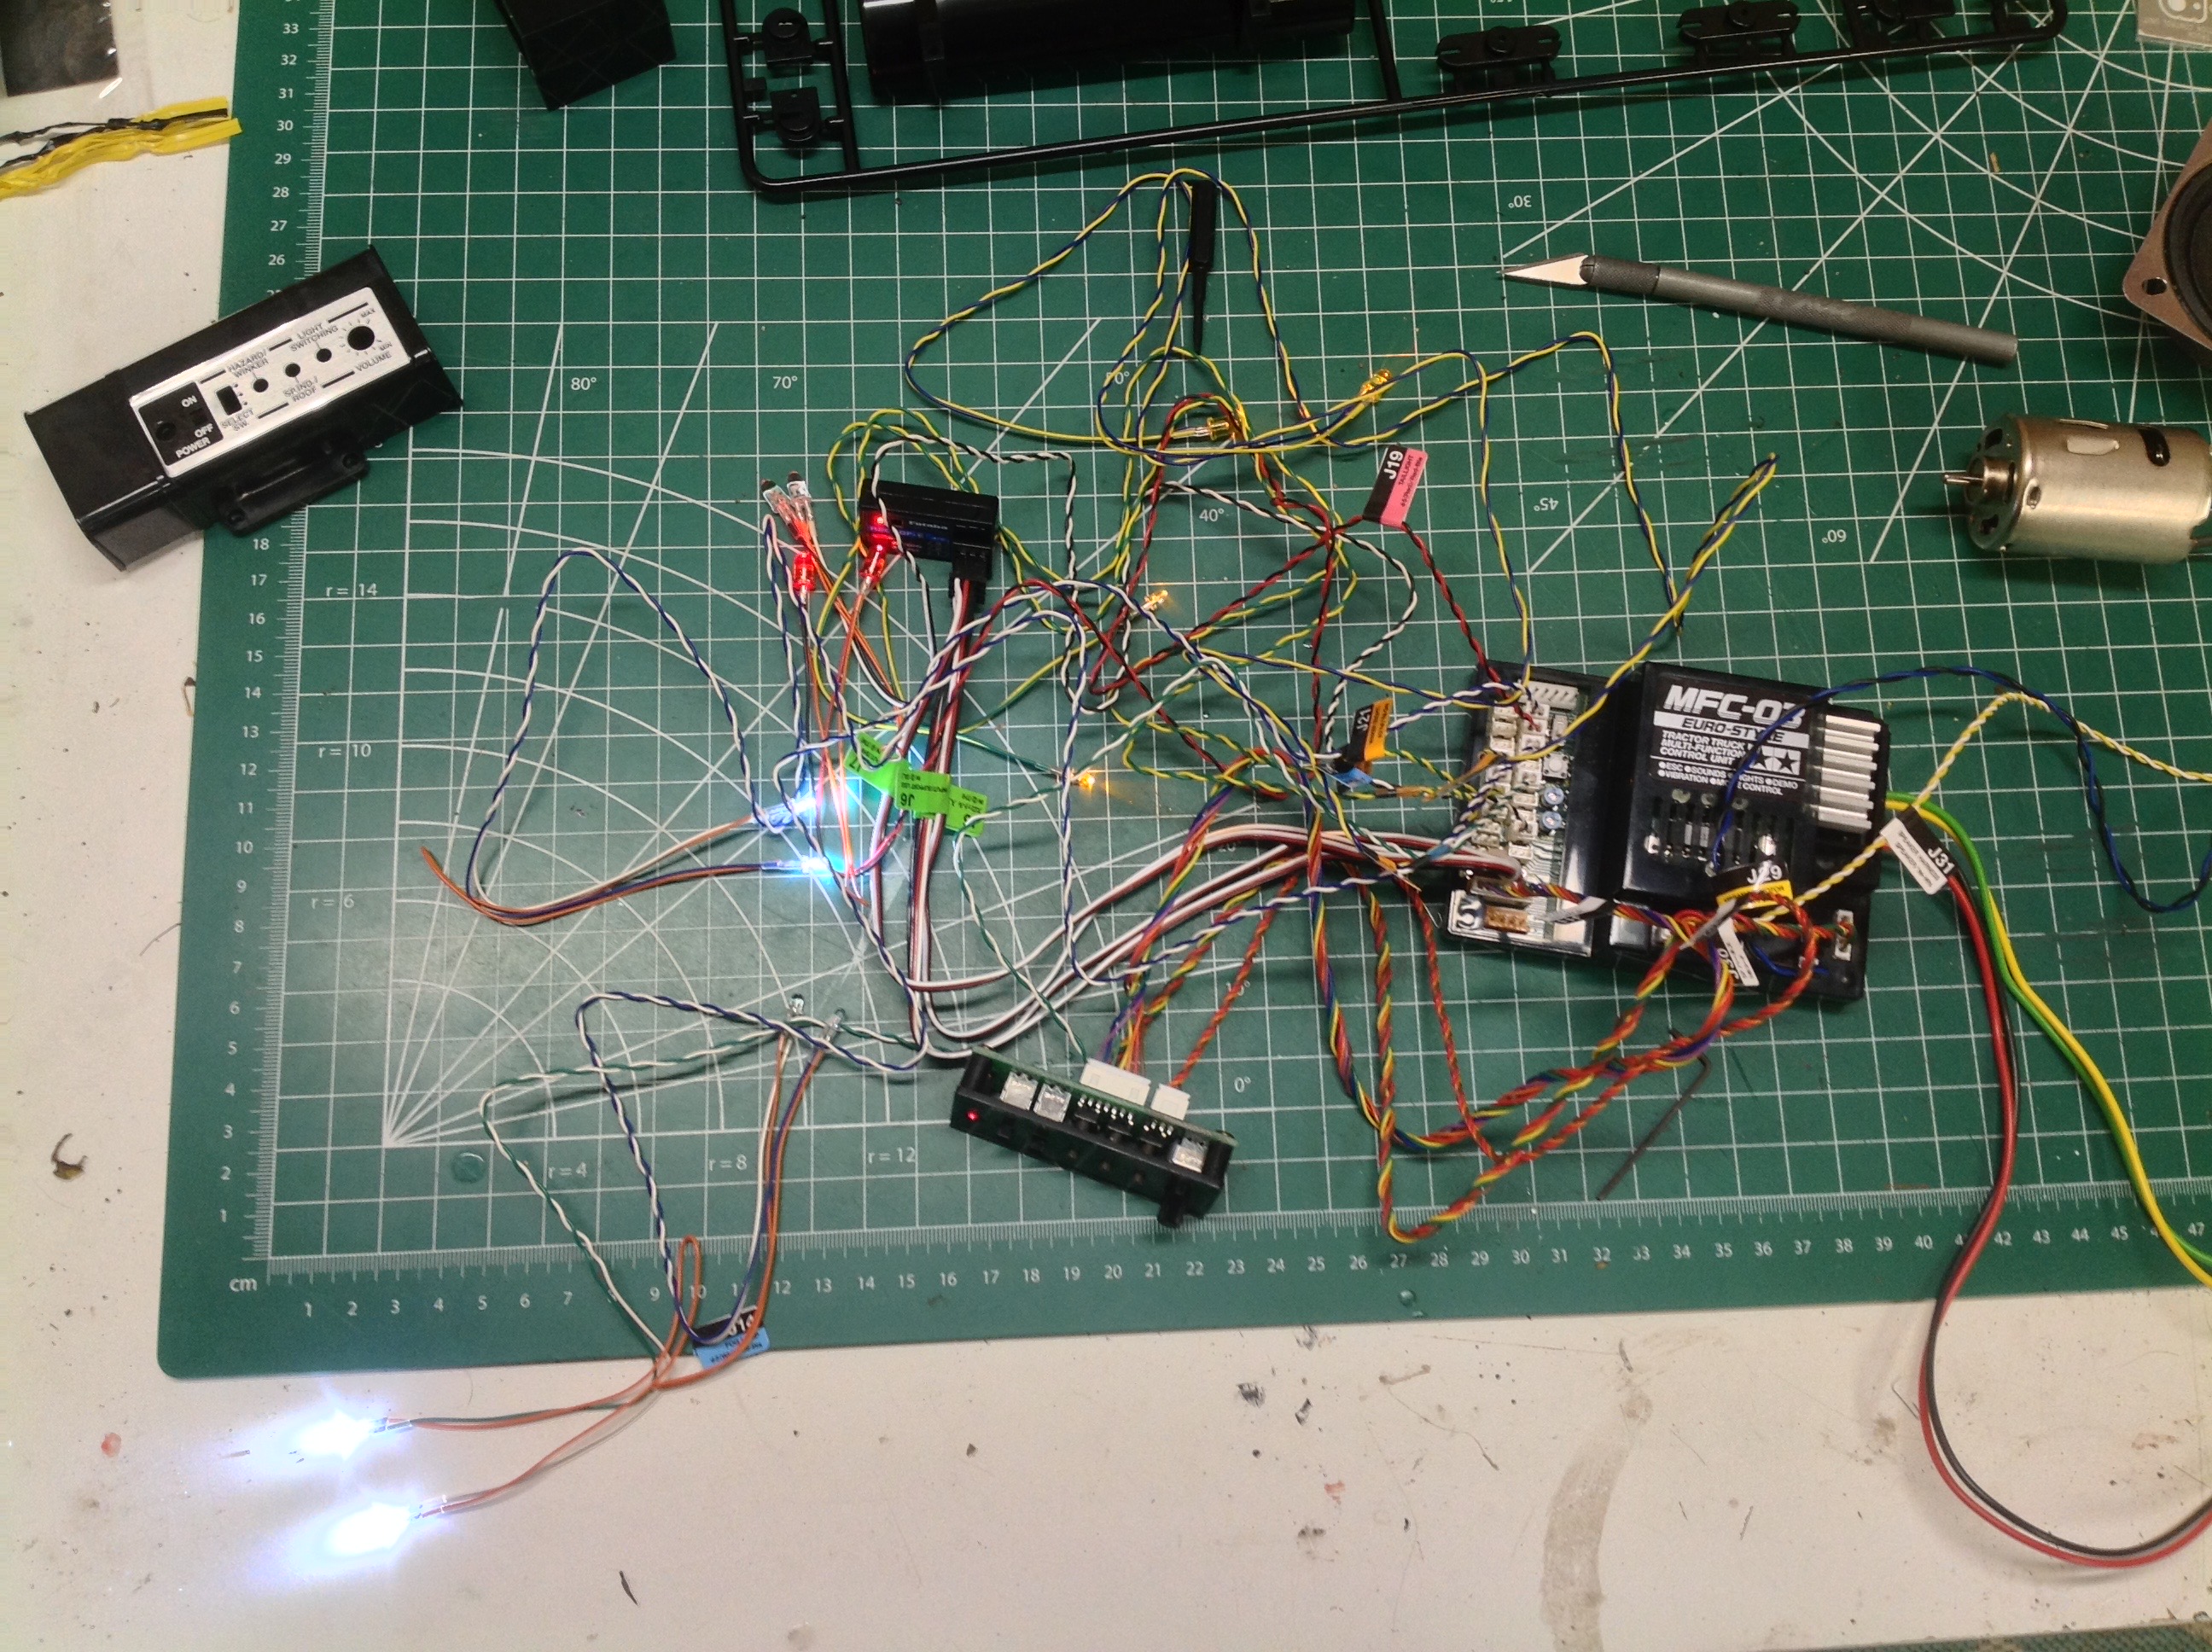
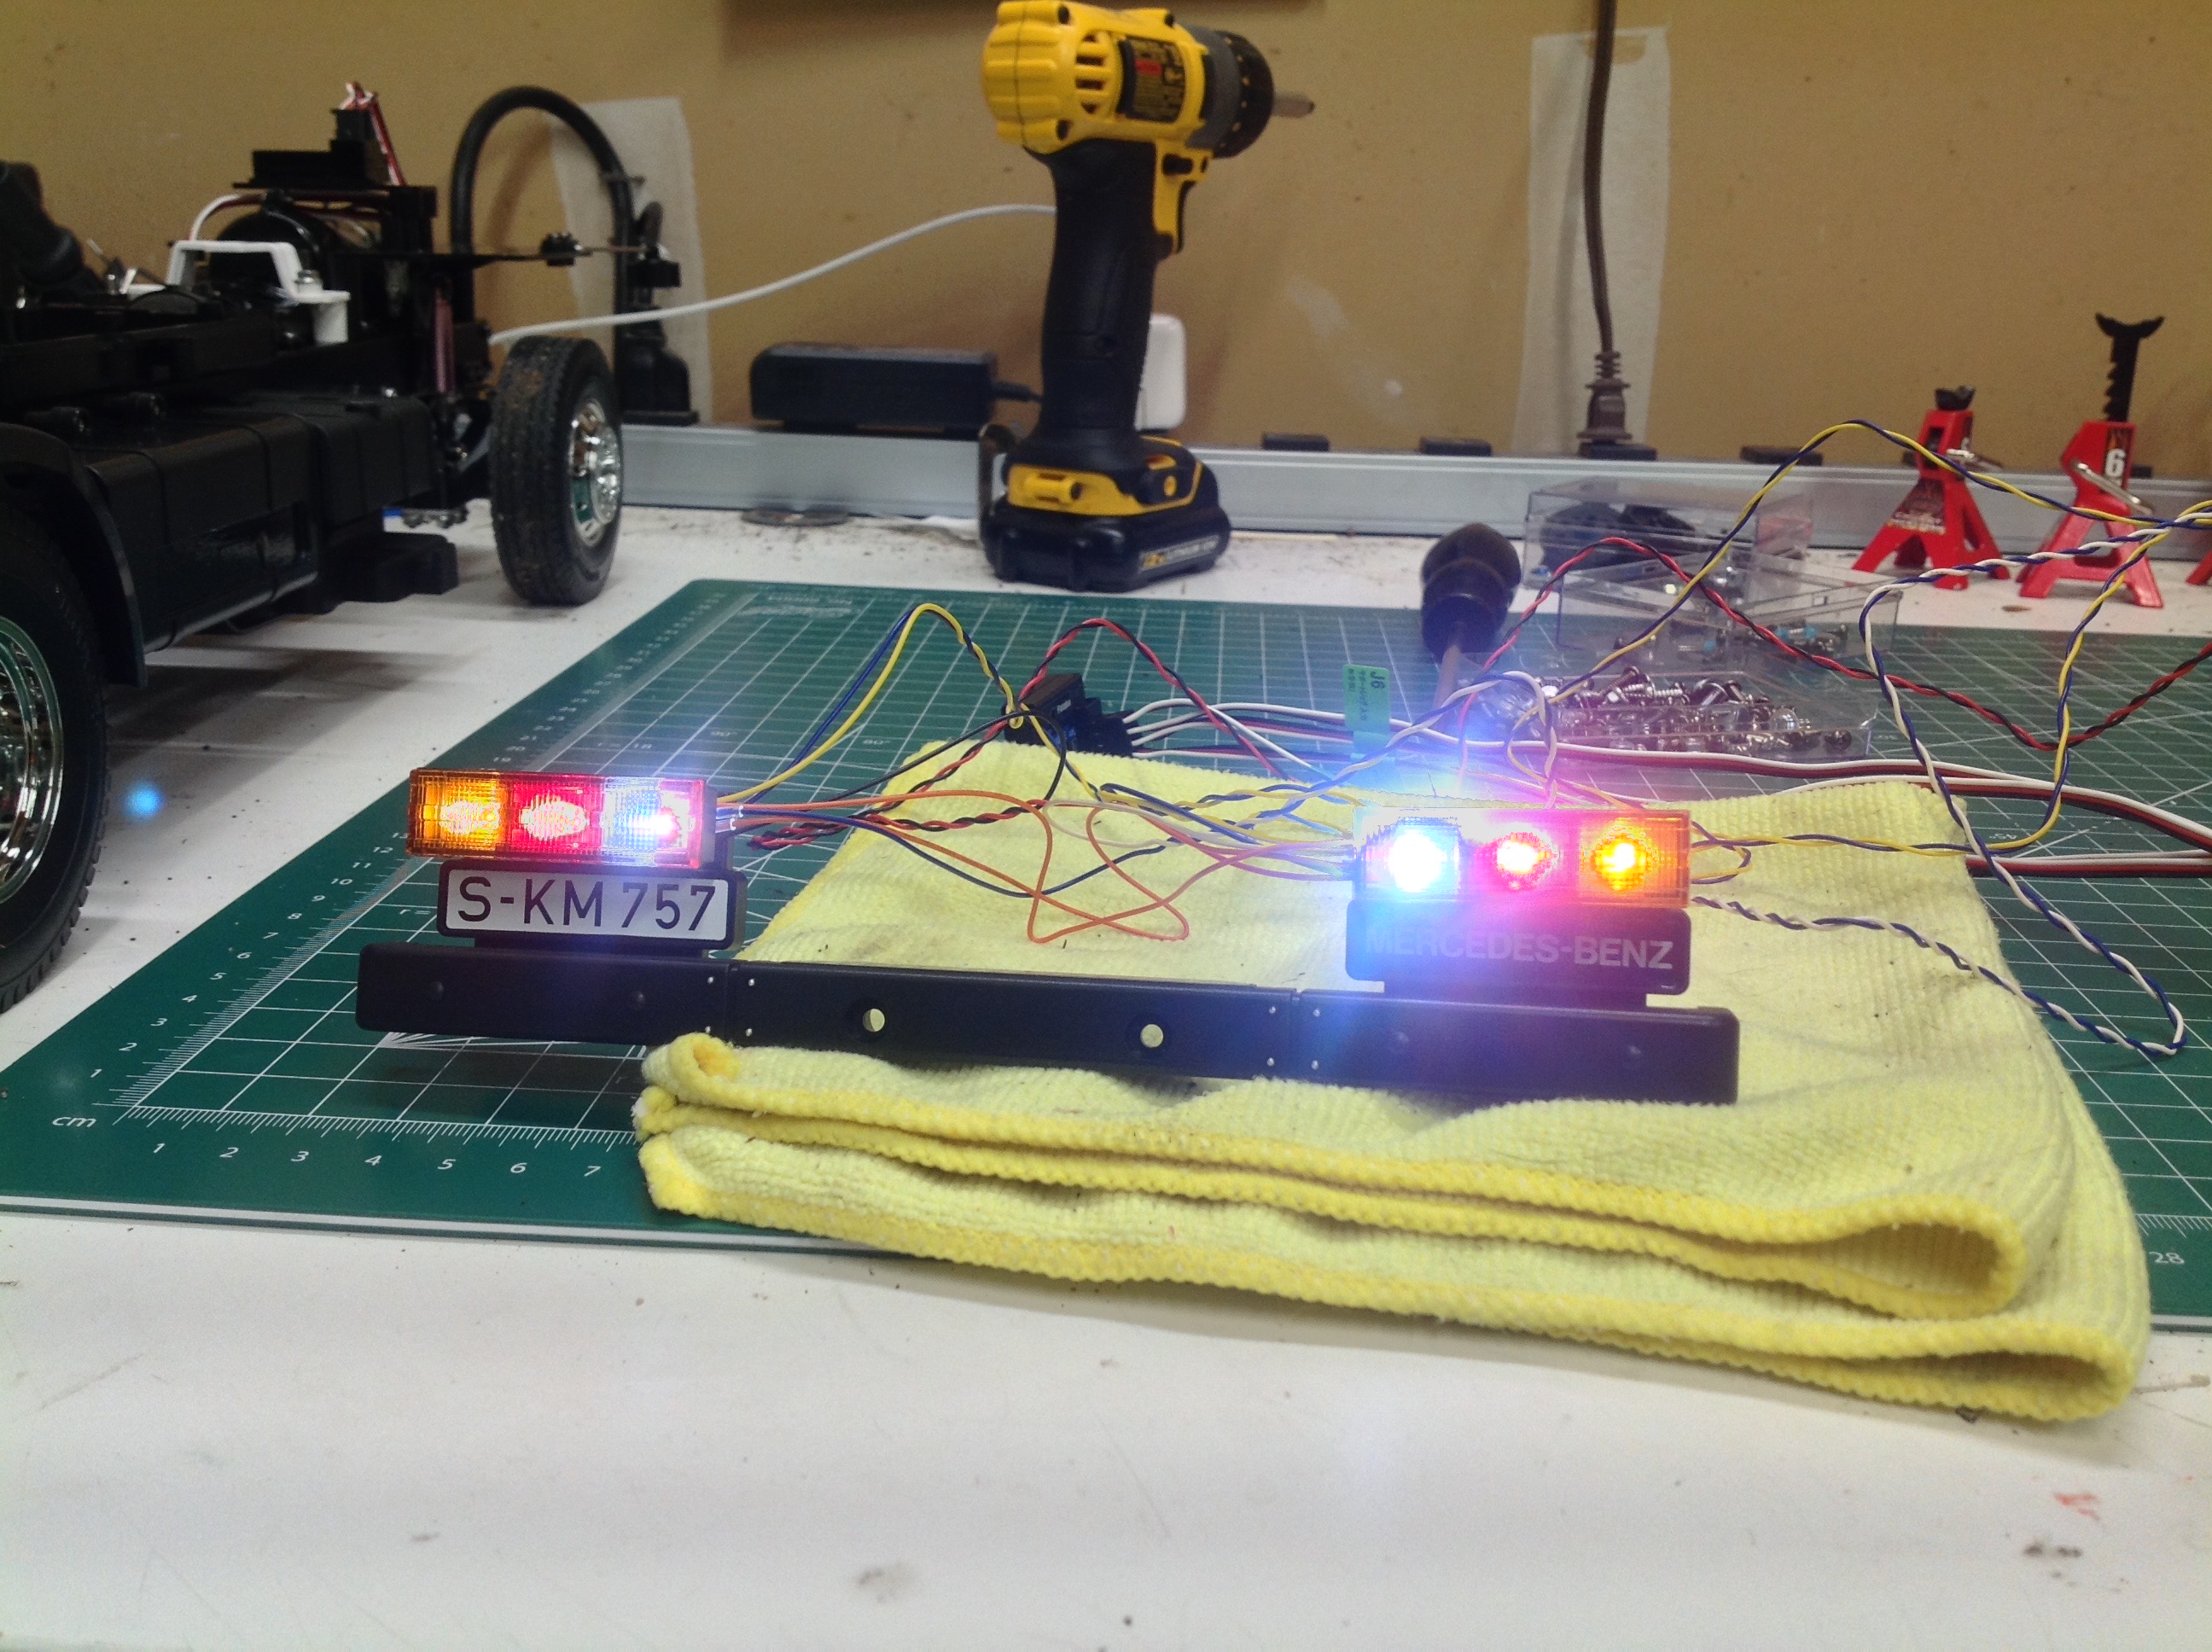
Here I've attached all the lights that I intend to use for a functional
test. Note that the Delivery Truck only uses a fraction of the
possible lighting configurations, so many channels are left
unused. Seems like a shame.
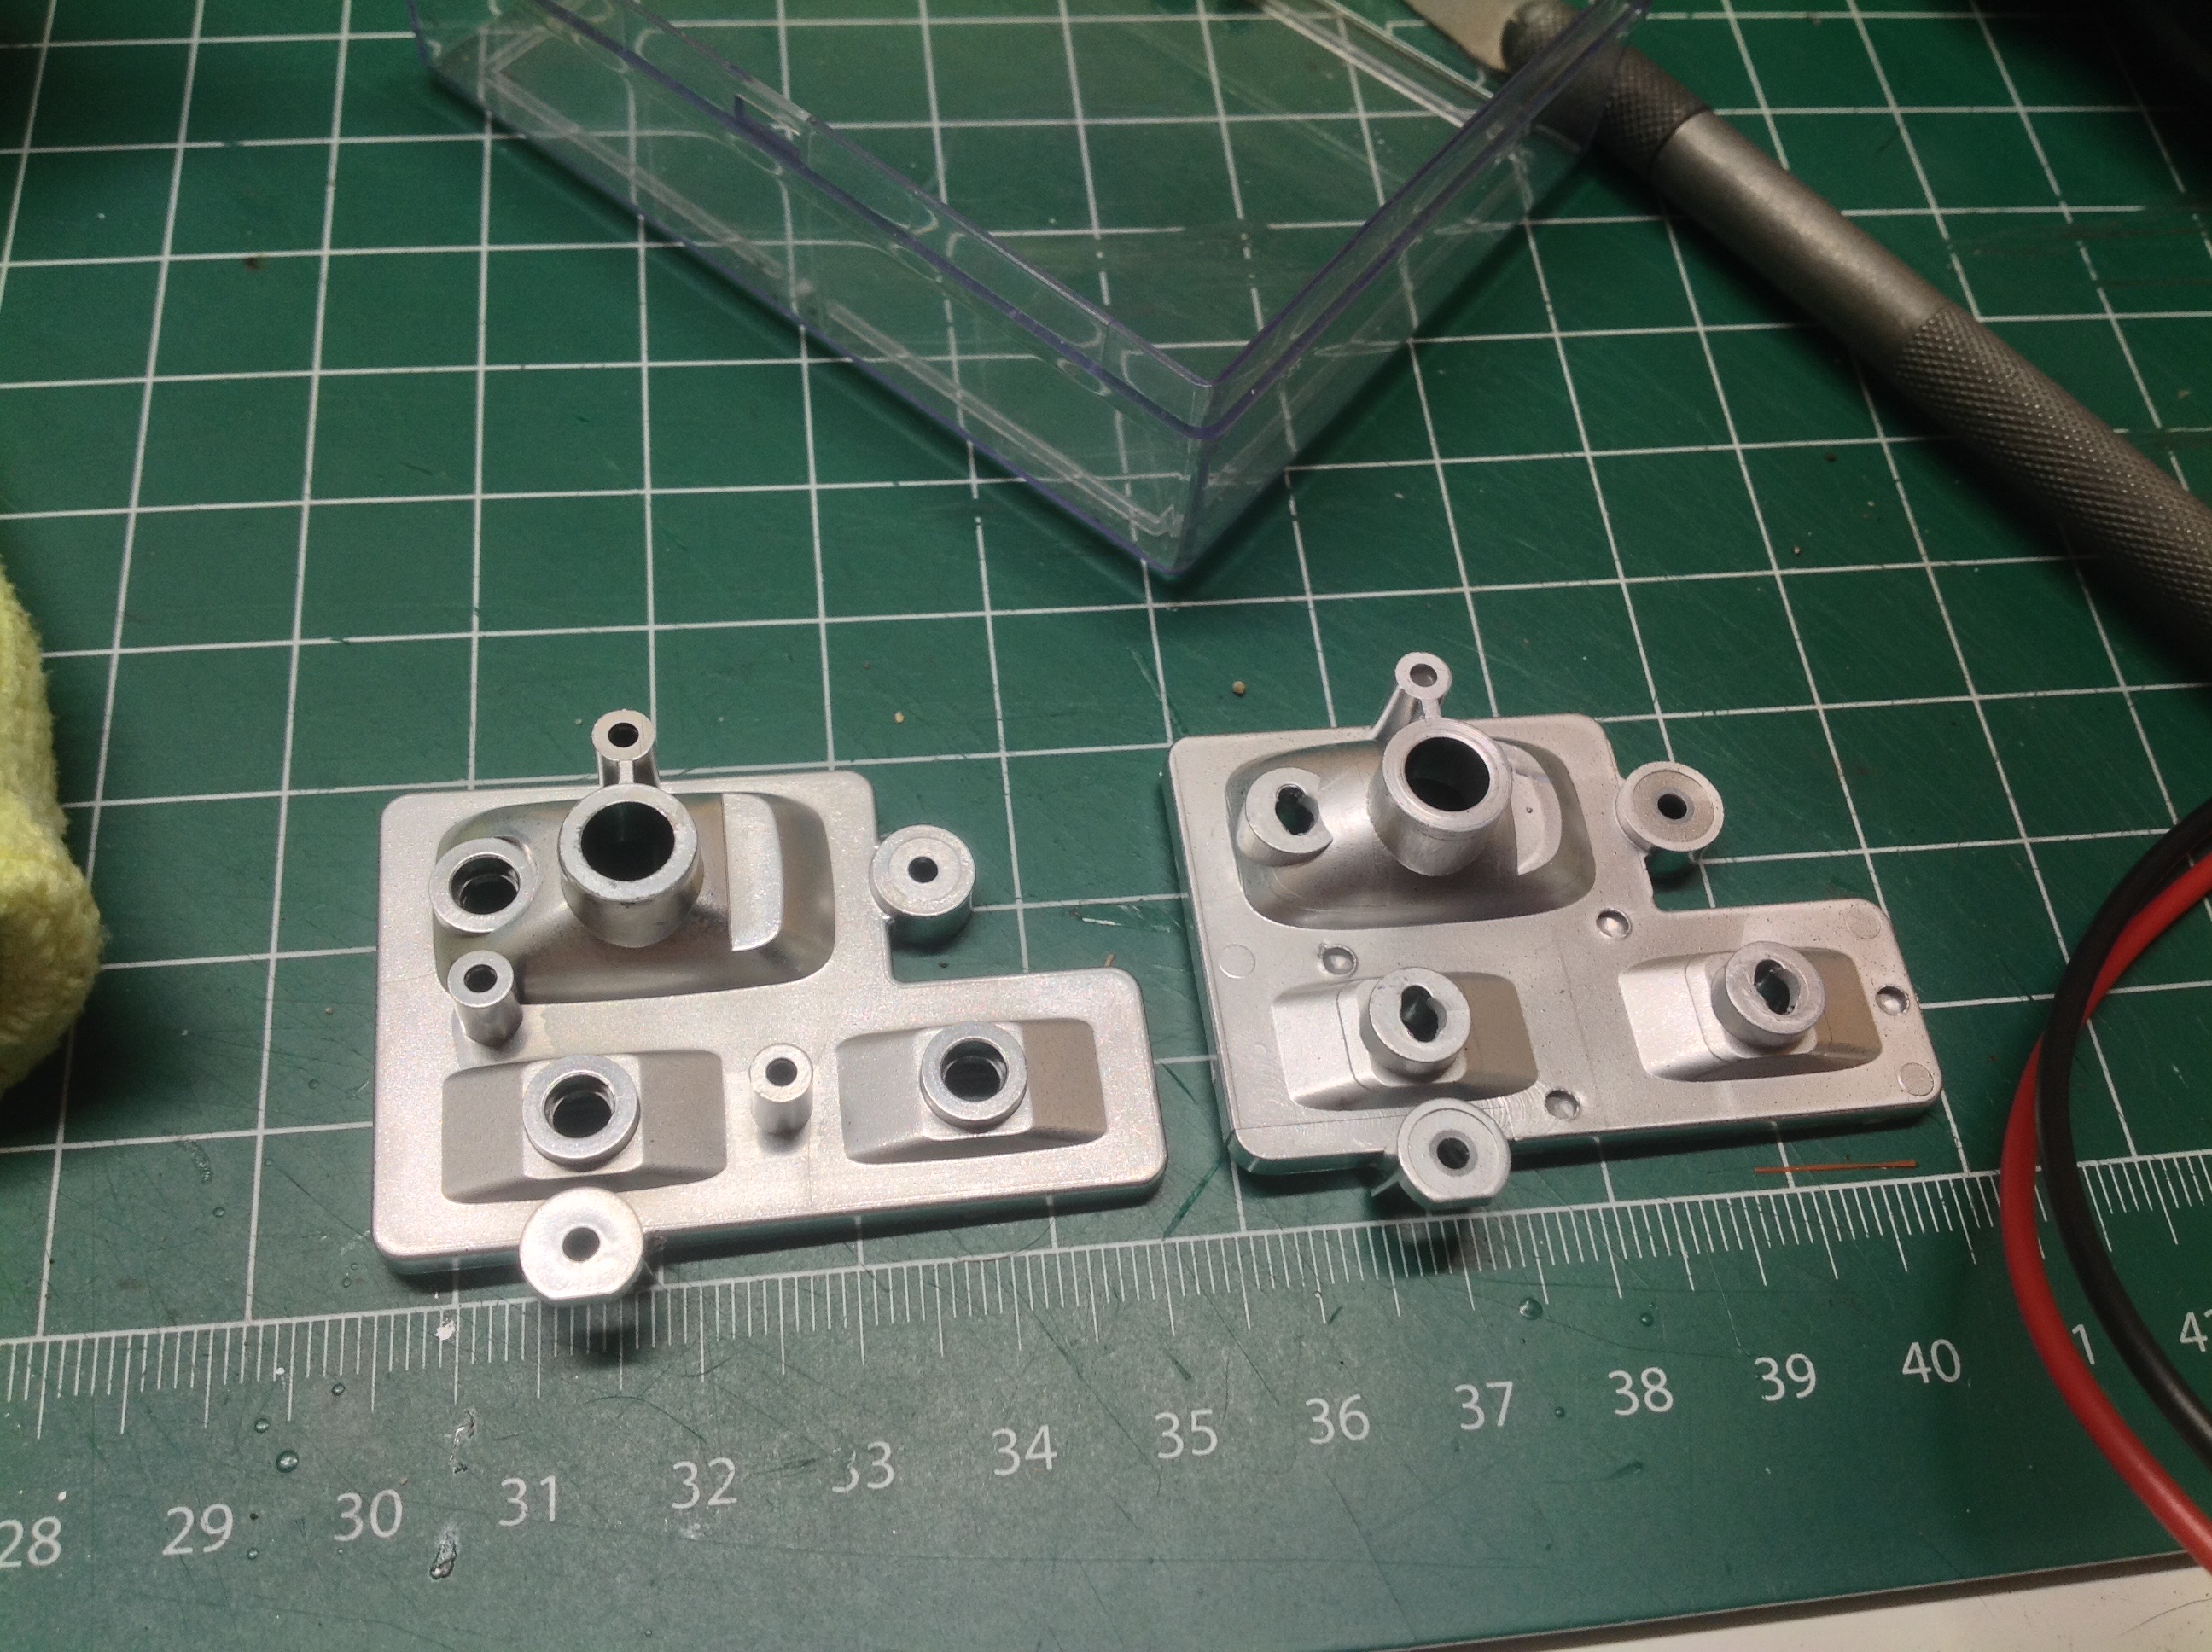
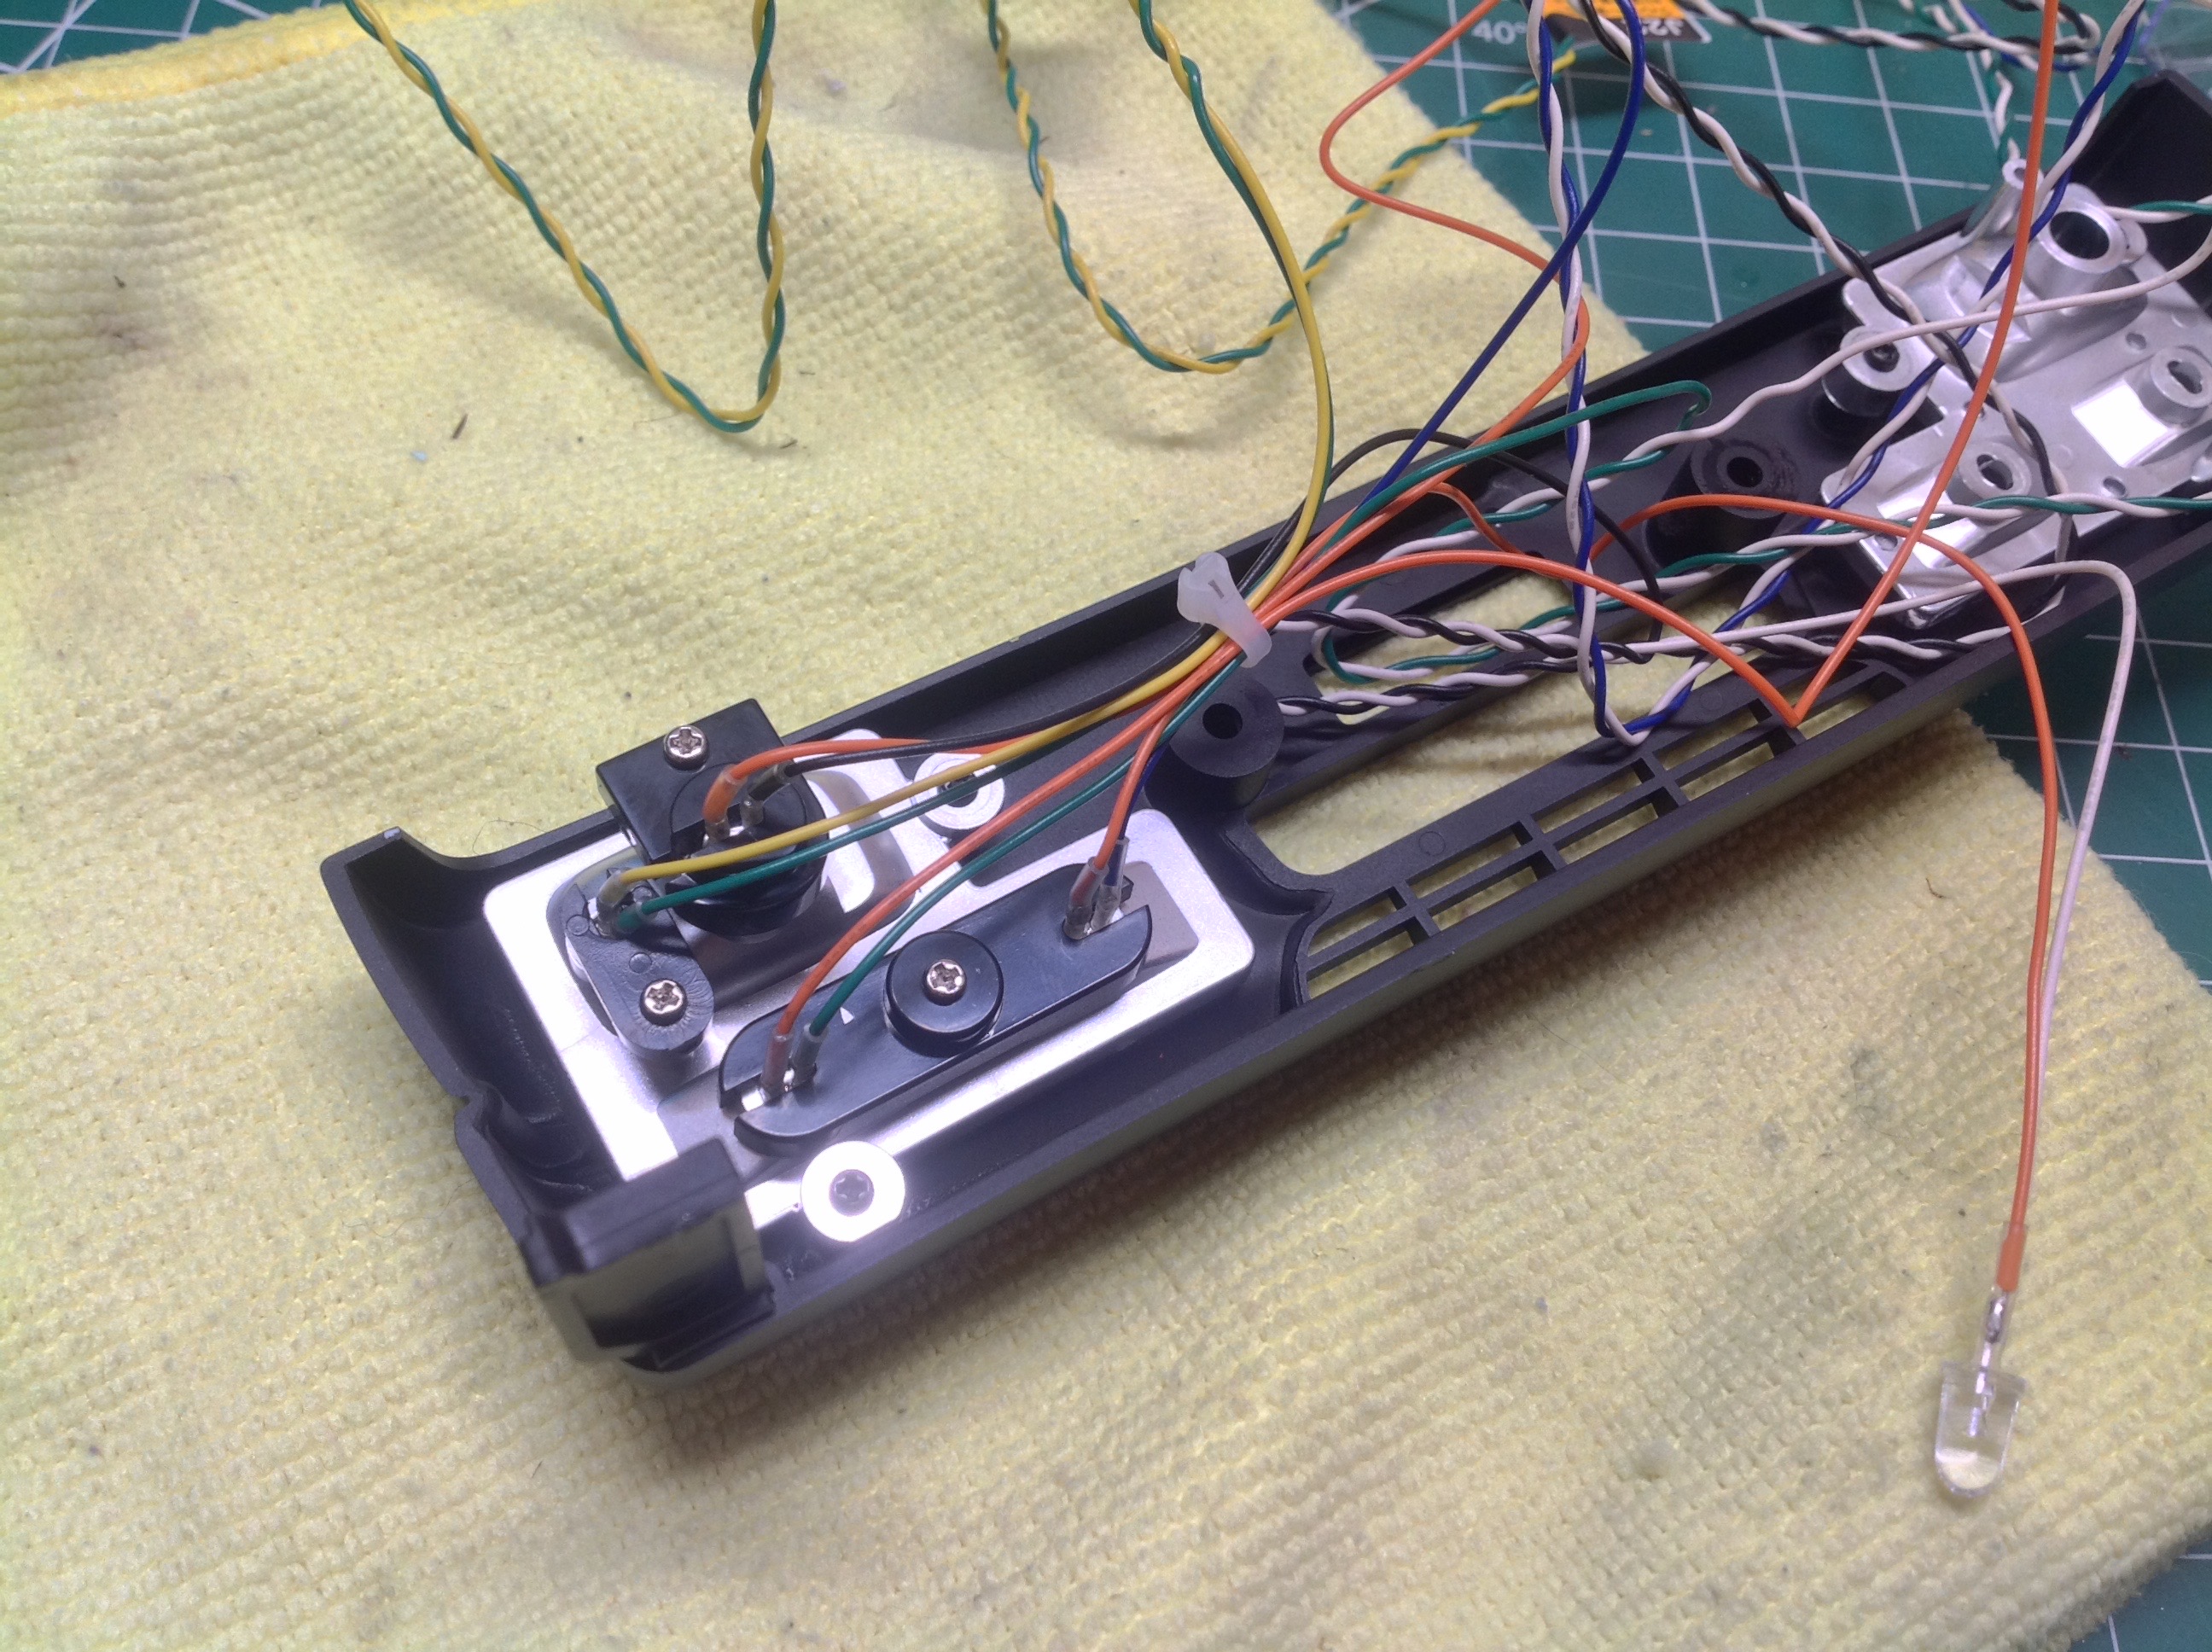
The picture on the left shows the difference between the headlight
bucket that came with the truck verses the replacement that came with
the MFC. The Delivery Truck is old enough that the original light
kit available for it used incandescent lights and the lower light
openings were just slots. The newer MFC uses LEDs: 5mm for the
main light and 3mm for the bottom lights. The MFC light bucket
(far left) also includes additional mounting points for the LED clamping
brackets. The picture on the right shows the front bumper lights
all installed. There are a total of 8 lights in the front.
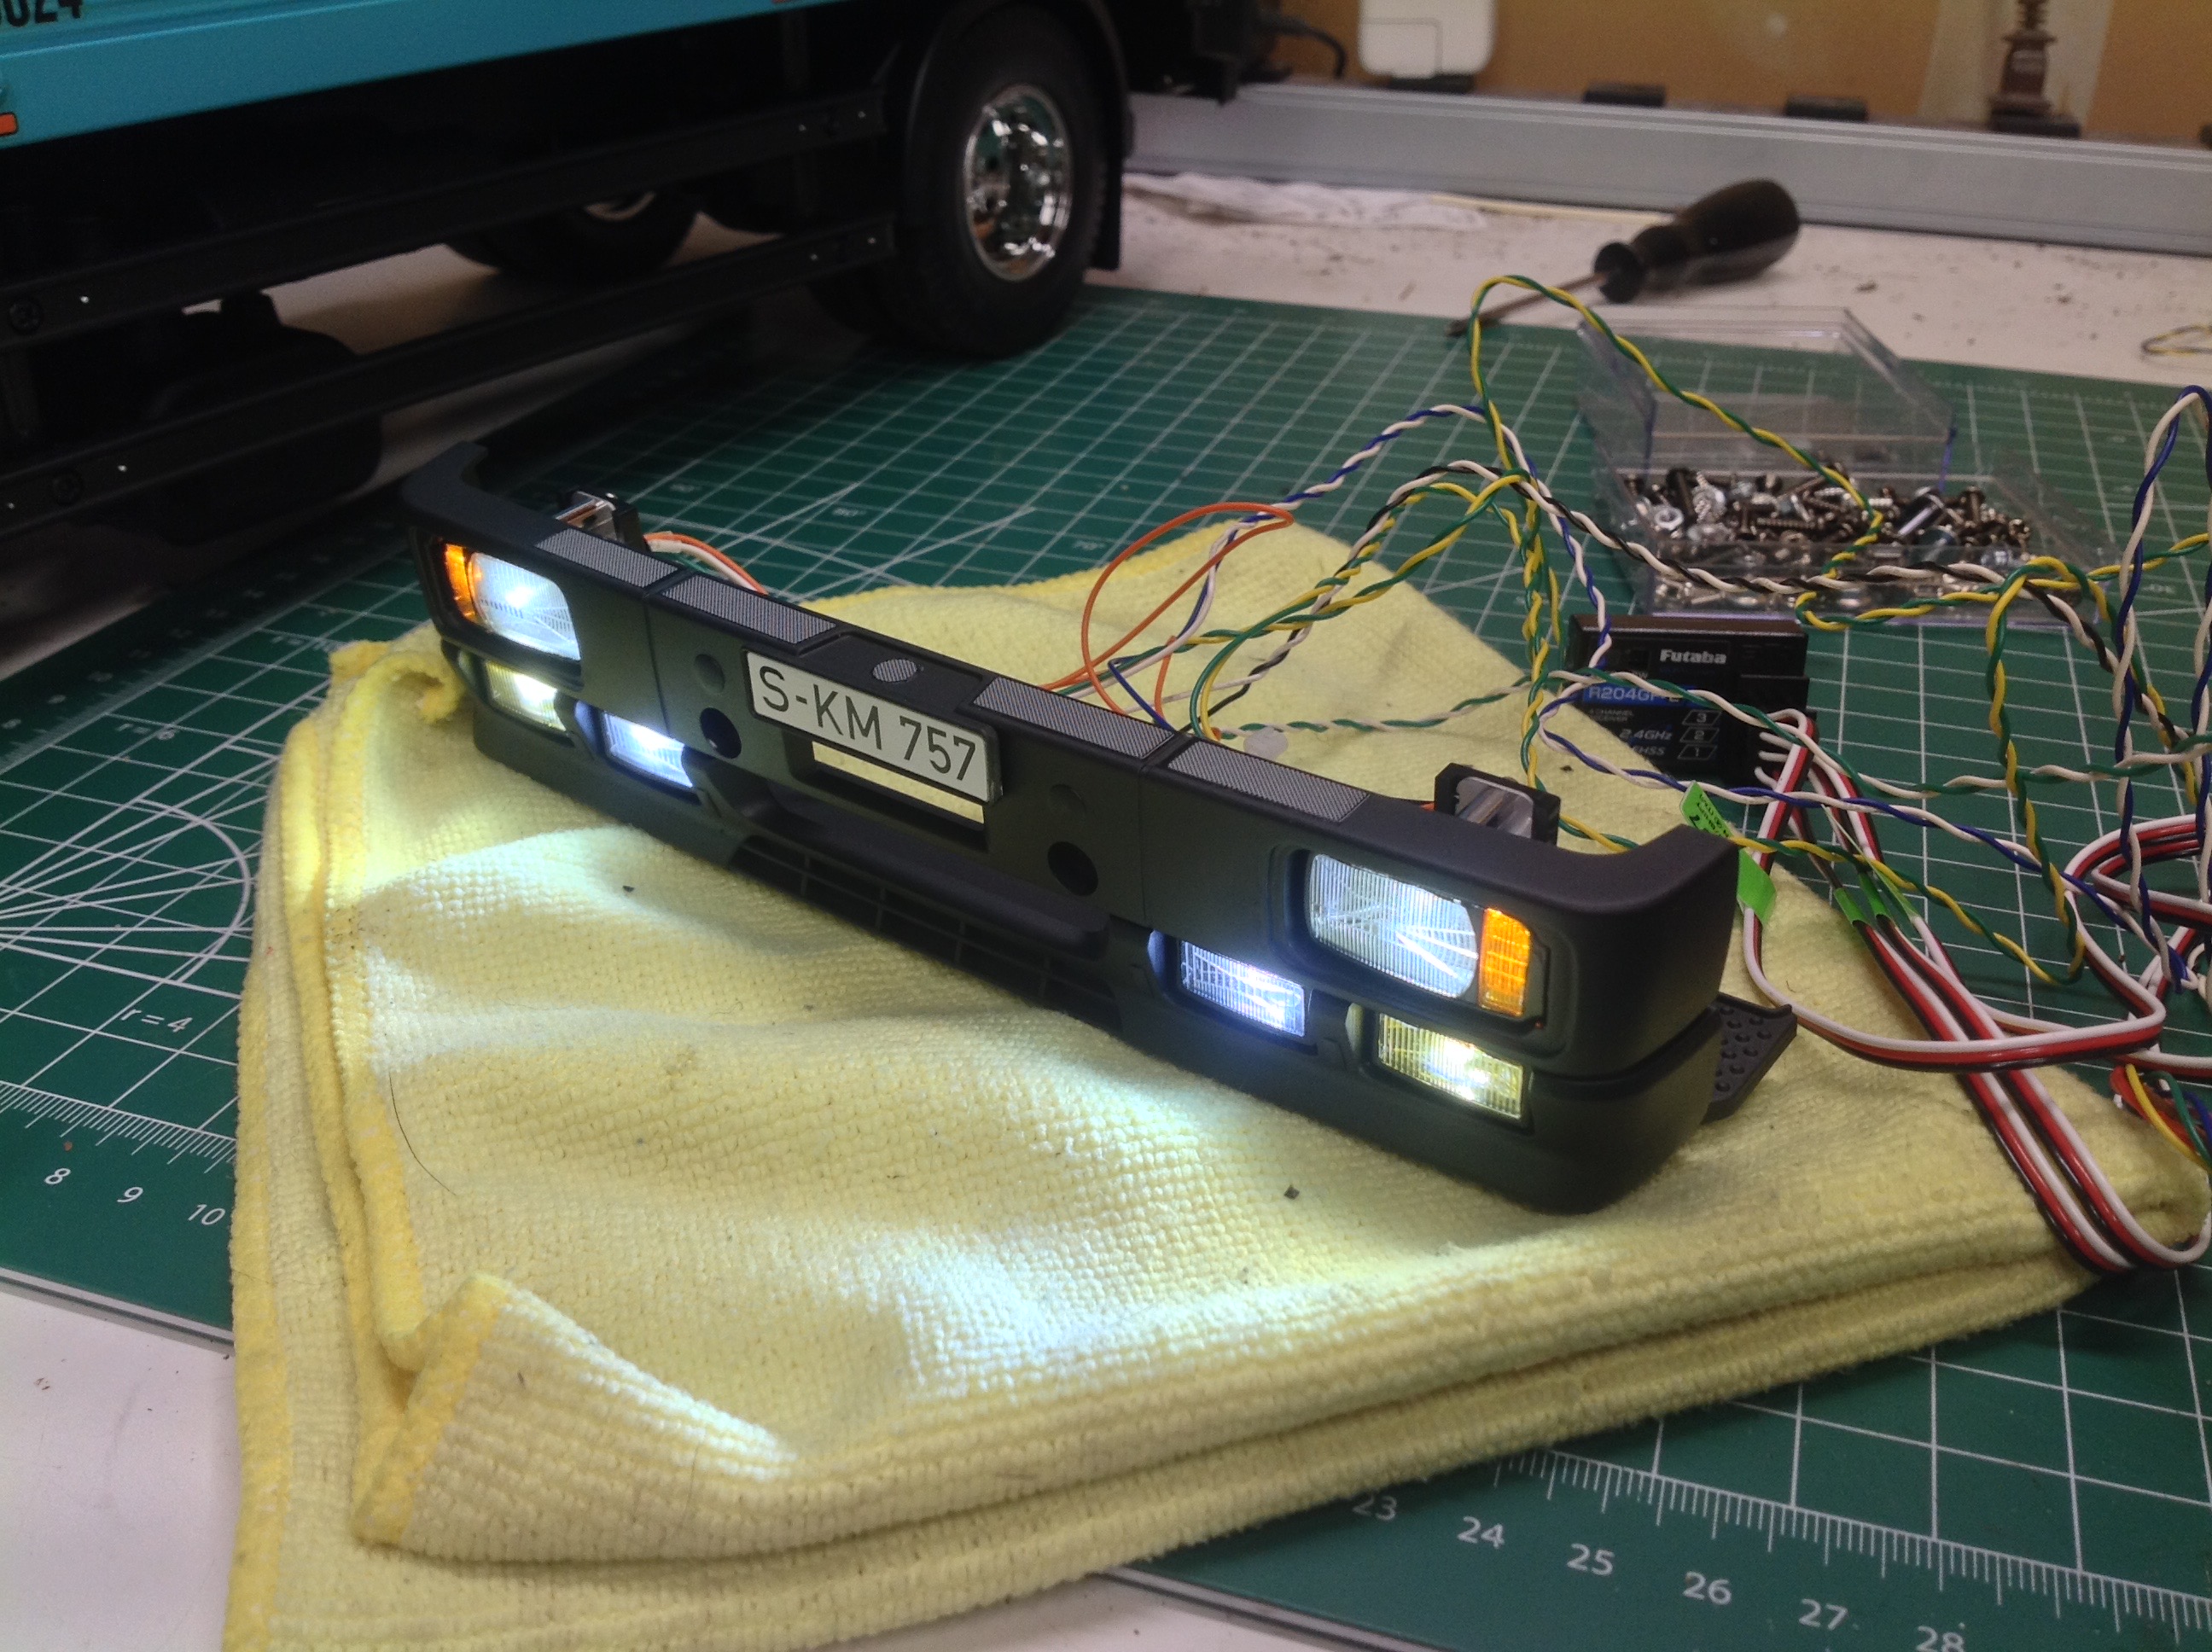
Here is a test of the lights in the completed front bumper. The
yellow tint to the outer for lights is just paint that I chose to apply
for some contrast.
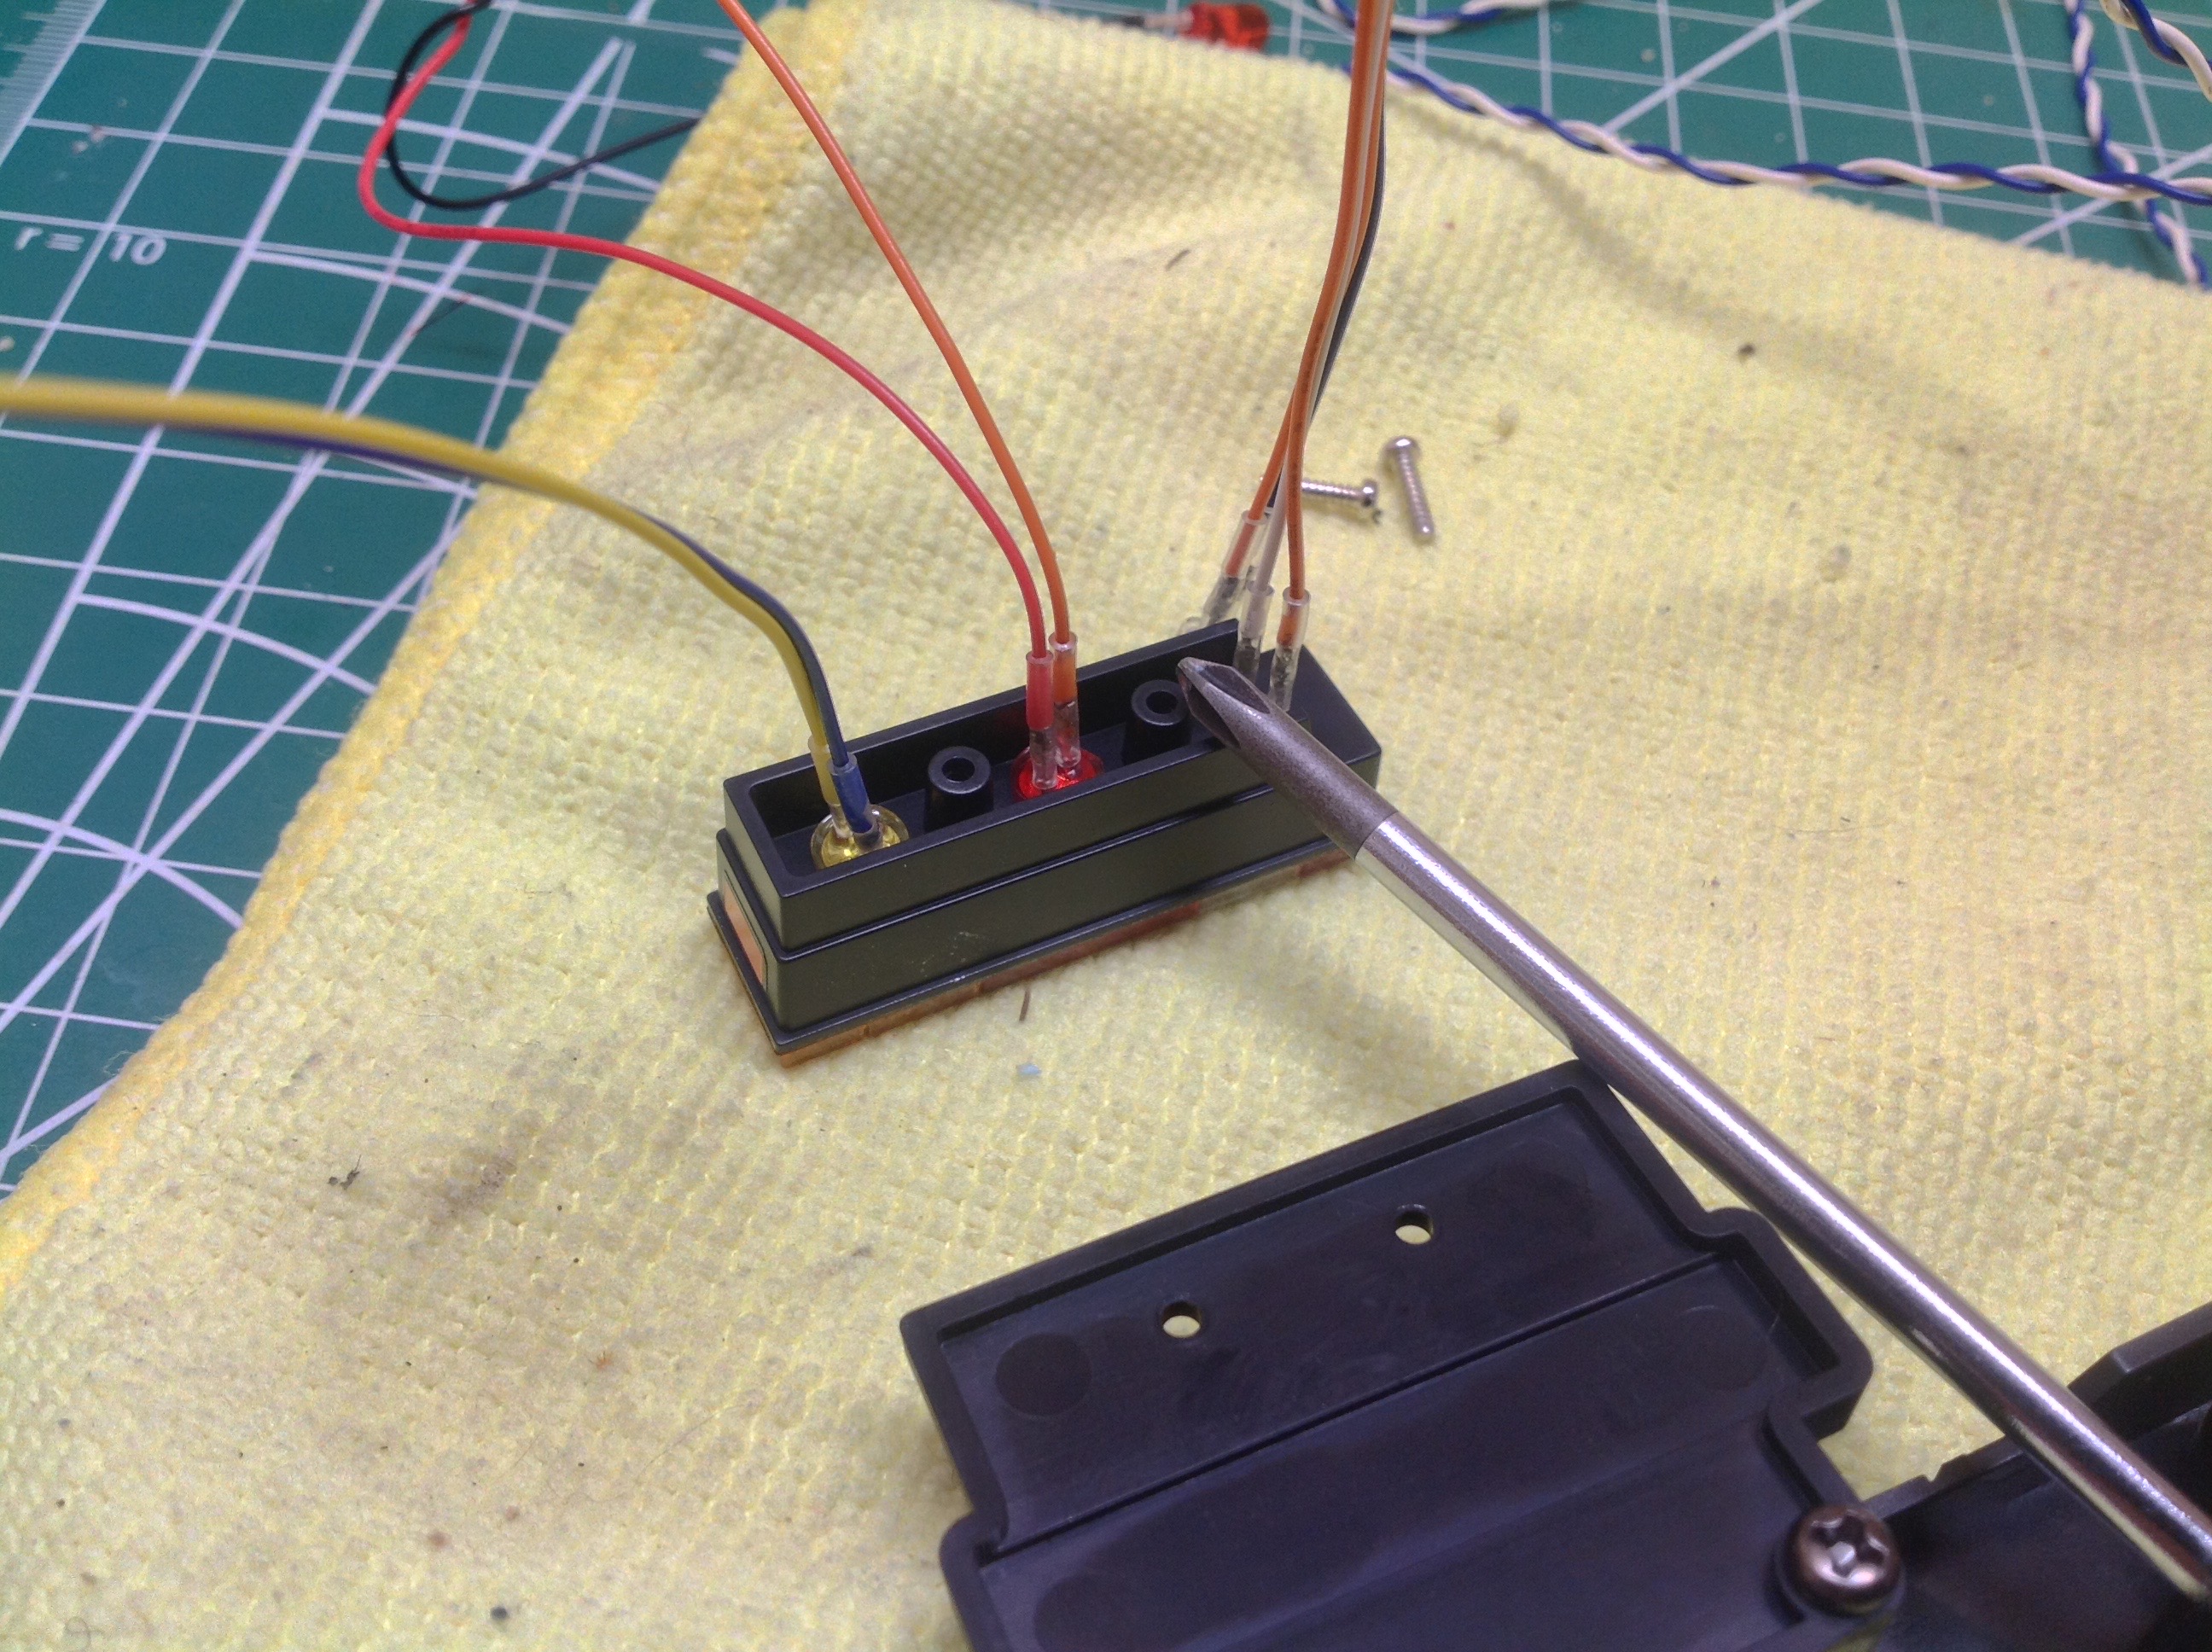
The rear light buckets need to be modified to work with the MFC.
There is no hole for the reverse lights, but it is easy to drill a
couple of 3mm holes to make them work as shown. There are a total
of 6 lights in the rear.
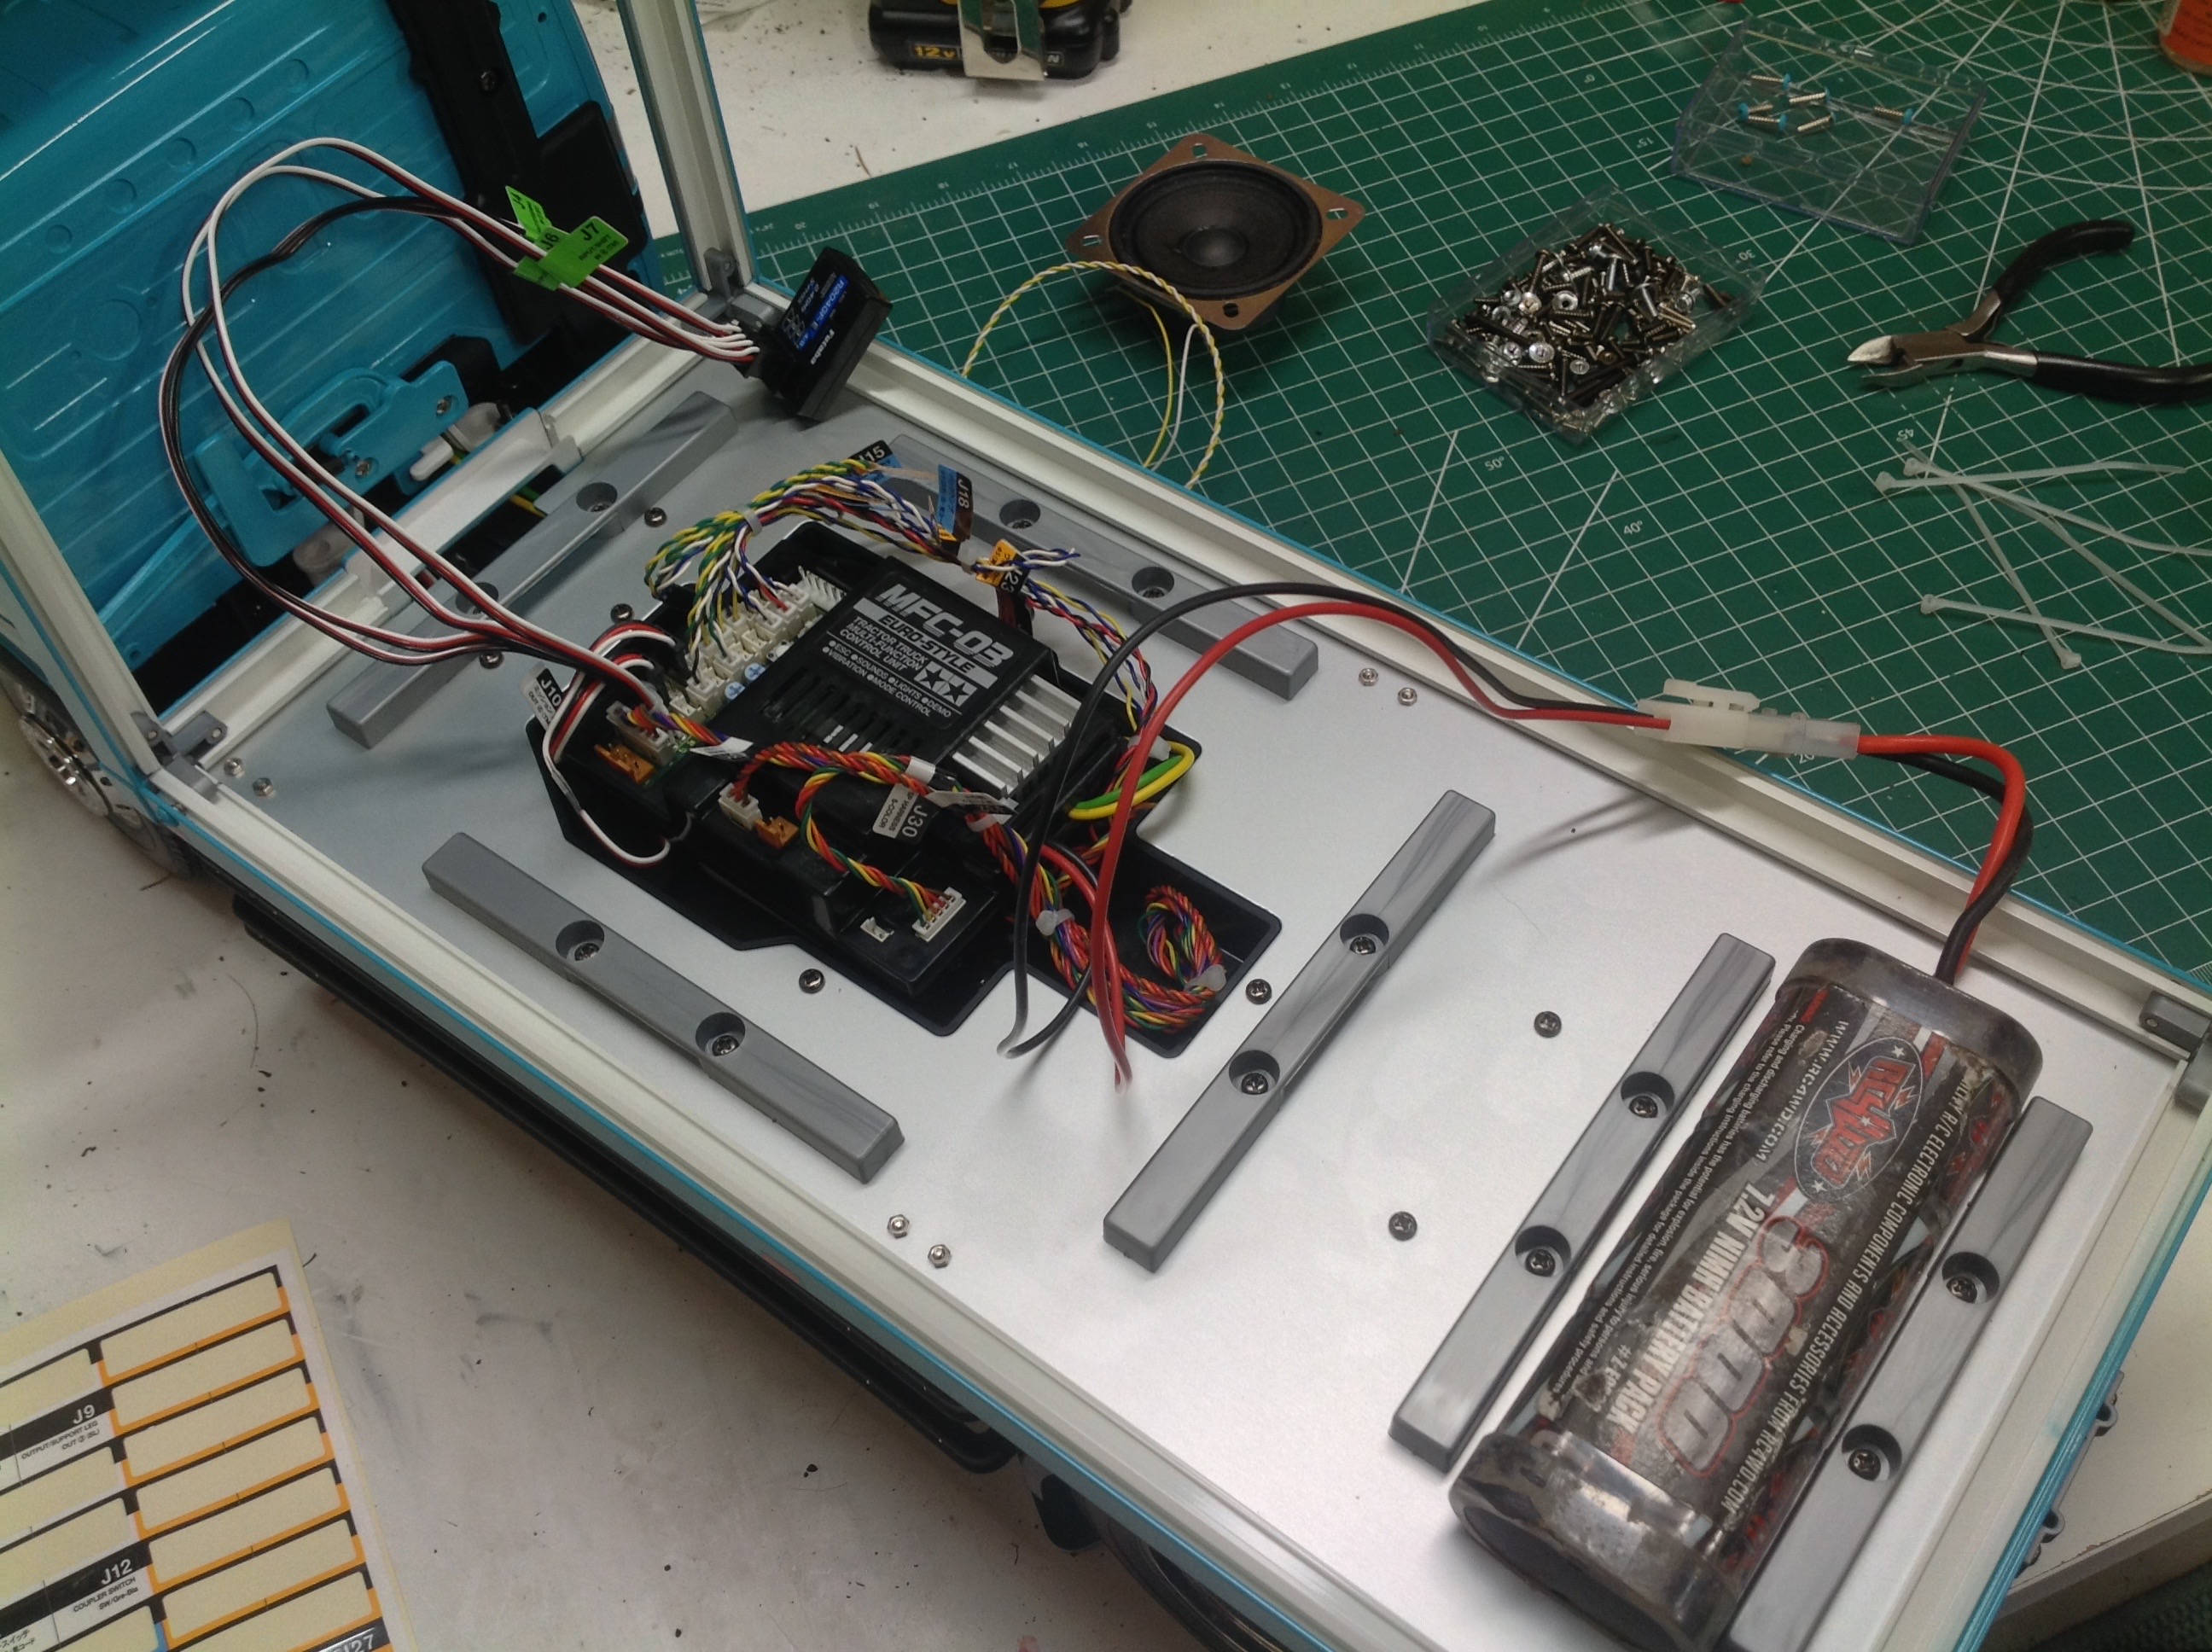
The Delivery Truck was designed to use the ancient 56501 "electrical
unit" which included a bunch of claptrap such as a circuit board, rear
terminal, front terminal, roof terminal, beeper, switch case, and a
bunch of lights. The truck is therefore provisioned with mounting
points for all of these including a tray that fits between the chassis
rails, under the floor of the box. The MFC ignores all of this and
tells you to install the MFC and speaker in the cabin, but this
prohibits the use of an interior since the cabin would be full of
electronics. I decided to modify the existing mounting features
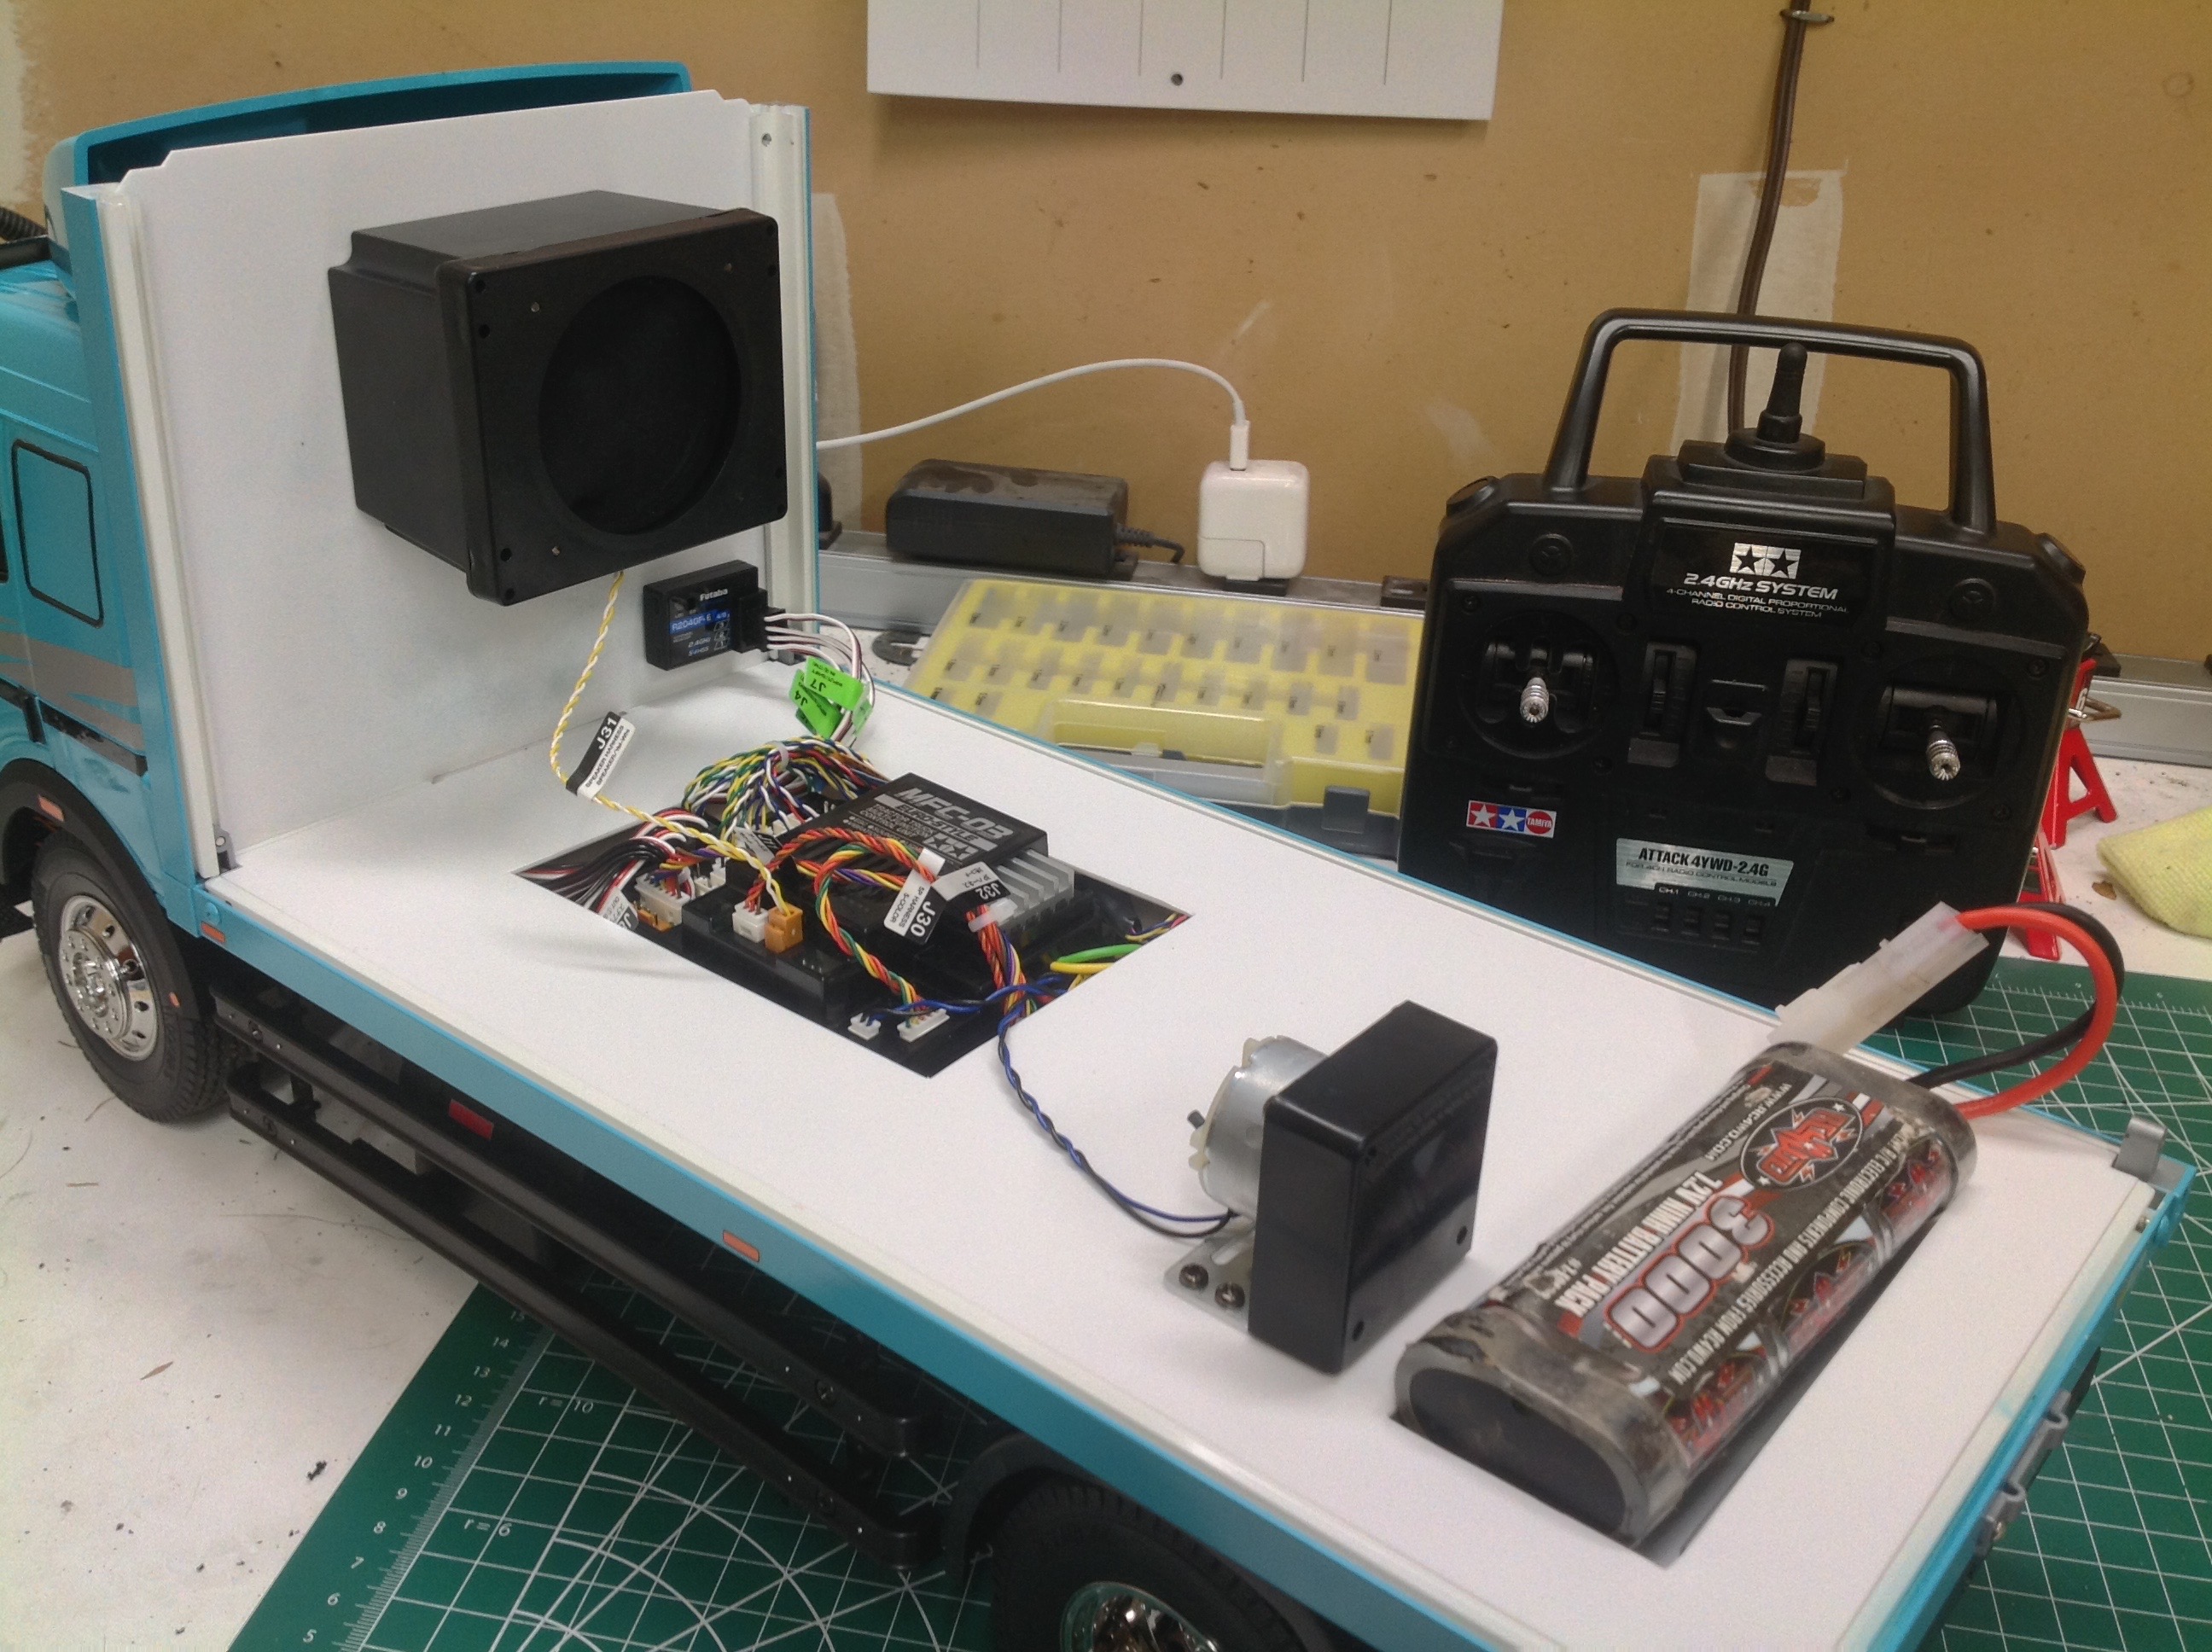
for my needs. I placed the MFC in the tray intended for the
circuit board and ran the wires under the floor. I also relocated
the battery inside the box as shown to make it easier to install and
make the wires neater.
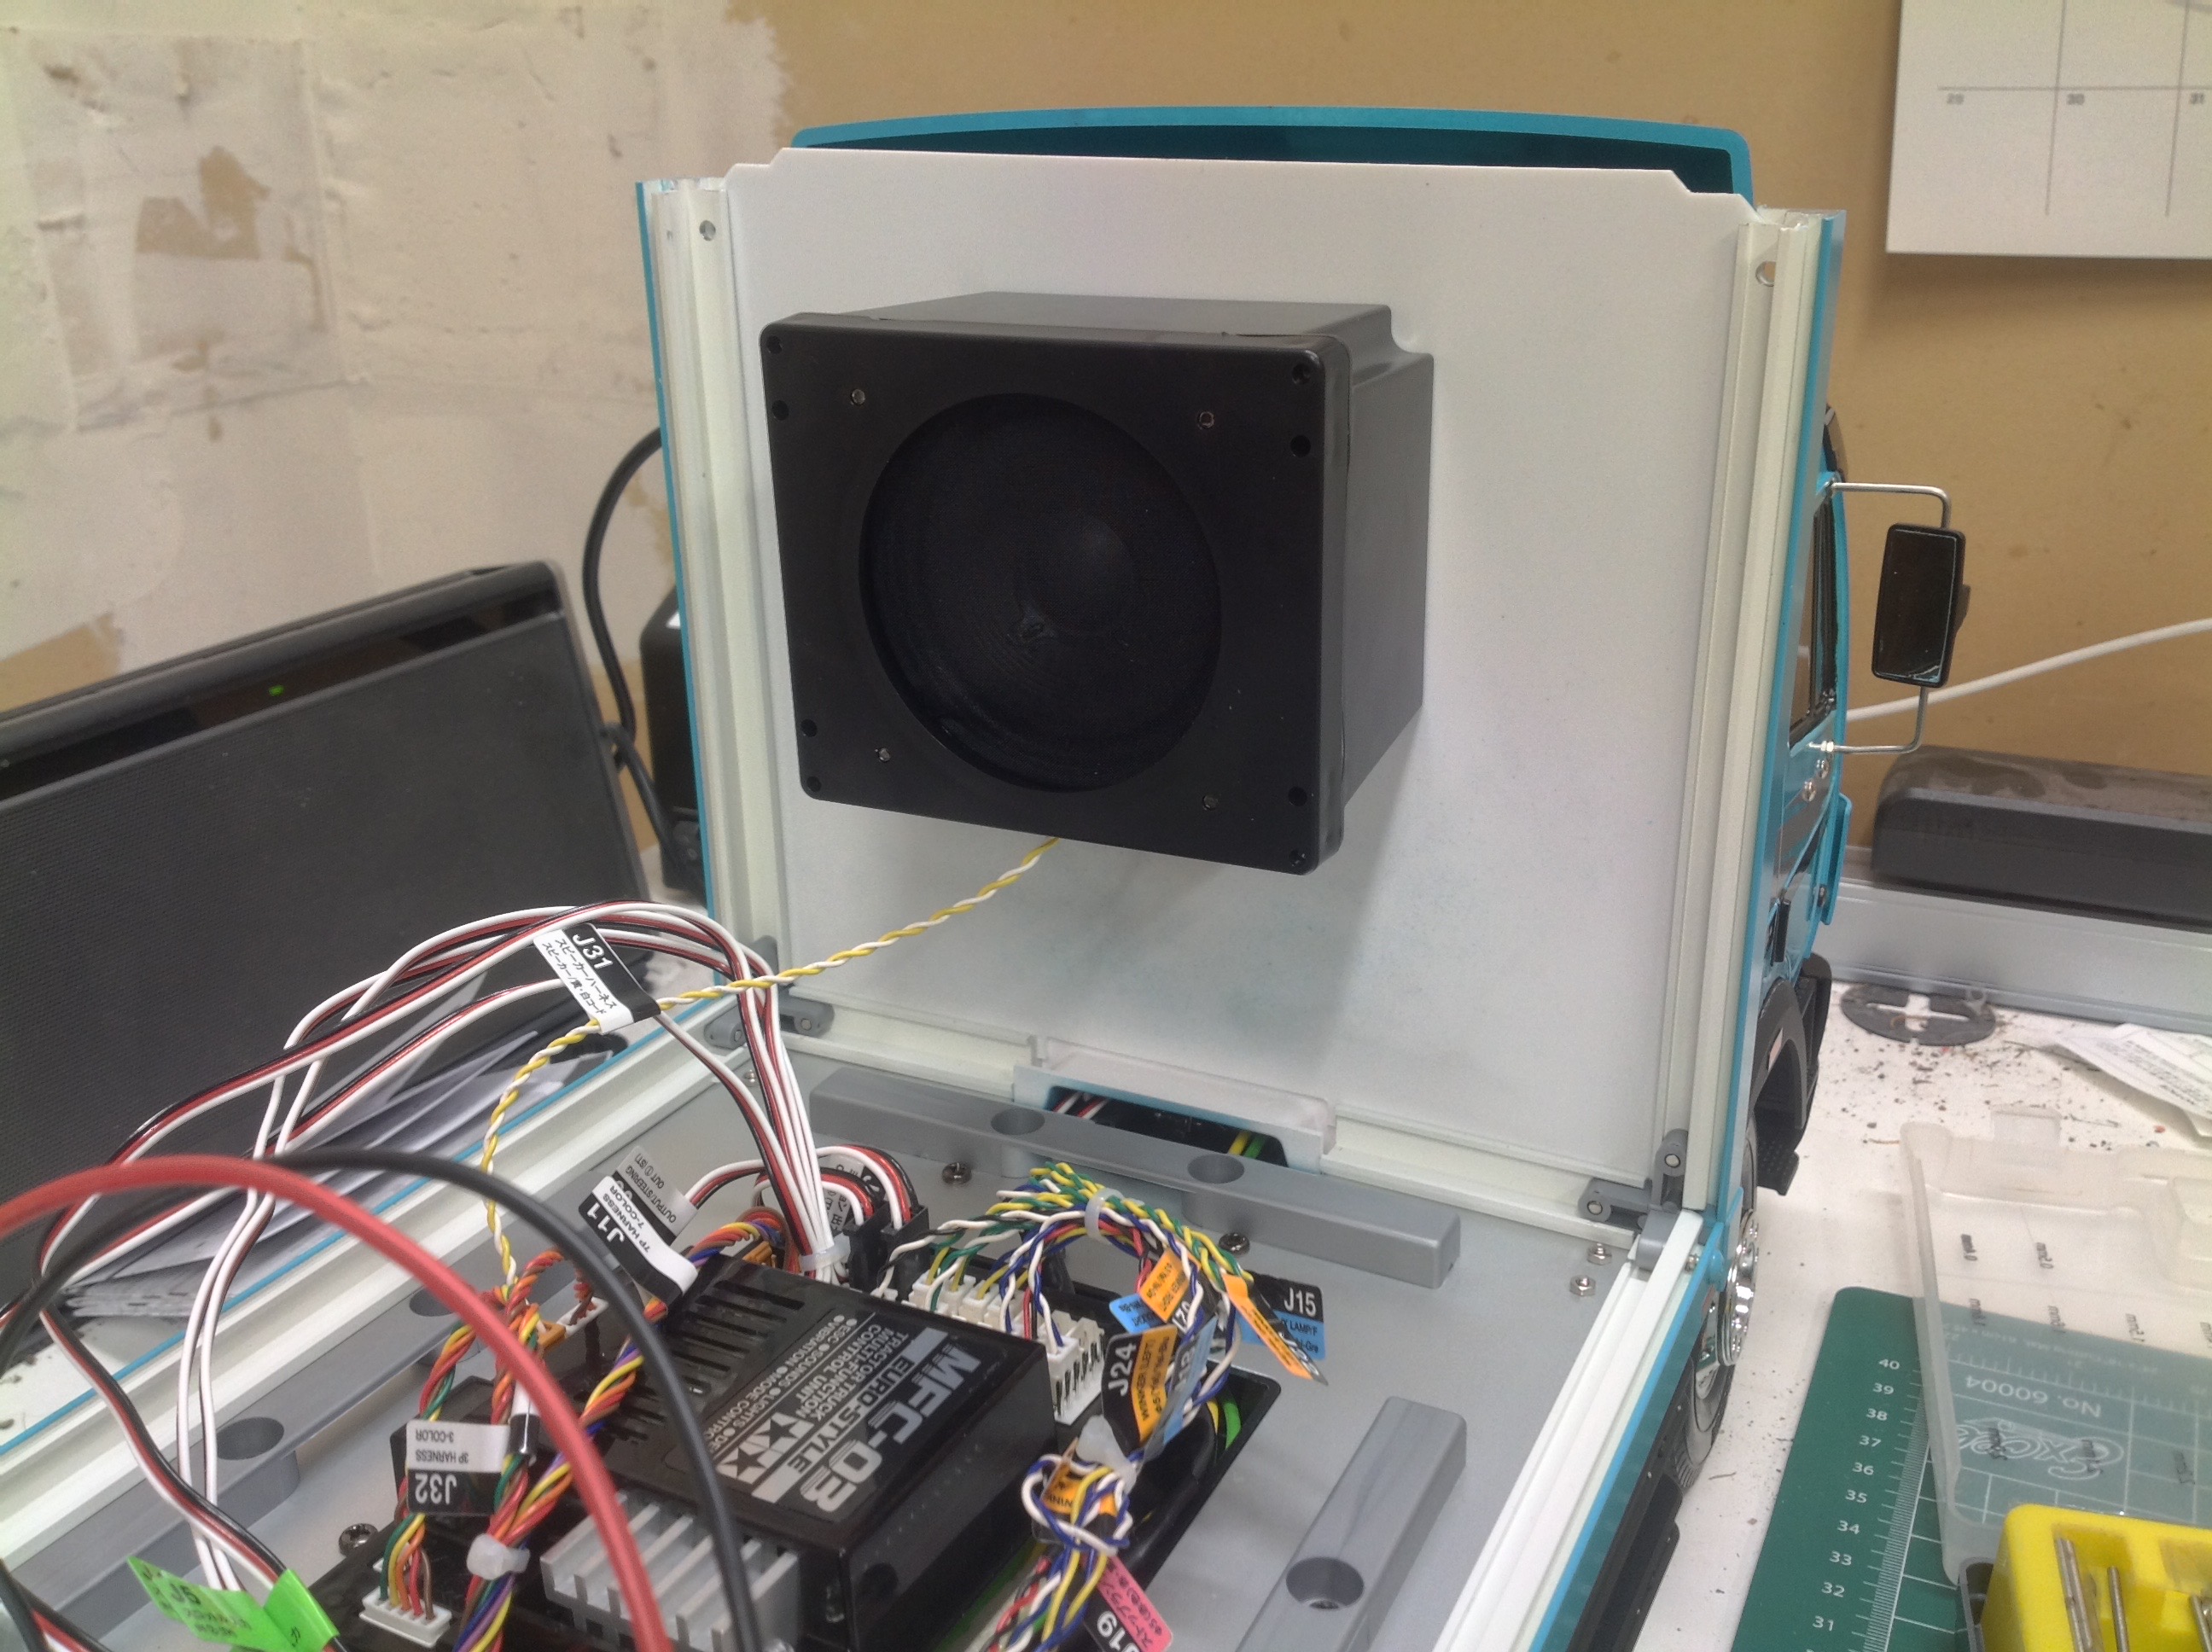
Instead of putting the speaker under the roof of the cab without an
enclosure, I built the speaker box and mounted it to the front wall of
the cargo box. This way the entire box can be used as a resonance
chamber. It worked pretty well.
The MFC unit is too tall to fit under the floor like the old electrical
unit, so I cut rectangular slots out of the floor for both the MFC and
the battery as shown. This allowed me to have the neatest wiring
solution I've ever done with an MFC. I mounted the radio receiver
below the speaker and the vibration unit to the floor. This last item
proved the most troublesome because the aluminum side walls of the box
buzz like crazy when the vibration motor is running. I'm exploring
ways to isolate them so they don't rattle.
©2020 Eric Albrecht