Demon Project
Page 1: Building the Chassis
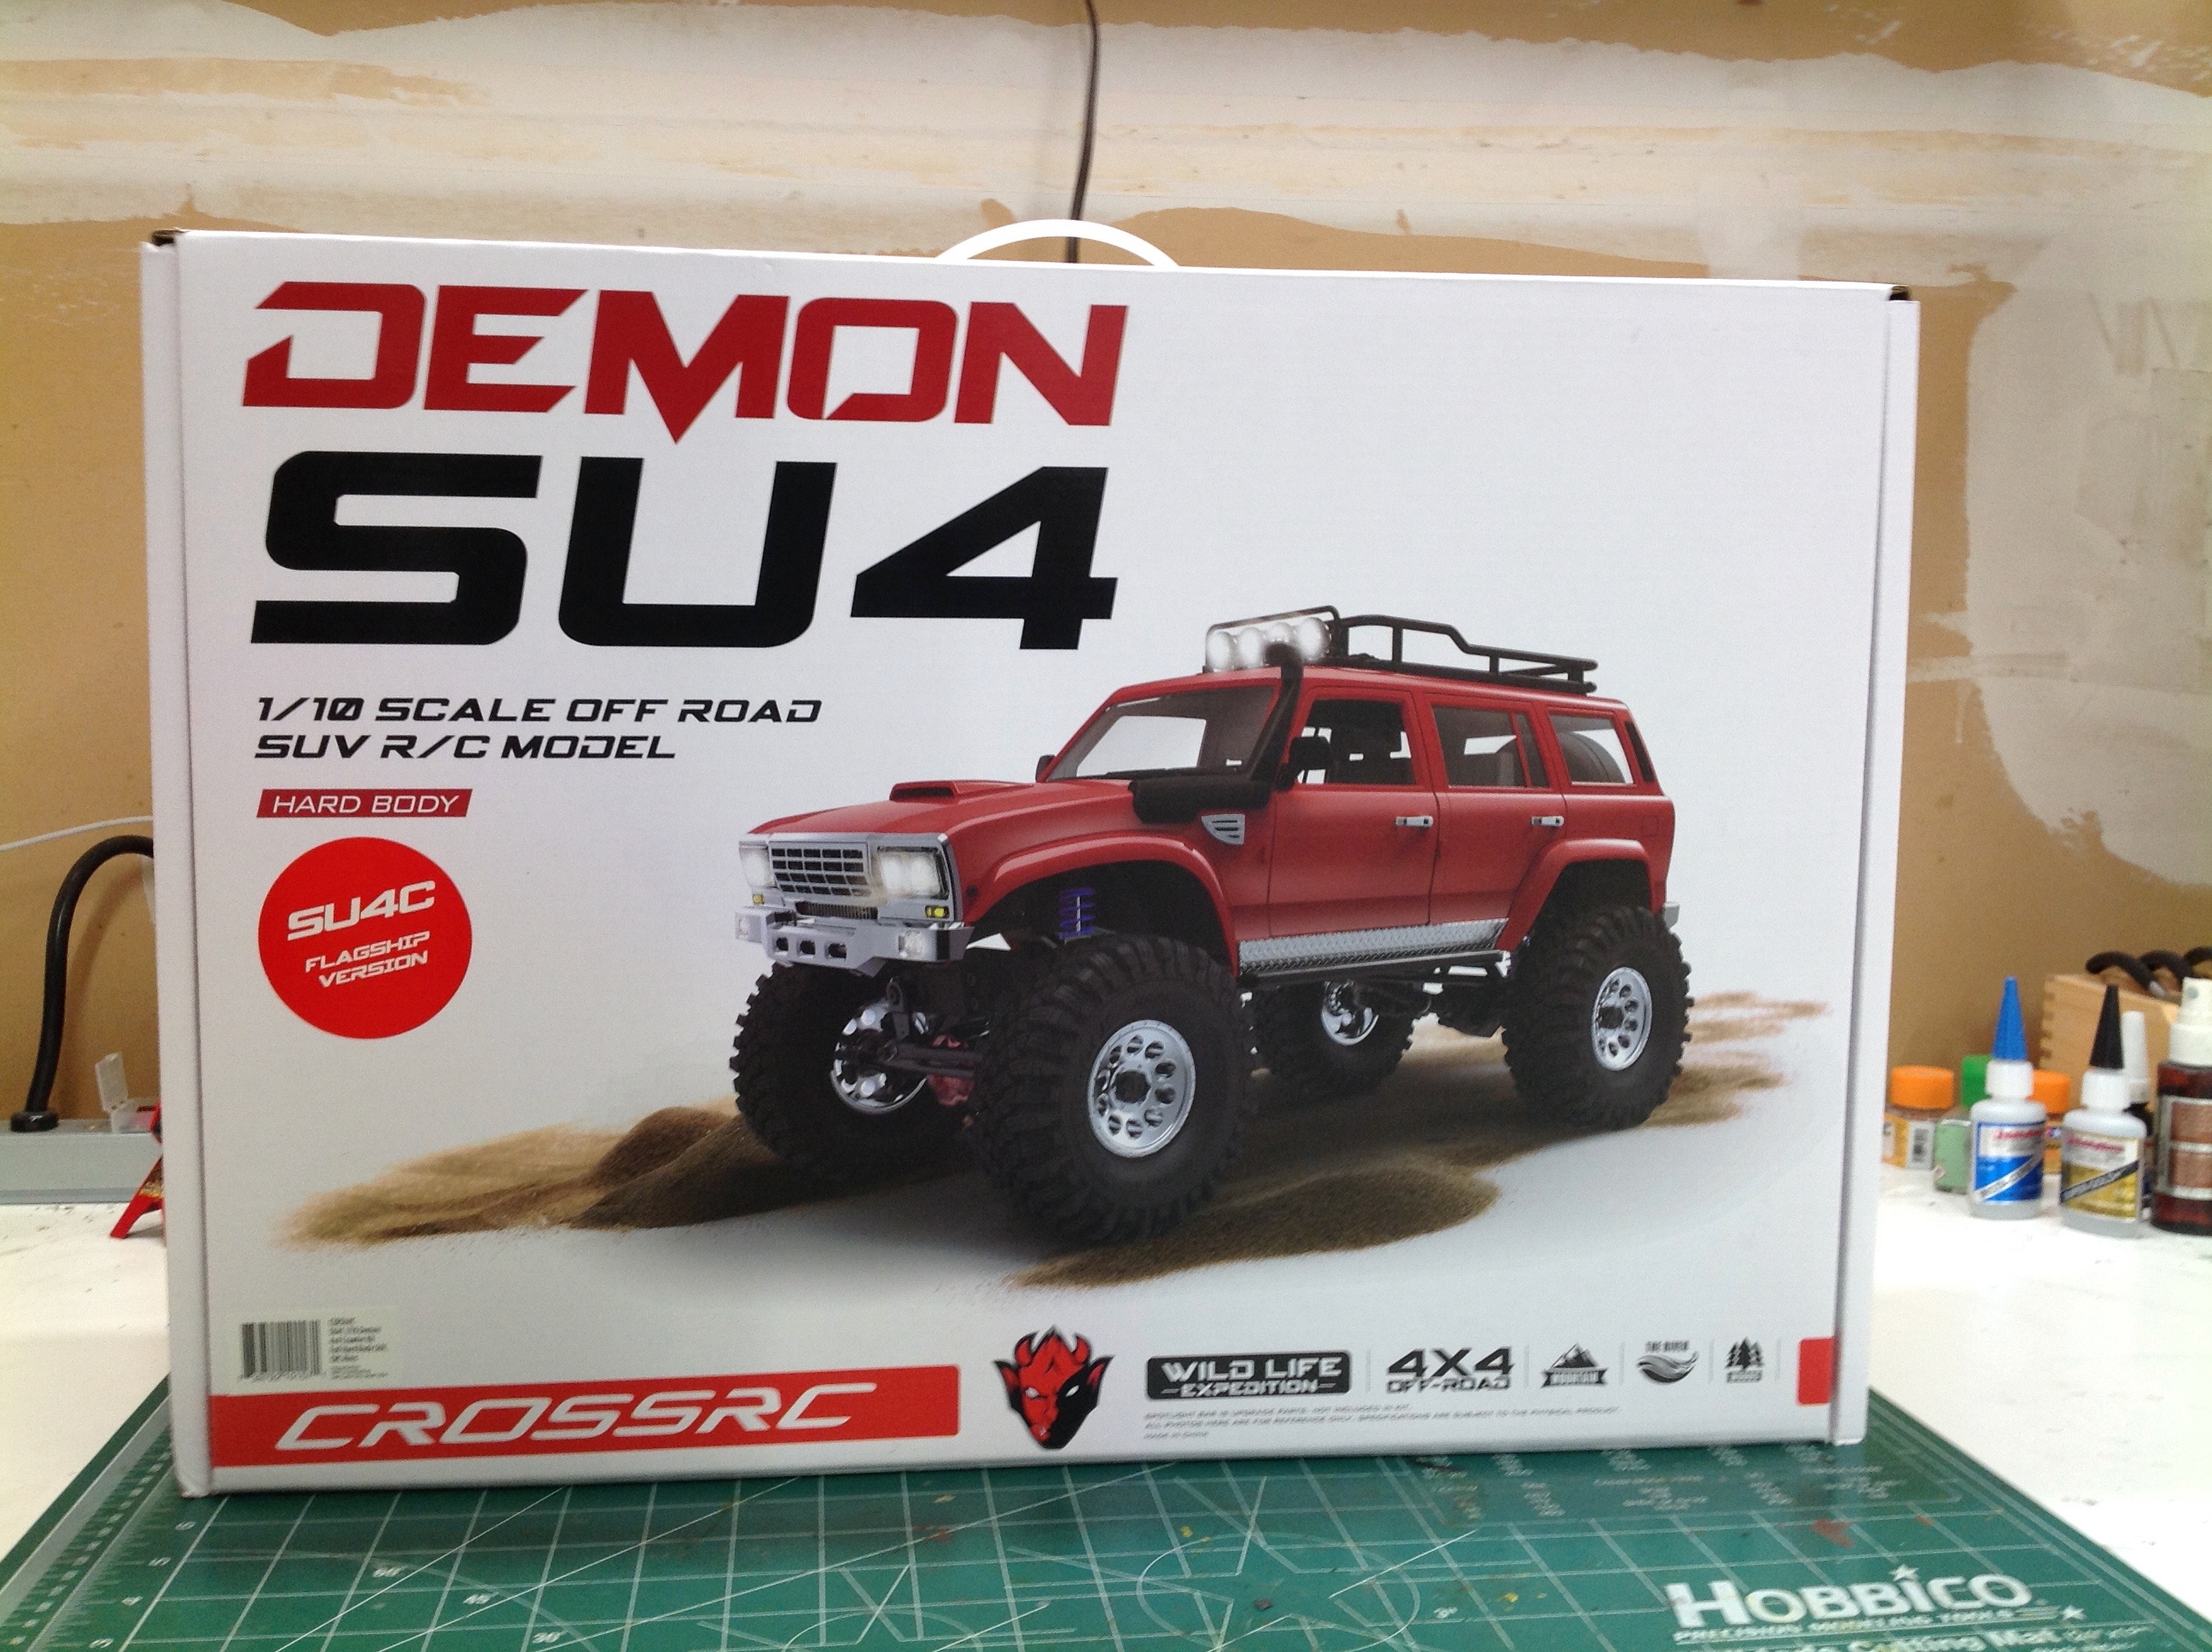
This is the box that lured me in and gave me no choice but to
purchase. It is big and heavy and has all the right boxes
ticked. Almost all of the chassis is metal and there is a fully
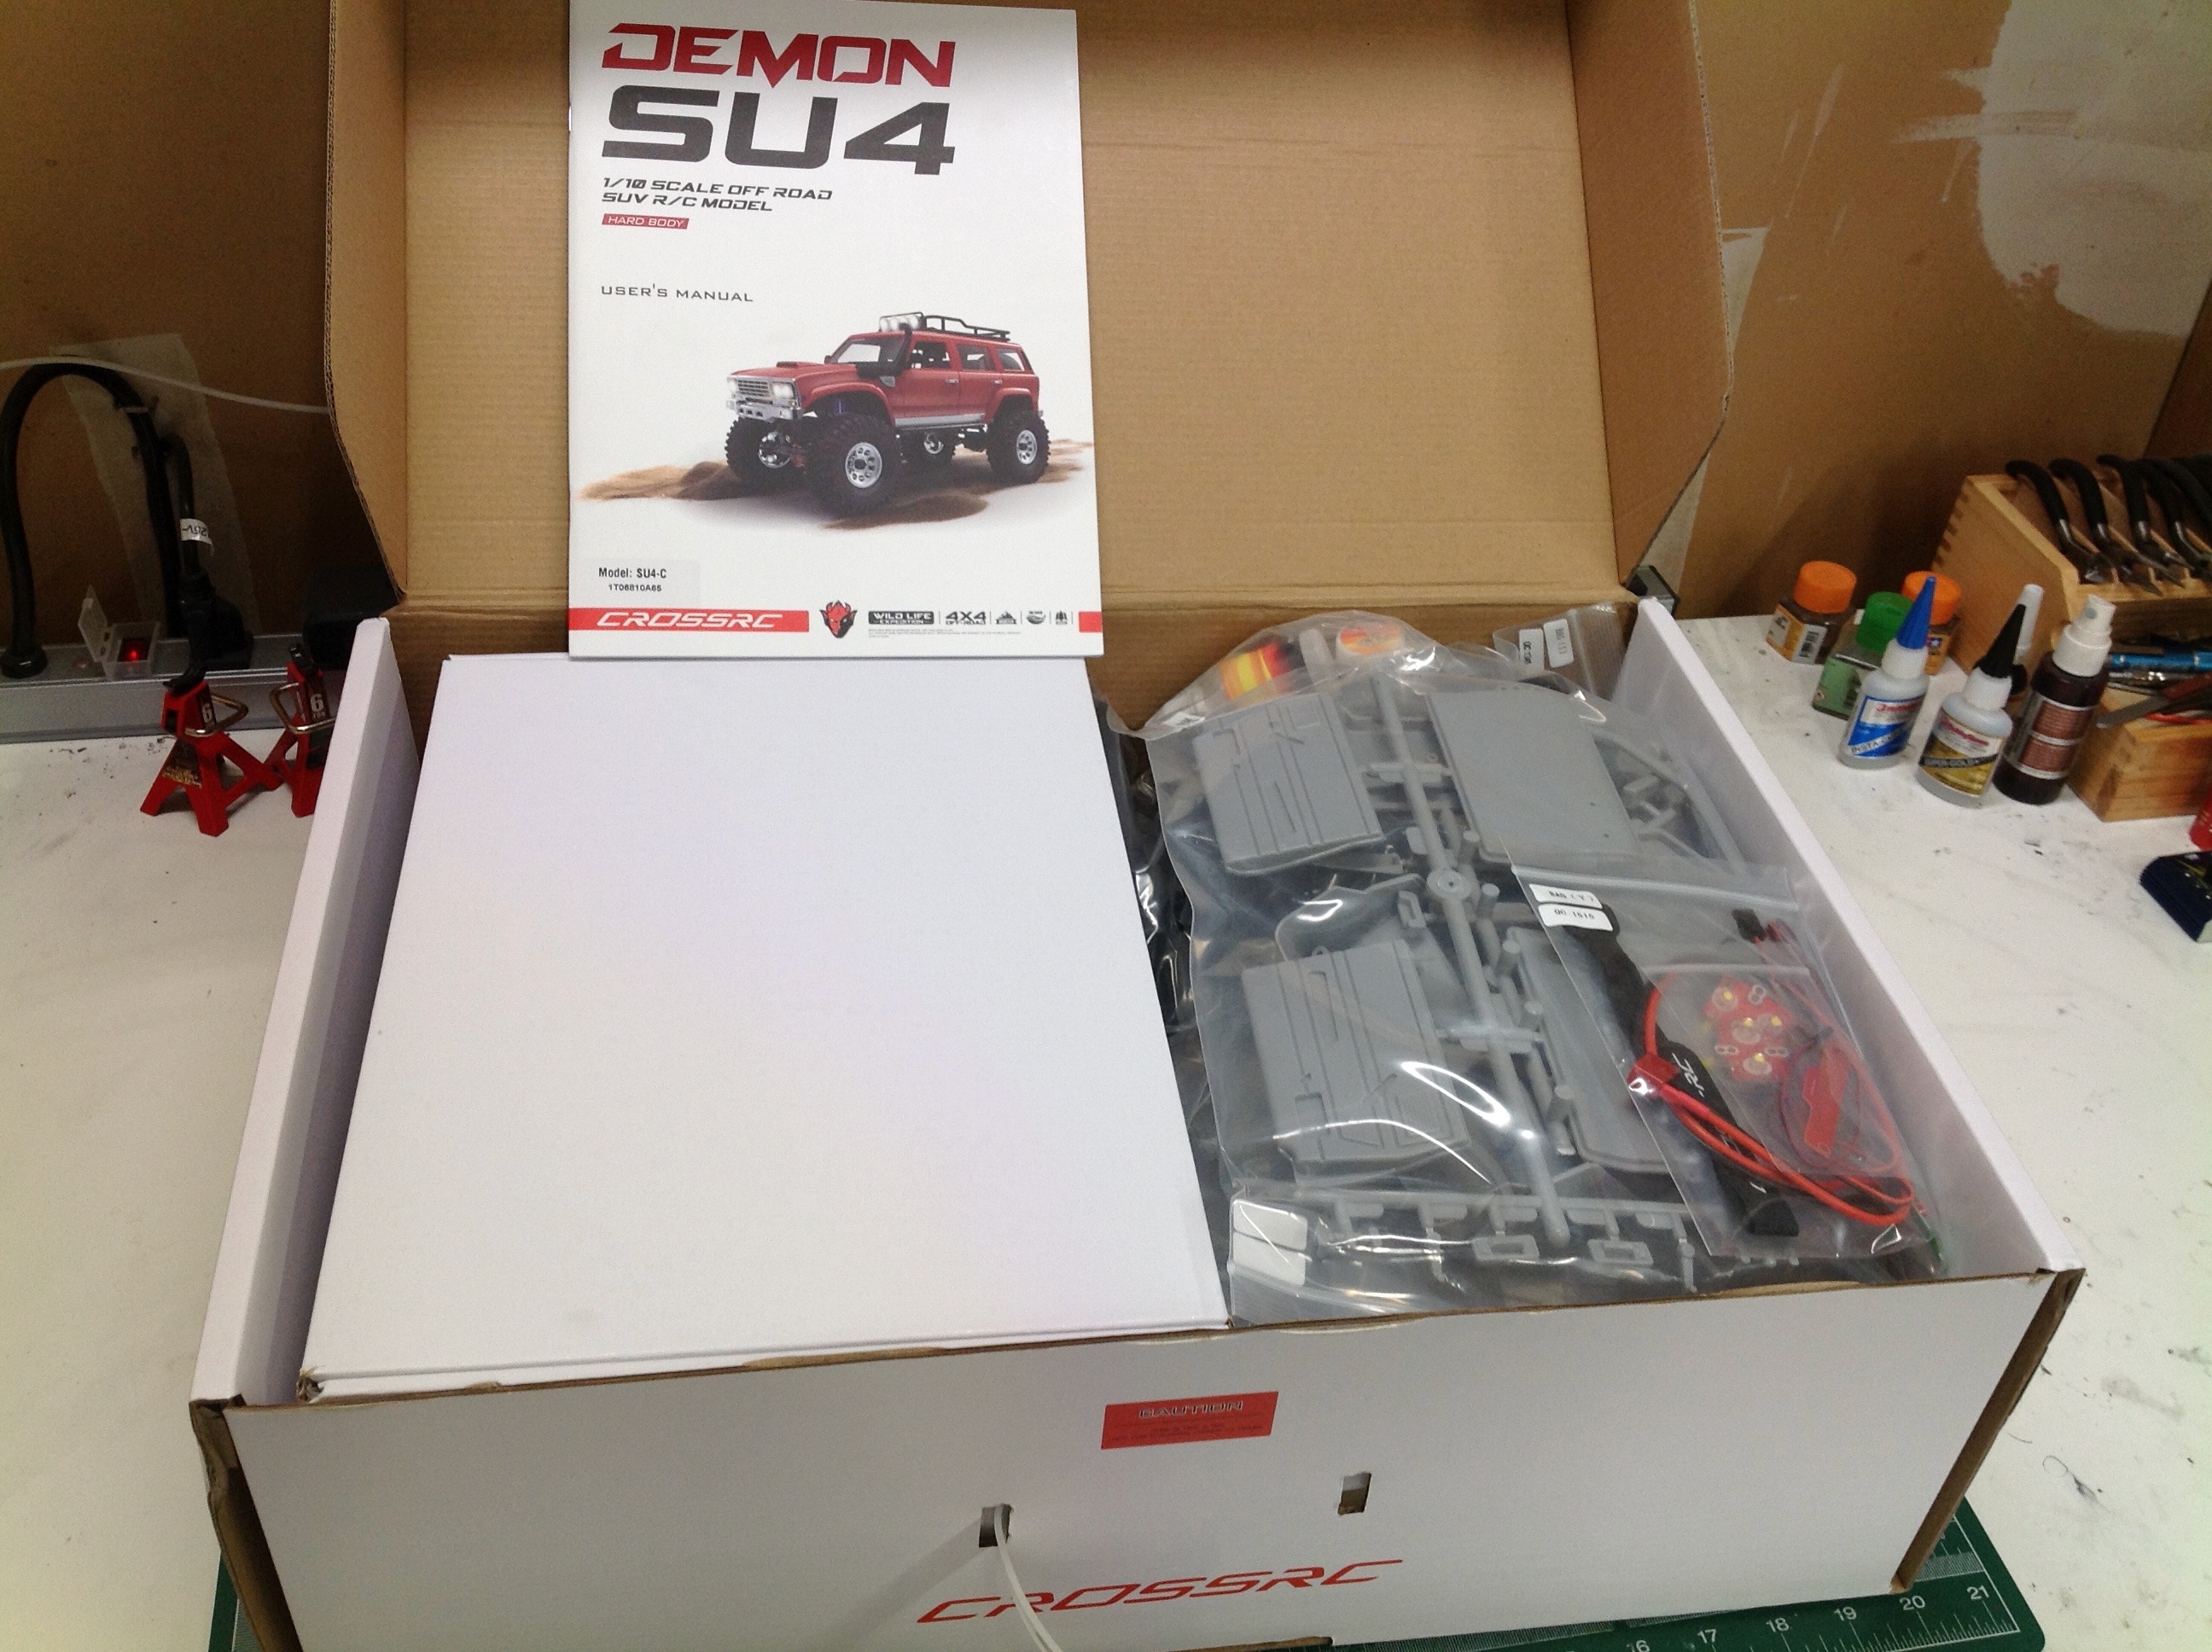
detailed hard body. Inside you can see a pile of plastic parts
trees for the body along with an internal box which contains most of the
chassis parts and hardware.
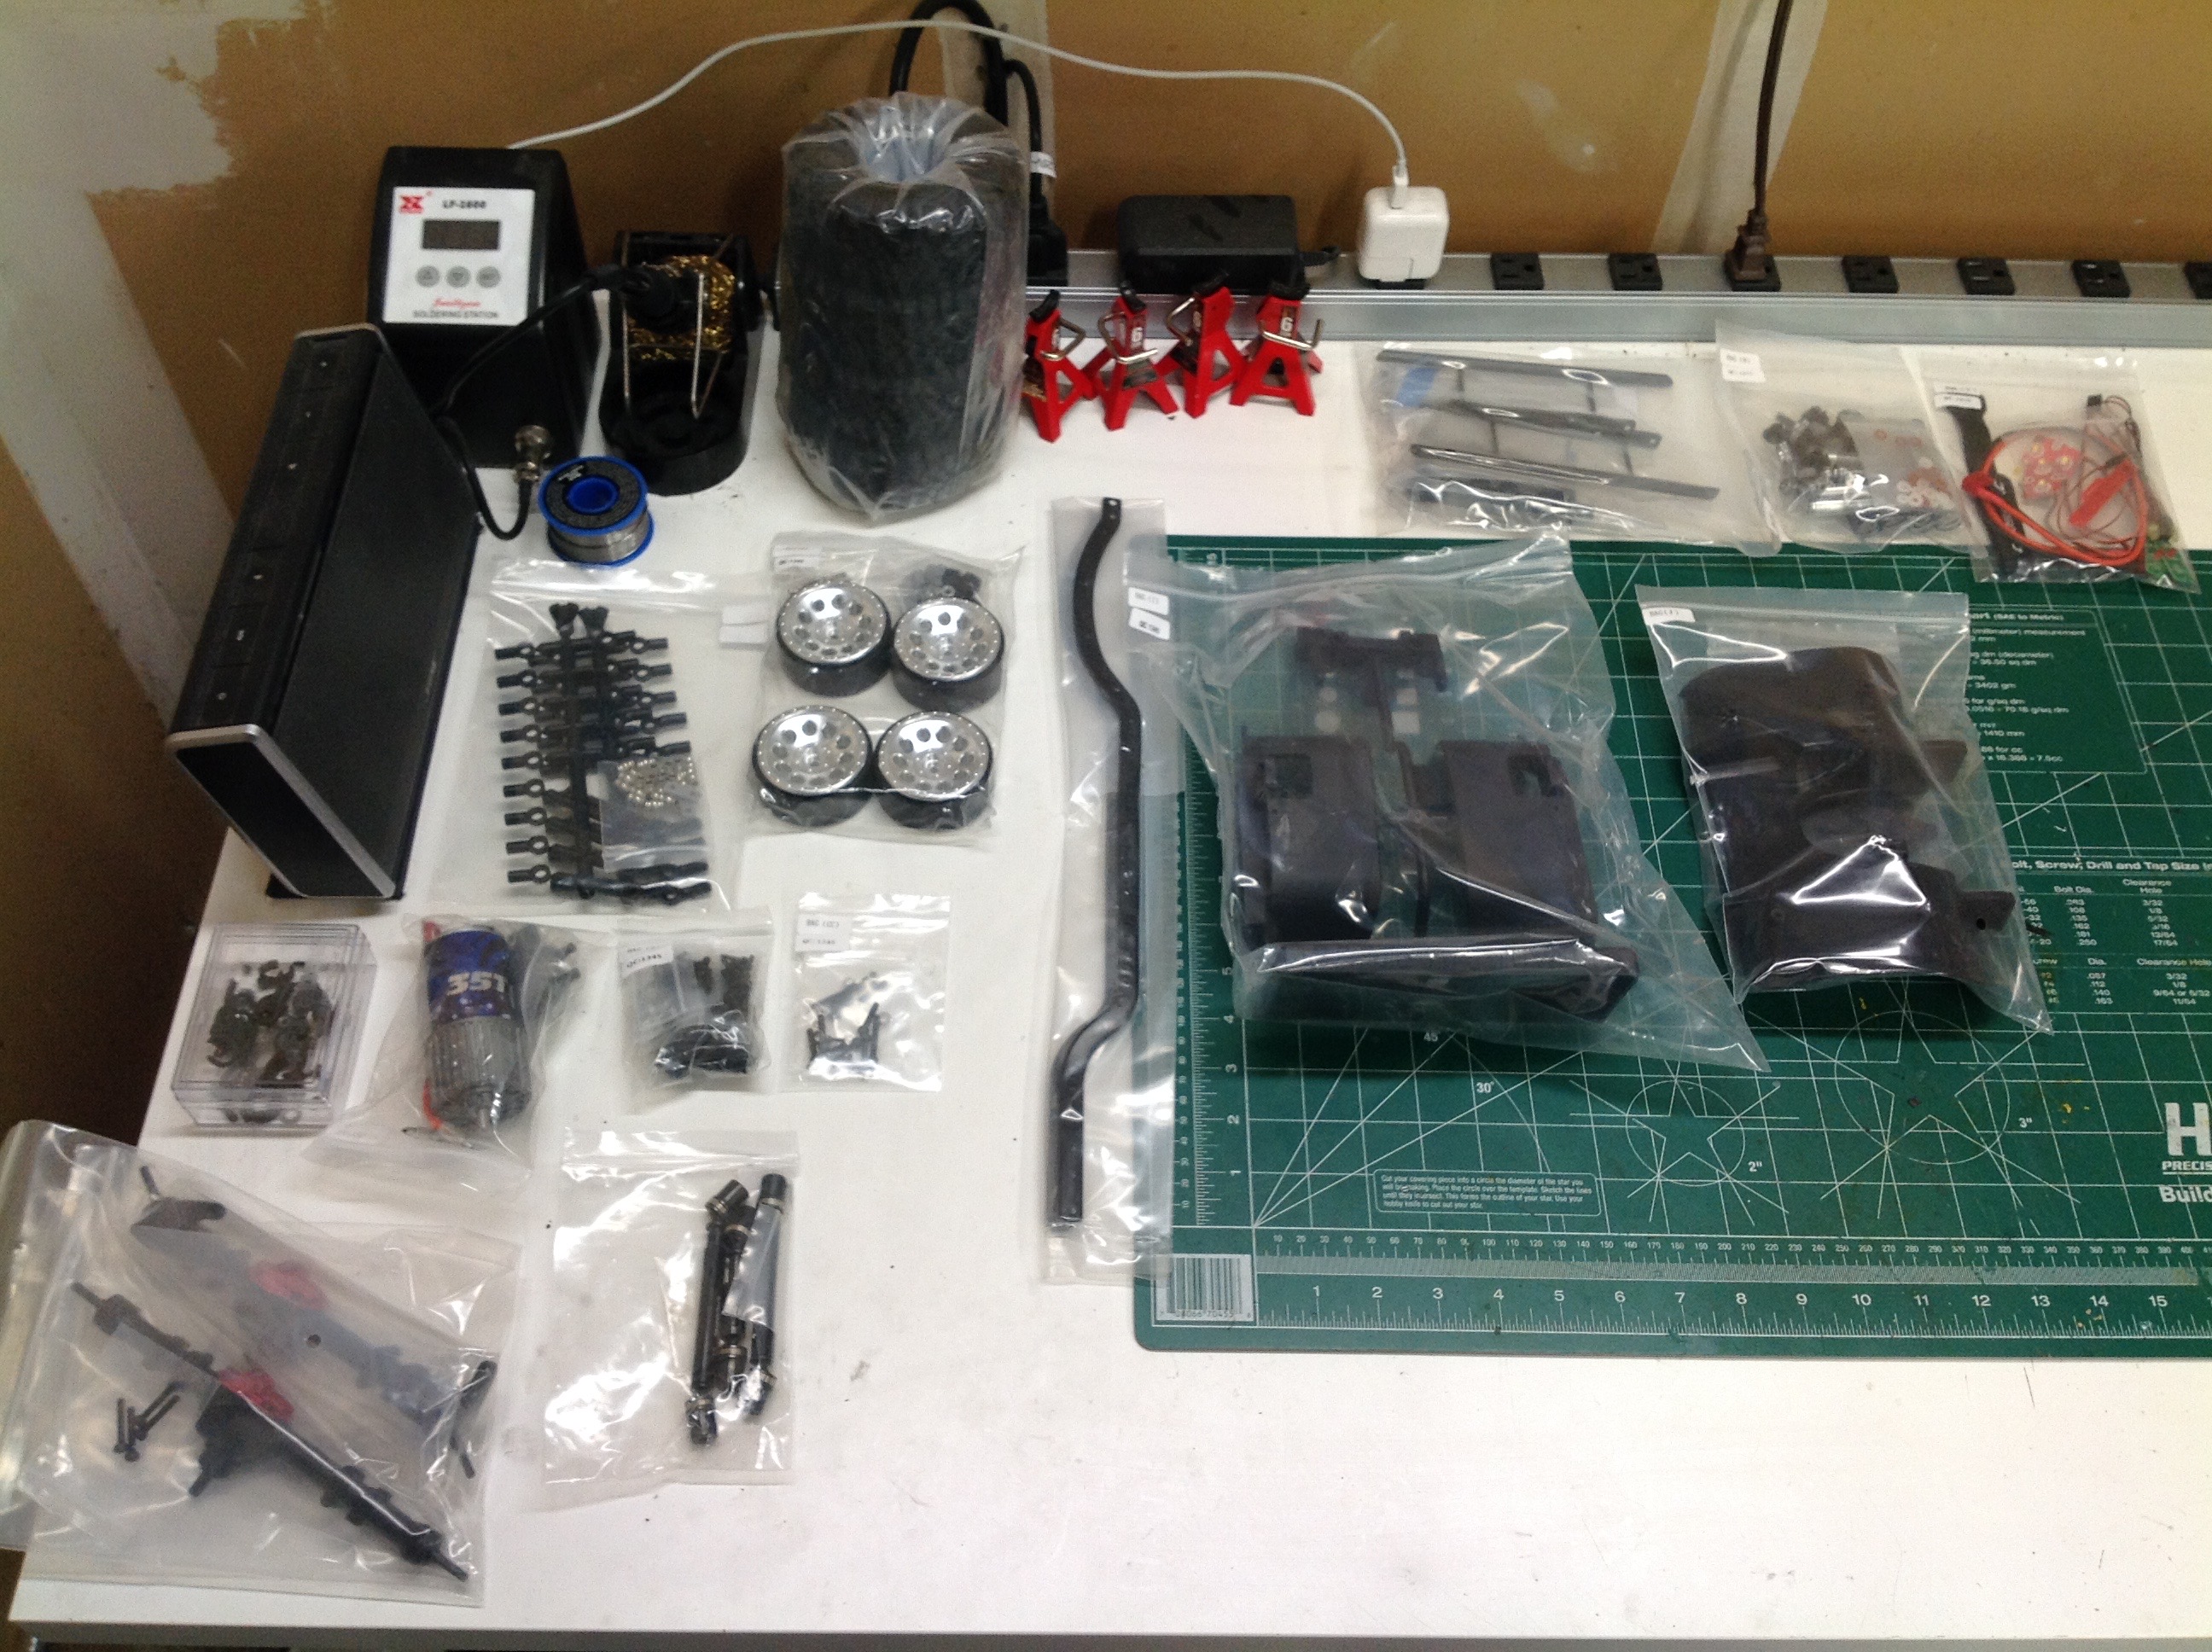
There are far too many parts to put on the table at once, so I've
started by pulling out just the parts for the chassis. Since the
axles and transmission are pre-built, there actually aren't that many
parts. Note the lovely and heavy metal beadlock wheels. The
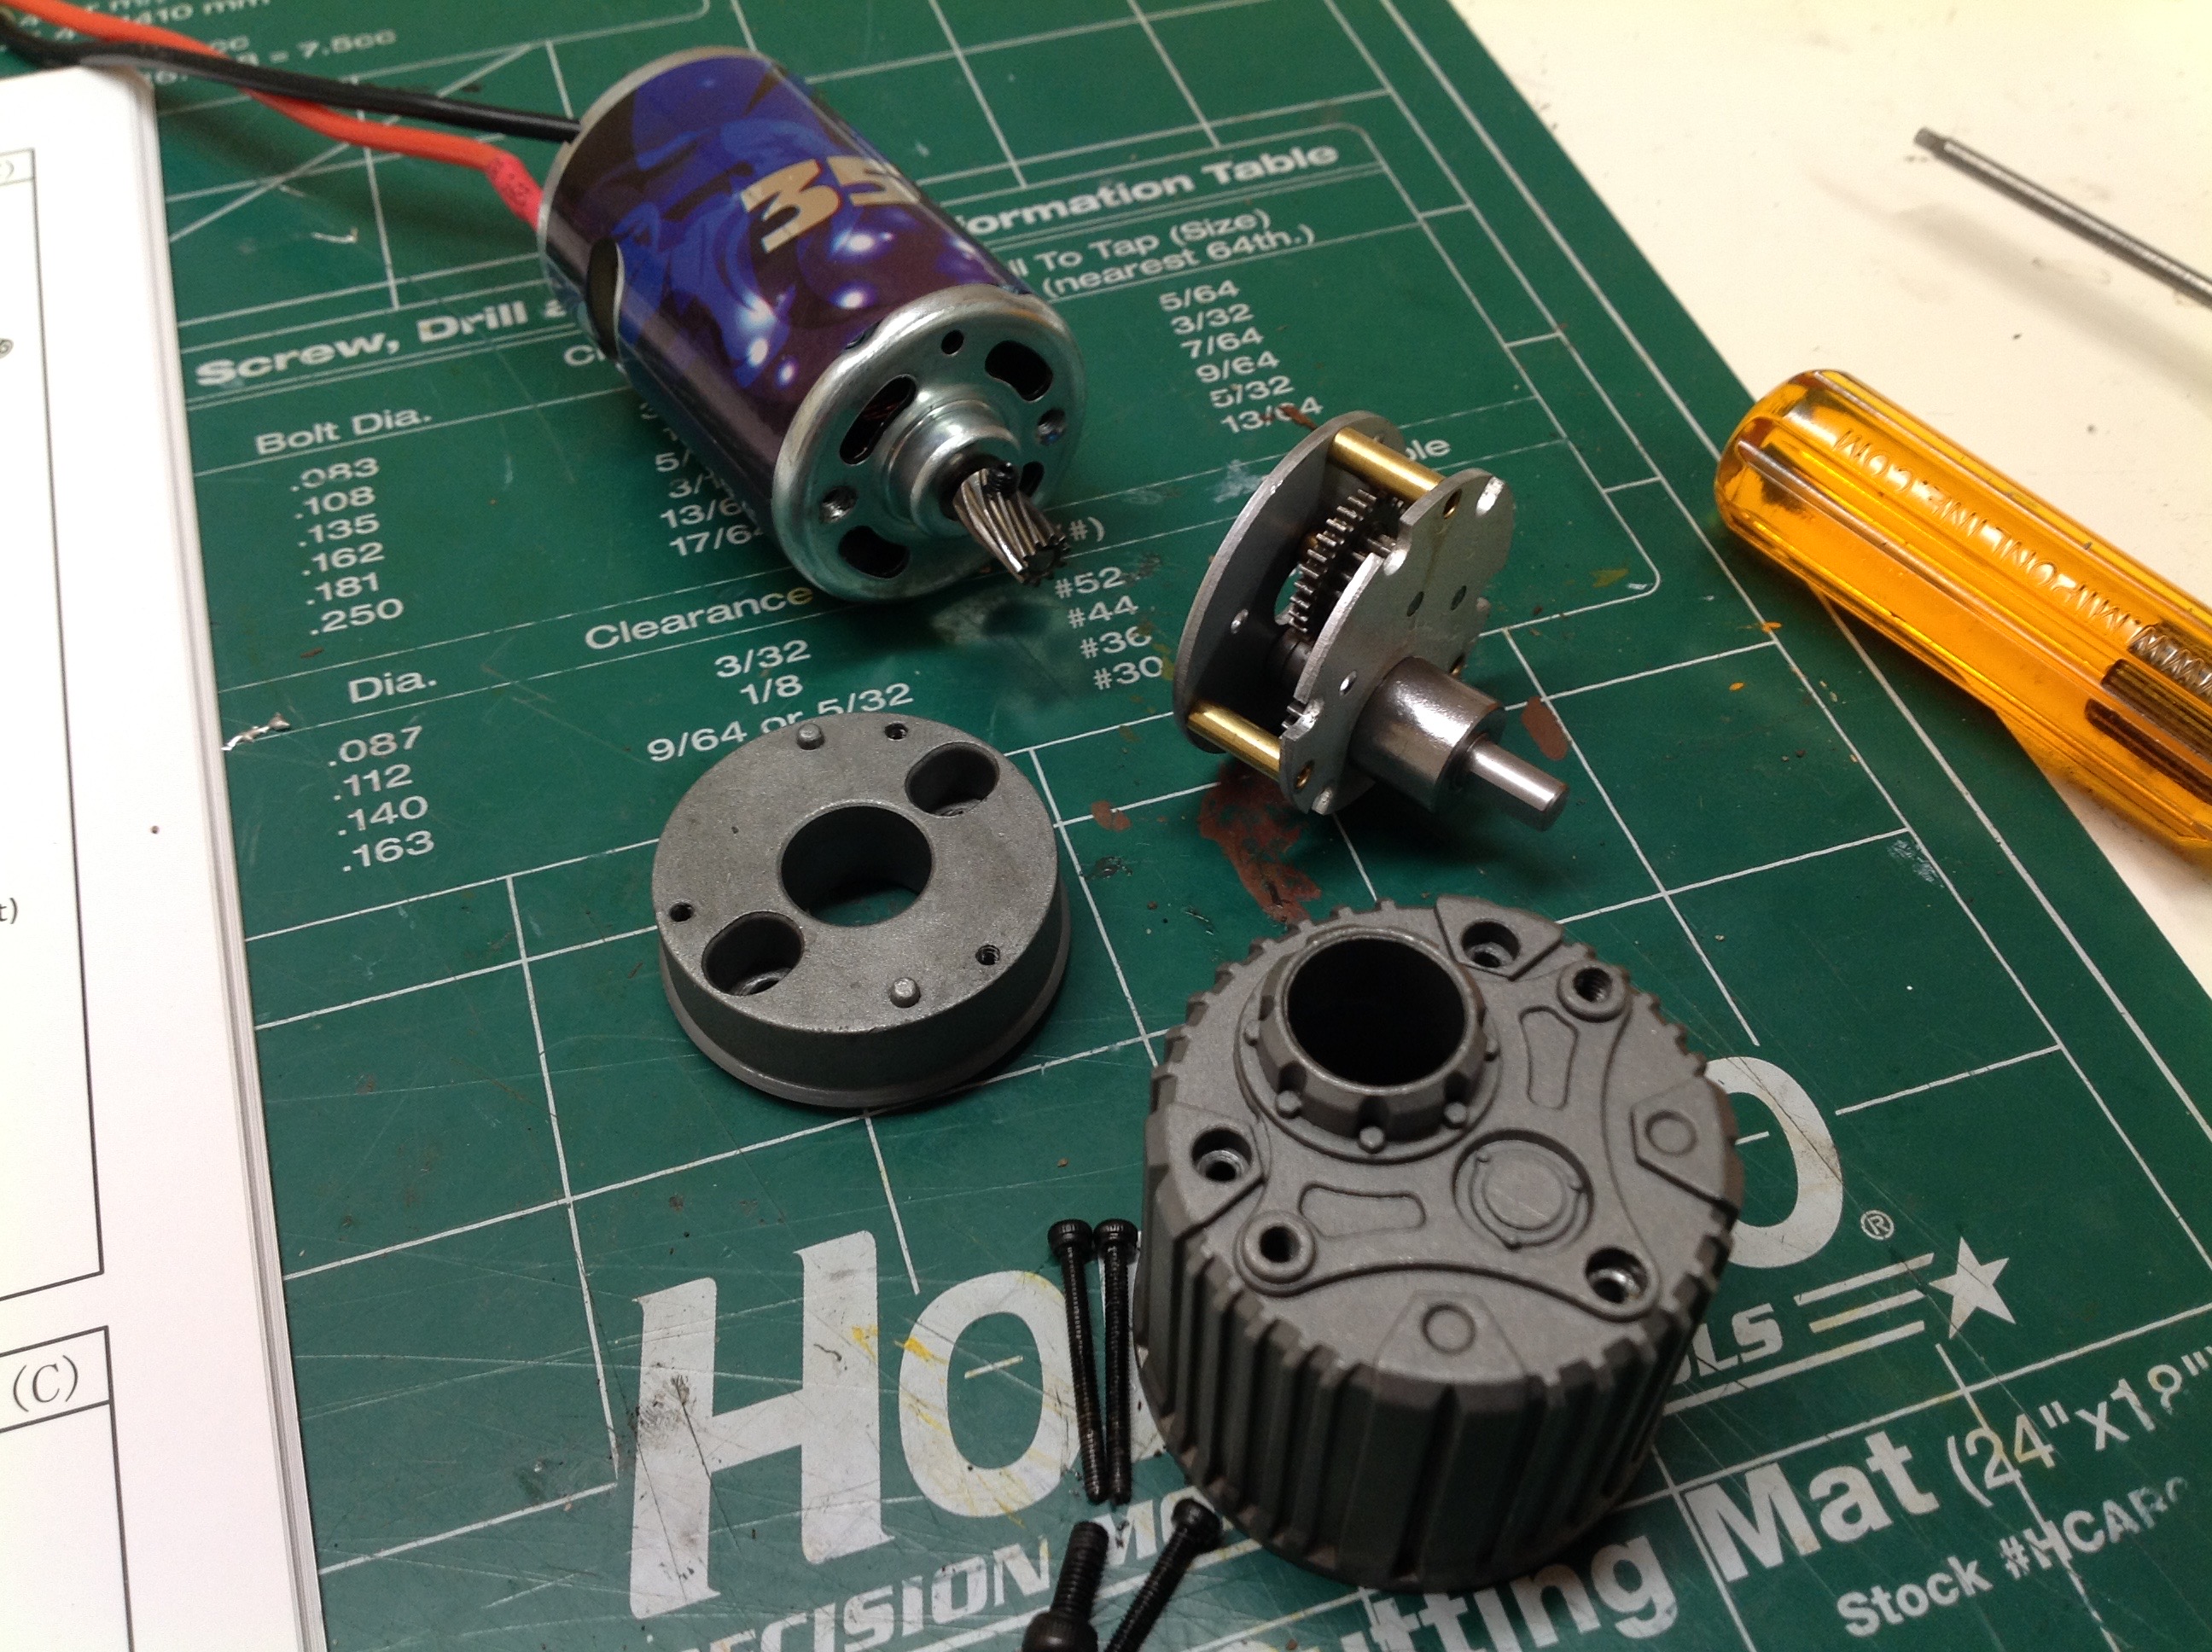
GRU (Gear Reduction Unit) is a gearbox assembly which was already built,
but I tore it apart both to make sure it was greased and to see how it
worked. Based on the shape I assumed it was a planetary gear set
but it isn't. Inside are multiple stages of tiny steel
gears. I admit I was quite worried that these would not be able to
stand up to the torque of my intended power system, but no problems so
far.
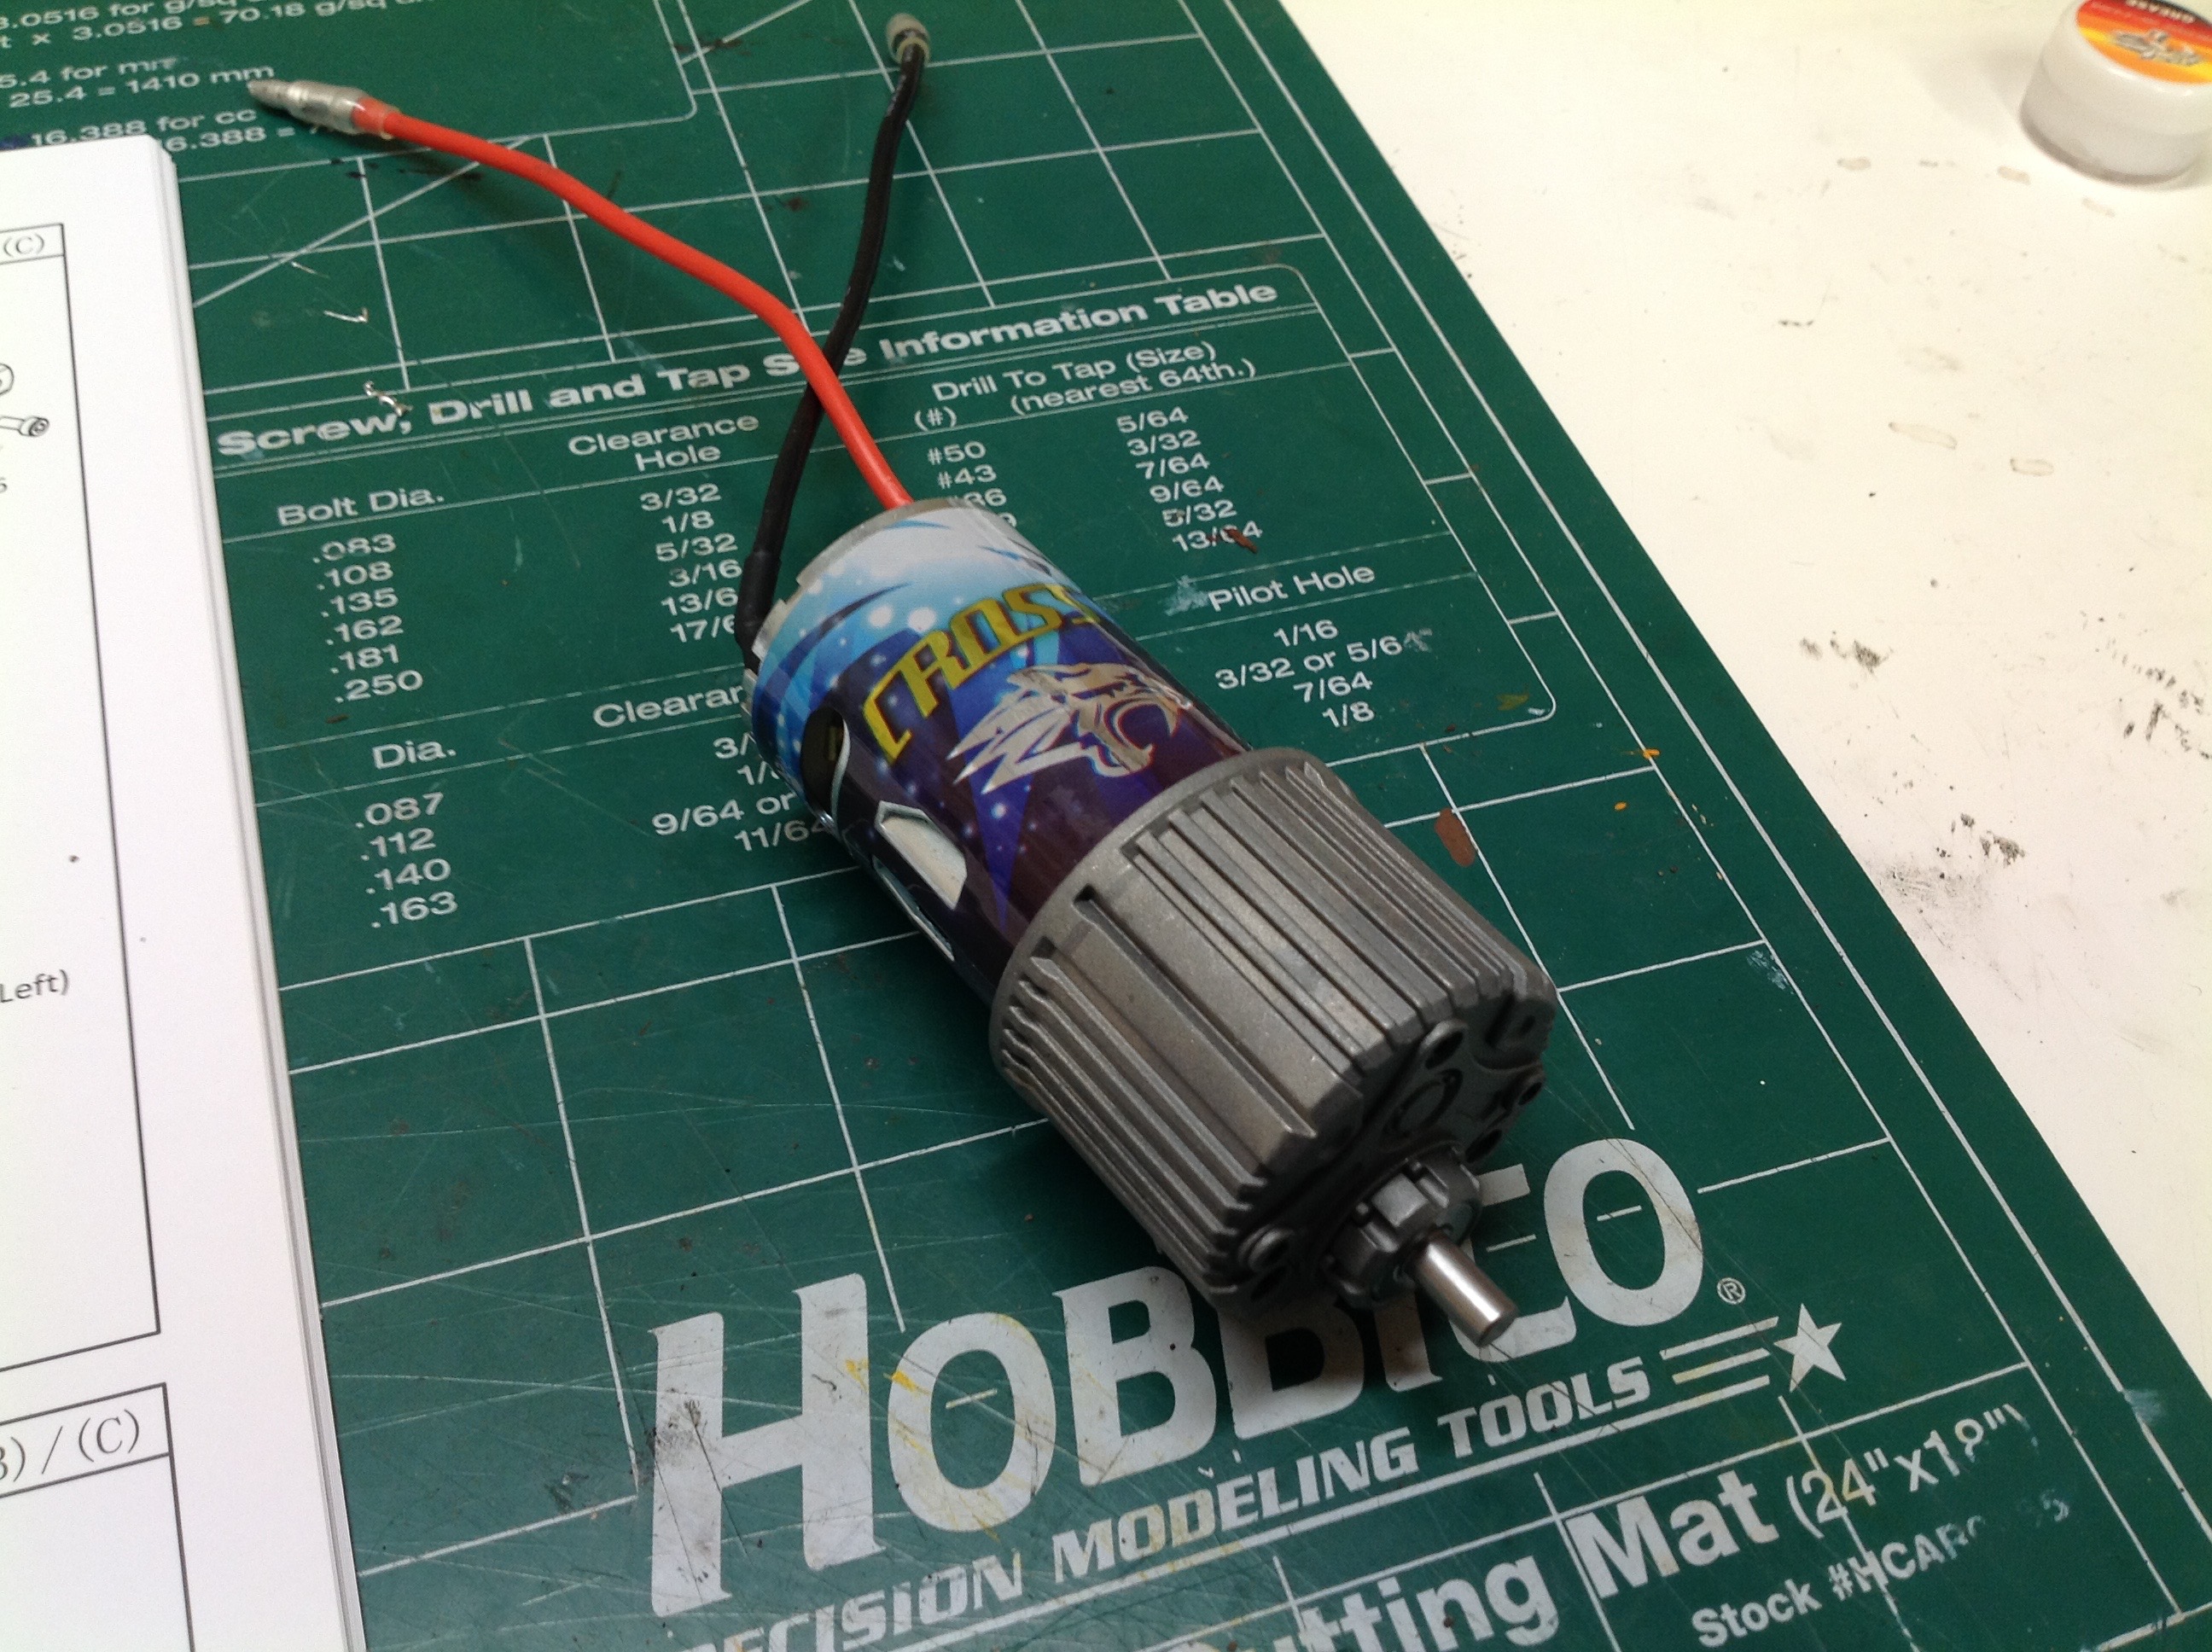
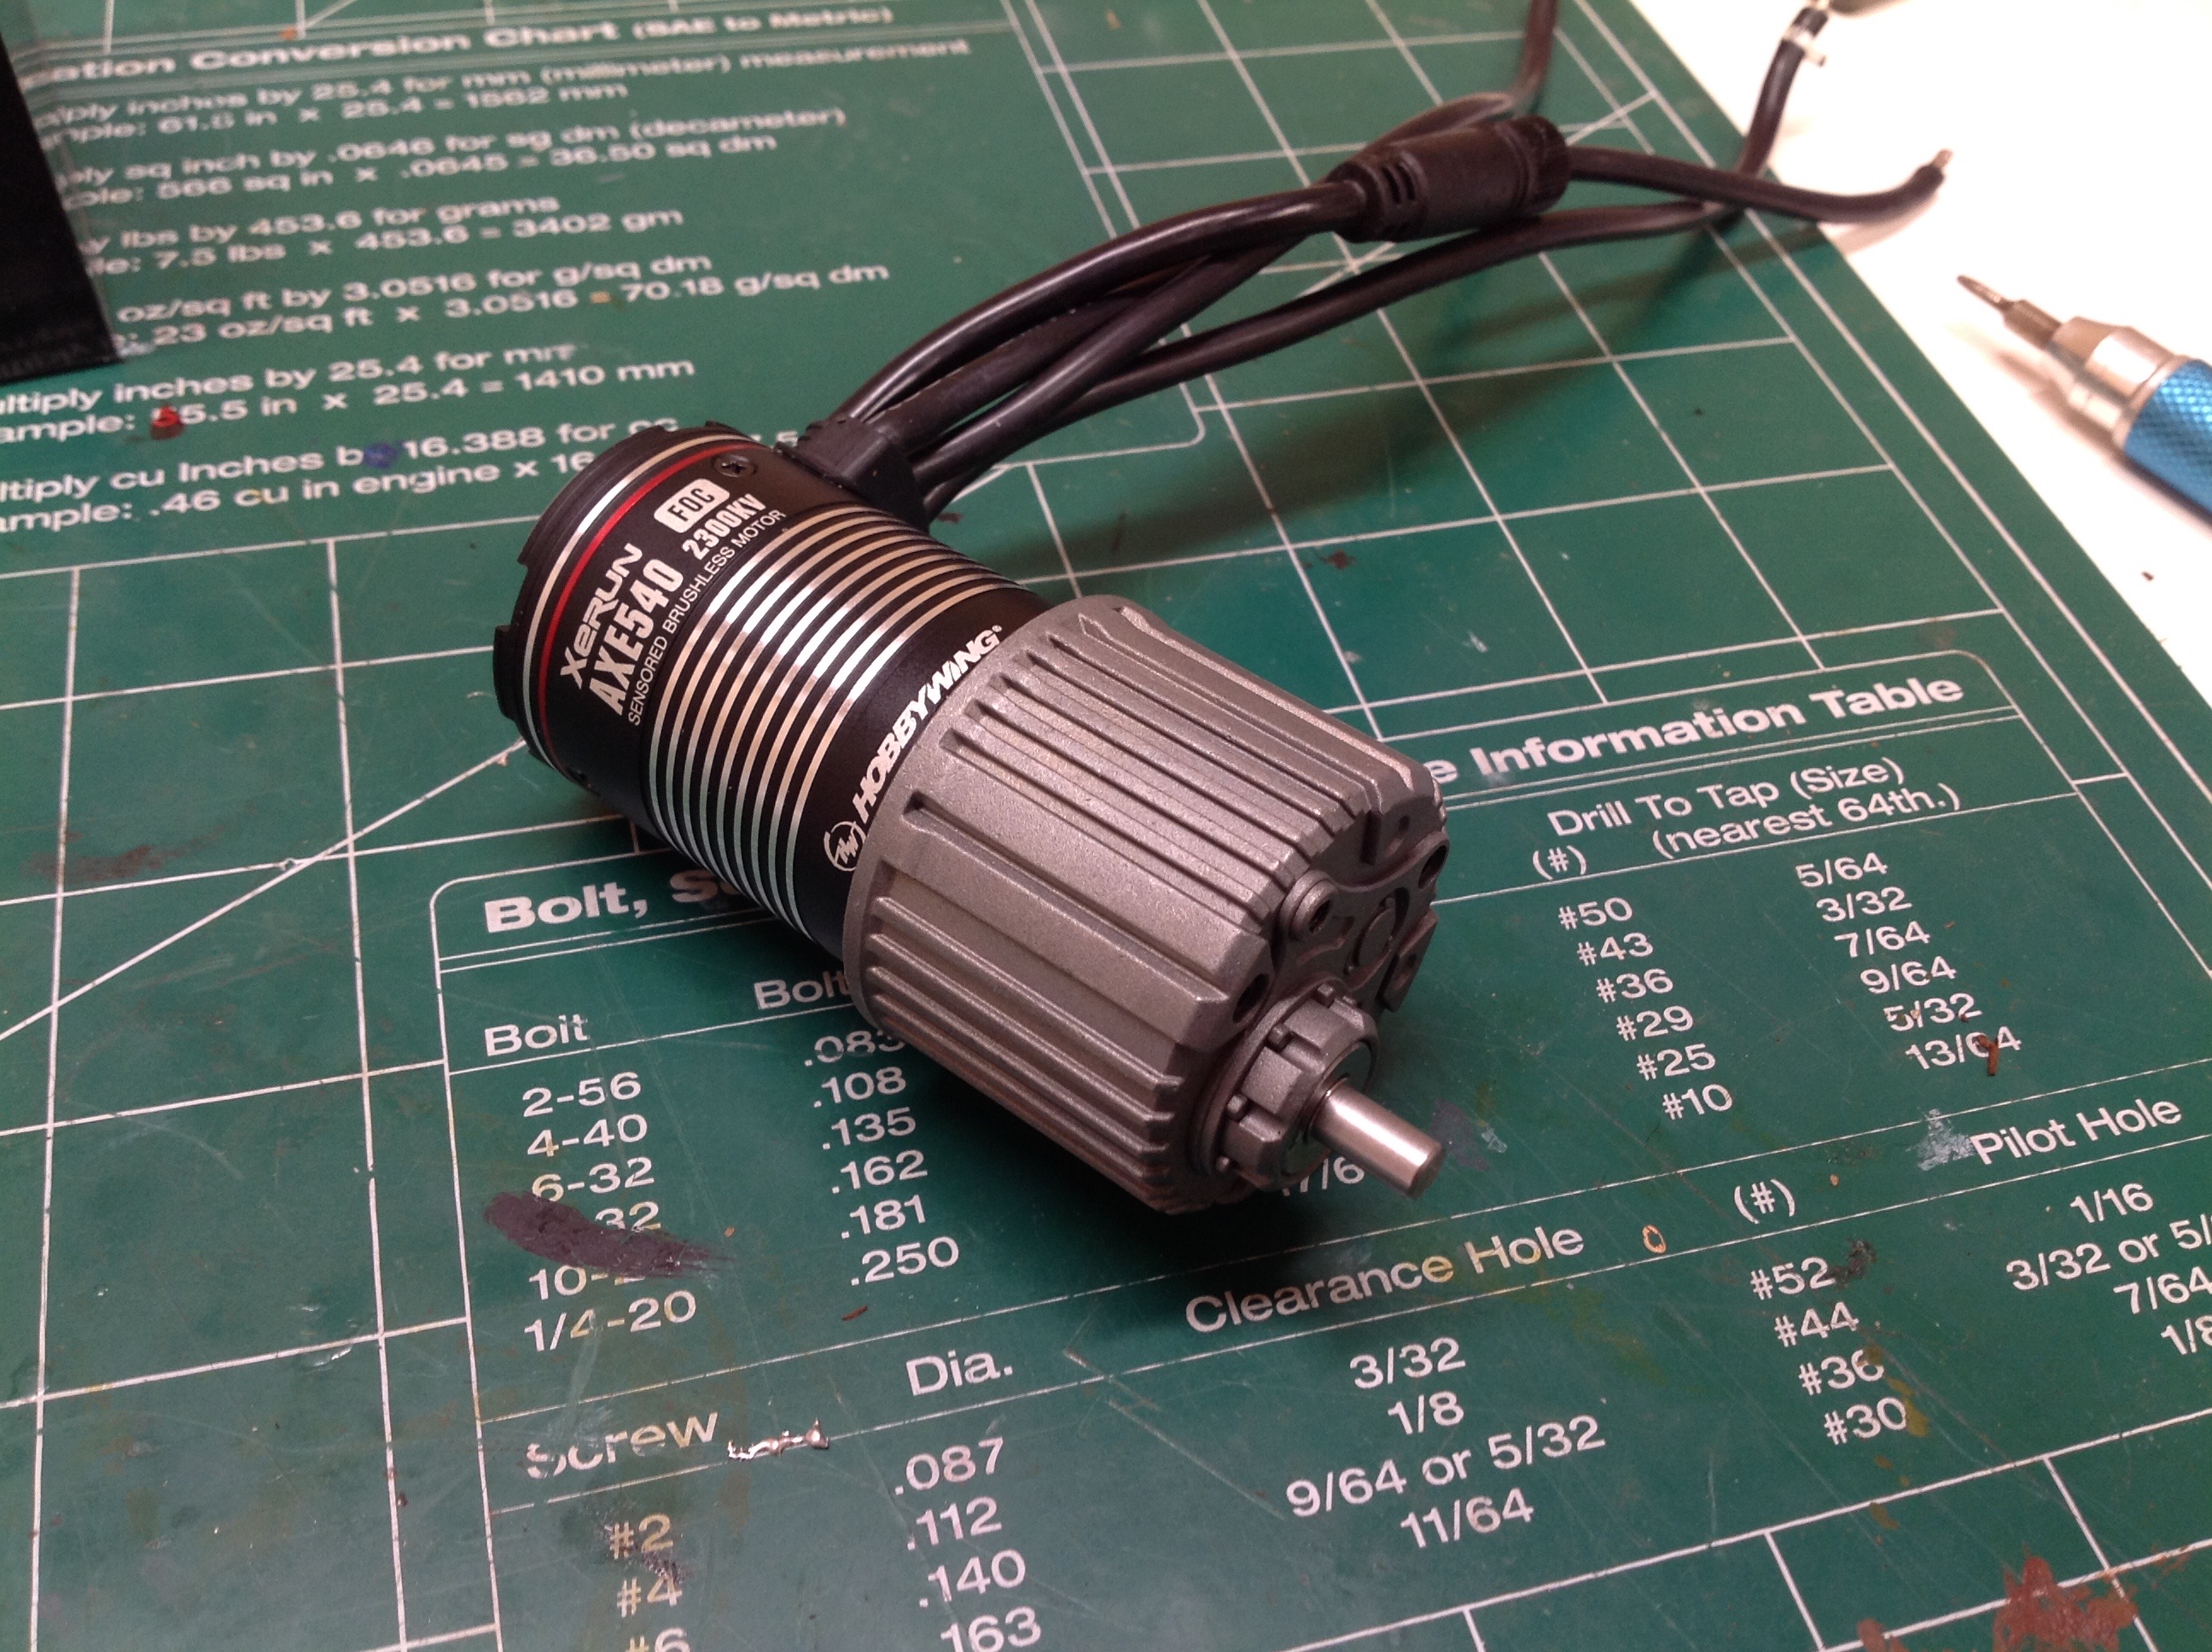
The gearbox comes in the kit as shown on the left with a brushed 35 turn
motor attached. Although I've found Cross' brushed motors to be
quite good, I wanted to try something different for this model.
The new Hobbywing AXE brushless motor on the right is what I
chose. This system is specifically designed for crawlers to be
ultra smooth at low RPM. The motor wires coming out the side of
the end bell ended up being a problem.
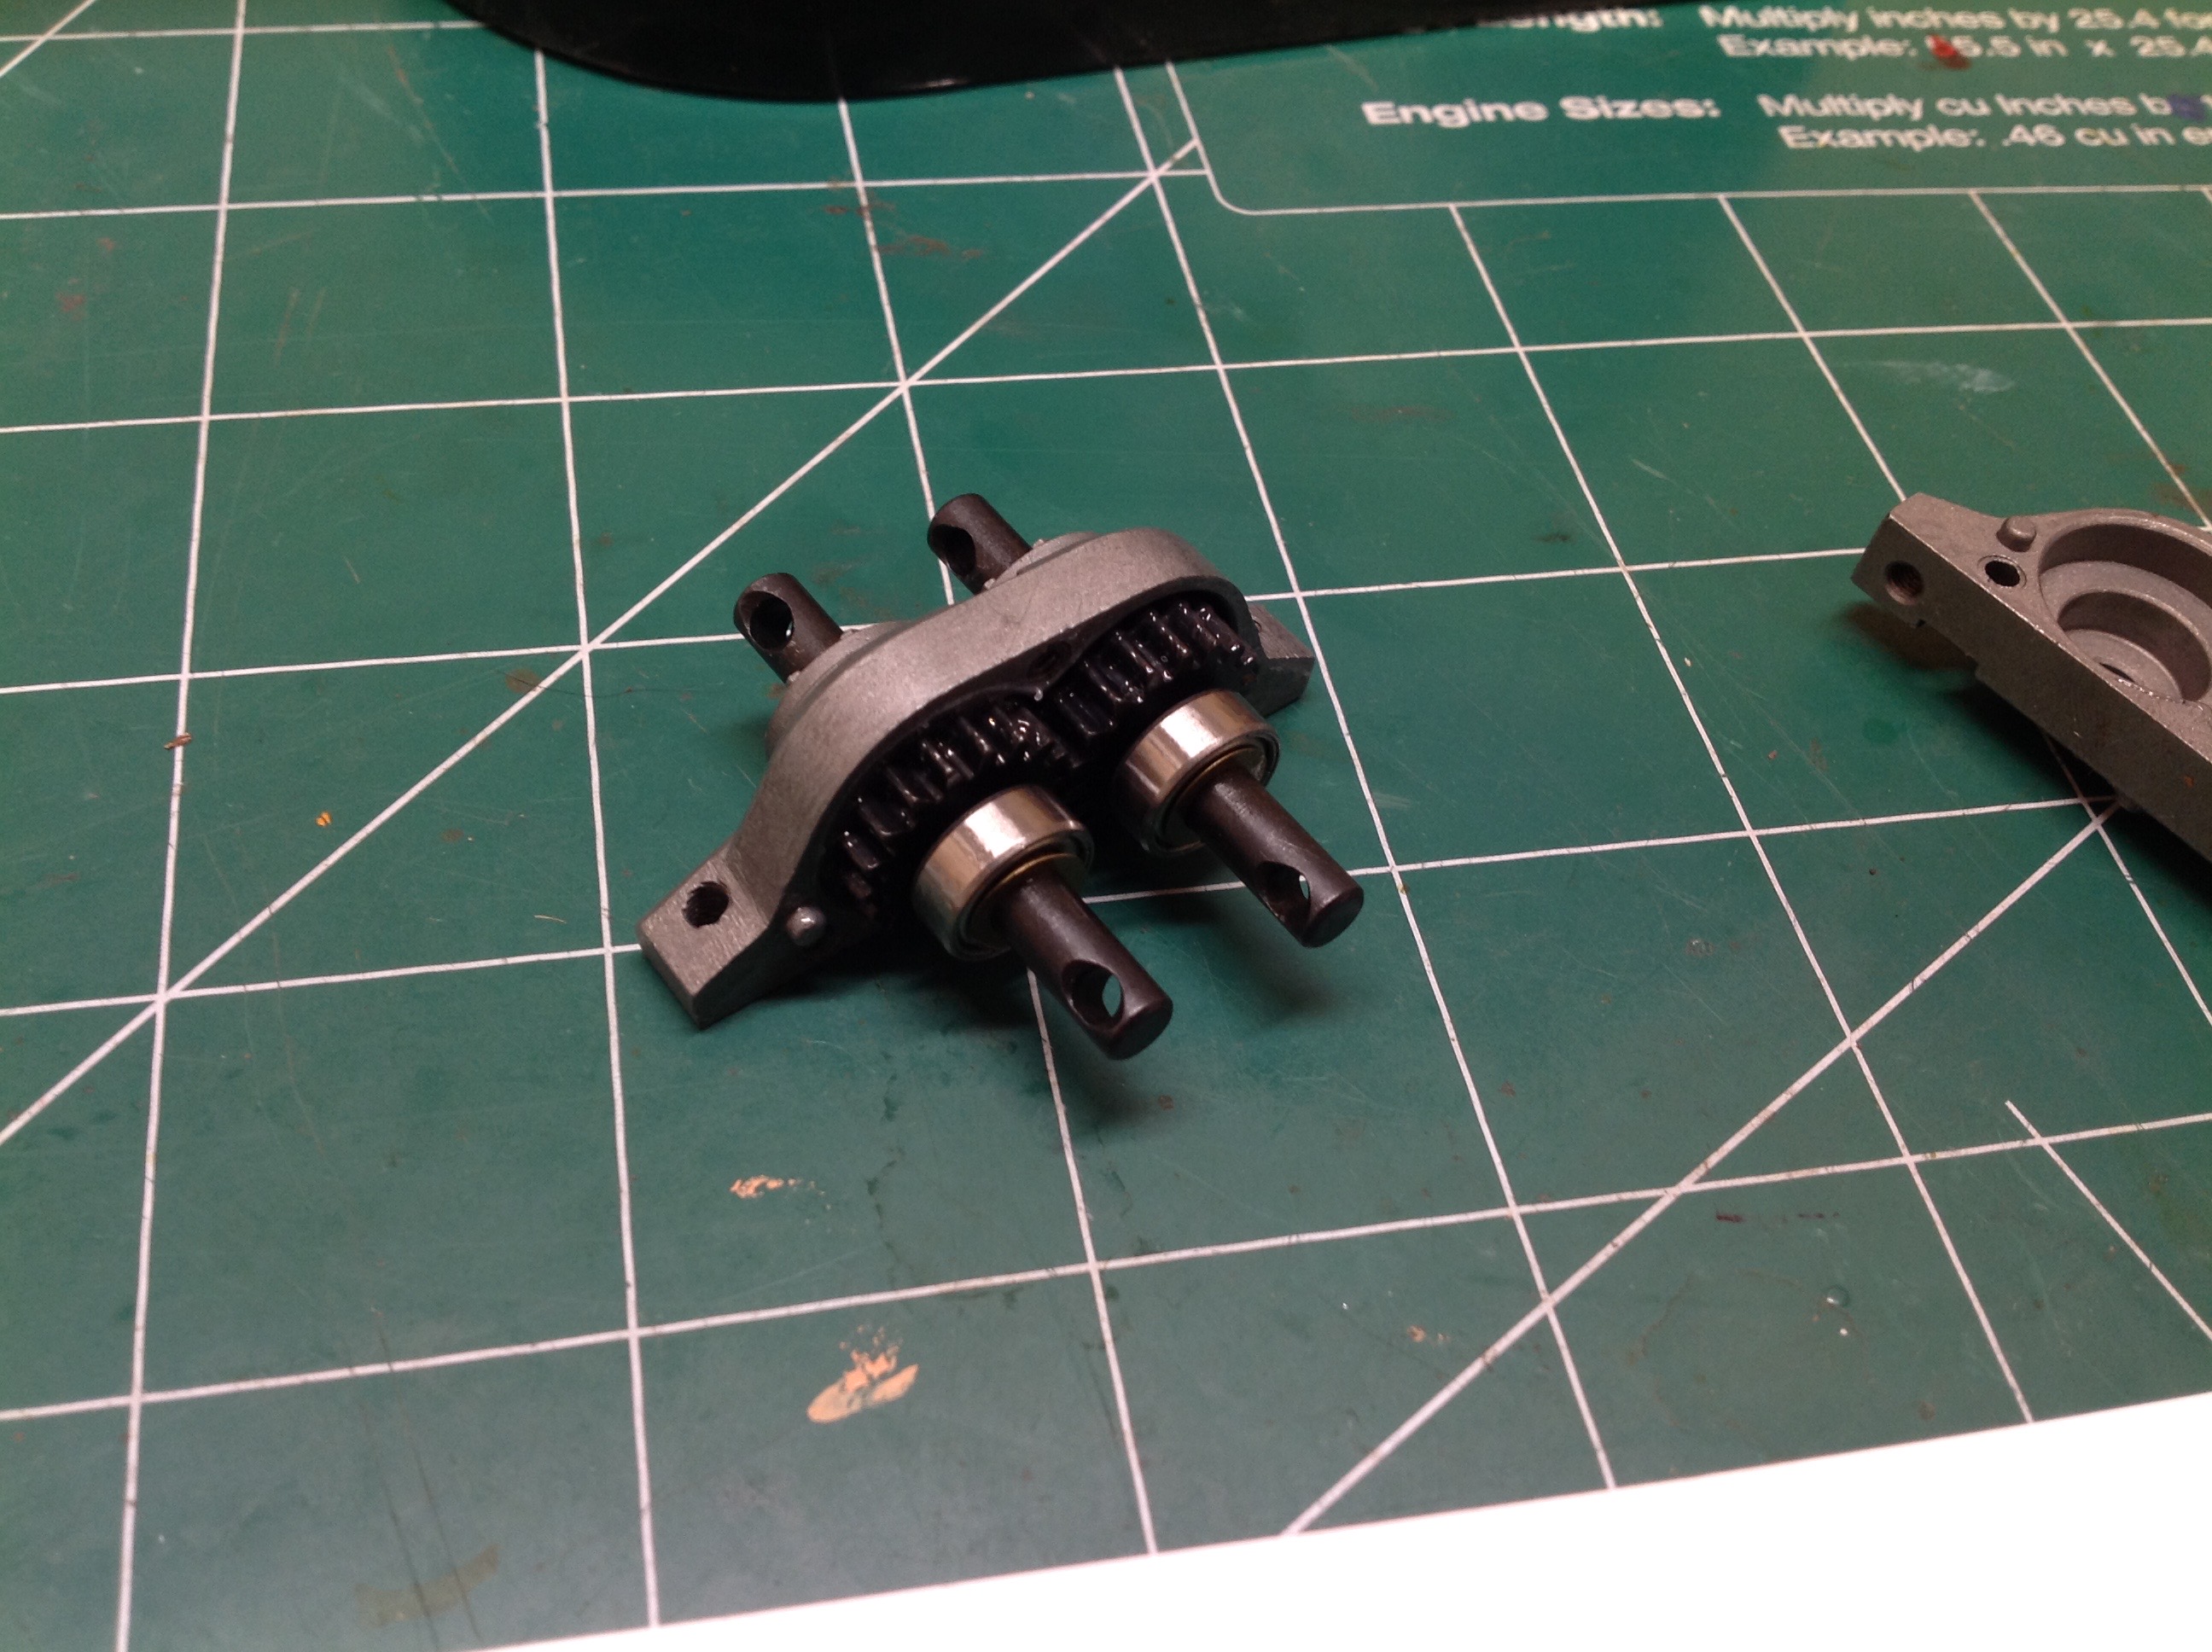
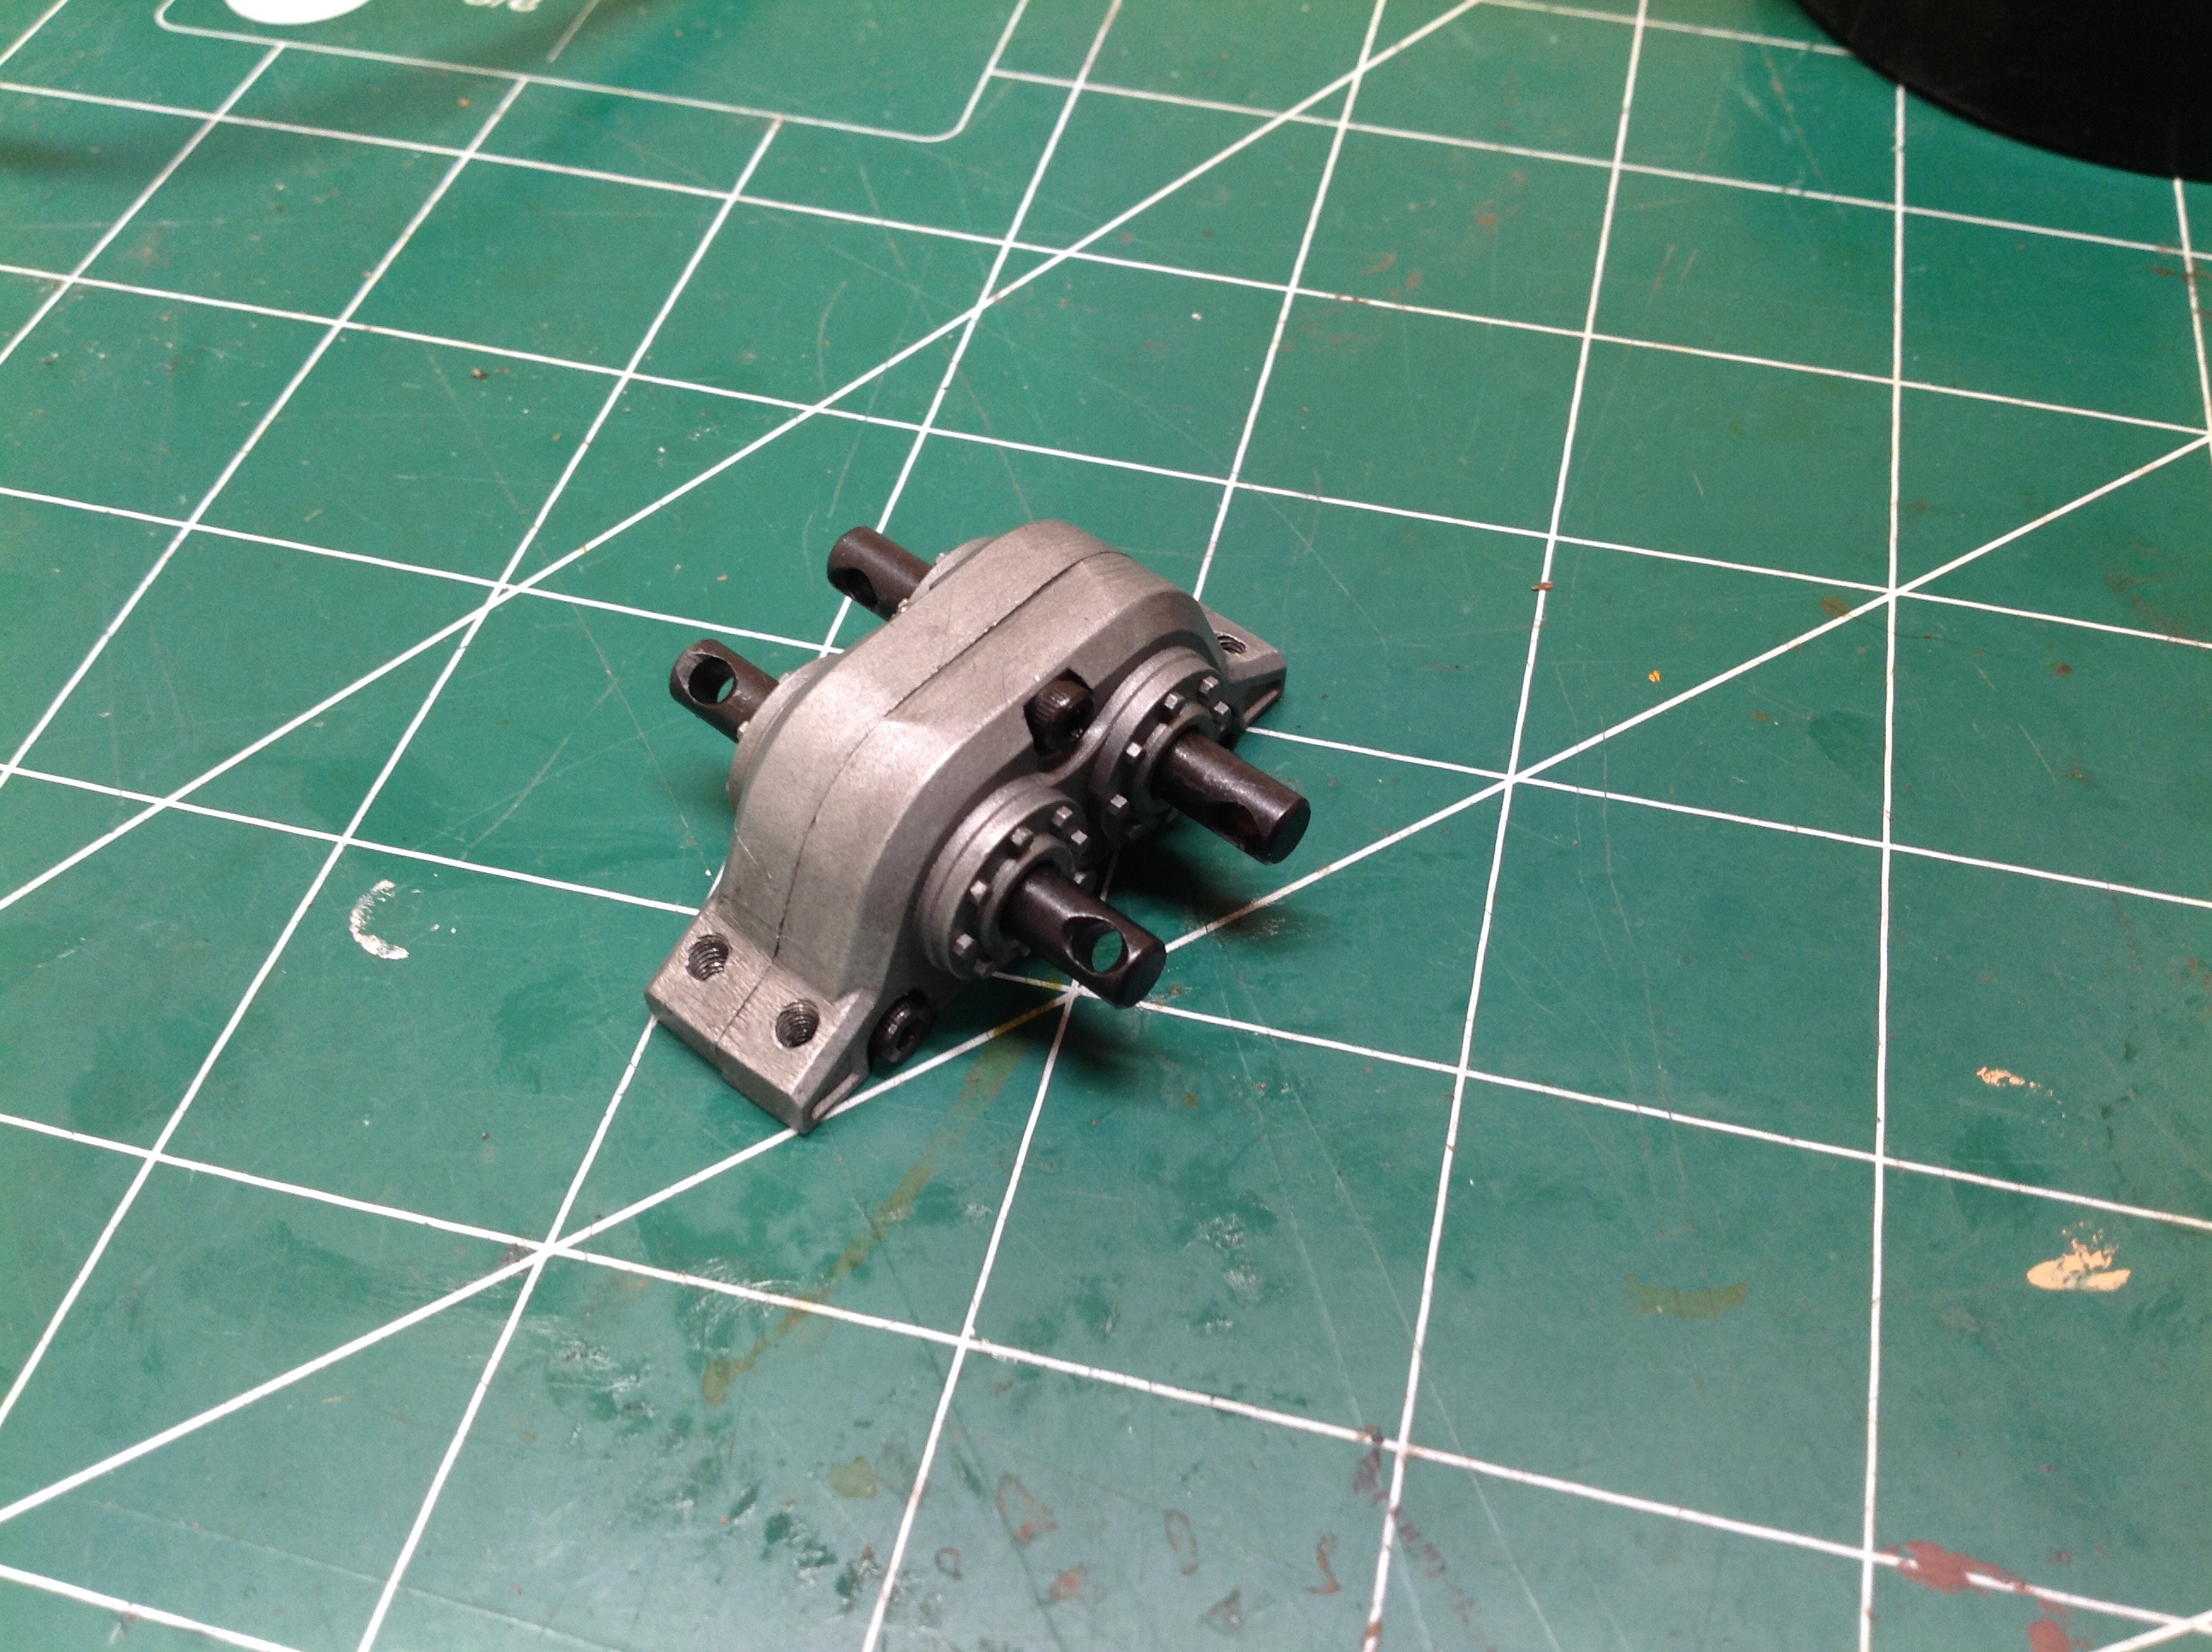
I also opened up the transfer case to see what was inside. The
housing appears to be cast aluminum and the gears are steel.
You'll notice there are two inputs and two outputs which is one too
many. This allows you, if you choose, to have the front and rear
driveshafts rotating in opposite directions to reduce torque roll.
Based on my experience and comparing to my other solid axle trucks, it
works pretty well. Of course if you do decide to reverse the rear
drive shaft then you also have to flip the differential or your rear
wheels will be going backwards.
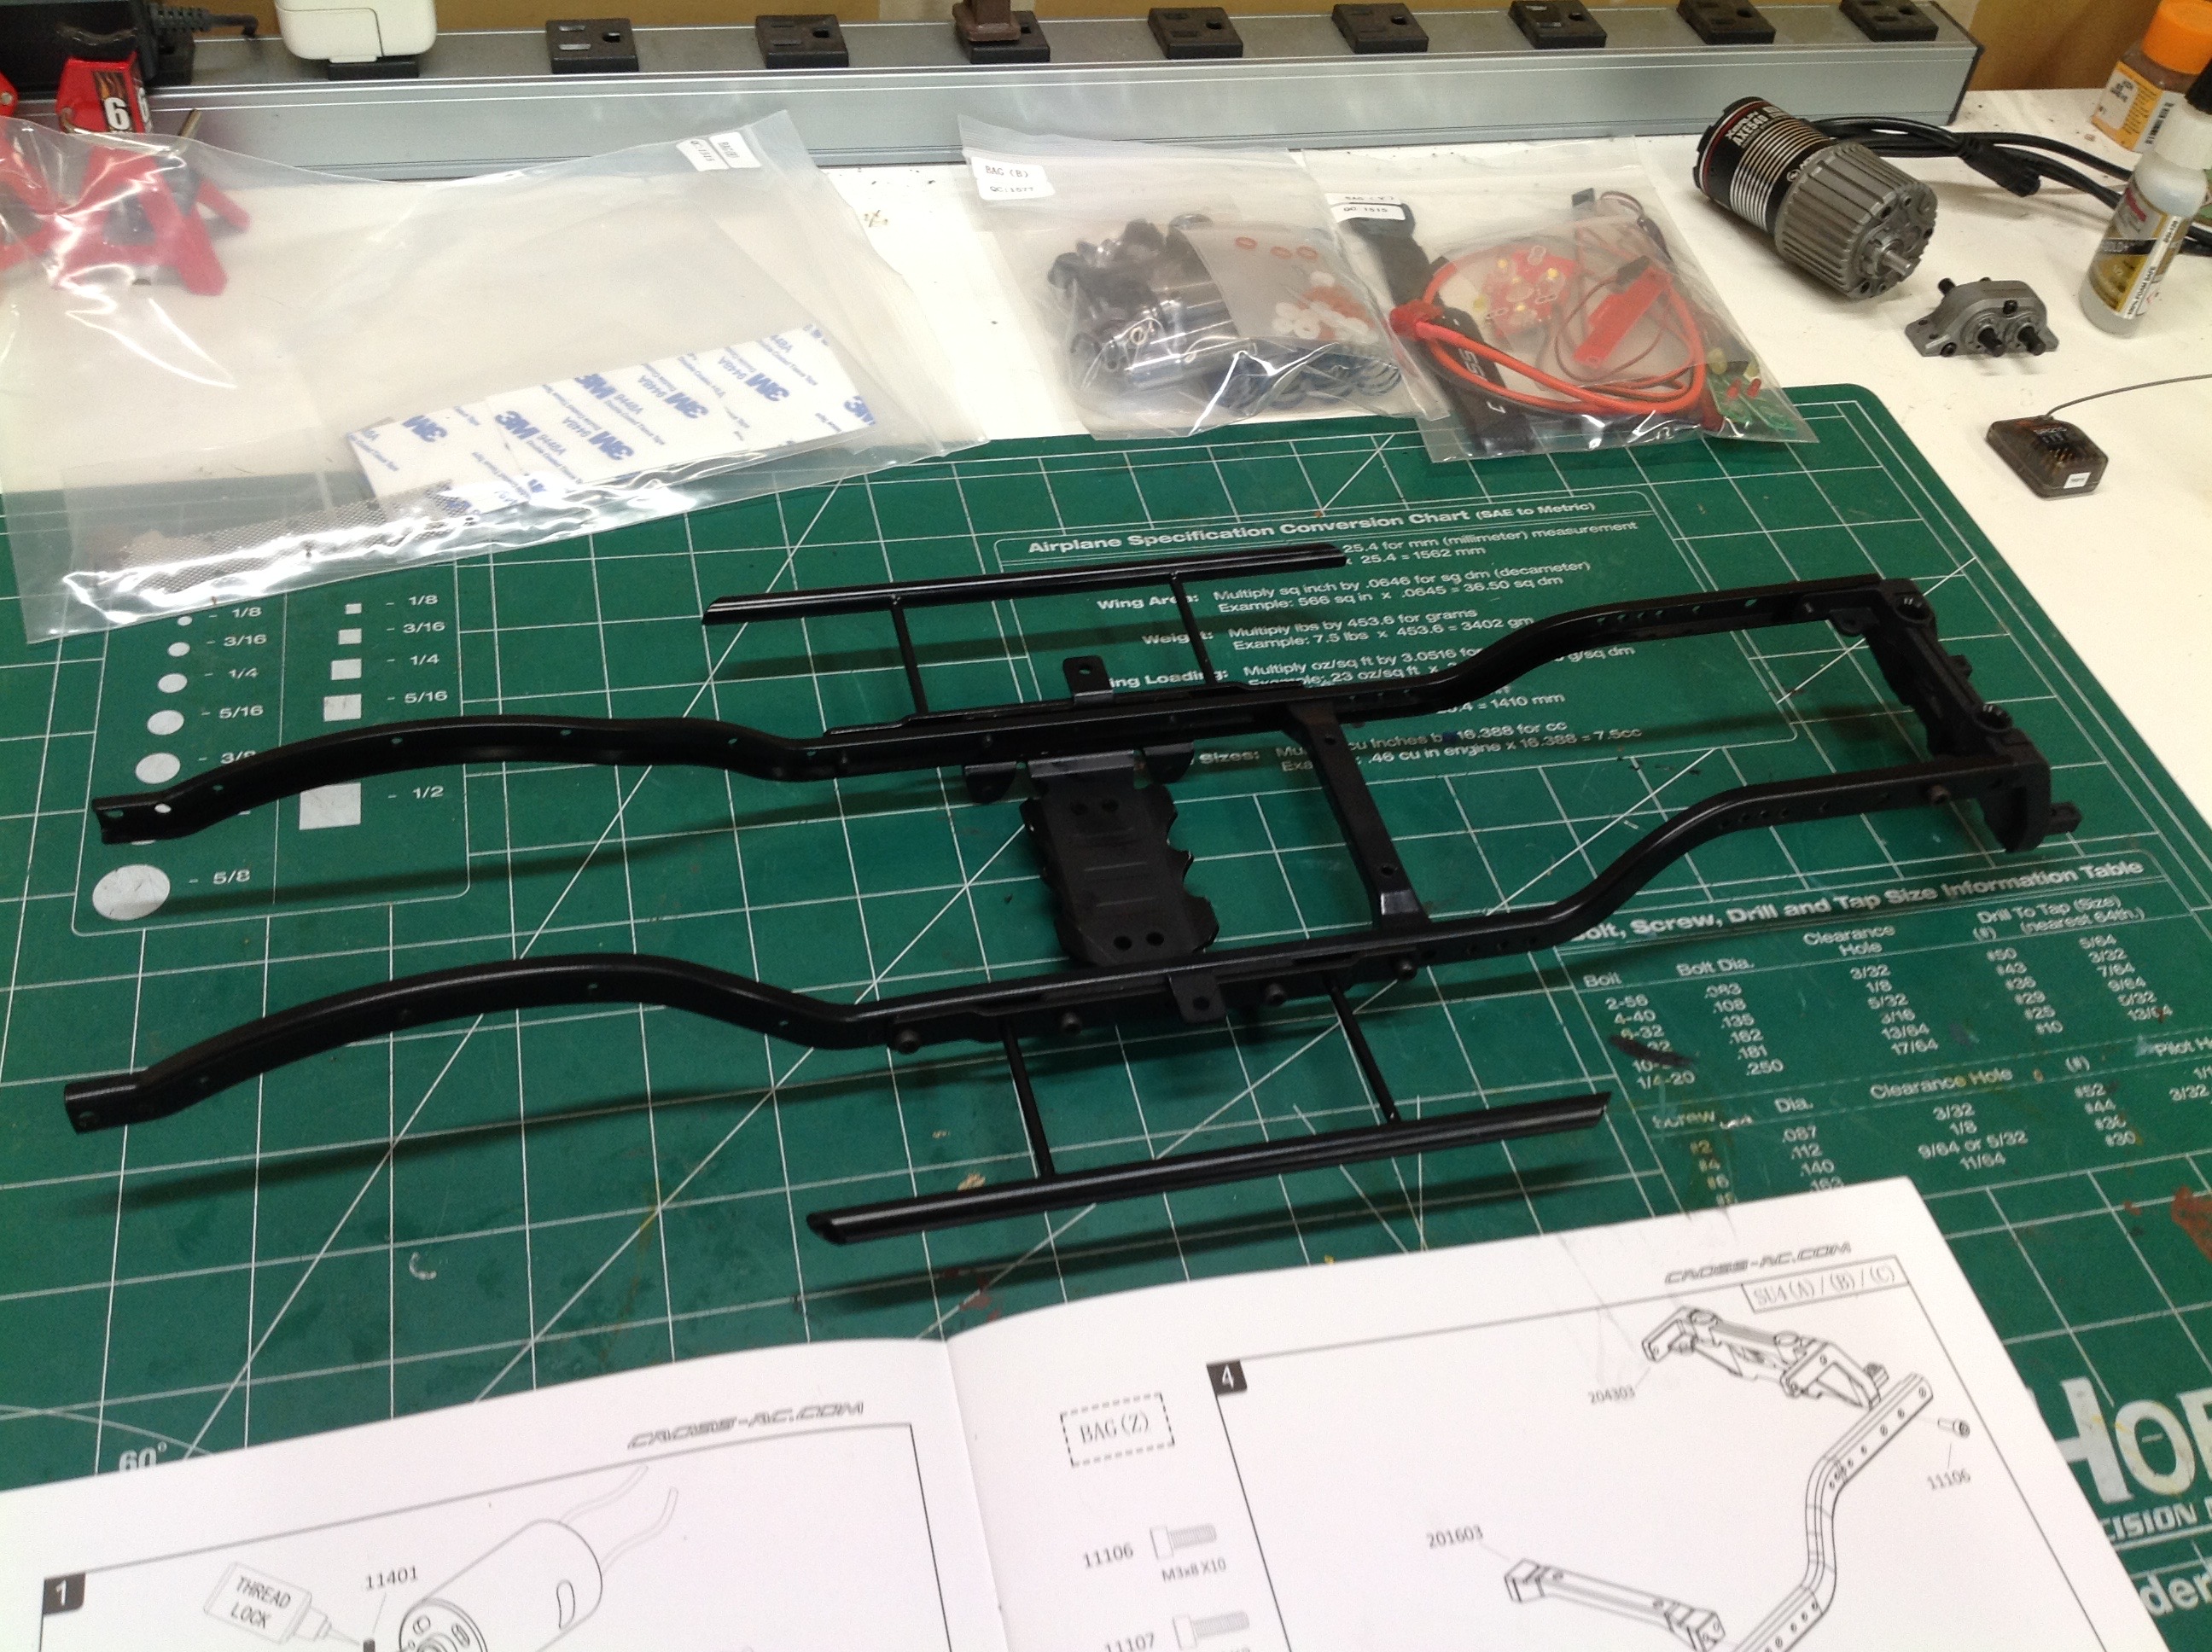
The main frame begins by connecting the two formed frame rails together
with cross members. The center cross member will be the transfer
case mount. The steel sliders are also installed at this
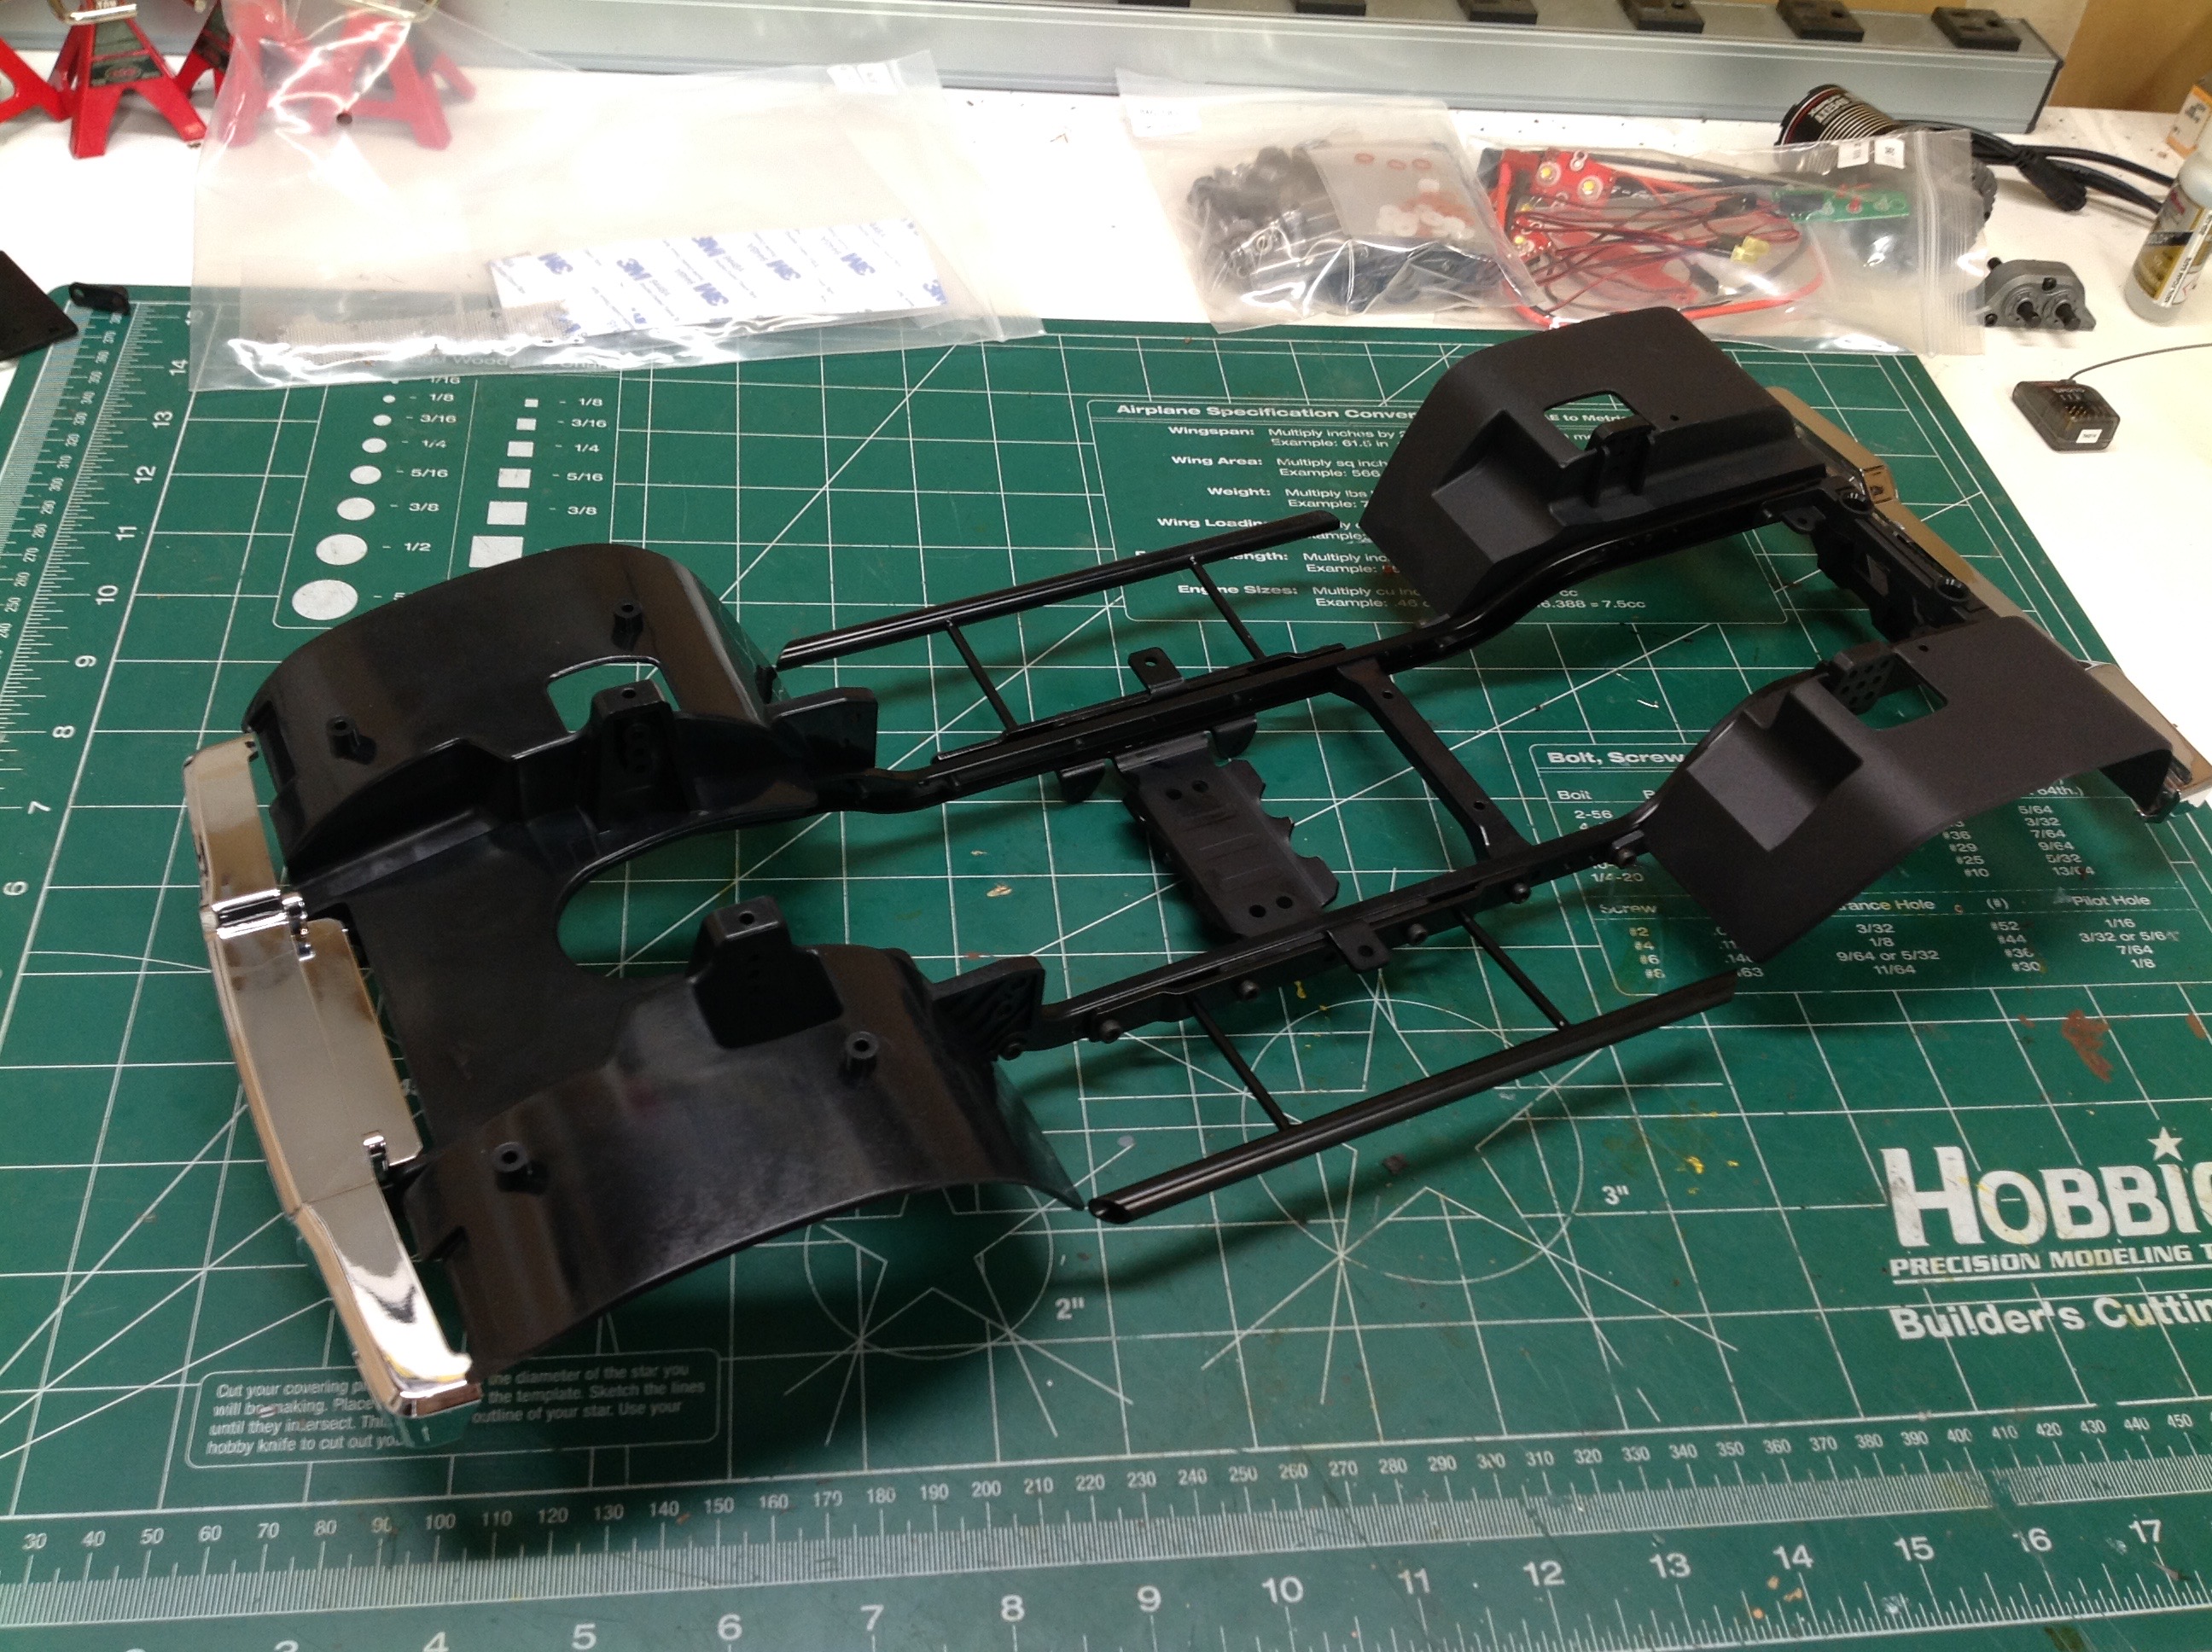
point. The right hand image shows the biggest cross members which
are actually integrated with the large inner fenders. I am really
happy to see these since trucks look so much better when you can't see
inside looking behind the wheel. Bumpers are usually installed at
the end, but here they are installed at the beginning. They are
chrome plastic.
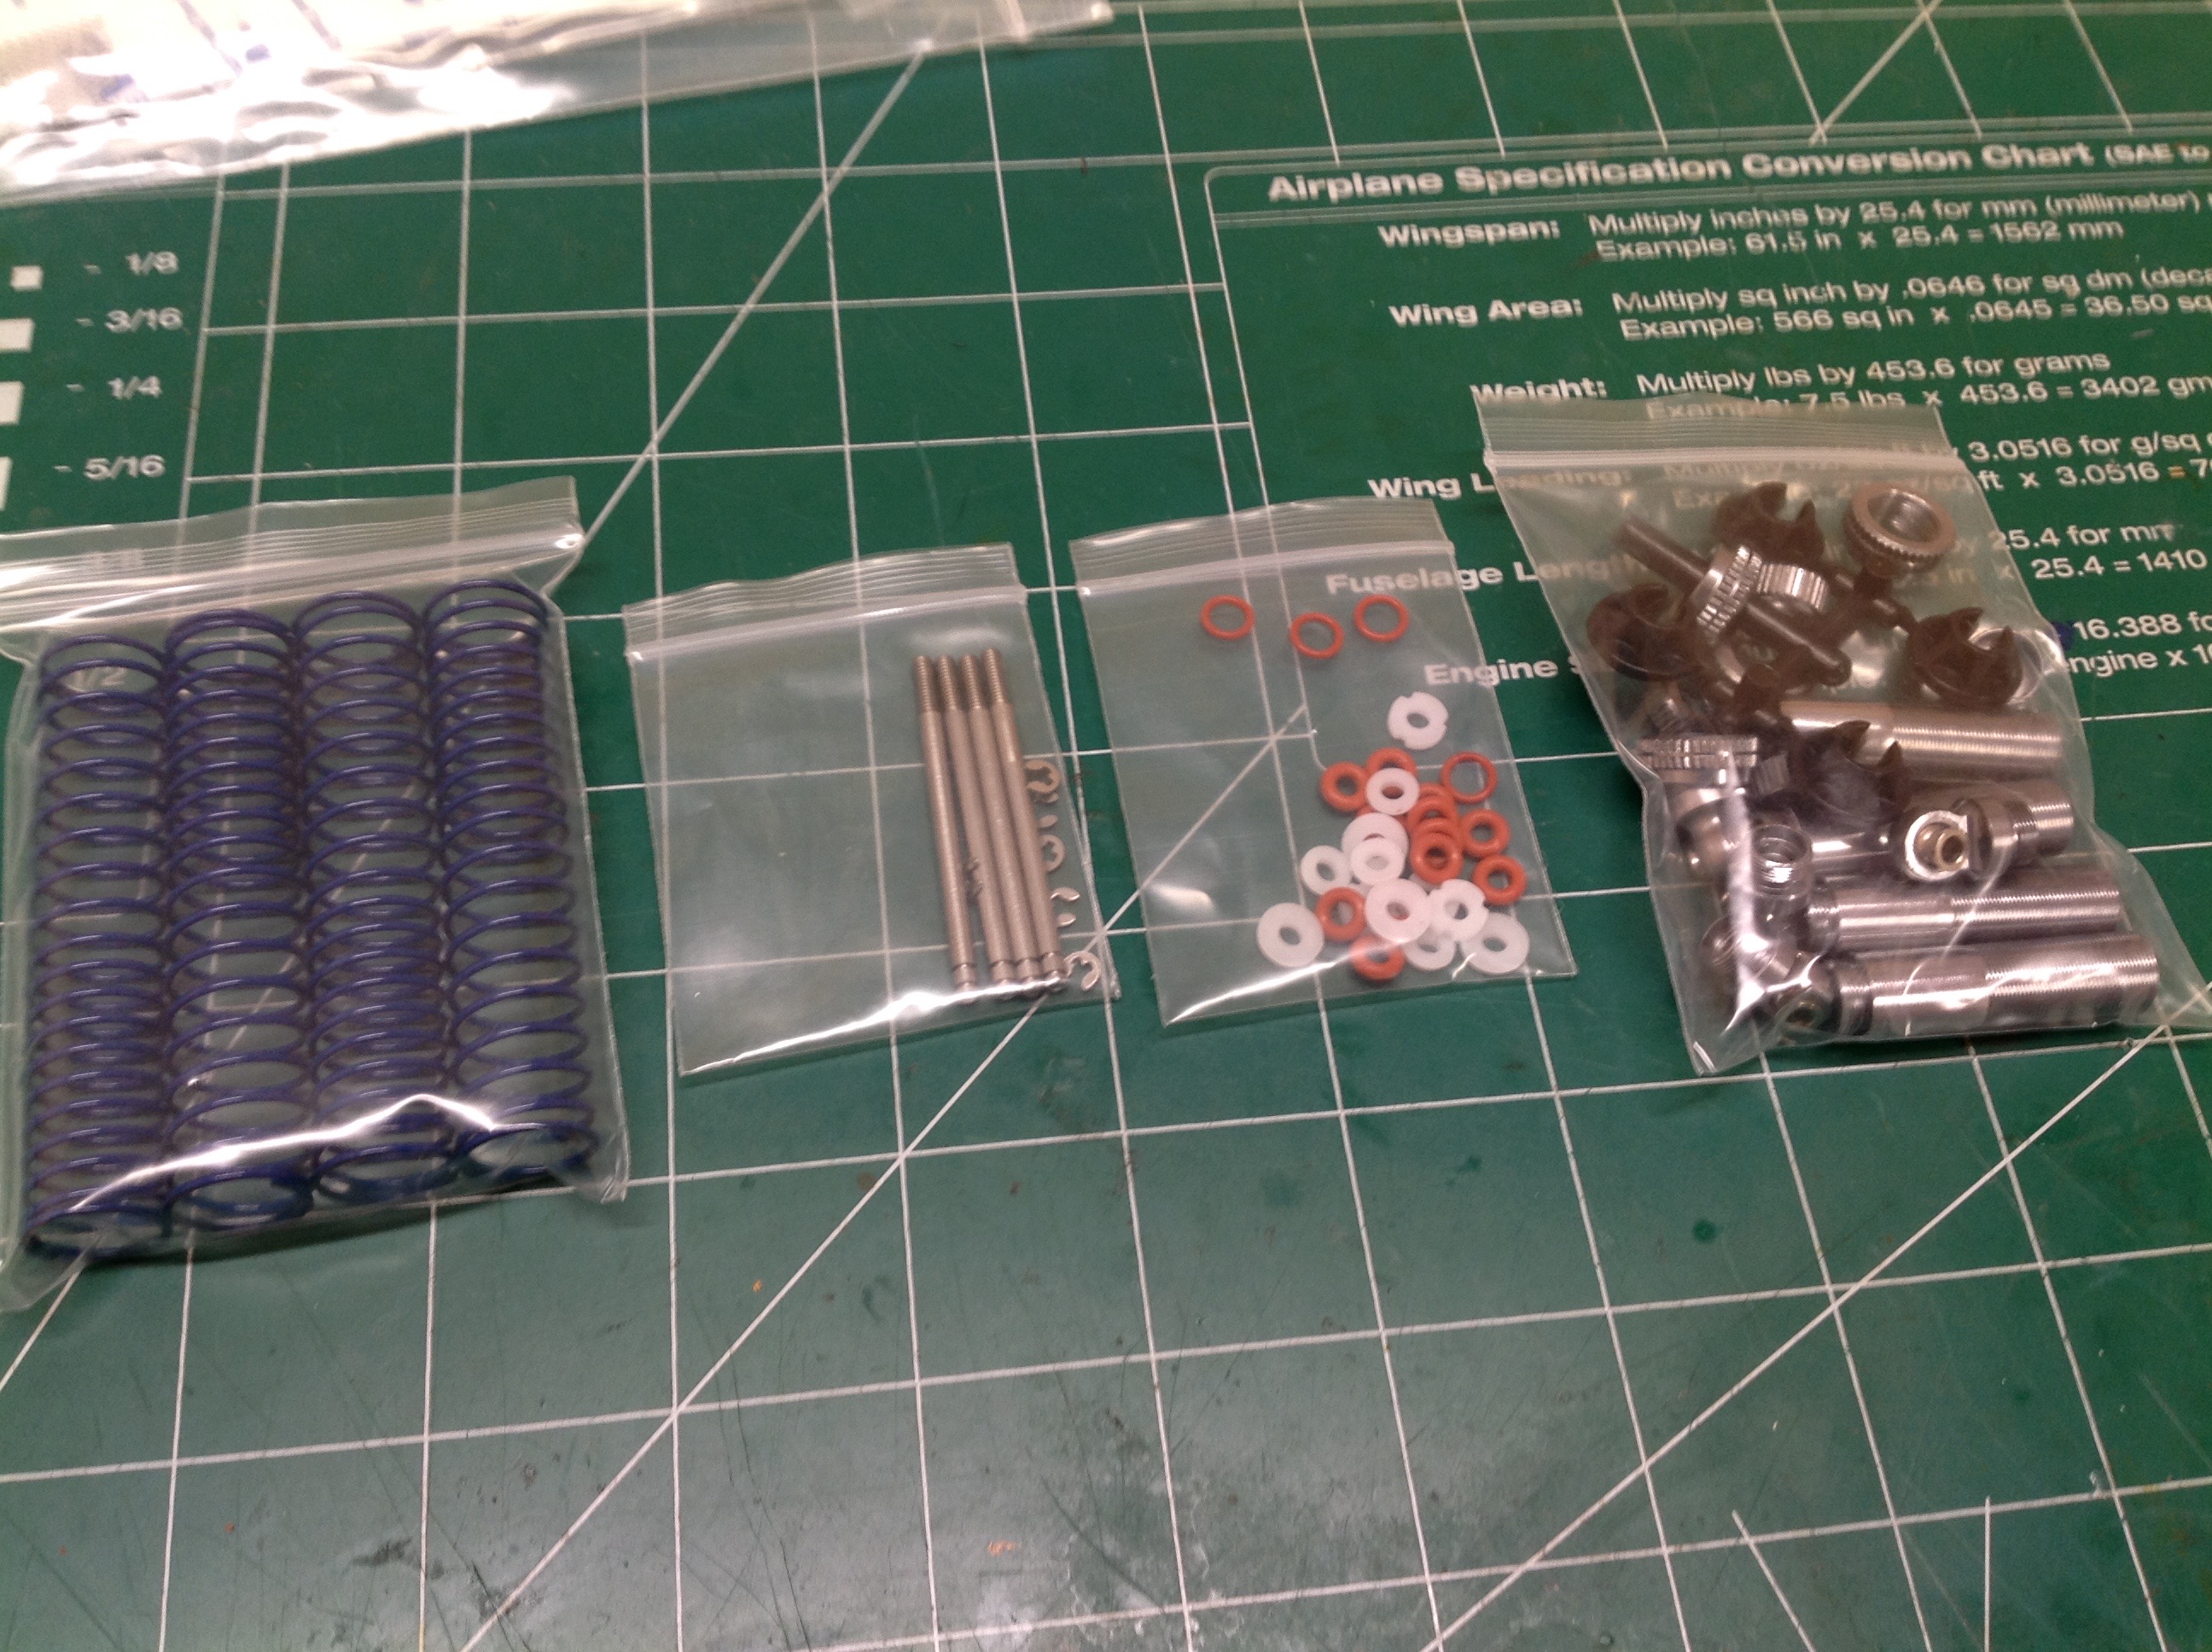
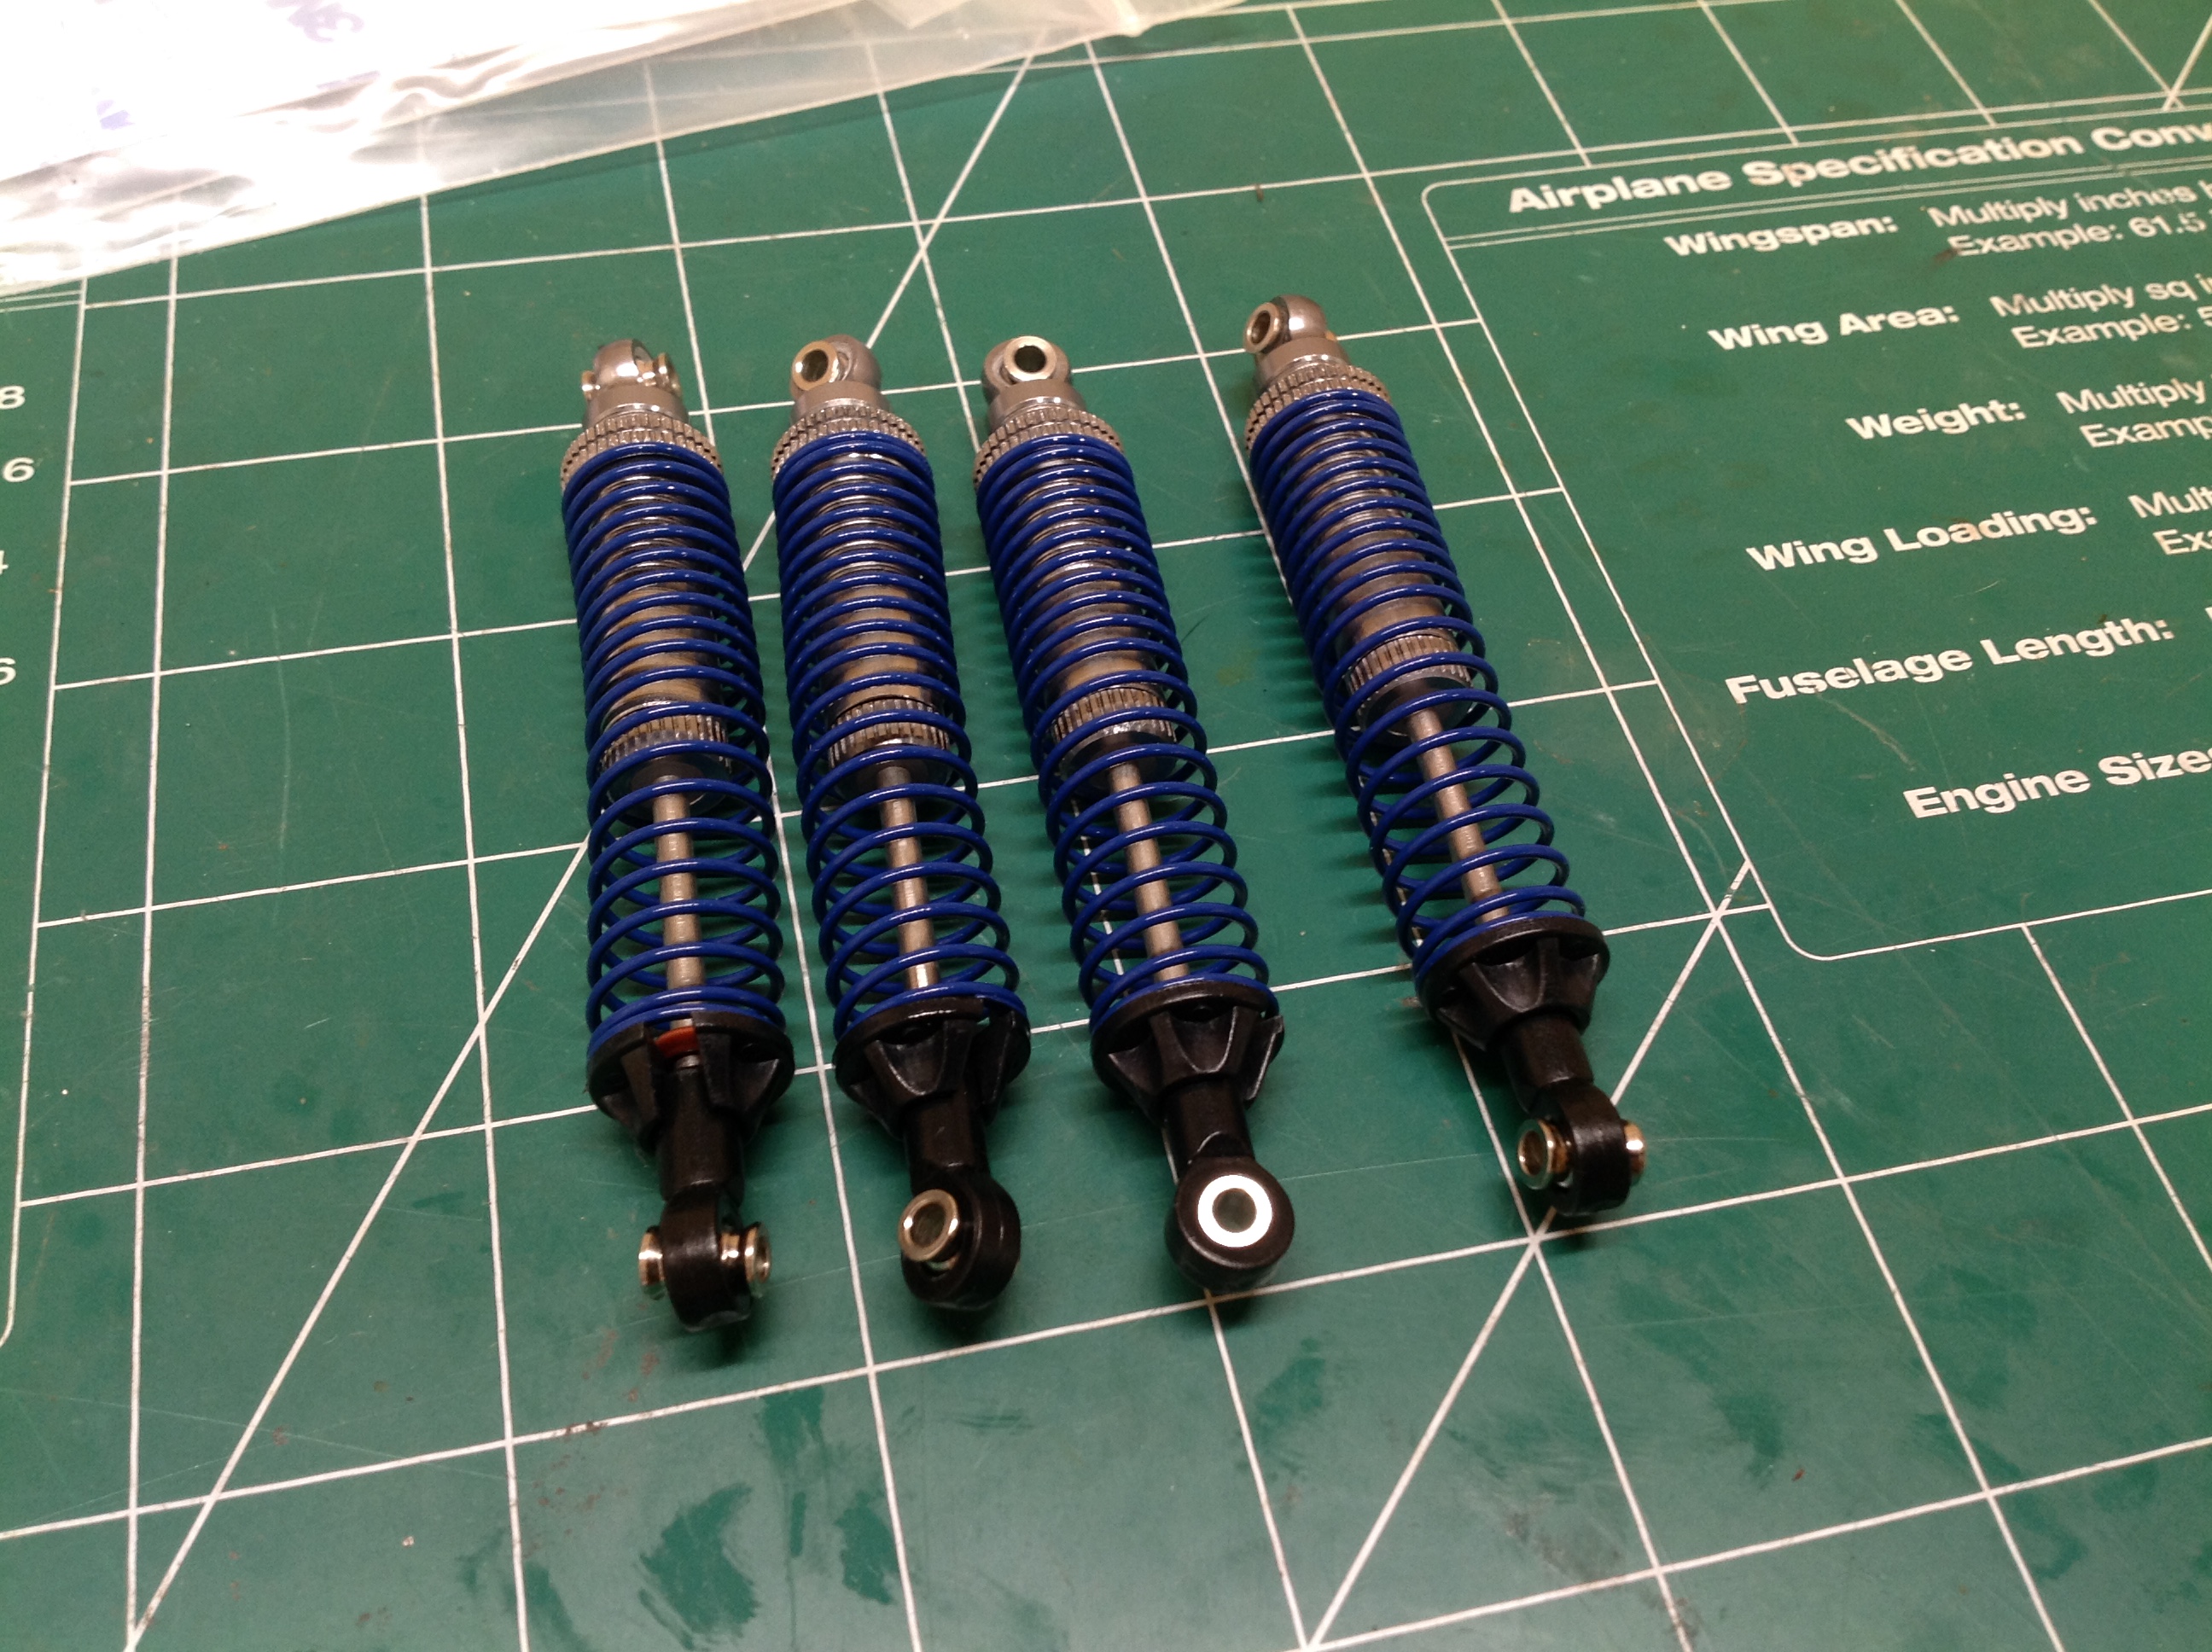
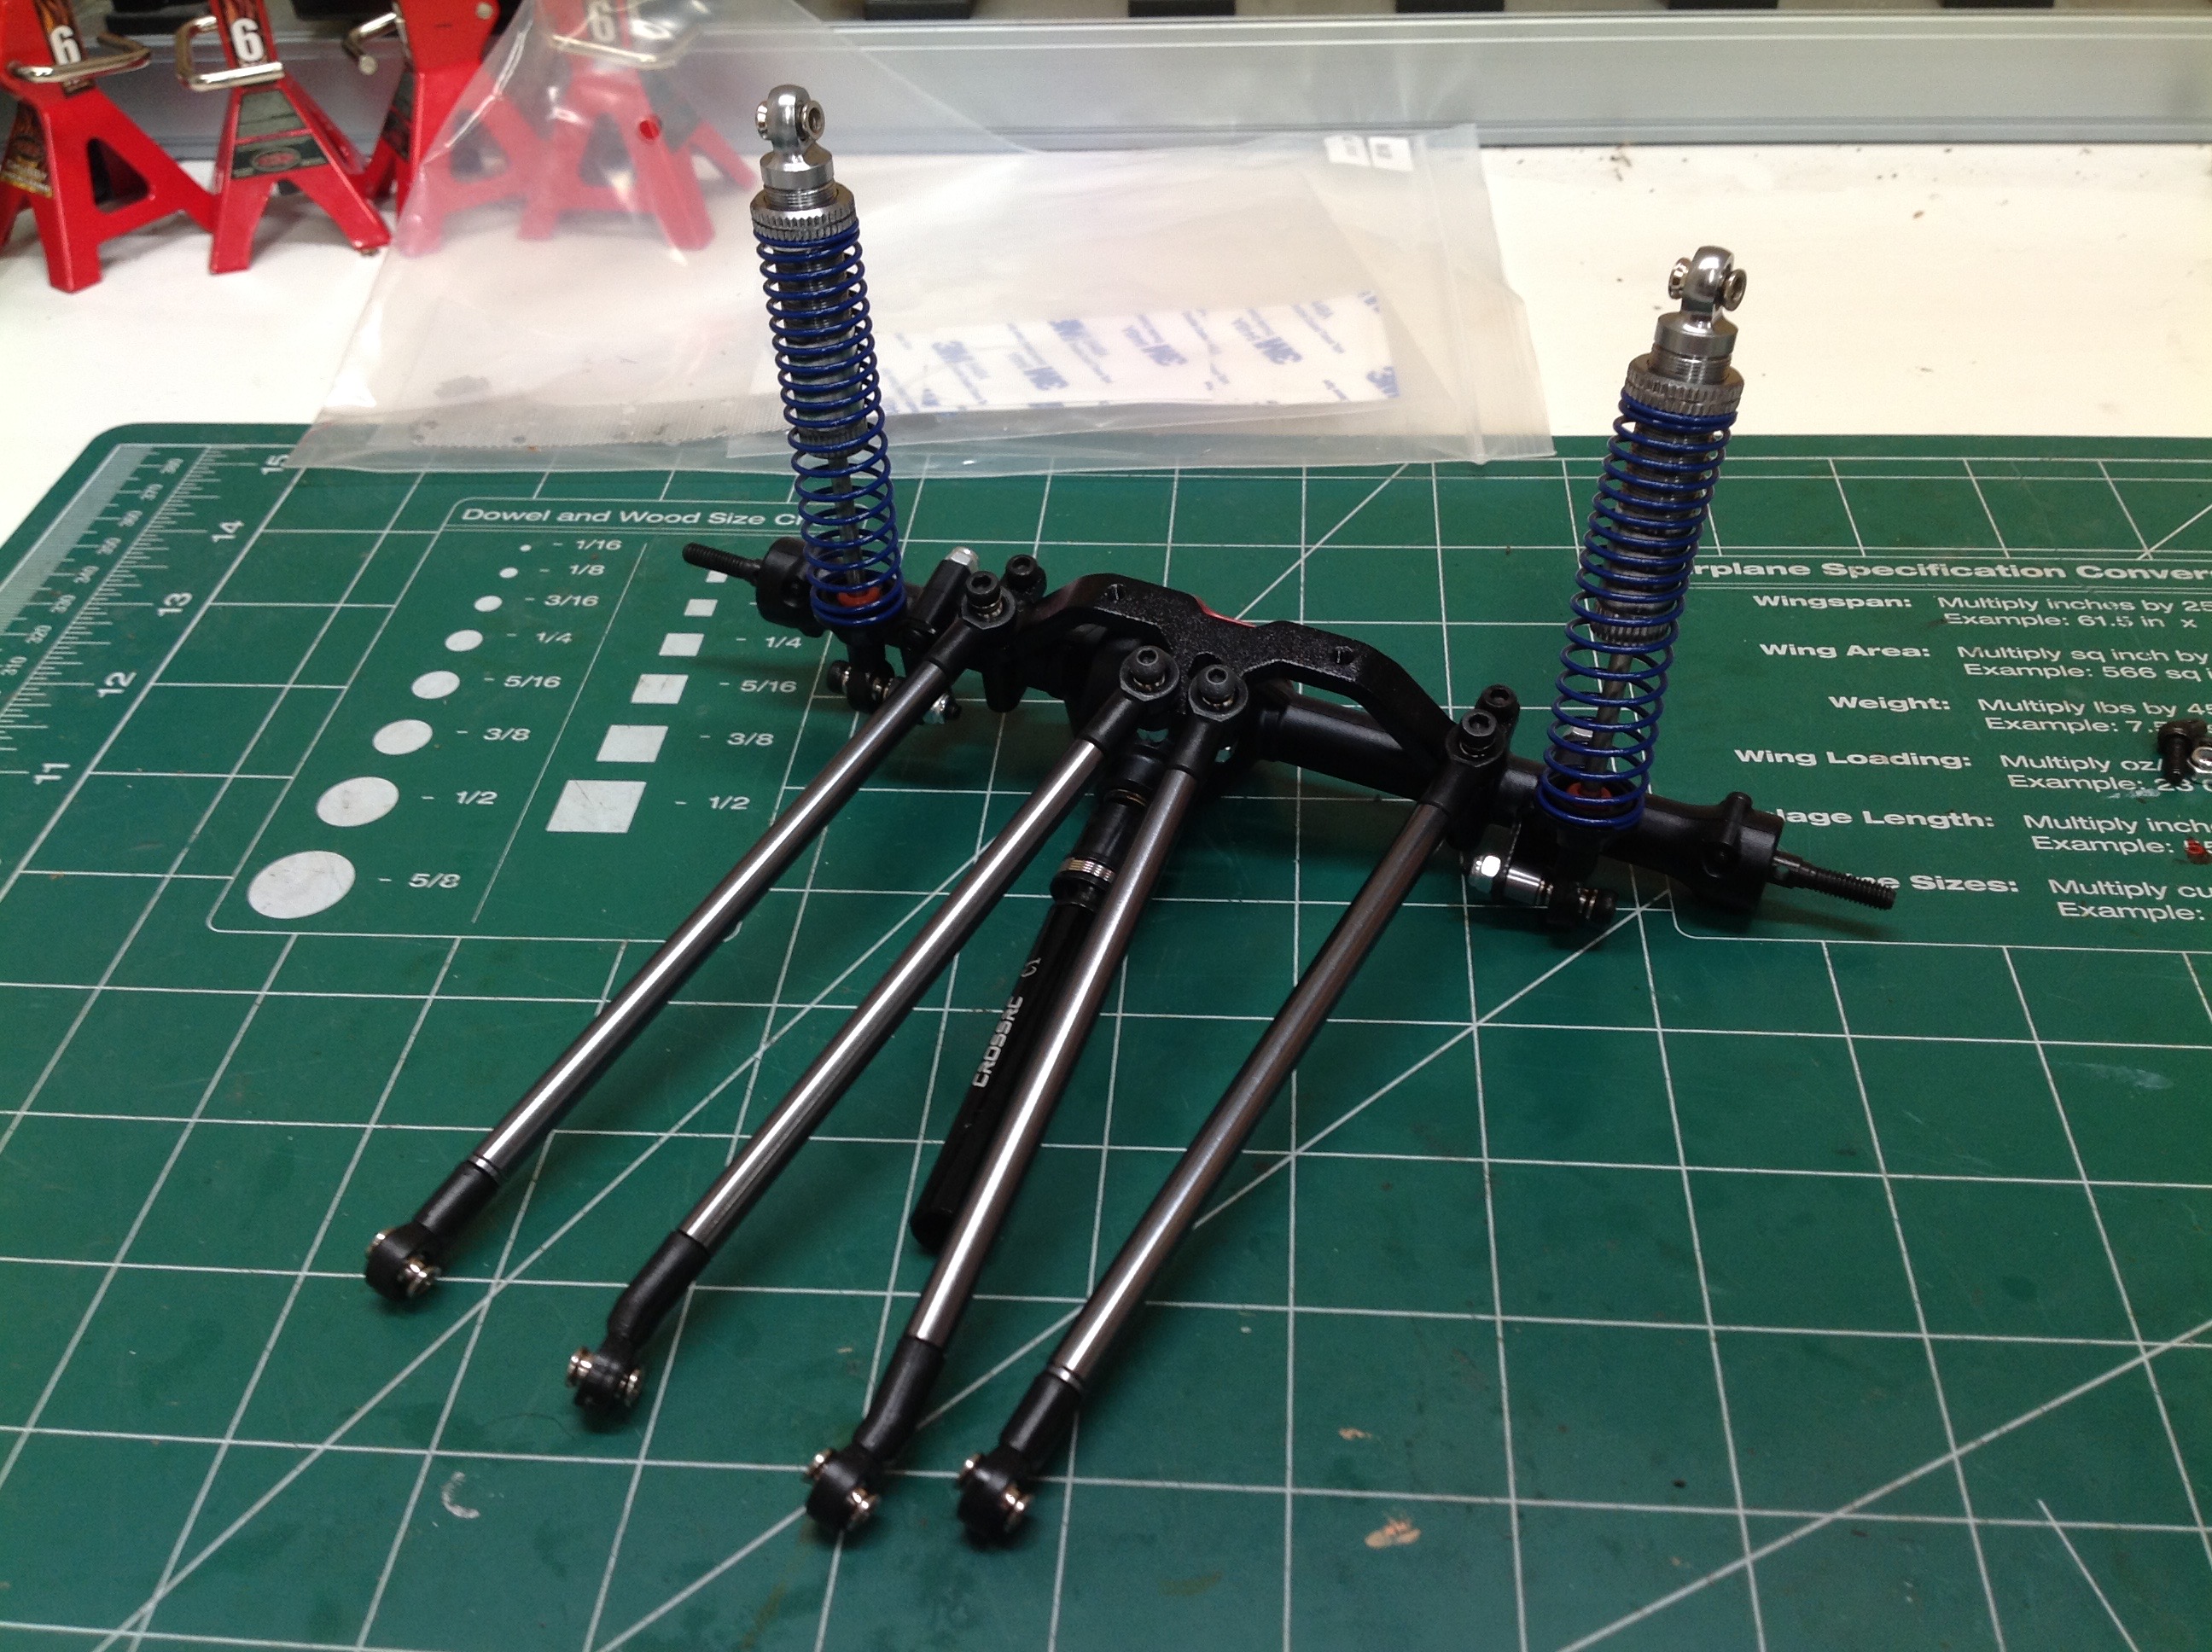
Next to build are the shock absorbers. These are nice aluminum
units with coilover springs and threaded bodies for adjustment.
The bore is small so they don't offer a huge amount of damping, but they
look good from a scale point of view and not much damping is required
for a crawler. I really like how soft they are which allows for
very realistic inertial motion of the vehicle over rough ground.
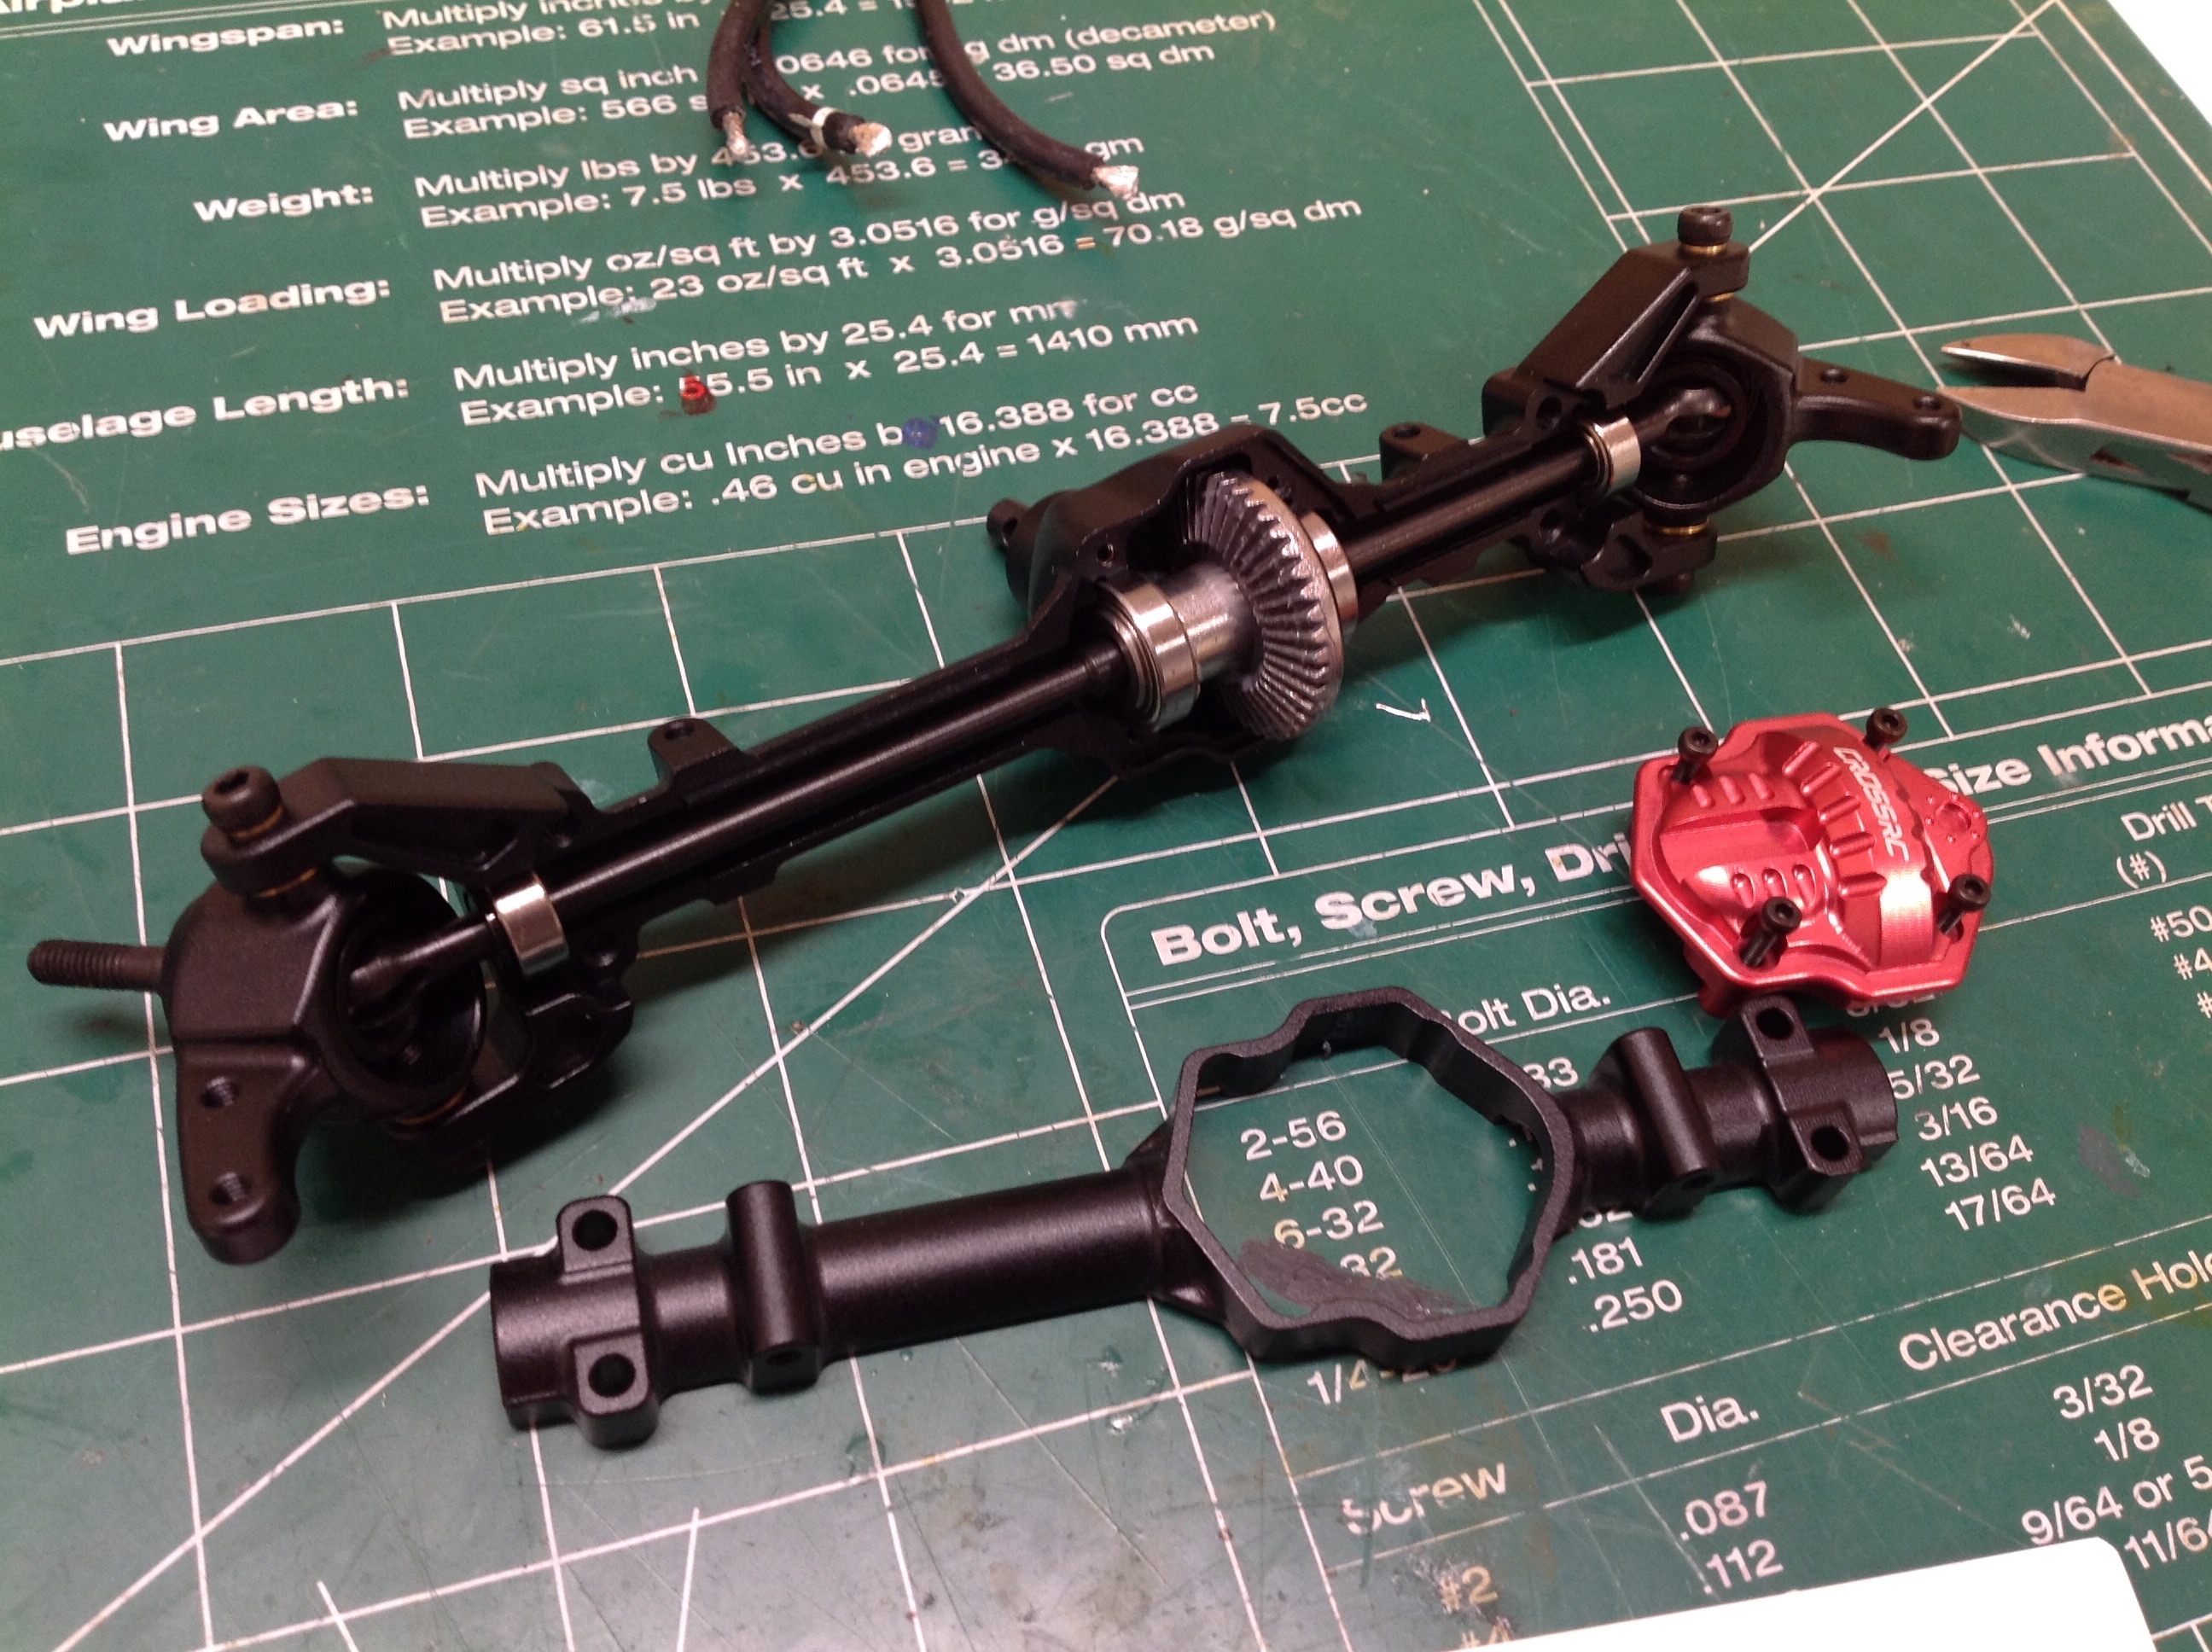
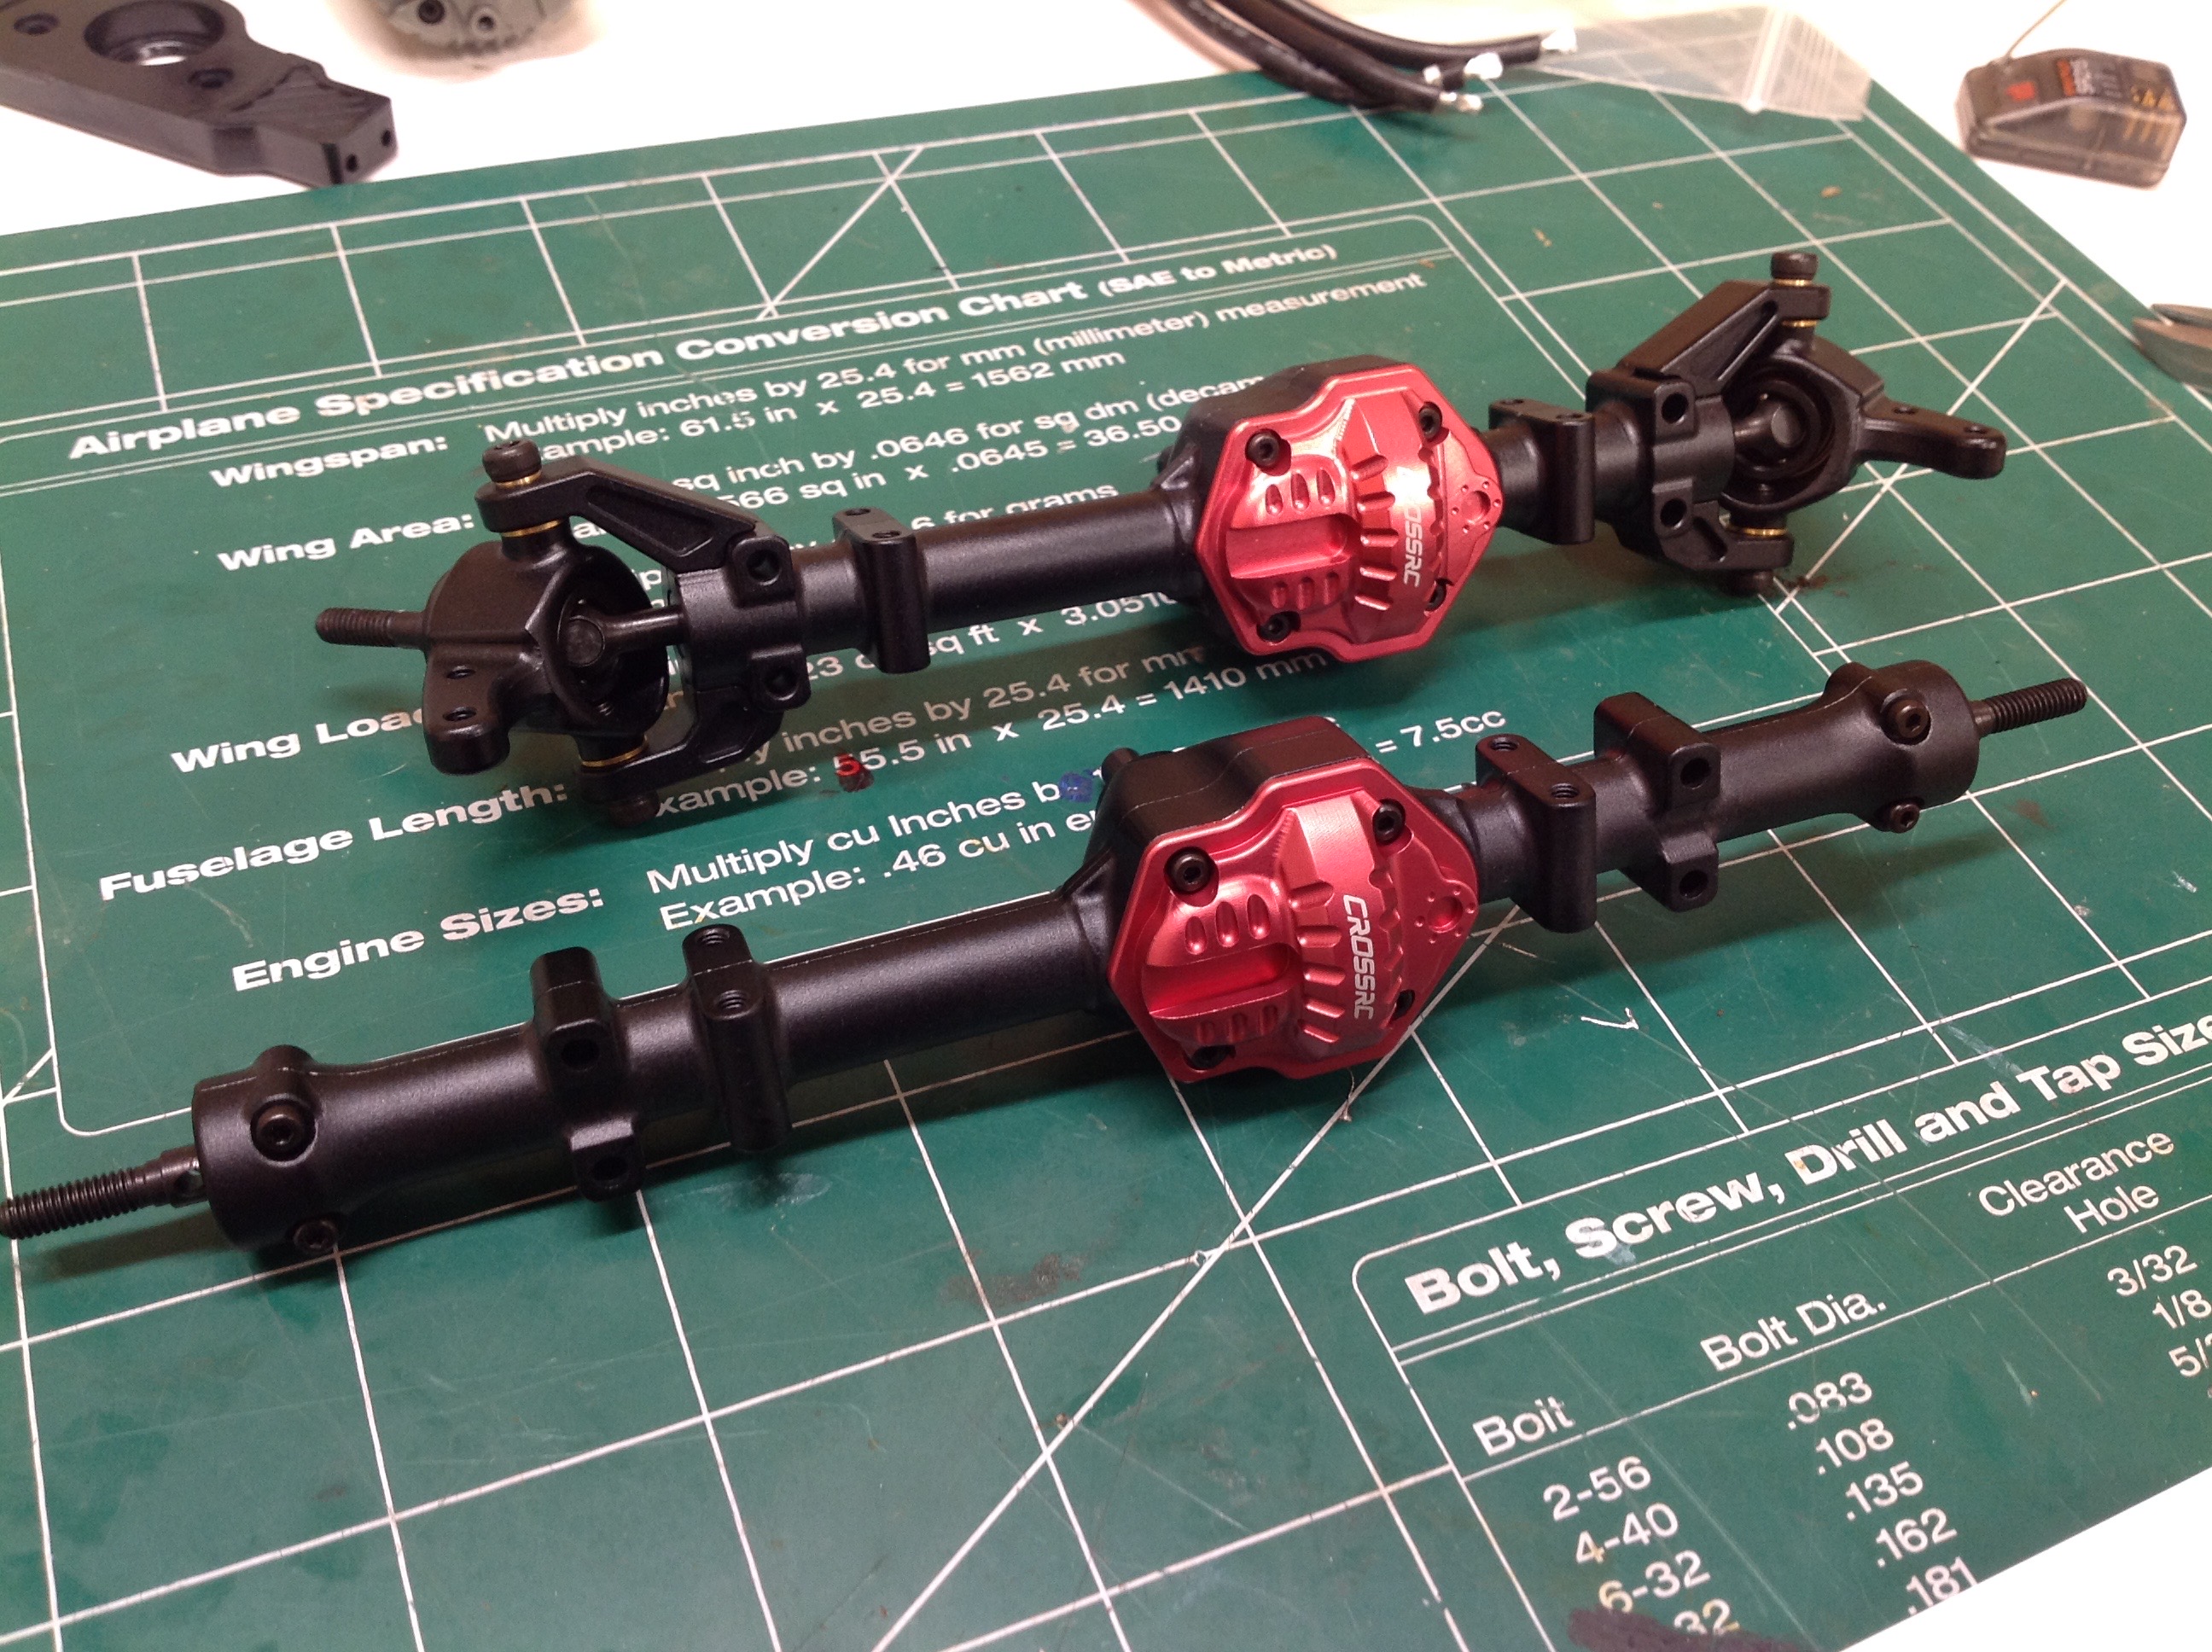
The axles are already assembled in the kit which is a little sad to me
because I like building them. I tore them apart to see how they go
together and added a bit of extra grease. Everything you see here
is metal from the axle housings to the diff cover.
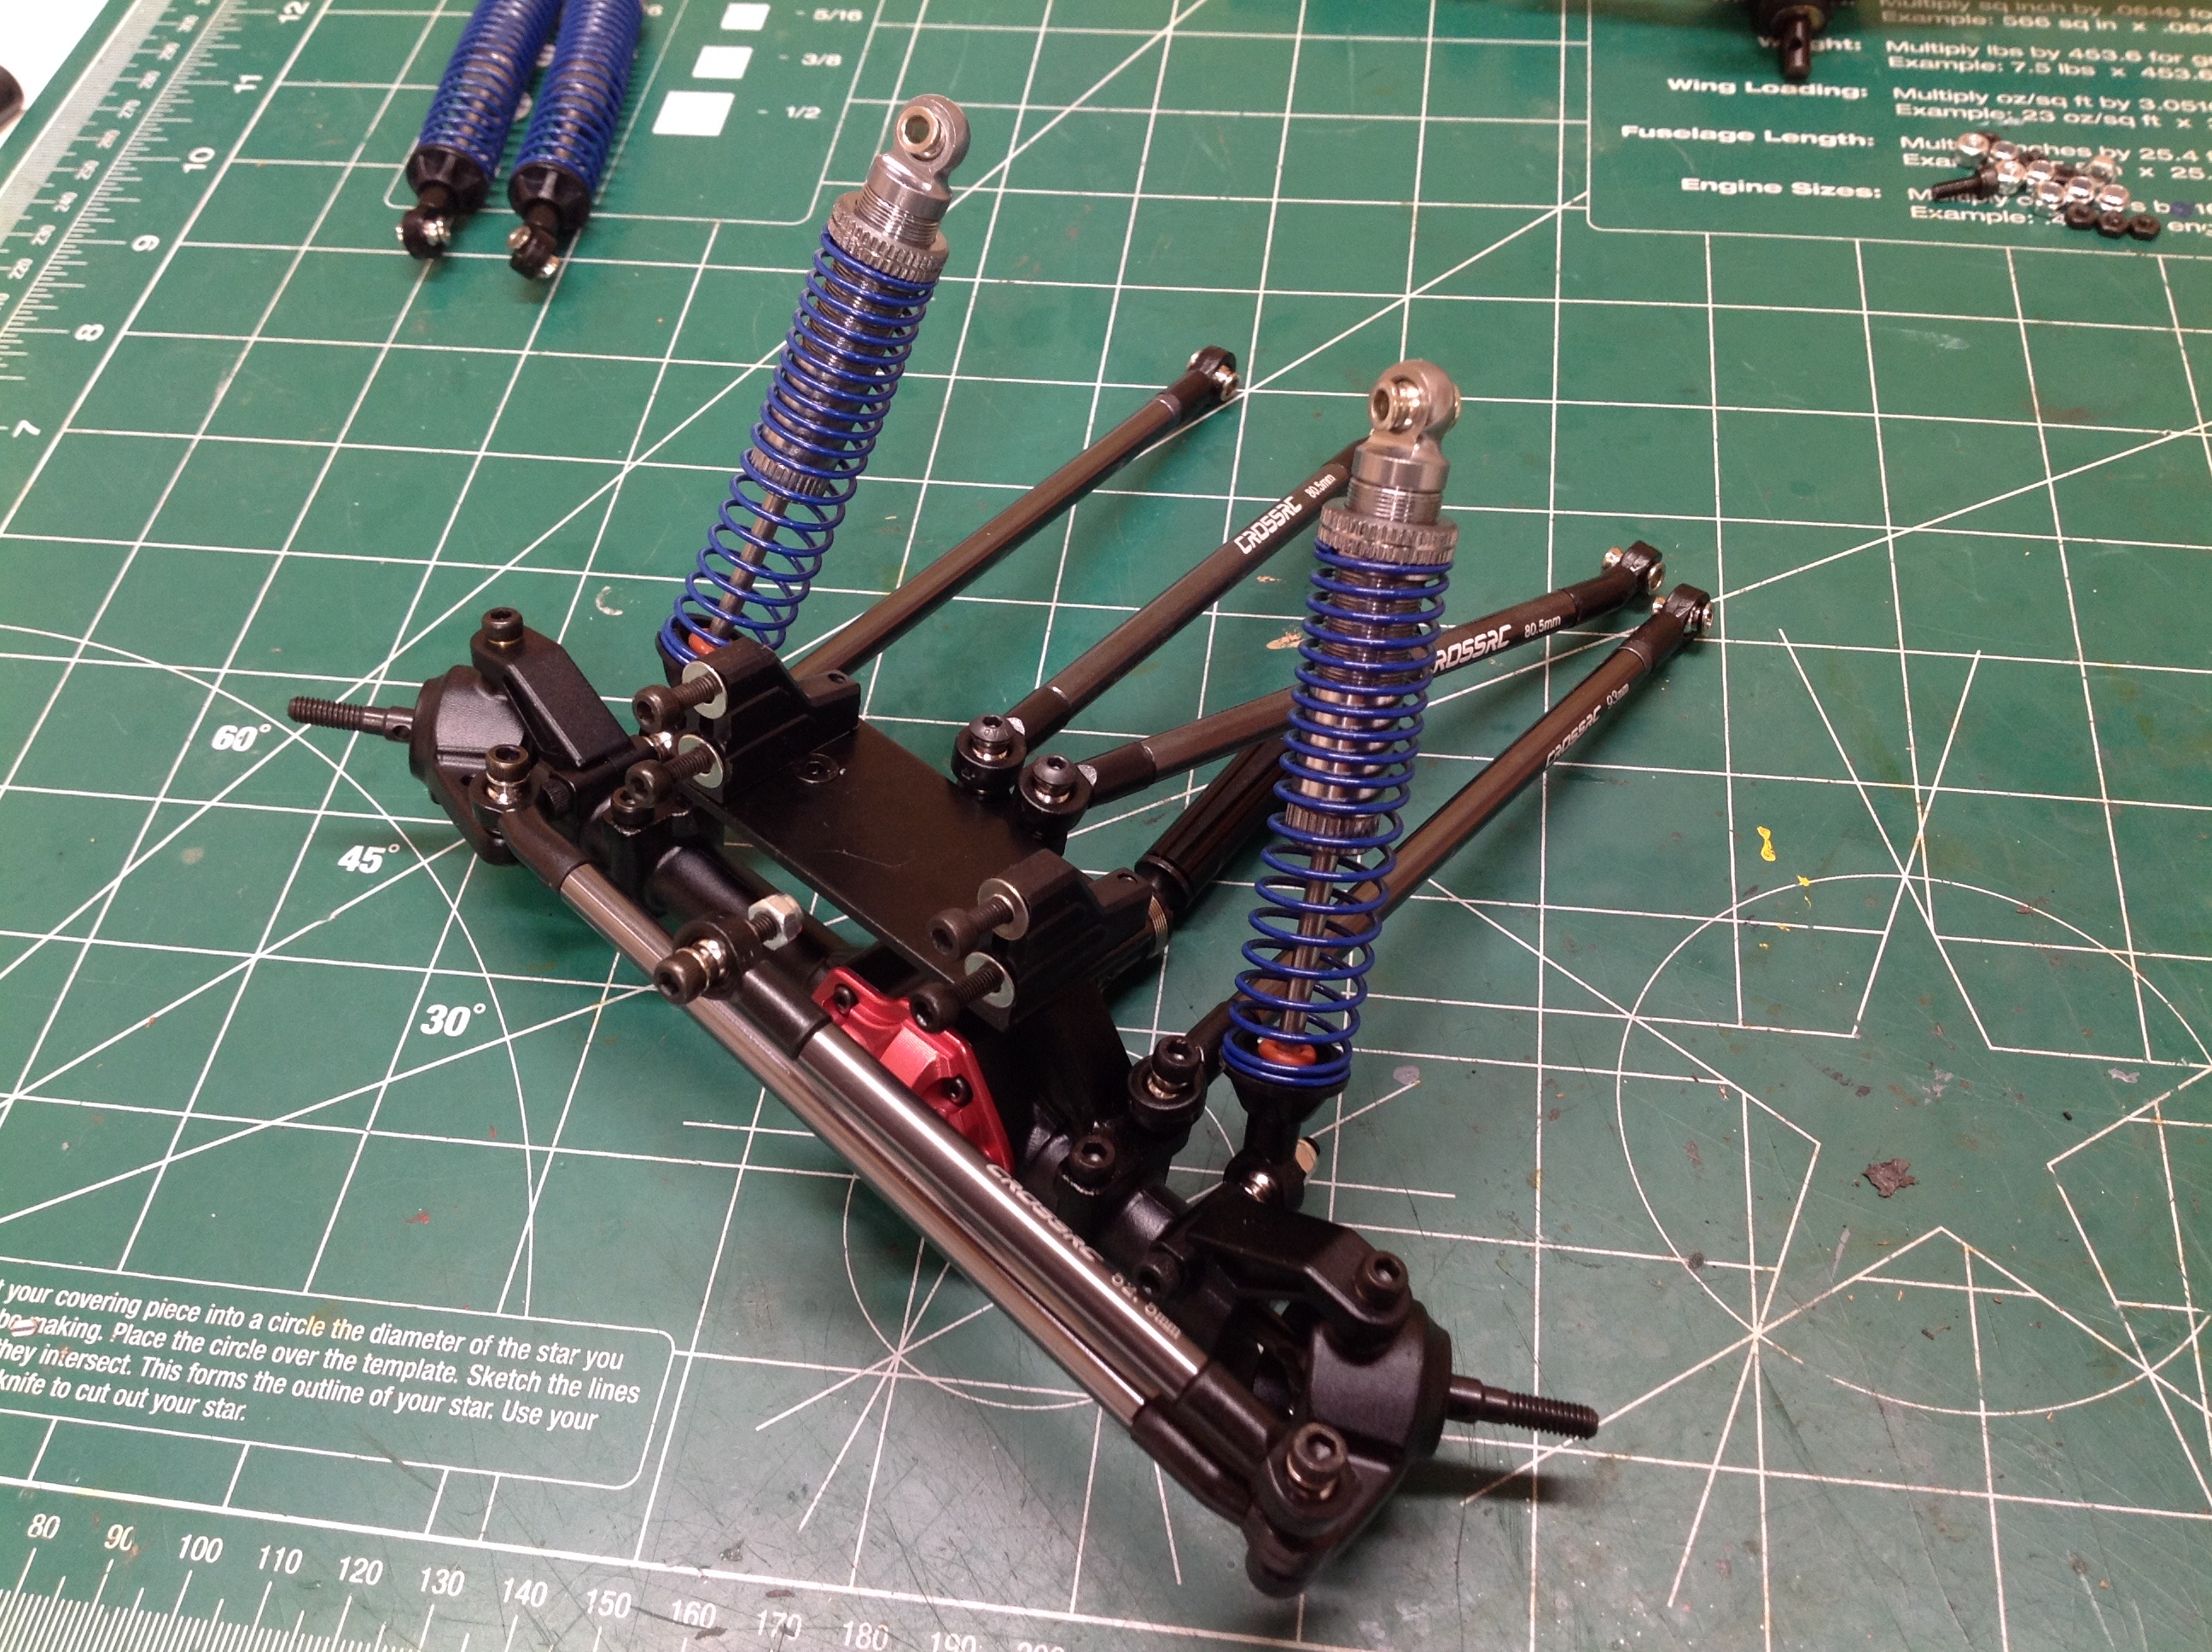
The 4 metal suspension links have been added to the front axle along
with the servo mount, the shocks, and the steering rods. You can
see in the left hand image that the knuckles provide a good steering
lock. On the right I've installed the front axle to the frame.
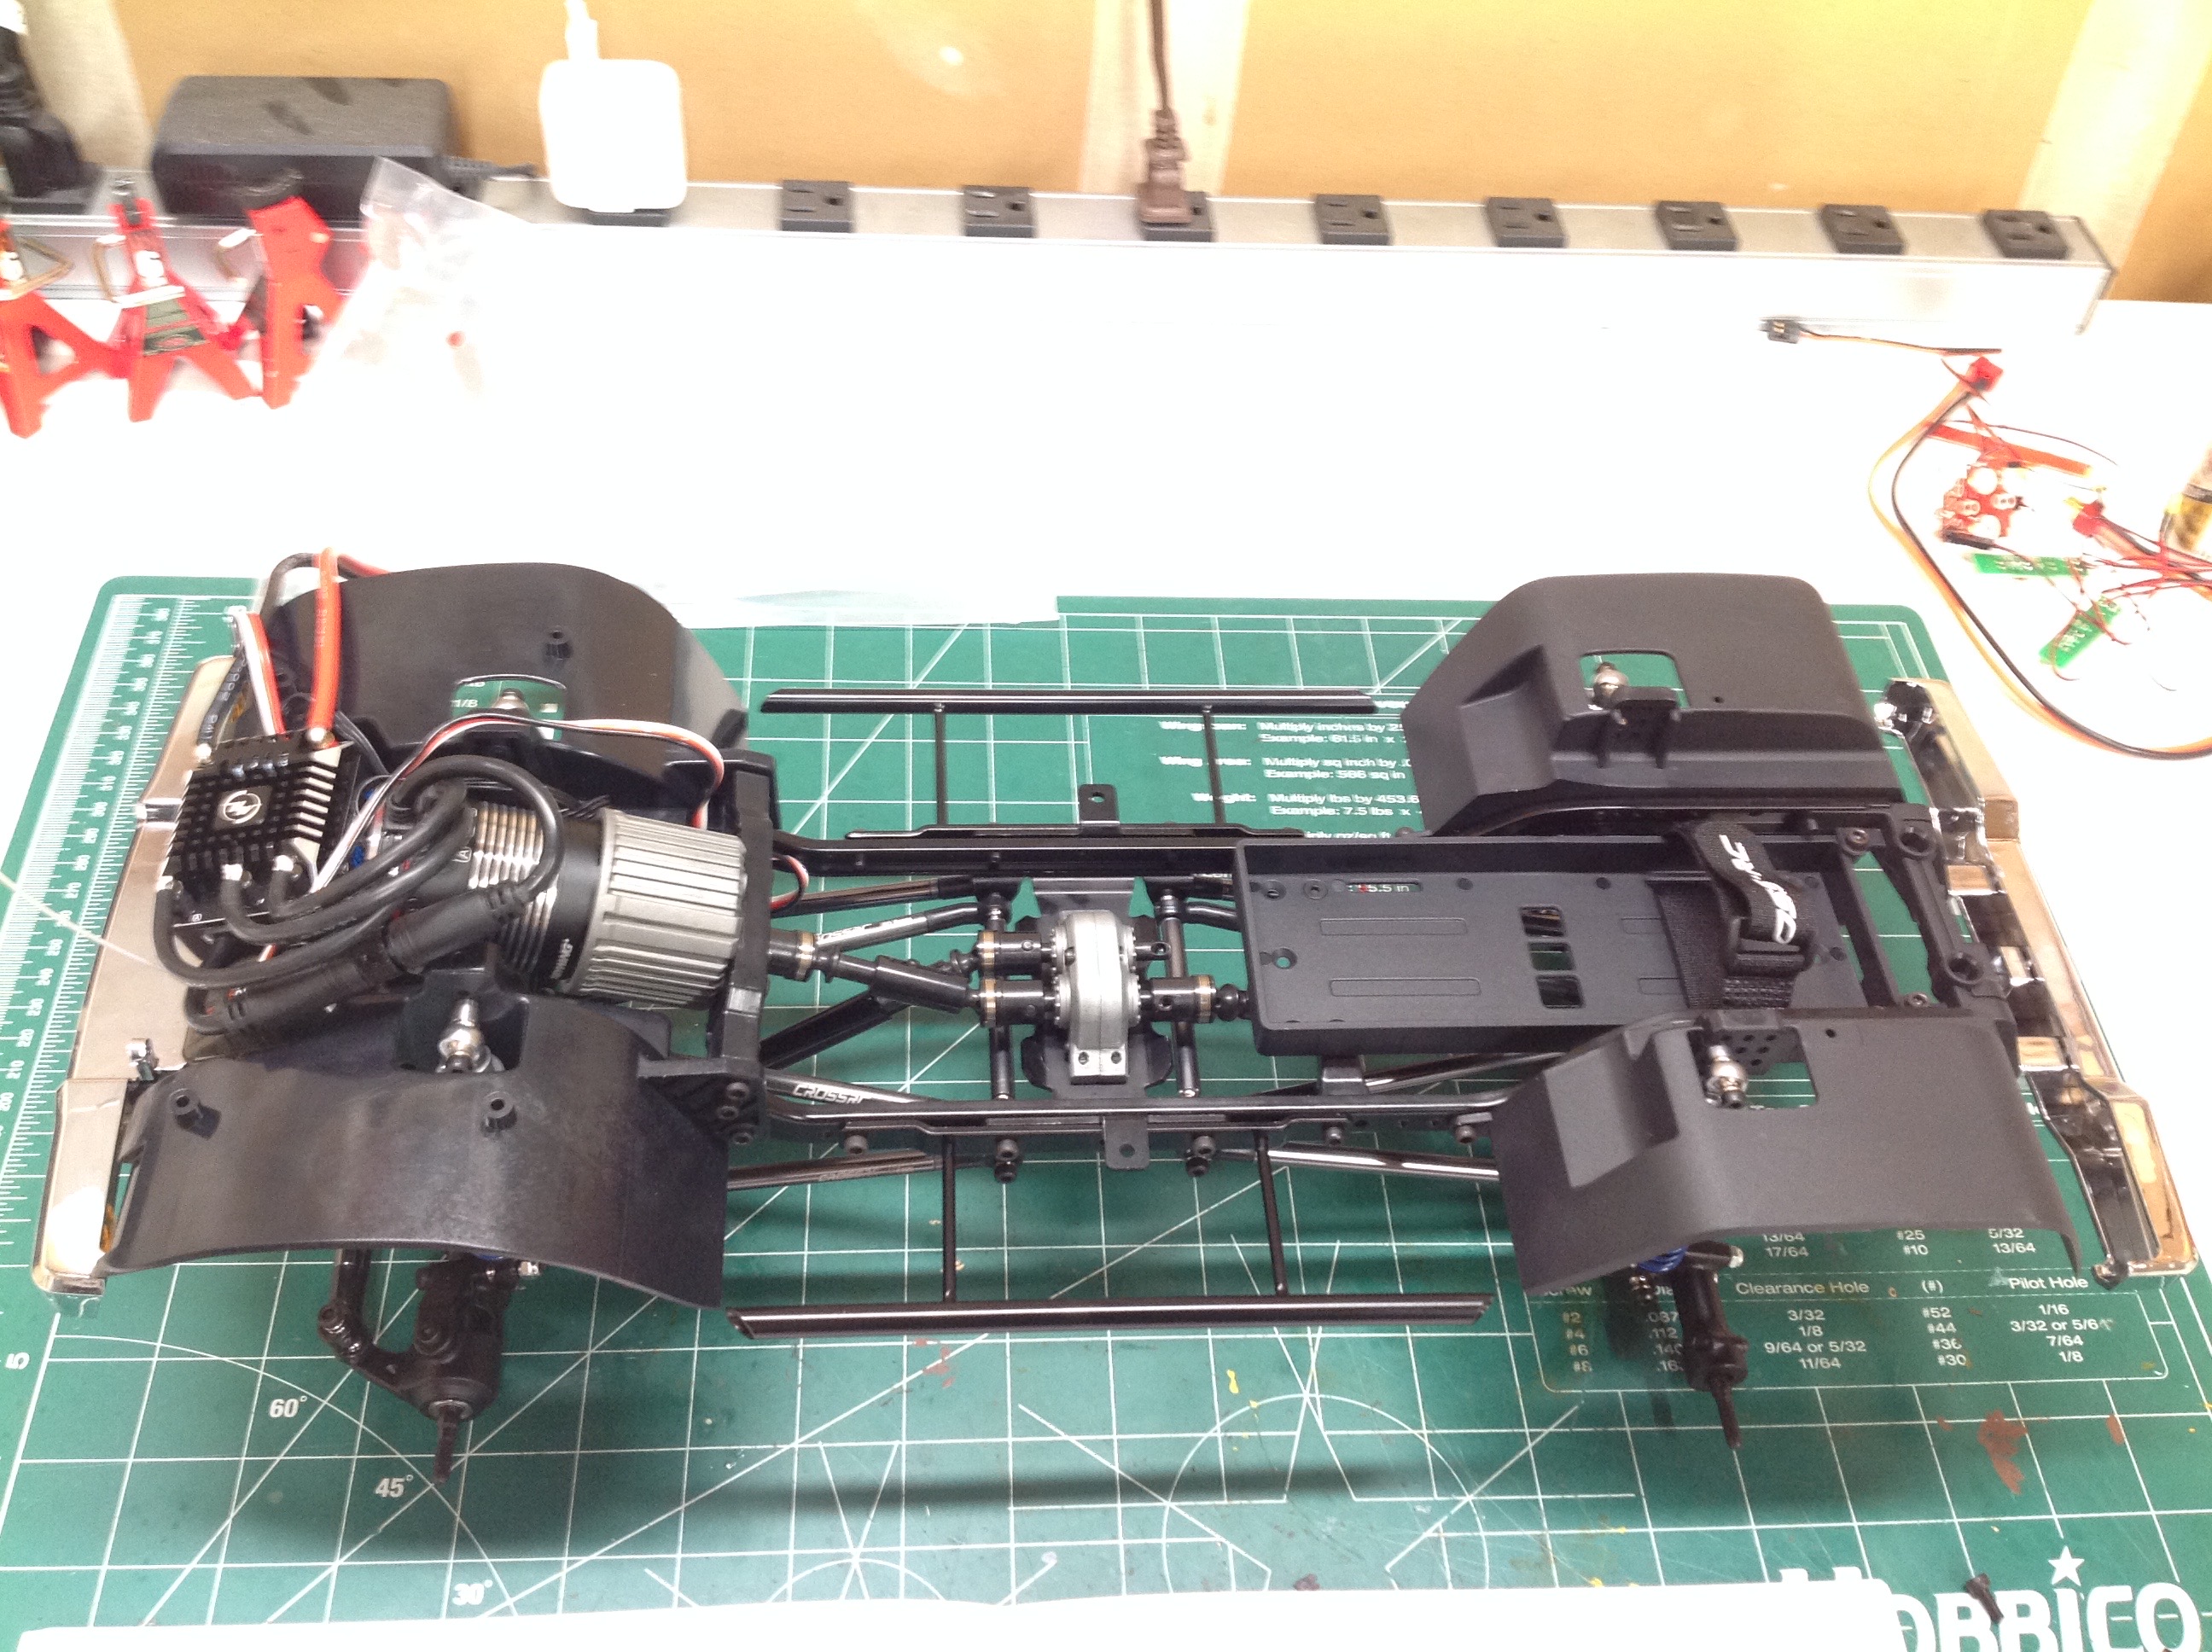
The rear suspension goes together much the same way but without the
steering servo. The right hand image shows the completed chassis
from the bottom.
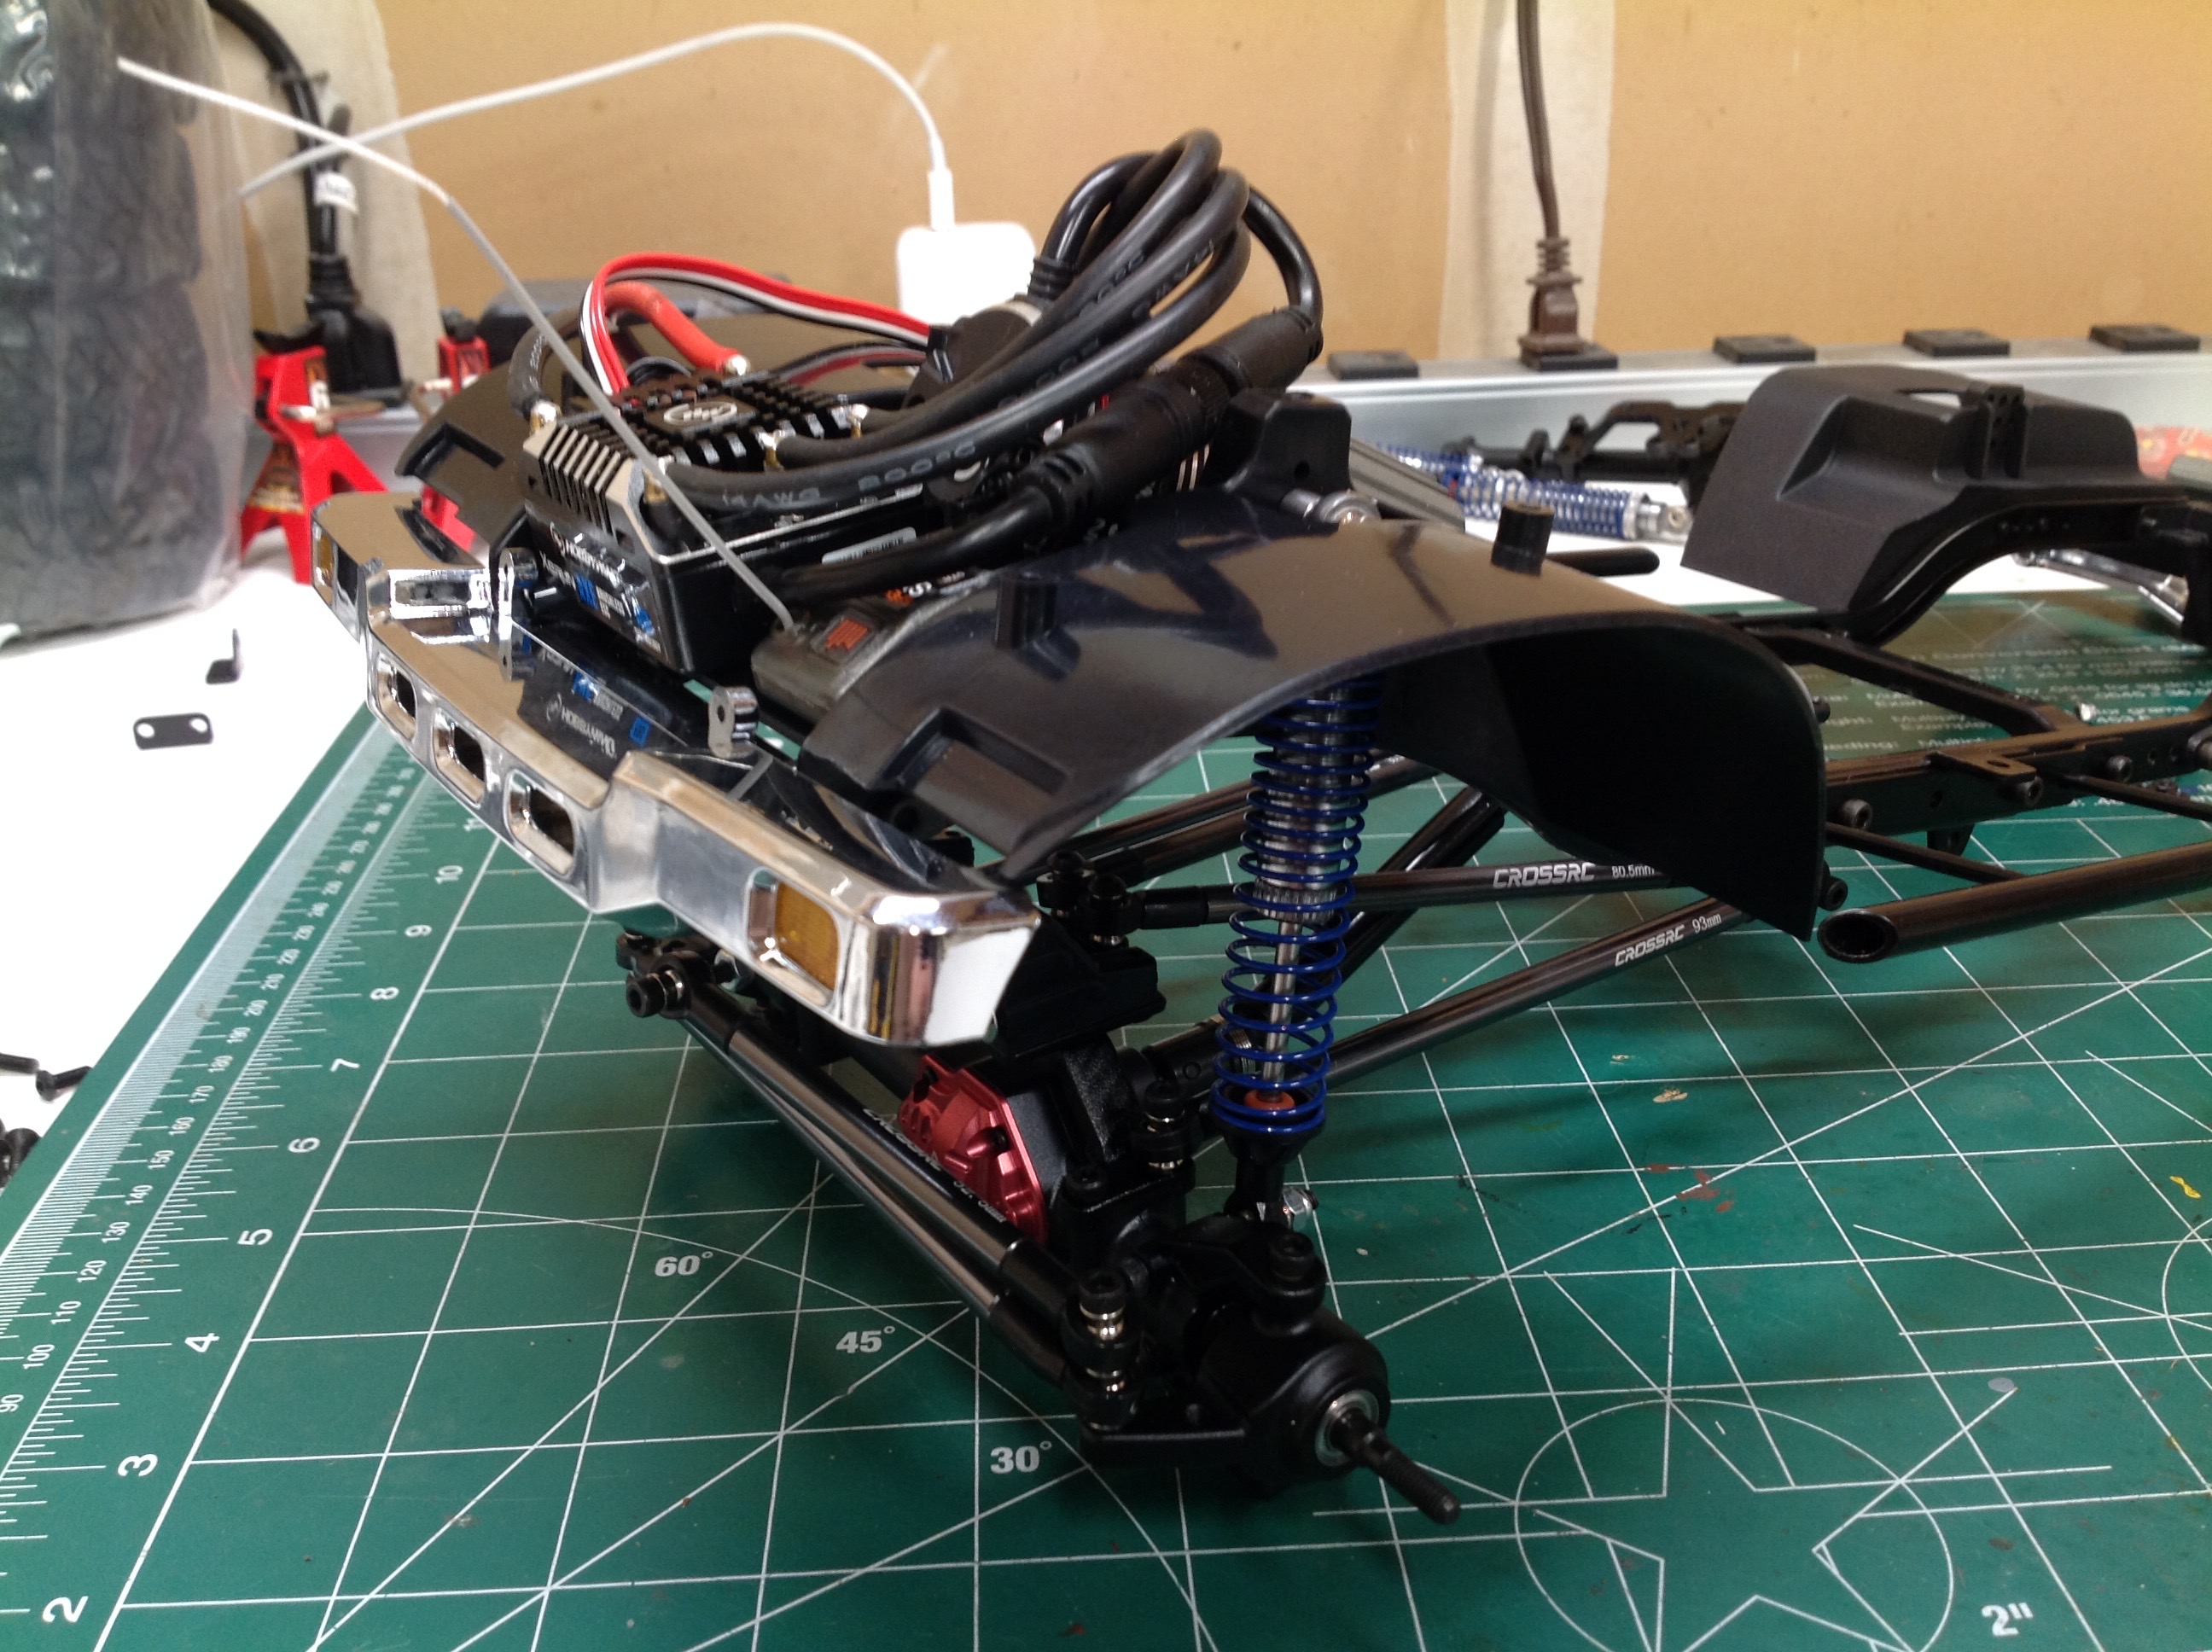
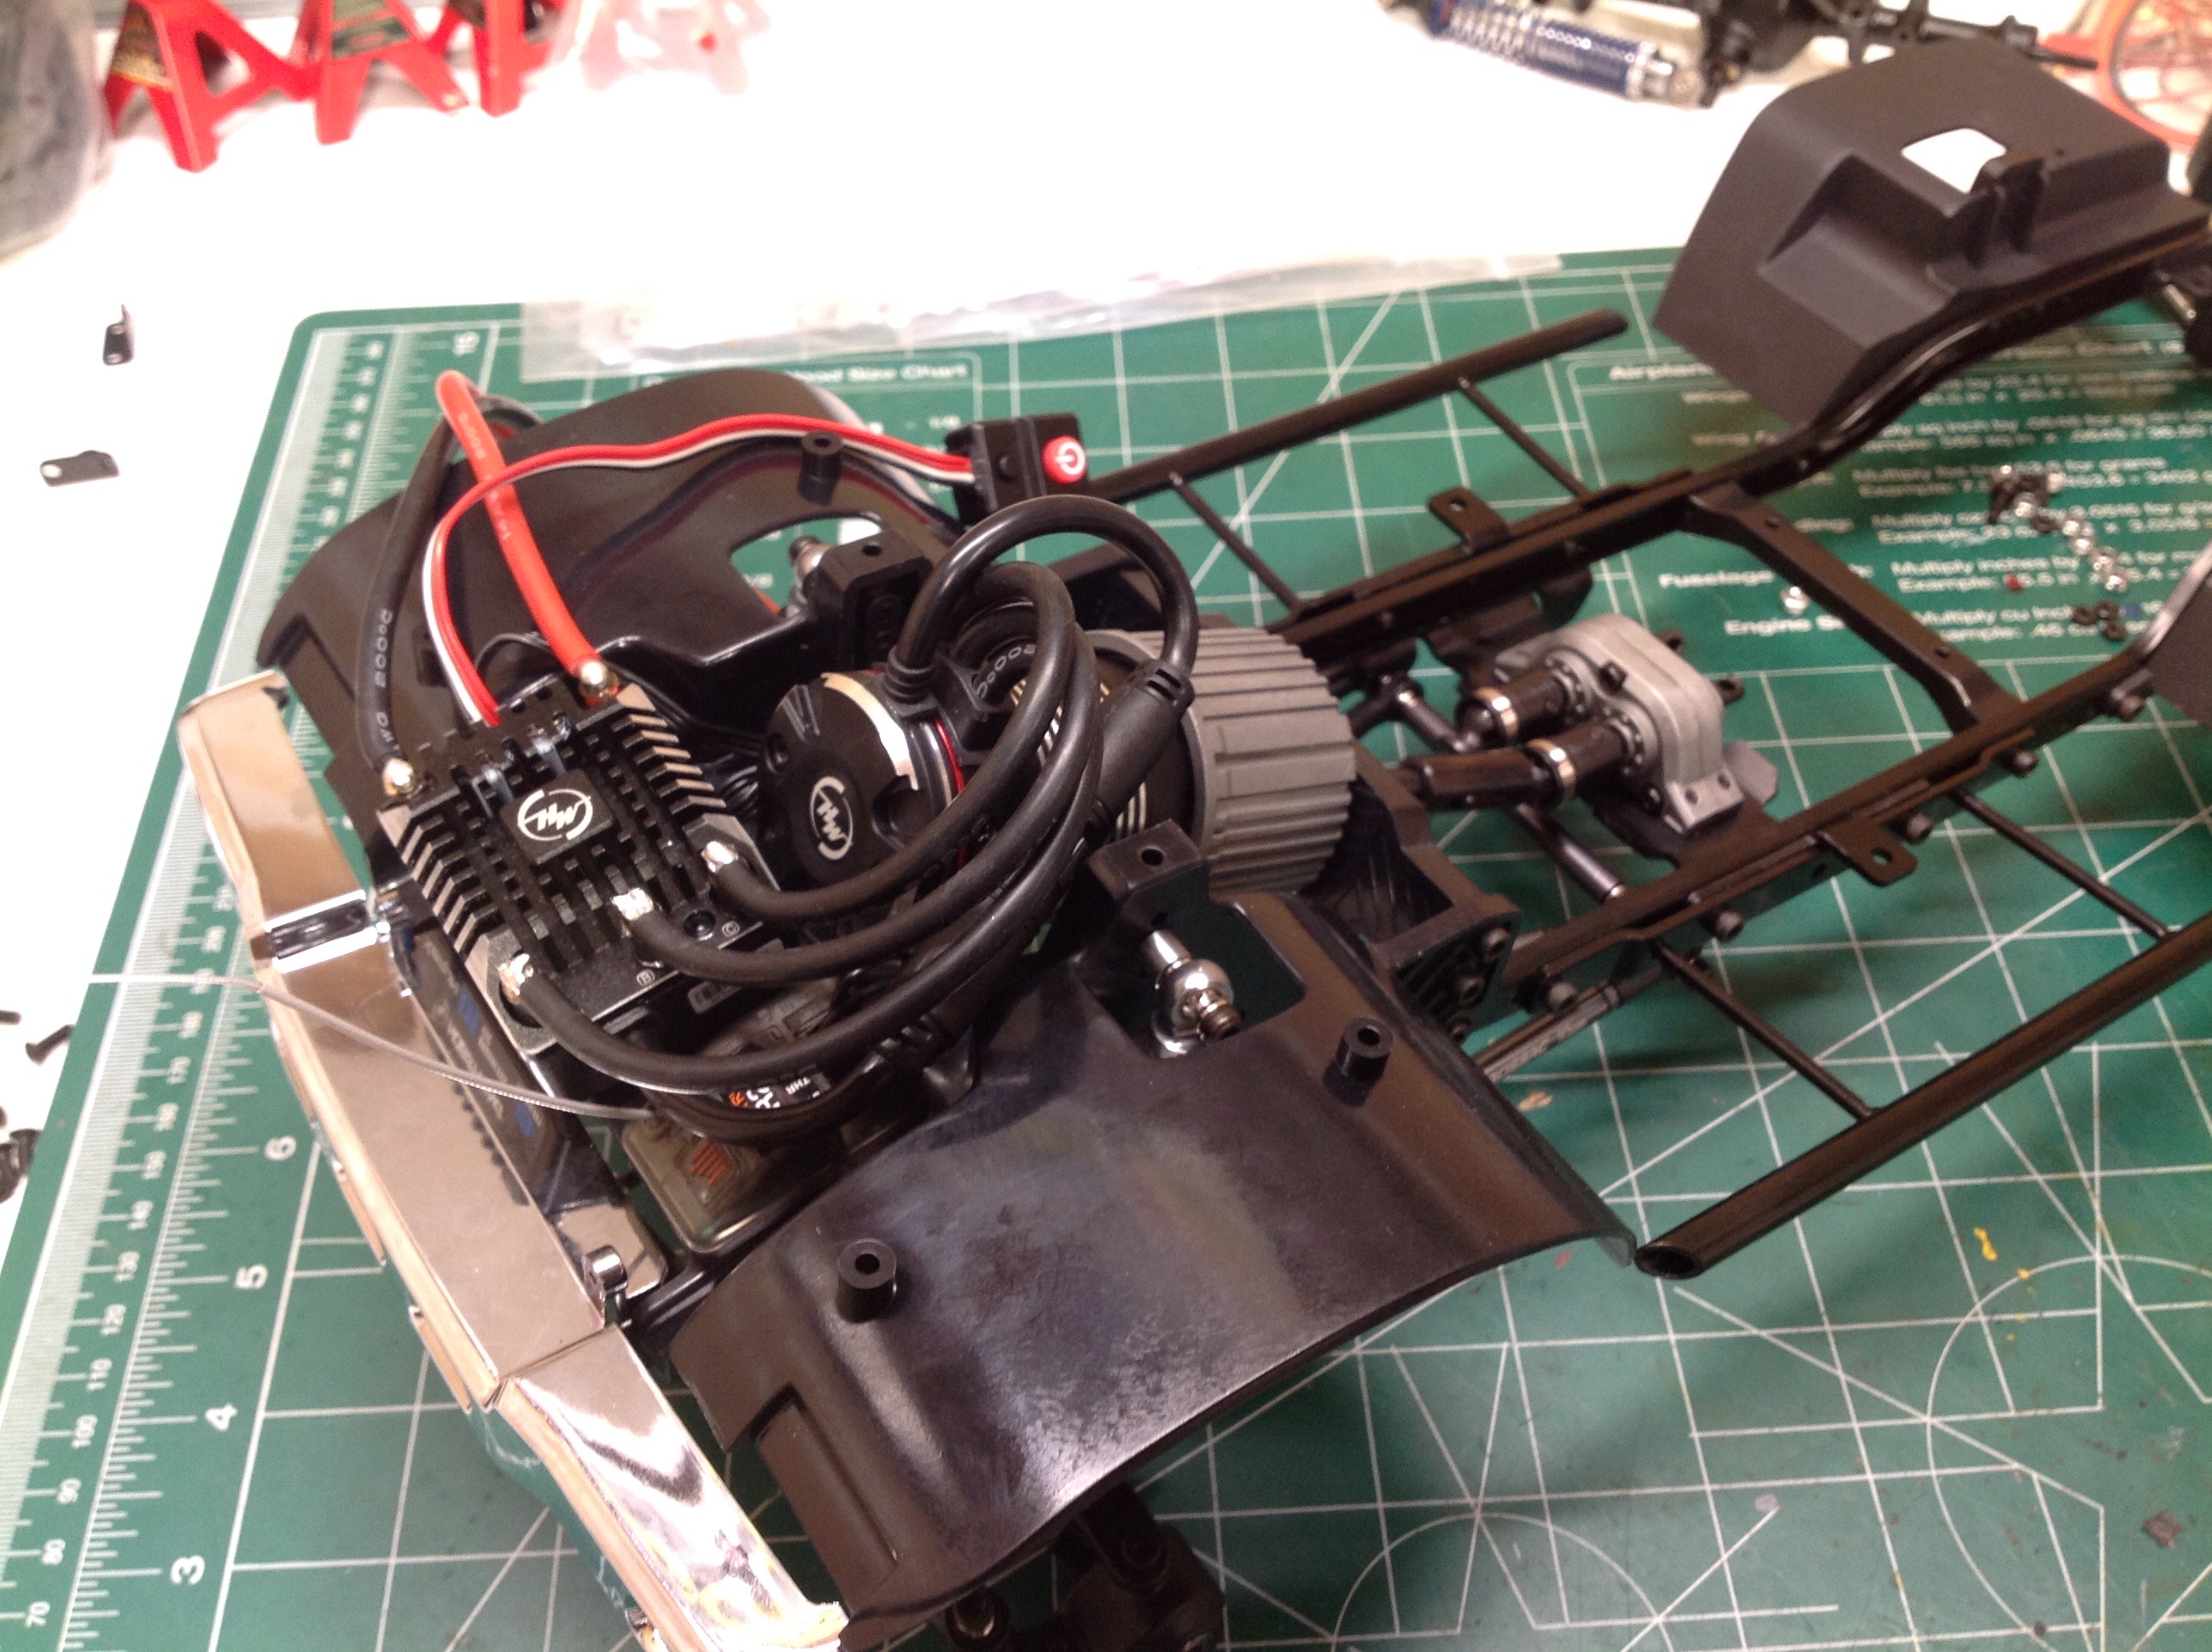
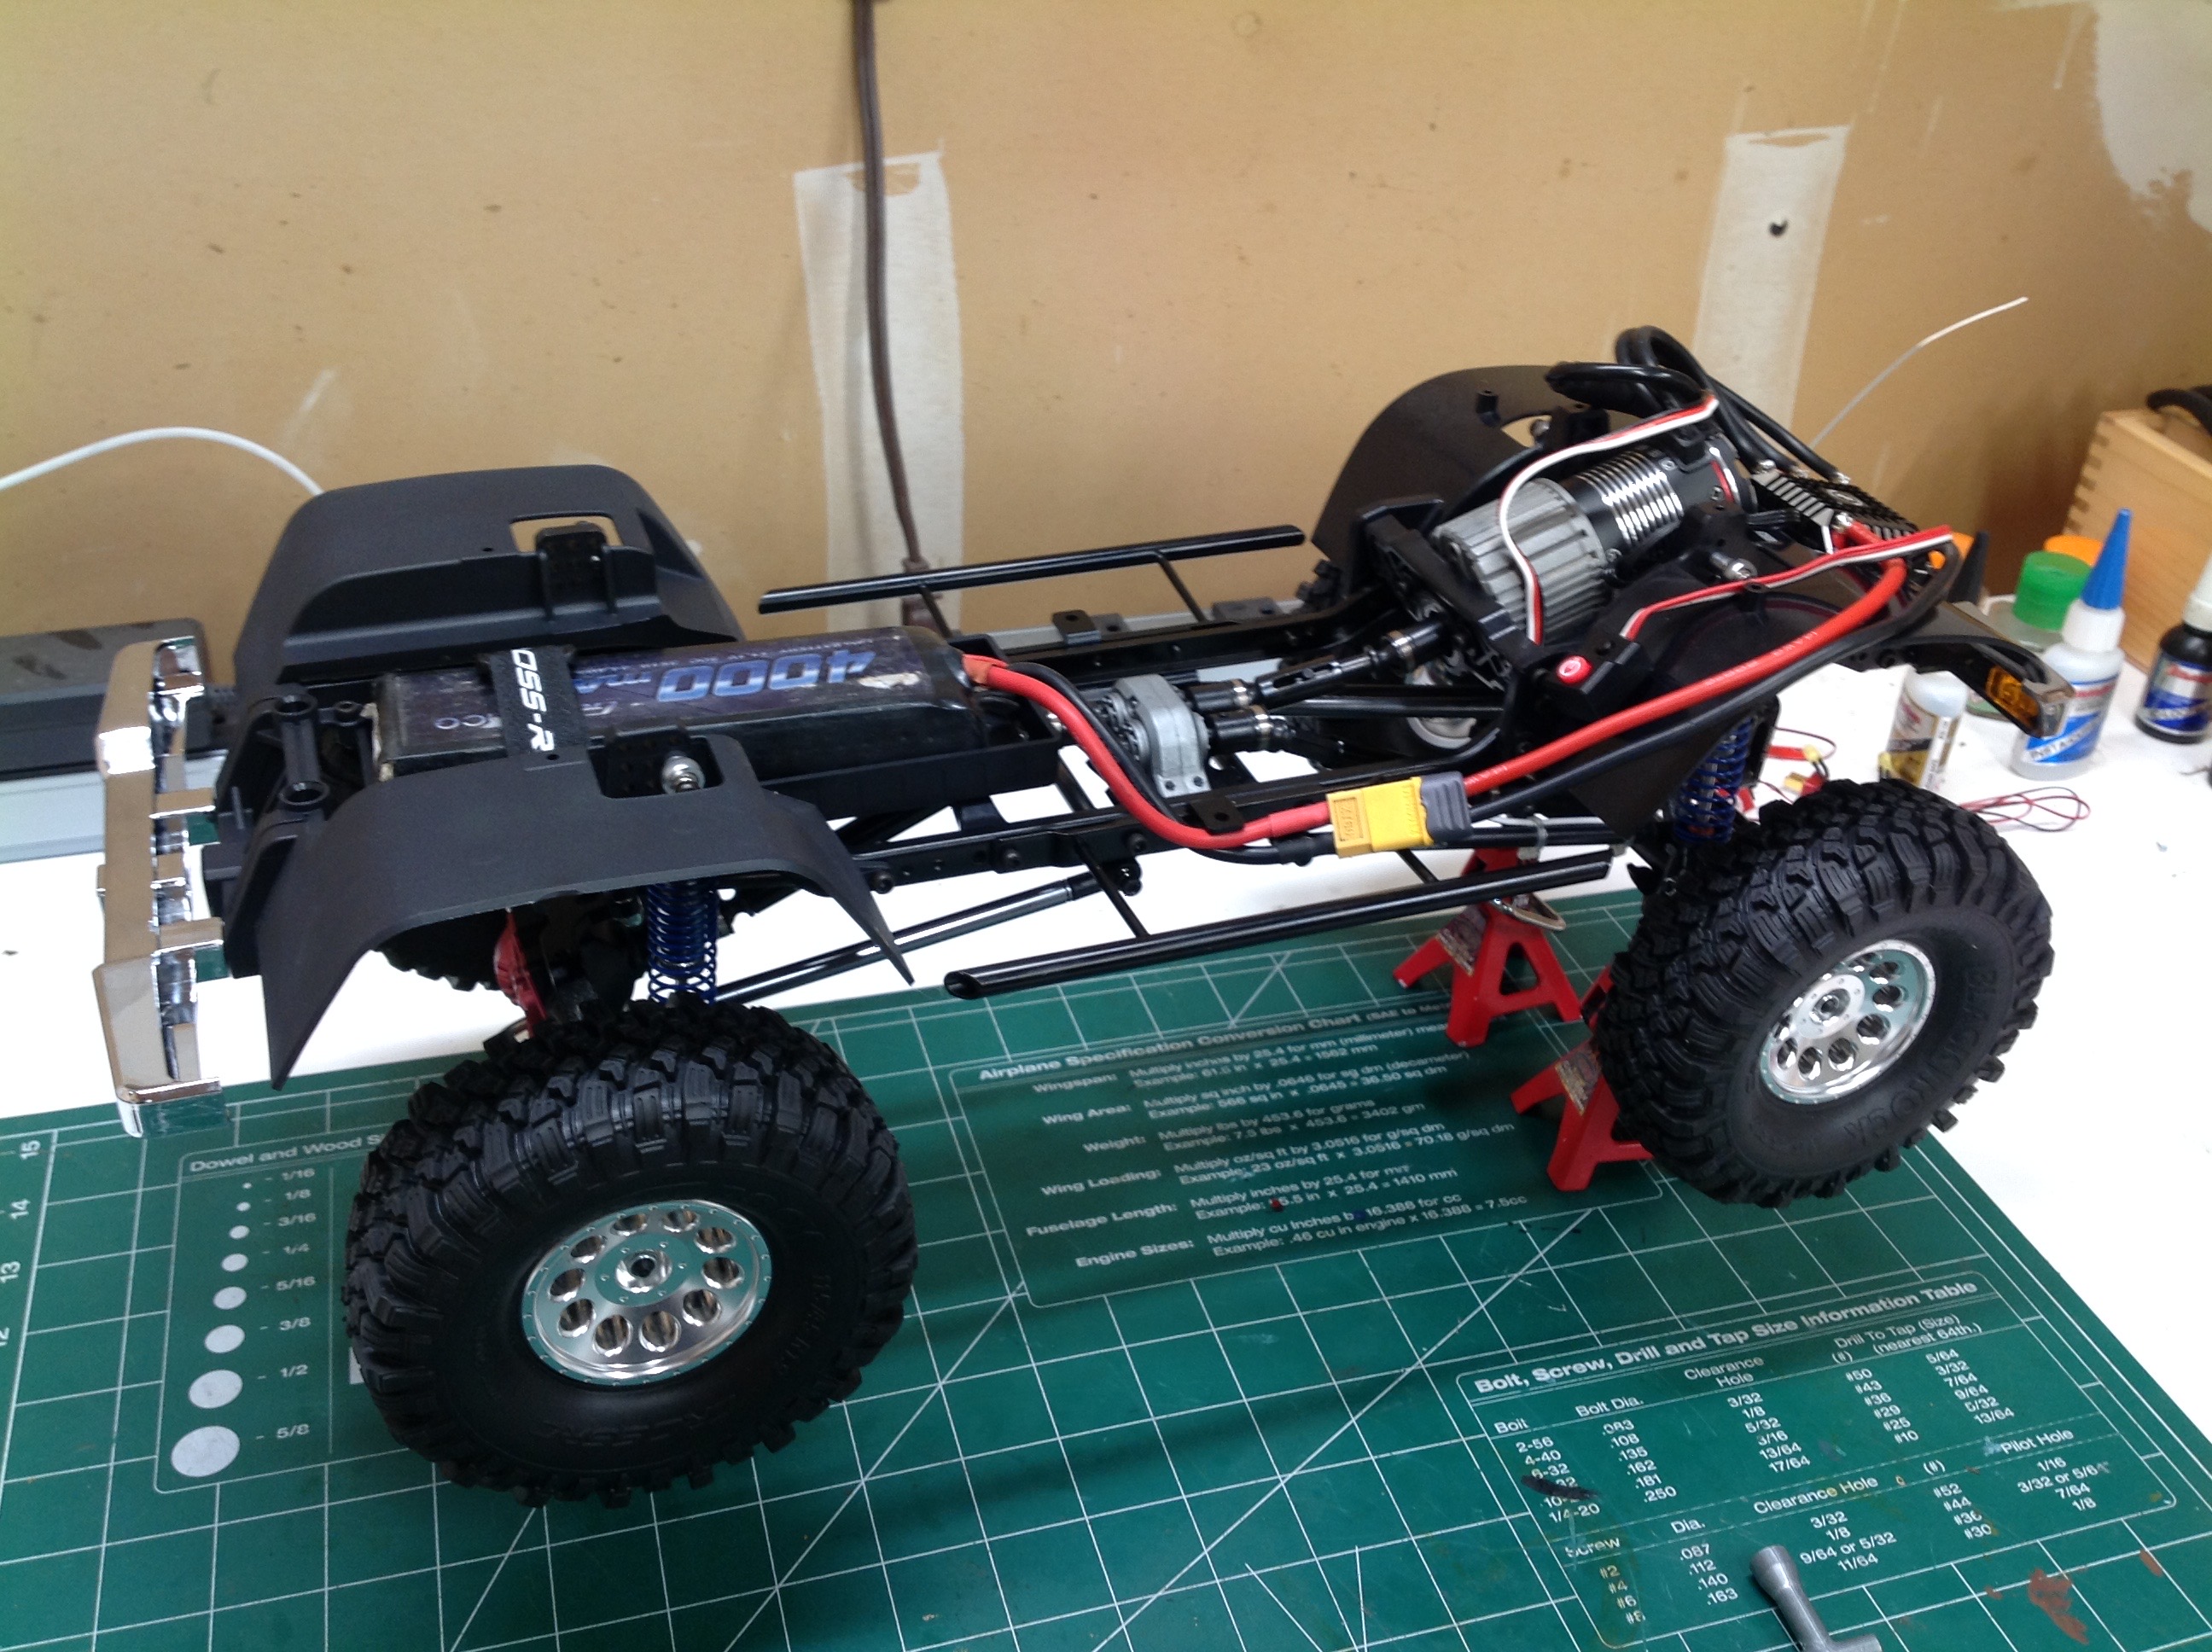
Now I've installed the gearbox, the transfer case, and the
electronics. Note that the motor and gearbox are installed on an
incline. There is very little room for the ESC and I happened to
choose a huge one which made installation very difficult. The
location you see here turned out to be a problem and had to be revised
several times to get the faux engine to fit over the top. On the
right you can see the rear battery tray which will sit under the floor
in the back of the truck.
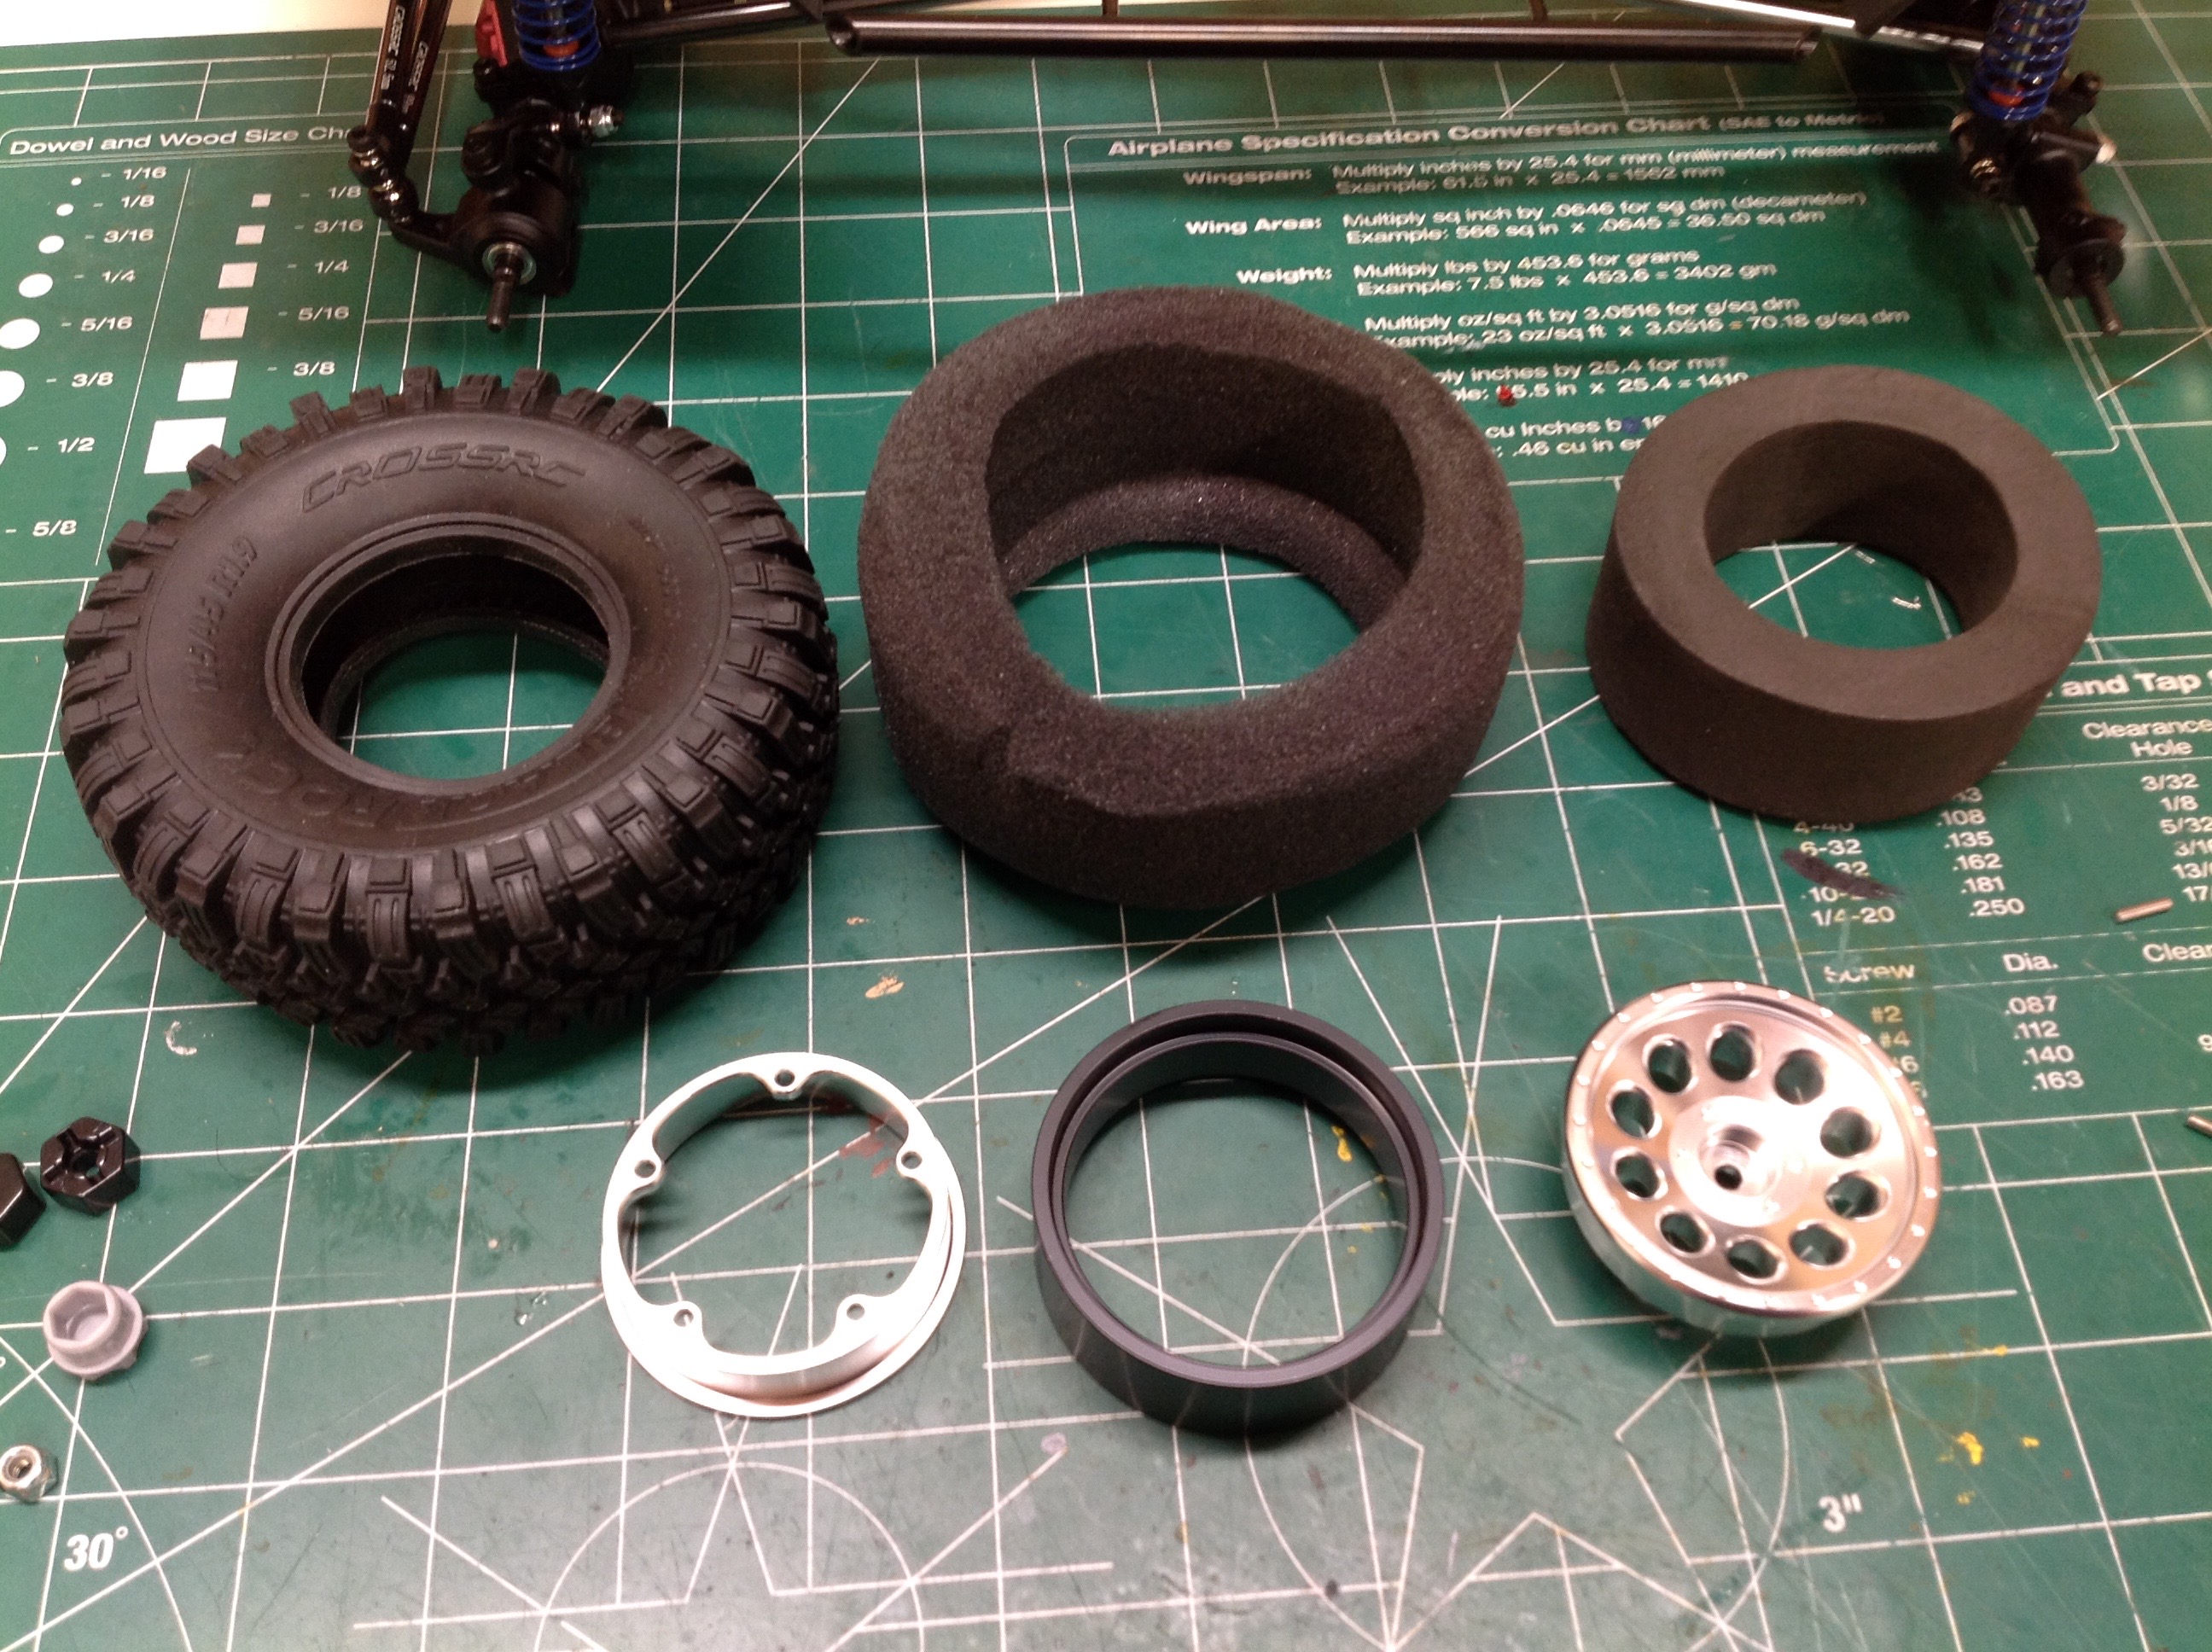
The beadlock wheels are incredibly heavy which leads me to believe
either that they are steel or are very thick. The included foams
are two stage with a hard memory foam inner and a soft outer. This
allows them to retain shape even with a high weight but also to conform
to rocks when climbing. Only 5 screws are needed to clamp the
beads. This completes the rolling chassis and the model can now be
driven.
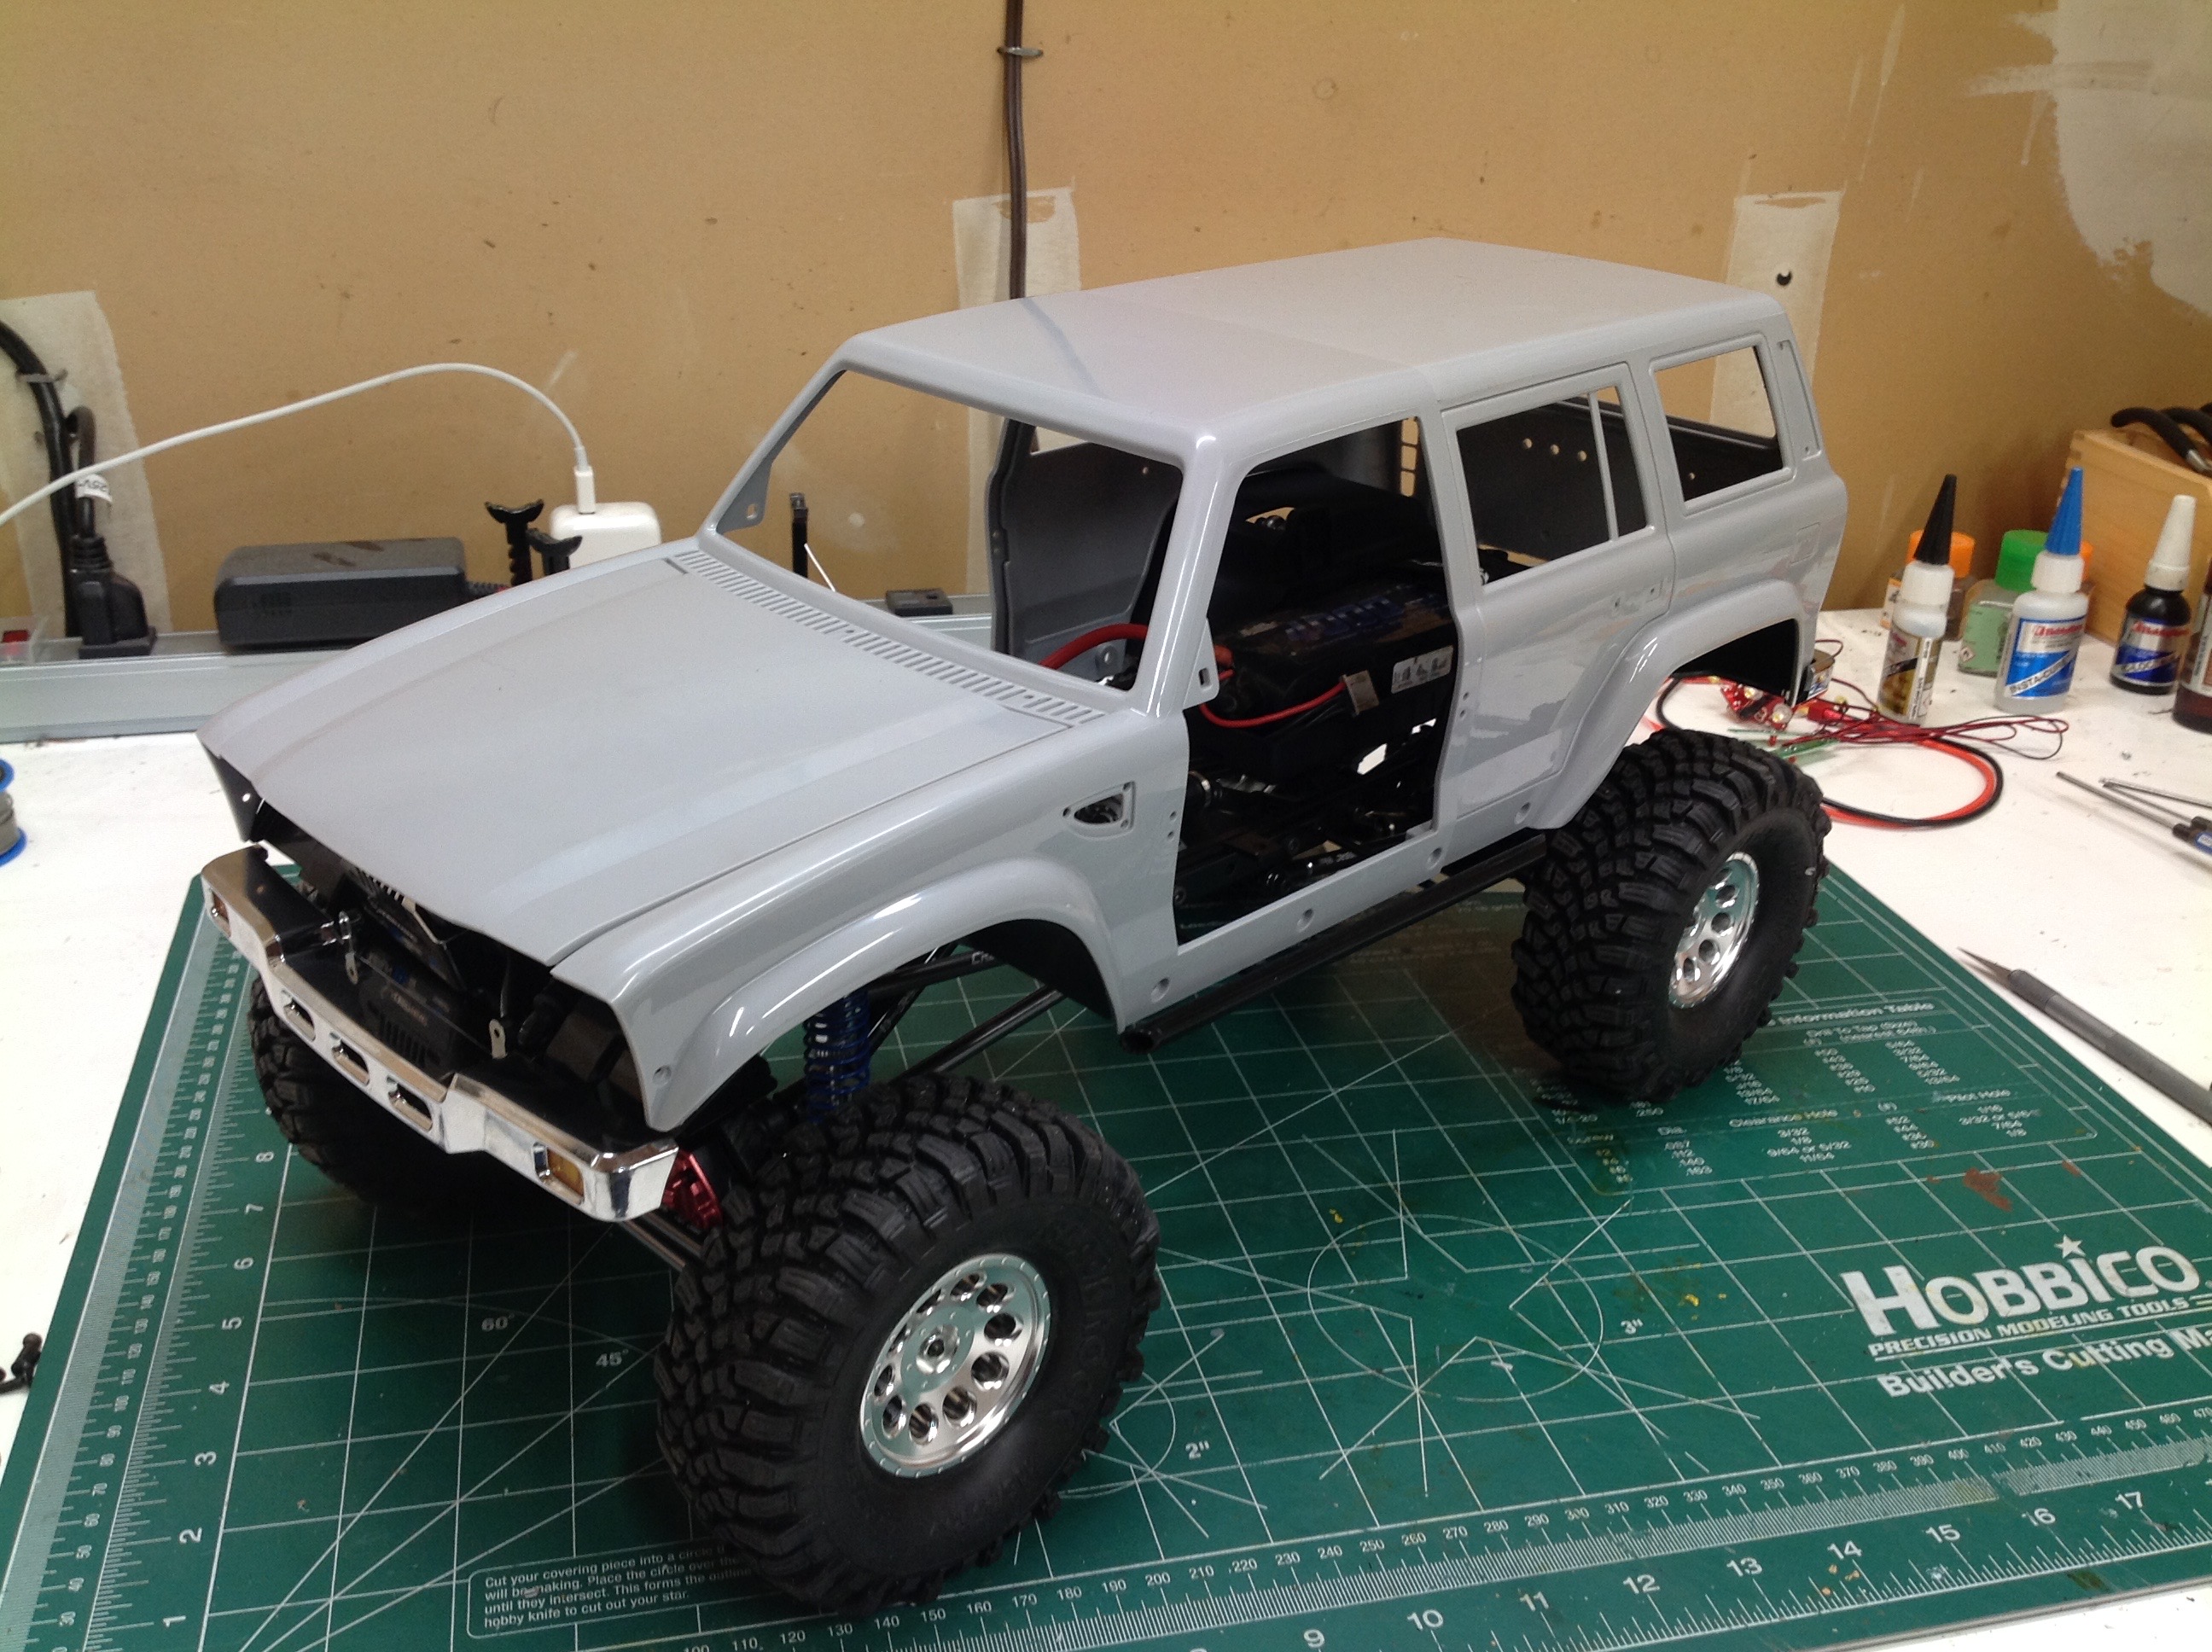
There is still a lot of work to do to install the 100+ parts that
comprise the body, but I can get an idea of what the final model will
look like by dropping the largest part of the body shell onto the
chassis. Looks real good.
©2019 Eric Albrecht