Demon Project
Page 2: Building the Body and Interior
Building the interior is always a bit of a paradox for me. I
much prefer trucks which have a complete interior, but I seem to hate
the process of actually doing it because I always seem to procrastinate
for a long time before getting it done. The detail painting seems
to be the problem. In this case, I managed to get all the work
done in a couple of days but did not stop to take many pictures.
Most of these pictures are therefore of the completed result.
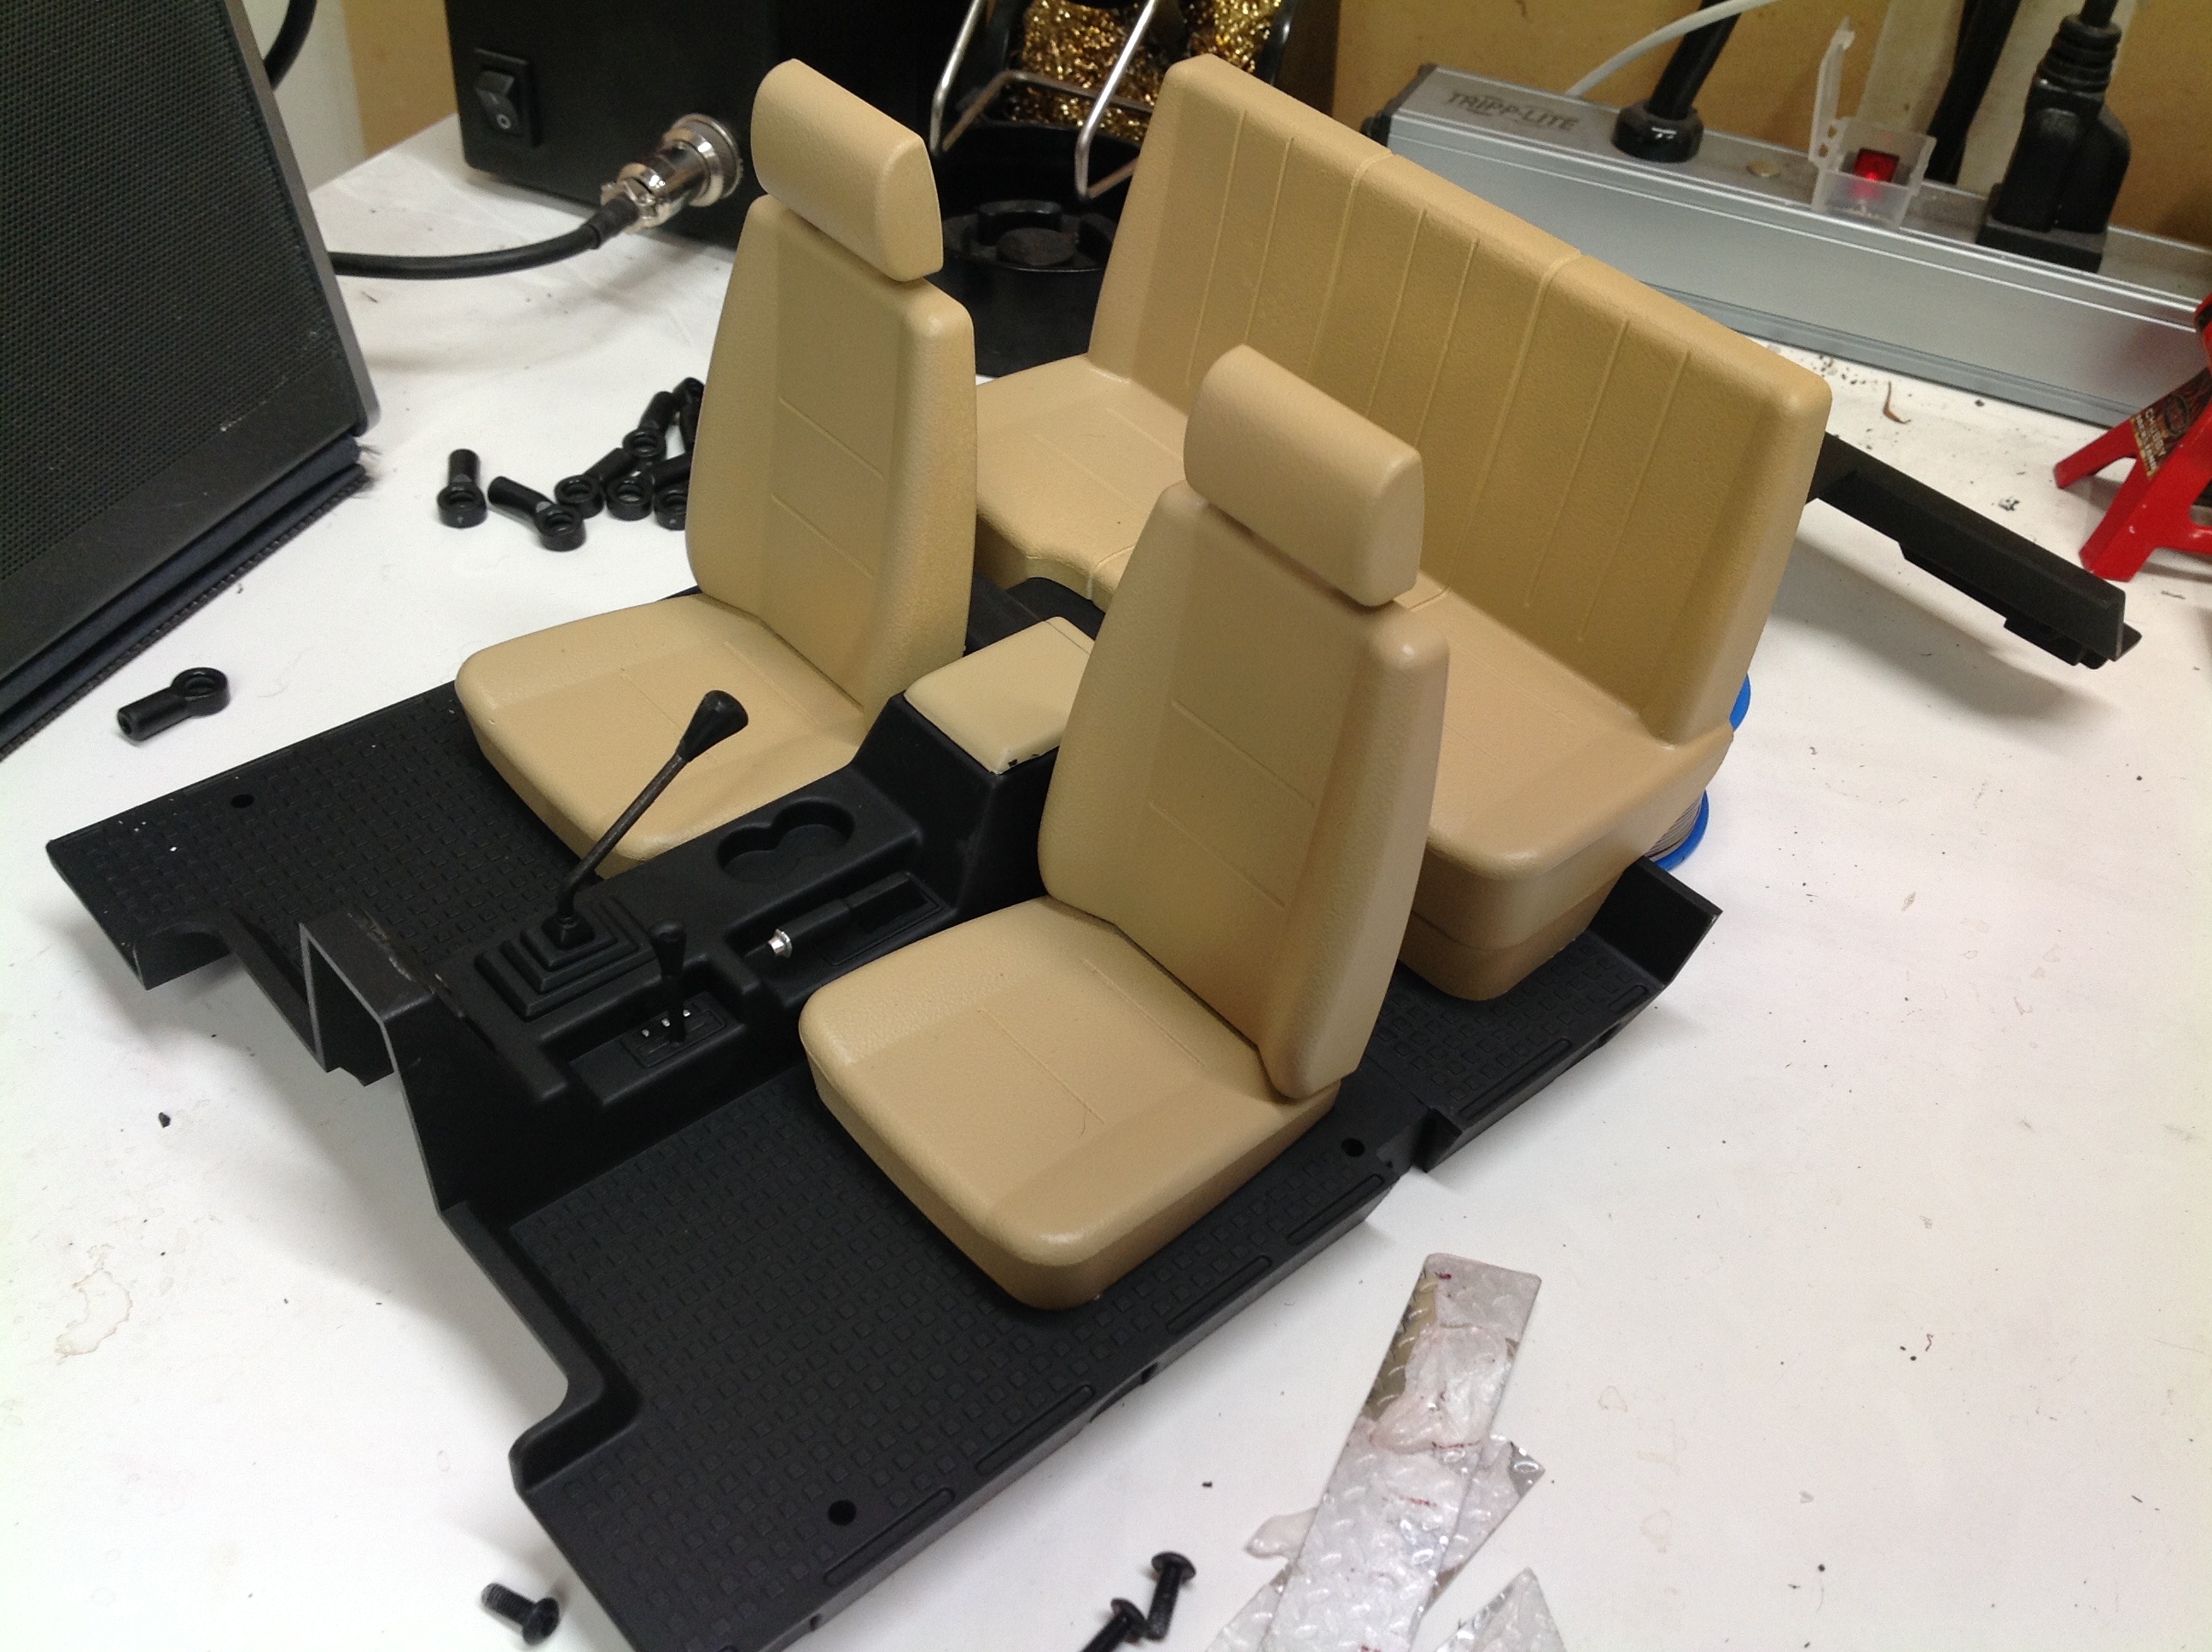
These pictures show my work on detailing the interior upholstery. I
painted the seats in a light tan to look like leather. The front
bucket seats and rear bench are separate parts which makes it easy to
spray them in a different color. For the arm rest, I had to mask
the one piece floor pan to get the tan where I wanted it. I then
painted the rest in flat black. I did a little detail work with a
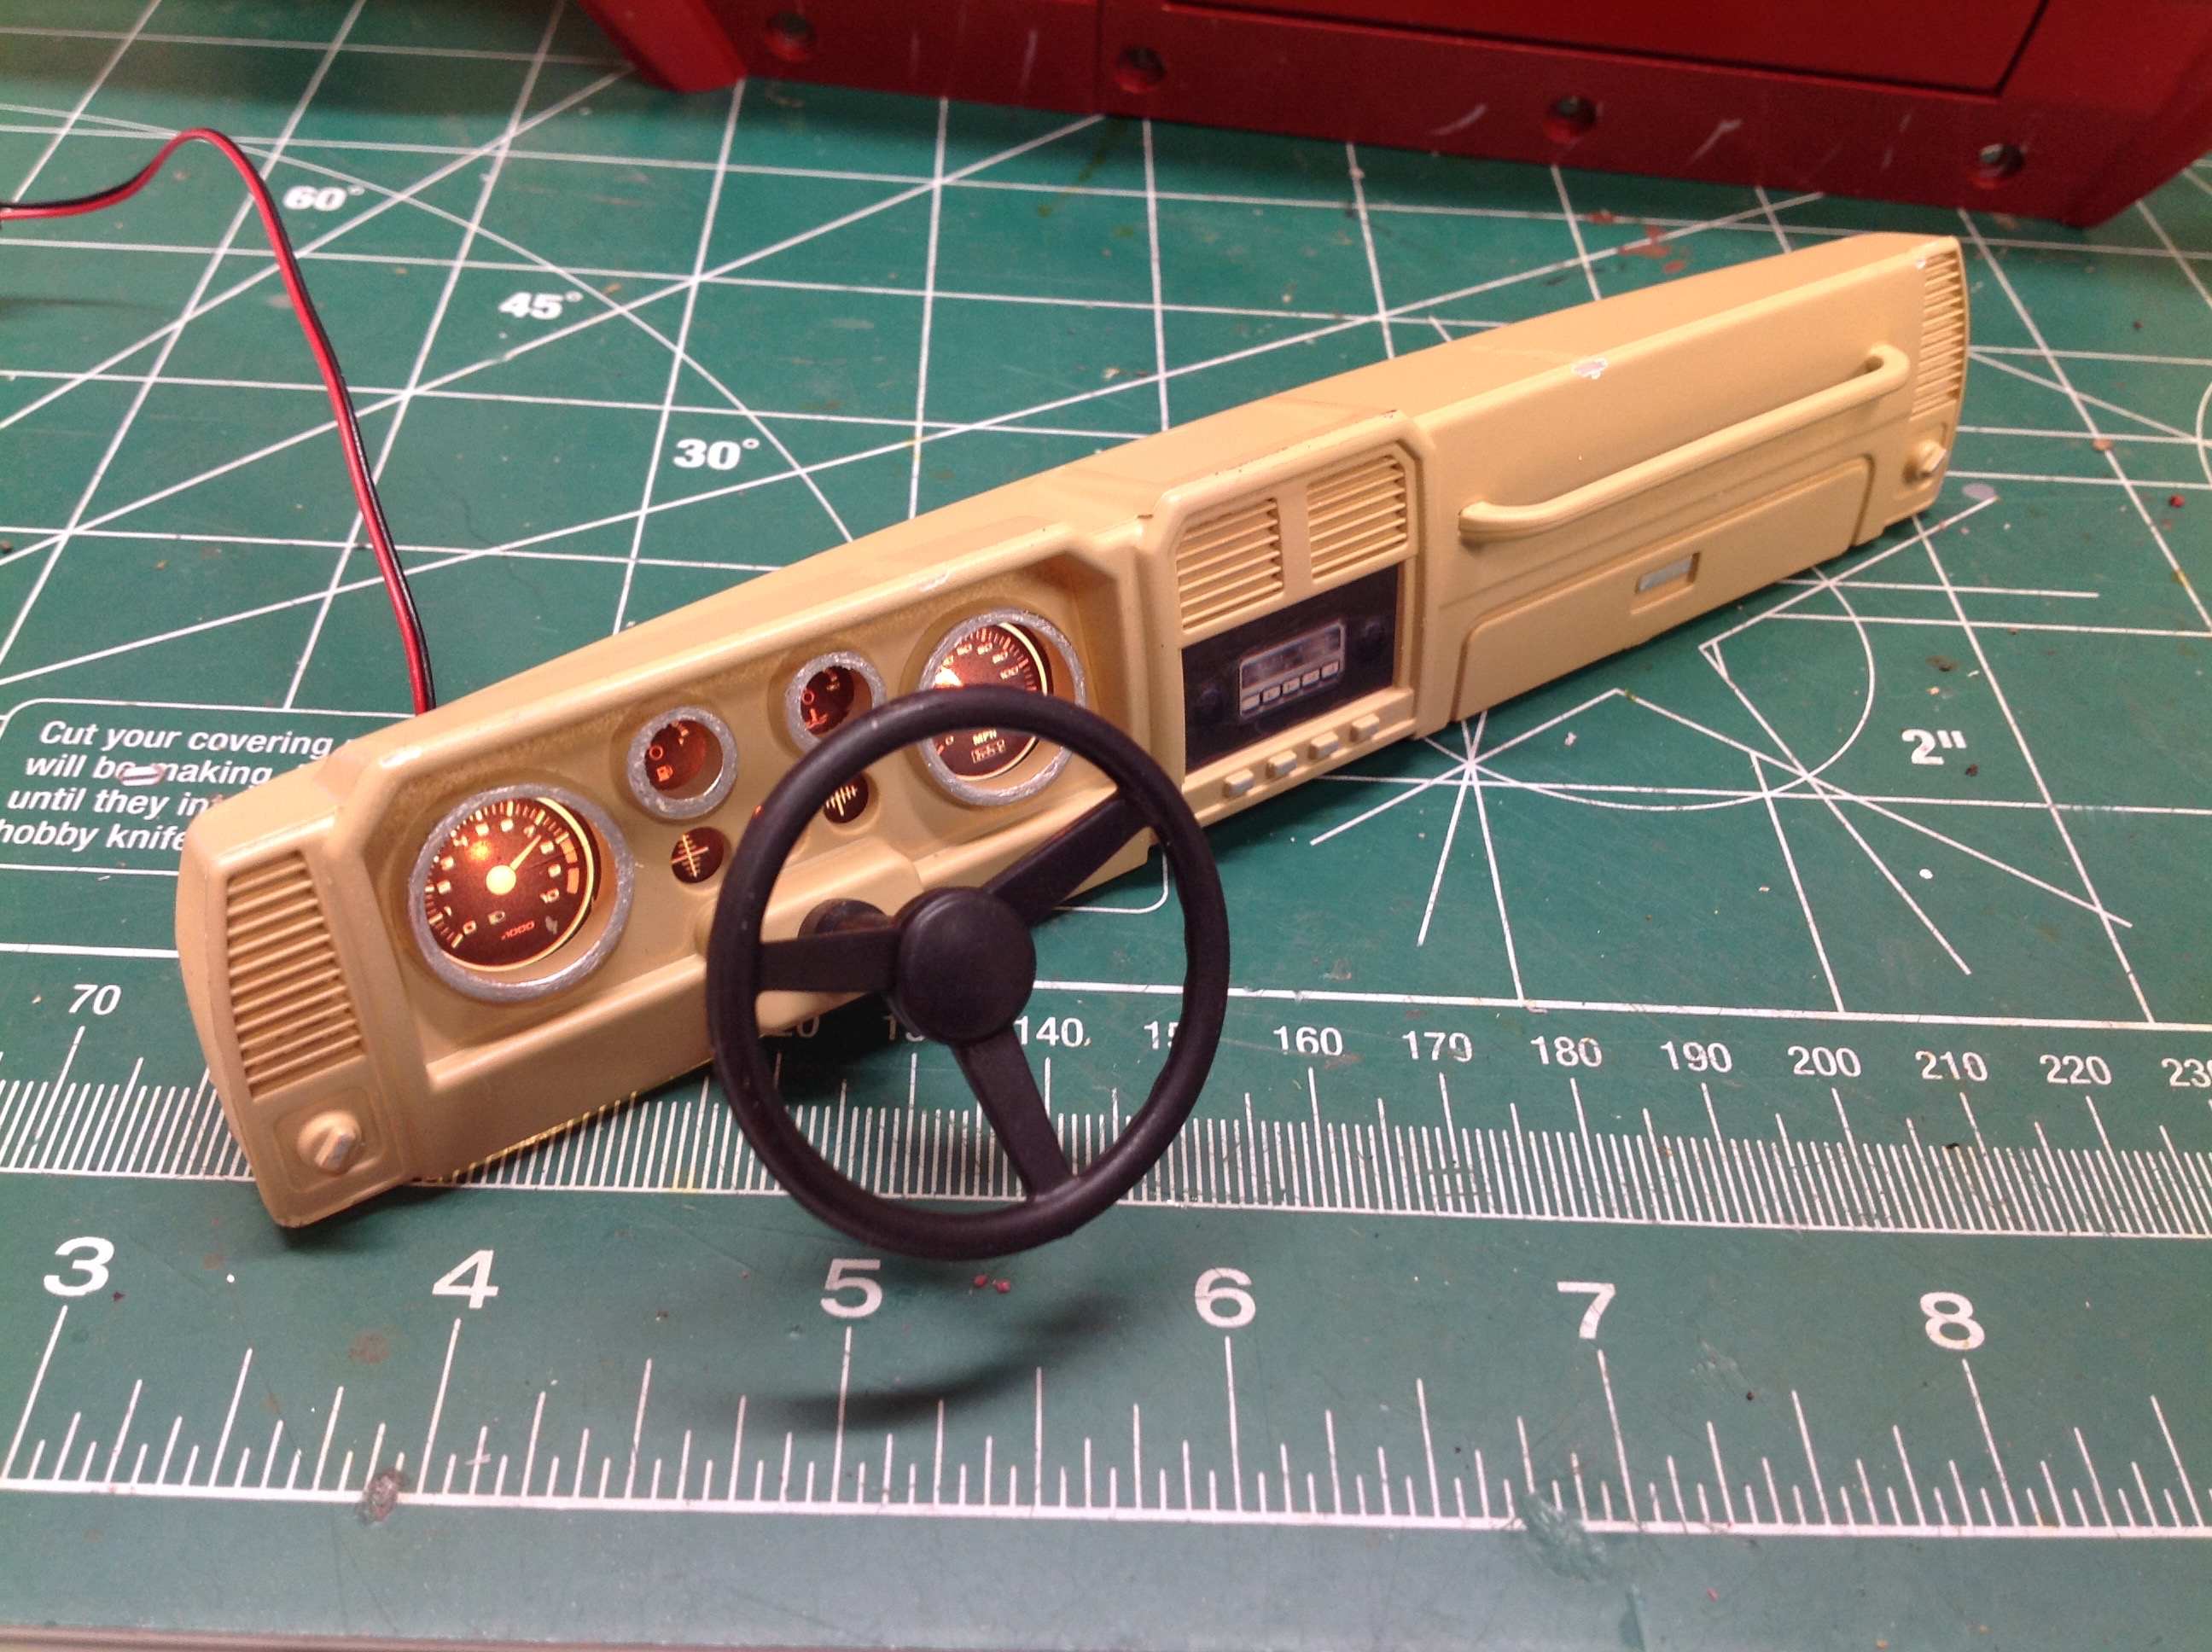
chrome paint pen for knobs and buttons. The kit comes with a very
detailed dashboard and includes illuminated gauges.
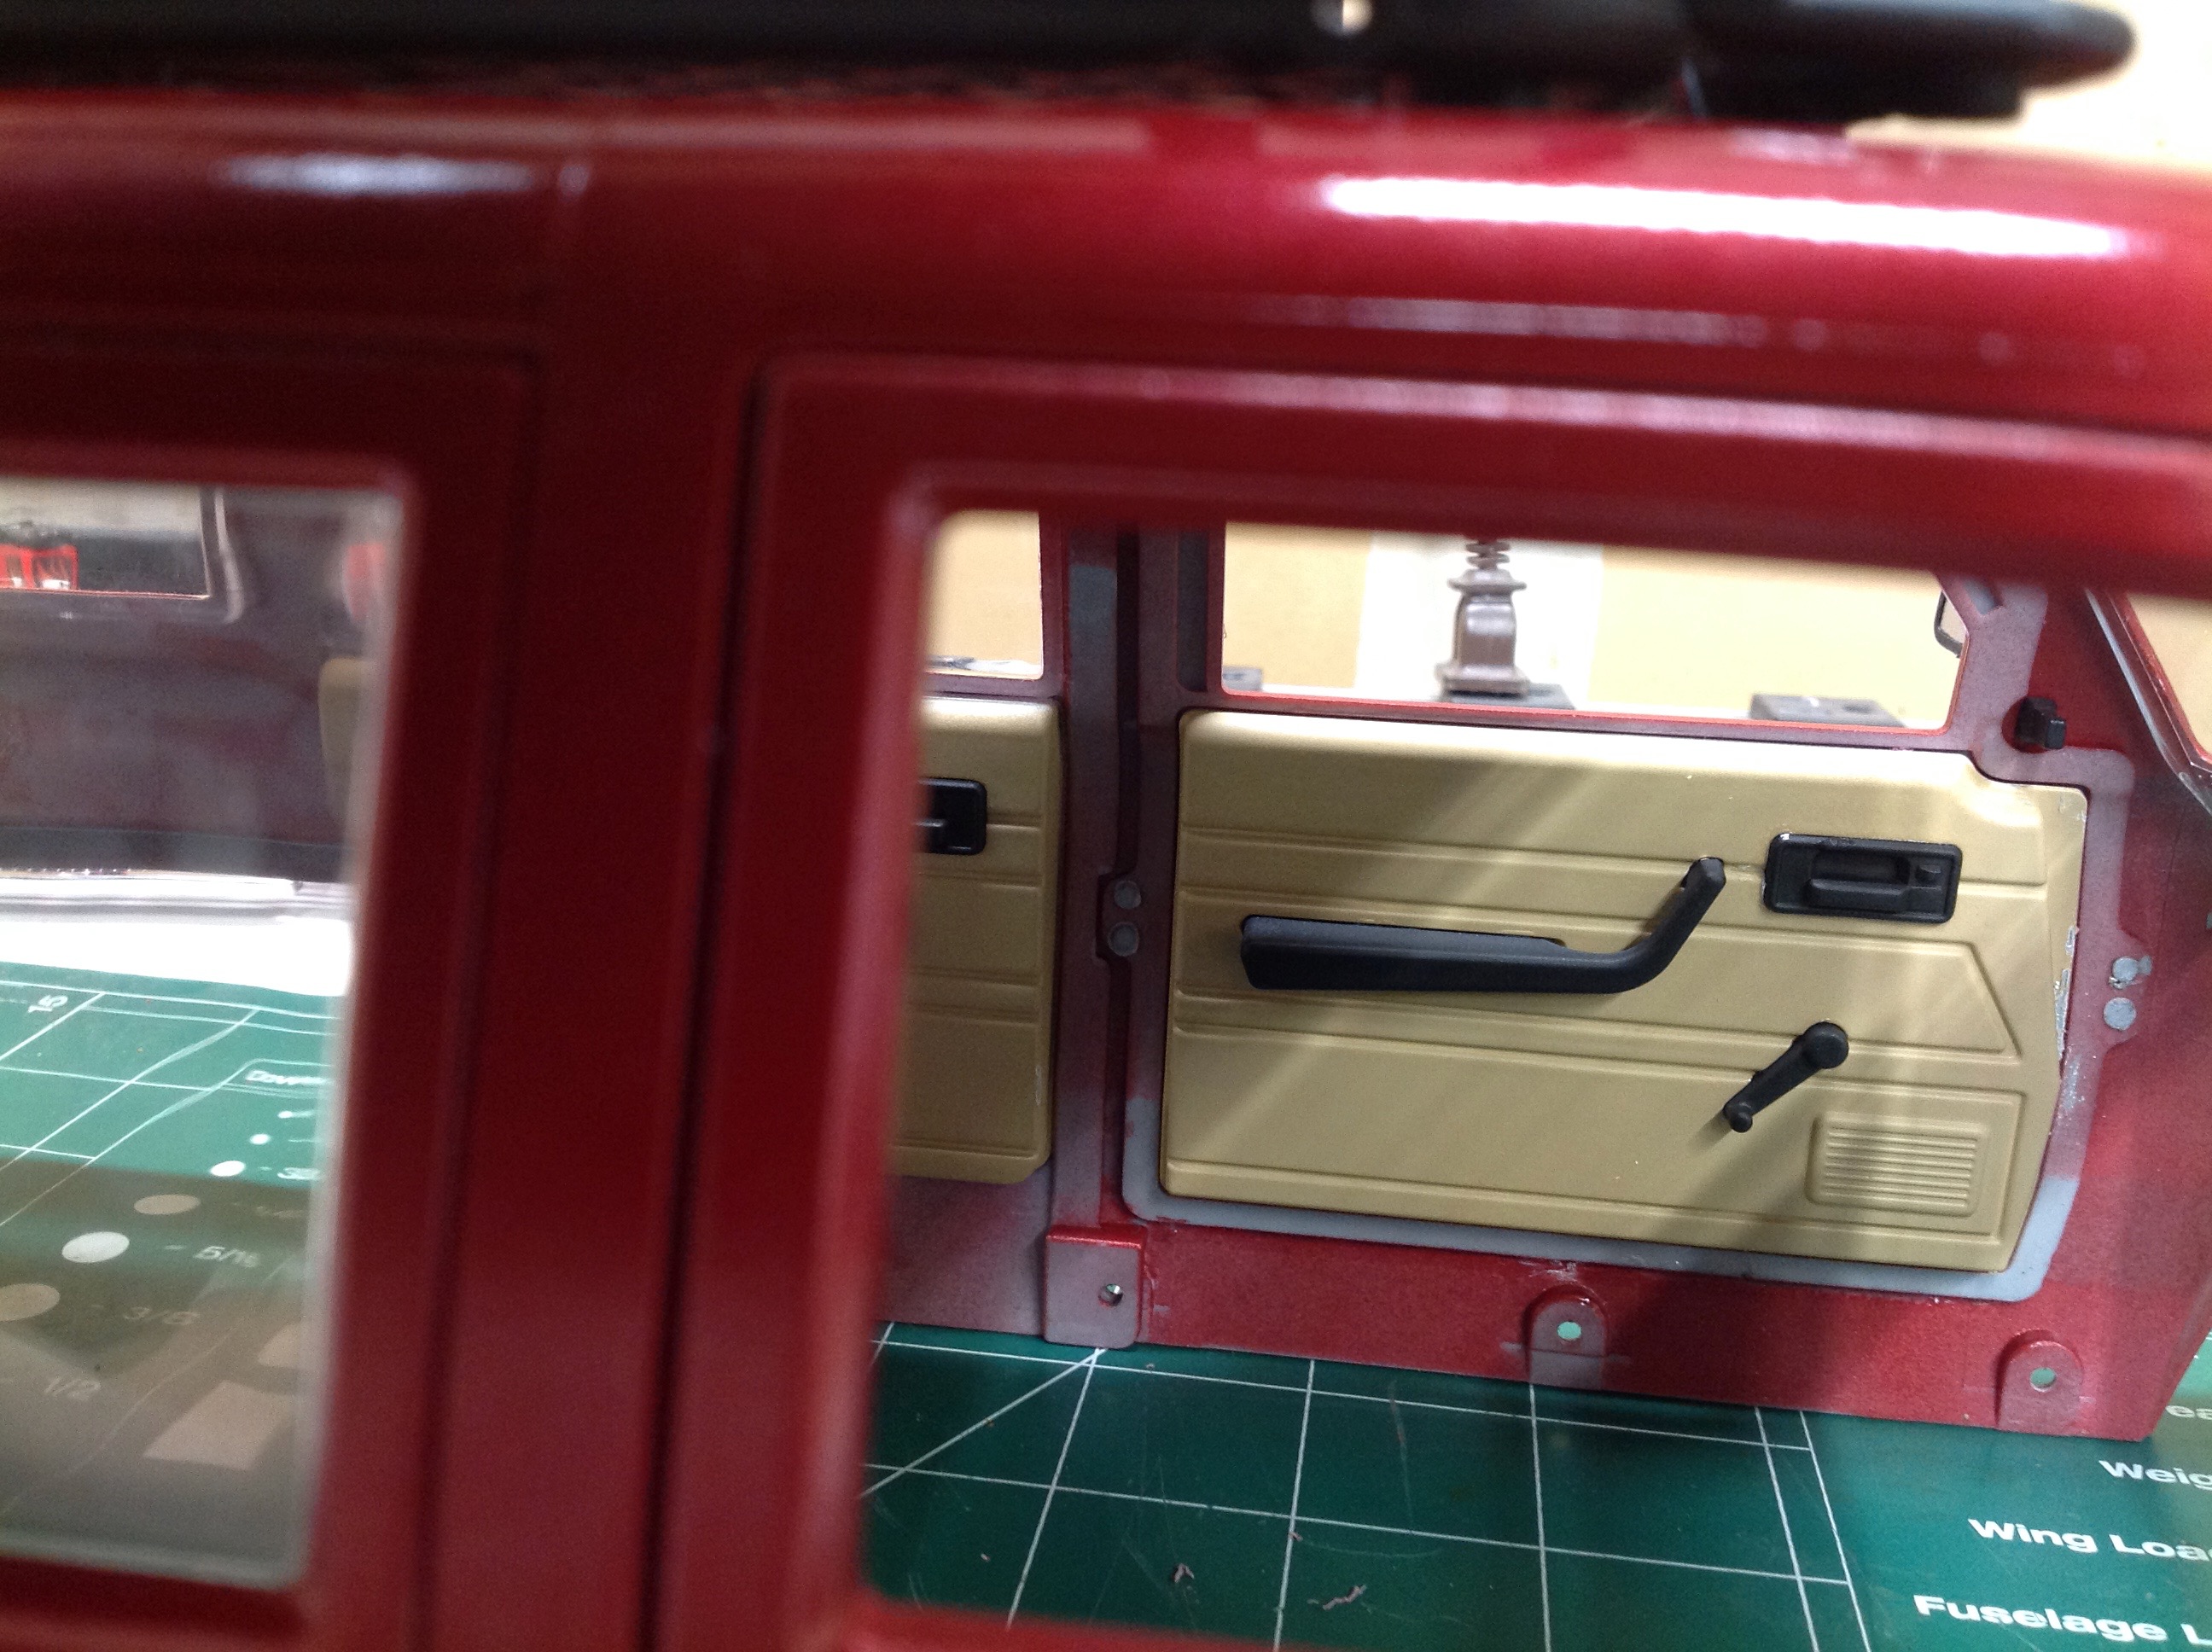
The left hand image shows the interior door panels. The arm rest and
window crank are separate parts. I really should have pained the whole
inside of the body shell black, but I didn't. It is not very visible
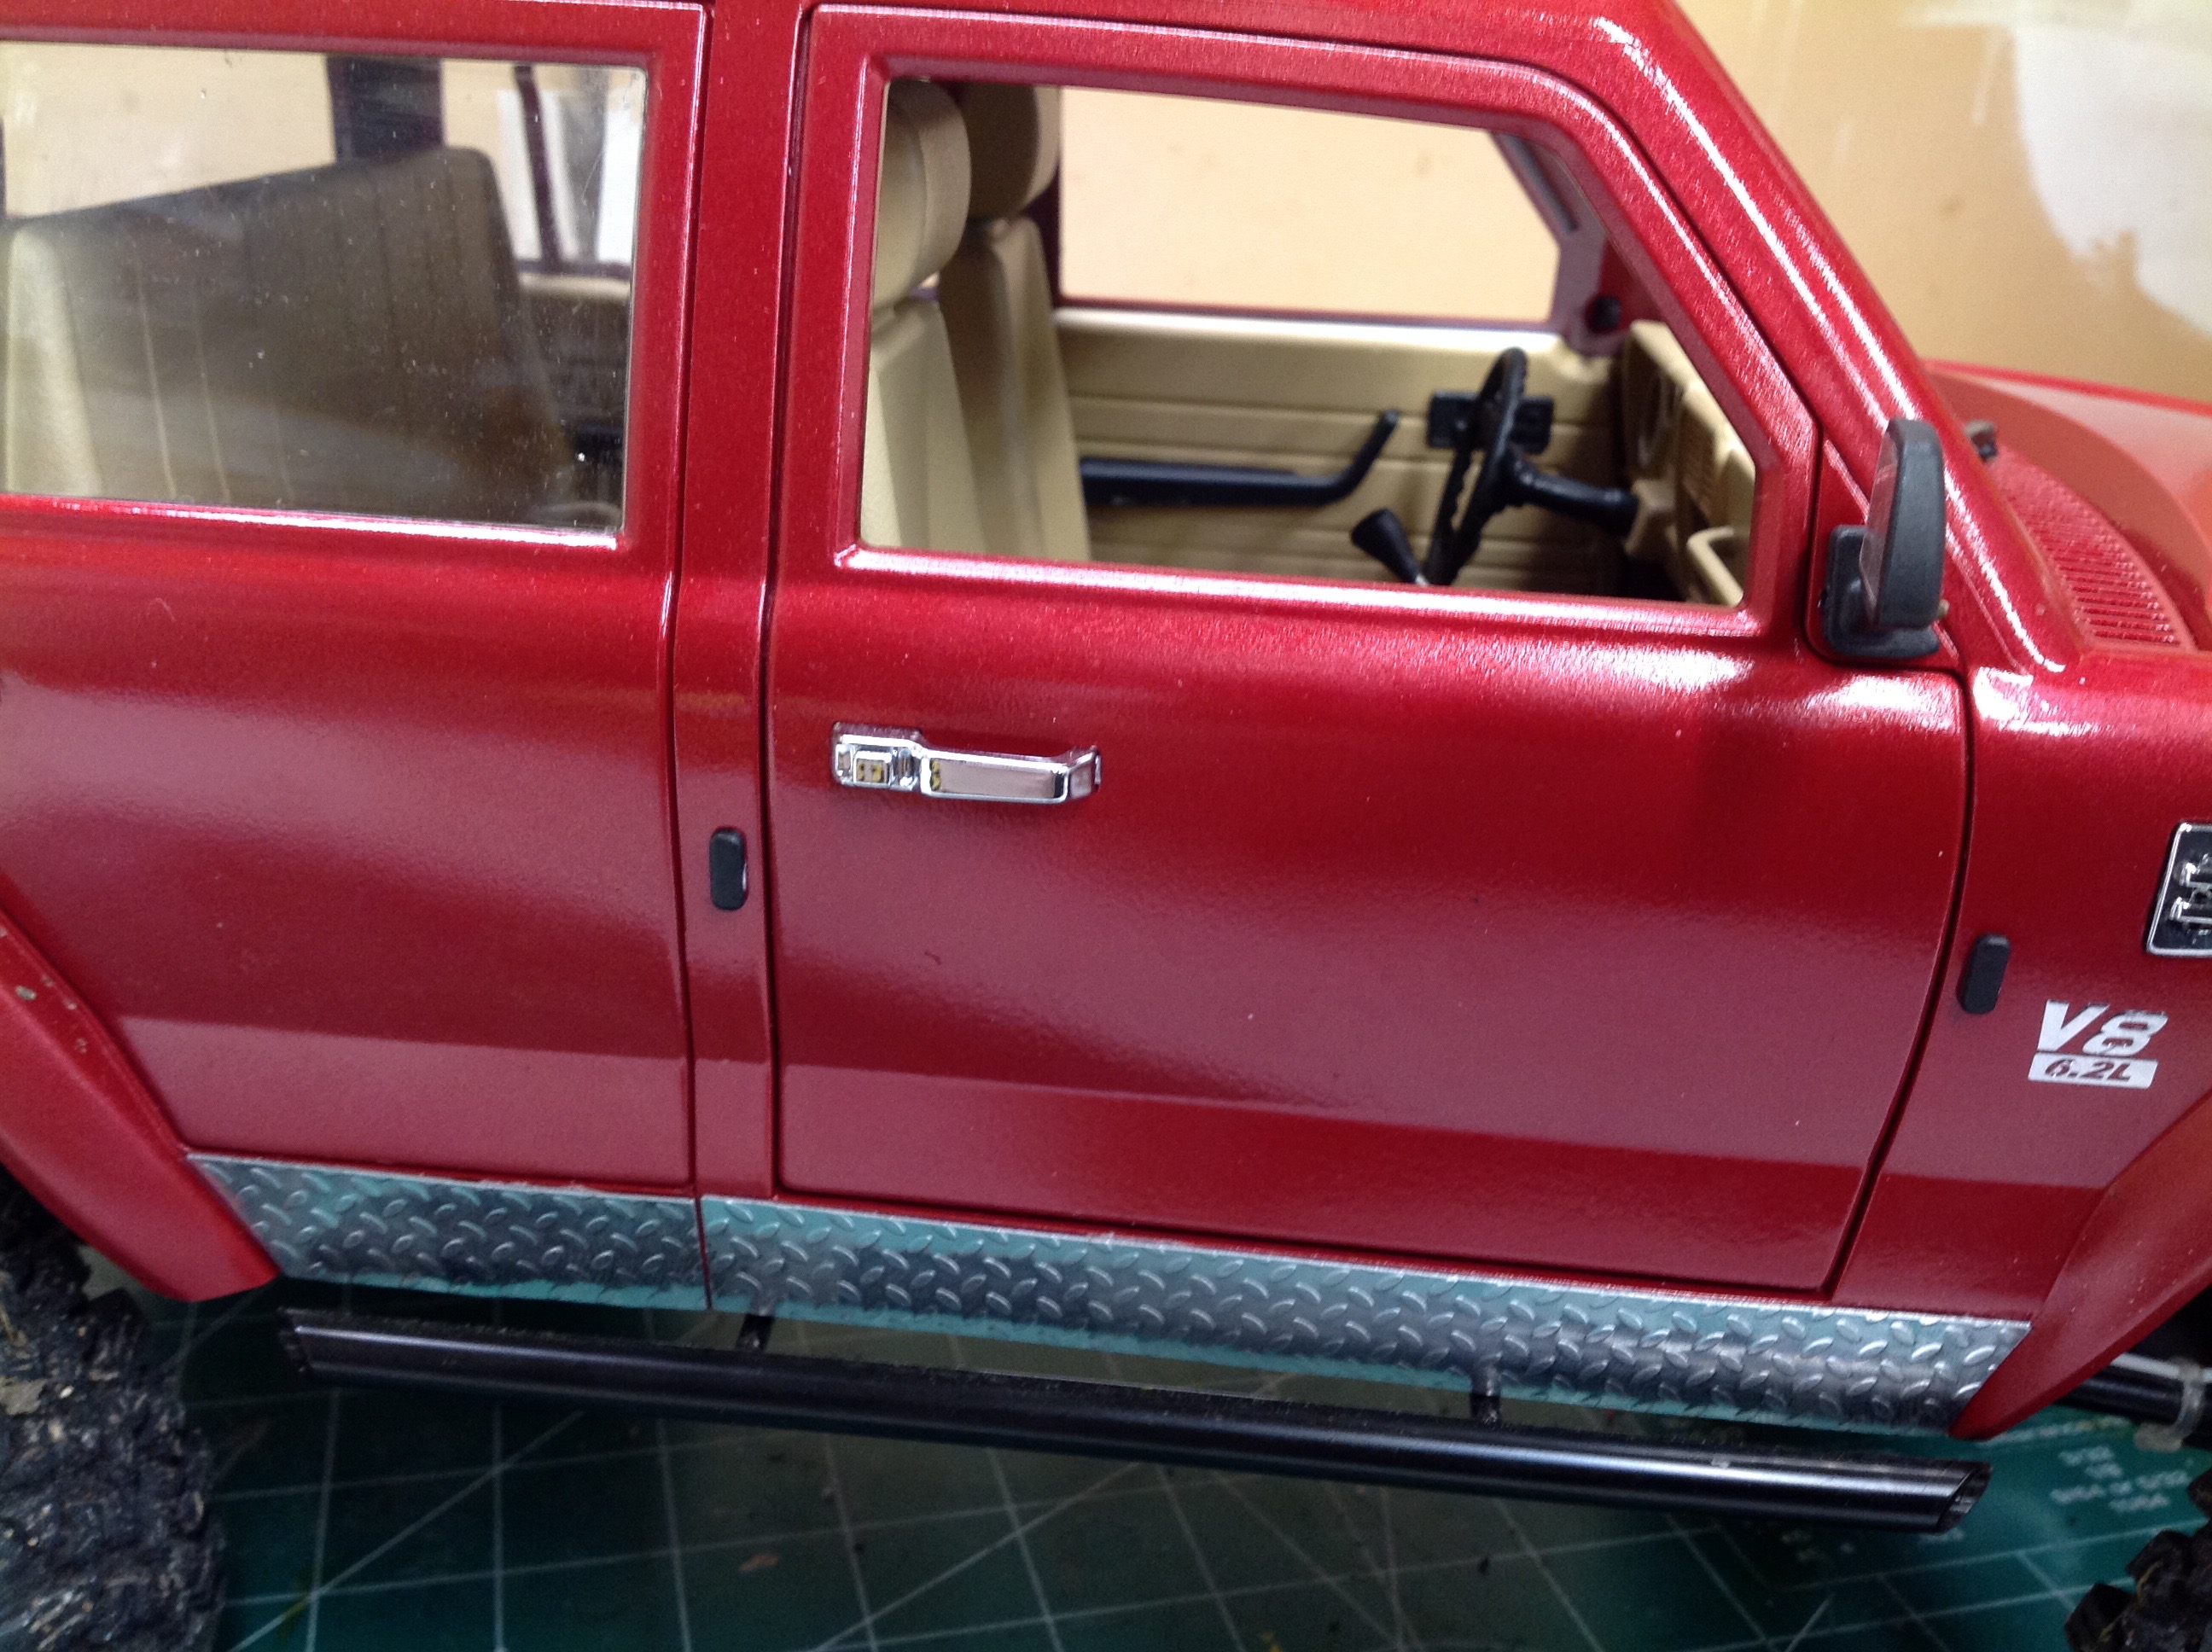
once assembled. The right hand image shows the seats installed alont with exterior door handles, mirrors, and wipers.
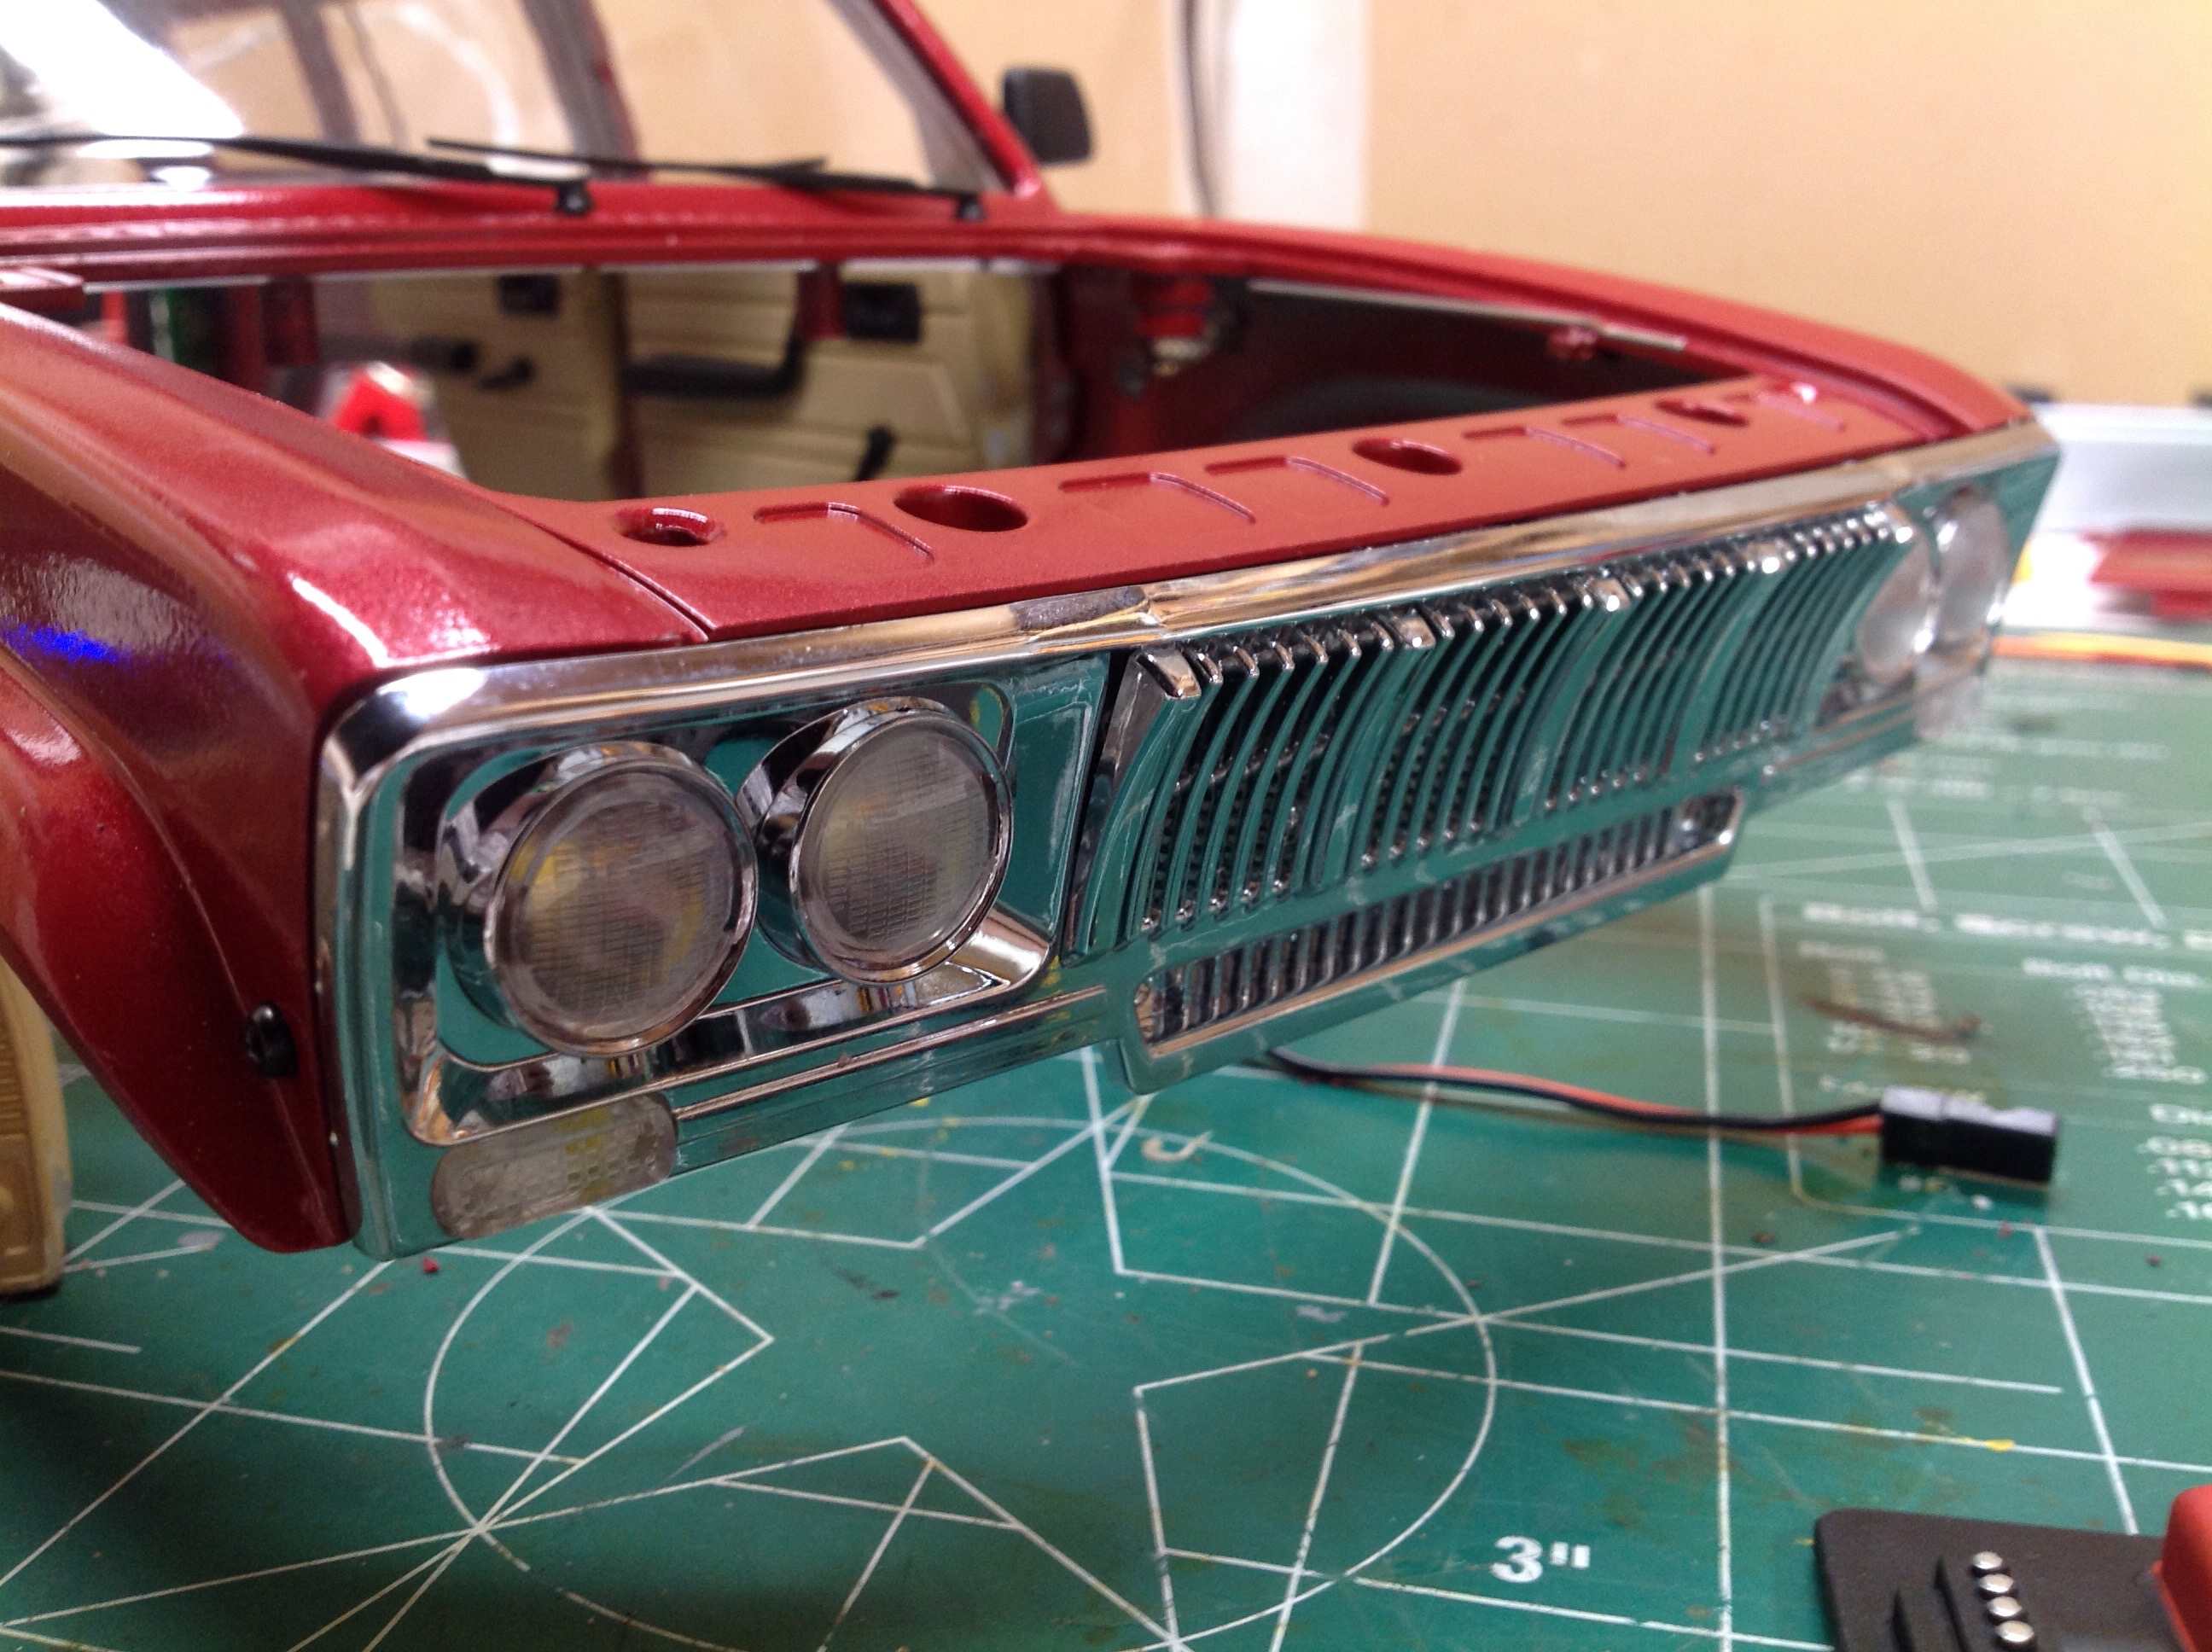
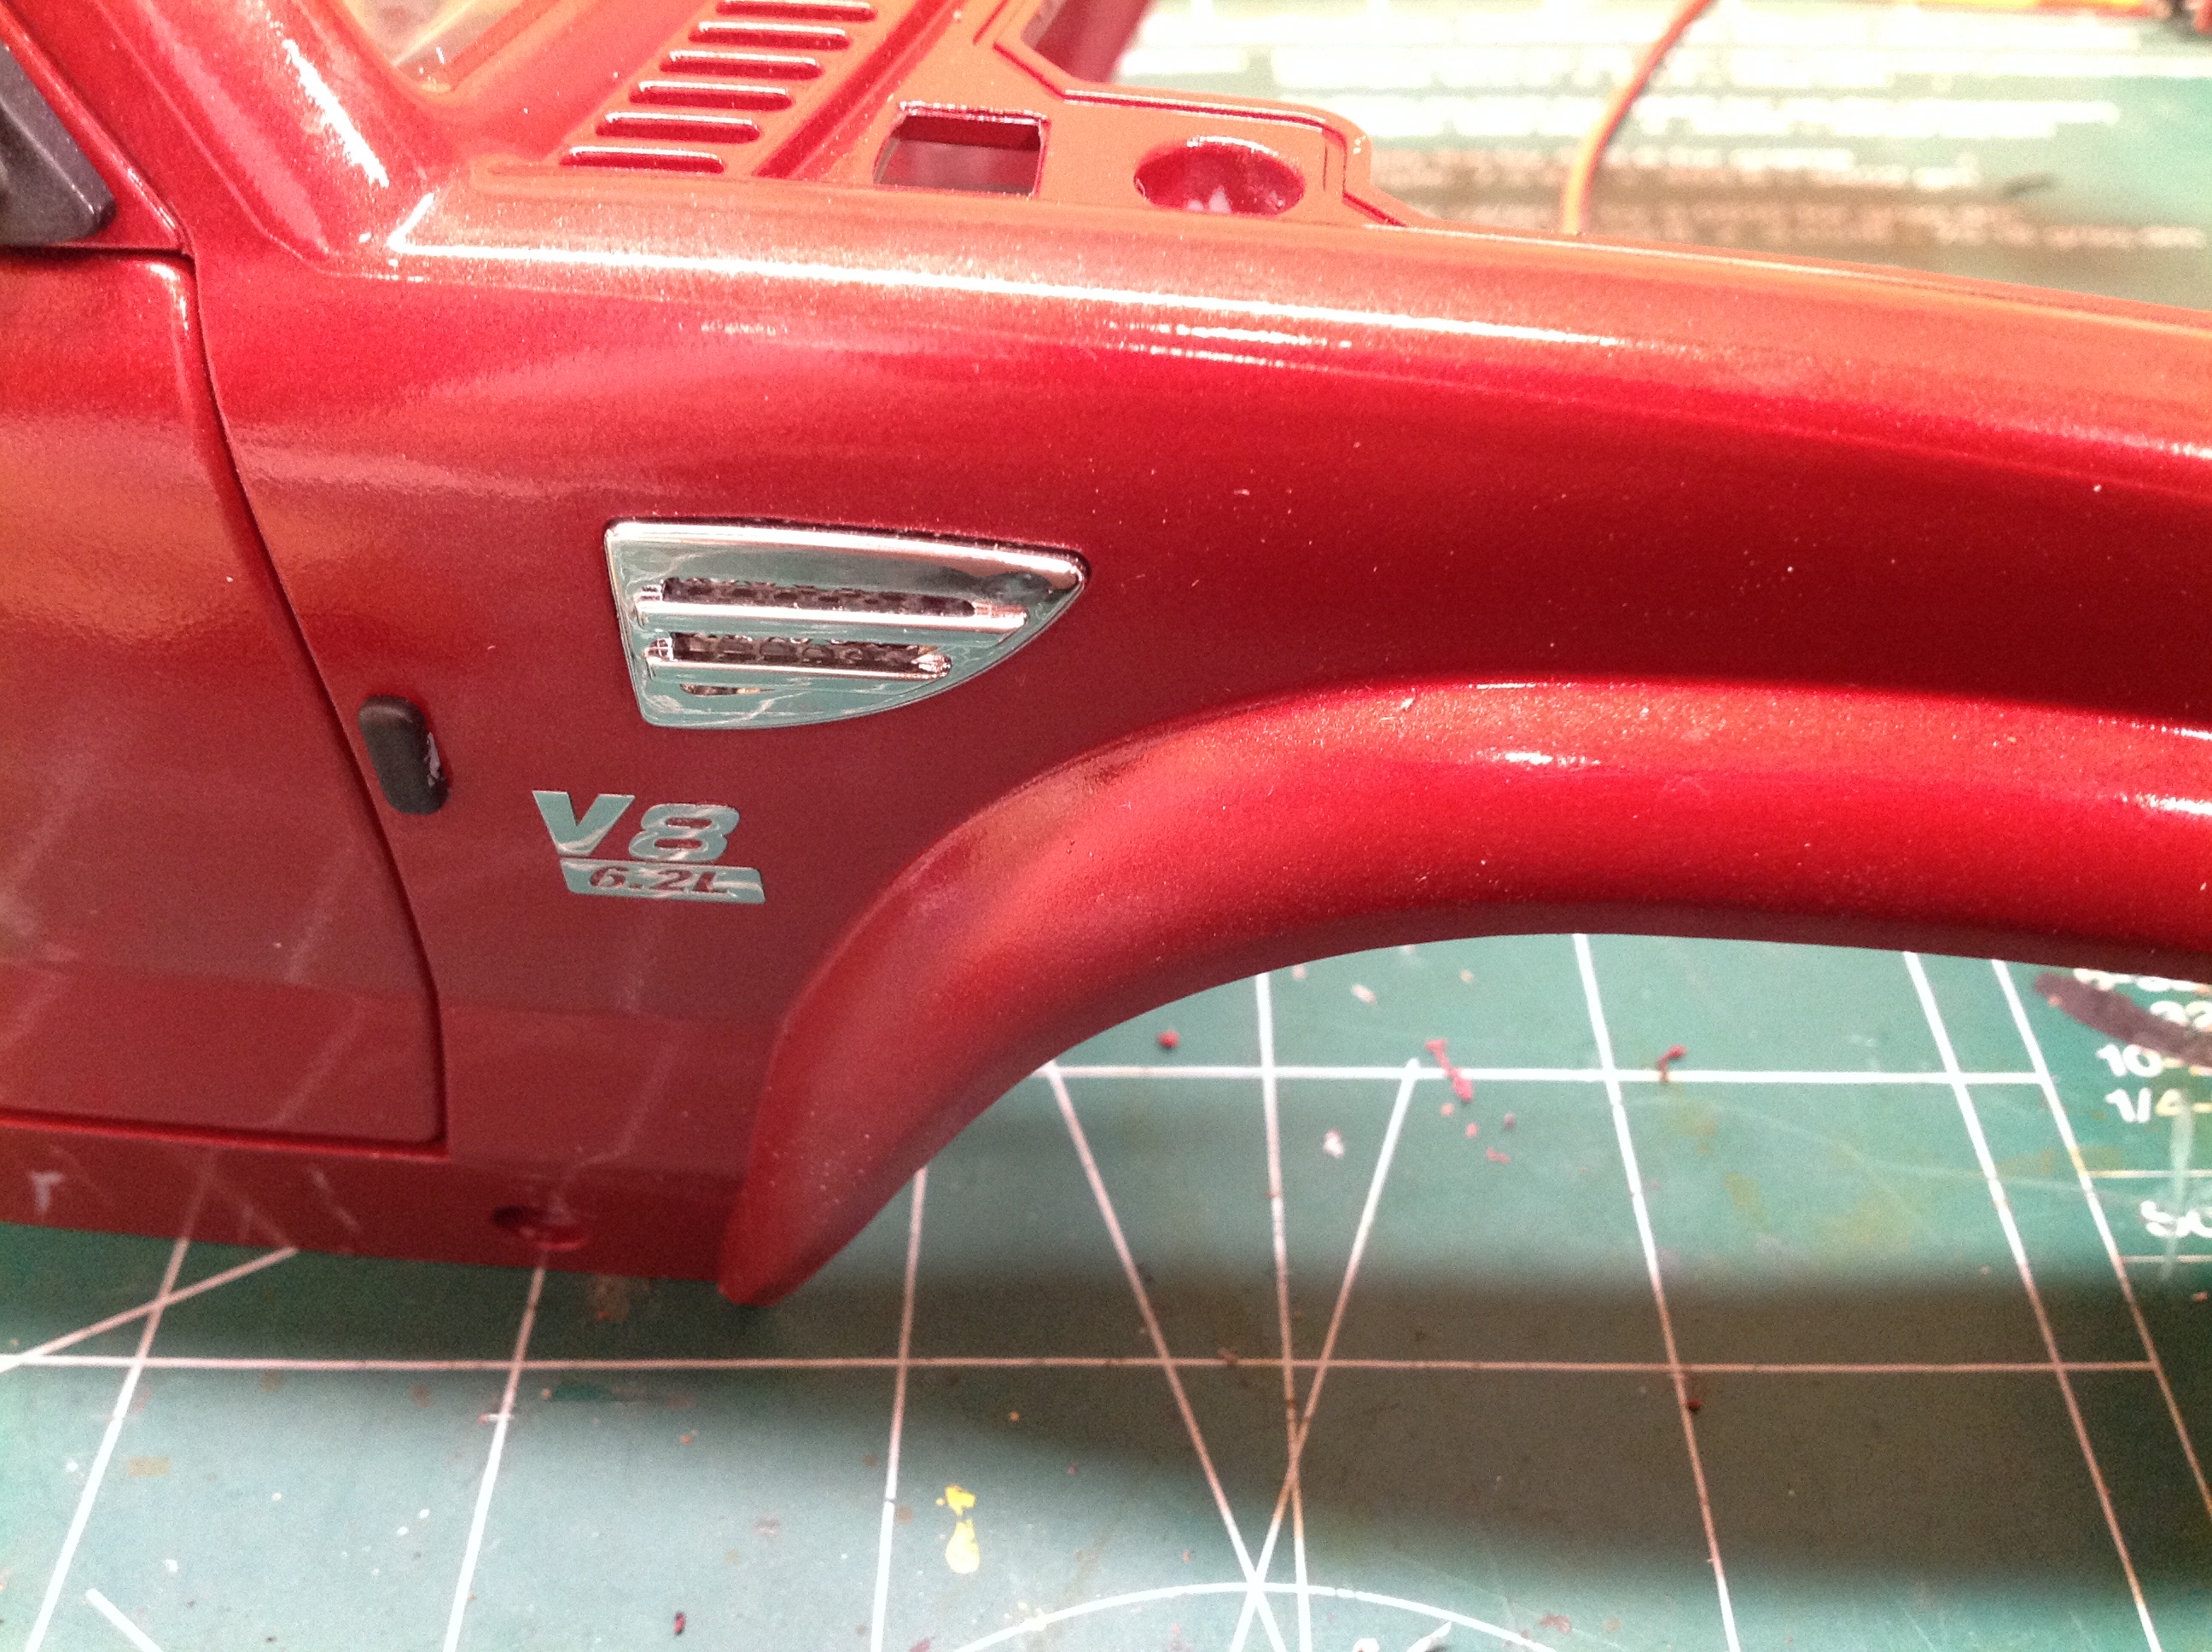
Let's take a look at some more exterior details. The standard SU-4
kit has rectangular headlights, but the SU-4C flagship version includes
an additional grille part with round headlights. There are plenty
of other chrome details on the body including vents and metal transfer
emblems as shown.
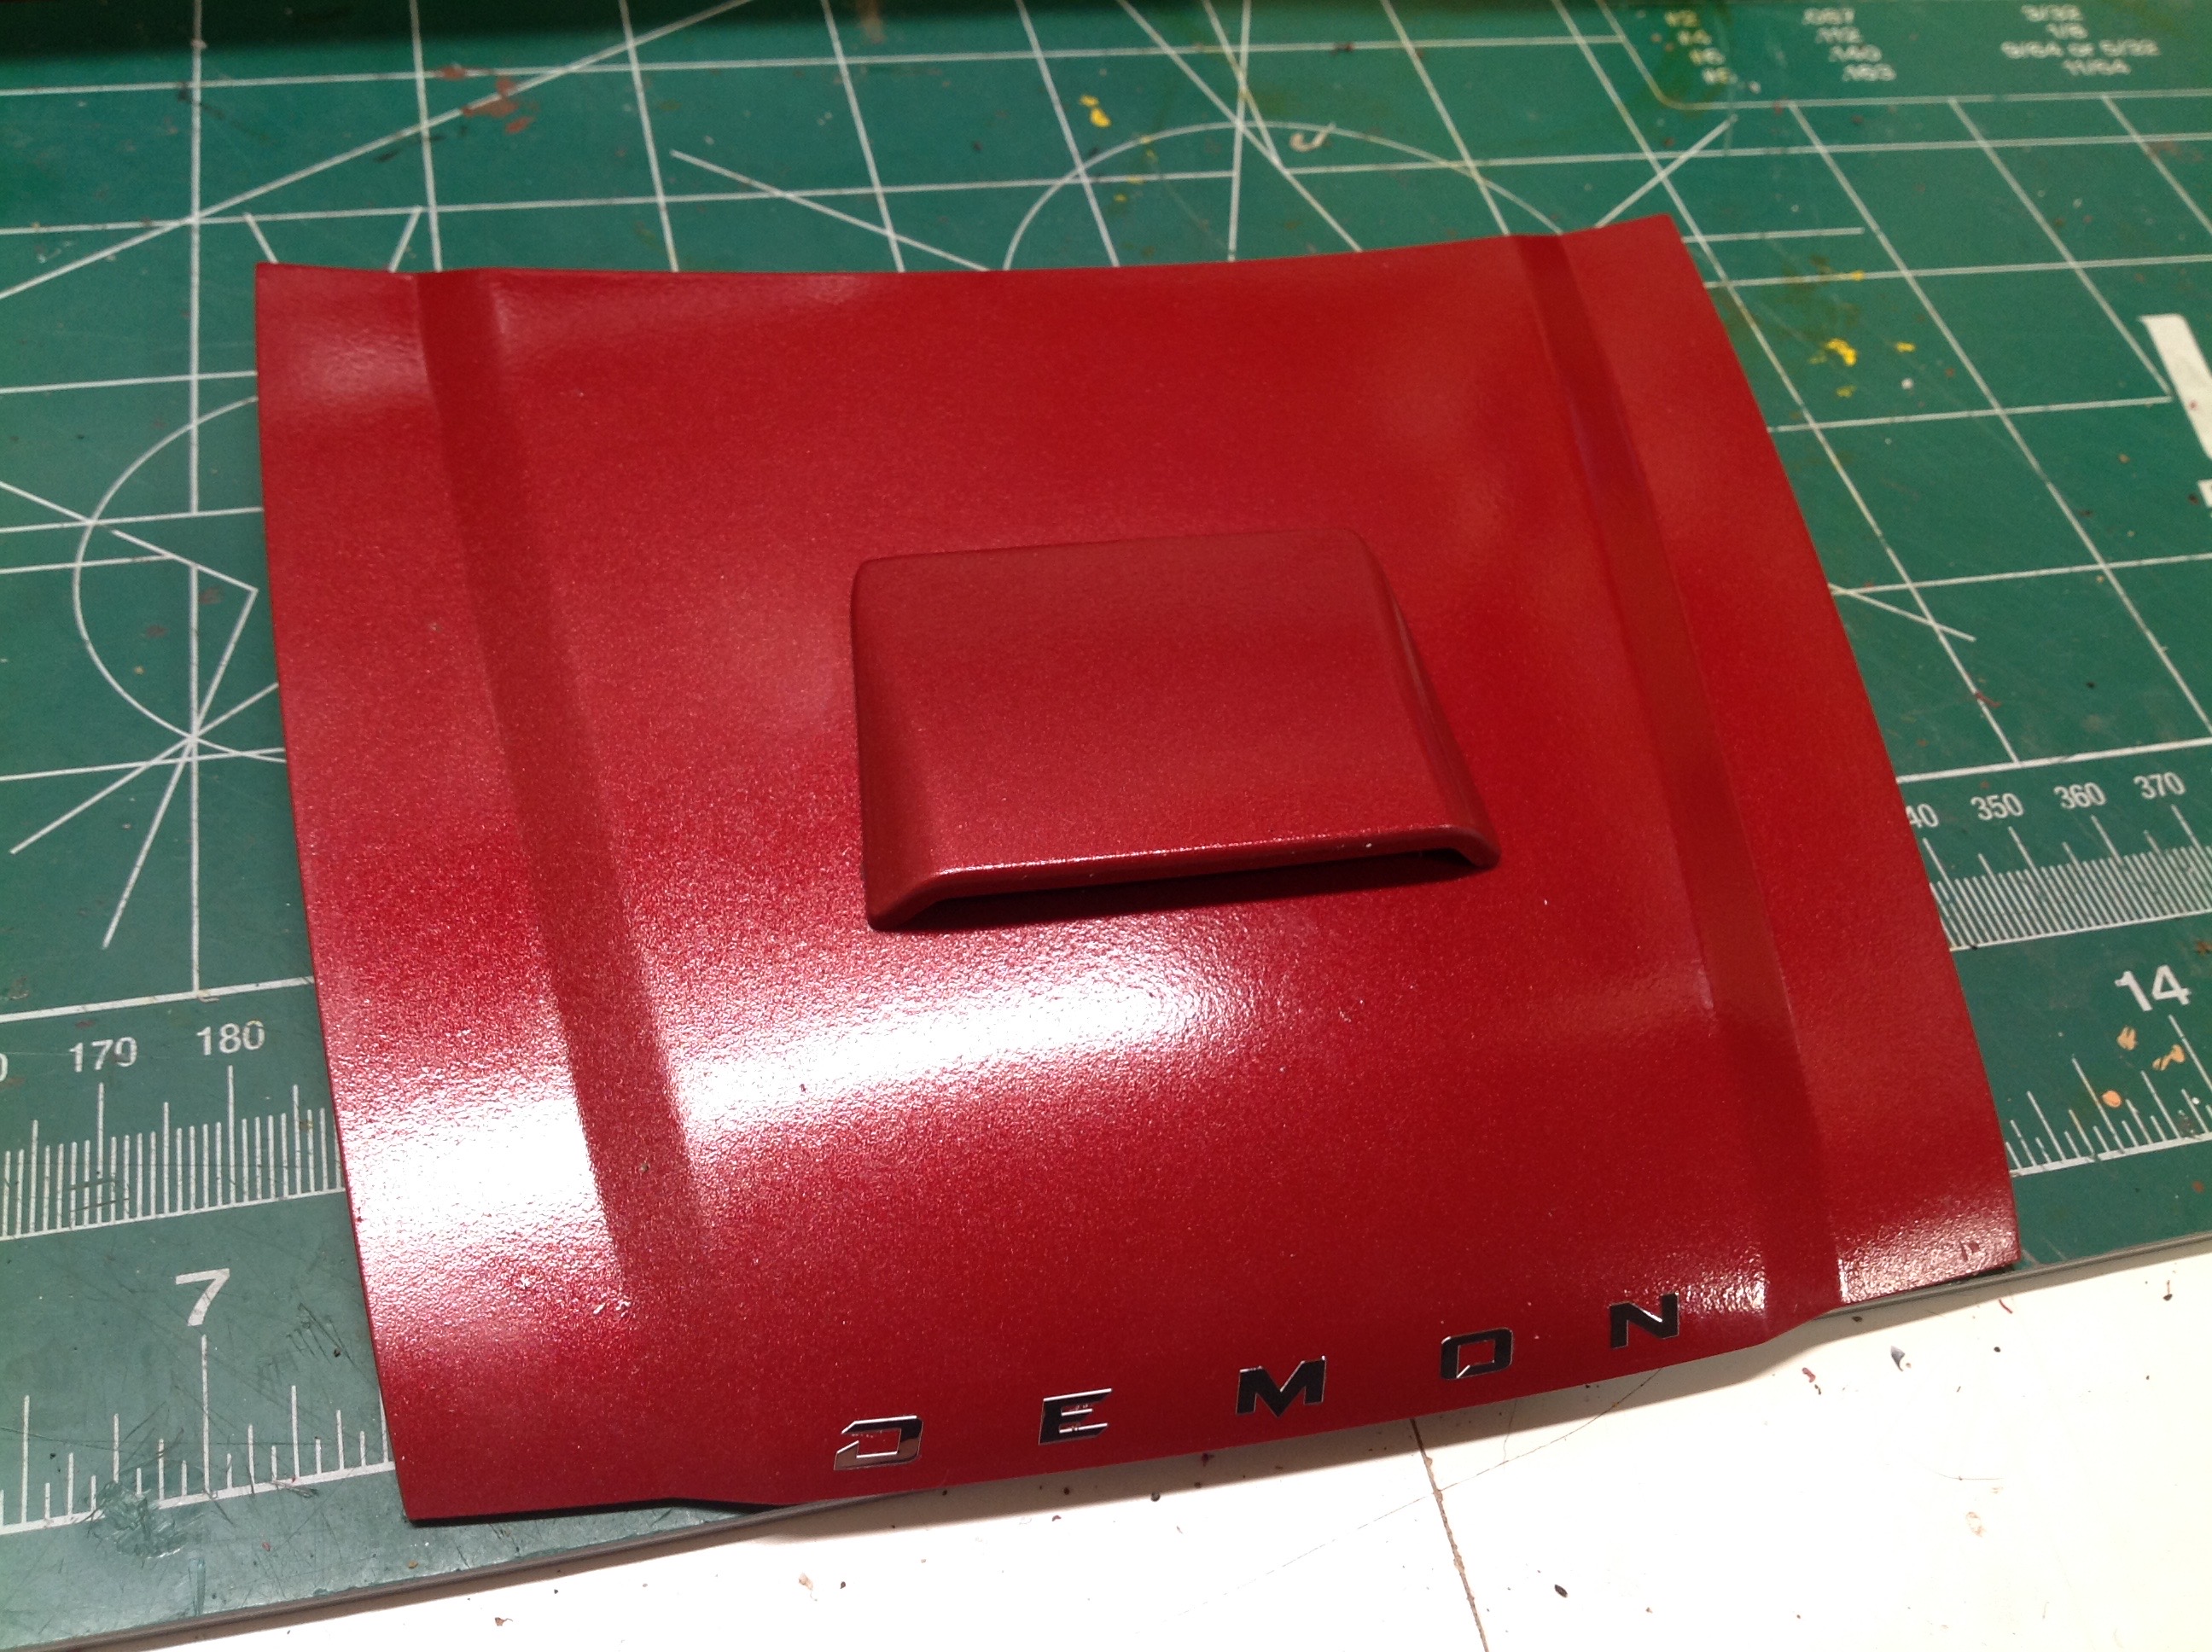
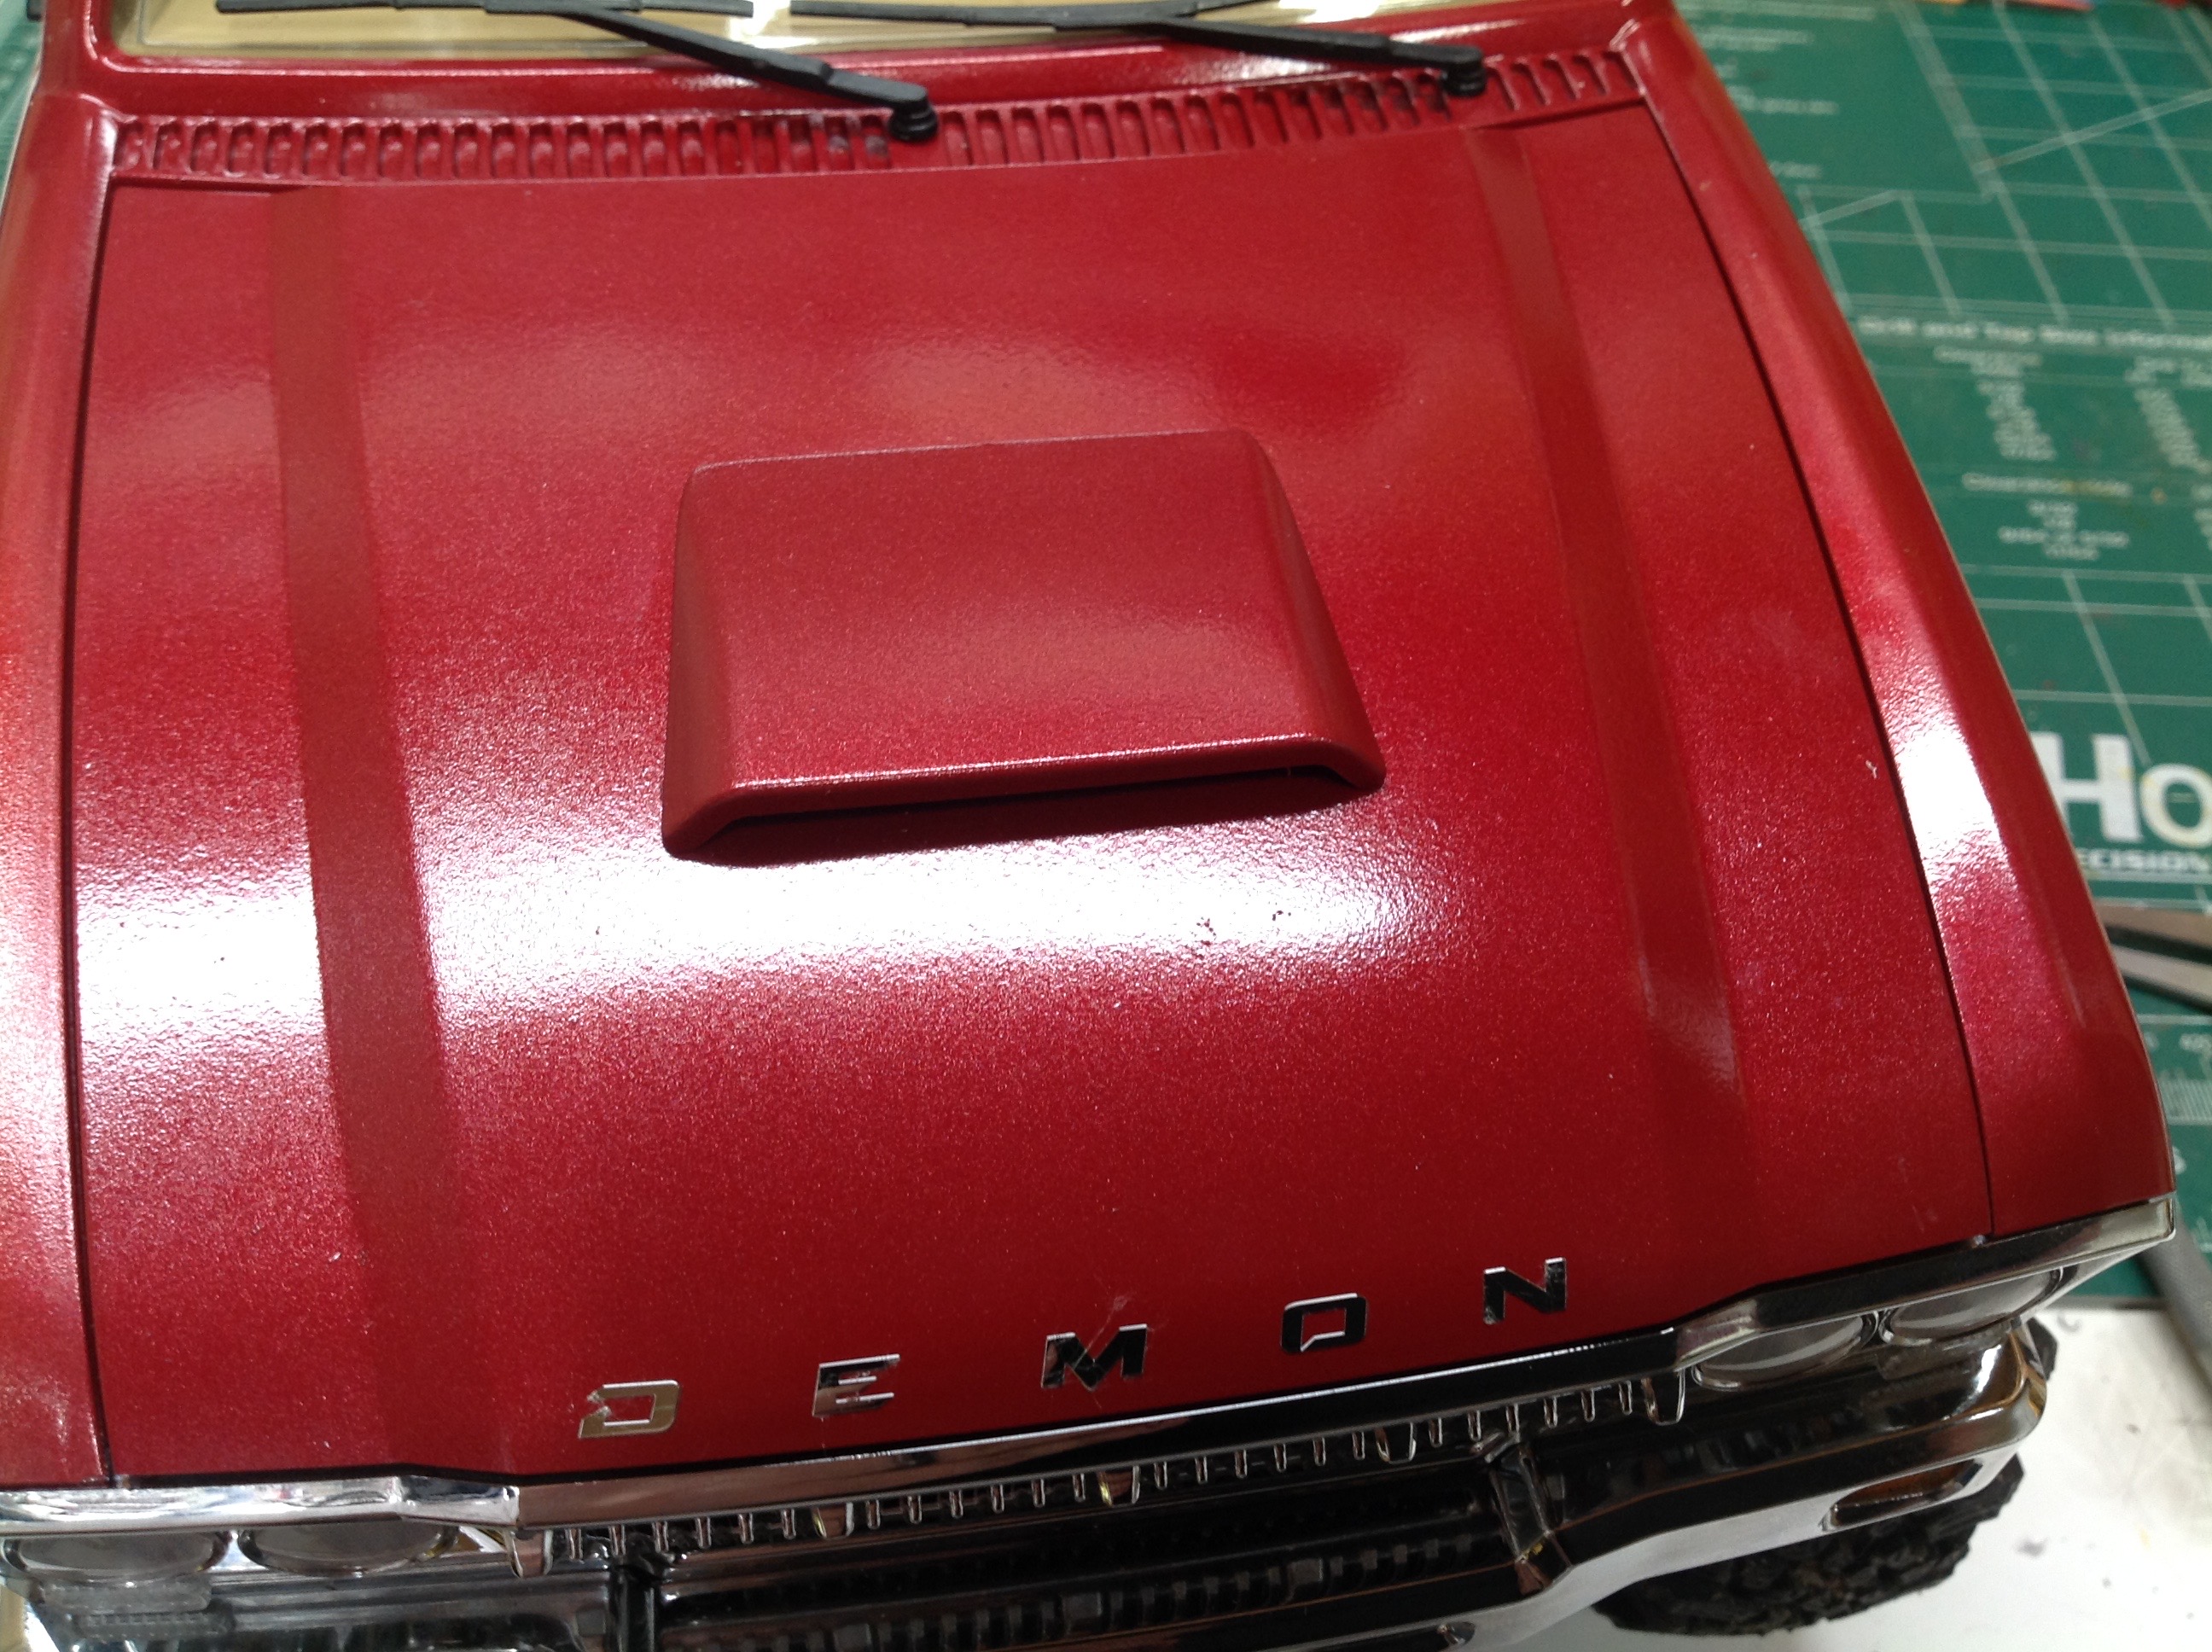
The kit includes an opening hood with an optional scoop. Under
that is a faux engine panel which I tried to take my time to
detail. Because of the size of my brushless motor and, in
particular, the unique AXE sensor wire, I had to cut away quite a bit of
one of the cylinder heads to make room. Thankfully, it doesn't
look too bad.
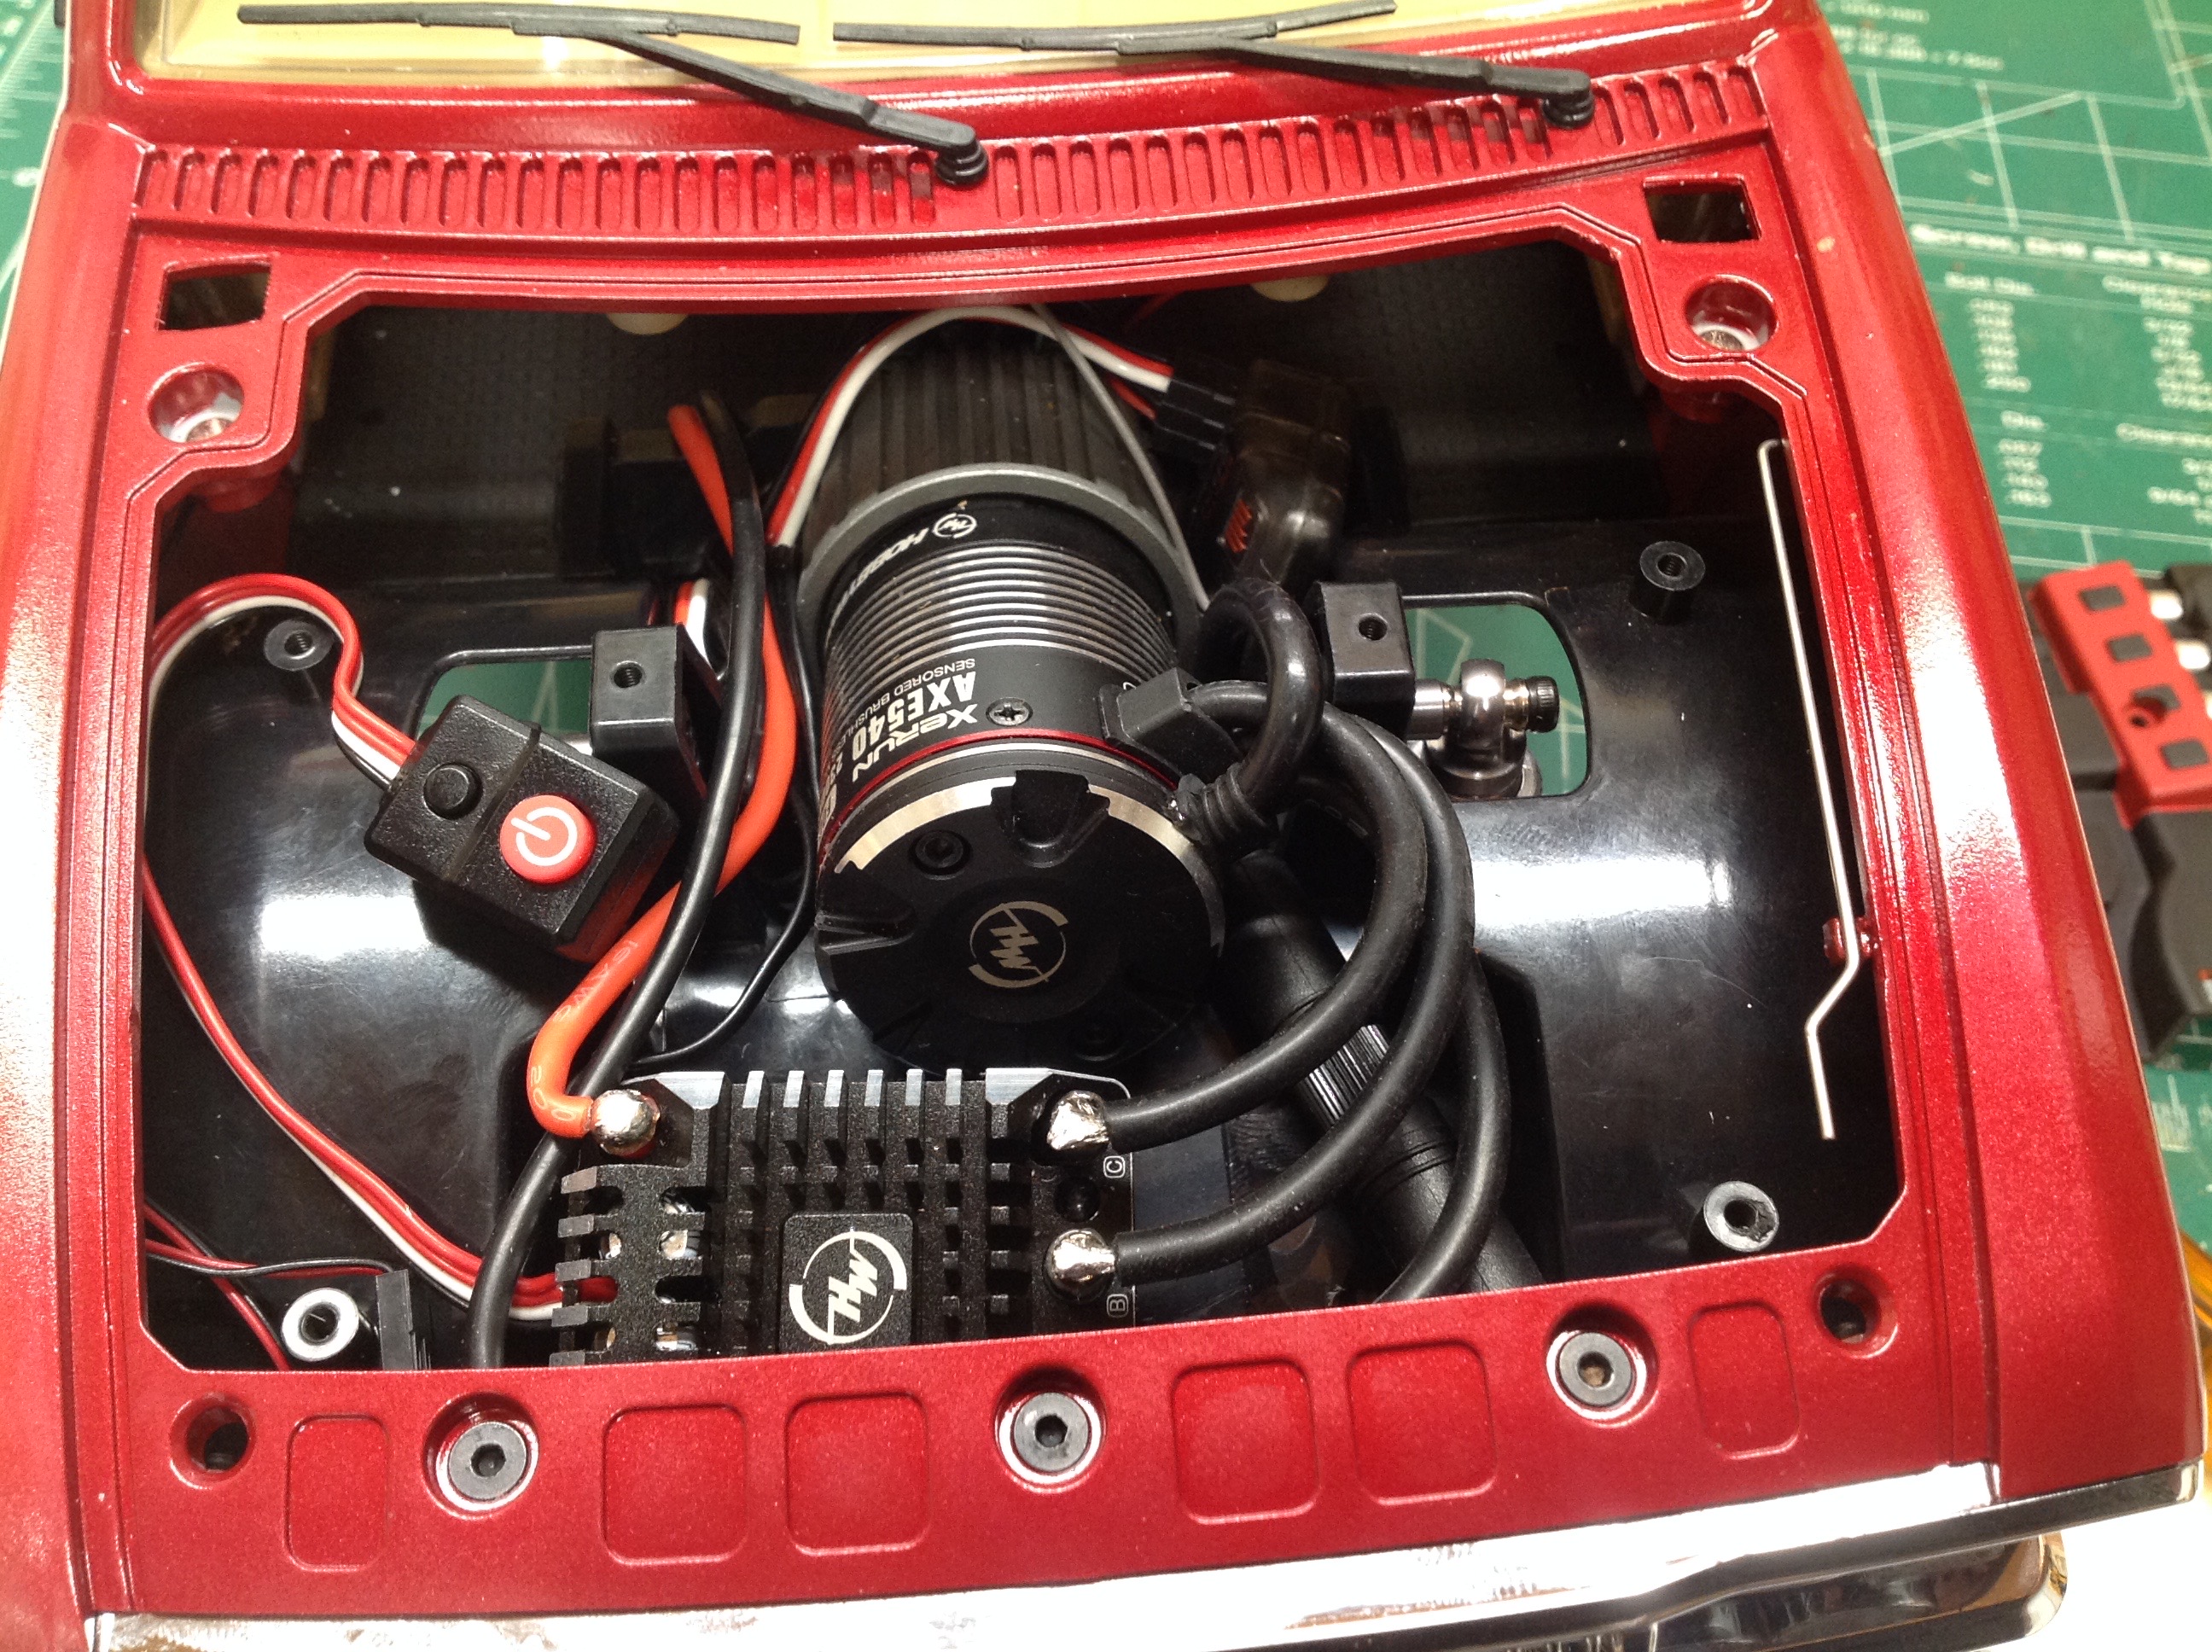
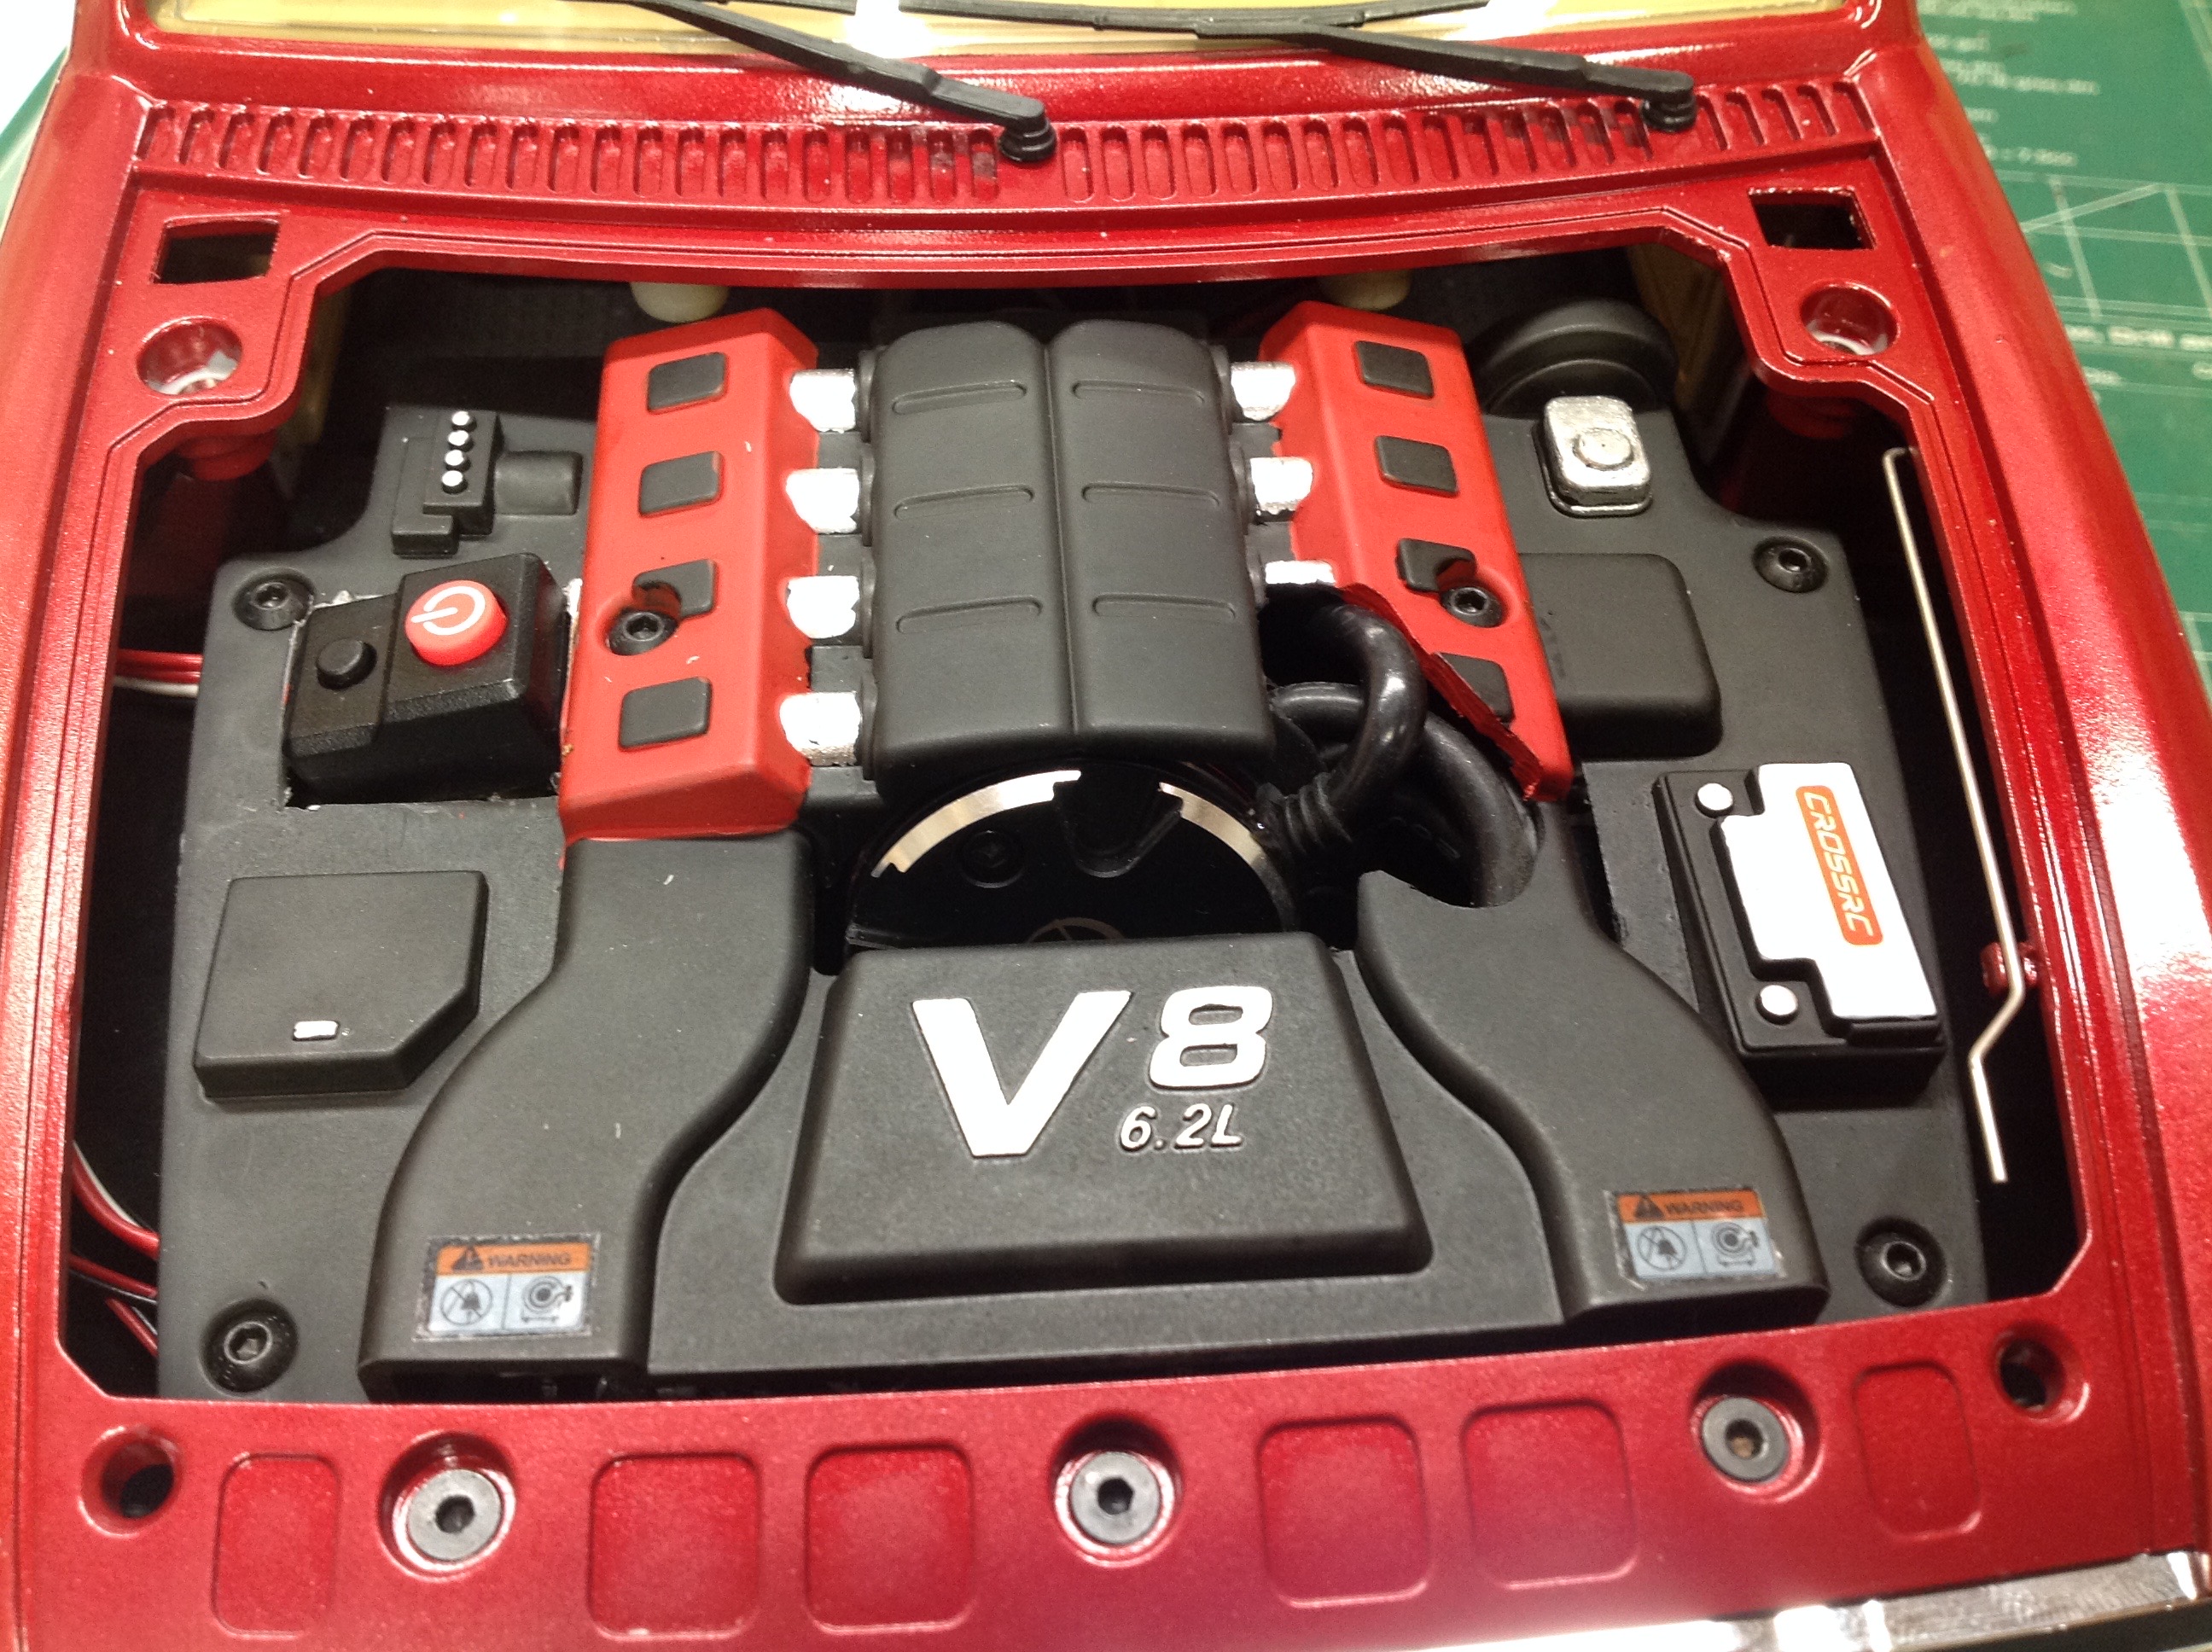
This pair of pictures shows the space under the hood with and without
the engine cover. Without the cover you can see the motor, ESC,
and power switch. I had to cut and solder the wires to be as short
and direct as possible. On the right you can see the installed
engine. The motor is visible under the intake manifold, and you
can see where I cut out a slot to make room for the power switch.
Normally I like to hide it, but with the color and style it actually
looks like it belongs under the hood here.
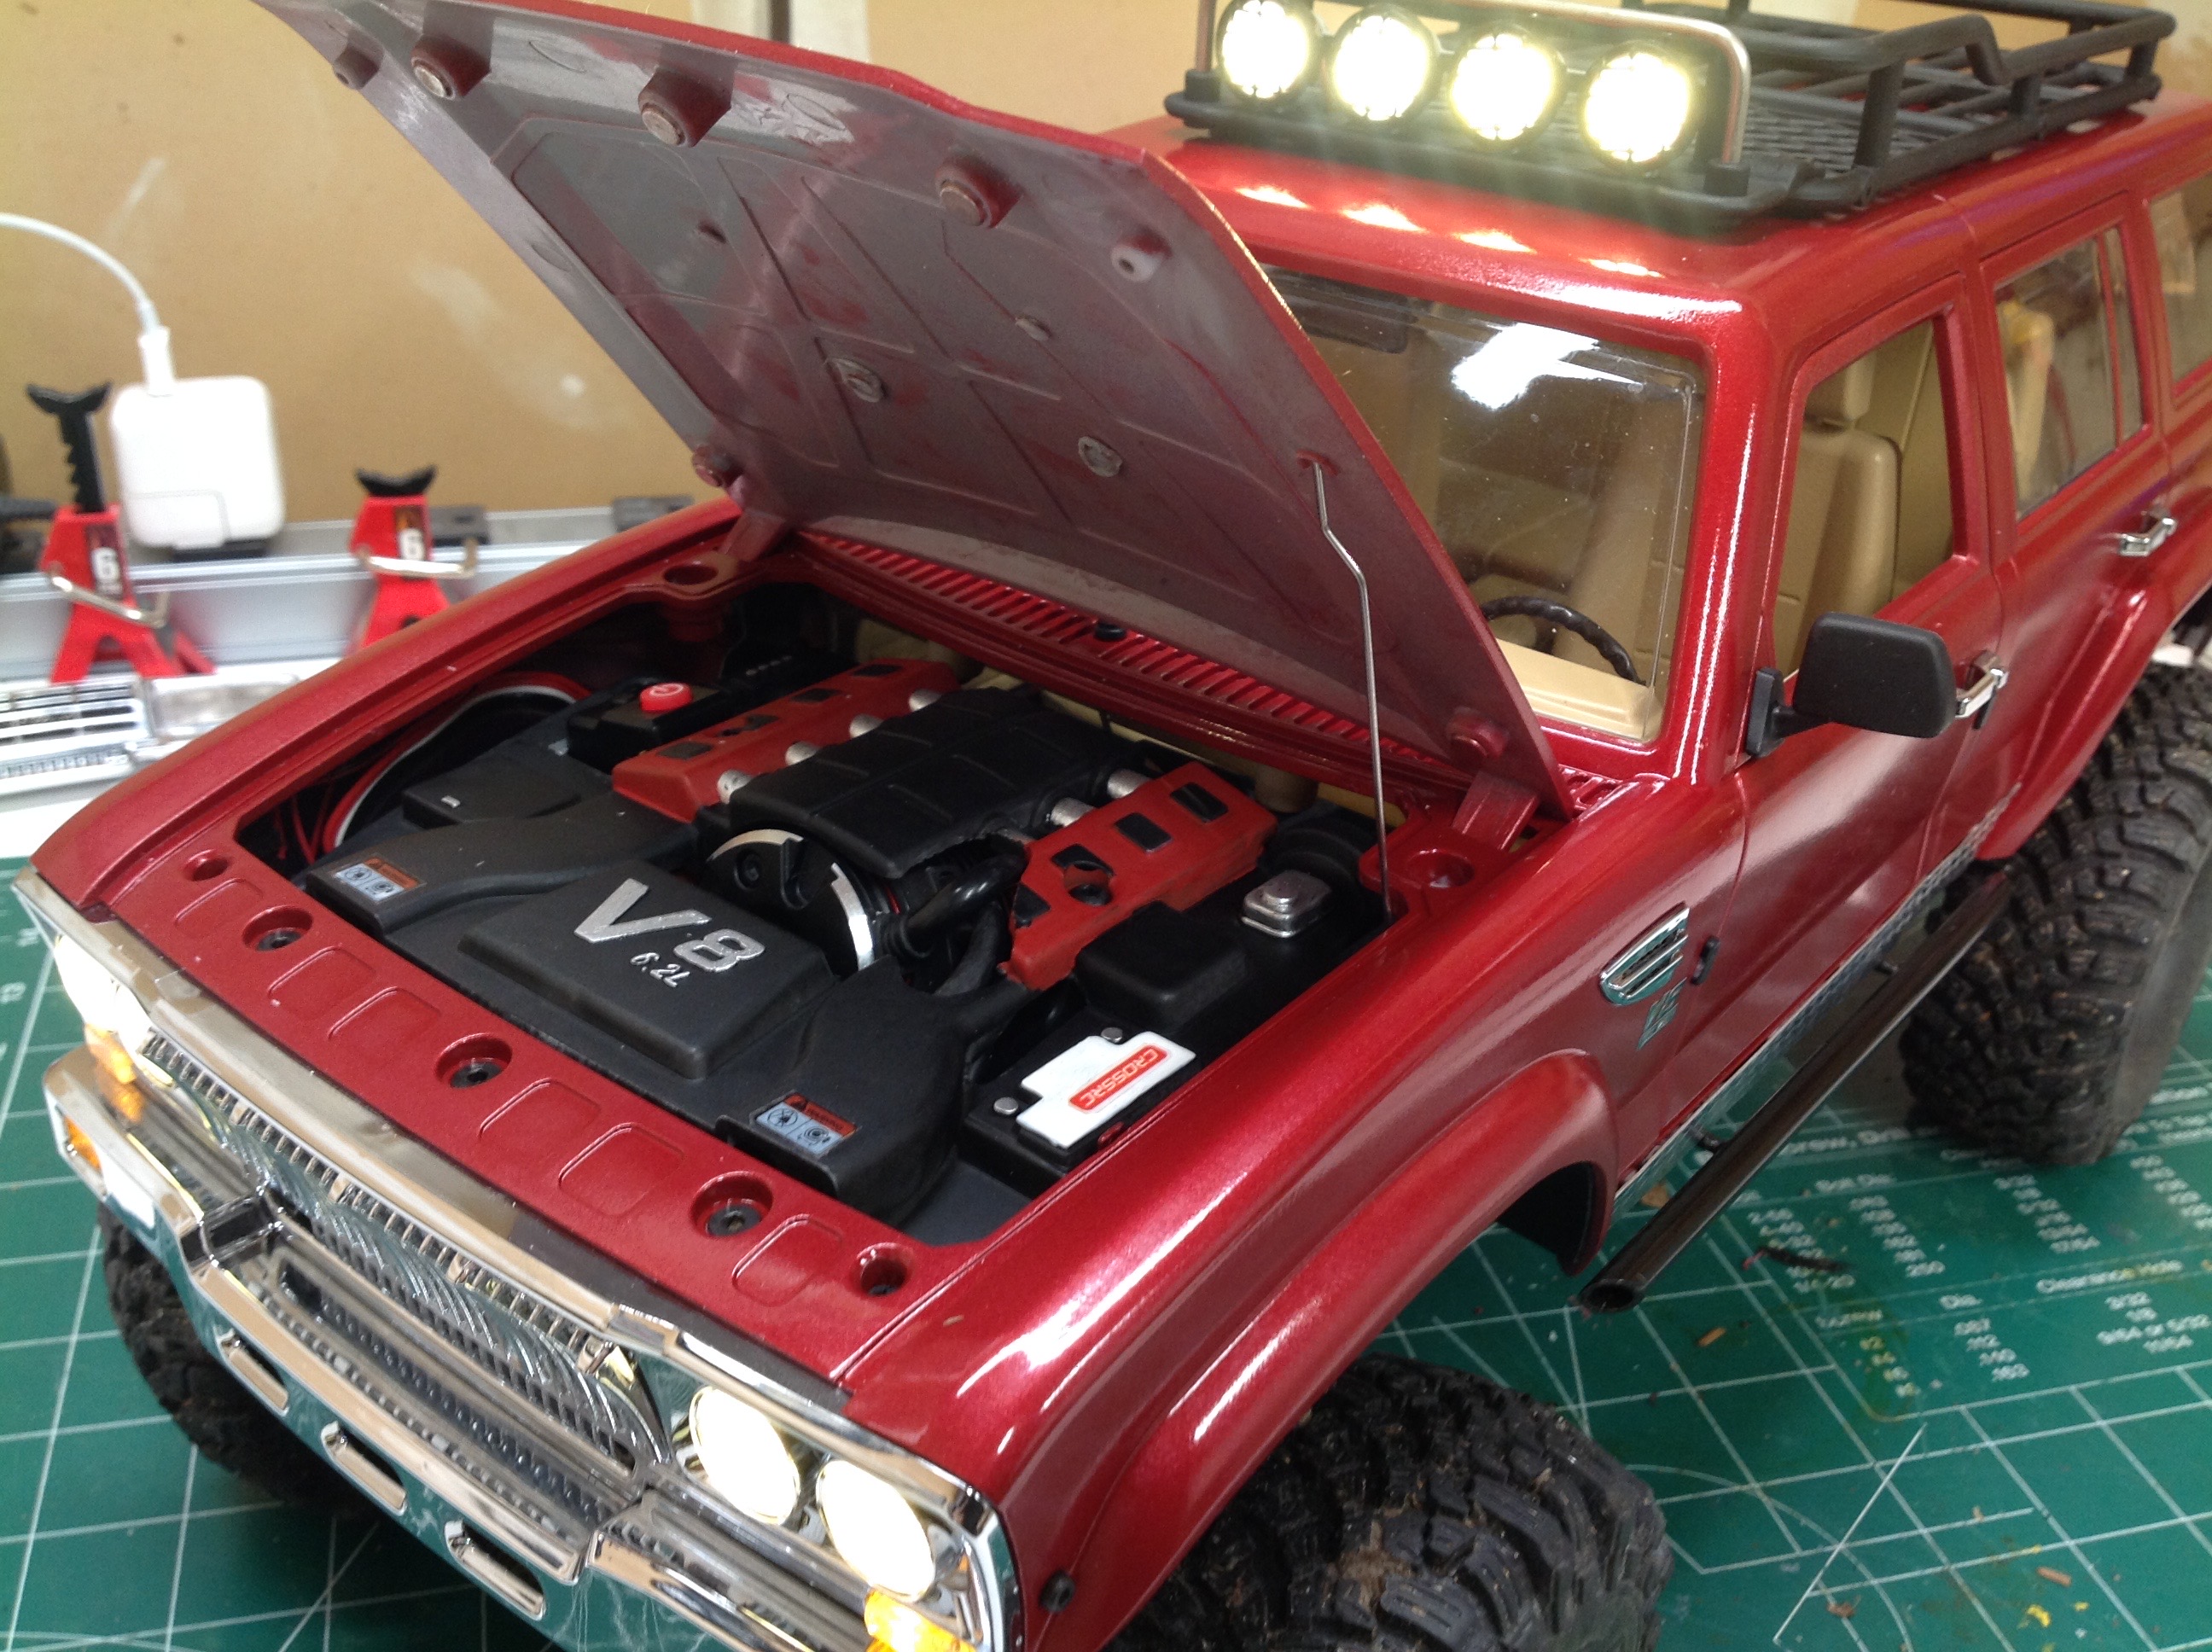
Here is the hood open and closed. There is a rod to hold the hood
up when open. You can also see the three magnets which hold the
hood closed. They grab screw heads where the radiator would
be. There are no hinges for the hood so it can just be lifted off
at any time.
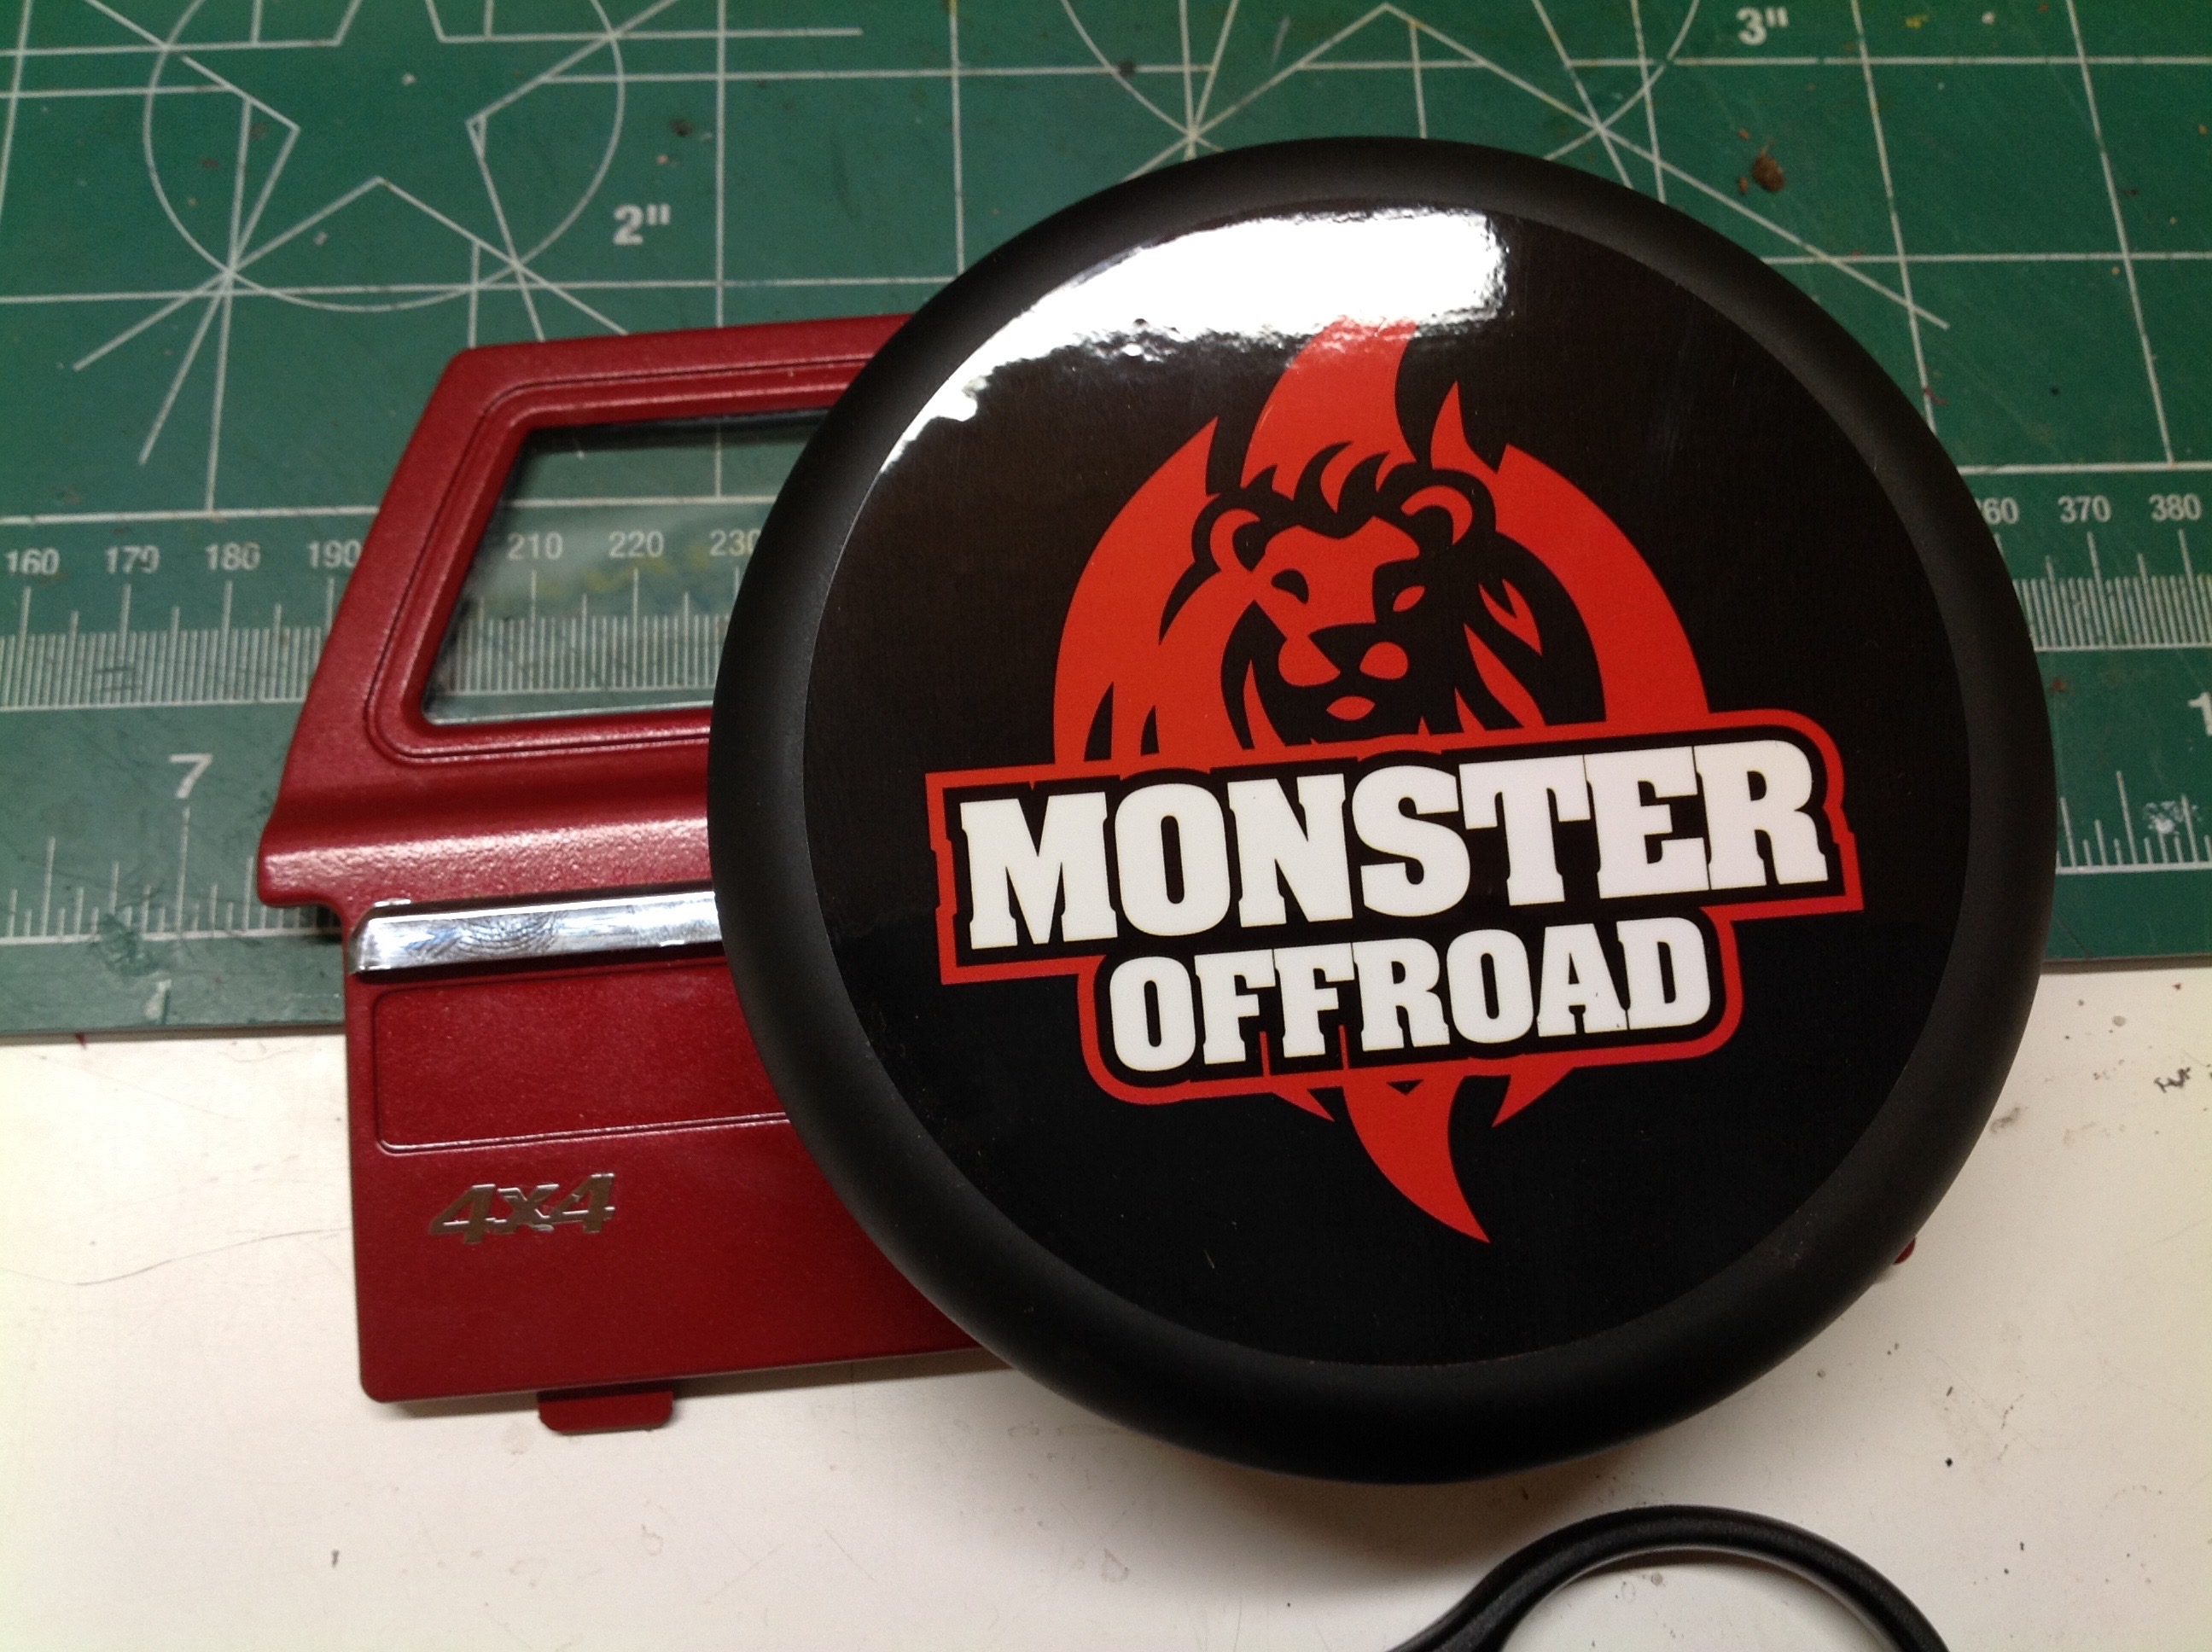
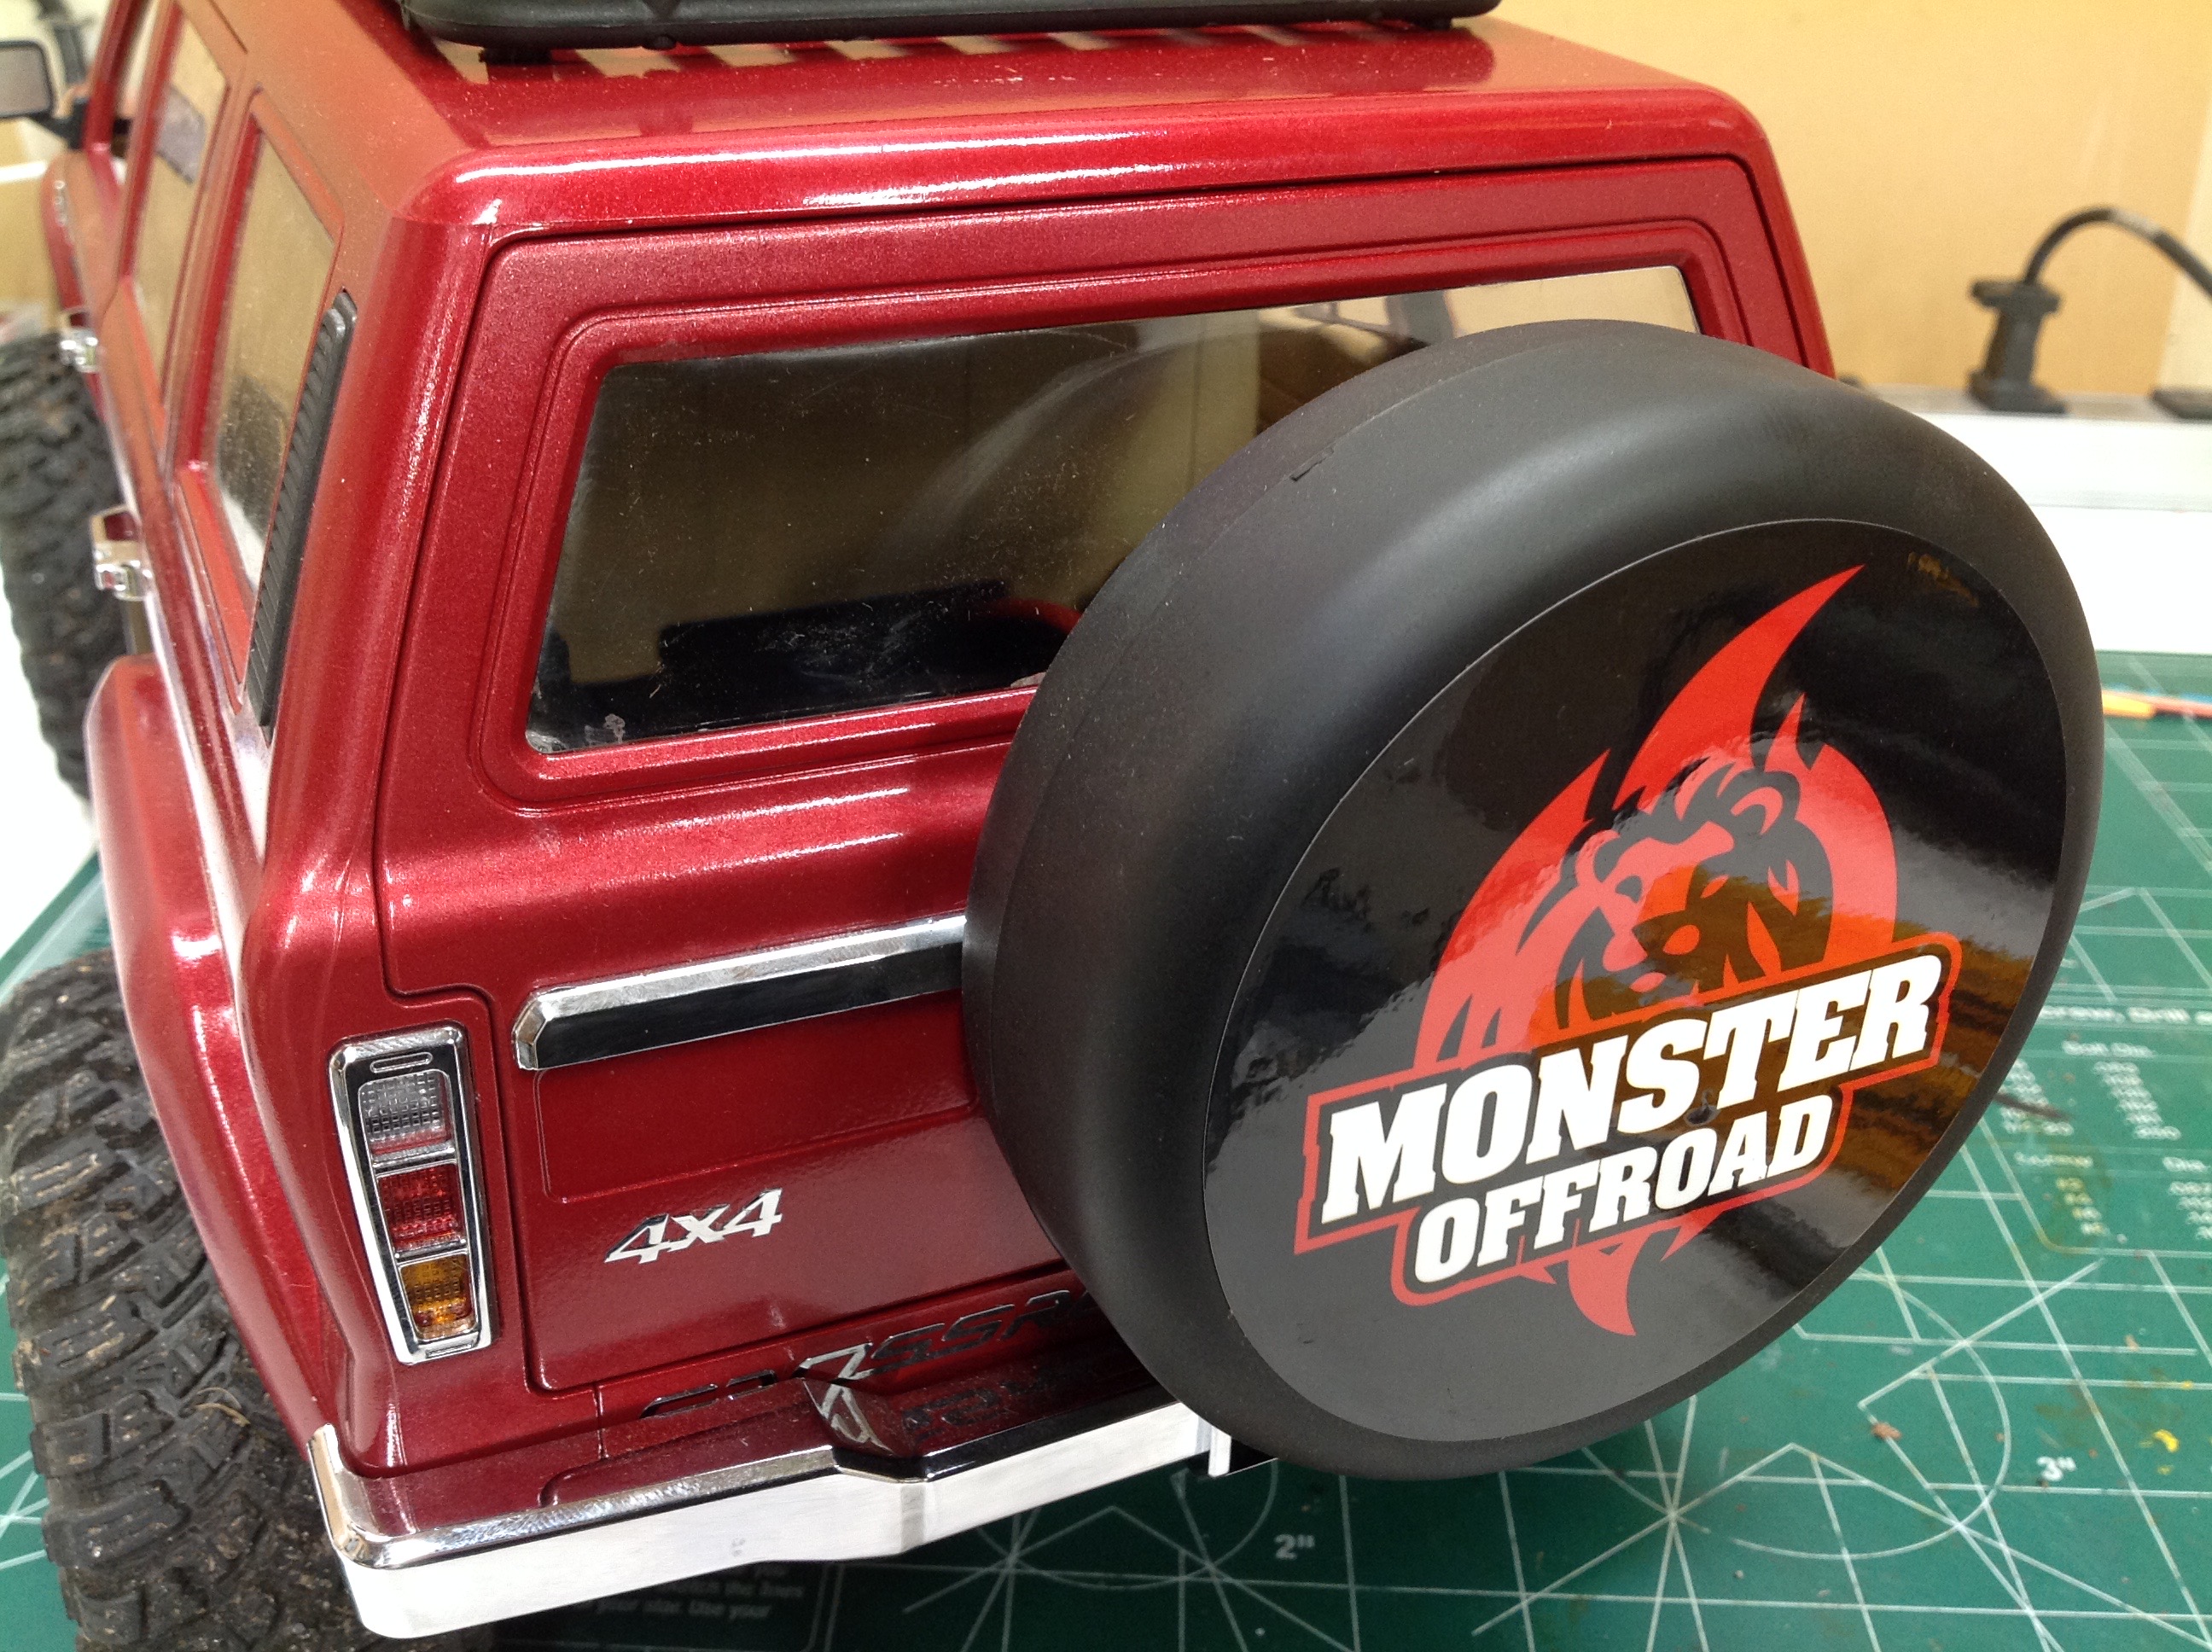
The rear door is provisioned for a spare tire. This is not a real
spare, just a round plastic cover. The kit comes with several
different sticker options for the spare. I chose this one because
it matches the color scheme I chose the best.
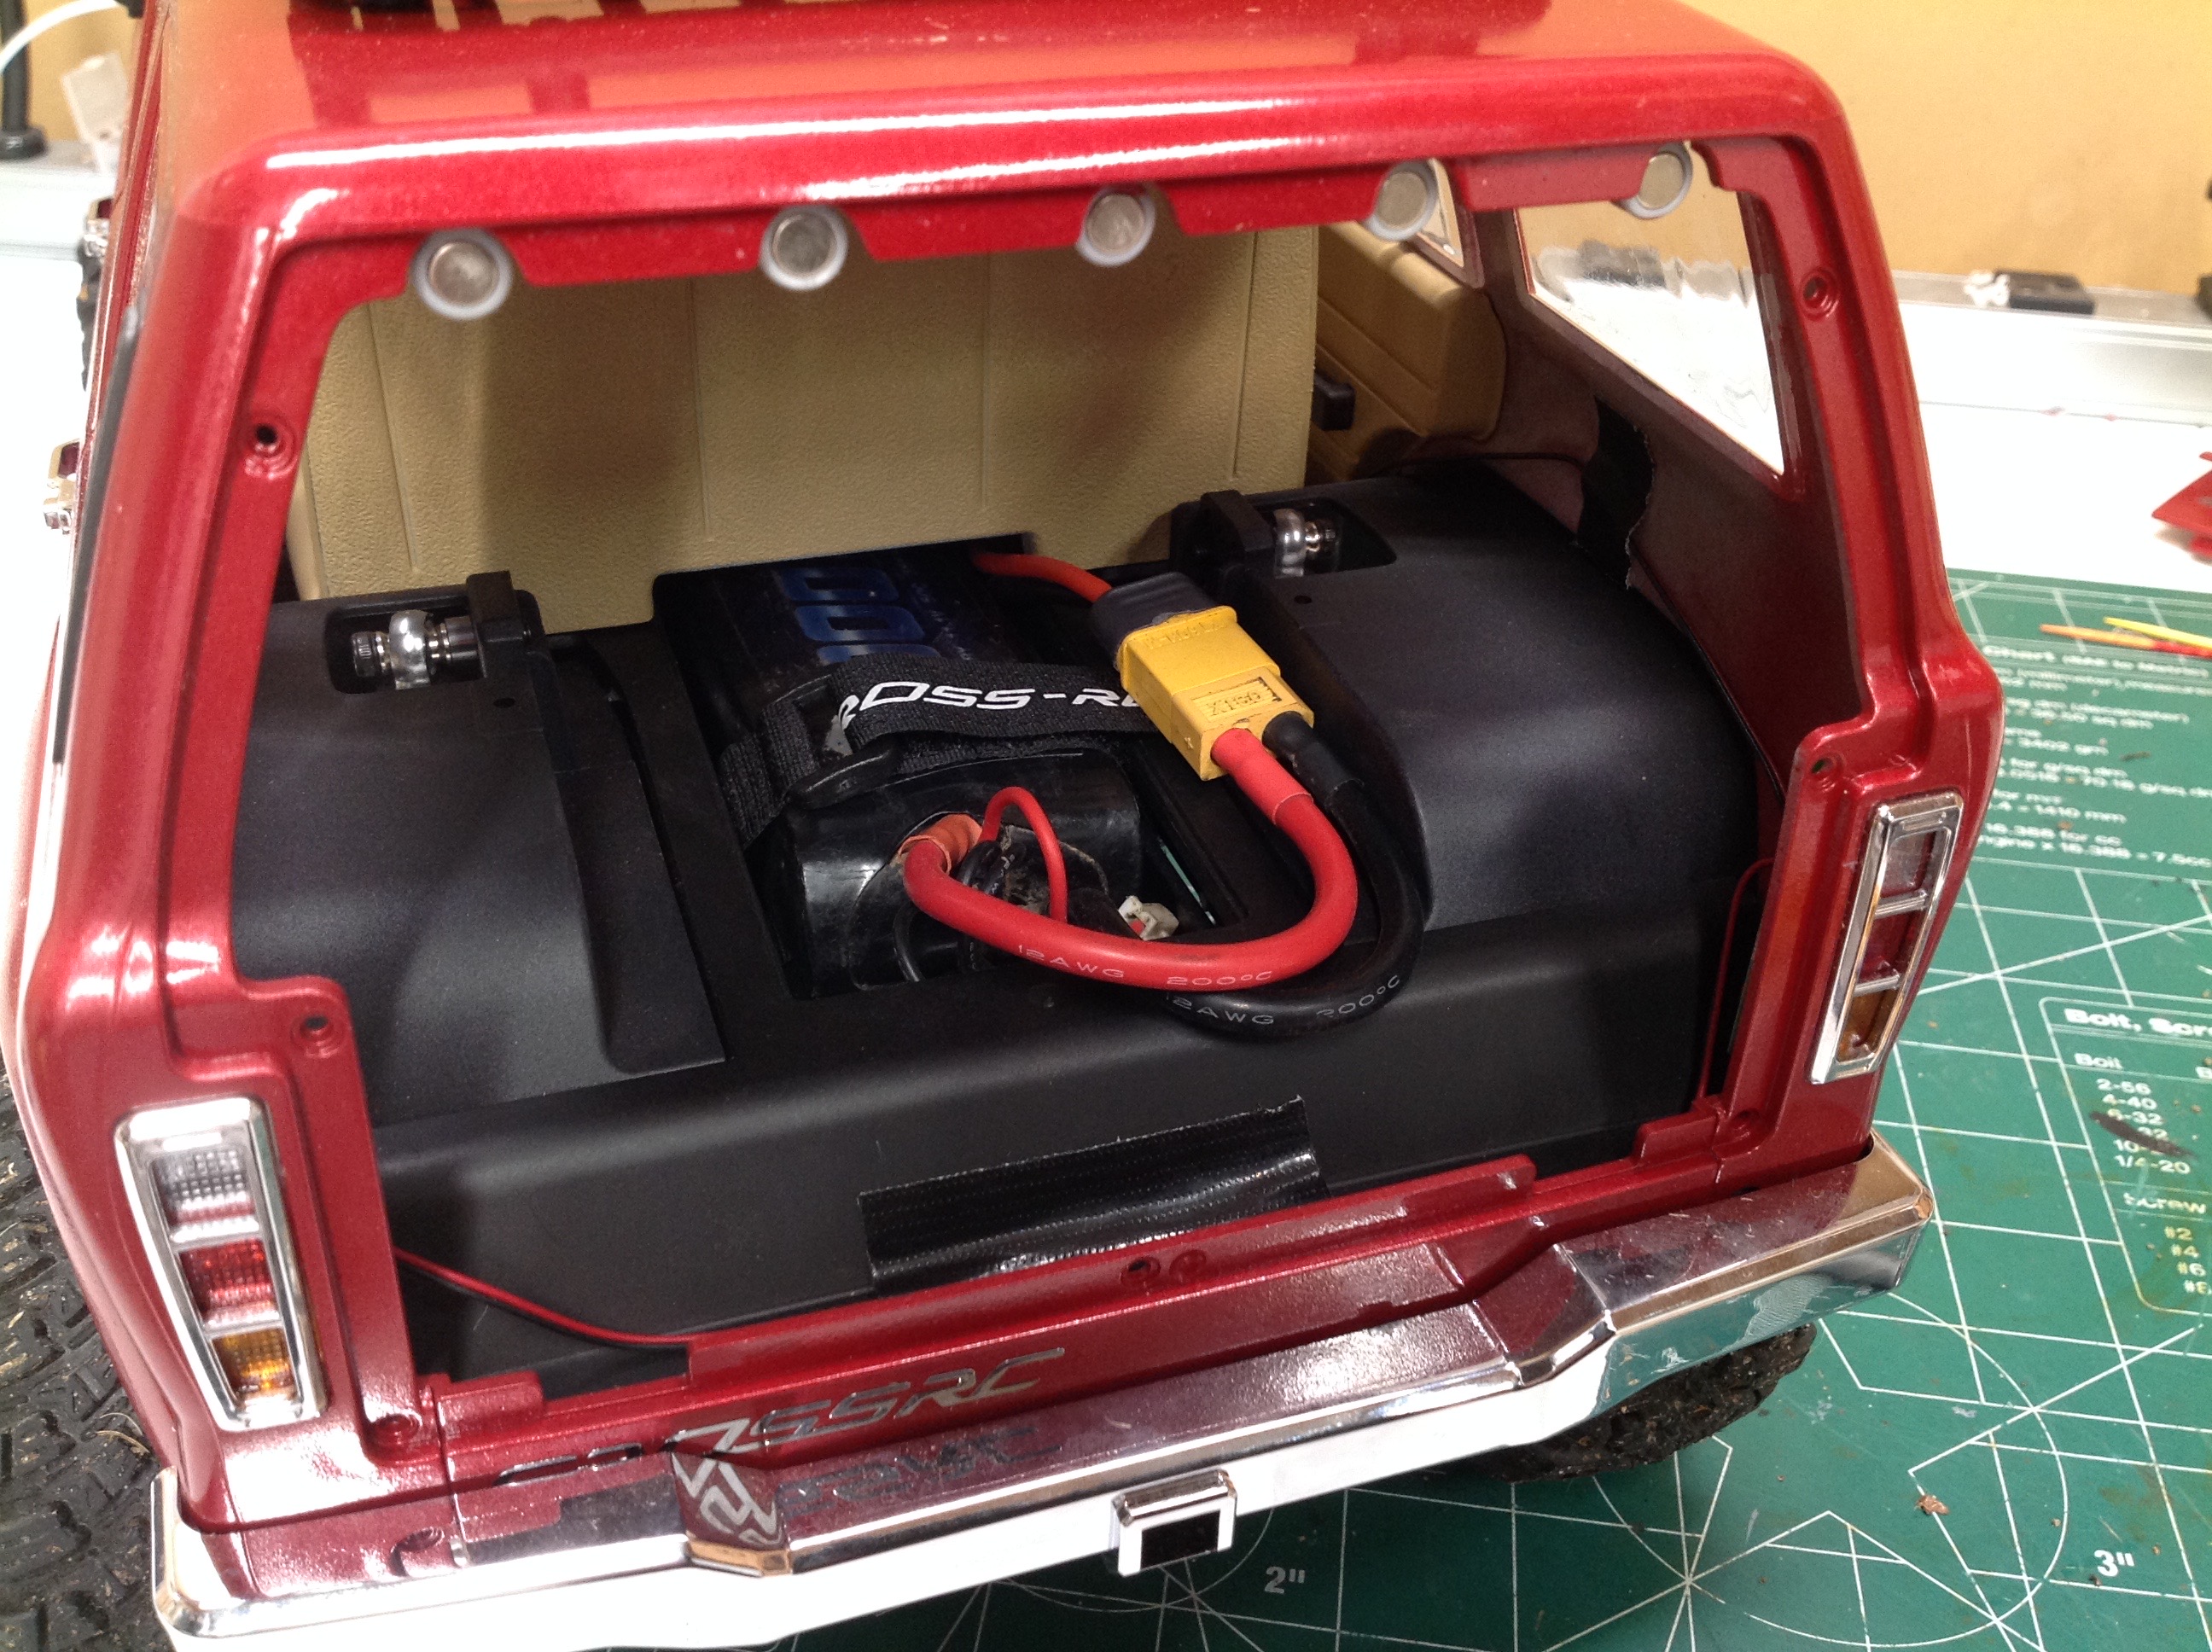
Here is the rear end with and without the rear door. In the first
picture you can see how the battery slots underneath the rear bench seat
where it is mostly hidden. You can also see the detailed tail
lights and rear bumper with a receiver hitch. The five magnets at
the top of the opening are there to hold the rear door on. Since
the door doubles as a battery access point, it must be easily
removable. The magnets hold it firmly on the top and tabs hold it
on the bottom.
The rear doors are part of the body shell, but the front doors are
separate parts. You'd think this would mean that they could open,
but they are actually screwed shut. There are nice clear windows
in most of the openings, but the front doors don't have windows.
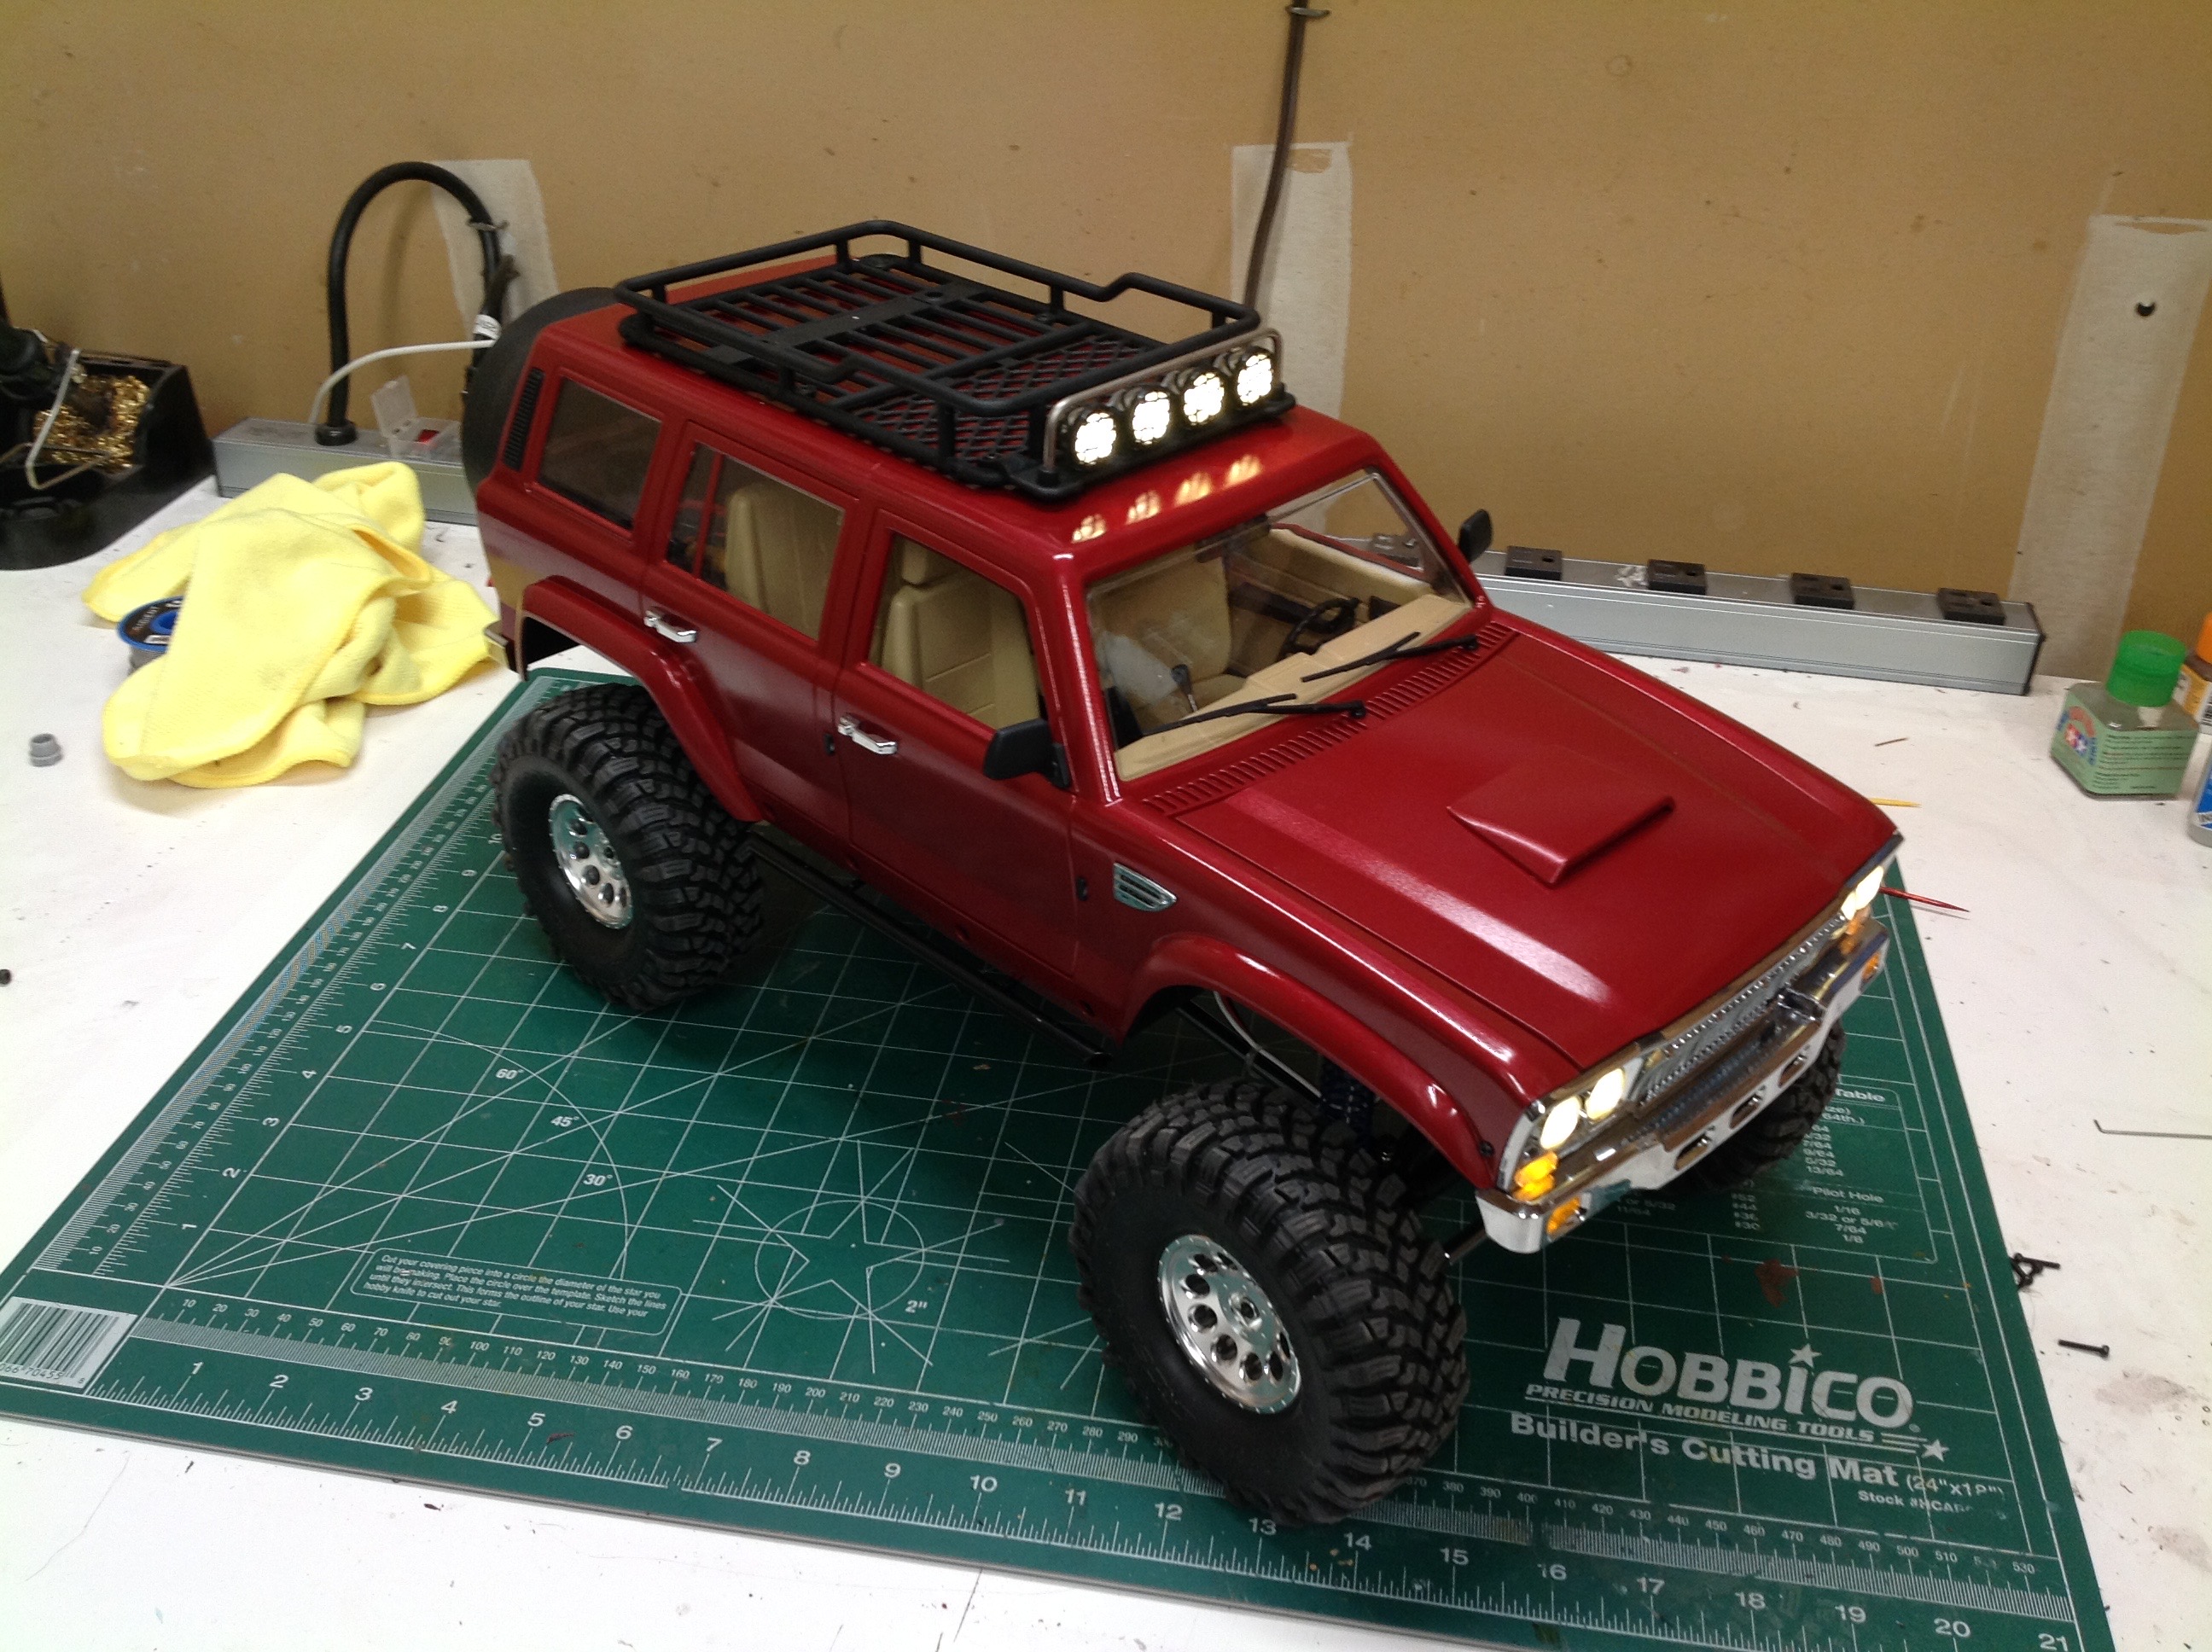
The body screws down to the chassis, and then the diamond plate attaches
with double faced tape, hiding the screws. This makes it look
nice but also makes it difficult to remove the body for
maintenance. The wheels are nice heavy metal beadlocks with scale
center hubs.
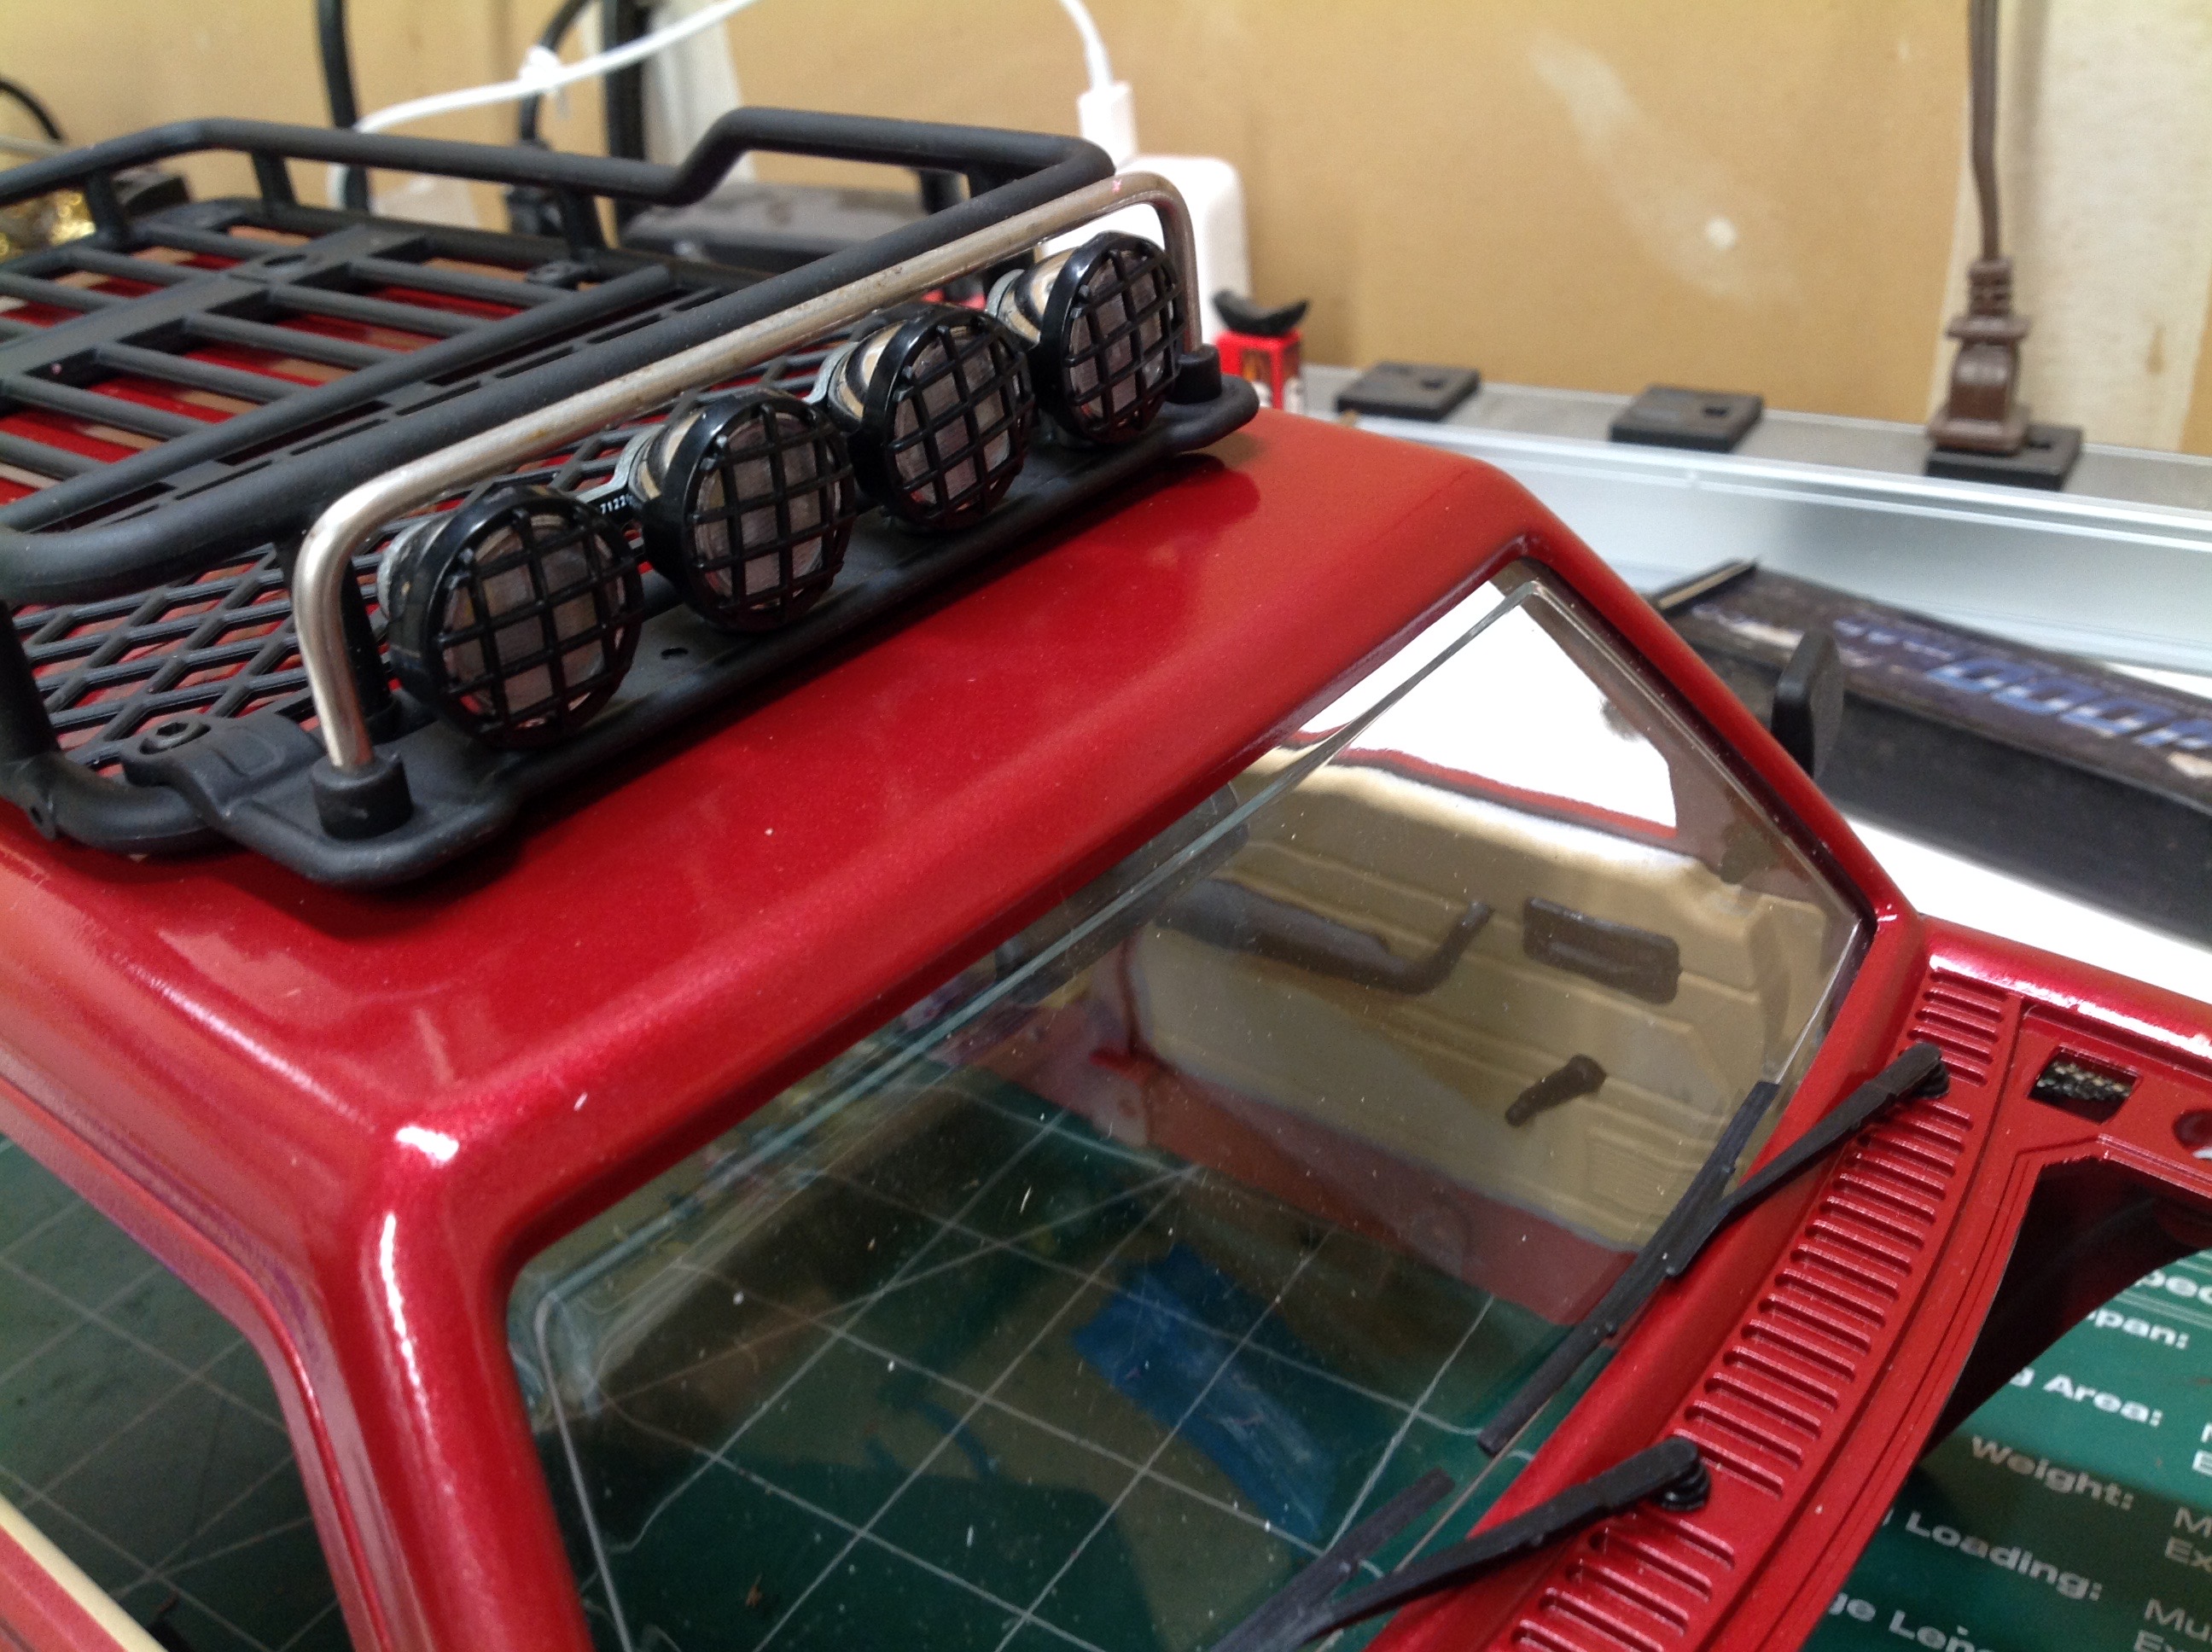
The kit came with a lighting kit including headlights, marker lights,
and tail lights on PCBs. There is a spot on the splitter designed
to accept the optional roof rack lights which I added immediately.
This makes a total of 14 lights.
©2019 Eric Albrecht