Tamiya Fighting Buggy Project
Page 1: Assembly
I have previously built the Sand Scorcher which uses the very similar SRB chassis. Please see that page
for a more detailed explanation of the build process. Here I will
focus primarily on the differences and unique features of the Fighting
Buggy.
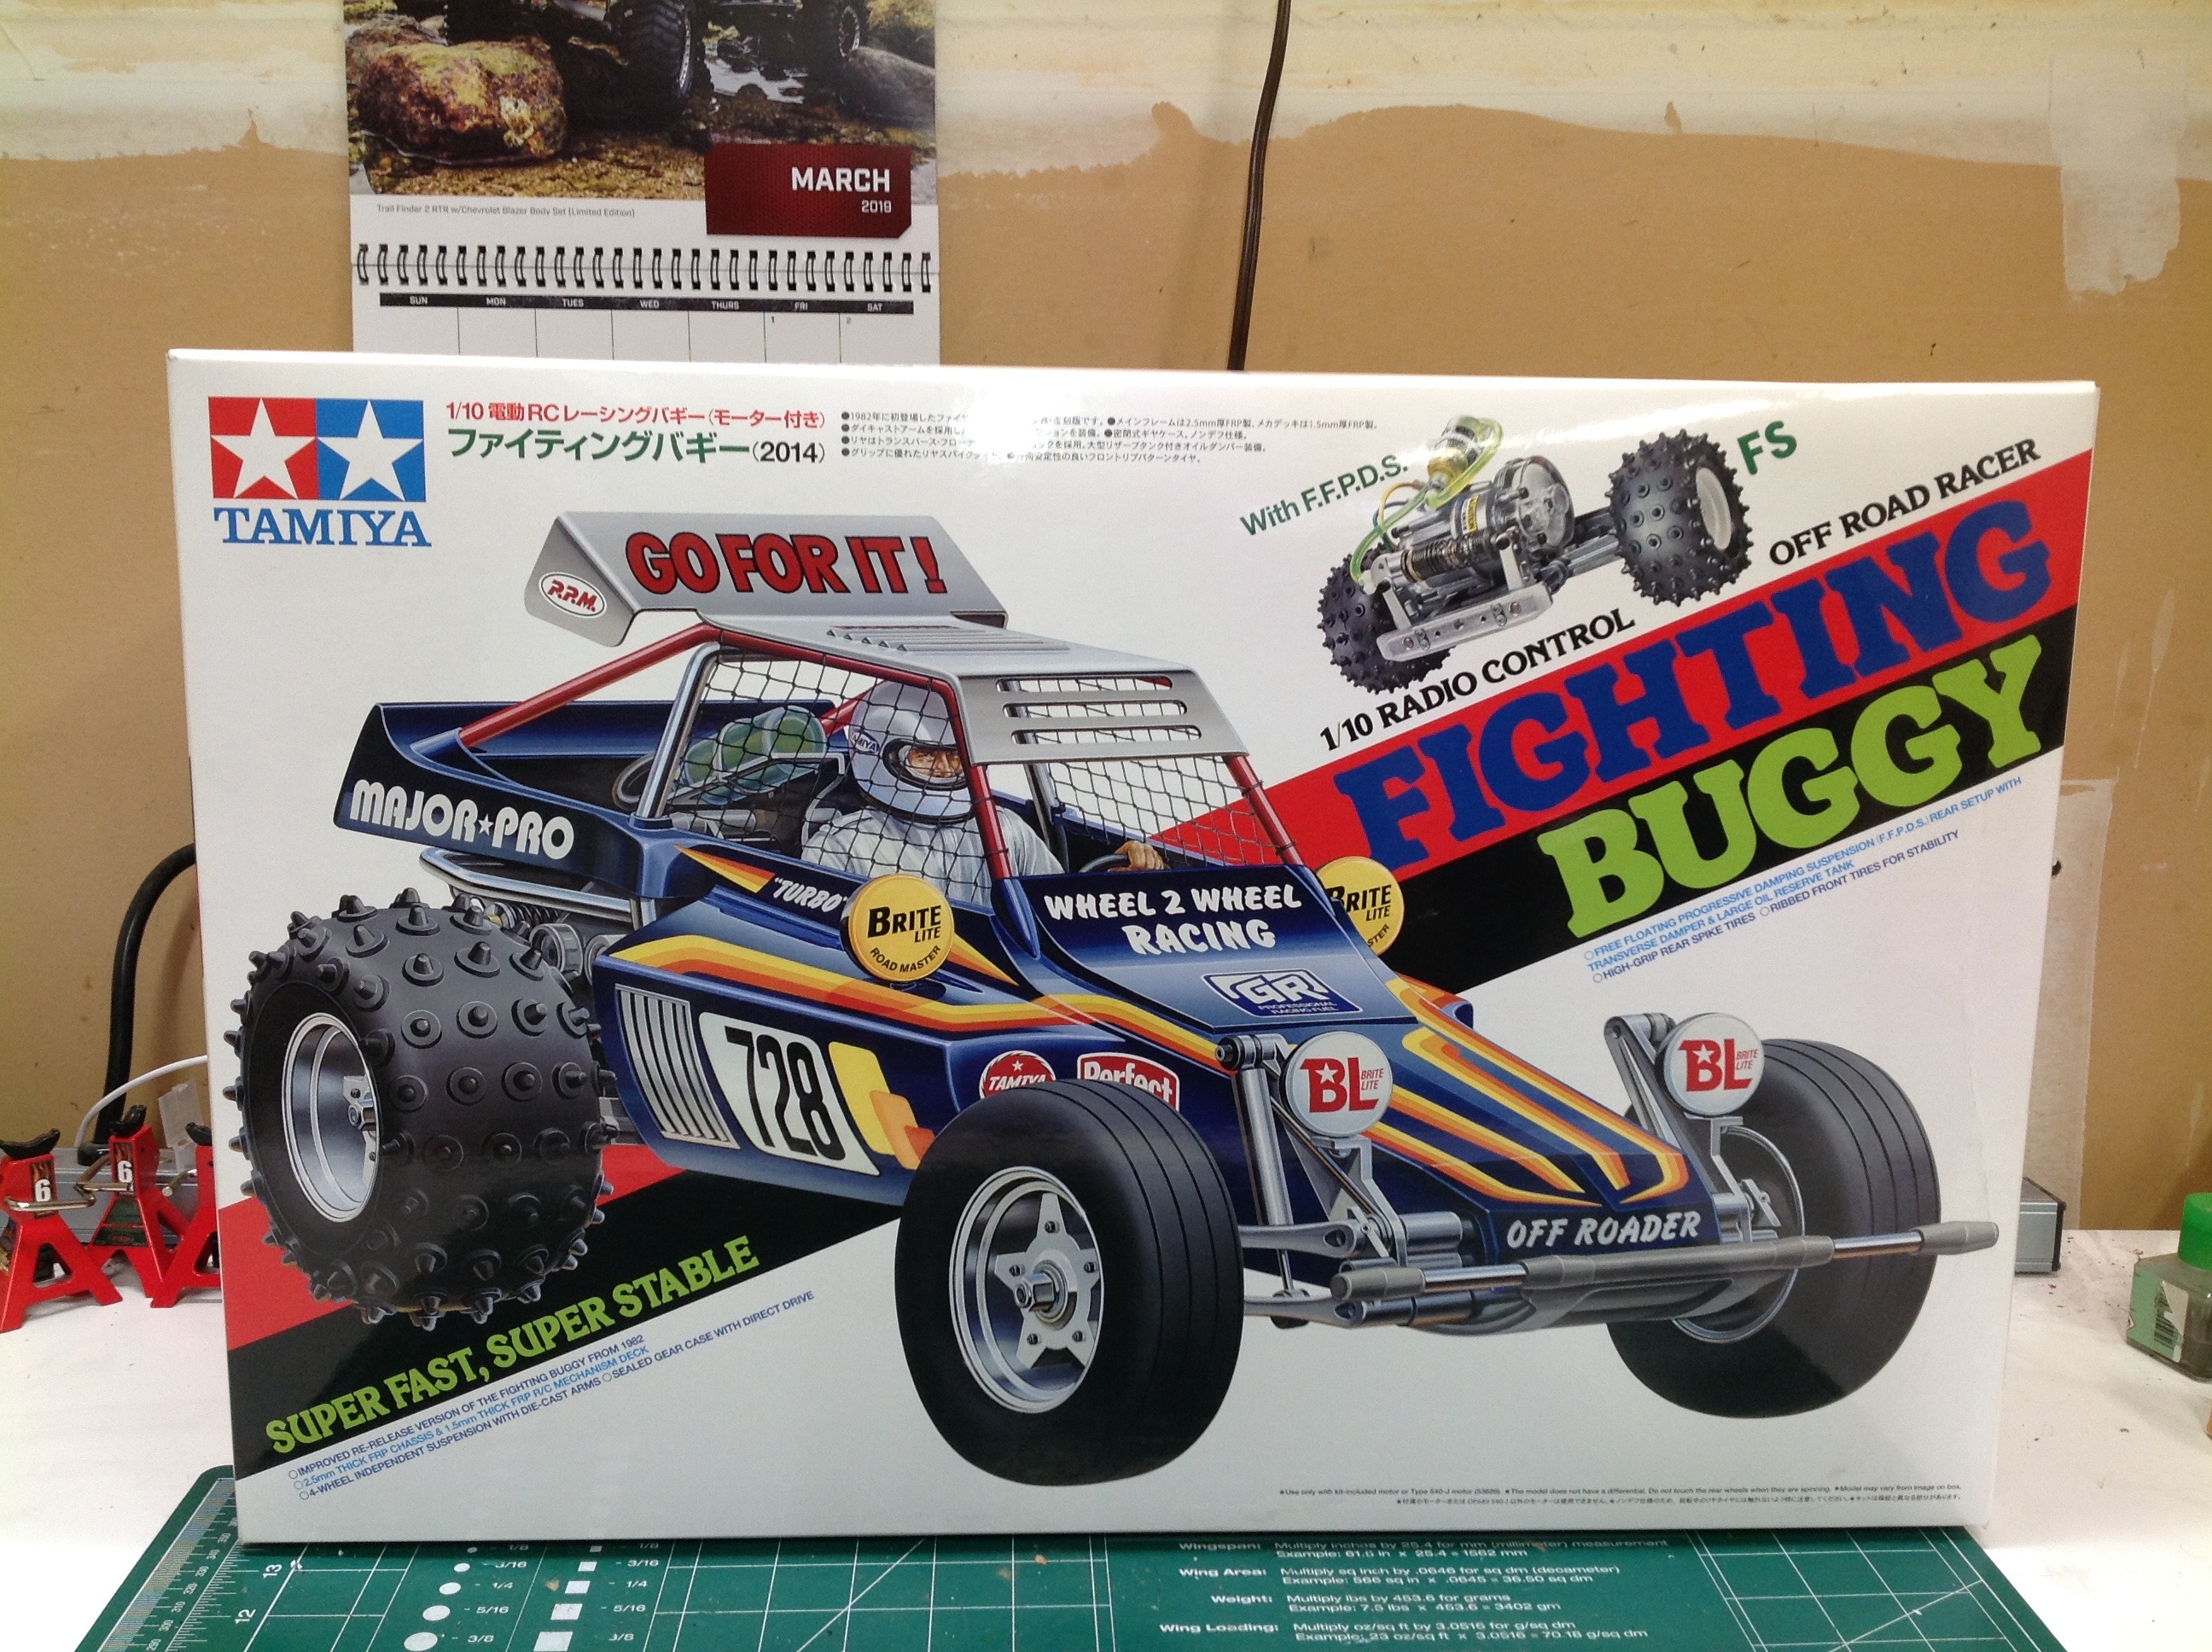
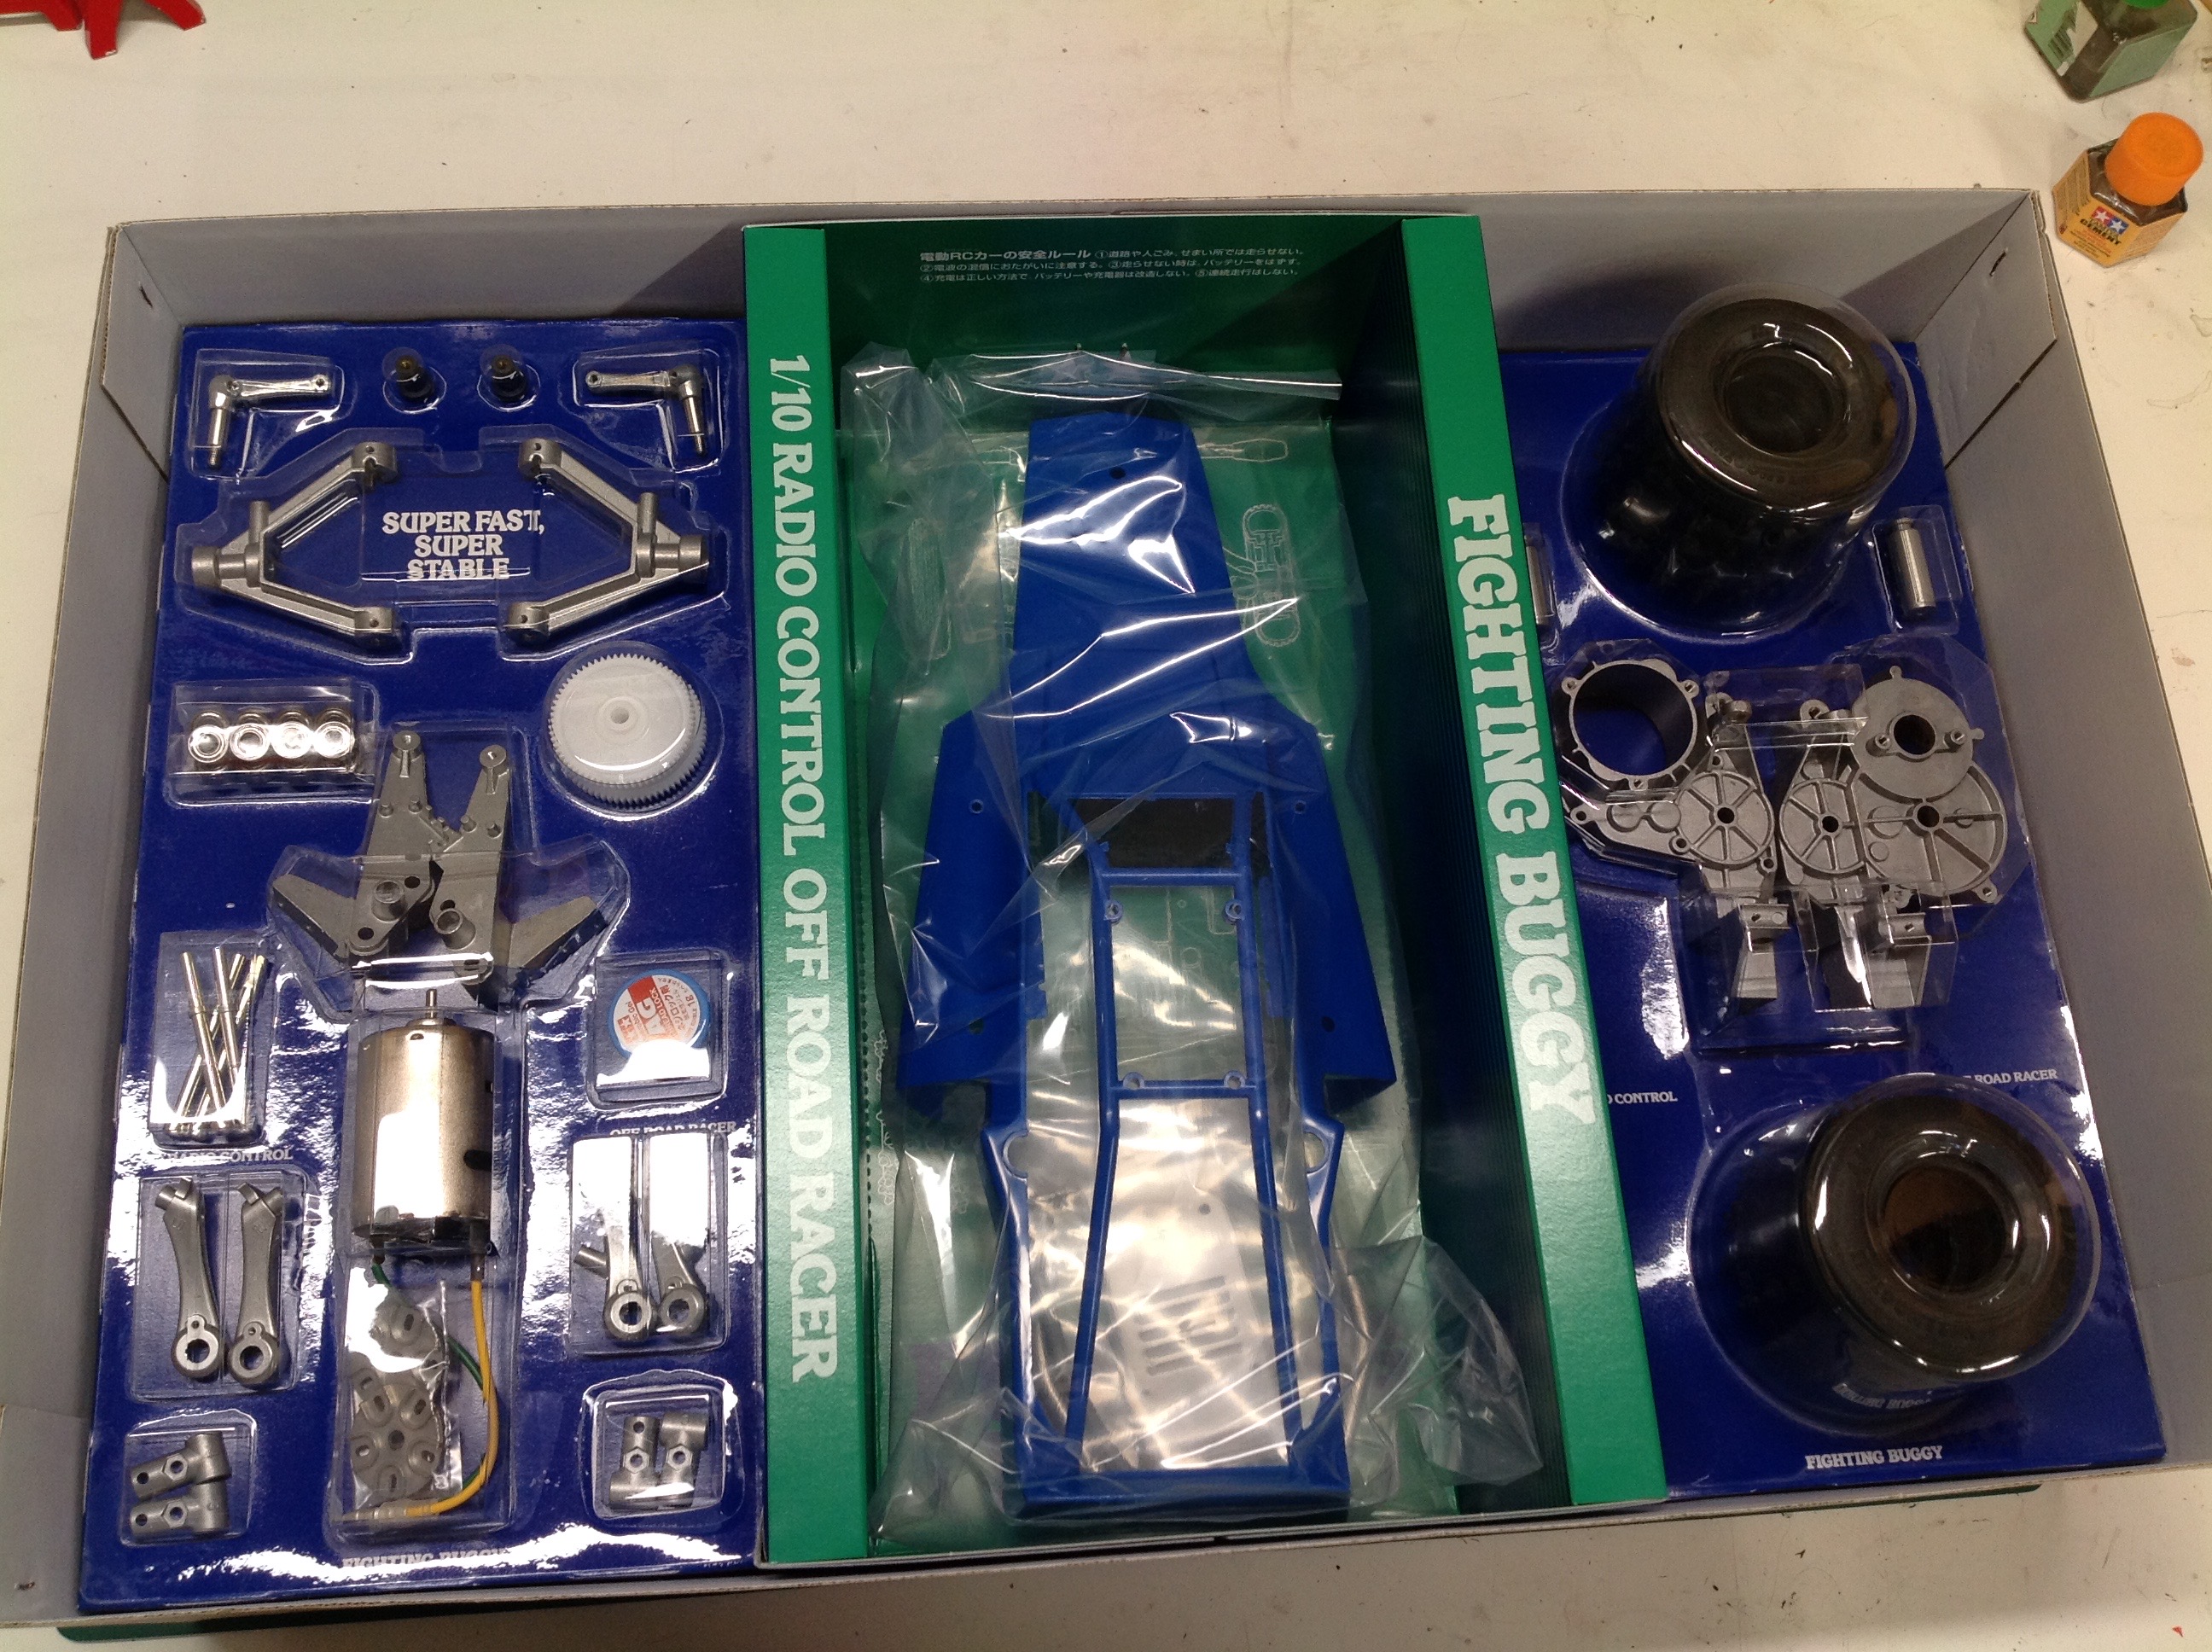
You can tell that this is a premium Tamiya product by the
packaging. Inside the large box with the beautiful cover are a
pair of blister packs book-ending a blue hard shell body. Among
the metal parts displayed are the gearbox housing, the shocks, and the
suspension arms.
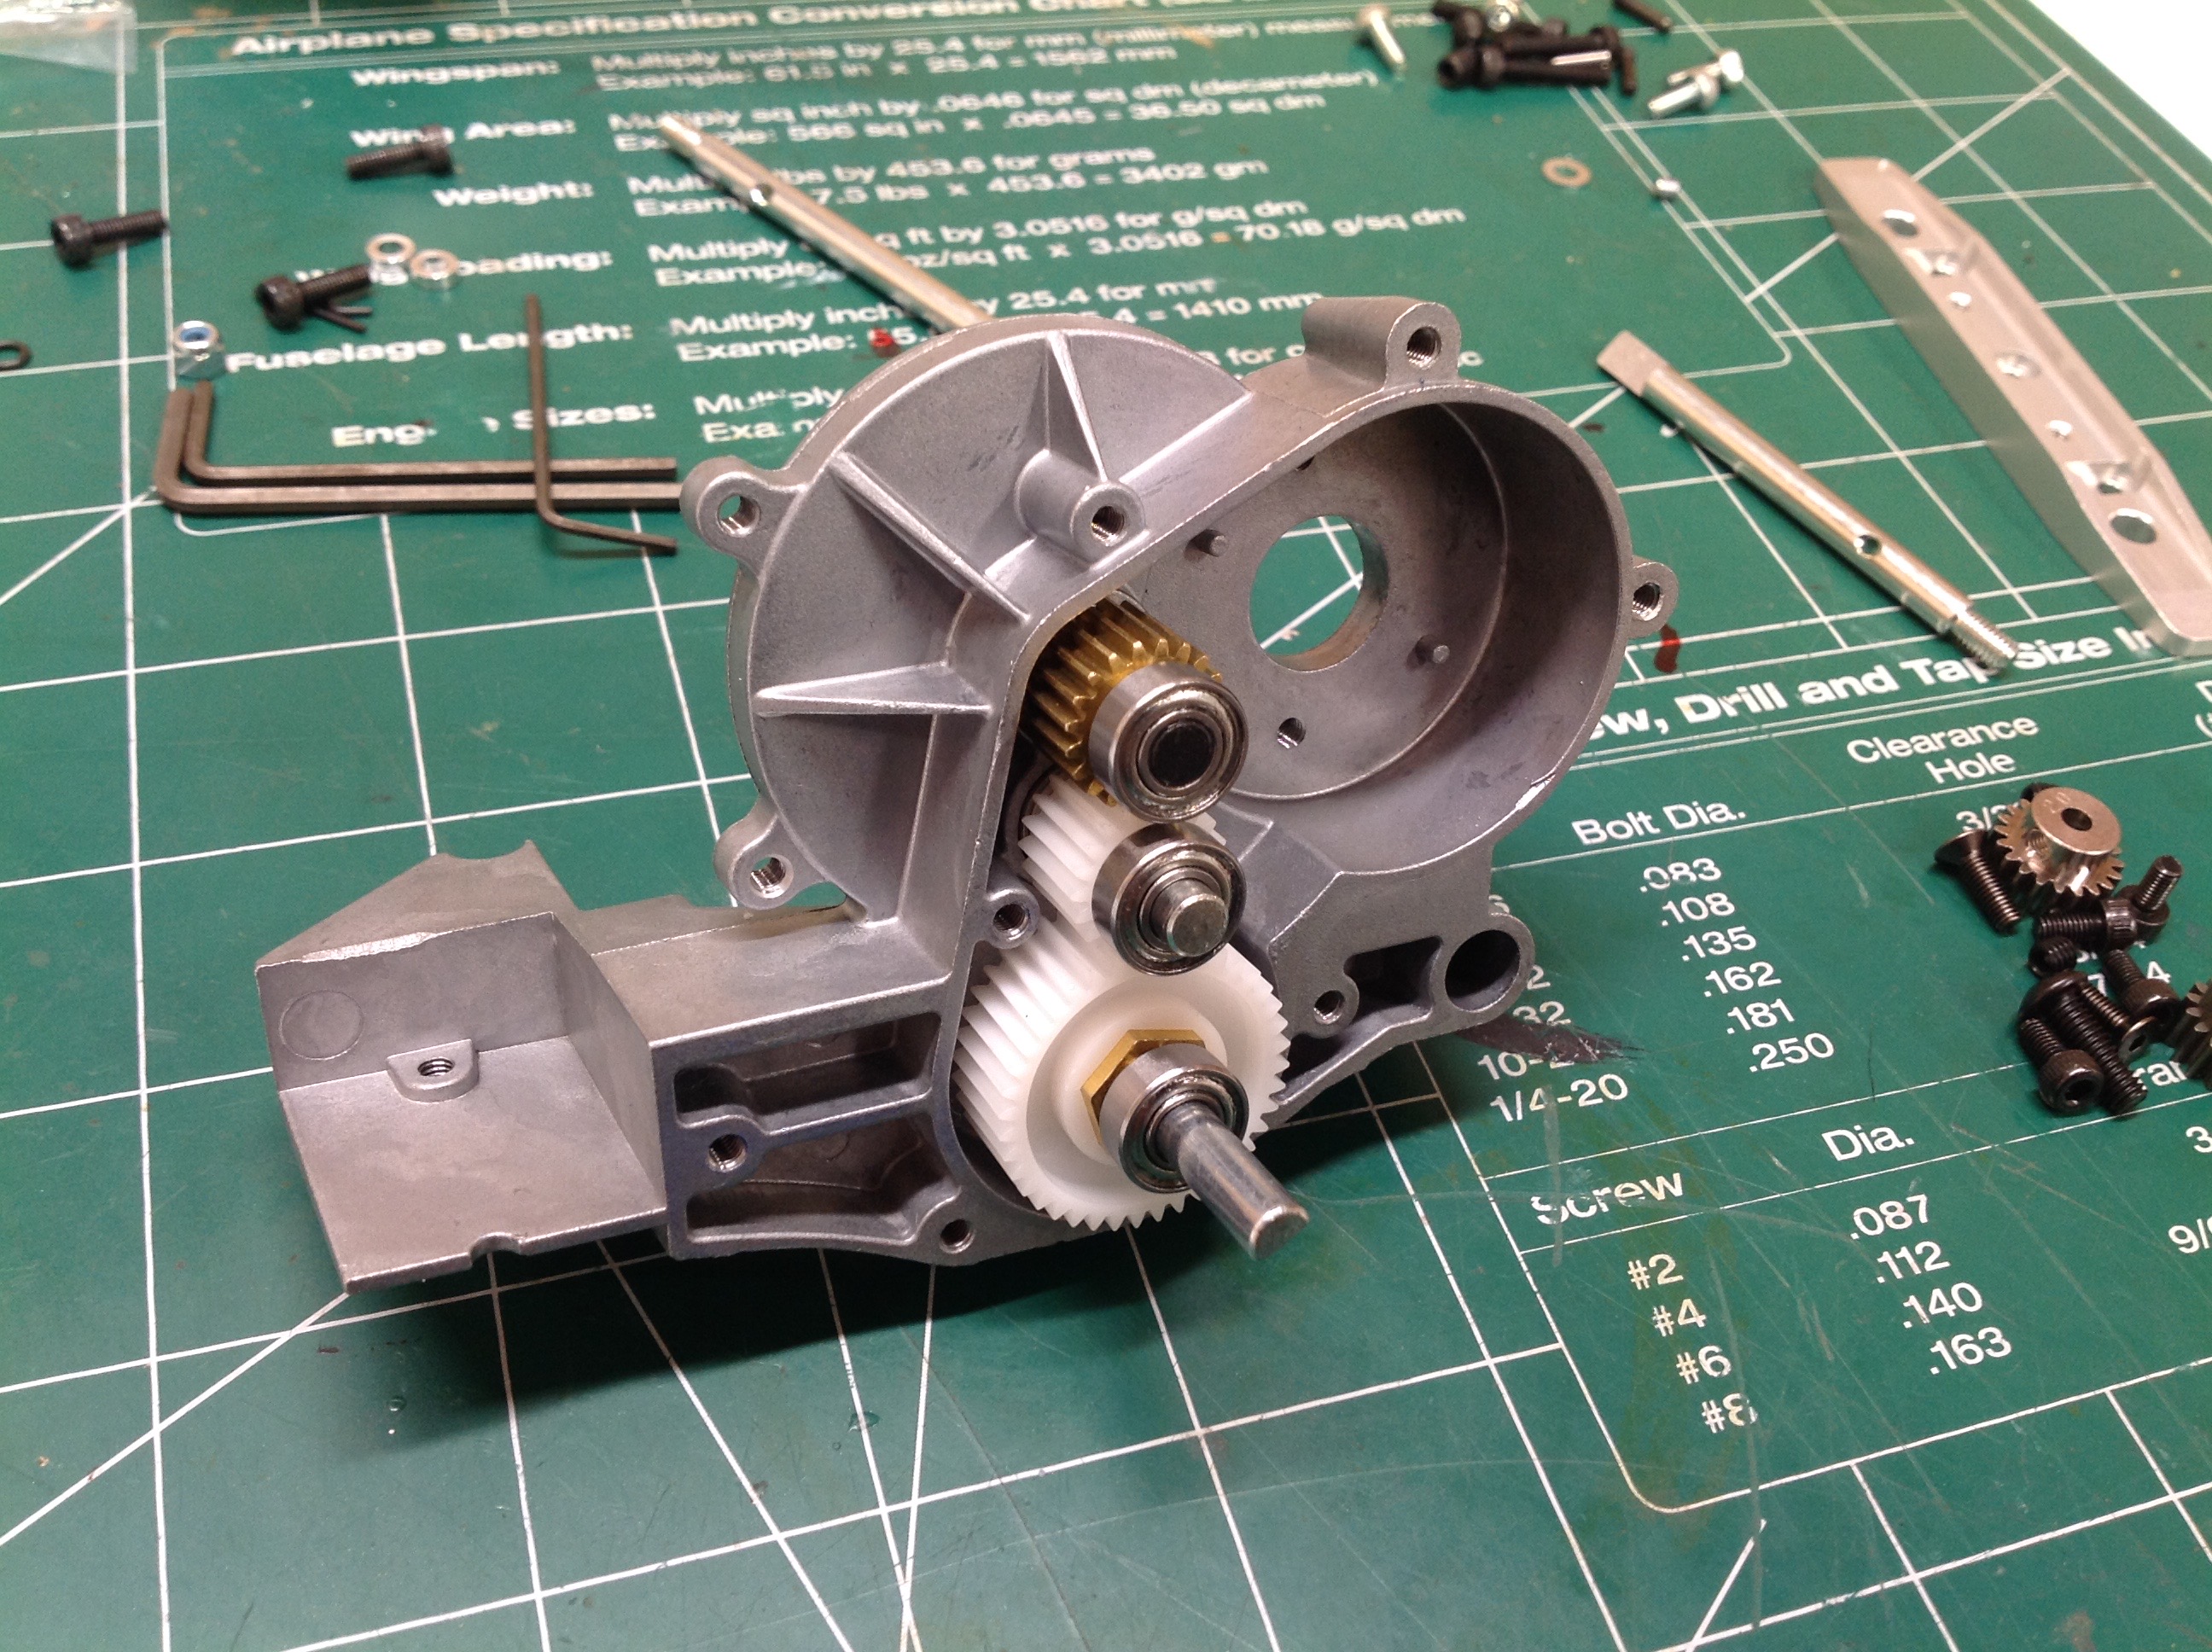
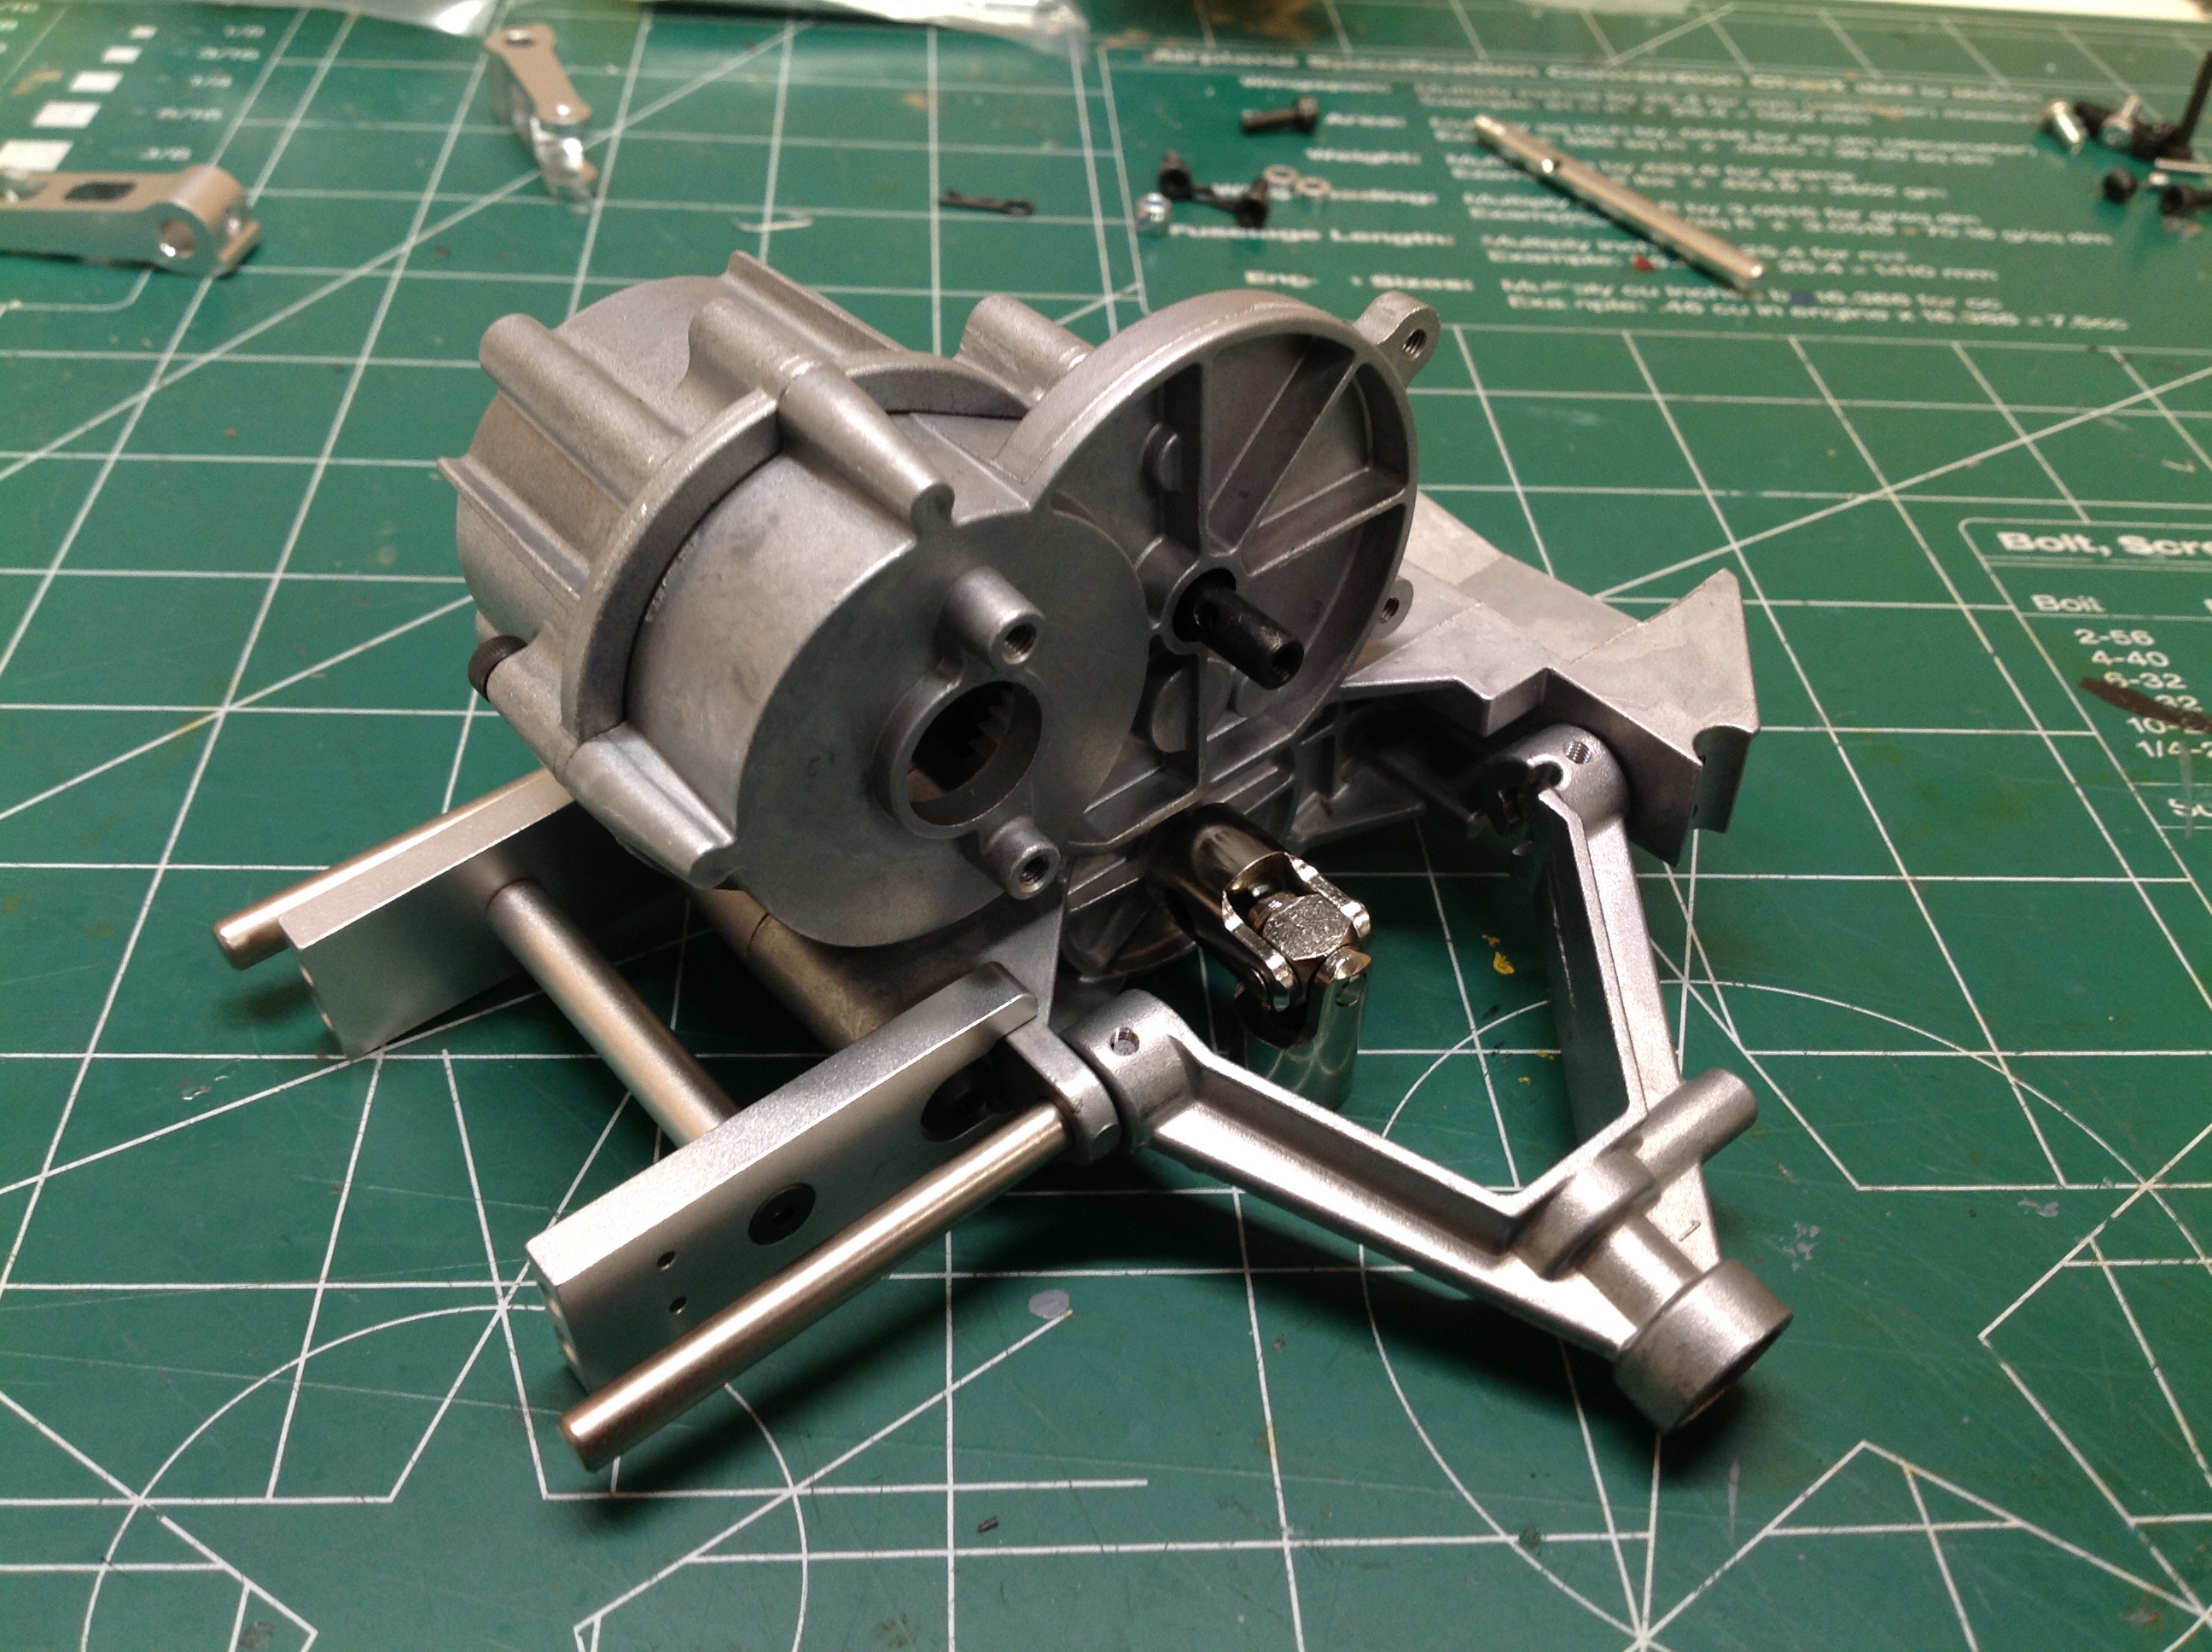
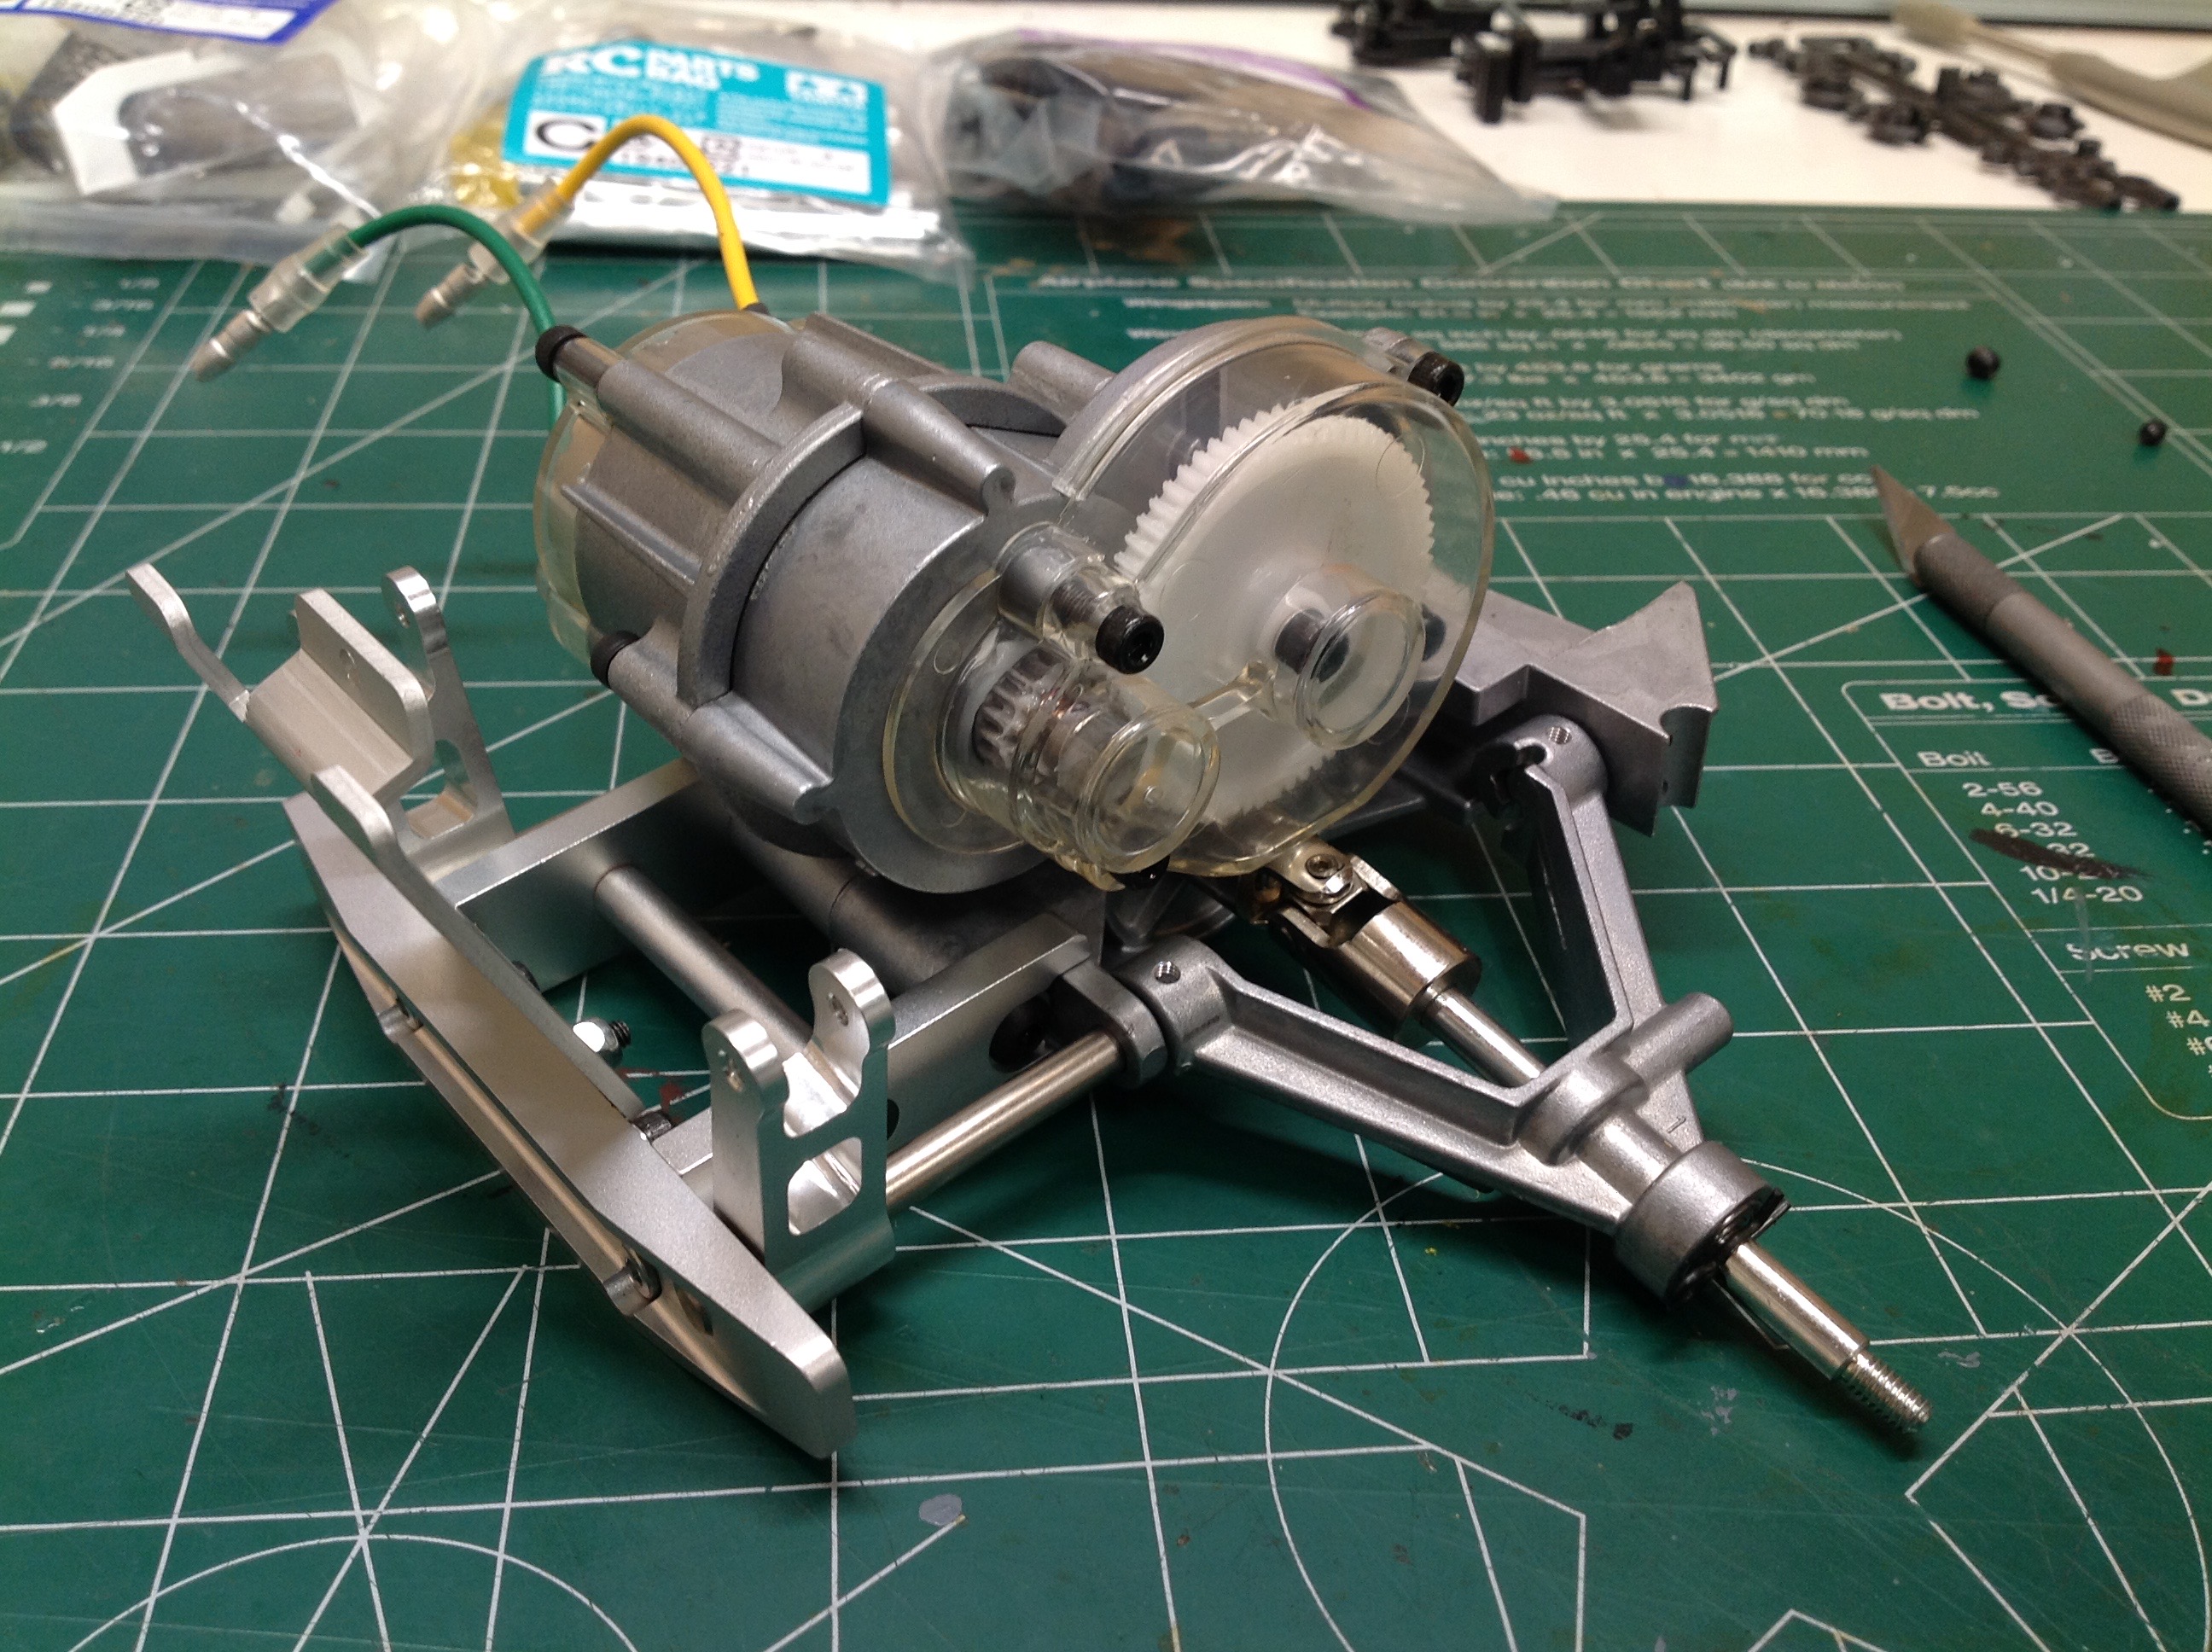
The gearbox uses a sintered (or possibly cast) metal housing with 3
internal gears. The fastest moving gear is brass and the others
are nylon. Note that there is no differential gear here; the lower
gear shaft drives the wheels directly. Once the gears are greased
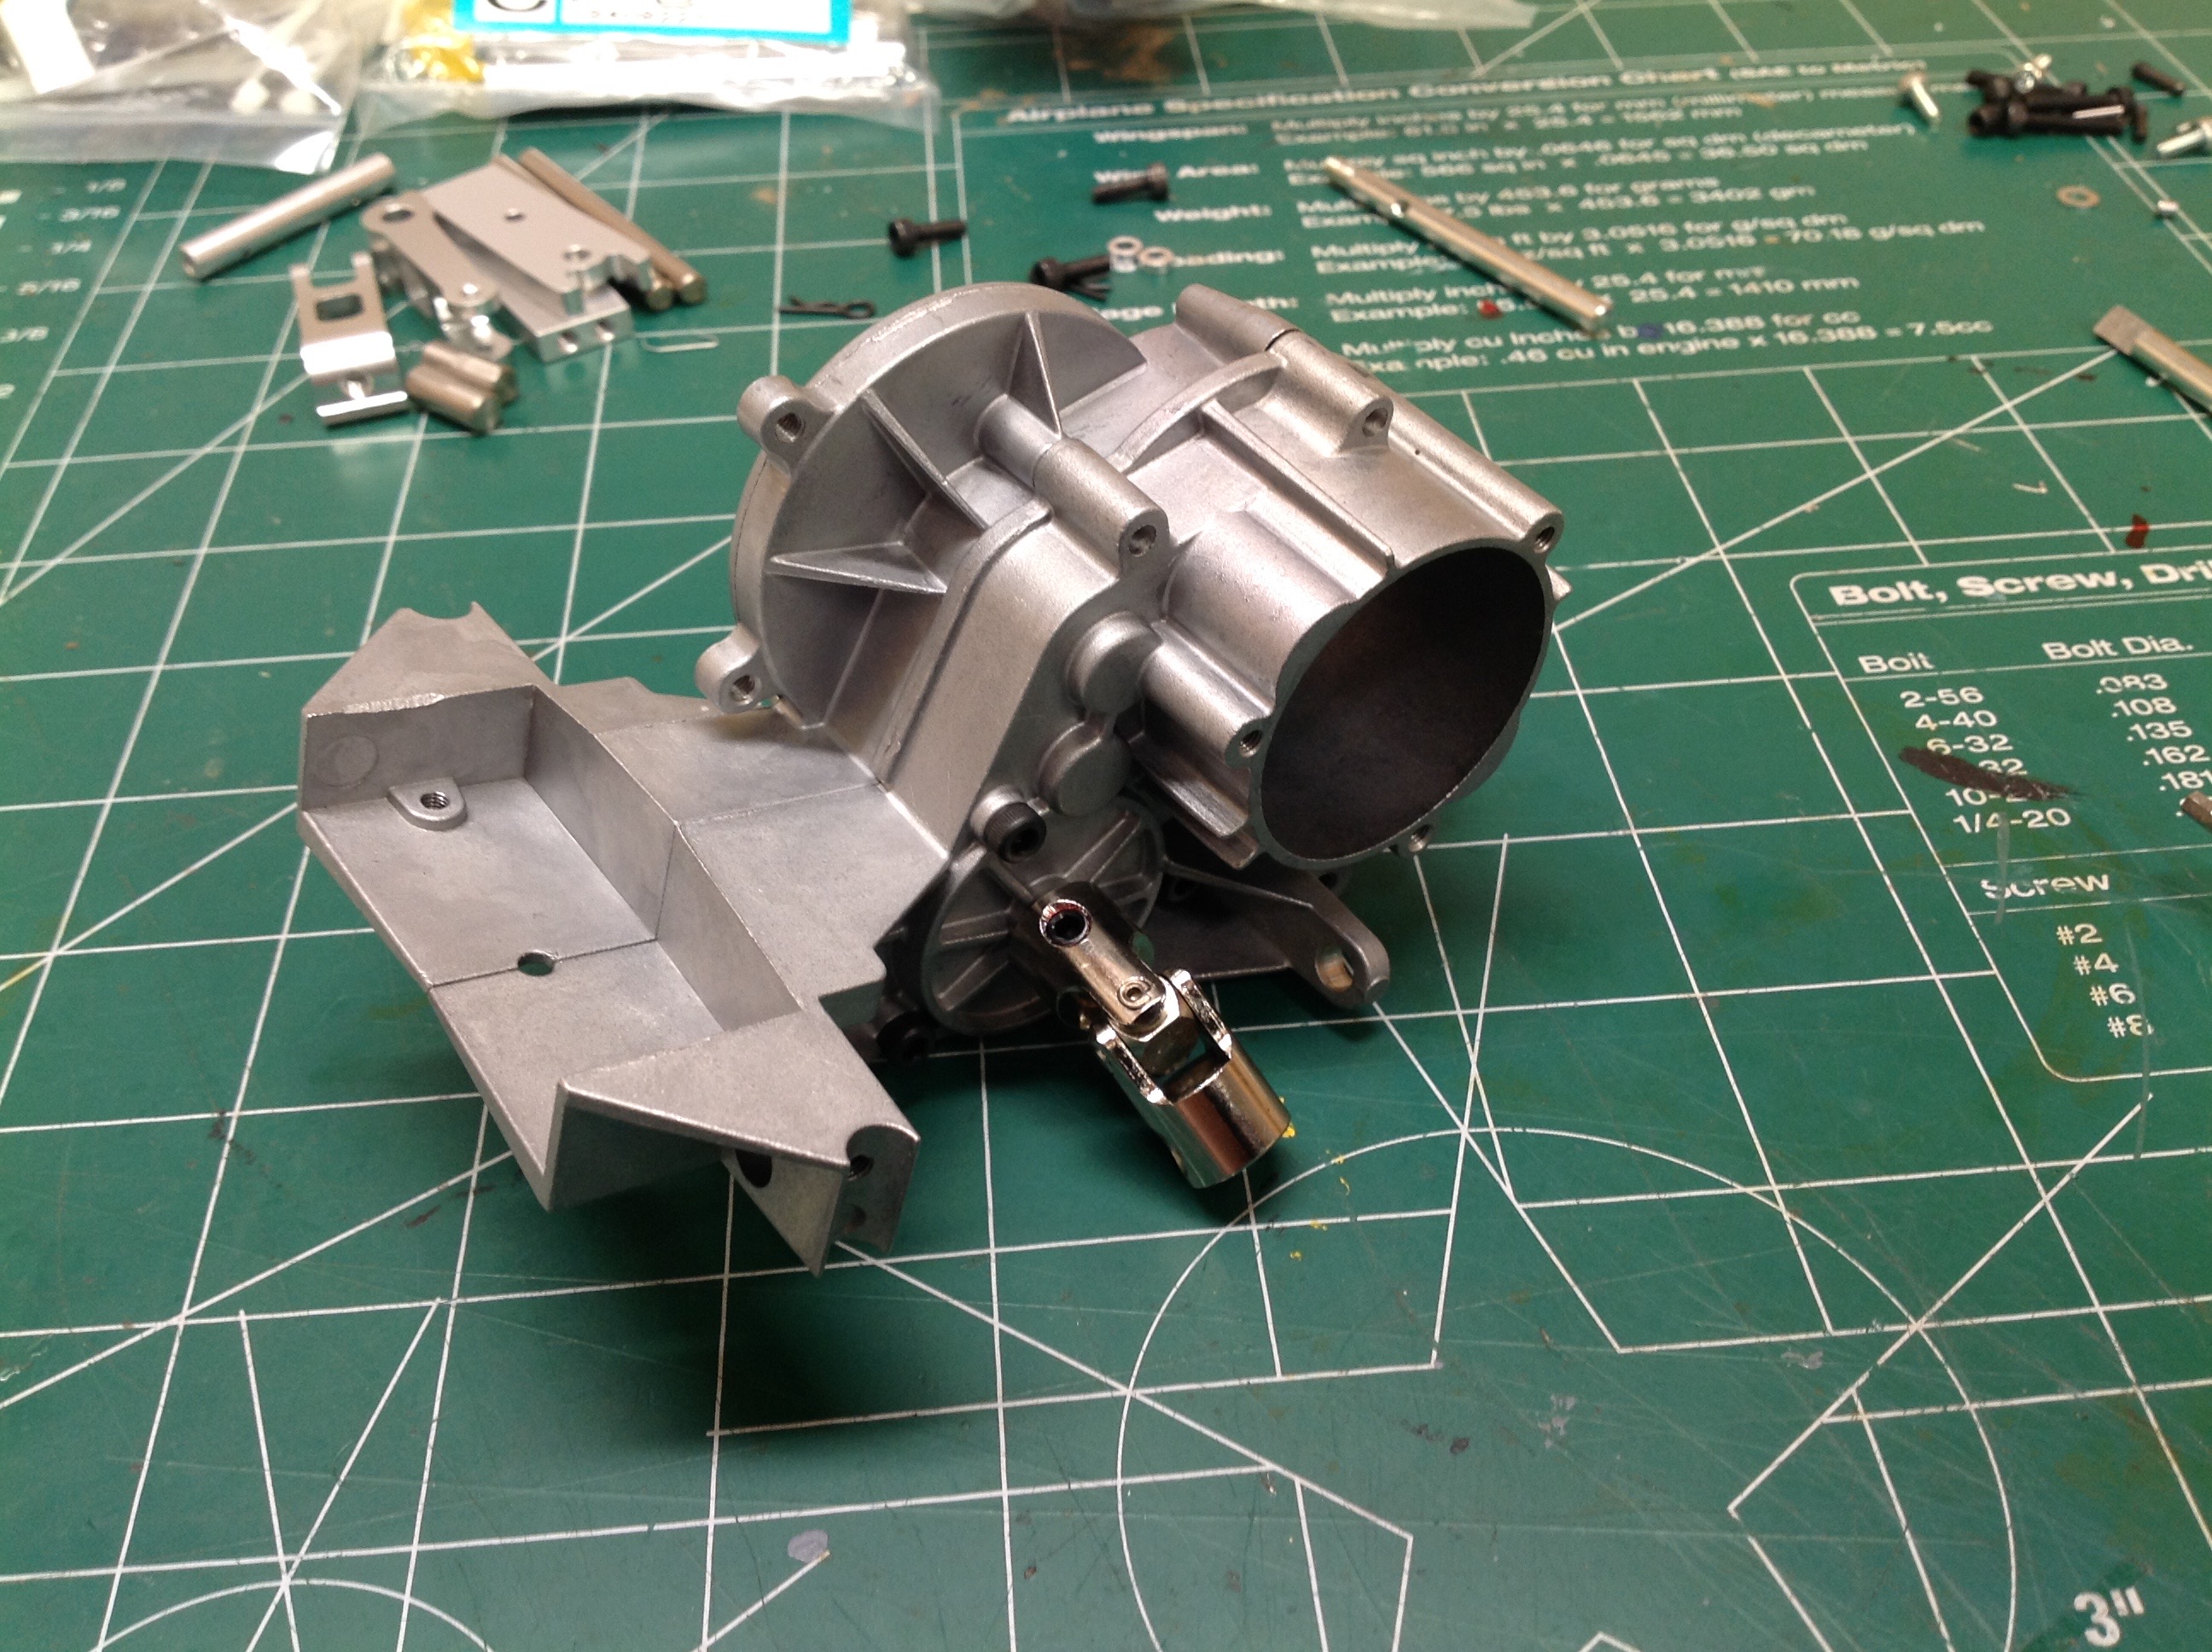
and the housing halves joined, the universal joints can be added.
Since this model has swing arm suspension, these u-joints connect
directly to the outdrive axles. Another point of note, unlike most
Tamiya models this kit comes with full ball bearings and hex hardware.
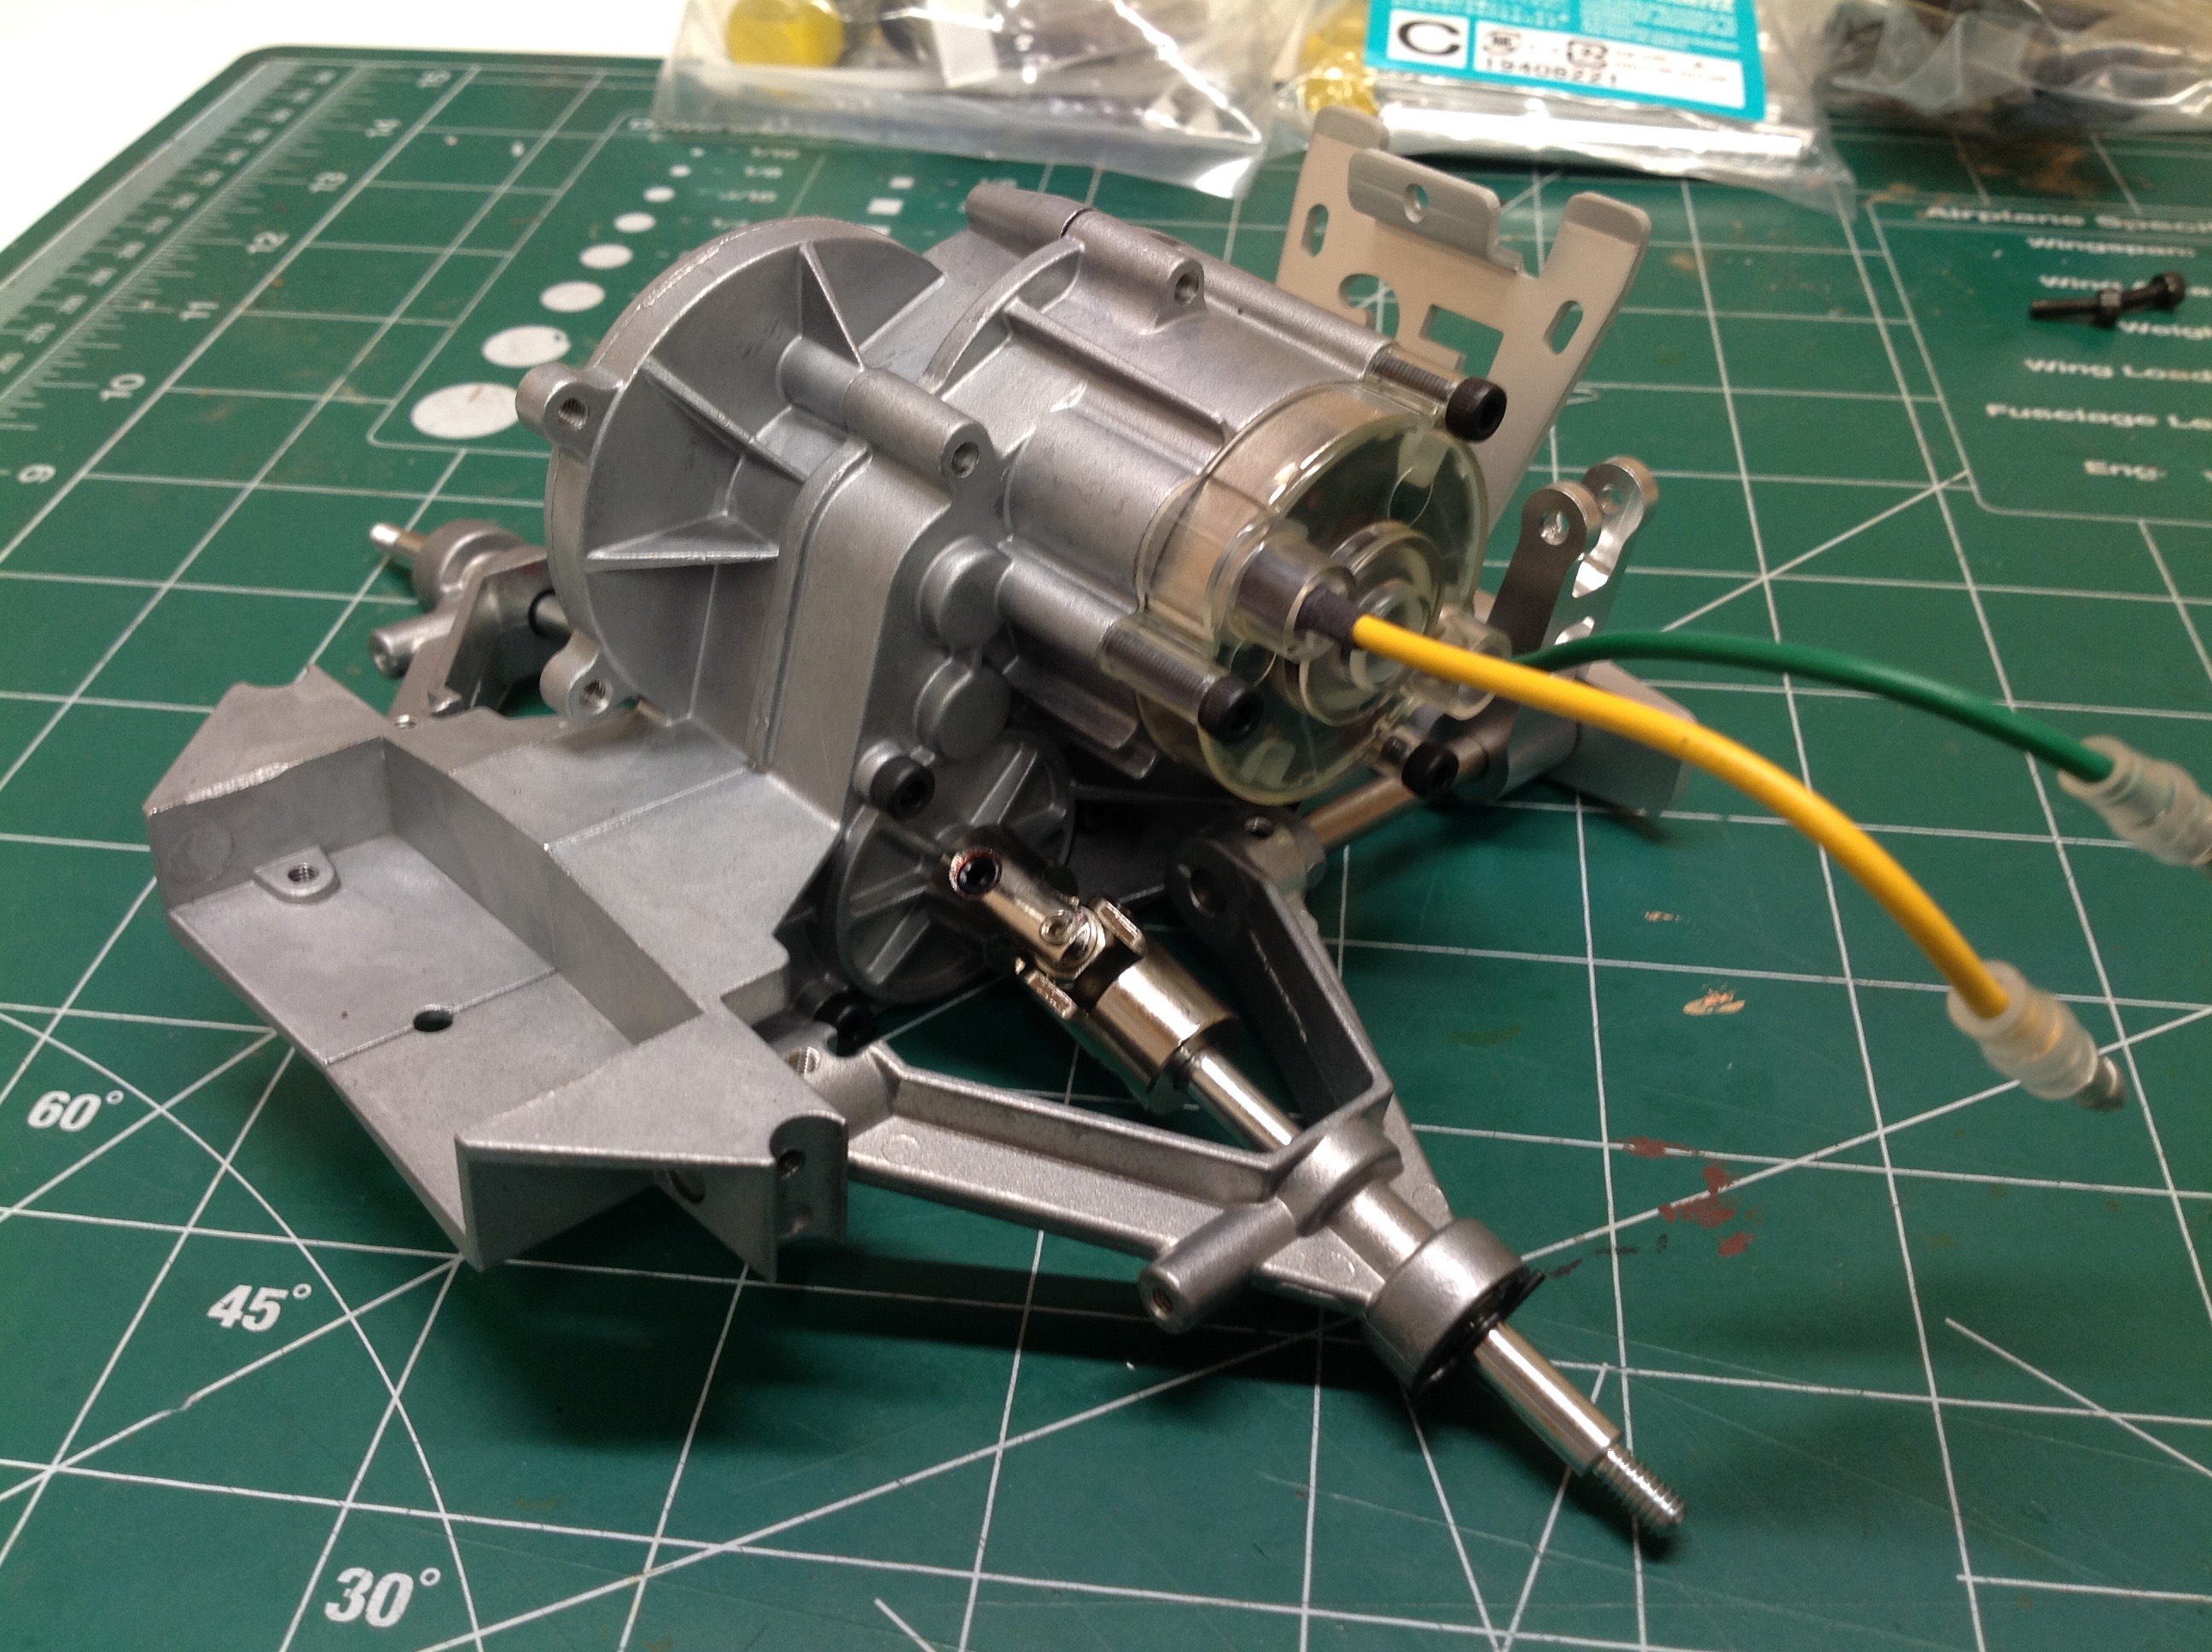
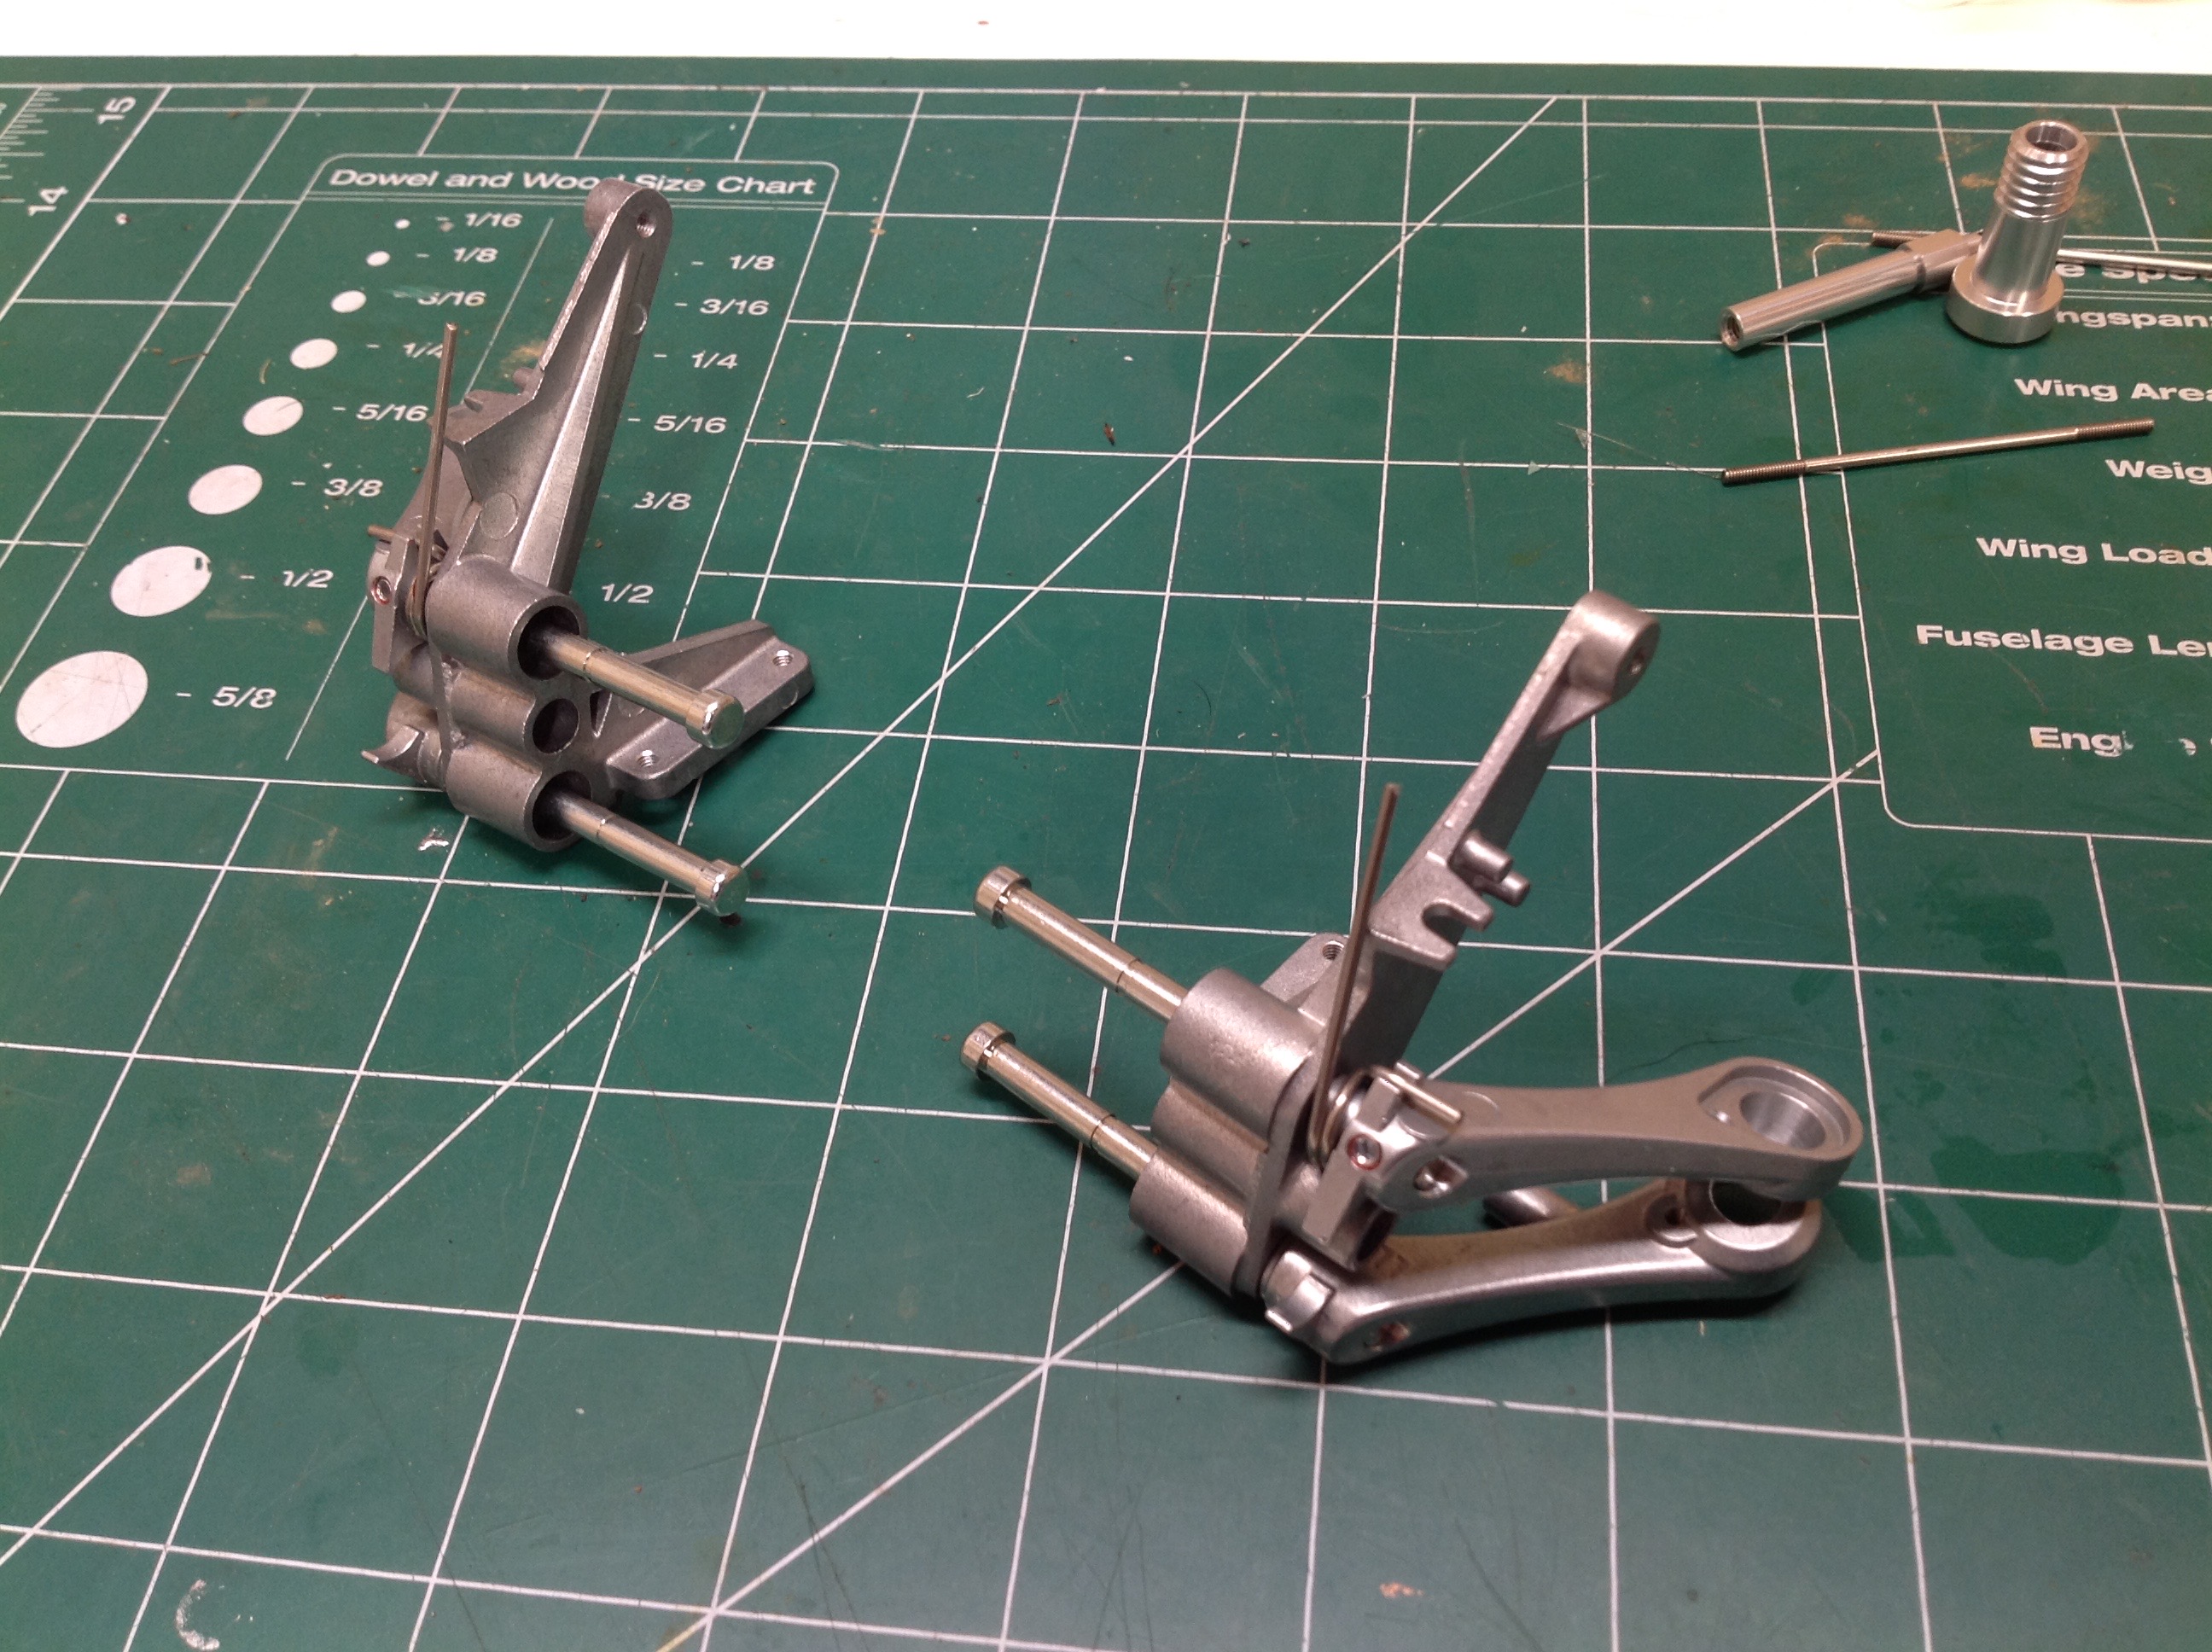
Now we'll flip the gearbox around and install the suspension arms.
There are only lowers here so the camber changes with suspension
travel. While the SRB uses torsion bars attached to the arm
rotation axis and running forward, this chassis uses rods facing aft to
connect to the mono shock. In the right hand image the motor has
been installed along with the protective clear cover. The rear
axles have also been inserted.
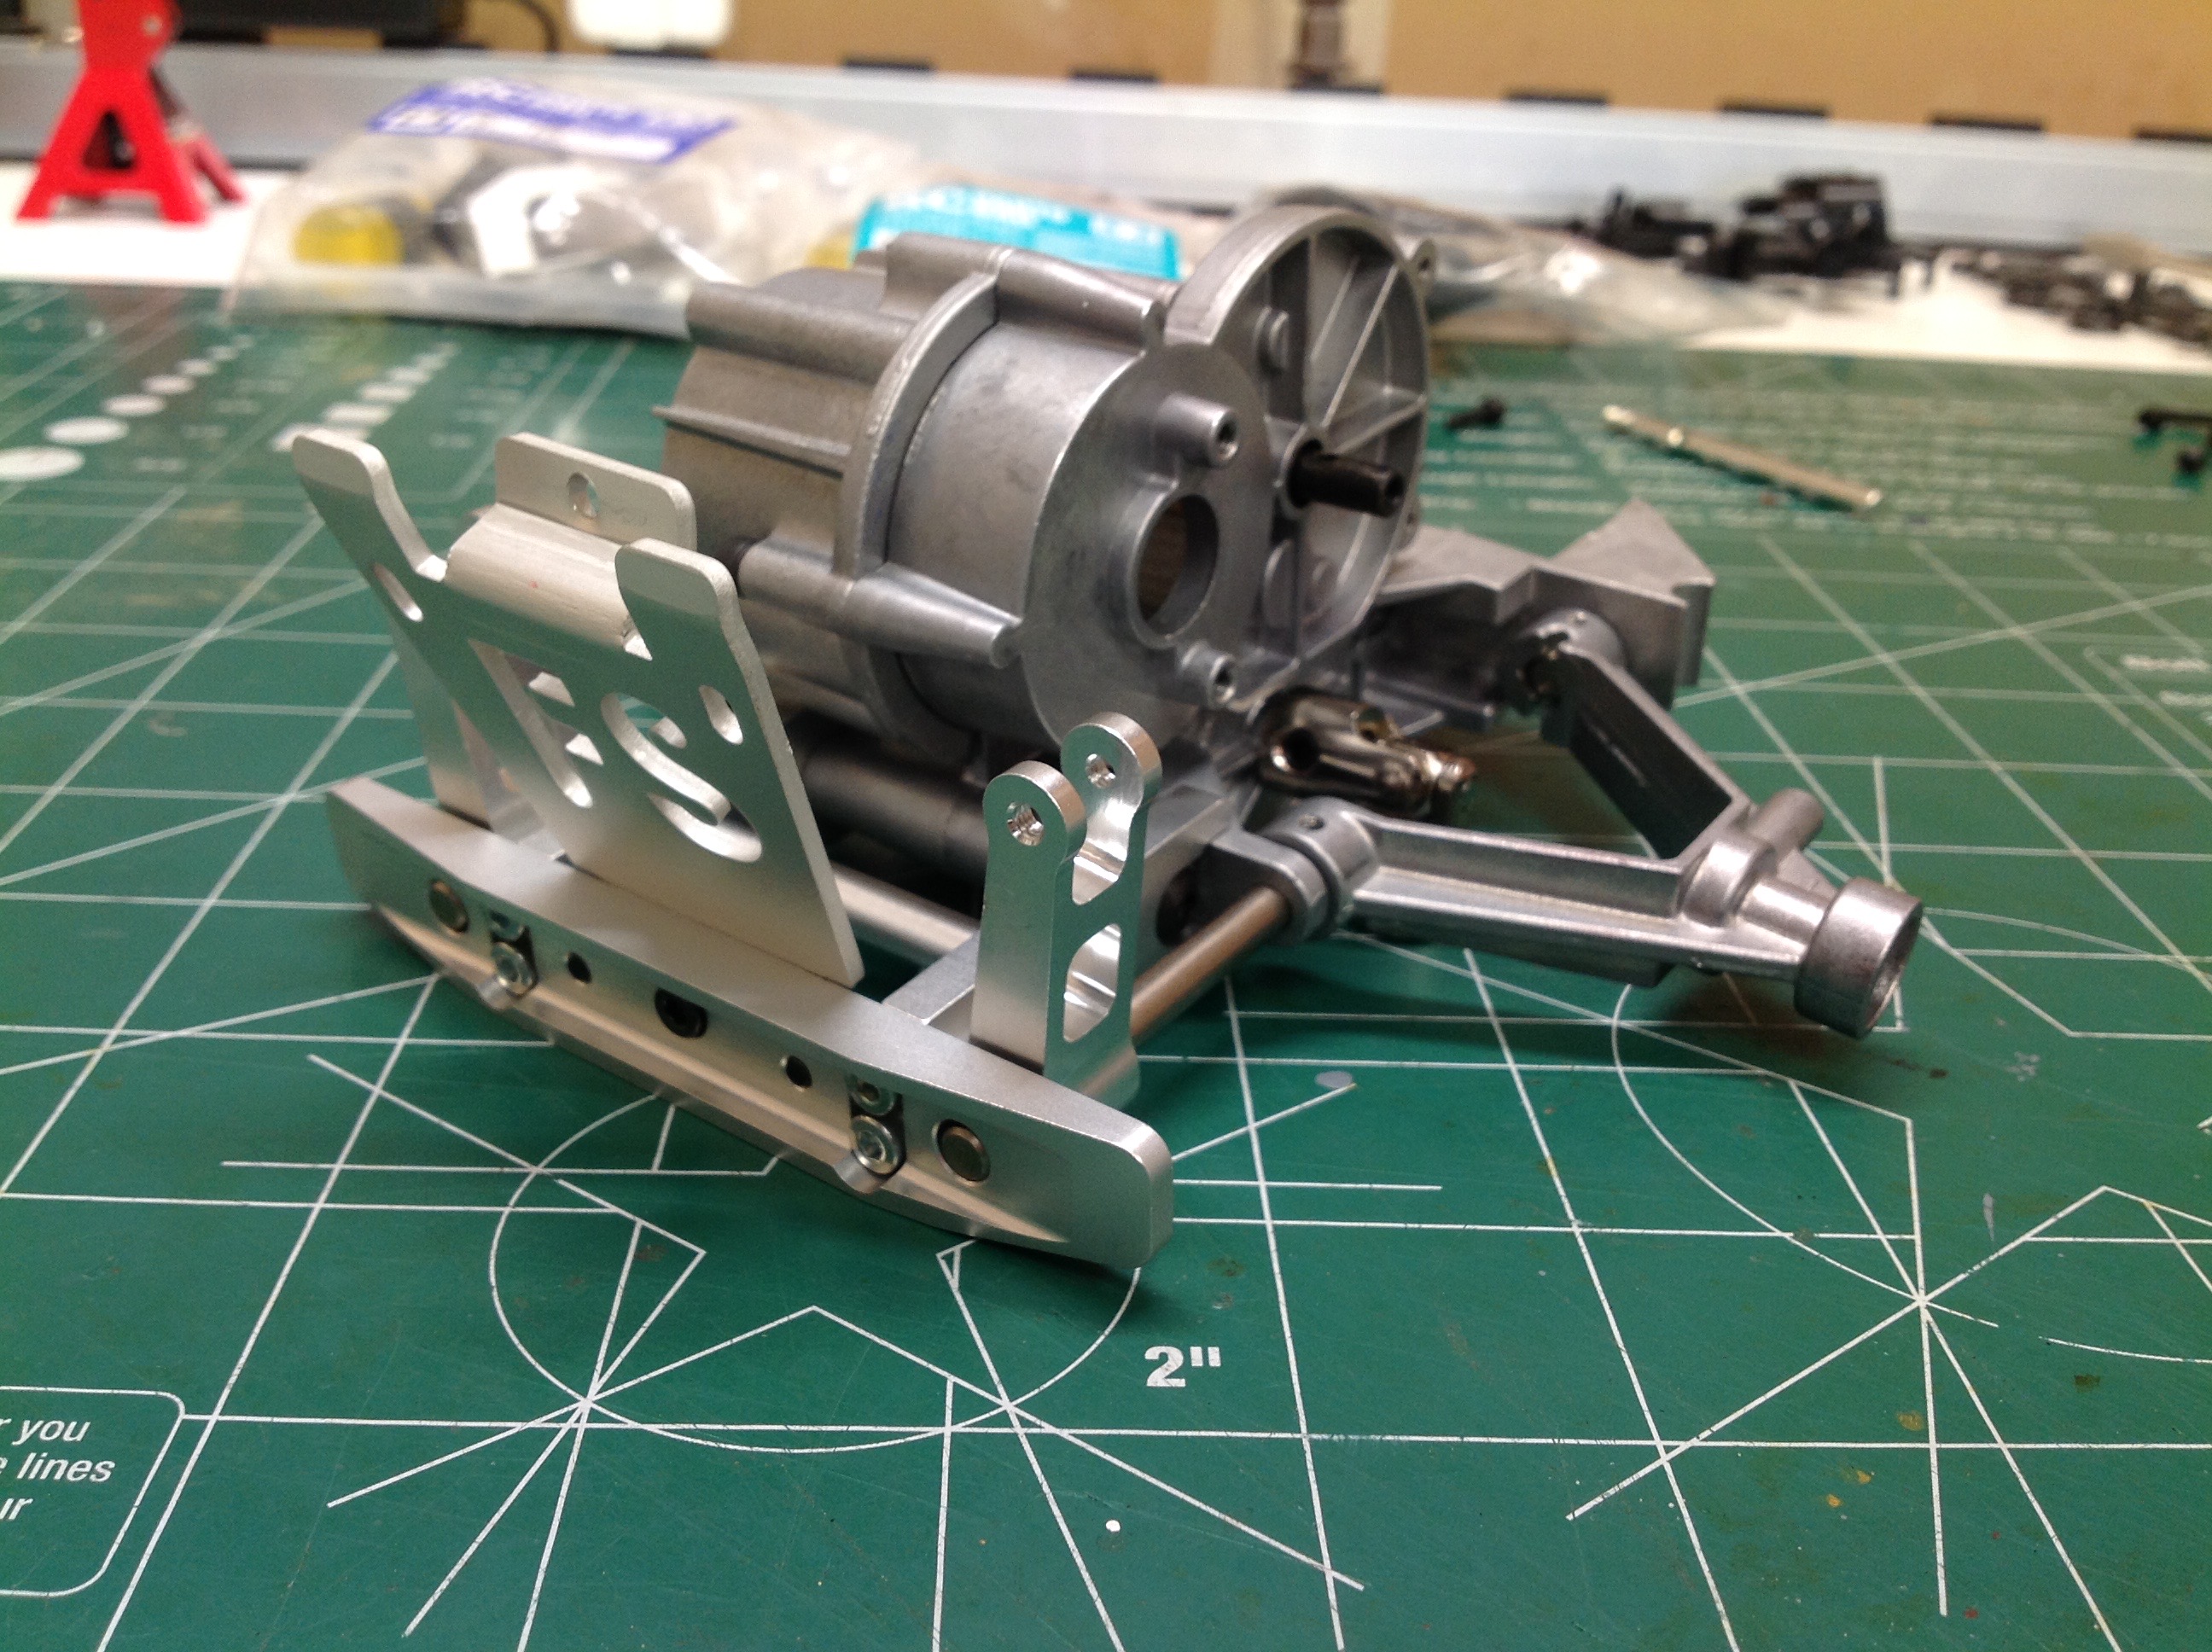
This rear view shows how the suspension arms are connected to the cranks
which will support the shock. You can also see the rear bumper
and the "FS" shield. Since "FS" doesn't stand for either "Fighting
Buggy" or "Super Champ", I am going to guess that it is supposed to
mean "Floating Suspension".
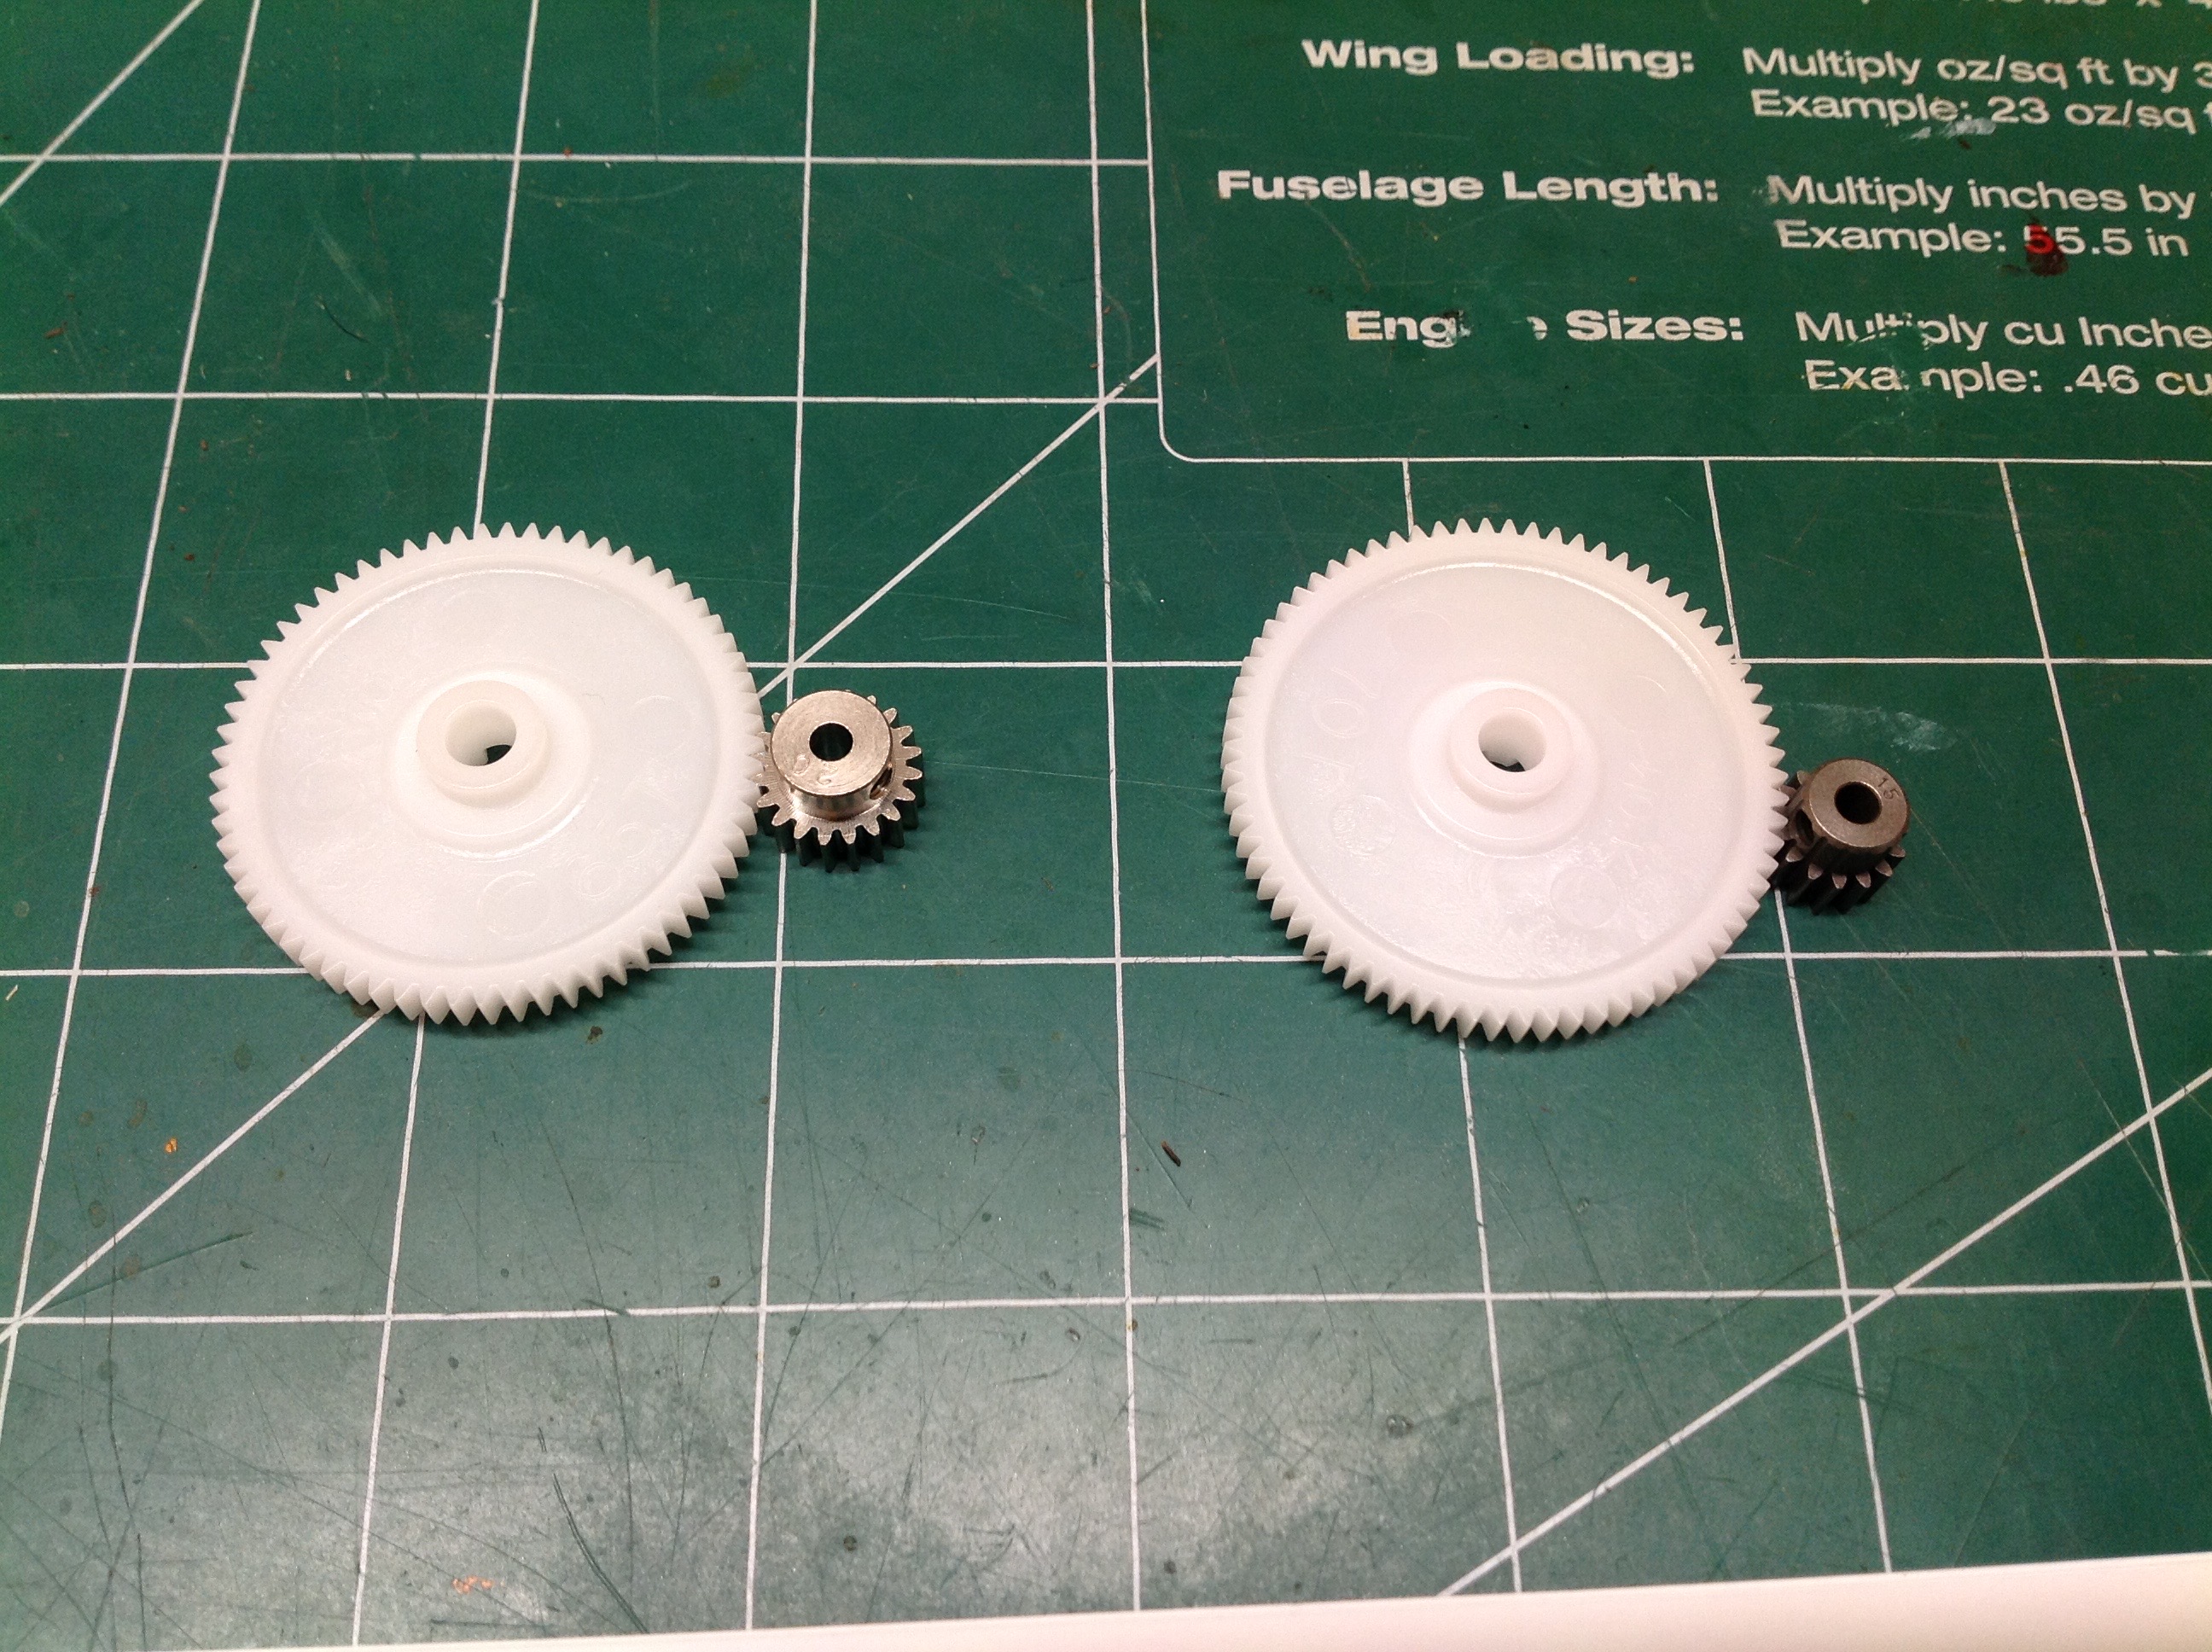
The kit comes with two sets of pinion/spur gears: 65:20 (3.25:1)
for speed and 70:15 (4.67:1) for torque. The gear mesh is not
adjustable which is why only fixed combinations of gearing will
fit. I chose the higher speed gearing, shown installed here with
the clear protective cover. This old buggy is pleasantly fast with
this arrangement, even with the stock motor.
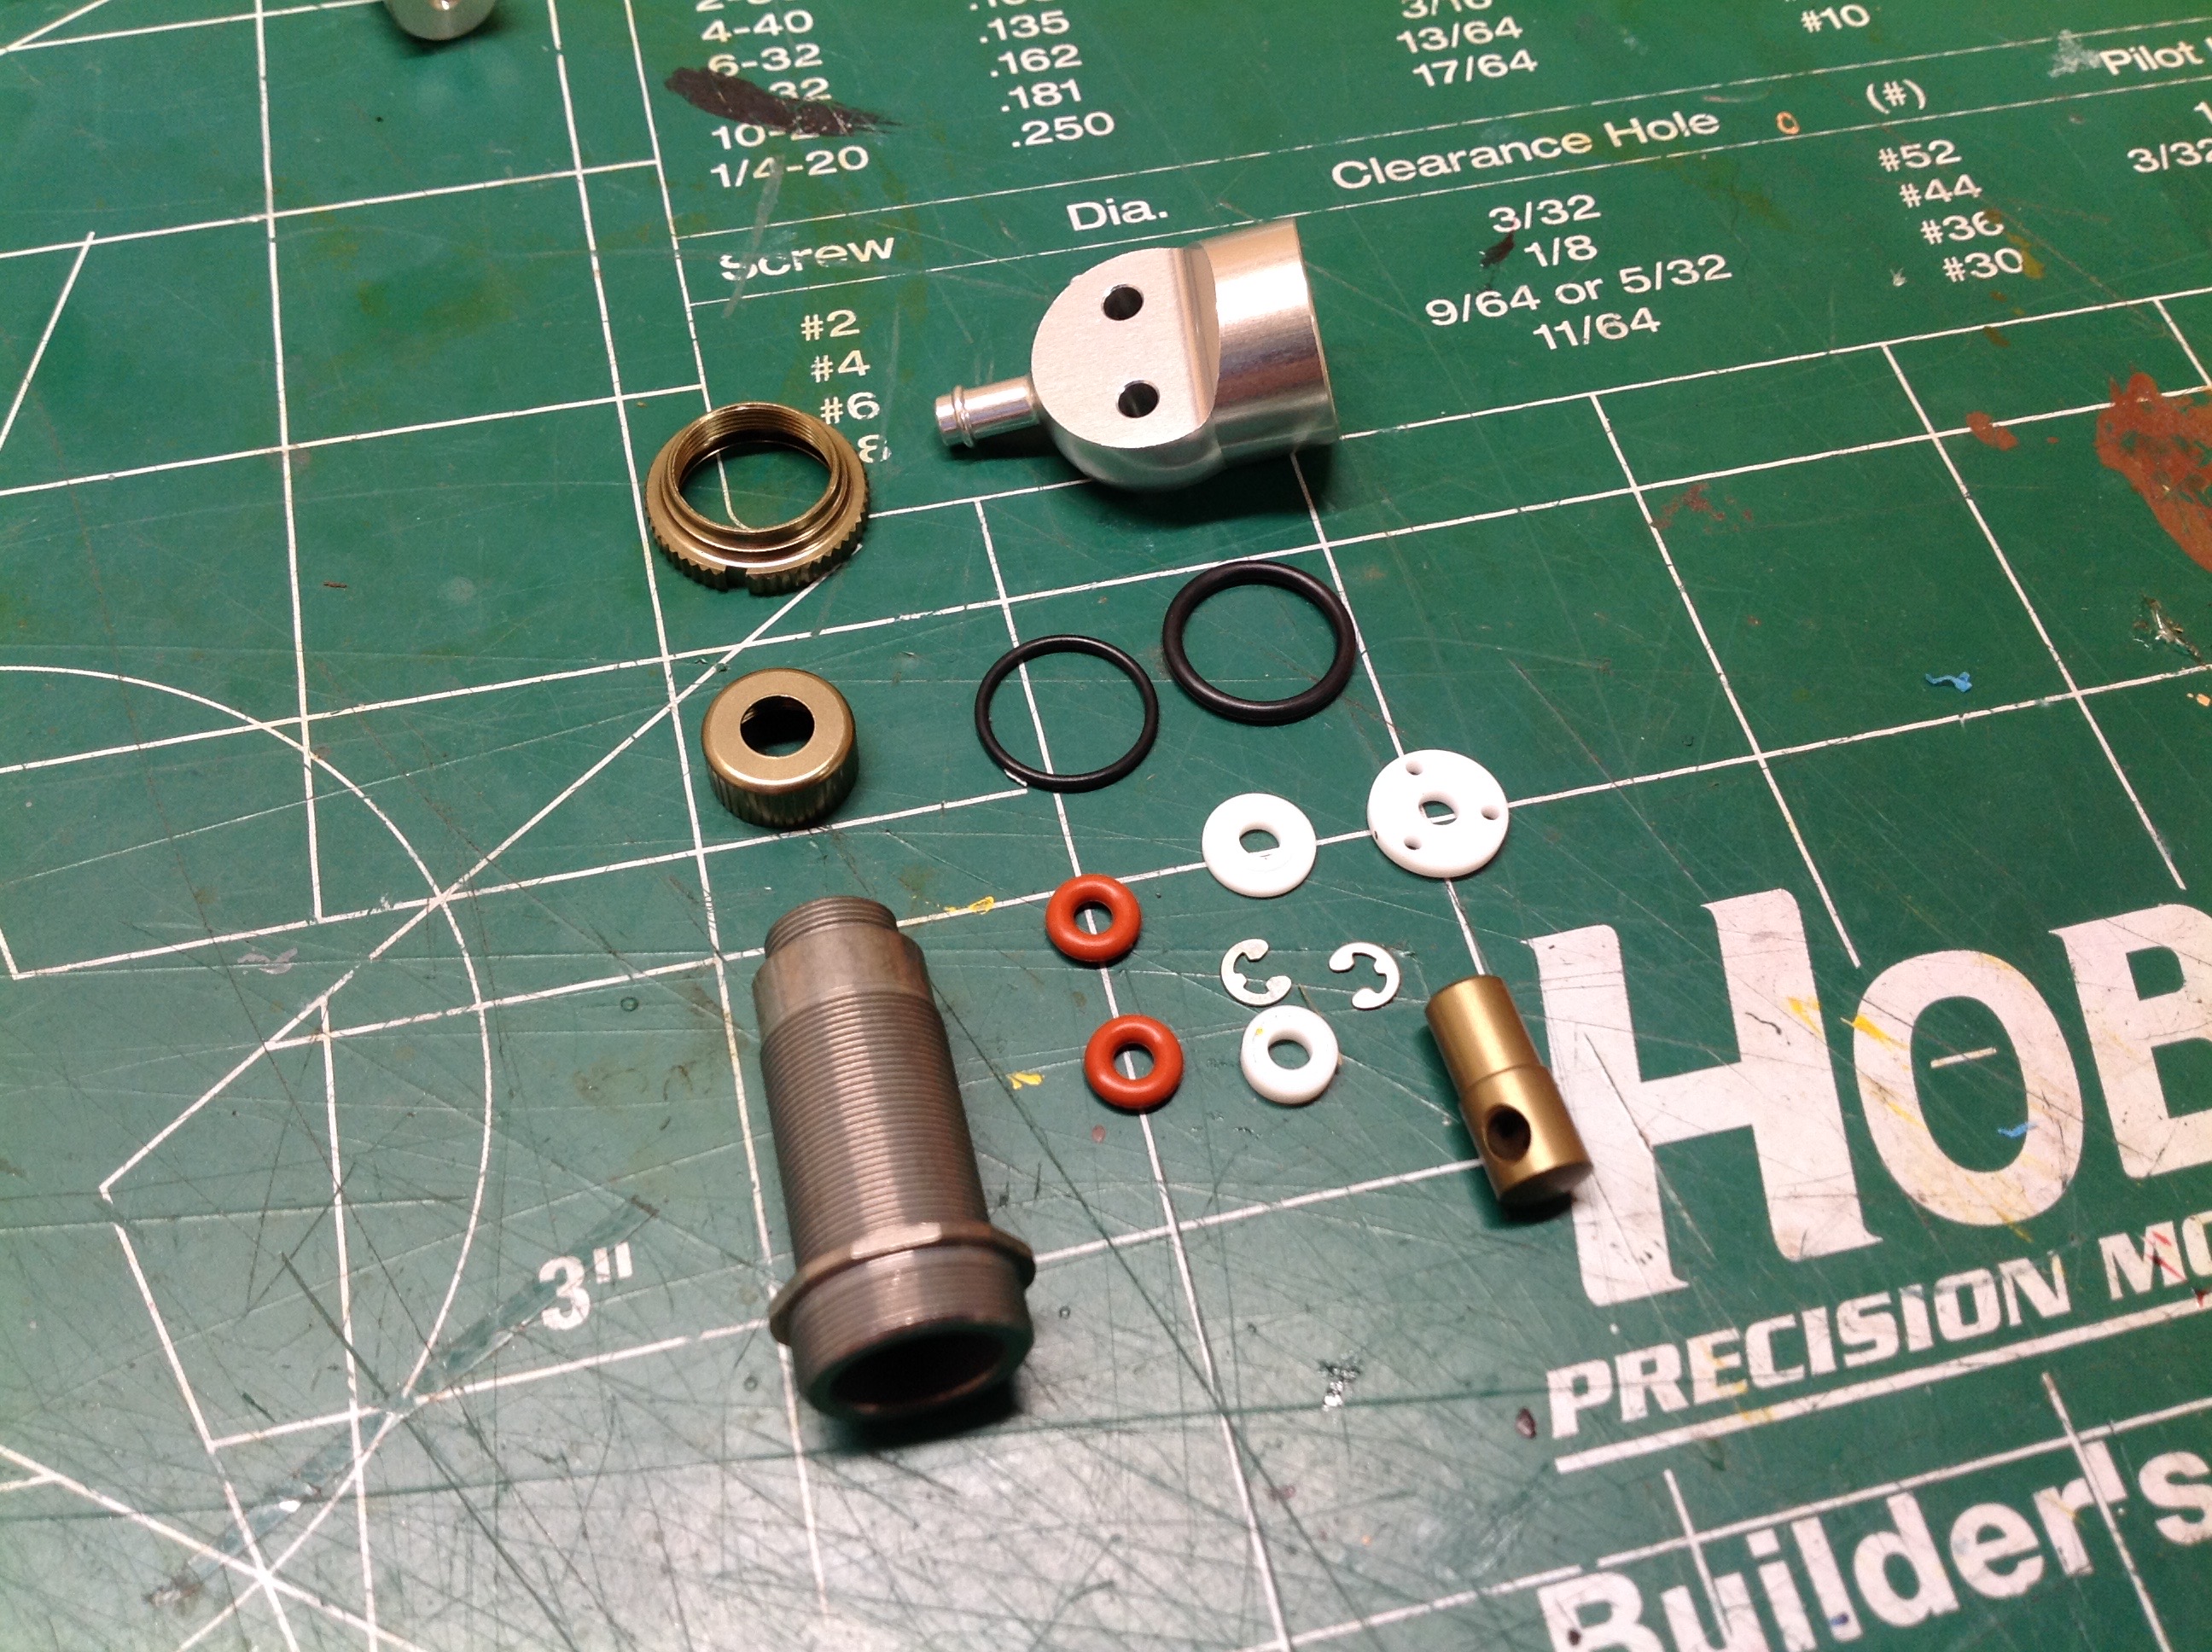
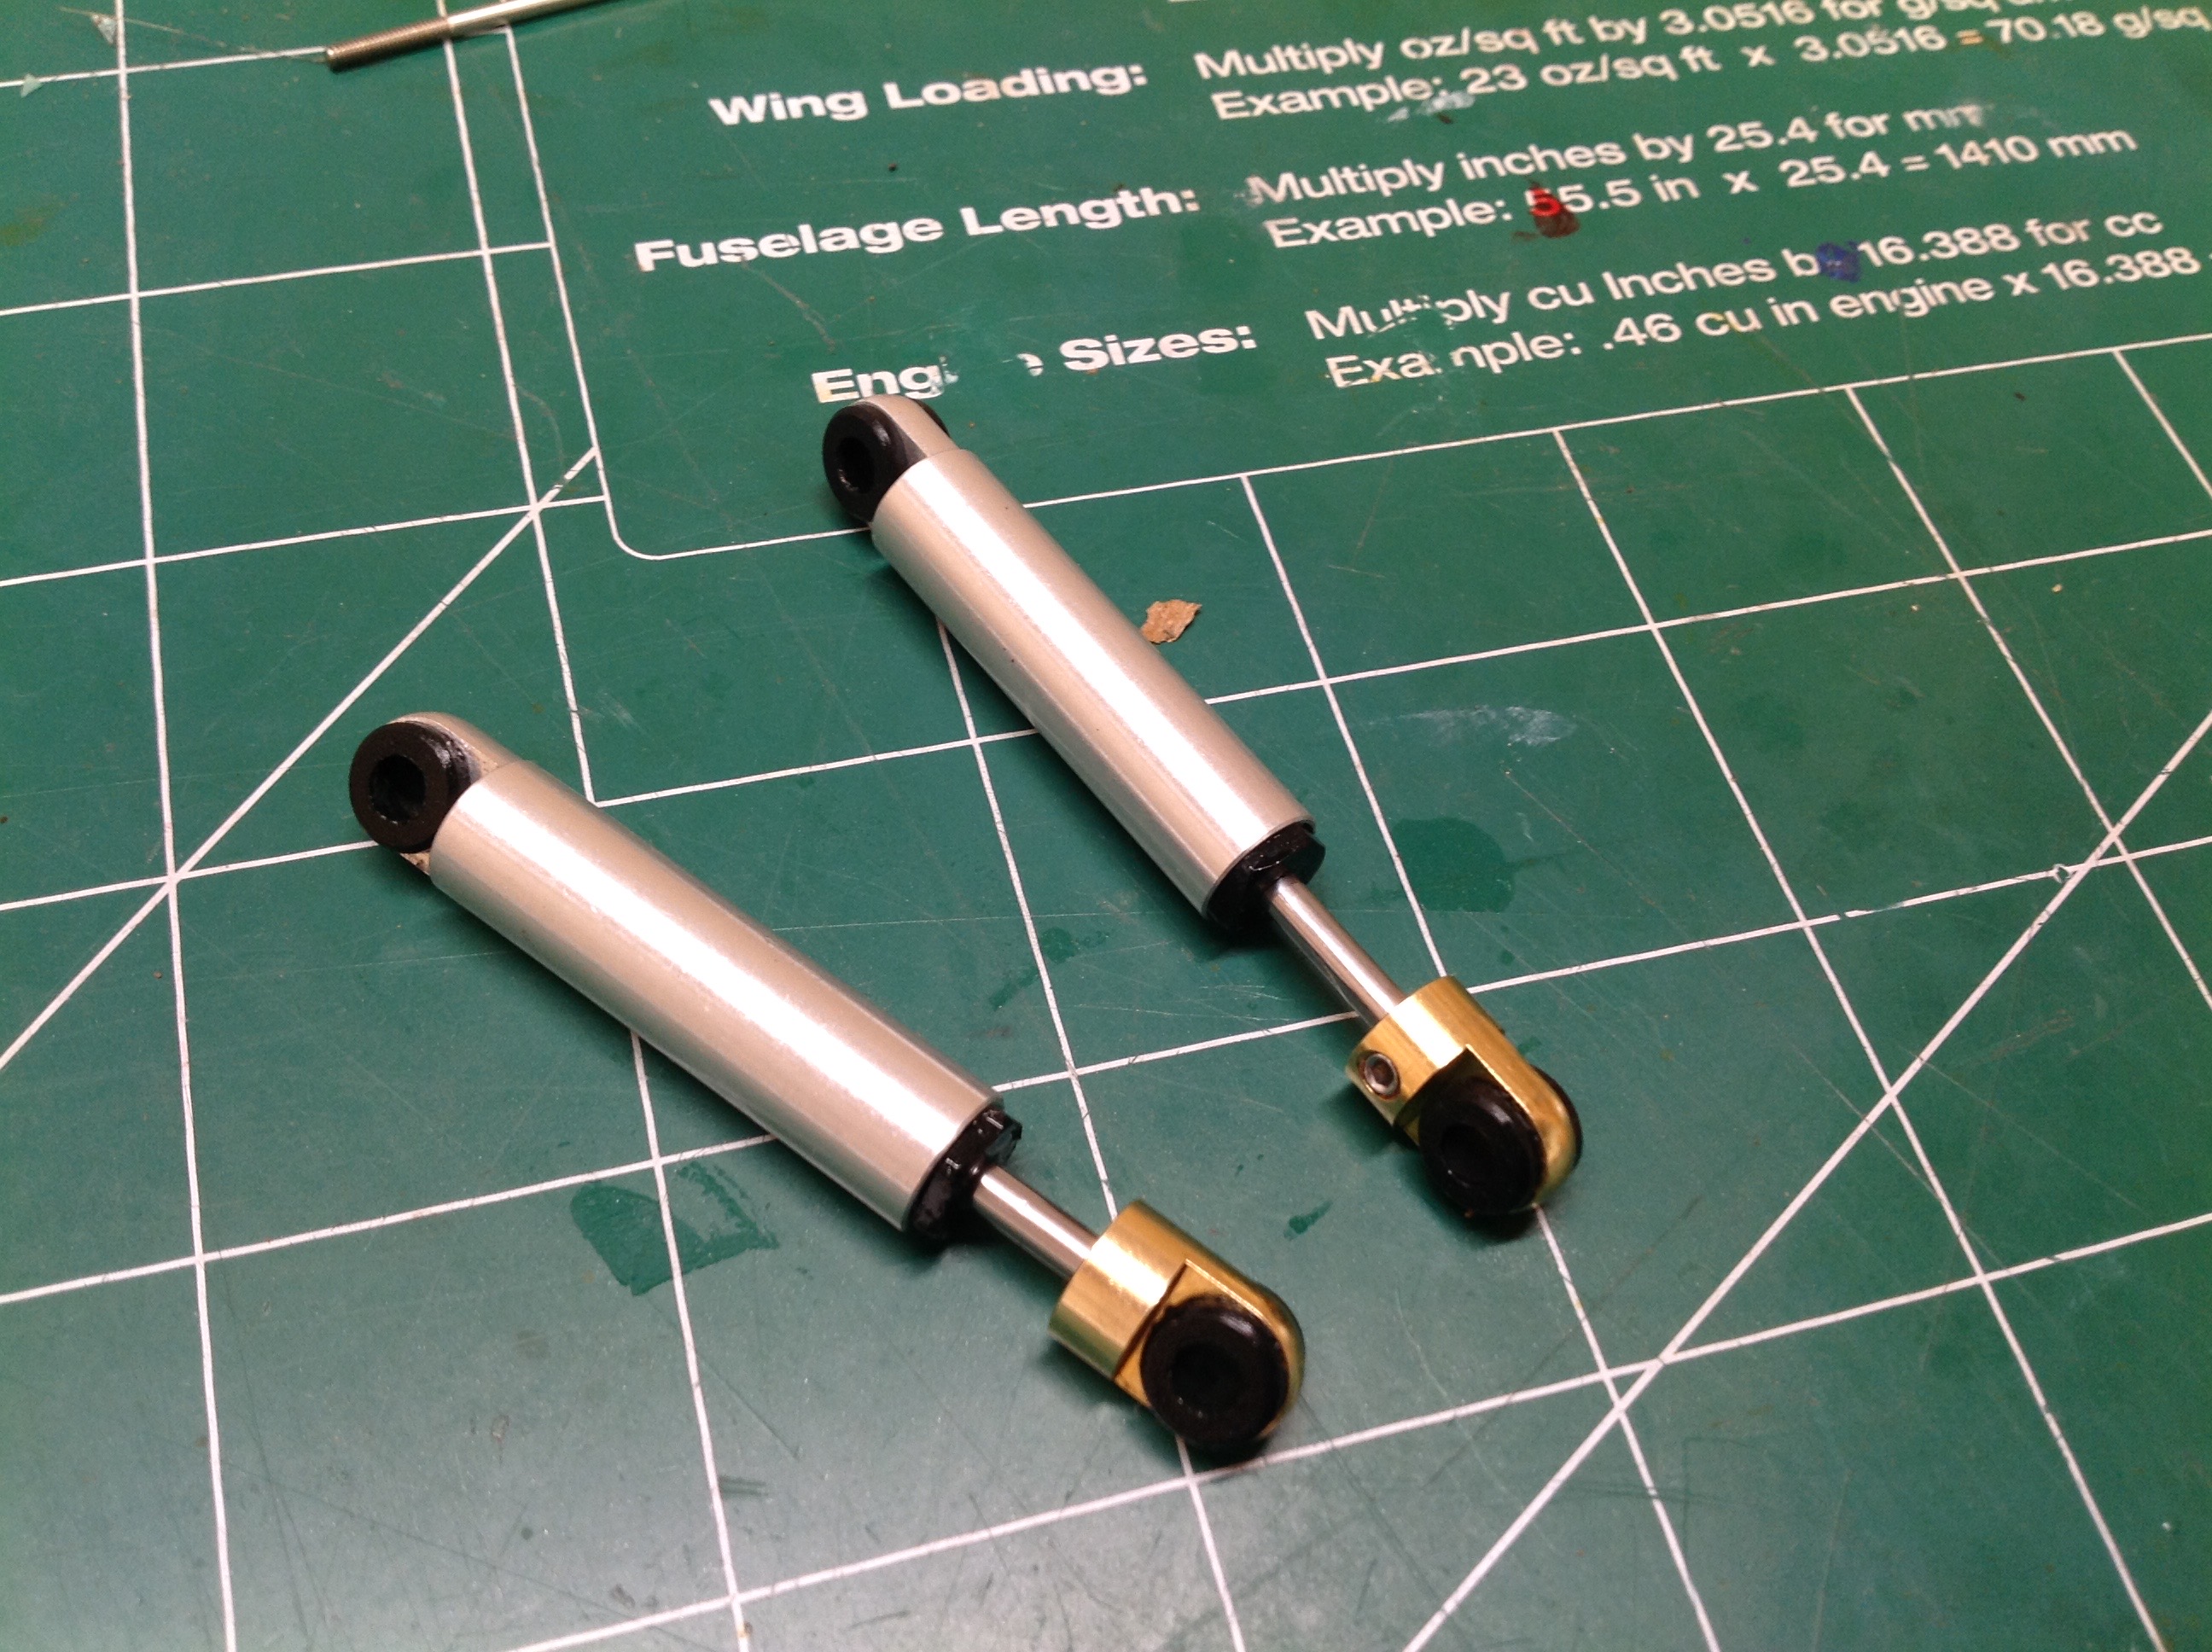
The included aluminum mono shock is not like anything I've seen before,
and seems to have evolved from the somewhat leaky version of the
original. This version has double rod seals and a delrin guide
ring. It is actually built much like a TRF shock and performs very
well indeed.
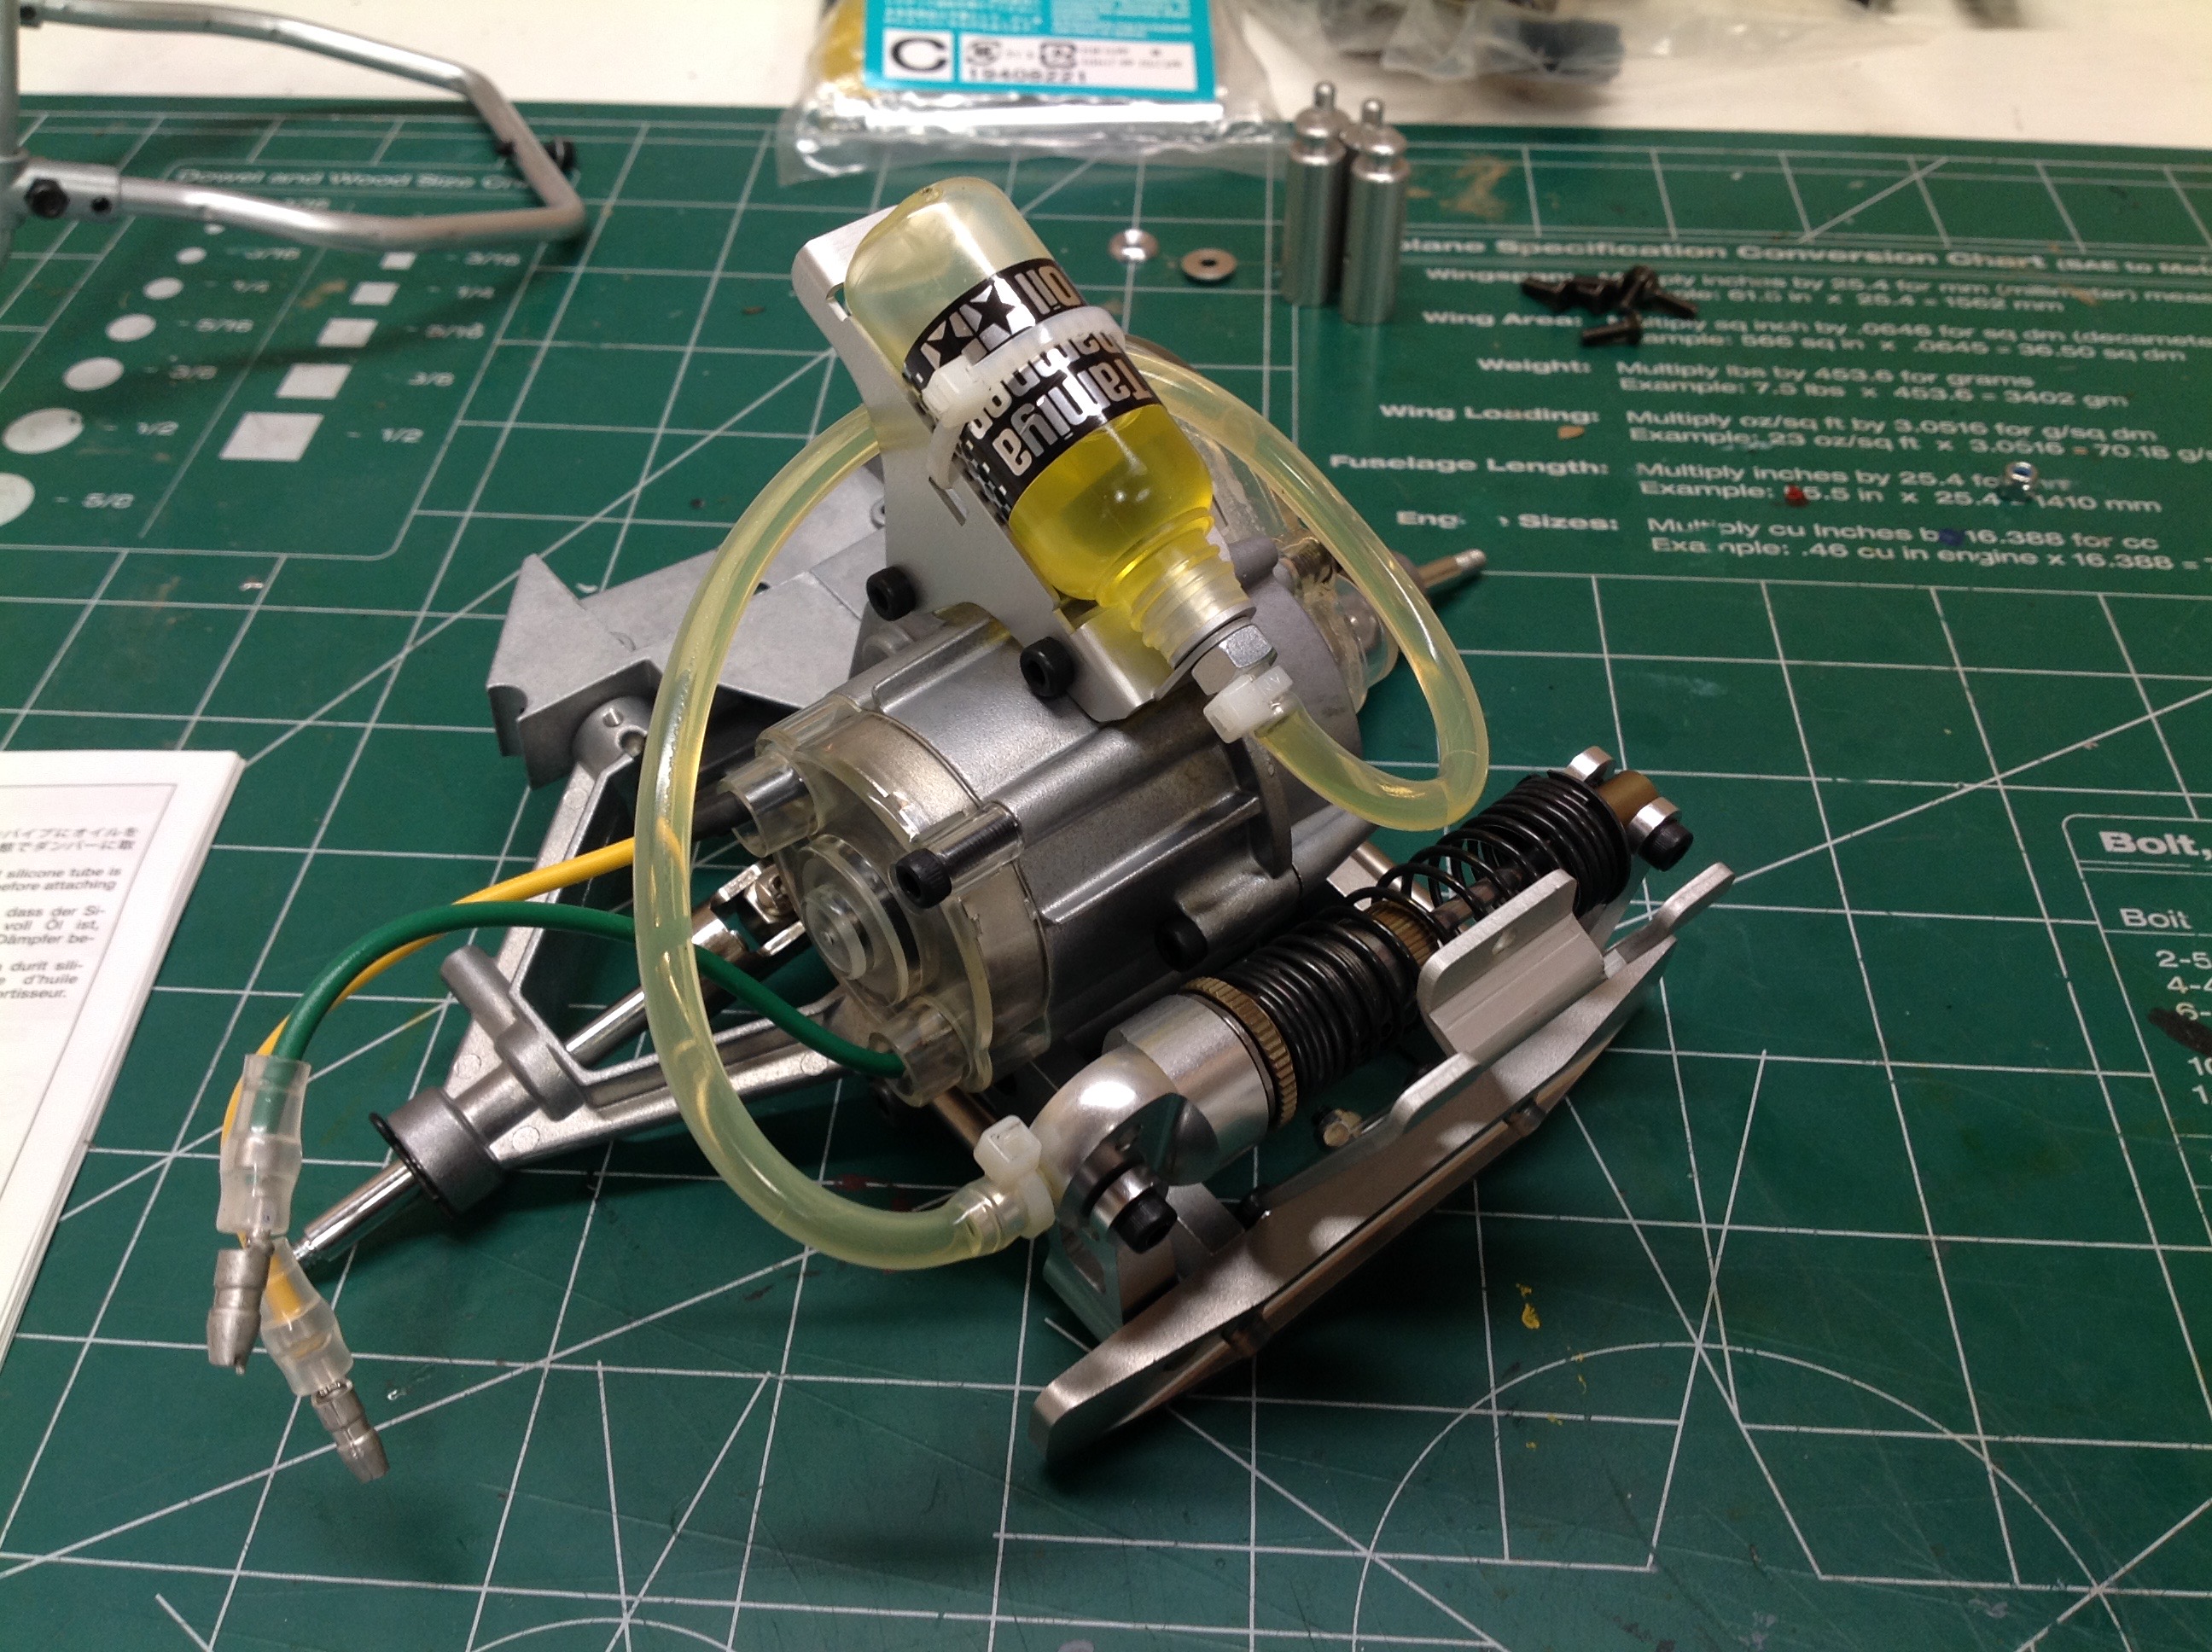
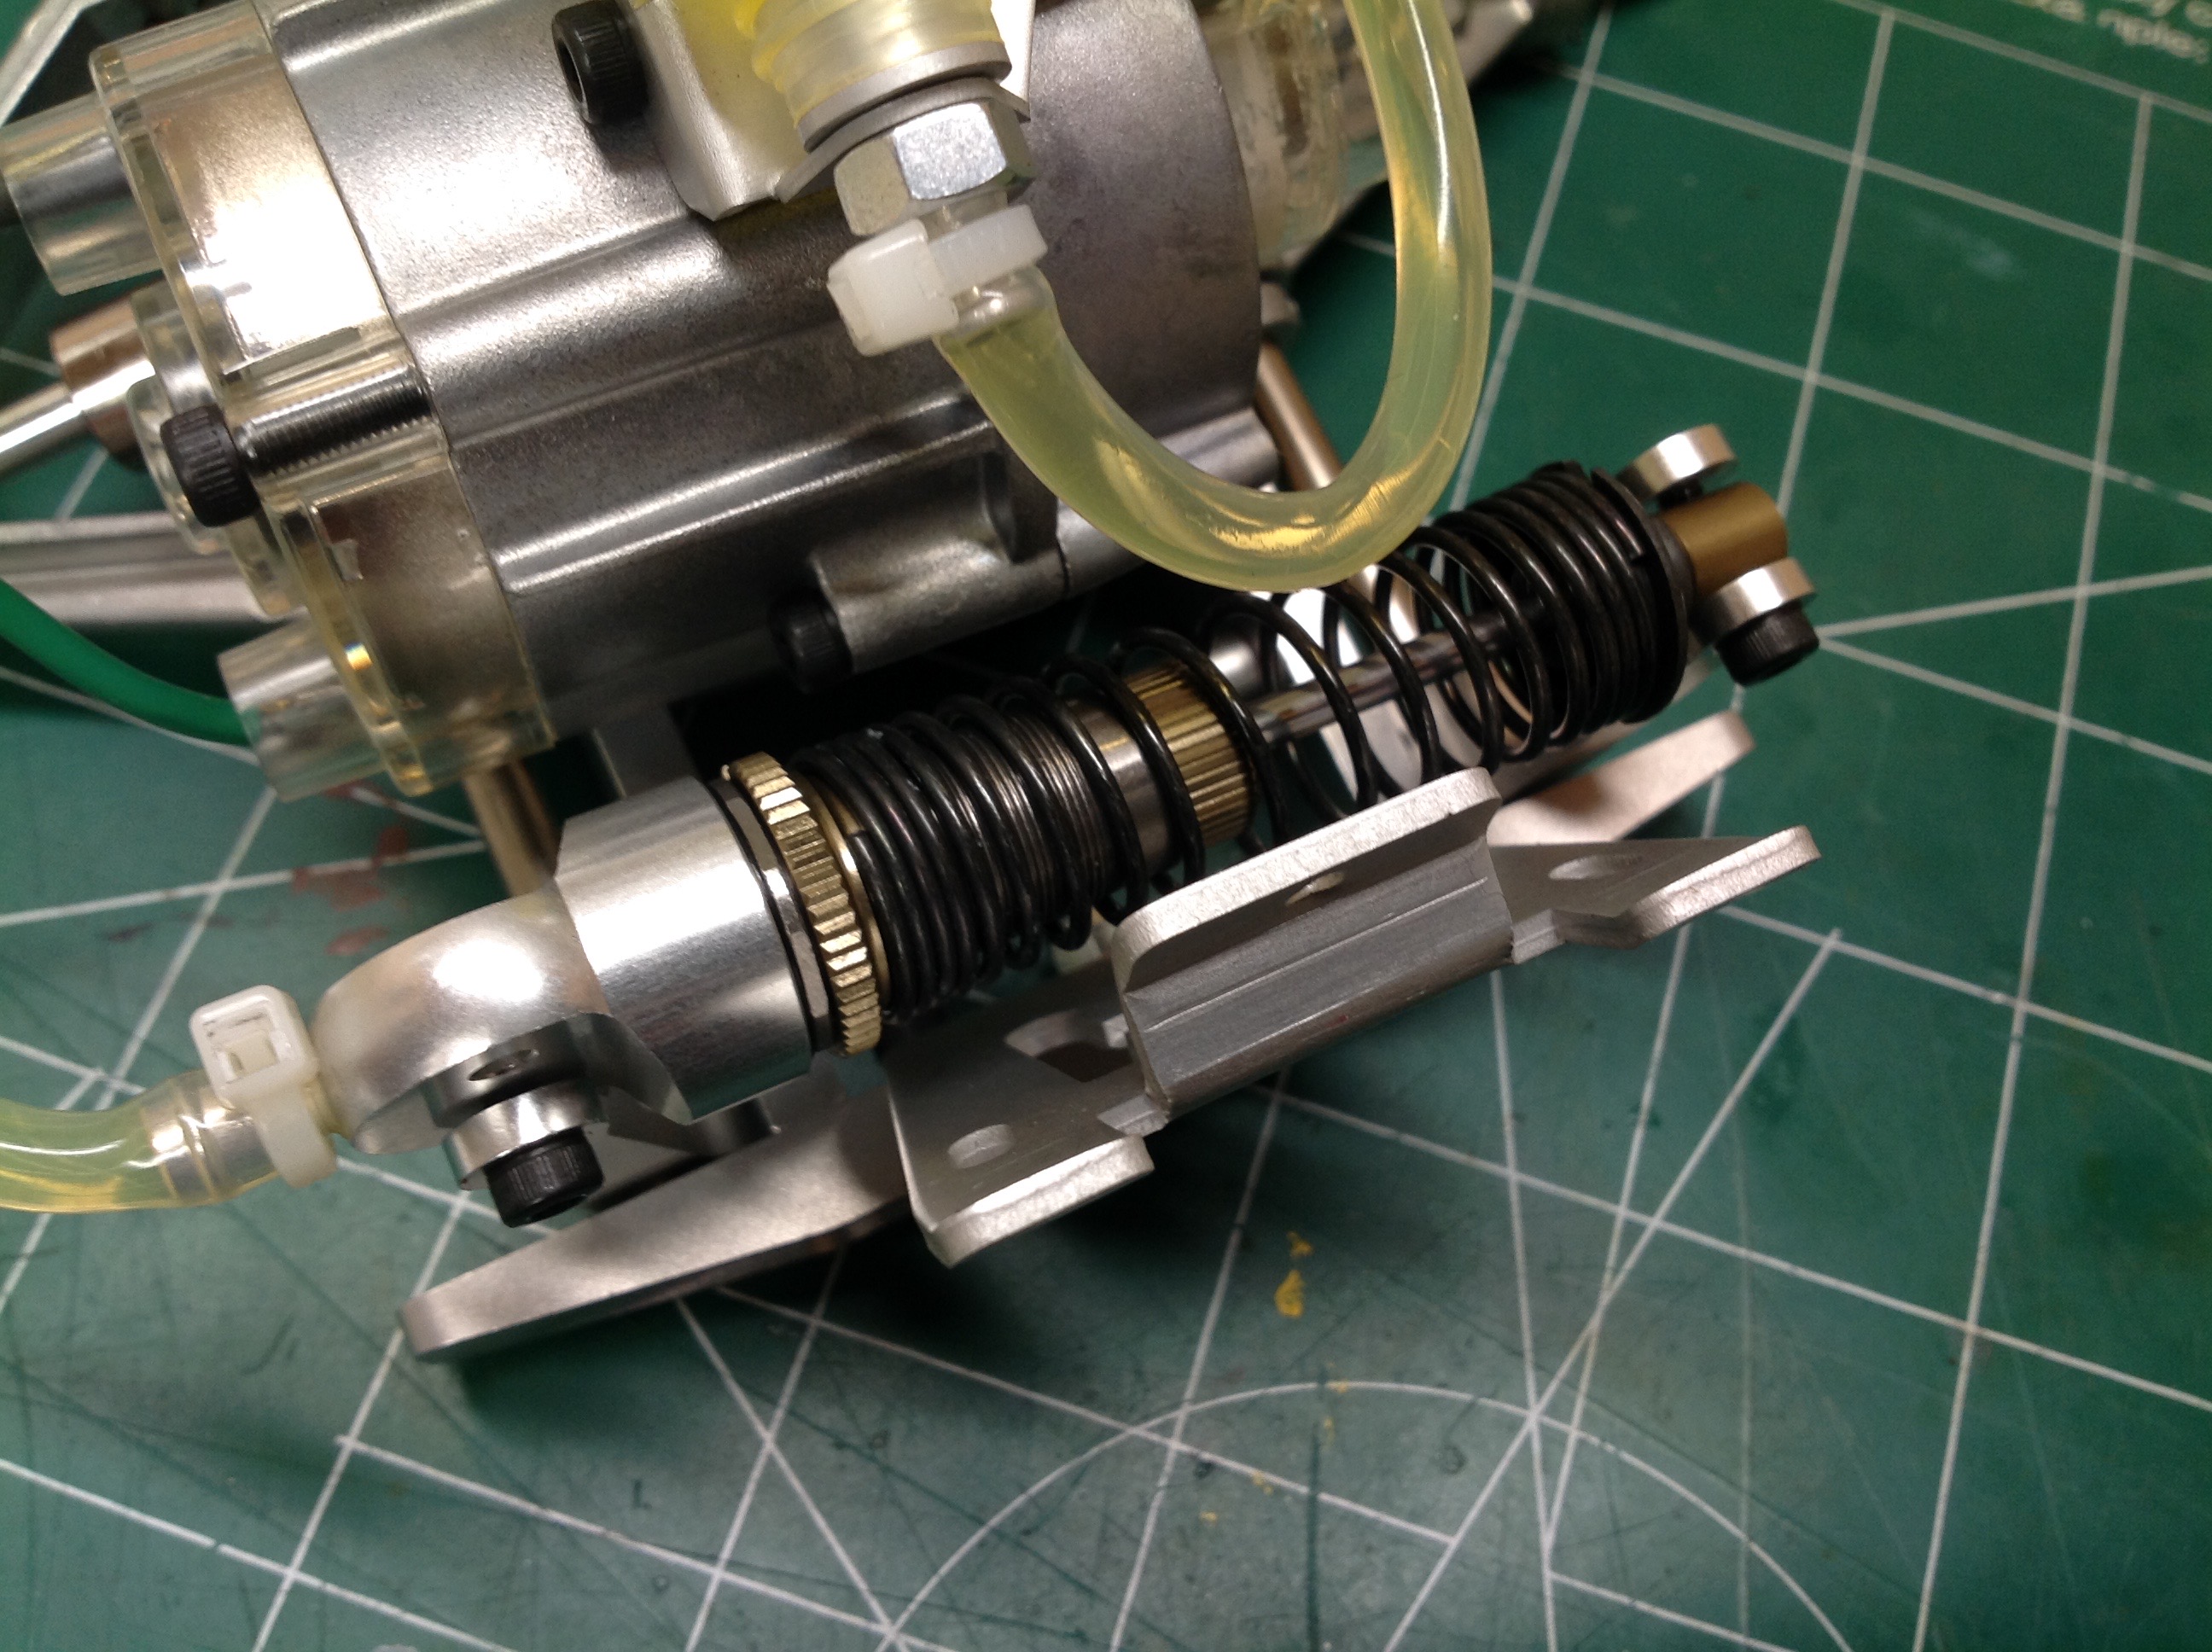
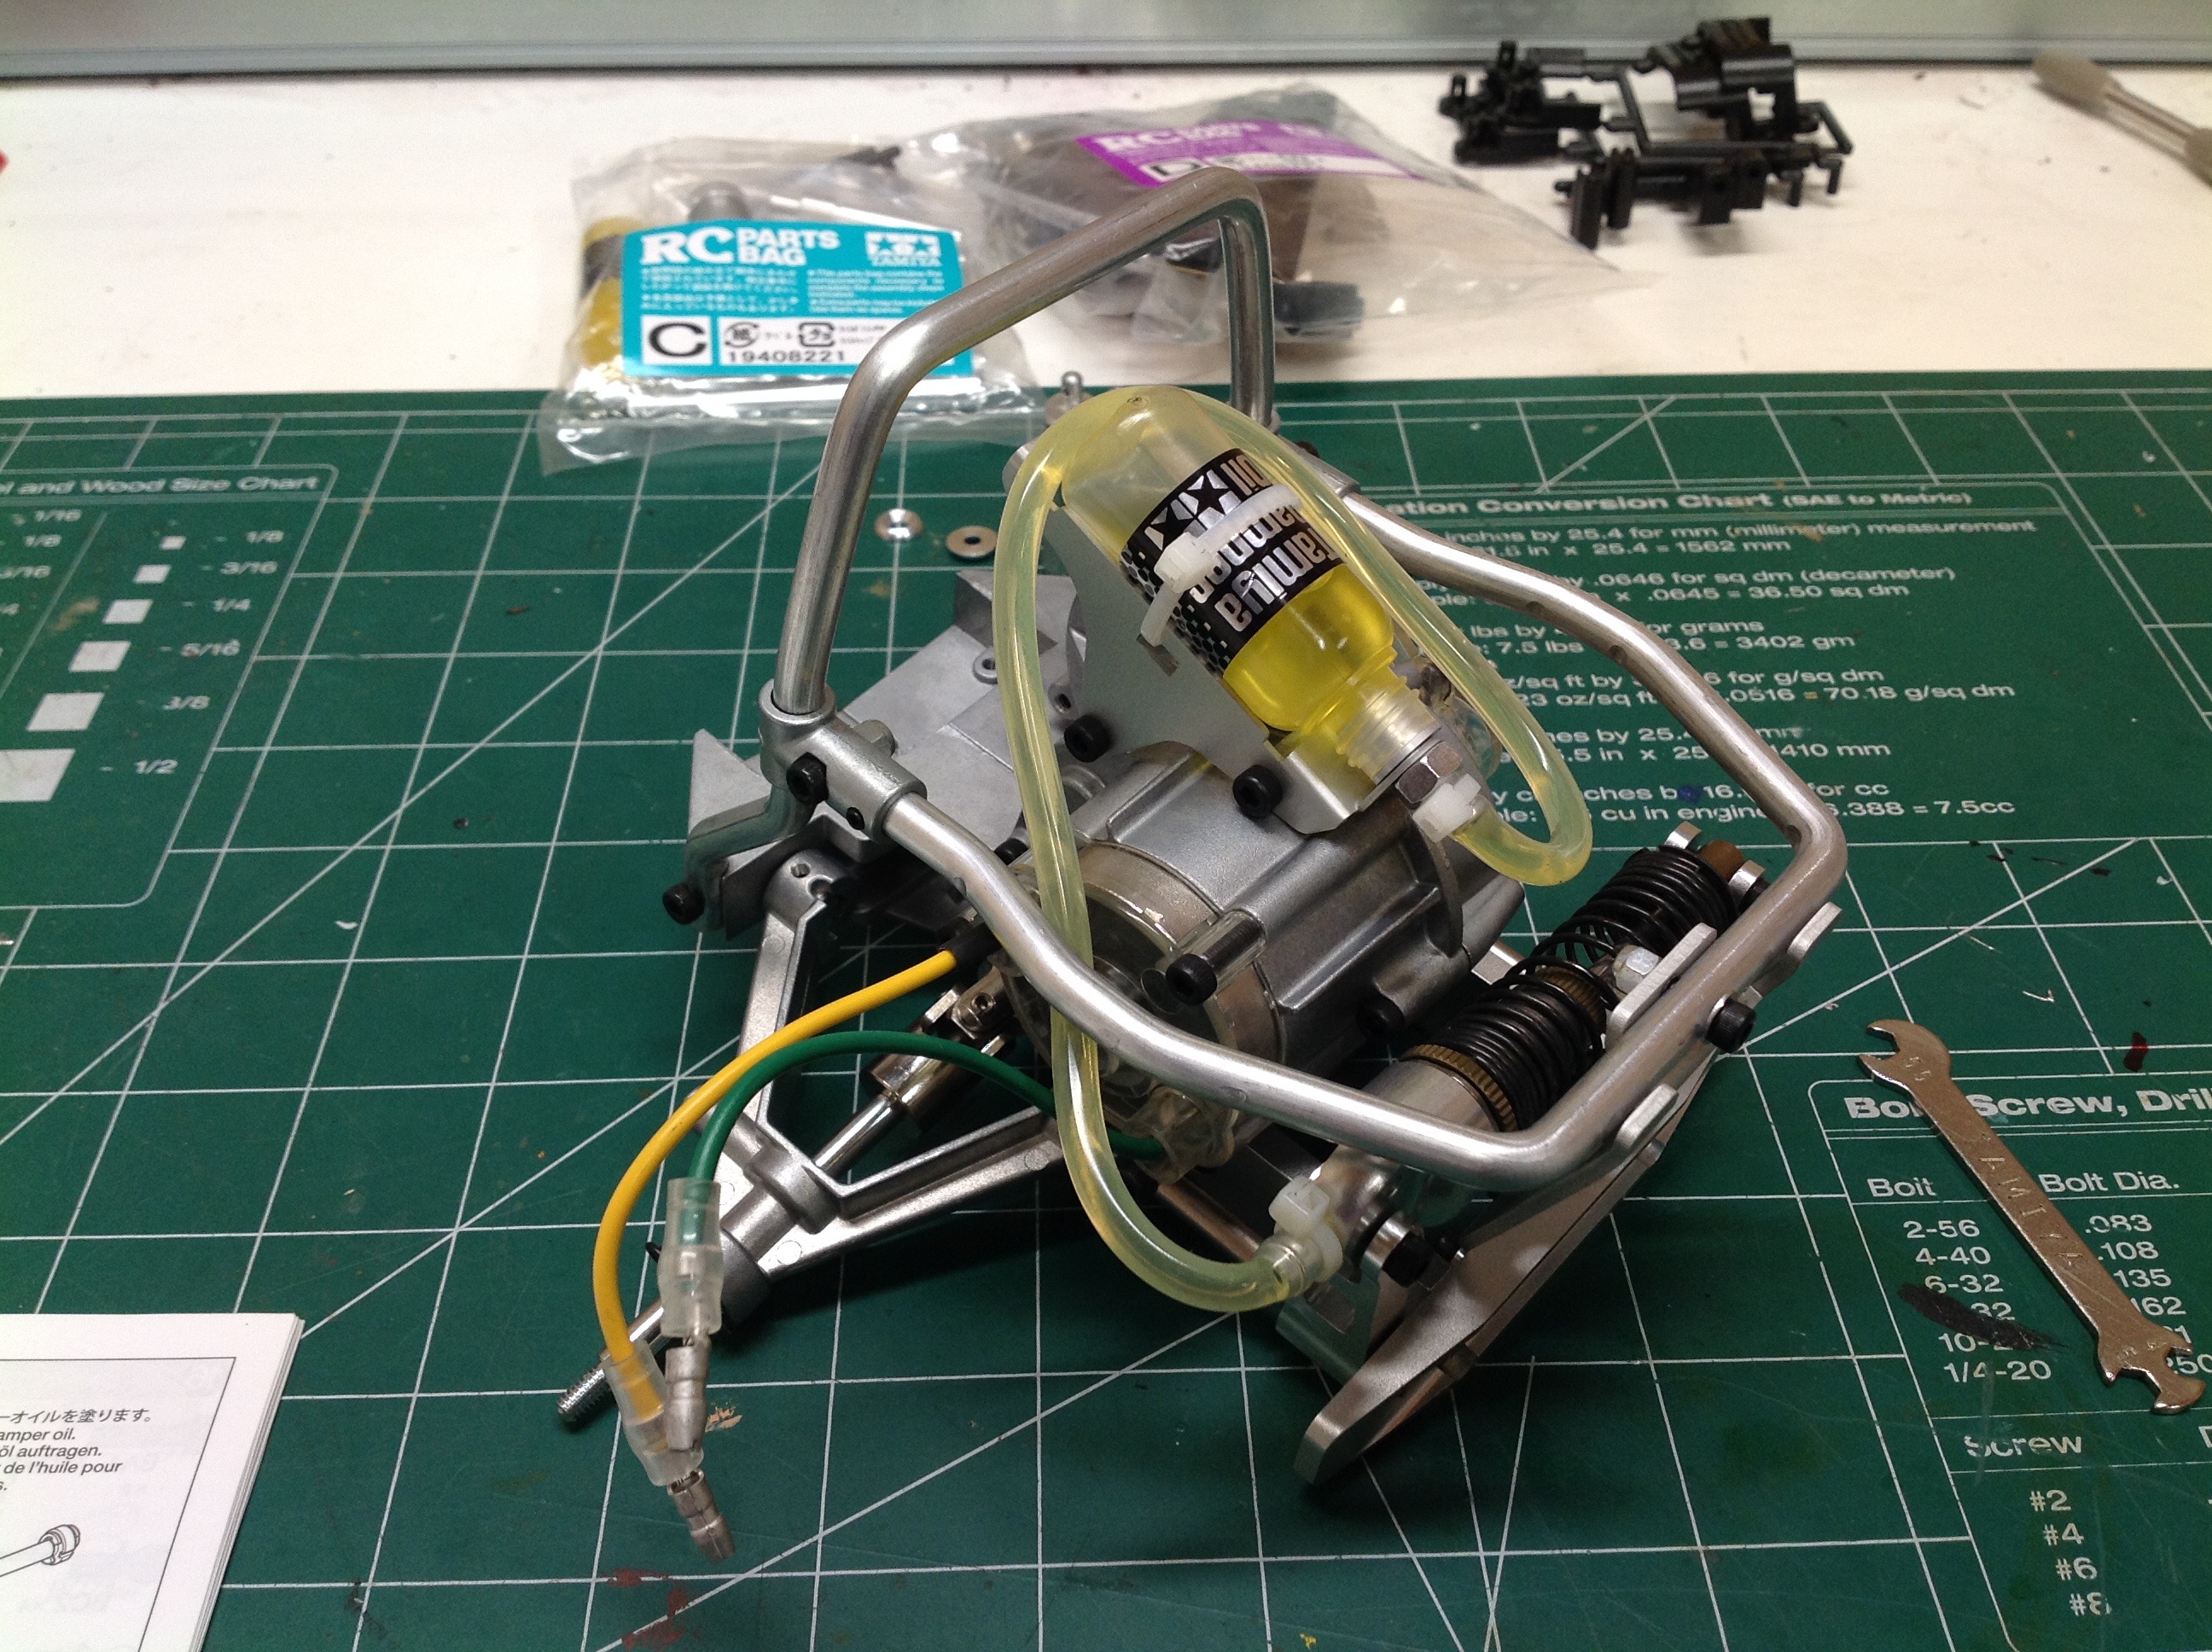
The shock is mounted between the rear crank arms and then an inverted
oil bottle is installed above with a silicone tube between. This
allows the fluid to expand into the reservoir as the shock is
compressed. You can also see the progressive coils on the
springs. The coils are much closer together (lower pitch) at the
ends than in the middle.
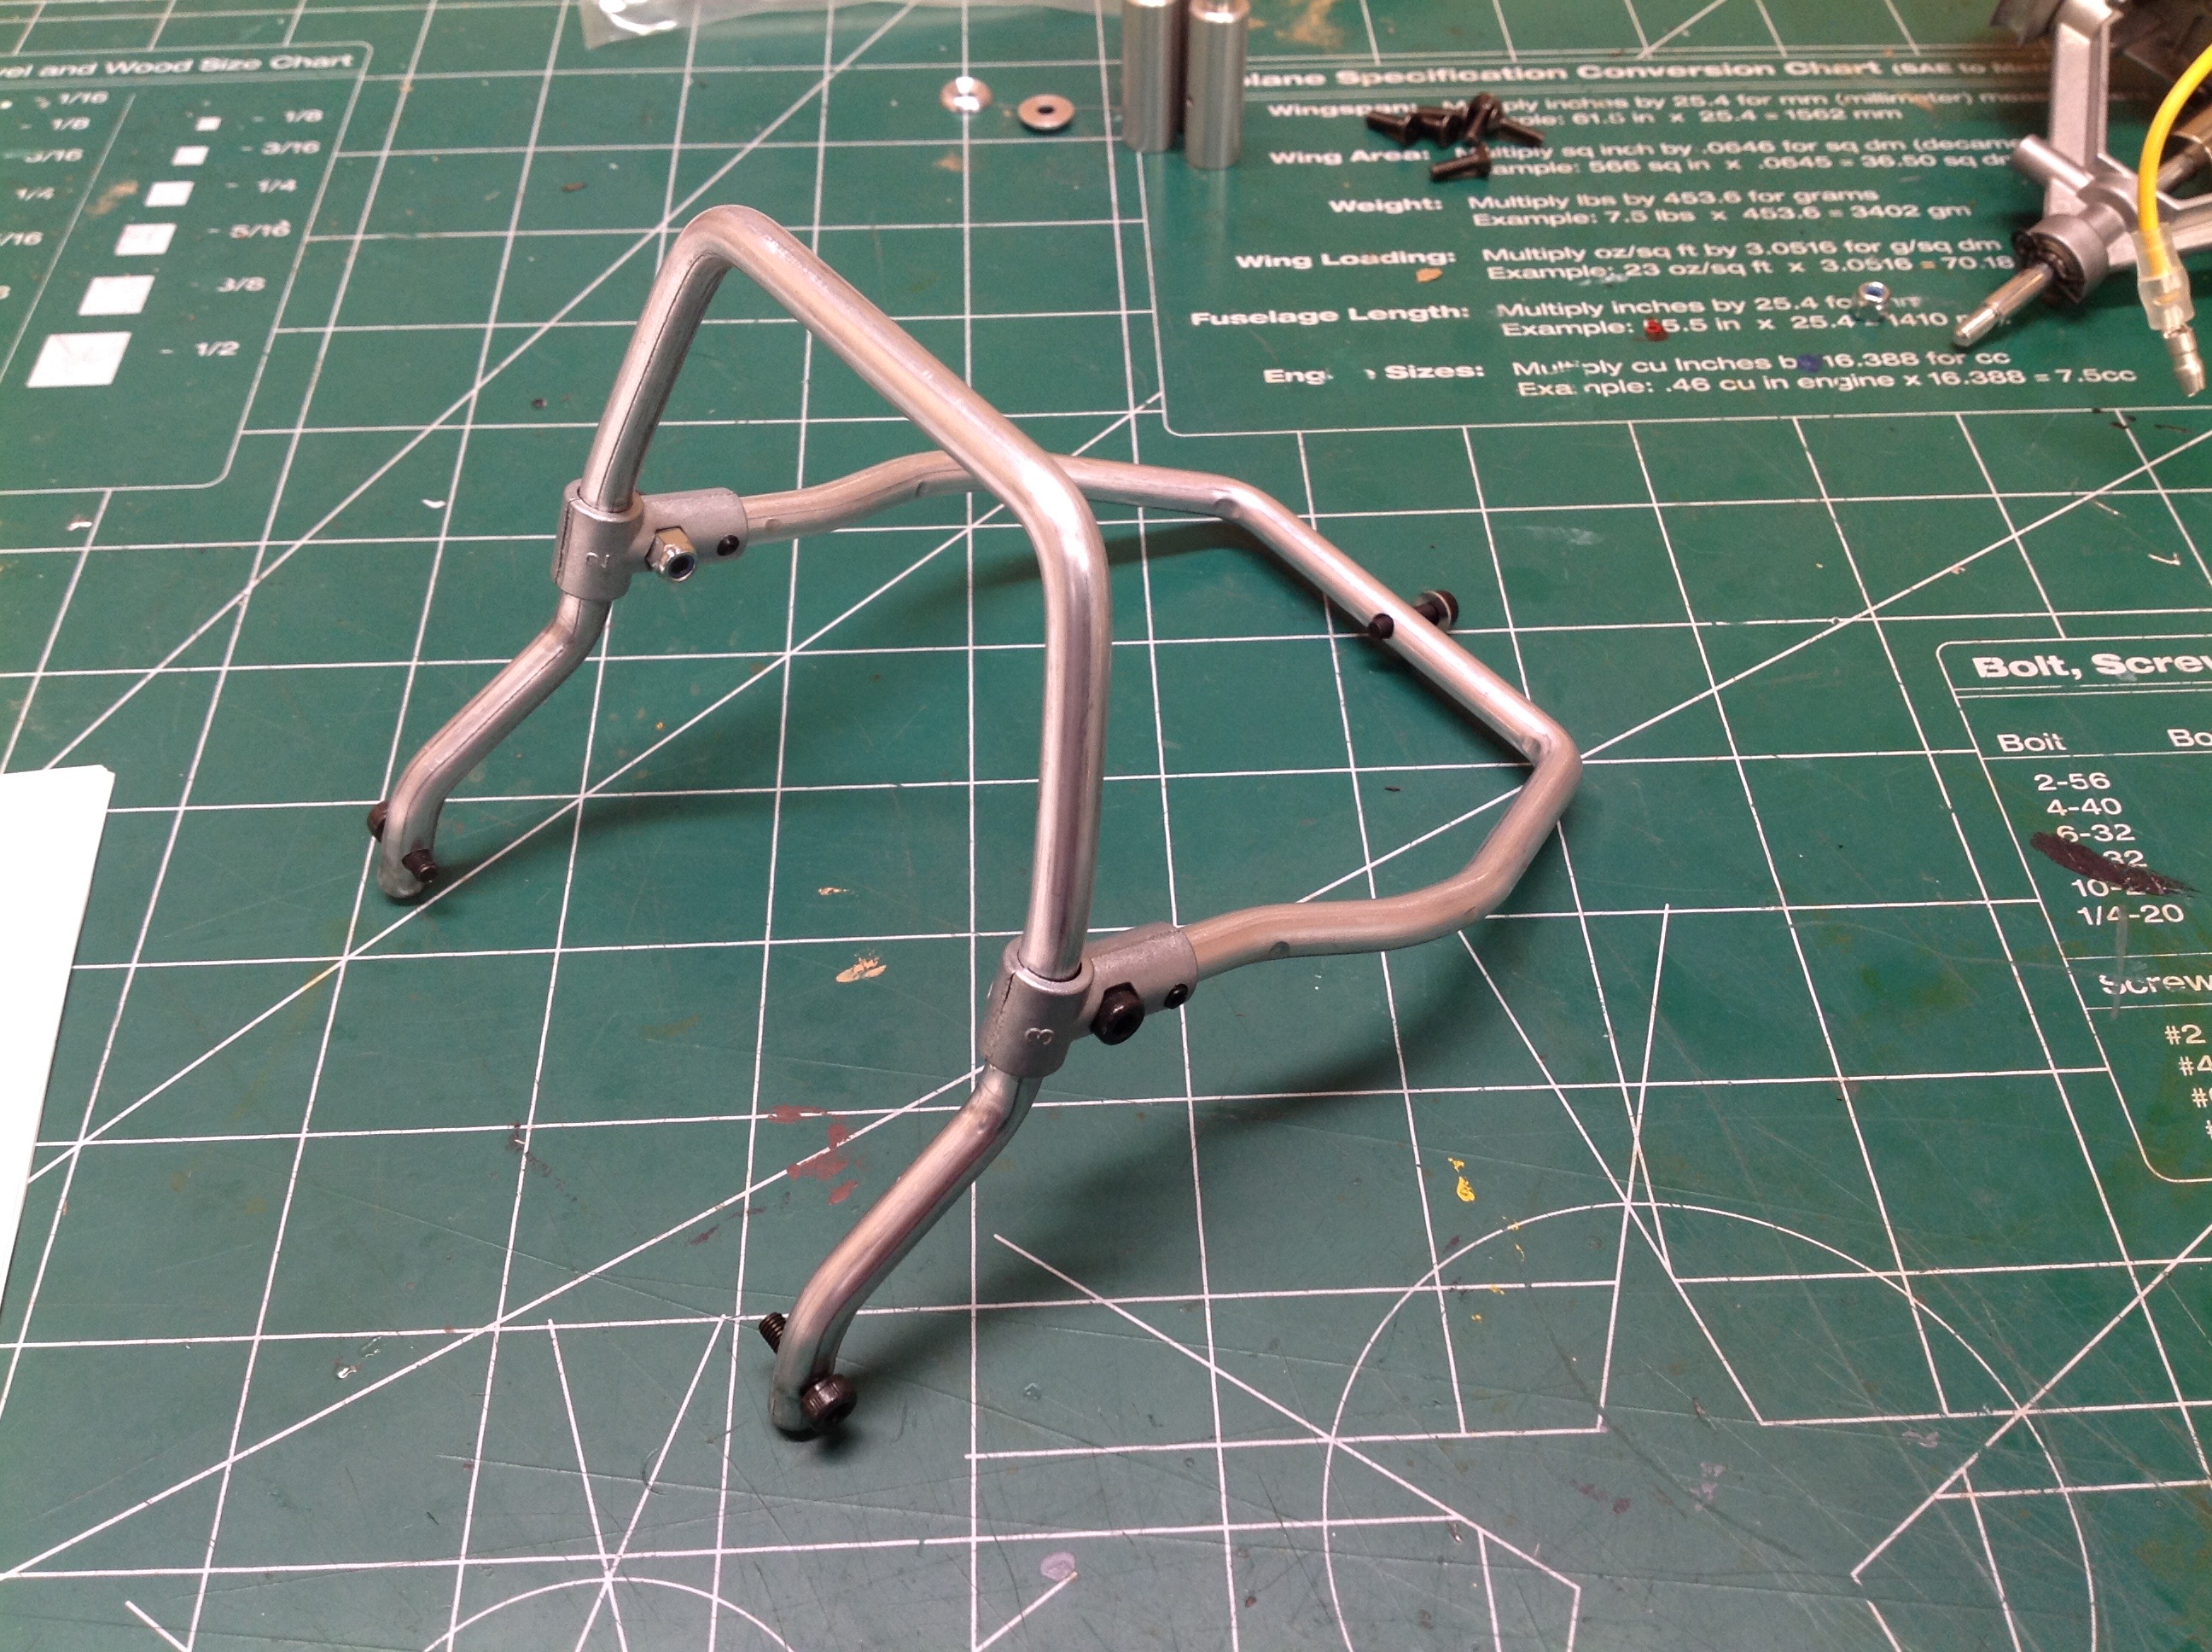
The metal roll cage is nearly the same as that on the SRB. It
protects not only the driver but also the shock bottle and motor from
impacts.
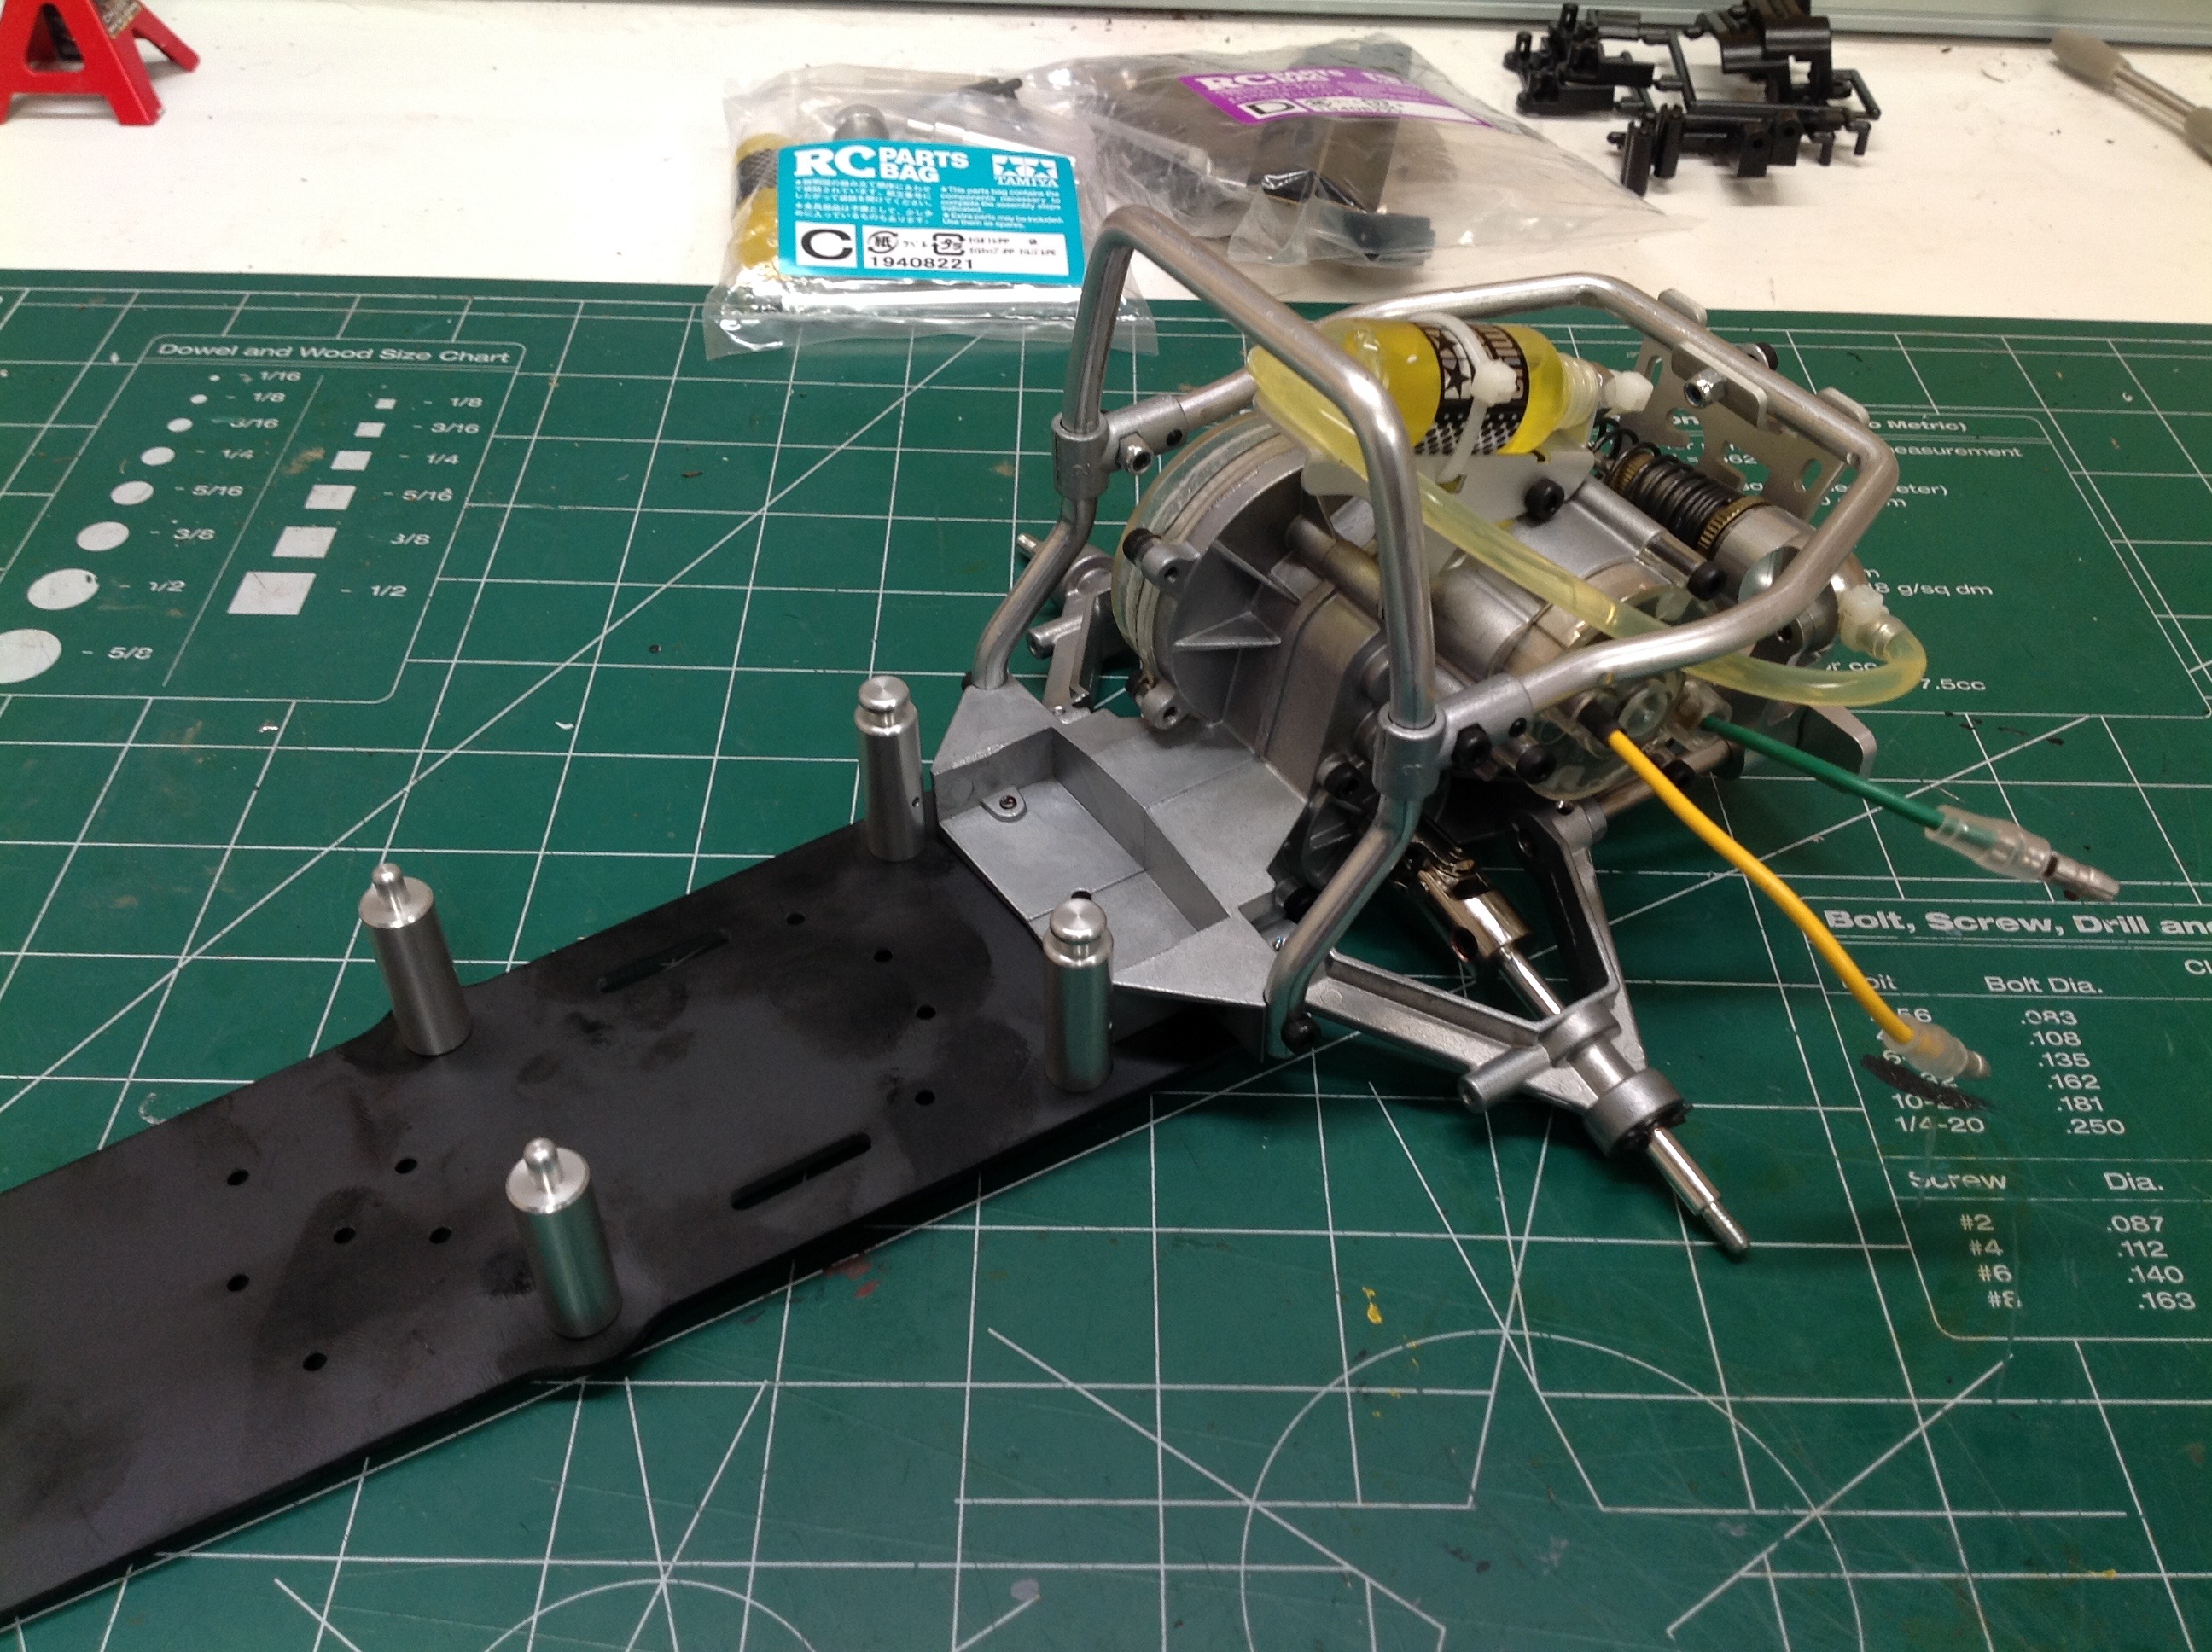
Now the rear gearbox and suspension module can be attached to the lower
chassis plate. On the SRB you would see torsion bars here, but on
this model there are only some vertical standoffs for attaching the
upper plate.
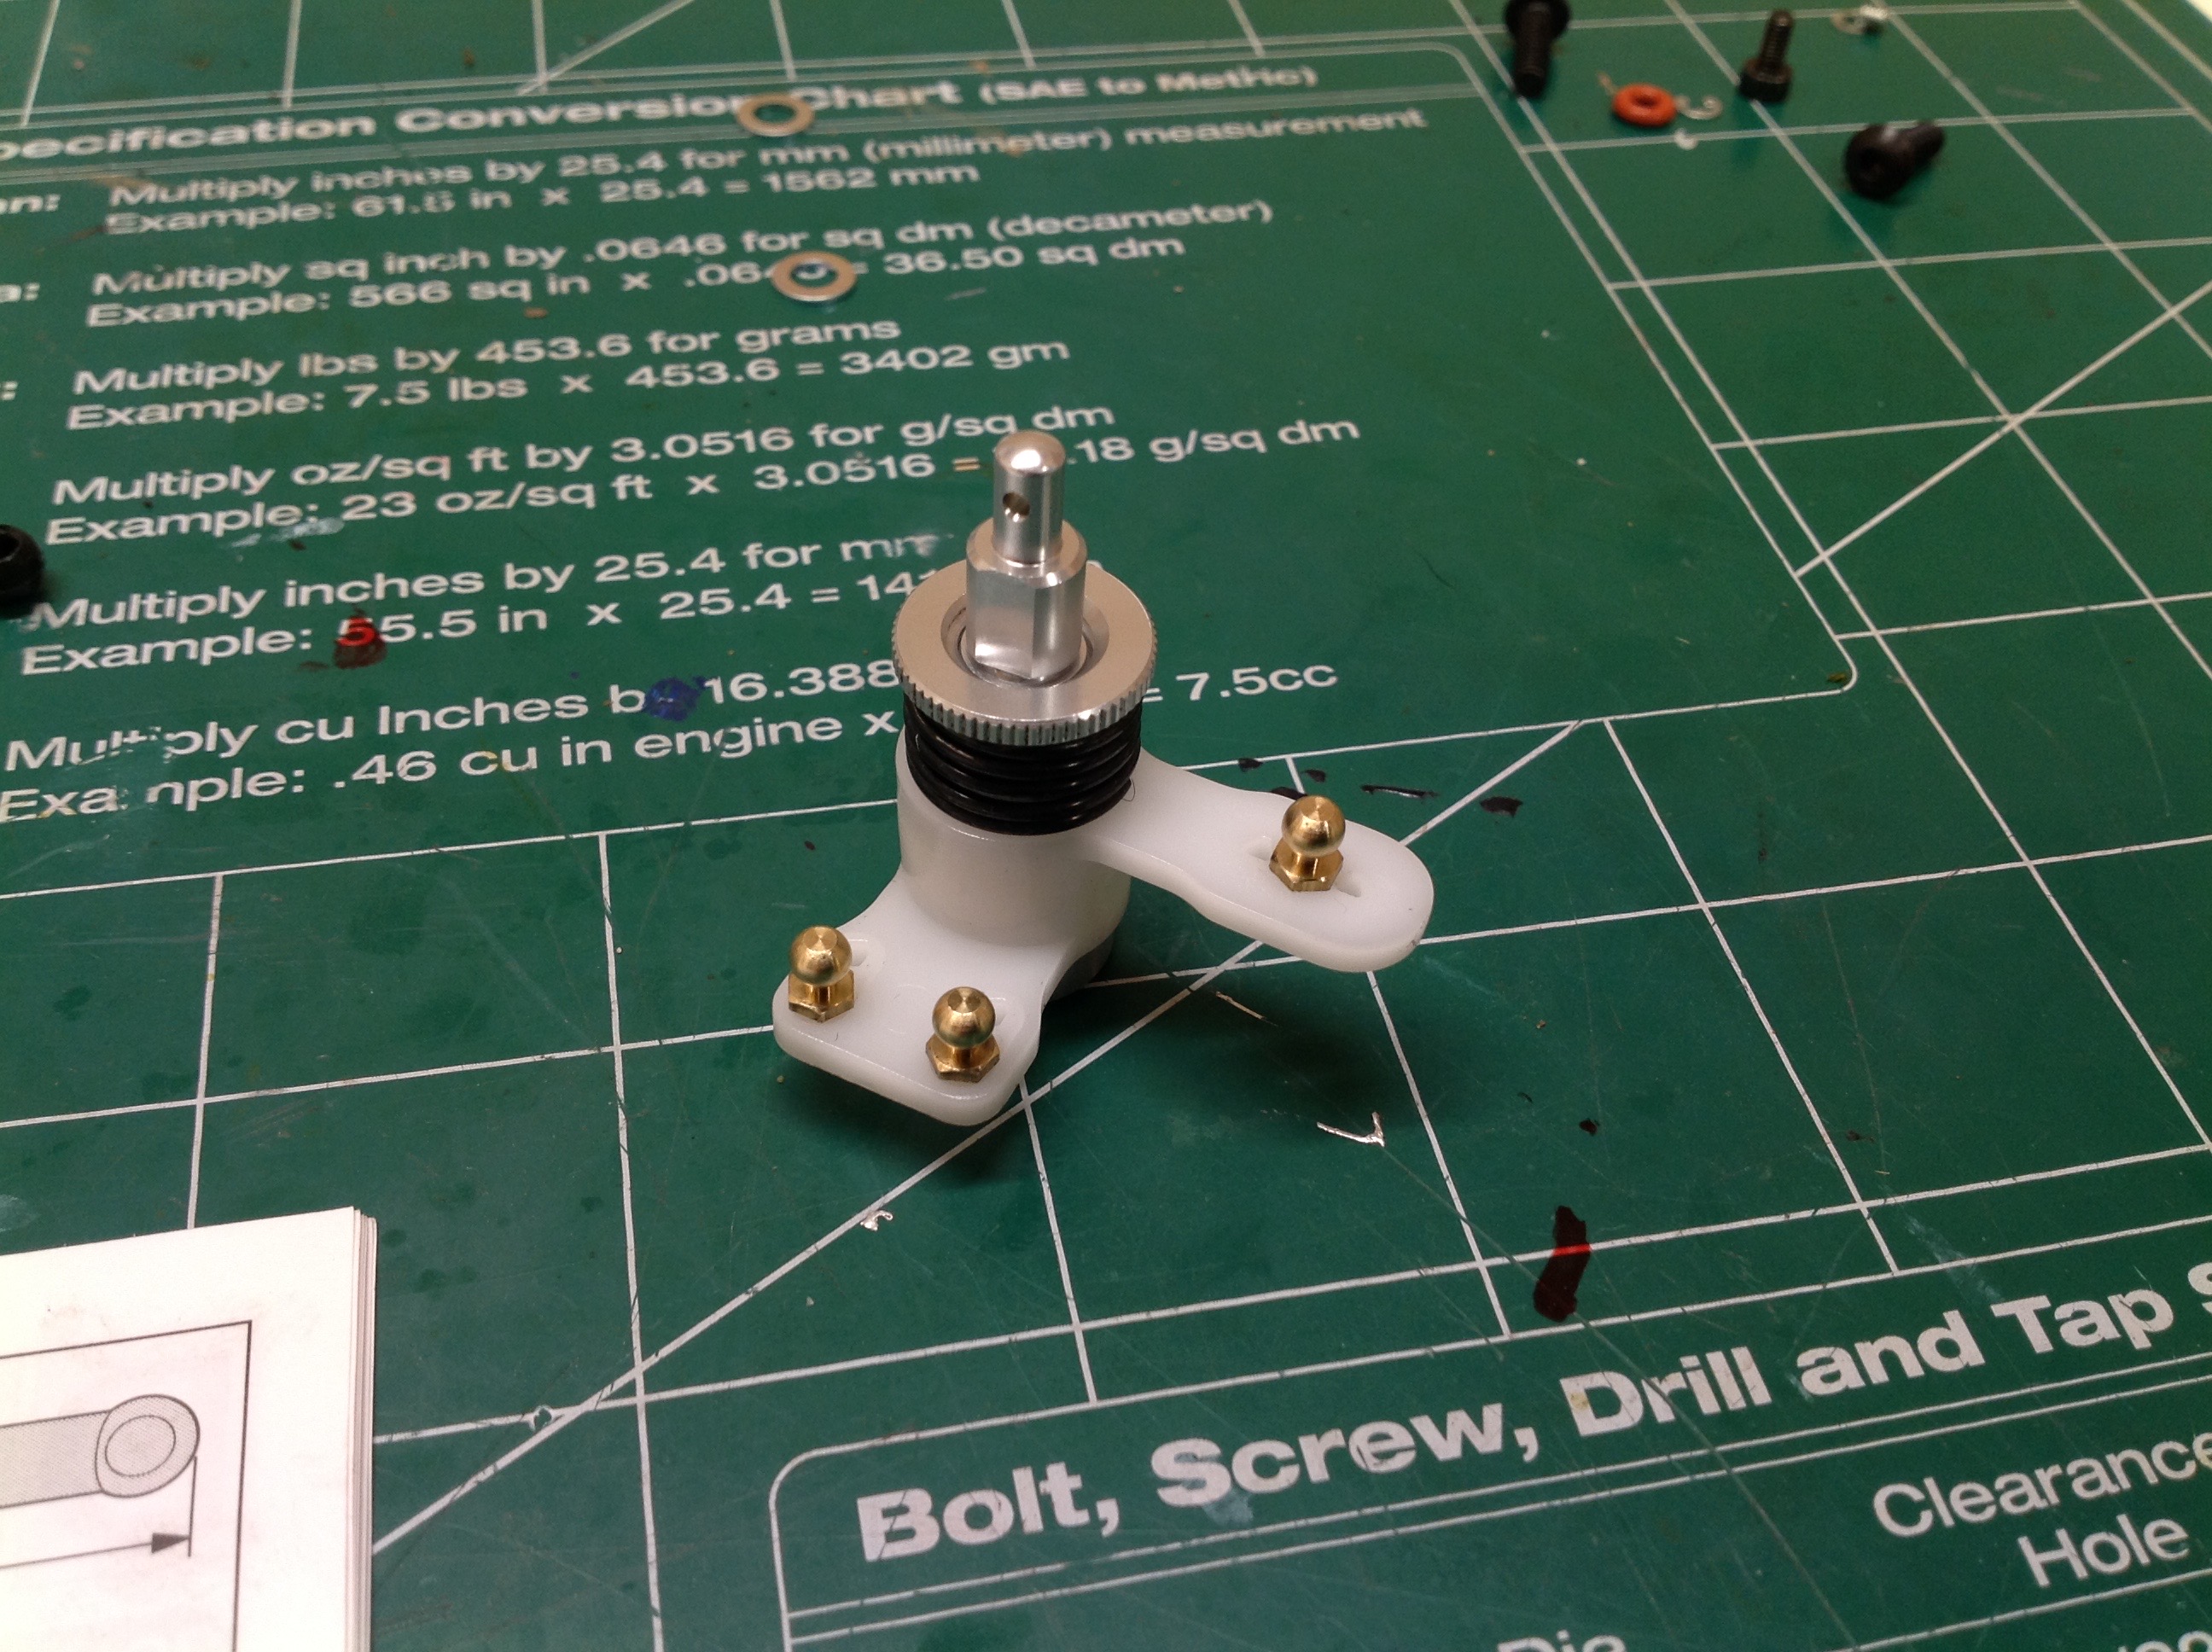
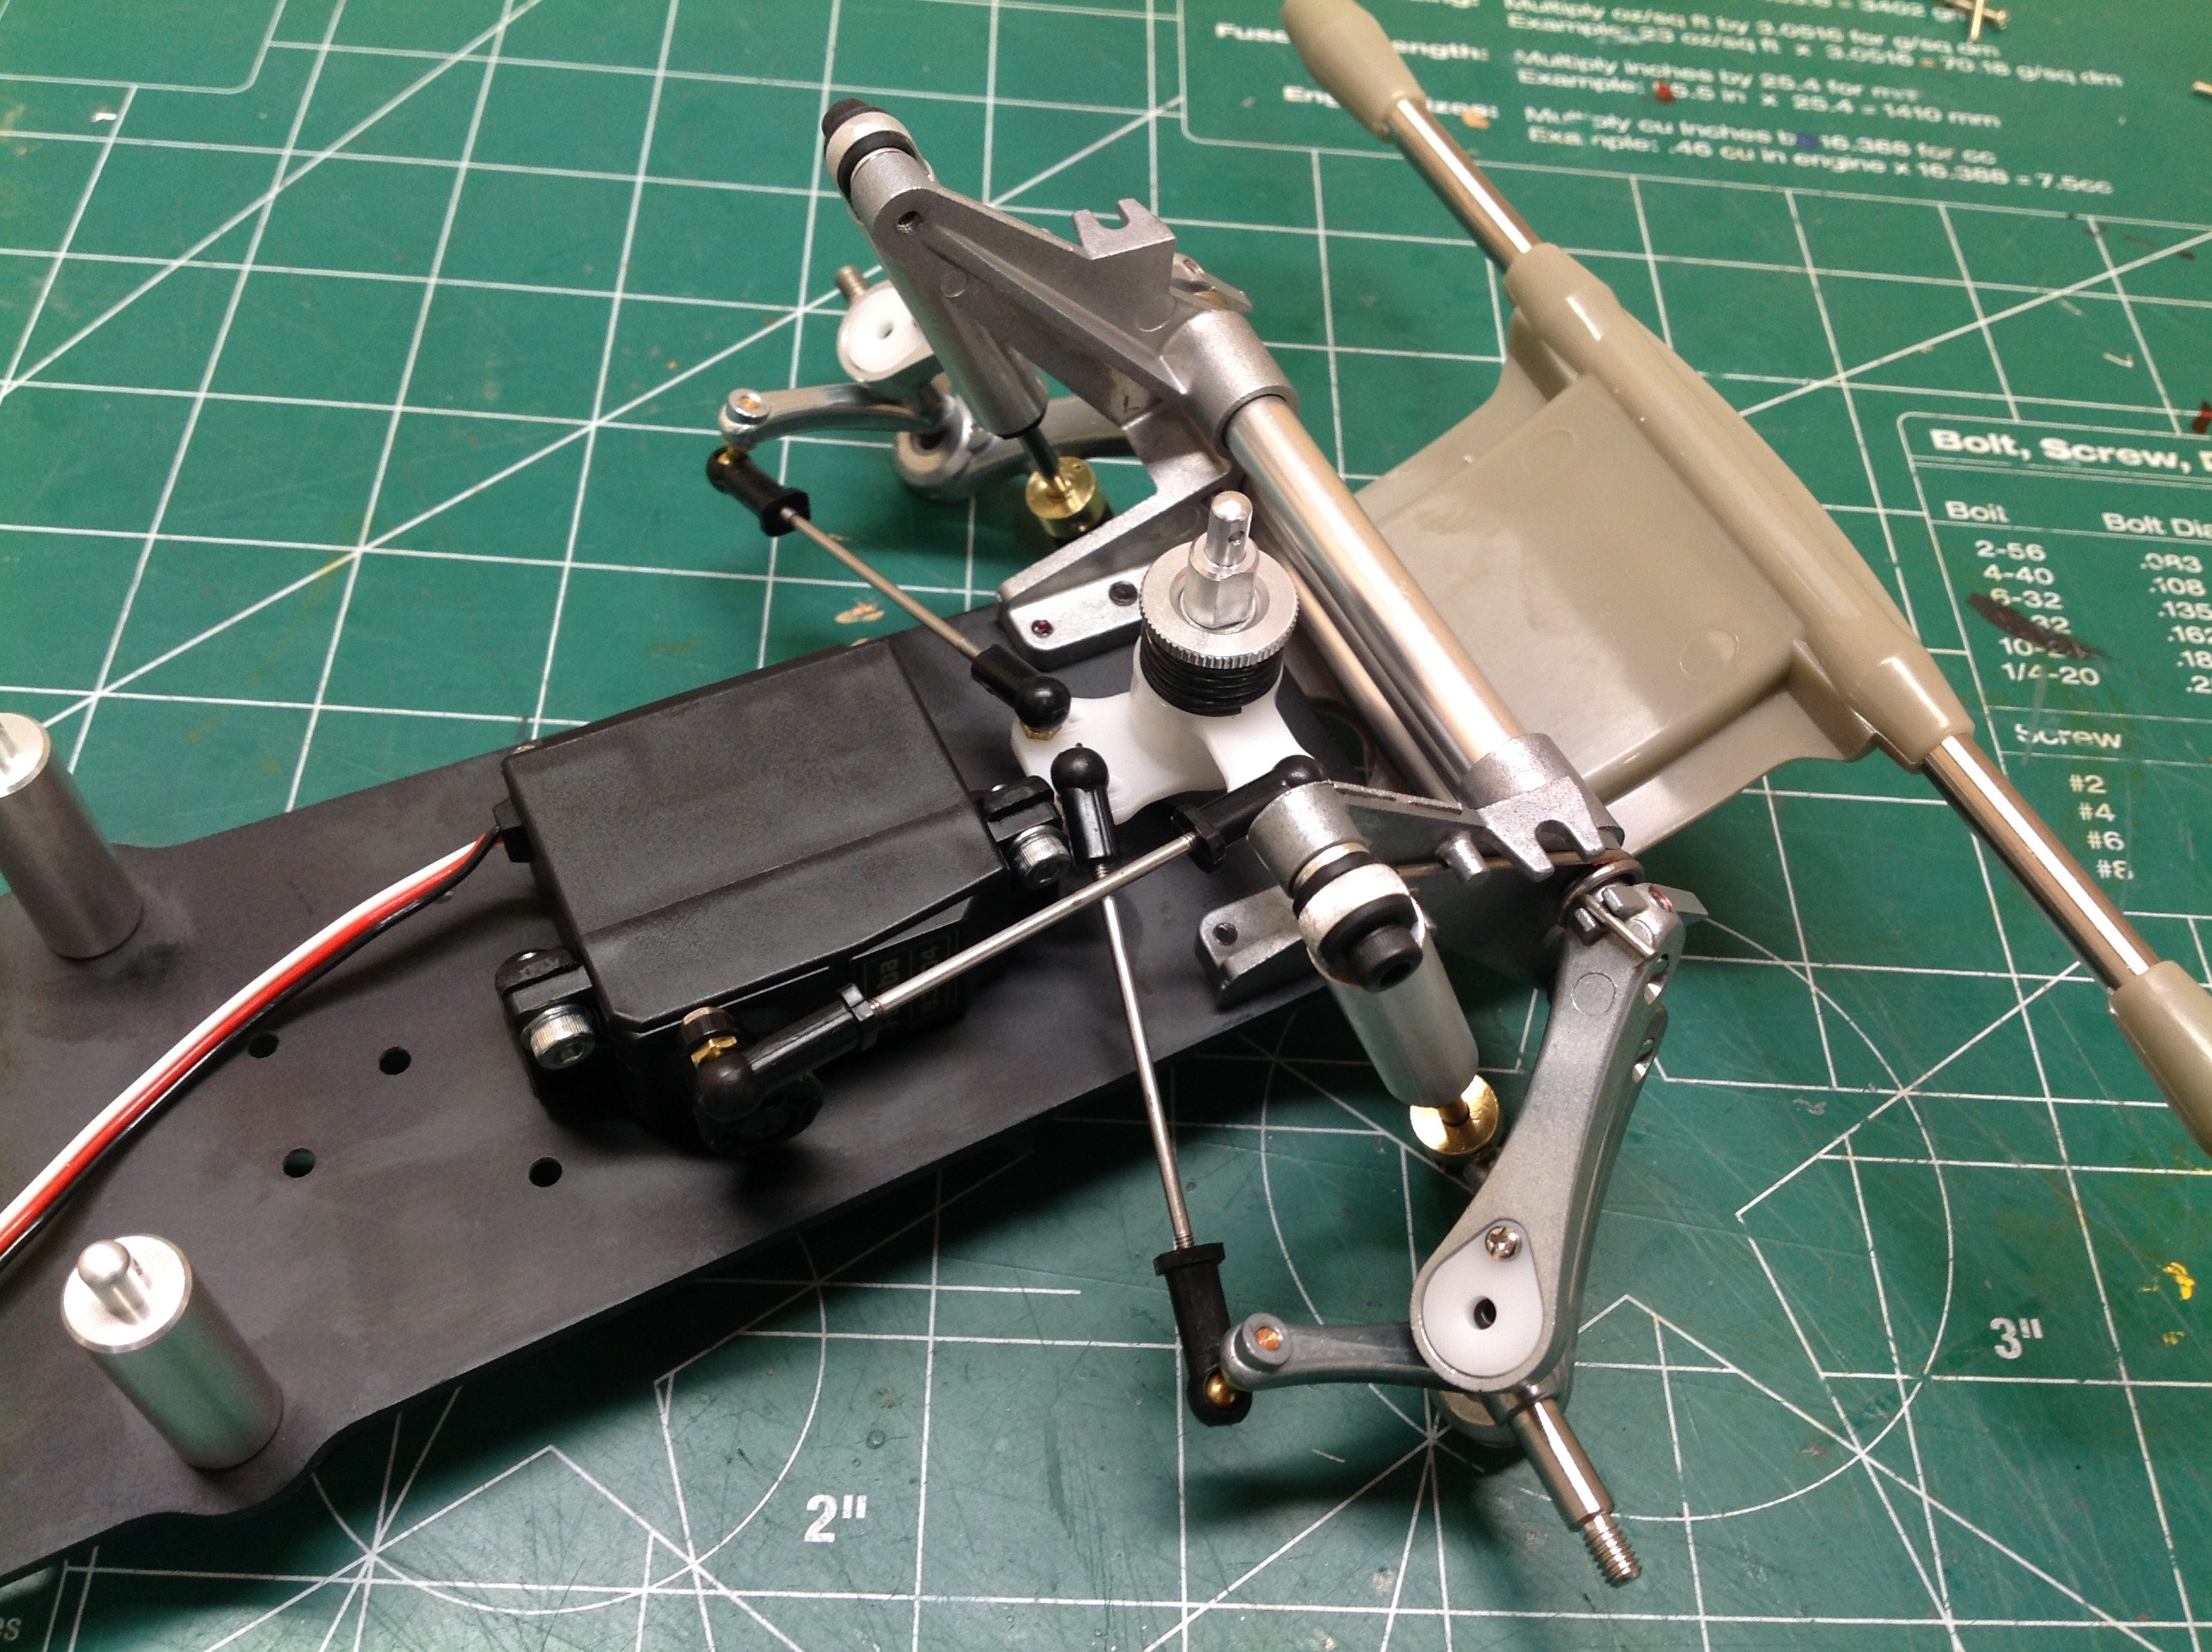
The aluminum front oil shocks are the same as those on the SRB, but the
servo saver is different. The SRB uses a wire for a saver spring,
but this model uses the more familiar tapered wedges held together with a
compression spring. The forward body mount is integral.
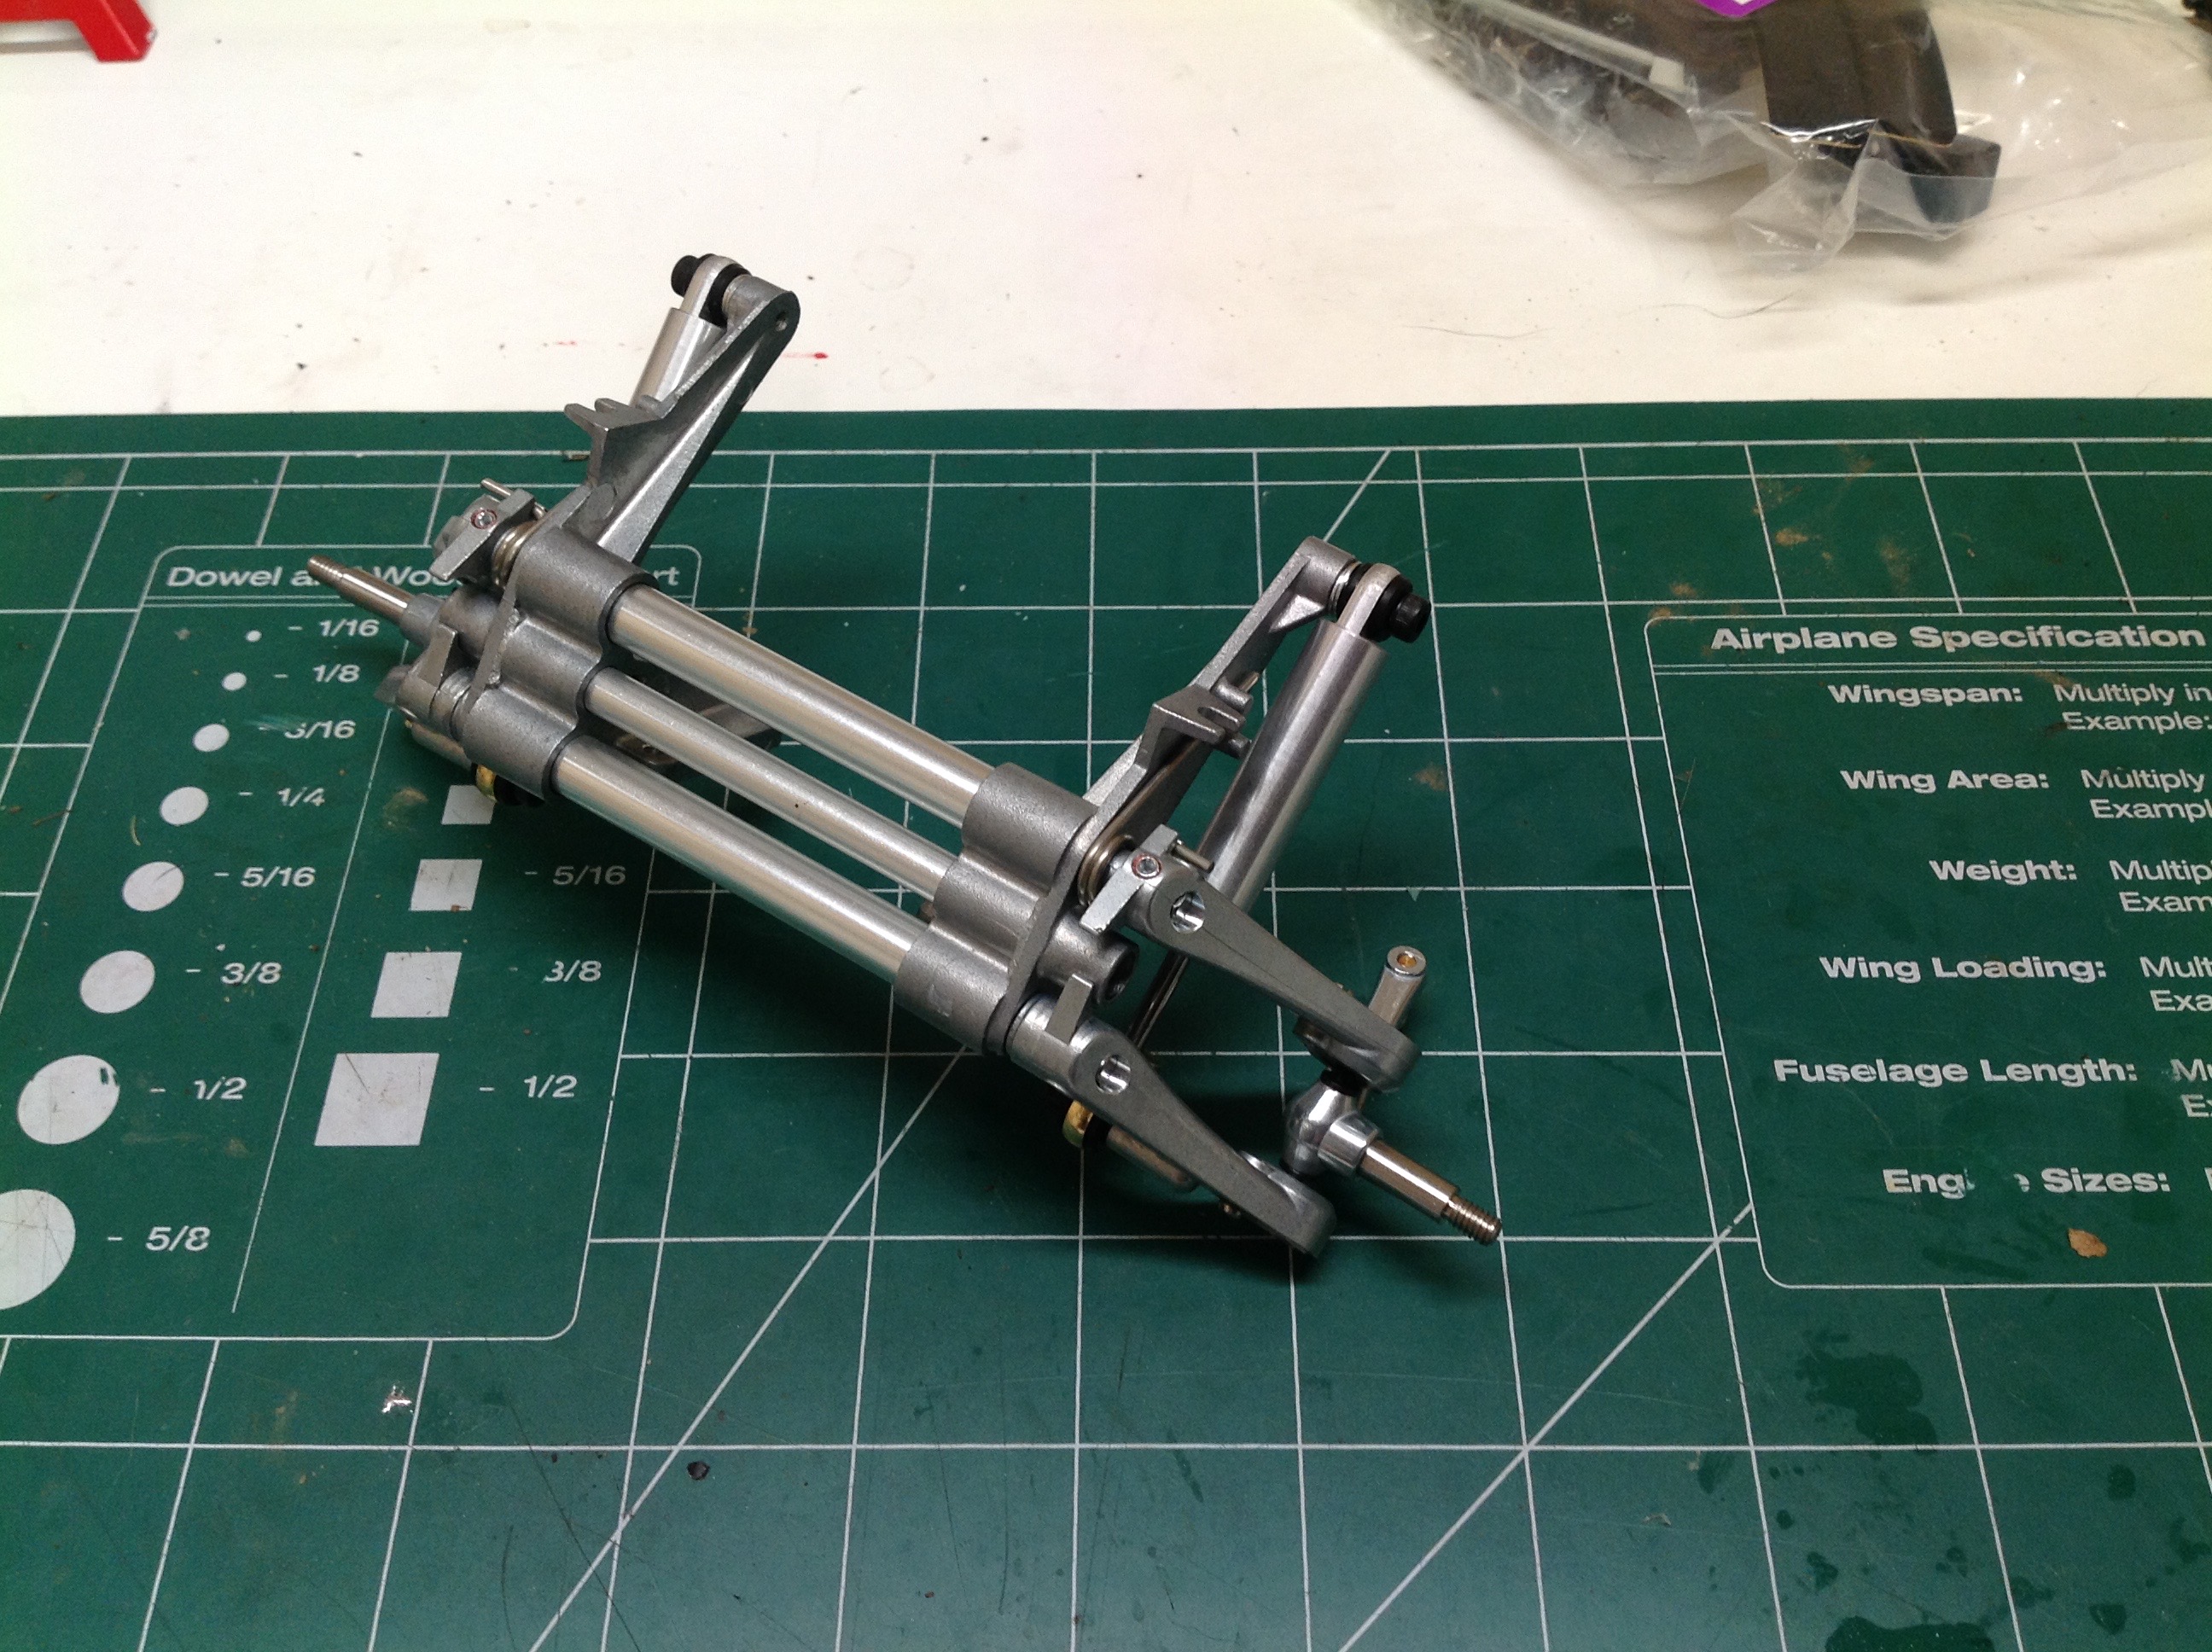
The front suspension is taken directly from the SRB with no
changes. It uses trailing arms and torsional springs connected by
lateral tubes. All metal. The ball joints snap into white
plastic sockets which I assume are a wear item.
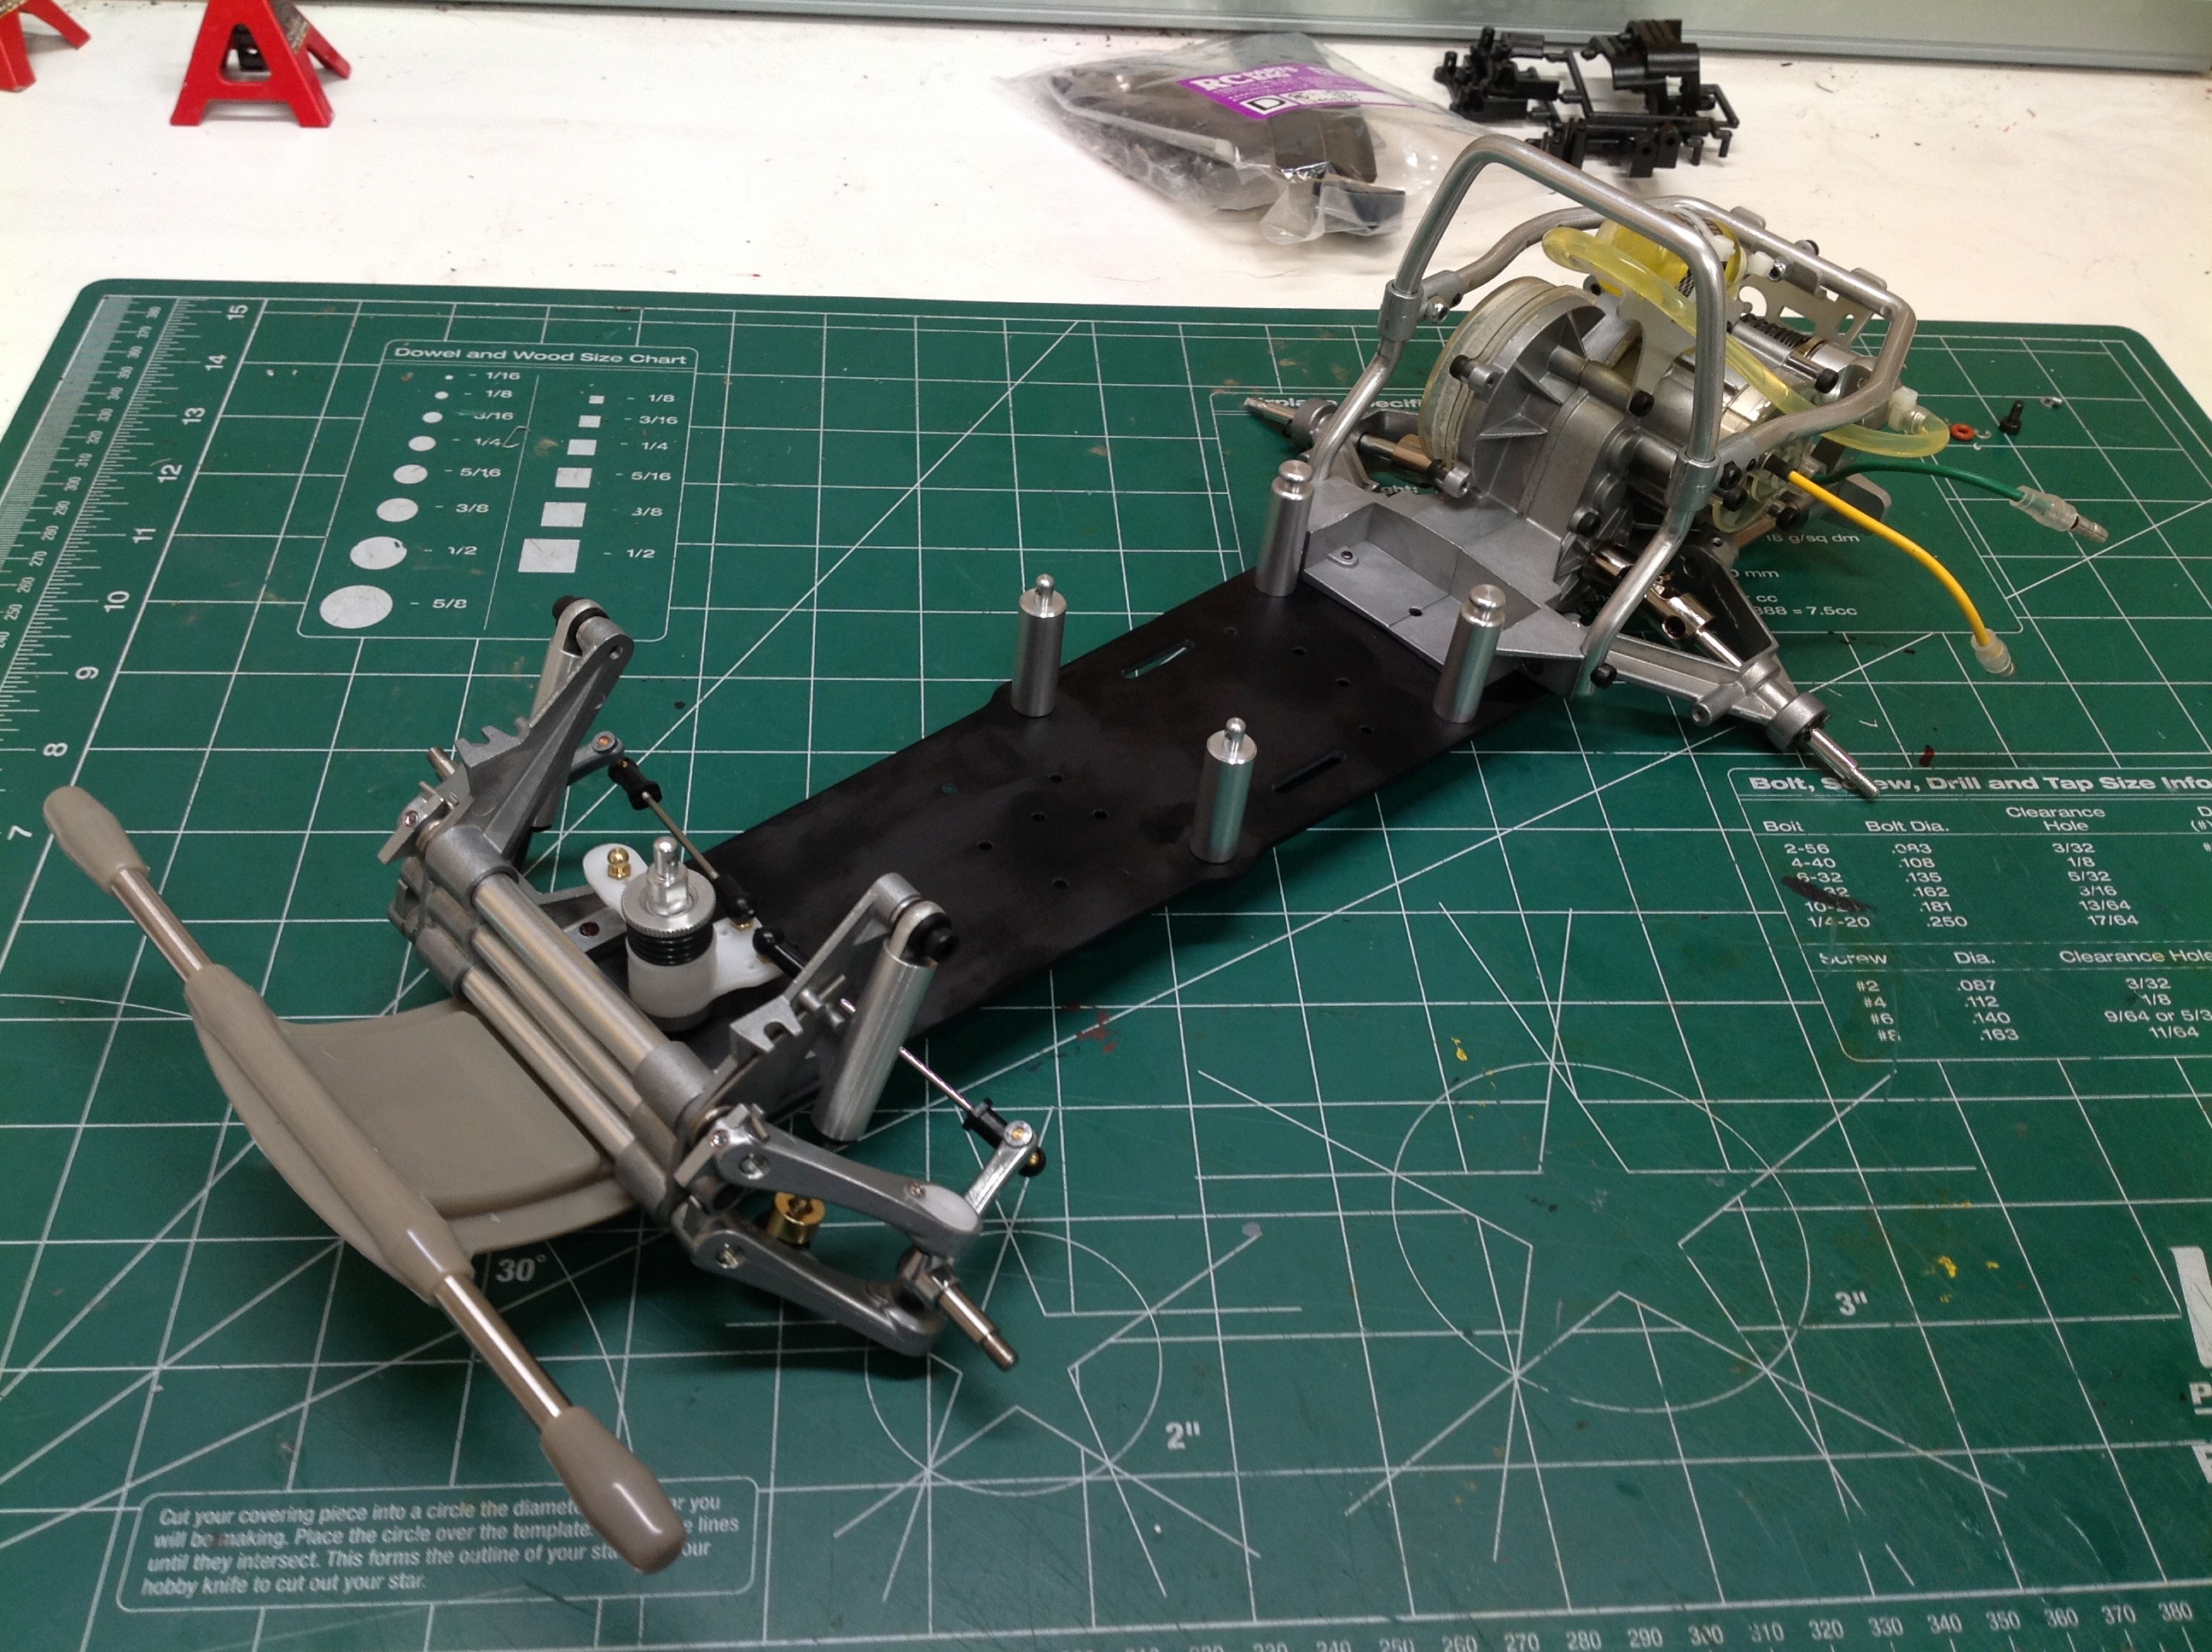
Now the front suspension module has been attached along with the front
bumper. The servo saves goes in next followed by the steering
servo which is bolted to the lower chassis plate.
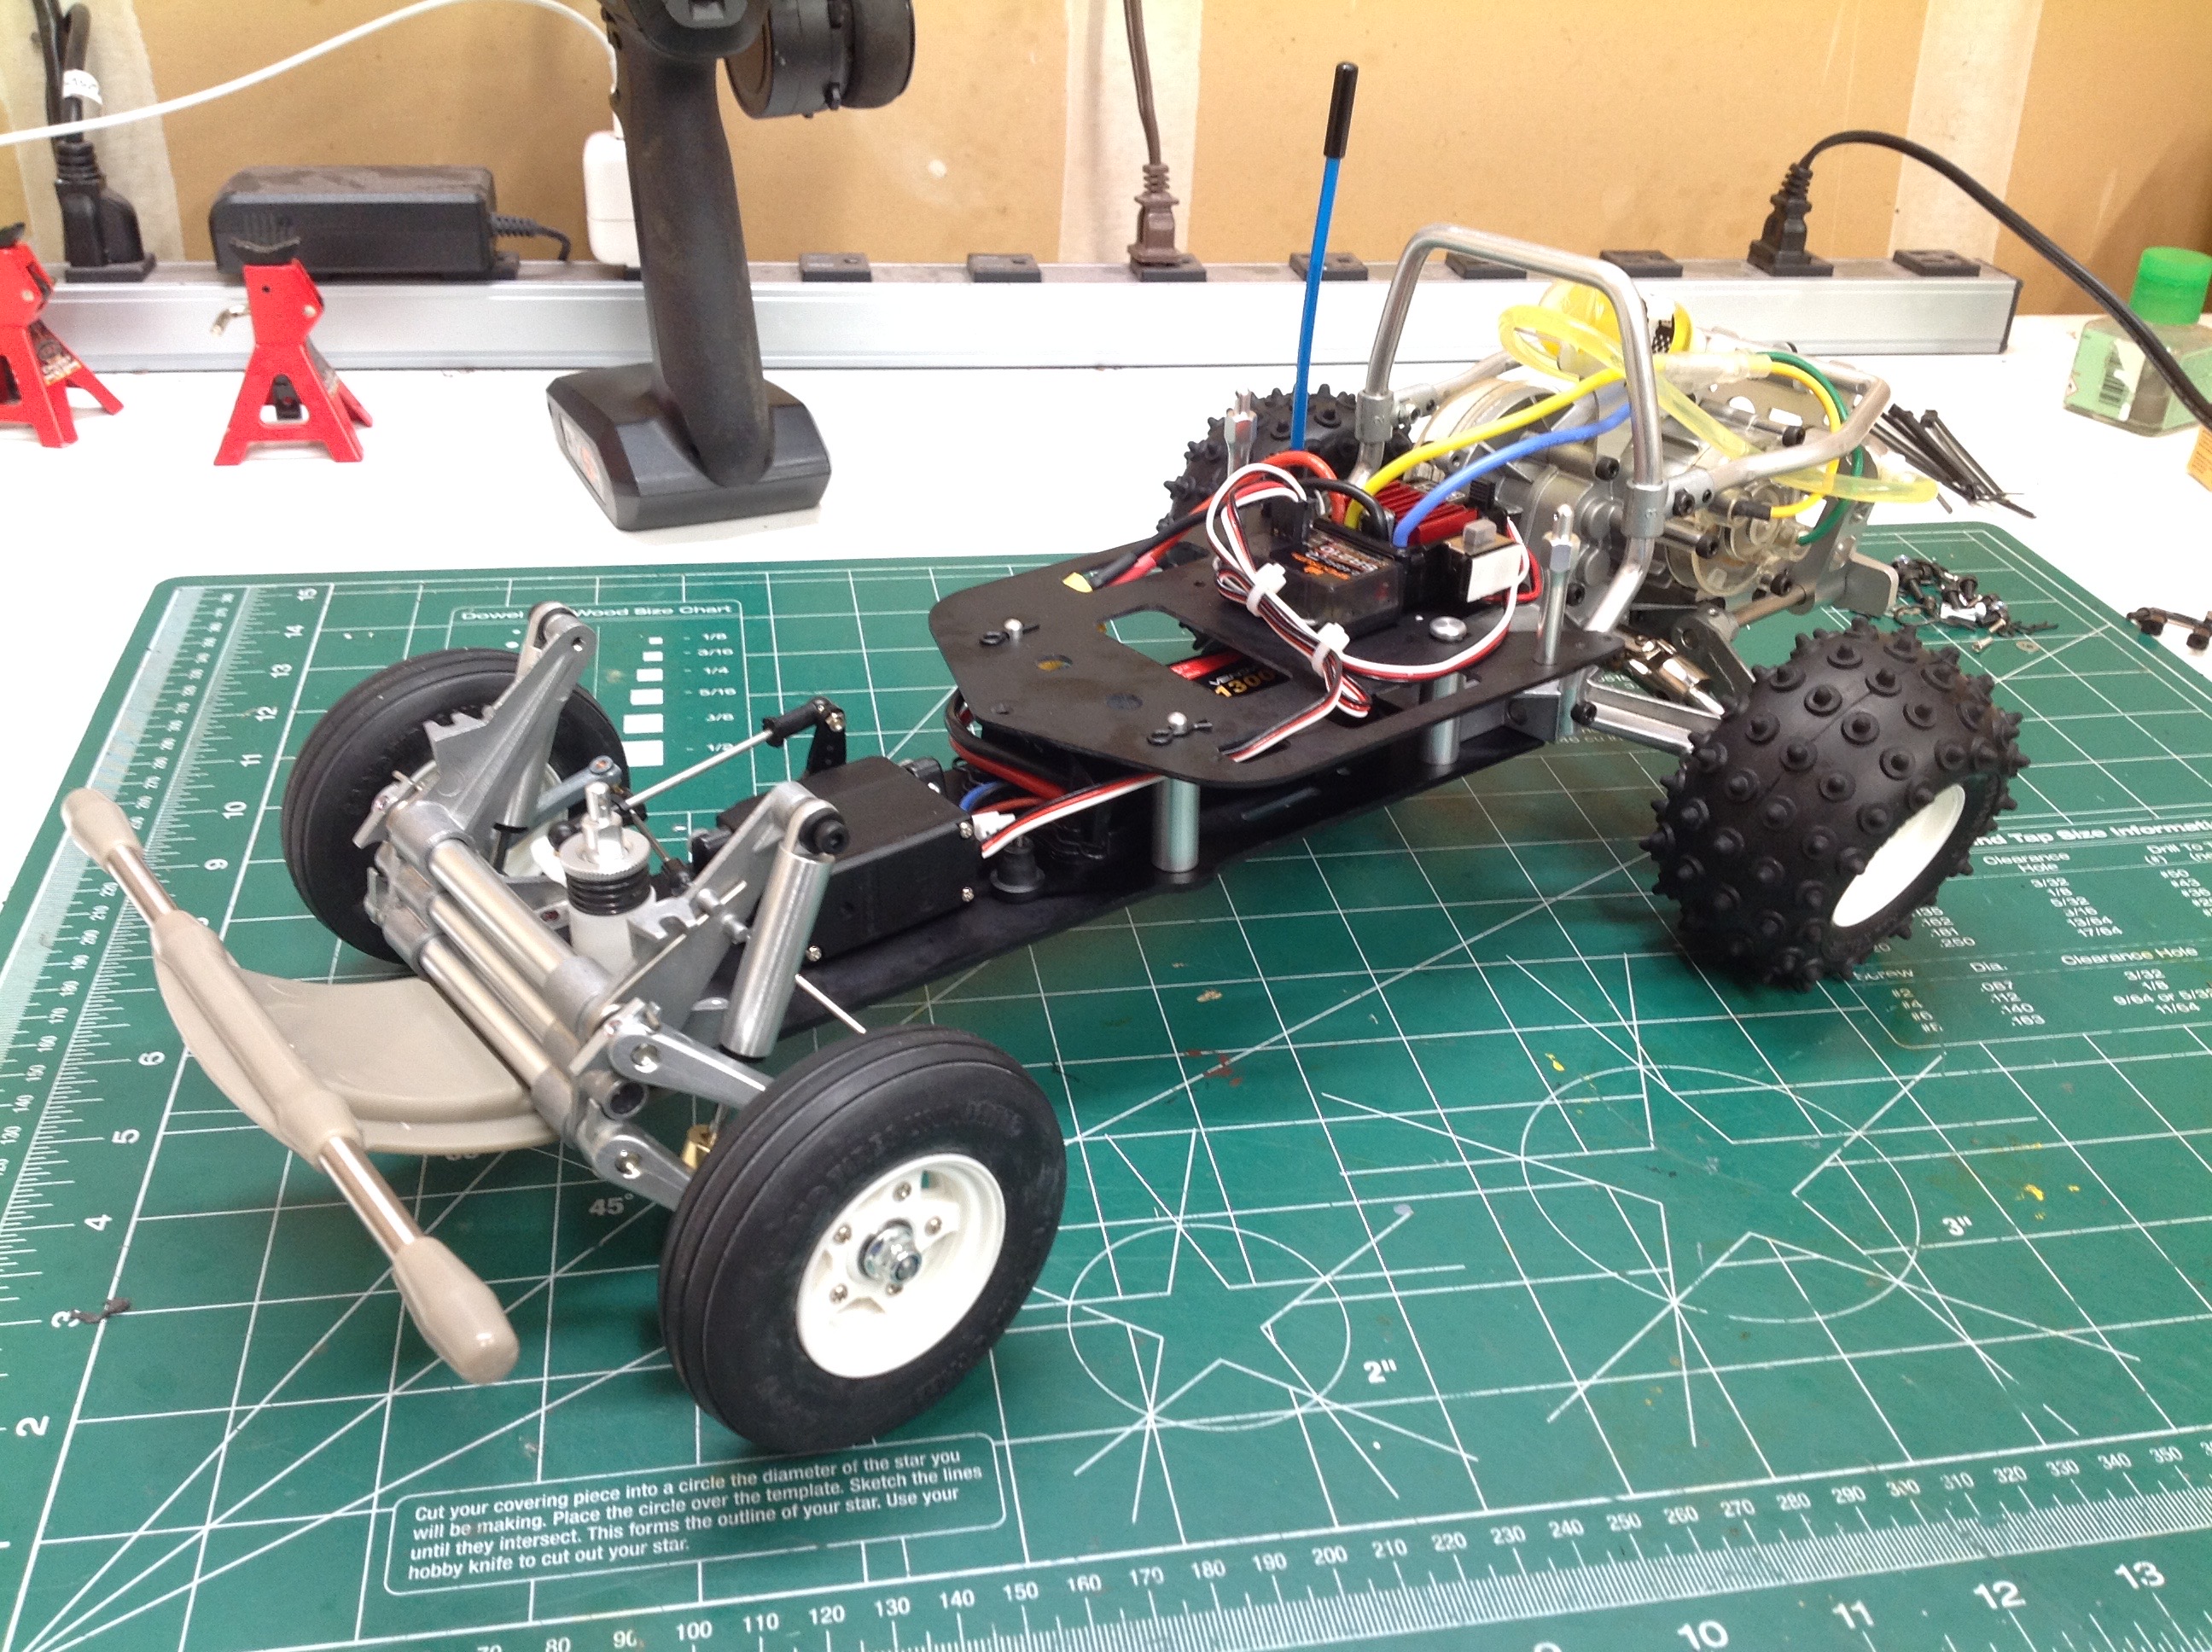
The use of an additional upper chassis plate has the potential to
greatly increase the bending stiffness of the chassis, but in practice
this one doesn't do much because the rear mounts are slotted. This
is to allow easy removal of the upper plate for battery access.
There is no room for a full size battery here, instead the model was
designed for an unobtainable Li-Fe battery. I am using a small
Li-Po.
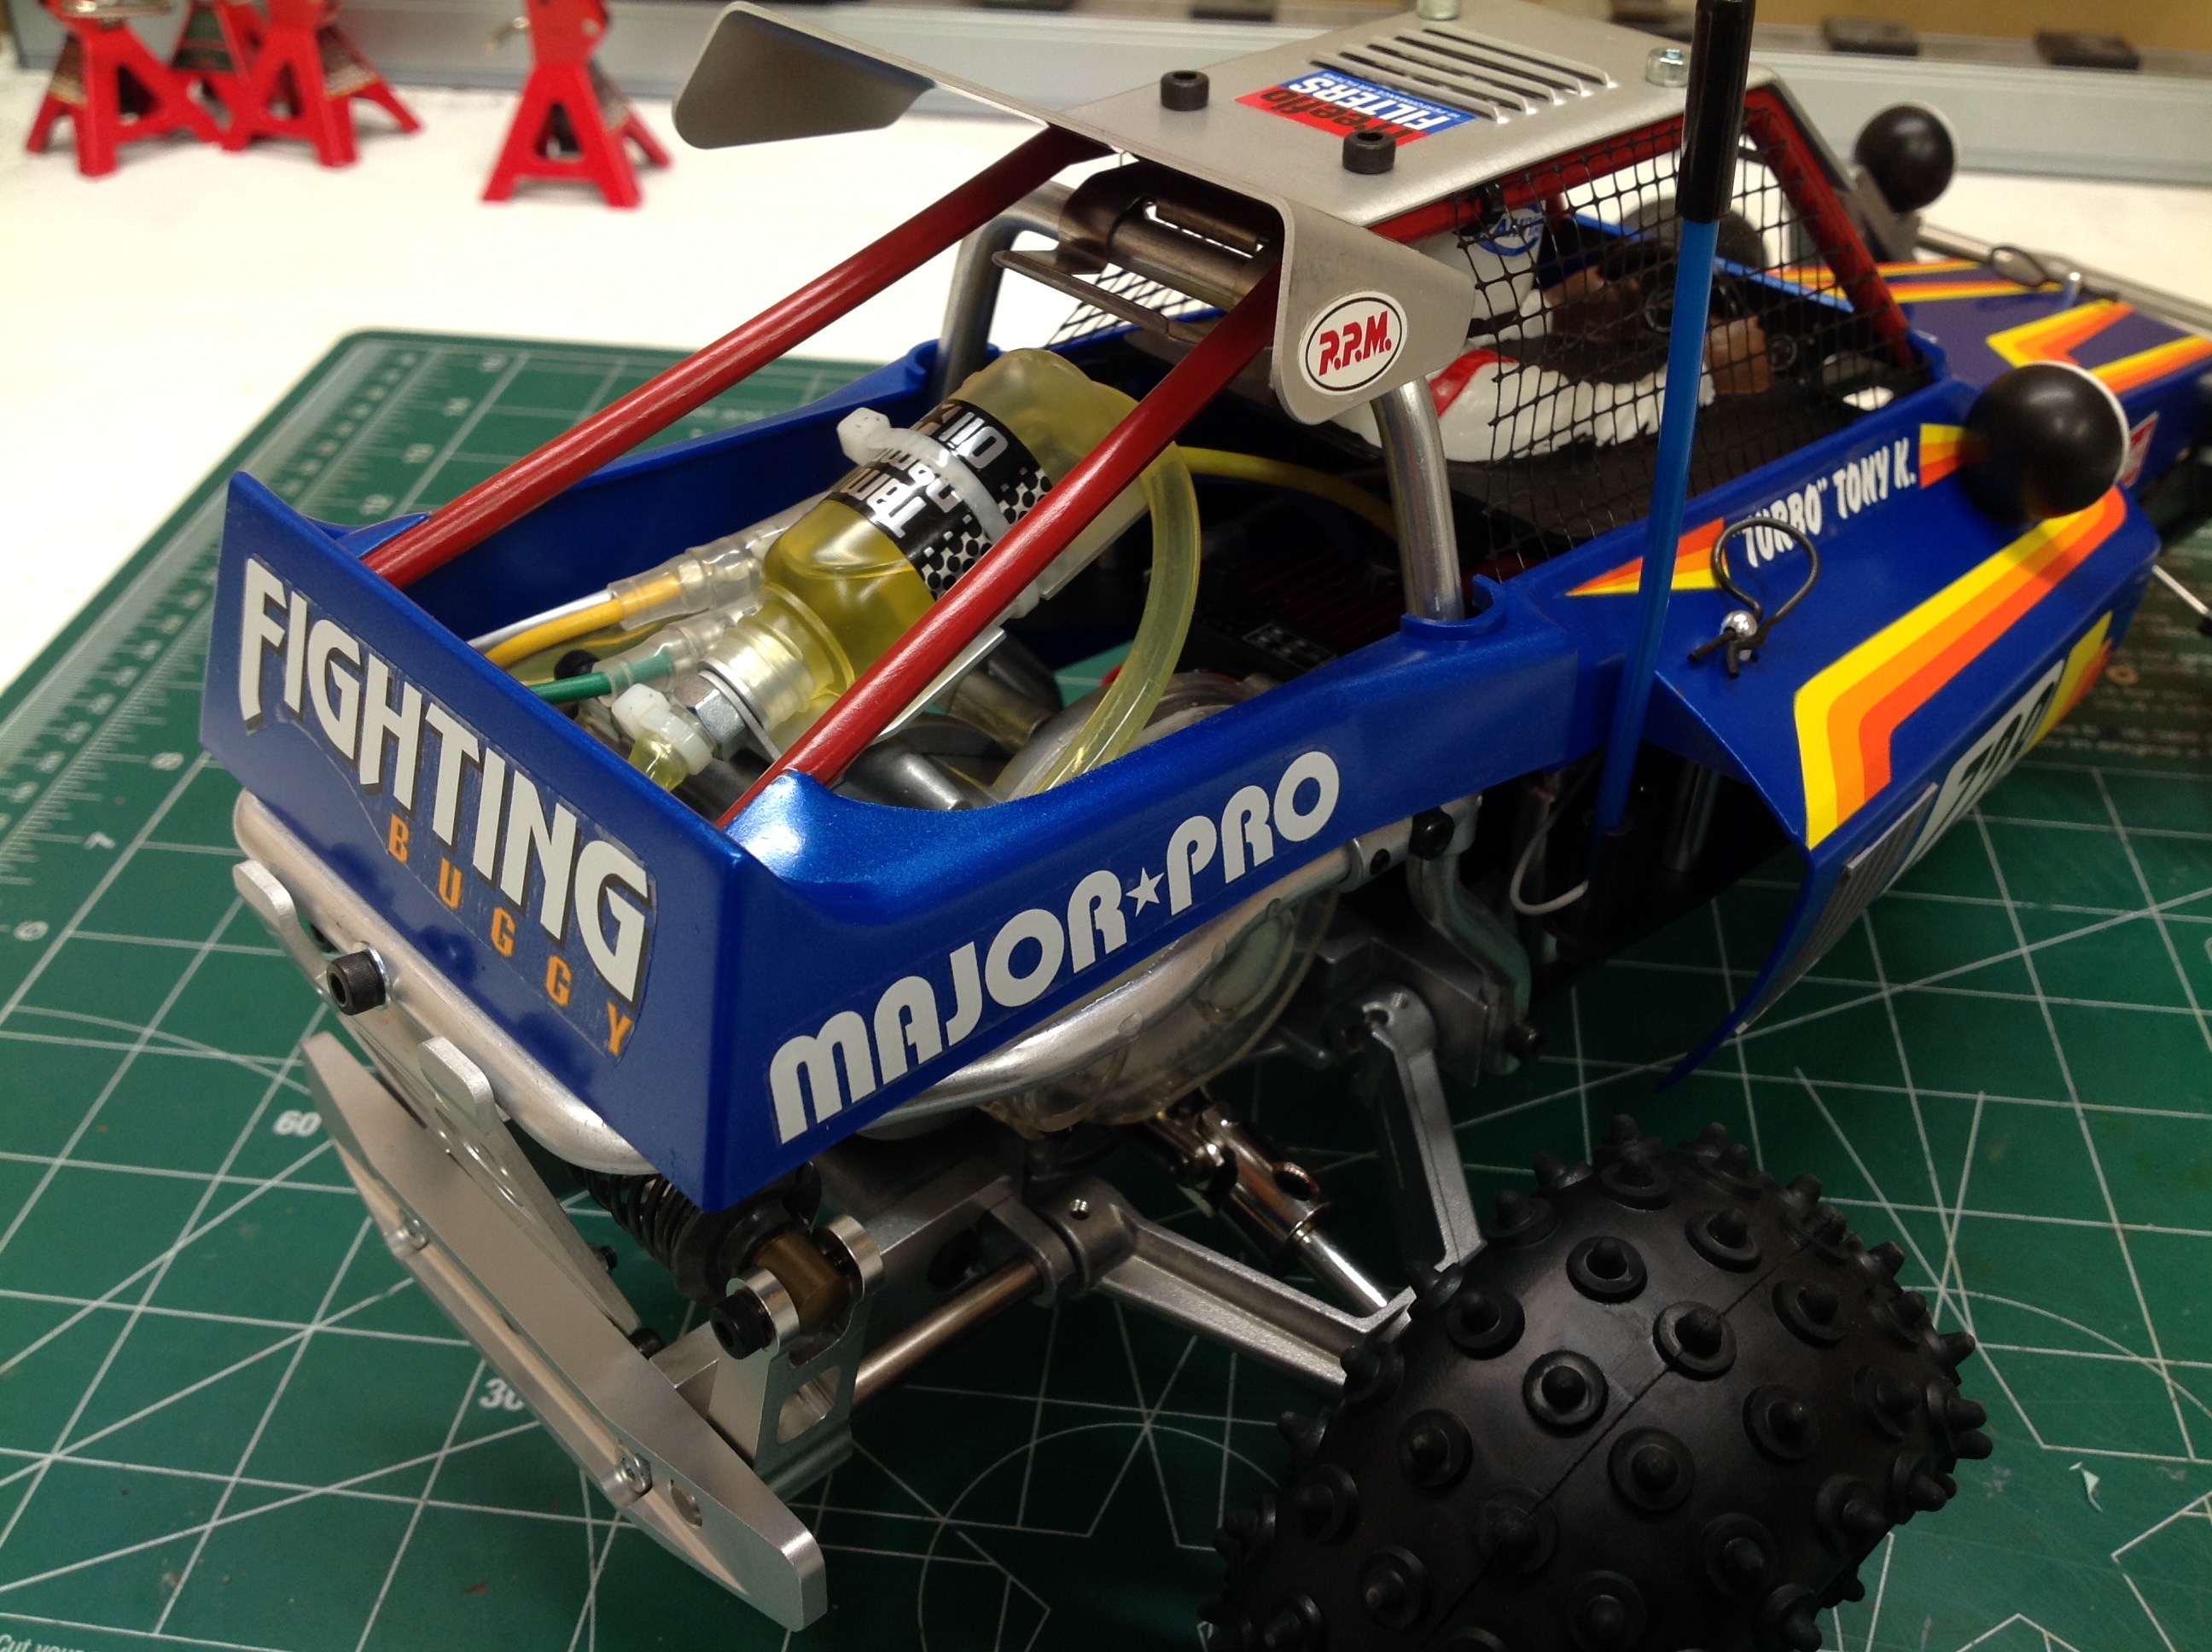
The body is a beautiful one piece hard shell which I painted in metallic
blue. The portion of the roll cage integral to the body is
red. The decorative stripes are the same as the original, but all
of the sponsored decals are gone and replaced with generic. For
example, what was "Budweiser" is now "Major Pro". The set includes
a half driver figure and netting for the side windows. The body
attaches with 3 body clips and also snaps to the roll bar. It must
be removed for battery access.
©2019 Eric Albrecht