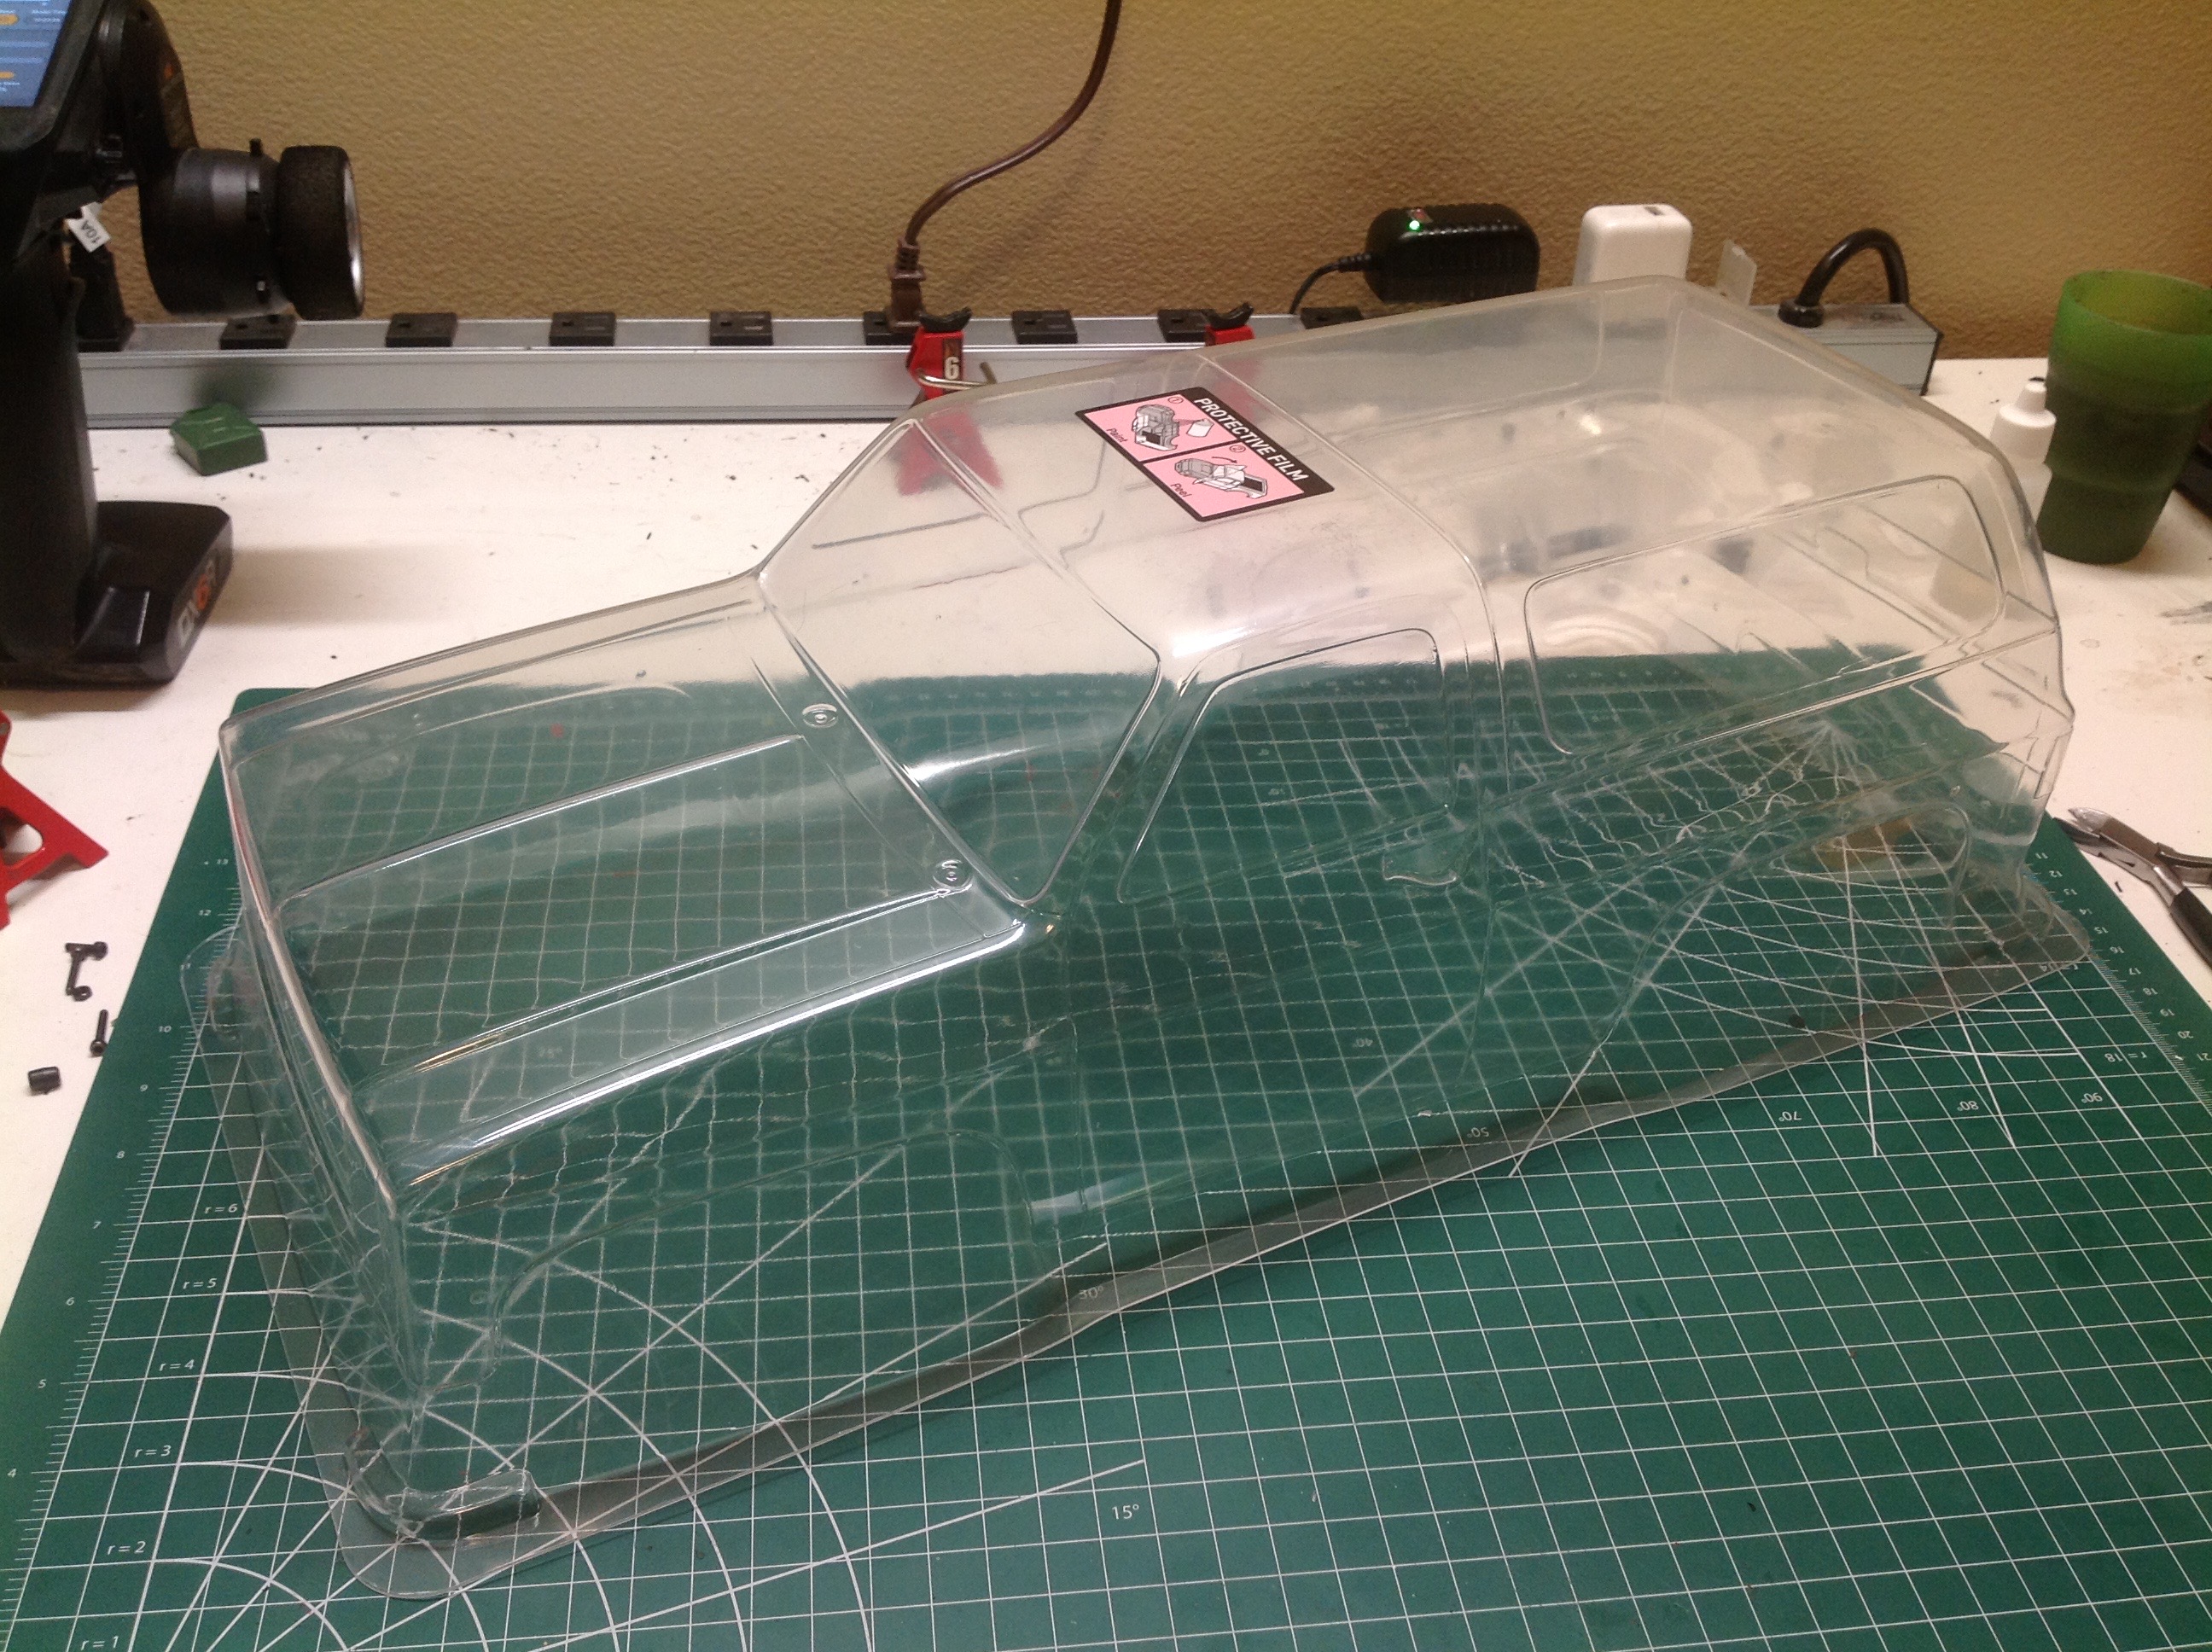
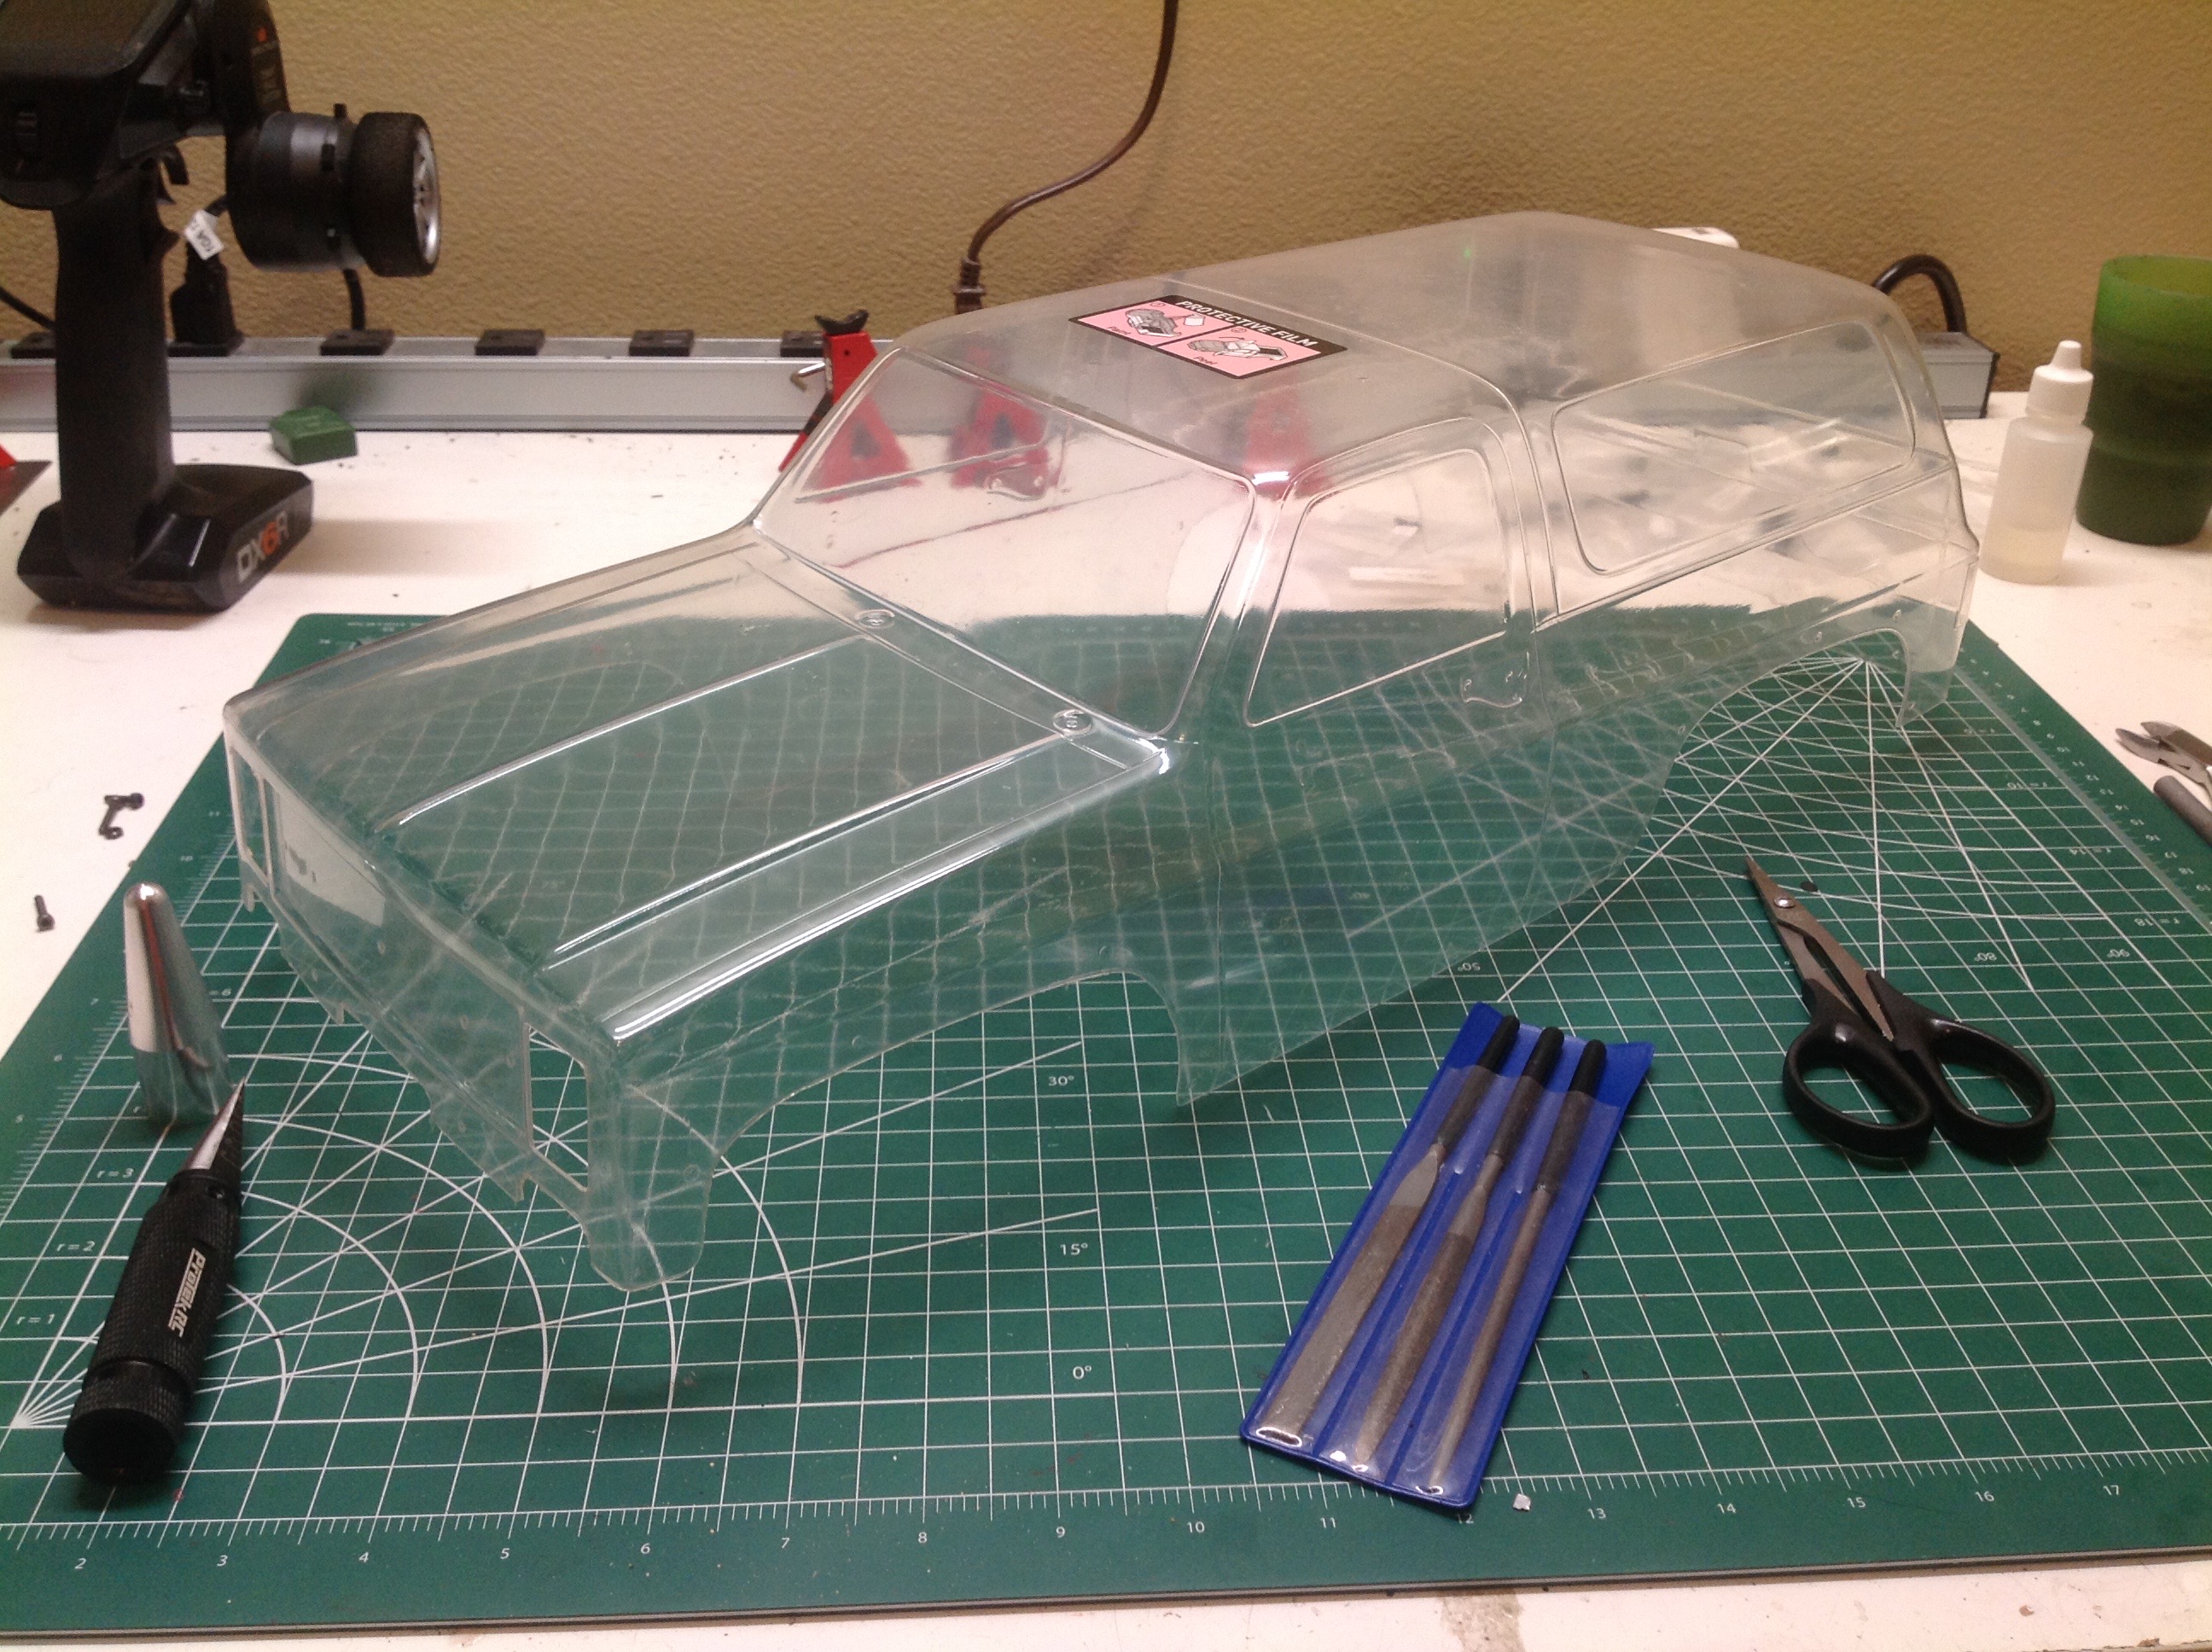
They call this a "square body" for a reason. This transparent shell just looks like a big box. The left hand image shows the body as it came out of the box, and on the right I've trimmed it out to shape. Note the rectangular slots for the headlights which needed to be cut. Internal cuts are always difficult.
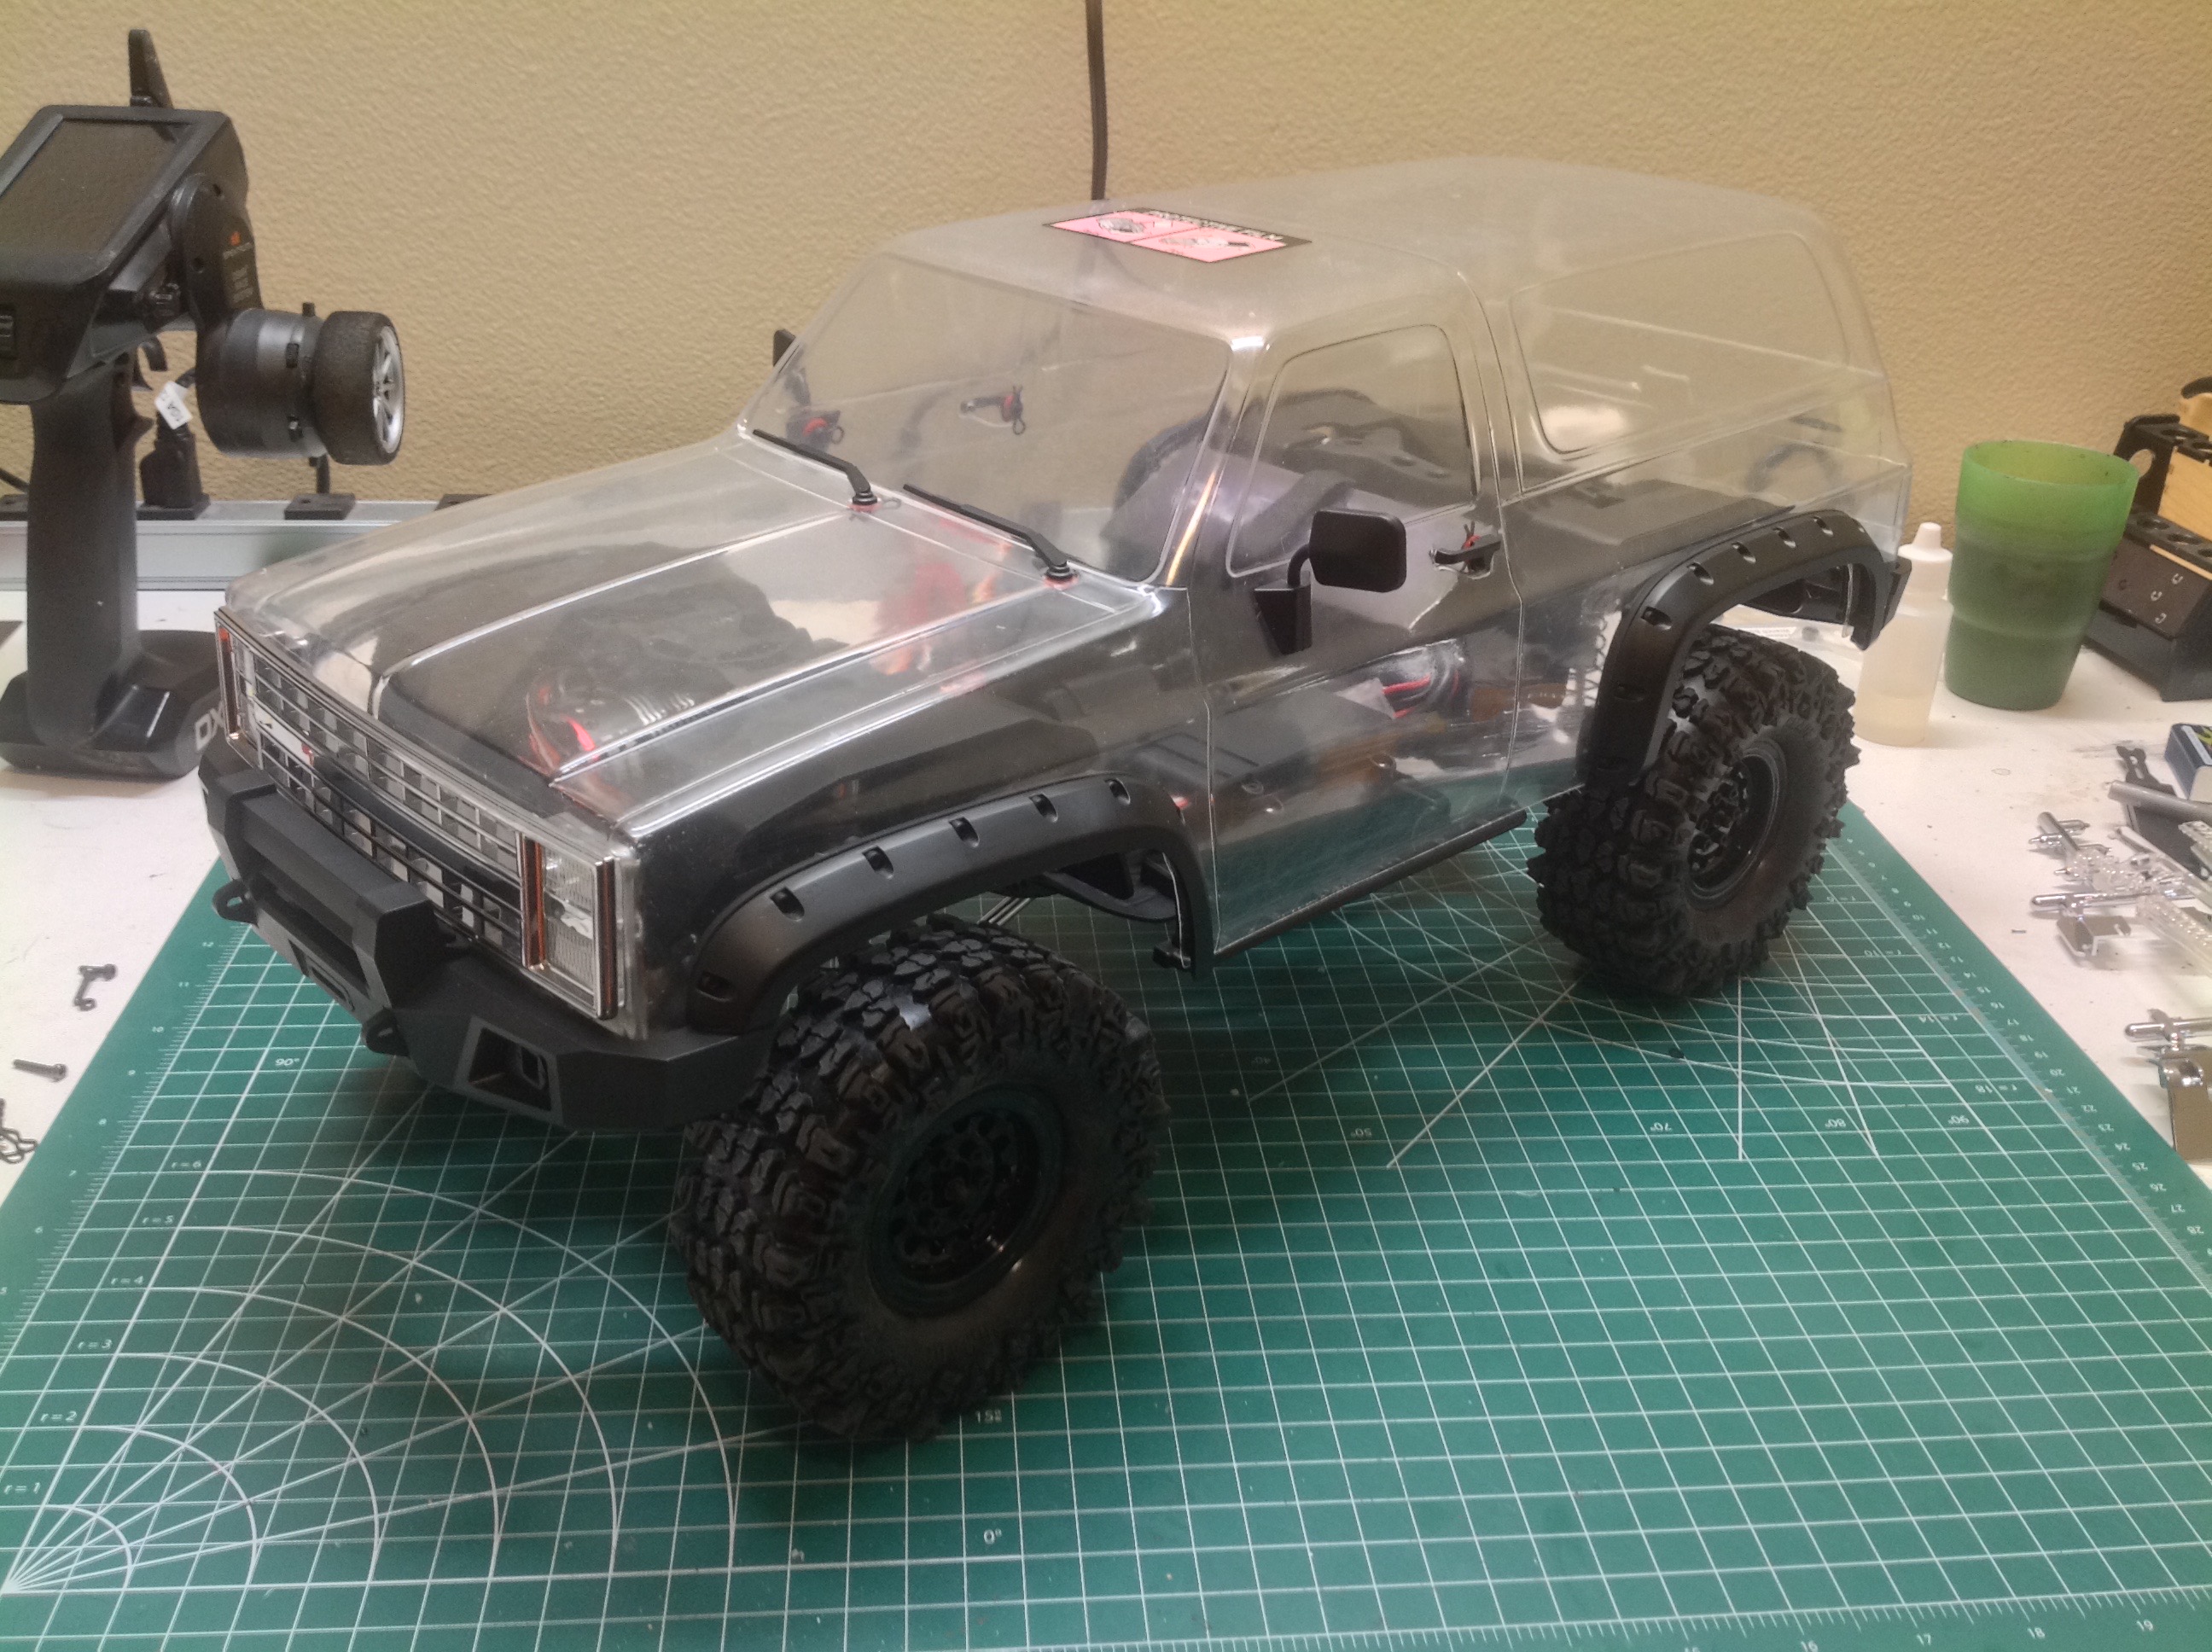
Here I've temporarily installed all the plastic parts and test fit the body to the chassis to see how it will look. Plastic parts include fender flares, grille, headlights, mirrors, wipers, and door handles. The rear bumper is also attached to the body and serves as the rear body mount. There are no visible body posts.
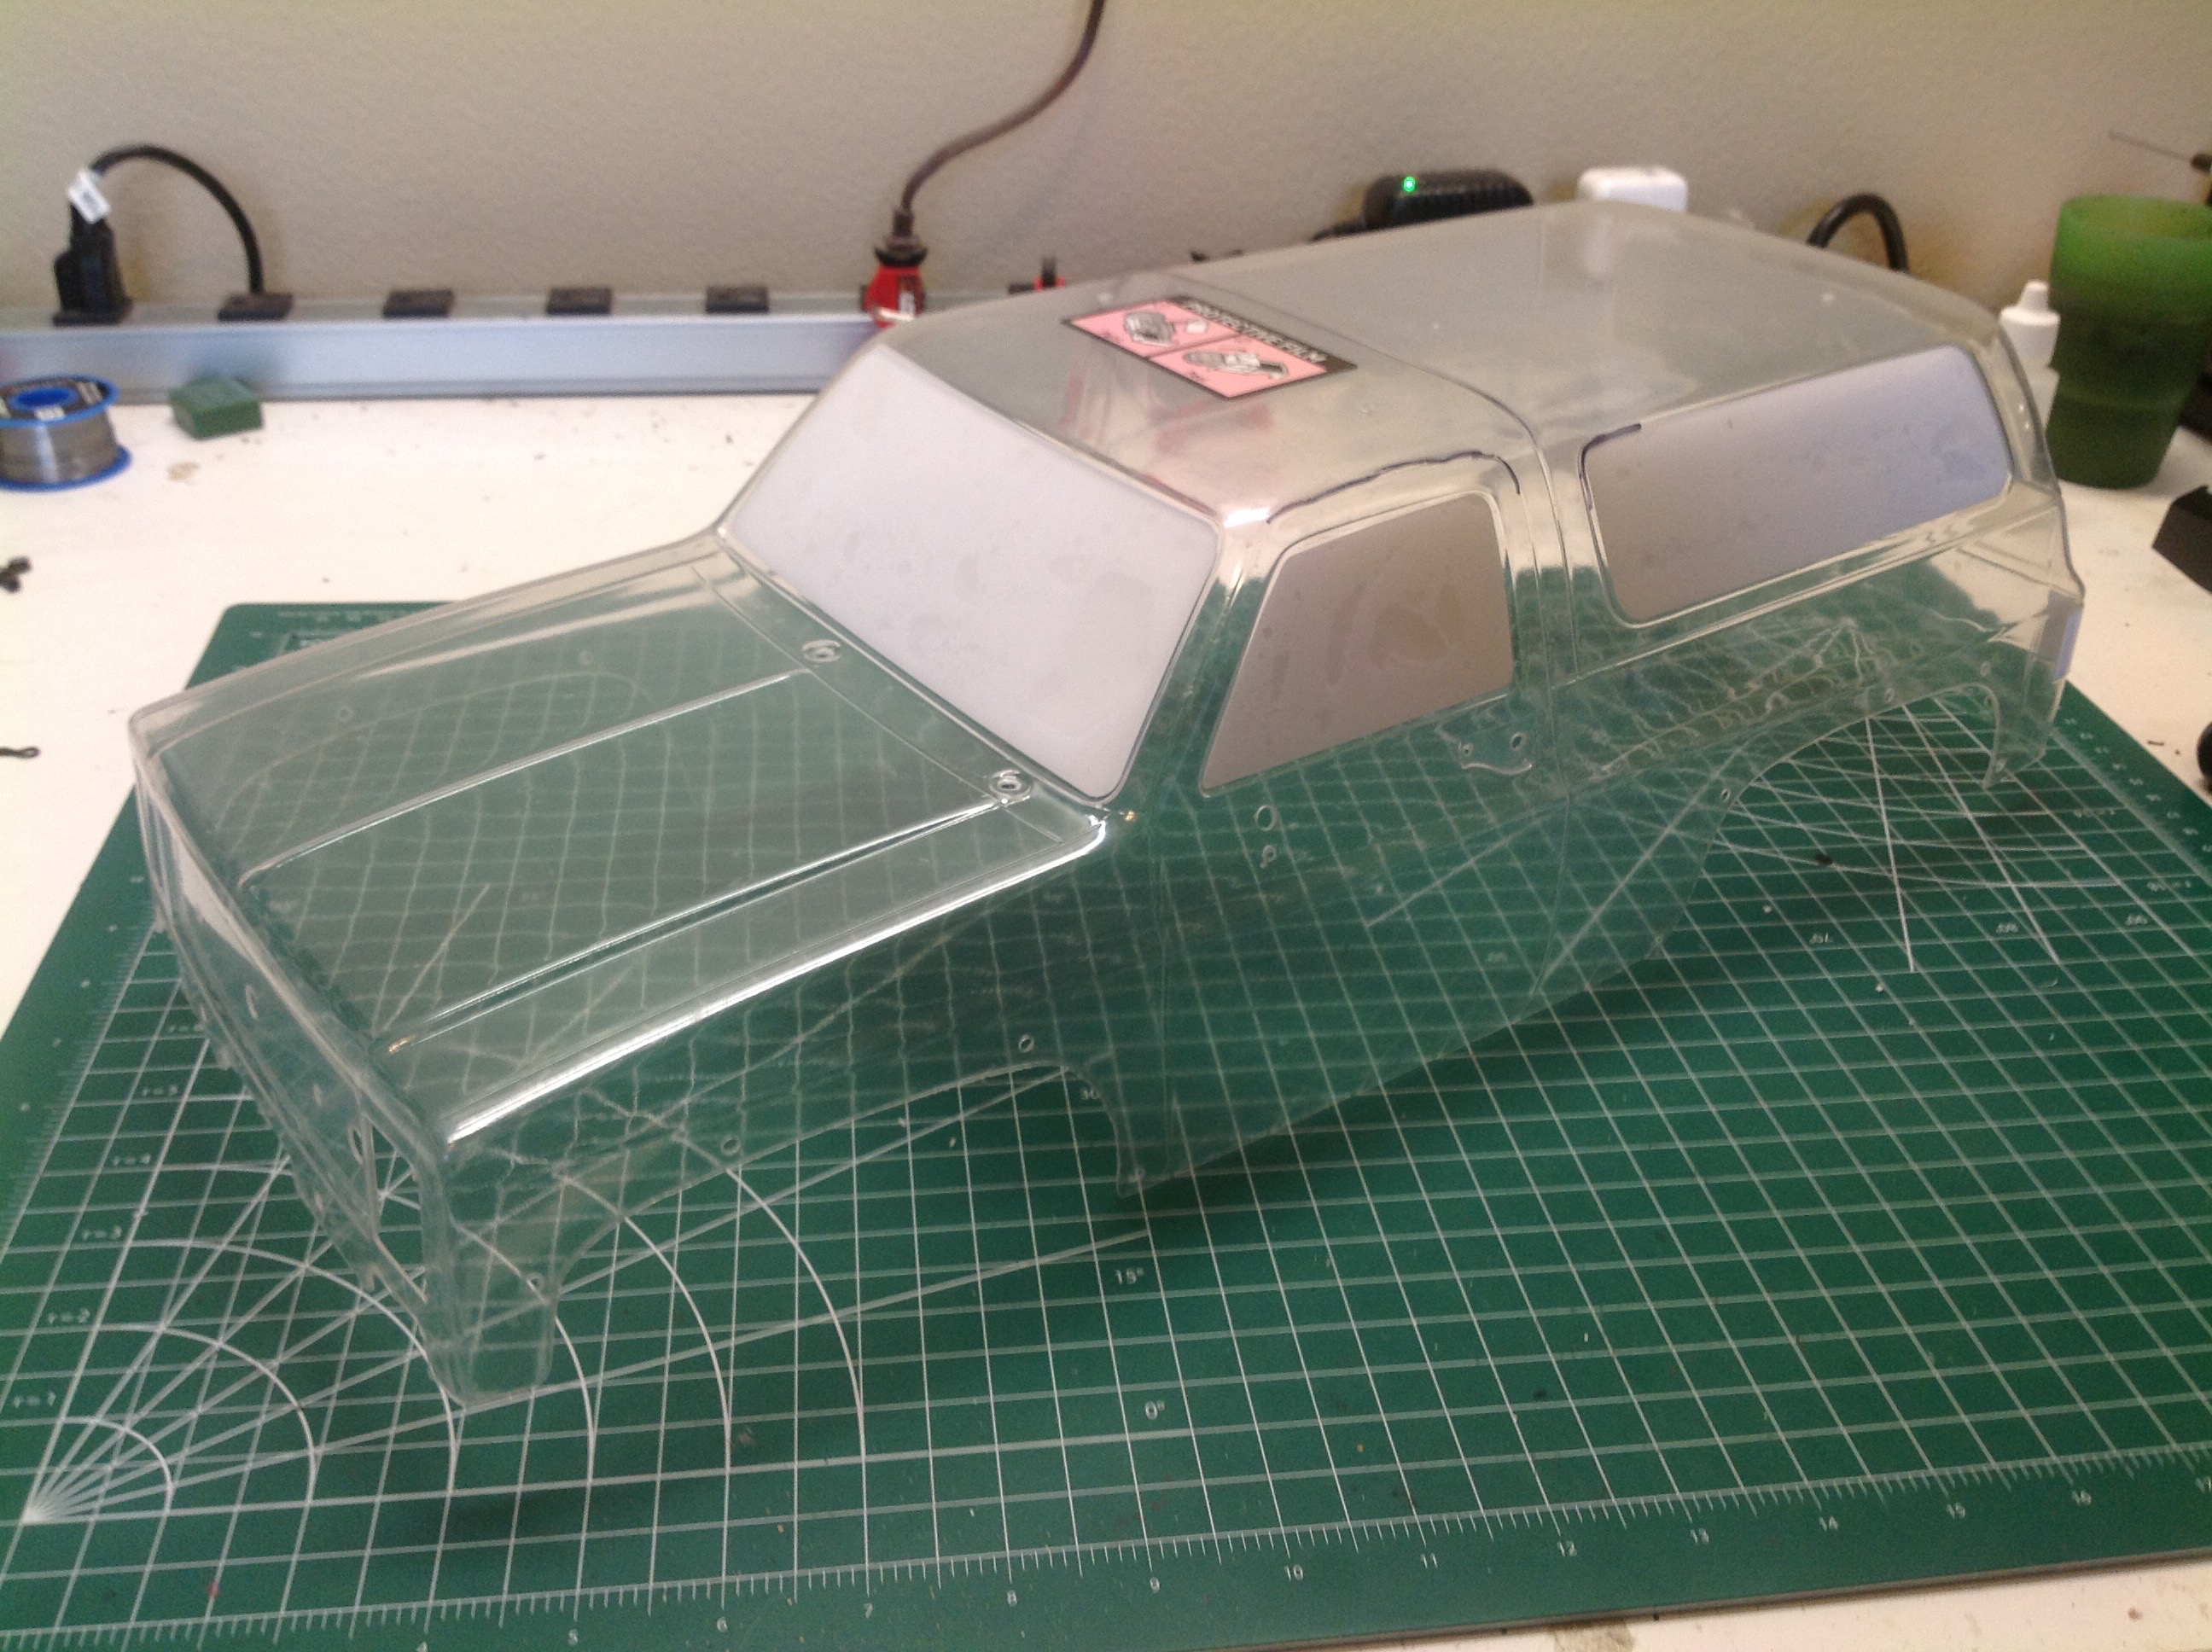
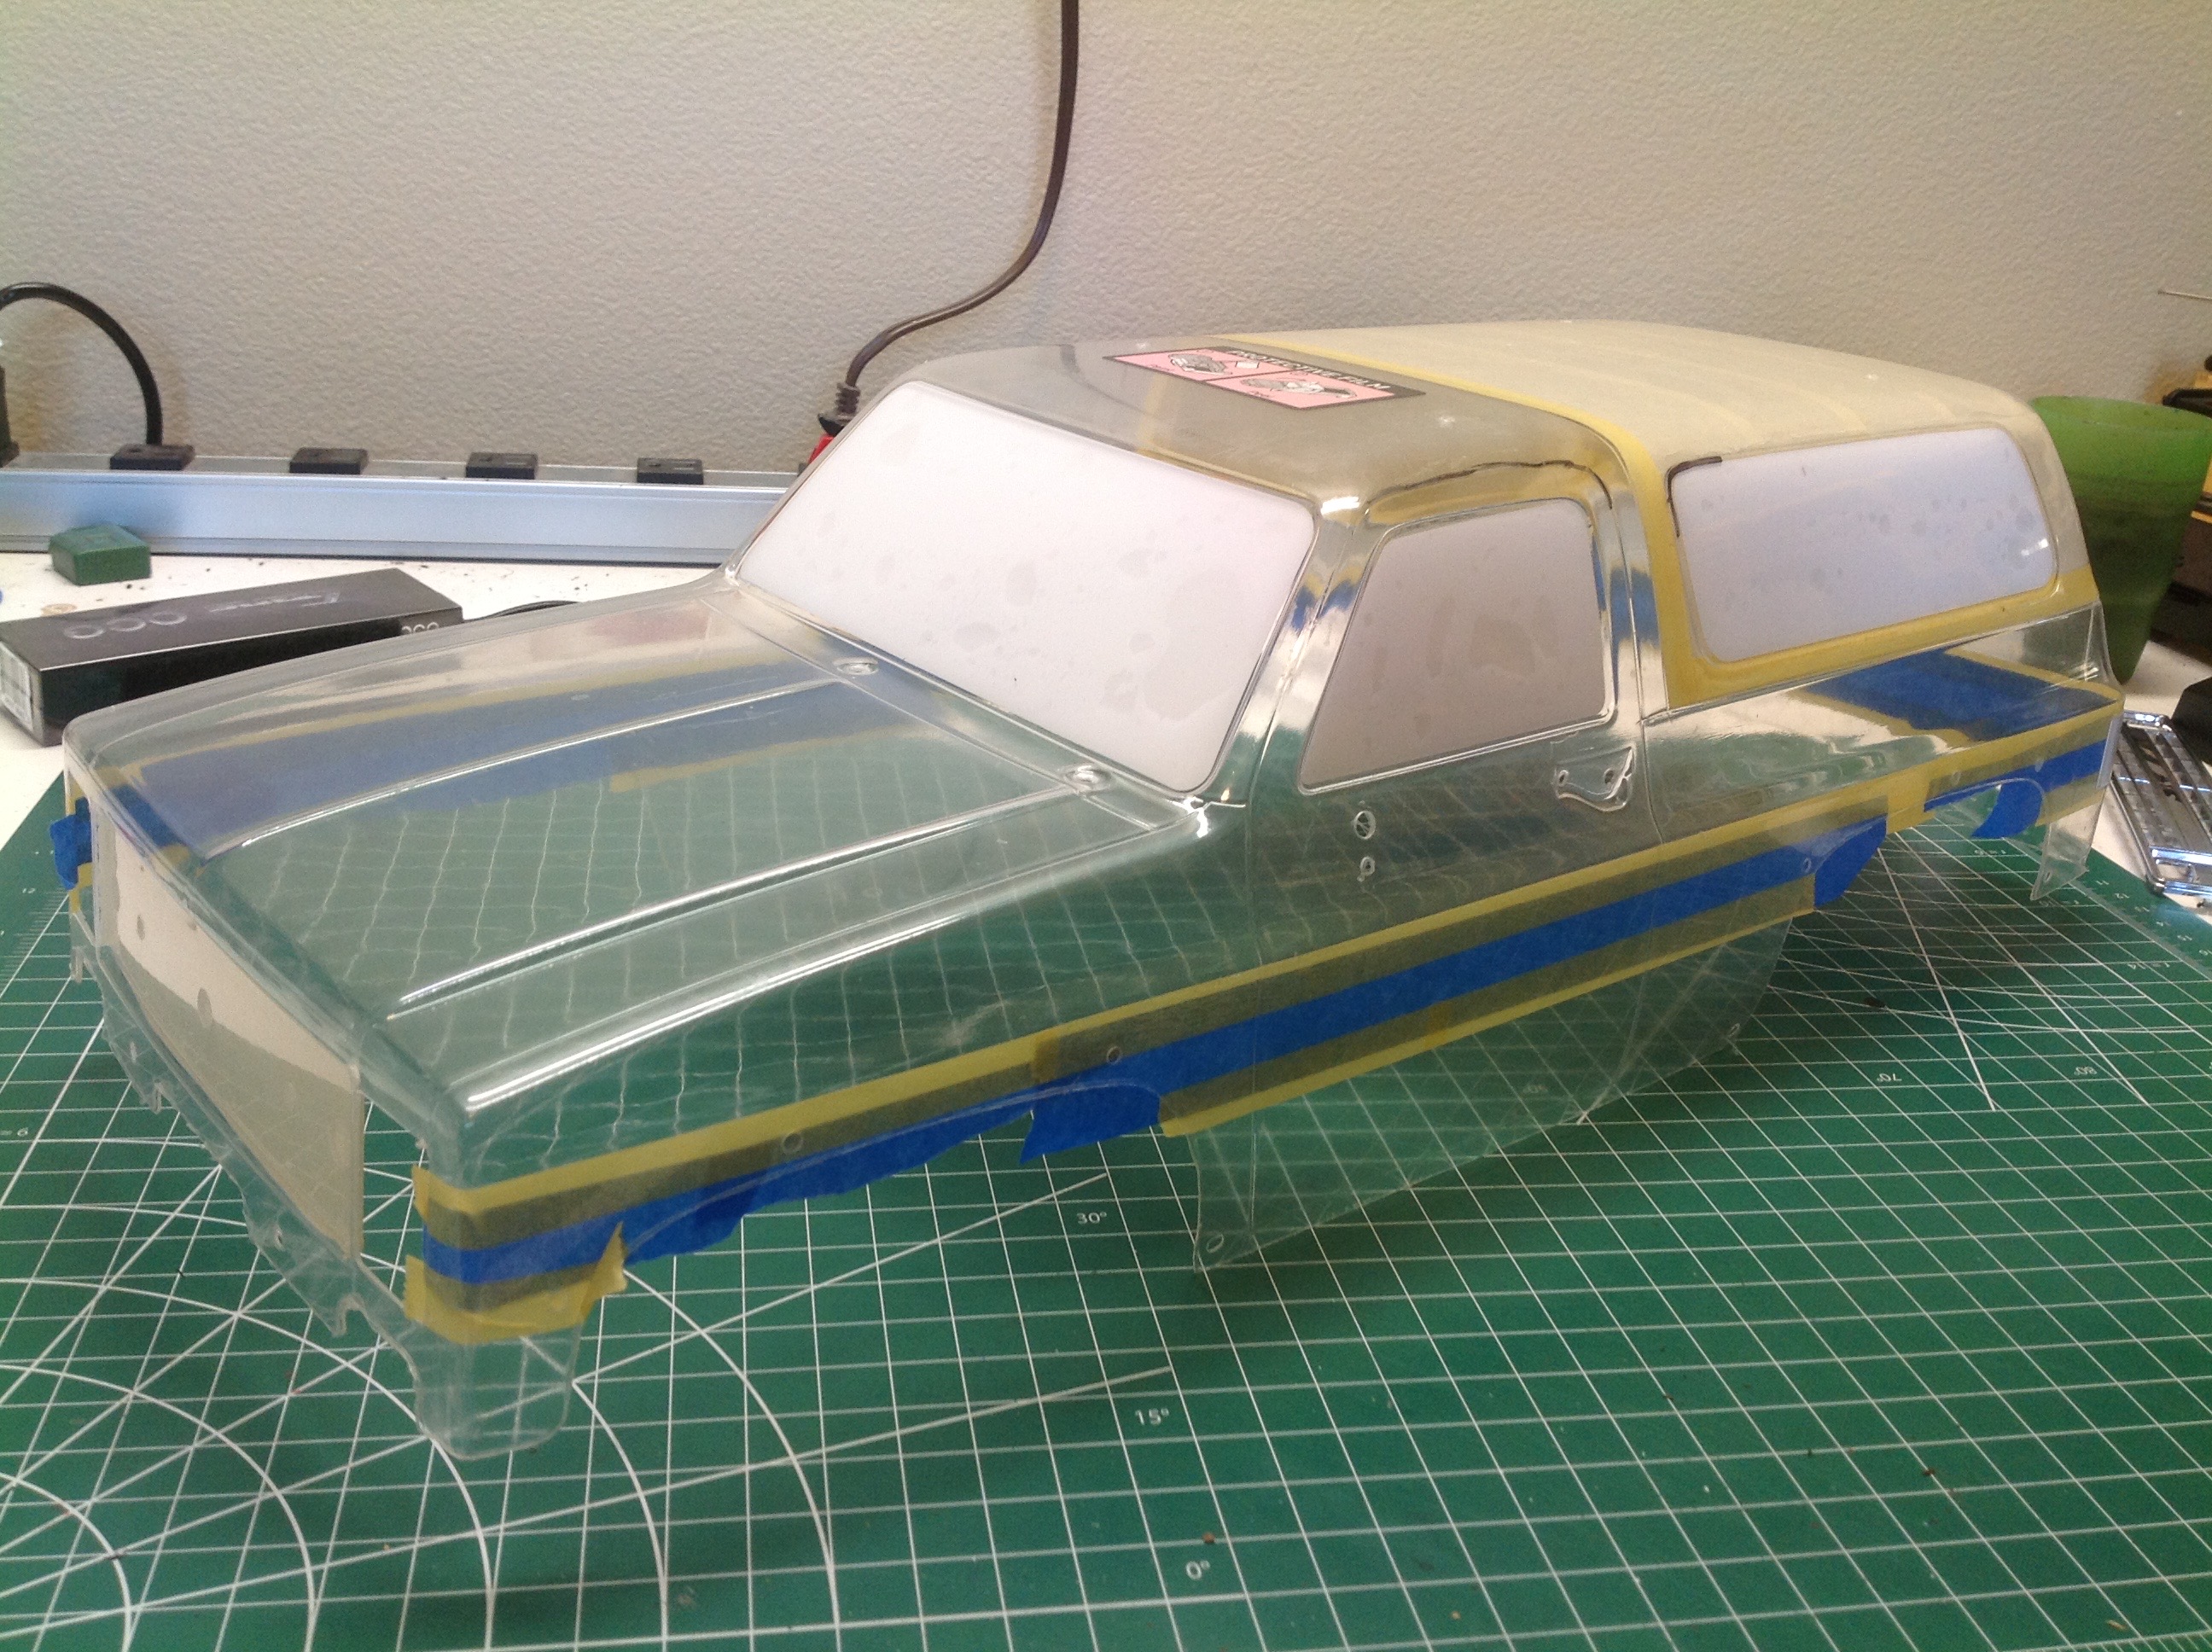
On the left you can see that I've added the included window masks. On the right I've manually masked the roof (which would be removable on the real vehicle) and the longitudinal stripes which are a signature of this body type. The kit included stickers for the stripes but only in red so I decided to do mine with paint. I also masked the area behind the grille so I could make it black.
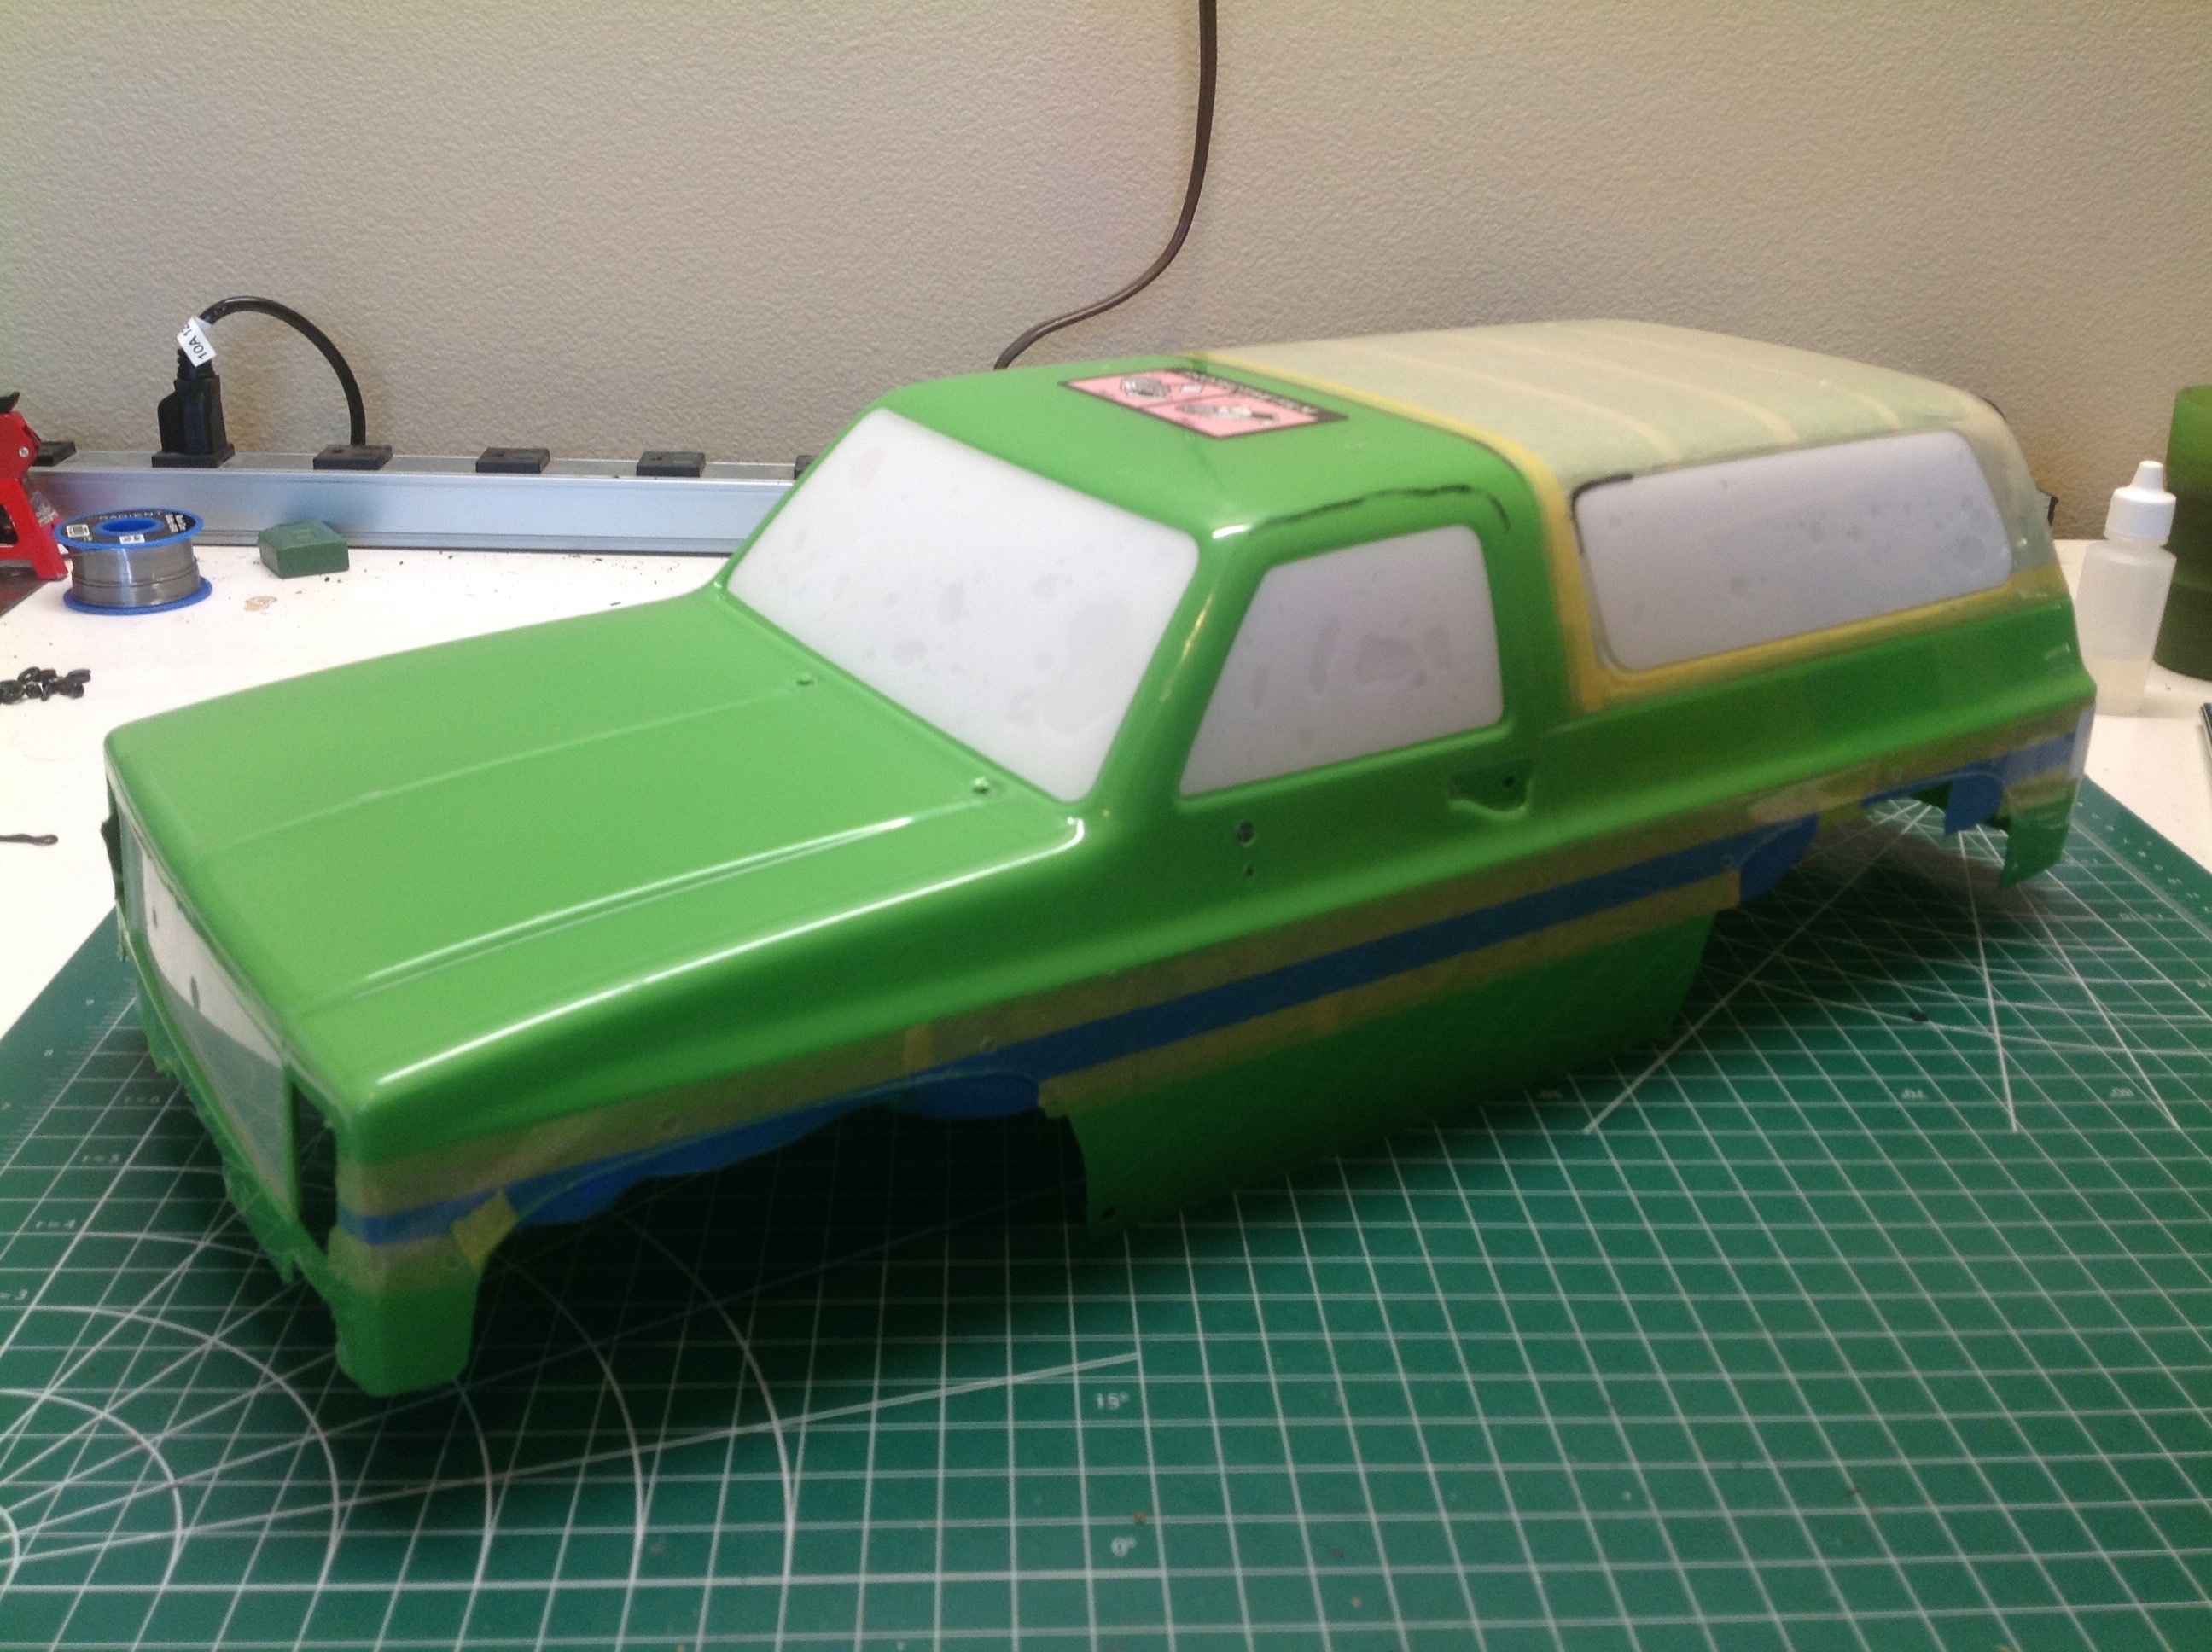
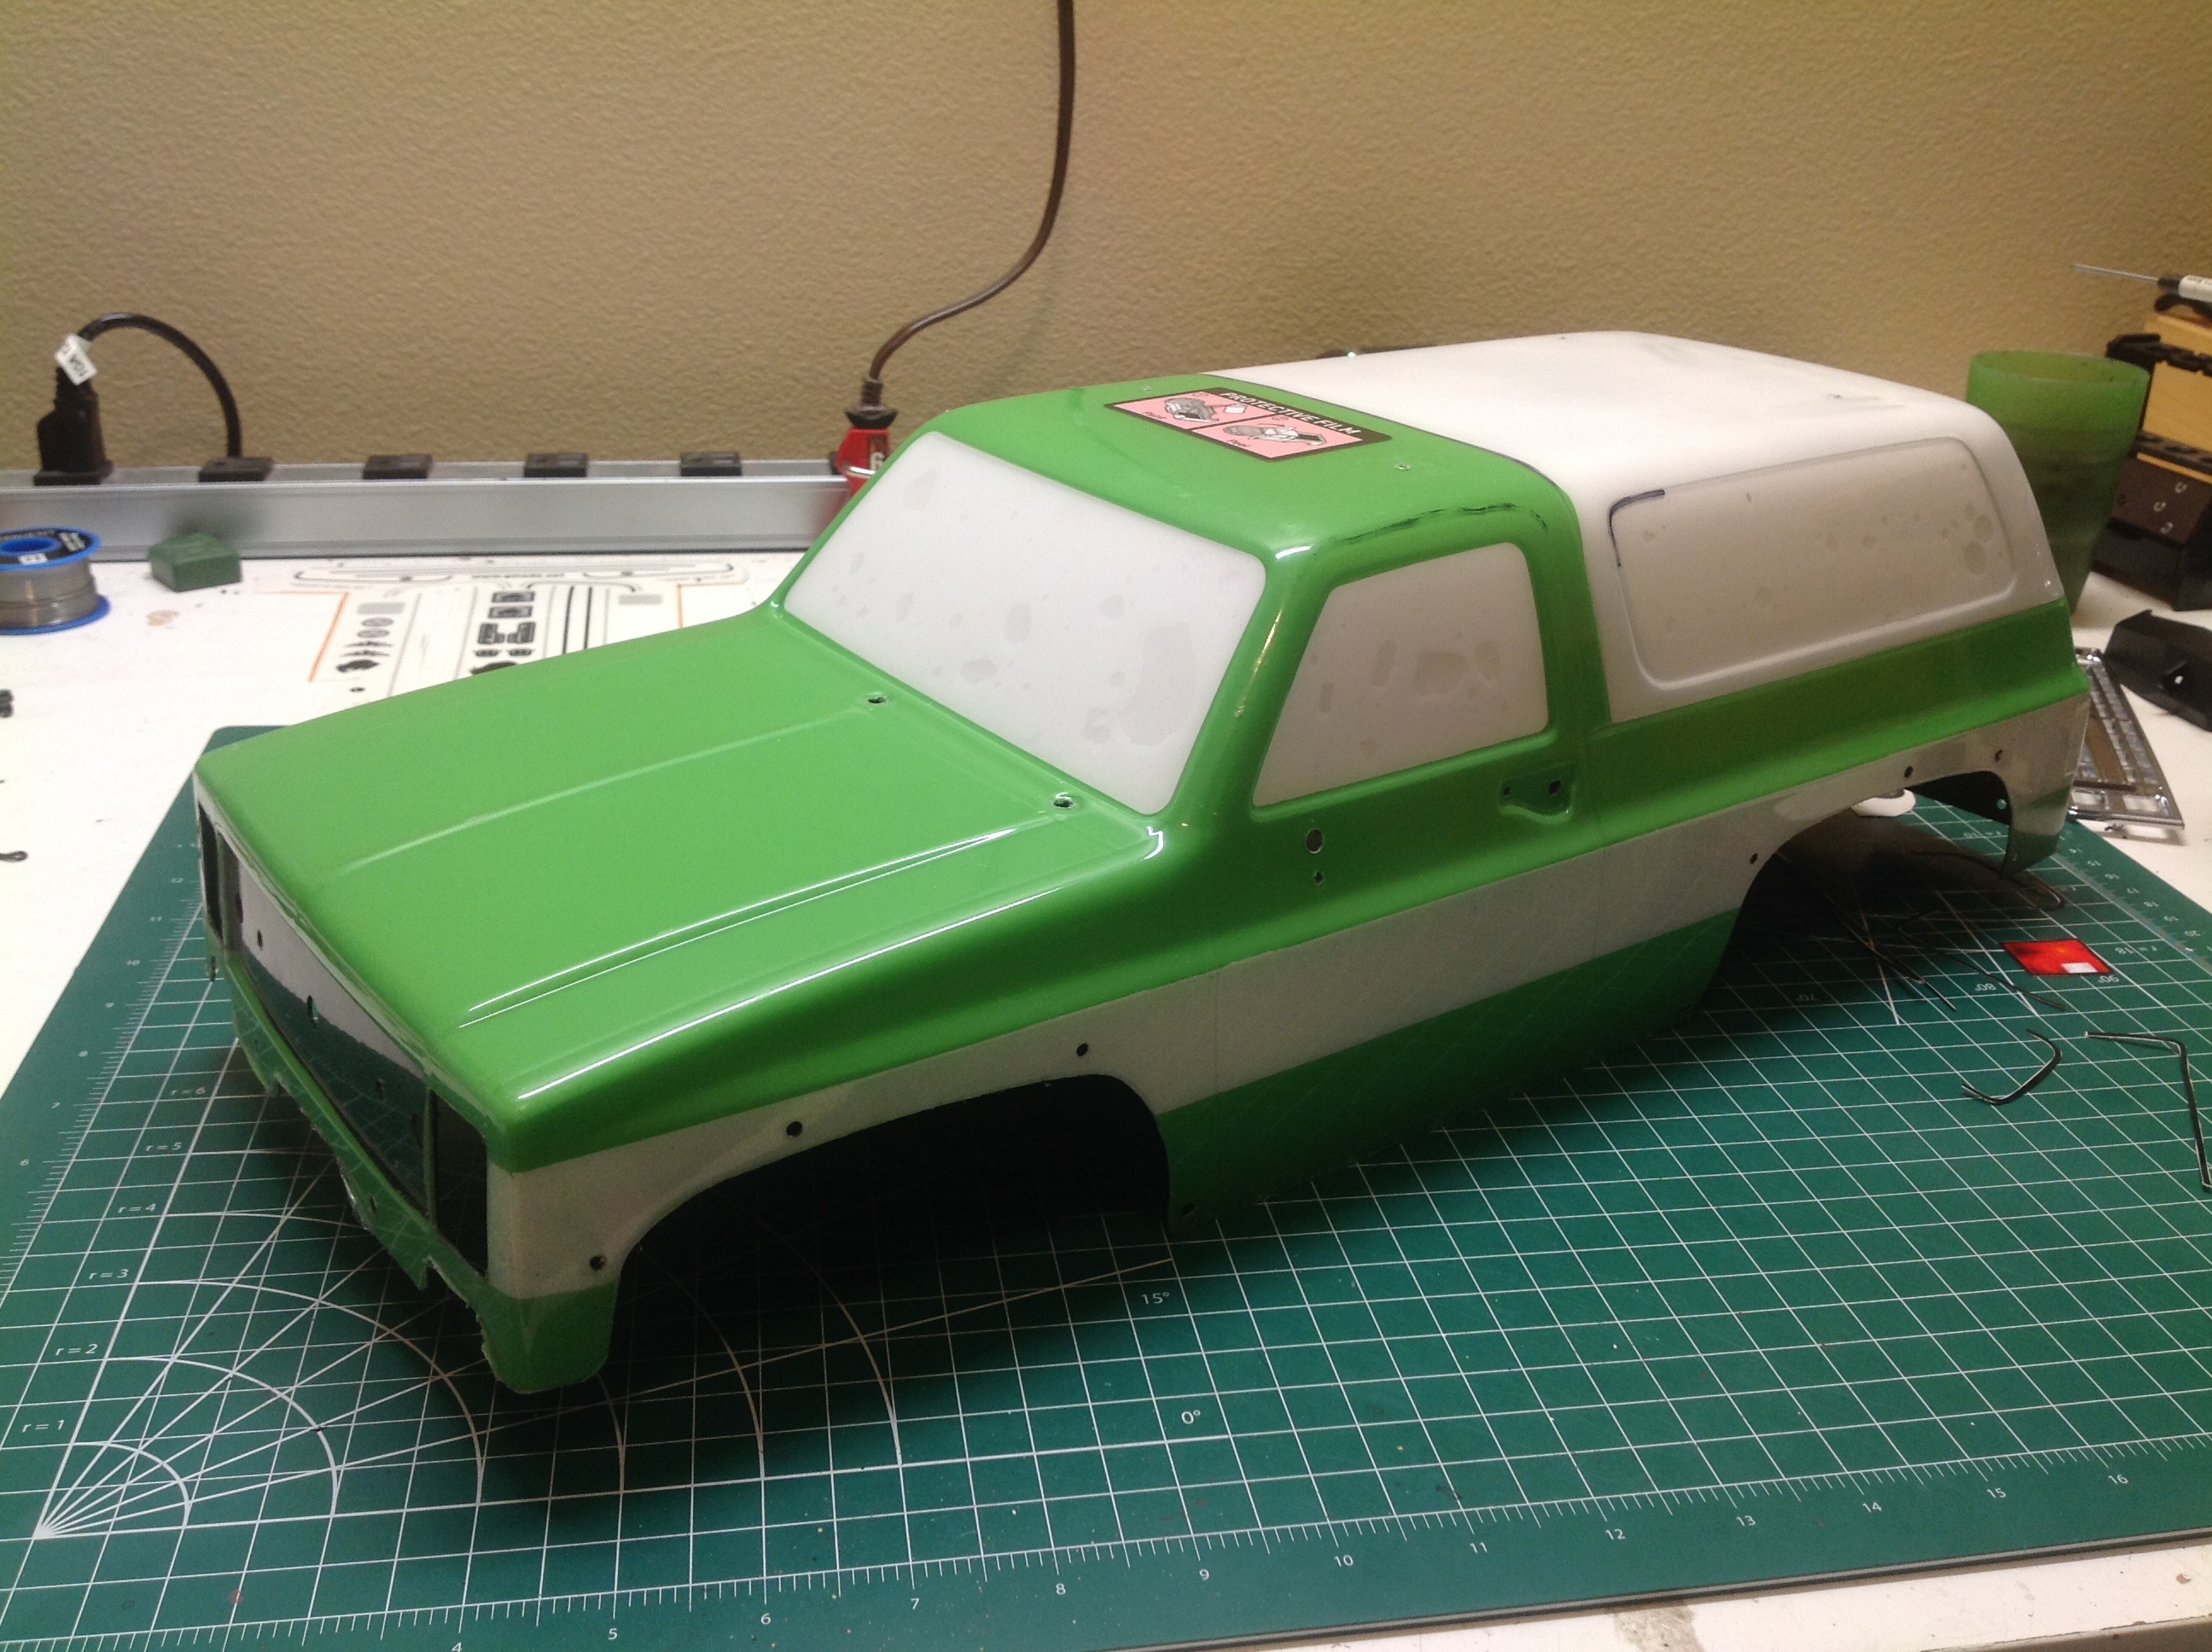
On the left I've completed the lime green paint. On the right I've additionally painted the white and black and removed most of the masking except for the windows.
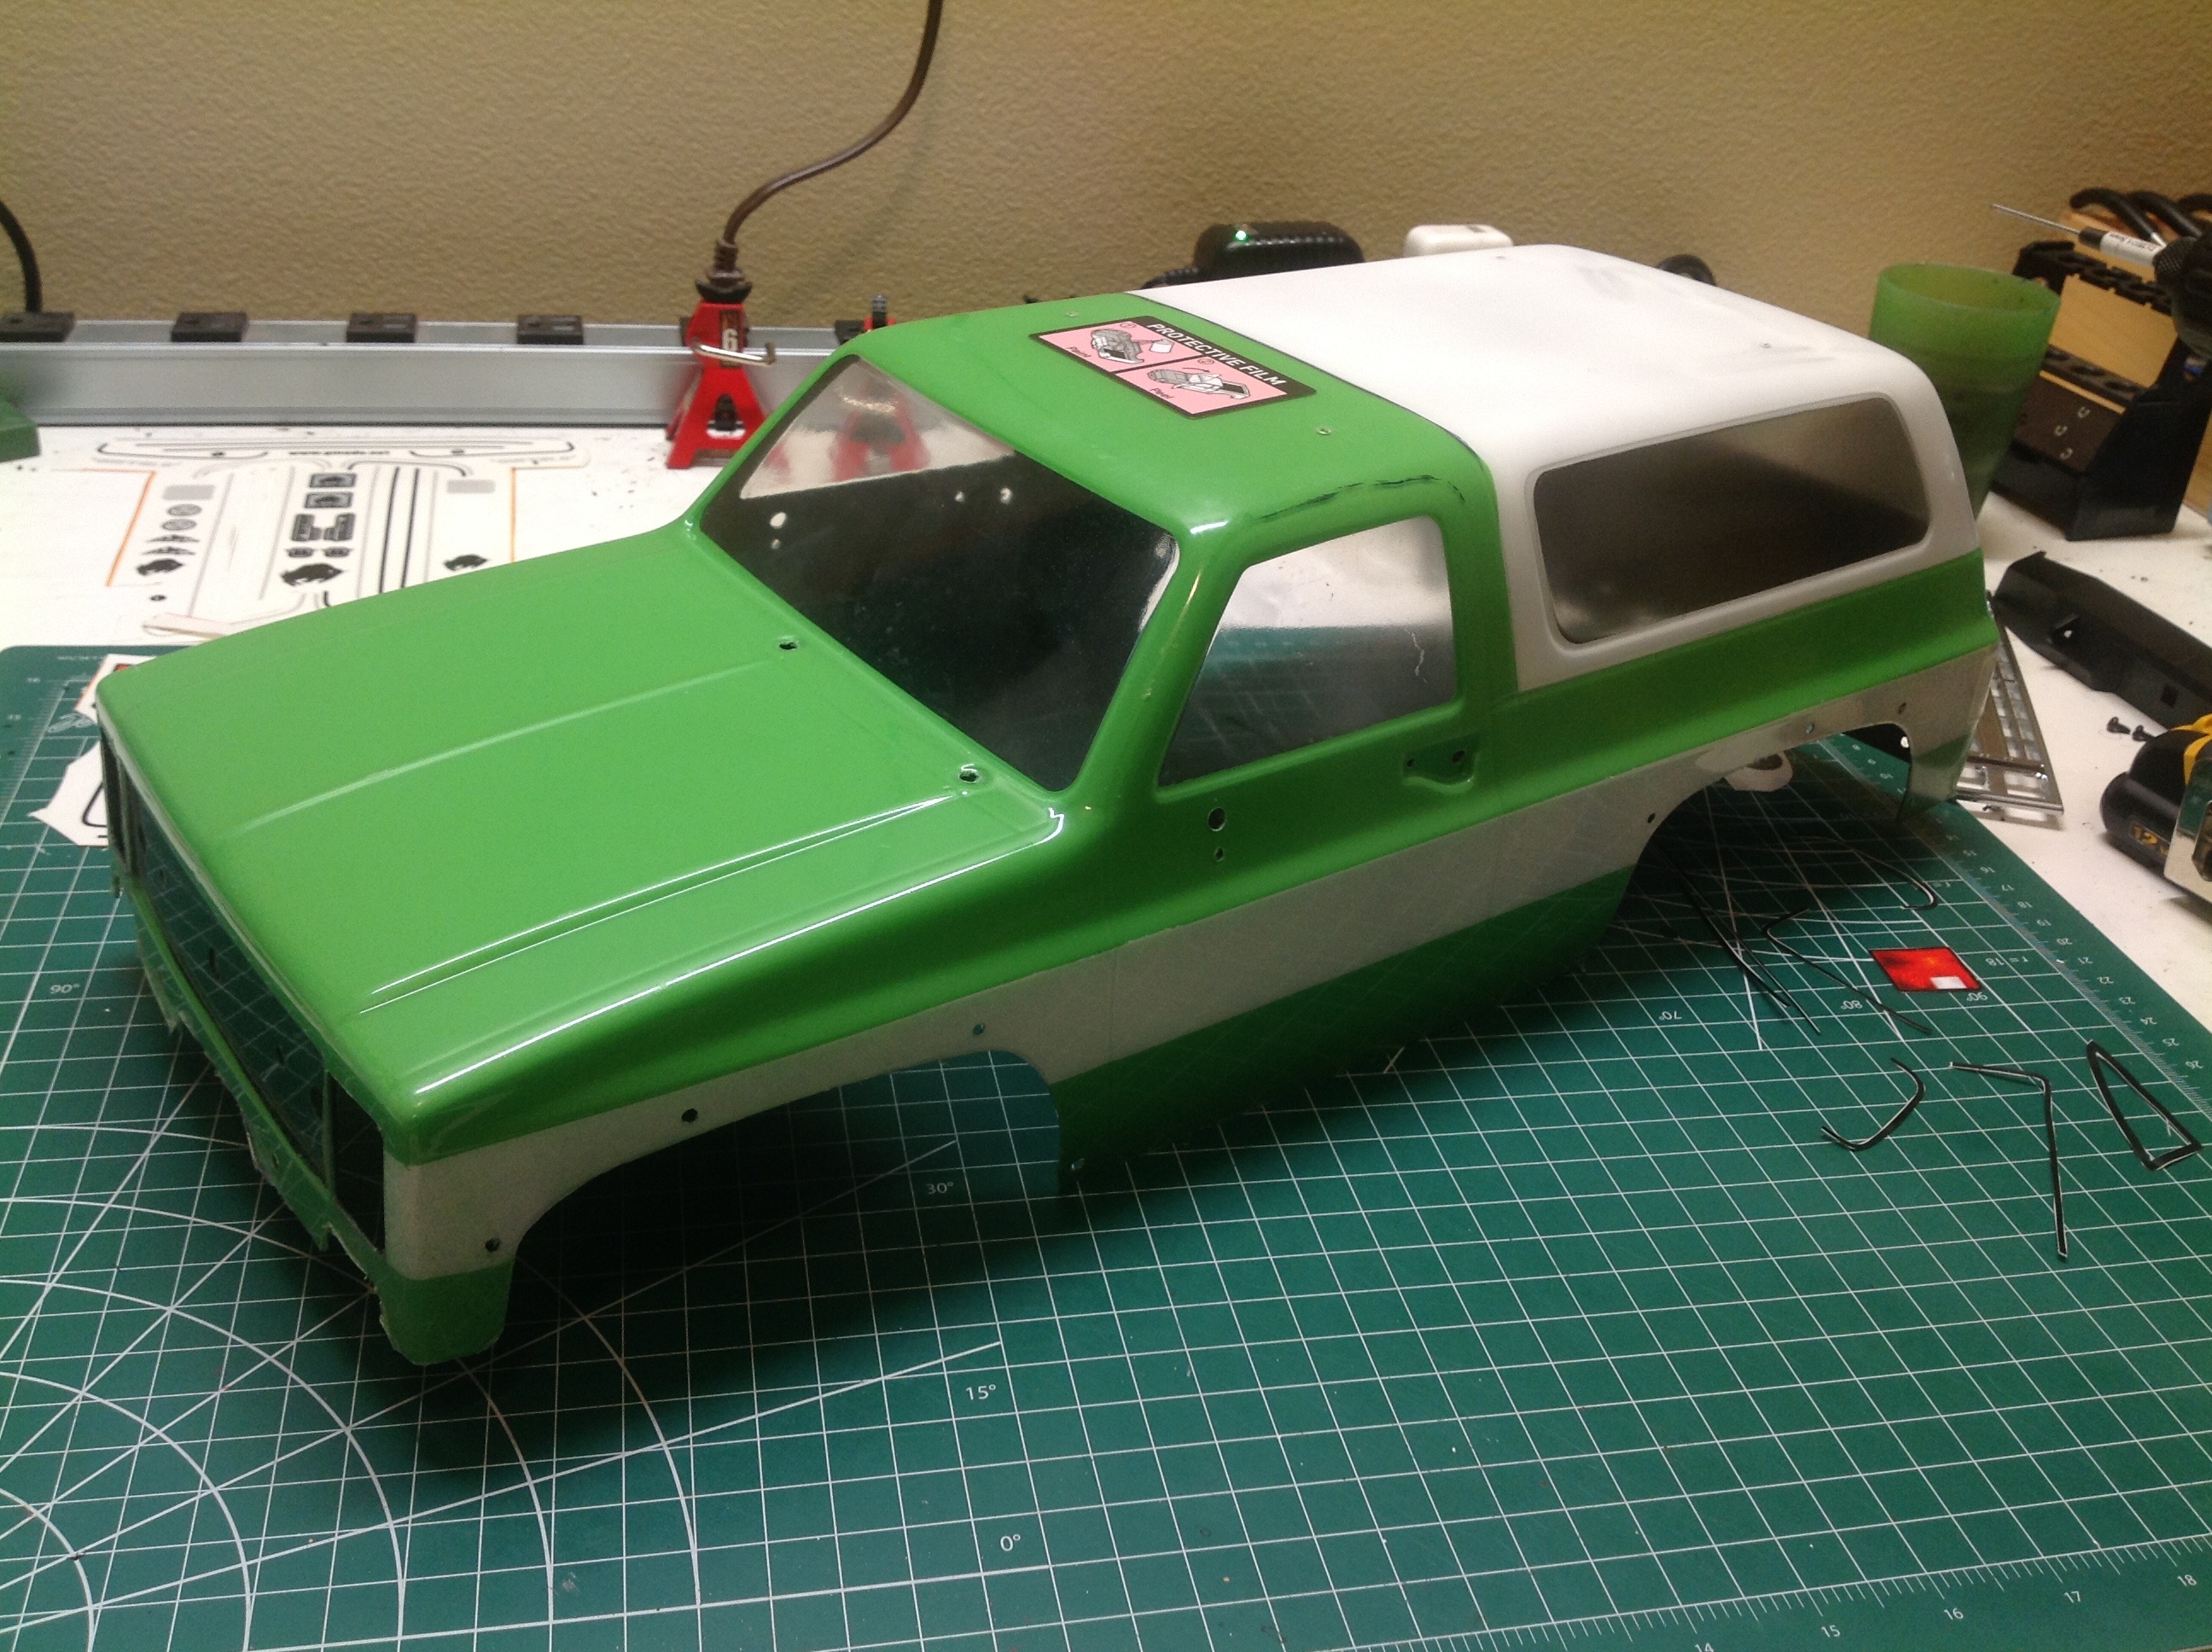
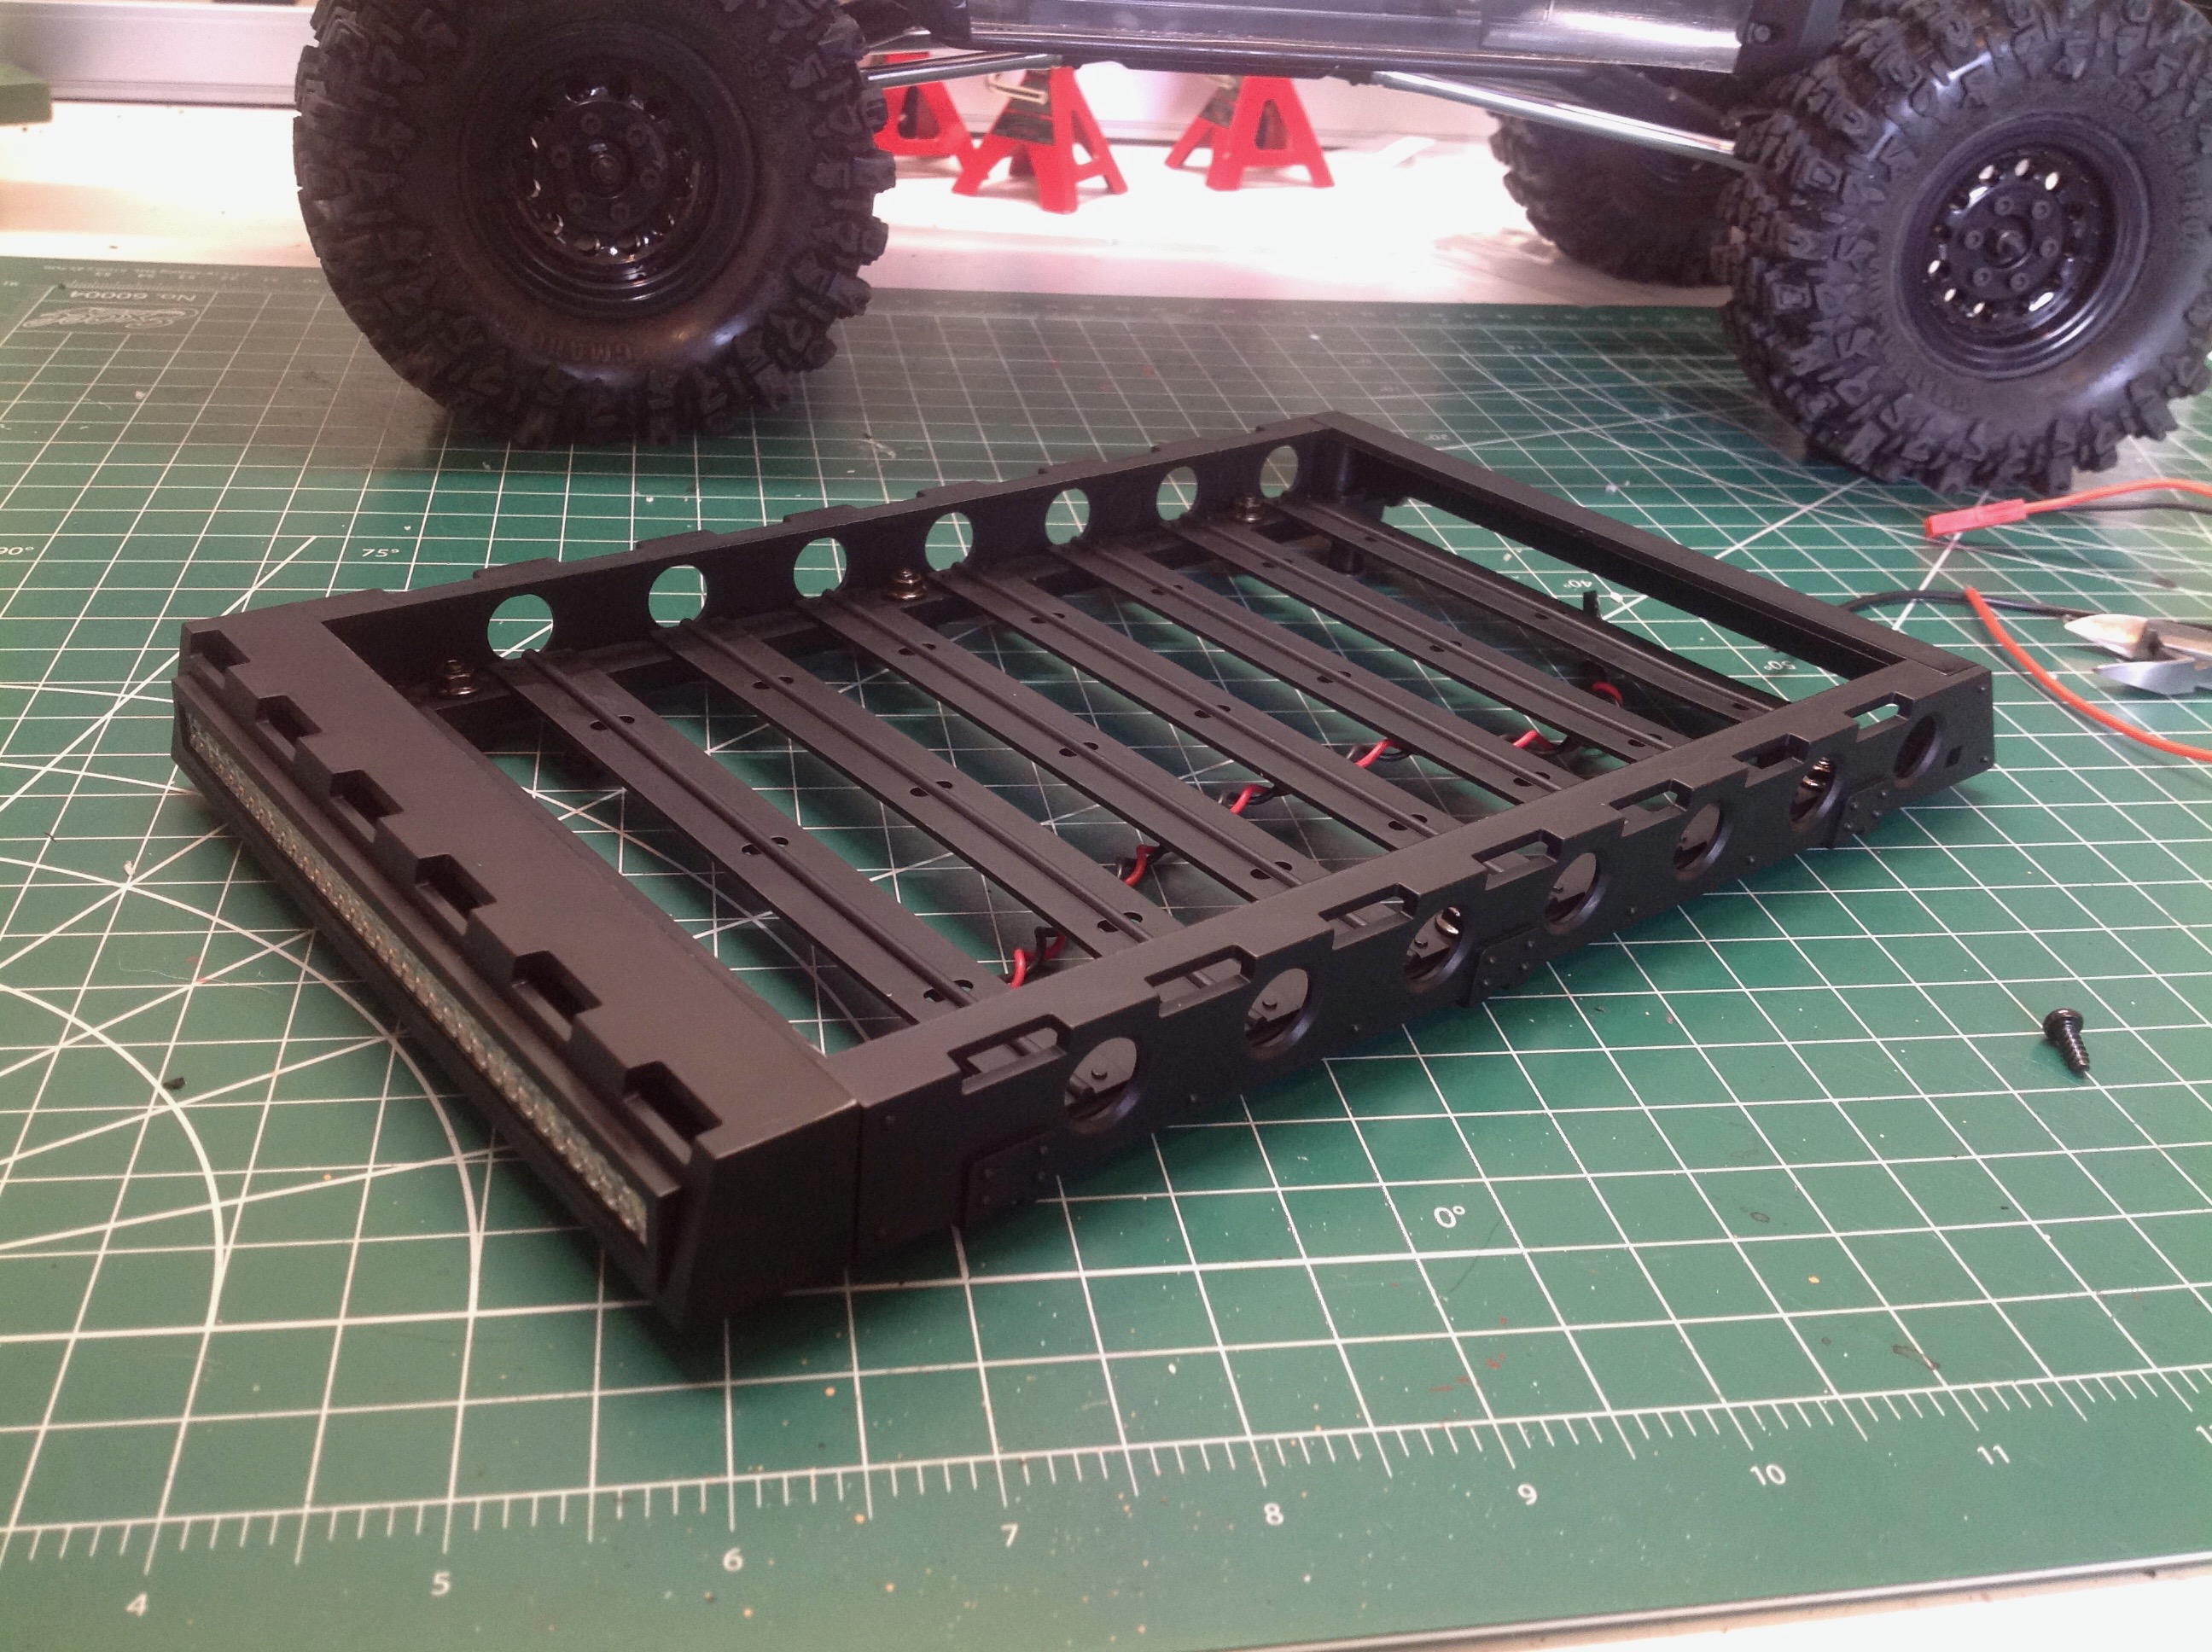
I tinted the rear windows with smoke paint but left the front windows clear so I'll be able to see an eventual interior. I also cut the overspray film from over the white top and sprayed the outside in flat clear so it would look different than the glossy body. On the right you can see the roof rack. The rack came with the body, but I added the optional light bar.
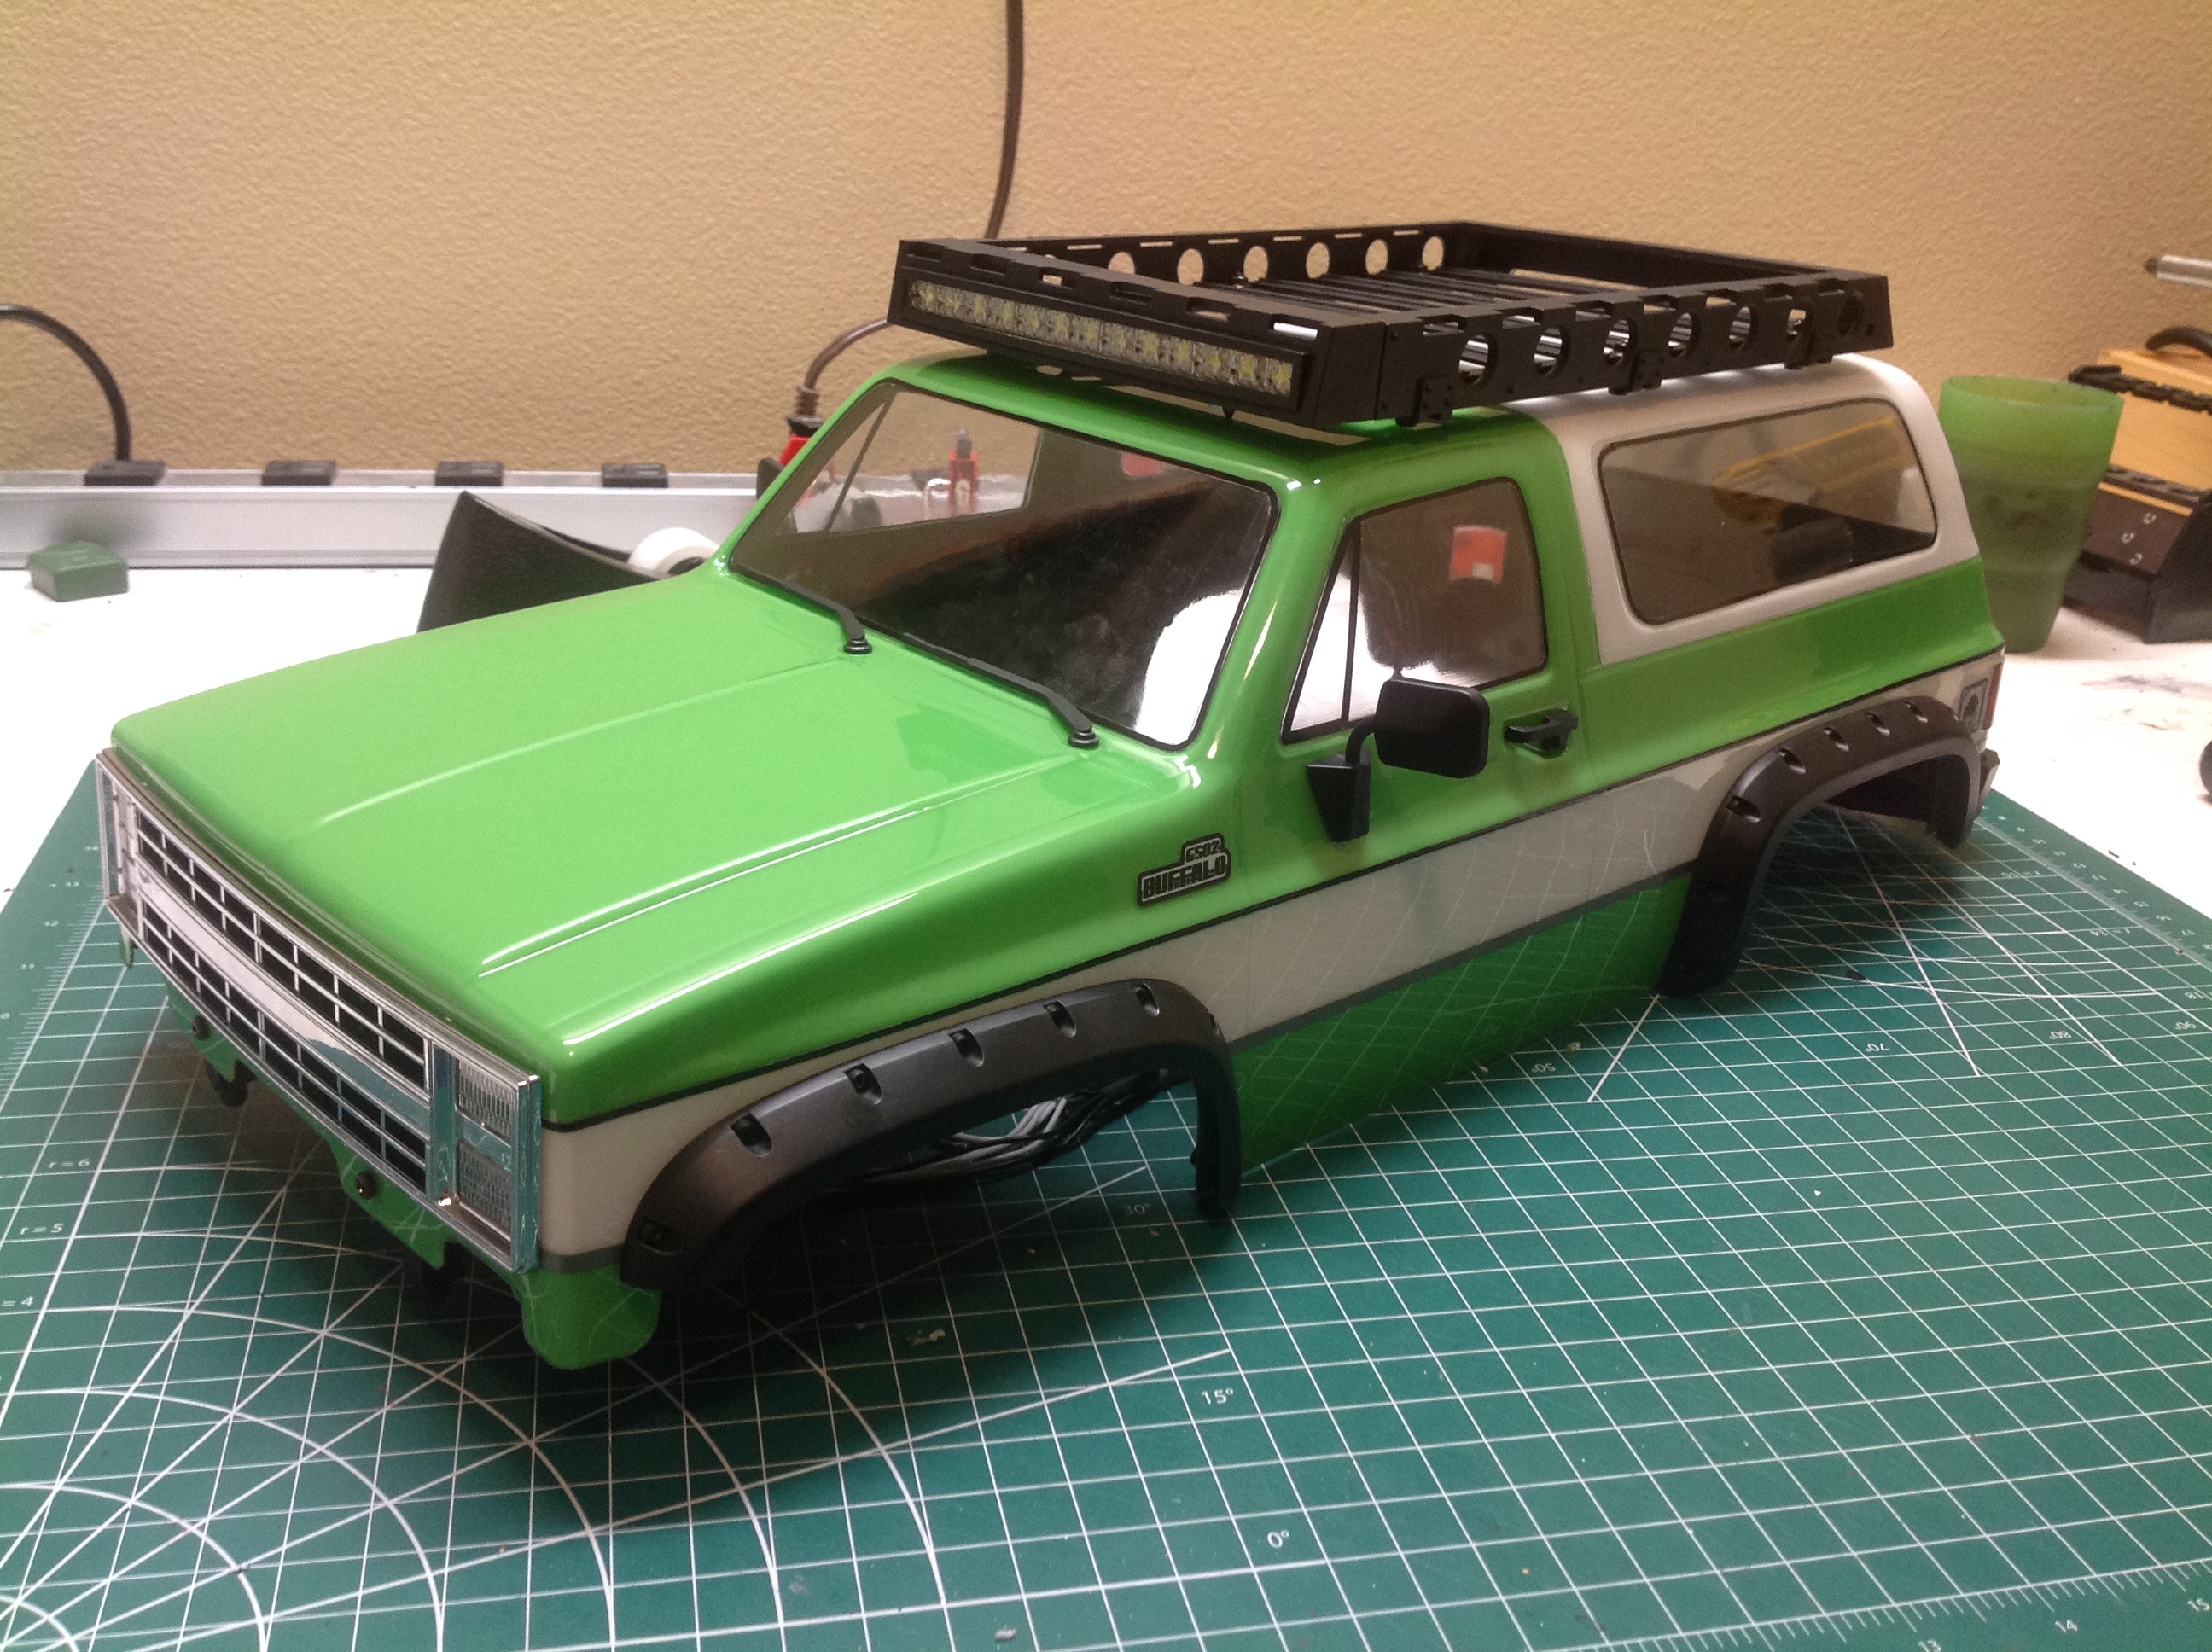
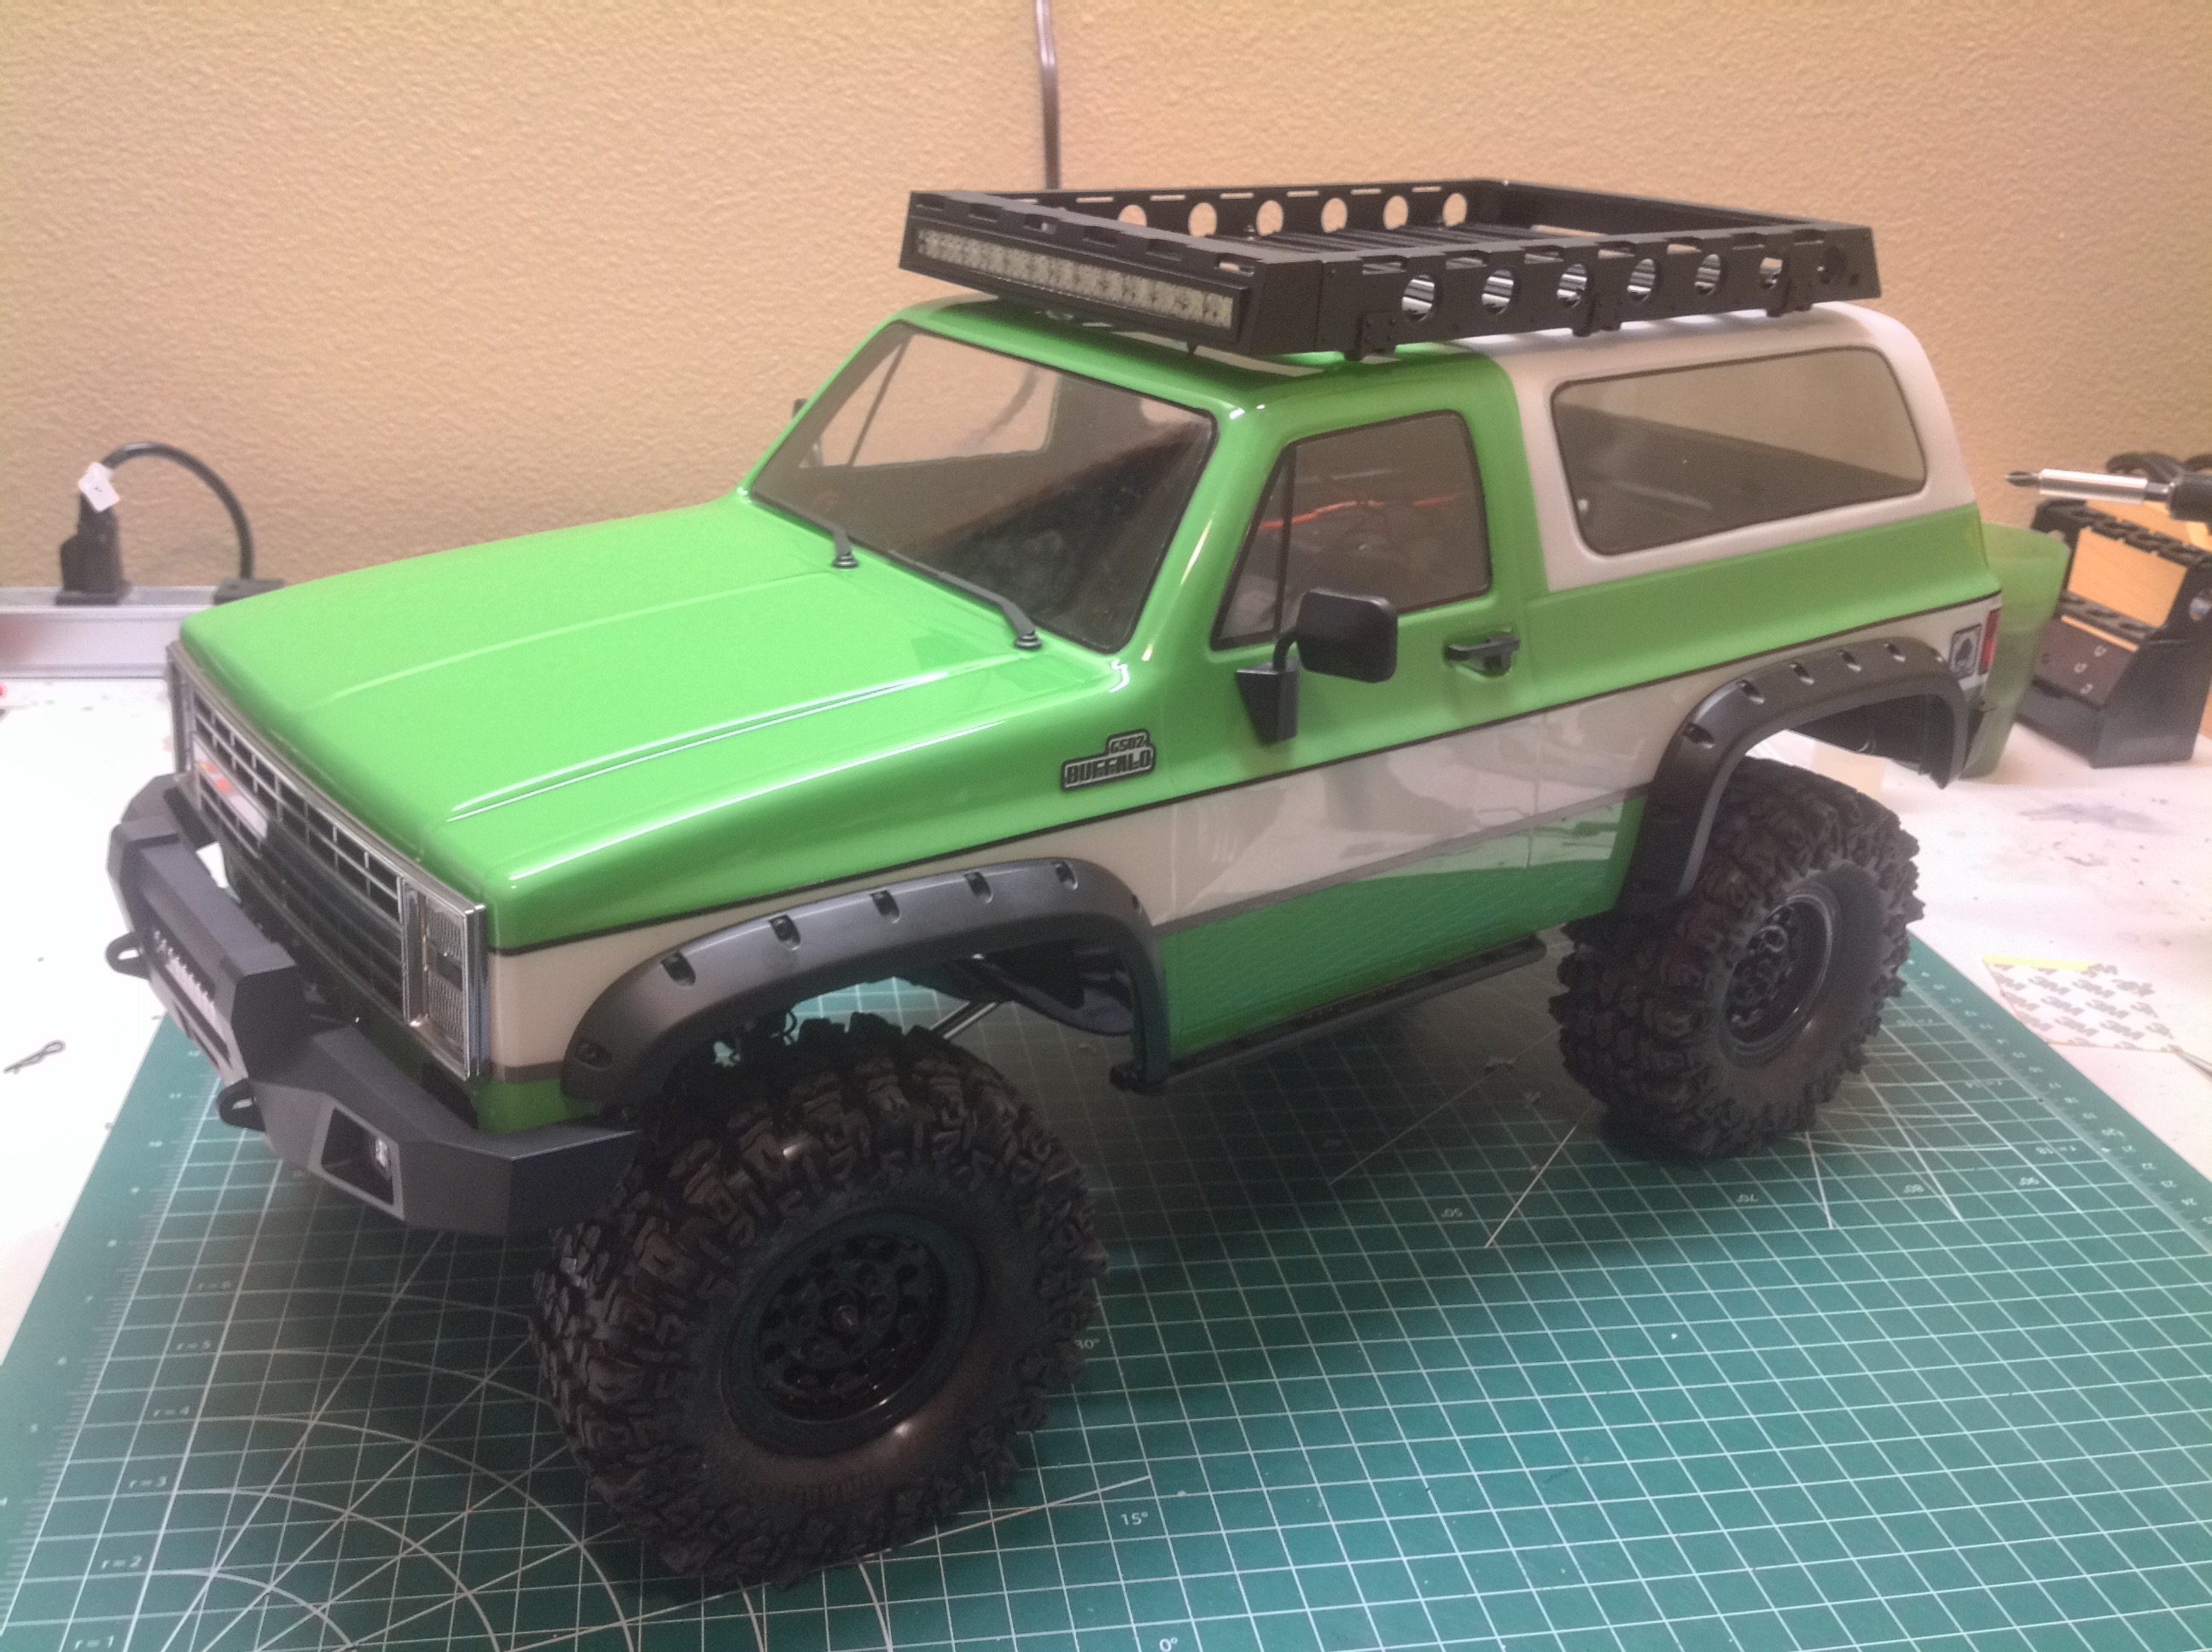
Now the body is complete with all the paint done and accessories added. Note the dark gray lines surrounding the white stripe which I did with trim tape. I also applied the subset of kit supplied stickers which fit with my livery idea. On the right you can see the final result attached to the chassis.
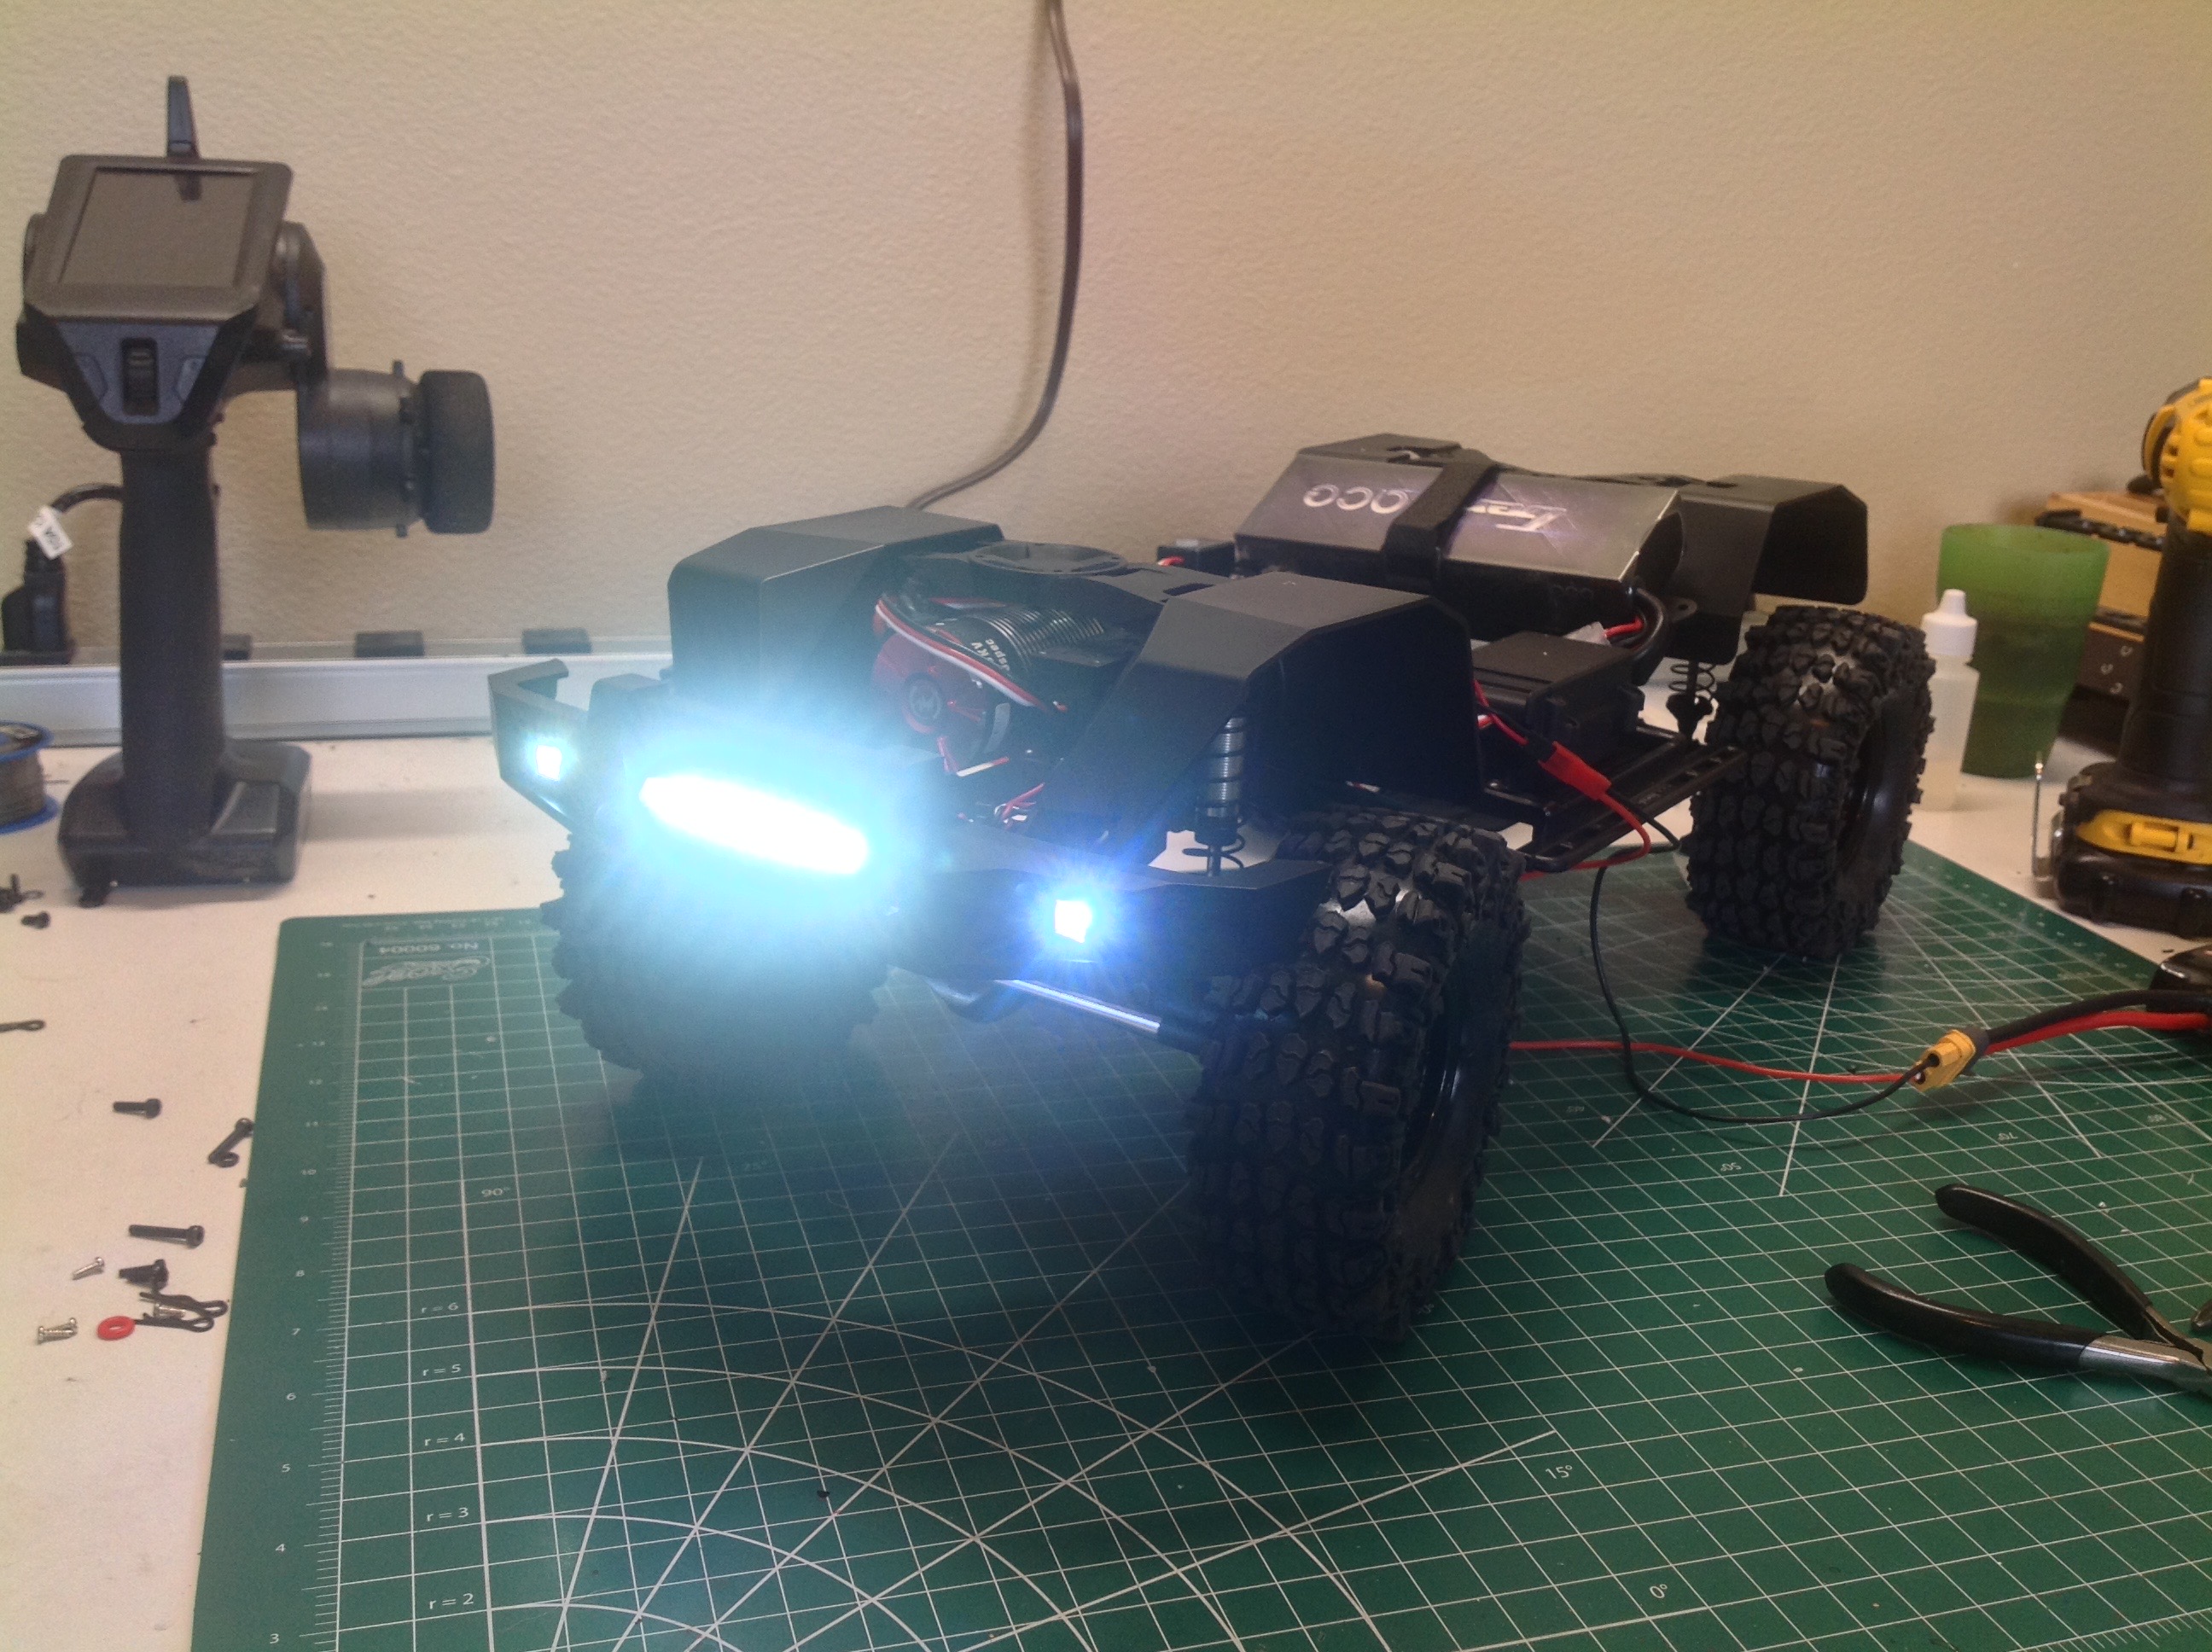

In addition to the roof mounted light bar I also added headlights, bumper lights, and a bumper mounted light bar. Getting these wired was a pain because the light bars were 12V but the smaller lights were 6V. I wired the light bars directly to the battery (3s required) and the others to the radio receiver.