Tamiya F-350 Highlift Project

Page 1:  Construction


The box is very nice, but it does not have the excellent hand drawn artwork of most of the older models.  The angle and perspective make it look very imposing though.  The box for the Multi-Function Control Unit is very sizable in itself, and is also quite heavy.  The speaker magnet makes up the bulk of the weight.


Wow, there is a lot of hardware in this kit.  Upon first opening the box it looks like everything except the chassis rails is plastic, but that's only because all the metal parts are in the hardware bags.  The second image shows the array of plastic sprues.


Construction begins with the 3-speed transmission.  Gear Shaft A (on the left) is the input and contains a driver for each speed.  Each gear (13, 20, and 27 tooth) is splined to the shaft.  Gear Shaft B (on the right) is the driven gear.  Each gear (44, 37, and 30 tooth) rides freely on bearings.  Only the driving rings are splined to the shaft and they can engage the various gears via driving dogs.  Most of the gears are Nylon but the smallest are metal.  The 20 tooth appears to be aluminum and the 13 tooth brass.


3 shift forks engage the driving rings and control the shifting of gears.  Shafts A, B, and the shift fork axle are locked between two metal end plates with some aluminum standoffs.  A set of springs bias the shift forks toward the middle (2nd gear).


The gears are now enclosed in a pair of plastic housings after being properly greased and tested.  Since this is a 4WD vehicle, we need a transfer case to send the output to both the front and rear axles.  The gears in the right hand image handle this and also provide a further two stage reduction between the transmission and the drive shafts.  The first set is 16:25 and the second set is 17:23.


The final step in the transmission assembly is the installation of the motor, pinion, and spur gear.  The motor goes up top and sits over the housing.  The pinion is 16 teeth and the spur is 54.  The spur gear incorporates a slipper clutch which is a good idea for an off-road truck that can get the wheels stuck.  Very few Tamiya kits have slippers.


    king hauler

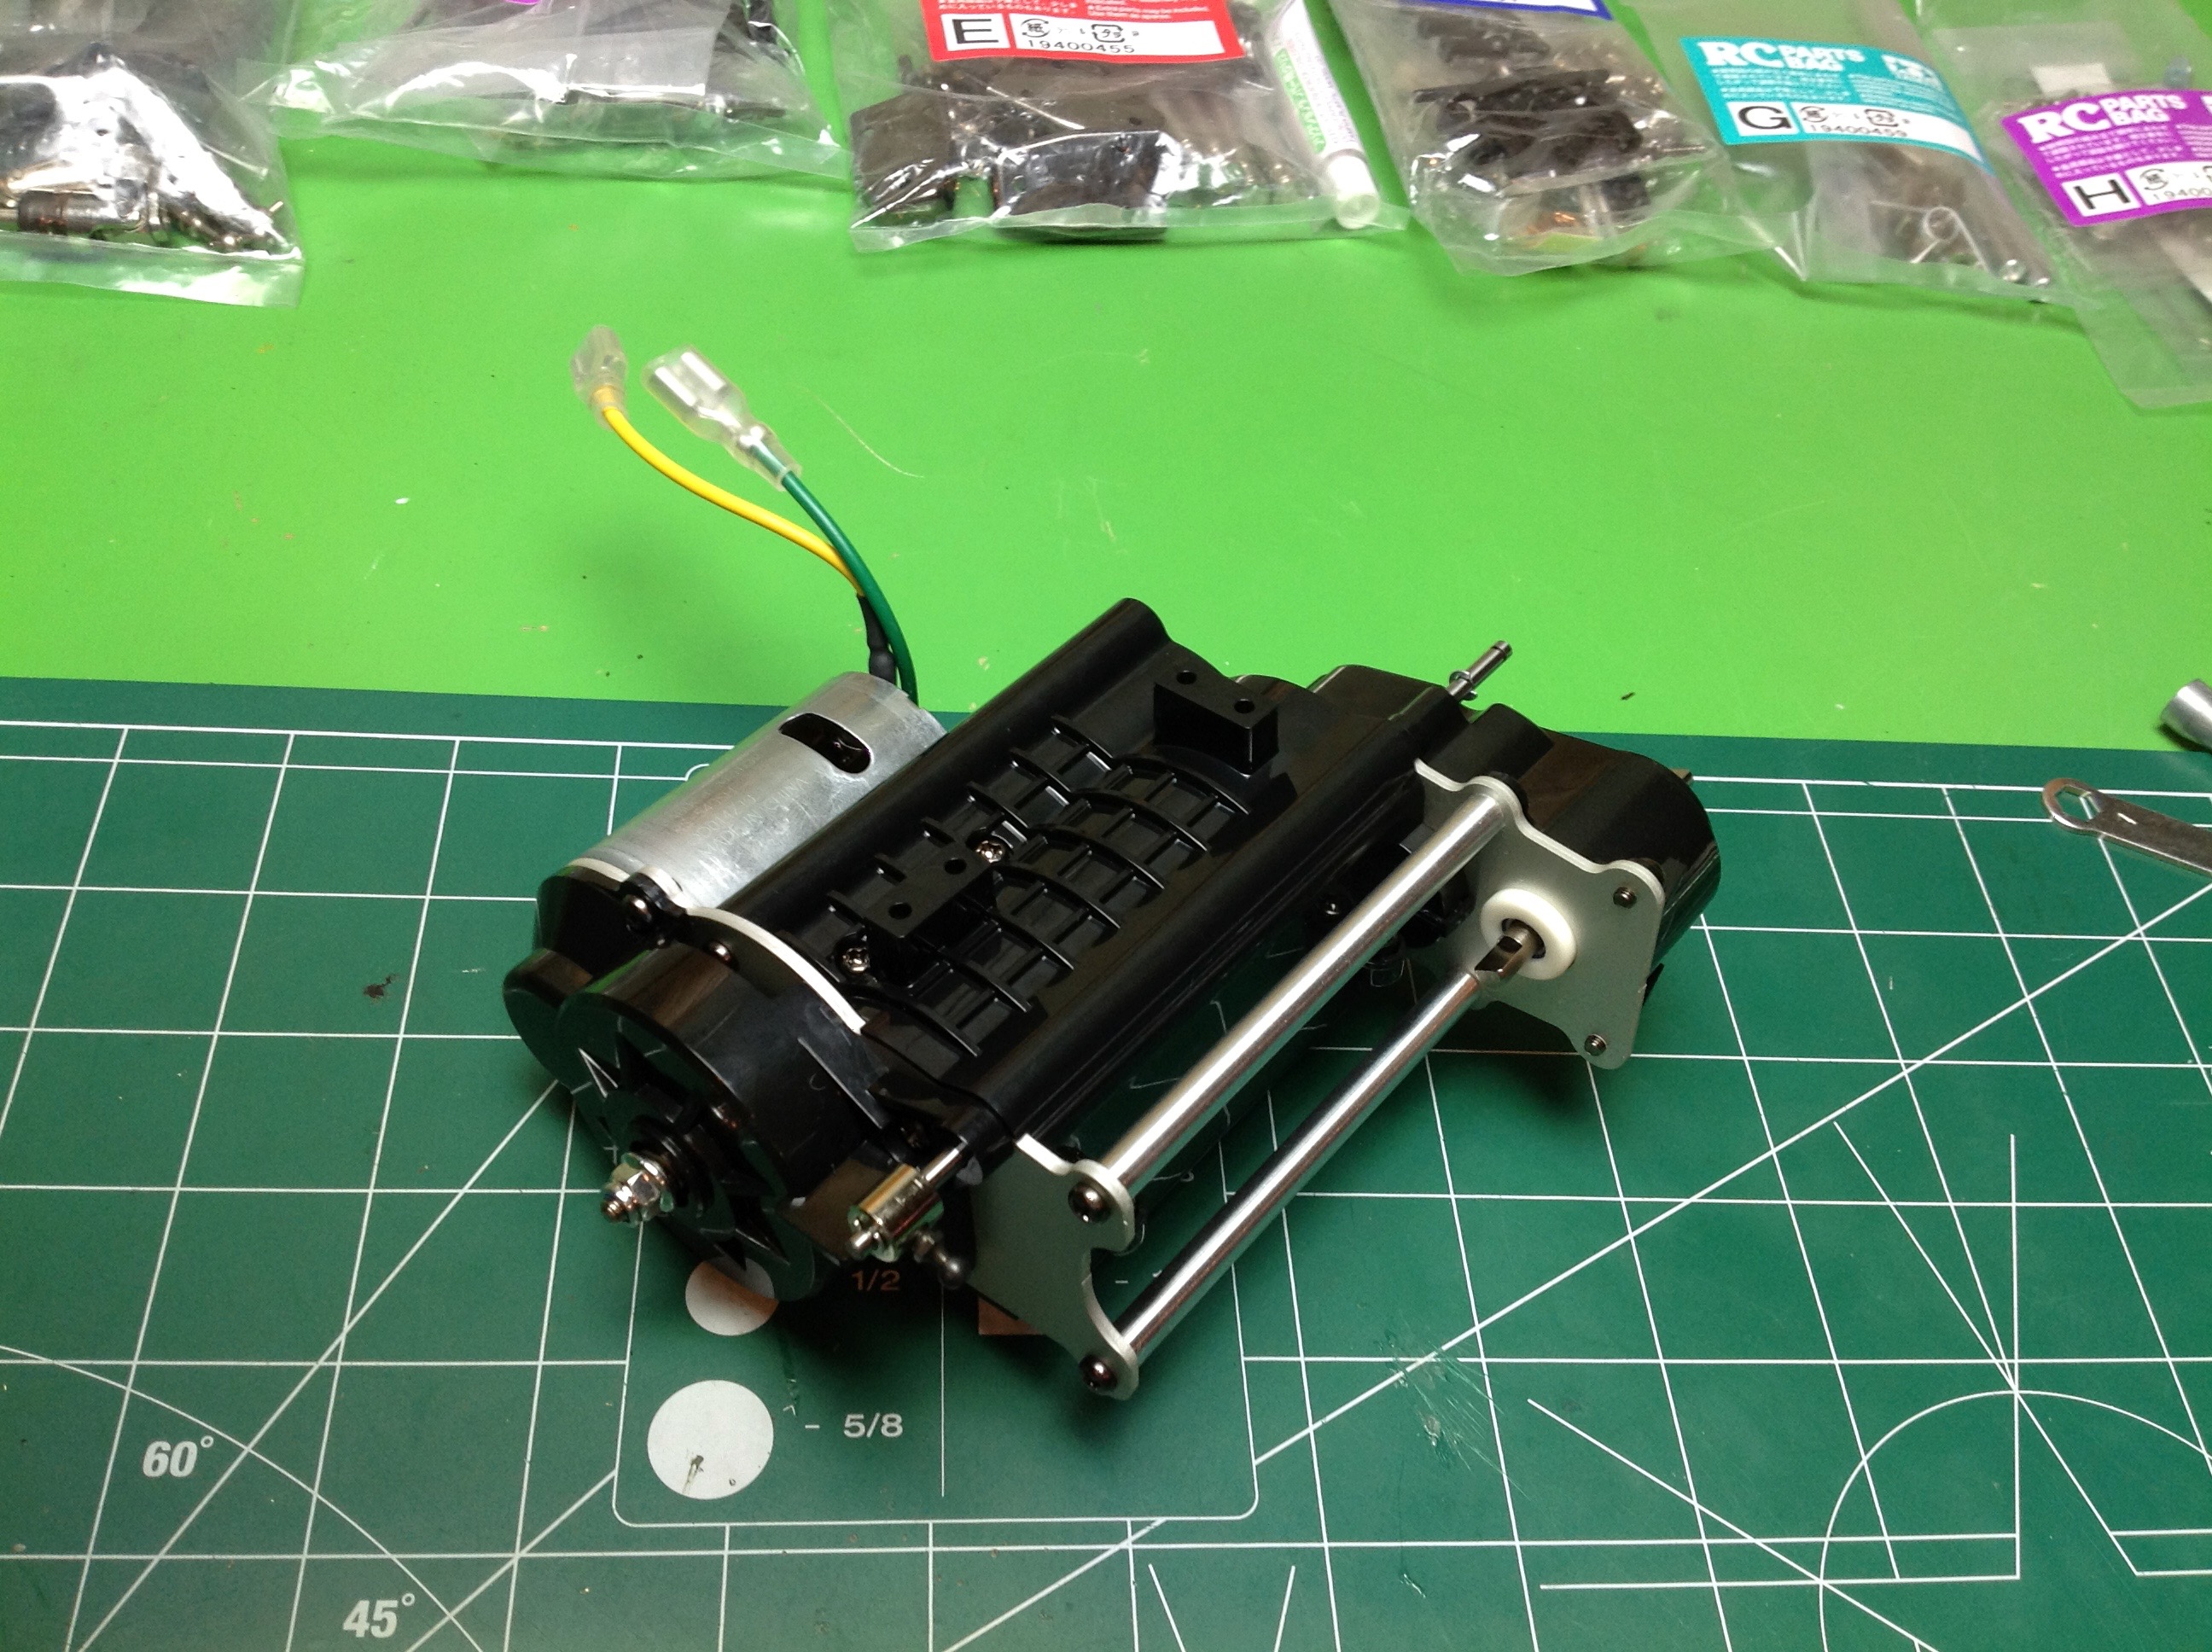
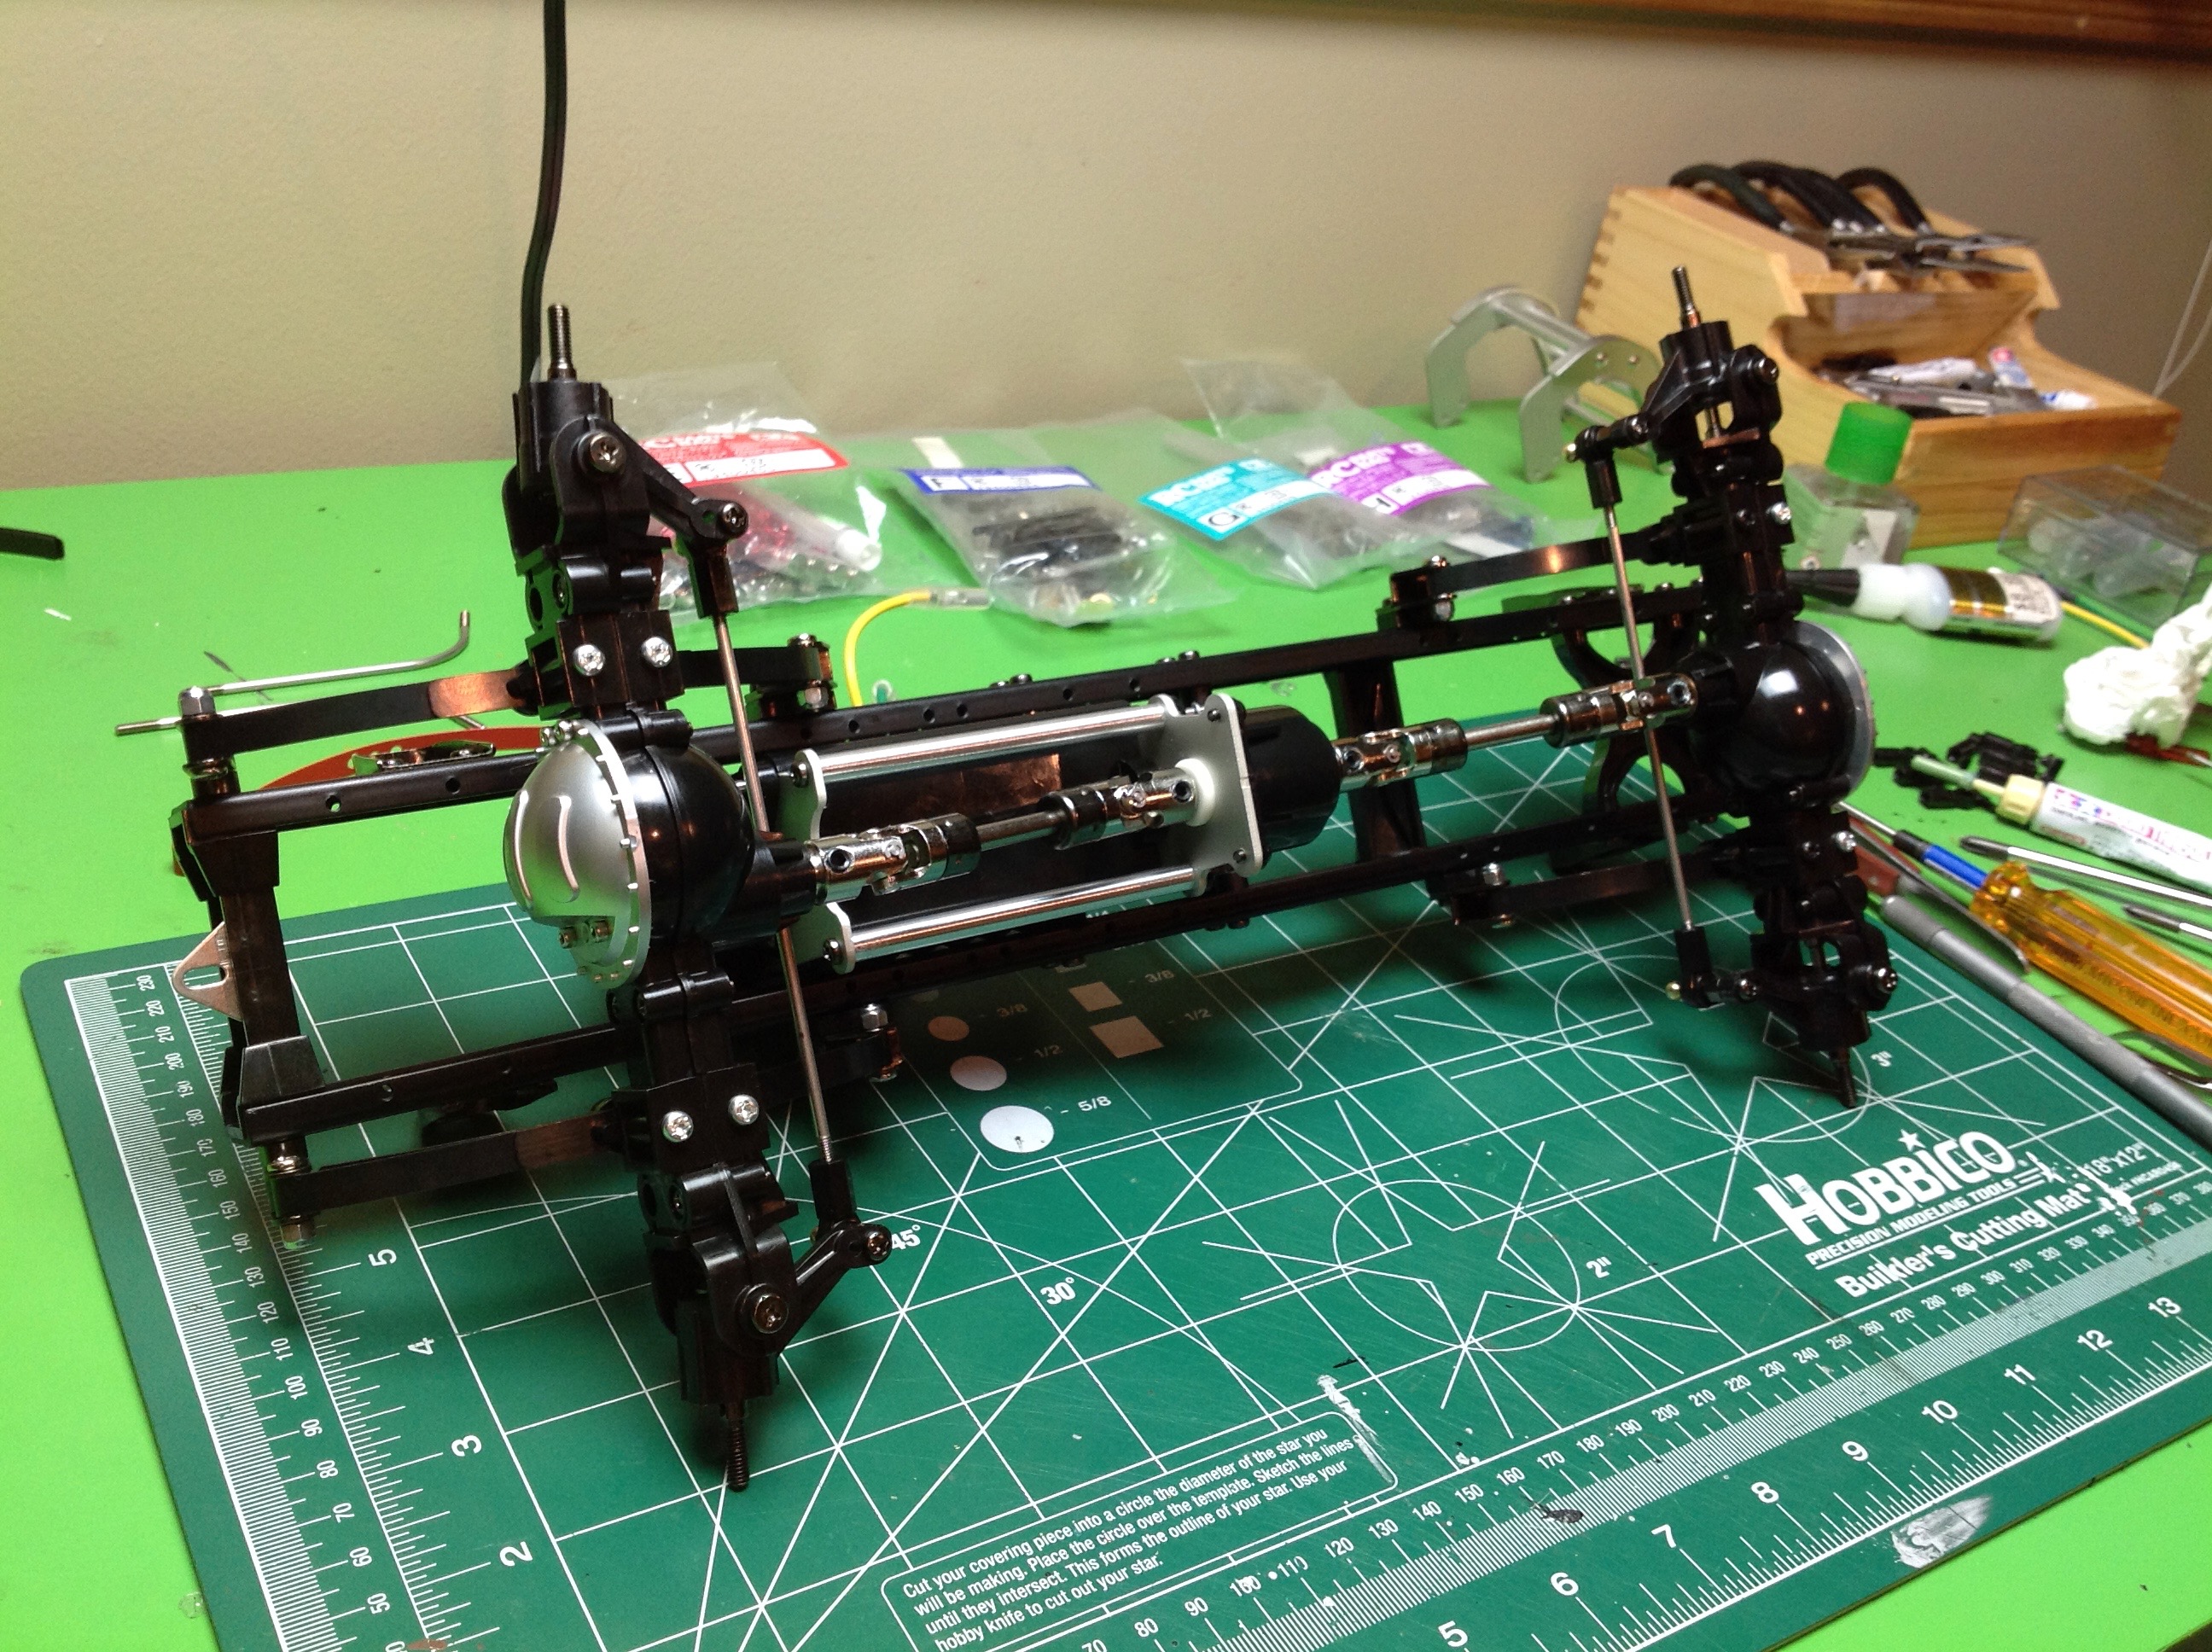
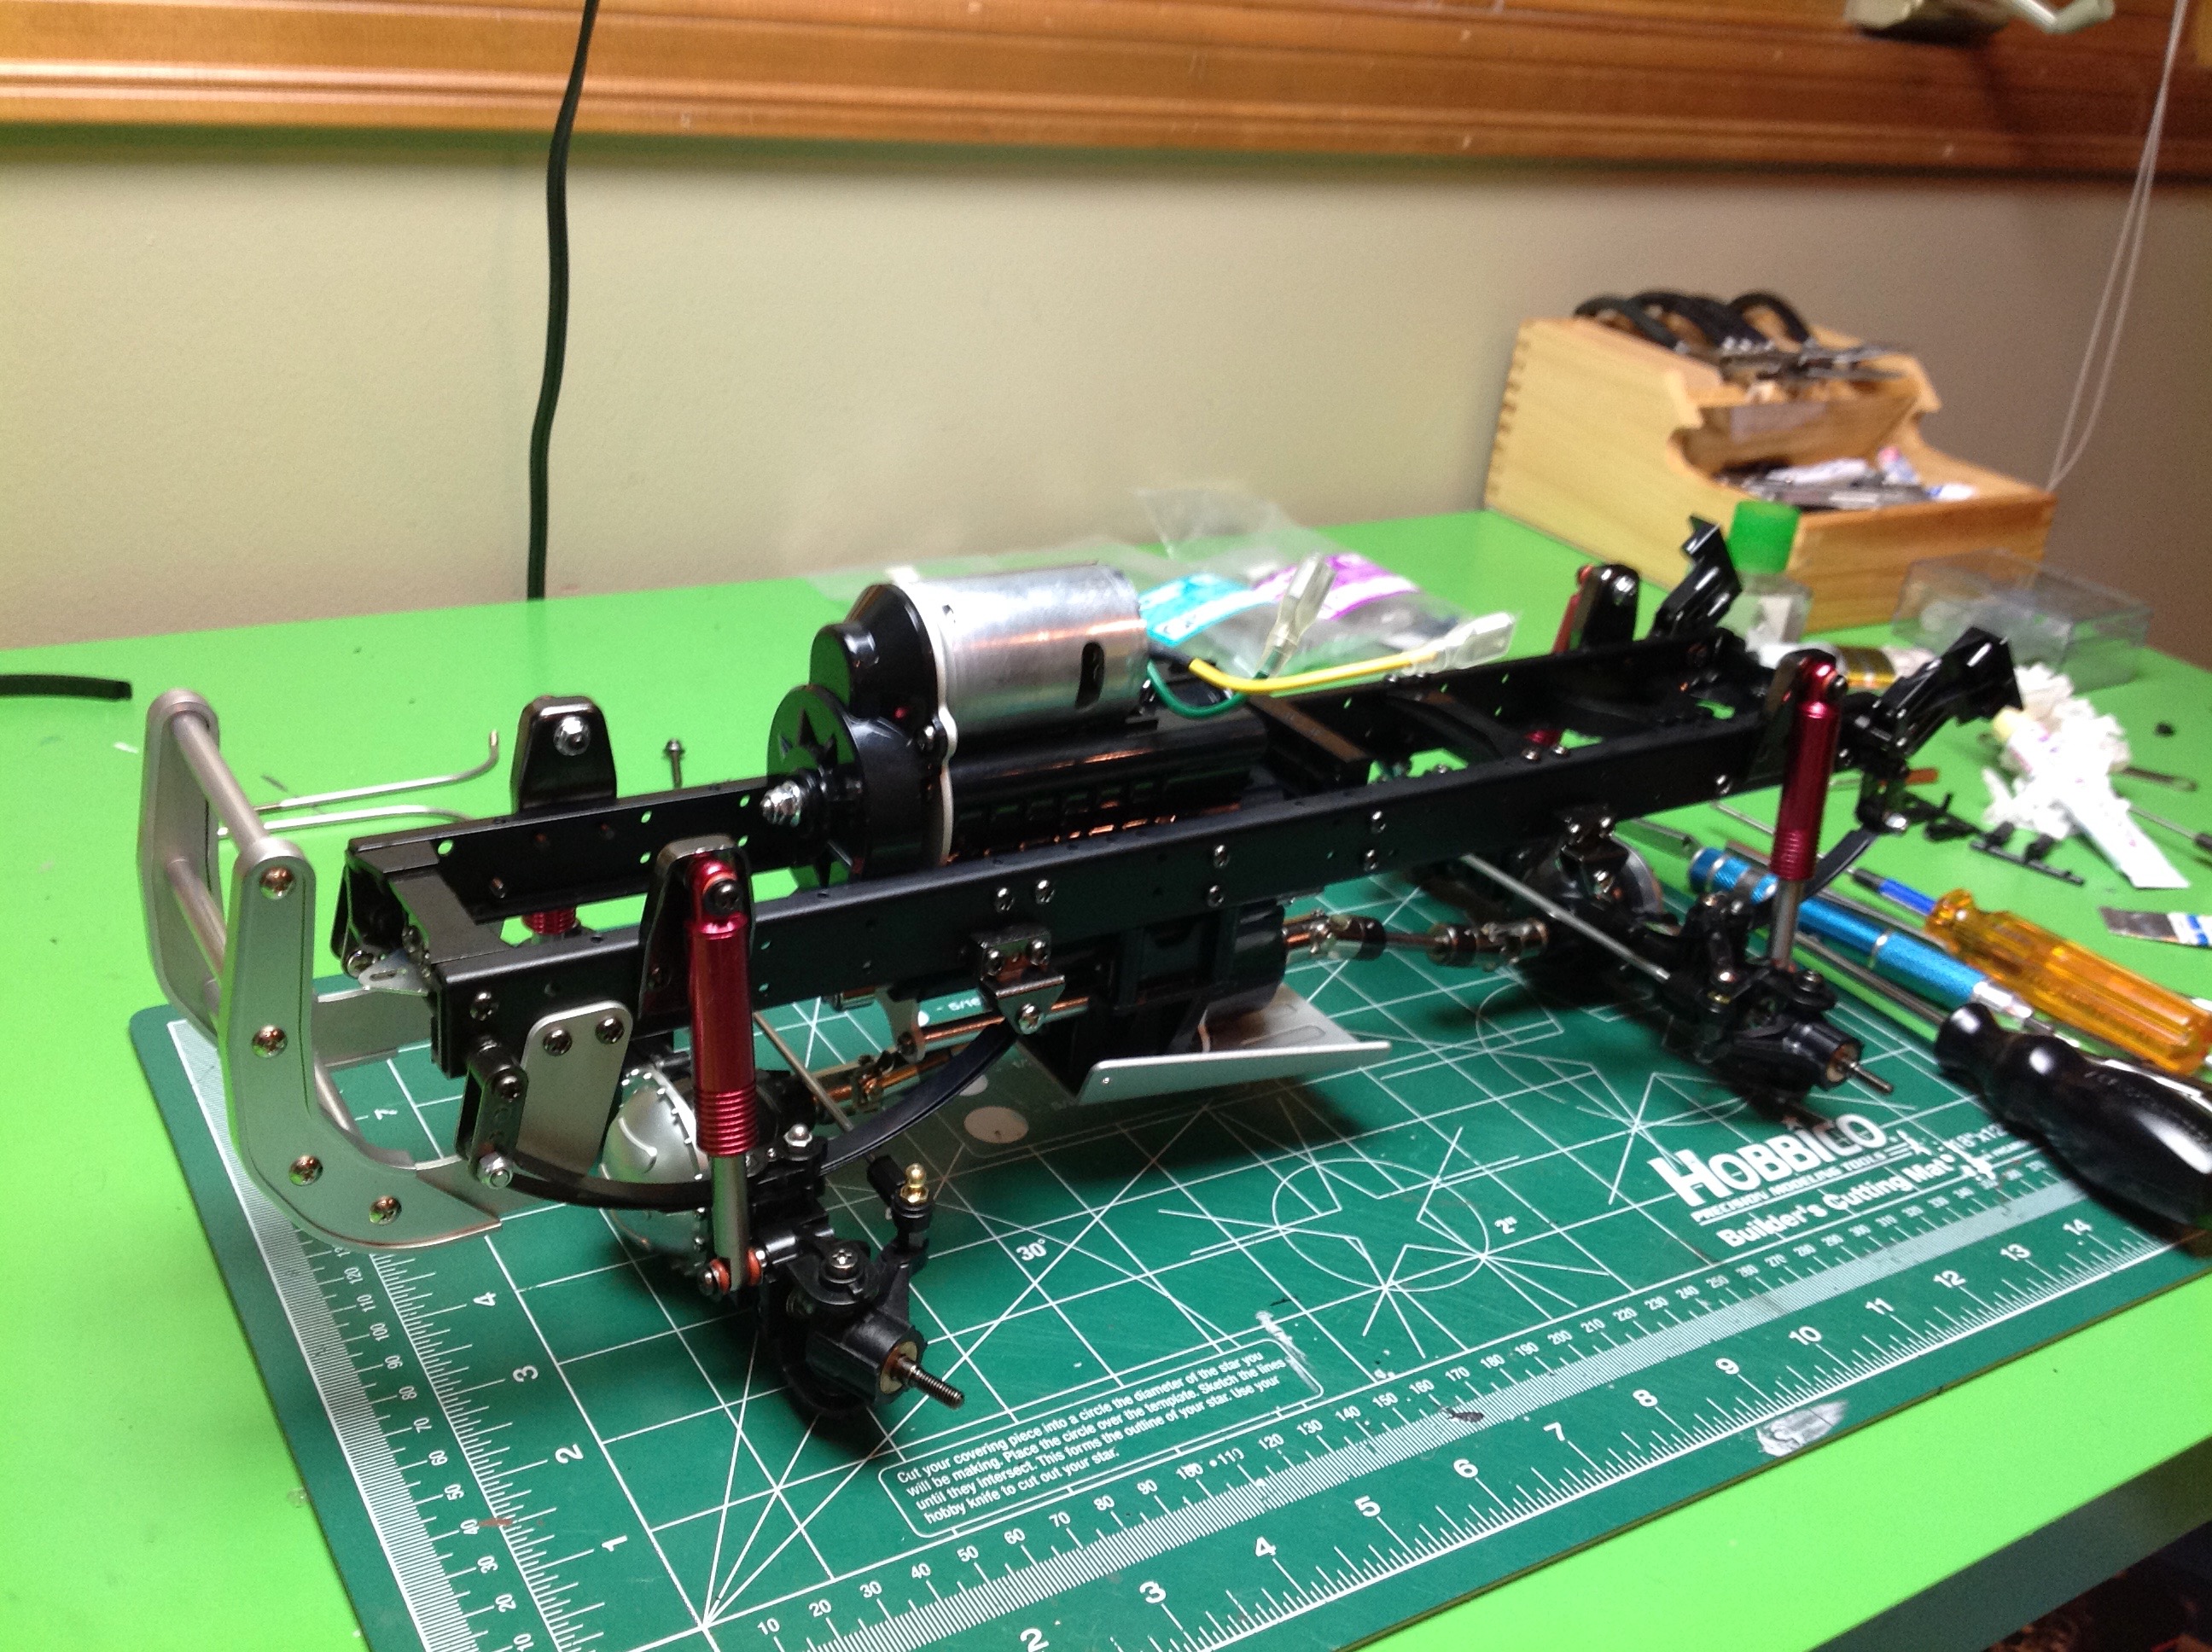
At this point I'd like to compare the Highlift transmission to the 3 speed transmission from the King Hauler and other 1/14 scale tractor trucks.  They are actually almost the 
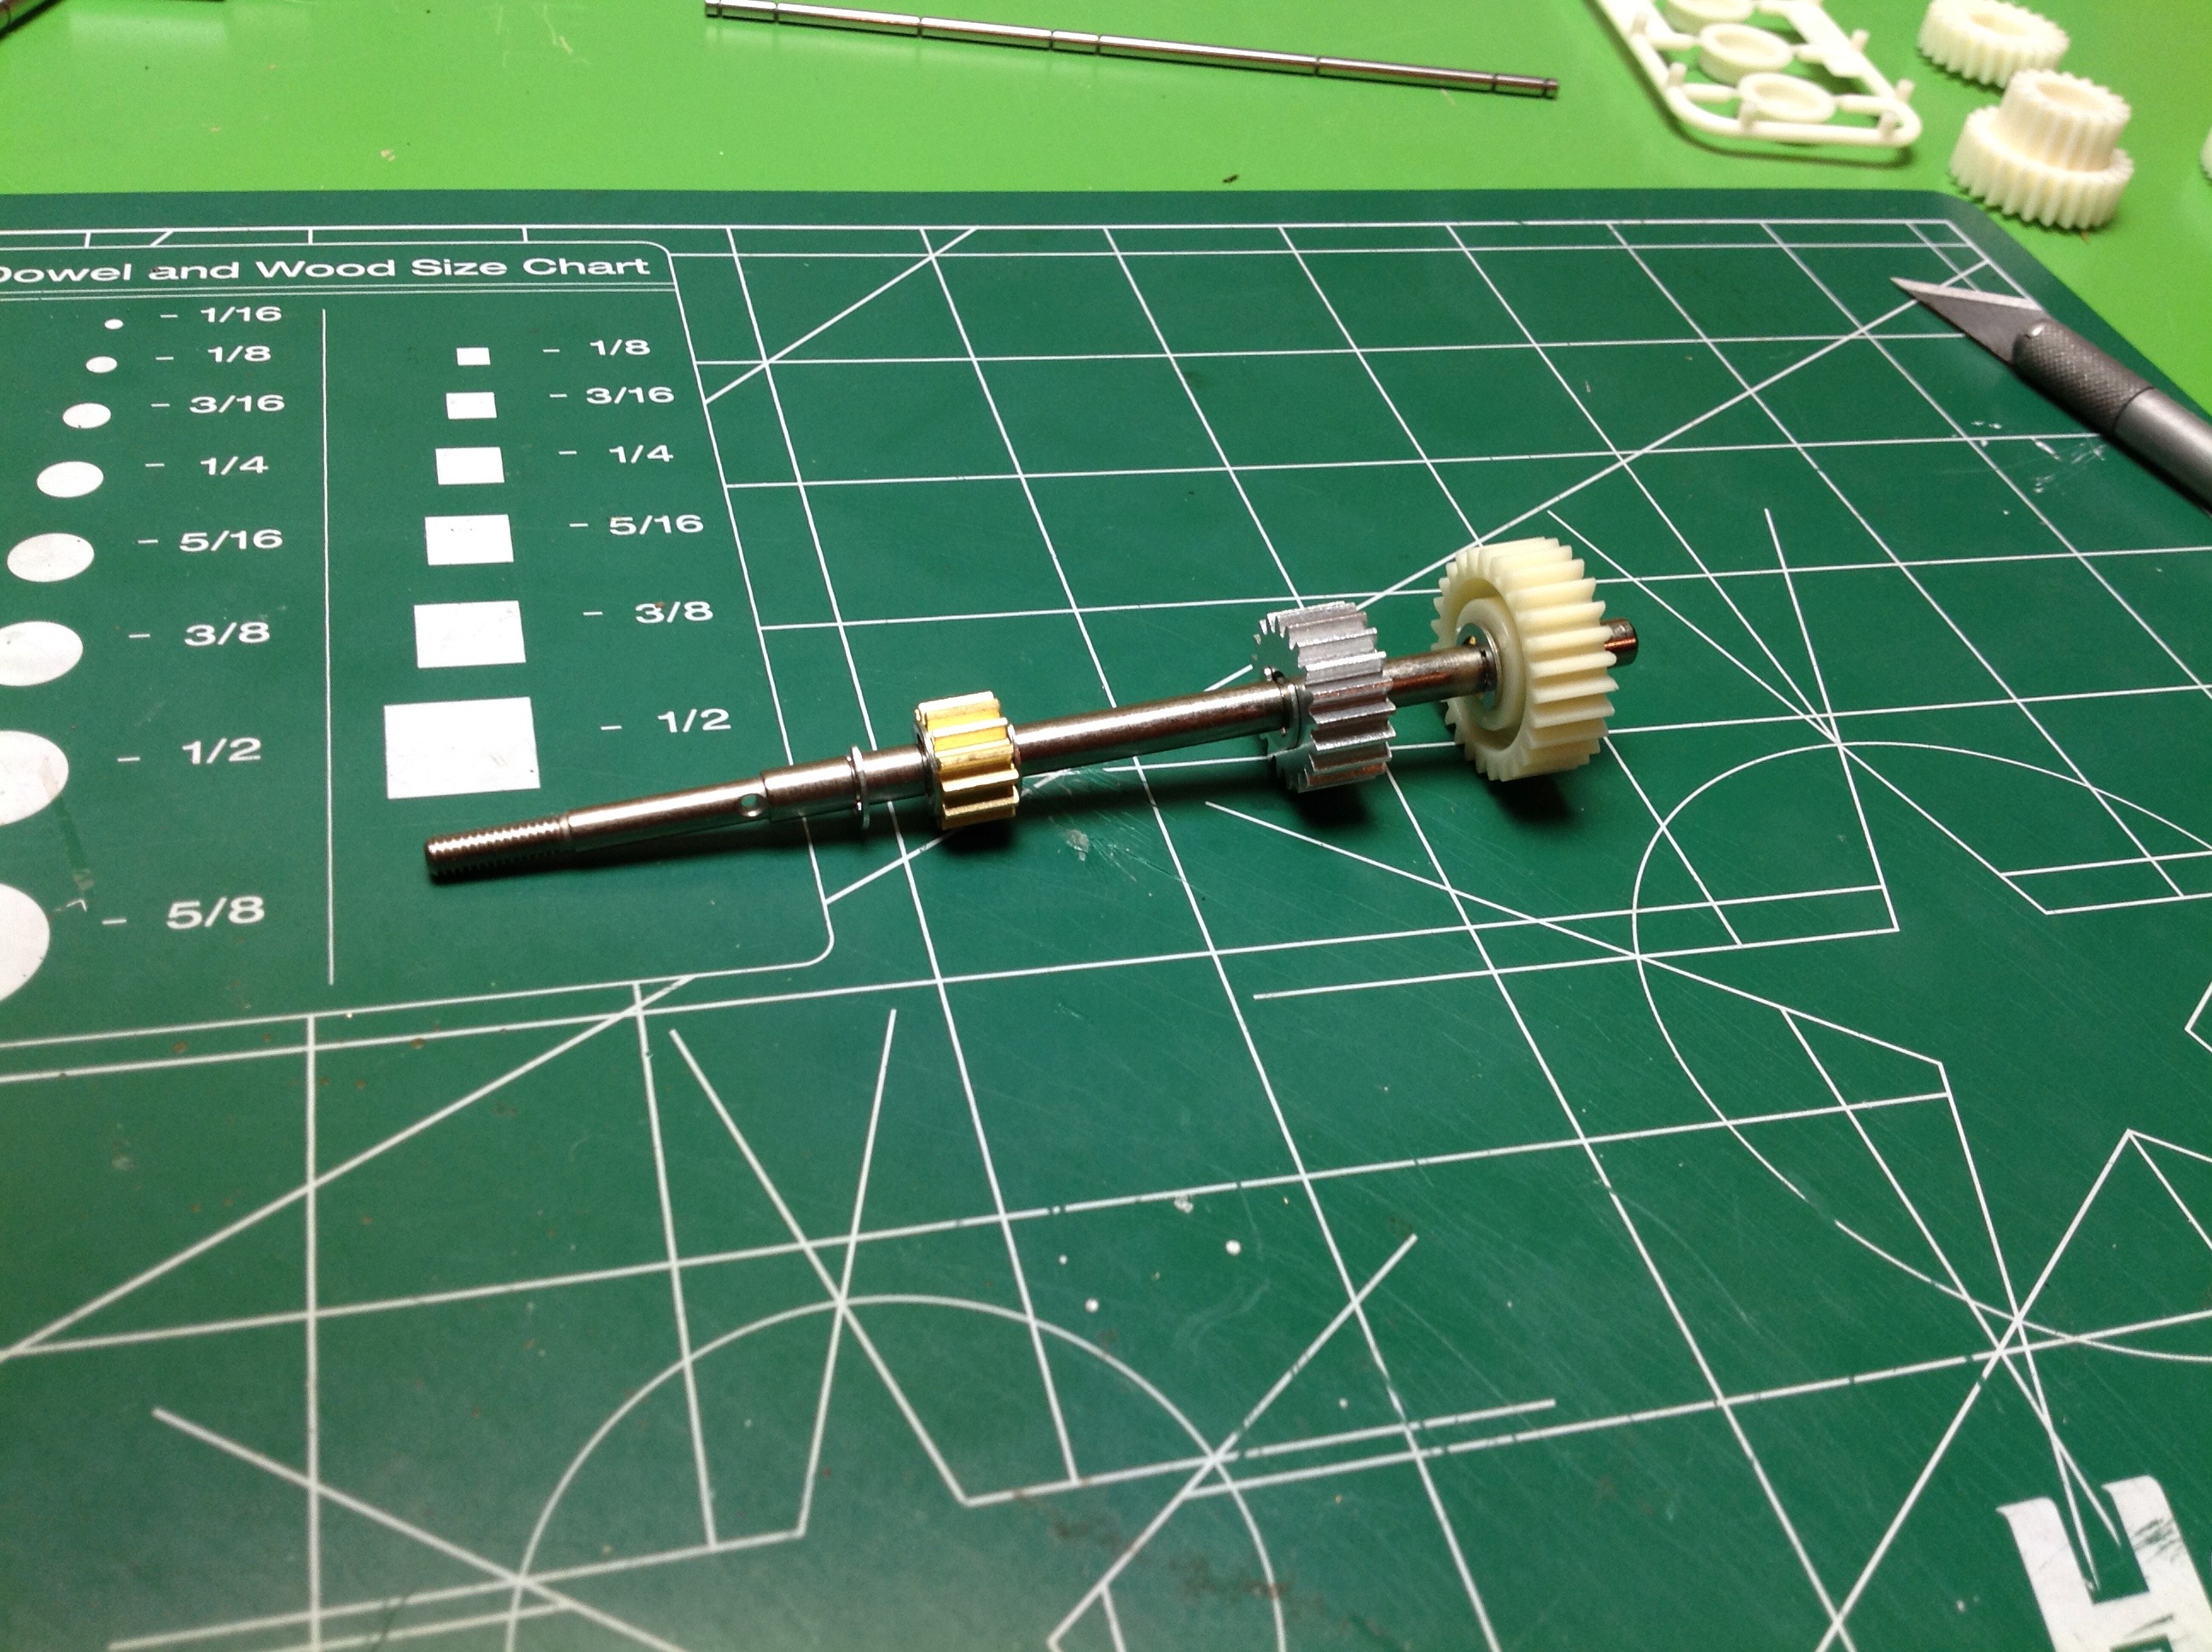
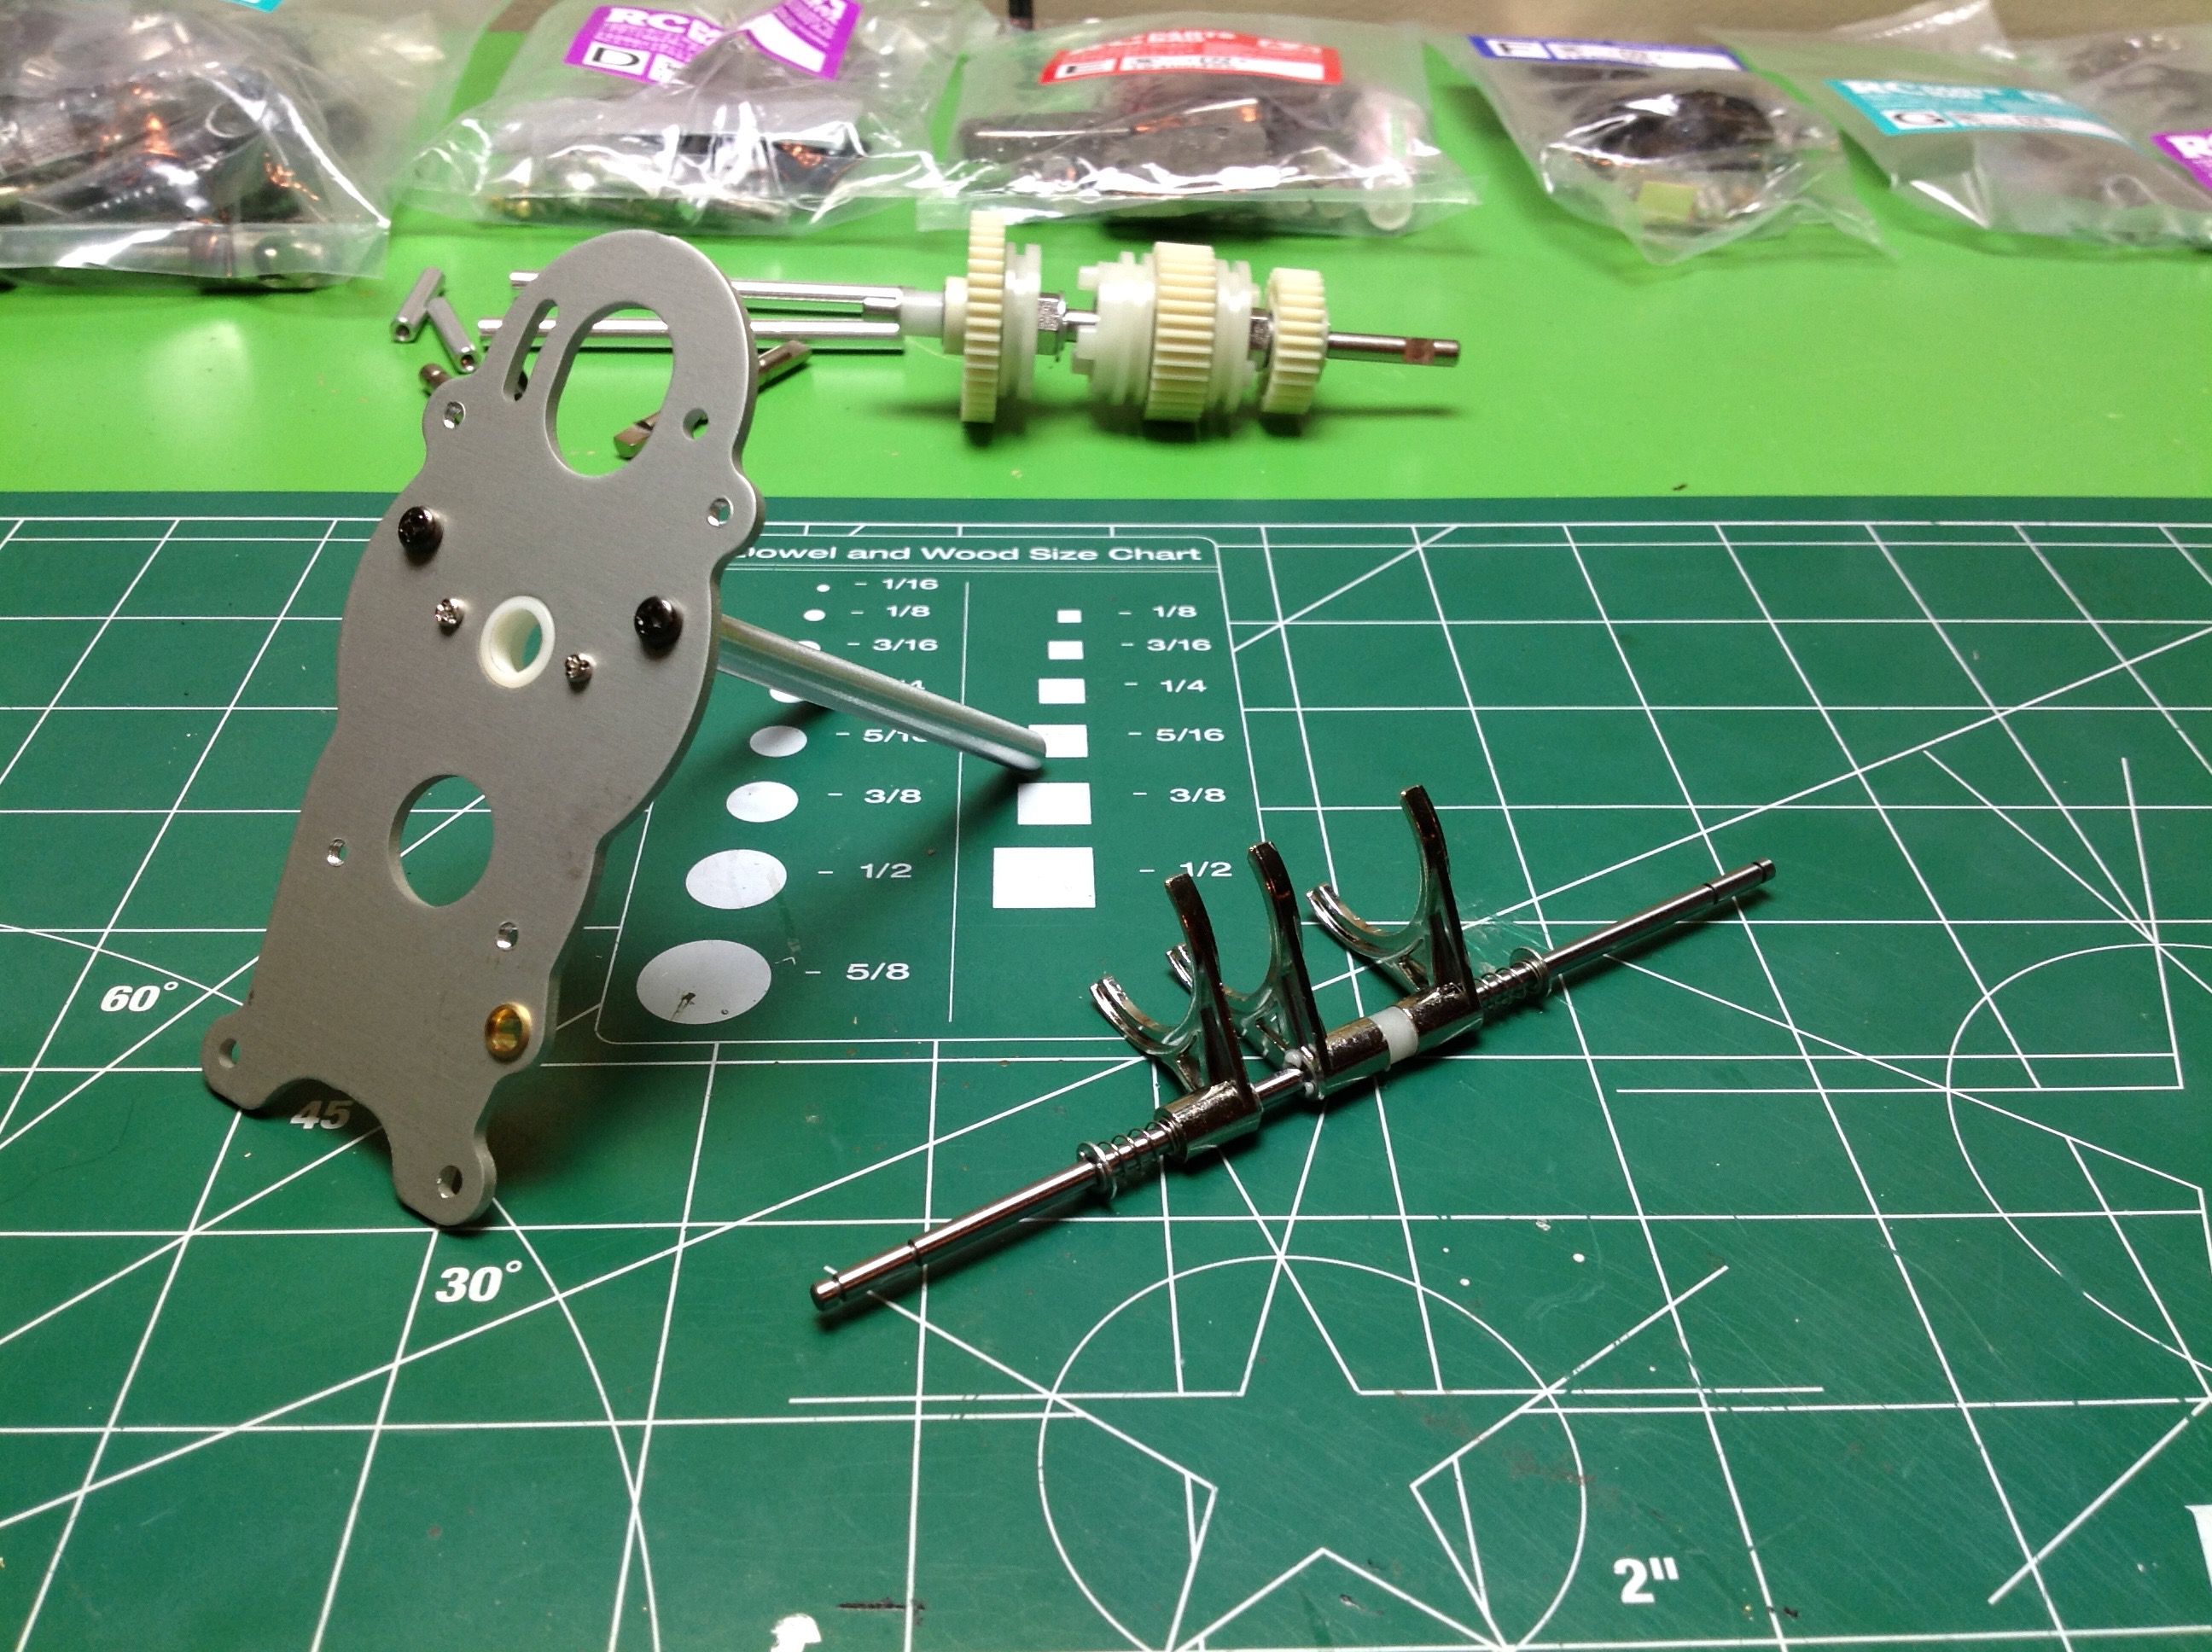
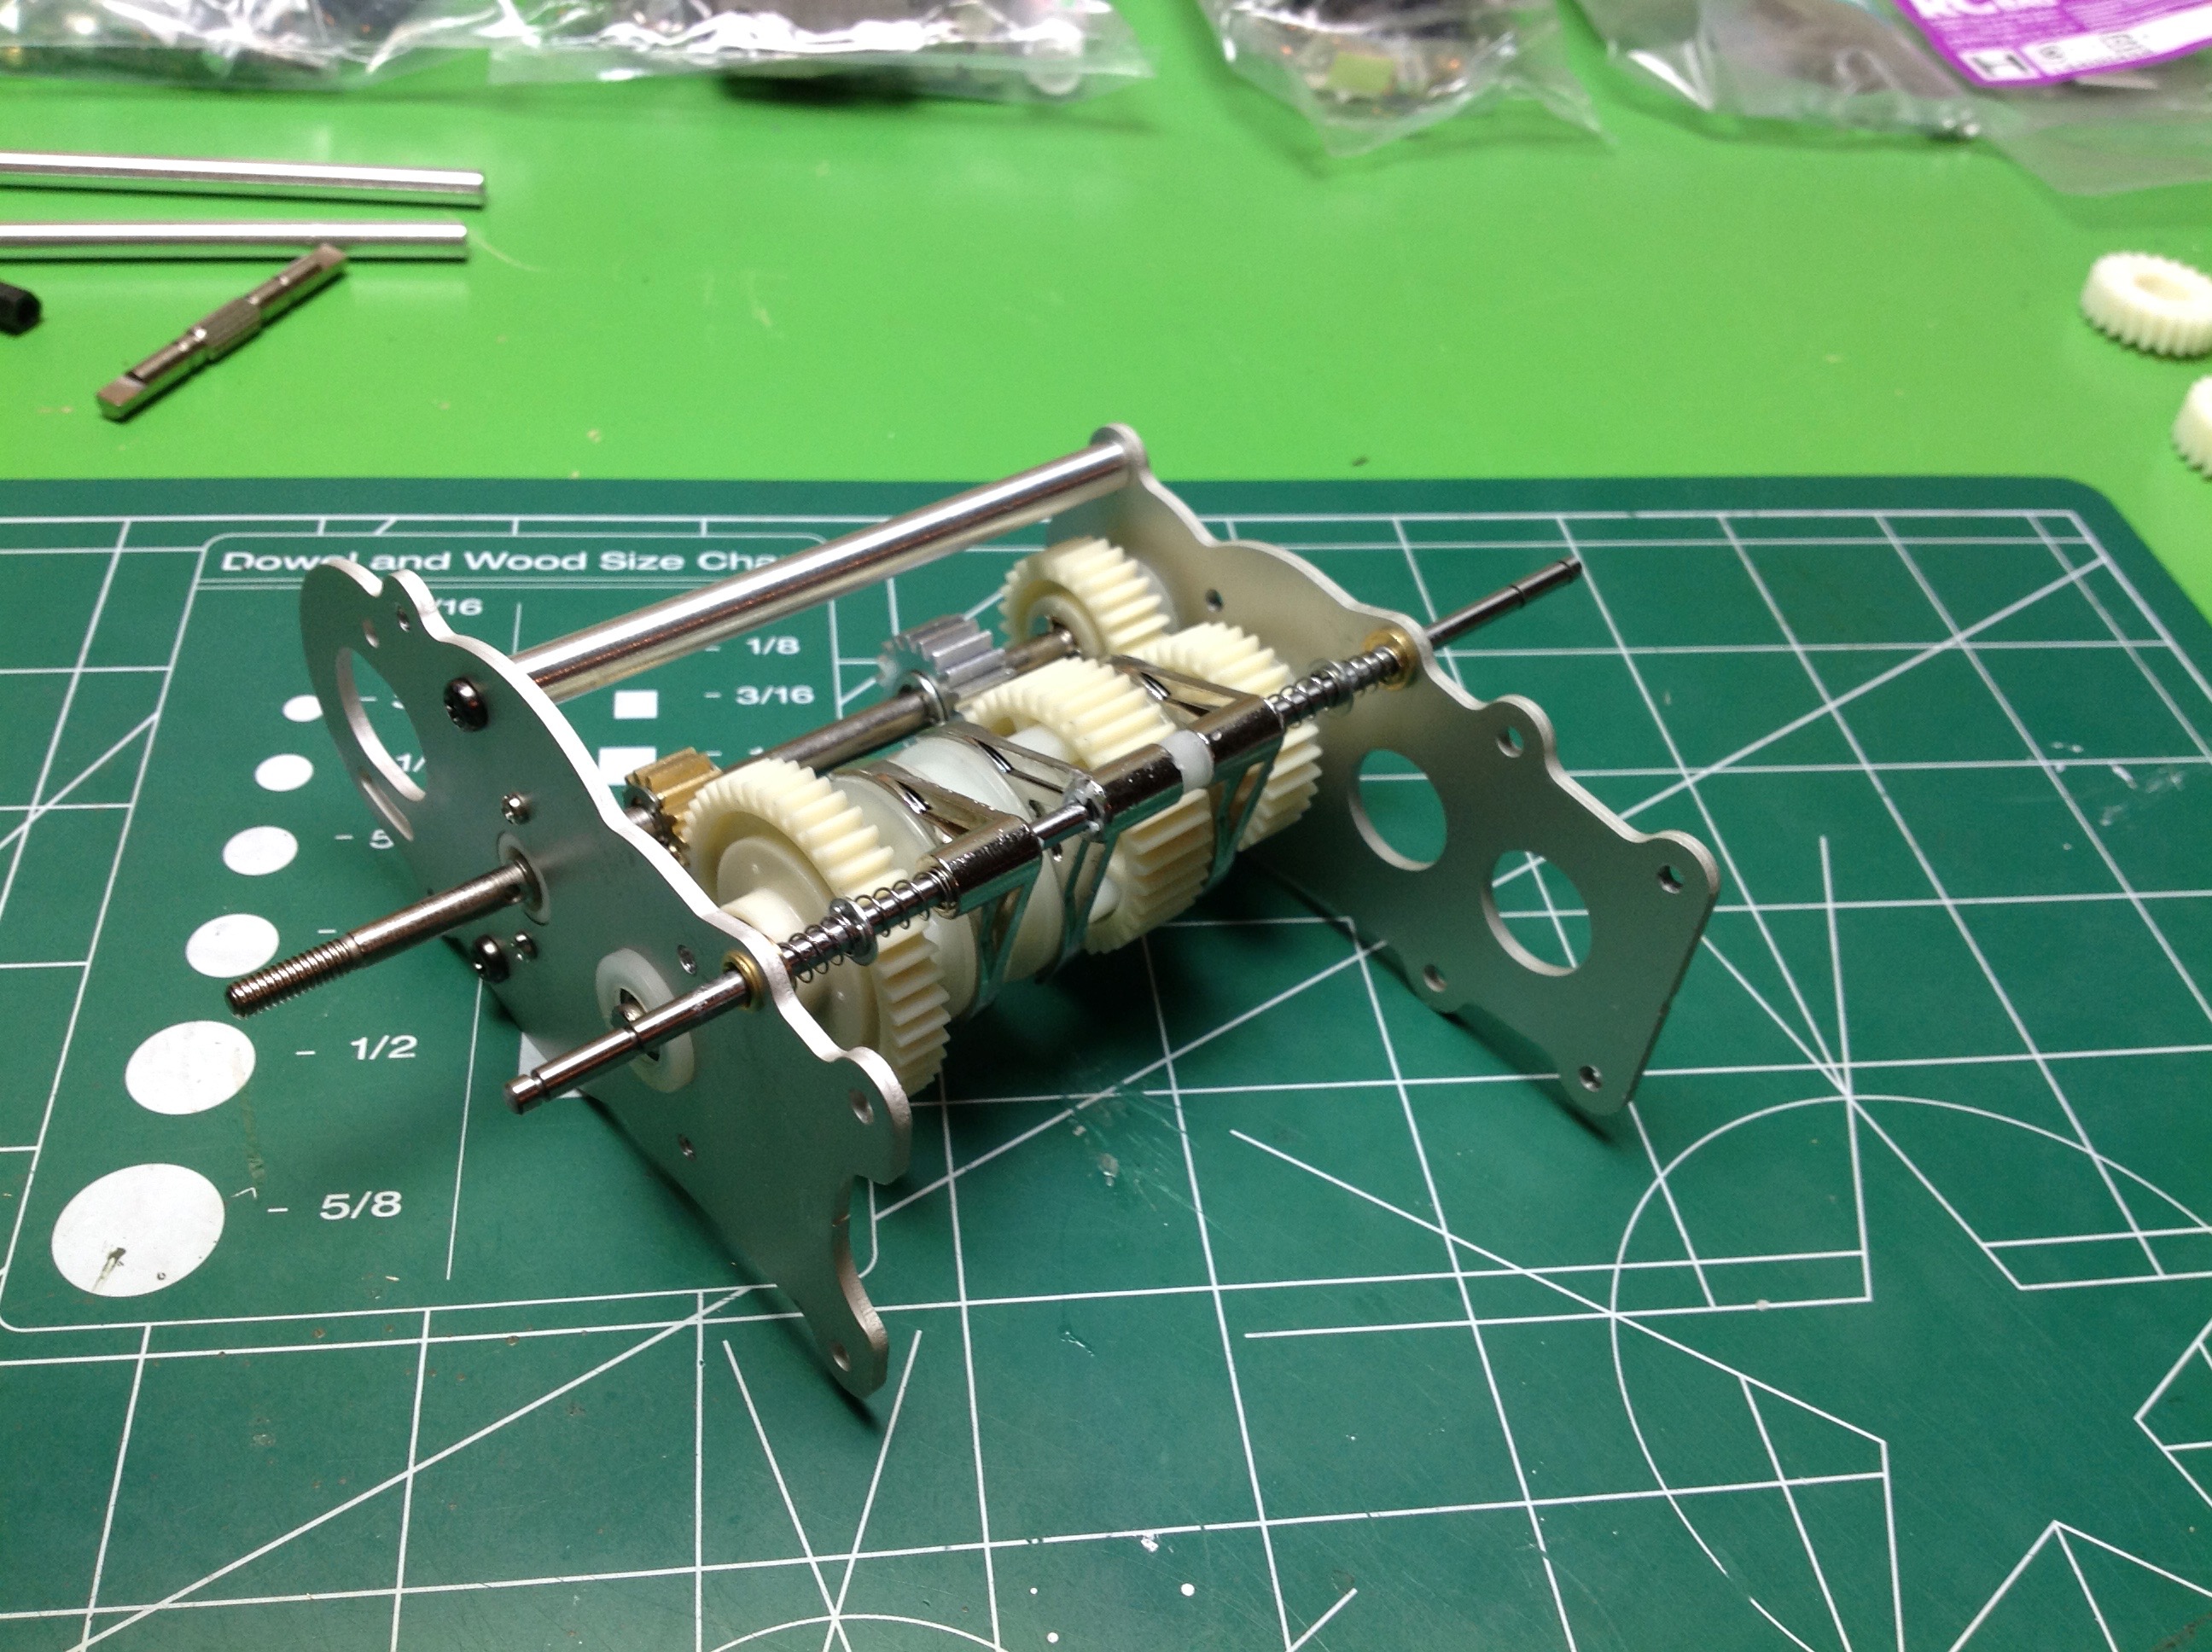
same.  All of the internal gears on Shafts A and B are the same.  The obvious difference between the Highlift on the left and 
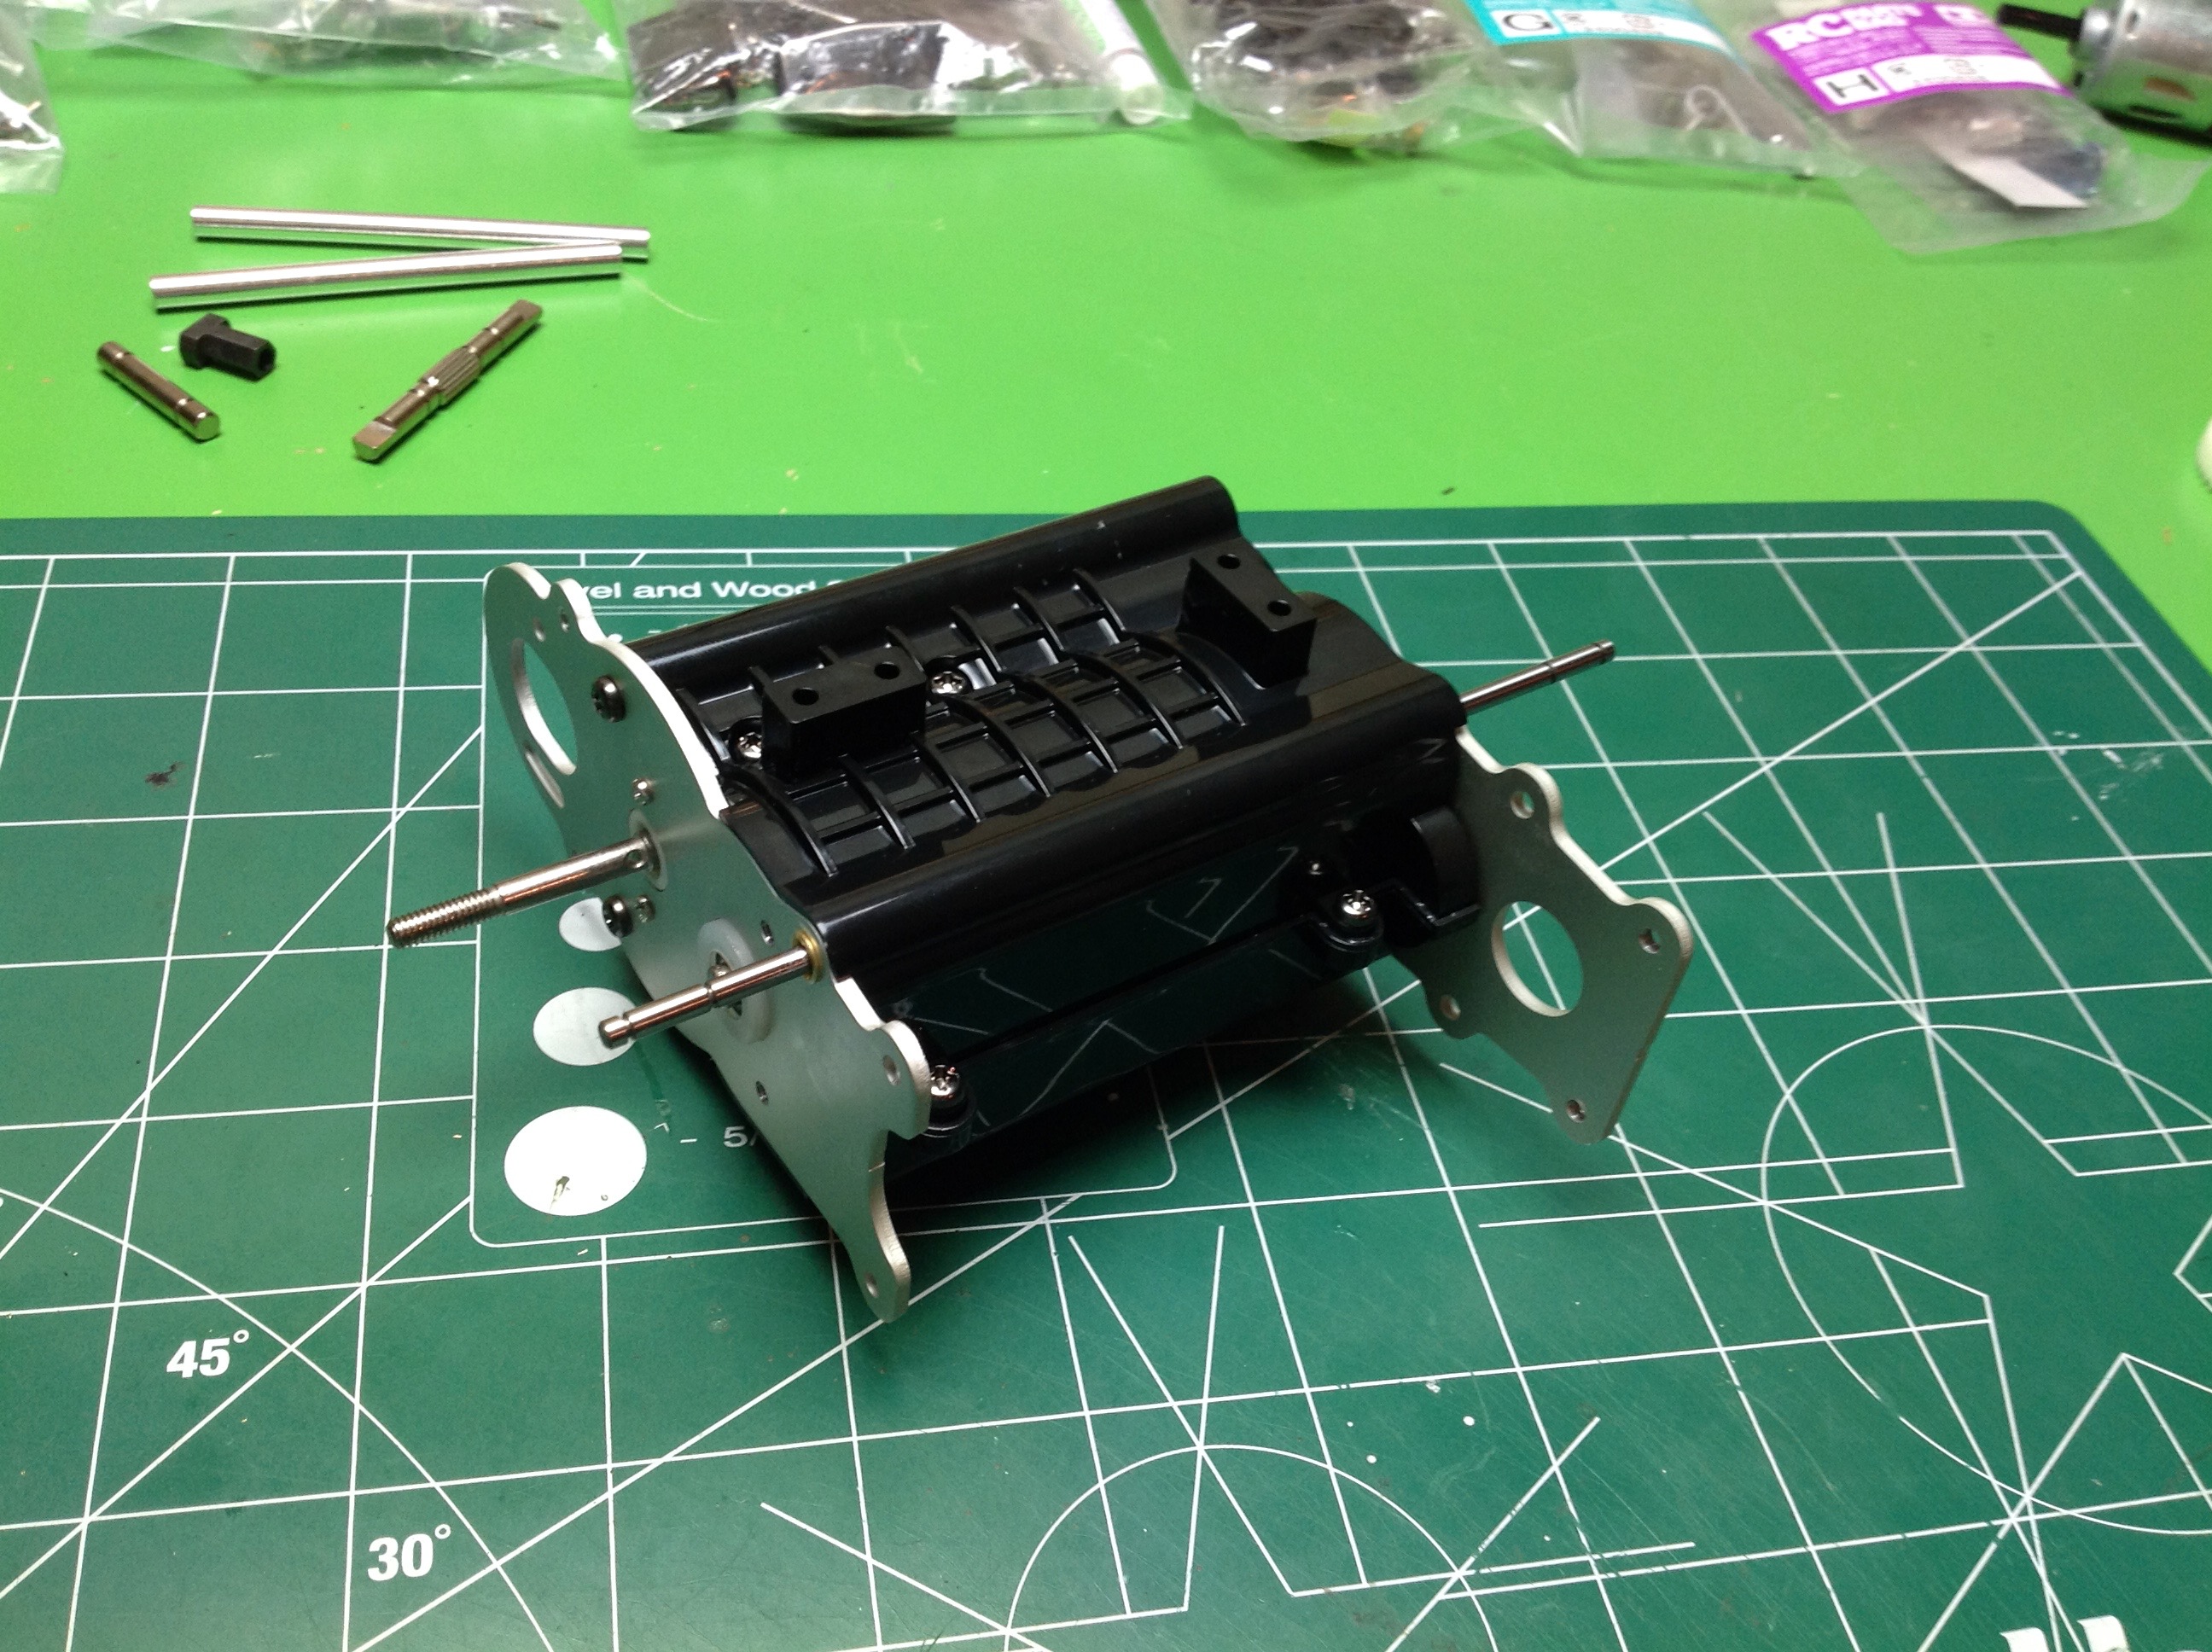
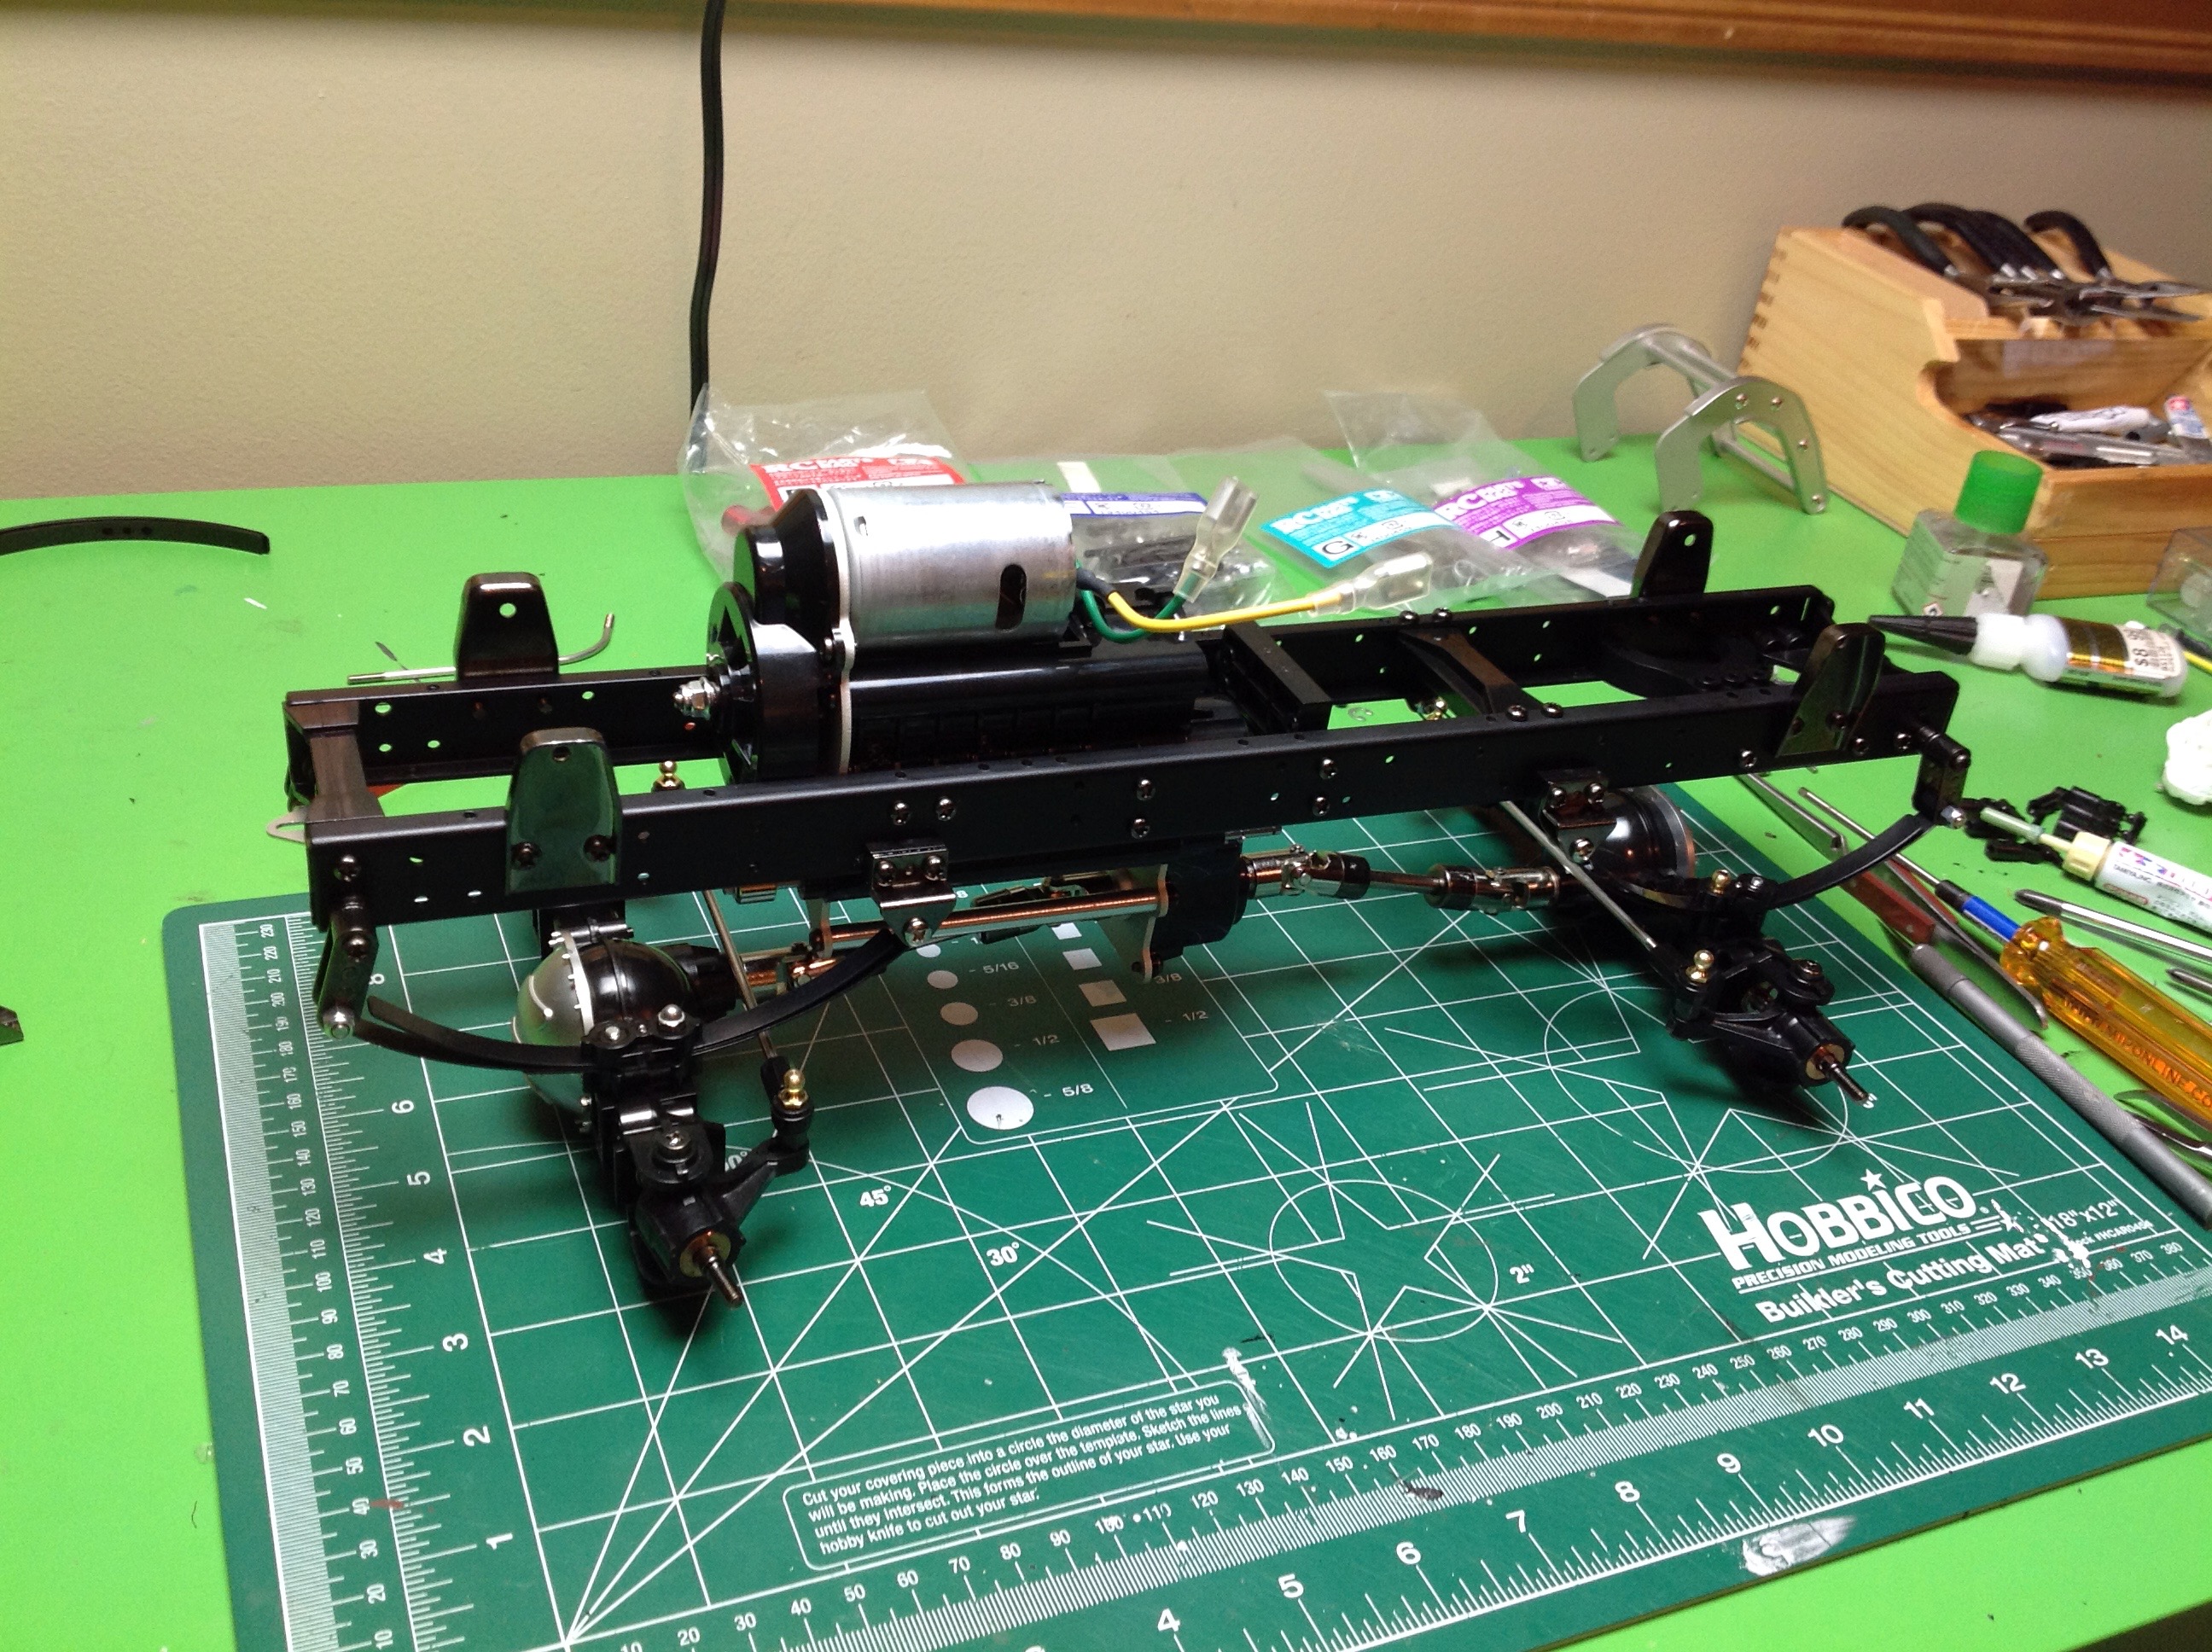
the King Hauler on the right is the position of the motor.  A side 
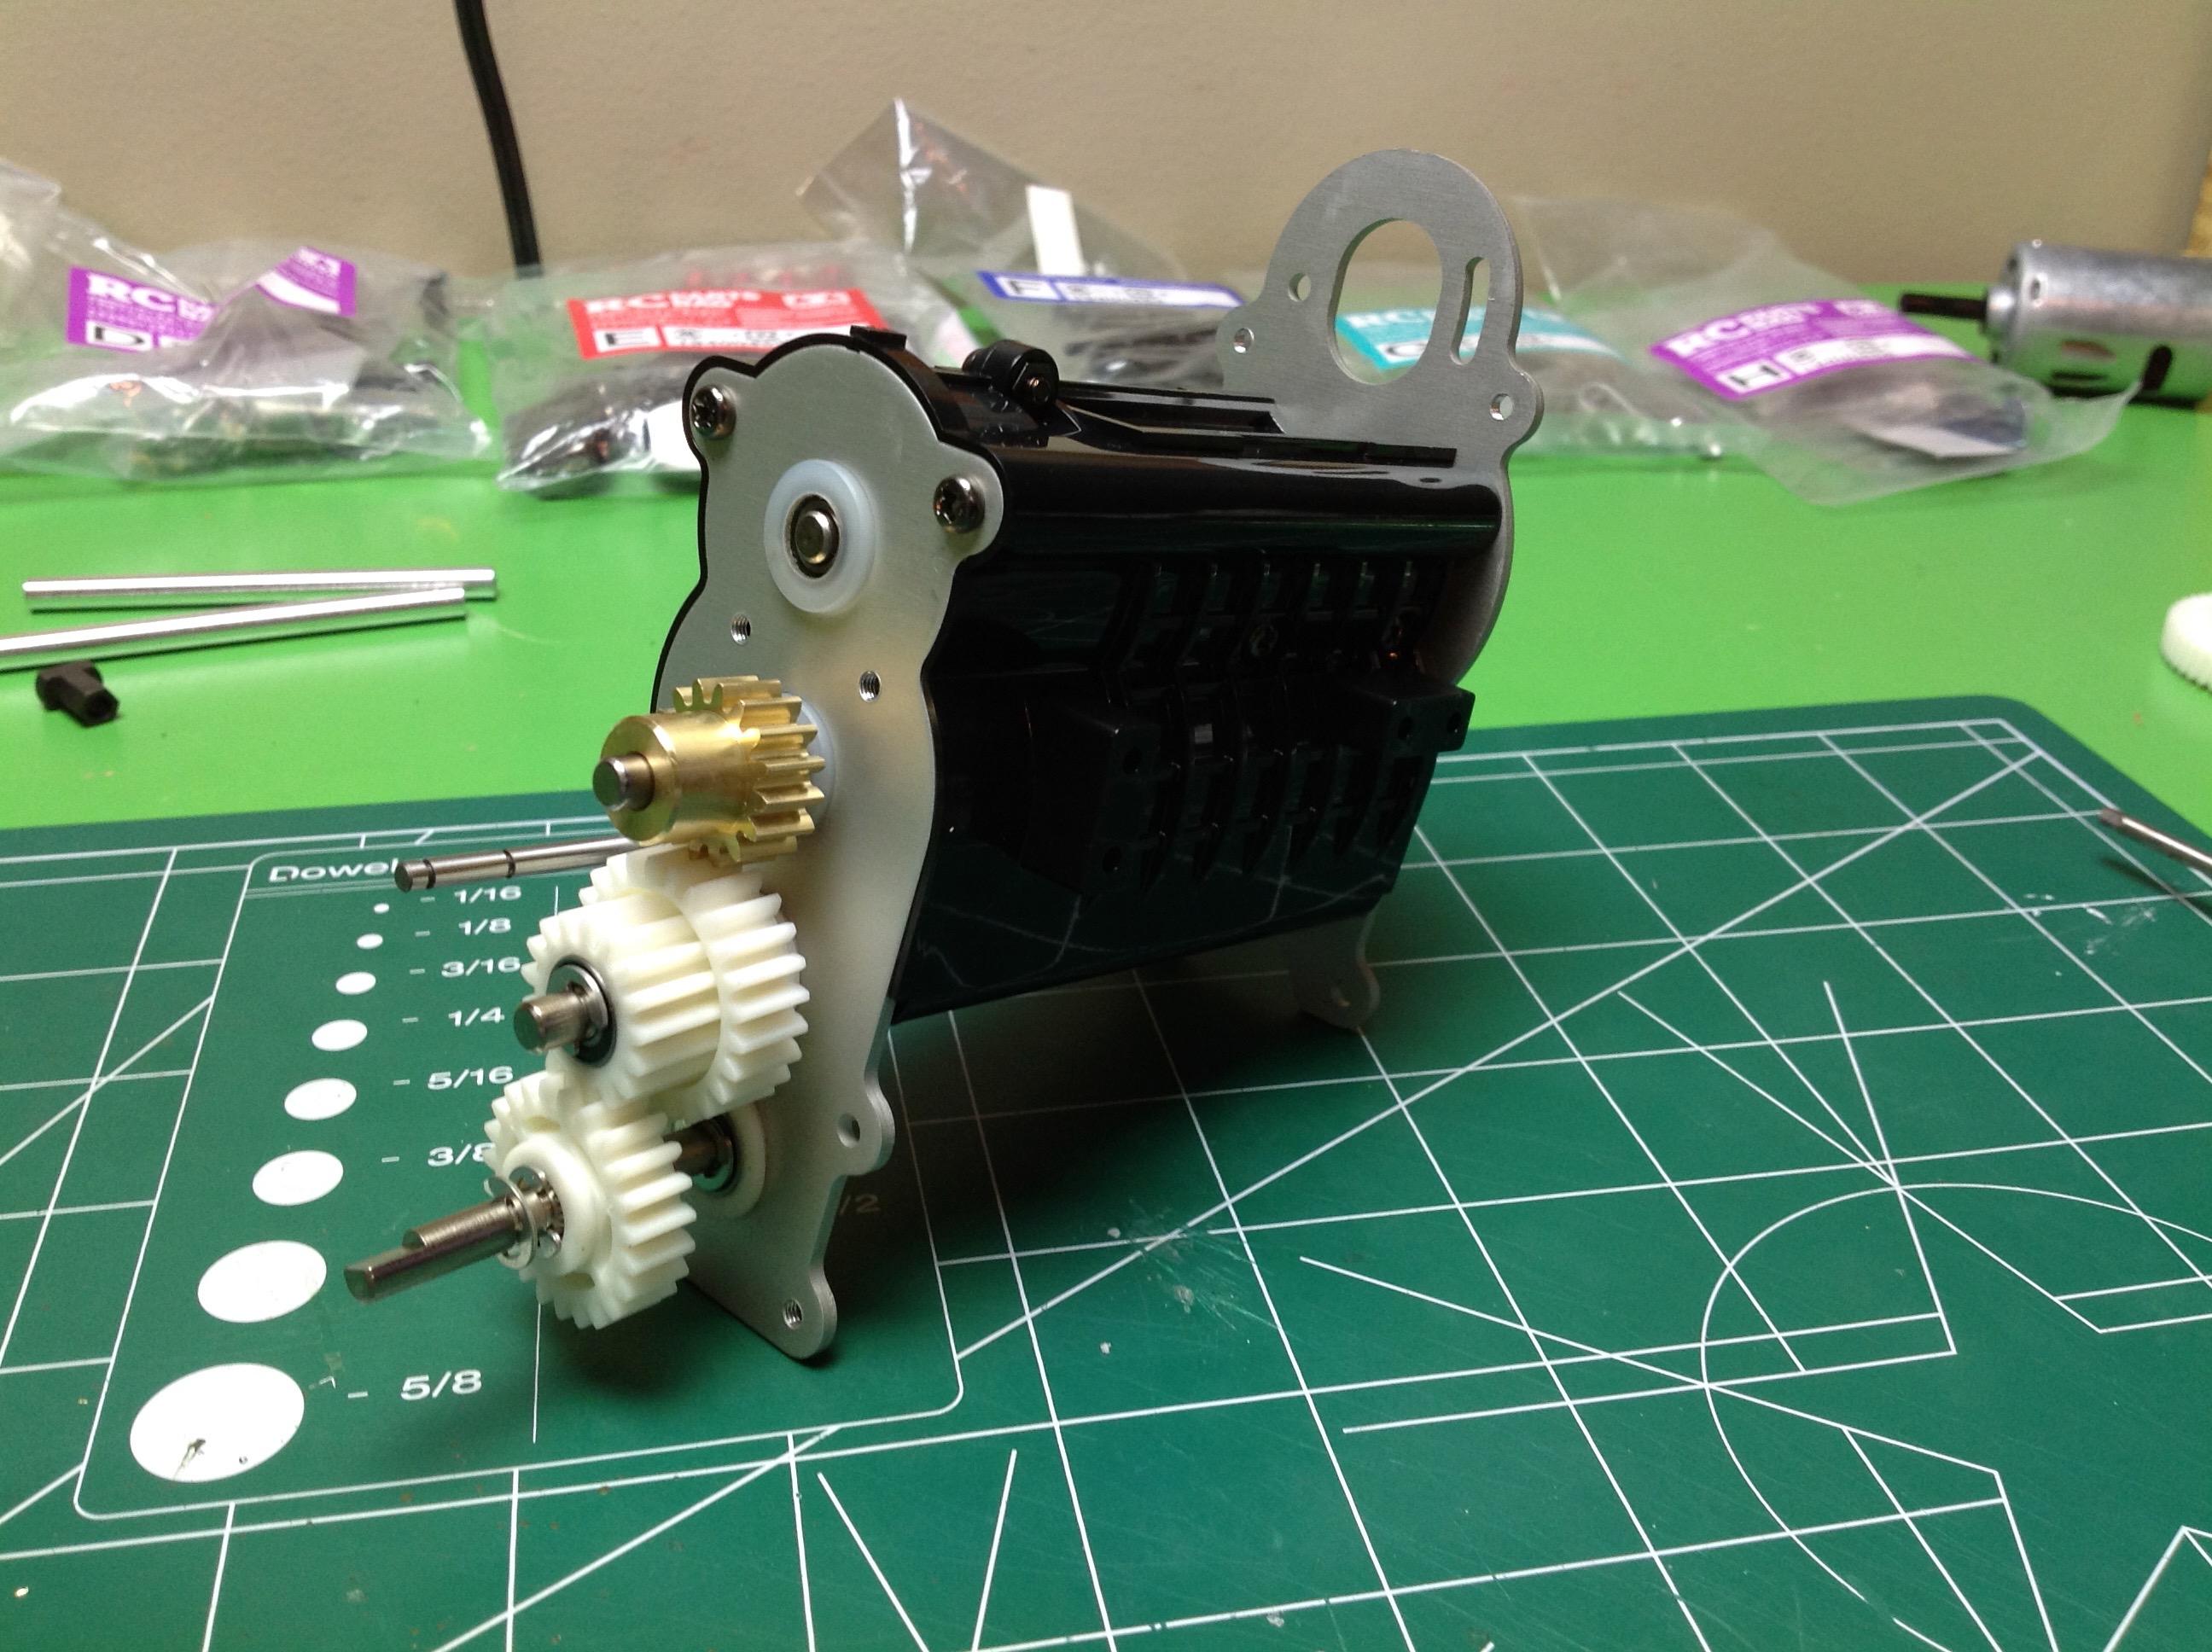
effect of this is that the Highlift spur gear is outside the gearbox and 
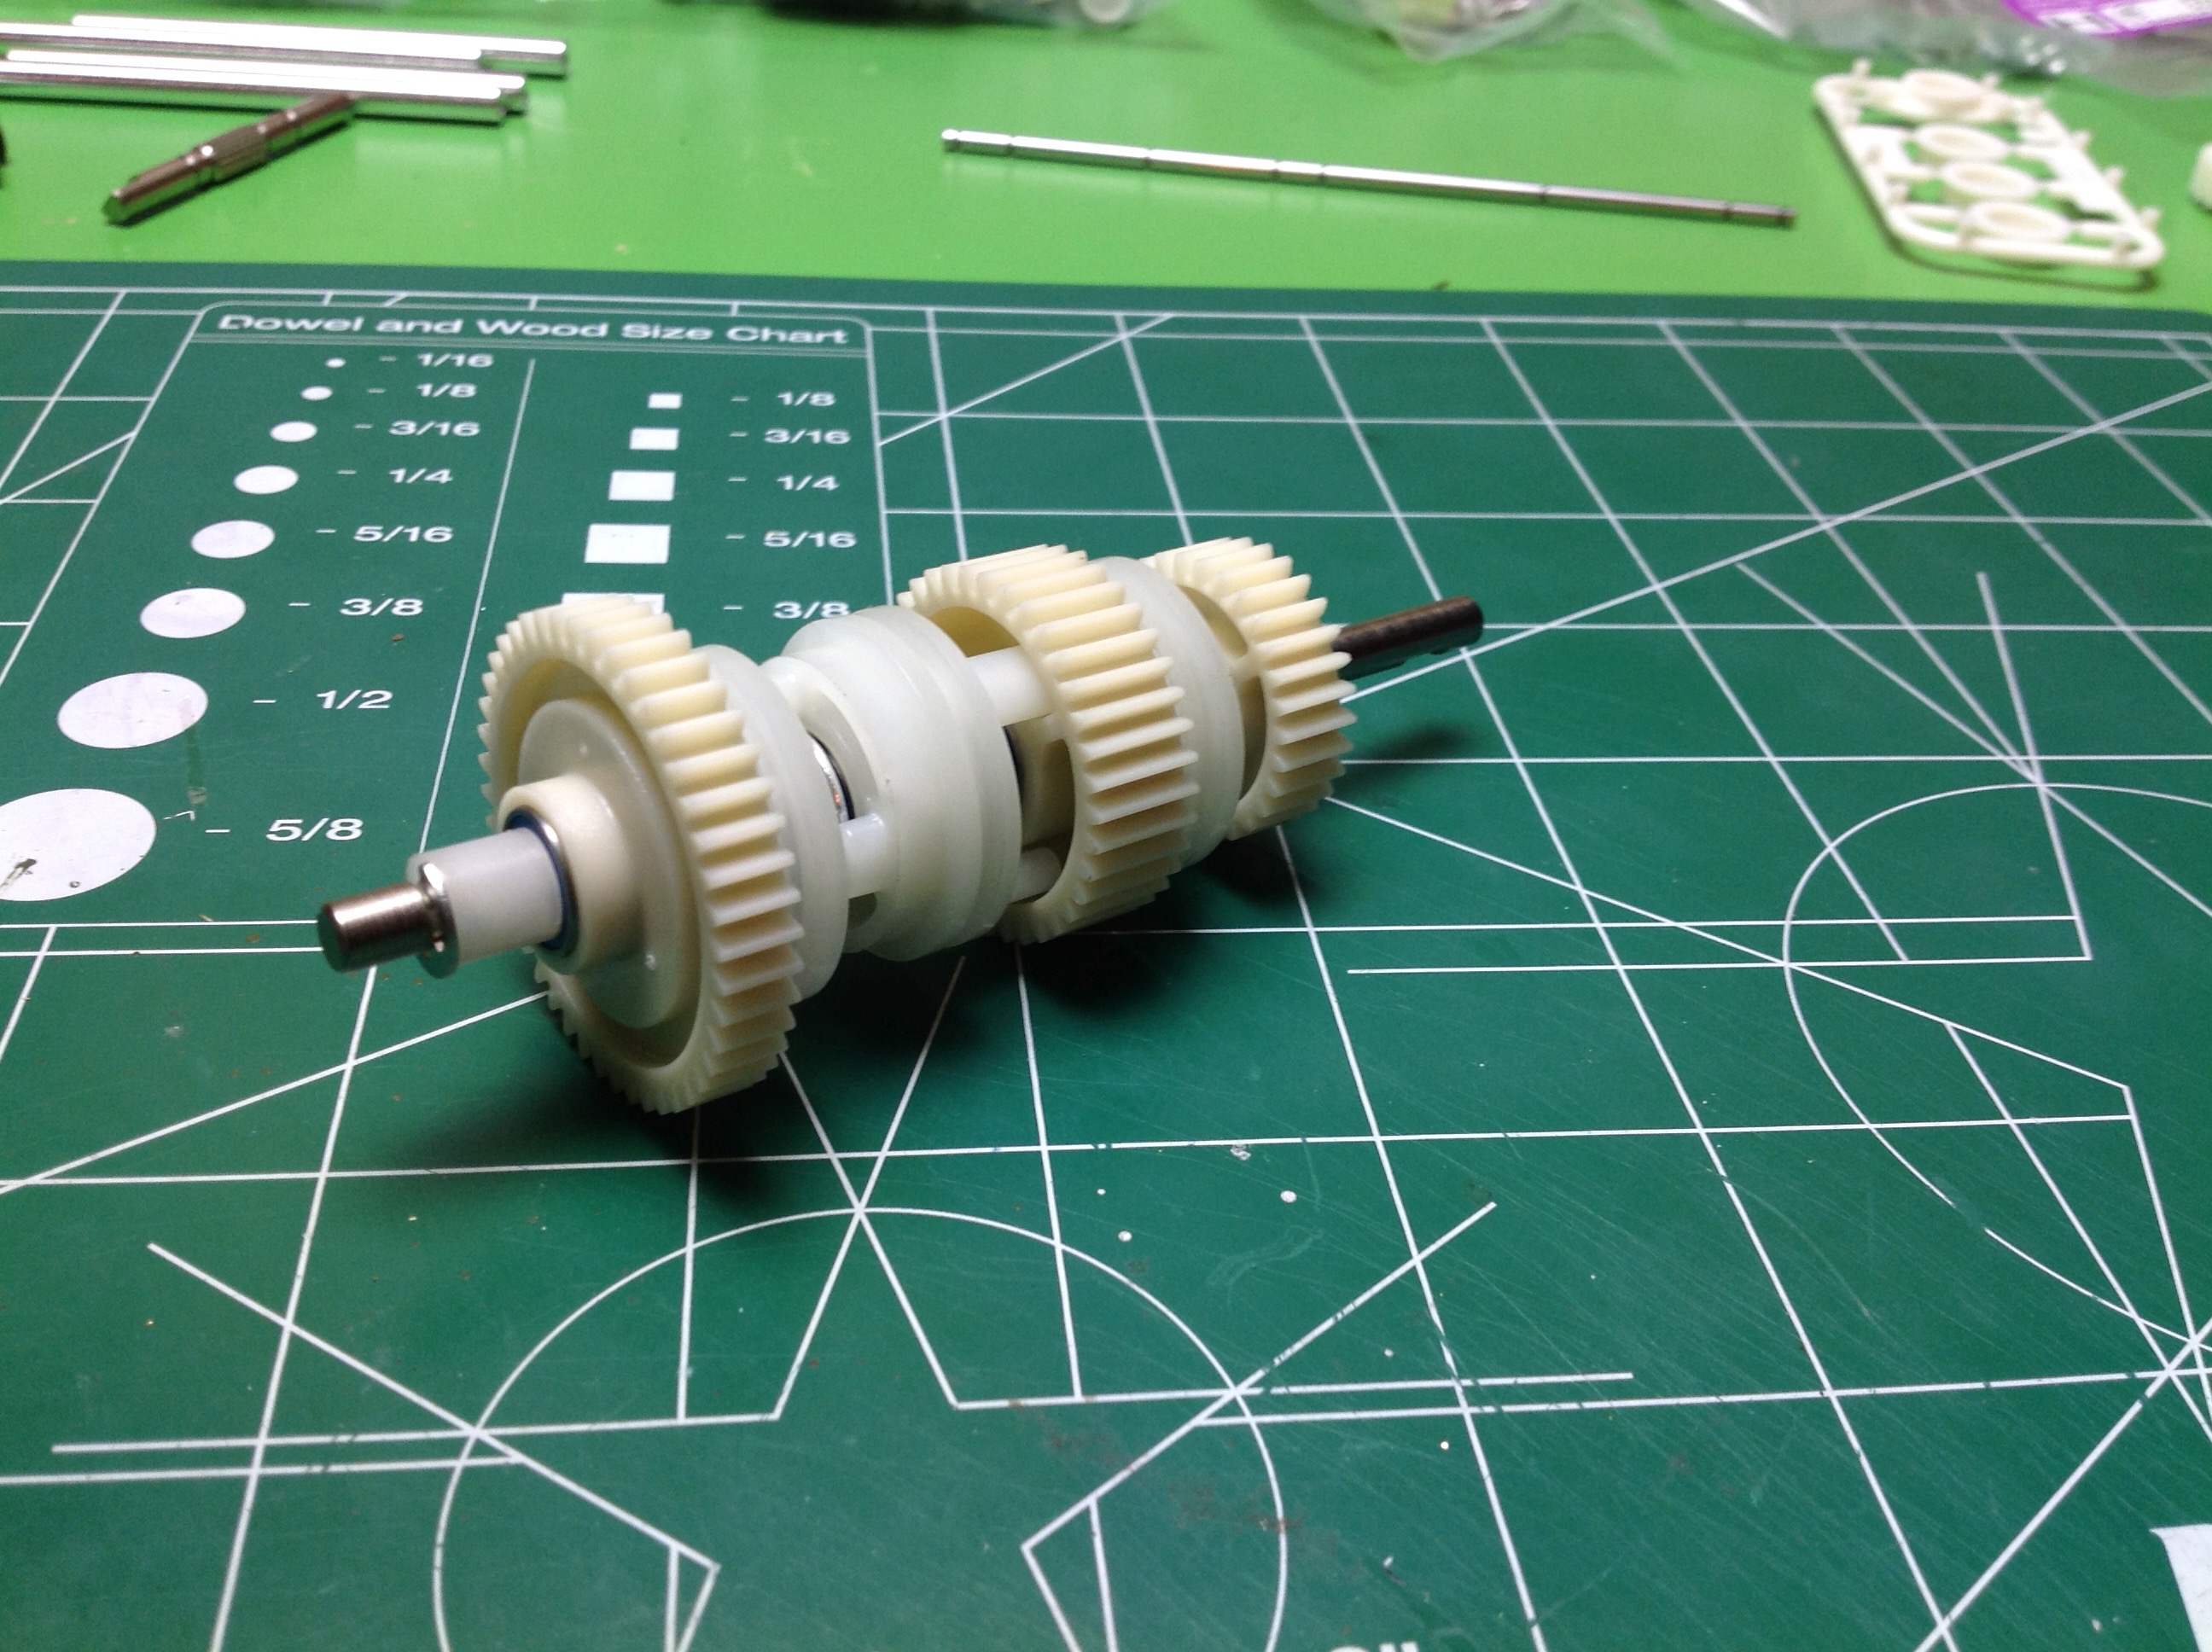
the King Hauler spur is inside.  The Highlift also adds the 
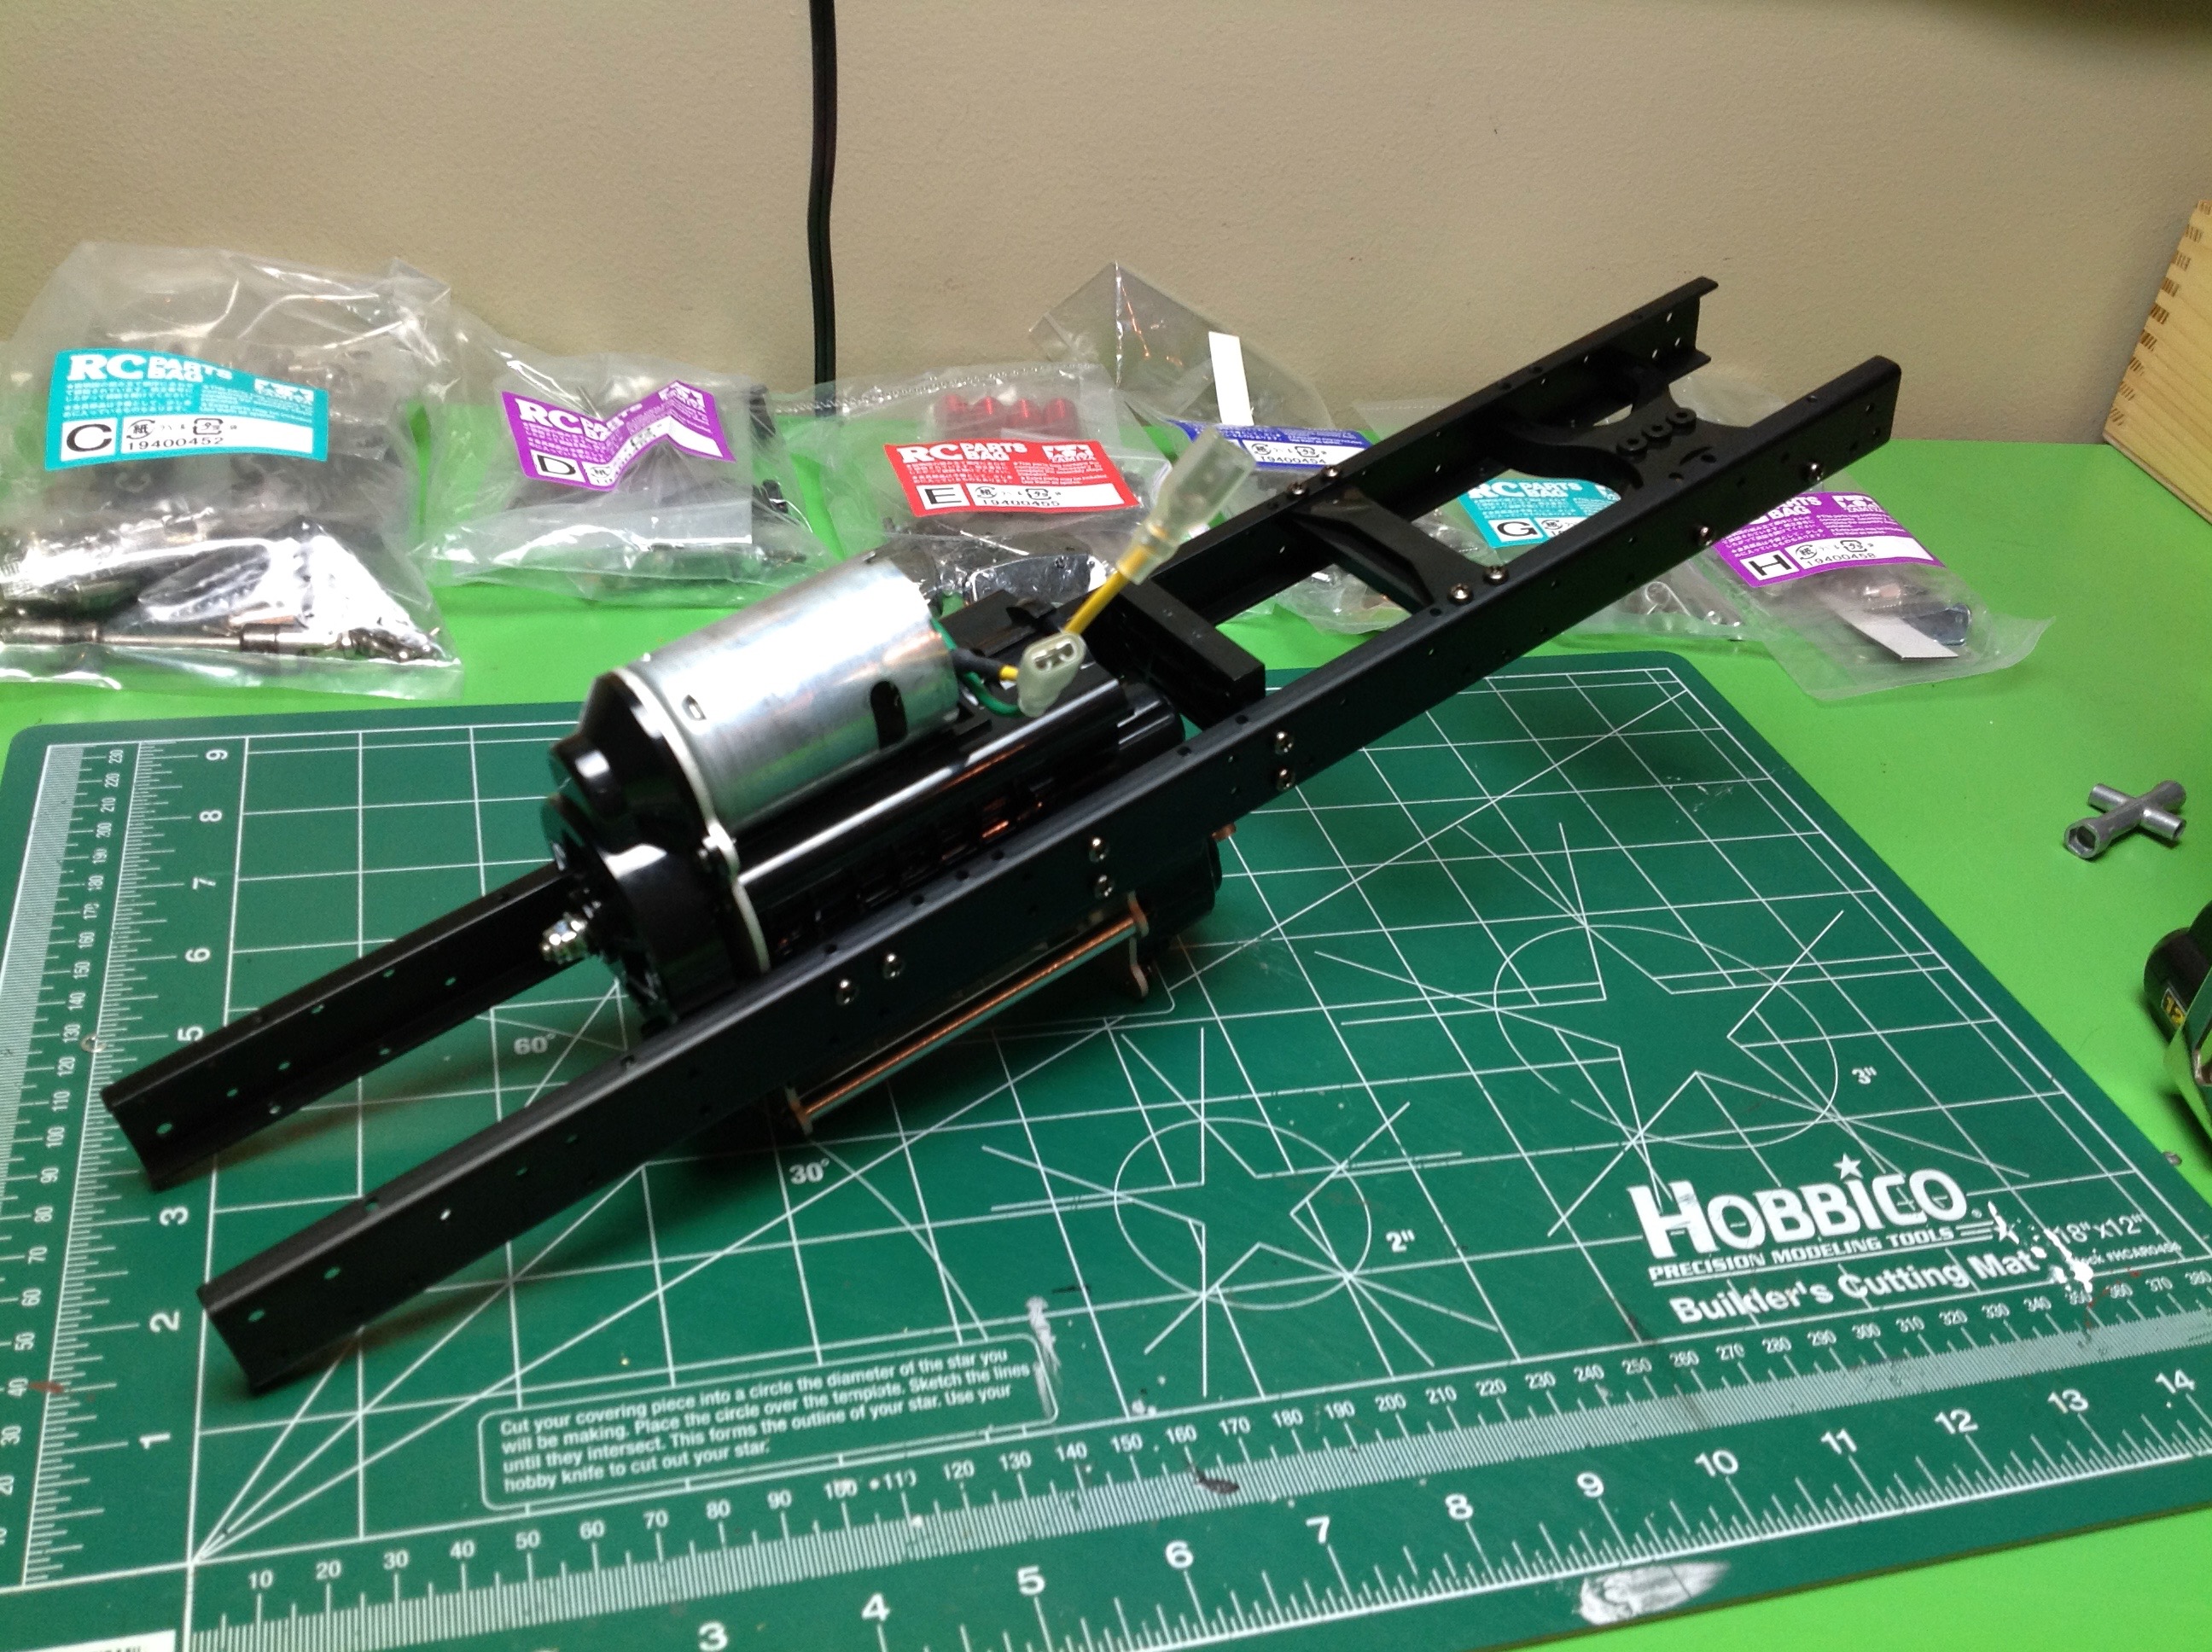
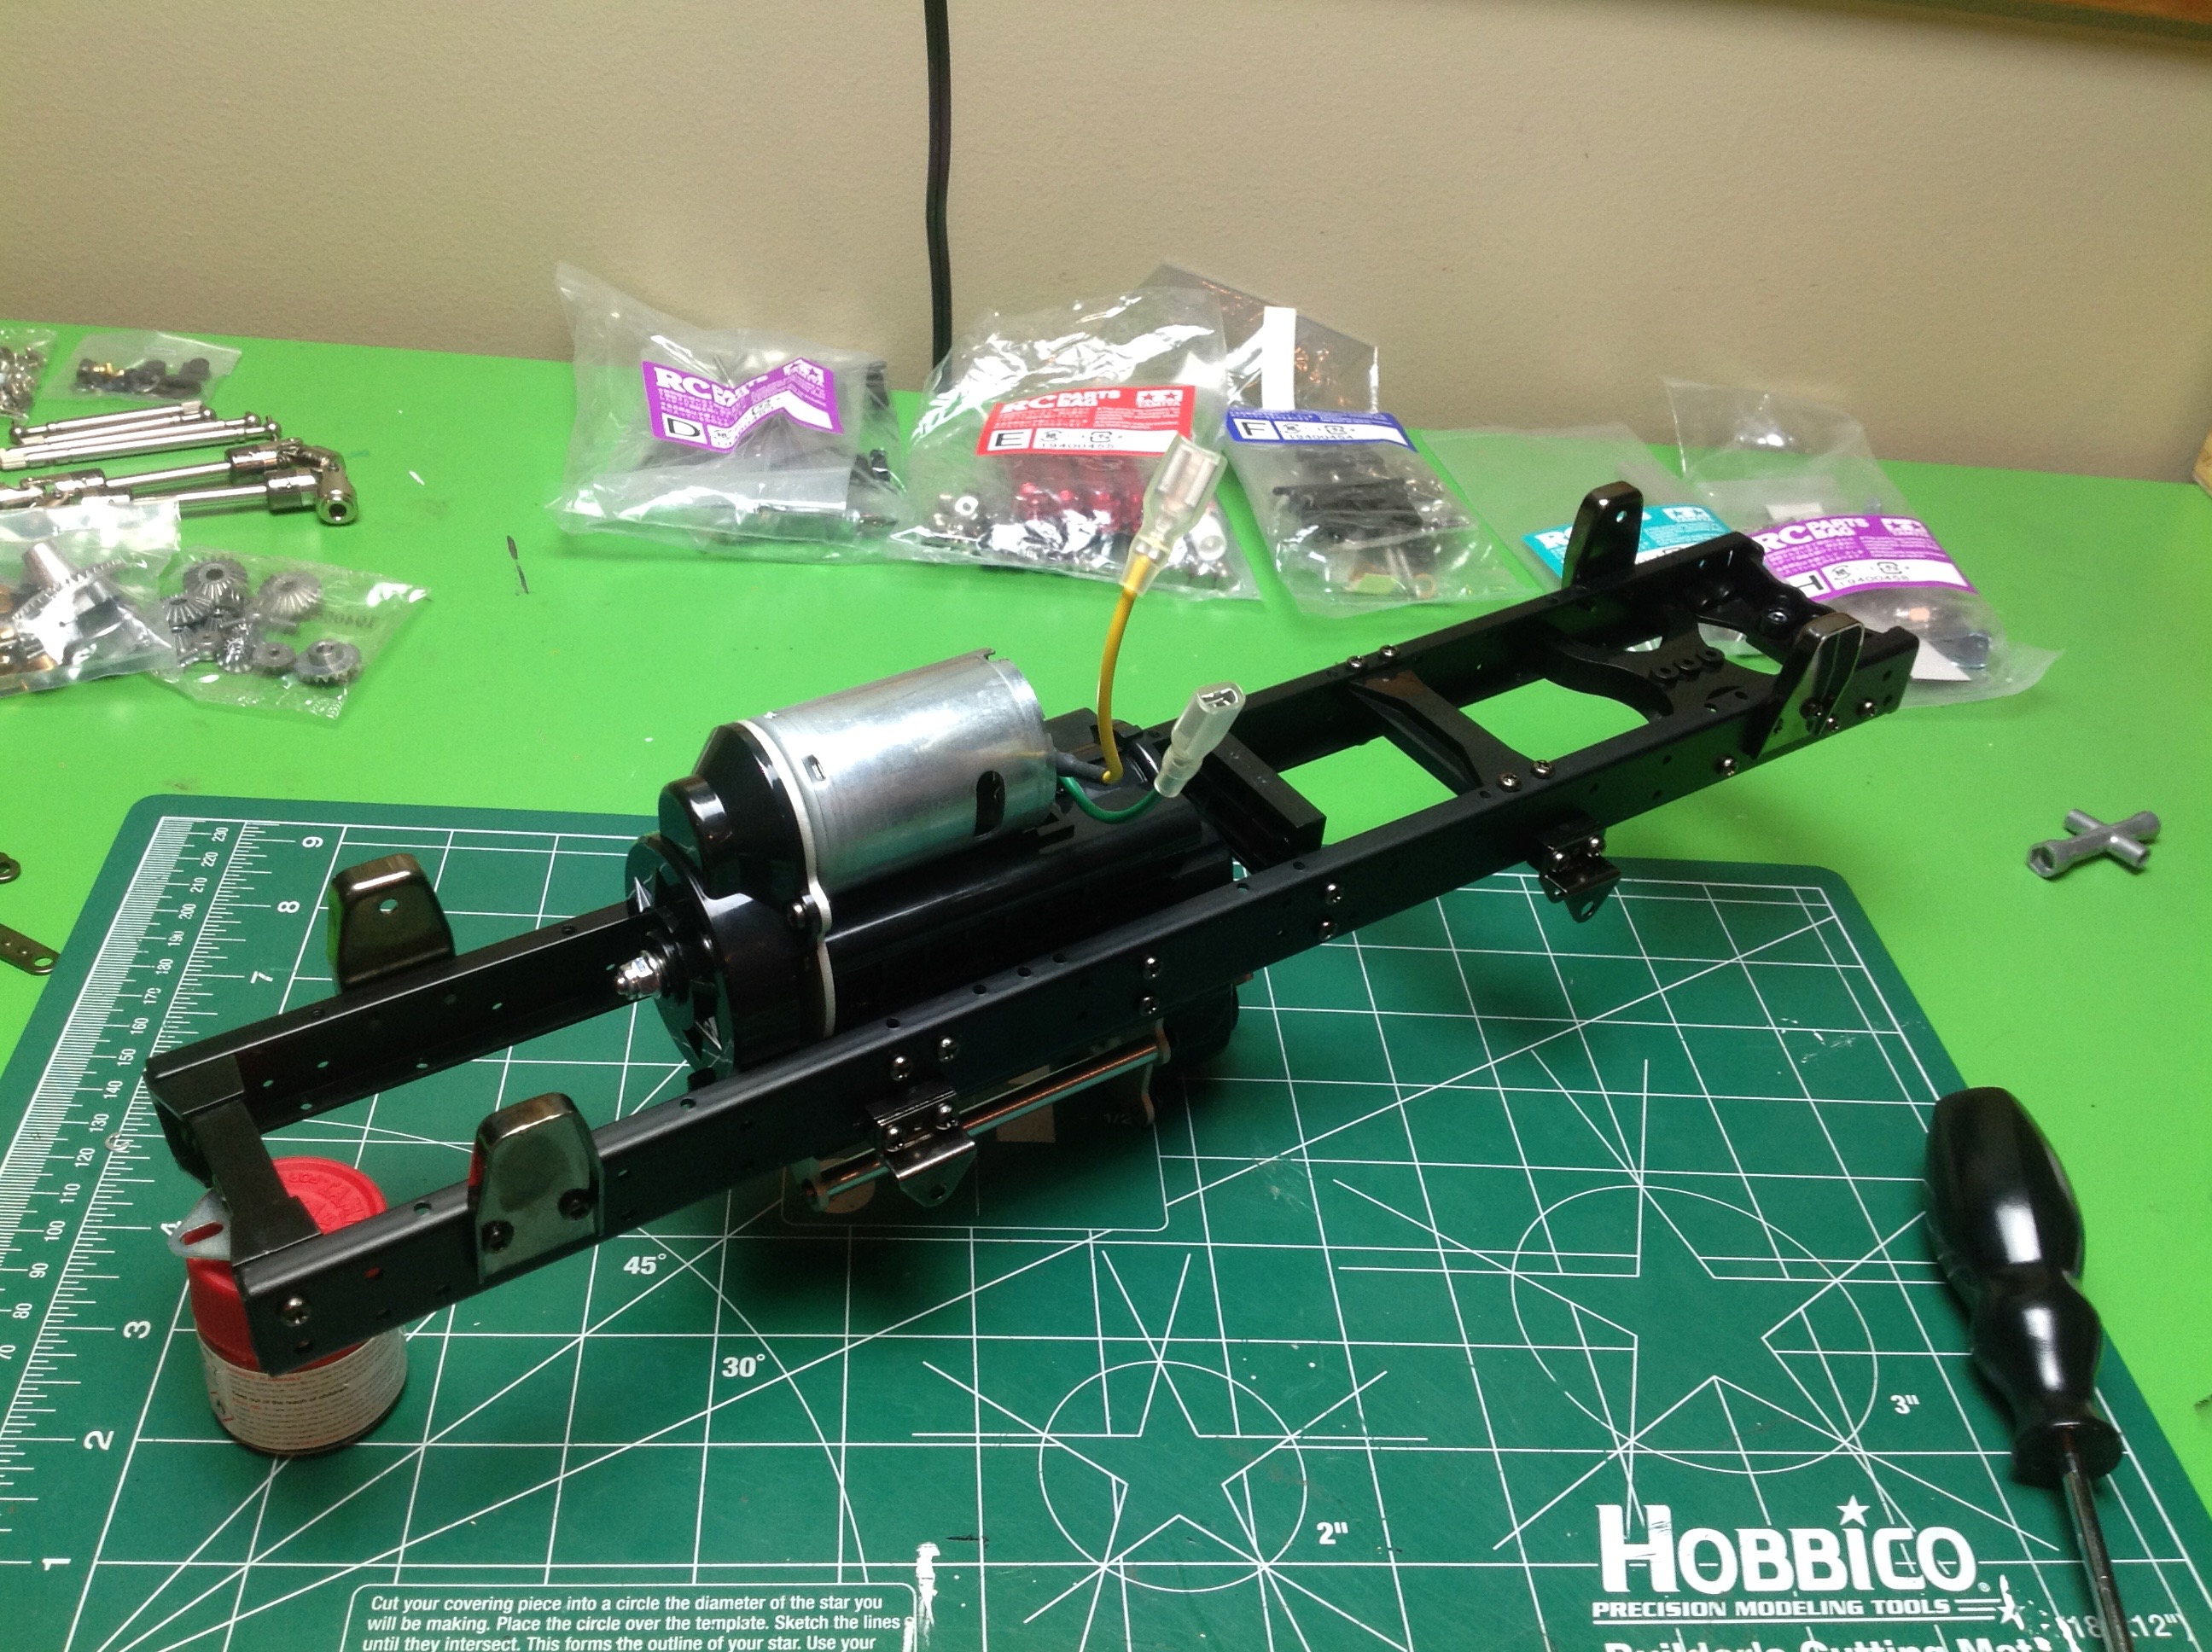
transfer case.  The shift mechanism is the same.  This is NOT 
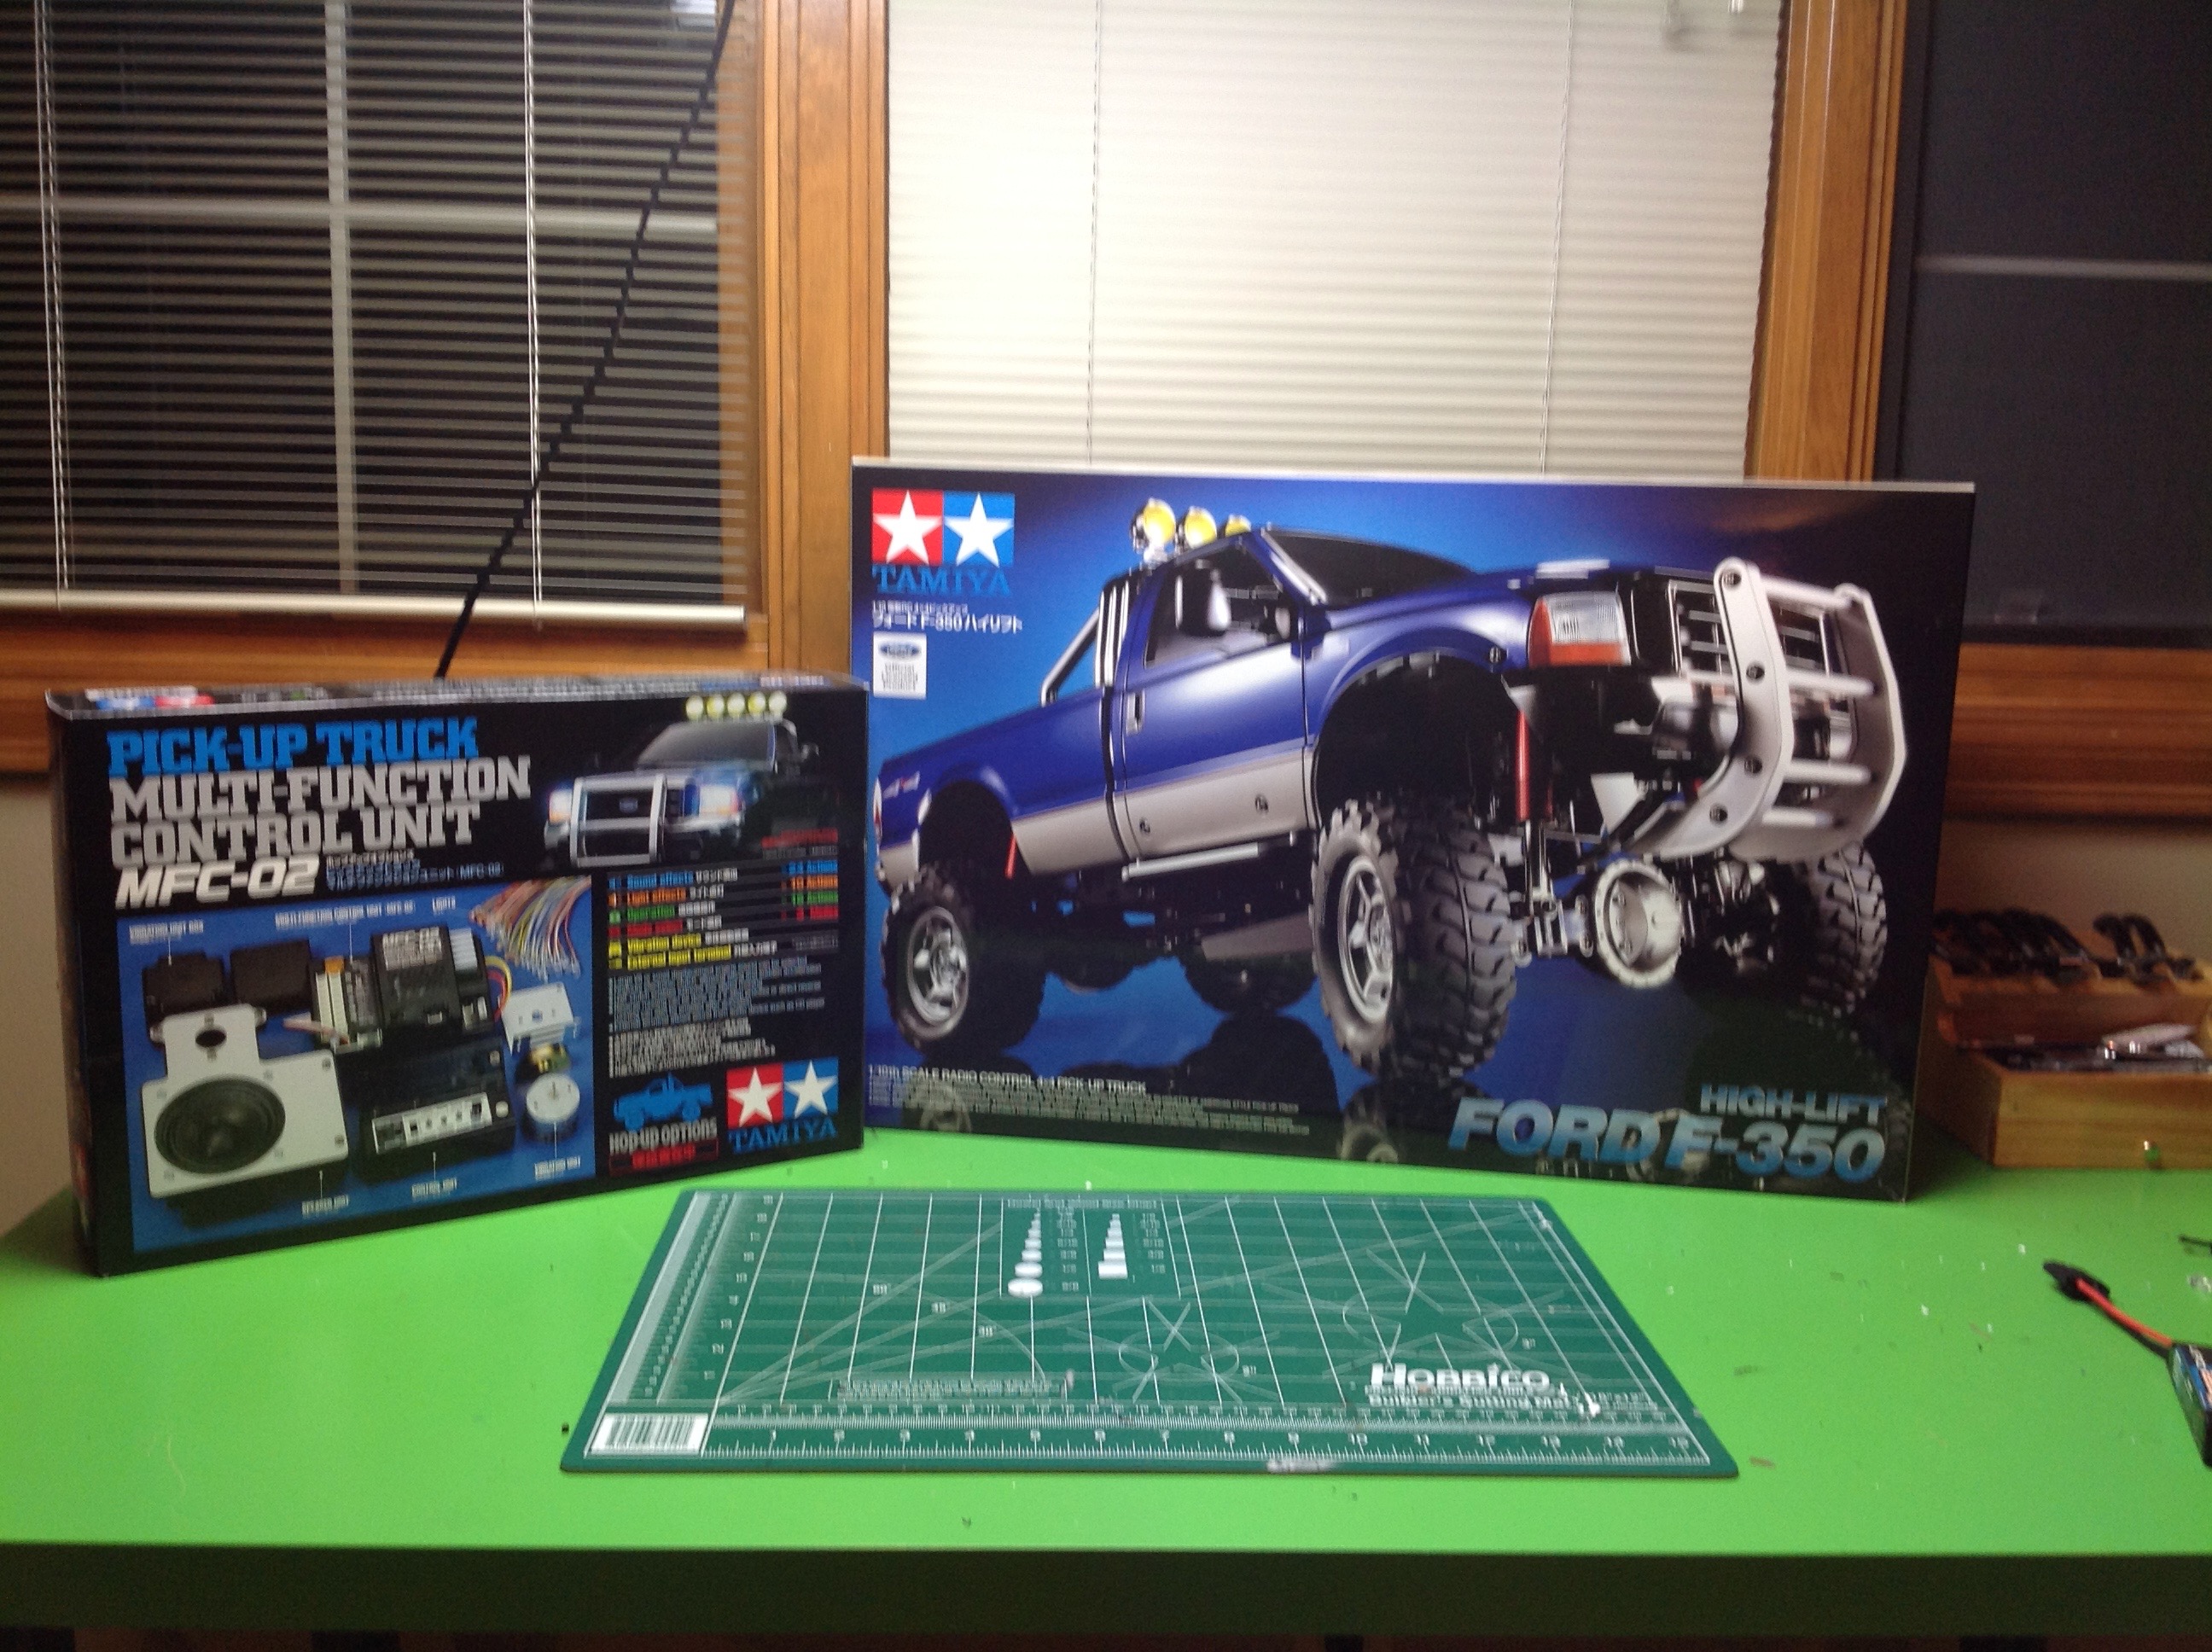
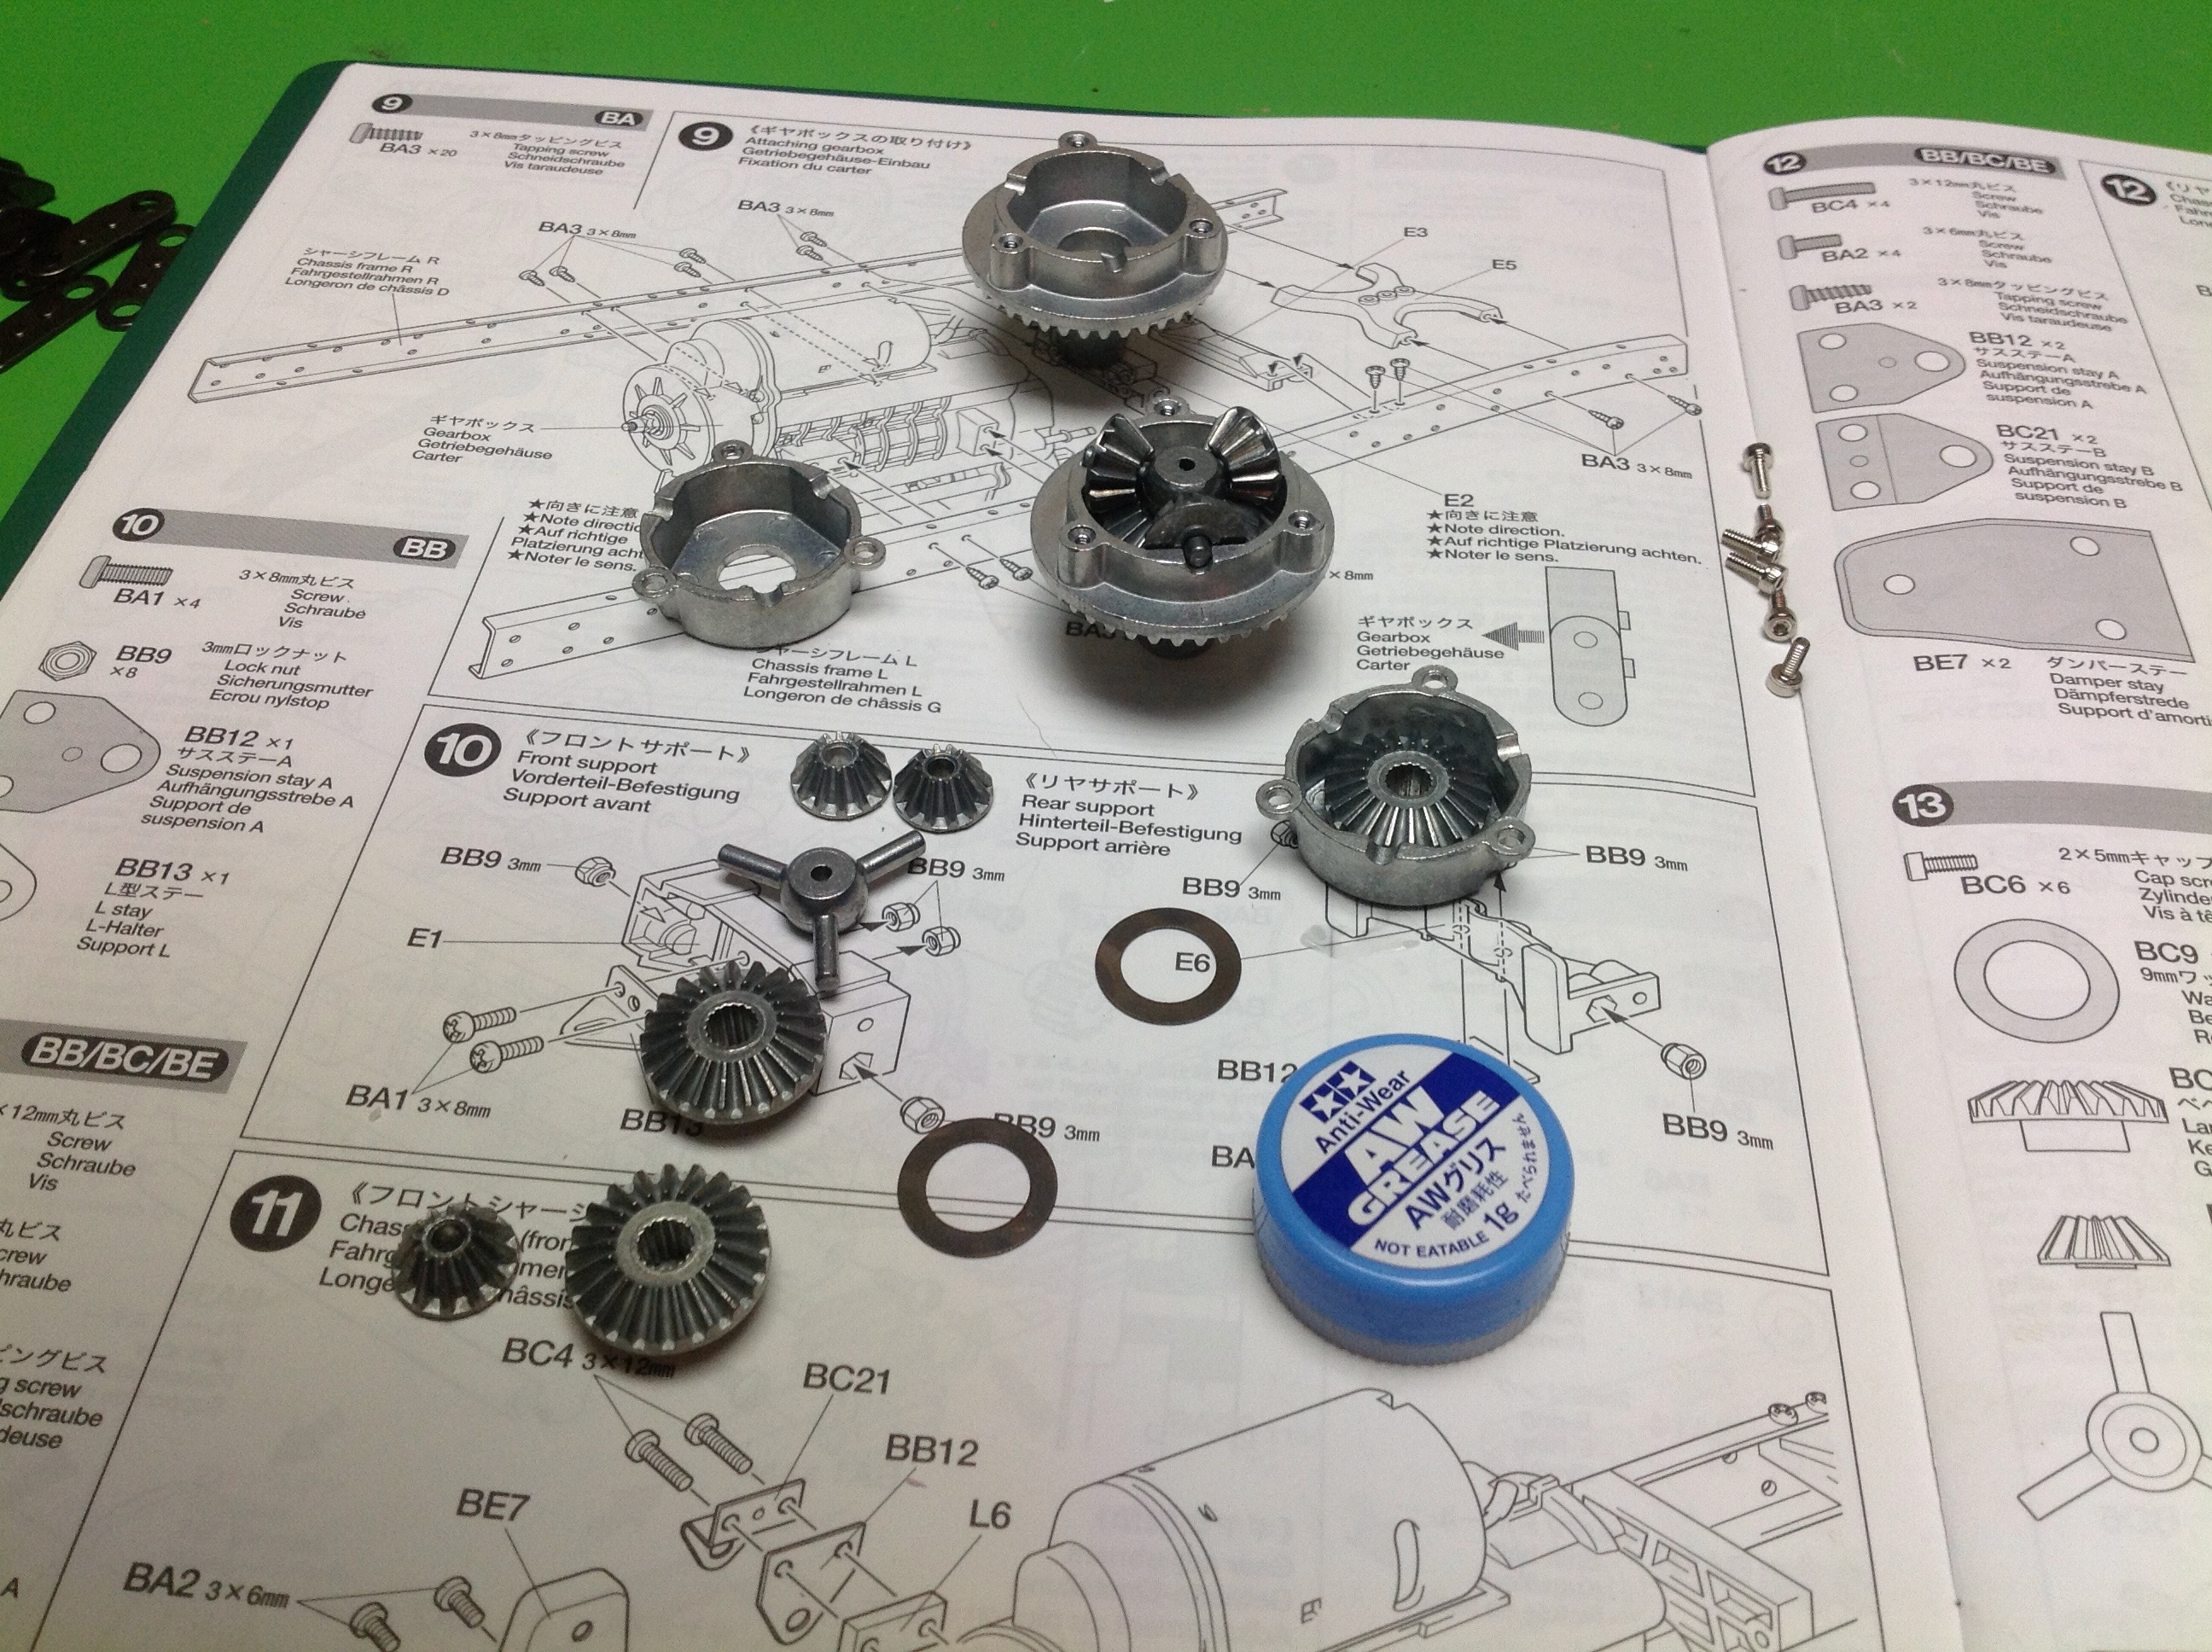
the same transmission used in the Bruiser which is considerably more complicated and includes a 2WD-4WD selector and a planetary set.

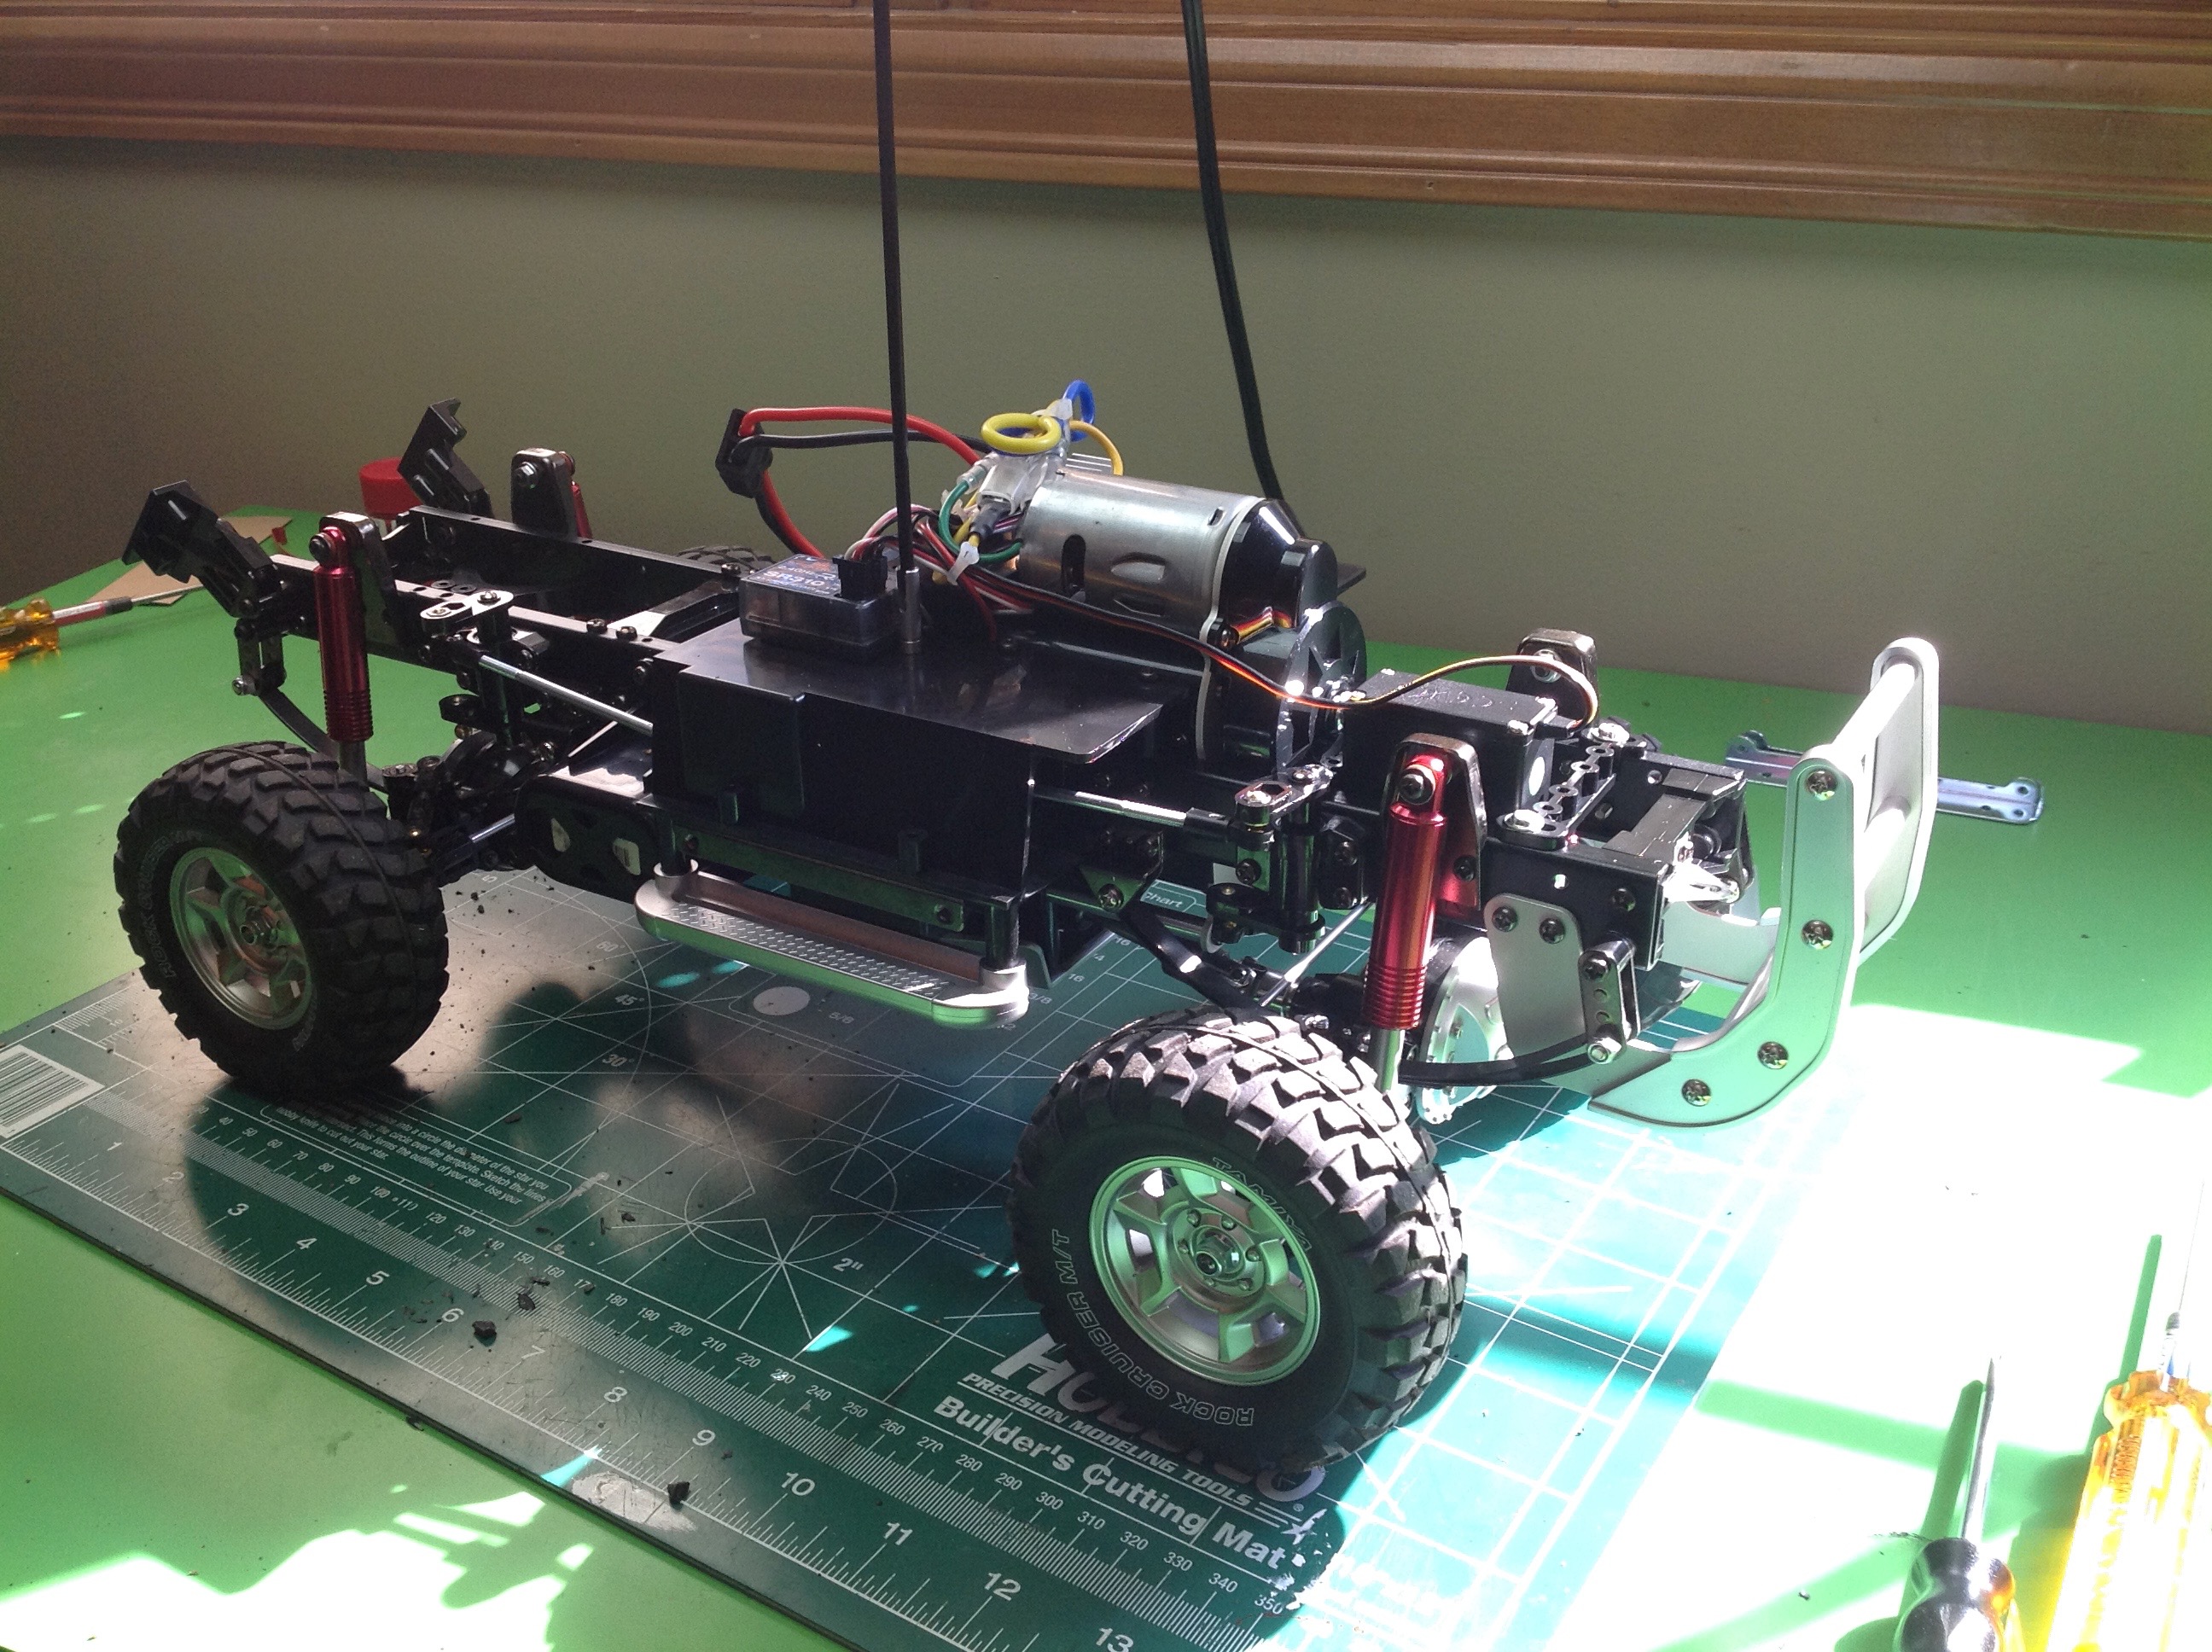
Let's derive the final ratios using what we know.  Don't forget the differentials which use a 40:15 ratio.
It even matches what it says on the box!


Now the transmission can be installed between the chassis rails.  It hangs down considerably and forms the primary structural cross member of the frame.  More plastic cross members are added front and rear.  In the second image, shock mounts and shackle hangers have also been installed.


Time to start building the axles.  The front and rear open gear differentials are all metal and are the same units on the 1/14th scale tractor truck series.  I packed them with Anti-Wear grease to provide a bit of resistance so the diff doesn't unload so easily.


The diffs and axles are installed into plastic housings which are then attached to the chassis with leaf springs.  Each spring stack comes with 5 leaves, but the instructions call for using only 3 of them in standard build configuration.  Oddly, one of them is actually installed on top of the primary leaf instead of below it which is not a usual configuration.  Even with only 3 leaves the suspension is quite stiff which limits articulation.  I later changed the primary leaf for the soft red versions from RC4WD which work much better.  They are a direct drop in.  The Tundra and Hilux versions of the Highlift use shorter springs so require modification to use the red versions.  The drive shafts are very nice telescoping steel units.


The shocks are unusual.  They don't have any oil inside and they don't have any springs either.  OK, there are springs but they only extend the piston rather than support the truck.  The leaf springs provide the suspension and these shocks exist just to provide damping.  They do this only through the friction of some grease inside.  The housings are aluminum and the rods steel.  Not much damping is needed since the truck is not very fast.


Now the shocks have been installed onto the chassis along with the big front brush guard.  You can see how low the clearance is beneath the skid plate under the transmission.


Finally all the radio gear is installed.  I first built the model stock using a steering servo, a shift servo, a brushed ESC, and a receiver.  This allowed me to use my standard Spektrum pistol grip transmitter.  Later I changed to a 2-stick to use the MFC.  I like the driving feel a lot better with the pistol grip, but the concession is worth the price to use the MFC.  The servos are hidden under the plastic box, and battery is mounted transversely behind it.  The wheels are a really nice scale design, and the tires even have printed white lettering on the sides.  Many people will replace the tires because they are pretty stiff and have no inner foams, but they sure look good.


I set the unfinished body on top just to get an idea of what this would look like.  It looks so good I can hardly believe it, but paint is going to make it even better.


Up to Index | Go to Page 2
©2017 Eric Albrecht