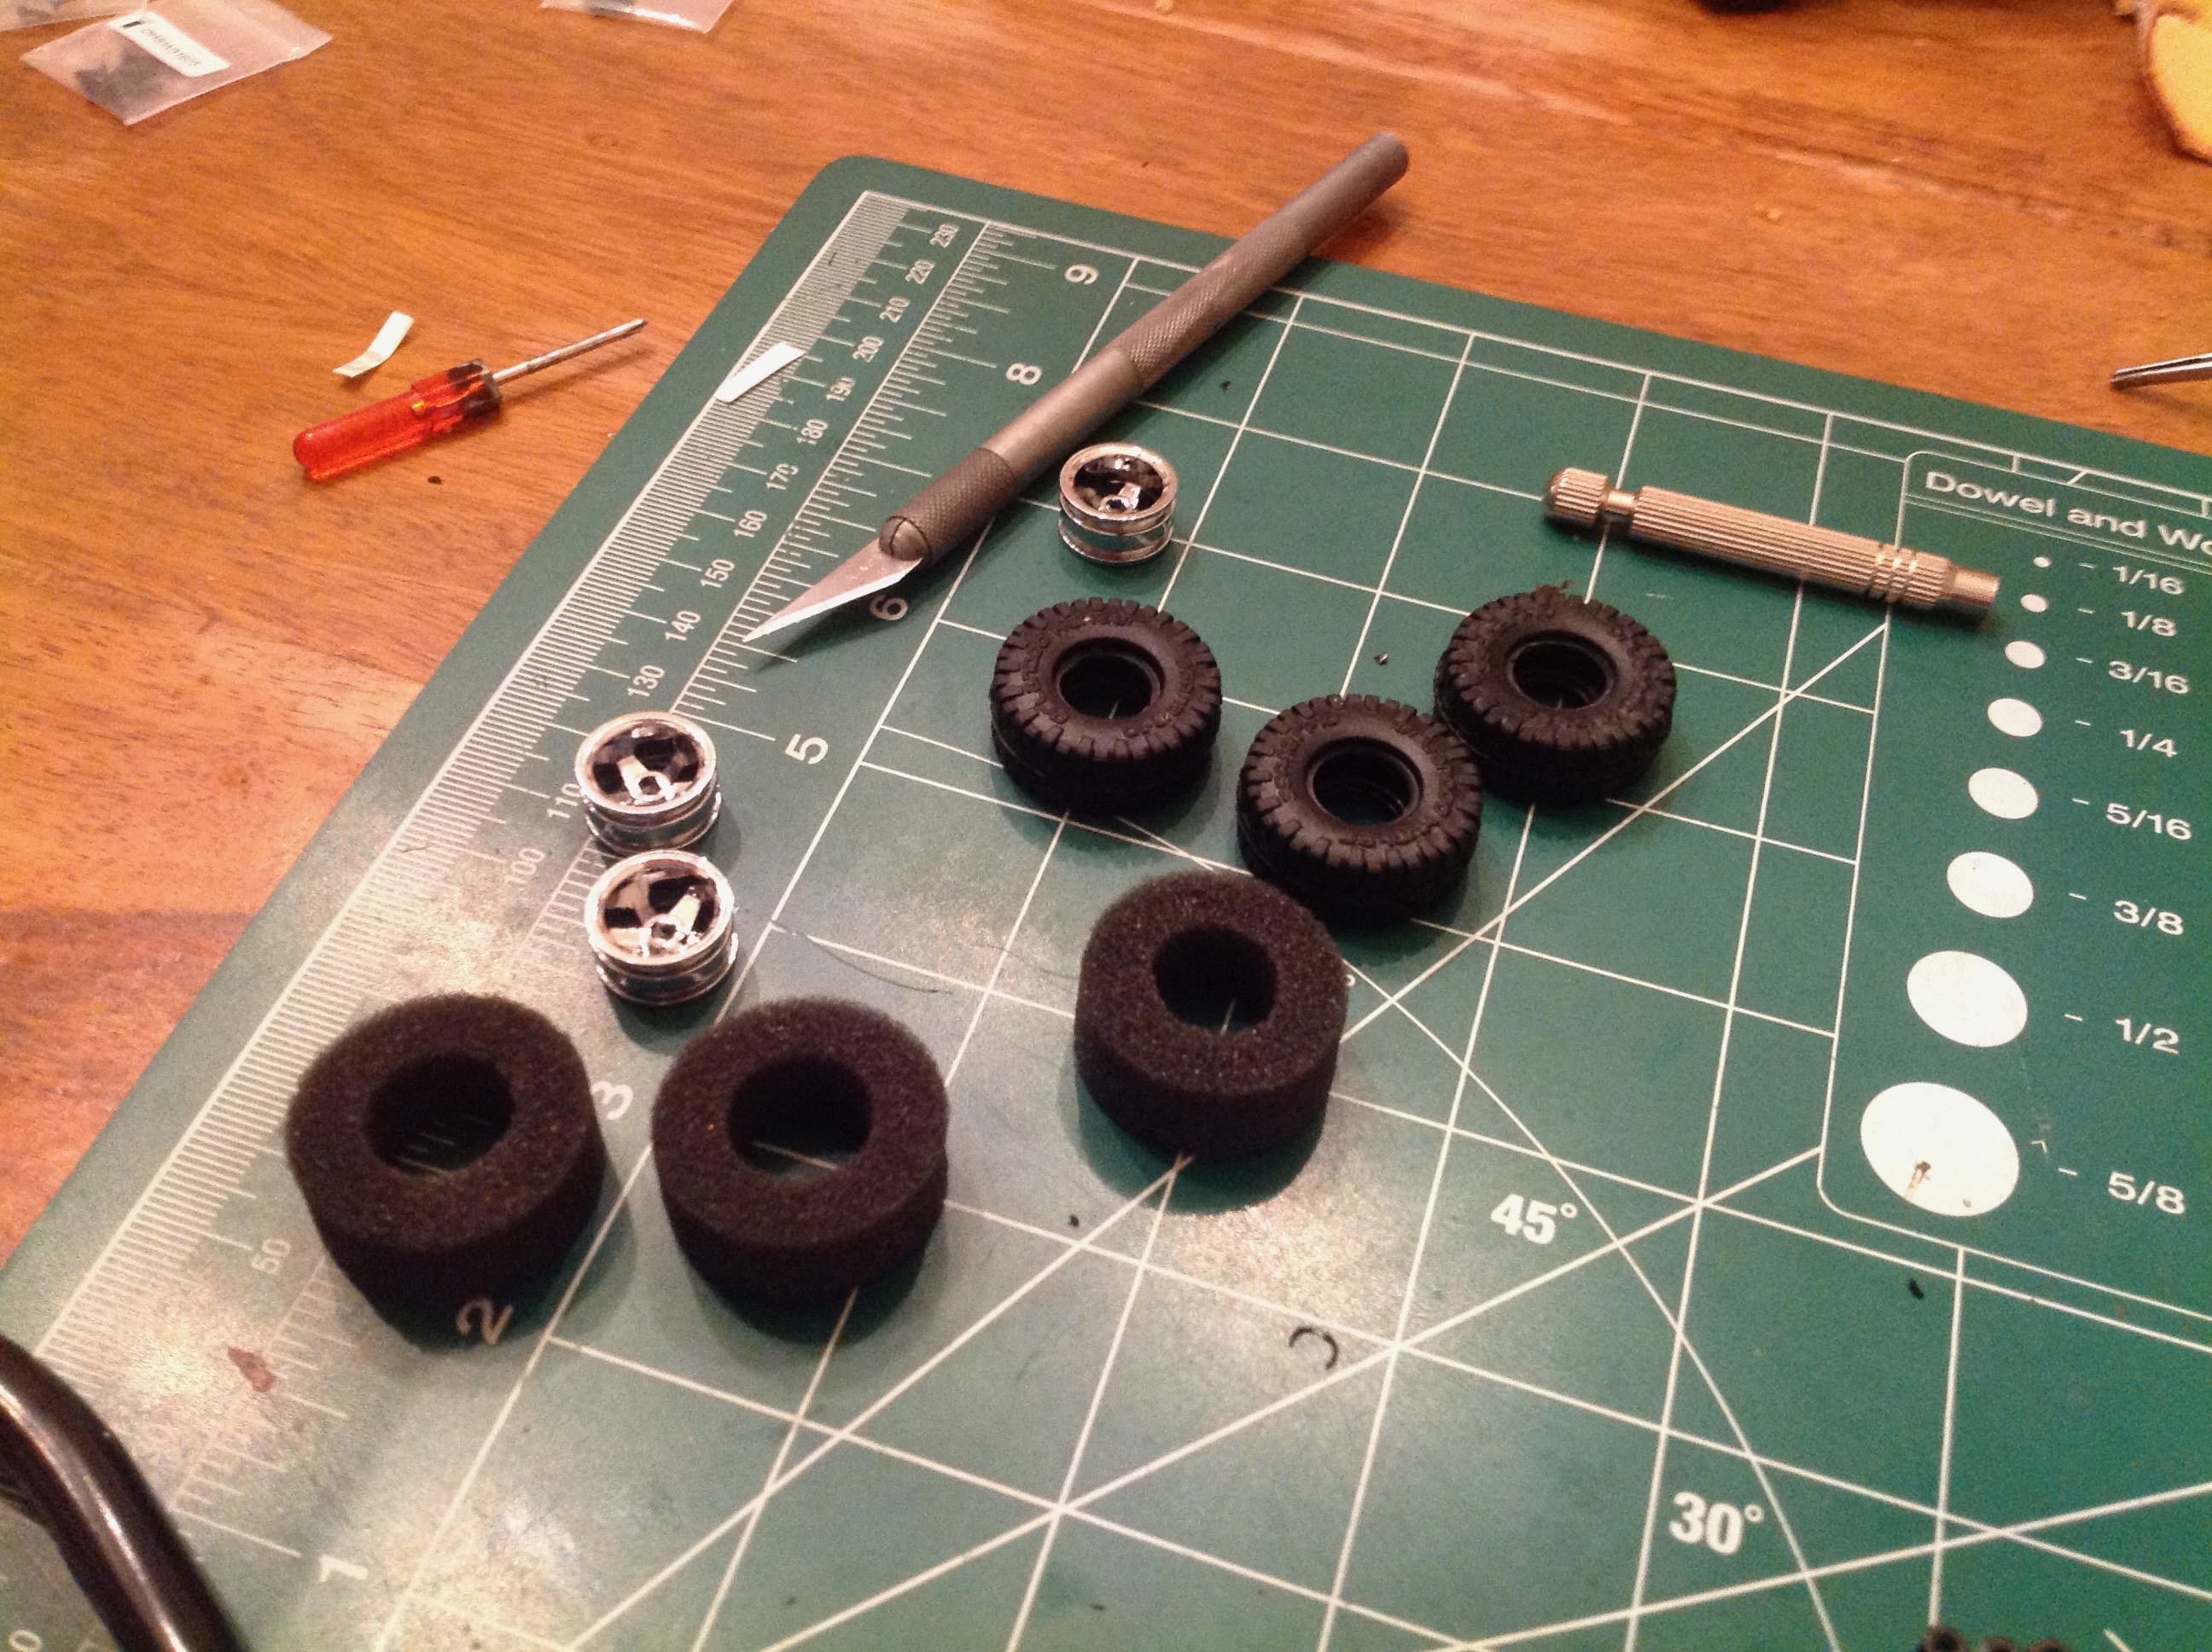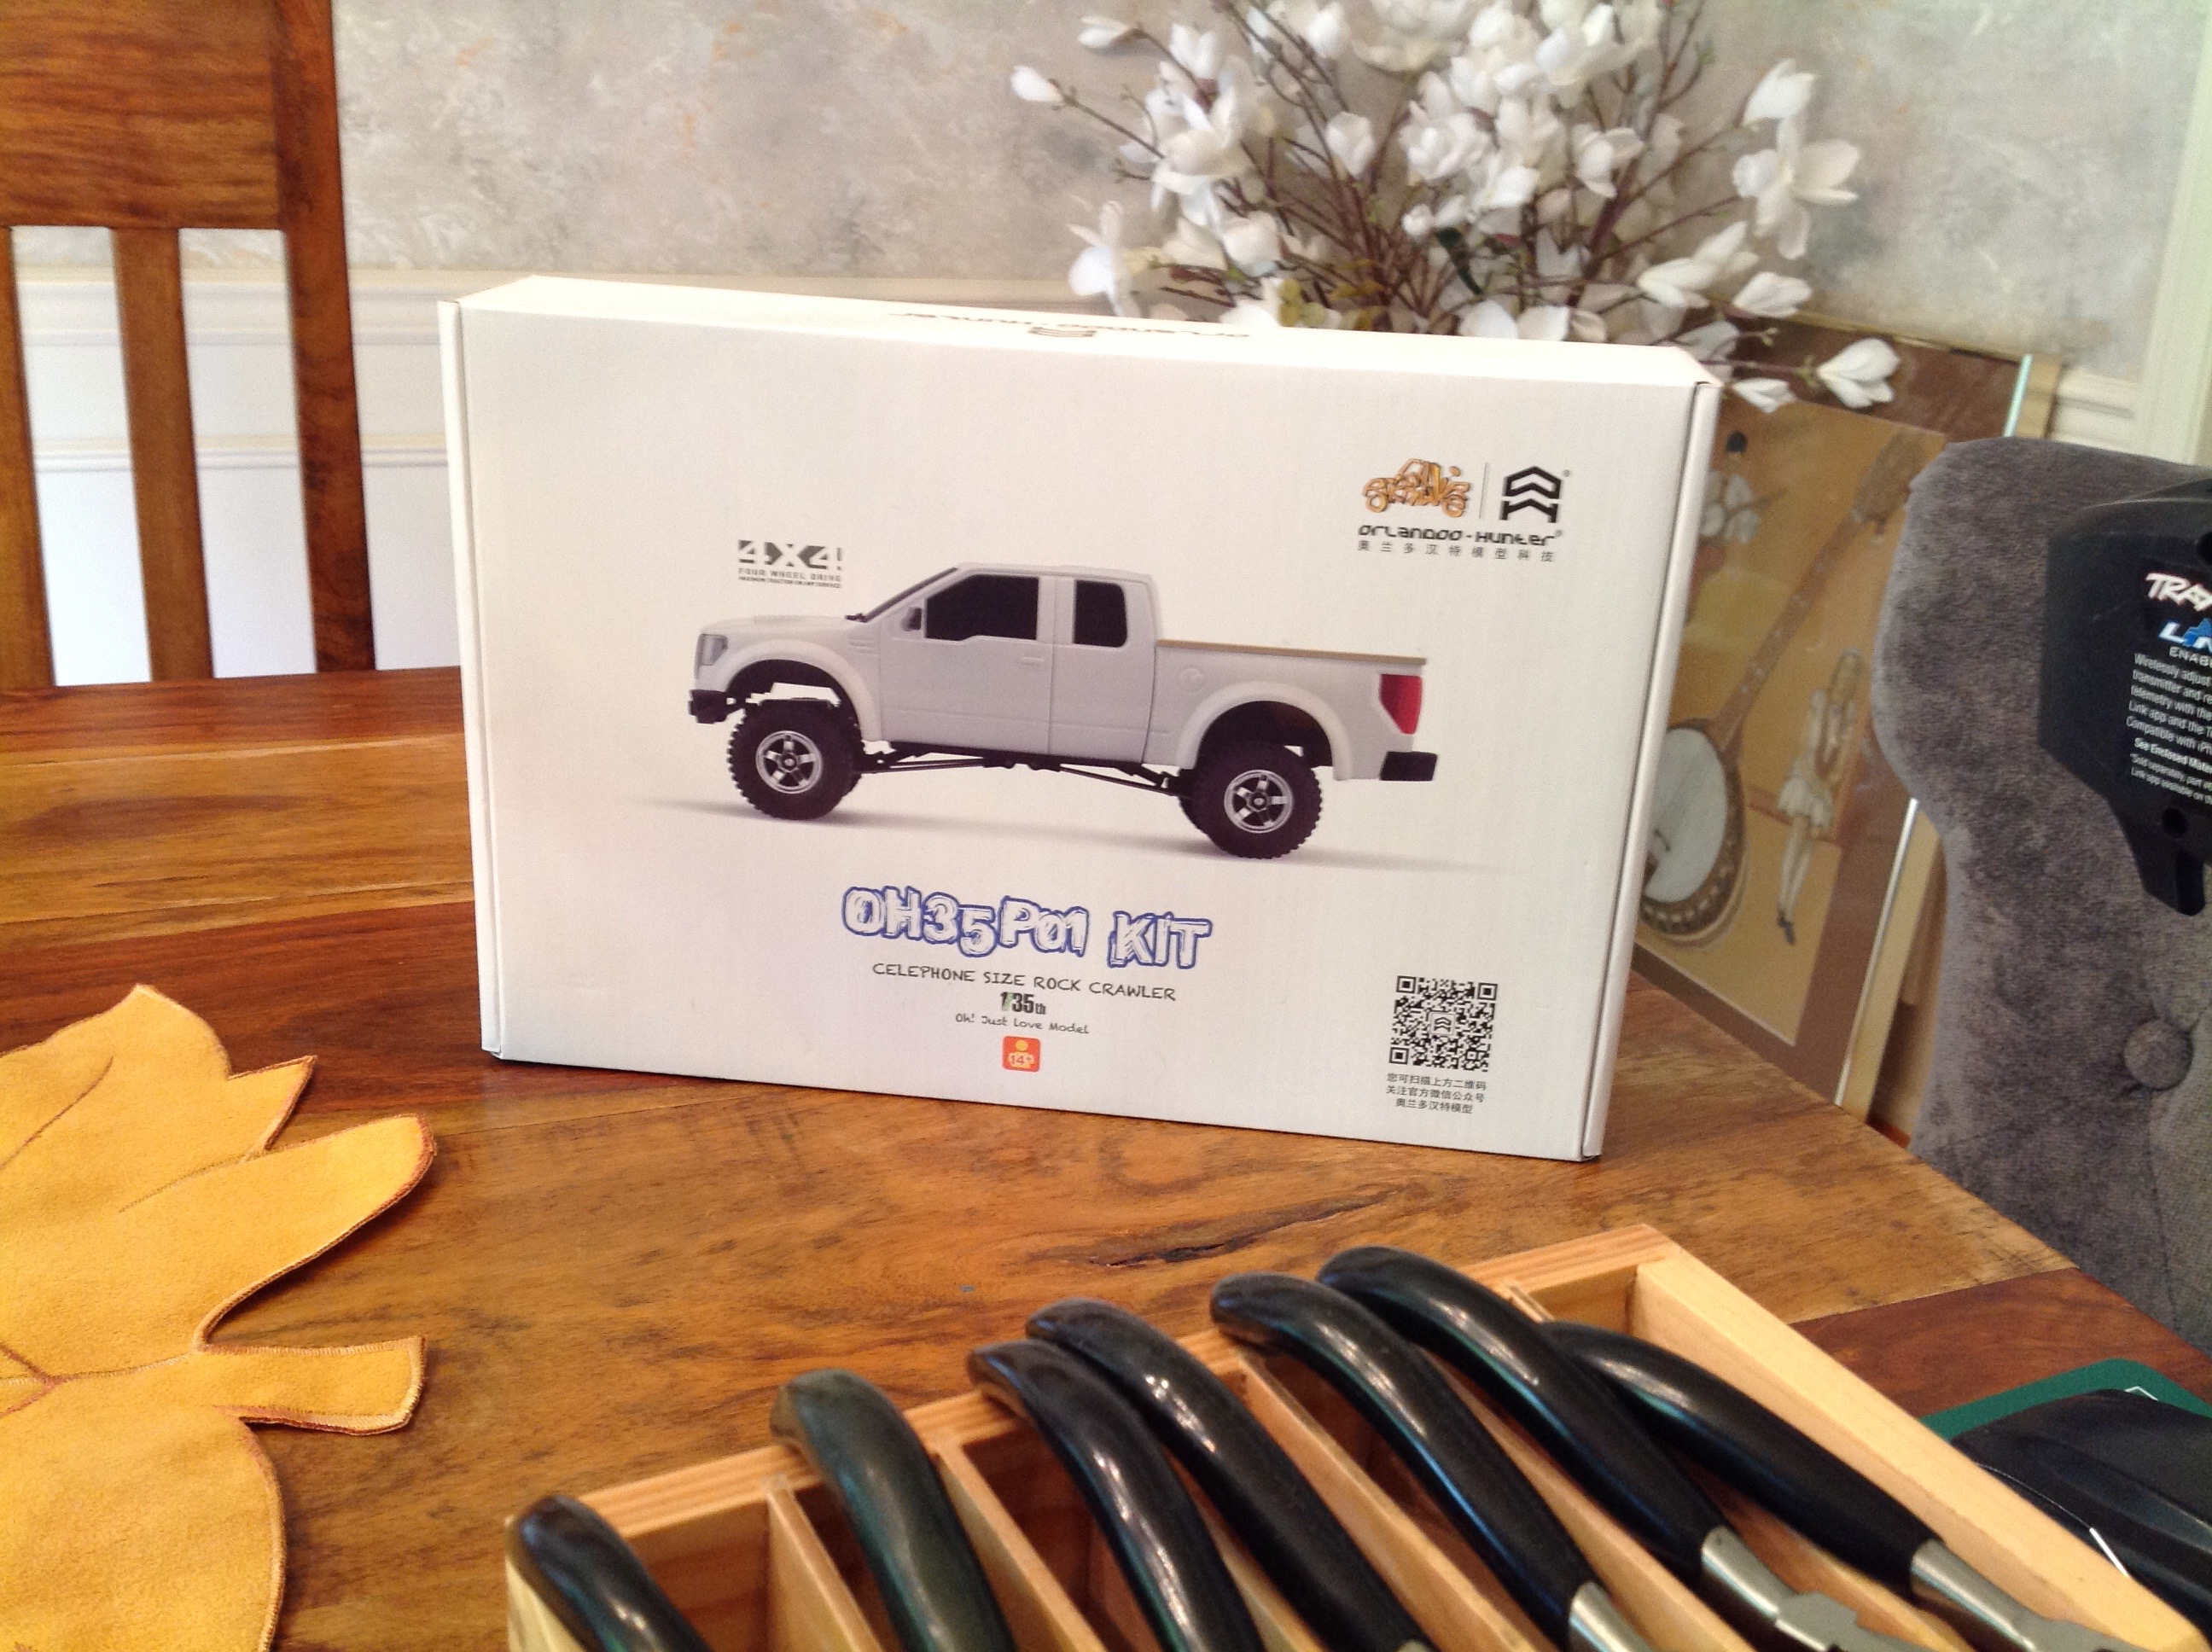
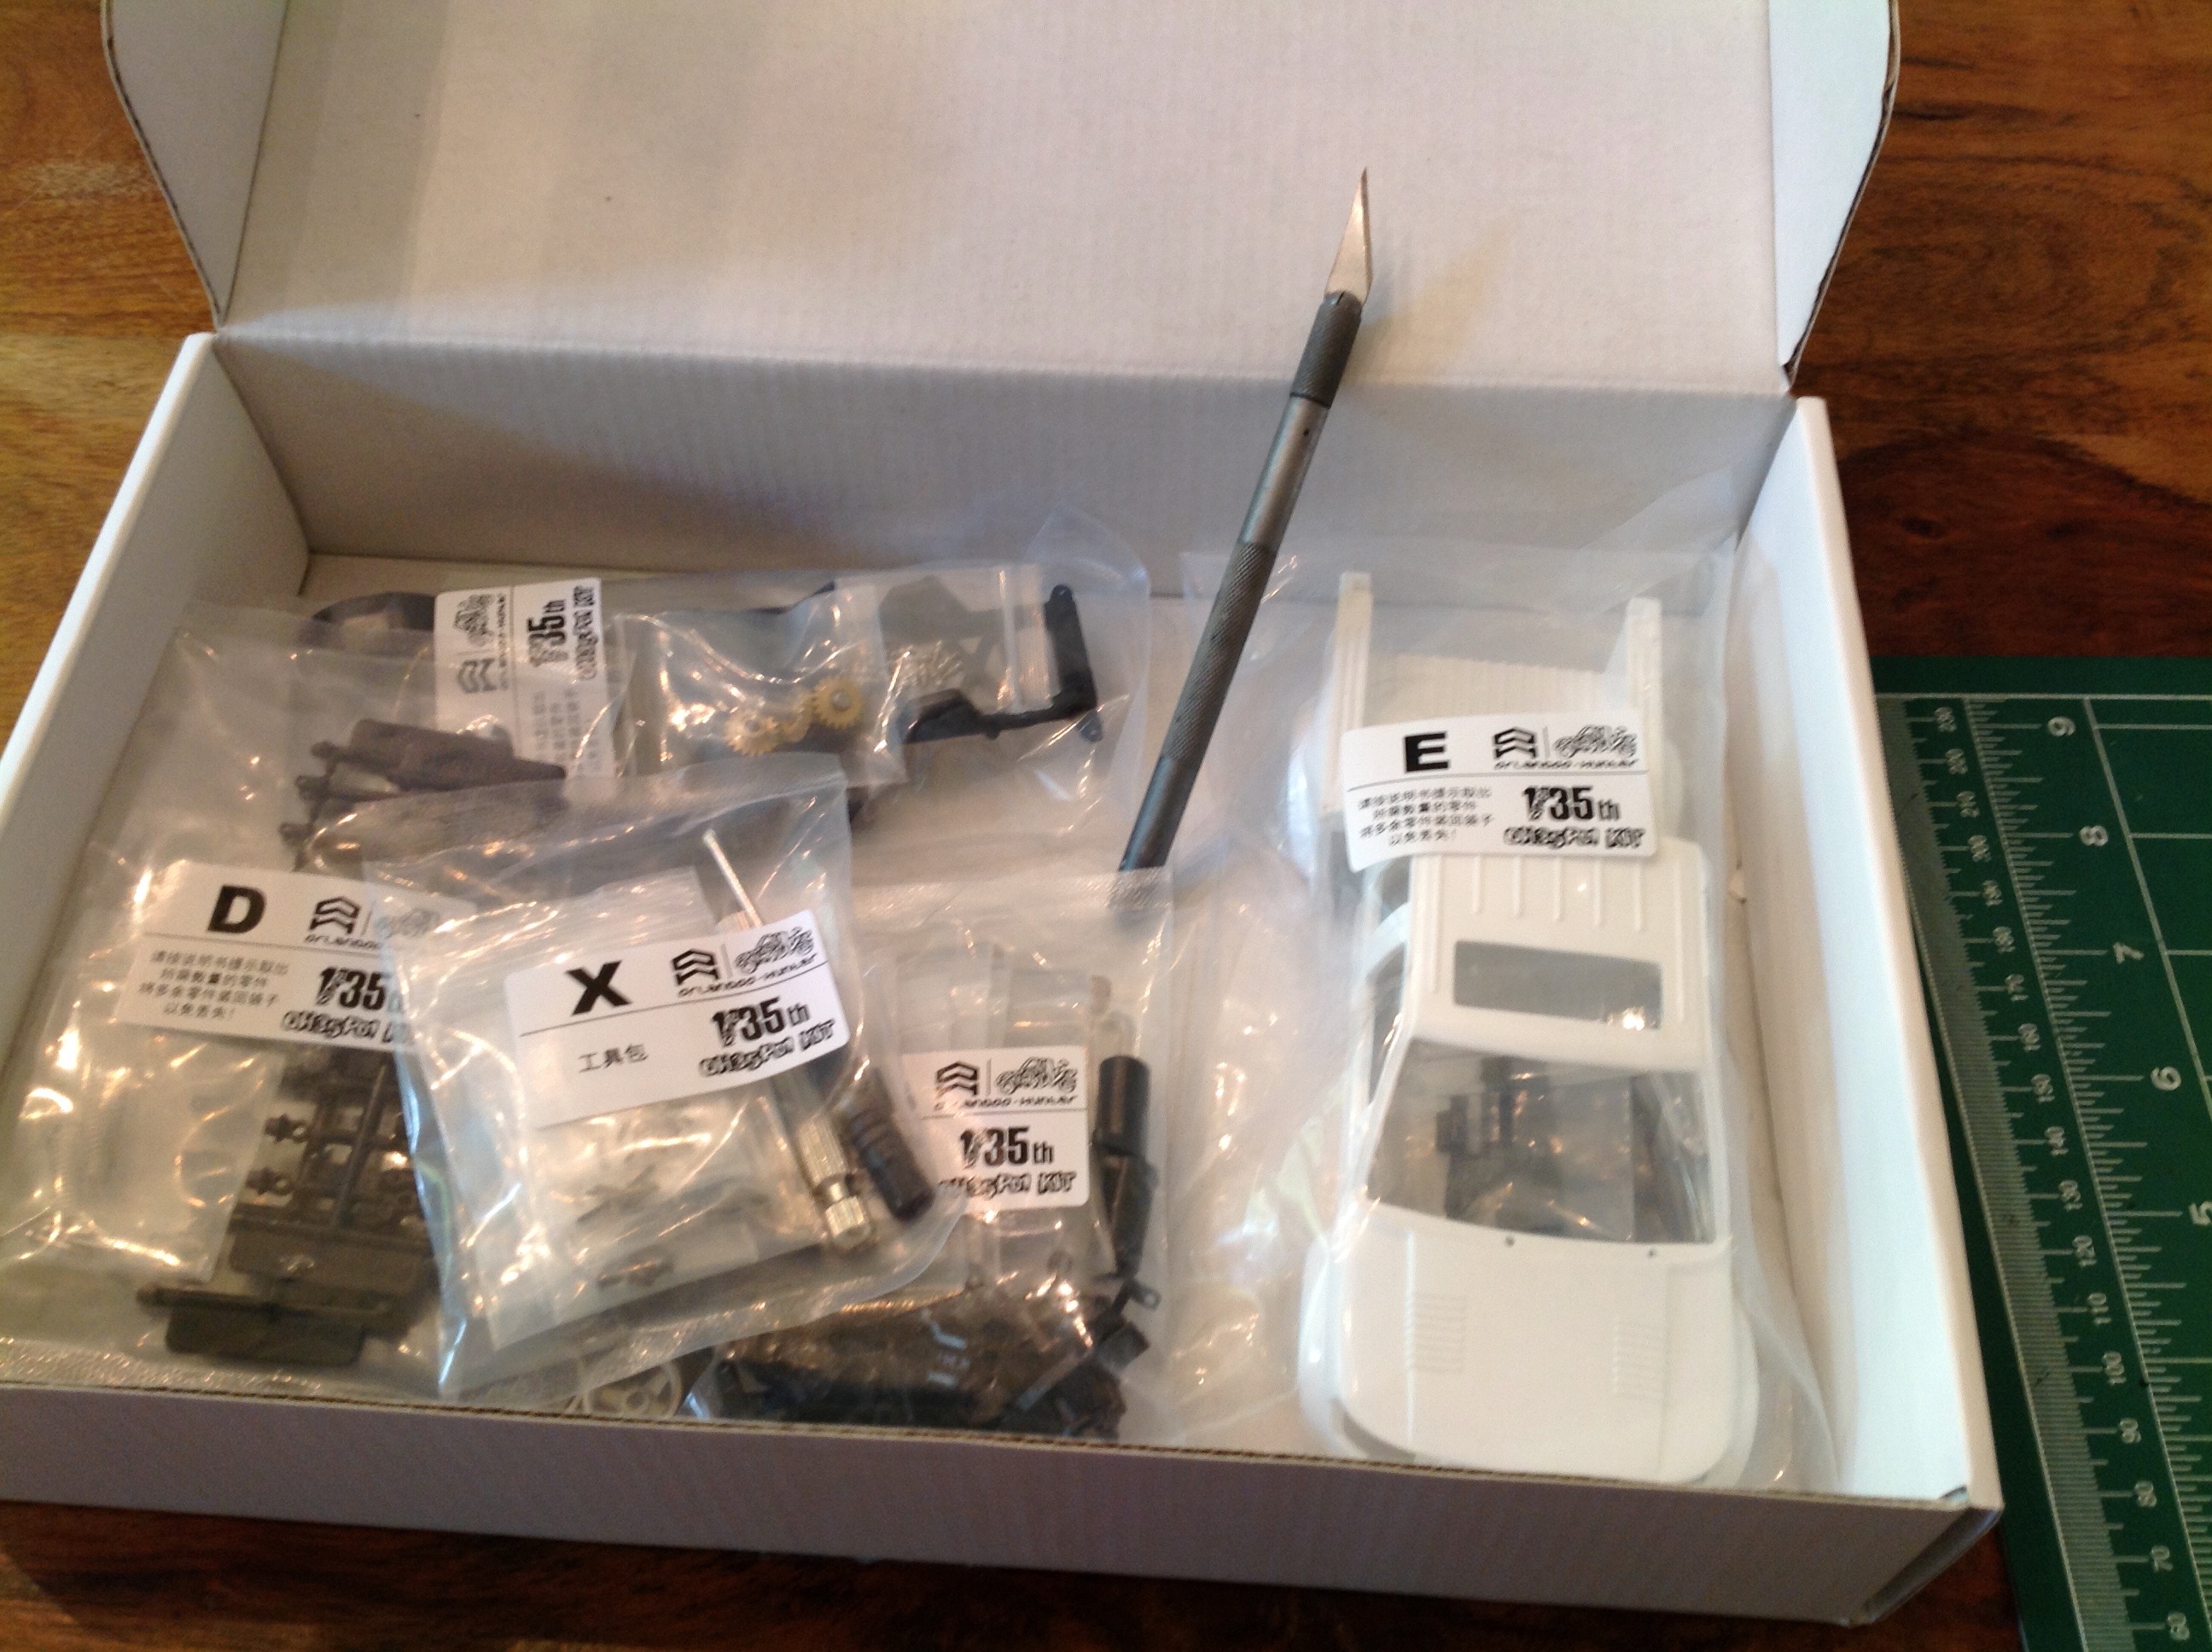
Your standard hobby building area may not be adequate
for this model. The whole box is smaller than a notebook, and the
parts are tiny indeed. You'll need plenty of light and an open
working area where it is easy to find dropped parts. If you drop a
screw on the carpet, it will never be seen again. The part bags
are nicely labelled as shown, making this a straightforward build if you
have the eyesight for it. The X-Acto knife has been shown for
scale.
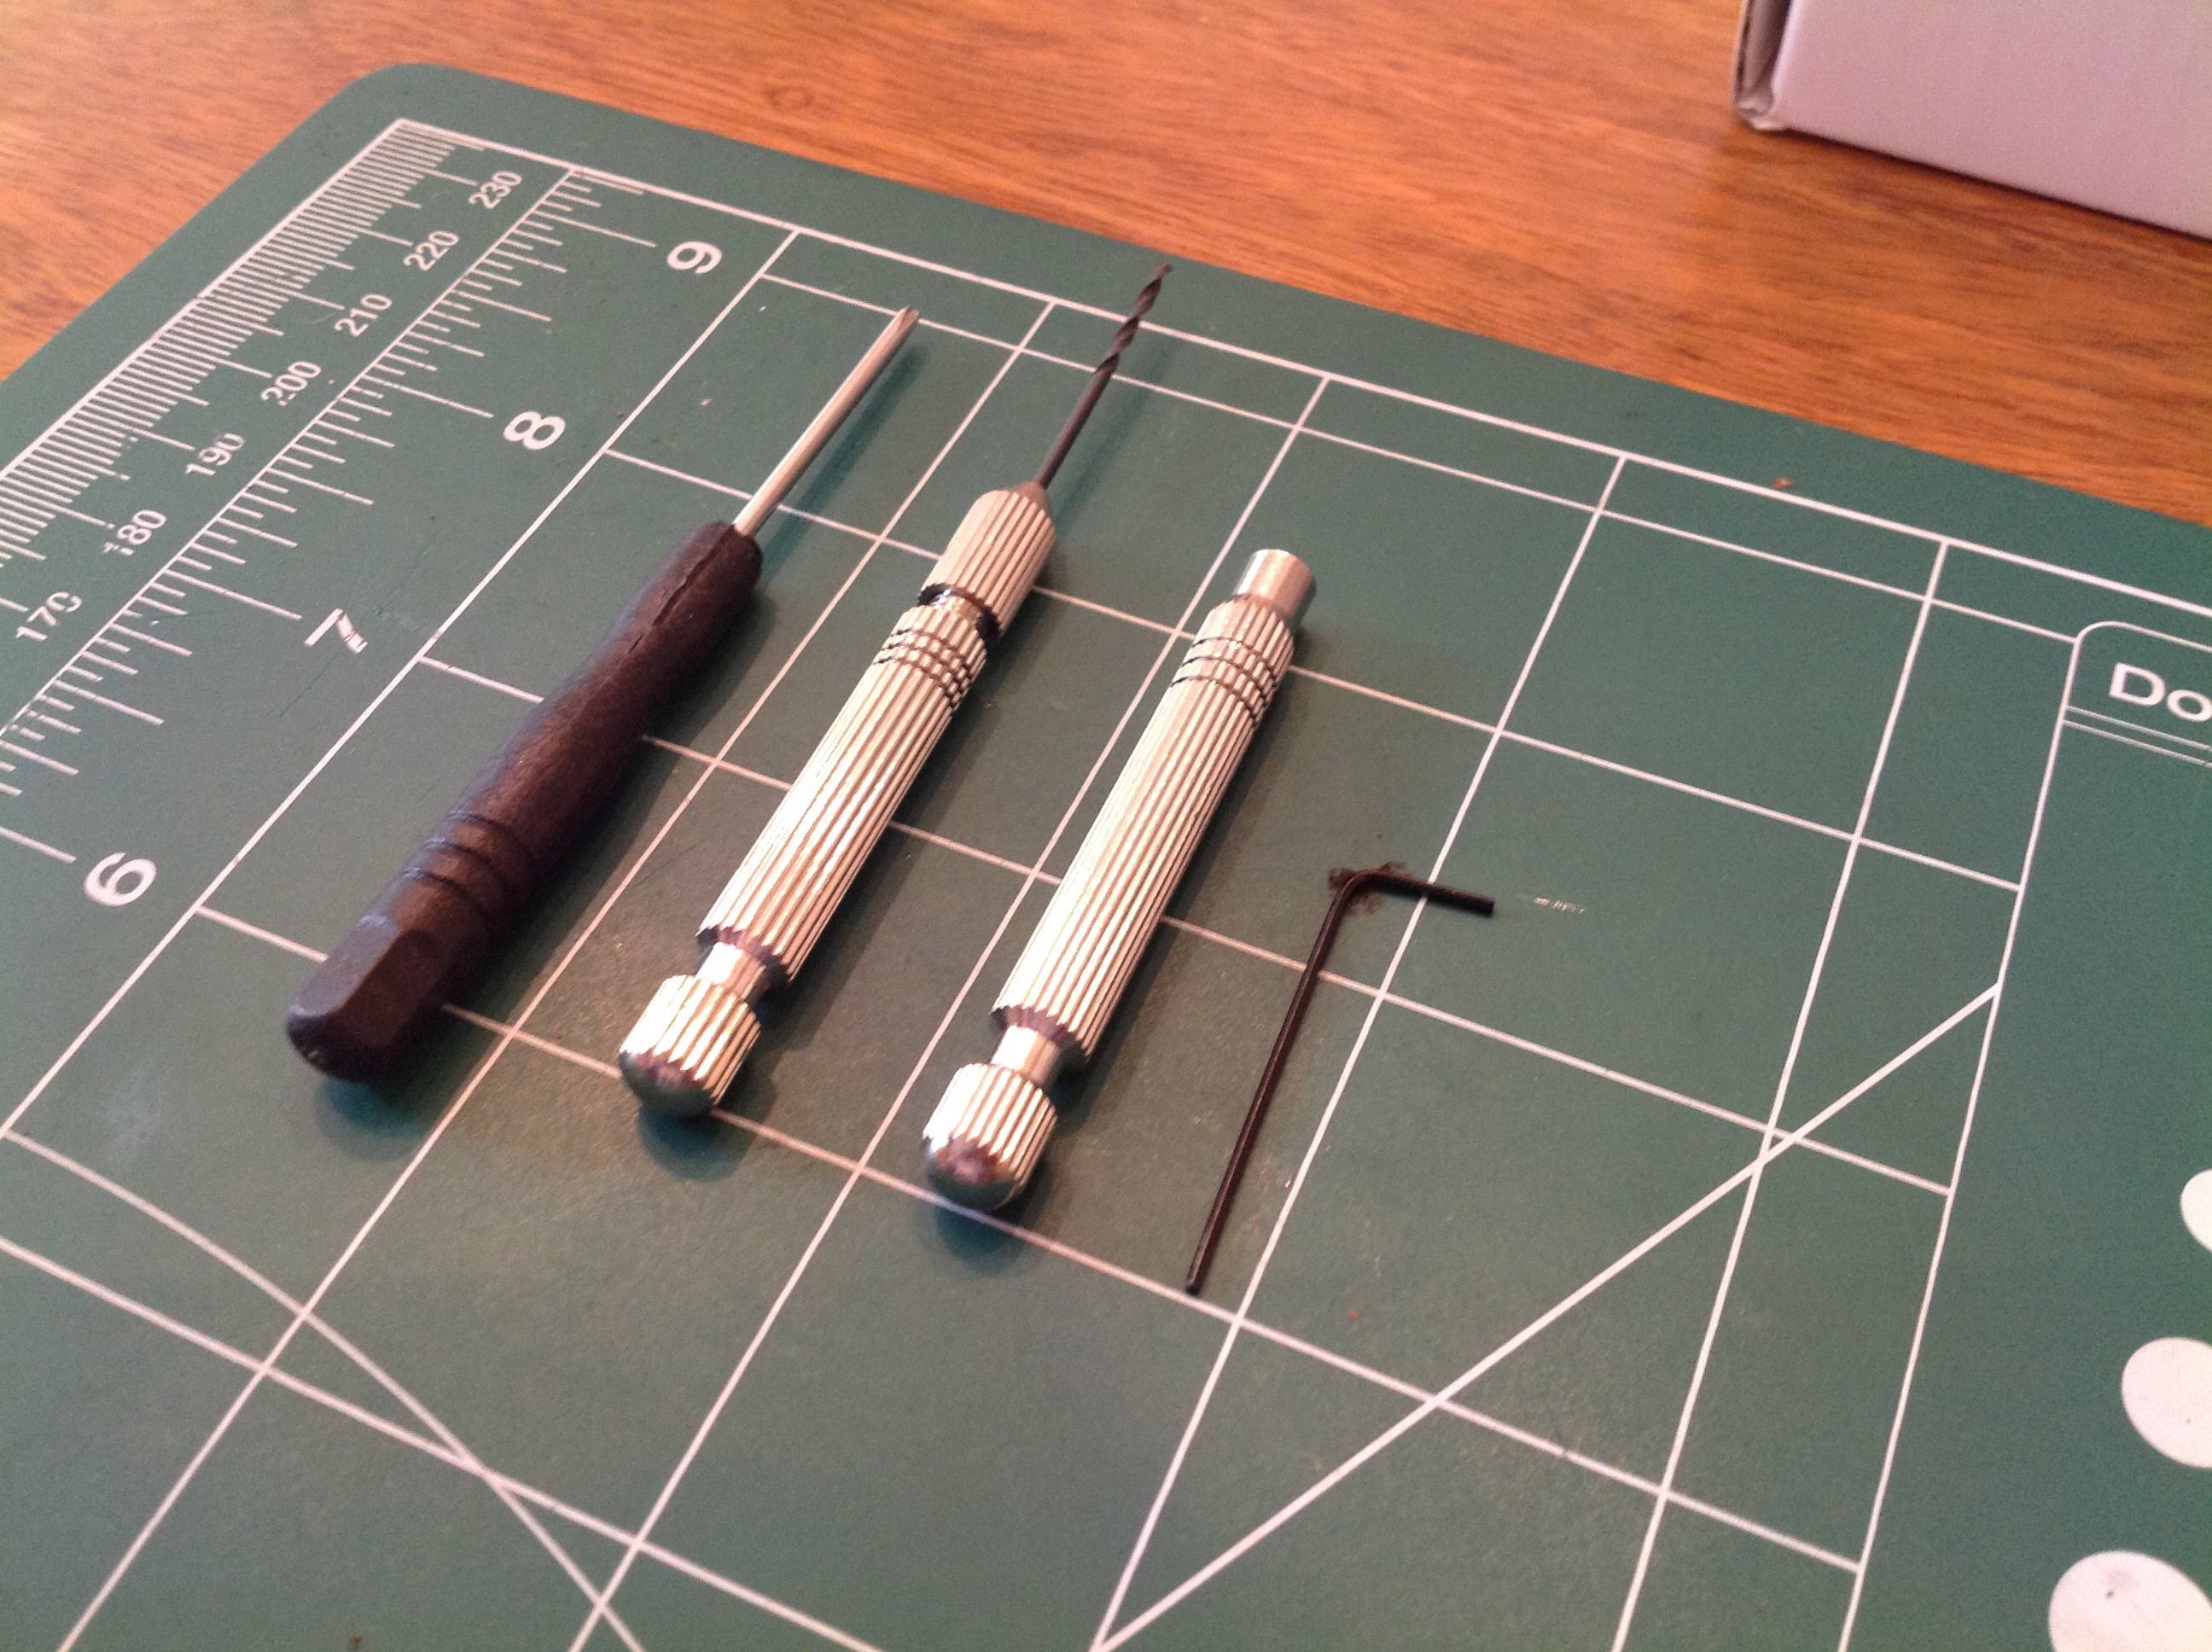
I did not have tools small enough to work on this
model, but thankfully the kit comes with some that are good enough to do
the job. Included are a tiny Phillips screwdriver, a pin vise
with two drill bits, a tiny nut driver, and a tiny hex key. You
will need all of these during the build. The lines on the cutting
mat show the scale.
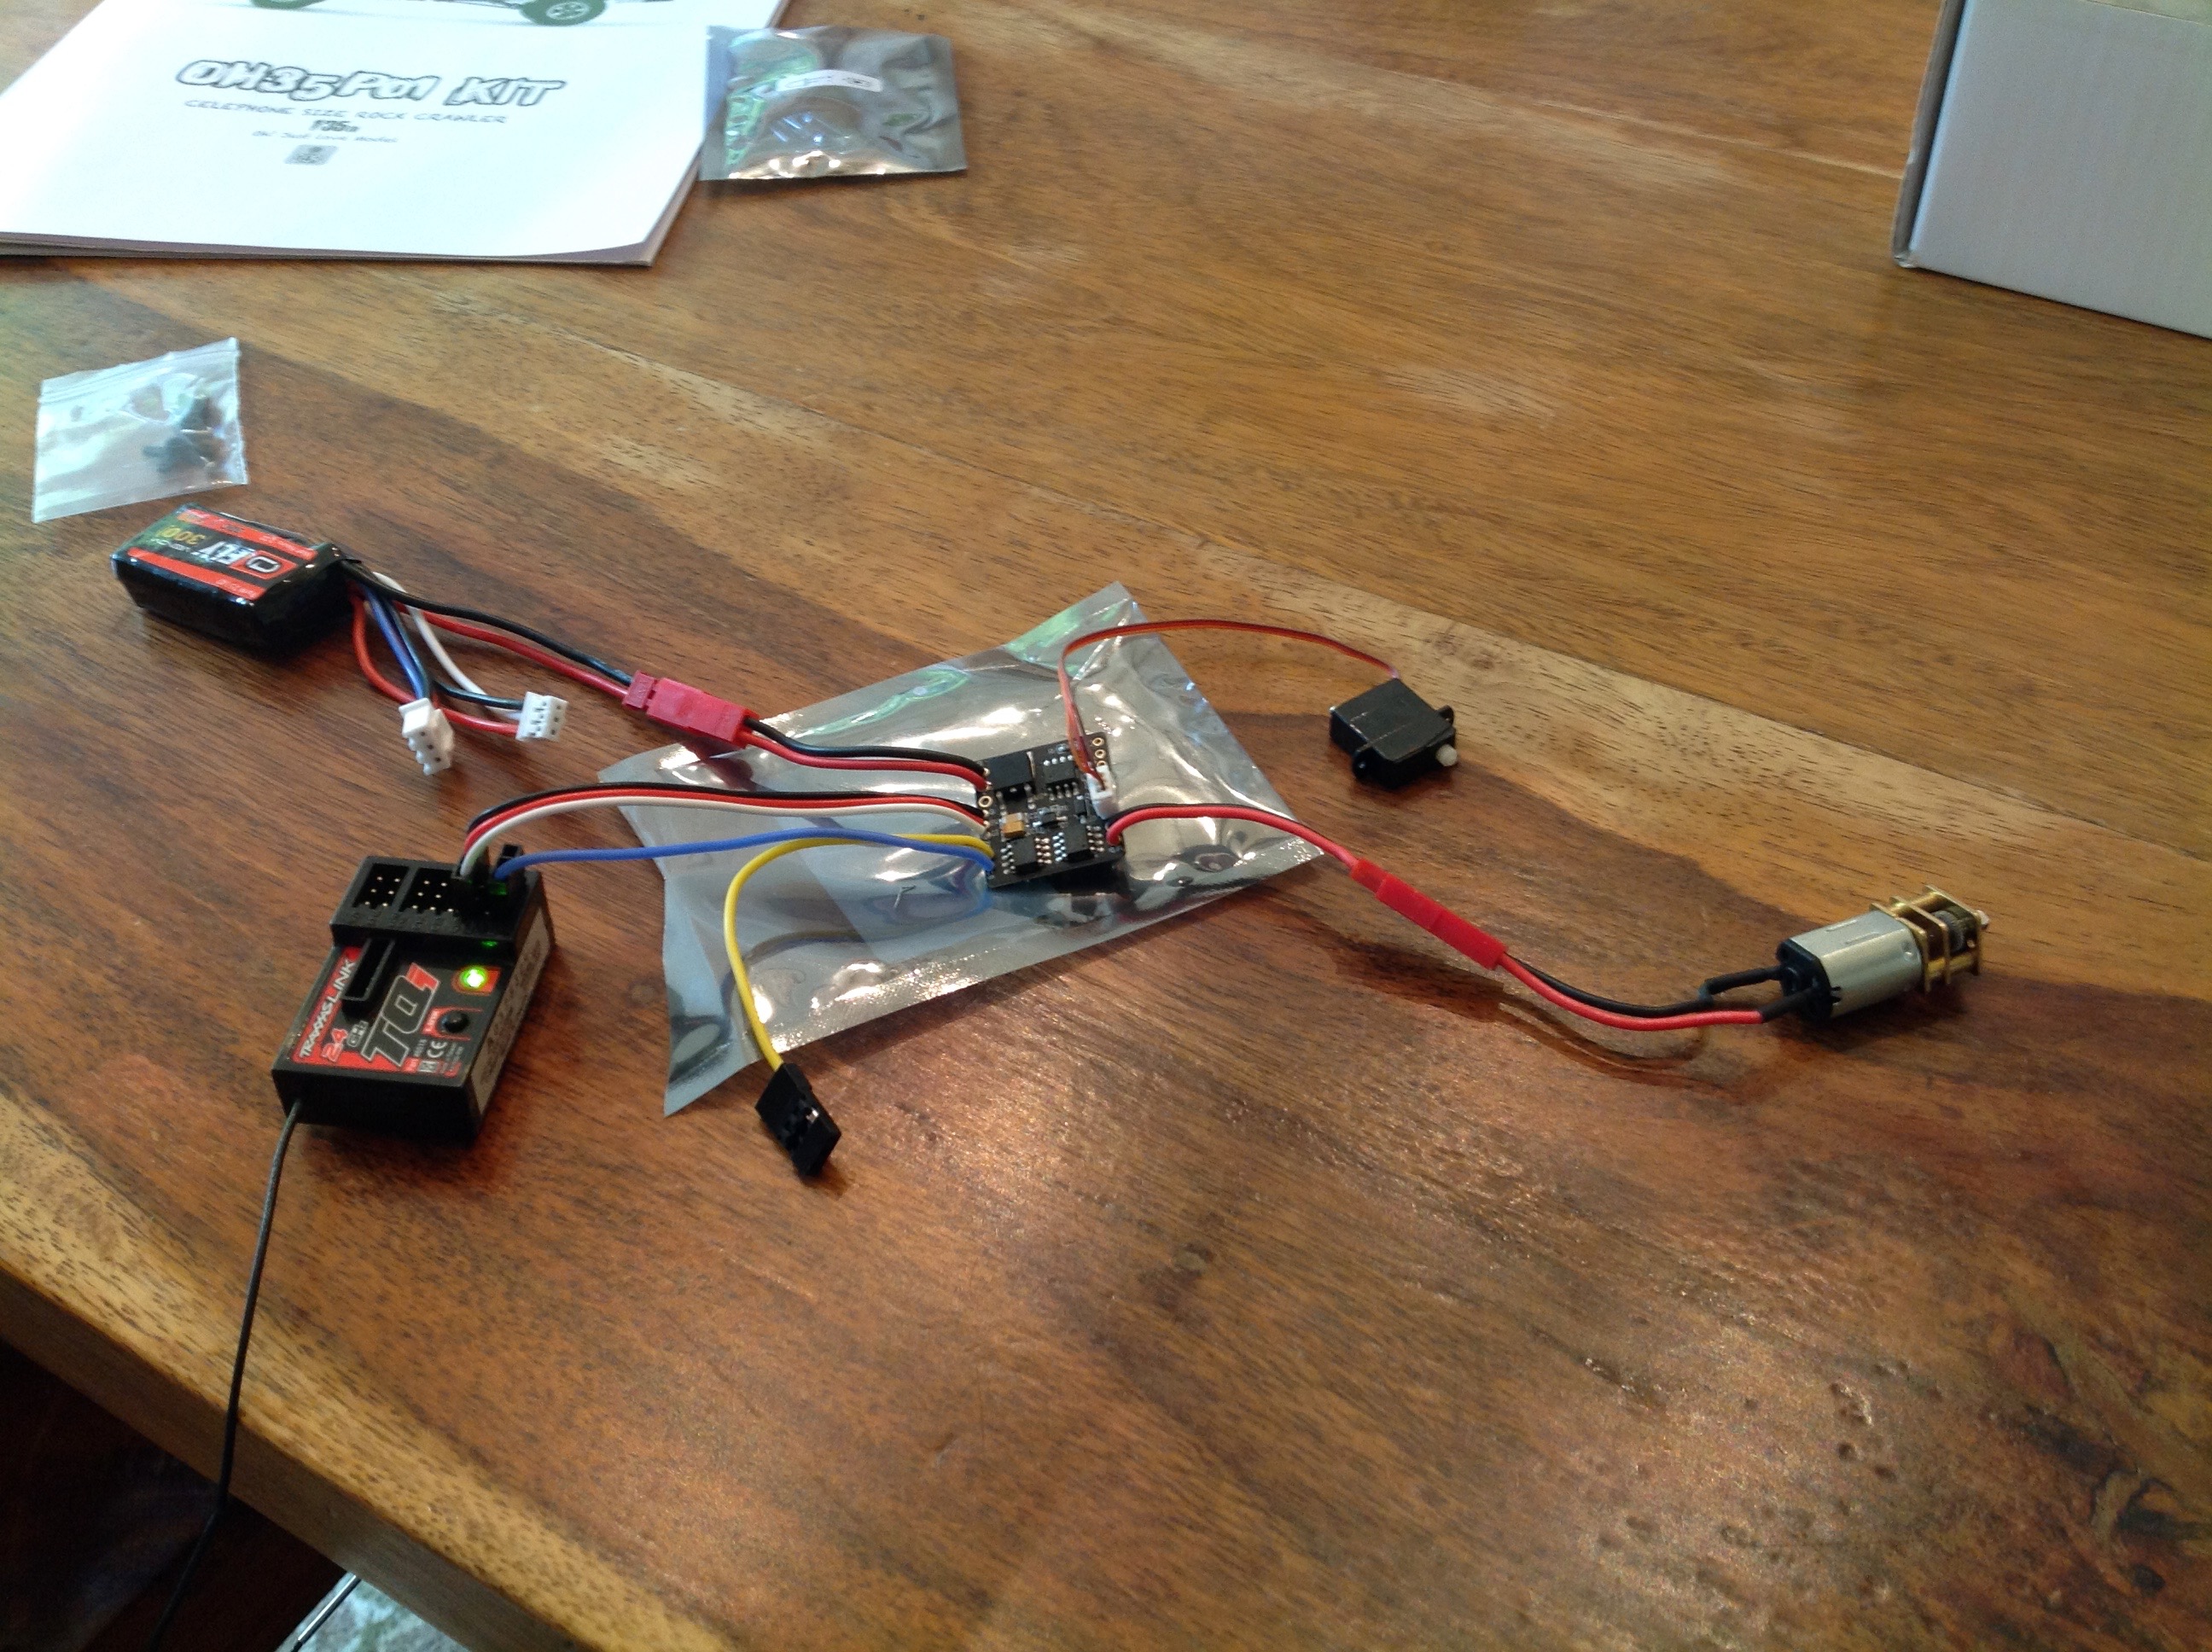
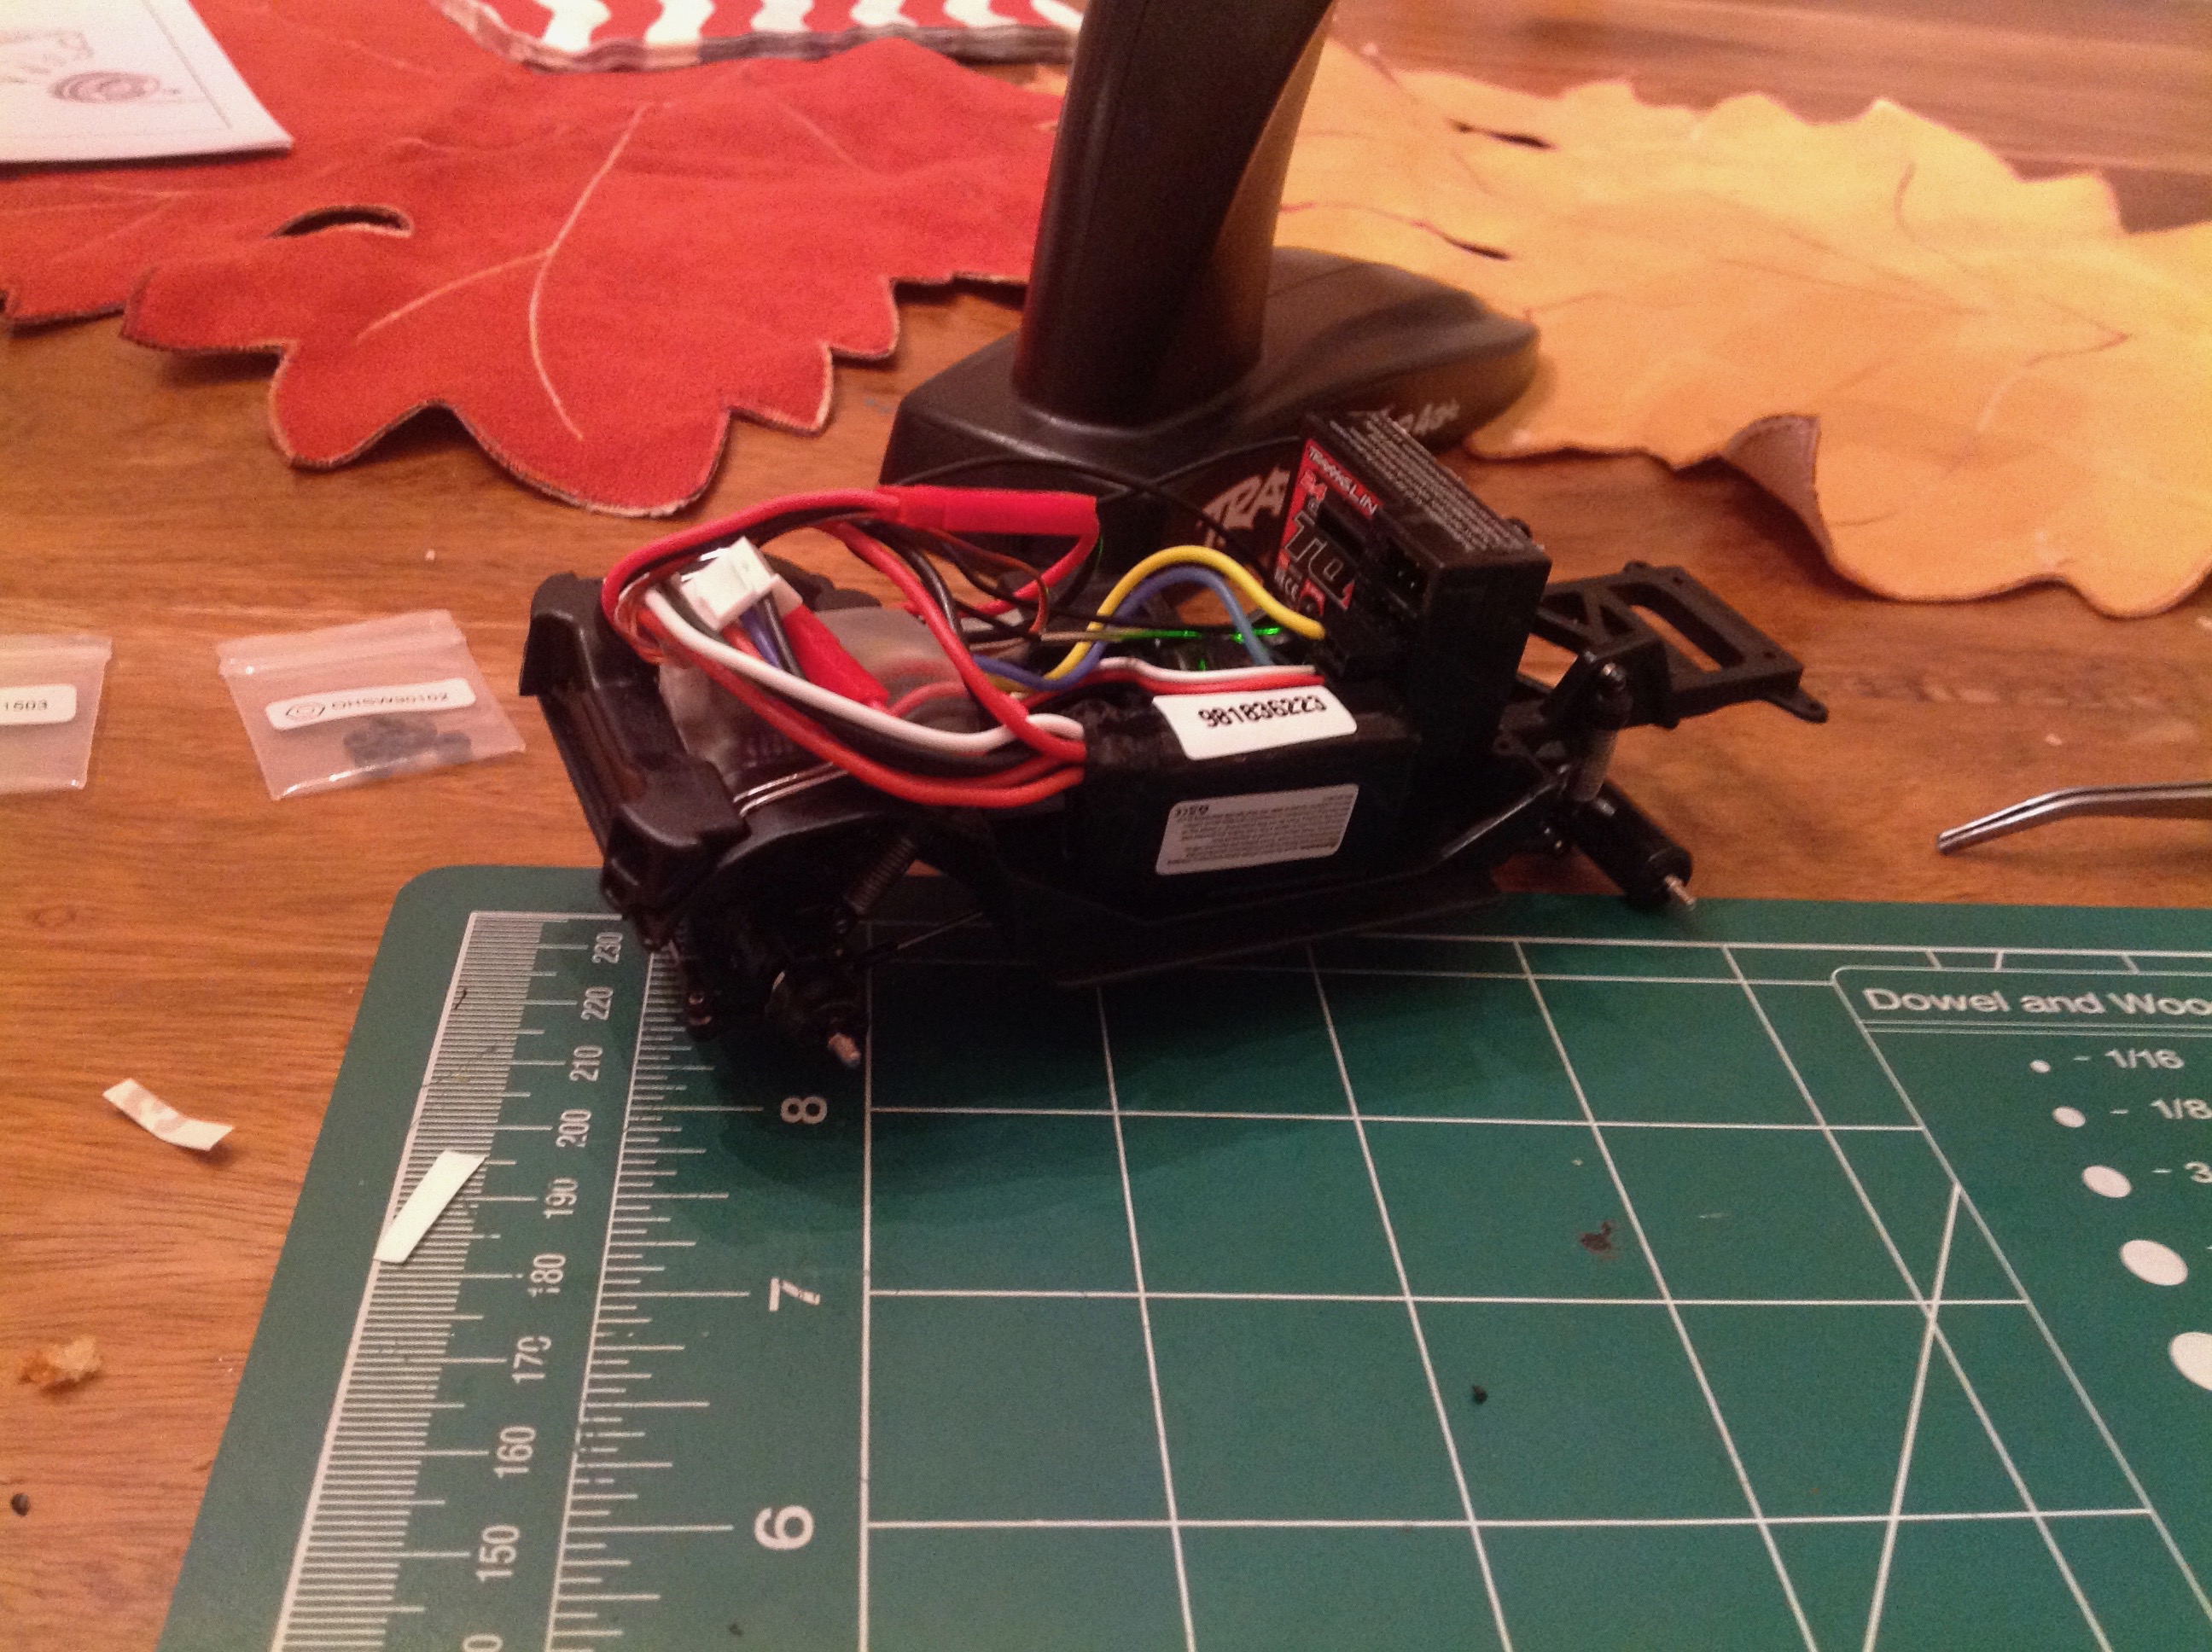
Here's a mockup of the electronics connections.
The included diagram is only in Chinese, so it takes a little work to
figure it out. The kit does not come with any electronics, but you
can buy almost everything you need from Orlandoo. I got their
1.7g servo, their 200 rpm motor, and their ESC. You need to supply
your own receiver. You'll need 3 channels if you want to control
the lights, but if you don't have a 3rd channel they will just stay
on. The disconnected yellow wire in the picture is actually for
the lights and goes to channel 3. The ESC does not have Li-Po low
voltage cutoff, but it will accept a 2s Li-Po. You just need to be
careful about charging it on time. There are a couple of open
slots on the board to solder in the wires for the headlight and tail
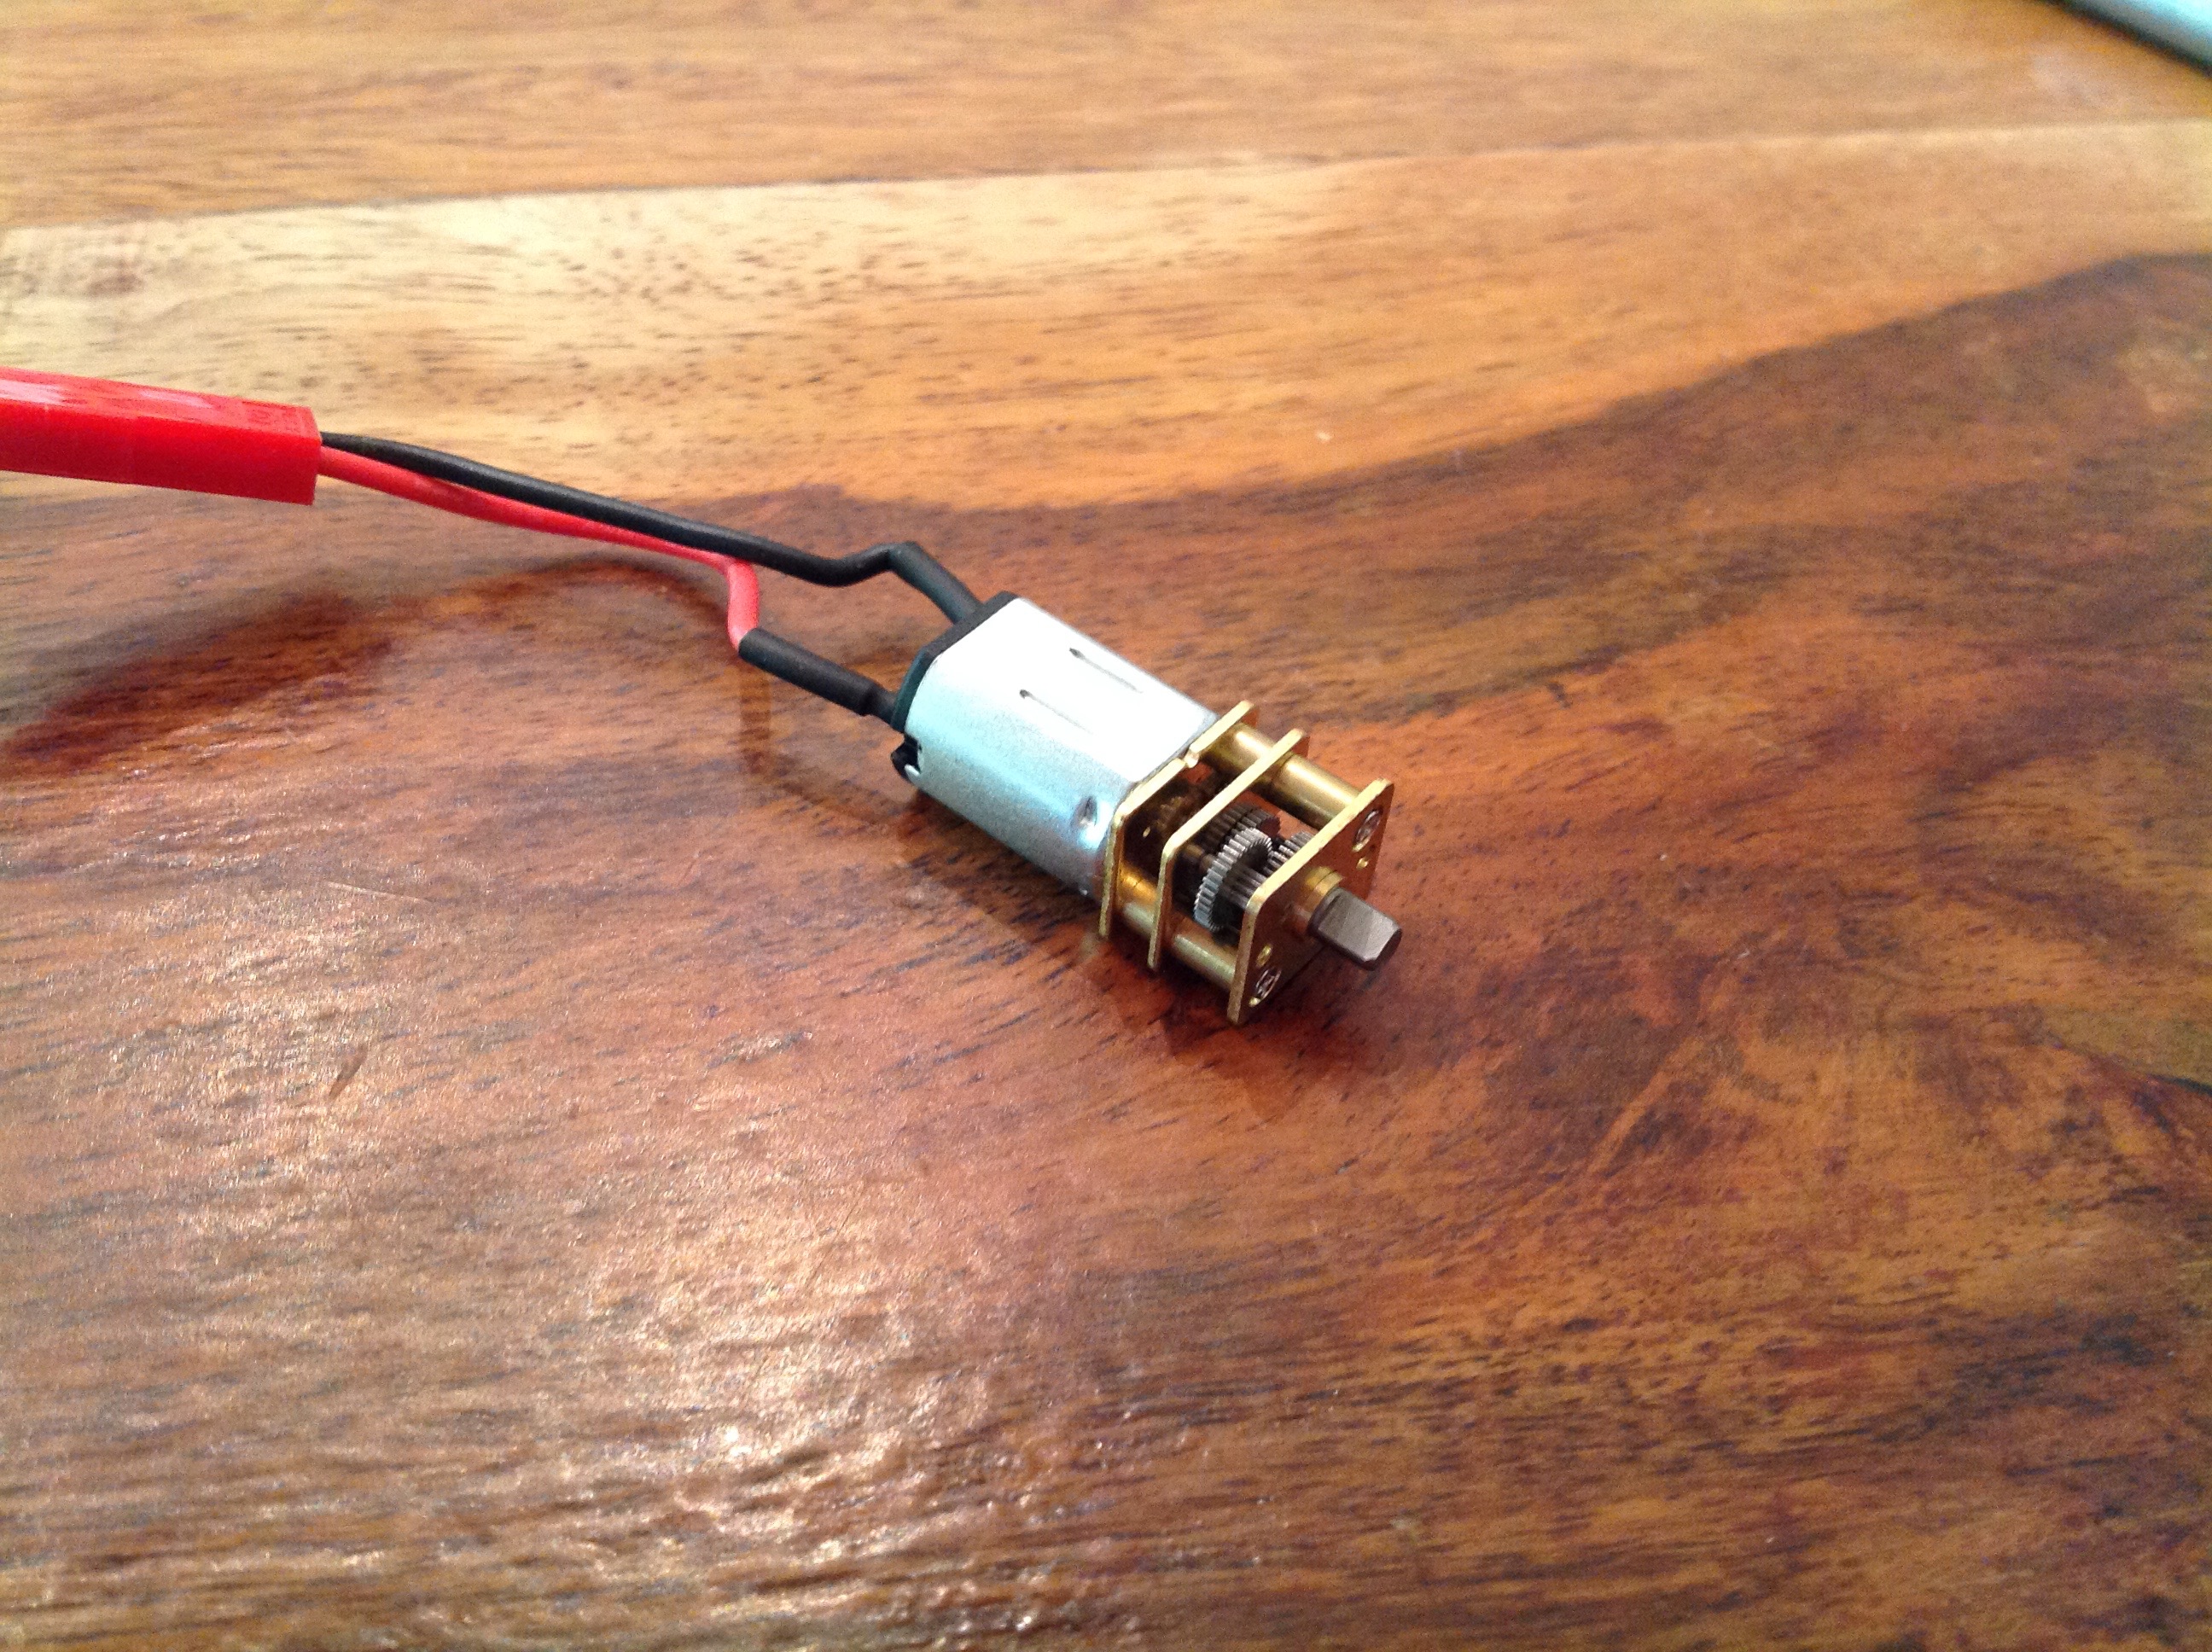
light LEDs. The motor shown on the right has the gear reduction
built in. You can get 4 different options: 150 rpm, 200 rpm, 300
rpm, and 500 rpm. I wanted good torque for climbing so I got the
200 rpm. The model is very slow, but just right for
climbing. I suspect it would be underpowered with the faster
motors. The little metal gears are quite loud under load, but seem strong.
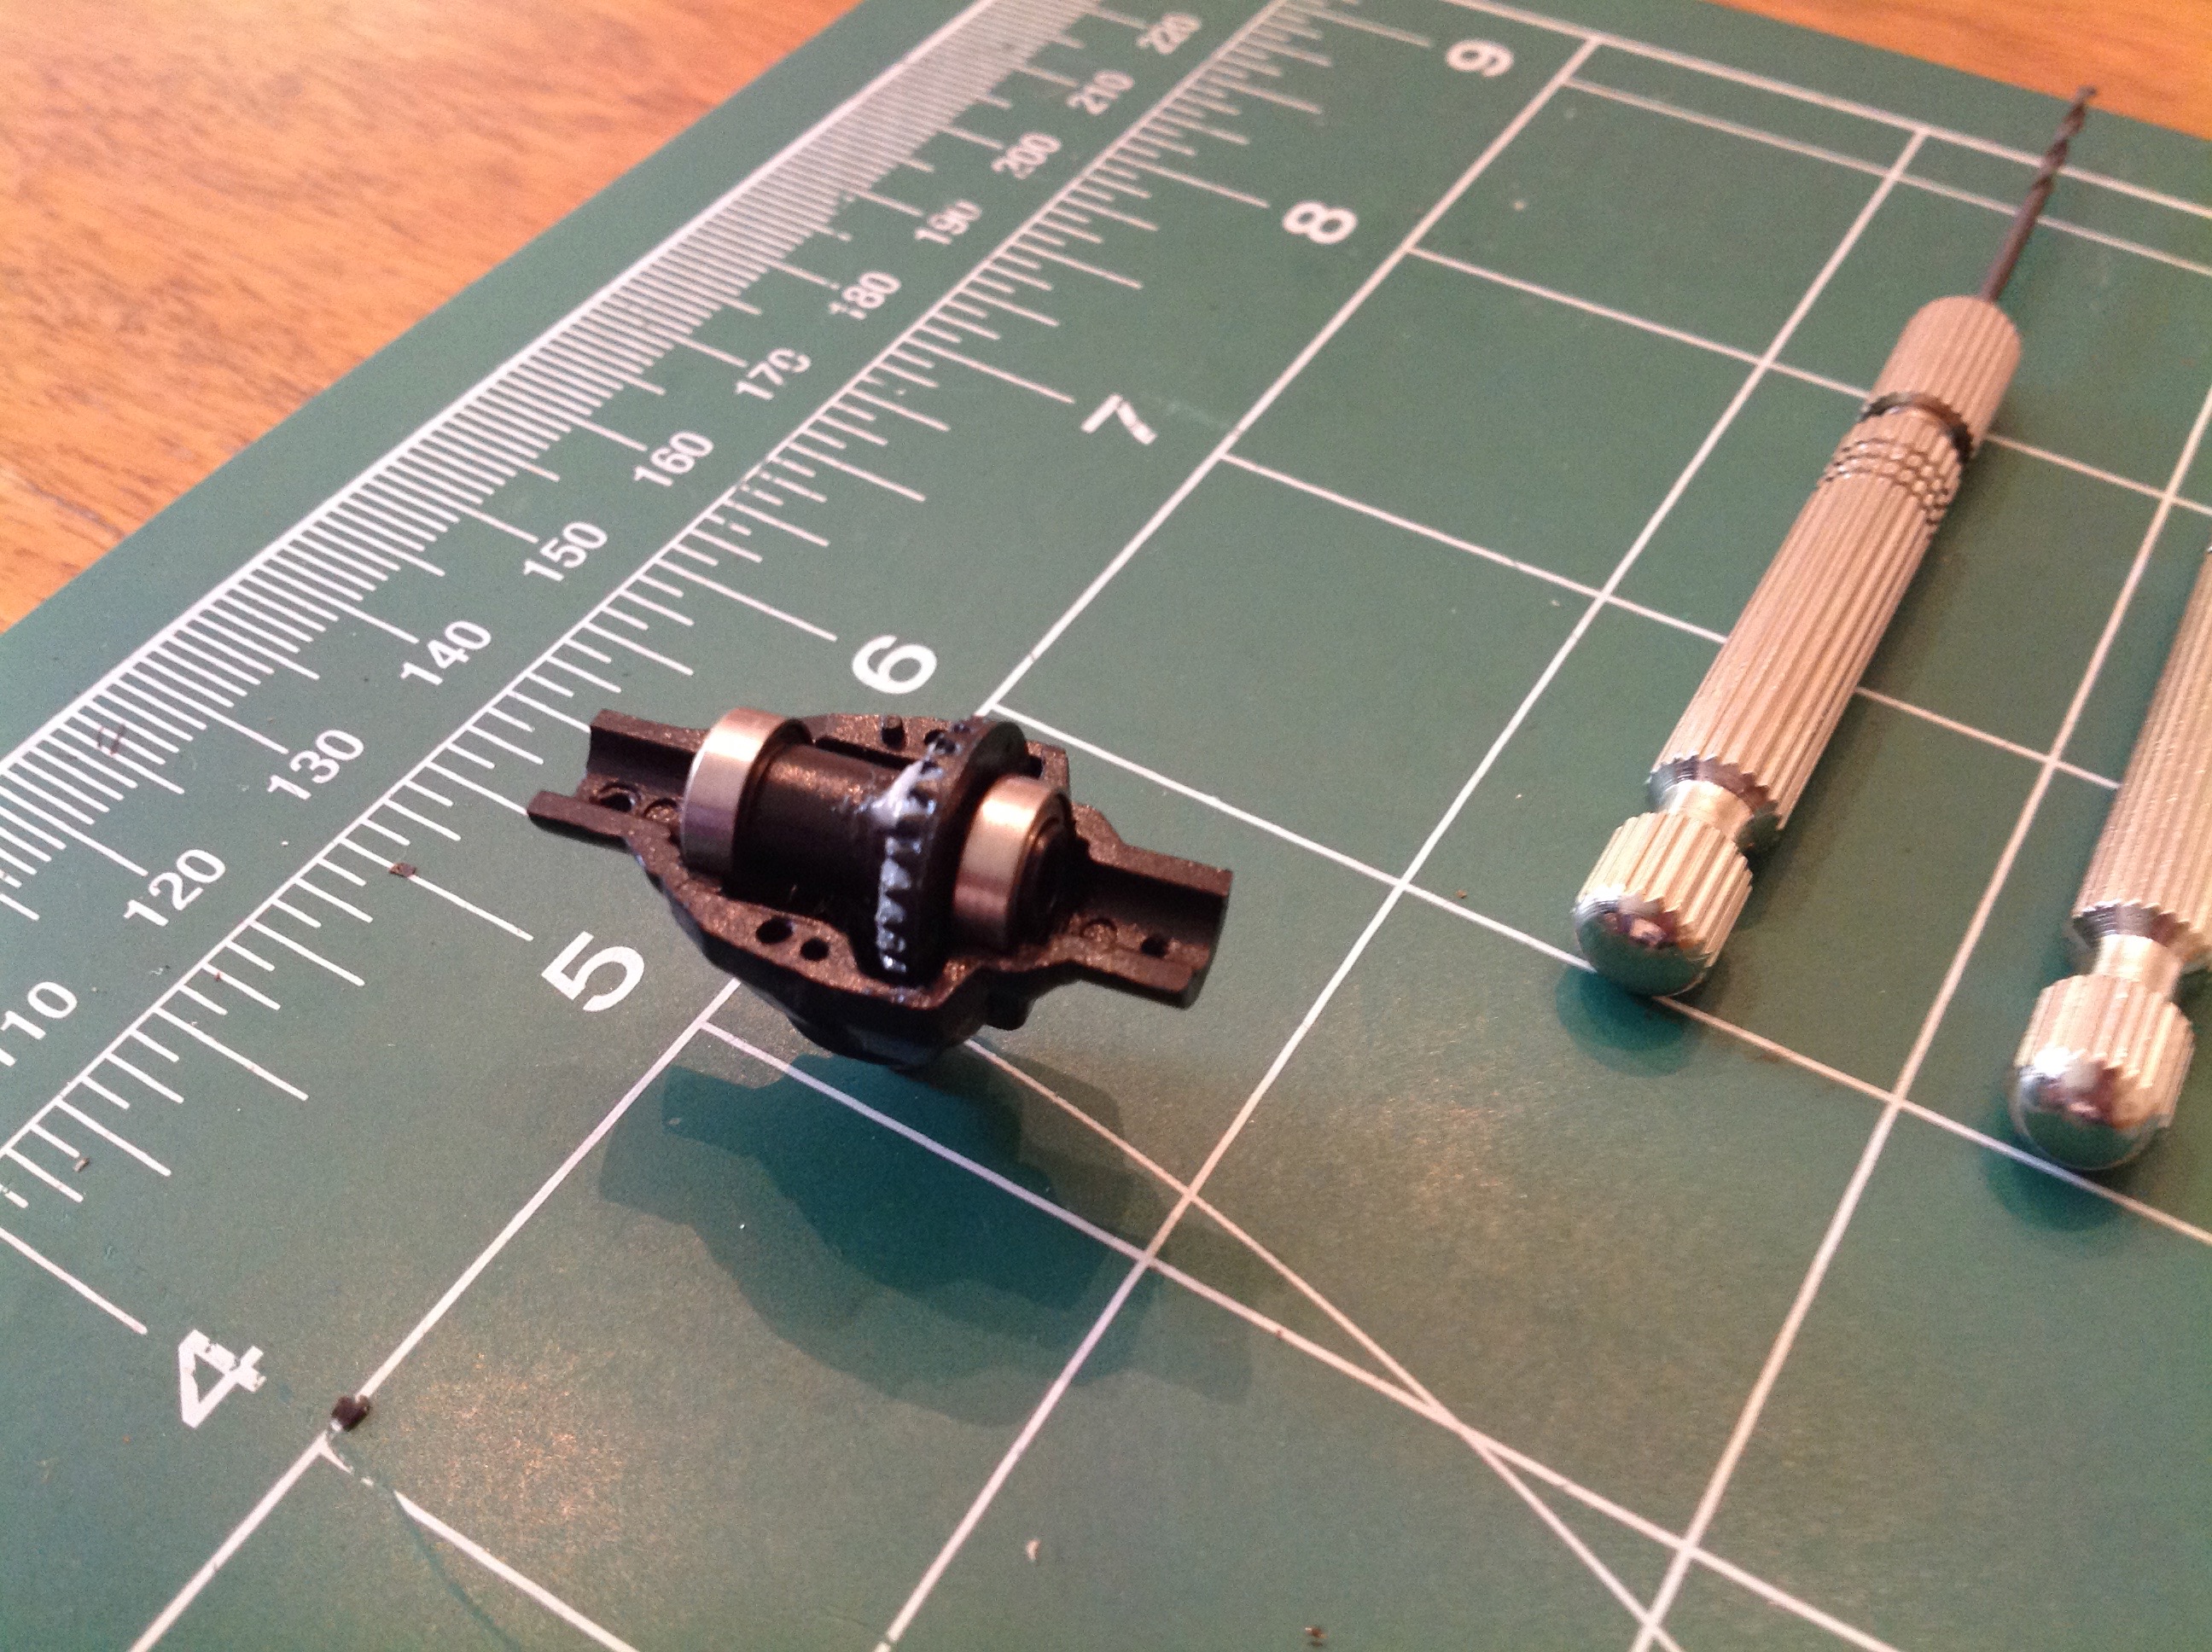
There are no differentials here, just locked
spools. The ring and pinion gears are plastic, but the axles are
metal and the kit comes with a full set of ball bearings. The
bearings are somewhat pointless given how much friction is in the gears,
but they are still welcome. There are many tiny ball studs for
the steering and 4-link attachments.
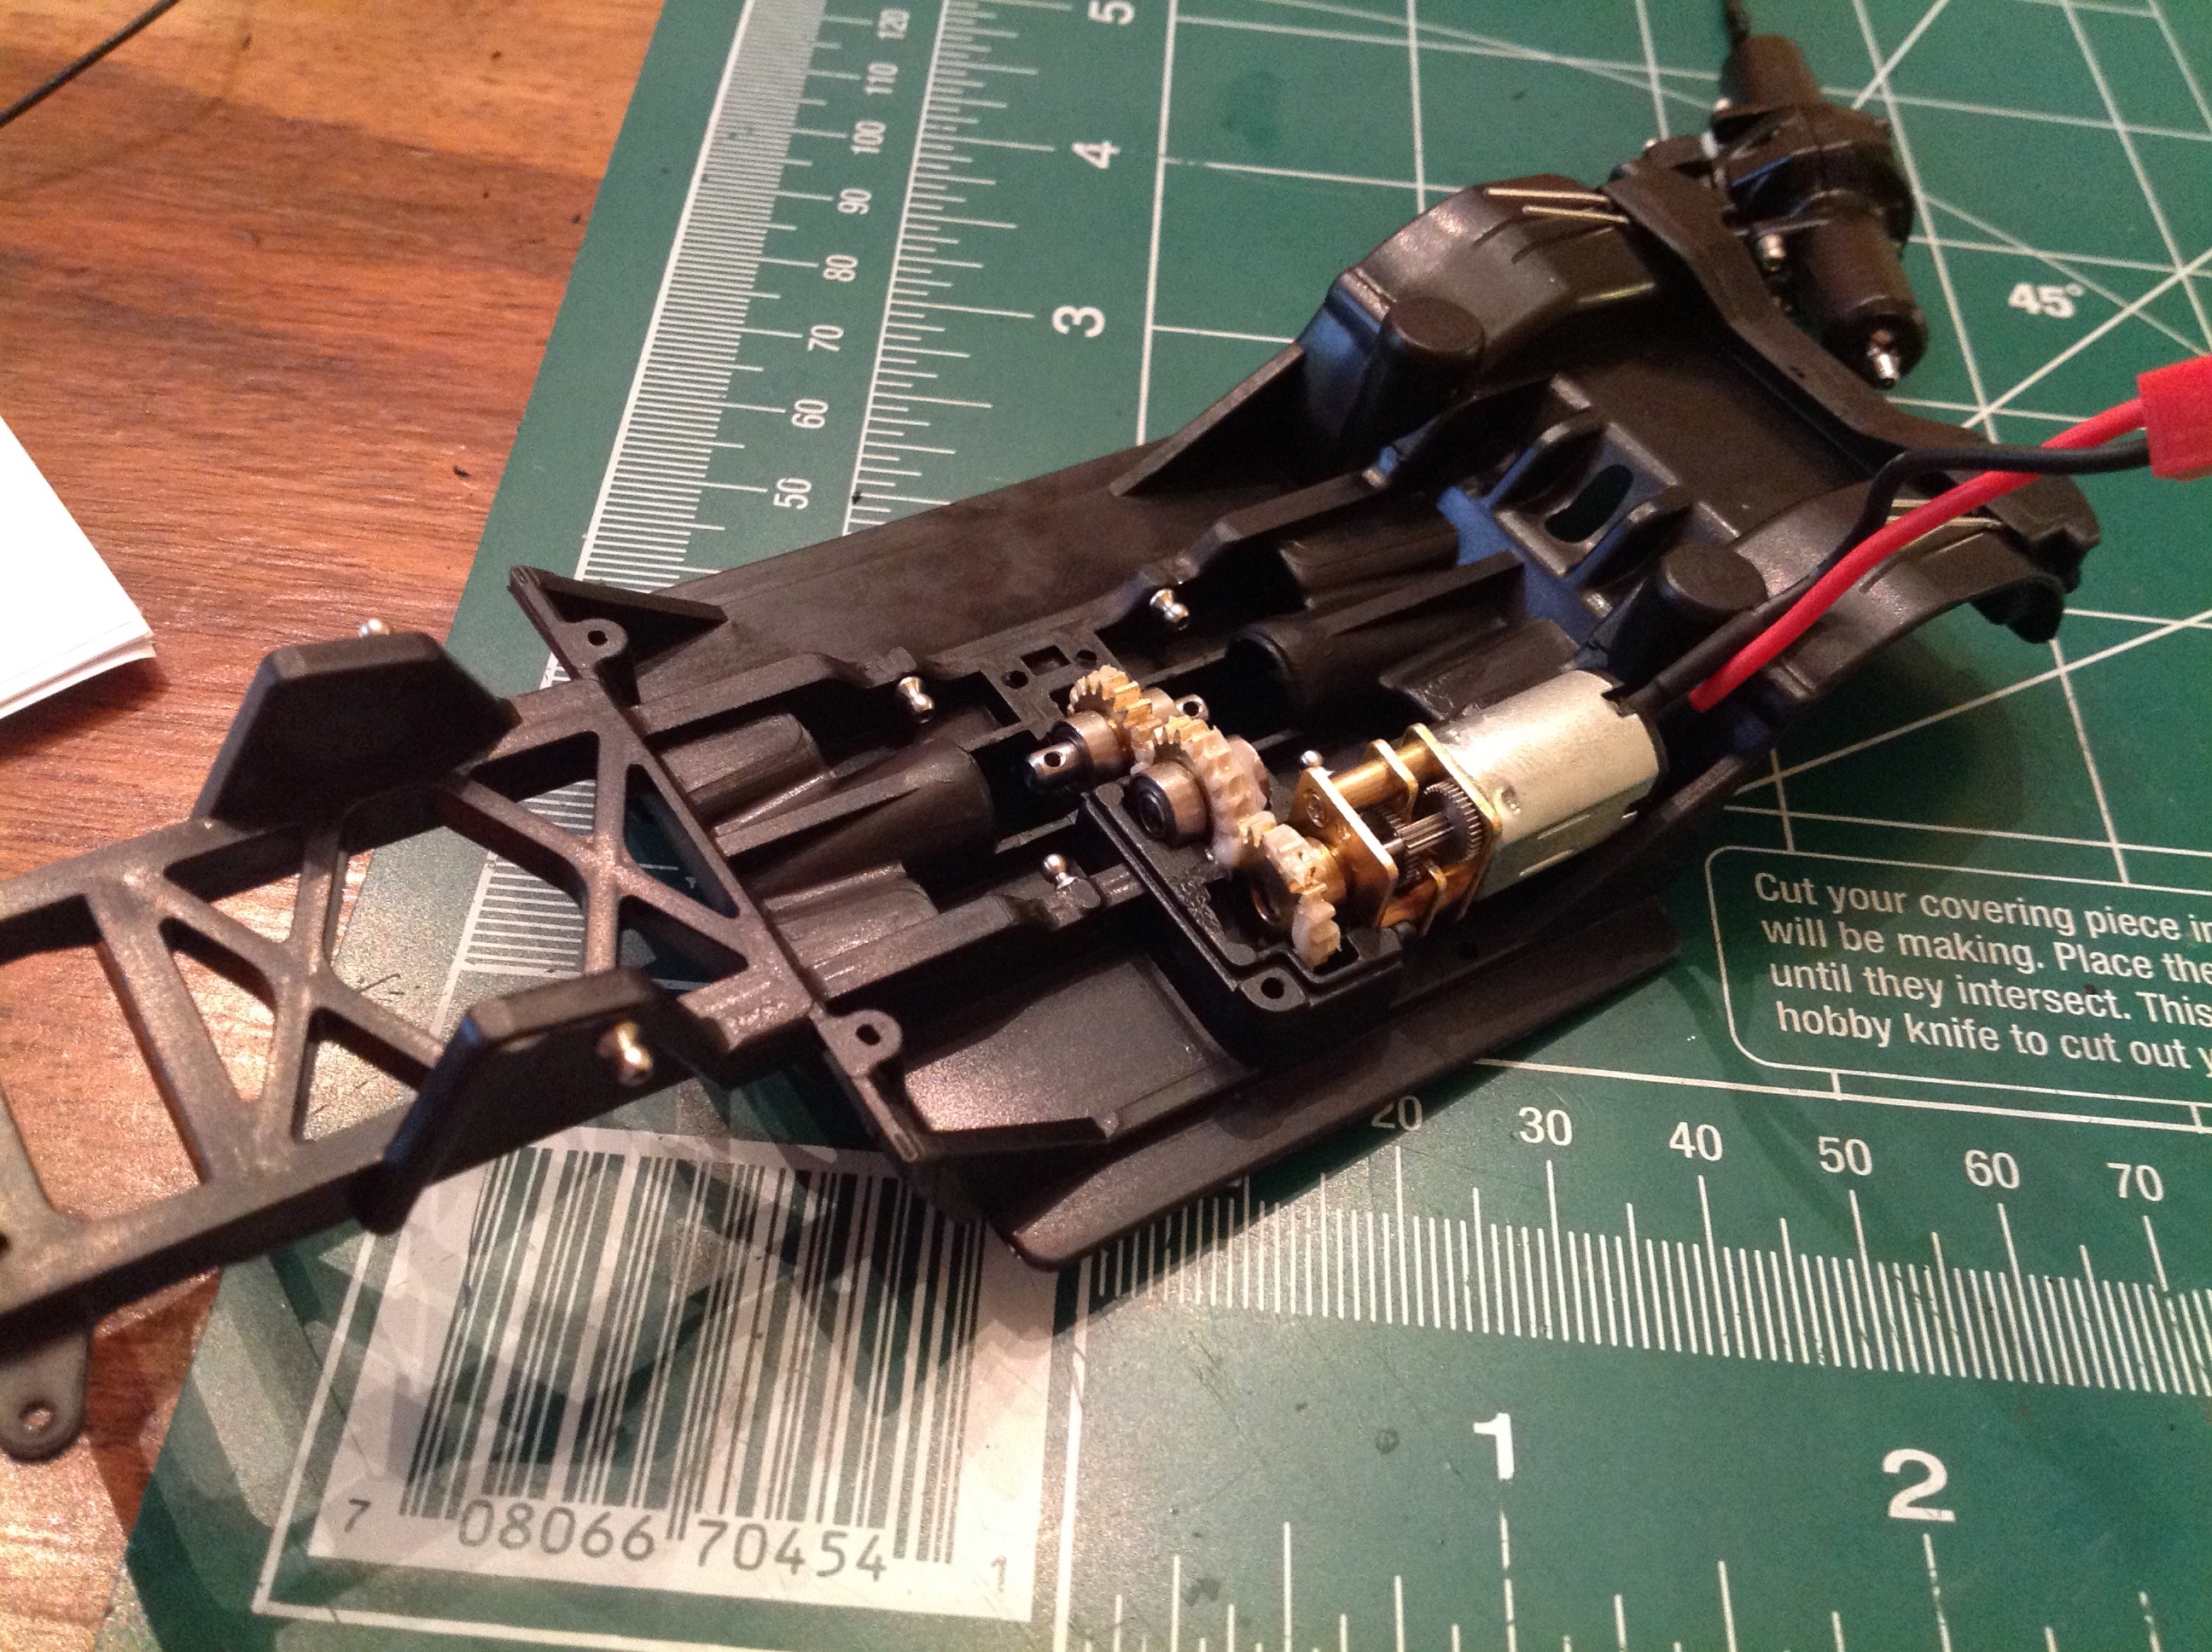
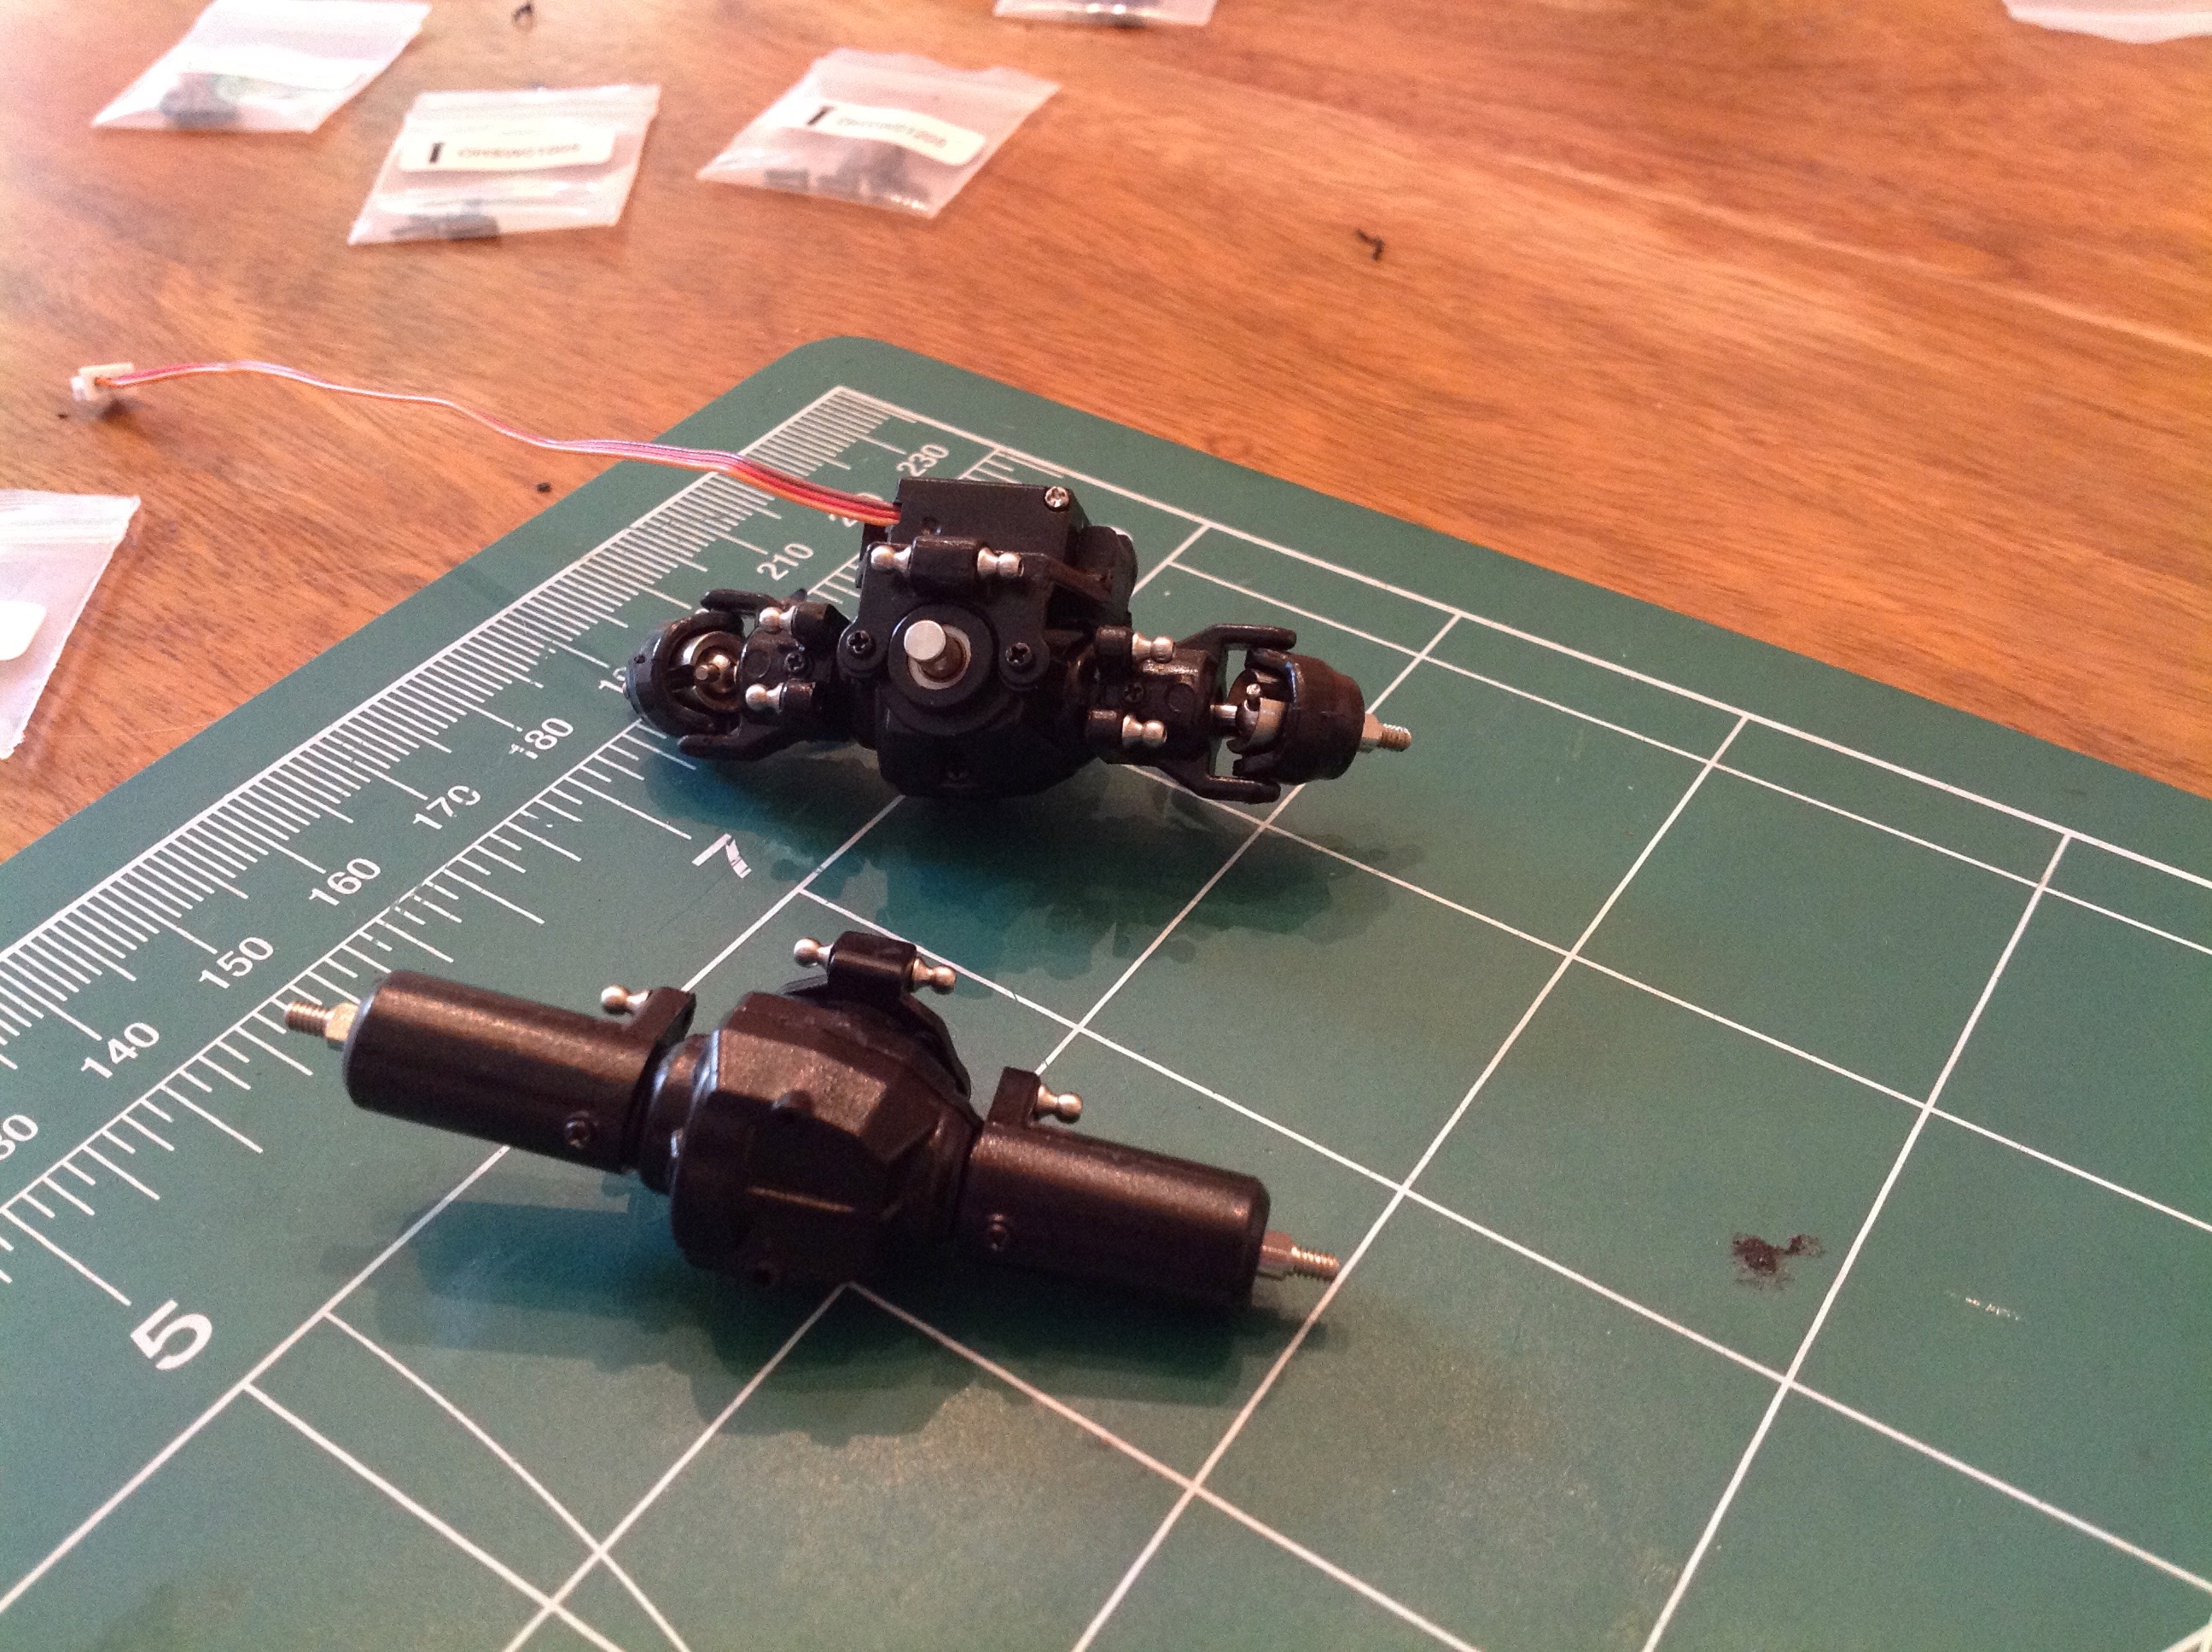
The kit comes with brass idler gears to get from the
motor to the transfer case. In my kit, the middle gear was mounted
very crooked on the axle so it wobbled and was mostly unusable.
It is pressed onto the axle so correcting this was very difficult,
especially without damaging anything. I eventually got it to run
true using a rubber hammer on a concrete block. The right hand
image shows all the electronics installed. Everything needs to fit
inside the cab, and that's not easy. The ESC goes between the
front wheel wells, and the battery, motor, receiver, and wires need to
fit behind. You can also buy a sound kit for this, but I'm not
sure where it would go. Note that I have a pretty big receiver
here so you'd have more room with a micro version.