Tamiya King Hauler Project

Page 1:  Unboxing and building the frame


The King Hauler is a classic American long nose tractor truck which is not a licensed scale model of any particular brand.  I got the pre-painted black edition.  Also on the table you can see a 4 channel transmitter, MFC-03 (more on that later), a fuel tank trailer, trailer lights, motorized trailer legs, oil shocks, and a battery.  Although I have lots of Li-Po batteries, I didn't have any 6-cell NiMH stick packs needed for Tamiya models so I picked up a 5000 MaH model from Venom.  Everything you see here was ordered through Tower Hobbies.  It was insane to choose all of this as a first project, but I had done my research and was confident I had the right stuff on the table to make an amazing model.  If I didn't screw it up.


Here's the large, impressive box.  Don't let the red color fool you, there's a "Black Edition" sticker on the upper right.  Being new to Tamiya and this model, I had no idea whether the chrome in the picture was really chrome or how much of the model was plastic versus metal.  To my regret, I threw away the box when I was done but now I wish I had kept it for posterity since the classic Tamiya box art is so excellent.


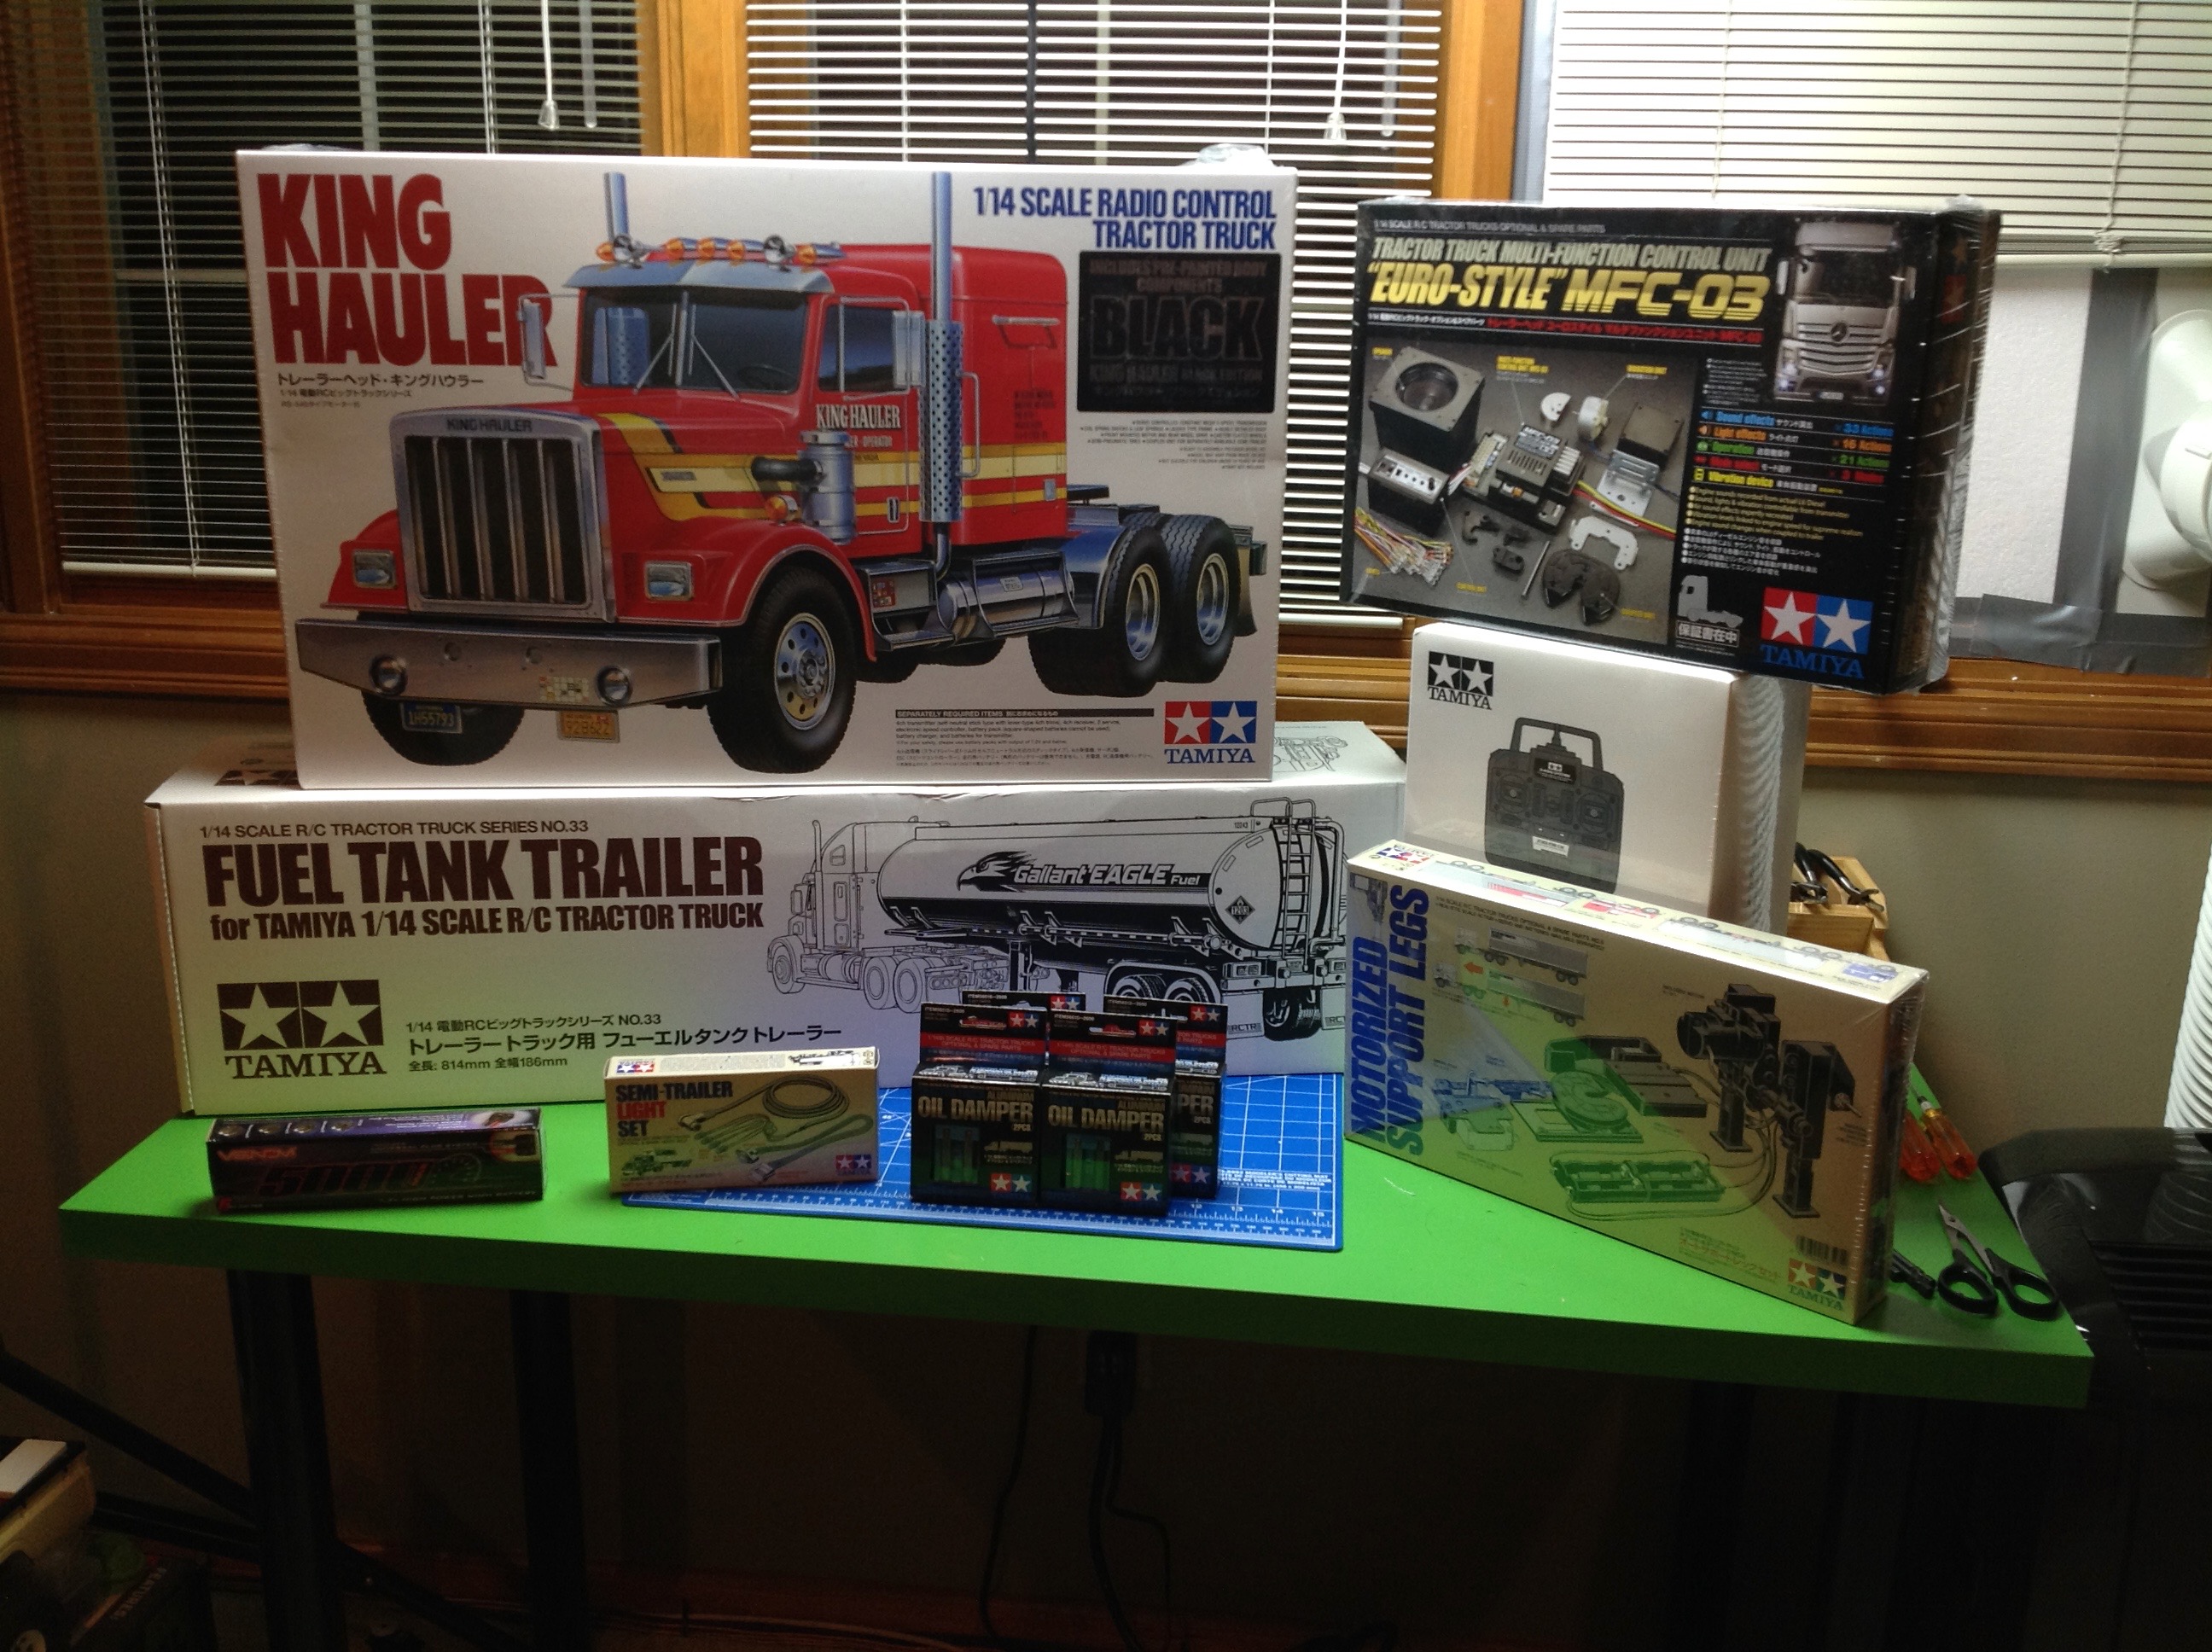
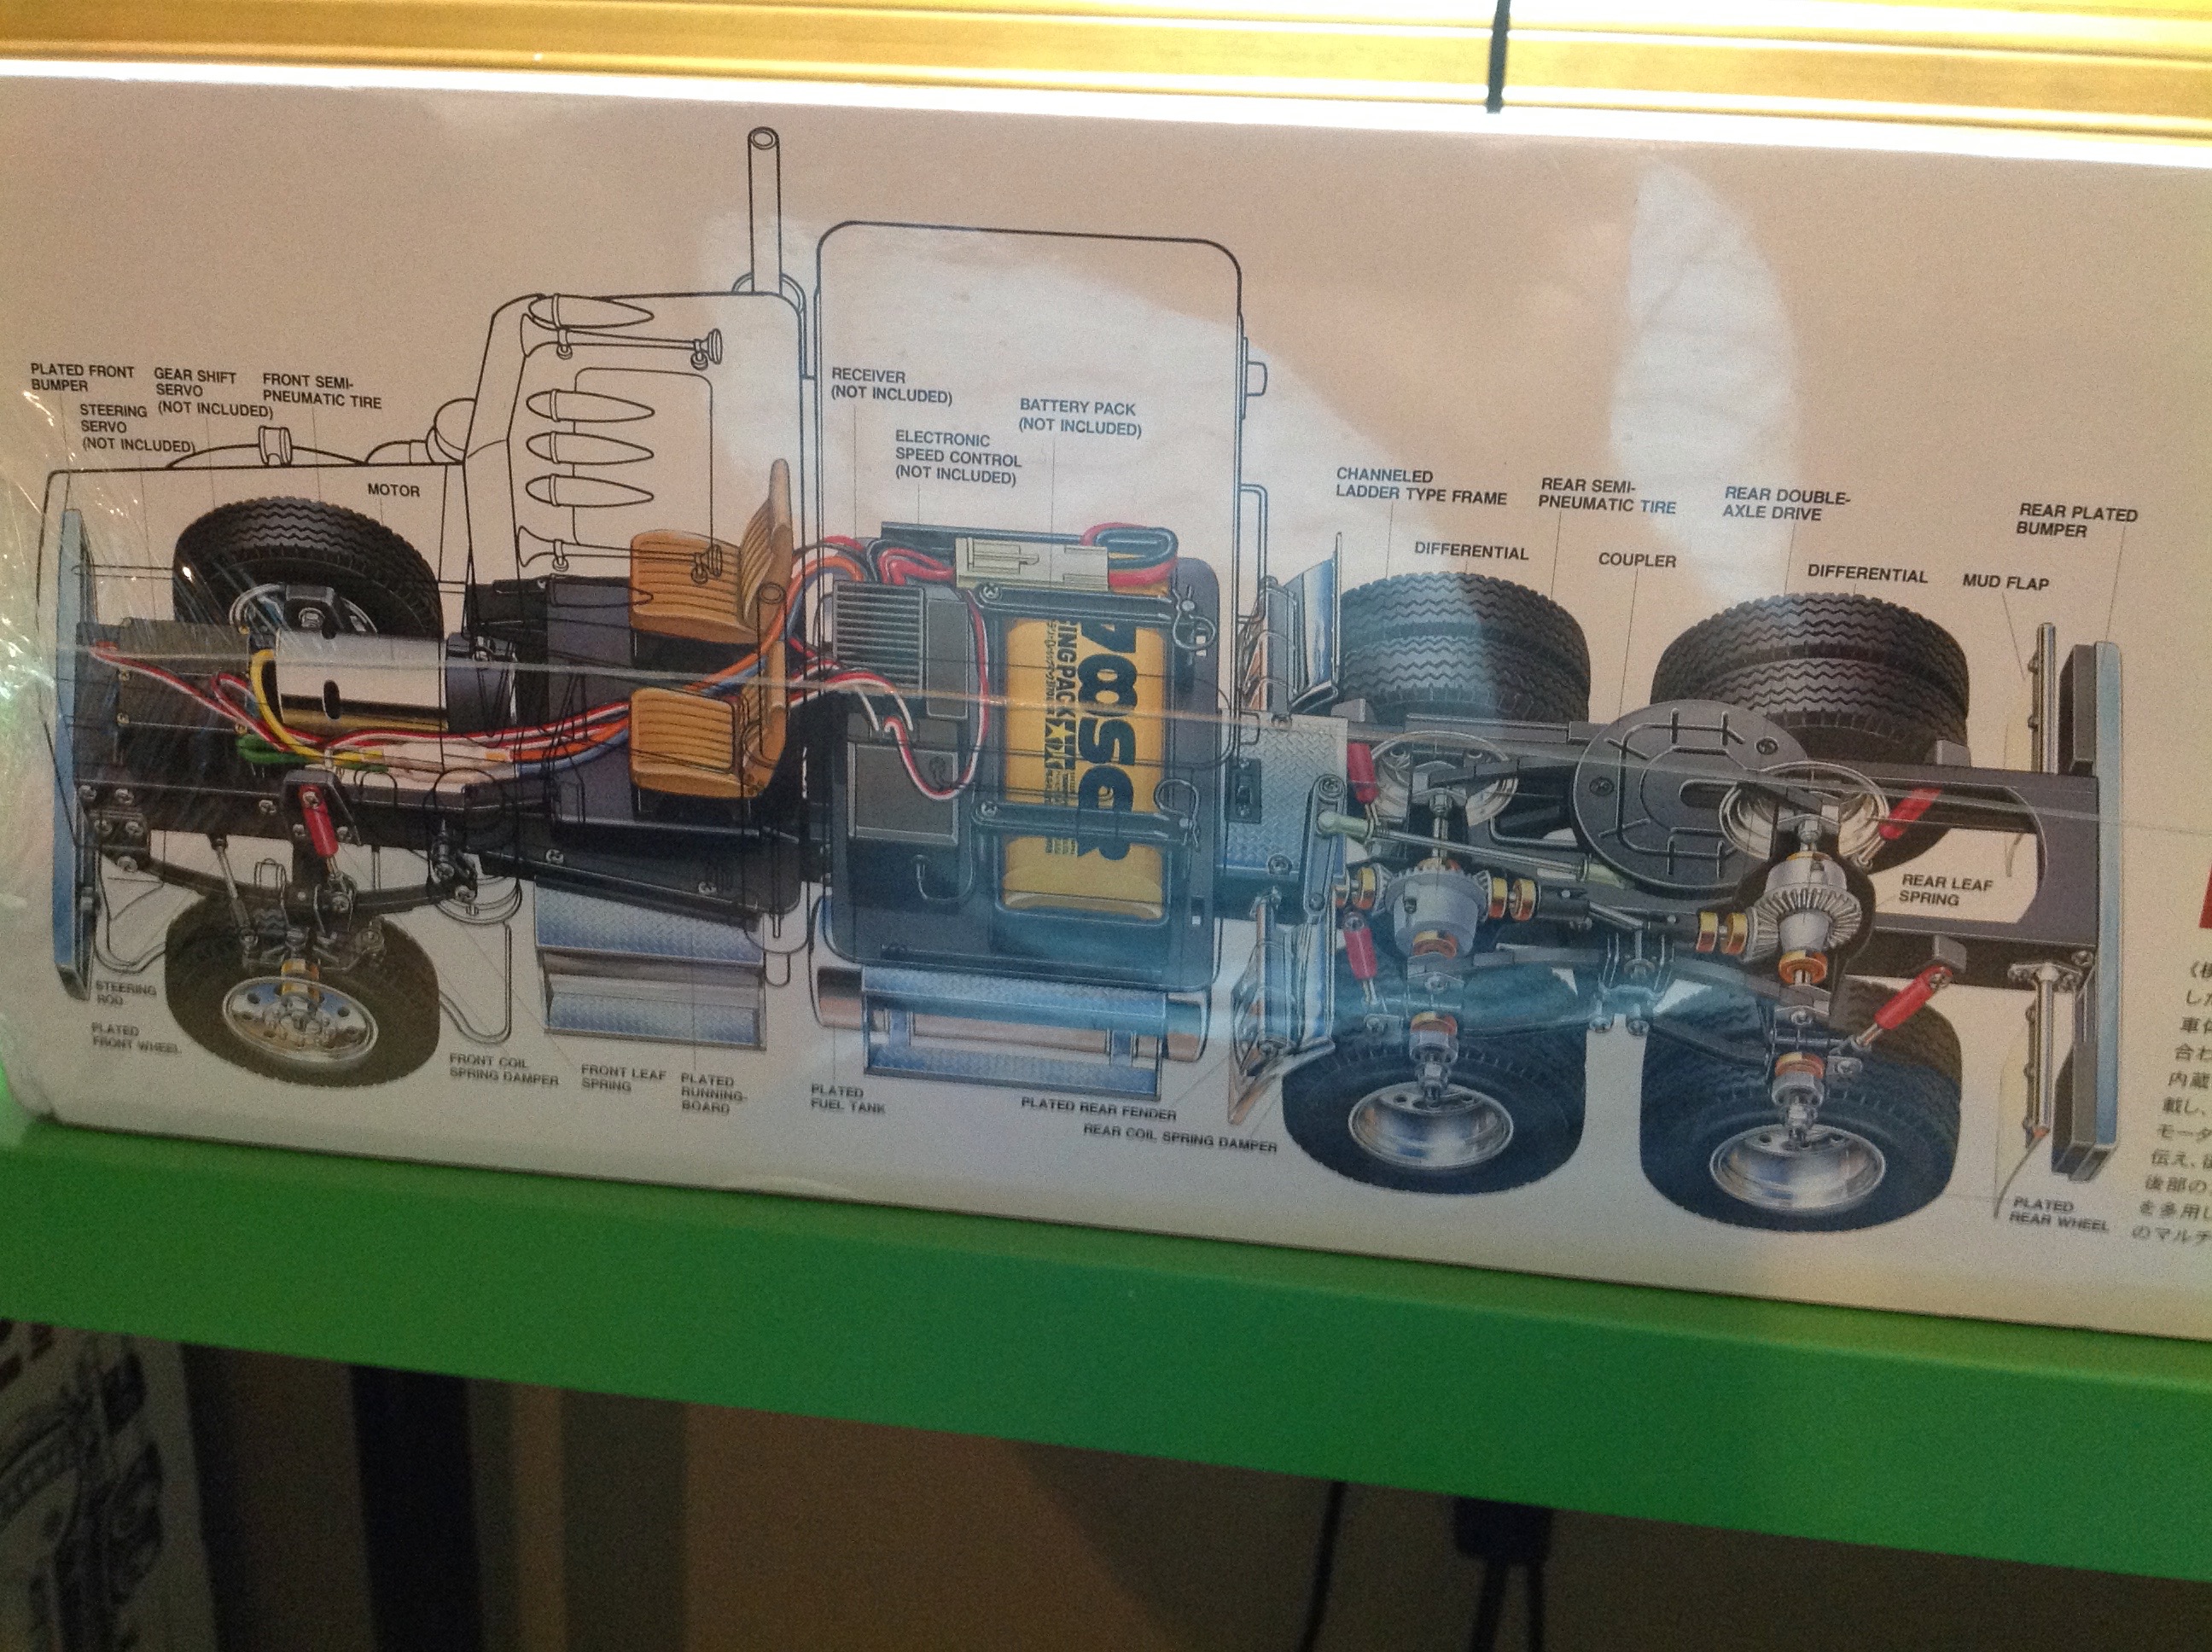
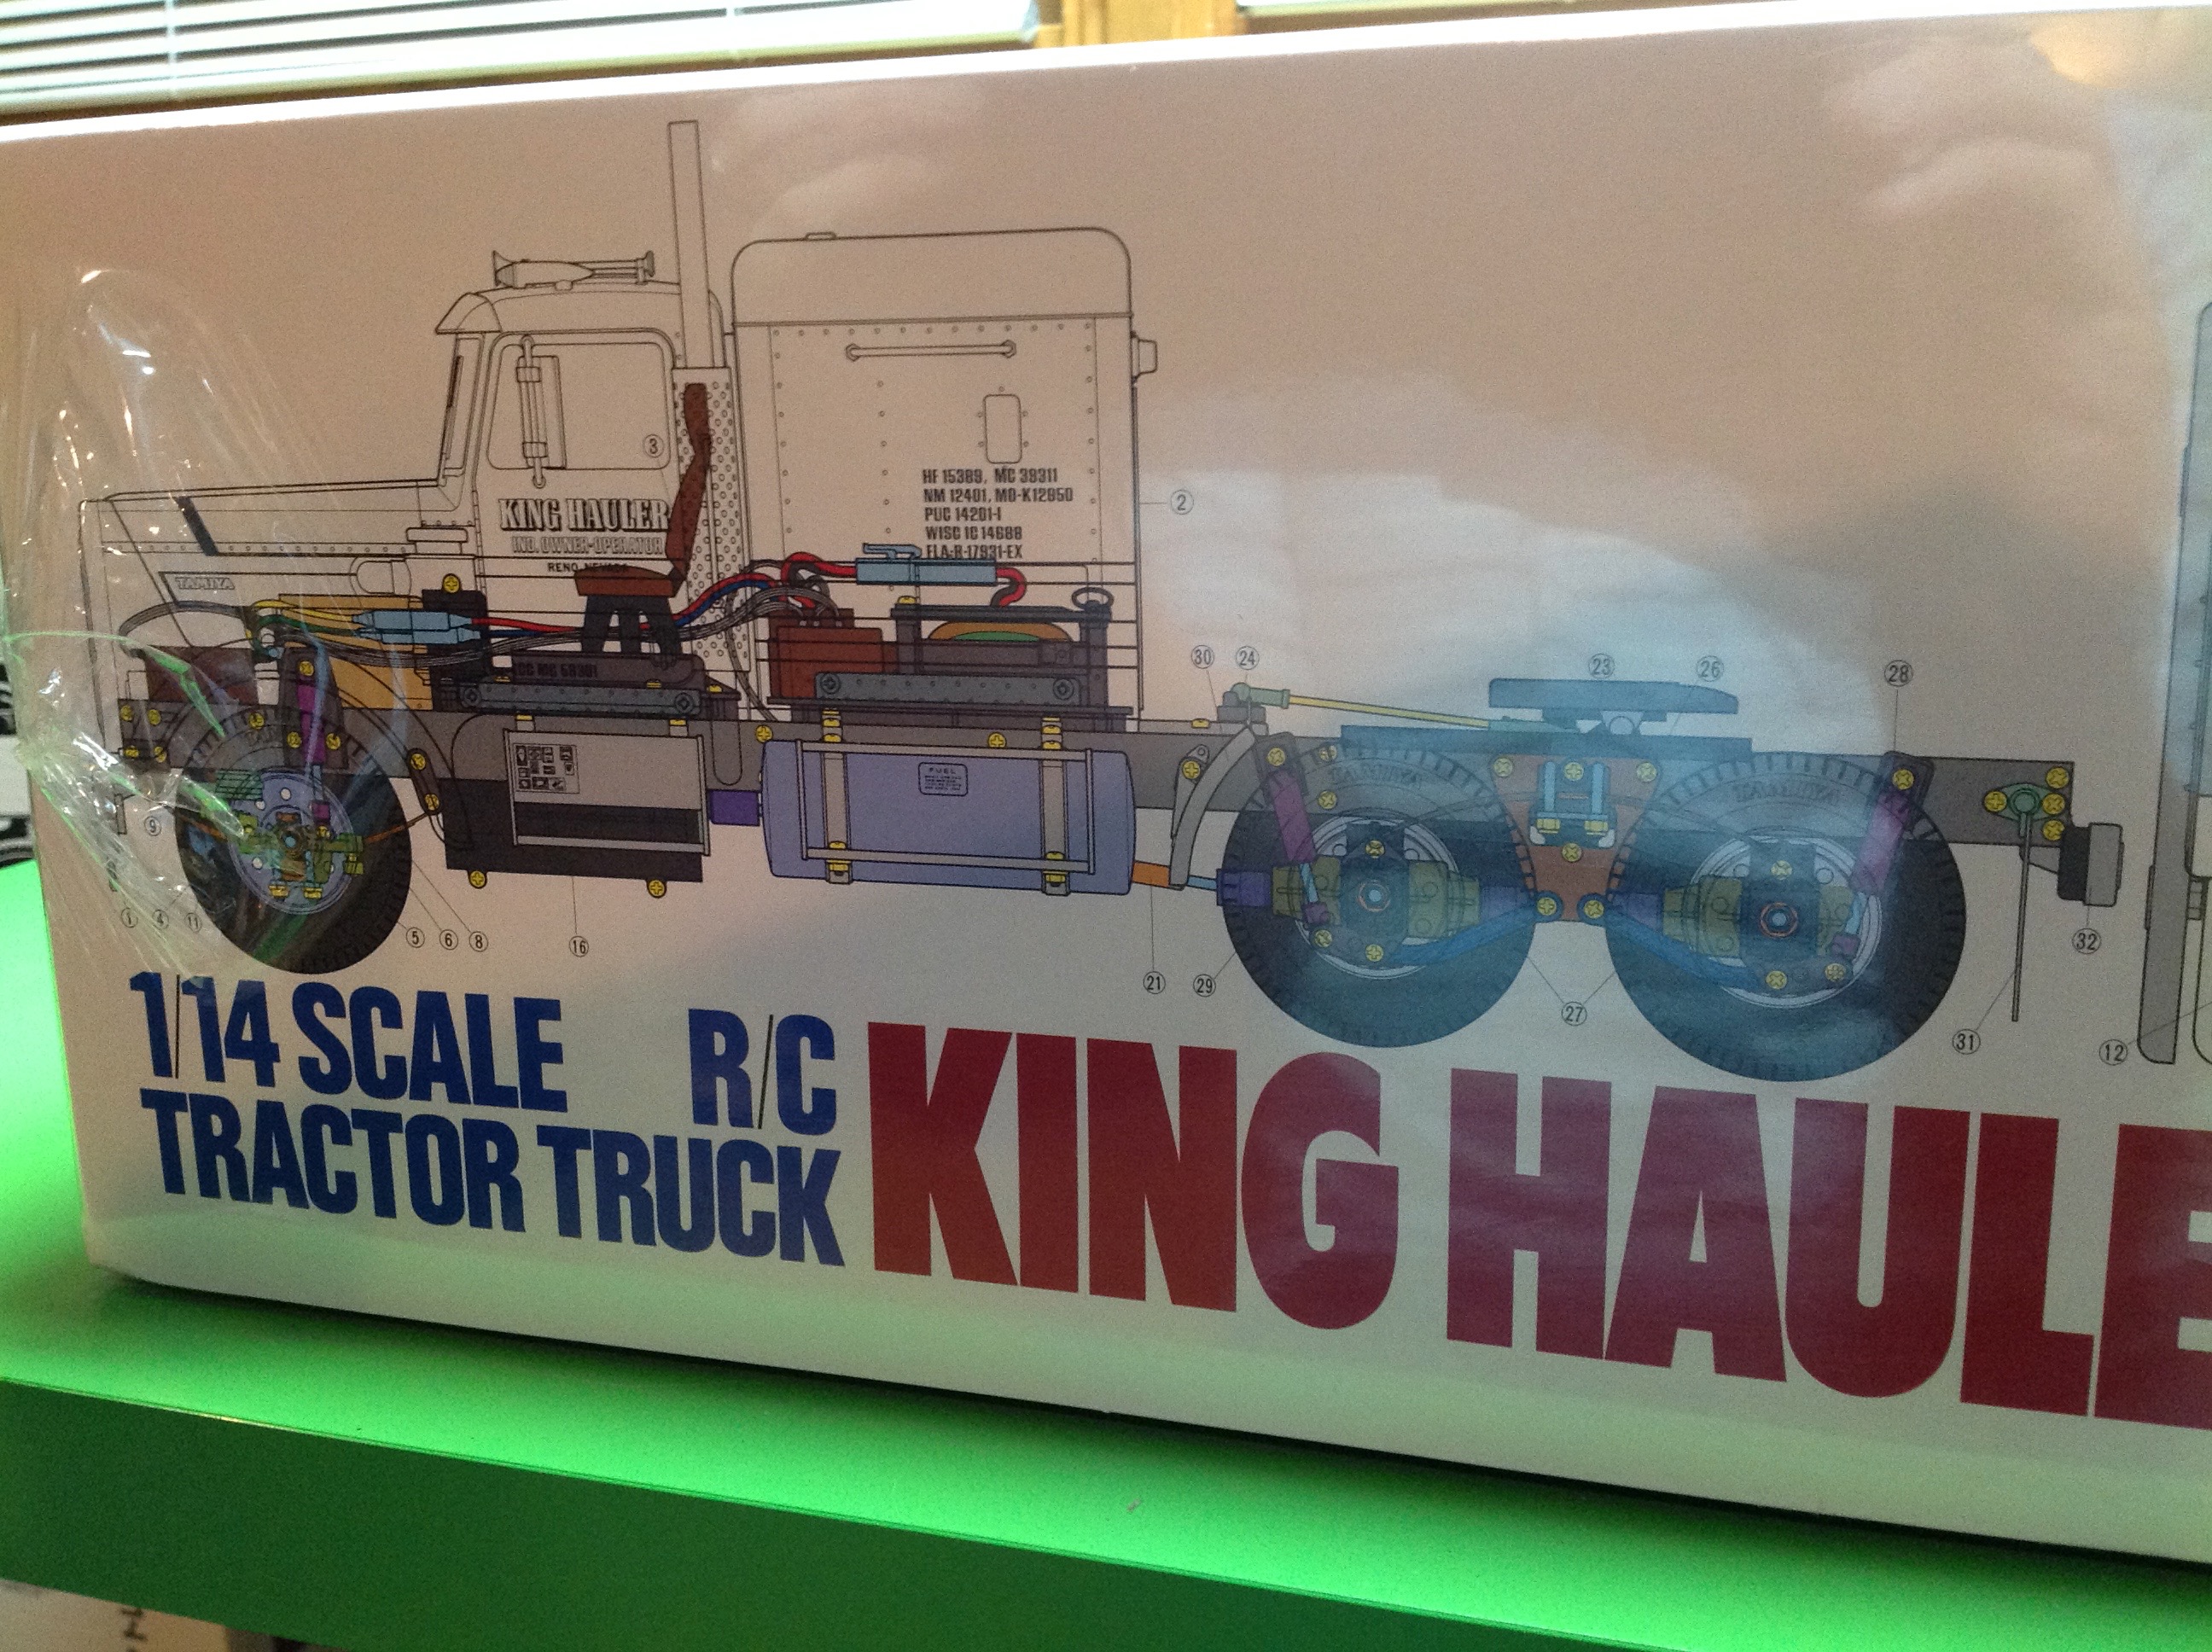
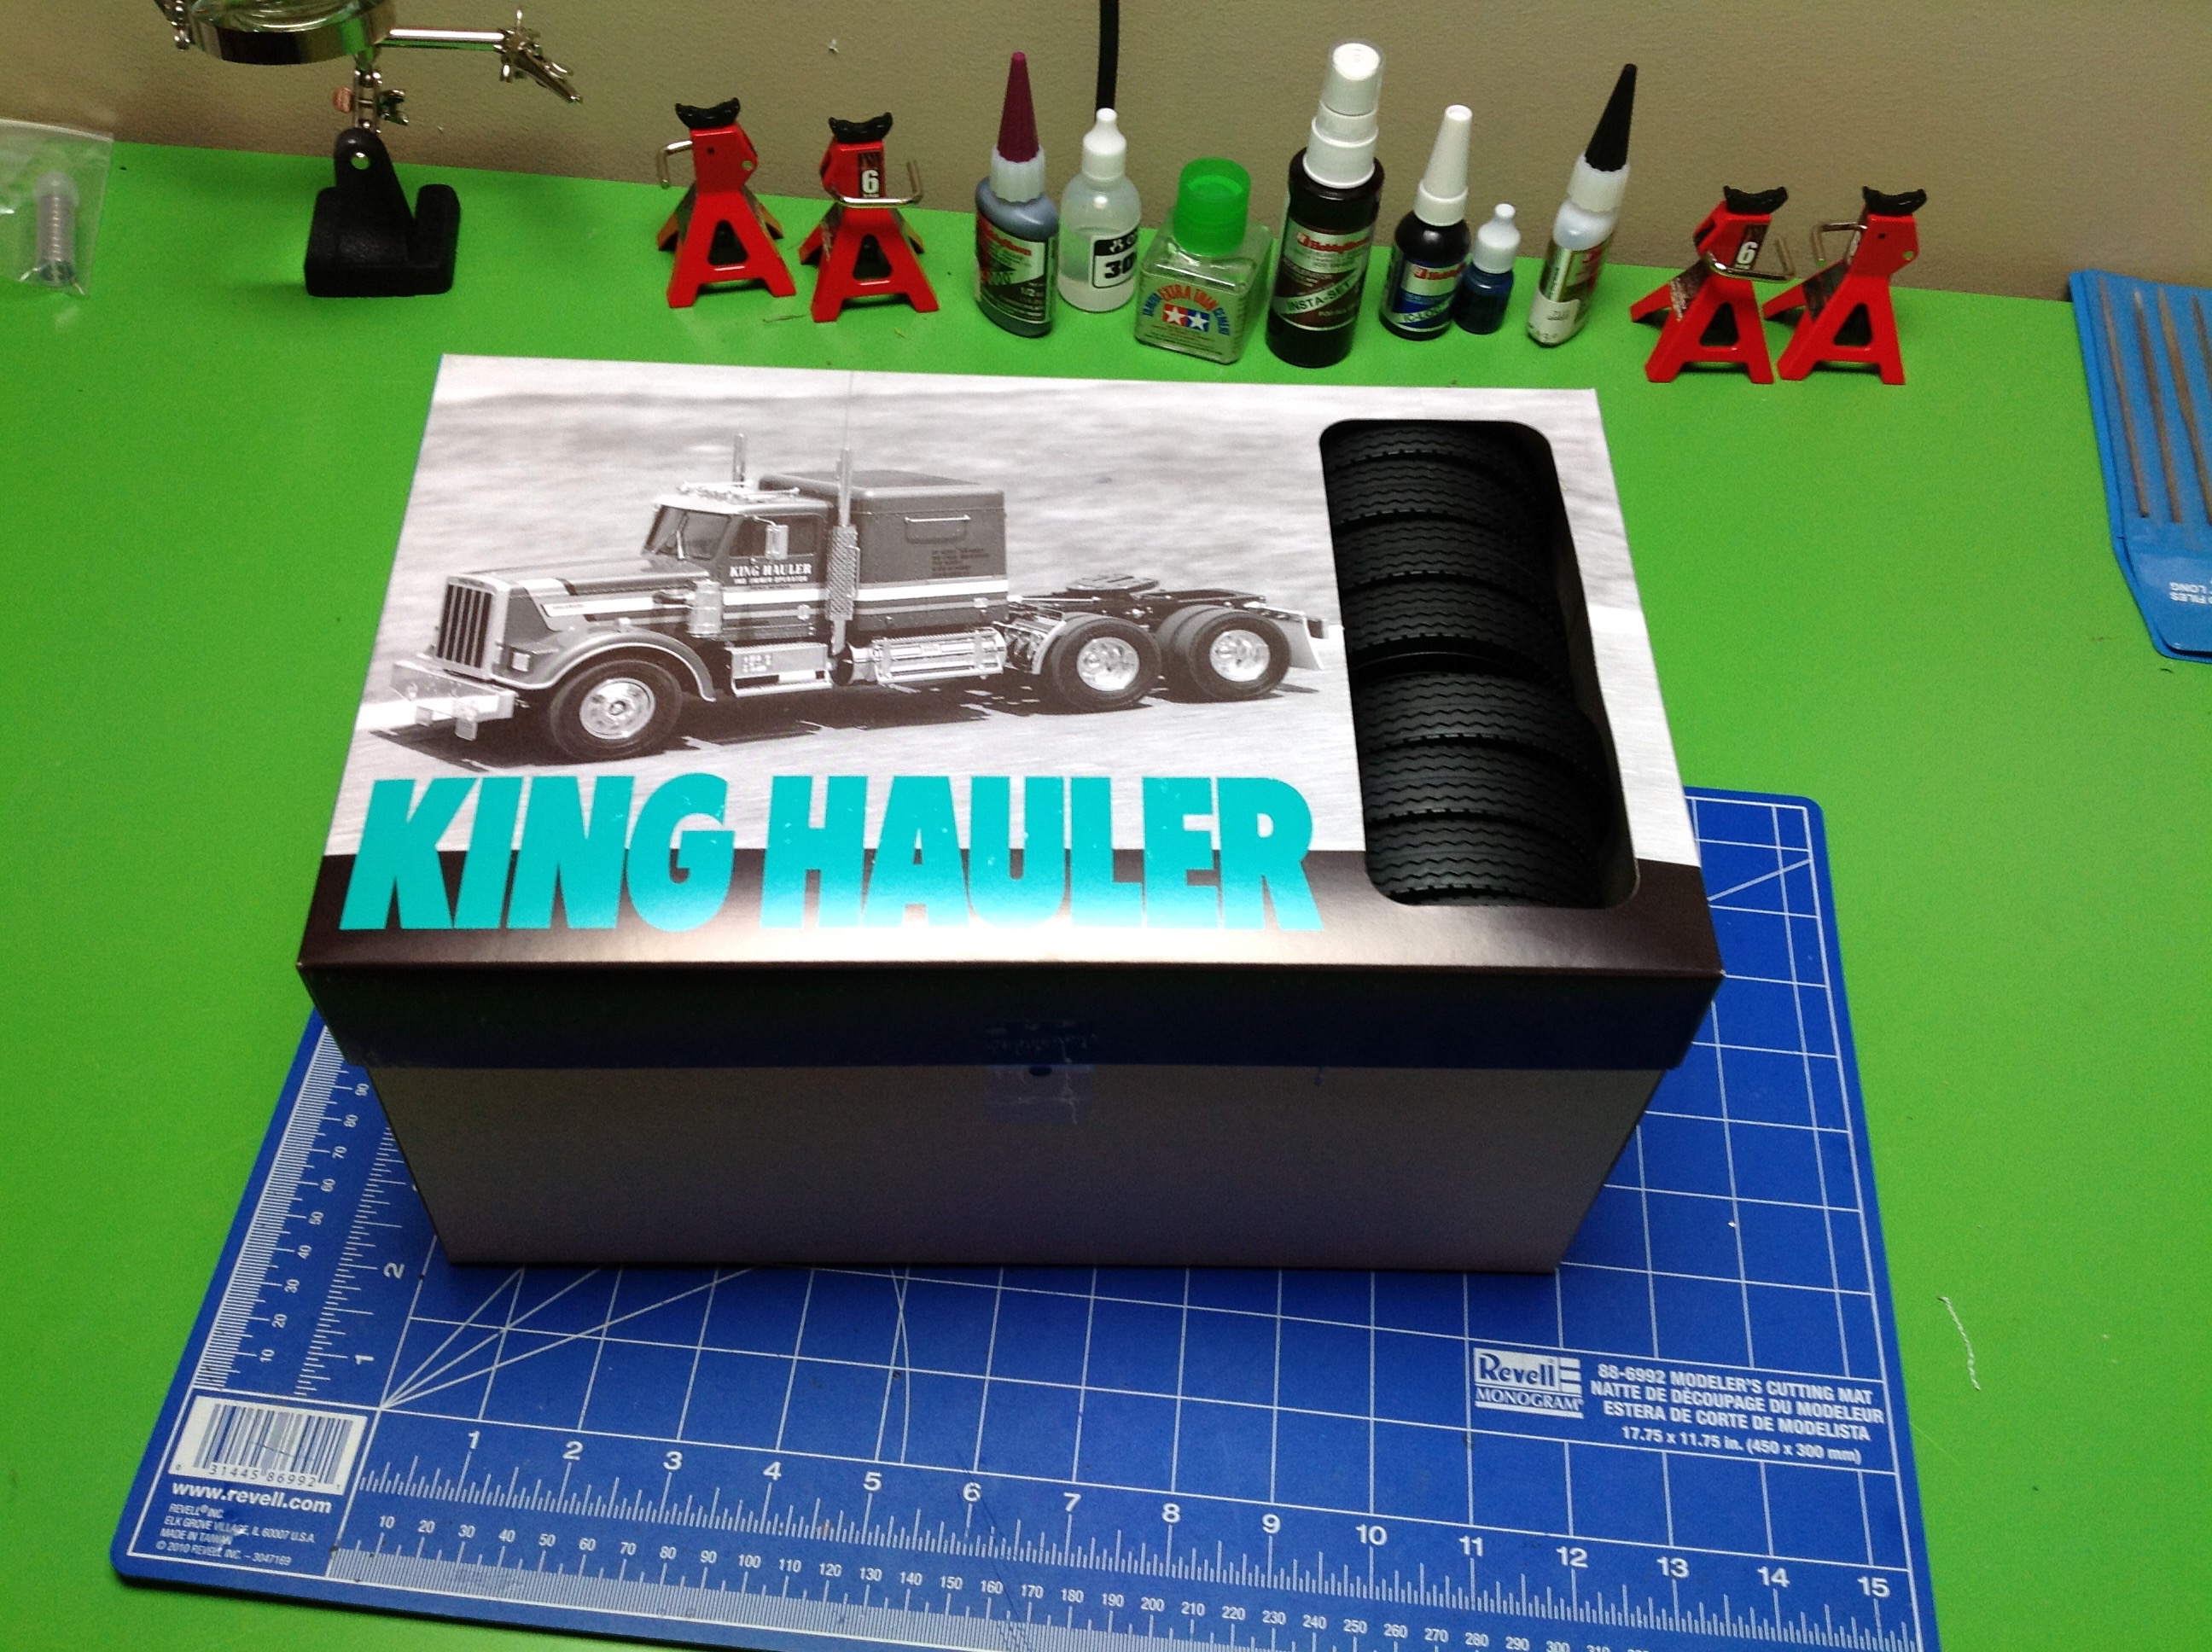
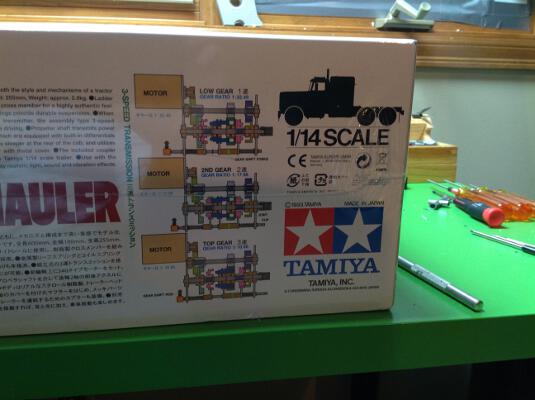
Here are some images from the sides of the box.  The first shows a cutaway internal view of all the 
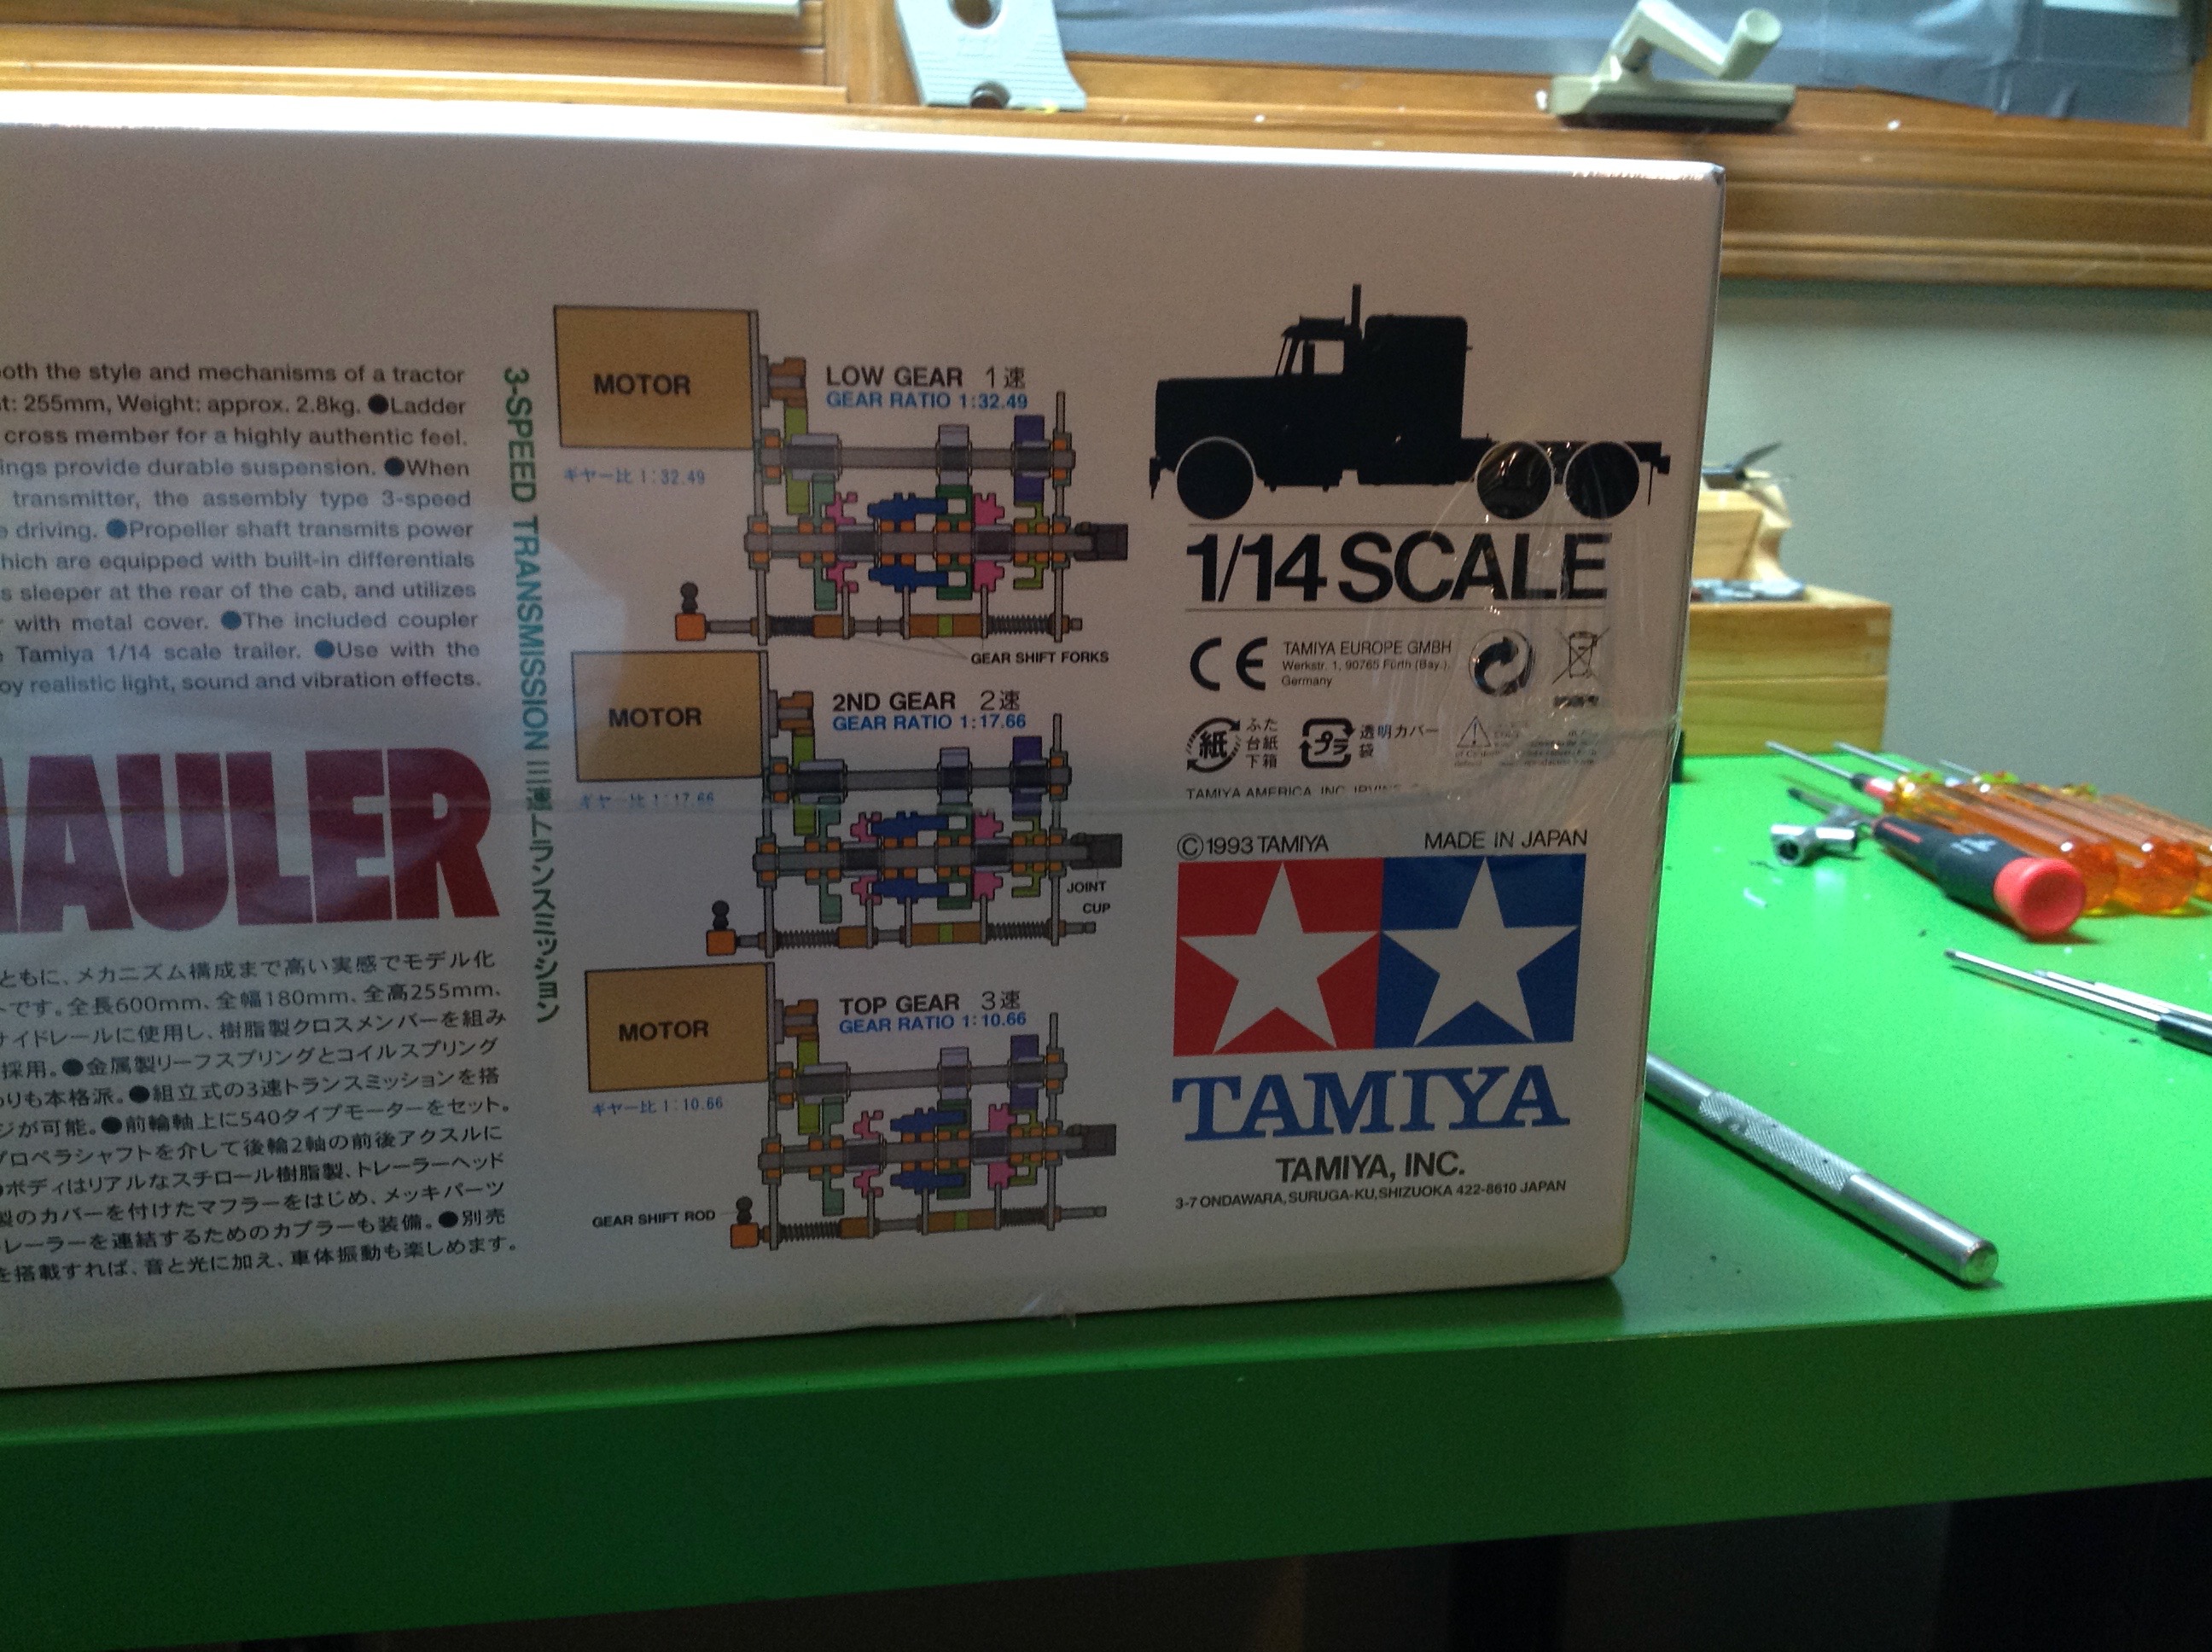
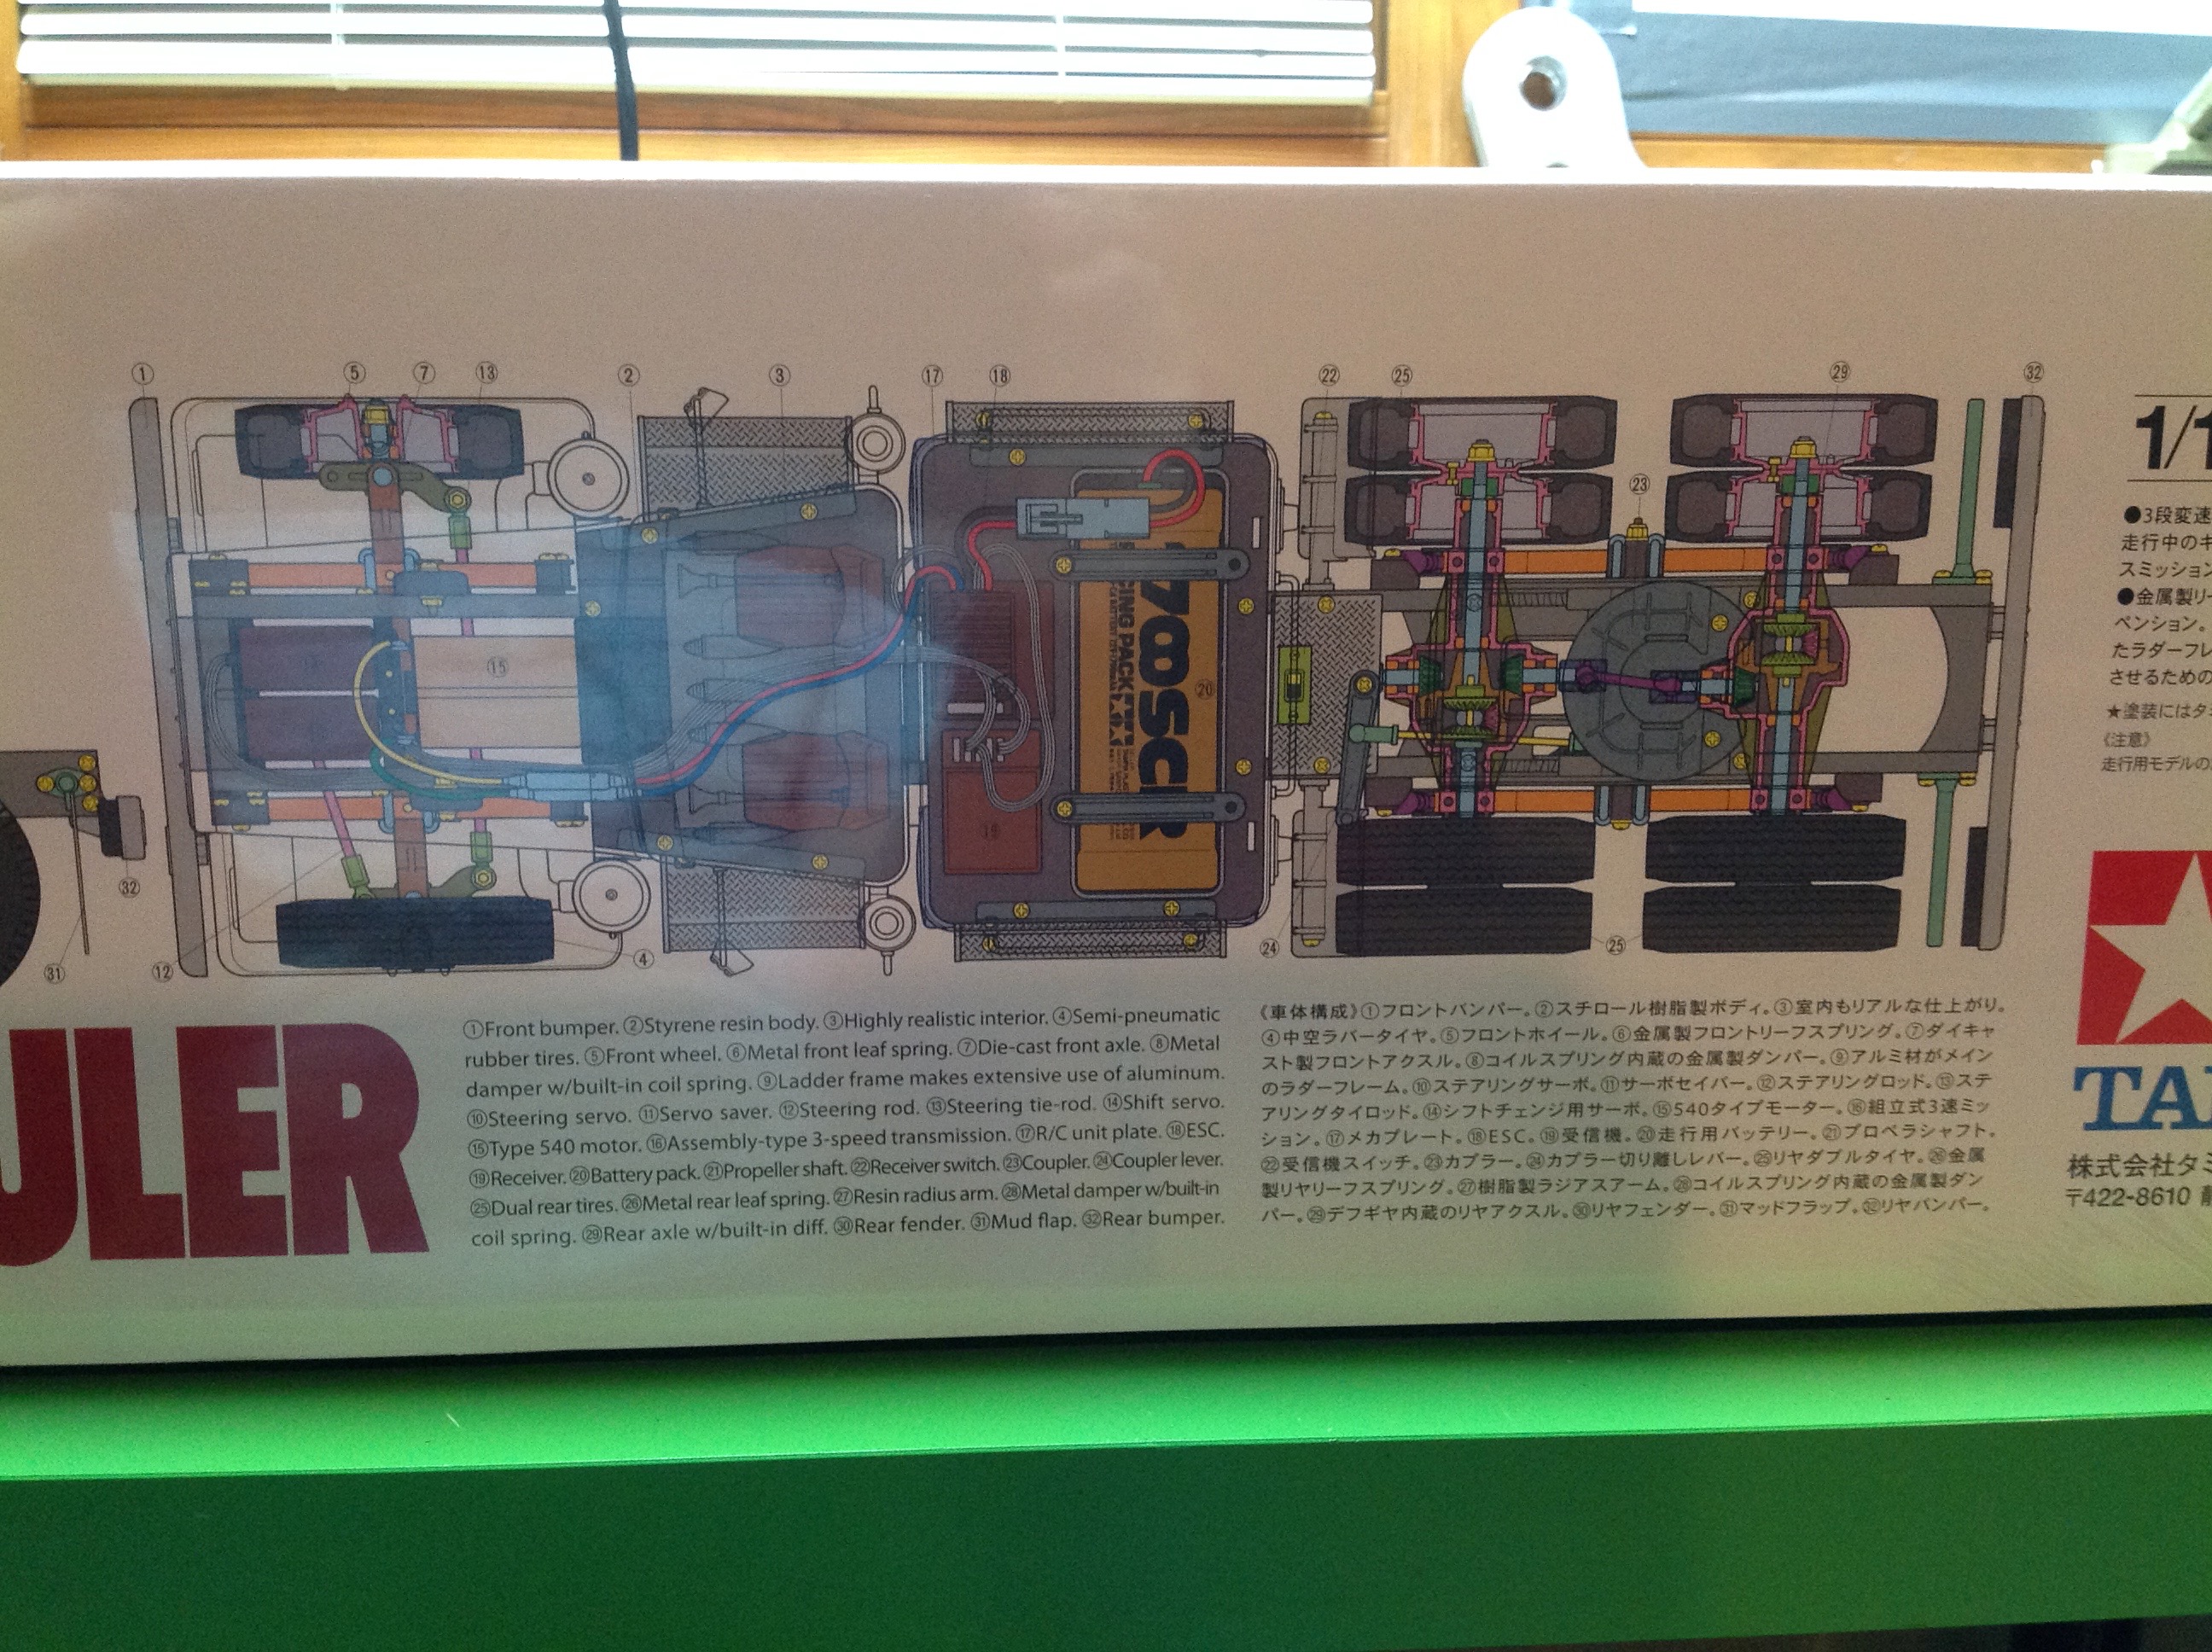
mechanical and electrical details.  The second shows the 3-speed transmission, a detail I was excited to build so I could learn how it works.  I had no idea that this one of the most complex mechanical systems in classic R/C, though the original Bruiser transmission is much trickier.  Keep an eye on those gear ratios listed.  I'll be trying to derive and match them later.


A side view and top view of the internals.  There is a lot going on here, too much to absorb from just a couple of images.  It gives a clear impression that there are going to be many interesting details to build though.  This is not just a static plastic model even though it looks as good as one.  The combination of scale accuracy and technical function is what attracted me to this model.  That left hand image makes it look like there is a lot of open space inside the cab shell, but once the MFC is added it will be stuffed full.


So what's inside the box?  Quite a lot, and very nicely packaged.  You can see a blister pack for many of the main chassis parts, a special slot for the tires, some plastic trees, and the frame rails in the middle.  Next come the metal parts.  The C-channel frame rails have a protective film over them, probably to protect the finish during drilling and tapping.  The holes are all pre-drilled, and there is no drilling required anywhere in the model.  Behind the rails is a blister box revealing metal shocks, leaf springs, differentials, exhaust stacks, and other parts.


Now the molded parts.  You can see a lot of plated trees as well as the pre-painted one piece body.  The second  image shows some of the smaller parts including the wheels and a bag of gears.  I immediately noticed that, unlike most plastic models, there are many different kinds of plastic here.  Gears seem to be nylon, some parts are styrene, tough parts are ABS, and I think some may even have chopped glass fibers in them for strength.  I like the engineering that went into making each material right for the part.


This box contains the tires.  There are 10 tires in the model, but only 8 here on the top level.  The others are inside the box.  Finally comes the hardware.  Pretty much everything you see bagged here is metal.  The screws, nuts, and other fasteners are inside labelled bags to make it easier to find what you are looking for.  Each step in the manual begins with a hardware parts list showing what is needed for that step.  After collecting the hardware, you can start finding the required plastic and metal parts.  Having the parts list per step helps ensure that you don't miss anything.


Step 1 starts nice and easy with the installation of some servo horns.  I chose cheap and simple HiTec HS-311 standard servos with 49 in-oz of torque for both steering and shifting.  Arguably these are a little too cheap, but I've had no problems so far.  This model is only going to be driven on pavement so the torque requirements are low.  I suppose the gears will wear out and there are no bearings in the servo so I'll have to replace them eventually.  The model comes with three sets of control horns accommodating servos with 23 or 25 tooth splines.  HiTec is an oddball and uses 24 which I didn't know when I bought the servos.  Luckily, the 25 tooth Futaba horns seem to work OK at these low torque levels. There's a servo saver and a ball connector installed on each.  Notice that the neutral orientation is different.  In hindsight I'm amazed that such a crappy servo actually worked for this heavy model, especially using a servo horn that didn't even have the right number of teeth.


Step 2 connects the servos to a couple of cross members.  Although the model can accommodate installation of slightly longer or shorter servos in the frame, it is important they both  be the same size.  Also notice that the rubber mounting grommets are not used.  The servos are mounted directly to the cross members.


Step 3 builds a couple of cross members for the frame from high strength plastic.


Step 4 introduces the first metal parts, the frame rails.  These are straight C-channels and seemed to be formed sheet metal rather than extrusion.  They are pre-drilled, tapped, and powder coated.  The coating is durable but will scratch if you nick it with your X-Acto knife.  This steps installs the rails, the cross members, the suspension mounts, and some brackets.


 Back to Index | Go to Page 2
©2017 Eric Albrecht