Tamiya Leopard 2A6 Project

Page 1: Unboxing

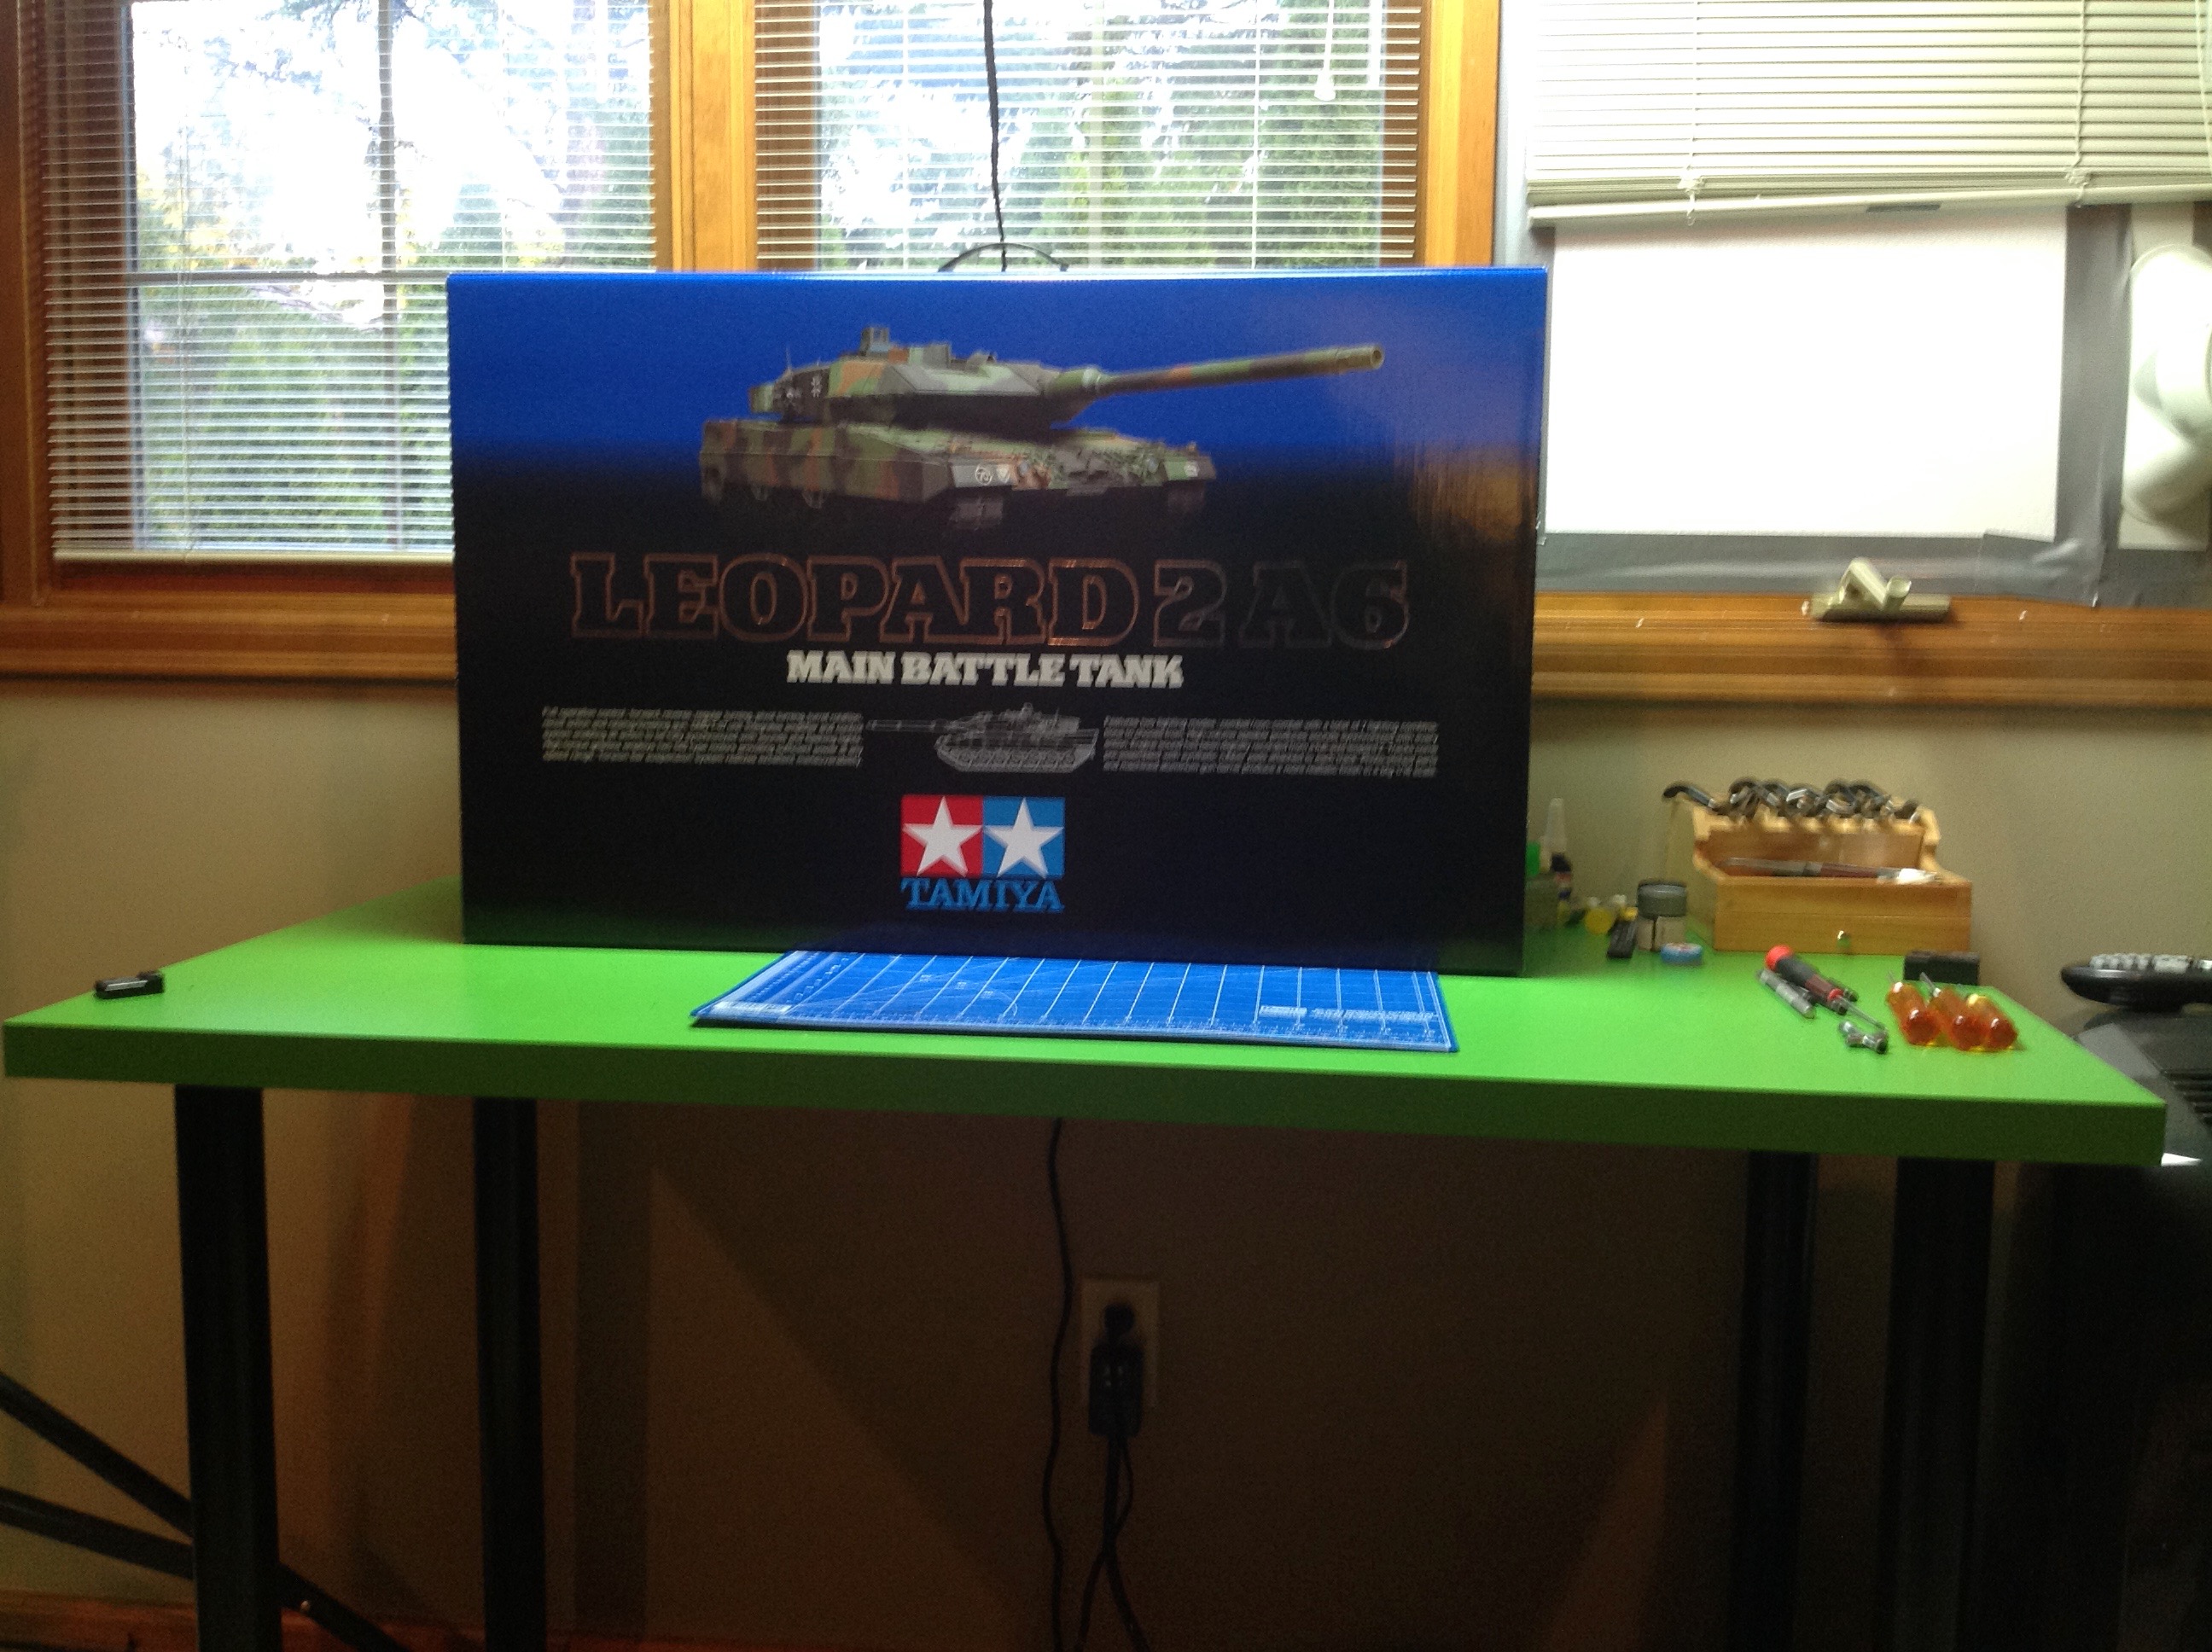
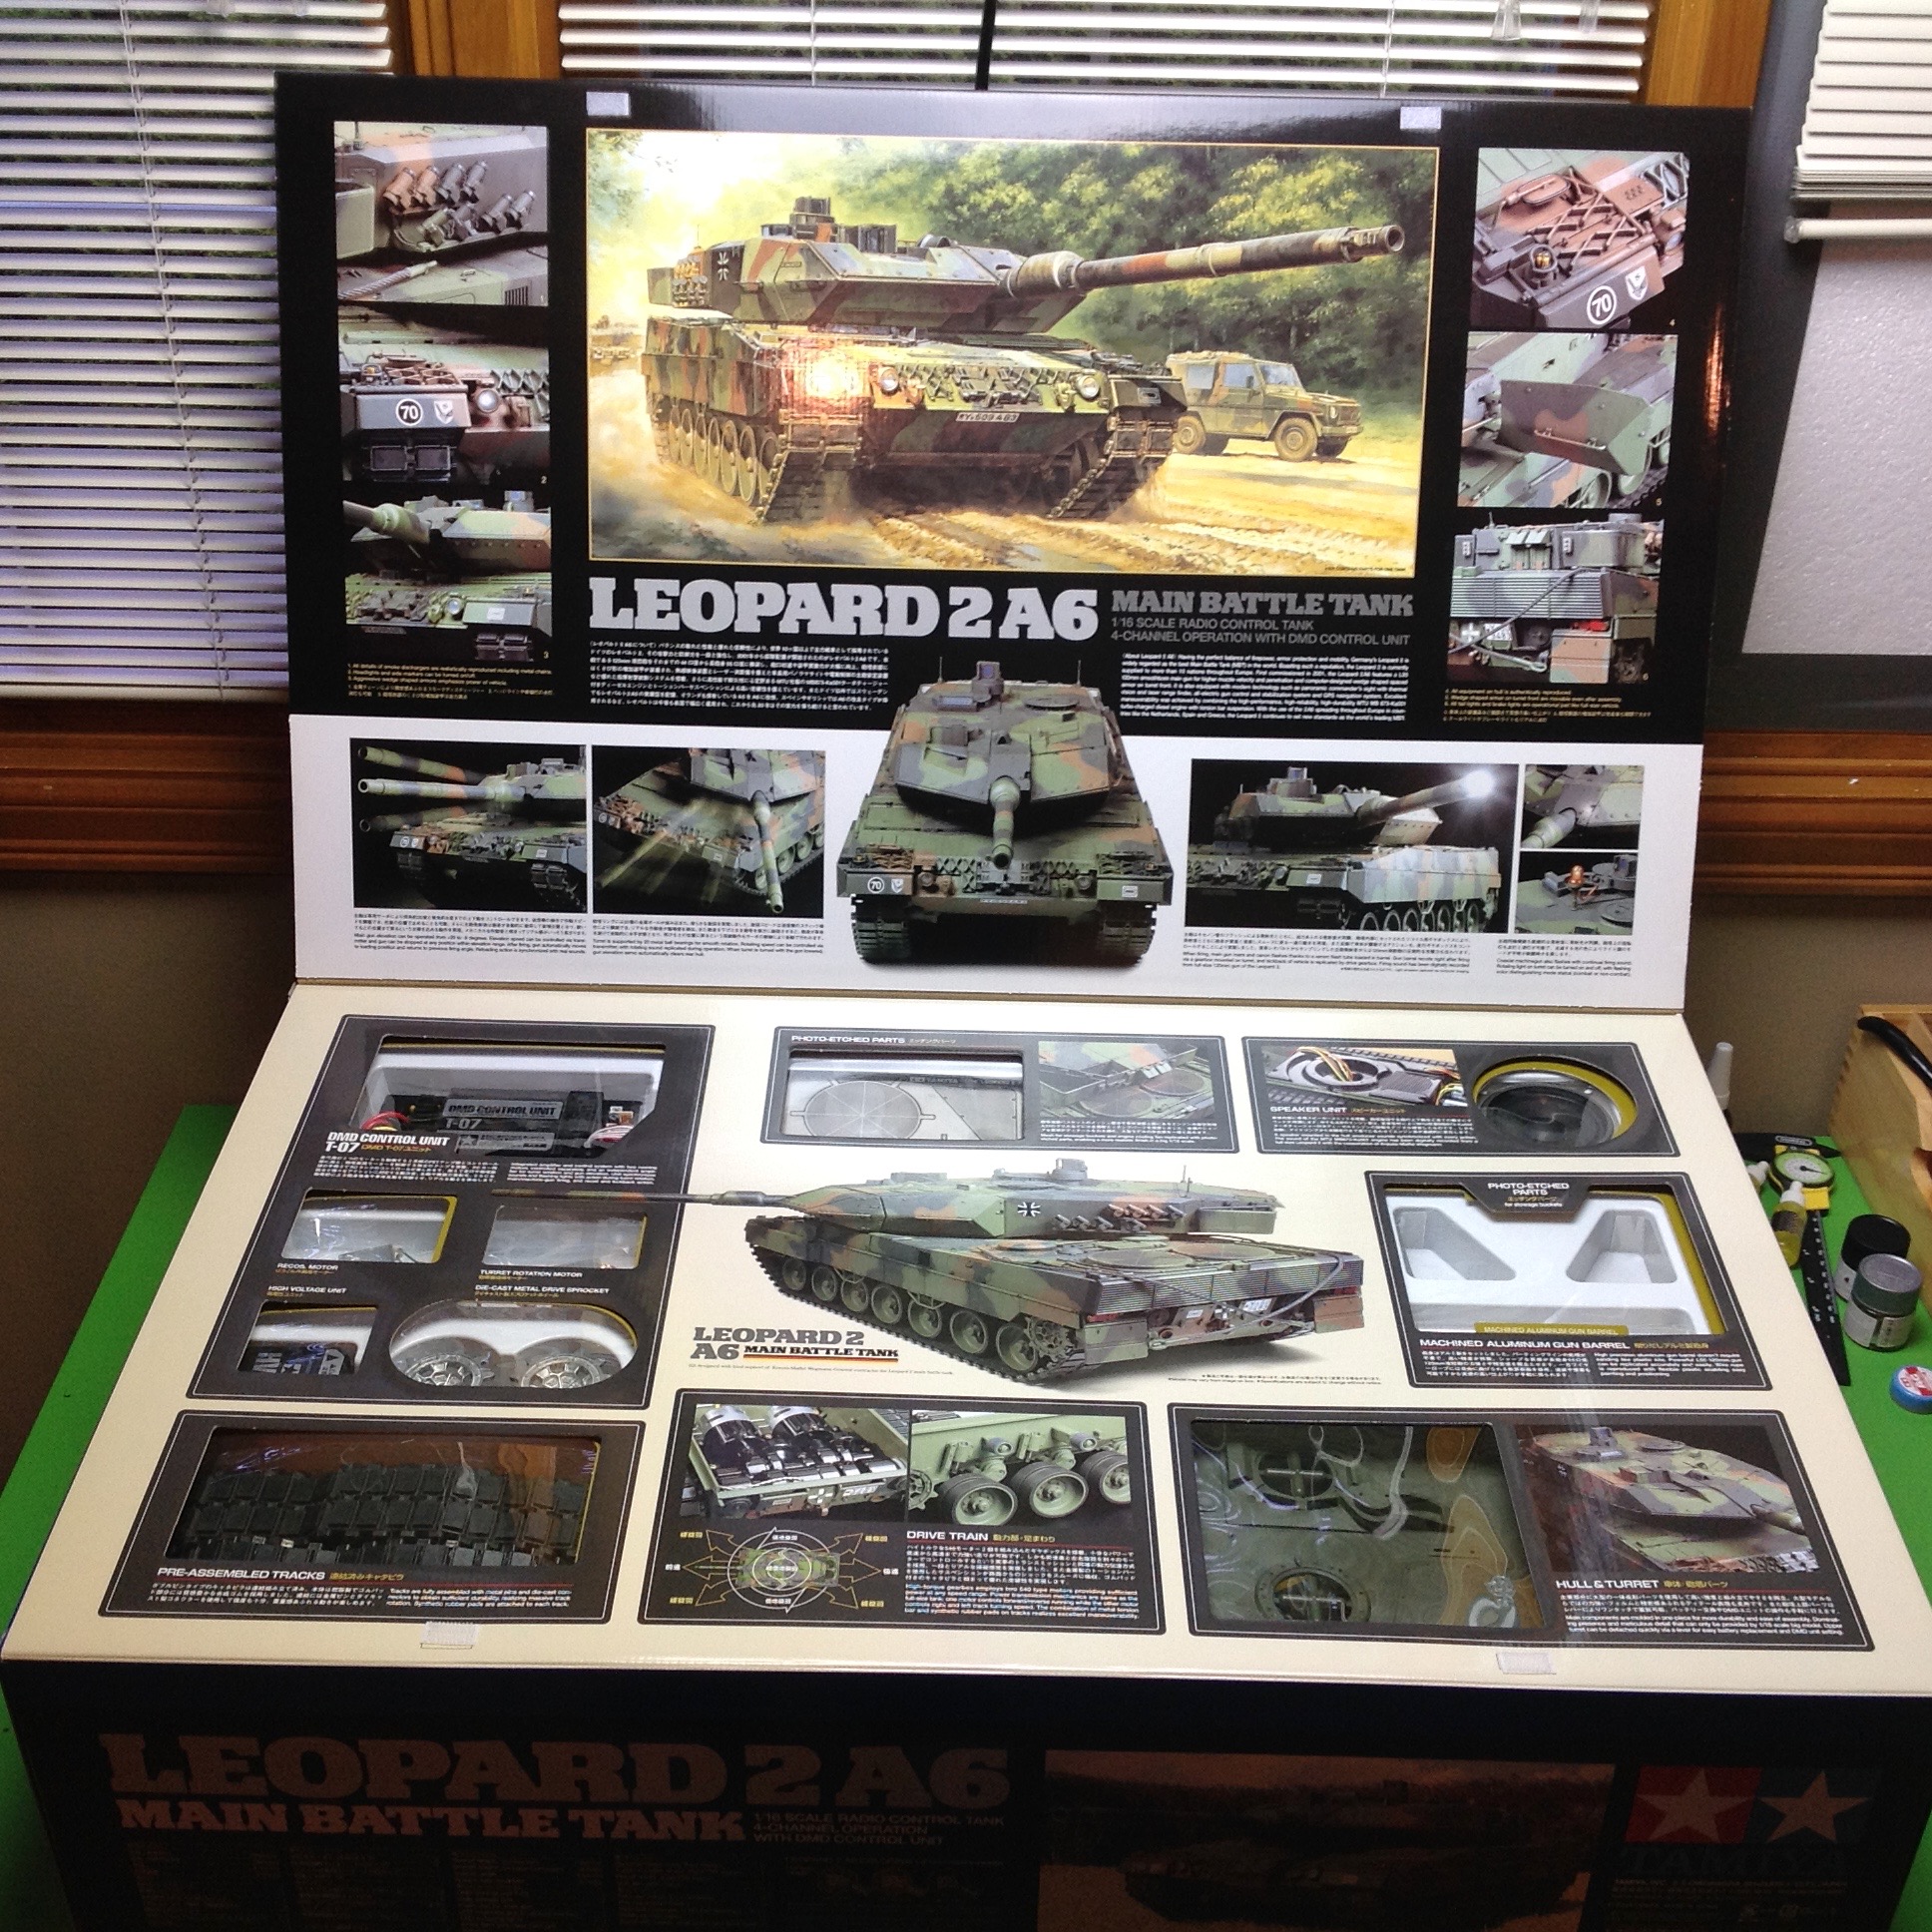
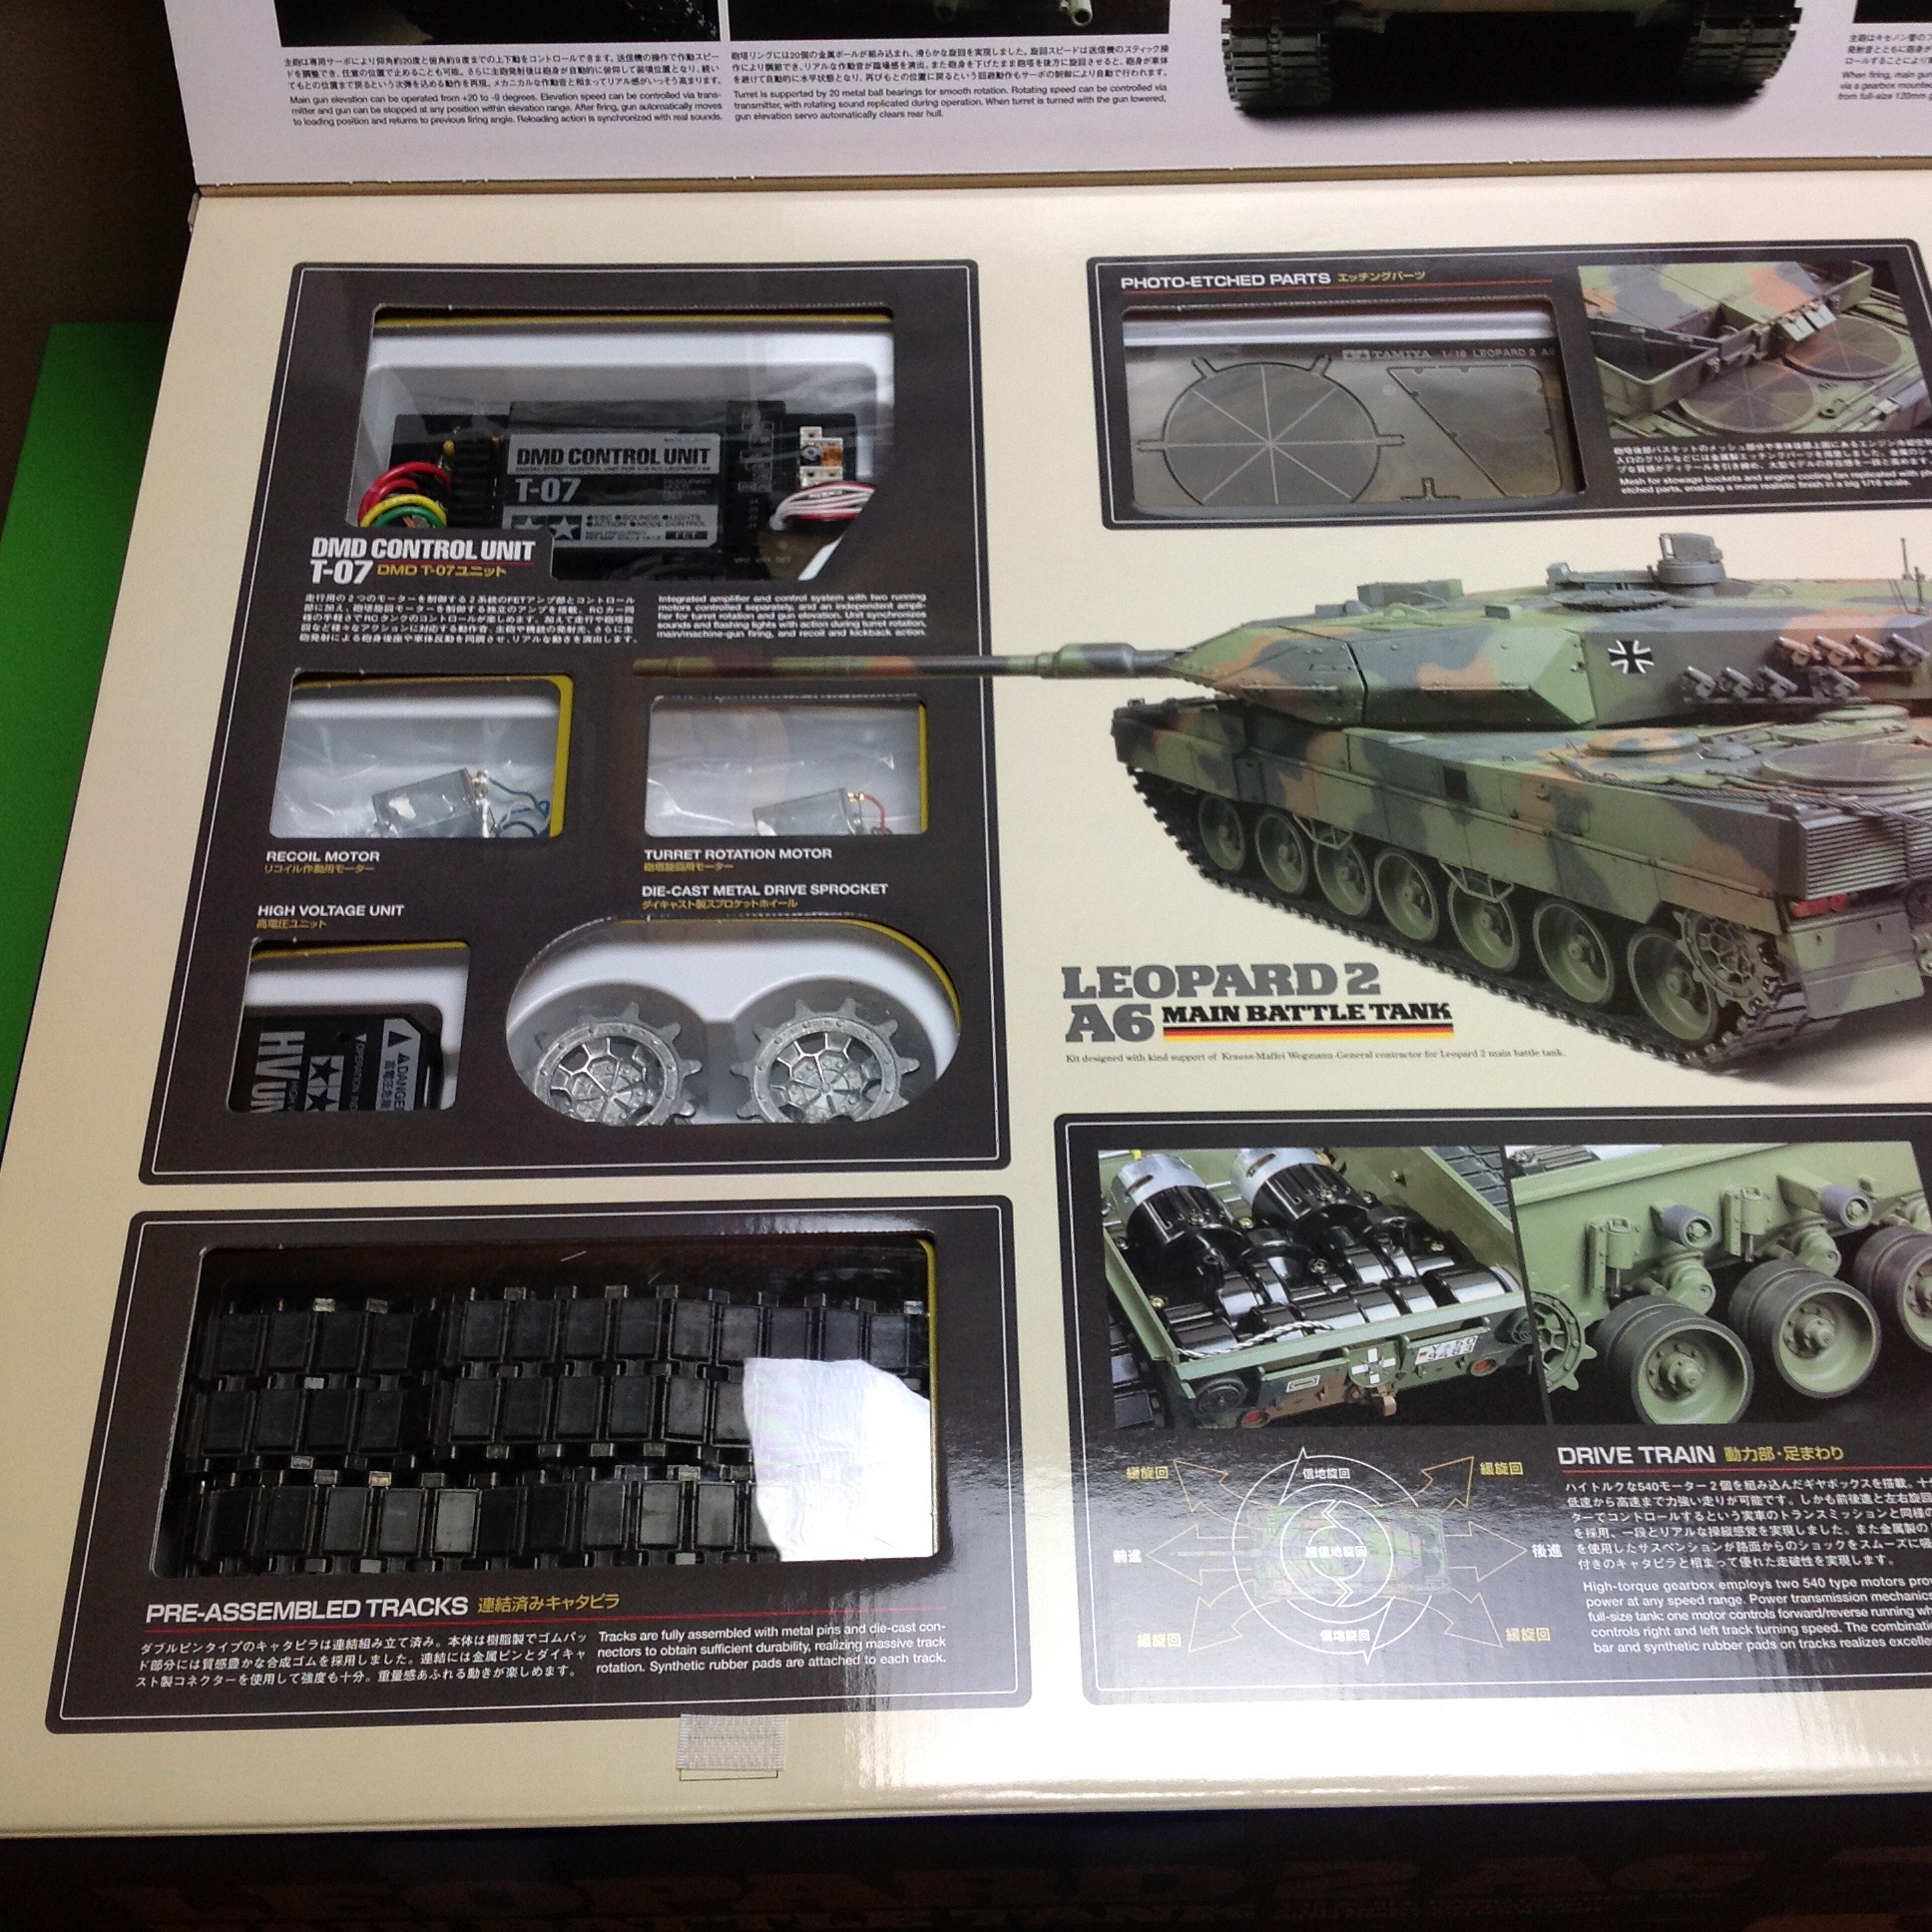
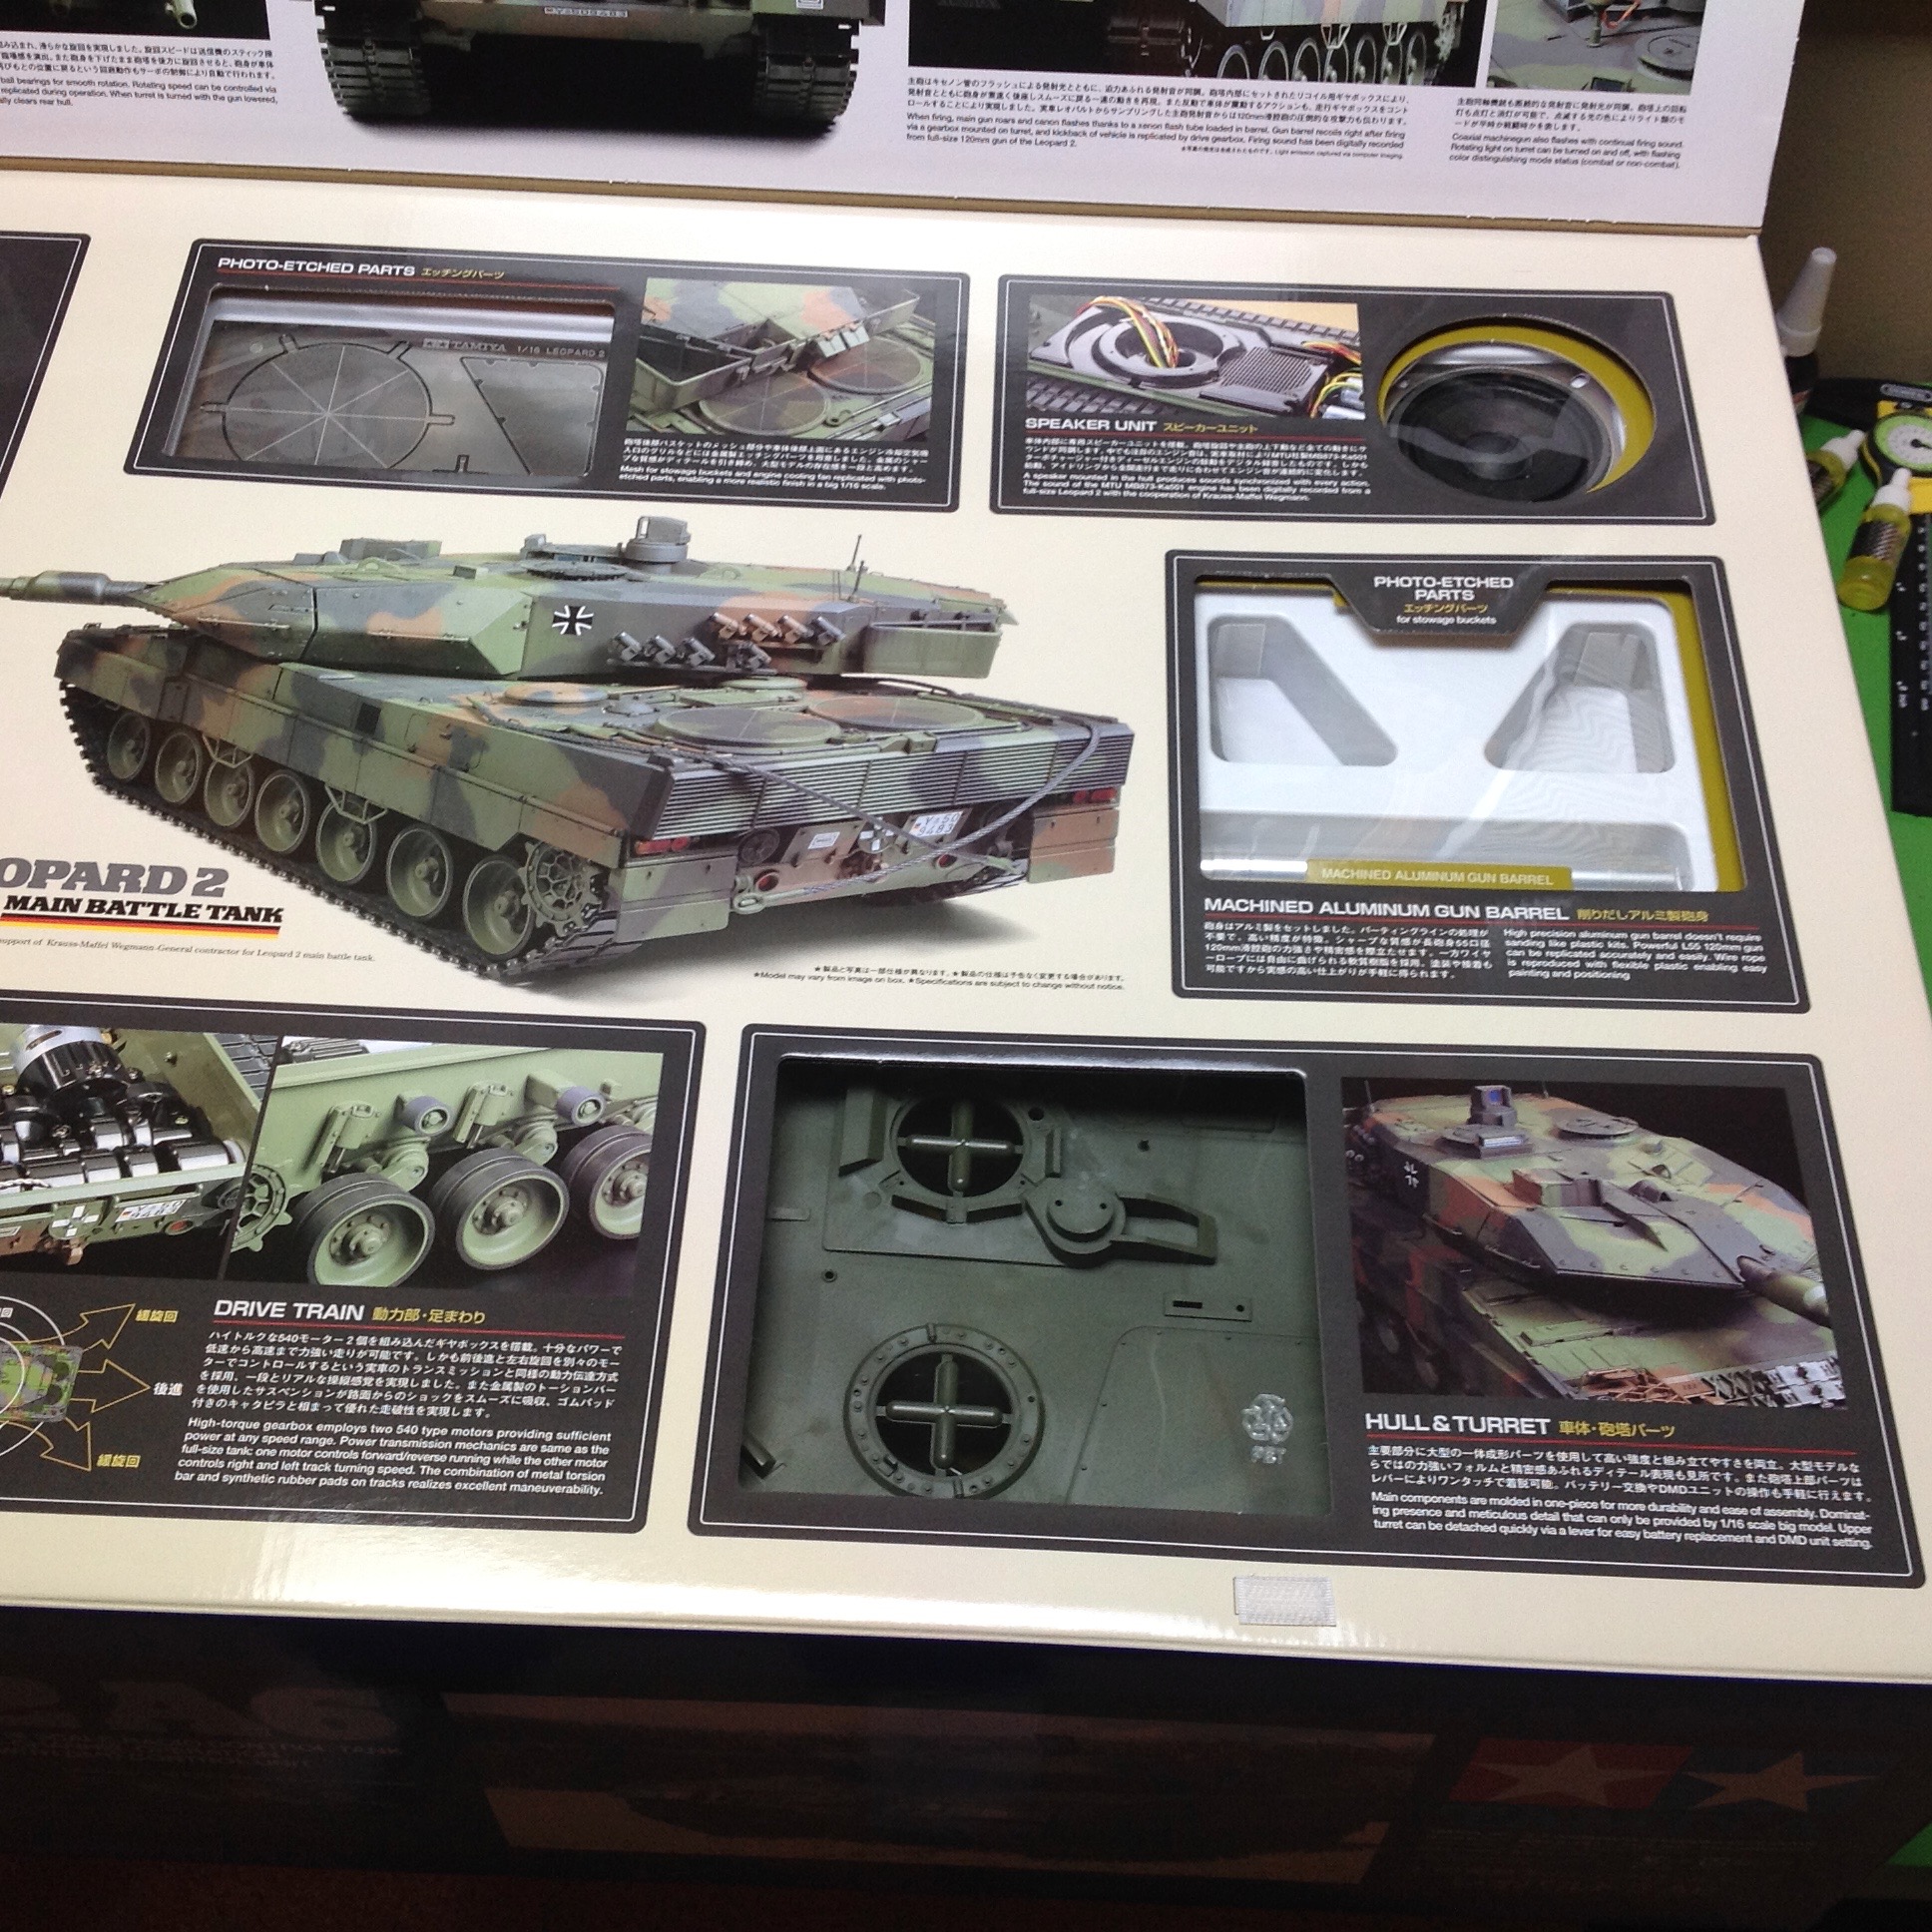
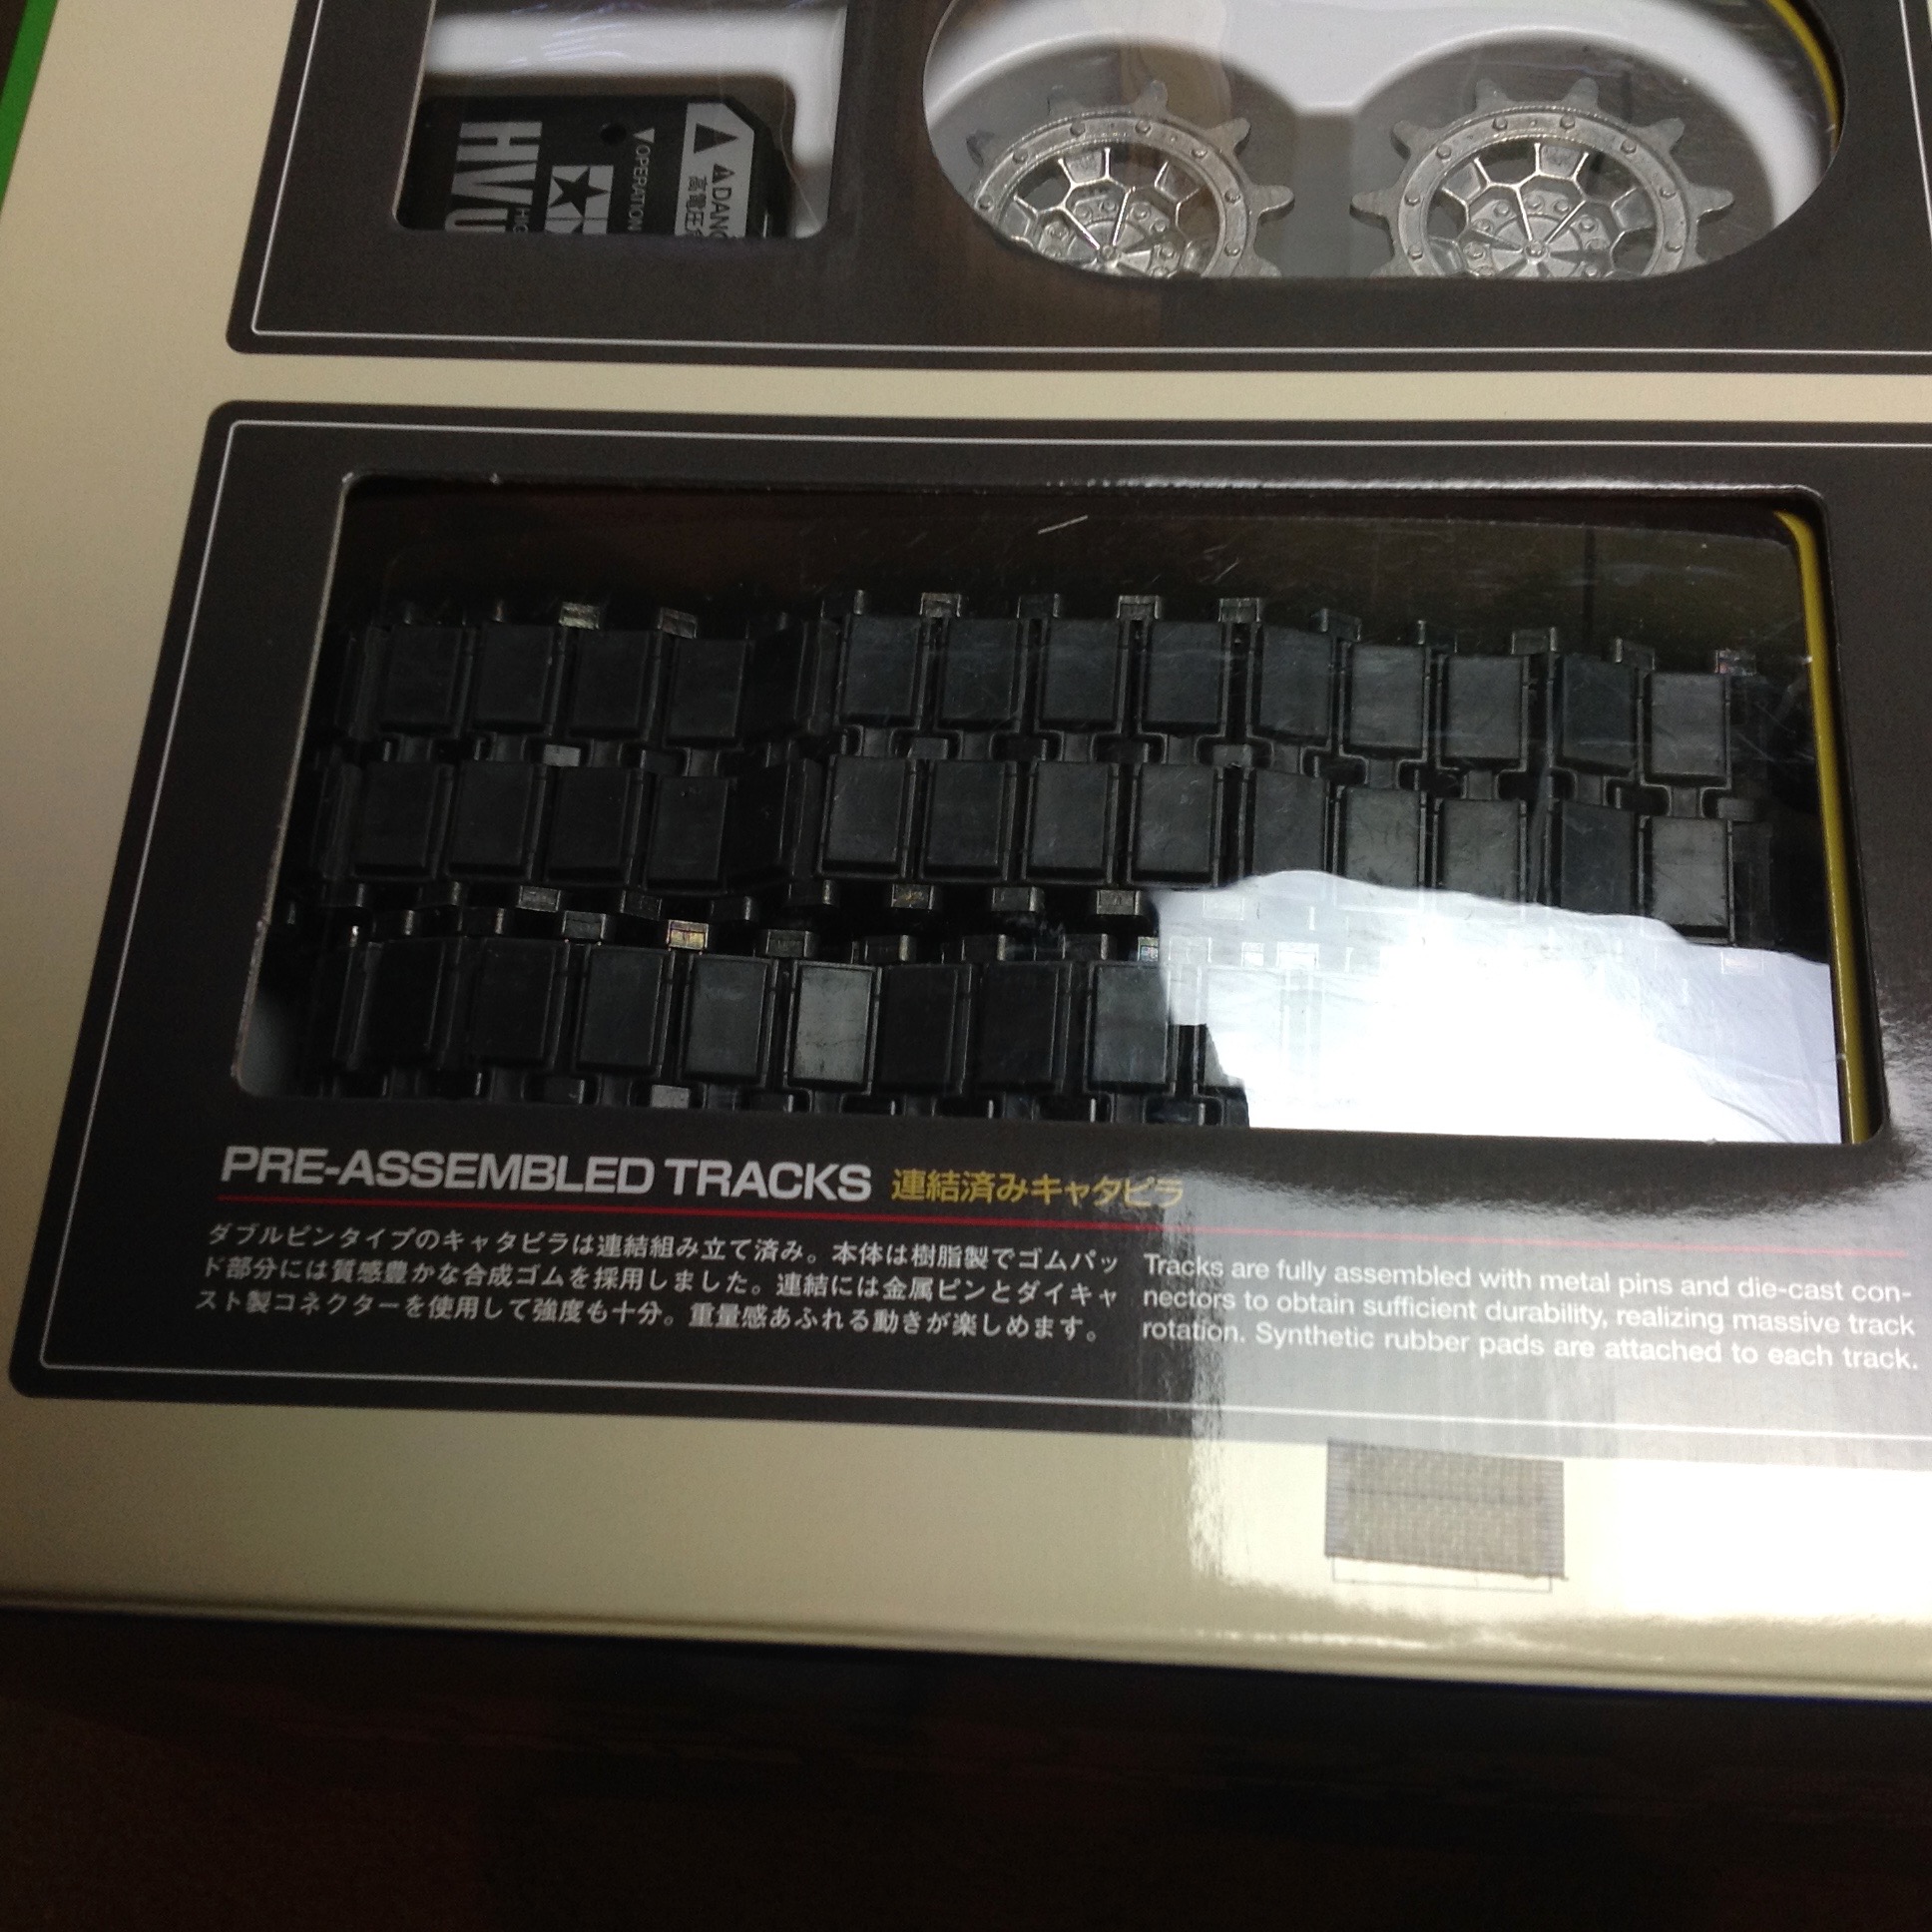
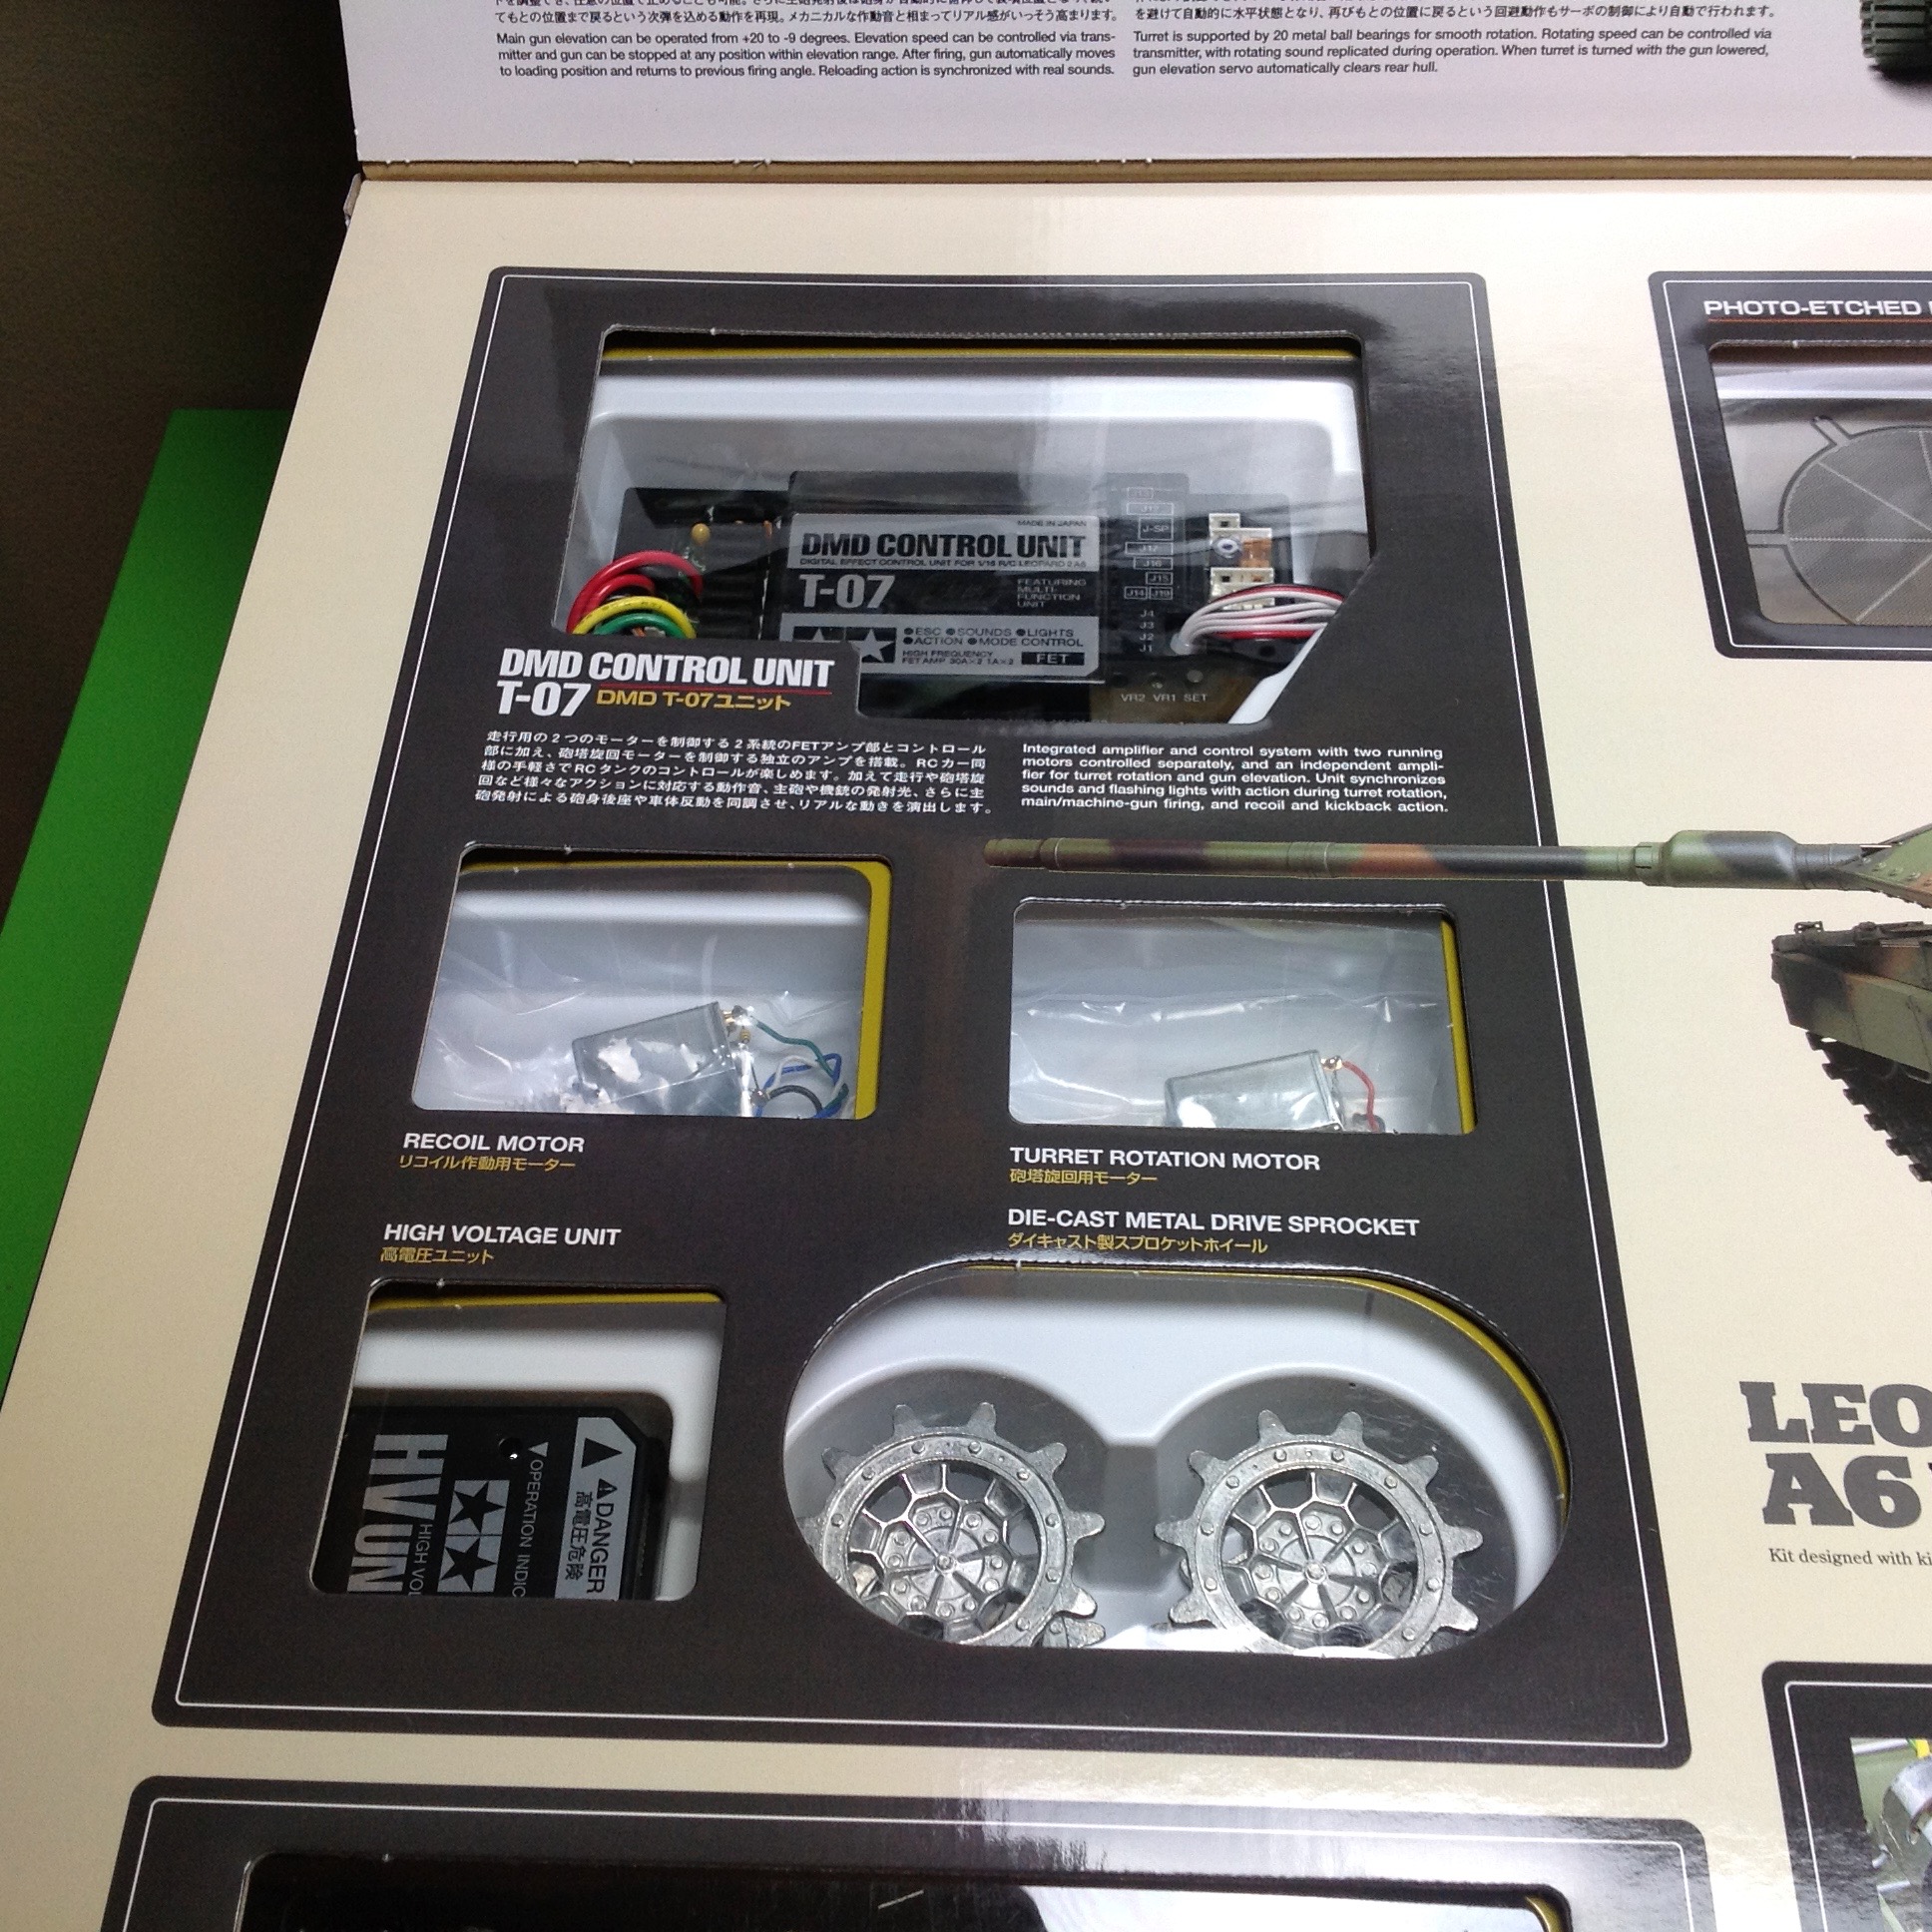
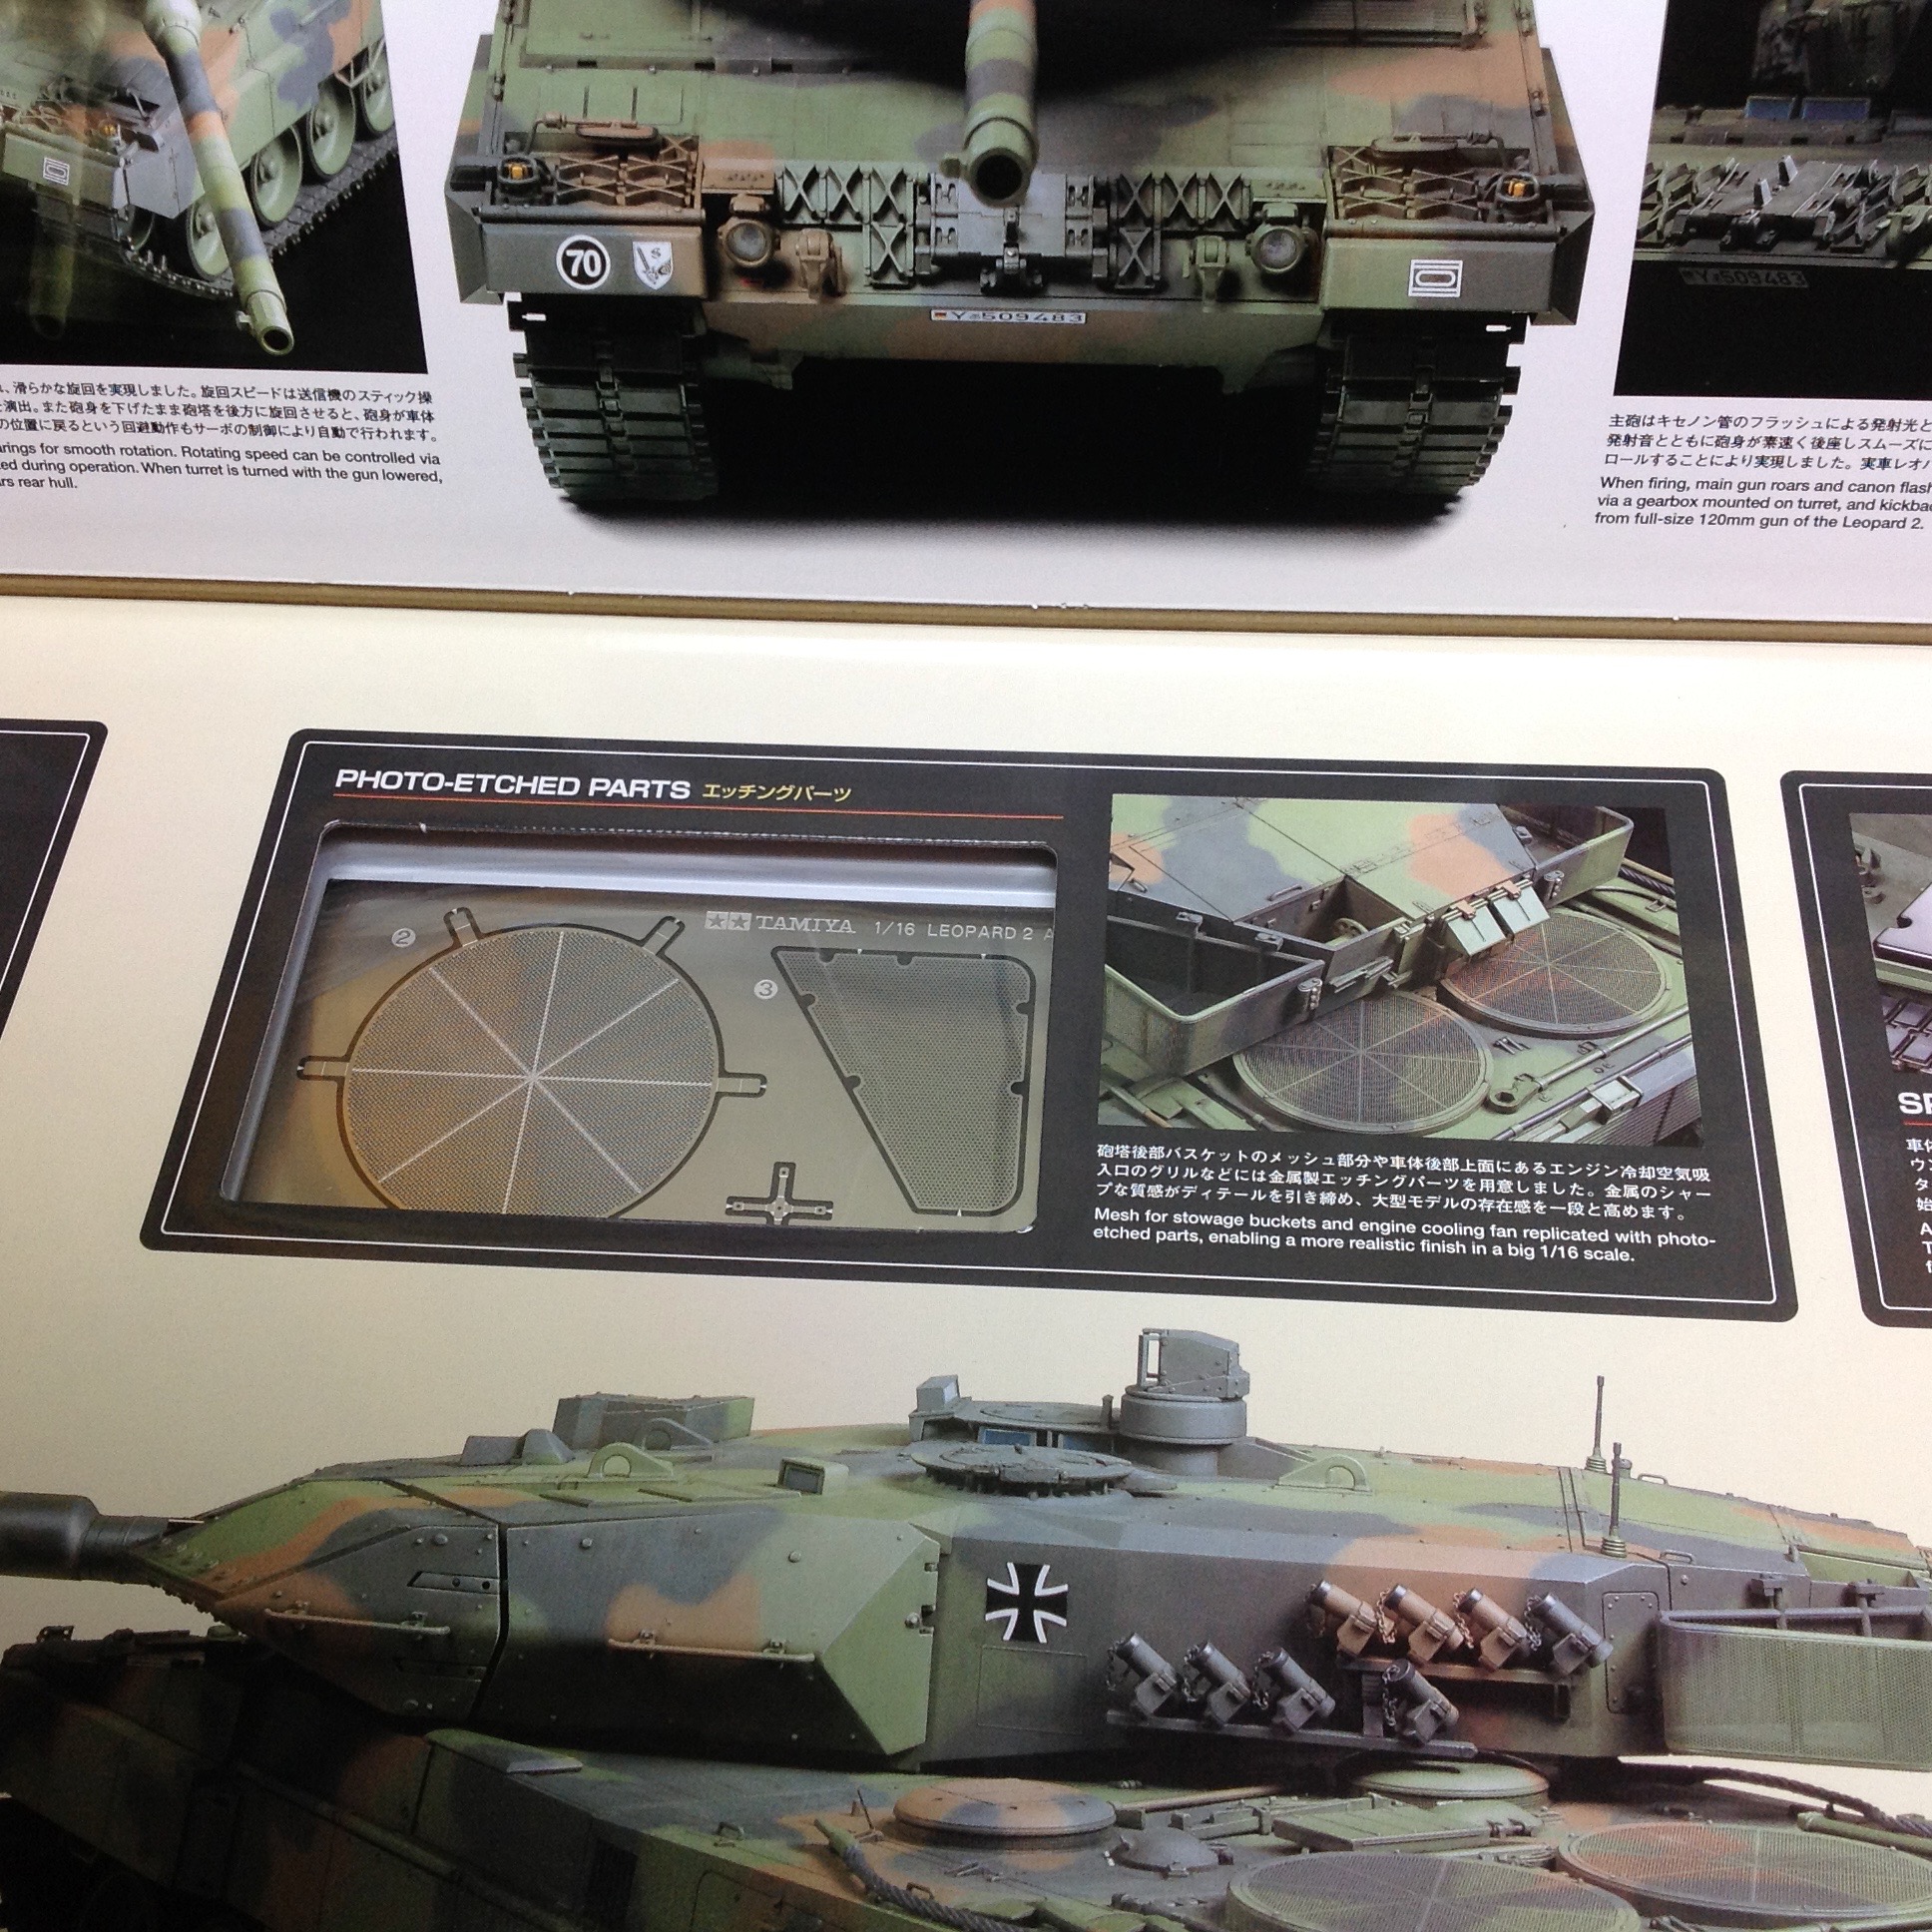
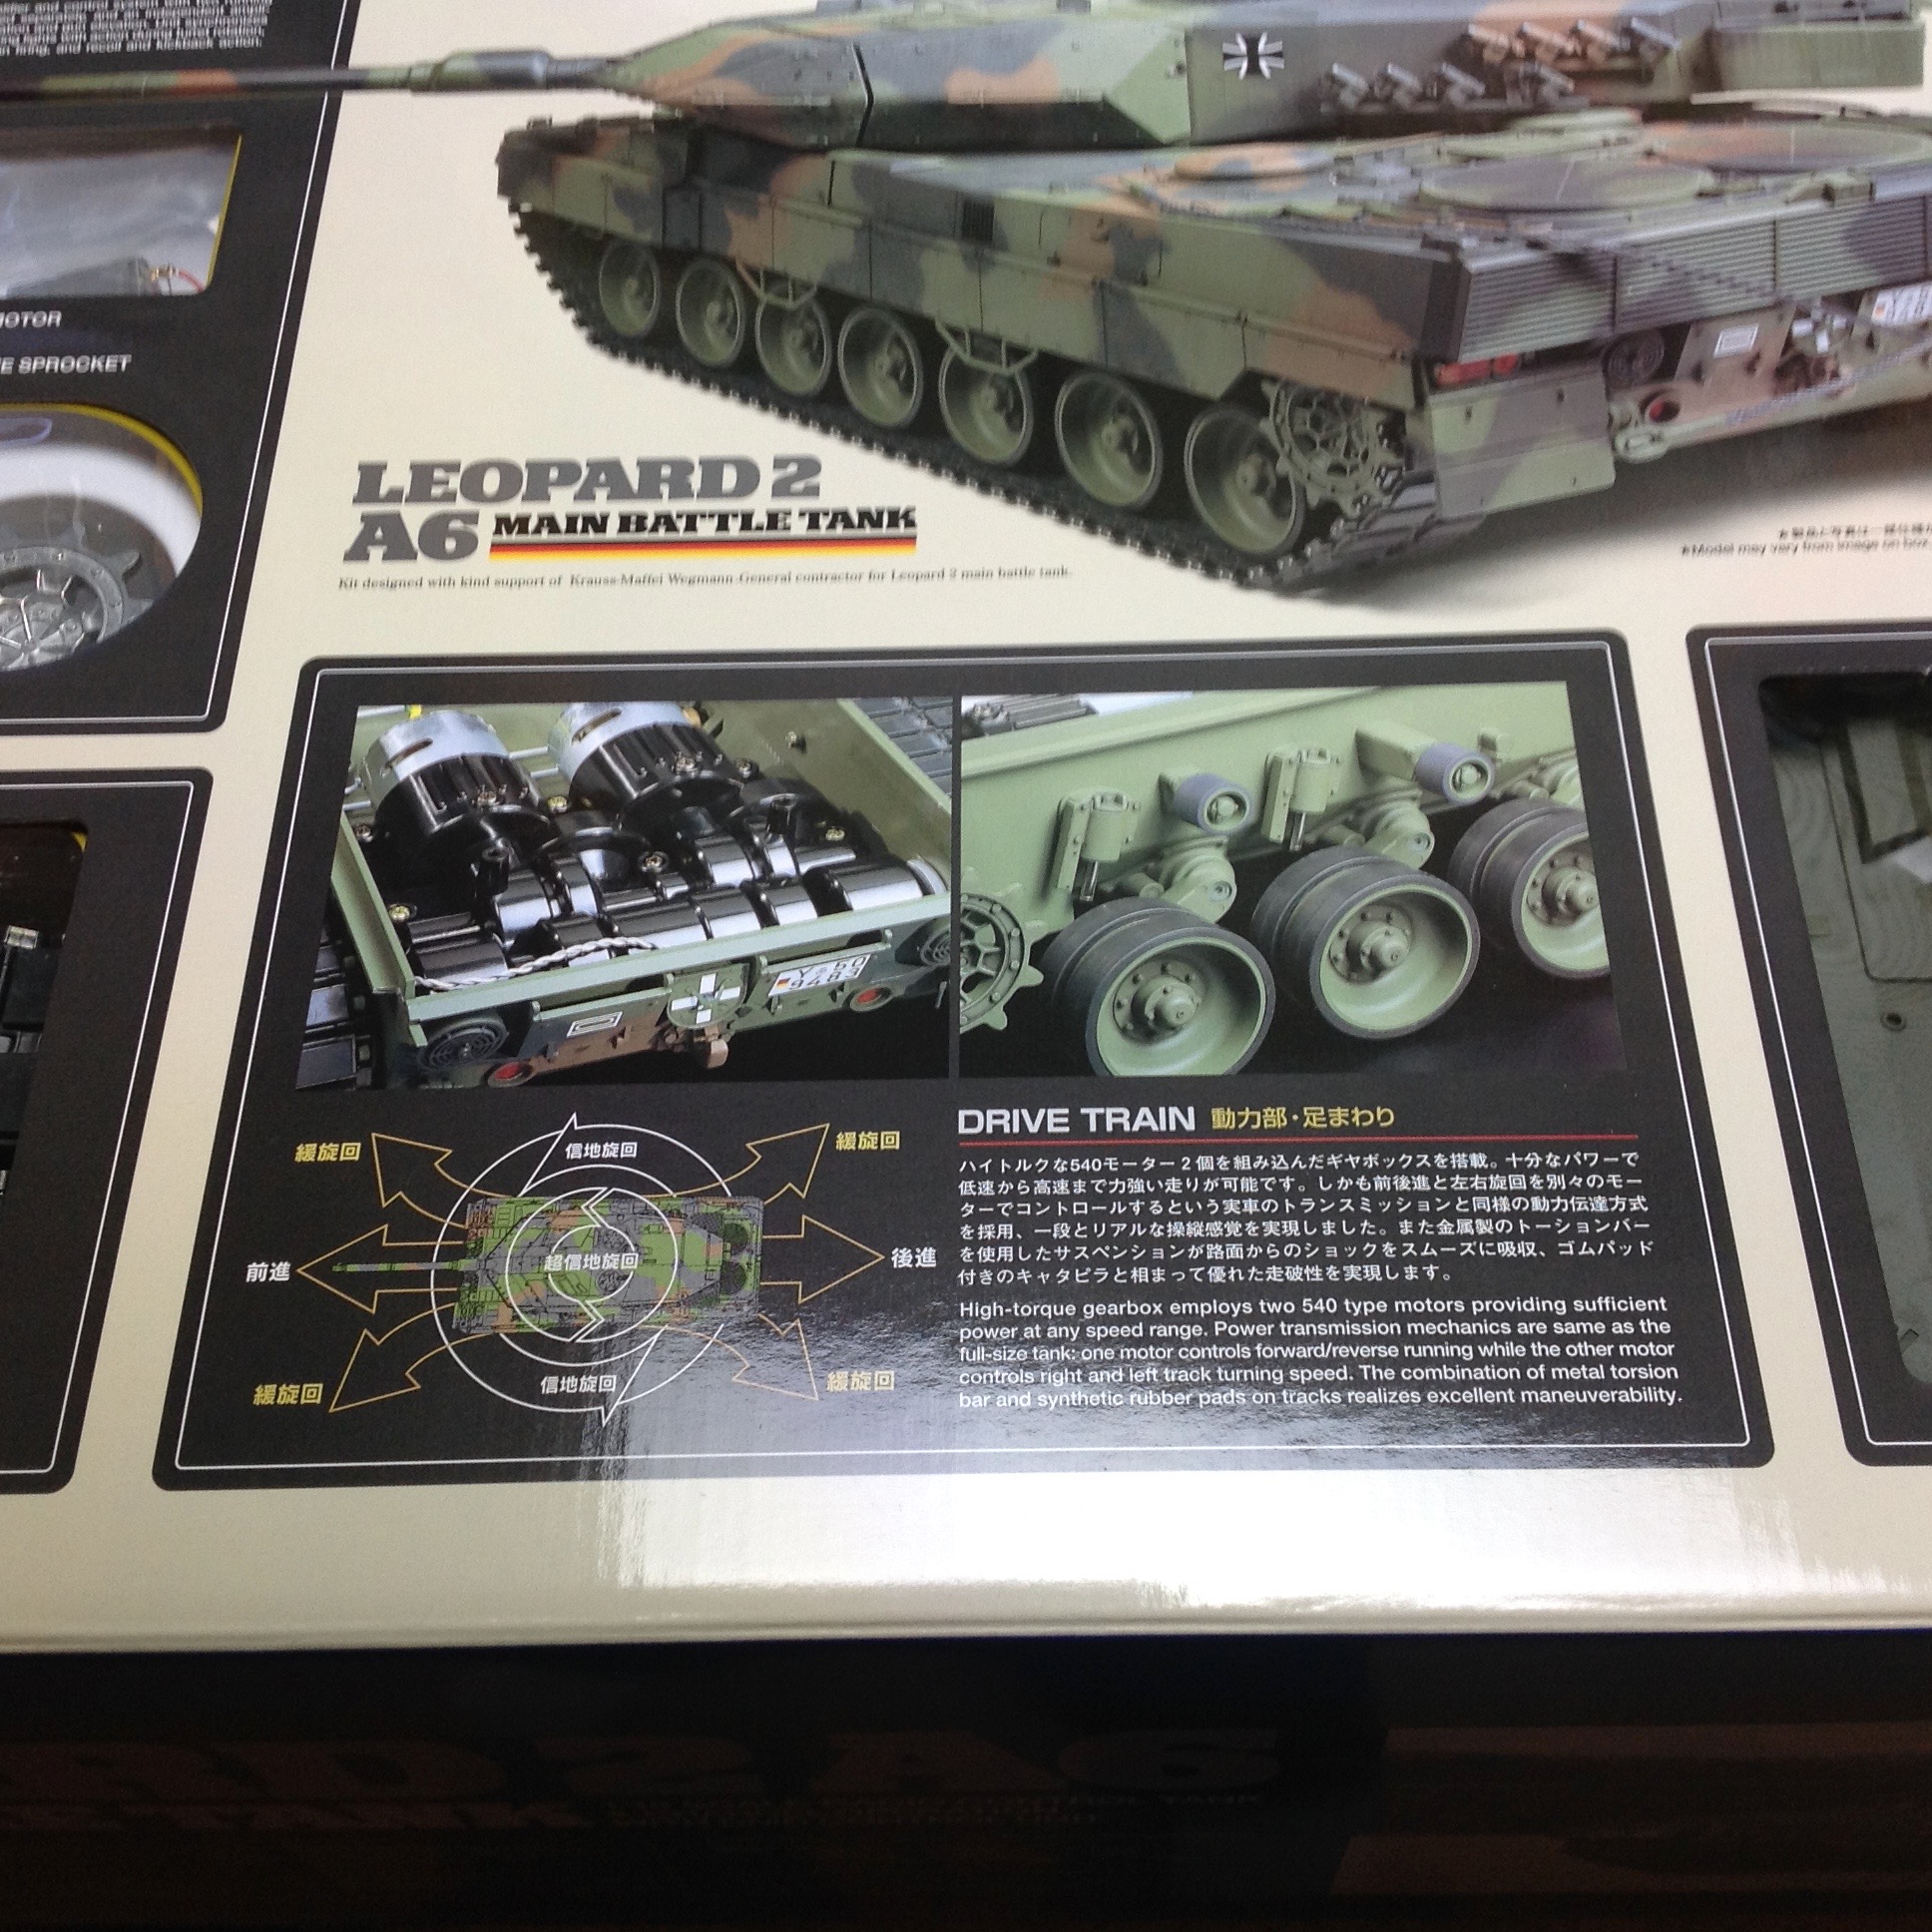
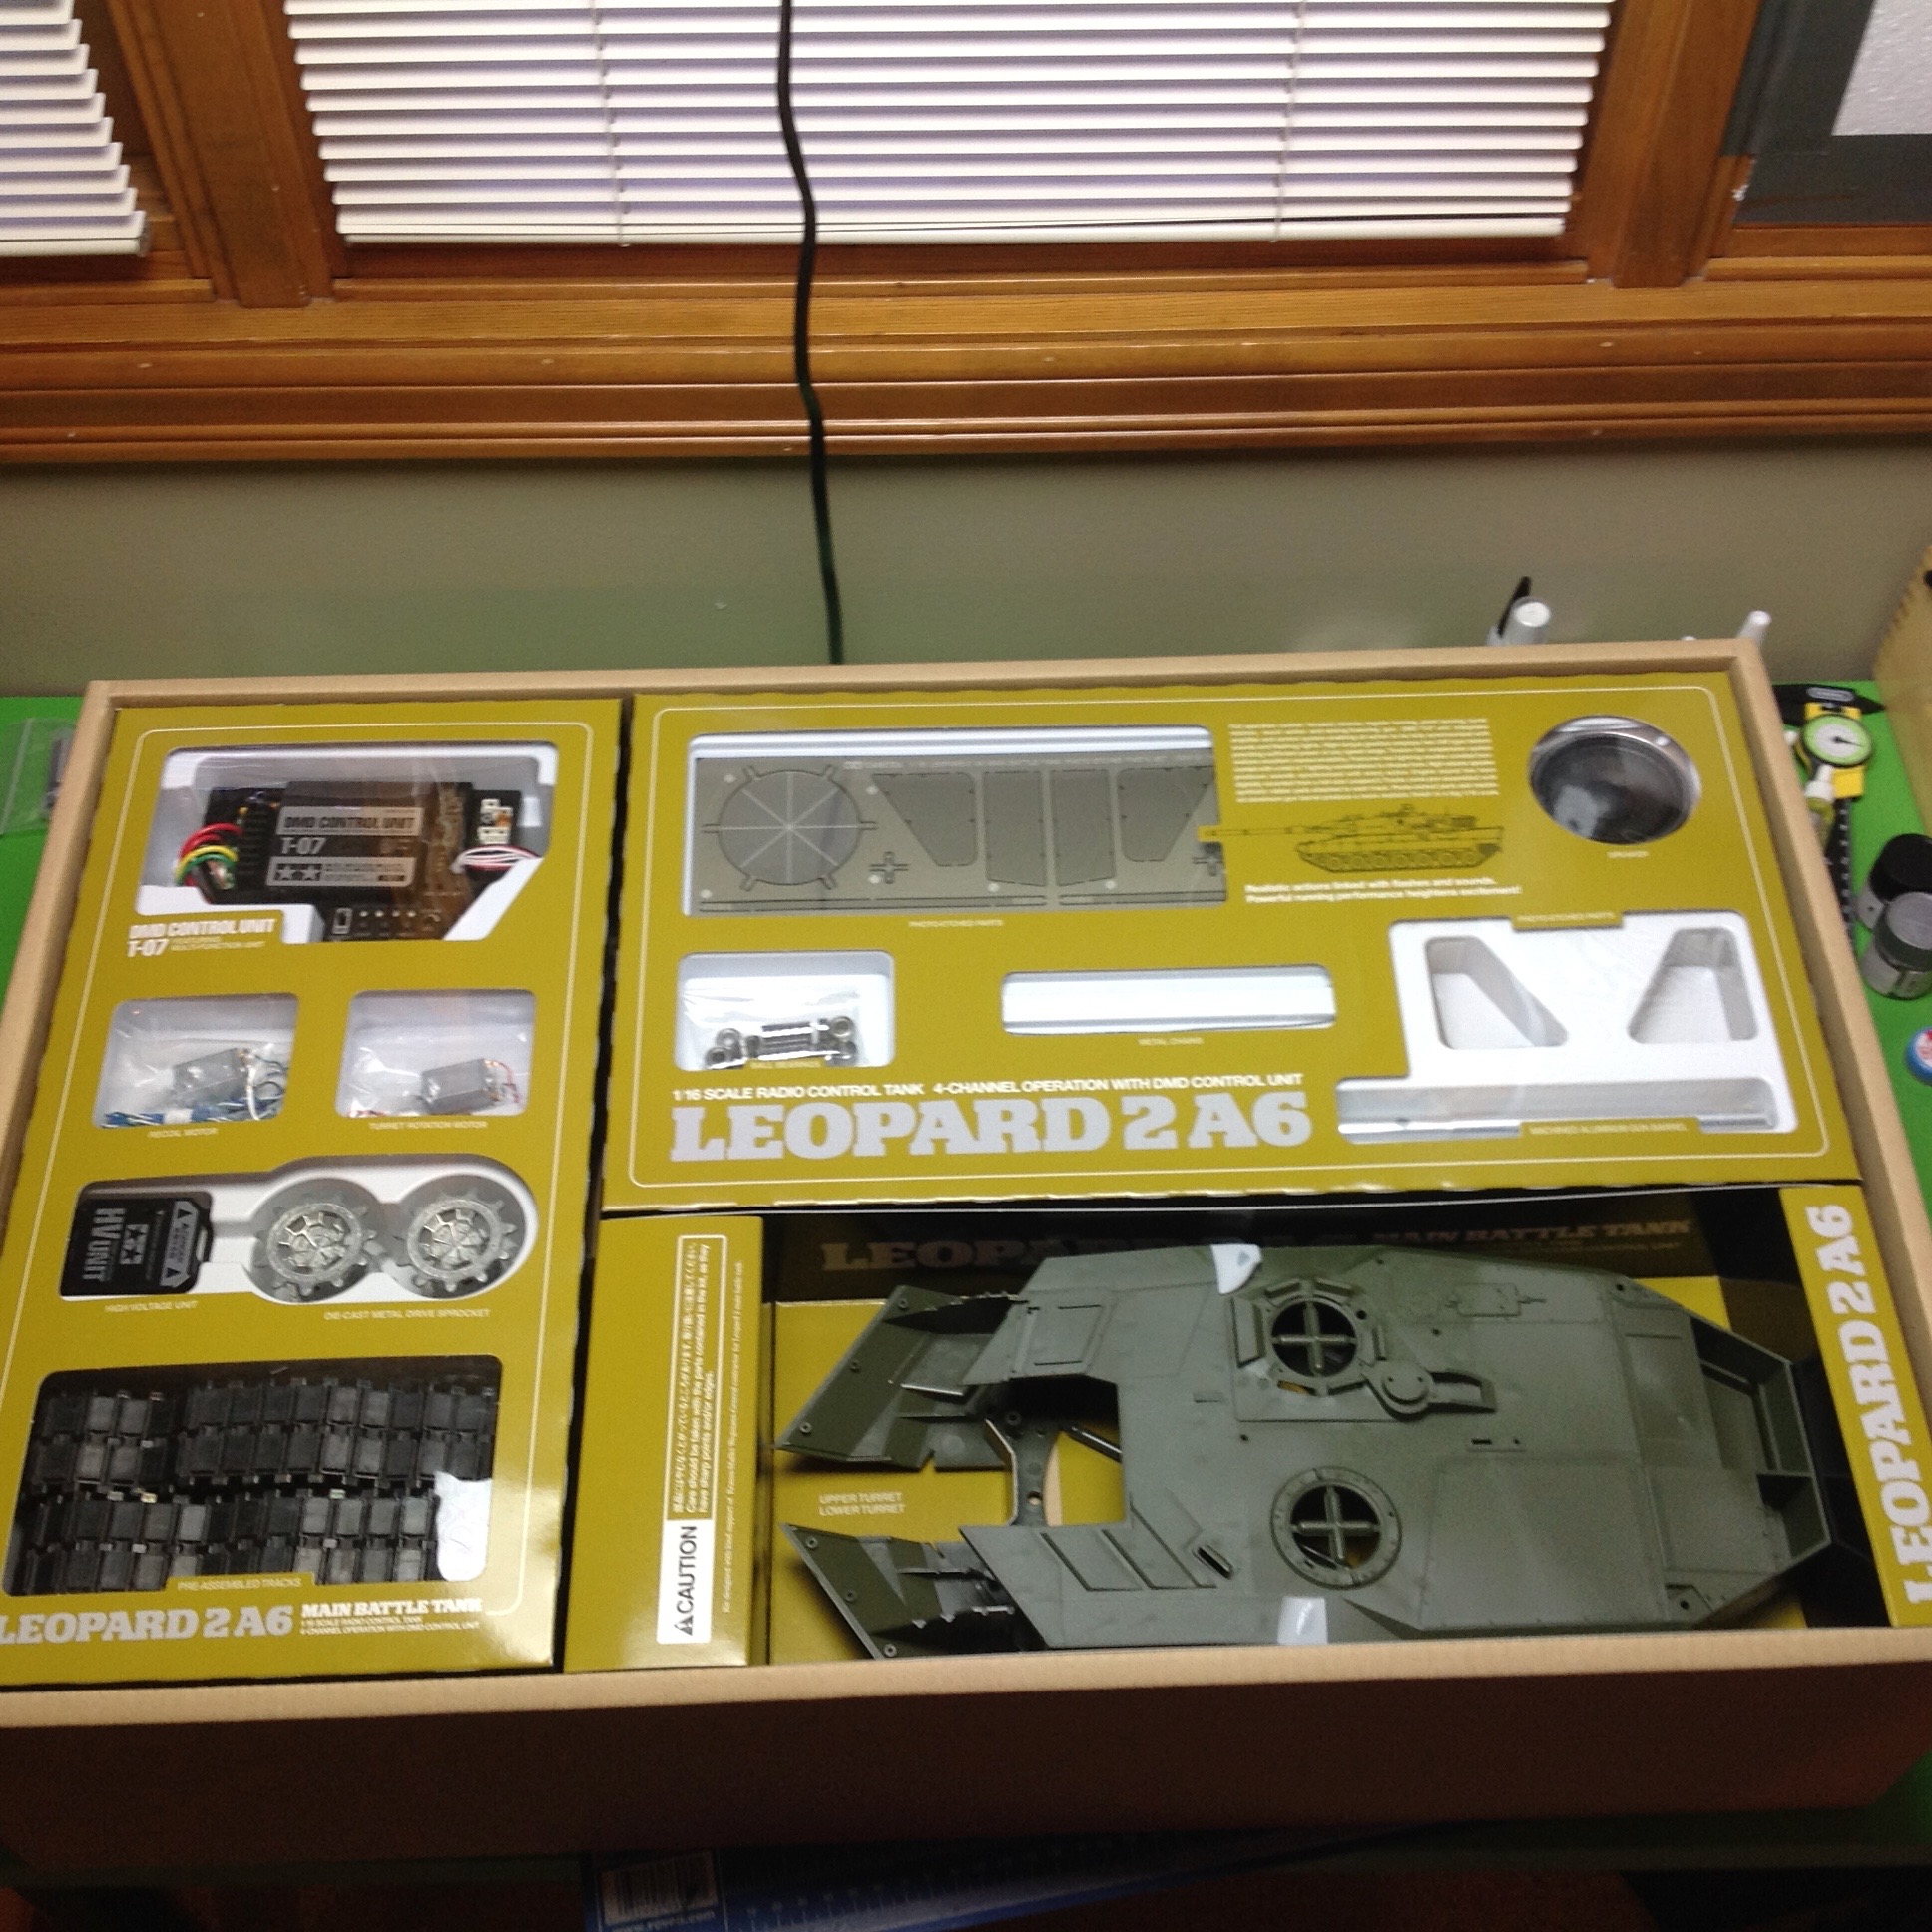
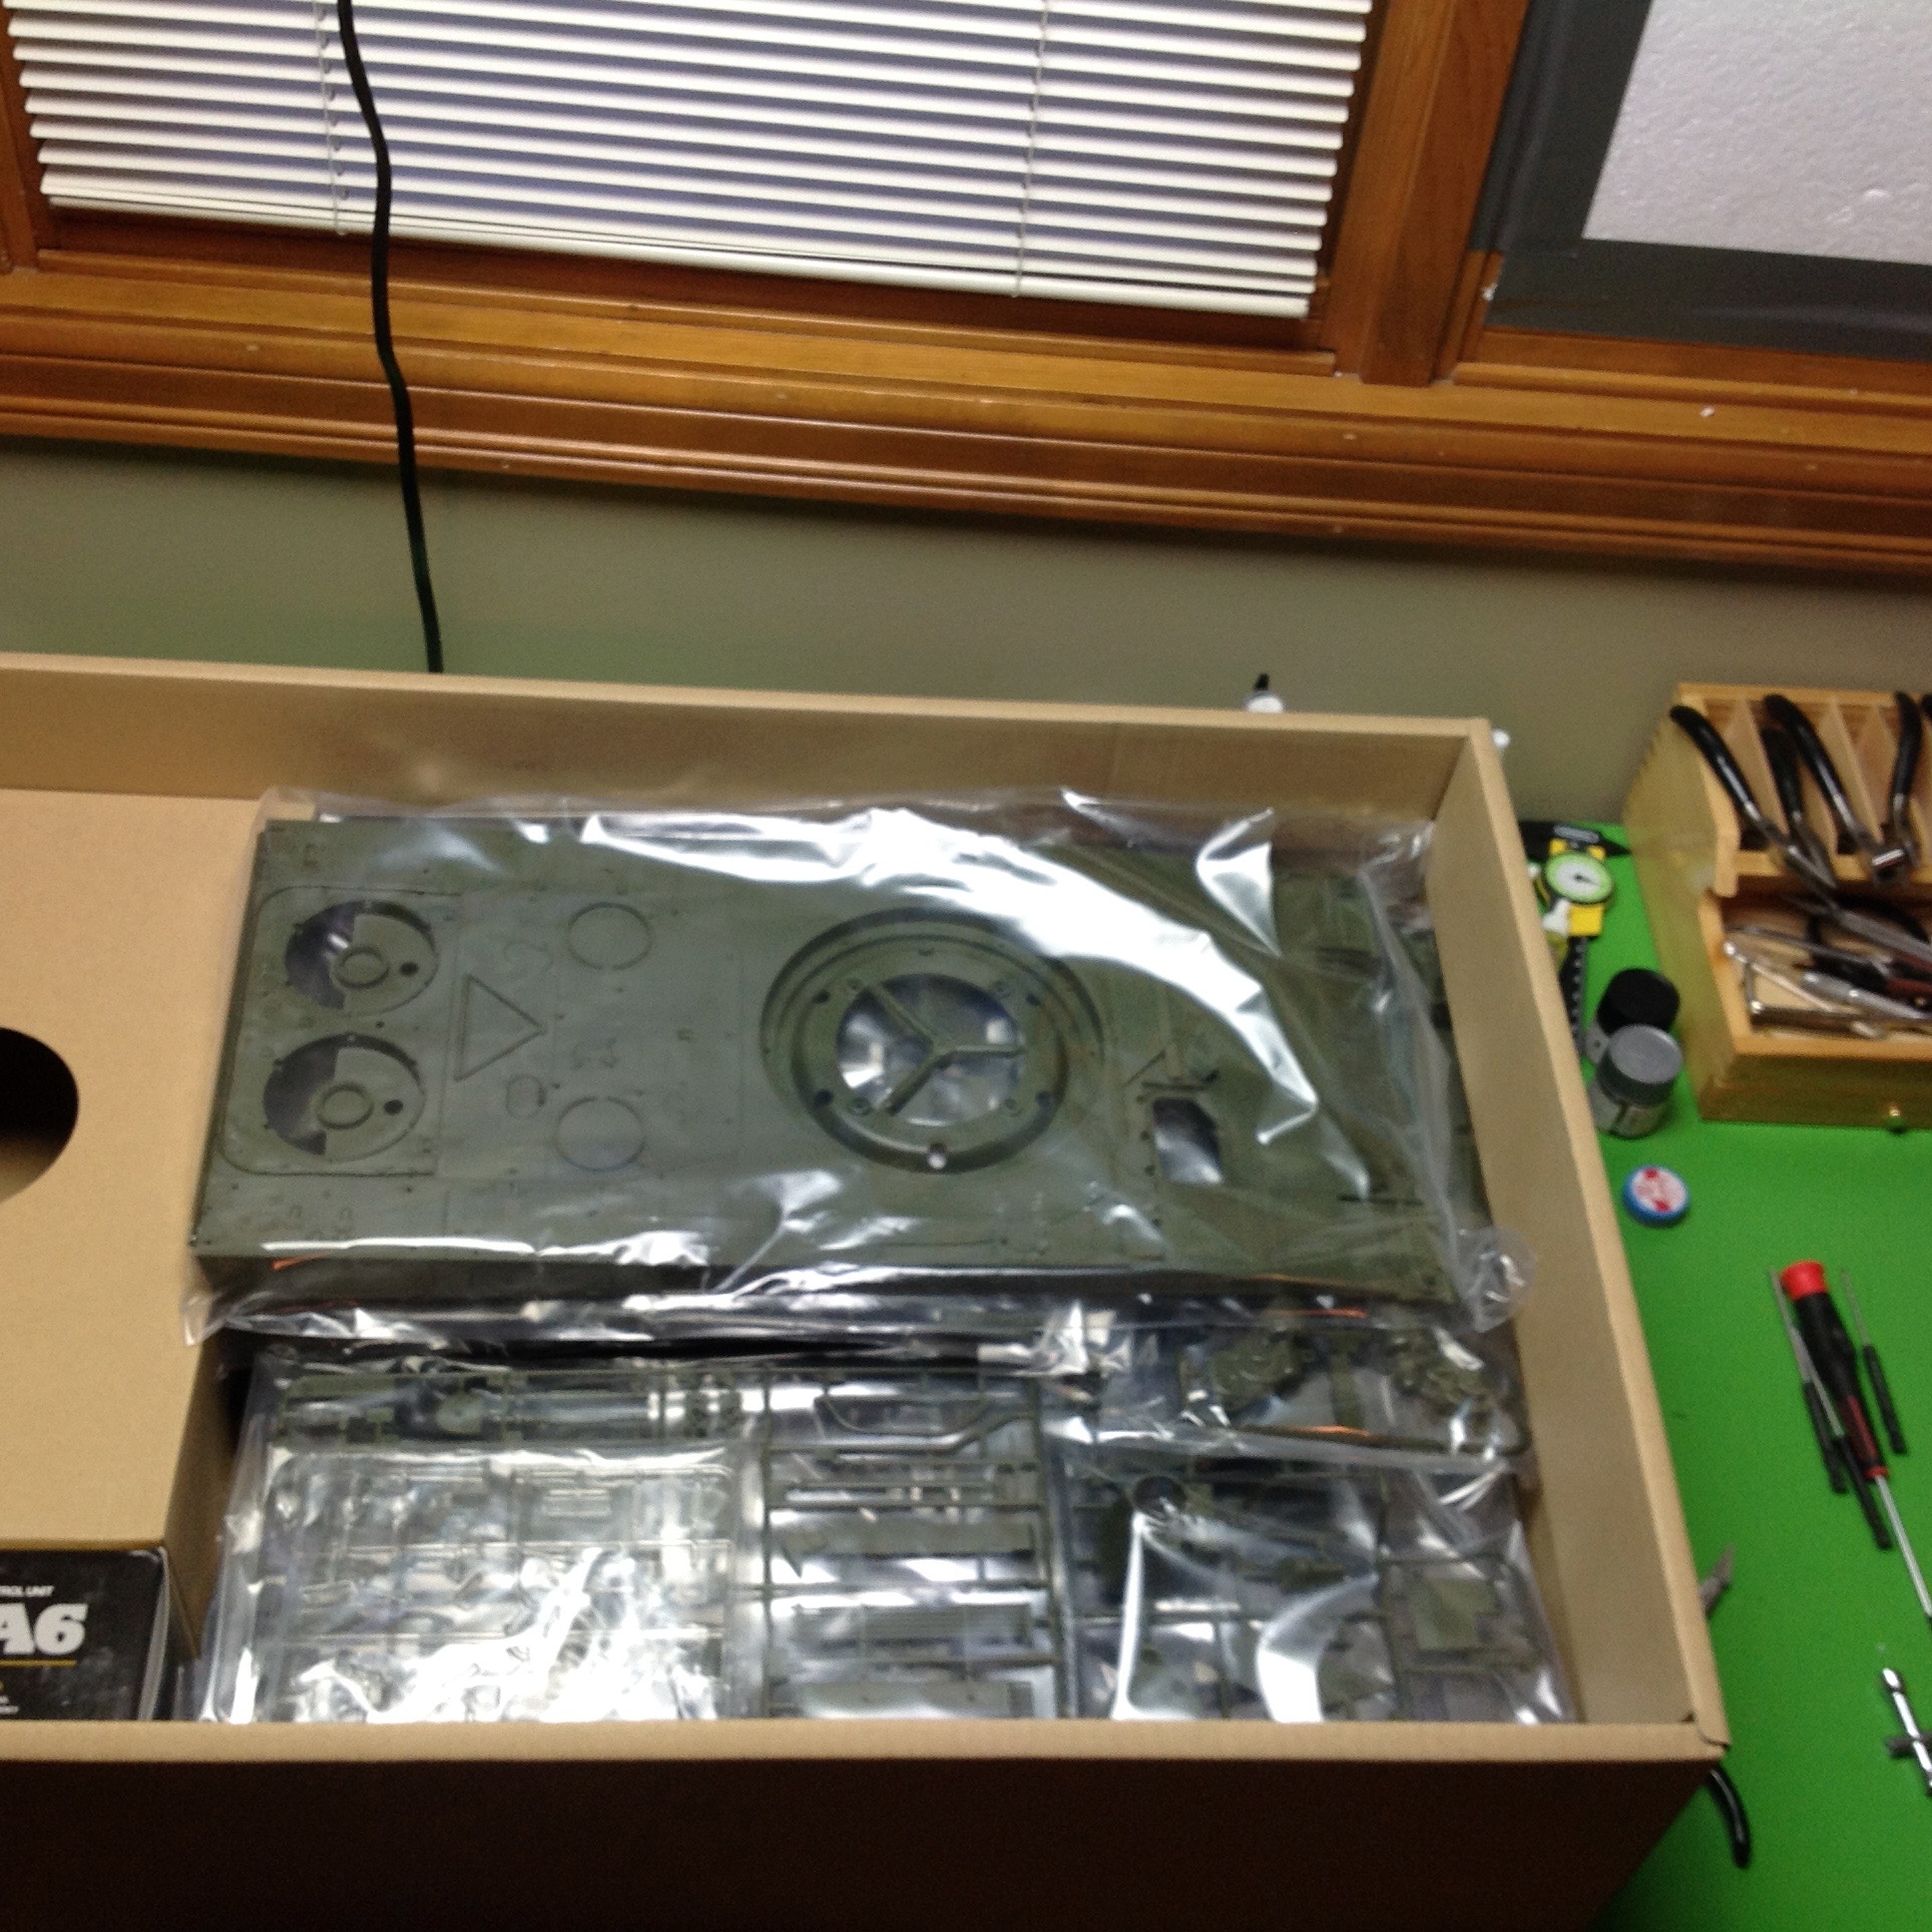
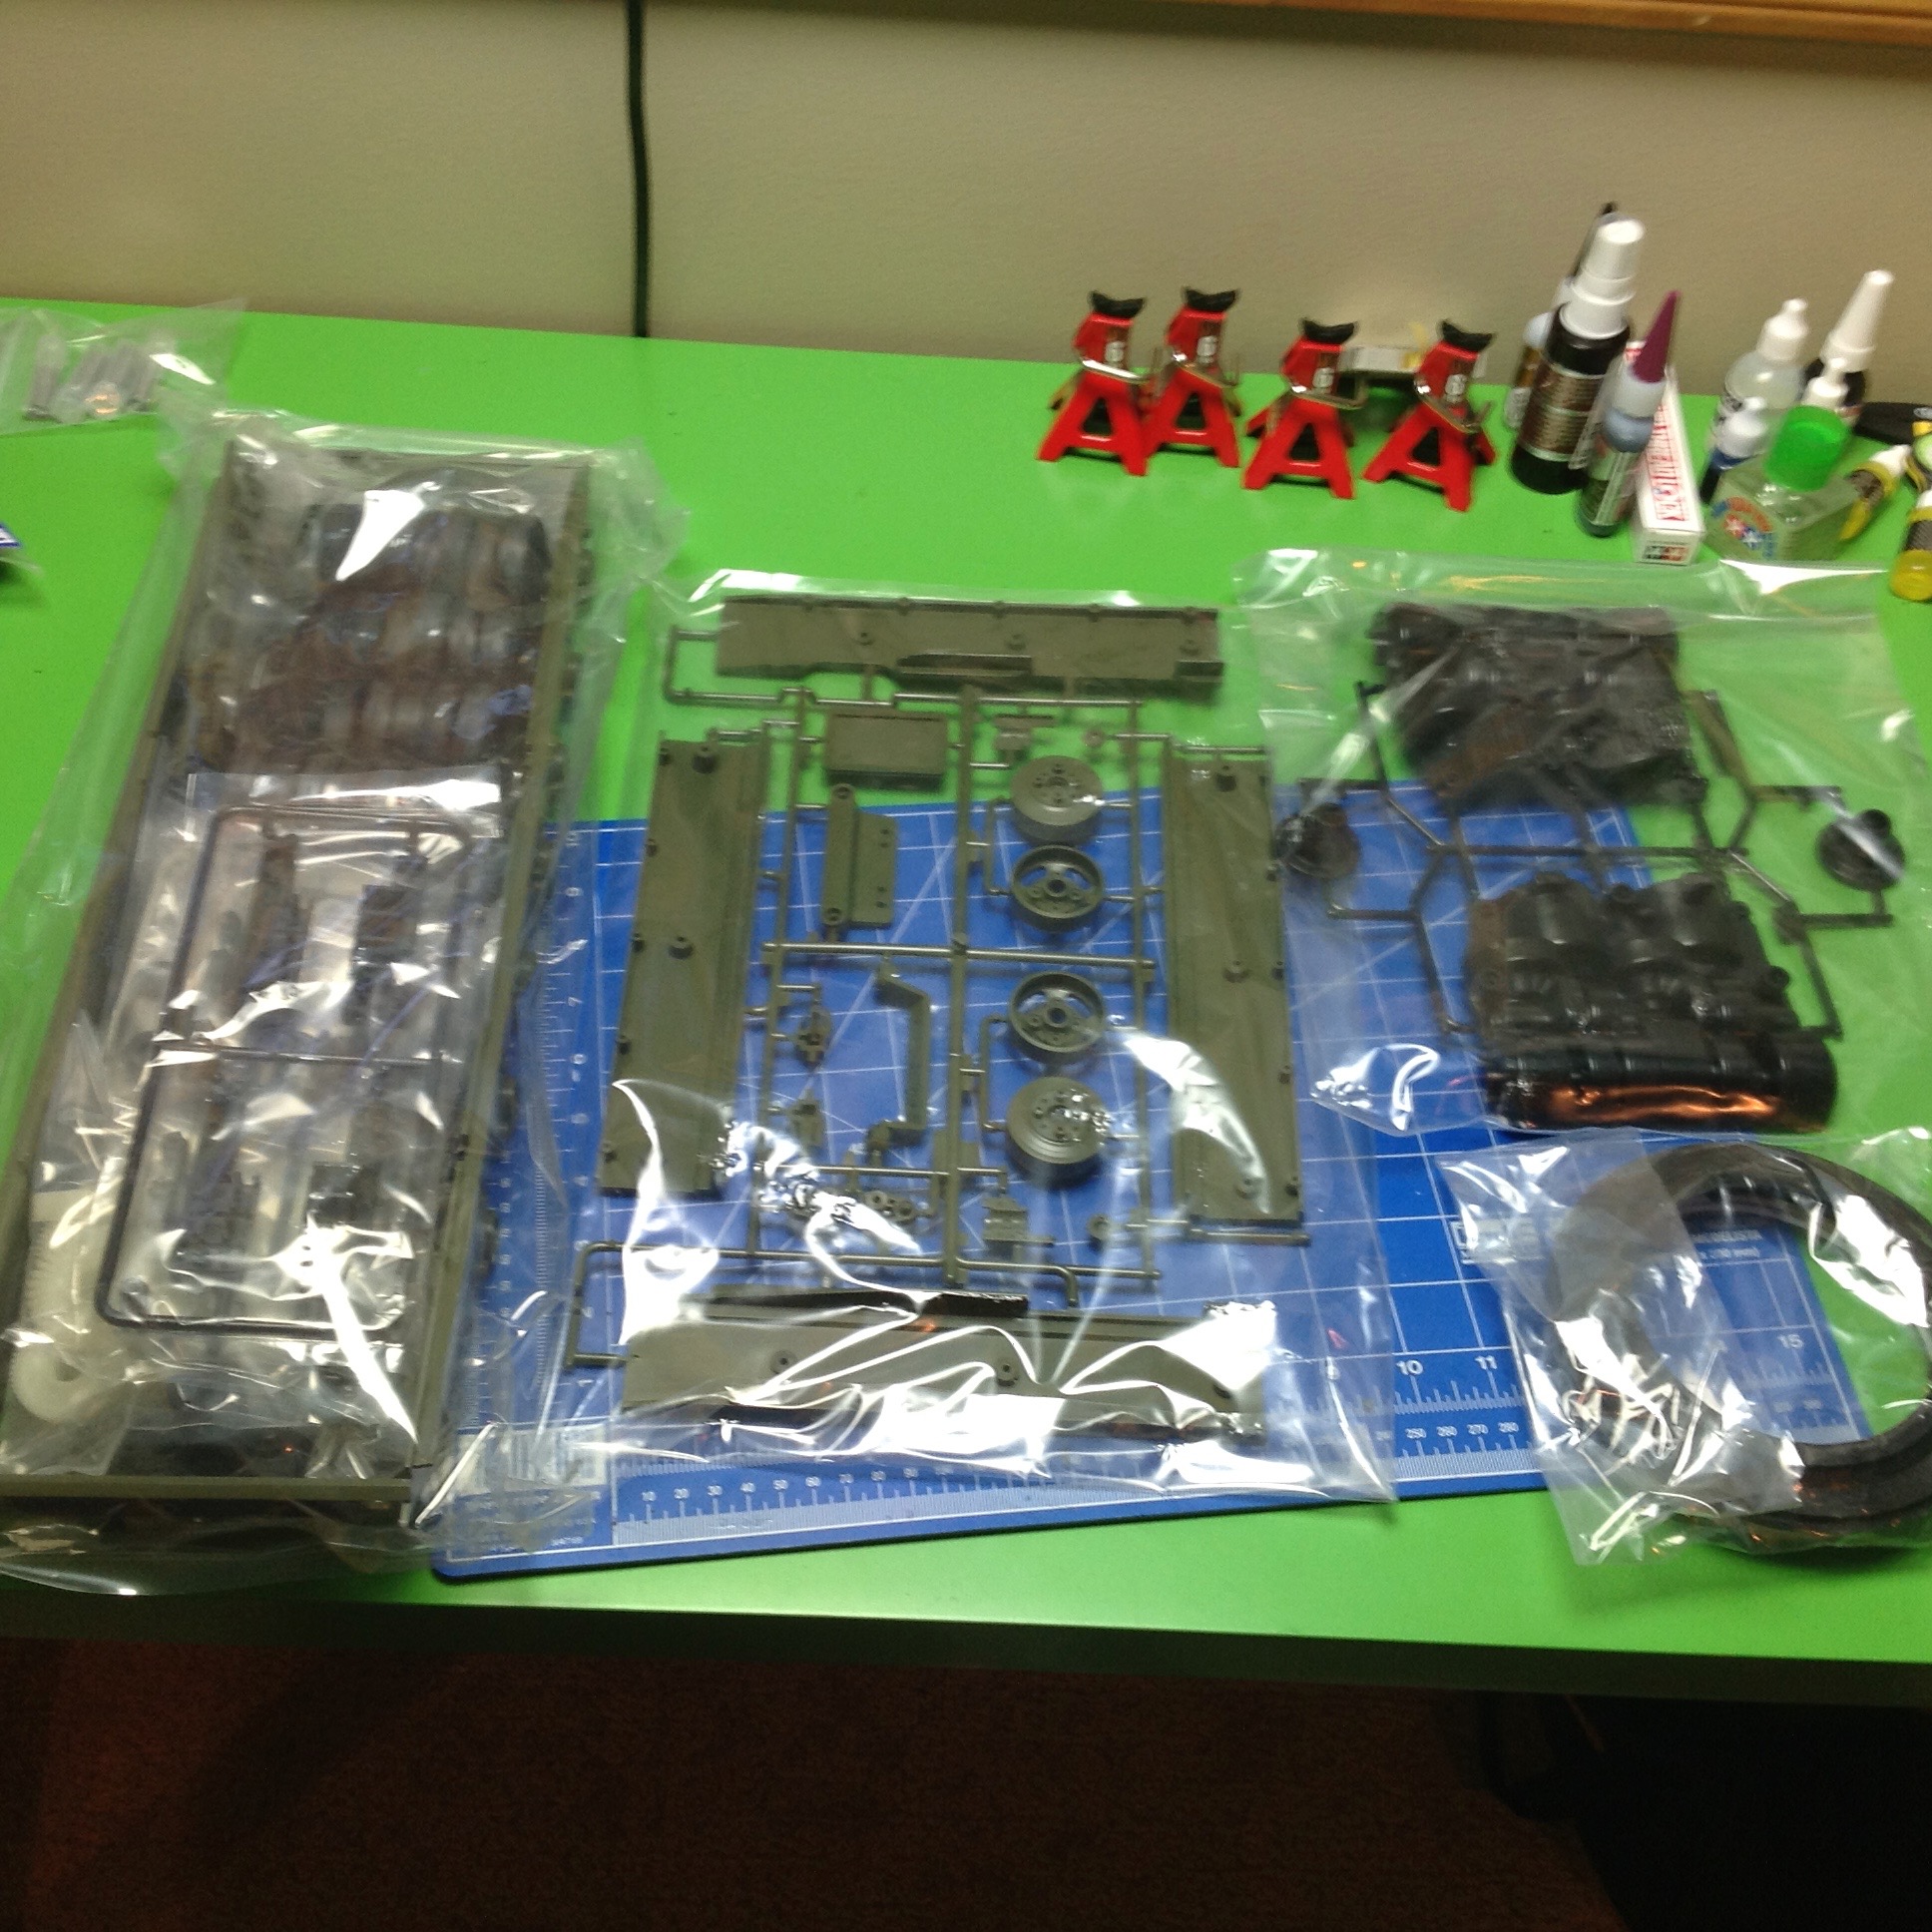
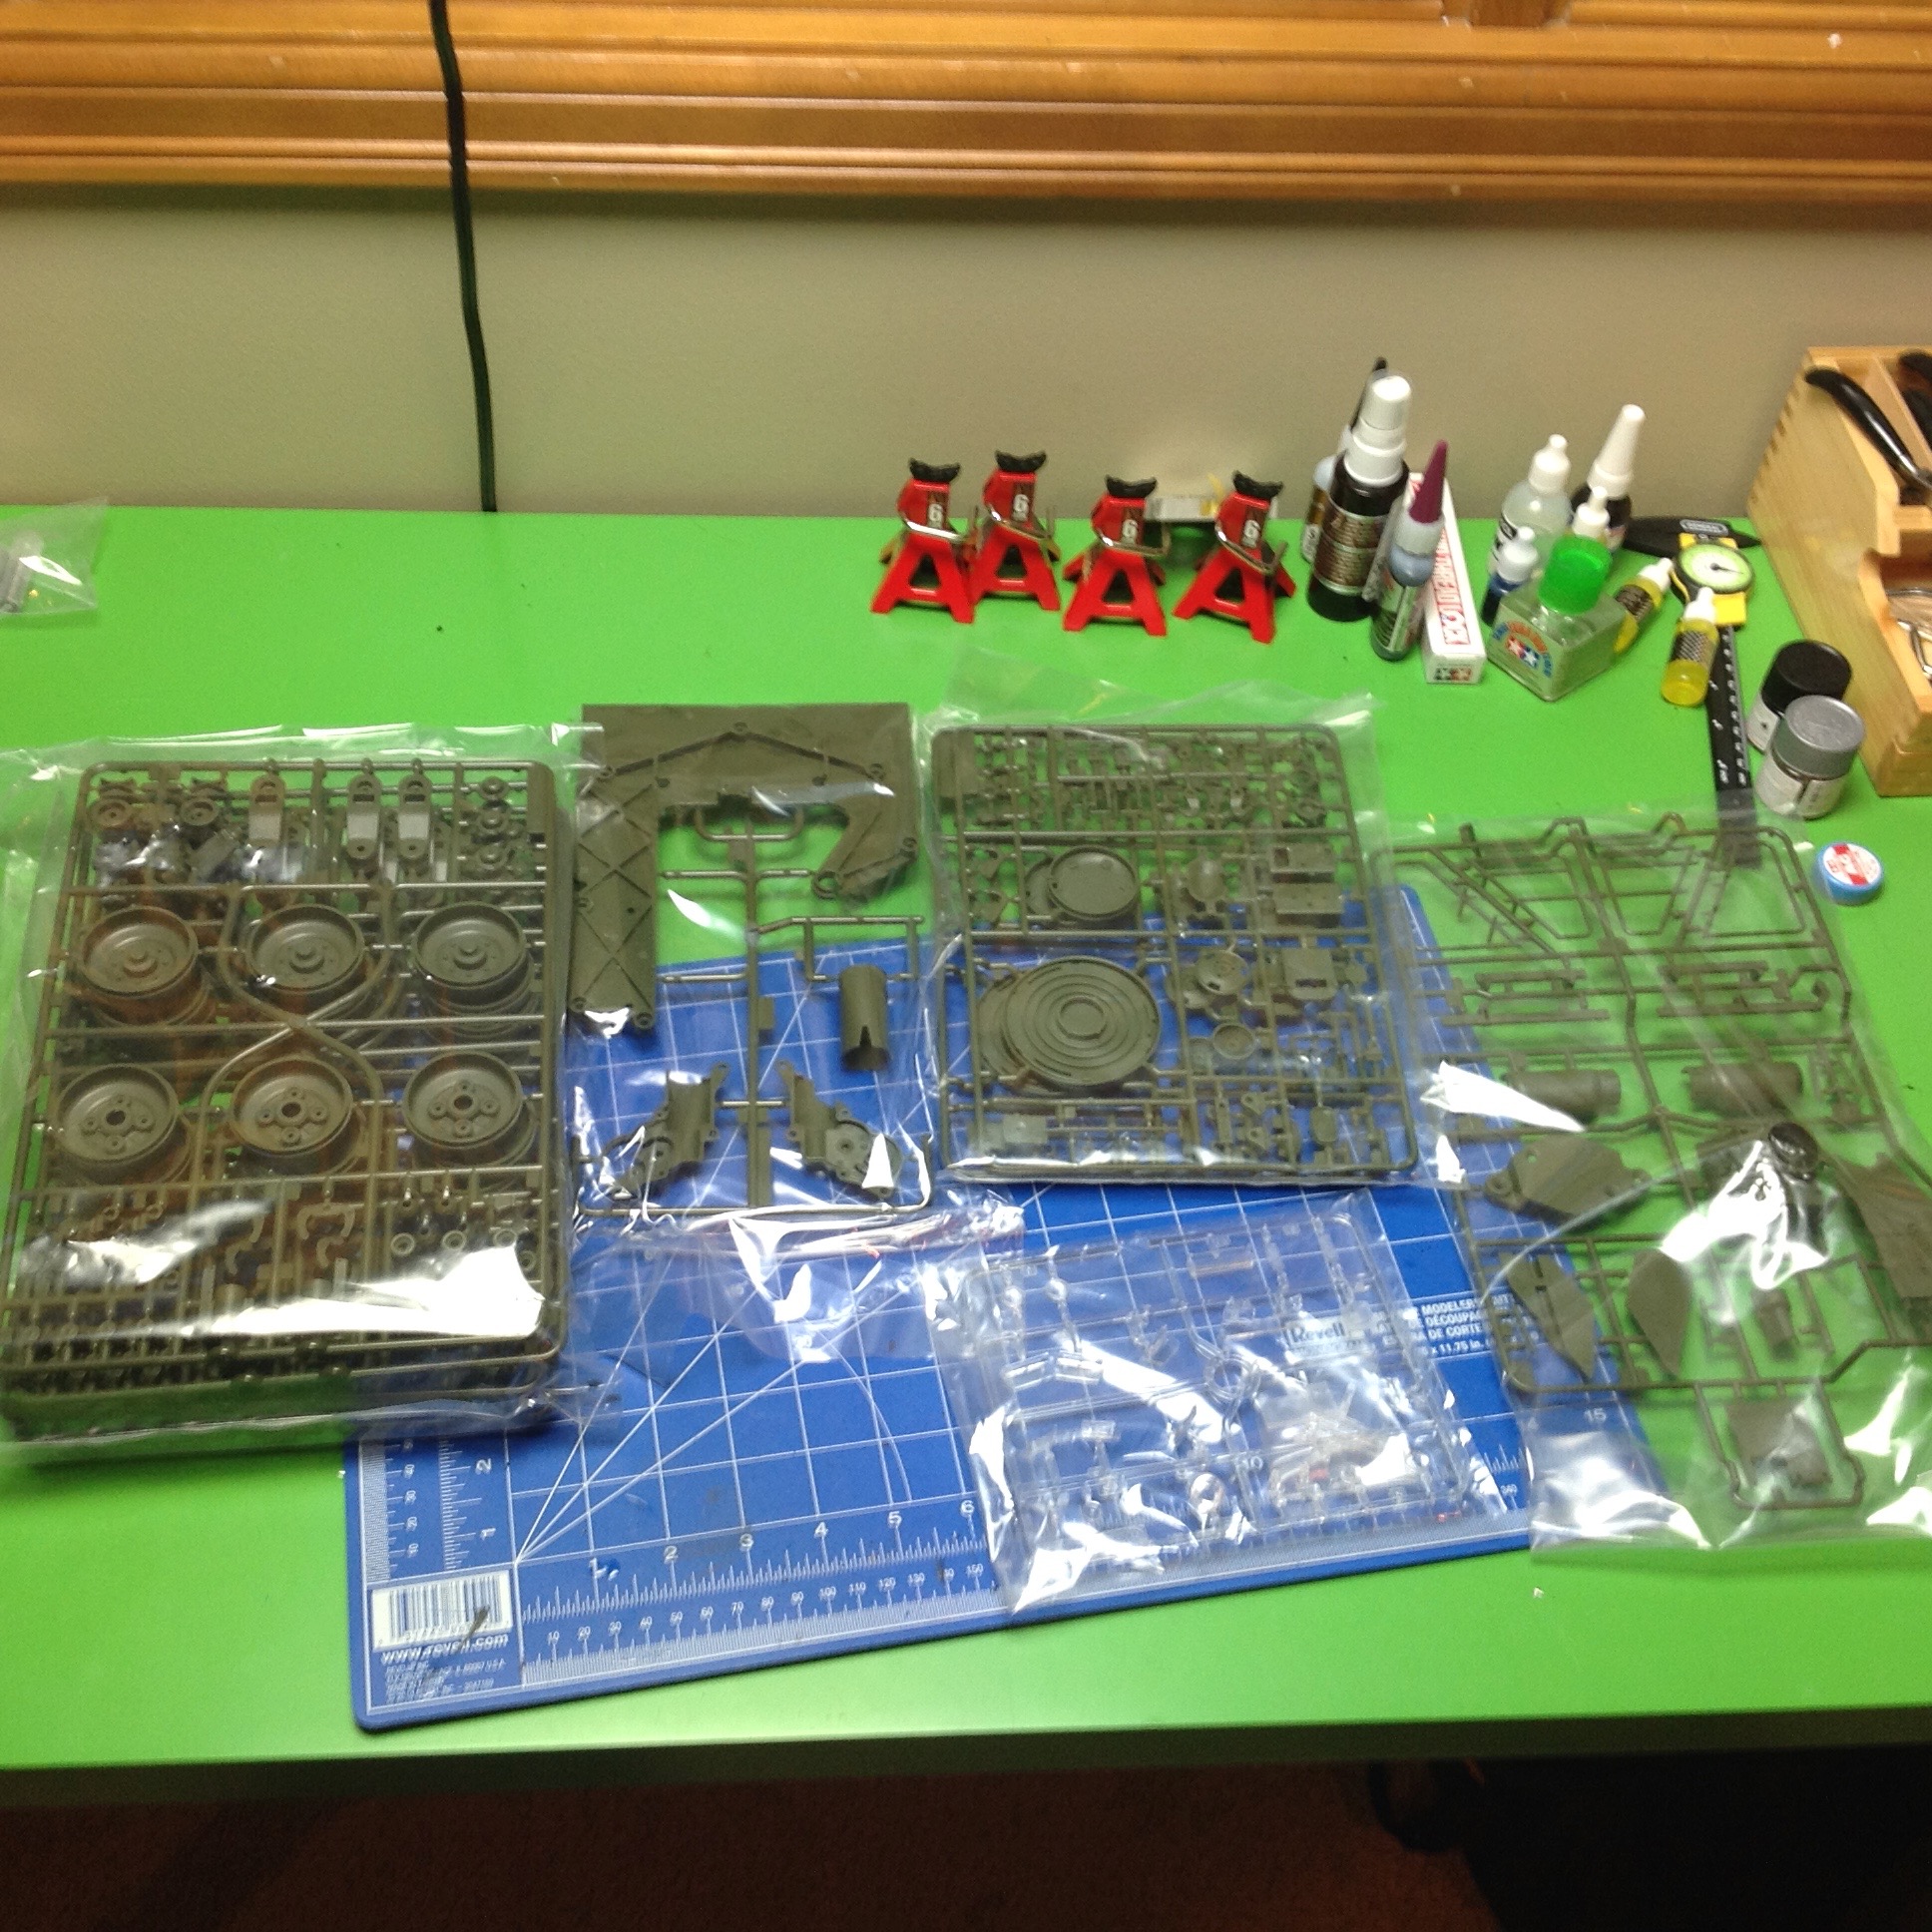
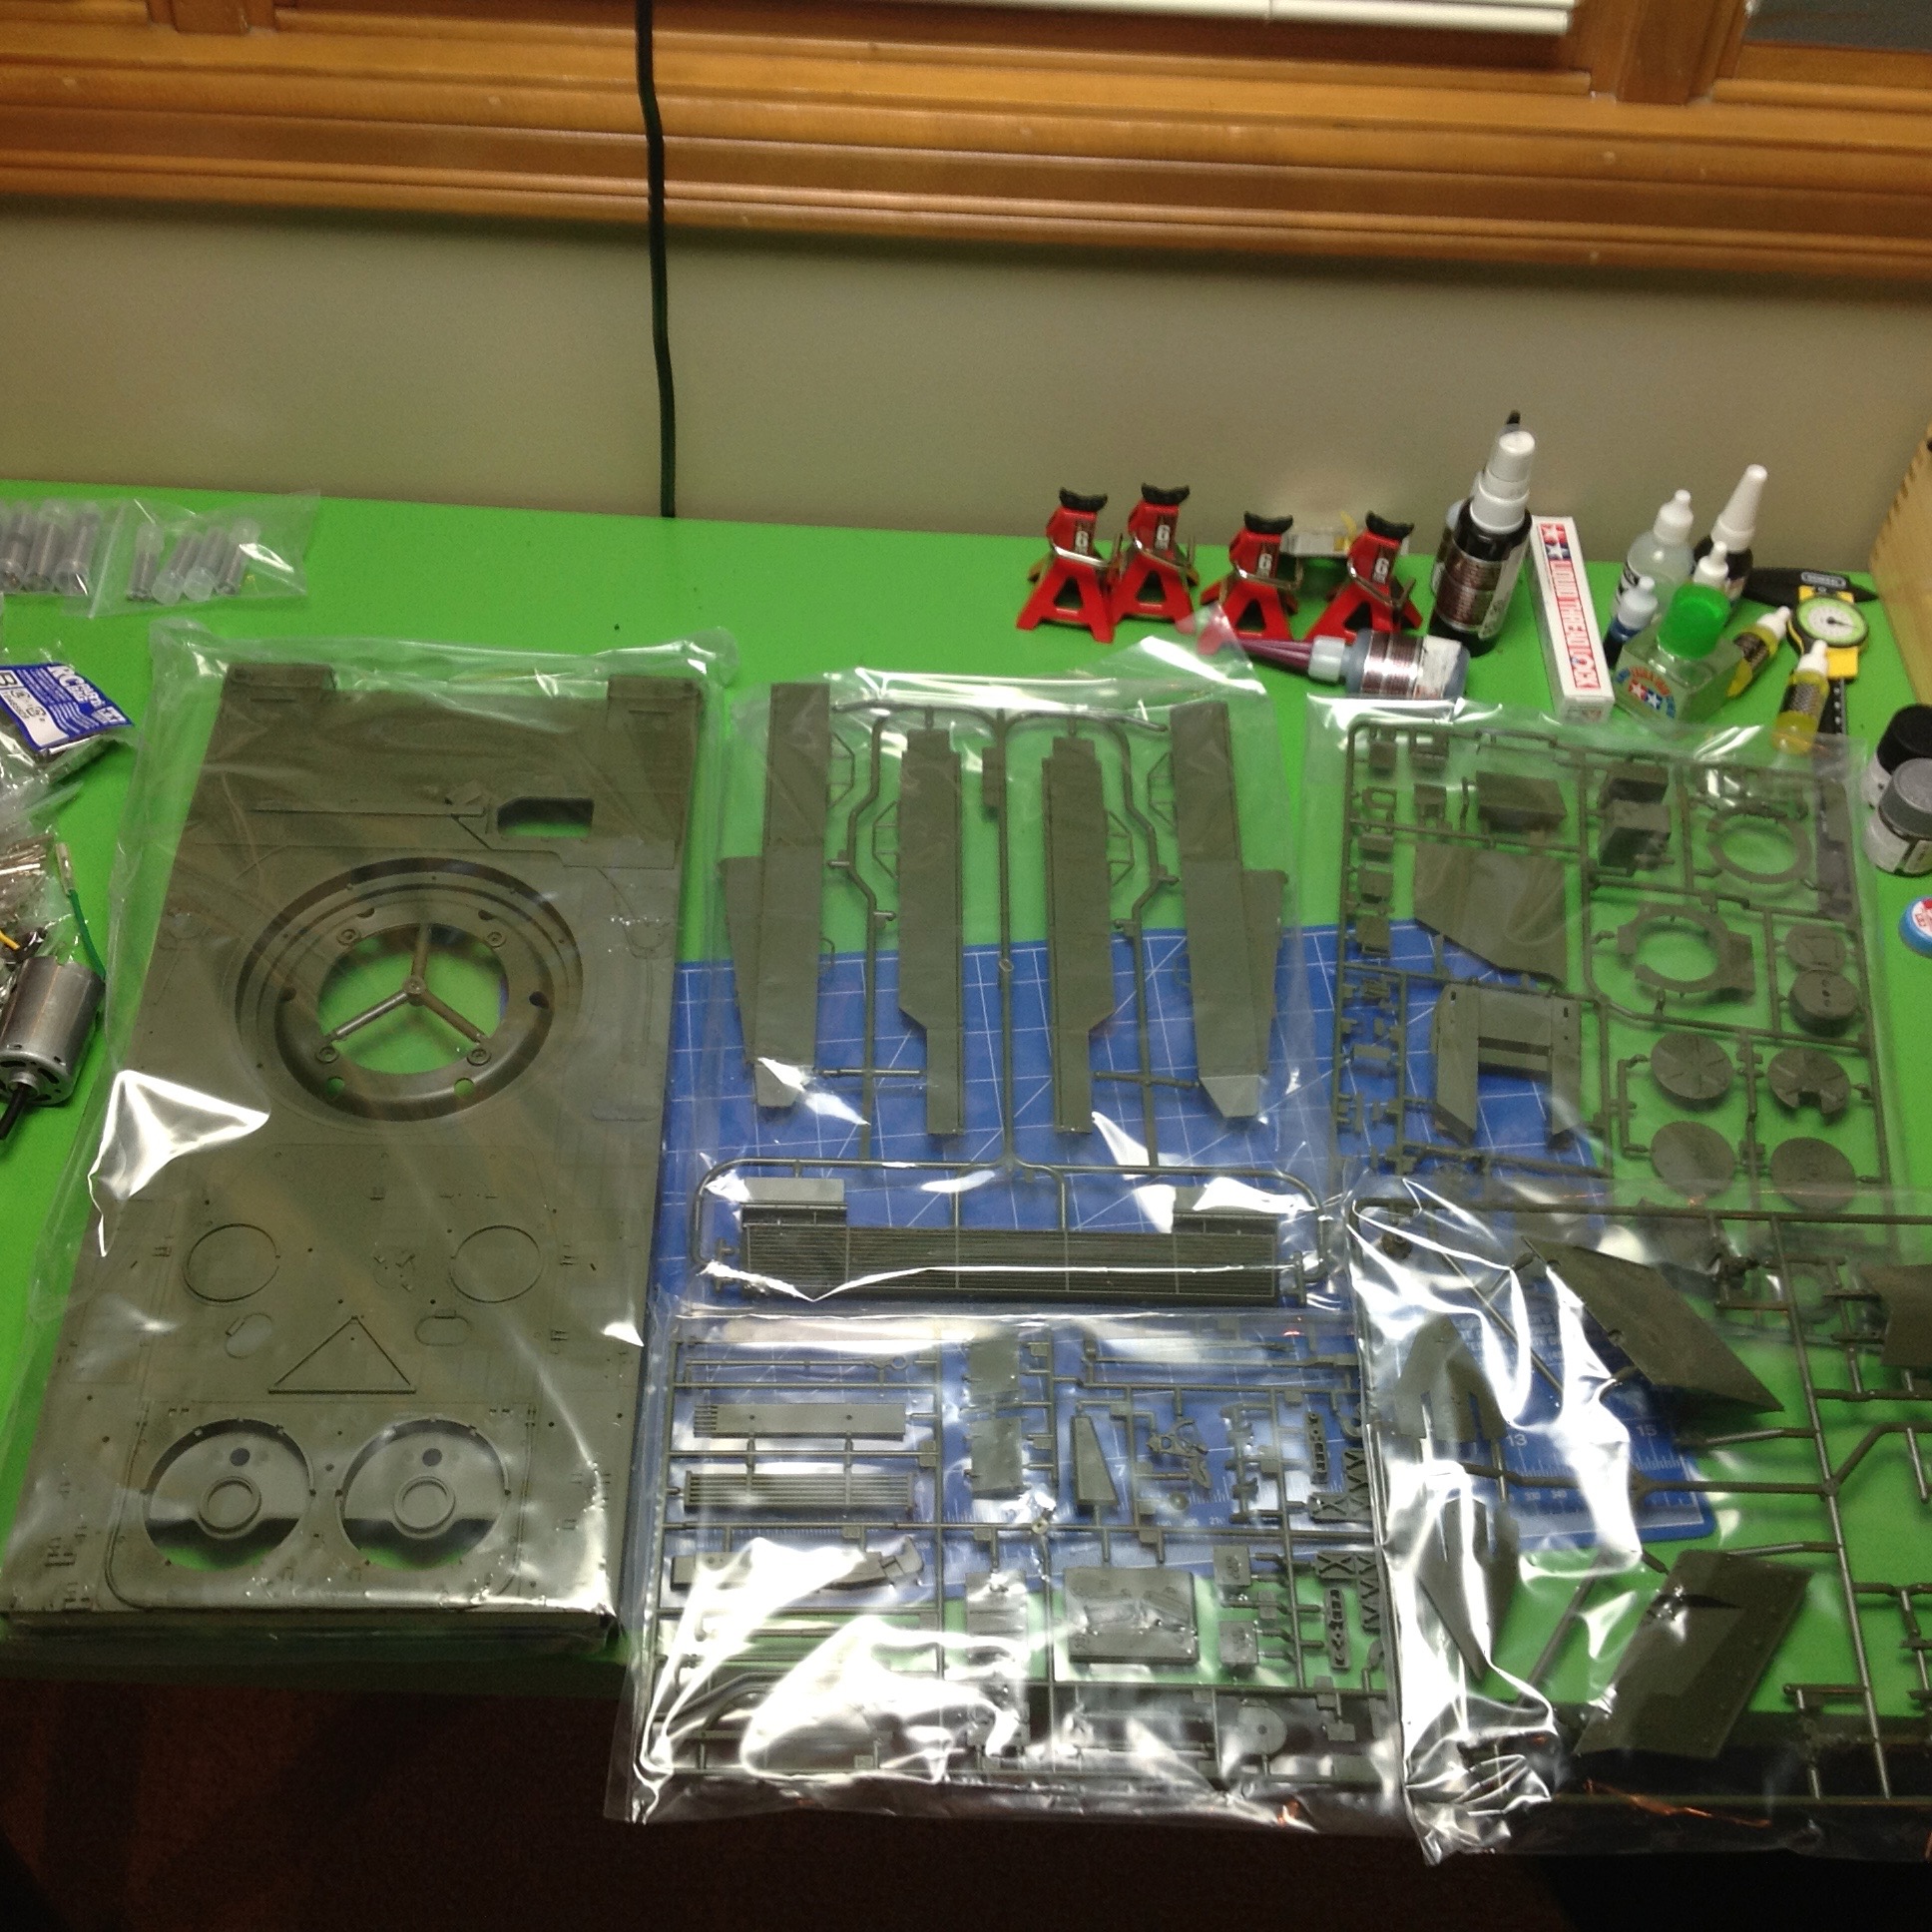
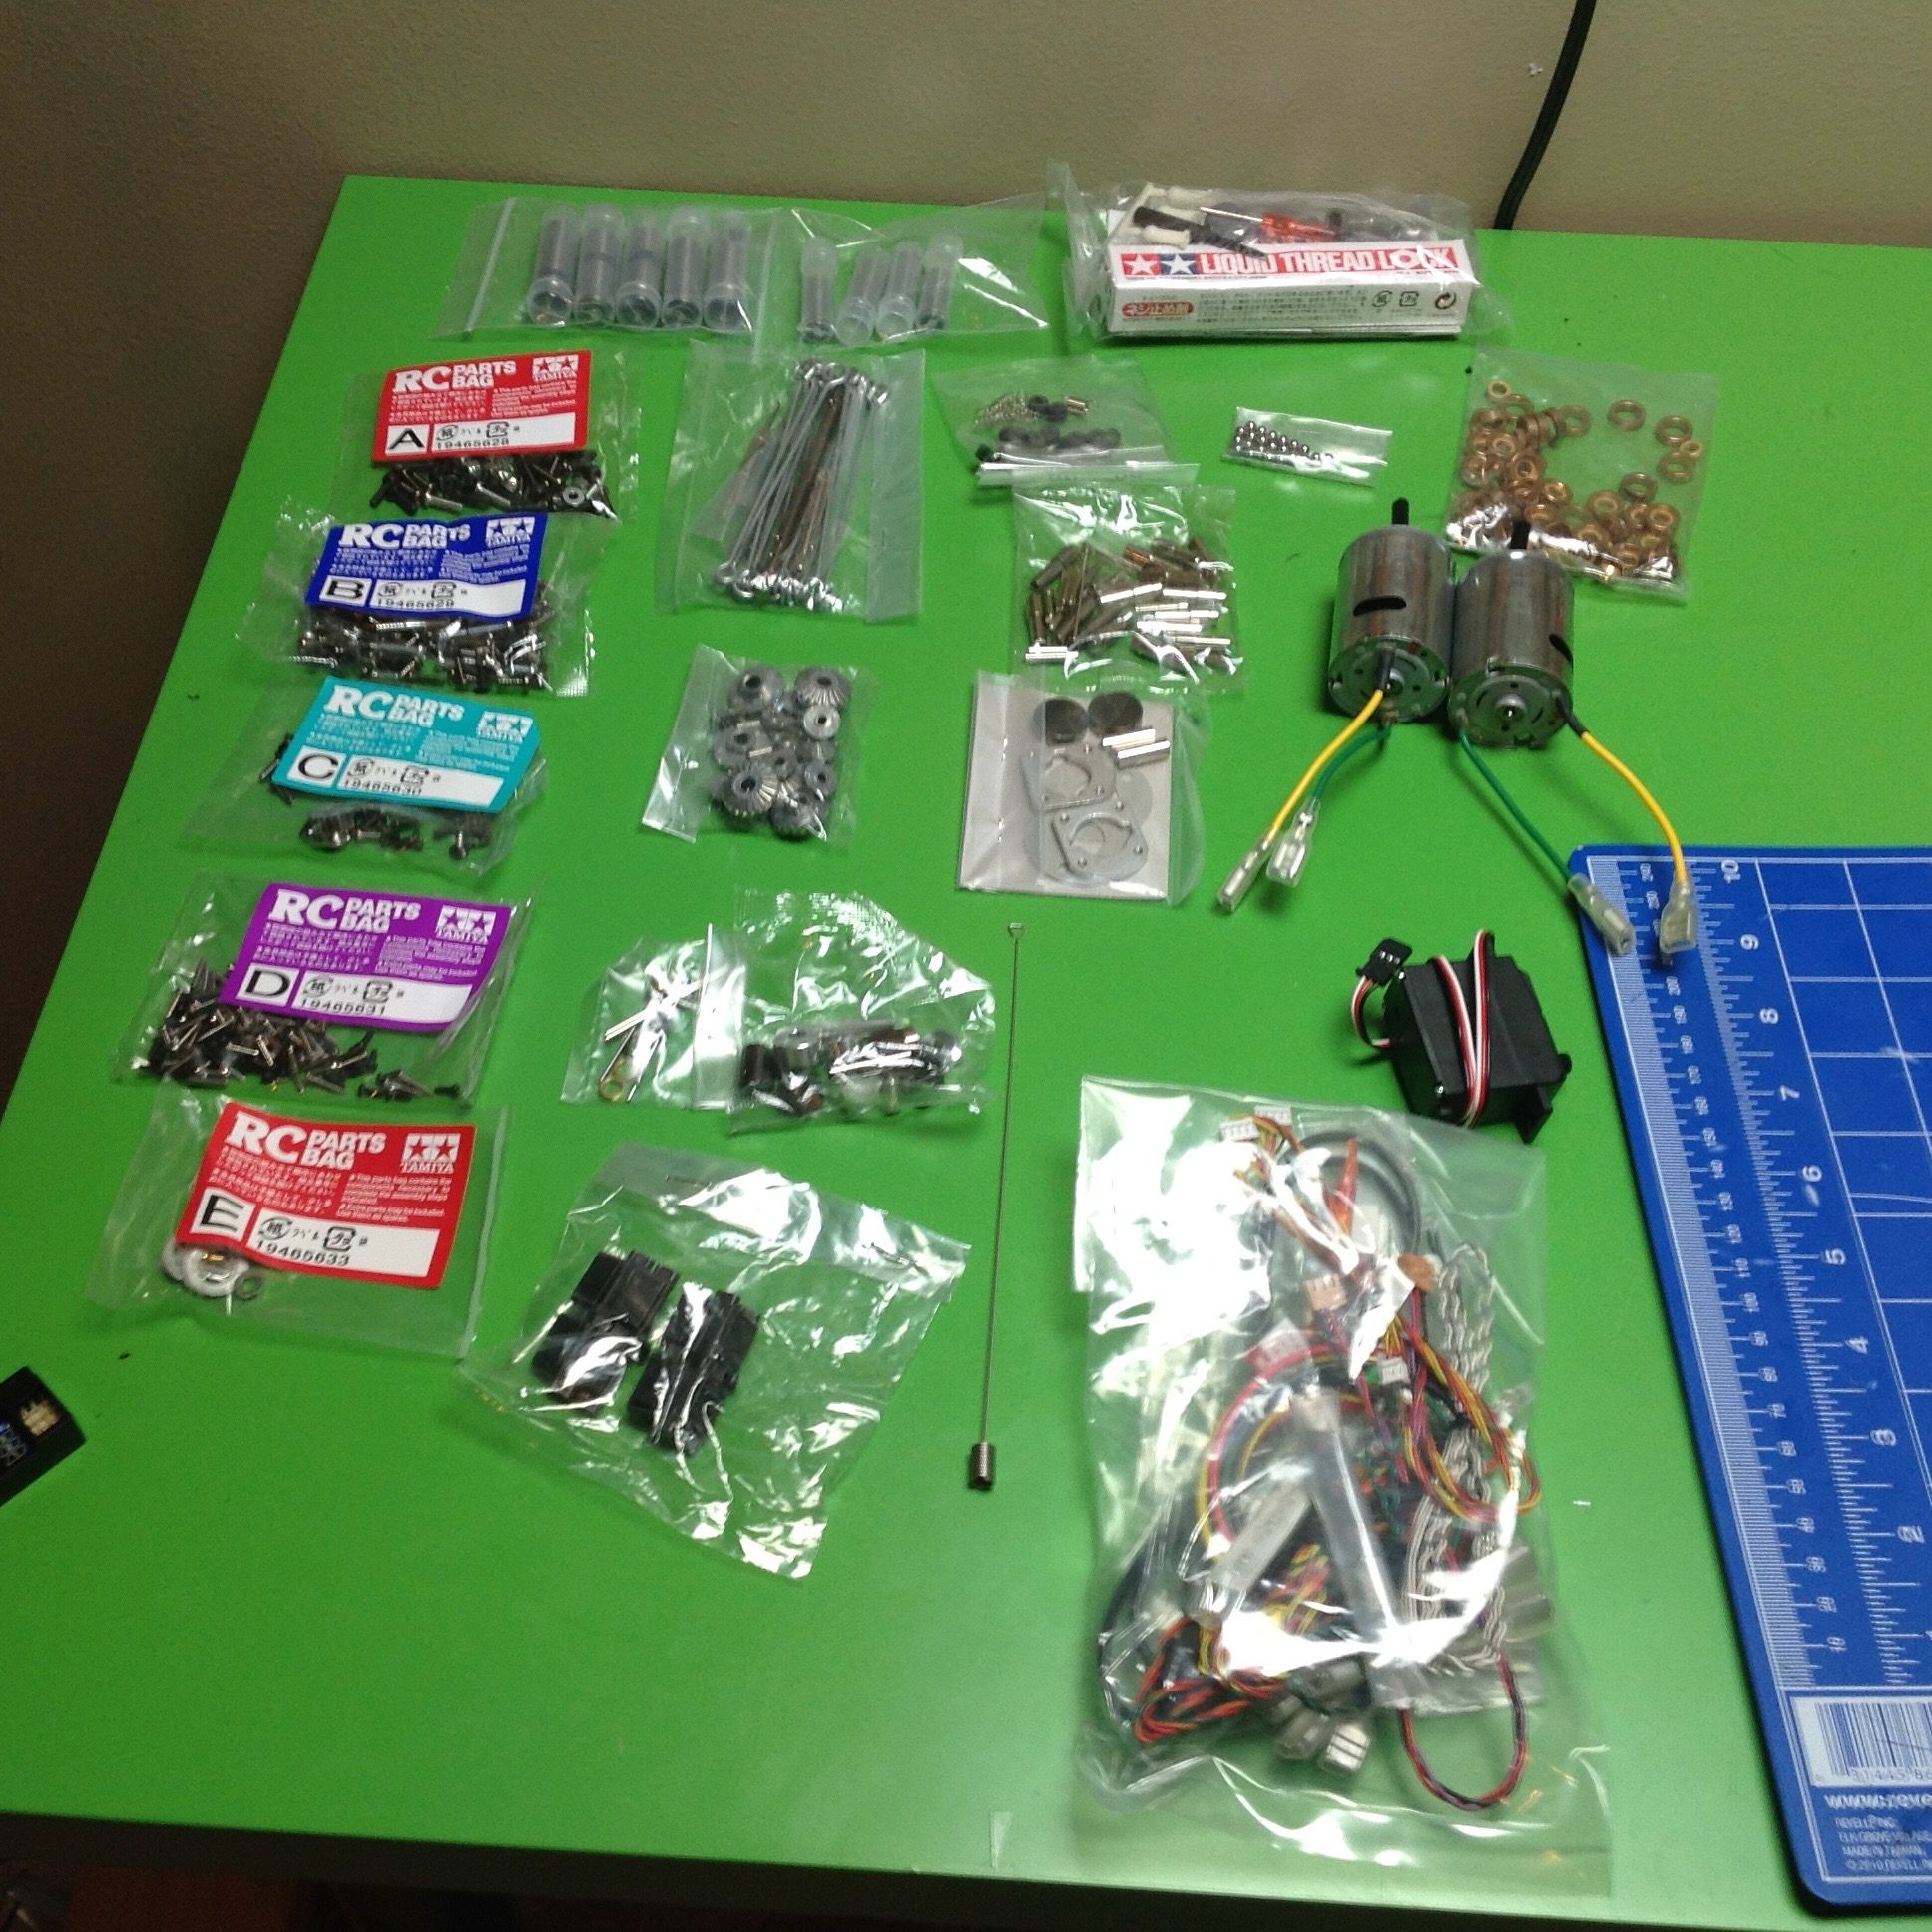
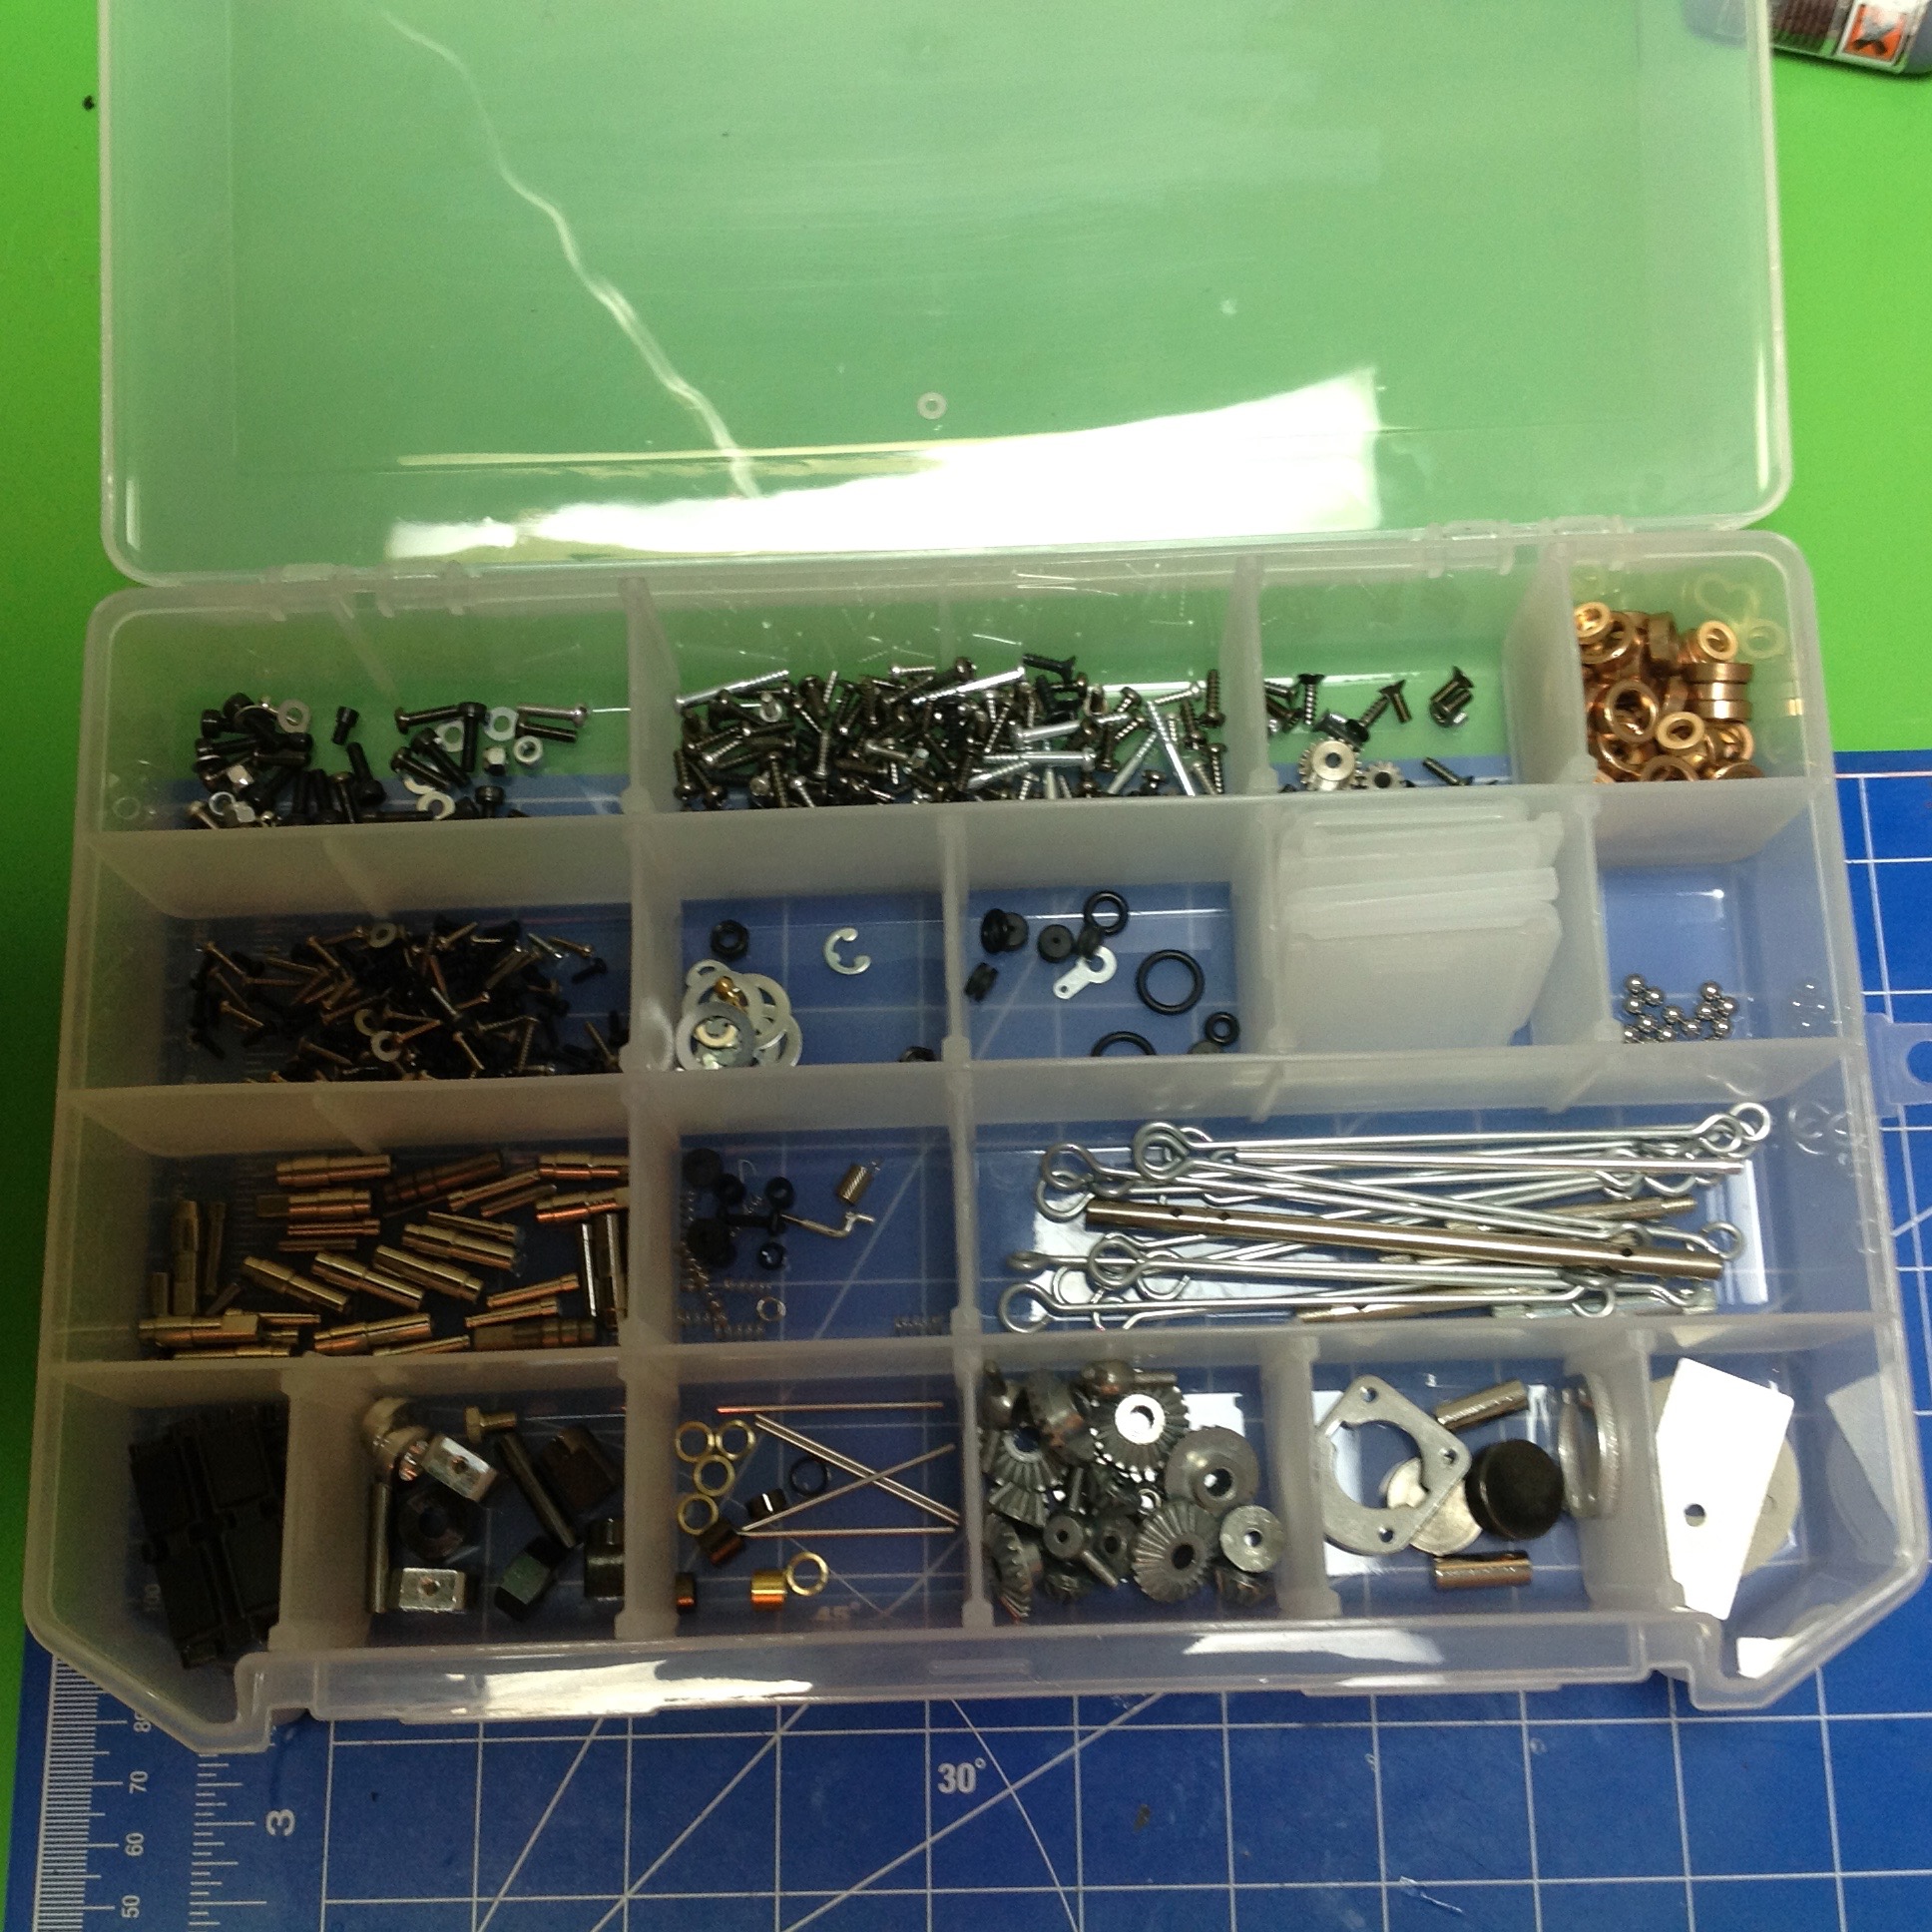
I don't usually like to spend a lot of time and effort describing the "unboxing", but this model is an exception as you will see.  There is a lot to see in this box and Tamiya really put a lot of effort into showcasing the model, not just containing it for shipping.


This is a really impressive and imposing box.  Some may say that it is not worthwhile to put a bunch of design time and money into packaging, but this certainly conveys a sense of quality and care.  The box is large, smooth, sturdy, and printed in brilliant color.  It has a carrying handle on the top and a flap which opens in front.  Once the flap is open, some detail pictures of the full scale tank are displayed, a list of model features is shown, and several windows in the box show important parts contained within.


These pictures show a closer view of the left and right side of the window portion of the box.  There are 10 total windows showcasing some really diverse parts and features including the tracks, the sprockets, the control unit, the speaker, and some photo etched parts.


The lower left window shows the tracks.  At this point I was not sure what they were made out of.  You can also see the metal main drive sprockets and the "HV Unit".  I had no idea what the HV unit was for, and in fact didn't figure this out until almost the end of the build.  The upper left windows (right photo) show a couple of small motors used for turret rotation and main gun elevation as well as the DMD (Dual Motor Differential) Control Unit.  Similar to the MFC on the King Hauler, this unit controls lights, sound, and acts as a 4-motor controller.


The middle upper section shows some photo etched metal parts which have some very fine detail.  I suspect these are quite fragile.  The lower center part is not a window but a diagram showing how the motors are used to control the model.  It turns out this is really fascinating and will be discussed further as I build the transmission.


The upper right side shows the speaker.  Below that are some curved photo etched parts and the machined aluminum barrel.  It is important that the barrel be heavy and stiff or it will bounce around with a low frequency that clearly identify it as fake.  Finally, the lower right shows the top of the turret.  The plastic is molded in a nice dark green, but I'll still be painting pretty much everything.


Once you take the lid off the box, you see this.  The upper level of the box is divided into 3 sections, most of which were visible through the display windows in the cover.  Once the upper level is removed, you can see the lower level which contains 4 sections.  The upper left section is empty.  The section on the lower left contains the hardware and electrical parts and is really heavy even though it is the smallest area.  The lower right section contains most of the plastic parts trees.  The upper right has some of the big monolithic parts like the main hull.The assembly manual, operating manual, and decal sheet are protected between the layers.


When I first saw this I was thinking that the model was going to be built from a few very large parts, but this proved not to be the case.  There are hundreds of tiny plastic parts to be installed as well as hundreds of fasteners.  Unlike the King Hauler, this has aspects of a traditional plastic model and therefore there is plenty of painting, gluing, and cementing to do once the mechanical portions are complete.


These photos give you an idea of how many parts there are.  Almost everything is molded in green, but there are also a couple of black trees and one clear.  Every tree comes bagged to protect it during shipping and to contain any parts that might come loose.


There are five hardware bags labelled A-E and another pile of unlabelled bags.  Unlike some other Tamiya models, certain bags don't go with certain steps.  You need to open them all because you may need any part at any time.  I used a plastic bin to store the parts with one compartment for each bag.  This made it easy to find what I was looking for without risking losing anything.  You can see some tiny roller bearing balls near the upper right which had to be carefully contained.


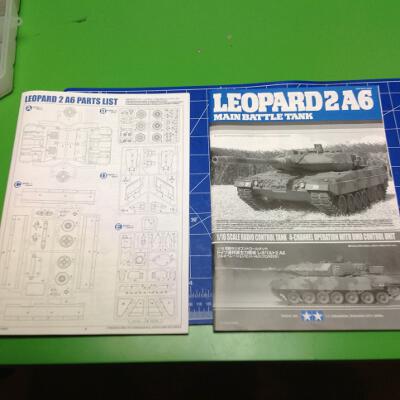
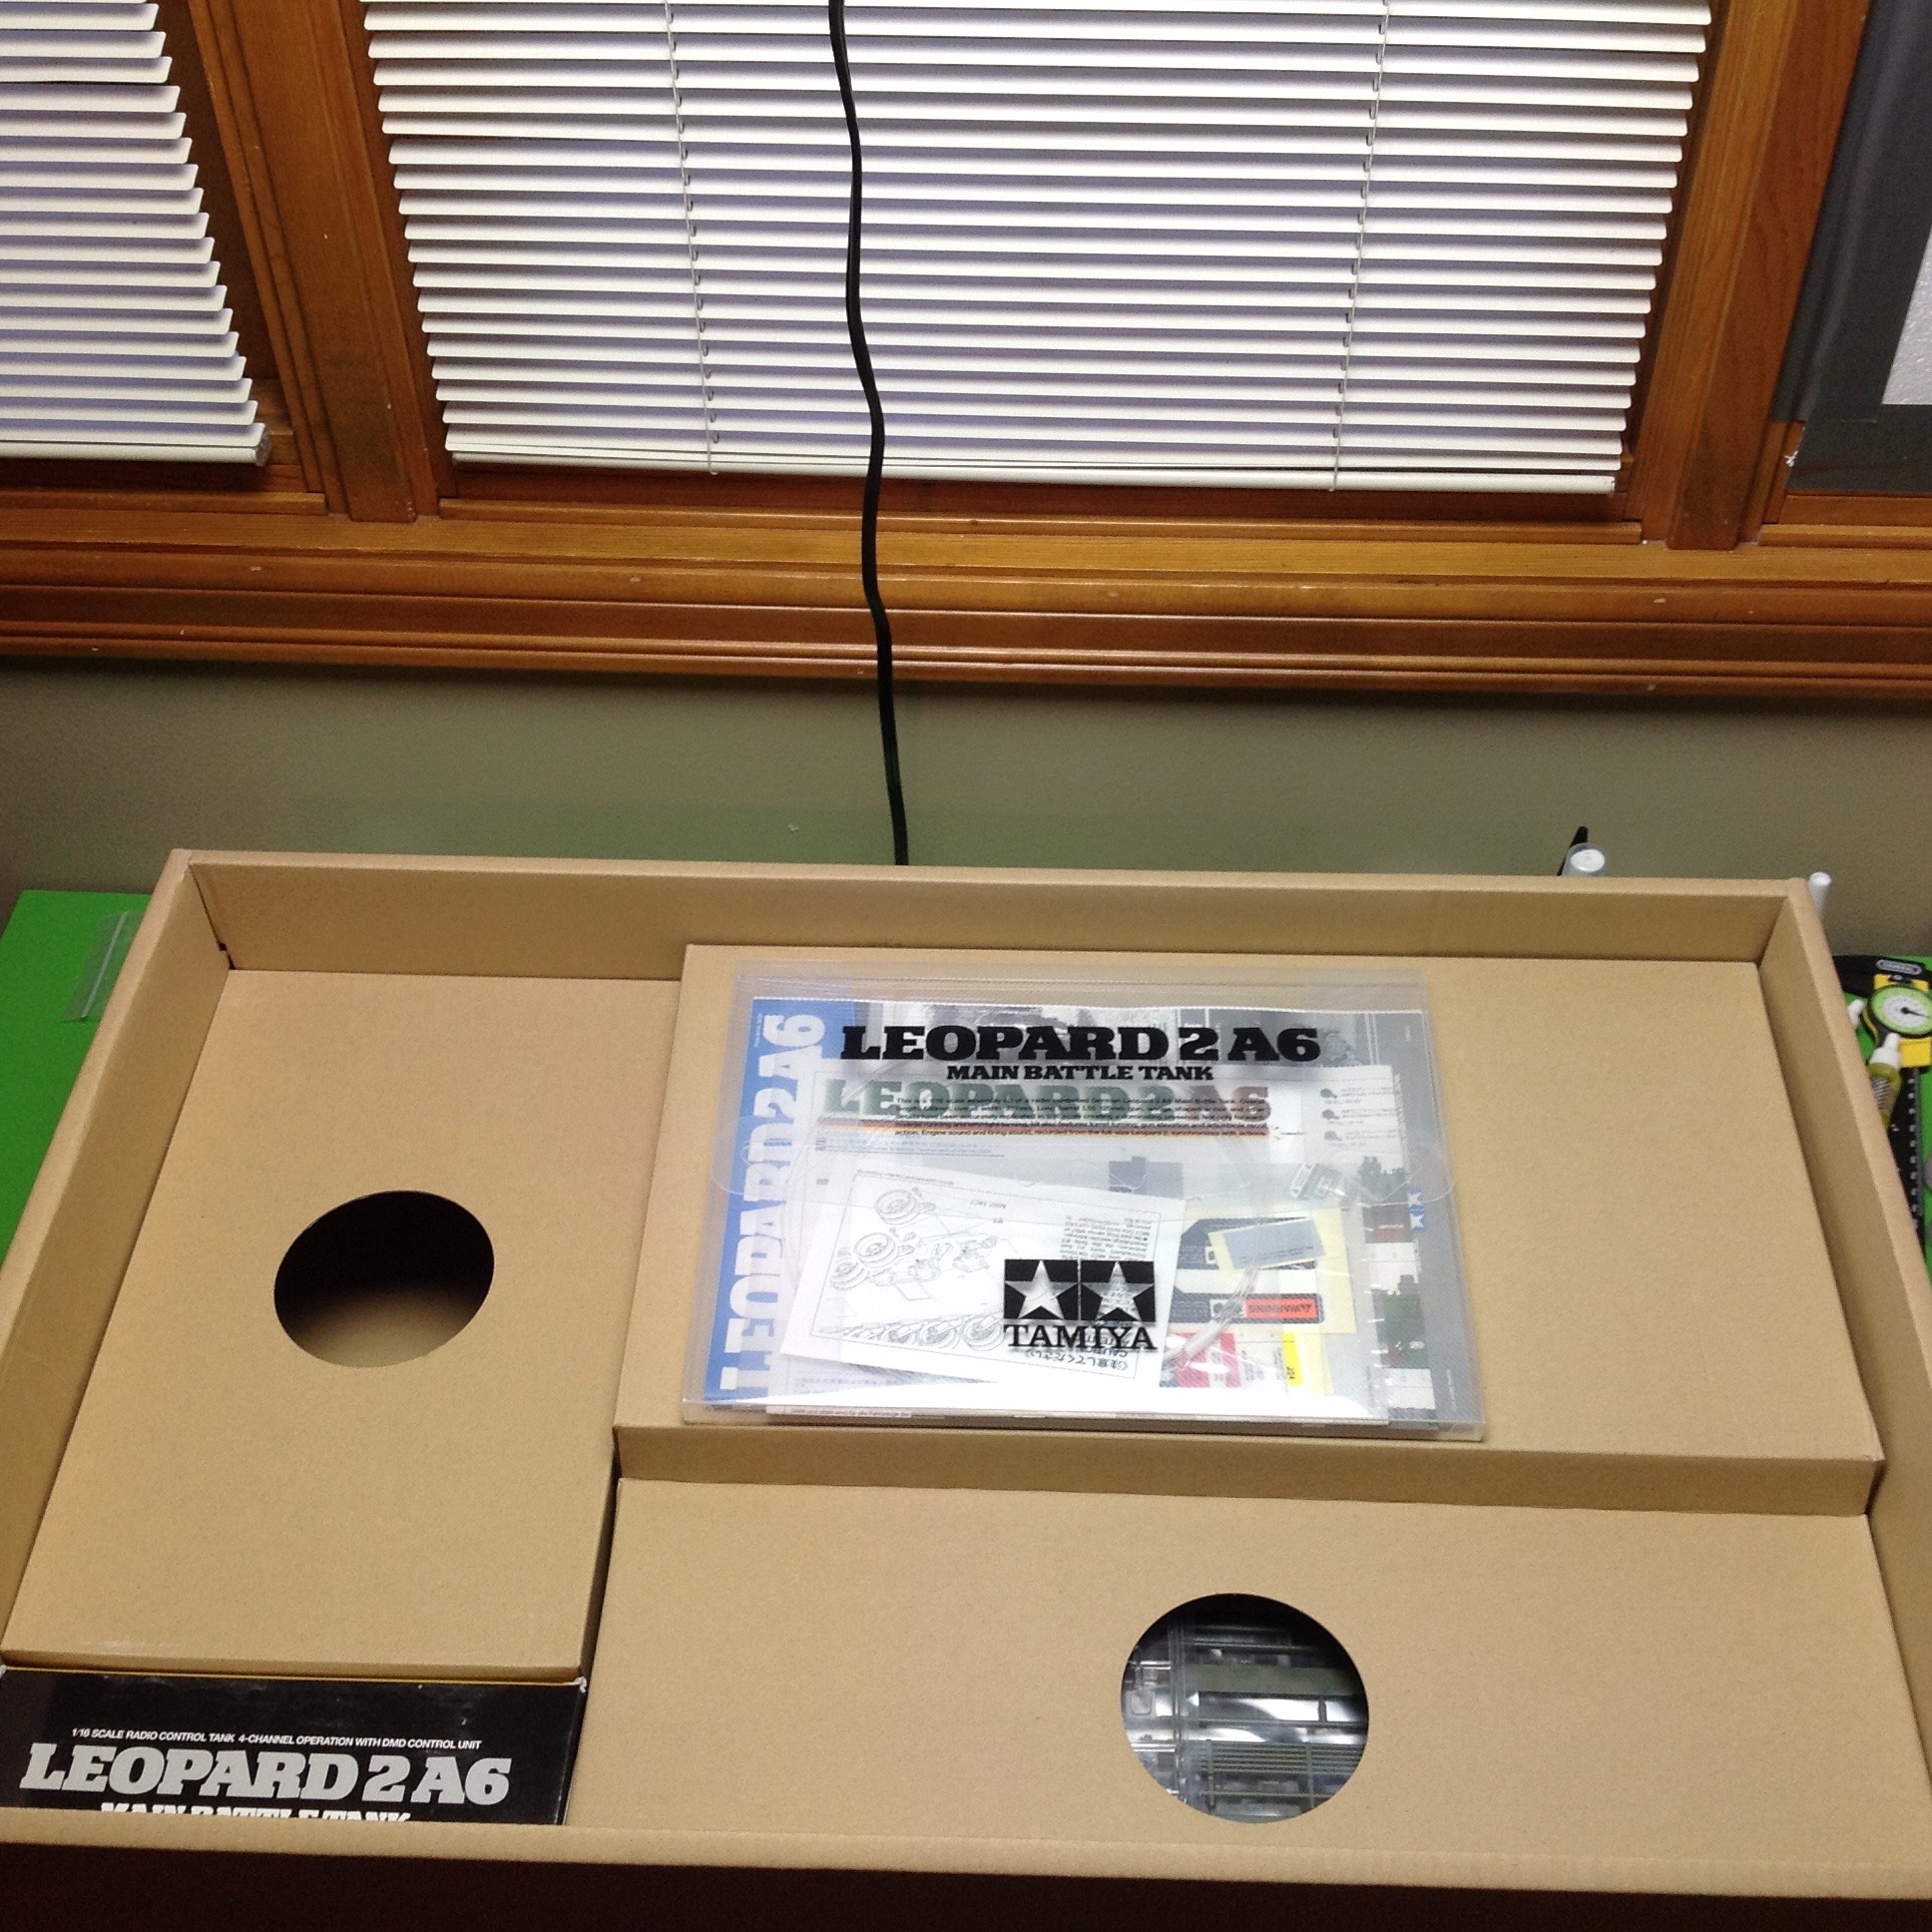
Finally, the instruction manual.  The manual came in its own thick protective plastic folder along with a decal sheet, a painting guide, and a parts list.  The parts list is a separate pullout section for reference so you can easily look up the shape and size of any part you might be looking for.  Tamiya really worked hard to make this as logical and organized as possible.  After the usual introductory section covering tools and supplies needed as well as safety warnings, the manual begins with a fairly extensive section on the history and properties of the real German Leopard tank.  This is presented is 3 different languages (Japanese, English, and German) and includes a page of statistics.  There is also a full page labelled diagram with 30 named parts of the real tank.  The building instructions don't finally start until Page 12.

Up to Index | Go to Page 2
©2017 Eric Albrecht