Tamiya Mammoth Dump Truck Project
Page 3: Building the Body
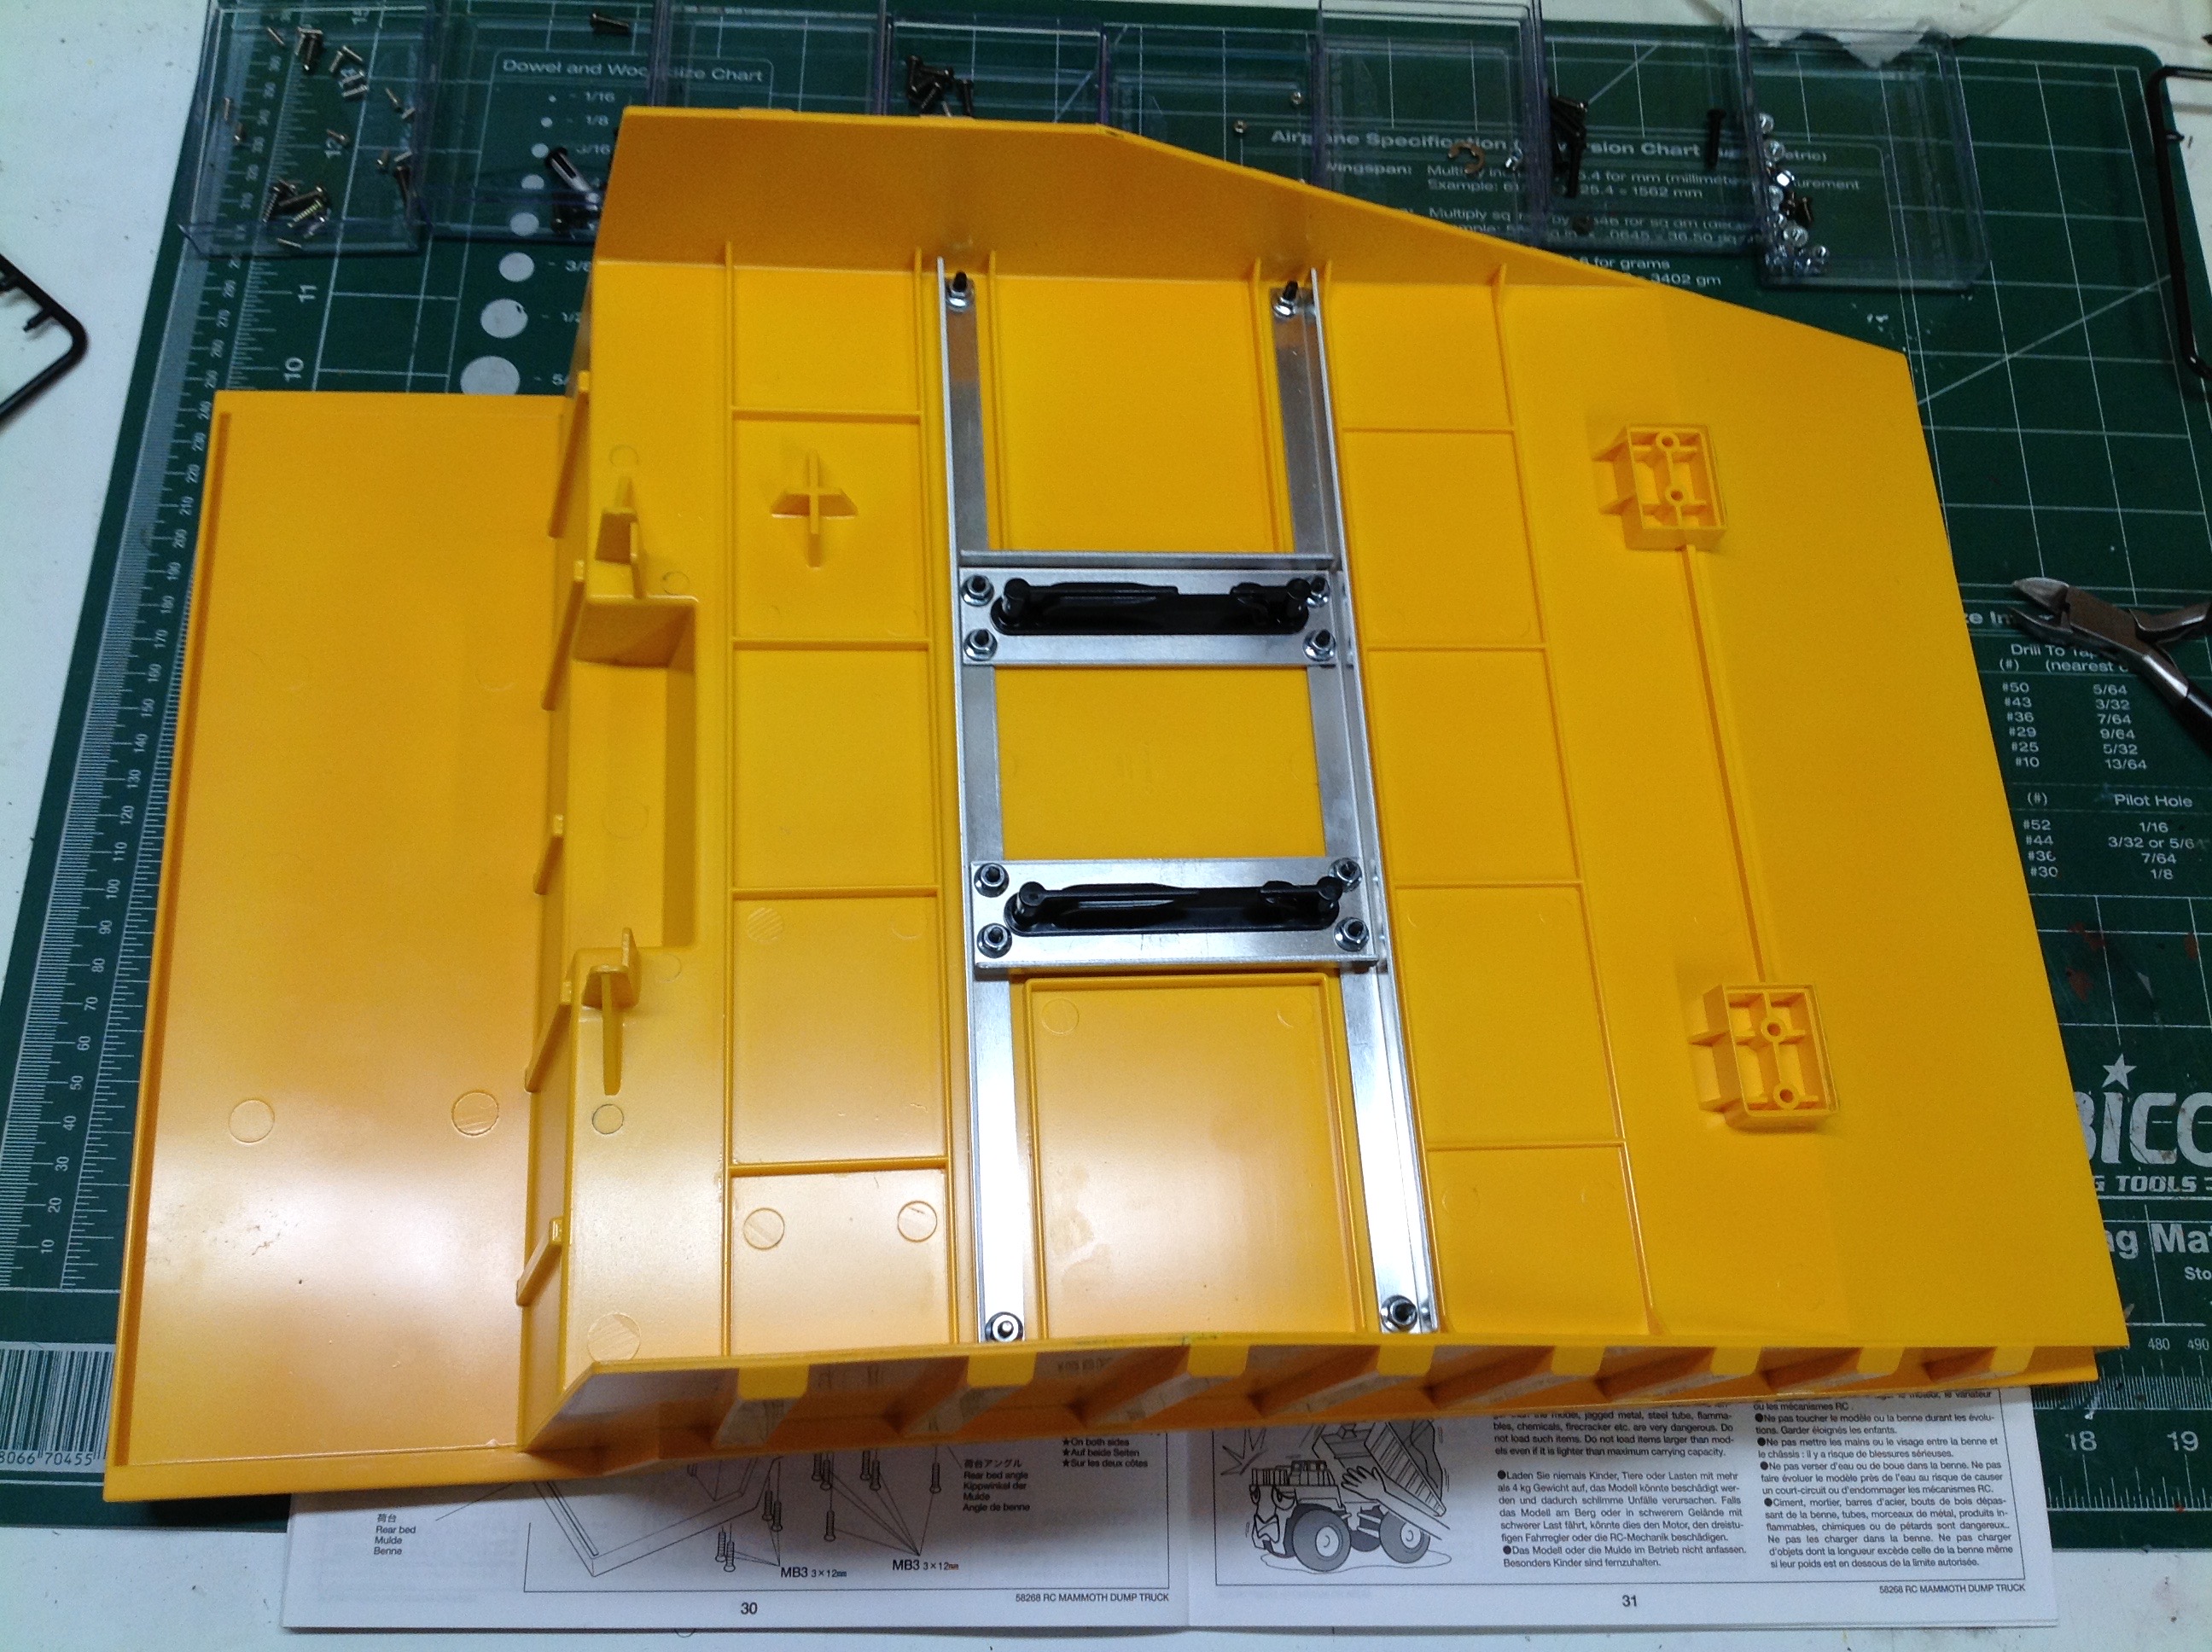
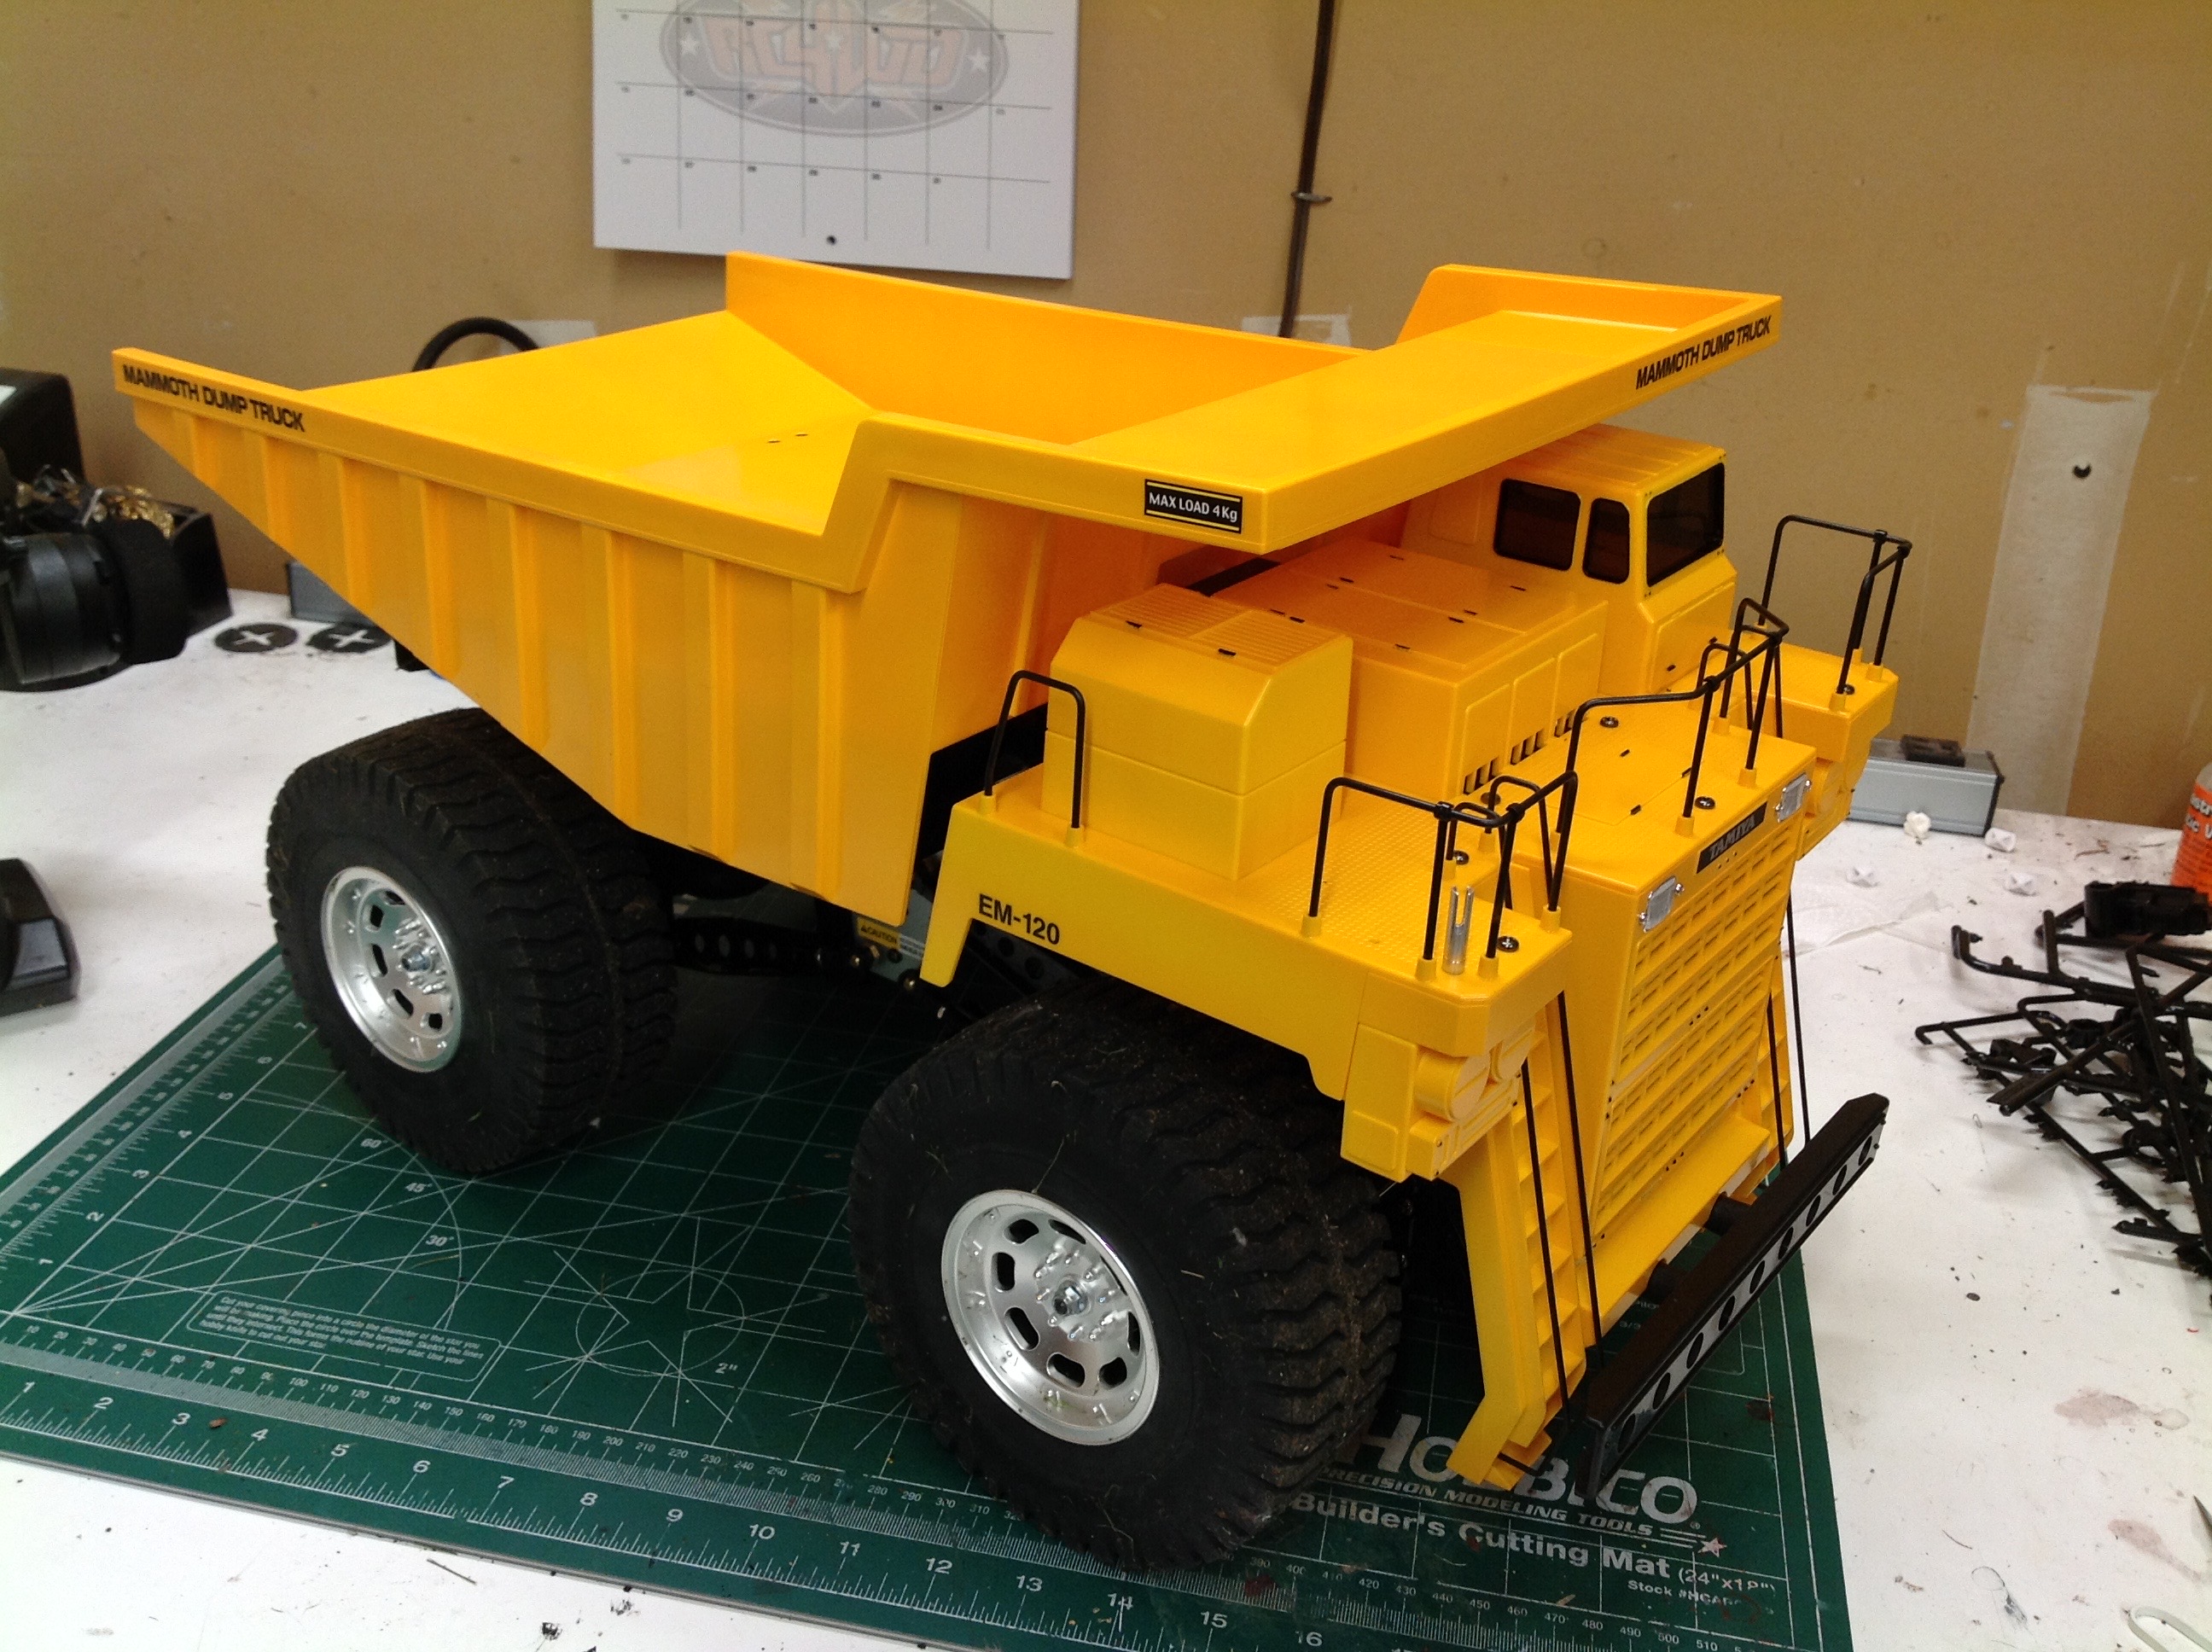
The body of the Mammoth, while massive, is very simple to
assemble. There are only a handful of parts, the largest by far
being the bed. A couple of metal rails are attached laterally
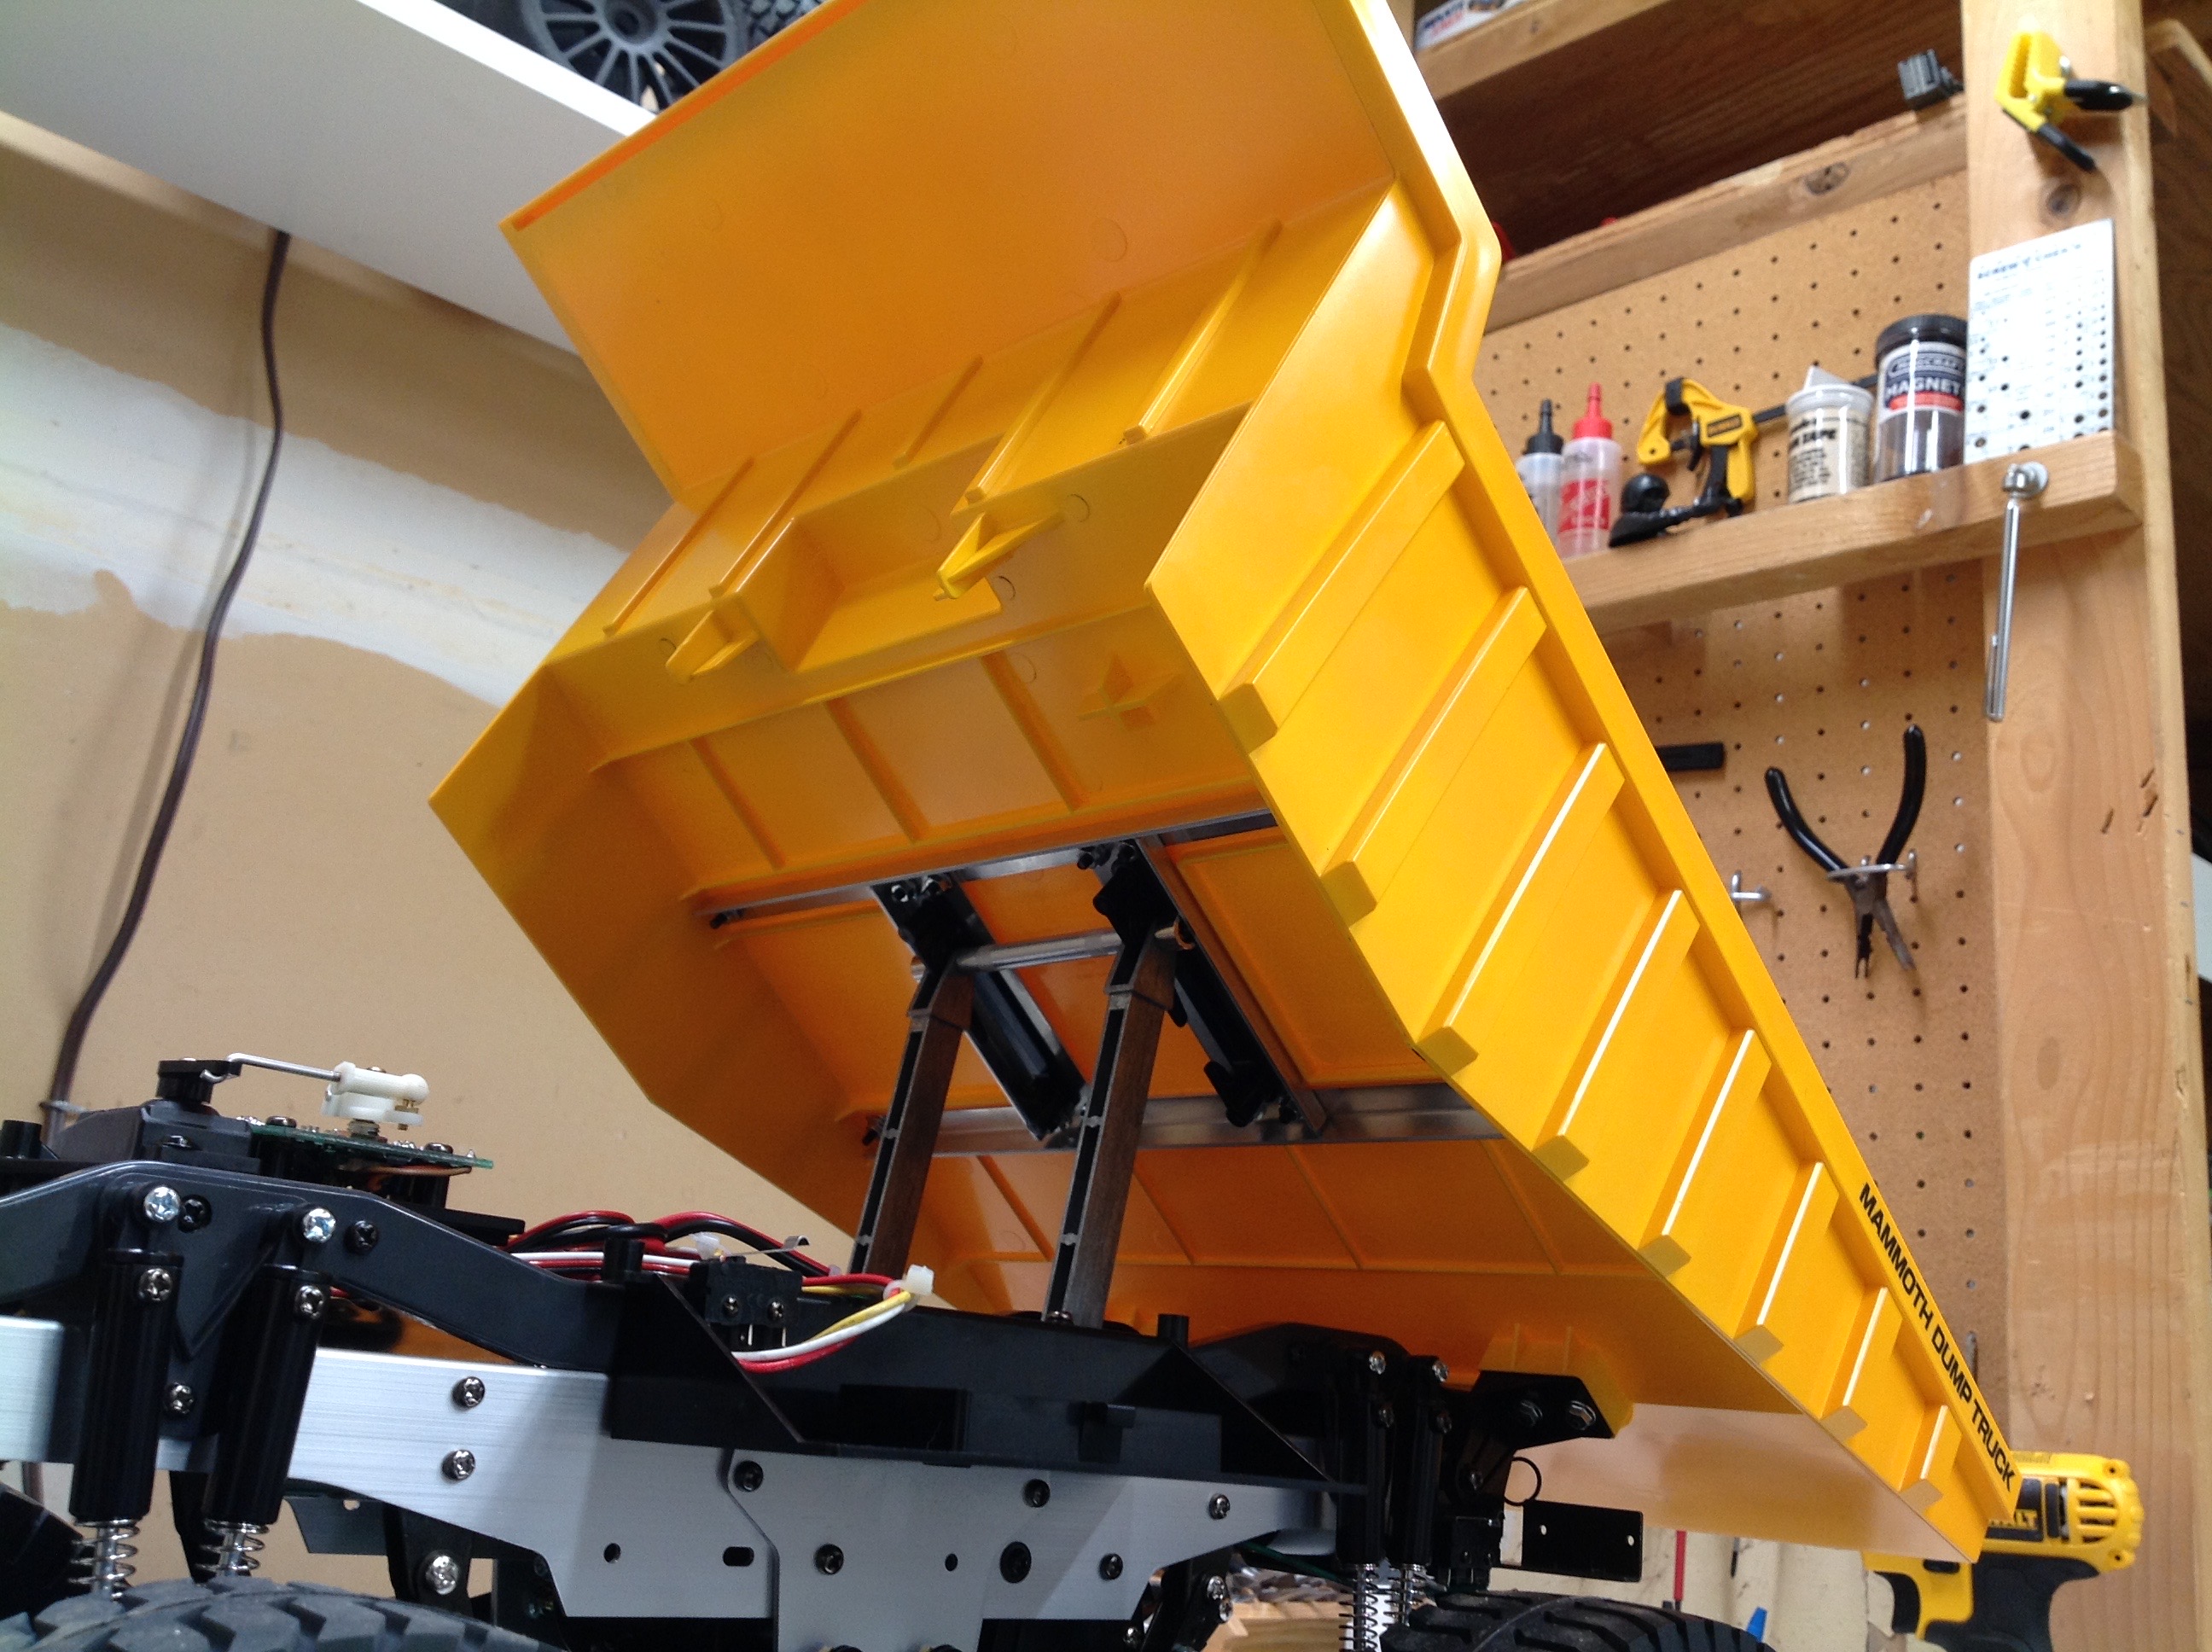
followed by another pair with slots longitudinally. The slots clip
over the bar on the lift actuator as shown. The whole thing
hinges around the rear of the chassis. Although everything is
already molded in yellow, I used two cans of Camel Yellow paint to make
it look more real. I top coated with Semi-Gloss Clear.
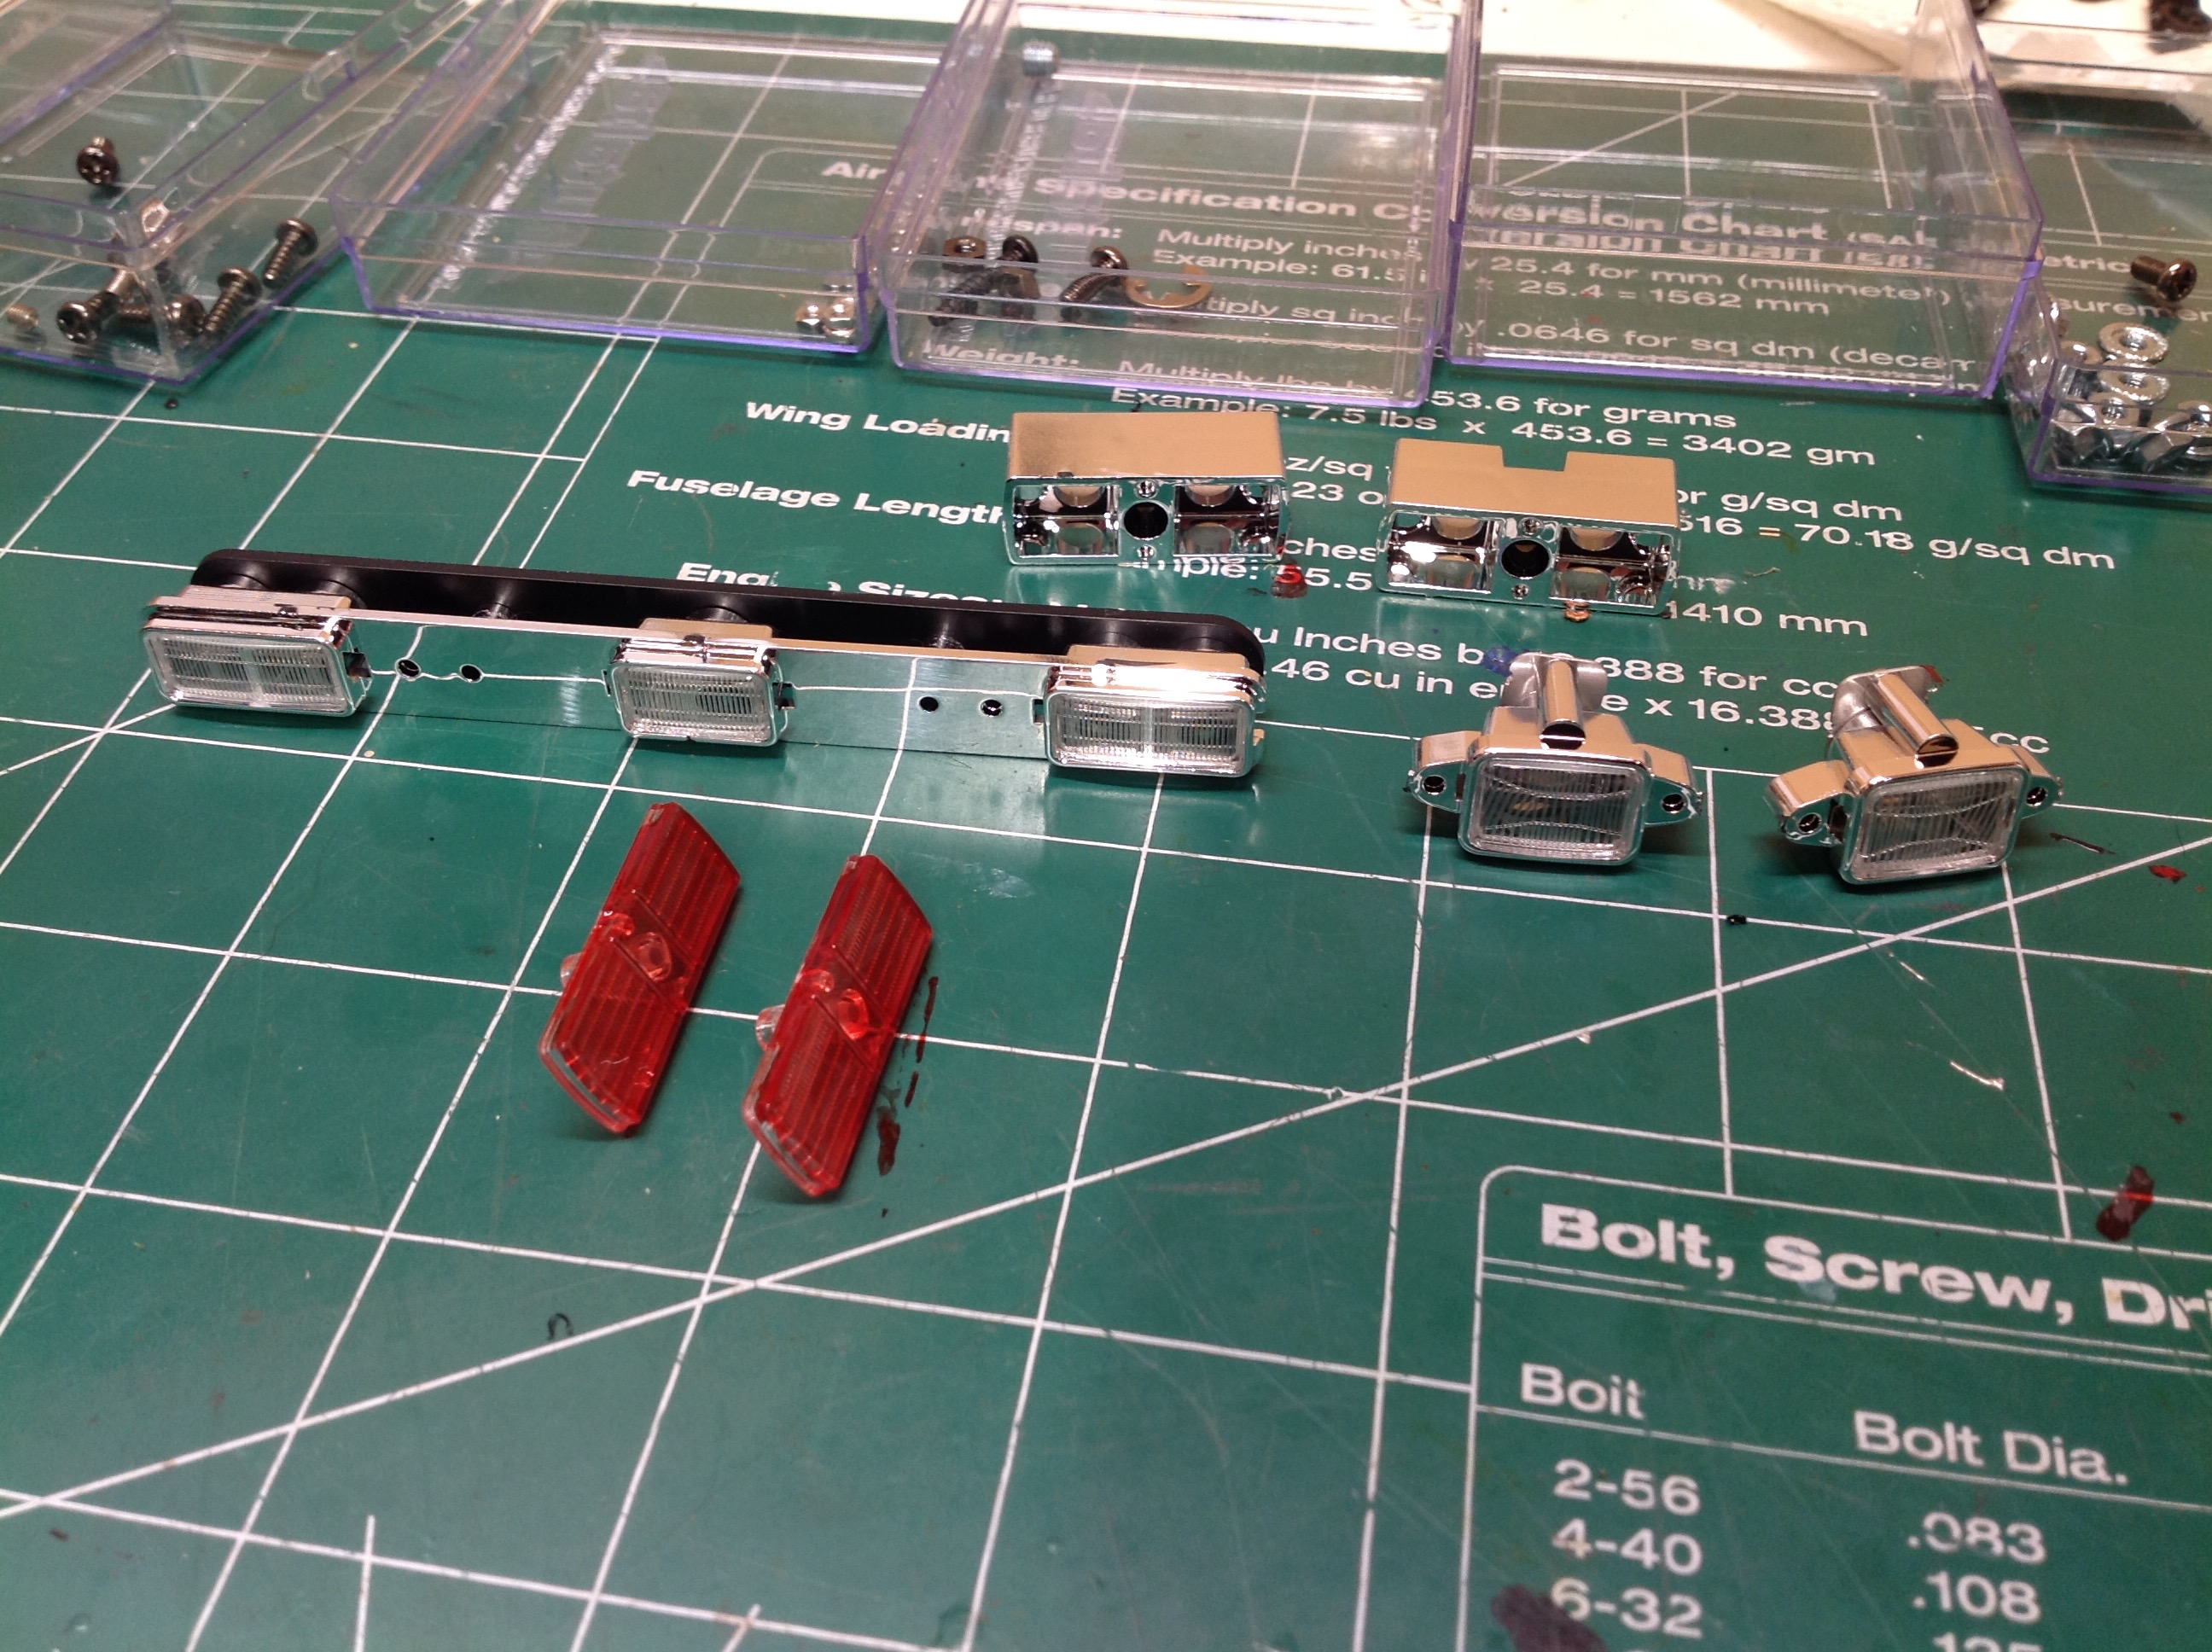
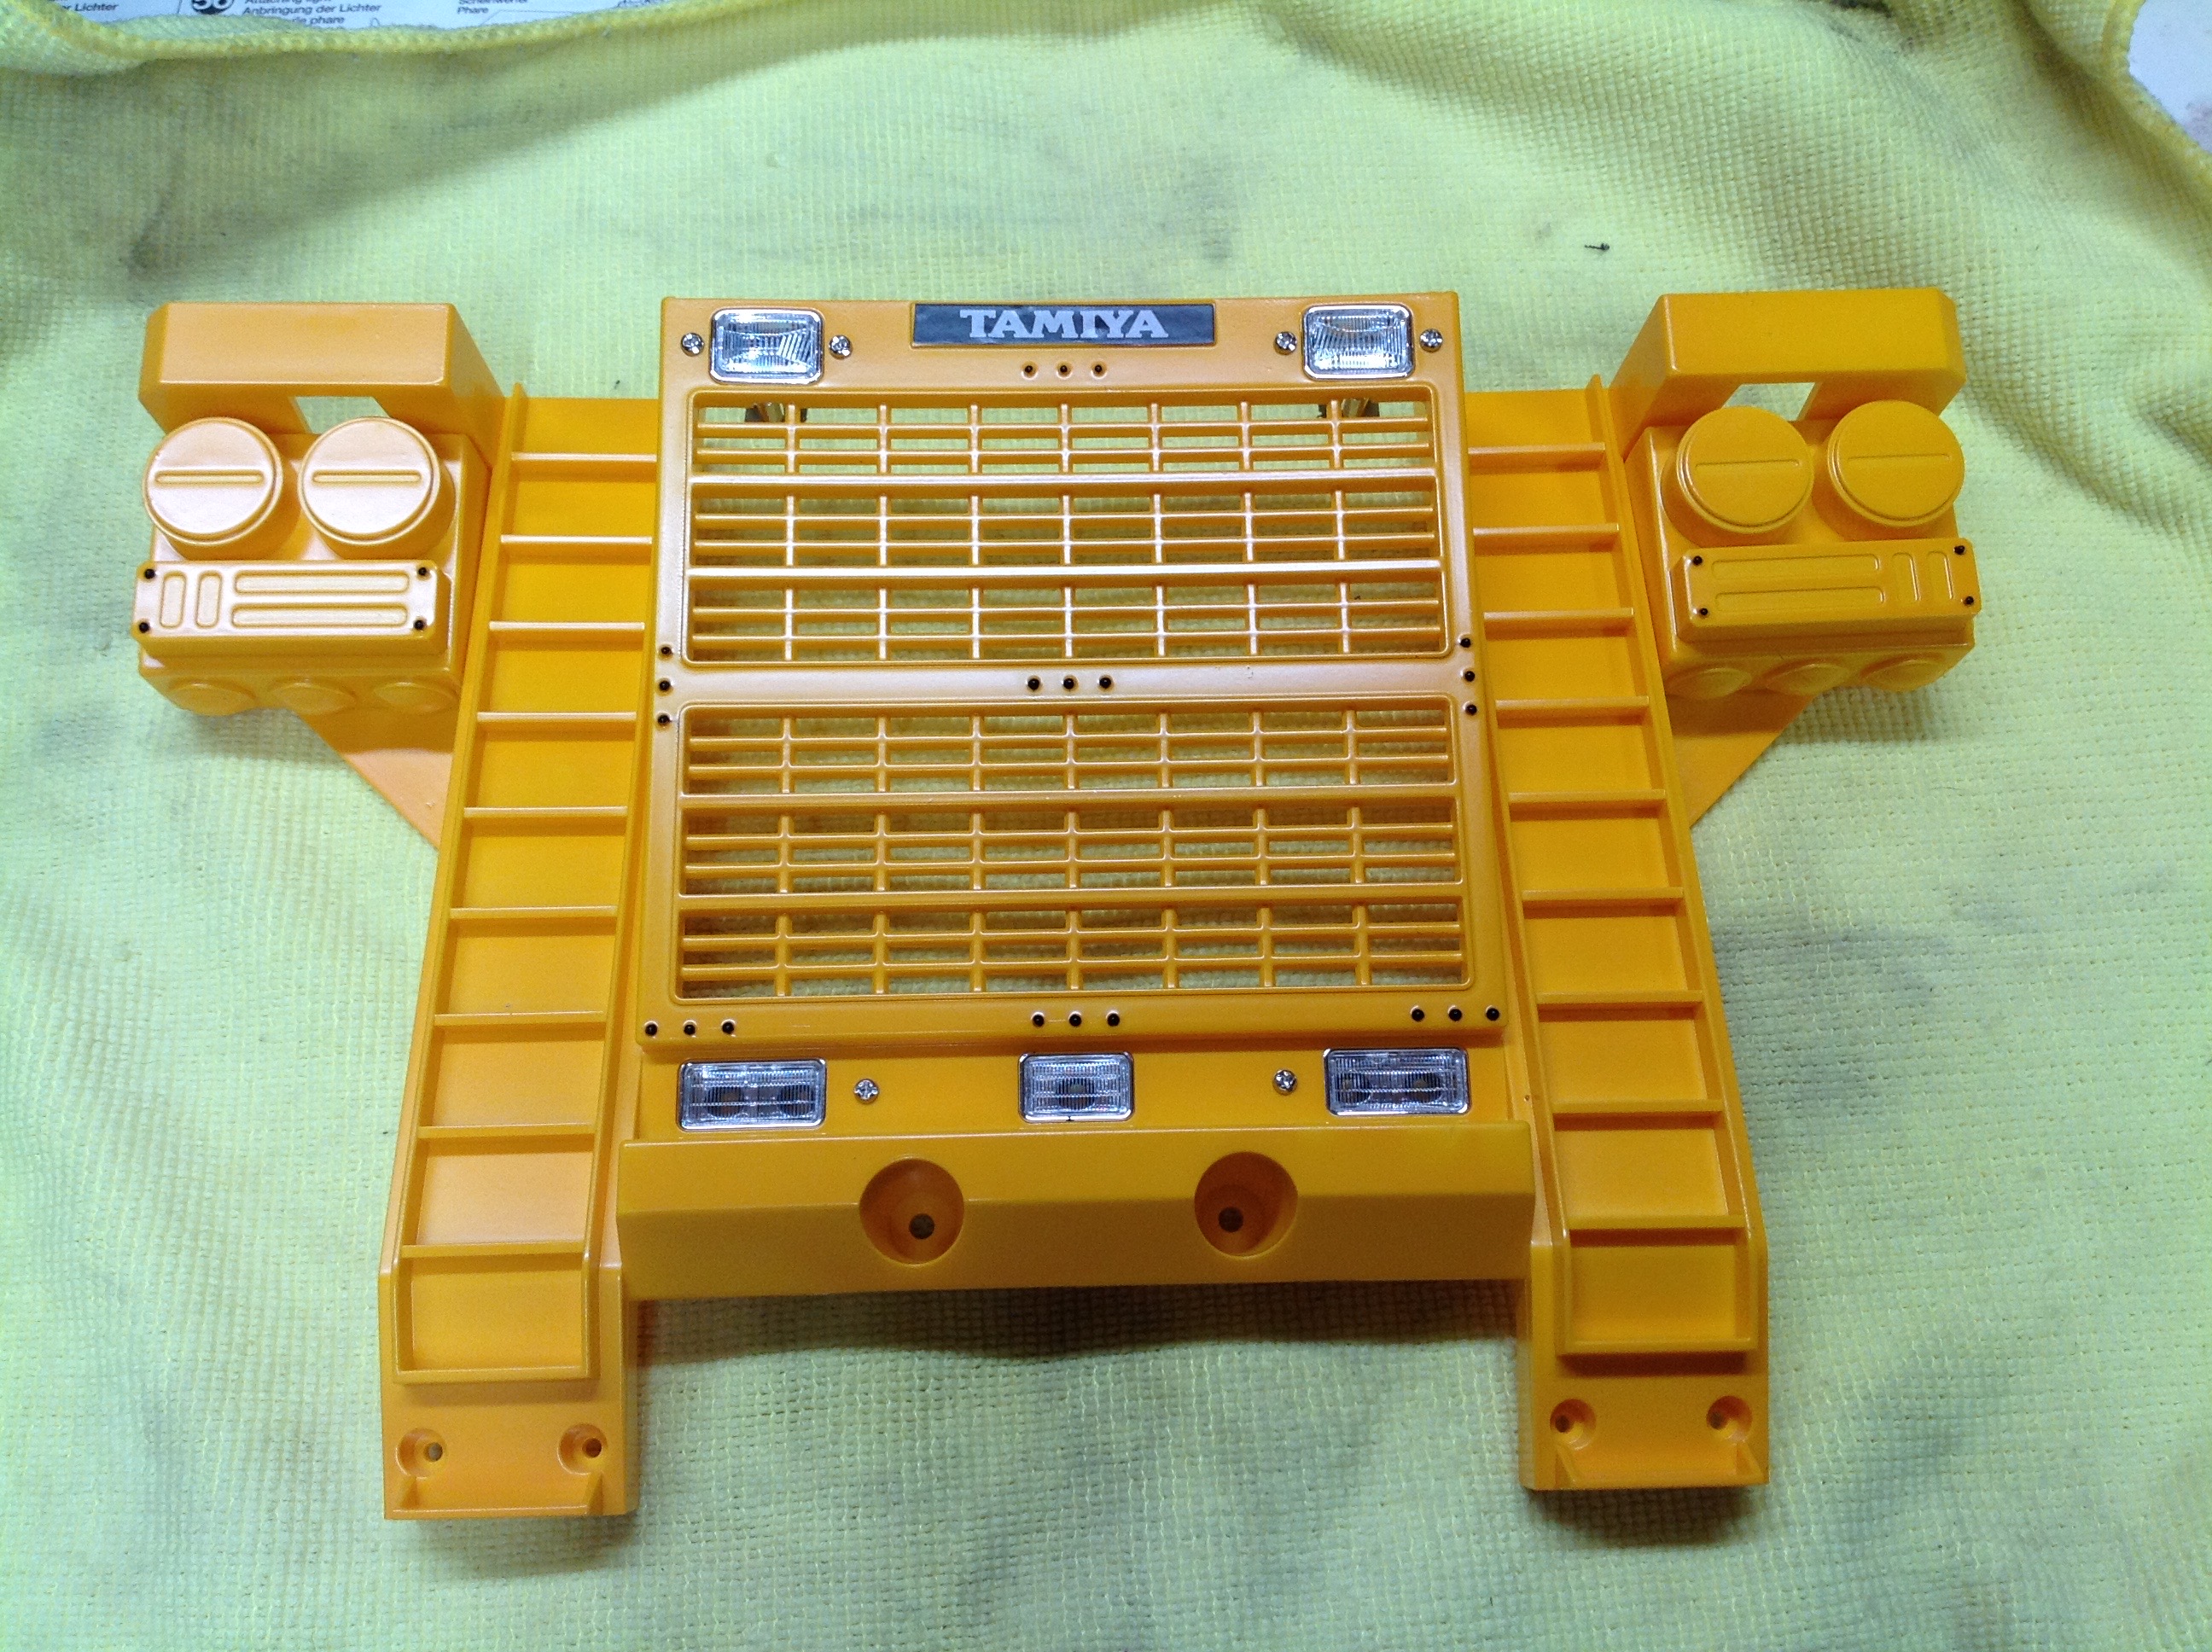
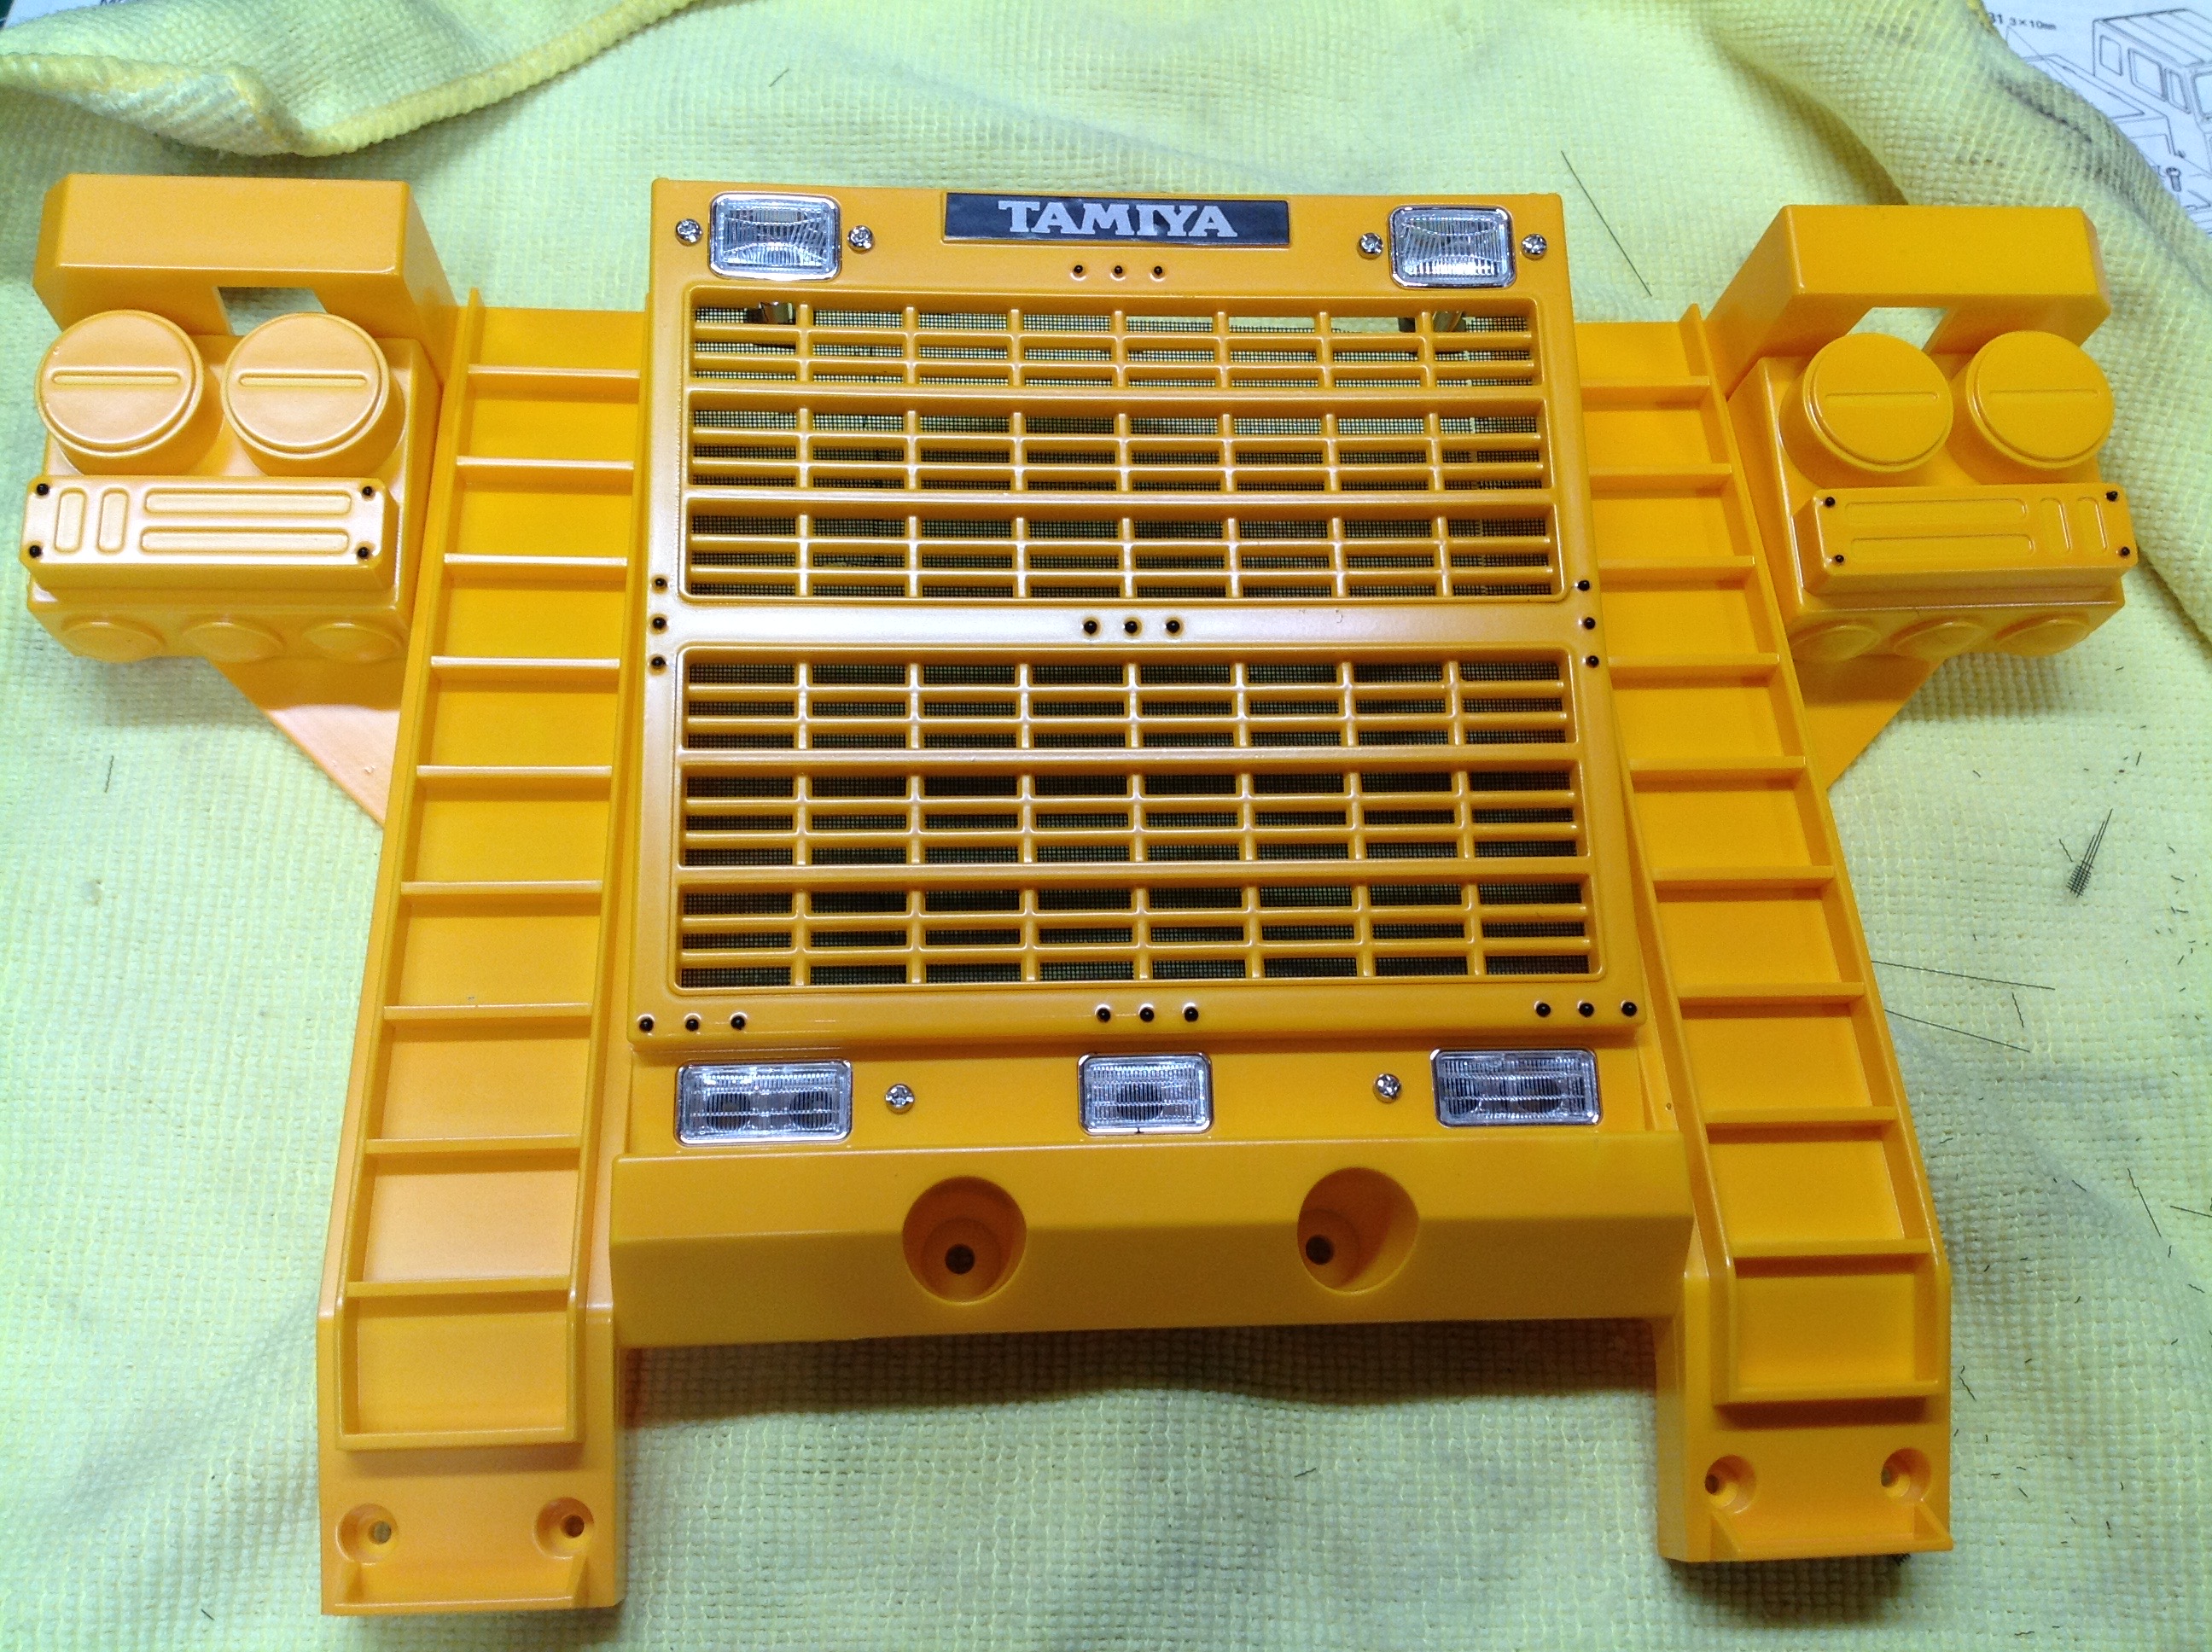
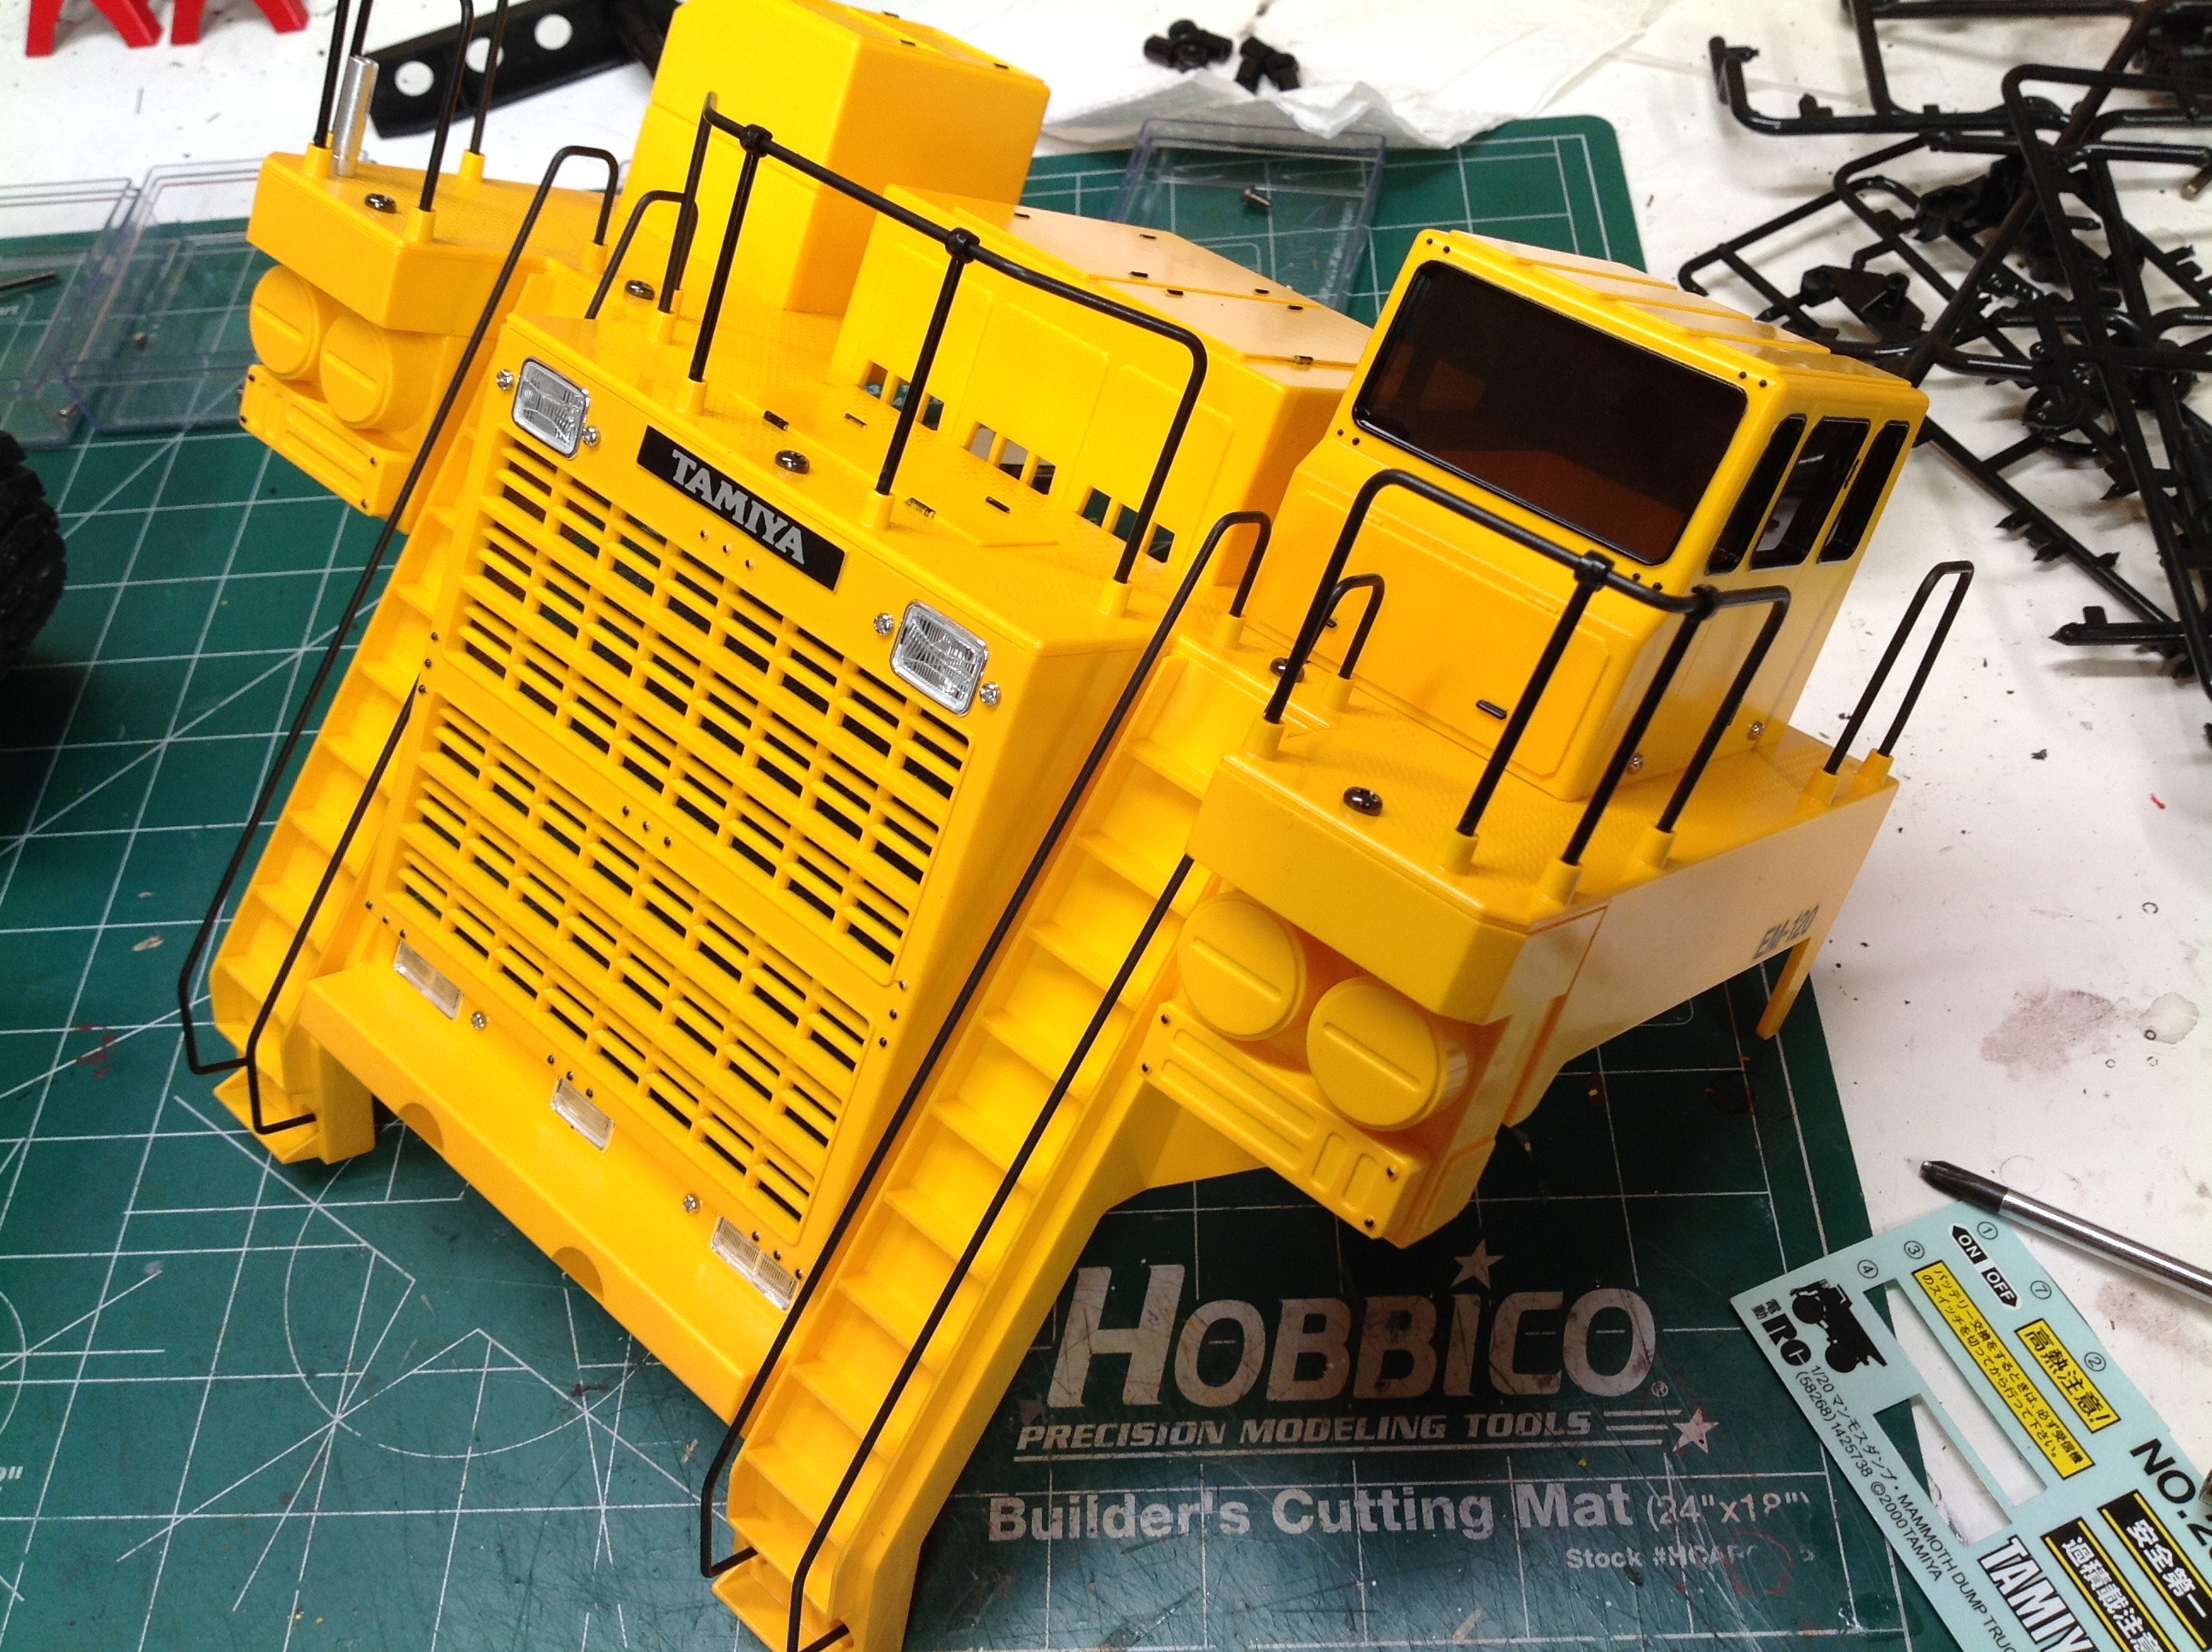
The left hand picture shows the assembly of the front and rear light
buckets. Each tail lights has slots for two 5mm LEDs, and there
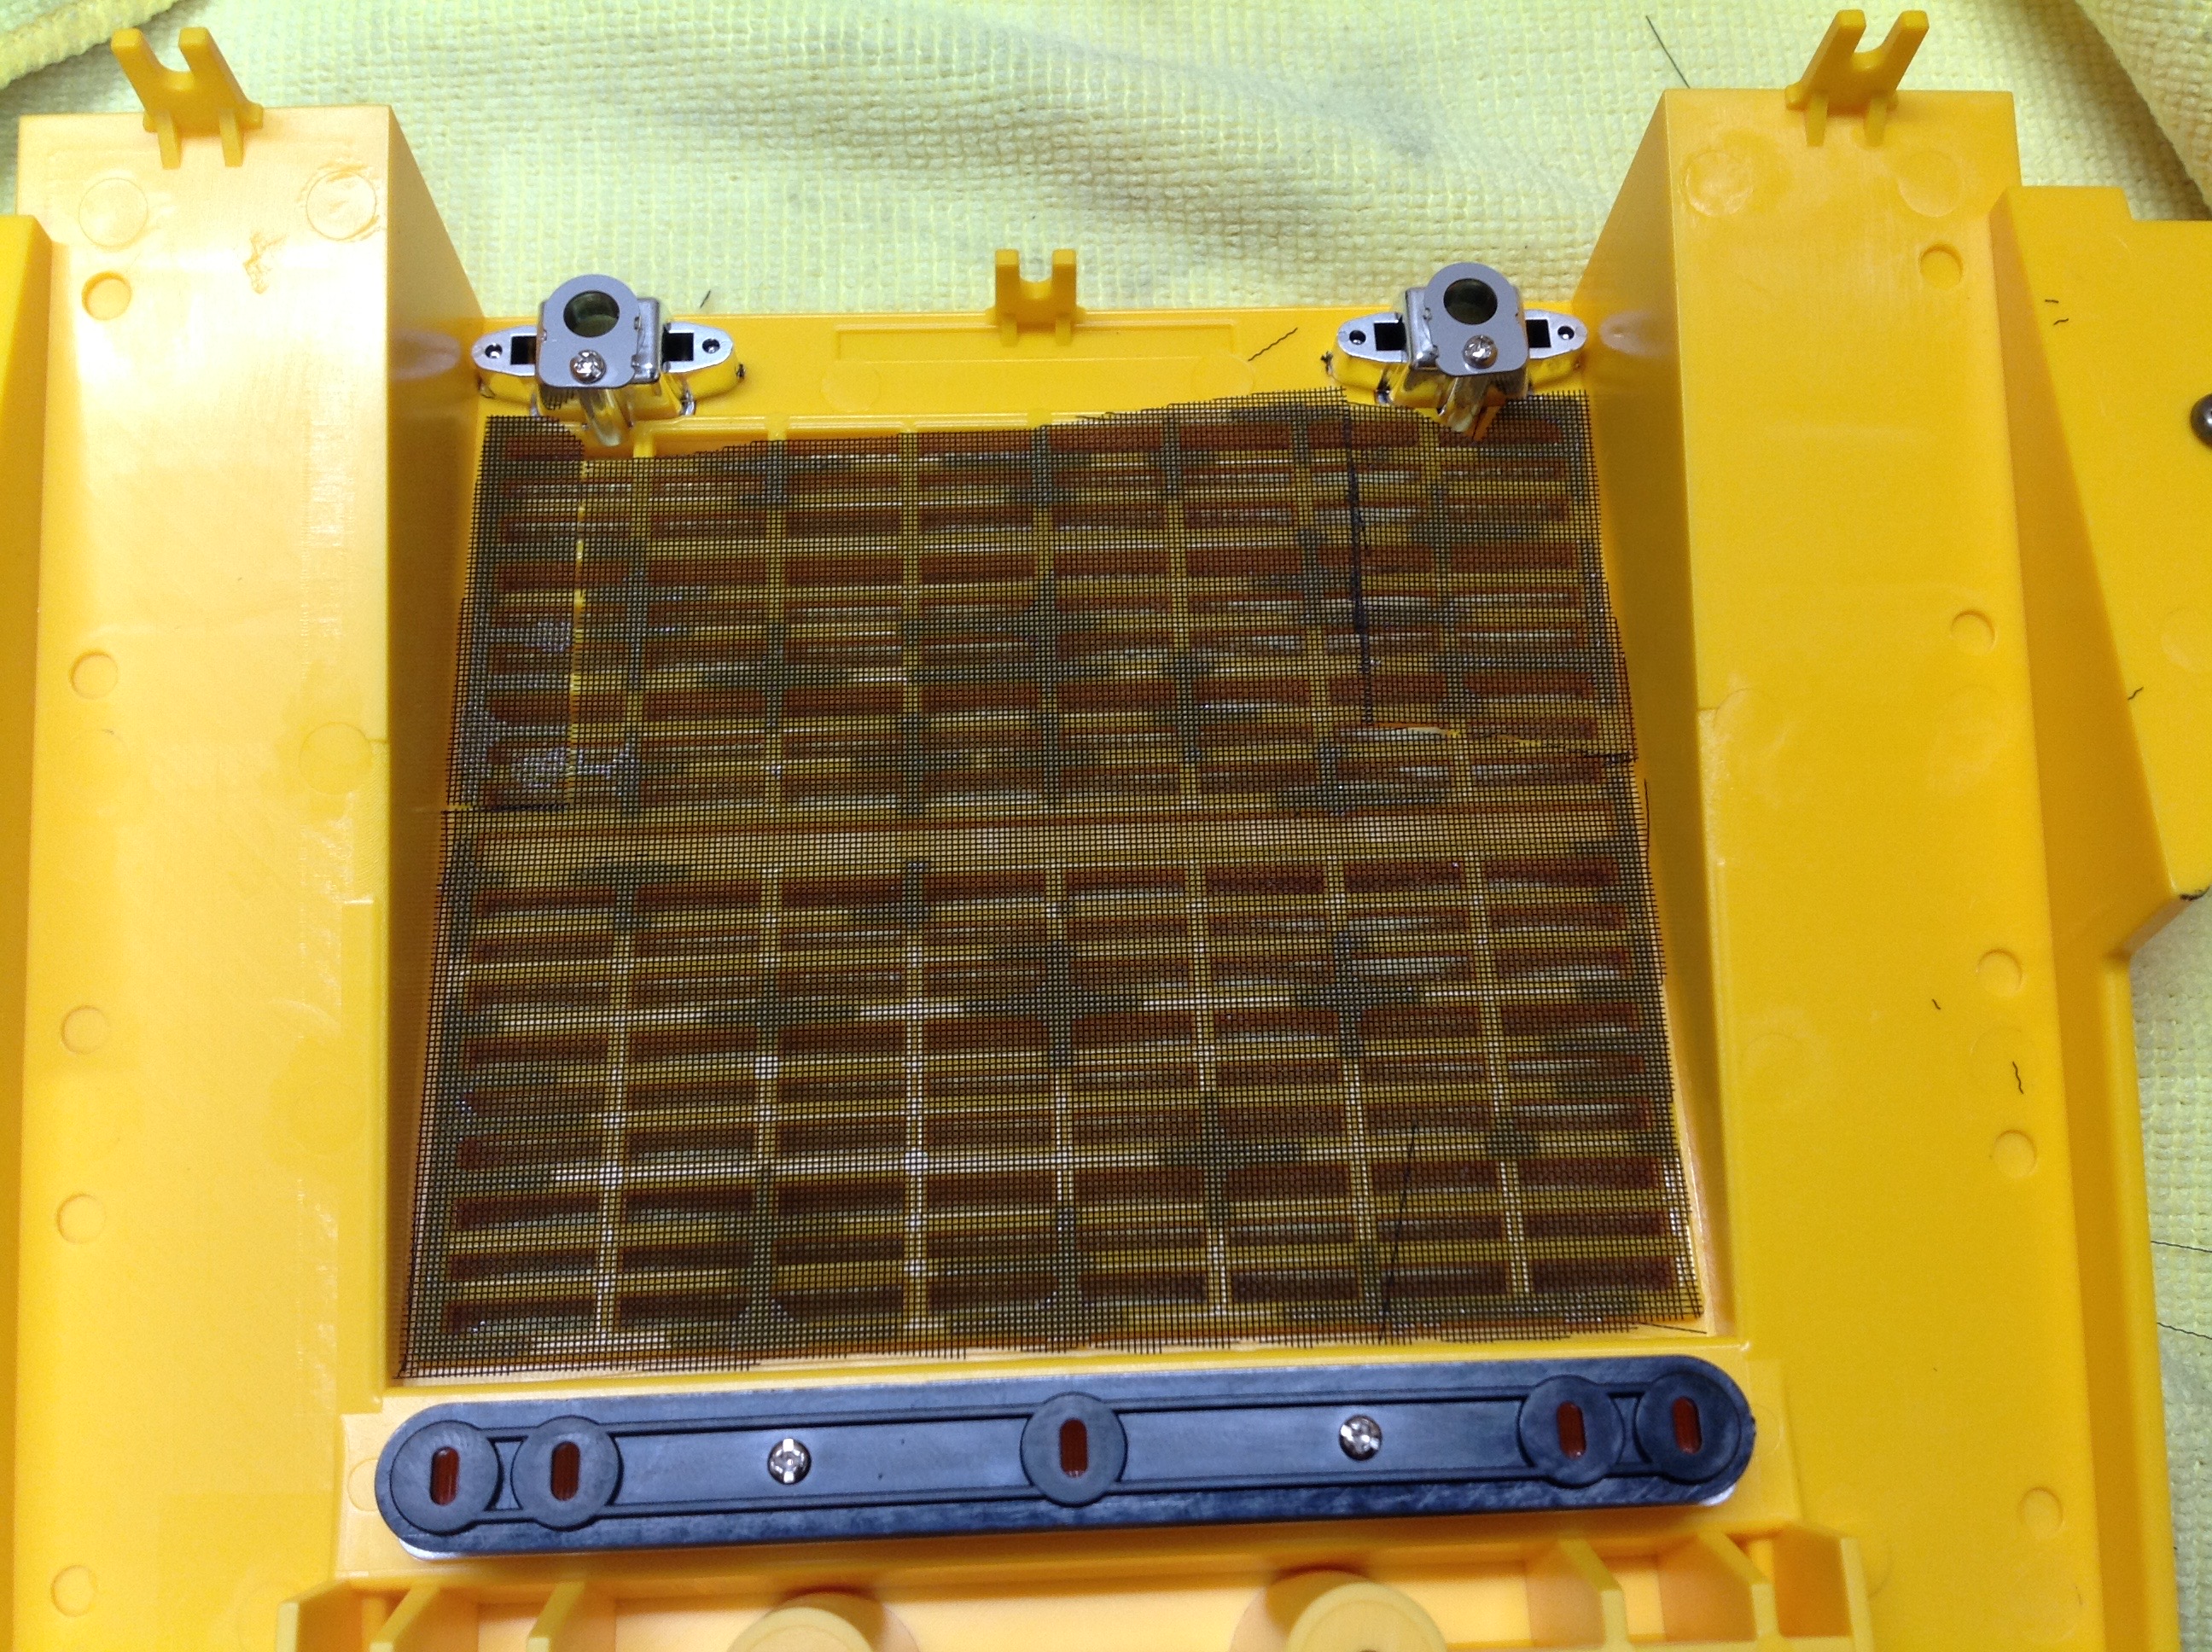
are room for seven up front. The right hand picture shows the
front light bucket installation from behind the grill, and you can also
see the mesh I installed to add some contrast to the otherwise
monochrome front grille.
These pictures show the front grille before and after I installed the
mesh. The change is subtle but I like it much better with that
black layer behind. I also painted all the little rivets
black for a bit of extra visual detail. It is interesting to note
that the headlights are not in the places you would normally
expect. Those 2 big yellow cans on either side are not headlights,
they are intake air filters for the huge turbos which feed the
generator.
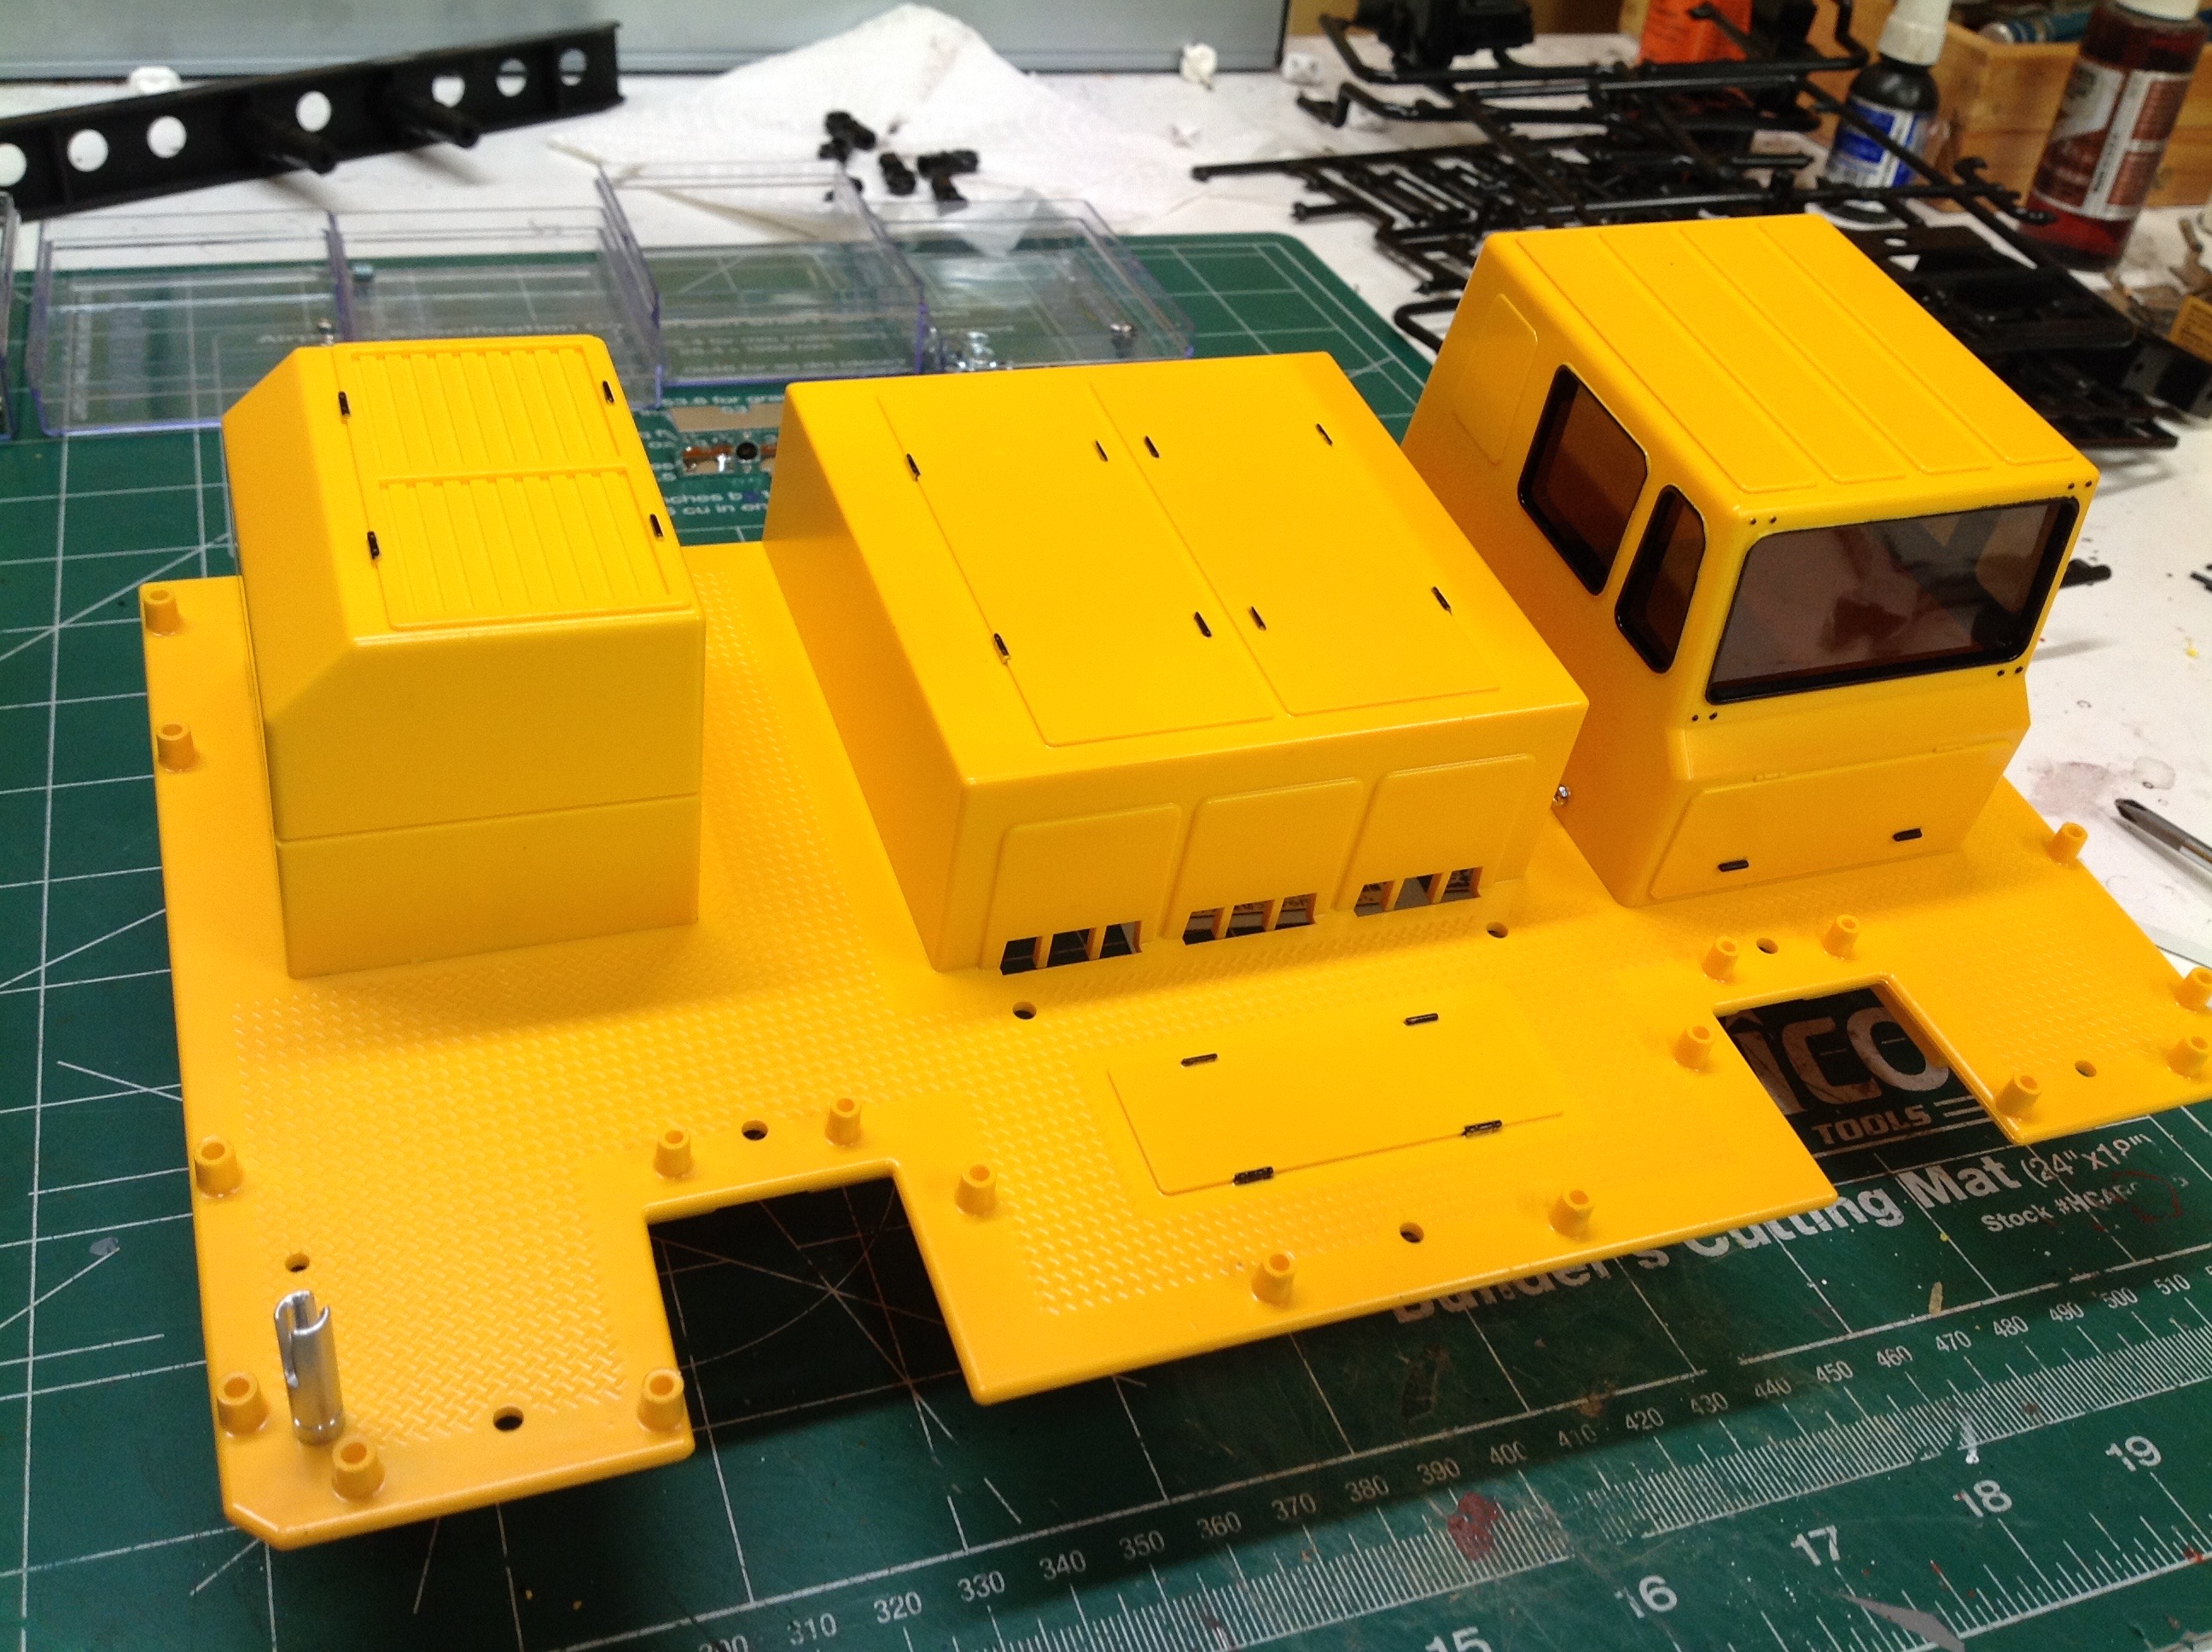
There are a couple of large parts which make up the upper deck.
The box furthest to the right is the operator cabin. There isn't
any kind of interior in it. The instructions call the box on the
left a generator, but it can't possibly the primary generator that
powers the truck. I don't know about the middle box. If
there's one complaint I have about this body it is the general lack of
detail. There is a lot of open flat slabs of space with no
texture. Perhaps this is an accurate representation of the real
thing though.
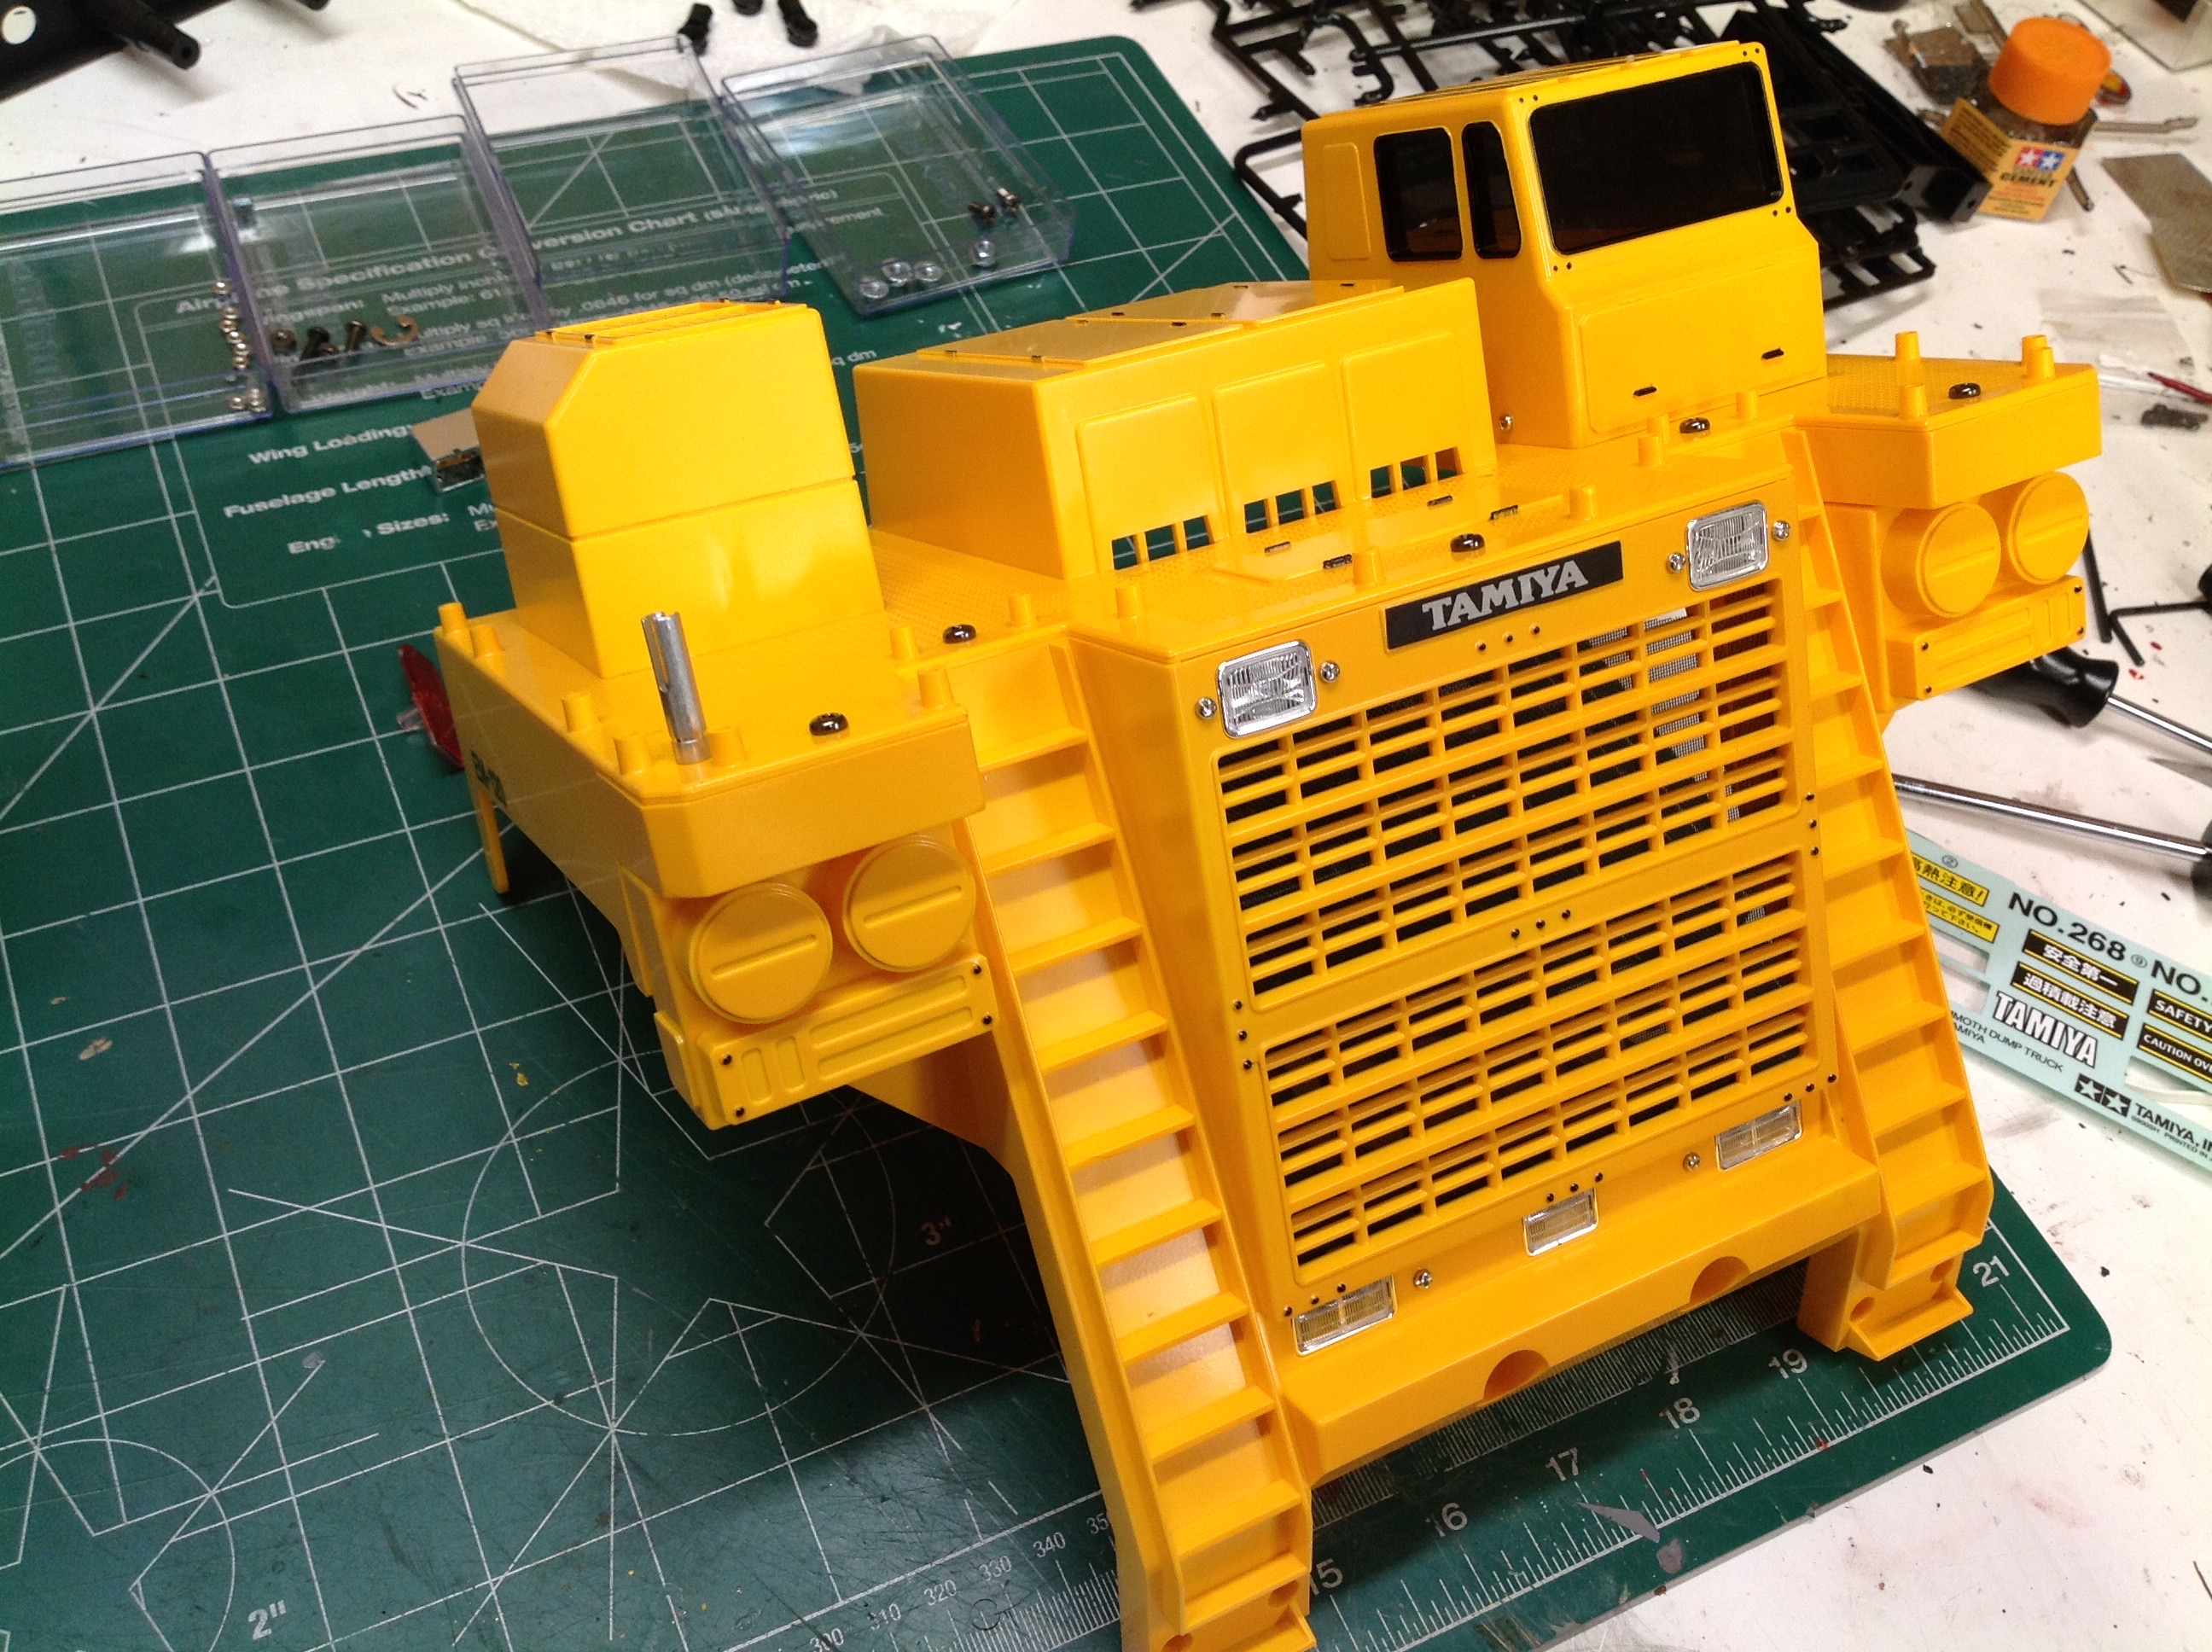
The last details to add to the body are a set of plastic and metal hand
rails. These do a lot to break up the large open areas.
Finally, the whole thing can be installed to the chassis with just four
screws. I considered omitting the front bumper, but it leaves the
overhanging body too susceptible to damage.
©2019 Eric Albrecht