Tamiya Manta Ray Project
Page 1: Assembly
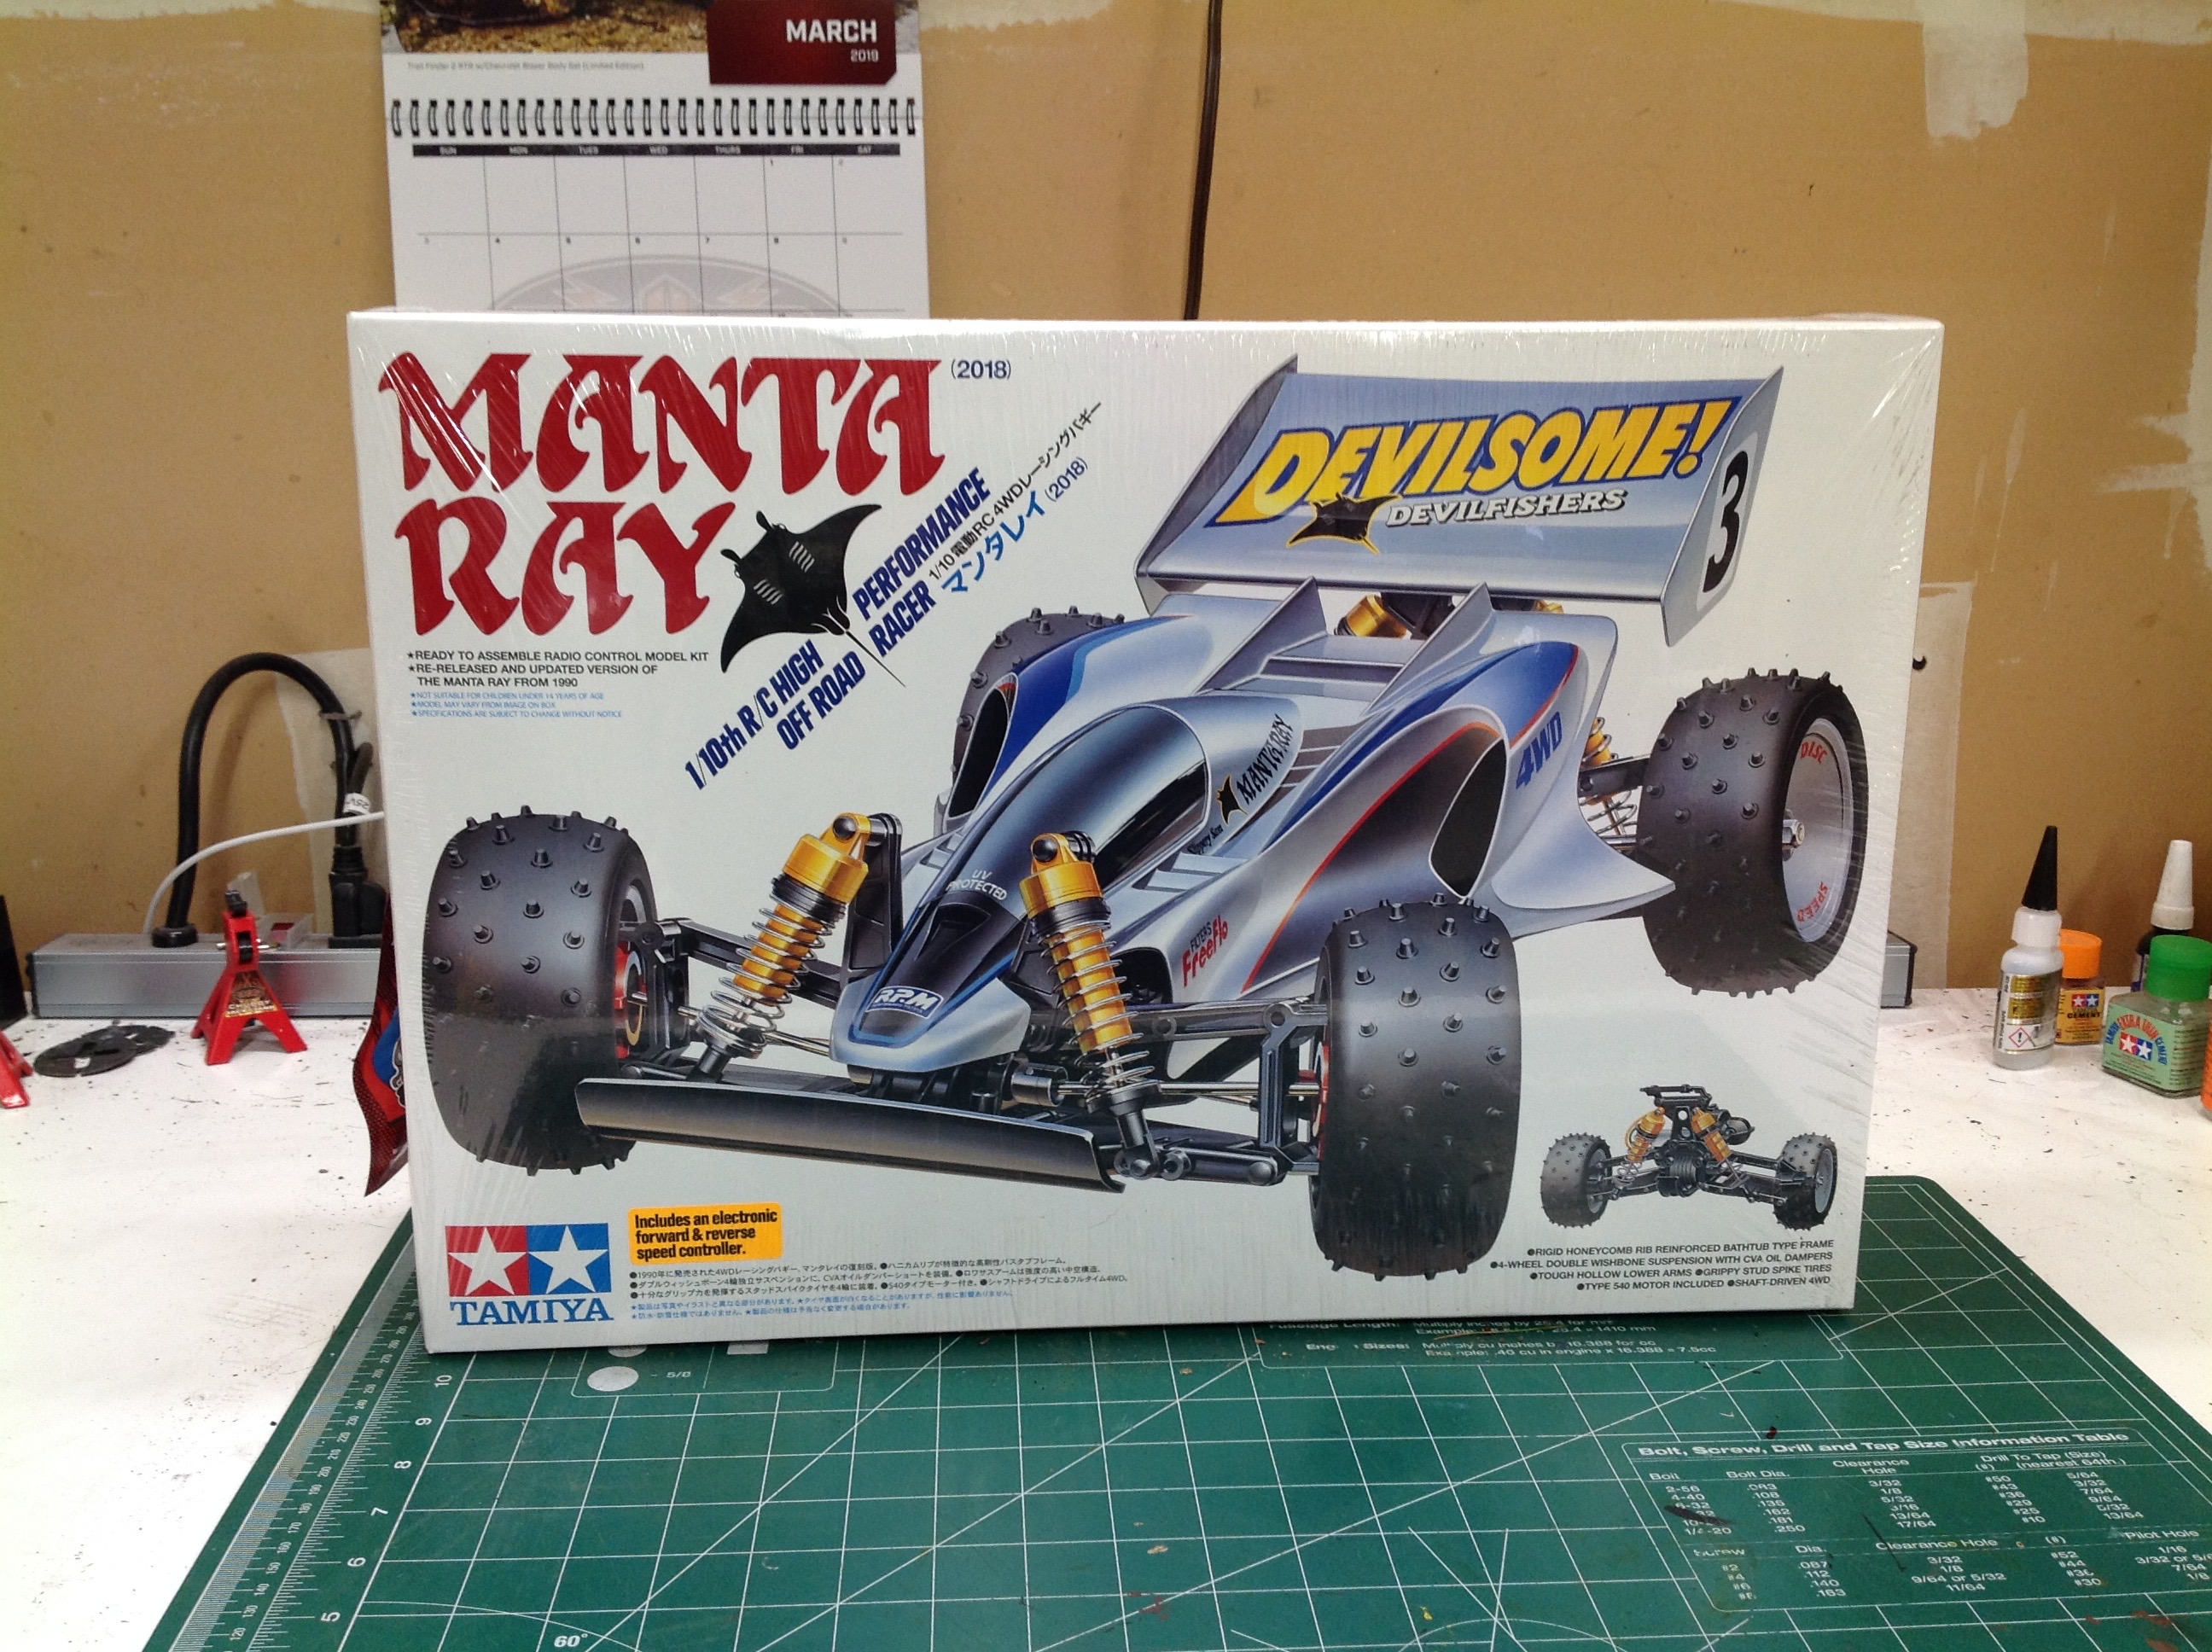
The Manta Ray comes in a lovely medium sized box with traditional
artwork on the cover including the silhouette of a real manta.
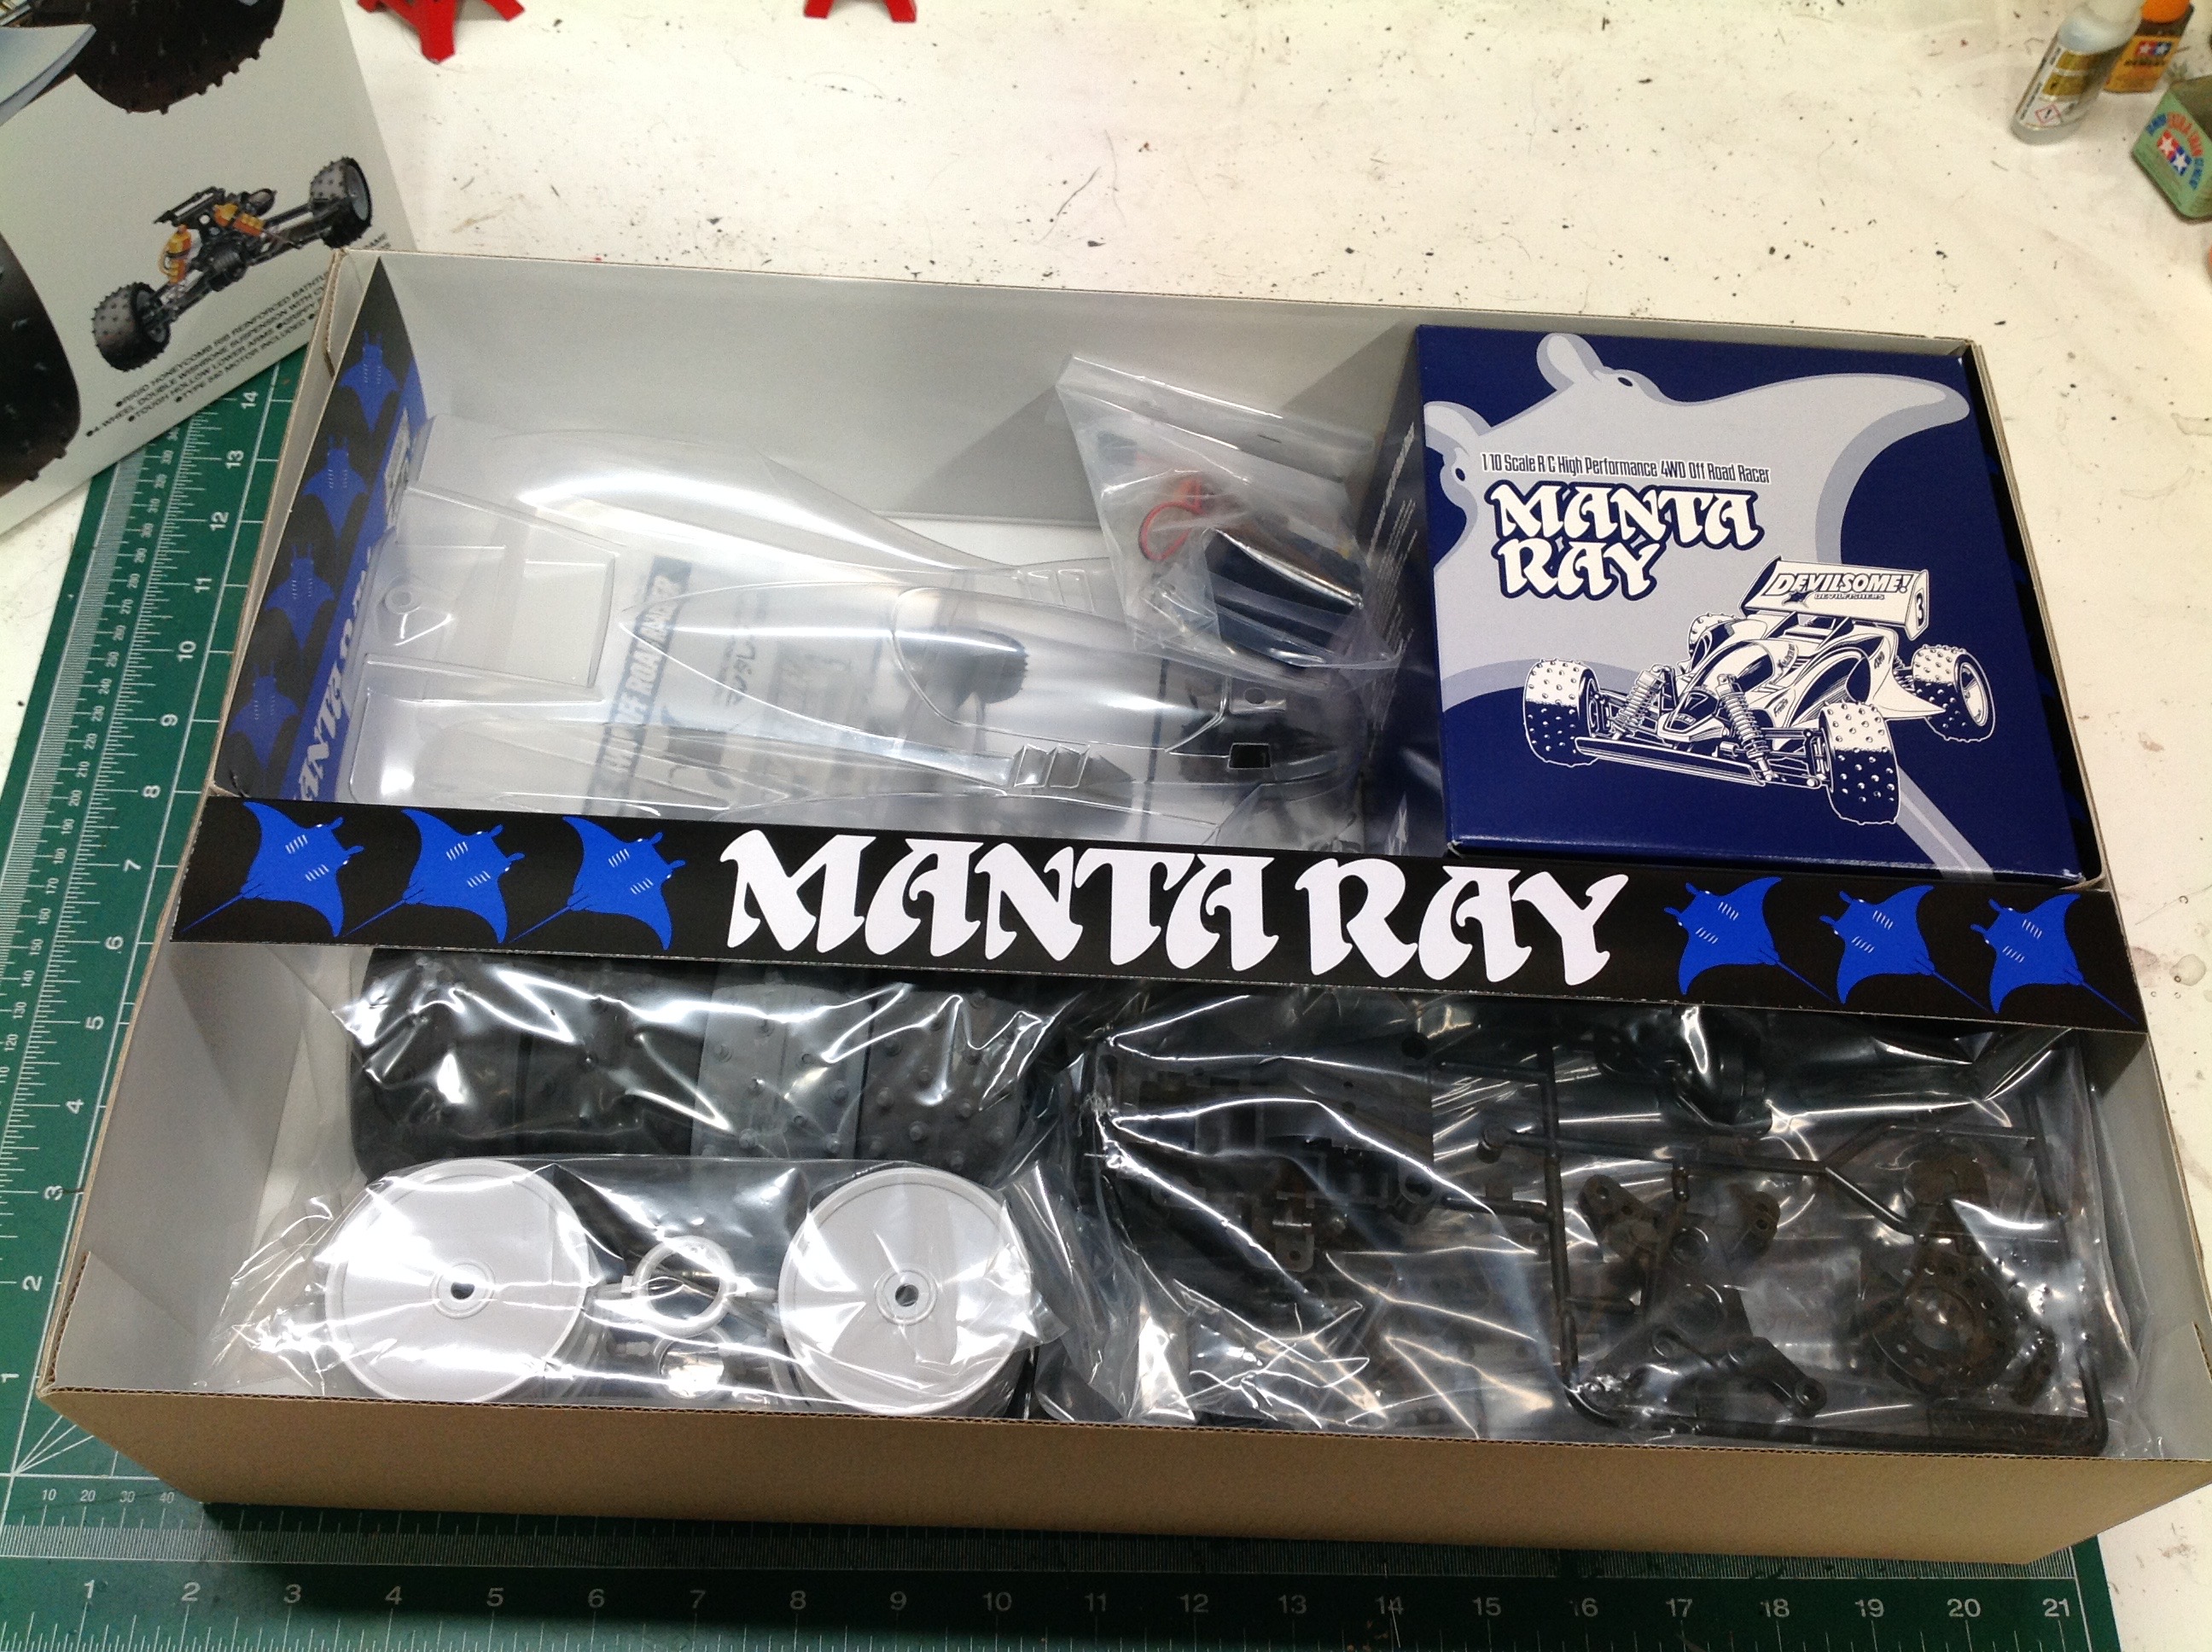
There is a divider inside the box and a smaller box for hardware, but no
blister packs.
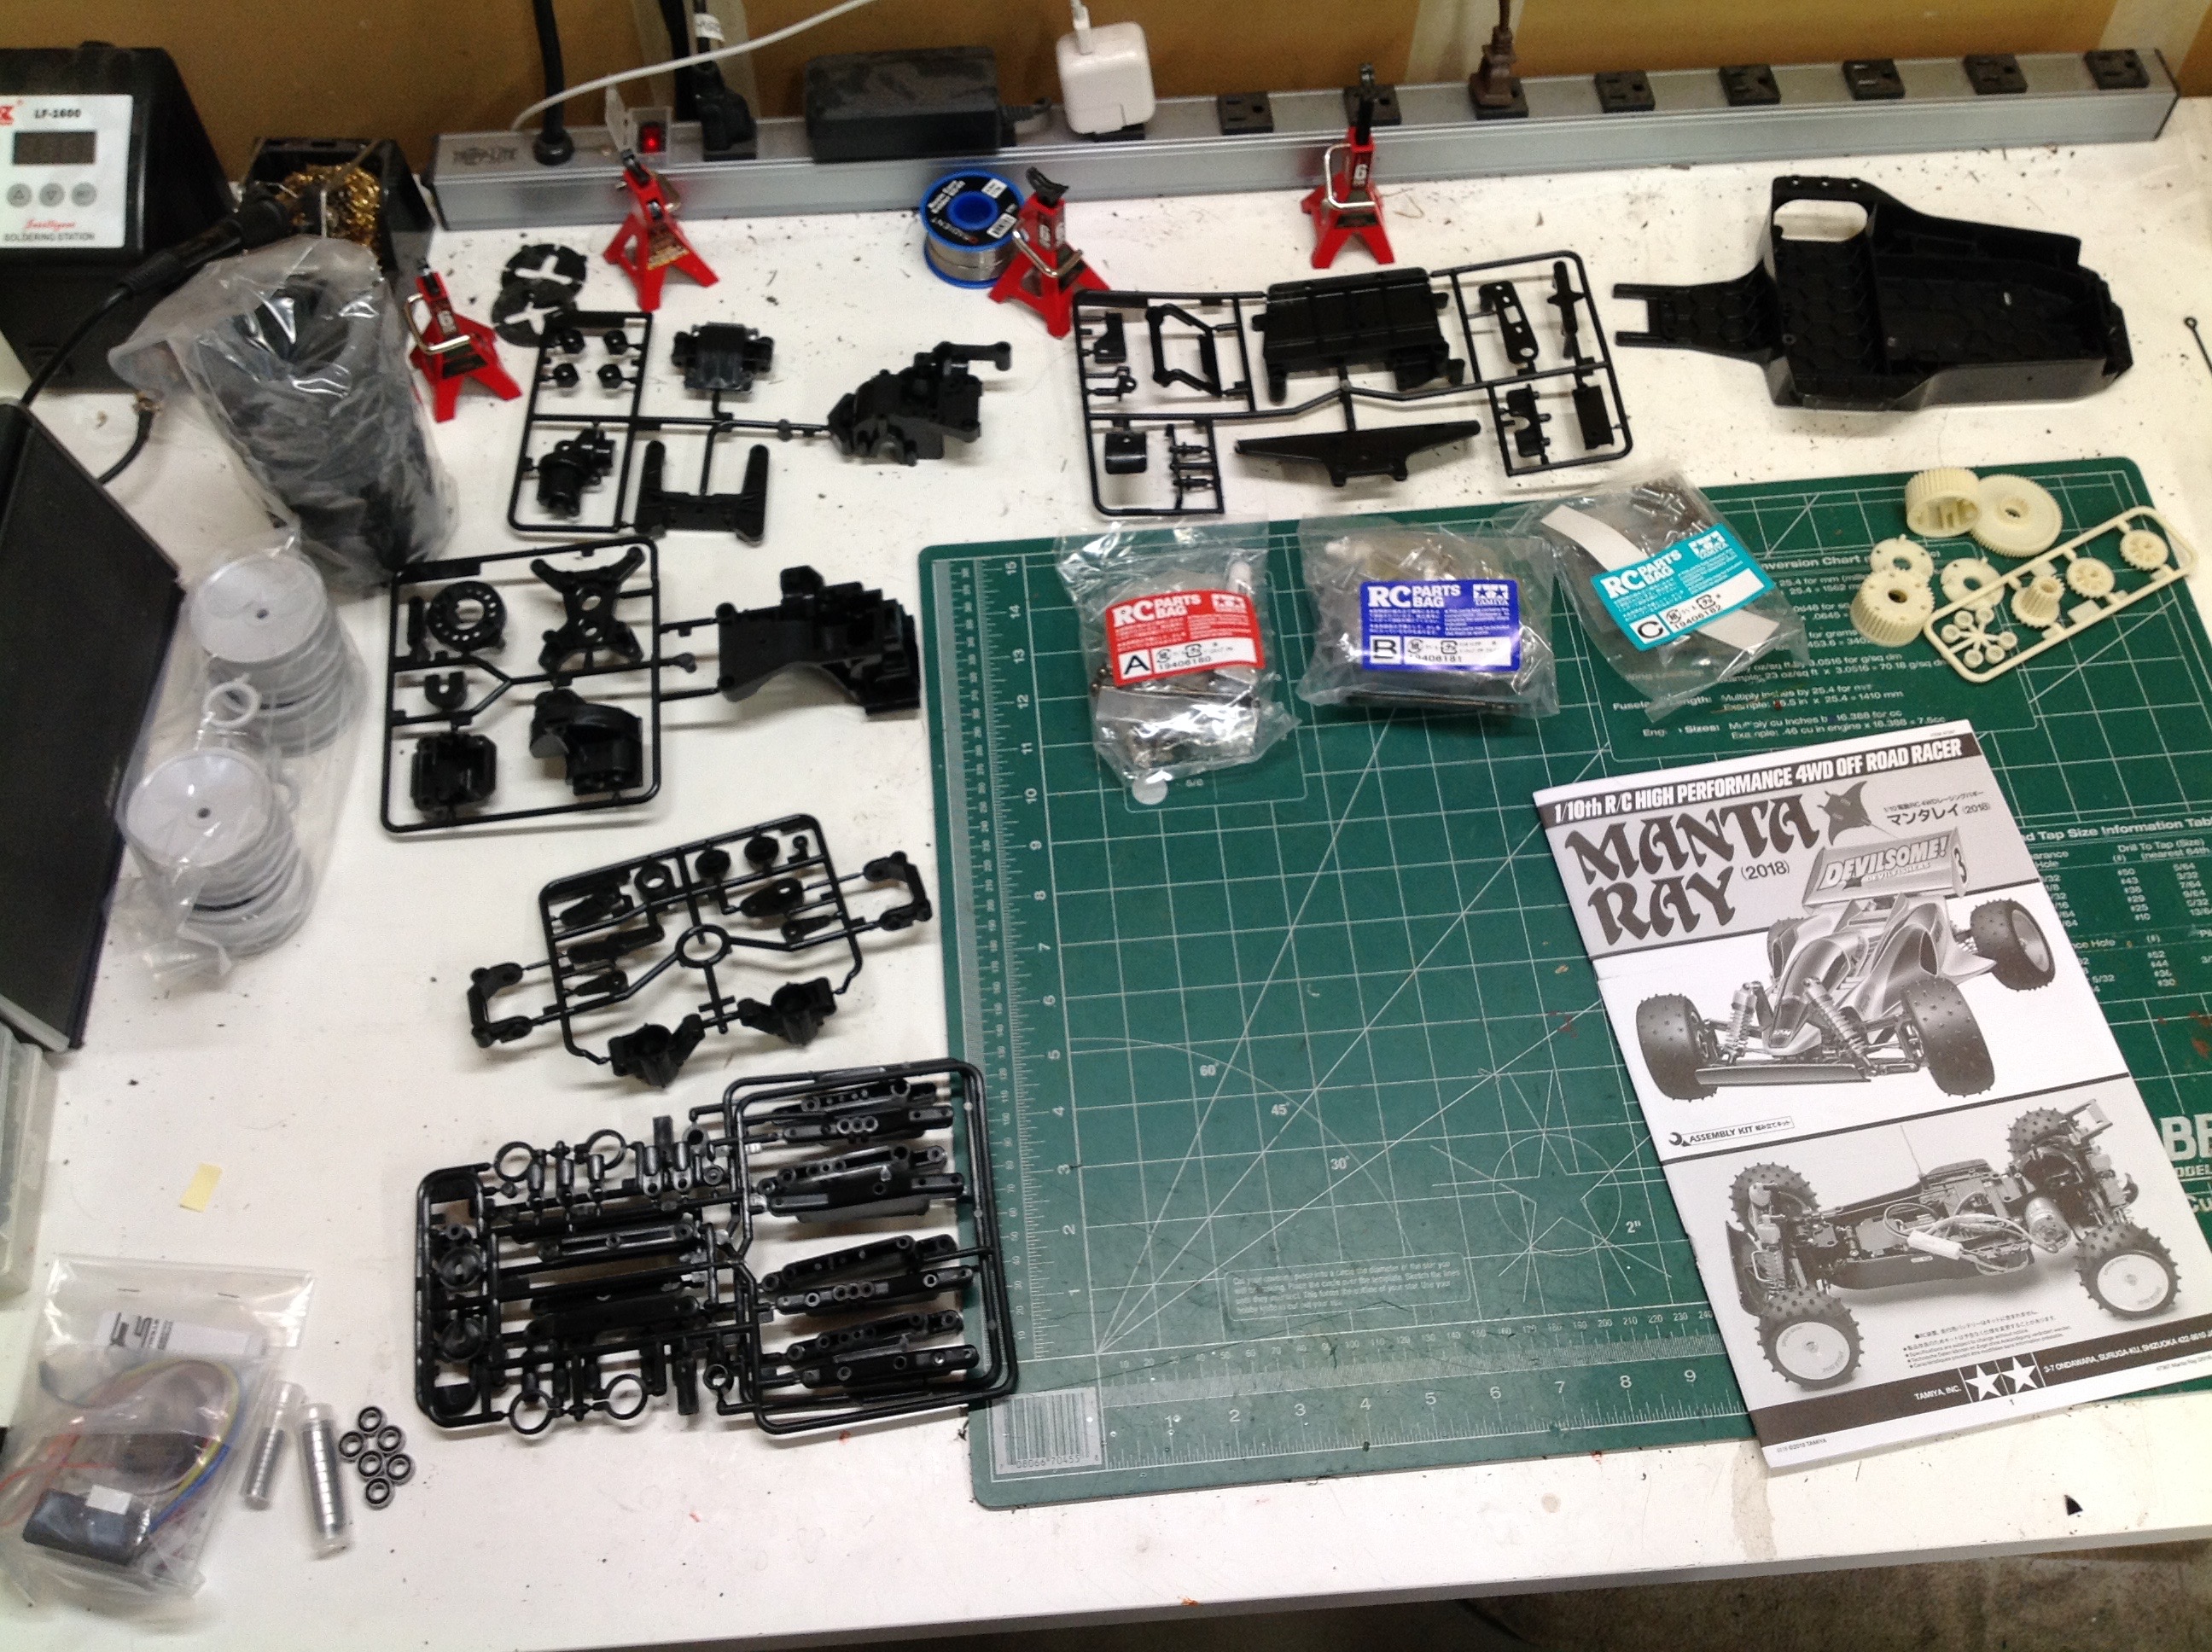
You can tell by the smallish number of parts that this is not a very
complicated model. The main chassis is a single piece bathtub and
most of the remaining plastic parts belong to the gearbox housing and
the suspension arms.
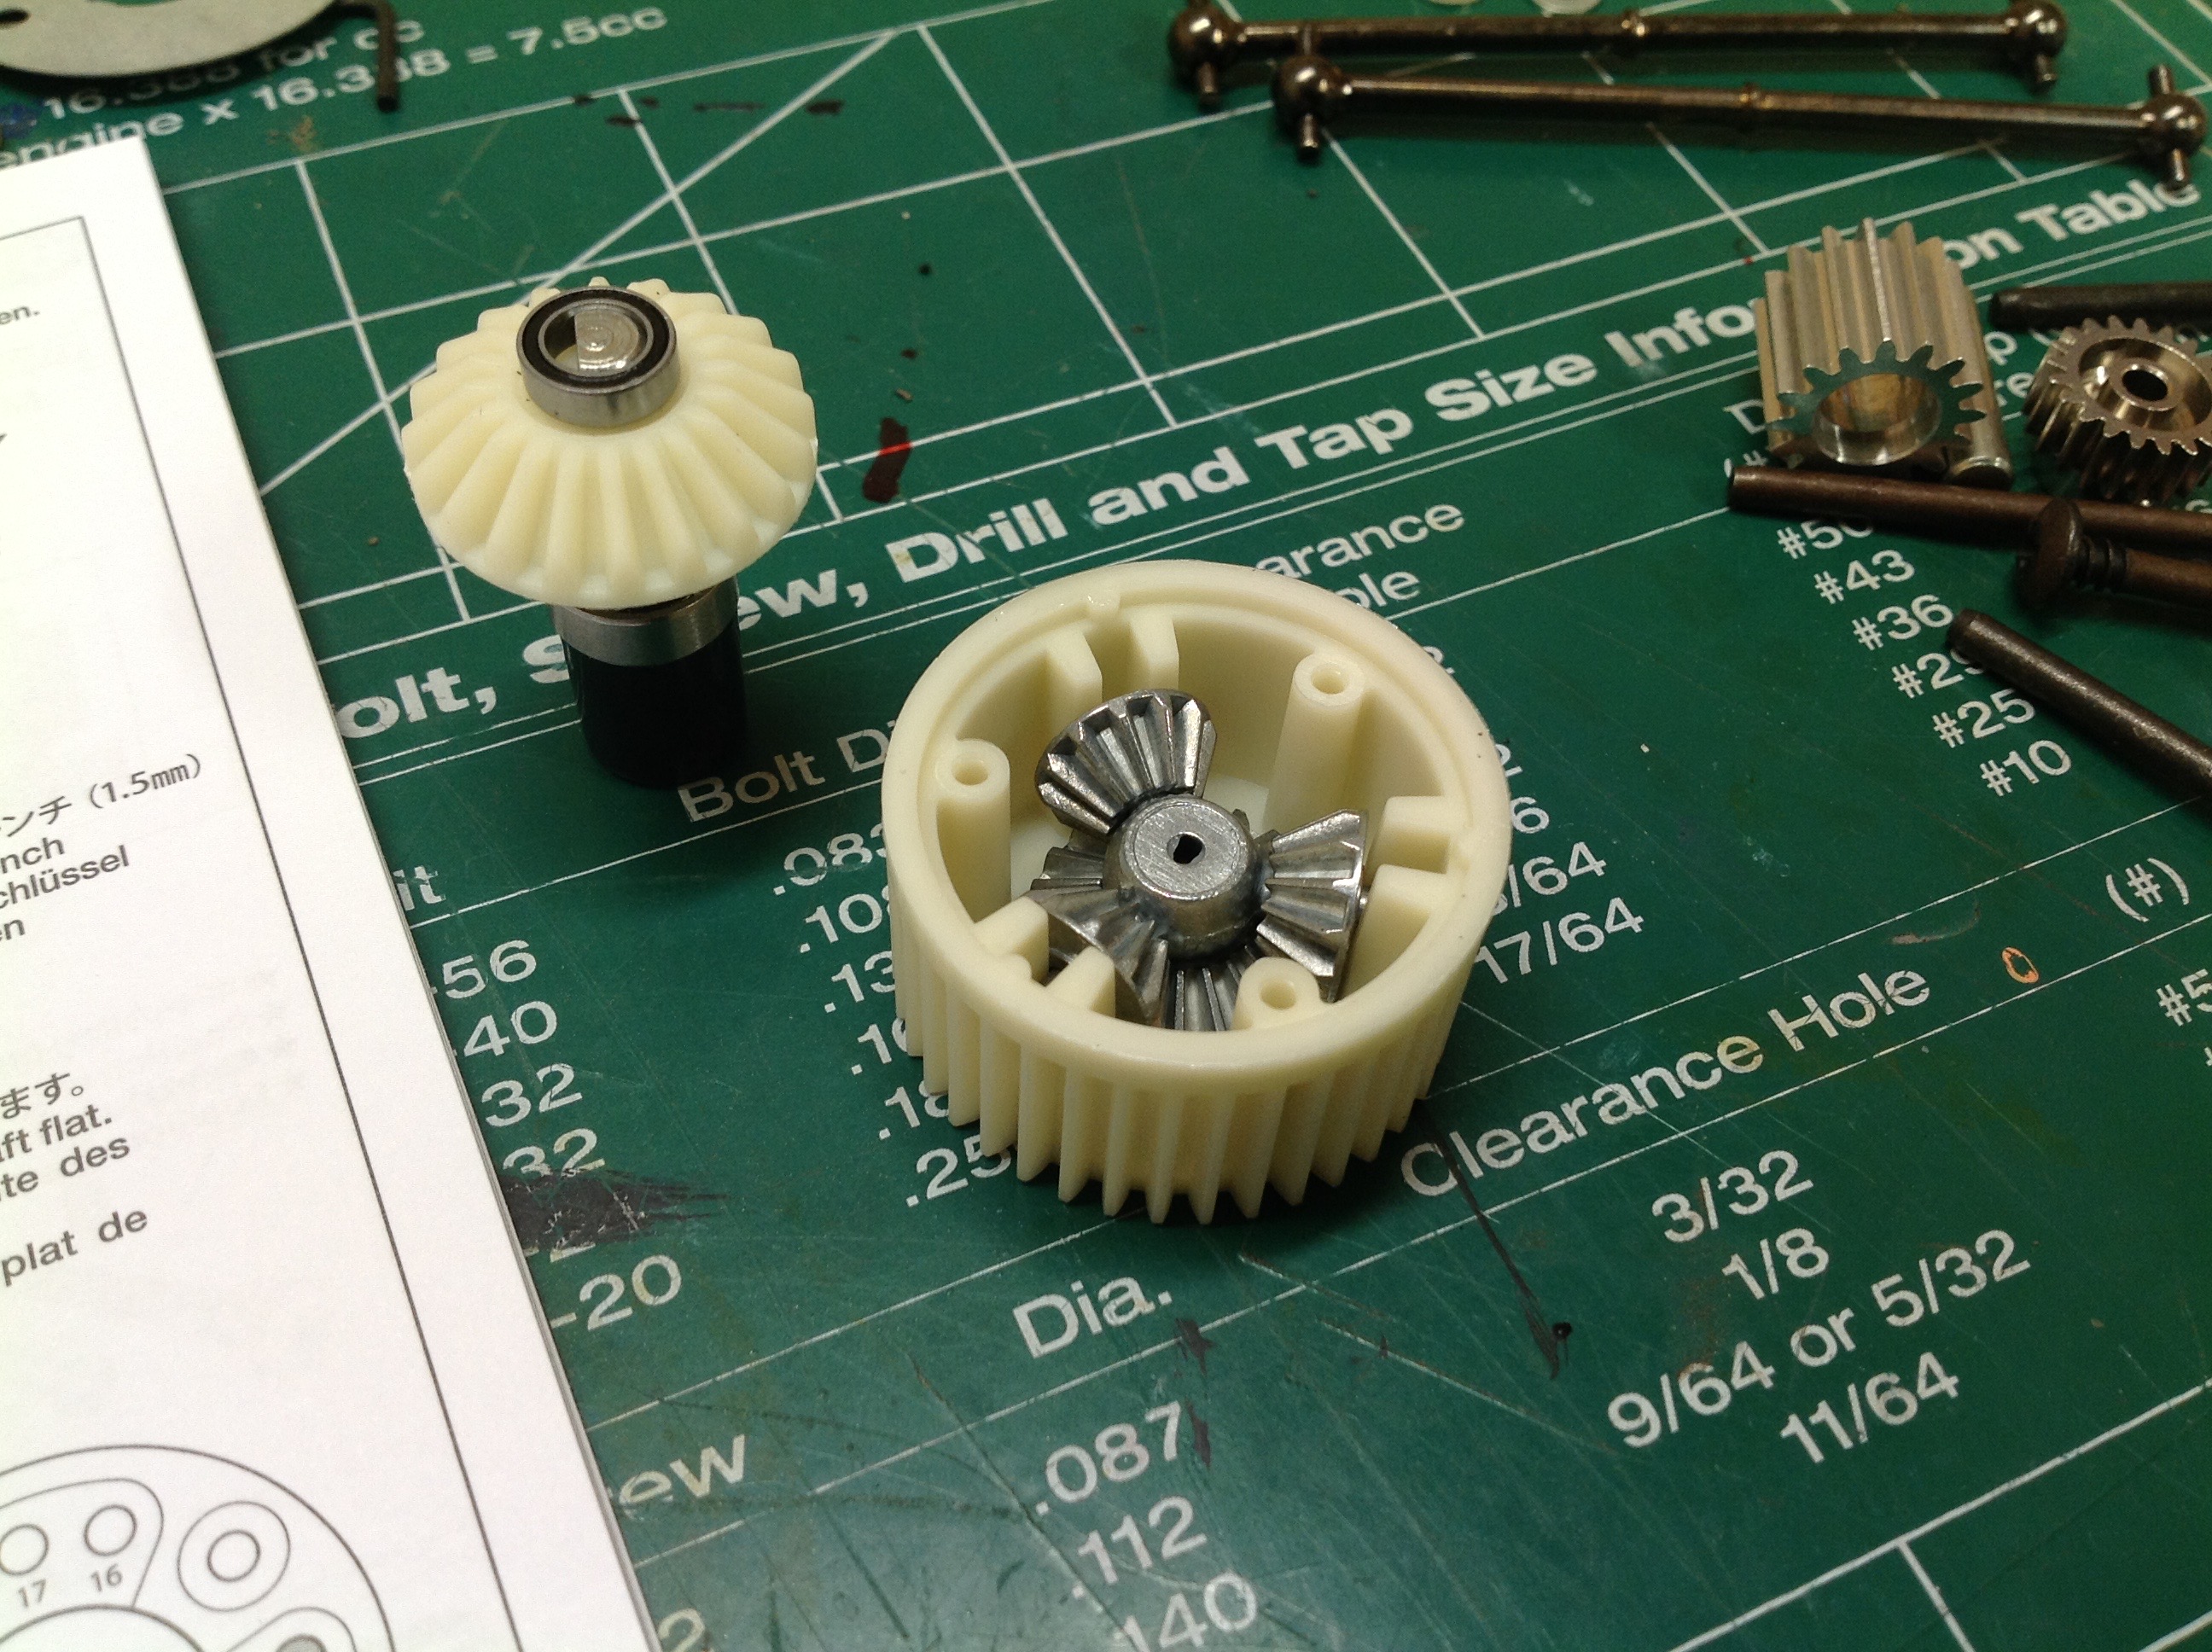
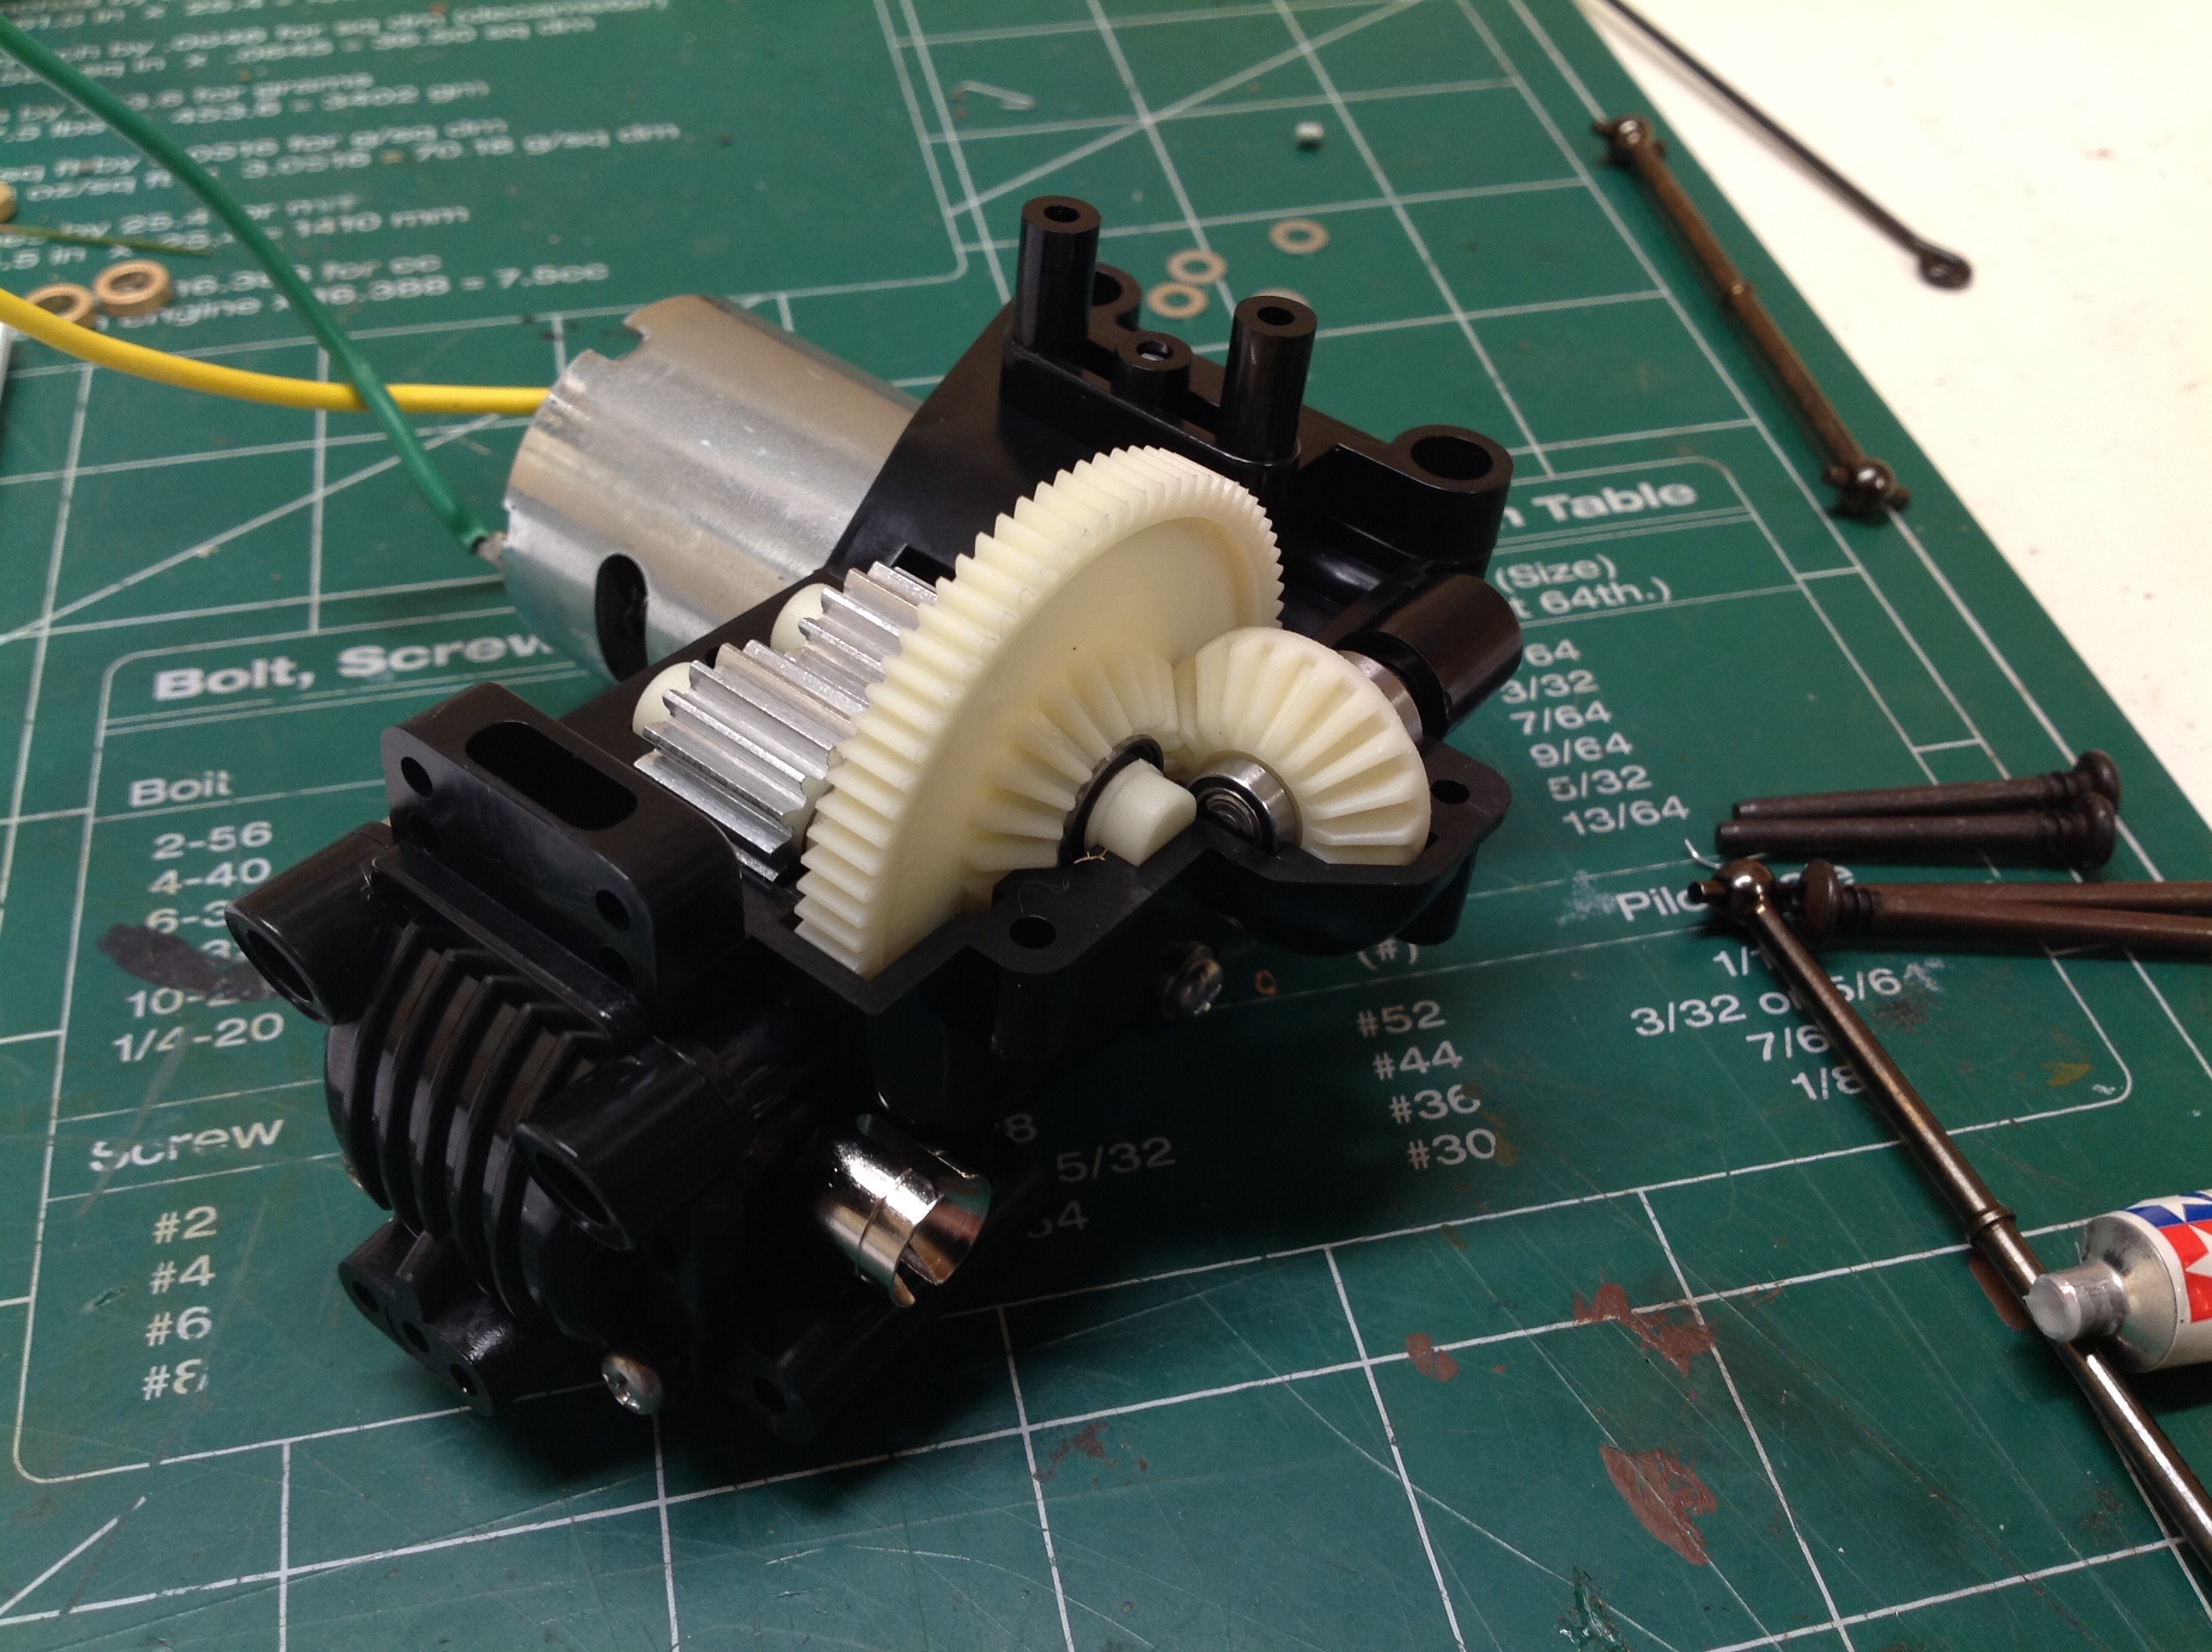
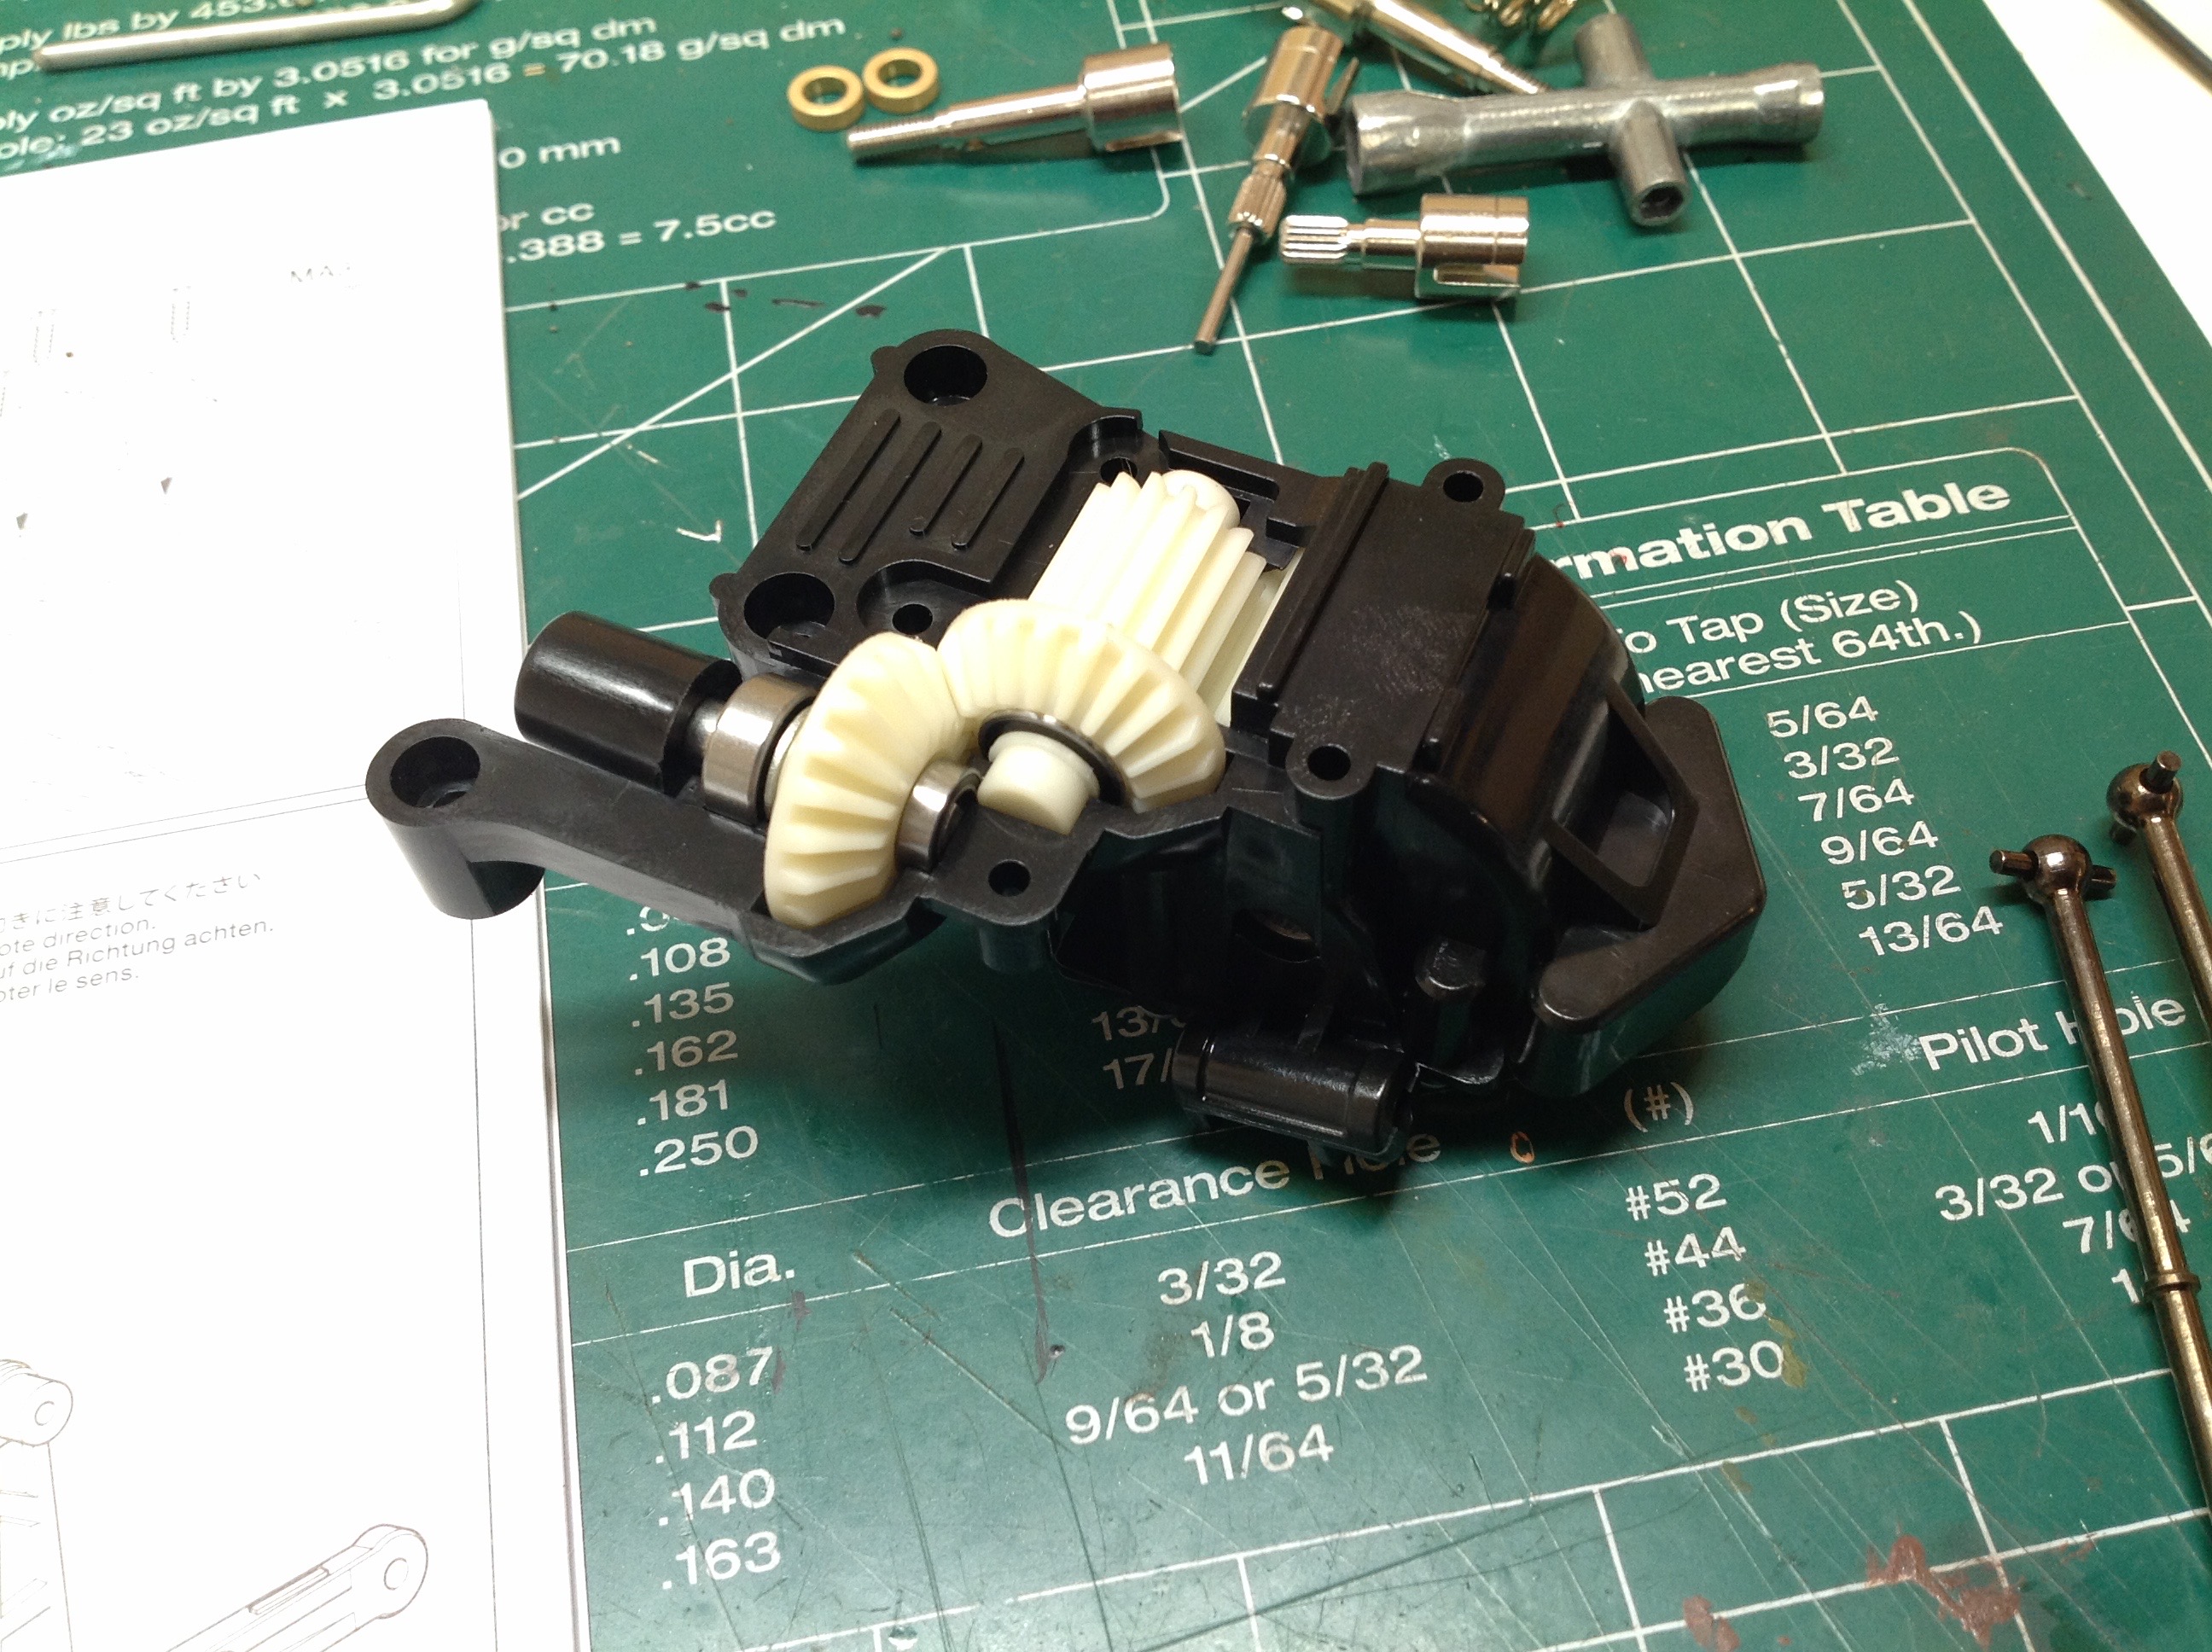
The rear gearbox uses a standard open differential with 3 metal spider
gears. The ring gear is a spur type with a very large face
width. The right hand image shows it installed in the gearbox
housing.
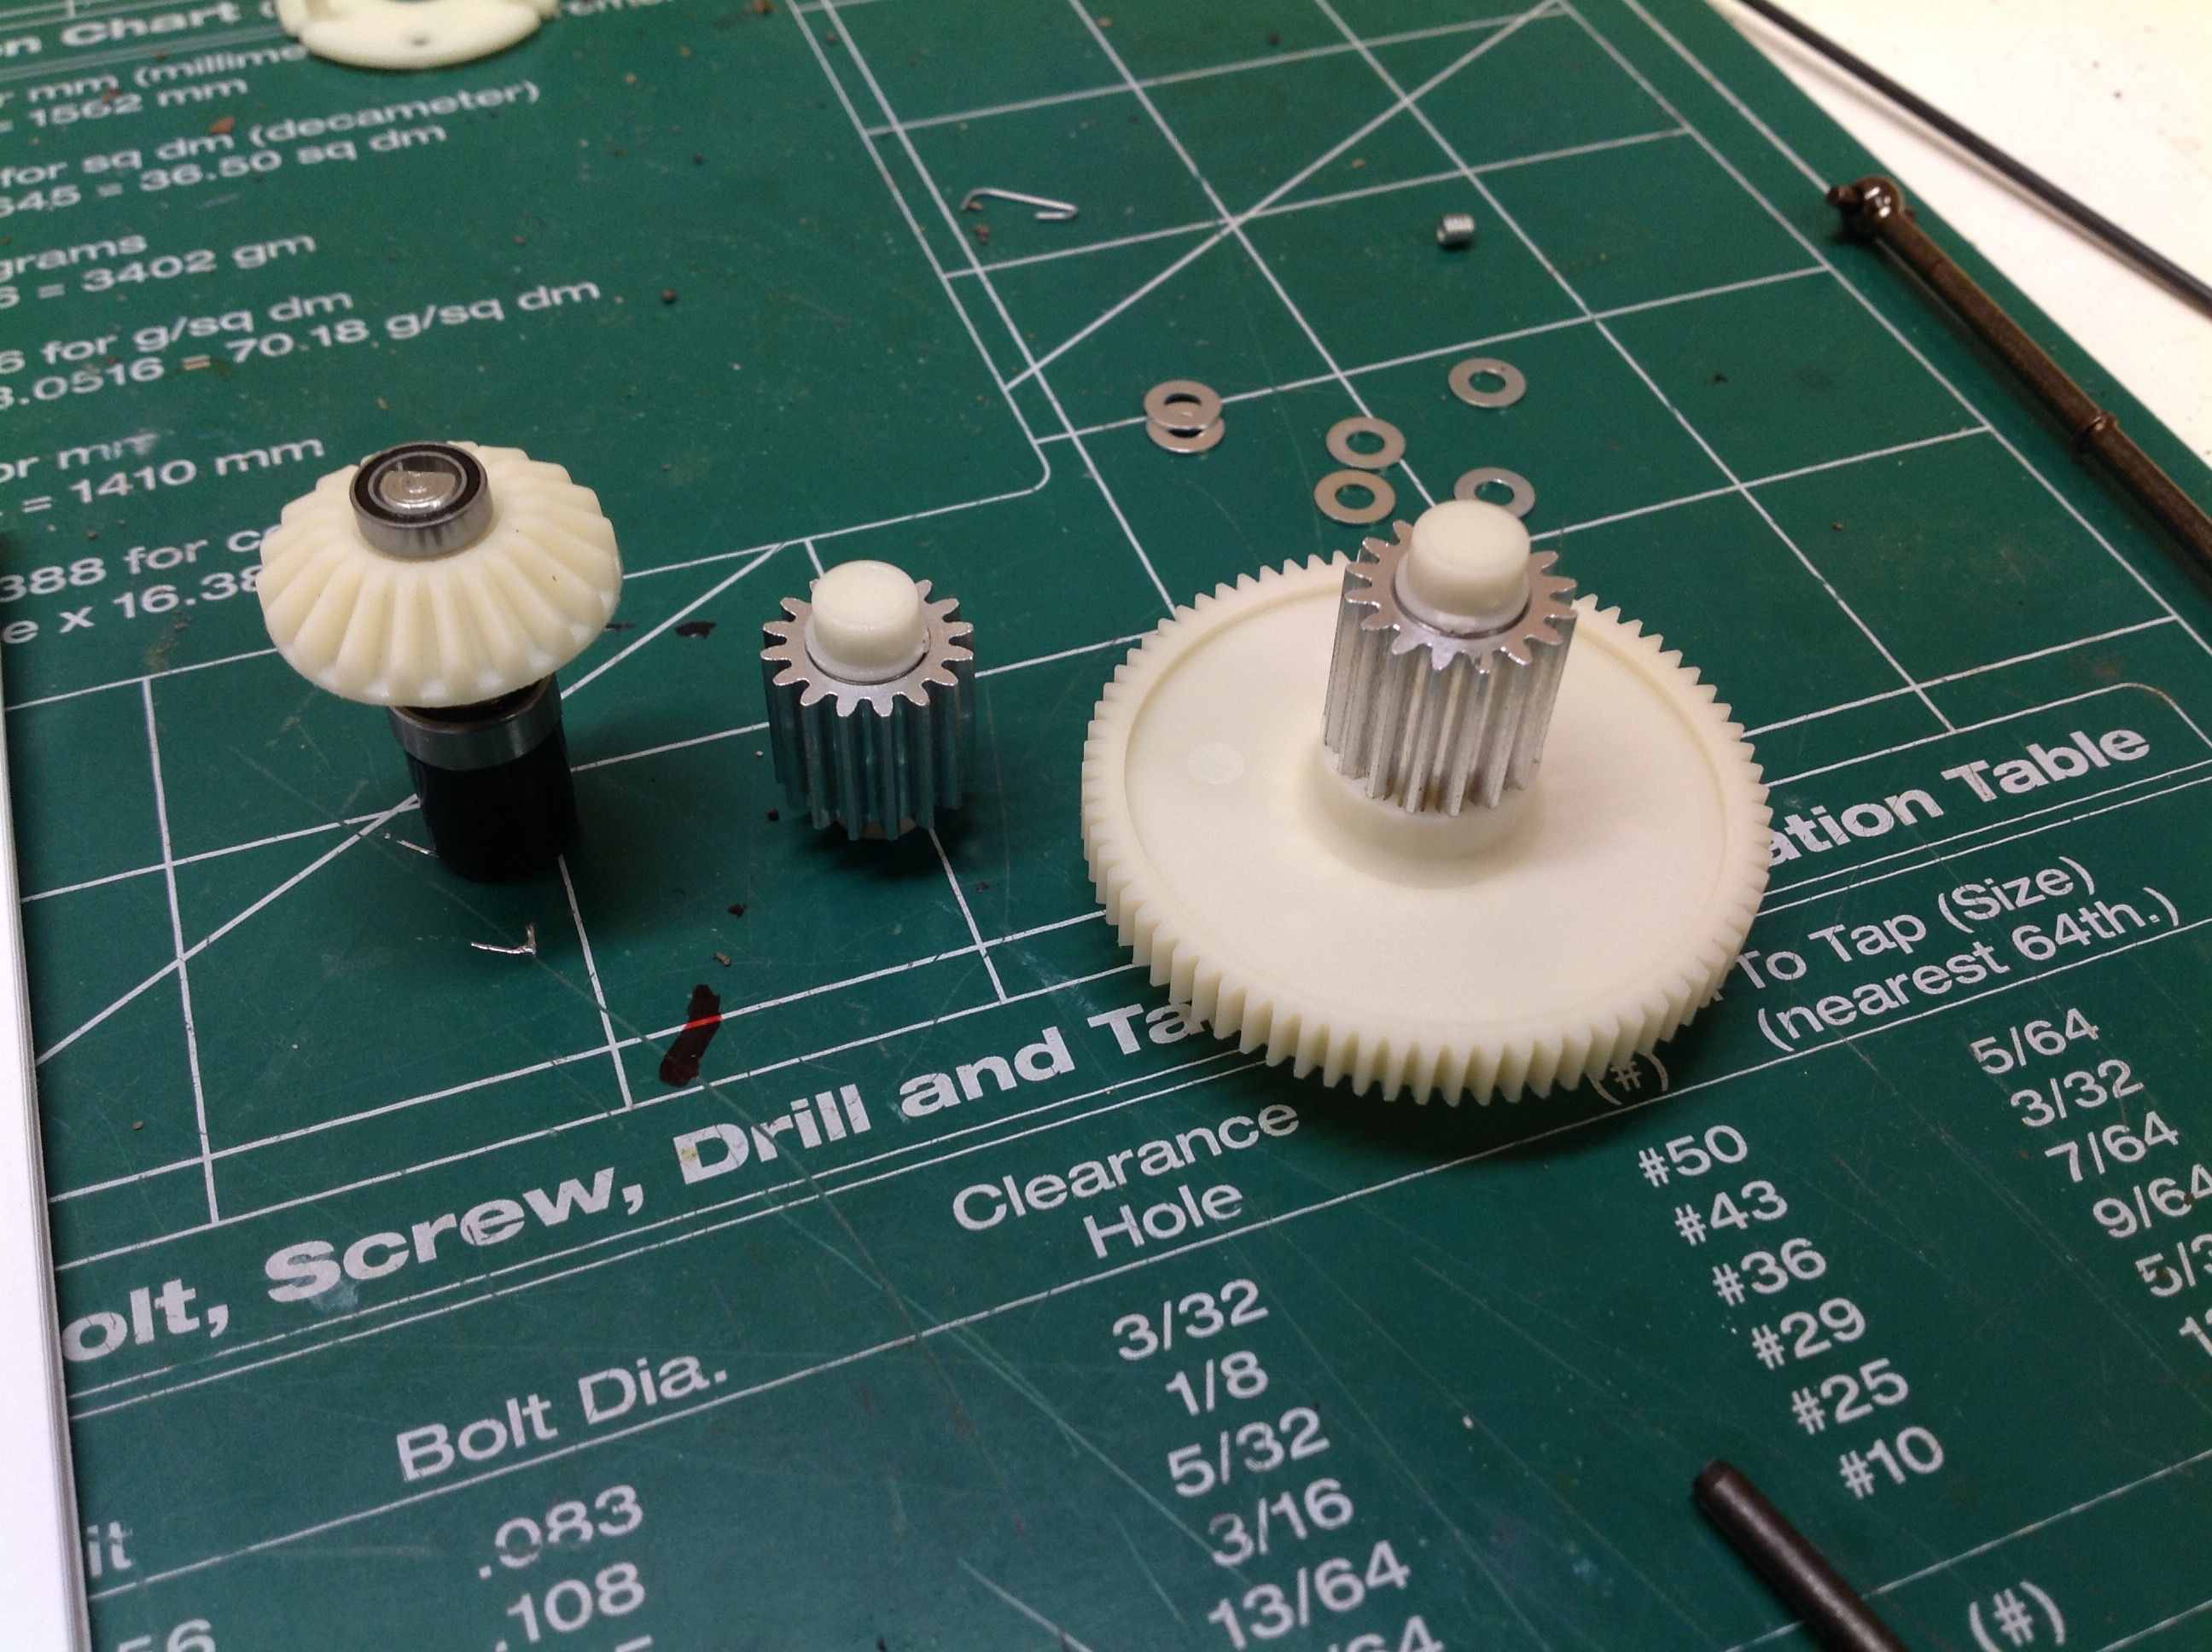
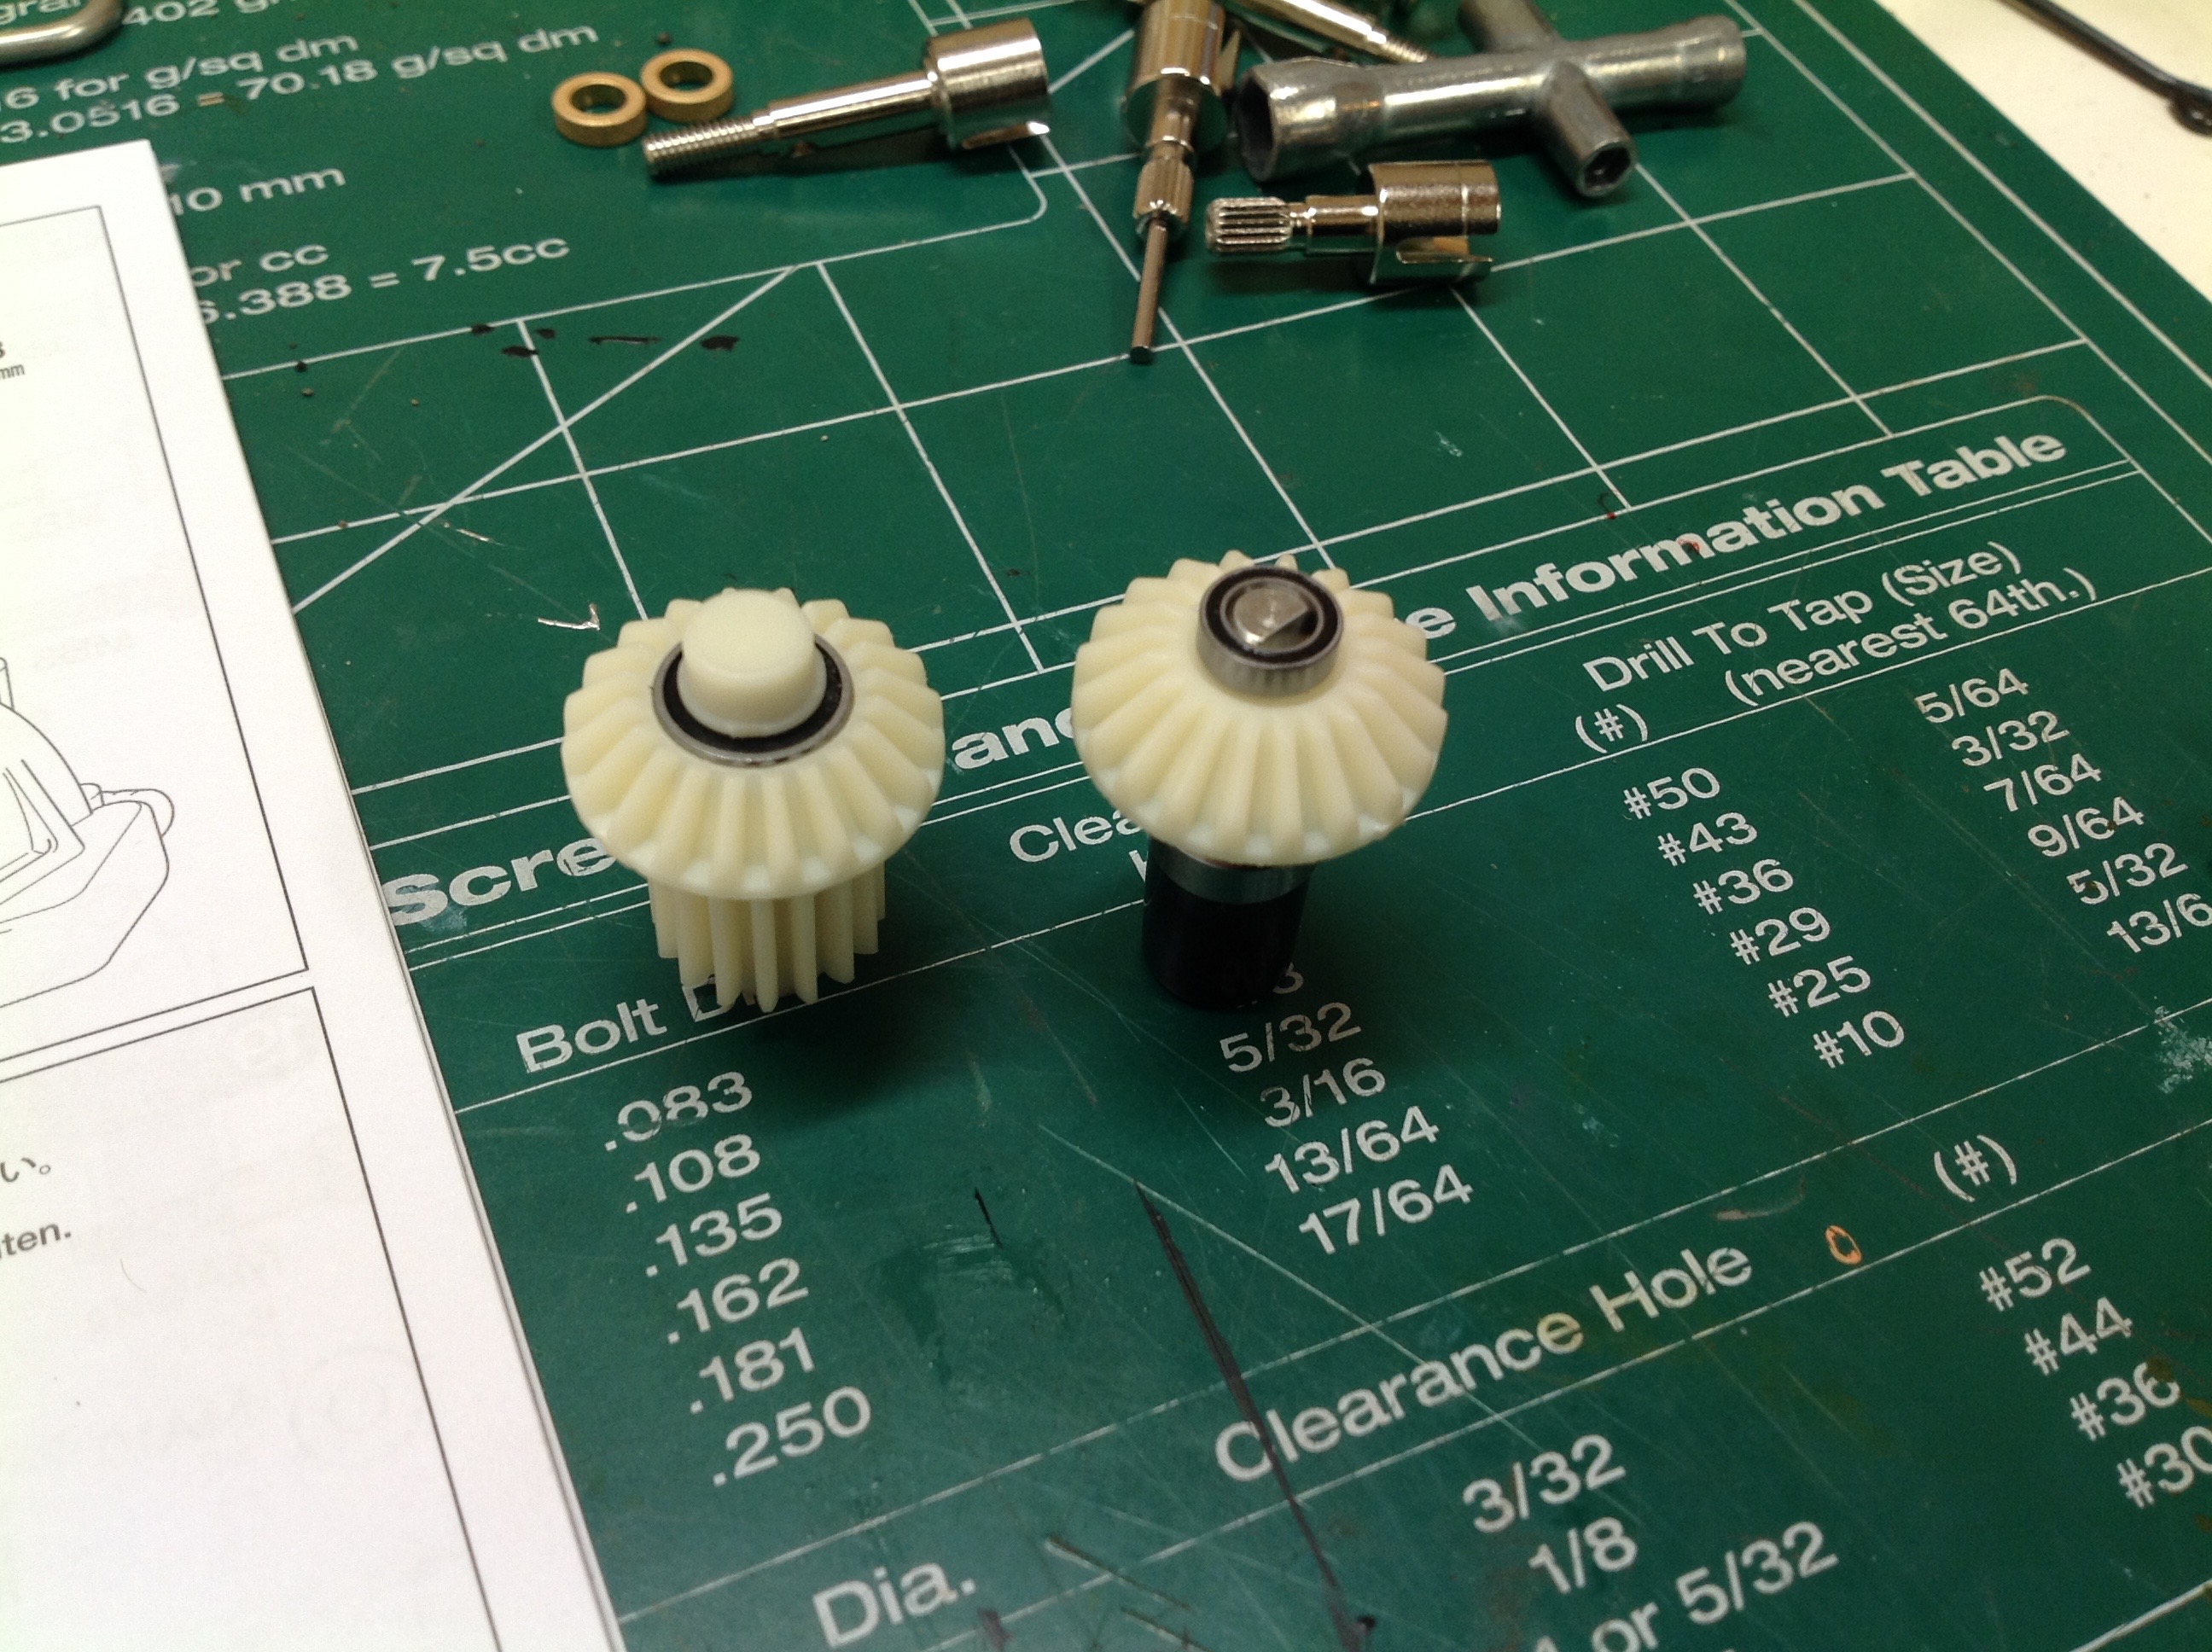
These are the other gears which are part of the rear transmission.
The large plastic spur gear is on a common shaft with a smaller
aluminum gear. There's another aluminum idler to drive the
differential, and the bevel gear is driven directly by the spur and
leads to the prop shaft running to the front transmission.
The motor installs into an indexing mount with holes for pinion gears
ranging from 16 to 21 teeth. The kit comes with an aluminum pinion
of the maximum size resulting in the highest top speed.
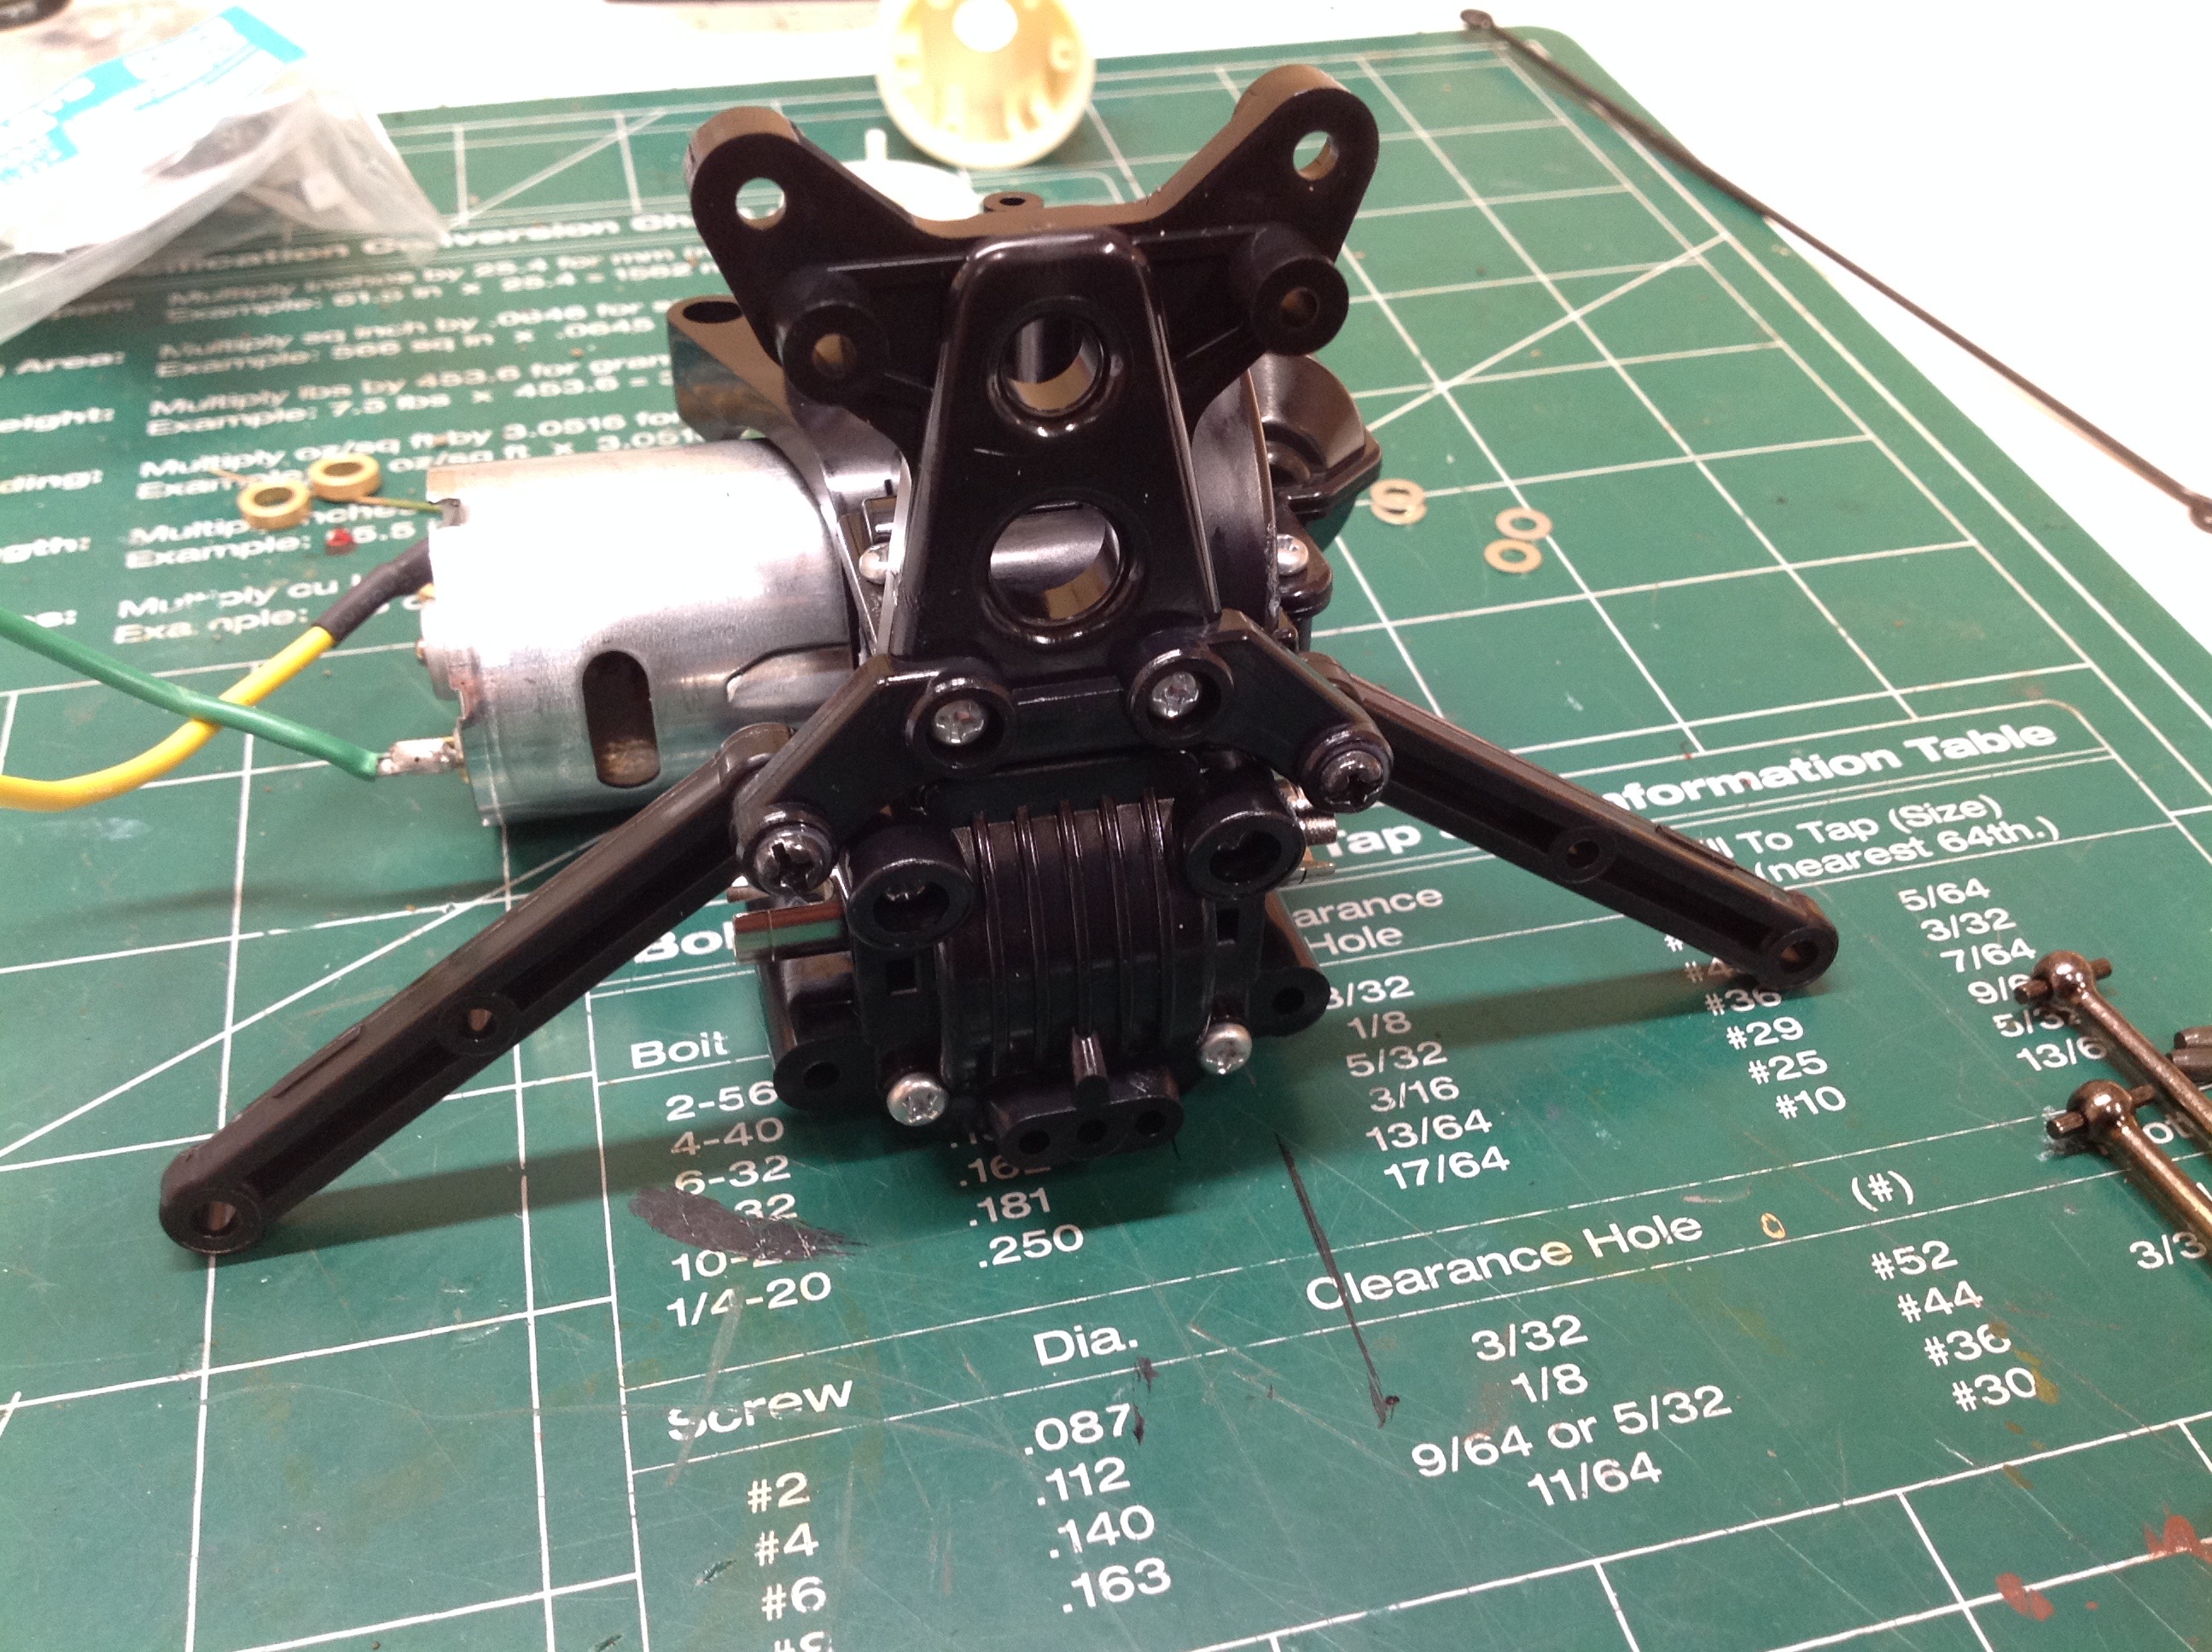
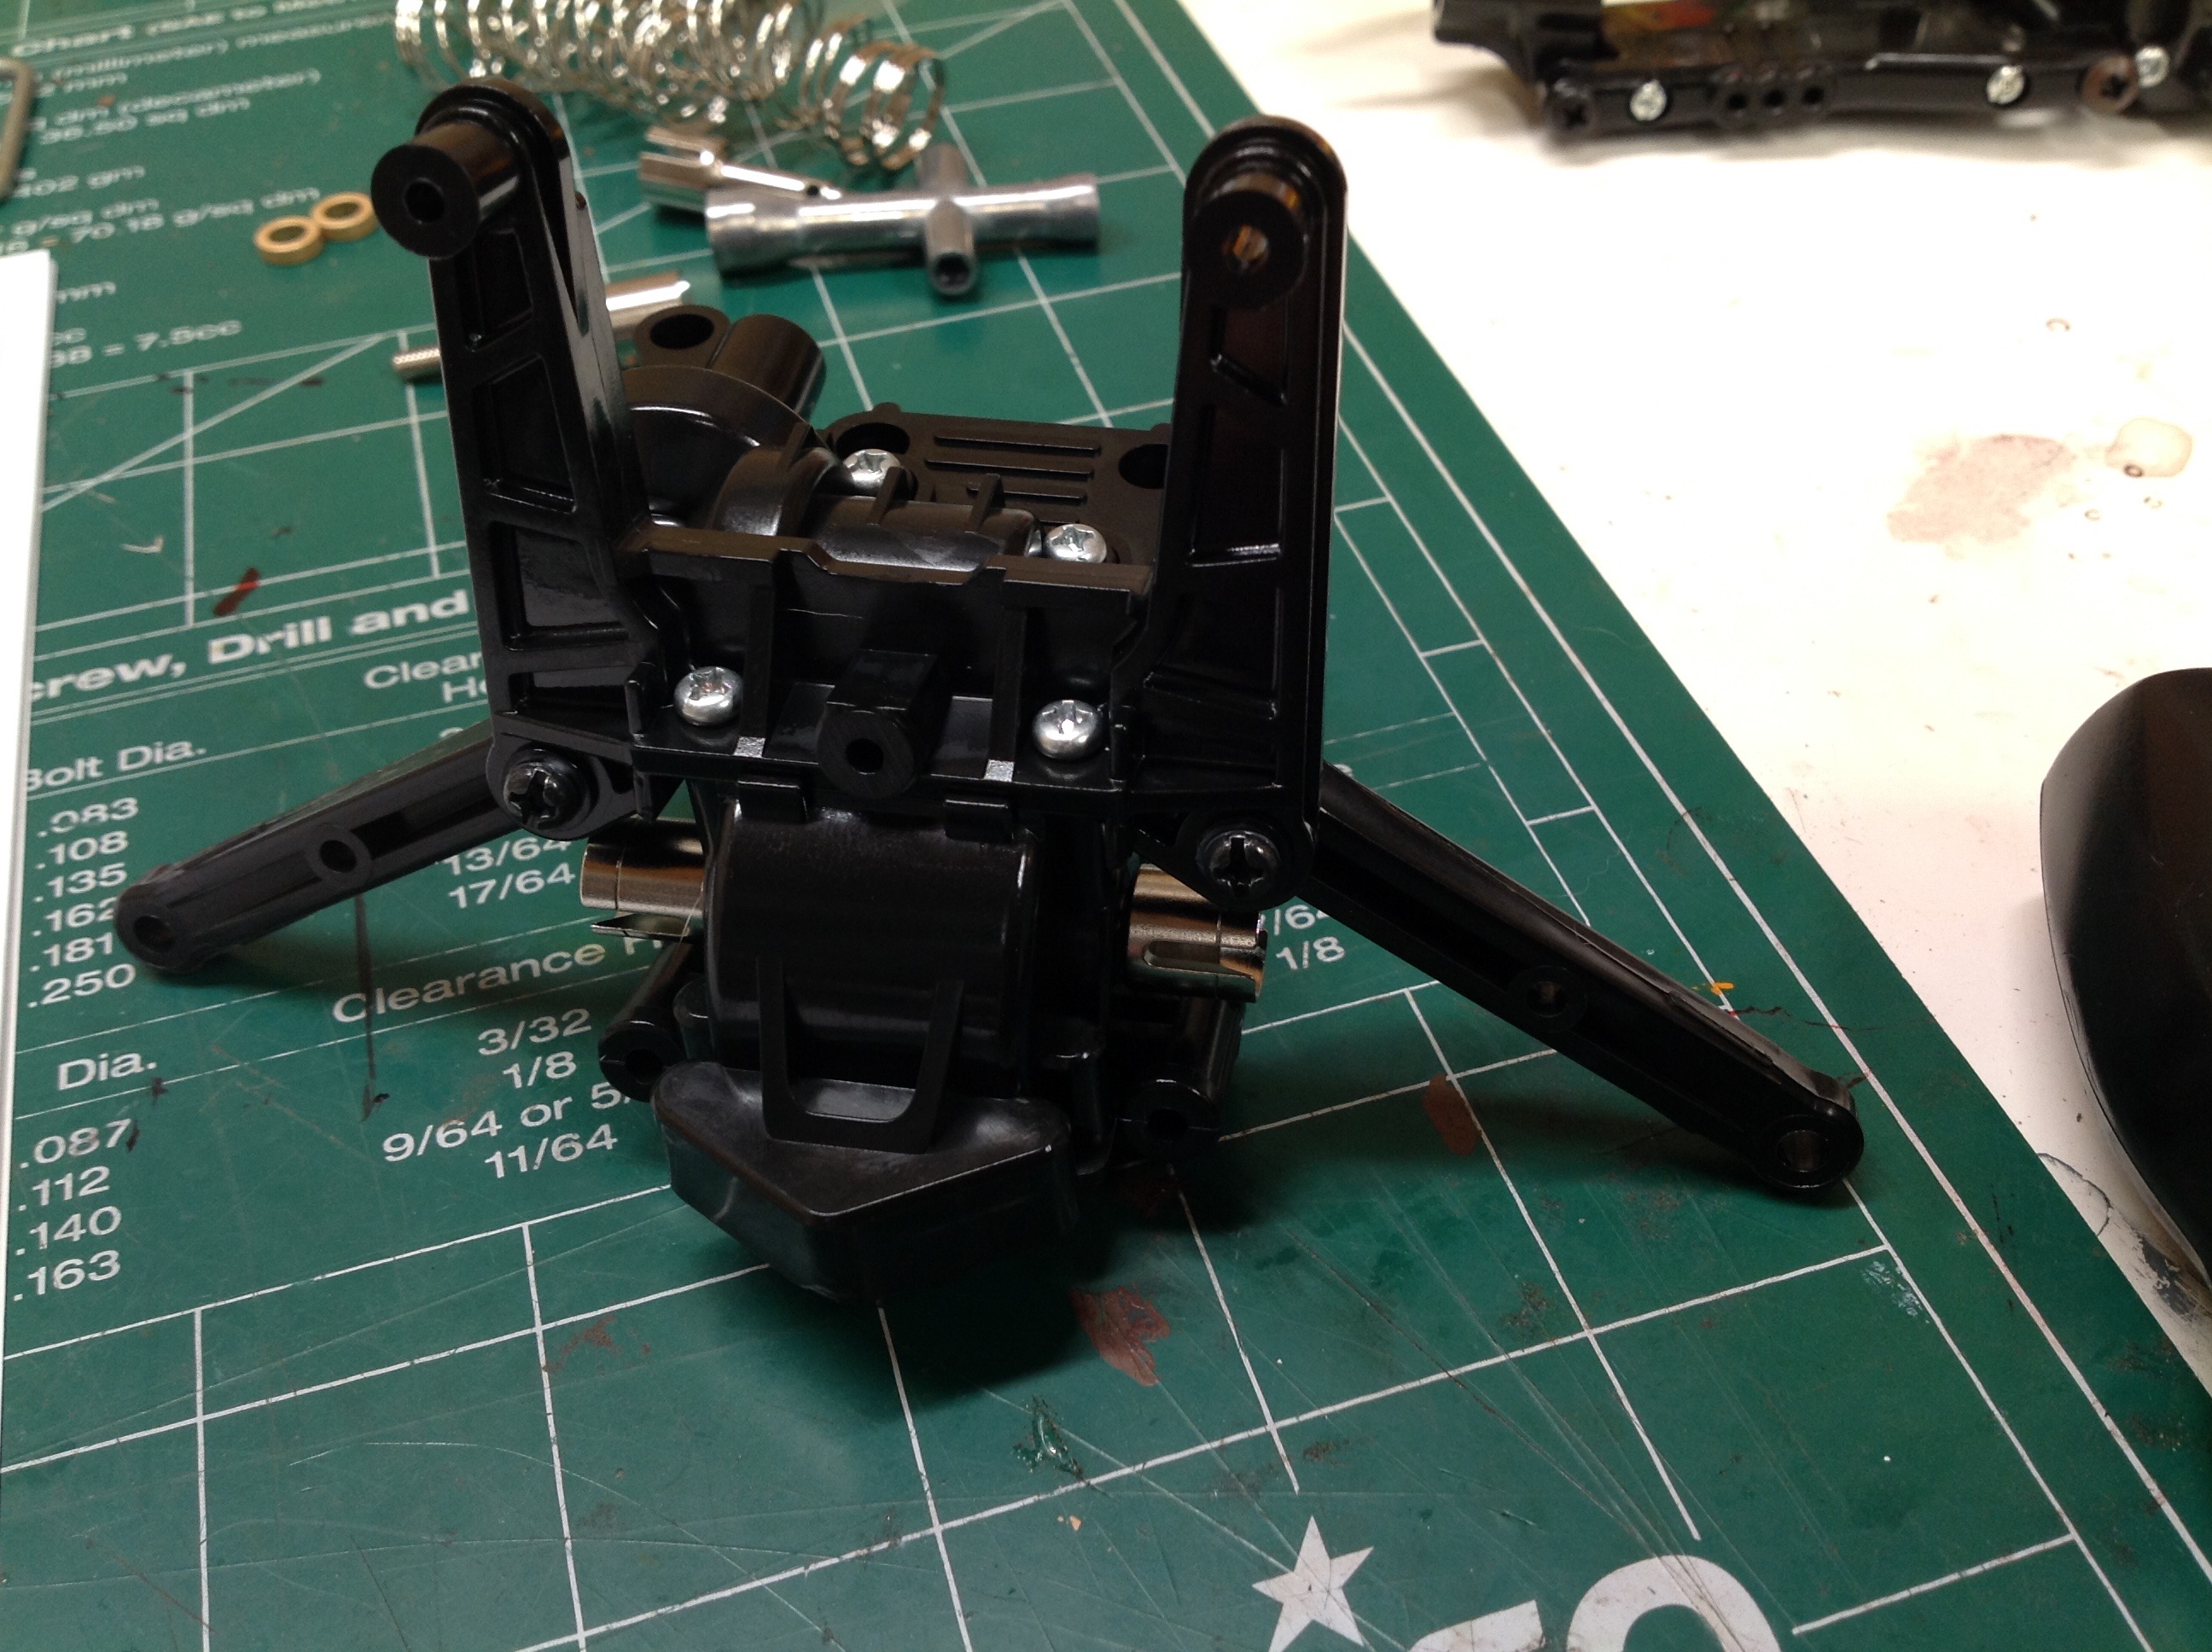
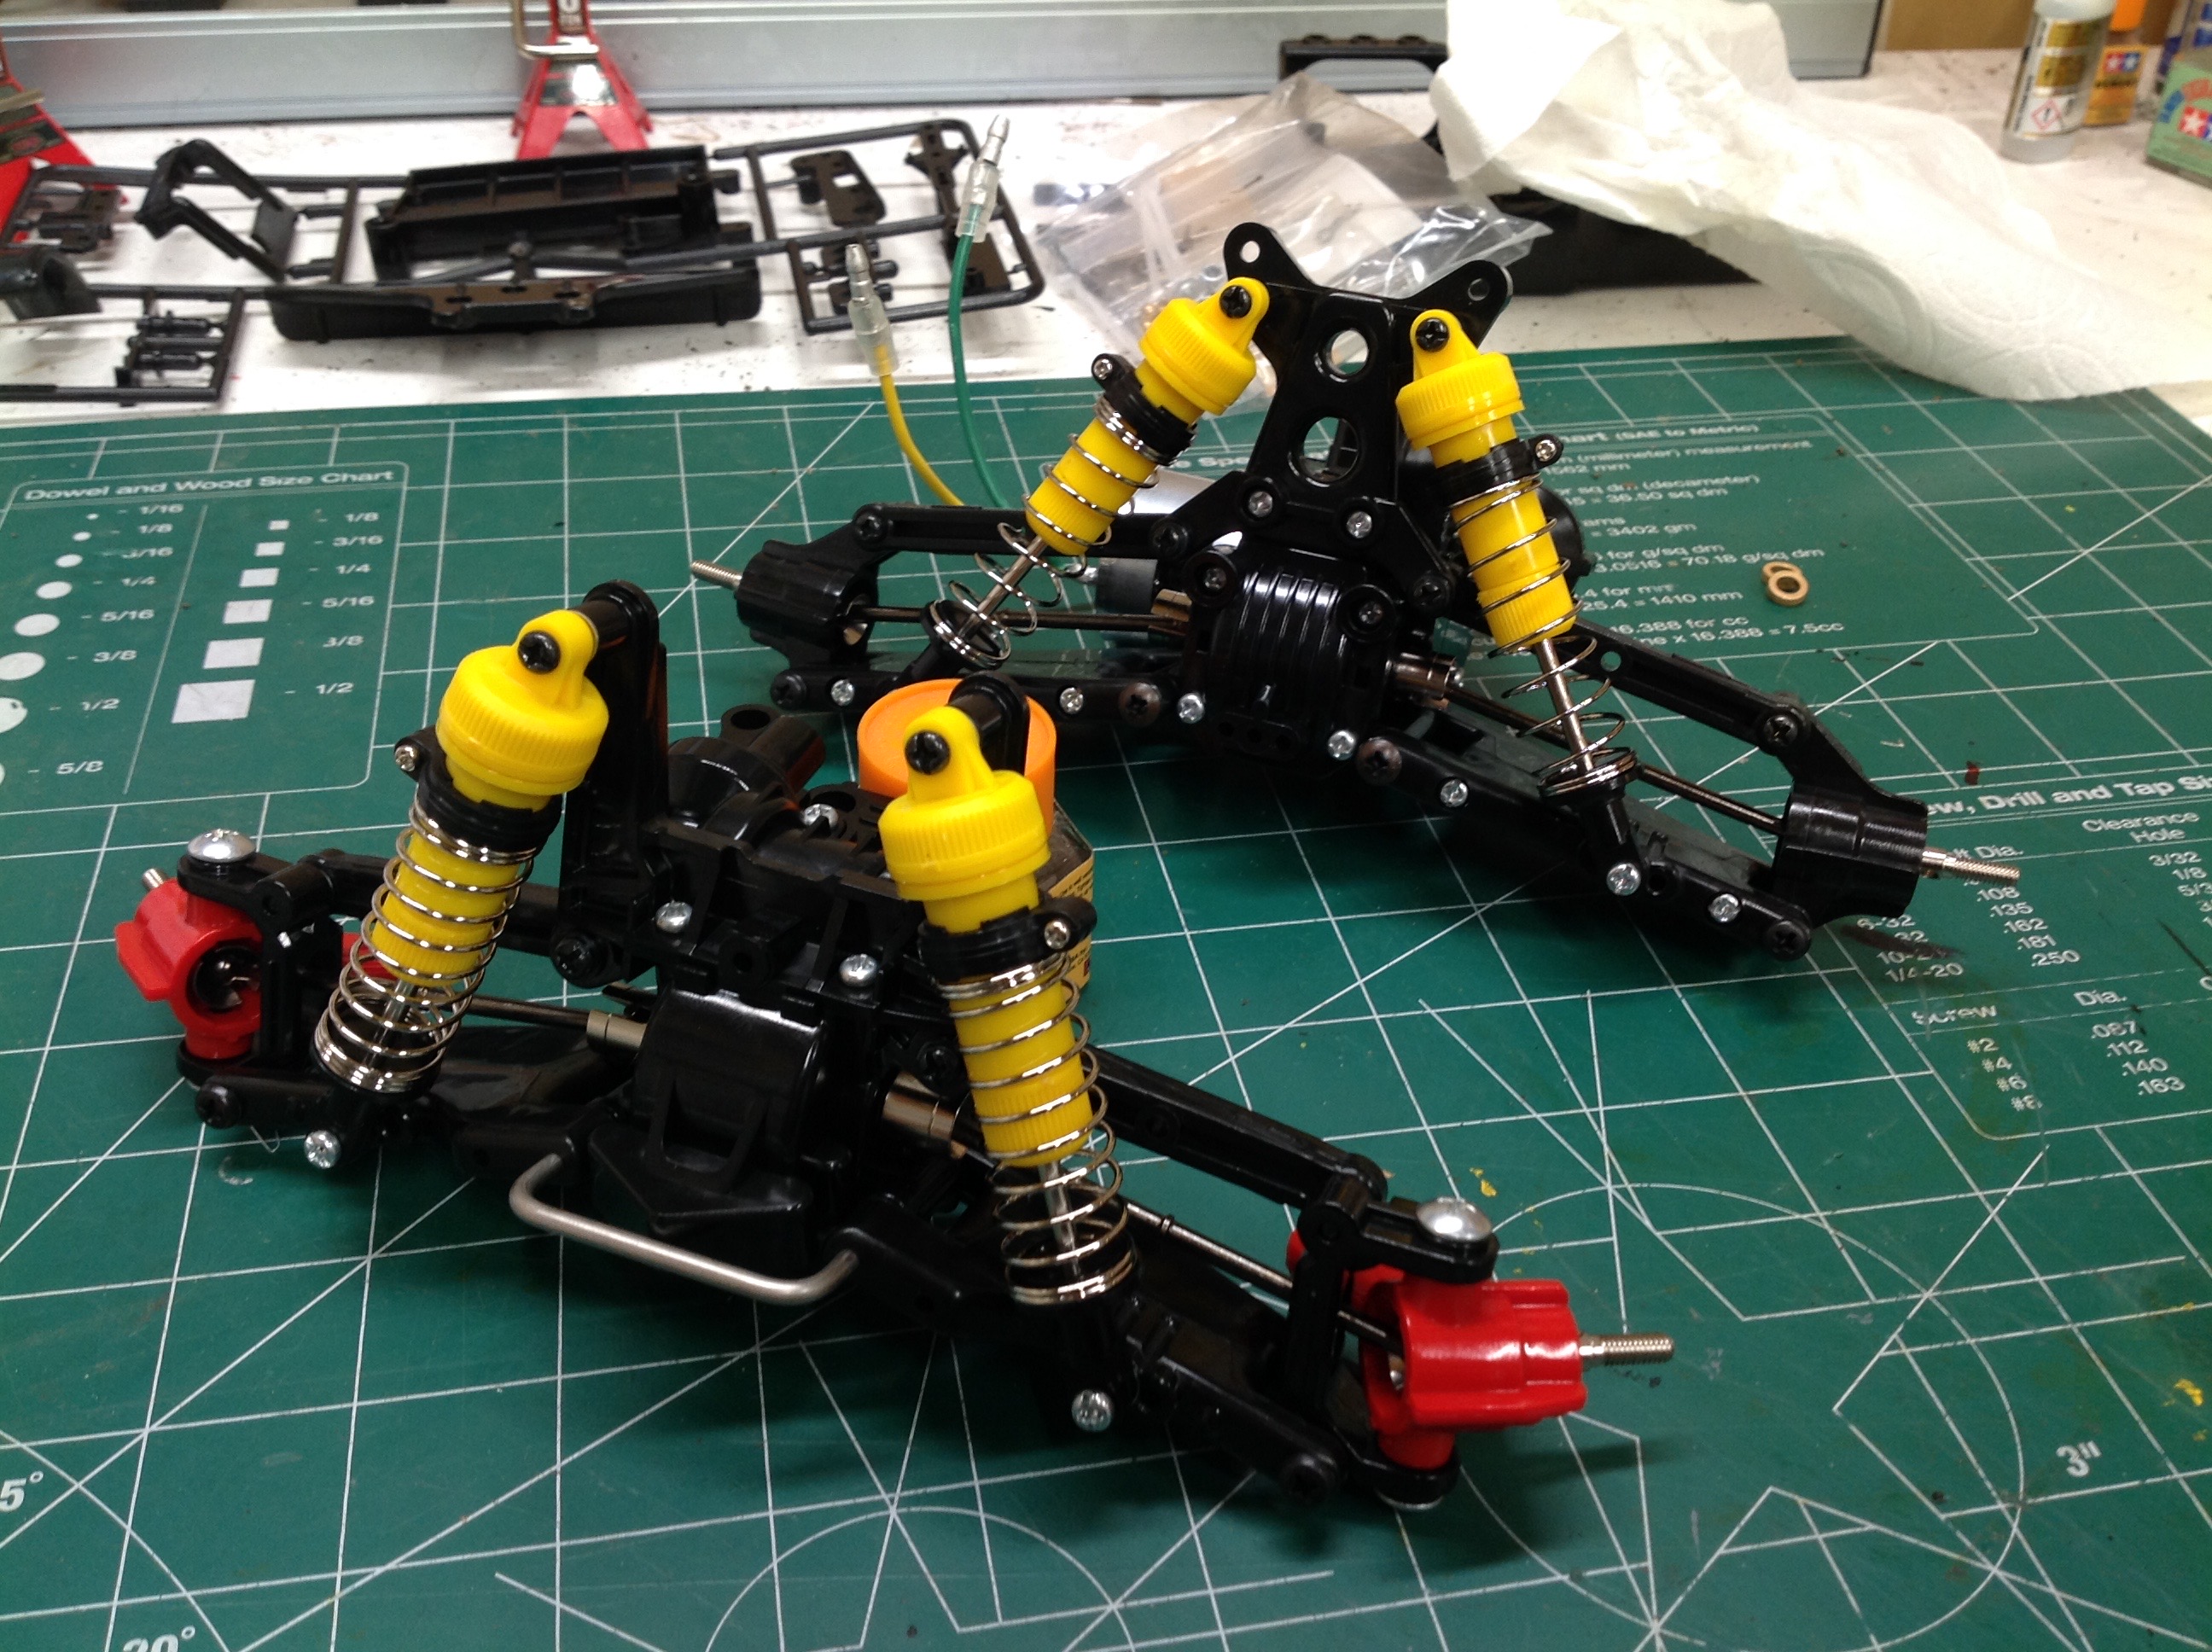
The suspension arms attach directly to the gearbox housing. The
upper arms are just beams with a fixed length. The lower arms are
wishbones. The drive cups, hubs, and dog bones are installed at
this point, completing the rear driveline. The rear shock tower is
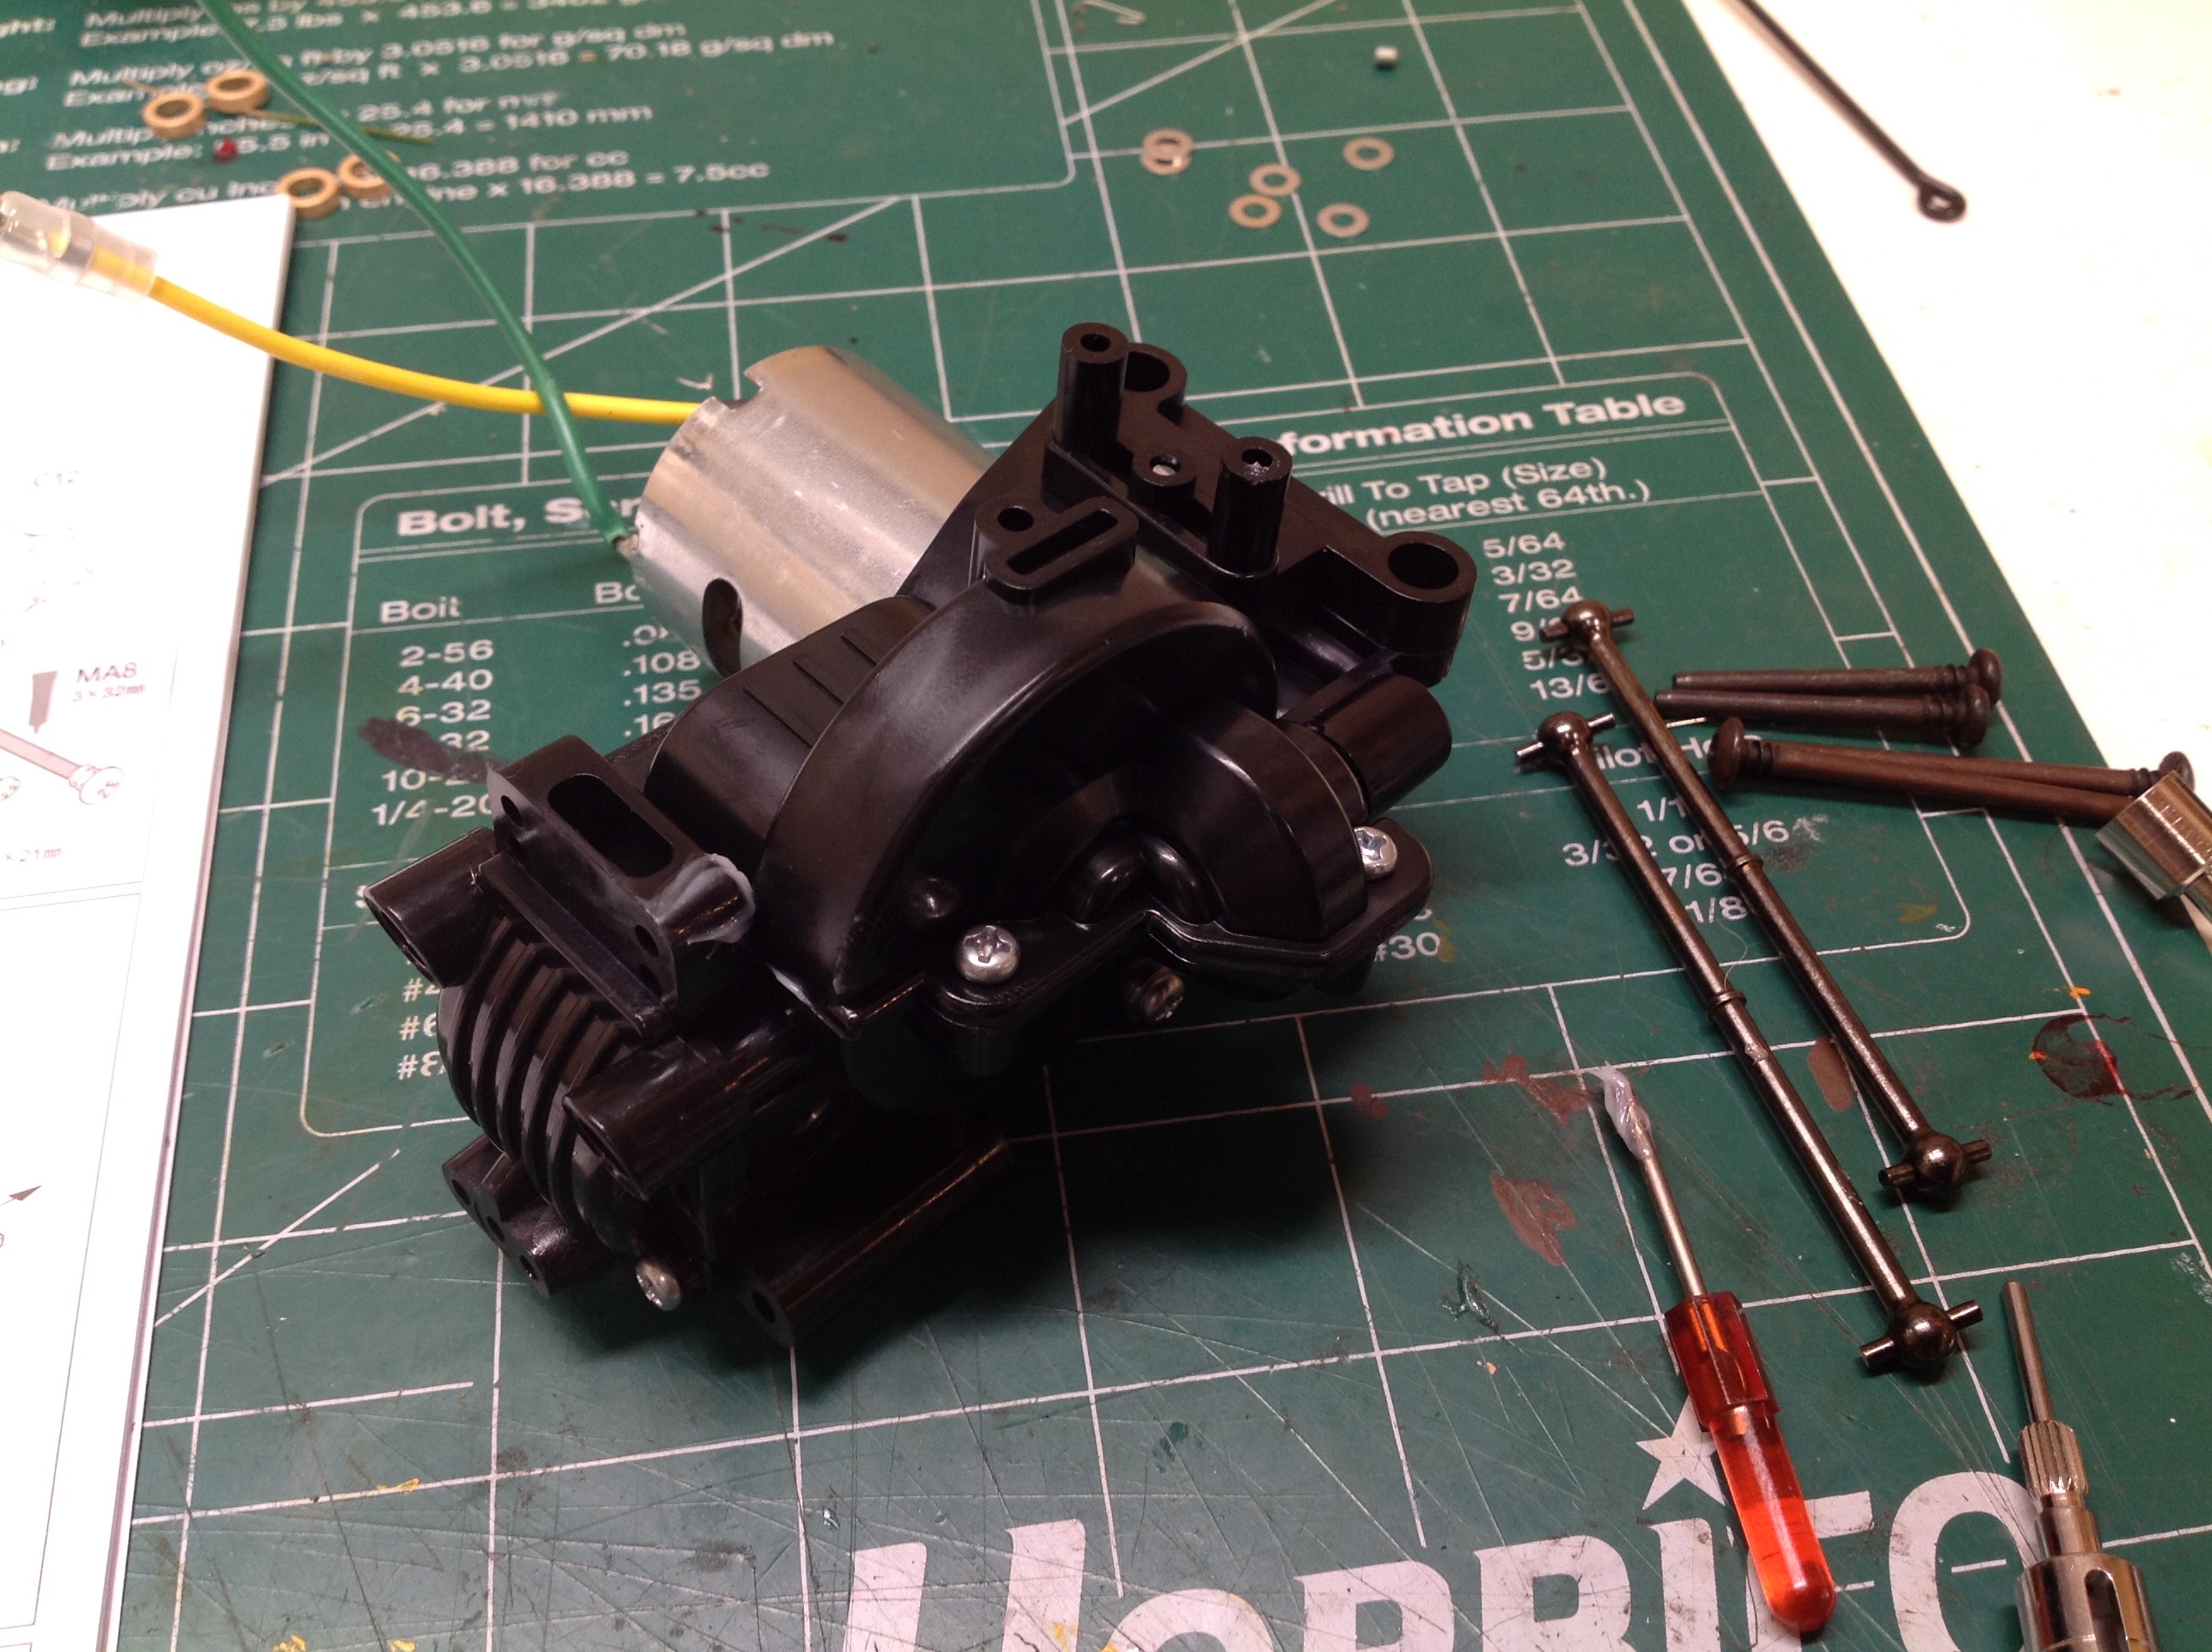
also attached here. With everything being black, the detail can
be hard to see in photos.
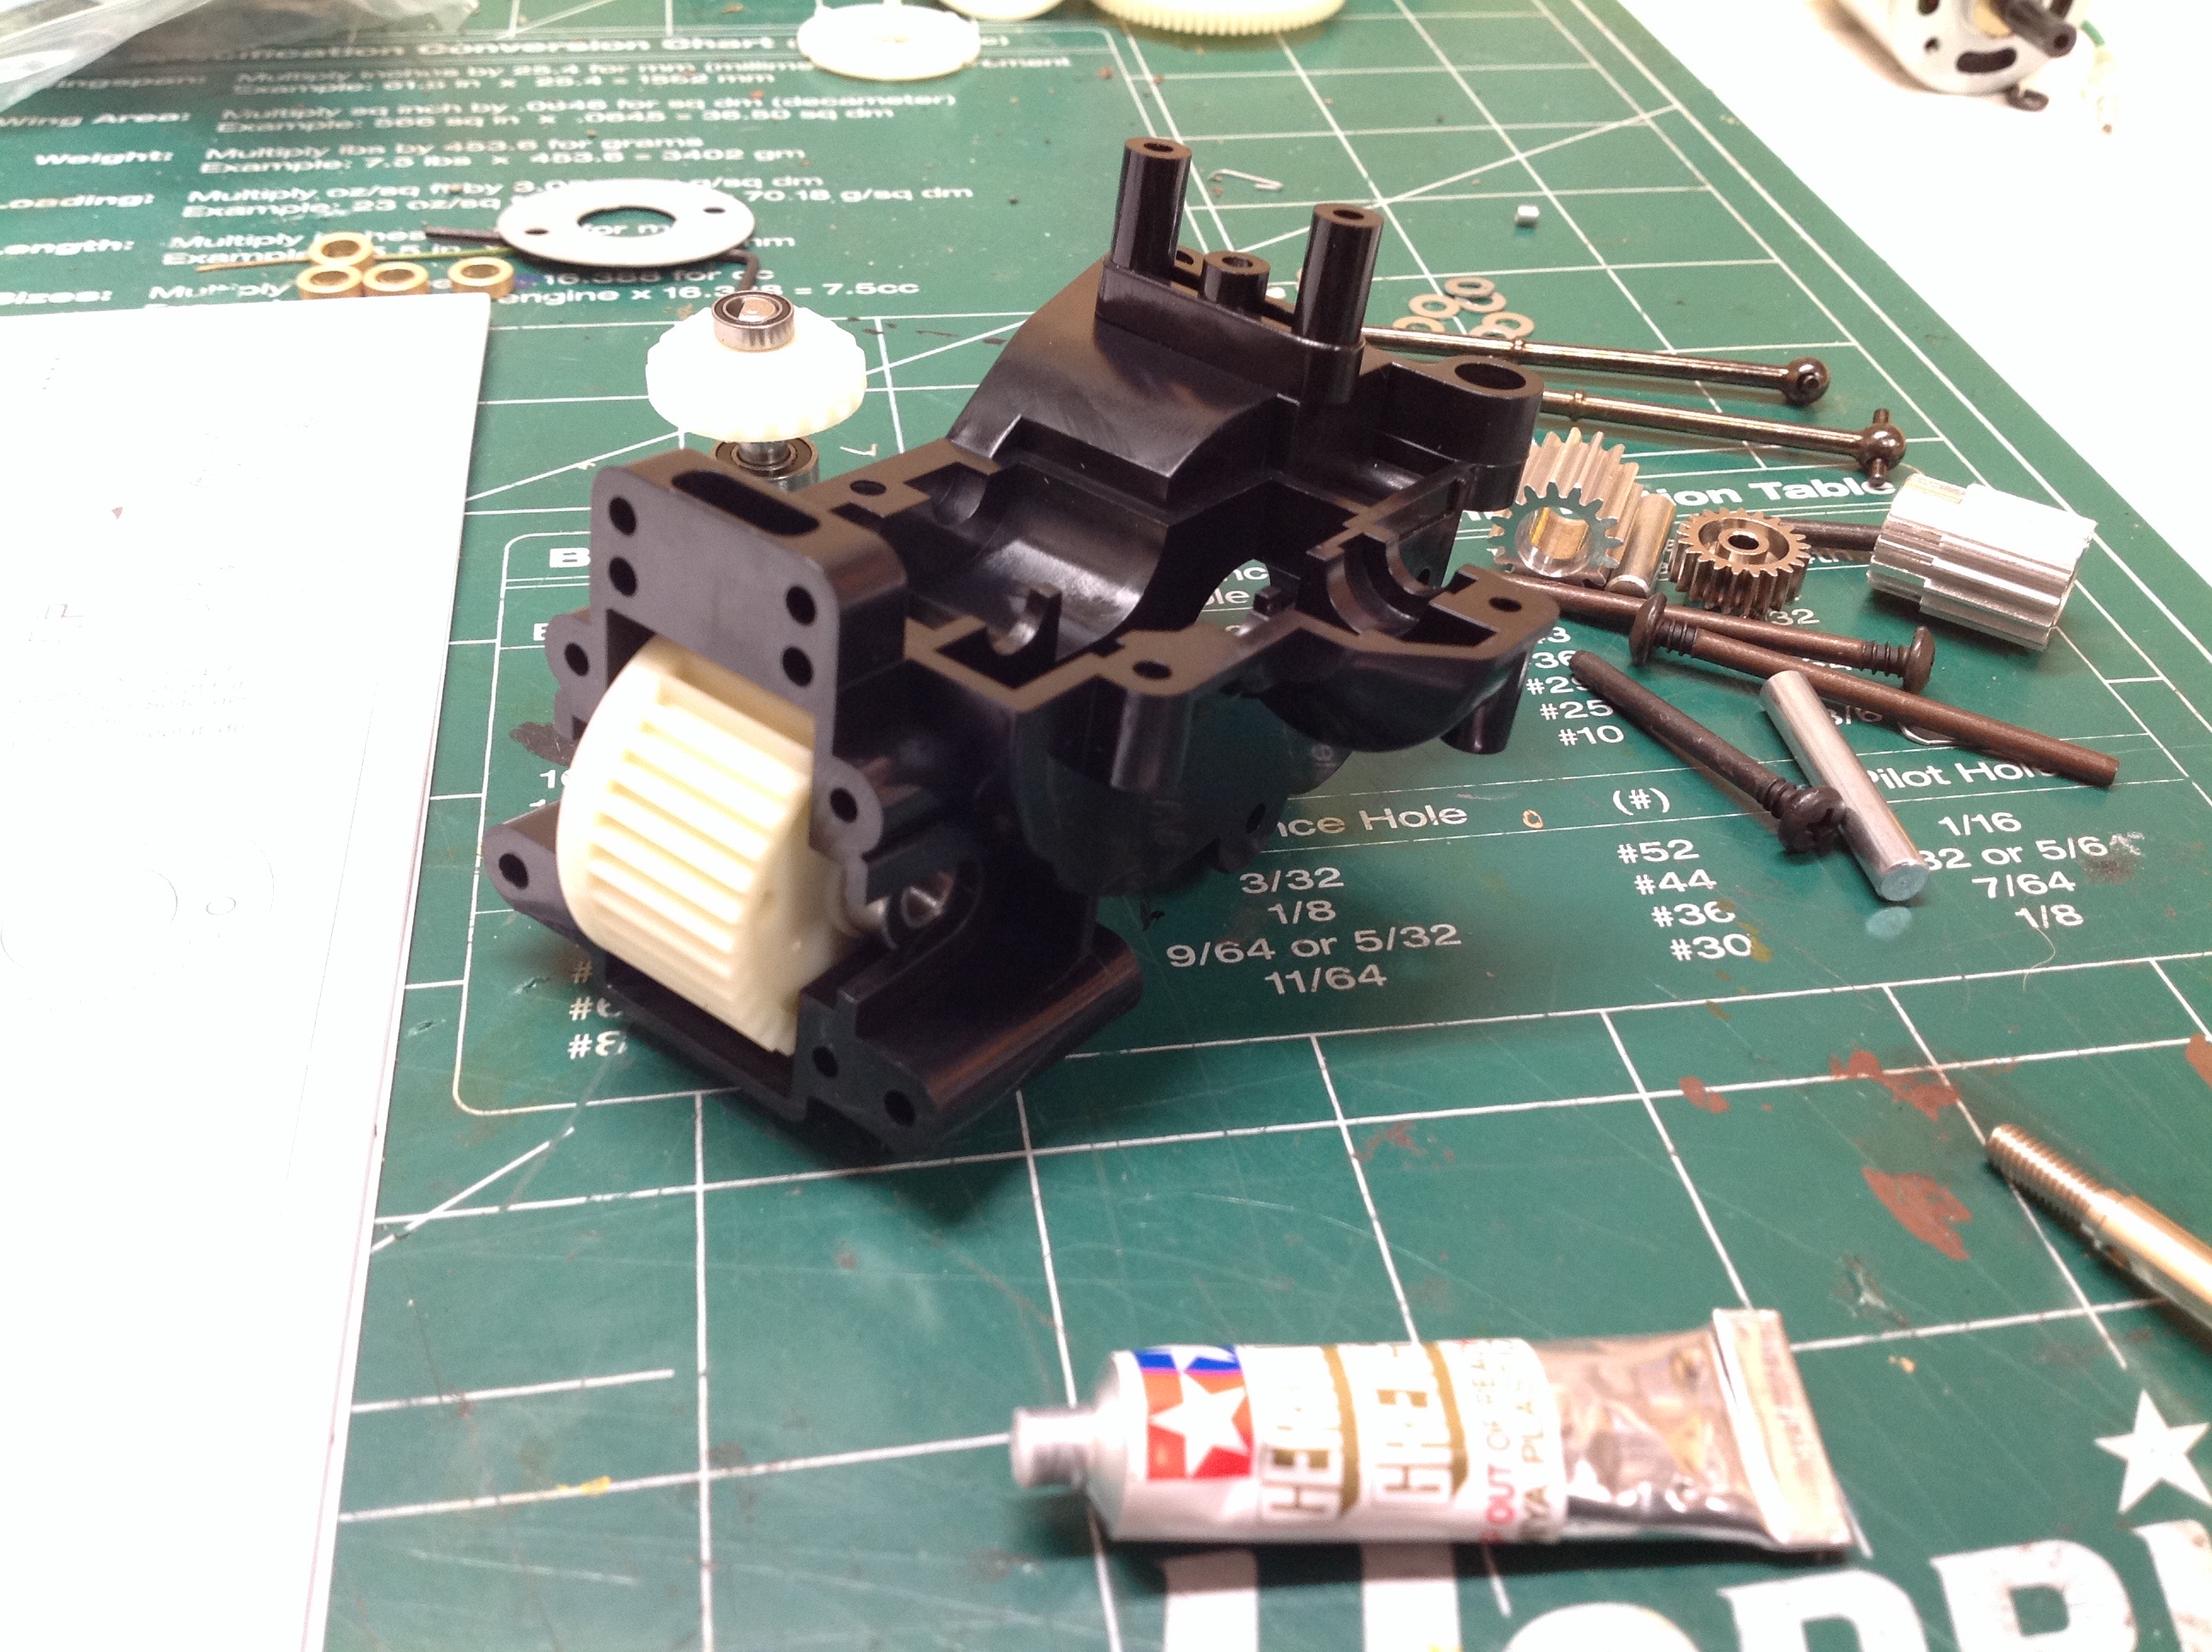
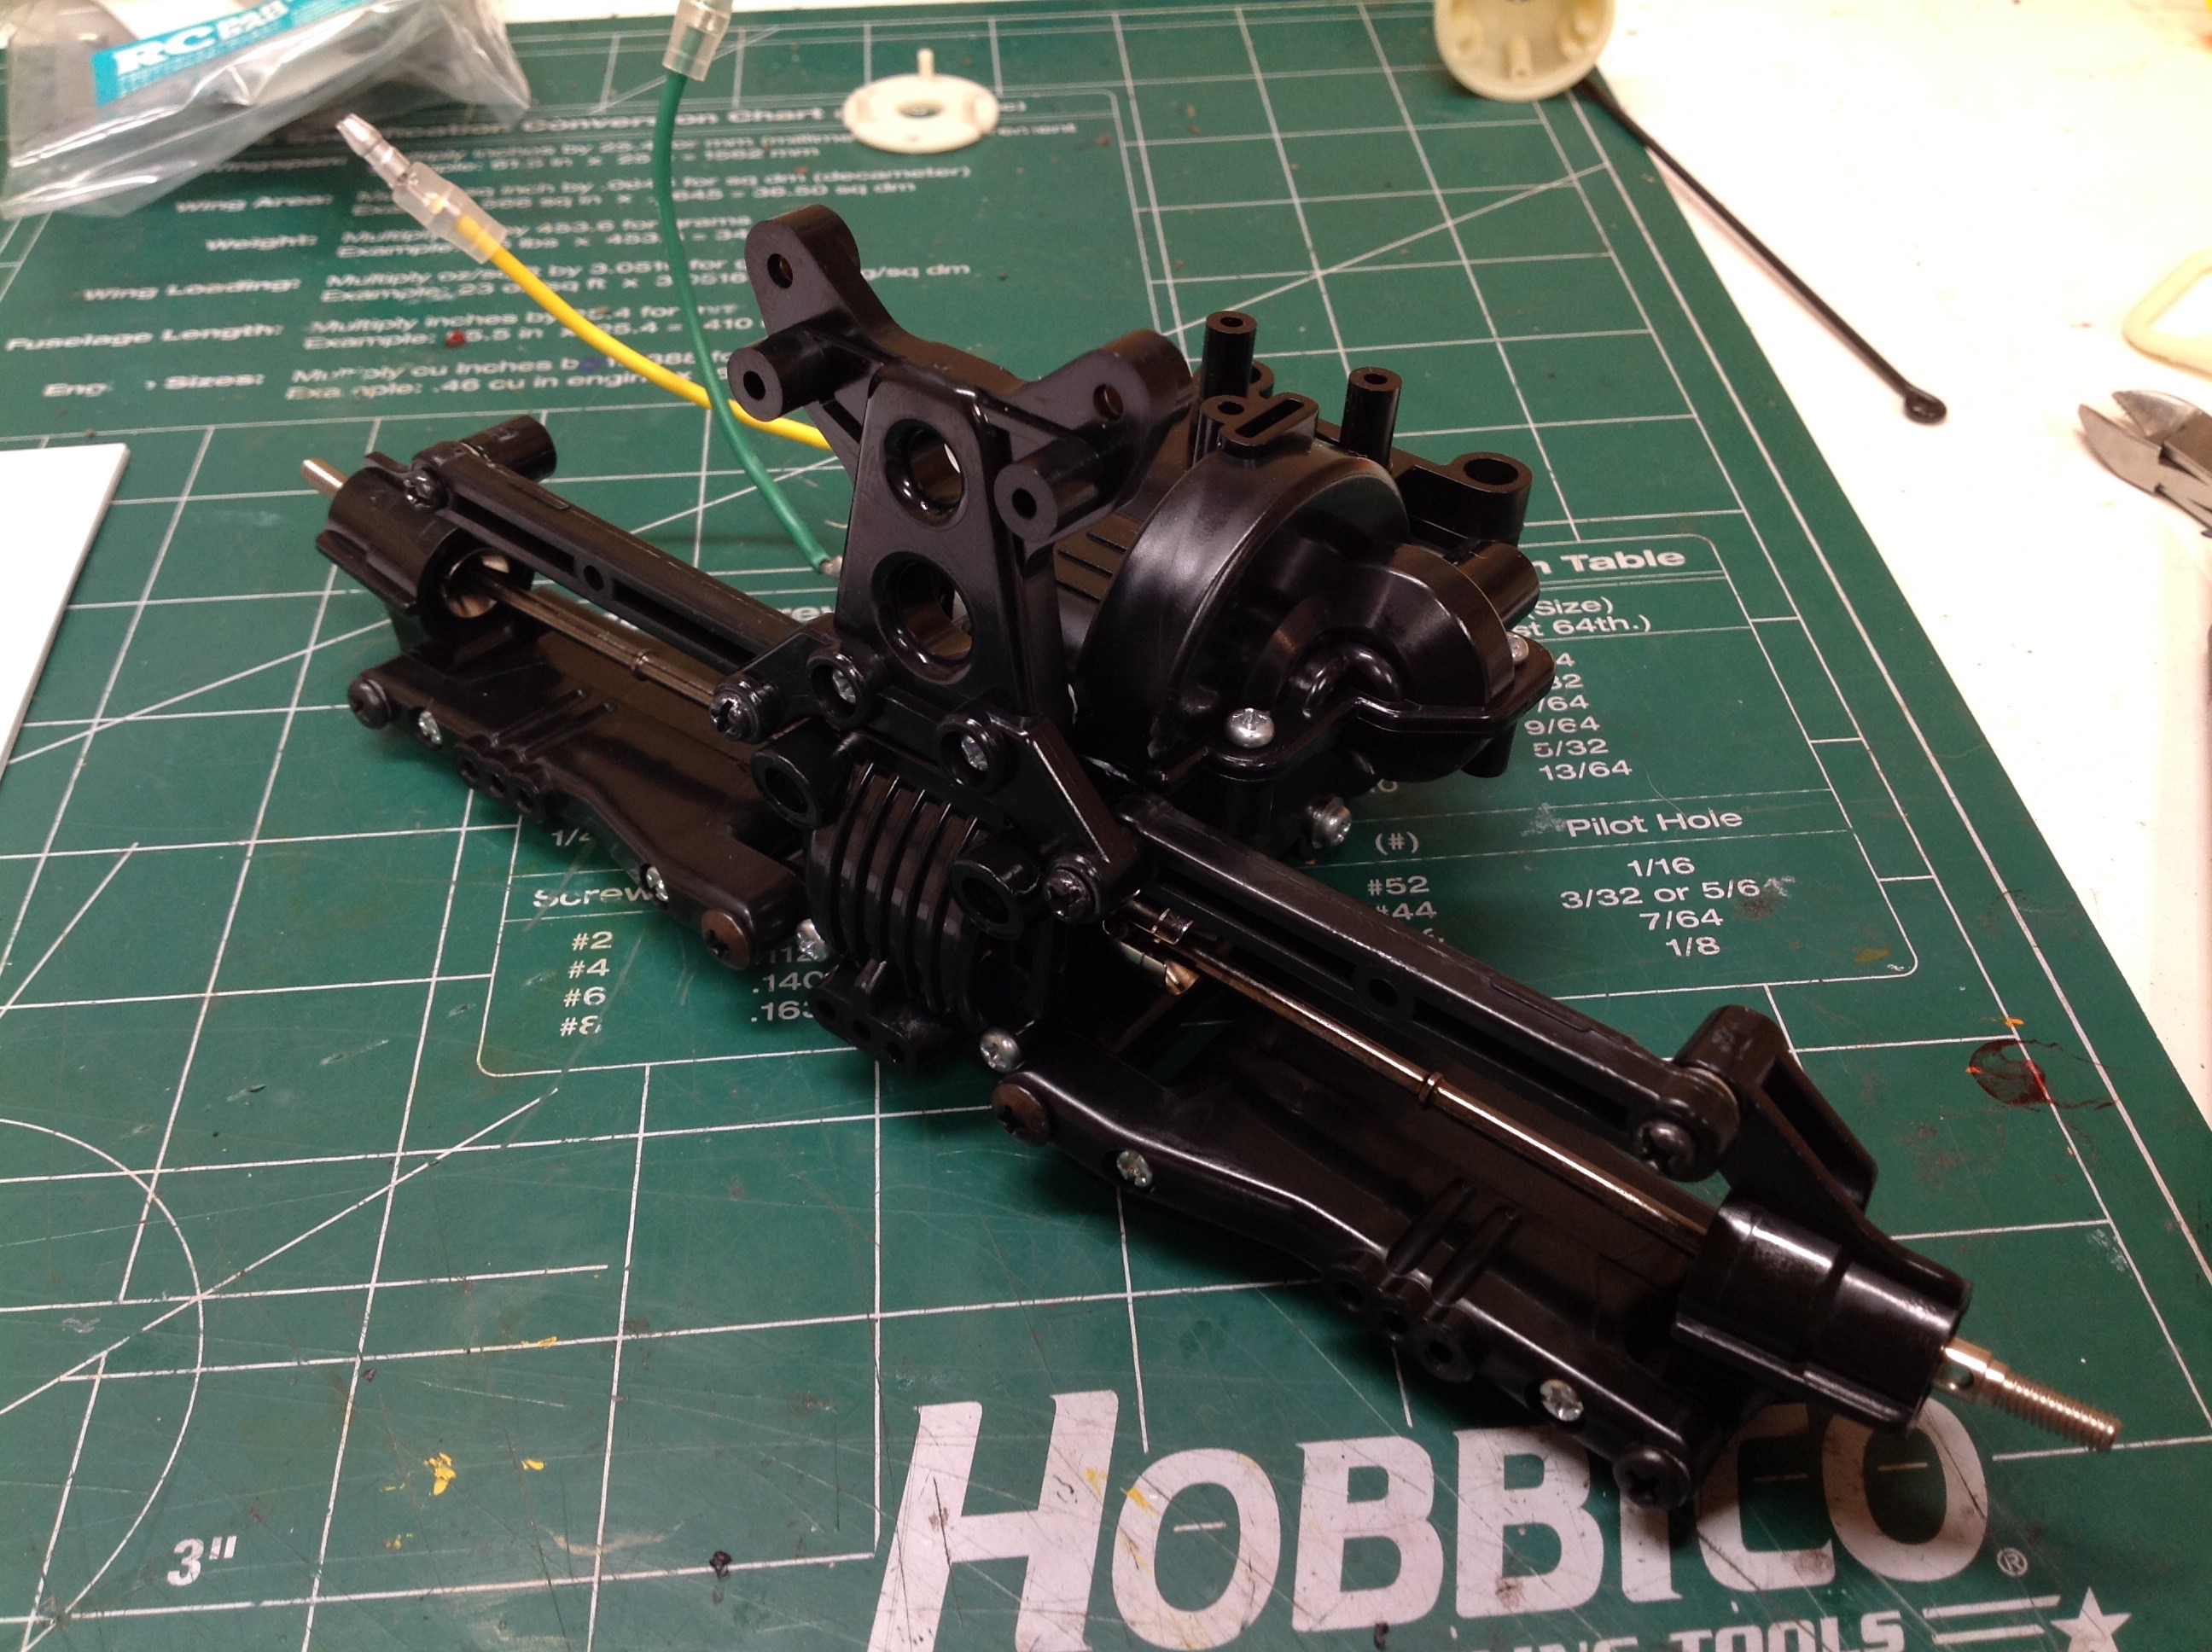
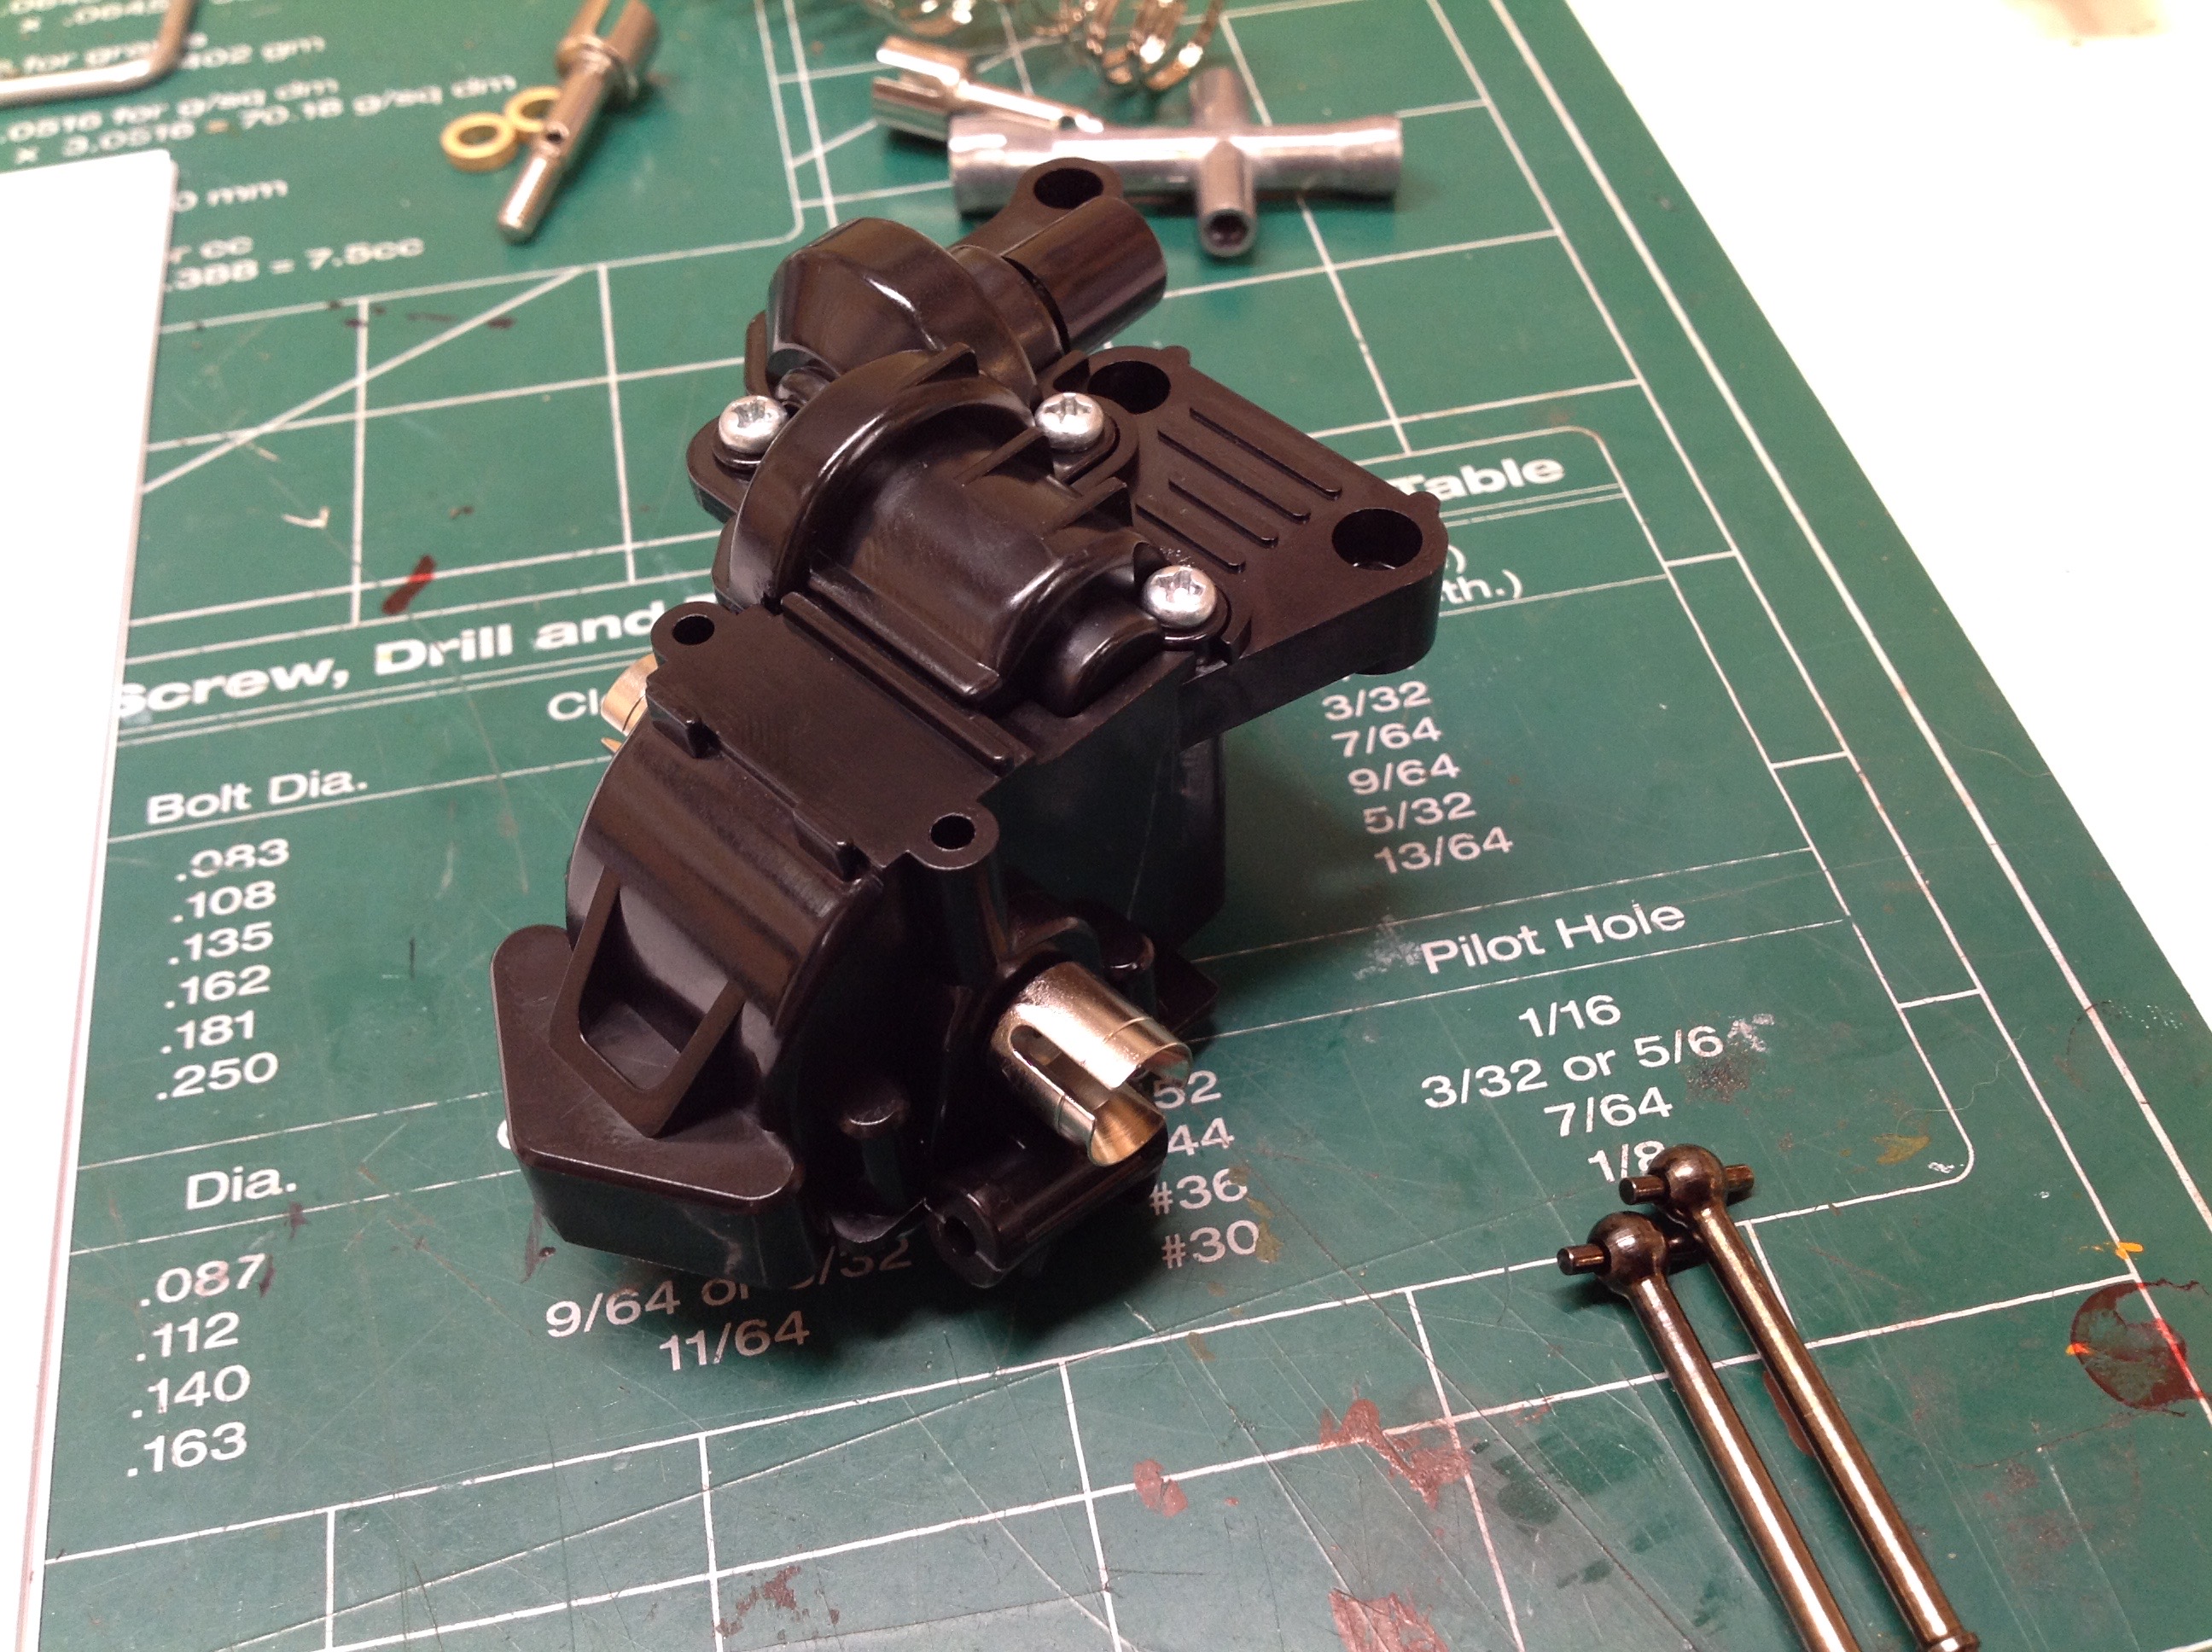
Now we'll get started on the front gearbox. It uses the same type
of differential as the rear, and the same type of bevel gear to connect
to the prop shaft. Note the tiny bearings supporting the bevel
gears. This will not be ideal for high torque applications.
The completed front gearbox with the drive cups installed. It is very compact.
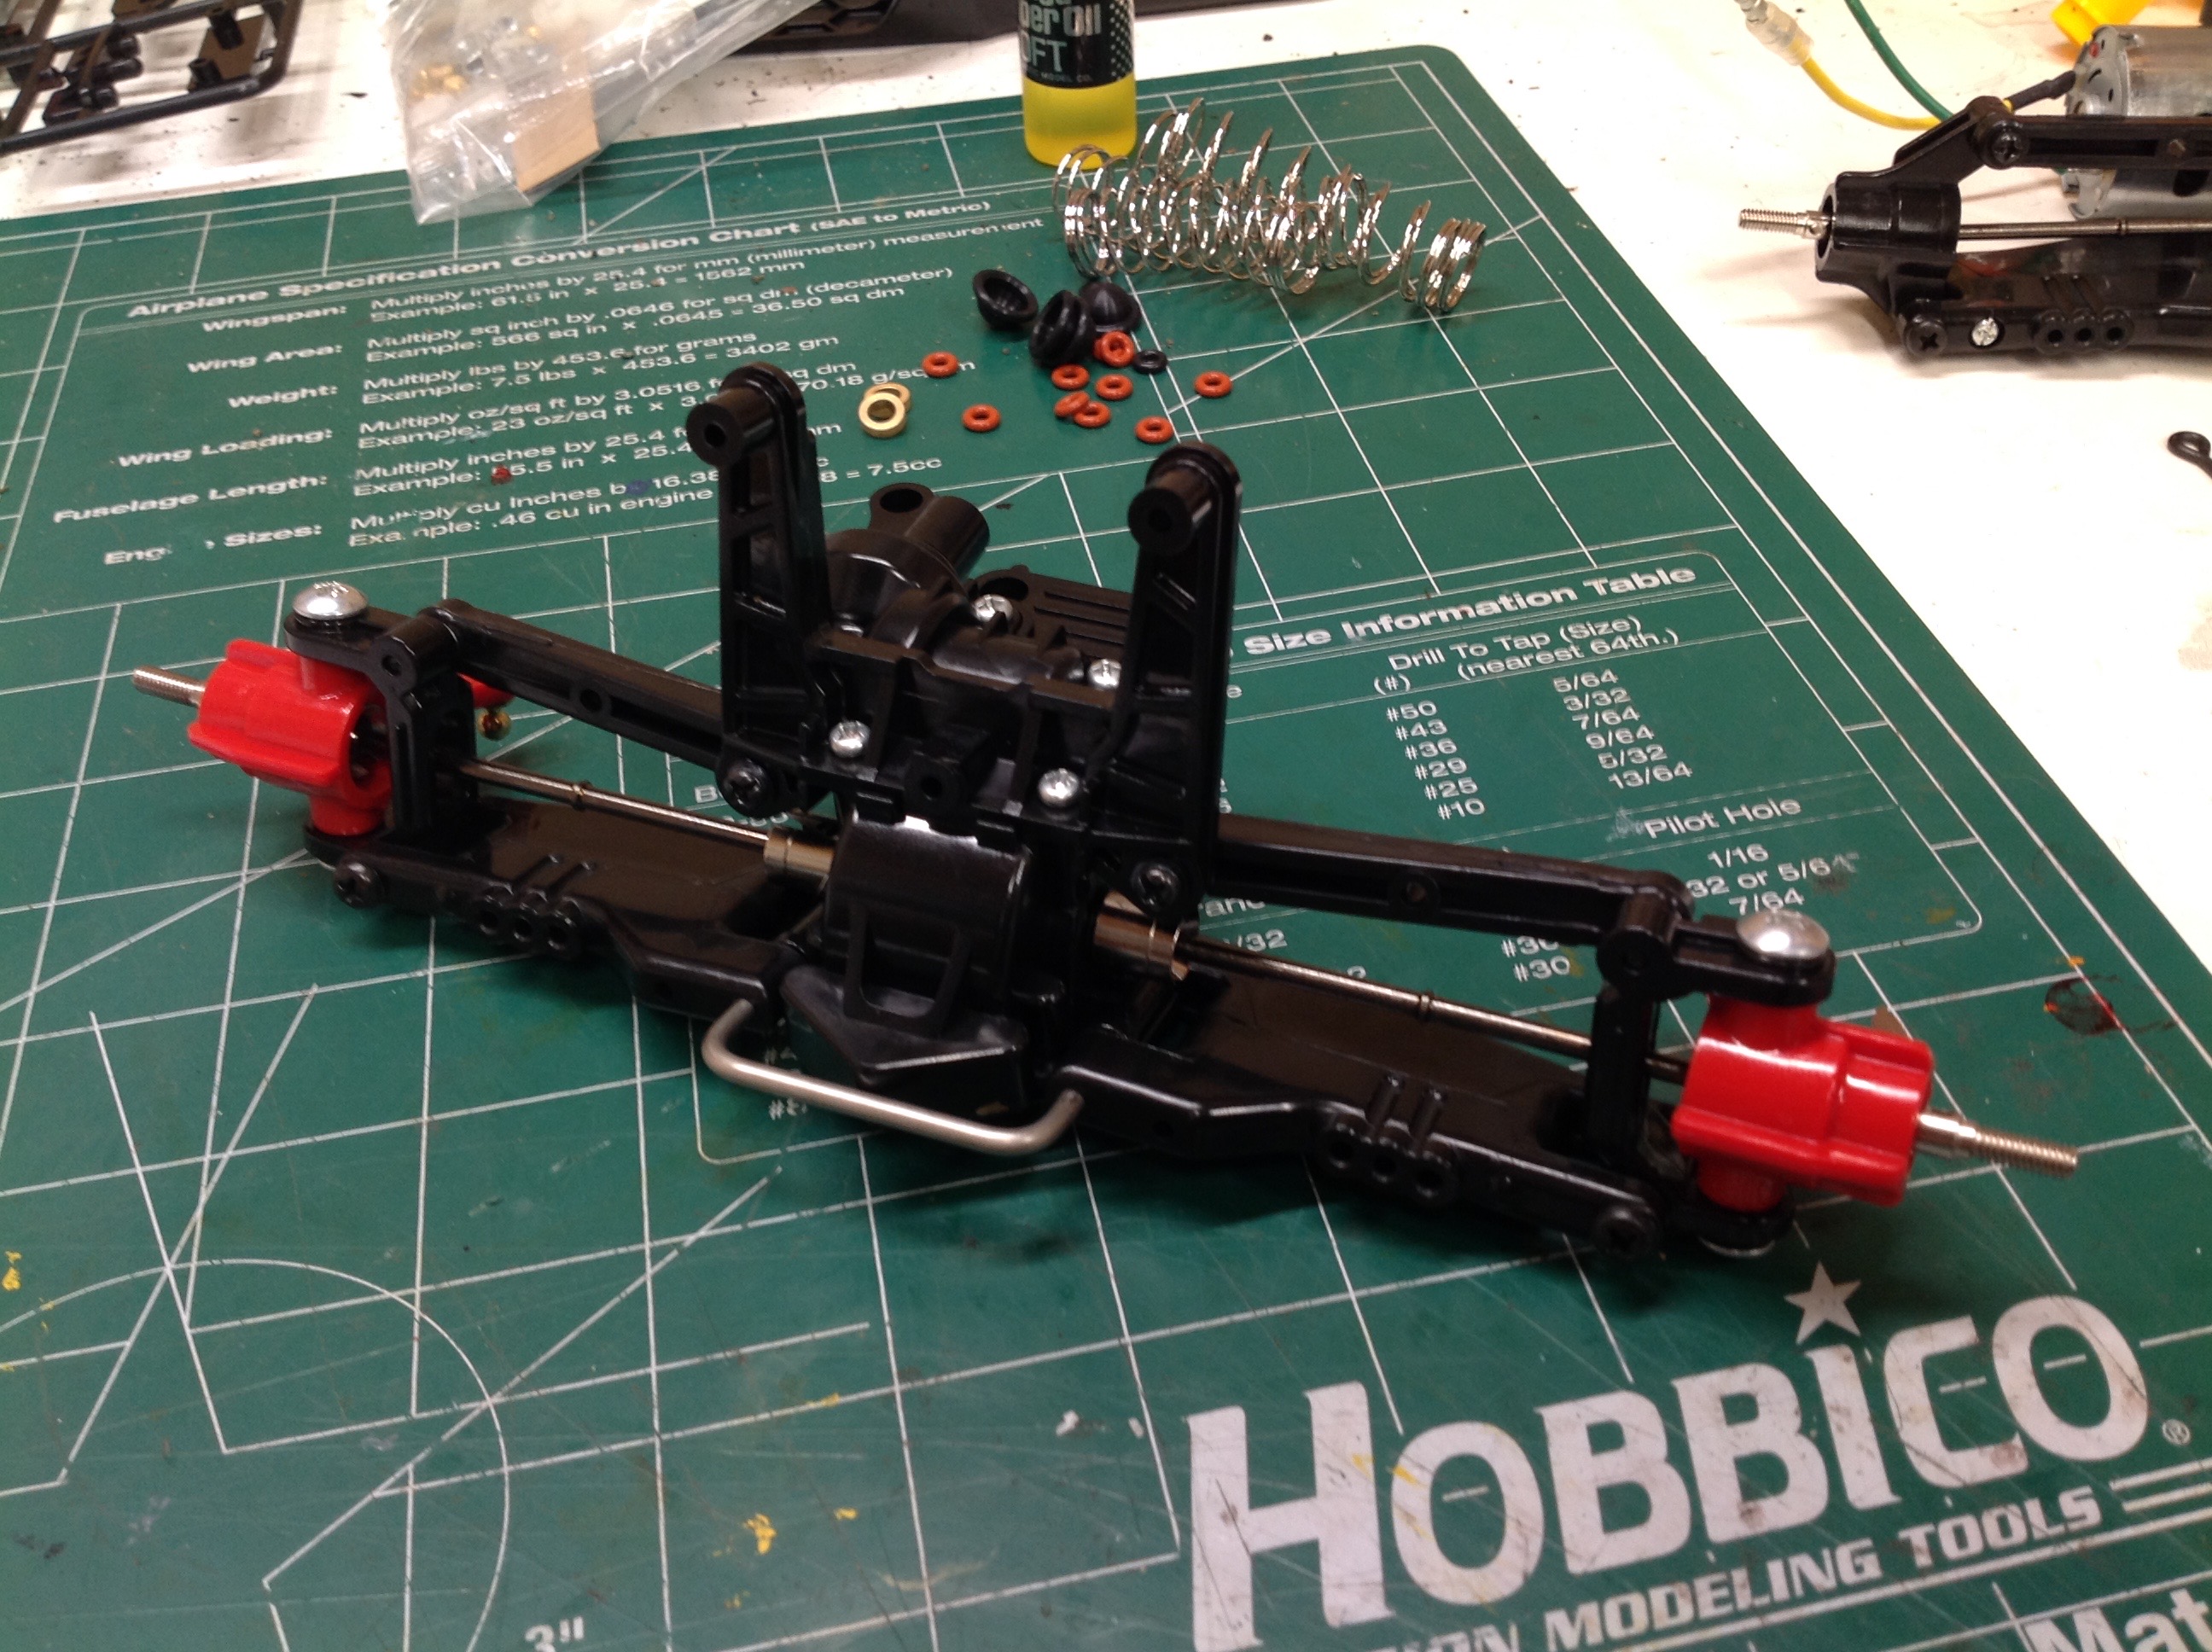
Now we'll install the front suspension and steering. It is very
similar to the rear except it uses C-hubs to support the red steering
knuckles. The lower arms pivot on a large u-bolt which will later
be retained by the front bumper.
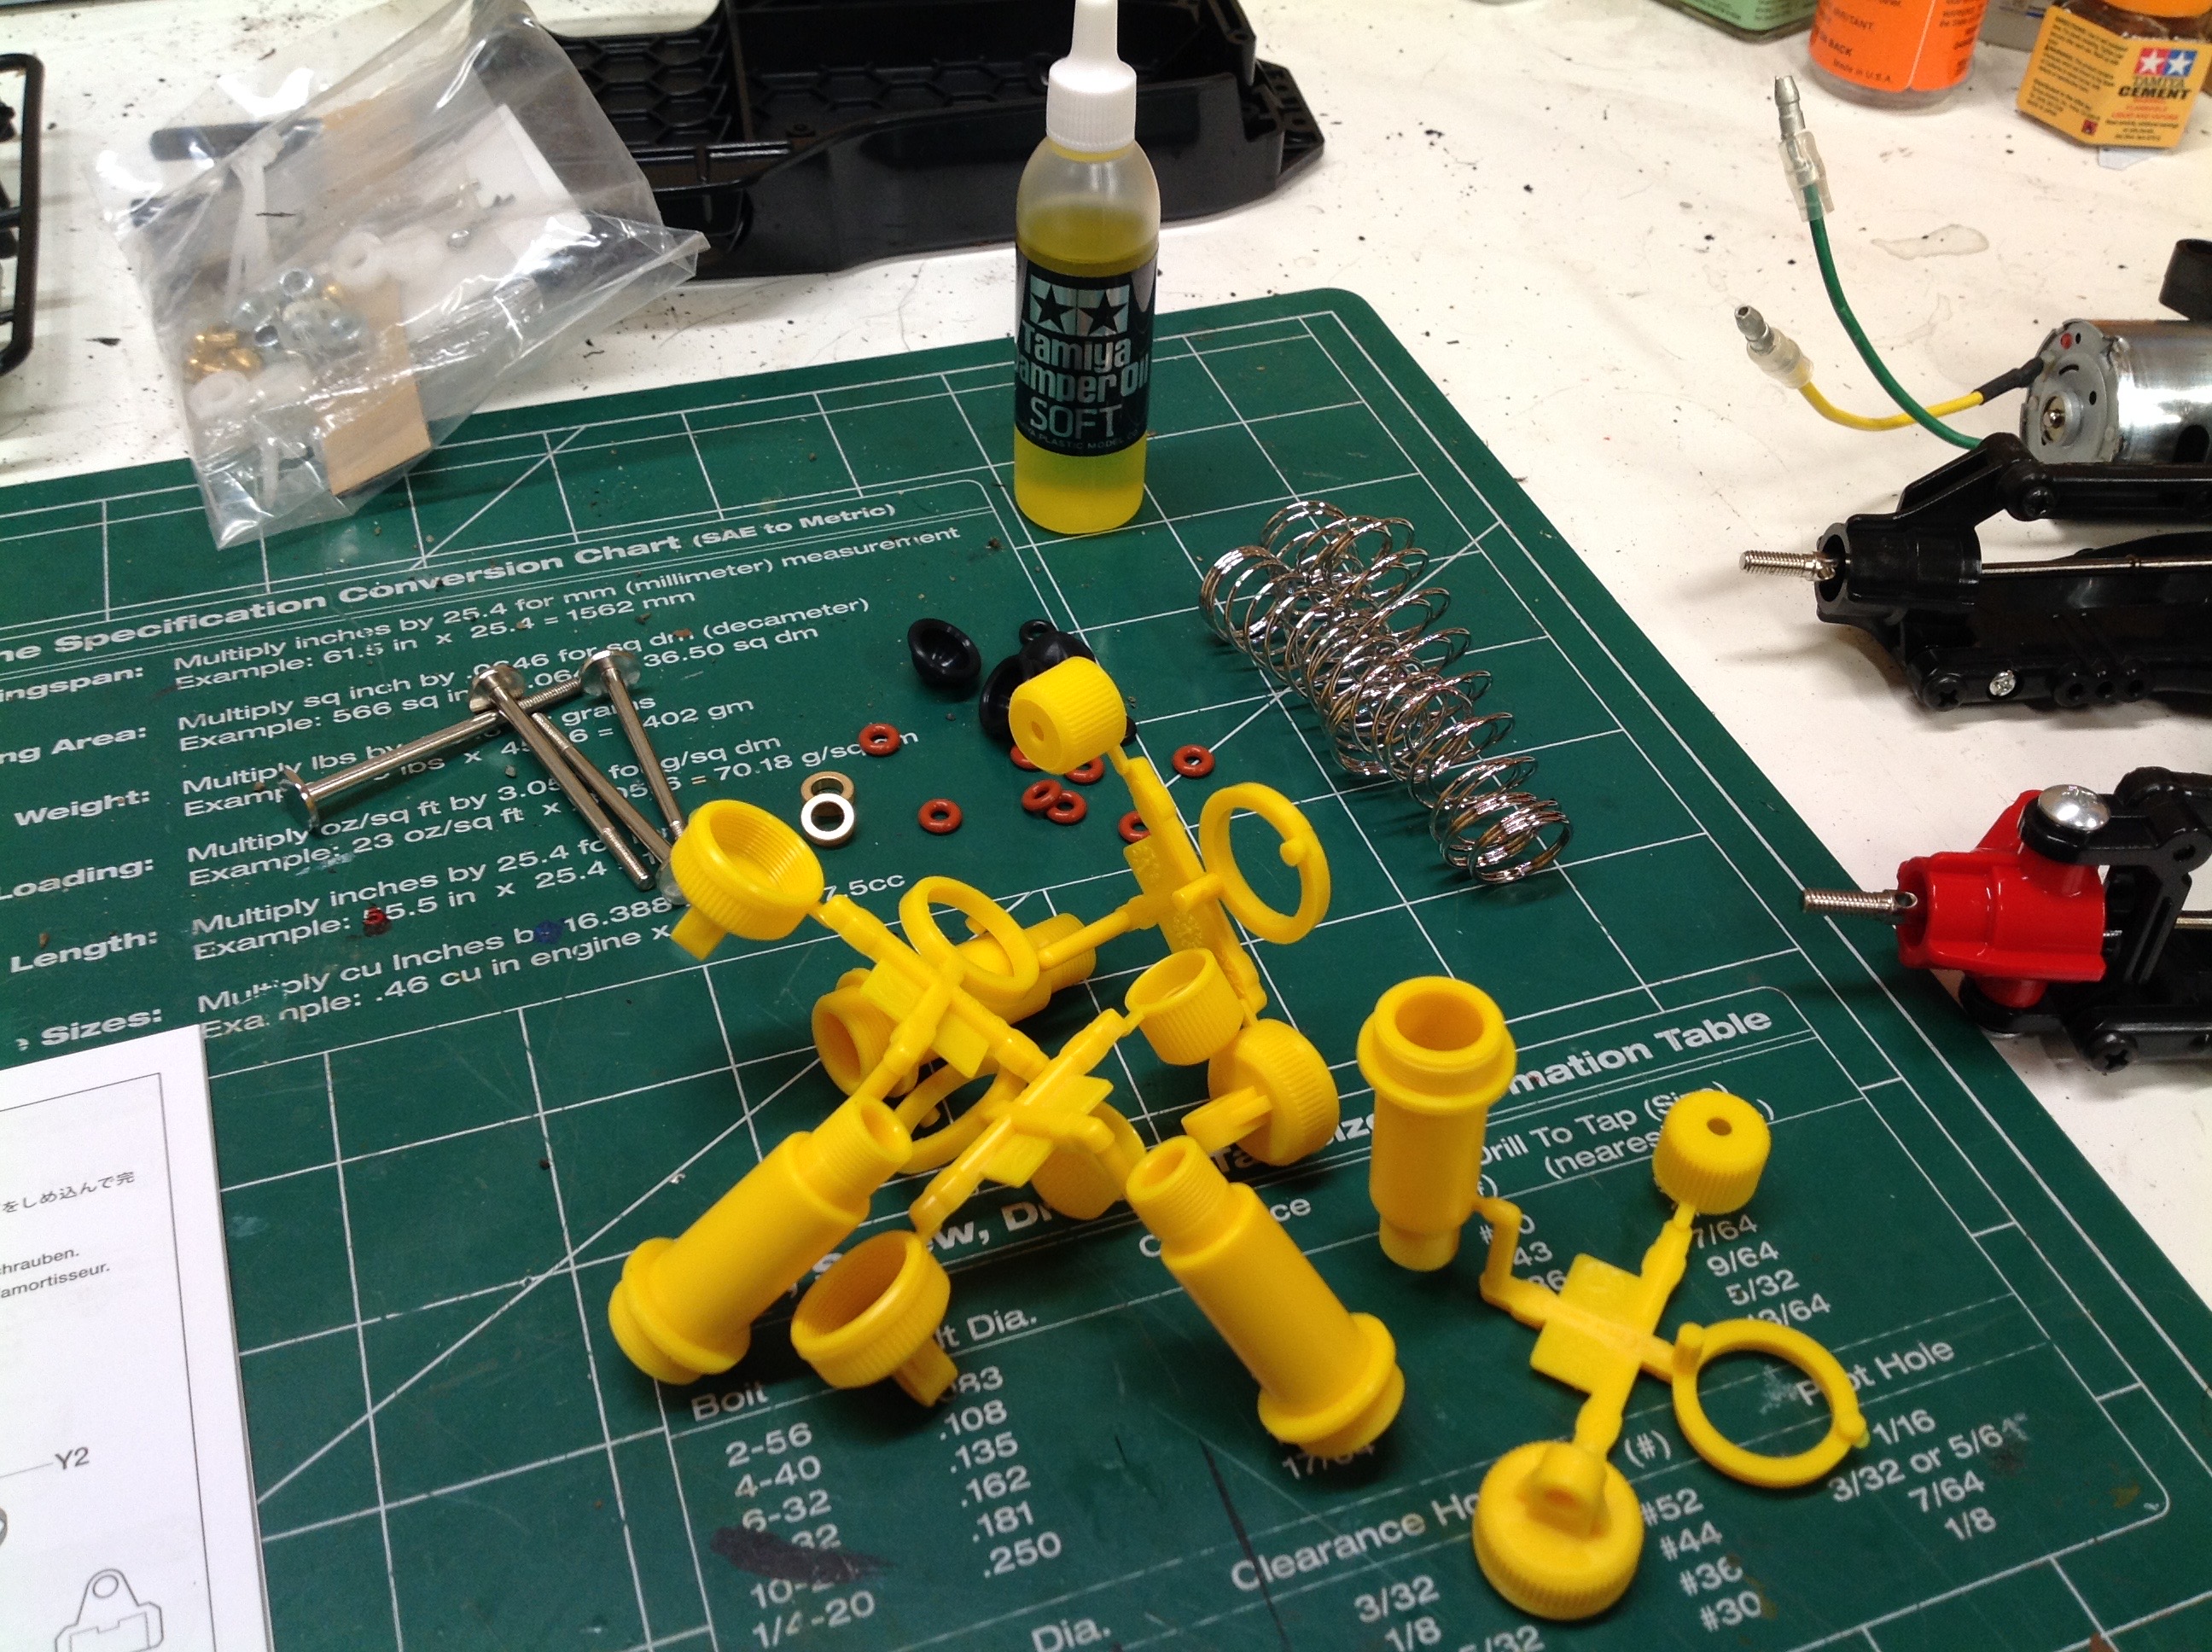
This model uses the older type of CVA shocks with a longer rod end
cap. The piston head is built into the rod and does not have holes
so is not adjustable, although of course the fluid viscosity can be
changed. The front and rear dampers have the same housing but the
front have an internal spacer to limit extended length and they have
different springs. These are all long travel shocks.
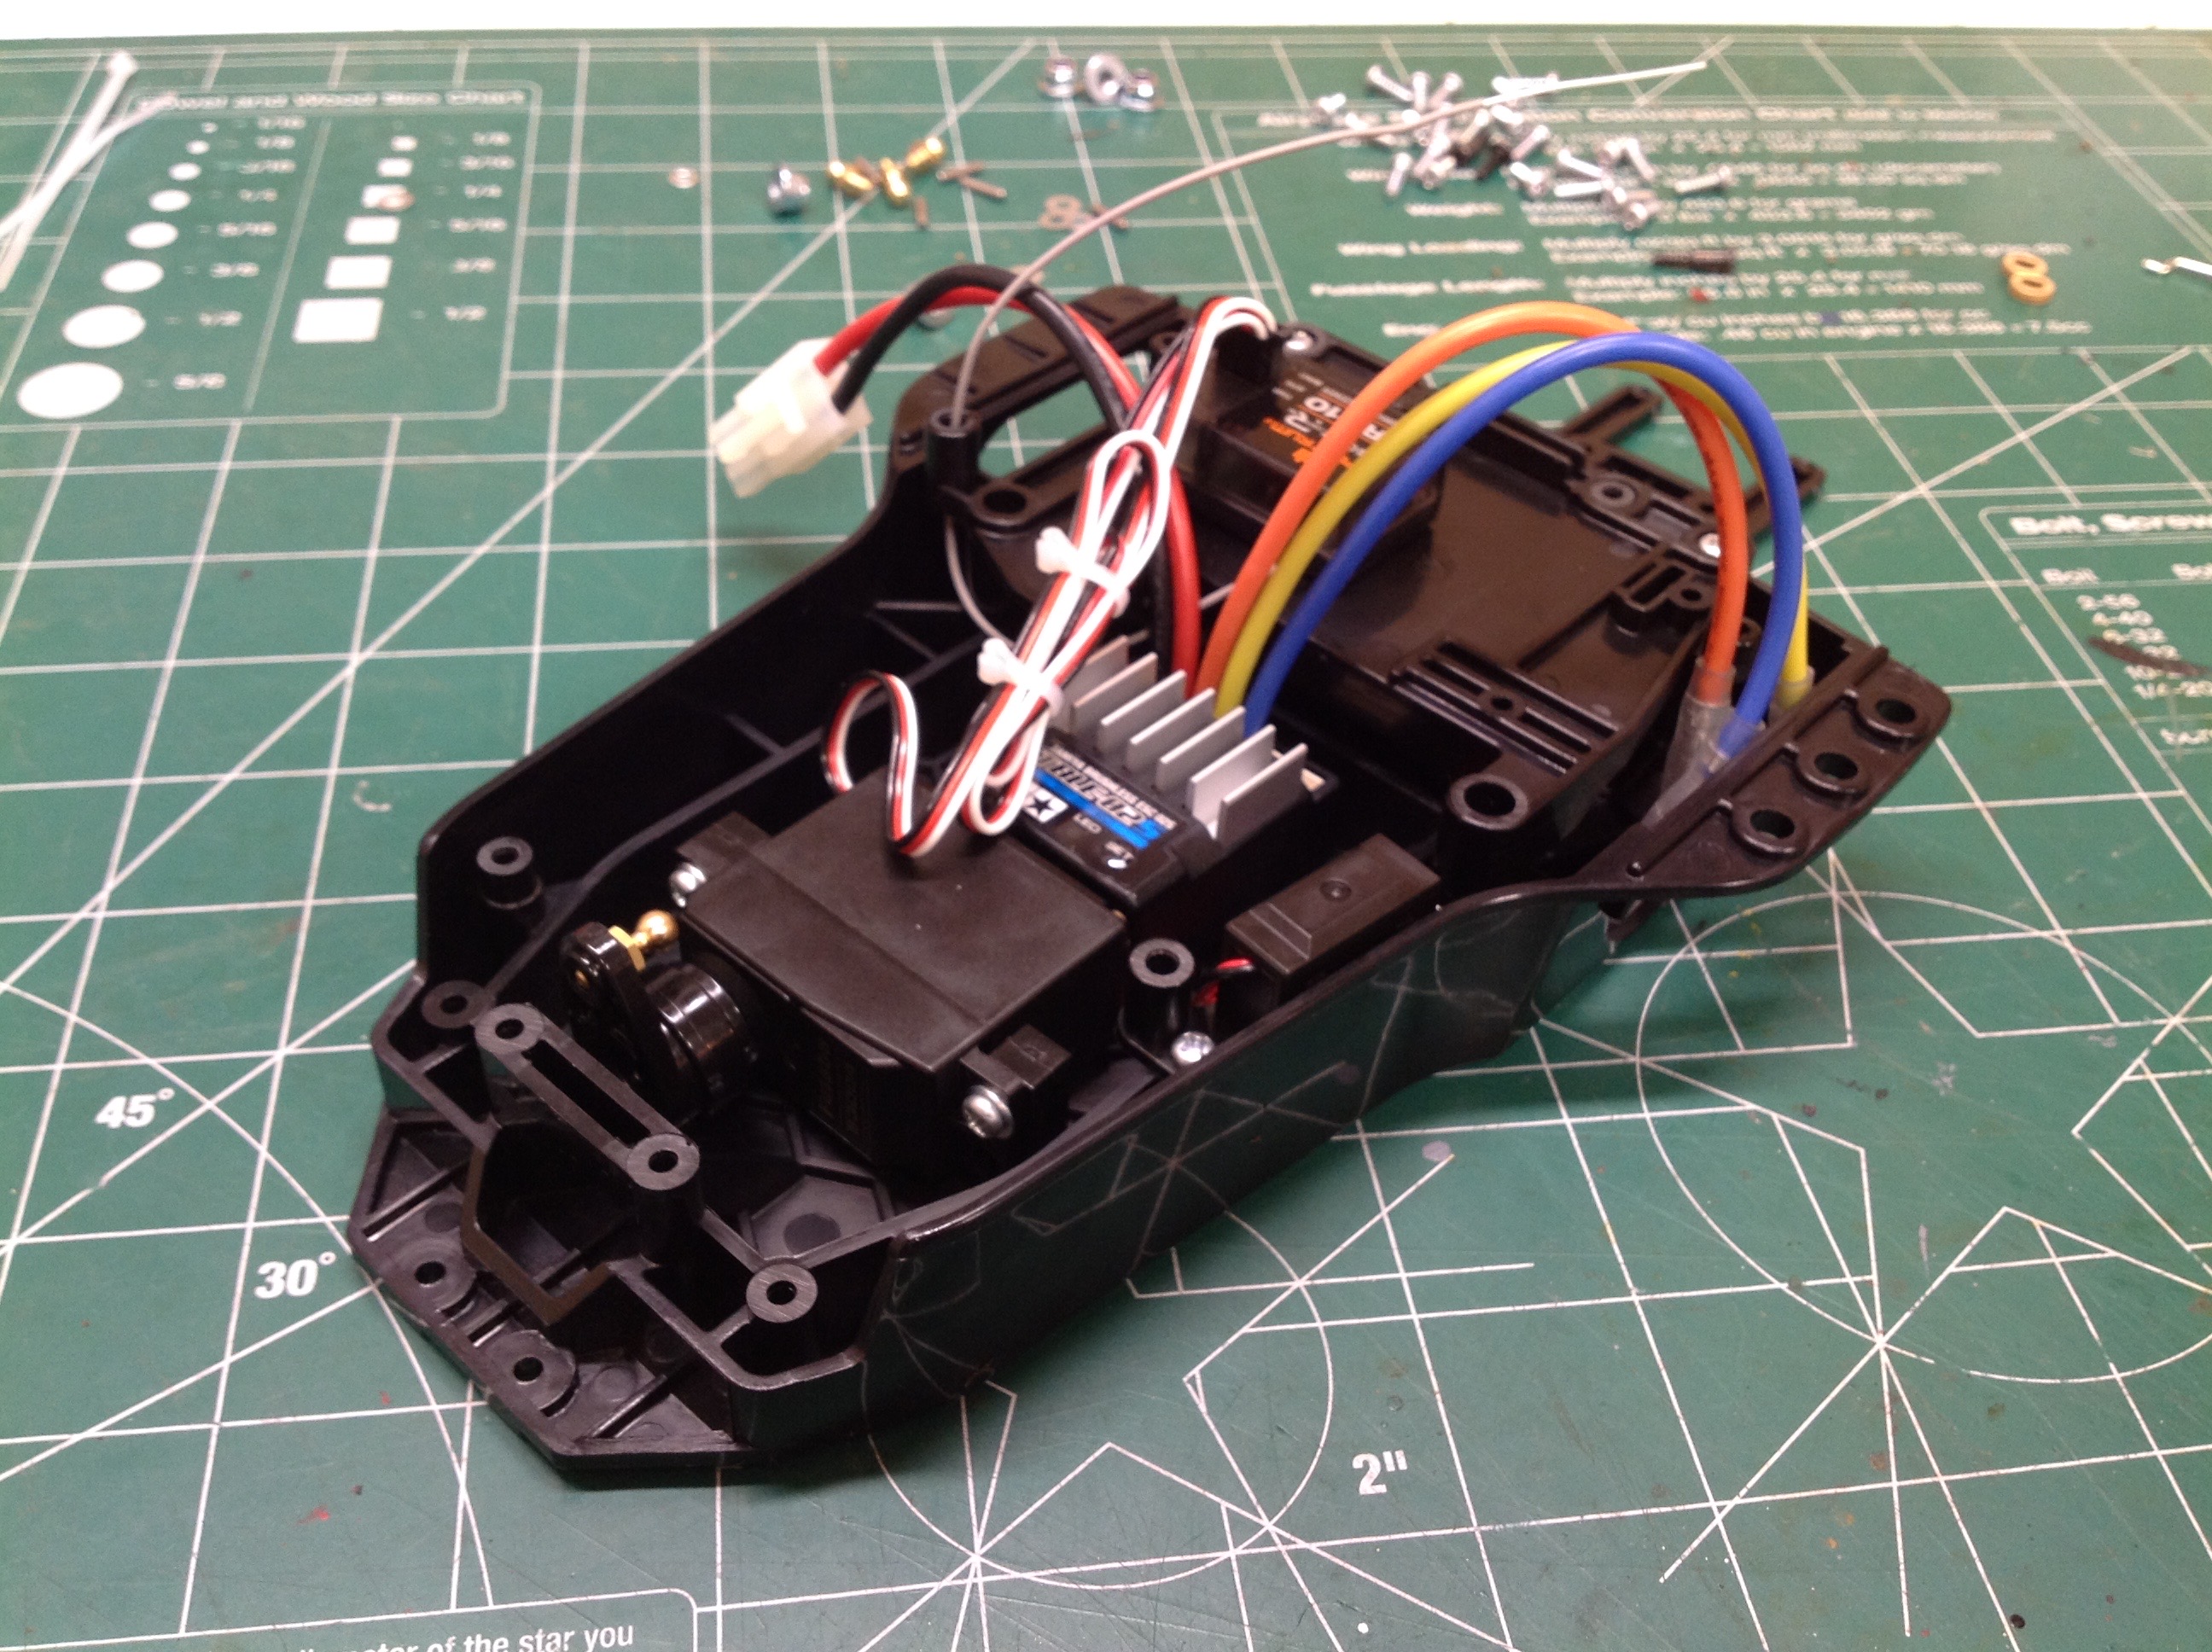
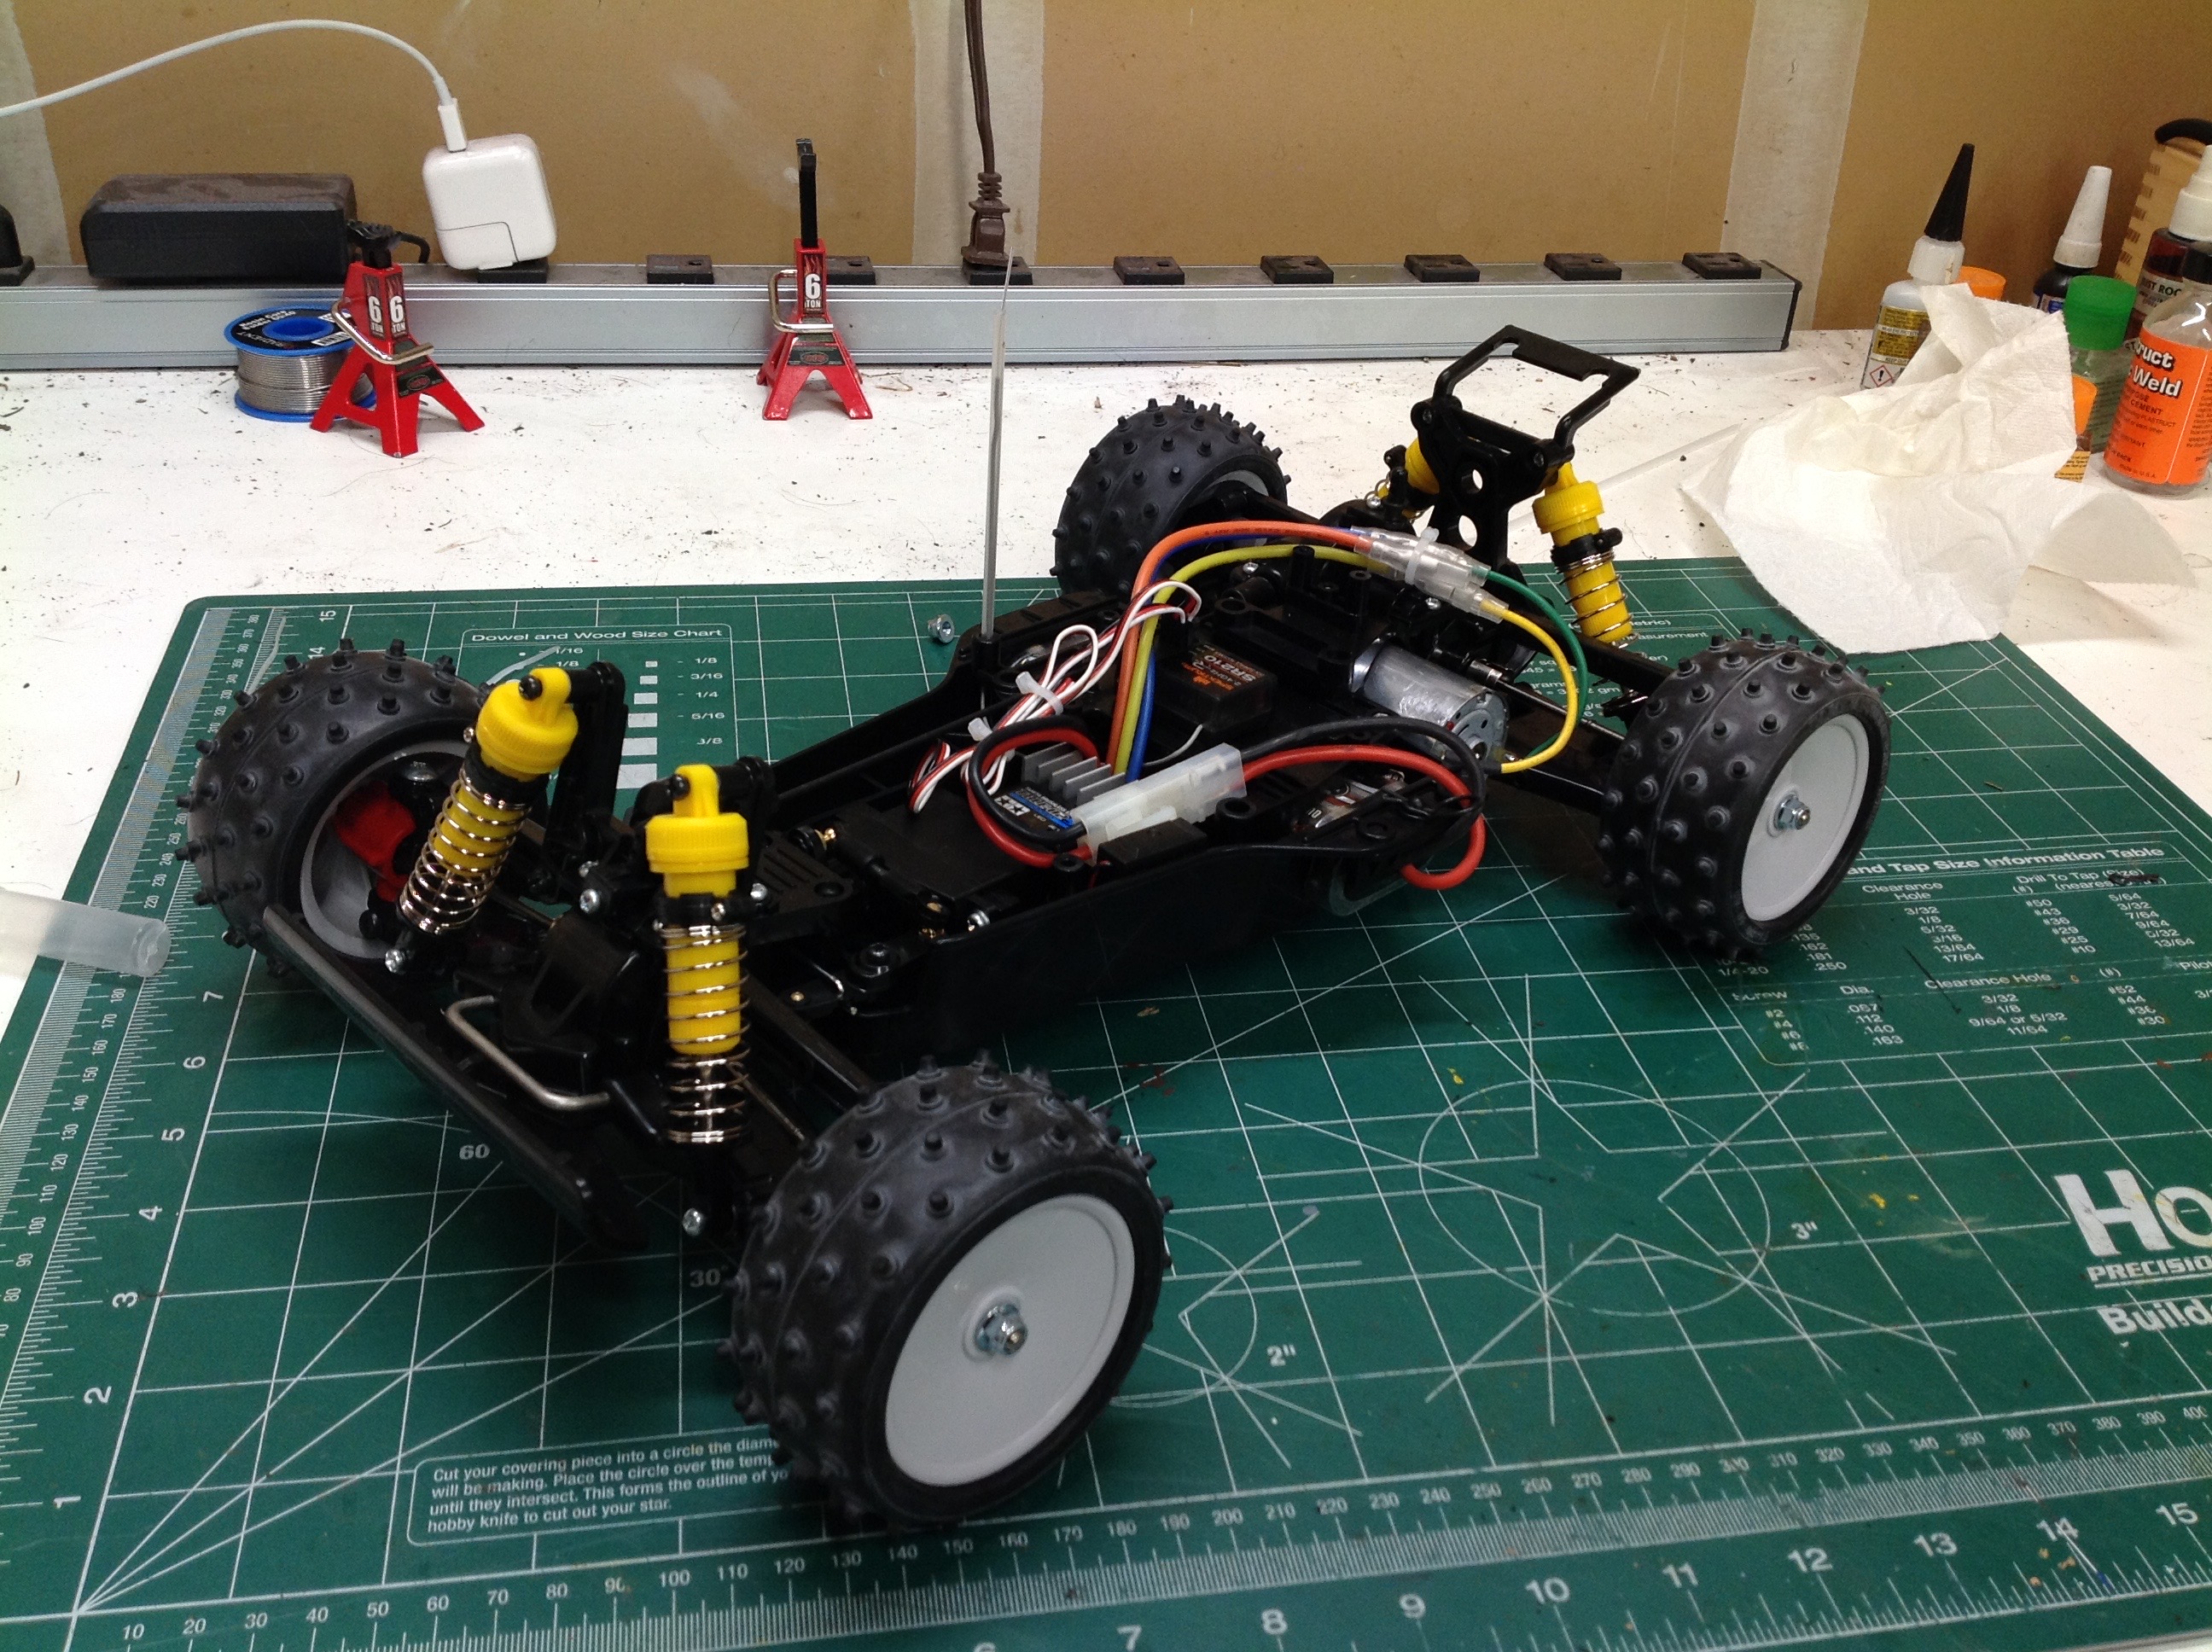
All of the electronics are installed in a compact way within the chassis
bathtub. The steering servo is mounted to the deck with the ESC
right behind. The battery sits laterally behind that with the
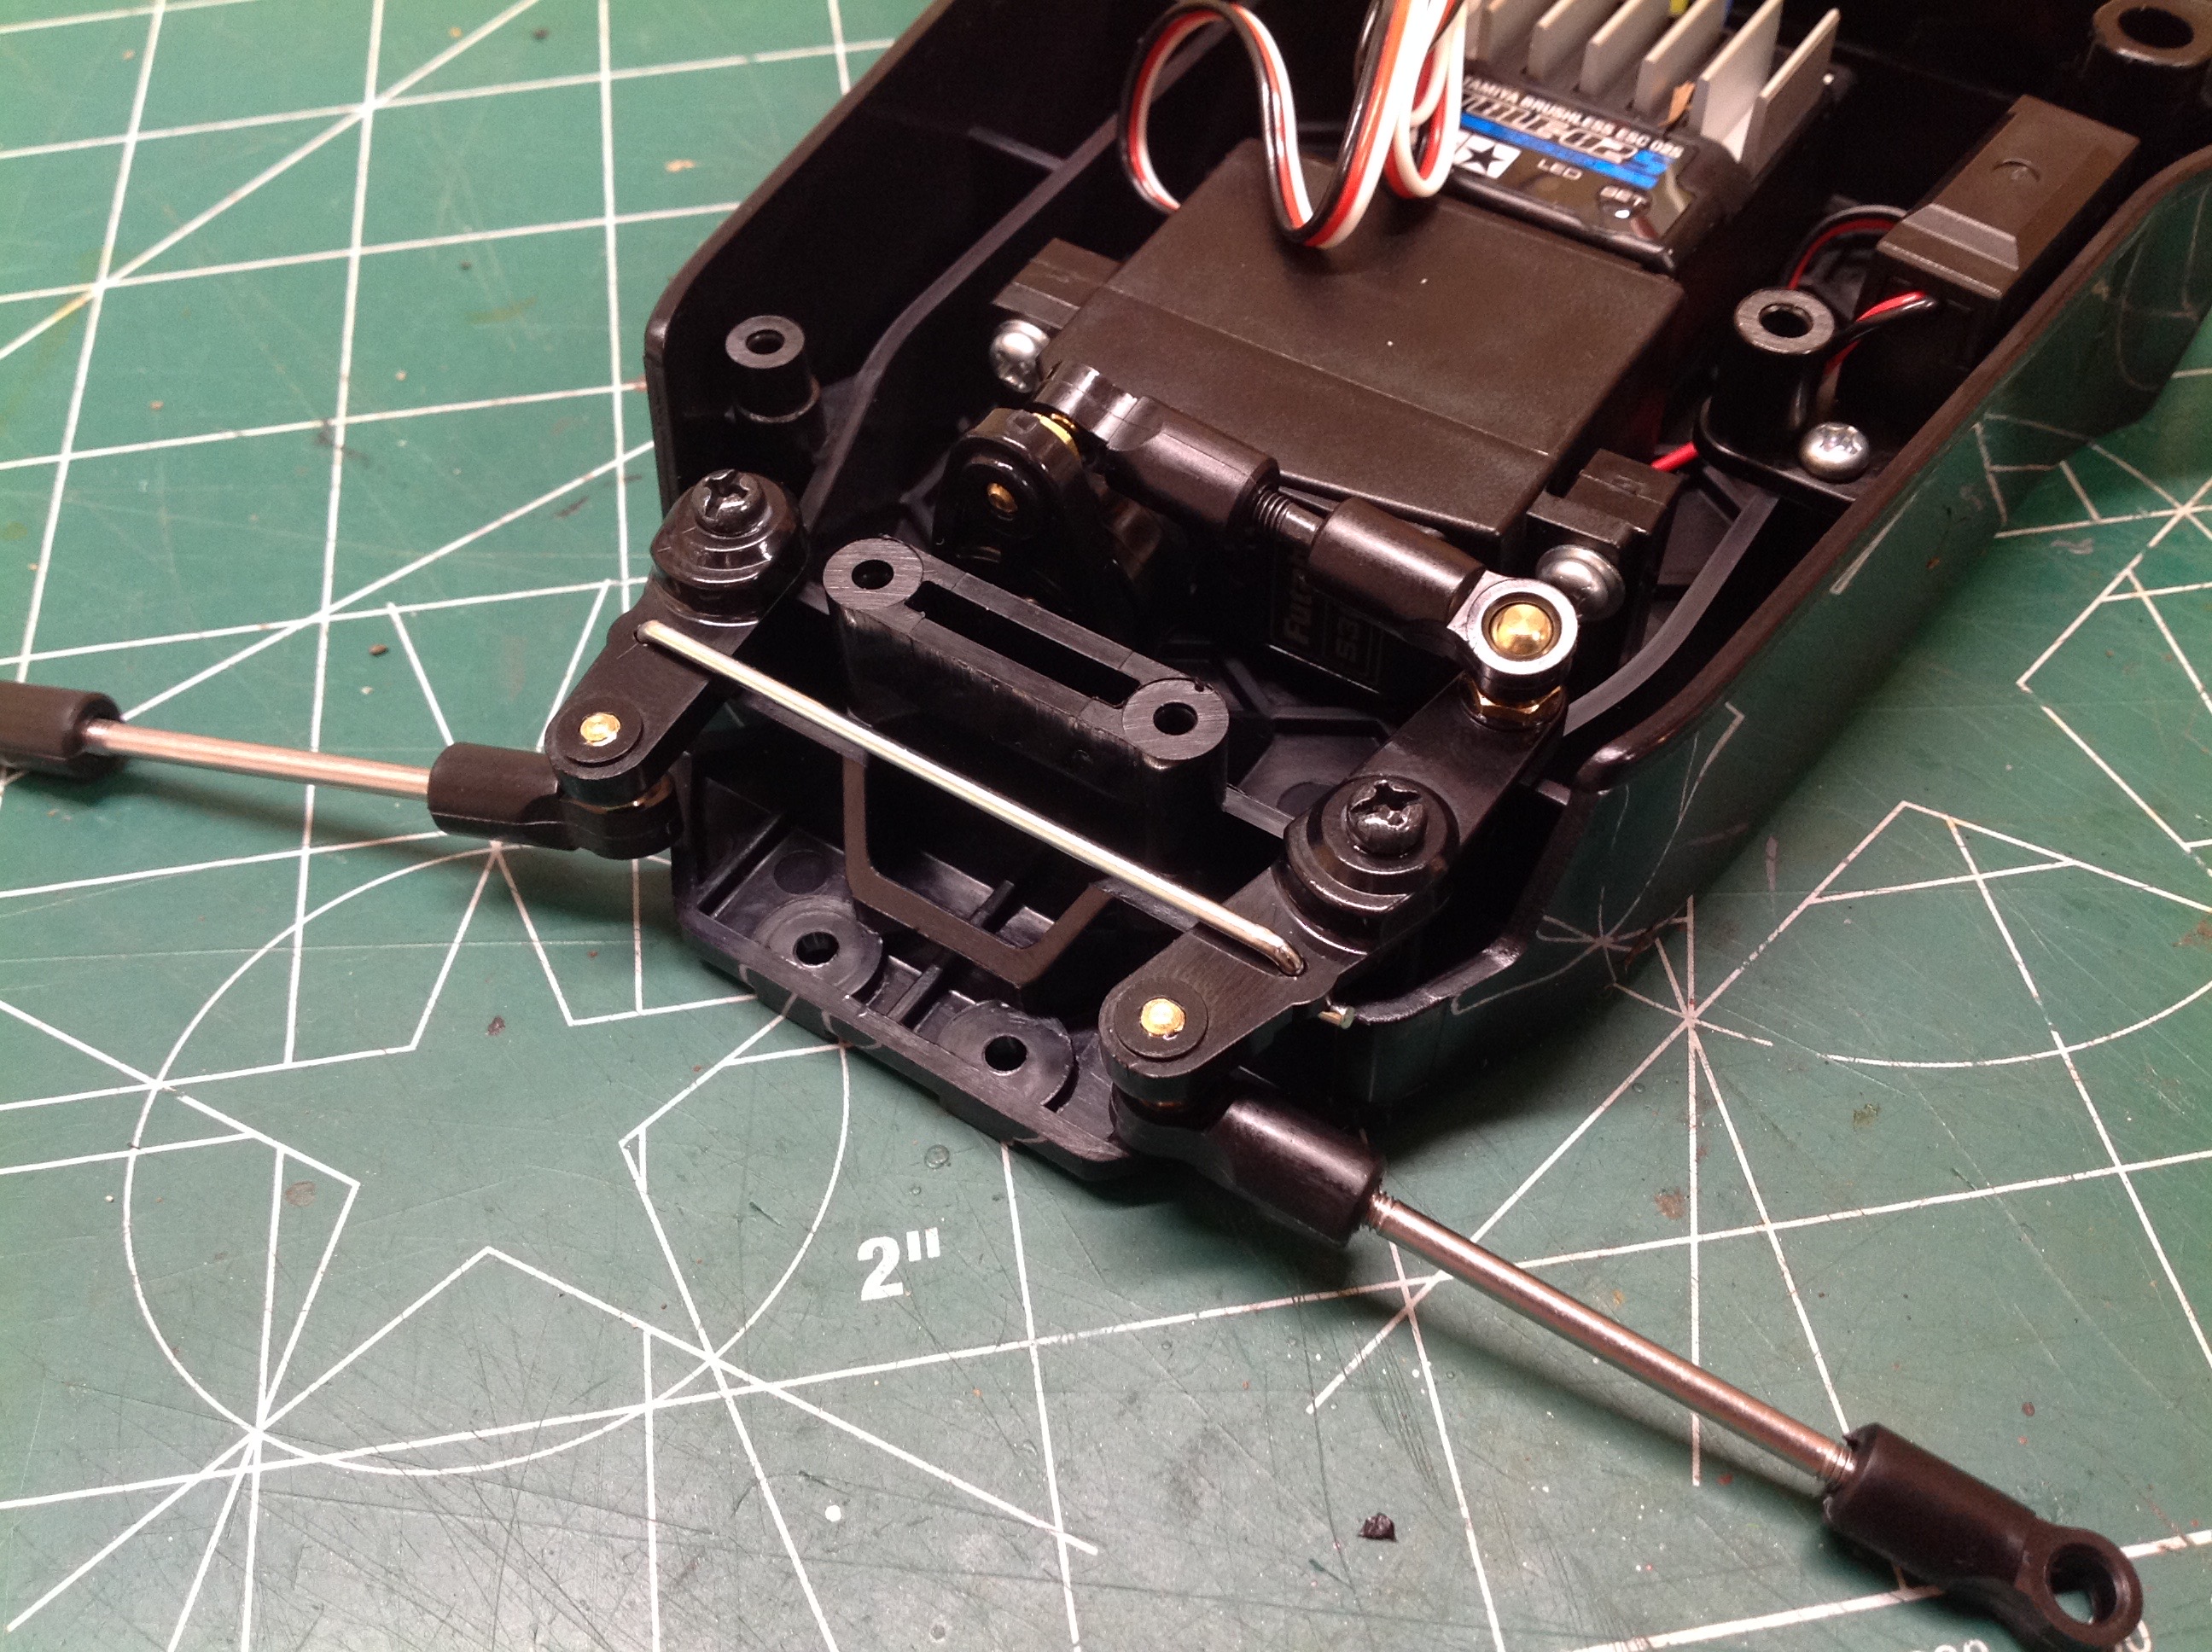
receiver above it. The dual bellcrank steering goes right ahead of
the servo. Everything here is almost identical to the TA-02 I just recently built.
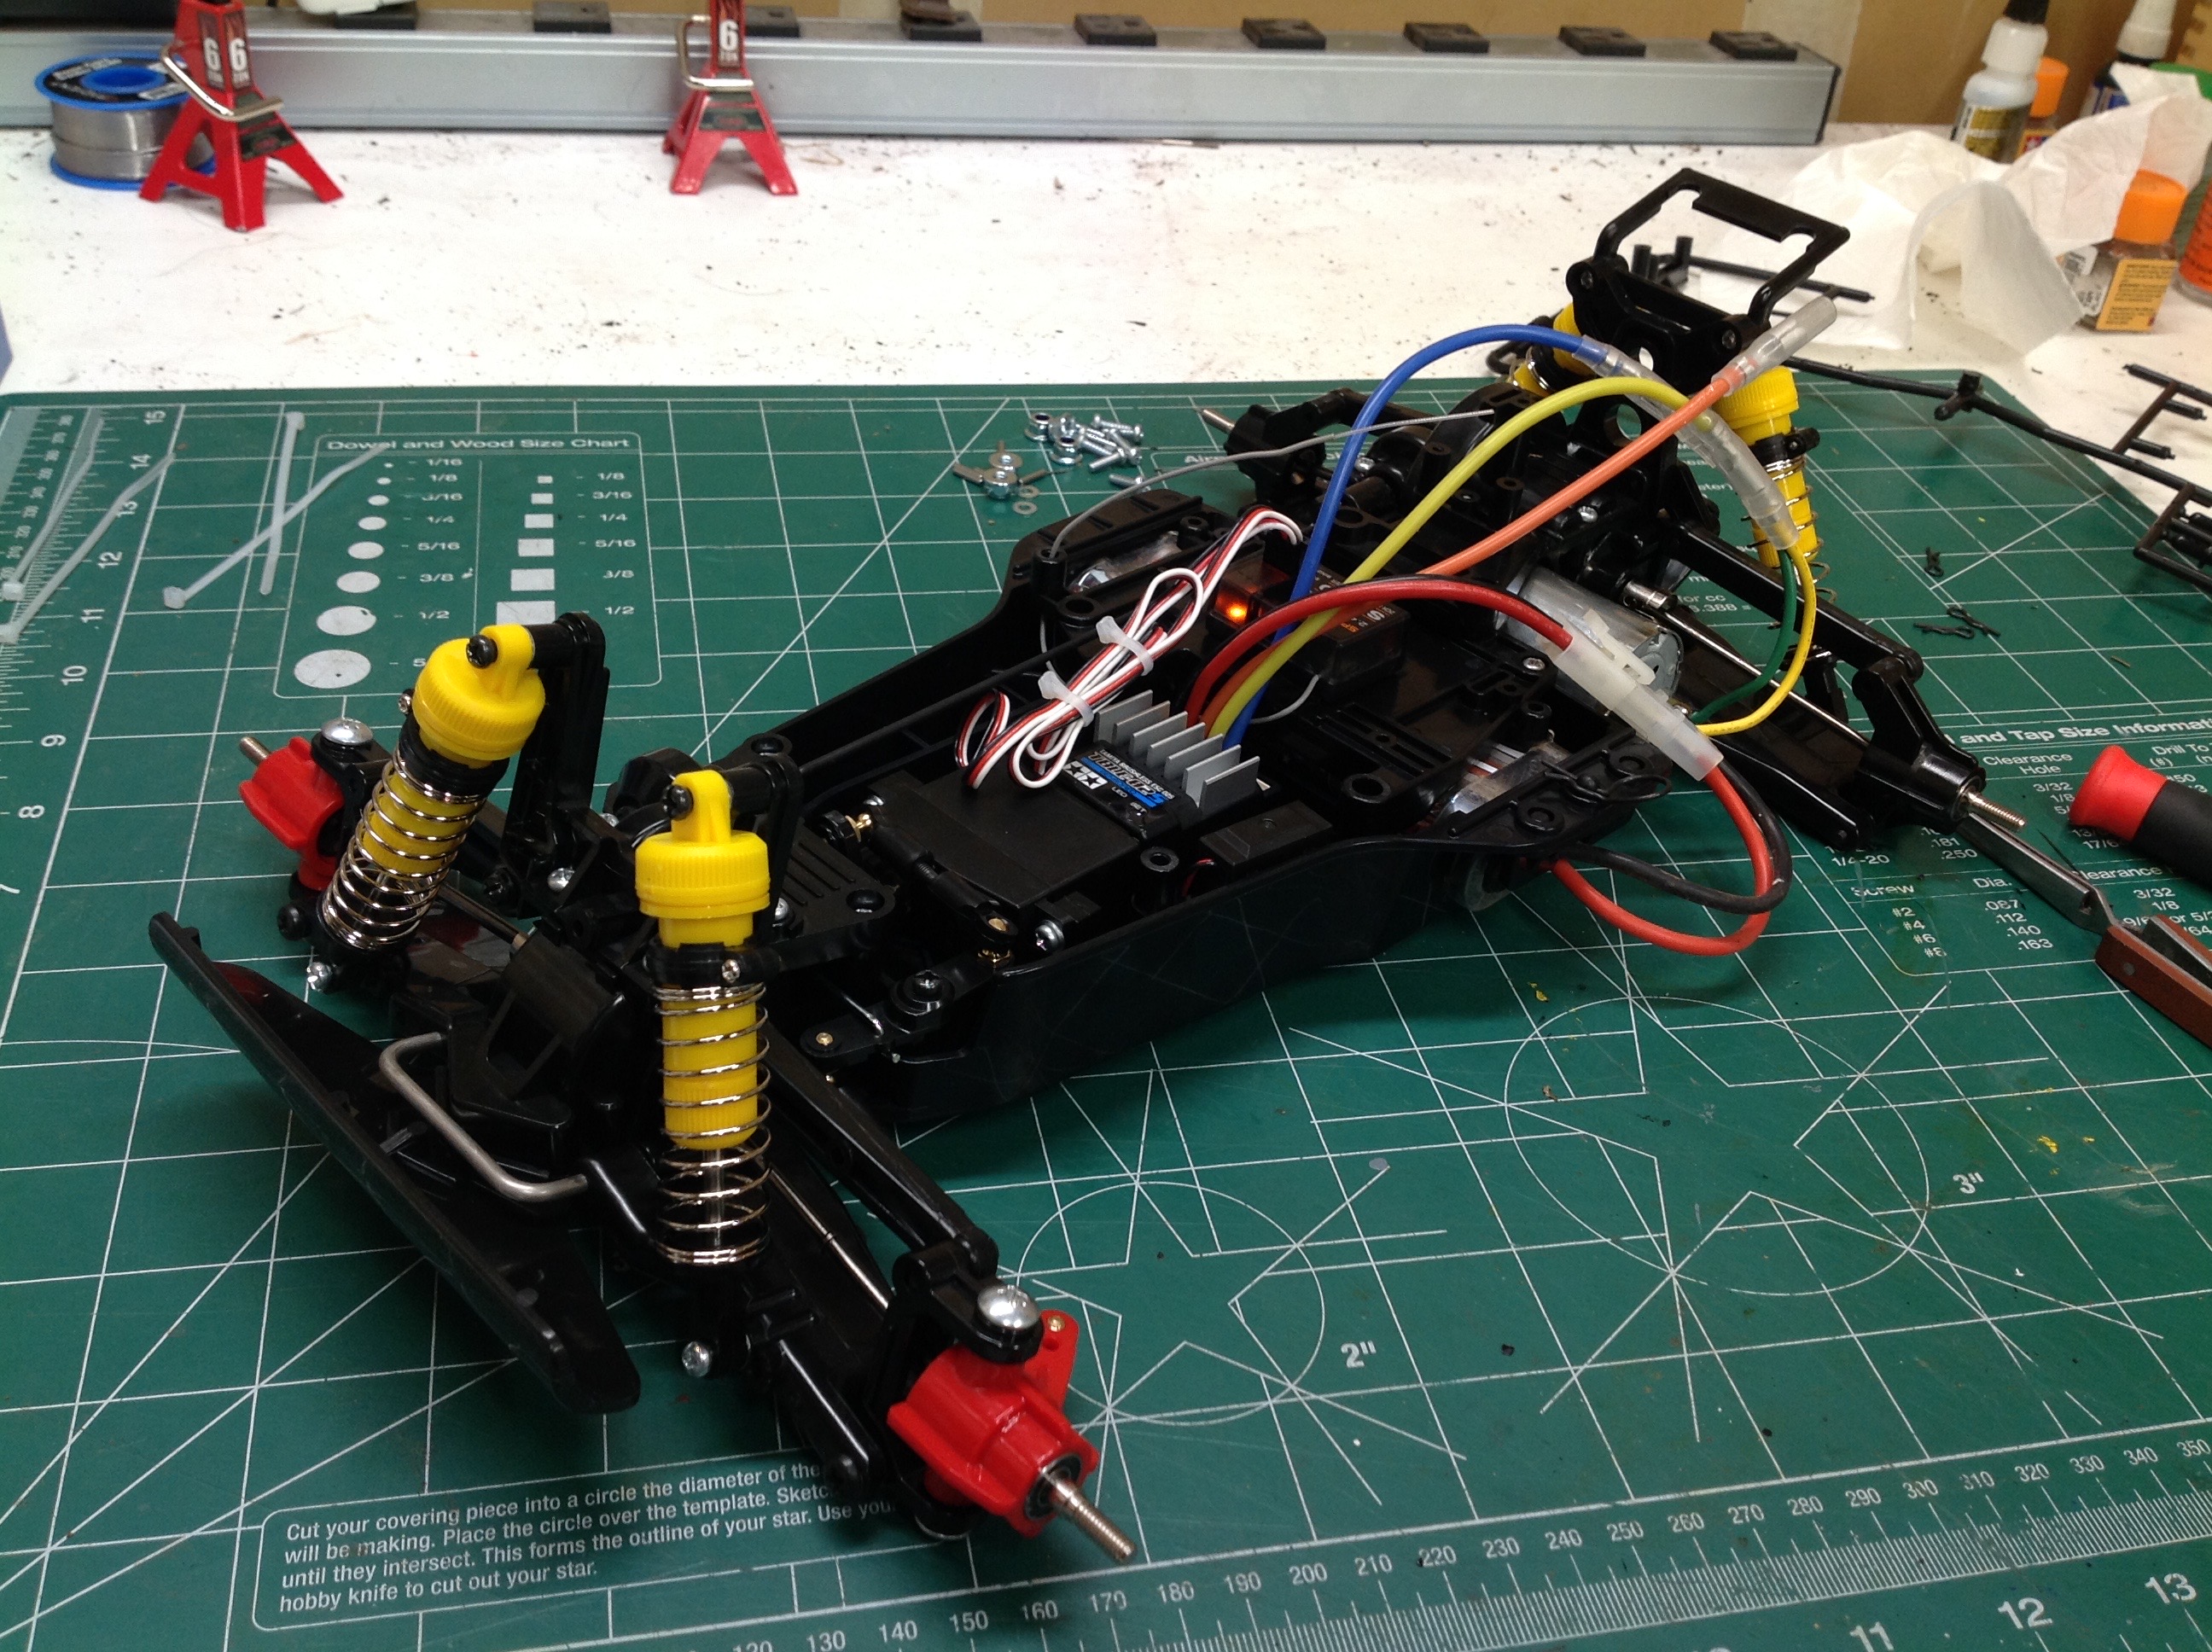
The gearboxes and suspension assemblies are modular and can now simply
be bolted to the center section which nearly completes the model.
All that remains are the wheels and tires.
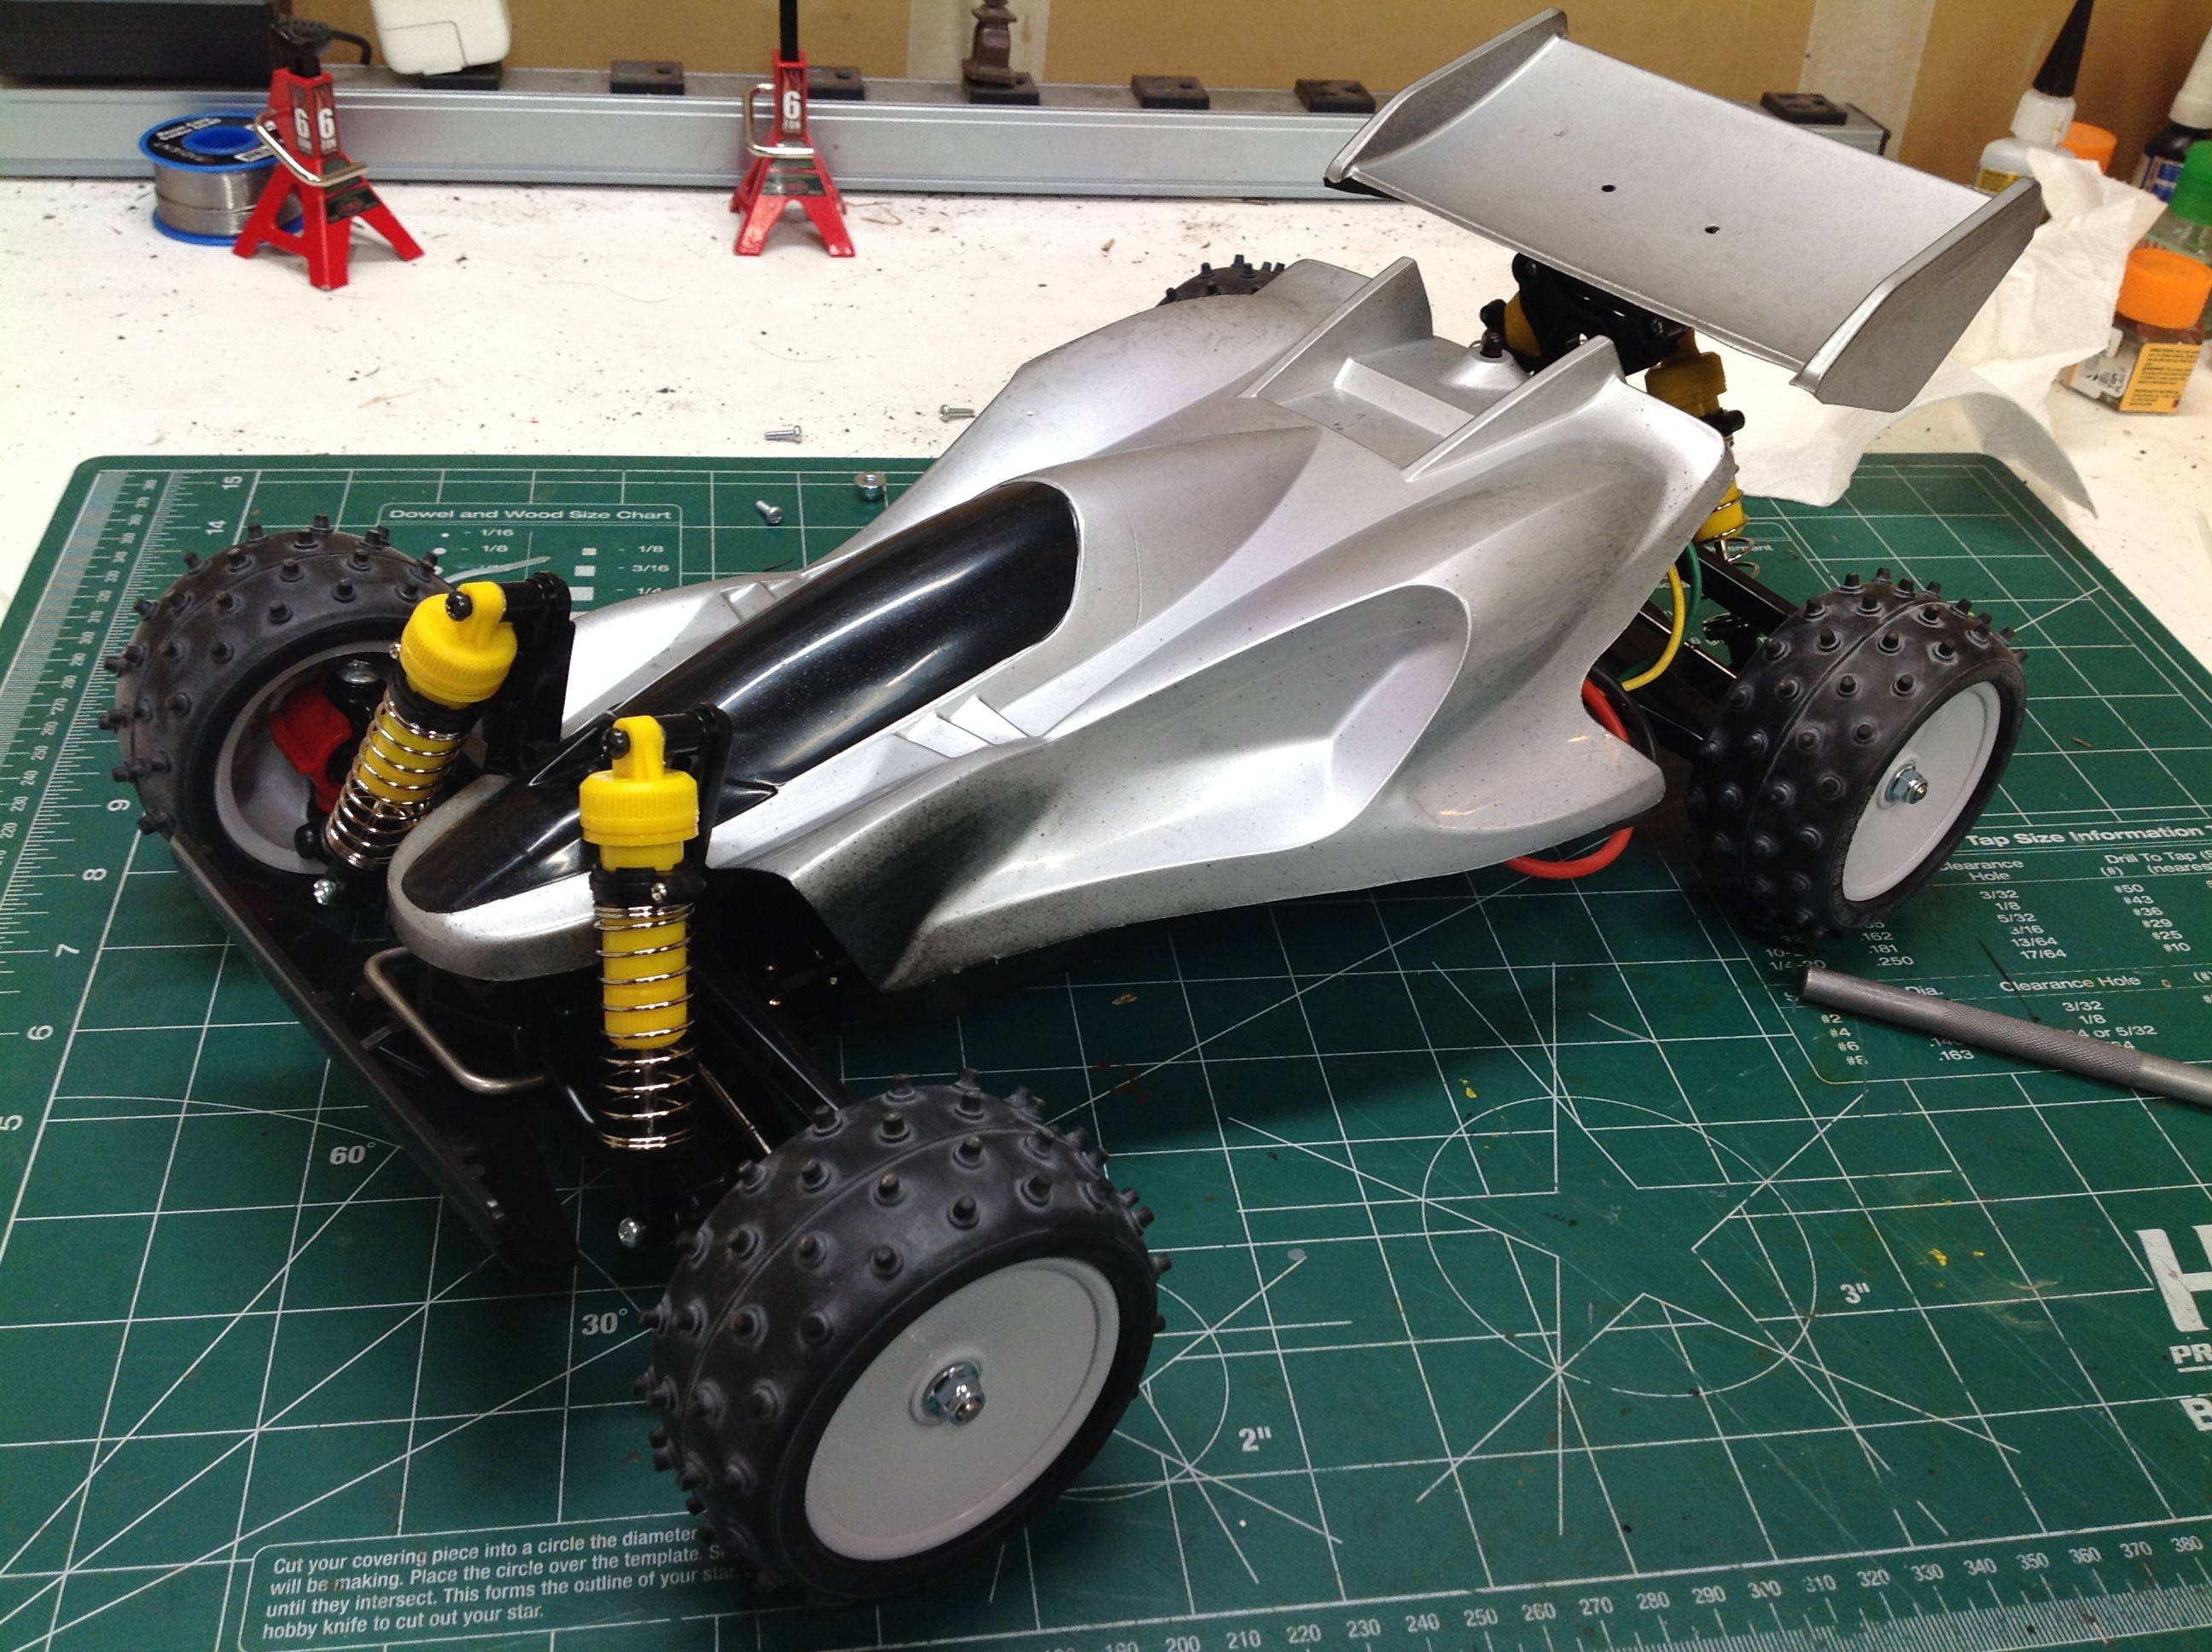
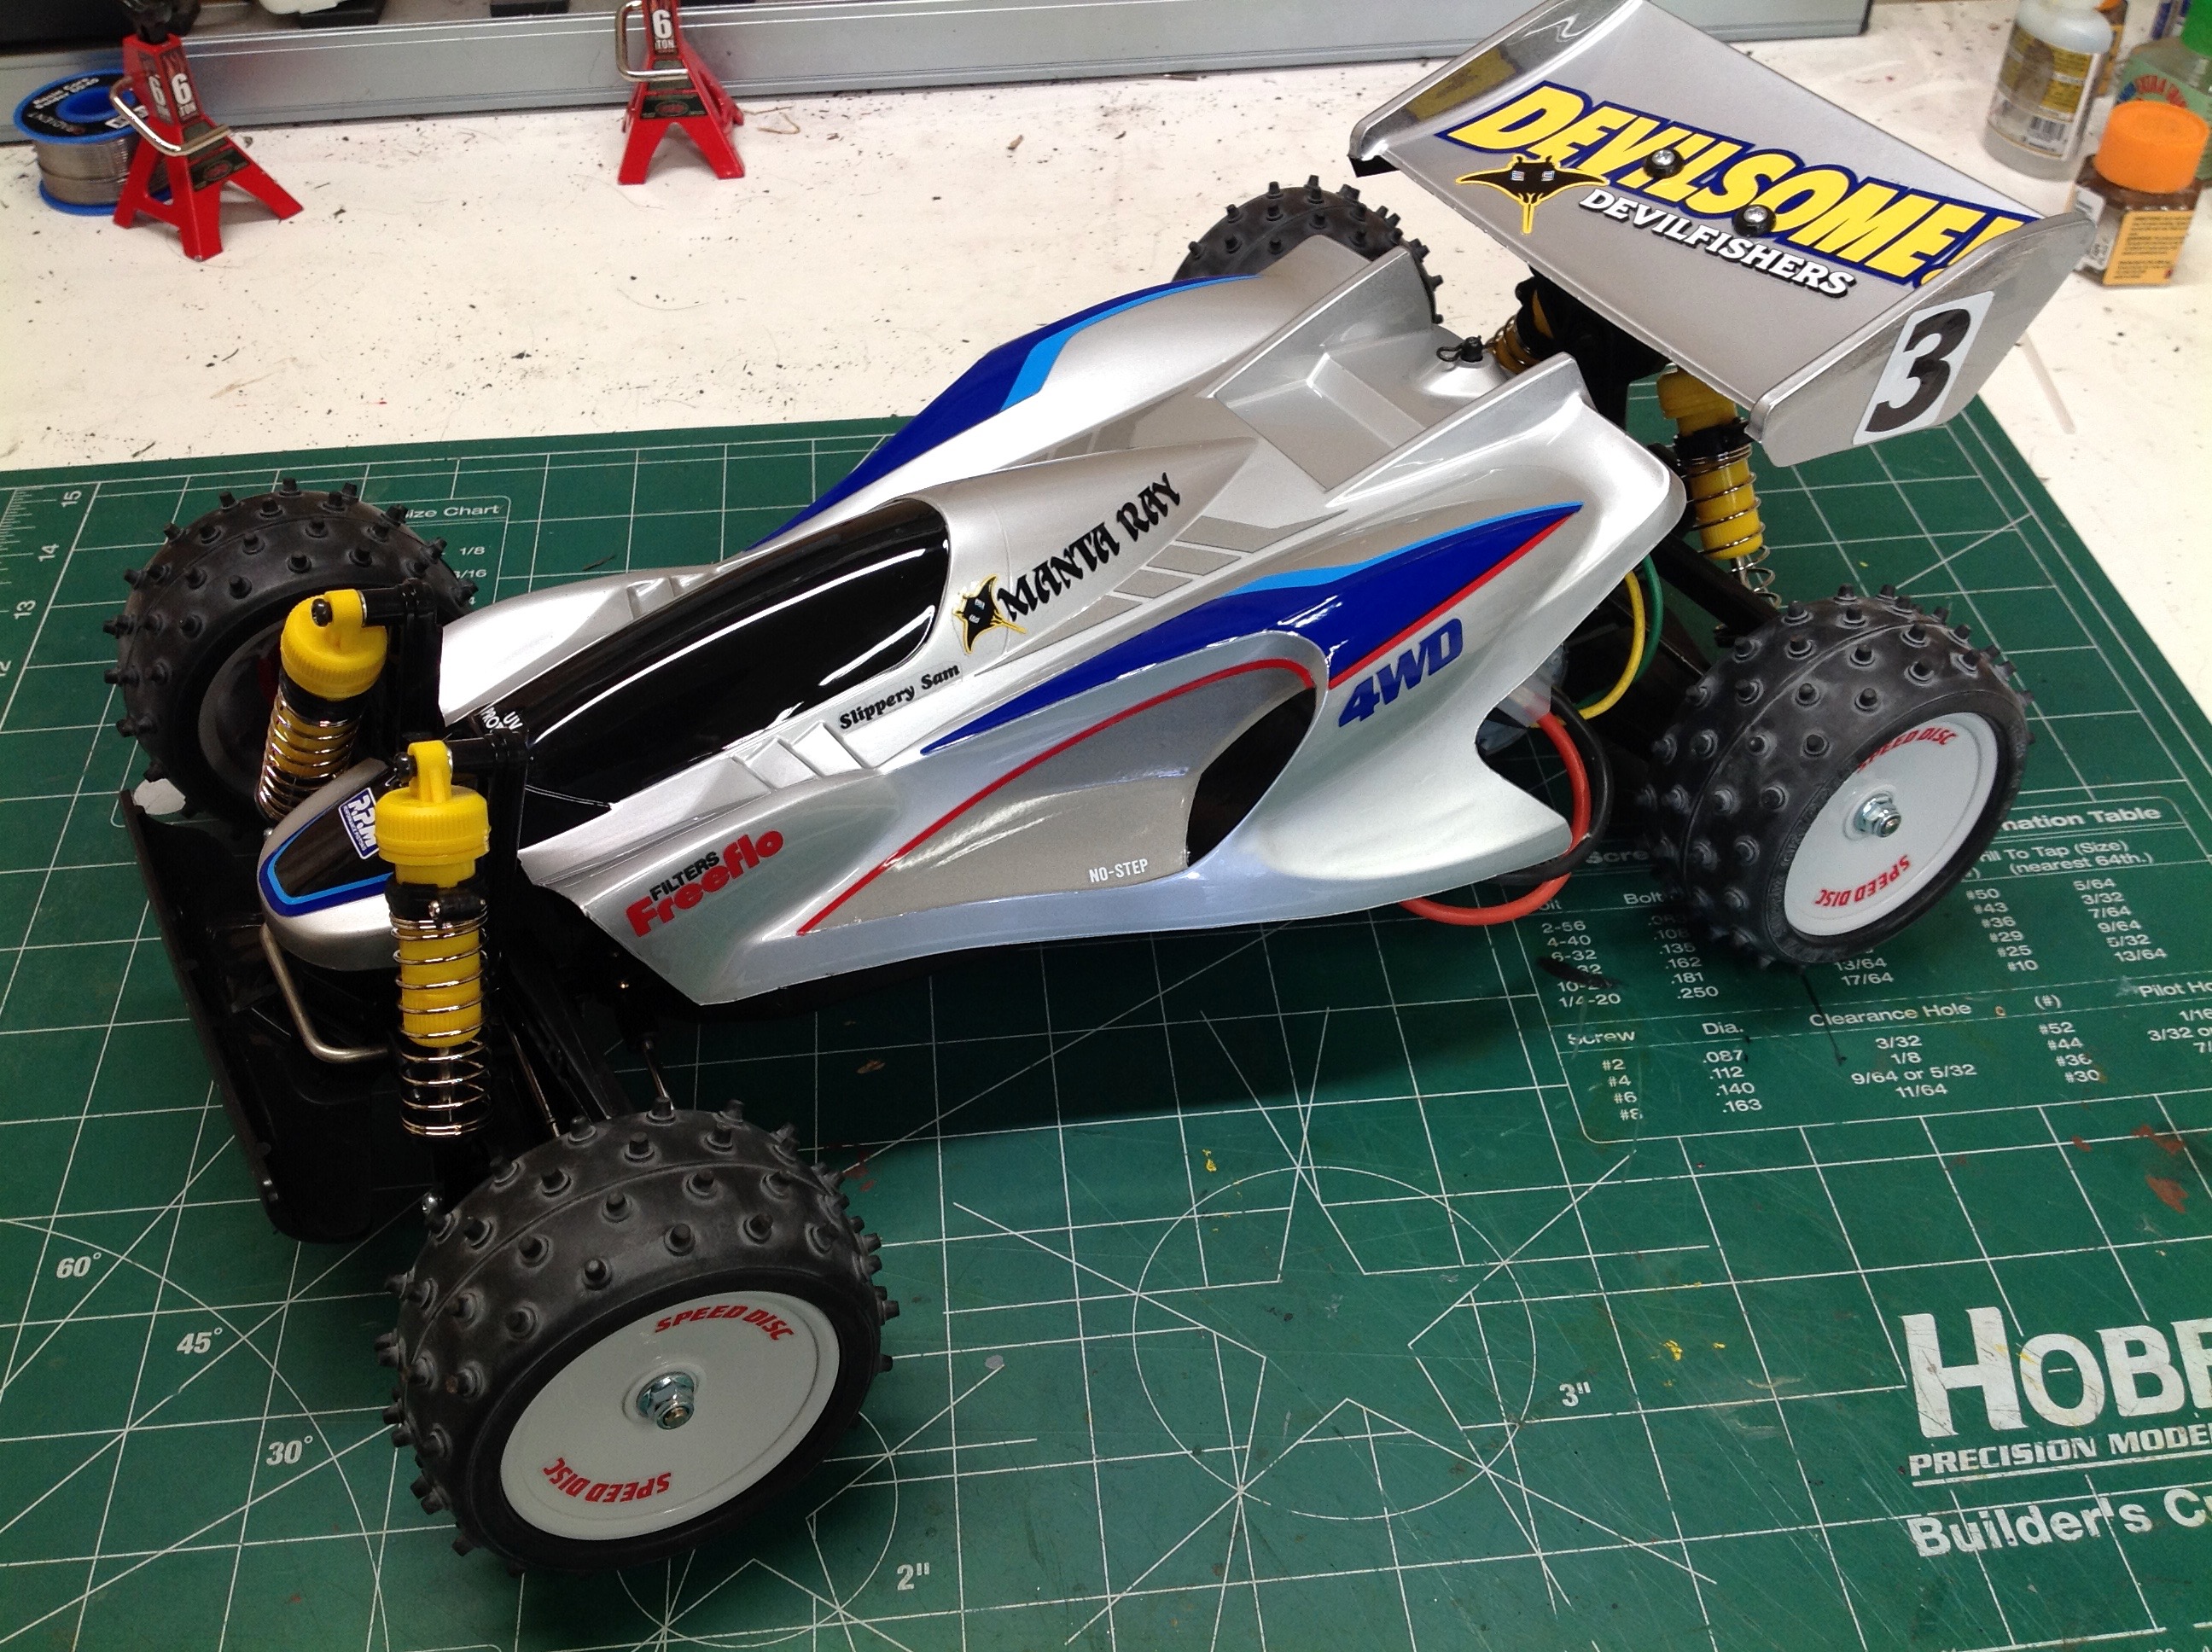
The Manta Ray was pretty easy to paint, although it is the only
polycarbonate Tamiya model I've built which does NOT include window
masks. The window needed to be masked manually and painted
black.It's too bad that it is not clear with a driver like many
other classic buggies. Everything else is standard silver.
©2019 Eric Albrecht