Associated RC10 Project
Page 2: Preparing the Body
This body was a real nightmare to prepare, possibly the worst I've ever
seen. First, there are no instructions for cutting or
painting. Usually a polycarbonate body will have molded in
features to show where to cut. Not so on this body. There is
no indication of where to cut and there are no figures in the
instructions to show how to do it. There is only one small
grayscale image of the paint, so you are pretty much on your own there
as well. I had to search the Internet for pictures of a completely
cut and painted body. Second, the body doesn't actually fit the
chassis. There are a bunch of places in which it simply doesn't
line up no matter how you trim it and there are interferences
everywhere. I don't know what Associated was thinking with
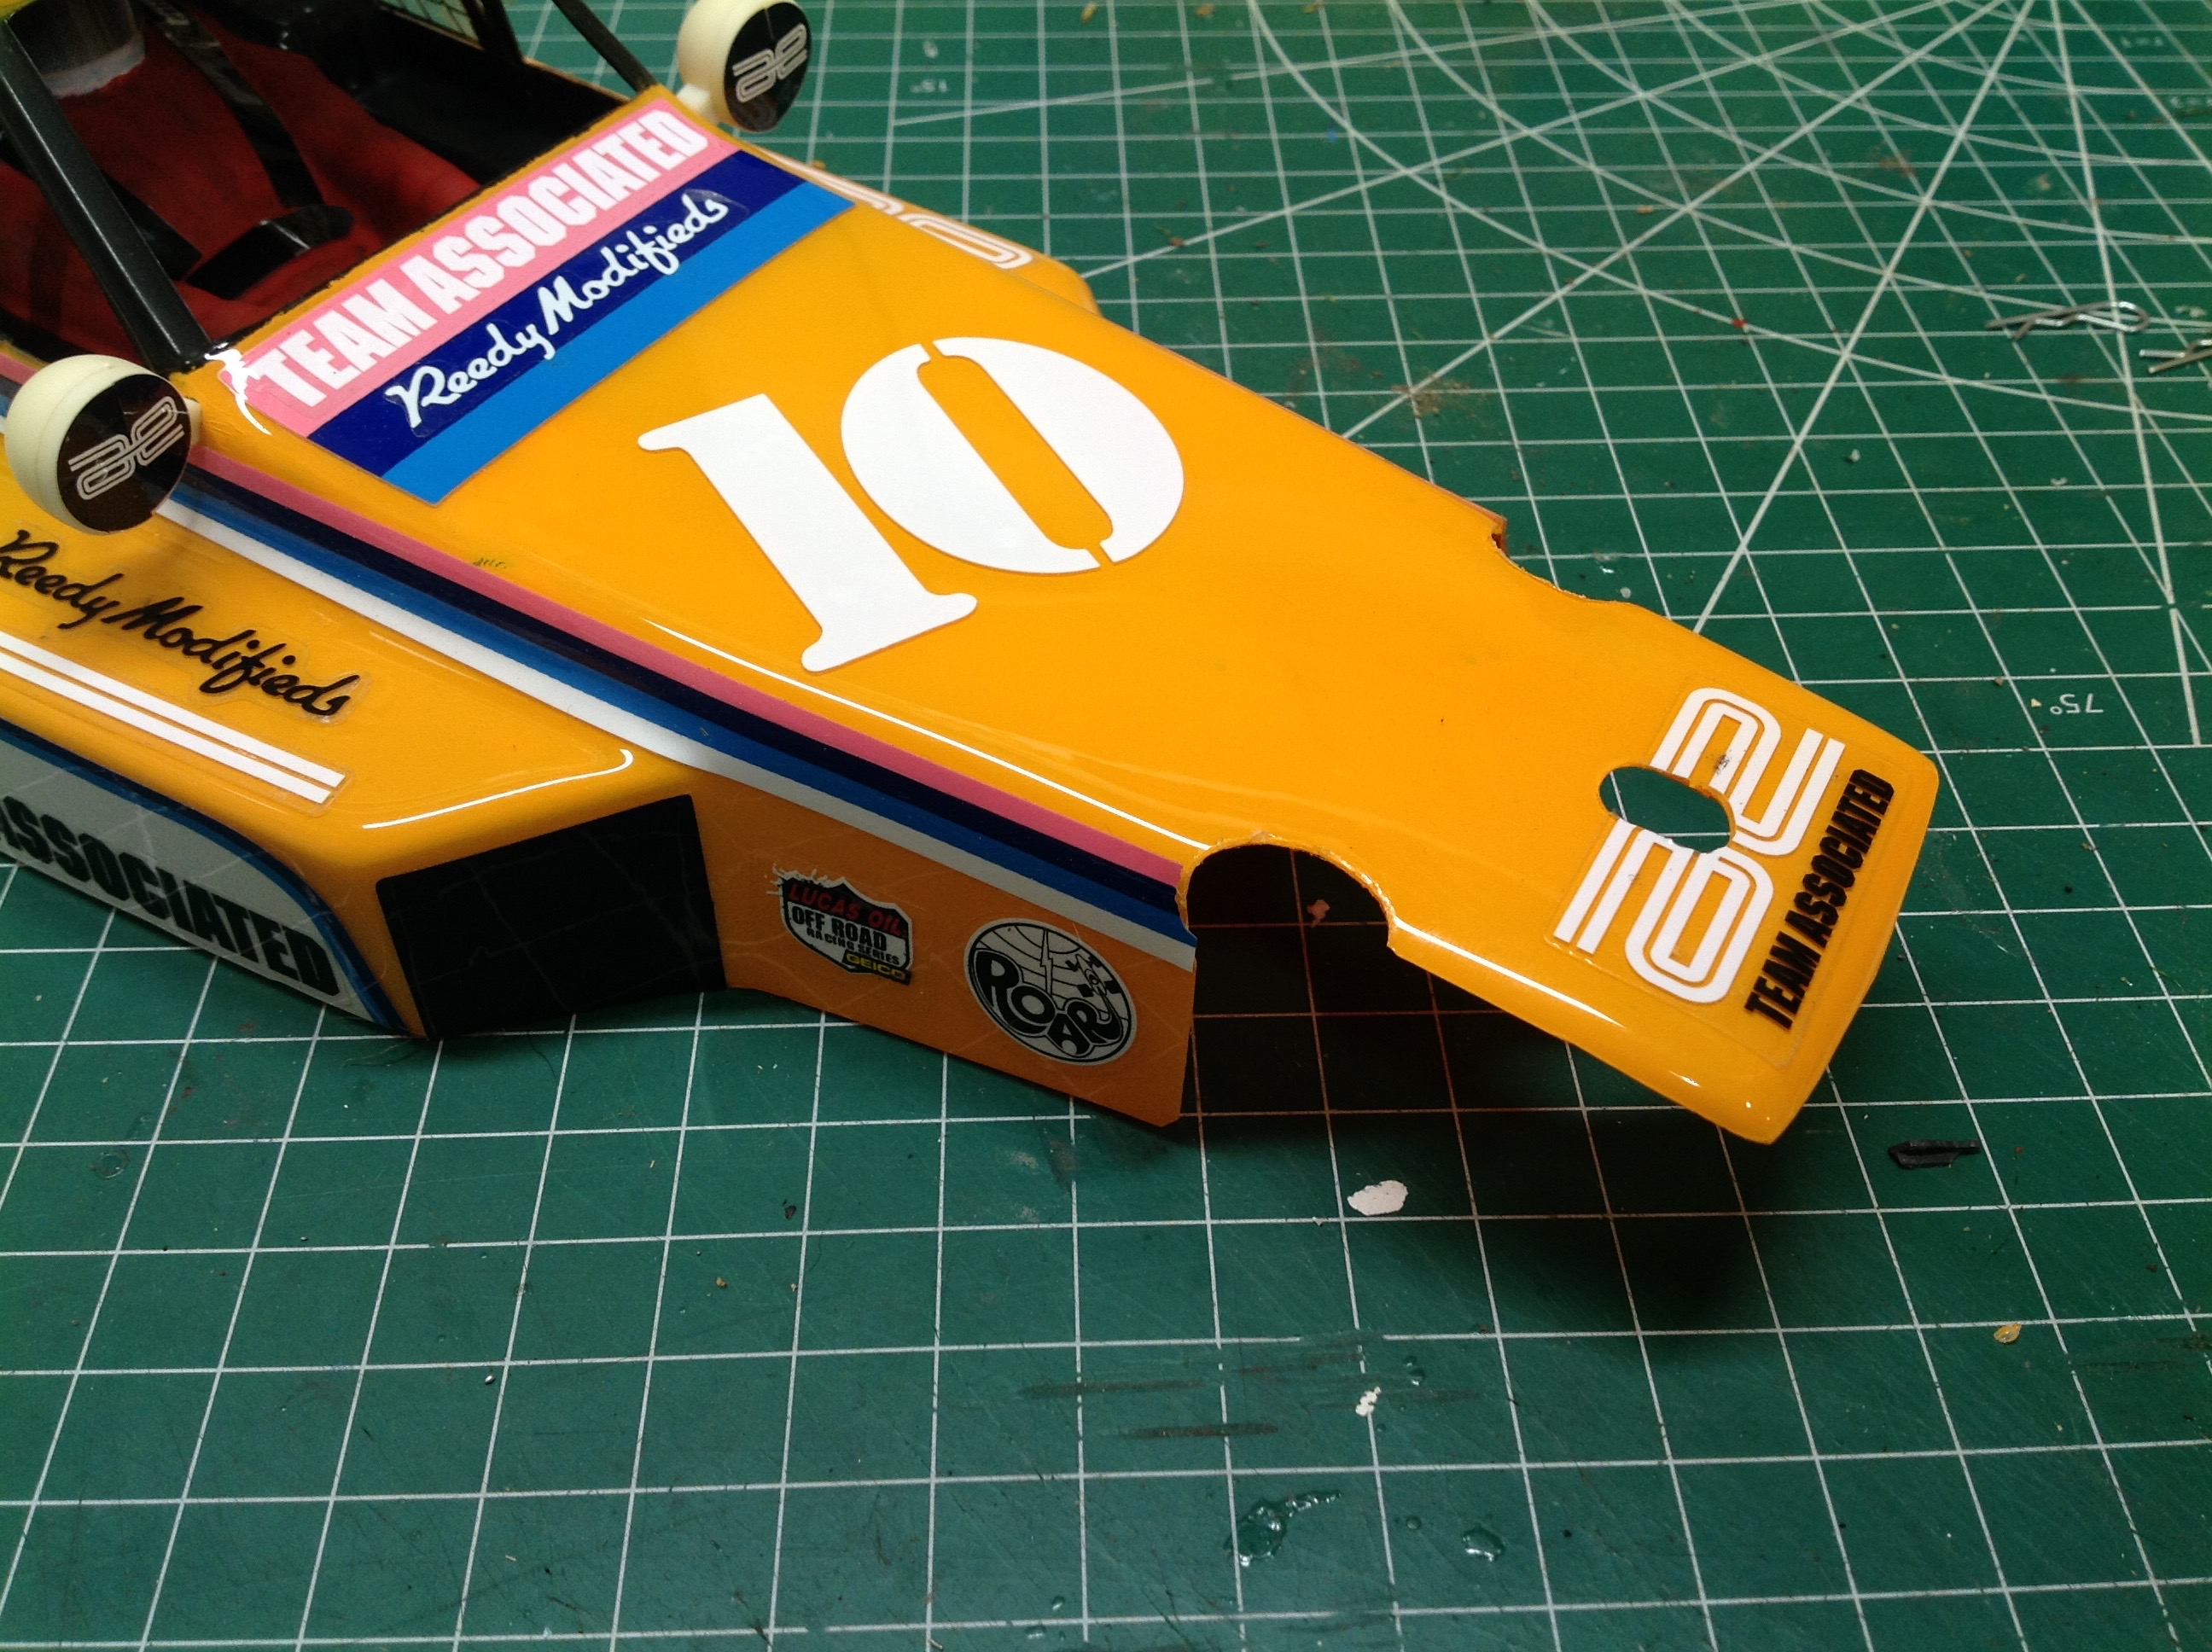
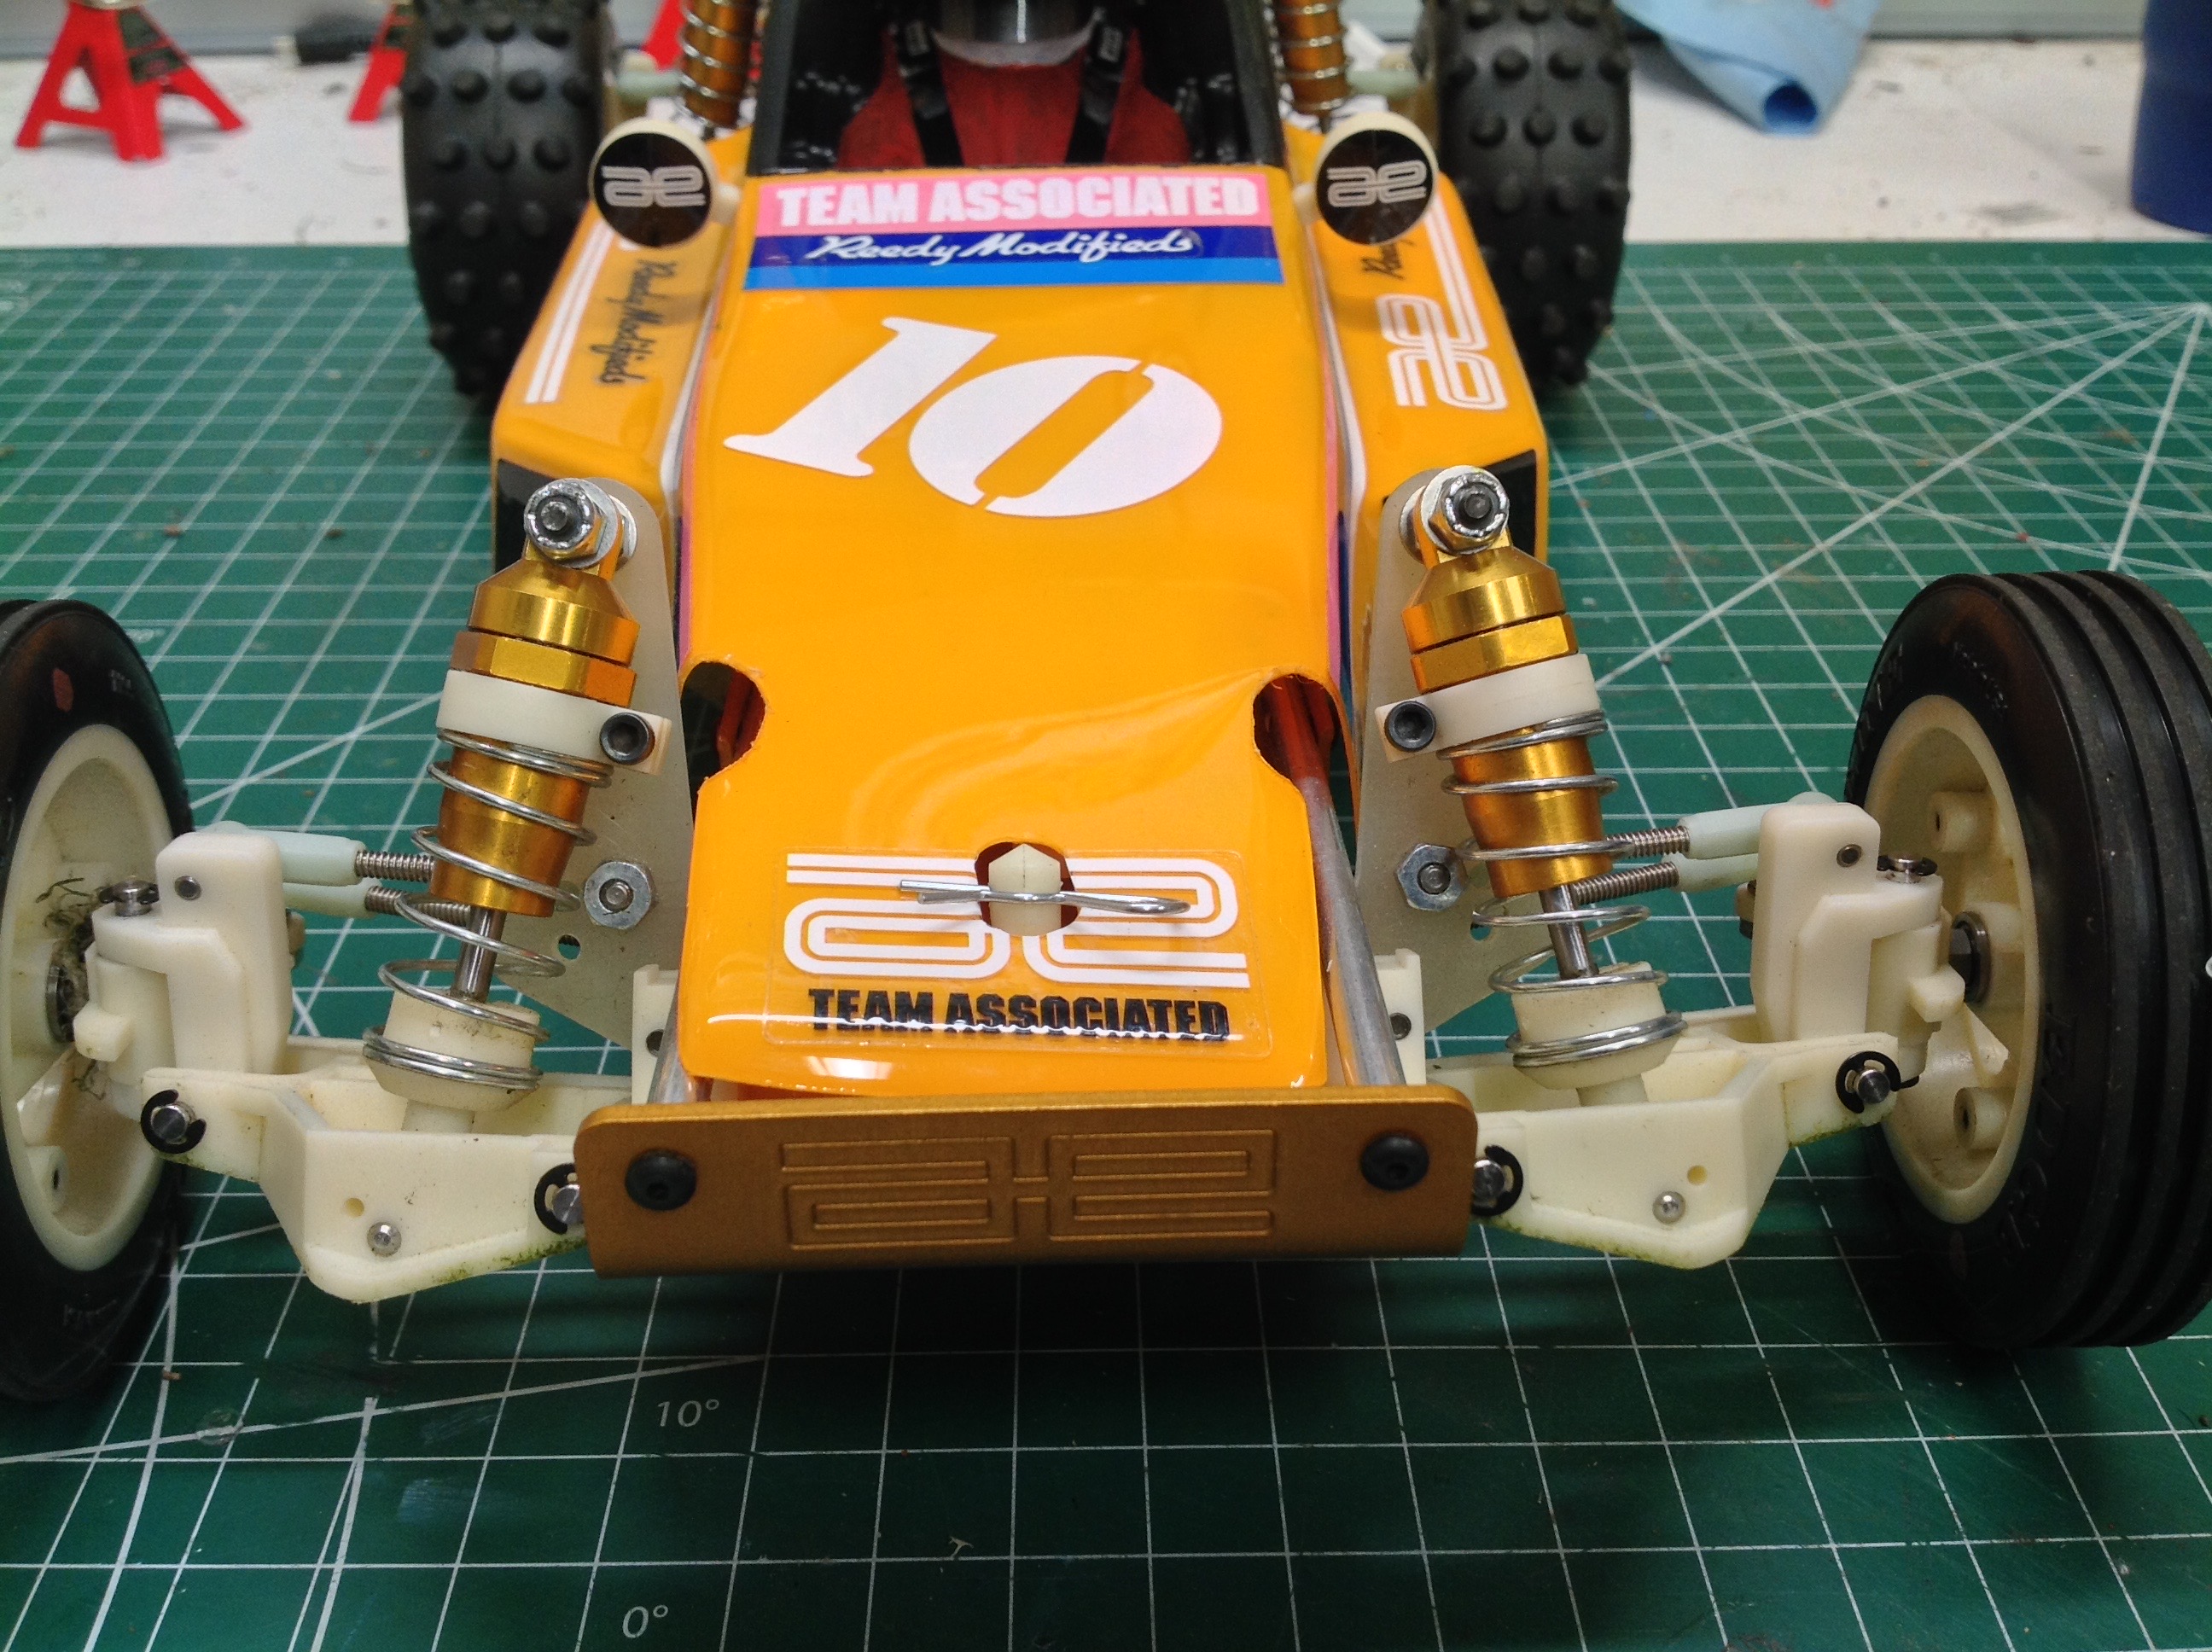
this body. The pictures above show the way I trimmed the body to
allow space for the front and rear shocks. You can see that the
shapes are pretty complex. The photo on the box also showed that
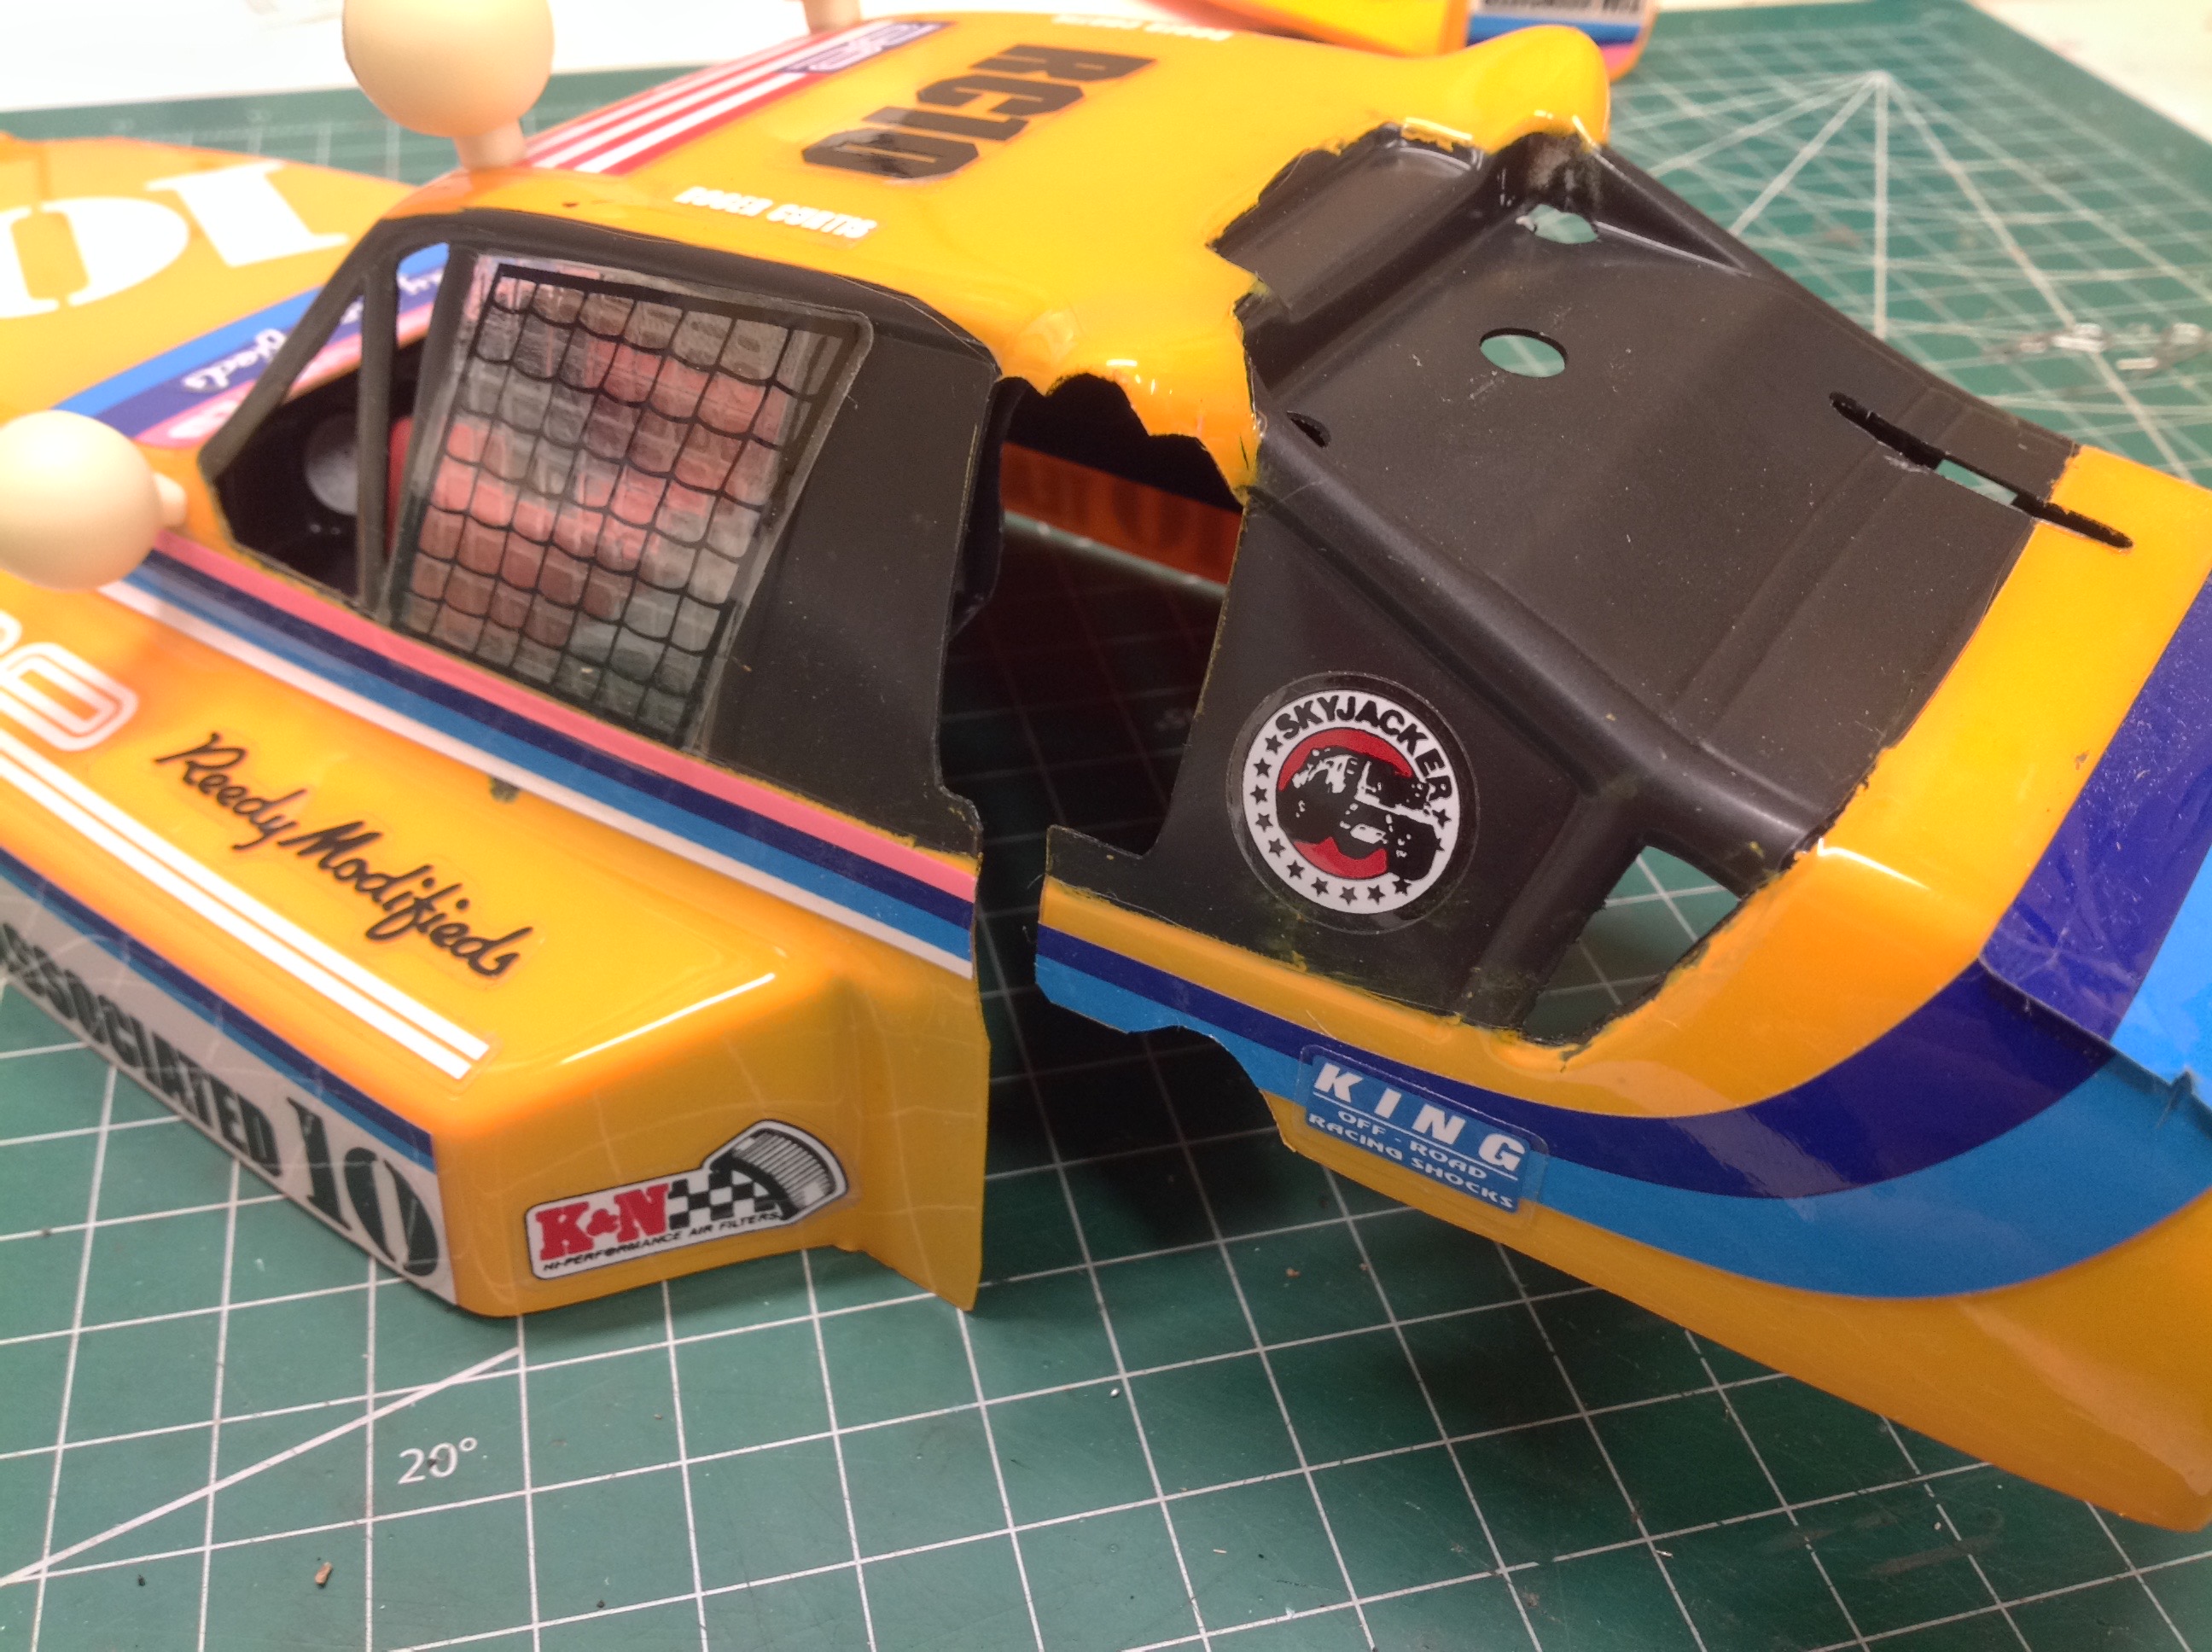
the windows should be actually cut out rather than left clear.
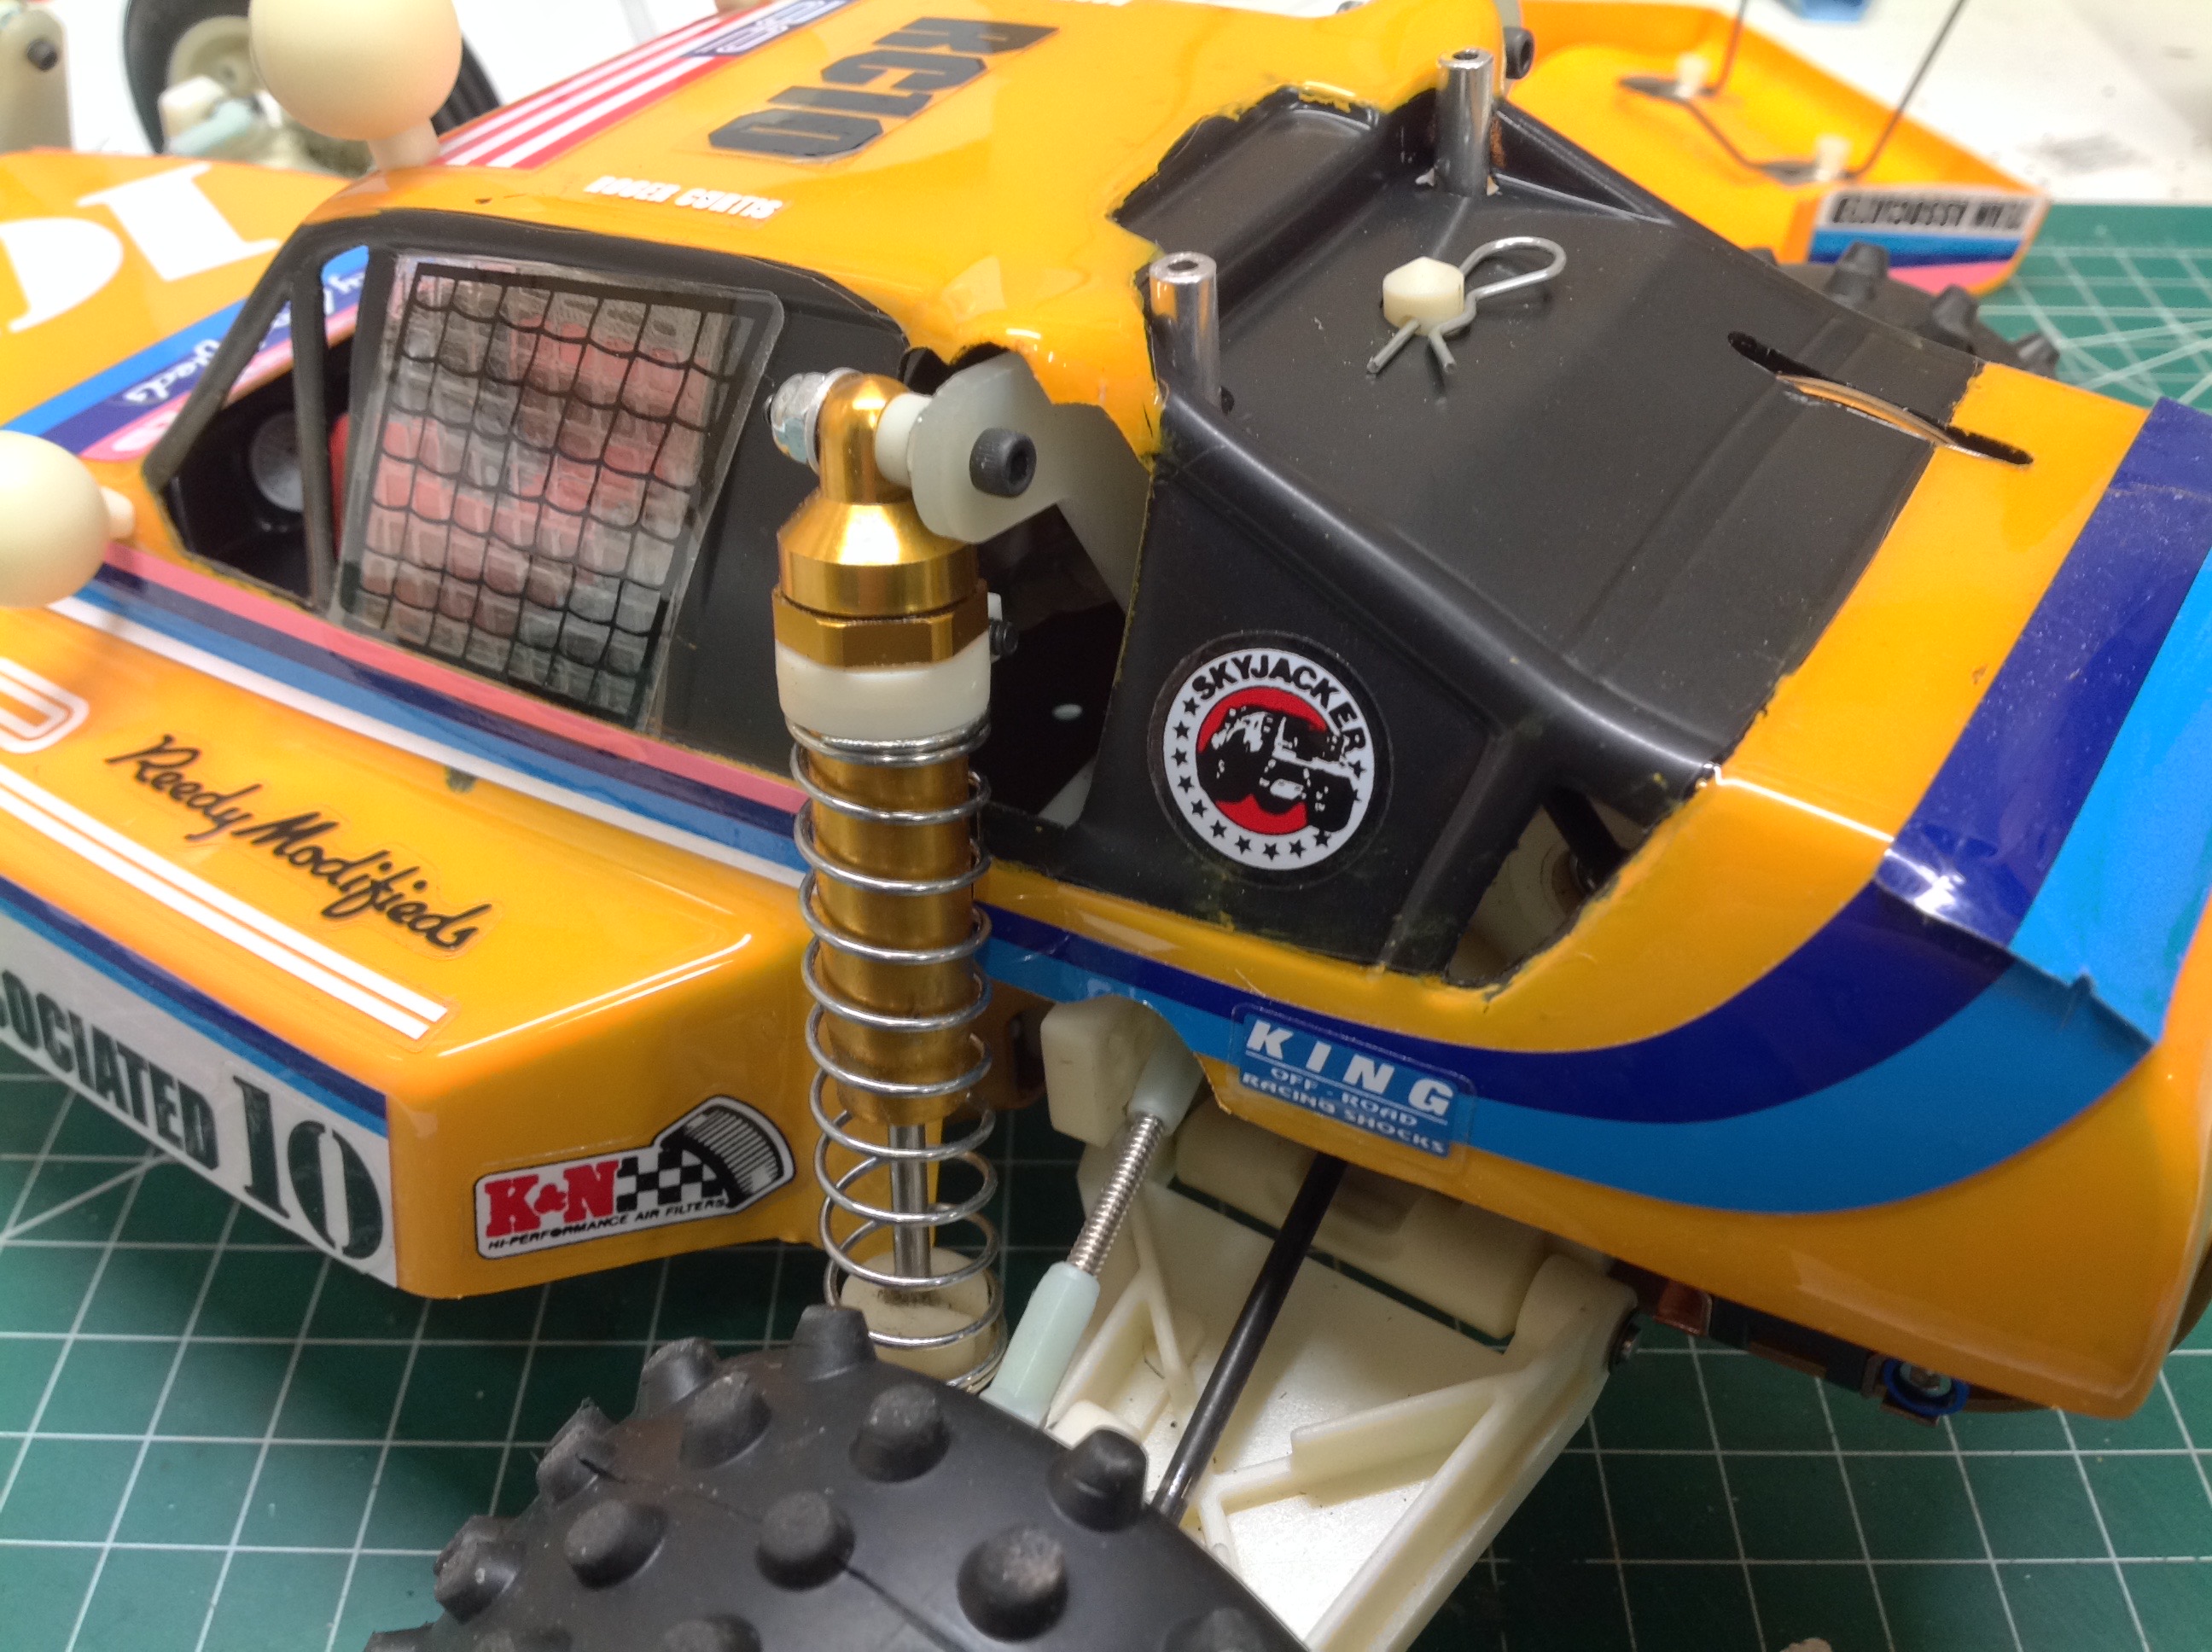
That was a lot of work. For the side windows, the box photo show a
mesh screen but no such screen is included in the kit. Instead
there are mesh stickers, but only one of them fits. The sticker
should have been mirrored for the other side but it wasn't so the shape
isn't right. The stack up of errors and misfits made it a pretty
miserable experience trying to get it to look good.
This picture of the rear end of the body shows the paint and decorations
as well as the slot I added to clear the transmission spine
plate. Without this slot there was no way to get the body to sit
low enough to install the body clip. There was no indication for
the need of any such slot in the instructions. Note that the
instructions don't tell you where to install the stickers either.
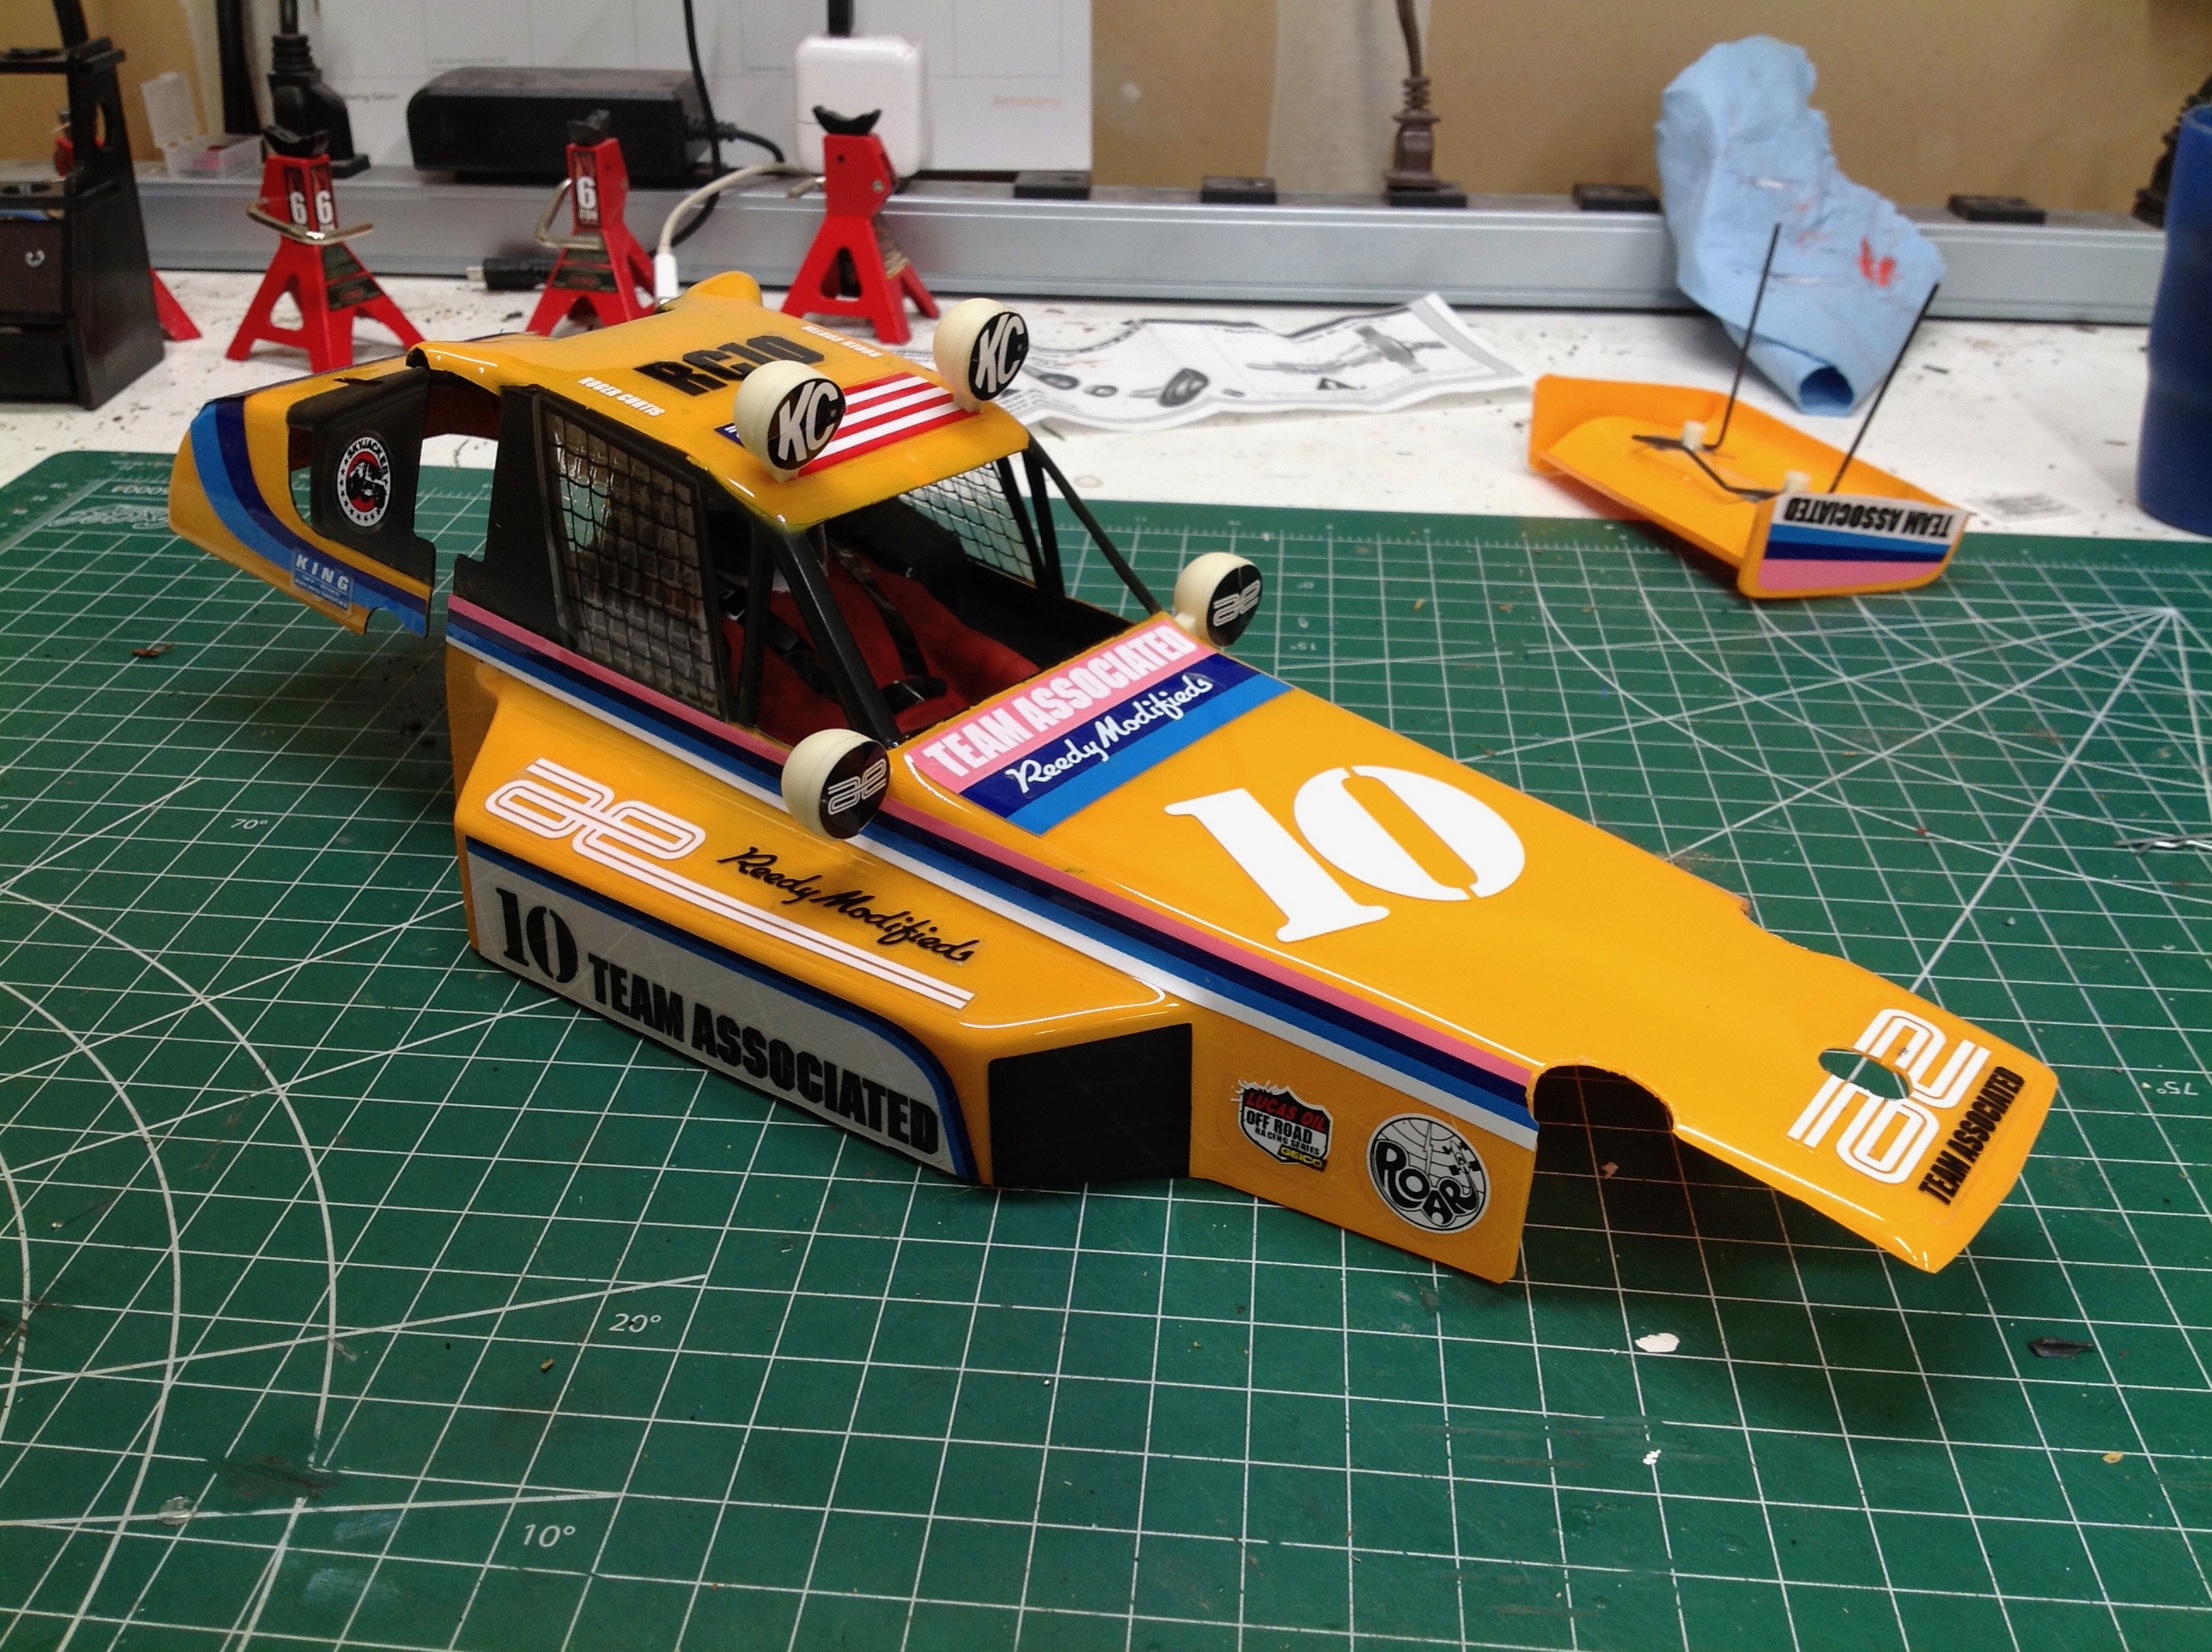
In the left hand image you can see that I couldn't get the lateral
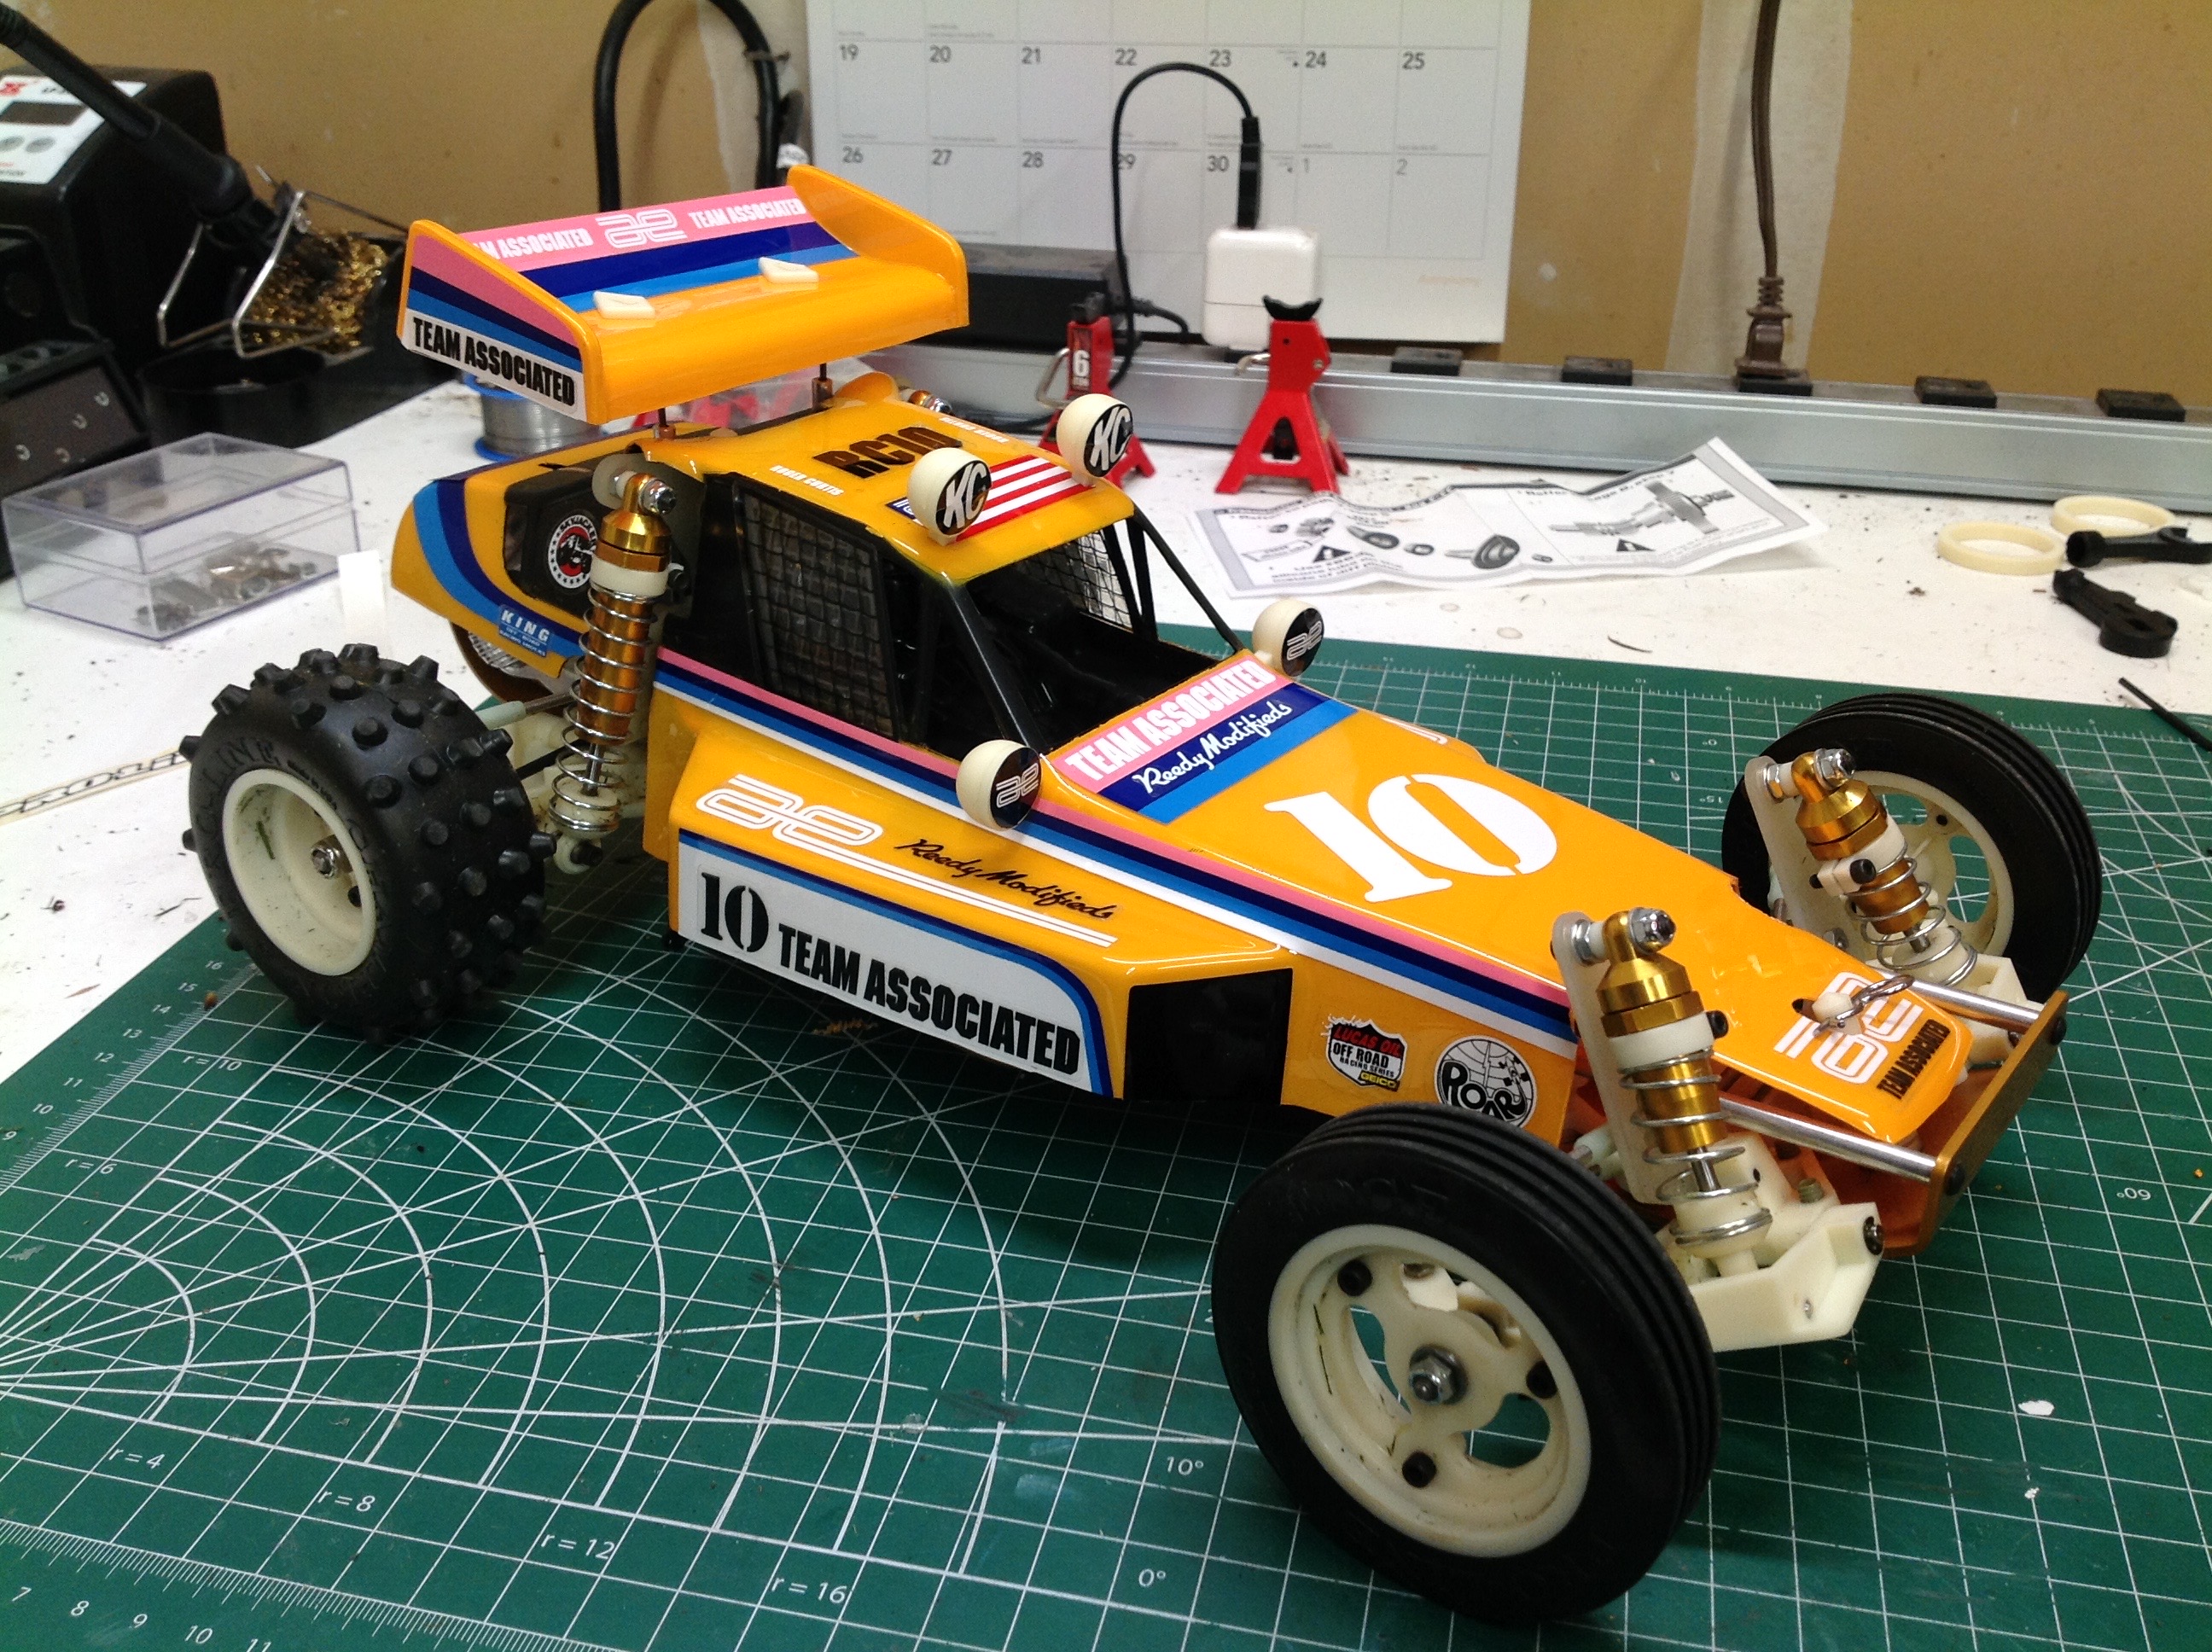
stripe to adhere properly. The picture on the right shows the
completed body with light pods installed.
These unfortunate photos show how the front of the body doesn't fit
properly. In order to make the front sit low enough to install the
body clip you have to wedge the body into the aluminum braces which
forces it to sit crooked. It looks terrible. I could trim it
narrower but then it looks nothing like the pictures on the box.
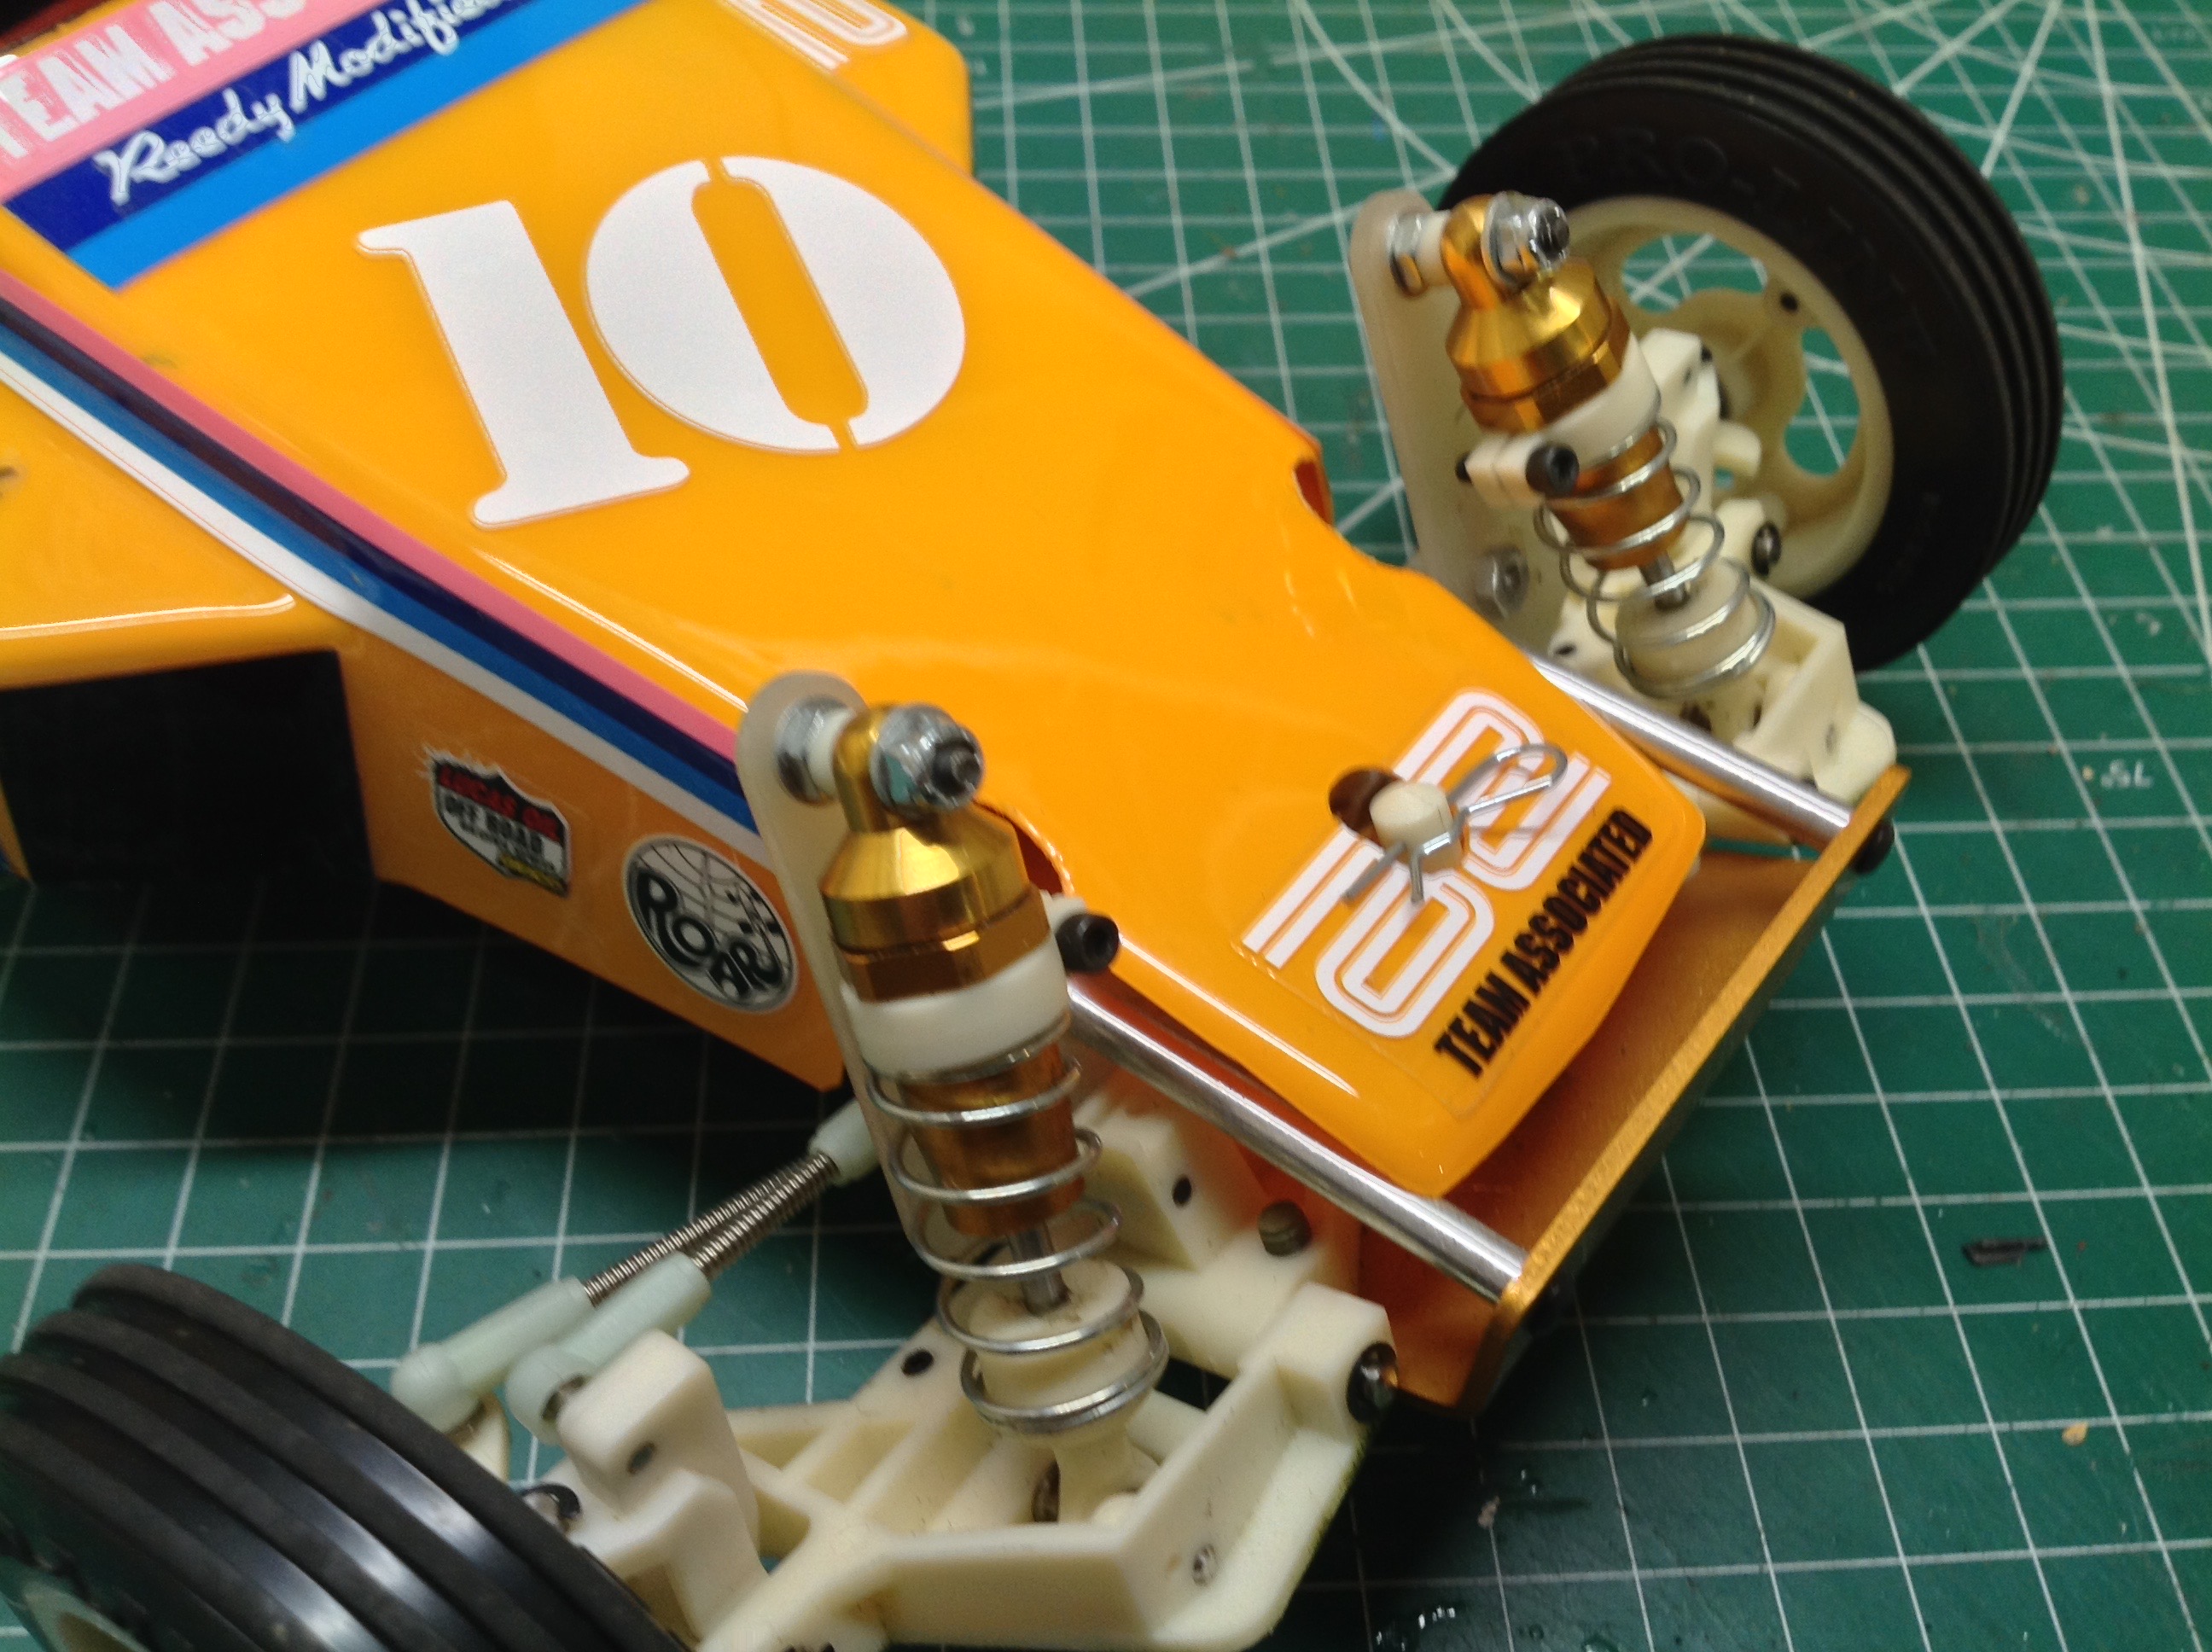
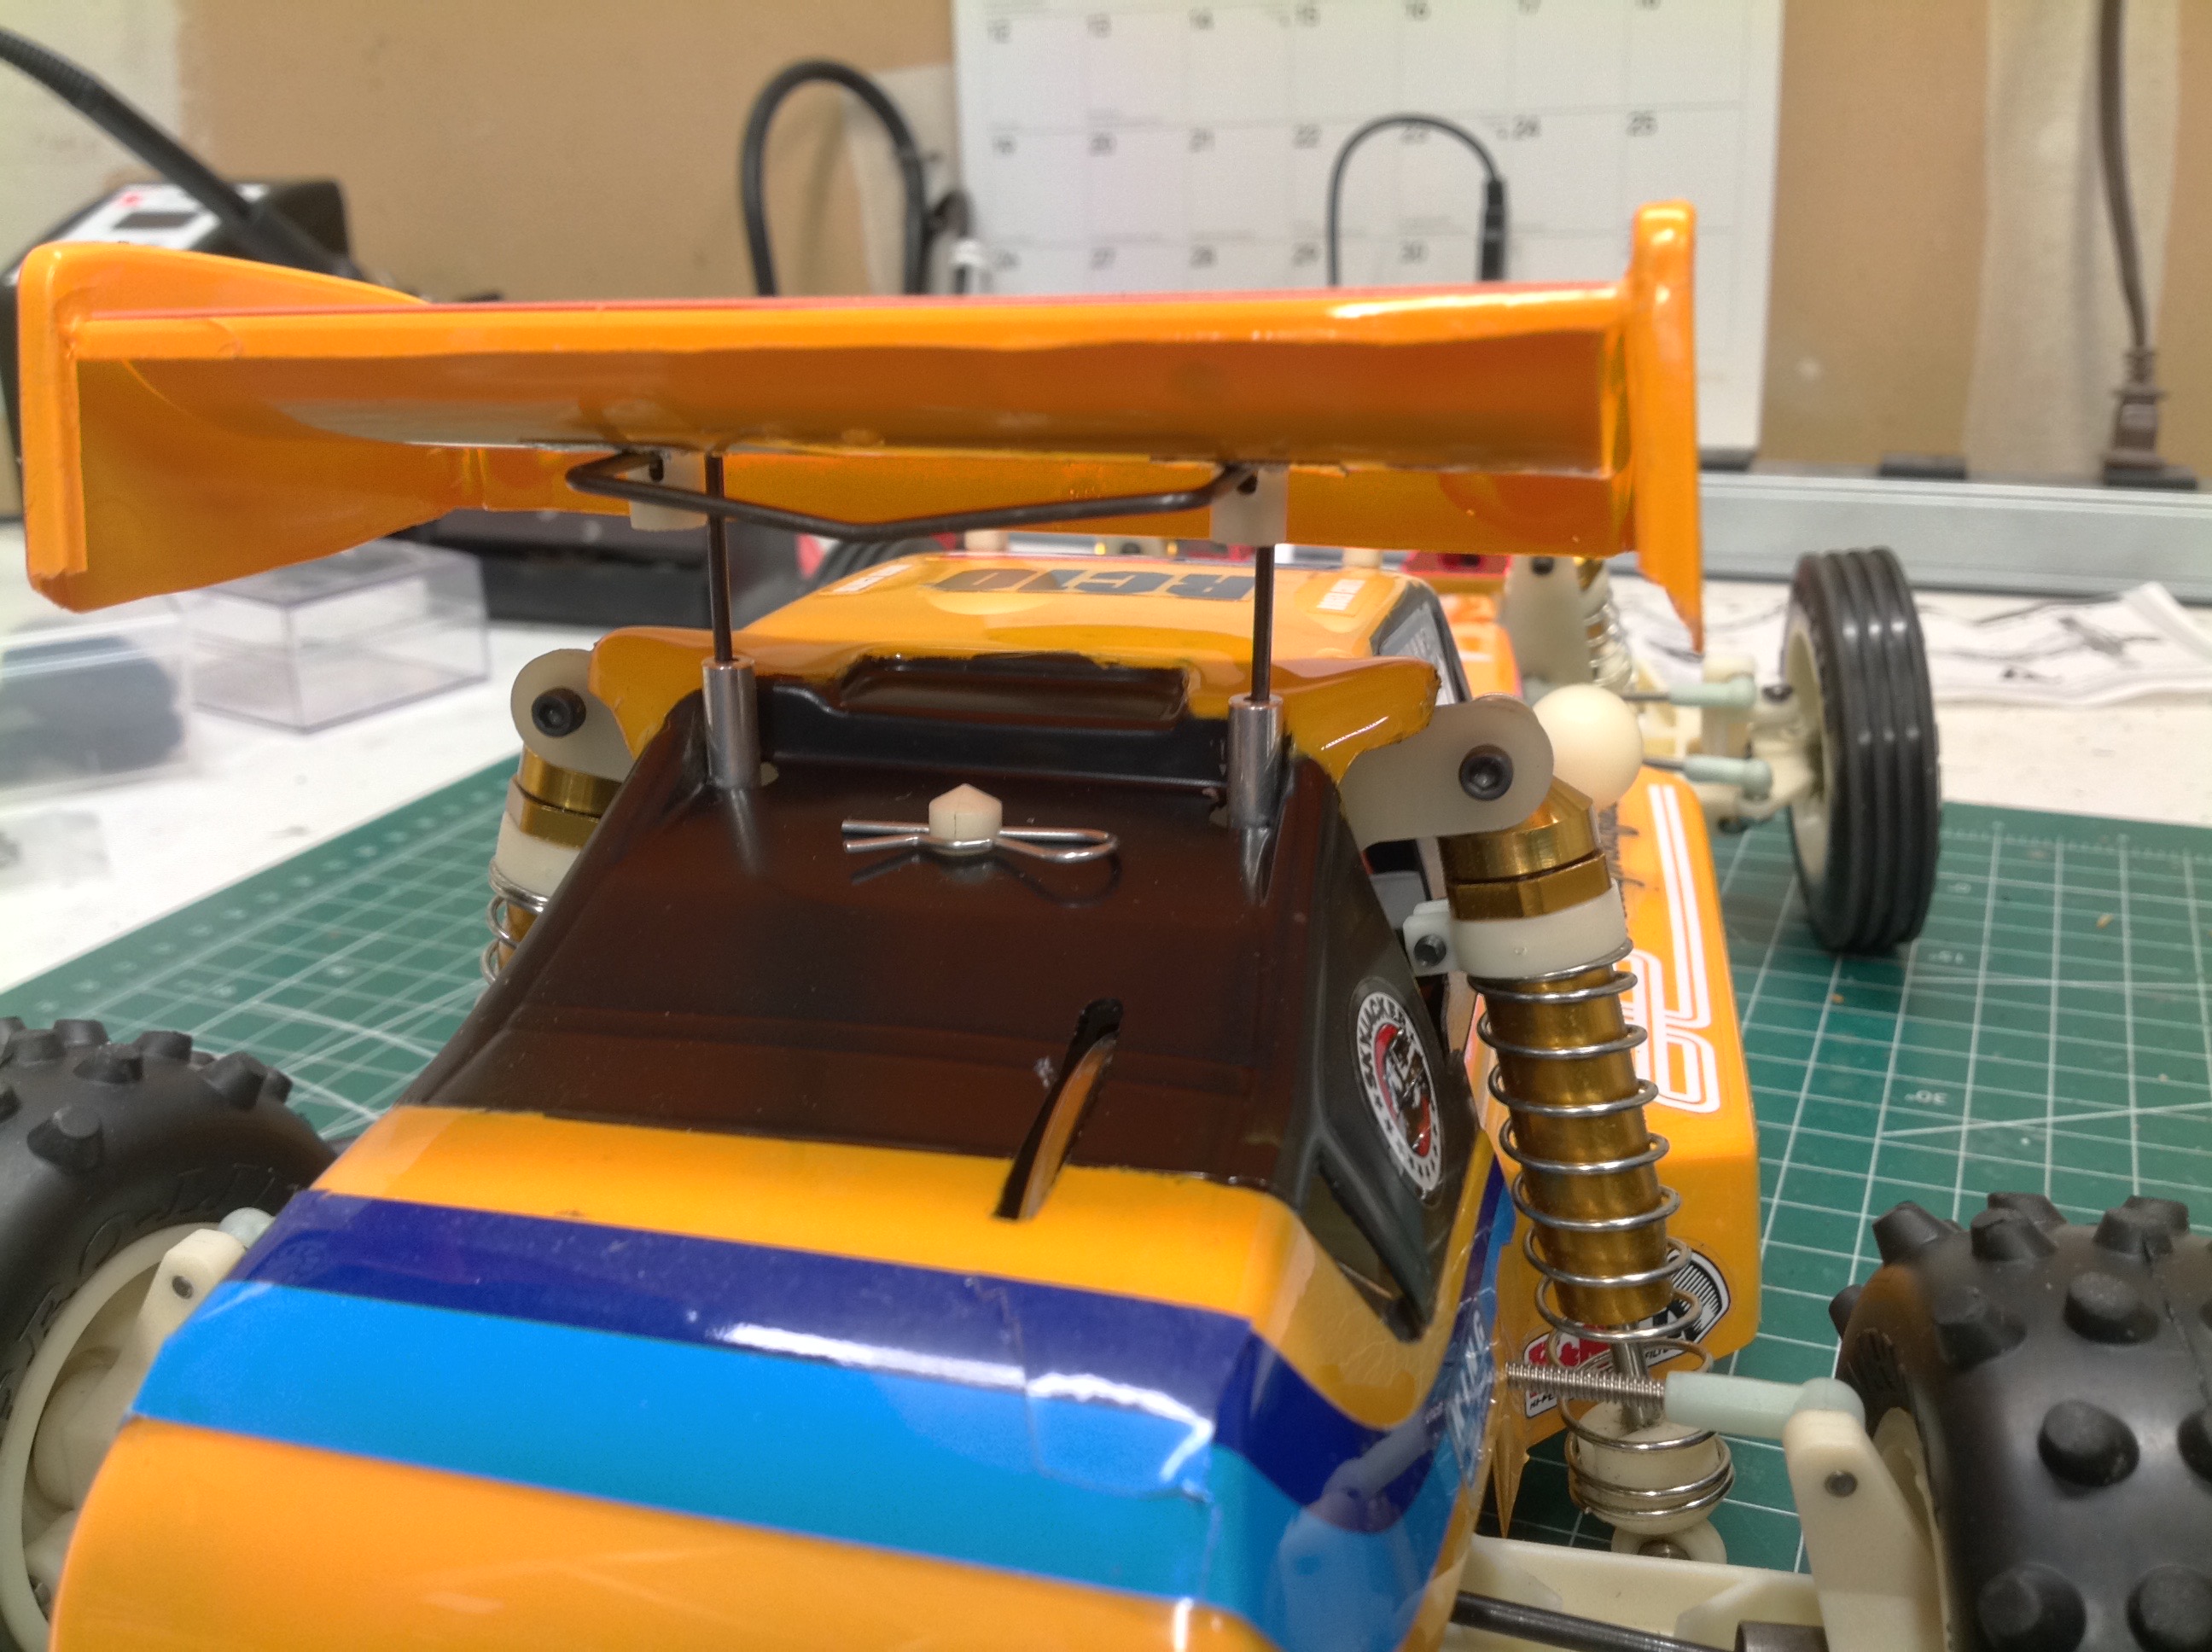
These photos of the rear show how I sculpted the body around the rear
shocks, the transmission spine and the vertical tubes for the
wing. PITA.
The wing does not mount rigidly, instead a couple of wires simply slide
into tubes on the chassis. This means the wing must be removed to
removed the body and access the battery. It also means that the
wing can't generate any real downforce because it will simply slide up
and down in the tubes. The photo on the right shows the completed
model. Note how far forward the wing sits compared to more
traditional buggy models.
©2020 Eric Albrecht