Axial SCX10 II Project
Page 2: Upgrades!
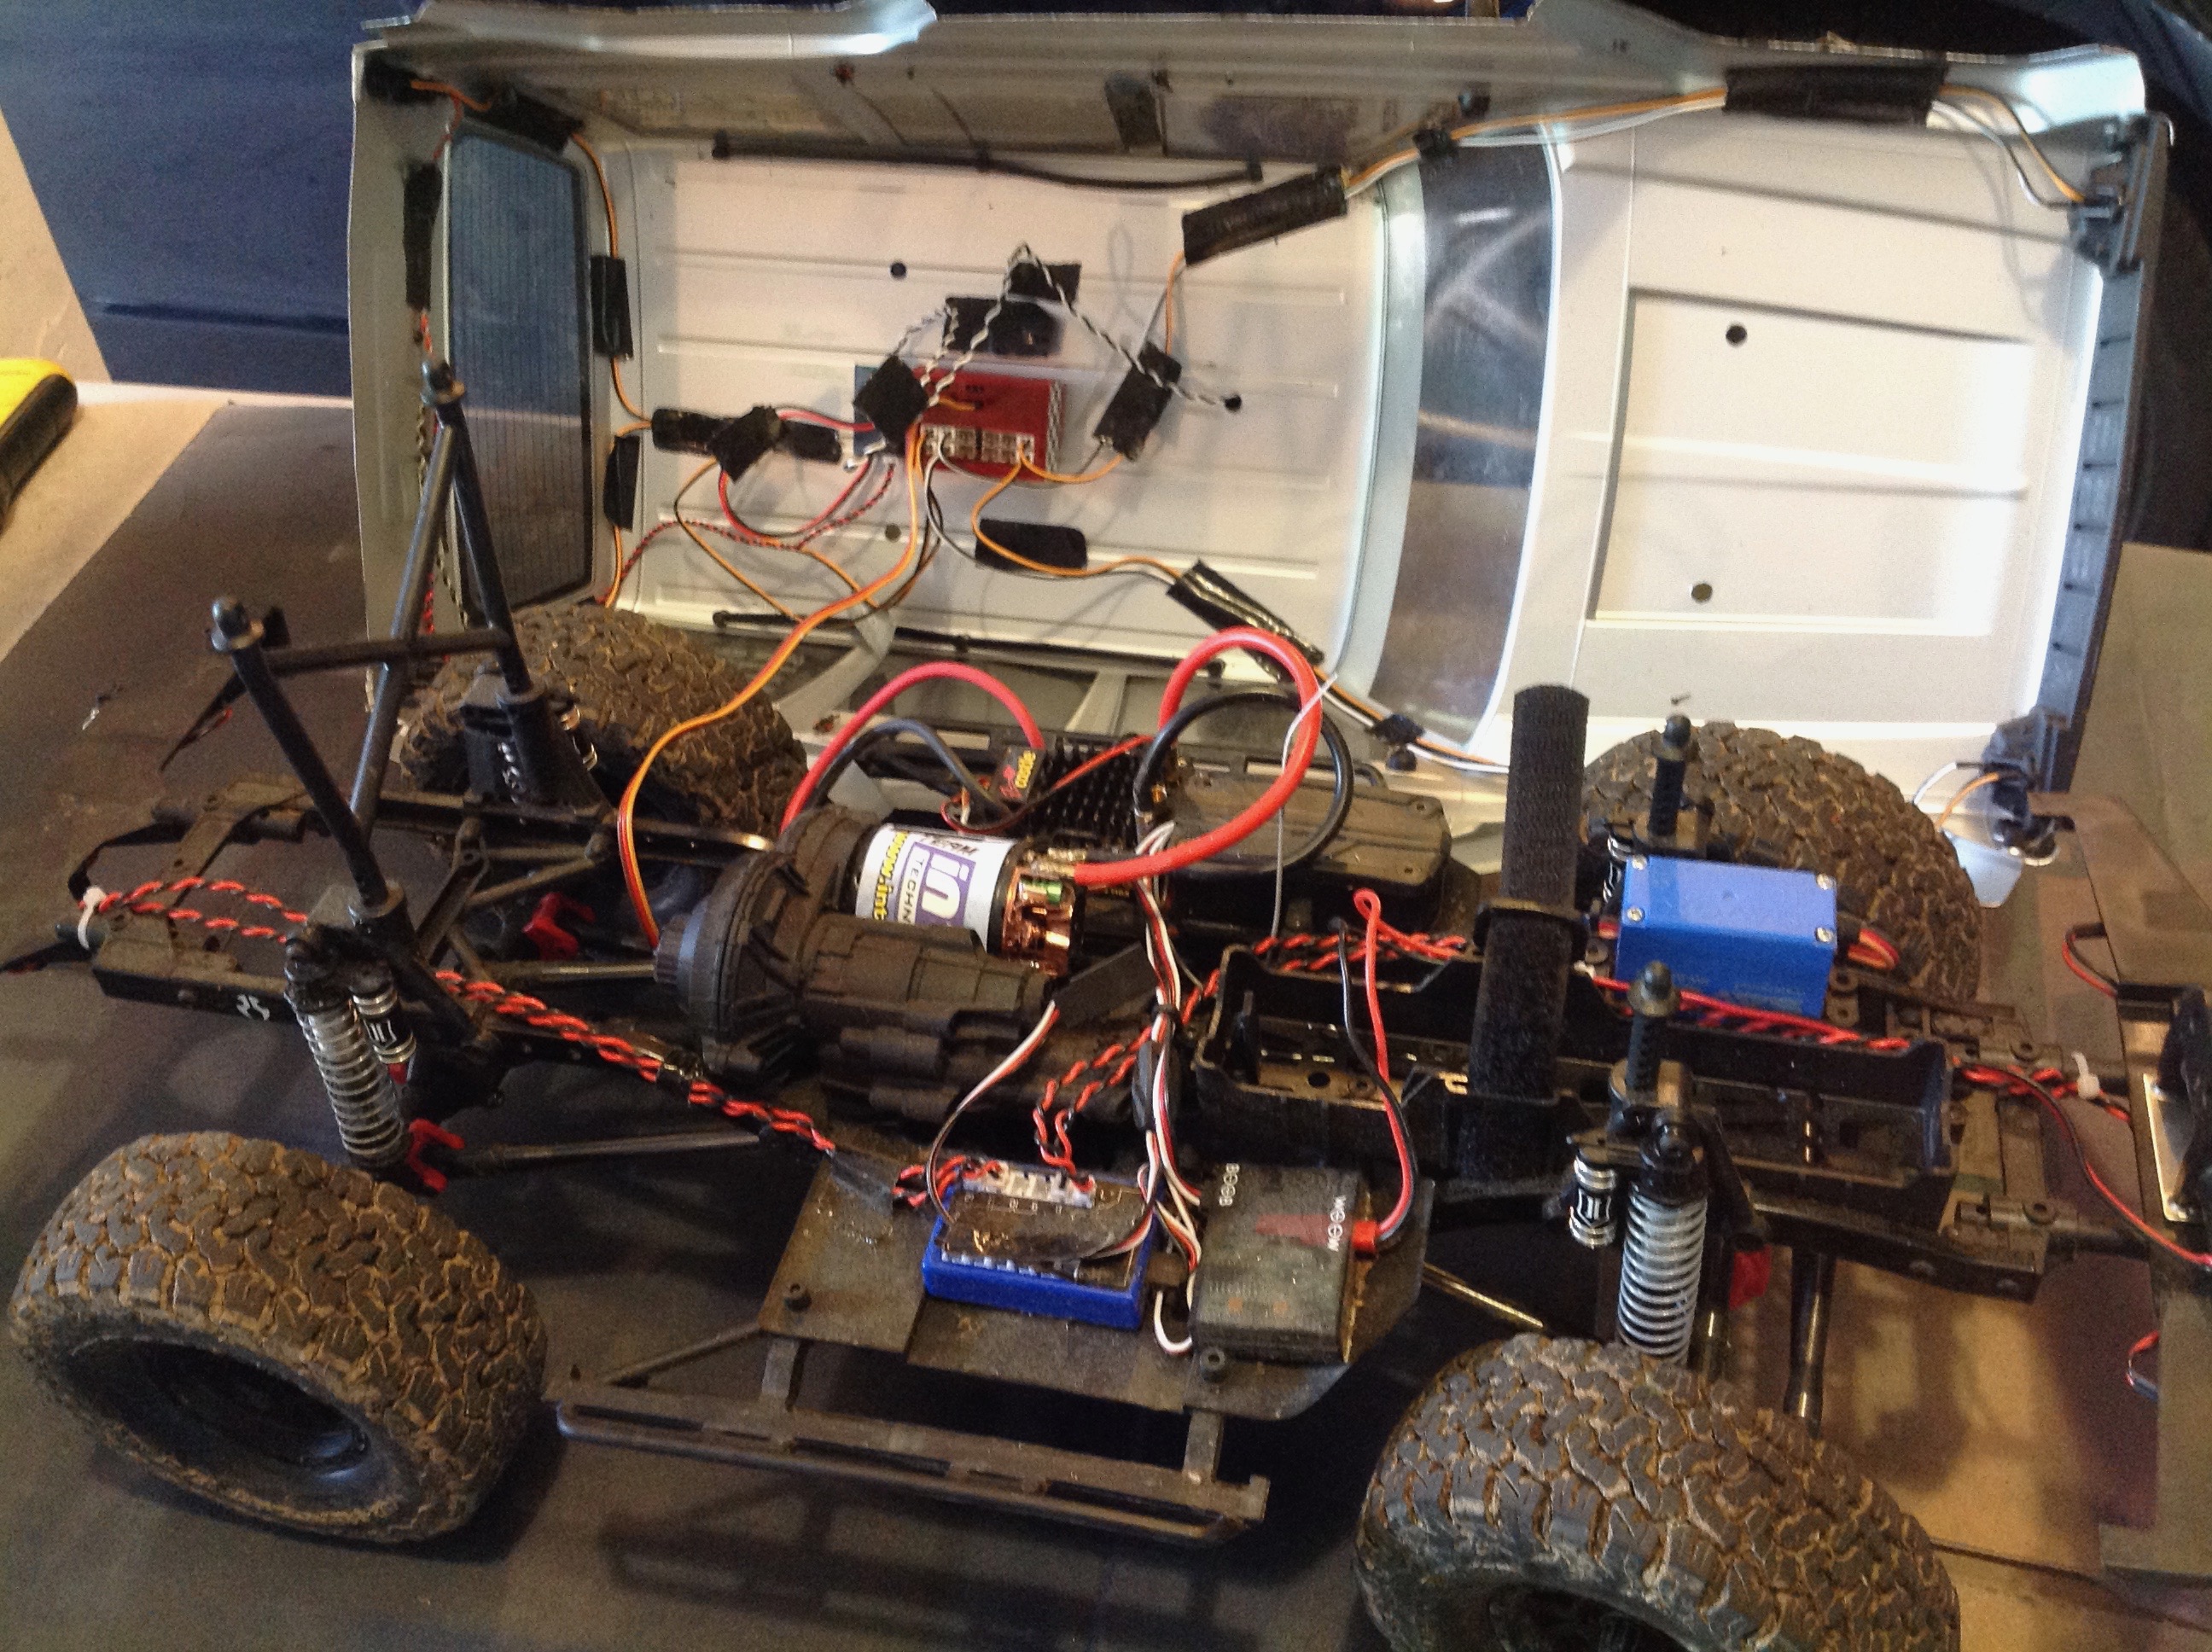
The first thing I wanted to do was add lights but I was clueless about
how they worked at the time. What voltage do they use? Can
you connect them directly to the battery? To the receiver?
Can you wire them in parallel? Do LEDs from different companies
work together? I didn't know the answer to any of these questions,
but I discovered the answer to the last was "no". I ended up with
a Frankenstein or 3 different lighting systems. The body lights
were run from an Associated light controller in parallel. The roof
rack lights were run from an Axial controller in series. The
chassis lights needed to be separate so I could remove the body, so for
the bumper lights I used a Soondar controller. All 3 of these
systems were connected with Y-harnesses to the receiver. It worked
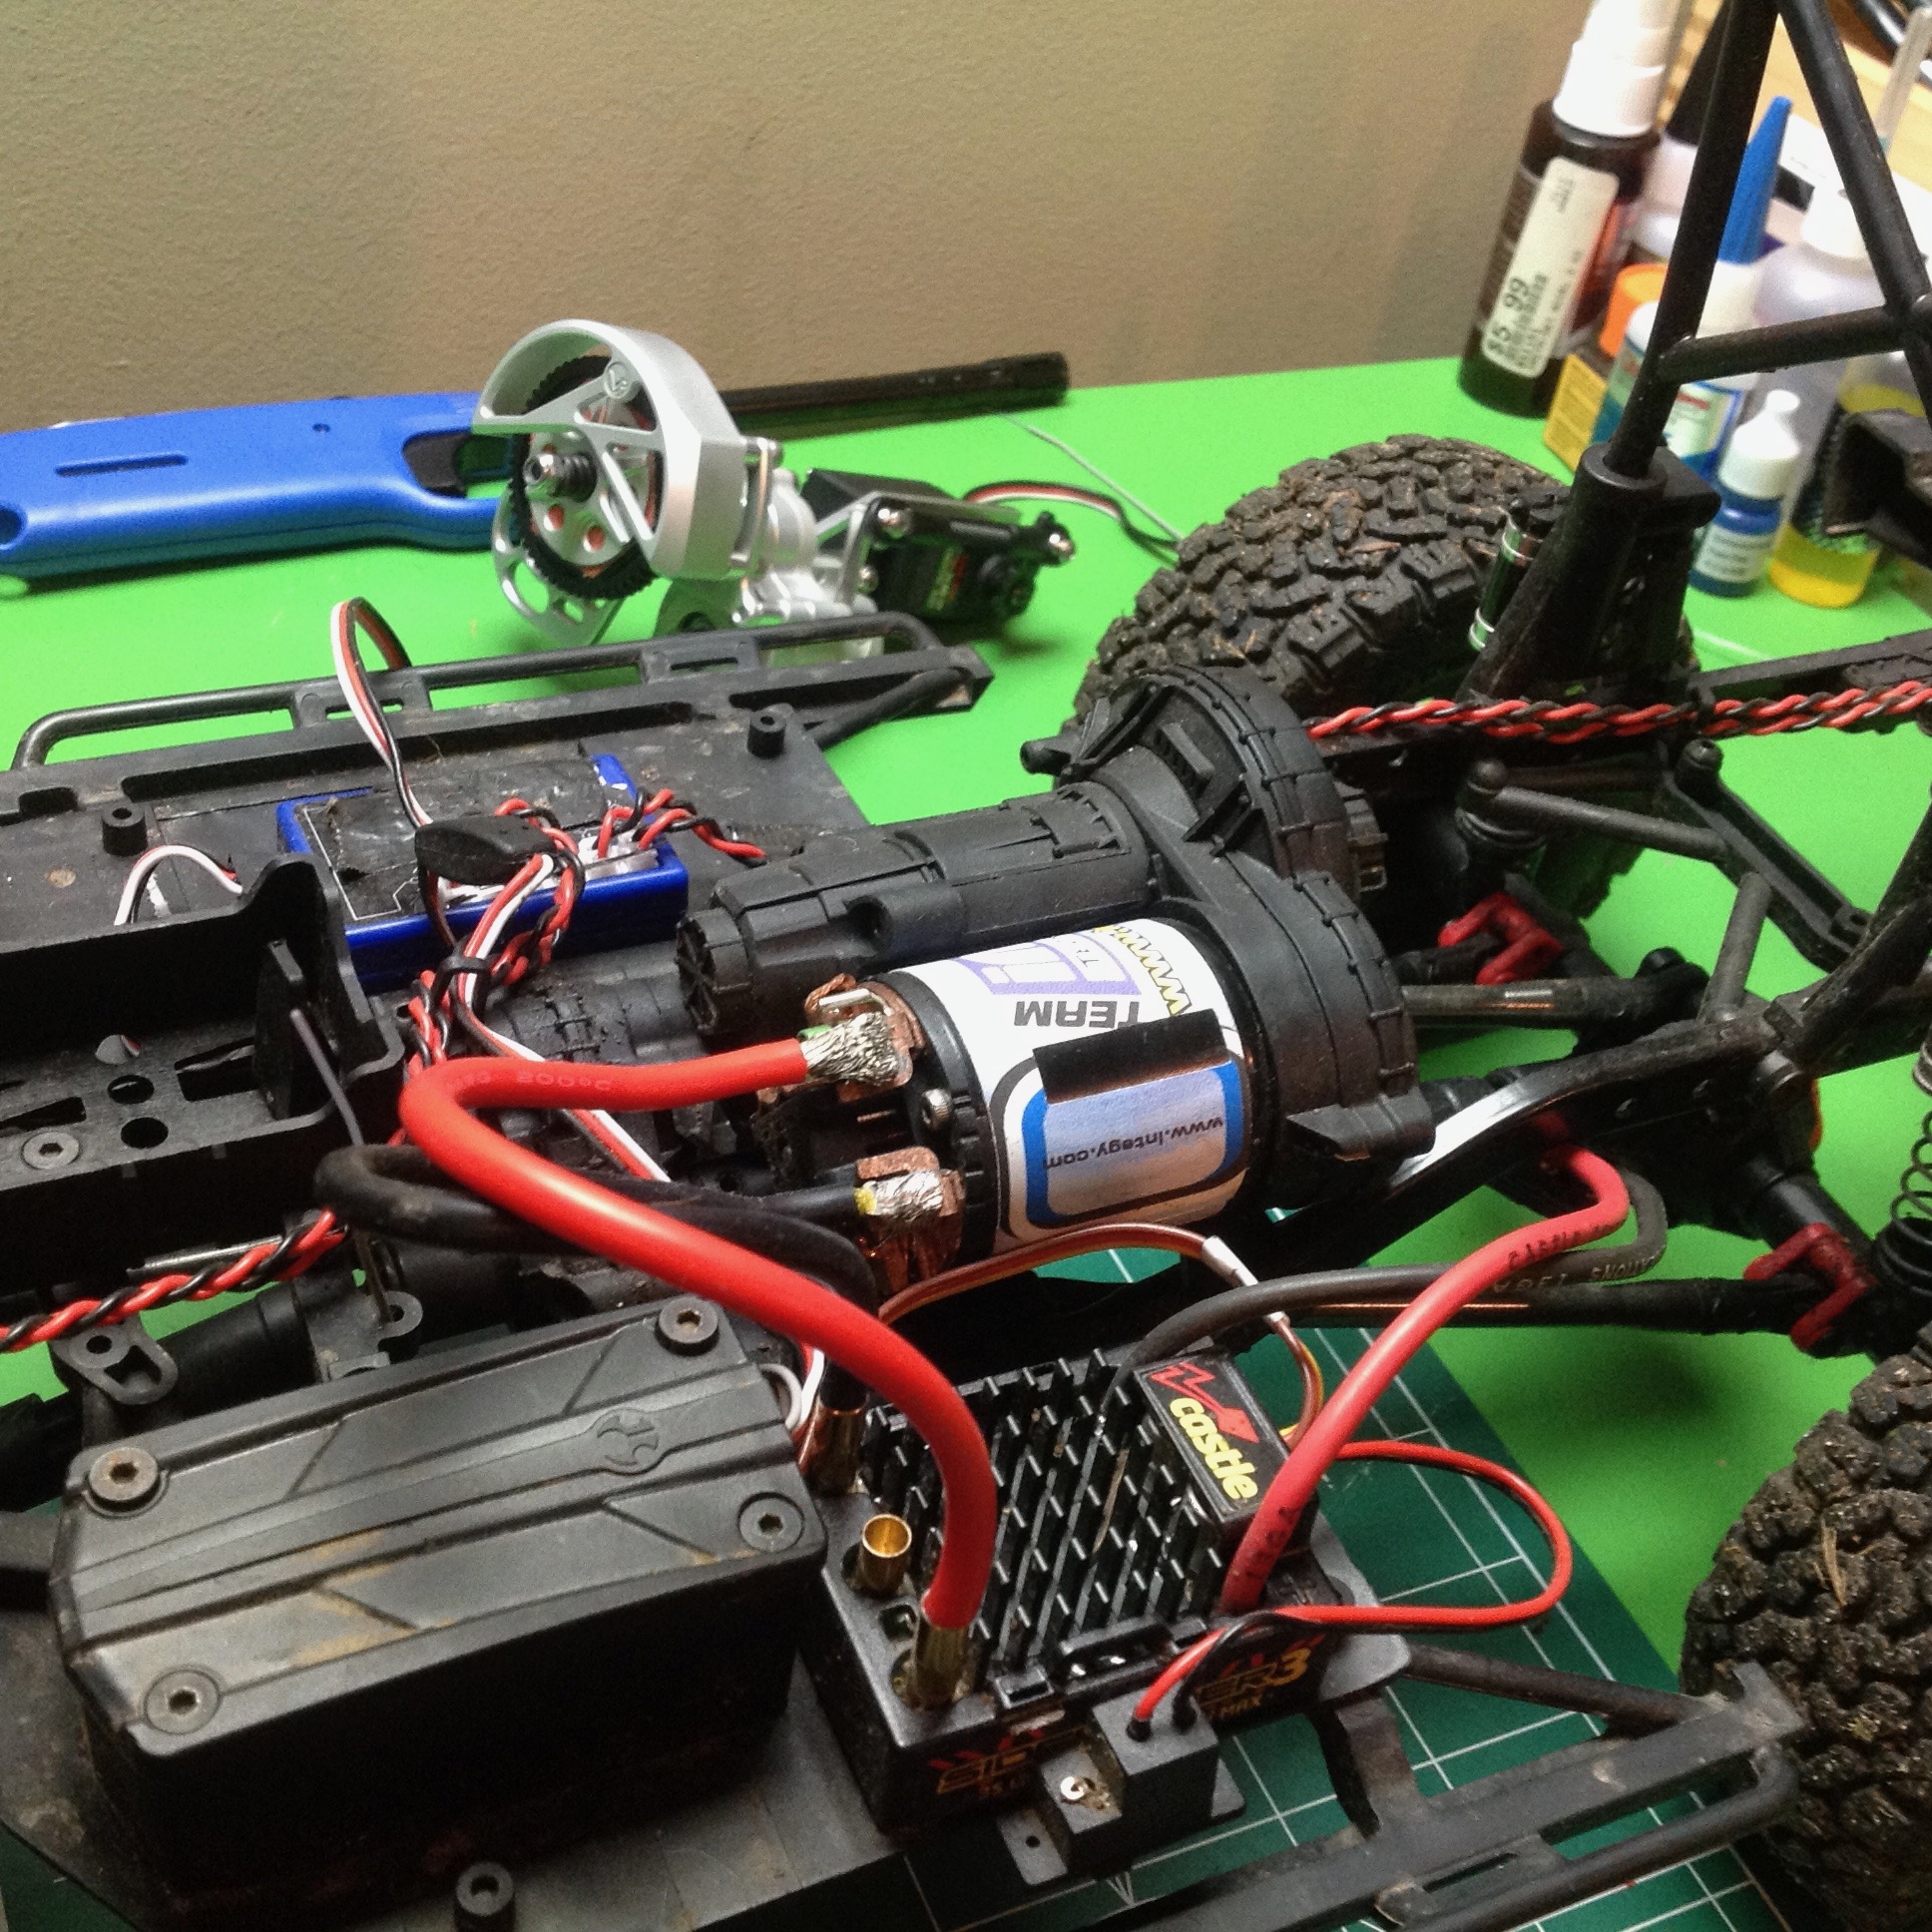
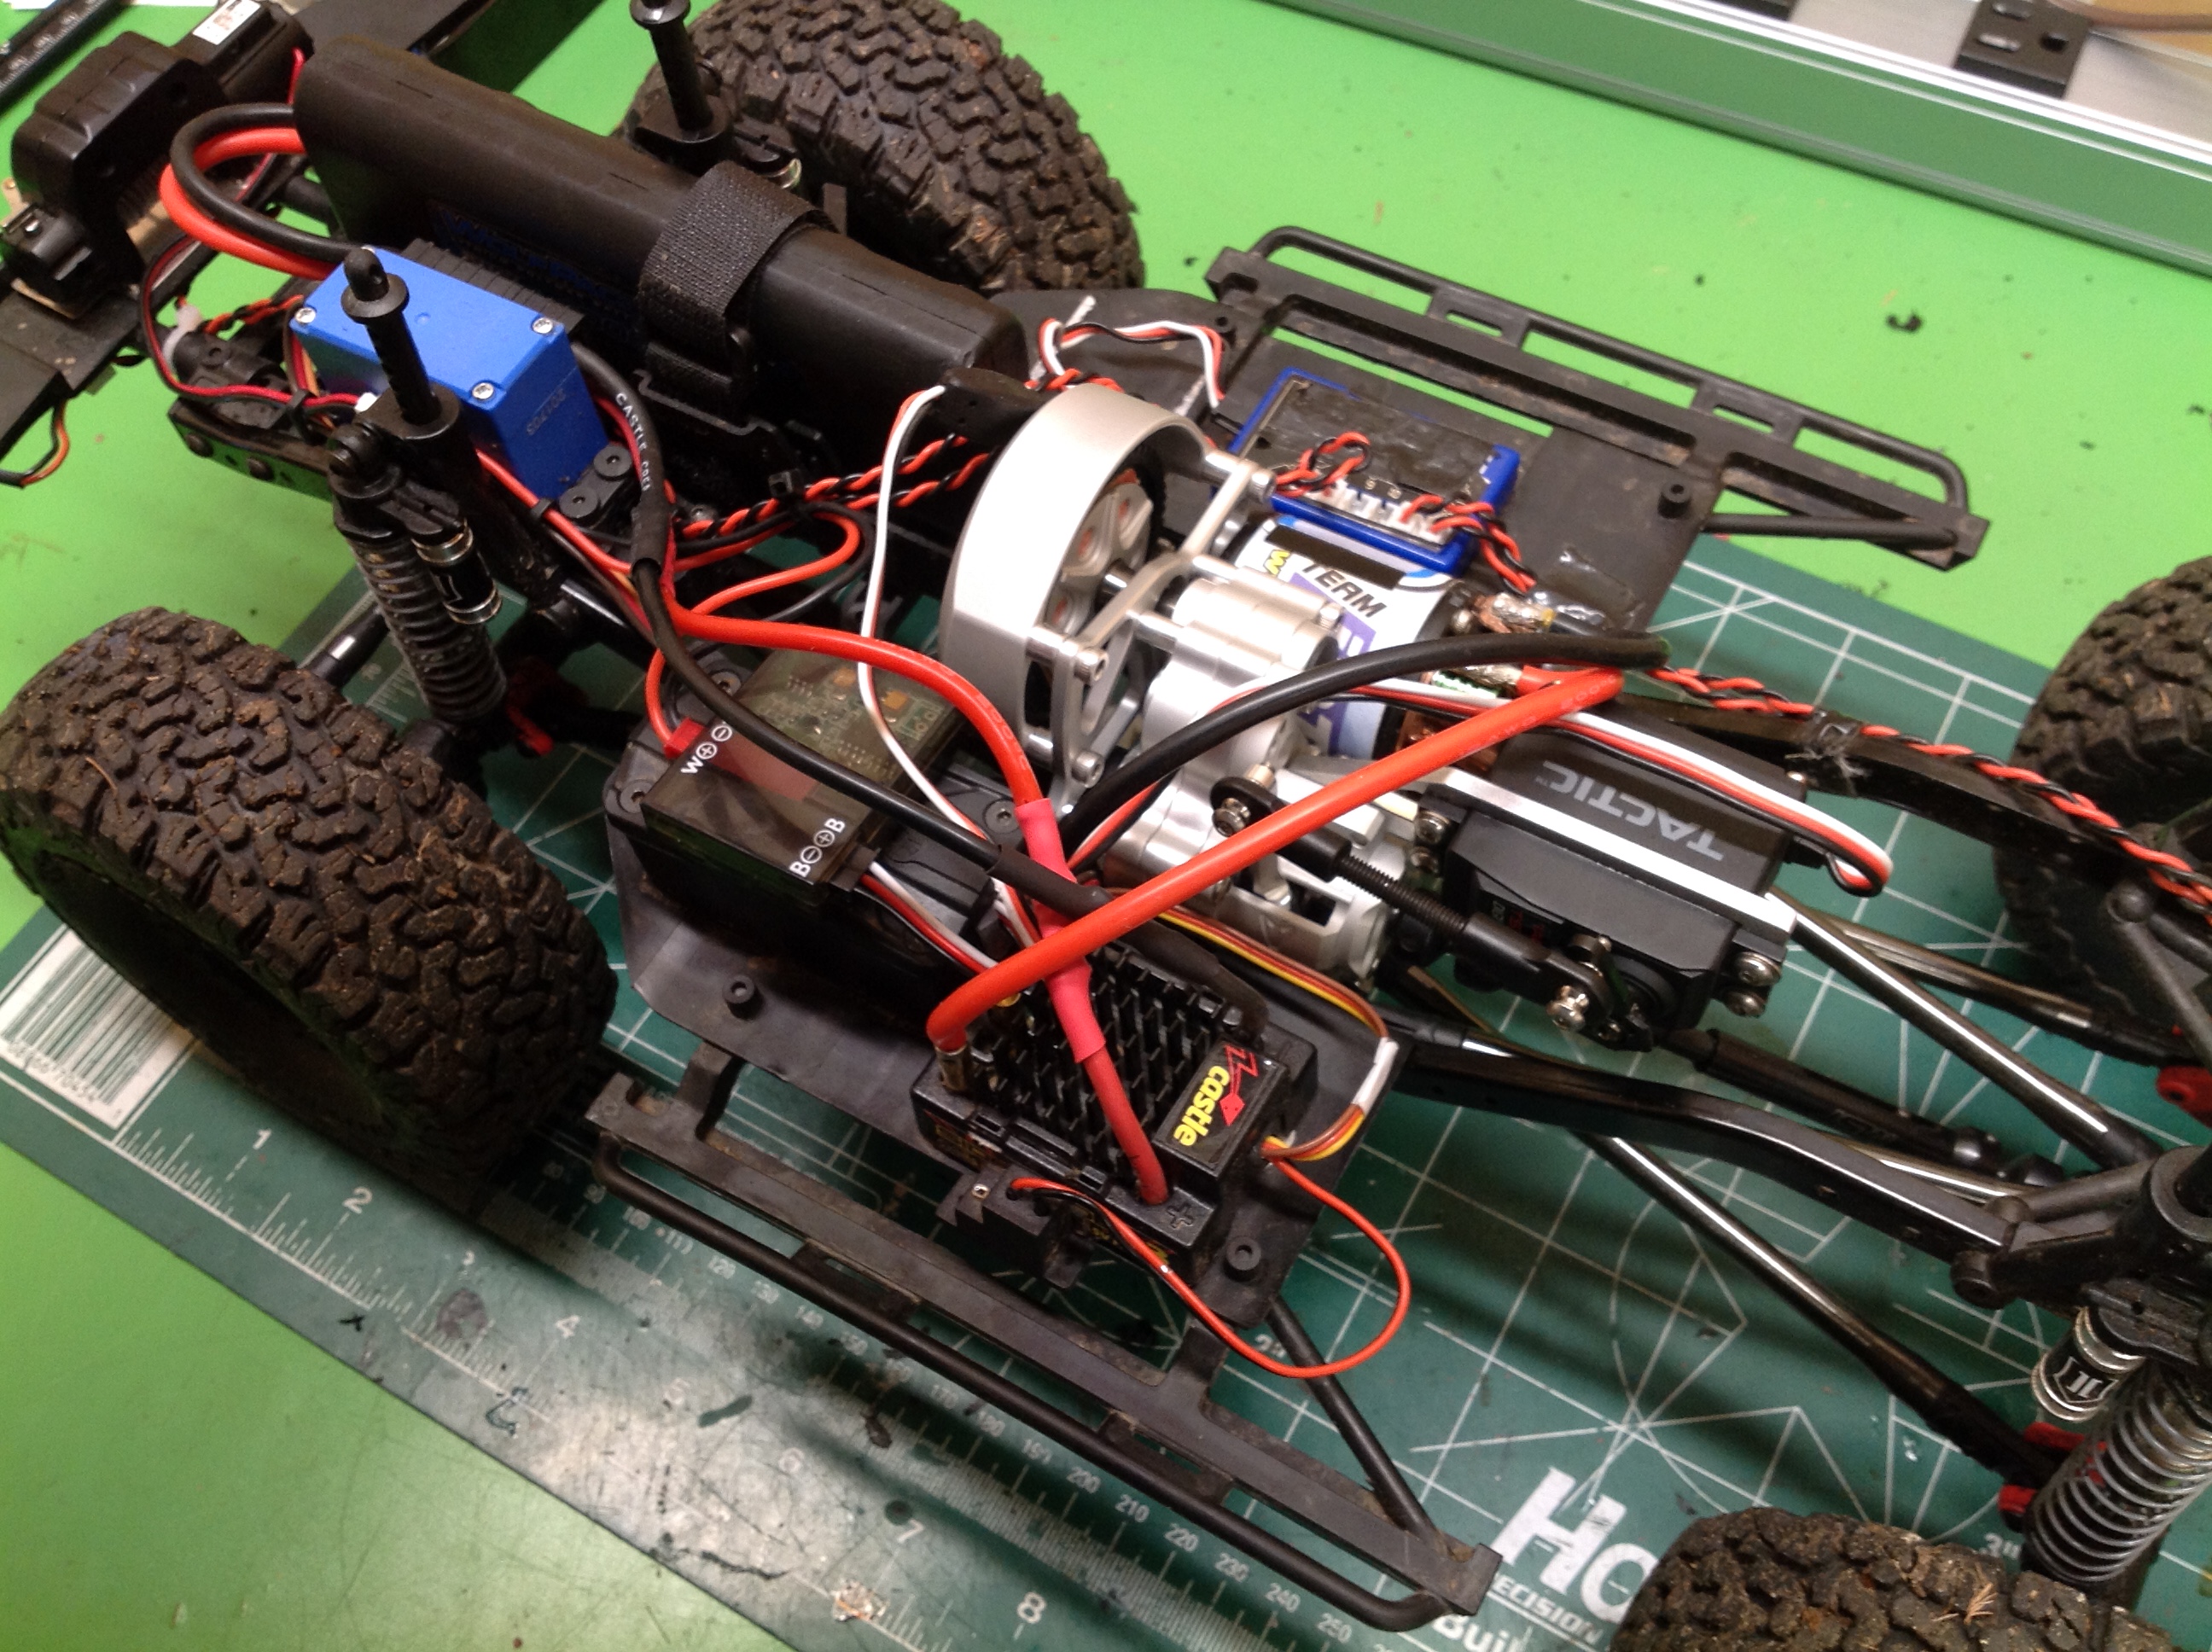
but was a clear and hideous kluge. In this picture you can also
see the wiring for the RC4WD winch and controller. The controller
is on the skid plate next to the blue light controller.
Phase 2:
About a year later I decided to add a dig. I had heard about them
and wanted to know what all the fuss was about. A dig allows
independent control of the rear axle connection. You can have it
in normal 4WD, you can release the rear axle to make the truck FWD, or
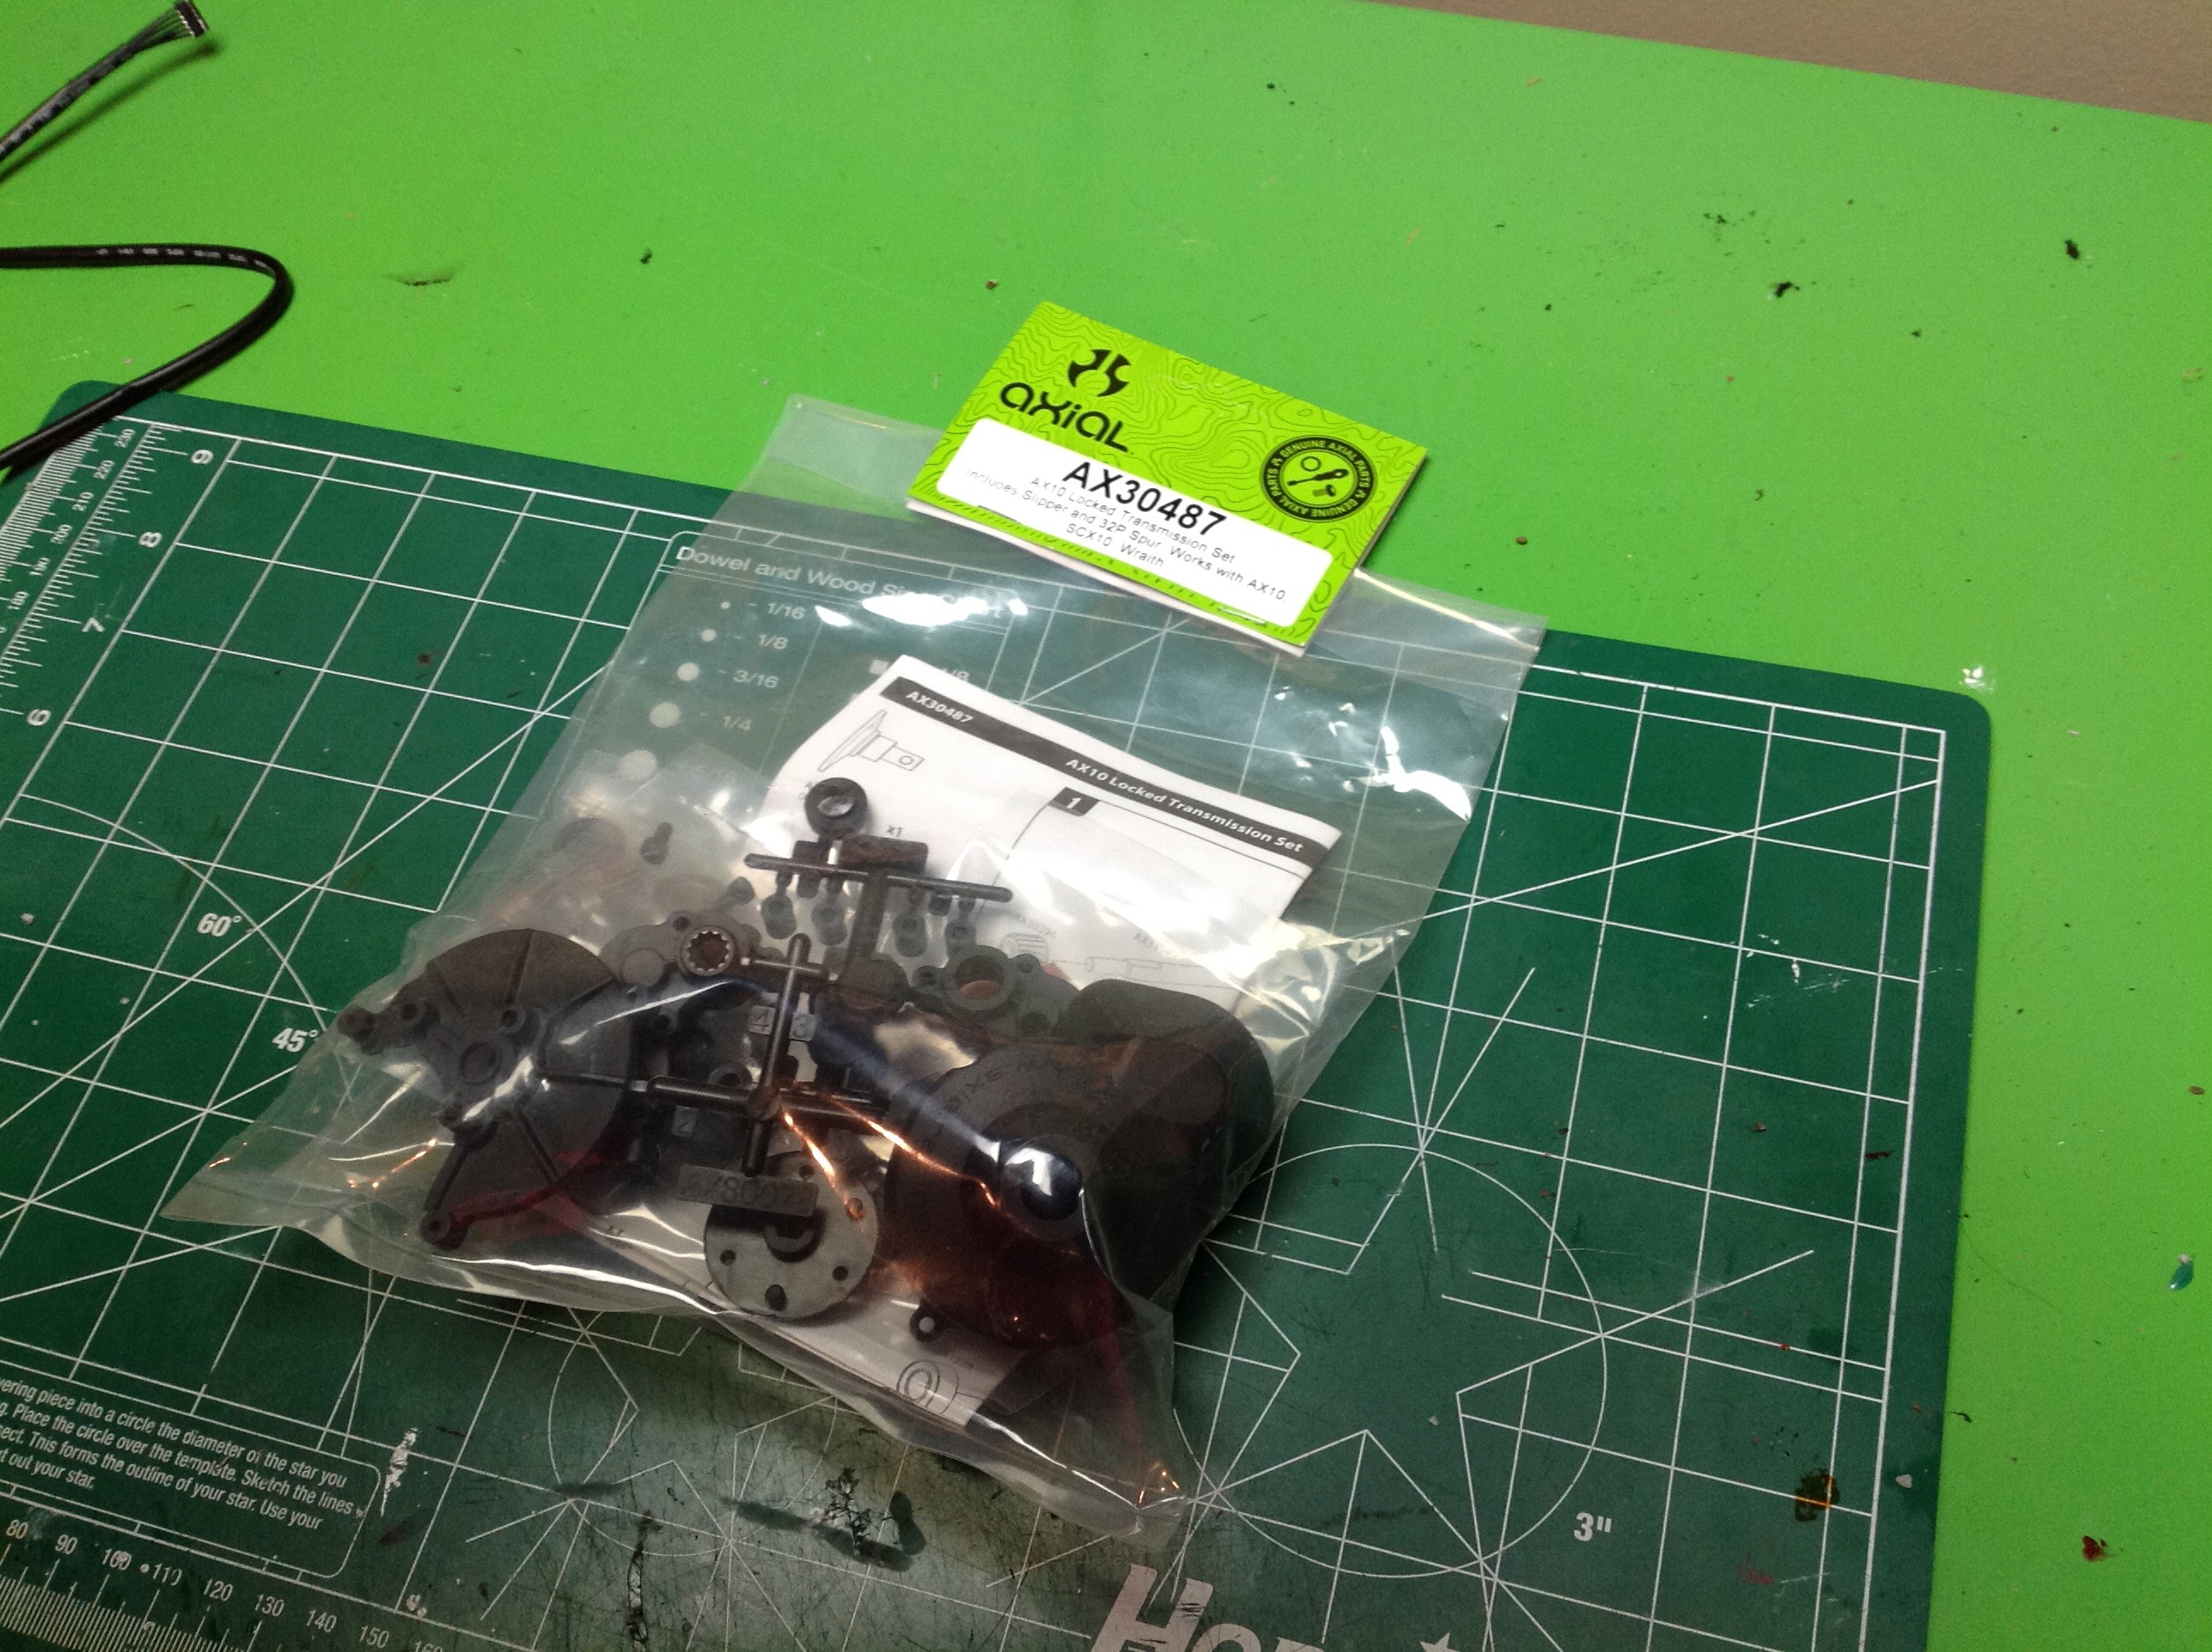
you can lock the rear axle. As usual, I ordered the parts before I
really knew what I was doing. The Vanquish dig said it worked
with the SCX10 Cherokee, but it turns out the RTR and kit versions have
different transmissions and it only works with the RTR. Which I
didn't have. This meant I needed to start by ordering an AX10
transmission, seen above.
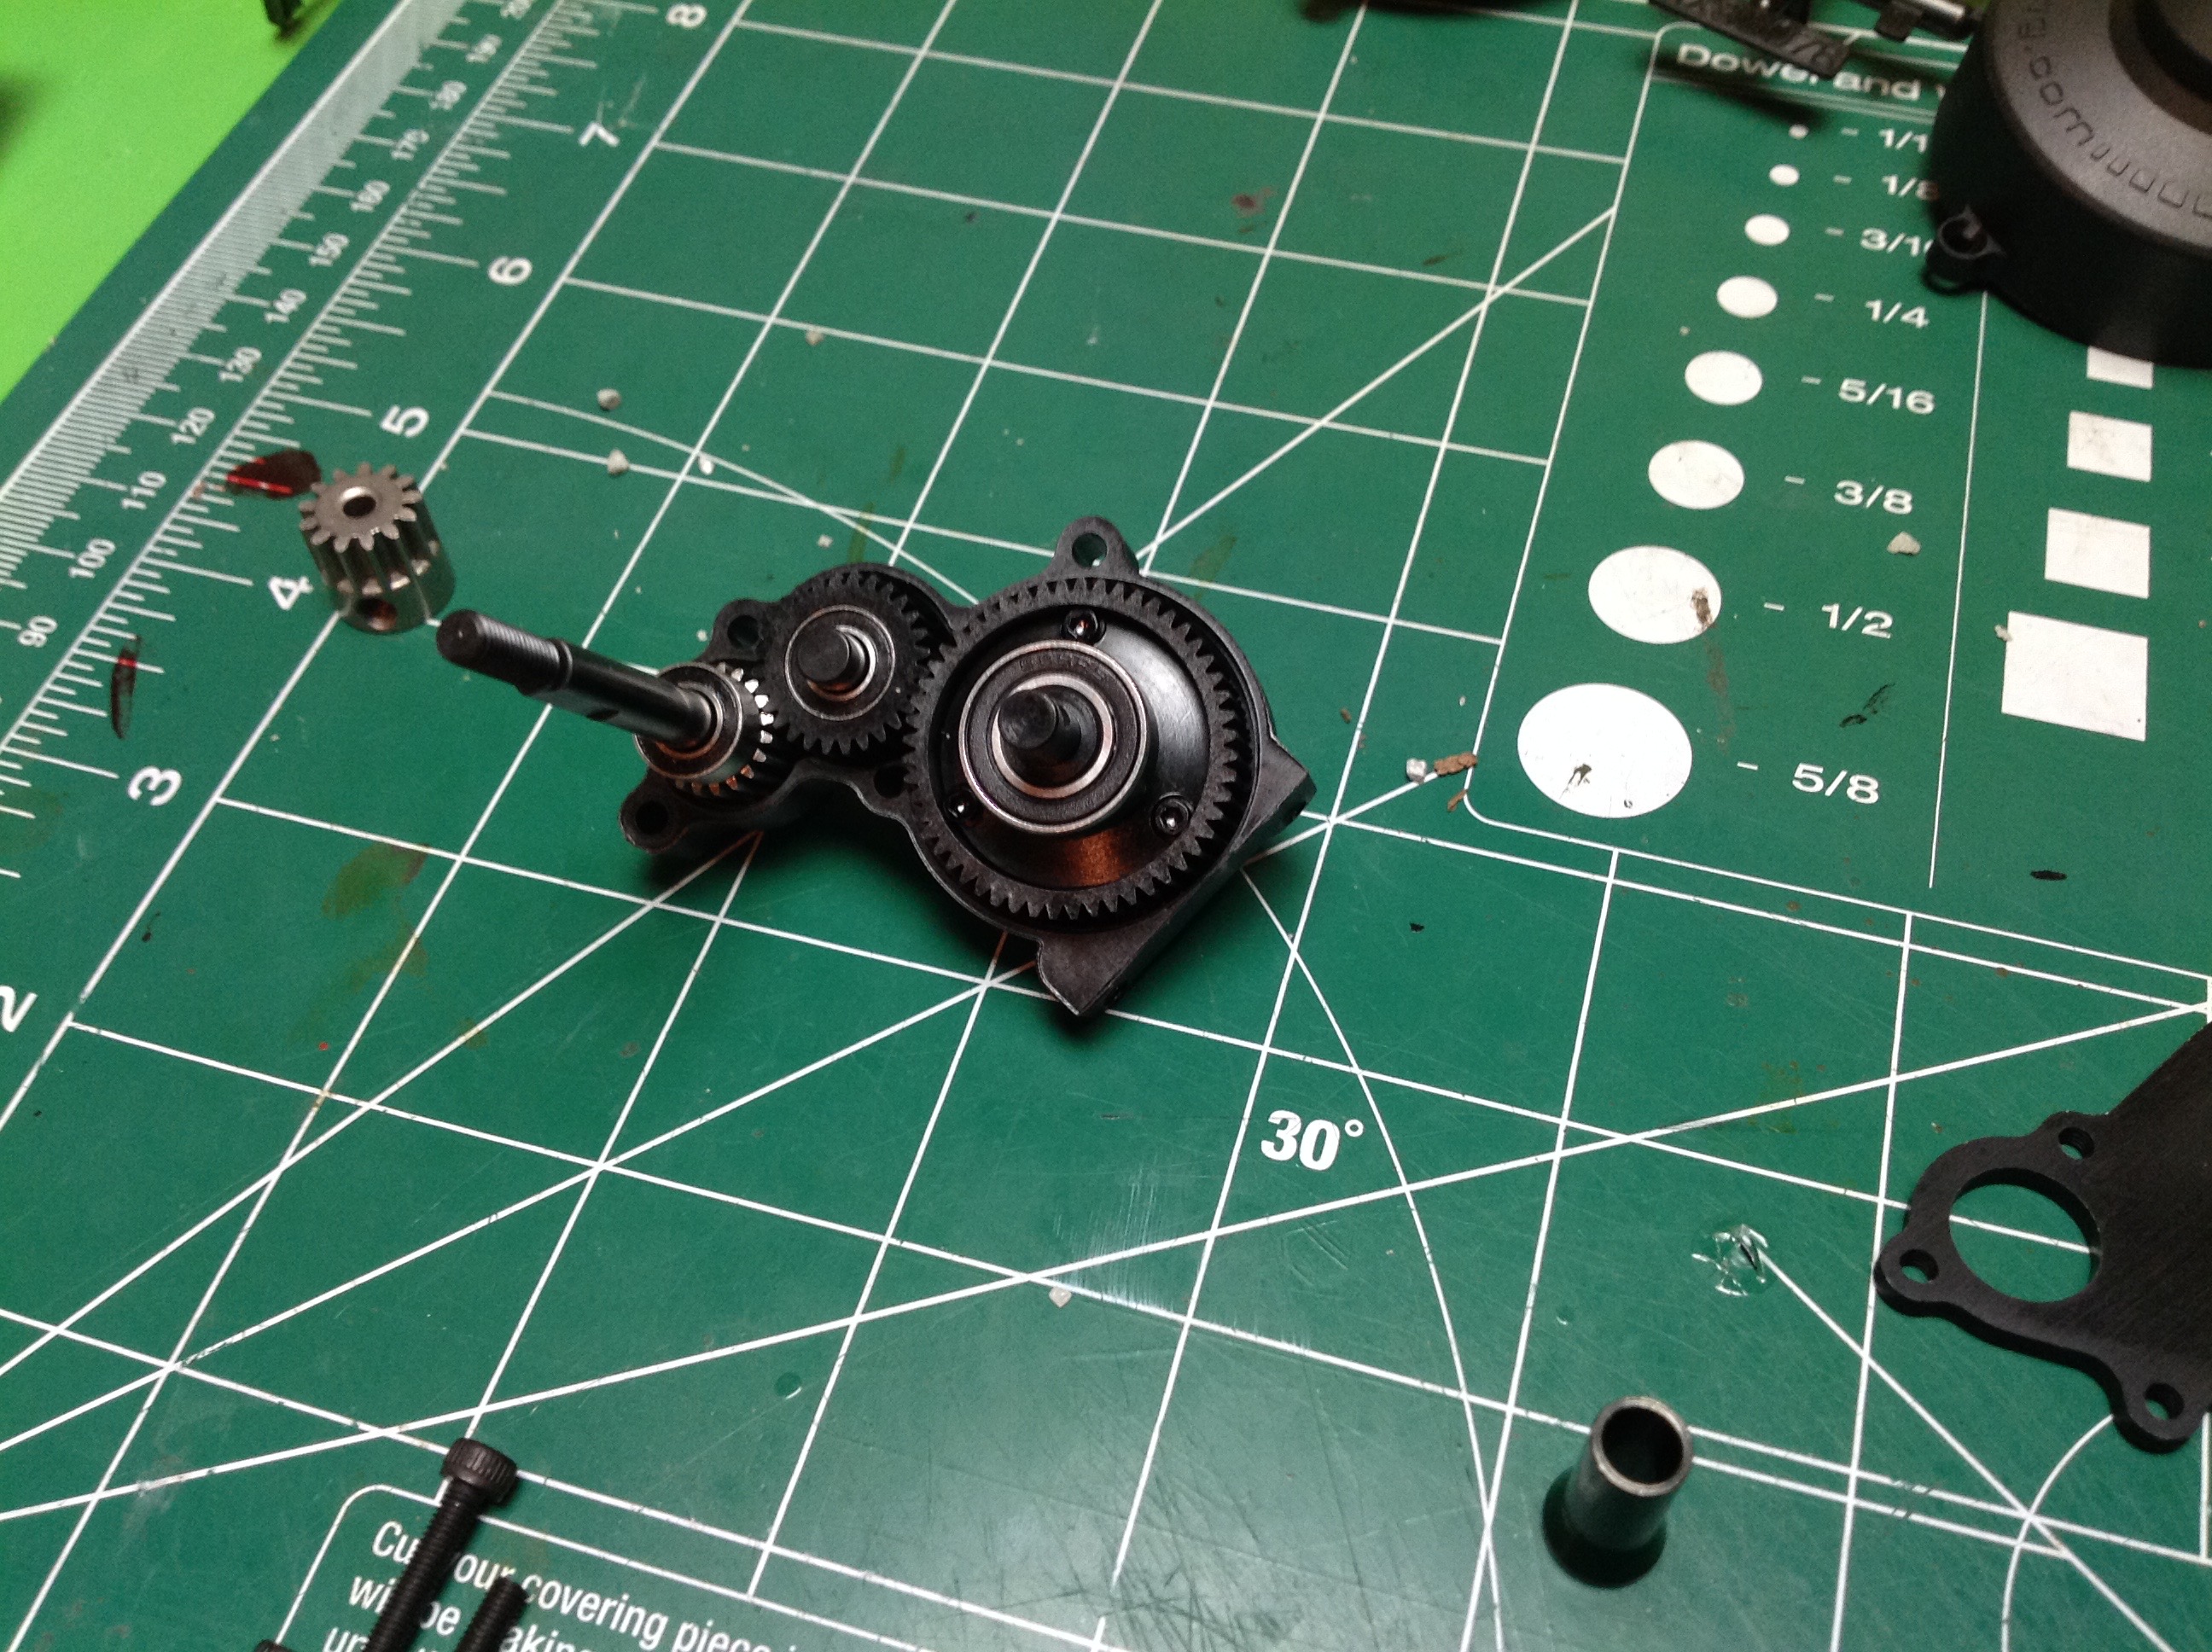
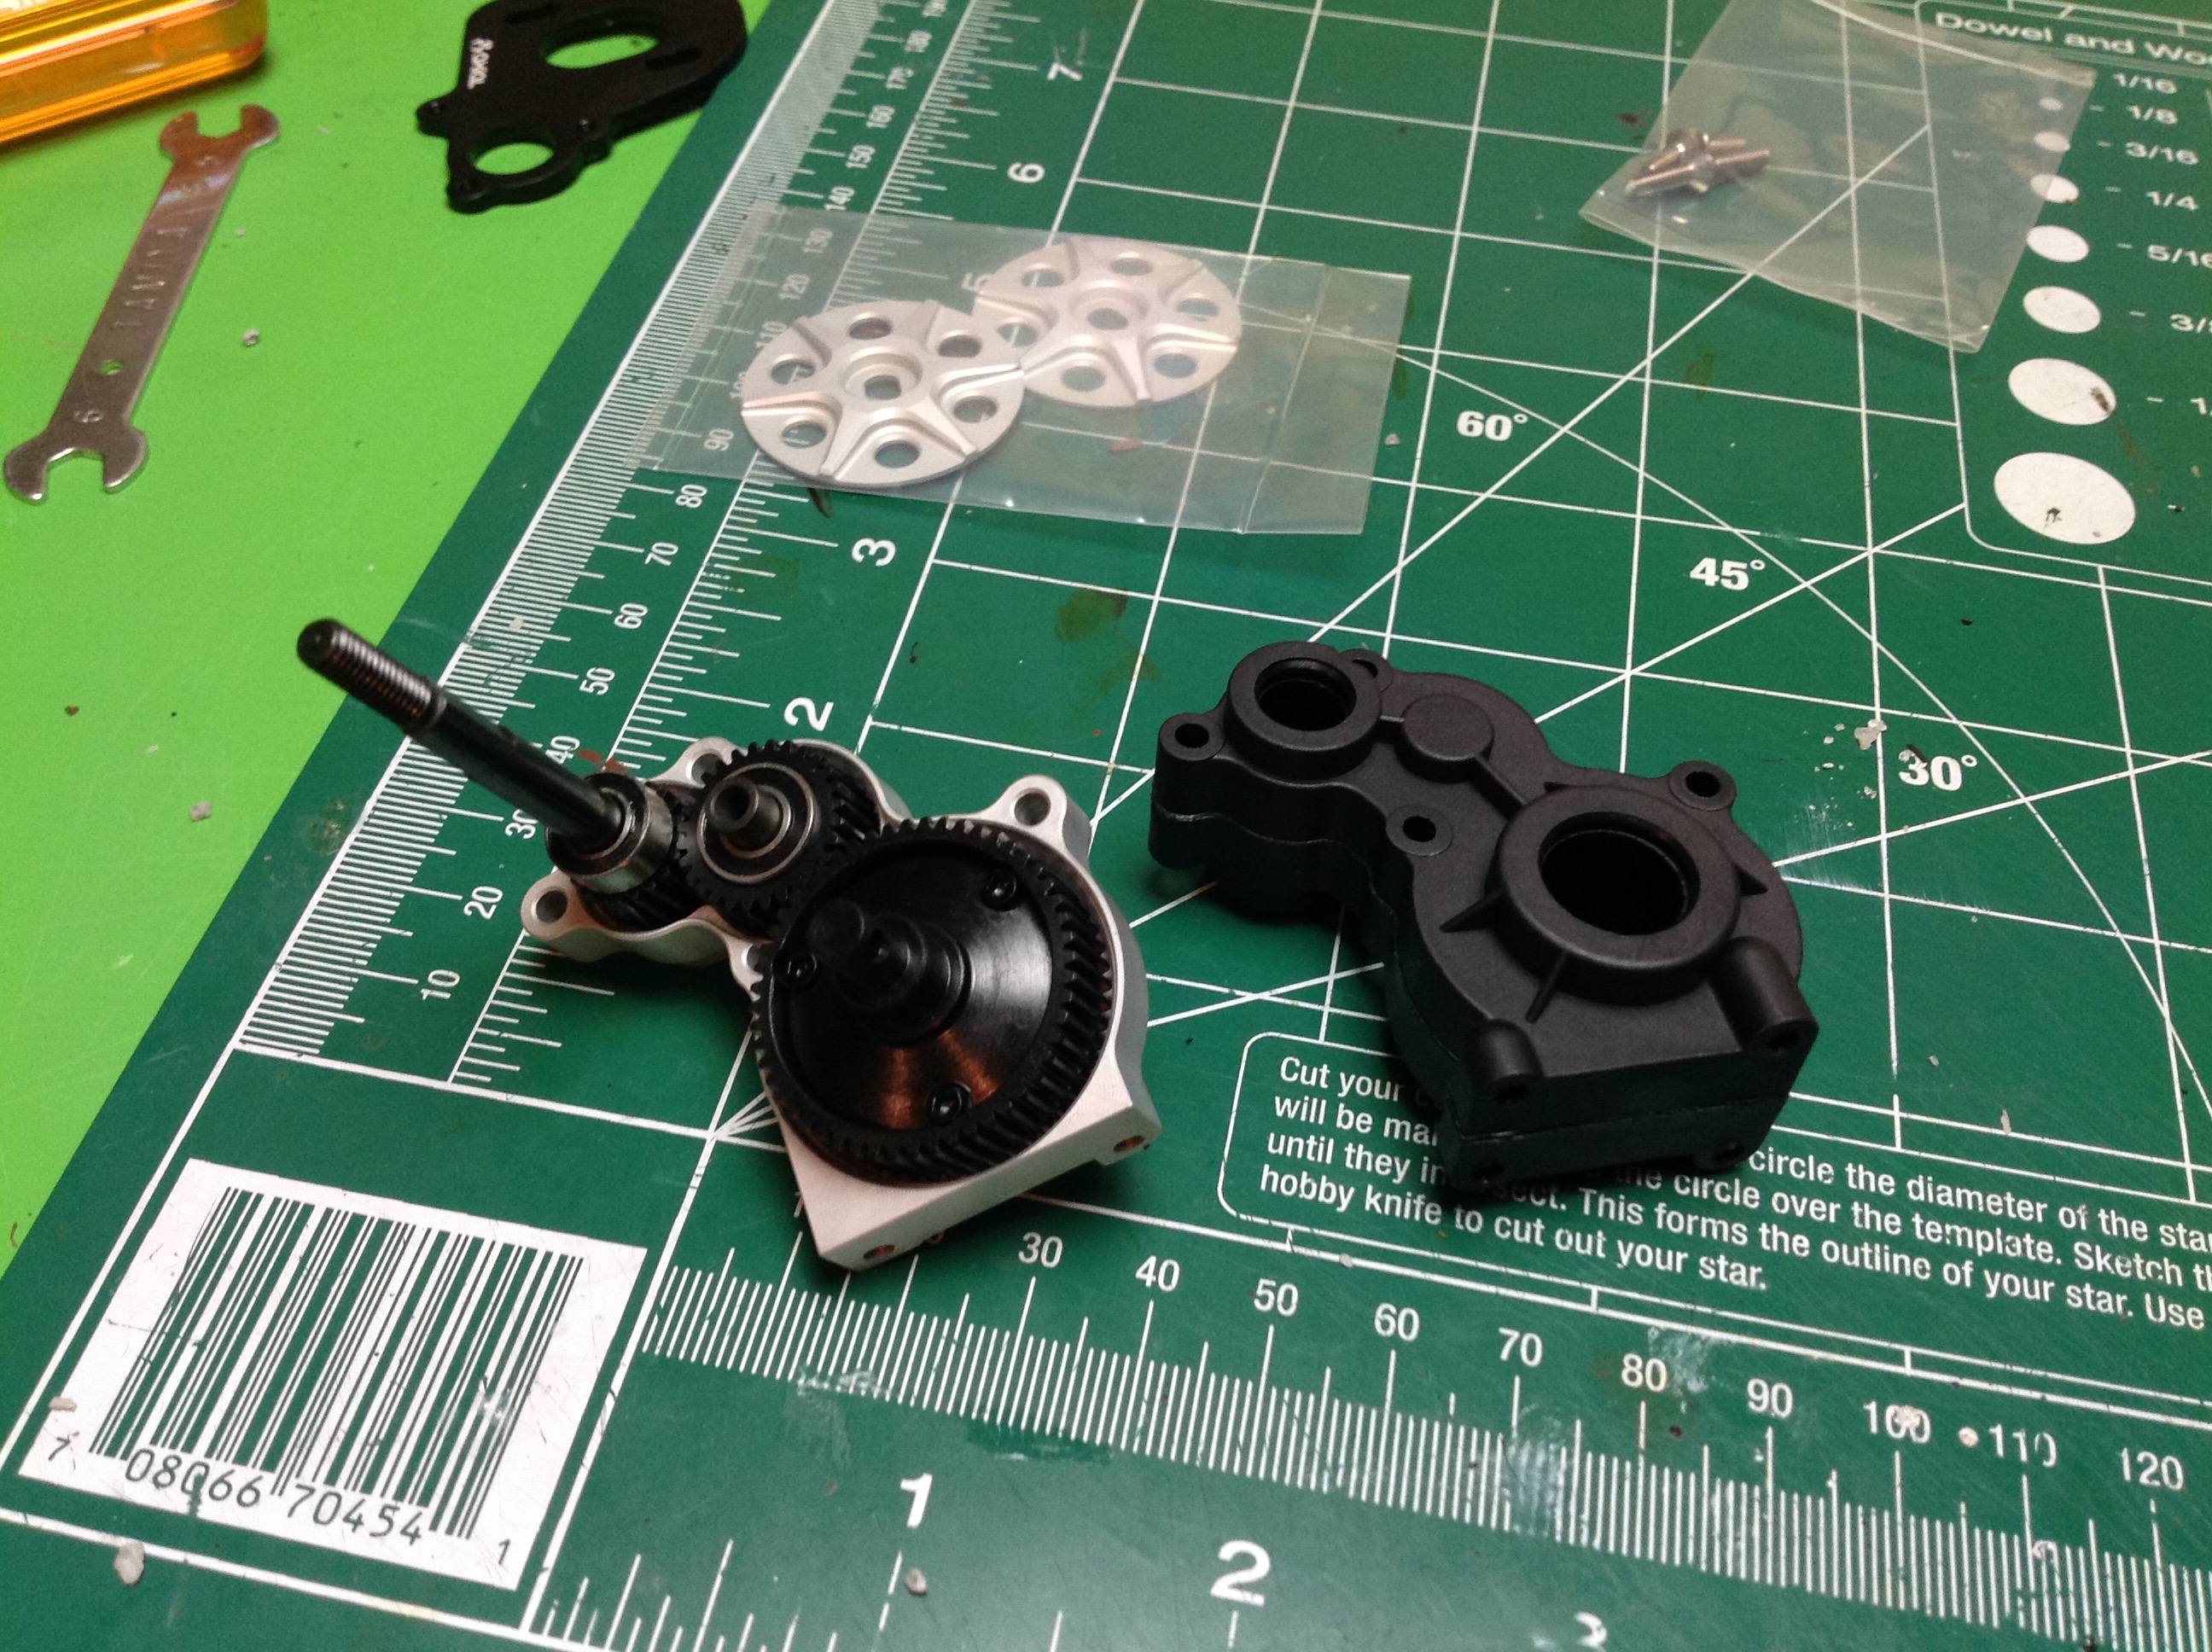
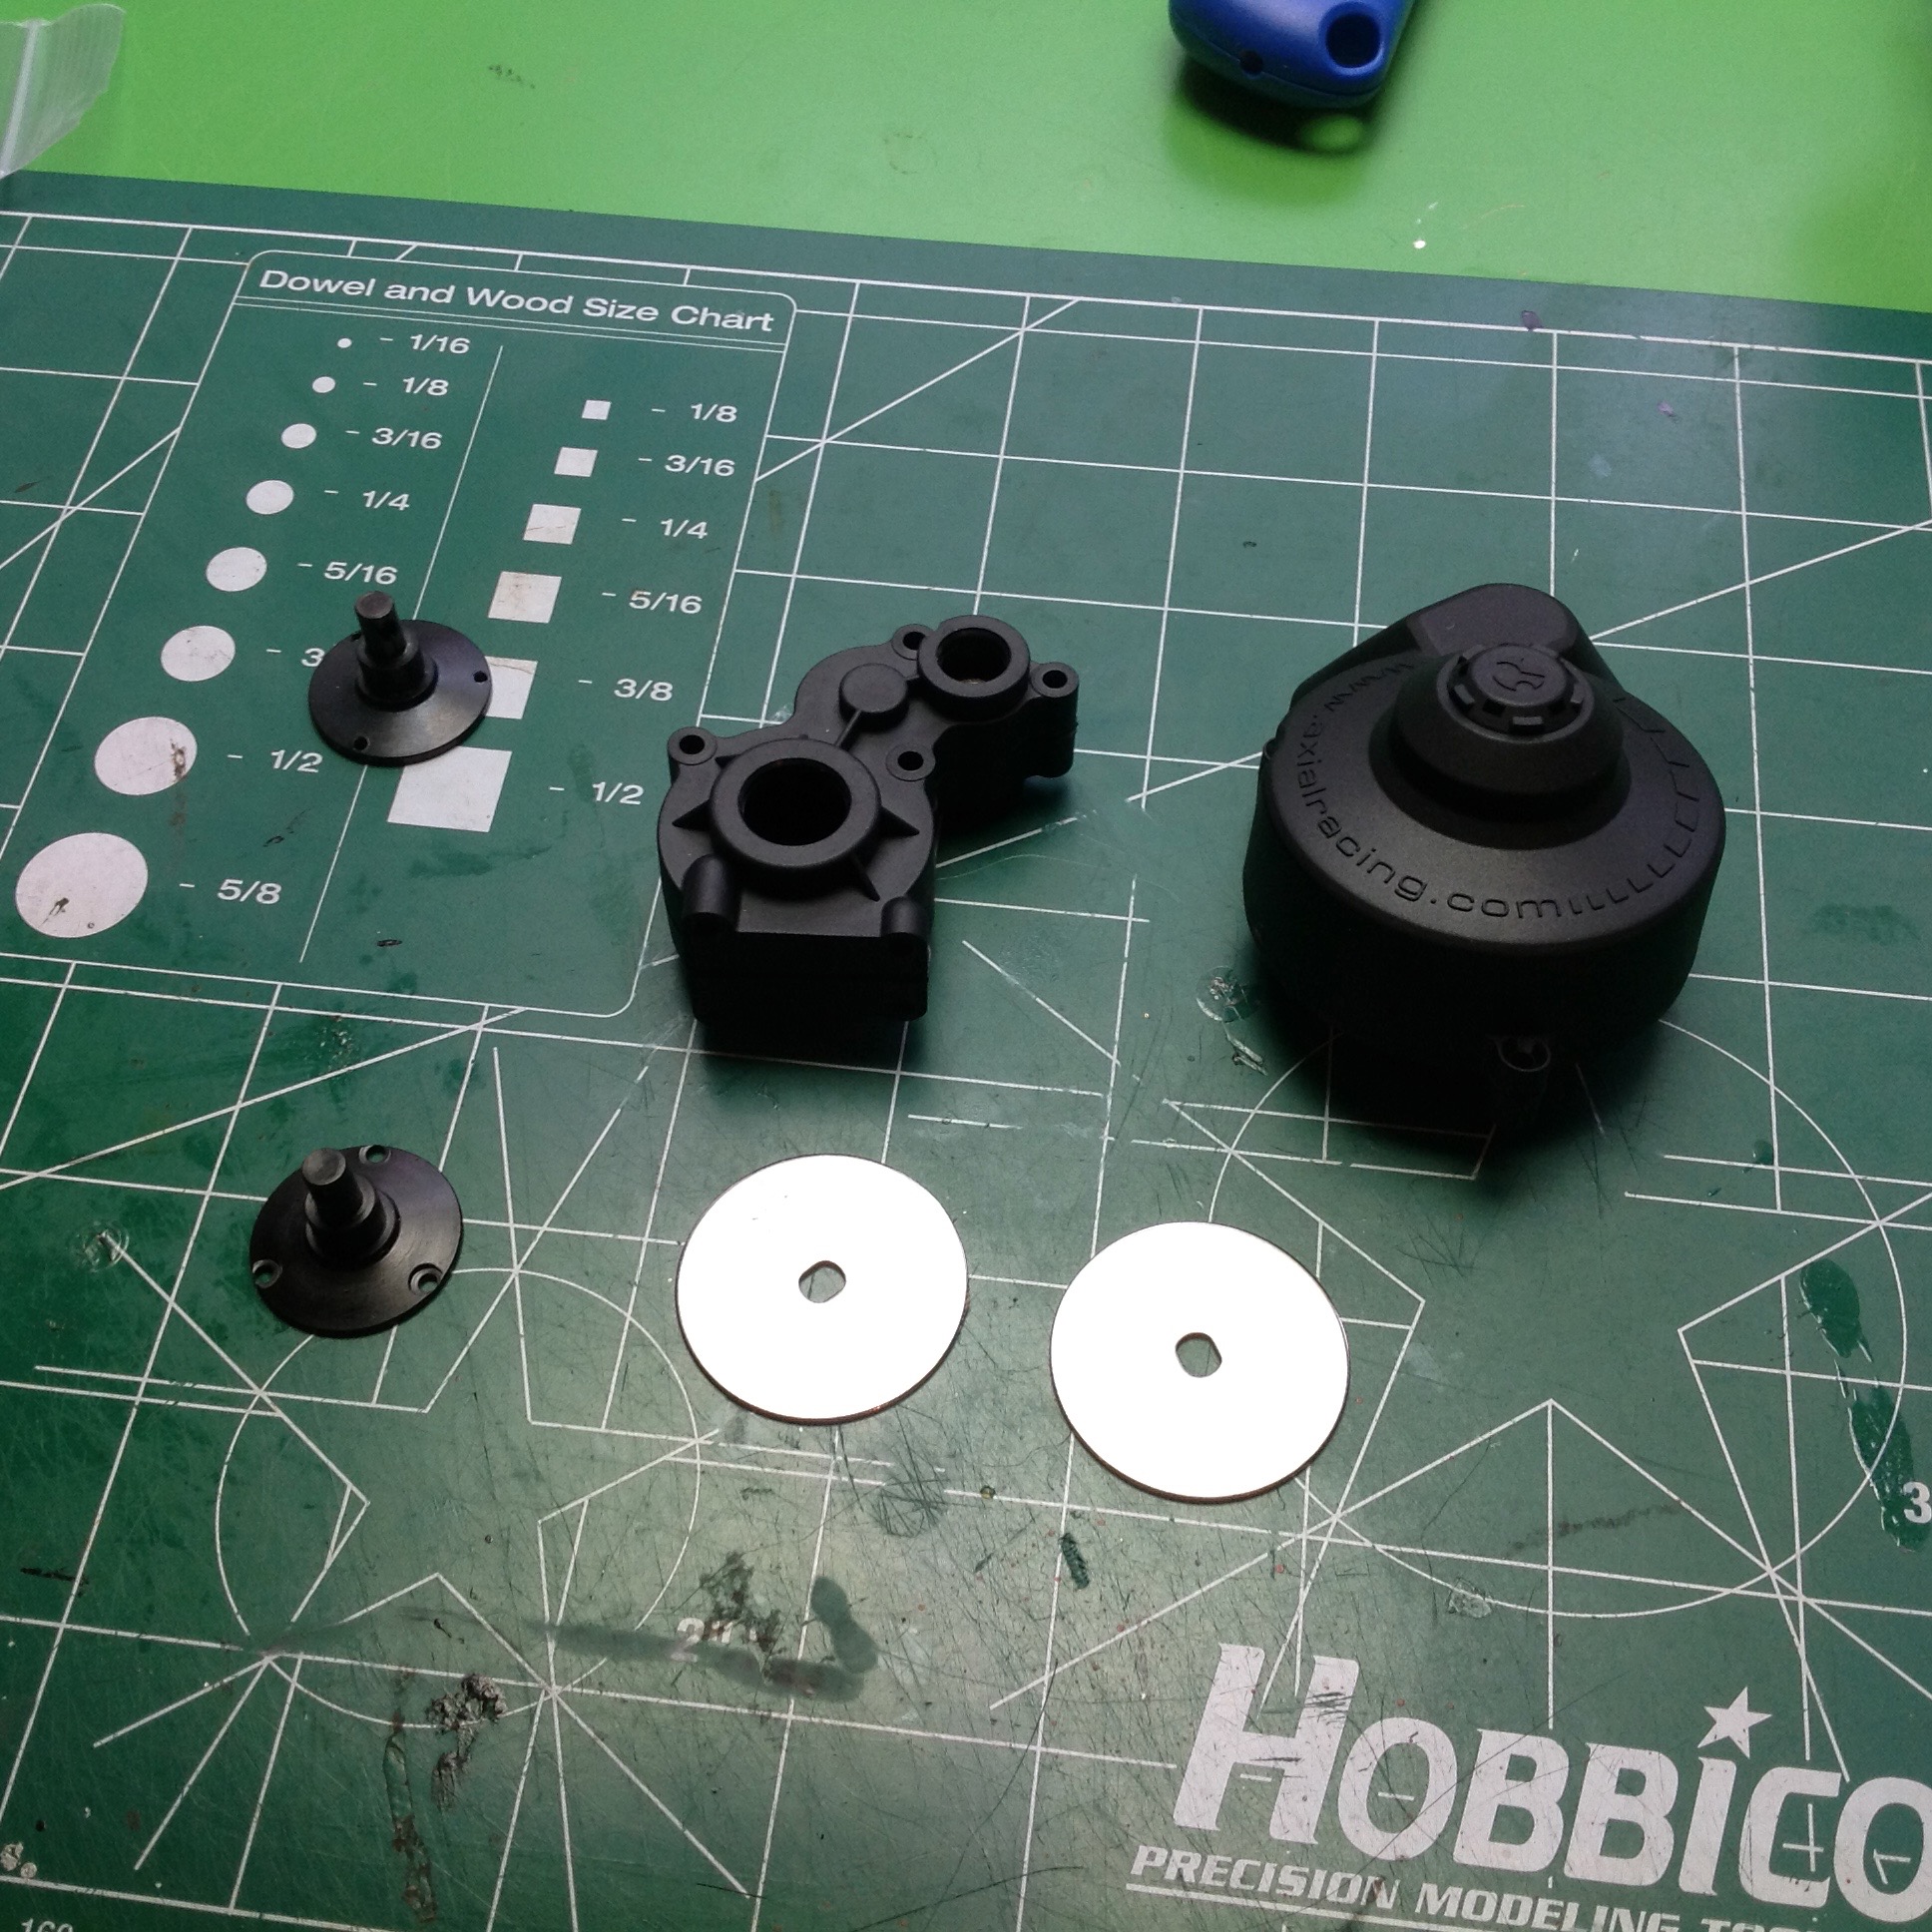
Here's the constructions of the AX10 transmission out of the
package. It includes bearings, plastic gears, and a plastic
housing. This is a much smaller footprint than the kit
transmission.
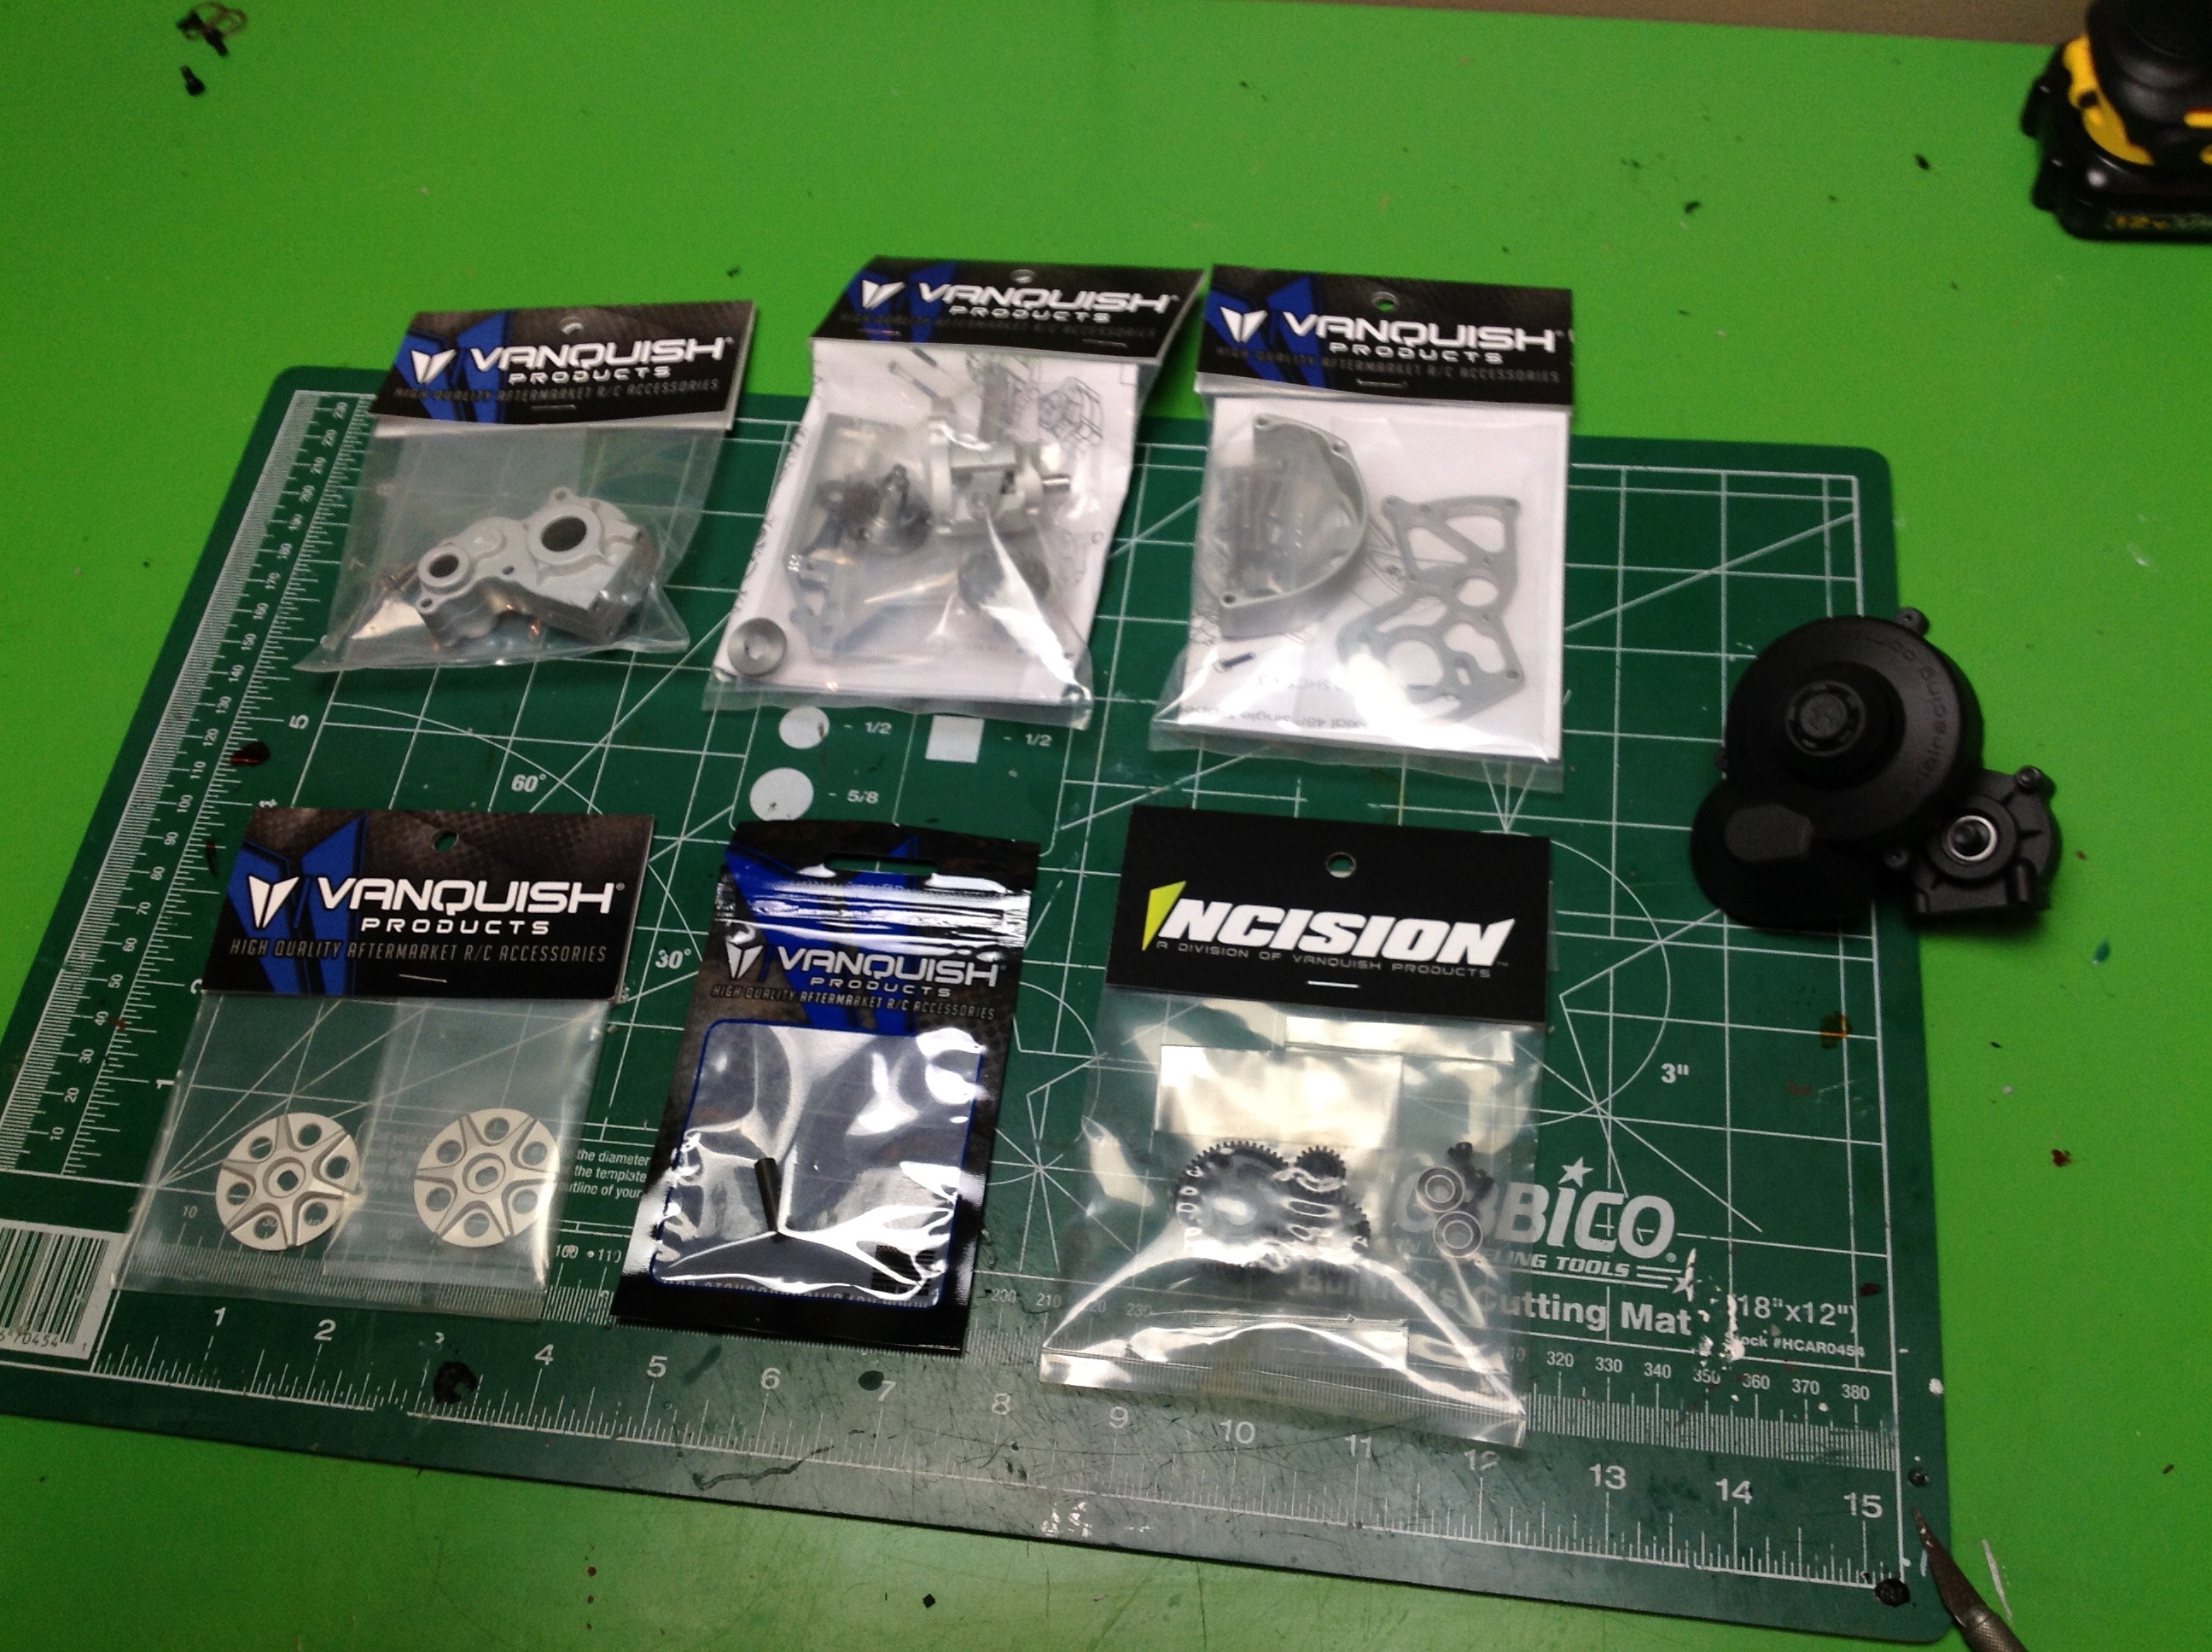
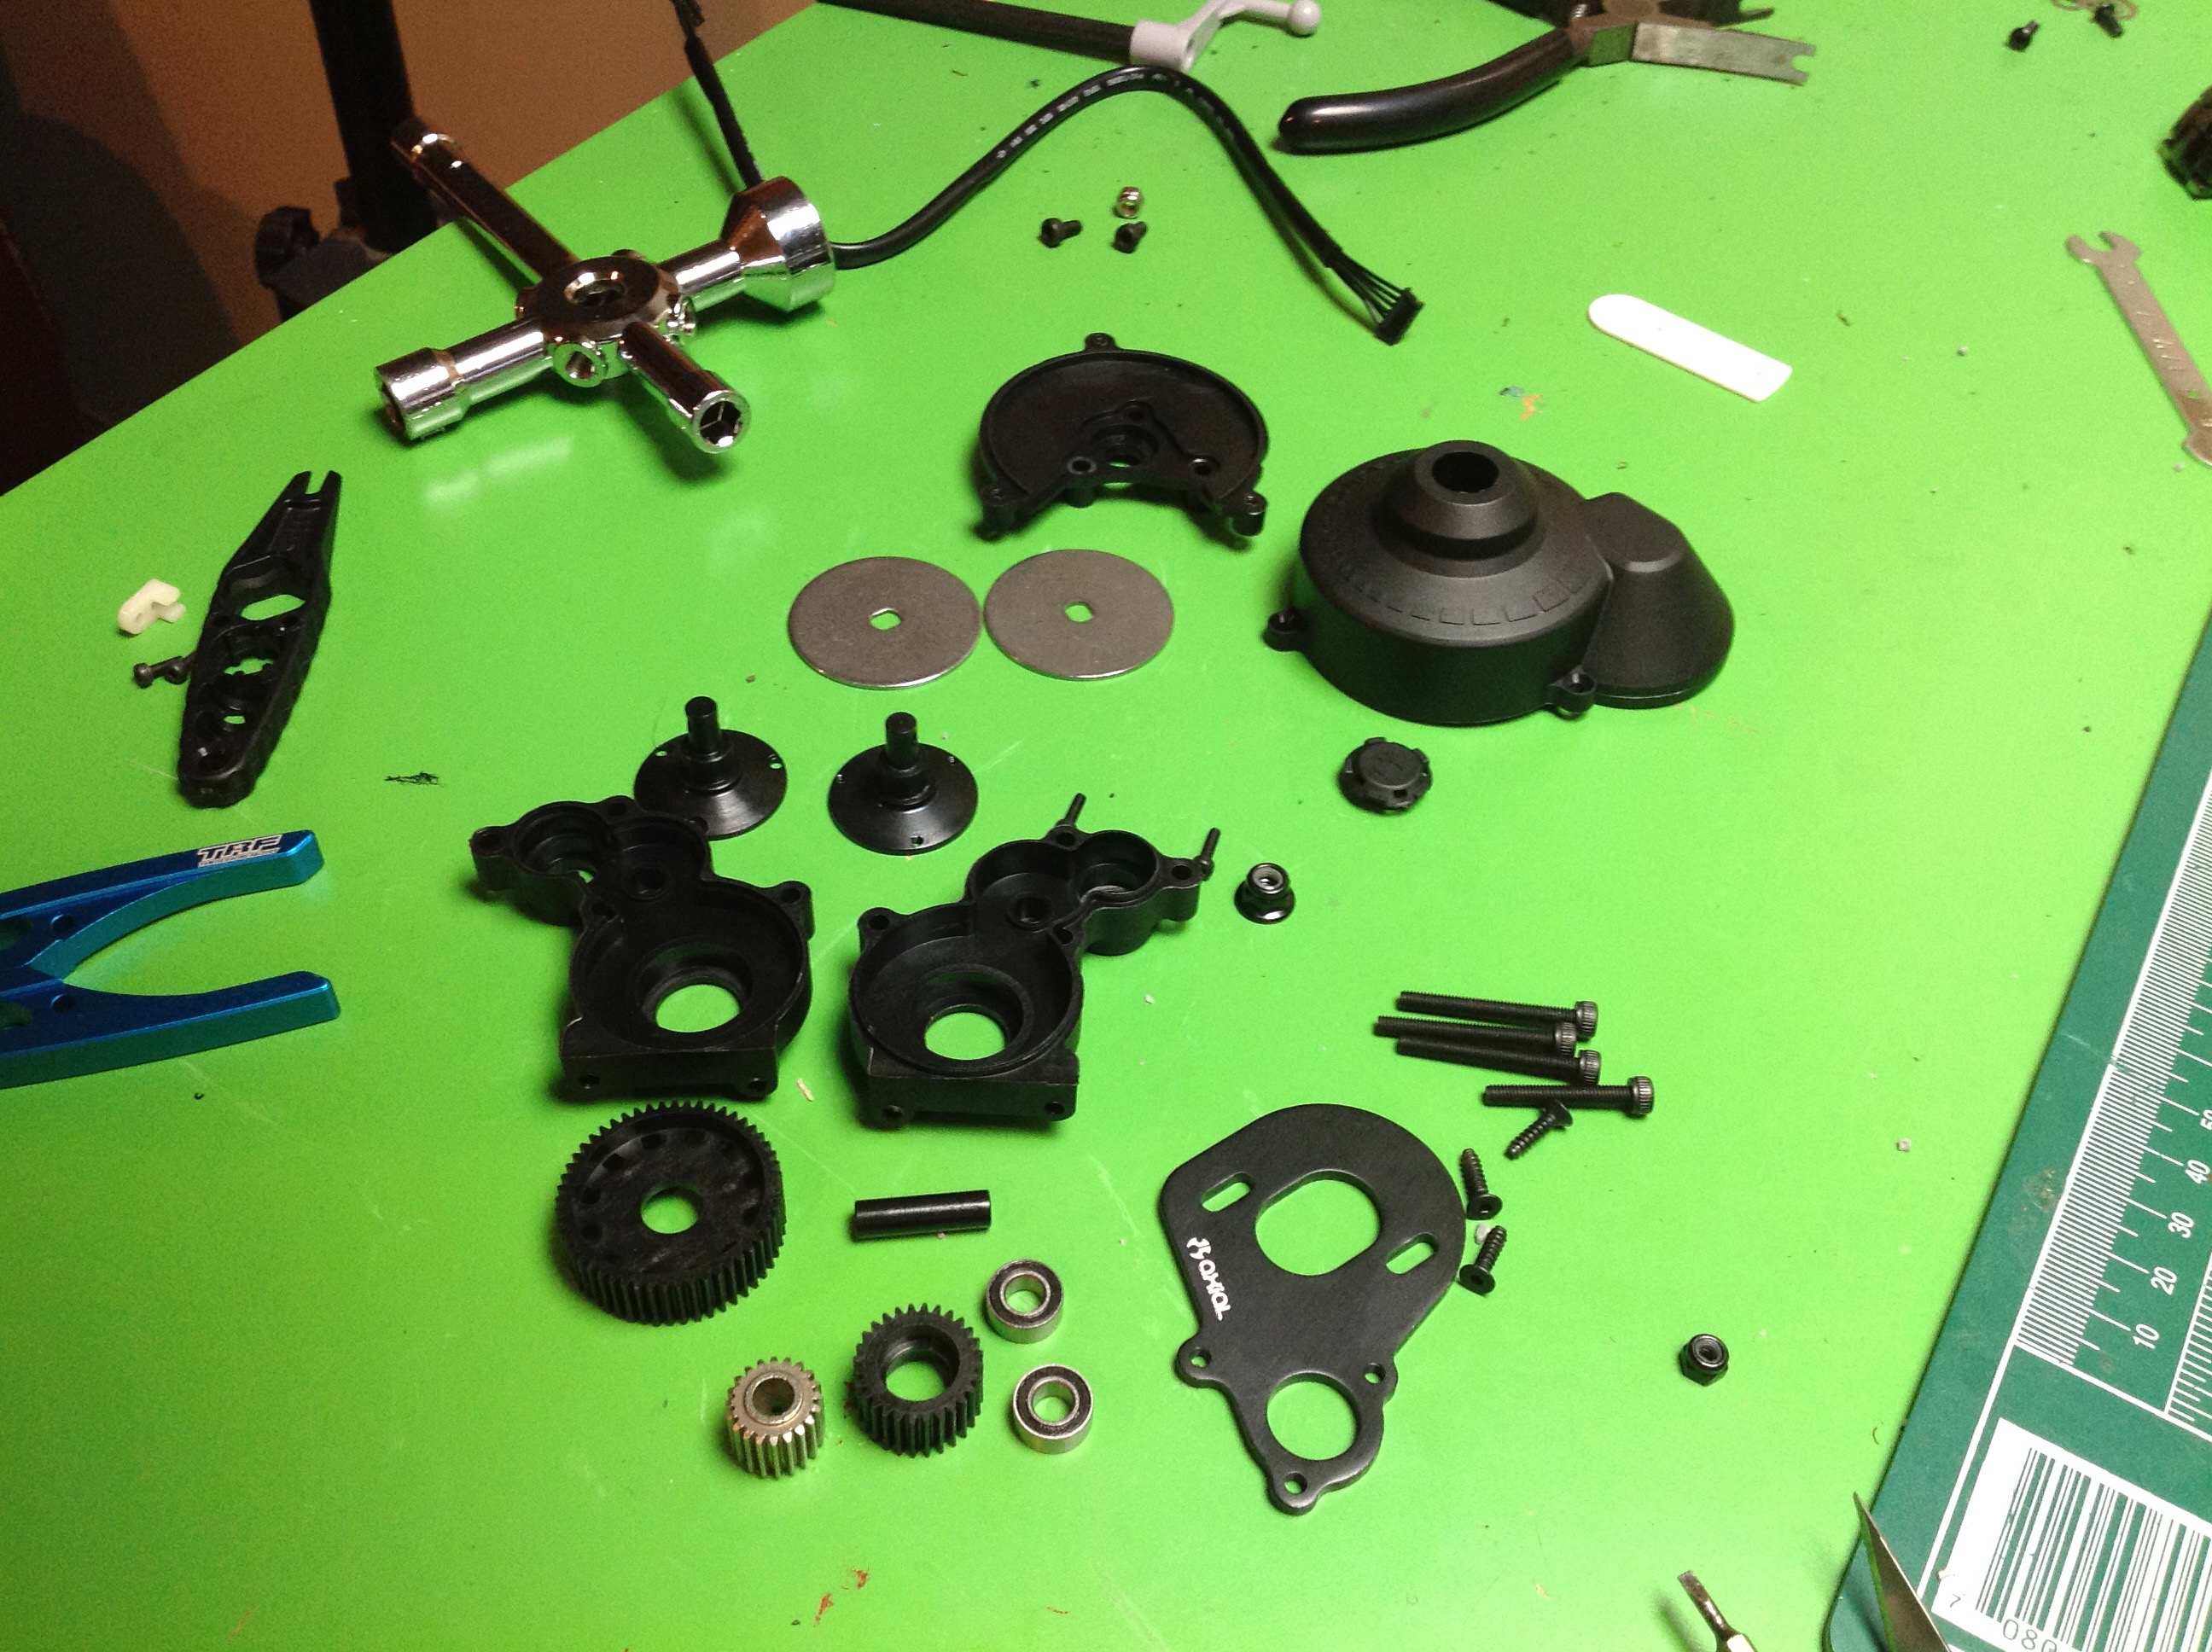
I'm not the kind of guy who just leaves things plastic, so I ordered all
the Vanquish upgrade parts shown above which replace virtually
everything in the transmission. On the right you can see the
aluminum housing and steel gears compared to the plastic original
housing.
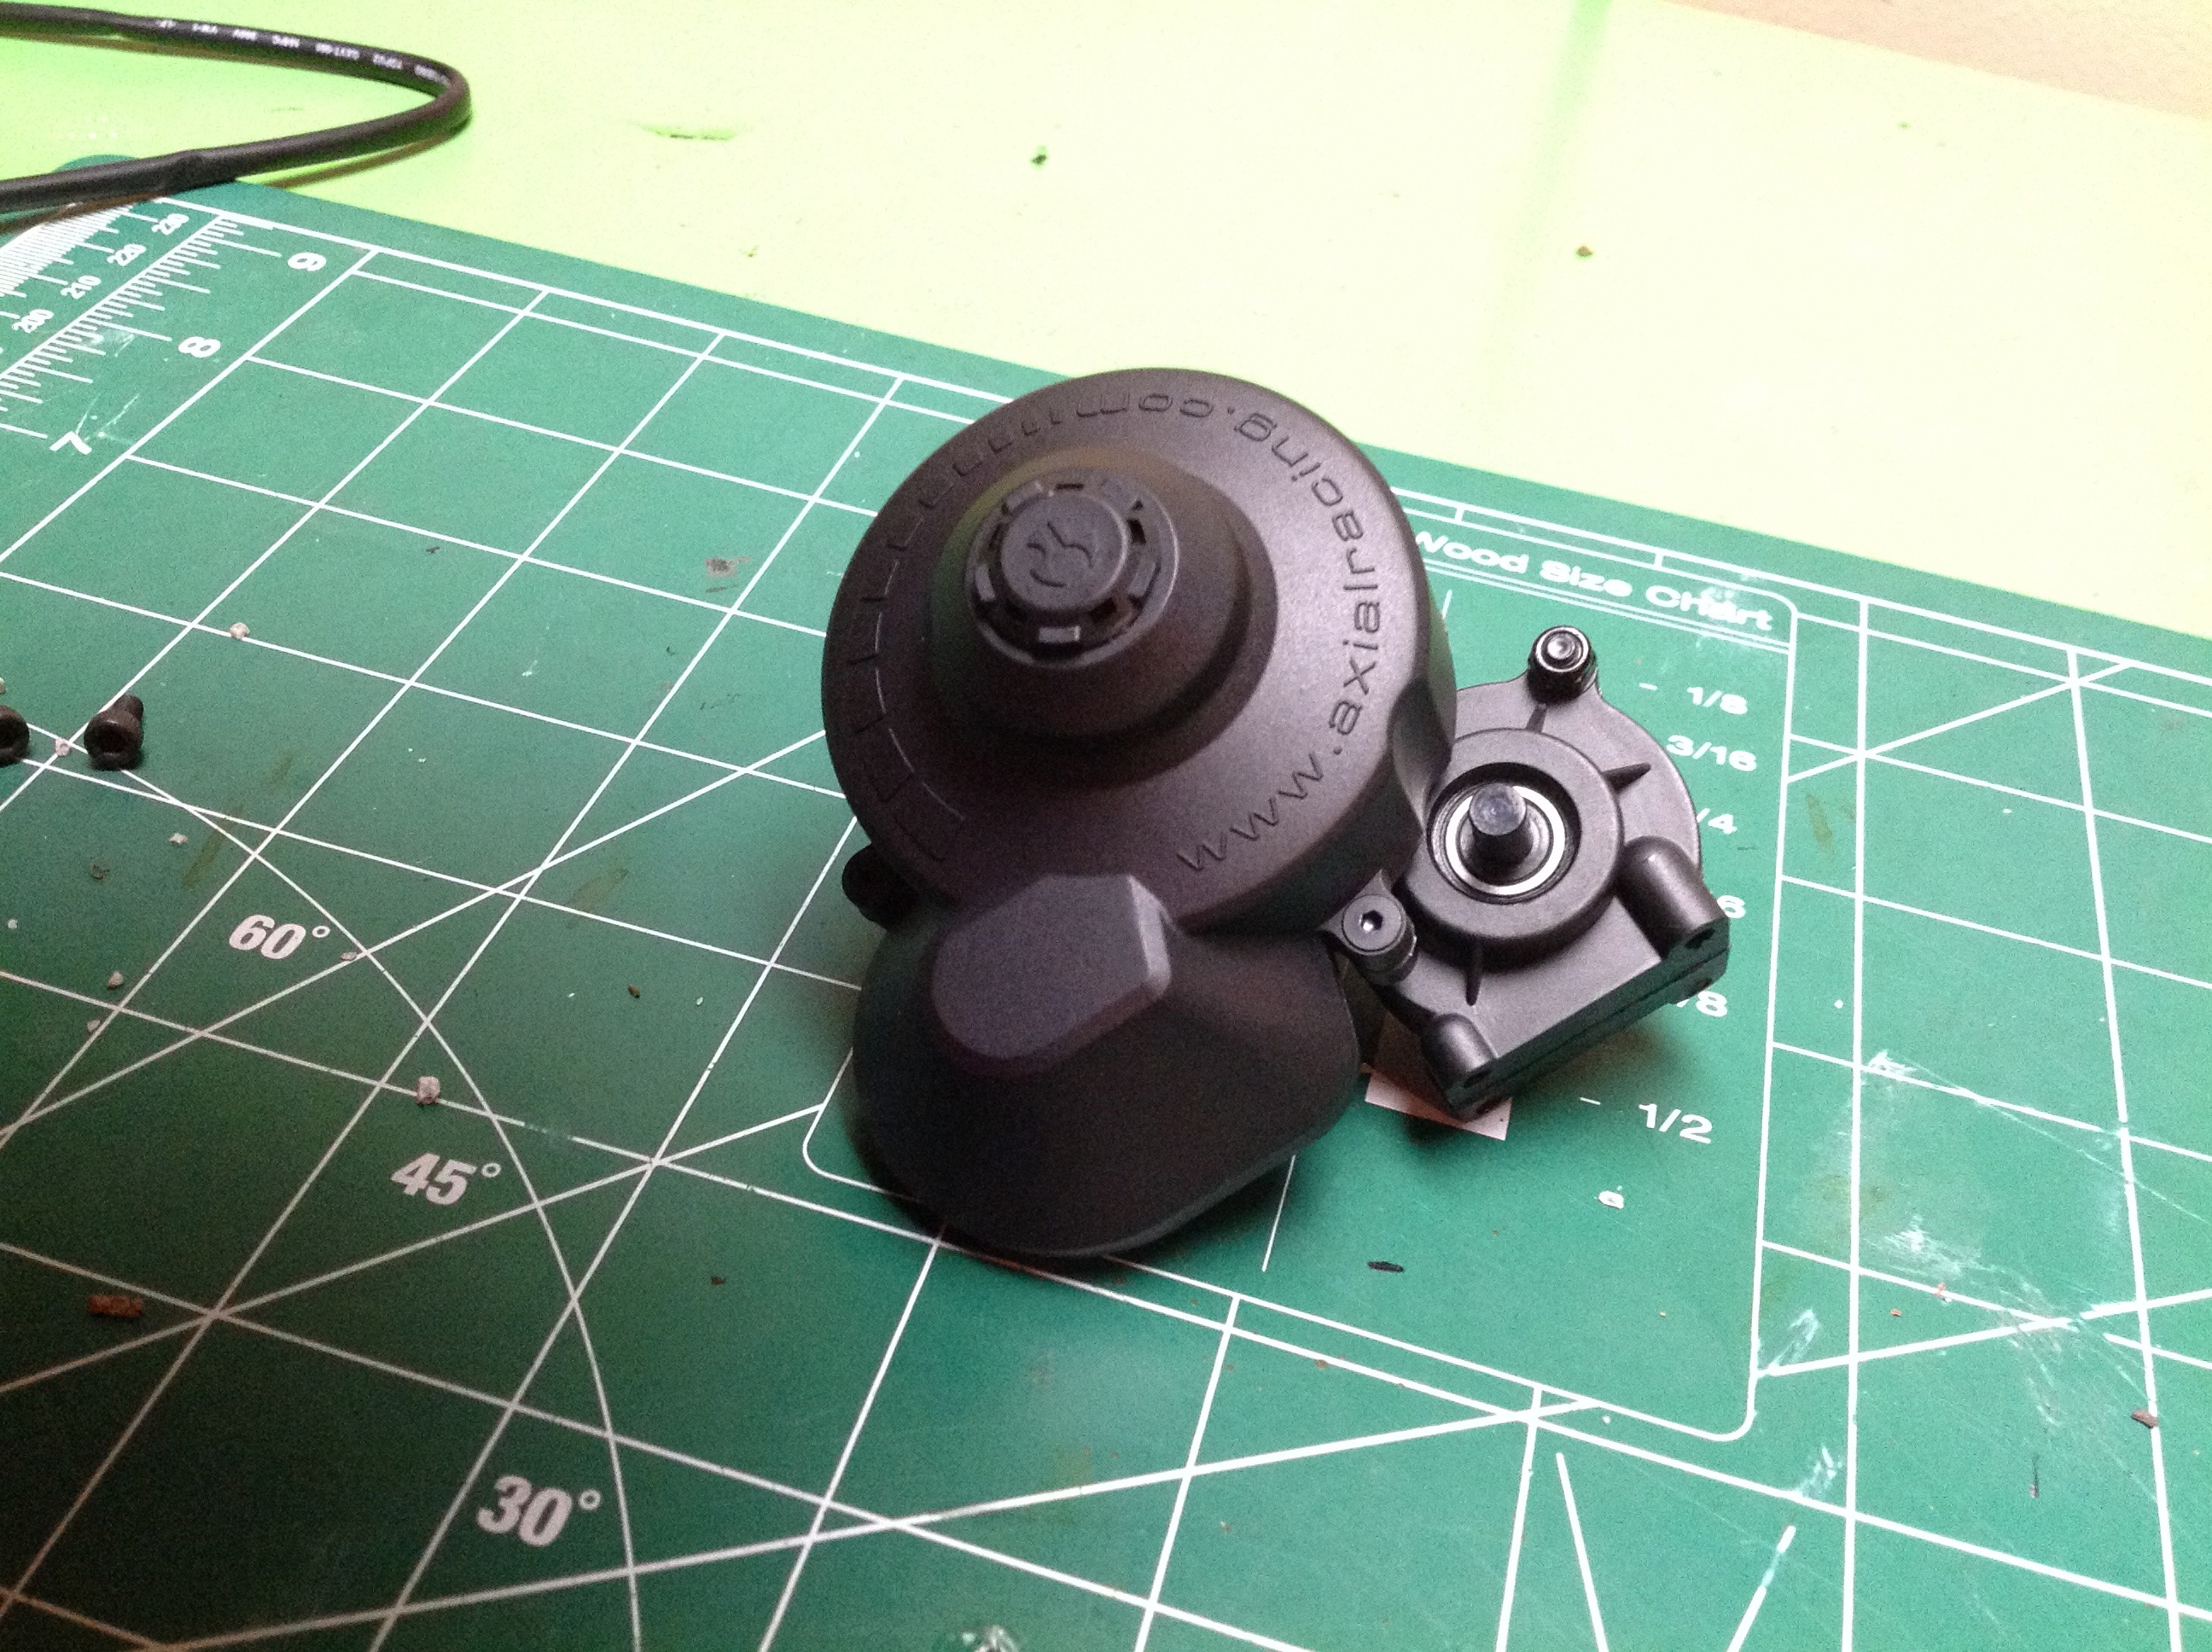
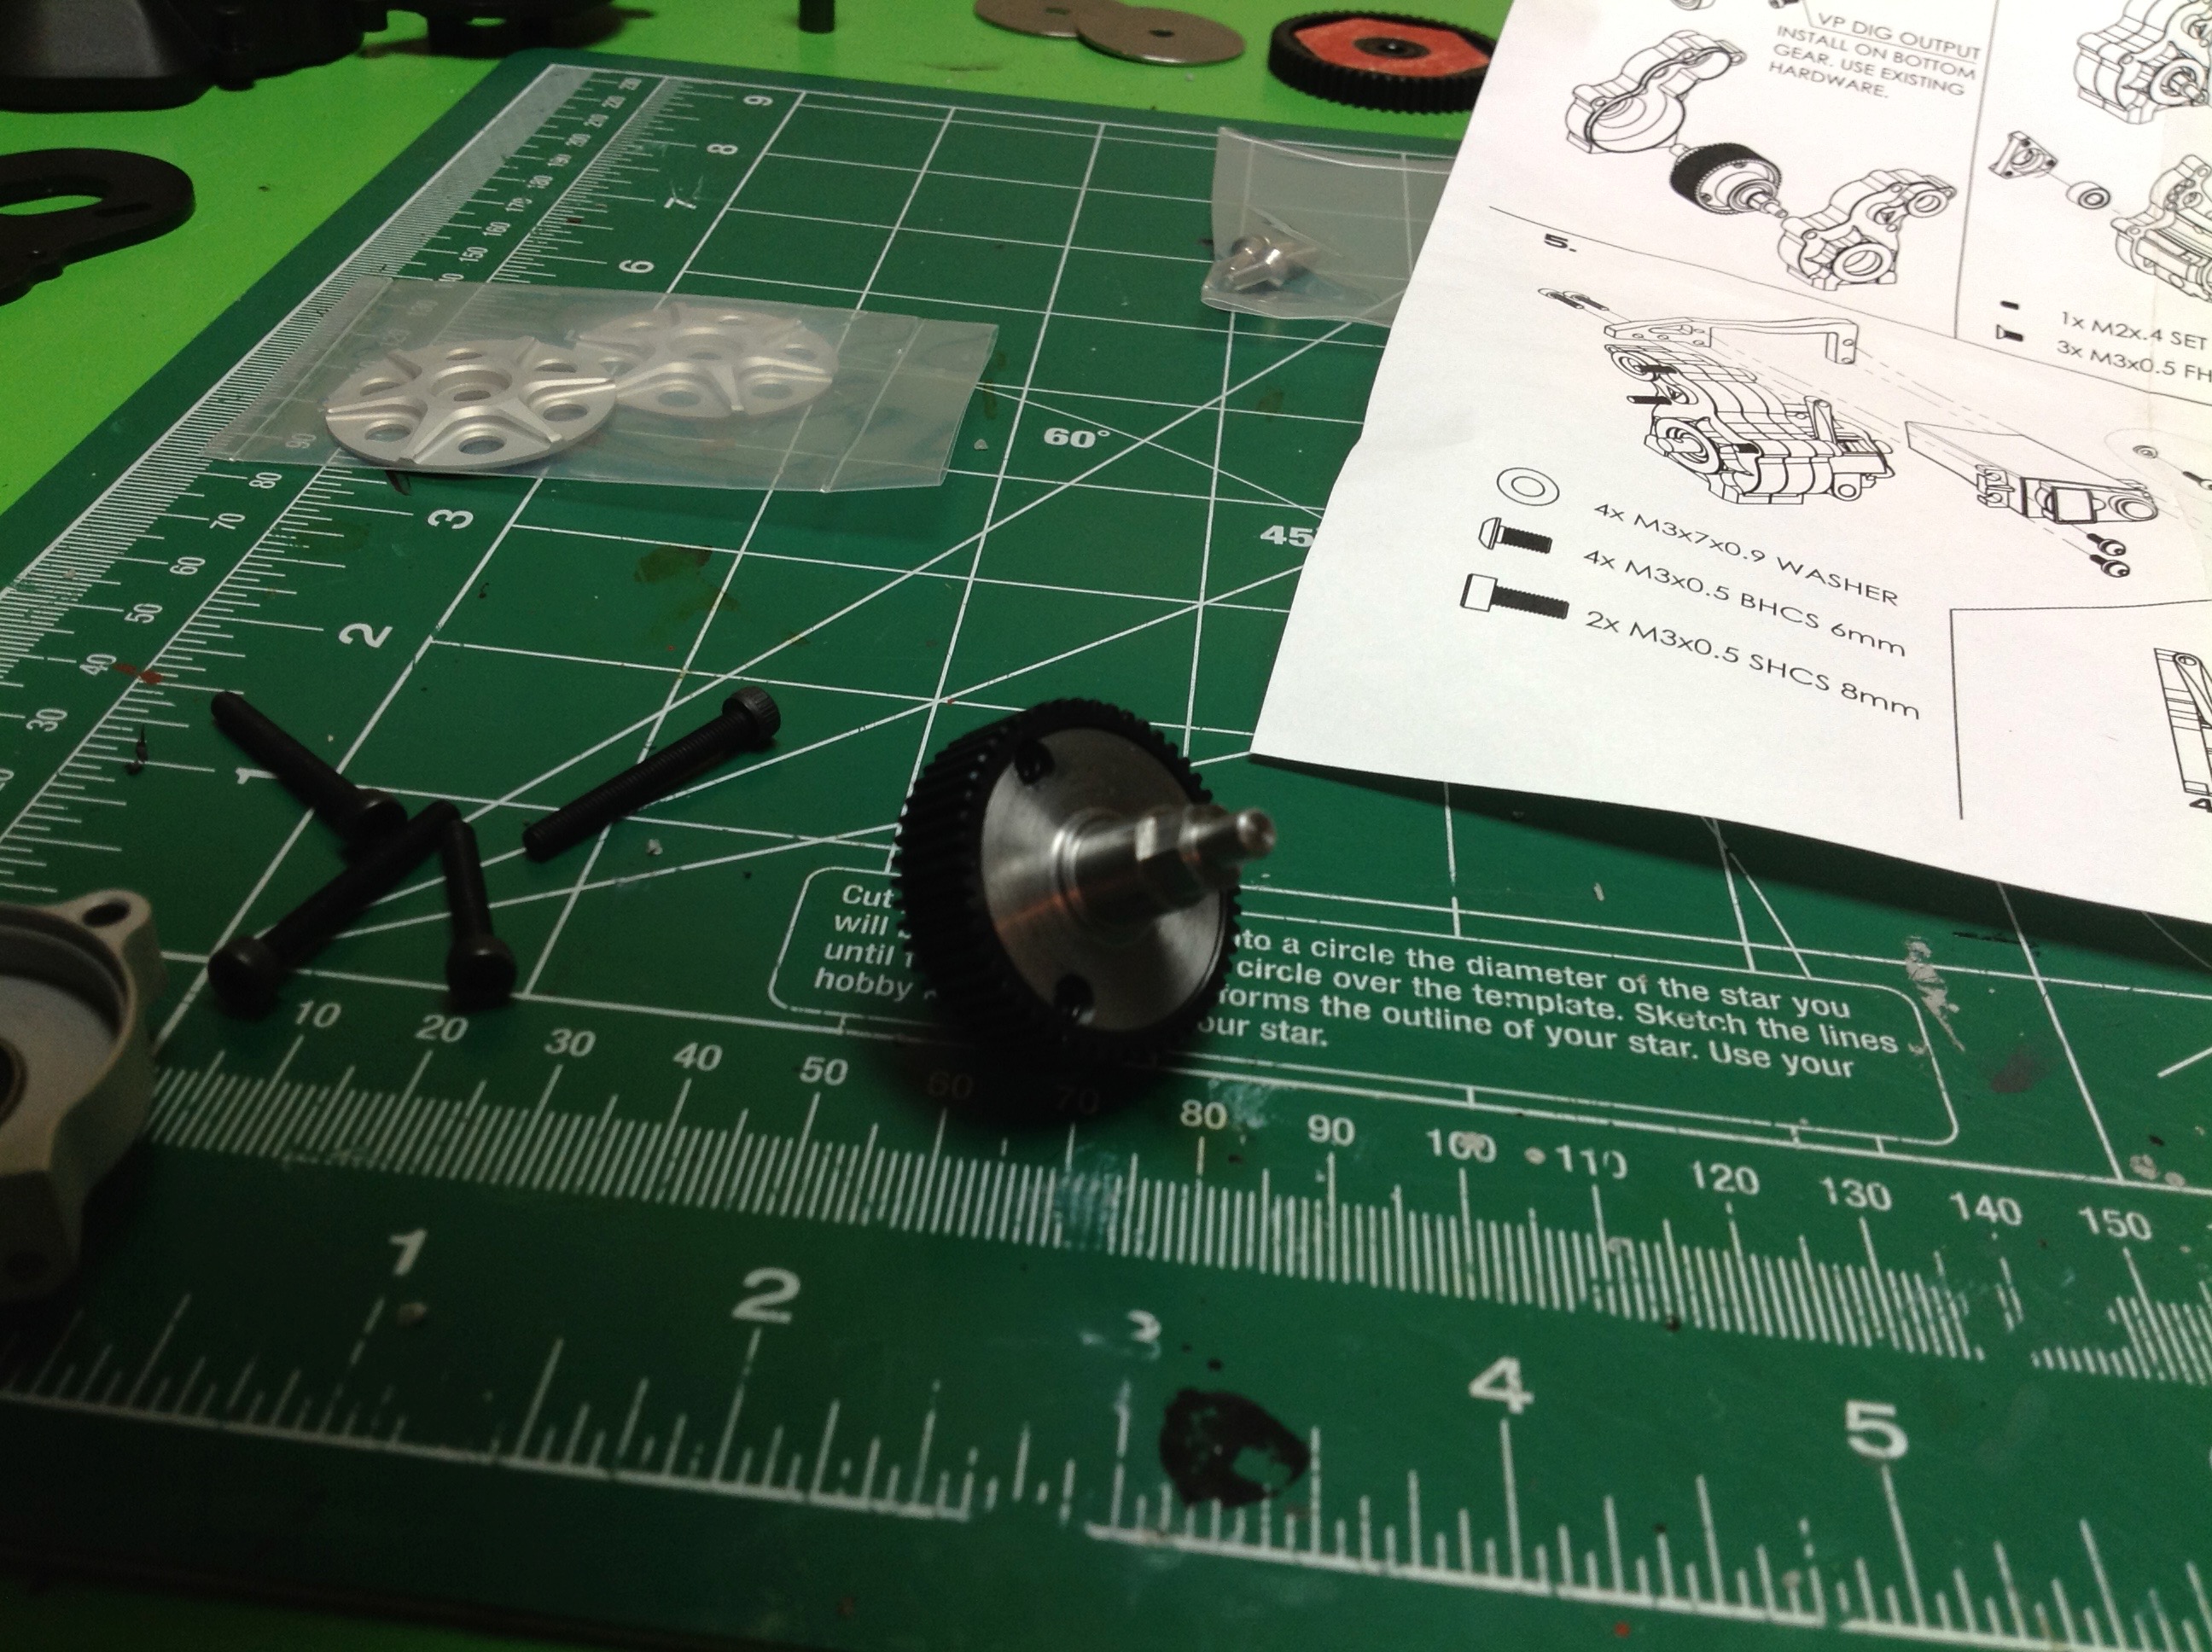
Here's the updated outdrive gear which includes the system to disengage
or lock the rear gear. On the right are the new slipper clutch
caps, motor mount, and gear shroud.
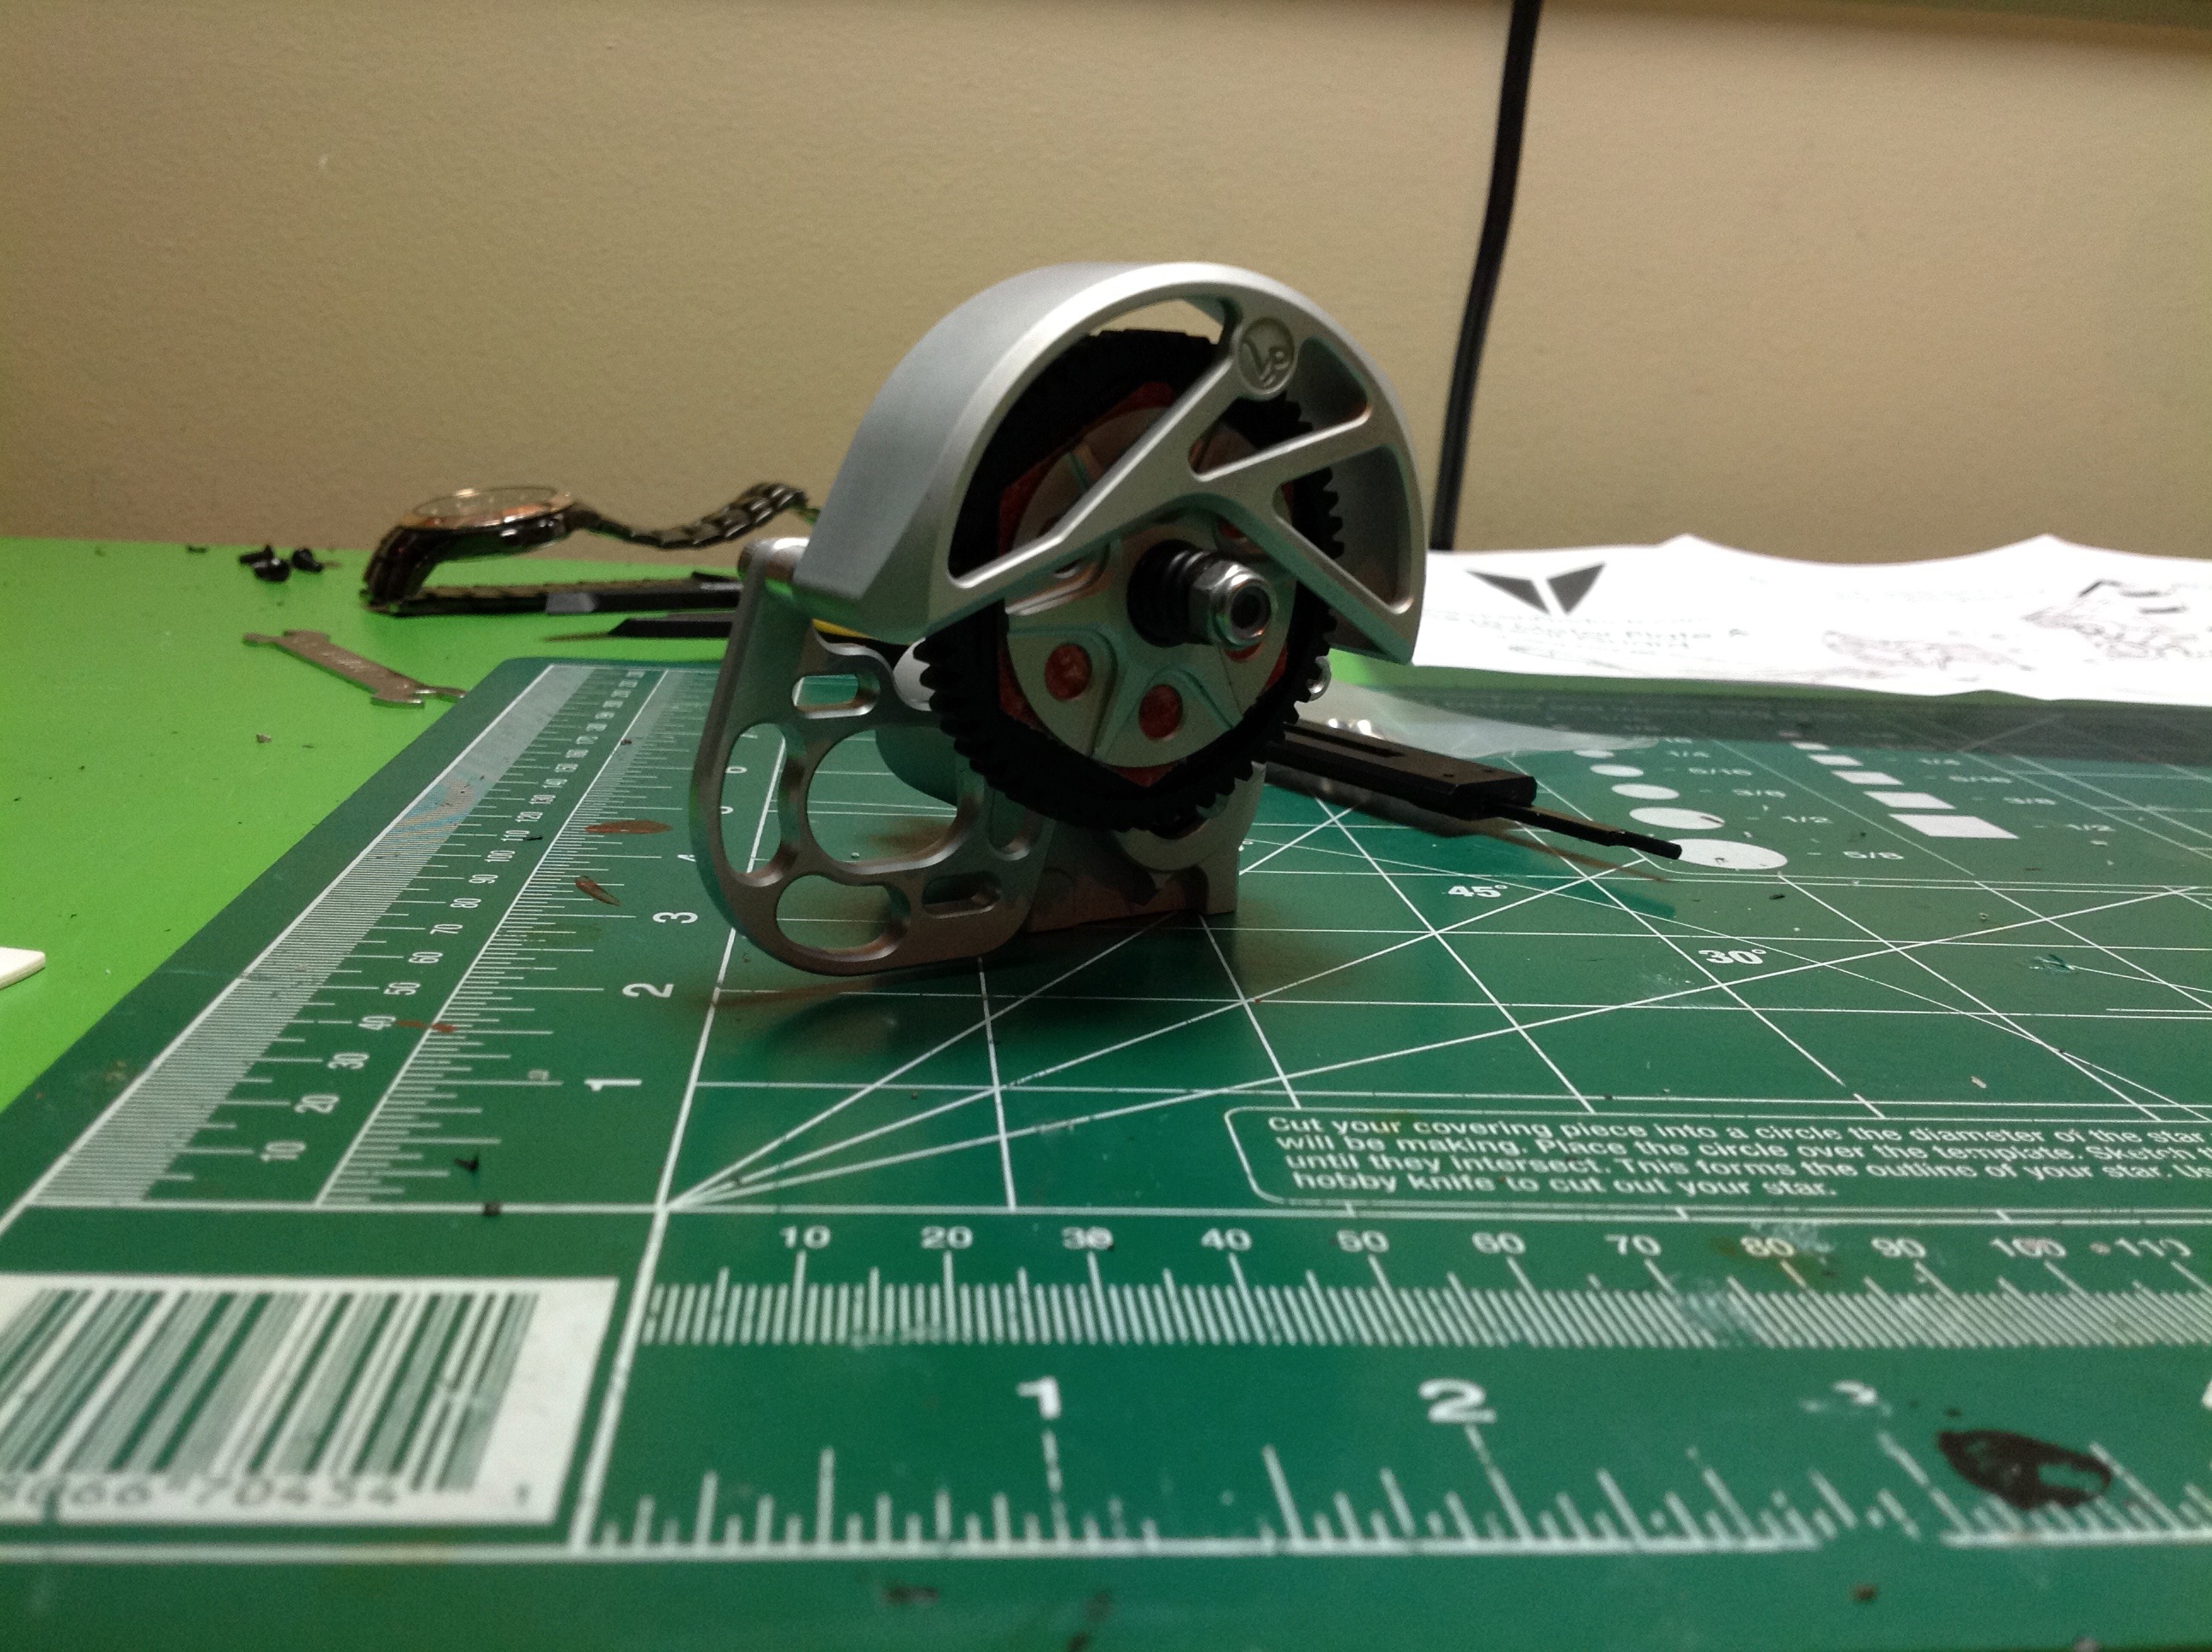
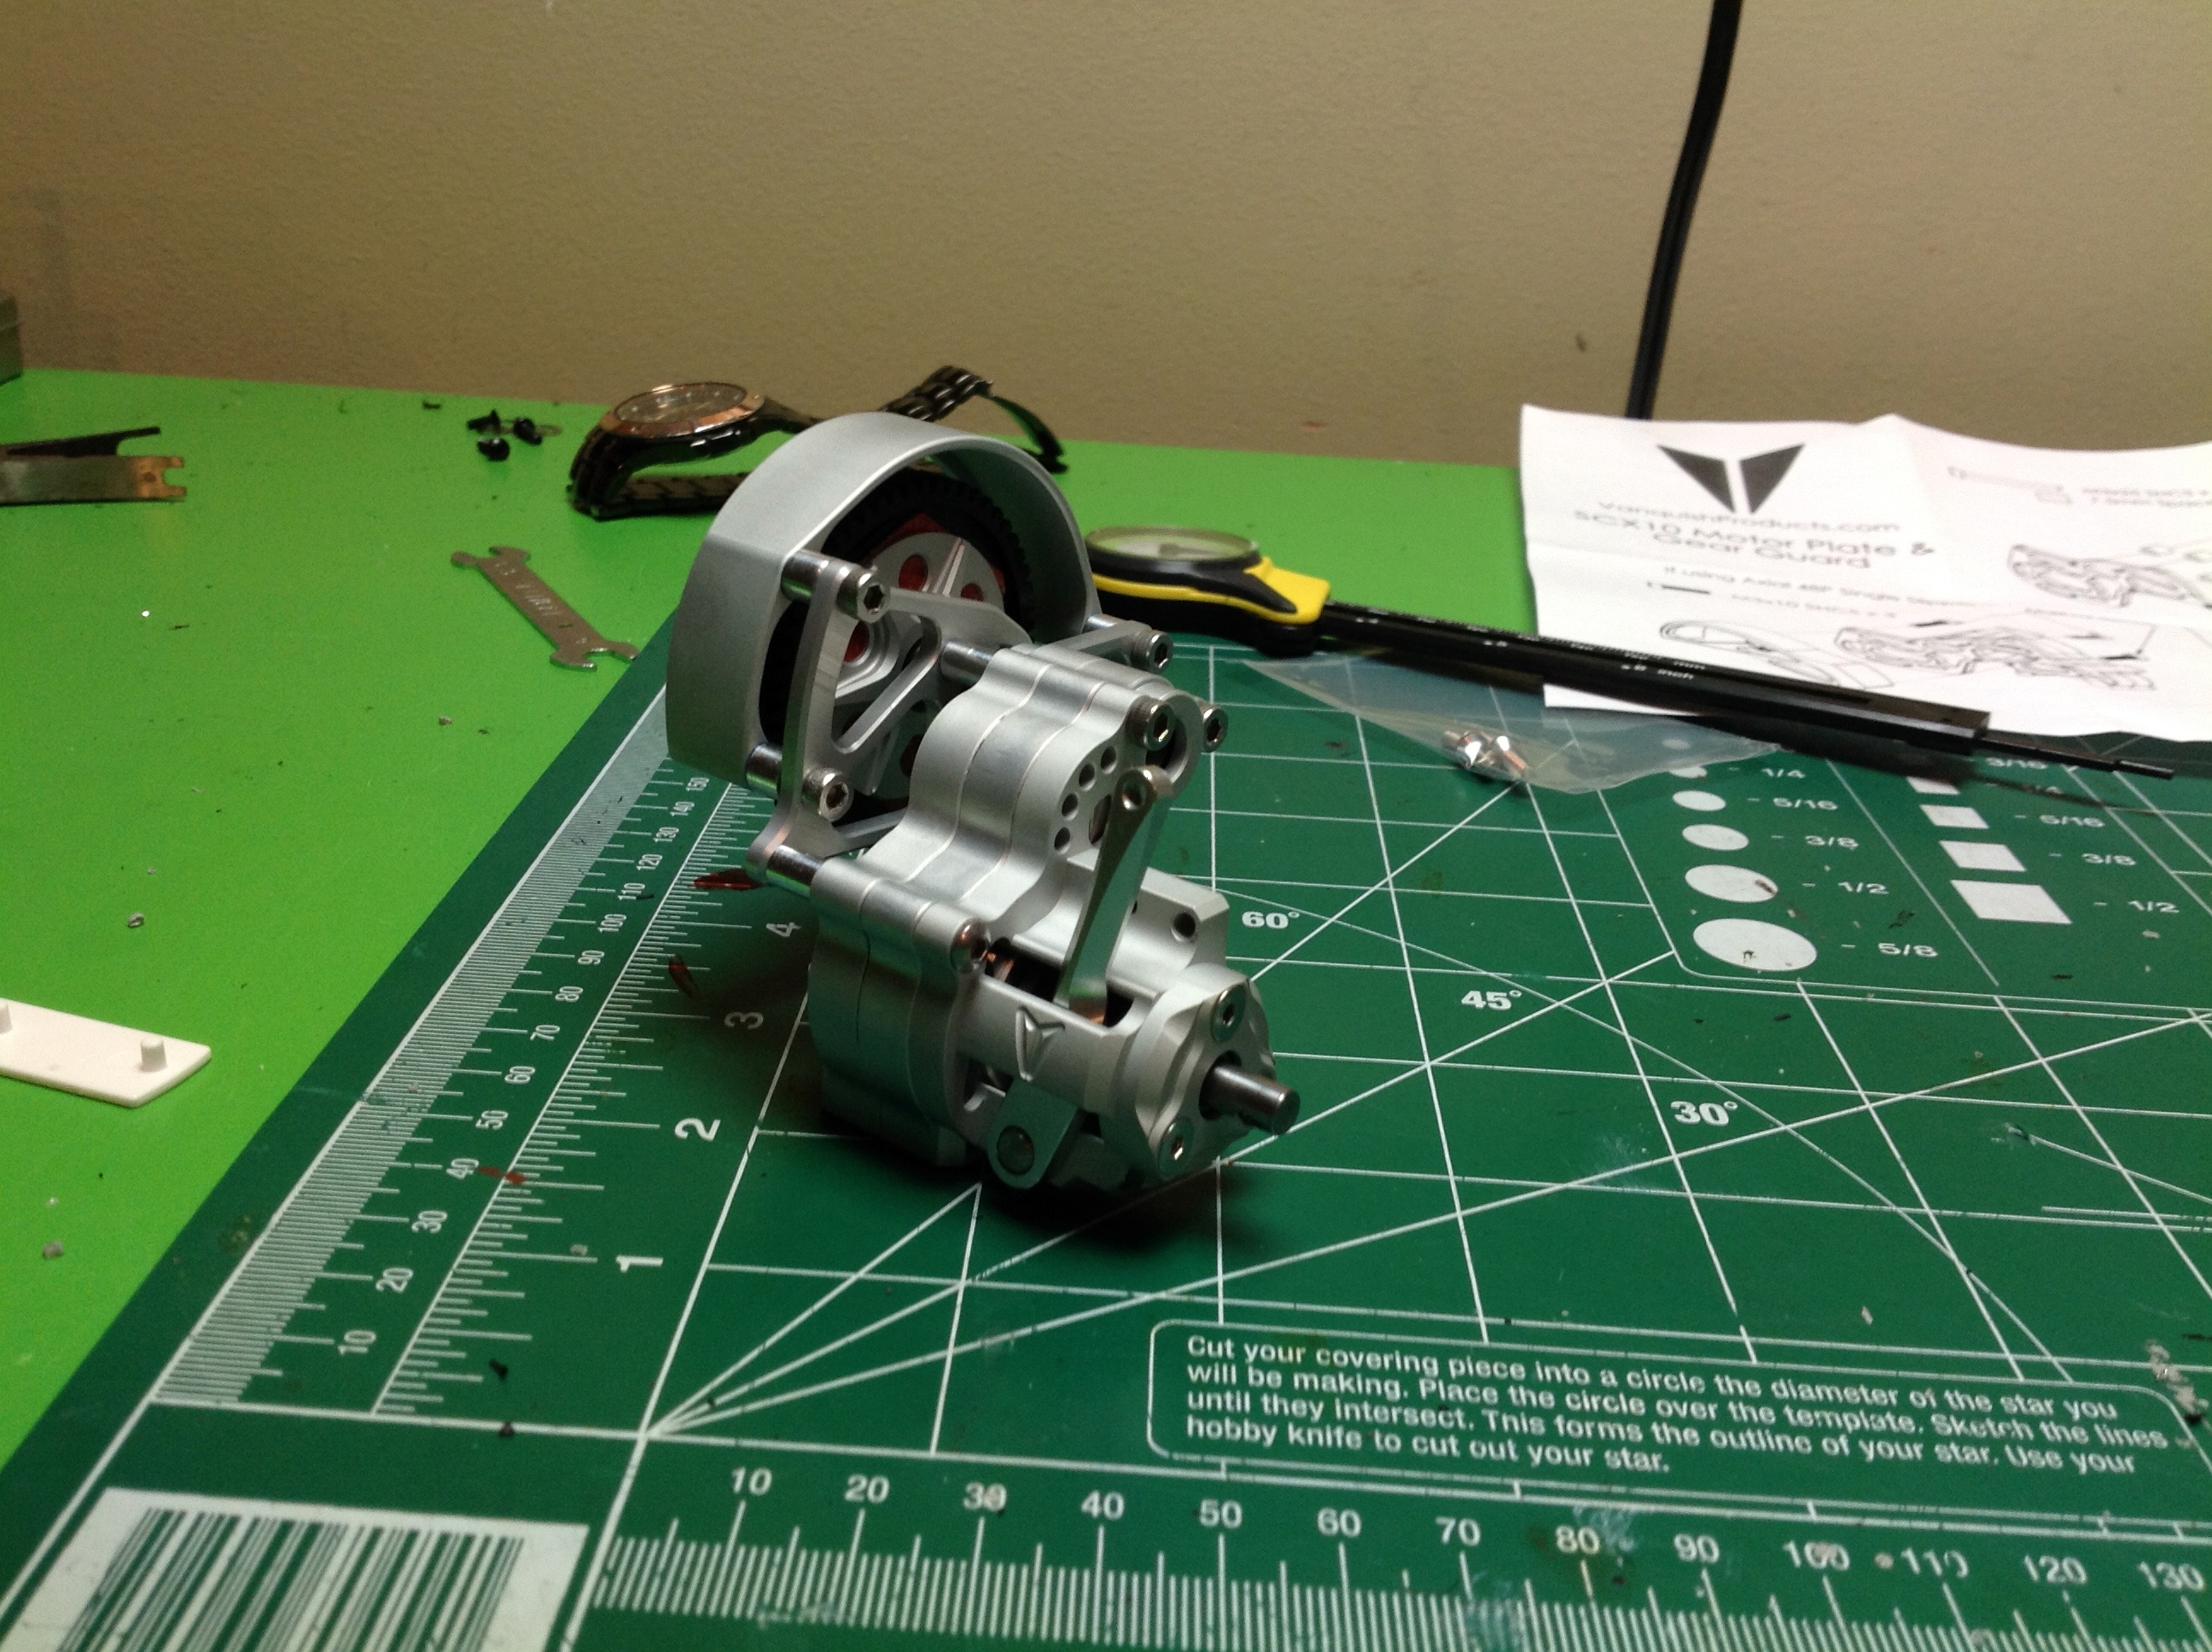
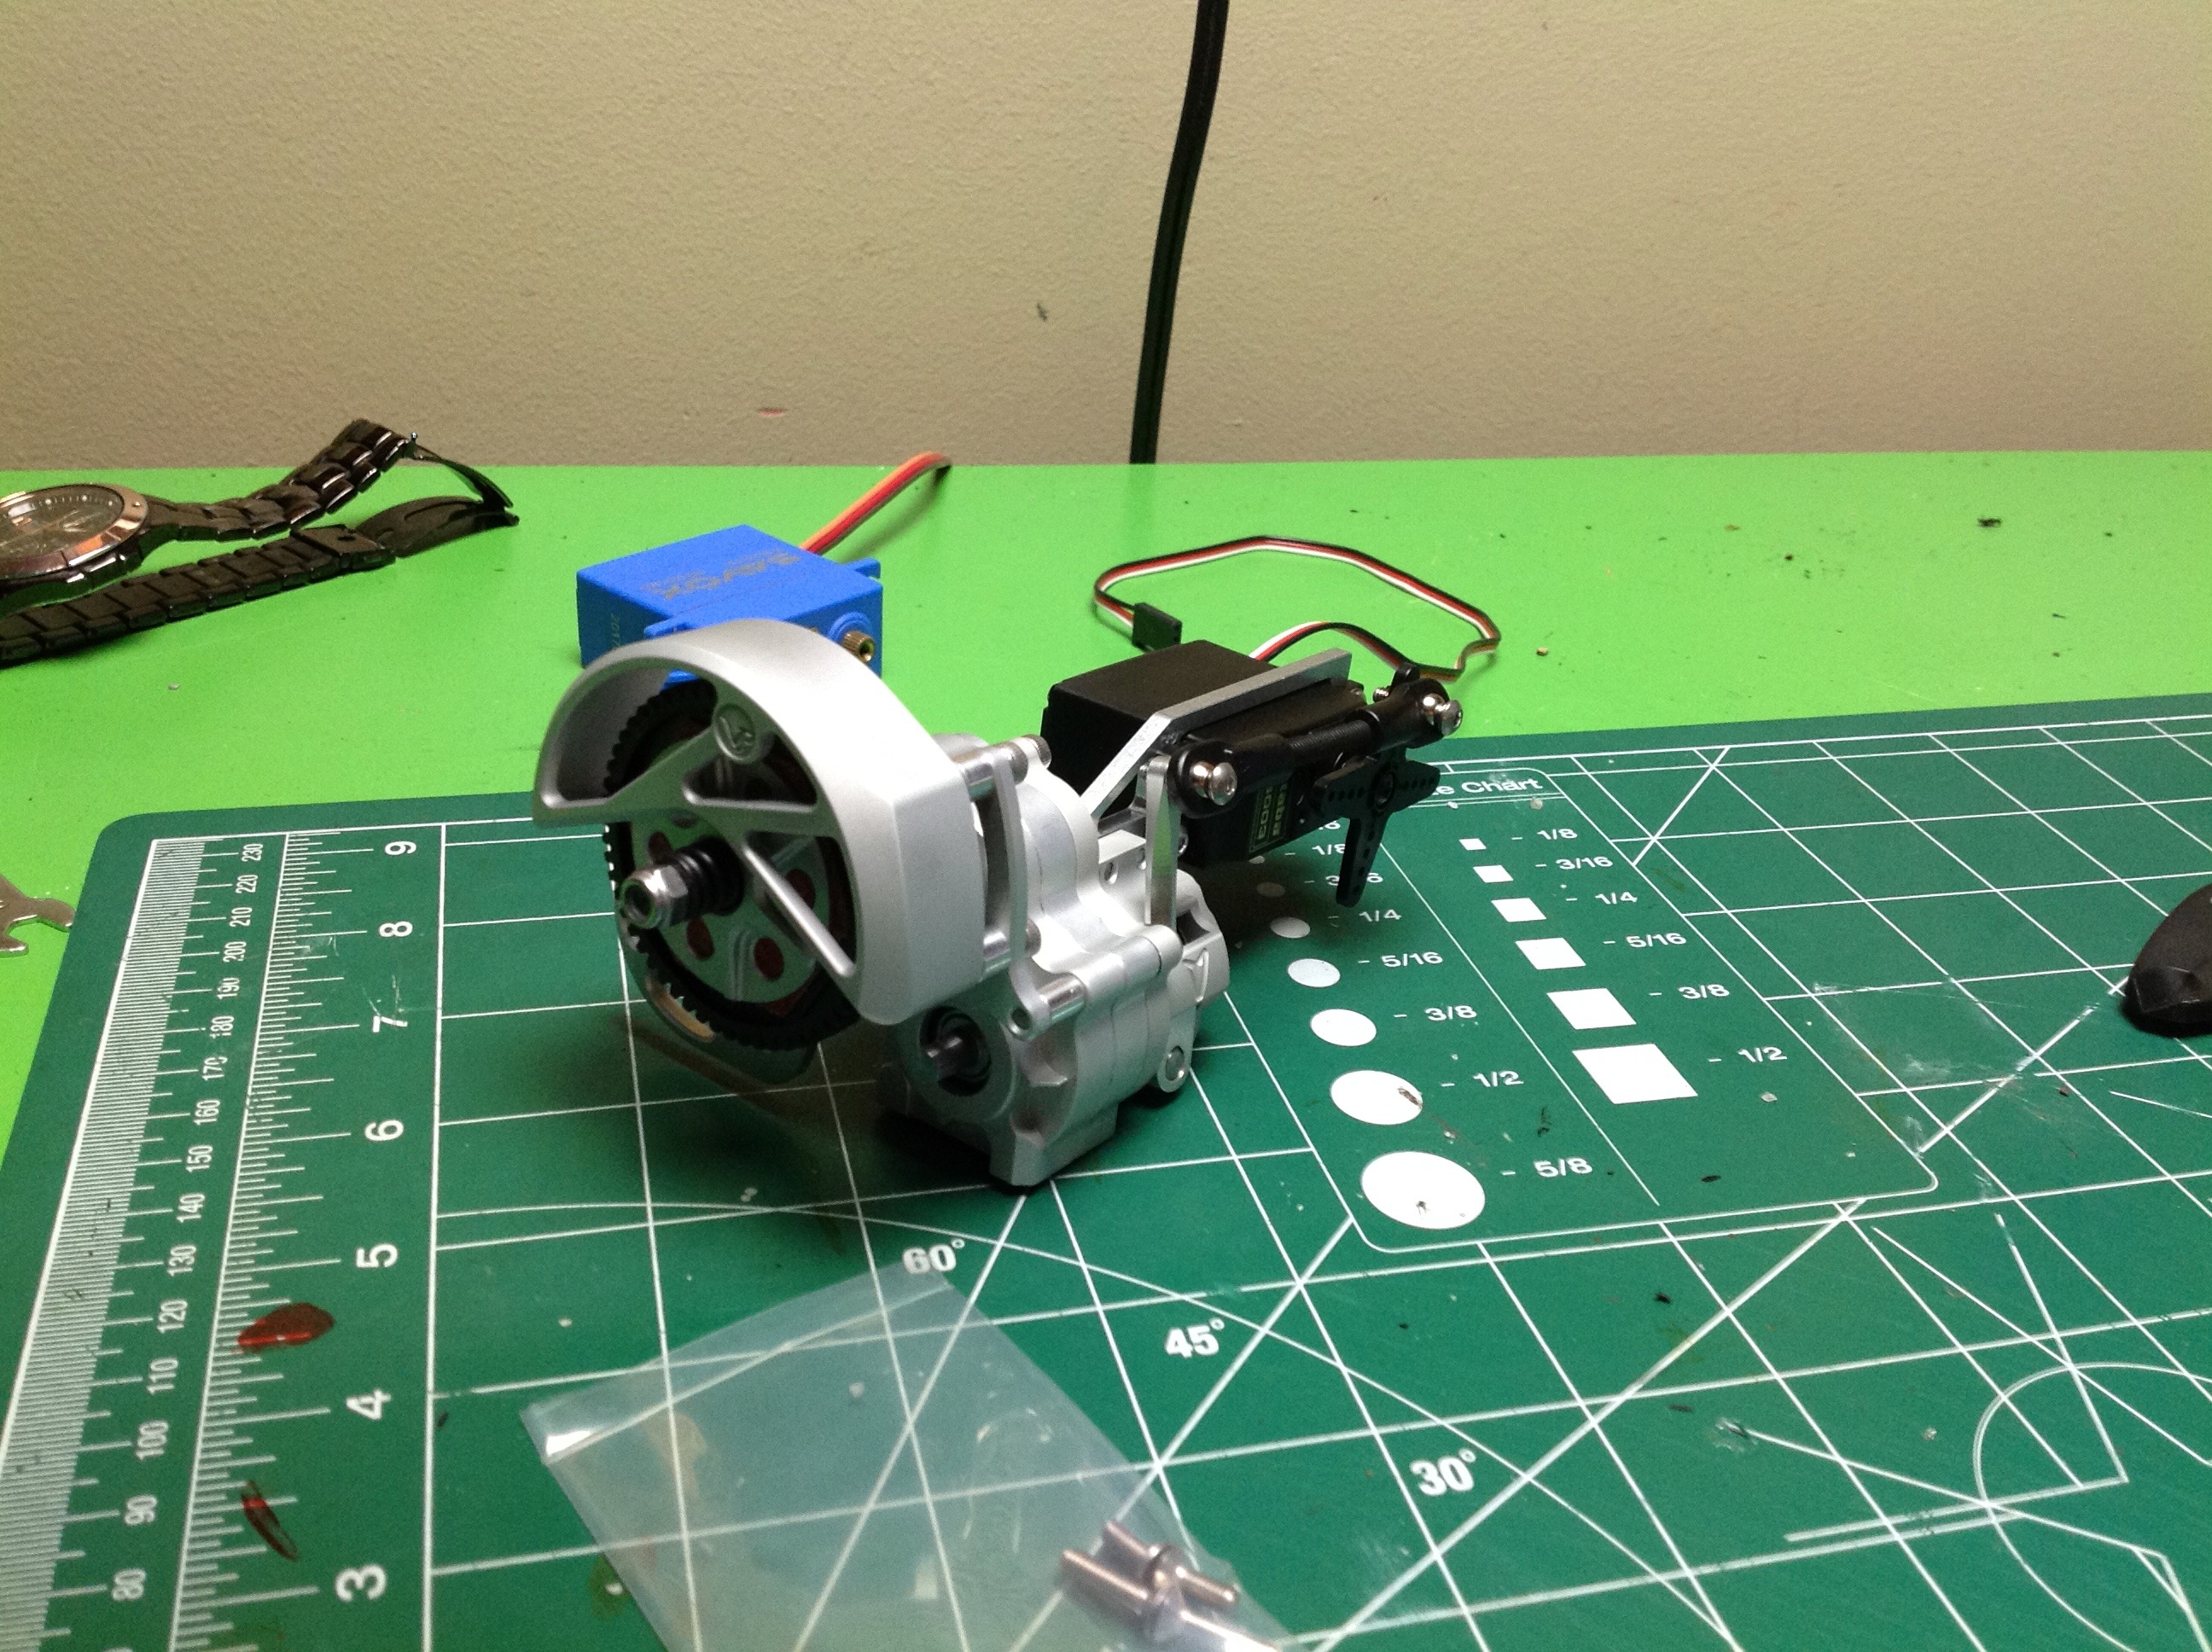
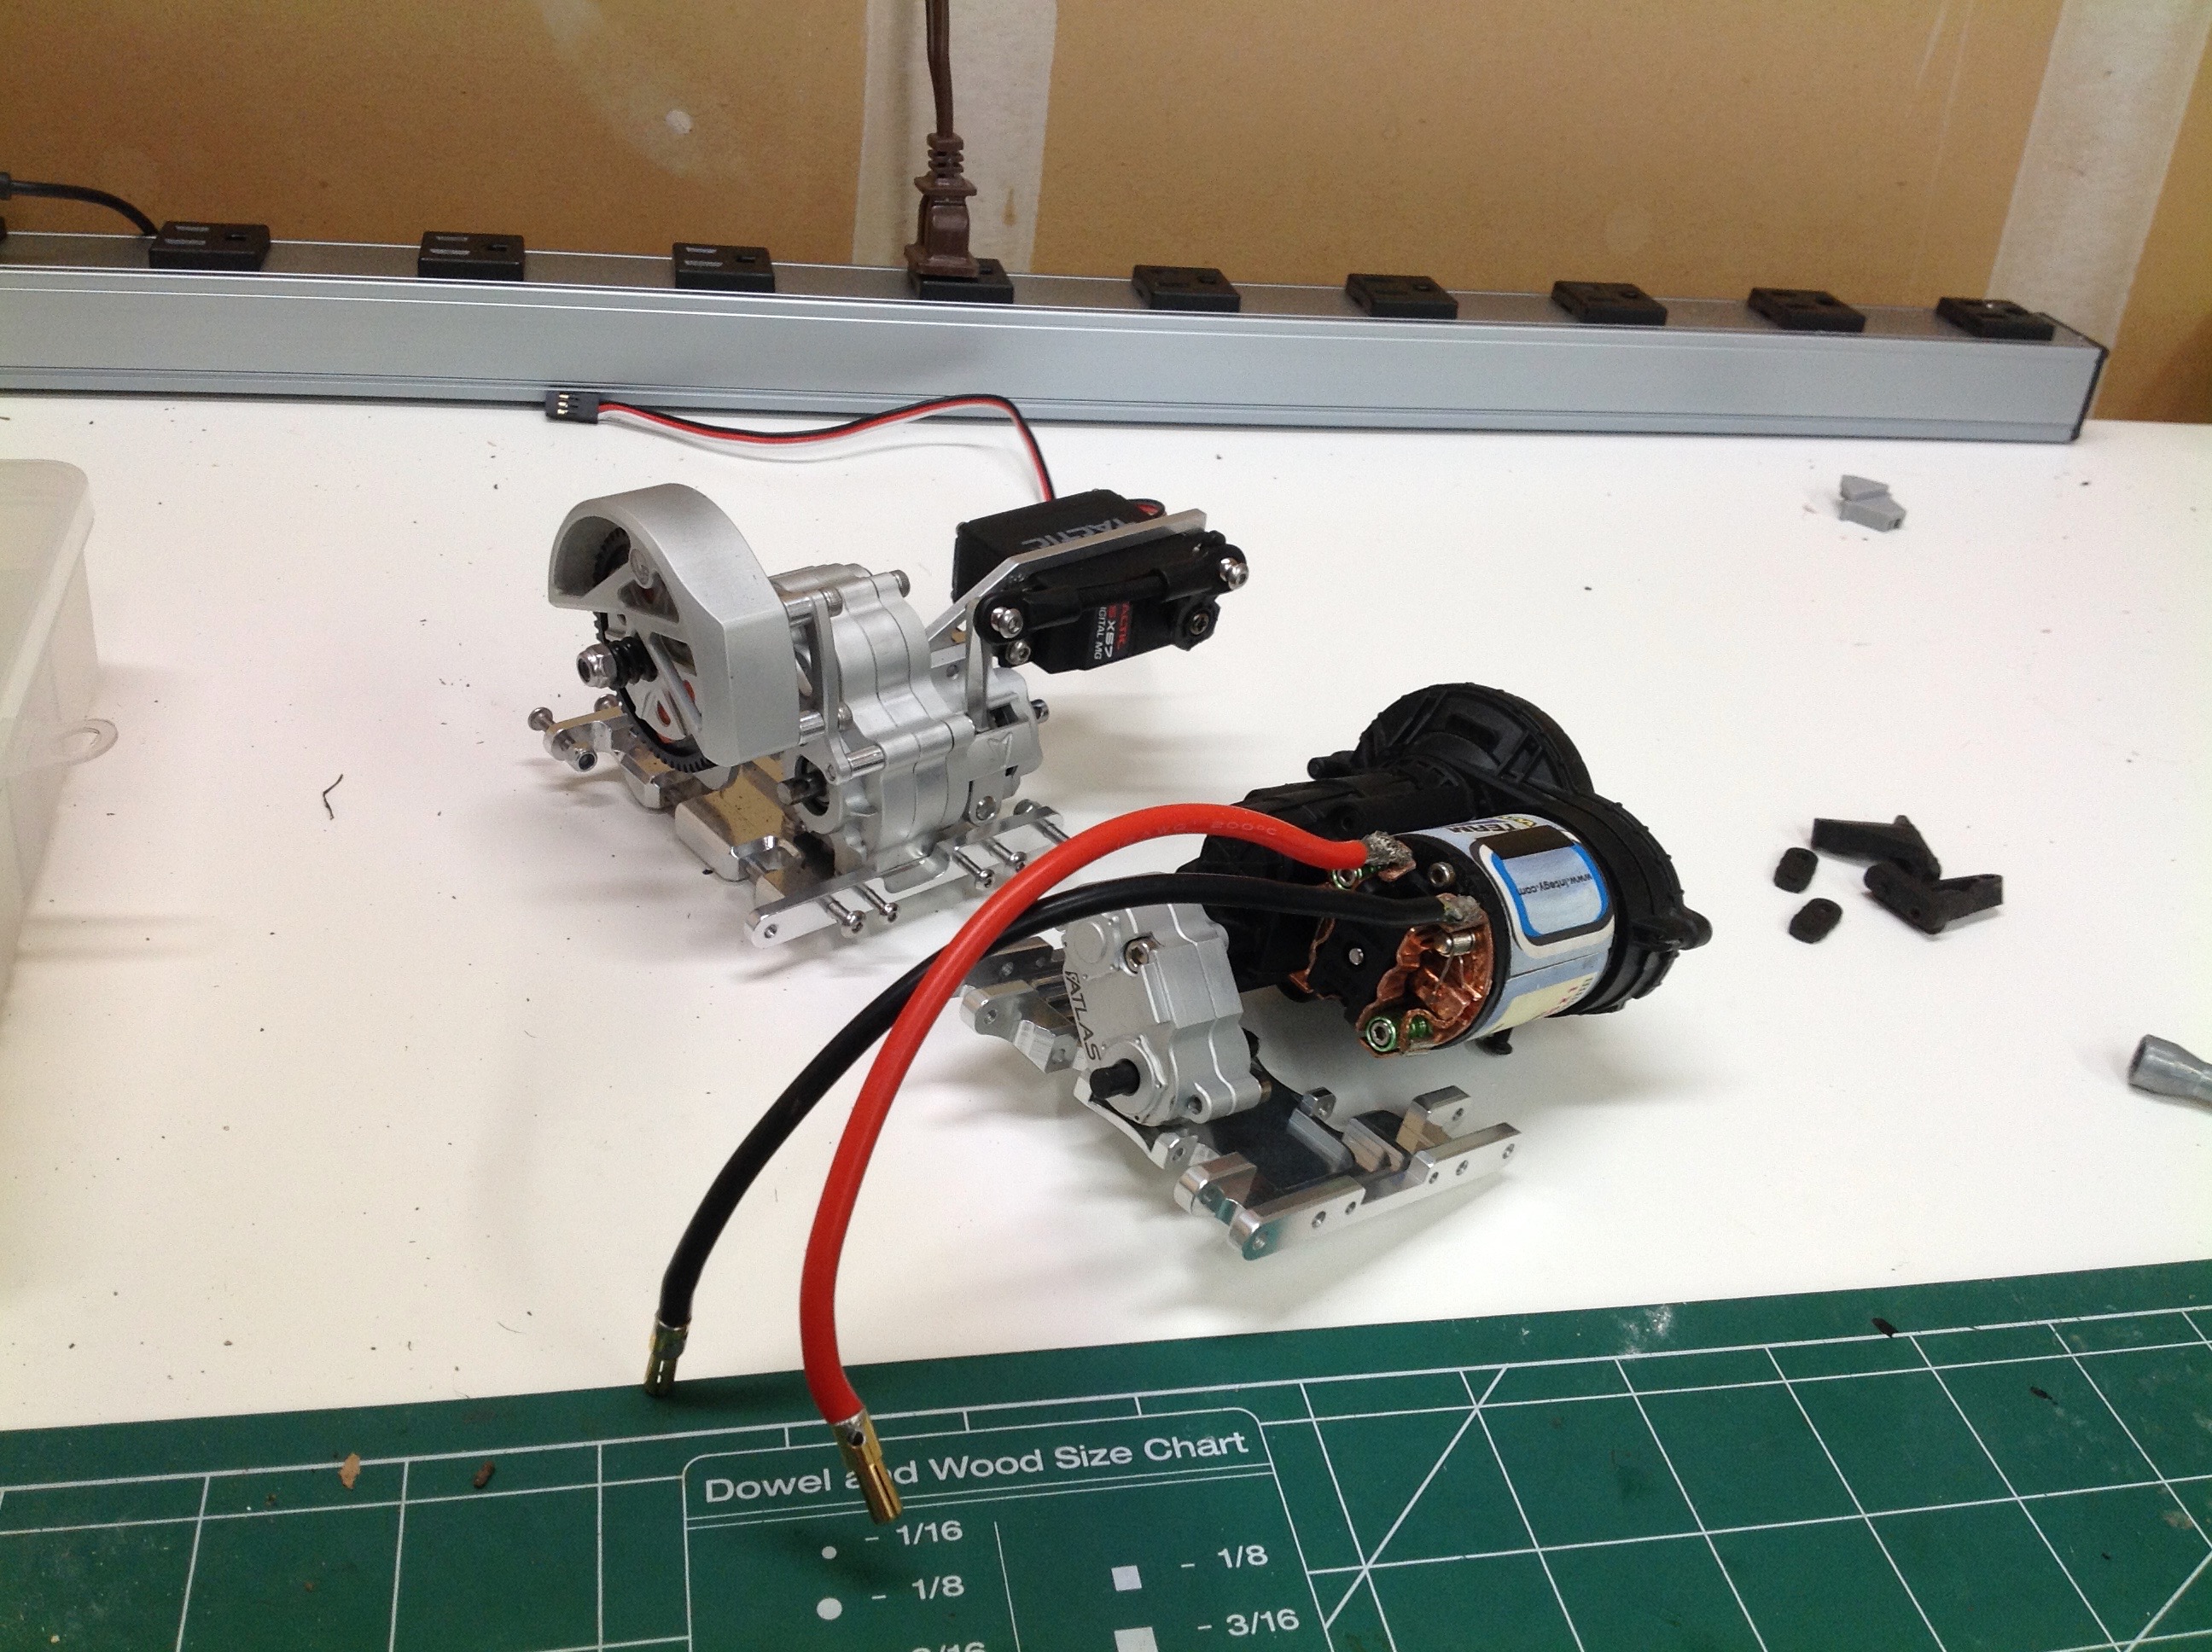
The completed transmission with installed dig. The servo you see
hanging out the back moves the lever to change the state of the rear
axle connection.
So how much of that AX10 transmission kit did I actually use?
Hardly anything. All the parts shown above got replaced so
you can virtually build a whole extra transmission with them.
Now installing that thing in the chassis is not so easy as you might
think. Remember how I discovered it was actually for the RTR
version? This caused a couple of more problems. First is
that the center plate is not right. Although the original kit came
with both styles, I foolishly threw away the one I wasn't using.
And now Axial was out of stock. So I ordered a cool aluminum
version from Korea then waited weeks for it to arrive only to discover I
had ordered the kit version and needed the RTR version. My wrath
waxed hot I can tell you. So another couple of weeks wait and I
finally got this installed.
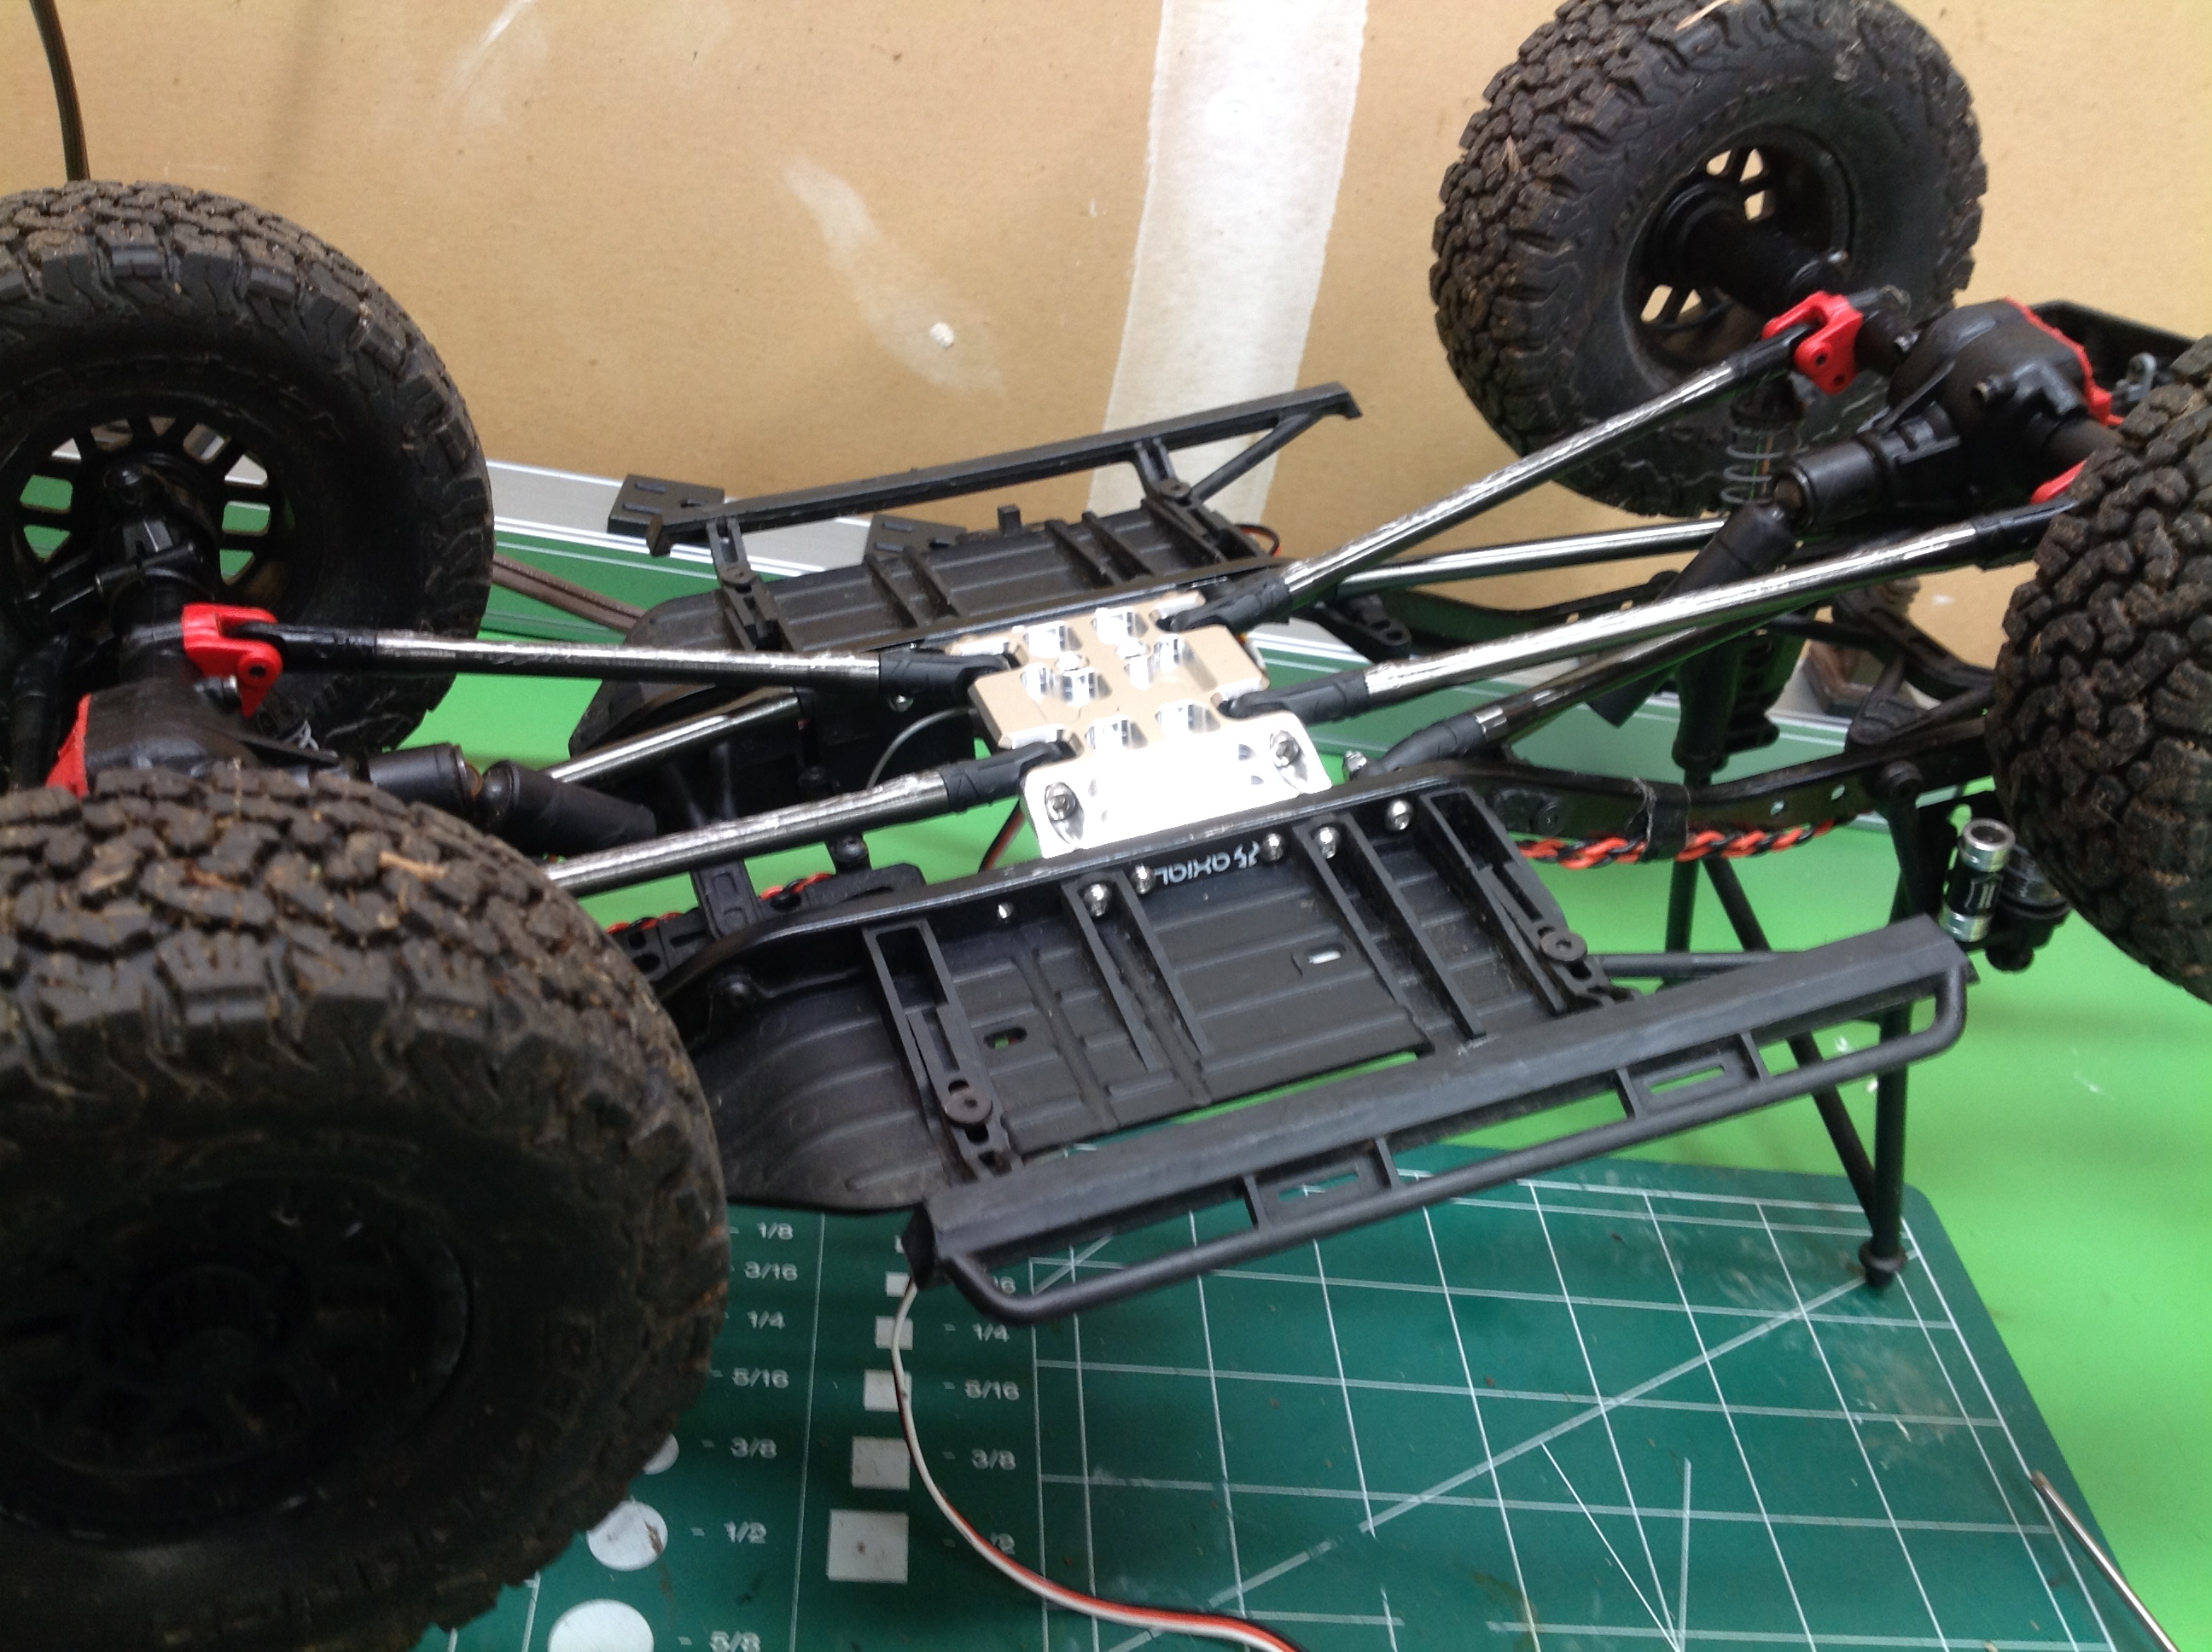
Here we compare the original transmission with the dig
transmission. The spur gear shroud interfered with the battery
compartment so I had to grind it away and move the battery forward.
After all that pain I got it running only to decide I really didn't want
a dig on this truck. I was not happy with the amount of
modification that was required to install it. I would rather
install
it on the Vanquish Ripper I just ordered. So I tore it back out
but took the opportunity to install some nice aluminum upgrades on the
old transmission as shown.
Phase 3:
After my abject failure to improve the performance of the truck I
decided to improve the appearance instead. I can't screw that up,
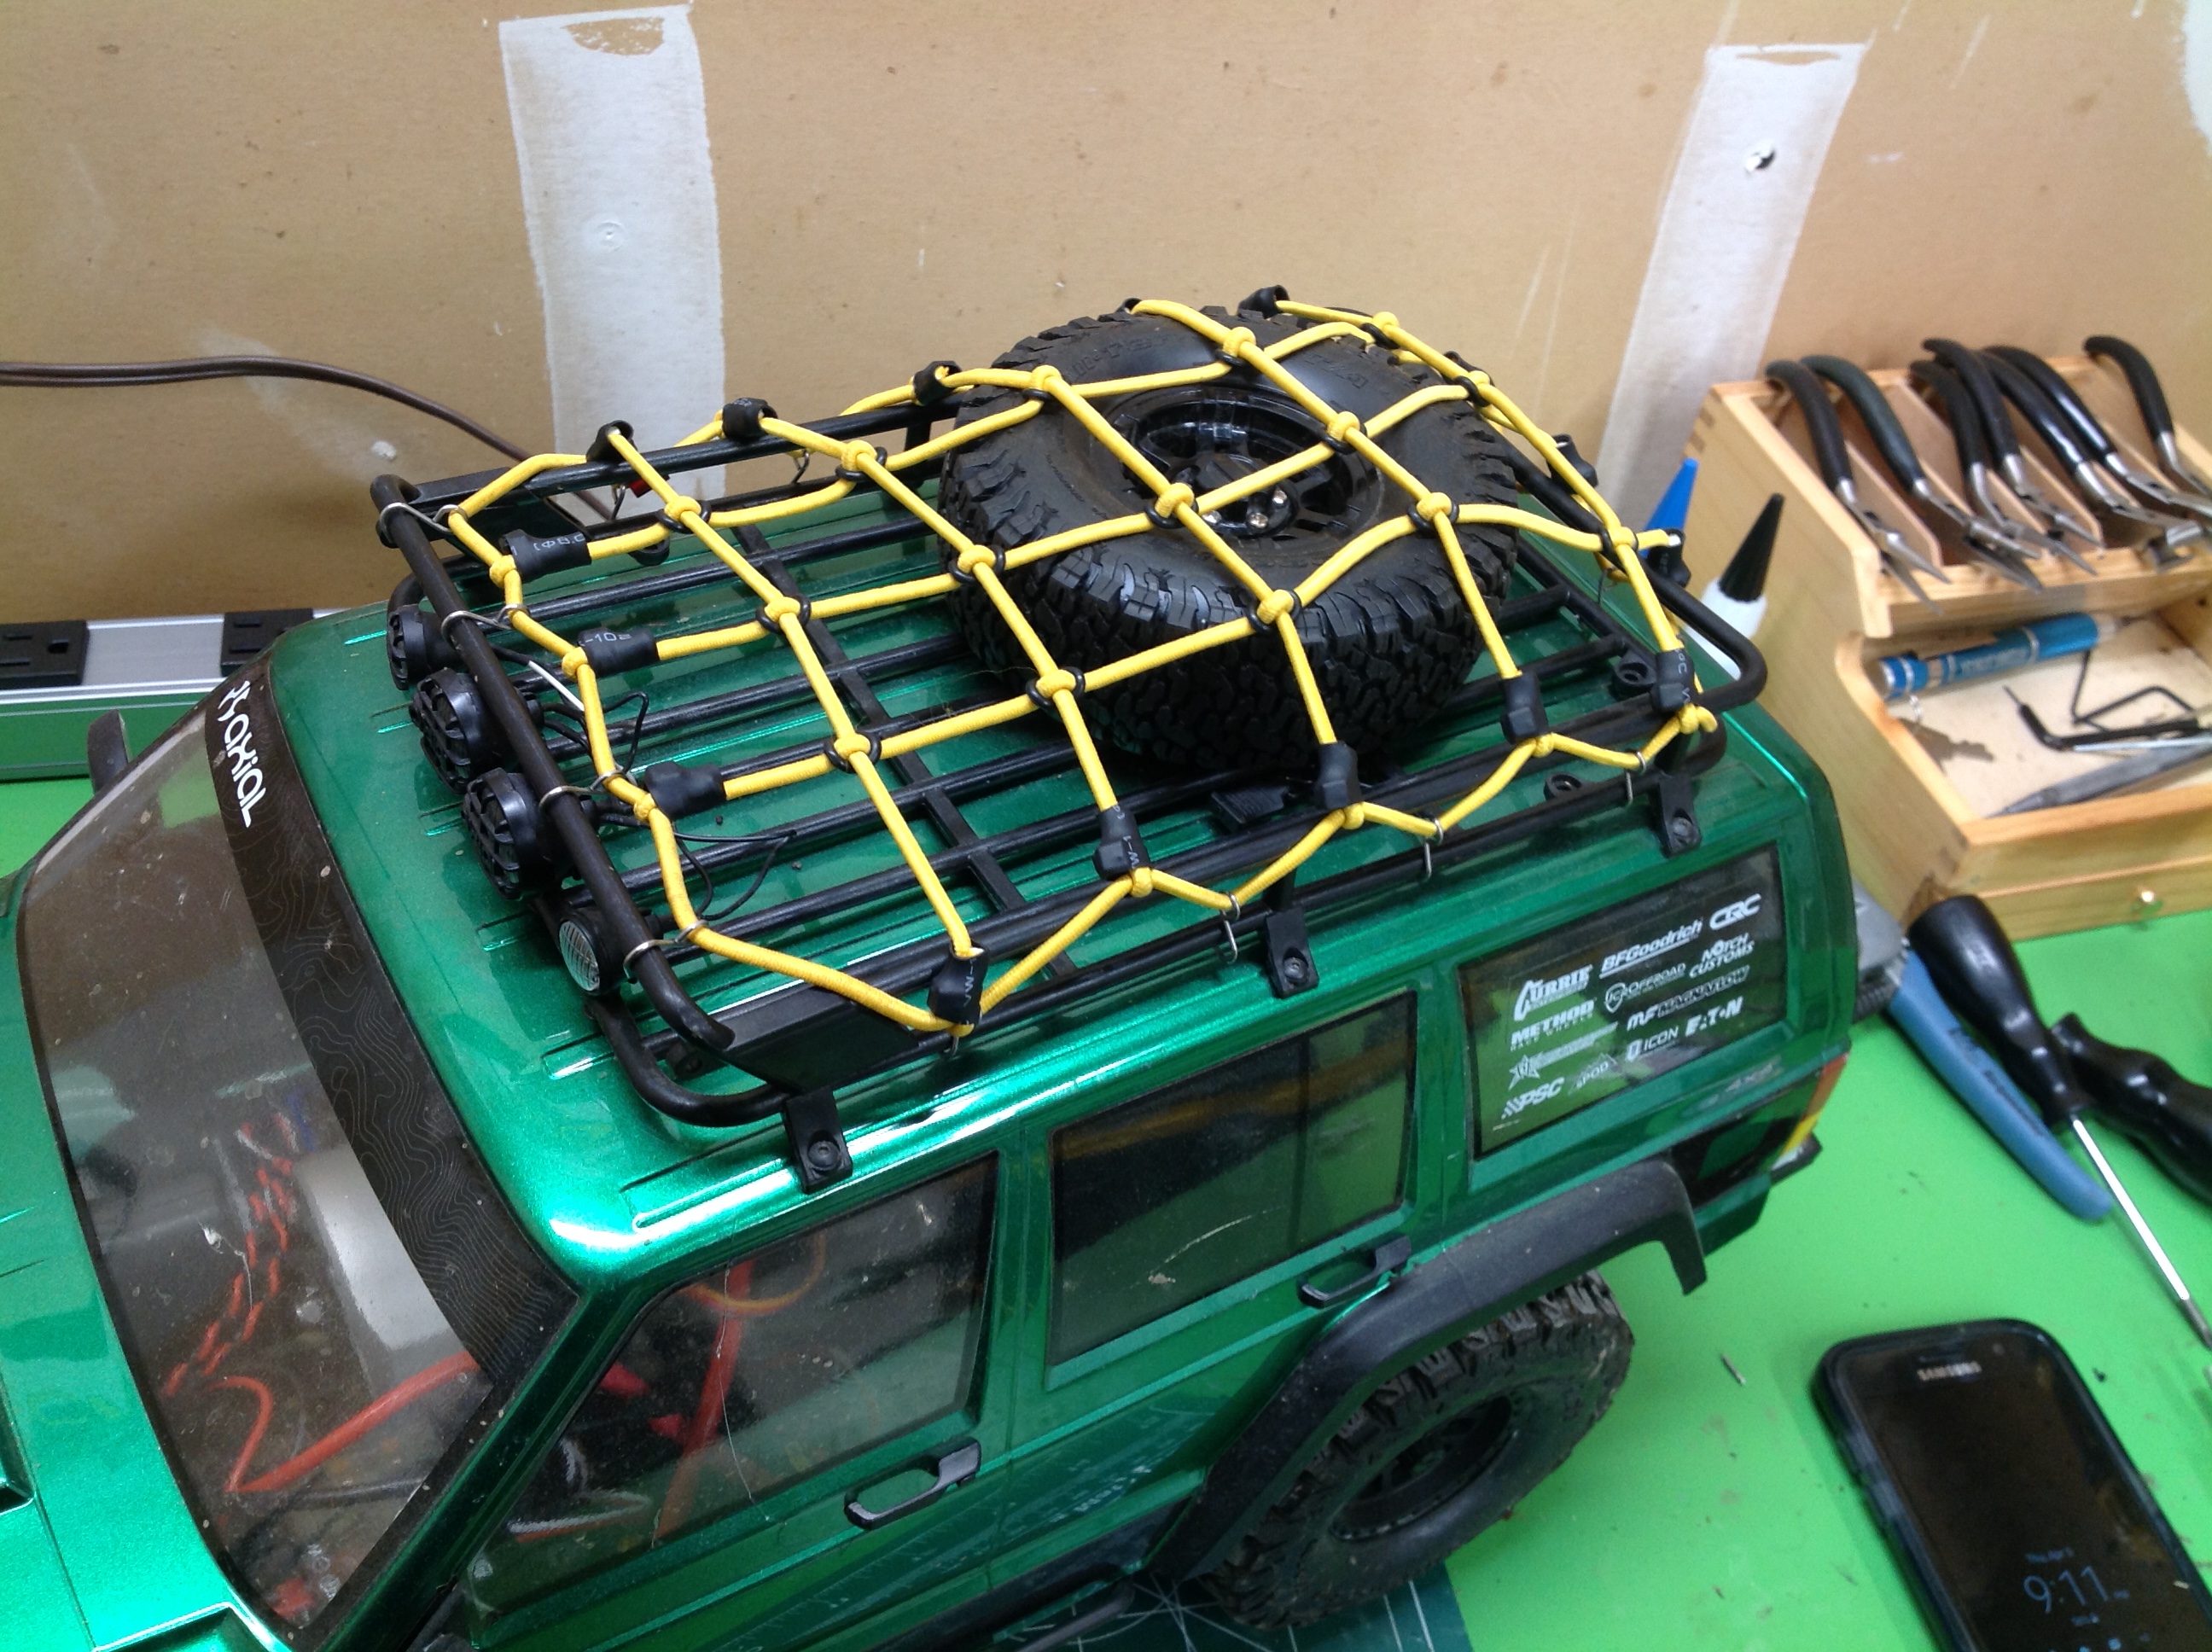
right? The elastic roof rack net I bought didn't fit. The
hooks had too small a radius for the plastic bars. I bent them all
open manually to make it fit and threw a spare tire up there.
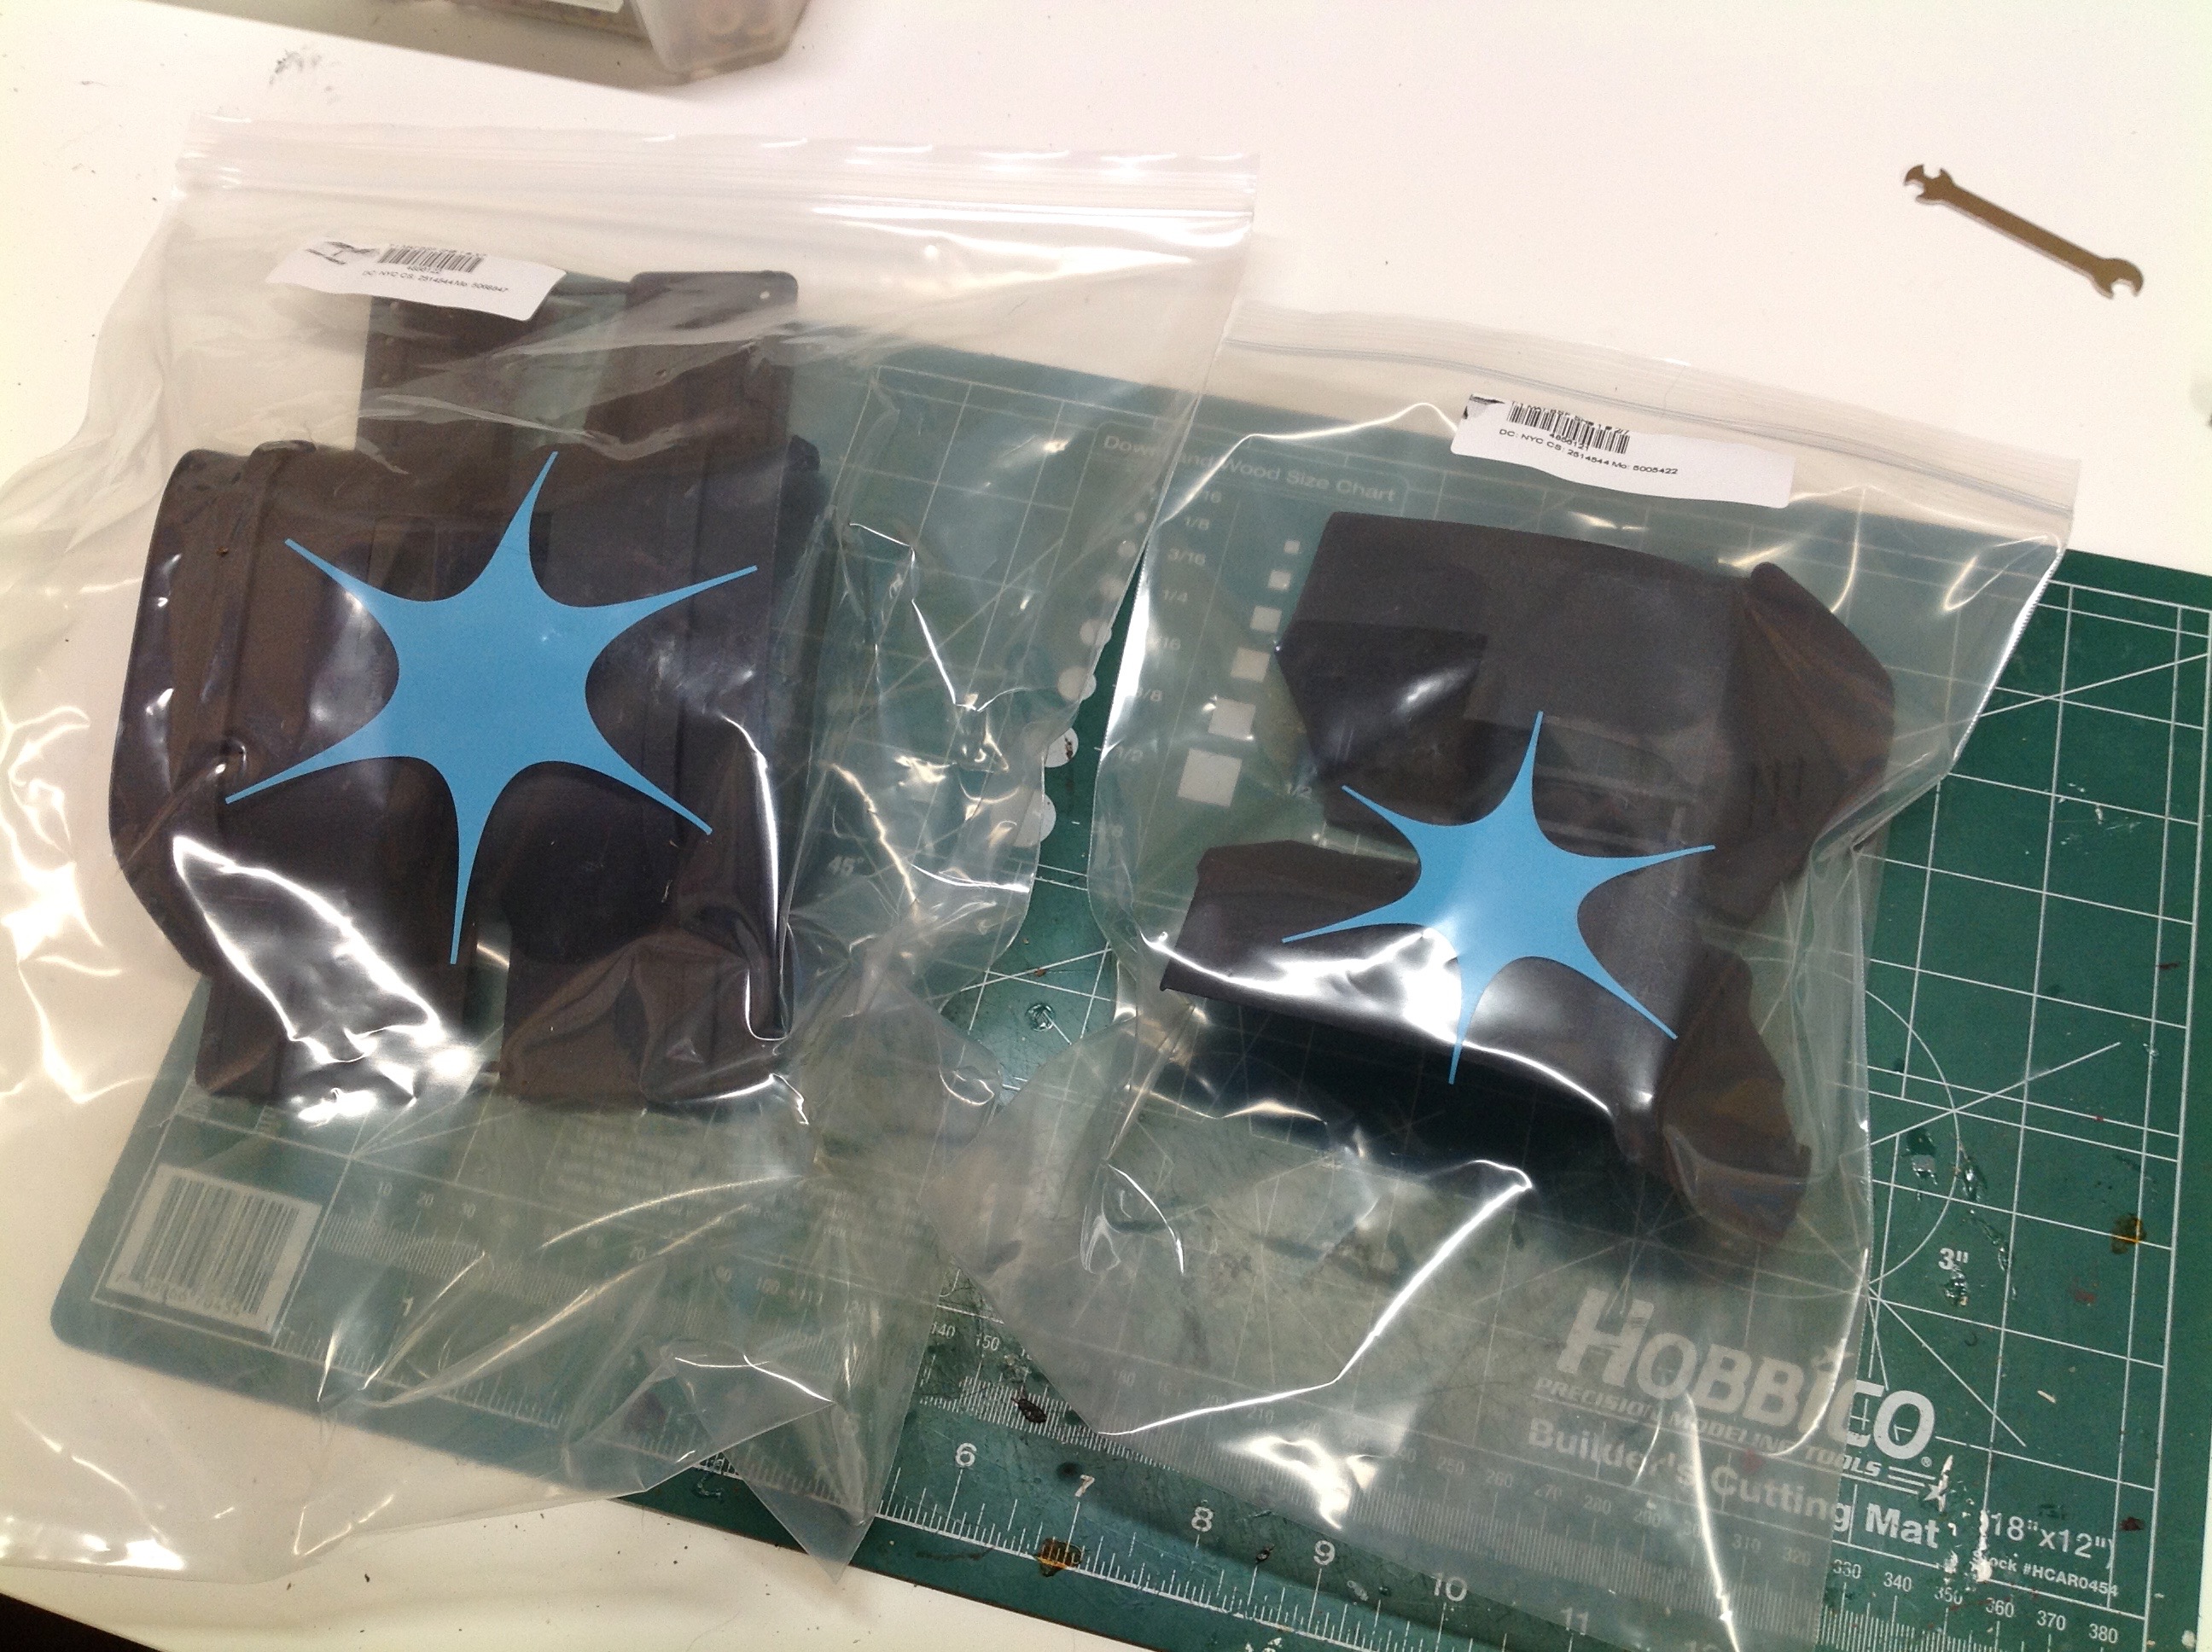
Then I bought some 3D printed inner fenders. I really like the
improved appearance of not seeing daylight through the wheel wells.
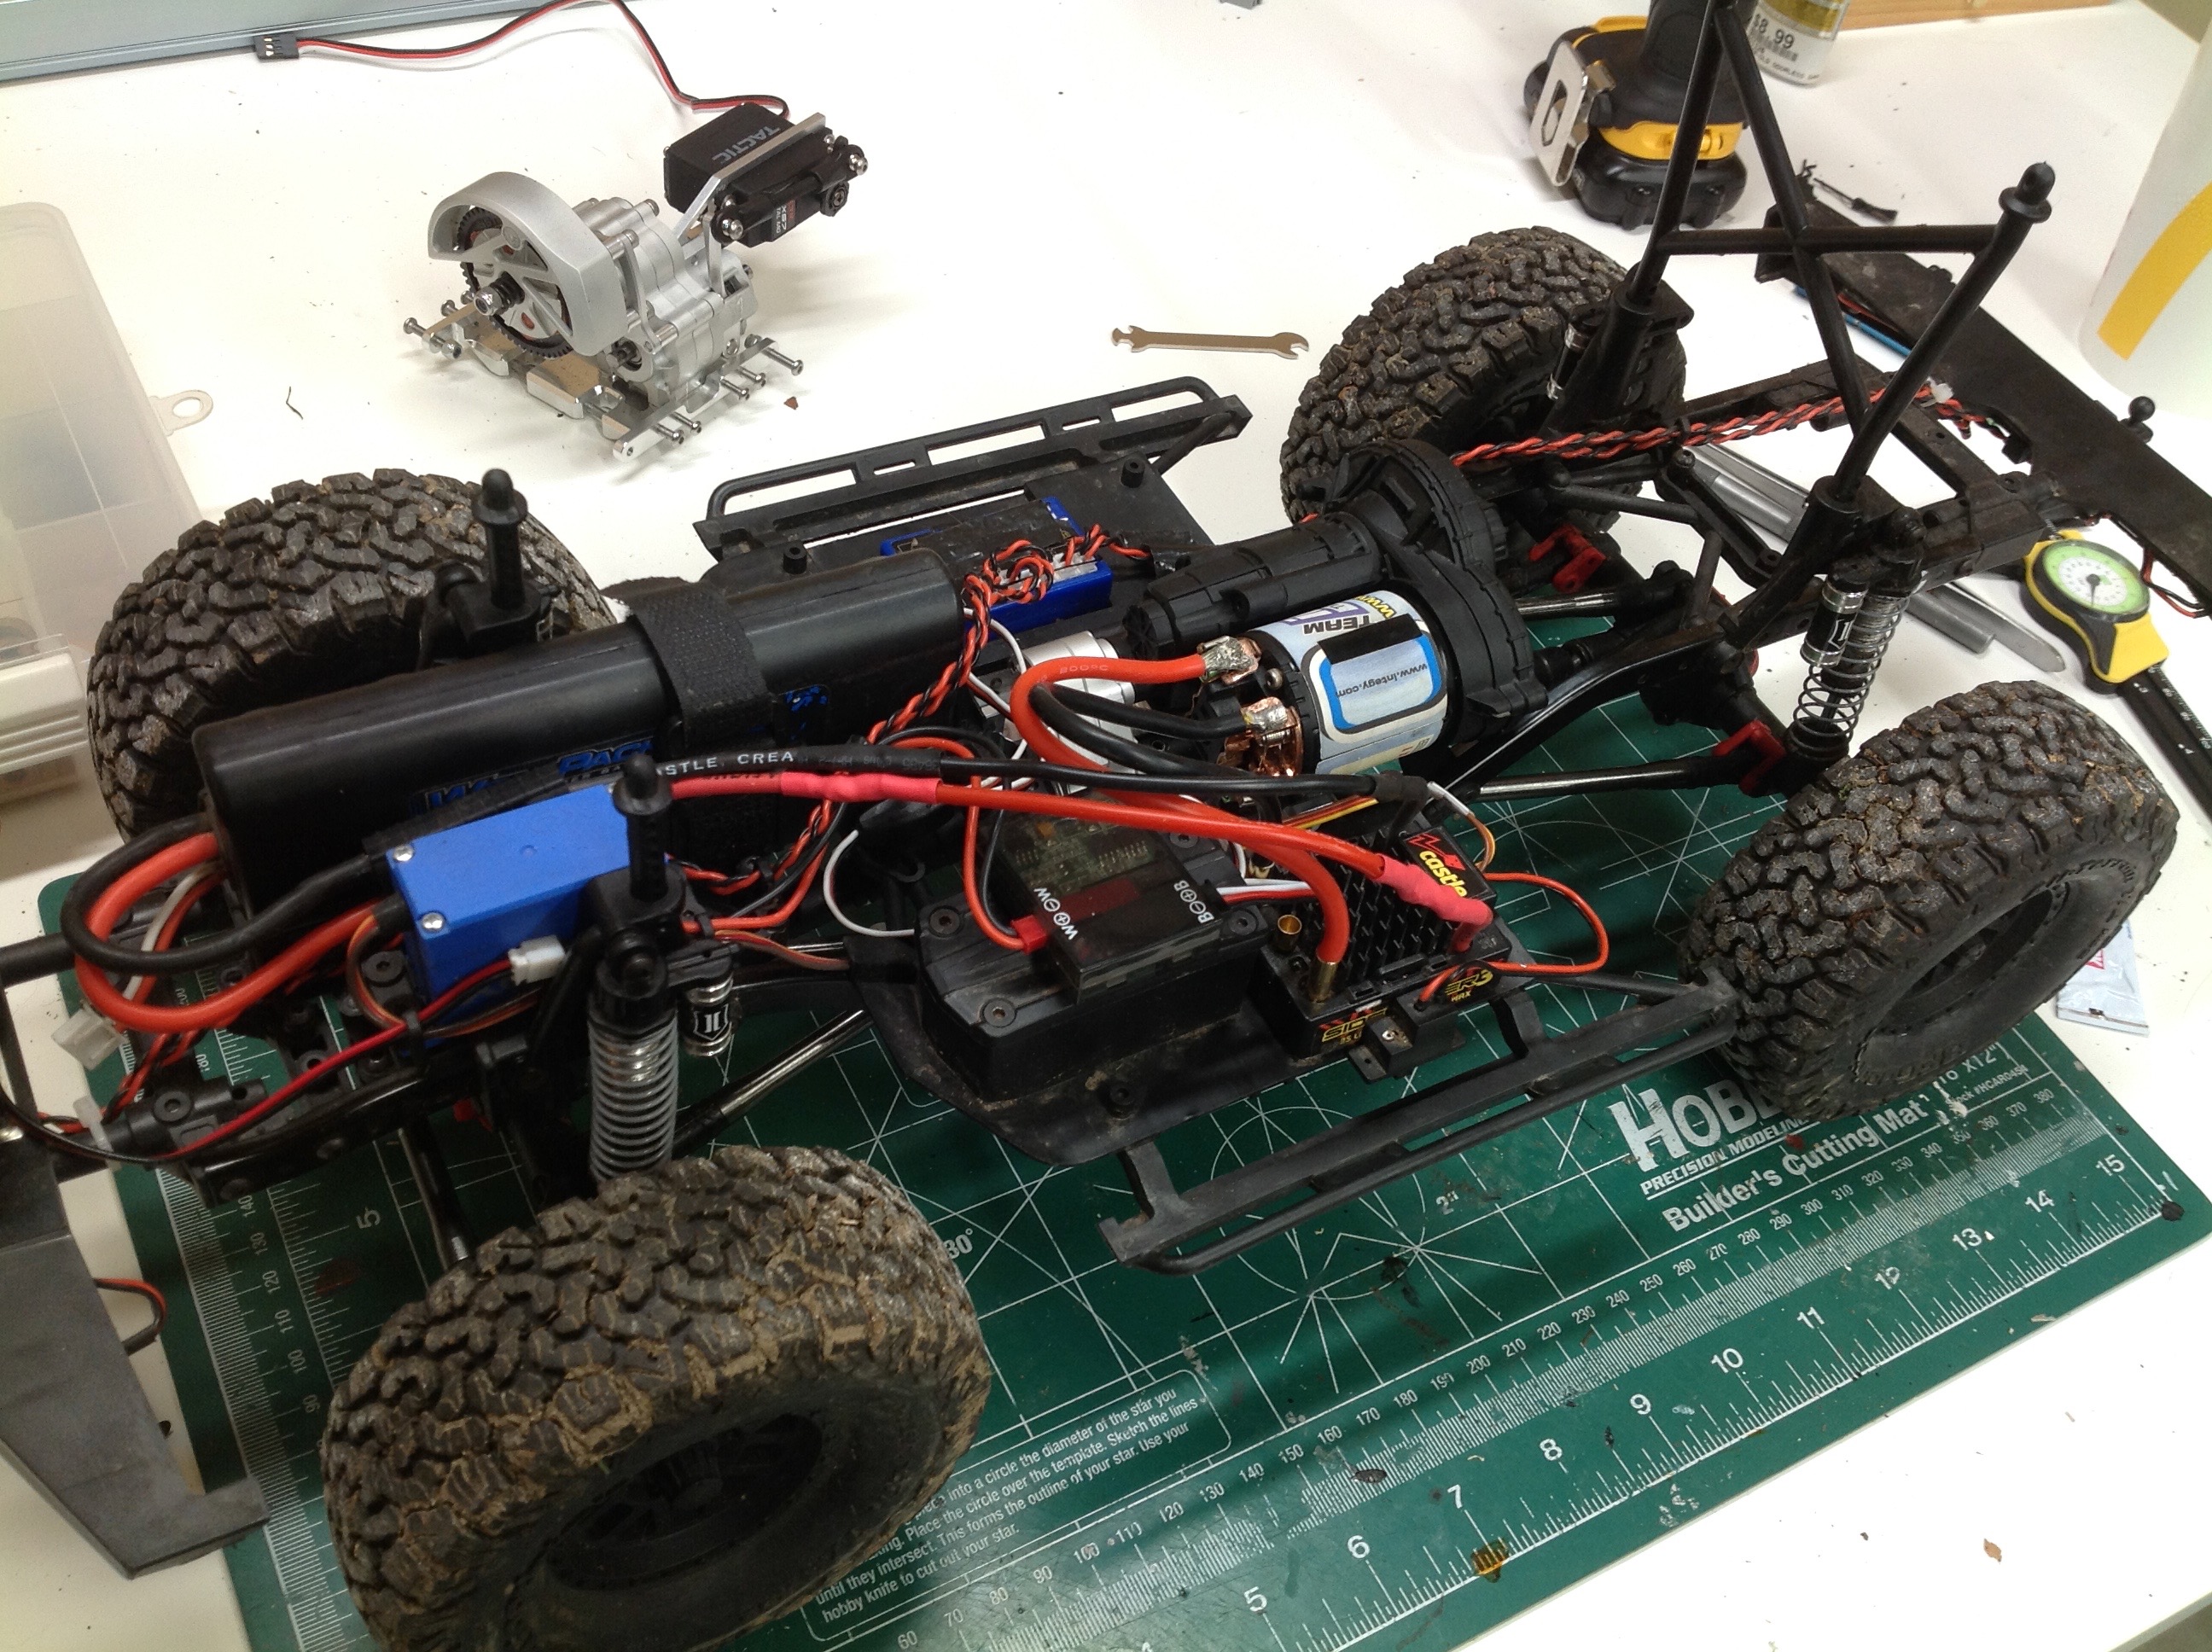
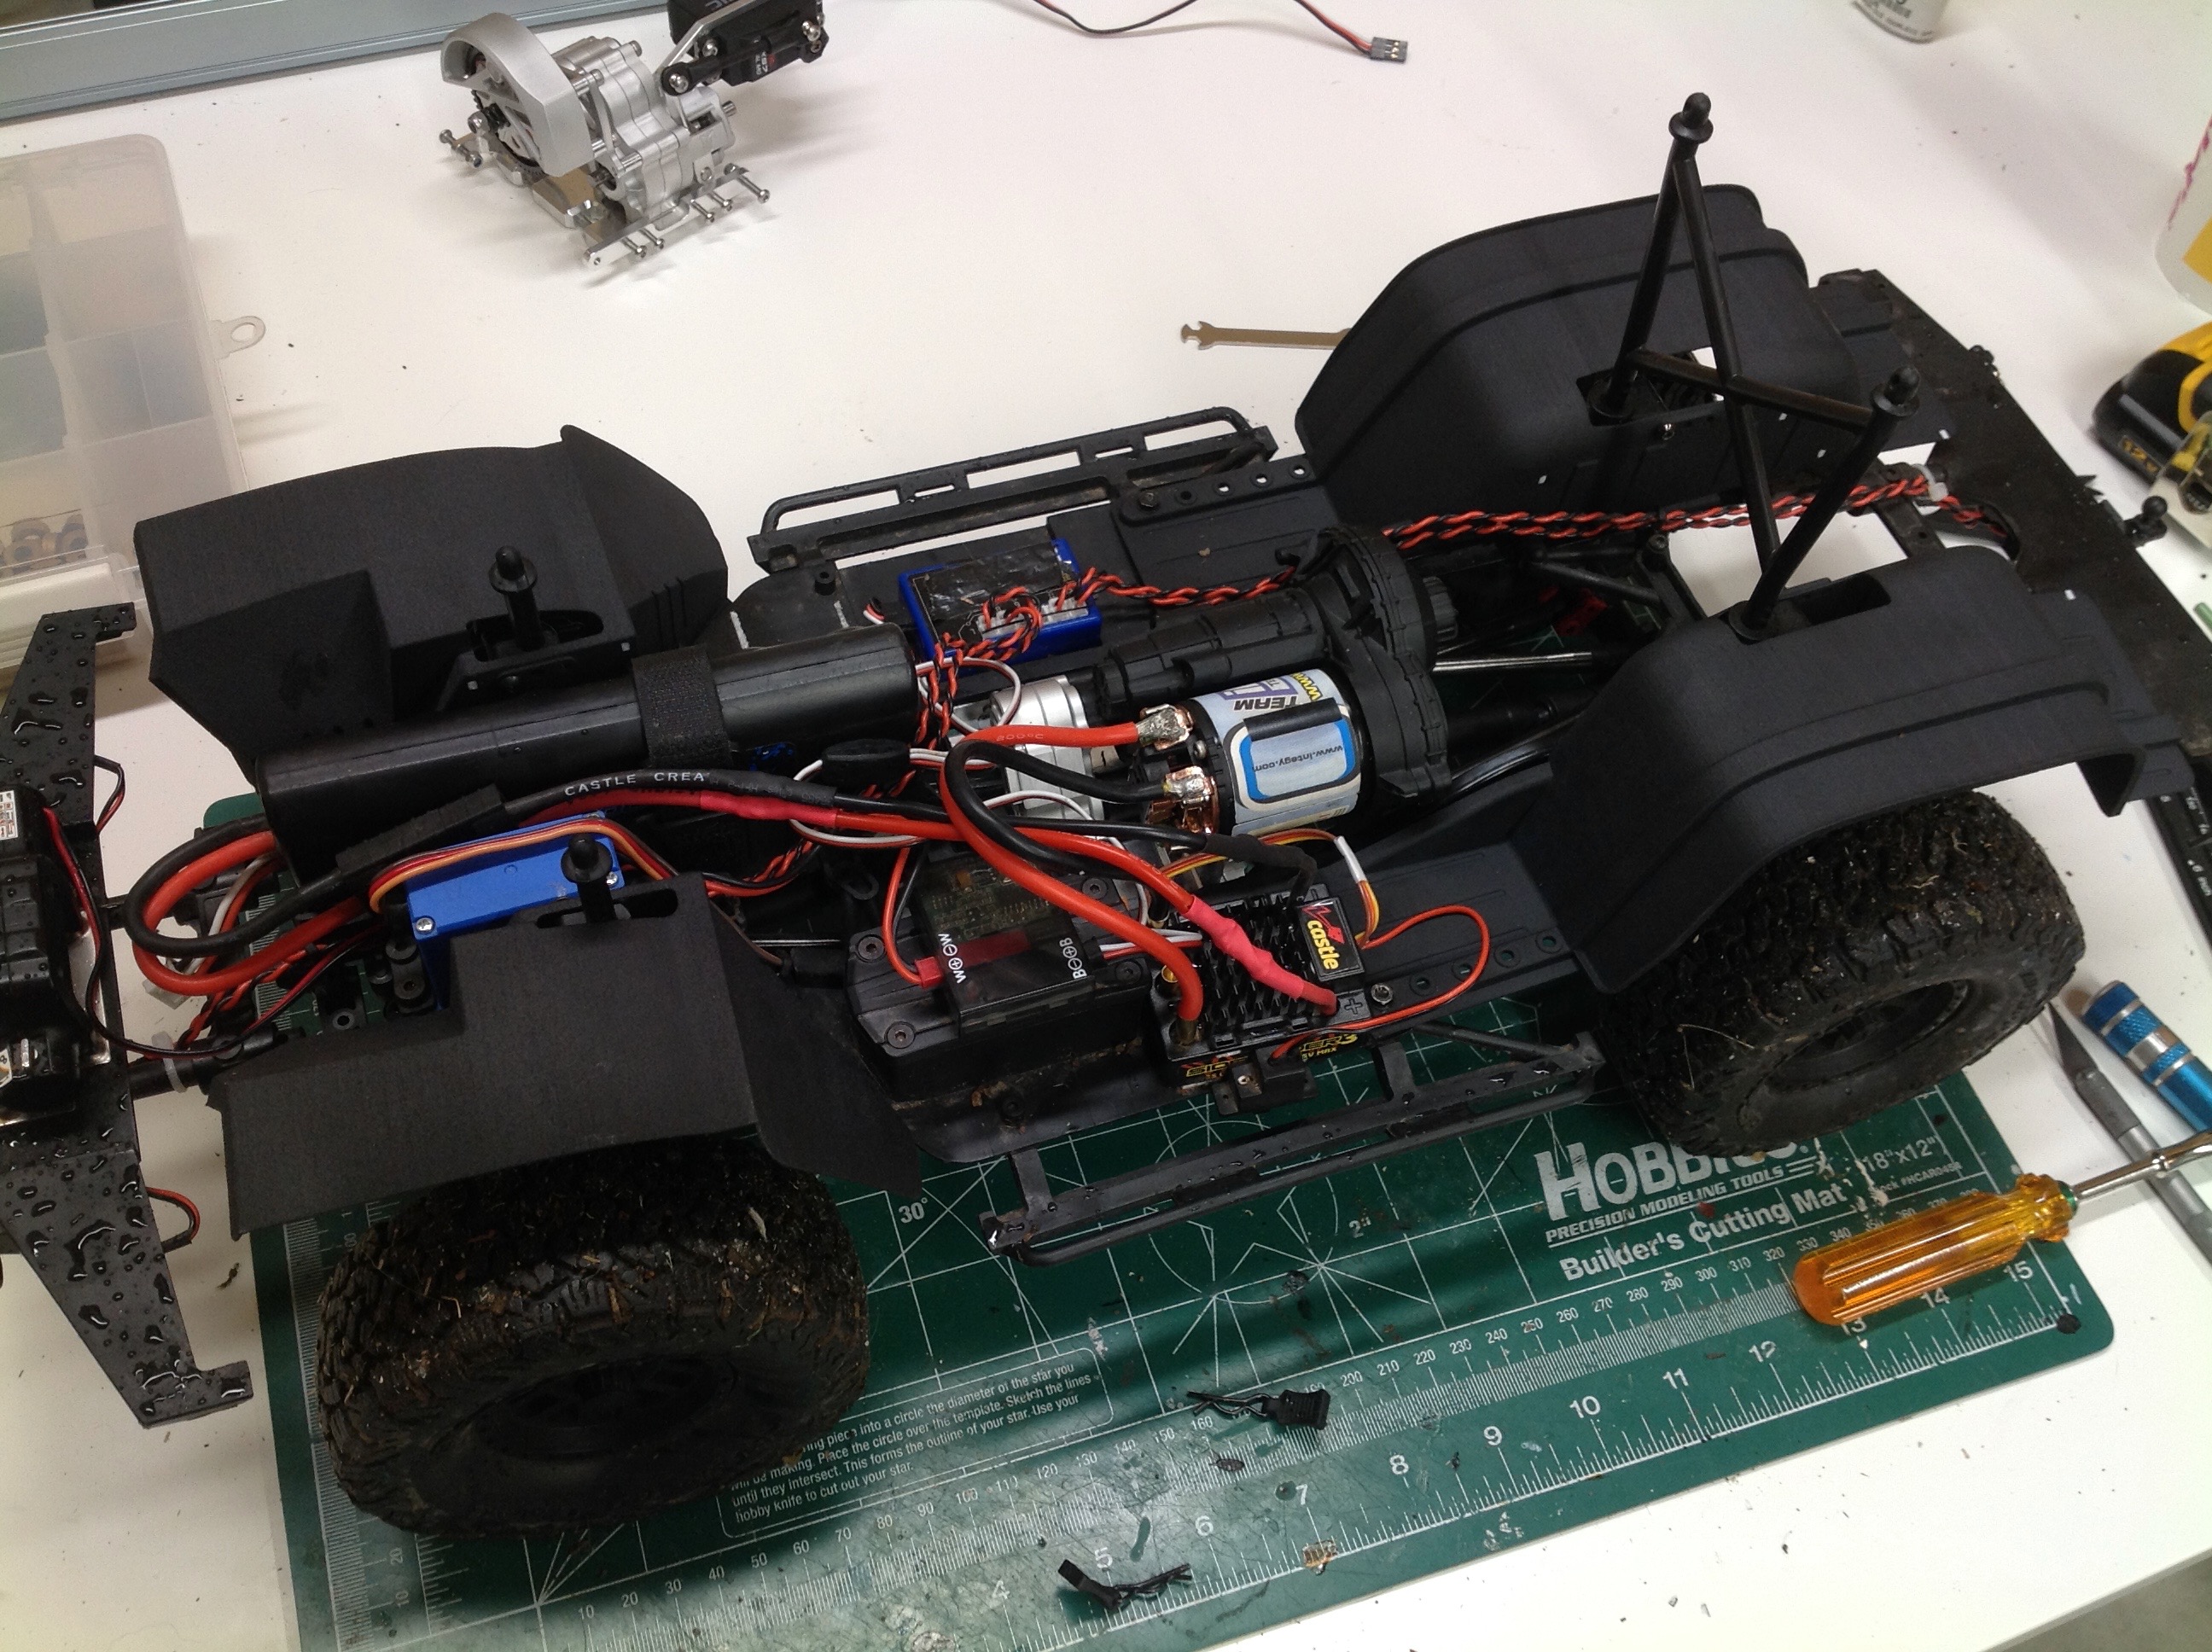
Here you can see the chassis before and after the inner fender
installation. The right hand version really looks a lot more
complete and solid.
Phase 4:
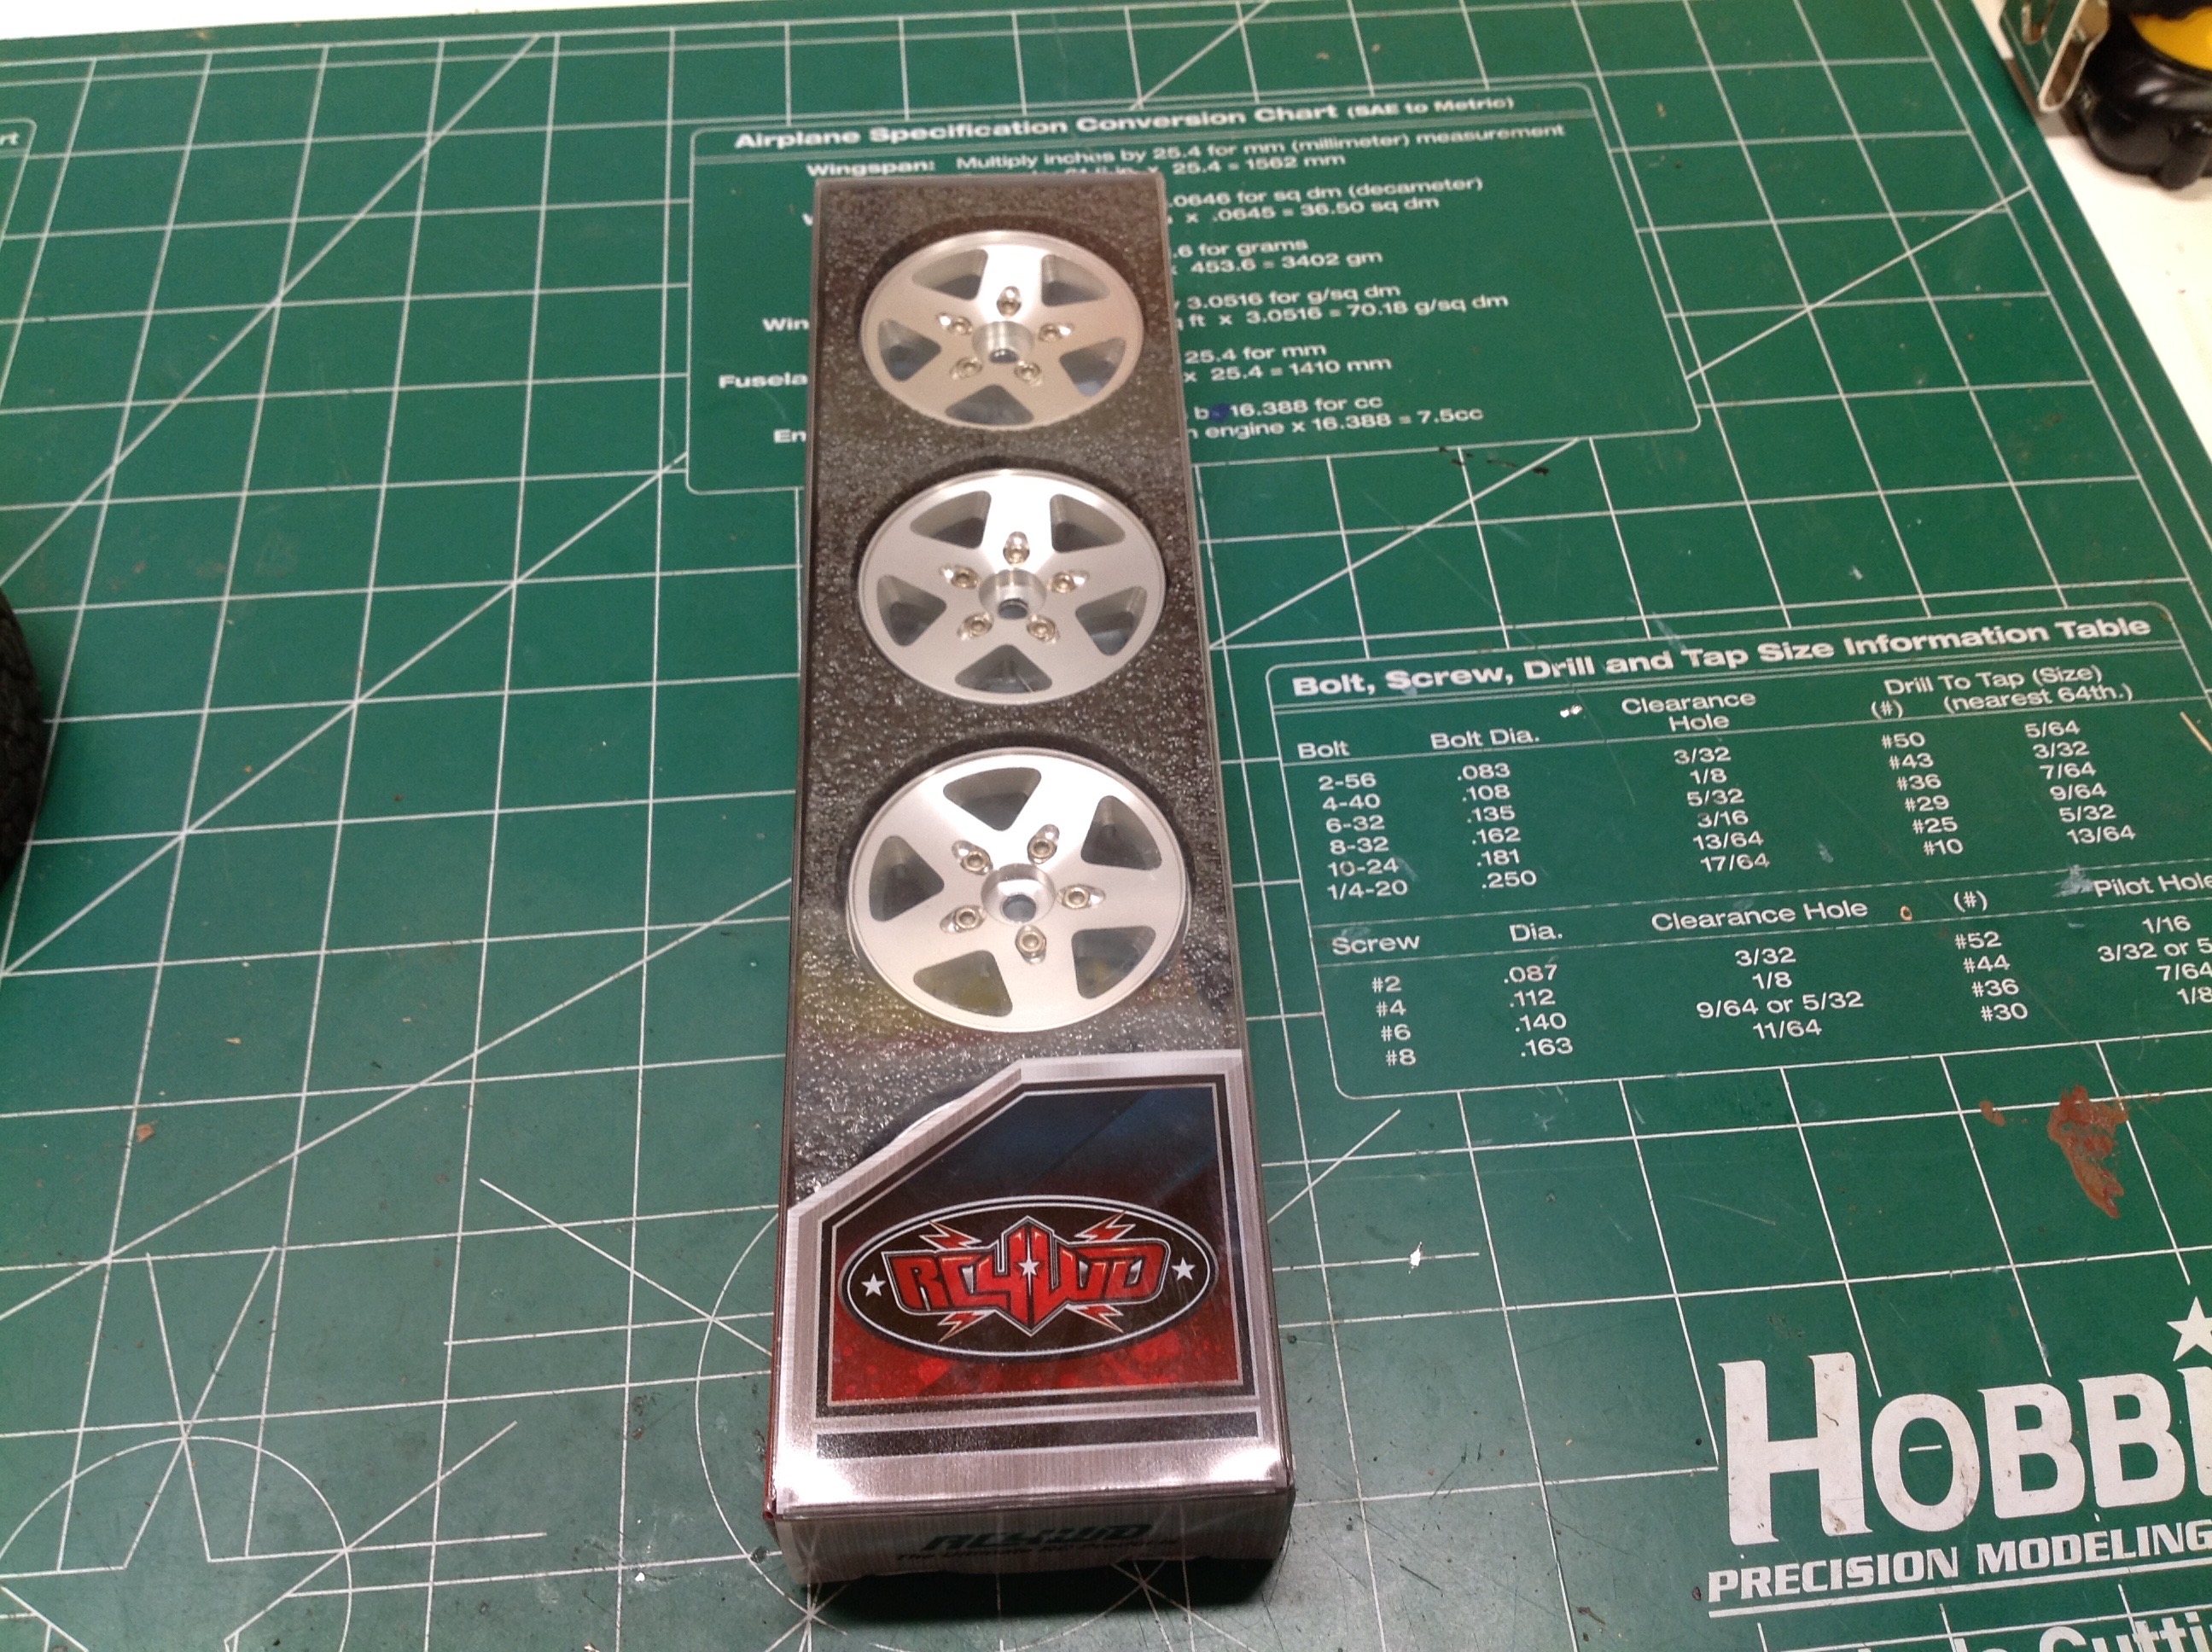
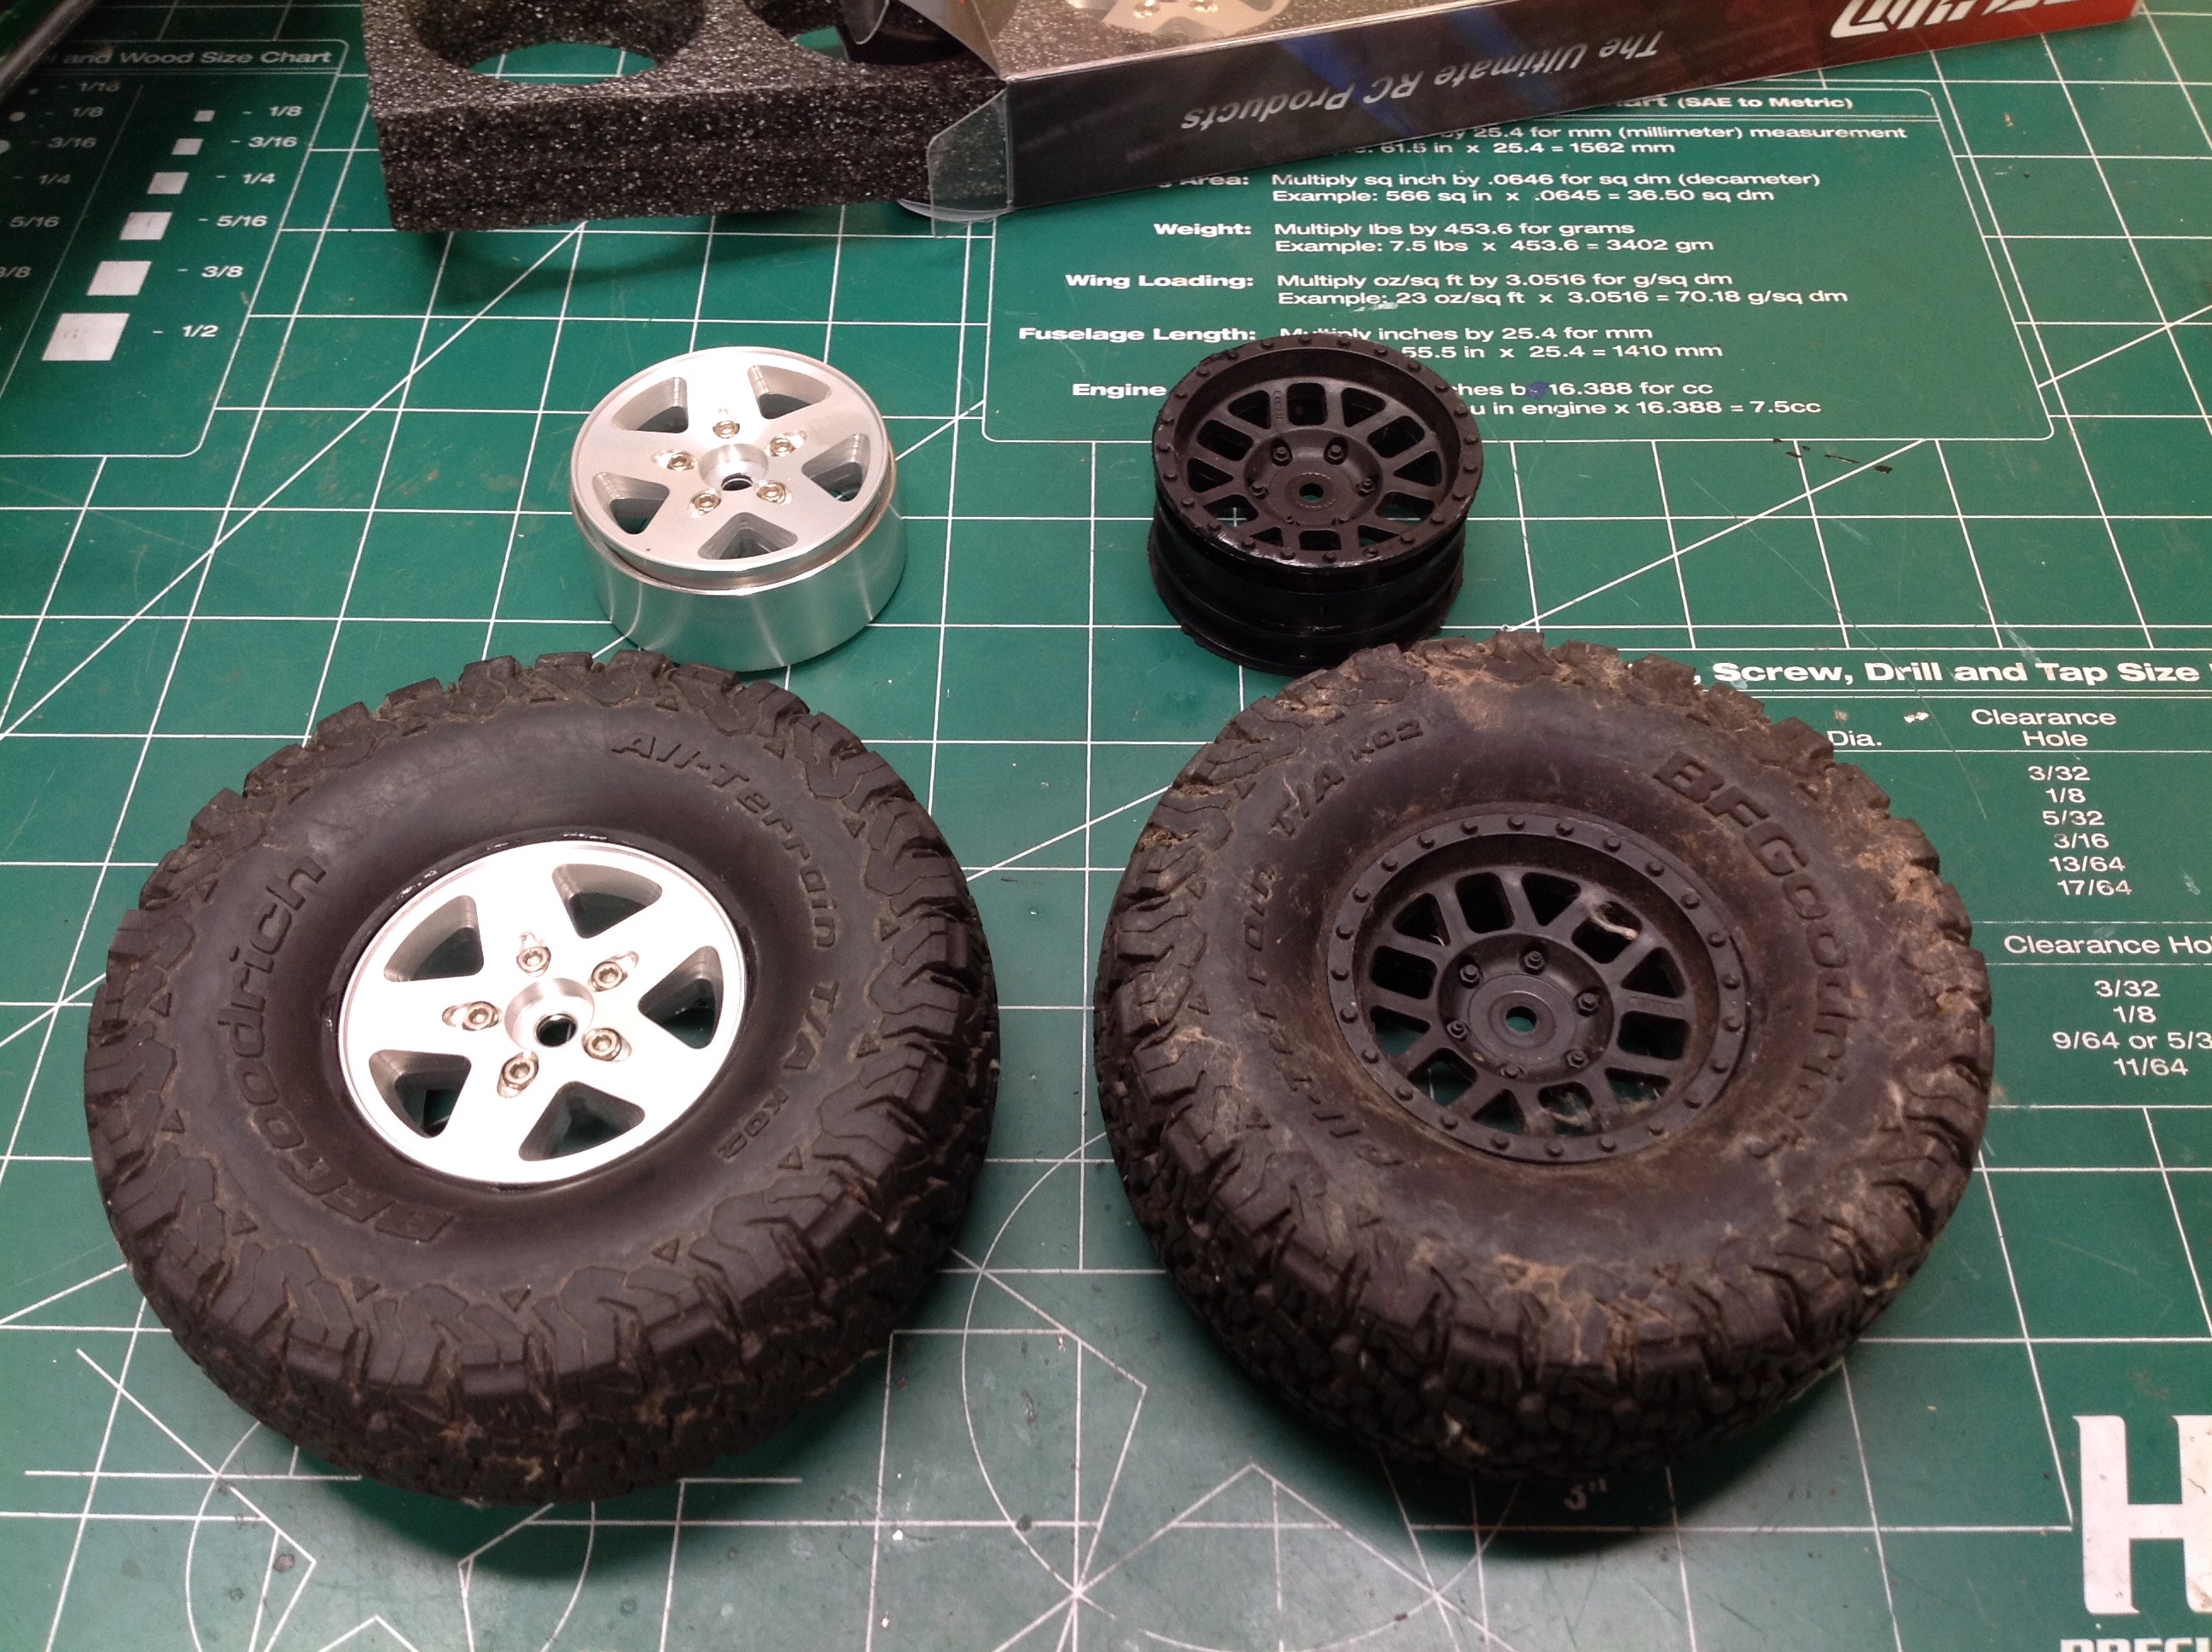
This next upgrade was completely unplanned. It always bugged me
that this model had glued tires with plastic wheels, but they performed
so well that I couldn't justify replacing them. I happened to find
a set of discontinued JK aluminum wheels from RC4WD deep in my desk
which I had purchased years ago for a Lego project but they didn't
work. Perfect. My old tire gluing job was so bad that is was
not a big deal to tear the tires from the wheels and remount them on
the beadlocks.
©2018 Eric Albrecht