Axial SCX10 III Project
Page 2: Body Assembly
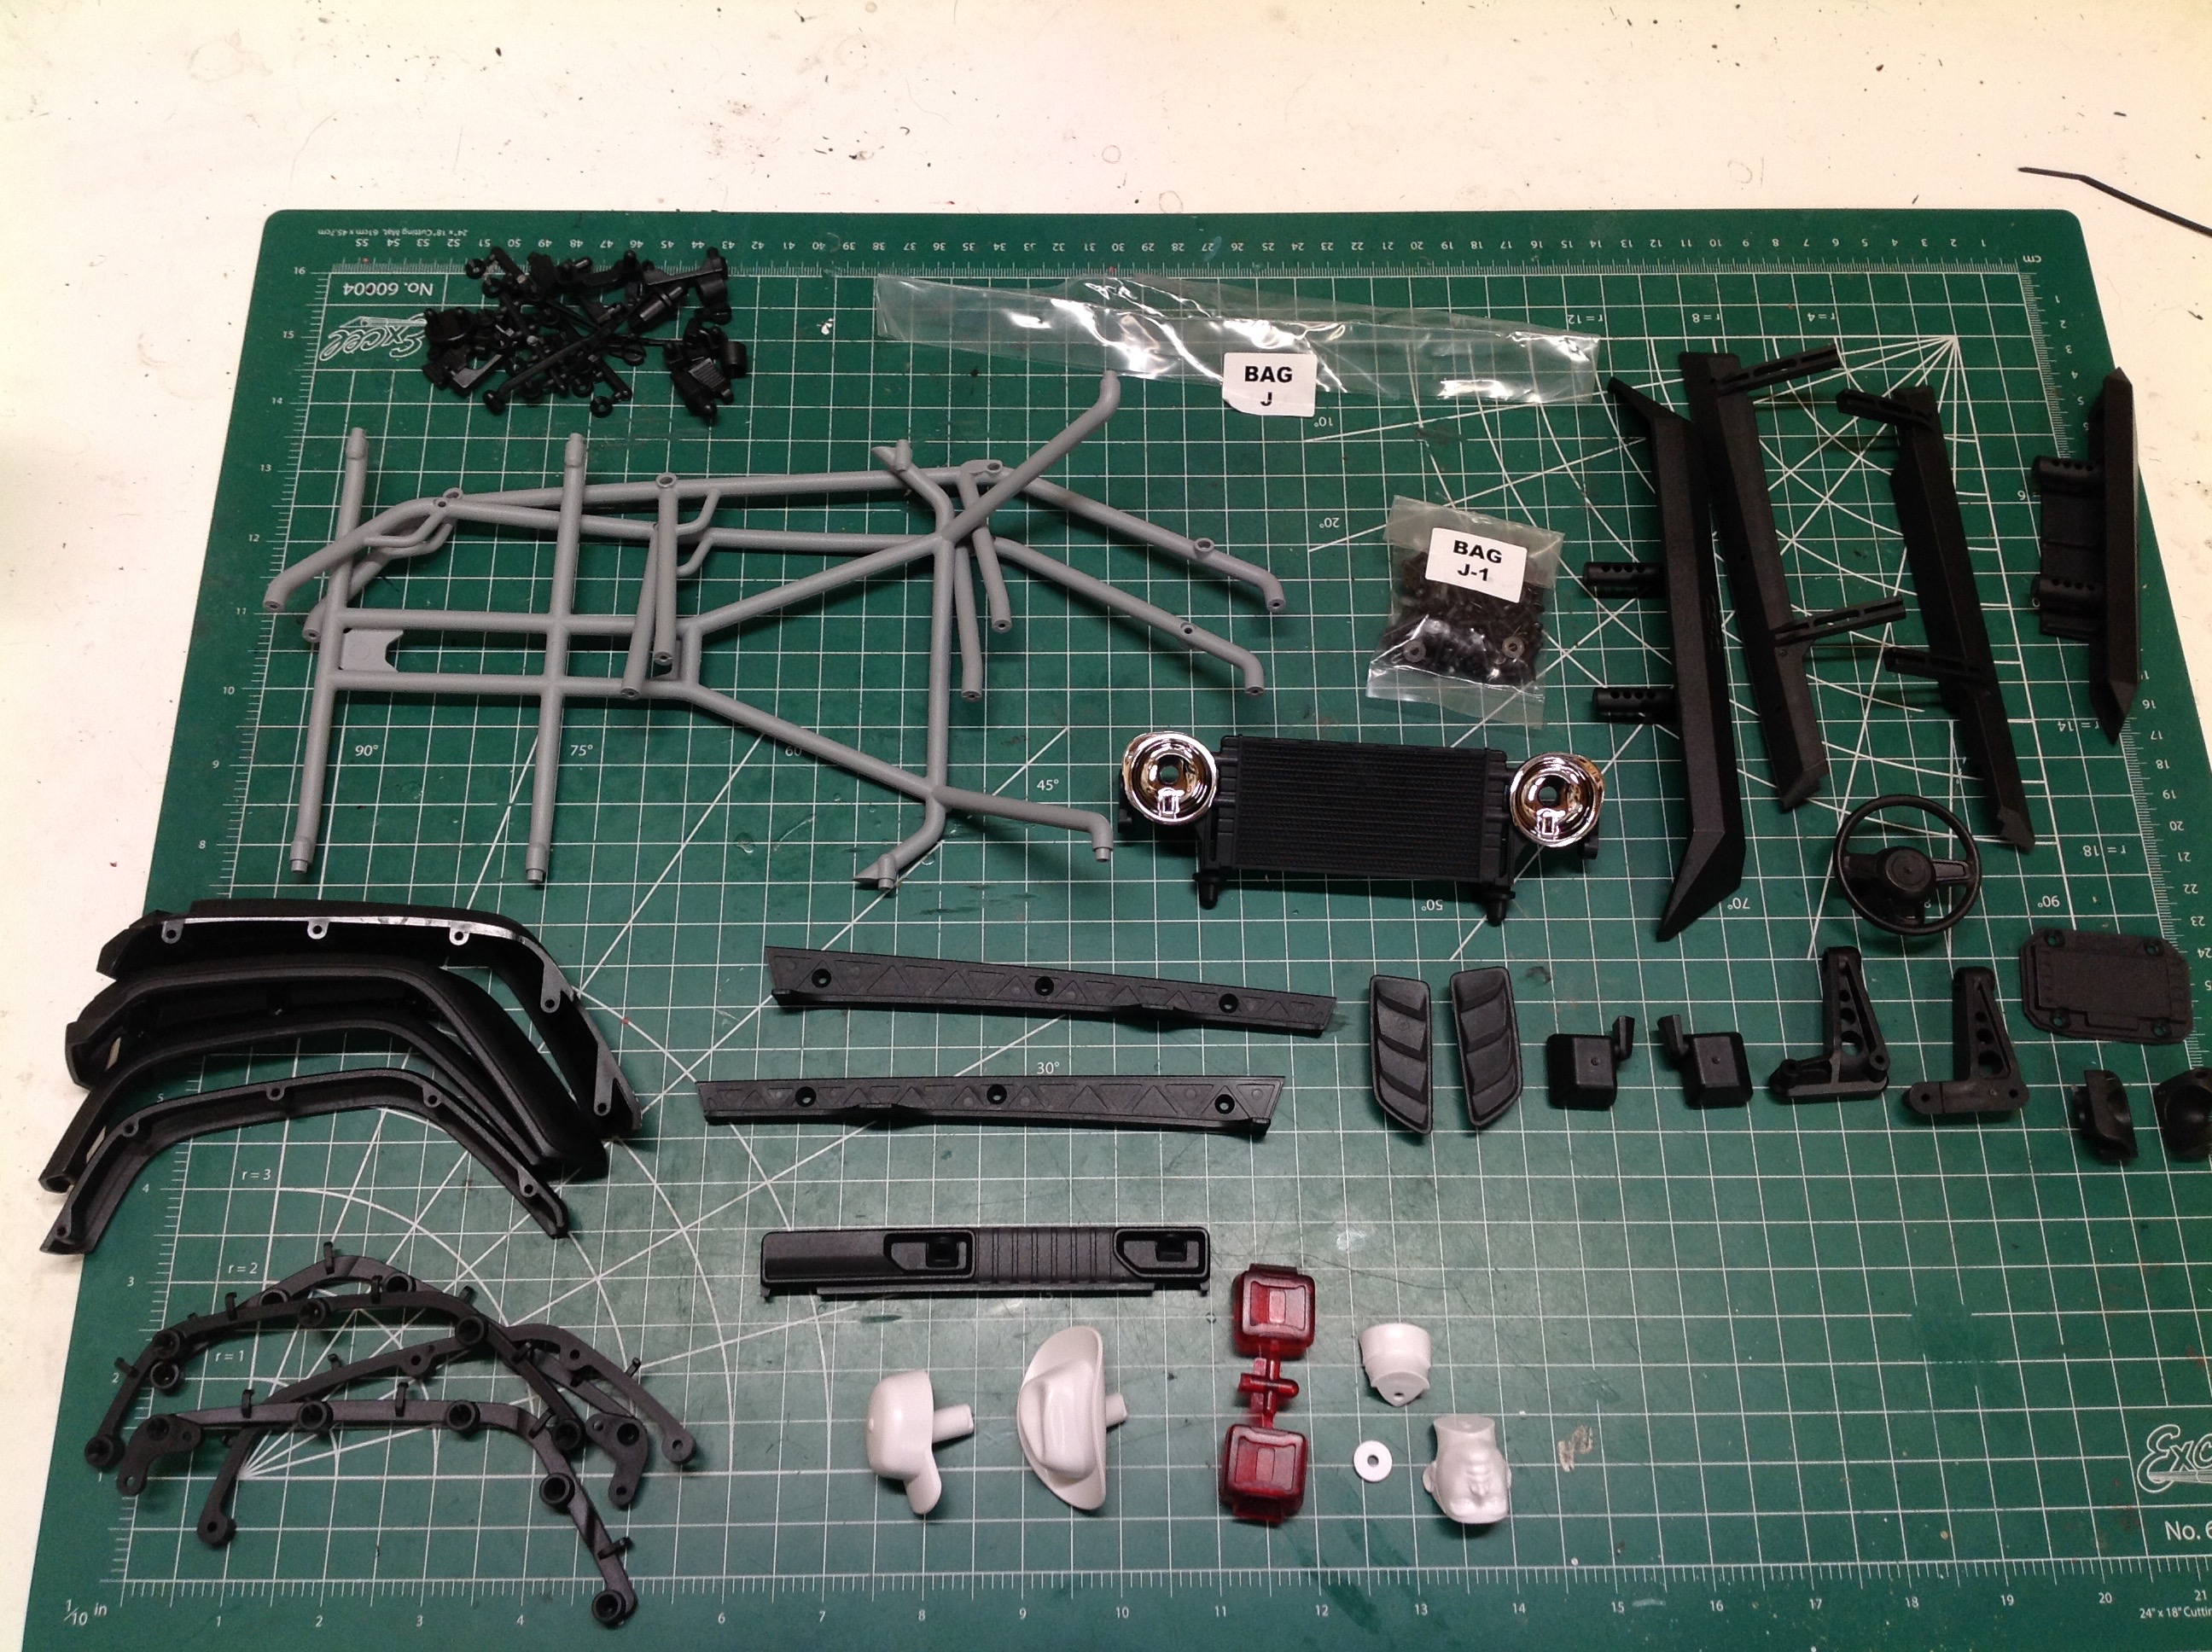
Usually once the chassis is done it is just a matter of painting the
polycarbonate body and then you are done. Not so in this
case. The J bags consist of a very substantial pile of parts as
shown. These parts make up the details of the body and the
interior. The roll cage shown on the right is internal so it
doesn't provide any actual support in a rollover.
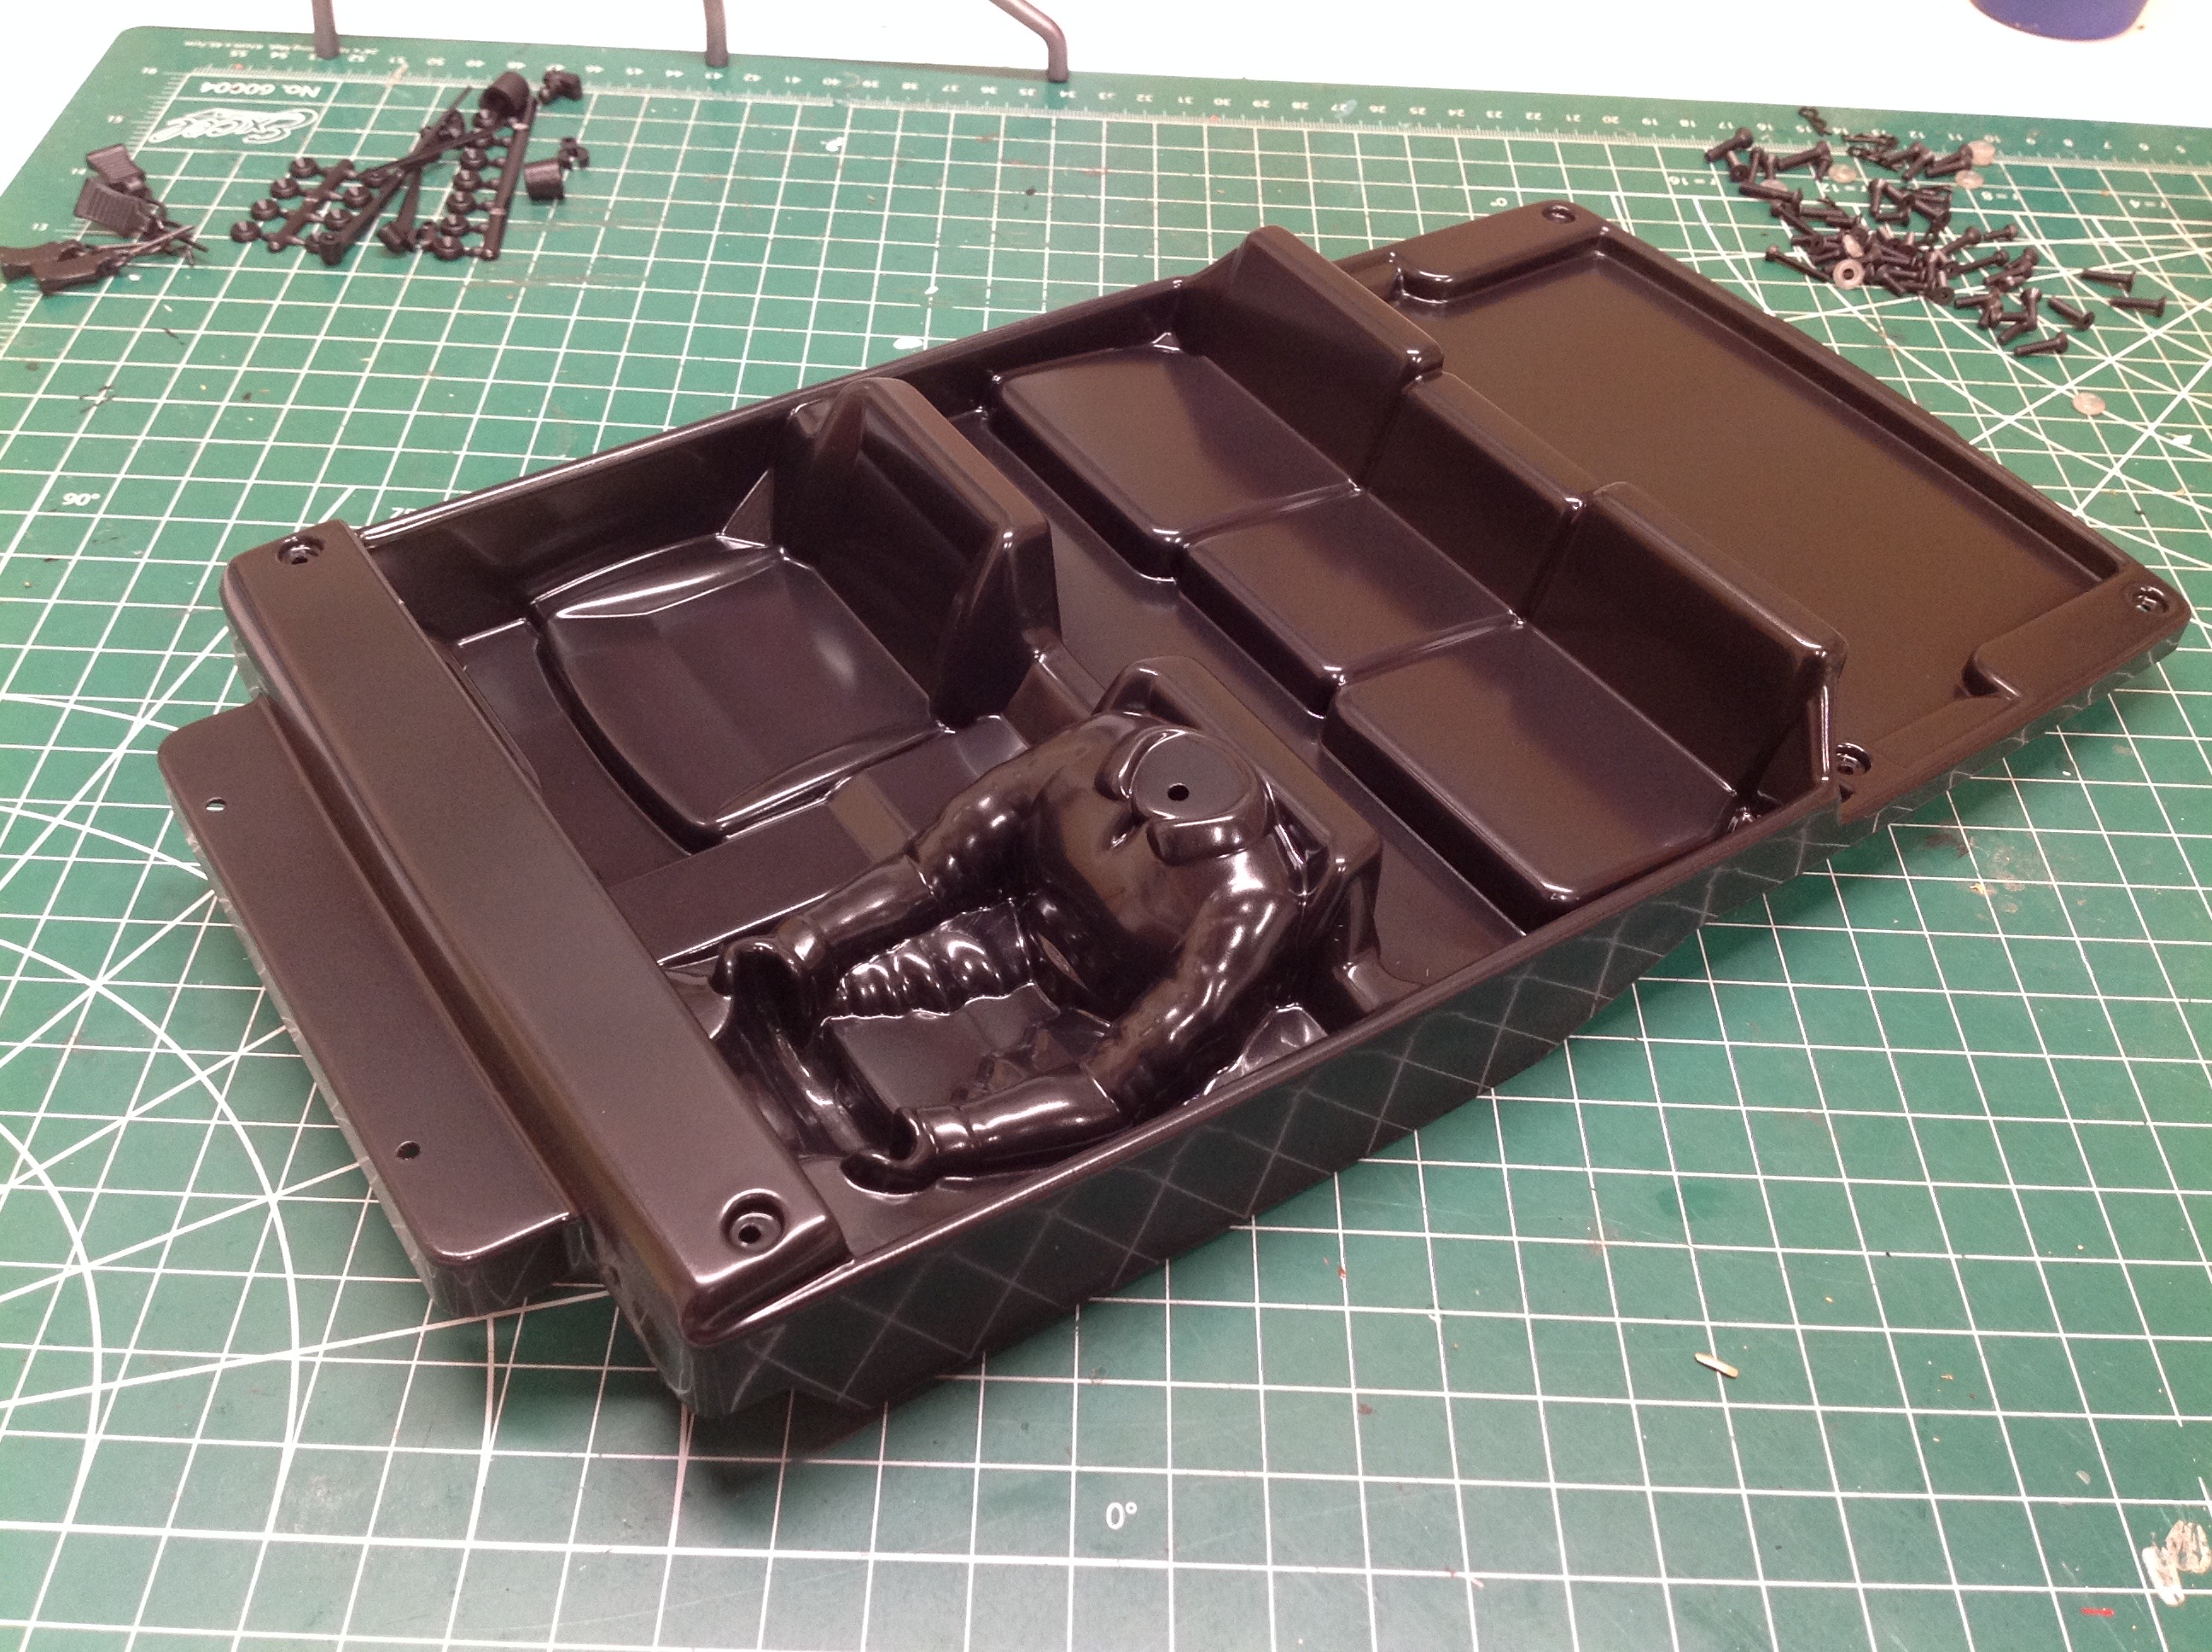
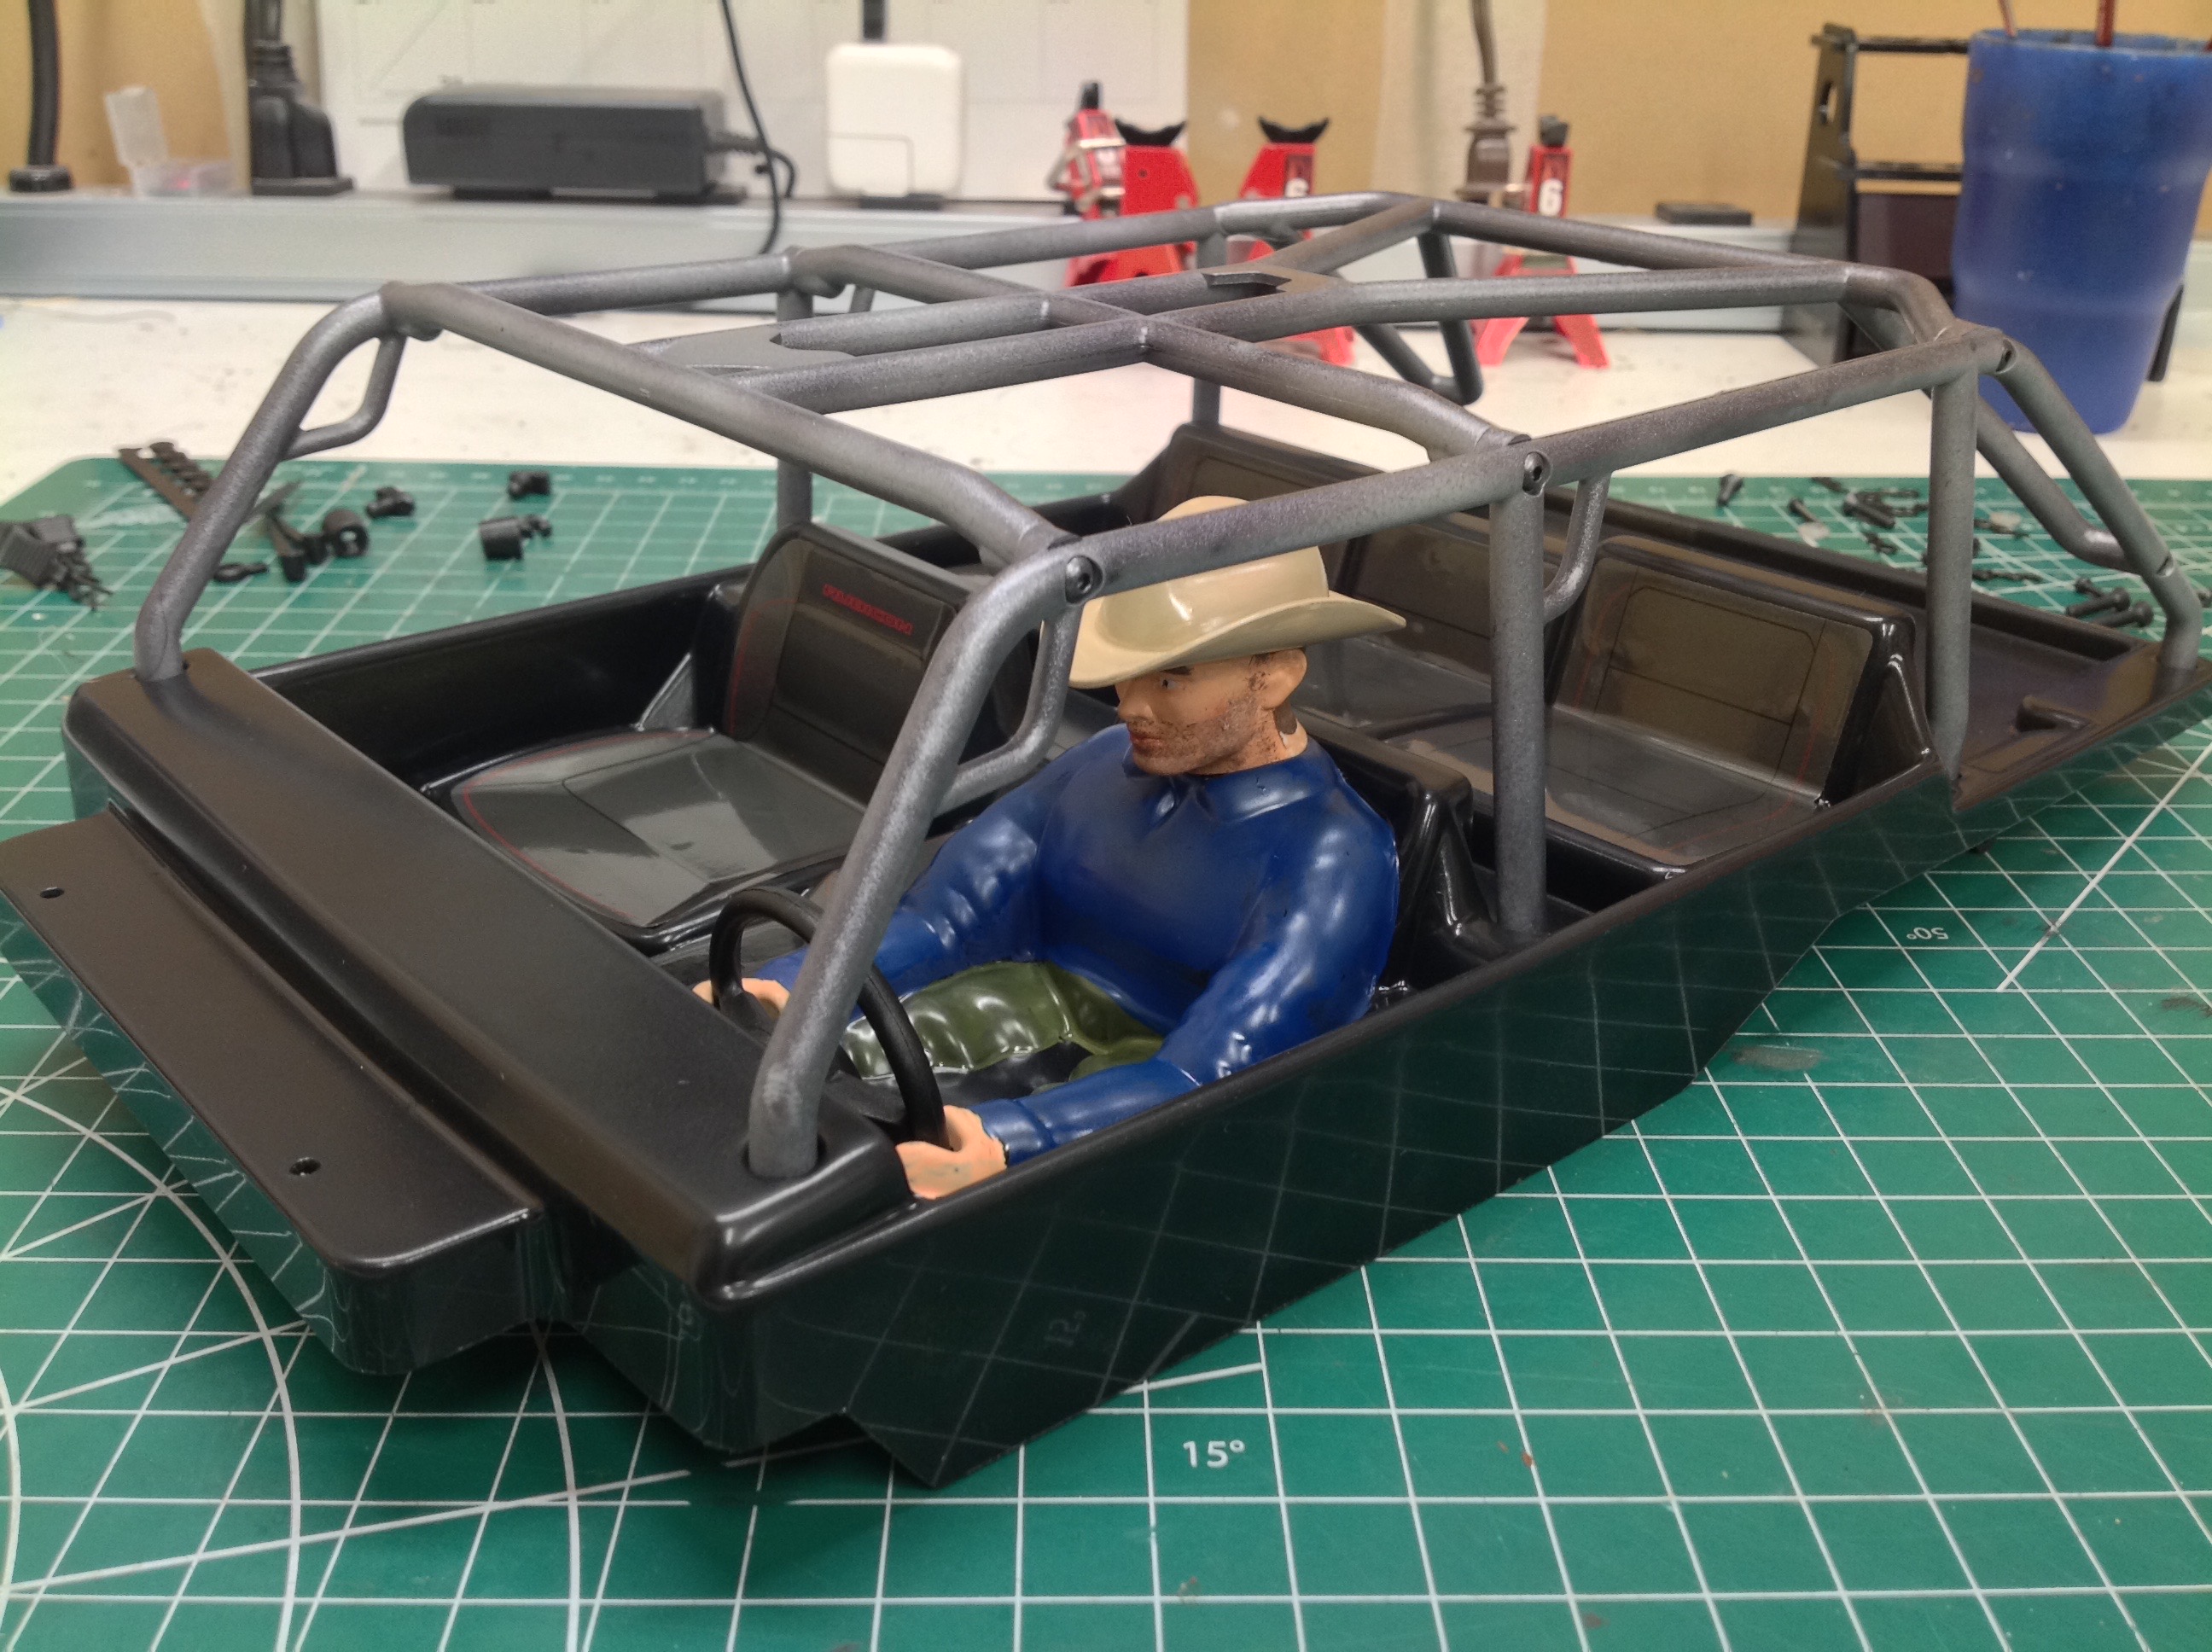
The interior starts as a single clear piece of polycarbonate. I
started by backing it in black as shown on the left. I painted the
driver by hand, attached the steering wheel and the stickers, and then
went over the whole thing with flat clear so it wouldn't be so glossy.
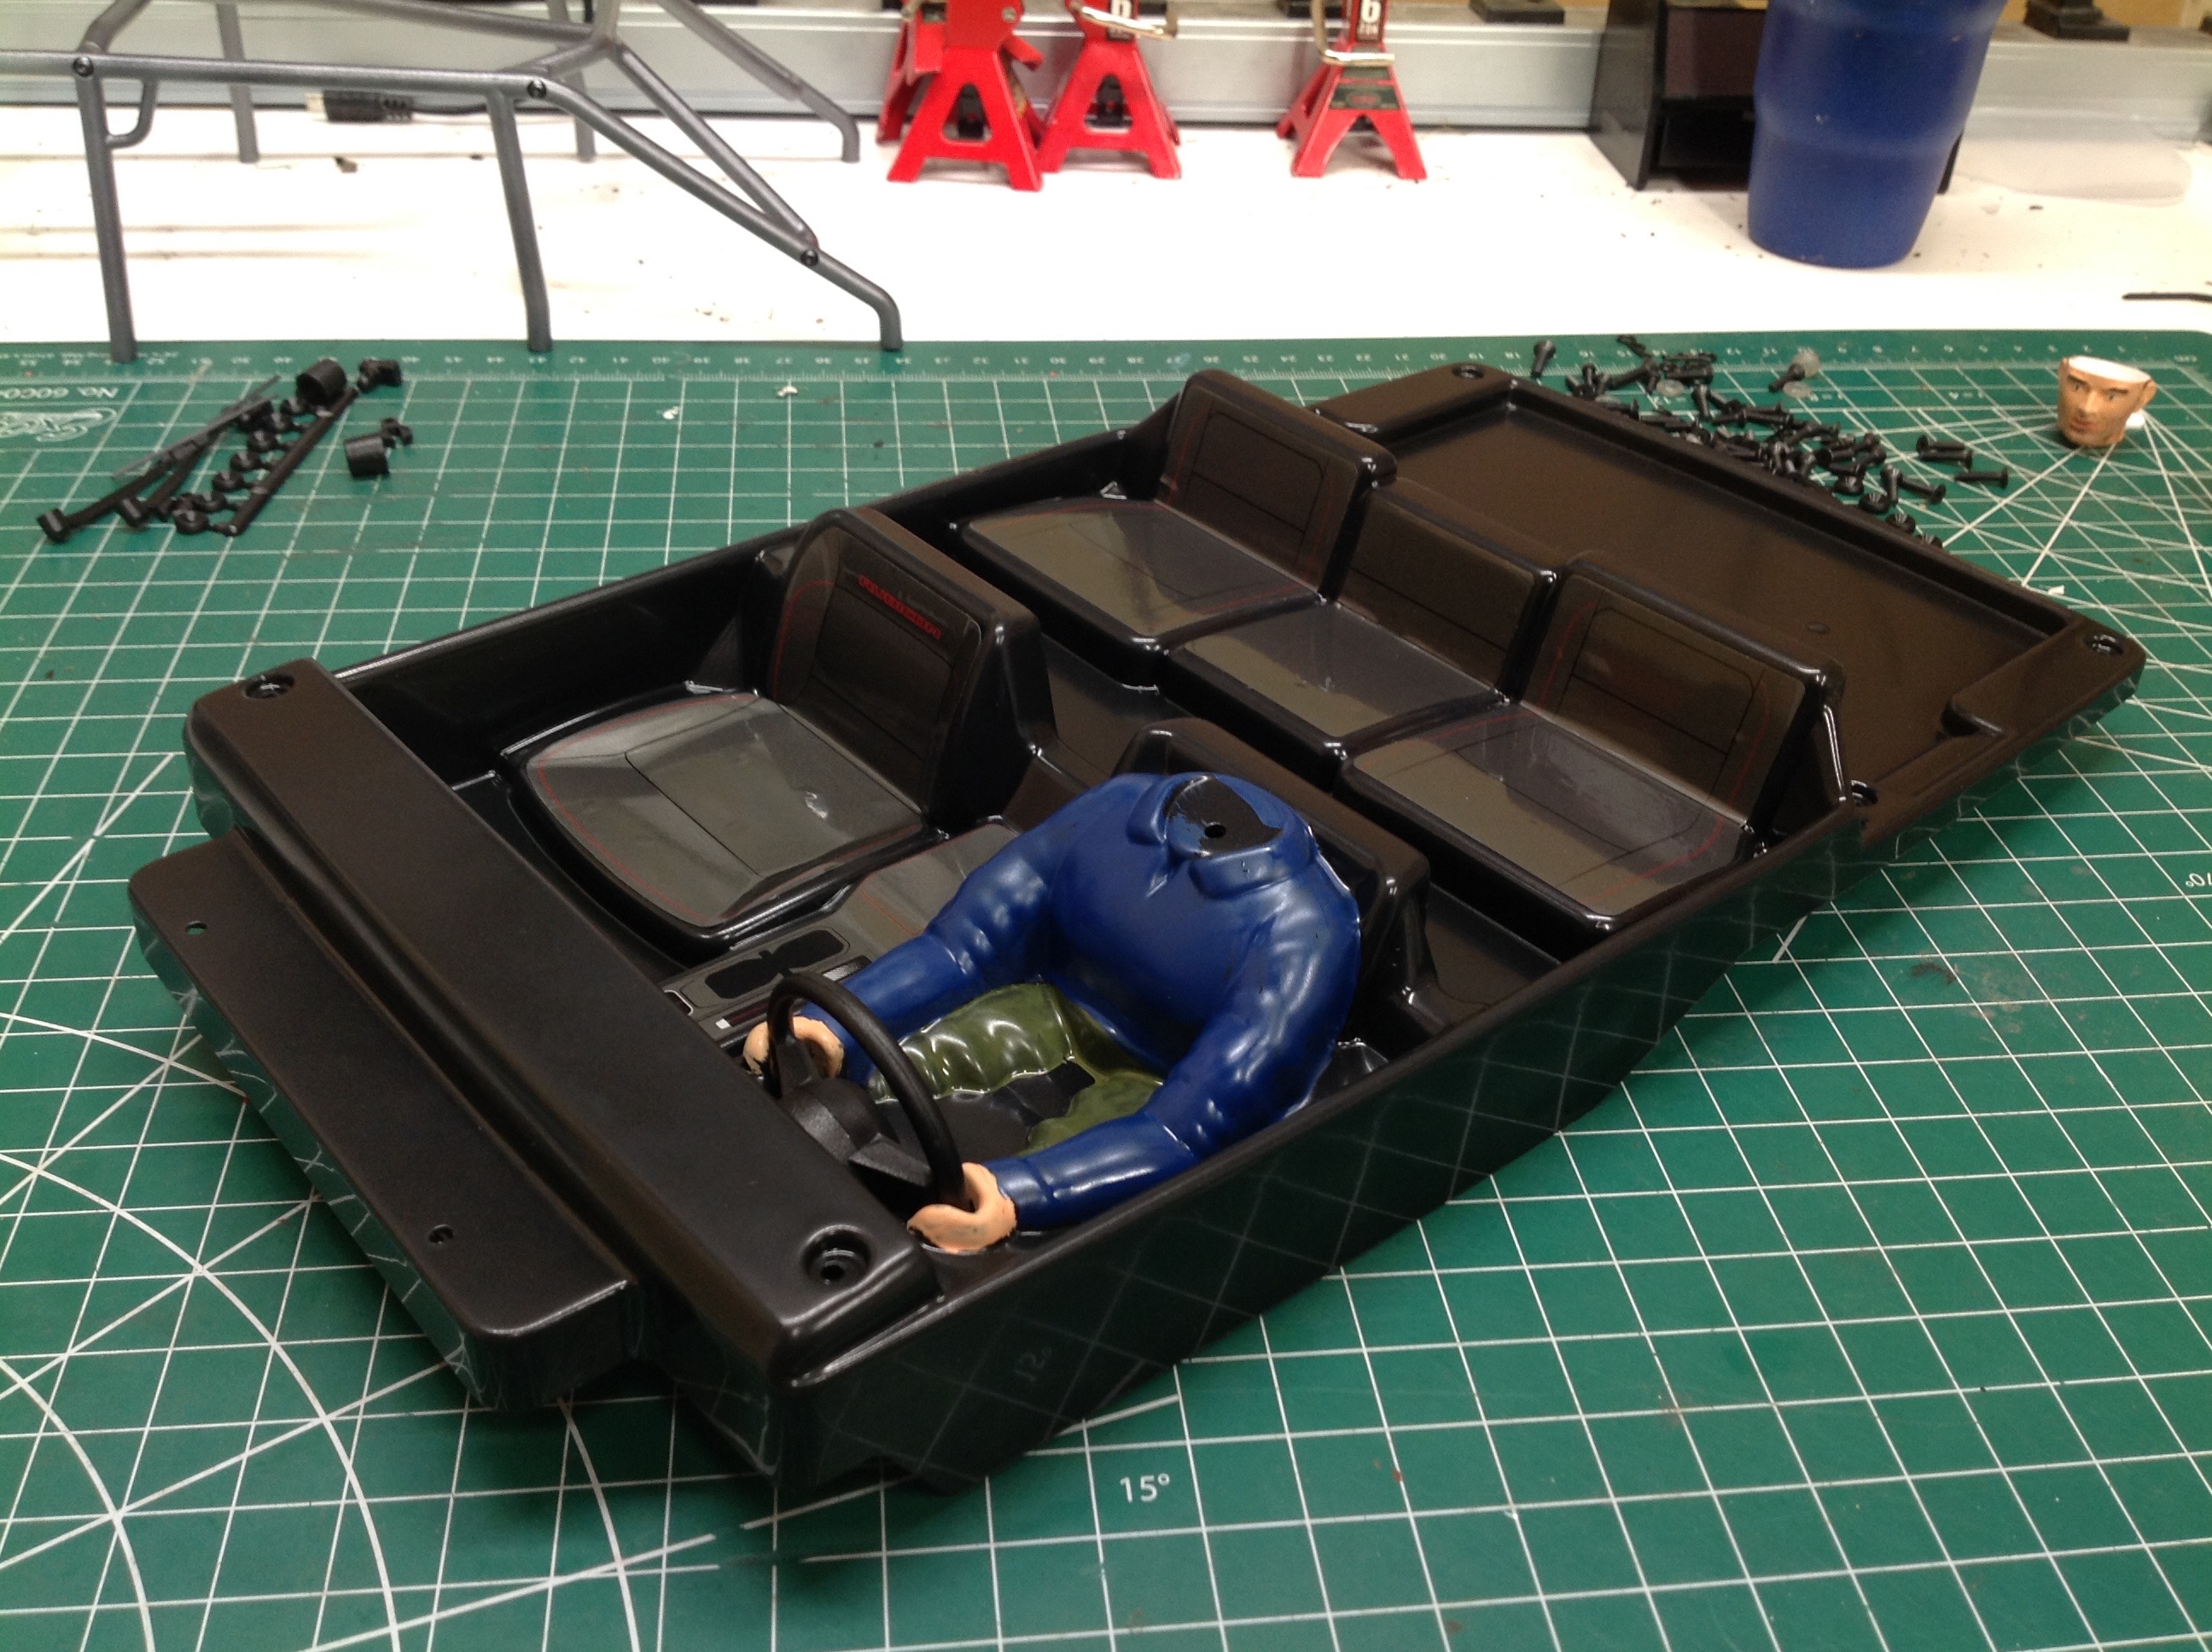
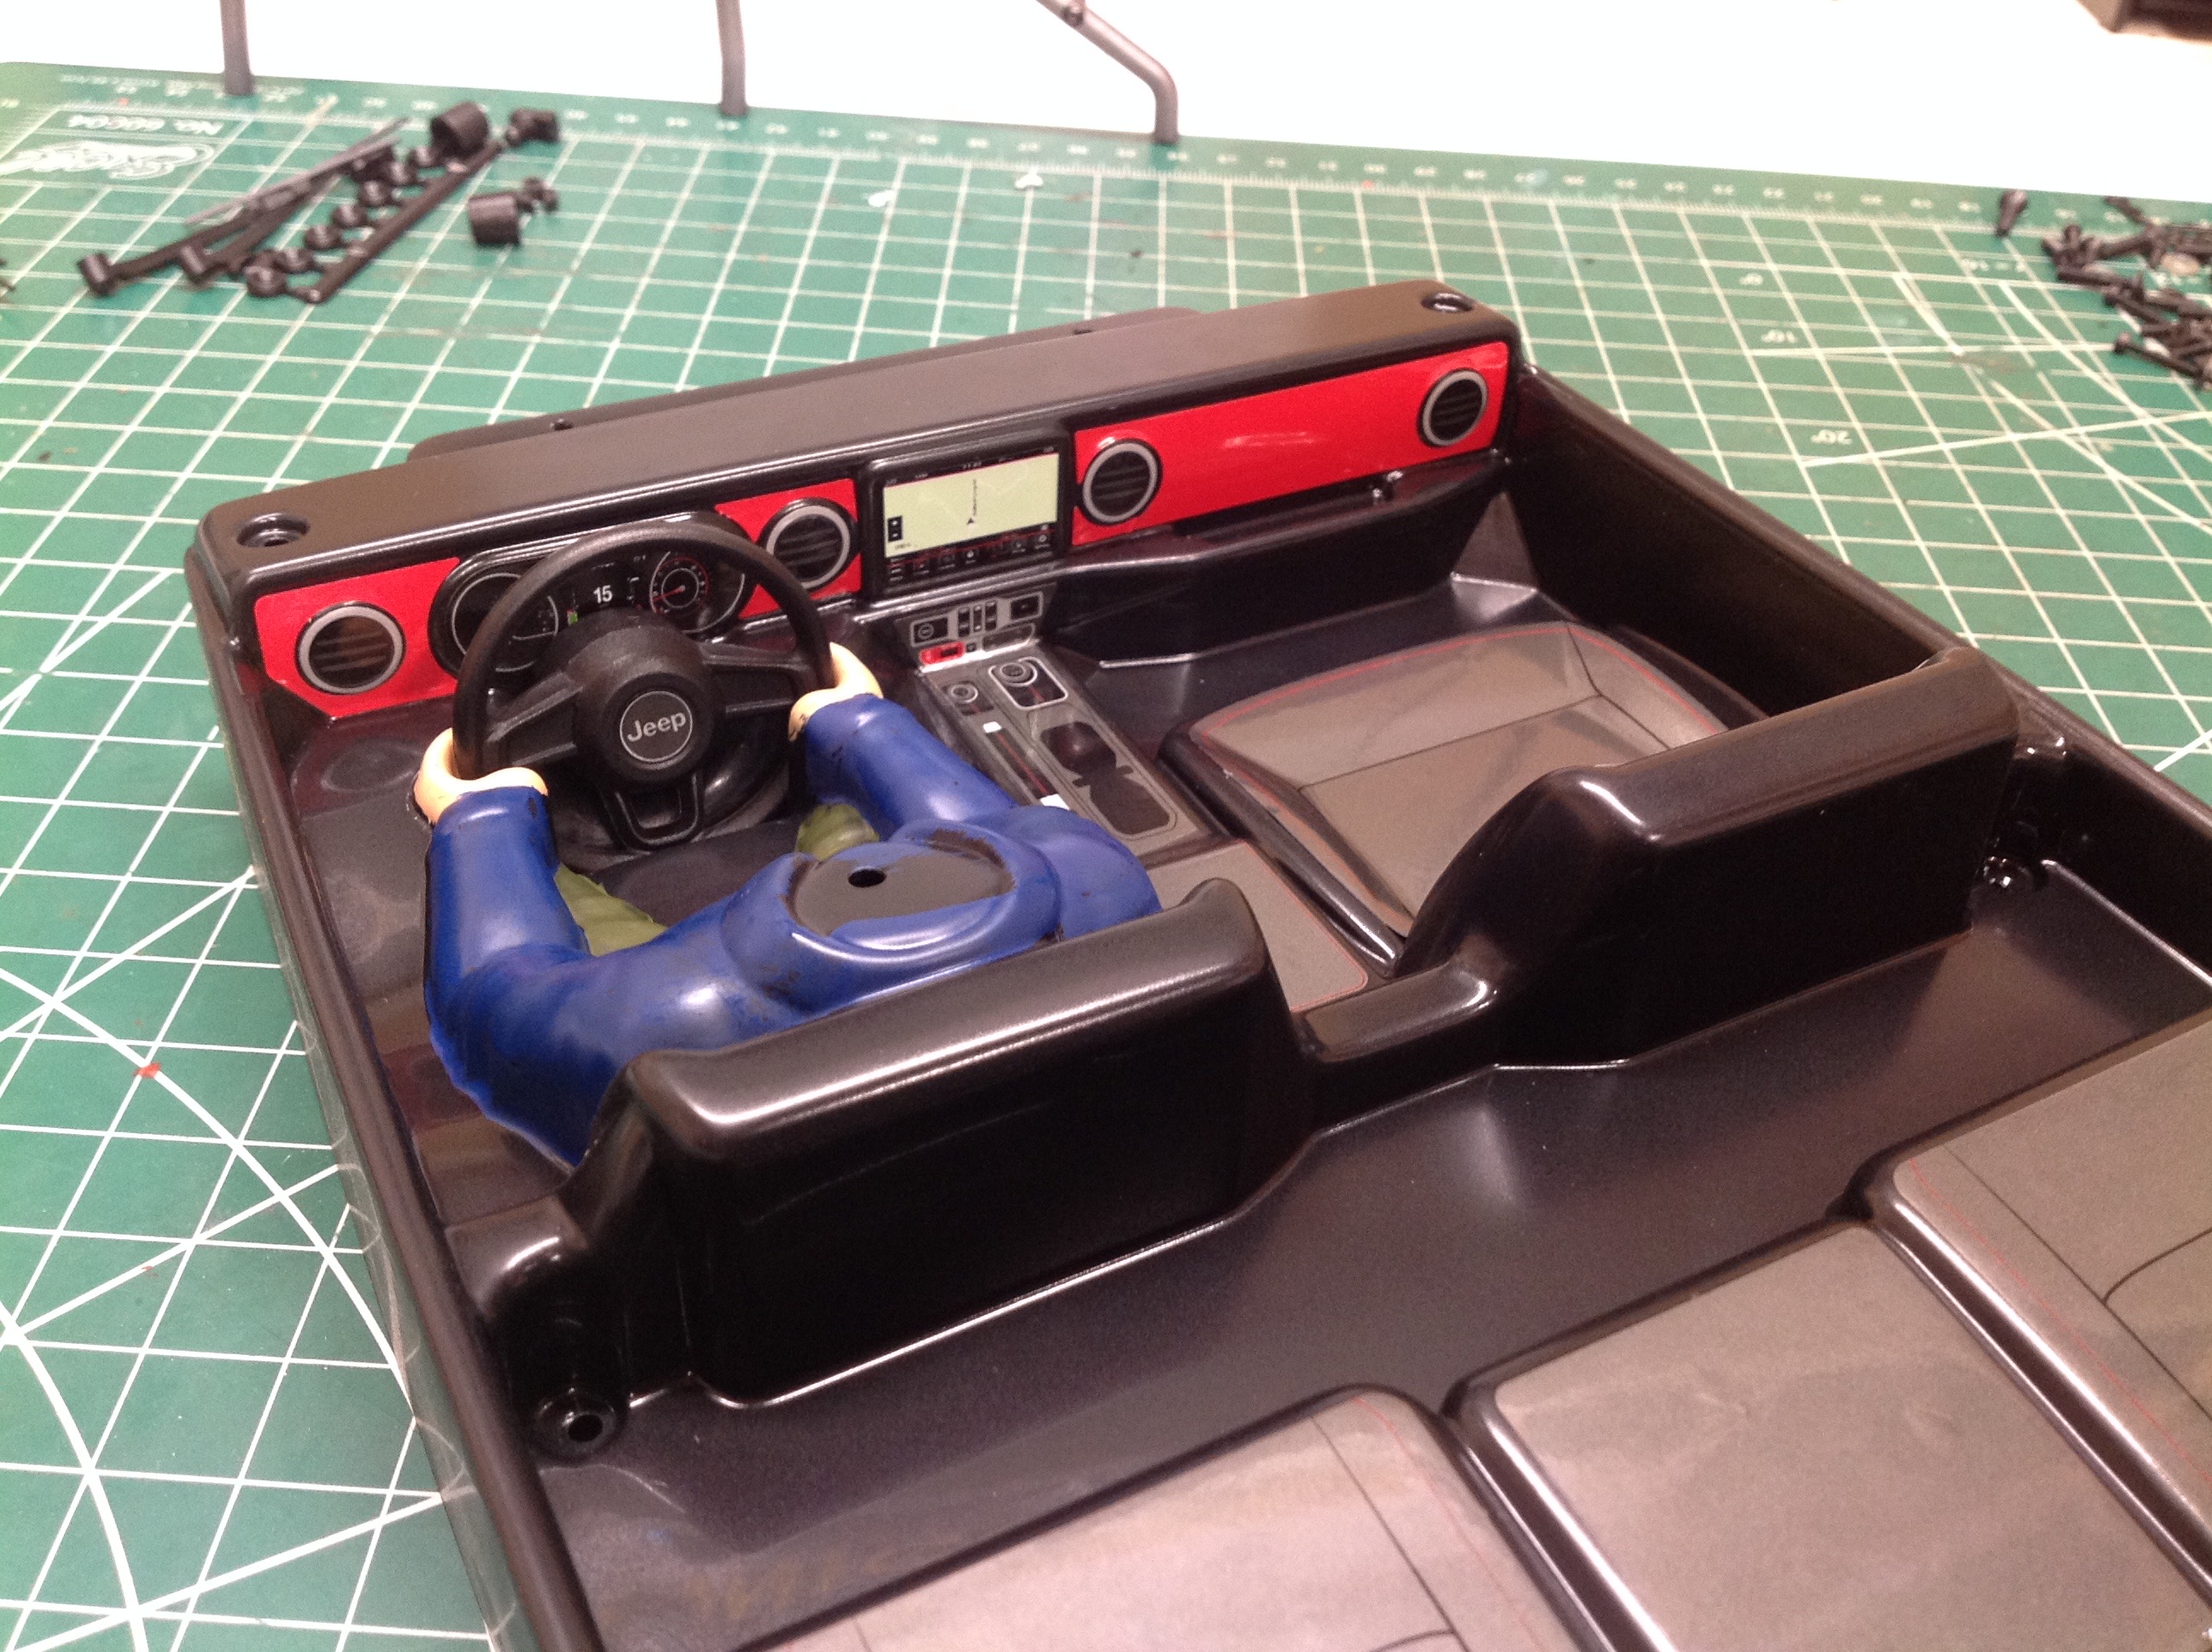
This view from behind shows the detail on the instrument panel, dash, and center console.
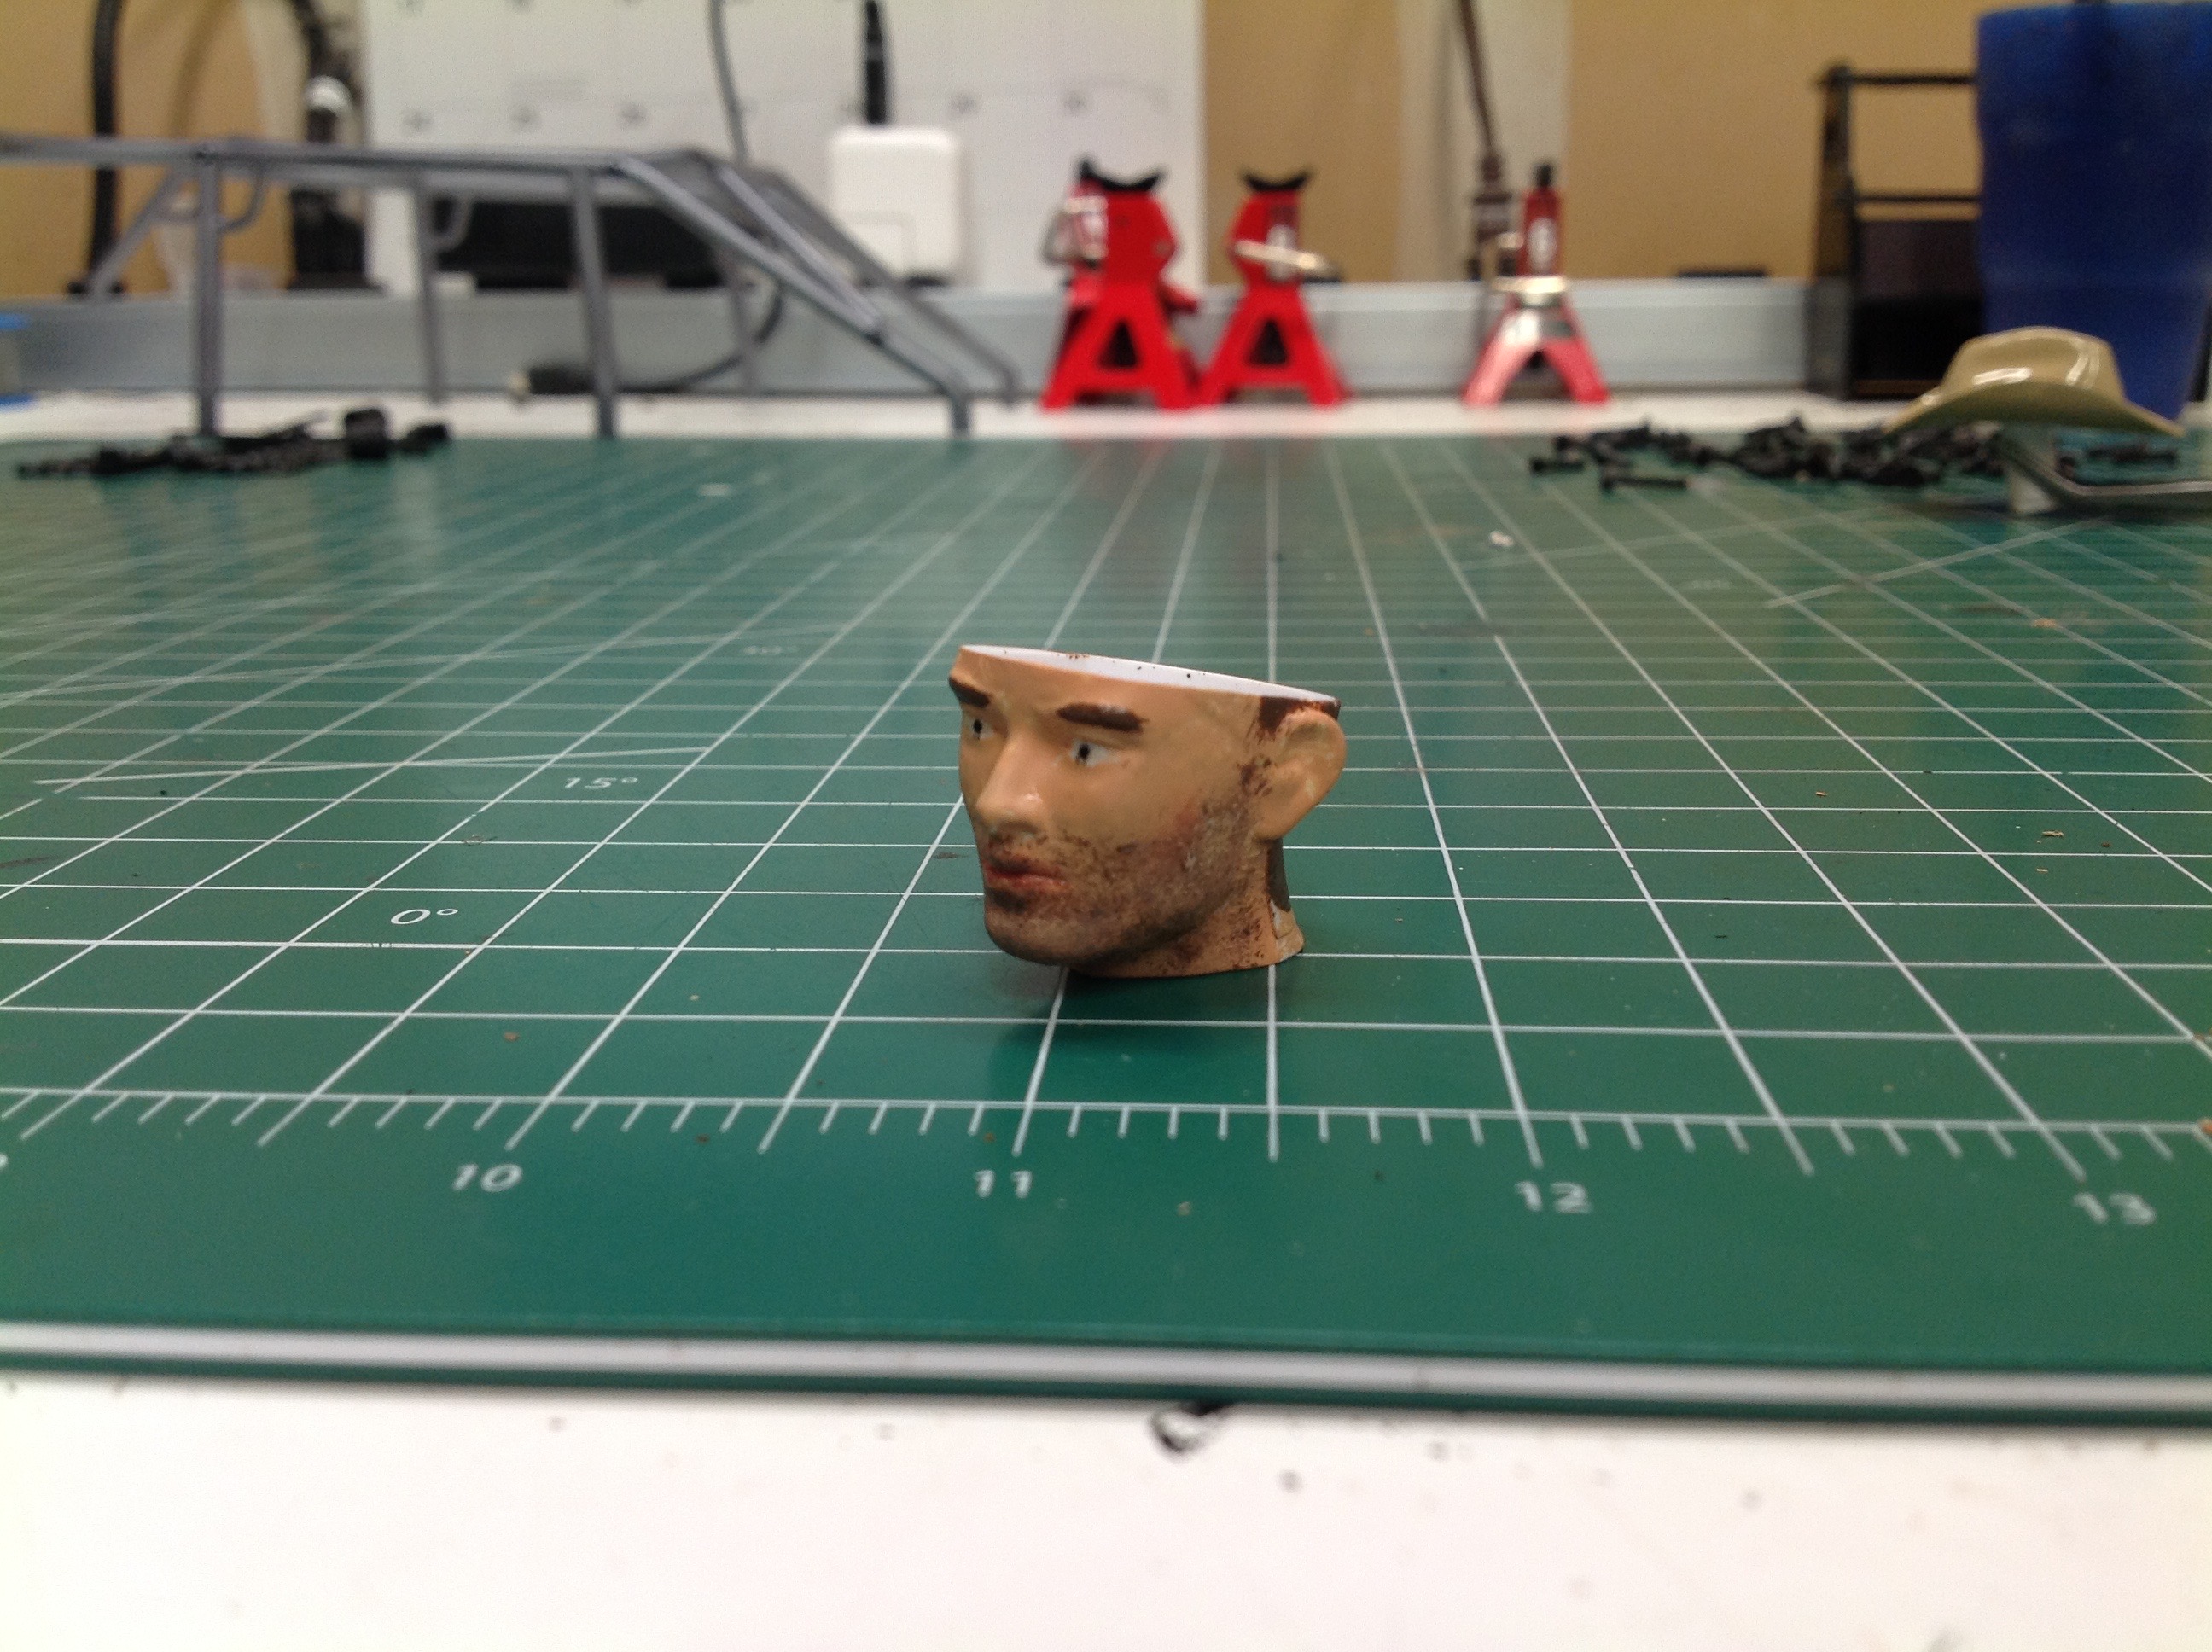
The head is separated into a face and a hat. I decided to try
painting some stubble on this driver and it worked out pretty
well. The final interior is shown on the right.
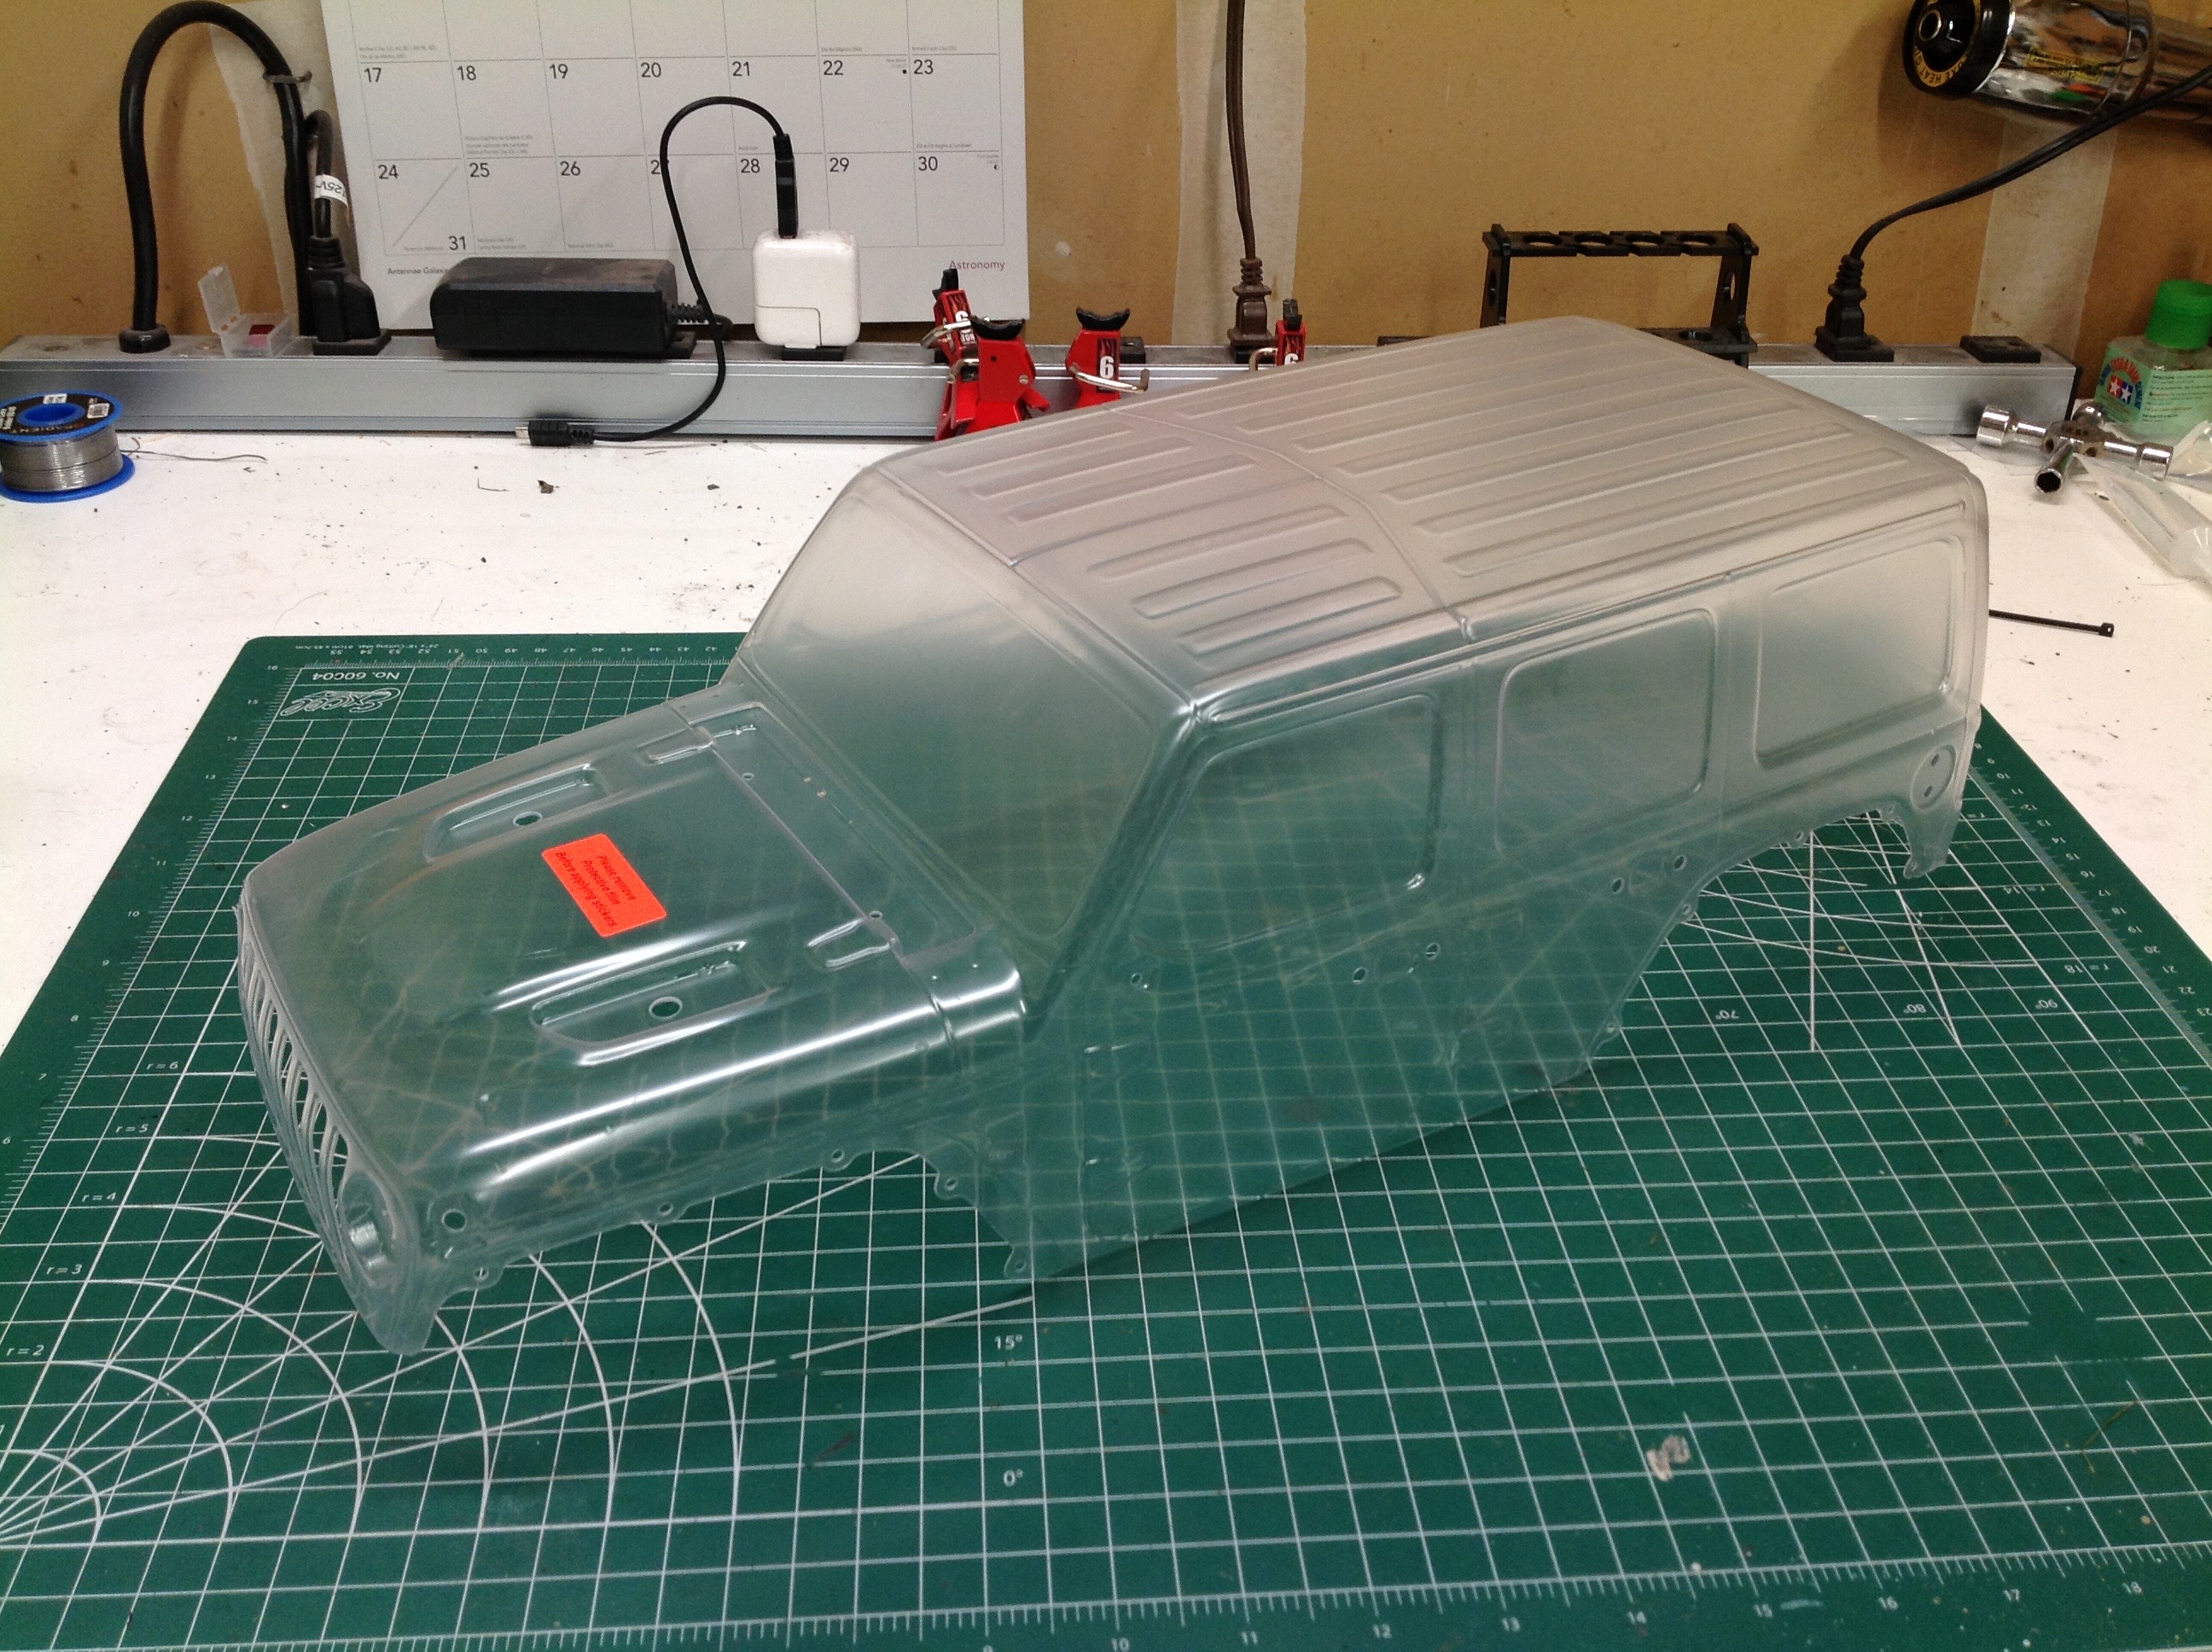
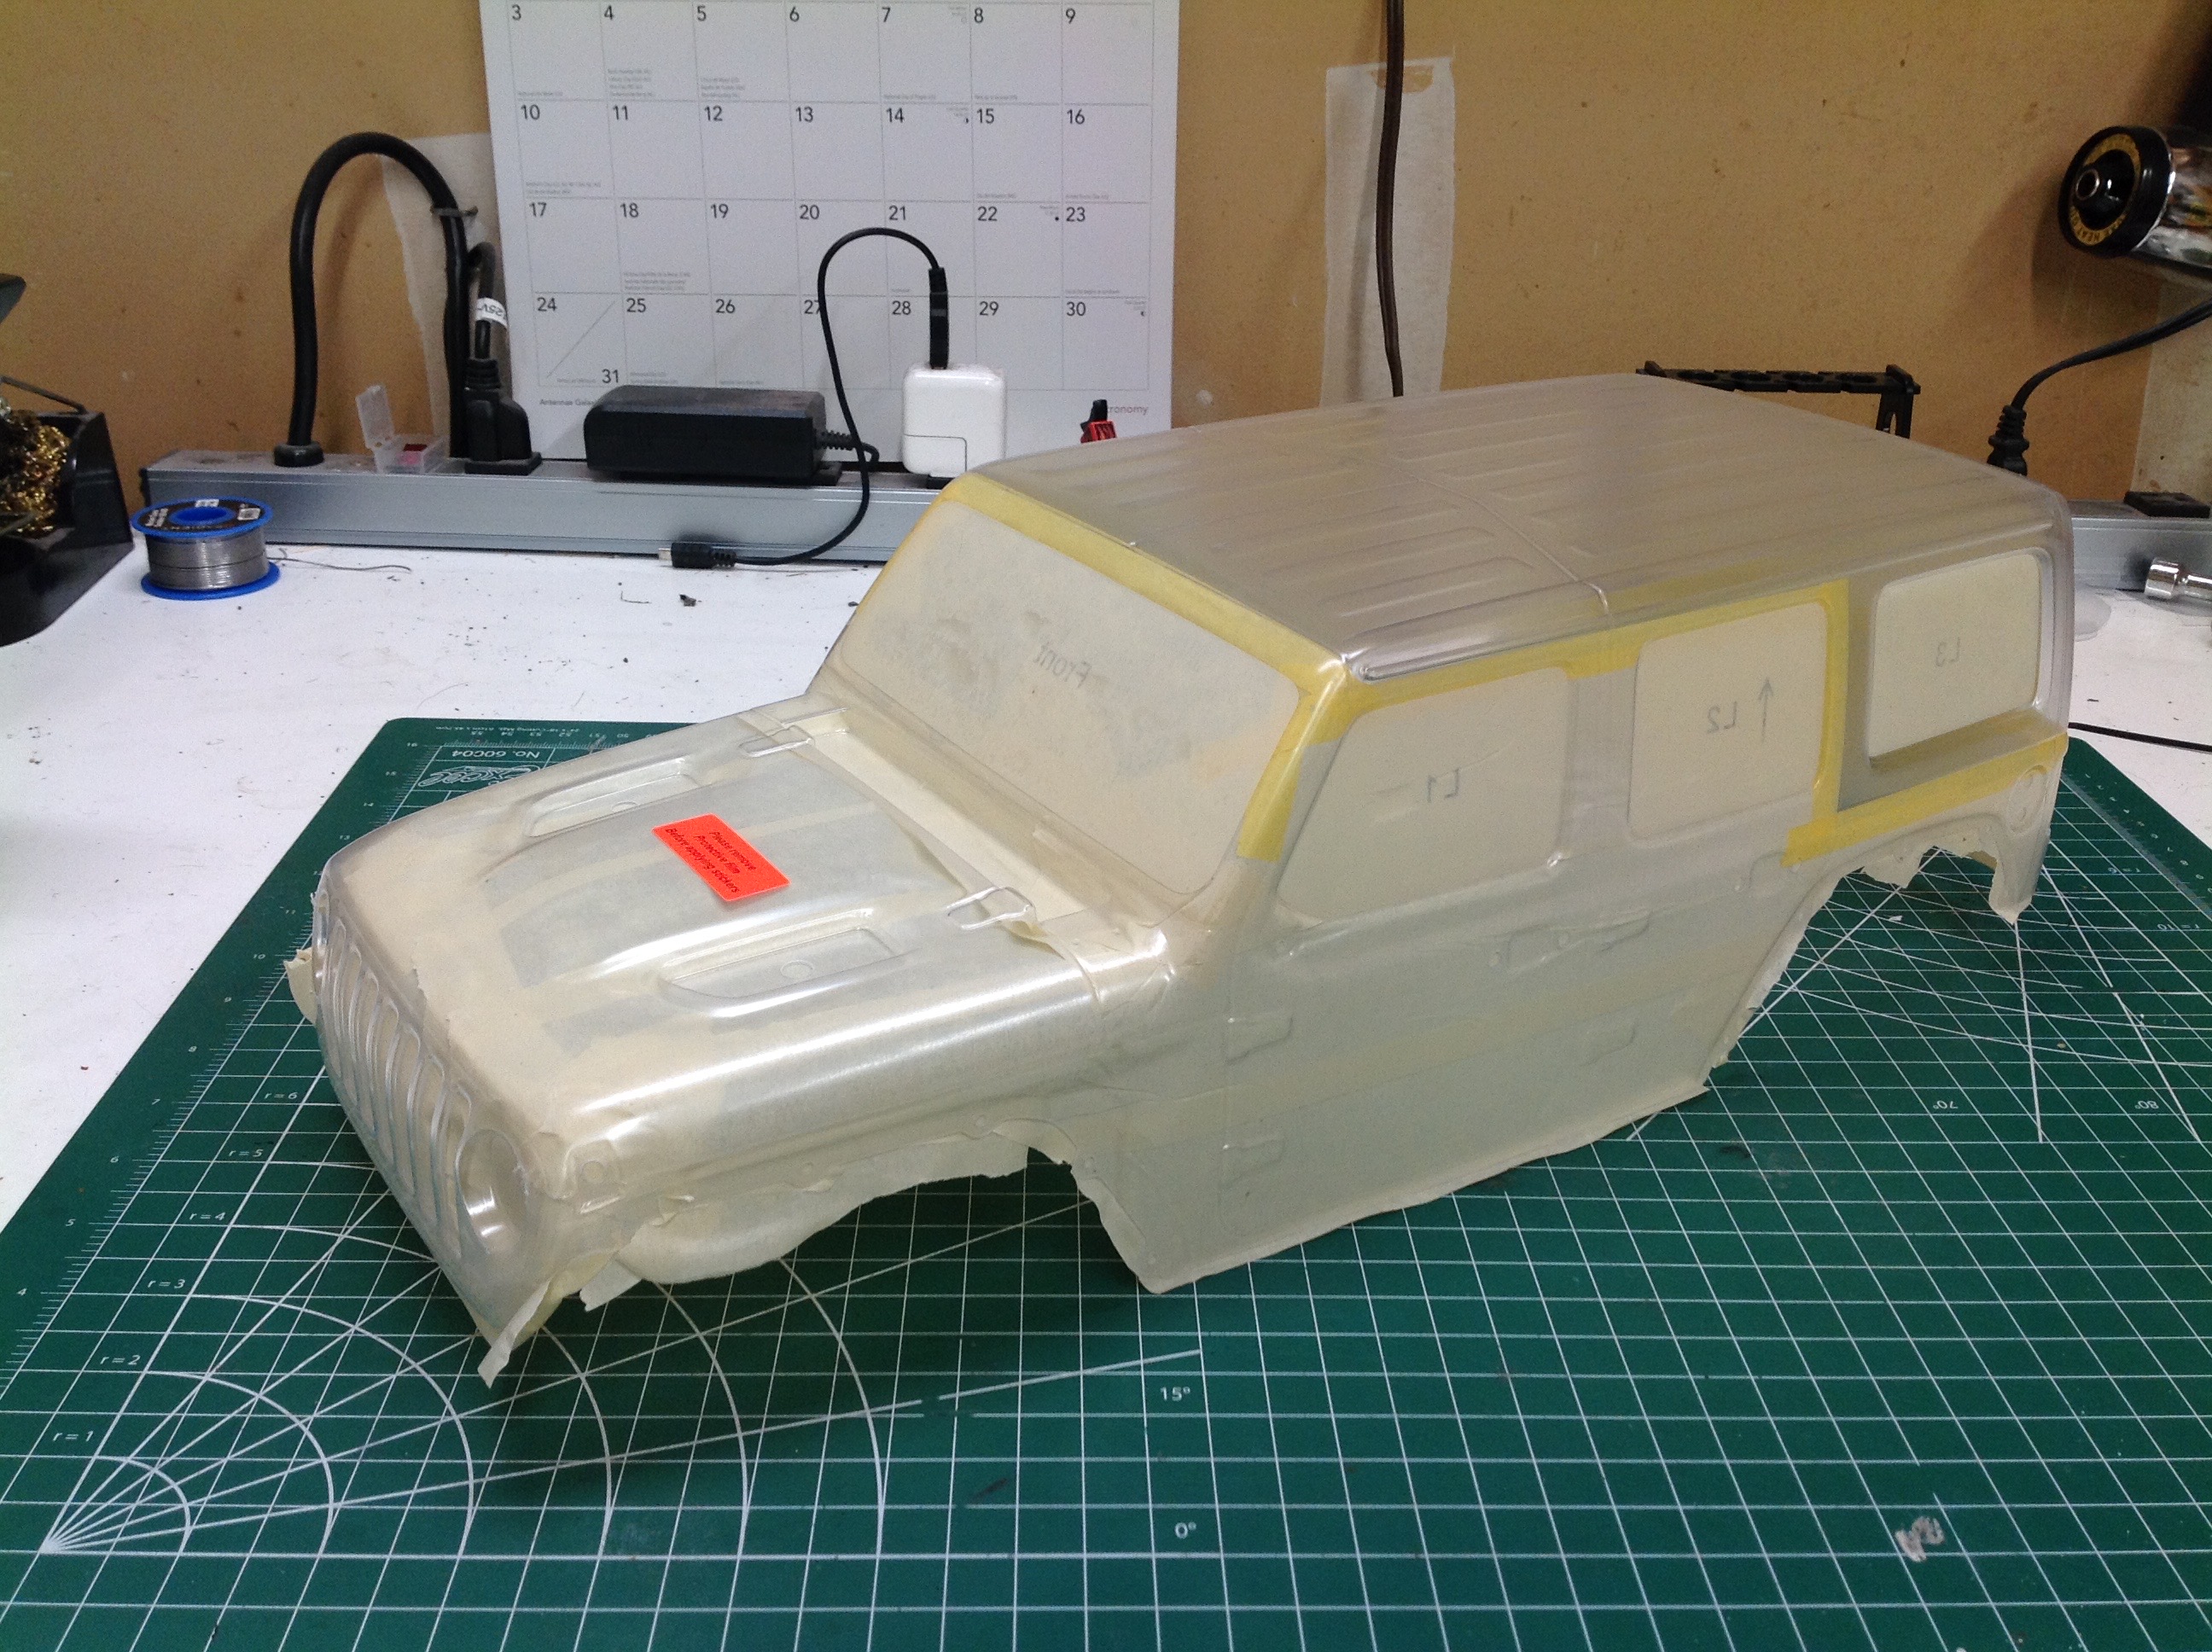
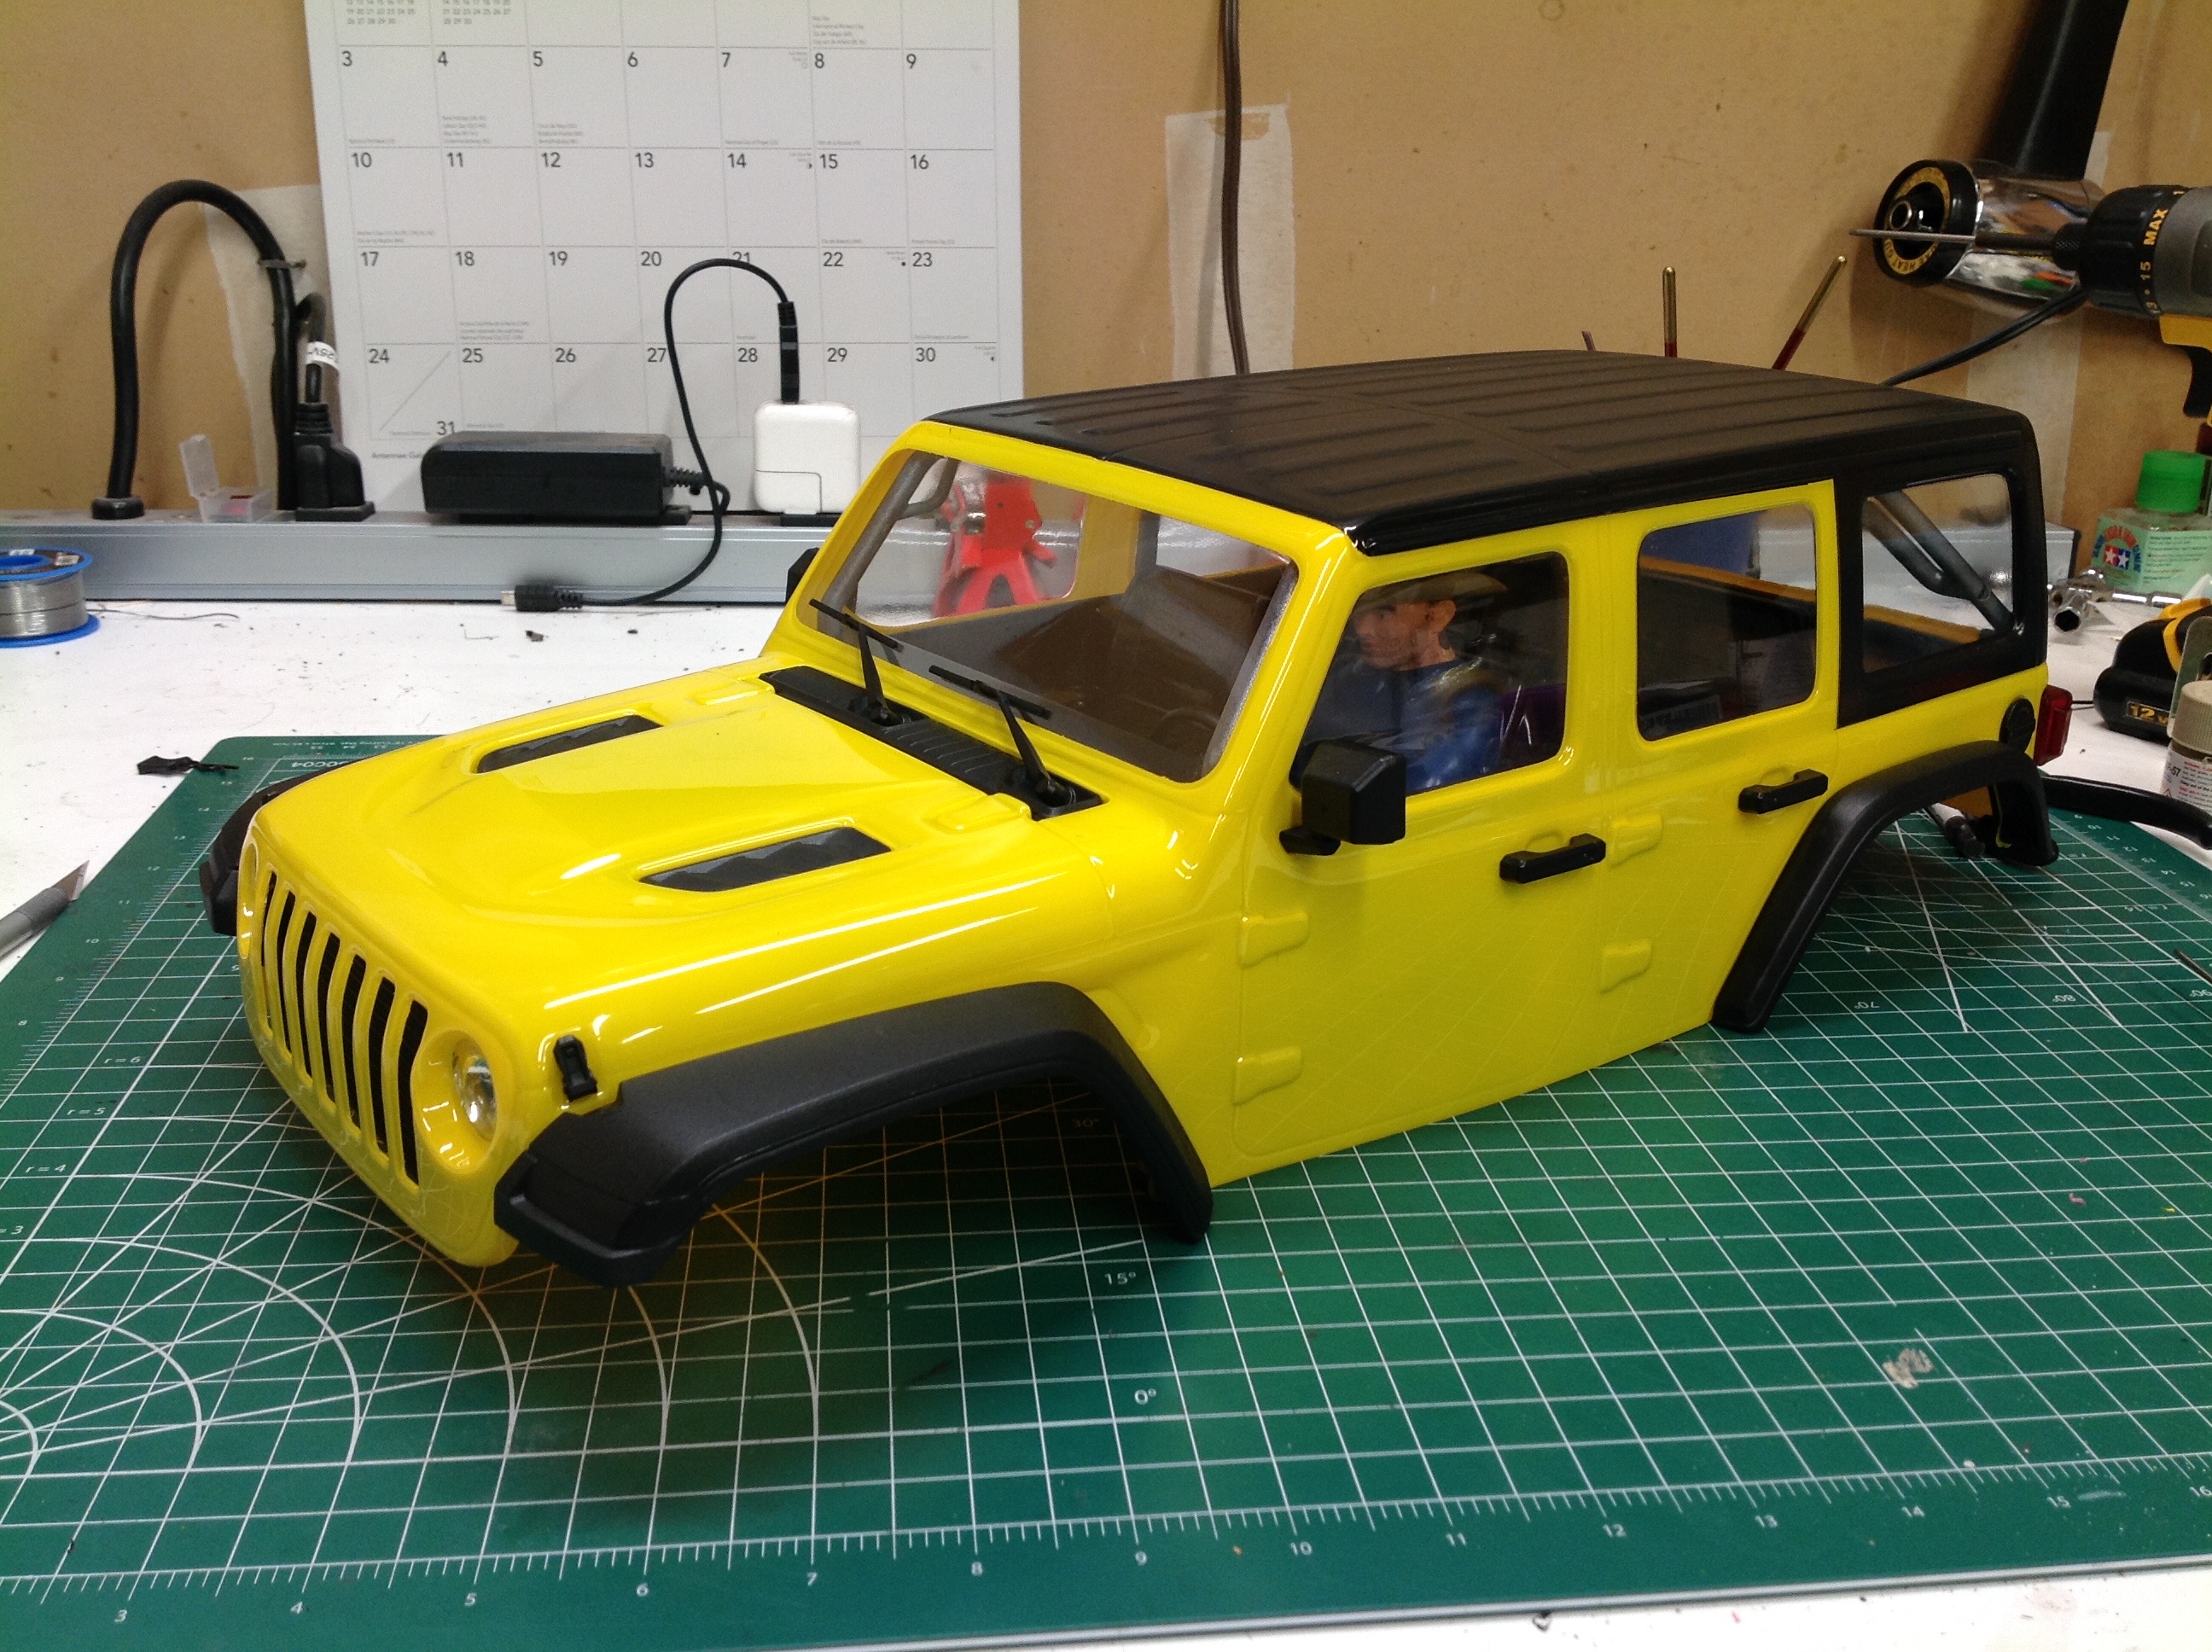
With the interior done, we can now start on the body itself. The
body comes pre-cut but unpainted. I started by applying the
included masks to the insides of the windows and lights as shown.
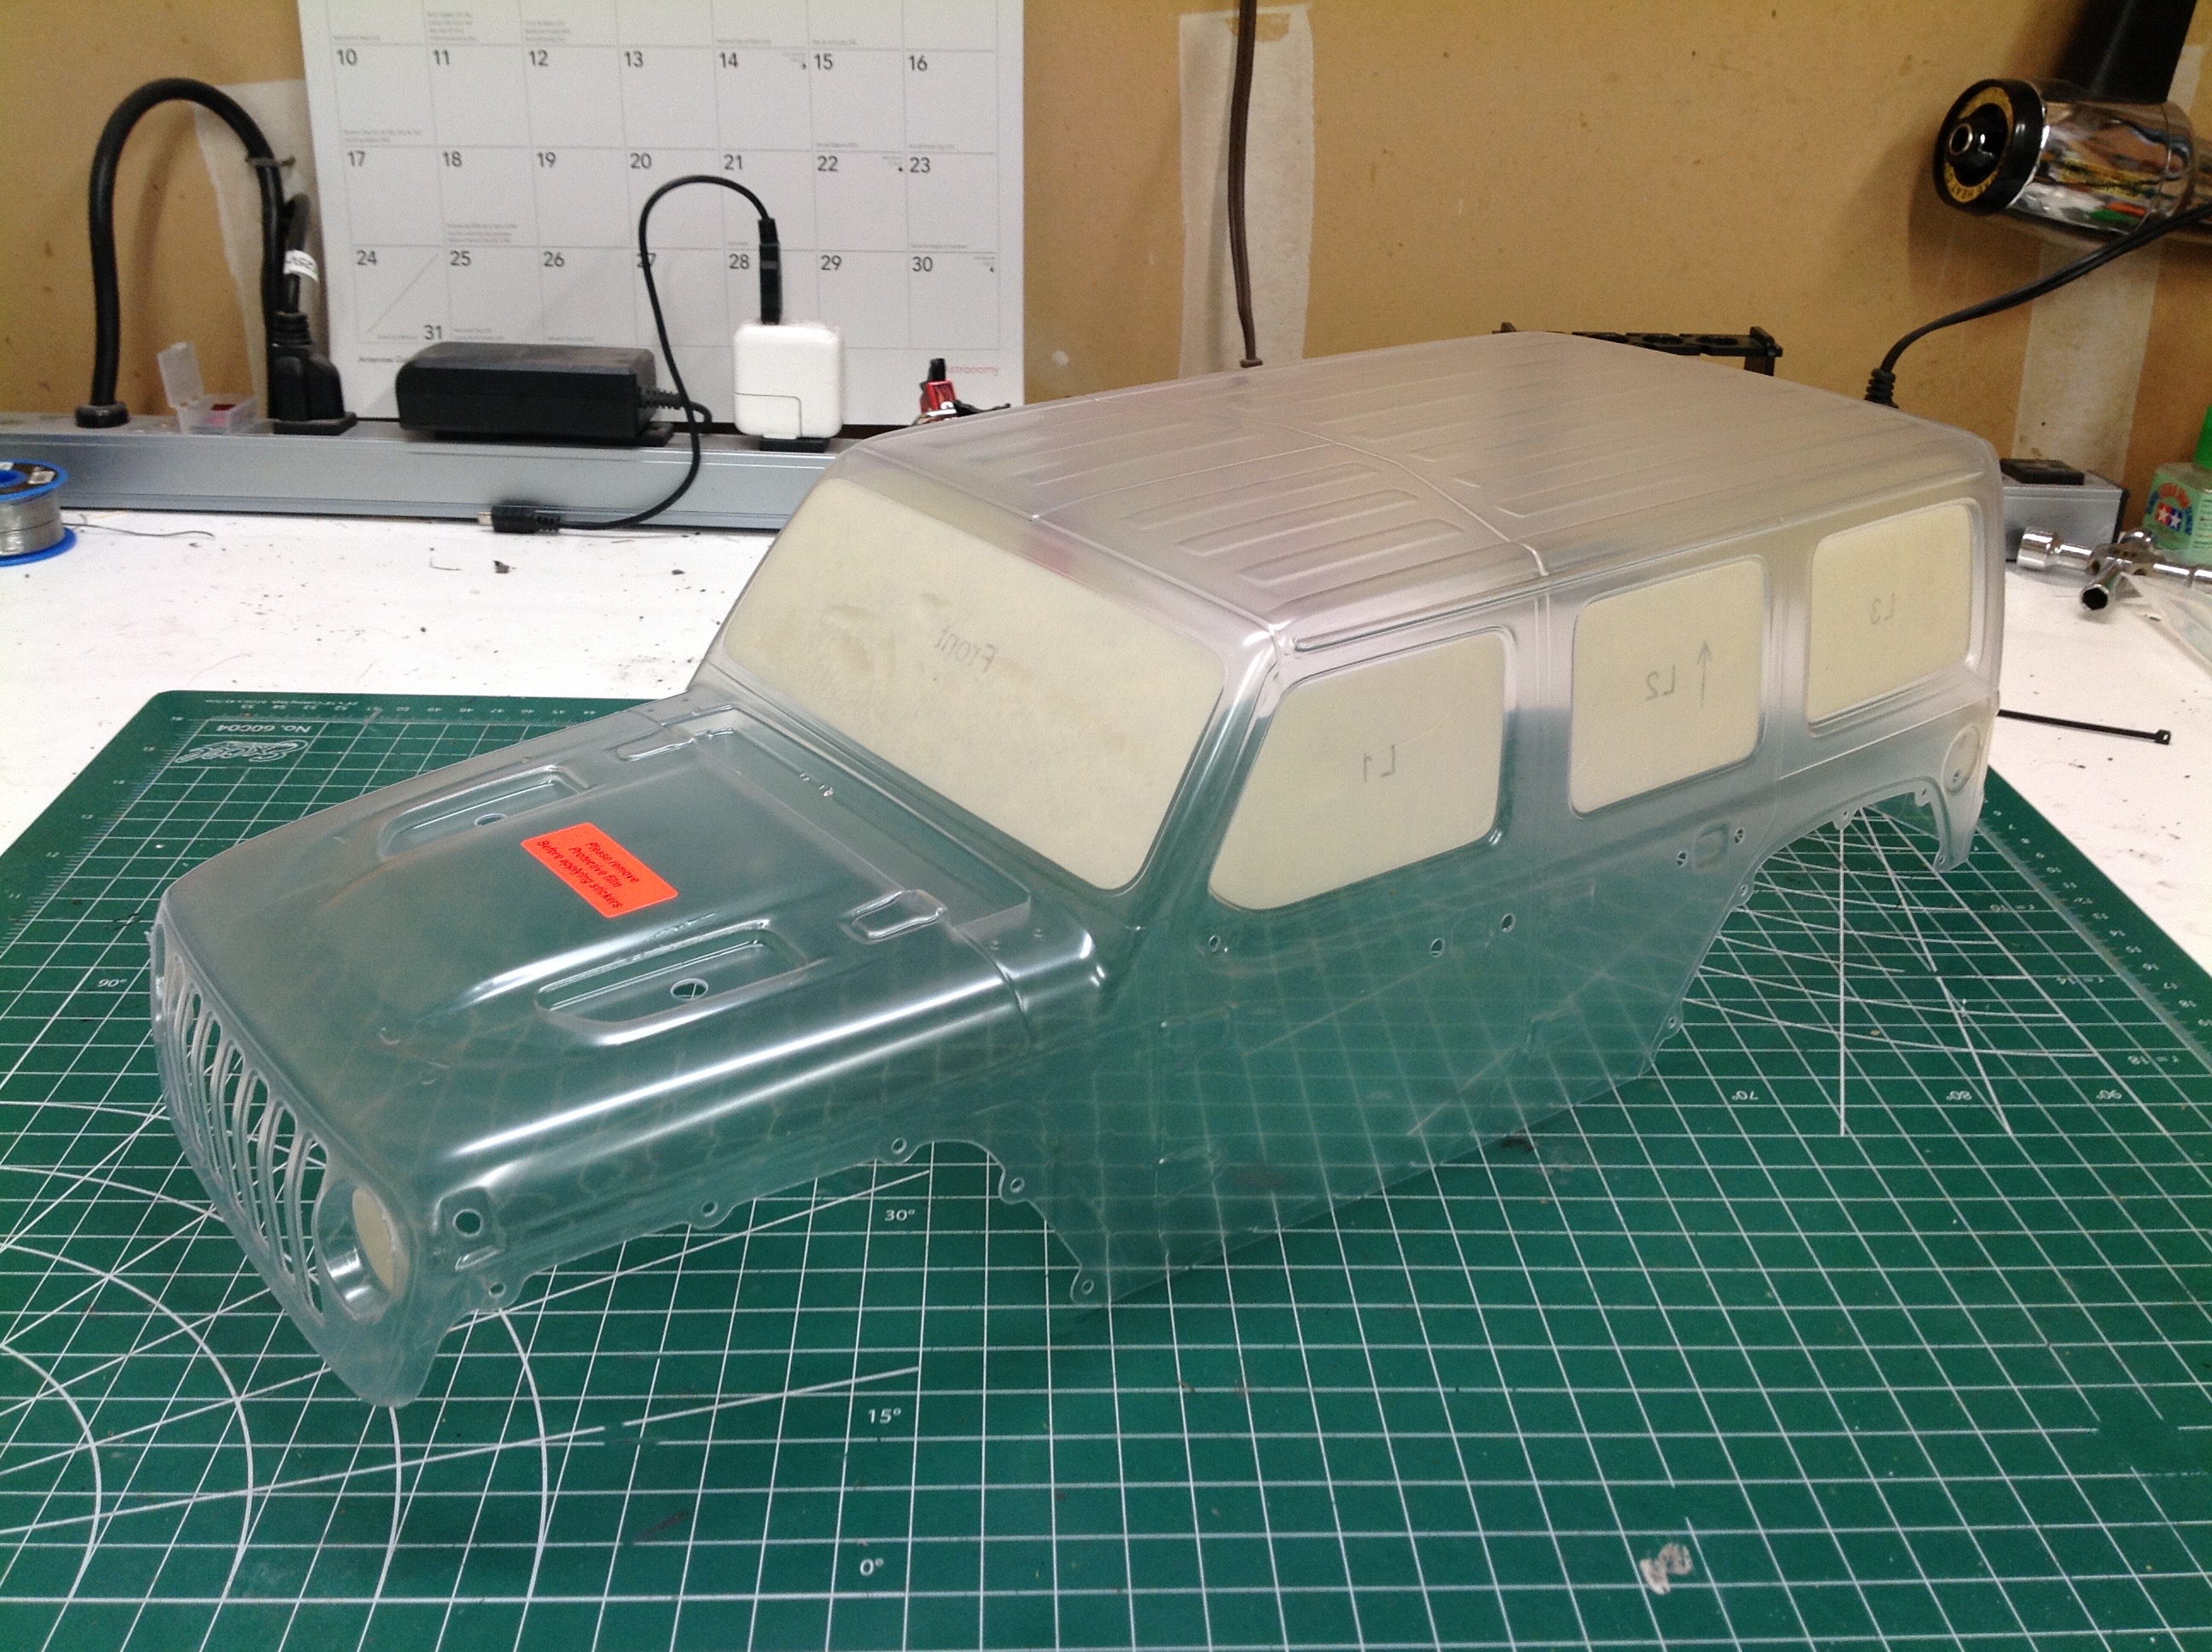
I didn't want to go with just a solid color. The Jeeps often have a
removable top in another color, so I masked off the roof area to paint
black. After painting it black from the inside, I trimmed away the
overspray film from the outside and covered the black area in flat
clear. This required me to move the window masks to the outside
since I wanted them to remain totally clear.
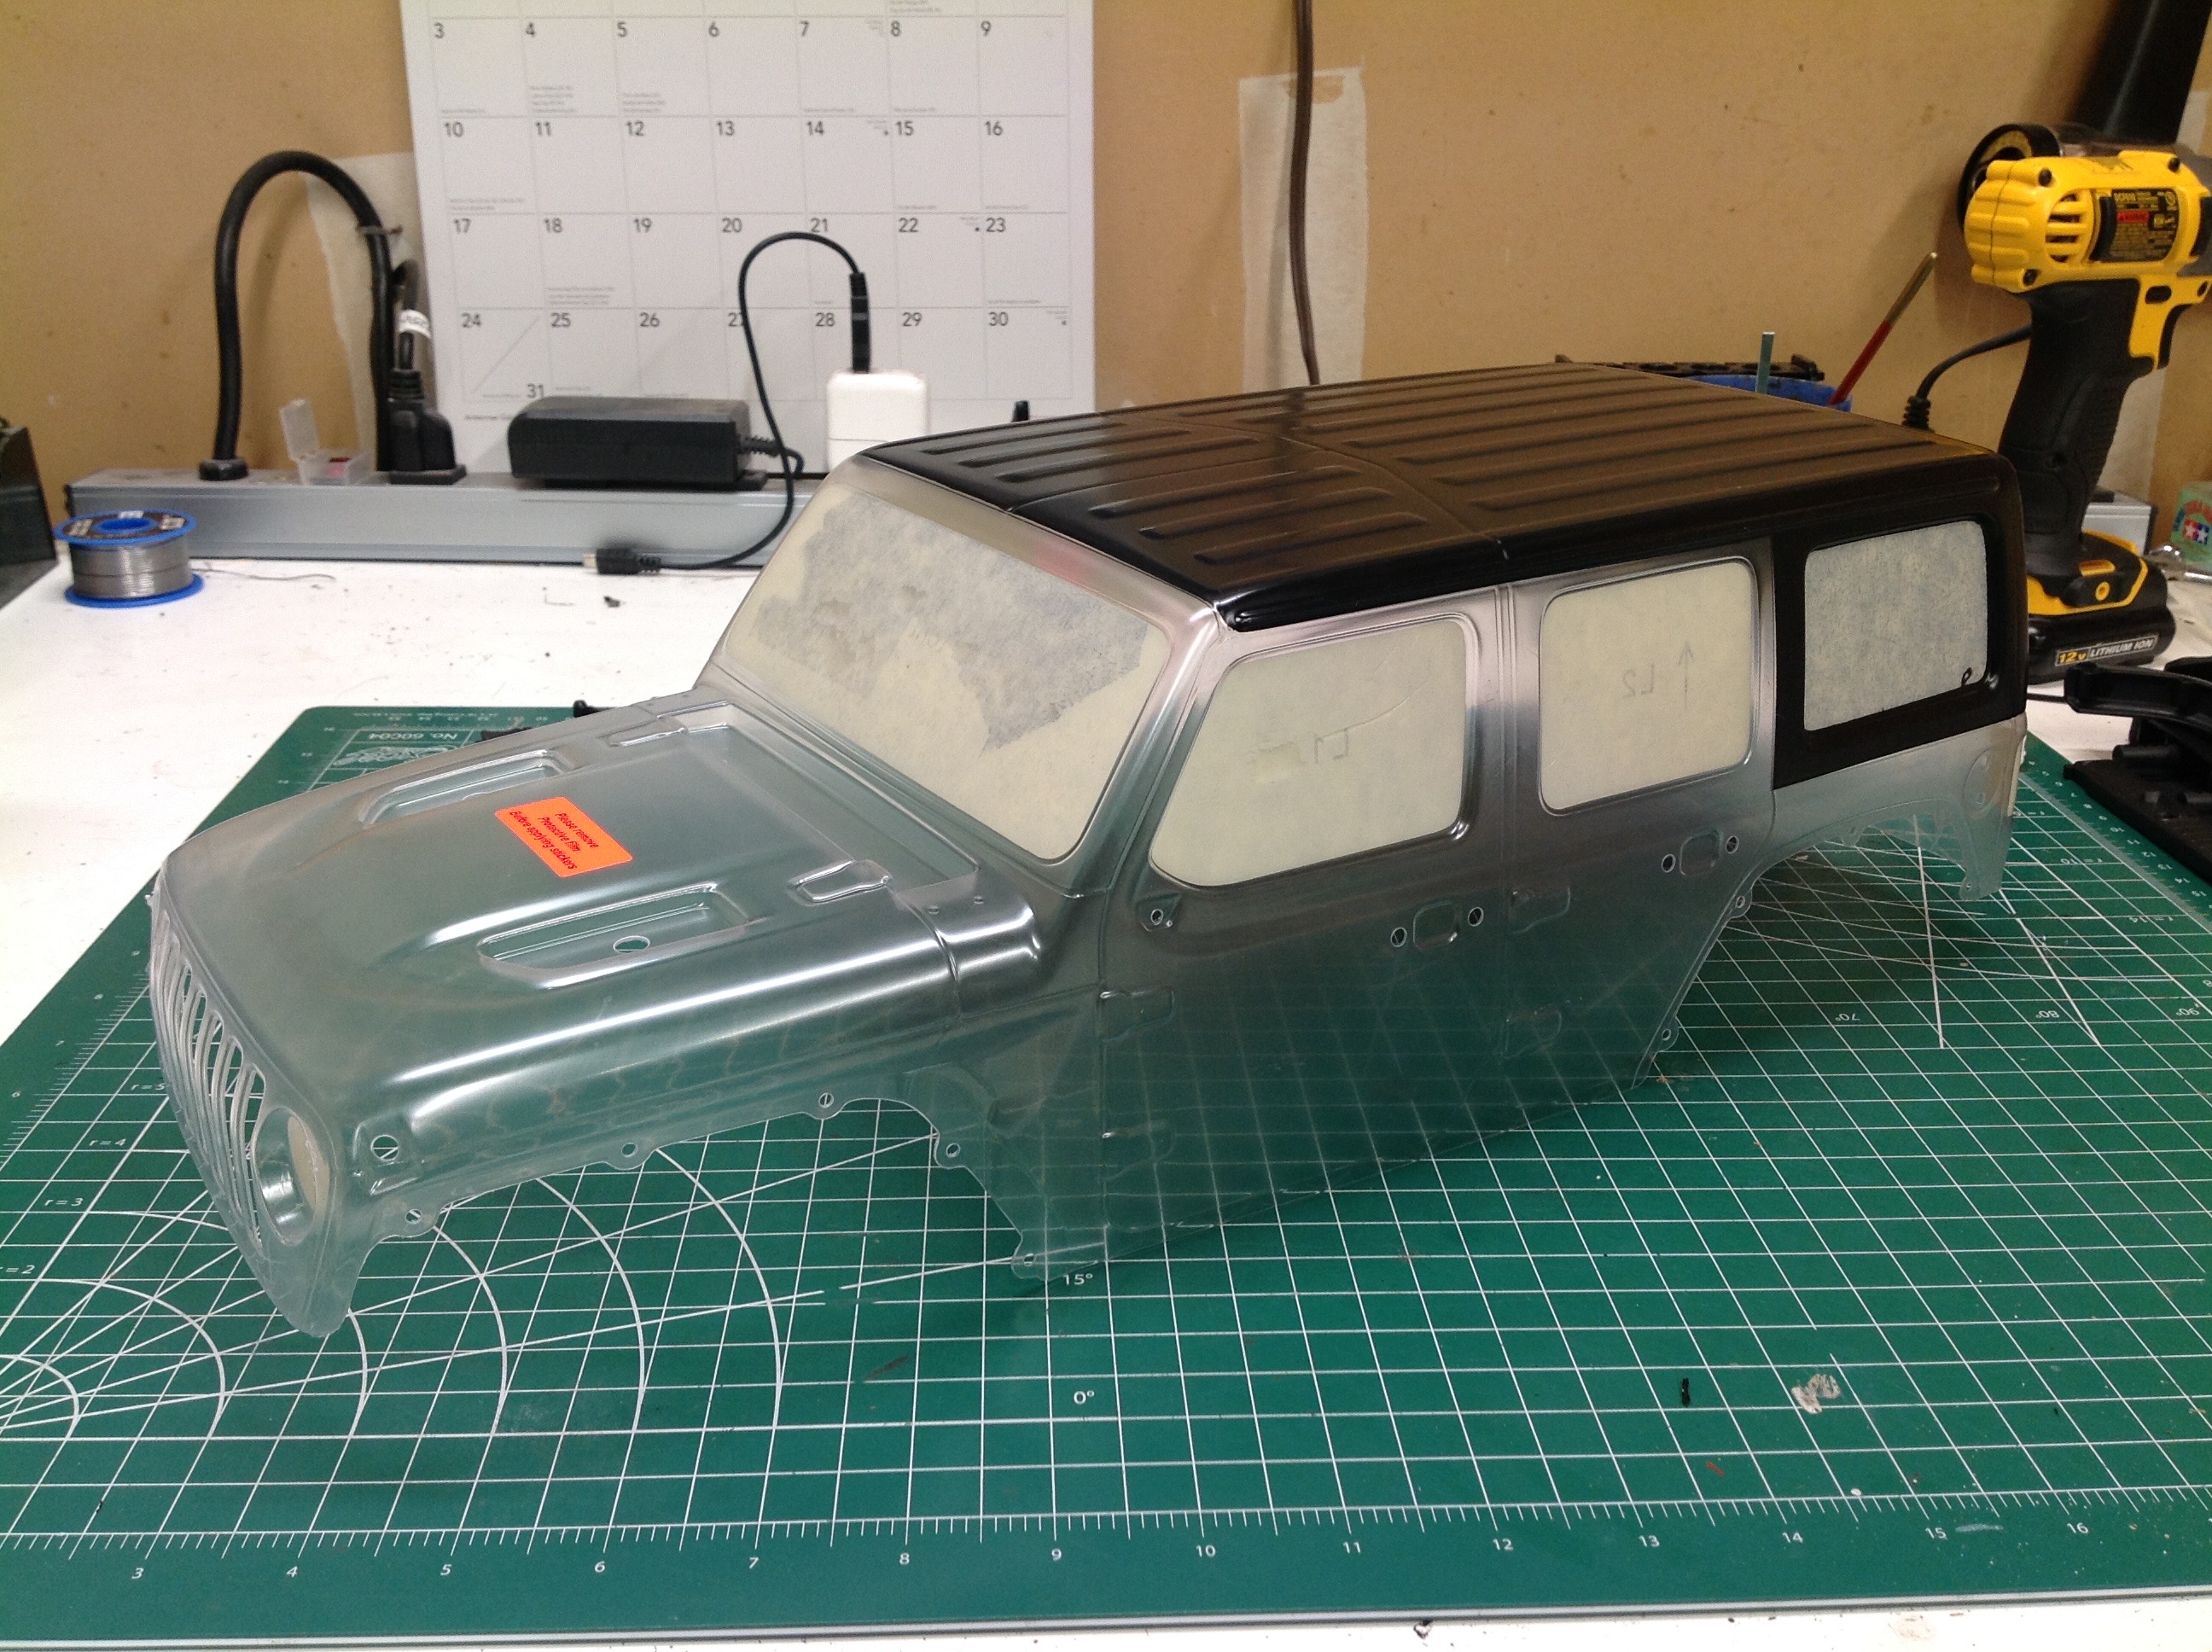
I then removed the masking and painted the rest of the body in yellow as
shown. On the right the film and masking has been removed
revealing the completed paint. In hindsight, I wish I had backed
the whole thing in black so the interior would not have been yellow.
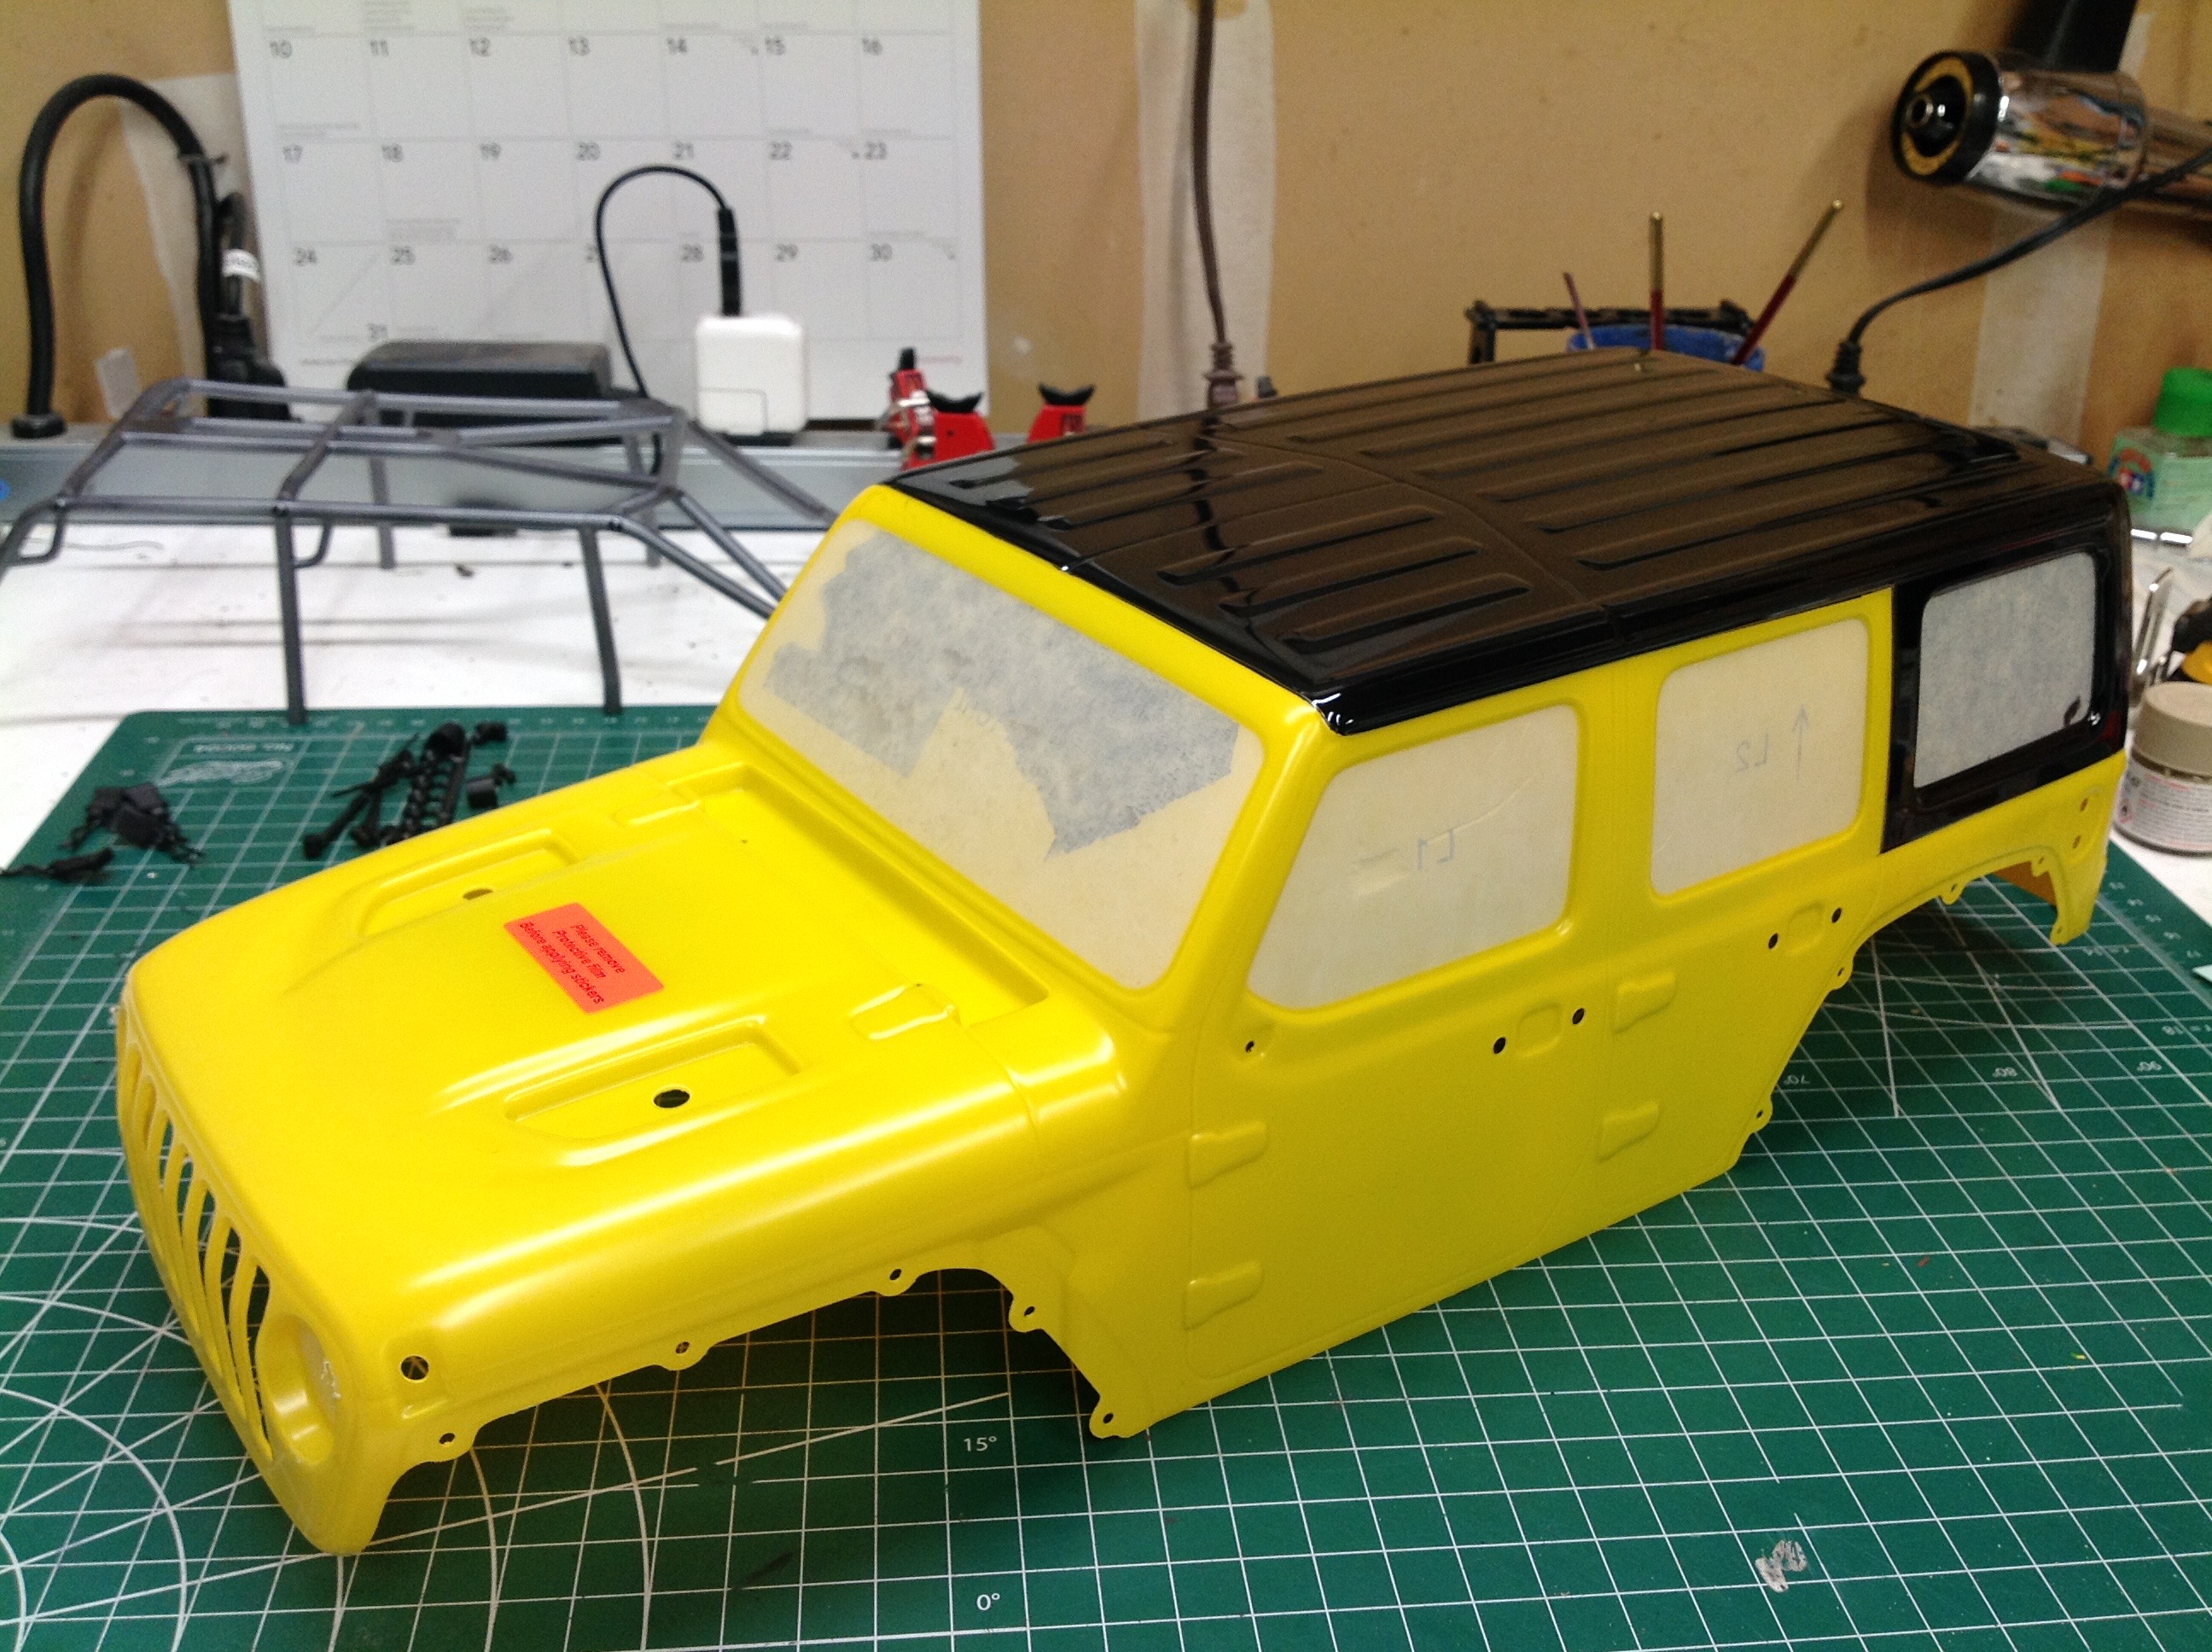
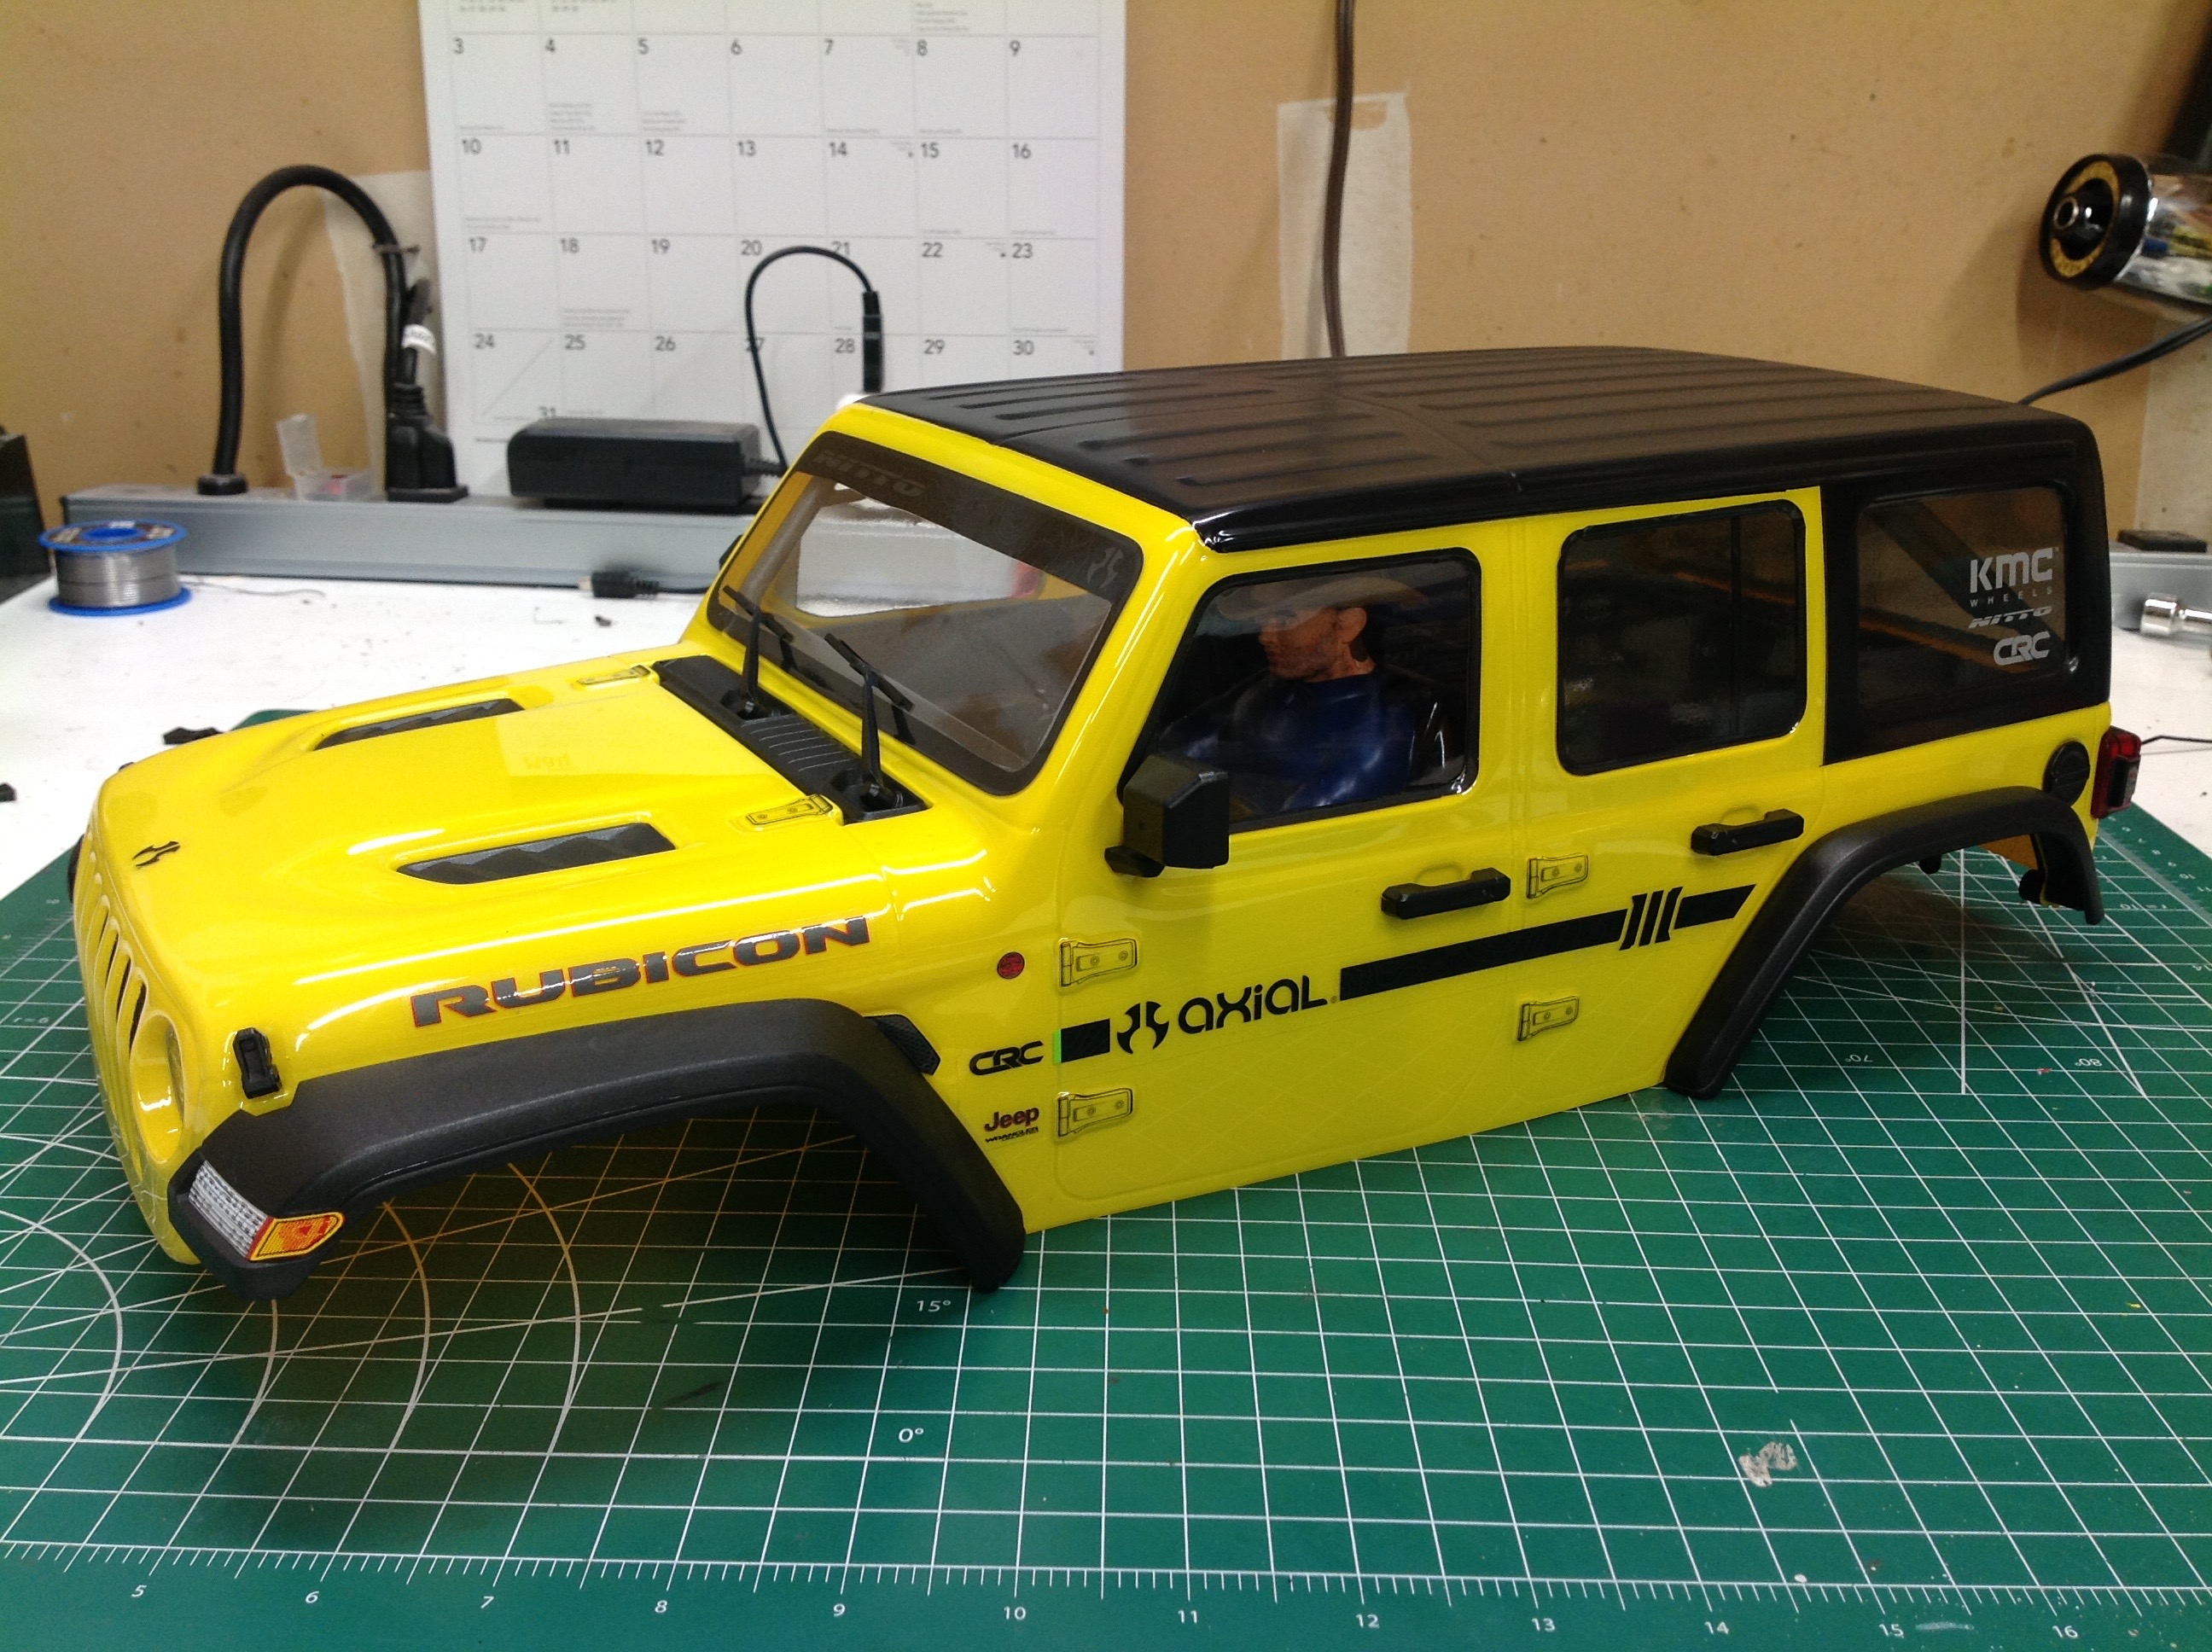
Now I've installed light buckets, fenders, door handles, wipers,
mirrors, hood latches, and all the other plastic details as shown on the
left. This really improves the realism of the model. On the
right I've also installed some stickers which are very detailed. I
especially like the door hinges. The window stickers were all
tinted, but I trimmed out the tinted area from the front windows so the
driver could be seen more clearly.
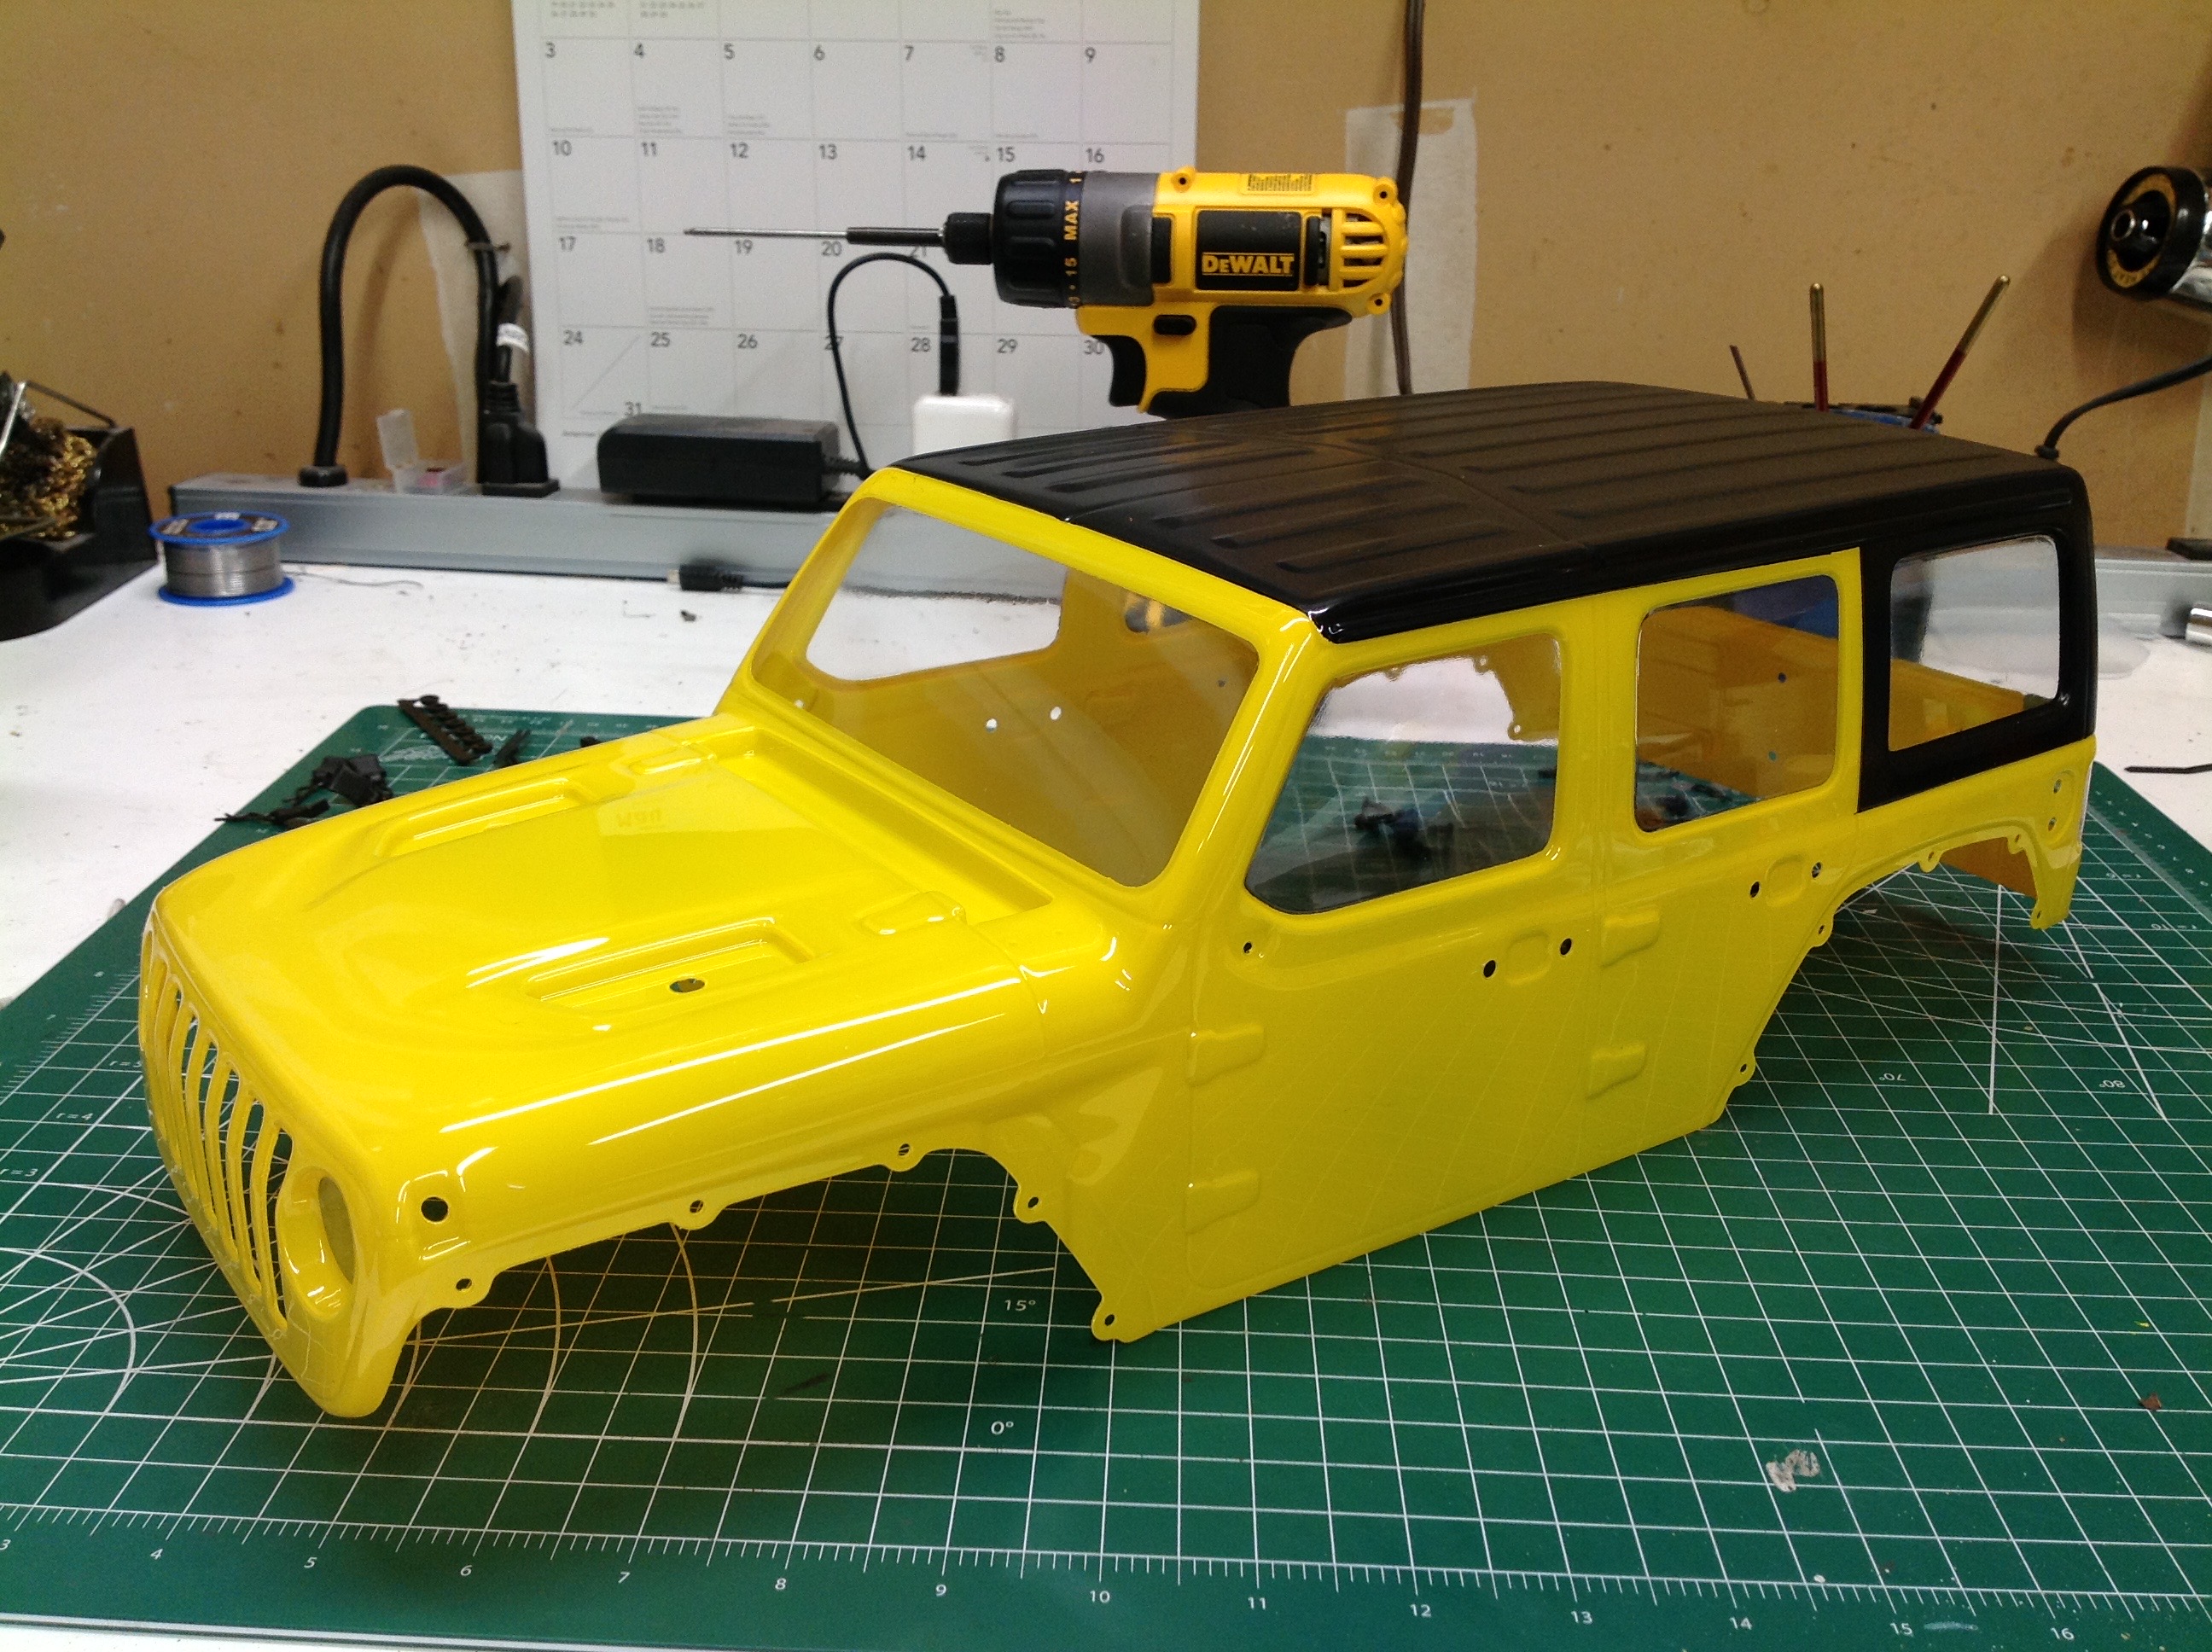
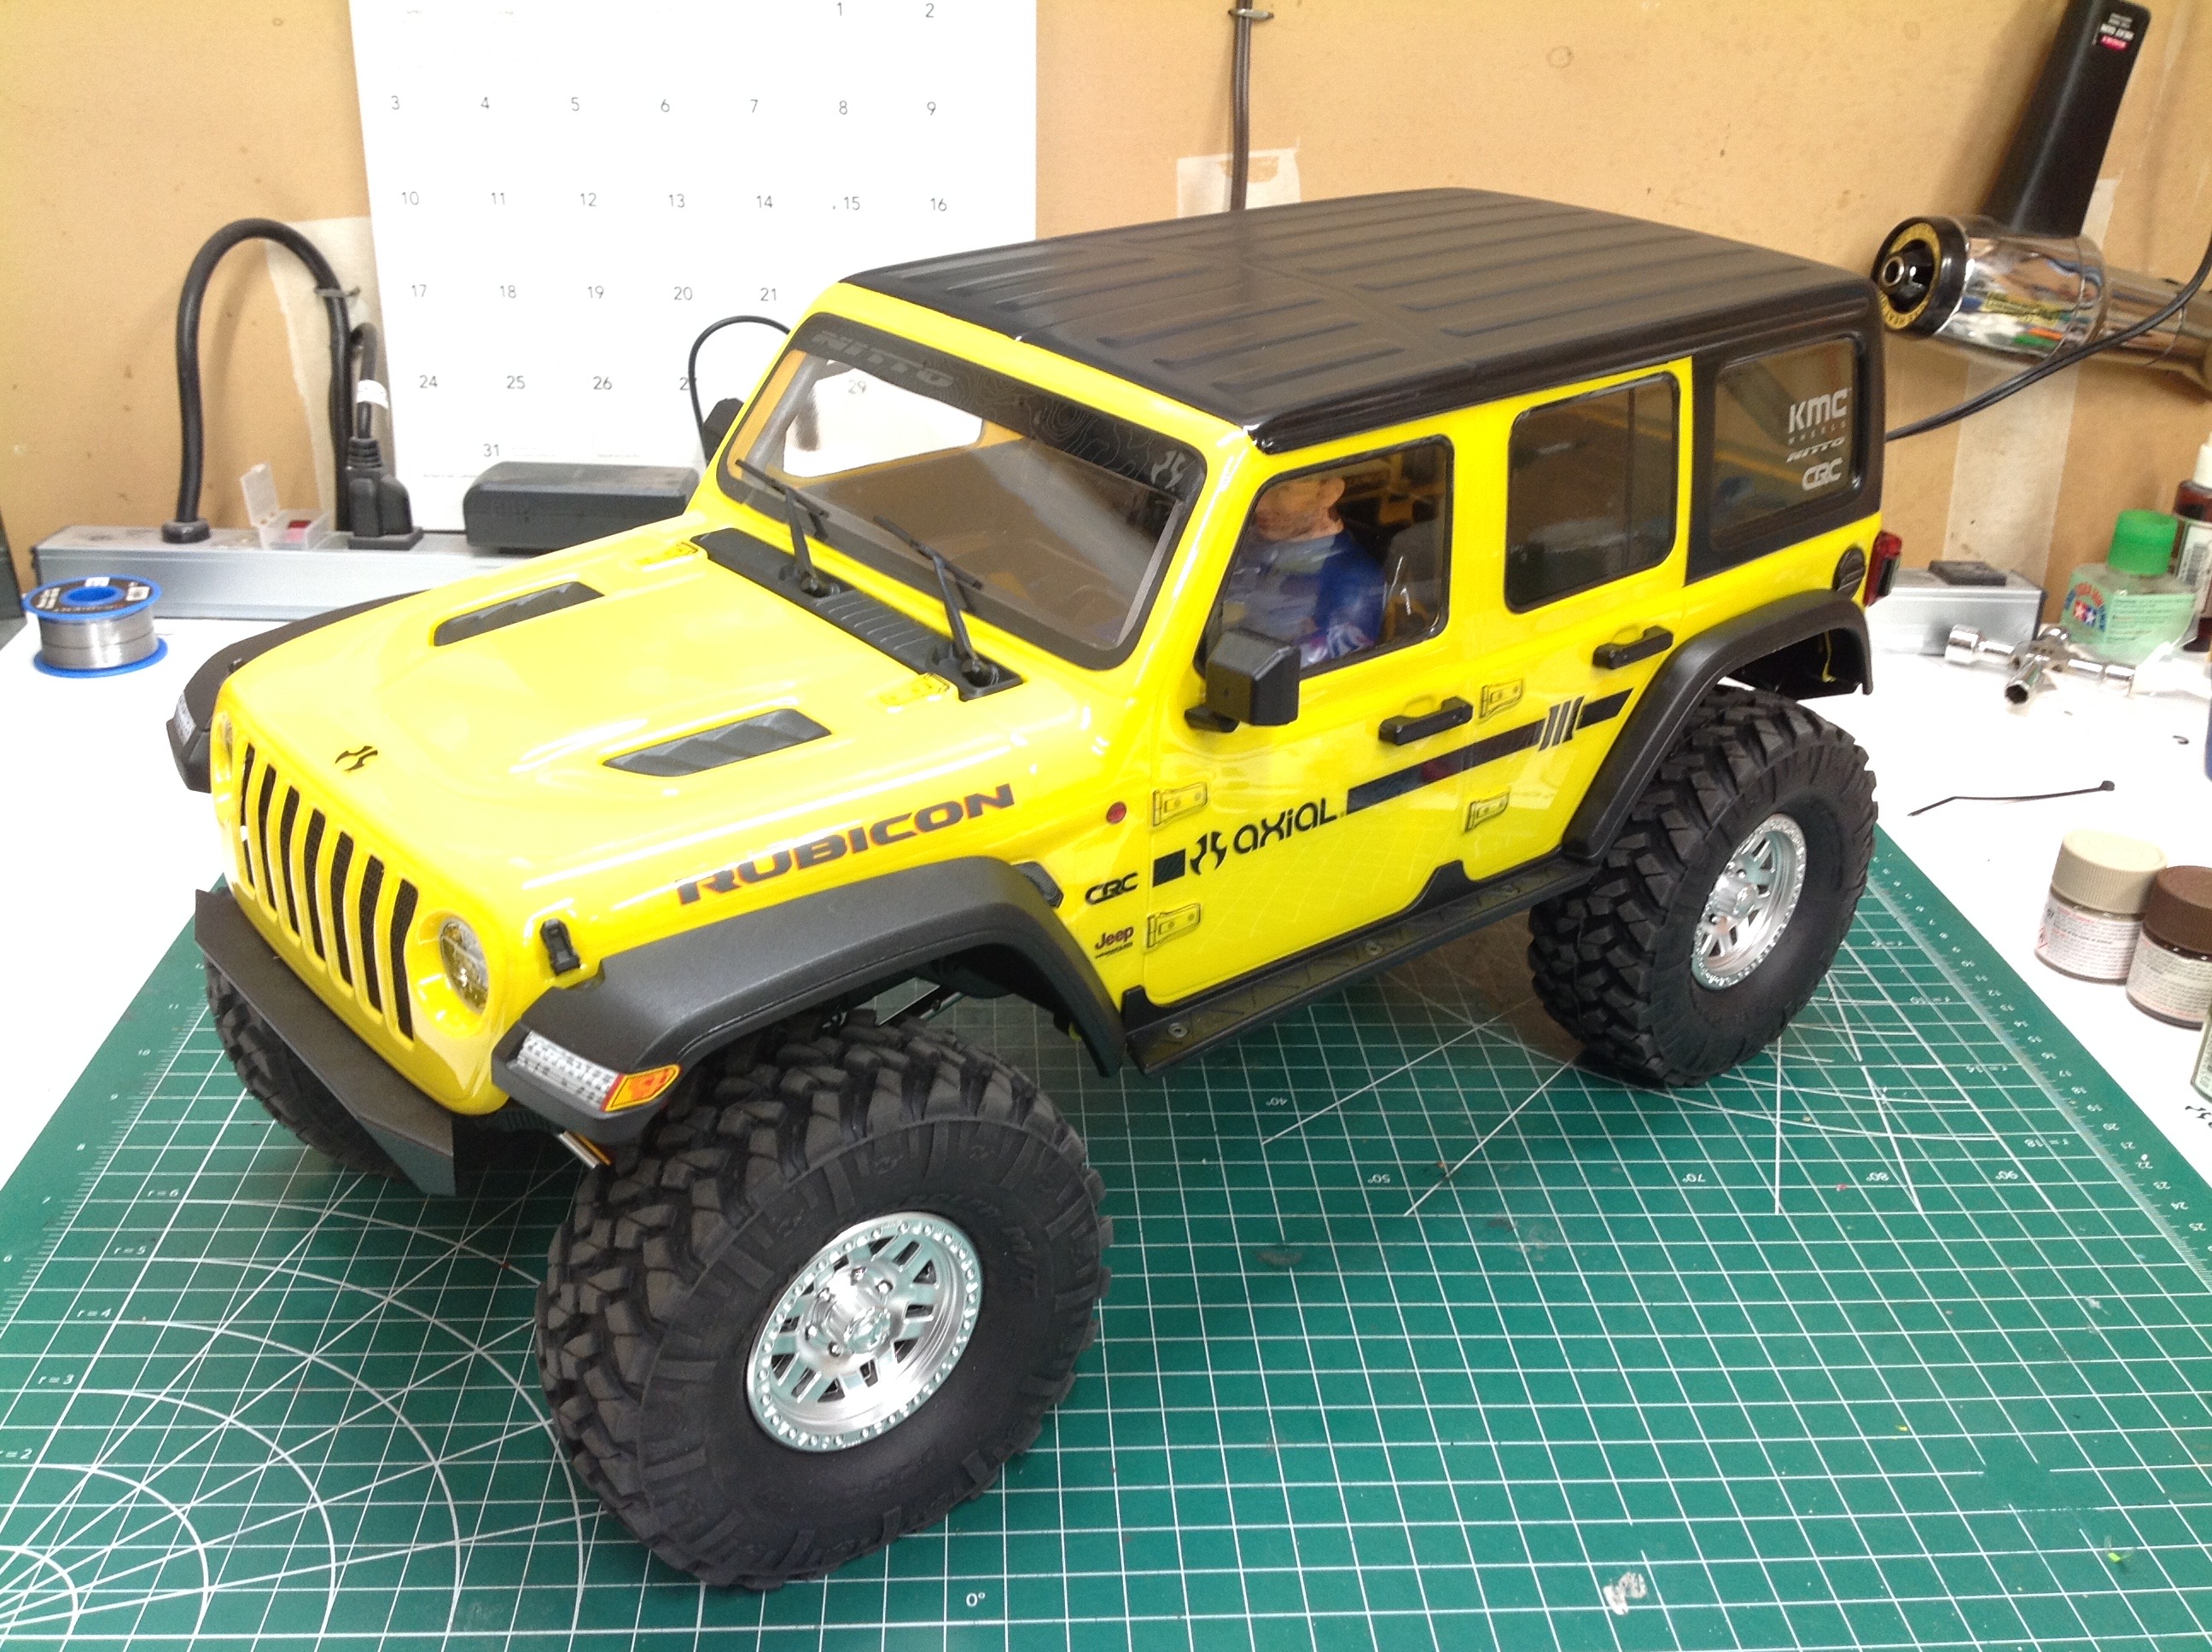
Here is the completed body installed on the chassis, completing the
stock model. The rear view shows the fuel cap, tail gate handle,
tail lights, and license plate holder.
©2021 Eric Albrecht